Delight in Every Bite: Pumpkin Swirl Brownies

The love of the smell of freshly baked brownies is universal, but when autumn arrives, incorporating the essence of the season into the classic treats leads a delightful recipe. These Pumpkin Swirl Brownies are a perfect blend of deep chocolate tones and the comforting spices of a pumpkin pie. This dessert is a symphony of flavors that echoes the spirit of the fall season. Chocolate and pumpkin might just be the unsung heroes of the autumn flavor palette. Not only do Pumpkin Swirl Brownies satisfy that deep, chocolaty craving, but they also embrace the nostalgia of pumpkin pie spices. Crafting these brownies involves preparing a chocolate brownie batter and a pumpkin spice blend separately. Layering and swirling the two batters together creates a beautiful, marbled design. The result is a creation that not only looks impressive but delivers a complexity of flavors that will have everyone rushing to the kitchen.

In this simple yet exquisite dessert, each ingredient plays an important role. To achieve the perfect Pumpkin Swirl Brownie, you'll need brownie ingredients, pumpkin layer and a good swirl technique. Begin by sourcing fresh, quality ingredients, including real pumpkin puree, not just for its taste but for the moistness it lends. For the brownie this includes classics like melted chocolate or cocoa powder, flour, sugar, and butter that provide the dense and chocolatey foundation. For the pumpkin layer it will be made with real pumpkin puree, cinnamon, nutmeg, and cloves, as this mixture infuses the brownies with the season's signature scents and tastes. Lastly, achieving the swirl technique involves adding dollops of pumpkin mixture atop the brownie batter and artfully swirling with a knife.

The Art of Swirling Success:

- Place spoonsful of pumpkin batter about an inch apart on top of the chocolate layer.

- Using the tip of a knife or toothpick, glide through the batters in a swirling motion to create a marbled effect.

- Tap the pan gently on the countertop to settle the batter and enhance the swirls' visibility.

- For a pronounced pattern, use a consistent swirling motion.

- To enhance the effect, alternate the swirl direction between adjacent rows.

- Remember, less is more, and over-swirling can muddy the distinct flavors.

The swirling not only makes for a stunning presentation but also allows every bite to deliver a great fusion of flavors. Visual appeal is half the treat with these brownies. Achieving it is a simple, yet delicate process so be sure to follow these steps on how to swirl brownies.

Pro Tips for Ultimate Brownie Success

Crafting perfection requires more than a just a recipe, it also at times requires a certain finesse. Some expert tips on how to achieve this for the best pumpkin brownies are as follows. First don't skimp on the good stuff, find high-quality chocolate. The type of chocolate you use matters. Opt for a rich, high-quality chocolate for the best flavor. Same goes for your pumpkin so be sure to find a quality pumpkin puree. For the best flavor and texture, use unadulterated pumpkin puree. Next you need to spice it right. Don’t skimp on the fall spices, they are after all the soul of the pumpkin layer. Like we mentioned above, make sure to use smooth swirls. This is so important that I feel like I have to mention it twice. Use a skewer, knife tip or the handle end of a spoon for more control when swirling. Lastly before putting in the oven be sure to do pan tapping. Gently tap the pan before baking to remove any air bubbles. Just like with any recipe consistent oven temperature is key. An overlooked element in brownie baking is oven temperature. Make sure your oven is properly calibrated for the perfect bake. A few careful steps can elevate your brownie experience from delightful to unforgettable. Enjoy these moist and flavor-packed Pumpkin Swirl Brownies and remember that each bite is a perfect celebration of the season.

These brownies represent a comforting fusion of worlds where the timeless appeal of a gooey chocolate brownie meets the warm, spiced caress of pumpkin. It's a match made in heaven, and especially one for the Fall months. This treat is perfect for enjoying with a hot drink as the leaves turn golden. The Pumpkin Swirl Brownie is not just a seasonal delicacy, as you'll find that it's so loved that people will crave it year-round. Appreciate the moist, tender crumb of these brownies, as it is a result of the perfect balance between chocolate and pumpkin. With every swirl, just the right hint of cinnamon, nutmeg, and clove will hit your taste buds amid the backdrop of the decadent chocolate. Take pleasure in creating and savoring these glorious Pumpkin Swirl Brownies. They are sure to become a treasured part of your fall tradition and will have your entire house filled with the best smells of fall.

Ingredients

Brownie Batter

½ cup dark brown sugar packed

1 cup granulated sugar

3 large eggs

2 teaspoons vanilla extract

1/2 cup salted butter

1 cup all-purpose flour 

1/2 cup unsweetened cocoa powder

1/2 tsp baking powder

¼ teaspoon salt

1 cup heavy whipping cream

Pumpkin Batter

1 cup pumpkin puree

1/4 cup granulated sugar

6 oz cream cheese, softened

3/4 teaspoon cinnamon

1/2 teaspoon ground cloves

1/2 teaspoon ground nutmeg

1 large egg

Instructions

  1. Preheat the oven to 350 degrees and oil and line an 9X13 pan with cooking spray and parchment paper (if desired).

  2. In a large mixing bowl, whisk together the melted butter, dark brown sugar, and granulated sugar until light and fluffy. Add in eggs and vanilla and mix again. Set aside.

  3. In another medium bowl, whisk together the all-purpose flour, salt, baking powder and unsweetened cocoa powder. Gradually mix in wet ingredients into dry. Lastly, add in heavy whipping cream.

  4. Pour the batter into the prepared pan and begin mixing pumpkin mixture.

  5. In a medium sized bowl mix together cream cheese and sugar until blended. Add in pumpkin, spices and egg.

  6. Once blended add in large spoonsful of pumpkin batter on top of brownie mix. Using a knife swirl batter and pumpkin mixture, be sure to not over blend the two together but make a swirl. Tap on table to remove air bubbles.

  7. Bake for 45 minutes or until a toothpick inserted comes out clean. Remove from oven and let cool for five minutes. Cut into squares, serve and enjoy!

Other Delicious Pumpkin Recipes You Will Love:

Deliciously Sweet: Mastering the Perfect Pumpkin Molasses Cookie Recipe for the Autumn Season

The Ultimate Thanksgiving Dessert - My Pumpkin Crisp Recipe

Savor the Fall Season with the Perfect Pumpkin Espresso Martini

Yummy Pumpkin Ice Cream Recipe with a Twist: Pumpkin Molasses Cookie Chunks!

Sweet Serenity: Mastering the Art of Pumpkin Cinnamon Rolls with Cream Cheese Icing

Deliciously Sweet: Pumpkin Coffee Cake with Pecan Crumbles

Baked Burrata Pumpkin Ziti with Pork Sausage Recipe

Decadent Almond Joy Cookies: A Tribute to the Classic Candy Bar

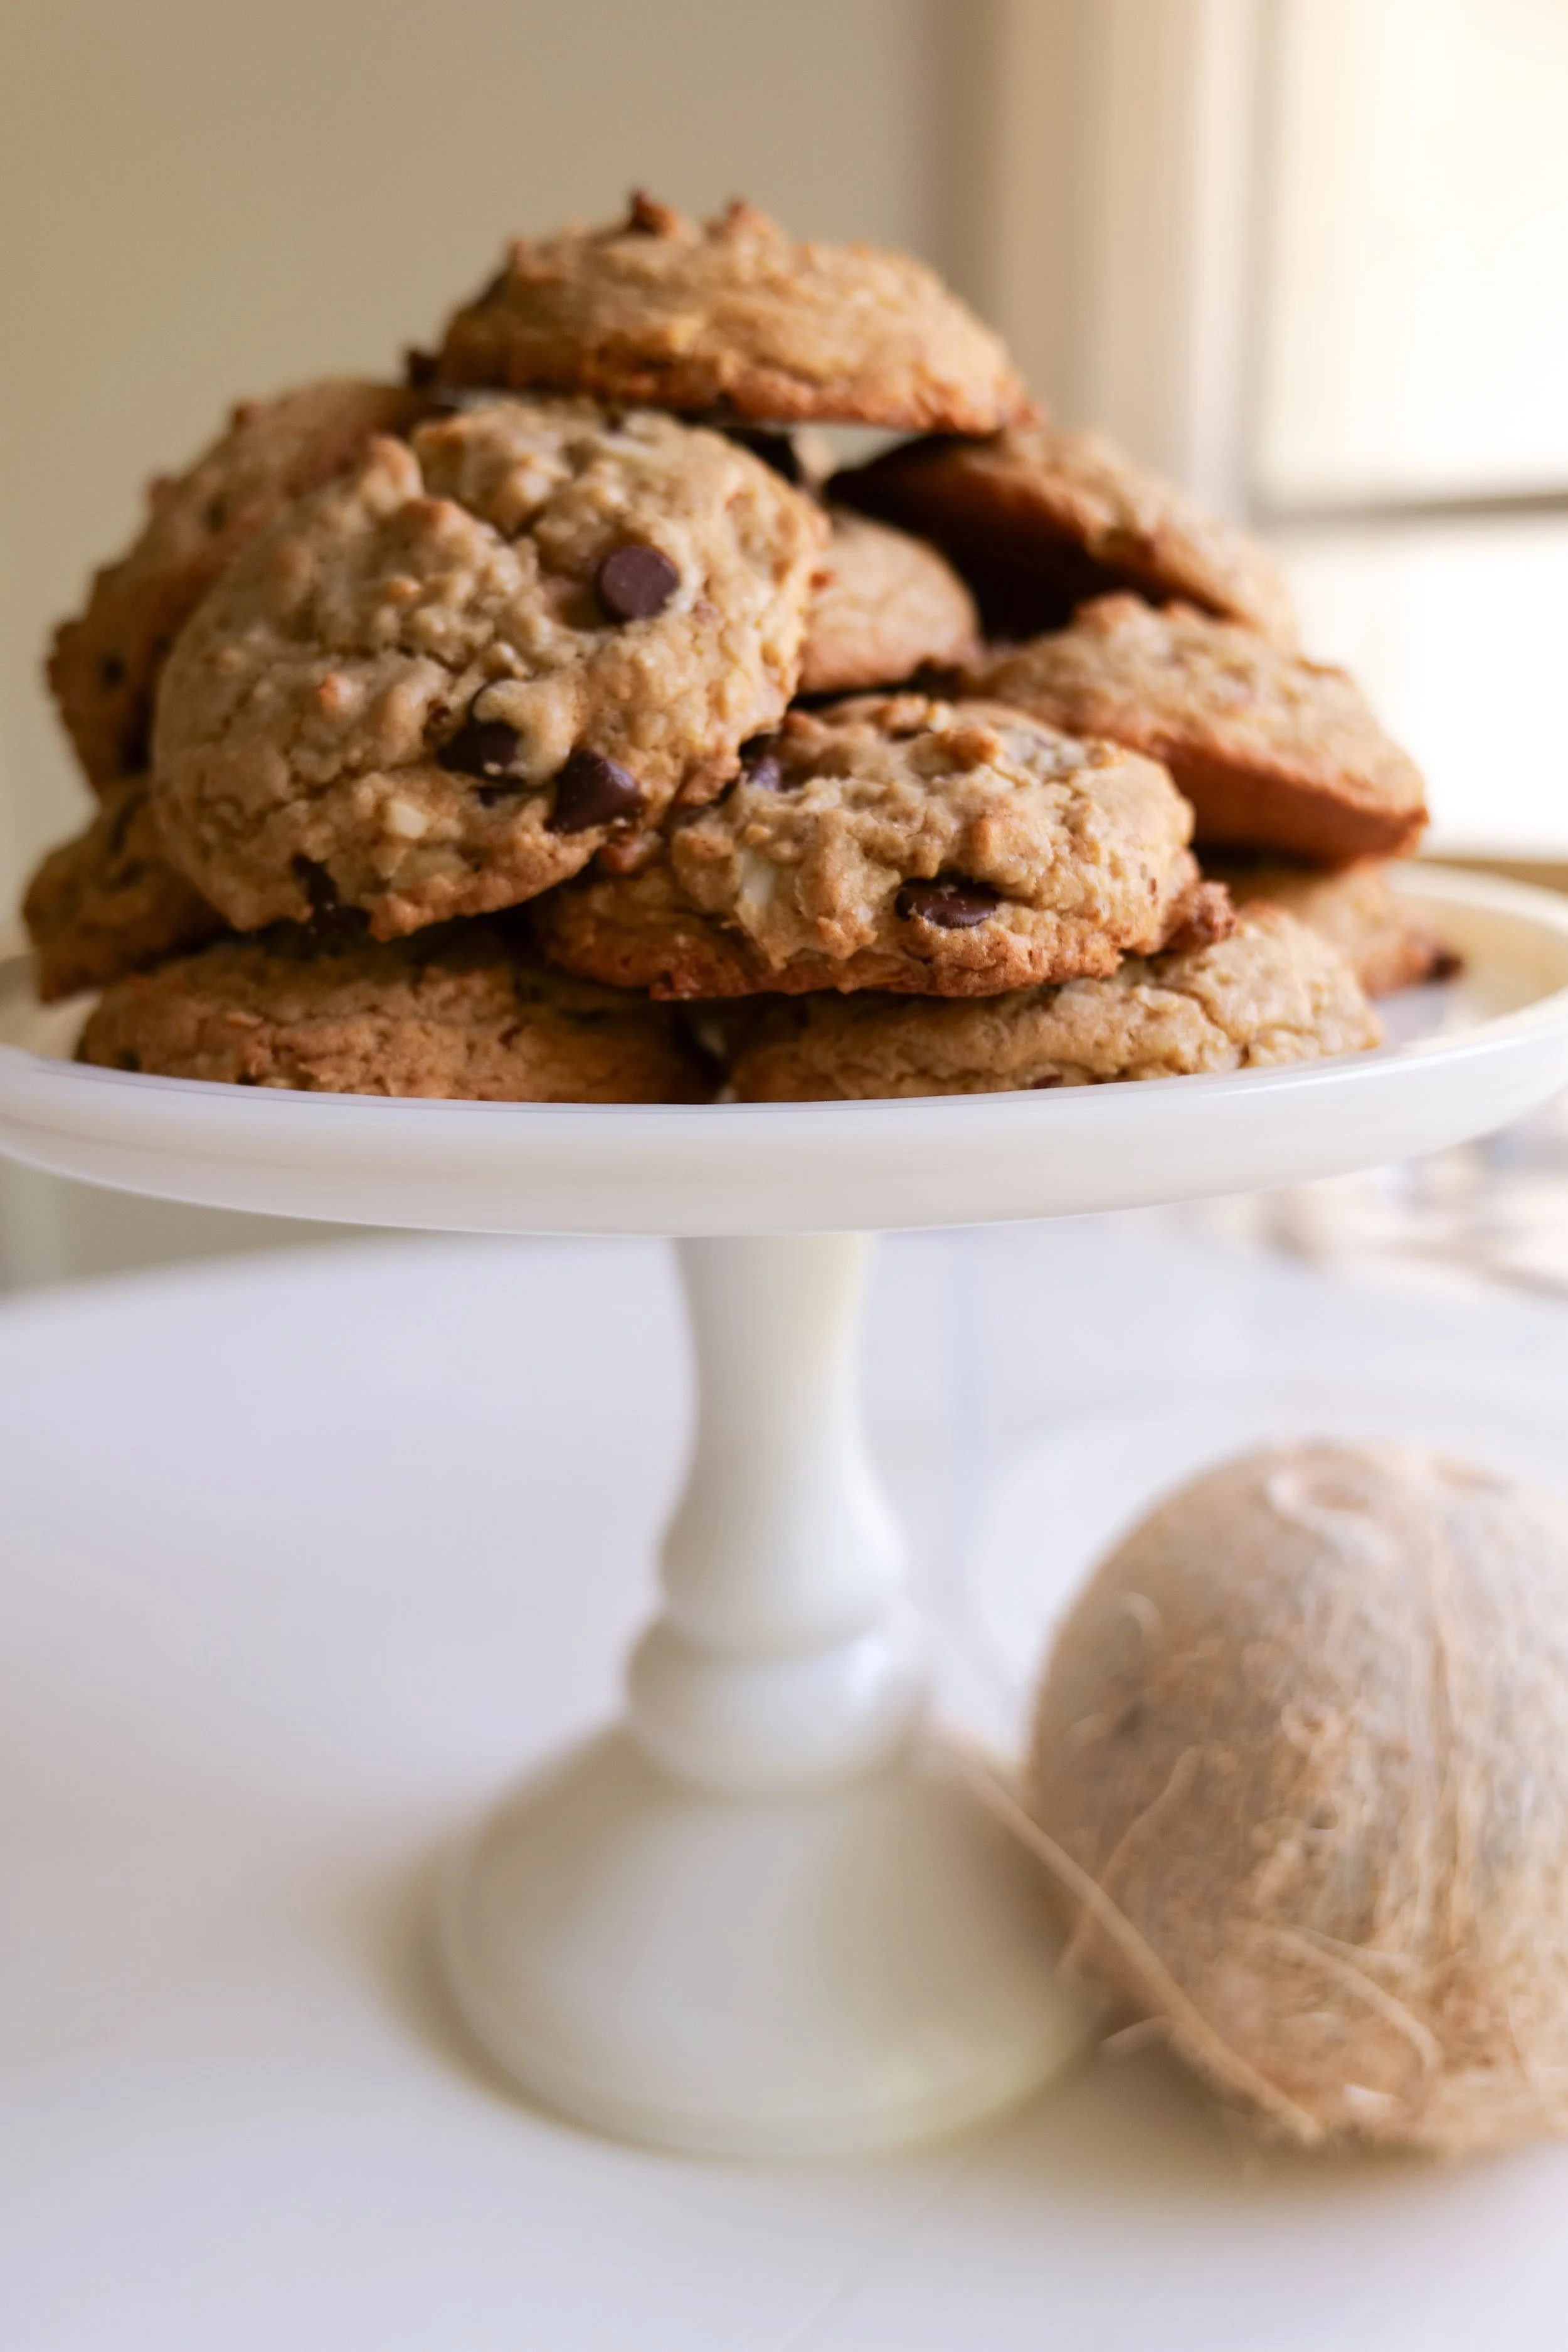
Who doesn't relish the thought of those sweet, coconut-filled Almond Joy candy bars. Now, imagine transforming that delicious taste into a warm, baked treat! These Chocolate Almond Joy Cookies capture the very essence of their namesake confection in a deliciously reimagined form. This recipe is an ode to the chocolate-coconut-almond trio that has won over palates for generations. Perfect for any occasion, these cookies are not just a mere dessert; they're a delightful journey with each bite harking back to the nostalgic moments of enjoying an Almond Joy bar. In every Almond Joy Cookie, you'll find melted butter that offers an irresistible base note of richness. Sugar that sweetens the tune, harmonizing with the melody of flavors. You'll also find flour, baking soda, and salt that compose the structural backbone. Crafting Almond Joy Cookies requires attention to detail and a nuanced understanding of the baking process. Here, I share the secrets to perfecting this culinary composition.

Consider the following instructions to fine-tune your recipe:

- Dry roast almonds beforehand, then let them cool.

- Opt for high-quality chocolate to establish your palate in a luxurious experience. Dark chocolate adds a rich counterbalance to the overarching sweetness.

- Select semi-sweet, milk, or dark chocolate as per your preference.

- Use parchment paper on baking trays for uniform heat distribution.

- Reduce sugar to balance the coconut's natural sweetness, if needed.

- Store these delights in an airtight container to keep the moisture intact.

- Out of almond extract? This can be substituted for vanilla. Taste will change the almond flavor slightly but still be delicious

End your baking session with a deep appreciation for the art of cookie-making, knowing that your Almond Joy Cookies are poised to offer joy with every note and in every bite.

How do I store Almond Joy Cookies to keep them fresh?

Storing Almond Joy Cookies properly ensures that the encore of their delectable performance is as impressive as the opening act. Once completely cooled, place the cookies in an airtight container. Sealing them at room temperature provides the ideal setting to keep your cookies ready for a repeat performance for up to 5 days of freshness, or if kept refrigerated can stay fresh for almost 2 weeks. Parchment paper between layers guards the individual textures of the cookies, ensuring no character is lost. For extended intervals, freezing the cookies prepares them for a grand return on a future stage. When you carefully store Almond Joy Cookies they are shielded from air that could snatch away their moisture. Storing your cookies in the freezer will preserve them for up to three months. Once ready to enjoy again simply let them come to room temperature.

These cookies, much like the classic bar, are a delicious blend of the fundamental trio of chocolate, coconut, and almonds. A testament to the simplicity yet perfection of mixing sweet and nutty tastes. Easily adaptable and warmly welcomed in any scenario where a sweet touch is desired. Almond Joy Cookies are a standing ovation in the dessert world—a cookie rendition that pays homage to the candy bars we've all adored.

INGREDIENTS

1 cup butter (2 sticks)

3/4 cup sugar

3/4 brown sugar

1 teaspoon almond extract

2 large eggs

2 1/4 cups flour

3 teaspoon baking powder

1 teaspoon salt

1 cup sliced almonds

1 cup shredded coconut

1 cup semi sweet chocolate chips

DIRECTIONS

1. Preheat oven to 375 degrees.

2. Melt the butter for 30 seconds in the microwave (if the butter is not at room temperature). Add sugar & brown sugar into butter and mix. Scrape sides and mix again immediately after. Mix in Almond Extract and eggs. Mix again.

3. Gradually add all-purpose Flour, Baking Soda, and salt. Mix well. Lastly add in chocolate chips, almonds and coconut.

4. Scoop dough onto a baking sheet or parchment paper. I use a pre-measured cookie scooper linked -here- works great to have even-sized cookies! Add 2 scoops right on top of each other to give a fuller cookie with a gooier middle.

5. Bake for 9 minutes until golden brown around the edges and remove from oven and place onto cooling racks. Serve & Enjoy!

Other Delicious Cookie Recipes You Will Love:

The Best Monster Cookie Recipe You'll Ever Try!

Indulge your Sweet Tooth: The Ultimate Guide to Making Brown Butter Maple Pecan Chocolate Chunk Cookies

Deliciously Sweet: Mastering the Perfect Pumpkin Molasses Cookie Recipe for the Autumn Season

How to Make Delicious Nutter Butter Cookies At Home

Decadent Brown Butter Shortbread Cookies with a Chocolate 'Wax' Seal – A Vintage Twist on a Classic Treat!

Birthday Cutout Sugar Cookies

Brown Sugar Toffee Cookies

Brown Butter Caramel Pretzel Cookies

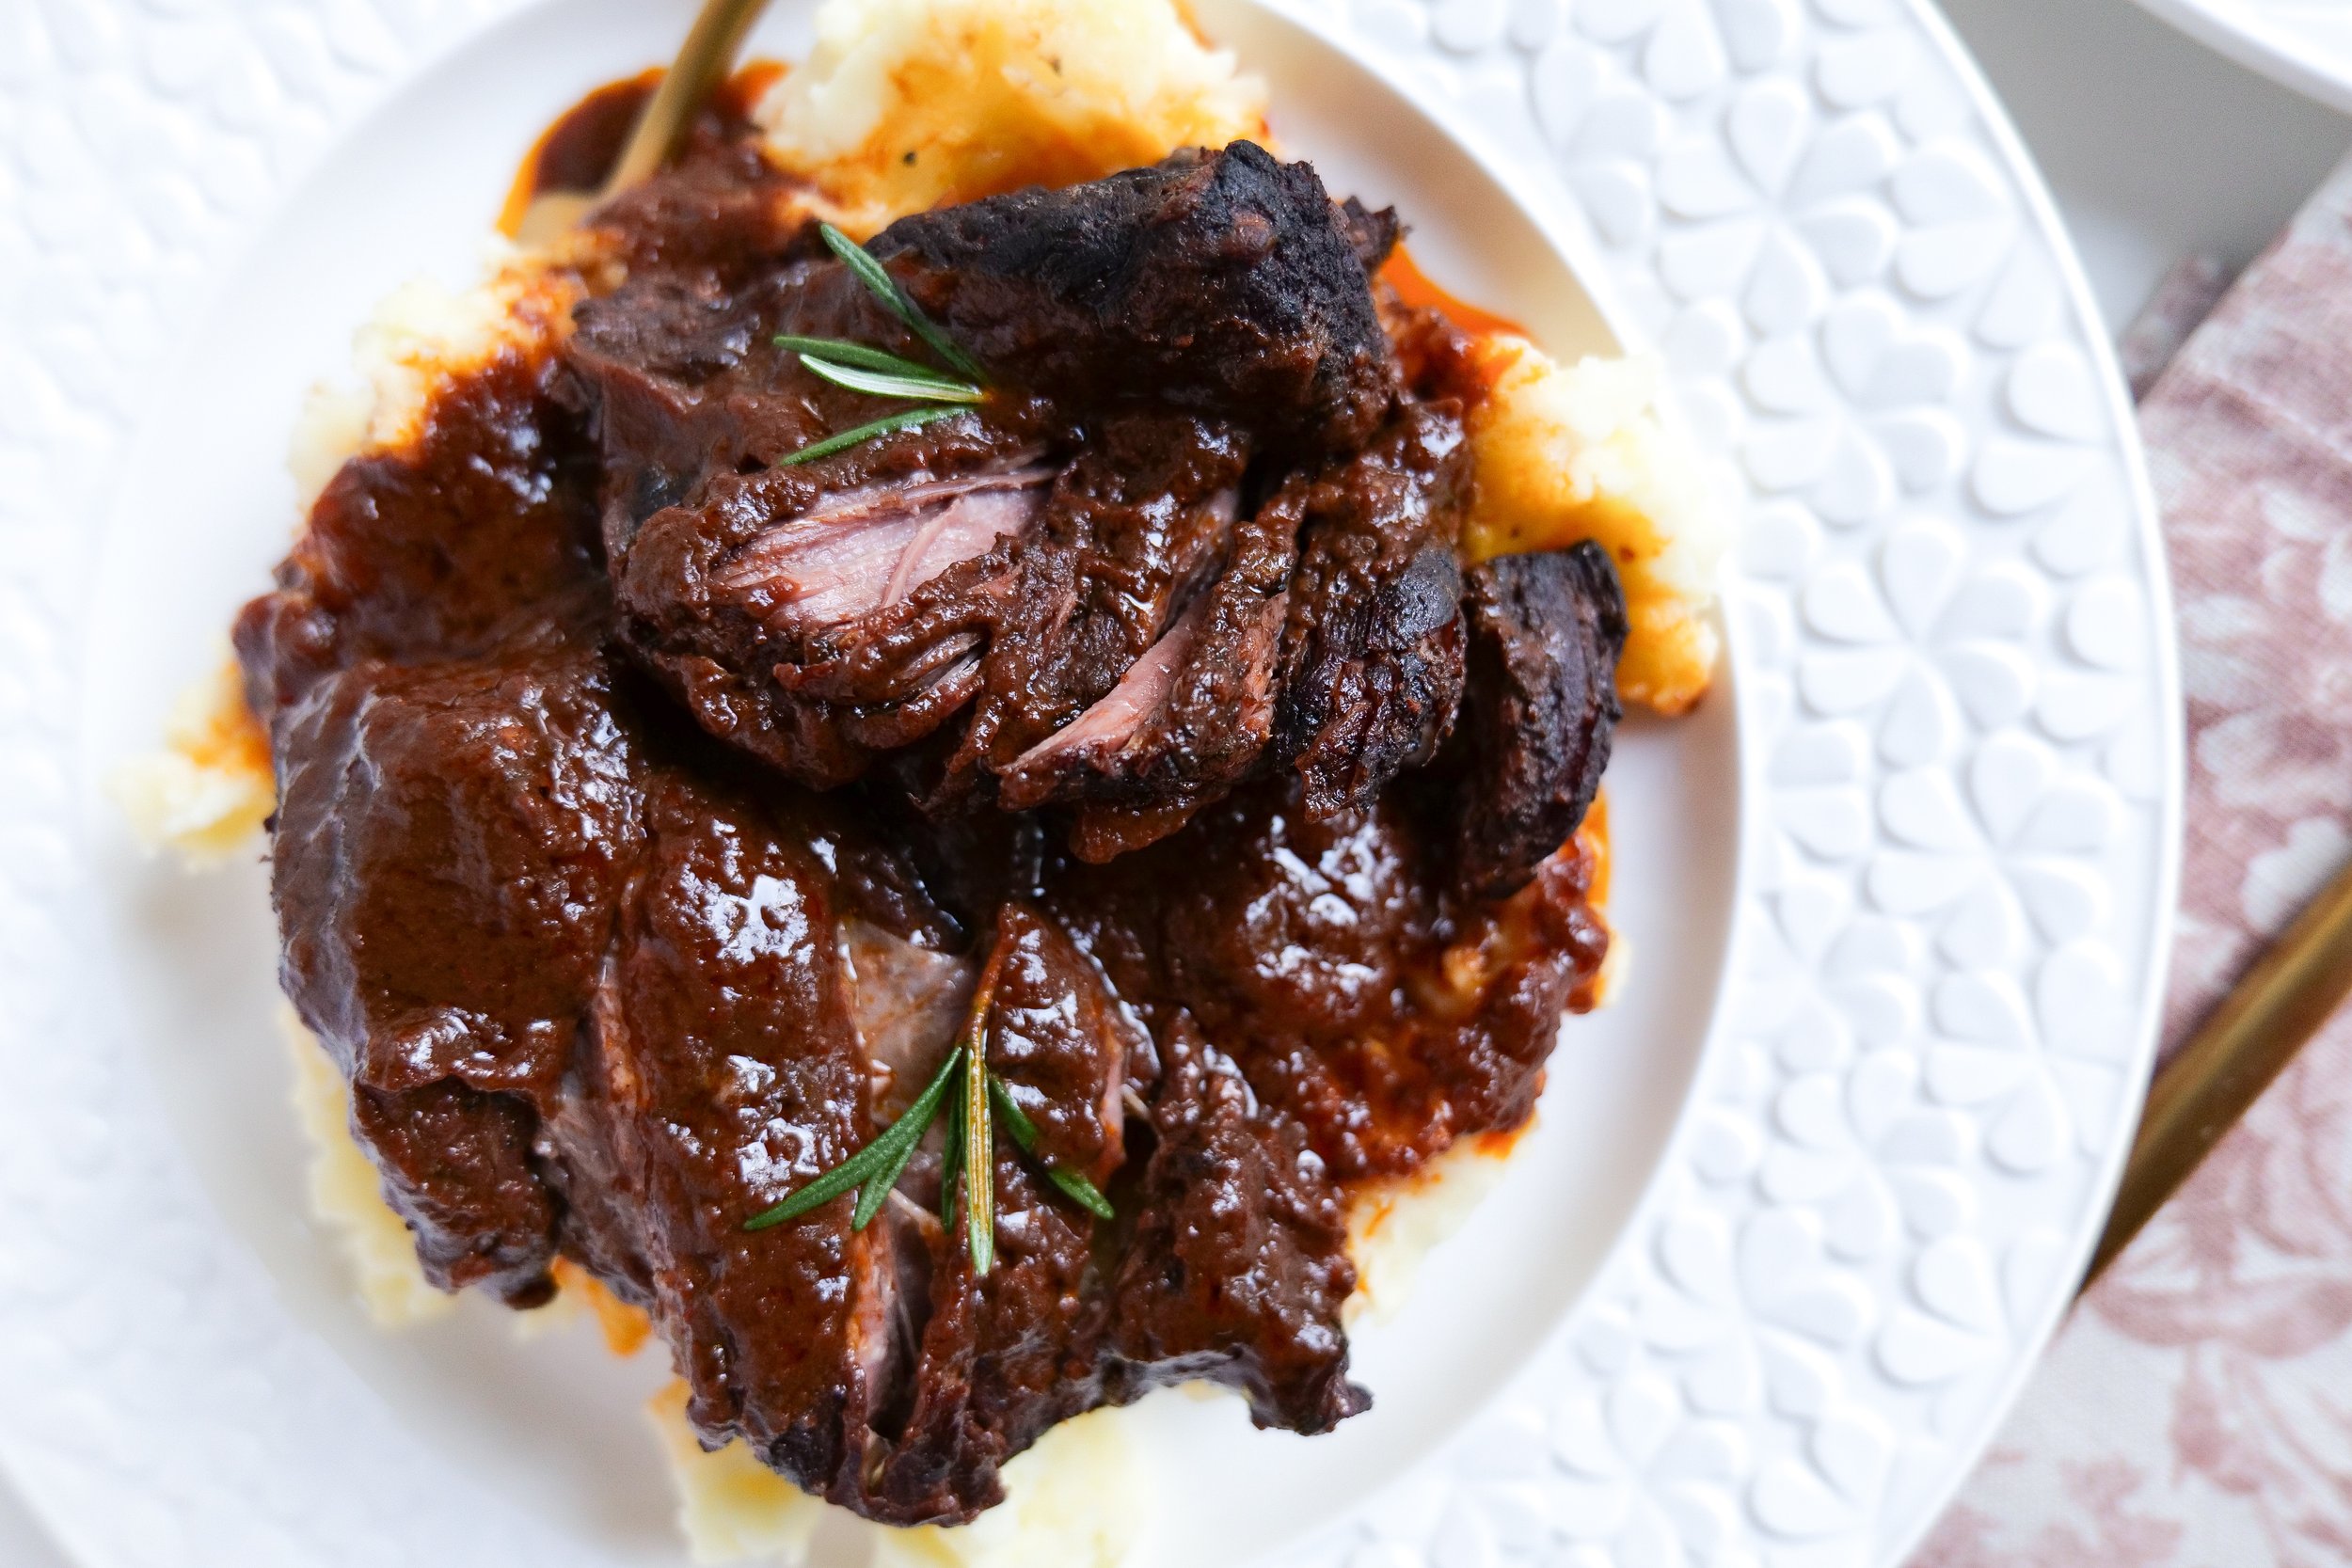
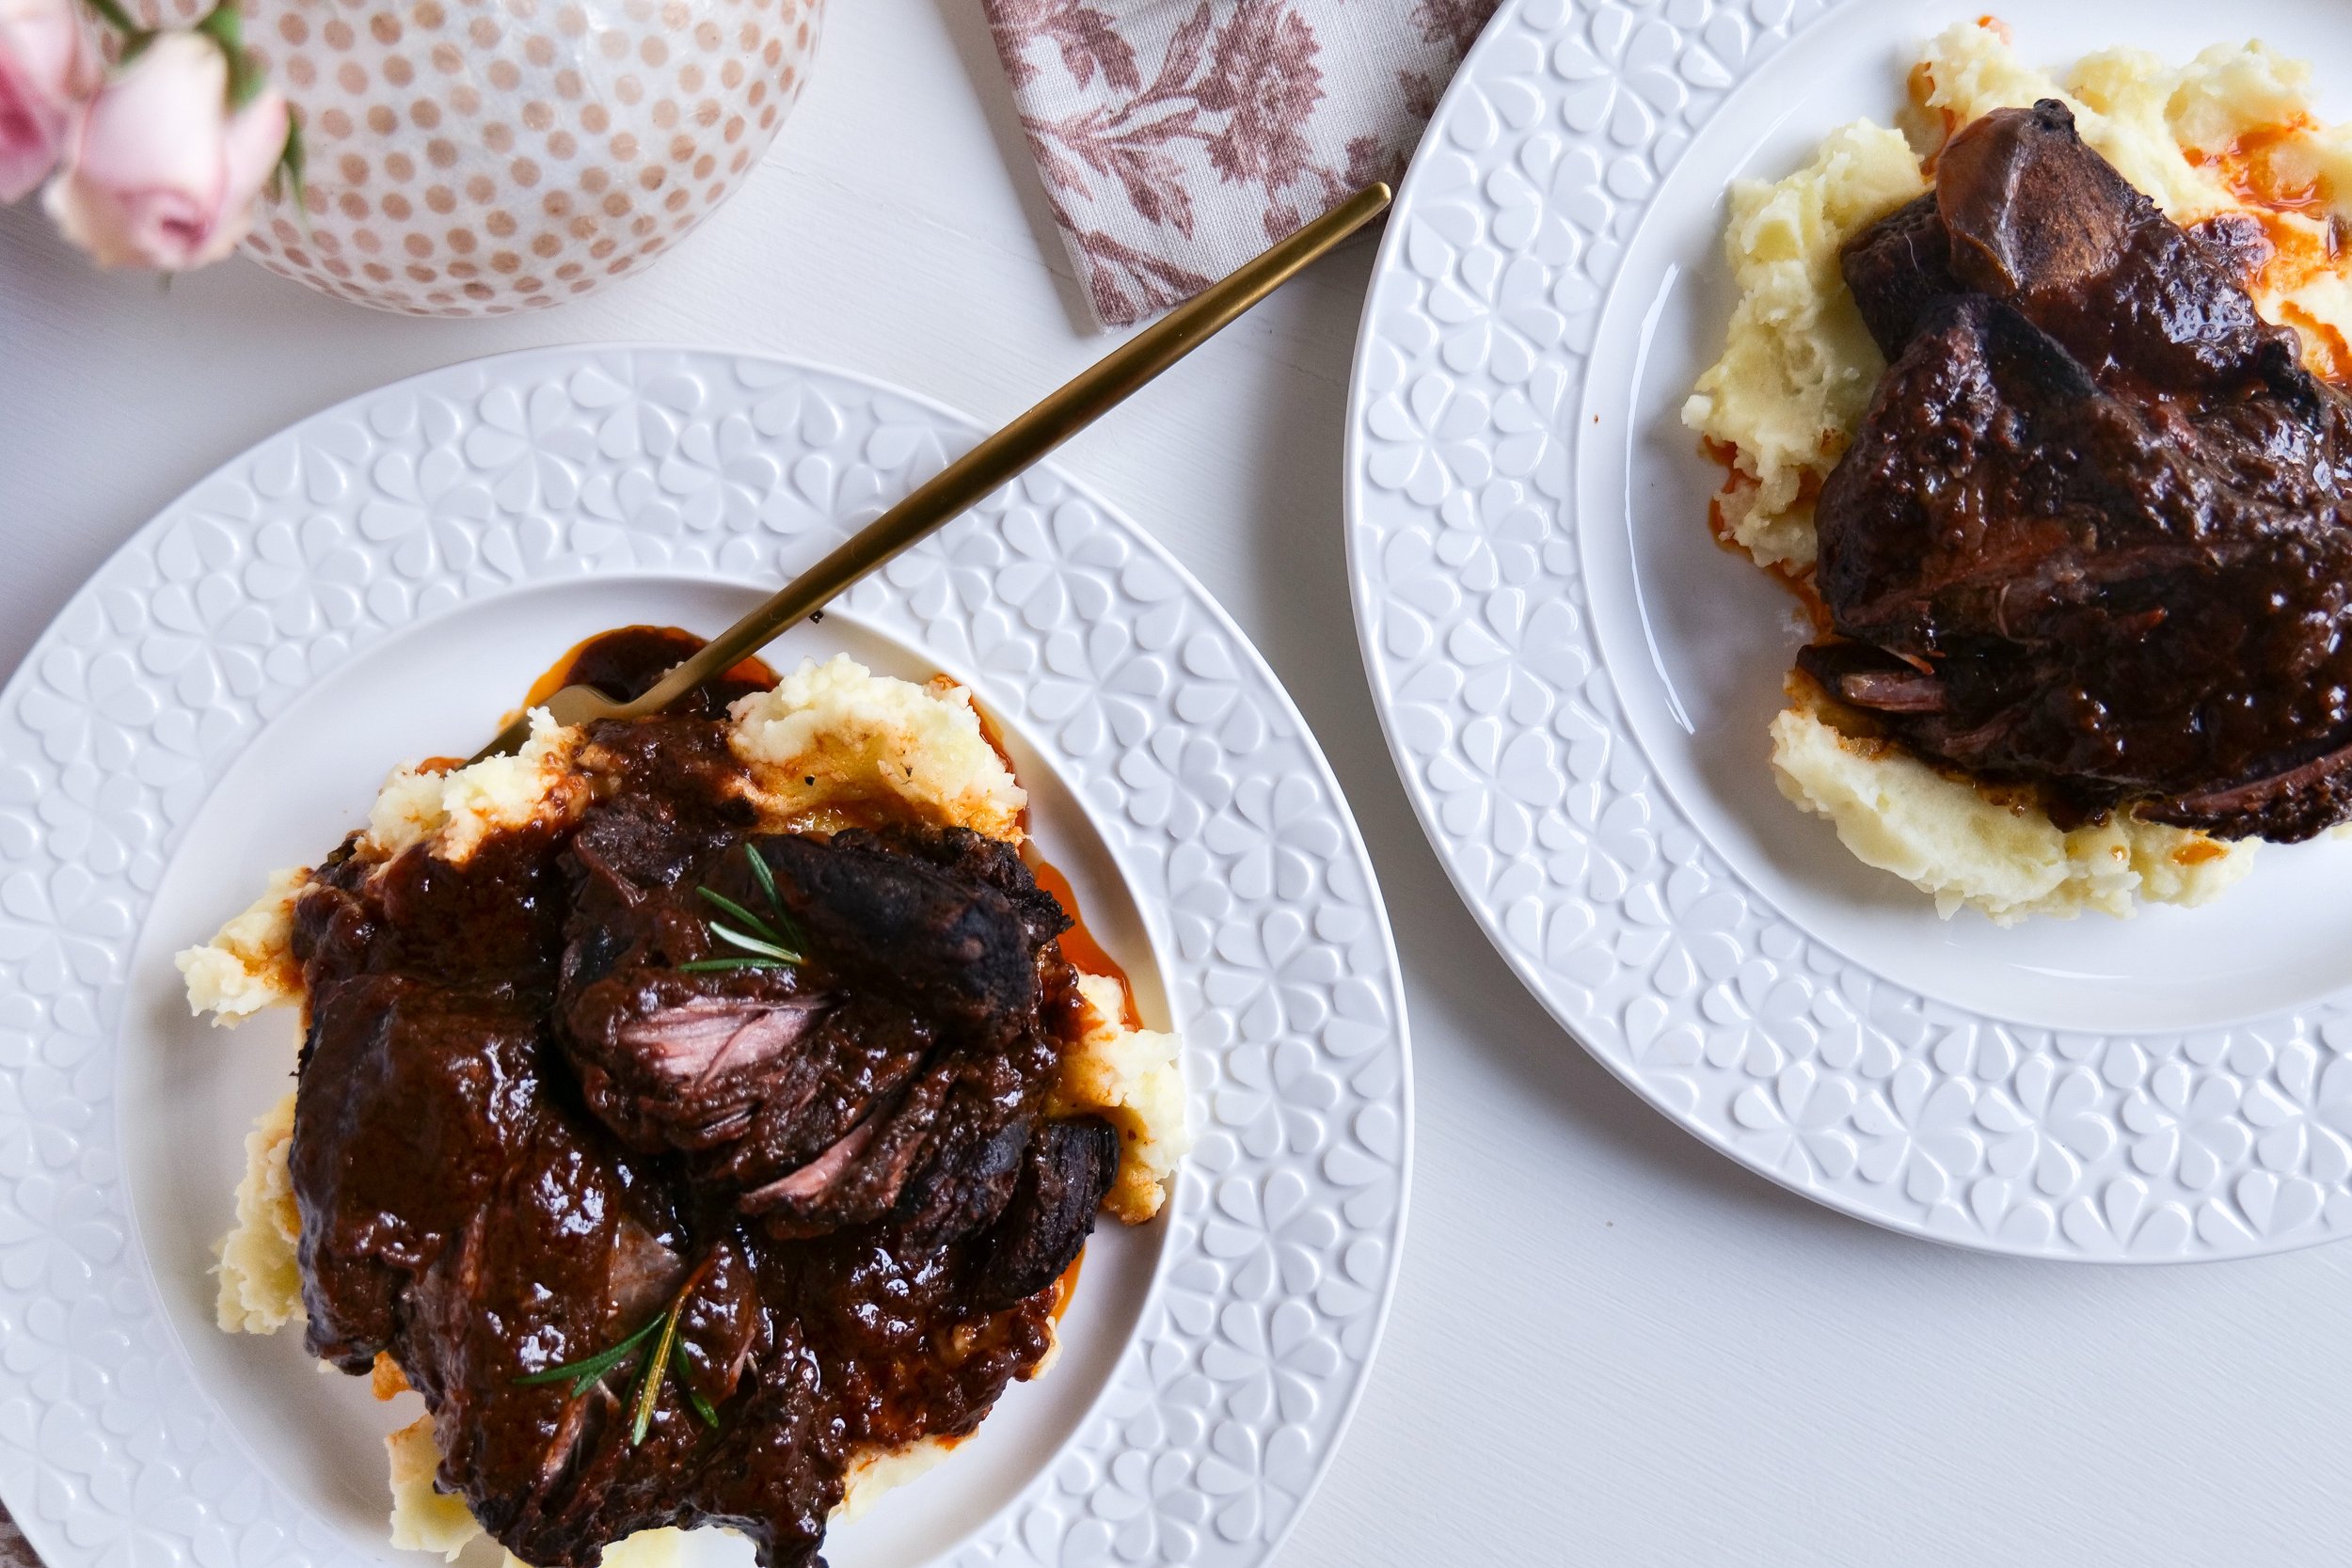
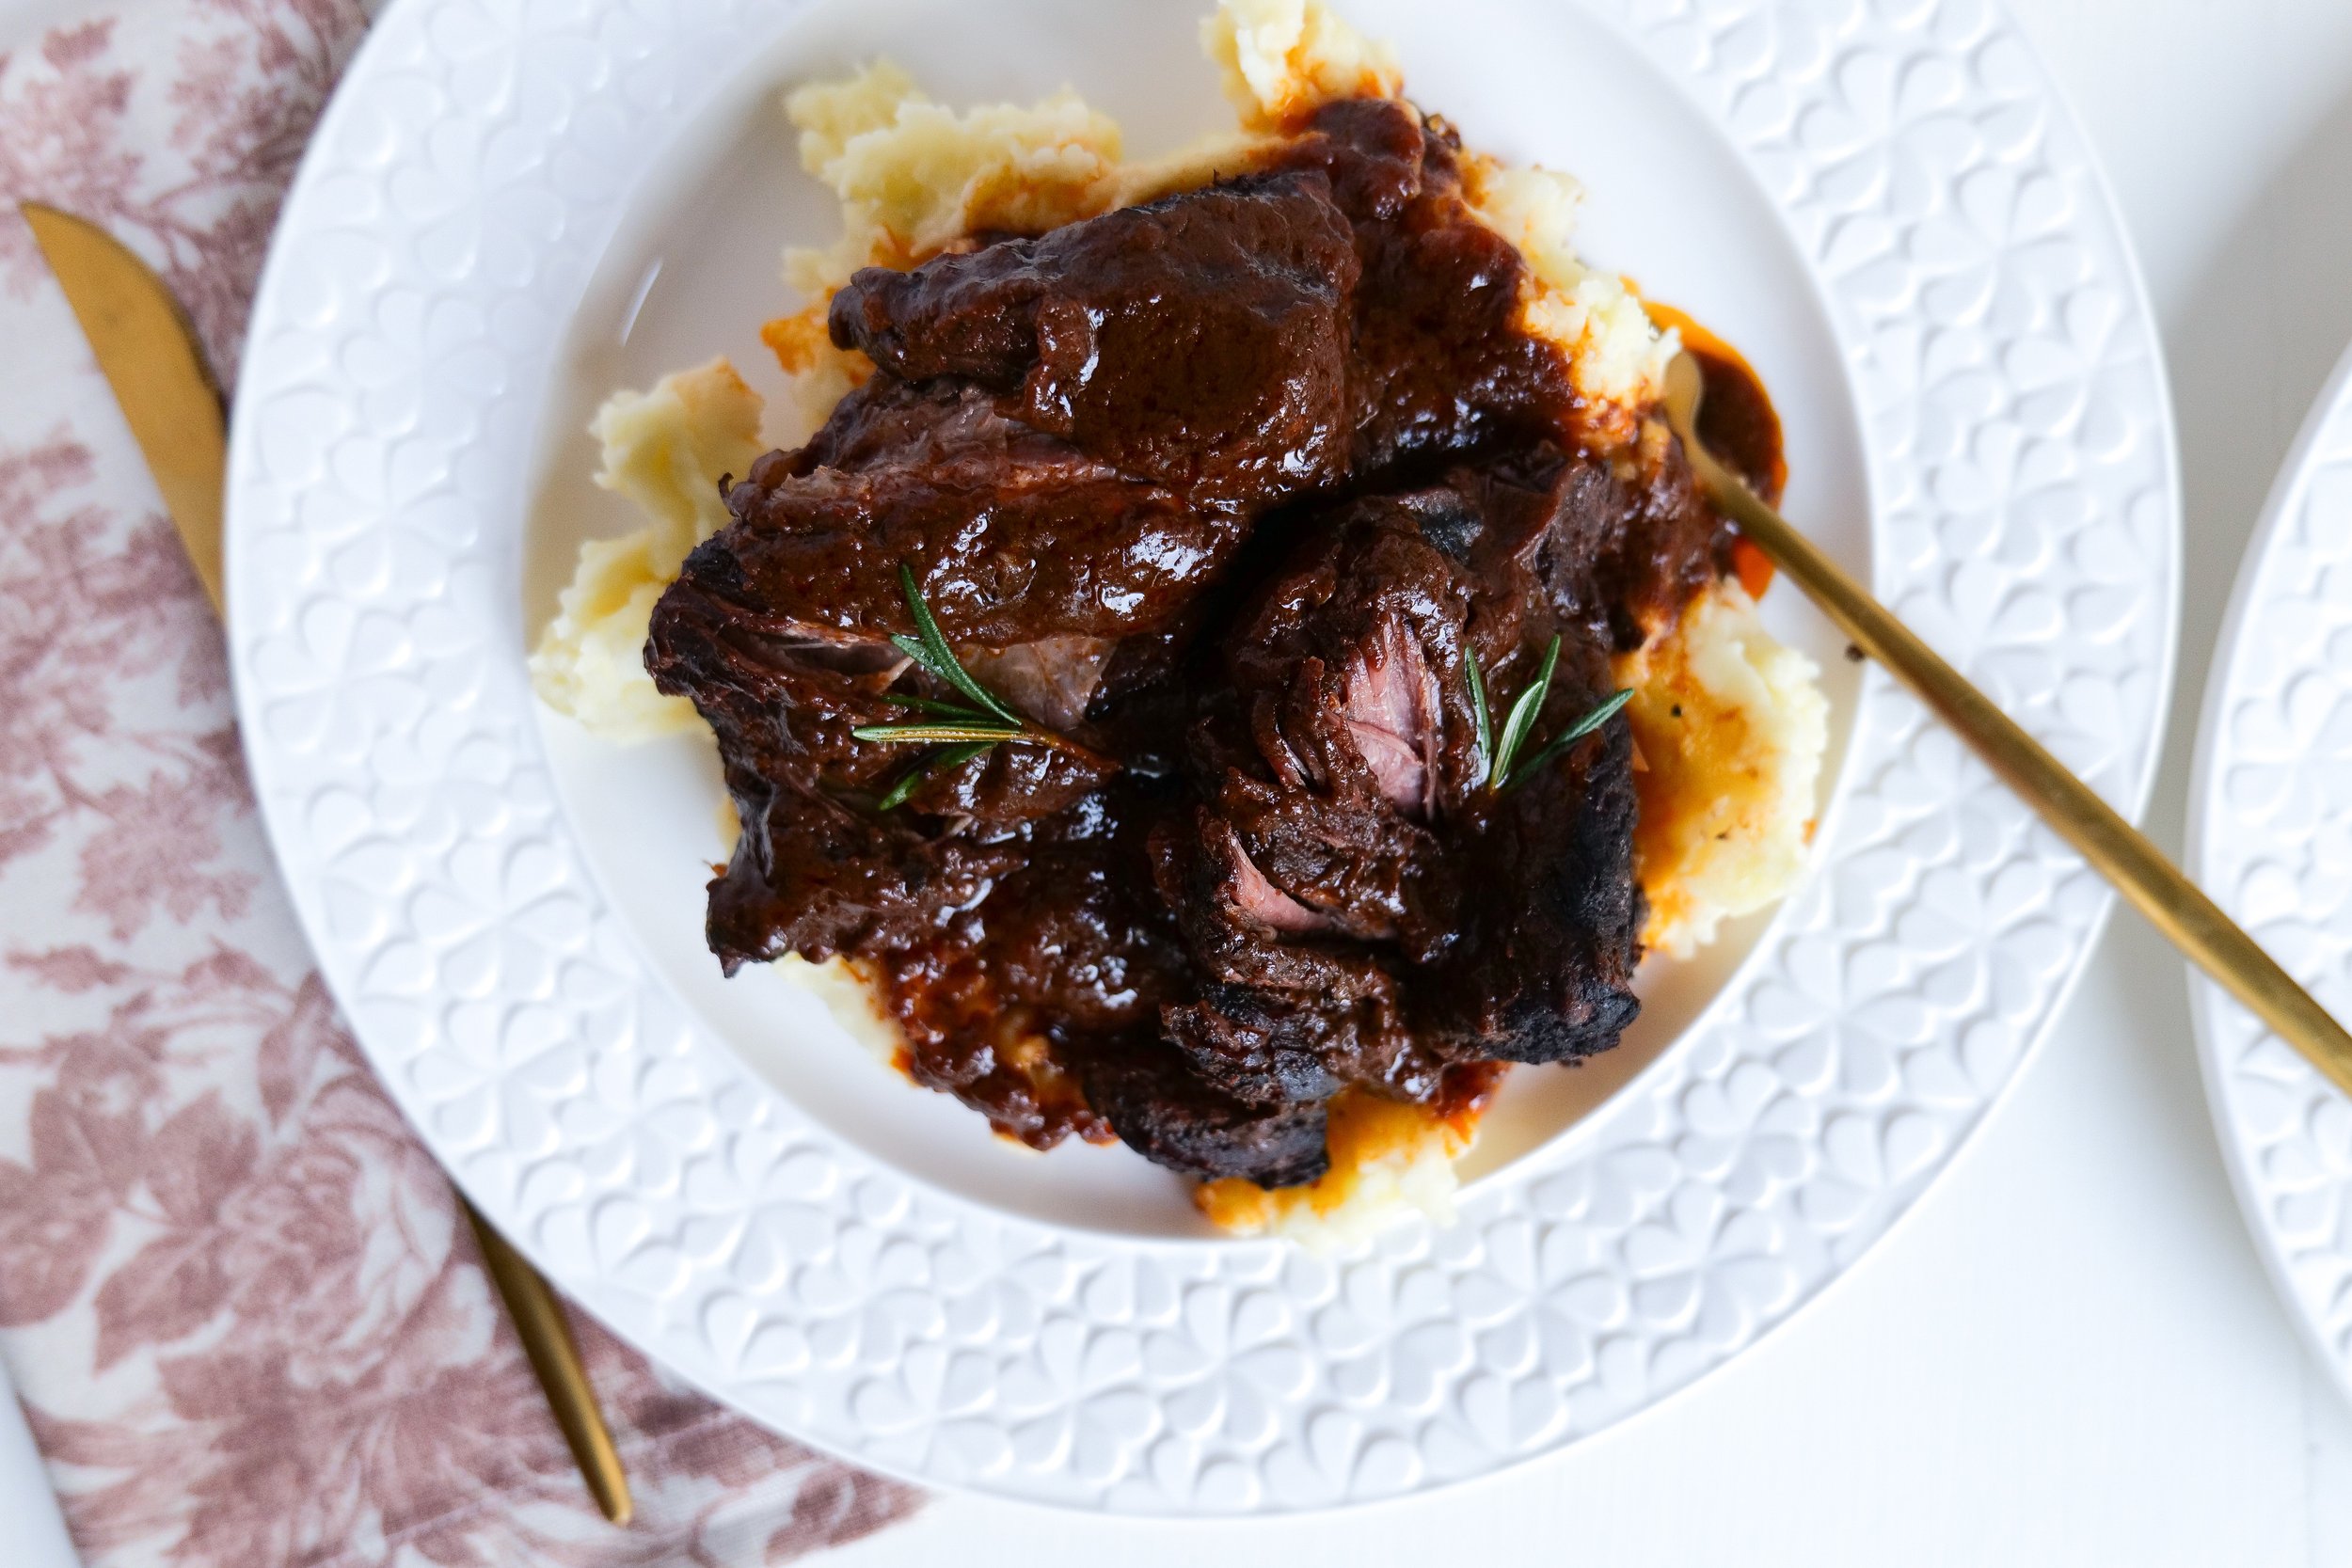
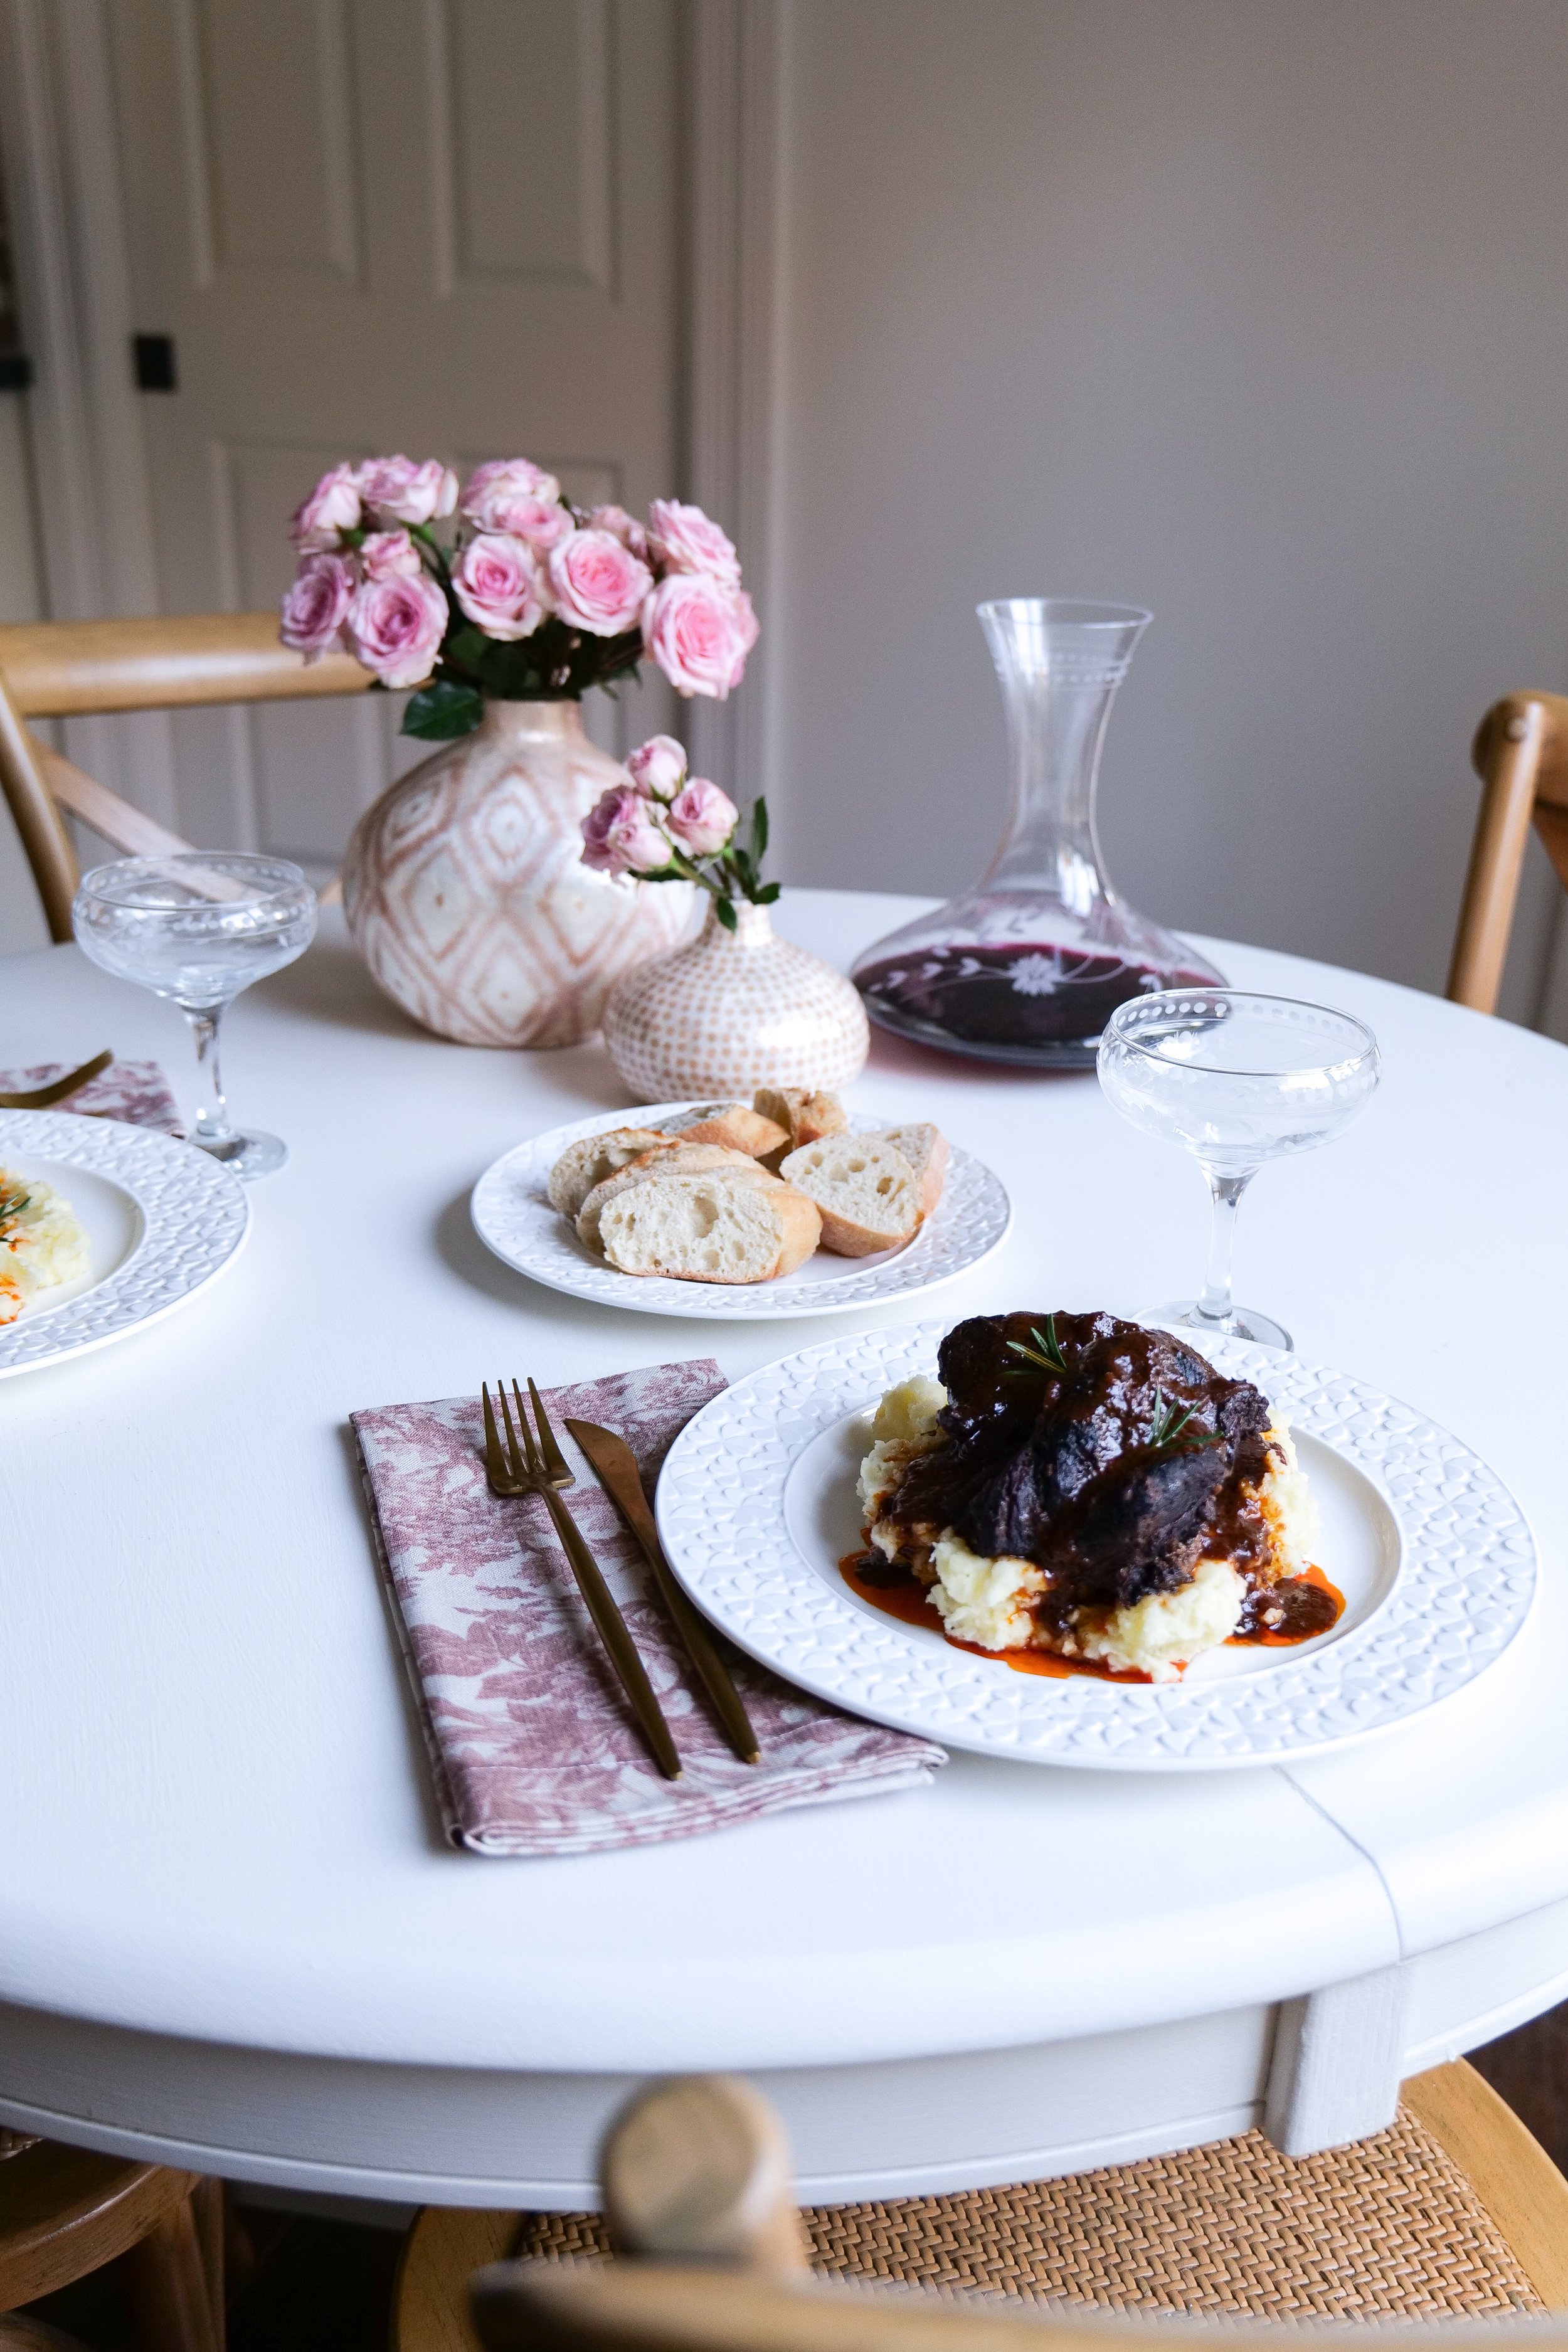
Fall-Off-The-Bone Feast: Mastering Slow Cooker Braised Short Ribs at Home

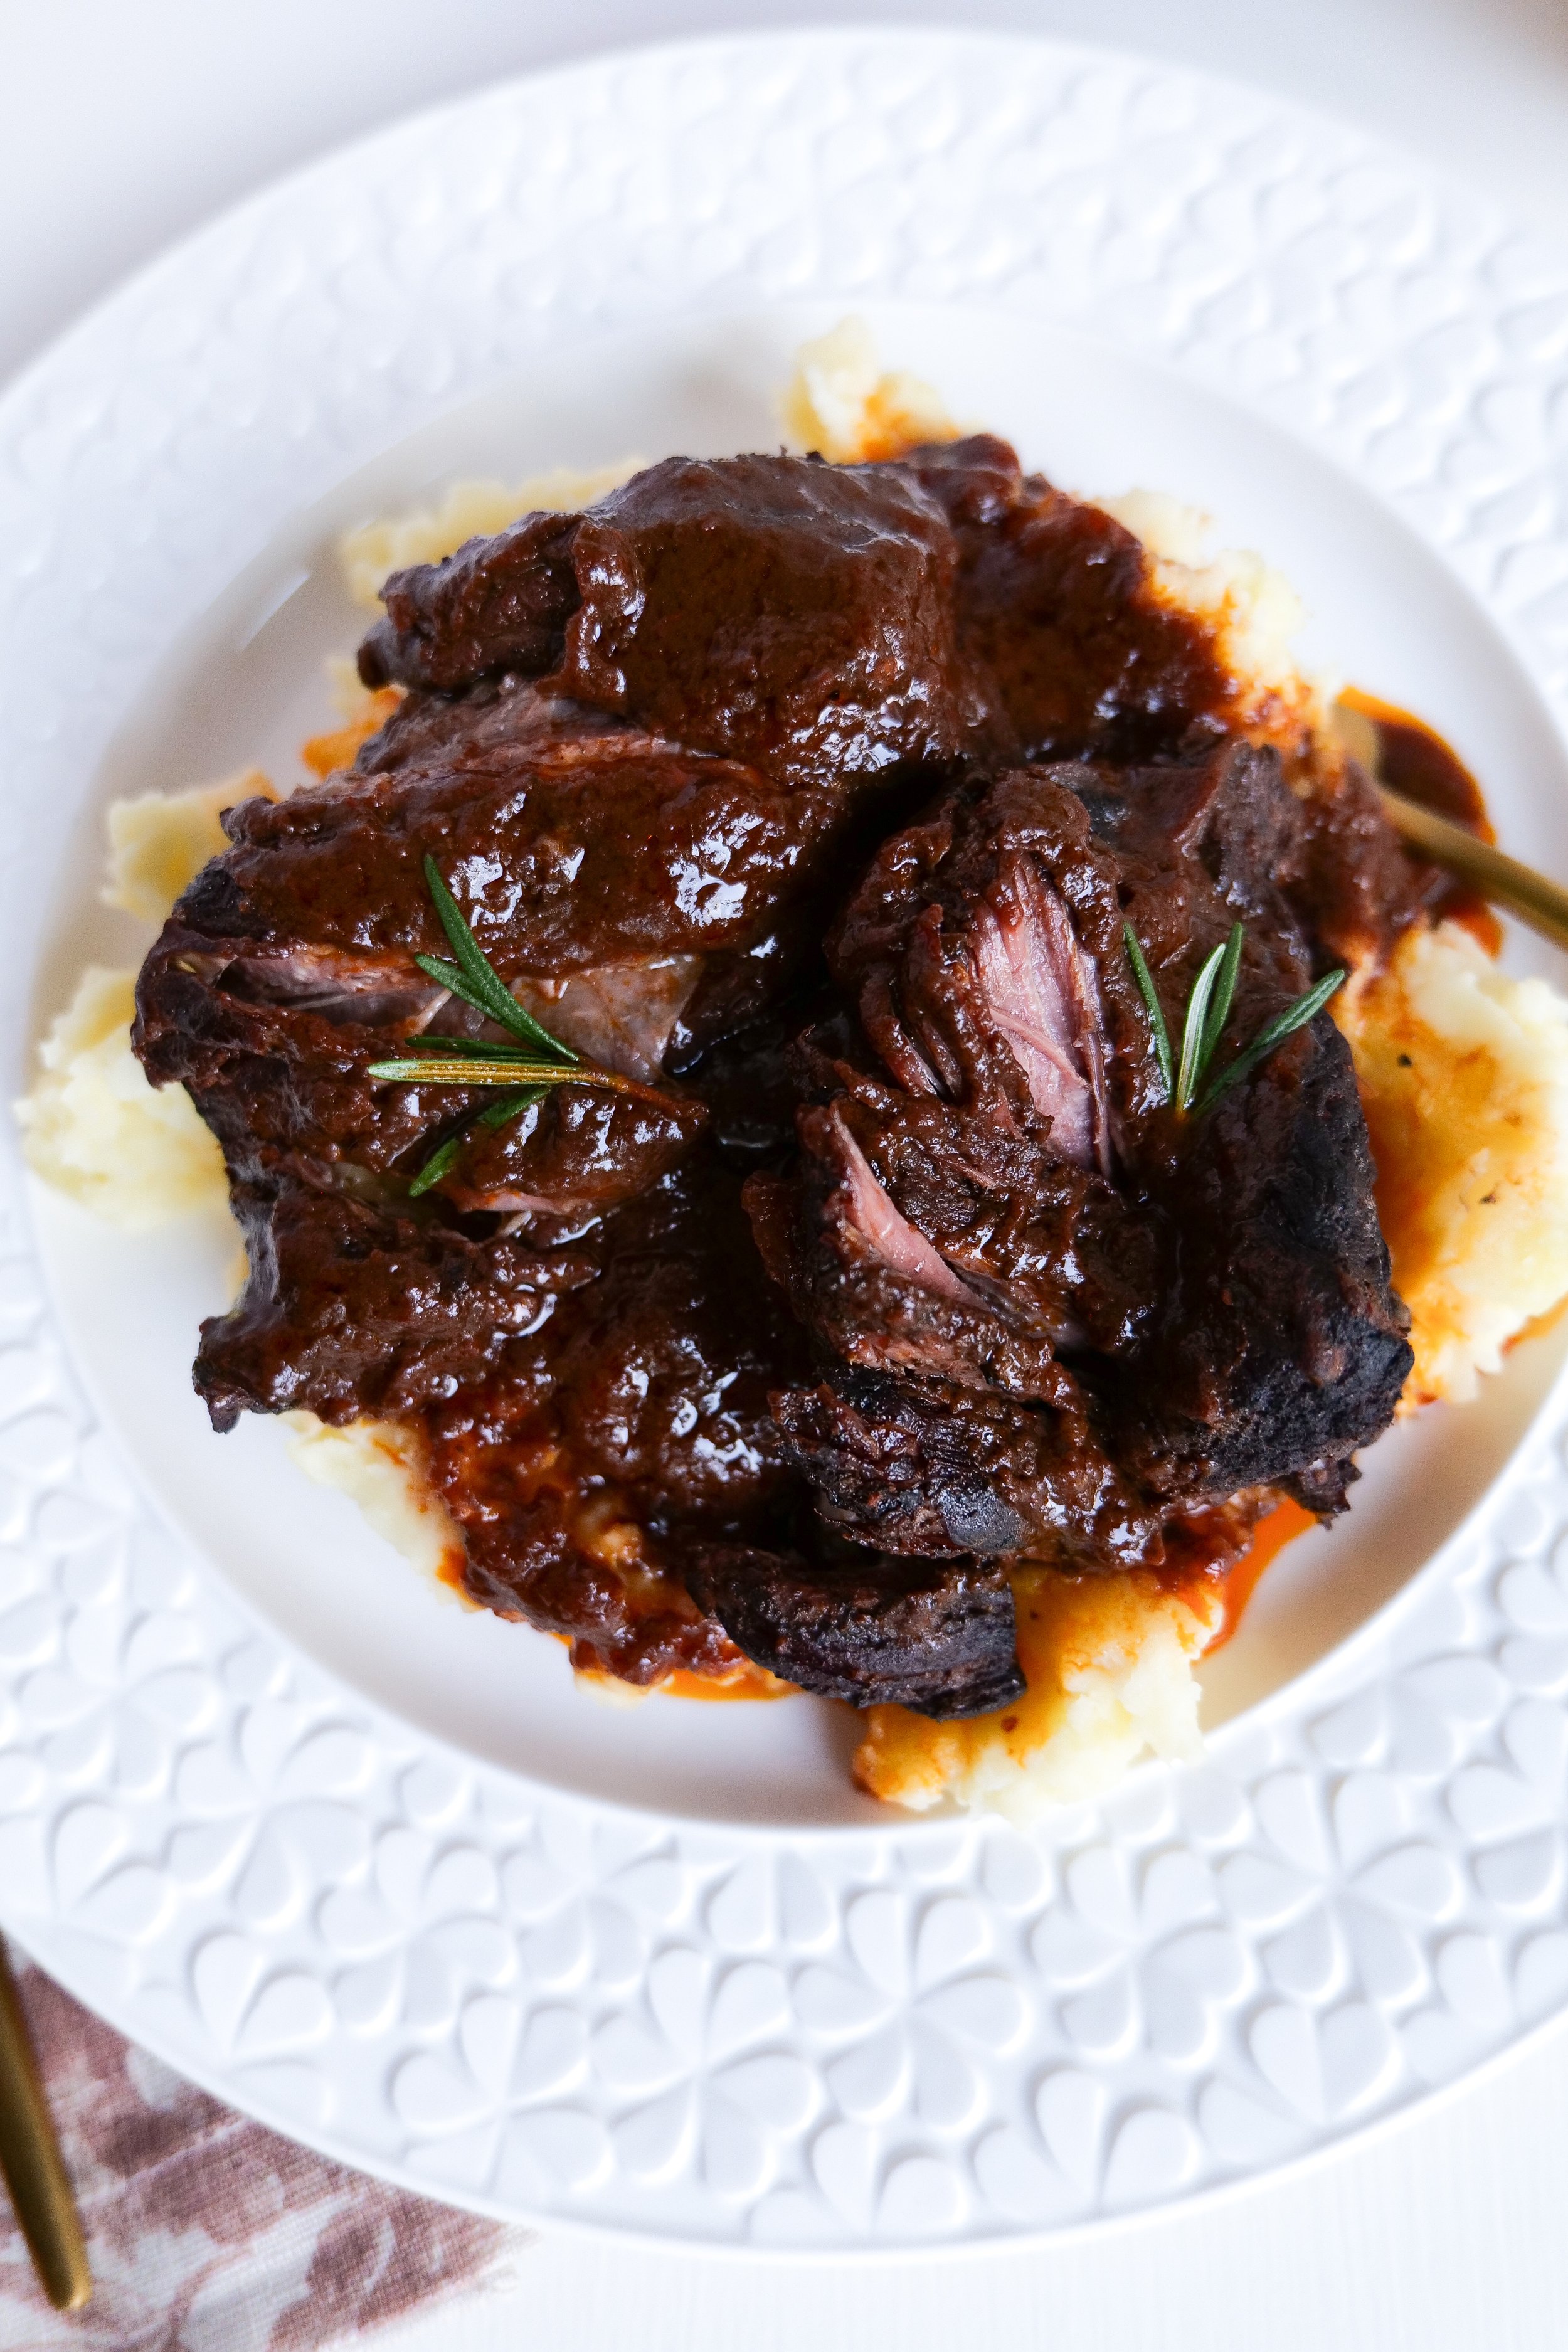
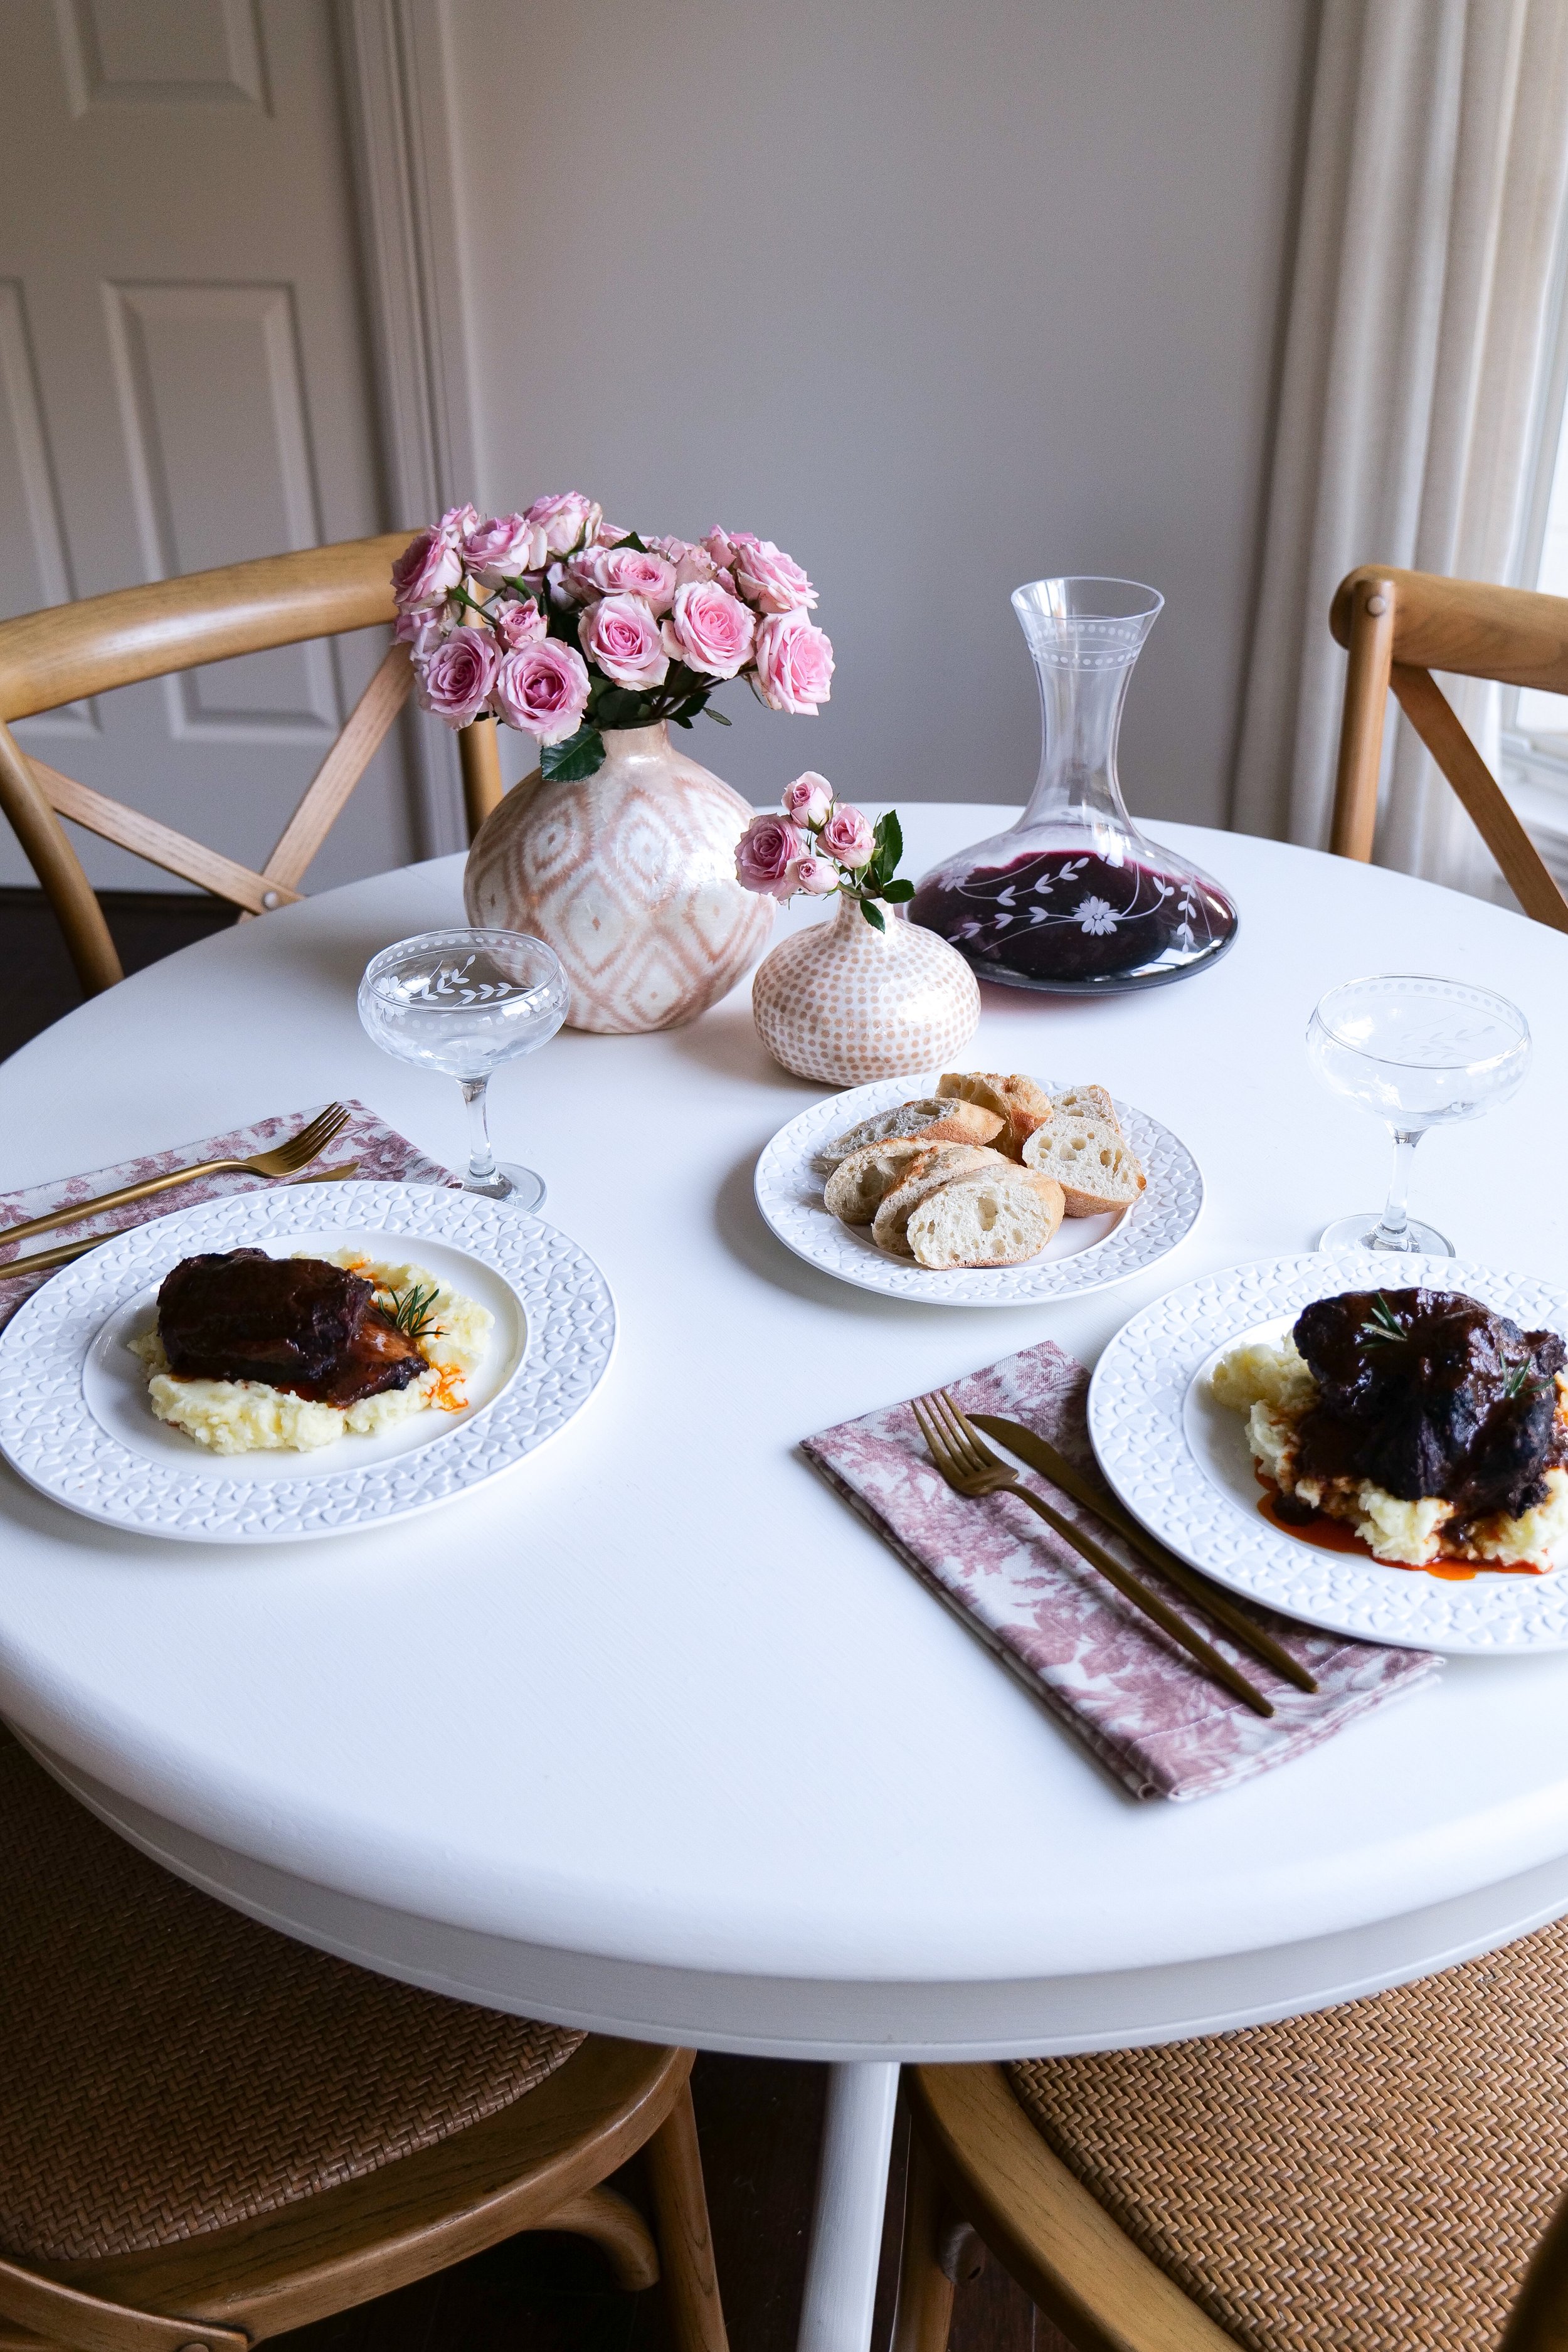
Welcome to the tender, melt-in-your-mouth world of slow-cooked indulgence, where the rich flavors and succulent textures of delicious Braised Short Ribs take center stage. Slow cookers, our trusty kitchen allies, unlock the full potential of this hearty cut of beef, allowing it to simmer gently and tear apart to perfection. In this blog post, we're diving into the art of crafting the ultimate Slow Cooker Braised Short Ribs—a dish that promises to transform your meal into a celebration of deep, comforting flavors. Whether you're a seasoned home cook or a slow cooker novice, you'll discover tips and tricks to making this classic recipe. The low and slow cooking process allows the flavors of the seasonings and broth to fully develop, resulting in a rich and flavorful dish.

Slow cooker braised short ribs are an incredibly flavorful and tender dish that can be easily prepared in a slow cooker. The key to making the perfect slow cooker braised short ribs is to brown the ribs before adding them to the slow cooker. This helps to create a flavorful crust on the outside of the ribs and helps to lock in the juices so that the ribs stay perfectly juicy and succulent. The slow cooking process helps to break down the tough fibers of the meat and creates an incredibly tender dish. The slow cooker should be set to low heat and left to cook for several hours until the ribs are tender and falling off the bone. The liquid used for braising should be a combination of beef broth, red wine, tomato paste, and herbs. Once the ribs are cooked, the liquid can be reduced to a thick and flavorful gravy for a delicious, slow-cooked meal.

What goes well with short ribs?

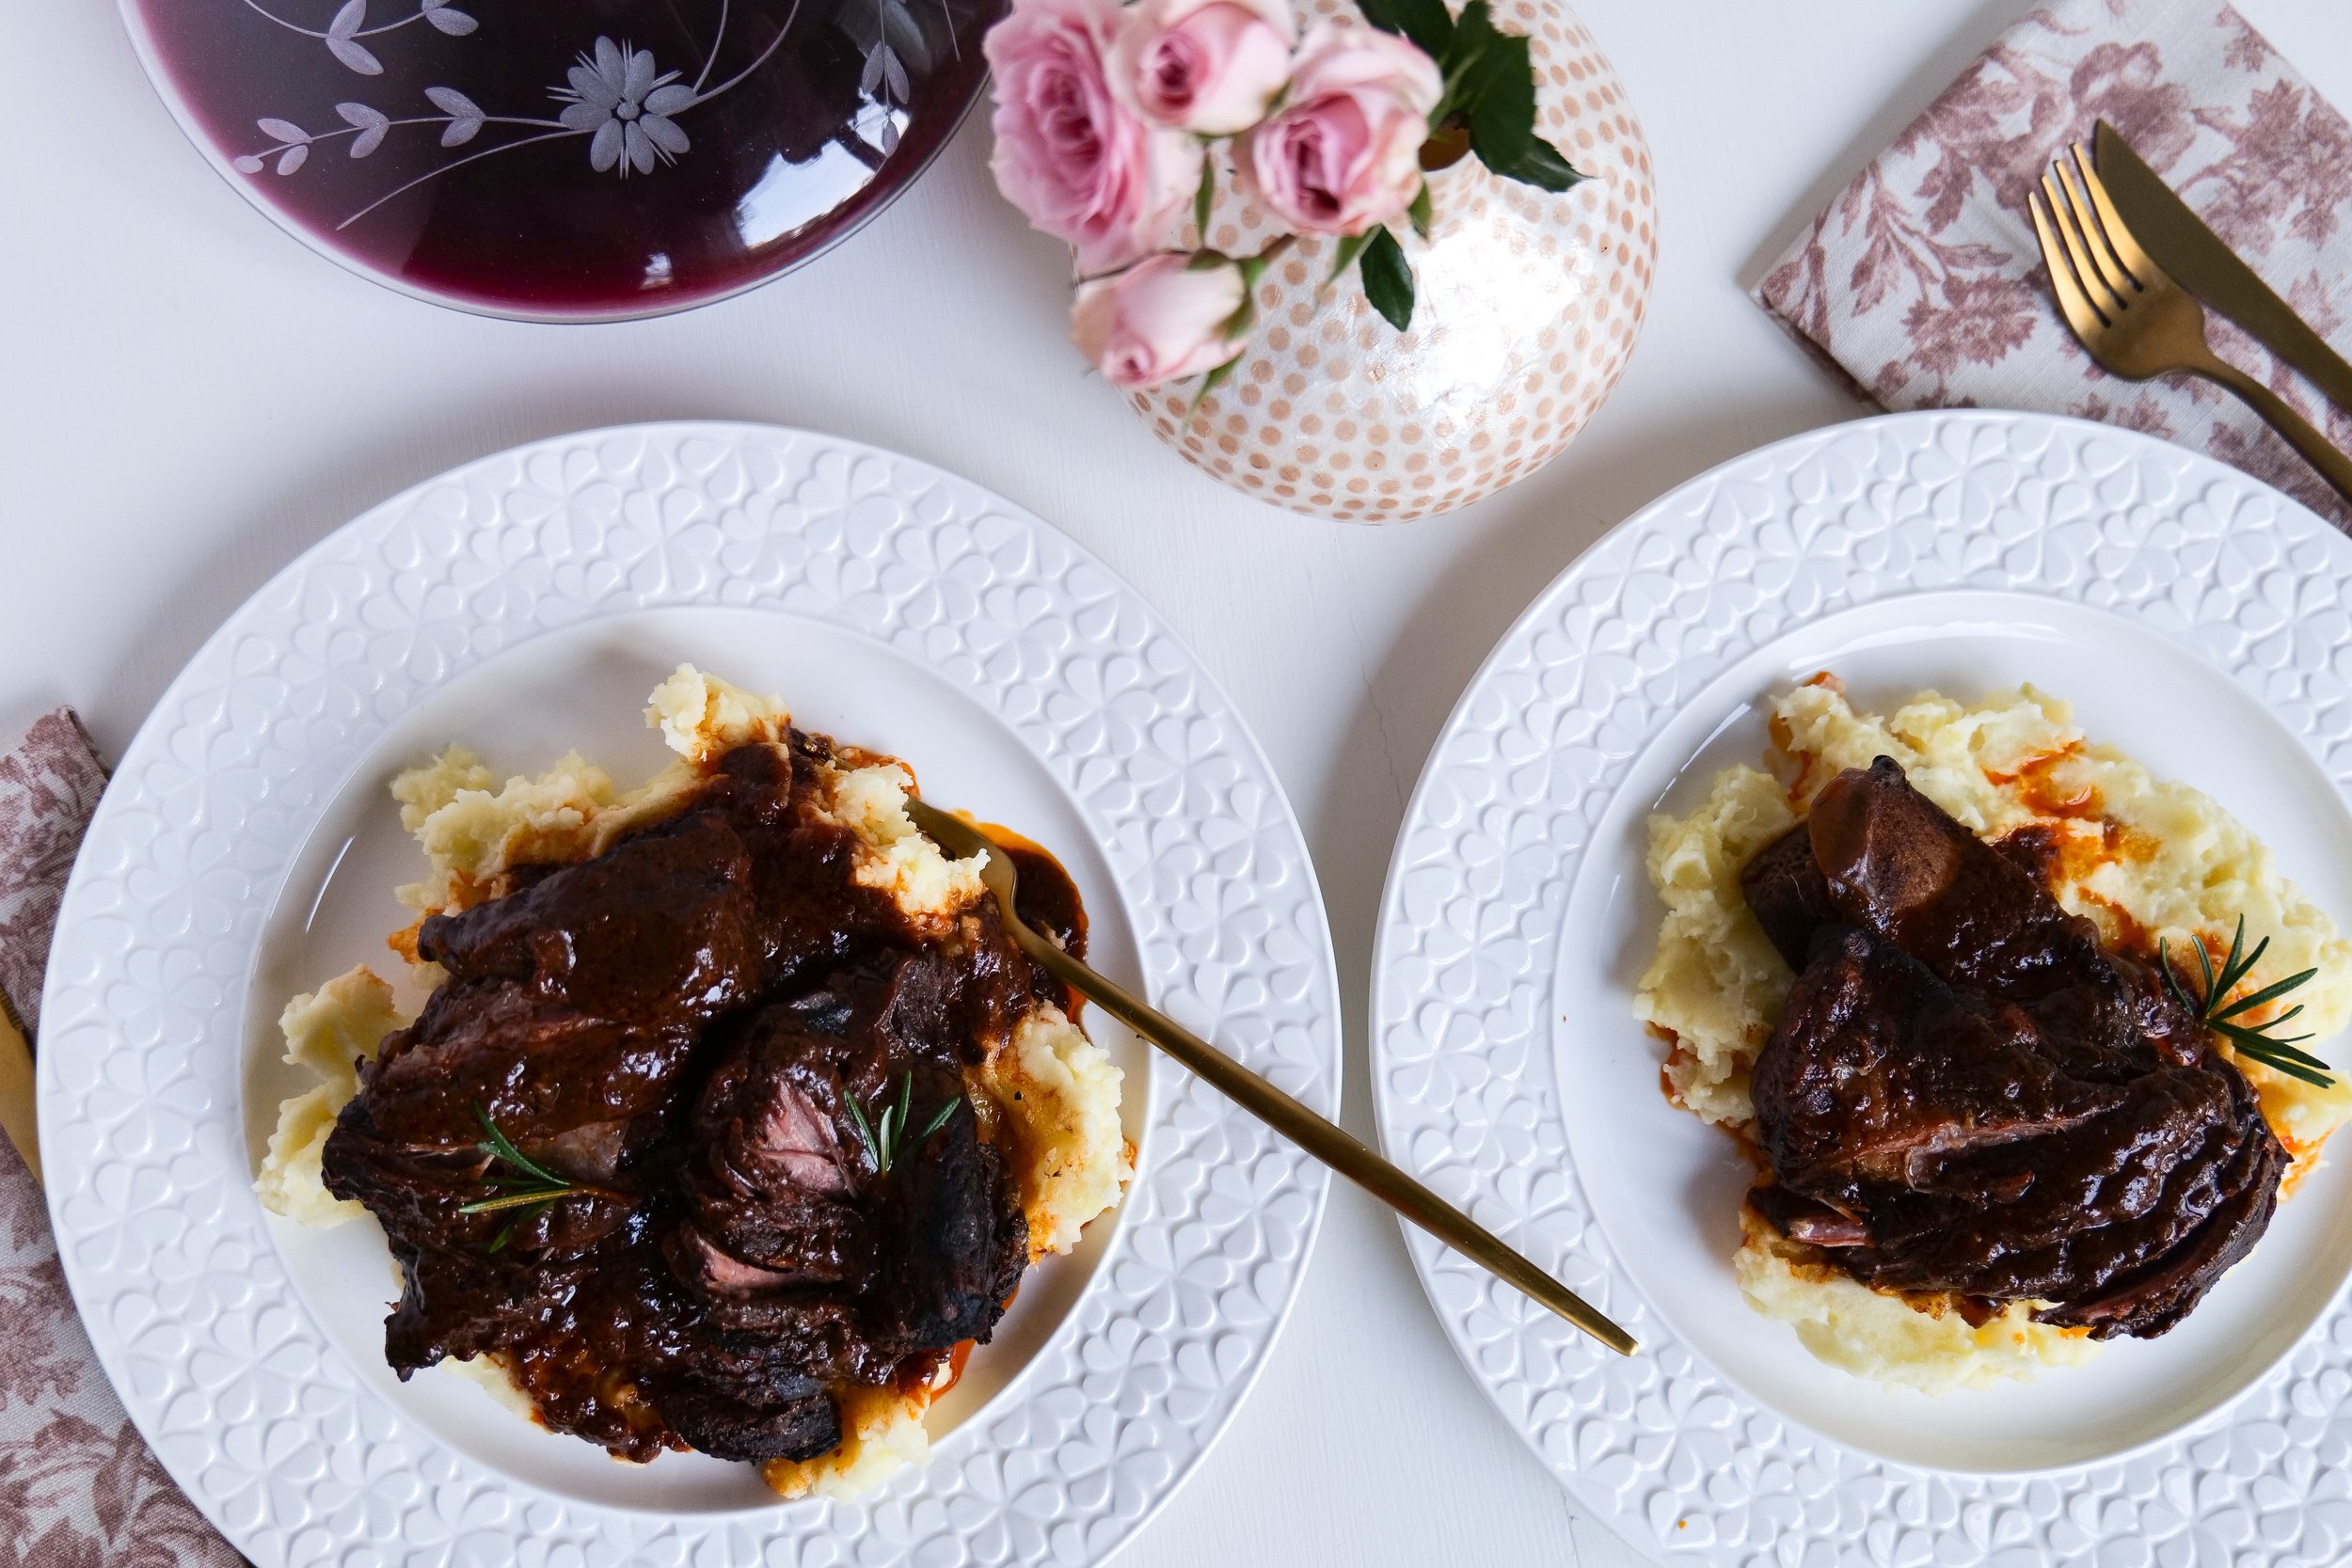
The ribs are typically served over a bed of mashed potatoes, but there are many options for sides that can be served alongside the short ribs for a complete meal. Roasted potatoes, buttered egg noodles, creamy mashed potatoes, sautéed mushrooms, caramelized onions, roasted root vegetables, buttery green beans, garlic-parsley roasted carrots, grilled corn on the cob, sautéed kale, creamy polenta, and baked macaroni and cheese all pair wonderfully with slow cooked short ribs. For extra flavor, a sauce can be created with the braising liquid from the short ribs and served over the top. With a variety of side dishes, these short ribs can be served for any occasion. Enjoy a comforting meal with minimal effort today and savor the flavors of Slow Cooker Braised Short Ribs.

Should you sear short ribs before slow-cooking?

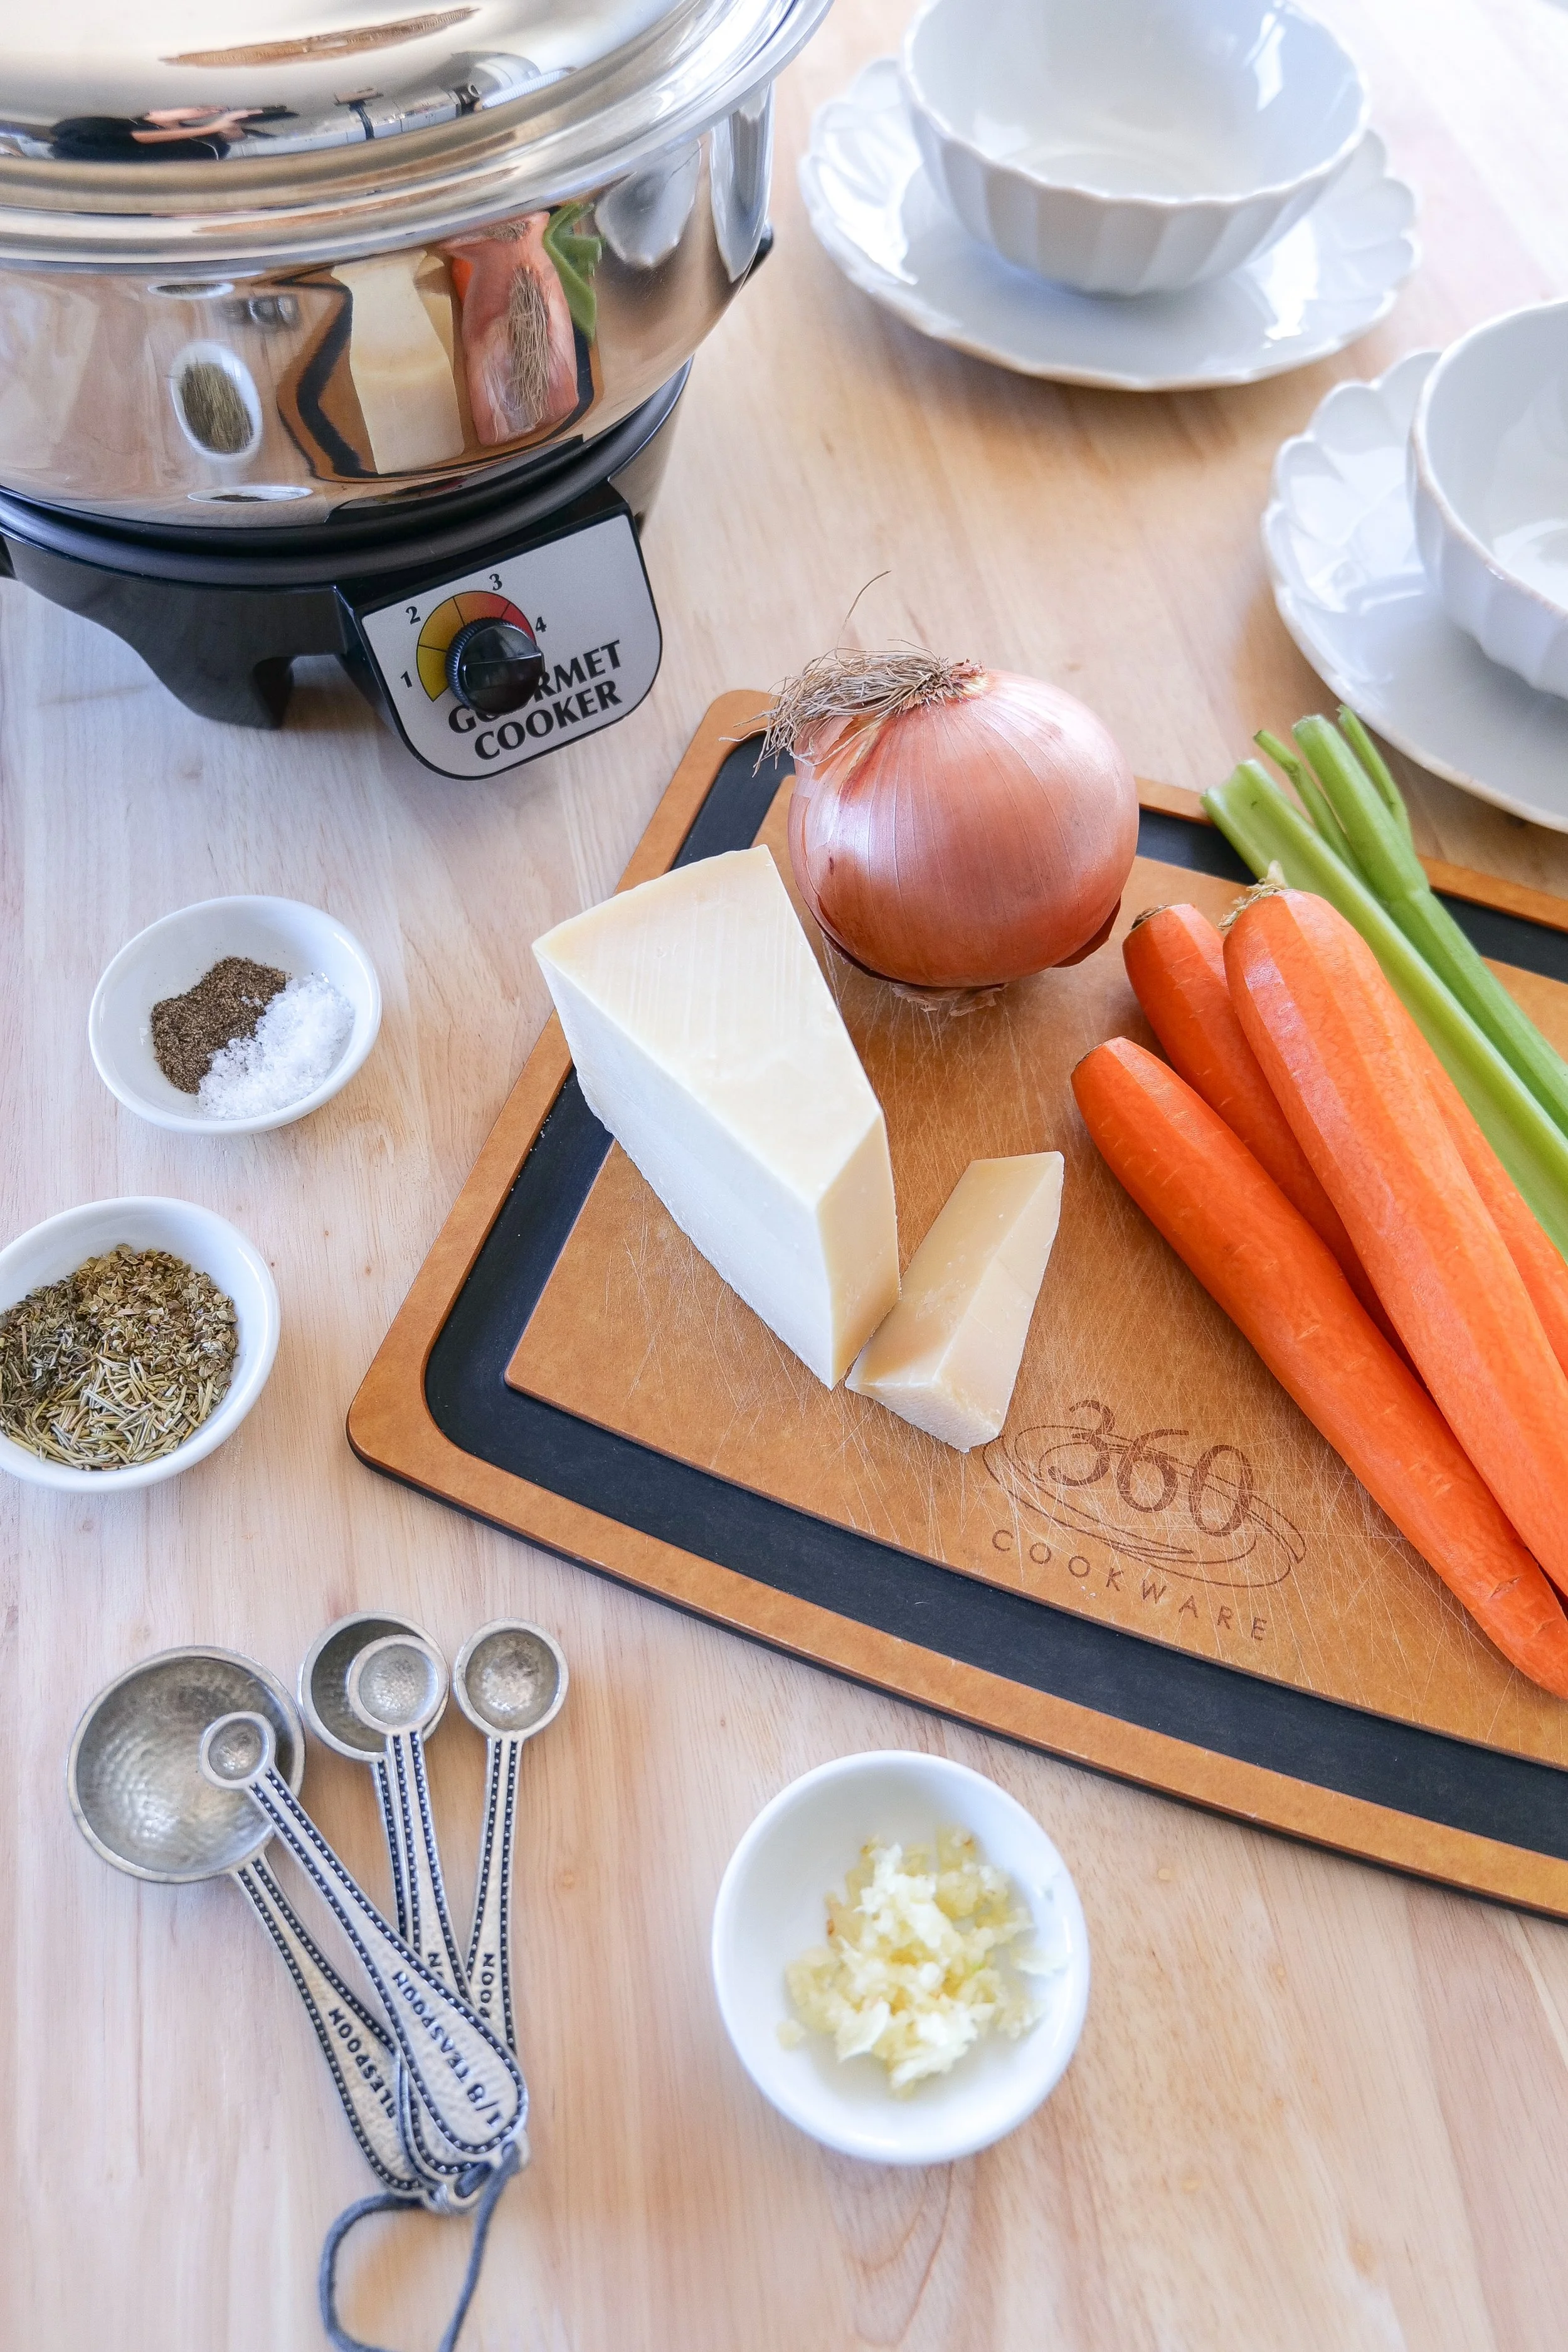
Slow cooking is becoming an increasingly popular cooking method, and one of the most popular dishes to make in a slow cooker is braised short ribs. Short ribs have a lot of flavor and a good amount of fat, and the slow cooking process helps to bring out that flavor even more. But before you can slow cook your short ribs, you need to sear them. Searing your short ribs before slow-cooking them helps to add flavor and color to the dish. The process of searing creates a caramelized, brown crust on the outside of the short ribs, which helps to create a more flavorful end product. The fat from the short ribs is rendered out during the searing process, which can help to create a richer flavor. The browned bits that are left behind during the searing process are packed with flavor and can be deglazed with a bit of liquid to make a flavorful sauce or gravy. Another reason I love the 360 Cookware Slow Cooker is you only have to dirty one pan to sear and slow-cook these short ribs. So, get out your slow cooker and try making some delicious slow-cooker braised short ribs today!

How do you store your leftover short ribs?

Slow cooker braised short ribs are a delicious and easy meal that can be made in advance and enjoyed any day of the week. The slow cooking process tenderizes the ribs, making them juicy and full of flavor. Plus, the leftovers can be stored for later! Refrigerate leftover short ribs in their cooking liquid in an air-tight container for maximum freshness and use within 3 days. If you want to store the short ribs longer, you can freeze them in an air-tight container or freezer bag for up to 3-4 months. To reheat, defrost the short ribs in the refrigerator and heat them in a pot on the stove or in the oven. Enjoy the melt-in-your-mouth short ribs with some mashed potatoes, roasted vegetables, or a fresh salad.

Ingredients

4 tablespoons salted butter

3 pounds bone-in short ribs

1/2 tsp sea salt

1/2 tsp fresh cracked pepper

1 large yellow onion

1/2 cup chopped celery

1/2 cup chopped carrots

4 cloves minced garlic

1/4 cup tomato paste

2 cups red wine

3 cups beef broth

2 bay leaves

2 sprigs fresh thyme

2 sprigs fresh rosemary

Instructions

1. Using your 360 Slow cooker plug the base in and turn to 3 setting. Add the pot to the stovetop on medium-high heat. Let warm and add butter to the pan and let melt.

2. While butter is melting pat dry short ribs and season with salt and pepper. Add to hot pan and sear on all sides for 5 minutes each. Remove from pan when done.

3. Add in garlic and saute until fragrant. Add in onion, celery and carrots. Sautee for 5-6 minutes and pour in wine. Let come to a simmer and continue until the wine reduces in size by half.

4. Once wine is reduced add in beef broth, bay leaves, thyme, rosemary and short ribs. Move the pot onto the slow cooker base, cover and cook for 6-8 hours or until meat is falling off the bone.

5. Remove short ribs and strain out vegetables. Return juice to pot and place over the stovetop on medium-high heat again. Let come to a simmer and cook until thickened. Serve short ribs over mashed potatoes and pour juices over top. Enjoy!

Other Delicious Slow Cooker Meals:

Slow Cooker Orange Chicken

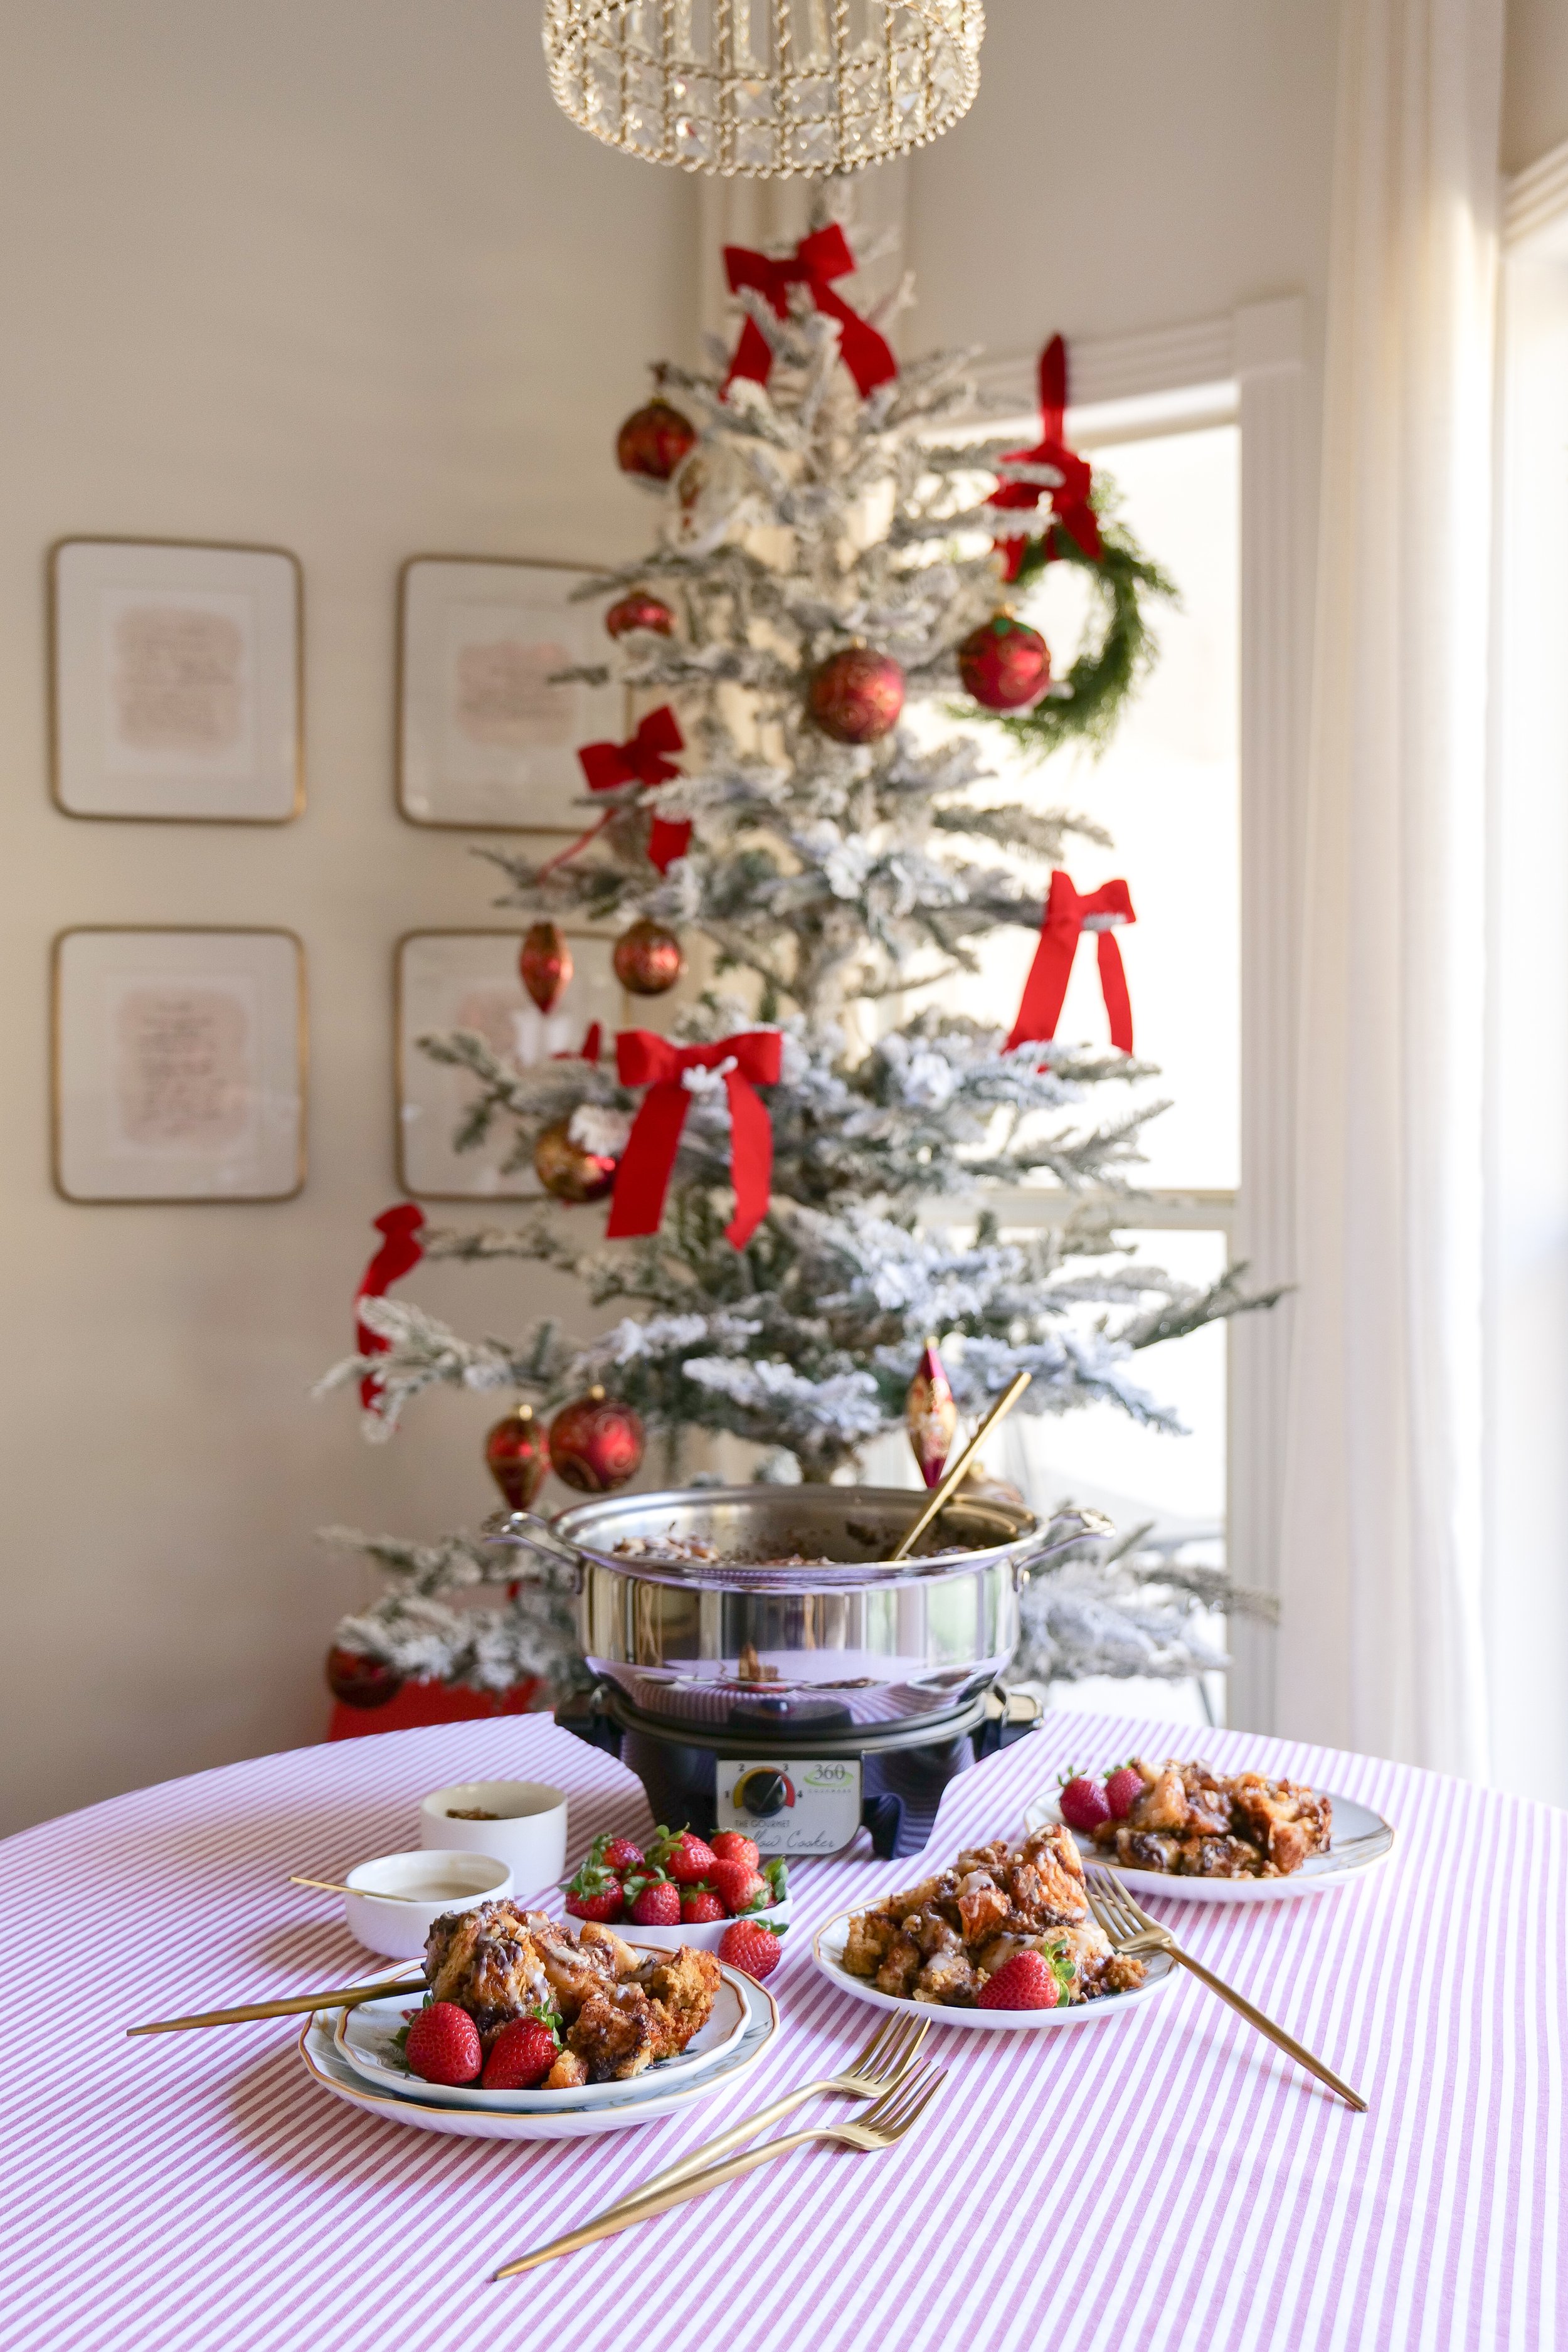
Slow Cooker Hot Cocoa Bar Station

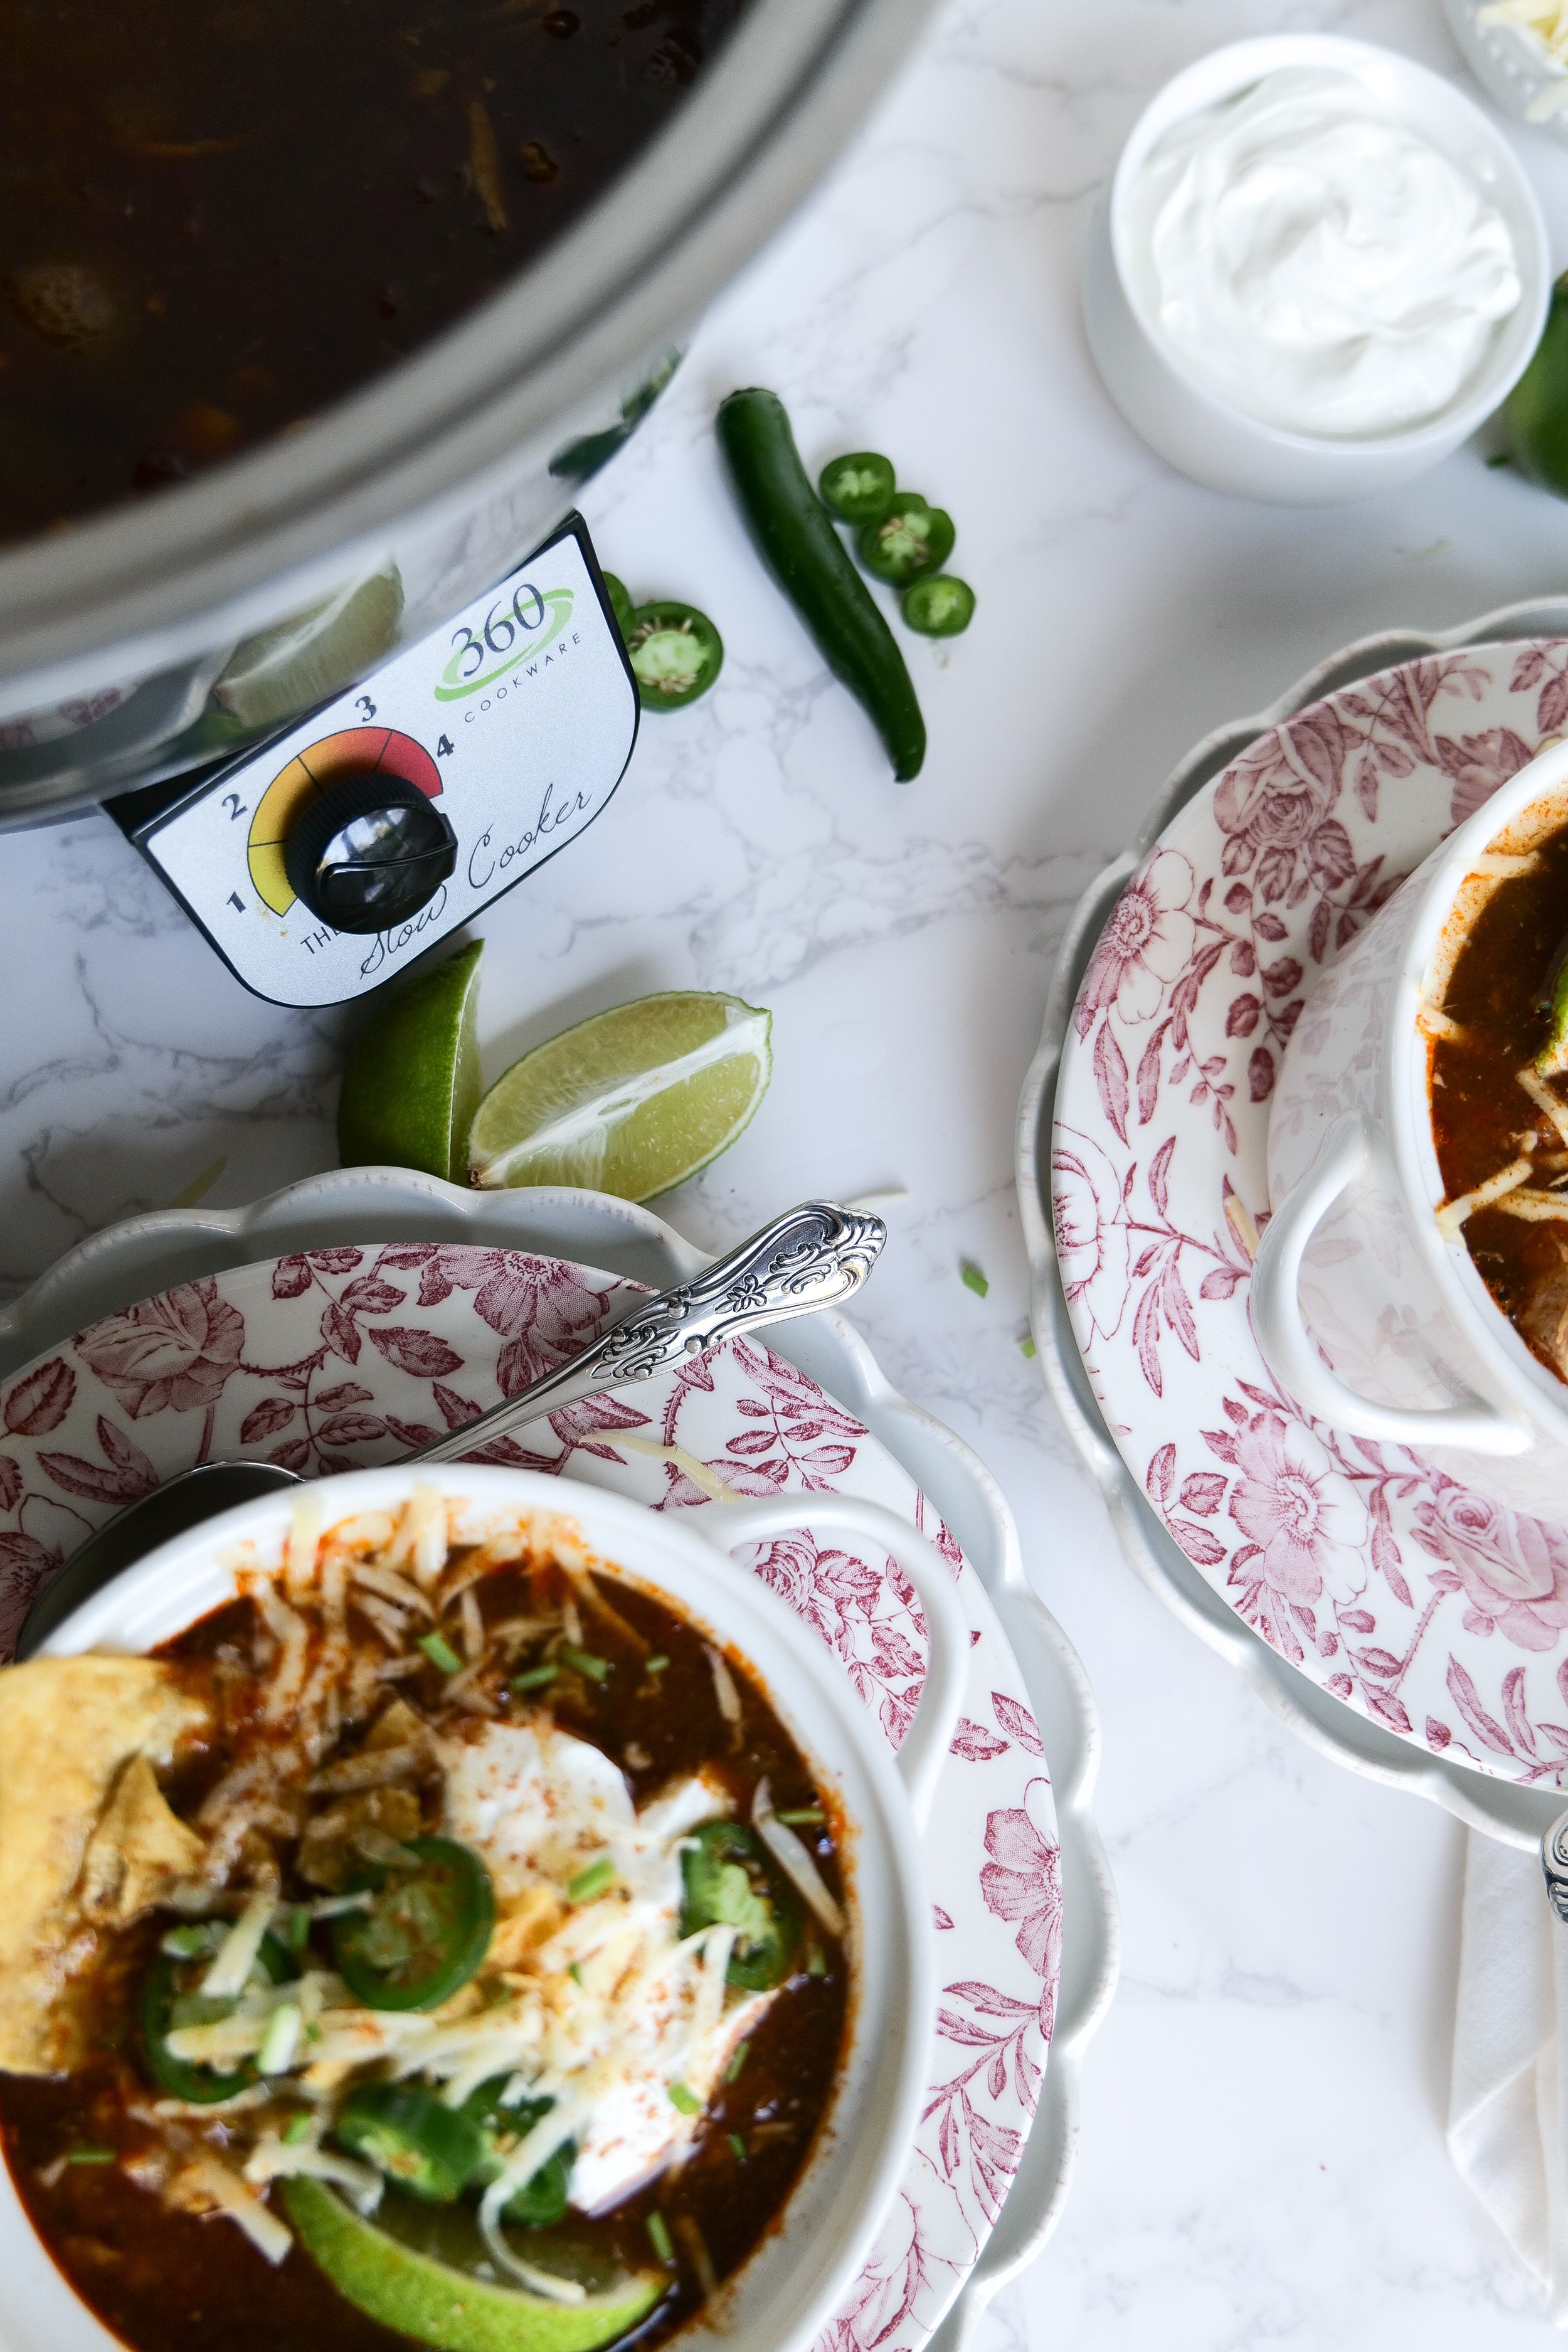
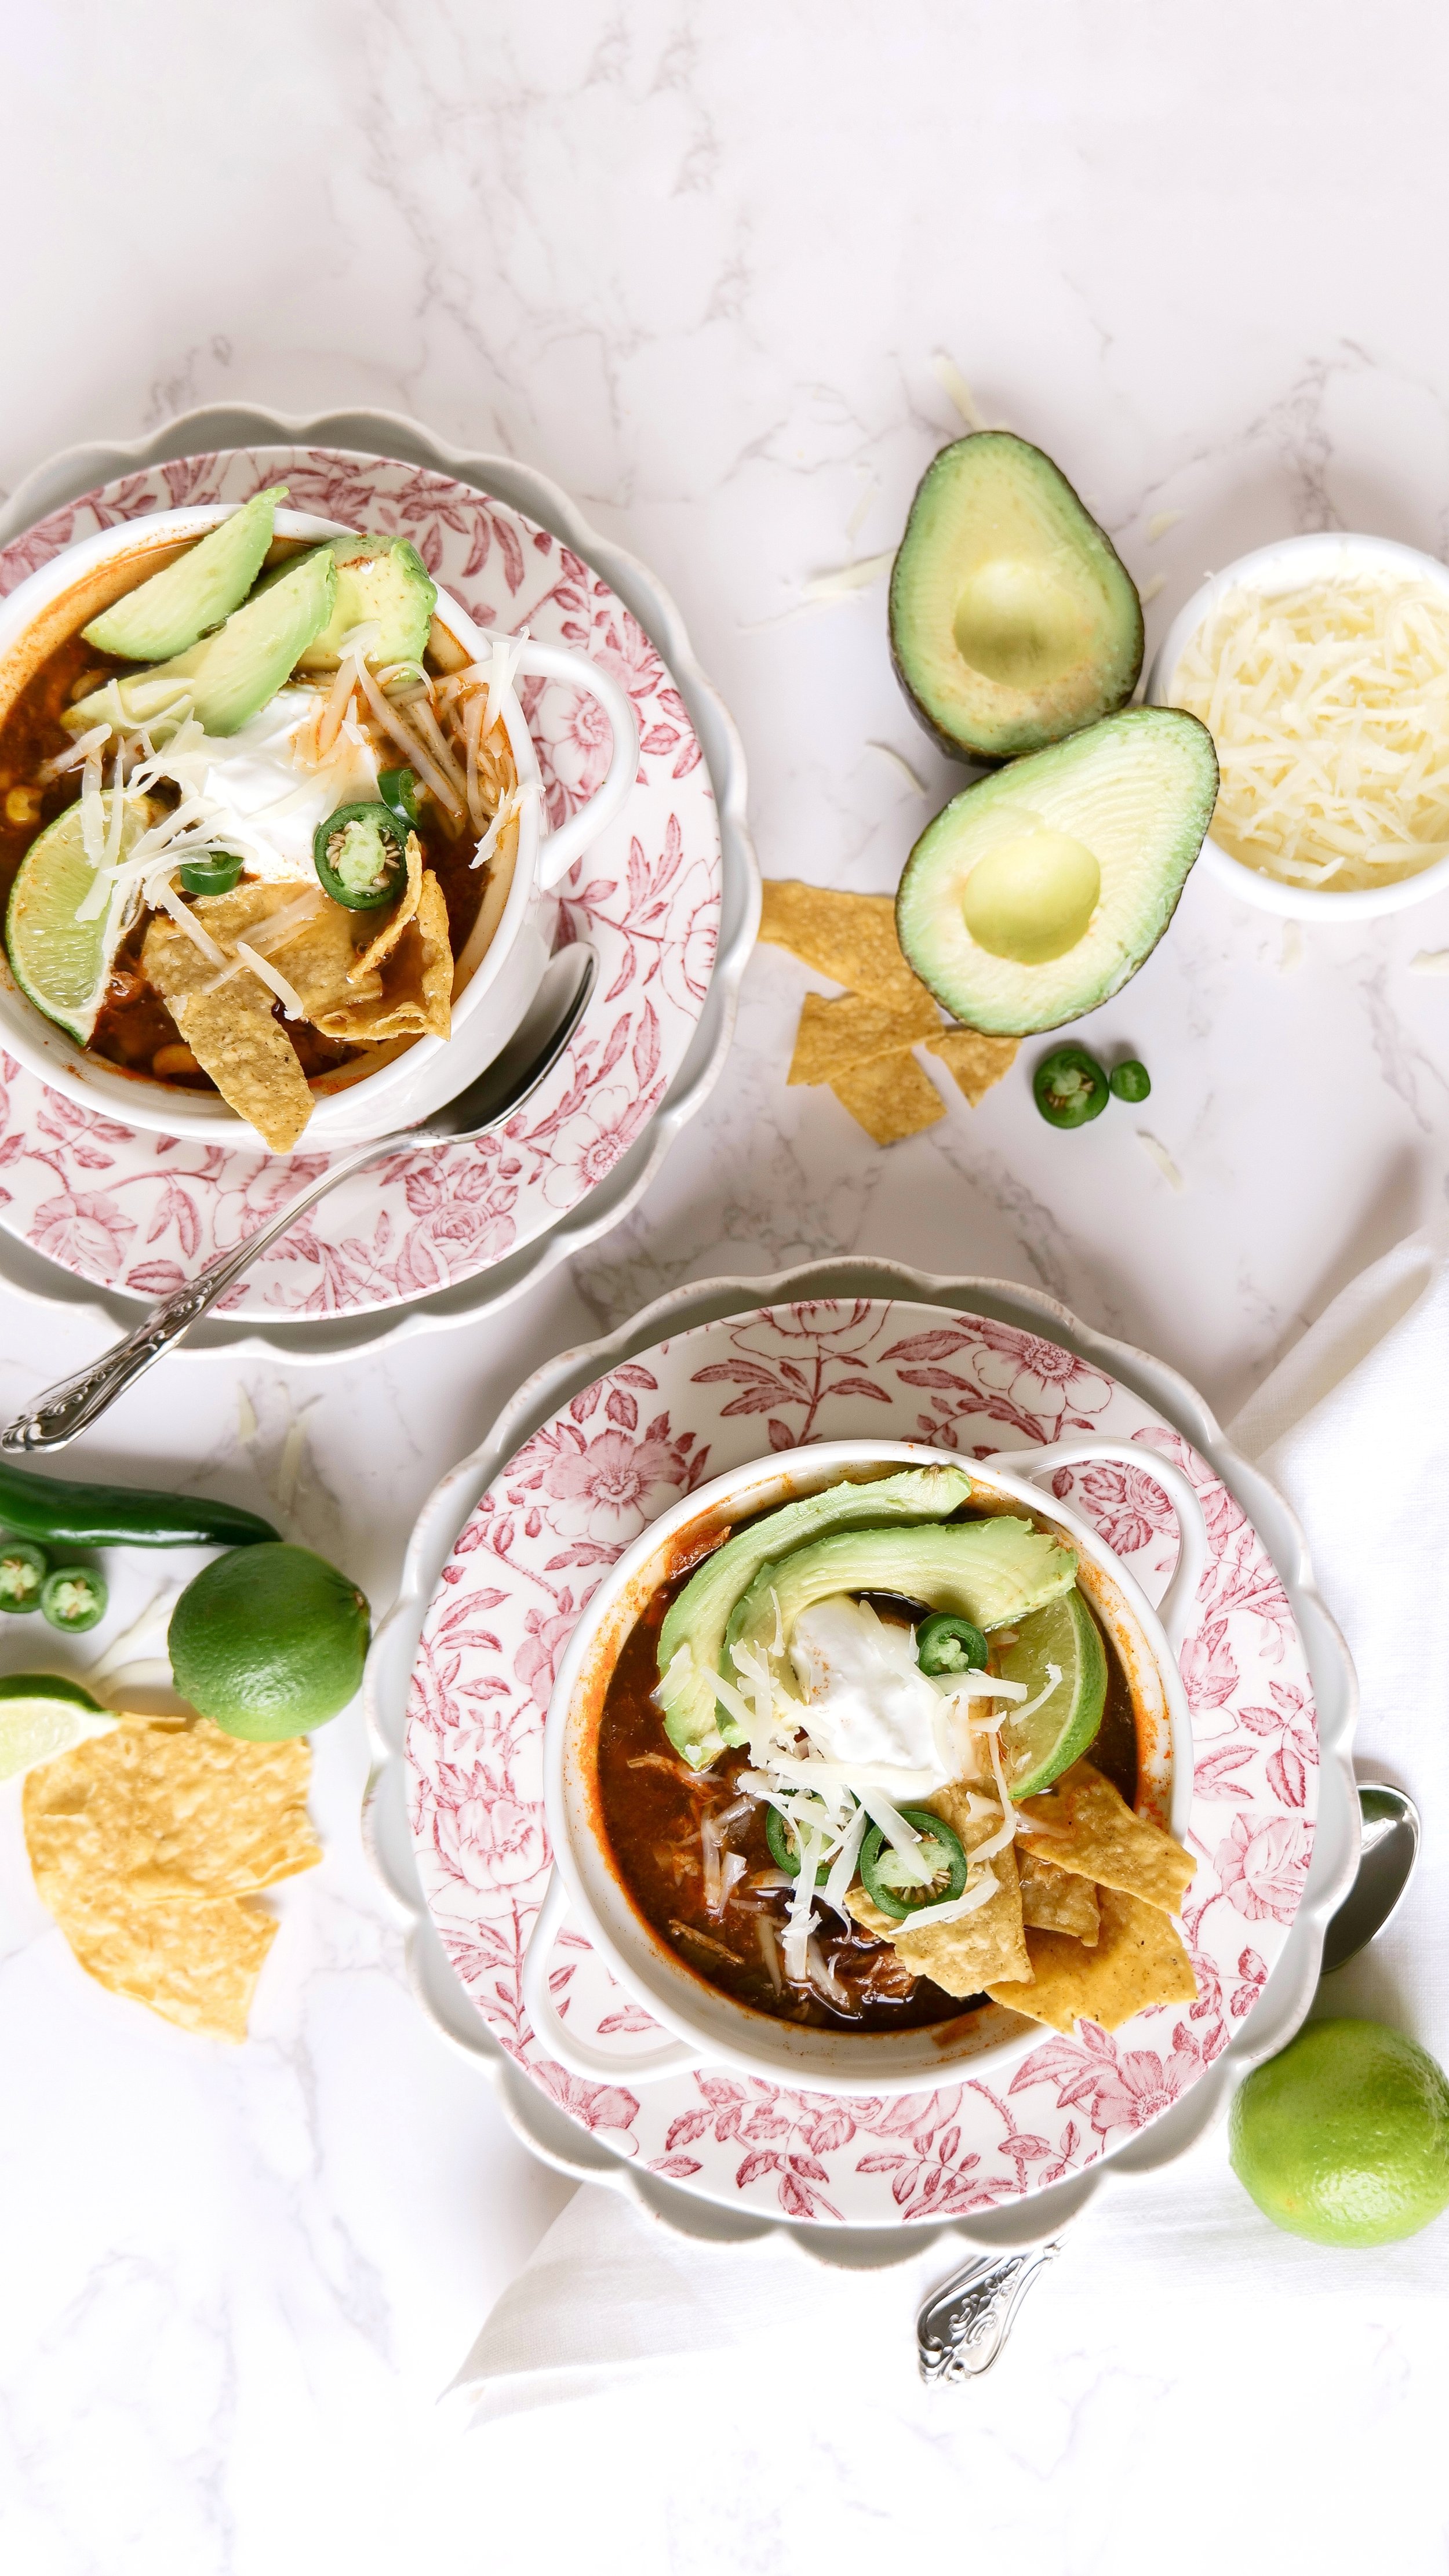
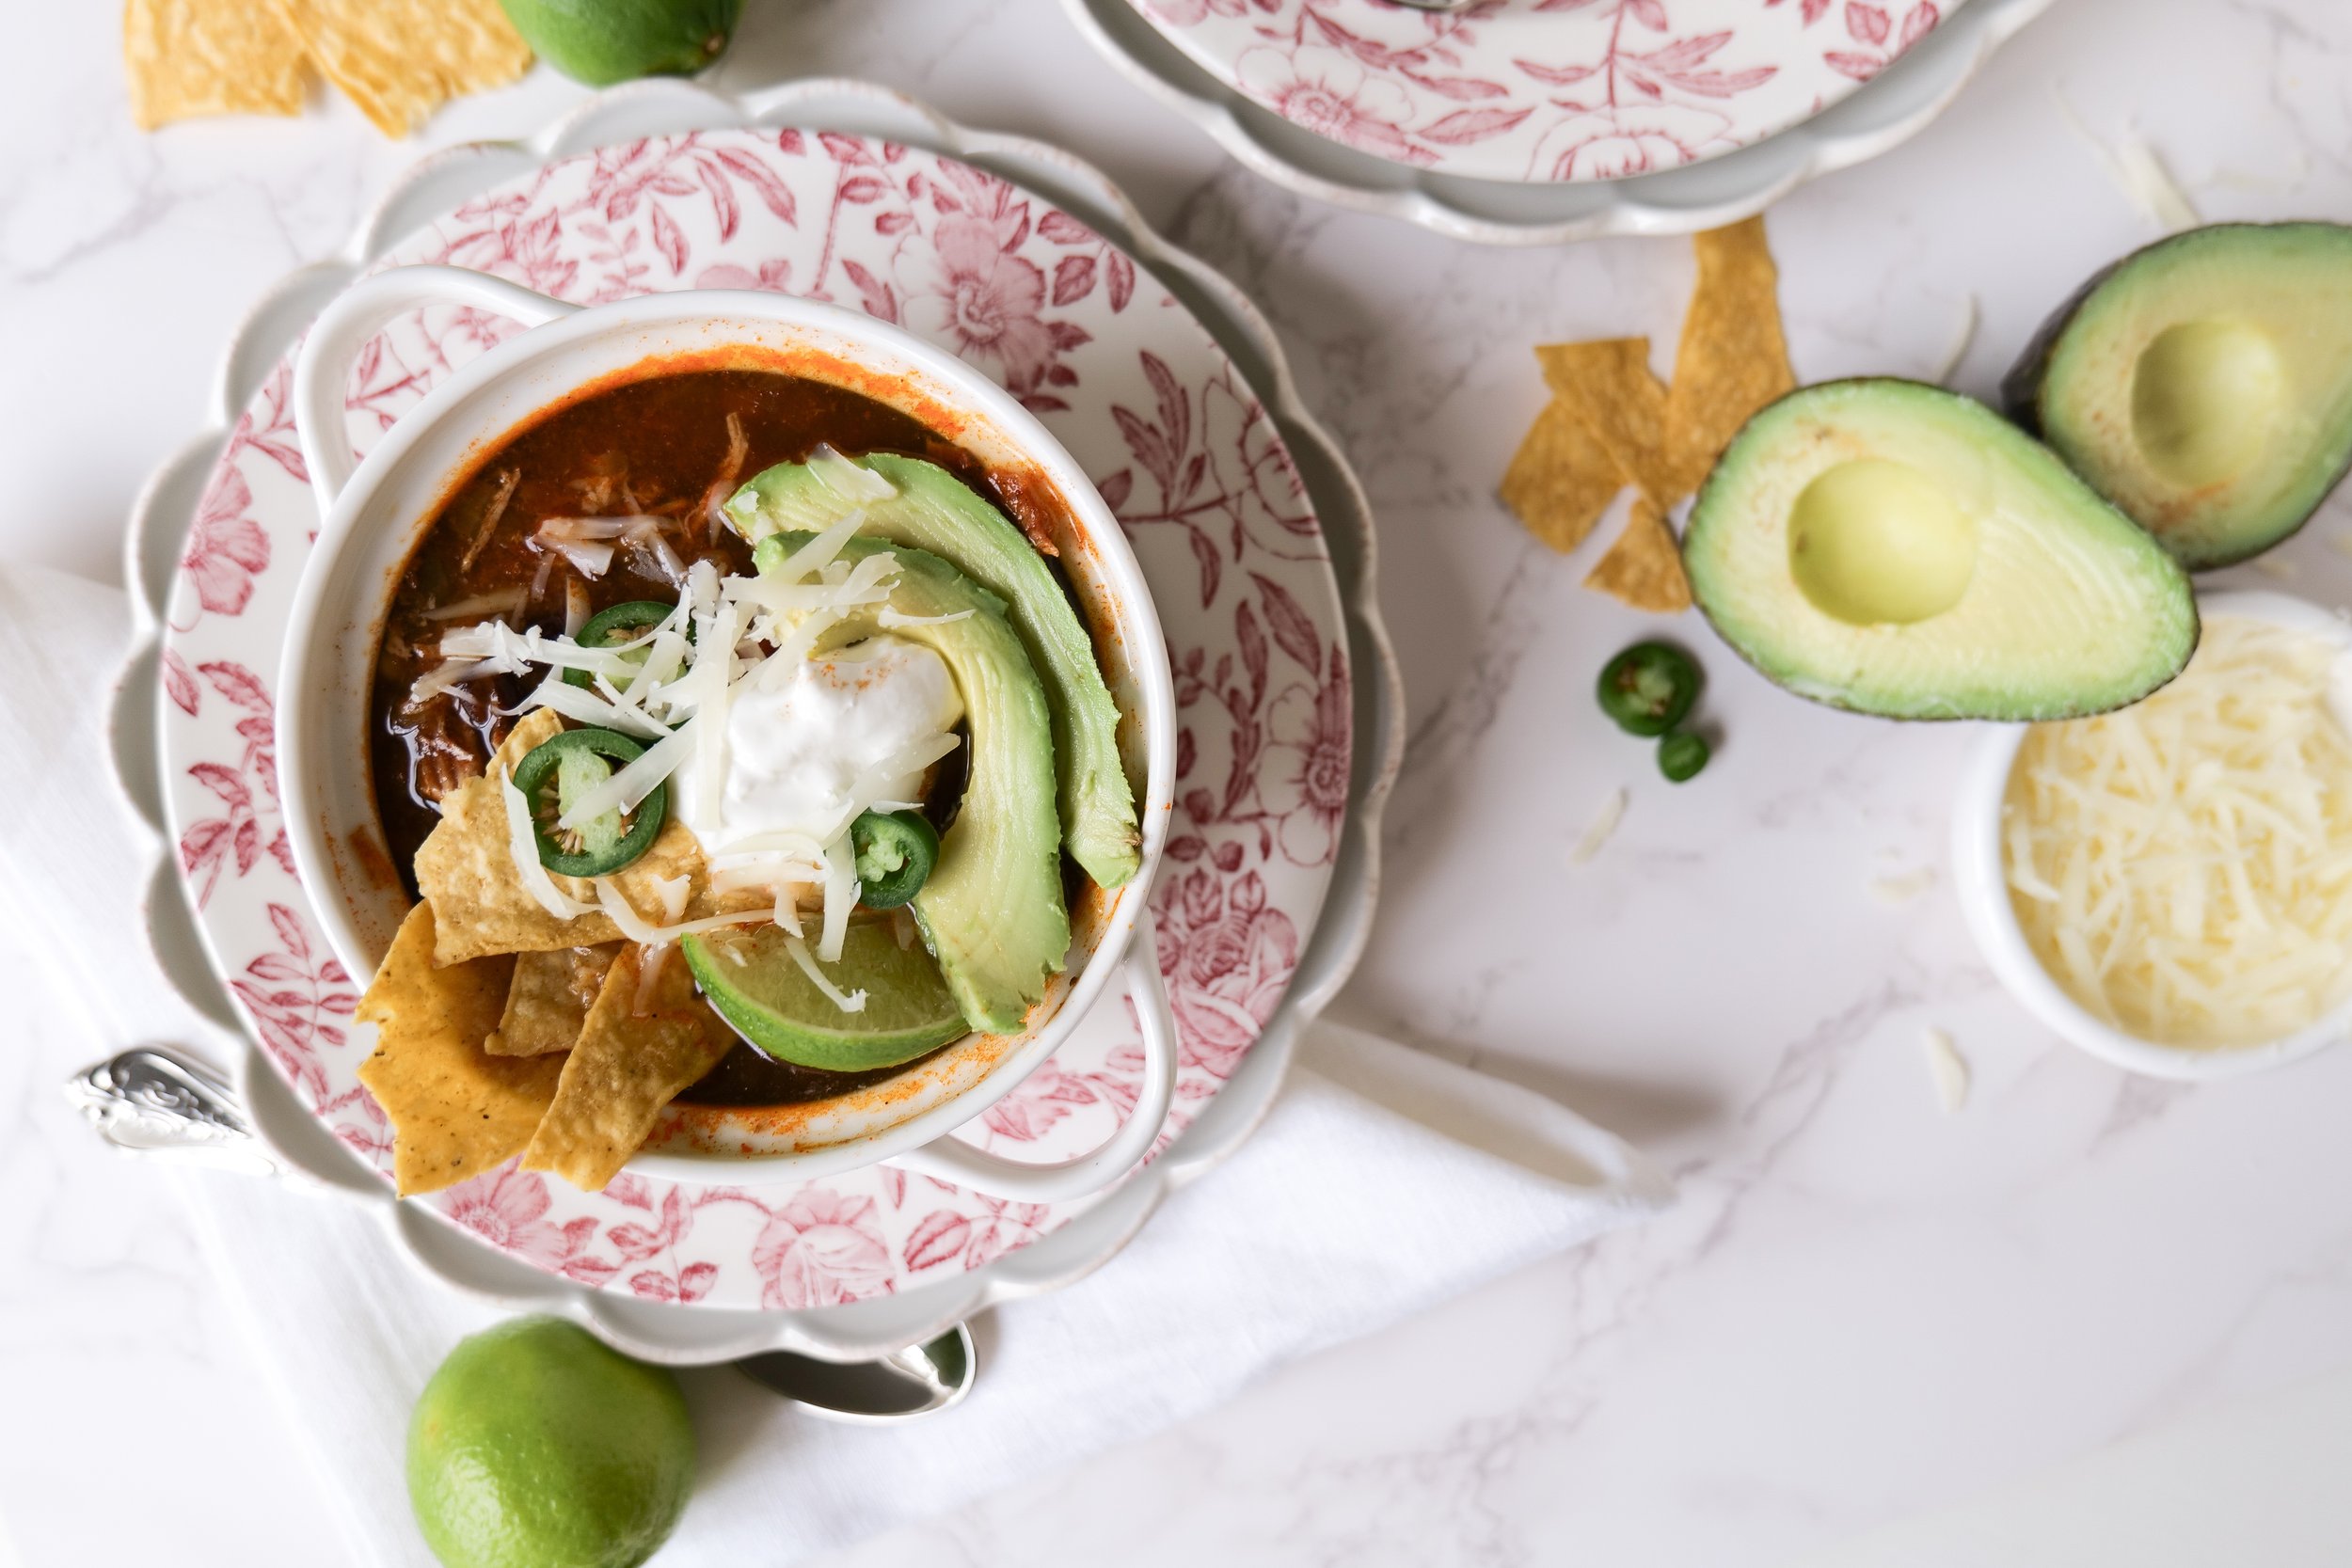
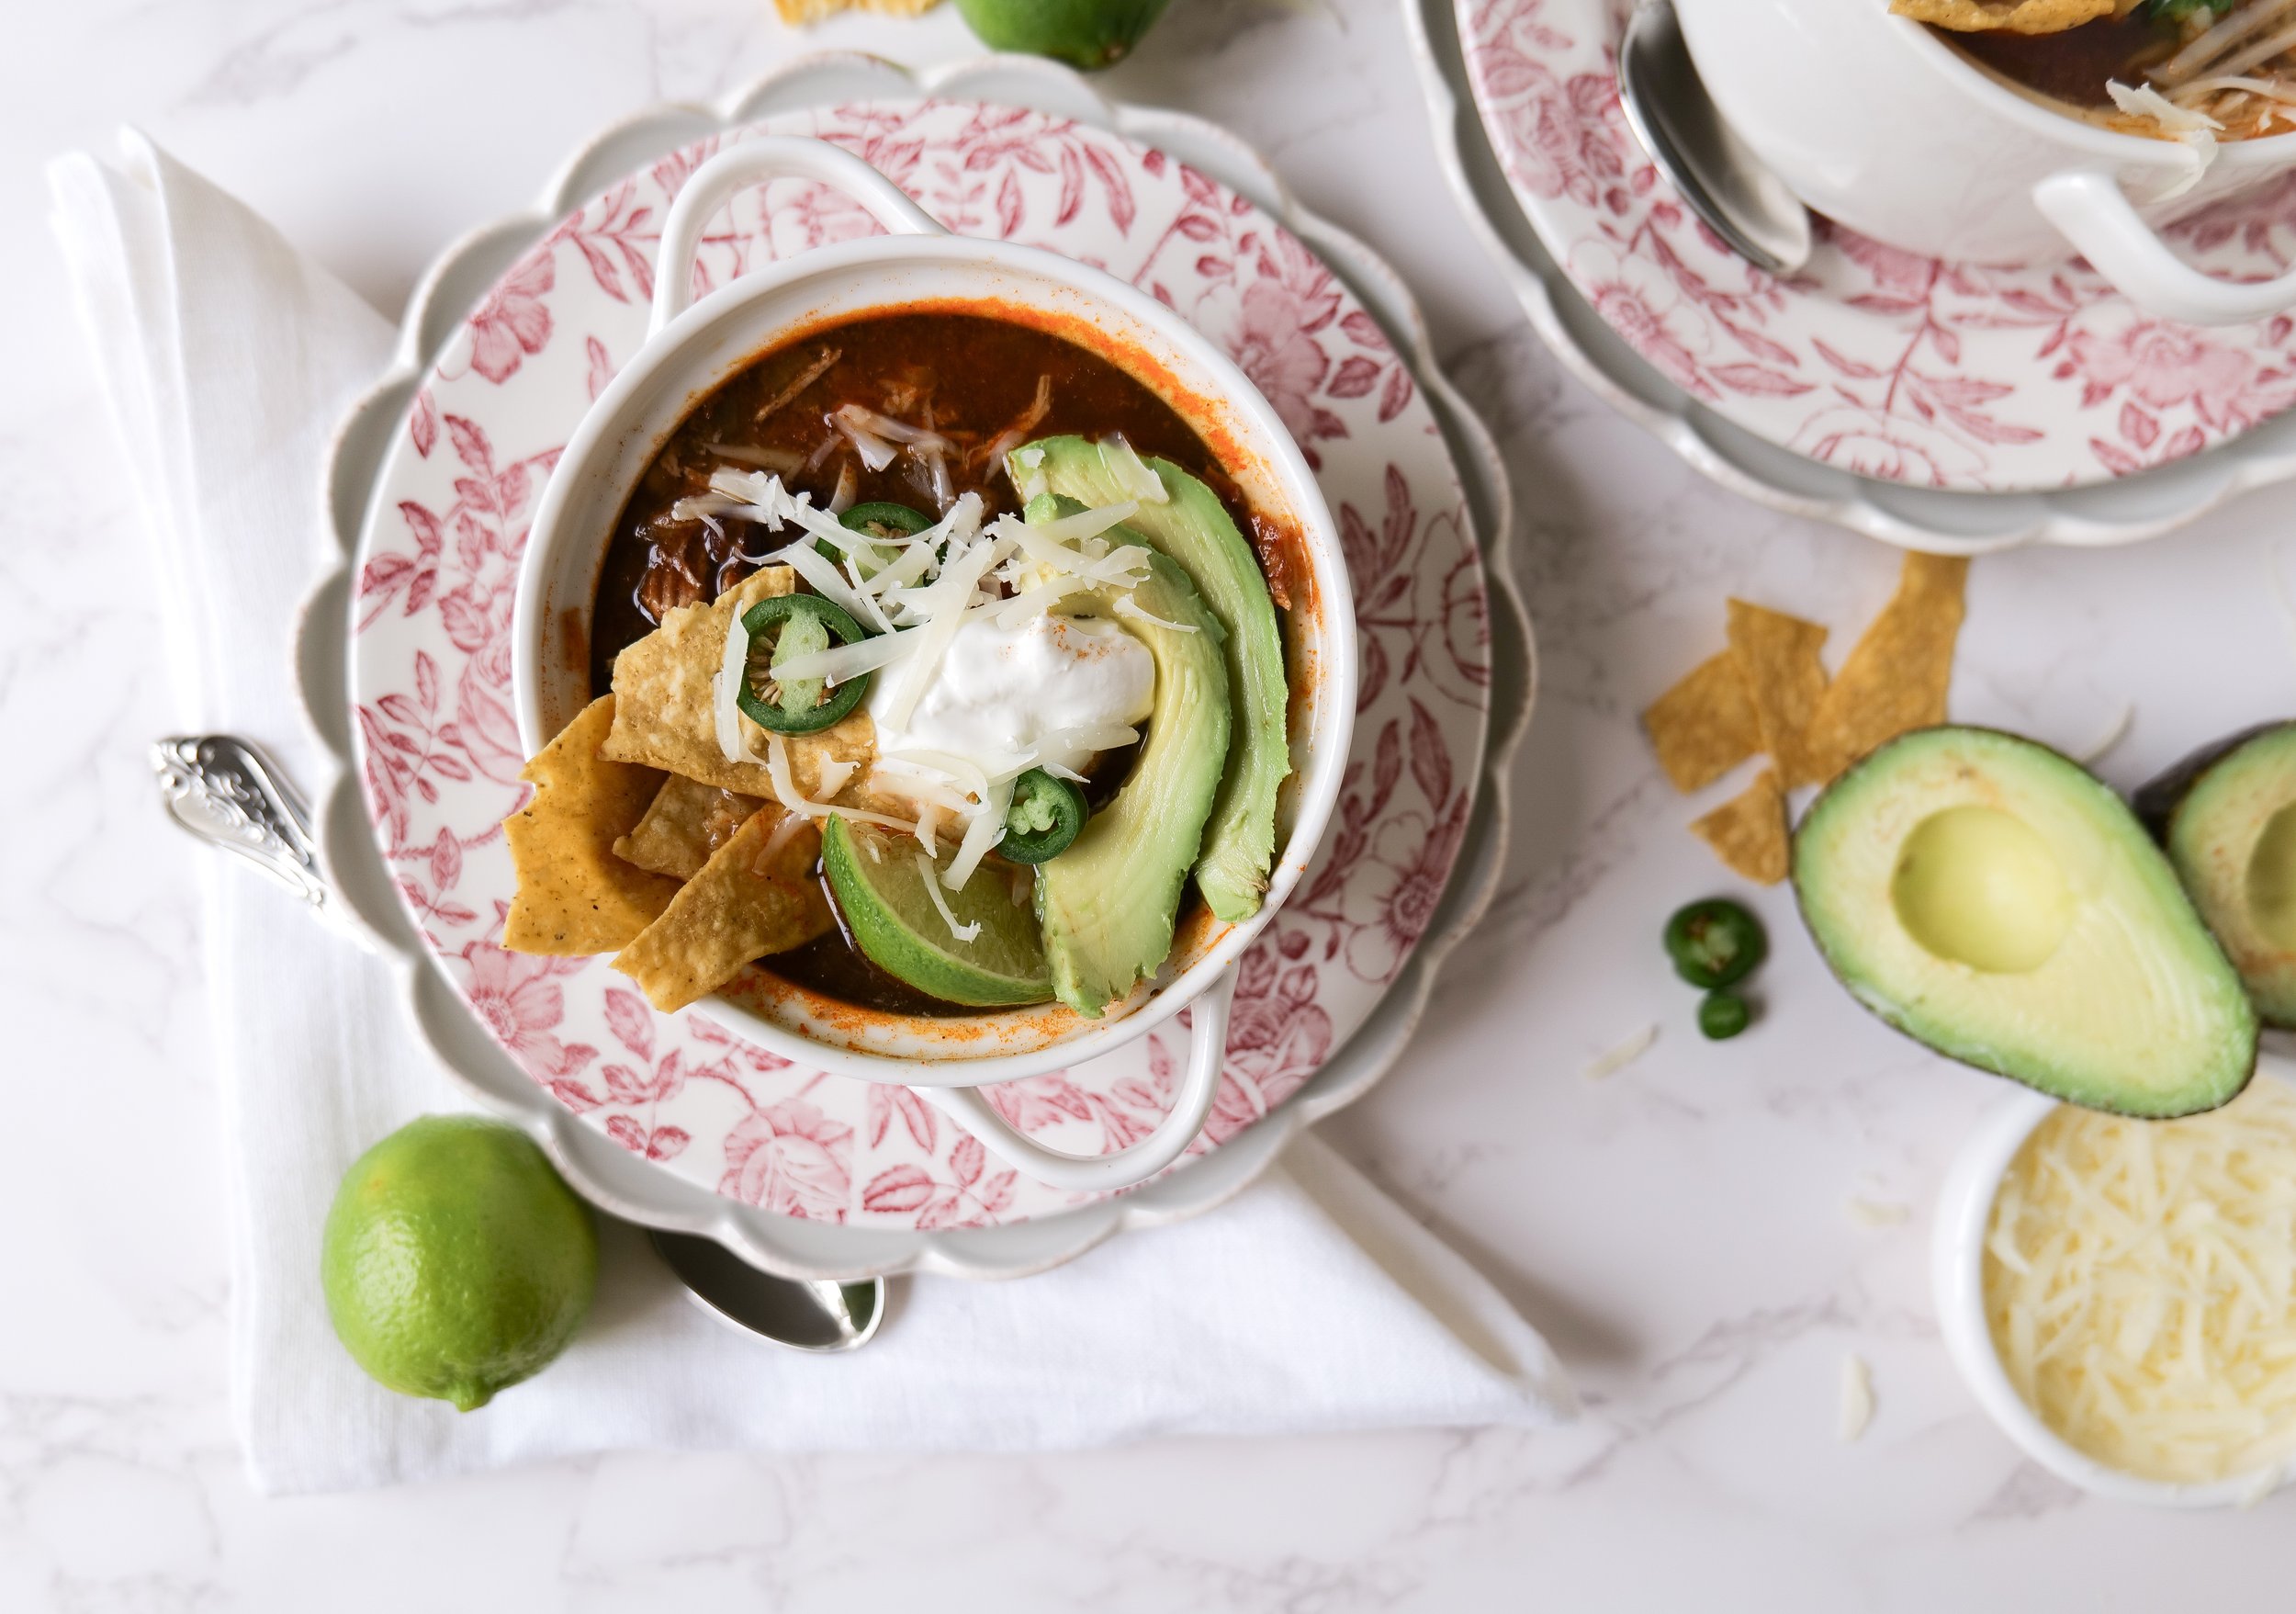
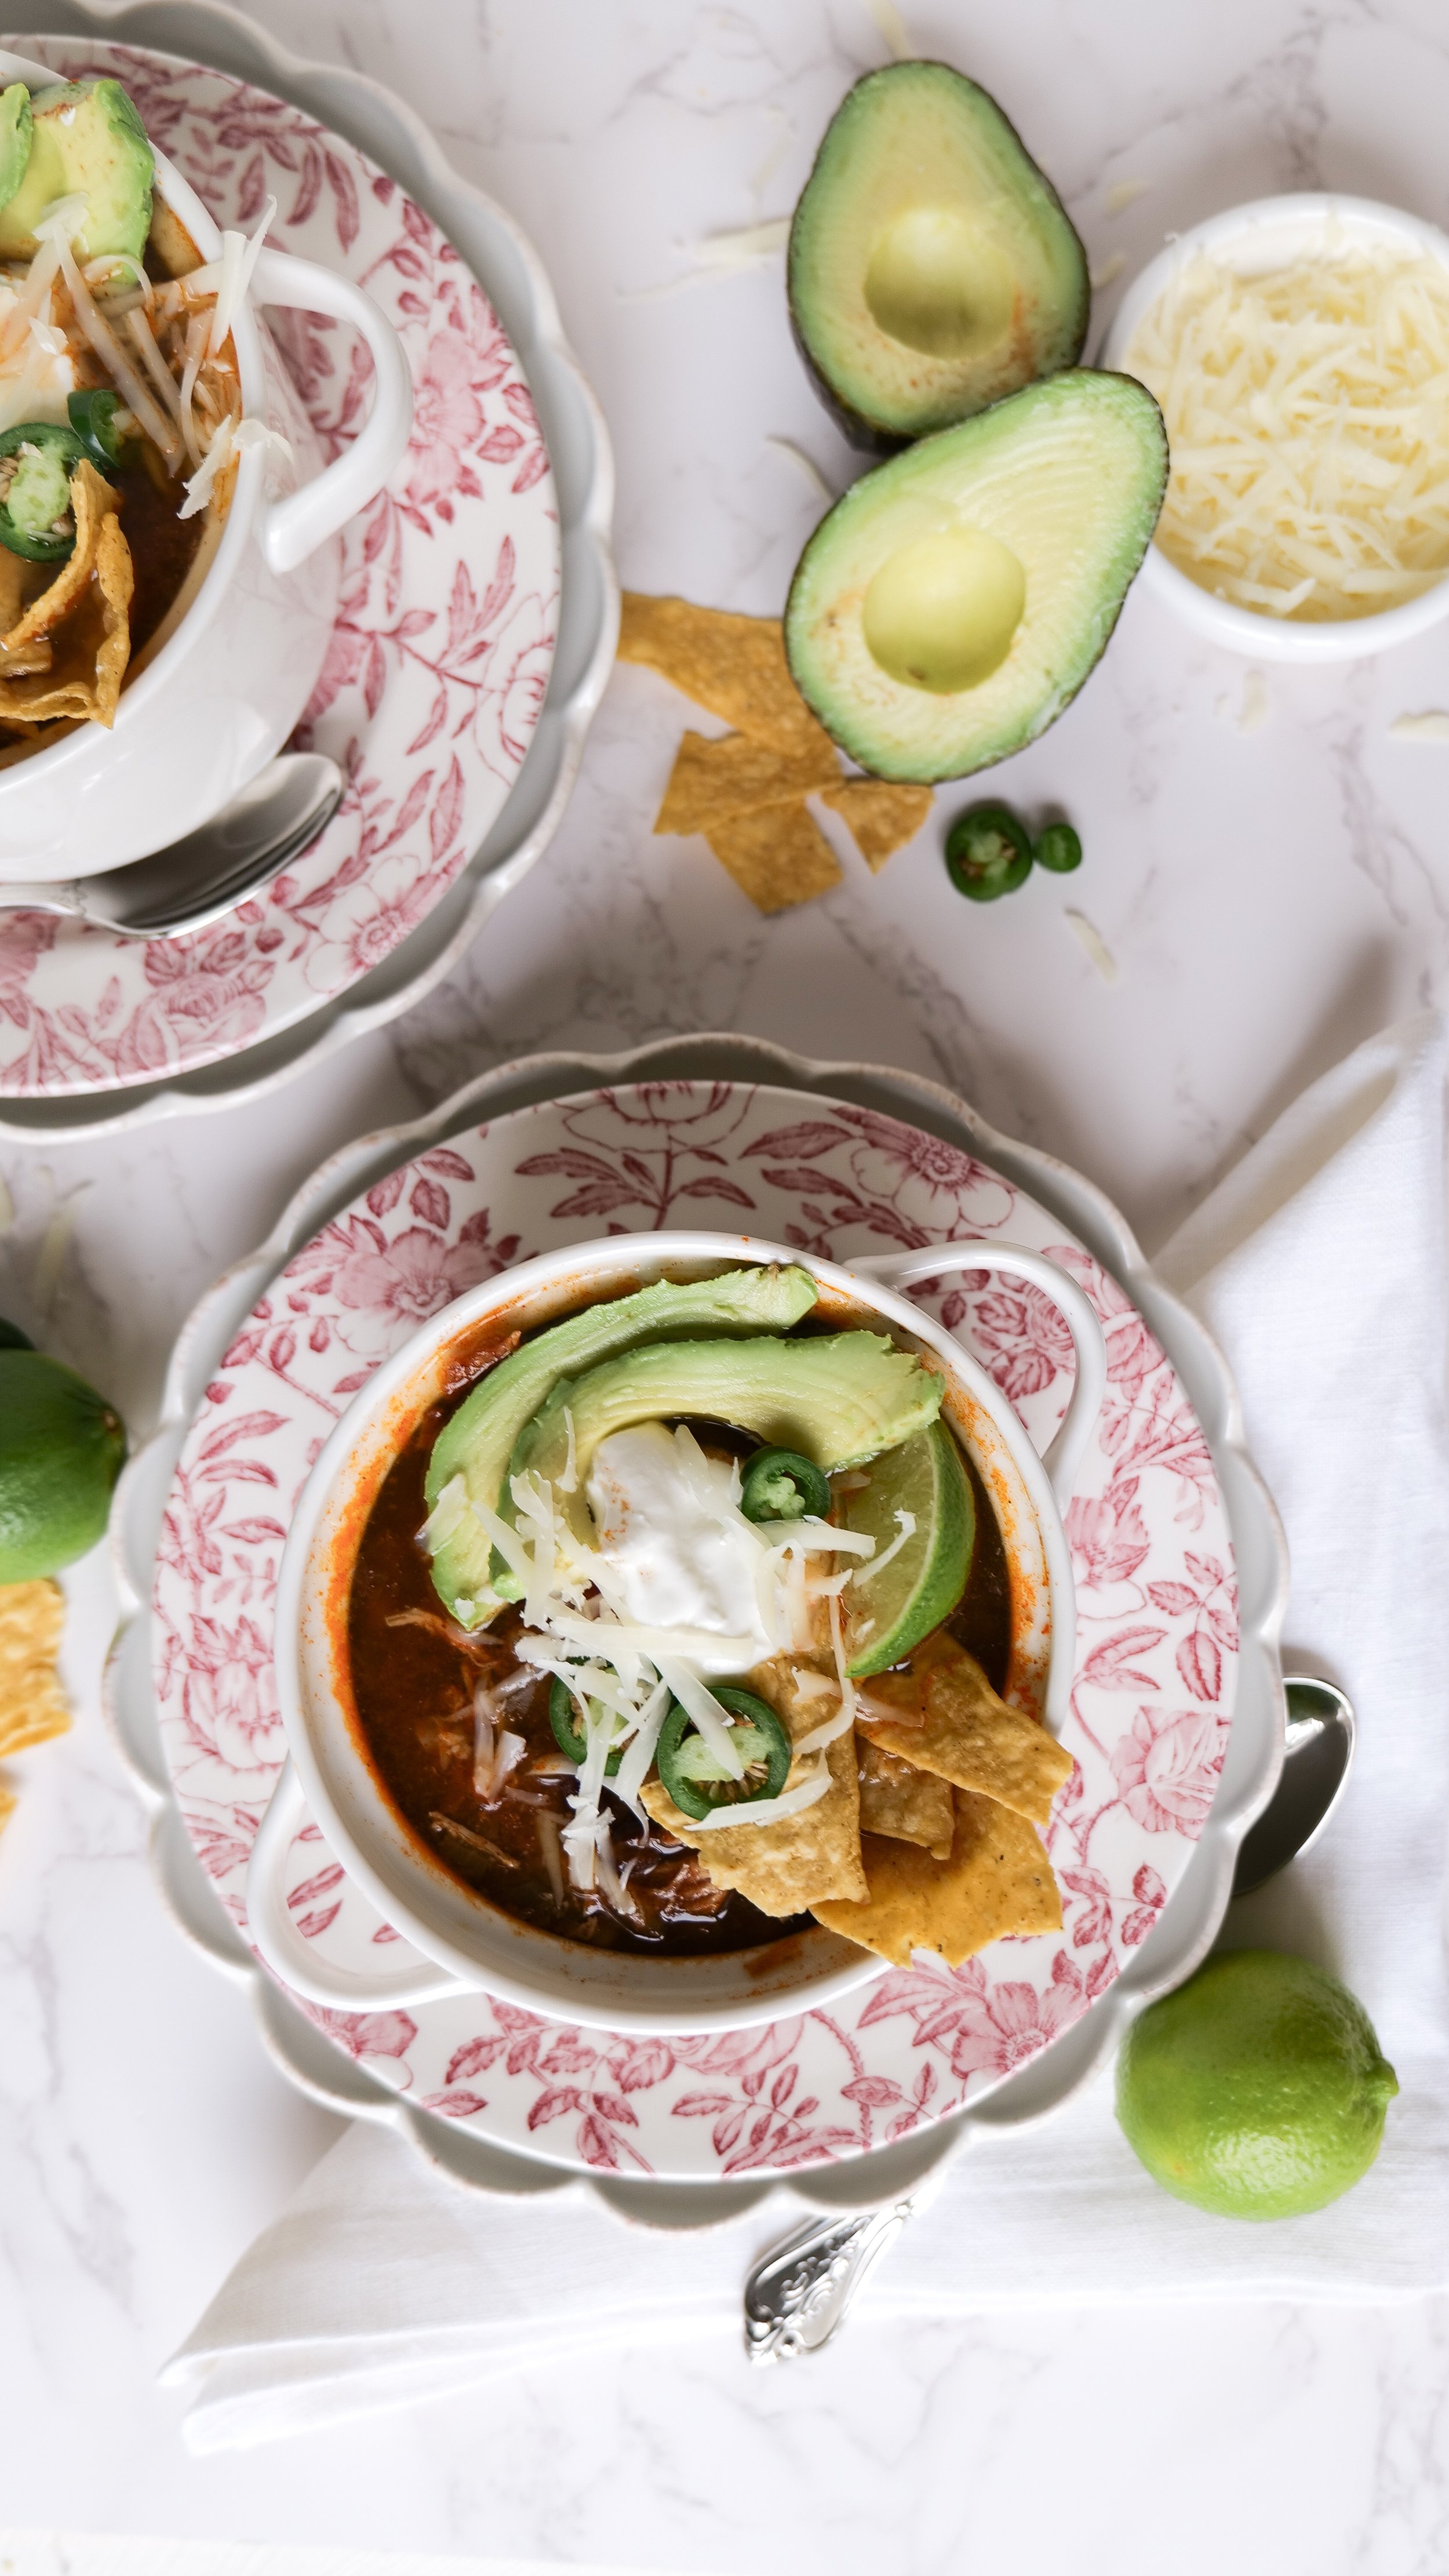
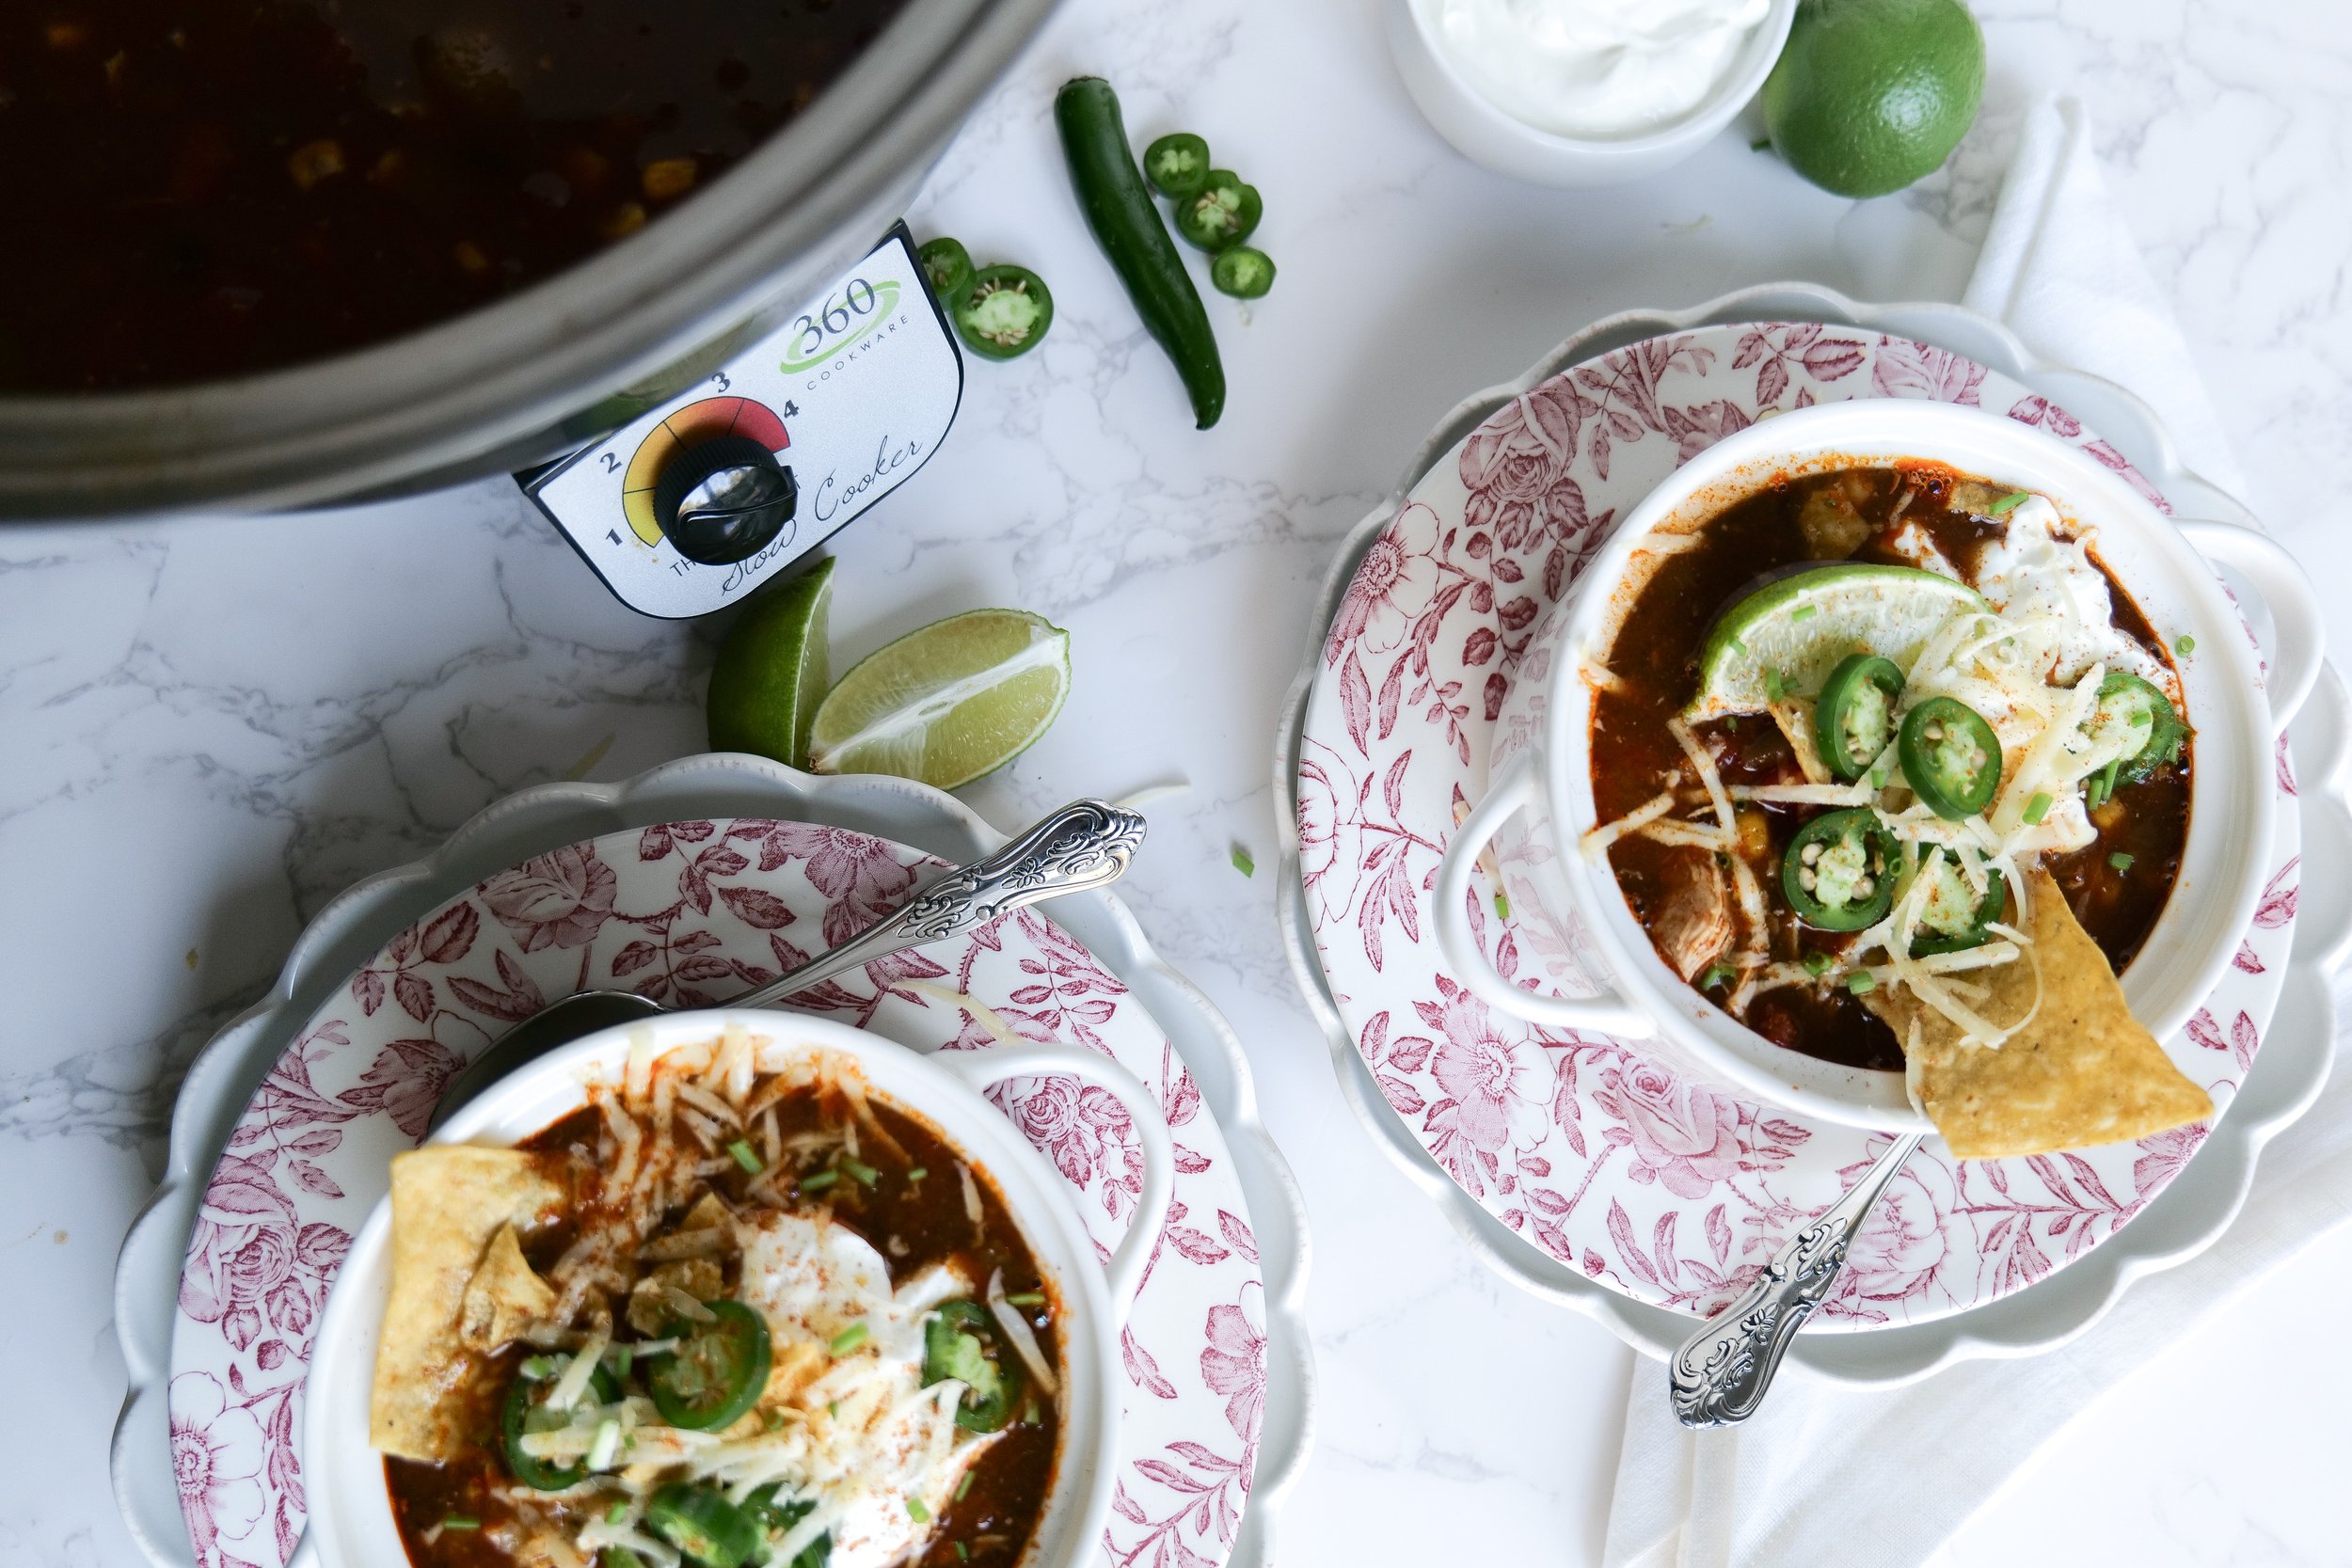
Easy & Flavorful Fiesta in a Bowl: Ultimate Slow Cooker Chicken Tortilla Soup Recipe!

Looking for a cozy and flavorful meal that practically cooks itself? Dive into the rich aromas and hearty warmth of a classic Mexican-inspired dish with our Slow Cooker Tortilla Soup recipe. This beloved soup combines the ease of a slow cooker with a symphony of spices, tender chicken, and delectable vegetables, all simmered to perfection. Whether you're longing for the comfort of a home-cooked meal after a long day, seeking a simple yet satisfying dish to share with family and friends, or just in need of a healthy, no-fuss dinner option, this tortilla soup promises to deliver bold flavors with minimal effort. So grab your slow cooker, and let's embark on a culinary journey that will bring the essence of a fiesta right to your table with every spoonful.

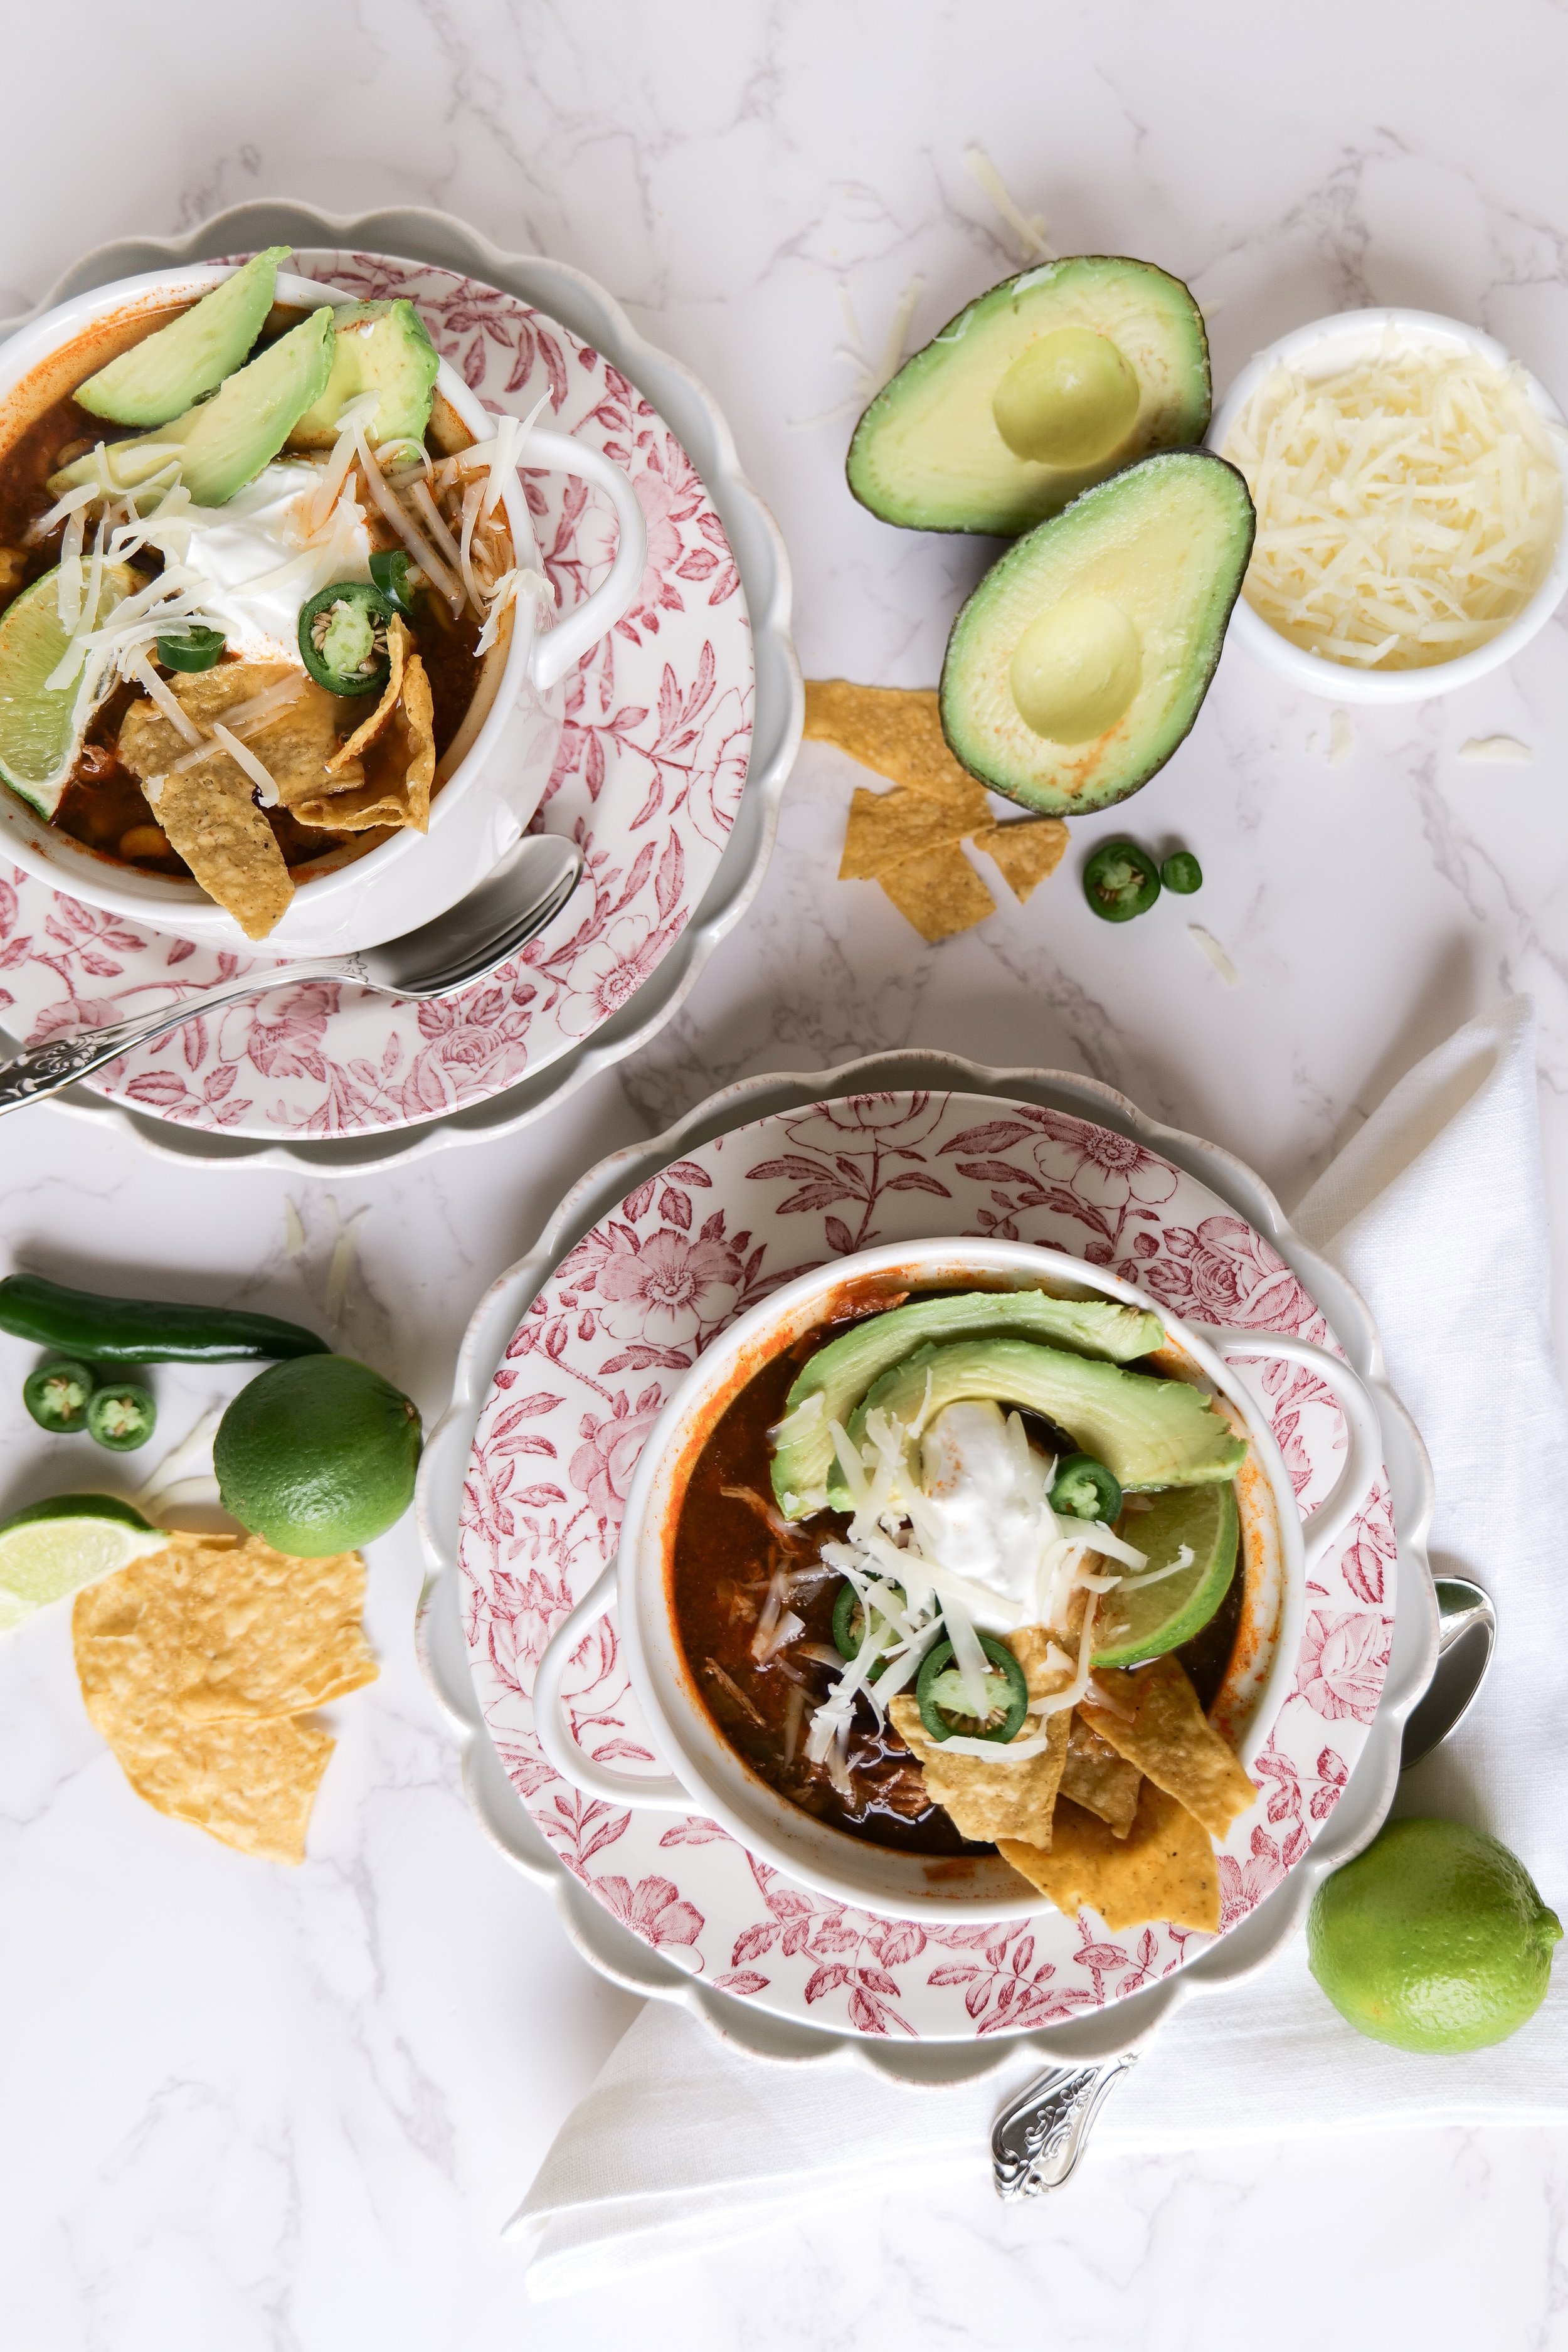
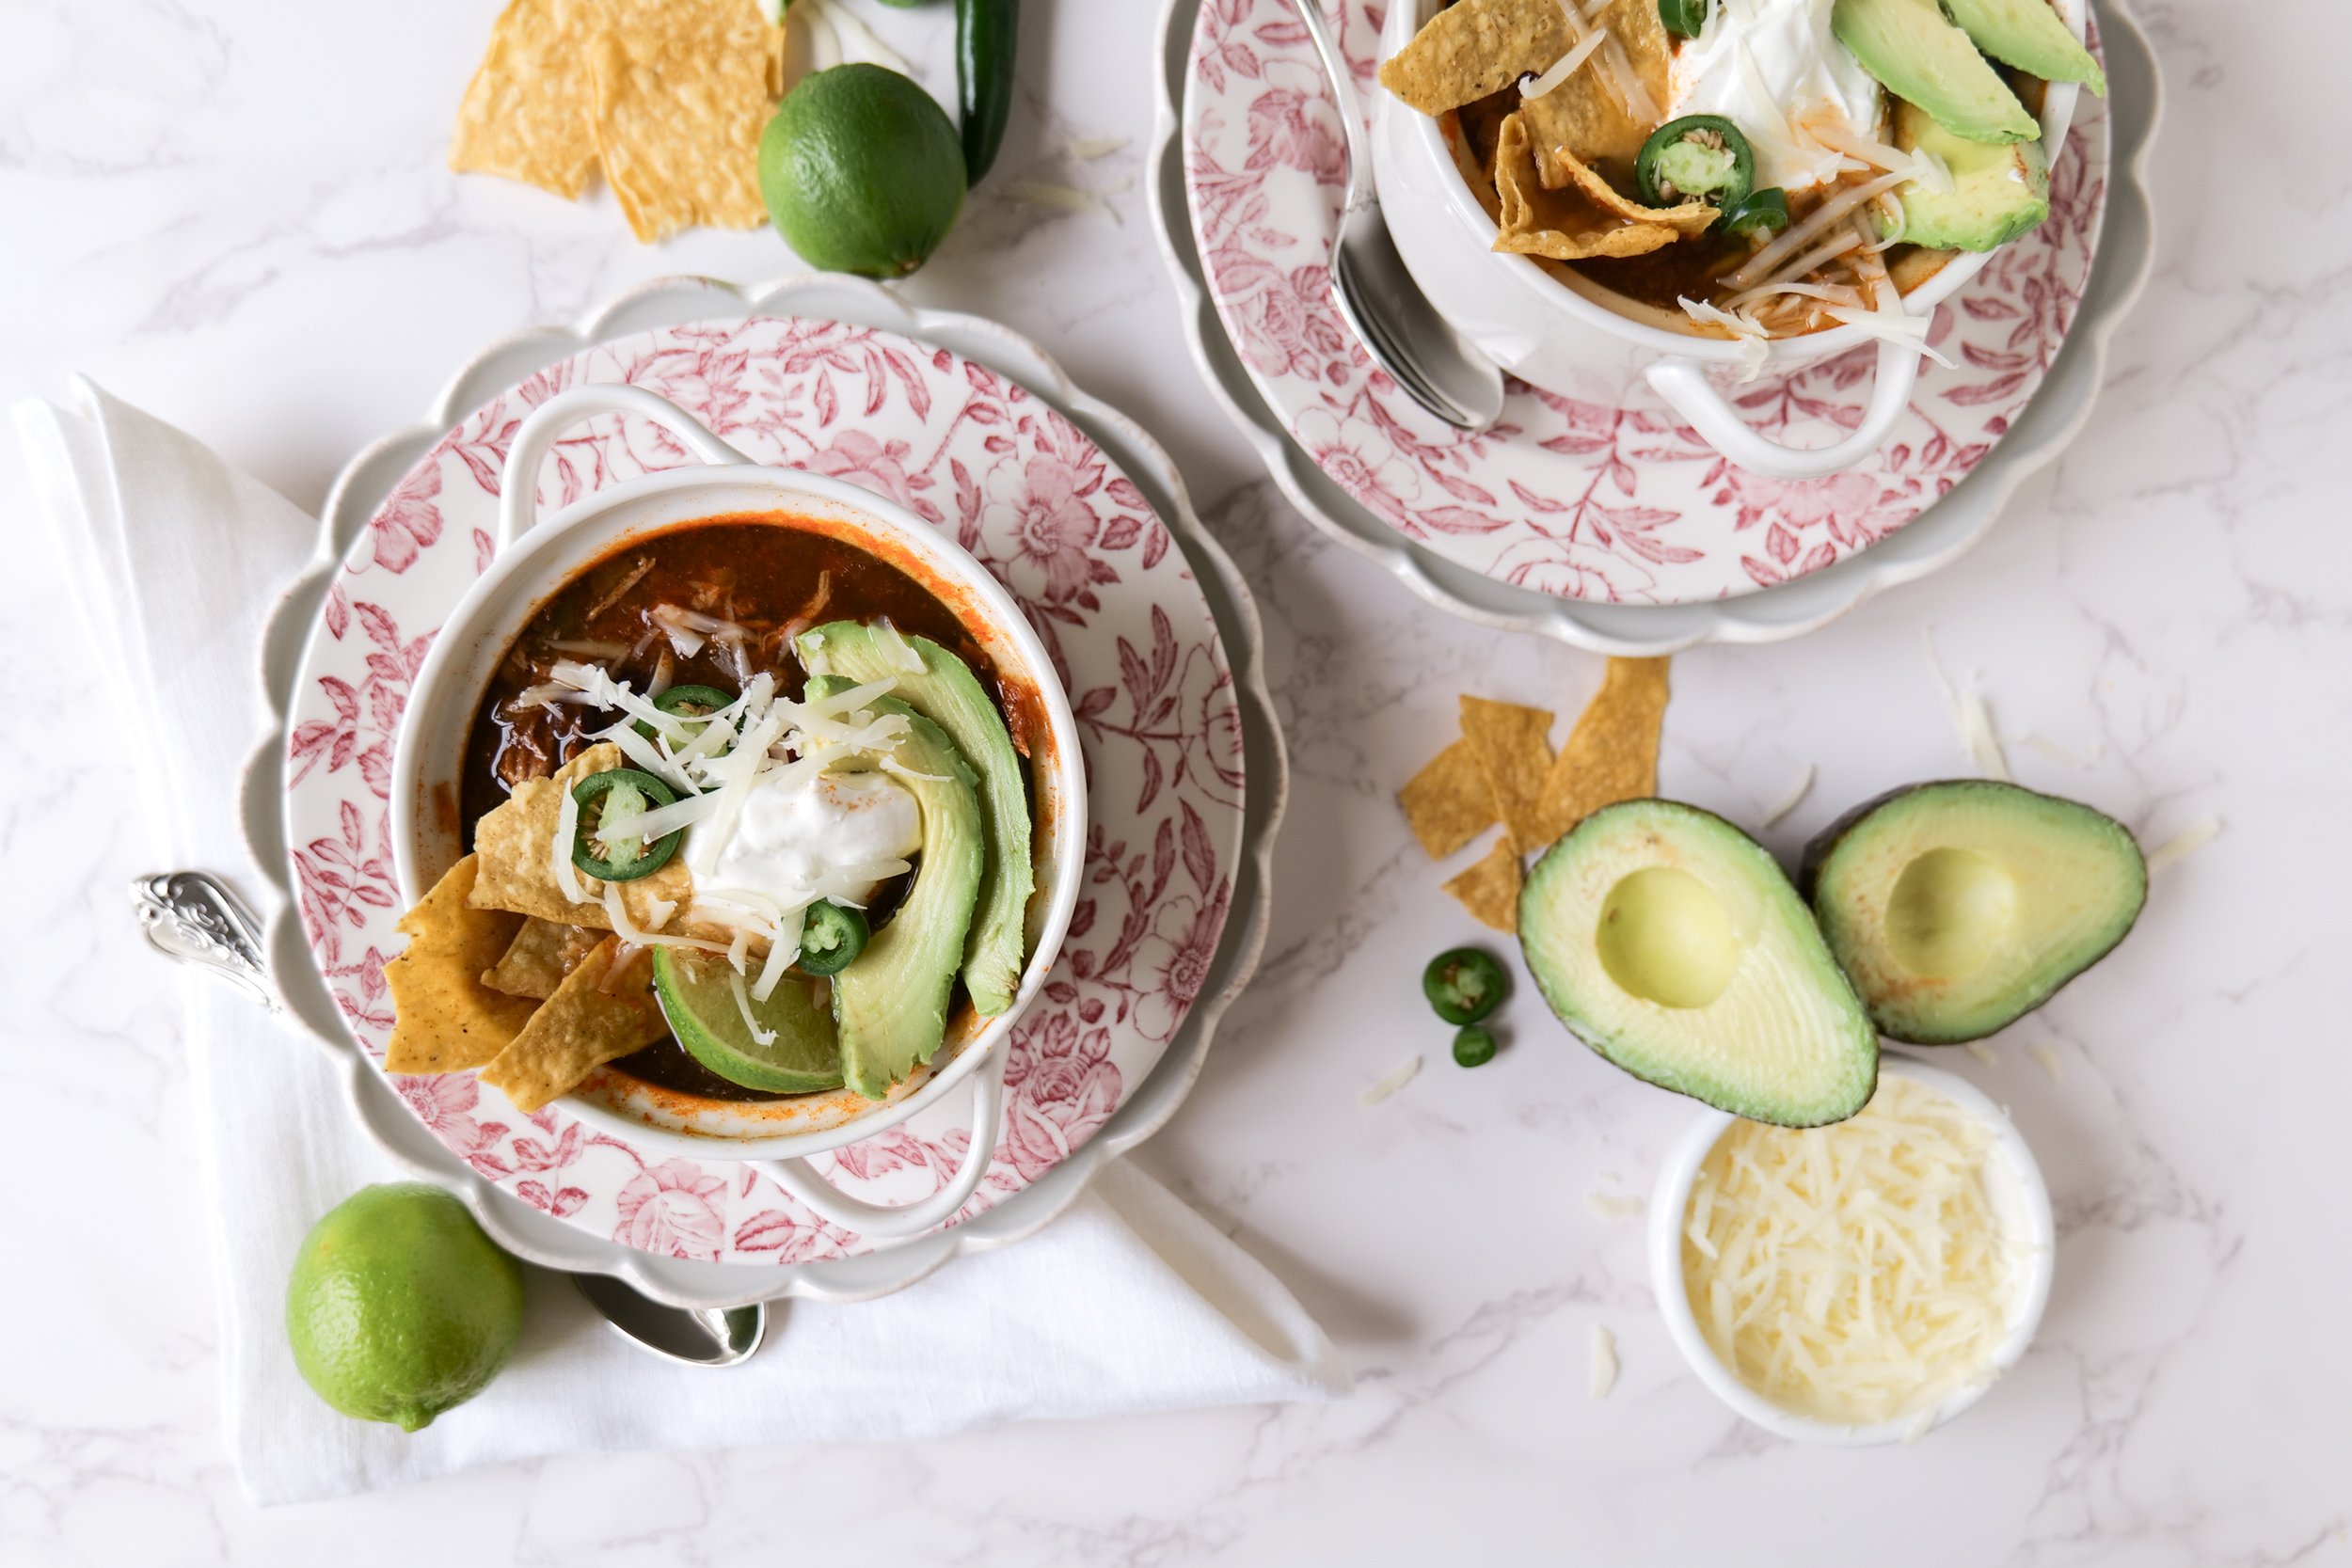
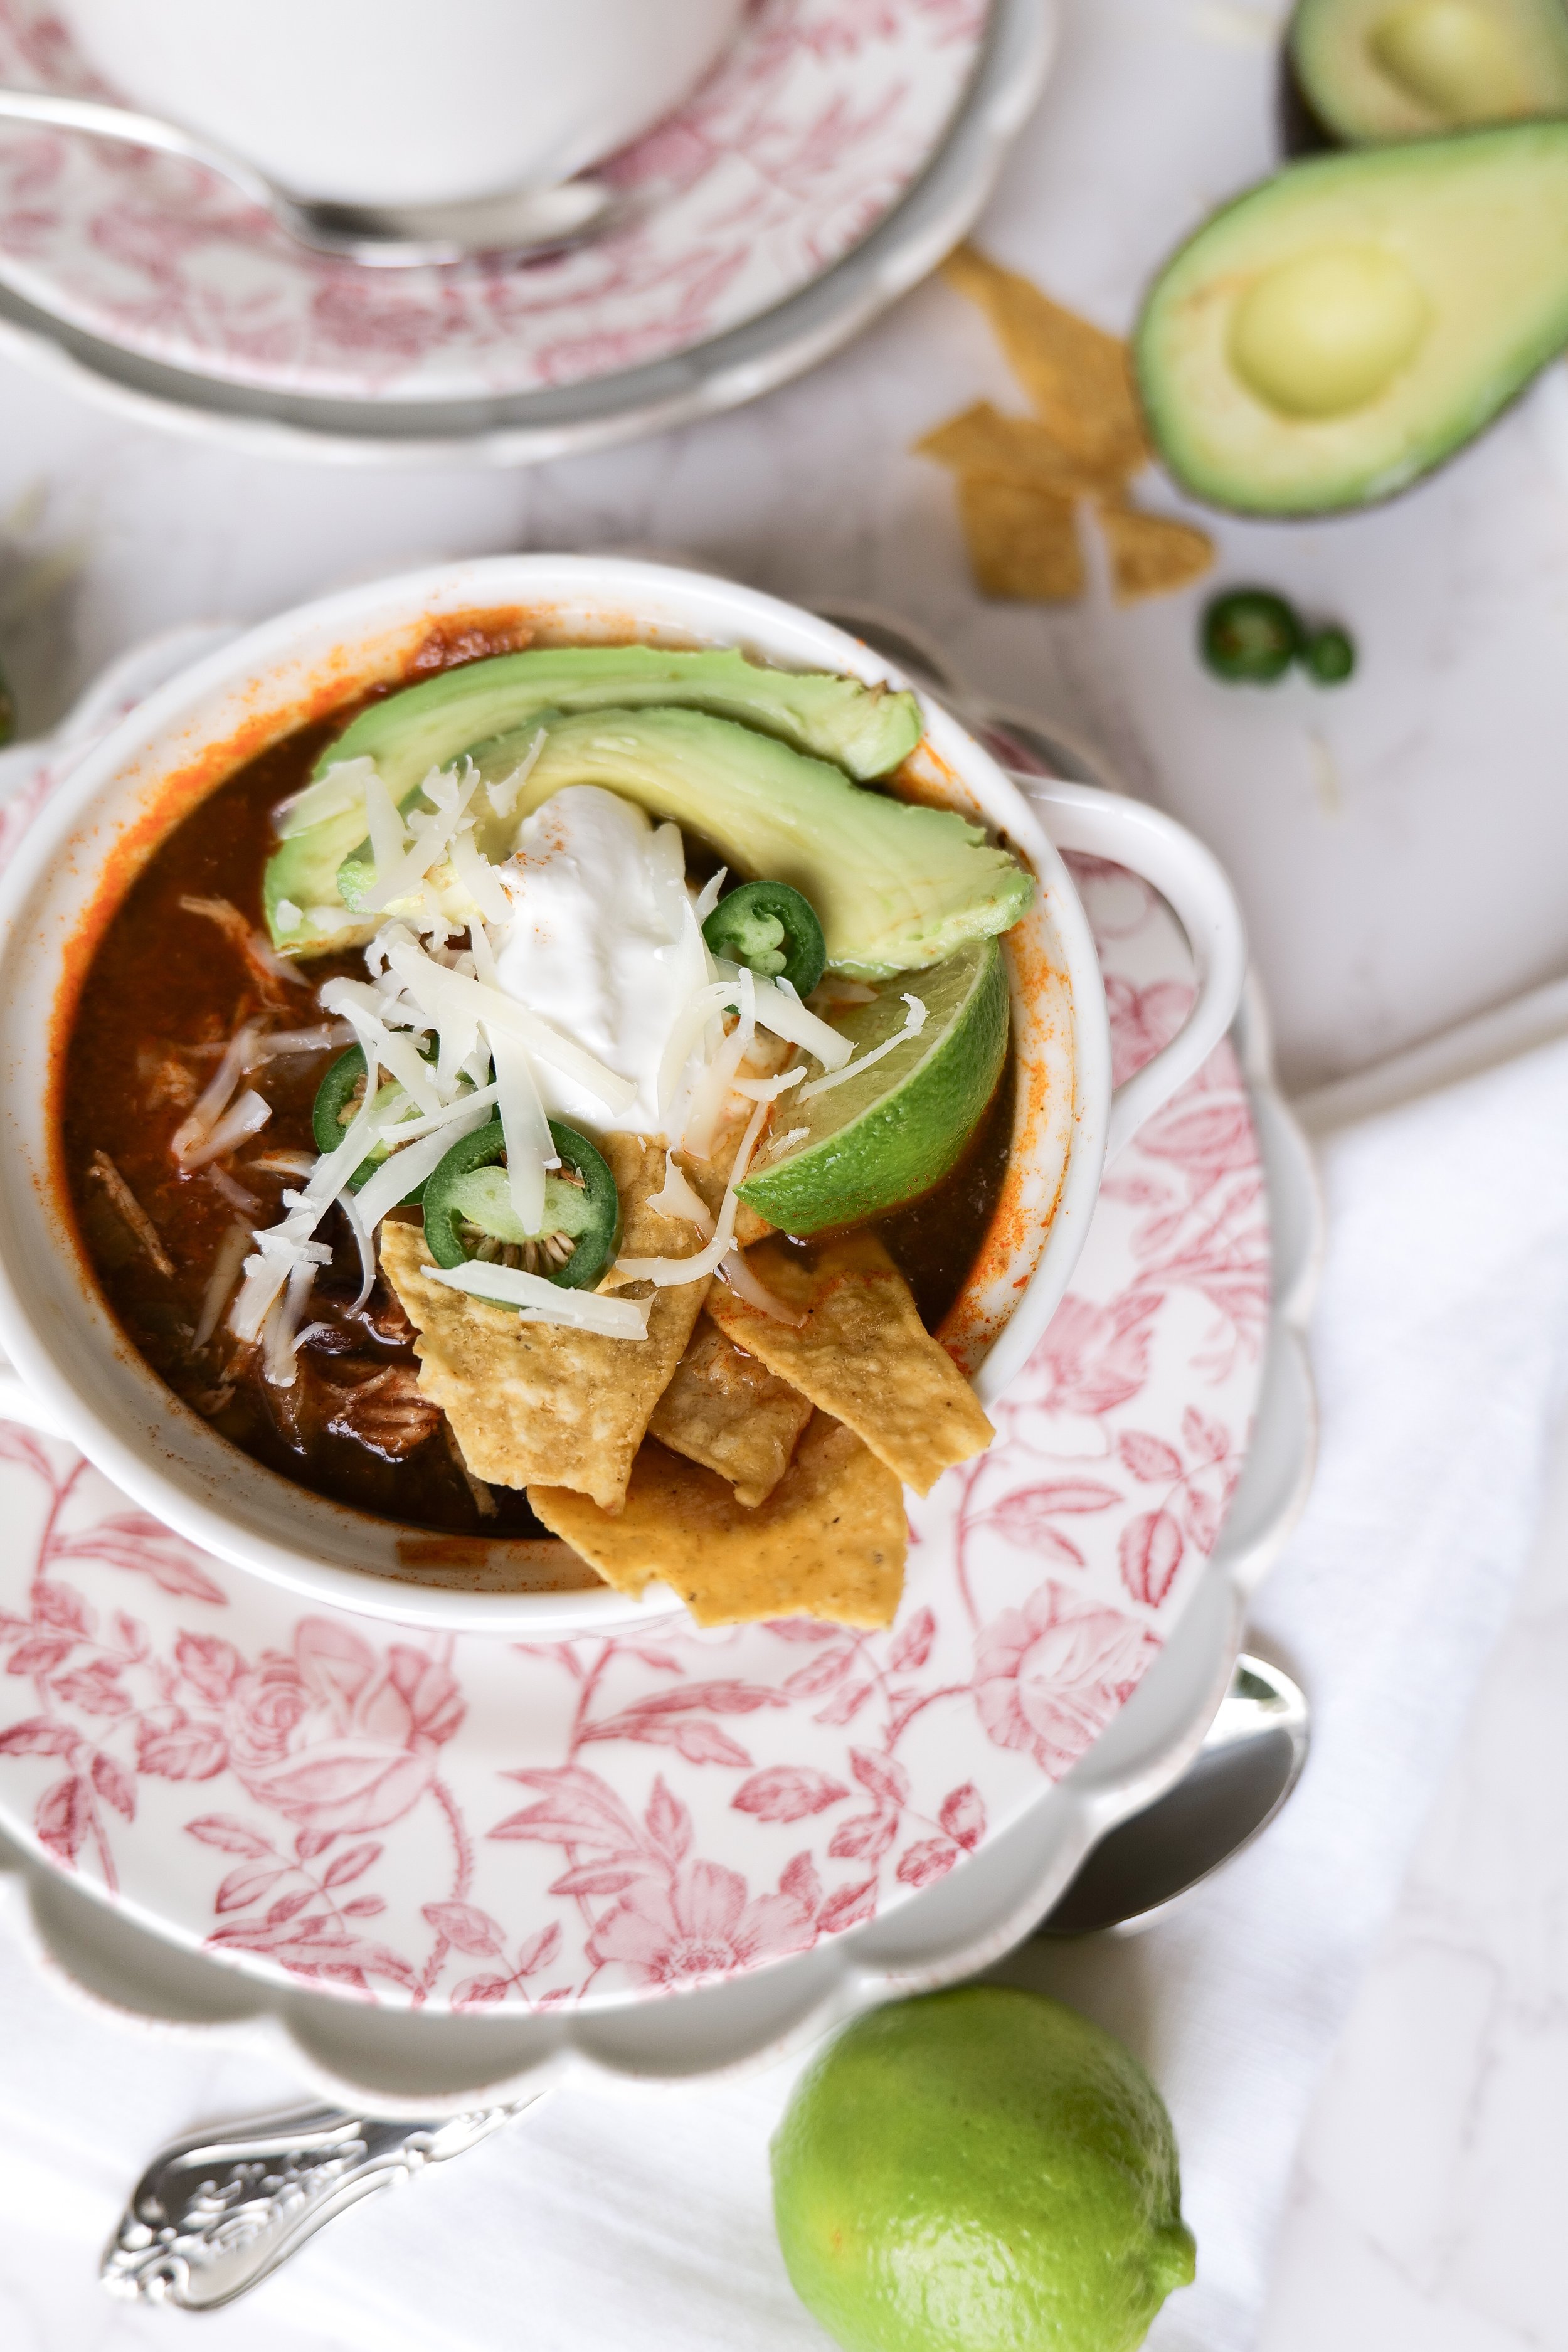
Slow cooker tortilla soup is an easy and delicious meal that the whole family can enjoy. This crock pot version of a classic soup calls for simple ingredients such as tomatoes, chicken broth, and spices, that are cooked together to create a flavorful and hearty meal. To make it even more delicious, you can add any of your favorite toppings such as avocado, sour cream, cheese, and tortilla chips. The great thing about this slow cooker soup recipe is that it can be customized to suit your own personal tastes and dietary preferences. Whether you like it spicy or mild, this recipe is sure to be a hit with the entire family. With just a few minutes of prep time and minimal ingredients, you can have a delicious and comforting meal that is ready when you are.

My Favorite Toppings for Crock Pot Chicken Tortilla Soup

Slow-cooker tortilla soup is a delicious and easy-to-make dish that is perfect for any occasion. This hearty soup is full of flavor and requires minimal effort. All you need is a slow cooker and some fresh ingredients like cilantro, lime wedges, avocado slices, shredded cheese, crushed tortilla chips, sliced jalapenos, sour cream, chopped onions, green onions and diced tomatoes. The slow cooker helps to infuse the flavors of the ingredients, making the soup savory and delicious. To make the dish, simply add all the ingredients to the slow cooker and cook on low for four to six hours. Once the cooking process is done, the soup is ready to be served.

Can I Freeze Any Leftovers?

This meal is perfect for busy weeknights, and you can even freeze leftovers for later on when you need a meal in a pinch. To freeze the soup, let it cool completely before transferring it into an airtight container or a freezer-safe bag. When you’re ready to enjoy it, simply thaw it overnight in the refrigerator and reheat it on the stovetop or in the microwave. With its delicious combination of flavors, it’s sure to become a favorite in your household. Try this slow cooker tortilla soup recipe today and see for yourself why it’s so popular.

Tips for making the Tortilla Soup More Spicy

Slow cooker tortilla soup is a quick and easy dish that is sure to please the whole family. With just a few simple ingredients and a slow cooker, you can have a delicious bowl of soup on the table in no time. To give the soup a subtle kick, add a pinch of cayenne pepper to the slow cooker before cooking. For a more intense spice, add more chopped jalapeños to the slow cooker. Substitute vegetable broth with chicken broth to provide a smoky flavor. To top off the soup, add a dollop of sour cream and chopped cilantro for a cool, creamy contrast to the spice. For an extra zing, sprinkle chili powder on top of the soup. With just a few simple steps, you can make a delicious slow-cooker tortilla soup that the whole family will love.

Ingredients

4 Skinless Chicken Breast

2 tablespoon salted butter

2 garlic cloves, minced

1 or 2 teaspoons olive oil

1 yellow onion

1 jalapeno, plus more for topping

1 tablespoon taco seasoning

1 - 15oz can of corn

1 - 15.5 oz can black beans

1 - 14.5 oz can diced tomatoes, with juice

1 - 15 oz can enchilada sauce (as spicy as you want)

4 cup vegetable soup

Toppings

jalapeno slices

avocado

tortilla chips

limes

sour cream

cheddar cheese or Monterey jack

Directions

1. Using your 360 slow cooker add the pot top to your countertop stove on medium heat. Once the pot is heated add butter and melt. Layer chicken searing on both sides for 5 minutes. Remove chicken to a clean plate and add in garlic. Add olive oil if needed and saute until fragrant. Add in onion, jalapeno, and taco seasoning. Let saute for 2-3 minutes. Pour in broth and scrape up any brown bit on the bottom of the pan.

2. Place the Slow cooker pot to the 360 base, on medium-high heat. Add back in chicken and the rest of the ingredients; corn, beans, diced tomatoes, and red enchilada sauce.

3. Place the slow cooker top on and let cook for 4-5 hours. Once ready shred chicken in pot and serve with favorite toppings. Enjoy!

Other Delicious Soup Favorites:

Deliciously Creamy Basil Tomato Soup: An Easy and Delicious Recipe

Bring the Heat with this Deliciously Spicy Tortellini Soup

An Alluring Combination: French Onion & Shallot Soup Recipe

Mom's Favorite Minestrone Soup Recipe

Italian Sausage, Potato & Kale Soup

Delicious One-Pot Italian Lasagna Soup for Busy Weeknights!

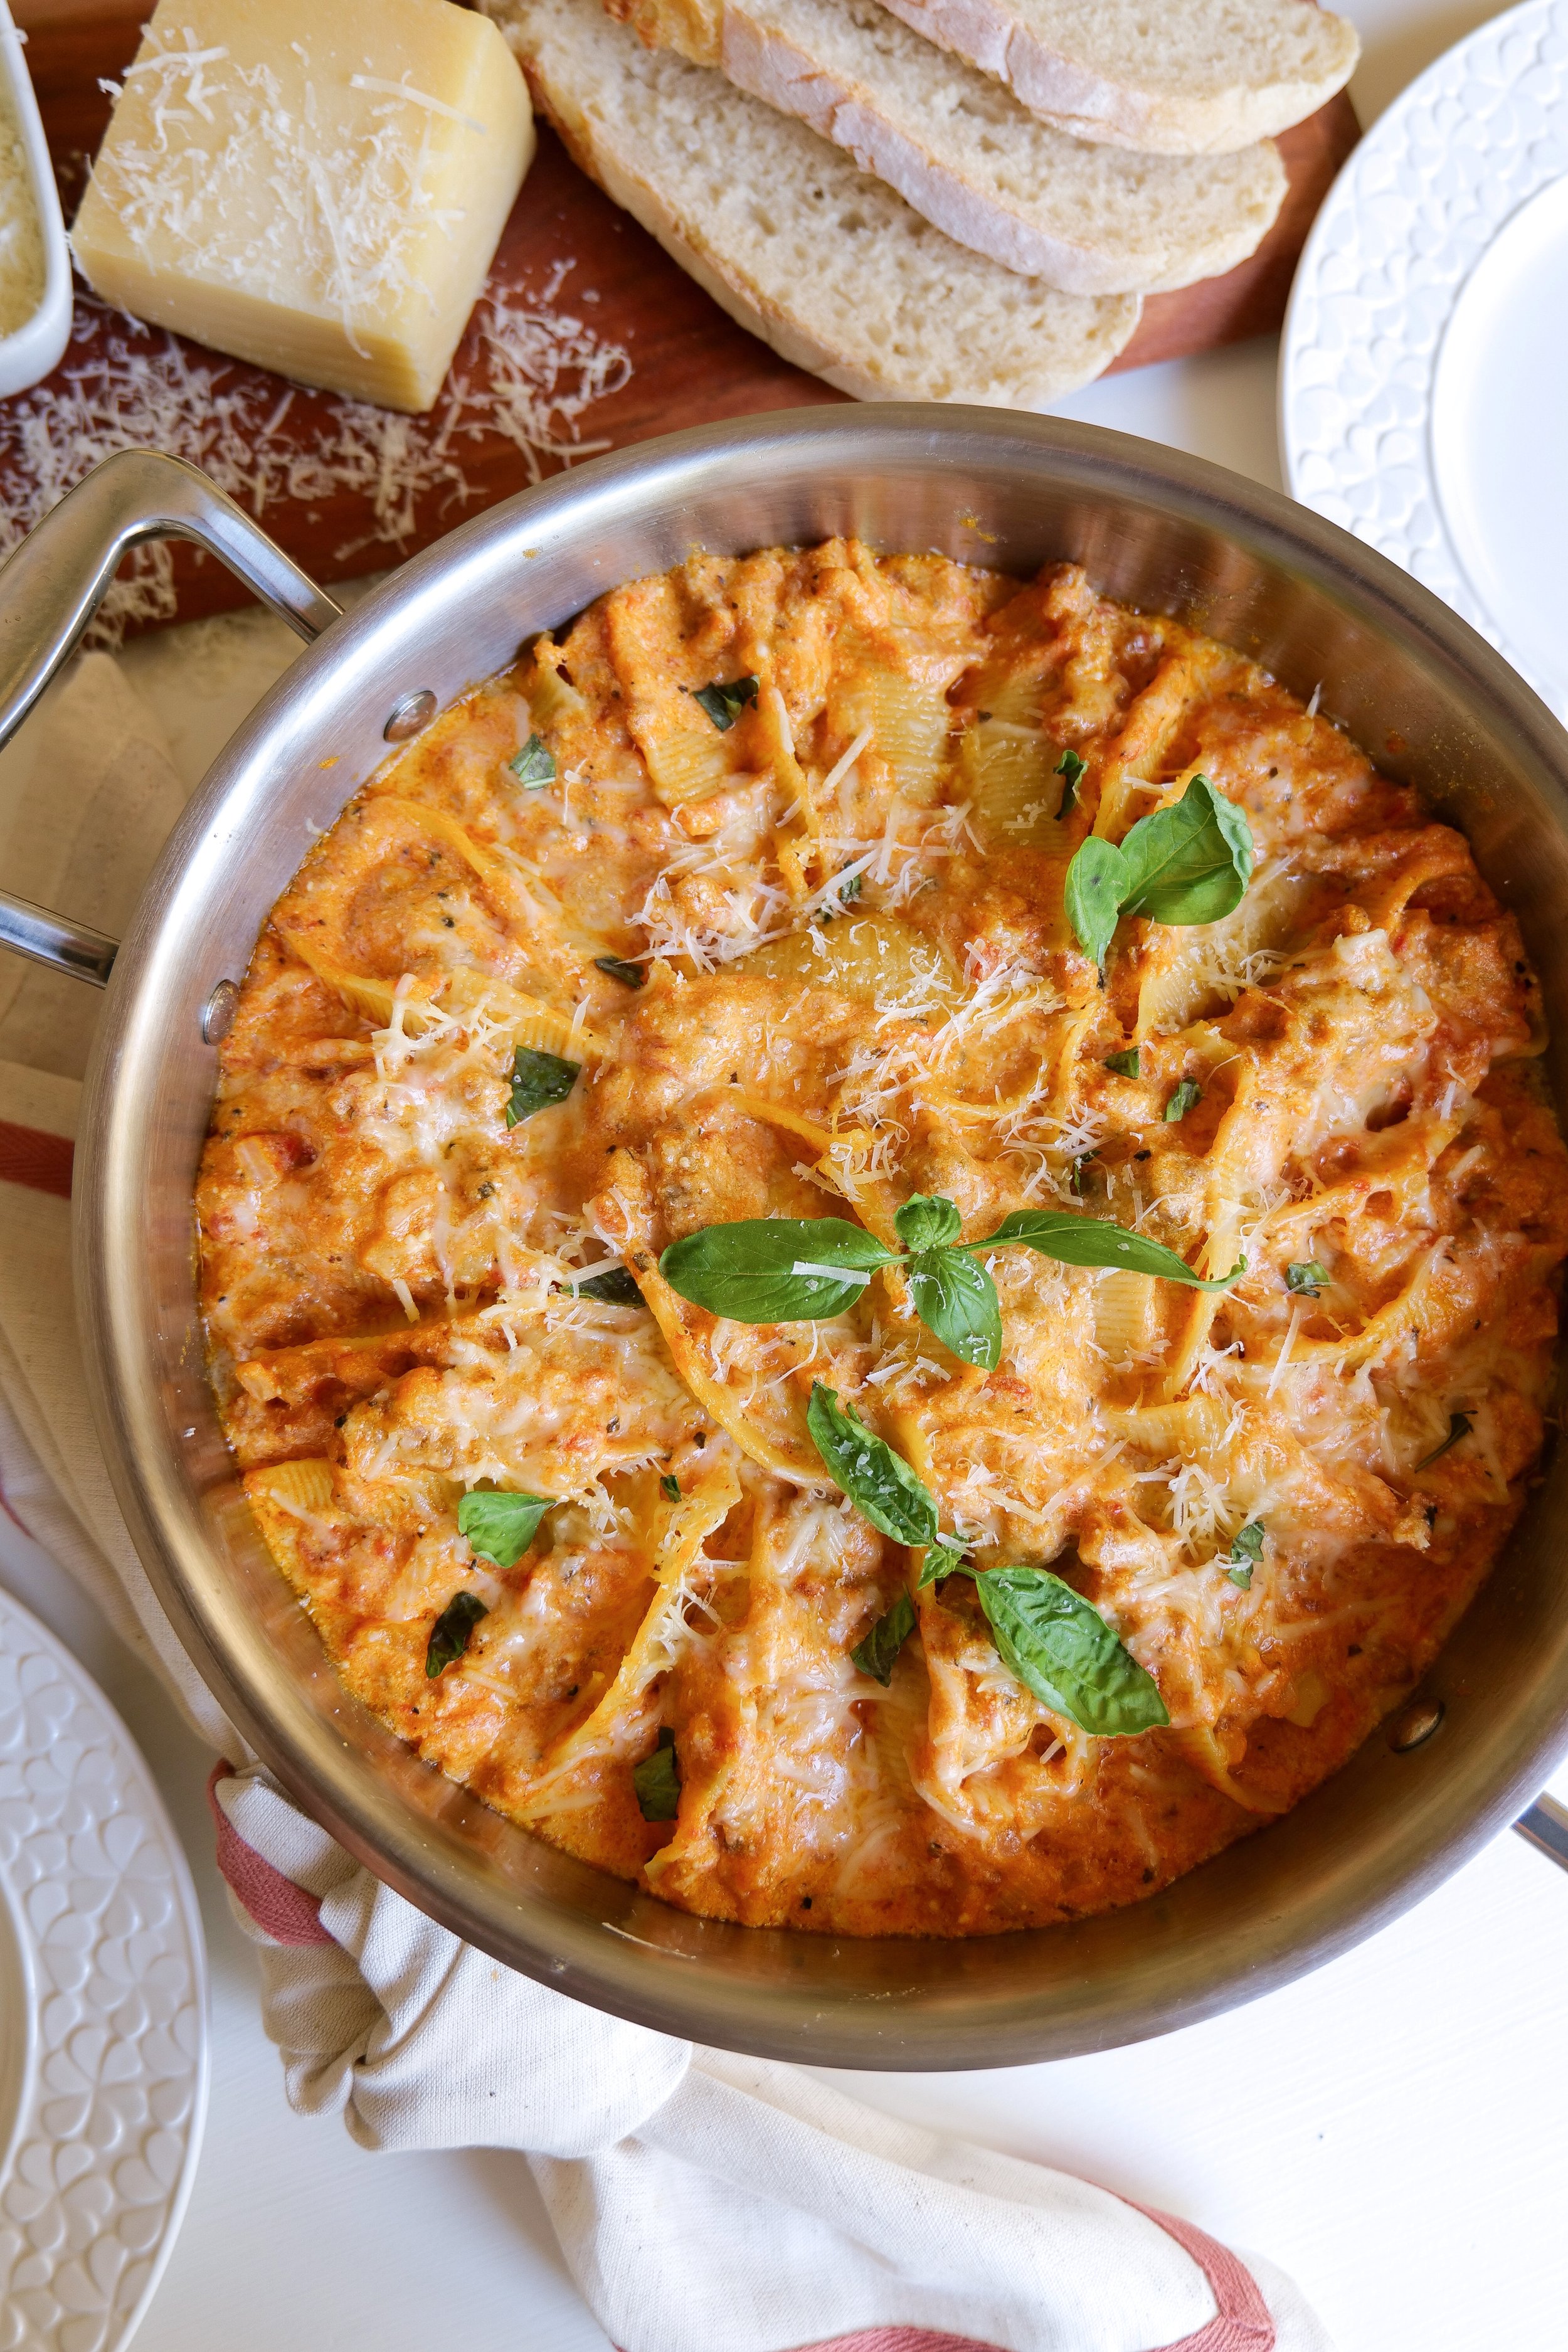
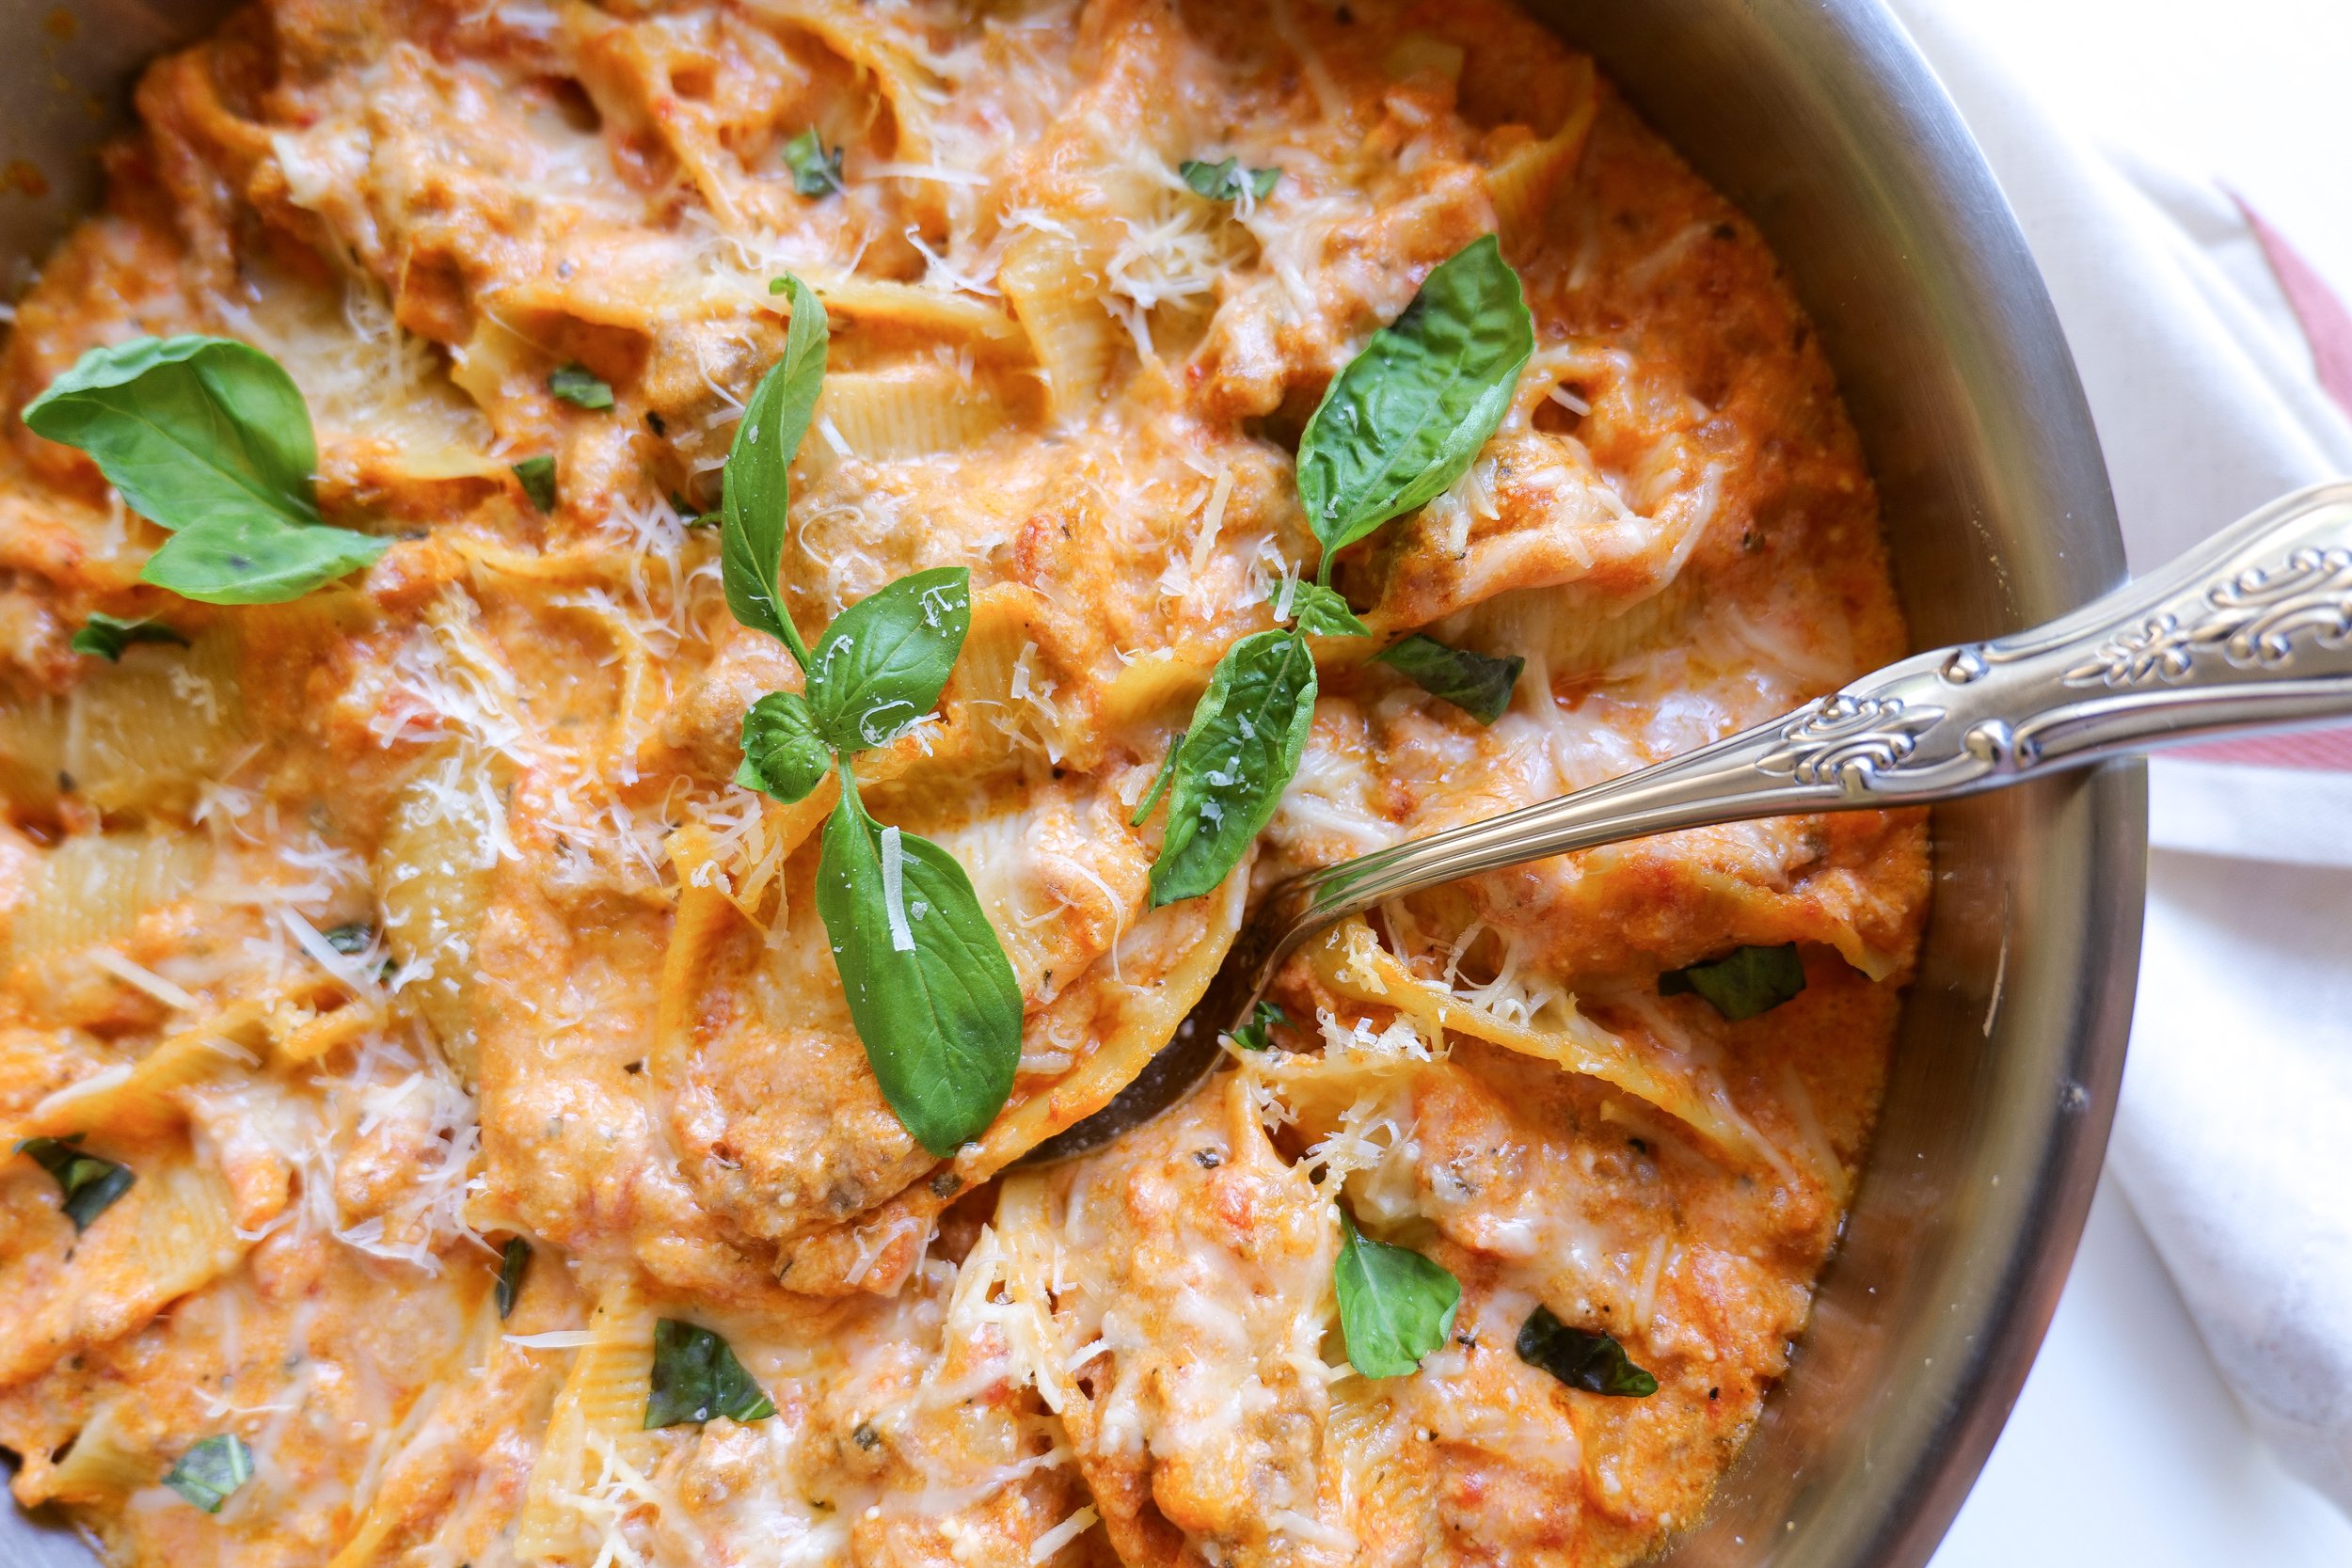
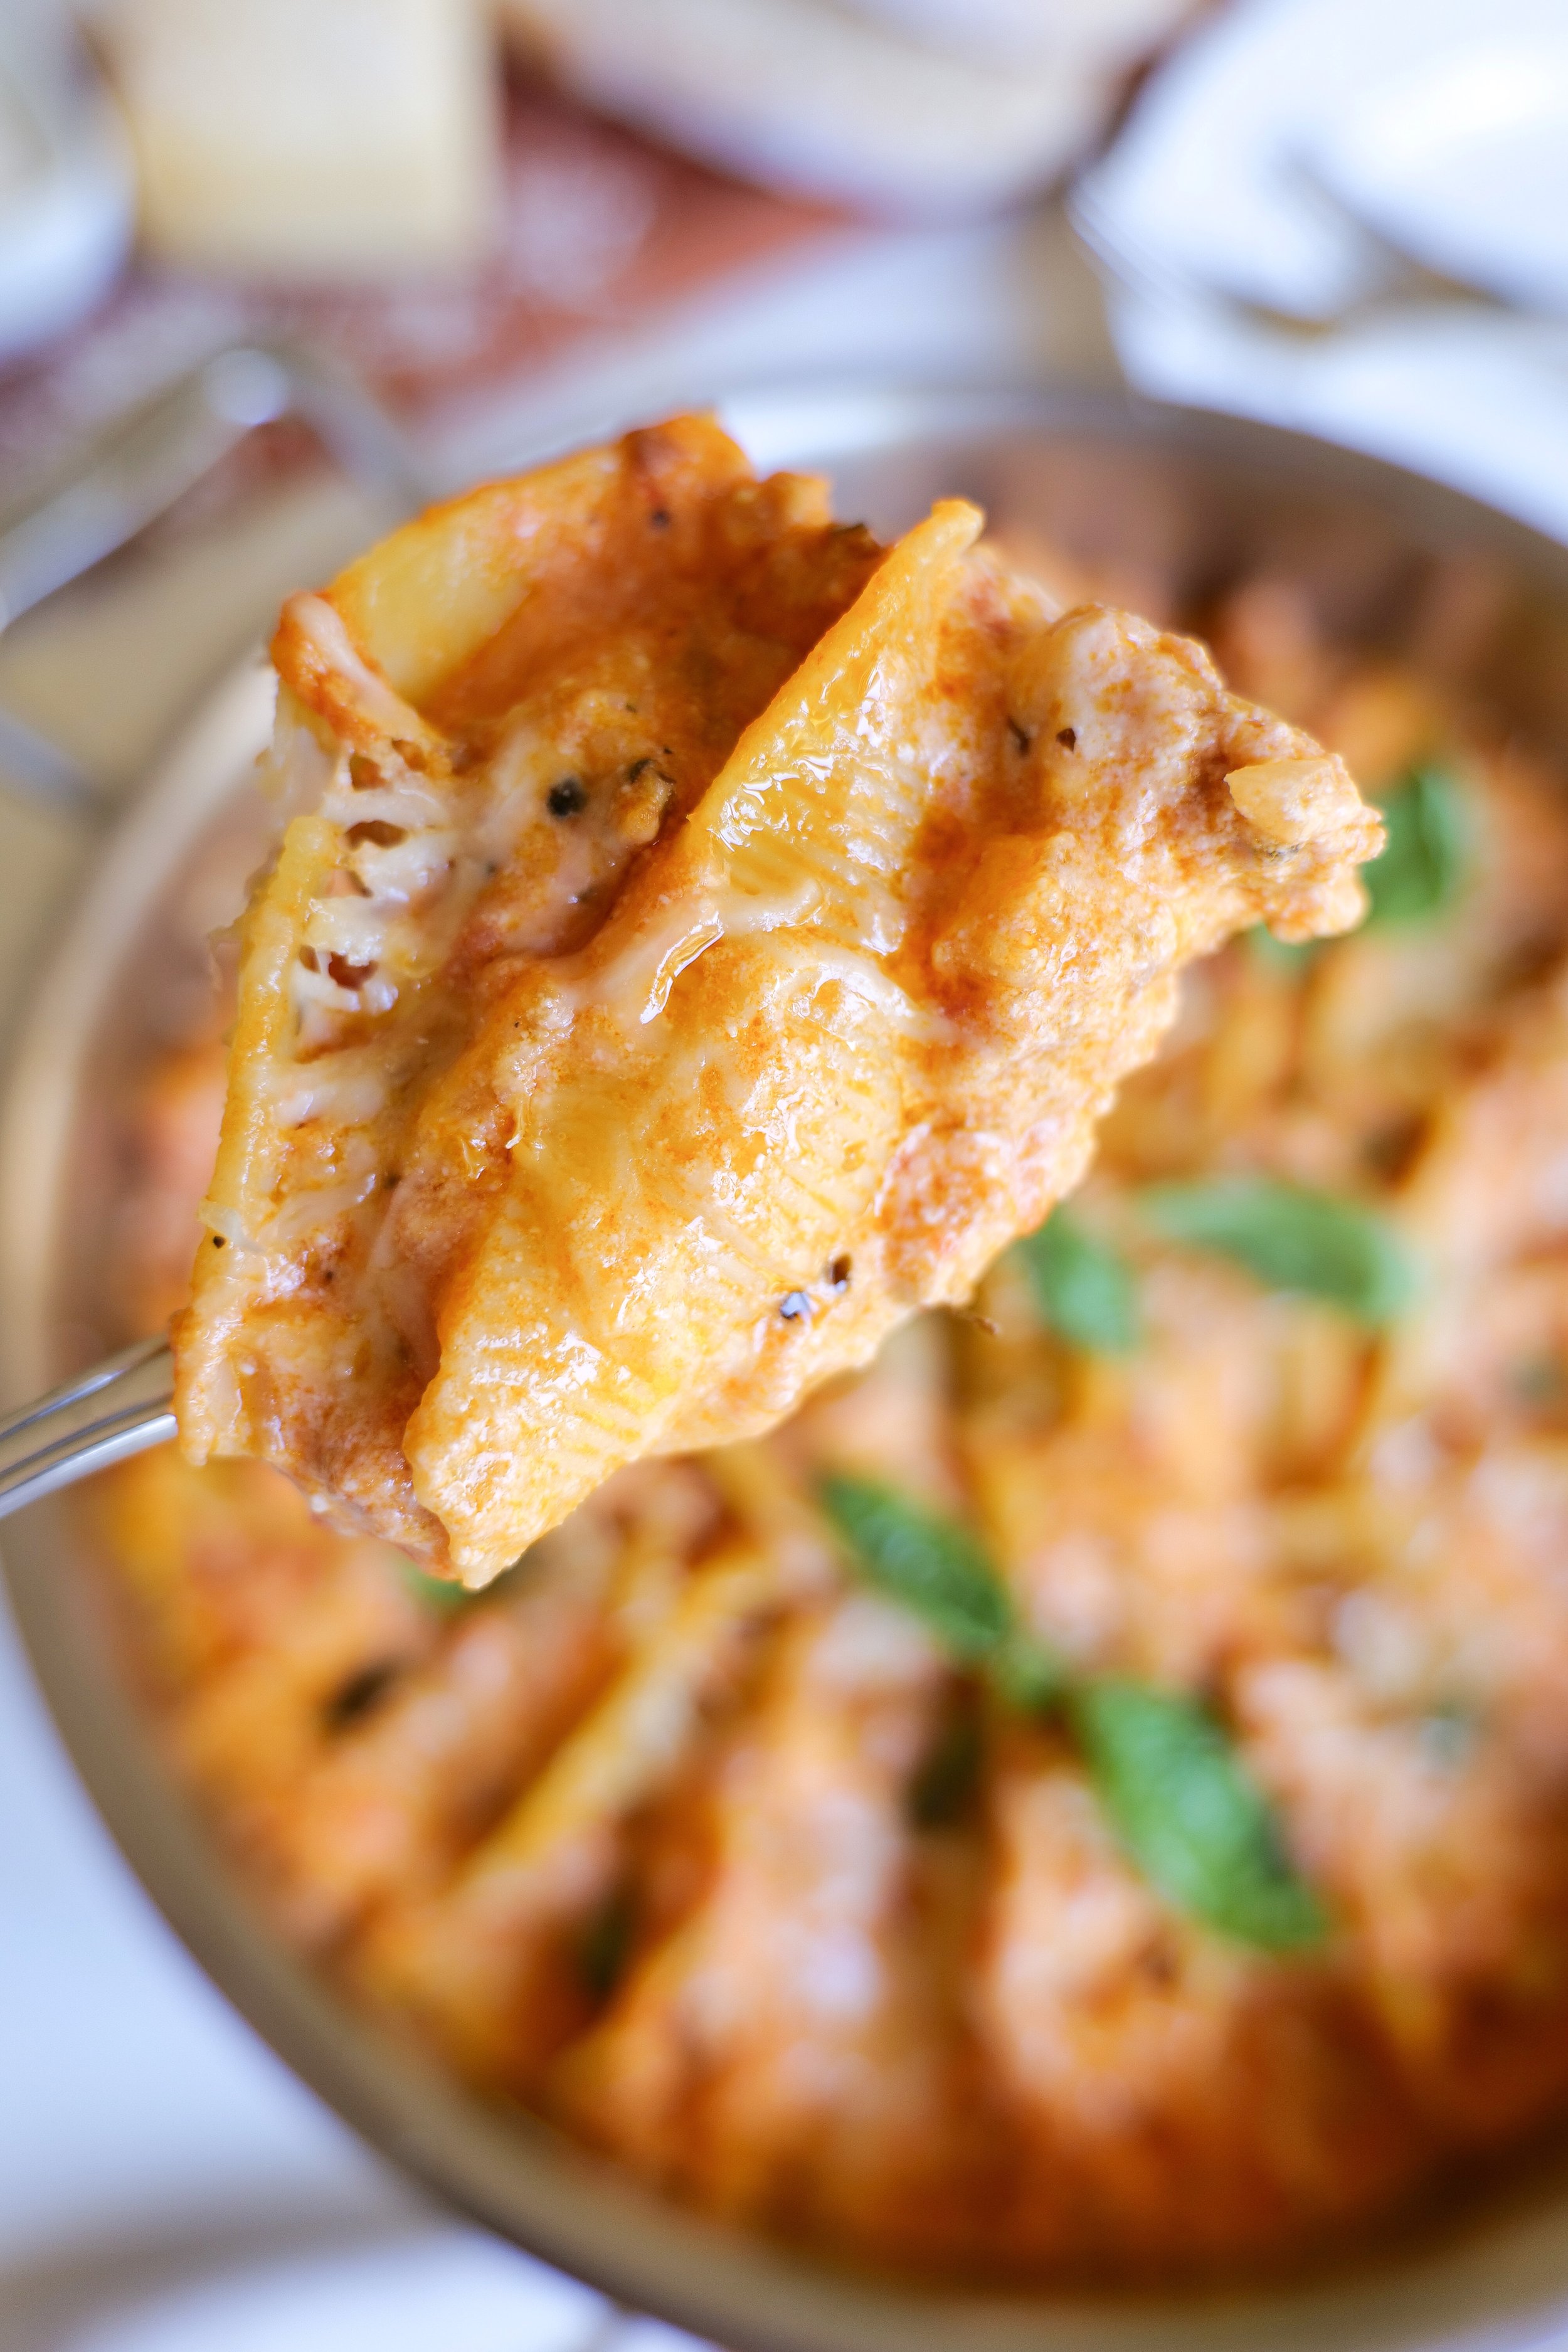
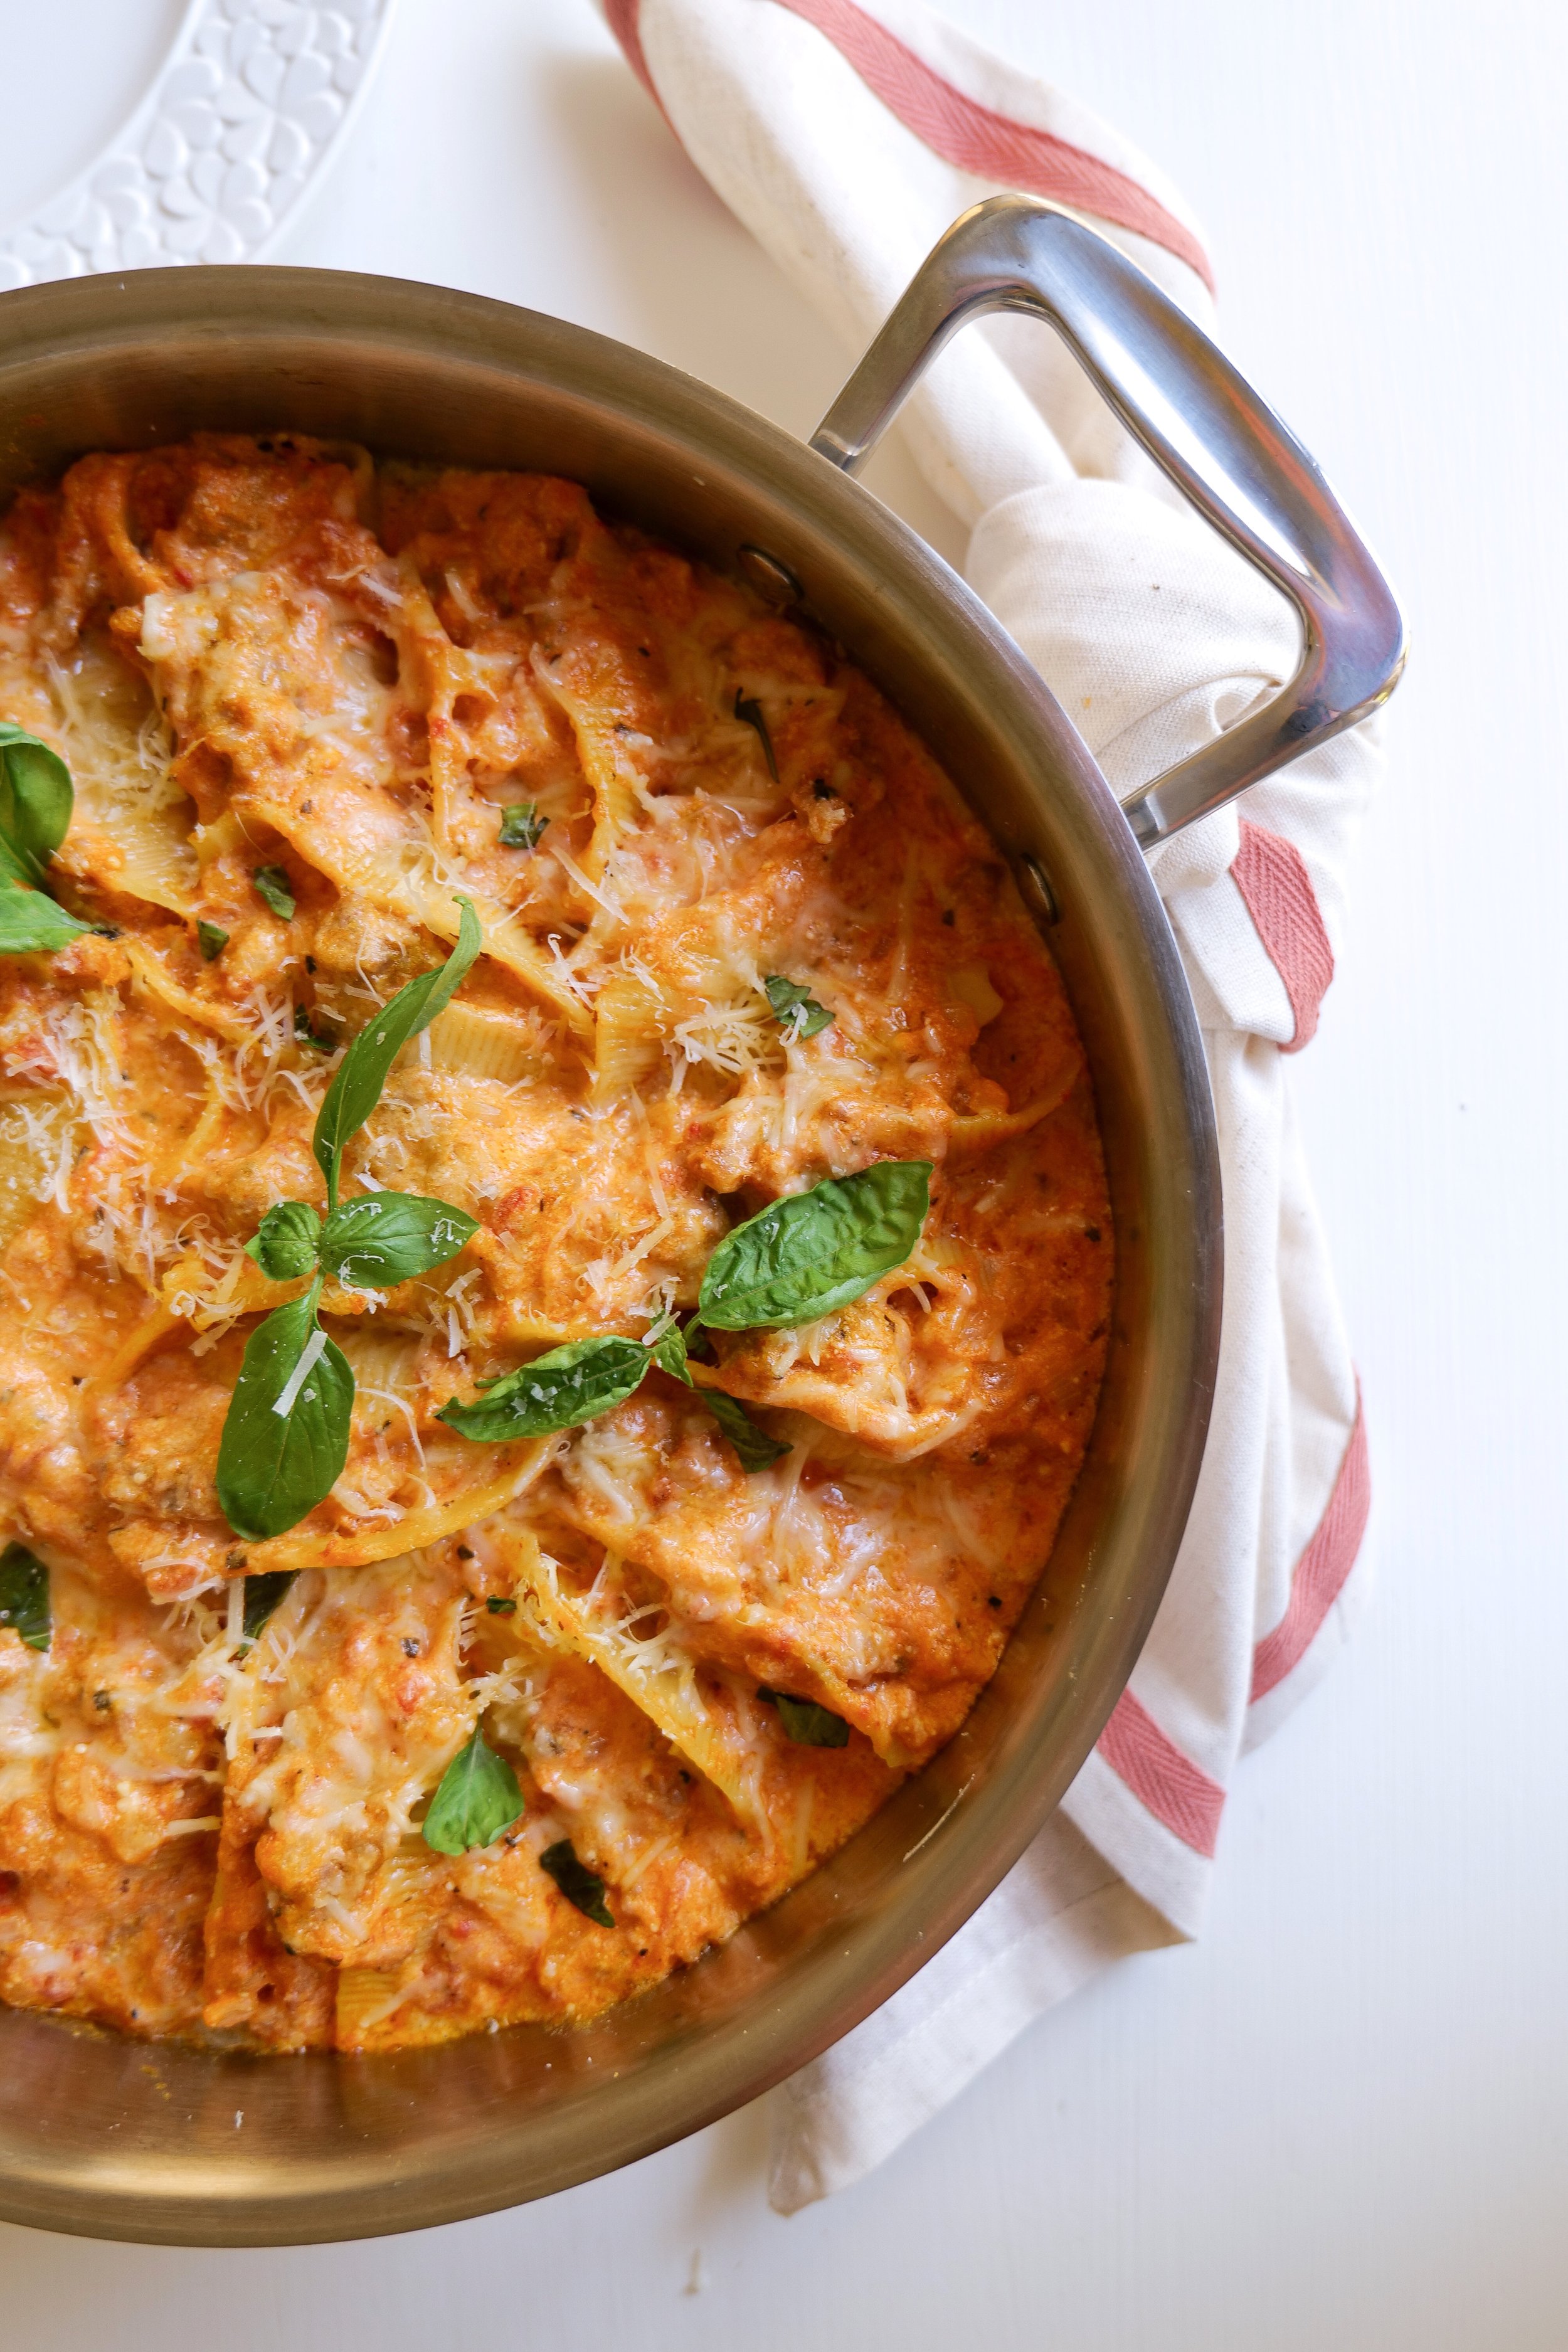
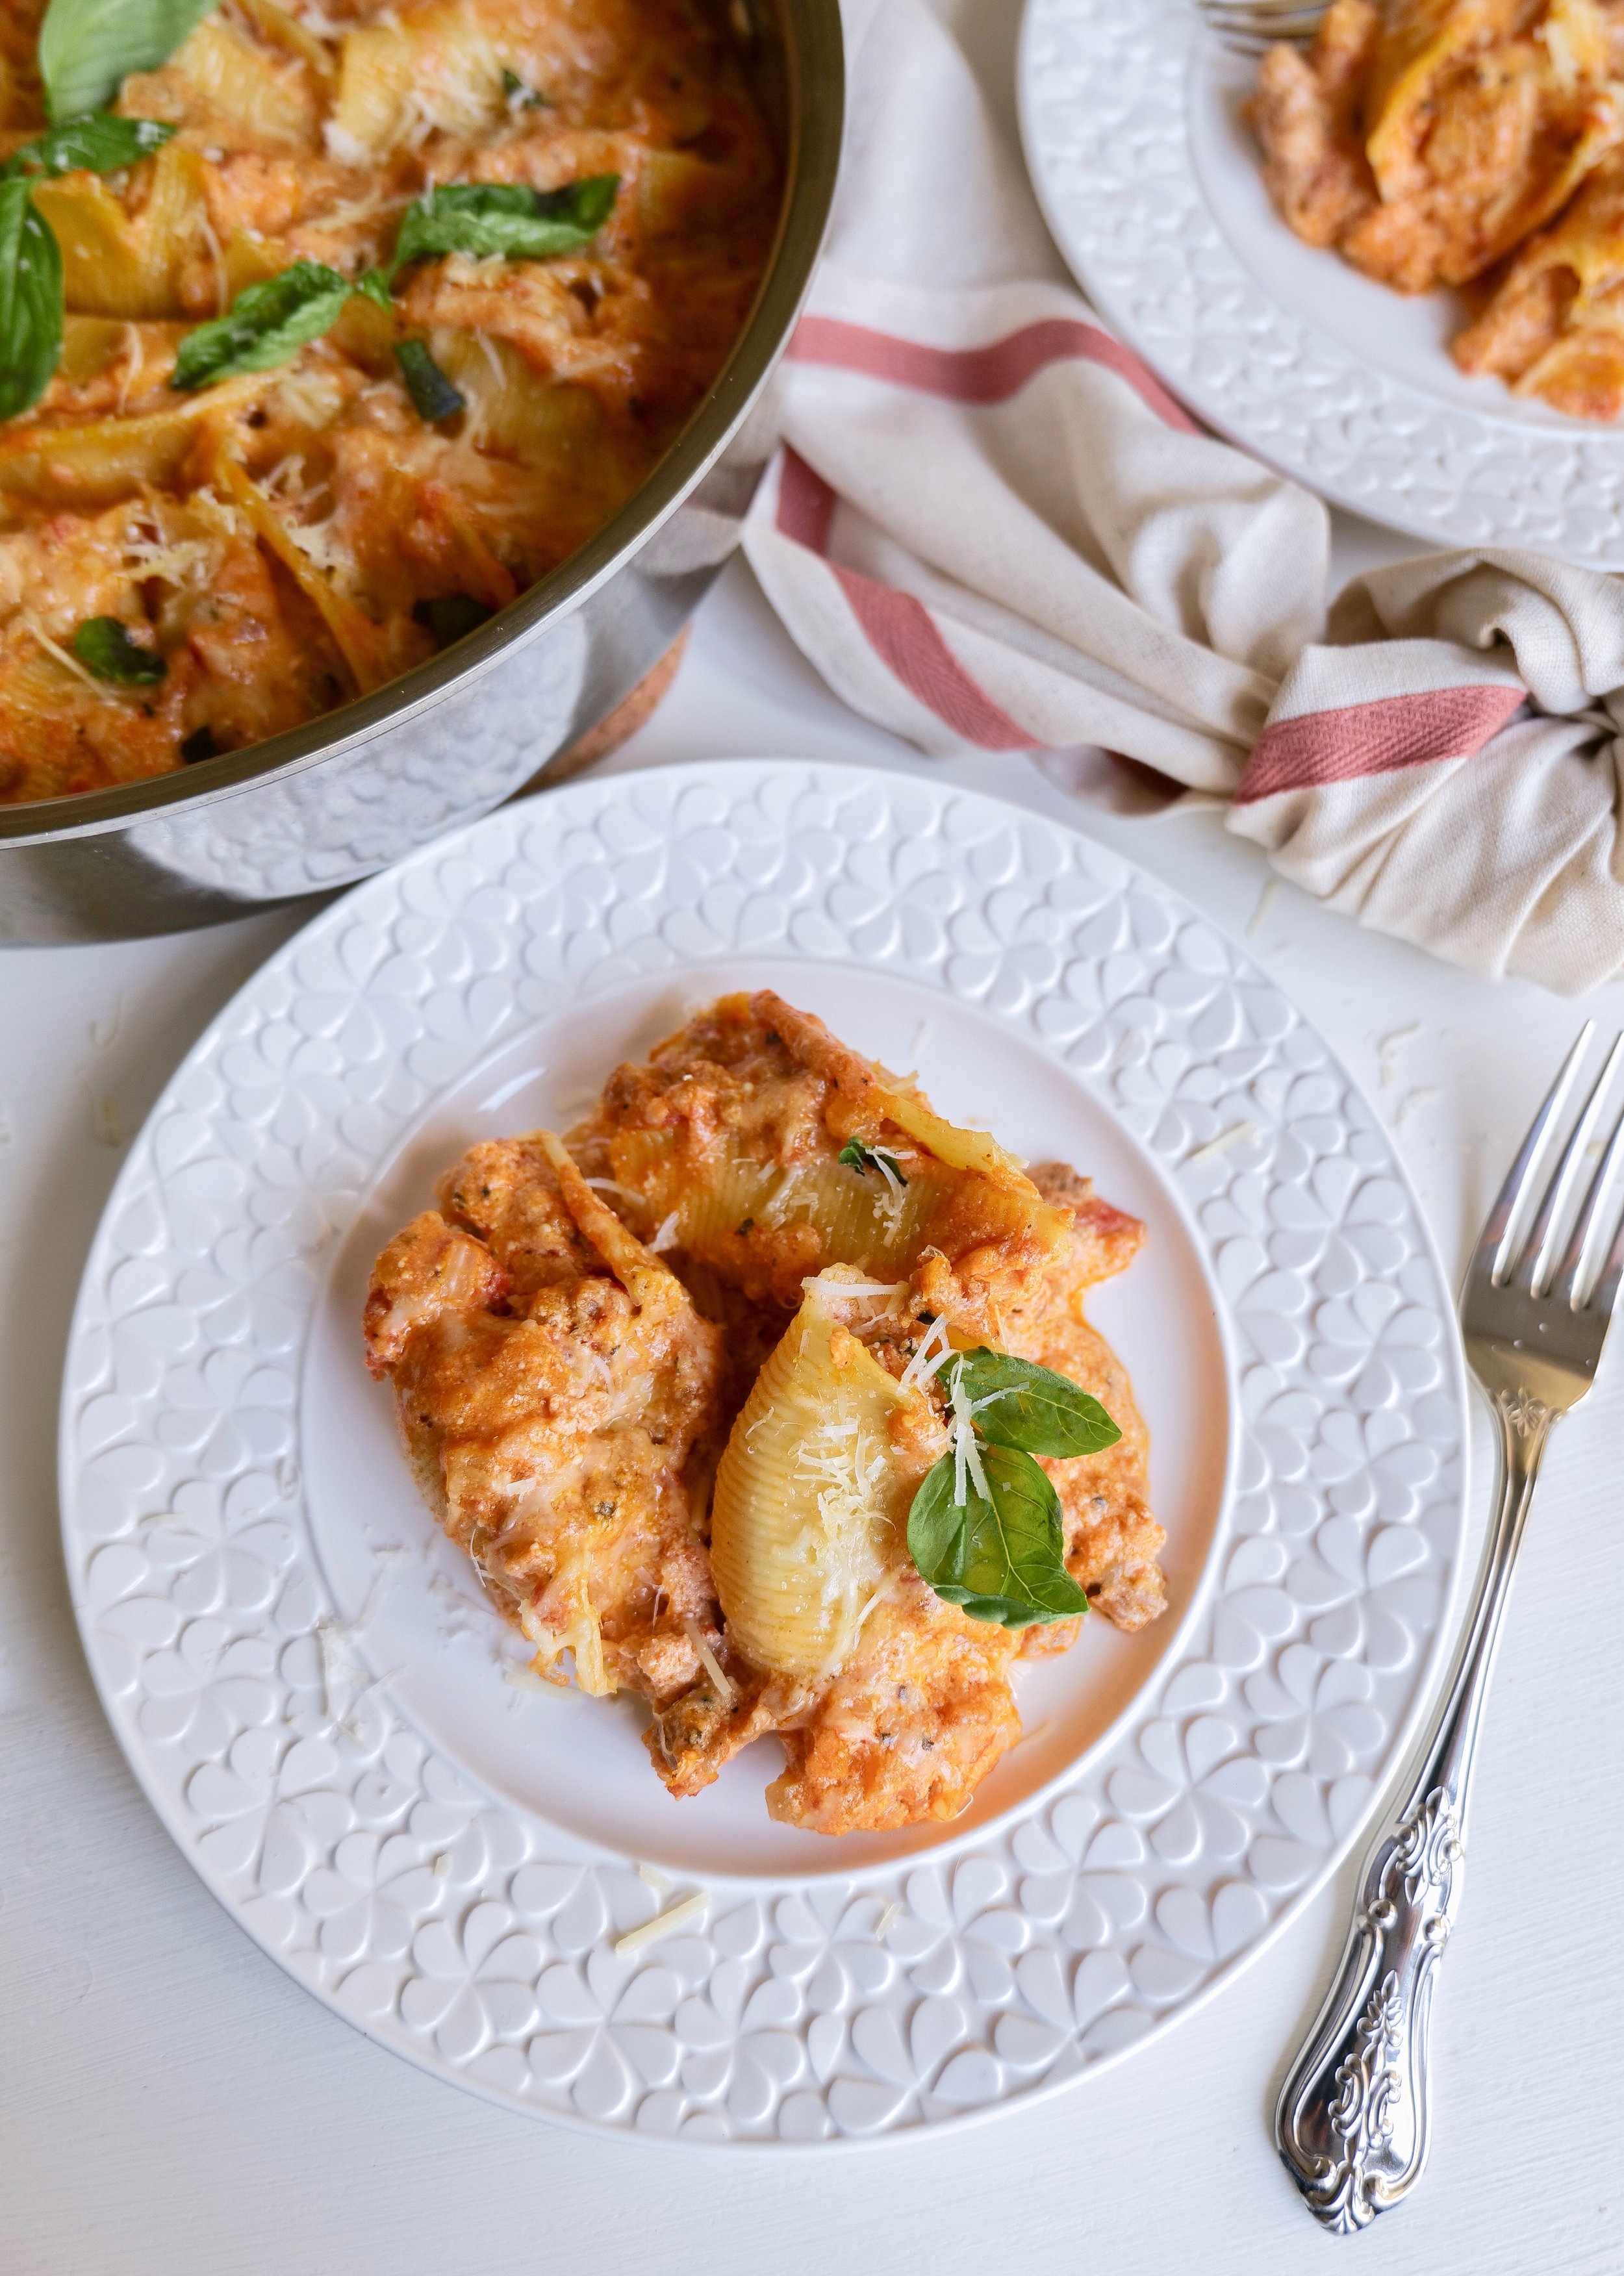
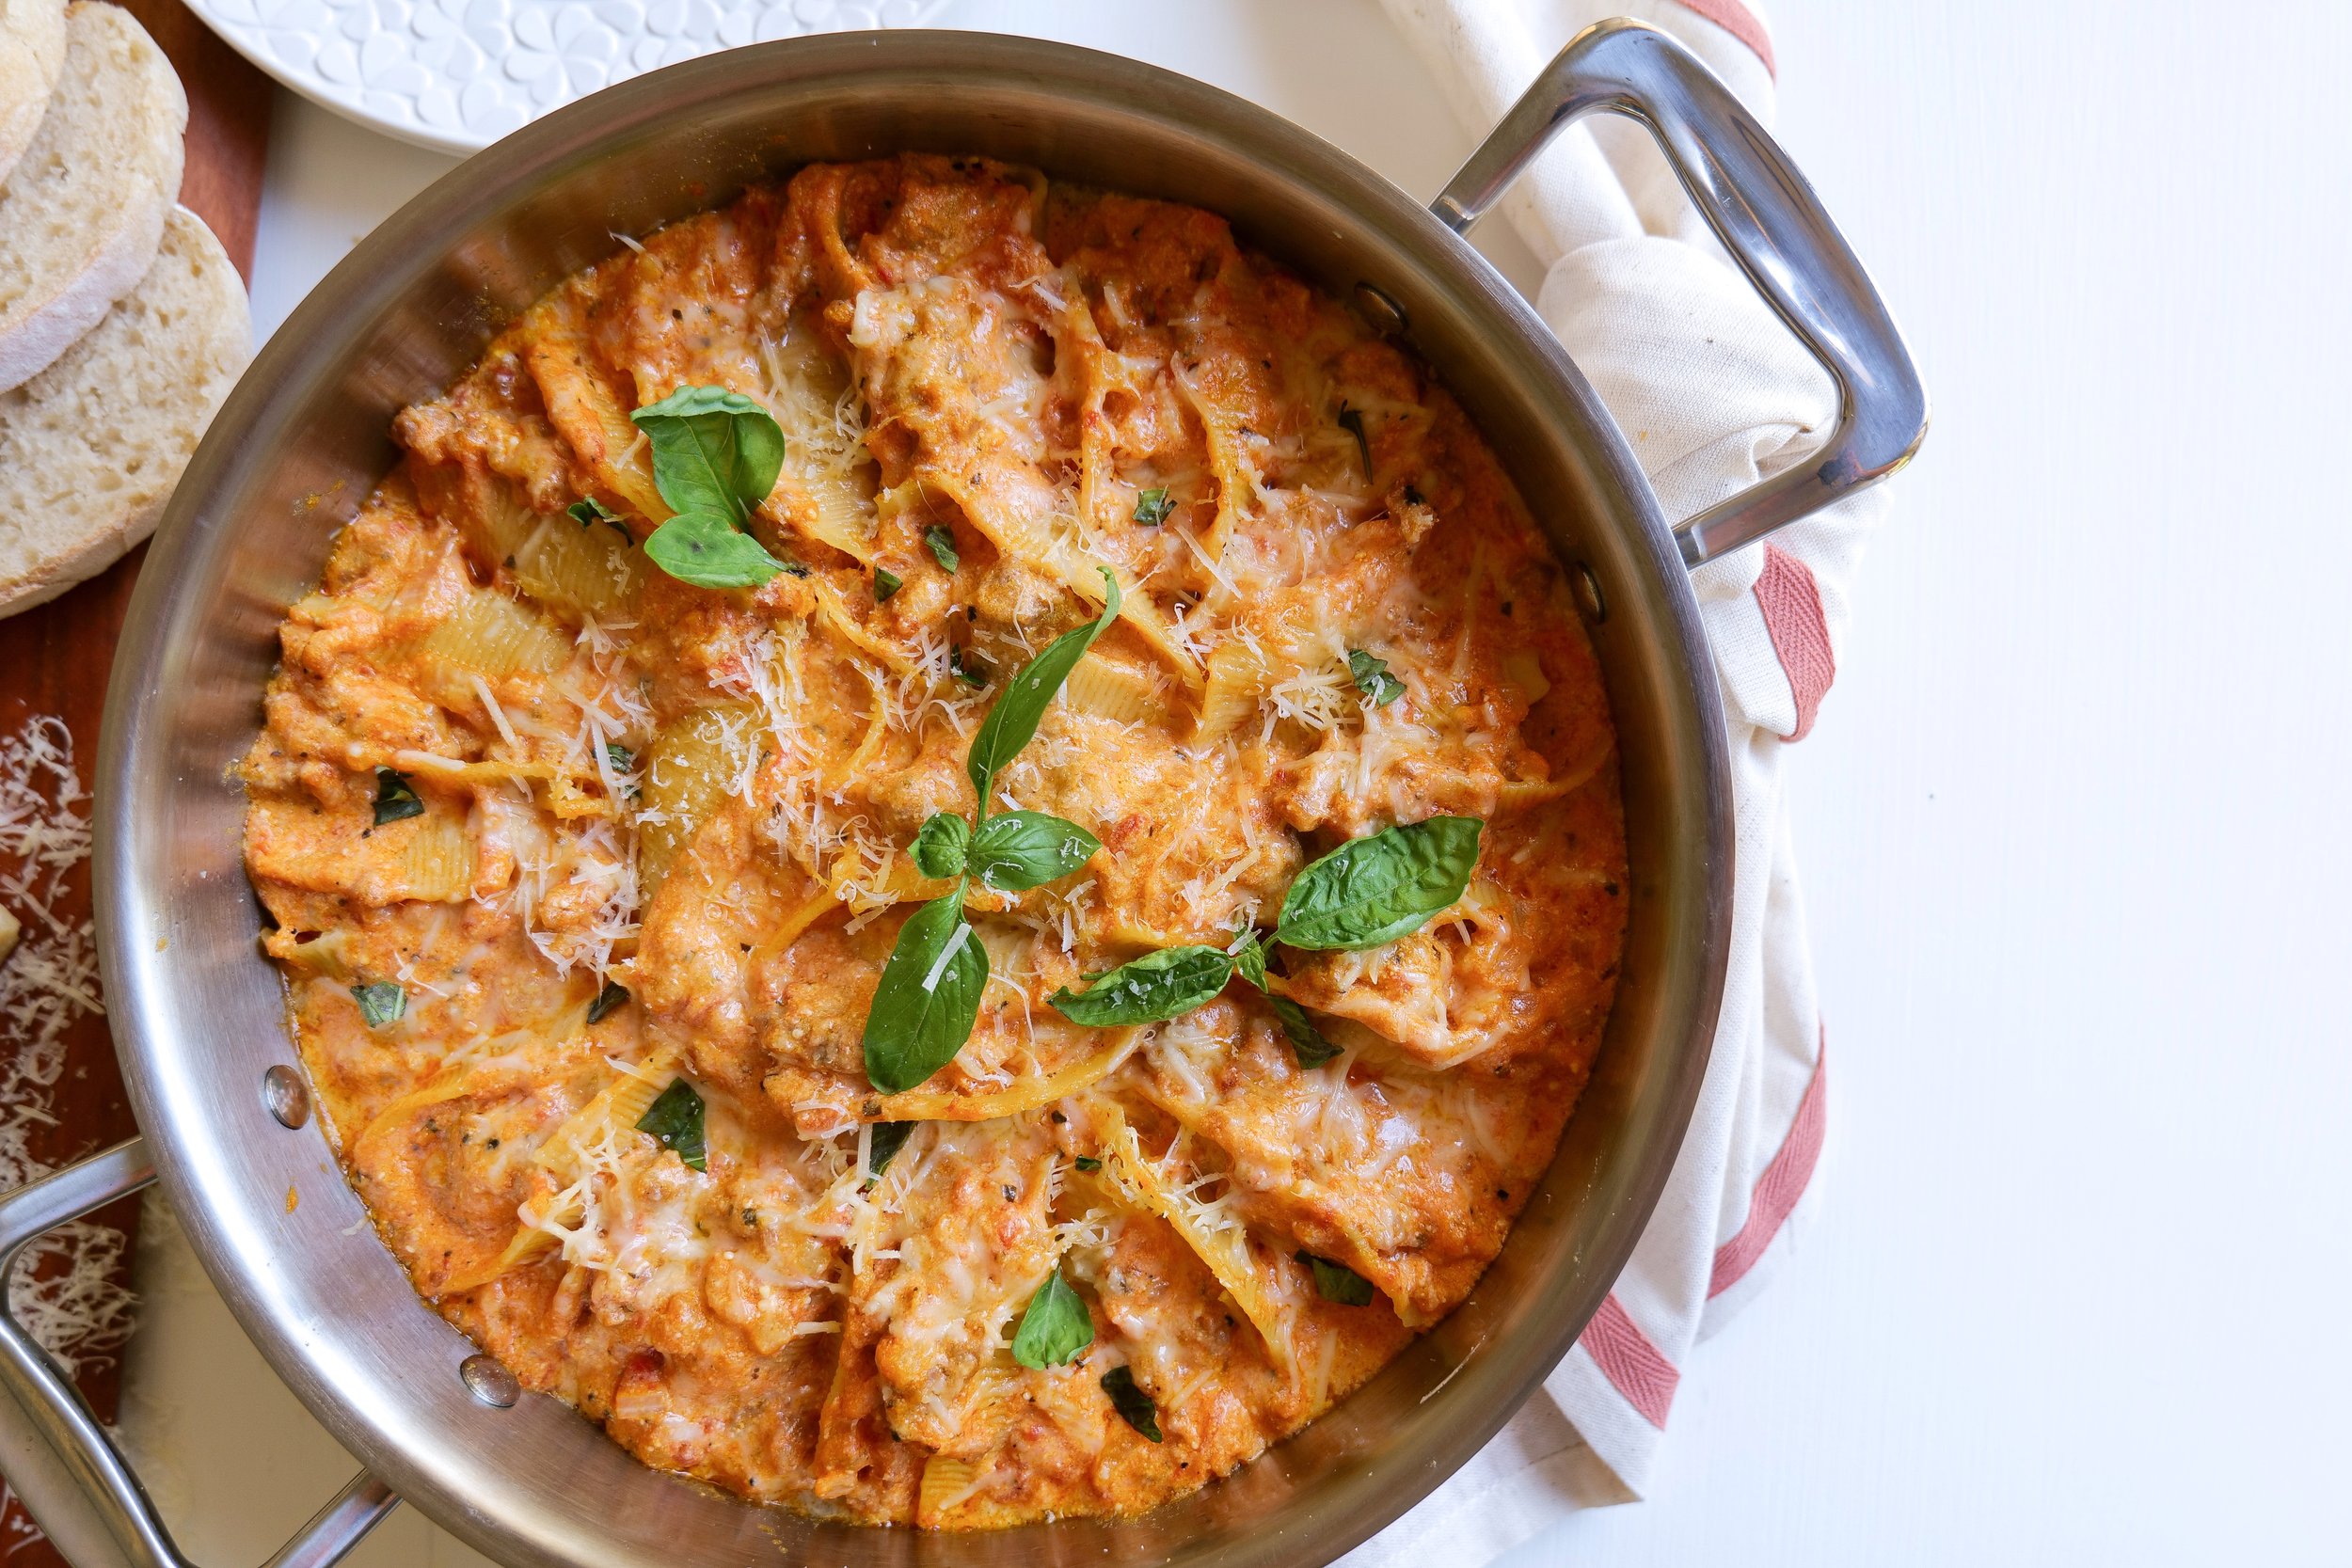
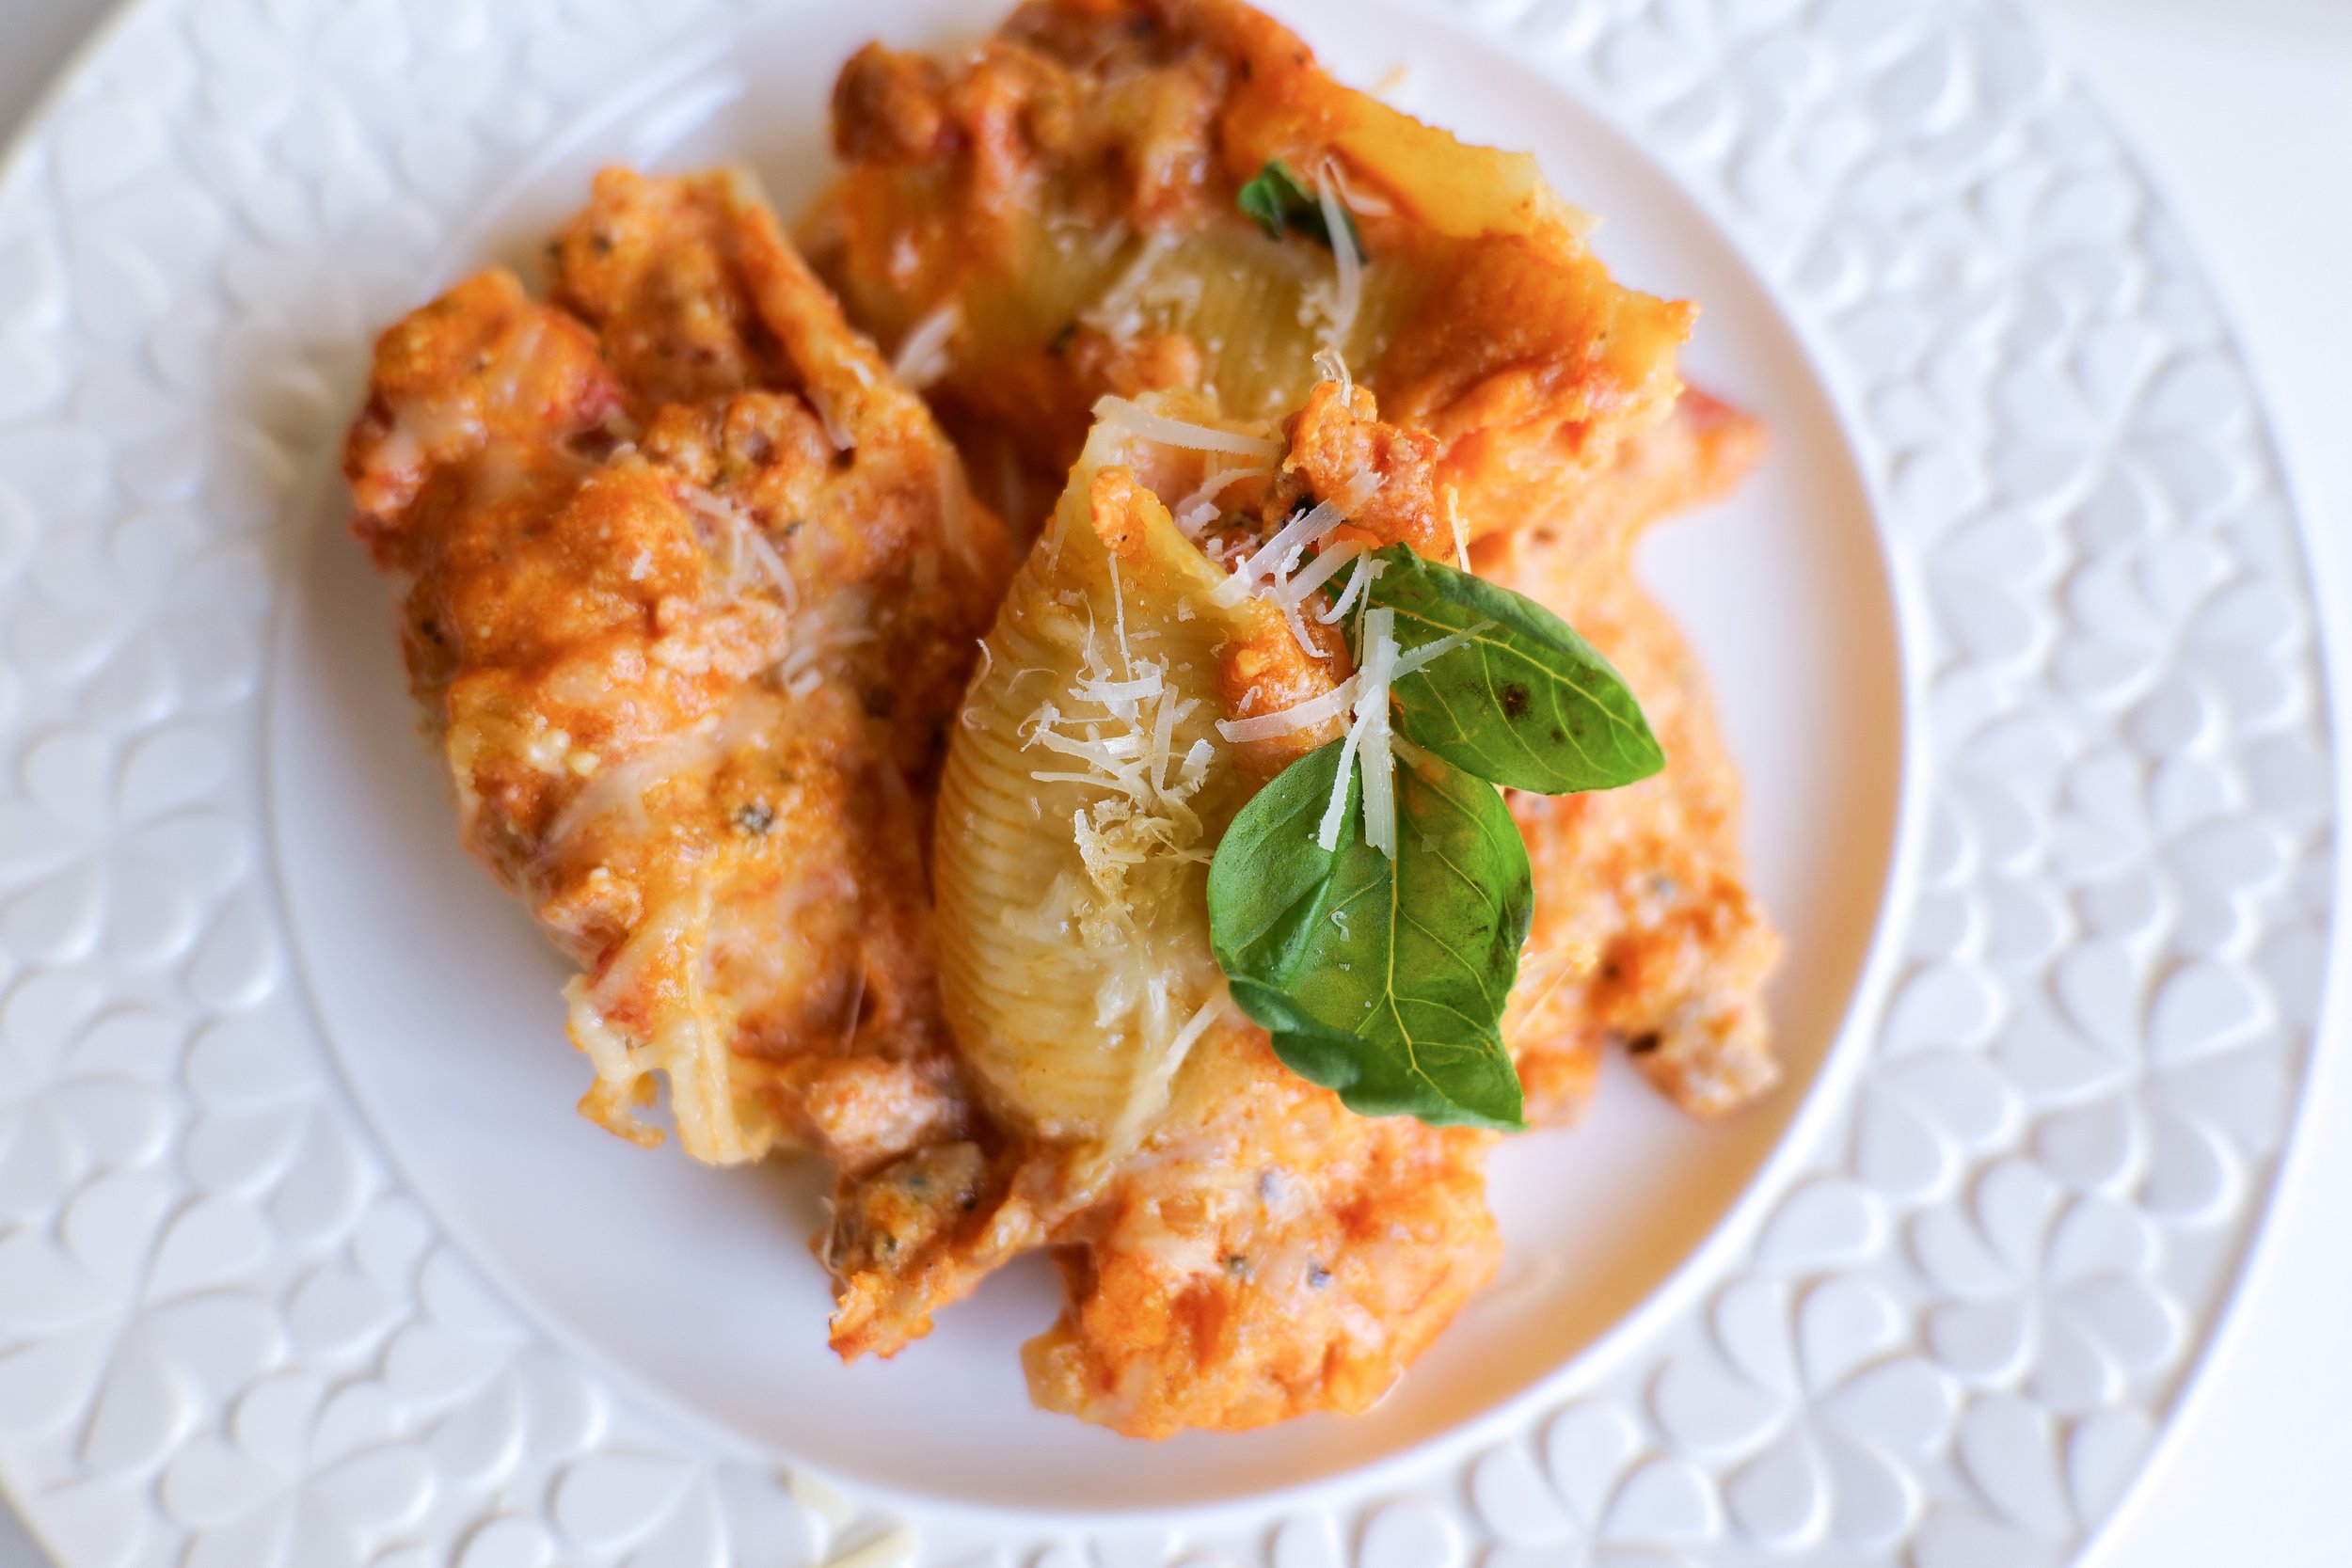
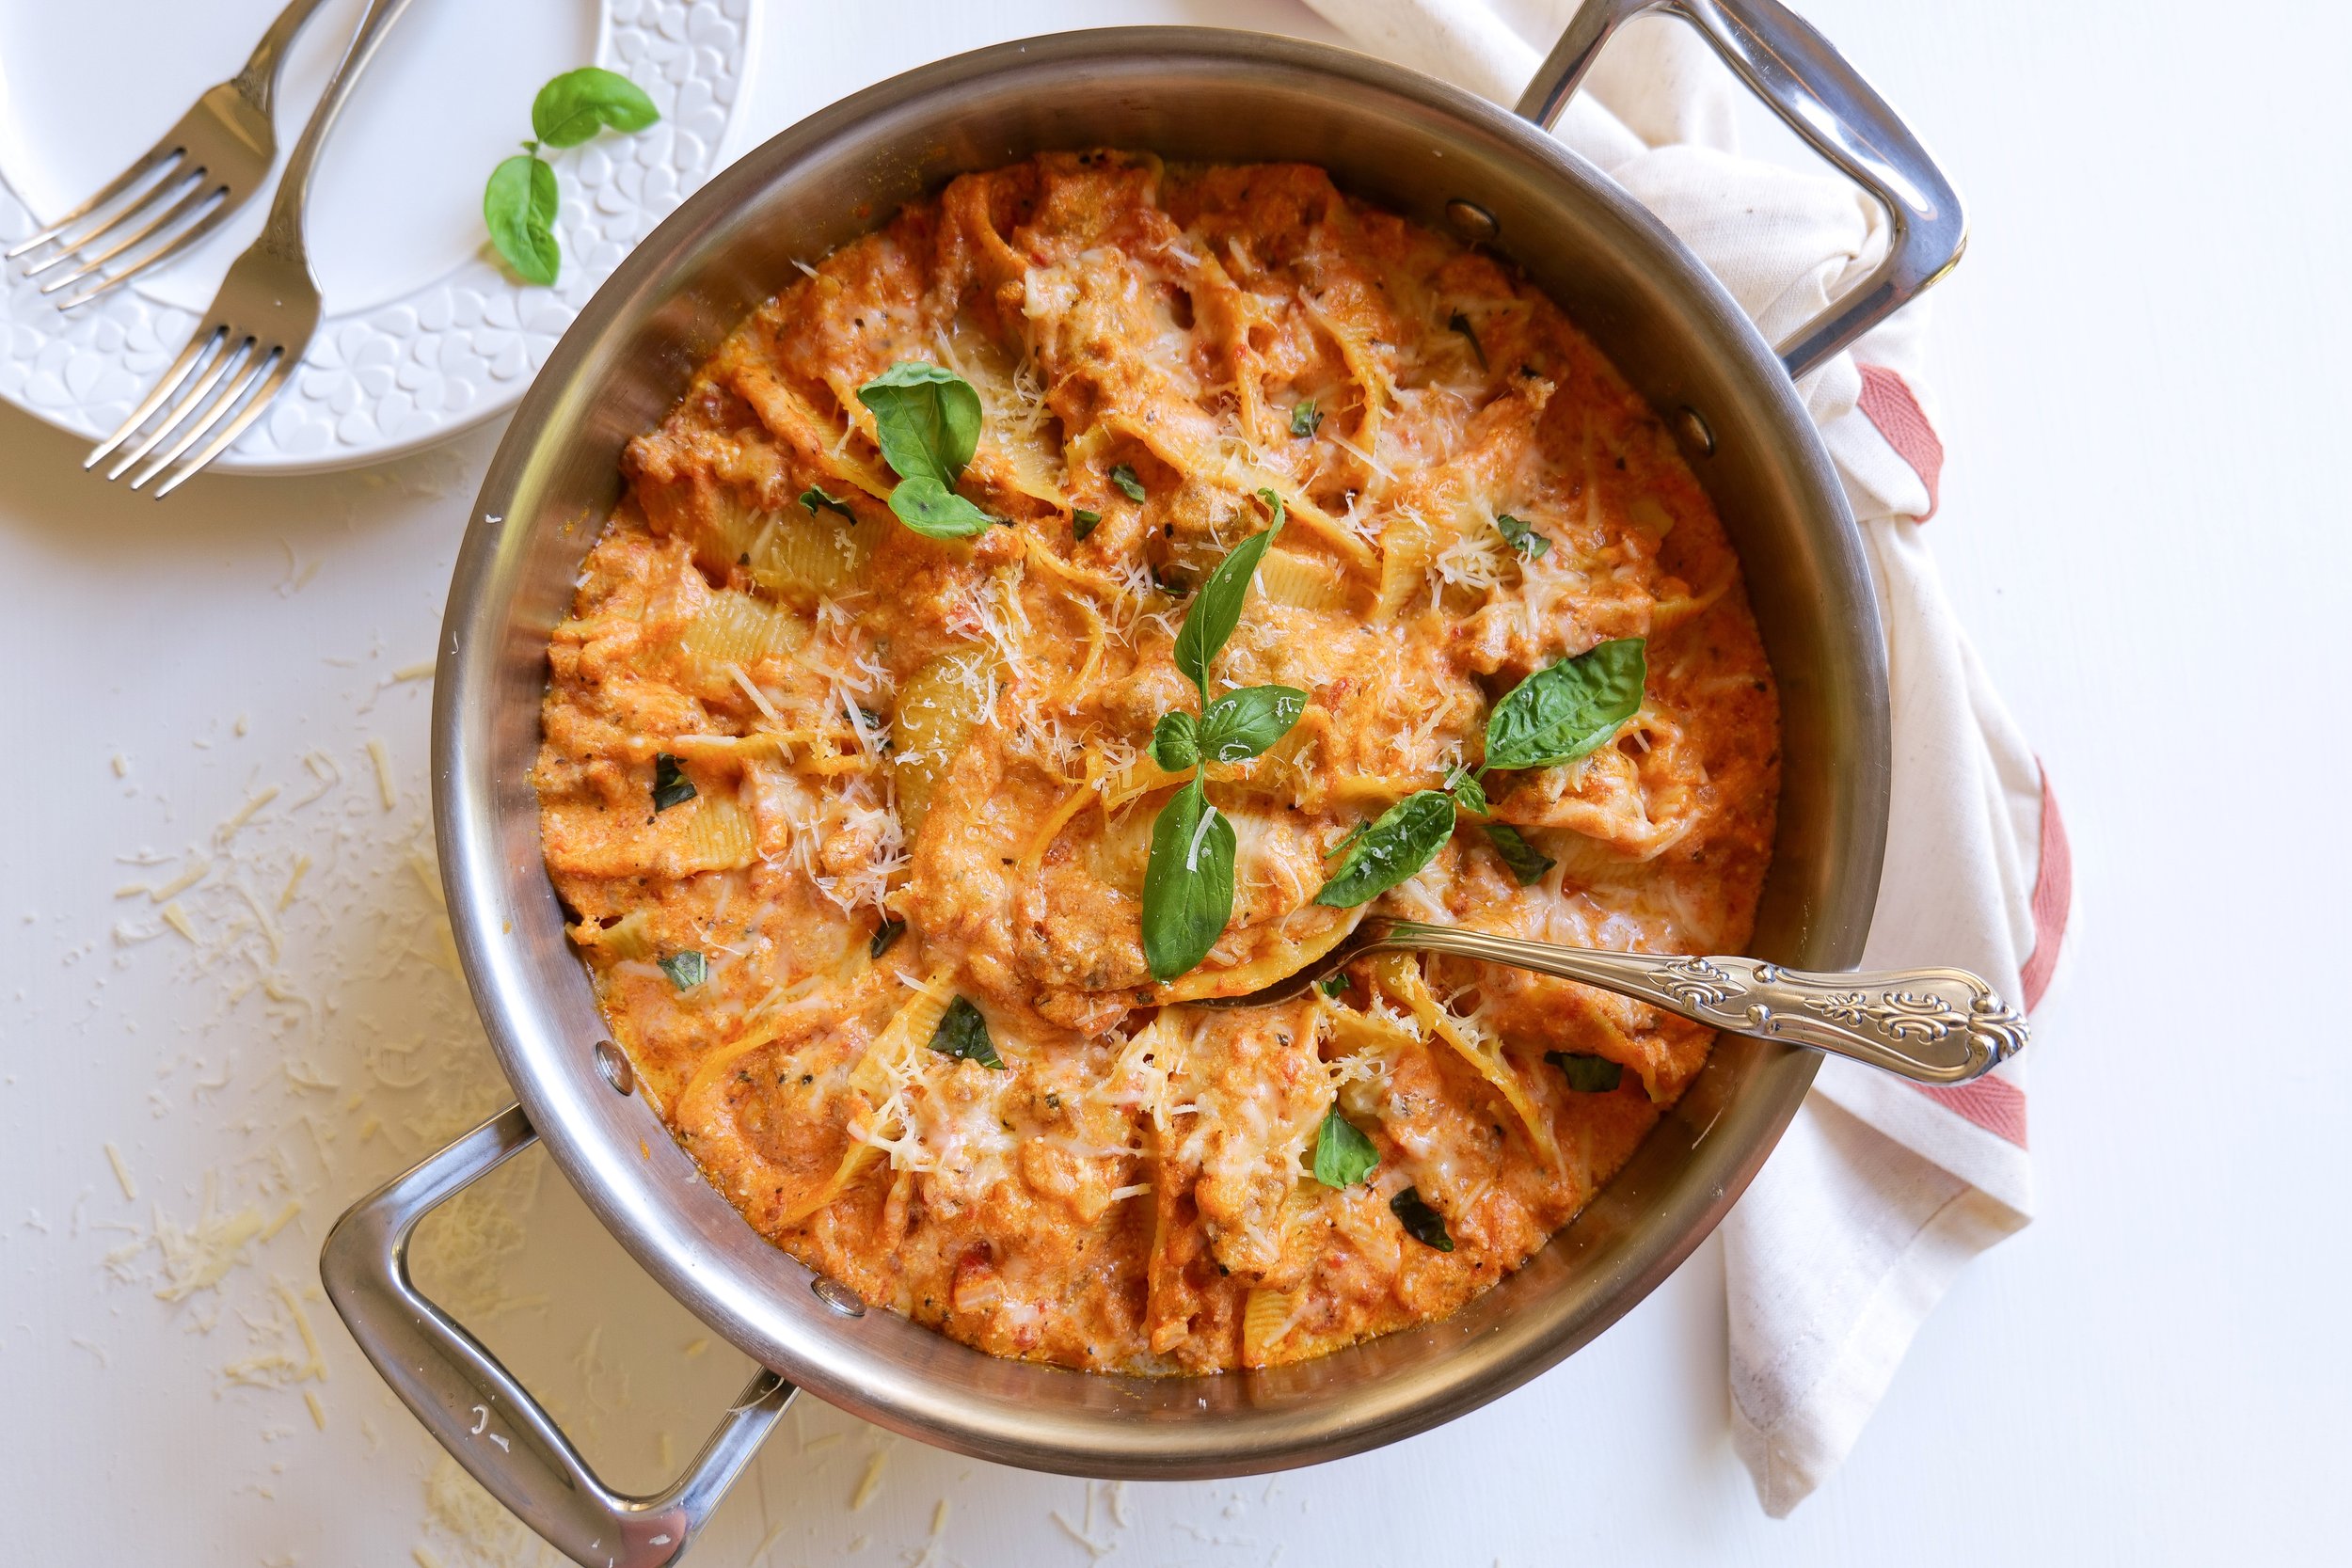
Enjoy Delicious Stuffed Italian Sausage Pasta Shells Tonight!

If you're looking for a deliciously hearty dinner idea, you have come to the right place! Italian Sausage Stuffed Pasta Shells are the perfect meal for any occasion. Not only are these stuffed shells incredibly flavorful, but they are also very easy to make. The combination of tasty Italian sausage, creamy ricotta, and gooey mozzarella cheese will make this dish a hit at your table!

Ground Beef Versus Ground Sausage

Ground beef is the perfect addition to the dish as it adds a hearty texture and flavor. Ground sausage is a more concentrated flavor and provides more spices and herbs, although it is a bit higher in fat and calories than ground beef in some cases. Ground beef is also a great source of protein and helps to make the dish more filling. For added depth of flavor, ground sausage adds a rich, smoky flavor. It is easy to substitute ground beef for ground sausage, as it is a less expensive alternative. Ground beef still provides all of the protein and texture of ground sausage, as well as a delicious flavor. No matter what protein you decide to add the result is sure to be a delicious, hearty dish that is sure to be a hit with the whole family.

Serving and Storage

Italian Sausage Stuffed Pasta Shells are a delicious and hearty meal that can be enjoyed for any dinner or lunch. This easy-to-make dish is made by stuffing pasta shells with Italian sausage, cheese, and vegetables, and then baking it in the oven until it’s golden and bubbly. For a flavorful and beautiful presentation, this easy Italian dish can be garnished with extra parmesan cheese, parsley, and/or red pepper flakes.

The Italian Sausage Stuffed Pasta Shells should be served warm. Any leftovers can be stored in an airtight container in the refrigerator and reheated in the oven or microwave. You can also freeze the Italian Sausage Stuffed Shells for up to 3 months. To do this, place the stuffed pasta shells in a single layer on a baking sheet and freeze until solid. Then, place them in a freezer-safe container or bag and store them in the freezer. When ready to enjoy, thaw the Italian Sausage Stuffed Pasta Shells in the refrigerator overnight before reheating.

Ingredients

1 package of jumbo pasta shells

2 tbsp butter

2 cloves of garlic, minced

1/2 yellow onion diced

1 pound of Italian sausage

3 cups ricotta cheese

2 cups of shredded mozzarella cheese

1/2 cup of grated parmesan cheese

1 large egg

1 tsp Italian seasoning

1 jar of marinara sauce

Fresh basil for garnish

Instructions

1. Start by preheating the oven to 350°F (176°C).

2. Bring a large pot of water to boil and cook the pasta shells until al dente.

3. While shells are boiling, take a large skillet and melt butter. Add in garlic and onion and cook until fragrant and the onion is opaque and the sausage is cooked through. Add half the pasta sauce.

3. In another bowl mix together ricotta, parmesan cheese, egg, Italian seasoning, salt and pepper. Add ricotta mixture to the sausage mixture.

4. Next, spoon the sausage mixture into the cooked (and drained) pasta shells and place them in a greased baking dish.

5. Pour the remainder of the pasta sauce over top of shells until evenly saturated and sprinkle the mozzarella cheese on top of the pasta shells.

6. Bake in the preheated oven for 20-25 minutes, or until the cheese is melted and bubbly. Serve warm and enjoy!

This Italian Sausage Stuffed Pasta Shells dish combines the flavors of Italian sausage, garlic, onion, bell pepper, tomato sauce, cream cheese, and Parmesan cheese. It's an easy and delicious meal that is sure to be a hit with the whole family. The pasta shells are stuffed with the sausage mixture and topped with mozzarella cheese. The end result is an ooey-gooey hearty and cheesy dish that is sure to satisfy any craving for Italian comfort food.

For a delicious Italian dinner, try these Italian Sausage Stuffed Pasta Shells. This easy and flavorful dish is sure to become a family favorite. With just a few simple ingredients, you can have a delicious meal on the table in no time. Preheat the oven, cook the pasta shells, and stuff with the sausage mixture. Top with cheese and bake until the cheese is melted and bubbly. Serve warm with a side salad and warm garlic bread for a complete meal and enjoy!

Recipe Shortcuts

Italian Sausage Stuffed Pasta Shells are a delicious and easy meal that you can make in no time. The pre-cooked Italian sausage makes this recipe a breeze, as you don't have to worry about cooking it before adding it to the dish. To save even more time, you can buy a jar of your favorite store-bought tomato sauce, instead of making your own. Ricotta cheese adds a creamy texture to the dish without too much extra effort. To top it all off, you can use pre-shredded cheese and pre-cooked pasta shells to make this dish come together quickly and easily.

Other Pasta Dishes You Will Love:

The Ultimate Guide to Making A Delicious White Pasta Sauce

Garlic Mushroom & Shrimp Pasta

Baked Burrata Pumpkin Ziti with Pork Sausage Recipe

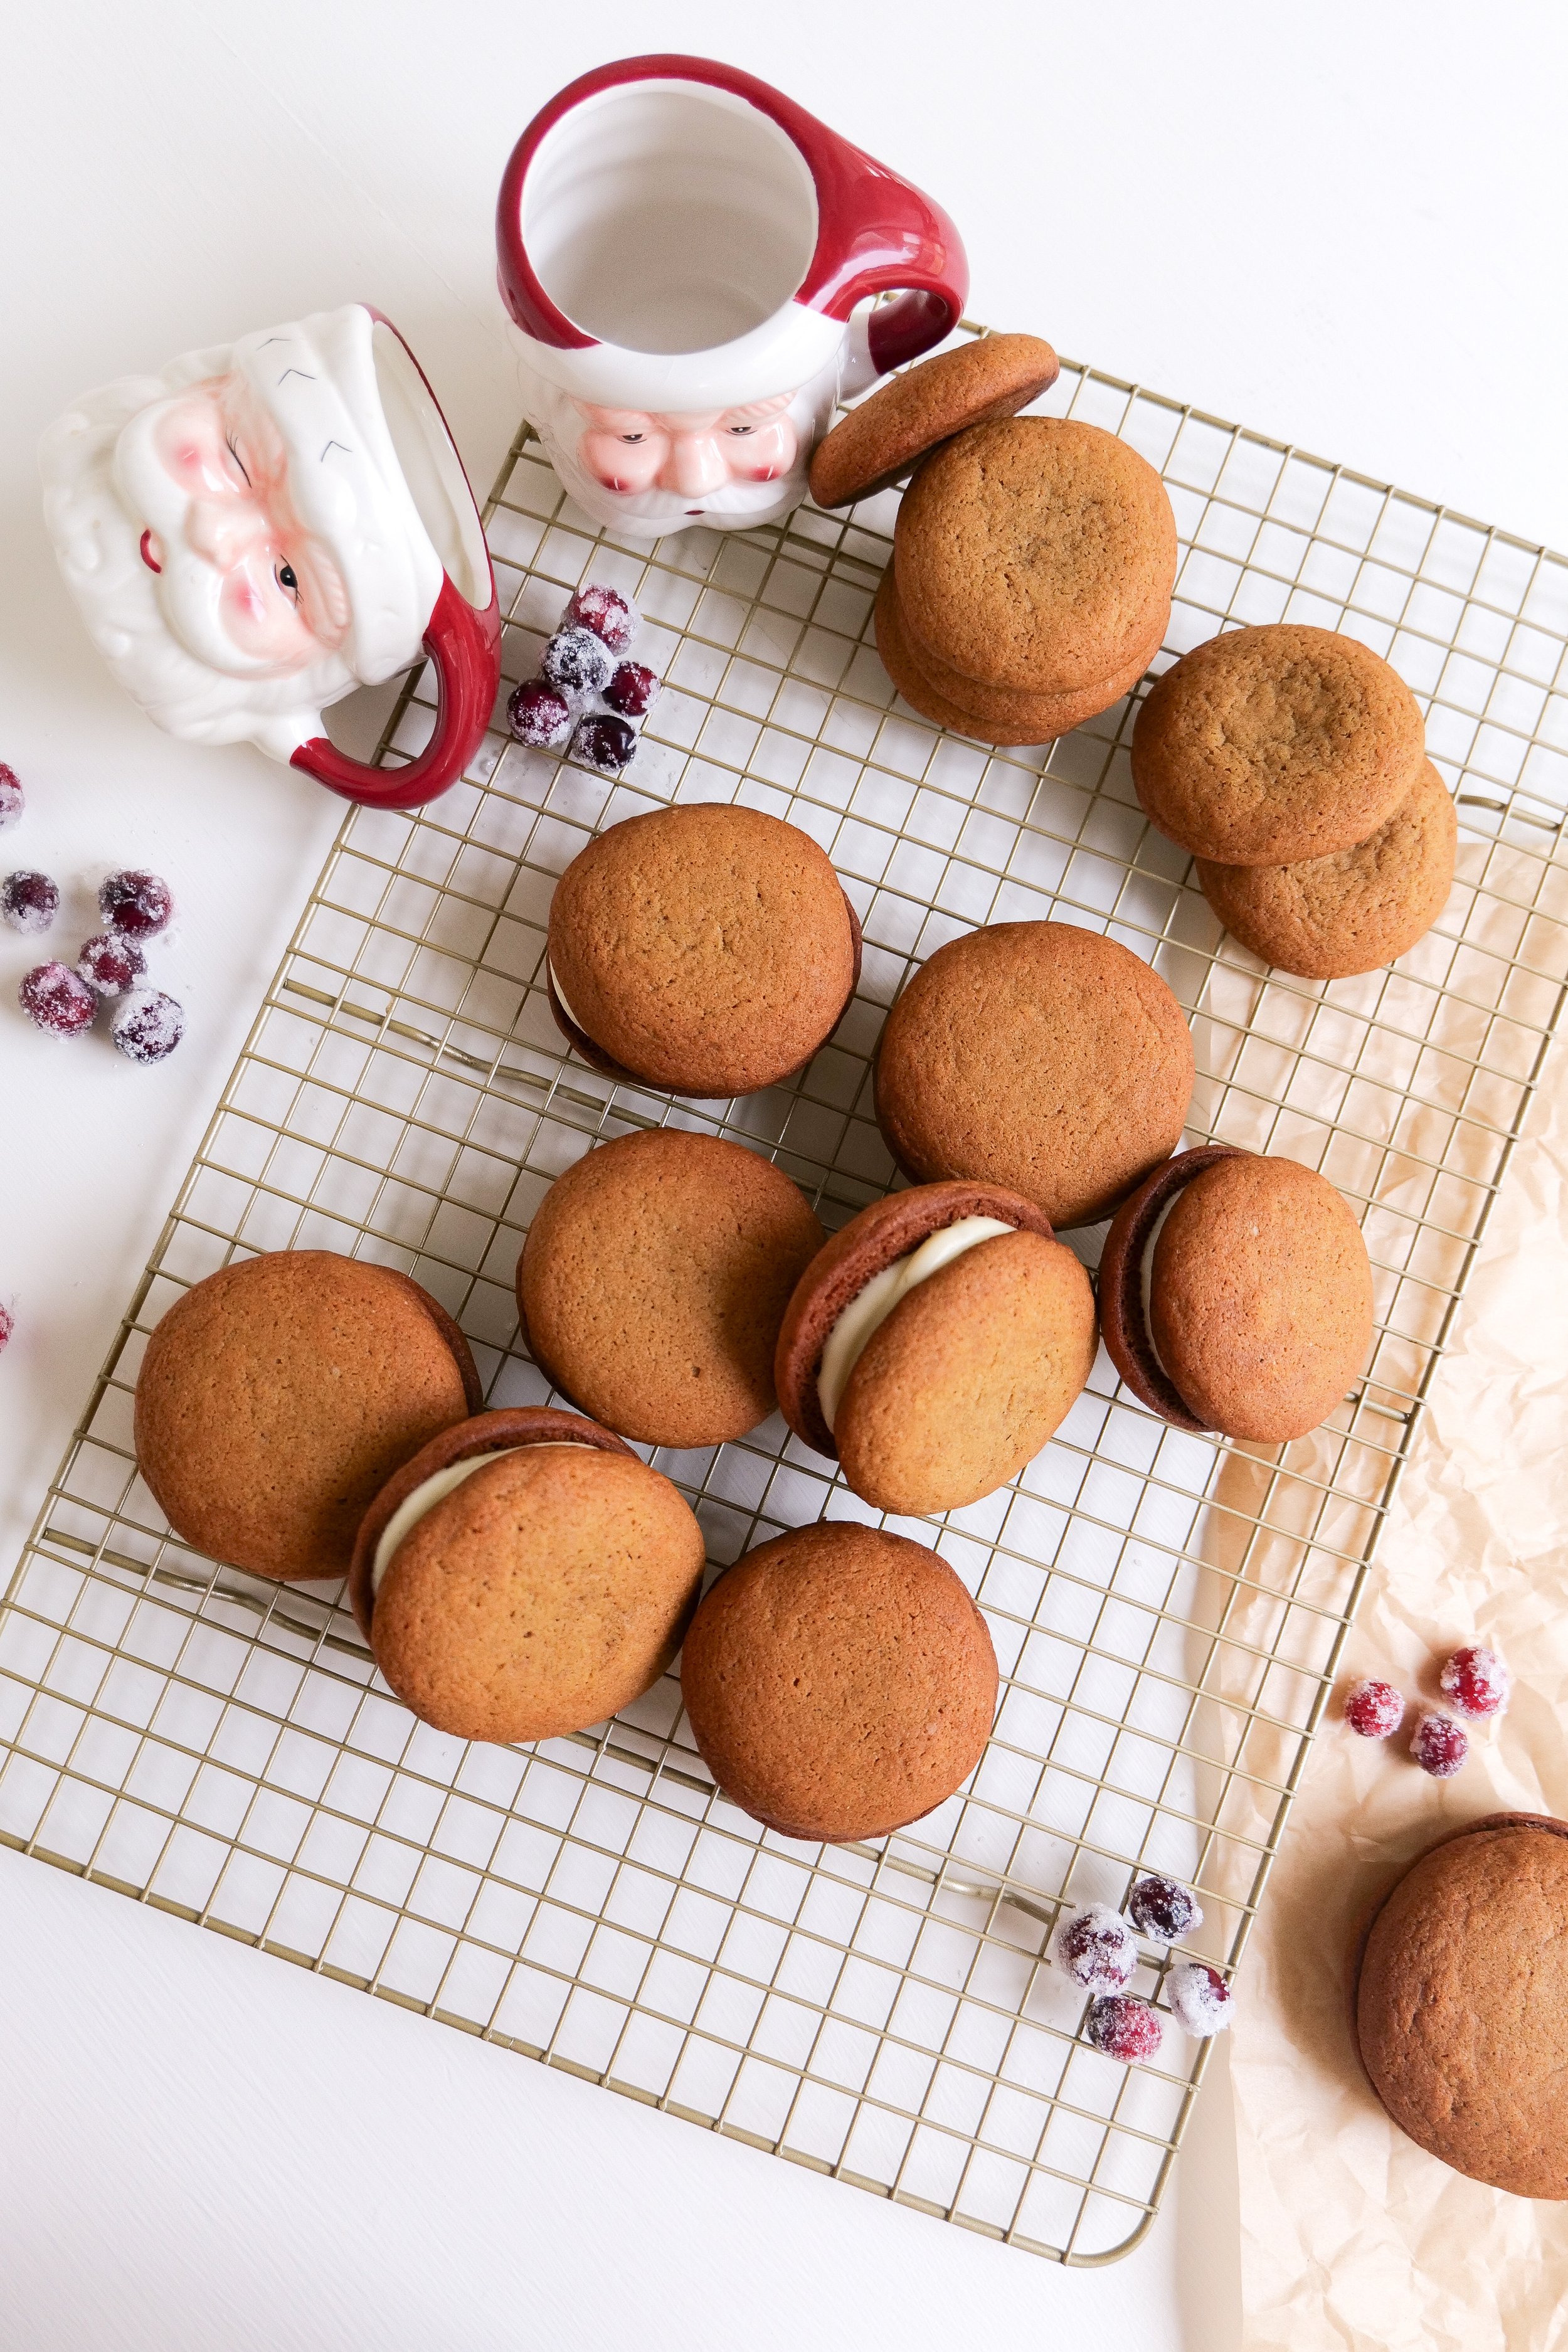
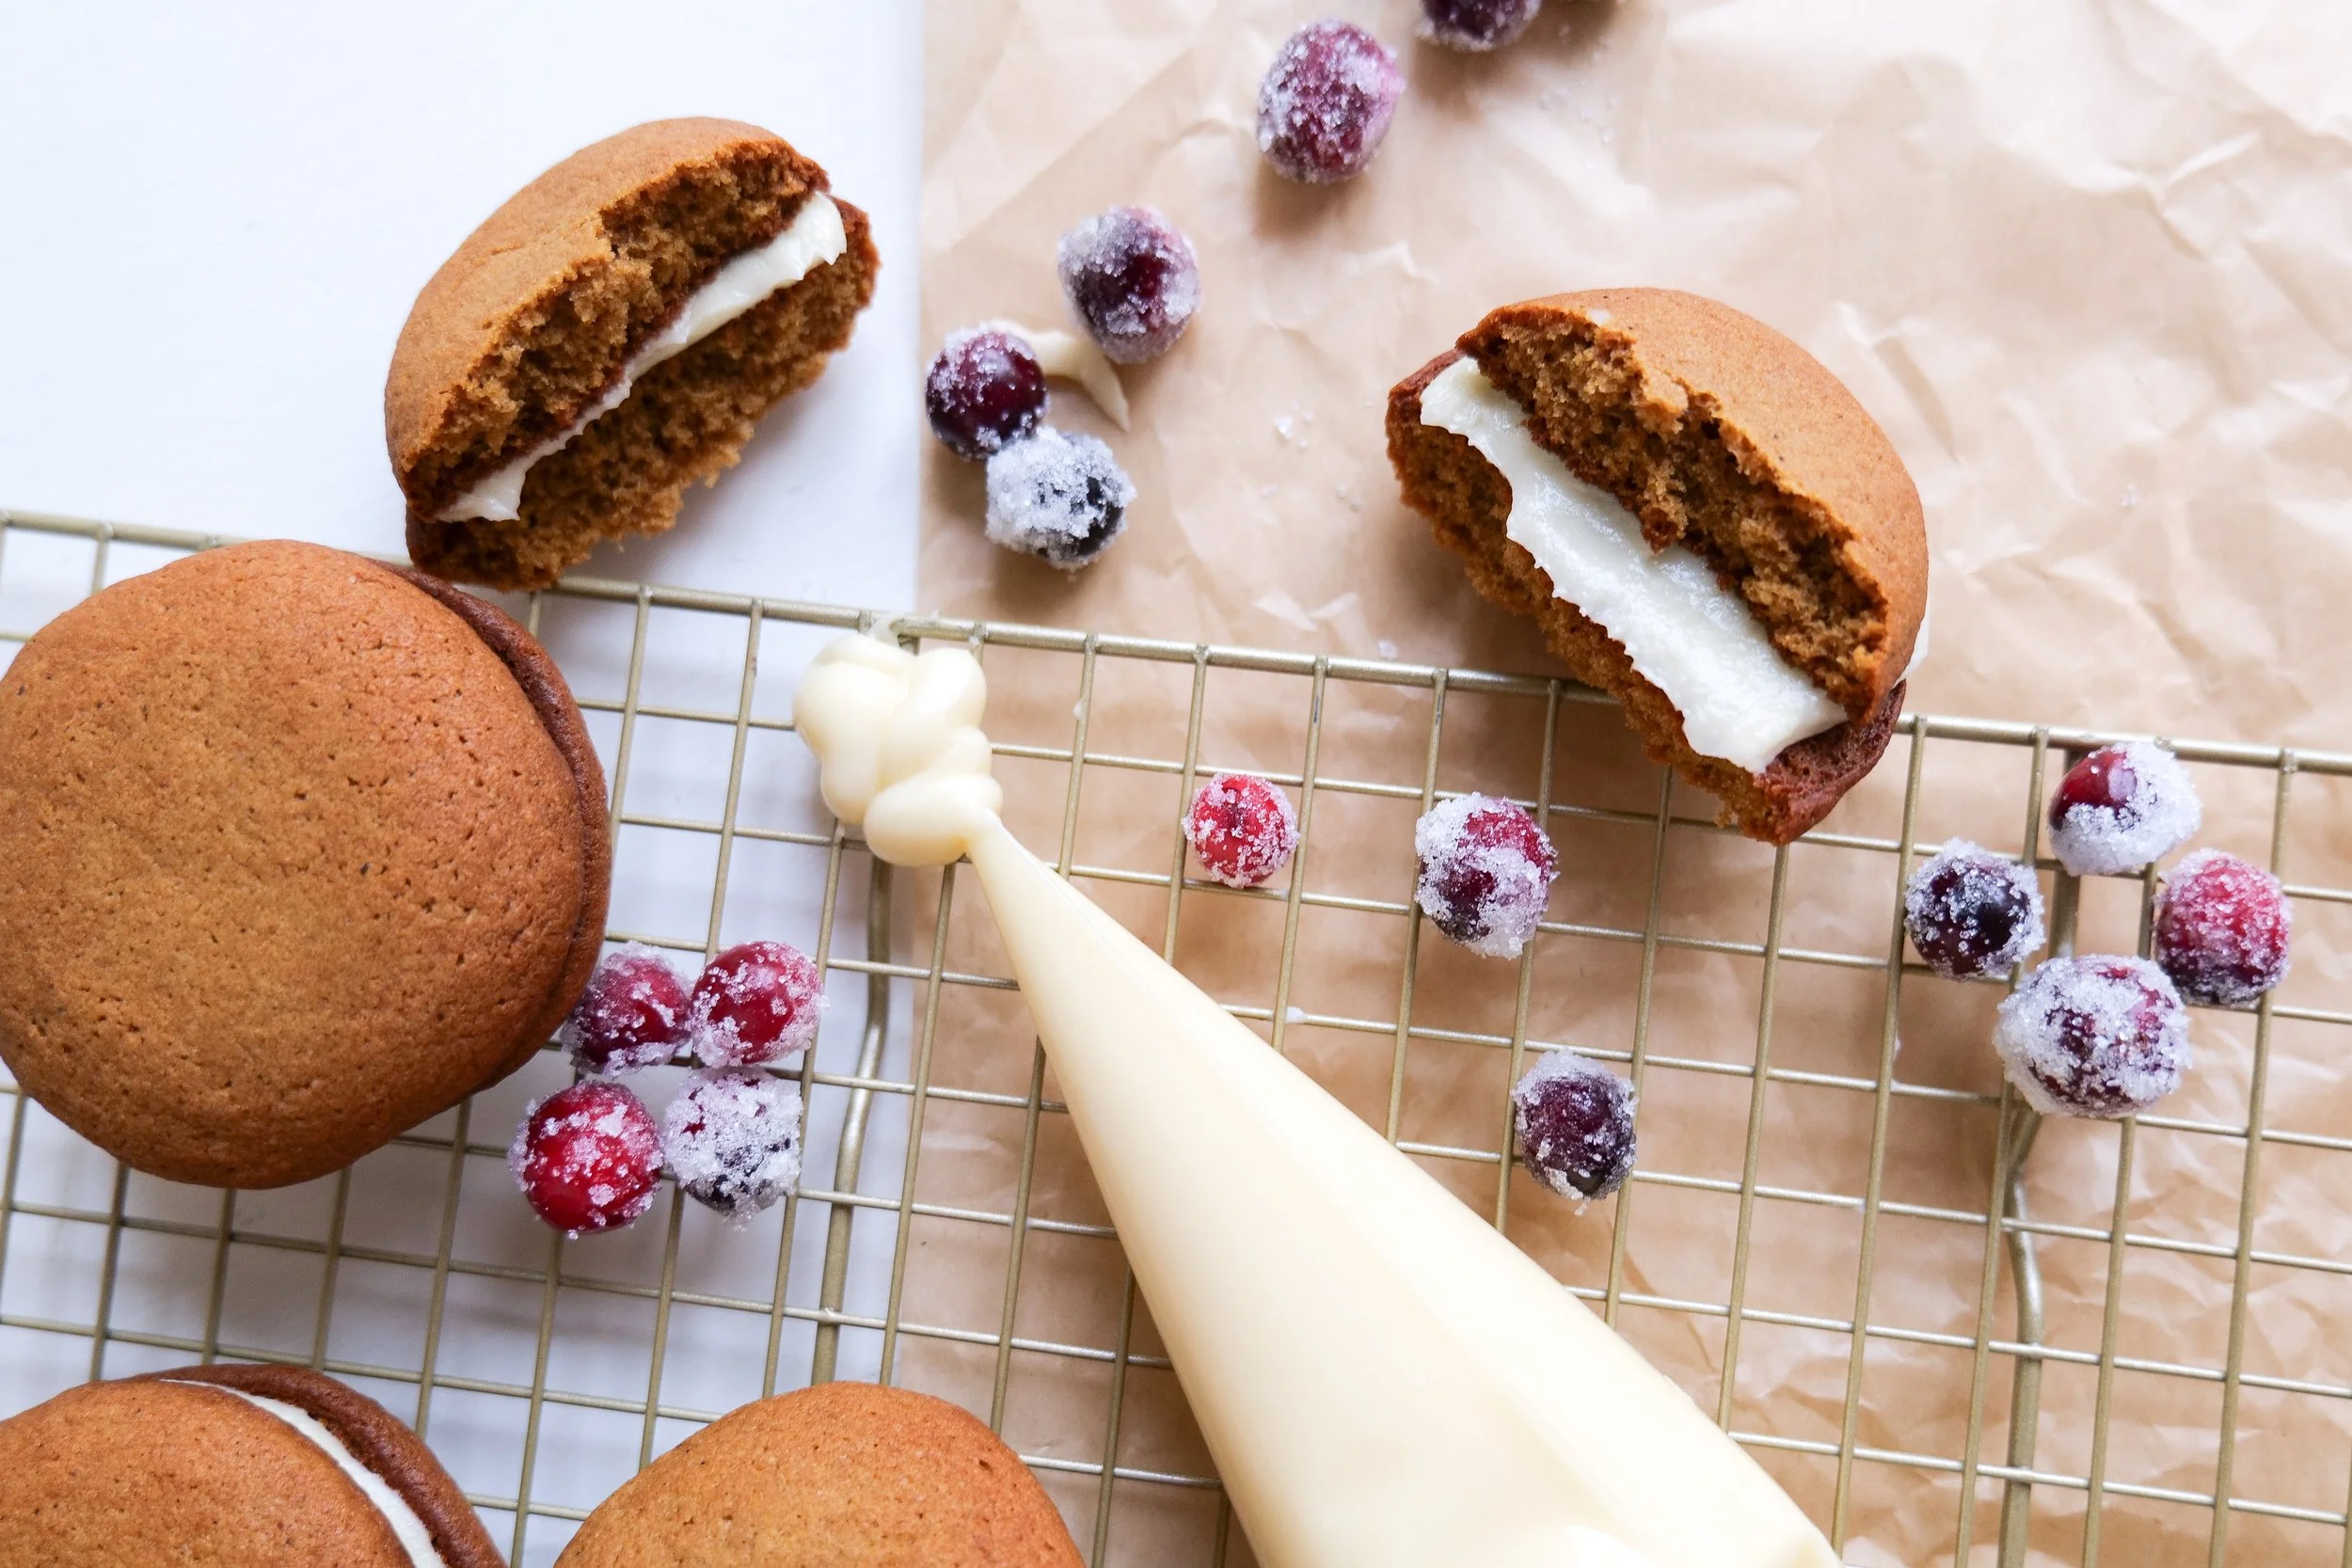
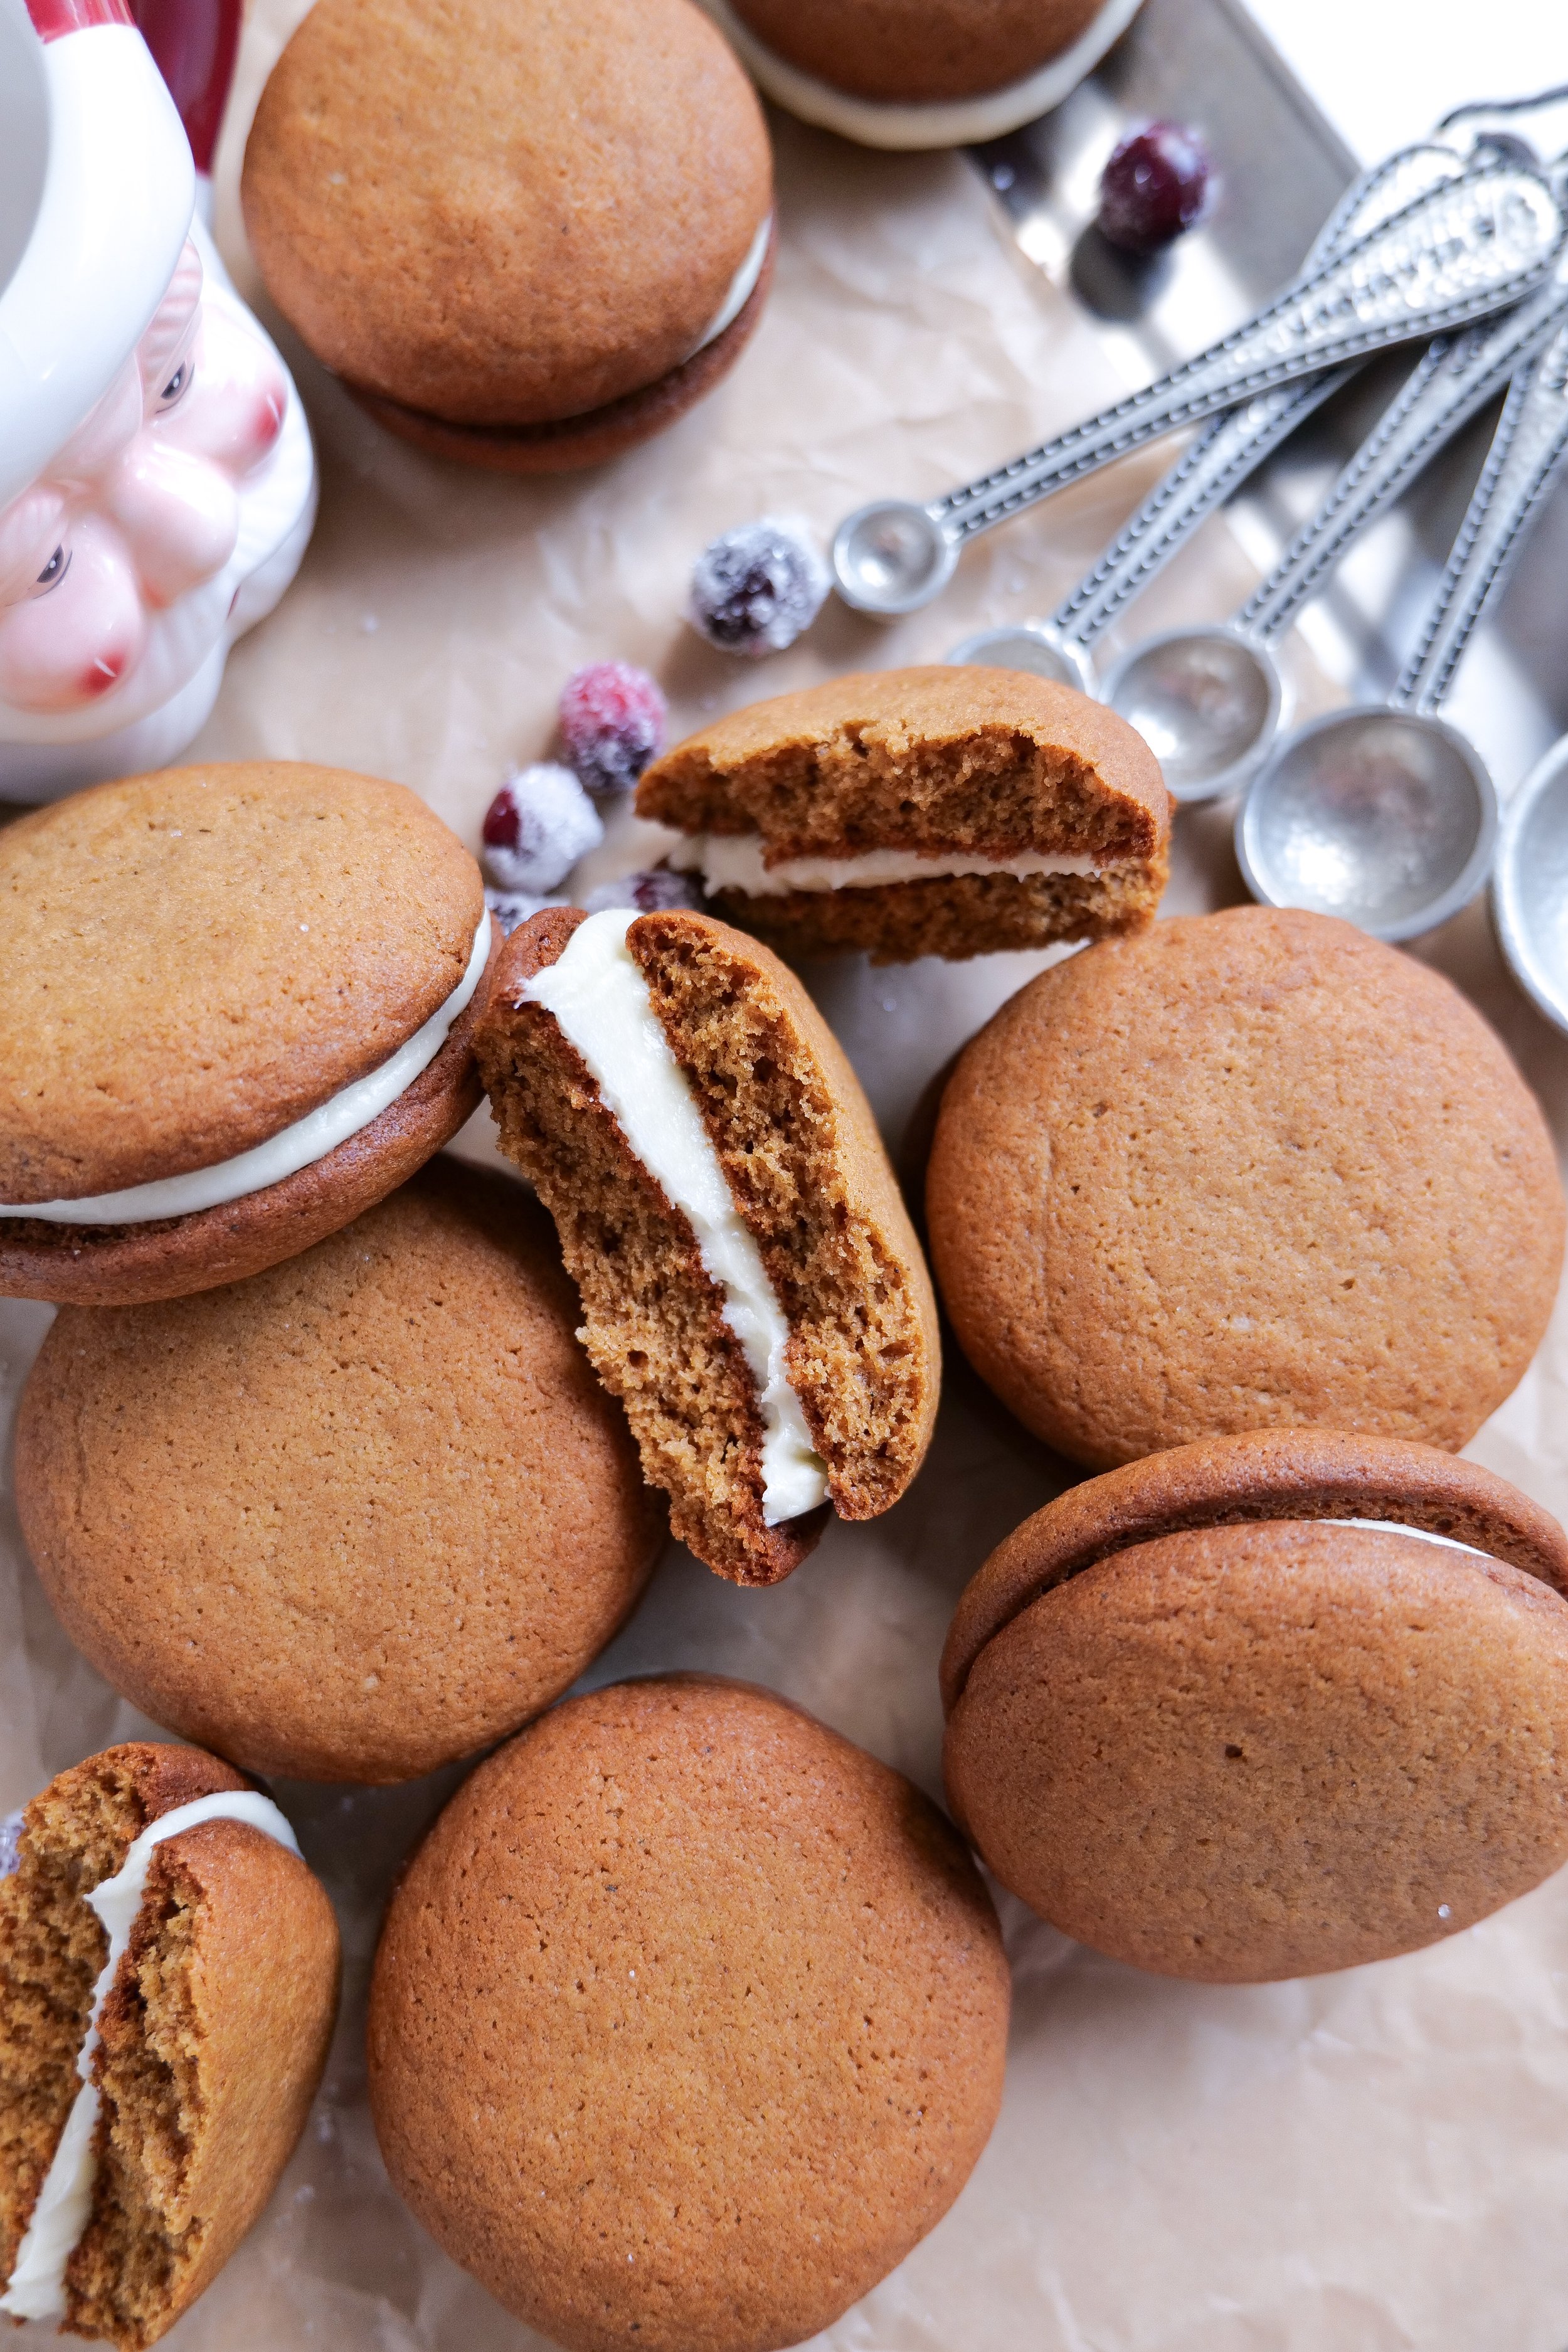
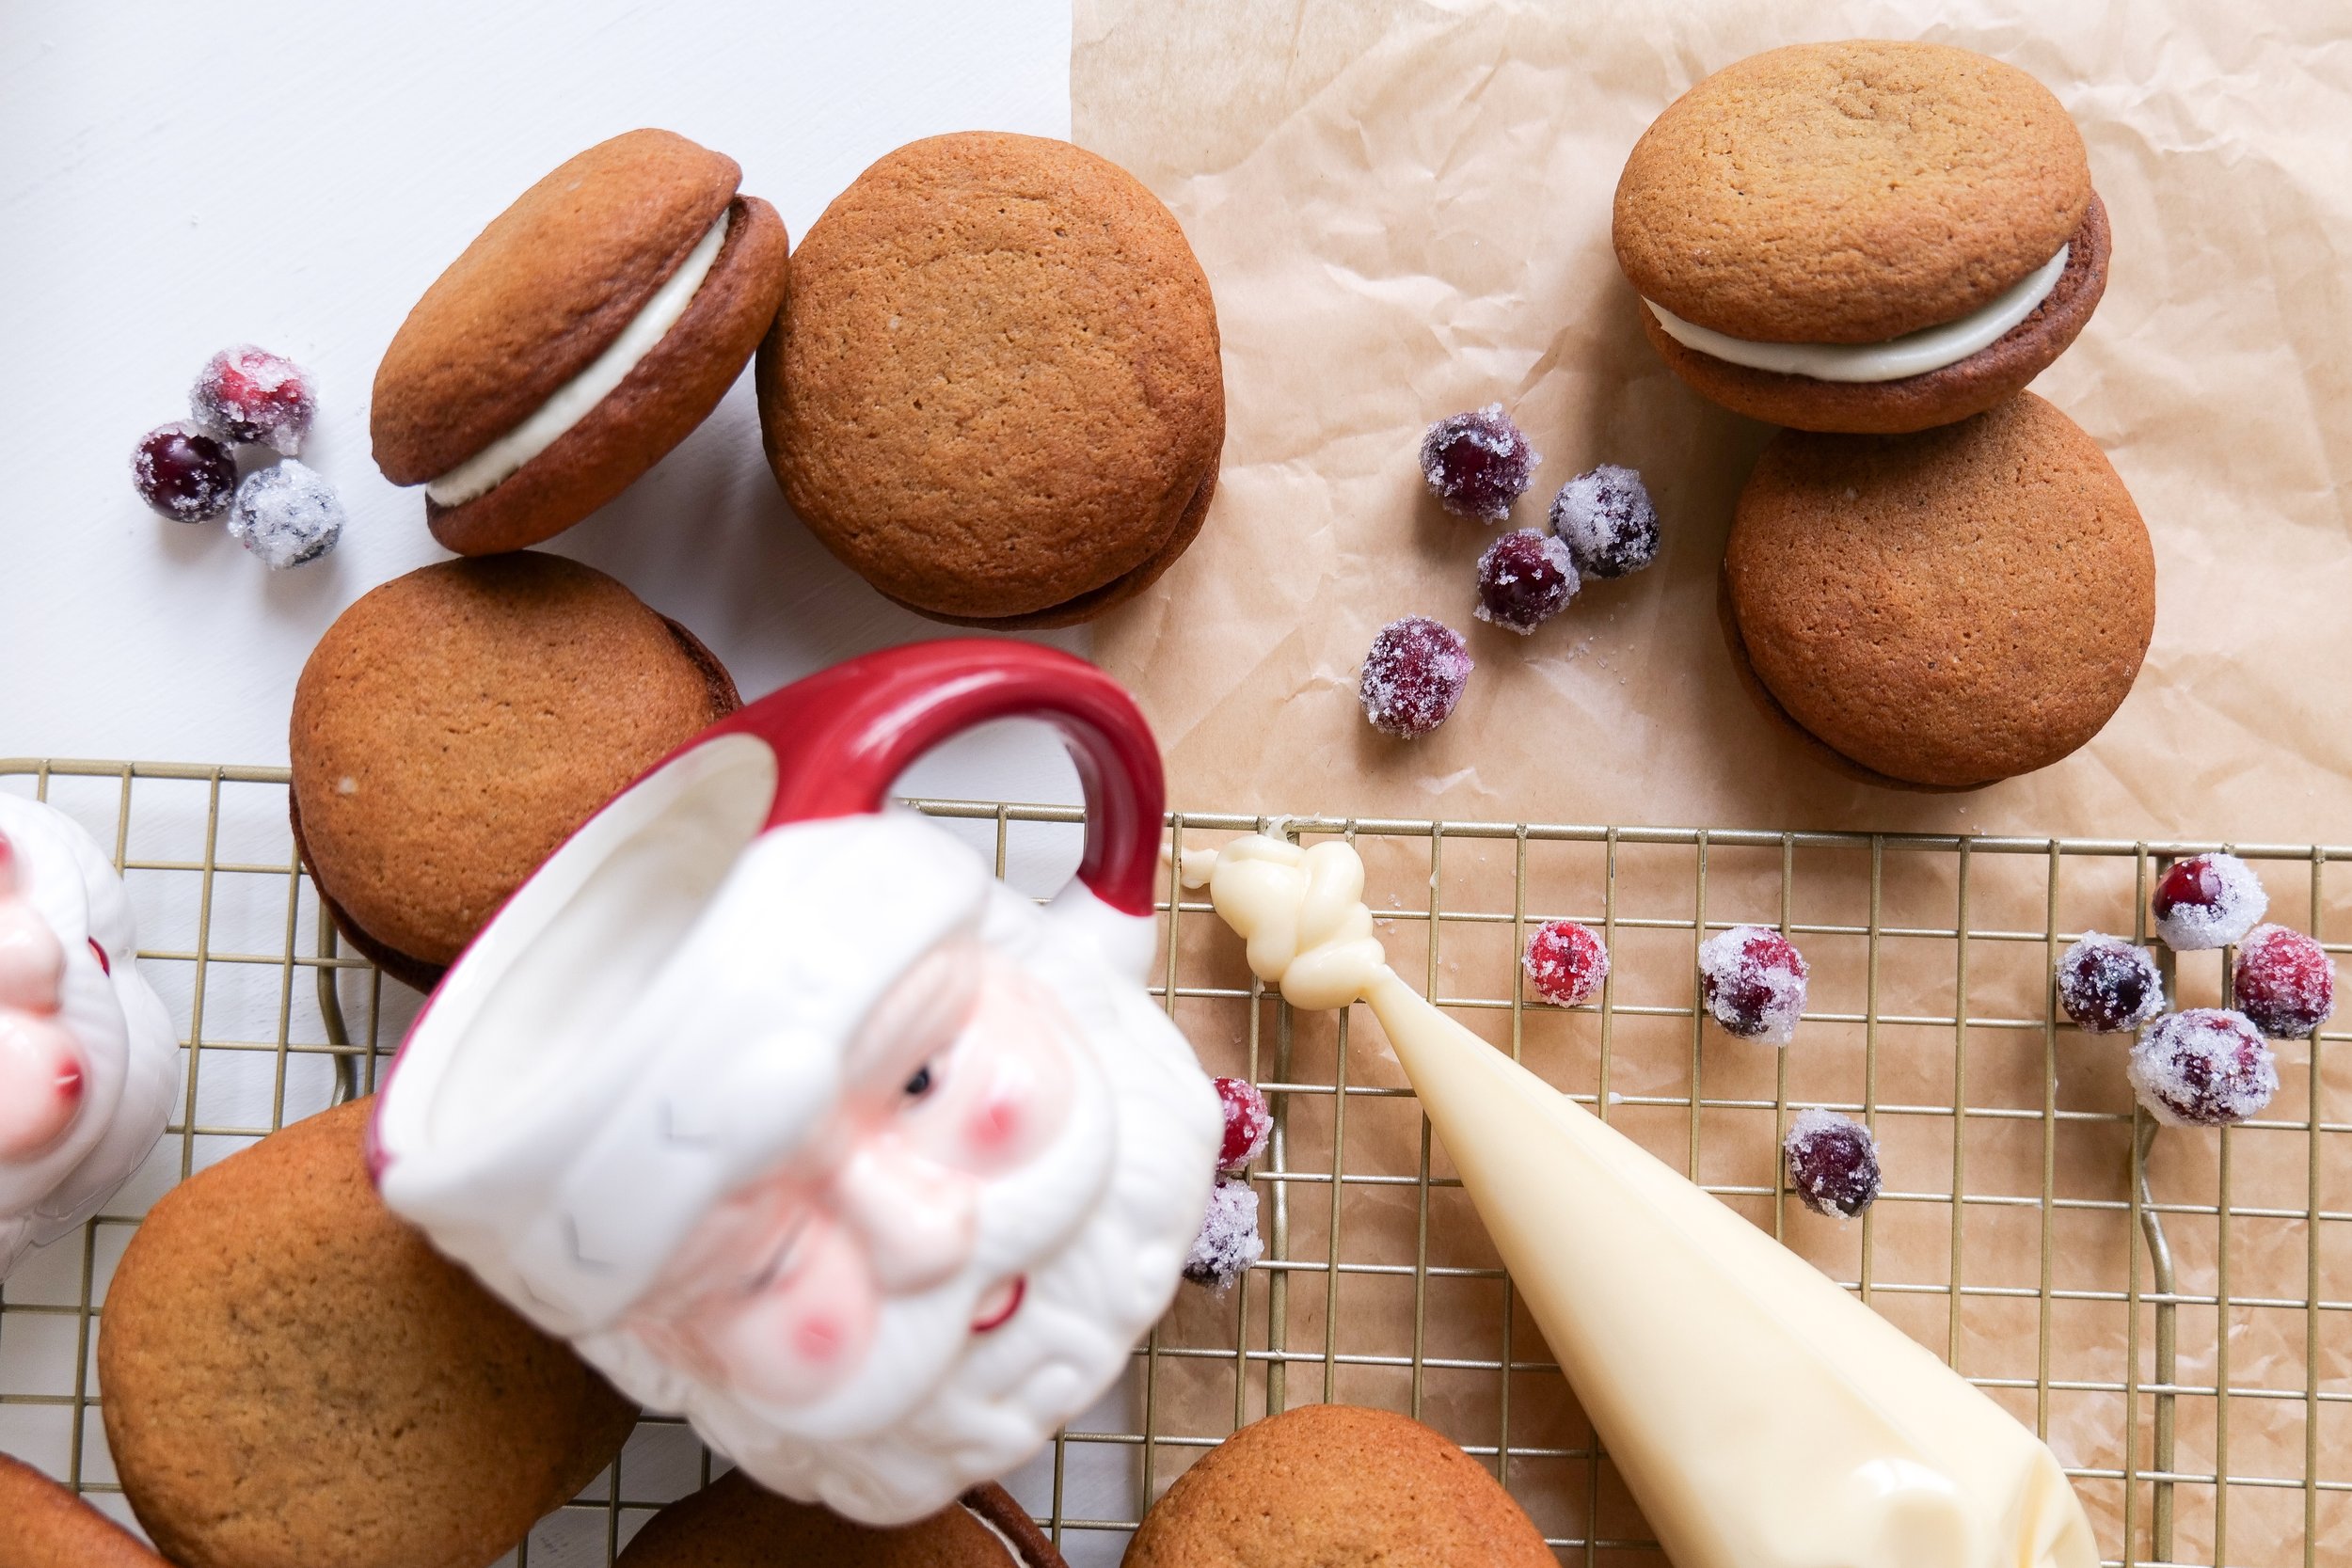
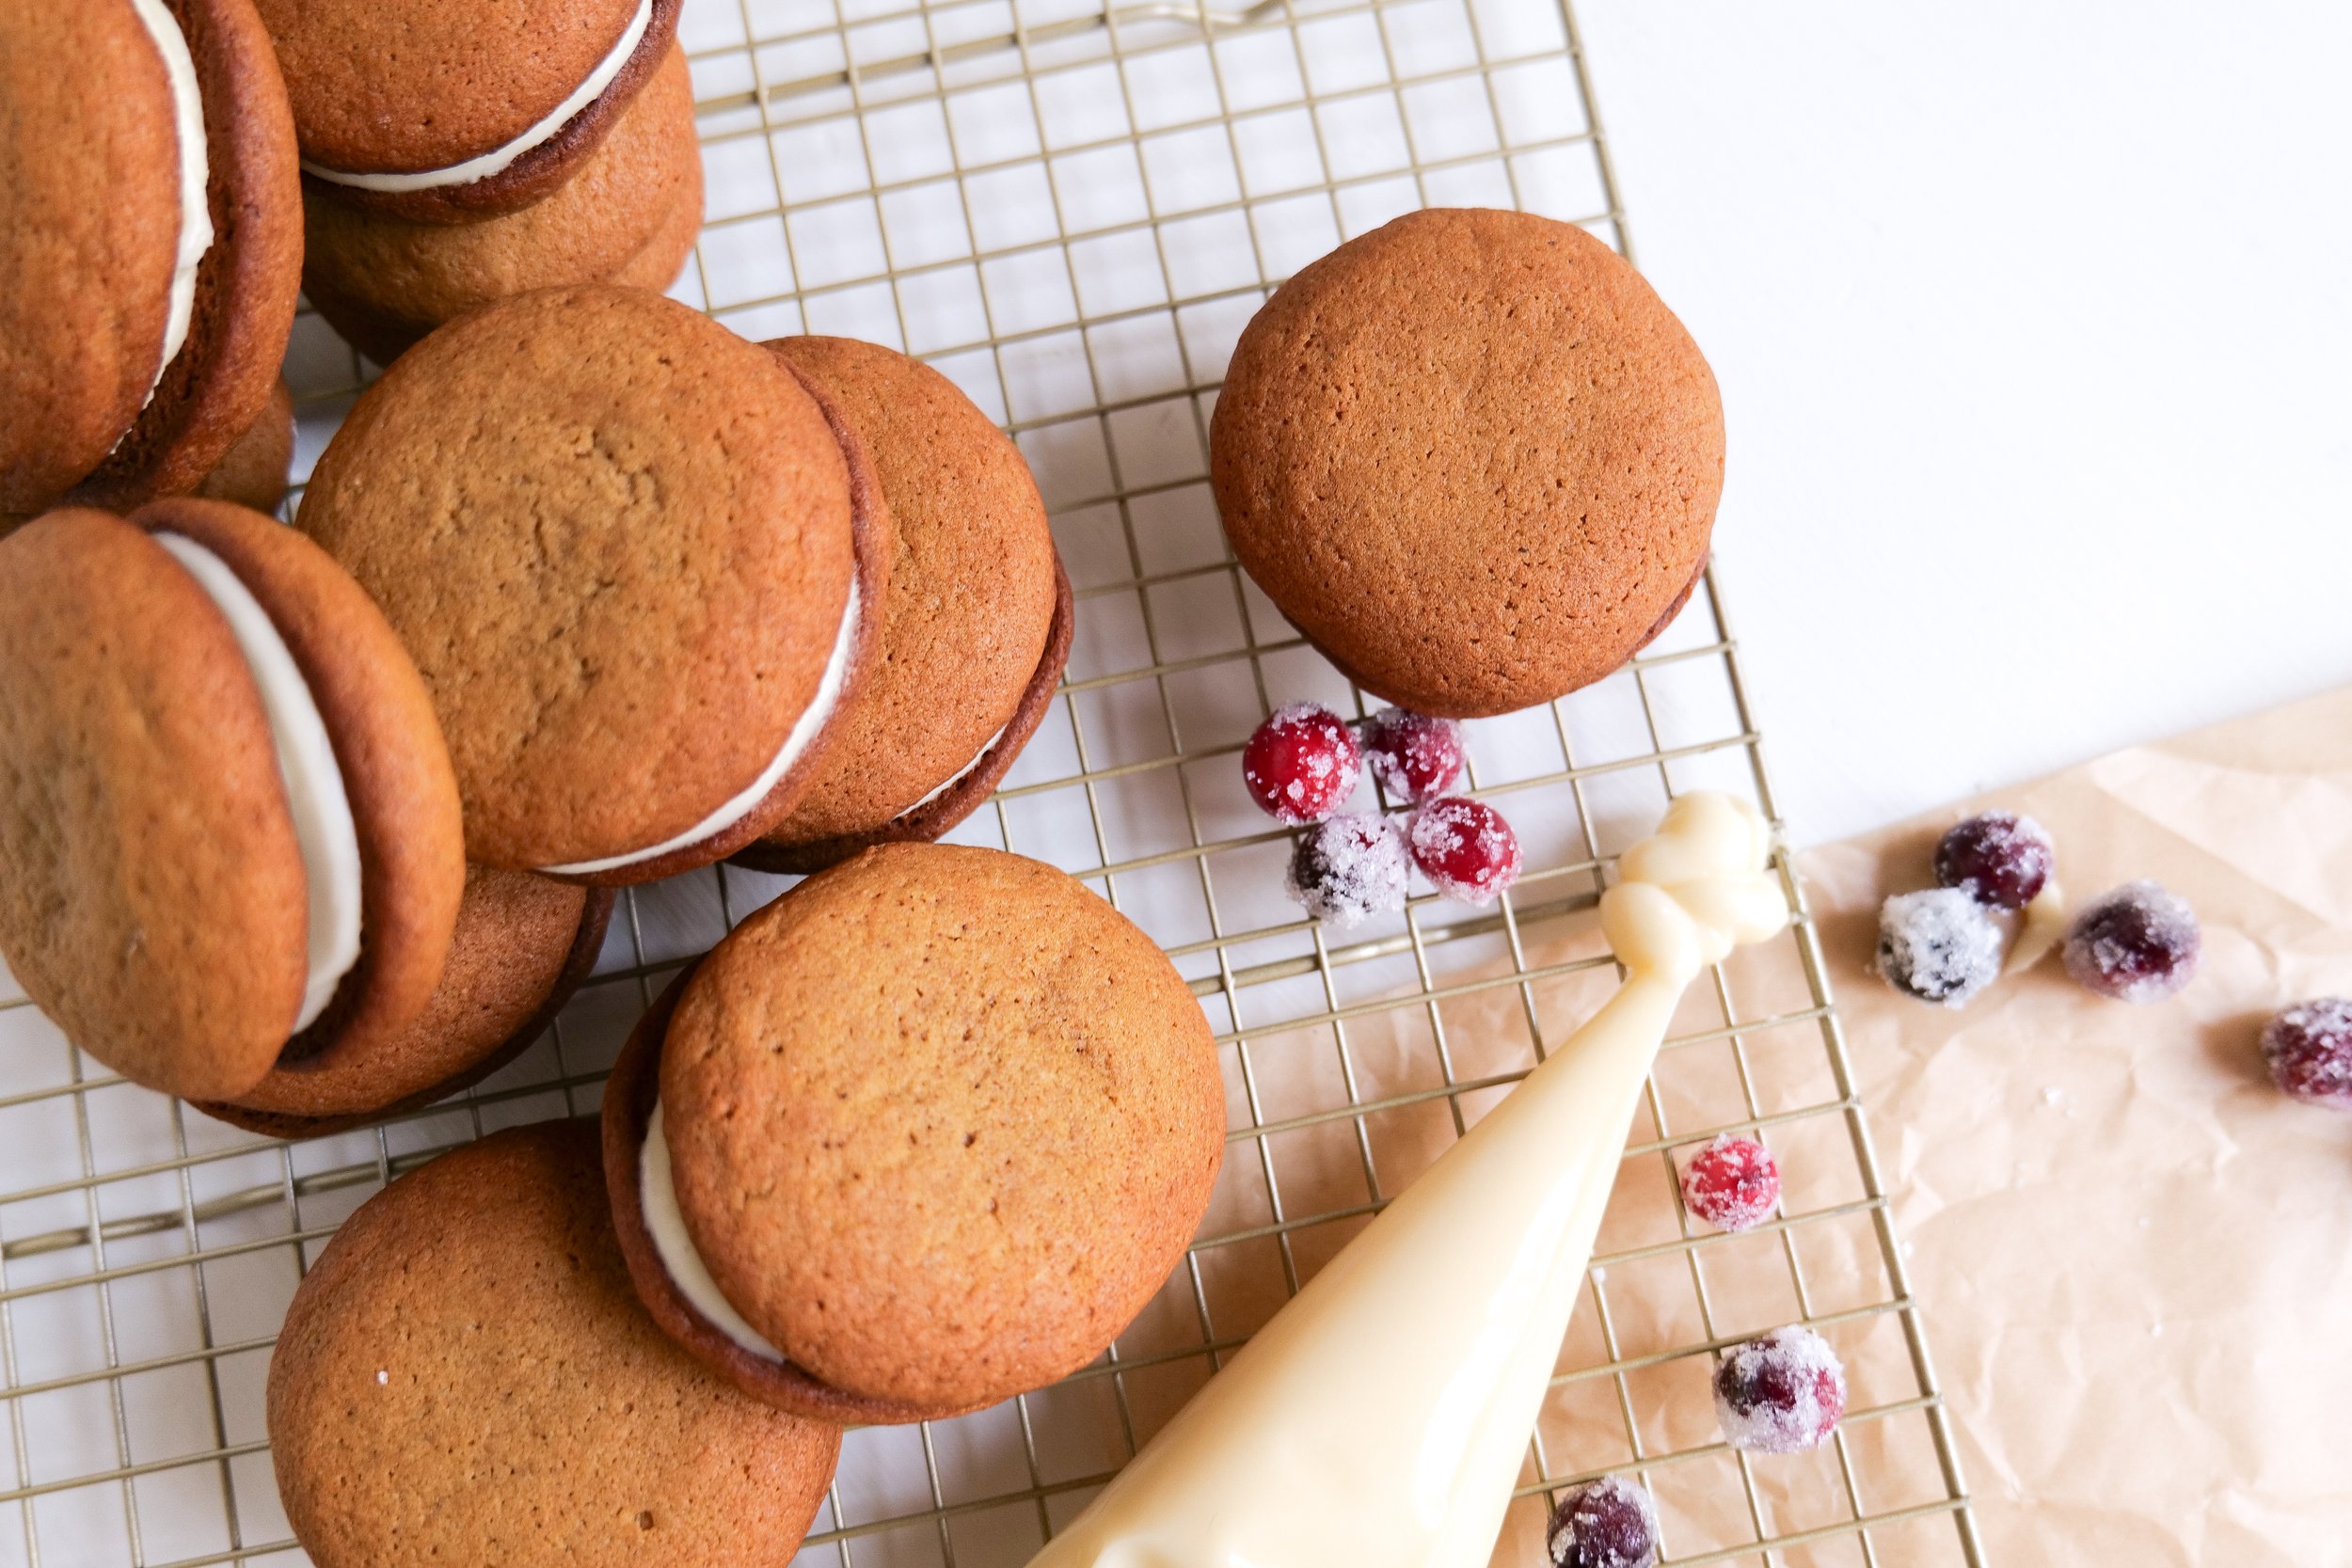
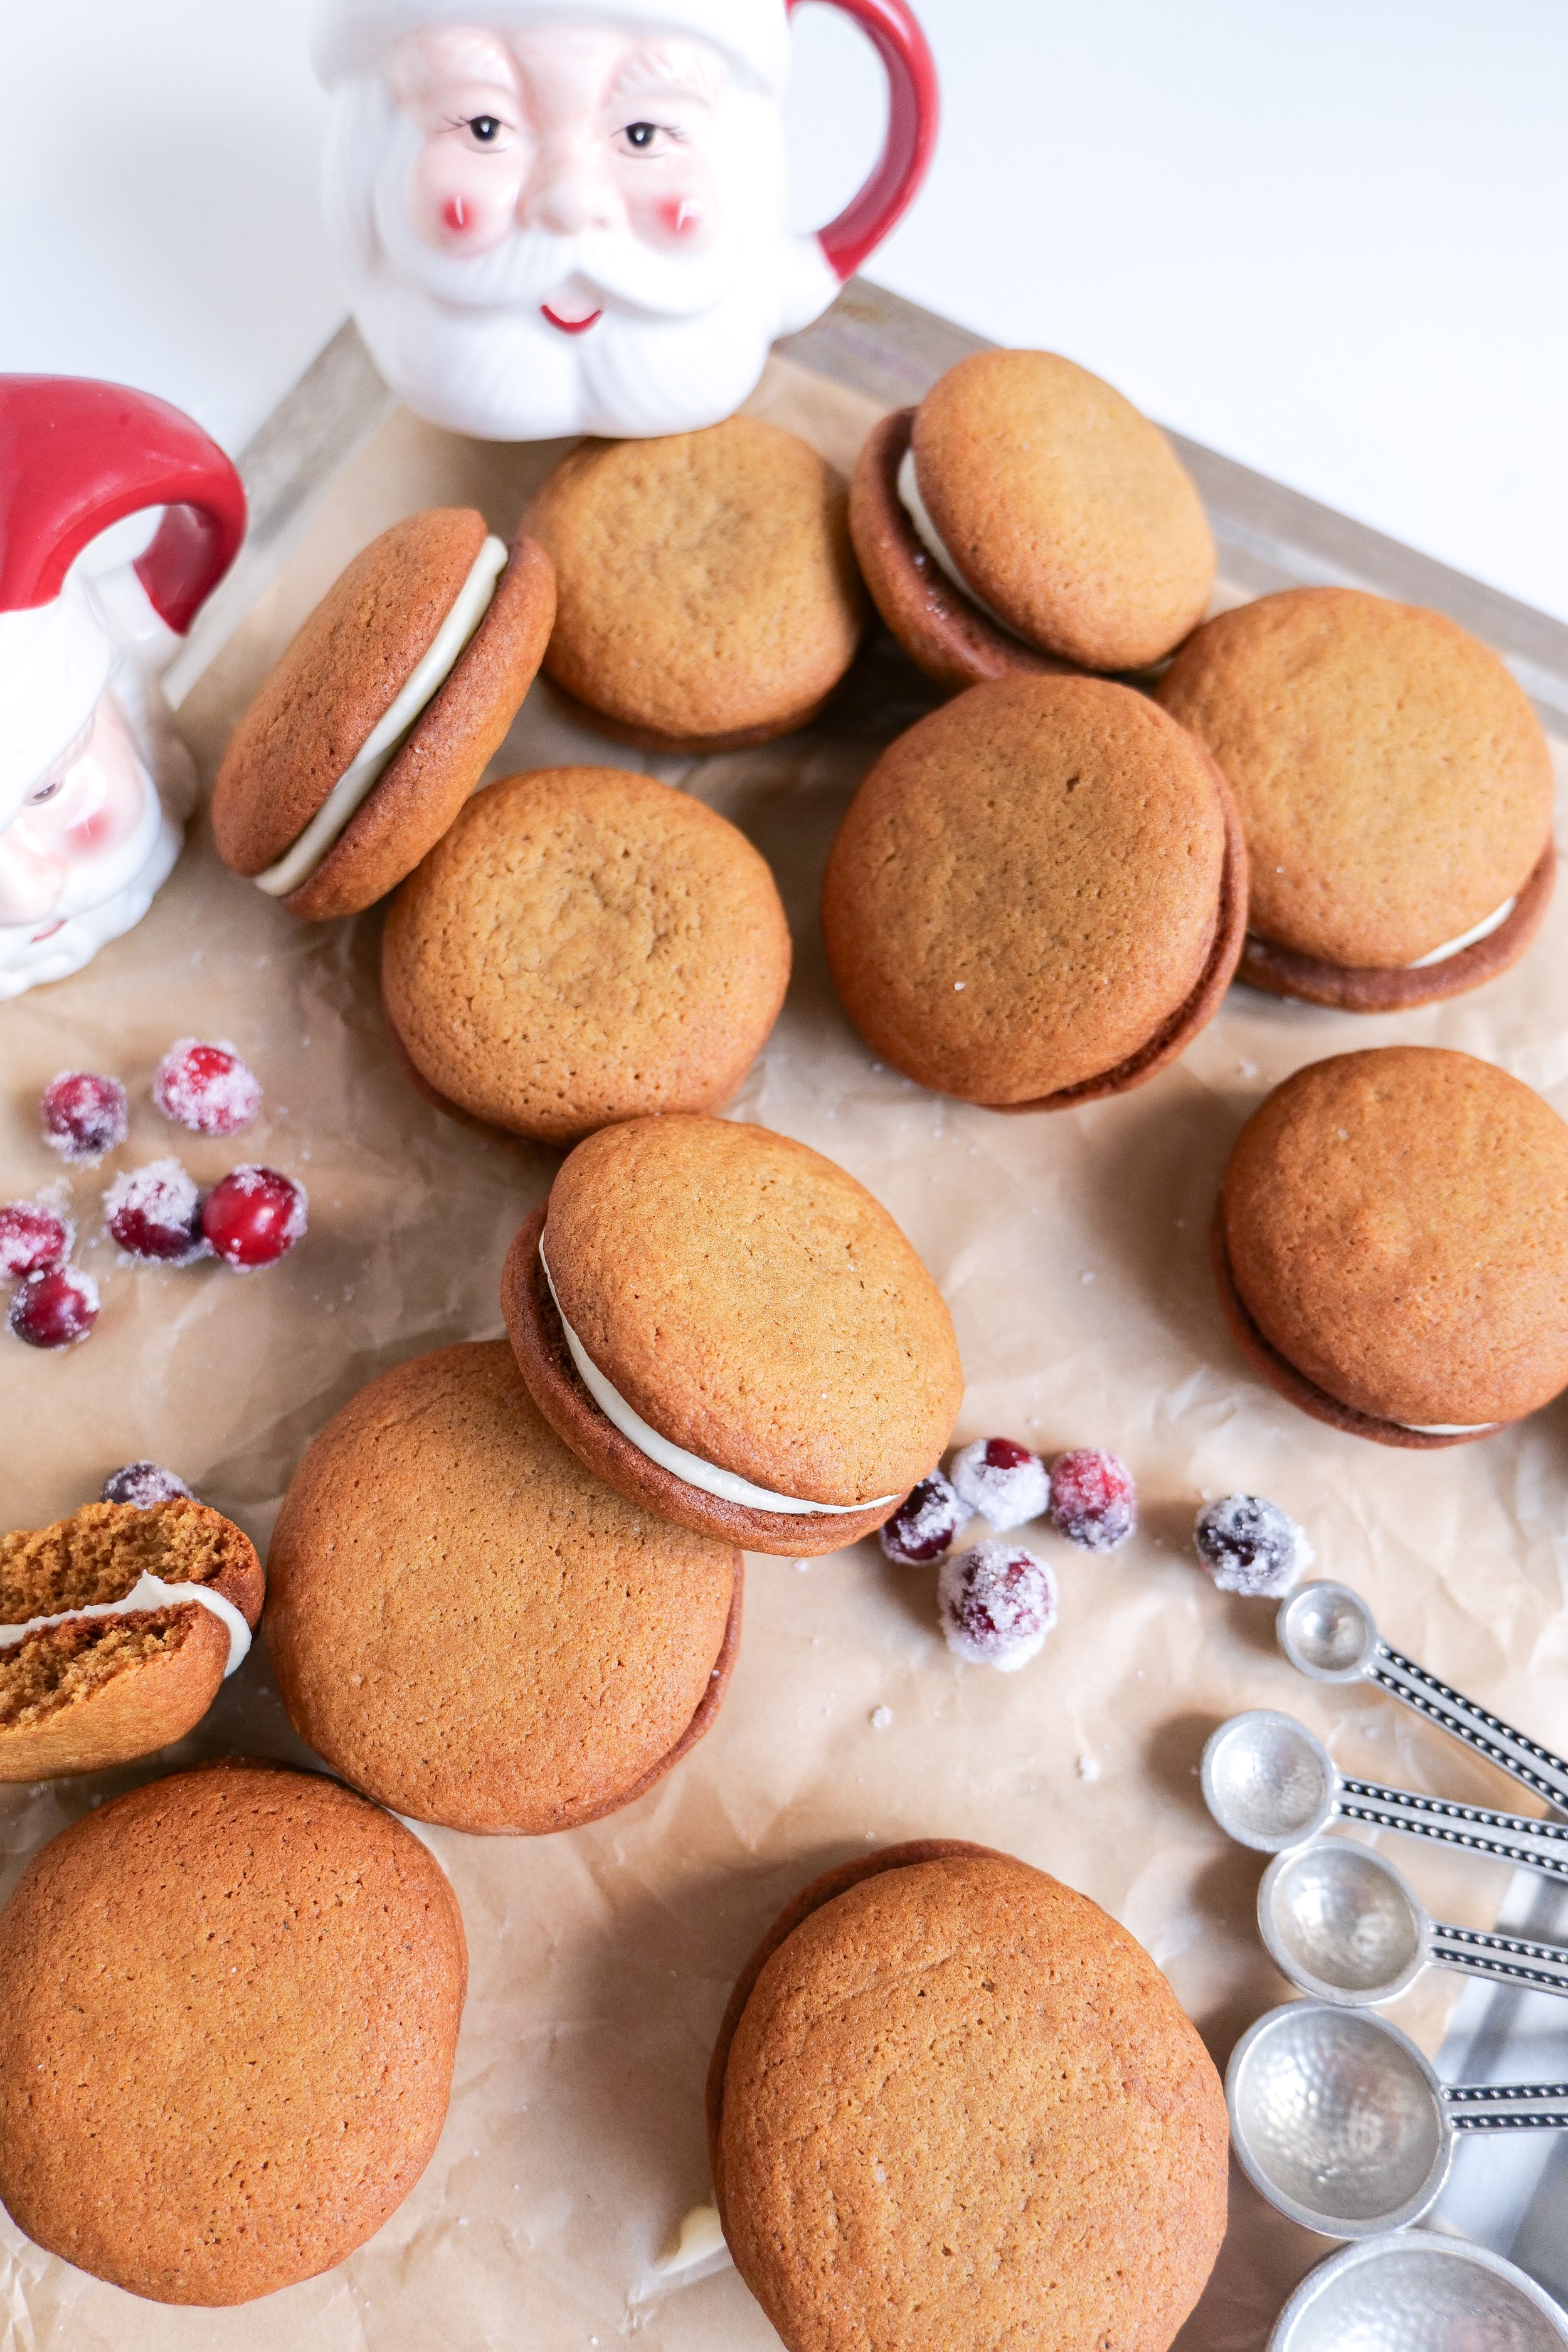
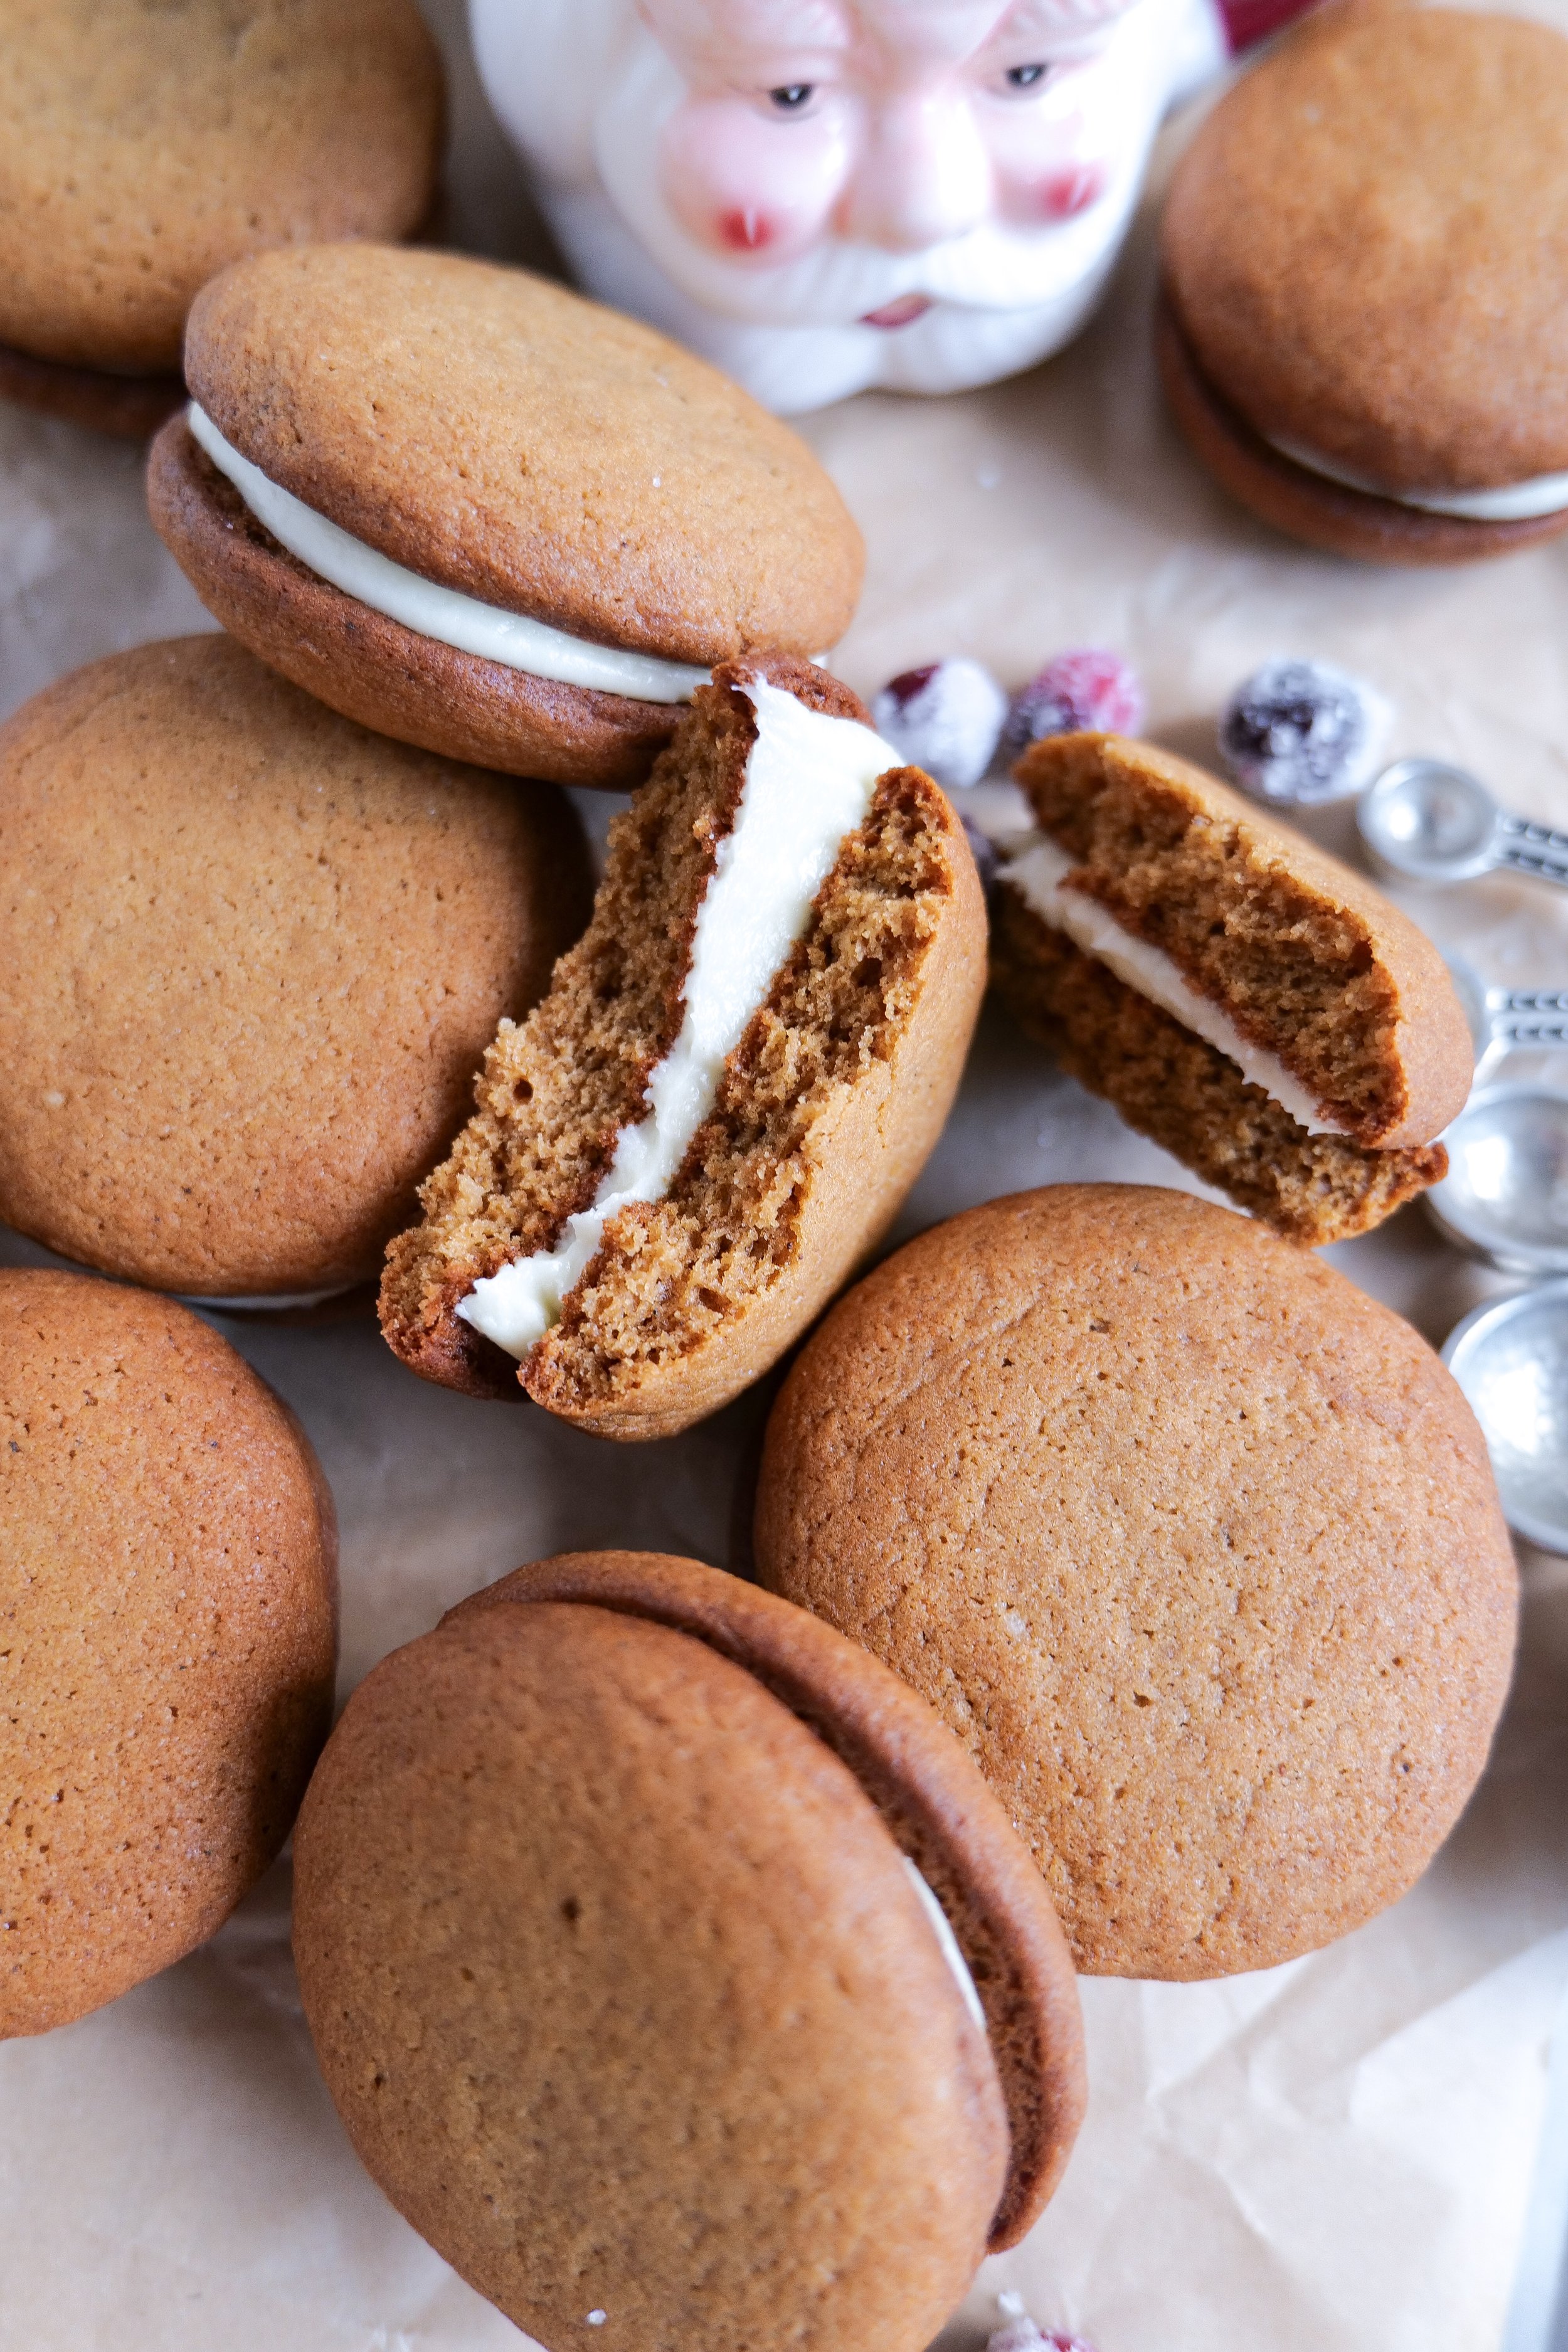
Indulge Your Sweet Tooth: The Ultimate Guide to Making Gingerbread Whoopie Pies at Home

Welcome to a world where the warm, nostalgic spices of gingerbread unite with the creamy, indulgent fluffy comfort of whoopie pies. This sweet treat promises to teleport your taste buds to a festive winter wonderland! Are you looking for the perfect, unique treat this holiday season? Gingerbread whoopie pies are the perfect dessert that is sure to wow your friends and family! This delightful confection, with its soft, cake-like gingerbread cookies and luscious filling, offers the perfect balance of spice and sweetness, making it a hit for any fall gathering, holiday party, or simply a quiet evening at home with a cup of tea. So tie on your apron, preheat your oven, and let's embark on the culinary adventure of creating these charming and irresistibly tasty treats that are certain to become a beloved addition to your baking repertoire.

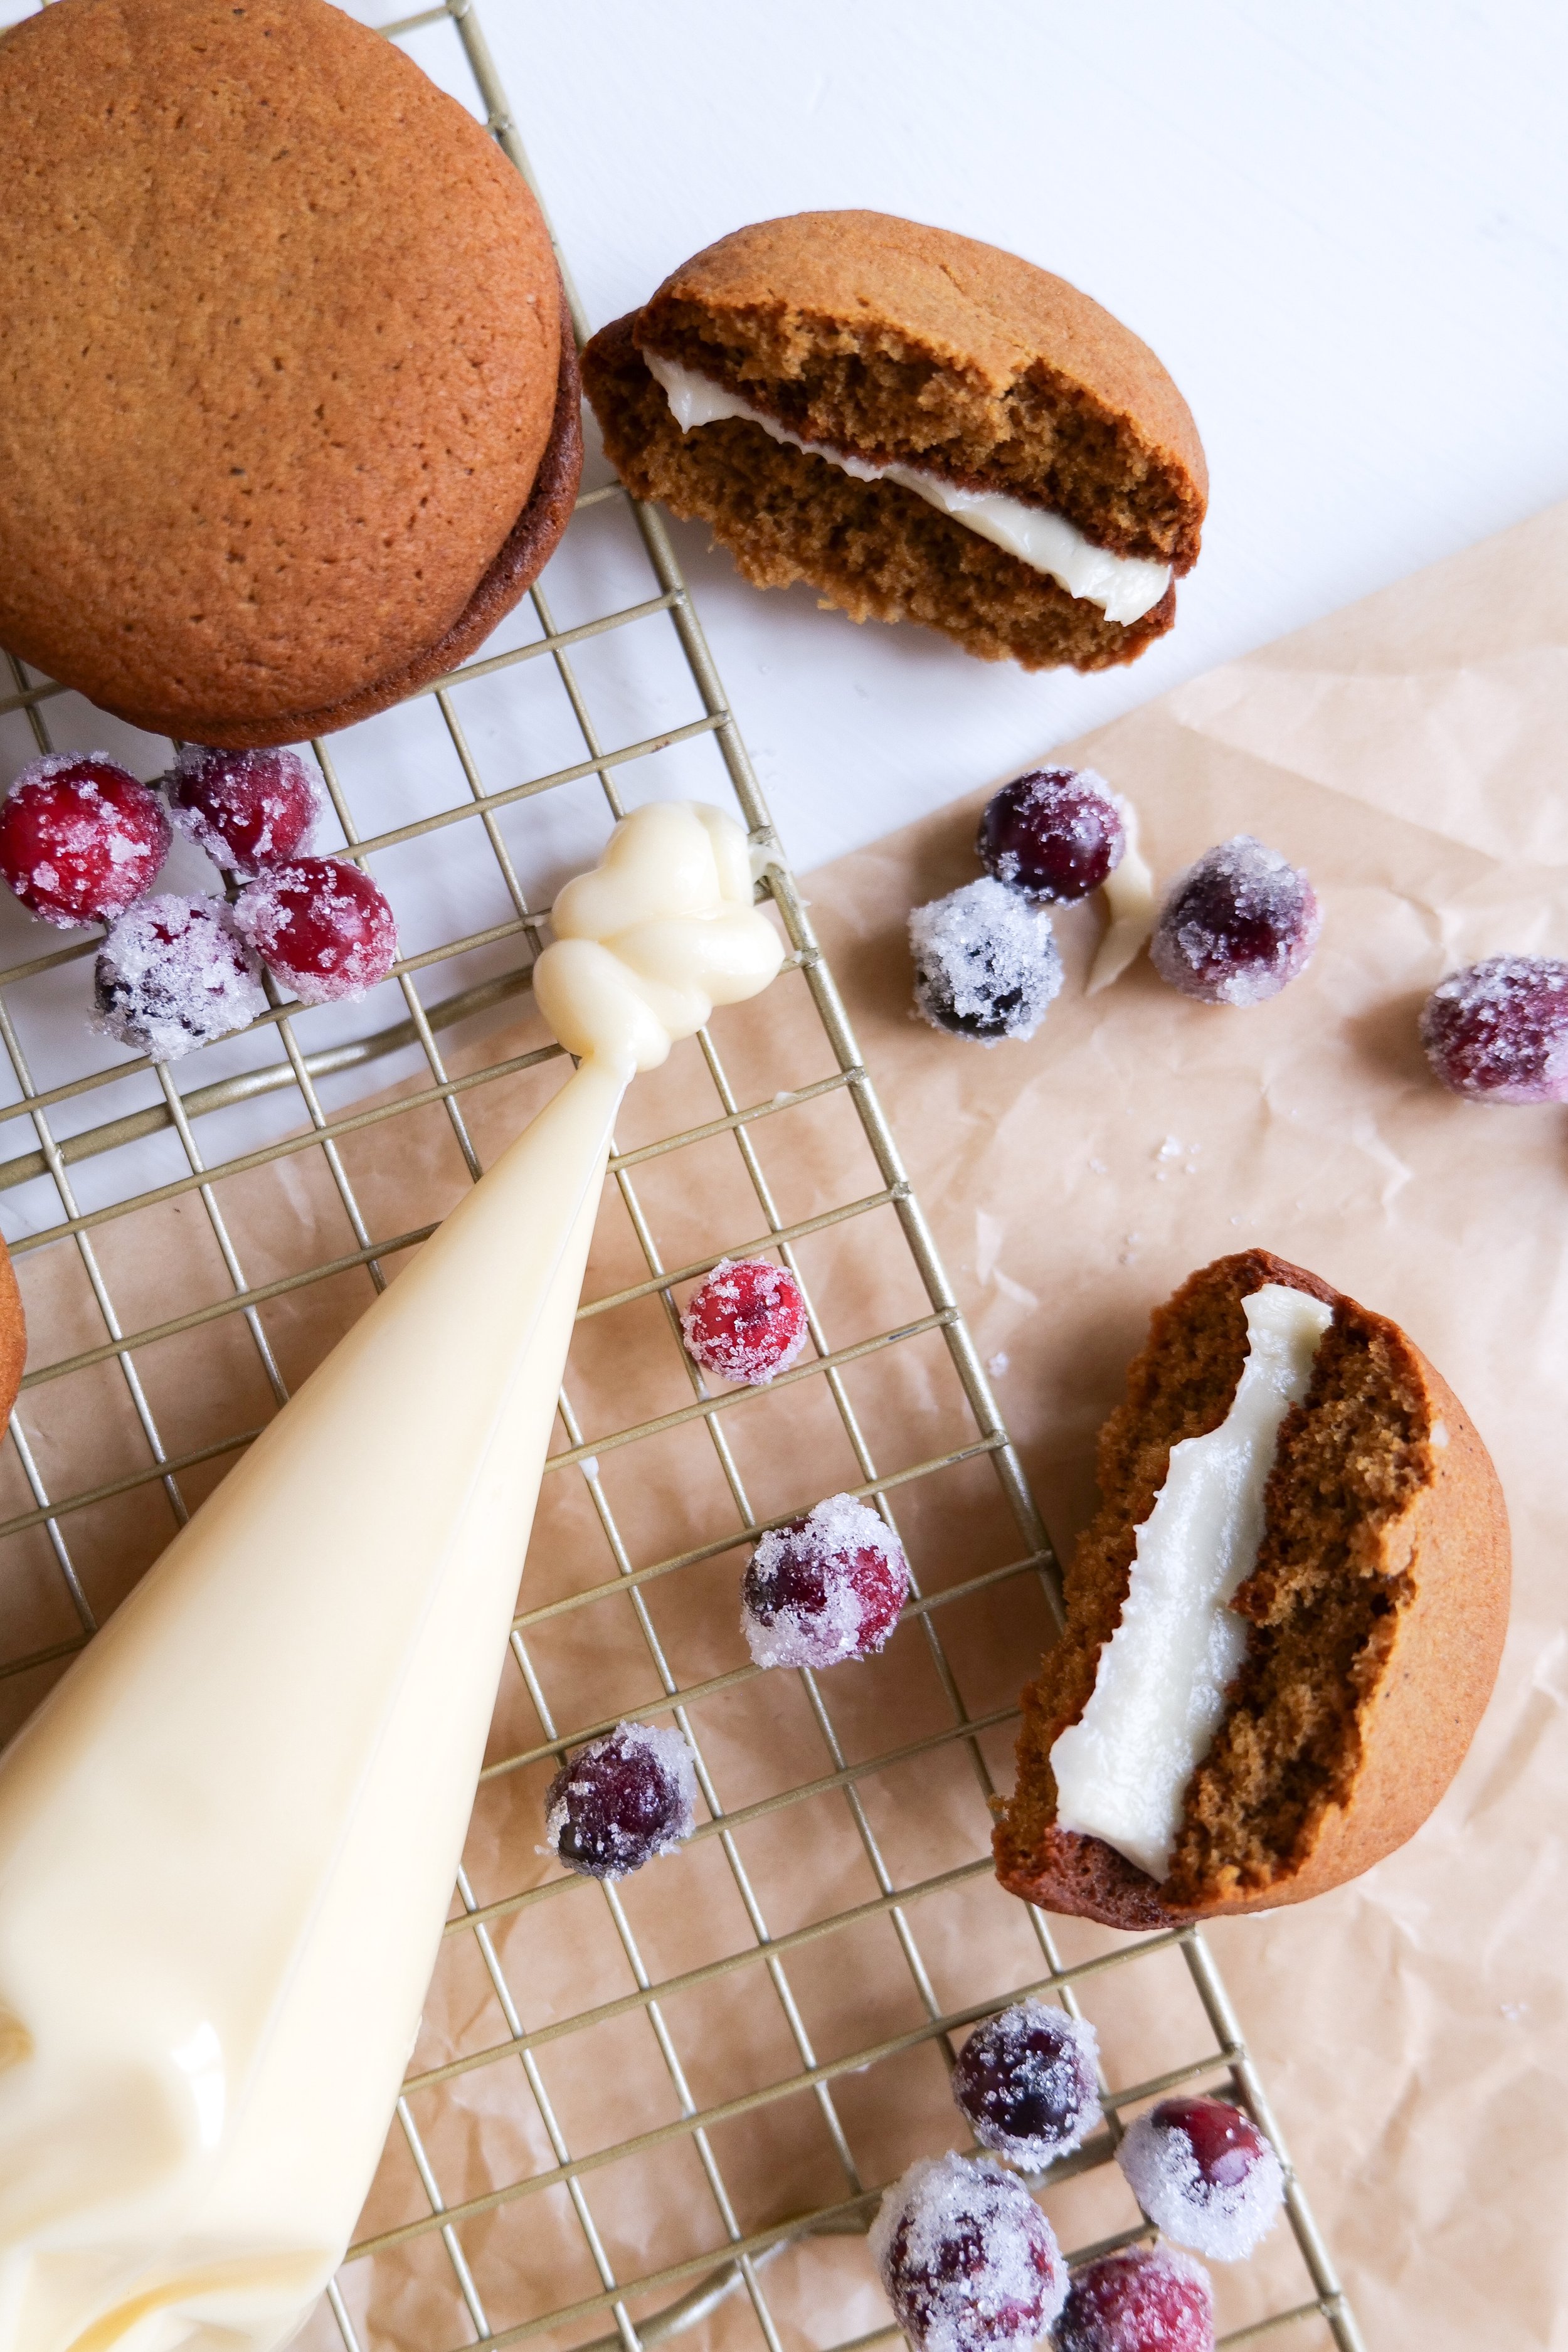
Gingerbread whoopie pies are a delicious and unique twist on a classic dessert. The combination of gingerbread and the Spiced Cream Cheese Filling is a match made in flavor heaven! The cream cheese filling is so easy to make - and it can be prepared ahead of time, making it a great option for busy bakers. The cream cheese filling is also very versatile and can be used to fill other desserts such as cupcakes or as a topping for cakes. It’s a great way to add an extra layer of flavor to any dessert. So if you’re looking for a unique twist on a classic dessert, give gingerbread whoopie pies with Spiced Cream Cheese Filling a try! It’s sure to be a hit with family and friends.

How Do I Store For the freshest results?

Gingerbread whoopie pies are a delightful treat that can be enjoyed year-round. For those who are looking to store them for later, there are a few tips to ensure their freshness. To store for up to 4 days, feel free to place whoopie pies in an airtight container and store in the refrigerator. For longer storage, place in an airtight container and freeze. If freezing, be sure to thaw the whoopie pies overnight in the refrigerator before serving. To keep them from sticking, place parchment paper or wax paper between each whoopie pie and place in a single layer in the container. For optimal freshness, always store them in a cool and dry place. Enjoy these delicious gingerbread whoopie pies!

Gingerbread whoopie pies are the perfect dessert for any occasion. They are easy to make, can be made ahead of time, and can be stored for later use. So the next time you’re looking for a sweet and delicious treat, look no further than these holiday gingerbread whoopie pies!

Ingredients

1 cup salted butter

1/2 cup dark brown sugar

1/2 cup granulated sugar

2 egg

1 teaspoon vanilla extract

1/4 cup molasses

2 1/2 cups all-purpose flour

2 teaspoons baking soda

1 teaspoon ground cinnamon

1 teaspoon ground ginger

1/2 teaspoon ground cloves

1/2 teaspoon sea salt

Cream Cheese Filling

4 ounces cream cheese

1/4 cup salted butter, softened

1 1/2 cups powdered sugar

1 teaspoon vanilla extract

Instructions

1. Preheat oven to 375 degrees. Line a large cookie sheet with parchment paper and set aside.

2. In a large bowl mix together melted butter and sugar. Add in eggs and vanilla until smooth. Mix in molasses until well combined.

3. Mix in all-purpose flour, baking soda, cinnamon, ginger and cloves to batter until consistency is smooth. Cover and chill for 15-30 minutes in the fridge.

4. Take refrigerated cookie dough and scoop large scoops (around 1 1/2-2 tablespoons) and place onto prepared baking sheet 2 - 21/2 inches apart. Flatten the top with a flat bottom of a glass.

5. Bake for 8-10 minutes. Let cool for 1 minute and transfer to a cooling sheet. While cooling make cream cheese filling

6. Whip together cream cheese, melted salted butter, powdered sugar and vanilla extract. Fill each cookie and top with another, serve & enjoy!

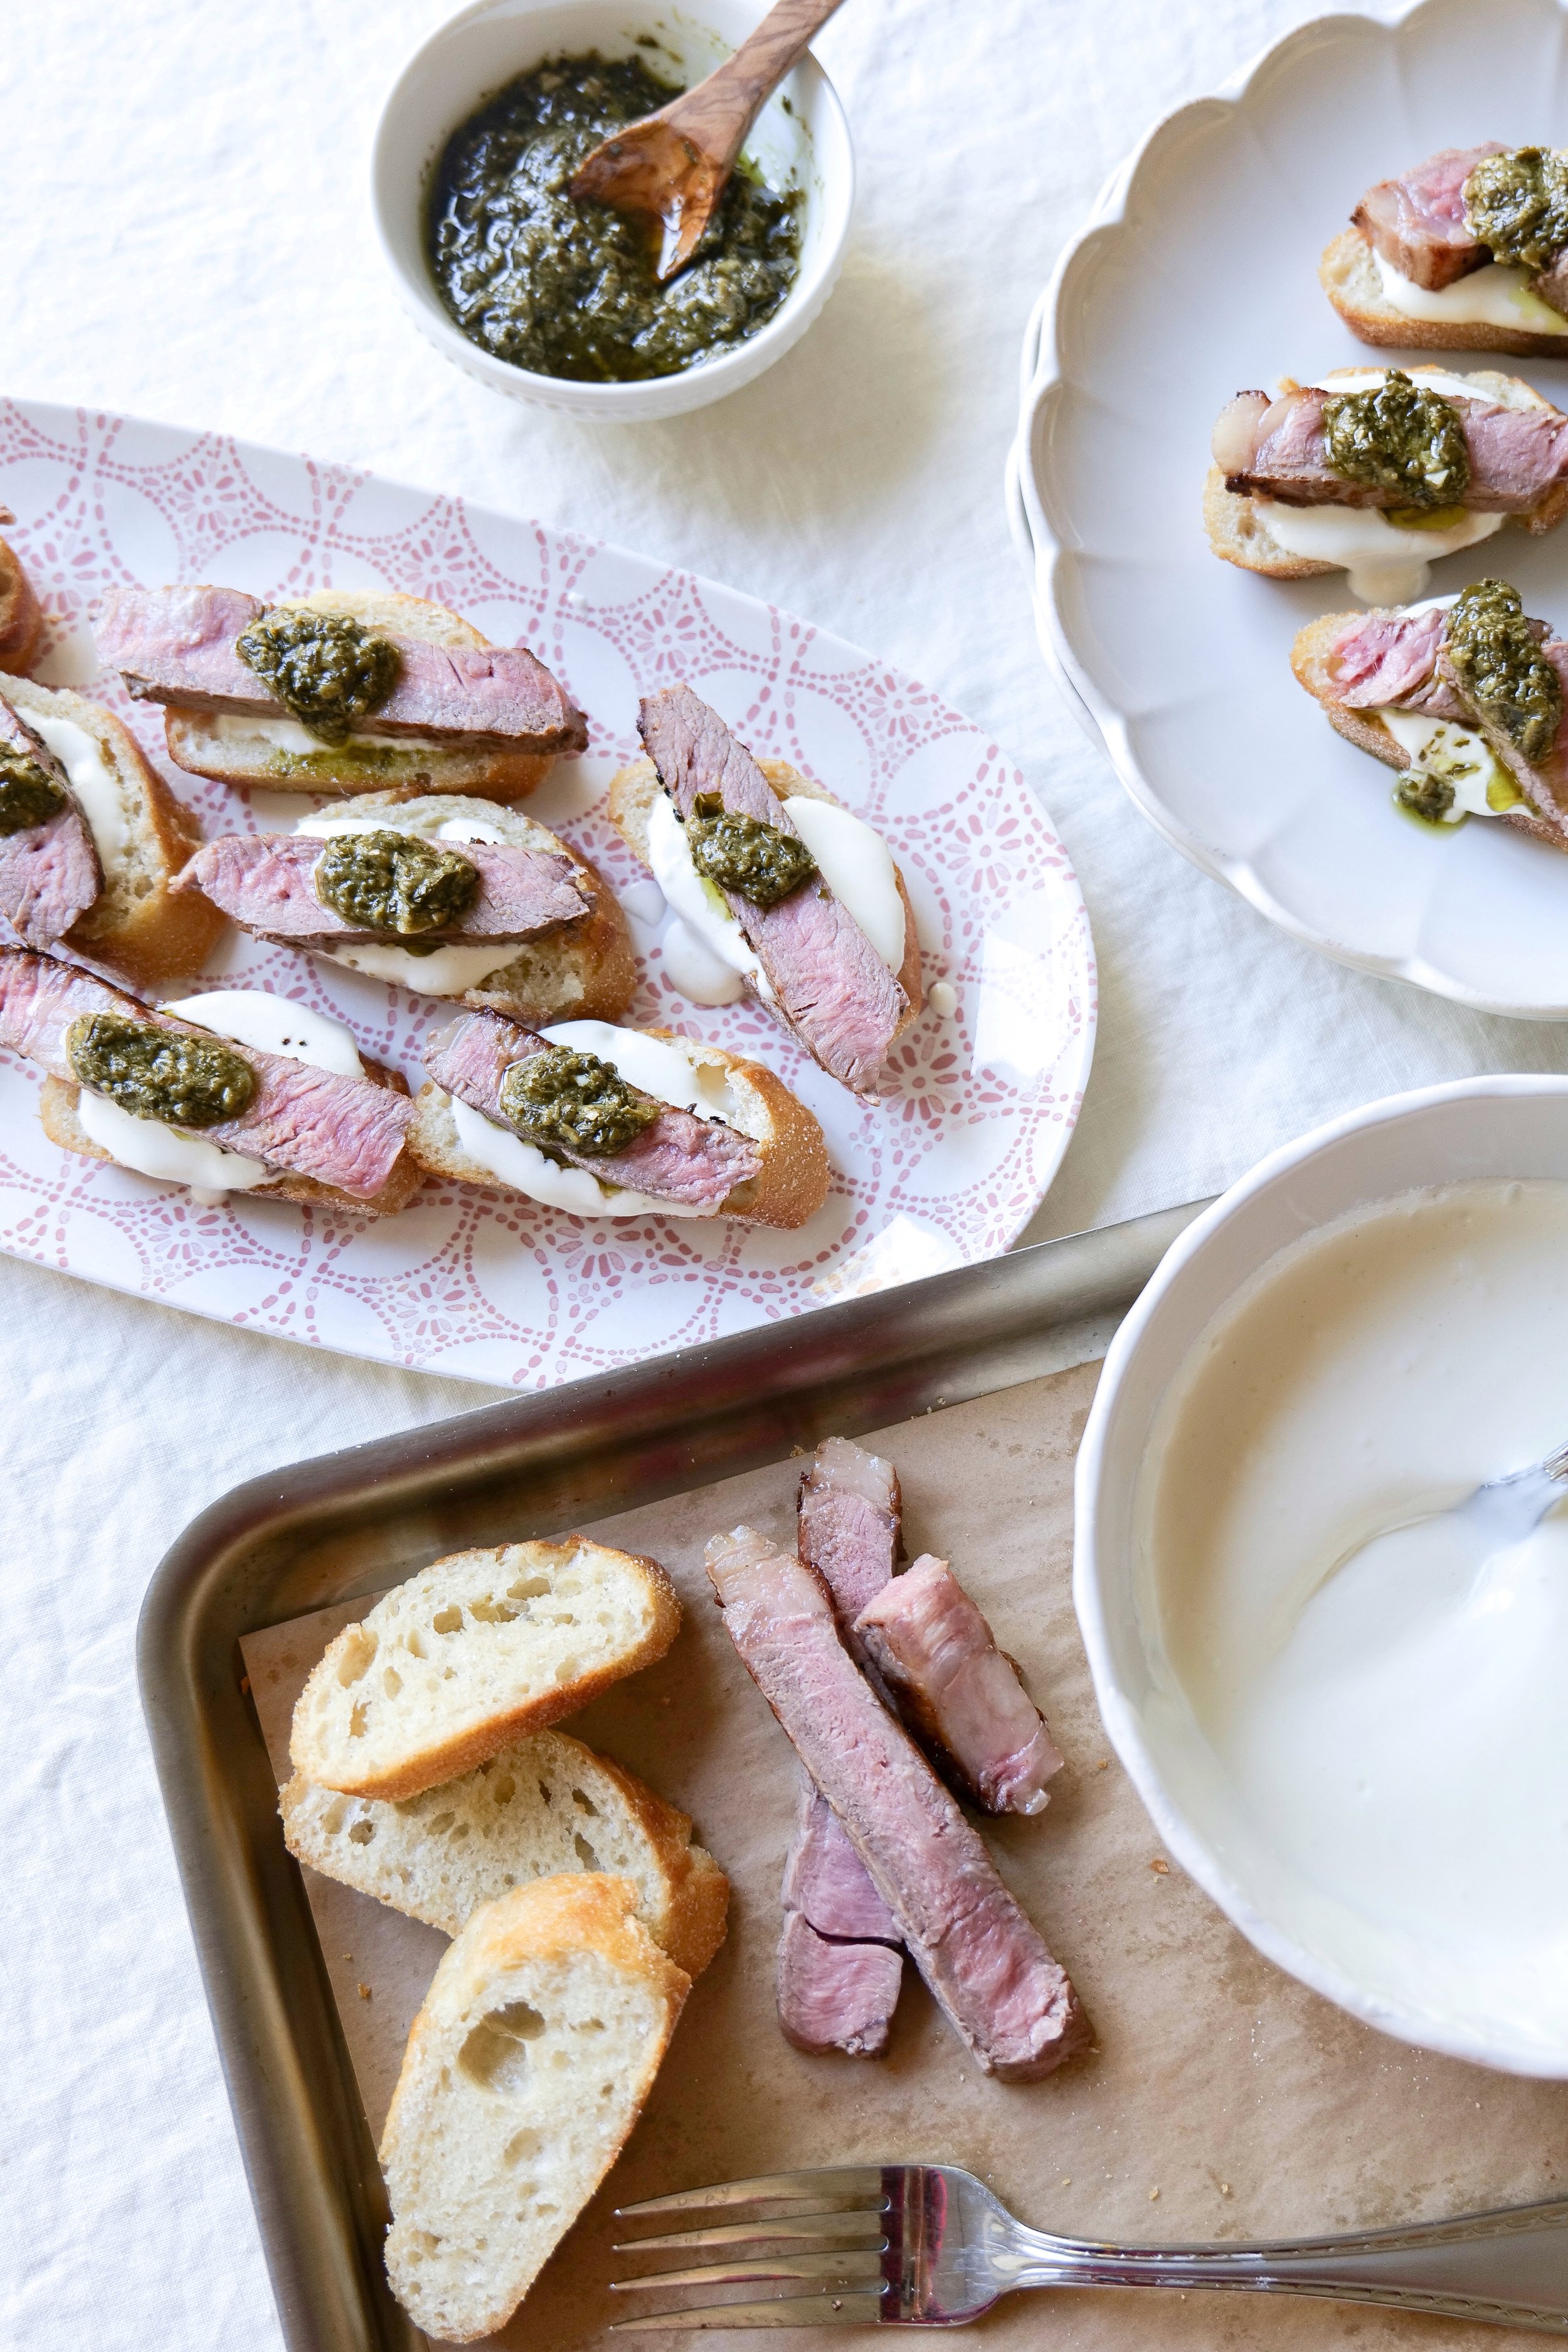
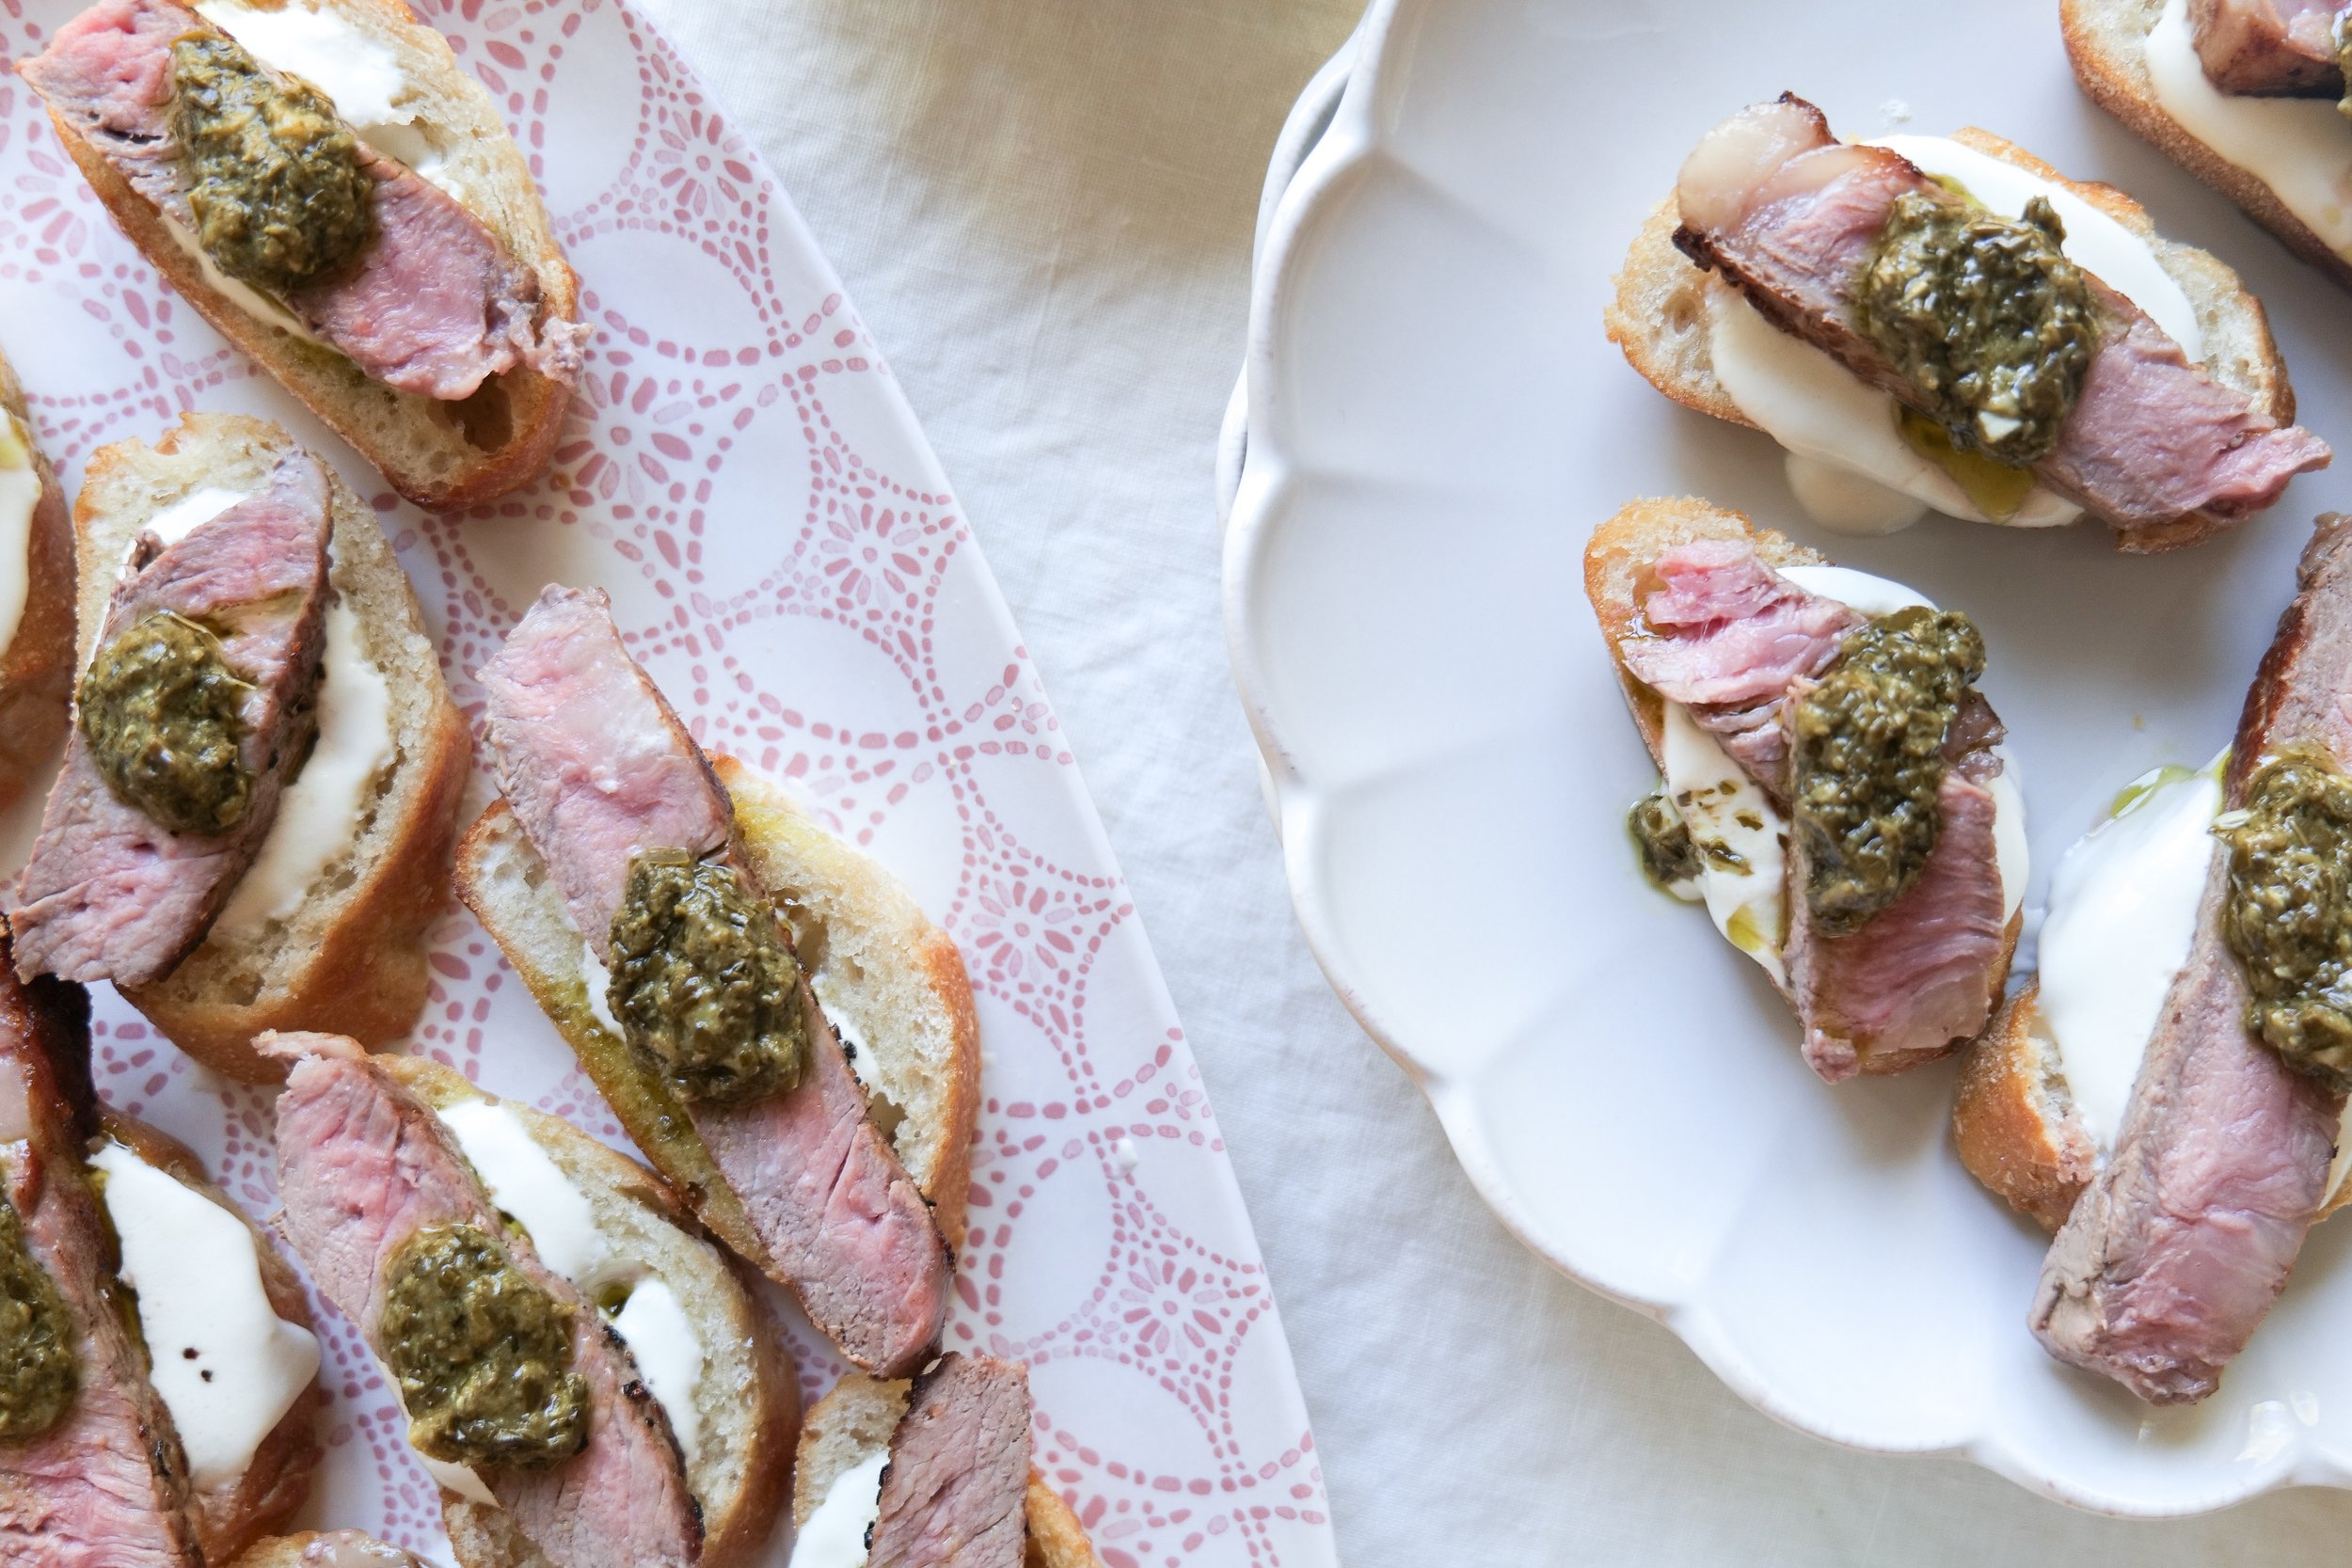
Perfect Pairings: Savor the Flavor with Our Ultimate Steak and Feta Crostini Recipe!

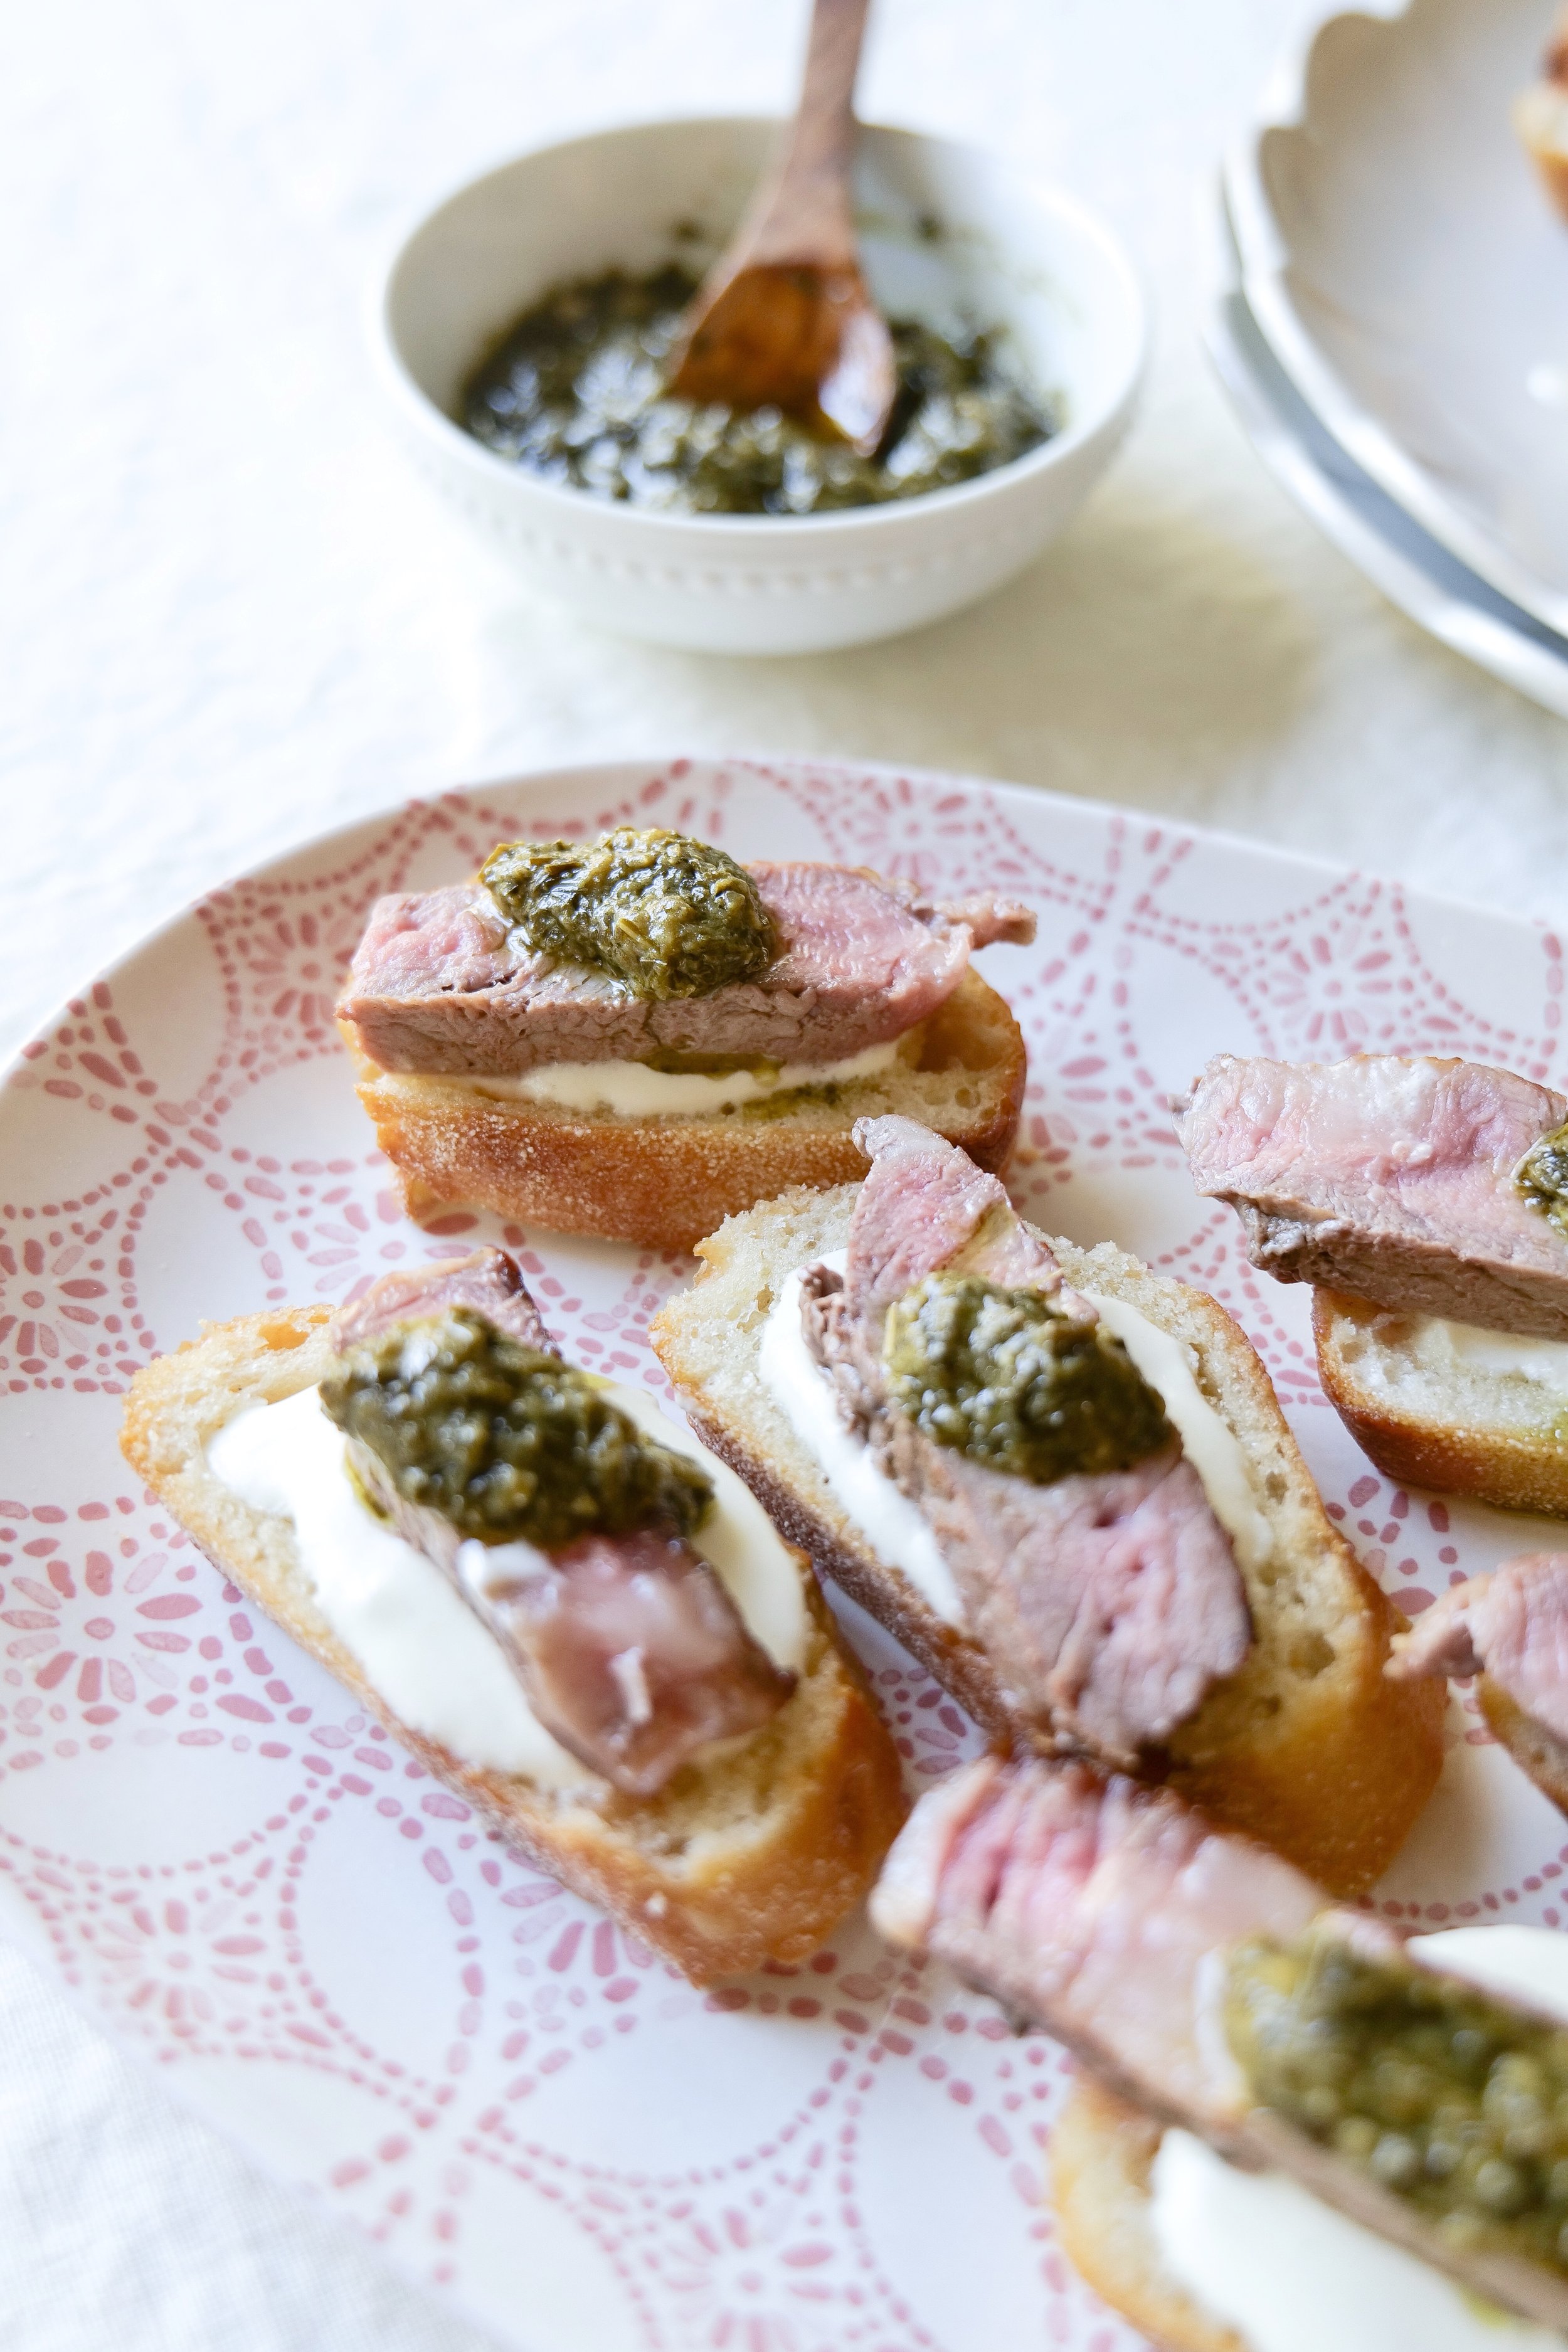
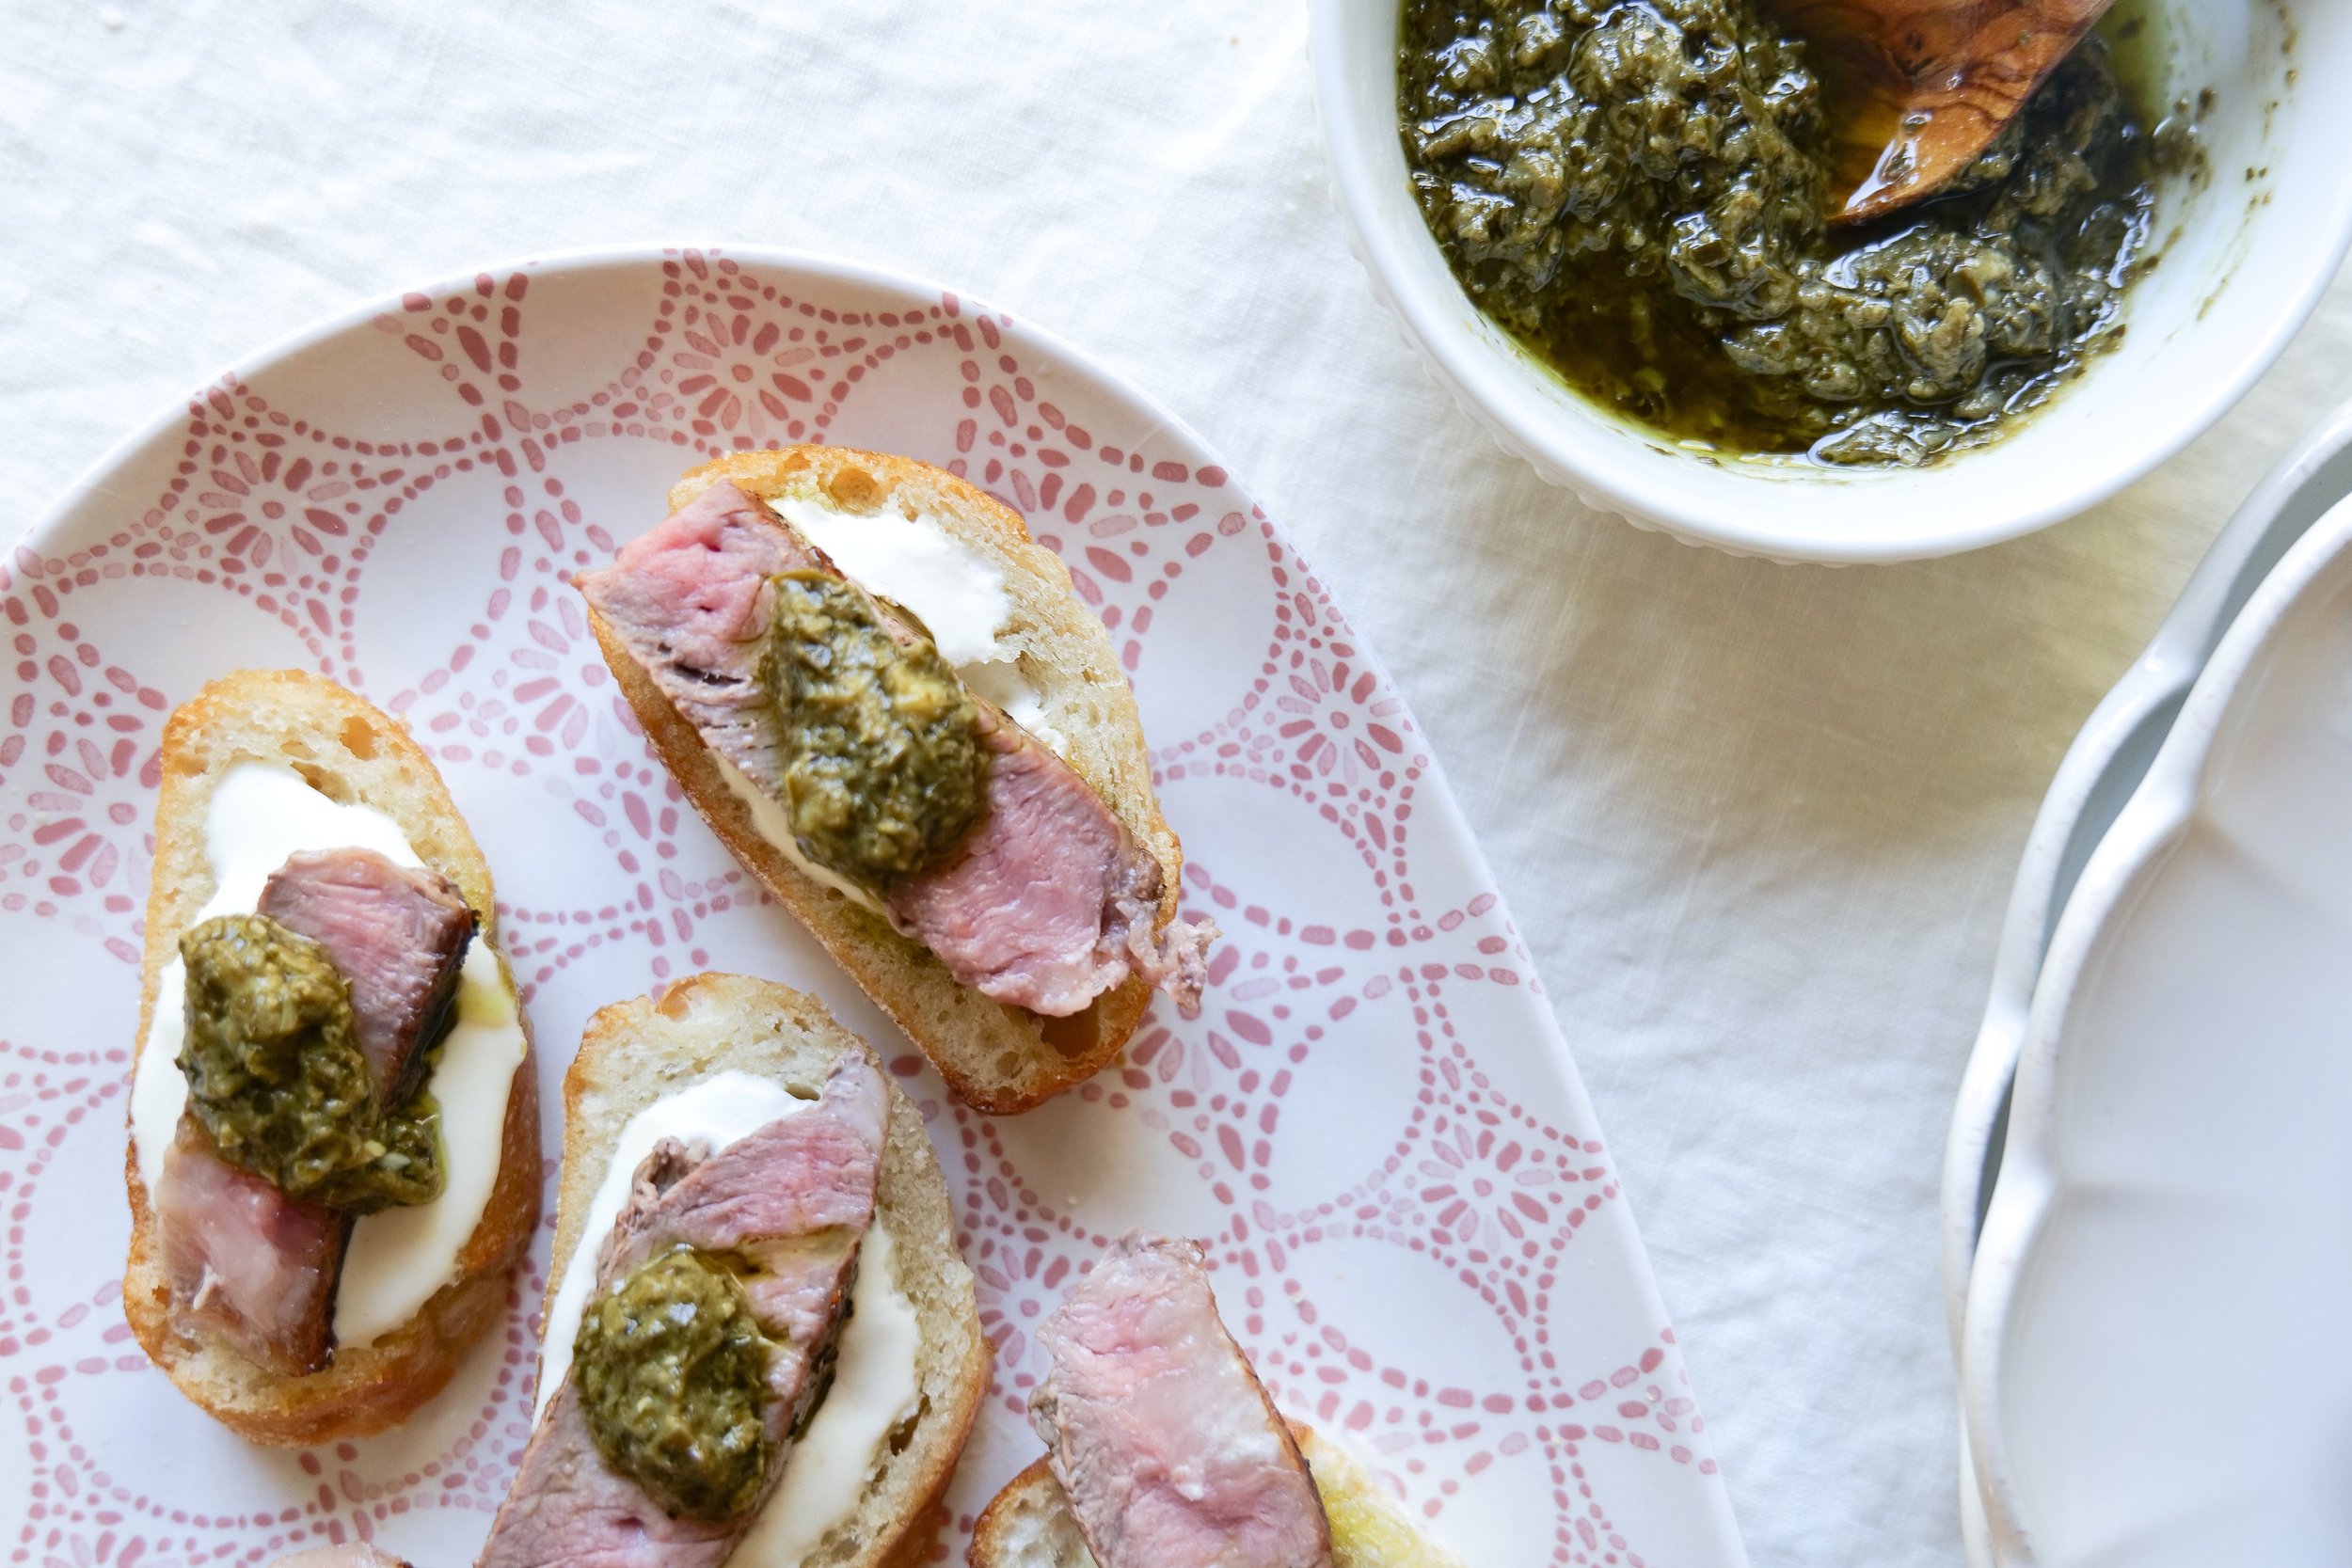
Welcome to this culinary delight where the rich, savory flavors of a perfectly grilled juicy steak meet the tangy punch of feta cheese, all piled atop a crisp, golden crostini. In this blog post, we'll take your taste buds on an adventure by marrying the hearty comfort of steak with the sharp, creamy essence of one of Greece's most famous cheeses. Whether you're planning an upscale appetizer for your next dinner party or simply seeking to jazz up your at-home snack game, these steak and feta crostinis promise to be a crowd-pleaser. Join us as we explore the simple yet sophisticated world of creating this mouth-watering combination, where each bite is a symphony of textures and flavors that are sure to leave you craving more.

Bread Alternatives

When making steak and feta crostini, the type of bread used is an important factor to consider. Ciabatta bread is a great option, as it has a slightly chewy texture that helps hold the toppings well. French baguettes are also an excellent choice, as their crisp crust and fluffy interior make them well-suited for crostini. Sourdough bread is a good choice as well, as its slightly tangy flavor helps balance out the savory flavors of the steak and feta. For those looking to add a bit of nutrition to their crostini, whole wheat bread is a great option. Rye bread can be a nice option if you prefer its flavor to the crostini, for those looking to experiment with different flavors. It is important to choose a bread that you like, and one that will complement the flavors of the steak and feta. These are all great options.

Steak Preparation

To make the perfect steak for topping crostini, heat a skillet over medium-high heat and season the steak with salt and pepper. Sear the steak on both sides for 2-4 minutes, or until it’s cooked to your desired doneness. Once the steak is cooked, remove it from the skillet and let it rest for 3-5 minutes. Slice the steak against the grain into thin strips. Serve the steak on crostini, along with feta cheese, fresh herbs and other desired toppings. The combination of steak and feta on a crispy crostini is a powerful flavor combination that will tantalize your taste buds.

Cheese Alternatives

If you're looking for an alternative cheese to top your steak and feta crostini, you should consider trying crumbled goat cheese, blue cheese, or gorgonzola. All of these cheeses provide a creamy, tangy flavor that pairs well with steak and makes a delicious alternative to feta. Goat cheese and blue cheese are milder in flavor than feta, while gorgonzola is a bit stronger but still delicious. Additionally, if you're looking for a more mild cheese, you could opt for a brie or mozzarella. Whichever cheese you choose, you can be sure that your steak and feta crostini will be a delicious and flavorful dish.

Ingredients

1 pound ribeye steak

1 French baguette

3 tablespoons melted Butter

6 oz feta cheese

4 oz Greek yogurt

3 tablespoons extra virgin olive oil

2–3 tablespoons water

Salt & pepper, to taste

Basil pesto spread

Instructions

1. Arrange the baguette slices on a large baking sheet. Lightly brush both sides of the bread with melted butter. Place bread under the broiler for 1-2 minutes on each side until lightly brown. Briefly set the crostini aside to cool.

2. Pat both sides of the steak with a paper towel. Season with salt and Pepper to taste. Add 1 tablespoon of butter to a heated skillet and add prepped Ribeye steak cooking both sides for three minutes. Remove the steaks to a cutting board and let them rest for 10 minutes before thinly slicing them against the grain.

3. While the steak is resting, make the whipped feta. Add crumbled feta, greek yogurt, olive oil, and water and blend until smooth and well blended. Prepare the crostini by layering bread, feta mixture, a thinly sliced steak, and pesto on top. Serve & enjoy your steak crostini!

Other Hearty Appetizer Recipes:

A Crowd-Pleasing Stuffed Mushroom Recipe

5 Ingredient Bacon Ranch Football Shaped Cheese Ball

Create a Delicious Layered Hummus Dip for Your Next Snack or Appetizer

Delight Your Guests with an Antipasto Christmas Wreath

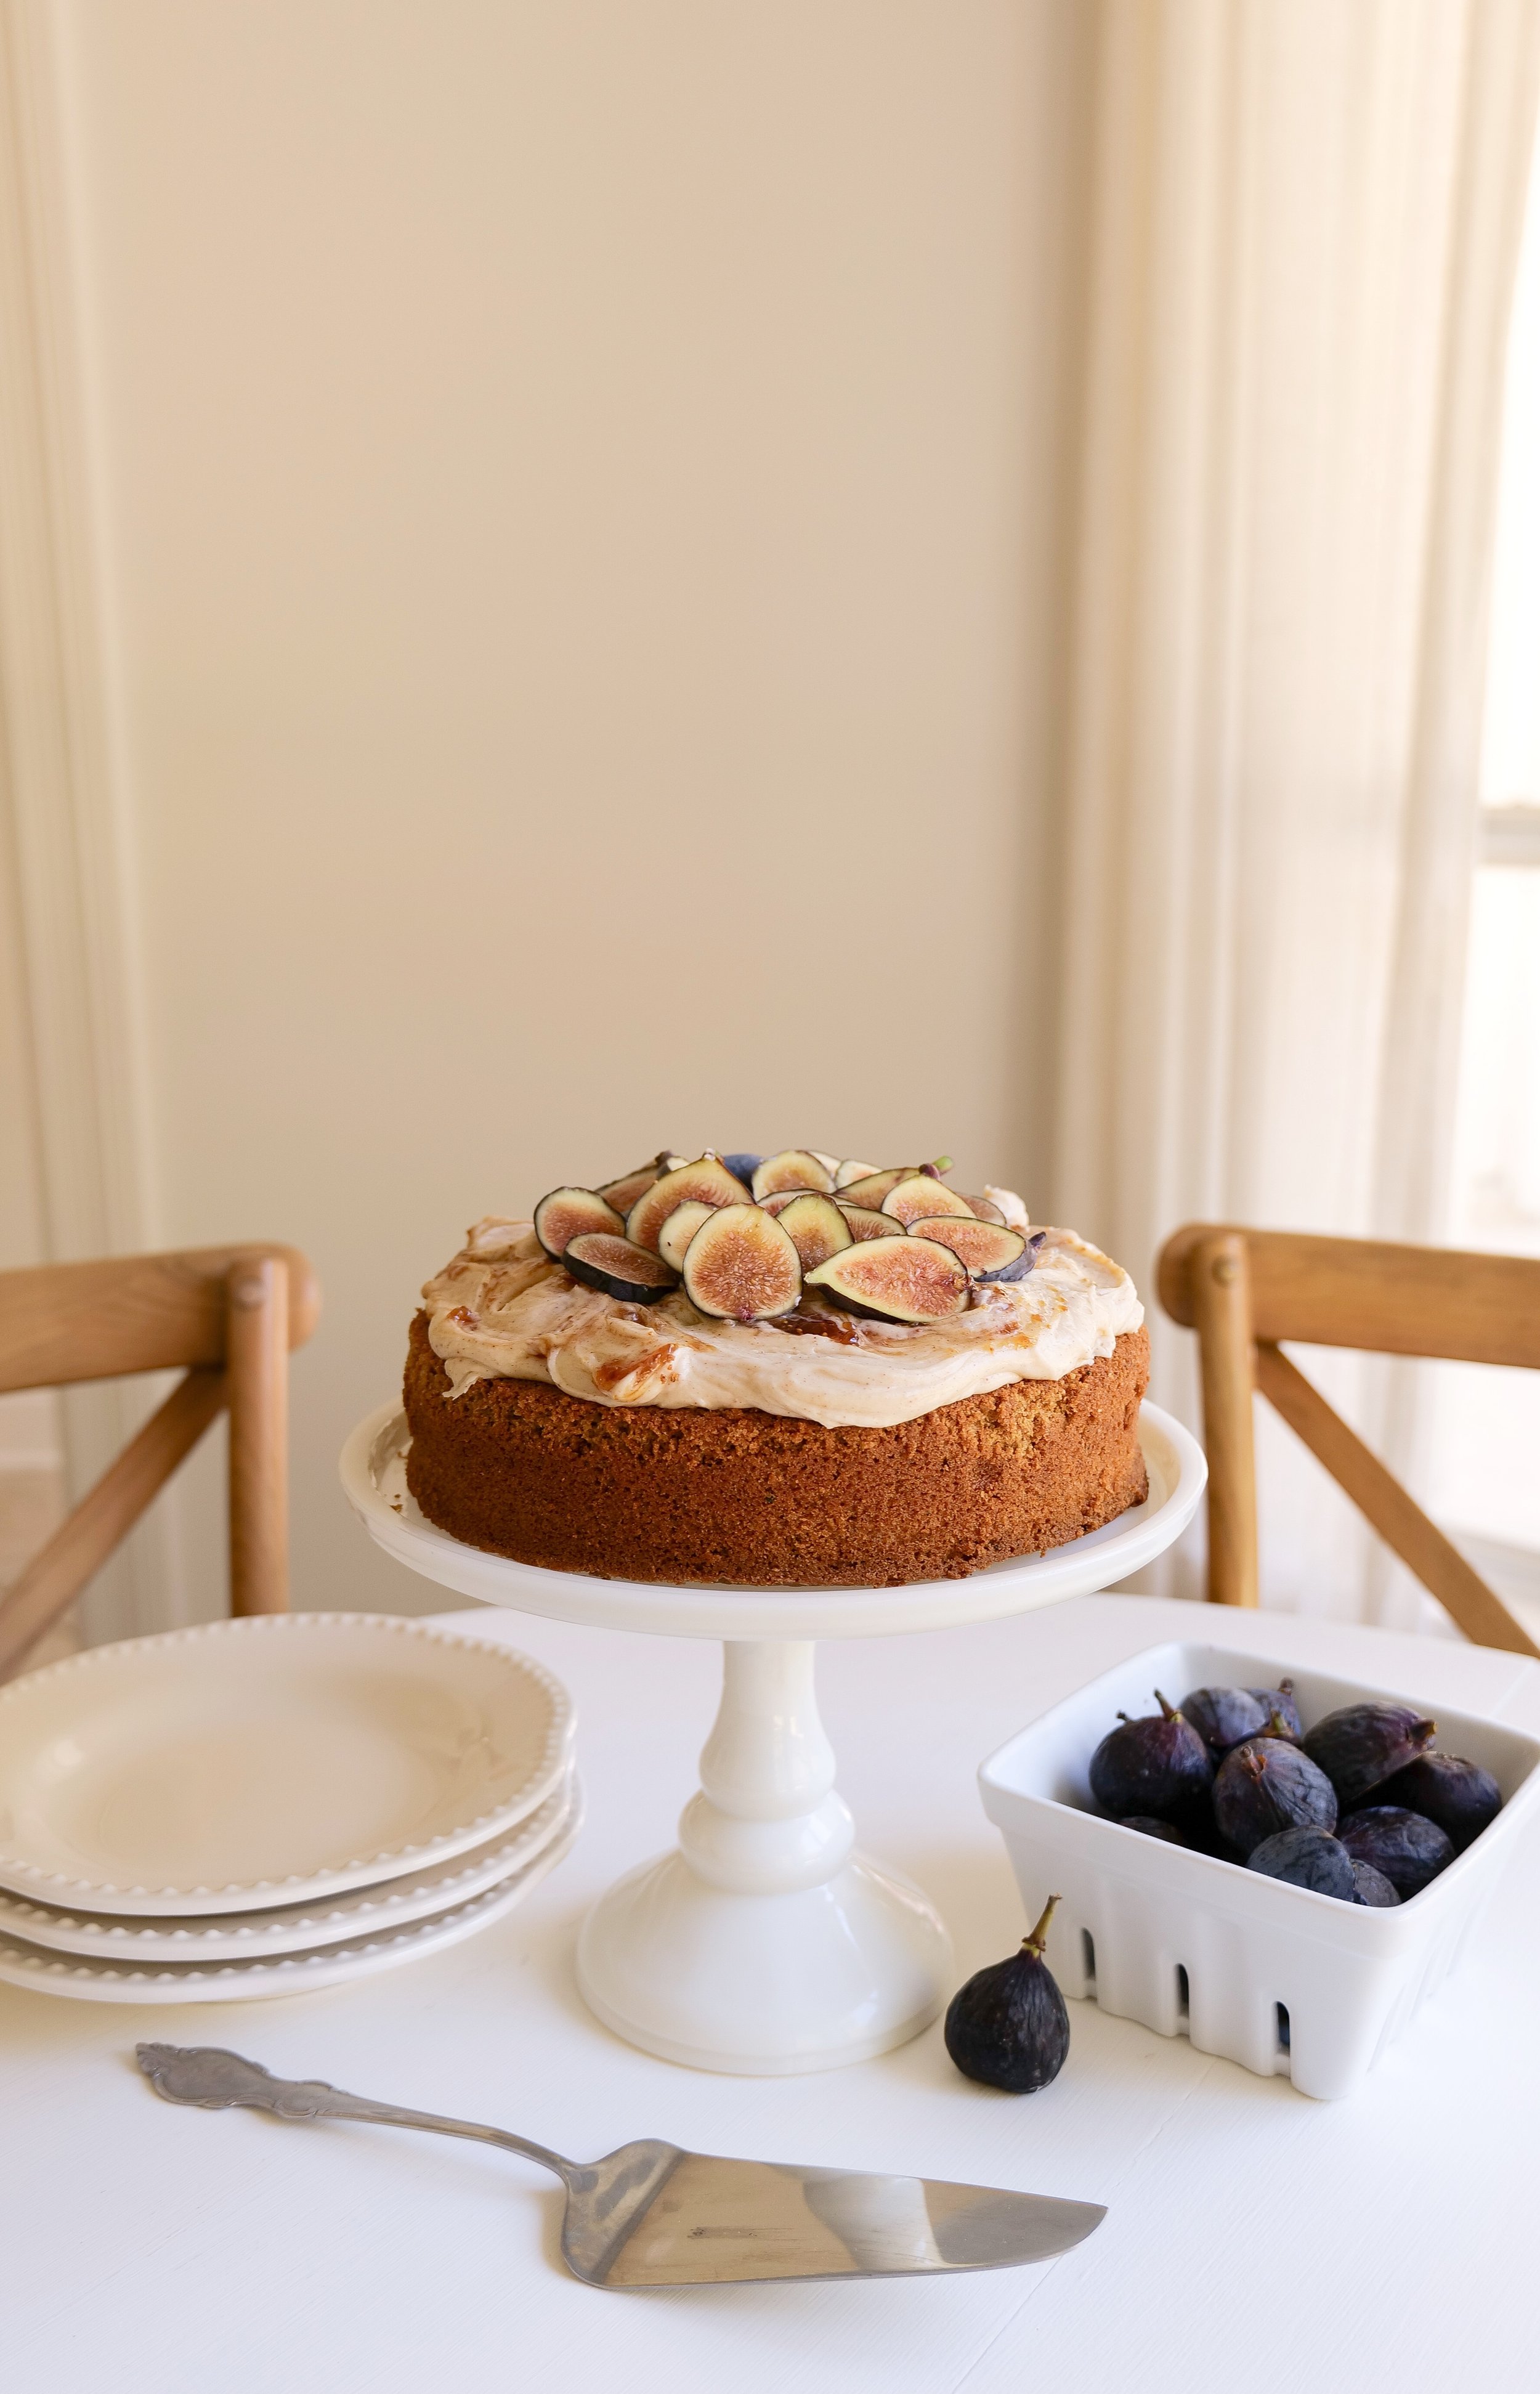
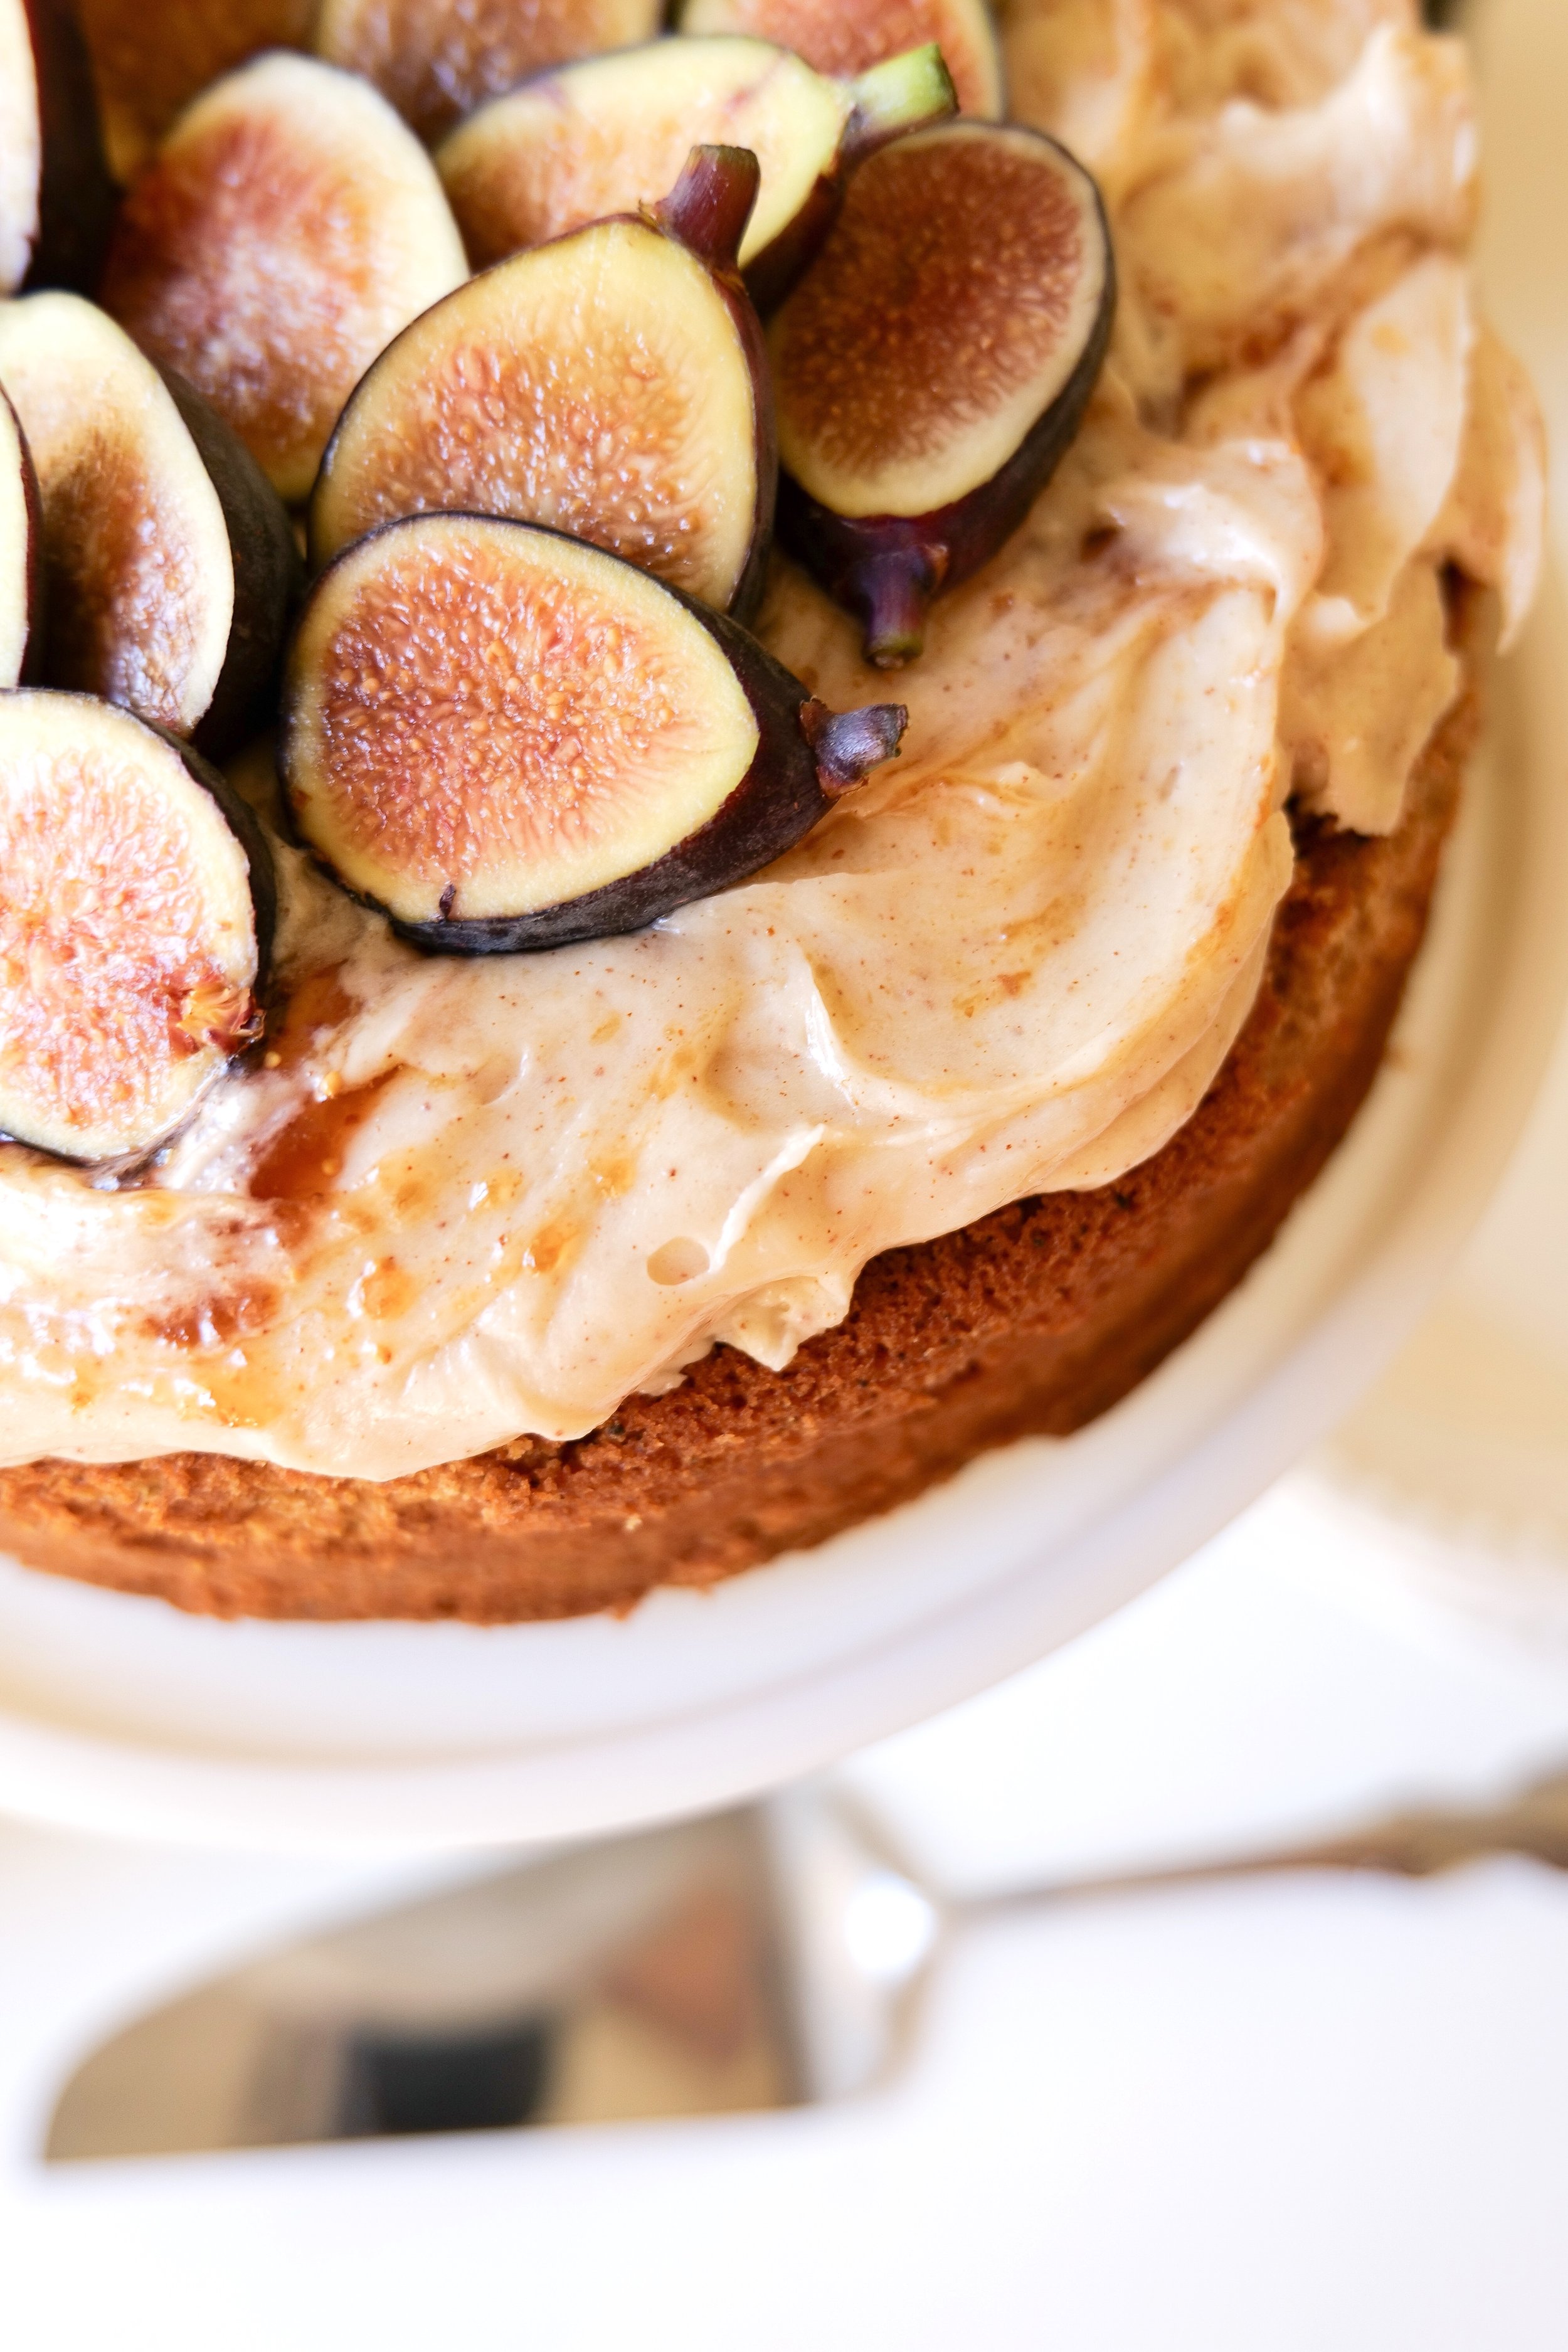
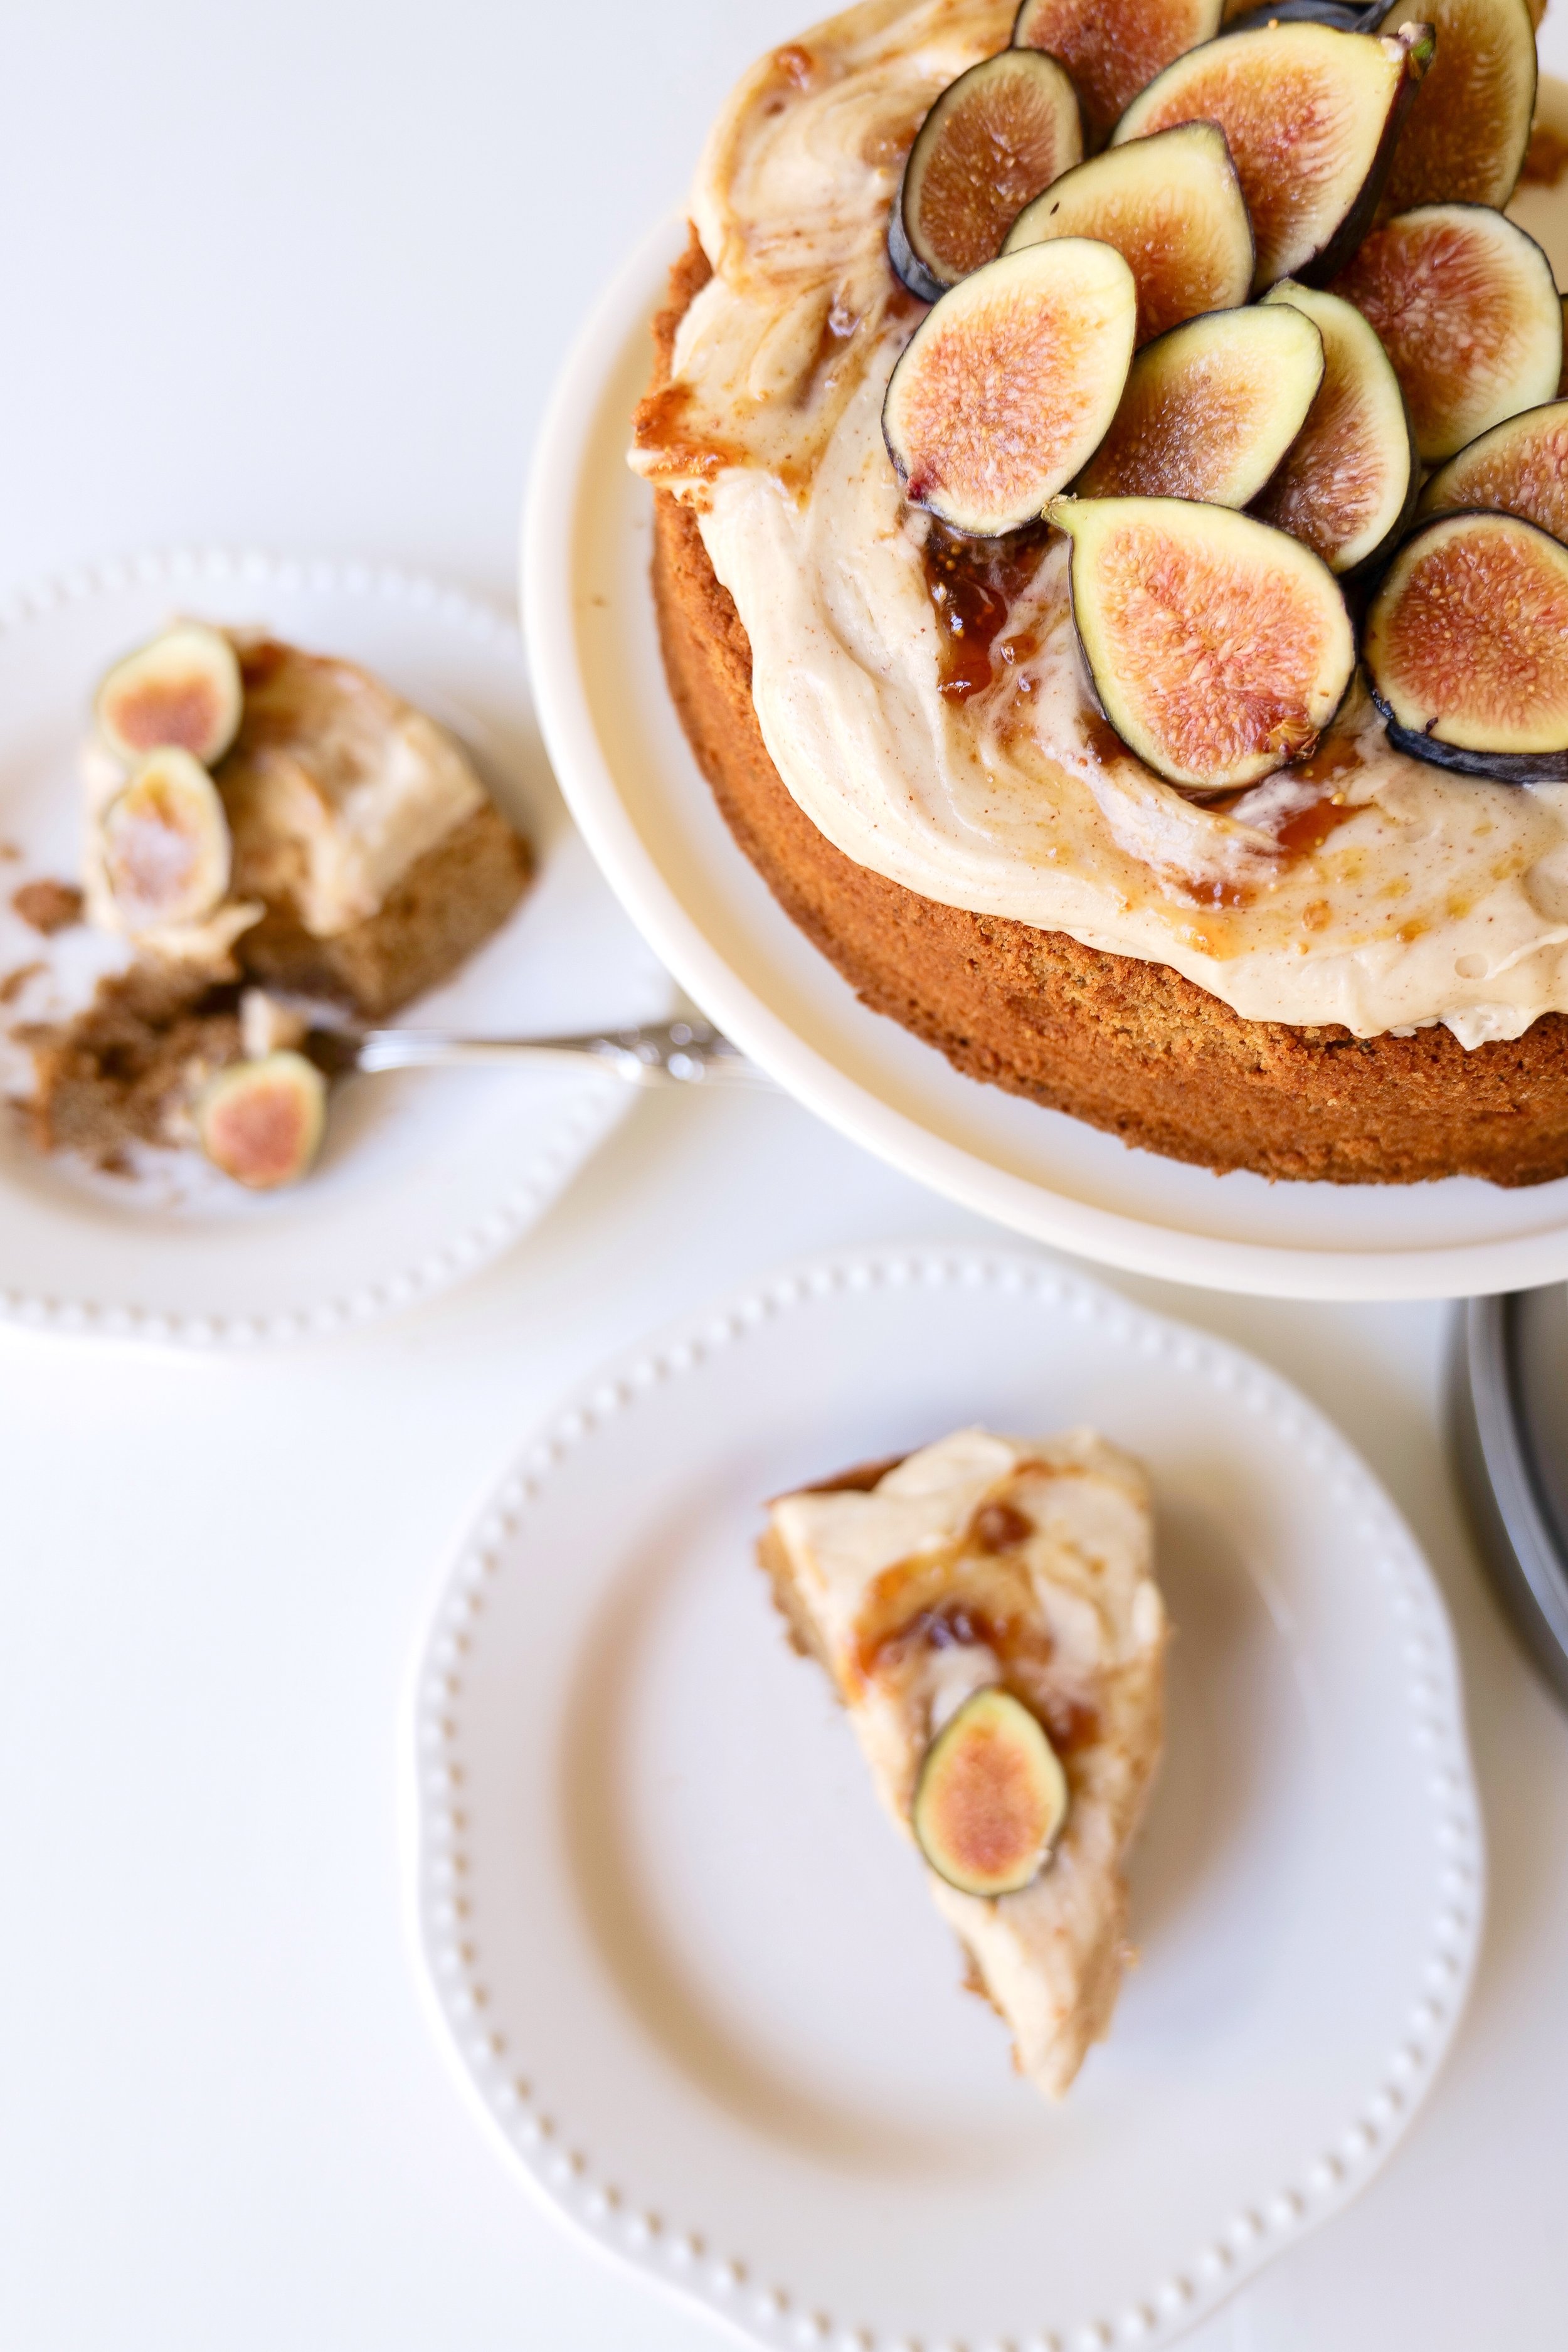
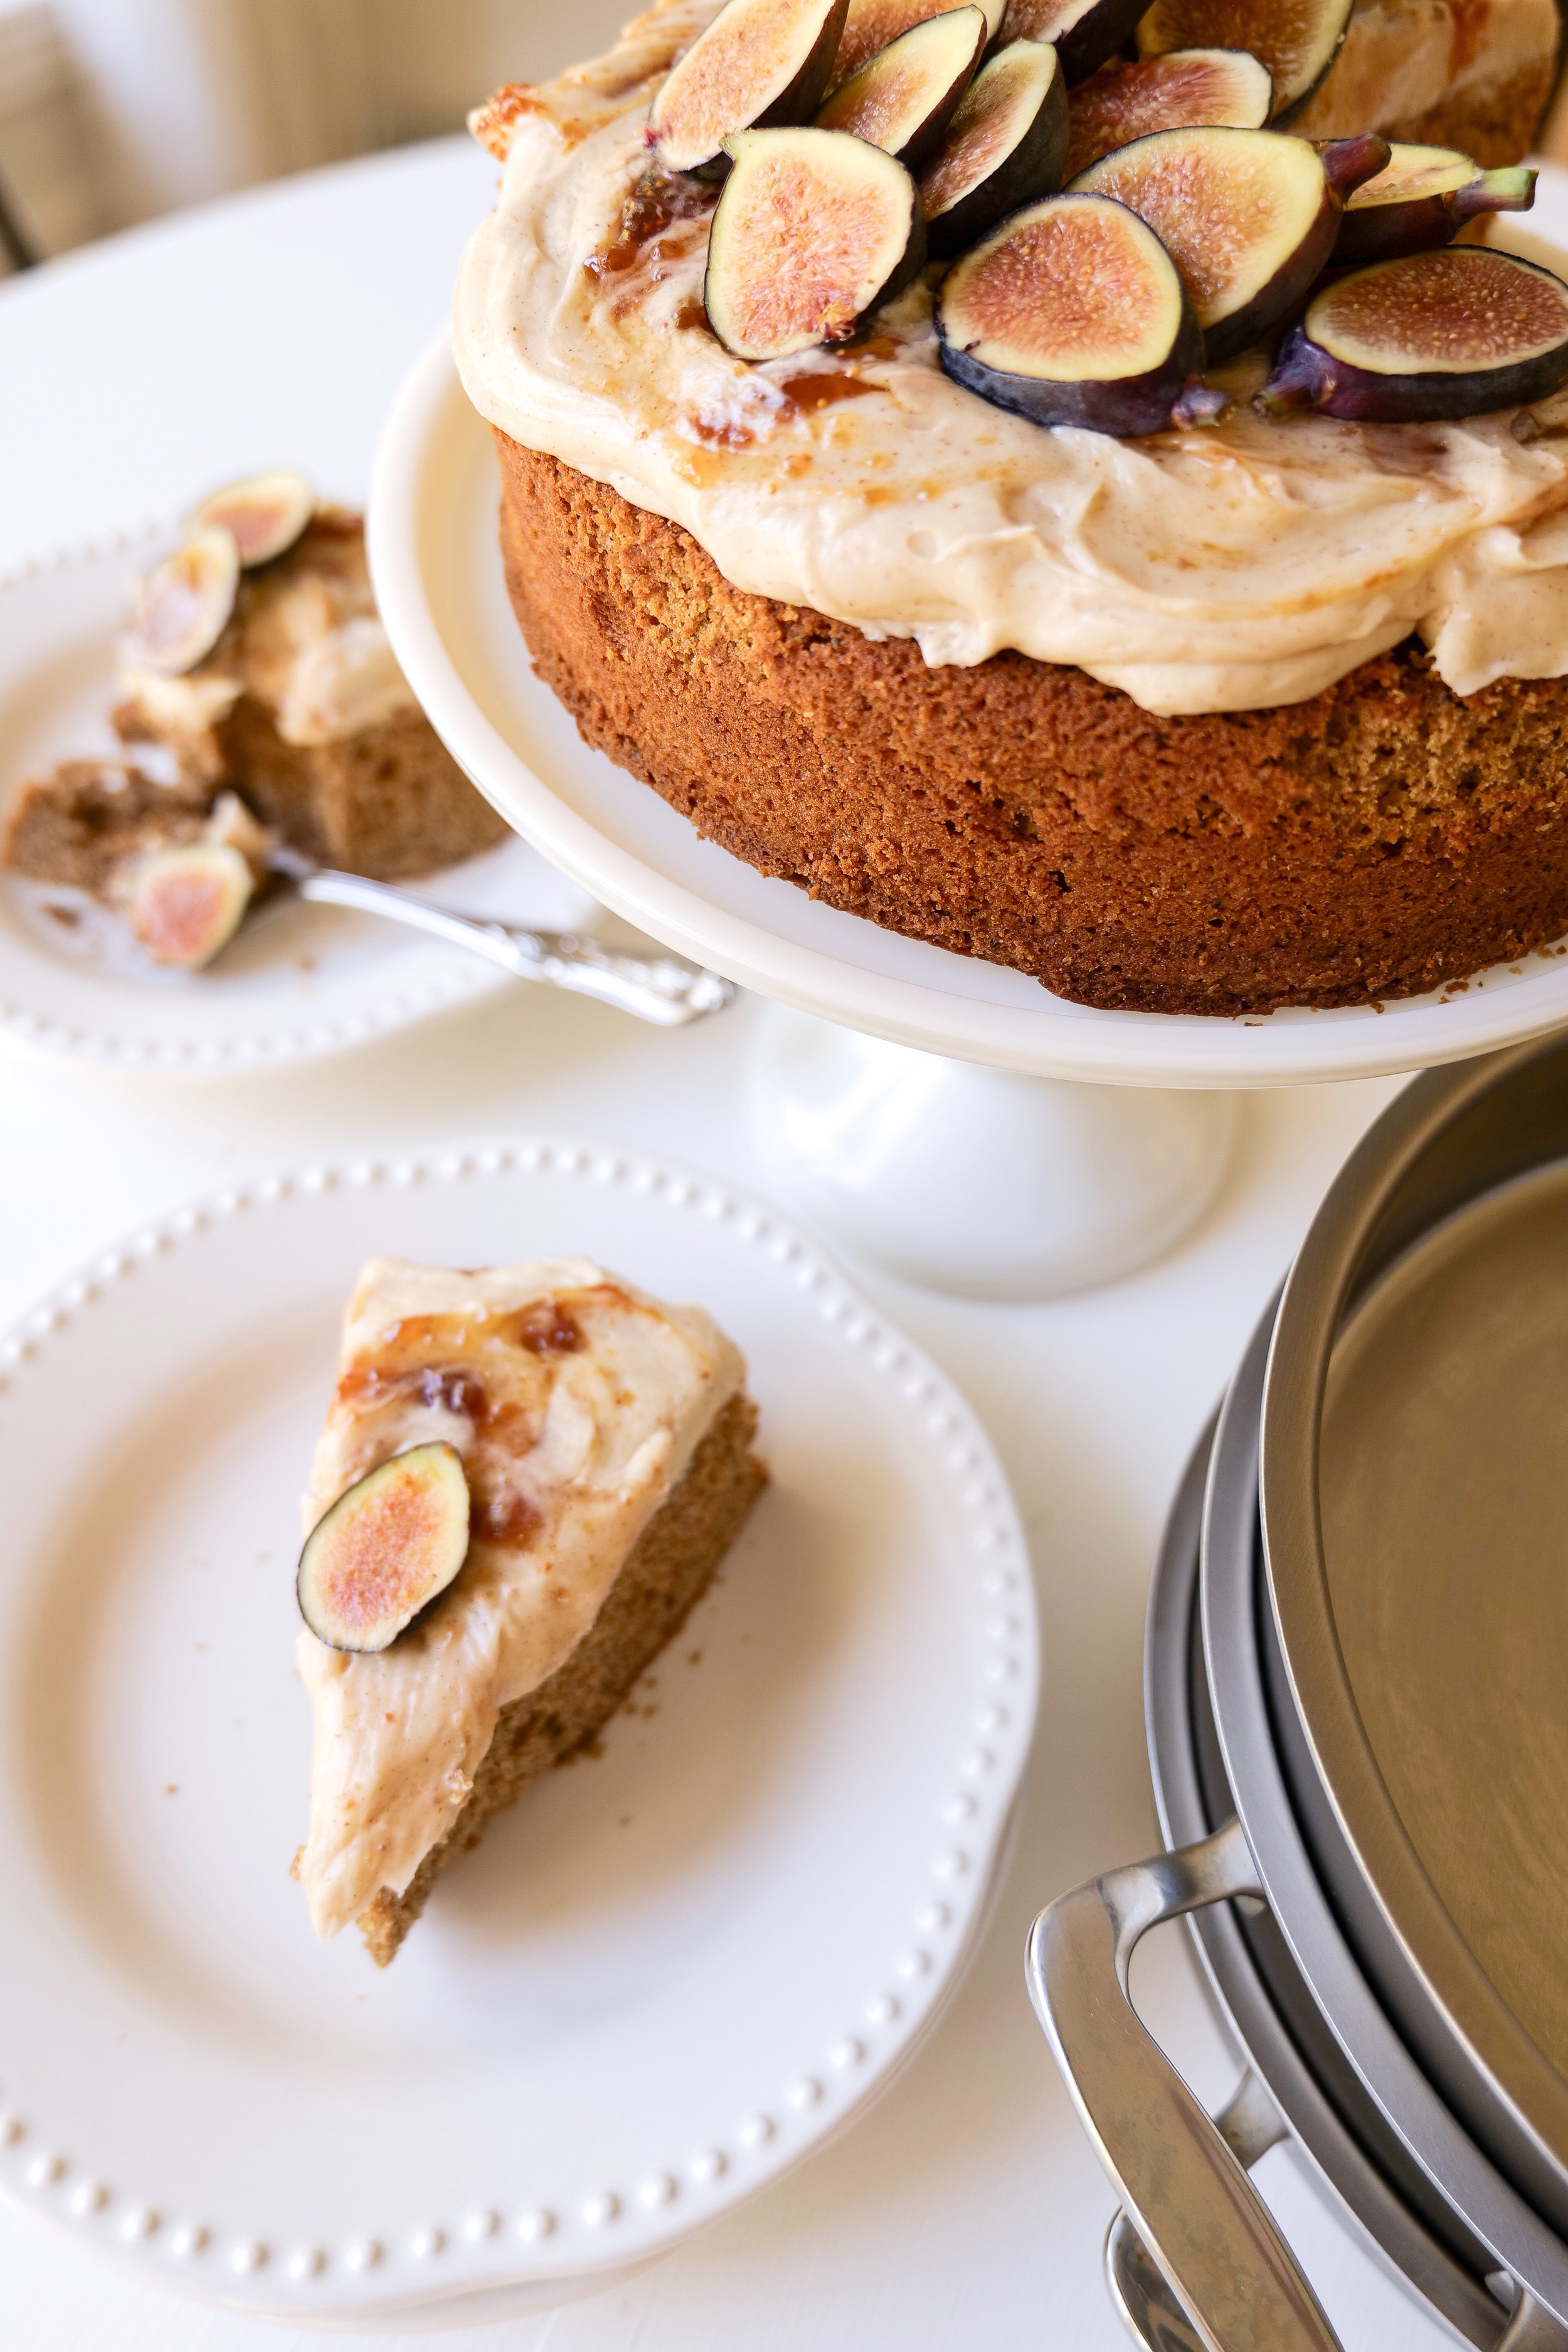
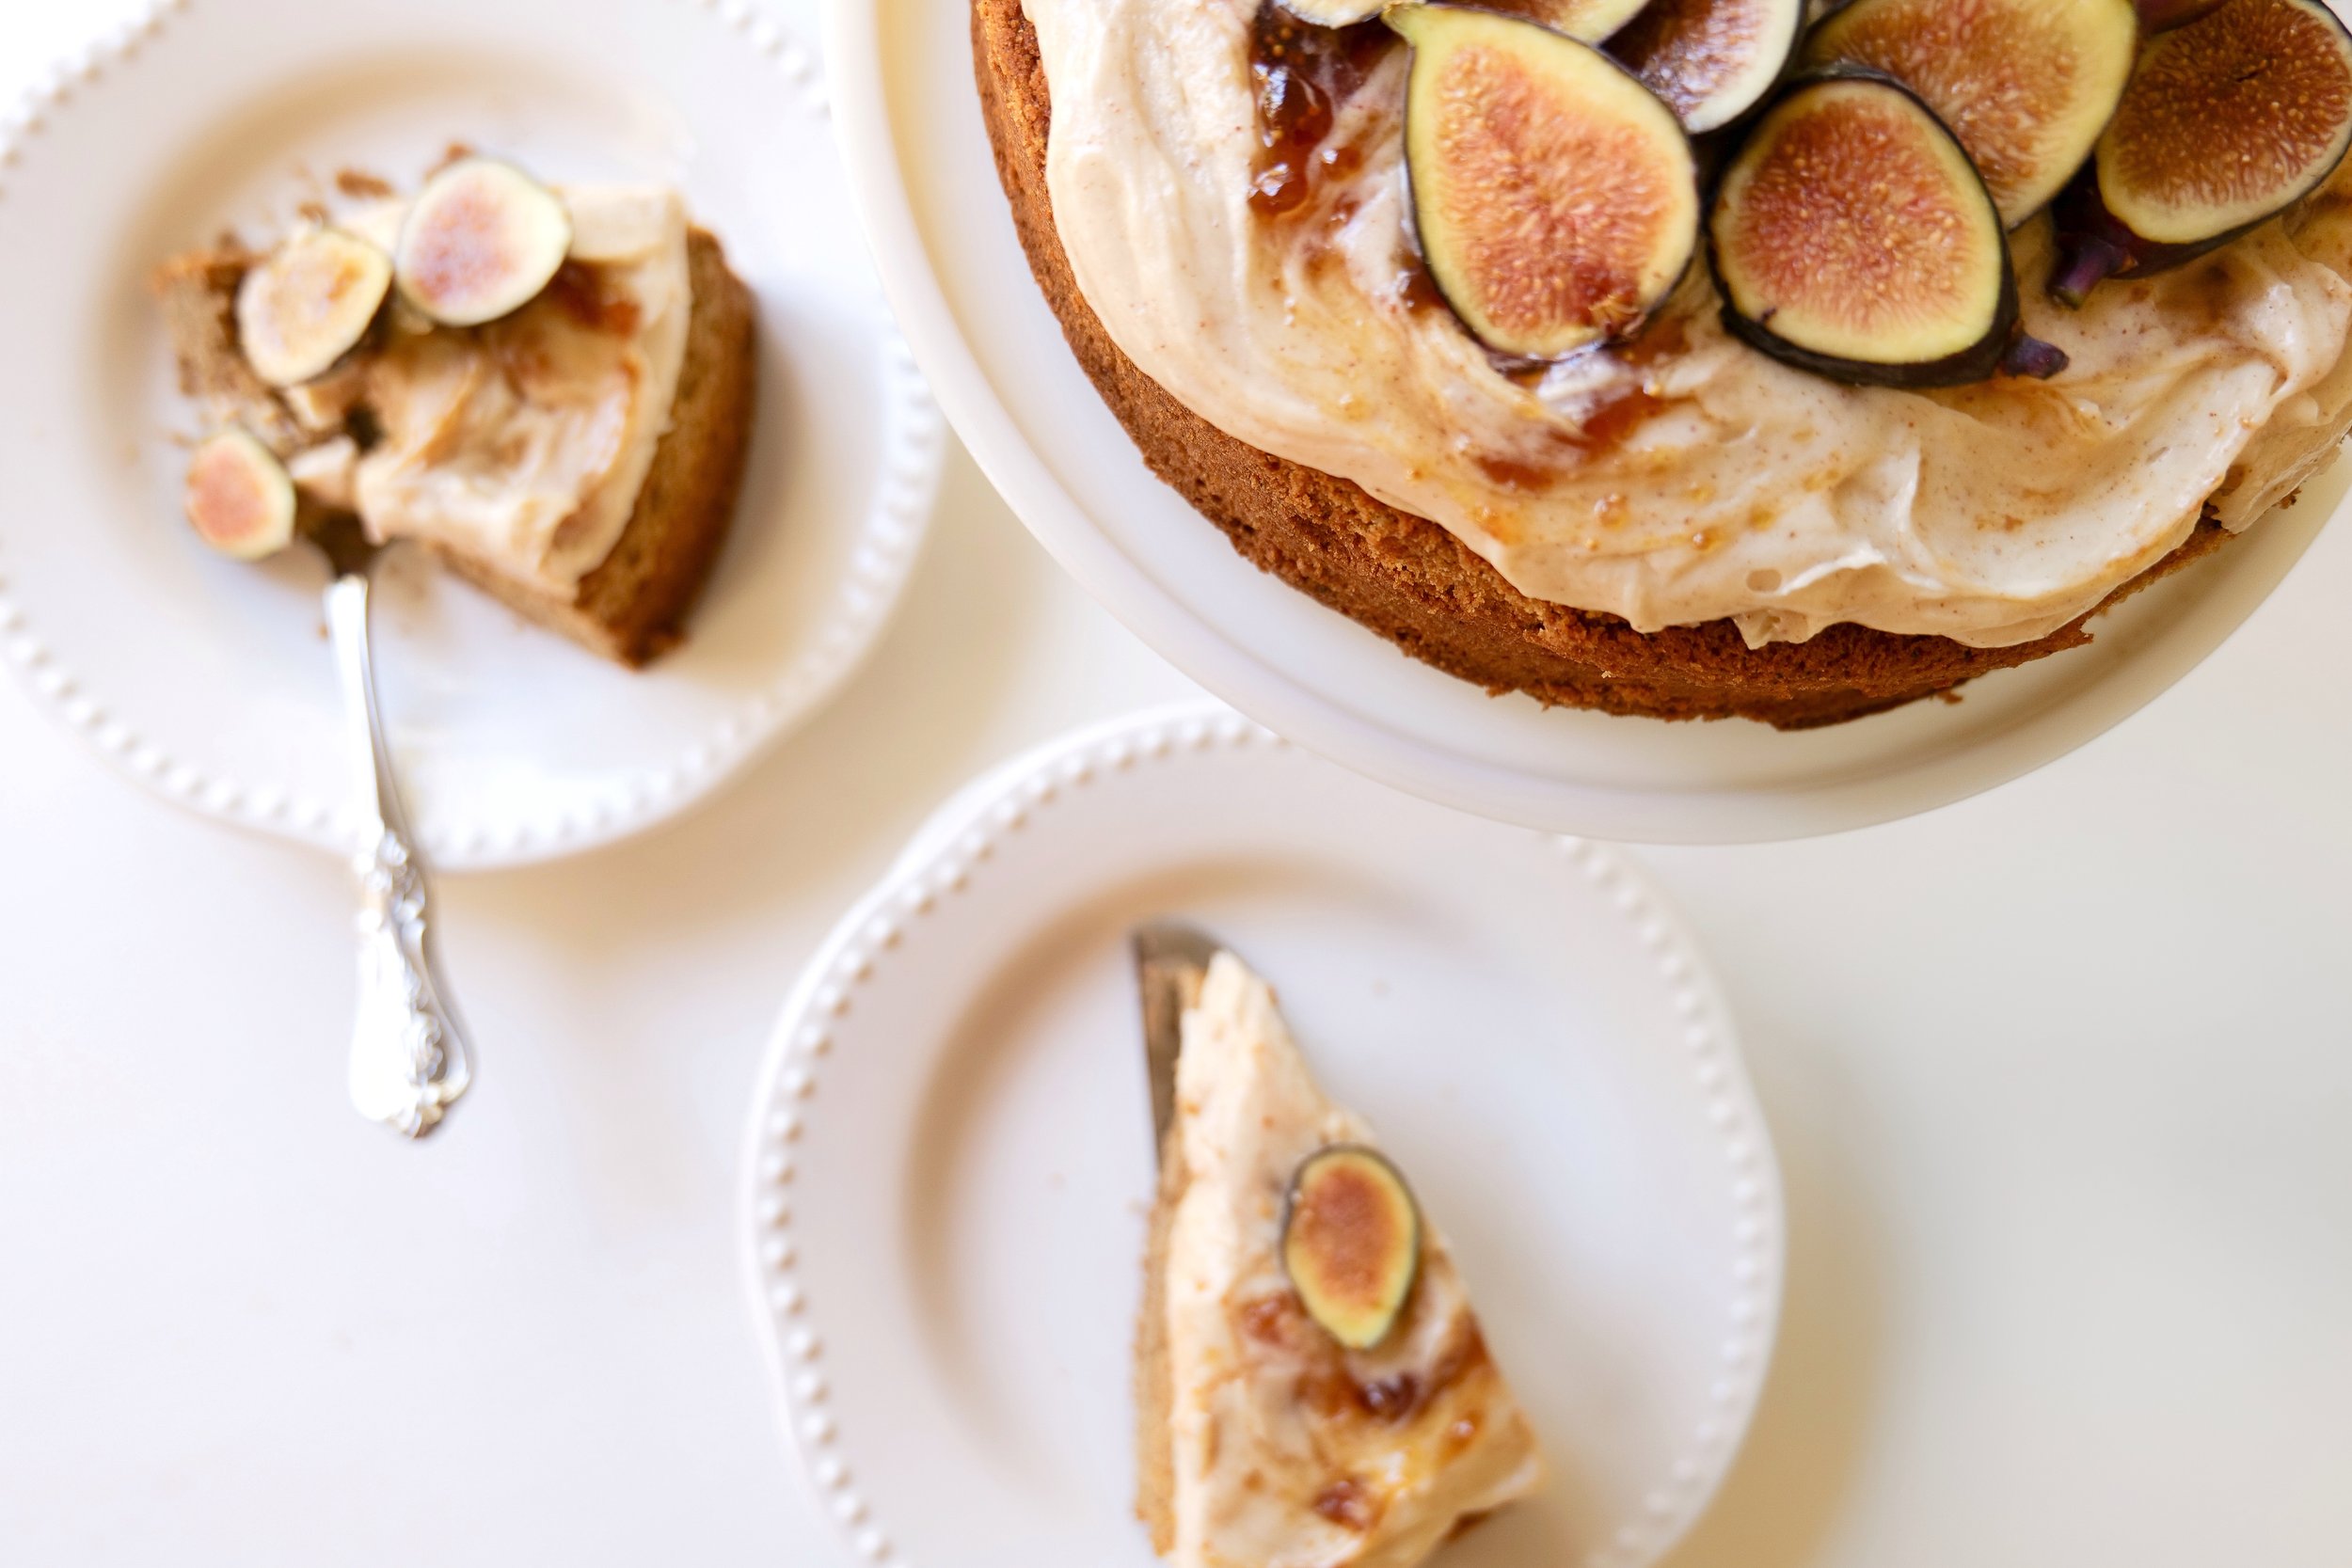
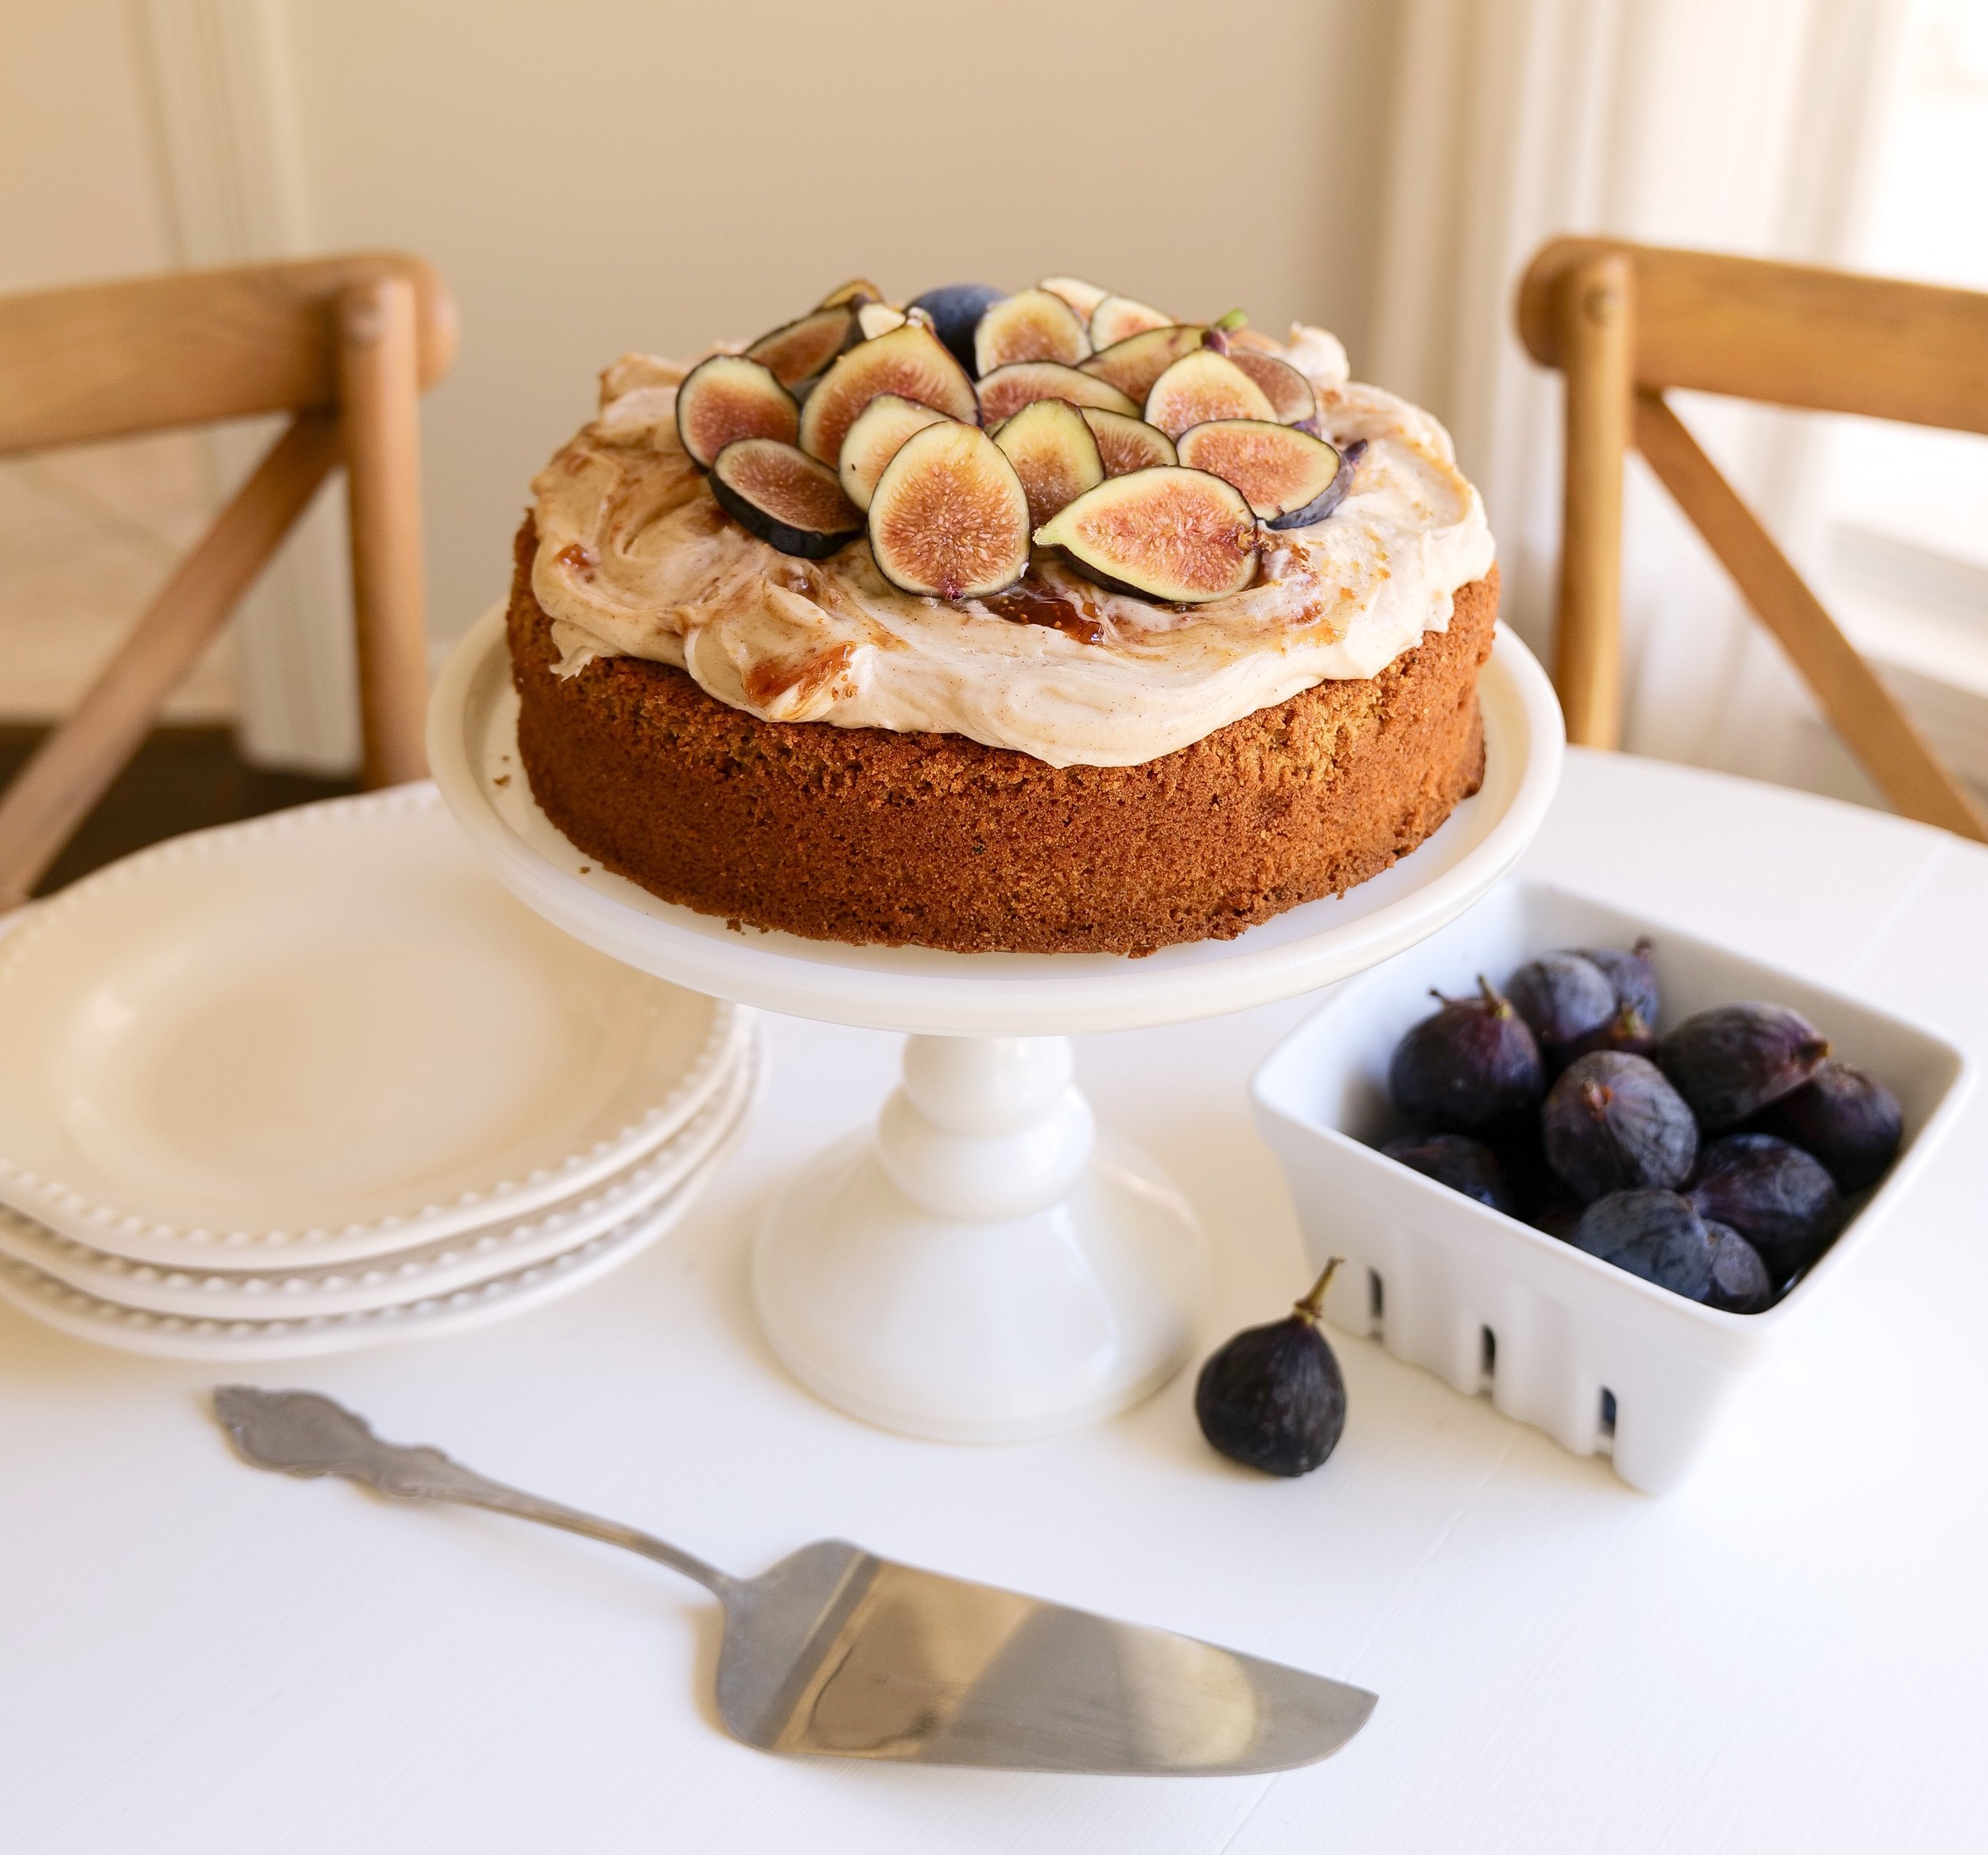
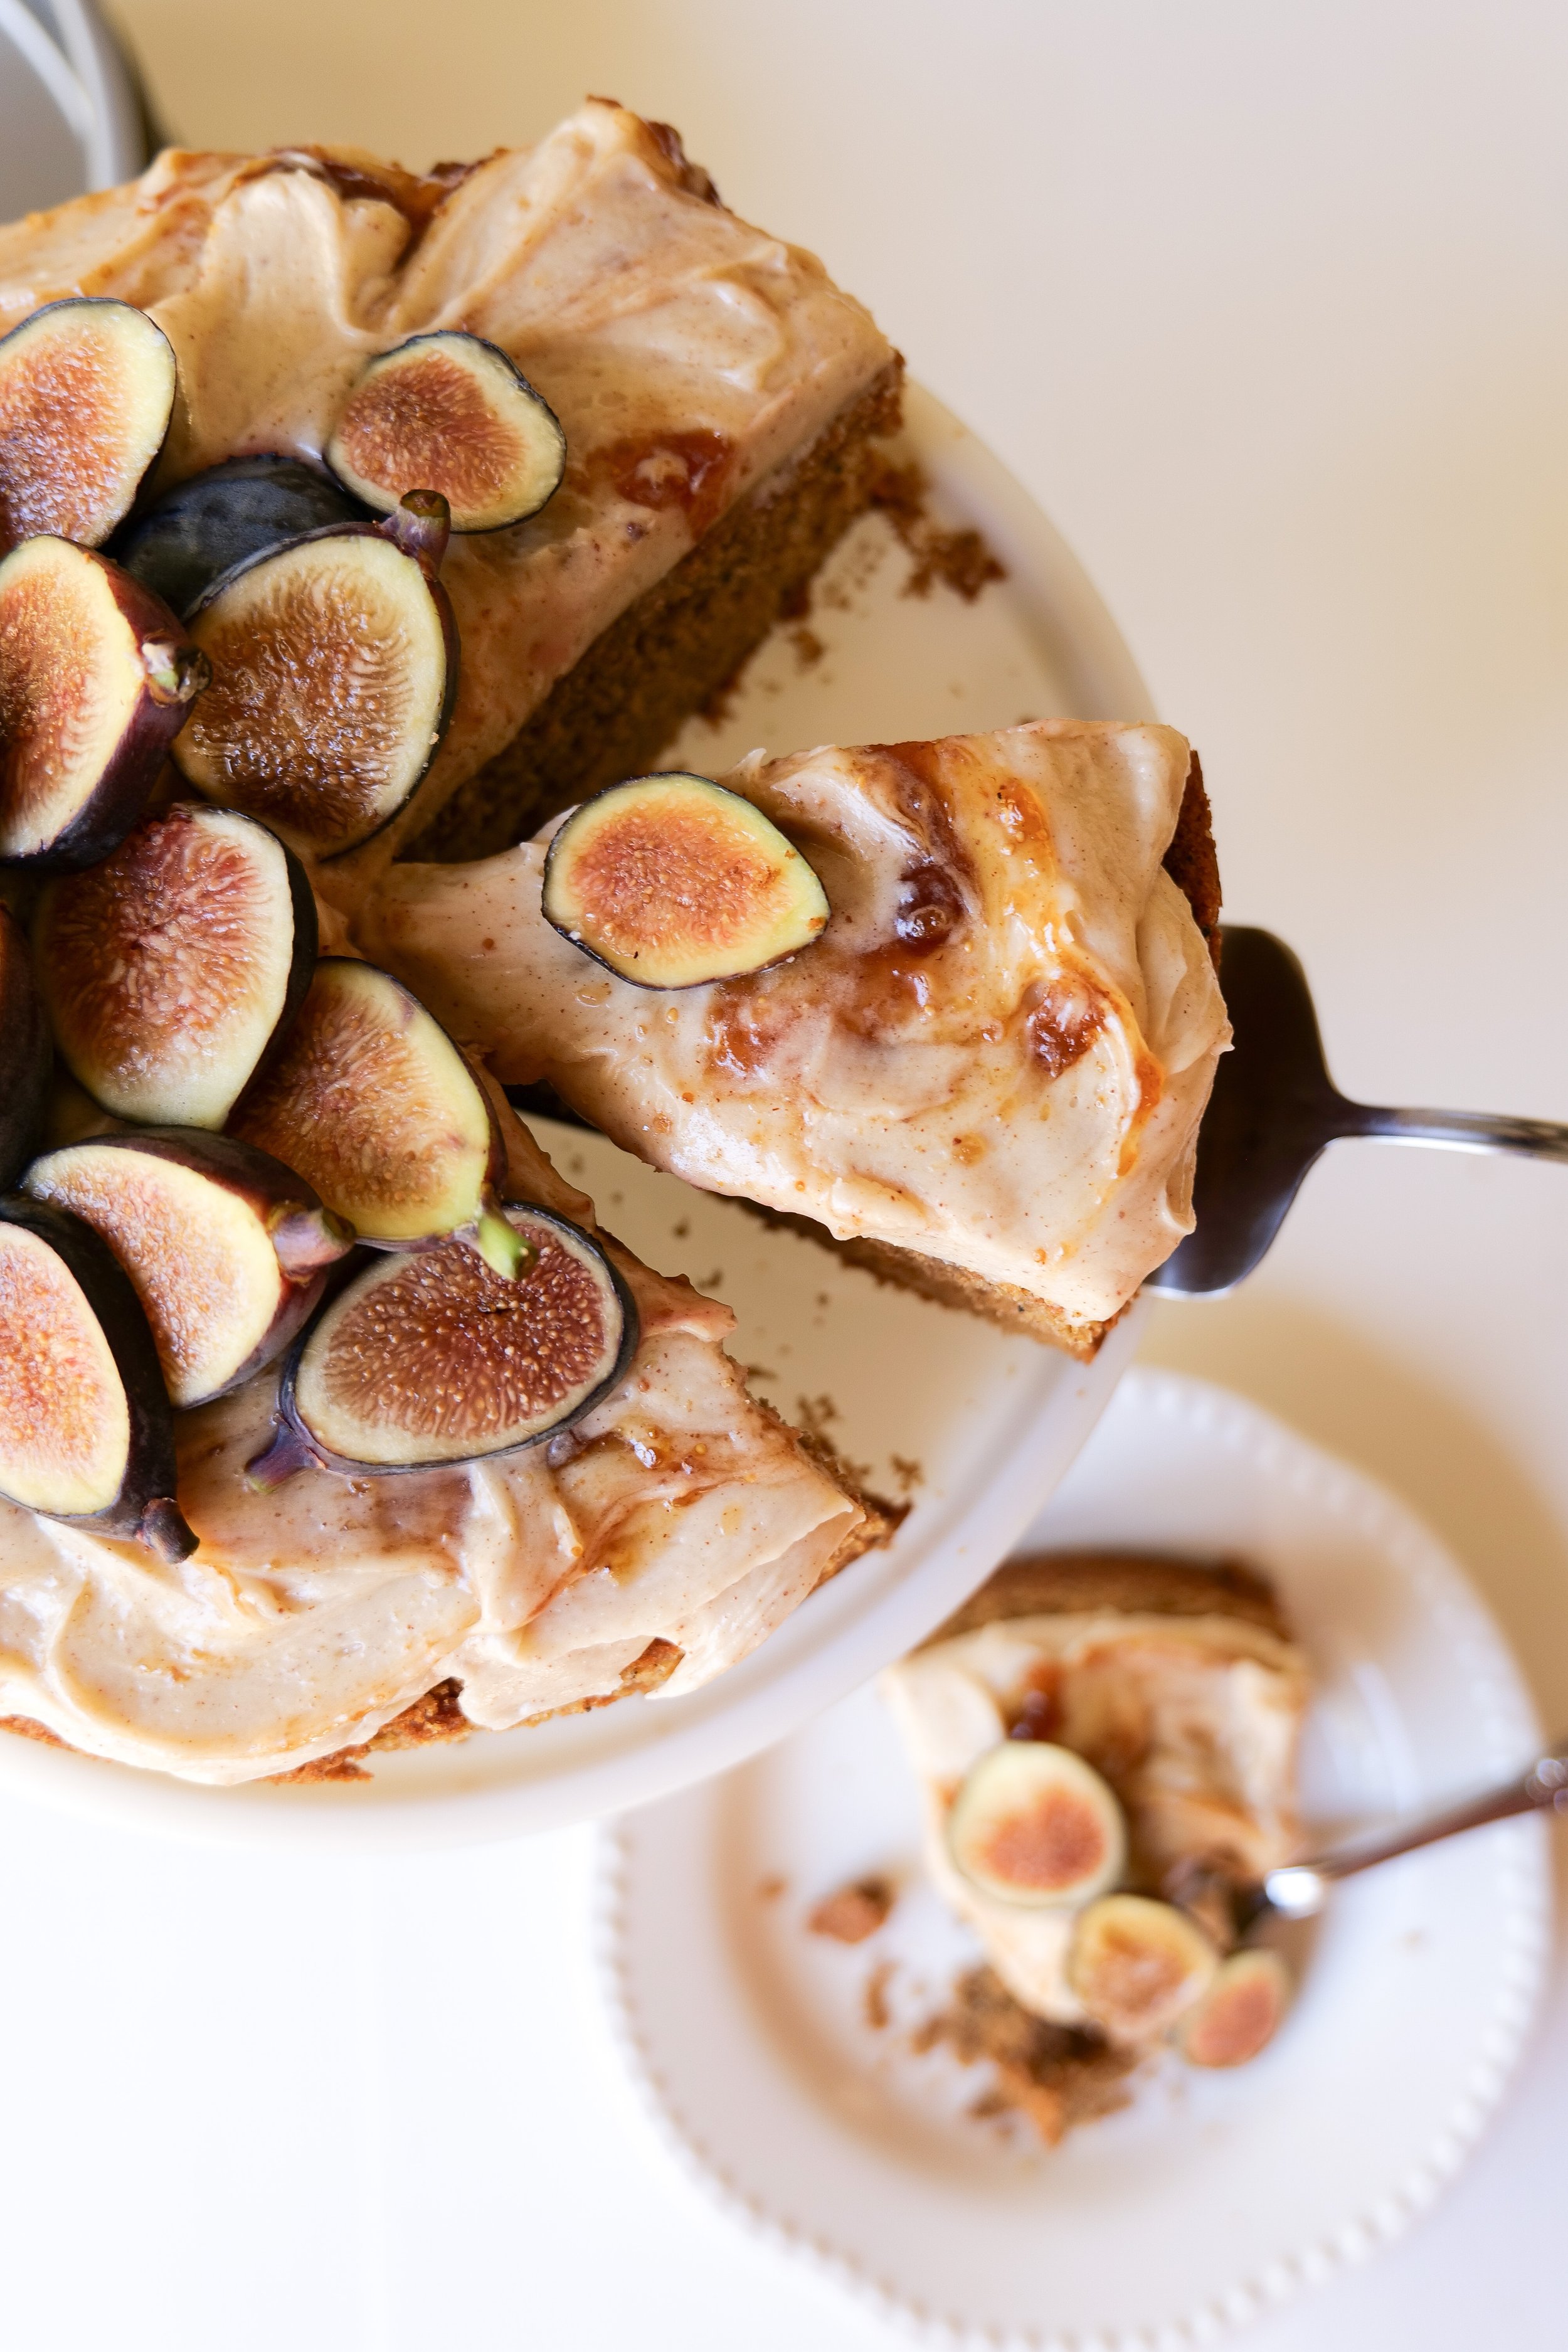
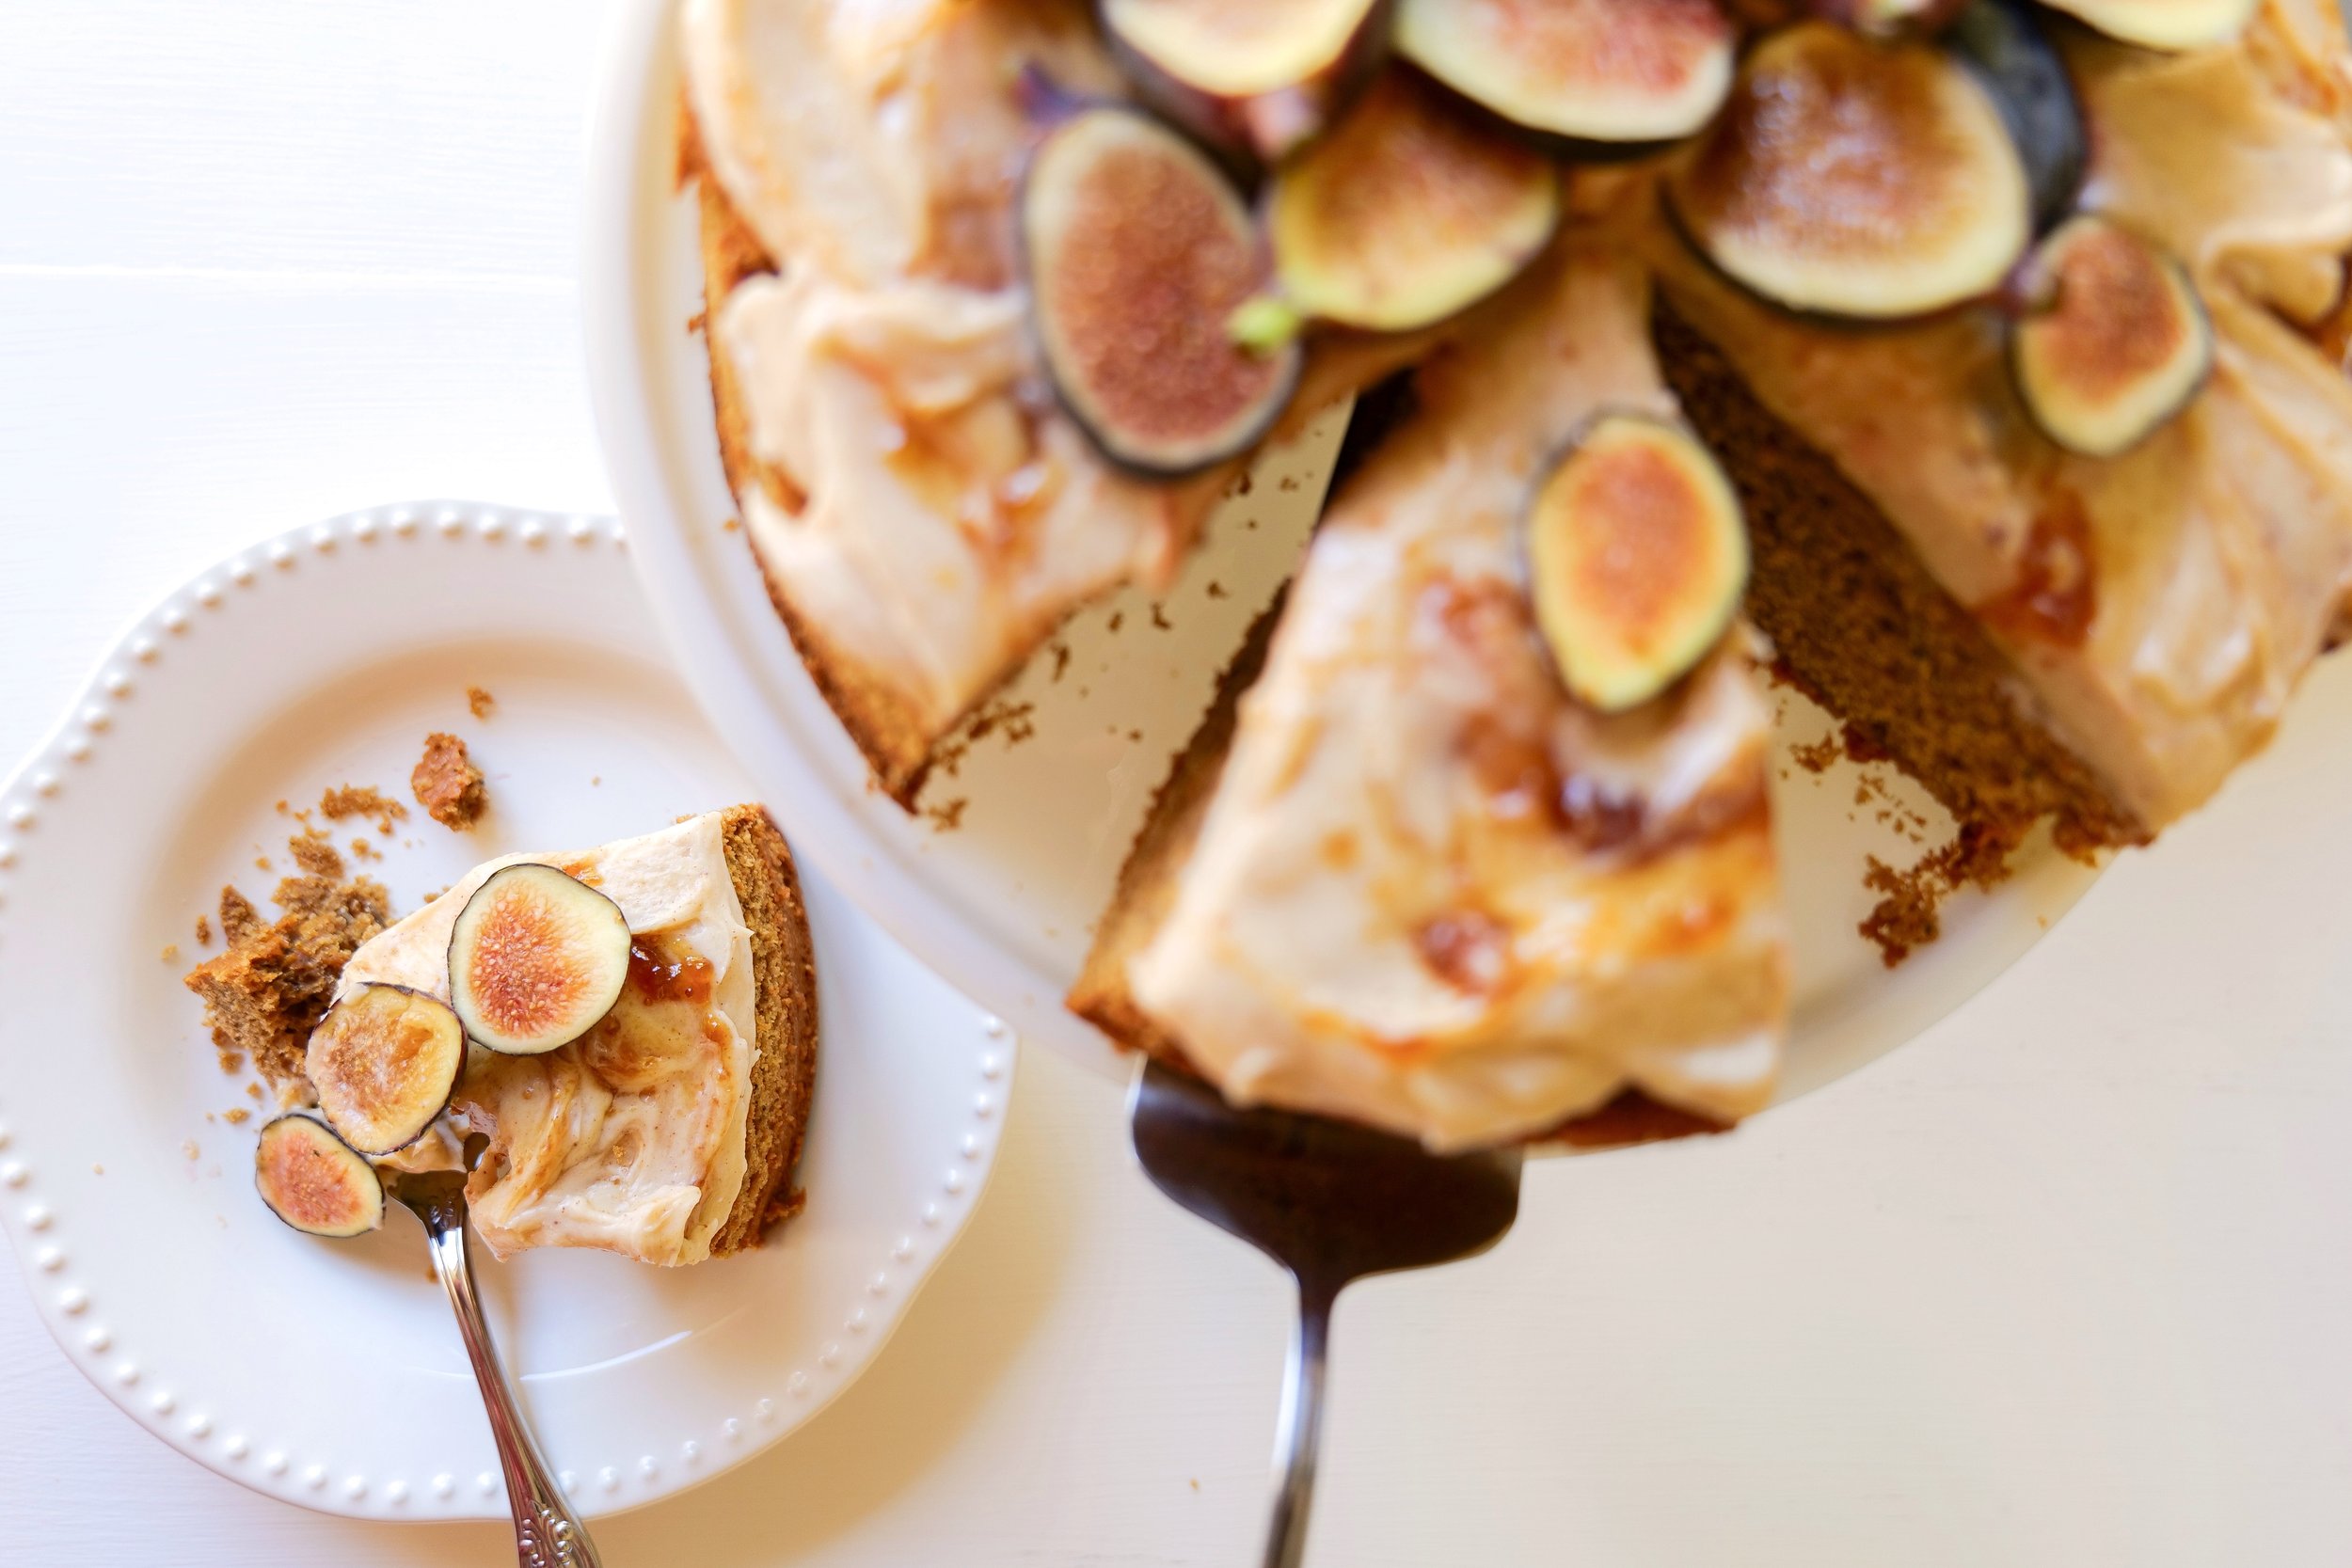
Indulge Your Sweet Tooth with This Delicious Brown Butter Spice Cake with Honey & Fig Jam Frosting

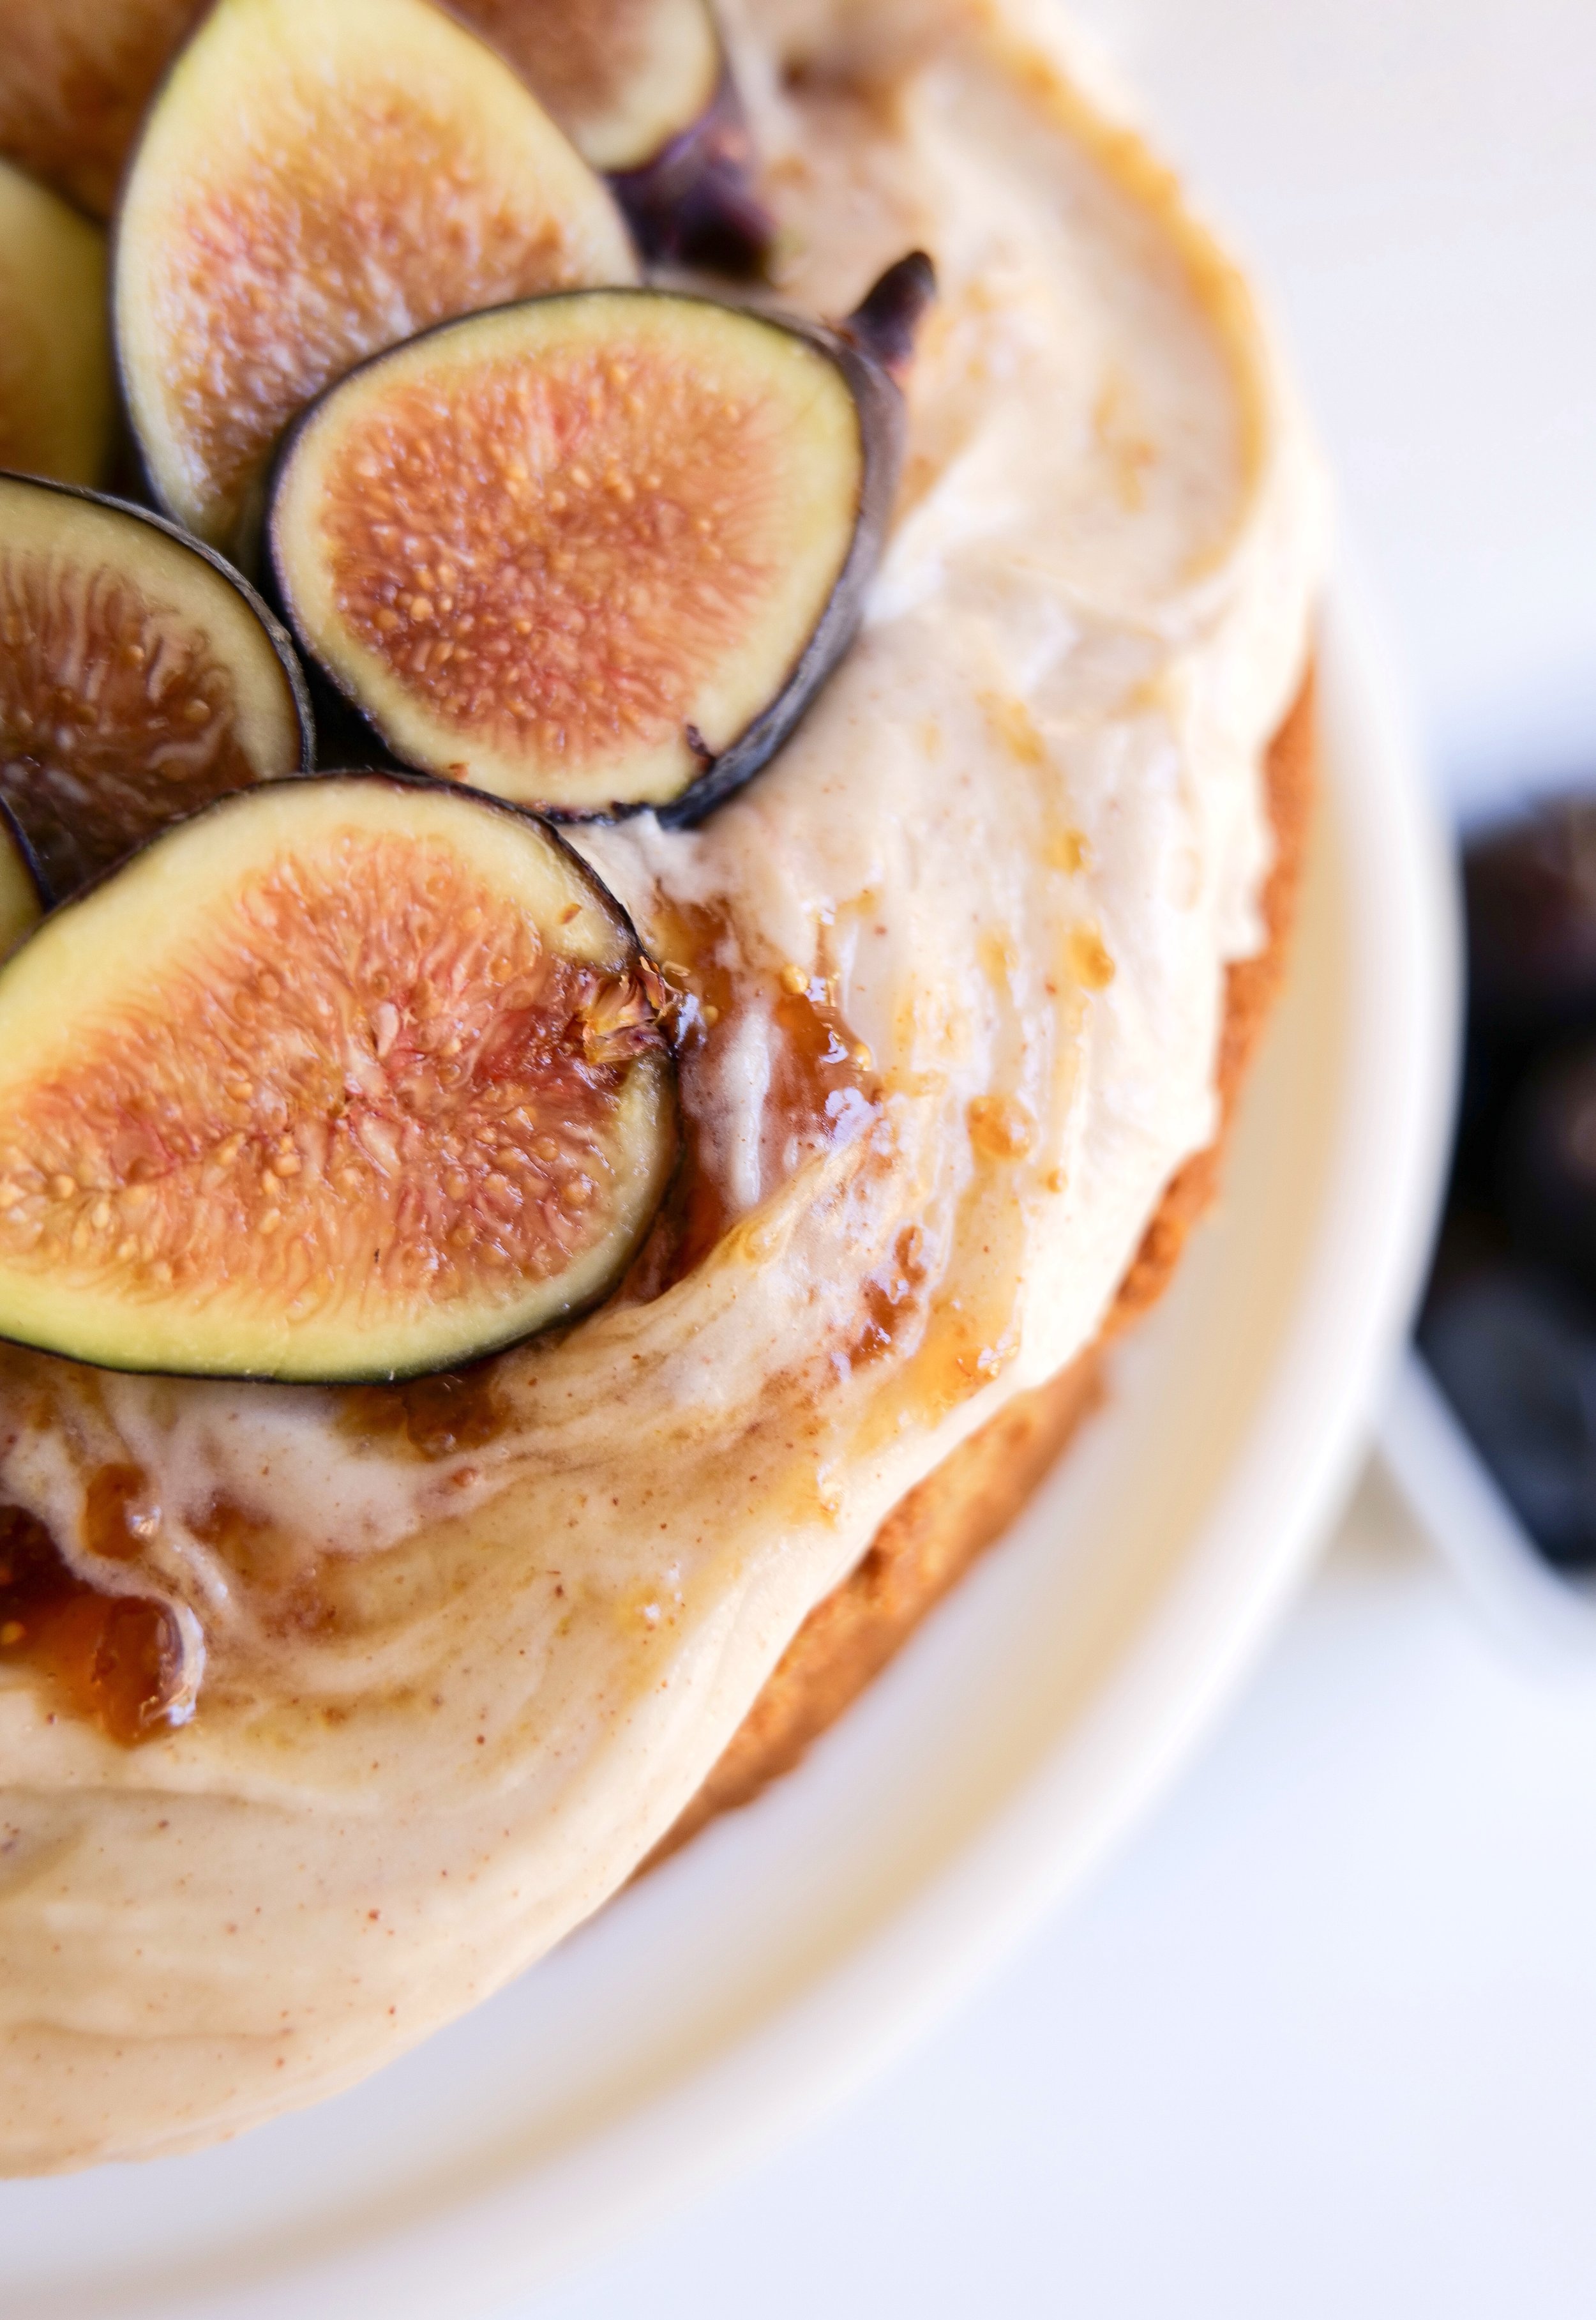
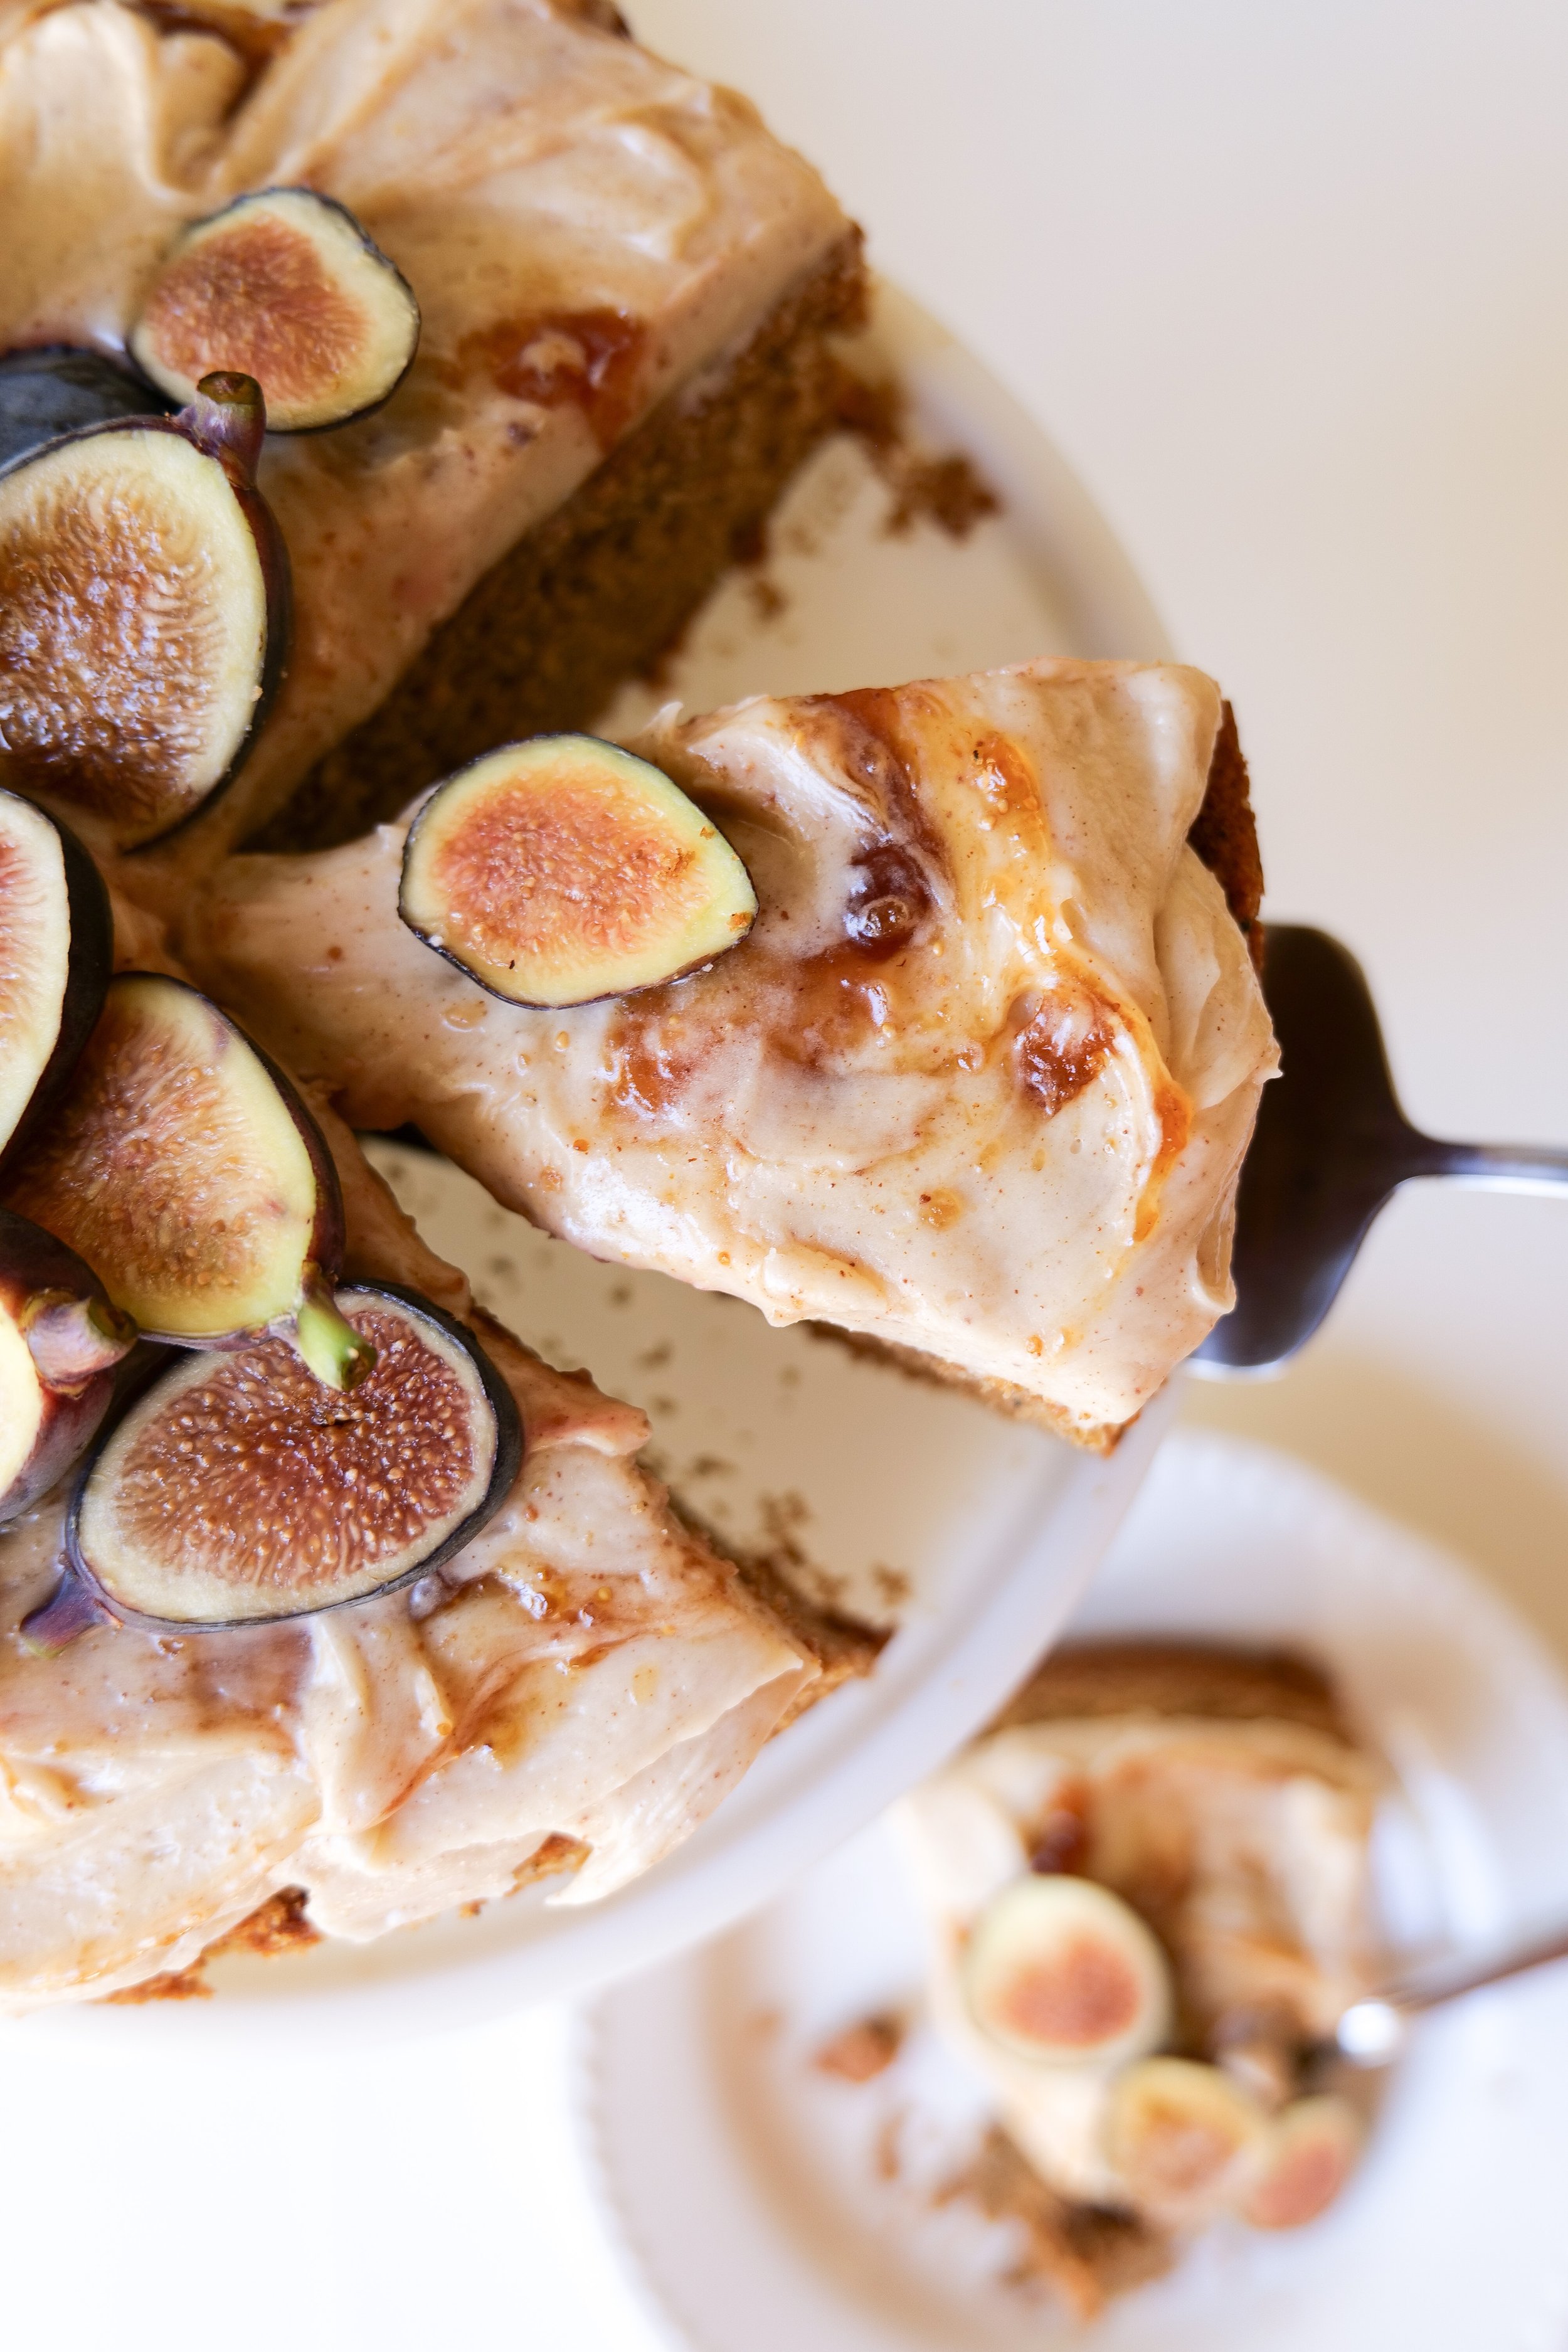
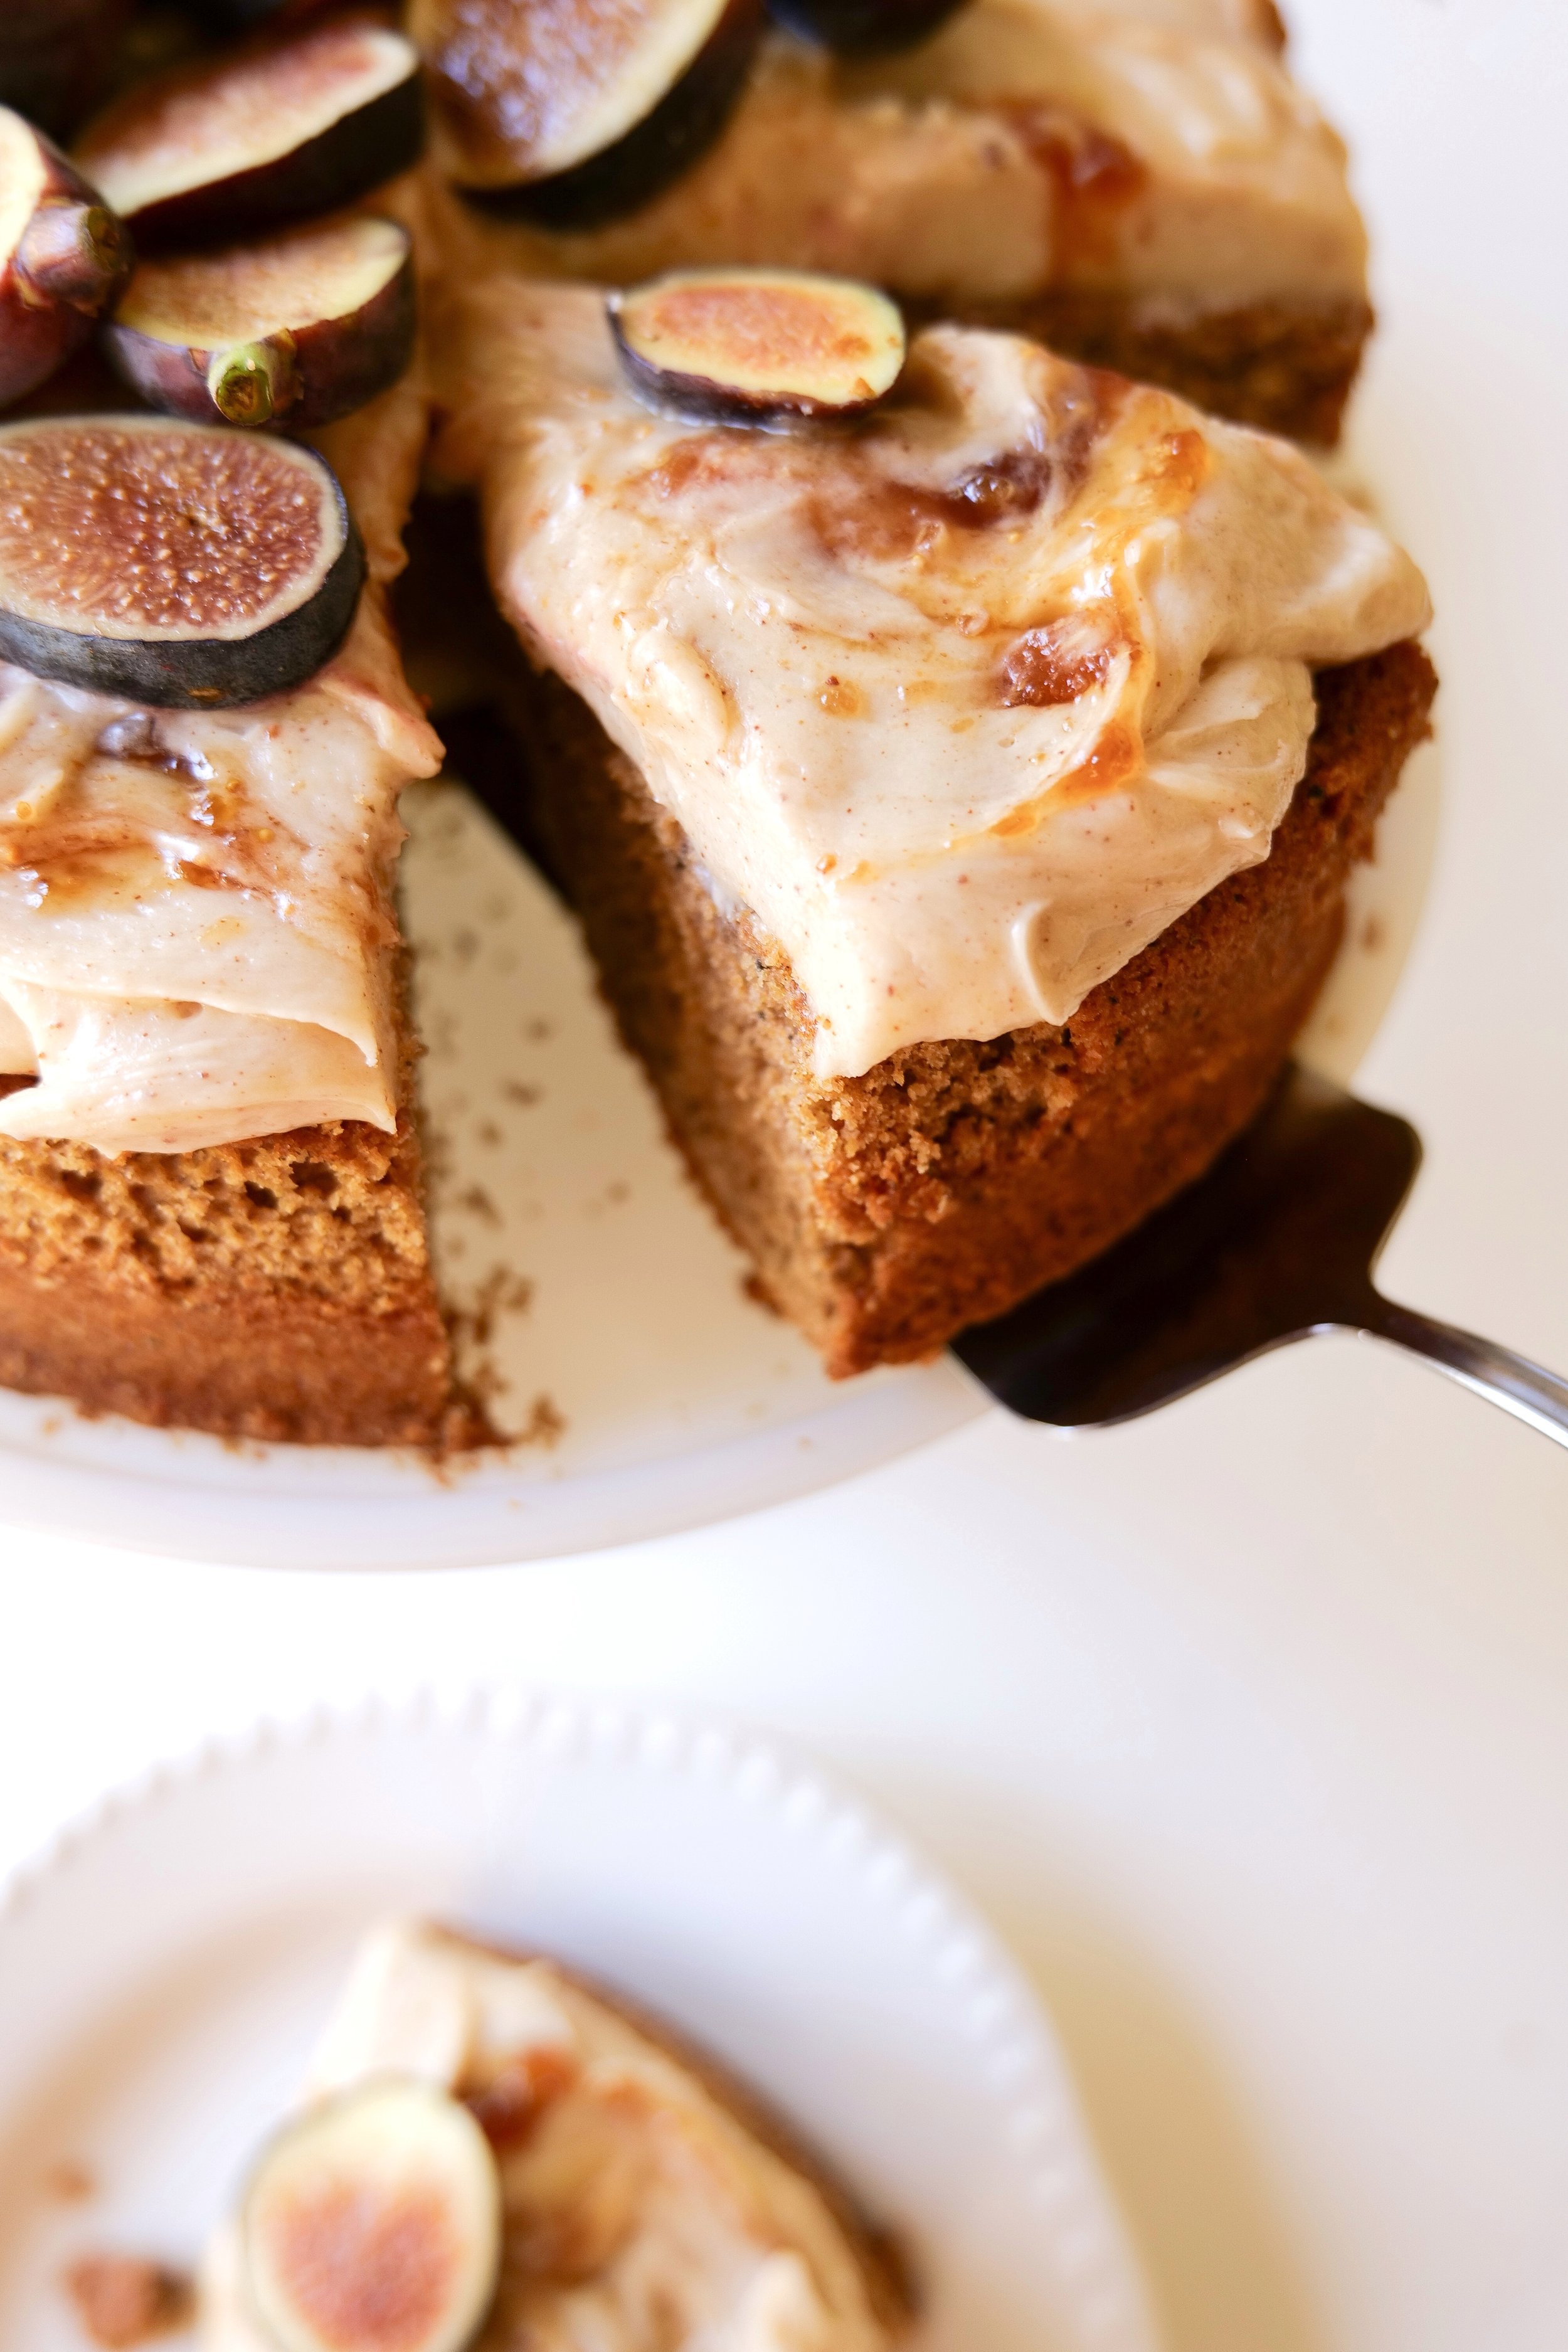
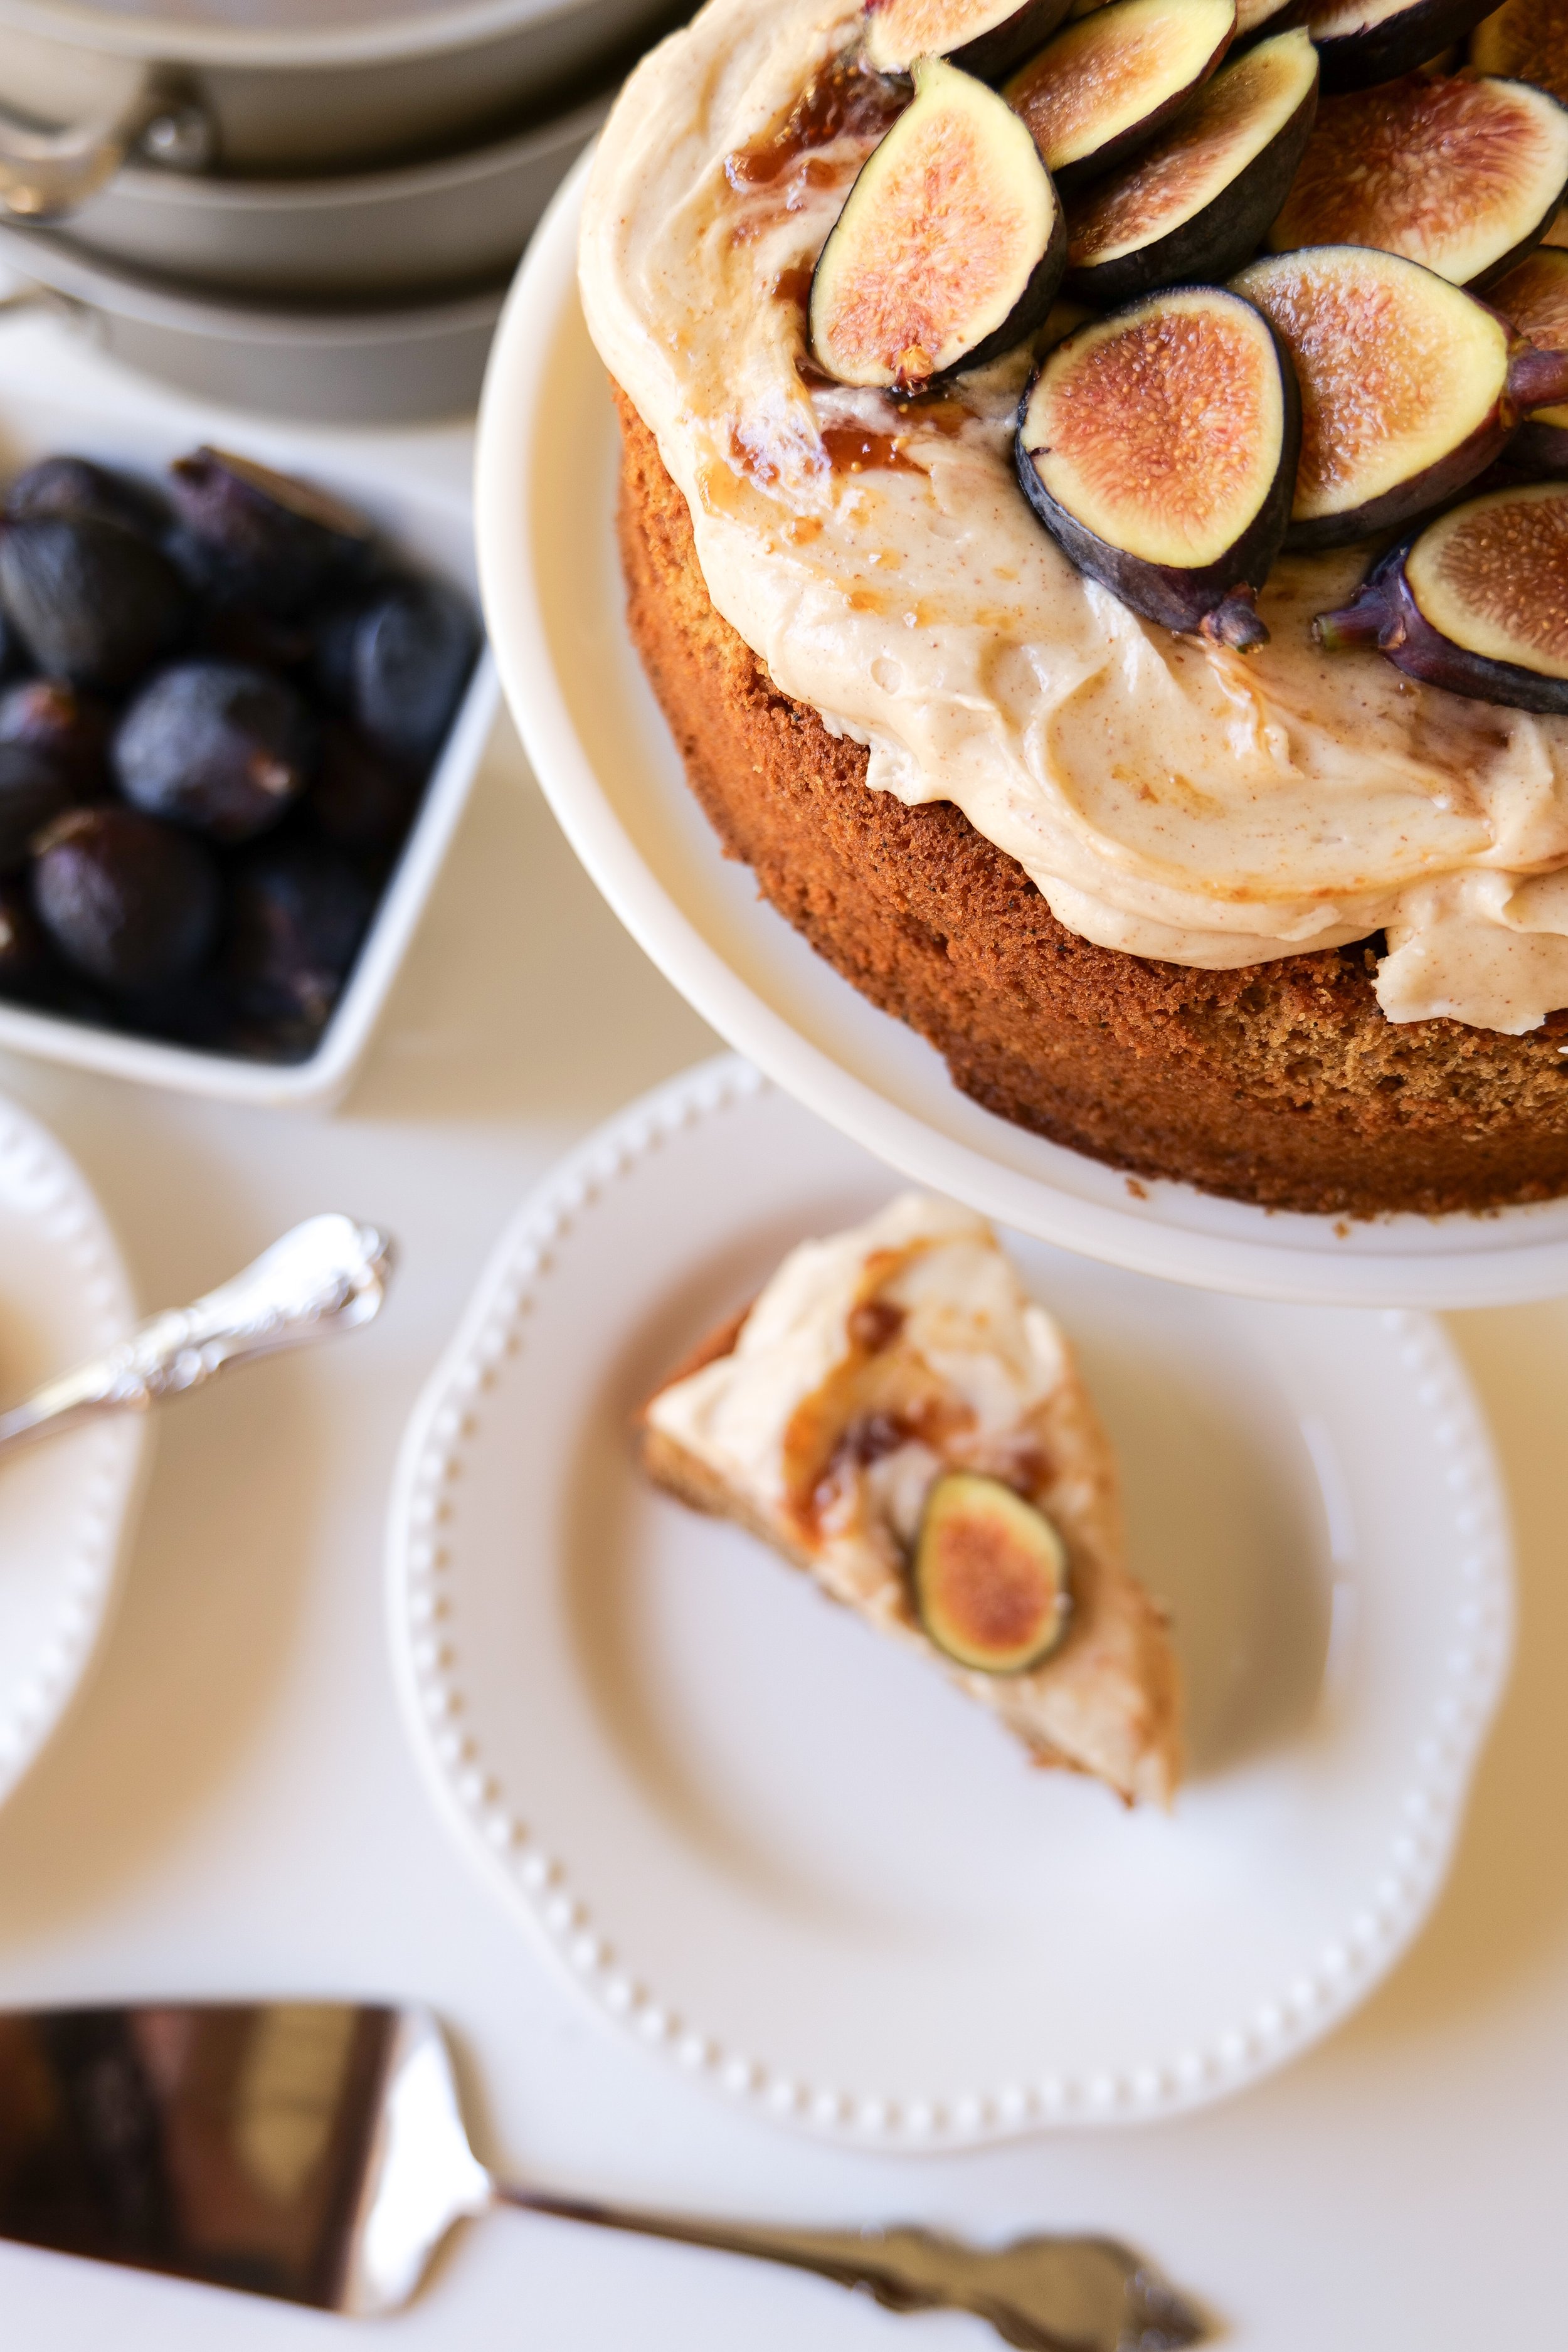
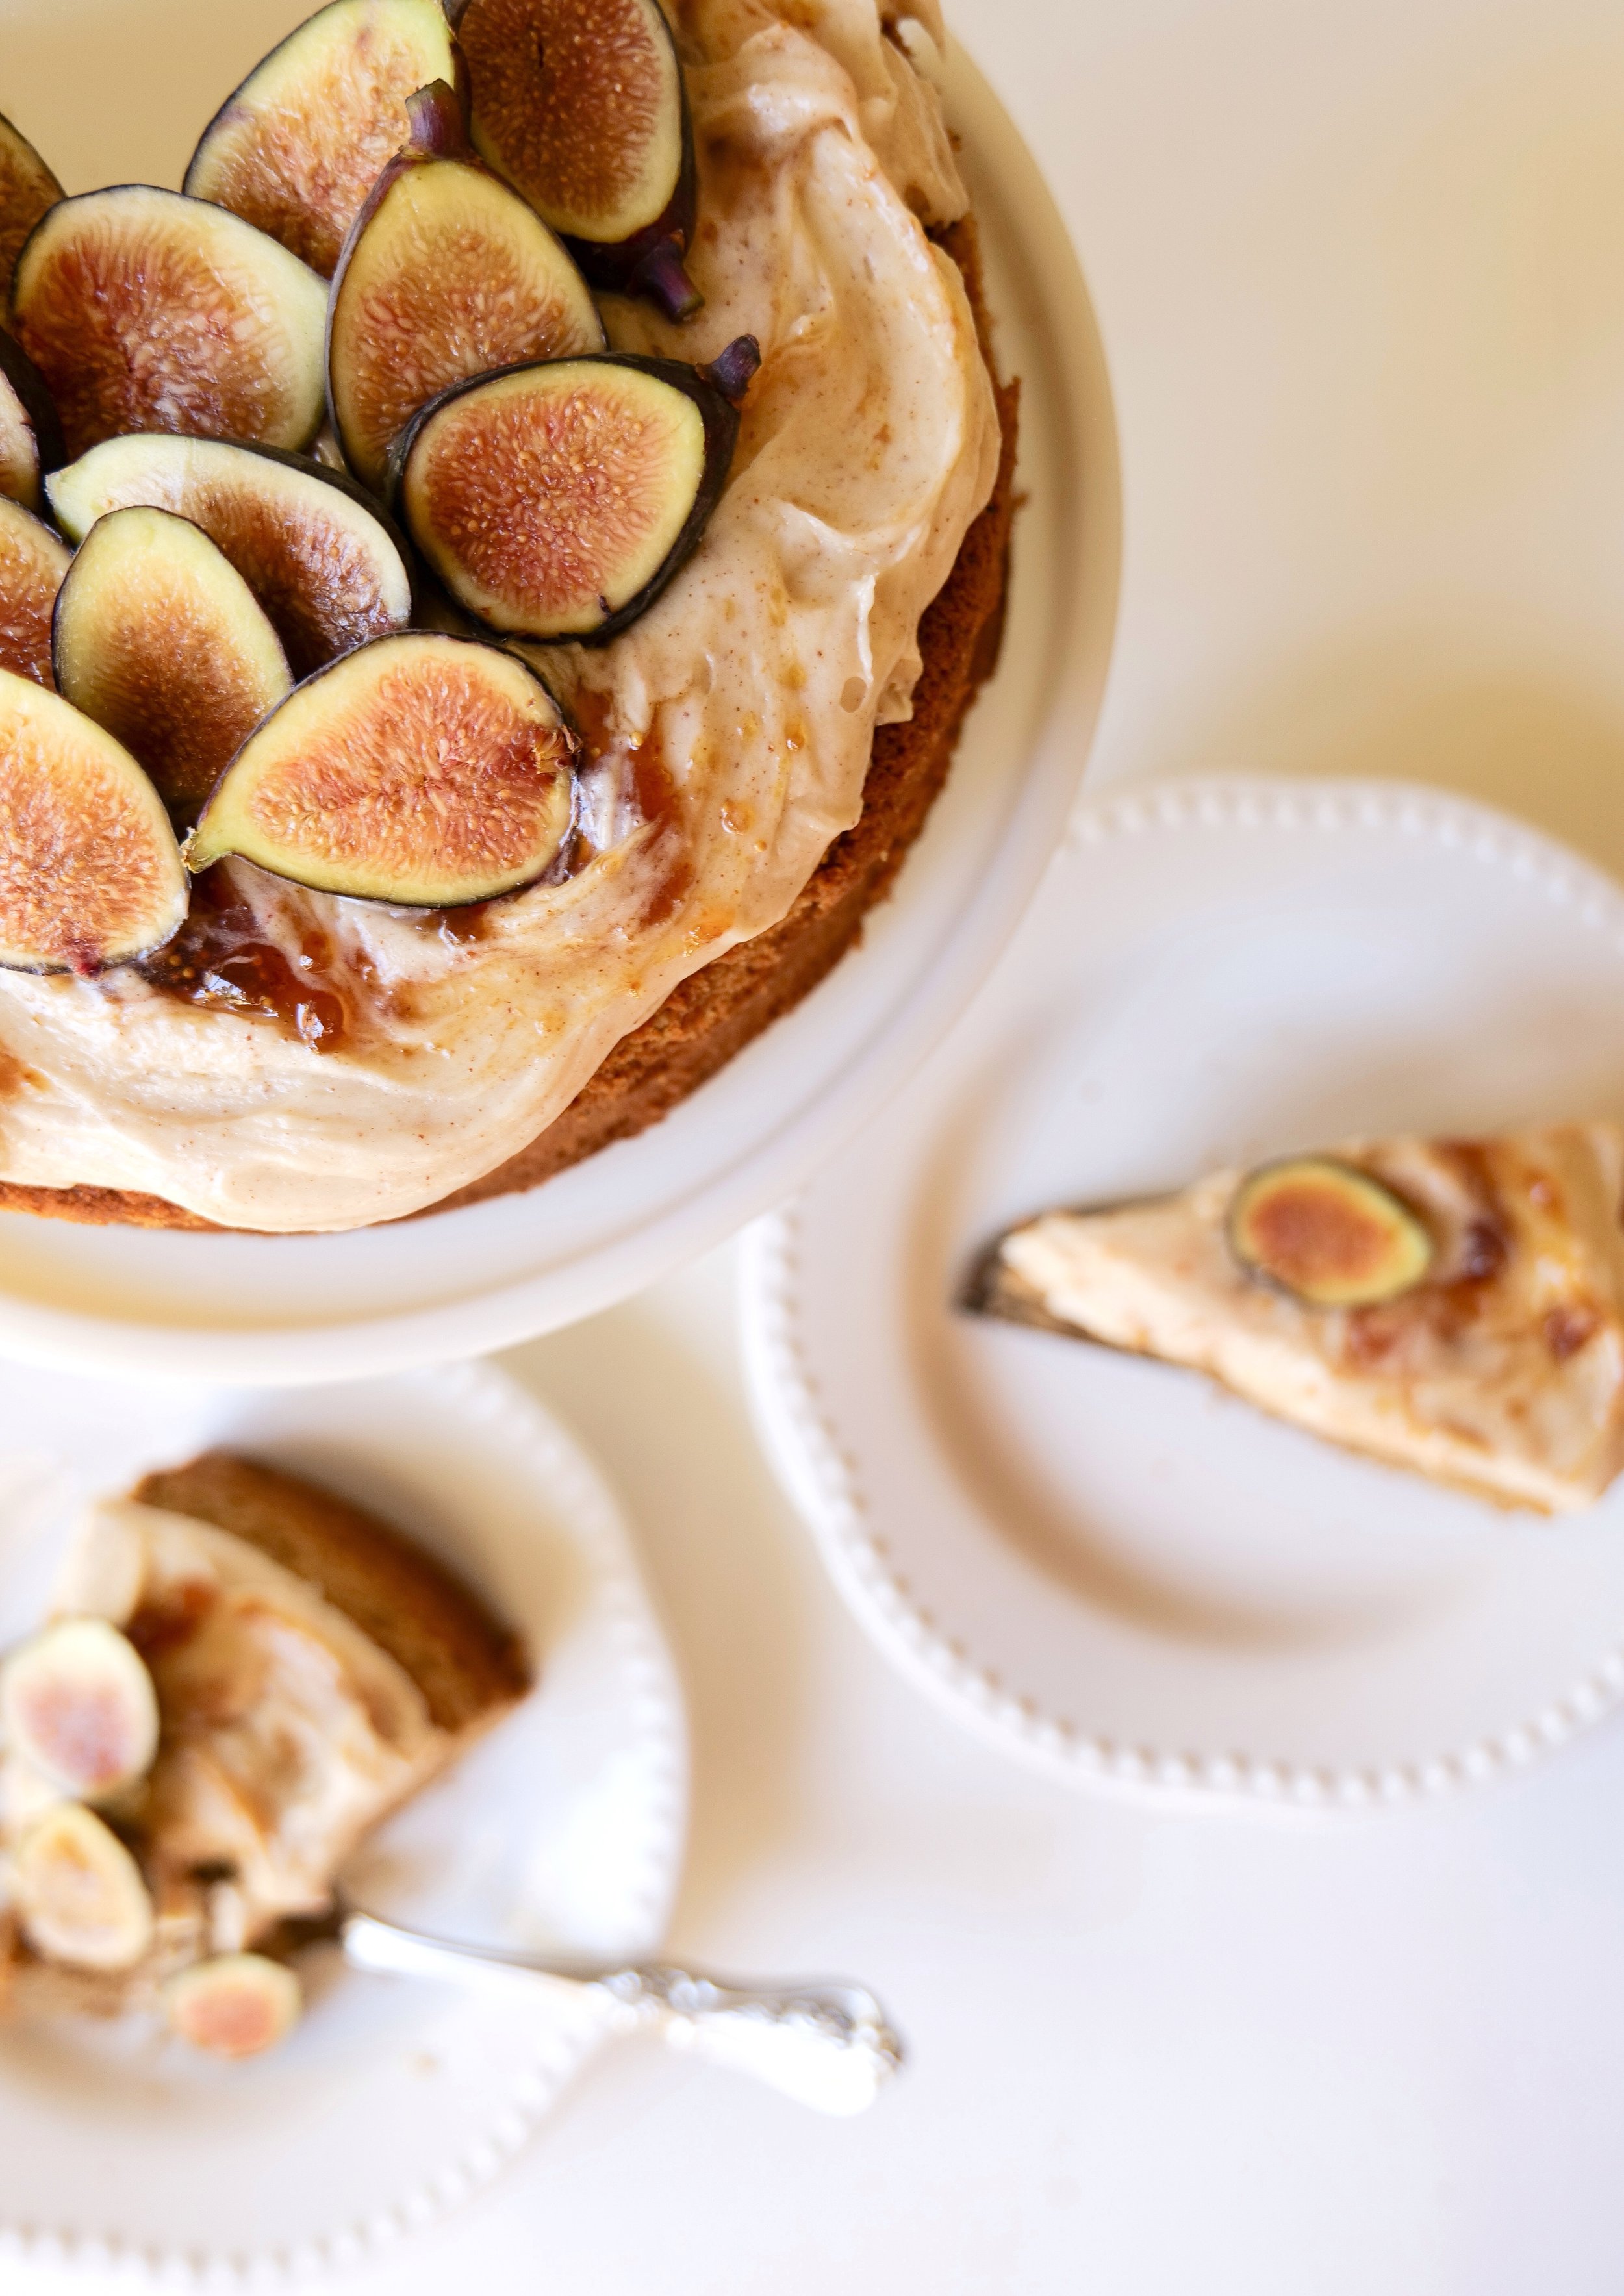
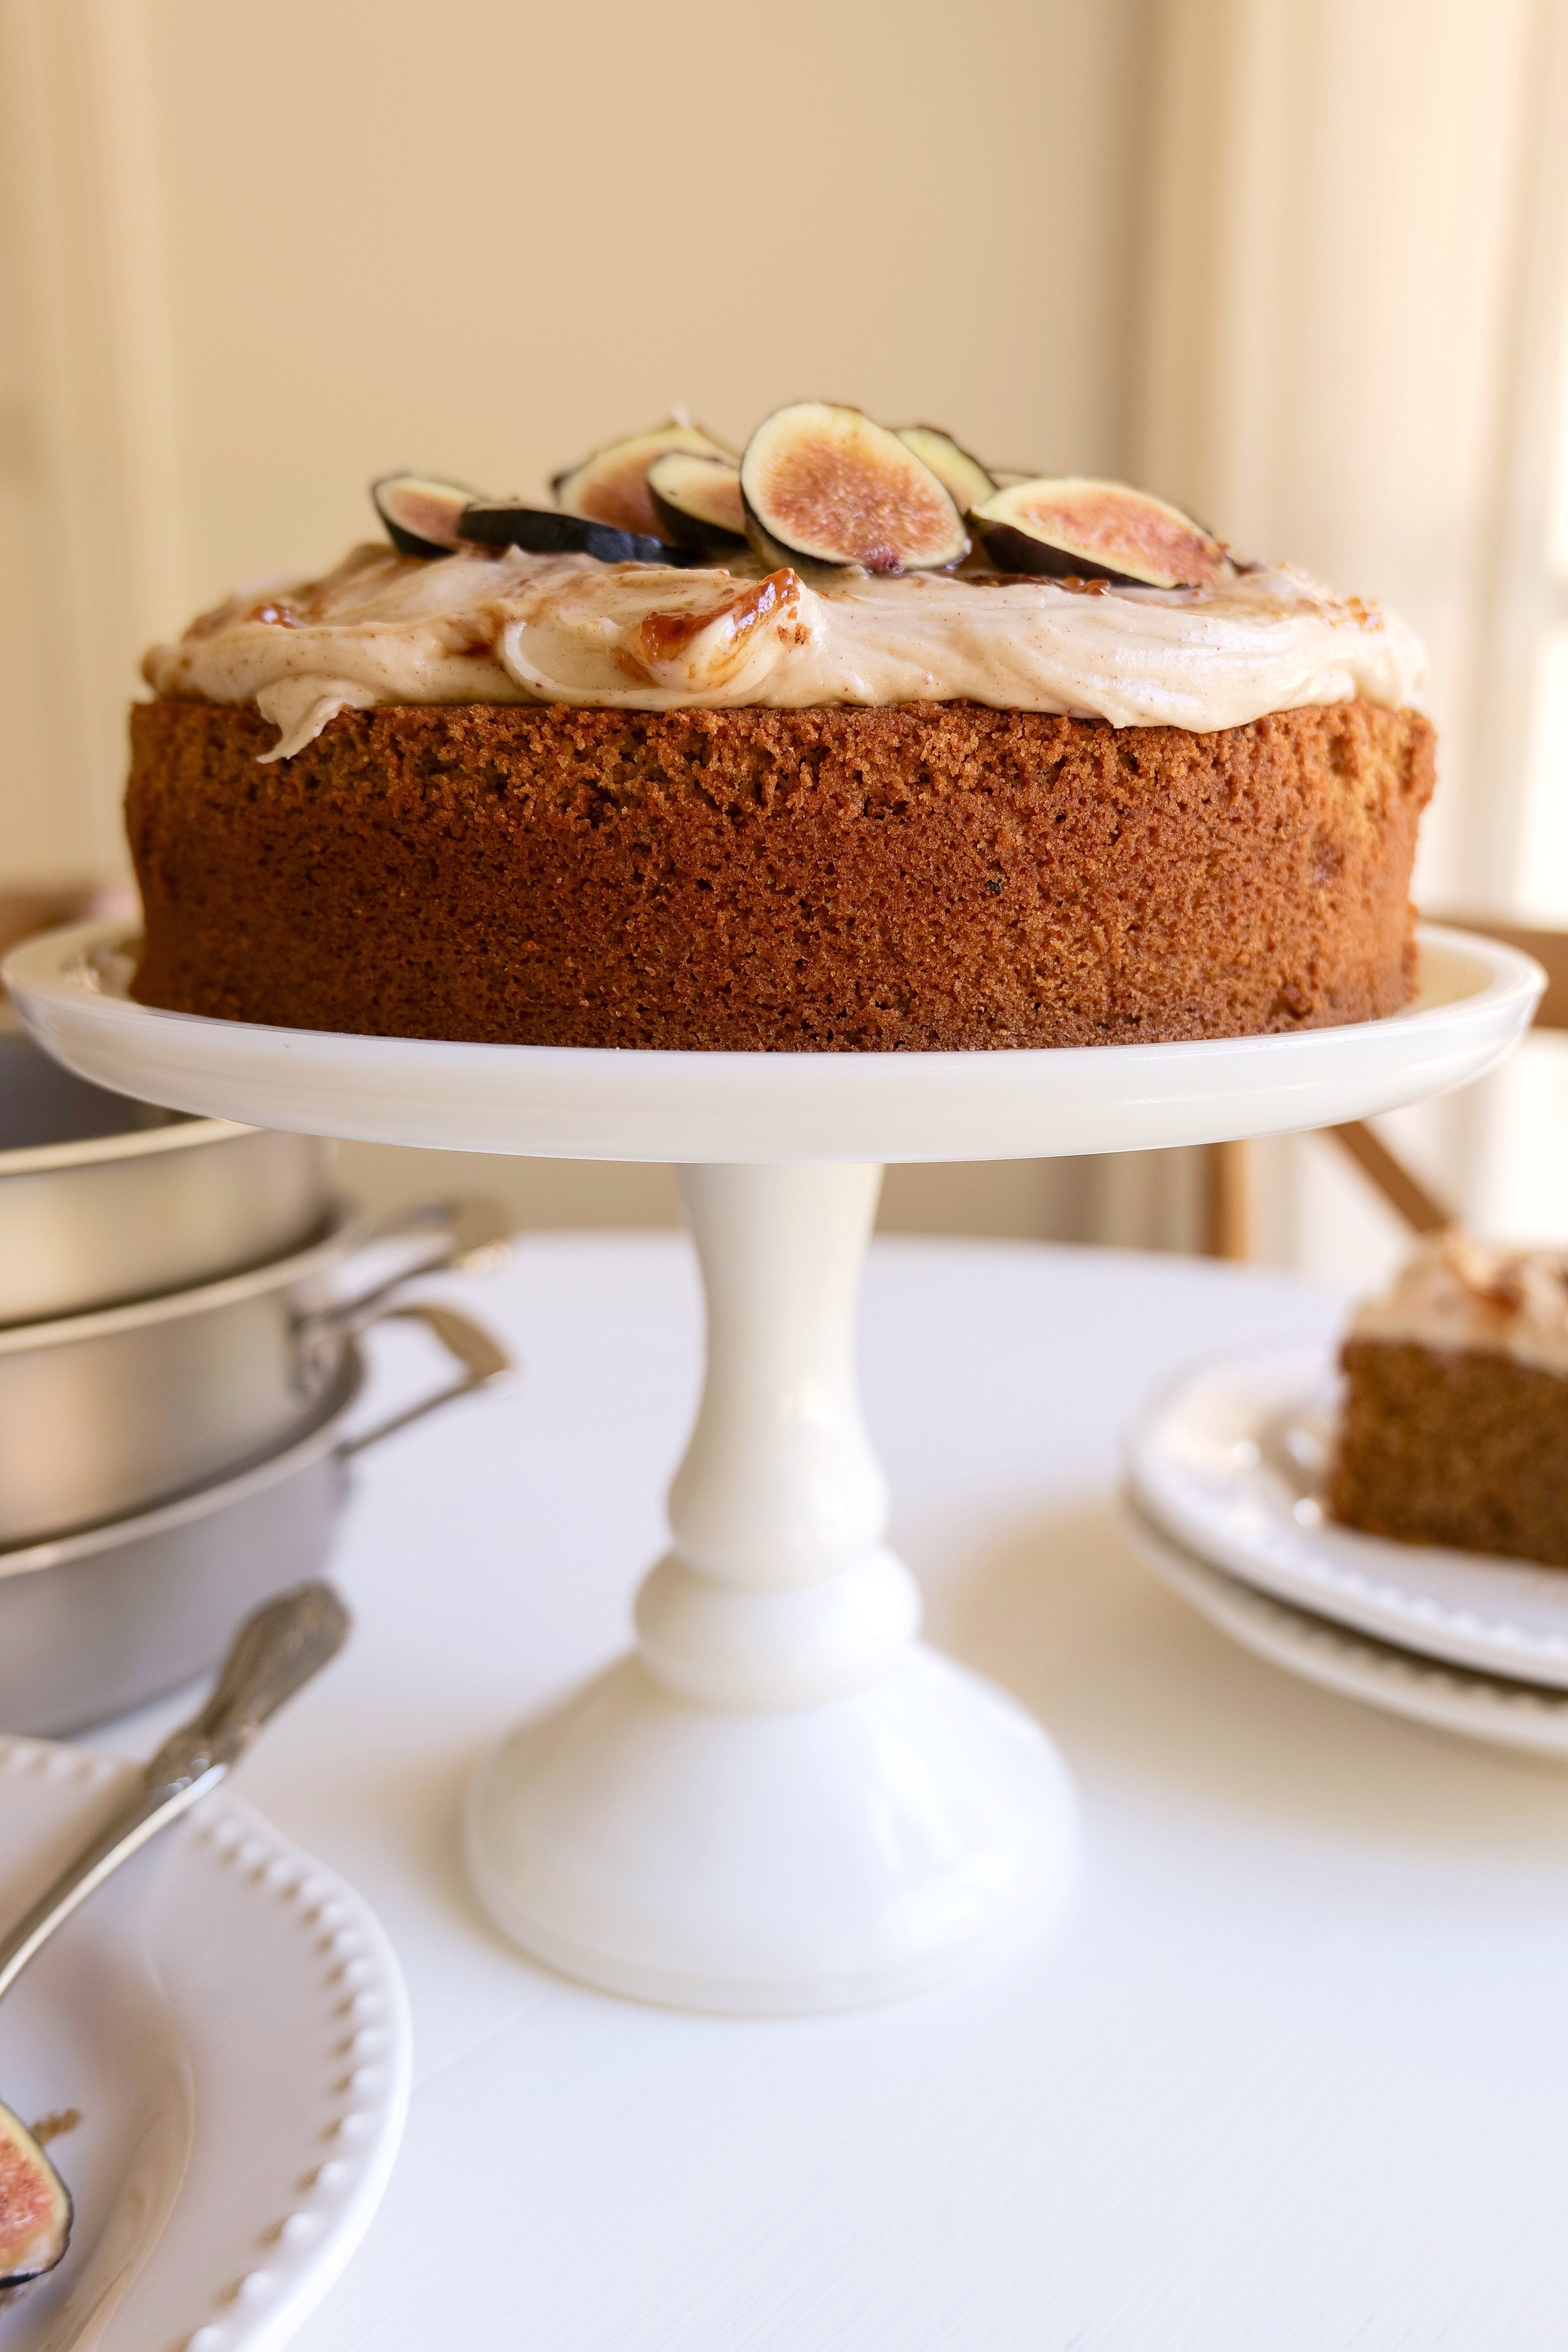
Welcome to my kitchen! This time, we’re baking a truly decadent cake that is sure to impress any dessert aficionado. Welcome the early fall season with this delicious and flavorful Brown Butter Spice Cake with Honey & Fig Jam Icing recipe. The brown butter and spices give the cake a unique flavor that will make it a favorite in your home. The sweetness of the fig jam icing is sure to be a hit with everyone as well. This recipe is perfect for any occasion, from a family dinner to a special celebration. You can make this cake ahead of time and store it in the refrigerator for up to a week, making it a great make-ahead dish. Serve it as is or dress it up with some fresh figs on top.

What type of honey works best in the icing?

Clover honey is the most popular honey for baking as it has a mild flavor, but you can also experiment with orange blossom honey for a subtle citrus flavor or wildflower honey for a bolder flavor. Acacia honey is a great choice as it is light and delicate in flavor, while Manuka honey is unique and has a distinctive flavor. Whichever honey you choose will go great with this delicious cake and add its own unique twist.

Are there any other variations of this recipe that can be tried?

To make the cake even more unique to you here are a few changes you can make on this cake. You can add walnuts, almonds, or hazelnuts to give it a crunchy texture. For a slightly different flavor, you can also swap the honey for maple syrup. To make the cake even more impressive, you can make this into 2 layers and add icing in between each layer instead of one thick cake. If you're looking for a different flavor, you can try using apricot or raspberry jam instead of fig jam. For a less intense flavor, try substituting dark brown sugar for white sugar. With so many different variations, you can make this Brown Butter Spice Cake with Honey & Fig Jam Icing Recipe your own.

Ingredients:

4 large eggs

1/2 cup buttermilk

1/3 cup brewed espresso

1 cup butter

2. teaspoons almond ext.

1 - 1/2 cup dark brown sugar

2-1/4 cups cake flour

1 tablespoon baking powder

1/2 teaspoon salt

1 teaspoon chai powder

1 teaspoon cinnamon

1/2 teaspoon ground cloves

1/2 teaspoon ginger

Frosting:

1 cup butter

8 oz cream cheese

4 cups powdered sugar

1 teaspoon almond extract

1/4 cup honey

Fig preserves or jam

Instructions:

1. Prep by greasing a 9-inch round cake pan & preheat the oven to 350 degrees.

2. Brown butter in a saucepan and cook until browned and nutty in fragrance. Set aside in a clean bowl freshly brewed espresso and let cool while getting other ingredients ready.

3. Blend eggs, heavy cream, almond extract and the brown butter/espresso mixture, from above, completely in a medium bowl.

4. In a new clean bowl whisk dry ingredients until combined. Add wet ingredients to dry and blend together with an electric hand mixer.

5. Once combined pour into an oiled 9-inch pan and place in the oven. Bake for 45-55 minutes or until a toothpick inserted comes out clean.

7. While the cake is baking blend together all frosting ingredients until well combined. (butter and cream cheese should be at room temperature if not heated in the microwave for 30 sec at a time)

8. Once the cake is done baking let cool in the pan for 15 min and transfer to the cooling rack for another 15.

9. Add Frosting to the top of the cake adding in a large spoon fulls of fig jam and using a knife or rubber spatula to blend to make a stunning and tasty marble effect. Add Fresh figs and drizzled honey on top for an even prettier and tastier cake and Enjoy!

Other Delicious Cake Recipes:

Taste the Deliciousness of Pistachio Cake: A Treat for Any Occasion

My Favorite White Cake Recipe

Indulge in Deliciousness: Cherry Chip Cake with Chunks of Dark Chocolate Recipe

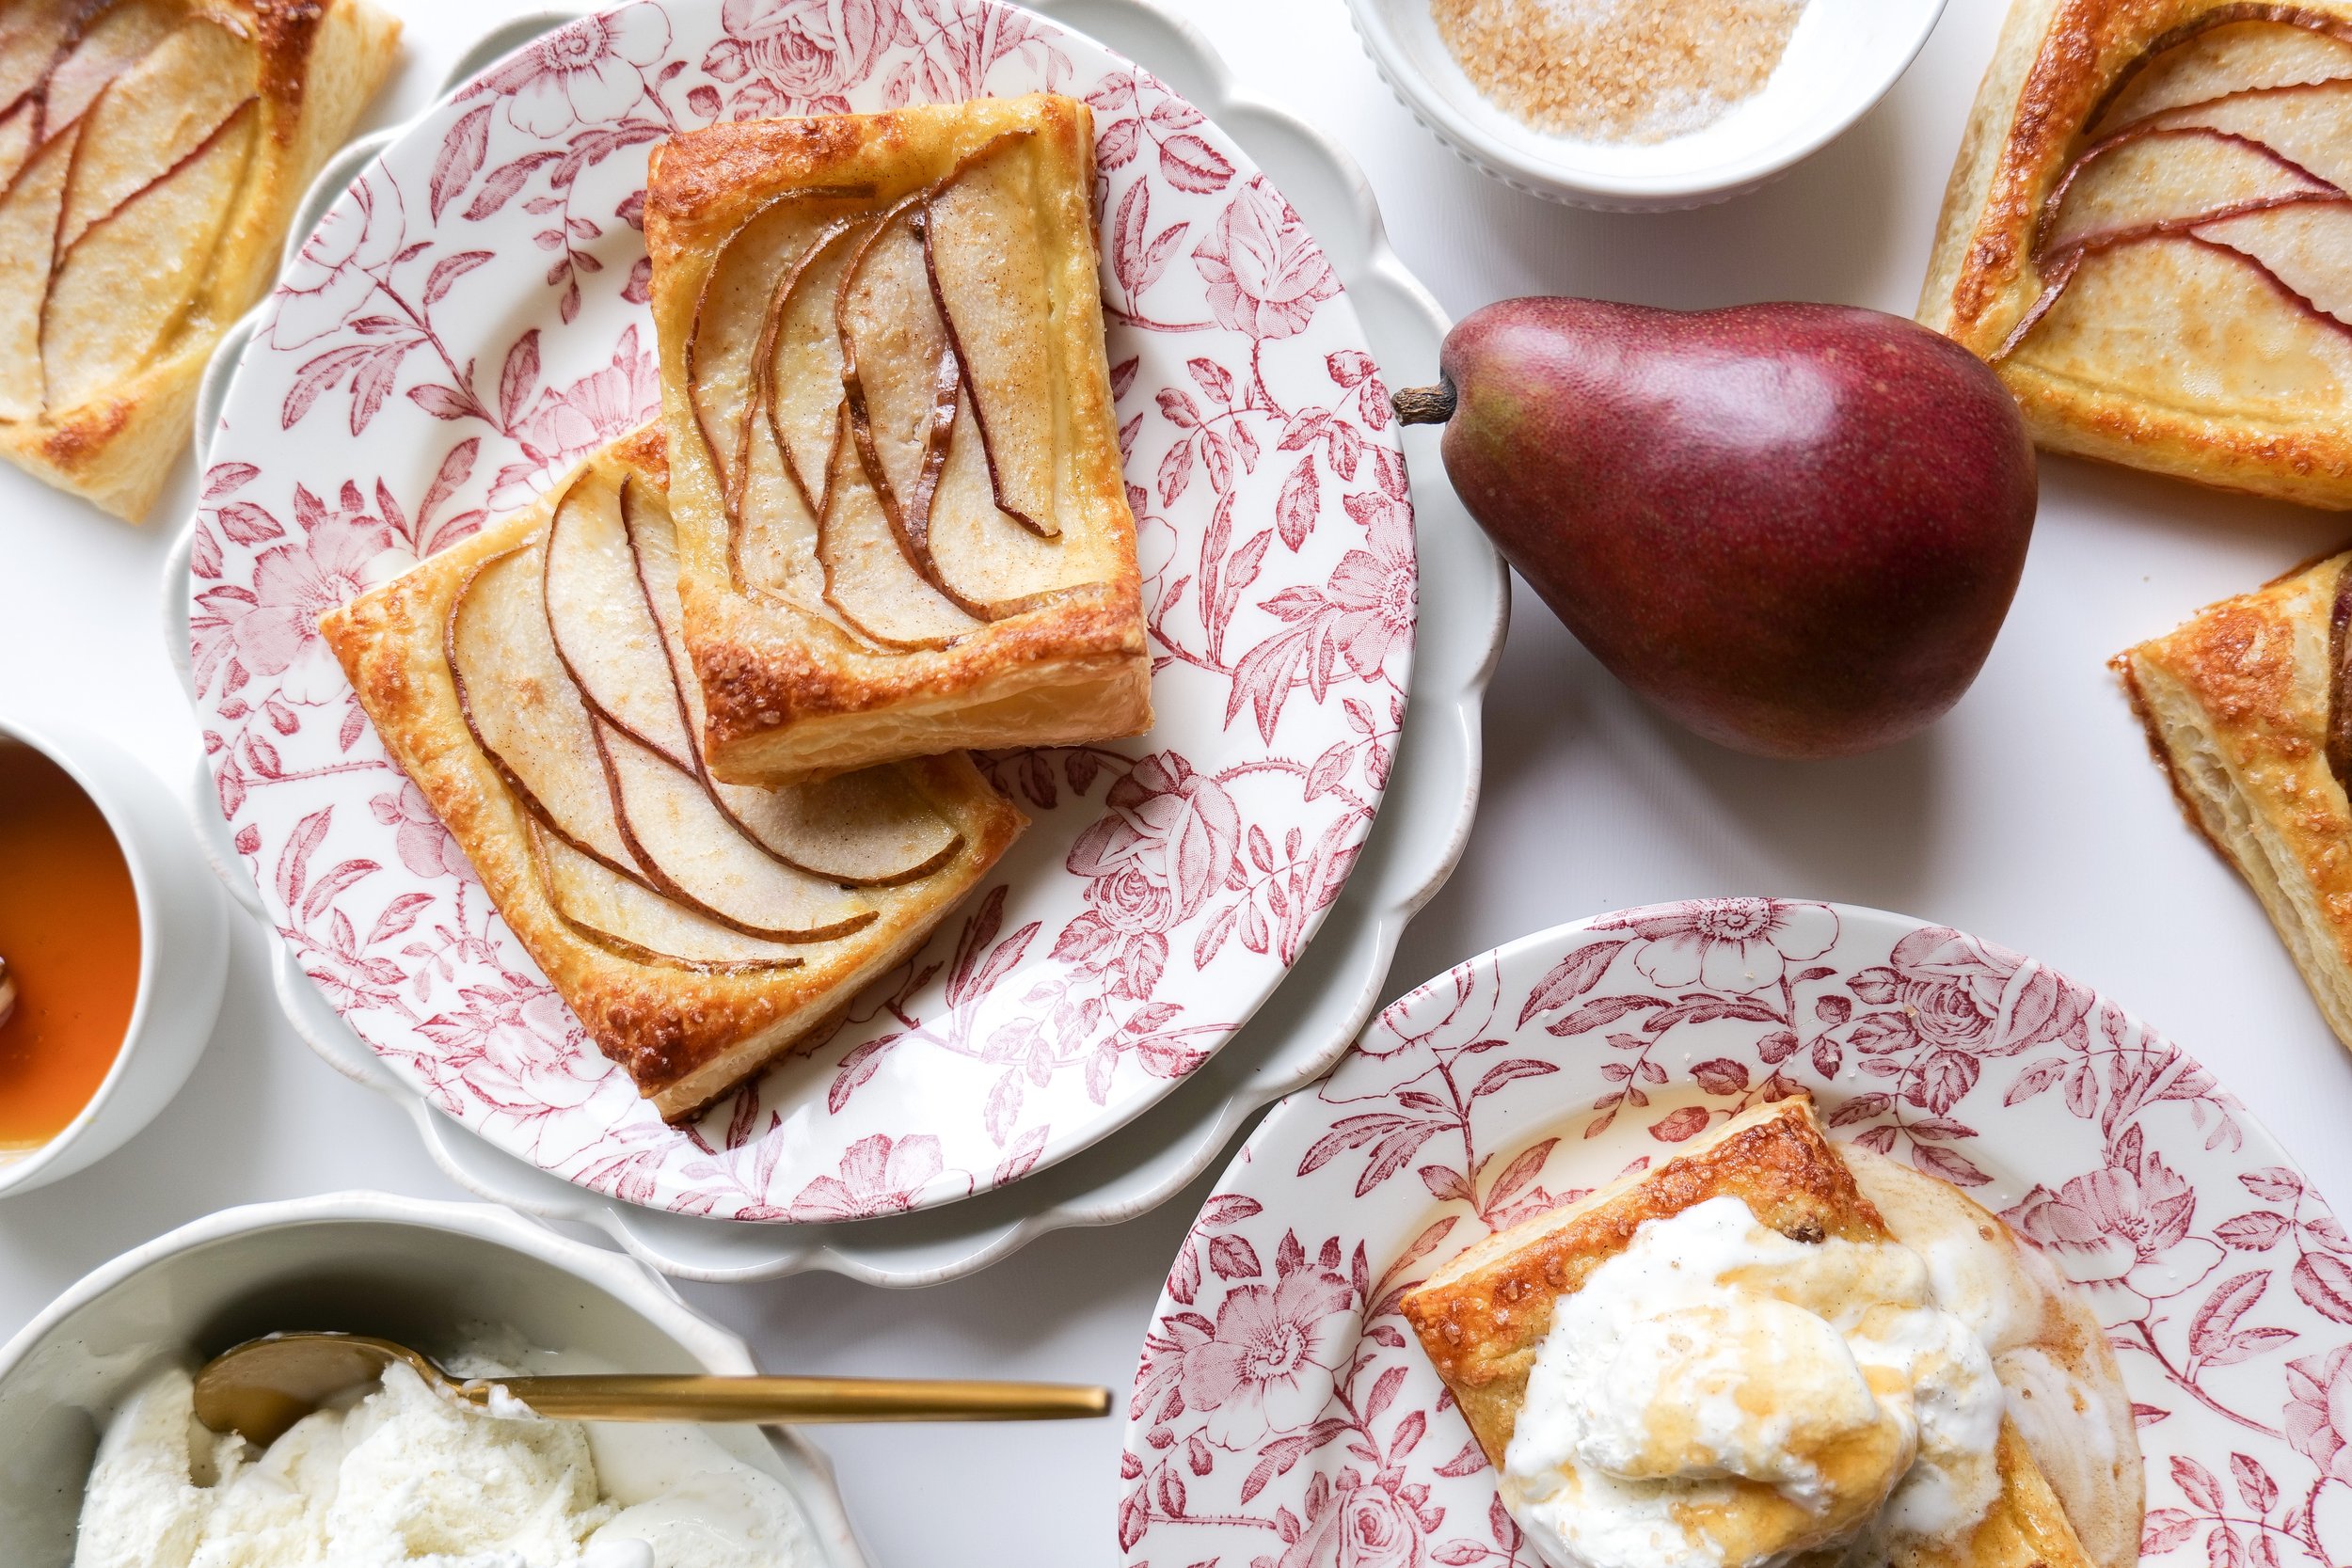
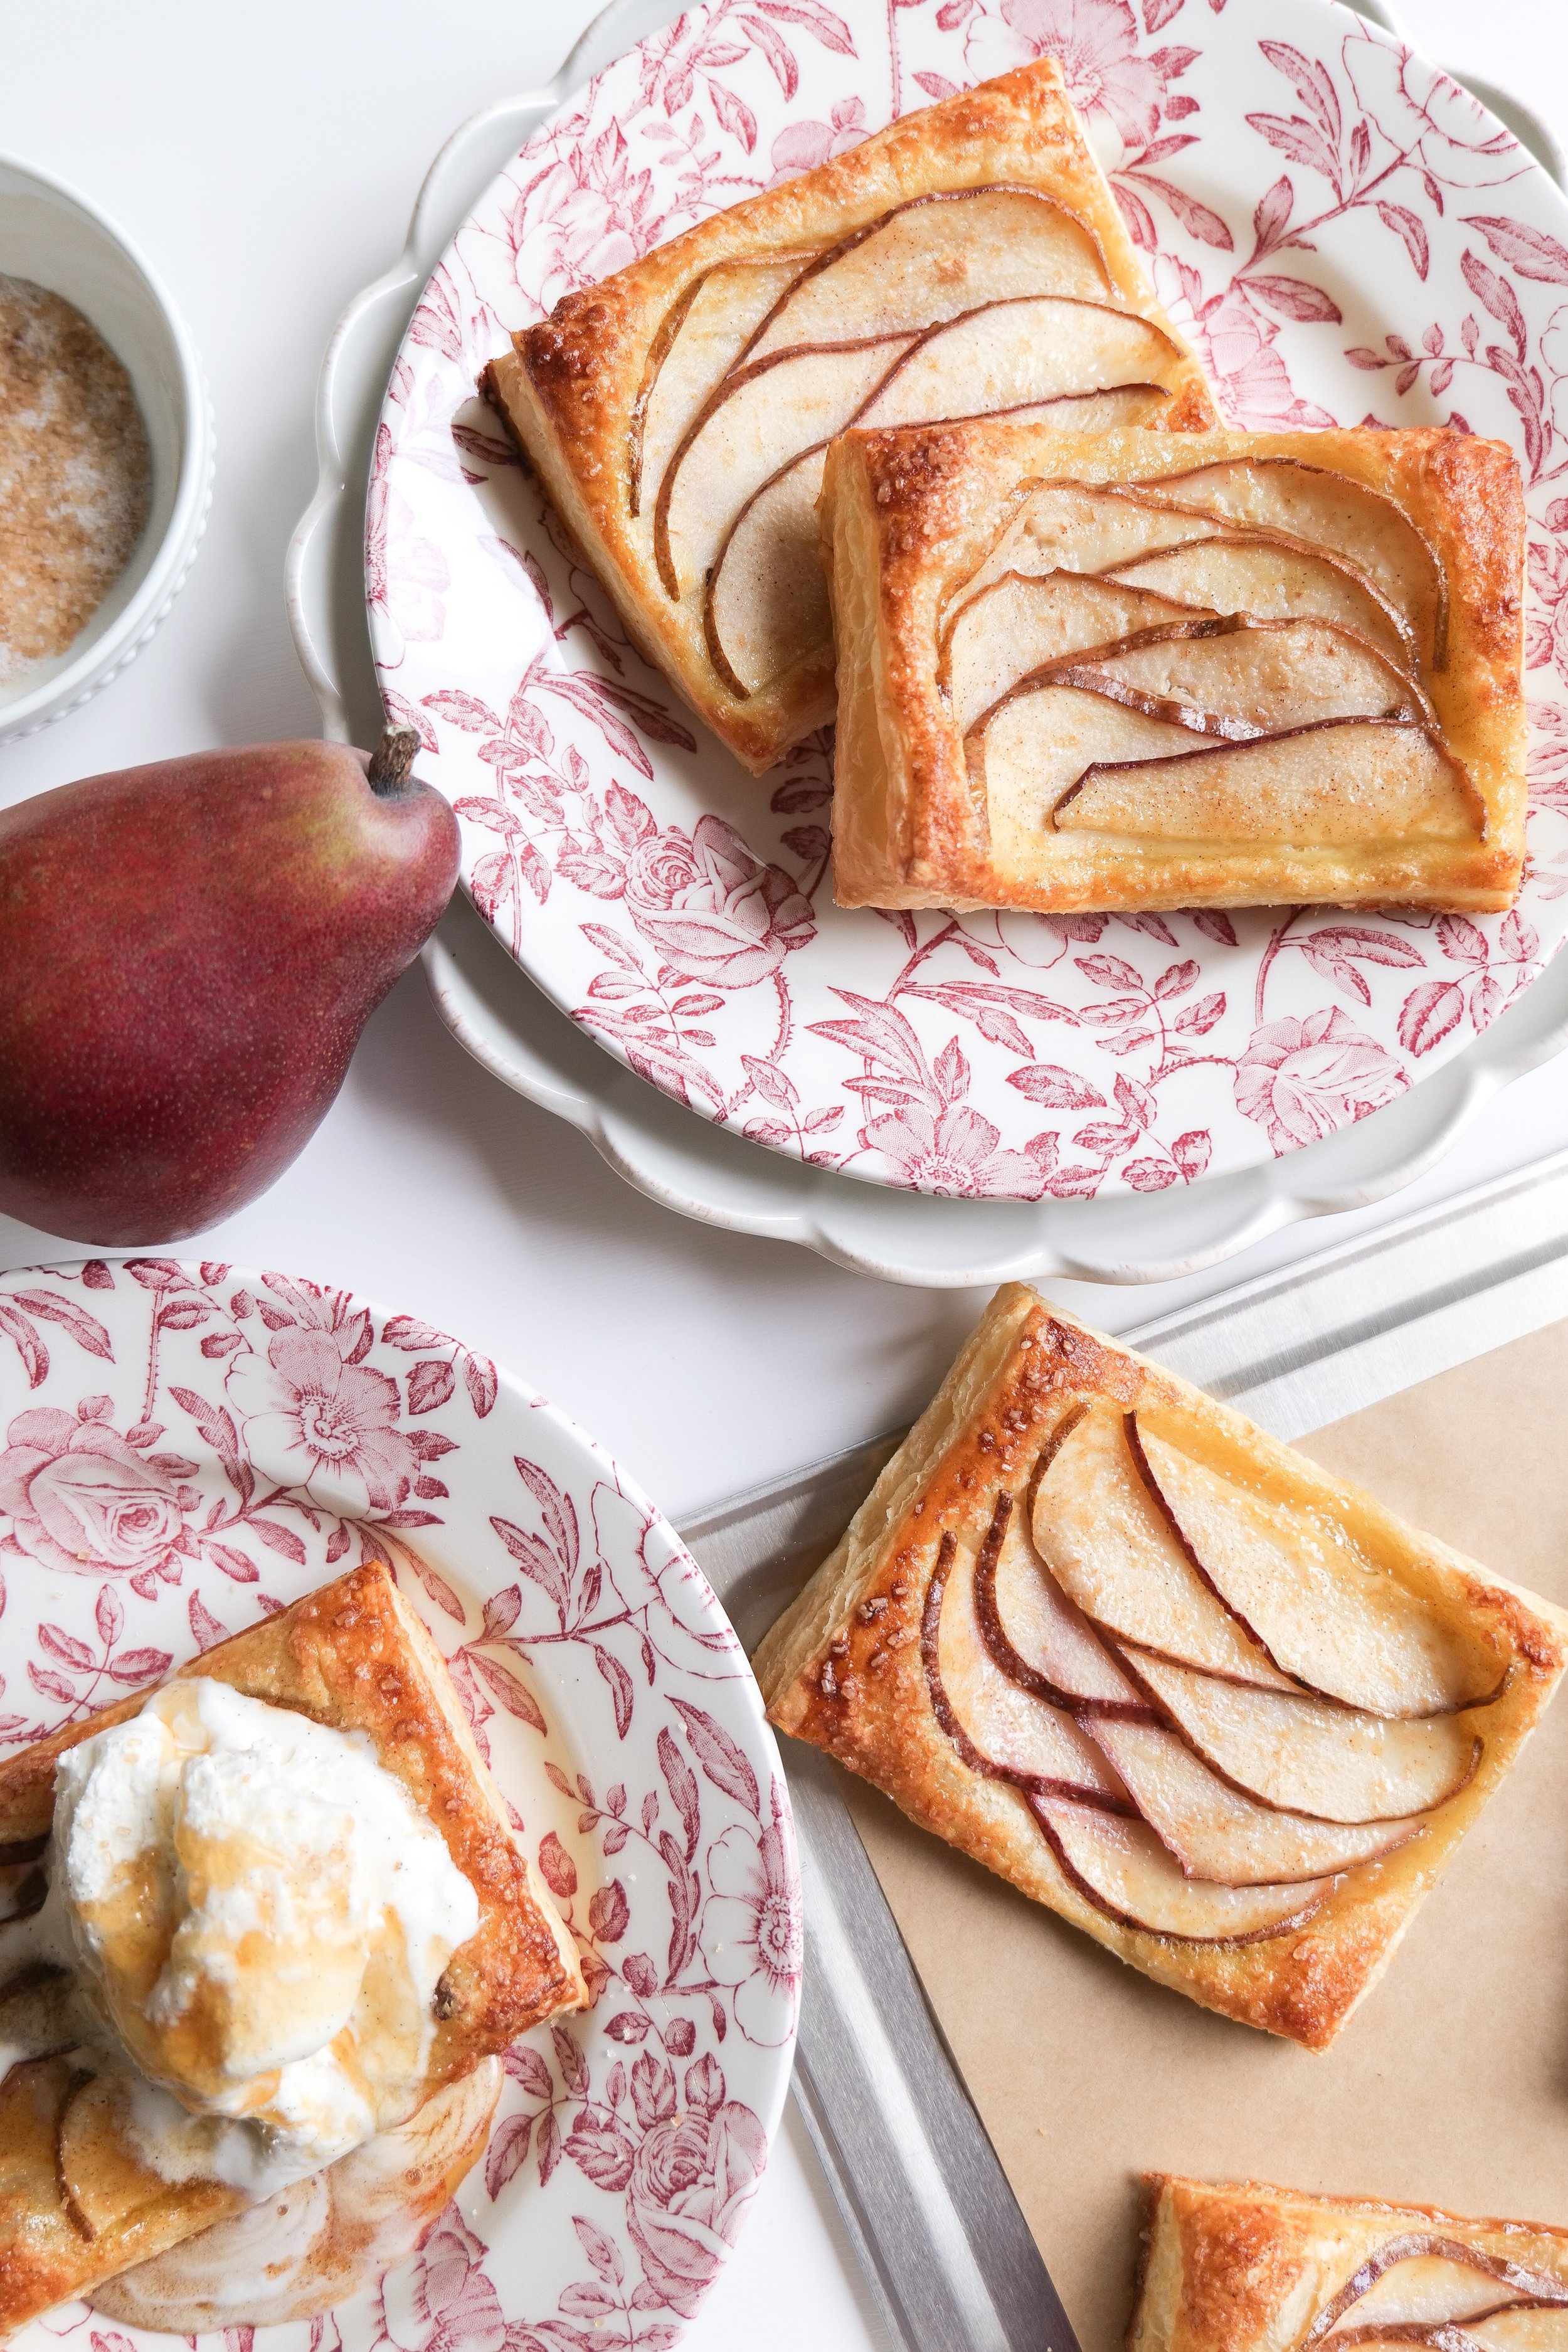
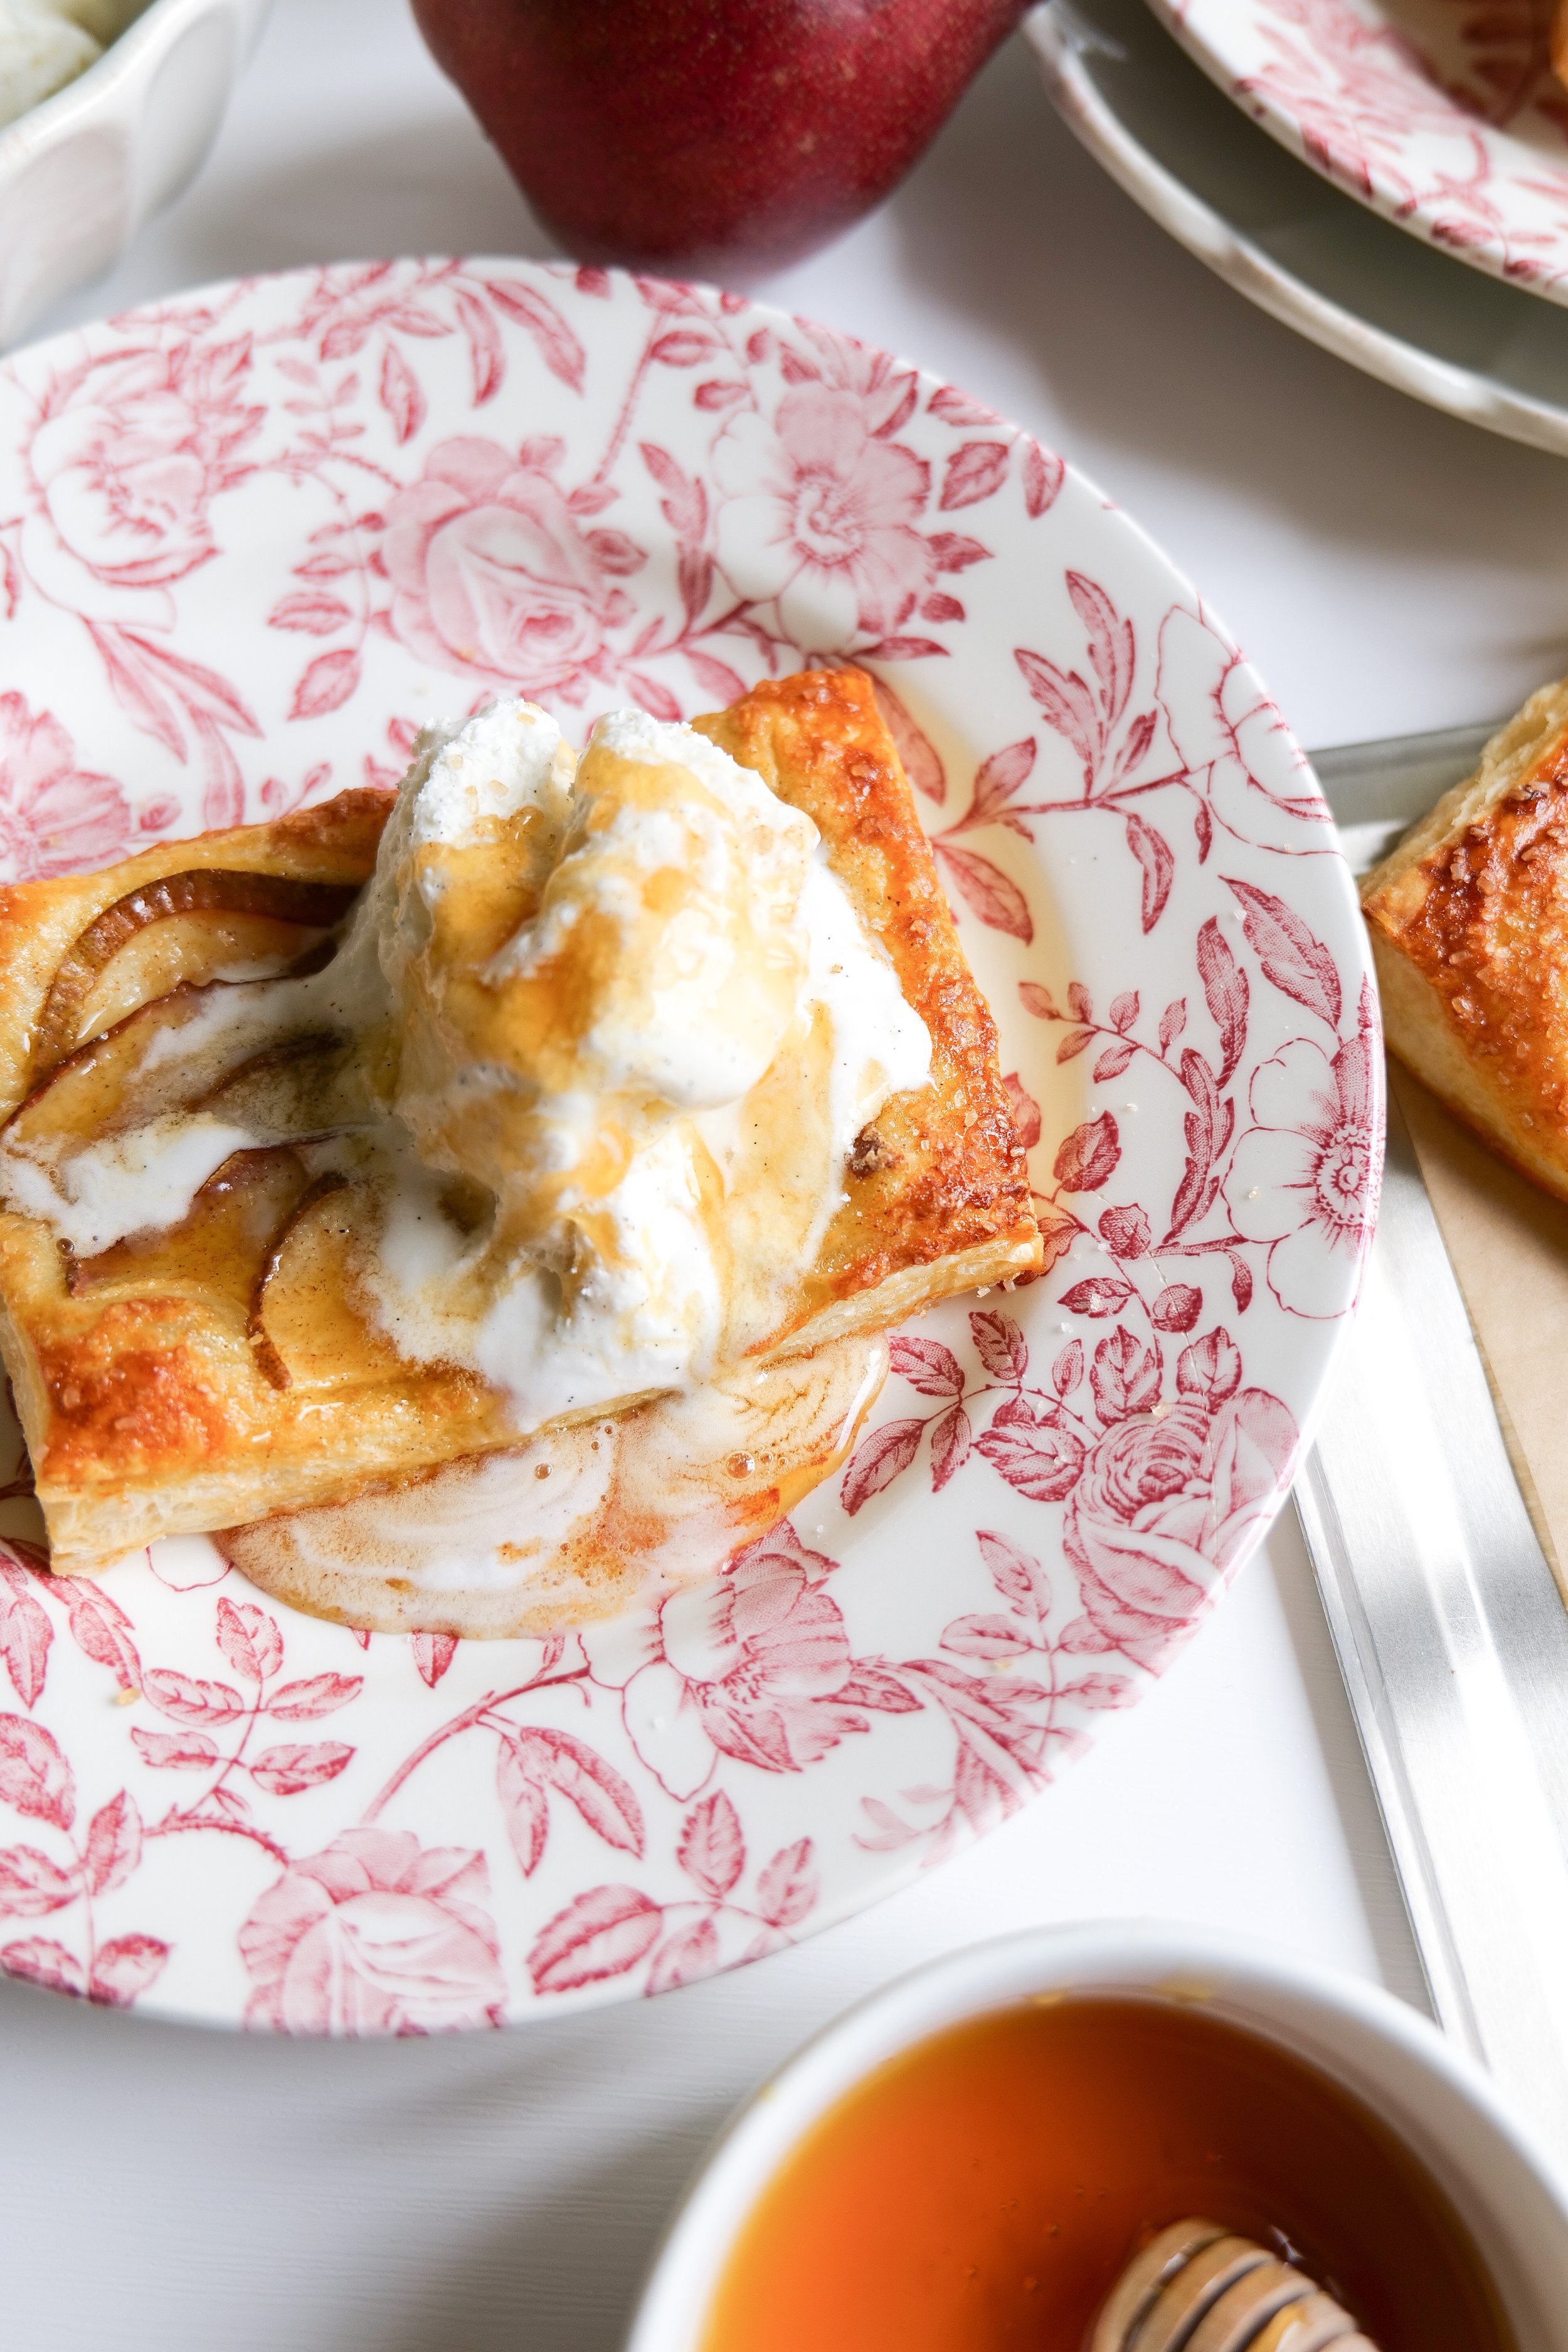
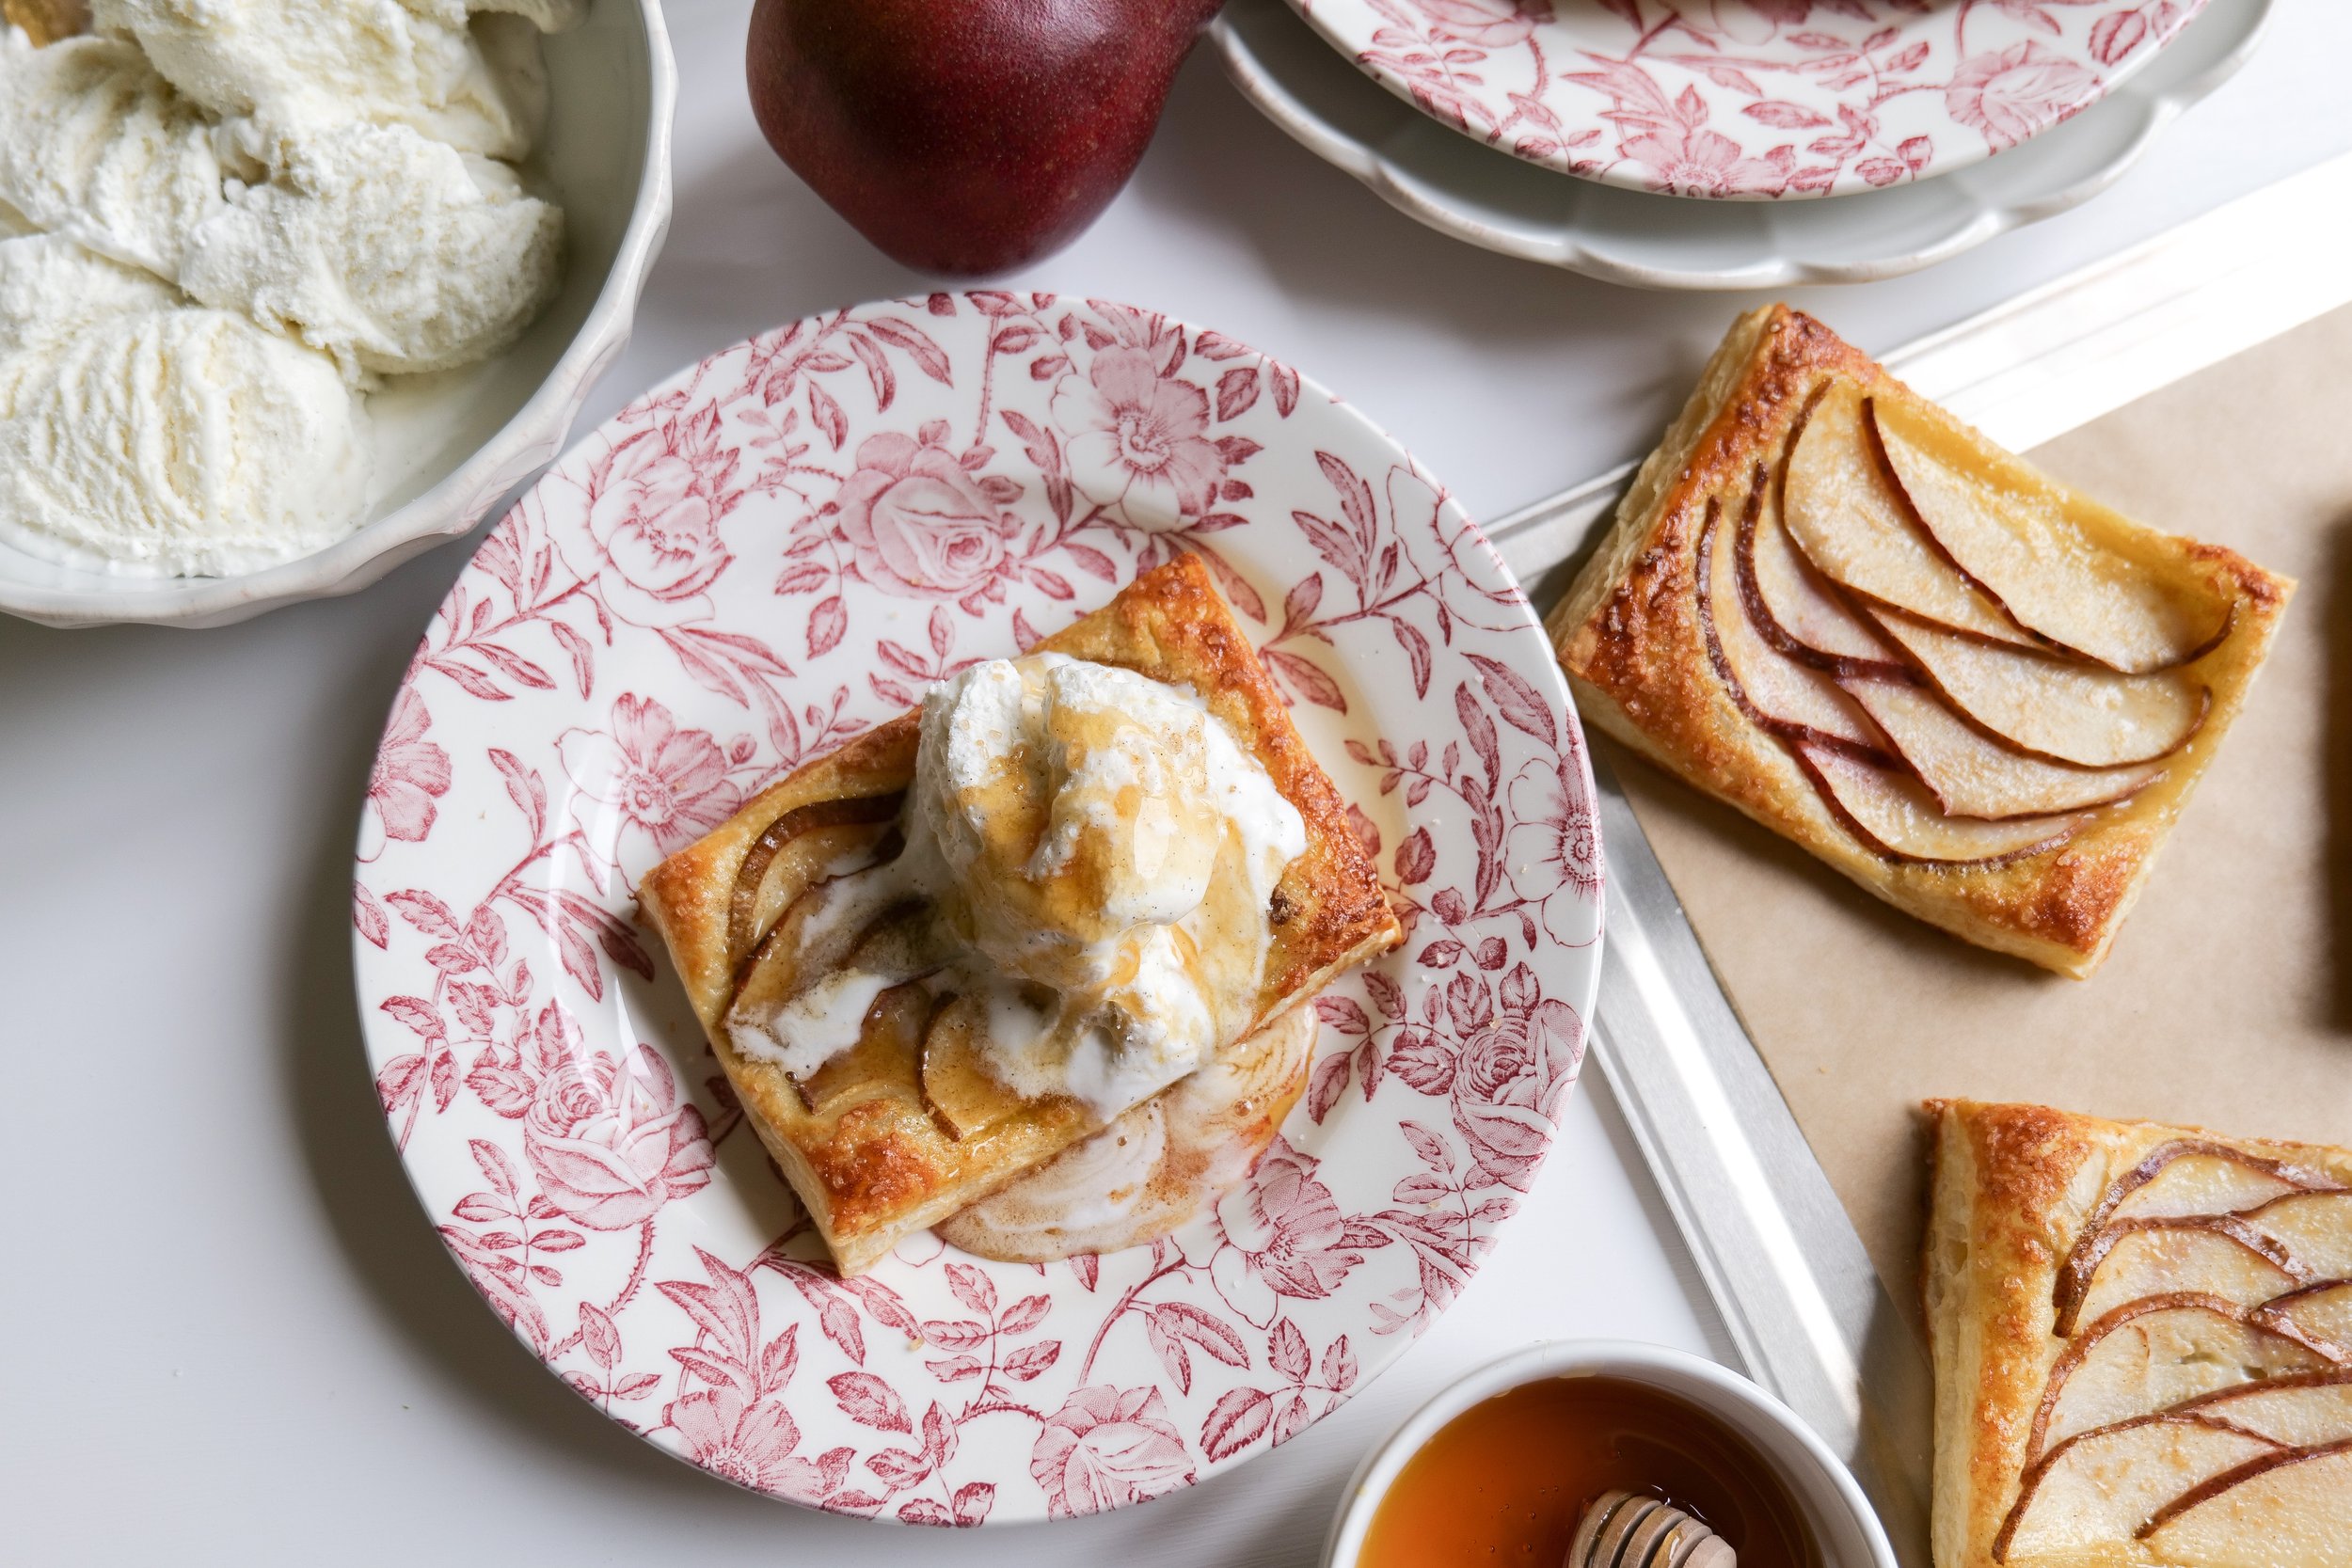
Indulge in Delicious Personal Pear Tarts

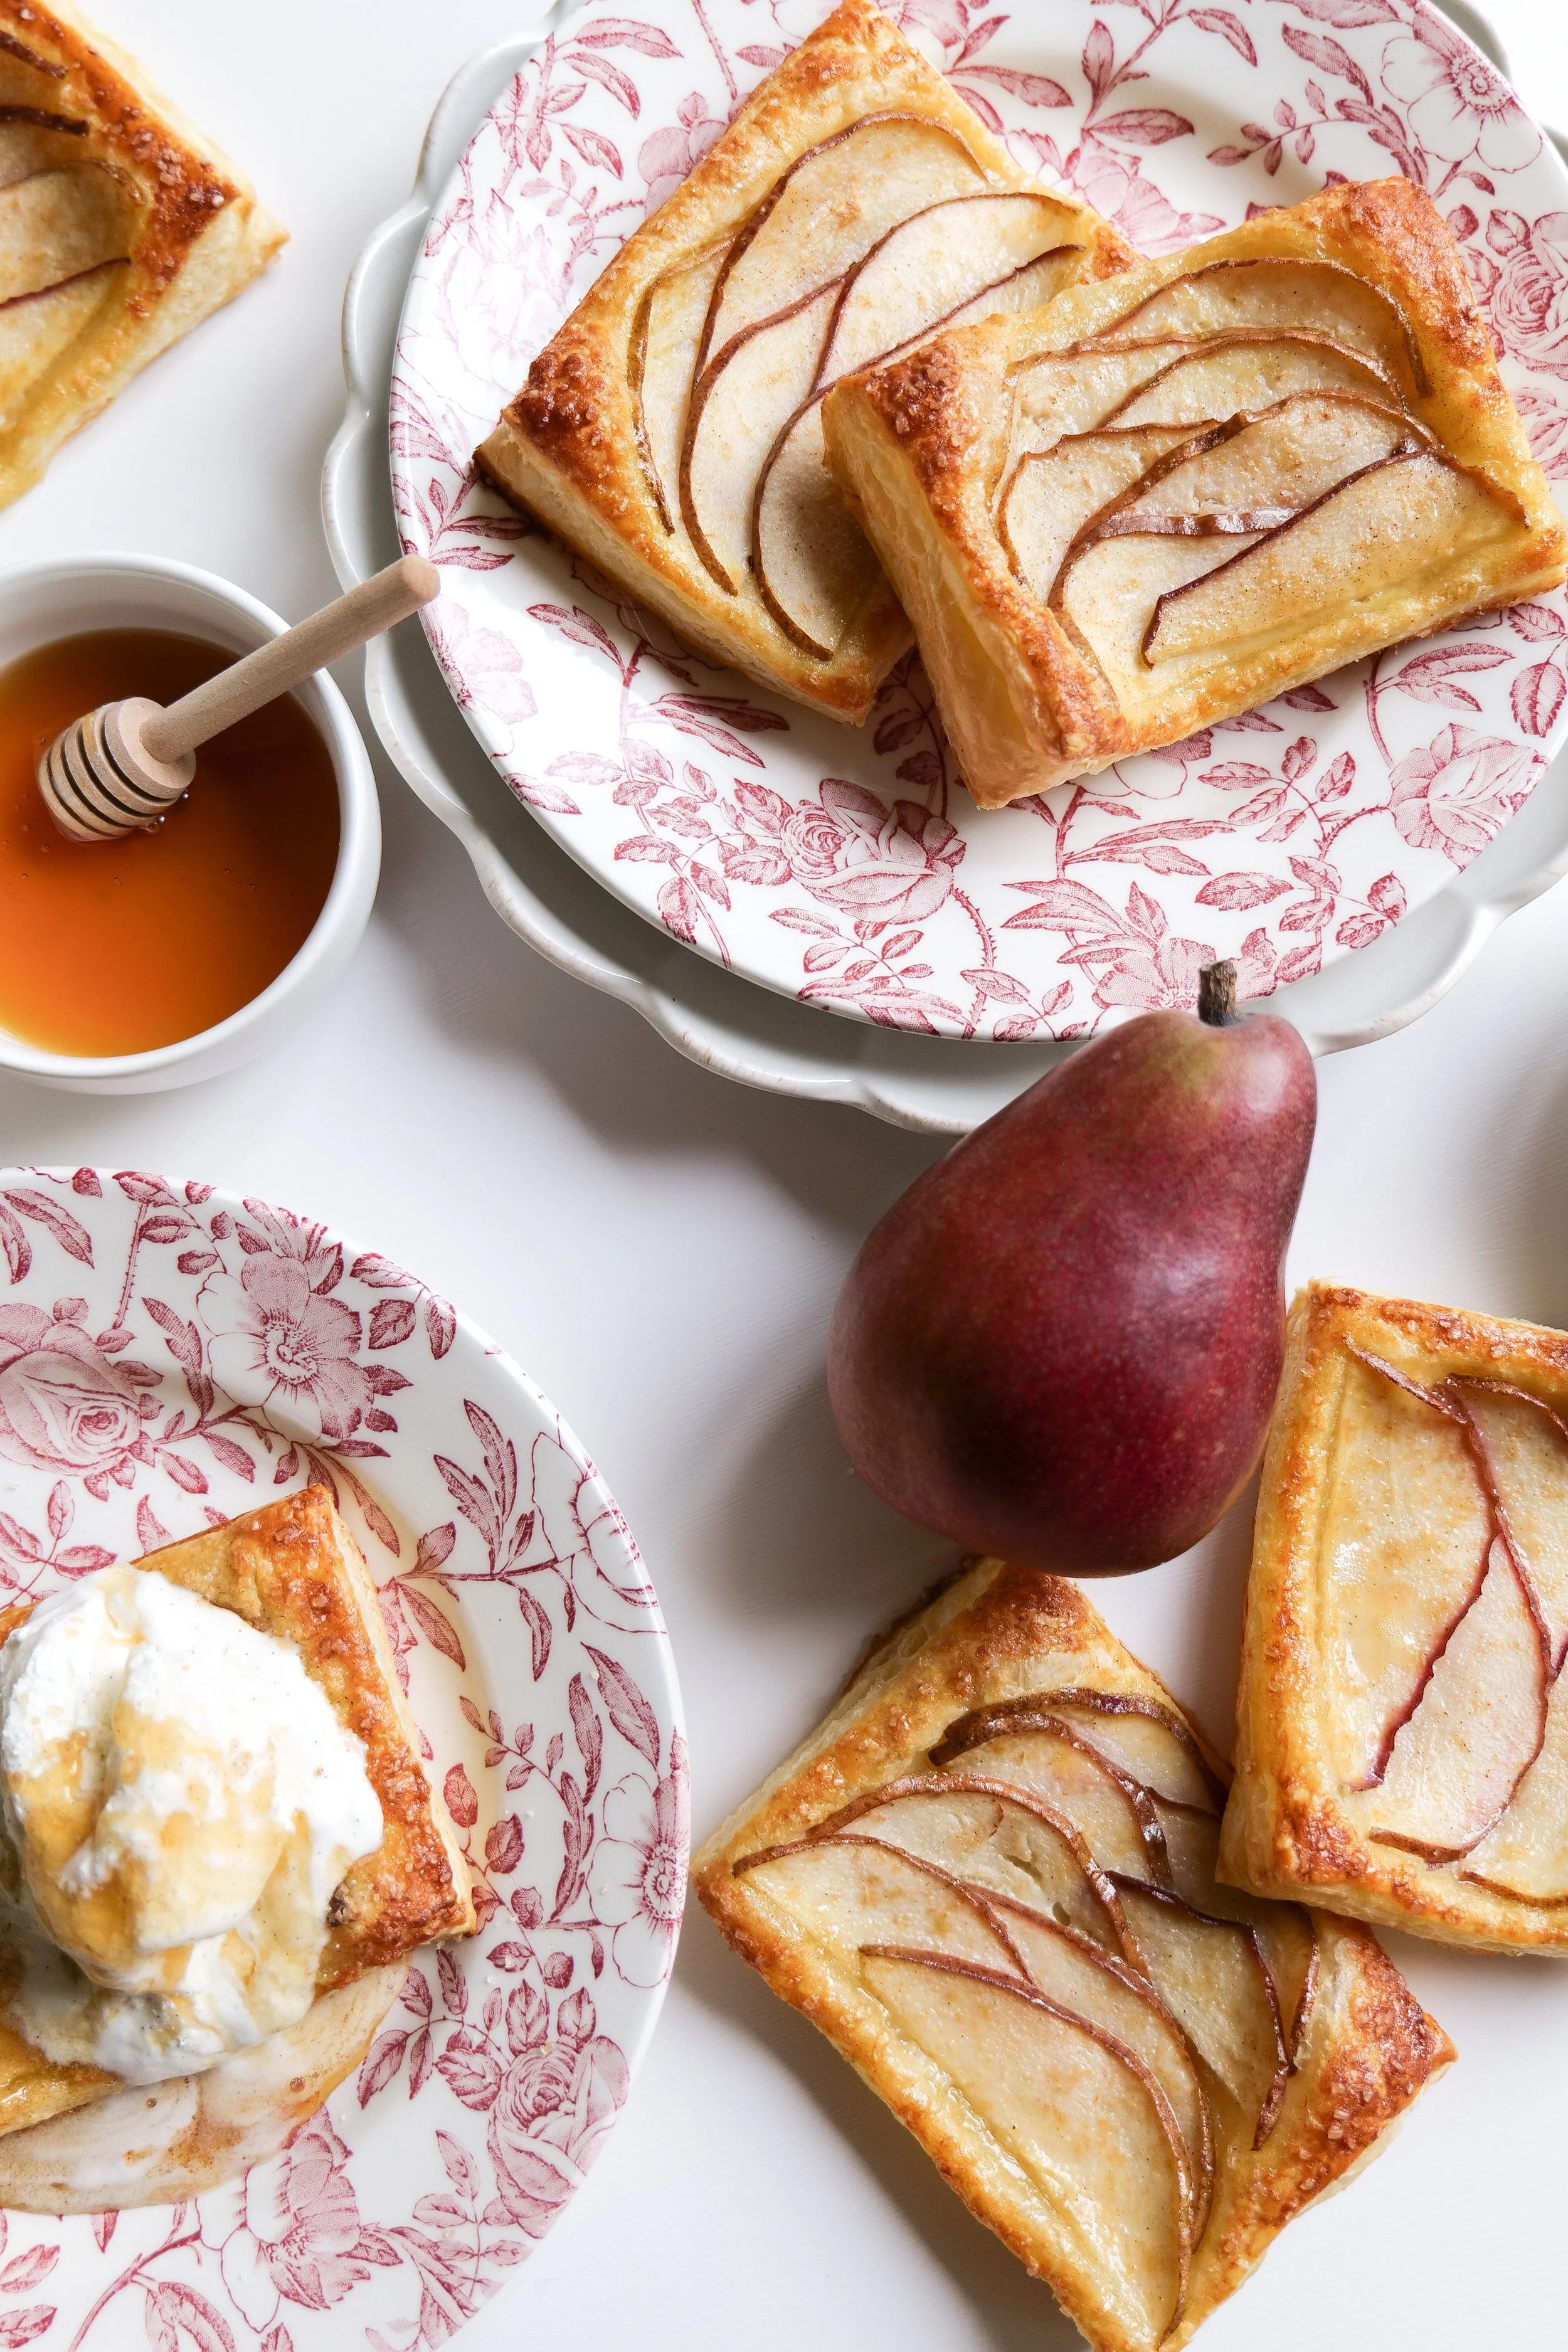
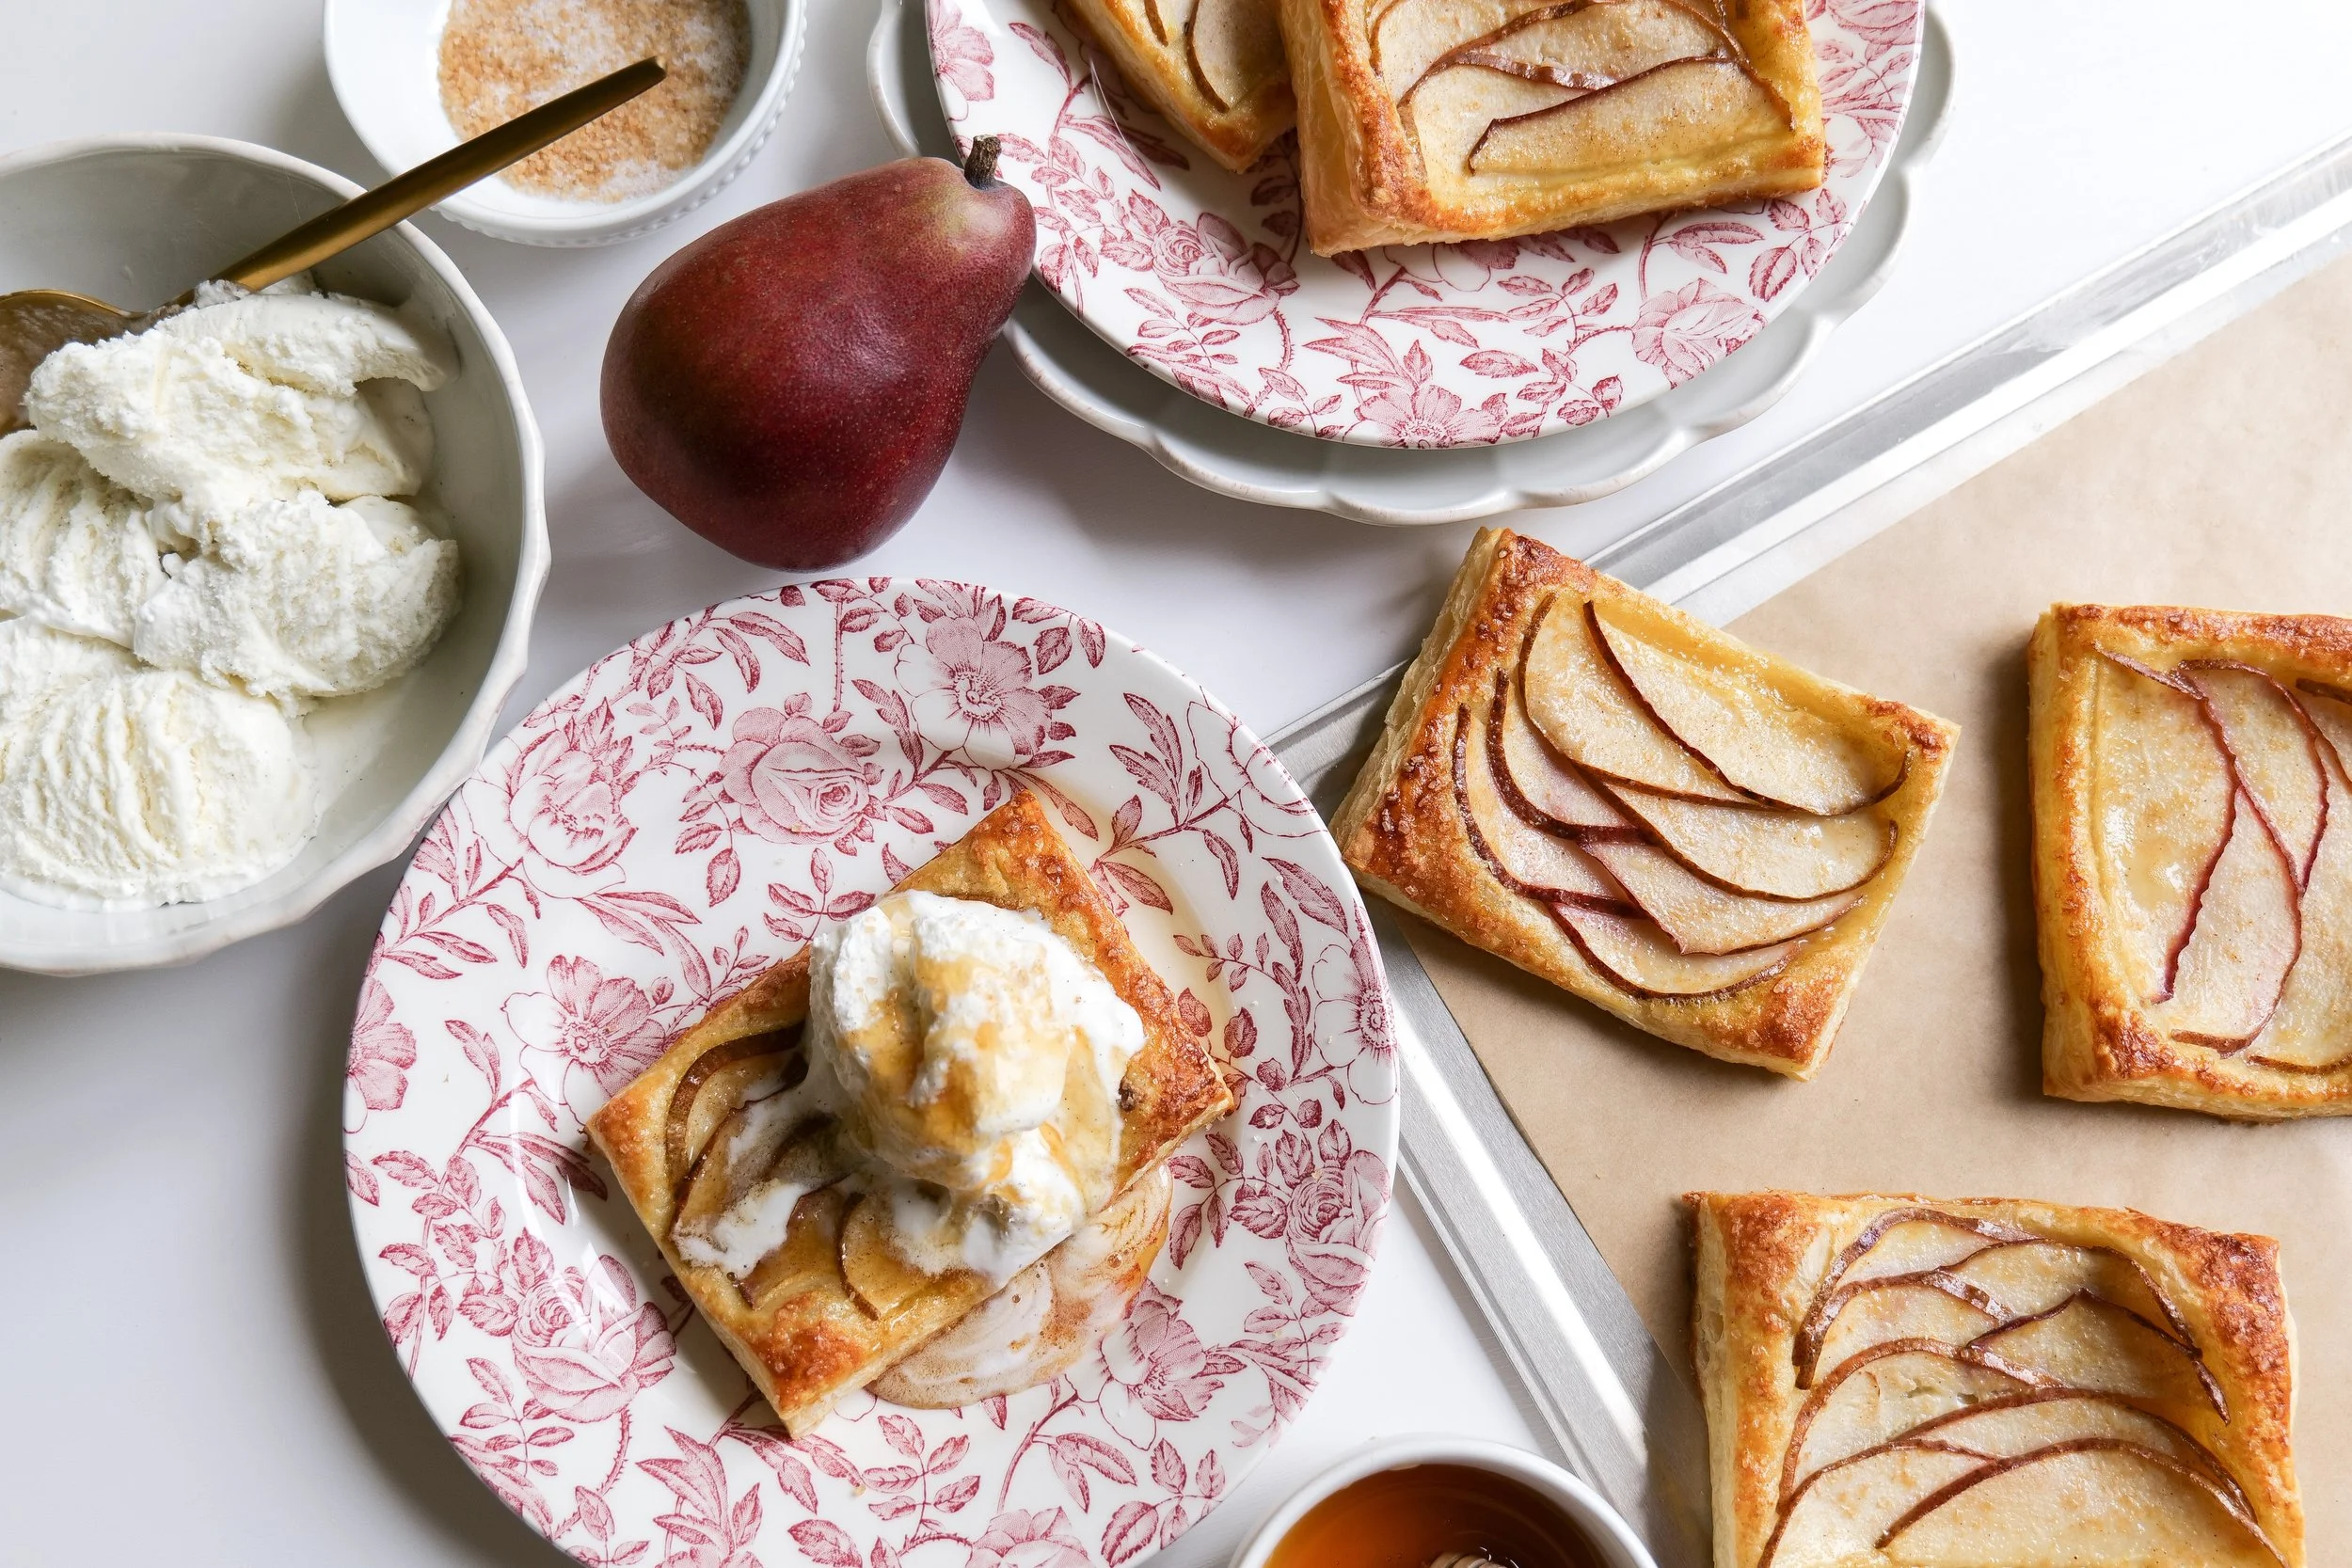
If you're looking for a fun and delicious dessert to make for your next gathering, look no further than these Personal Pear Tarts! The flakey crust on these tarts is perfectly complemented by the sweet, juicy pears with just a sprinkle of cinnamon and sugar. Each tart is the perfect size for a single serving and makes a wonderful treat or dessert. Enjoy them either warm or cold and savor every bite of this delightful combination of flavors! Not only is this recipe easy to make and customize, but it's also a great way to showcase seasonal fruits. Read on to find out how to whip up this mini pear tart recipe that is sure to be the star of your next gathering.

Individual Pear Tartlets are a delicious and easy-to-make dessert that can make any meal special from breakfast to dessert. Their sweet and flaky crust pairs perfectly with tender pears and fragrant spices, making a unique and tasty dish. With minimal effort, you can show off your baking skills by creating individual tartlets that can be customized to suit your taste.

The combination of the sweet pears and the crisp crust is delicious together and can be substituted for other fruits such as strawberry, apple or seasonal fruits. Add some spices and you have a unique and flavorful dessert. These tartlets are a great way to end a special meal and make a statement that your guests will remember. Whether you’re looking for a signature dessert for a dinner party or just a simple treat for your family, these individual tartlets are sure to please. For making this quick pear tart recipe ahead of events you can also refrigerate and microwave when ready to serve.

Ingredients

( serving size 6 )

1 sheet of frozen puff pastry

2-3 pears, thinly sliced

1 tablespoon sugar or brown sugar

1 tablespoons cane sugar

Pinch or two of ground cinnamon

1 egg

Directions:

  1. Preheat oven to 375 and let puff pastry start to defrost for 5-10 minutes while thinly slicing pears.

  2.  Mix together sugars and cinnamon in a bowl. In another bowl whisk together the egg.

  3. Once puff pastry has softened, unfold and cut into 6 squares

  4. Layer sliced pears onto puff pastry and brush whisked eggs over the pear and pastry.

  5. Sprinkle sugar mixture all over and place pastries on parchment paper lined cookie sheet.

  6. Place in oven for 15-17 minutes or until edges are golden brown.

  7. Remove once edges are browned and place on cooling rack until ready to serve.

  8. You can serve warm and sprinkle with powdered sugar and/or top with vanilla ice cream, honey, or caramel for a delicious treat.

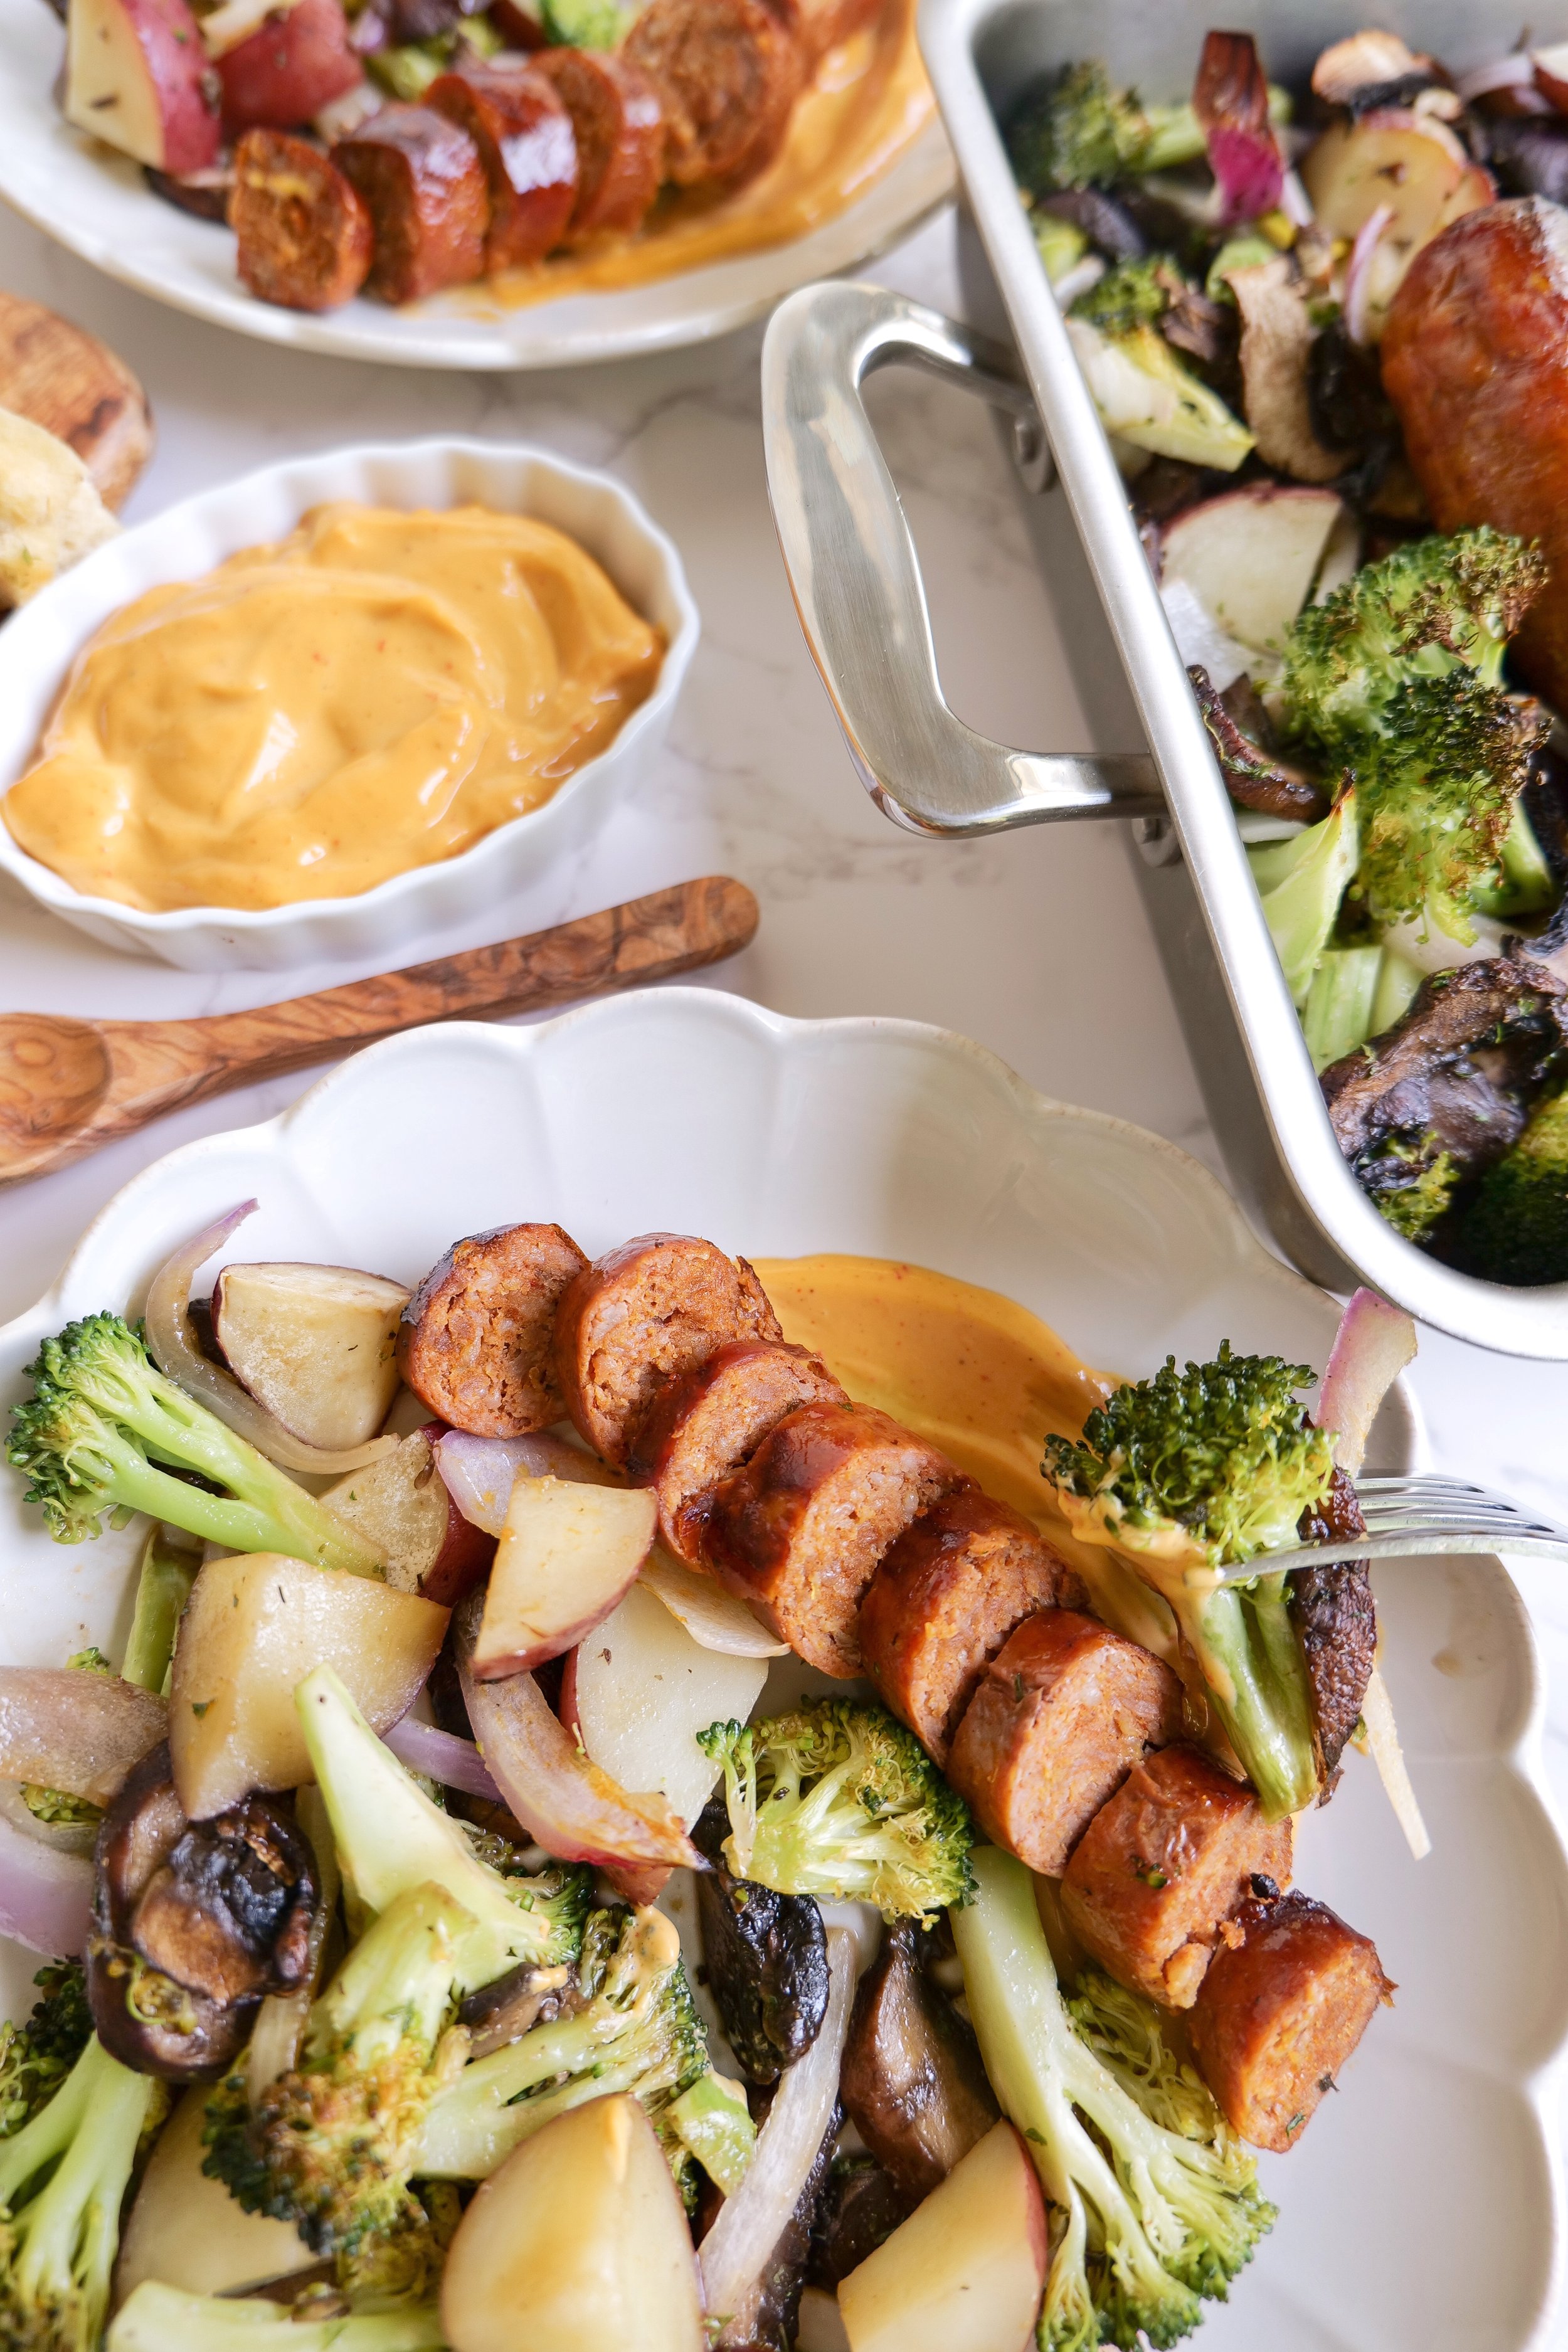
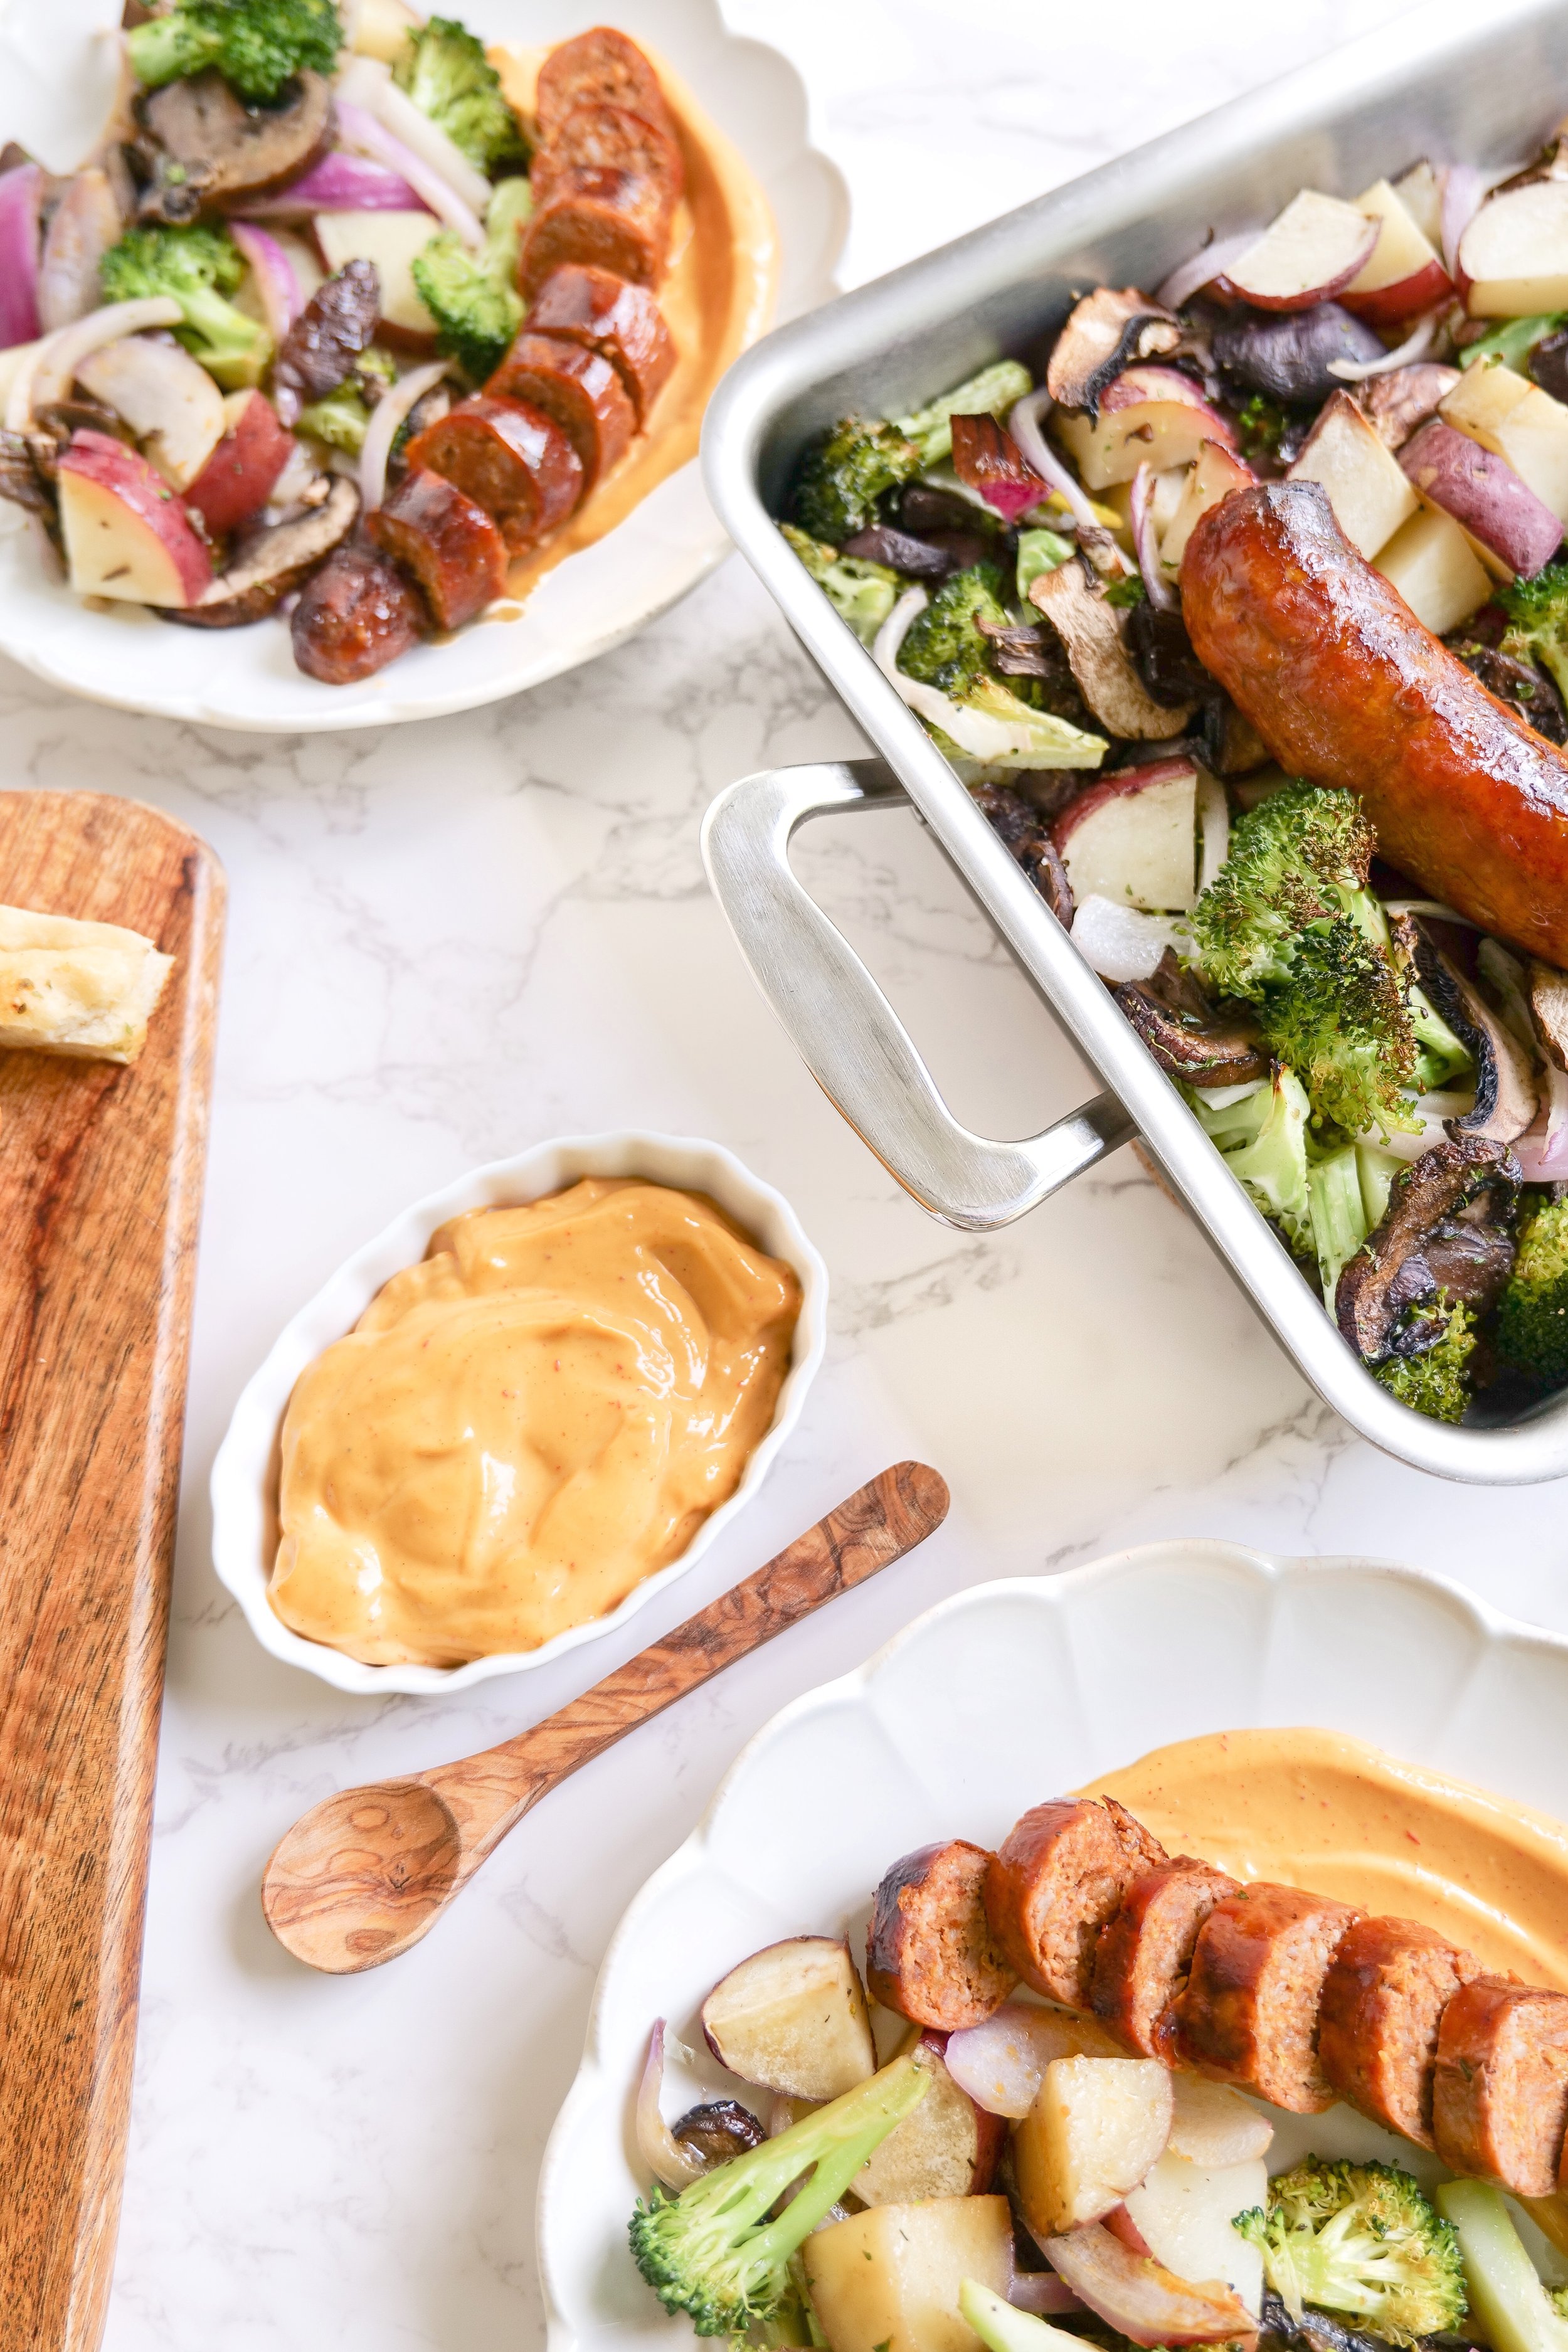
Delicious and Easy Chorizo One Pan Dinner

This easy and delicious chorizo one-pan dinner is a great way to get a hearty meal on the table in no time. With just a few simple ingredients, you can create a flavorful meal that the whole family will love. The combination of chorizo, potatoes, and veggies gives this dish a wonderful balance of flavors, and the one-pan preparation makes it a breeze to clean up after. So if you're looking for a quick and tasty dinner that won't break the bank, this chorizo one-pan dinner is a perfect choice.

Are you looking for a quick and easy meal to make on a busy night? Look no further than a chorizo one-pan dinner! This delicious meal only requires one pan, so you won't have to worry about cleaning multiple dishes afterward. The chorizo adds a smoky flavor to the meal that your whole family will love. You won't even have to worry about leftovers - all of the ingredients are cooked in the same pan!

Chorizo one-pan dinners is the perfect meal for busy days. They are quick, easy and delicious meals that the whole family will love. With only one pan needed, you can make a delicious dinner without having to clean multiple dishes. The chorizo adds a delicious smoky flavor to the meal that will make your taste buds happy! Plus, you don't have to worry about leftovers when making chorizo one-pan dinner - all of the ingredients are cooked in the same pan!

If you're looking for a quick and easy meal that the whole family will love, chorizo one-pan dinner is a perfect choice. Not only is it delicious, but it also only requires one pan - so you can spend less time cleaning and more time enjoying a delicious meal. Give it a try and you won't be disappointed!

What Ingredients Do I Need to Make a Chorizo One Pan Dinner?

To make this one-pan dinner for 4 people, you'll need: 4 links of chorizo sausage, 4 red potatoes, 1 red onion, 4 cups broccoli, 16 oz mushrooms, 1/3 cup olive oil, 2 tbsp Homemade Ranch Seasoning, and Spicy Mayo.

Your Chorizo One Pan Dinner is now ready to enjoy with your favorite group of people, but can be made for as many or as few people as desired! Serve it up "as is", or with a great sauce such as a yummy spicy mayo or creamy sauce. This one-pan dinner is a great way to get a healthy and delicious meal on the table in no time! Another way to make it your own is changing out the veggies to your family's favorites!

Ingredients

4 chorizo links

4 red potatoes

1 red onion

4 cups broccoli

16 oz mushrooms

1/3 cup olive oil

2 tablespoons Homemade Ranch Seasoning

Spicy Mayo

Directions

1. Preheat oven to 375

2. Lay chorizo links in 360 cookware bake & roast pan. Place in oven while you prep veggies, about 15 minutes.

3. Prep veggies by cutting them into bite sizes and placing them in a bowl to combine. Once it's all cut and ready add olive oil and seasoning and toss to fully coat.

4. Take out the pan with the chorizo and remove the chorizo to a clean plate. Layer veggie mixture into pan and place chorizo on top.

5. Return to oven and continue to bake for another 30-45 minutes or until a fork easily pokes into potatoes

6. Slice chorizo and plate with veggies and spicy mayo (you can omit if you don't prefer sauce)

Other Dinner Recipes:

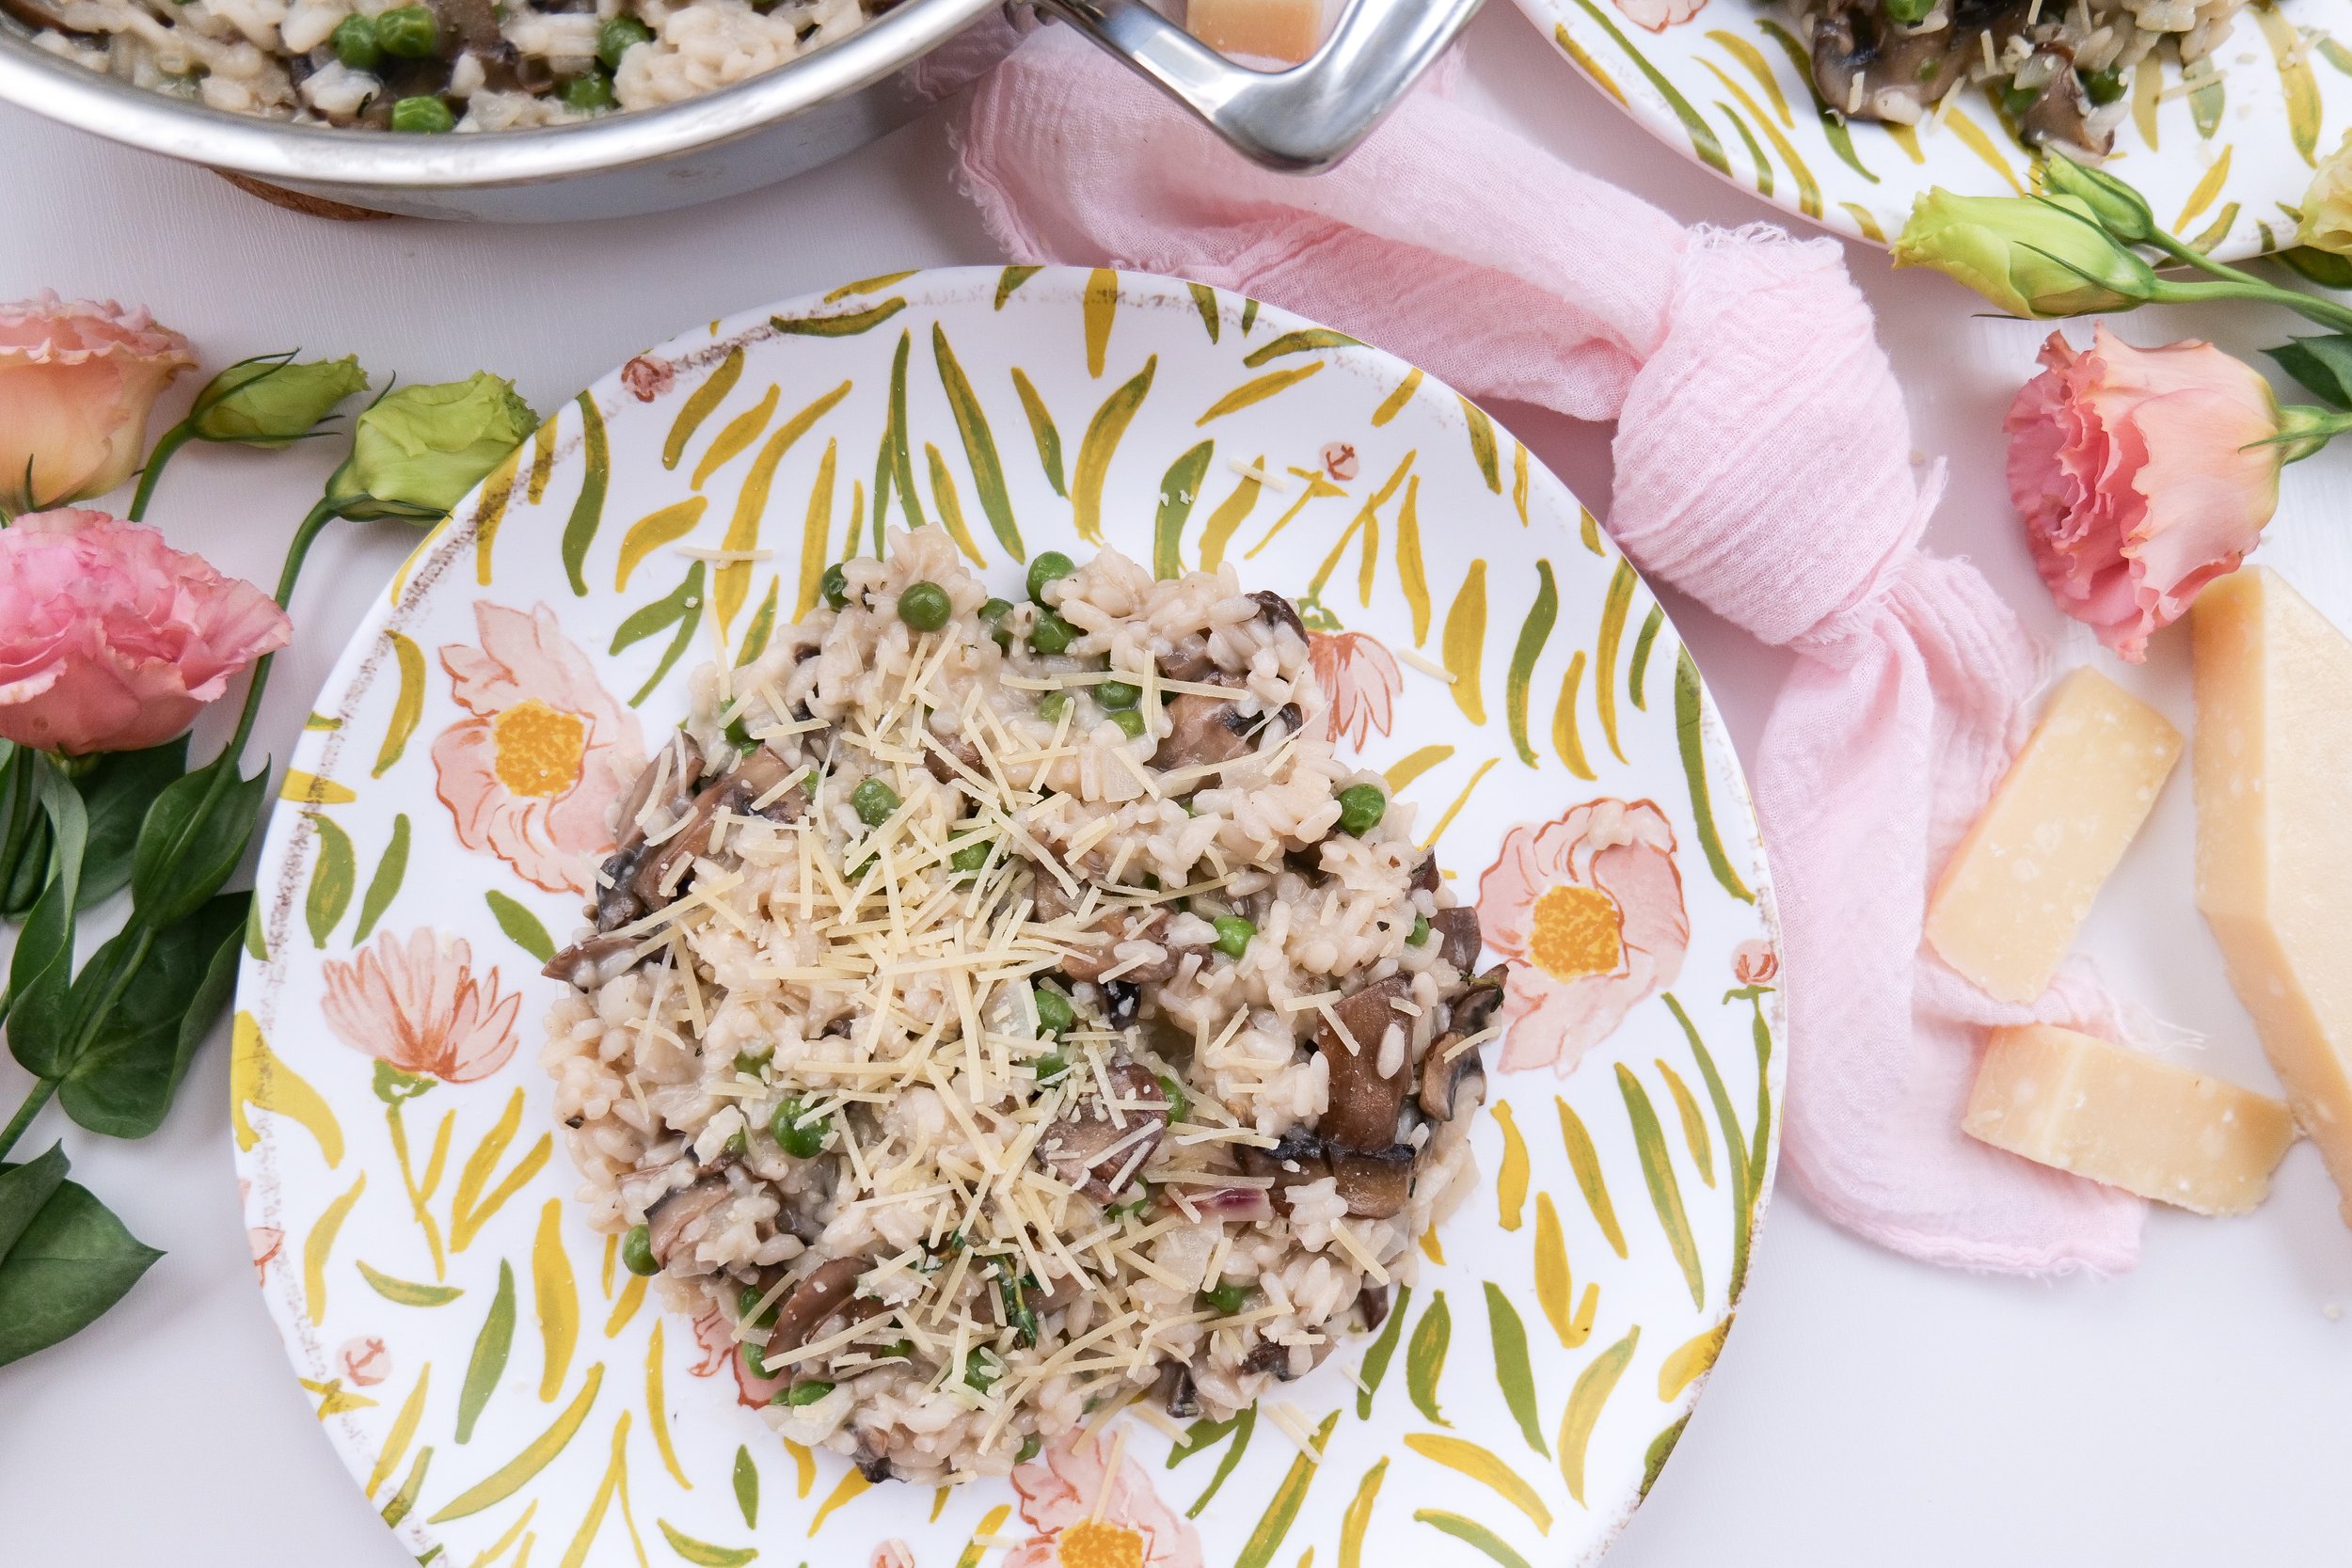
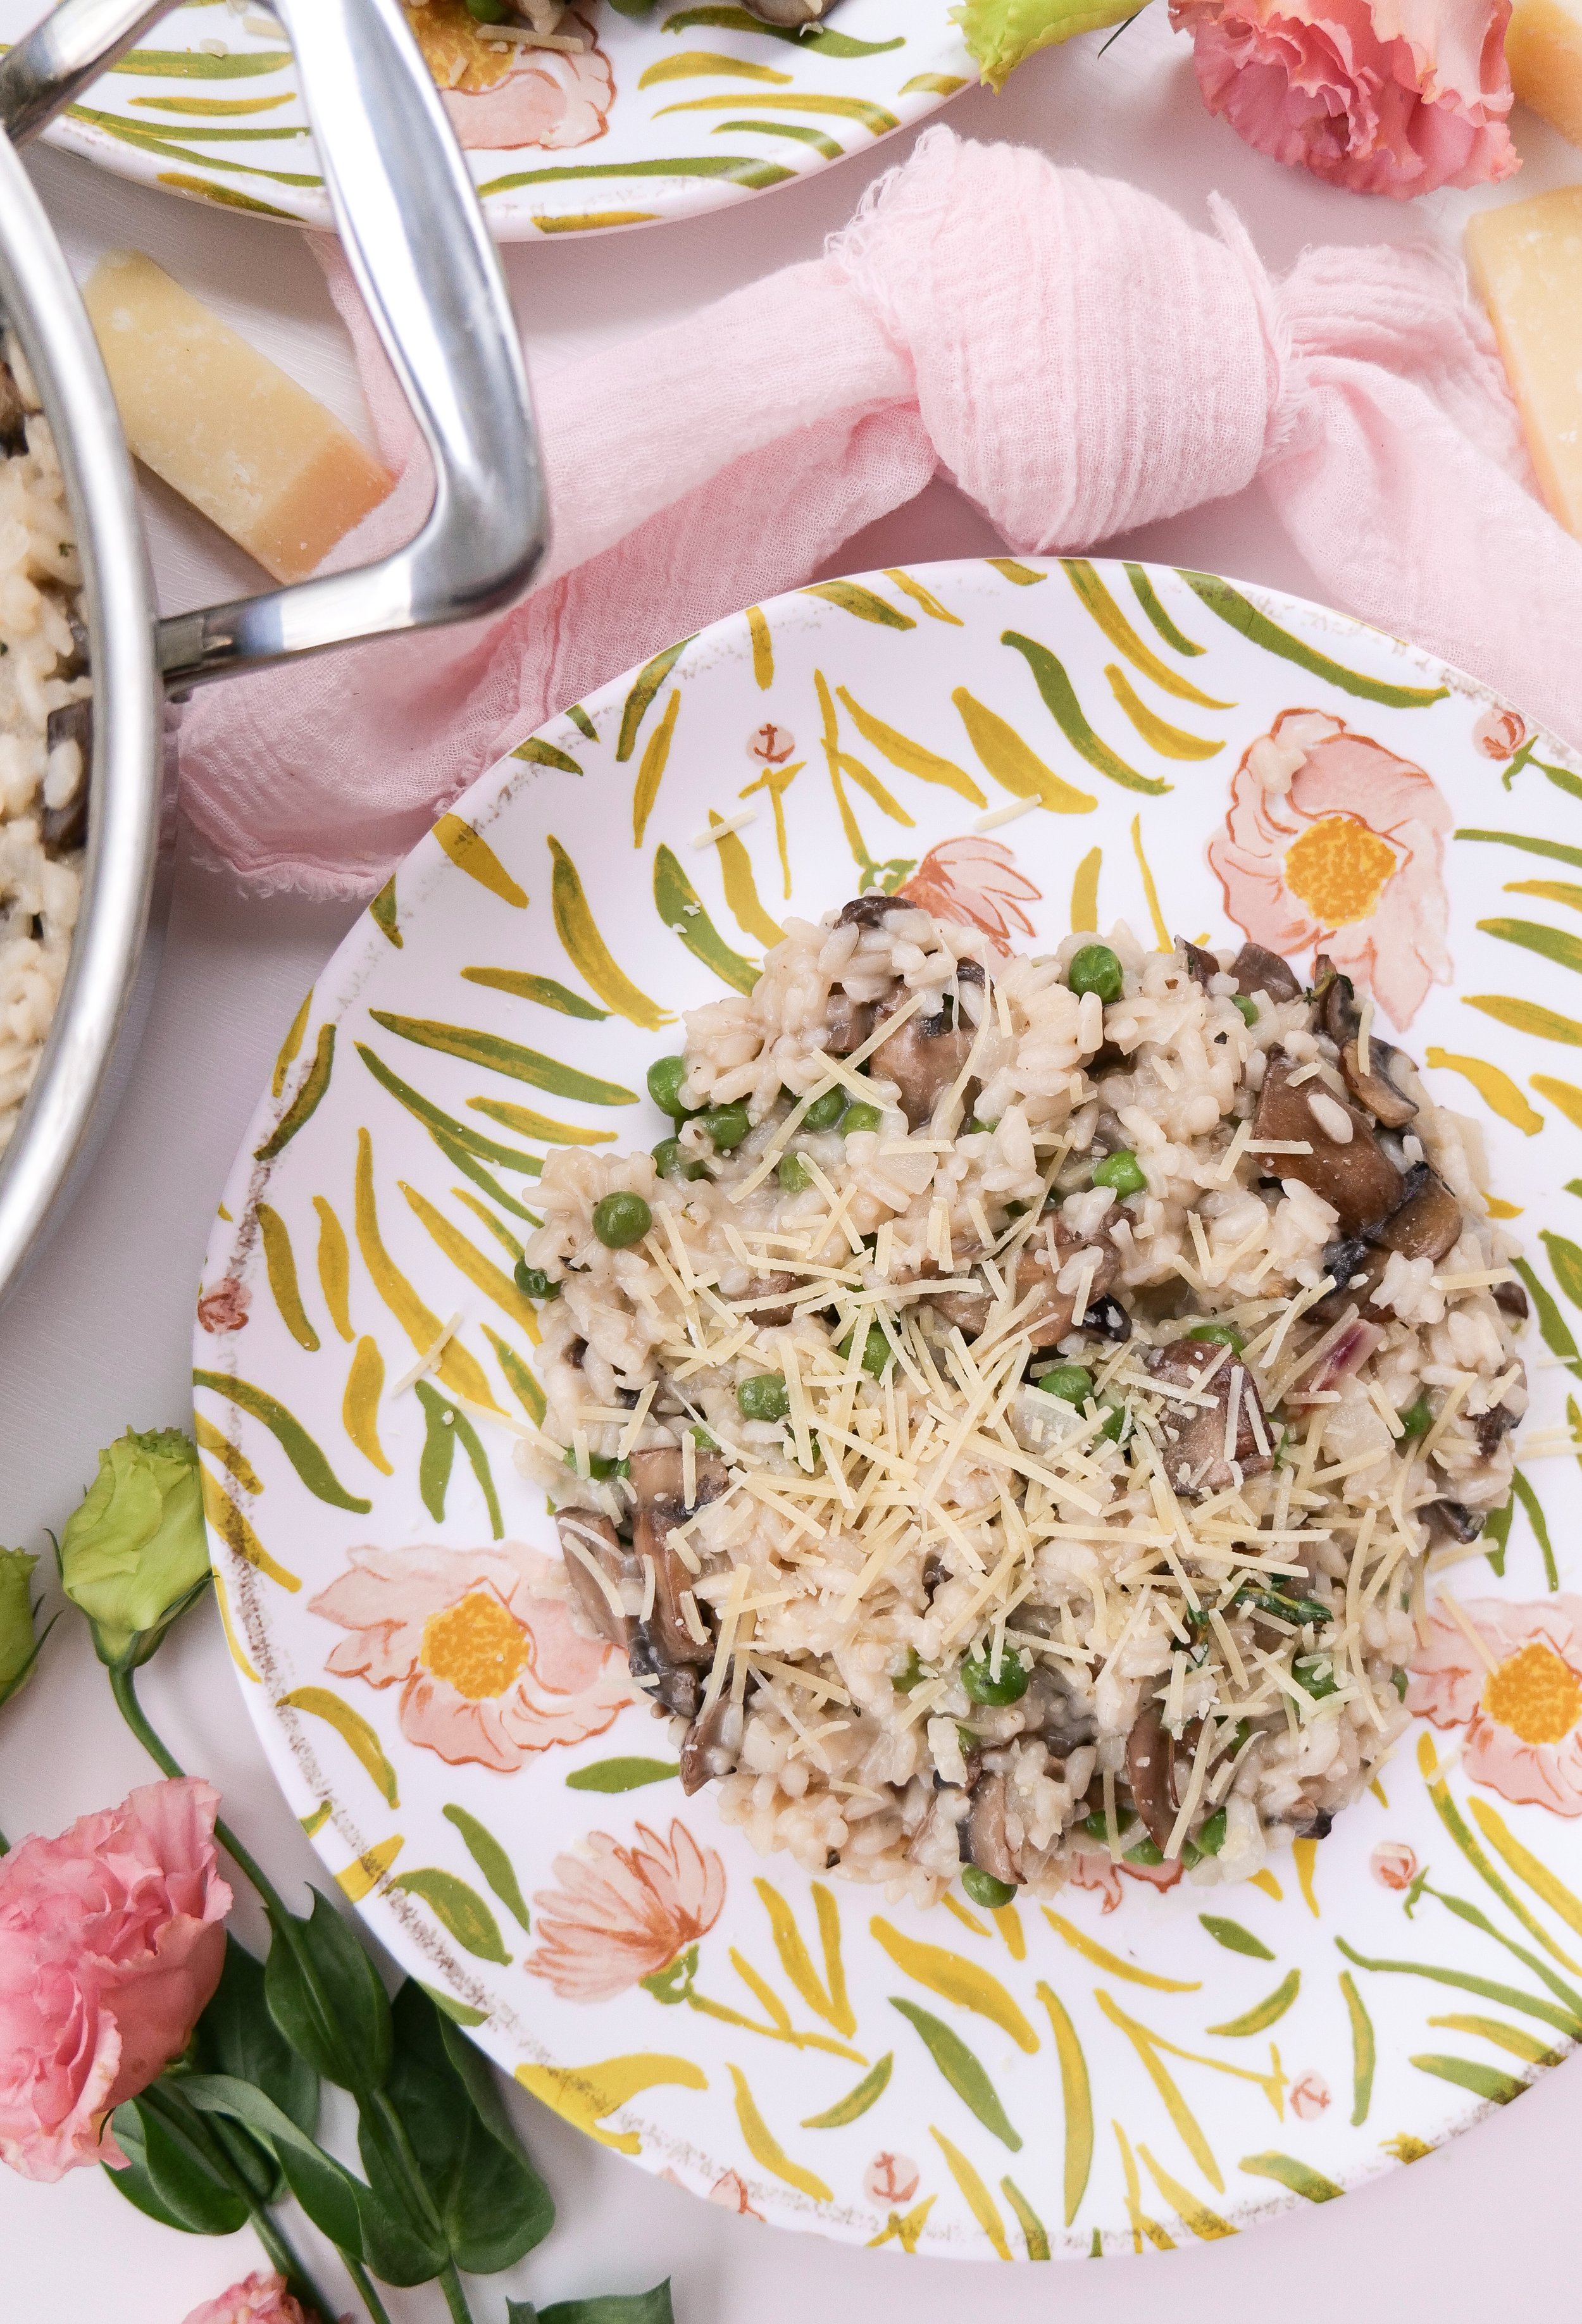
Easy and Delicious Mushroom & Pea Risotto Recipe

Garlic Mushroom & Shrimp Pasta

Pork Banh Mi Bowl : Deliciously Satisfying

Baked Burrata Pumpkin Ziti with Pork Sausage Recipe

Deliciously Different: Pink Deviled Eggs to Spruce Up Your Easter Brunch

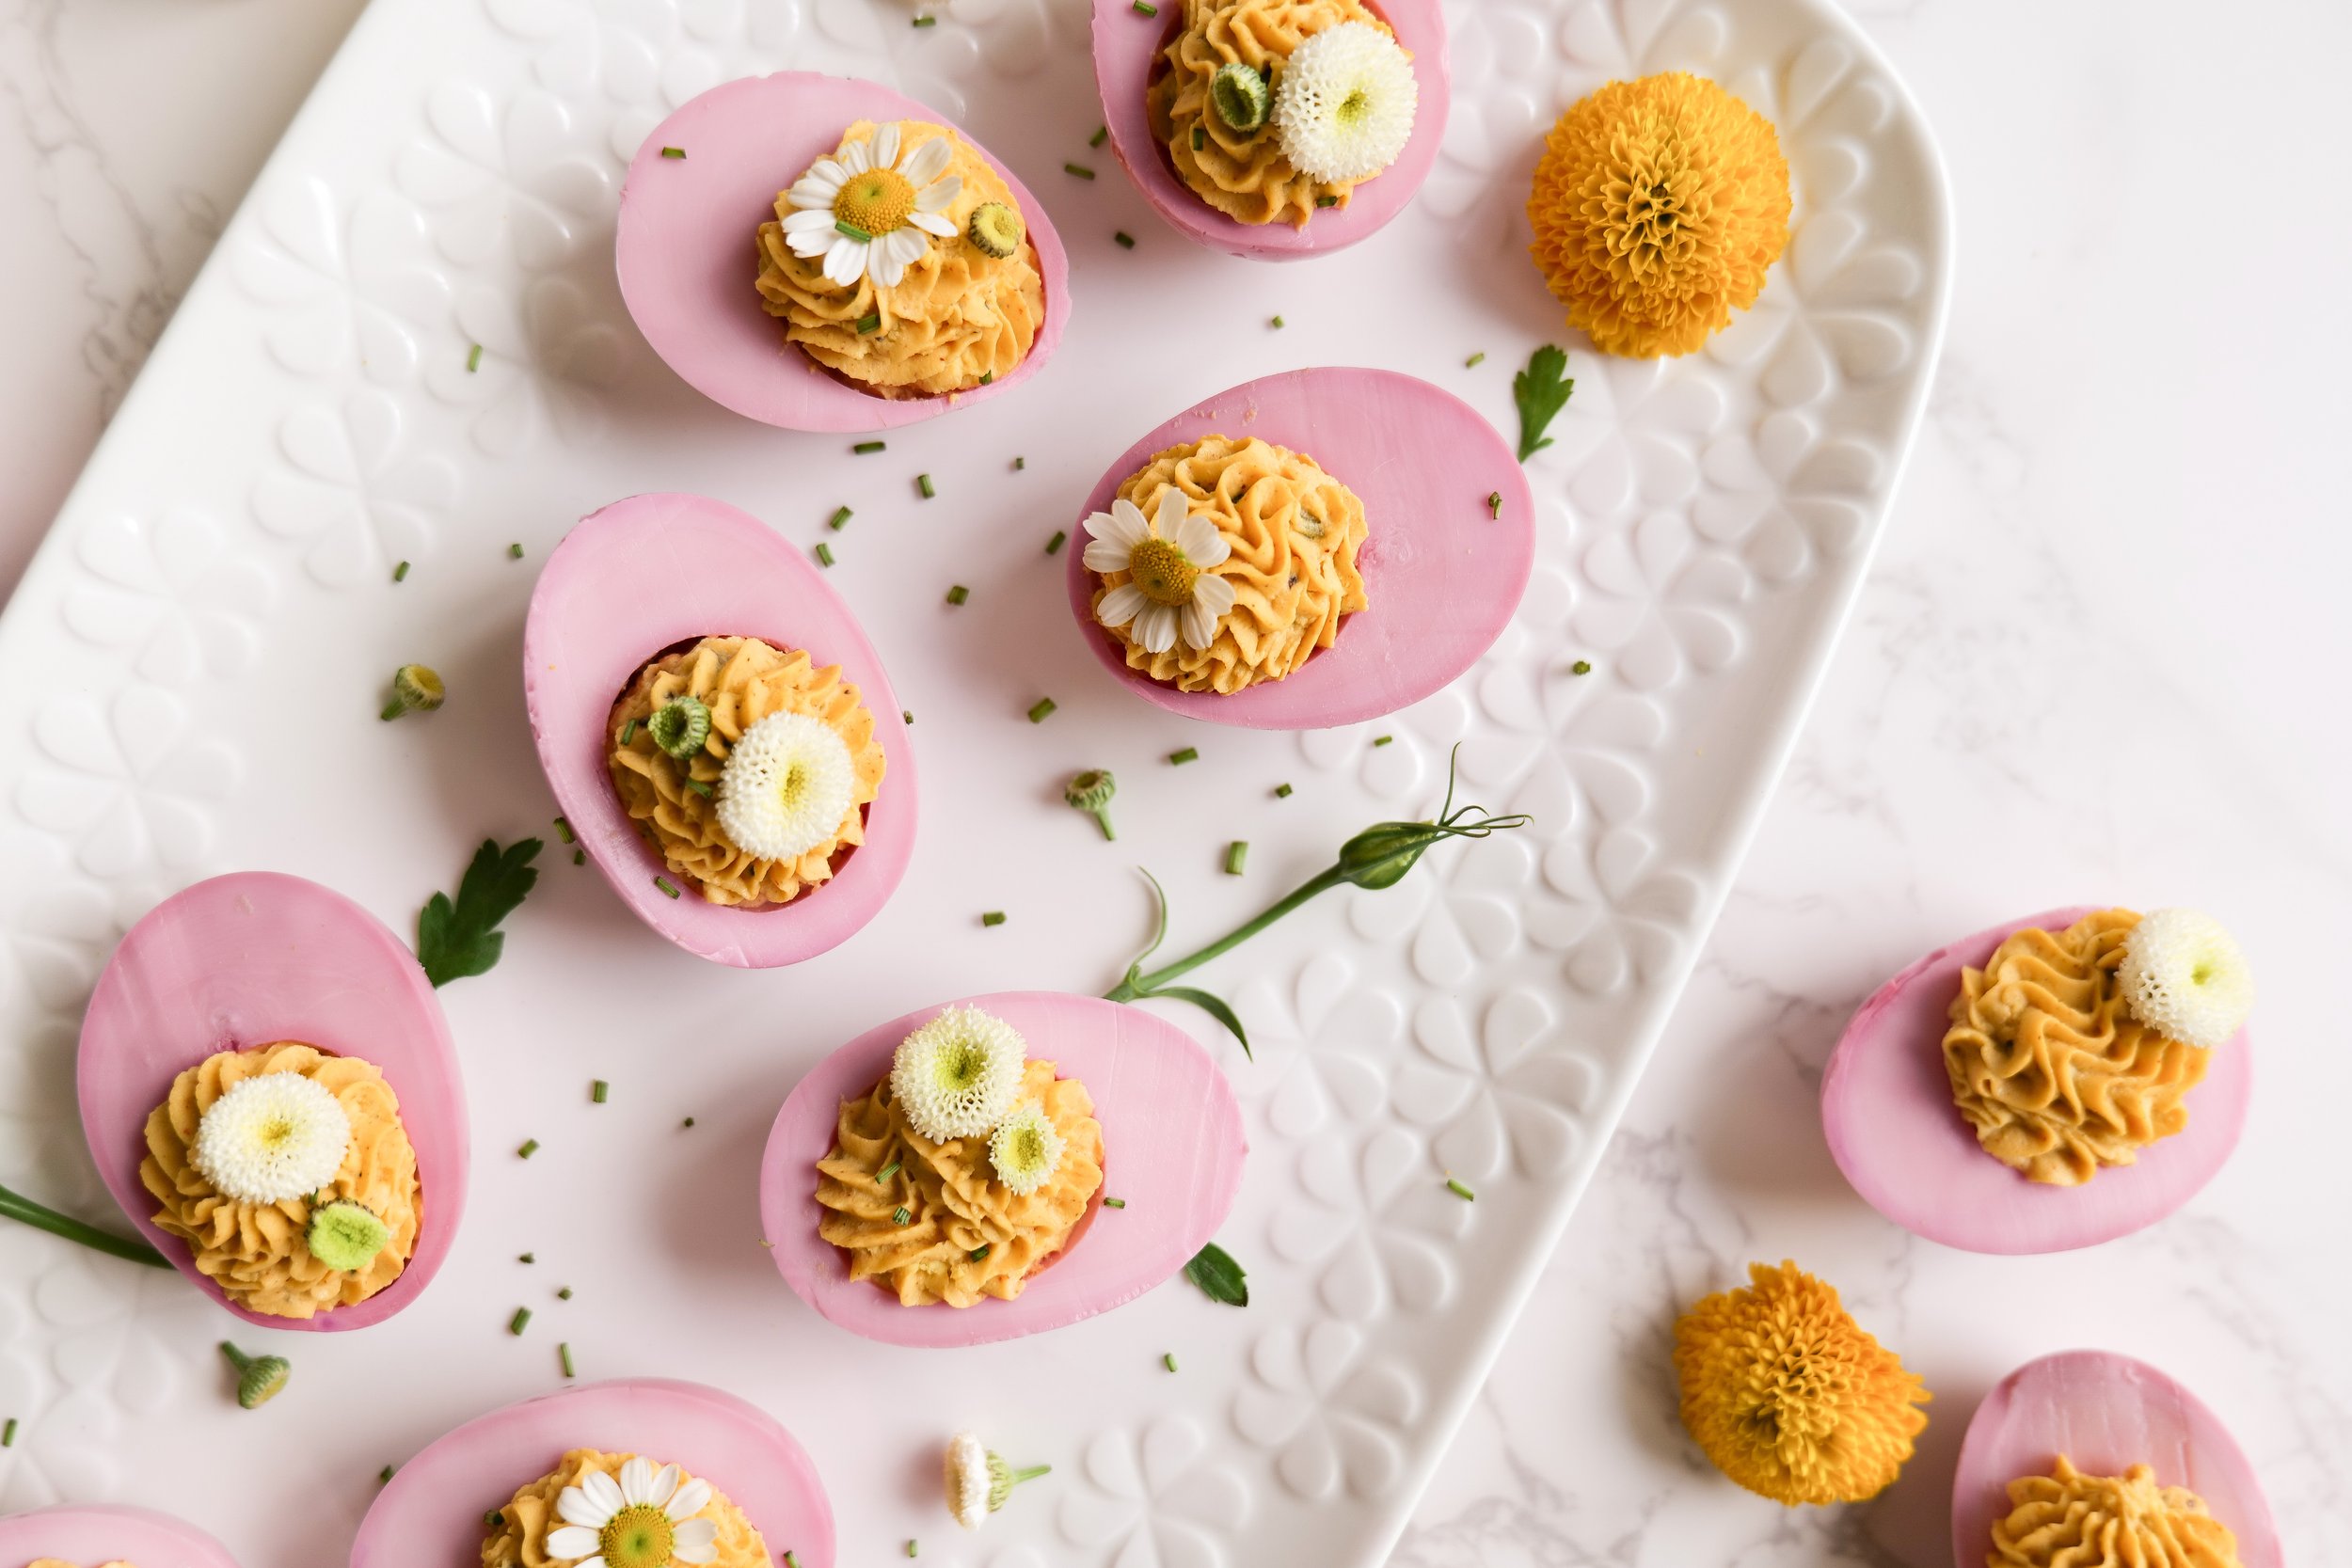
Nothing says springtime like a picnic with friends, and a plate of colorful pink deviled eggs. If you know me you know pink is my favorite color, so these pink eggs make for the perfect addition to any outdoor gathering. Not only are these deviled eggs a visually stunning food to share, but they are also packed with flavor. Whether you’re a fan of the classic deviled egg recipe or you’re looking for something new, this pink version is sure to become a favorite. Read on to learn the easy steps for making this fun twist on a classic picnic favorite.

Pink Easter Deviled Eggs

Pink Easter Deviled Eggs are an easy, creative, and delicious way to celebrate the Easter holiday. With a natural vegetable dye, you can create a beautiful pastel hue for your eggs. The creamy, tangy filling is the perfect complement to the eggs and will leave your guests wanting more! They are an easy and inexpensive dish making them the perfect dish for a family gathering or Easter party. The eggs can be served as an appetizer, snack, or even as a main dish. Have fun decorating the eggs and make them as creative as you wish. Whether you're hosting an Easter brunch or a dinner, Pink Easter Deviled Eggs will be sure to impress your guests.

If you're looking for a unique and fun way to celebrate the Easter holiday, Pink Easter Deviled Eggs are the perfect option. With easy preparation and affordable ingredients, you can have a delicious dish that will wow your guests. Add a bit of creativity to the eggs and you have the perfect appetizers or main dish to serve. Take the time to make these beautiful eggs and you'll have a memorable Easter celebration!

How to Make Colorful Deviled Eggs

Pink deviled eggs are a great way to add a personal pop of color to any gathering! Making them is surprisingly easy and does not take too much time.

To get started, you'll need twelve large eggs. Boil them until they are hard-boiled, then peel the shells off. In a medium-sized bowl, mix 1/3 cup mayonnaise, 1 tablespoon chopped pickles, 1 tablespoon pickle juice, 1/2 teaspoon paprika, and a pinch of salt and pepper. Once the ingredients are combined, add the egg yolks and mash them with a fork or potato masher until the mixture is creamy.

Next, you'll need to dye the egg whites. To make pink deviled eggs, use beet juice and water. Place the egg whites in the dye for one minute or longer, depending on how deep of a pink you are trying to achieve. Fill the dyed egg whites with the yolk mixture.

For the final touch, you can add small flowers or more paprika to the tops of the eggs. Serve the pink deviled eggs immediately or store them in the fridge for later. Enjoy!

What are Other Ways to Hard Boiled Eggs?

Using my 360 2 Quart Saucepan to make my hard-boiled eggs without water. First you will wet a paper towel and your eggs. Fold the paper towel to fit into the saucepan, wet it with water, and place it in the pot. Make sure the towel isn't sitting in a pool of water but that all the water is held in the towel. Carefully place the eggs in a single layer on top of the wet towel. Cover the pot and heat it over medium heat until steam just begins to escape from under the lid, about 3 minutes. Spin the lid to engage the vapor seal then immediately reduce the heat to low. The cooking time will vary depending on the desired doneness of the eggs. For soft-cooked eggs, cook 5 to 6 minutes; for medium-cooked eggs, cook 7 to 8 minutes; and for hard-cooked eggs, cook 13 to 15 minutes.

How to Dye the Eggs

To make your own Pink Deviled Eggs, gather the supplies: hard-boiled eggs, food coloring, water, a shallow bowl, and a slotted spoon. Then, fill the bowl with equal parts water and beet juice or food coloring. Submerge the hard-boiled eggs in the colored water and let them sit for about 1 minute or more depending on the depth of color you are looking for. Carefully remove the eggs from the liquid and pat them dry with a paper towel. Now you have festive Pink Deviled Eggs!

These eggs can be served as a colorful appetizer at a party, or you can use them as deviled egg filling. The possibilities are endless! Try adding a bit of color to your classic deviled eggs for a festive twist. Pink Deviled Eggs are sure to be a hit at your next gathering!

INGREDIENTS

(Serving Size 12)

12 large eggs

1/3 cup mayonnaise

1 tbsp chopped pickles

1 tbsp pickle juice

1/2 tsp Salt

1/2 tsp black pepper

1/2 Paprika

INSTRUCTIONS

  1. Hard boil the eggs first. Fold the paper towel to fit into the 2 Quart Saucepan.

  2. Wet the paper towel with water and place it in the pot. (The towel shouldn’t be sitting in a pool of water. All the water should be held in the towel.) Place the eggs in a single layer on top of the wet towel.

  3. Cover the pot and heat over medium heat until steam just begins to escape from under the lid, about 3 minutes.

  4. Spin the lid to engage the vapor seal then immediately reduce the heat to low for 15 minutes.

  5. Remove from heat and put eggs in an ice-cold bath. This makes it easier to peel them.

  6. Once you peel the shell of the egg cut it in half lengthwise and remove egg yolk in a bowl. Put egg whites in another bowl and cover with 1 cup beet juice and 1 cup water until completely submerged. Leave for 1 minute and rinse with water and lay on a paper towel to dry. You can add more beet juice or leave it for longer to achieve a deeper pink.

  7. In the egg yolk bowl mush eggs and add in pickle juice, chopped pickles, salt, pepper and paprika. Once mixed add to a piping bag and fill with egg yolks.

Adjustments you can make for this meal would be adding in dijon mustard in exchange for pickles if you want less of a pickled flavor. If you like a pickled flavor and are out of juice you can additionally use apple cider vinegar. Seasoning can also be changed for your taste buds as well as mayo ratio. I always encourage making all my recipes into your own to fit your diets and taste buds. Deviled eggs are a classic appetizer perfect for any occasion. Pink deviled eggs are a fun twist on a classic dish and are sure to be a hit at any gathering. Whether you’re hosting a dinner party or celebrating a special occasion, pink deviled eggs are an easy and delicious addition to your menu. Here are a few other recipes I think you will love this Easter season:

Easy and Delicious Mushroom & Pea Risotto Recipe

Tantalizingly Delicious Recipe For Lemon Cheesecake With An Amazing Glaze

Indulge in Deliciousness: Cherry Chip Cake with Chunks of Dark Chocolate Recipe

Shaved Brussel Sprout Salad with Apples, Goat Cheese & Candied Pecans

Blackberry Cinnamon Rolls with Mascarpone Frosting

Easy and Delicious Mushroom & Pea Risotto Recipe

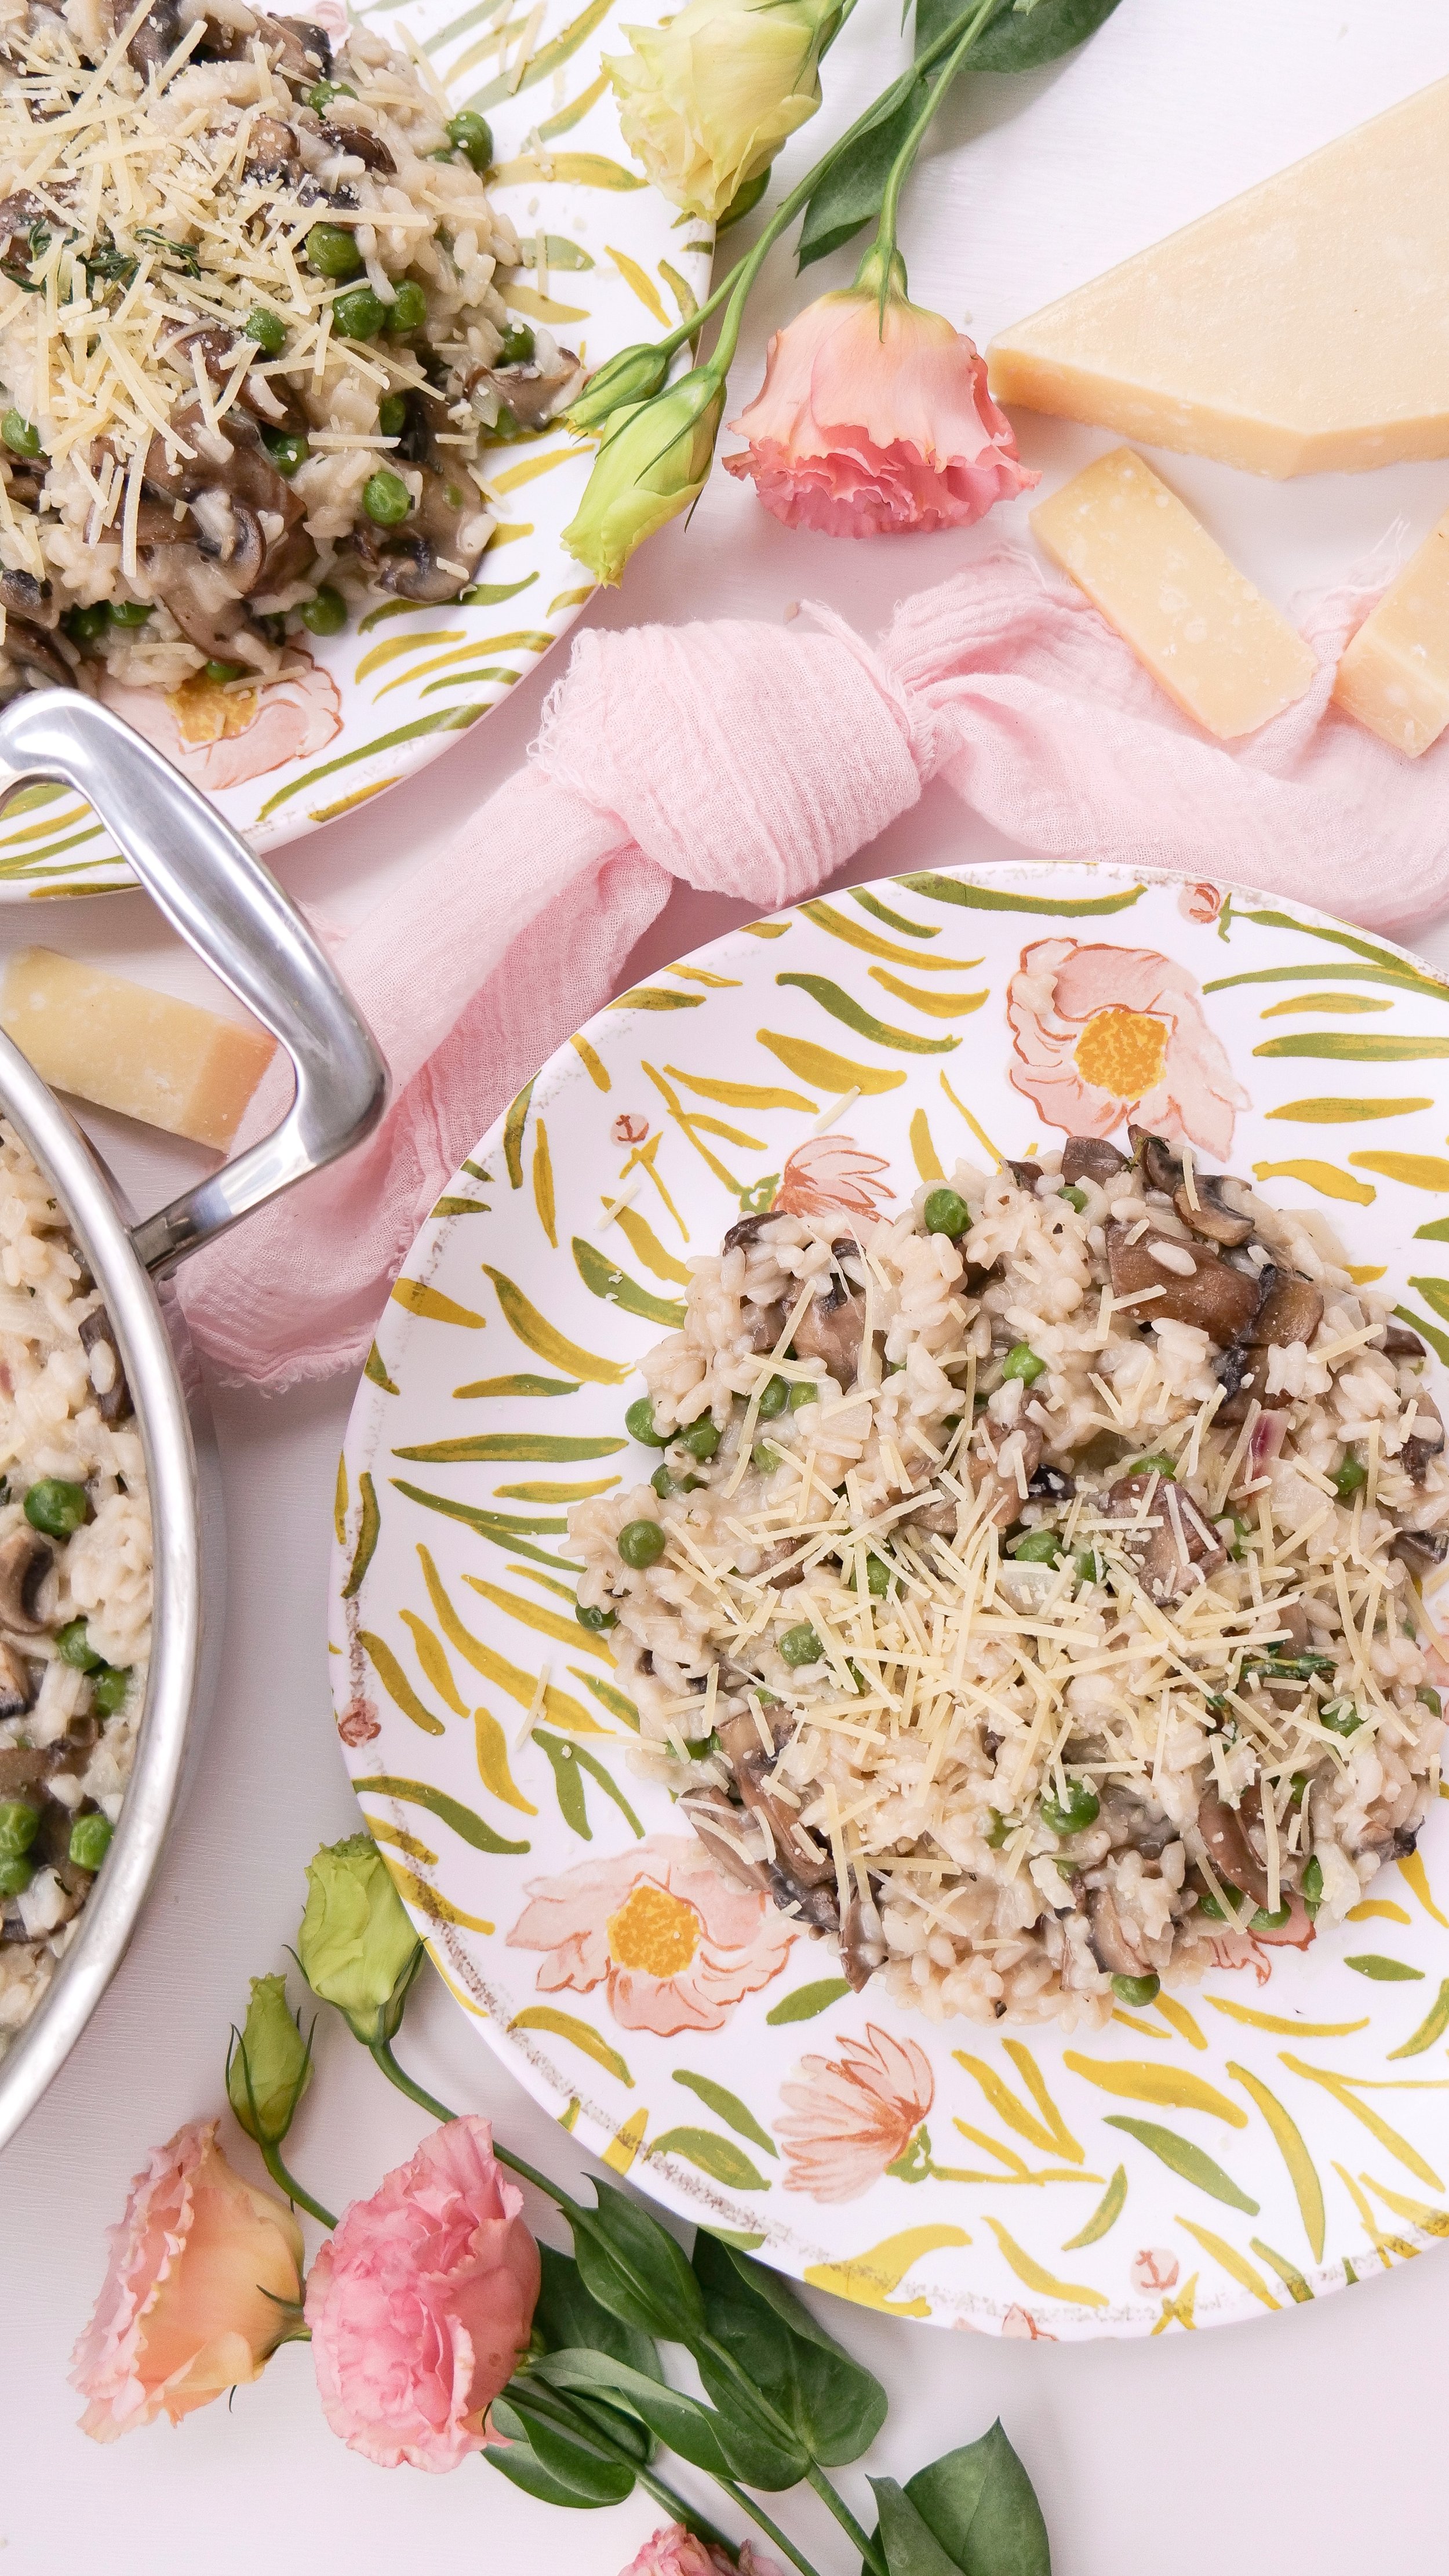
This Mushroom & Pea Risotto Recipe is a classic Italian dish that is sure to satisfy. Combining creamy Arborio rice, sautéed mushrooms, and sweet peas, this dish is packed with flavor and is surprisingly easy to make. This delicious risotto comes together in just 30 minutes, making it a great choice for any weeknight meal. As a bonus, it is also vegetarian-friendly! If you're looking for a tasty and quick meal, this is the best risotto recipe and is simply a must-try.

Mushroom and Pea Risotto is a delicious, creamy, and hearty dish that is perfect for a cozy night with family or friends. This easy-to-follow recipe takes no more than 30 minutes to make and is budget friendly as it is made with simple and affordable ingredients. Not only is it delicious, but it is also healthy and nutritious, and packed full of flavor. It is also a great option for vegetarians and vegans if you omit parmesan cheese at the end and swap the butter for olive oil. To make this dish, you will need your favorite mushrooms, peas, arborio rice, vegetable stock, garlic, olive oil, and parmesan cheese. You will also need some butter, parsley and salt to season. This creamy mushroom risotto recipe is a delicious and easy-to-make dish that is sure to become a family favorite. Below I will show you exactly how to make this.

INGREDIENTS

(Serving Size 8)

6 tablespoons butter

16 oz baby bella mushrooms

2 cloves minced garlic

3 finely chopped shallots

2 cups arborio rice

1/2 cup white wine

6 cups vegetable broth

1 1/2 cups frozen or fresh peas

2 teaspoons sea salt

1 cup grated parmesan cheese

1 teaspoon thyme

1 teaspoon rosemary

INSTRUCTIONS

1. To begin, heat the butter in a large pan ( I am using 3.5 Quart Sauté Pan with Short Handles

from 360cookware) over medium heat. Once melted, add the mushrooms and cook for about 3 minutes until softened. Then, add the peas and cook for an additional 5 minutes until well mixed and the mushrooms have shrunk in size. Remove the mixture to a clean plate and set aside.

2. Return the pan to the stove and add additional butter and shallots. Sautee until the shallots are transparent. Then, add the rice and cook for 1 minute. After that, reduce heat to medium-low heat and add the white wine and stir to scrape up any browned bits from the bottom of the pan. Slowly add in the stock, one cup at a time, stirring frequently.

3. When the rice is almost cooked through, stir in the peas and mushroom mixture for an additional 2 minutes. Taste and season with salt, thyme, and rosemary.

4. Finally, stir in the butter and Parmesan cheese until fully melted. Serve the risotto with a sprinkle of Parmesan cheese and fresh herbs. Enjoy!

Substitutions You Can Make:

Mushrooms are a key ingredient in this Mushroom & Pea Risotto recipe, as they add a savory and earthy flavor. Any type of wild mushroom or even a mixture of mushrooms can be used, such as porcini, shiitake, and oyster mushrooms. The main ingredient in this risotto recipe are peas, however, they can be swapped out for any other type of green vegetable such as spinach, kale, or asparagus. The type of rice used in this recipe can be swapped out for any type of short-grain white rice or even a mixture of different types, such as basmati or jasmine rice. The type of broth used in the recipe can be swapped out for chicken or beef broth, or white wine can be omitted for additional broth. Parmesan cheese is the main cheese used in this recipe, but it can be swapped out for any other type of hard cheese such as pecorino or cheddar.

This Mushroom & Pea Risotto recipe is a versatile dish that can be customized according to preference. With its delicious combination of mushrooms, peas, and cheese, it is sure to be a crowd-pleaser.

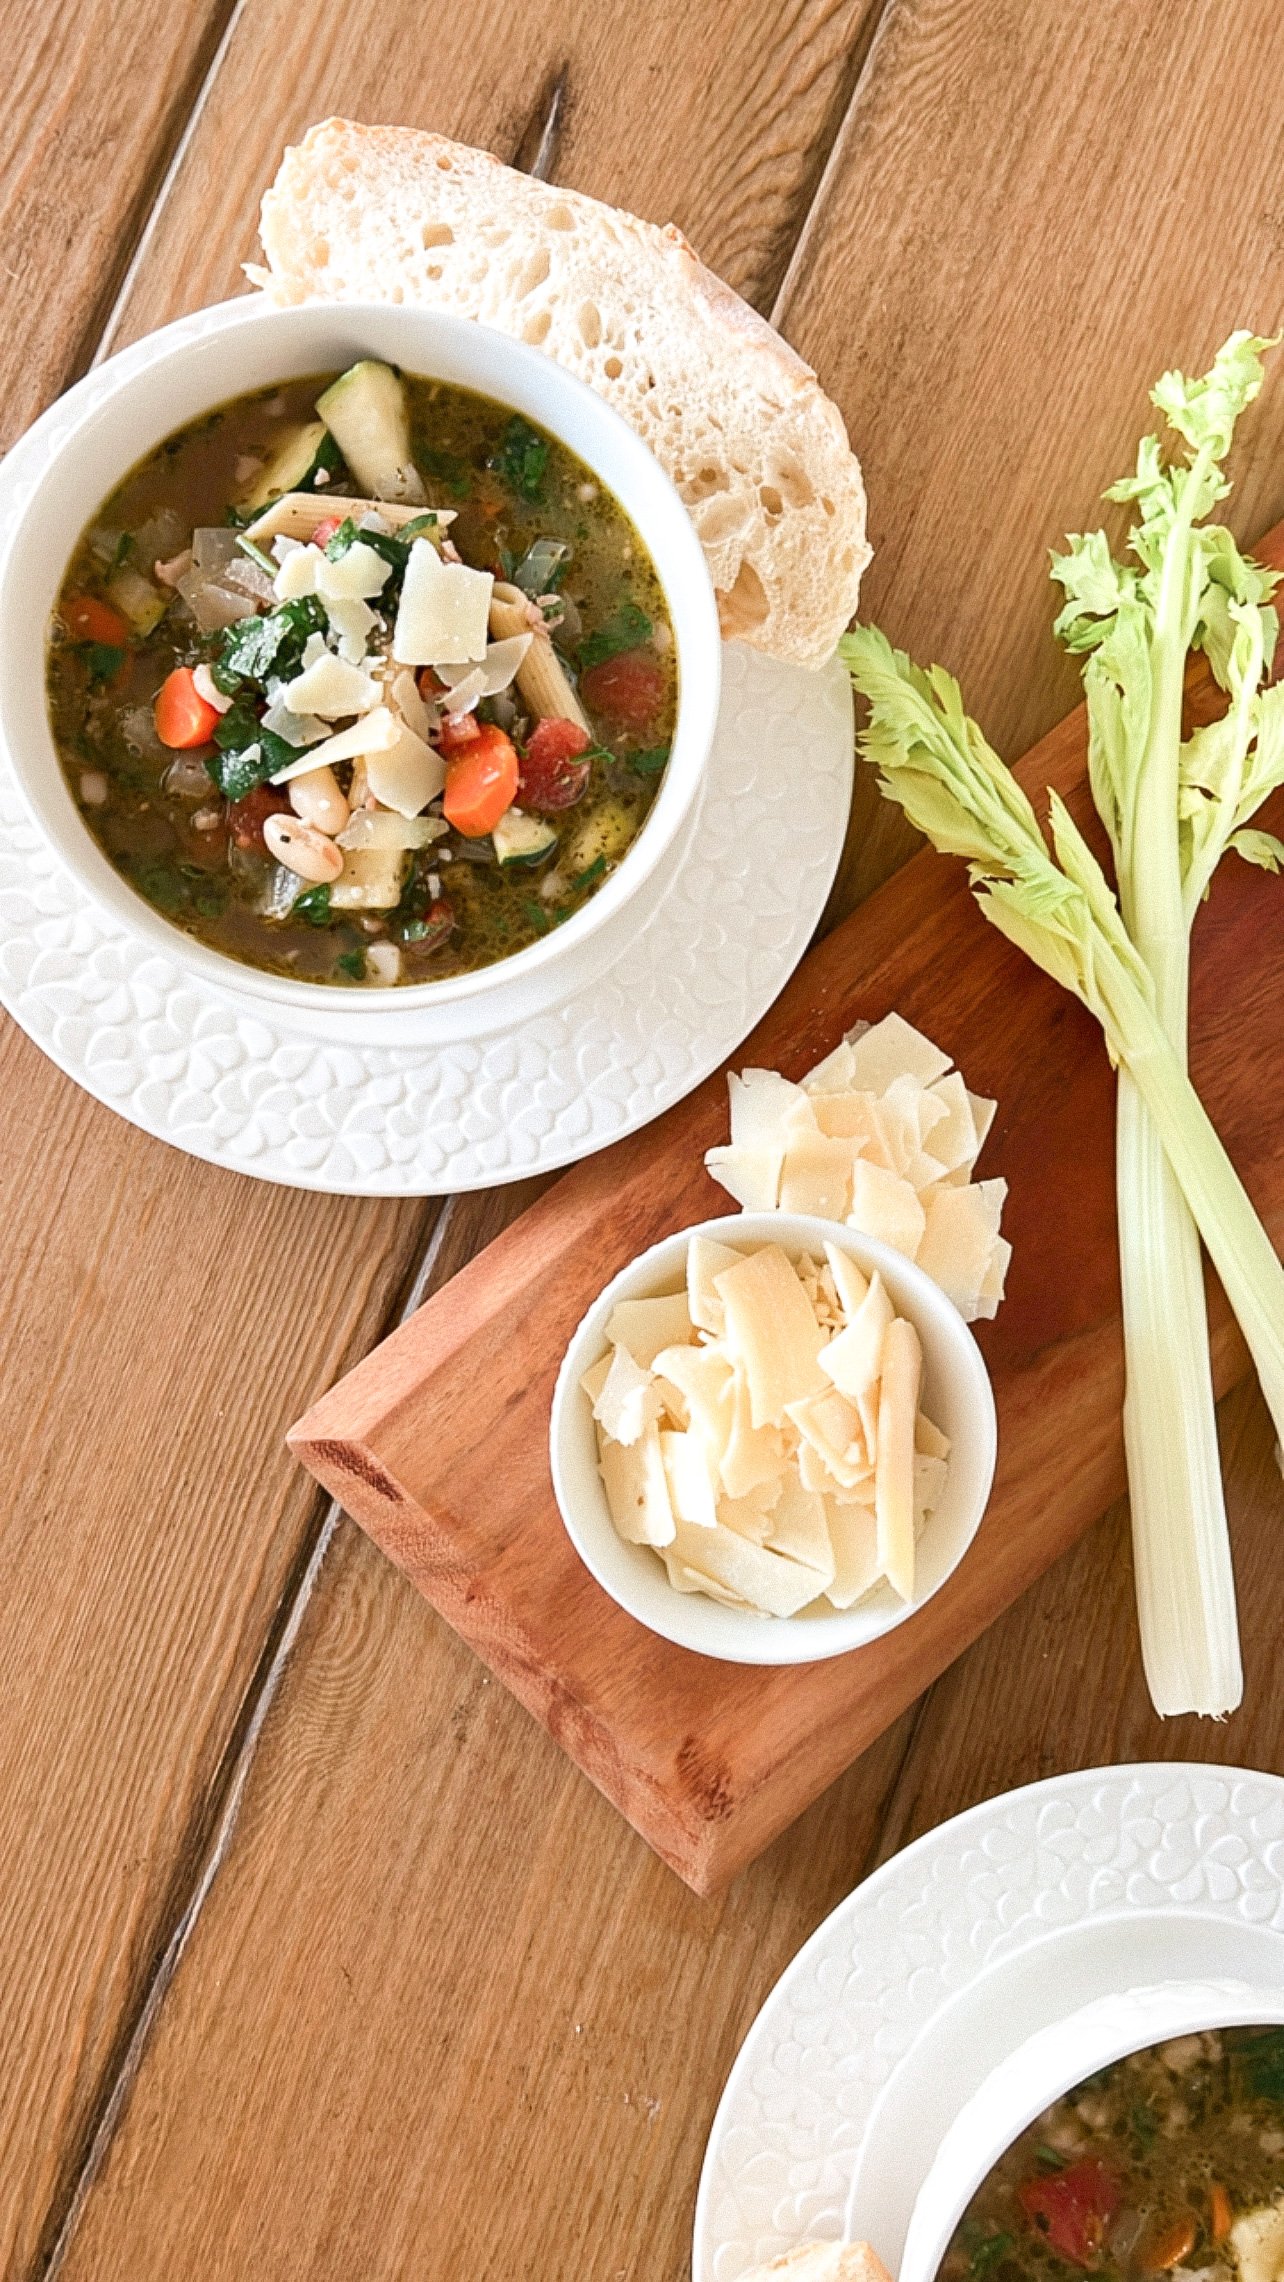
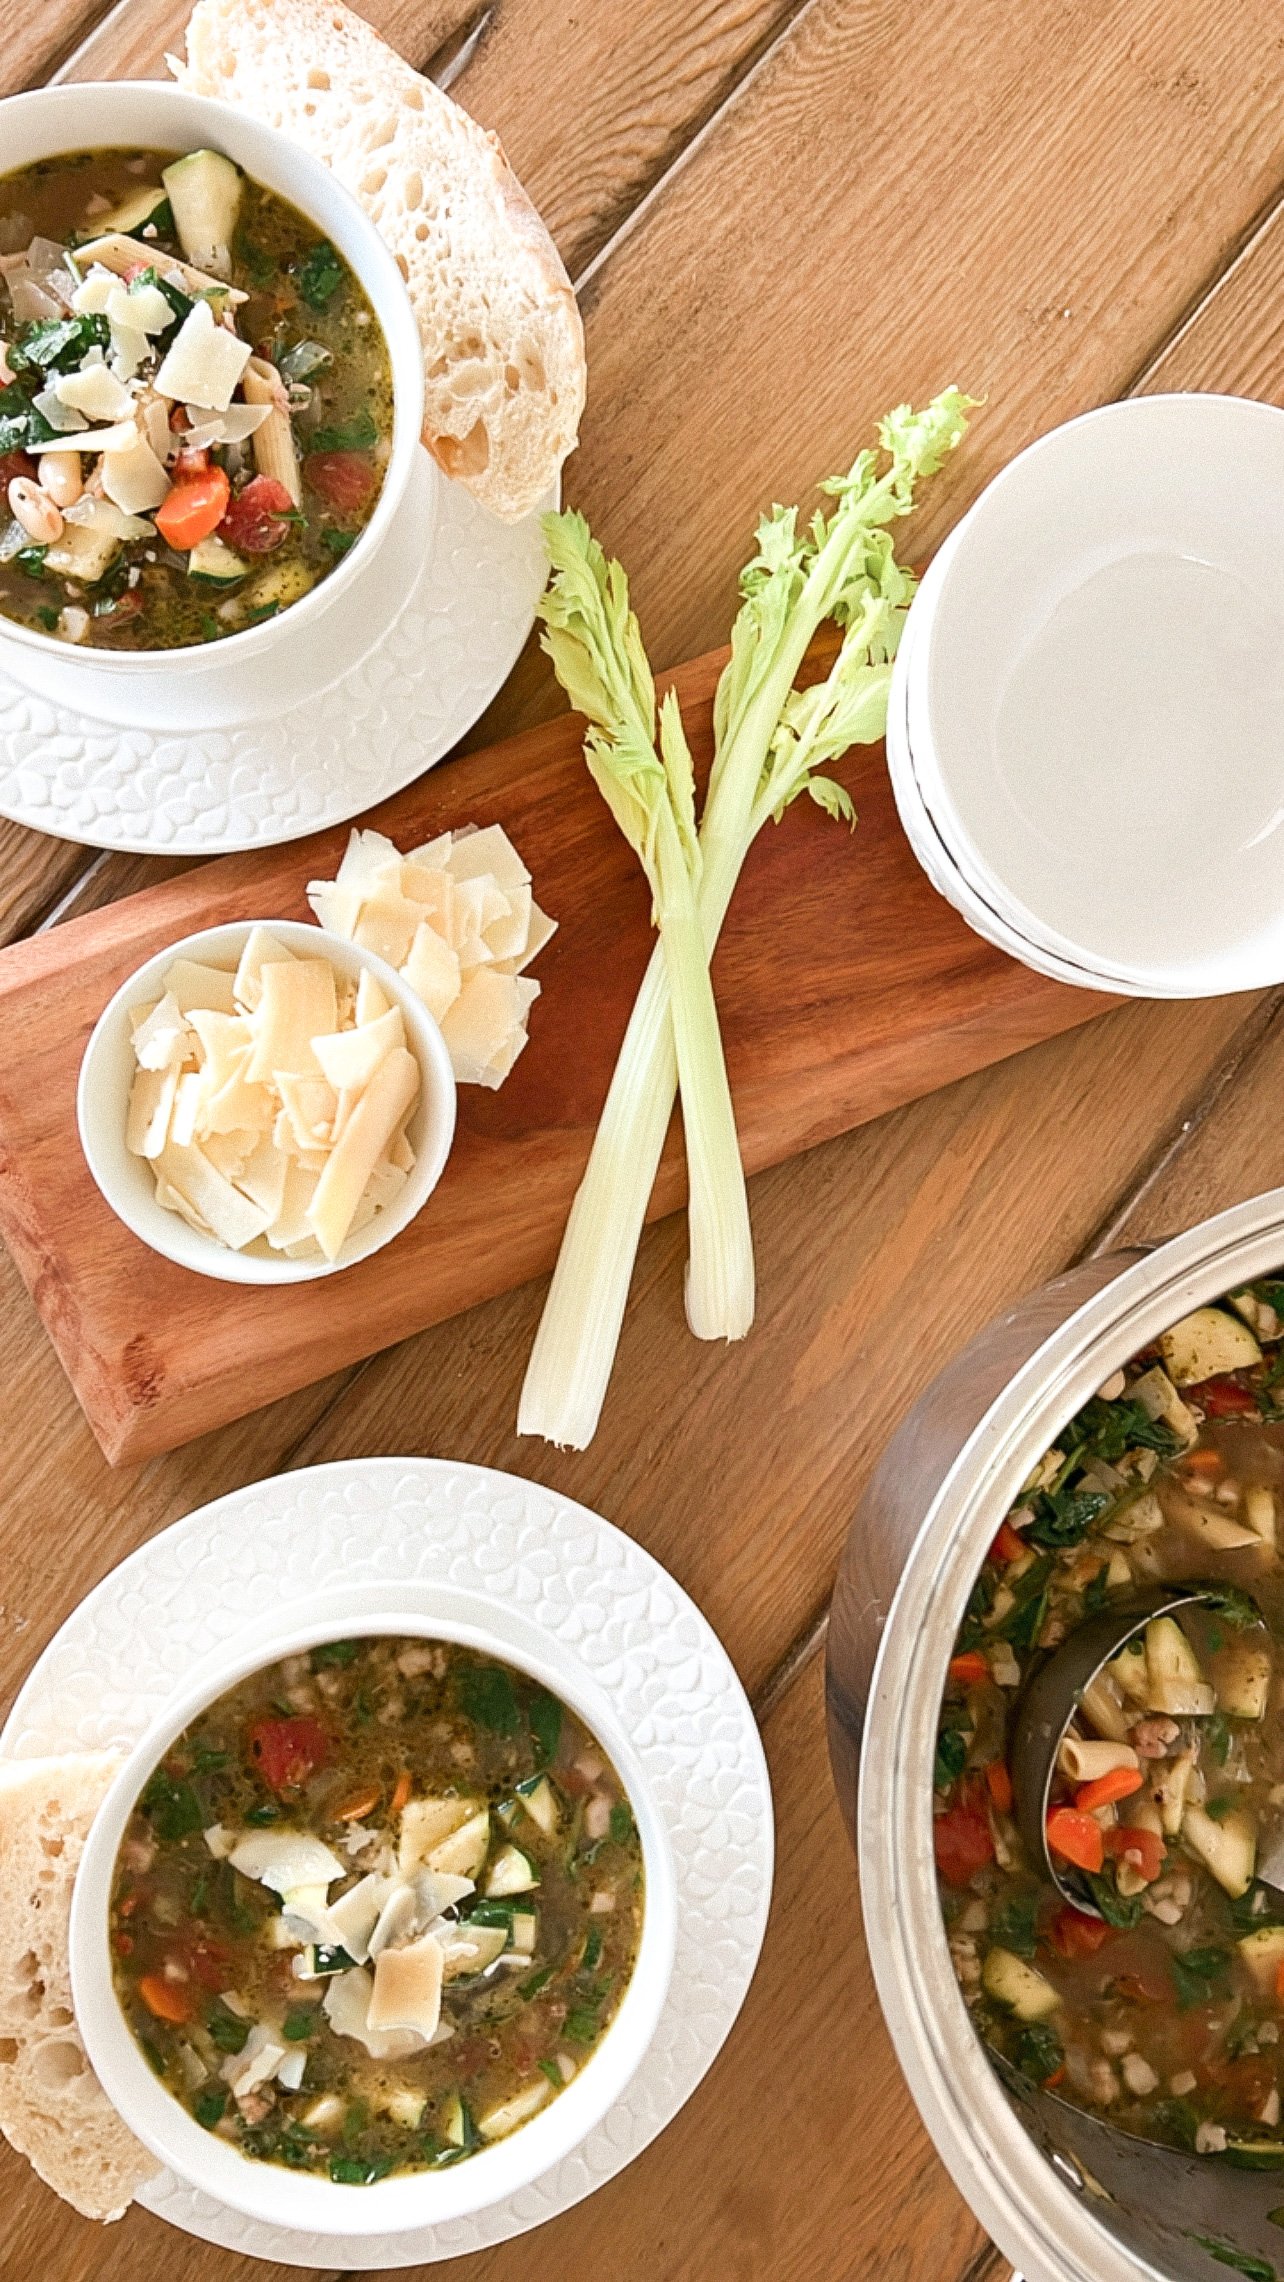
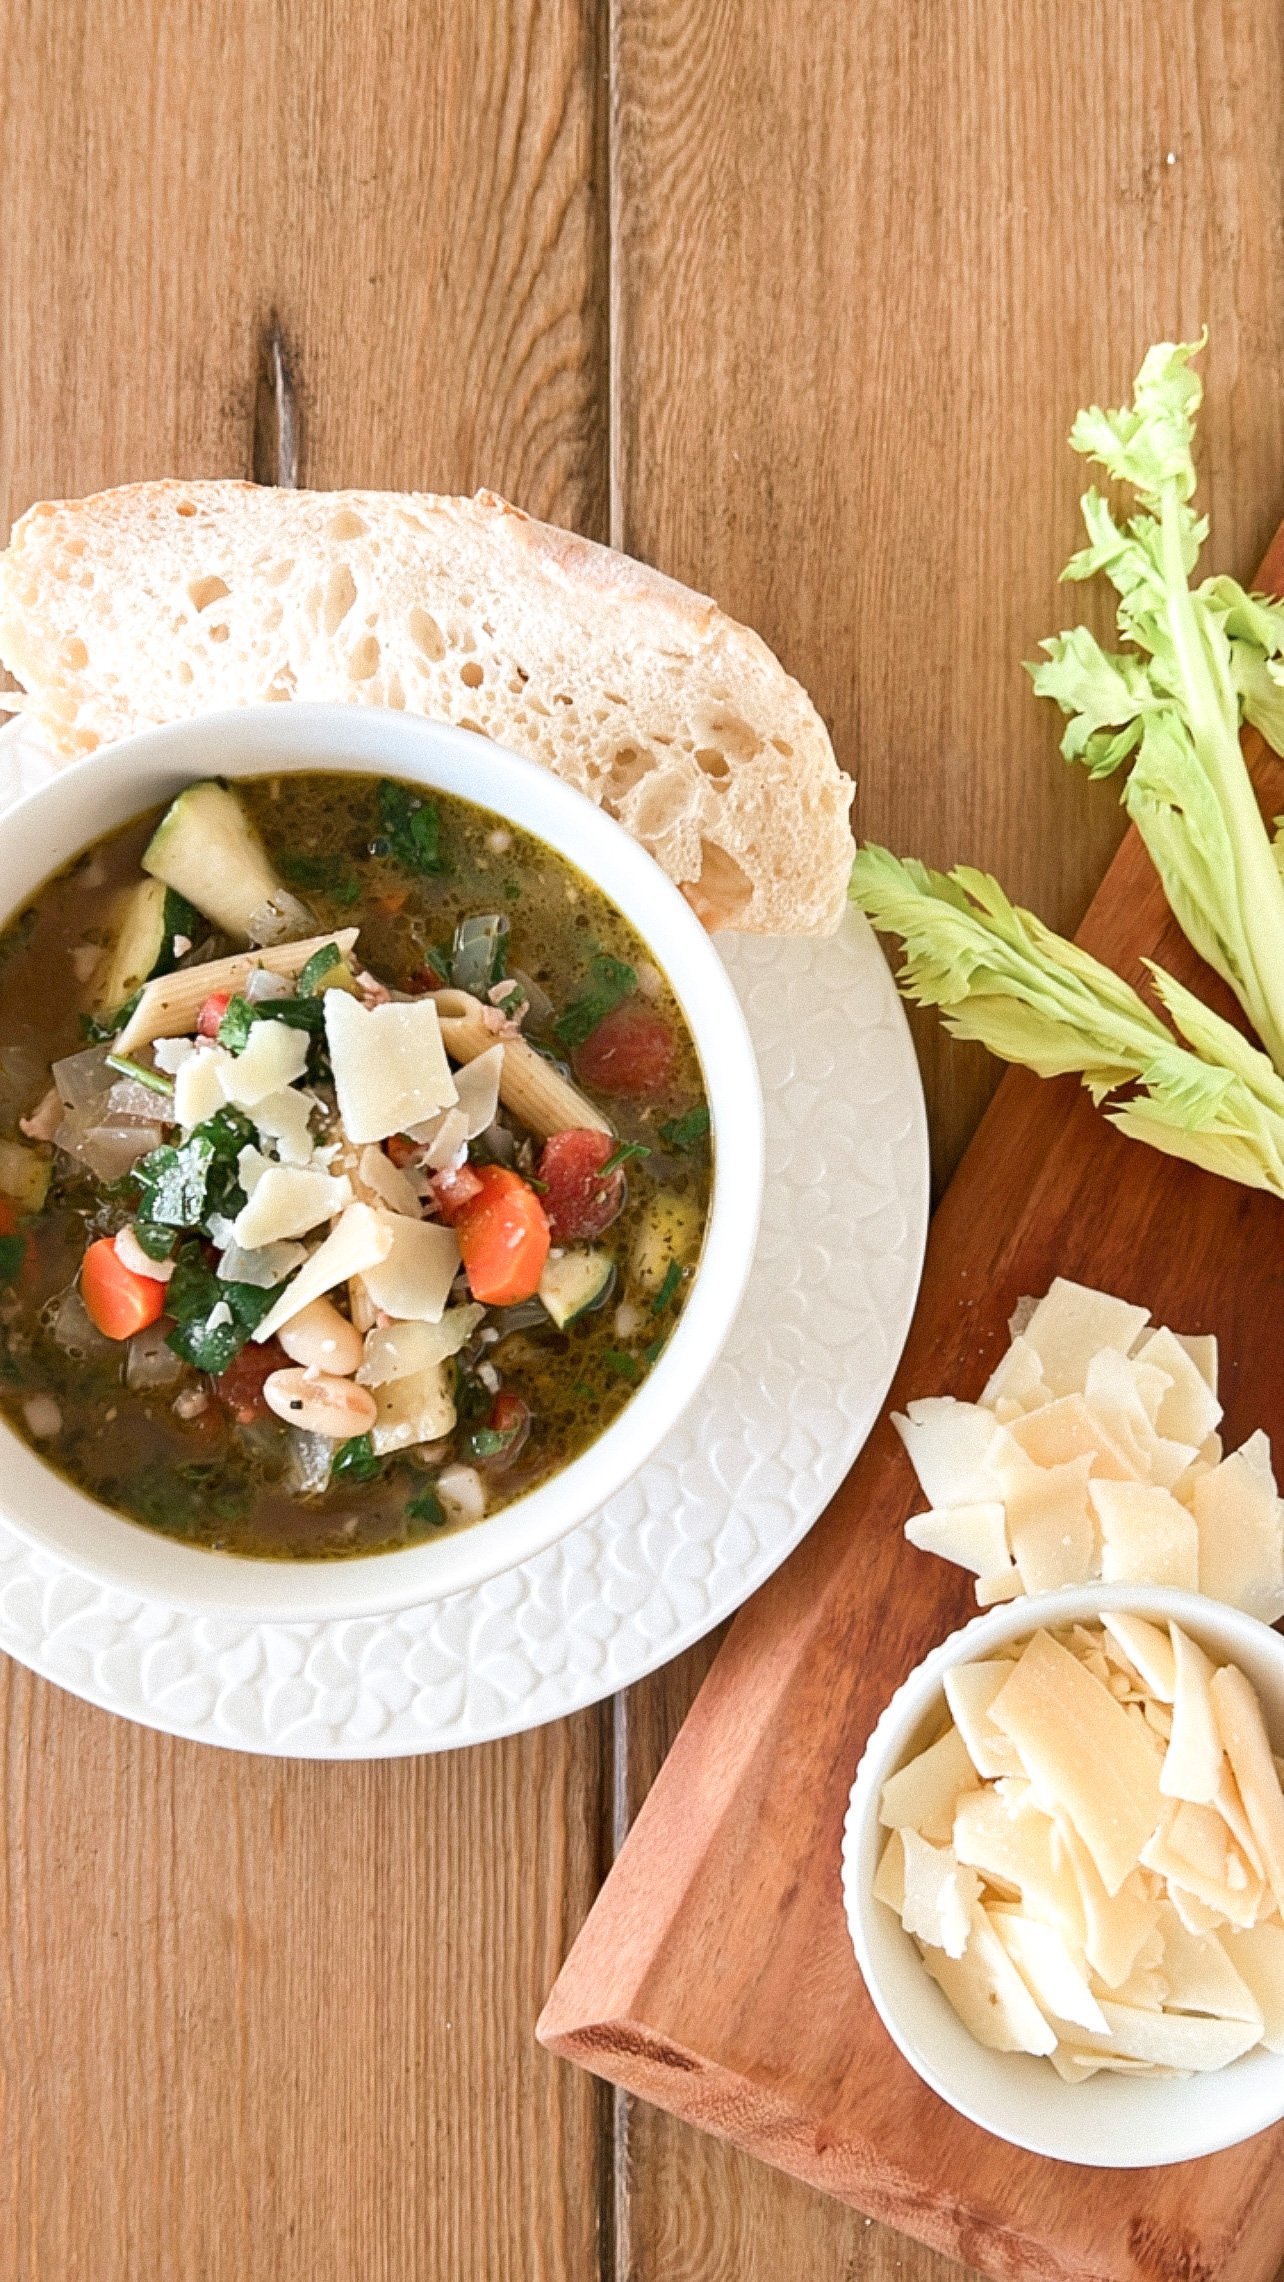
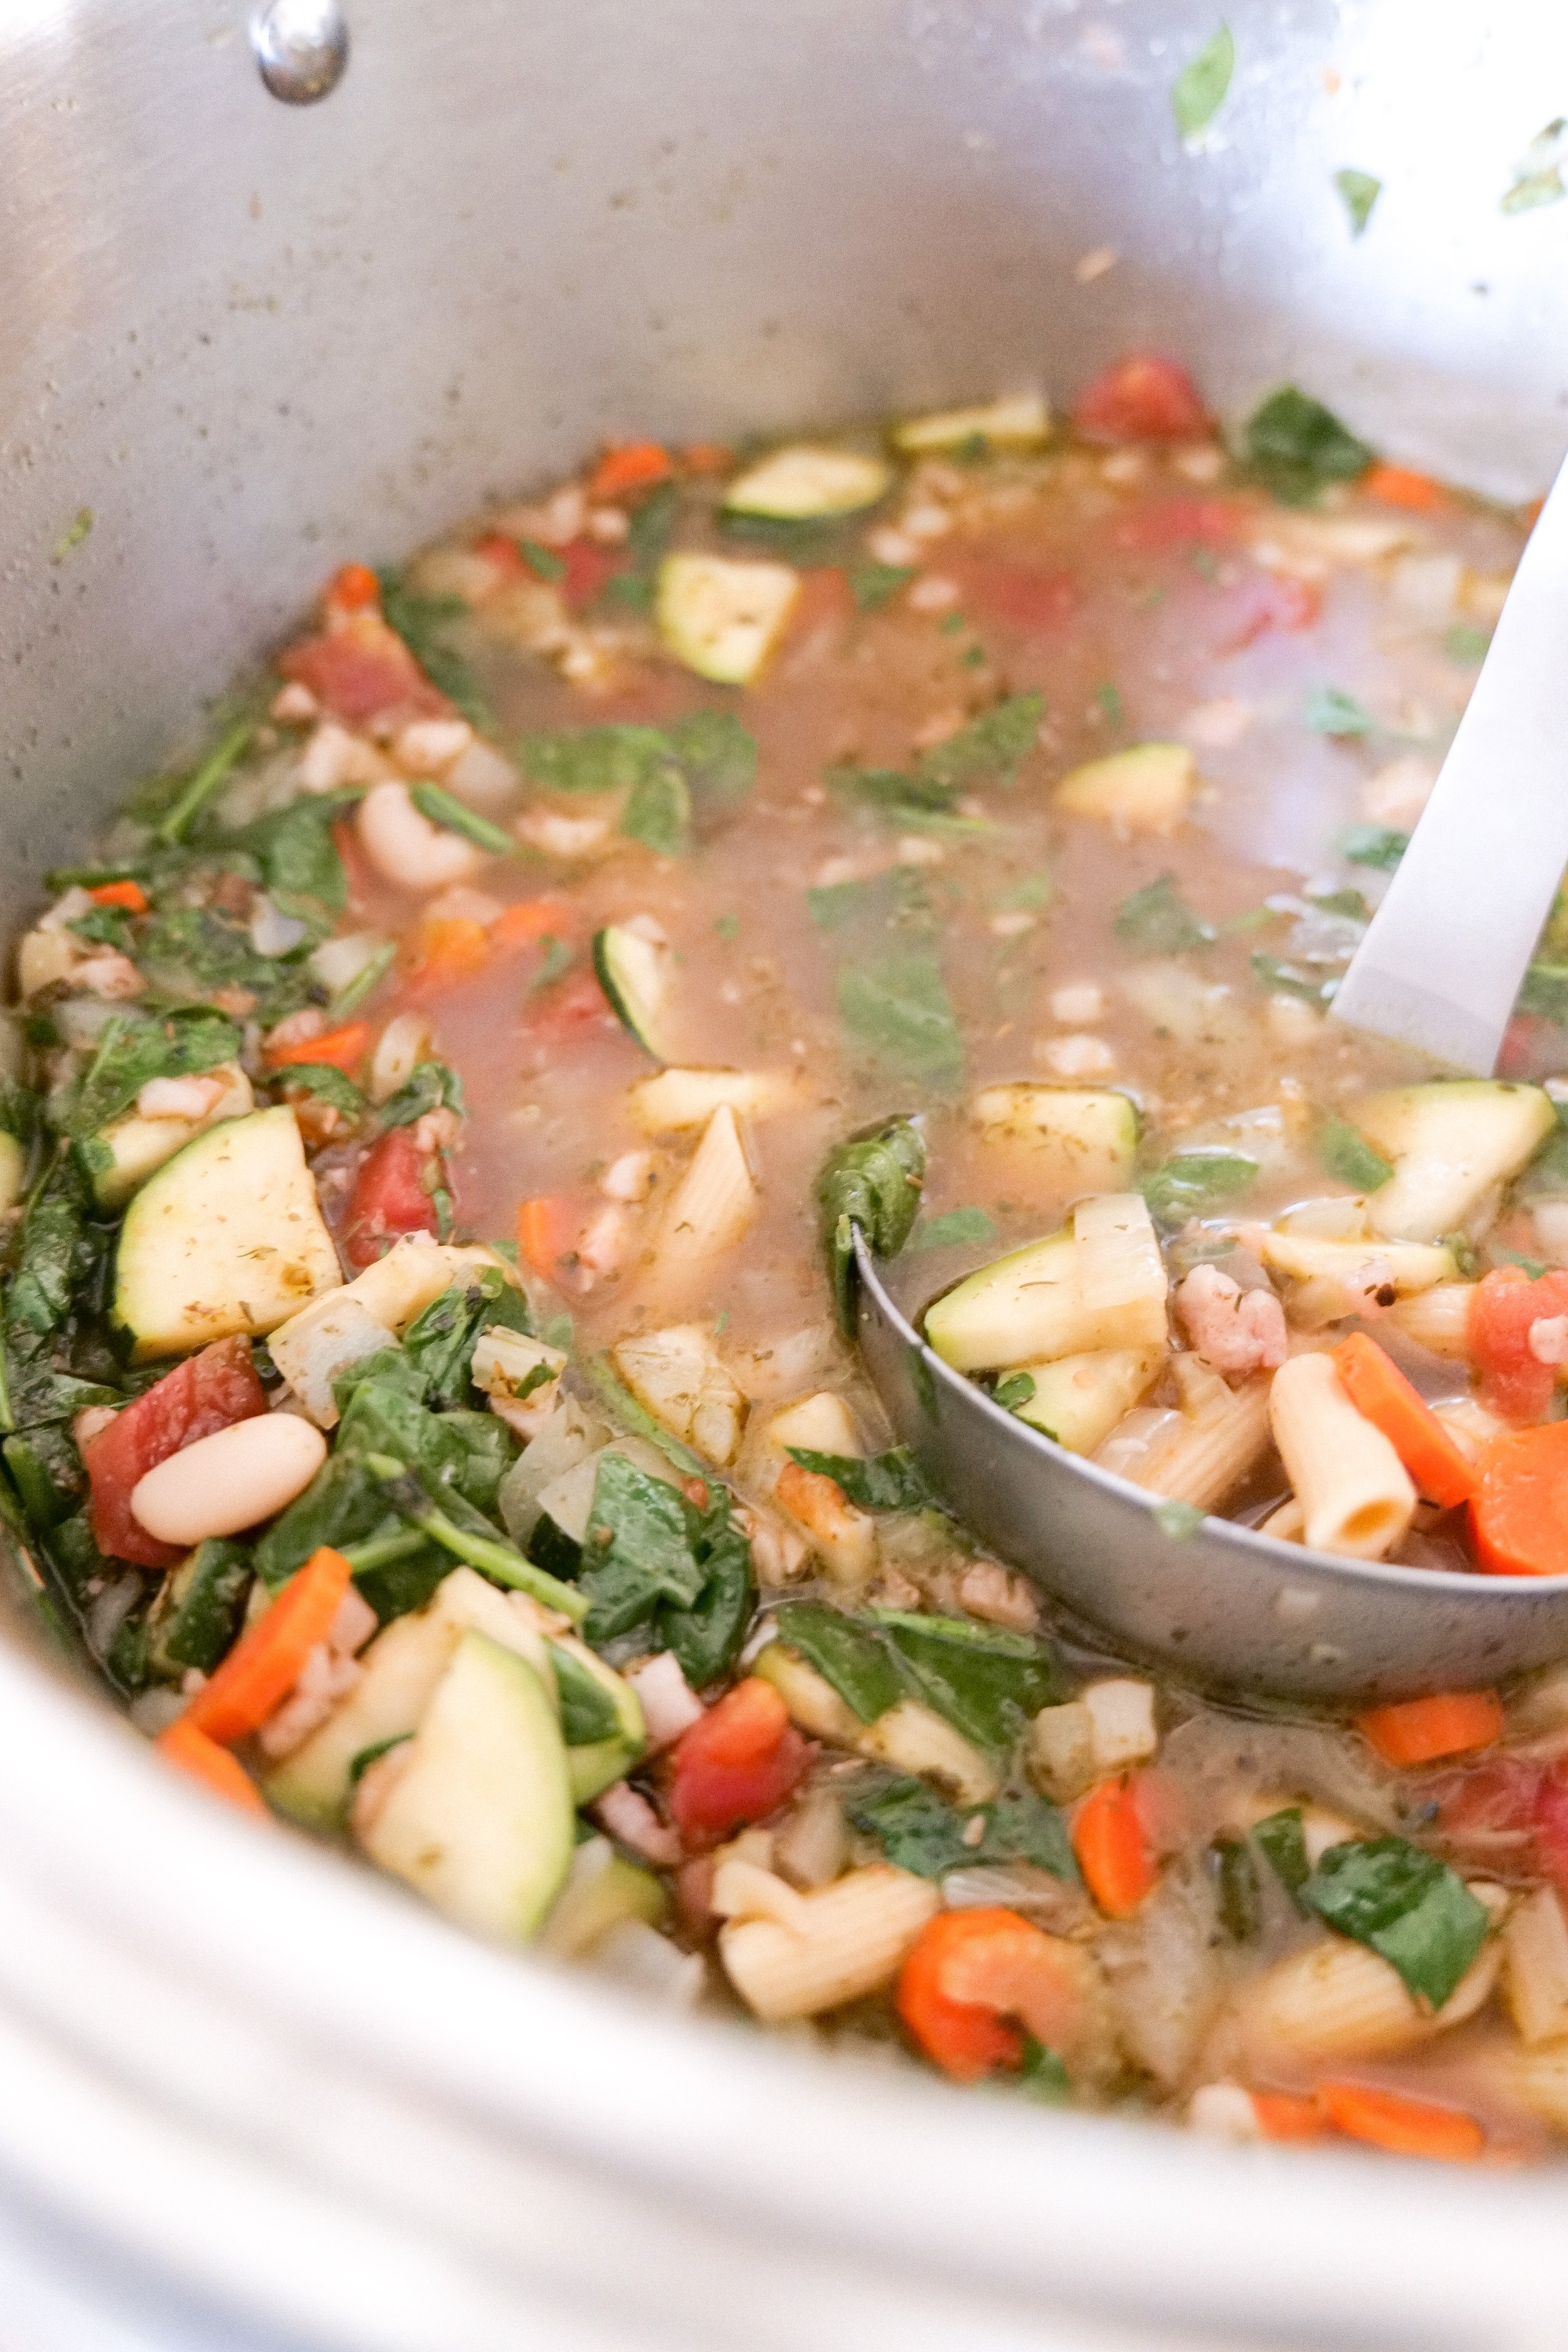
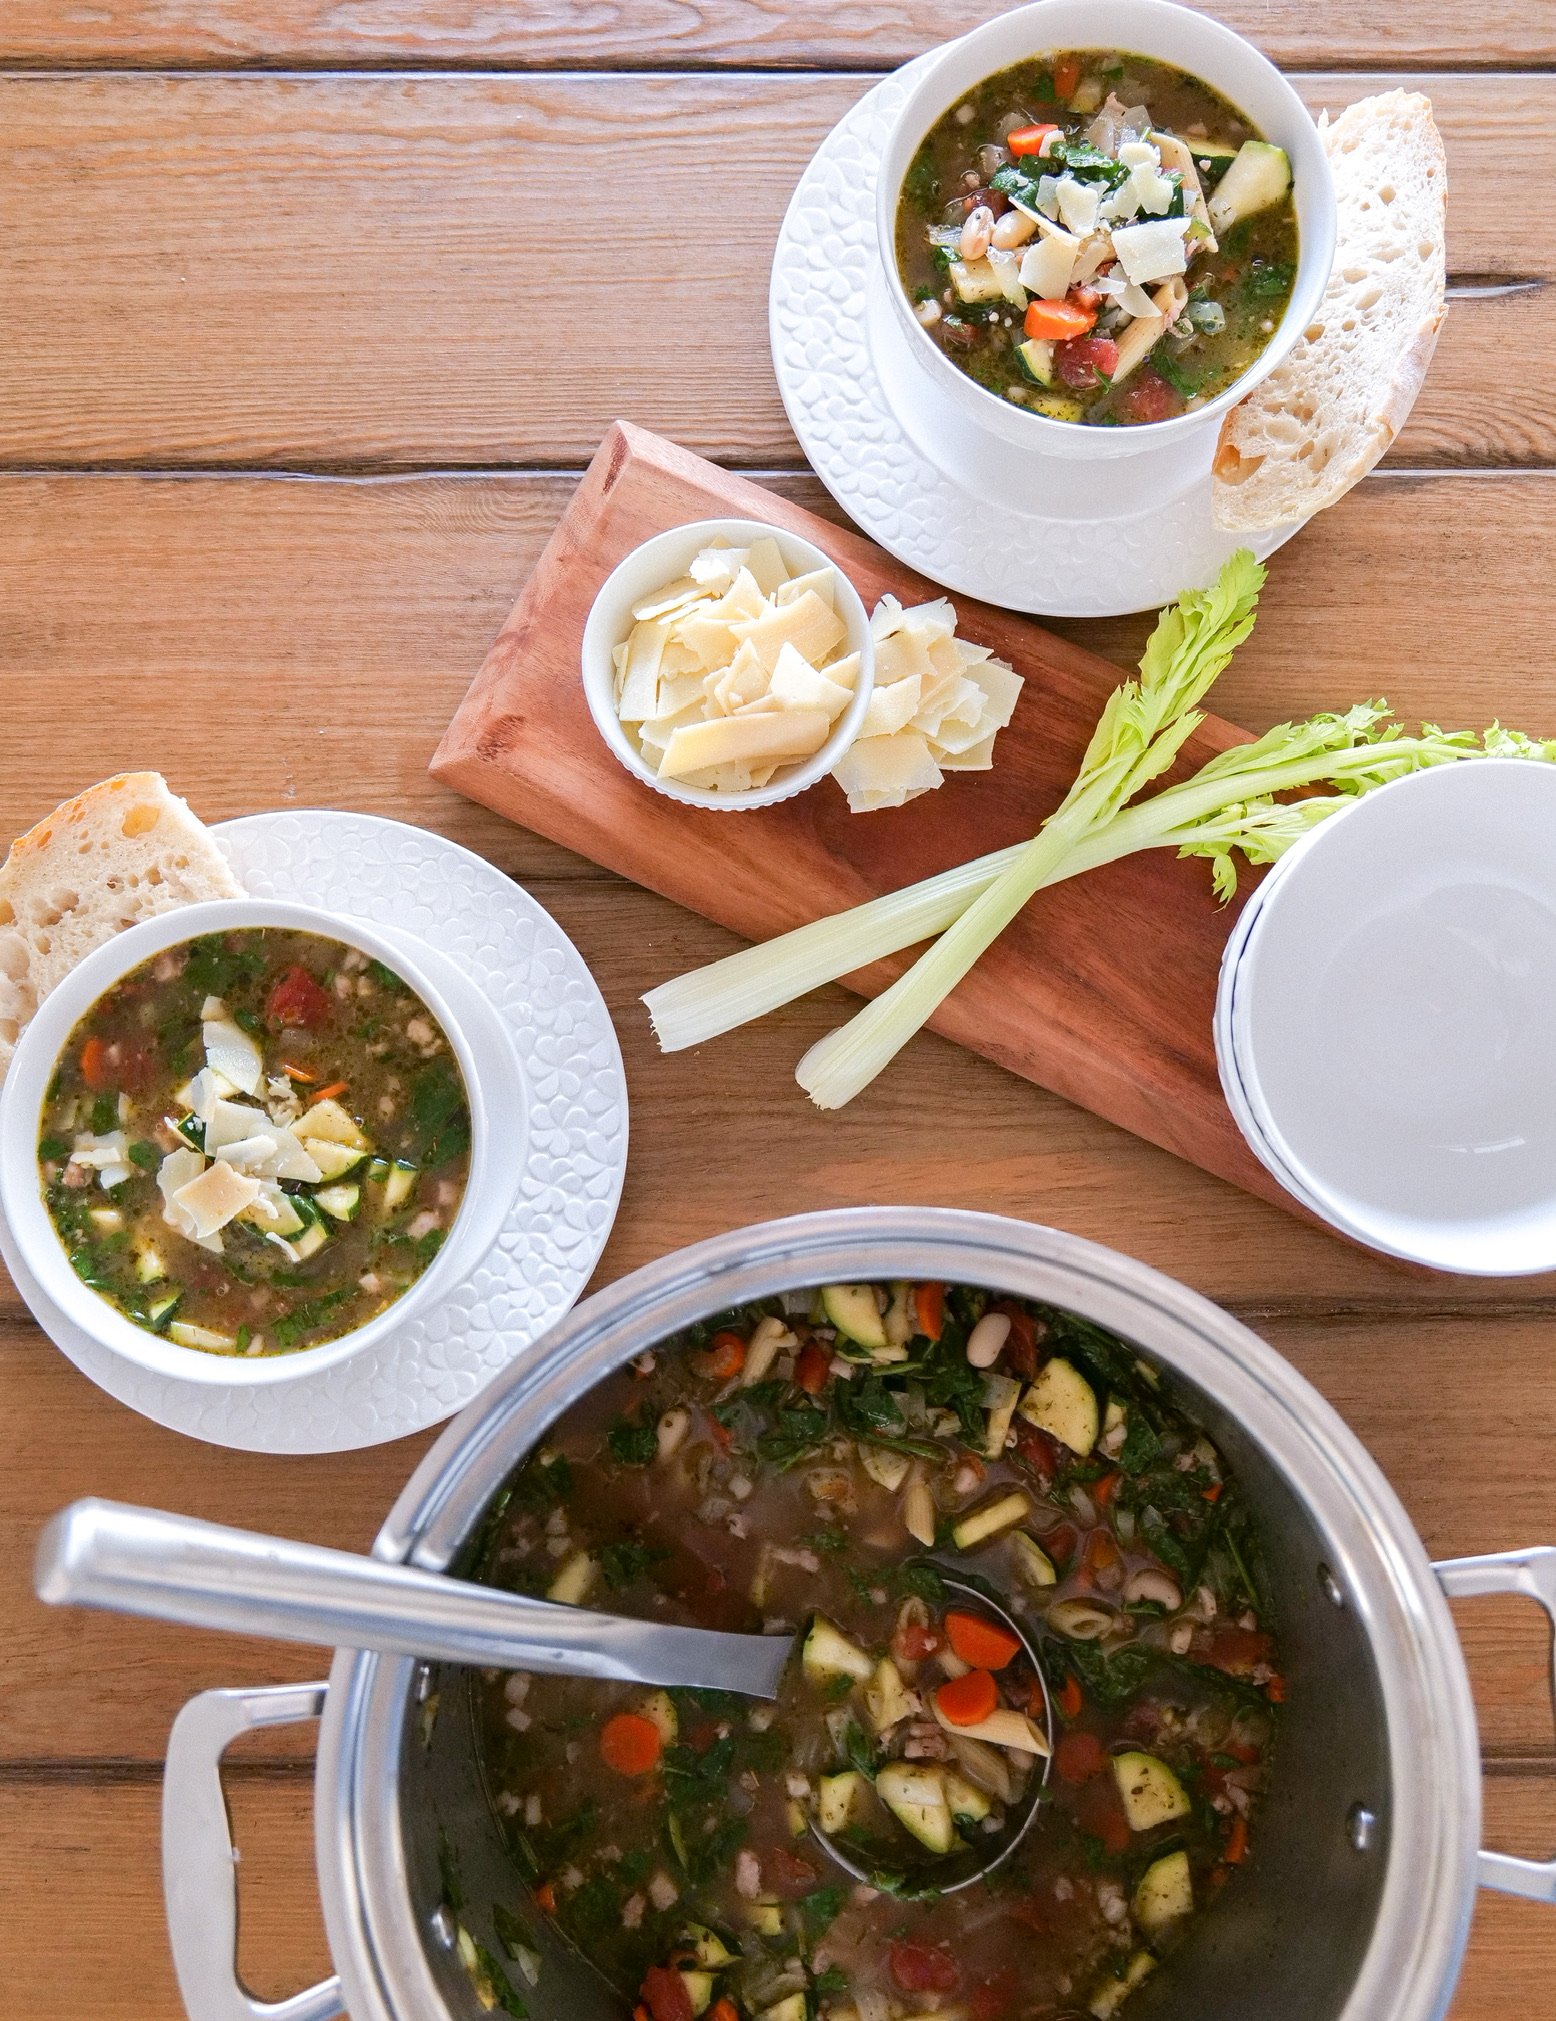
Mom's Favorite Minestrone Soup Recipe

"Mom's Favorite" Minestrone Soup Recipe: A Delicious and Nutritious Meal for Everyone

If you're looking for a comforting and delicious soup recipe that will bring as big of a smile to your mom's faces as it does to my moms, then look no further! This classic minestrone soup recipe is sure to please. It's easy to make, packed with nourishing ingredients, and simply tastes like good old-fashioned home cooking. An added bonus is it's a great way to use up any leftovers you have in the fridge. With just a few simple ingredients, you can whip up a pot of this soup in no time and make your mom happy and proud. Read on for the recipe!

Tips for Minestrone Soup

Mom's Favorite Minestrone Soup Recipe is a hearty and flavorful soup that is sure to be a hit with not just Mom, but the whole family. It's a great way to use up any vegetables you have on hand. I actually started making this soup because it's the only soup my mom truly enjoys and will order when out at a restaurant. So naturally, I had to try my own hand at it. I am always trying to please the family and make meals they all will love.

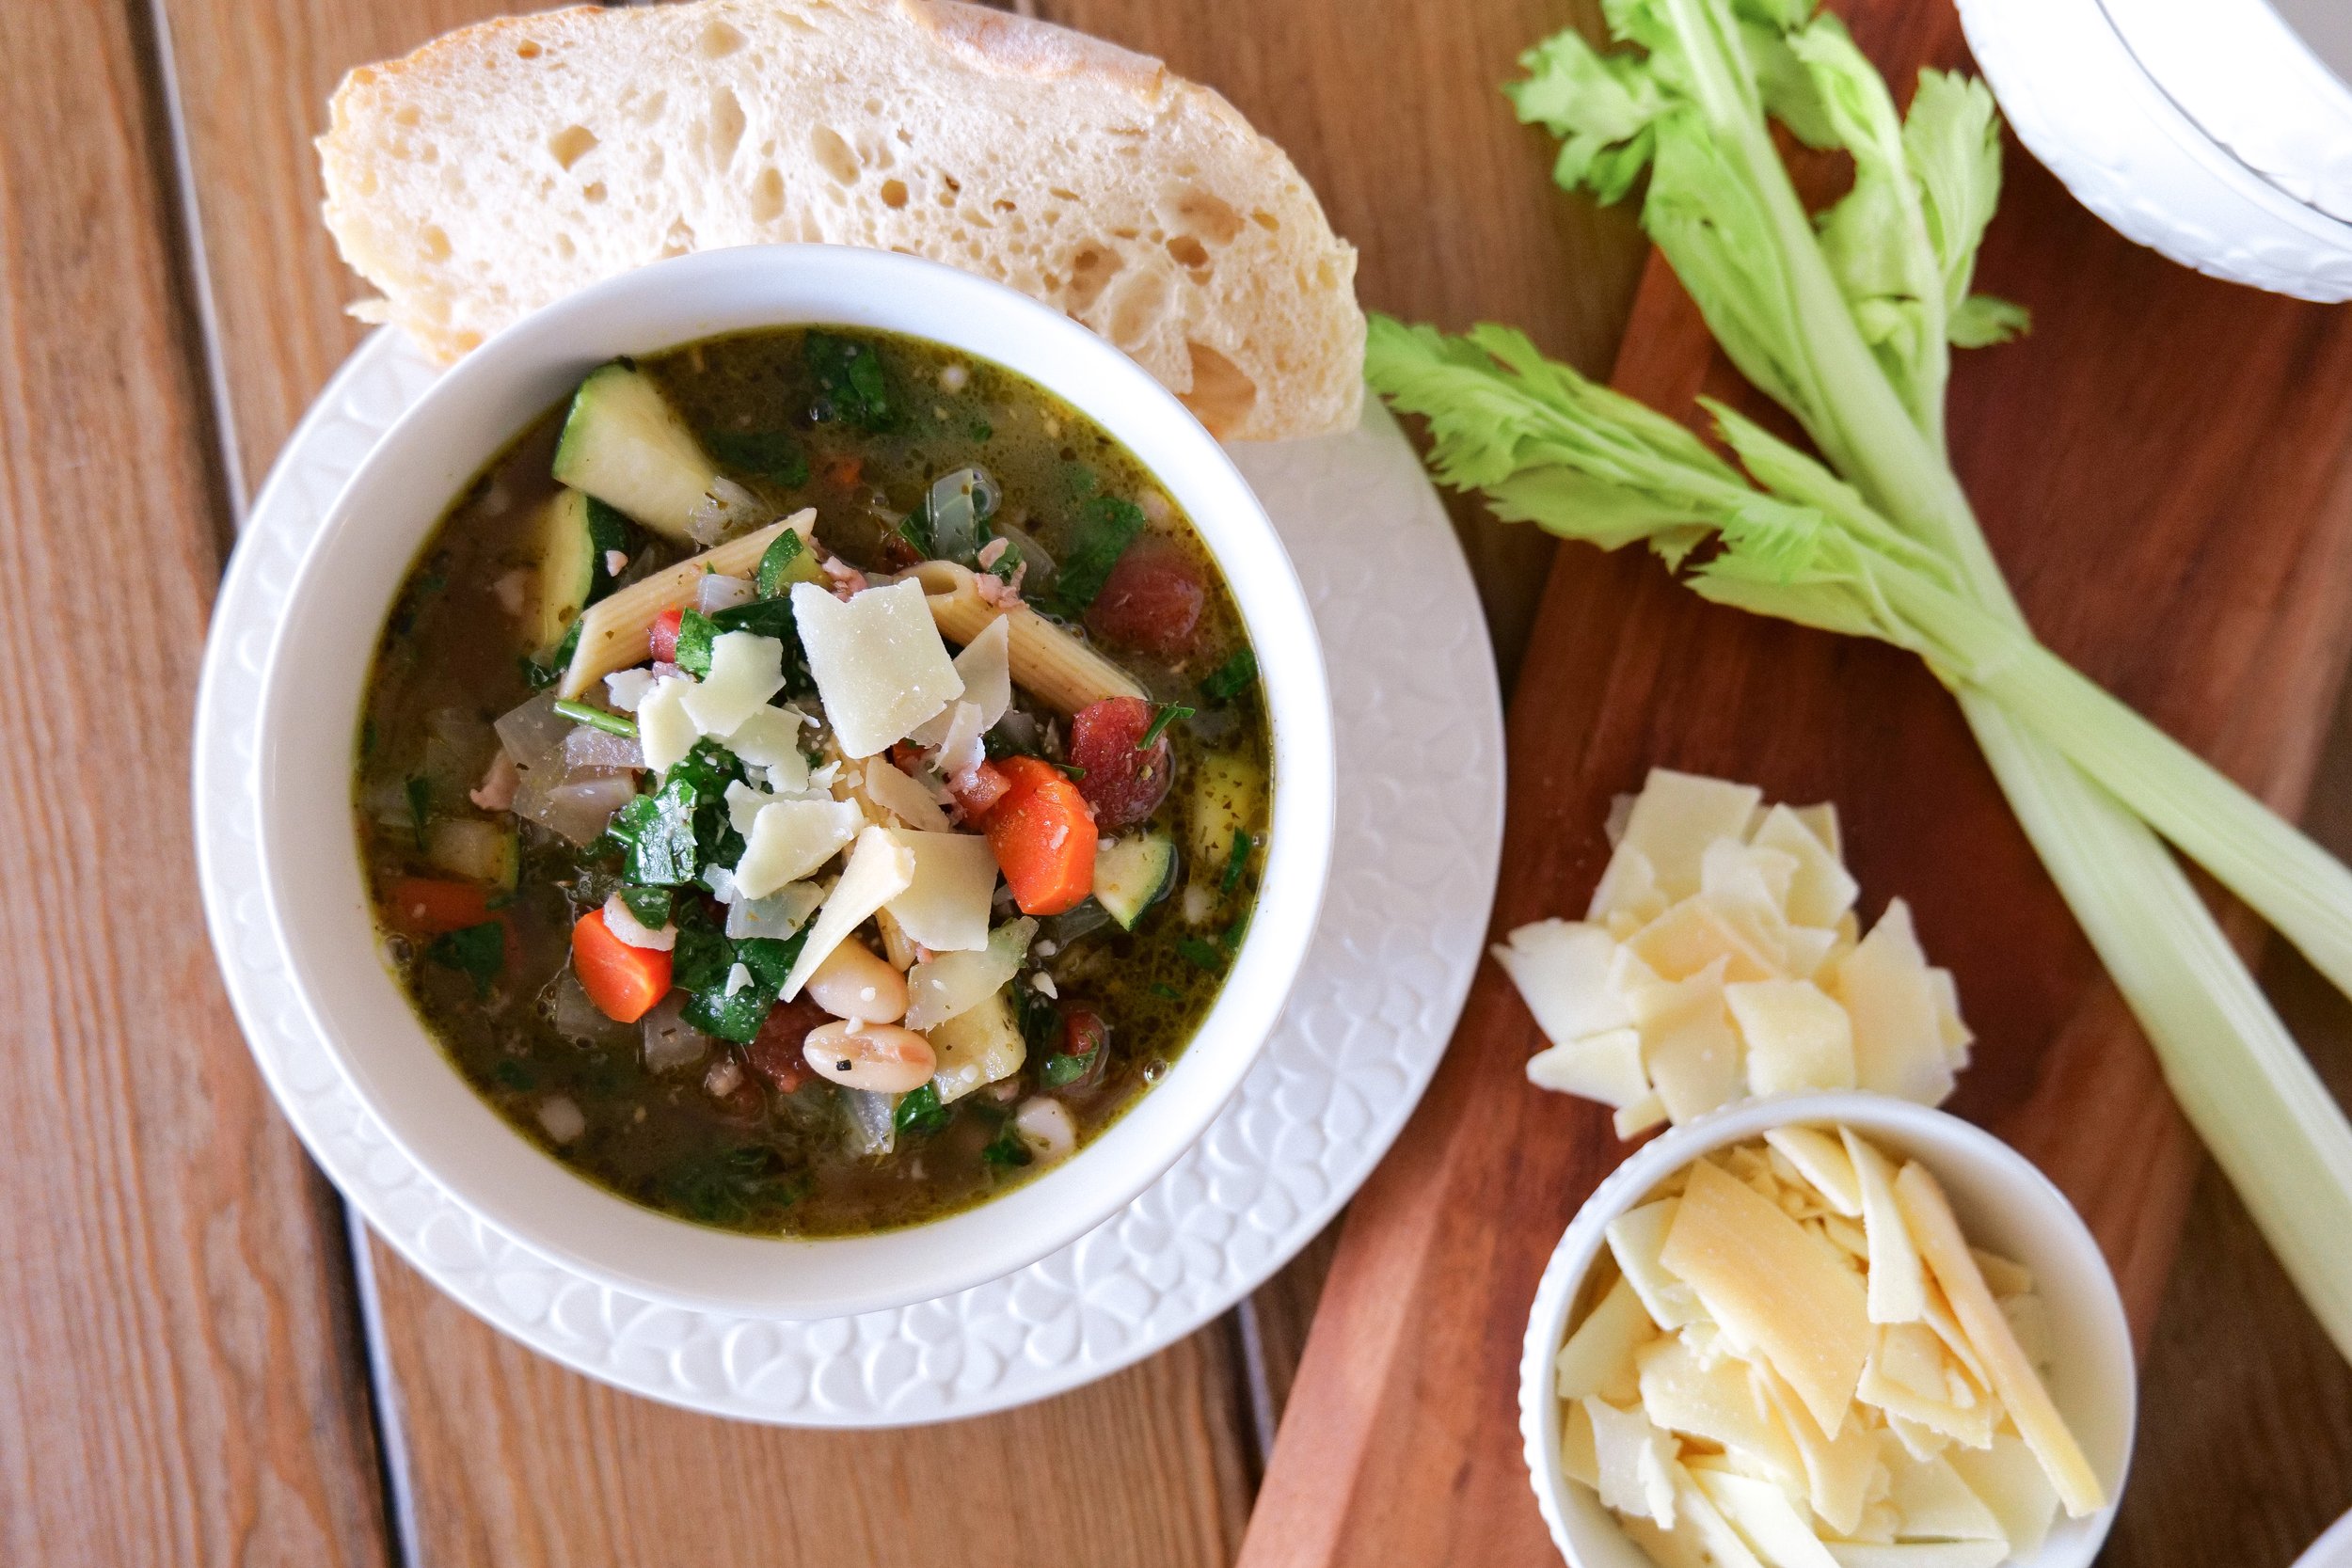
To start off this delicious soup, melt some good quality butter in a large pot over medium heat. Once the butter has melted, add in some chopped garlic and onion and sauté until the onion is soft and translucent. Next, add in the vegetables of your choice, such as carrots, celery, or zucchini, and sauté for a few minutes until they start to soften. Once the vegetables have softened, add in some canned tomatoes, 5 oz of chopped pancetta, cannellini beans and season with your favorite Italian seasoning blend. I personally use my own italian seasoning, which I make monthly to just to have on hand. Pour in enough broth or stock to cover the vegetables and bring to a boil. Once boiling, reduce the heat and let simmer for 15-20 minutes.

Next, add in some cooked pasta and beans, such as cannellini beans, and simmer for an additional 10 minutes. Once the pasta is cooked, taste and adjust seasoning as desired. Finish off your soup with freshly grated Parmesan cheese and additional herbs if desired. Serve with a crusty loaf of bread and a side salad for a complete meal.

Mom's Favorite Minestrone Soup Recipe is sure to be a hit with the whole family. It's a hearty and flavorful soup that is packed with vegetables and beans and is sure to become a regular in your dinner rotation, especially on those cold days.

What to Serve with Vegetarian Minestrone Soup

Mom’s favorite minestrone soup recipe is a simple yet satisfying dish that will make anyone’s mouth water. The perfect combination of veggies, broth, and spices make this dish a family favorite. This soup is best served with a variety of accompaniments such as crusty French bread, grilled cheese sandwiches, garlic bread, Caesar salad, grilled vegetables, antipasto platter, focaccia bread, cheese & herb biscuits, caprese salad, roasted garlic bread, toasted ciabatta bread, garlic toast, and bruschetta.

This soup is a great way to make a meal out of whatever ingredients you have on hand. You can customize the soup by adding different veggies and beans, or even switching up the broth and seasonings. If you’re looking for an easy, yet delicious meal, Mom’s favorite minestrone soup recipe is just the thing. Enjoy a bowl of this comforting soup and pair it with any of the accompaniments listed above for a complete meal.

Ingredients

3 tablespoons salted butter

1 large onion

4 cloves minced garlic

5 oz diced pancetta

1 cup chopped carrots

1/4 cup chopped celery

1 zucchini chopped

1 can diced tomatoes (lightly drained)

6 cups vegetable broth

1 tablespoon Italian seasoning

2 bay leaves

black pepper (to taste)

1 can cannellini beans

1 1/2 cup pasta (of your choice)

2 handfuls of spinach, roughly chopped

1/2 cup white wine

2 tablespoons basil pesto

Parmesan for topping

Instructions

1. To make this delicious soup, simply gather all of the ingredients and have them ready. Then, chop the onion, celery, carrots, and garlic. Heat the butter in a large pot over medium-high heat in your favorite stockpot. I love my 8 qt 360 Cookware stockpot for making all soups. Then add the vegetables and cook until they are soft, about 5 minutes.

2. Next, add the canned tomatoes, pancetta, vegetable broth, Italian seasoning and bay leaf and bring to a boil. Then, add the zucchini, beans and pasta and reduce the heat to low and simmer for 25-30 minutes.

3.To finish it off, you will stir in the spinach, white wine (I prefer to use Decoy Chardonnay and enjoy the rest of the bottle to serve with the soup), basil pesto and season with pepper to taste. Let ingredients come together for an additional 10-20 minutes or until the spinach has changed color to a dark leafy green.

Serve the soup hot, with a sprinkle of freshly grated Parmesan cheese and slices of crusty bread. Enjoy! This flavorful and comforting soup will become a staple in your house. Remember, this minestrone soup is easy to make and is sure to please the entire family. Enjoy!

Recipe Variations

Mom's favorite minestrone soup recipe is a classic Italian dish that is perfect for a cozy lunch or dinner. It's a hearty soup made with a variety of vegetables, beans, broth and optional pancetta. This soup is so versatile and can be easily customized depending on your taste preferences. Feel free to make it all your own.

For a creamier texture, add a ½ cup of heavy cream to the broth before adding the vegetables. If you are looking for a heartier soup, you can add ½ cup of cooked quinoa or barley to the soup with the vegetables. For a protein packed version, add a can of drained and rinsed black beans. To give the soup a smoky flavor, add a teaspoon of smoked paprika to the broth. If you want to make a vegan version, add in extra vegetables like butternut squash or green beans, substitute the beef broth with vegetable broth and omit the pancetta. You can also add a teaspoon of crushed red pepper flakes to the broth to give it a spicier flavor. For an extra flavor boost, add a few sprigs of fresh thyme or oregano or an additional tomato paste.

This soup is sure to please everyone at the table! Enjoy Mom's favorite minestrone soup recipe with a crusty loaf of bread and a glass of your favorite white wine.

Other Soups & Bread Recipes to Make

Italian Sausage, Potato & Kale Soup

The Perfect Beginners Sourdough Bread Recipe for Delicious Homemade Bread

Garlic & Herb Focaccia Bread

The Perfect Beginners Sourdough Bread Recipe for Delicious Homemade Bread

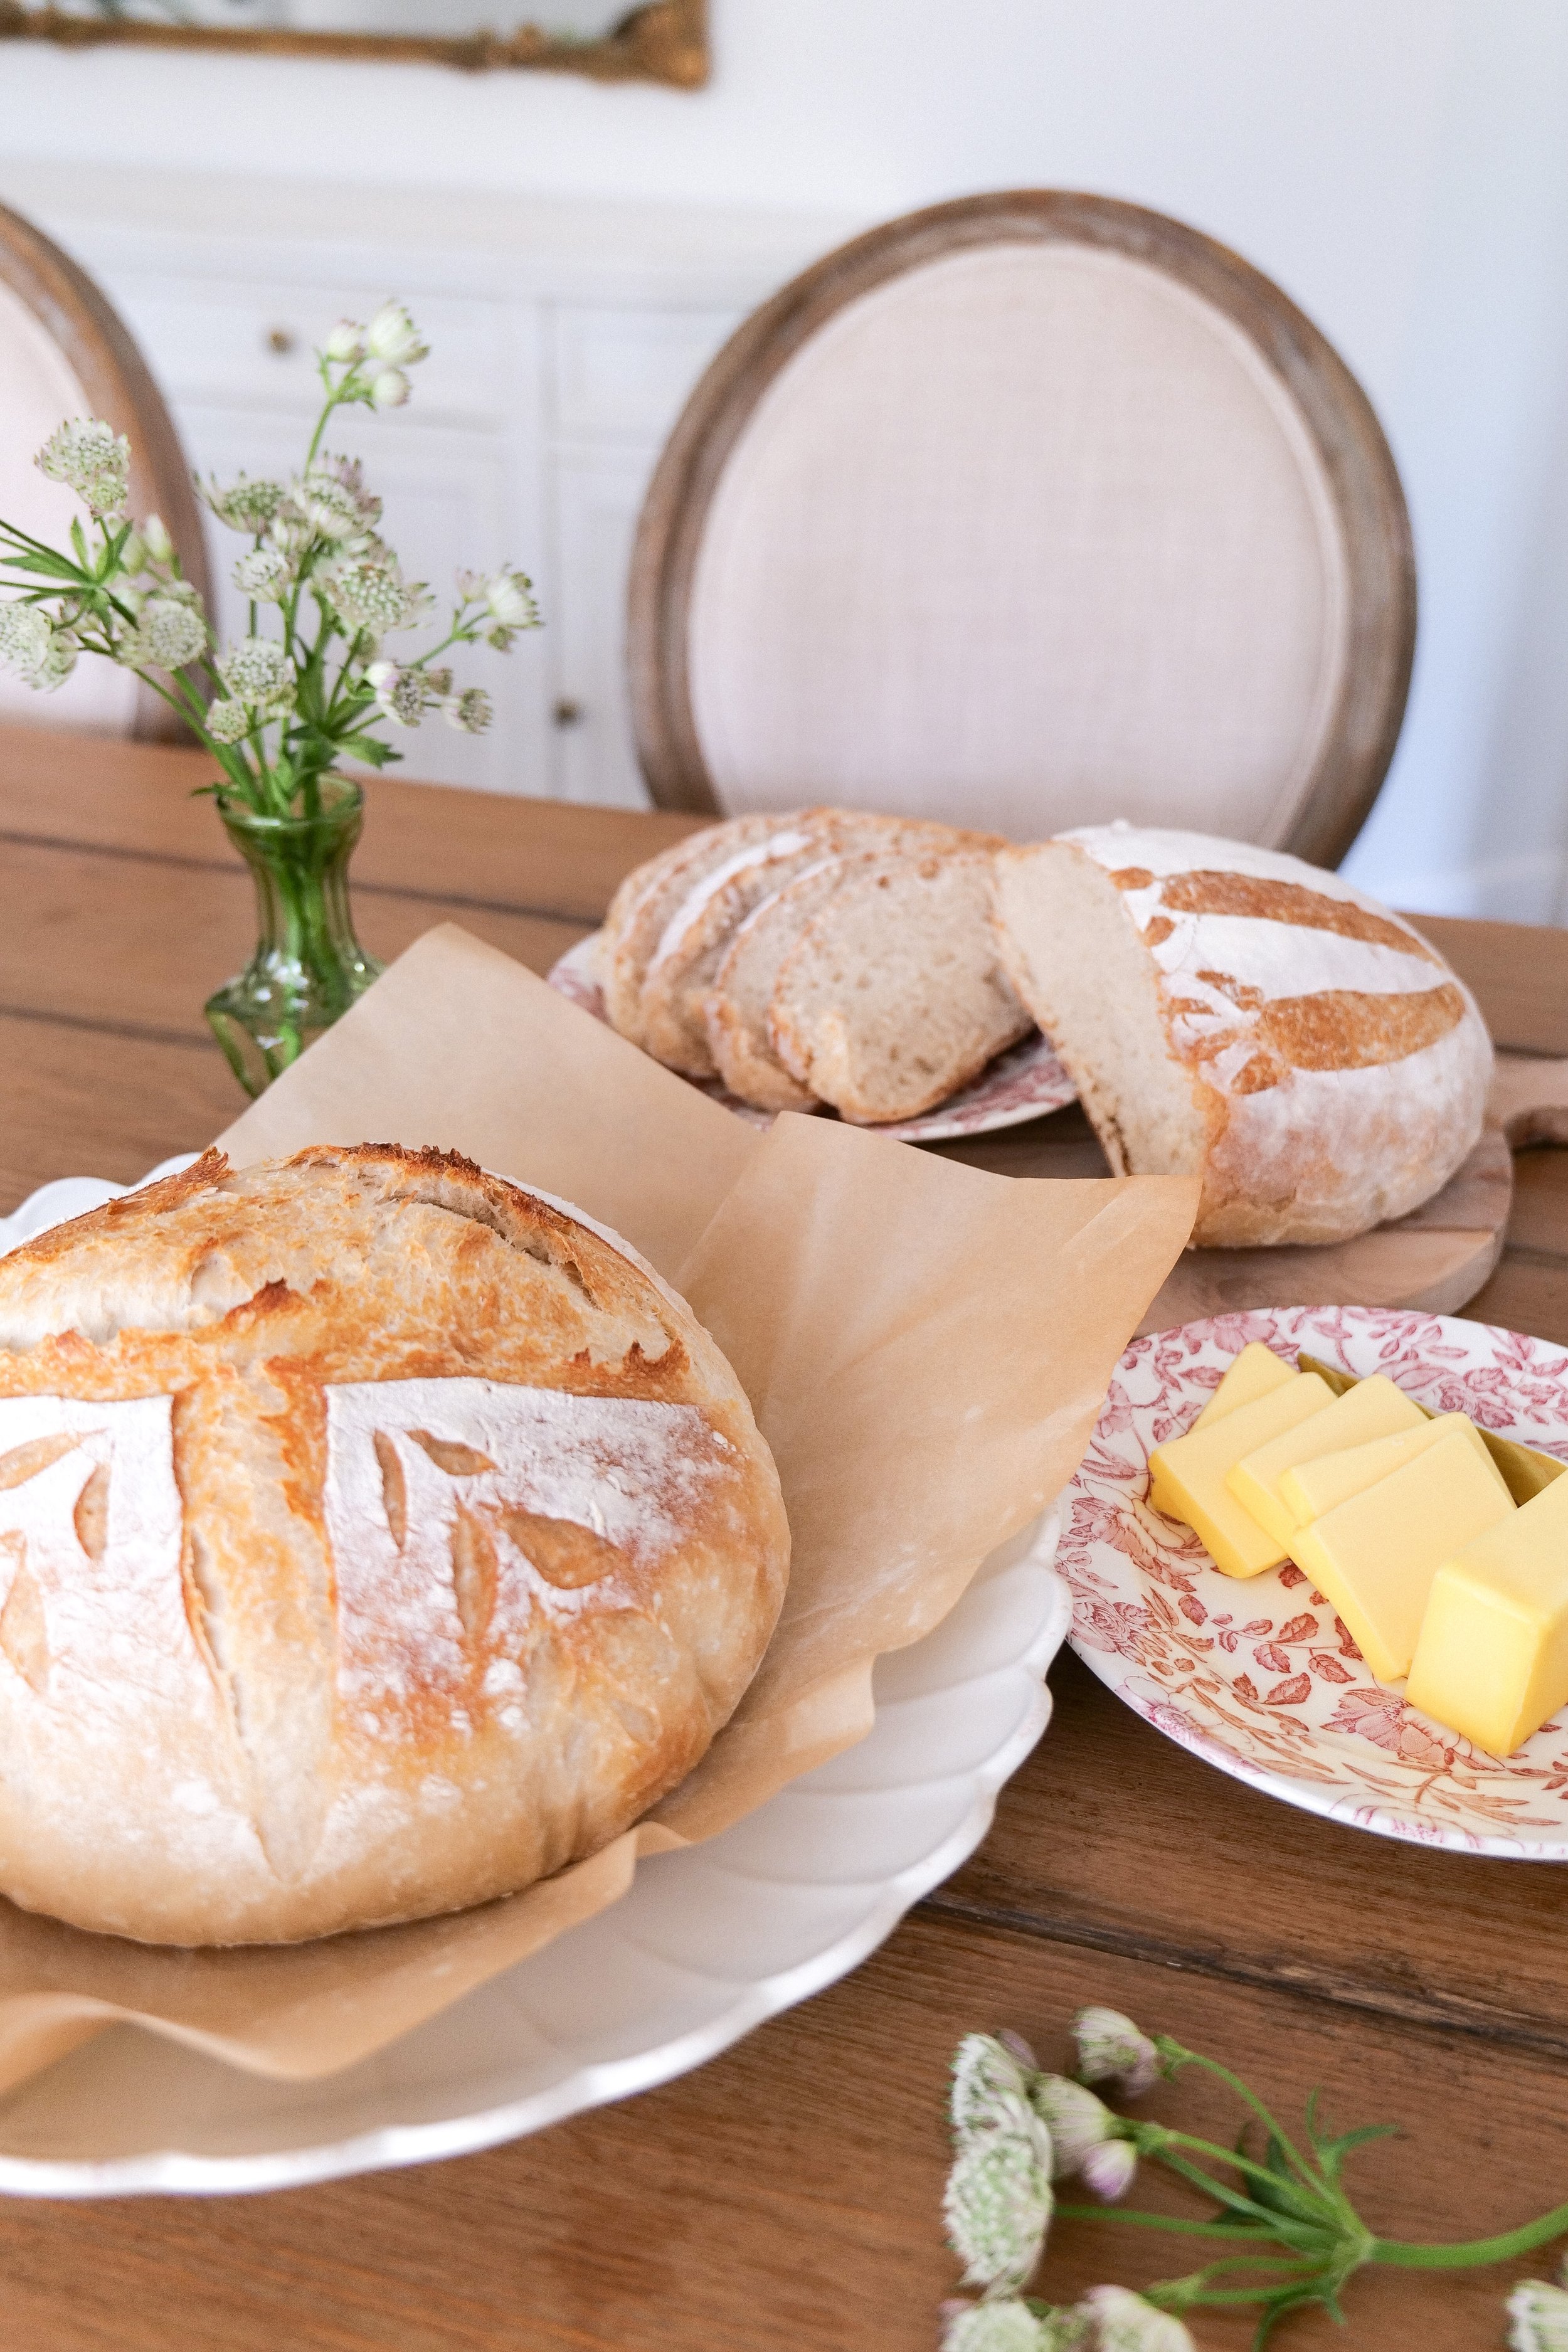
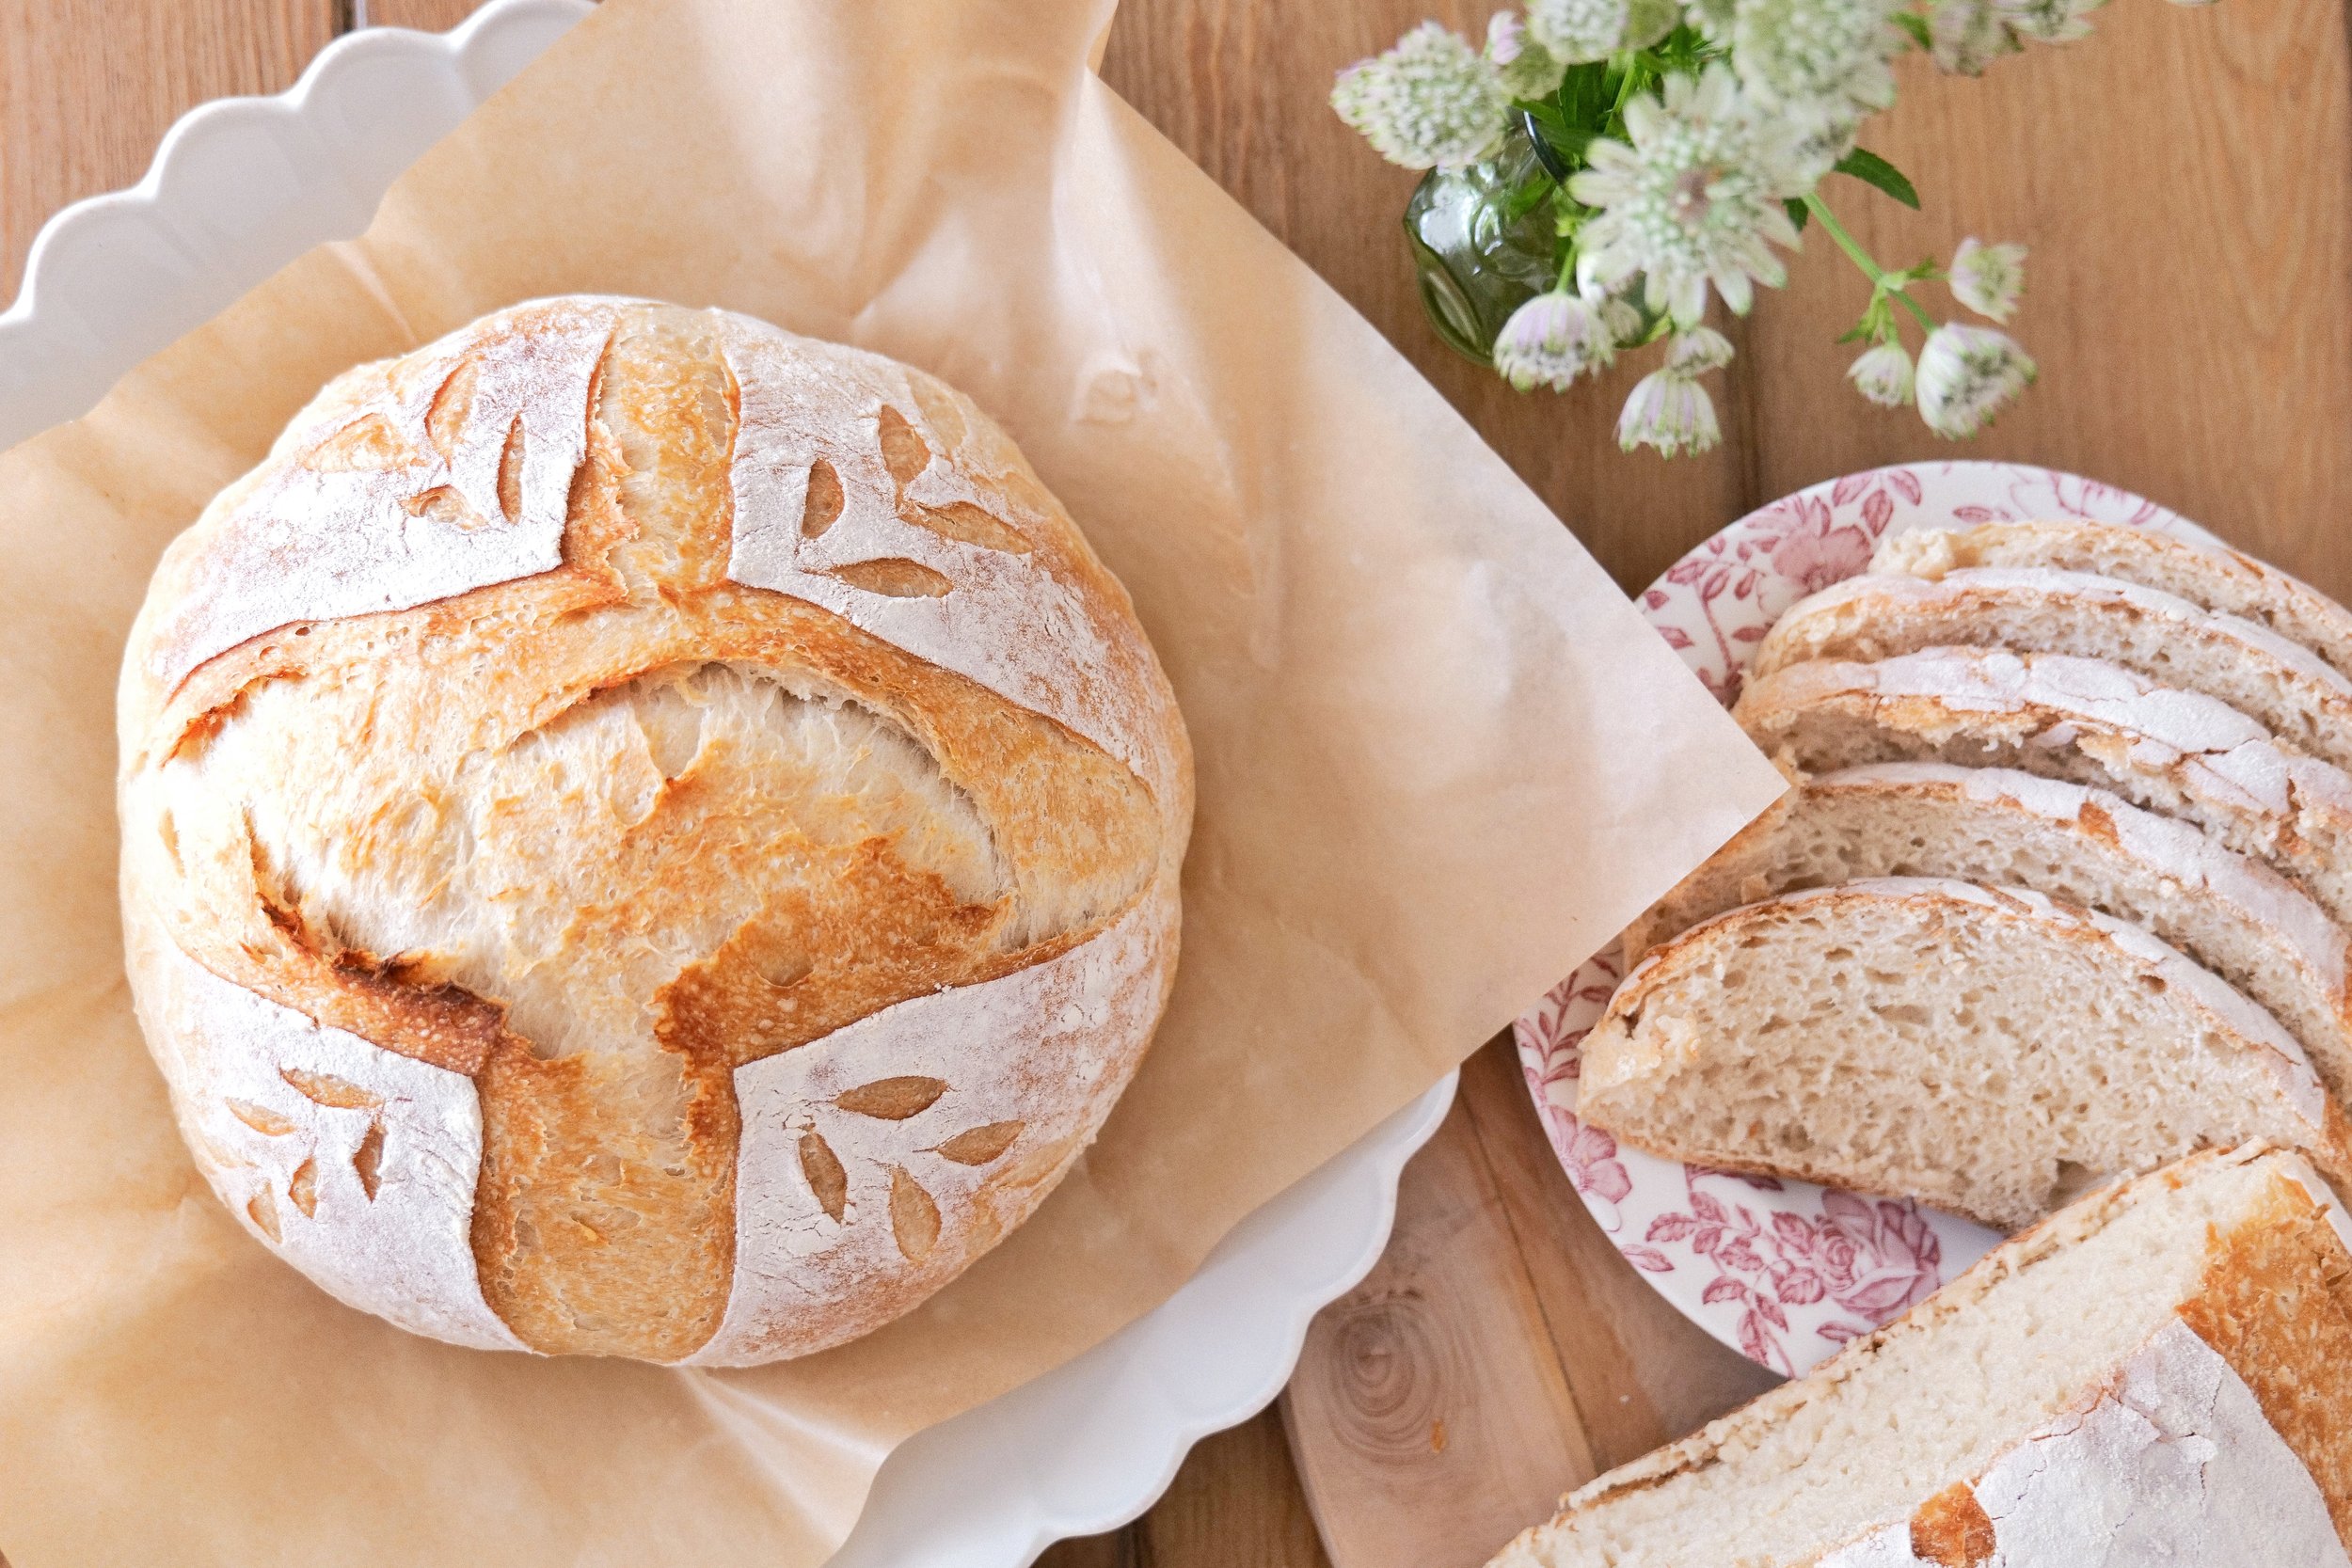
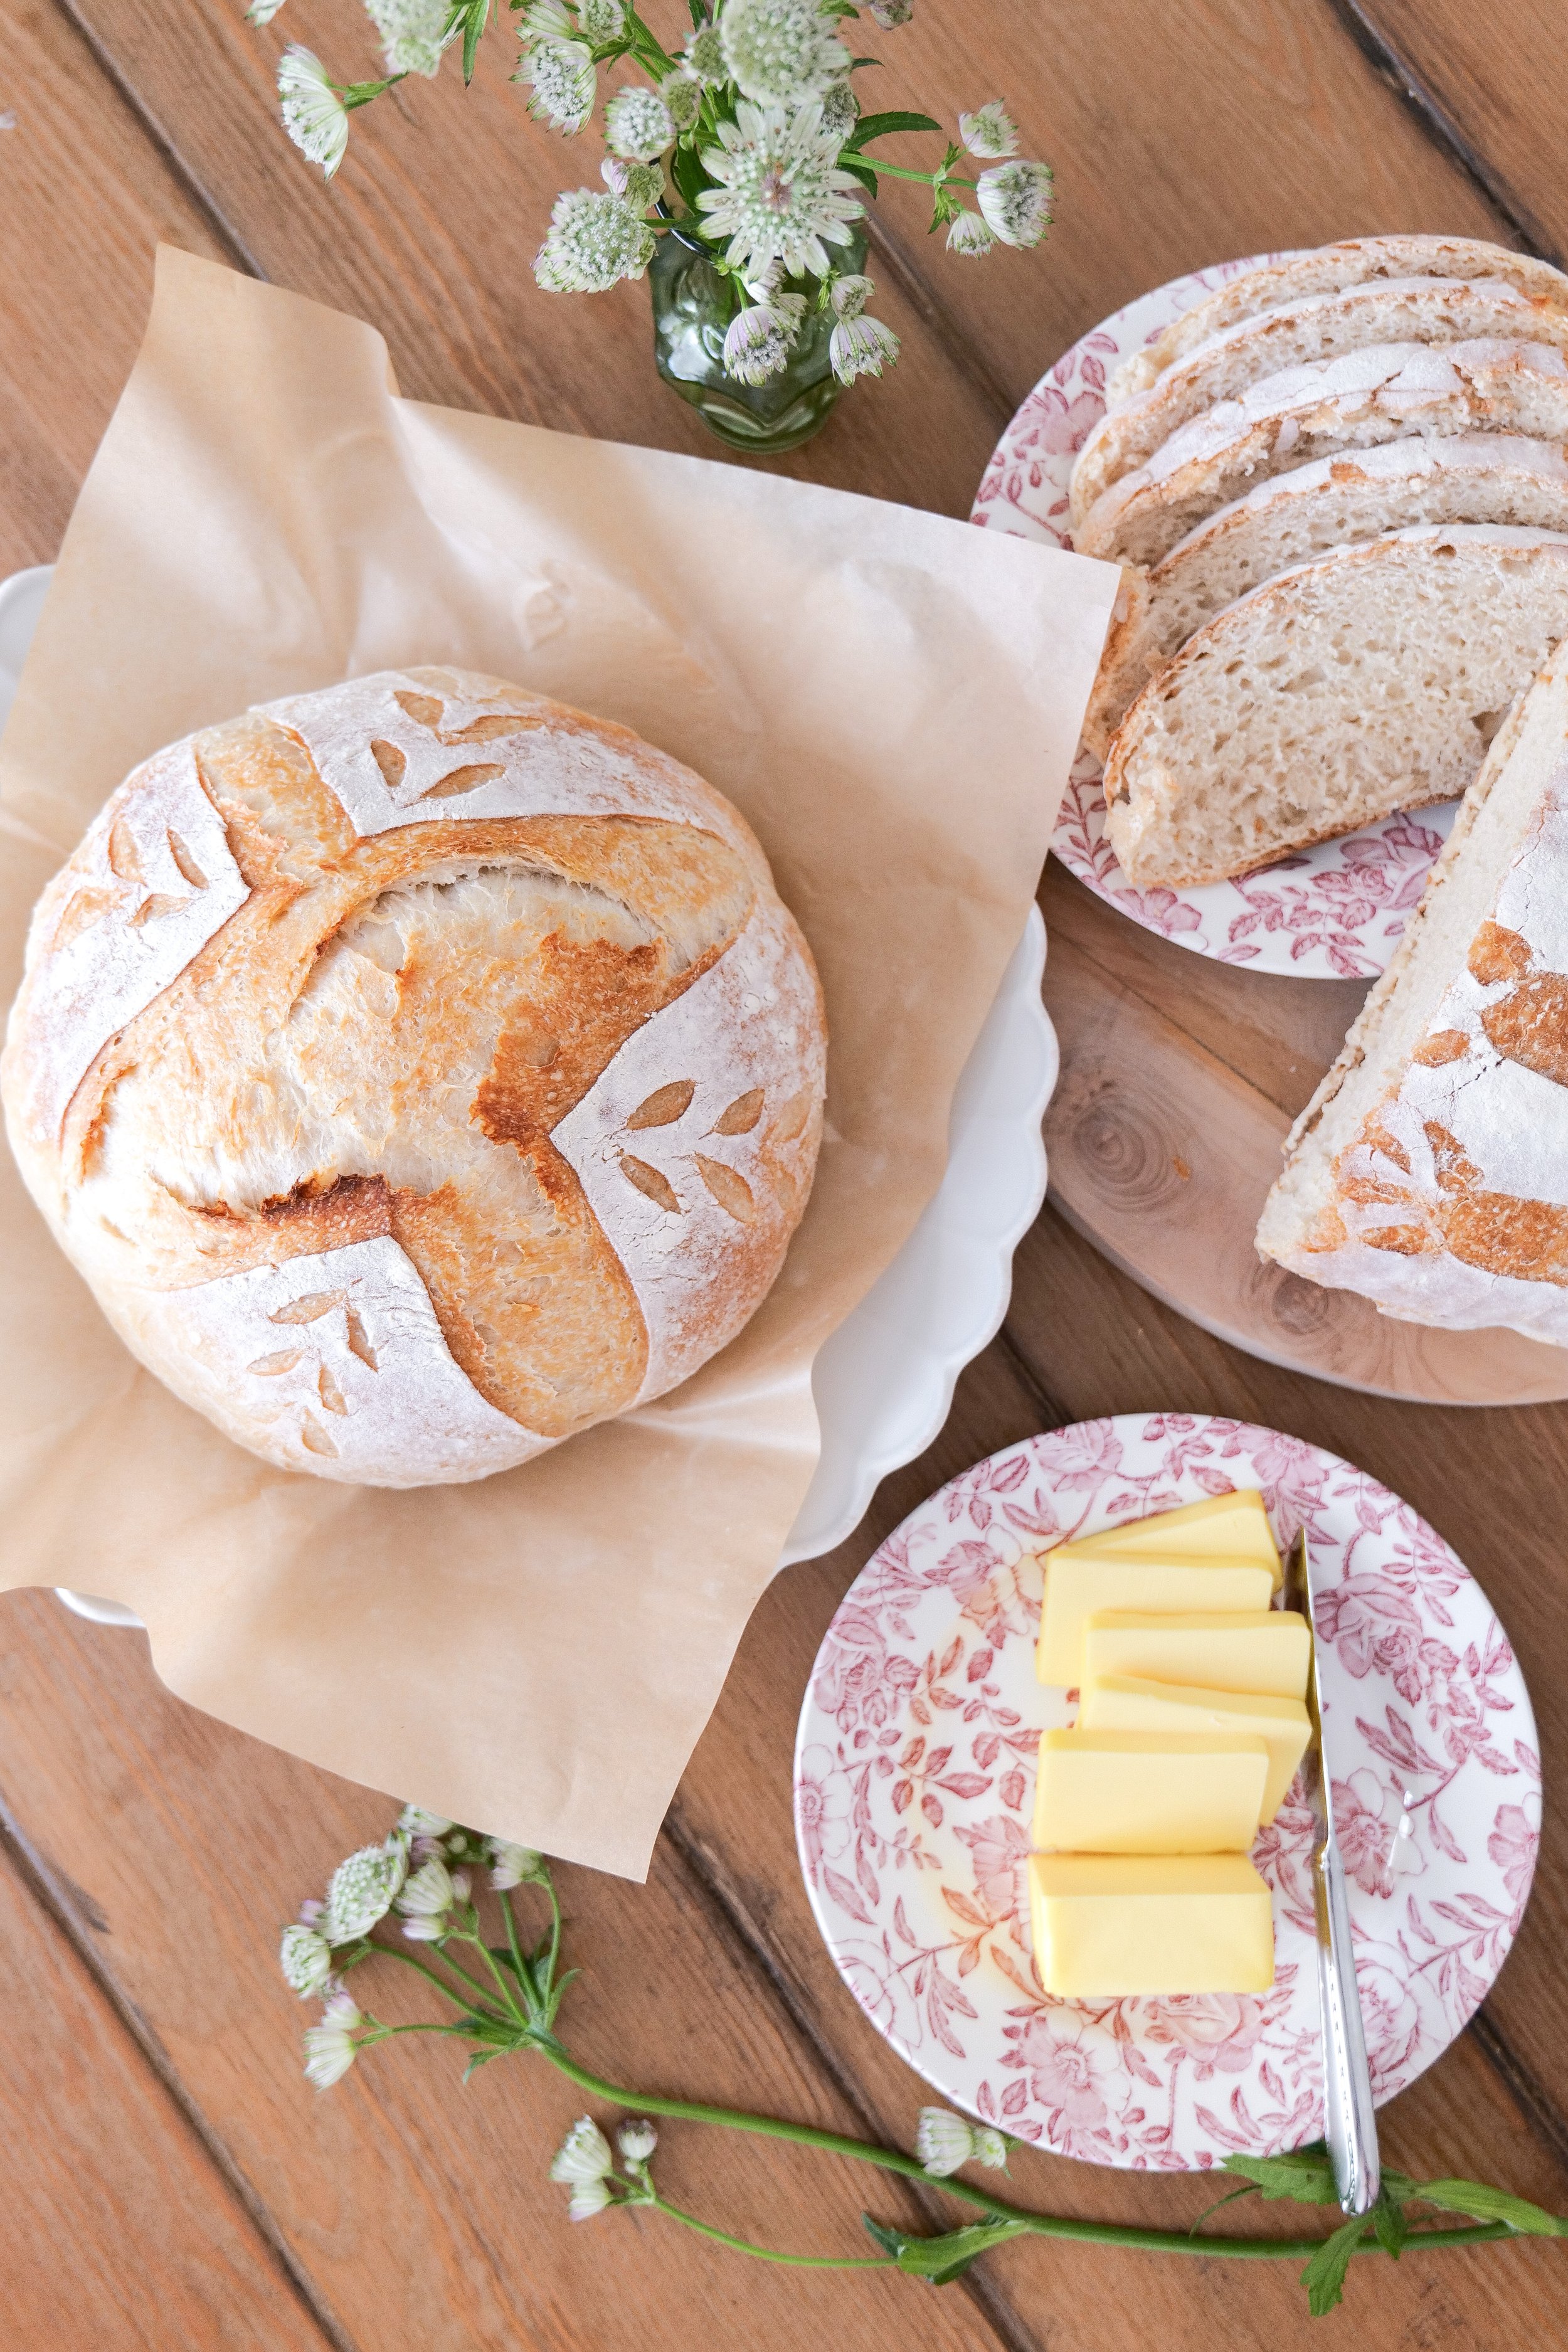
If you are looking for an easy and delicious bread recipe to try out, look no further! This beginner's sourdough bread recipe is perfect for those just starting out the task of making your very own homemade bread. With a few simple steps, you will be able to whip up your own homemade loaf of sourdough bread in no time. Not only is this bread delicious, but it is also extremely healthy, with all of the probiotic benefits of sourdough. So, give it a try and enjoy the amazing flavor and smell of your own homemade bread!

I've tried many different recipes using sourdough starter trying to get it right each time. There really is nothing like the delicious smell and taste of freshly baked sourdough bread, and thankfully, lately, it's our new normal favorite smell in the home. Just imagine the lovely smell when using the sourdough for cinnamon rolls! I make this bread weekly for sandwich bread and sides for dinners and delicious soups.

Full disclosure, I have only been making sourdough bread and working with sourdough starter for about 6 months now. However, making it weekly, I have been able to dabble with this recipe time and time again and this has been the easiest to work with and the best tasting of all! To start you will want to make sure your sourdough starter has been fed one of its "regular feedings" 12 hours before starting. A good rule of thumb is that if your starter has risen to twice its size after a feeding, then you're ready to use. I normally will feed my starter the night before and start the bread process first thing in the morning to have fresh bread by dinner that evening. You cn say this makes this a same day sourdough bread. If I want a breakfast loaf, I would feed it in the early evening and once its risen enough start the process. Then, let it sit overnight and bake in the morning.

Another important note is the surrounding environment for your sourdough starter and your bread dough. If you're house is set at a colder temperature like usual for the Winter, and room temperature is slightly cooler than the norm, then it will take longer for your starter to rise . During this time, I usually keep my starter in the pantry of our house because I notice it's the warmest part of the house. and will keep a towel around the jar. When the sourdough bread is in the proofing bowl, I do the same thing and wrap a towel around the bottom of the bowl as well as keeping the top covered like normal.

Let's get started and make some yummy sourdough bread!

Ingredients:

1/3 cup sourdough starter

1 - 3/4 cup filtered water

1 tsp sea salt

4 cups bread flour

Directions:

1. Once sourdough starter is ready to go you will add 1/3 cup to bowl with water and whisk until blended. Add in sea salt and bread flour and mix together with your hands. Flour bread mixture will be scruffy, that's okay. If all flour hasn't blended in you will need a bit more water, but don't over water just enough so your flour is all incorporated. Place a clean towel over the top and let sit for one hour.

2. After one hour stretch and fold. To stretch and fold you will pick up on one side of the dough pull up and fold into center. Continue around the sides until they have all been picked up and folded into middle. It will normally be around 4-5 times. Cover again and let sit for 30 min. Repeat once more.

3. After all stretch and folds have finished you will scoop out the dough onto a lightly floured countertop. Using a bench scraper fold under to form a large ball of dough. Make sure to have everything floured so that you prevent sticking to your surfaces.

4. Once ball is formed you will pick up with your bench scraper and flip over into floured proofing basket. Pinching sides of dough on bottom pull together so the part of the dough showing is creased together. Cover with towel and let sit for 7 - 10 hours.

5. When you are ready to bake flip your proofing basket with sourdough onto a lightly floured piece of parchment paper. Now you can score your dough and let sit for 30 minutes while you preheat the oven and stockpot.

6. While your bread is sitting grab your best 360 stockpot, I use the 8 Quart Stockpot with Cover, place in oven and turn on to 450 degrees. Once temperature is reached lower your bread into stockpot holding the sides of the parchment paper. Cover and let bake for 20 minutes. After 20 minutes remove cover and bake an additional 25 minutes or until golden brown.

7. Baking is all done. Now remove bread and set on cooling rack or cutting board for at least 30 minutes for a resting period before cutting. Your sourdough bread will continue to cook while sitting so cutting too early will cut the full bake time down.

8. ENJOY!!

I hope you enjoyed this beginners sourdough bread recipe.

Some of my other favorite bread recipes are:

Garlic & Herb Focaccia Bread

Banana Bread Recipe

Lemon Poppy Seed Bread Recipe

Corn Bread Loaf Recipe

CODE AMANDAWARREN20 GIVES YOU 20% OFF ENTIRE SITE

Slow Cooker Hot Cocoa Bar Station

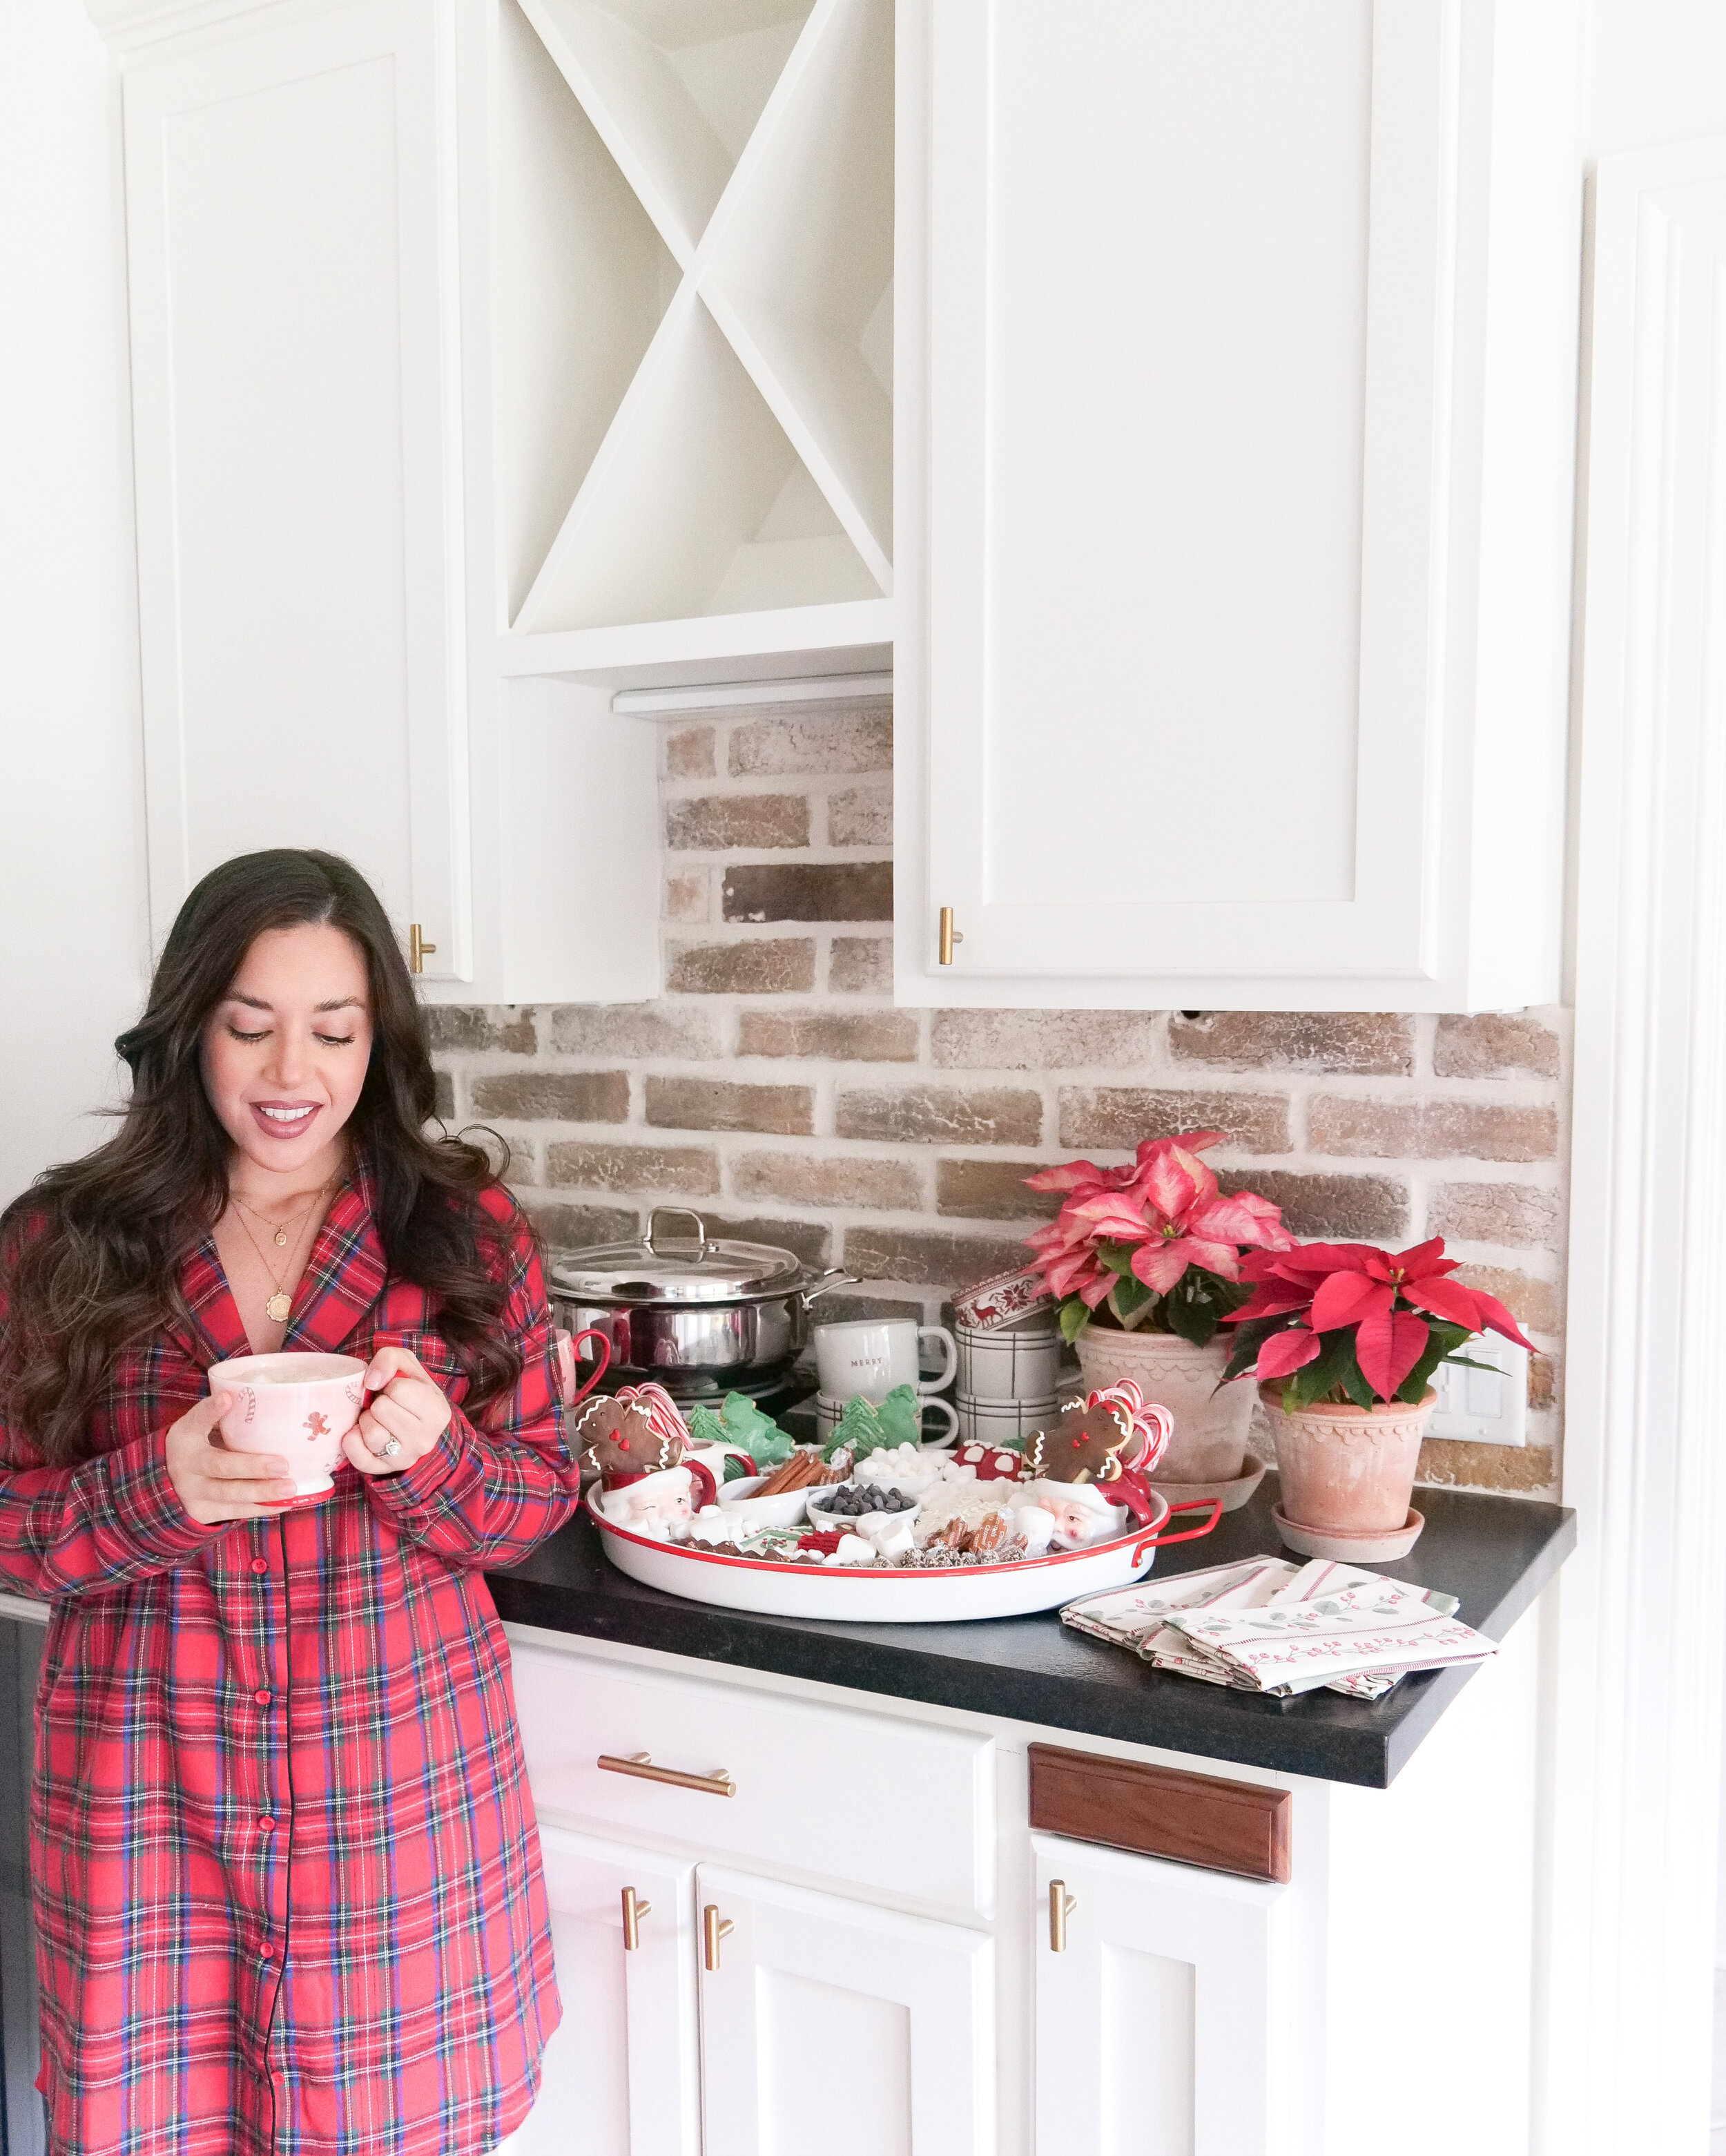
Slow Cooker Hot Cocoa Bar Station

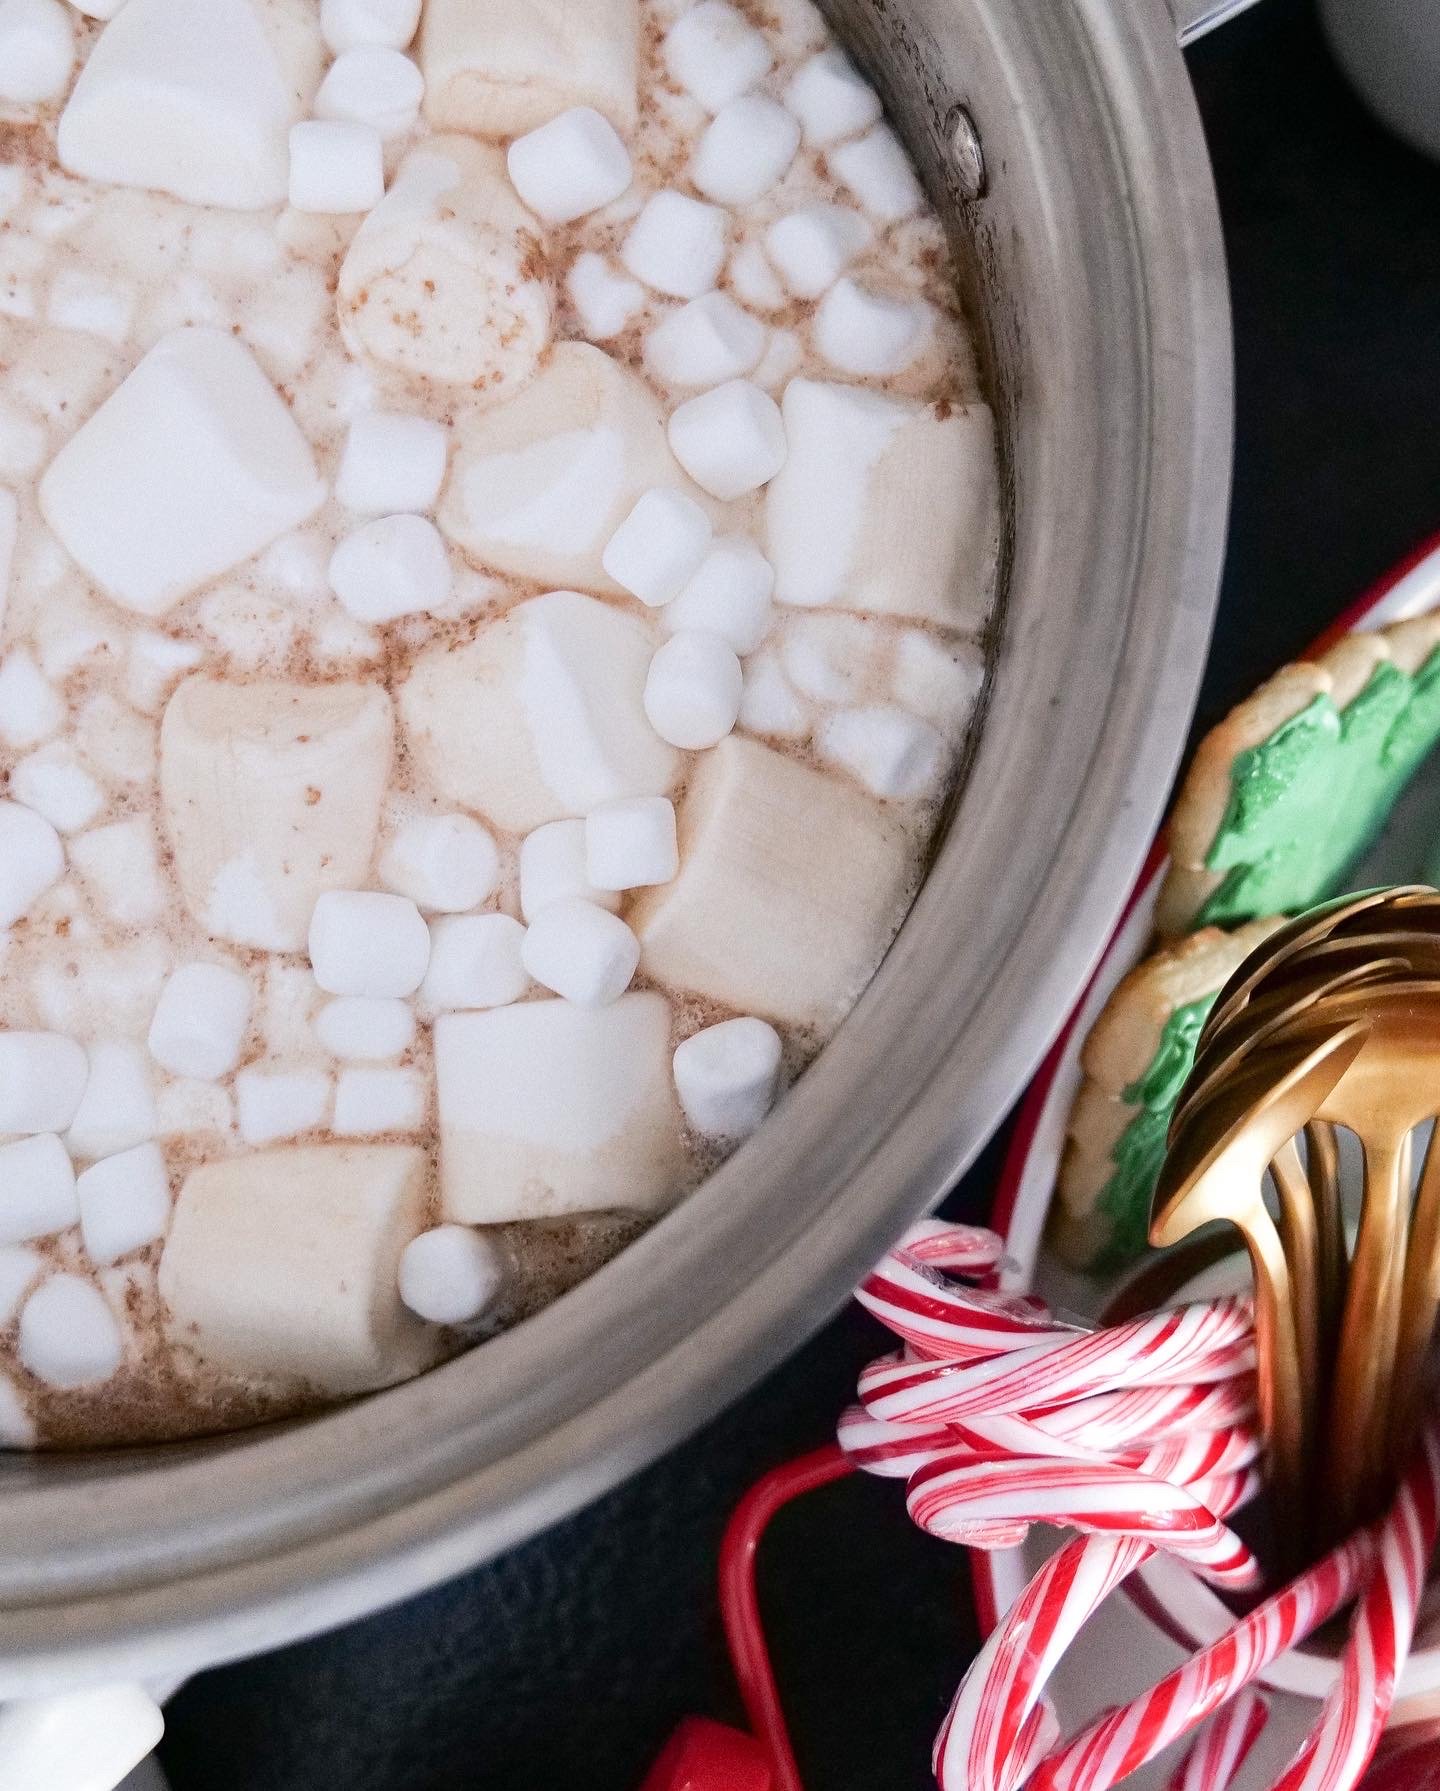
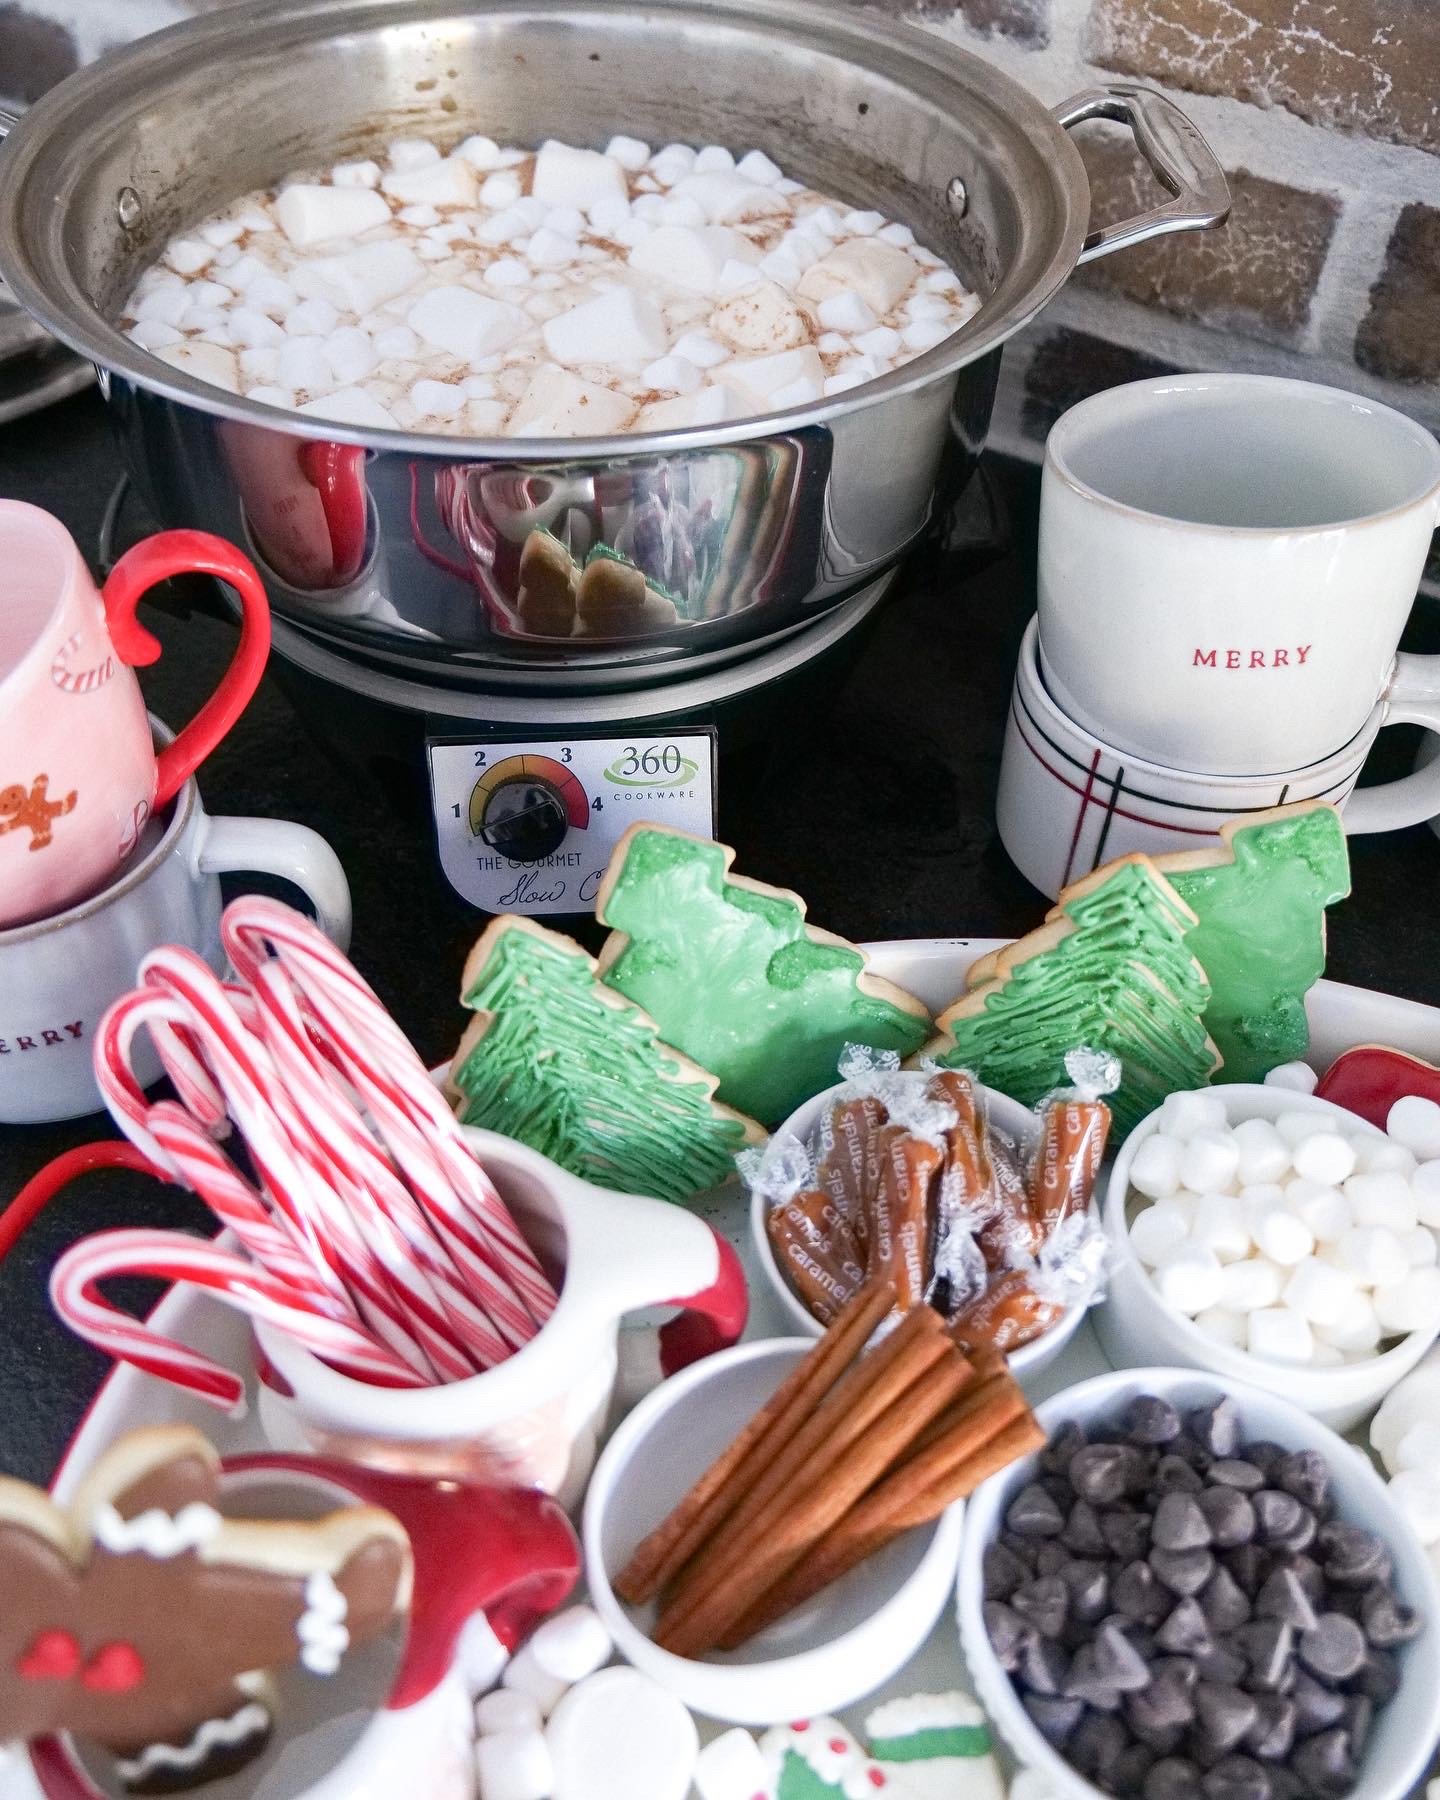
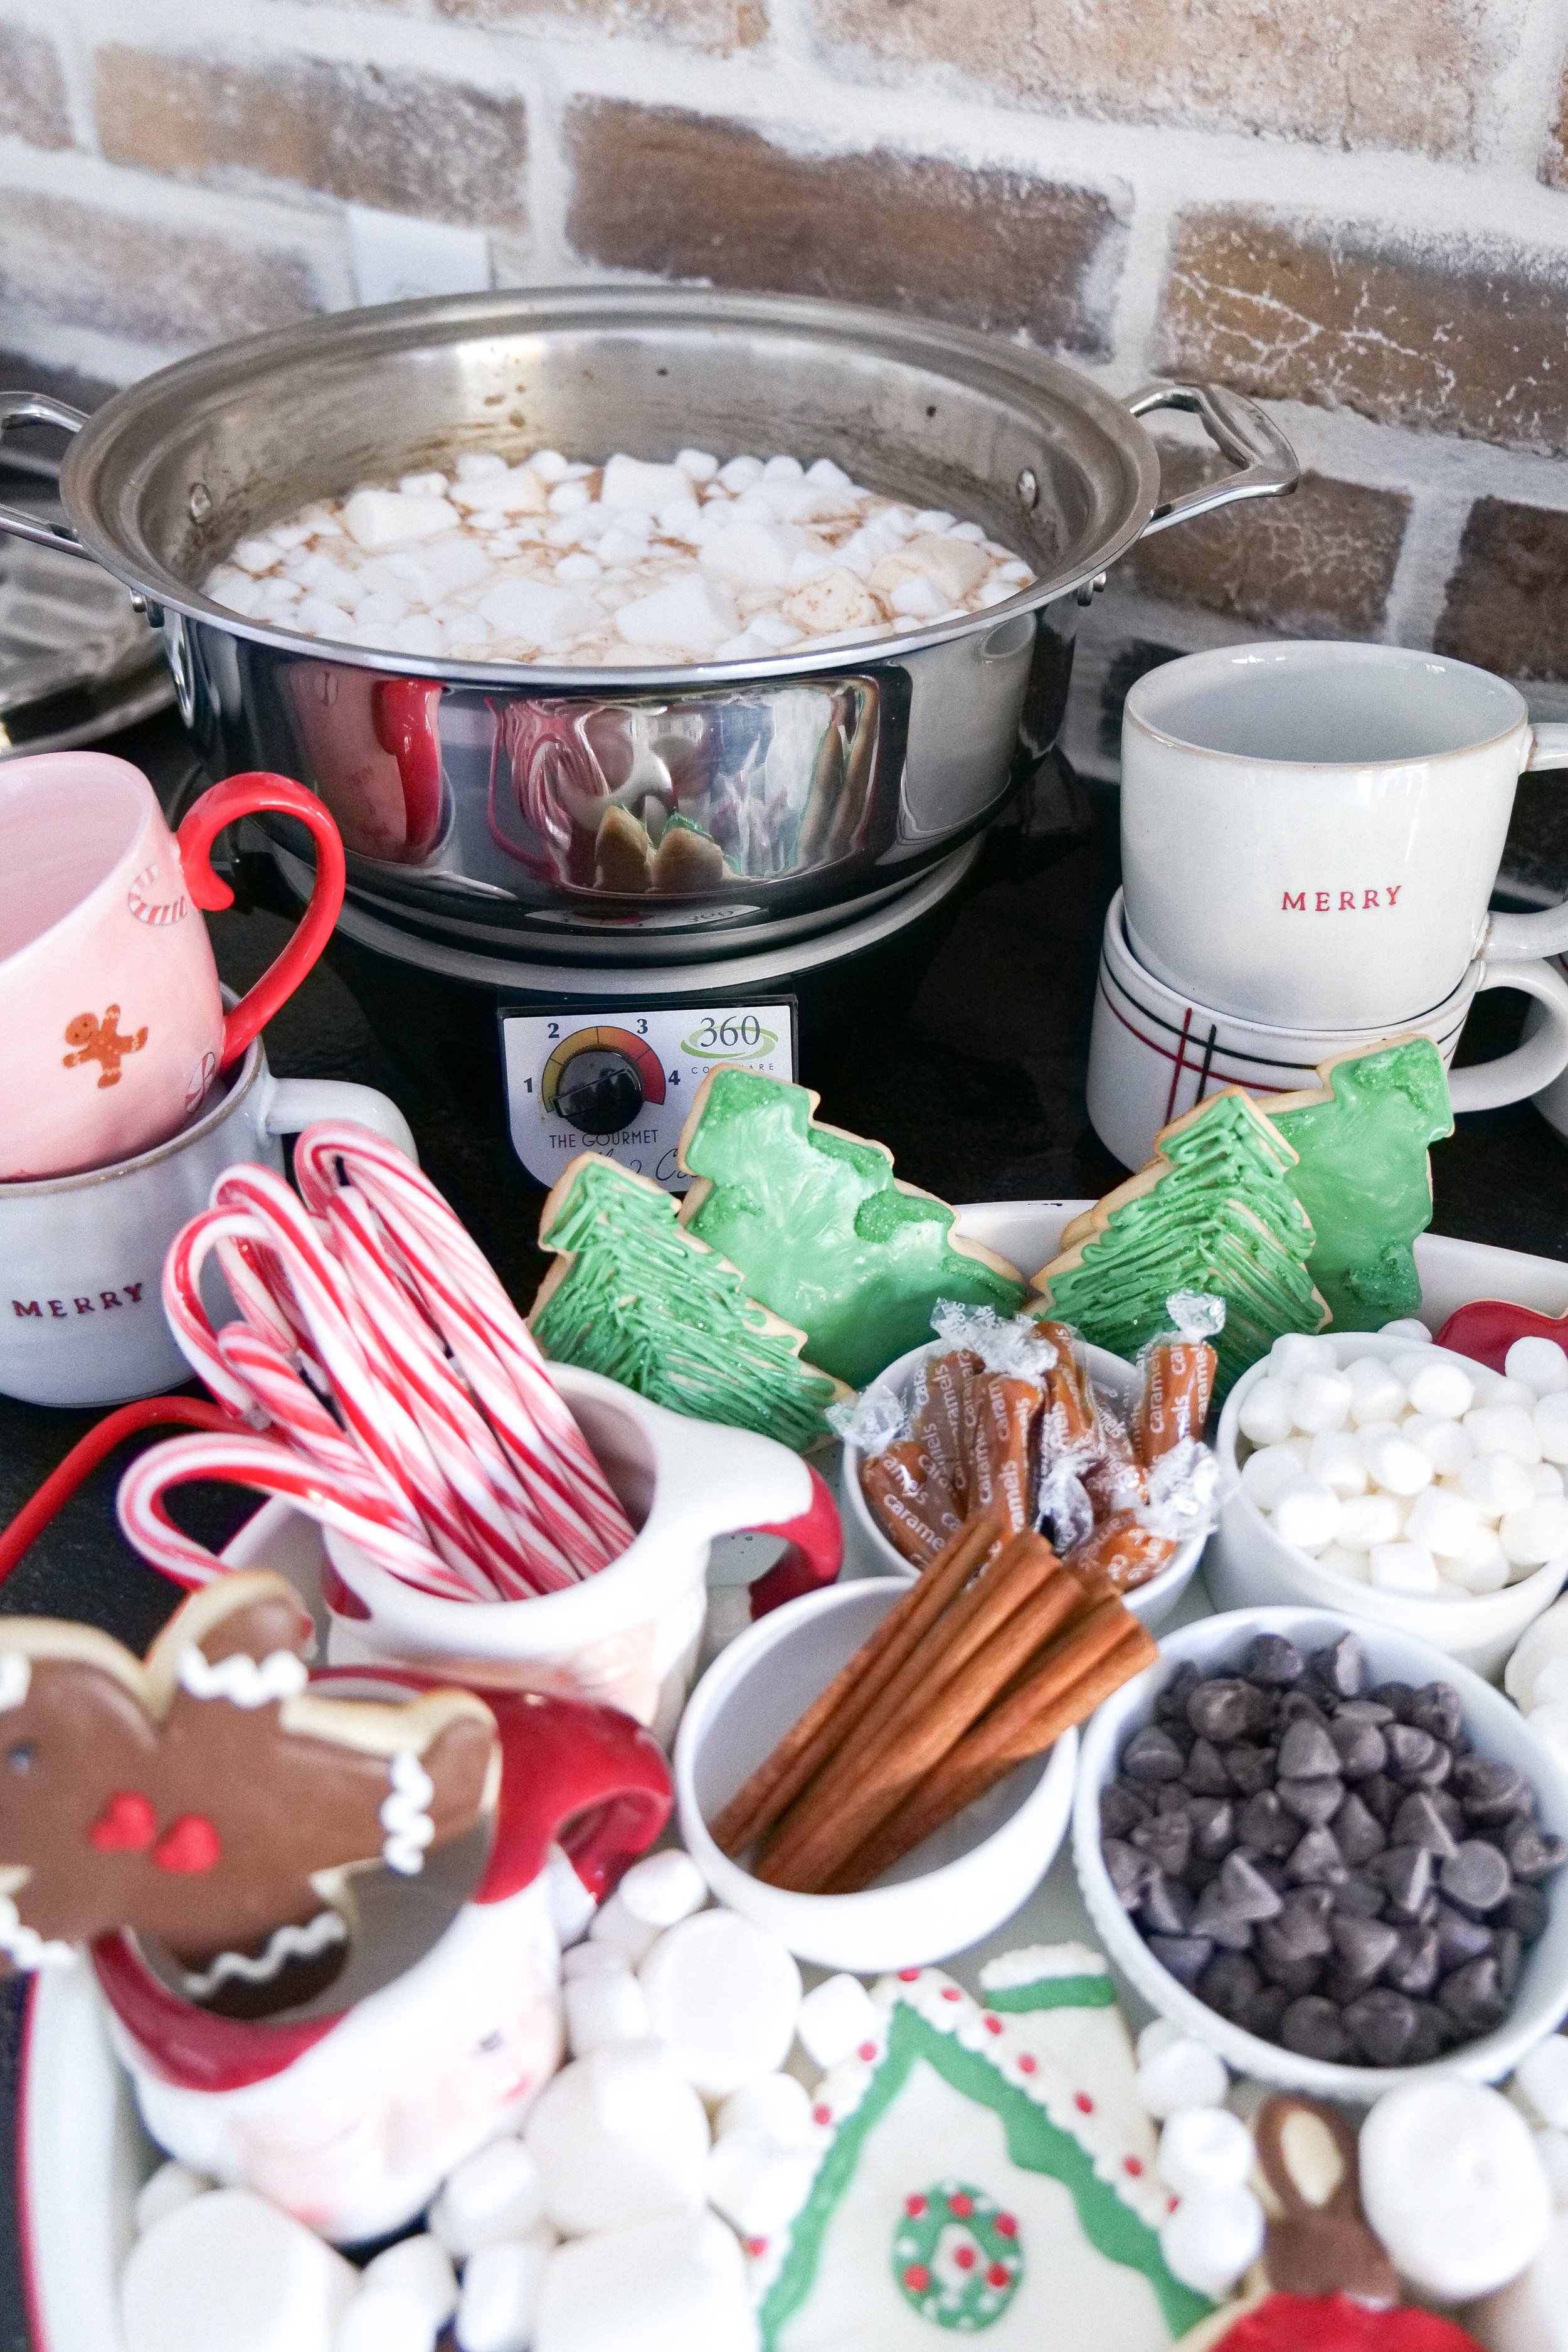
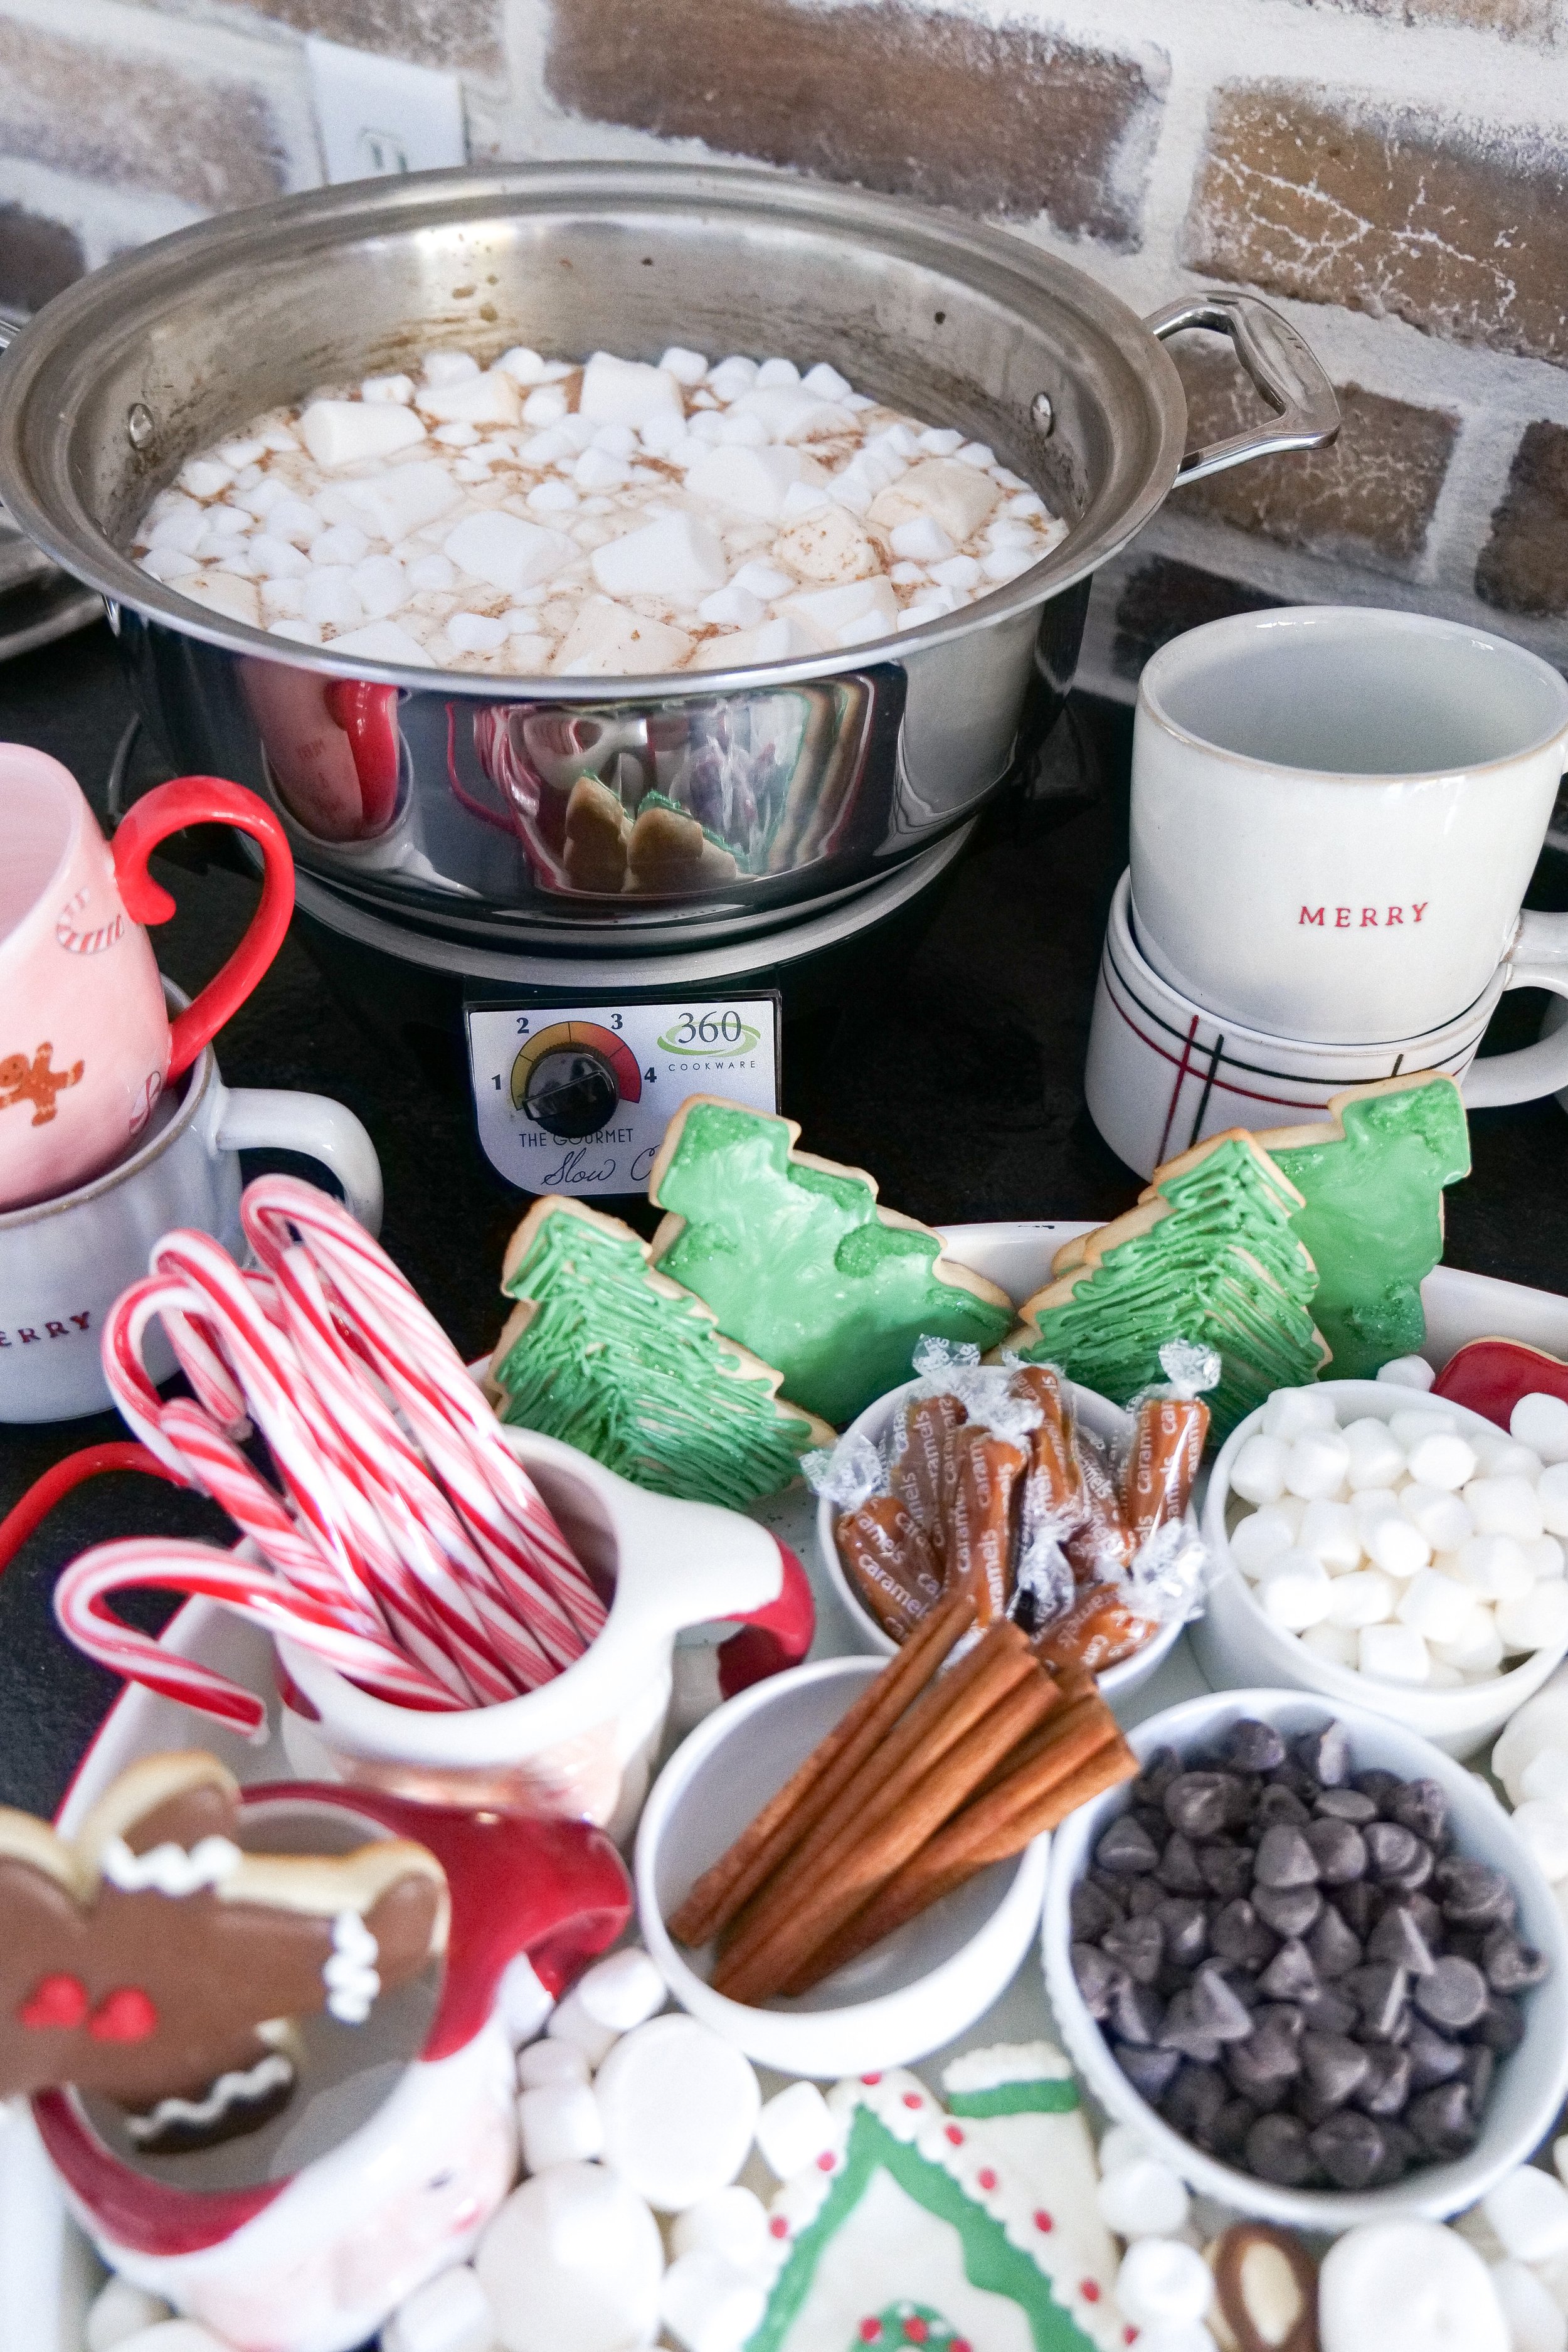
If you love a delicious cup of hot cocoa and are serving it for a crowd at a party or event, then you will love this Slow Cooker Hot Cocoa Bar Station idea! This hot cocoa bar is a perfect looking setup for parties and makes for a fun way to make and display the cocoa. There are so many ways to customize different ingredients in your cocoa to make it just the way you like it. With this hot cocoa bar, you can have all the fixings for the hot cocoa ready to go and all you have to do is mix it up and turn on your slow cooker 2 hours before your company arrives.

One of my favorite things to do for company is to be very detailed with the small things, but also be practical and leave yourself time for the other things you have to do and not be rushing to make the cocoa last minute. It's also a fun way for the guests to get creative when making their own cup!

Some of my favorite things to add in the hot cocoa station and on the tray are heavy whipping cream, Chocolate chips, sprinkles, cookies, cinnamon sticks, caramel, and candy canes. Christmas is such a special time of year and adding in little touches to the station like Santa mugs and Holiday decor will help the area feel even more special and festive for all your December celebrations!

HOT COCOA RECIPE

Ingredients

Slow Cooker Hot Cocoa

1- 14 oz can sweetened condensed milk

1/2 cup cocoa powder unsweetened

2 teaspoons vanilla extract

Pinch of salt

4 cups whole milk

4 cups half and half

Marshmallows

Directions:

1. Mix together all ingredients in slow cooker

2. Turn on slow cooker to 1 to 2. Stirring every 30 min for 2 hours.

3. Top with marshmallows and turn slow cooker all the way down.

4. You can leave slow cooker on low to serve and enjoy for 2-3 hours.

5. Stir again before serving and Enjoy! 

You can shop my slow cooker on 360 Cookware -shop here- and use code AMANDWARREN20 for 20% off your entire purchase! I love that this is the only slow cooker that is stainless steel and made in the USA. Amazing quality that will last you a lifetime!

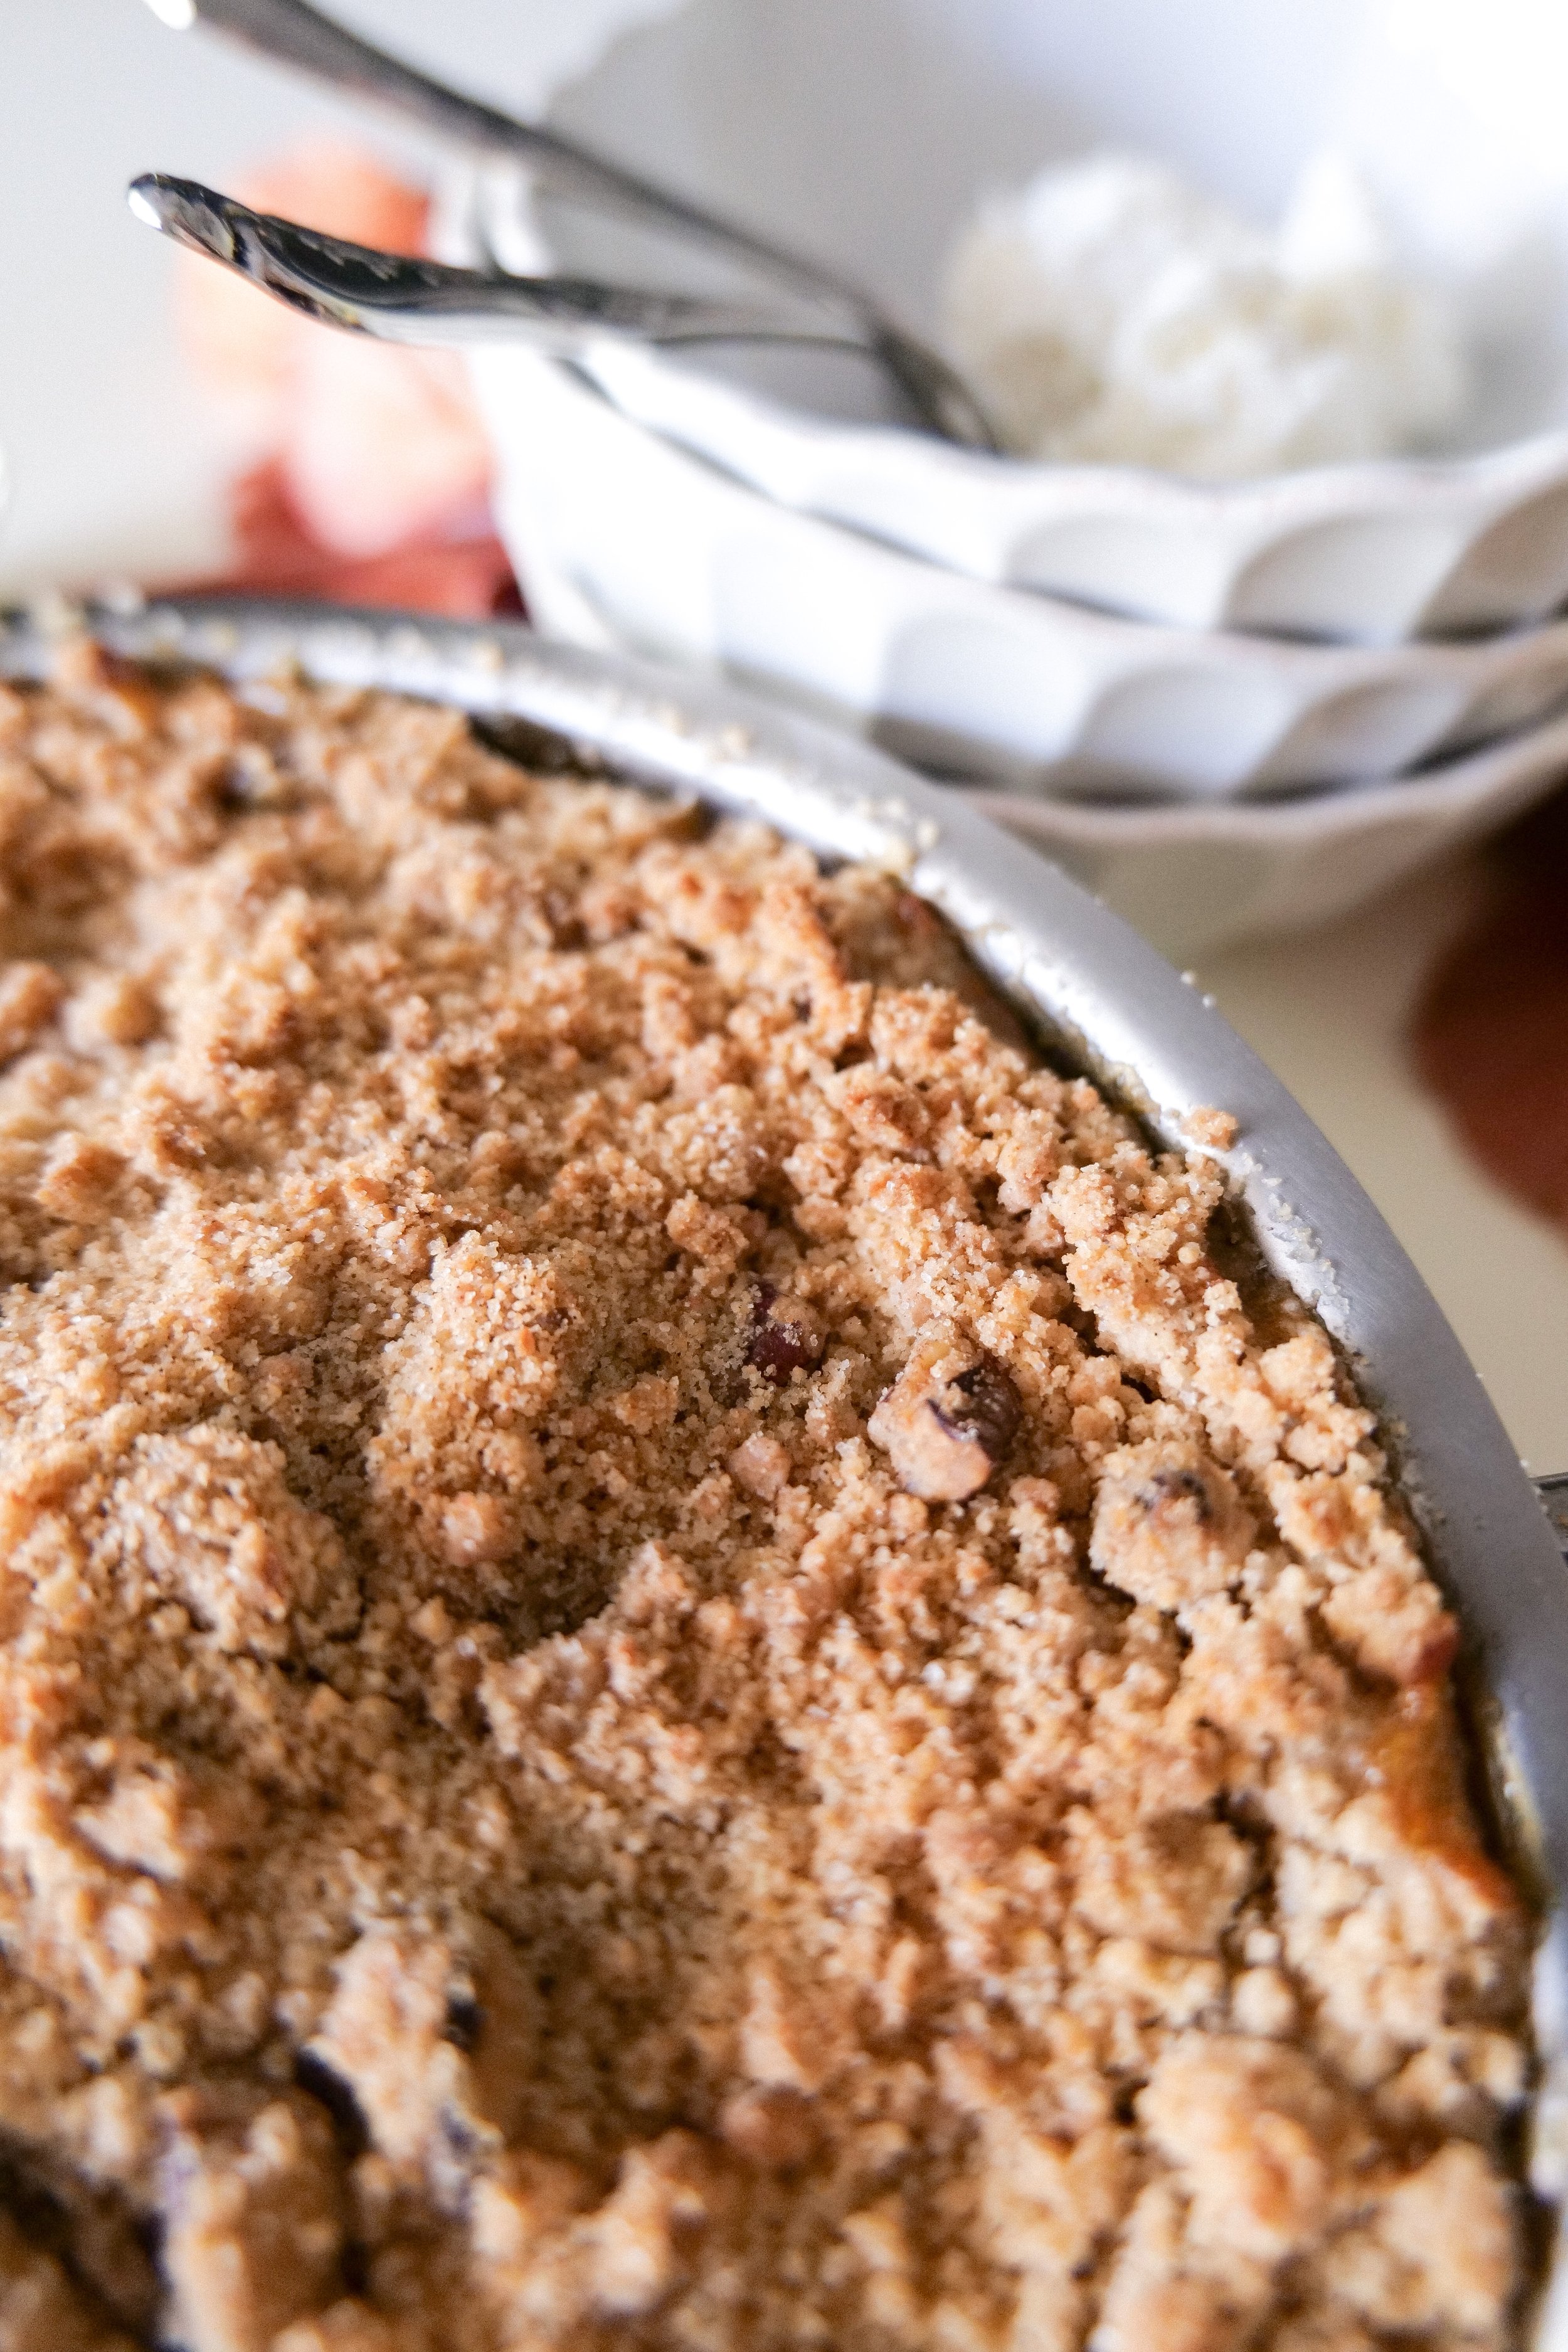
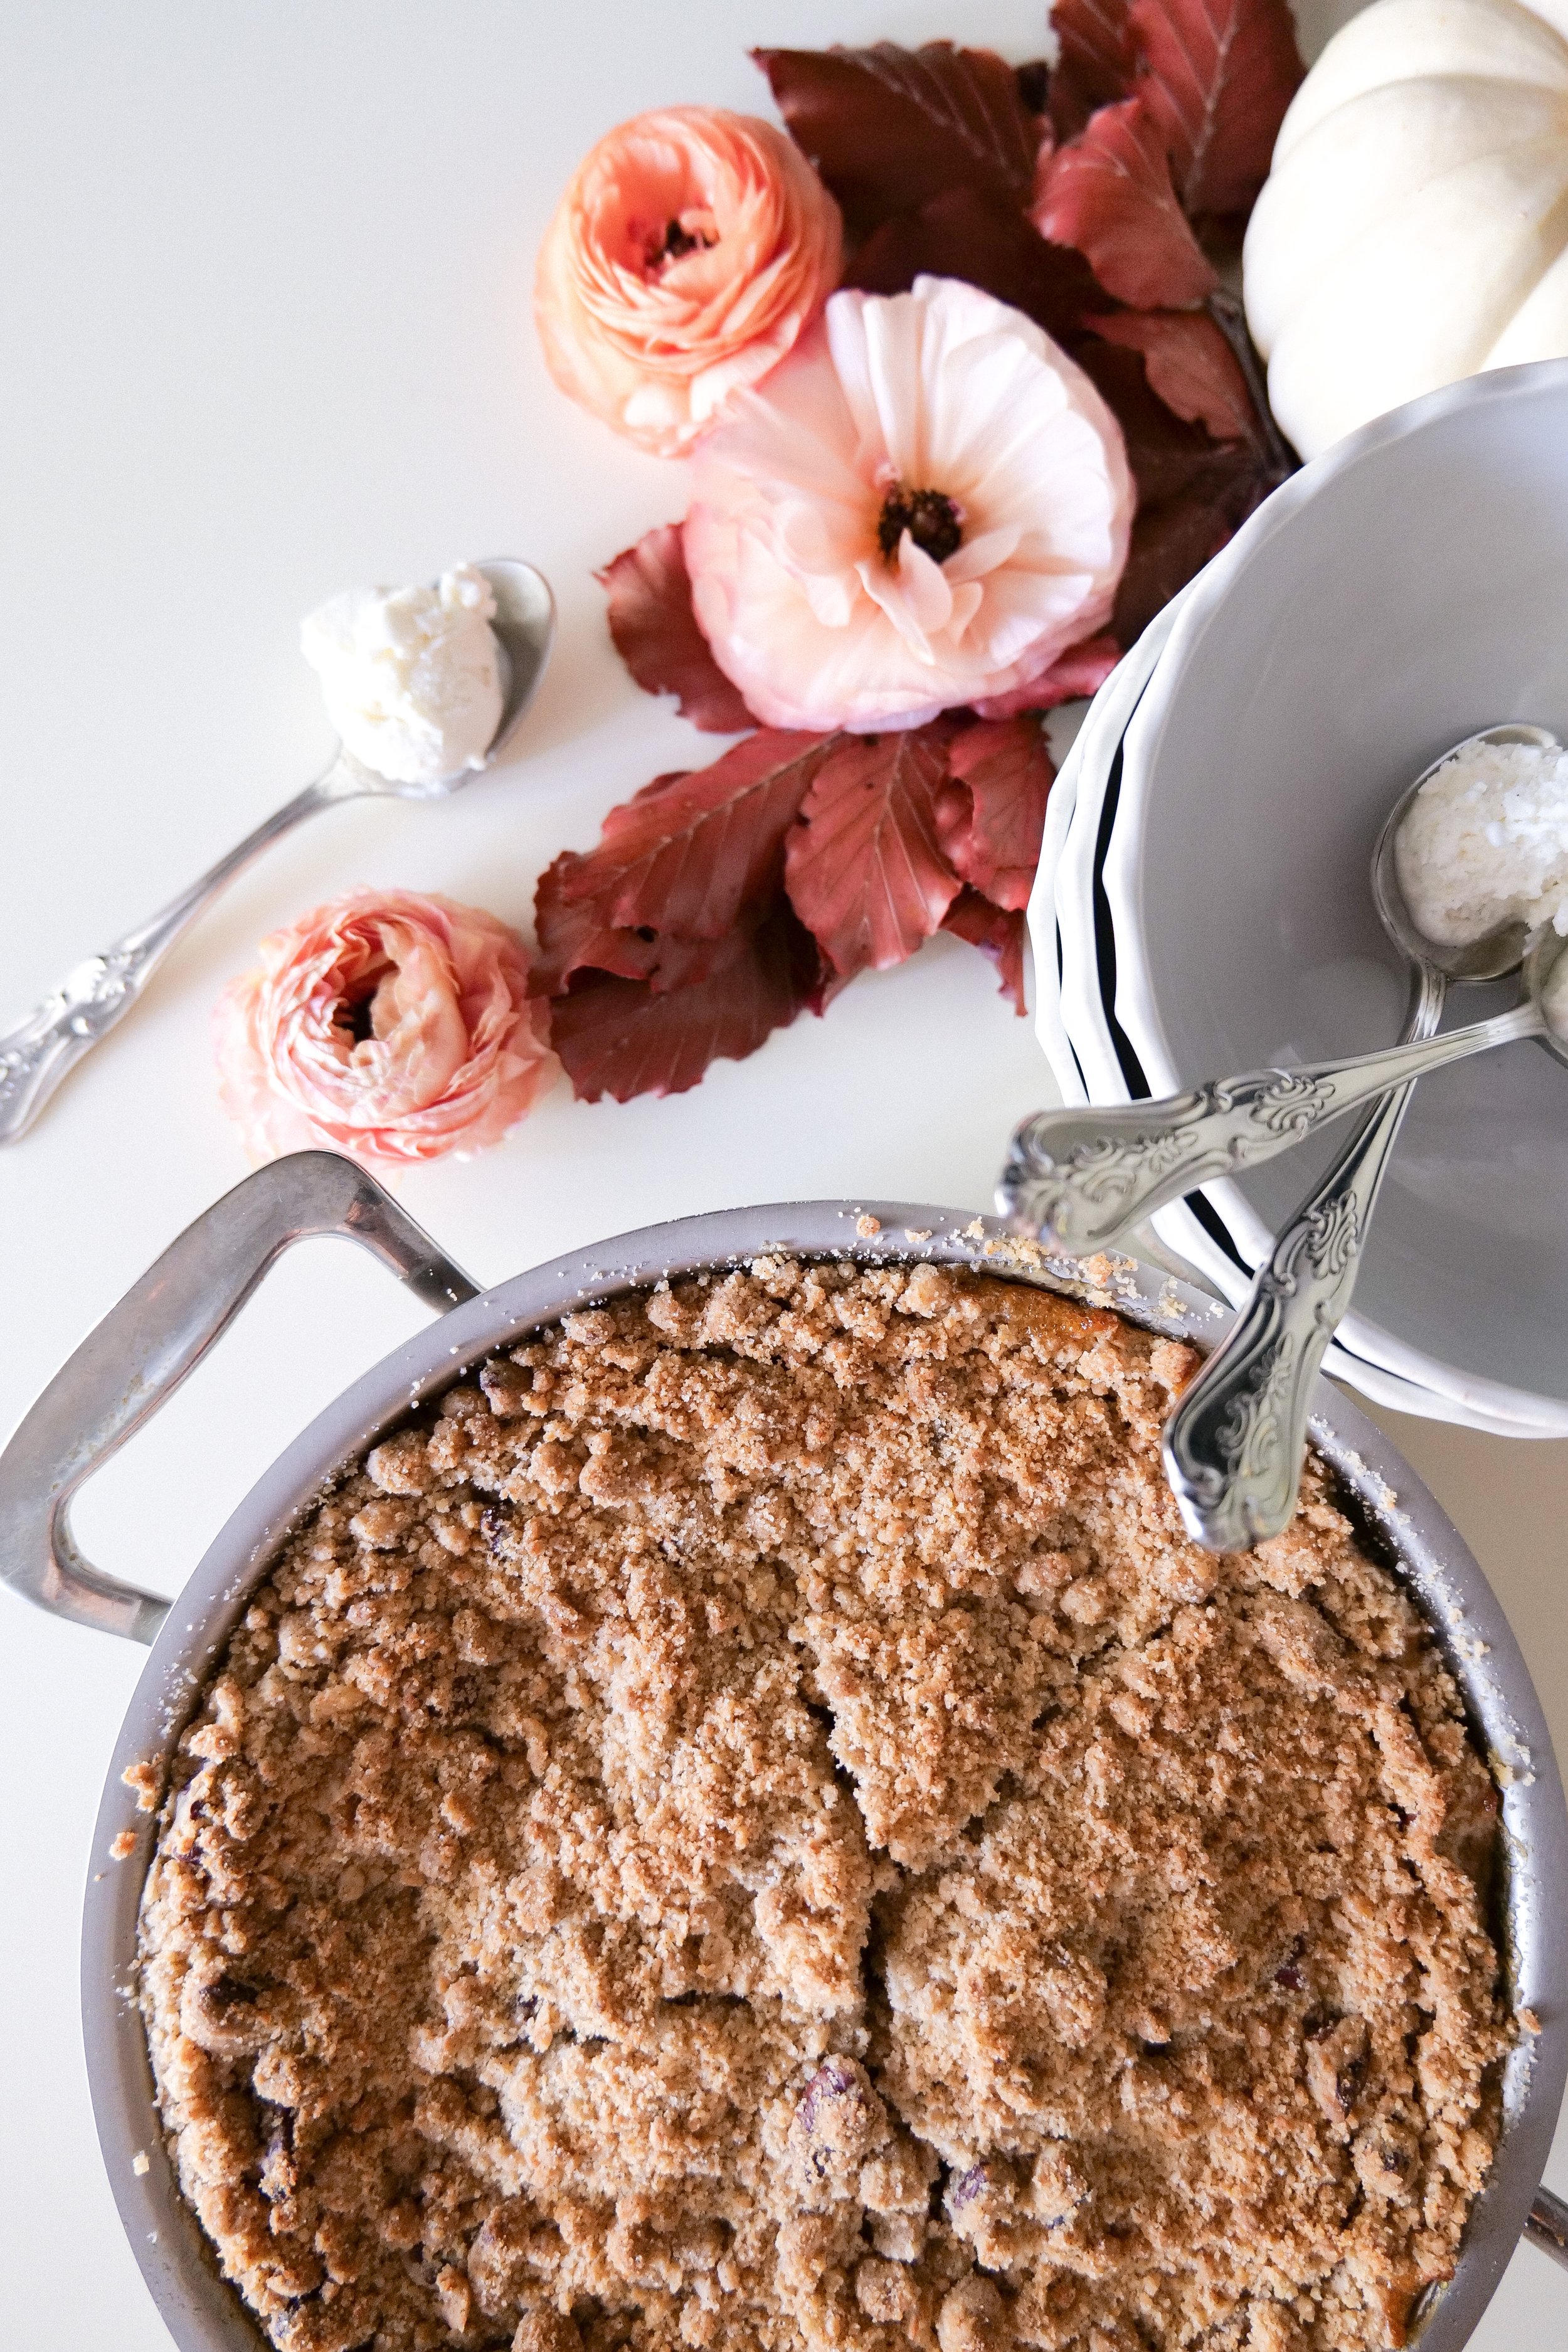
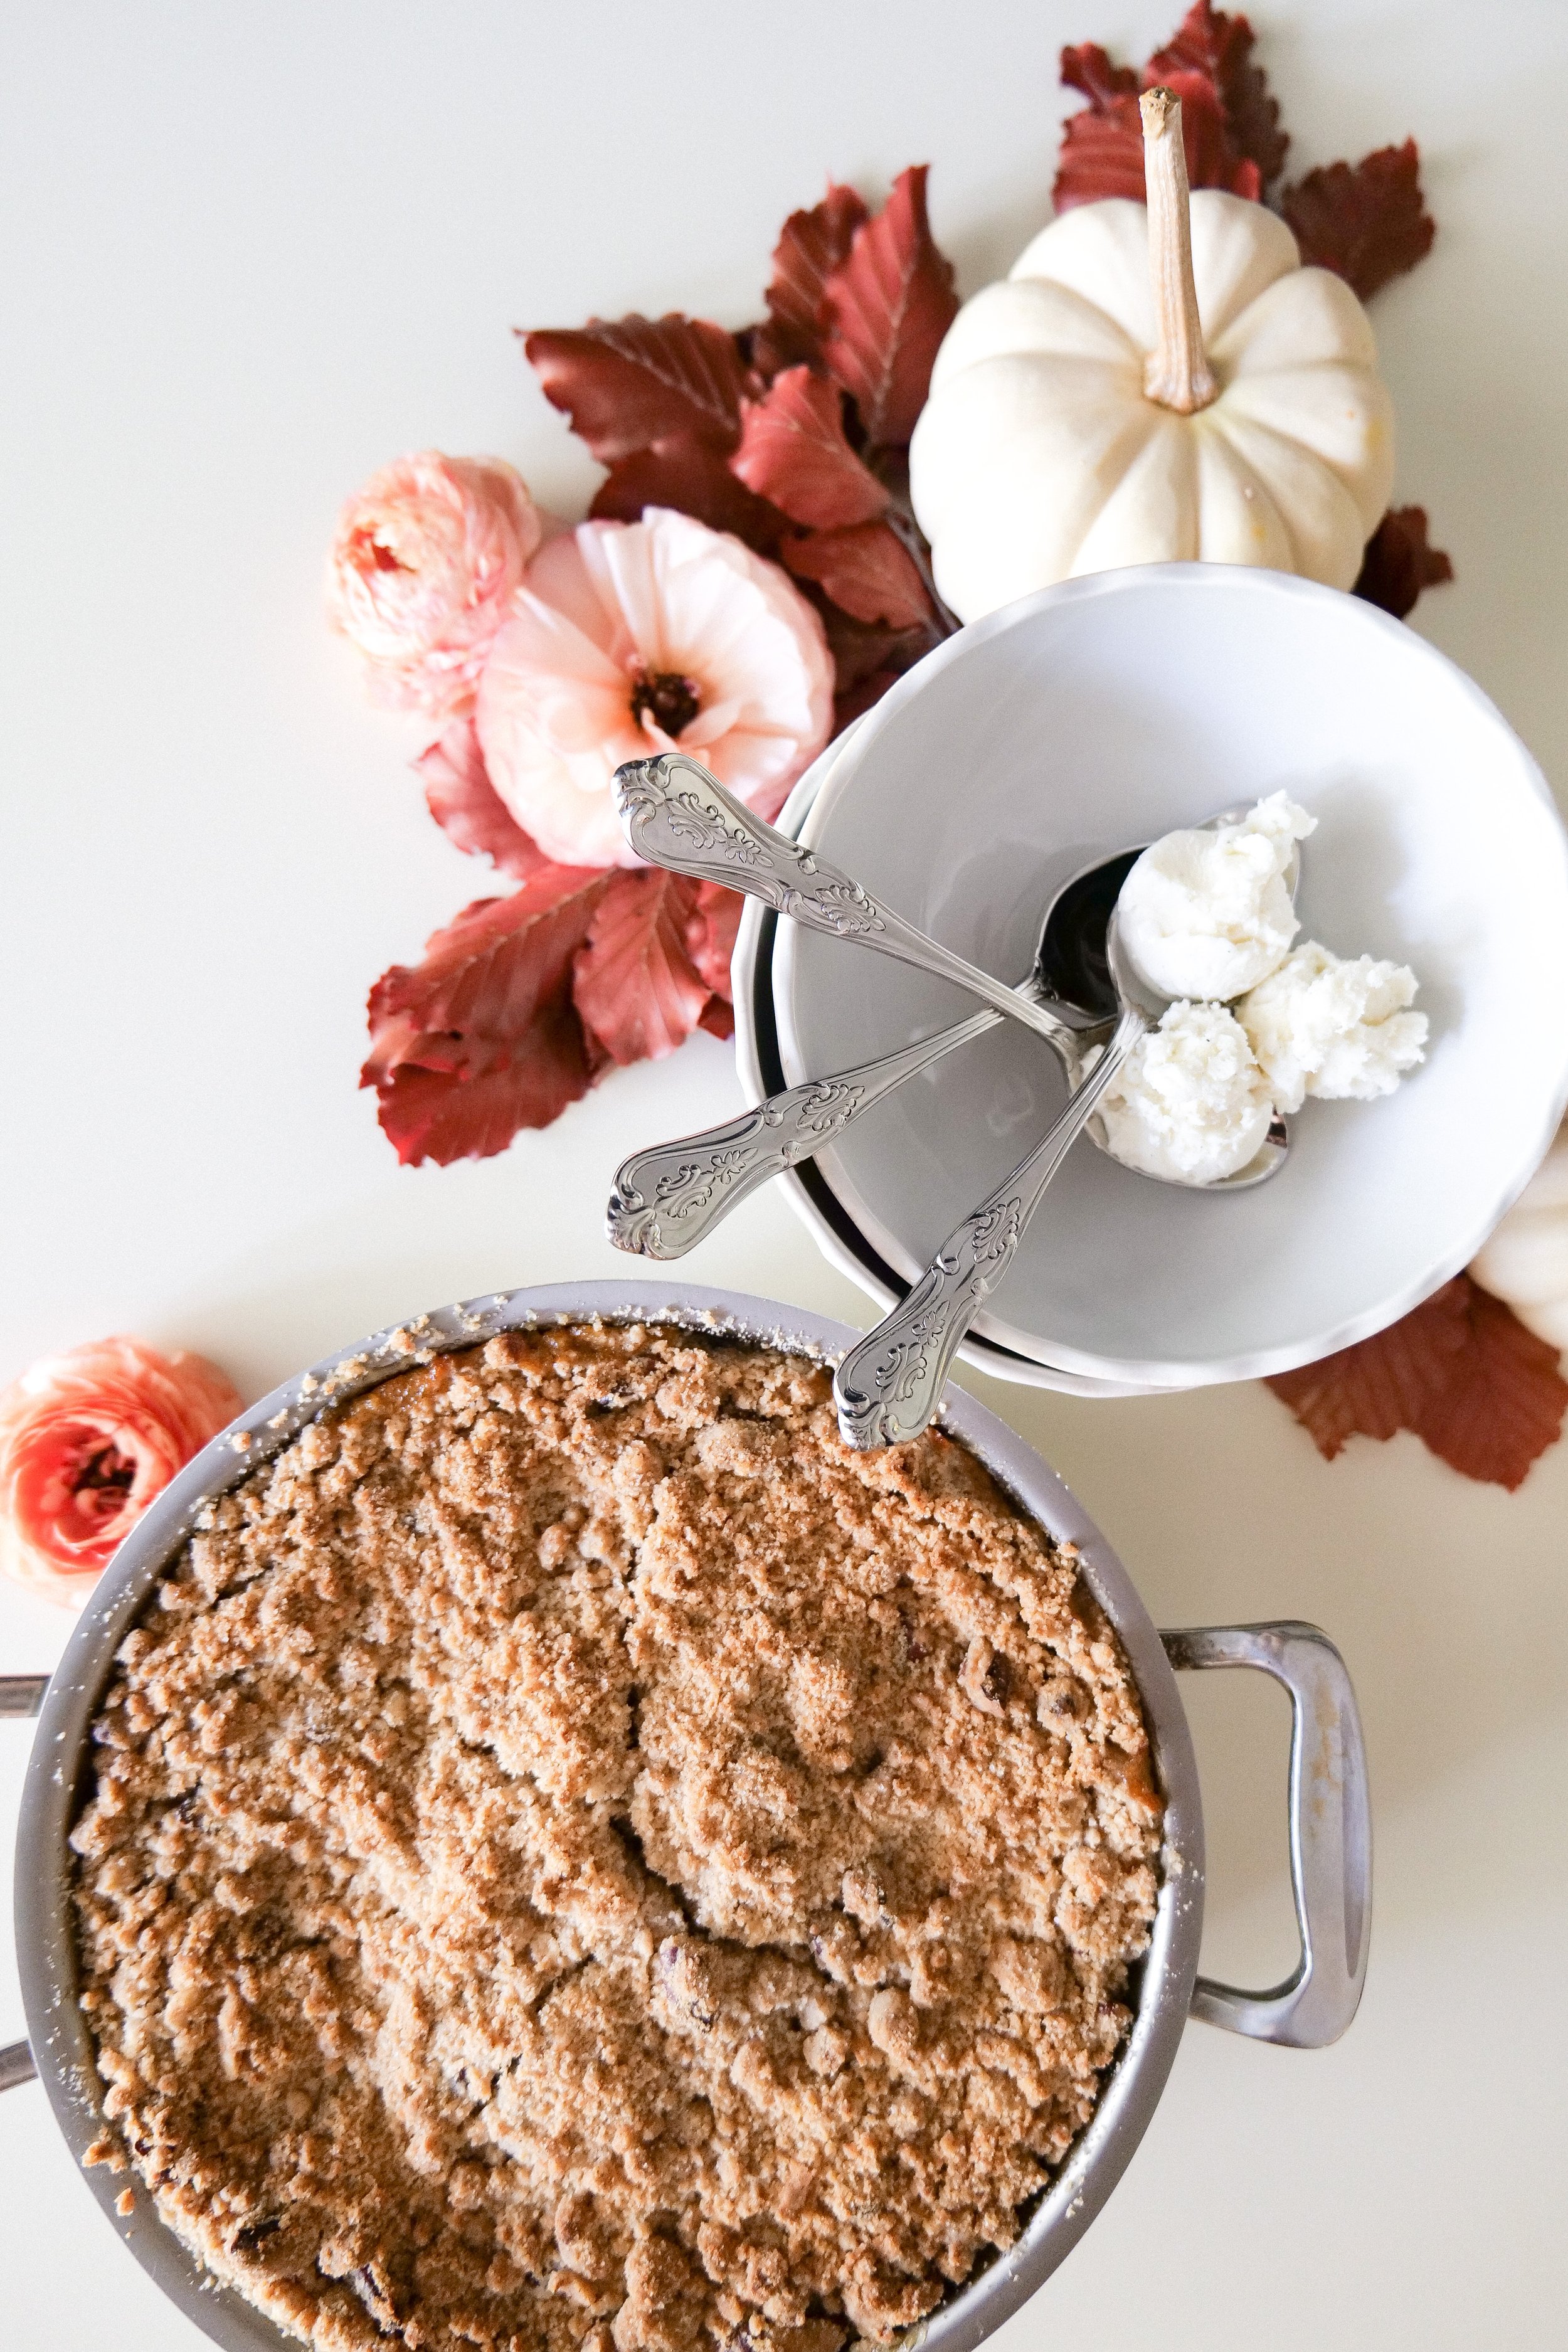
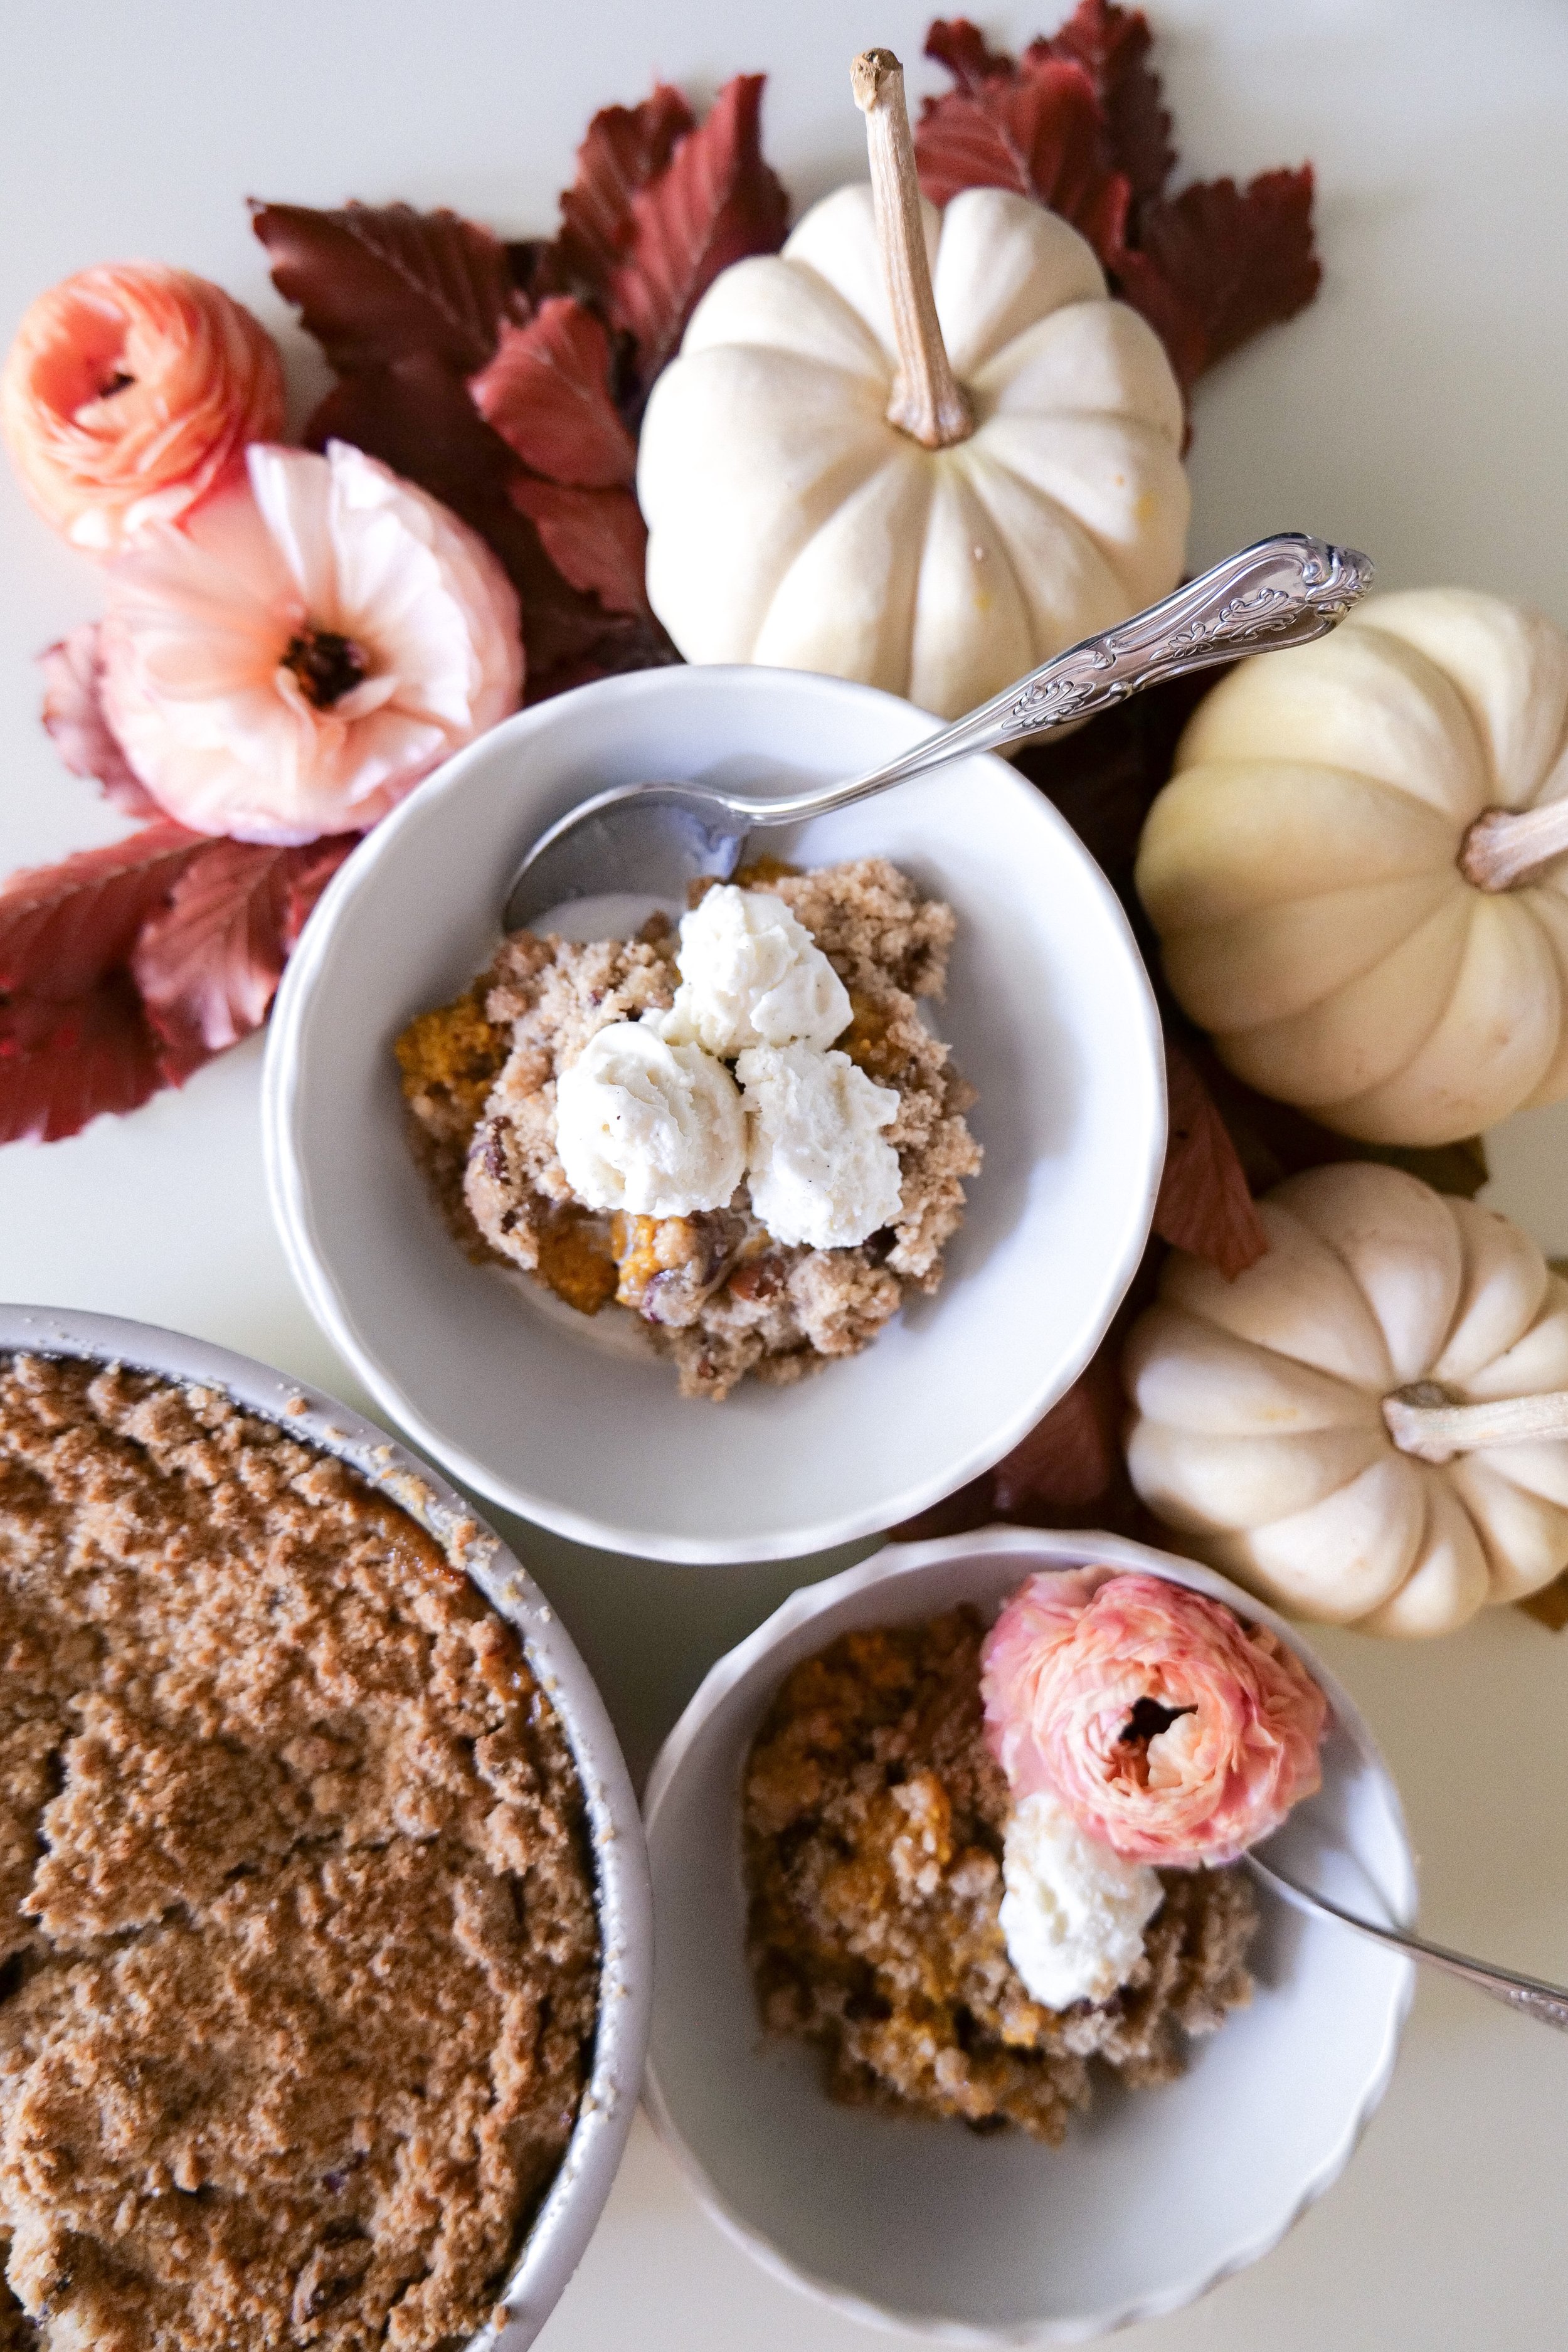
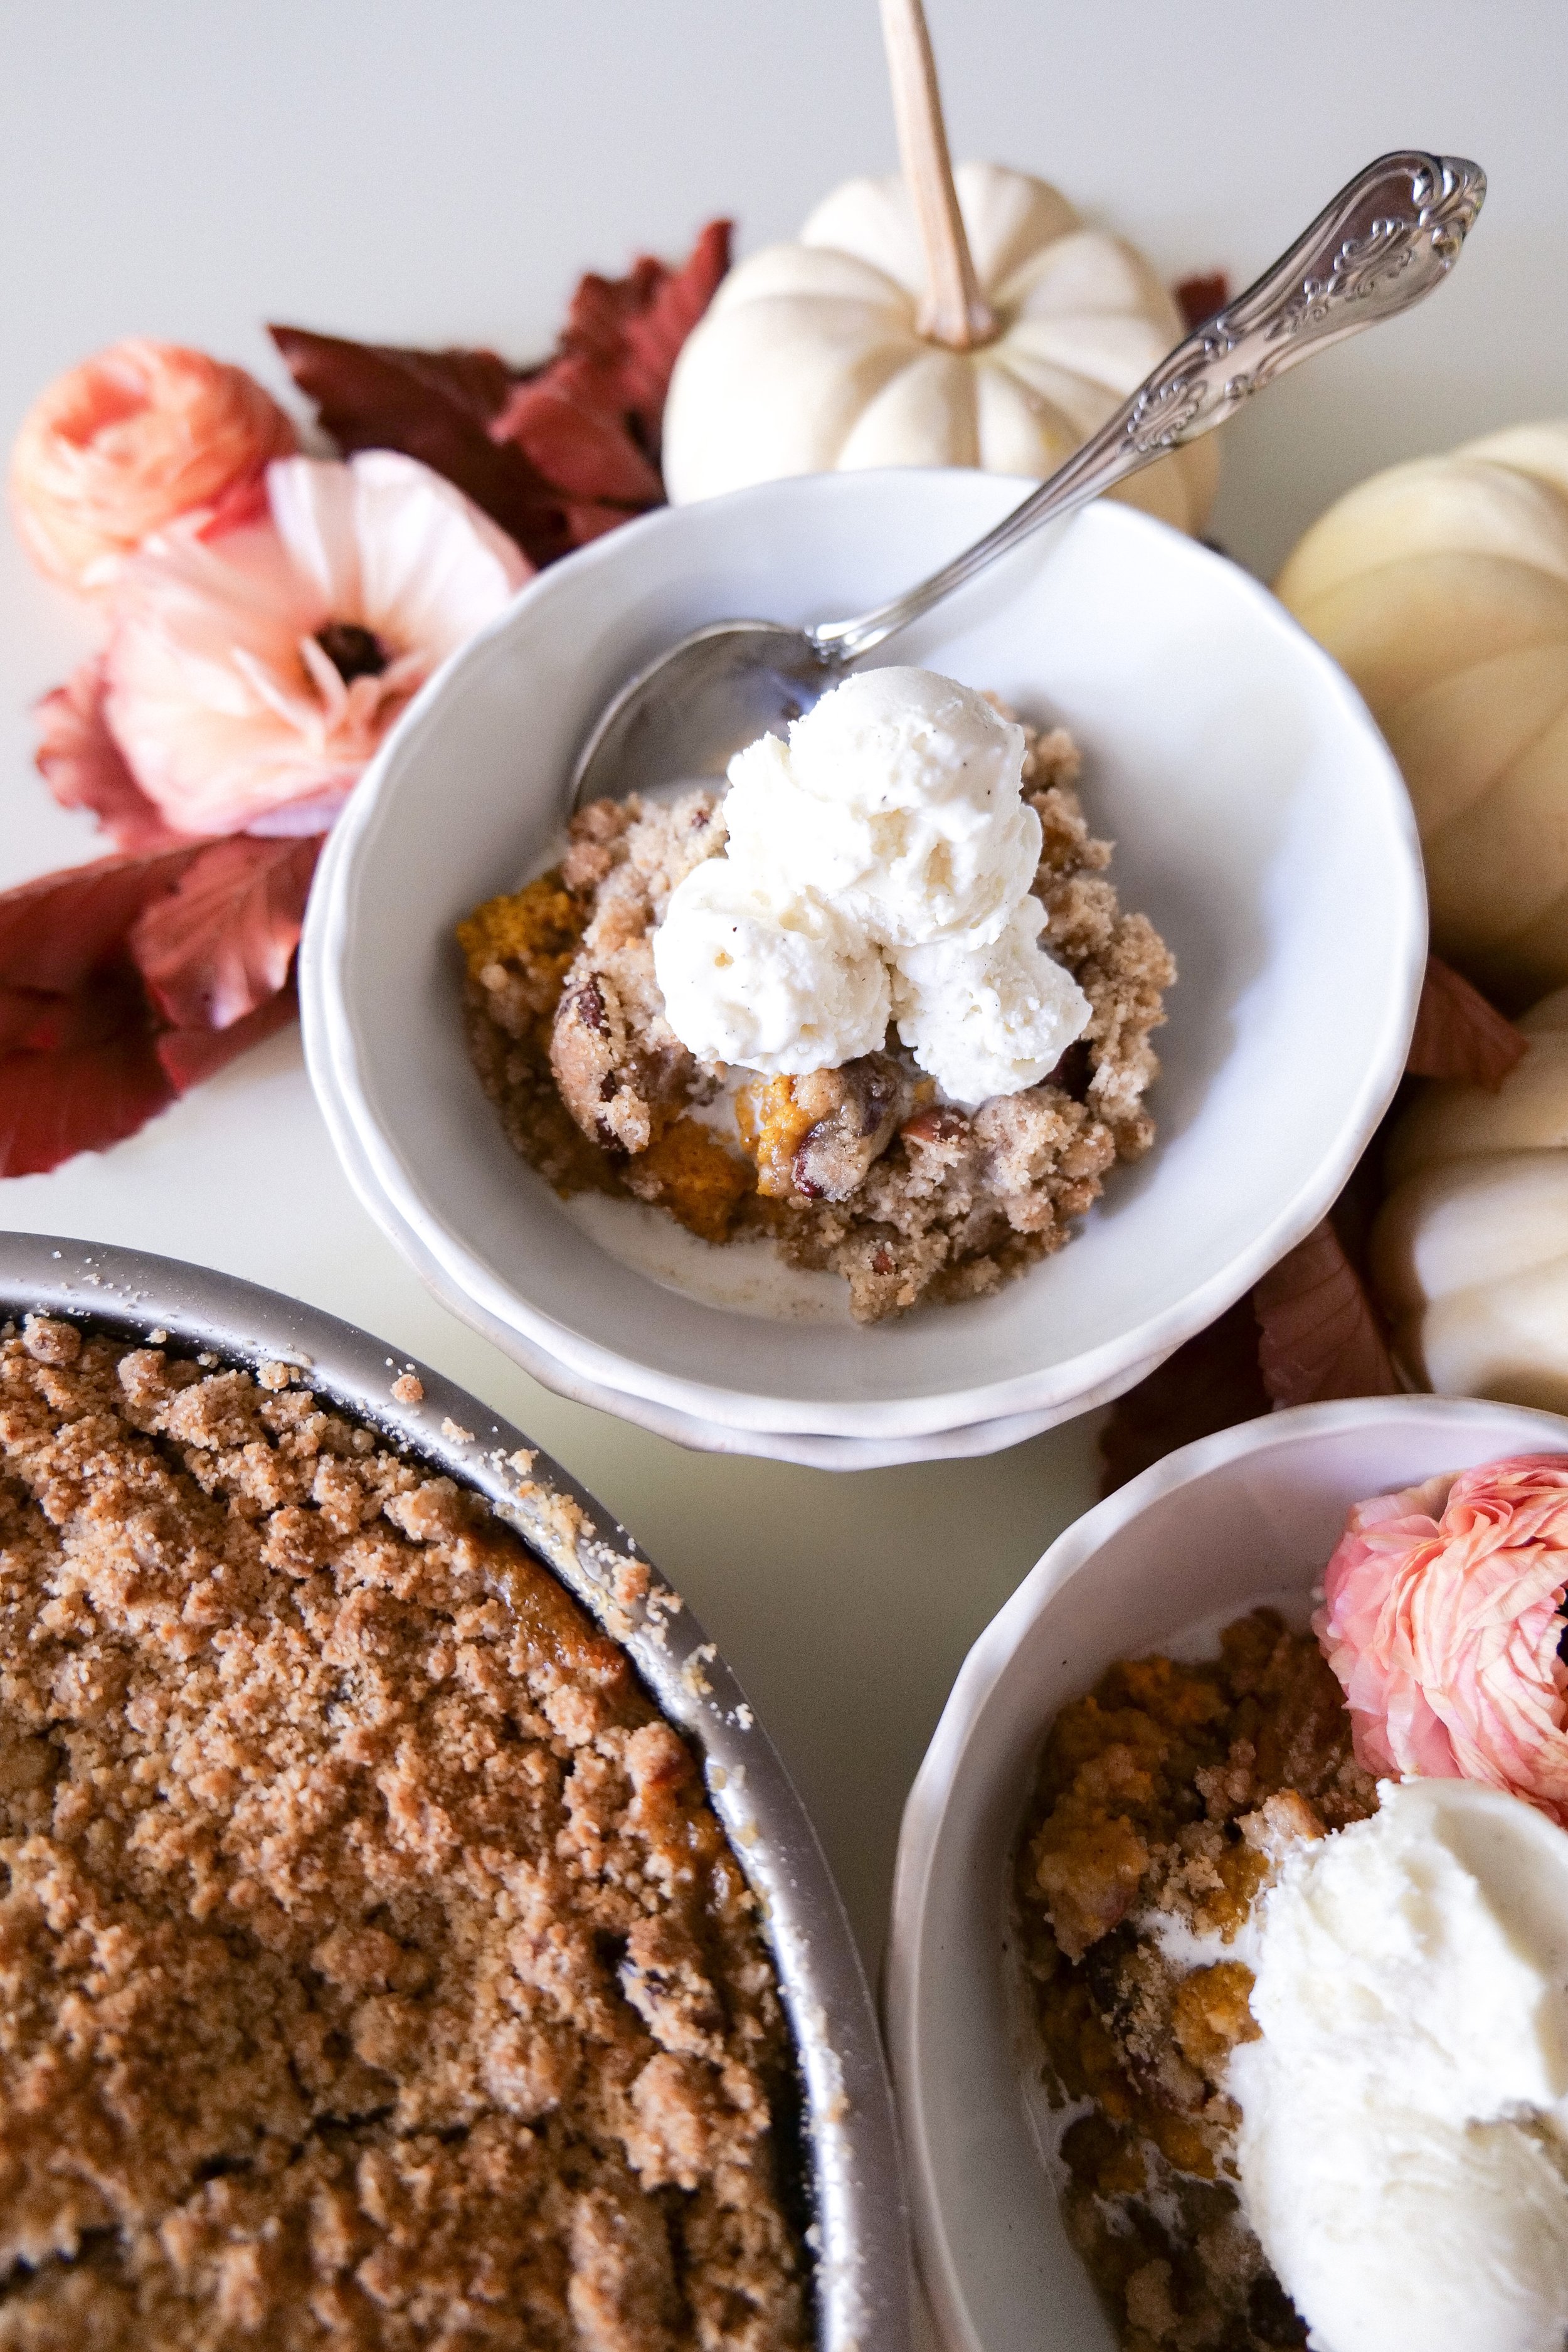
The Ultimate Thanksgiving Dessert - My Pumpkin Crisp Recipe

Looking for a new dessert this Thanksgiving that isn’t the same ol’ pumpkin pie? This is it!! My husband isn’t the biggest pie fan, so I was looking for something as a replacement with that same familiar taste to accommodate the whole crowd, especially those that still love and crave a traditional pumpkin pie! This dessert hit all the marks for our early family Thanksgiving, and it will surely be a hit throughout the Holiday season as well!

We hope this pumpkin crisp recipe satisfies every sweet tooth of every family member you have, just as it did to ours! Here is the best pumpkin crisp recipe ever!

Ingredients

  • 1 (15-oz.) canned pumpkin purée

  • 1 cup sugar

  • 3 large eggs

  • 2 teaspoons pumpkin pie spice

  • 1/2 teaspoon kosher salt

  • 2 teaspoons pure vanilla extract

  • I can evaporated milk

Cinnamon topping

  • 2 cups all-purpose flour*

  • 3/4 cups granulated sugar

  • 3/4 cups brown sugar

  • 2 teaspoons cinnamon

  • 1/2 teaspoon salt

  • 12 tablespoons butter, melted

  • 1/2 cup pecans

Instructions

  1. Preheat oven to 425. Grease 9” round pan and set aside.

(Exact pan I used linked -here-)

  1. Whisk together pumpkin, evaporated milk, vanilla, eggs until combined.

  2. Add in sugar, pumpkin pie spice, and salt.

  3. Pour into pre-greased pan and place in oven uncovered for 20 minutes.

  4. While pumpkin mix if cooking mix together all cinnamon topping ingredients and make a nice crumble for the top.

  5. Once 20 min has passed remove from oven and turn oven to 375.

  6. Add crumble onto top of pumpkin mix and place back into oven for 20-30 minutes or until a knife or toothpick comes out clean. Let cool for 5-10 minutes before serving.

  7. Enjoy with ice cream, caramel or chocolate toppings.

If you by chance don't finish you can store in the refrigerator, cover with plastic wrap, and reheat in oven when ready for leftovers!

For all 360 pans I used shop -here- and use code AMANDAWARREN20 for 20% off your entire purchase.

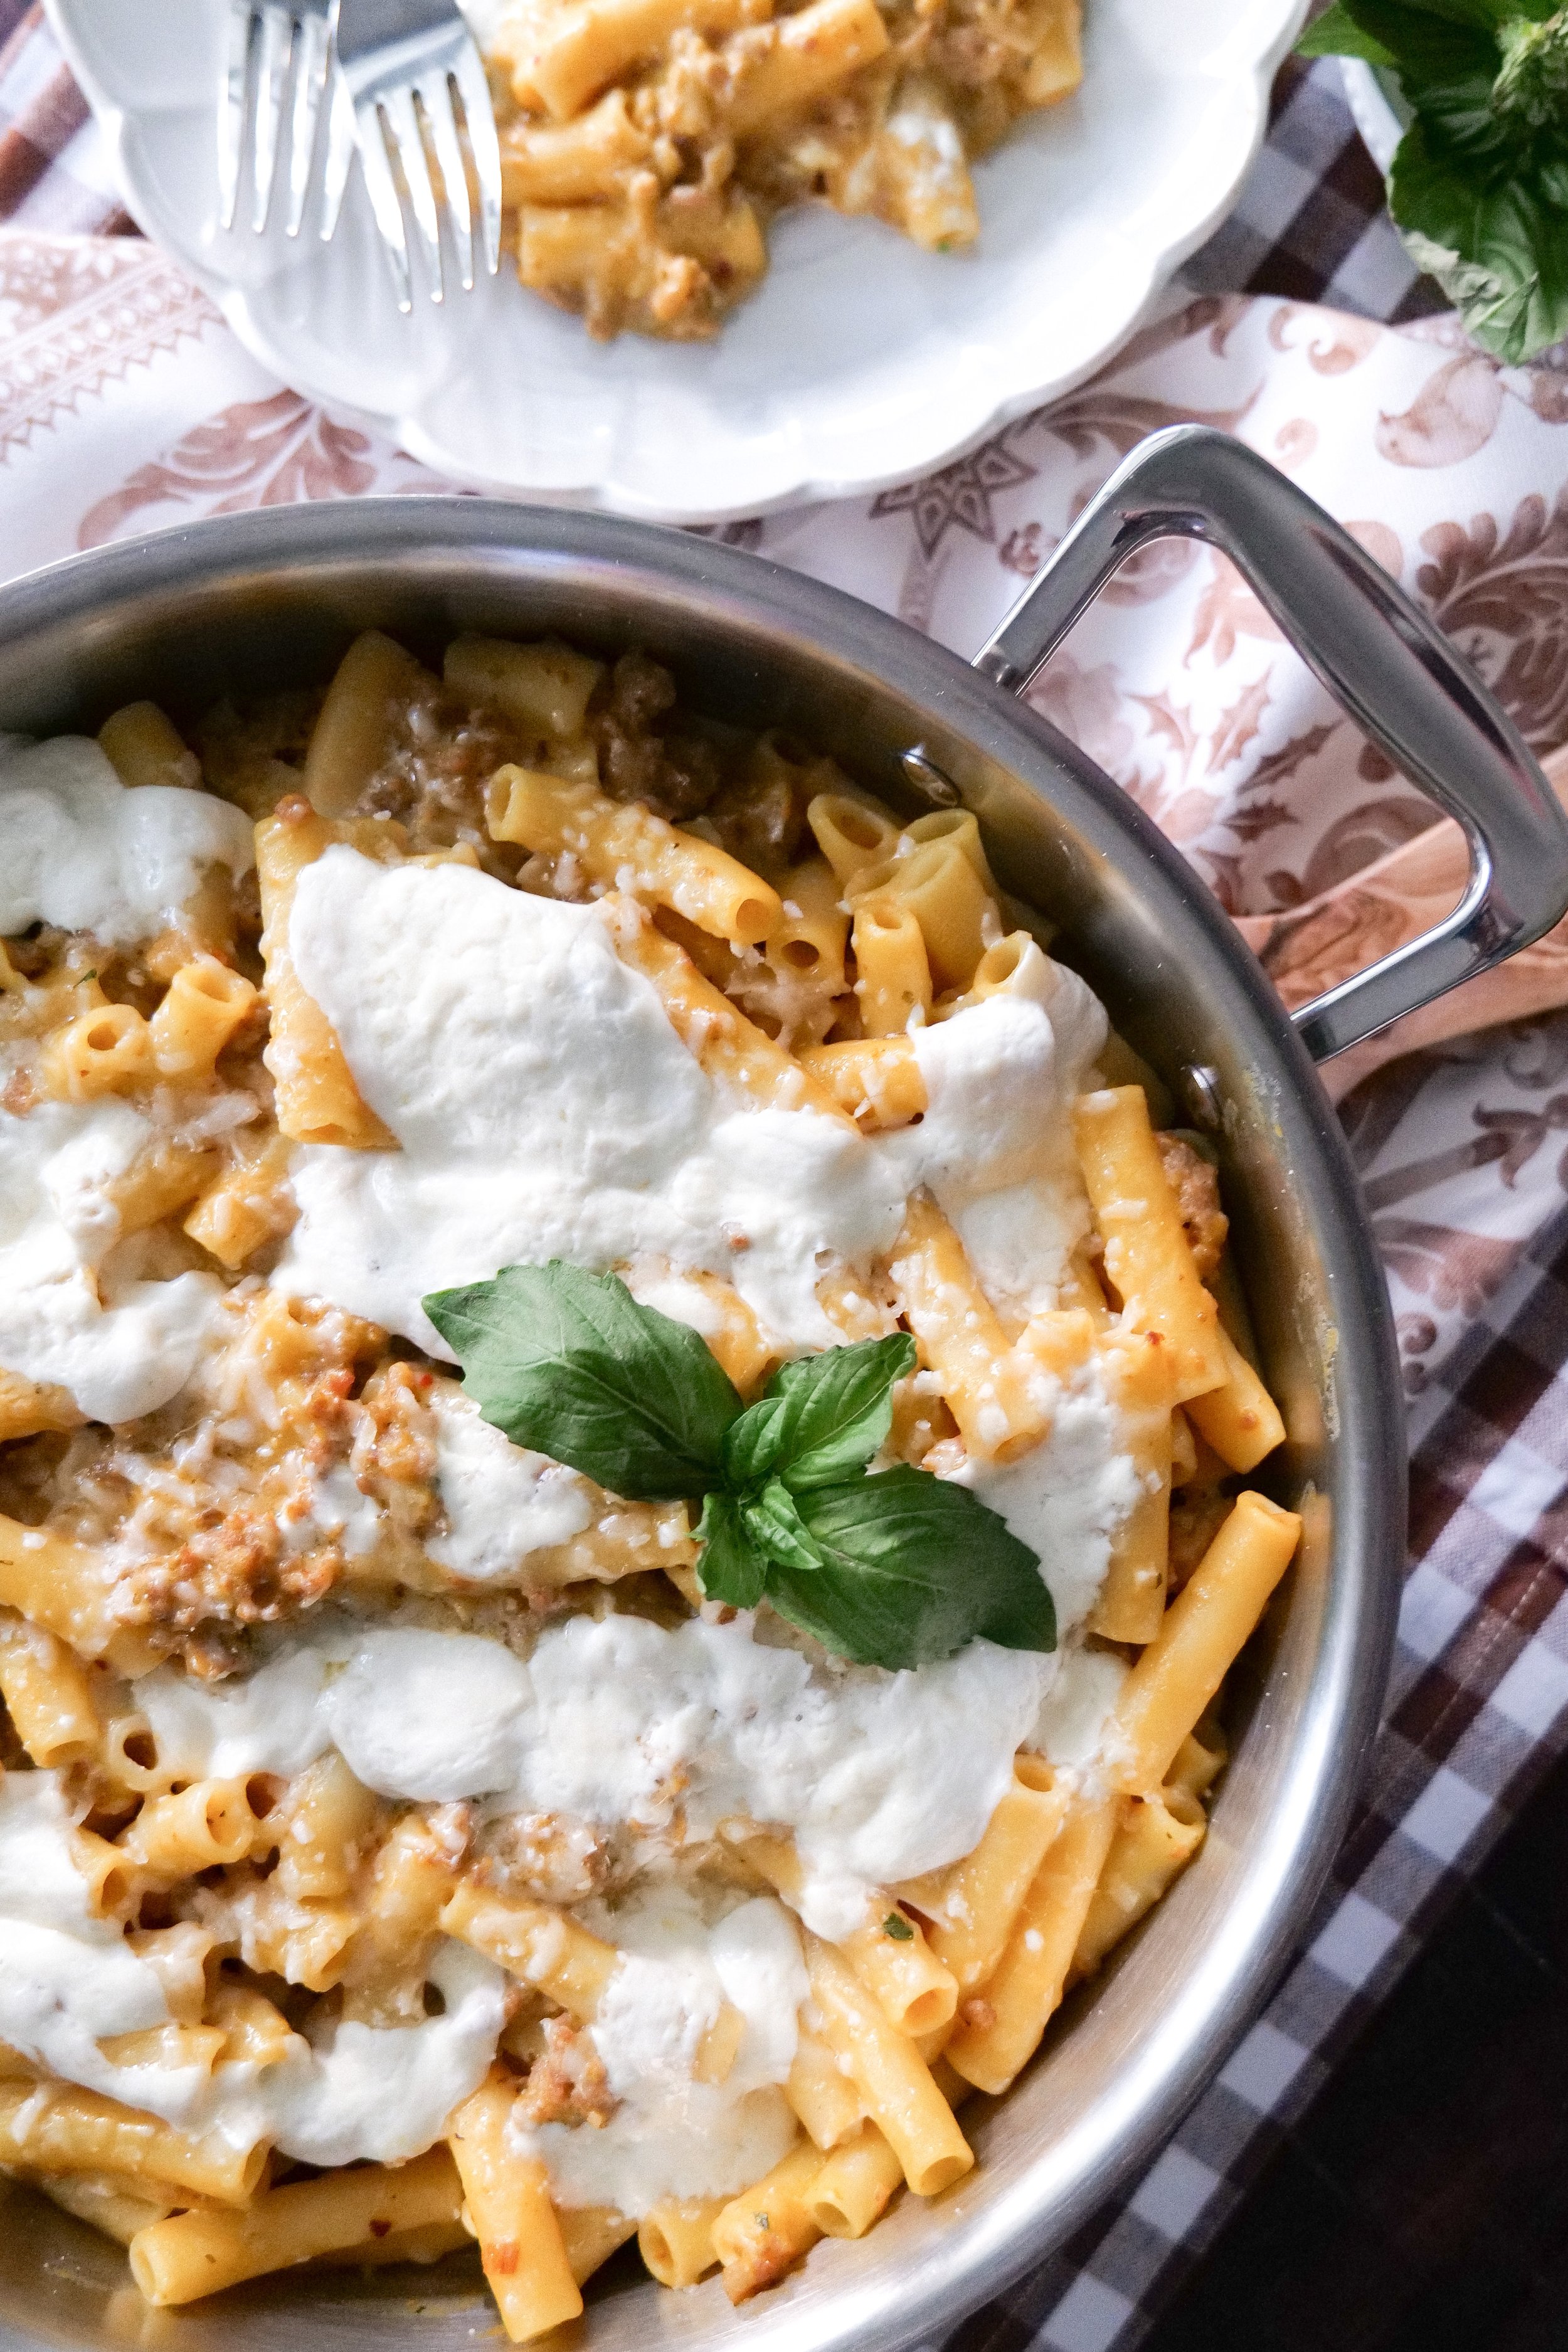
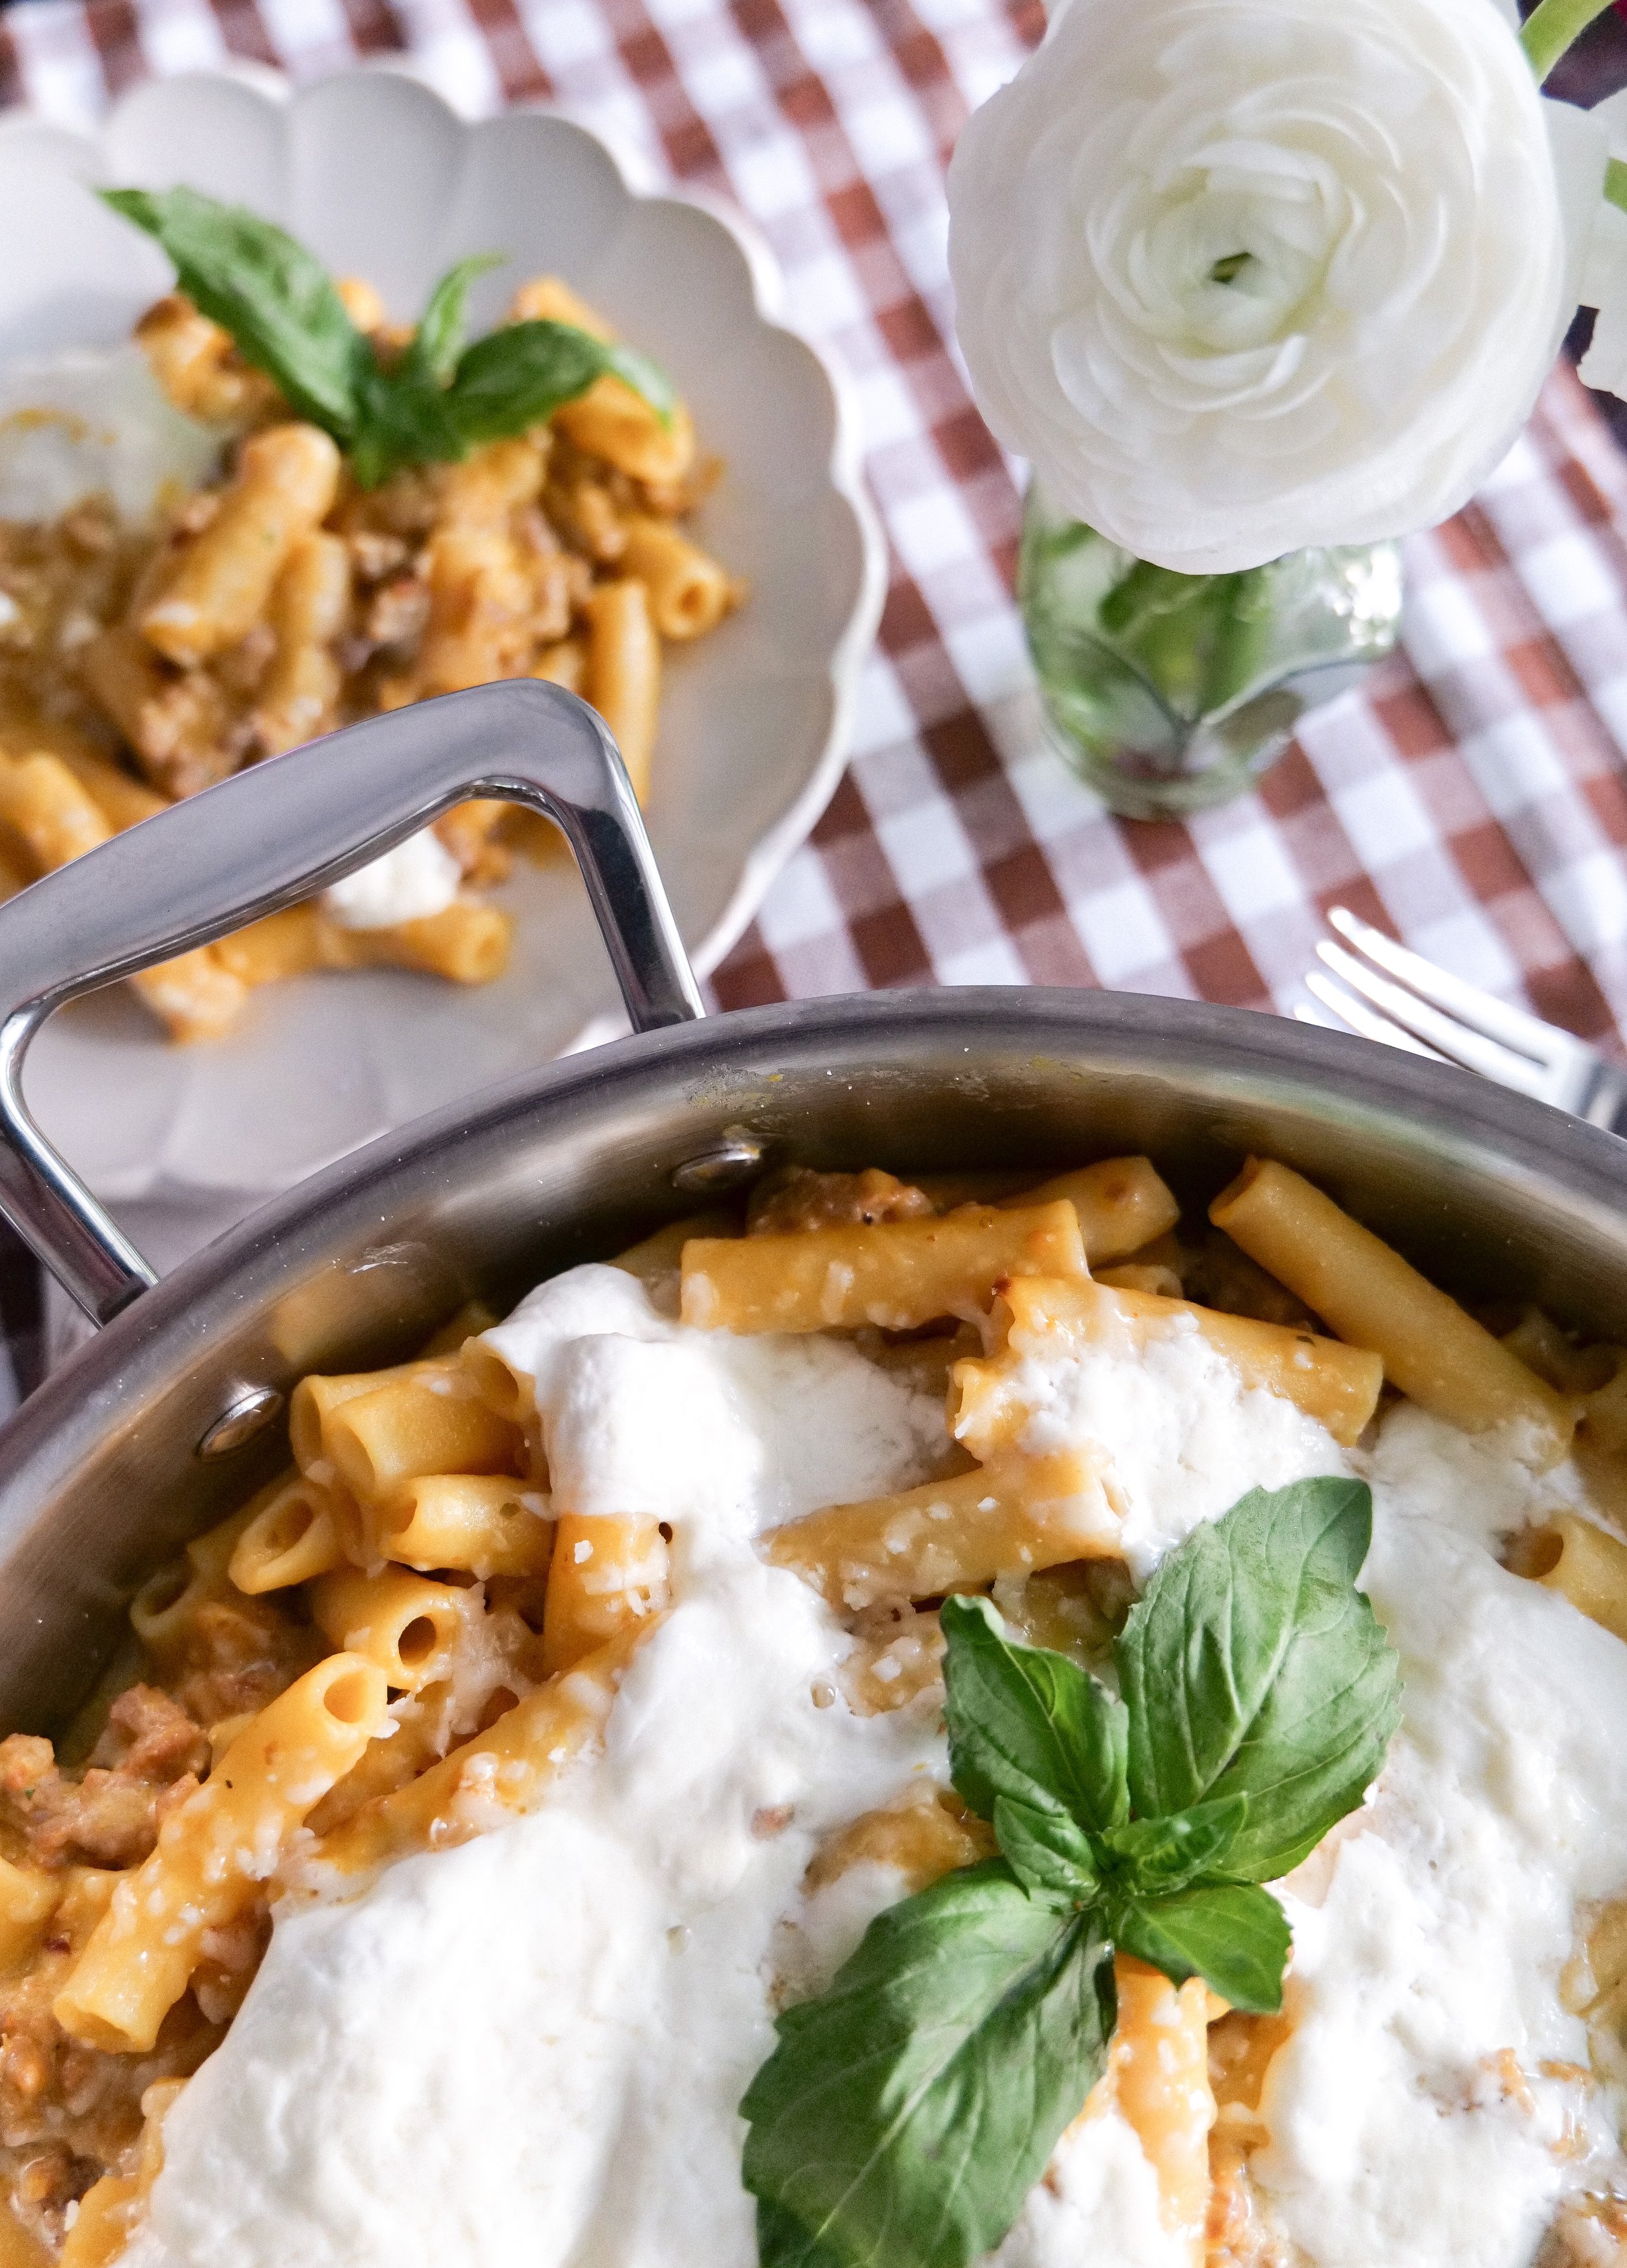
Baked Burrata Pumpkin Ziti with Pork Sausage Recipe

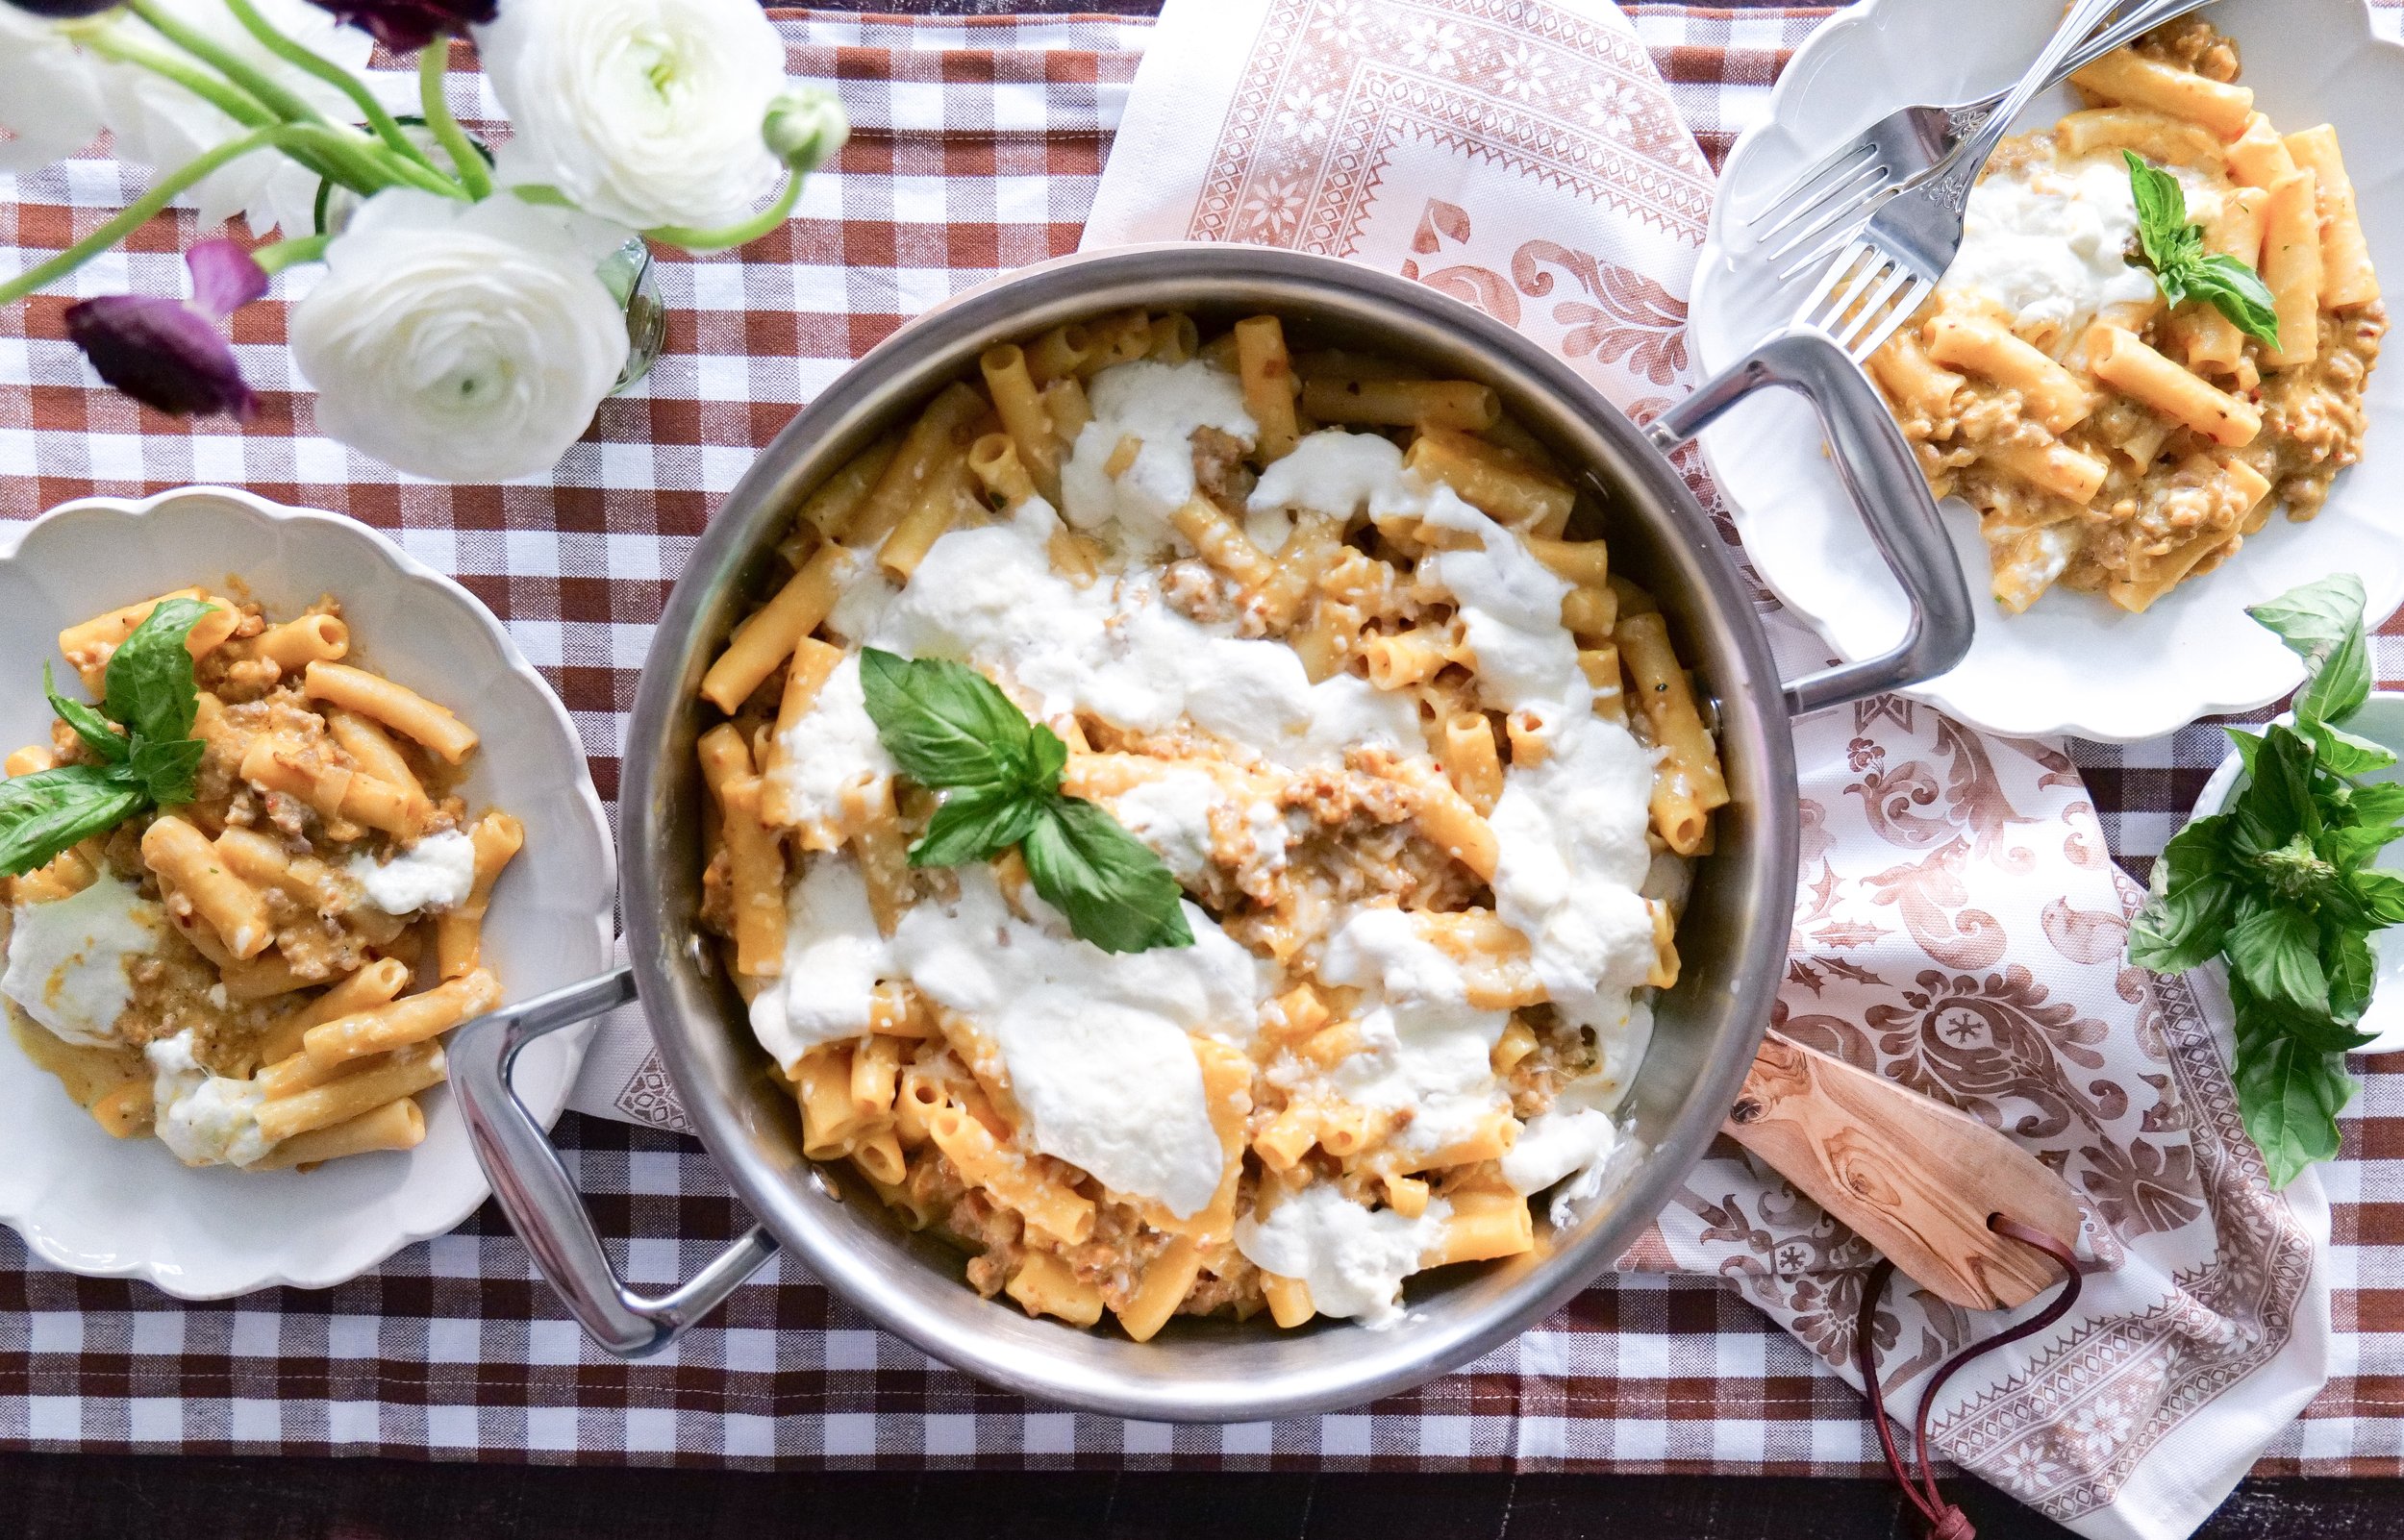
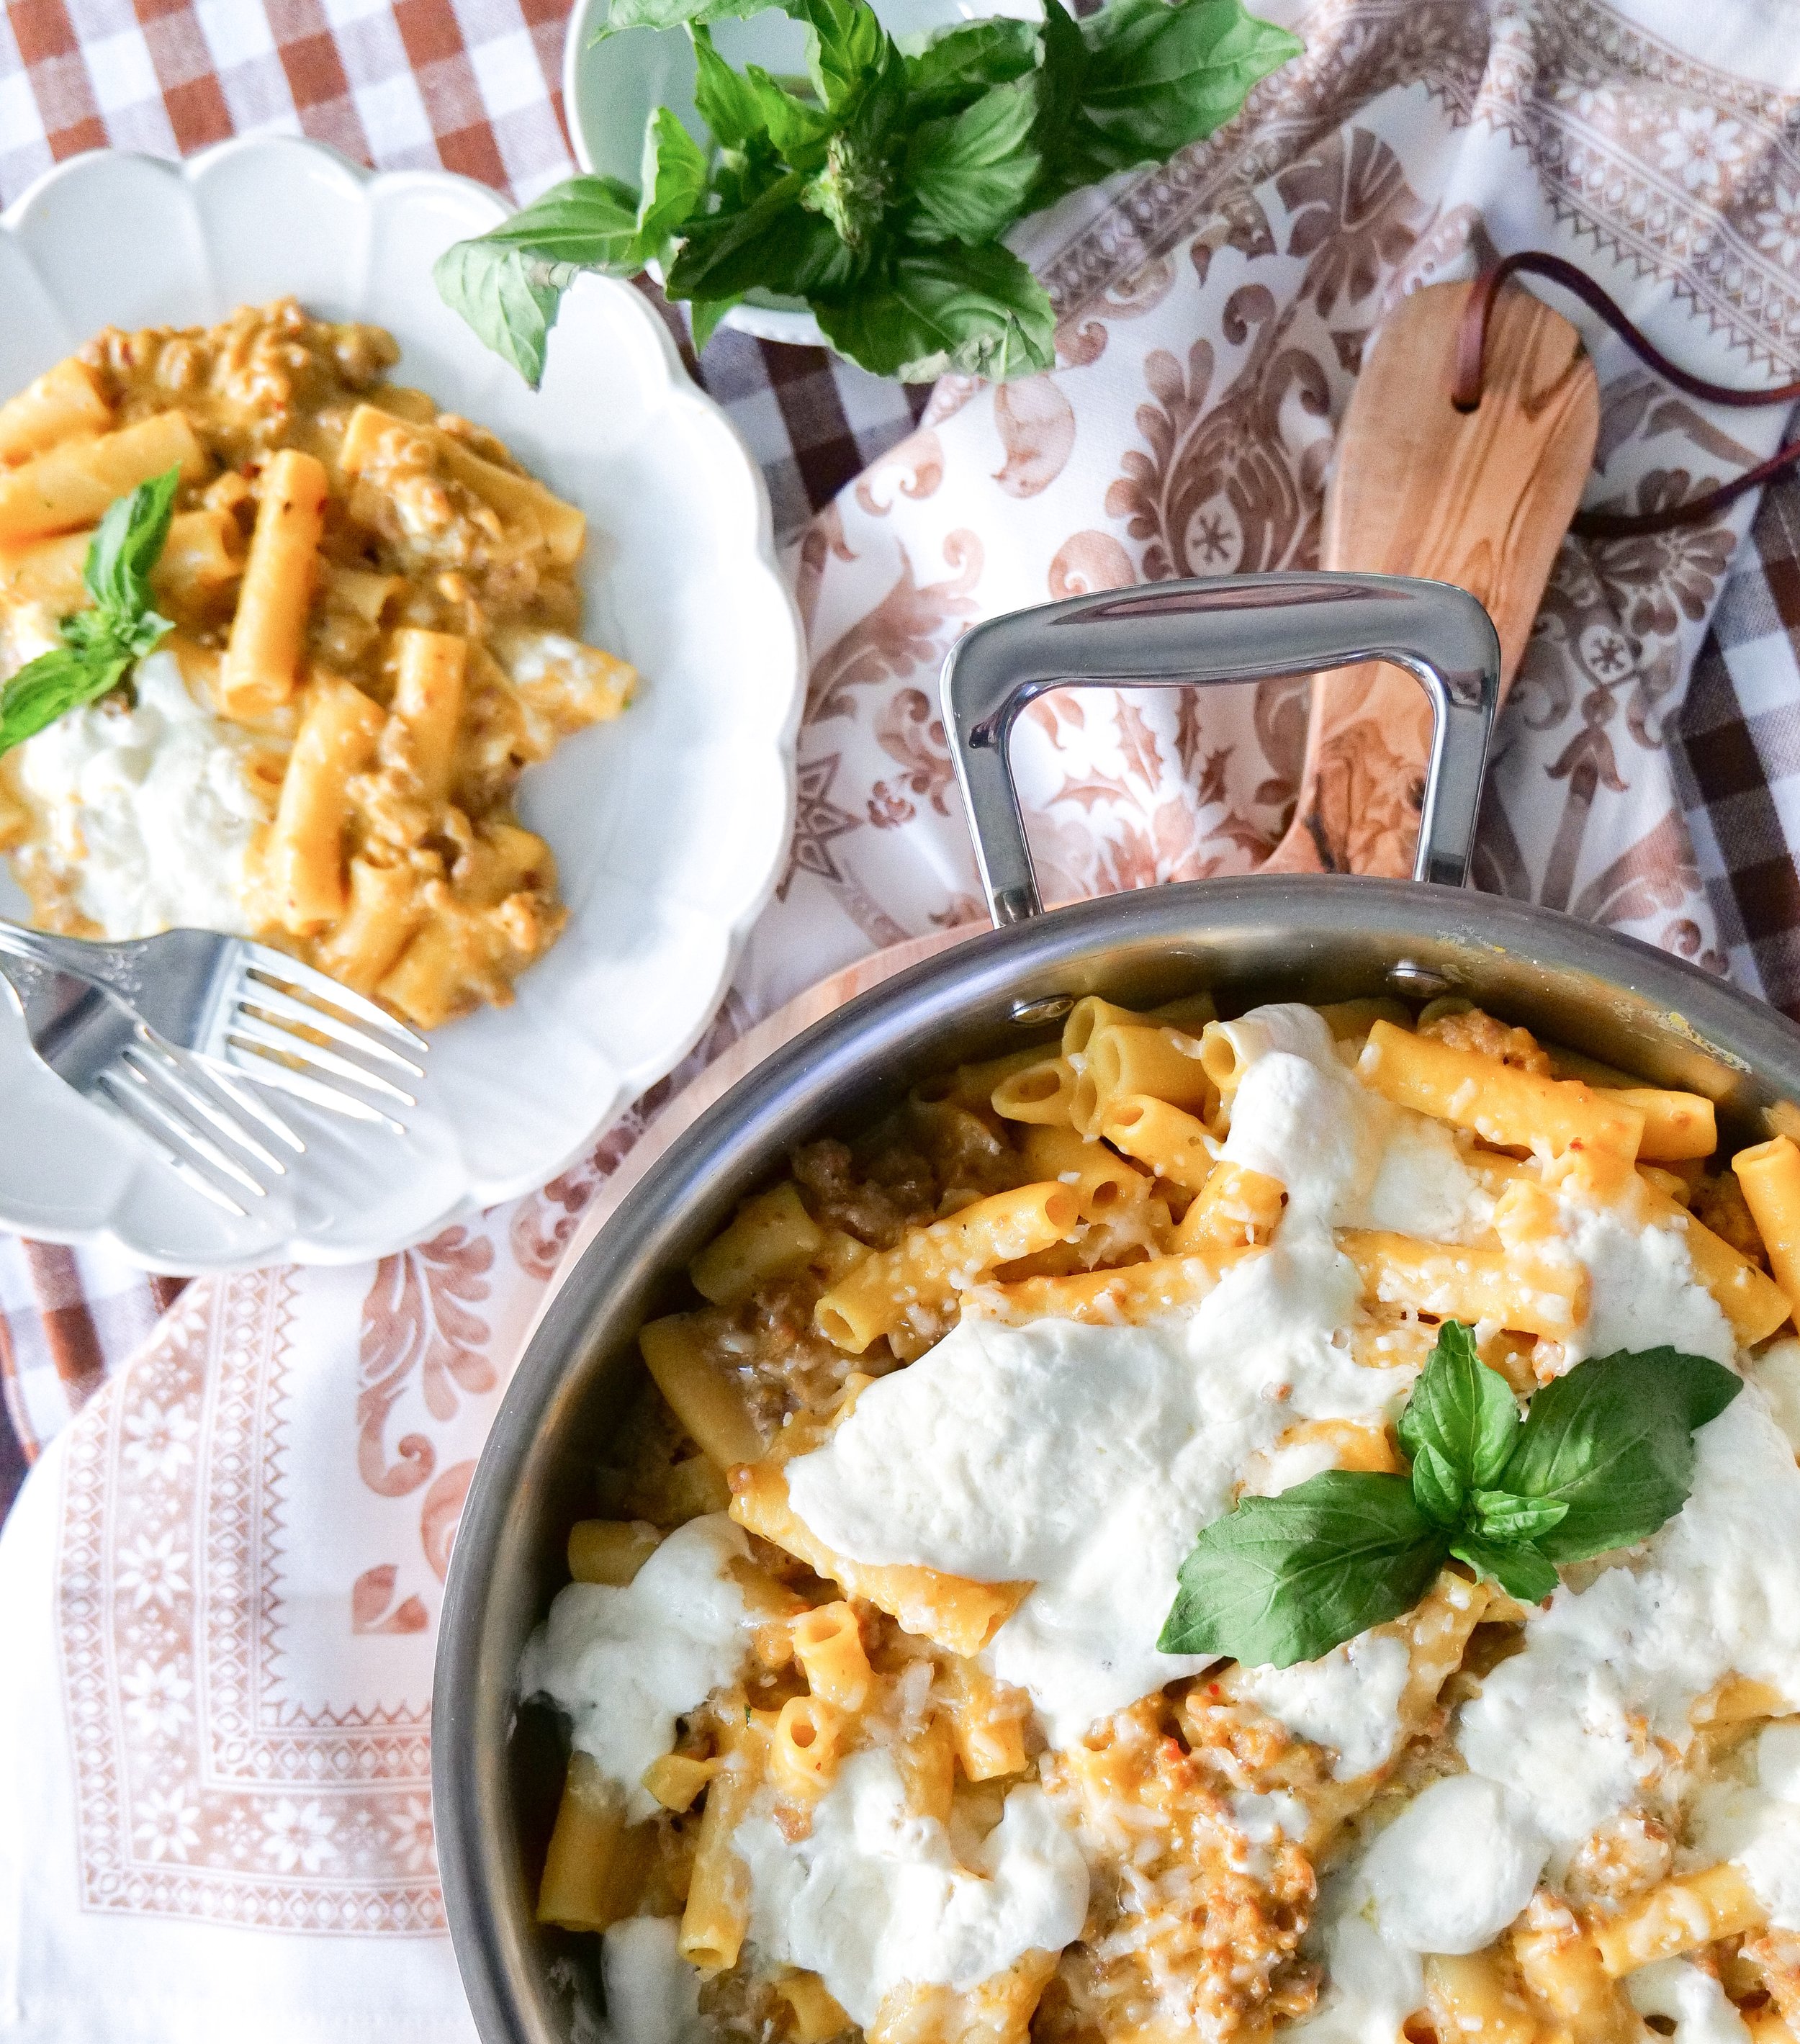
This dish is an Autumn favorite and is perfect for a nice cold day. It features pumpkin ziti, oven-baked burrata cheese and Italian pork sausage. The burrata cheese texture is soft, mild and delicate, made from both mozzarella and cream. The pork sausage is a seasoned ground pork that is smoked for a richer flavor and pairs so well with the pumpkin sauce taste on the ziti pasta. This dish takes a delicious traditional pasta plate and pairs it with that Fall pumpkin craze for a fun festive way to celebrate the season. If someone coming over for dinner isn't the biggest pumpkin fan, then don't worry because this blend isn't an overpowering flavor of pumpkin. This makes it a satisfying dish with just a hint of unique flavors that everyone is sure to love. Trust me when I tell you this dish is sure to be an Autumn favorite, but also one you will find yourself craving all year long.

Ingredients :

1 lb ziti

4 tablespoons butter

1 shallot

2 tablespoons flour

1 teaspoon red pepper flakes

1 teaspoon basil

1 teaspoon oregano

1 cup 100% pure pumpkin

1 cup heavy cream

1 lb pork sausage

2 cloves garlic

1/2 cup veg broth

1 1/2 cup parmesan

8 oz. Burrata

Instructions :

Prep: Preheat oven to 375 degree temperature. Bring pot of water to a boil. Mince shallot and garlic cloves. Shred Parmesan. Prep time 5 minutes.

1. Add butter garlic and shallots to pot and let cook until fragrant and shallots become caramelized.

2. Add in pork sausage (you can double the amount of meat in this if you want a more hearty meal as well) and cook breaking up meat as it cooks.

3. Once sausage is cooked in pan add seasoning; red pepper flakes, basil and oregano. Blend together and add flour. Now add in 100% Pumpkin pure and vegetable broth stirring to marry together.

4. While cooking sausage and sauce, if water has come to a boil add in the 1 lb of ziti to cook. Once al dente drain. Usually this takes 9-11 minutes

5. When you are almost ready to add in pasta turn off stove and add in heavy cream and 1 cup of the parmesan cheese. Add pasta and incorporate together.

6. Next to make a baked ziti you will be adding this into the oven. If you do not have an oven-safe pan you will need to pour ingredients into a new oven-safe container. I love the 360 pans because they are 100% stainless steel and can go from stove top to oven!.

7. Once ready to go into oven you will sprinkle the remaining 1/2 cup of parmesan on top and break apart the Burrata as well.

8. Place in oven and bake for 12-17 minutes until top is bubbly.

9. ENJOY!!

For more recipes like these head to my Pinterest tab titled Cooking with Amanda. Here you will find even more 100% pure pumpkin recipes and comfort food to enjoy this Christmas and holiday season.

You can shop all 360 cookware I use -here- discount code AmandaWarren20 will give you 20% off the entire site and will make the perfect Christmas gift this season for your favorite chef!

The Most Delicious Homemade Corn Bread Loaf Recipe

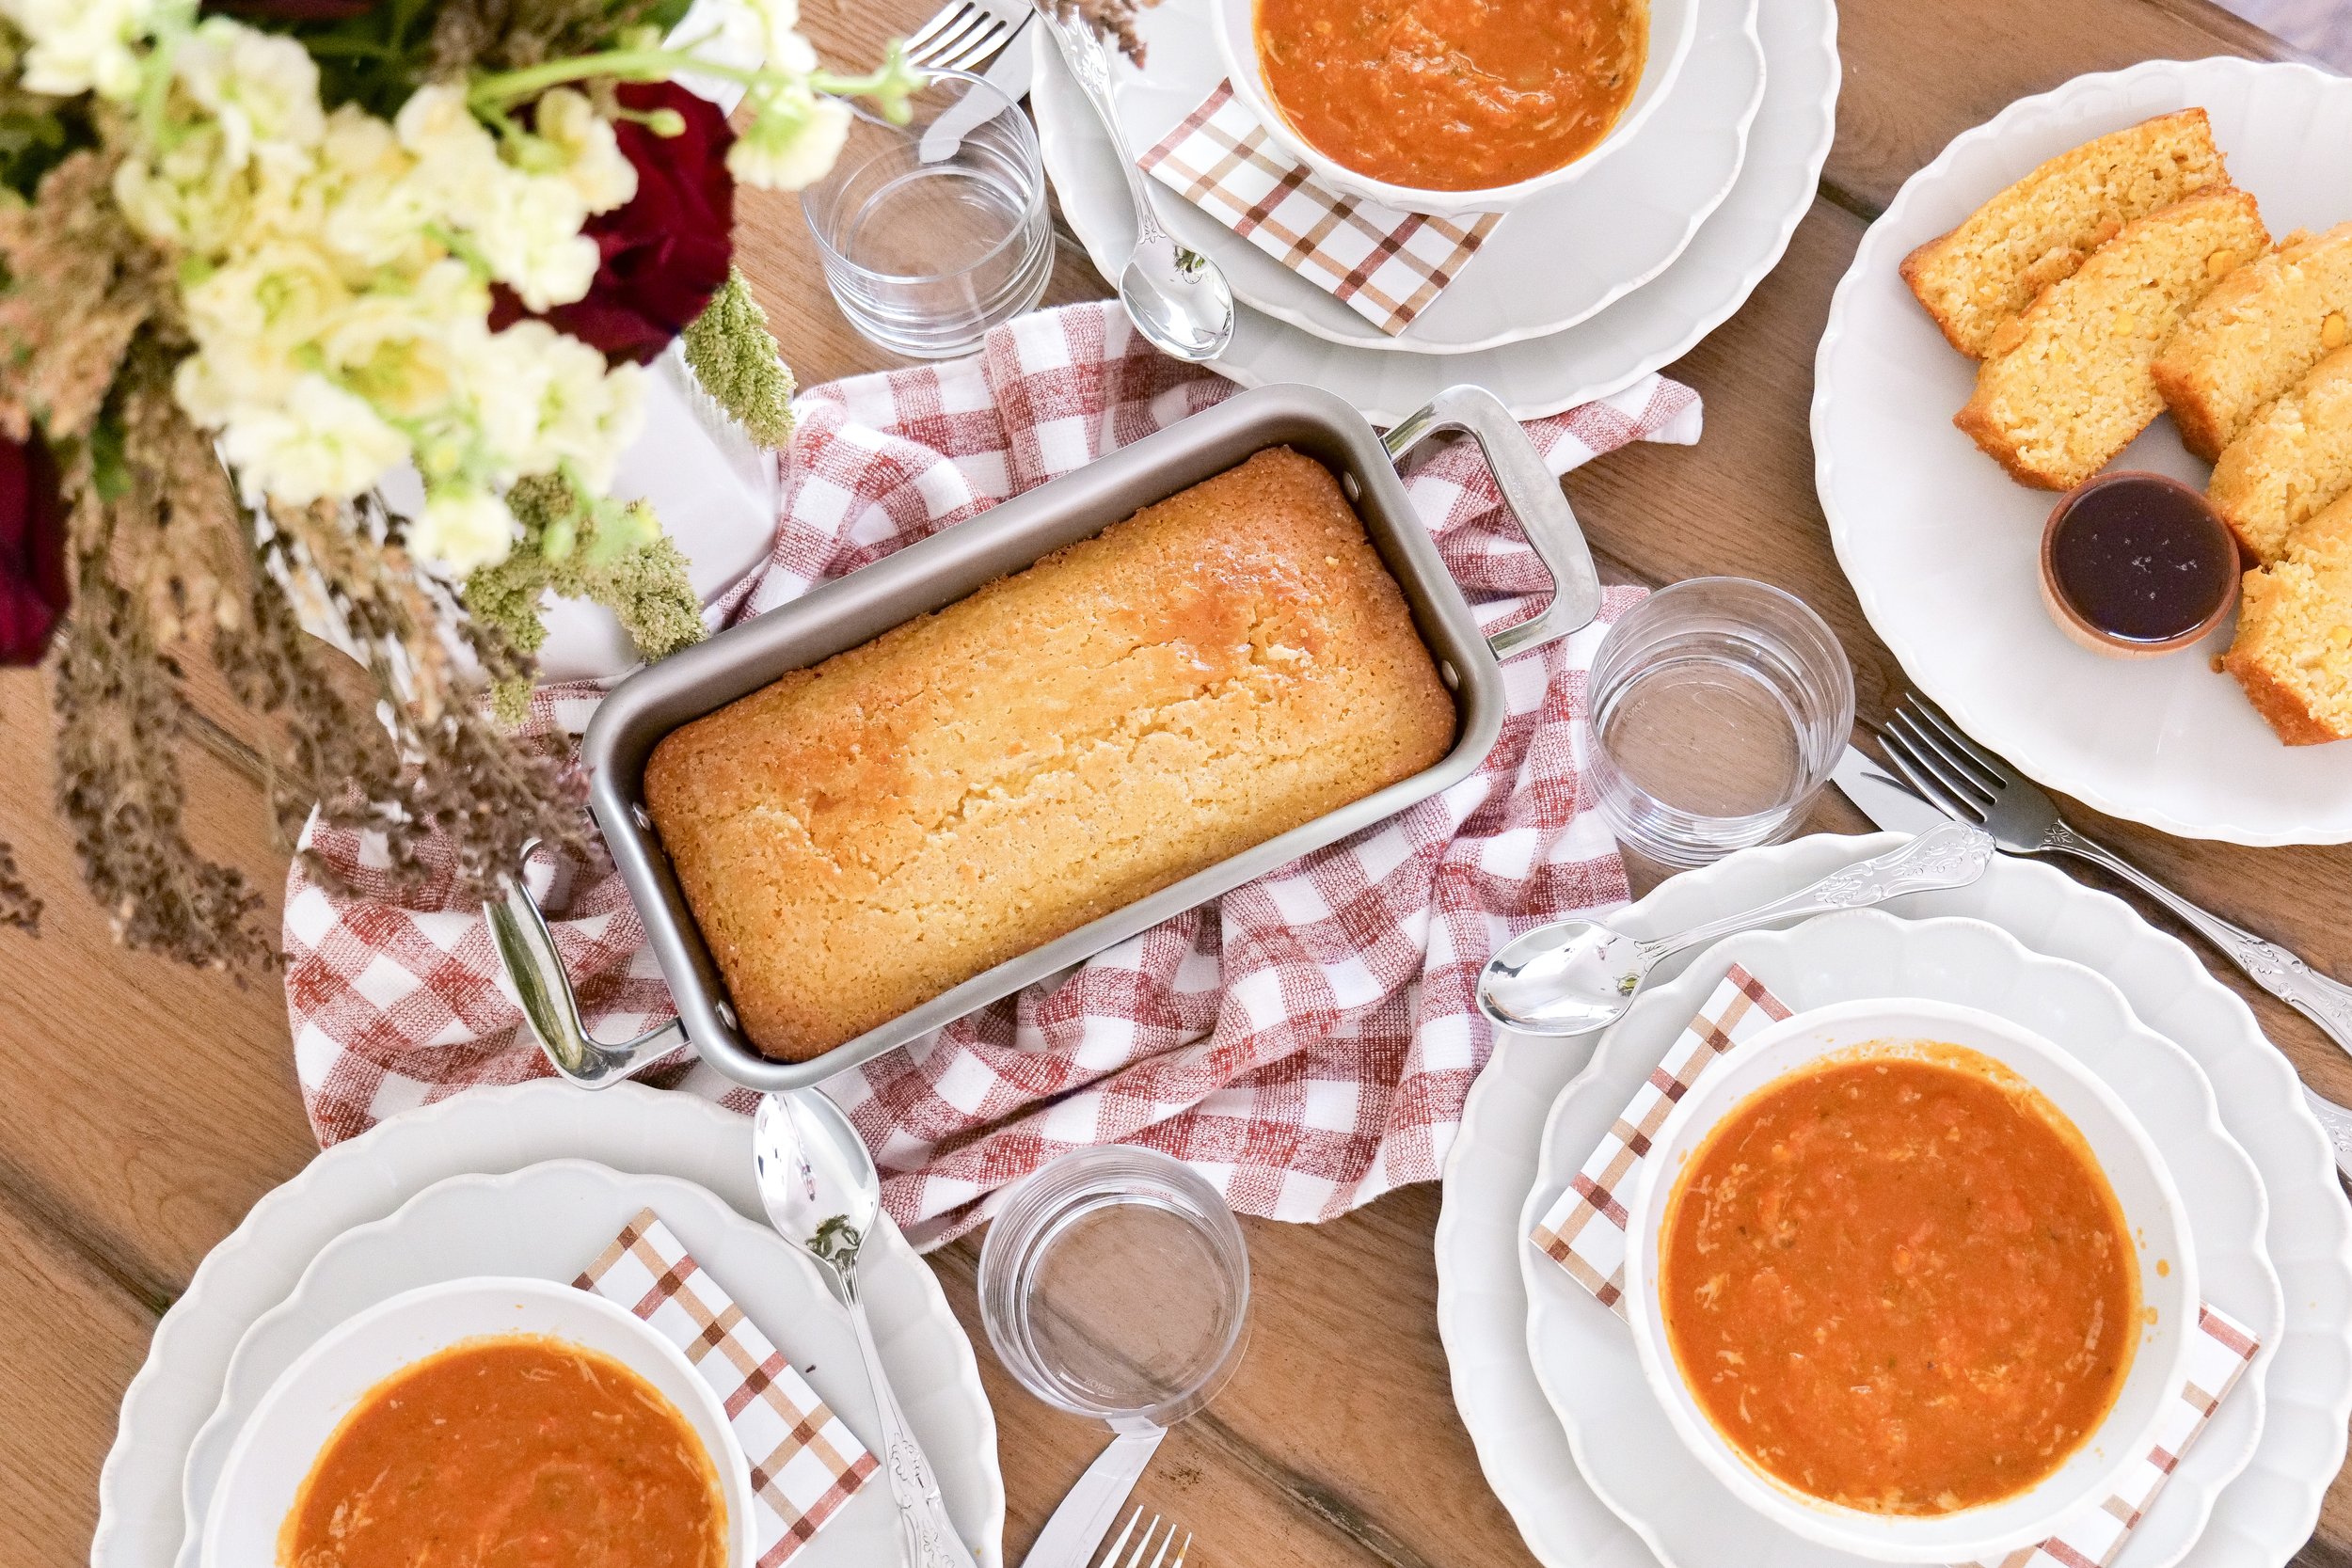
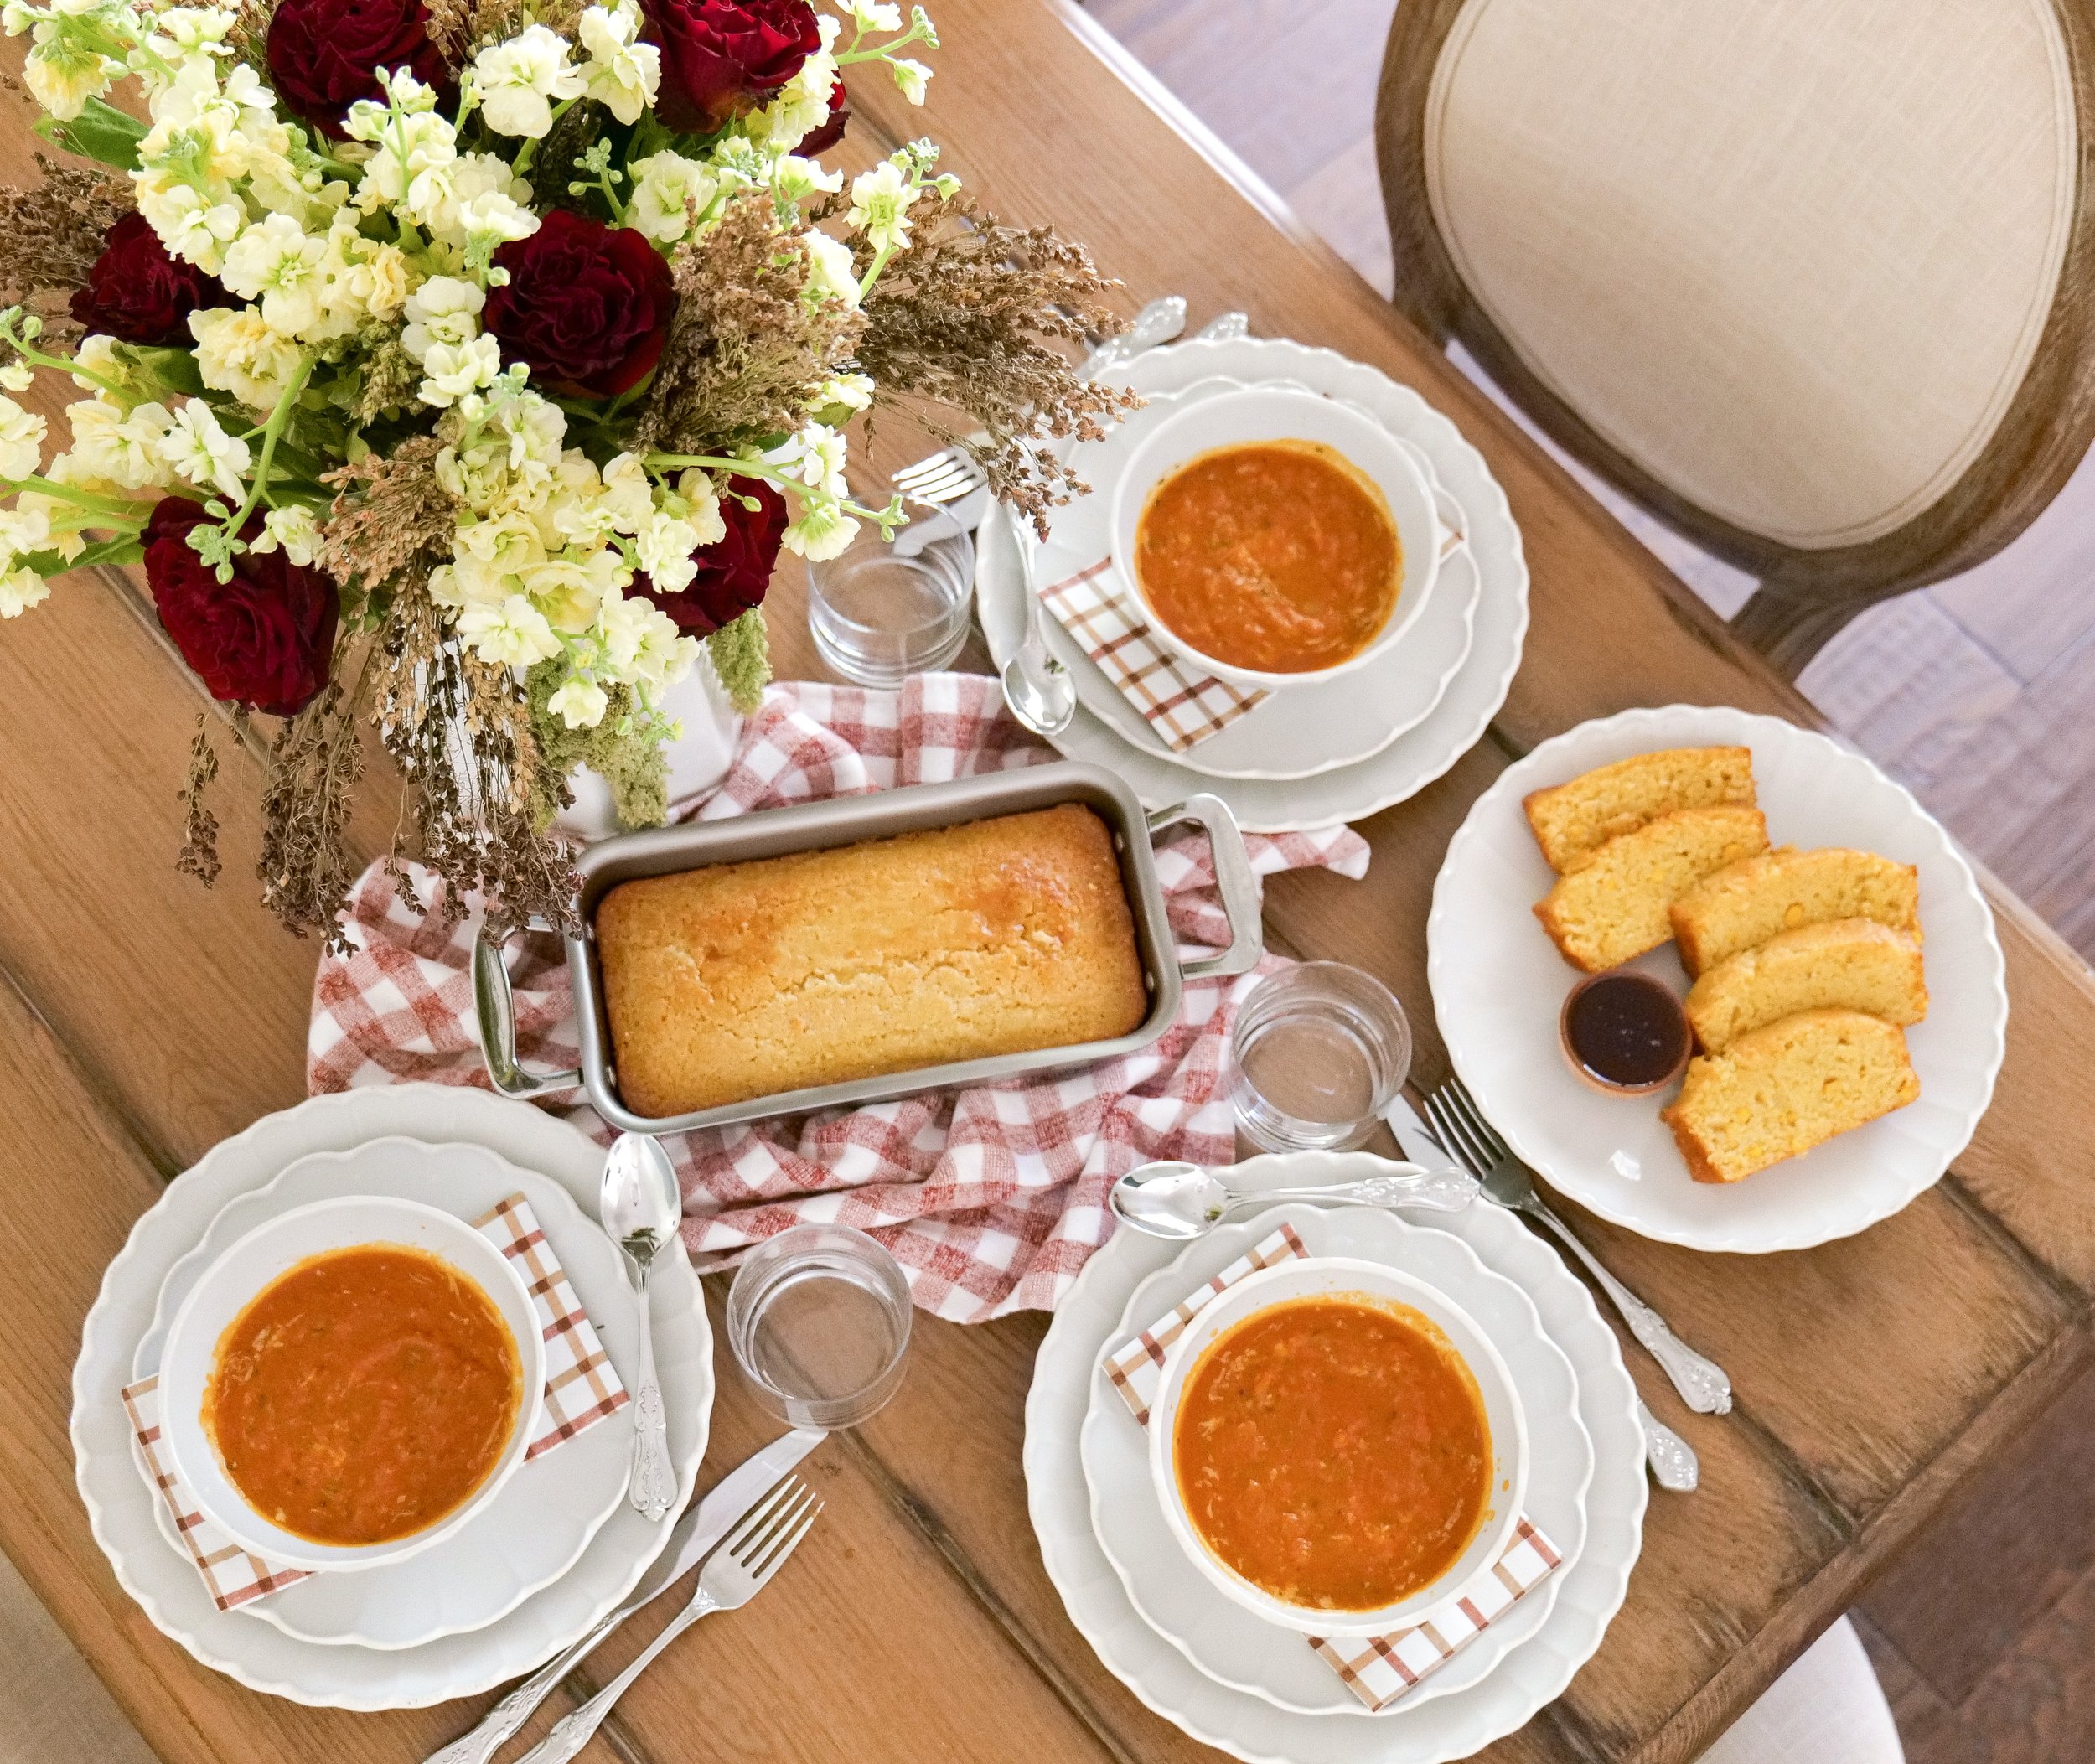
Fall is upon us, the weather is cooling down, and that makes the timing perfect to serve a warm plate of cornbread. I love making this tasty treat. Cornbread is so easy to make and can be used to pair with such a variety of dishes. In this article I'm going to show you how to make a cornbread loaf everyone will love! This recipe makes will make 2 full sized loafs, so to only make 1 loaf you will just split all ingredients of the recipe in half. Another fun way to use this recipe is to make mini cornbread loaves. To do this you will make change the cooking time accordingly. Such Fun for the holidays!

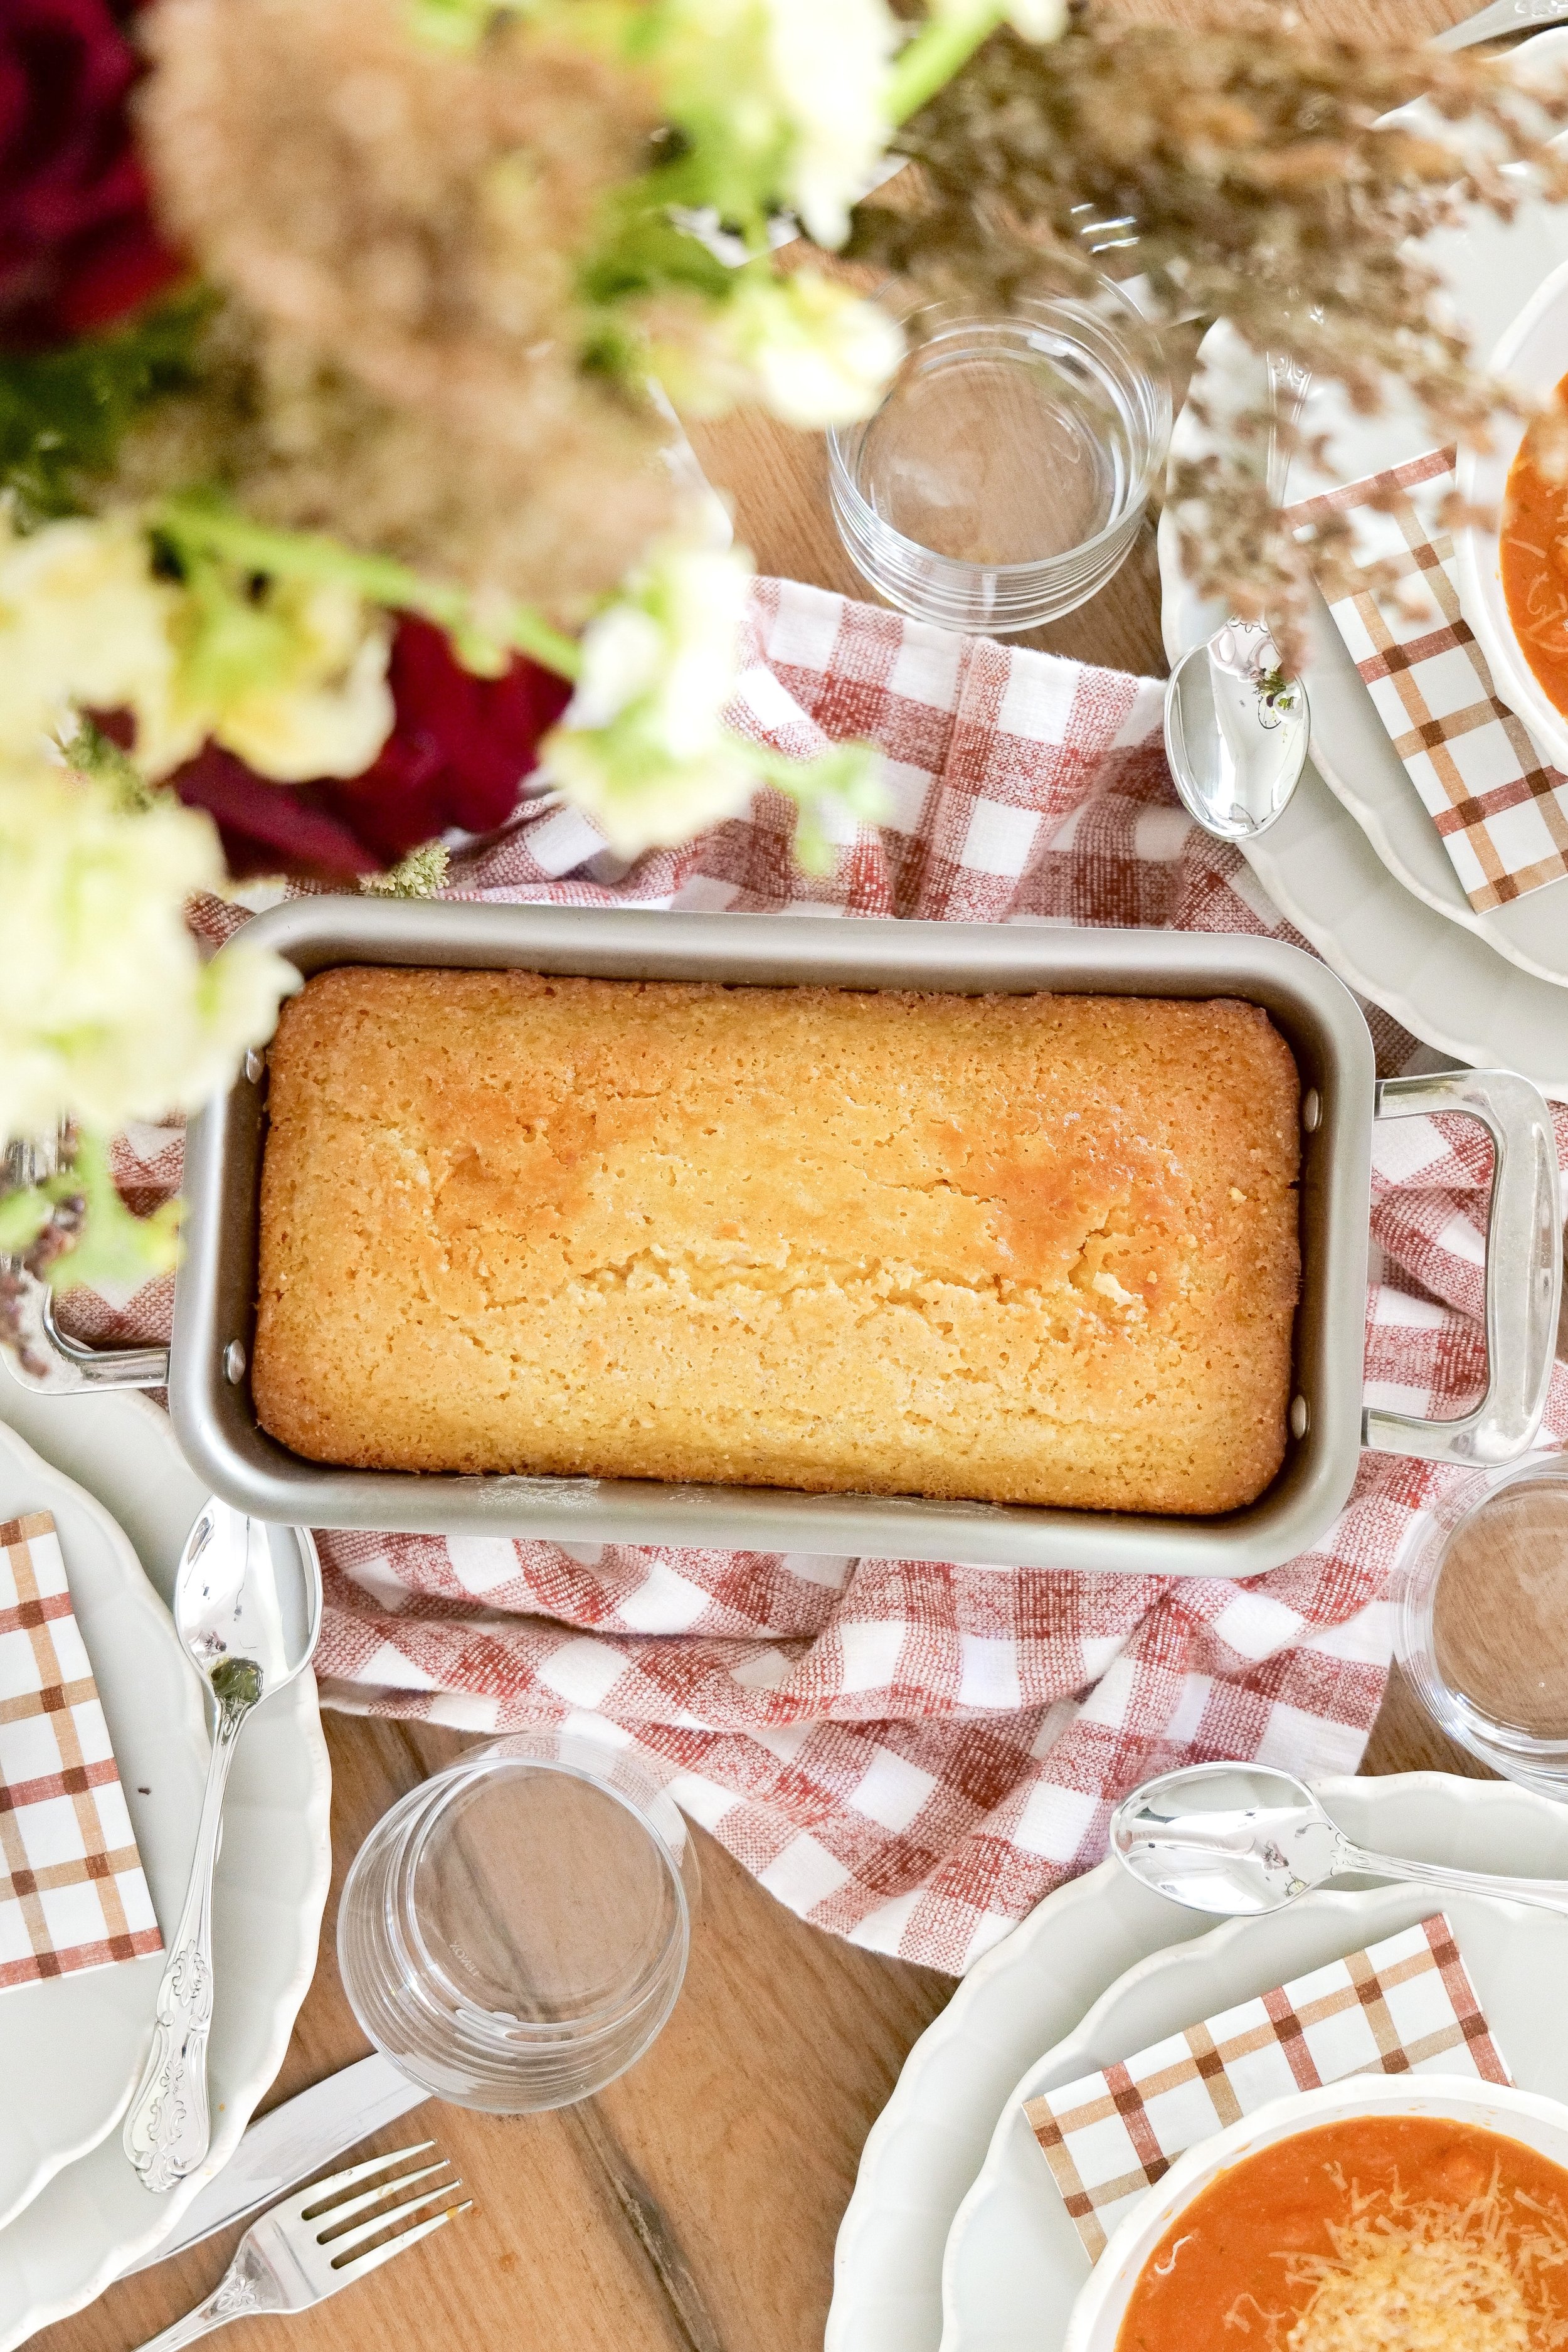
In this recipe I used my 360 Cookware loaf pans that are linked -here- and as you can see in the photos their pans have beautiful handles that look great on the table when serving. They also have the tab loaf -here- that has more of a table handle and is also beautiful. Both of these pans are the best way to make this bread. All 360 Cookware products are made in the good ol' USA and stainless steel, giving your food the best quality and making you feel good about your purchase!

Cornbread loaf is the ultimate comfort food. It Goes great with chili, soups and really any Fall meals, especially warm meals. I love adding actual corn into my cornbread to give an extra crunch that isn't always expected.

Ingredients:

2 cups yellow cornmeal

2 cups all-purpose flour

1 cup sugar

3 teaspoons baking powder

1 tablespoon sea salt

2 cups milk (or buttermilk substitute)

1 stick butter + additional 1/2 tbsp butter

1/2 cup honey

4 eggs

1 cups corn

Directions:

  1. Preheat oven to 375 degrees and oil your loaf pans. This recipe makes 2 loaves of corn bread if you are looking for less just cut everything in half. I use my 360 Cookware pans and will link them below.

  2. Add all dry ingredients into a bowl and mix together.

  3. In a new bowl add eggs, and lightly beat with a fork. Add in milk, melted butter, honey and mix with eggs.

  4. Add all dry ingredients into wet mixture and blend well. Lastly, add in 1 cup of corn and softly fold into batter.

  5. Pour batter into loaf pans equally and bake for 30-45 min or until loaf is set in the middle. Tip..place a toothpick in the center of the loaf, then pull out to see if it comes out clean. This means your loaf is cooked well.

  6. Next take the last 2 tbsp of butter and lather the top of the cornbread evenly. This gives a delicious caramelized top to the golden brown bread.

  7. Enjoy! I love my cornbread with butter and a little honey on top! YUM!

To Find more recipes from Amanda Warren head -here- or click on Food & Dink on the website!

Birthday Cutout Sugar Cookies

These may be called “birthday sugar cookies” but I approve them to be eaten on any day all year long! Enjoy them for any celebration, special milestones, or also just because you want a tasty dessert. I love making these for fun and adding a small amount of white chocolate to add décor and to add a little extra sweetness. The cookie itself without the chocolate isn’t overly sweet (but more buttery and delicious), so this makes for the ultimate pairing! Adding in the colorful sprinkles makes for a fun burst of color and you can even add different color themes to go with parties, holidays like Christmas, Valentine Day, and more! Hope you enjoy!

Ingredients:

1 cup melted butter

2 cups white sugar

2 eggs

2 tsp vanilla ext

4 cups all-purpose flour

1/2 tsp salt

1 tsp baking soda

1 tsp baking powder

3/4 cup buttermilk

1/2 cup sprinkles

white chocolate for decorating (can use buttercream if you rather)

Instructions:

  1. Beat butter and sugar together.

  2. 2. Add eggs and vanilla extract, and mix well.

  3. In another bowl, sift flour, salt, baking soda and baking powder together, and add little by little to butter mixture, alternating with buttermilk.

  4. Now that your dough is made you will wrap in plastic wrap and refrigerate for at least 6 hours. I like to let mine stay overnight and up to 24 hours. This makes the cutouts come out better on edges.

  5. After dough has chilled and you are ready to roll out. Heat oven to 375 degrees.

  6. Be sure to flour surface area, rolling pin and dough to make sure no sticking happens. I am using 360 cookie cutters here! So many amazing designs and shapes!! Shop entire collections -here- (use code AMANDAWARREN20 for 20% off entire site)

  7. Bake for 8-10 minutes on stainless steel pan. After baking place onto cooling rack and decorate once cooled. After decorated ENJOY!!

Fruit & Goat Cheese Bruschetta

In the middle of a hot Summer and the hottest days of all call for the most delicious treats to make it through! I’m a huge fan of bruschetta, so making this twist on it as a fruity version just seemed so delicious and fit for Summer. You can totally change this up in the fruit department to whatever fruit sounds yummy to you along with whatever is best in season! I did strawberries, cherries and raspberries this time, and it was oh so delicious!

Now.. how do you BBQ these little slices of baguette’s? I just found out the way to not burn my 360 cookware griddle on the grill is to put a coat of dish soap on the bottom and MY GOODNESS its genius! The Pan Cleaned so easy! Cannot wait to work on even more recipes for the grill with my favorite 360 pans!

Ingredients:

8 oz cut strawberries

6 oz cut cherries

6 oz raspberries

8 oz whipped cream cheese

8 oz goat cheese

1 lime

1 baguette

honey

salt & pepper

Directions:

  1. Wash & cut all fruits and mix into bowl.

  2. Zest 1 lime making 1 tsp of lime zest and add into small bowl with 1 tbsp of sugar. Pour over fruit mix & juice of 1 lime and mix together.

  3. Mix whipped cream cheese & goat cheese. sprinkle over with sea salt & pepper to taste. Drizzle with honey and set aside until bread is ready.

  4. Slice baguette and spray with olive oil spray.

  5. Take your 360 griddle and apply dish soap on bottom to prevent from burning pan.

  6. Now on your BBQ take the griddle and place bread on top until lightly toasted (or to liking). Flip and do the same to other side.

  7. You can serve with everything separate and allow everyone to make their own. Or prep ahead of time. Baguette, cheese mixture, fruit. You can also top with more honey & more lime zest if desired.