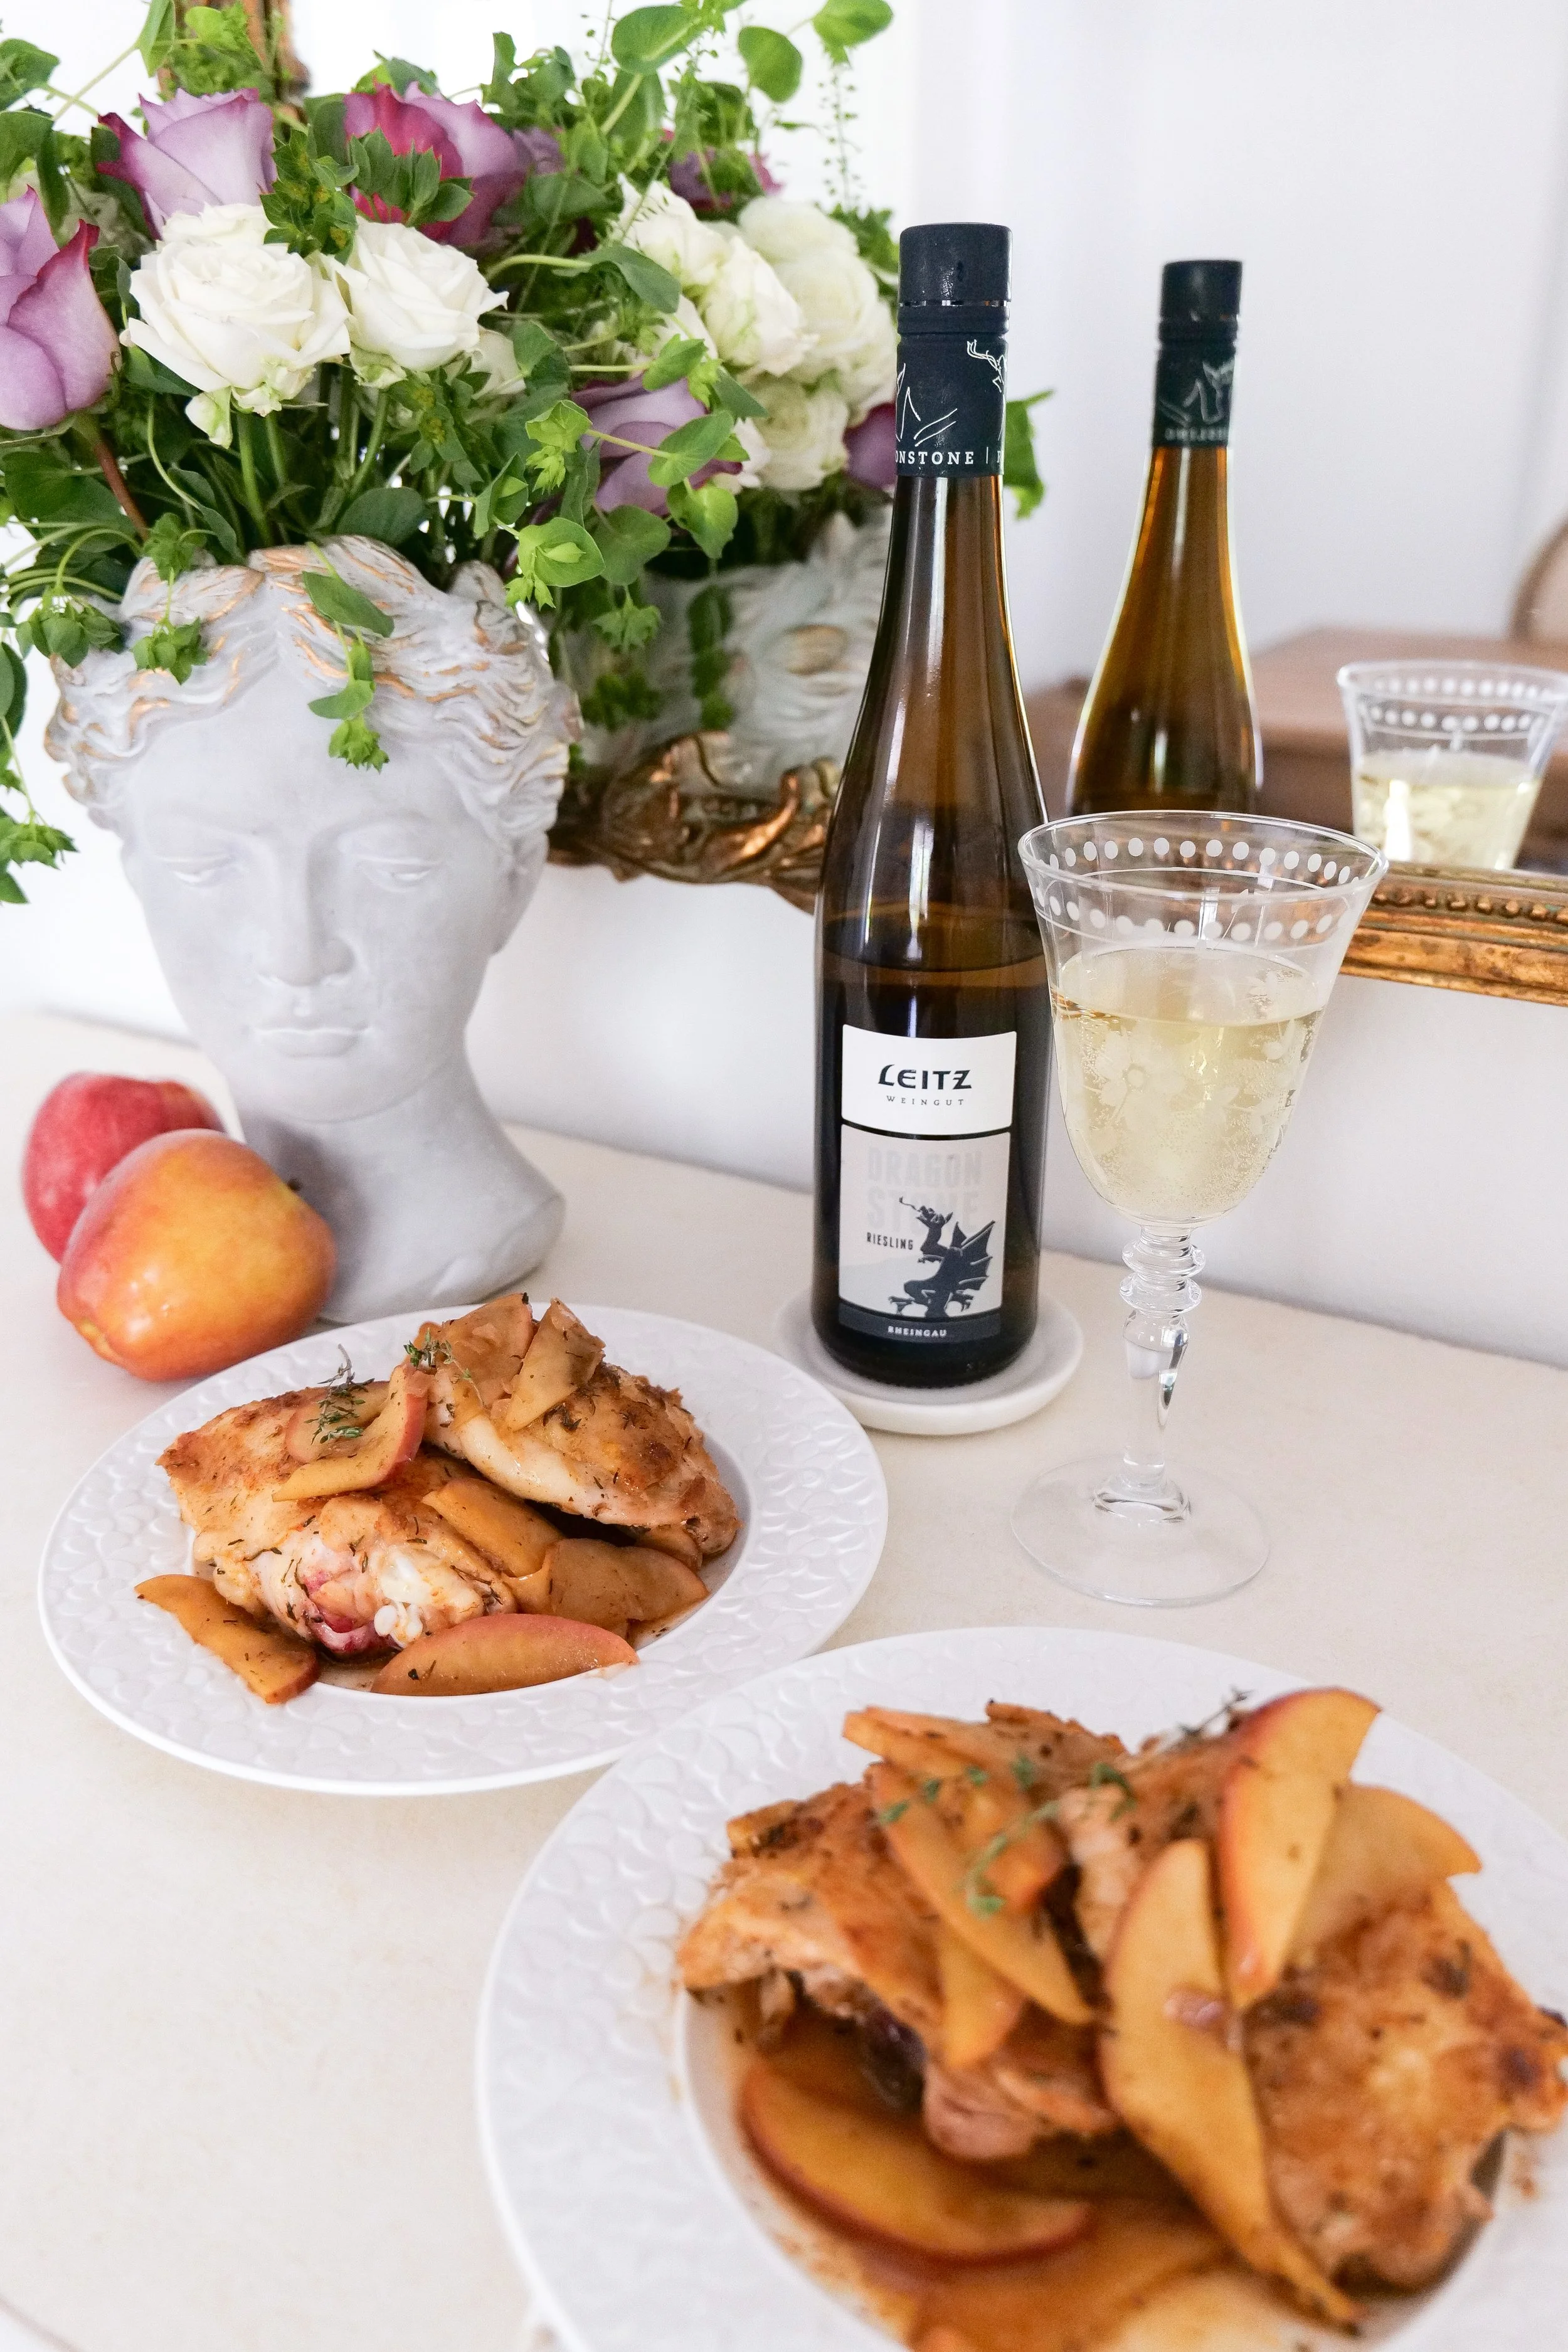
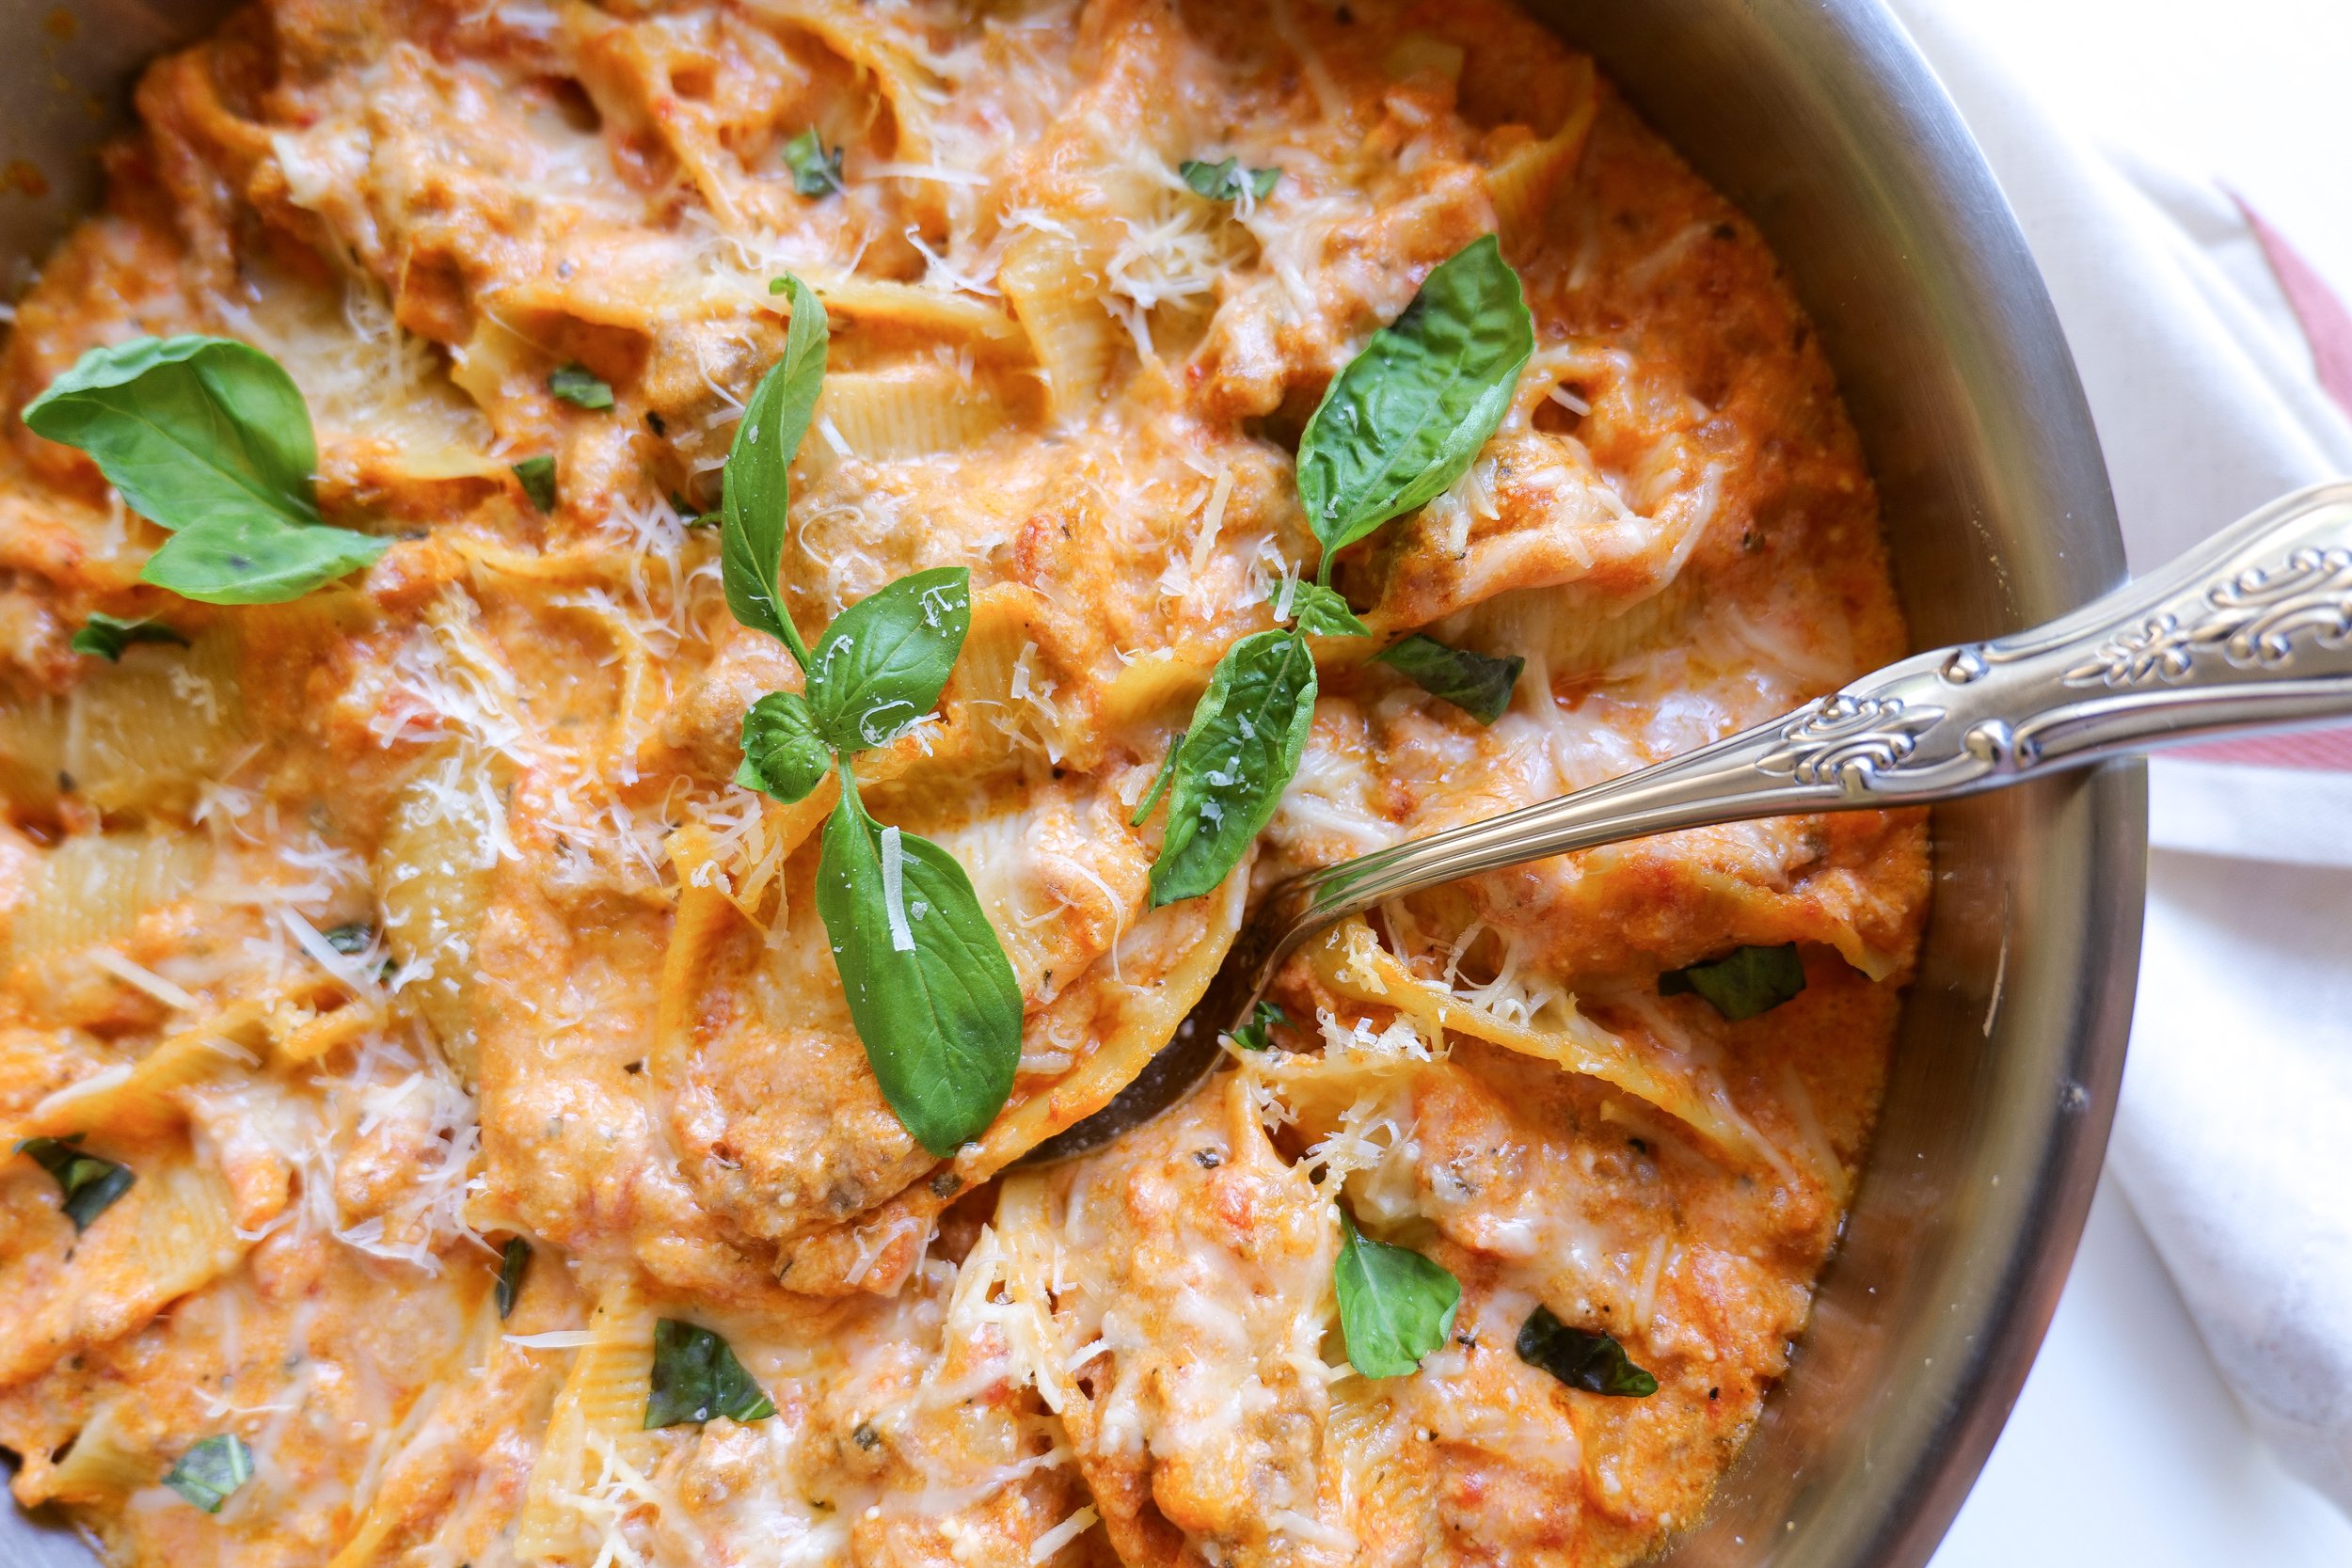
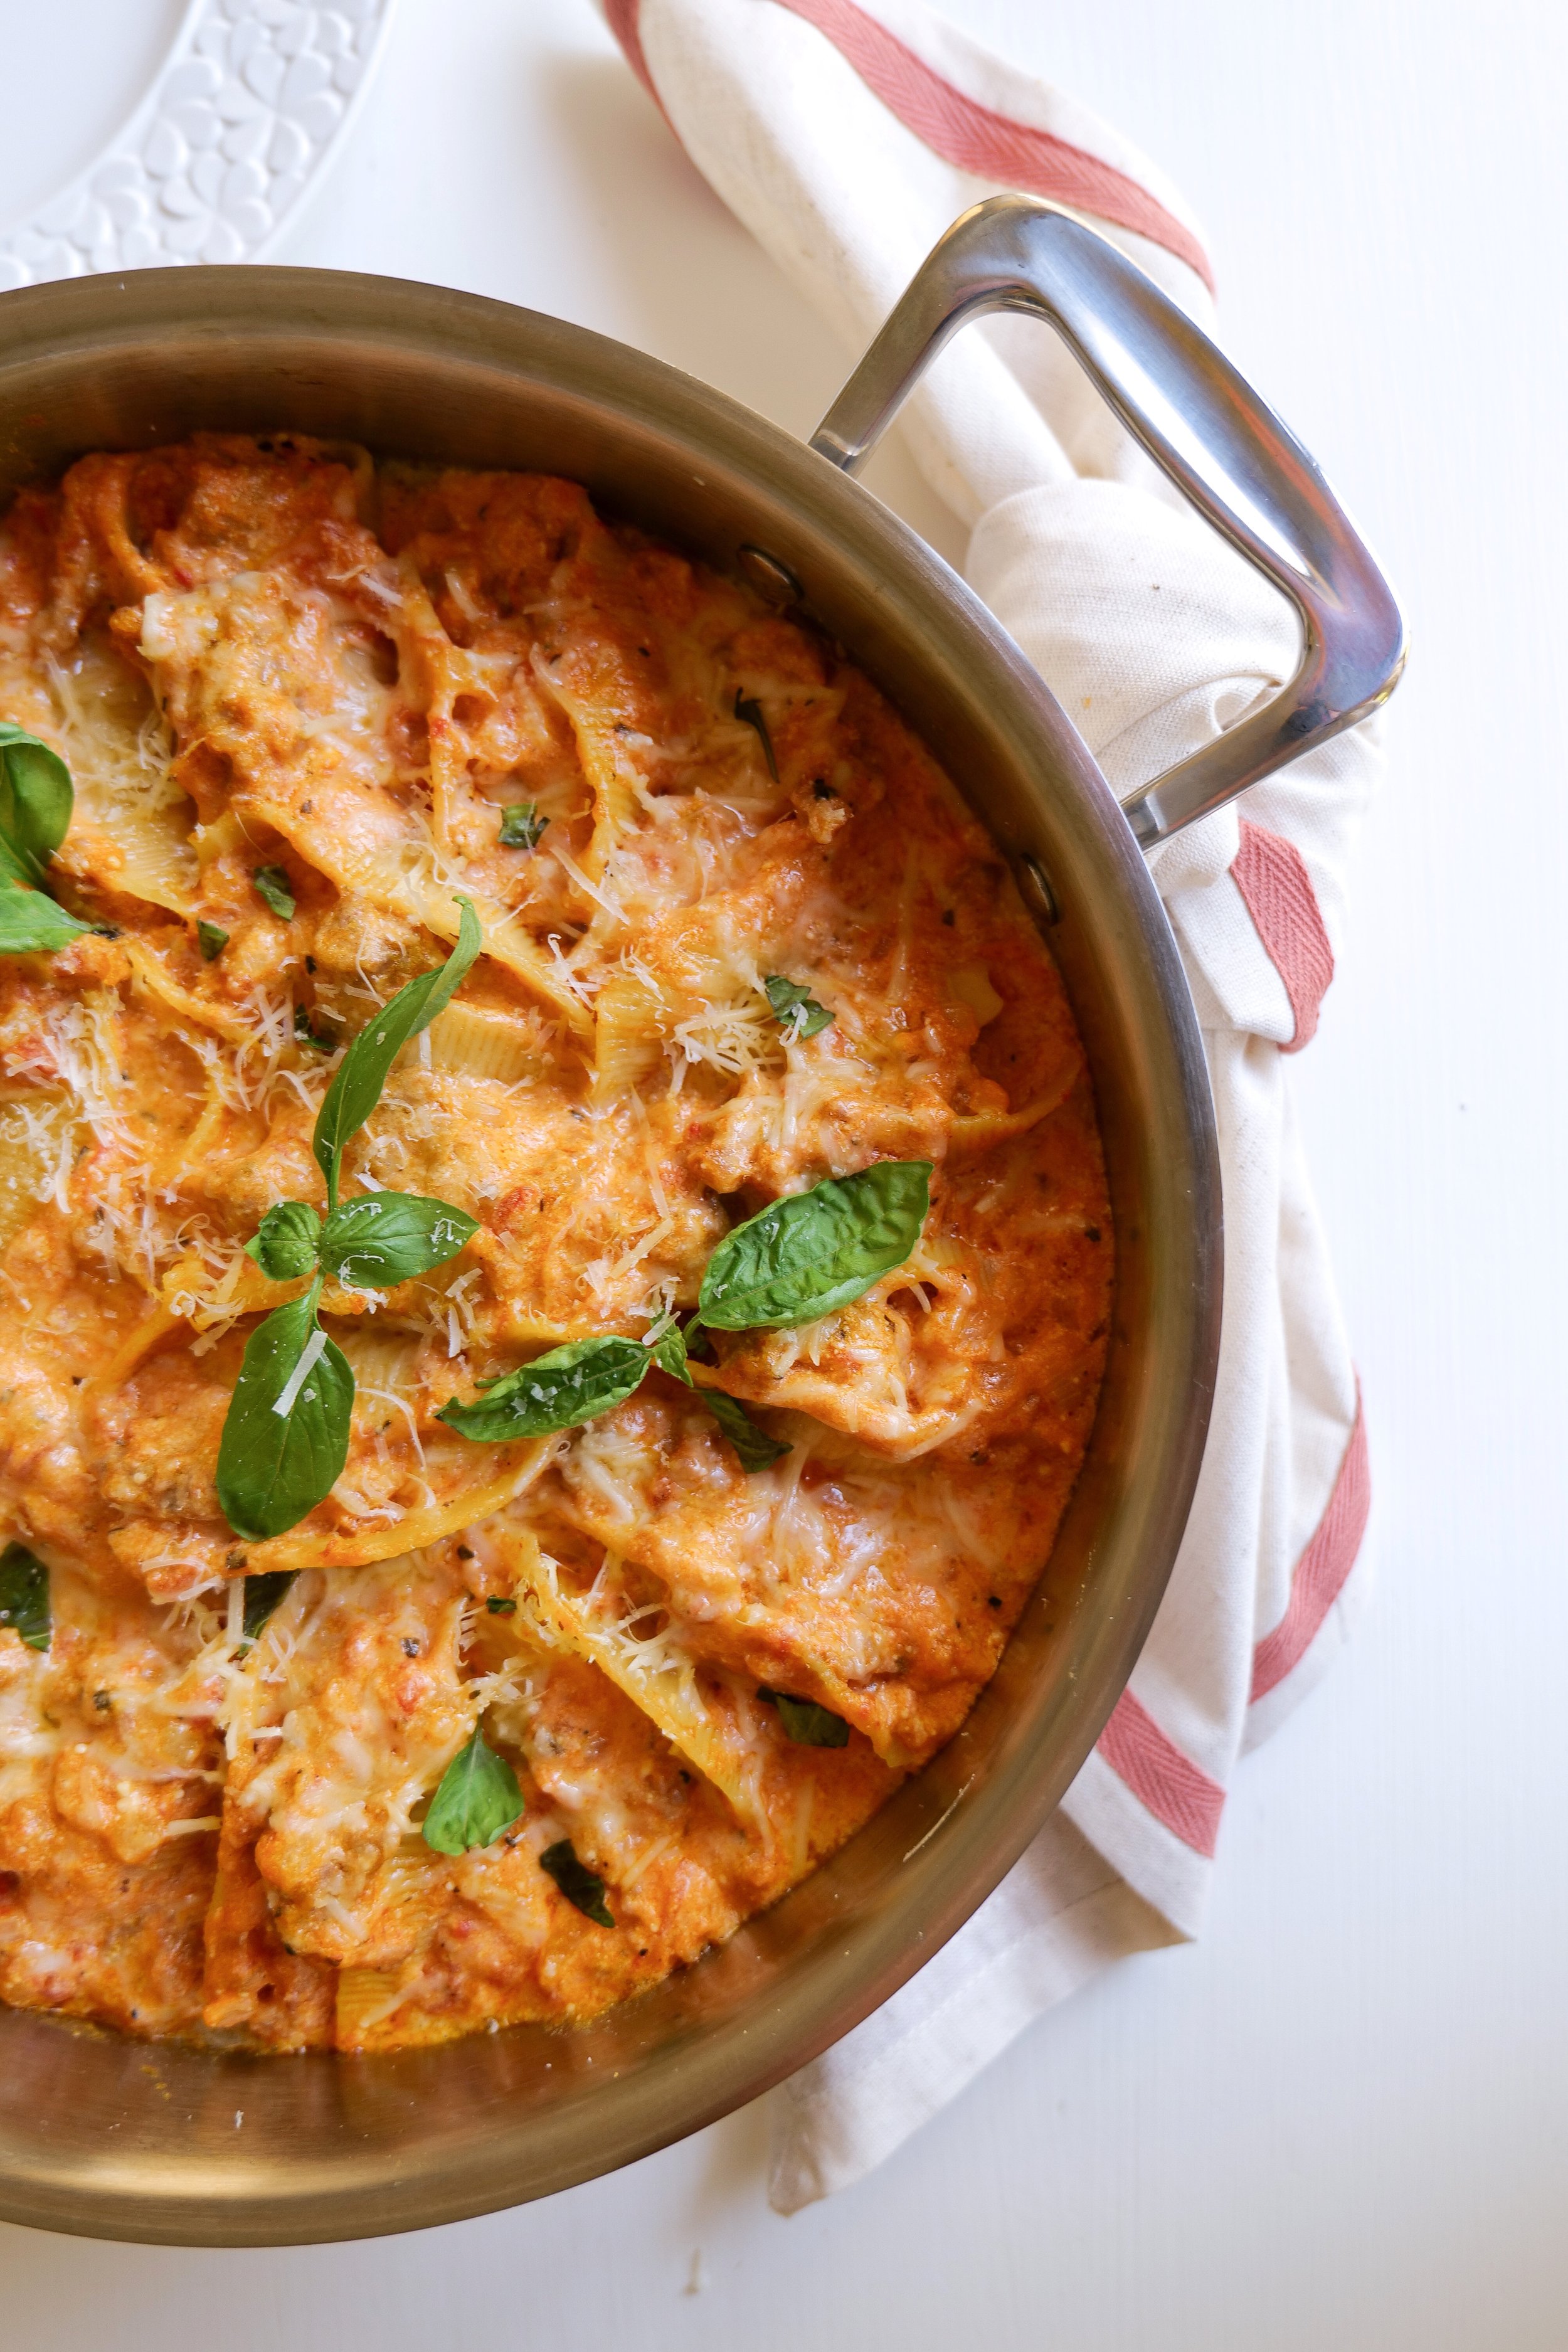
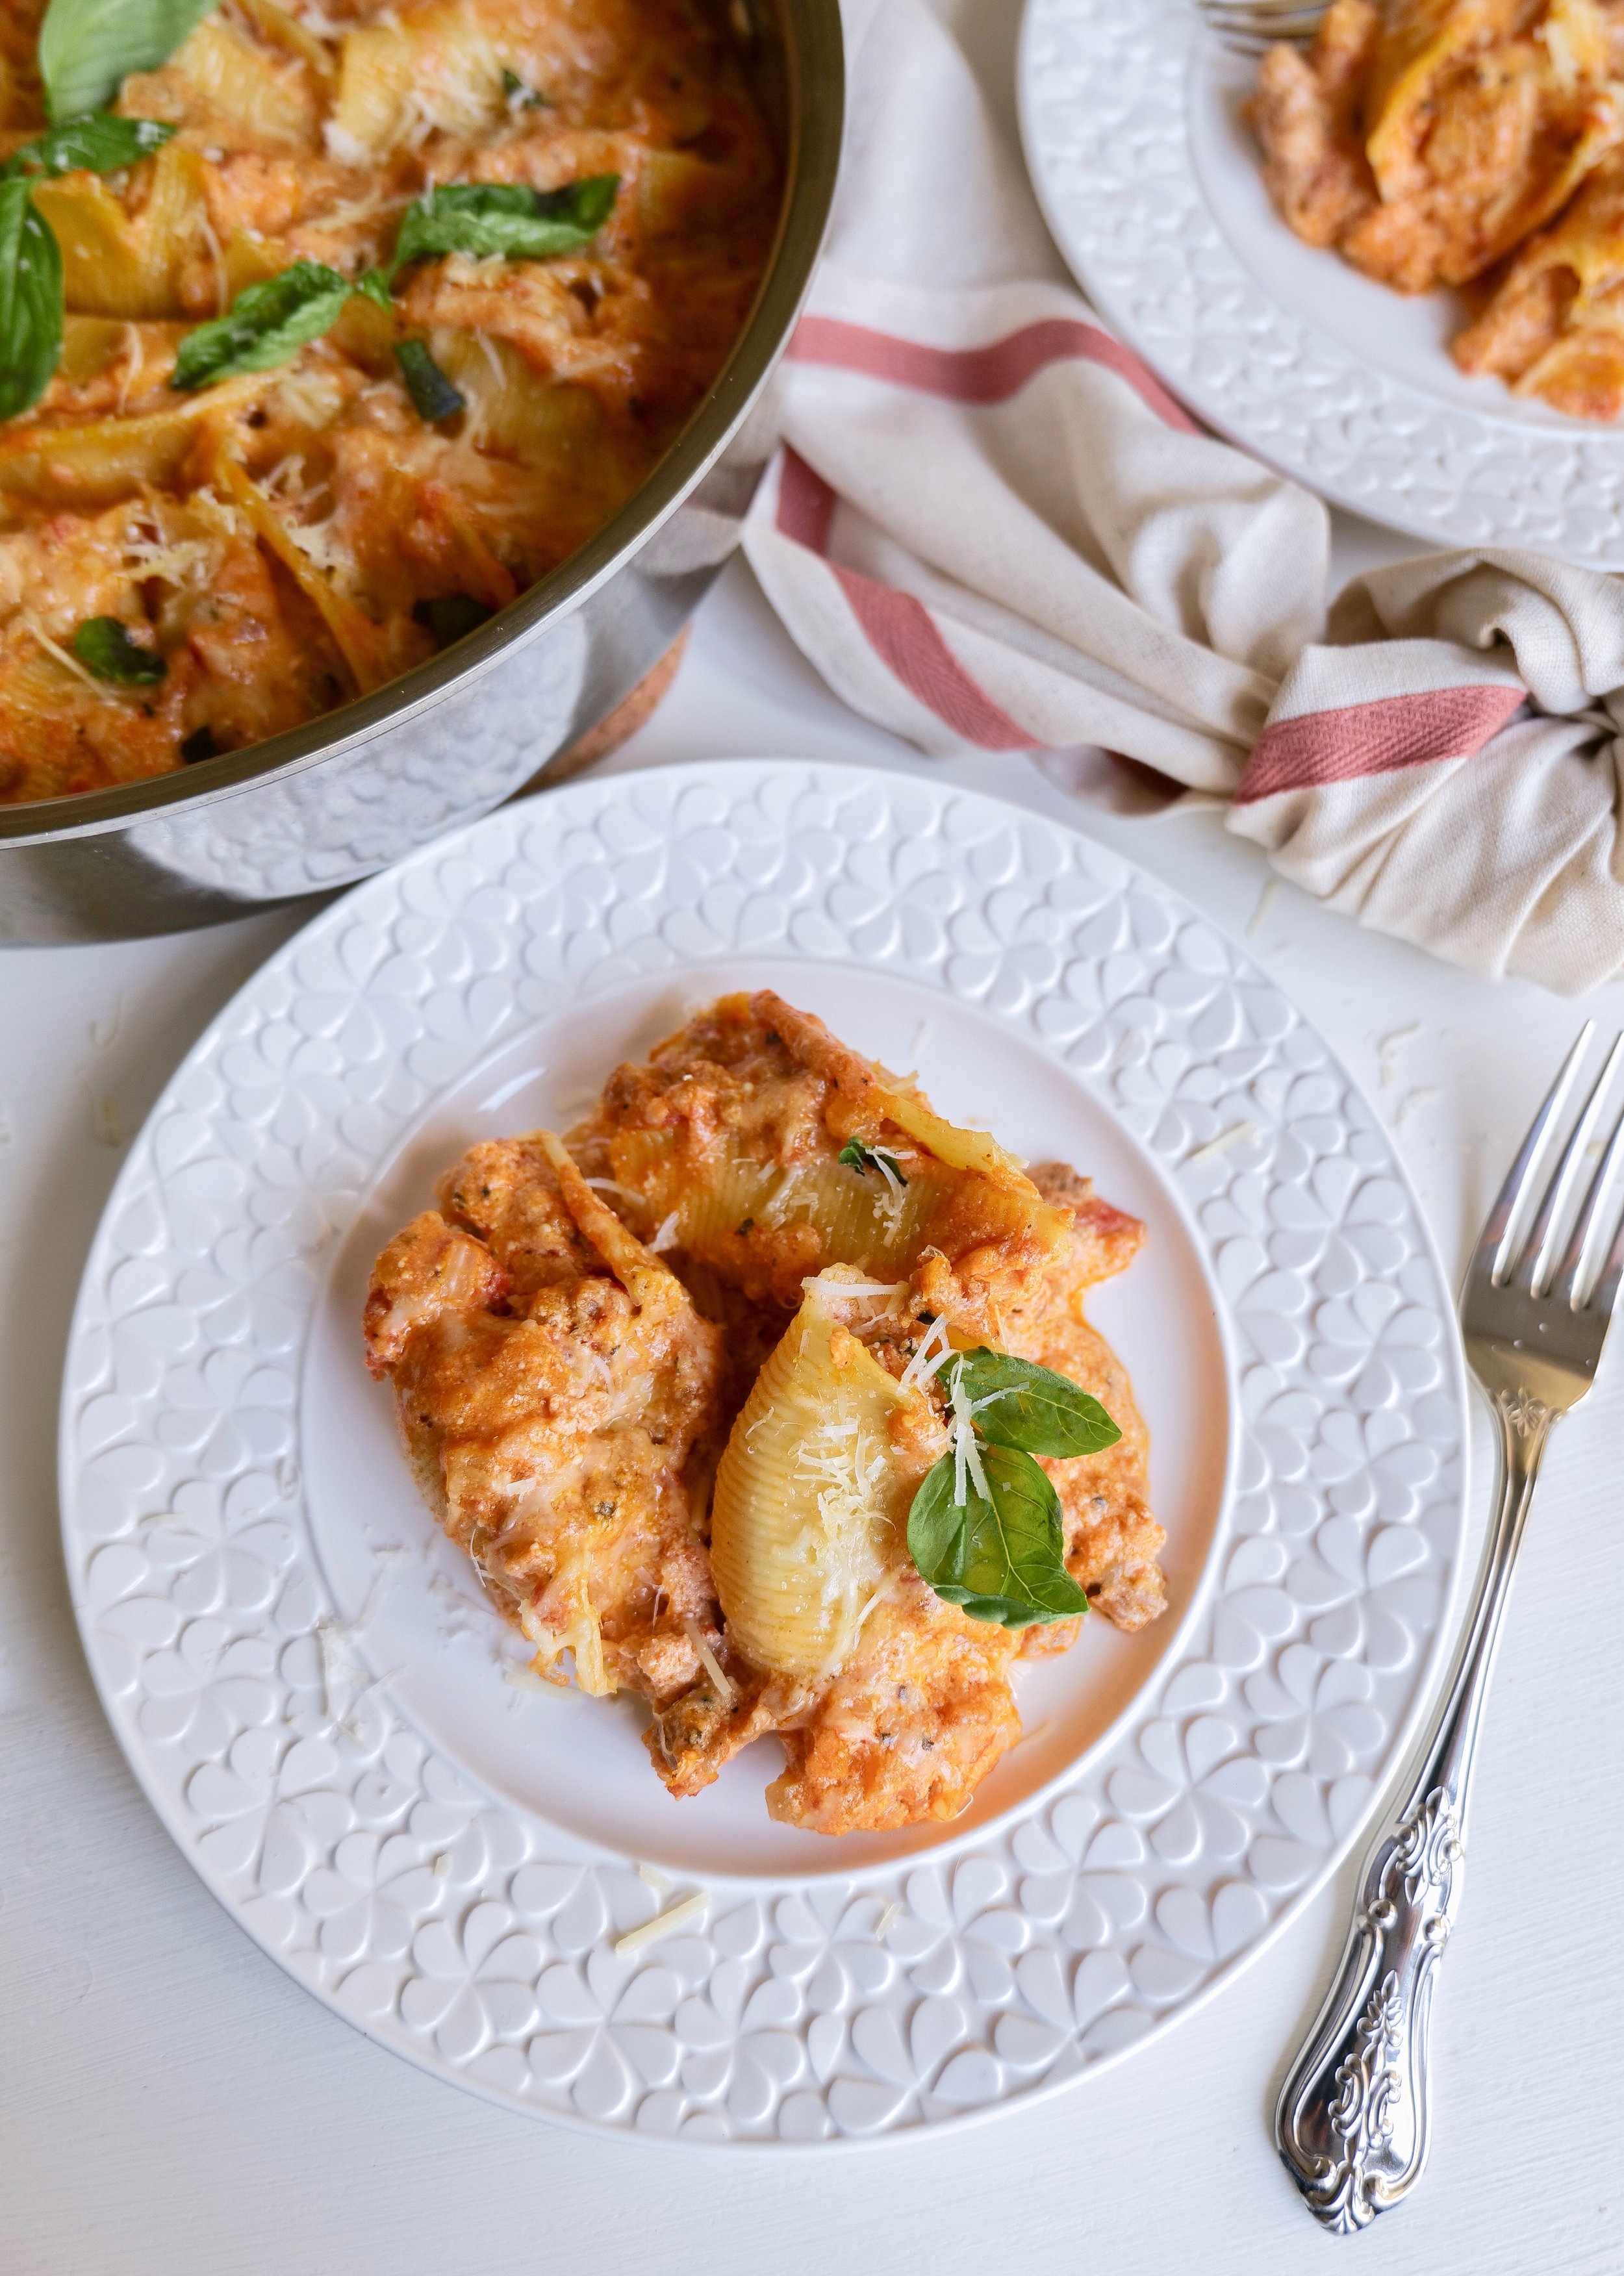
Apple-Glazed Chicken Thighs : A Fall Dinner Everyone Will Love

Apple Glazed Chicken Thighs are a delicious and unique spin on the traditional chicken meal. This savory dish features tender chicken thighs coated in a sweet and tangy apple glaze. Combining traditional, simple ingredients such as chicken thighs, apple cider or juice, fresh herbs, and spices, this dish brings a balanced mix of sweet and savory flavors to your dinner table. Whether you're preparing a weeknight dinner or a weekend feast, this versatile recipe can be paired nicely with the usual good side dishes like roasted vegetables or rice for a complete, satisfying meal.

One Pan Apple Glazed Chicken Thighs offer an easy and convenient way to prepare a delicious dinner without the hassle of multiple dishes. This straightforward recipe combines the juiciness of chicken thighs with a delectable apple glaze for an explosion of flavors. The appeal of a one-pan meal lies in its simplicity, making it perfect for busy weeknight dinners where time and cleanup time are extra important. The combination of tangy sweetness from the apples and the richness of well-cooked chicken creates a delightful dish that is sure to please. Once again, you can serve this dish with various sides such as mashed potatoes, rice, or seasonal vegetables to create a satisfying meal.

Can I Make This Recipe with Chicken Breasts?

Of course, you can make this Apple Glazed Chicken Thighs recipe with chicken breasts or other cuts if you prefer. Using chicken breasts results in a leaner dish, providing a healthier option without compromising the delicious apple glaze. To adapt the recipe, you must adjust the cooking time, as chicken breasts cook faster than thighs. This helps to avoid drying them out. Ensure that the apple glaze is evenly distributed over the chicken breasts for consistent flavor throughout the dish. The internal temperature should reach 165°F for safe consumption.

Chicken pairs remarkably well with fruit-based glazes like the apple one. The blend of natural sweetness from apples combined with the savory profile of chicken creates an elevated flavor that can turn an ordinary meal into a feast. It's an excellent option for anyone looking to elevate their everyday chicken meals with a unique recipe.

What Ingredients Do I Need to Make Apple-Glazed Chicken Thighs?

To make Apple Glazed Chicken Thighs, gather a few essential ingredients to create this flavorful dish. You'll need bone-in, skin-on chicken thighs for optimal juiciness and flavor. The glaze requires apple cider and apple cider vinegar as the base, while honey or brown sugar adds the necessary sweetness. Spices such as garlic, thyme, and paprika elevate the taste profile. Finally, salt, pepper, and butter are essential for marinating the chicken, ensuring it absorbs maximum flavor before cooking.

What Type of Apples Work Best for the Glaze?

Choosing the right type of apples is critical to creating a balanced and the right flavorful glaze for this type of meal. Tart apple varieties, such as Granny Smith, are recommended for their balanced sweetness and sharpness. Firm apples hold their shape during cooking, adding texture to the glaze. Avoid overly sweet apples like Red Delicious, as they may overpower the other flavors of the dish. Honeycrisp apples are a good choice due to their crisp texture and balanced flavor profile. You can even combine different types of apples to create a more complex and layered glaze flavor. My personal favorite for this meal is to use gala apples, but you can feel free to substitute for any apples you choose.

Can I Use Boneless Skinless Chicken Thighs Instead of Bone-In?

Yes, you can use boneless skinless chicken thighs instead of bone-in for the Apple Glazed Chicken Thighs recipe. Boneless thighs cook faster, so you will need to adjust the cooking times to avoid overcooking them. They are also easier to serve and eat, making them a convenient option. However, it's worth noting that the flavor and moisture retention might be slightly different from bone-in thighs. Ensure the boneless thighs are evenly coated with the apple glaze to maintain a consistent taste throughout the dish.

What Side Dishes Pair Well with Apple Glazed Chicken Thighs?

Pairing the Apple Chicken Thighs with the right-side dish can enhance your dining experience. Some recommendations are roasted vegetables like carrots, brussels sprouts, and sweet potatoes will complement the sweet and savory glaze. Something creamy like mashed potatoes balance the tangy apple glaze with their smooth texture. A fragrant rice pilaf adds an aromatic component that harmonizes well with the chicken's flavors. However, you can never go wrong with a fresh green salad with a light vinaigrette provides a refreshing, crisp contrast. Looking for something nutty and protein-rich quinoa serves as a healthy, versatile side that pairs deliciously. All of this complement well and you can't go wrong with serving any of them alongside this chicken apple glaze recipe.

Apple Chicken Thighs offer a delightful way to elevate your chicken dinner with minimal effort. By choosing high-quality ingredients, marinating correctly, and pairing with the right side dishes, you can ensure a meal that's both flavorful and satisfying. Whether you opt for a one-pan method or grill for added flavor, this recipe will undoubtedly become a family favorite. Incorporate the unique flavors of apples and perfectly cooked chicken thighs into your next meal, and watch as it transforms an ordinary dinner into a gourmet experience. From busy weeknights to special occasions, Apple Glazed Chicken Thighs are the perfect way to impress and satisfy. Happy cooking!

Apple Glazed Chicken Thighs

Ingredients

6 Servings

6 bone-in, skin-on chicken thighs

1 tsp sea salt

1/2 tsp black pepper

1 tsp onion powder

1 tsp garlic powder

1/4 tsp paprika

2 Tbsp salted butter

1 cup apple juice (100% juice)

1 teaspoon dried thyme

2 medium gala apples

1 chopped shallot

2 tablespoon dark brown sugar

Instructions

1. Heat a large skillet over medium-high heat, I use my 360 cookware stainless steel pan.

2. While pan is heating rinse and pat dry chicken thighs. Make sure to remove any excess moisture to get a crisp edge on the chicken.

3. Mix together sea salt, black pepper, onion powder, garlic powder and paprika in a small bowl. Sprinkle the seasoning over chicken on both sides until evenly seasoned.

4. Add butter to hot pan and let melt. Add chicken, be sure not to touch for 5-7 minutes until it is crispy on the side and easily comes up from the pan. If it is sticking it is not ready to flip. Flip over on the other side and do the same. Once cooked for at least 5-7 minutes on both side remove and add to a plate, loosely cover and set aside.

5. Add an additional 2 tablespoons of butter to same pan and work up any browned bits that formed on pan. Add in chopped shallots and let cook until lightened in color.

6. Add in brown sugar and apples. Cooking until apples have softened. Pour in apple juice and let simmer. Stirring for around 5-10 minutes until the liquid begins to thicken. Add chicken back in and coat with a large spoon.

7. Remove from heat and serve chicken, spooning apples and sauce over top. Garnish with fresh thyme is desired.

Other Delicious Dinner Recipes

Salsa Verde Chicken Enchiladas

Slow Cooker Orange Chicken

Delicious and Easy Oven Baked Drumsticks Recipe

The Perfect Pair: Chicken Picatta and J. Lohr Wine

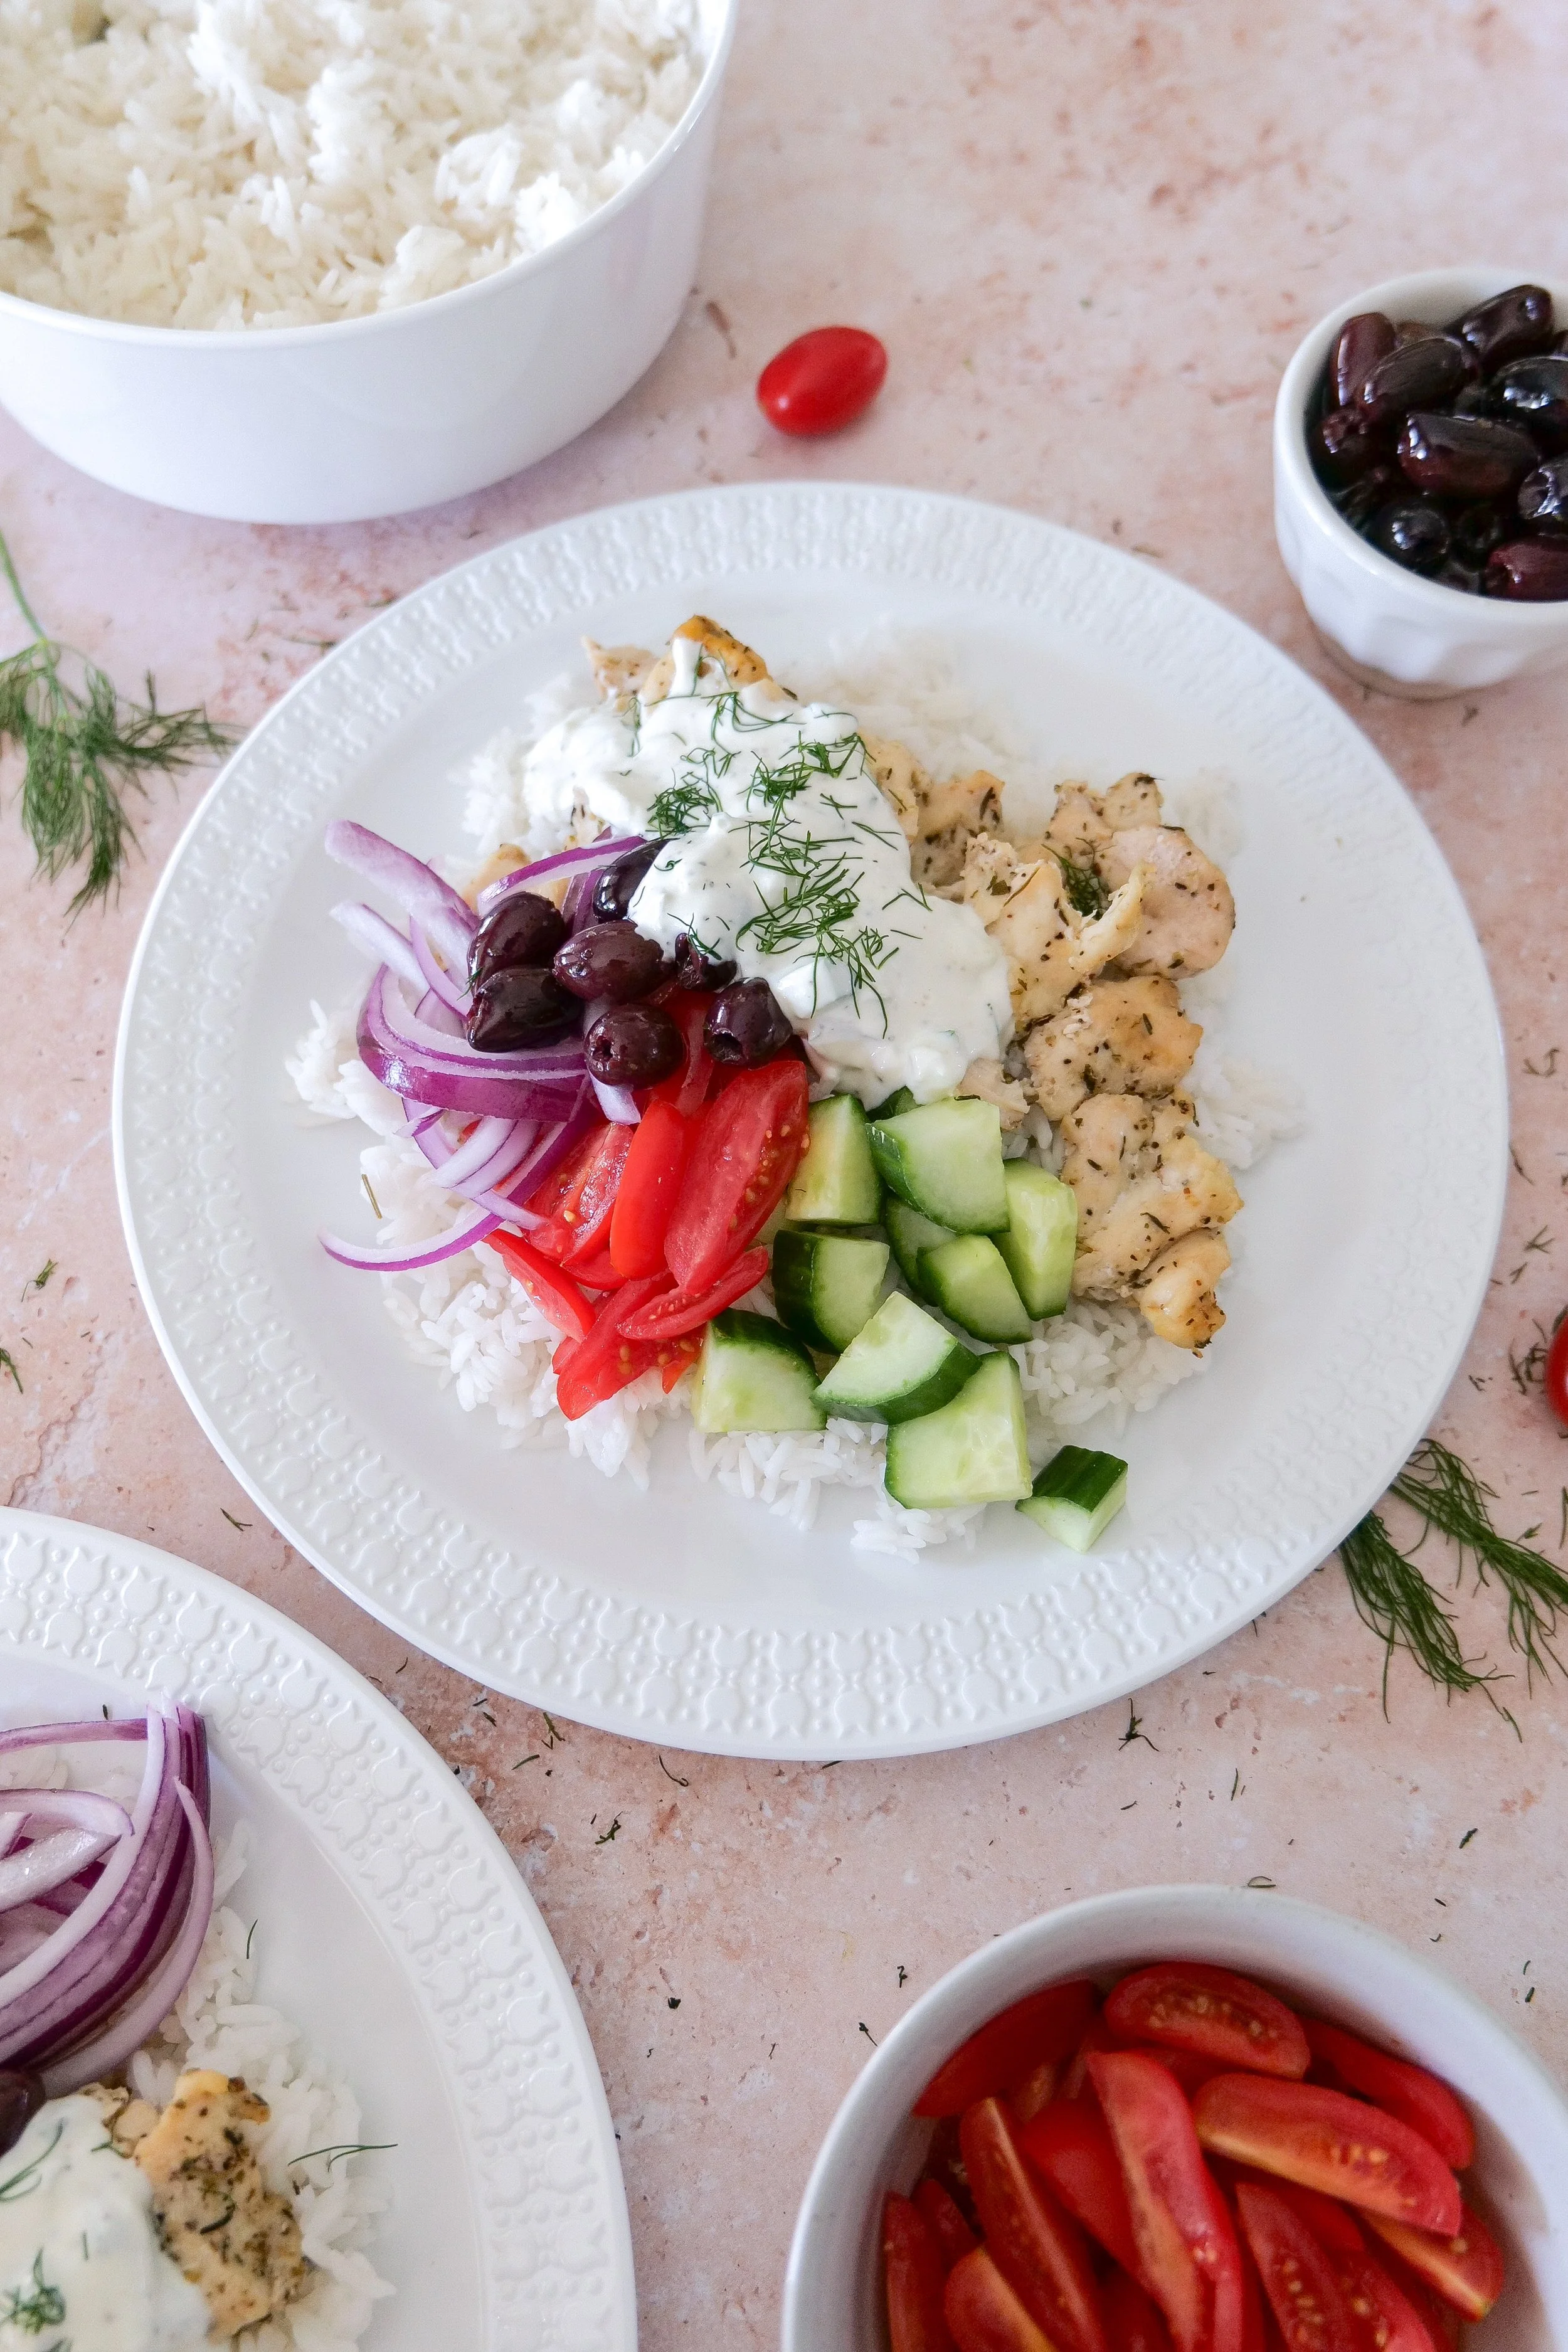
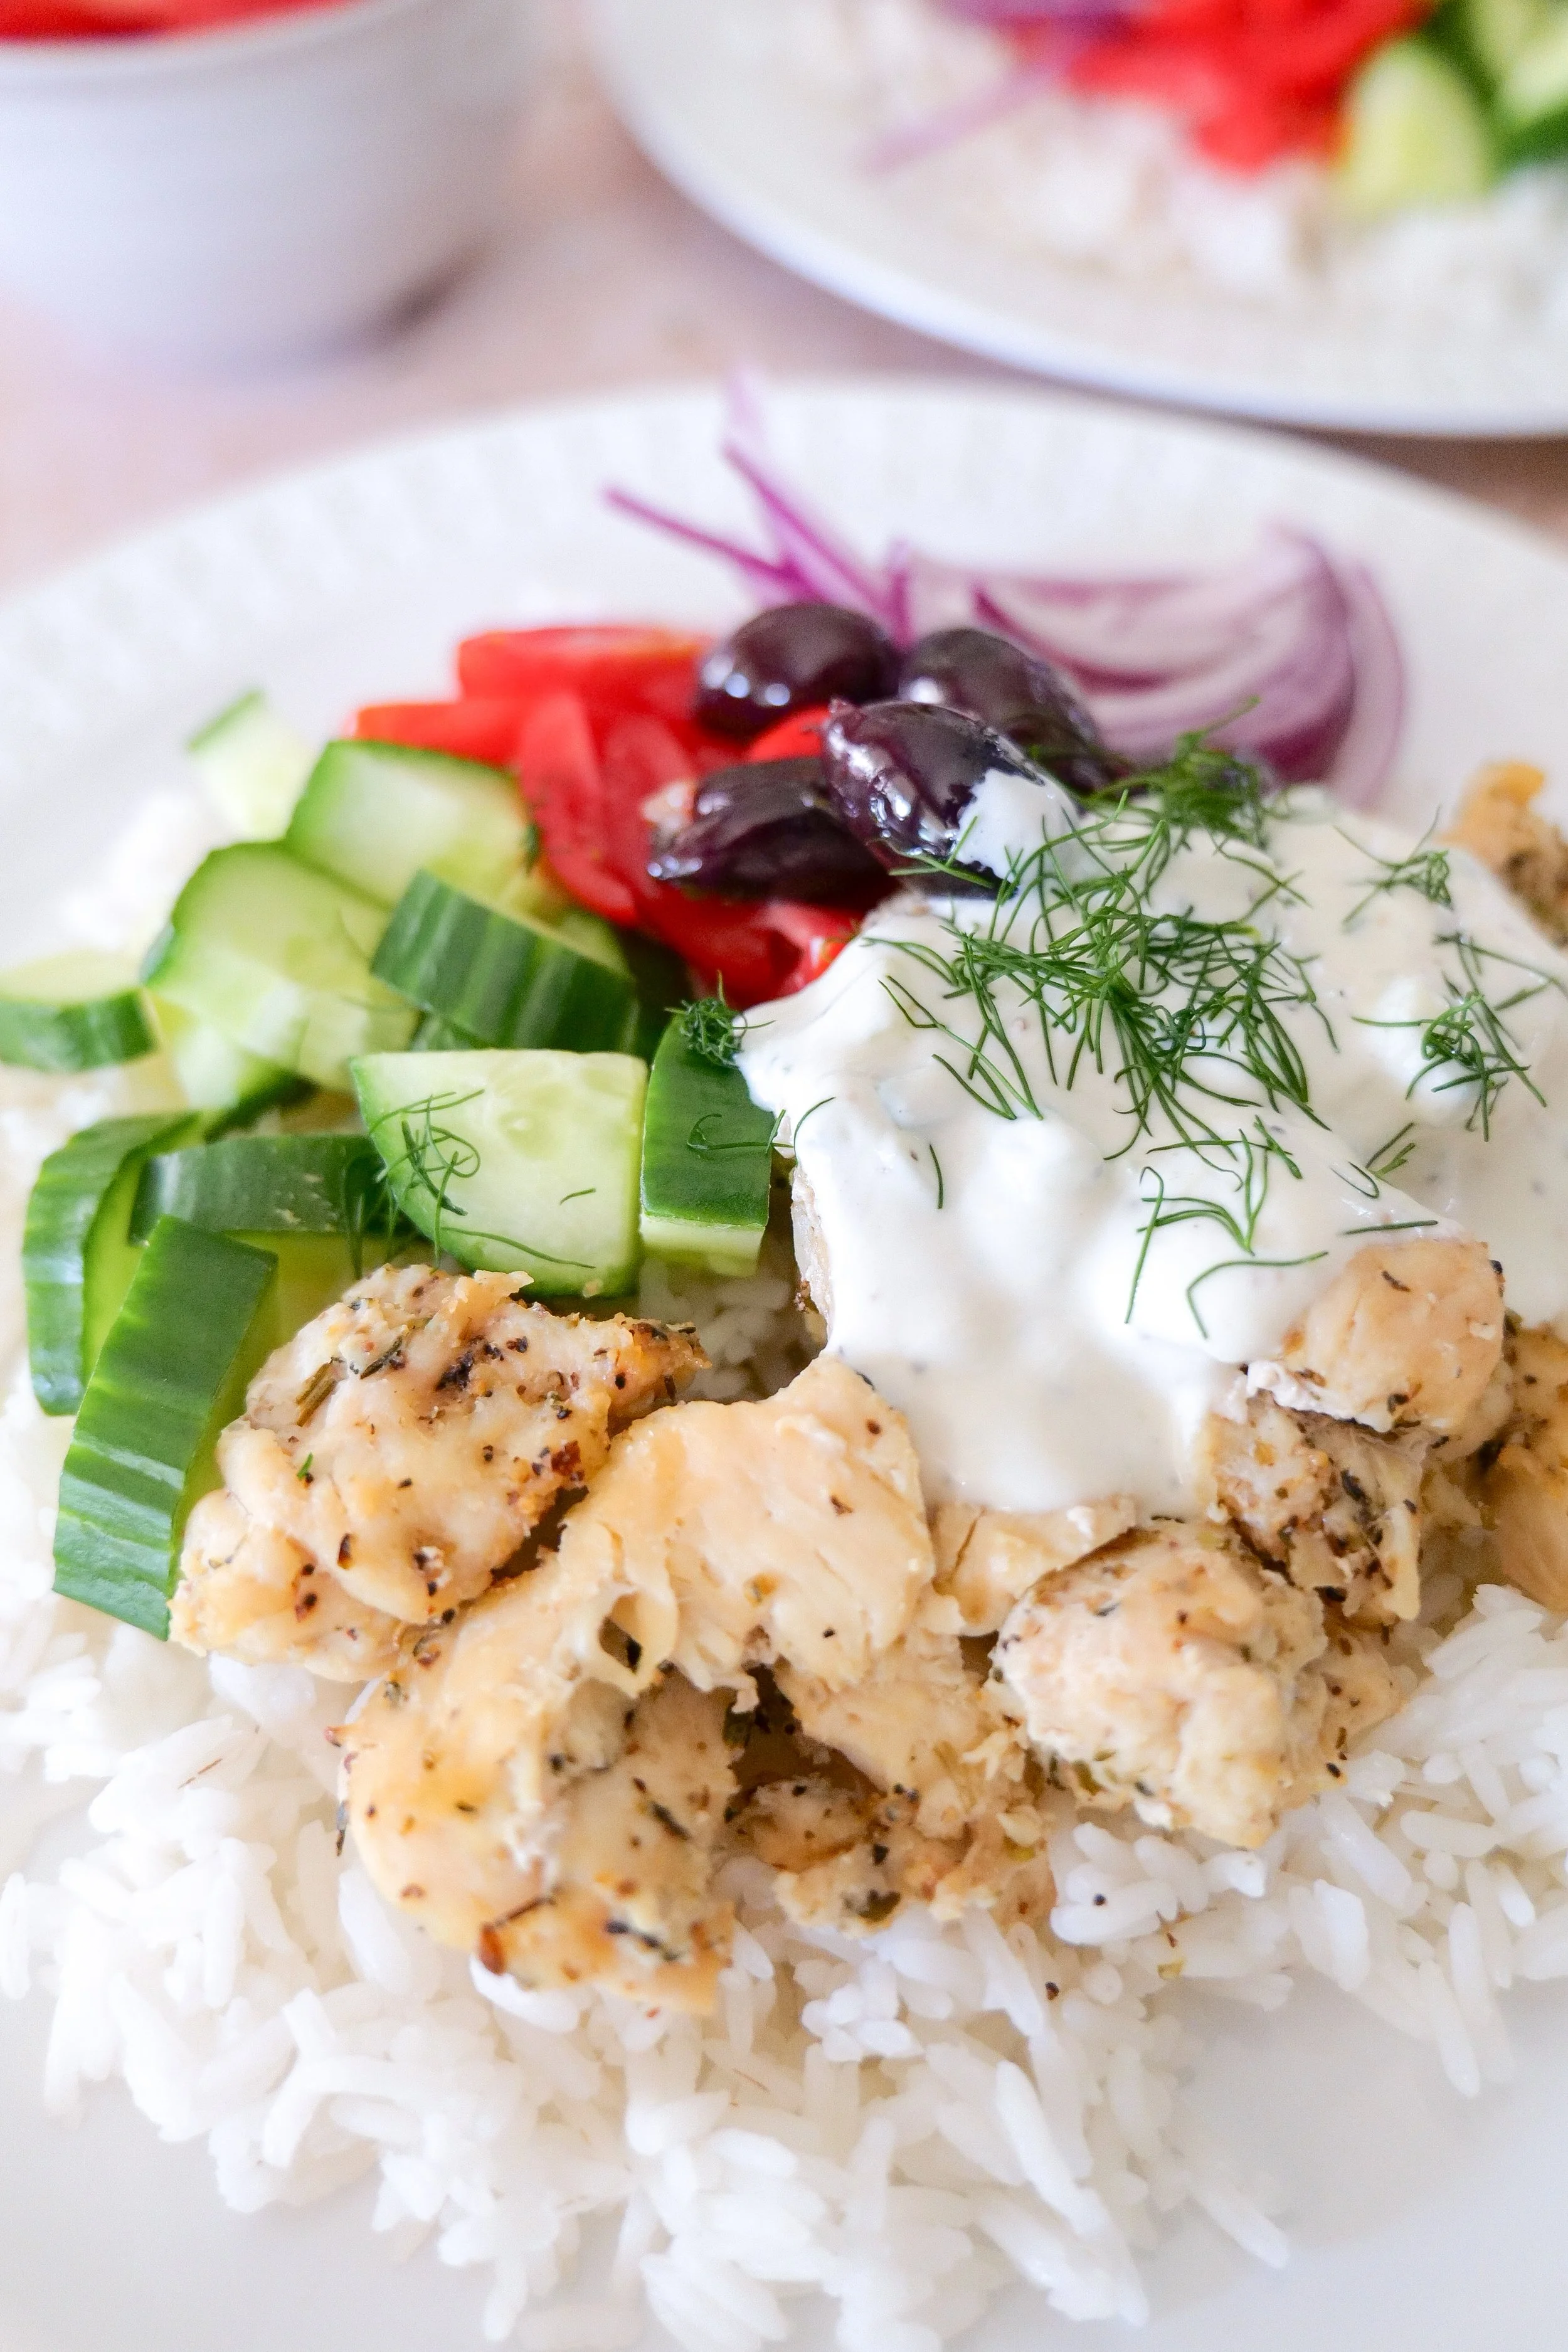
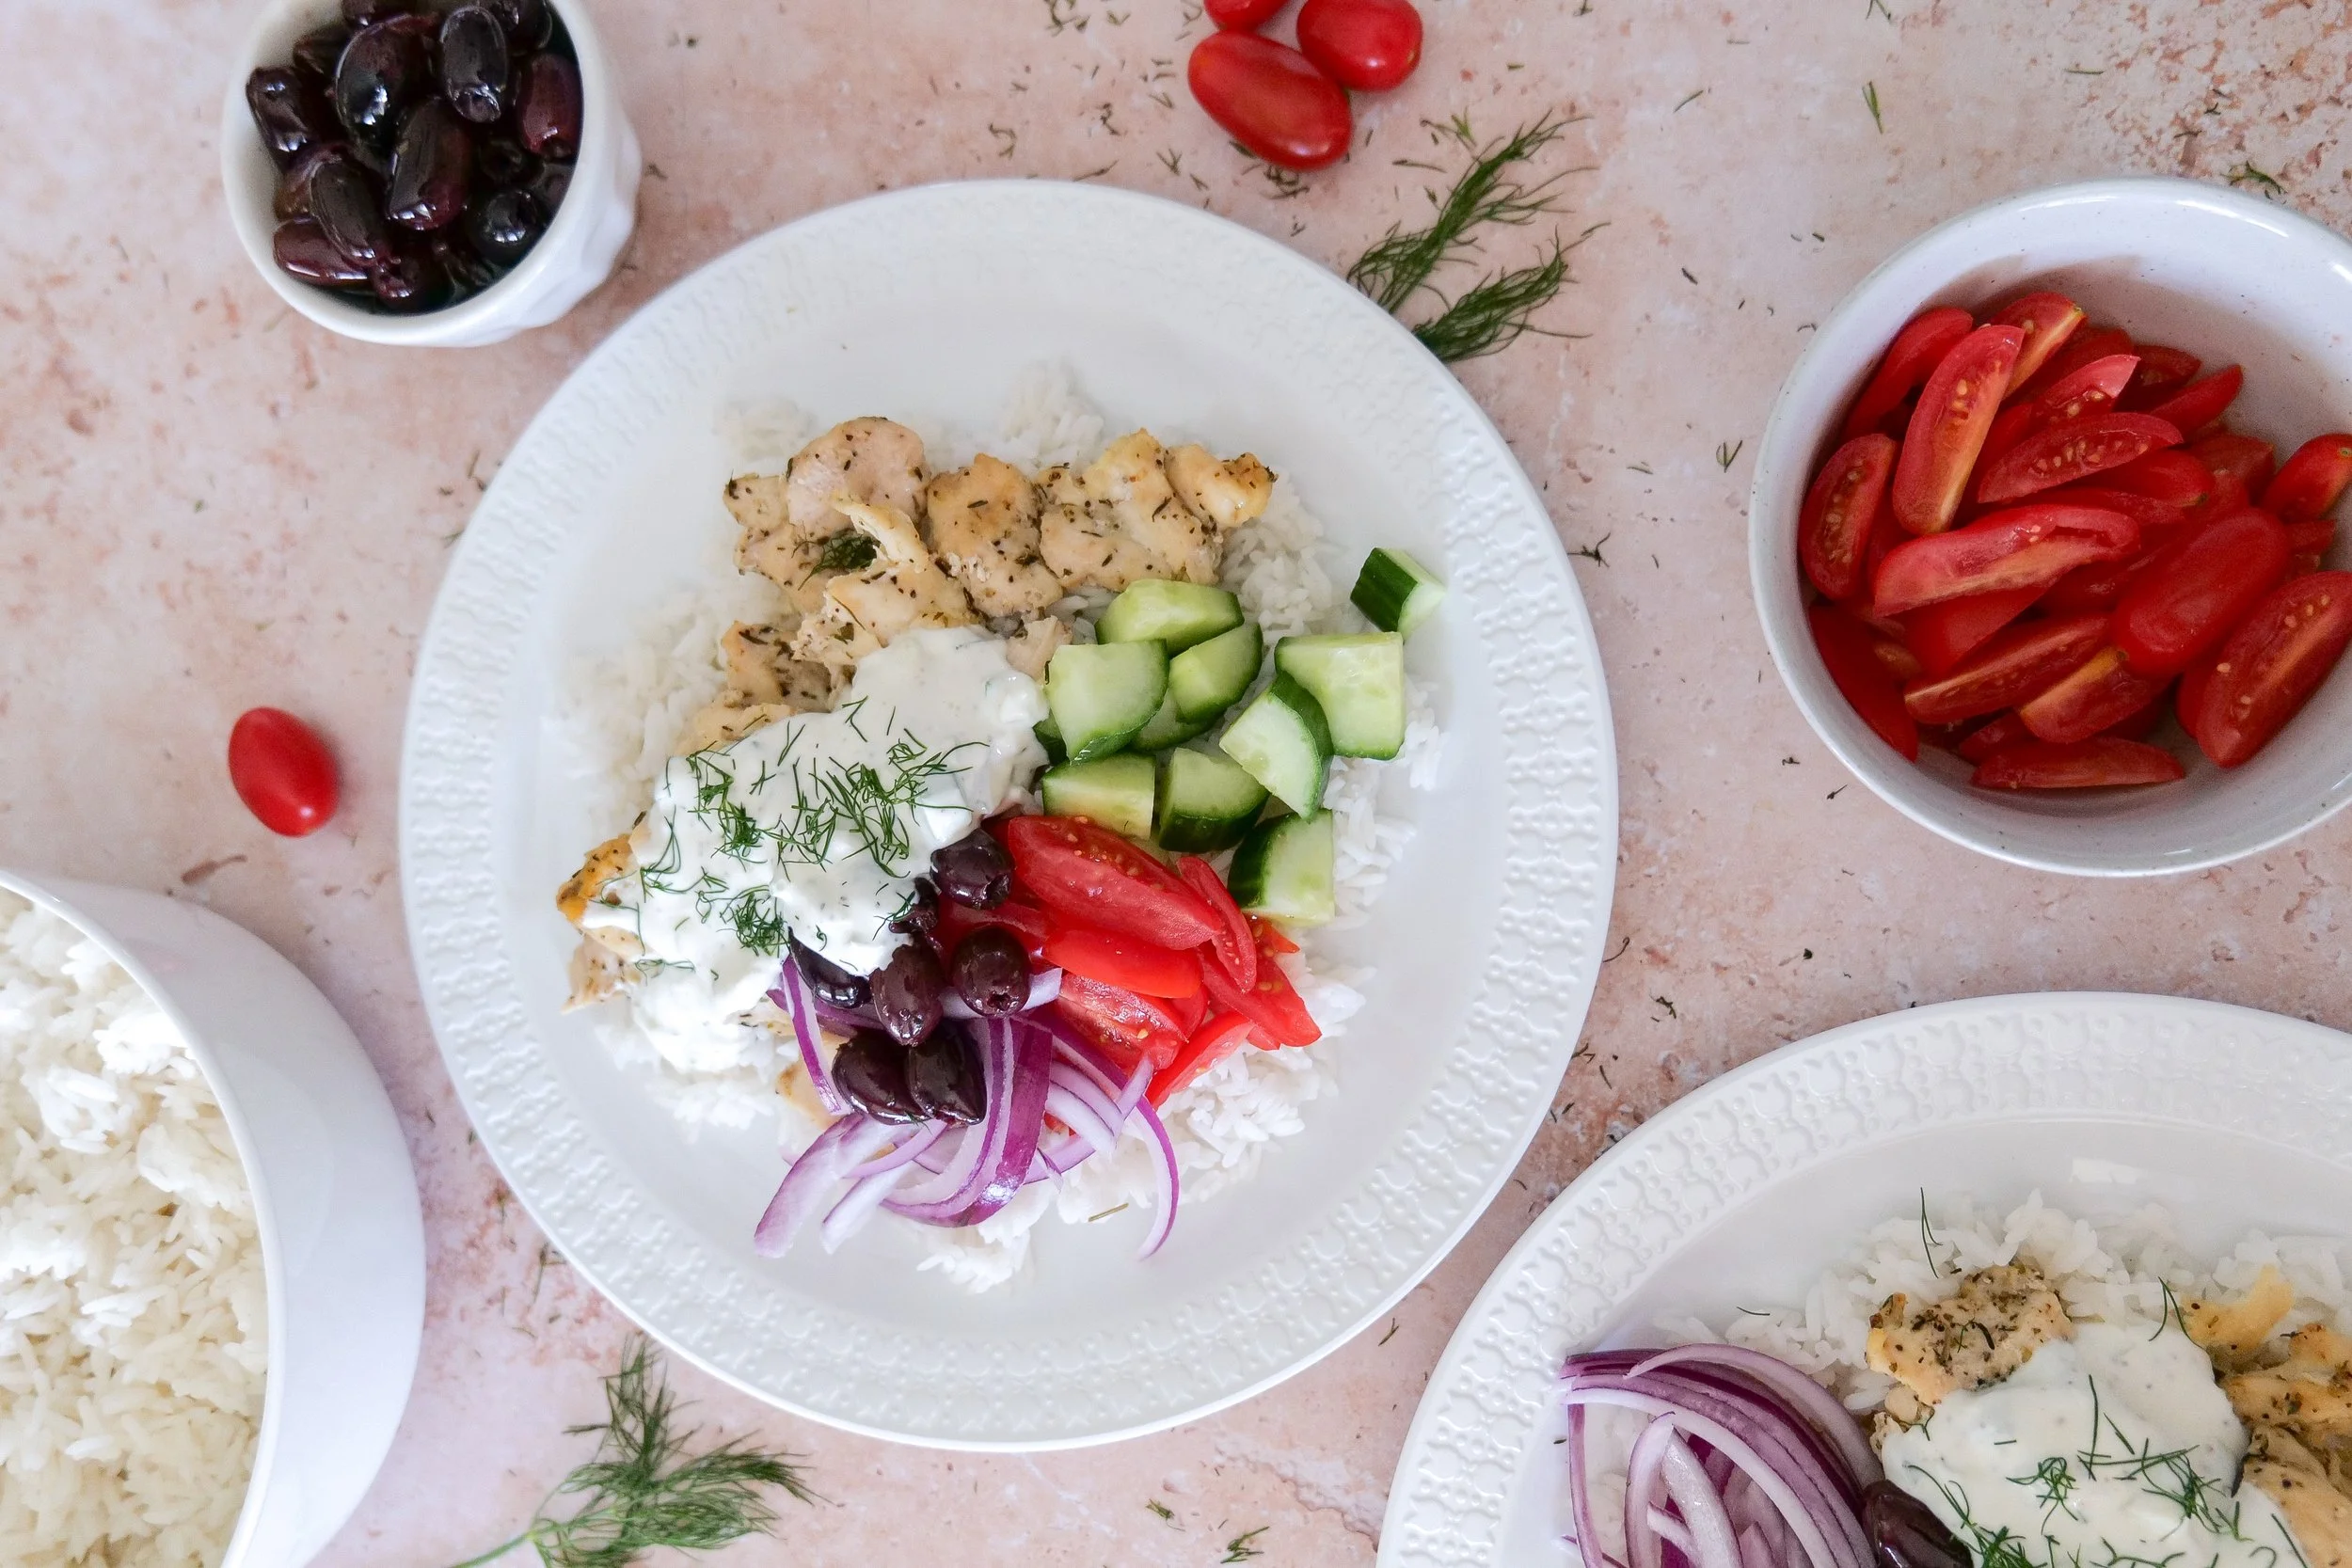
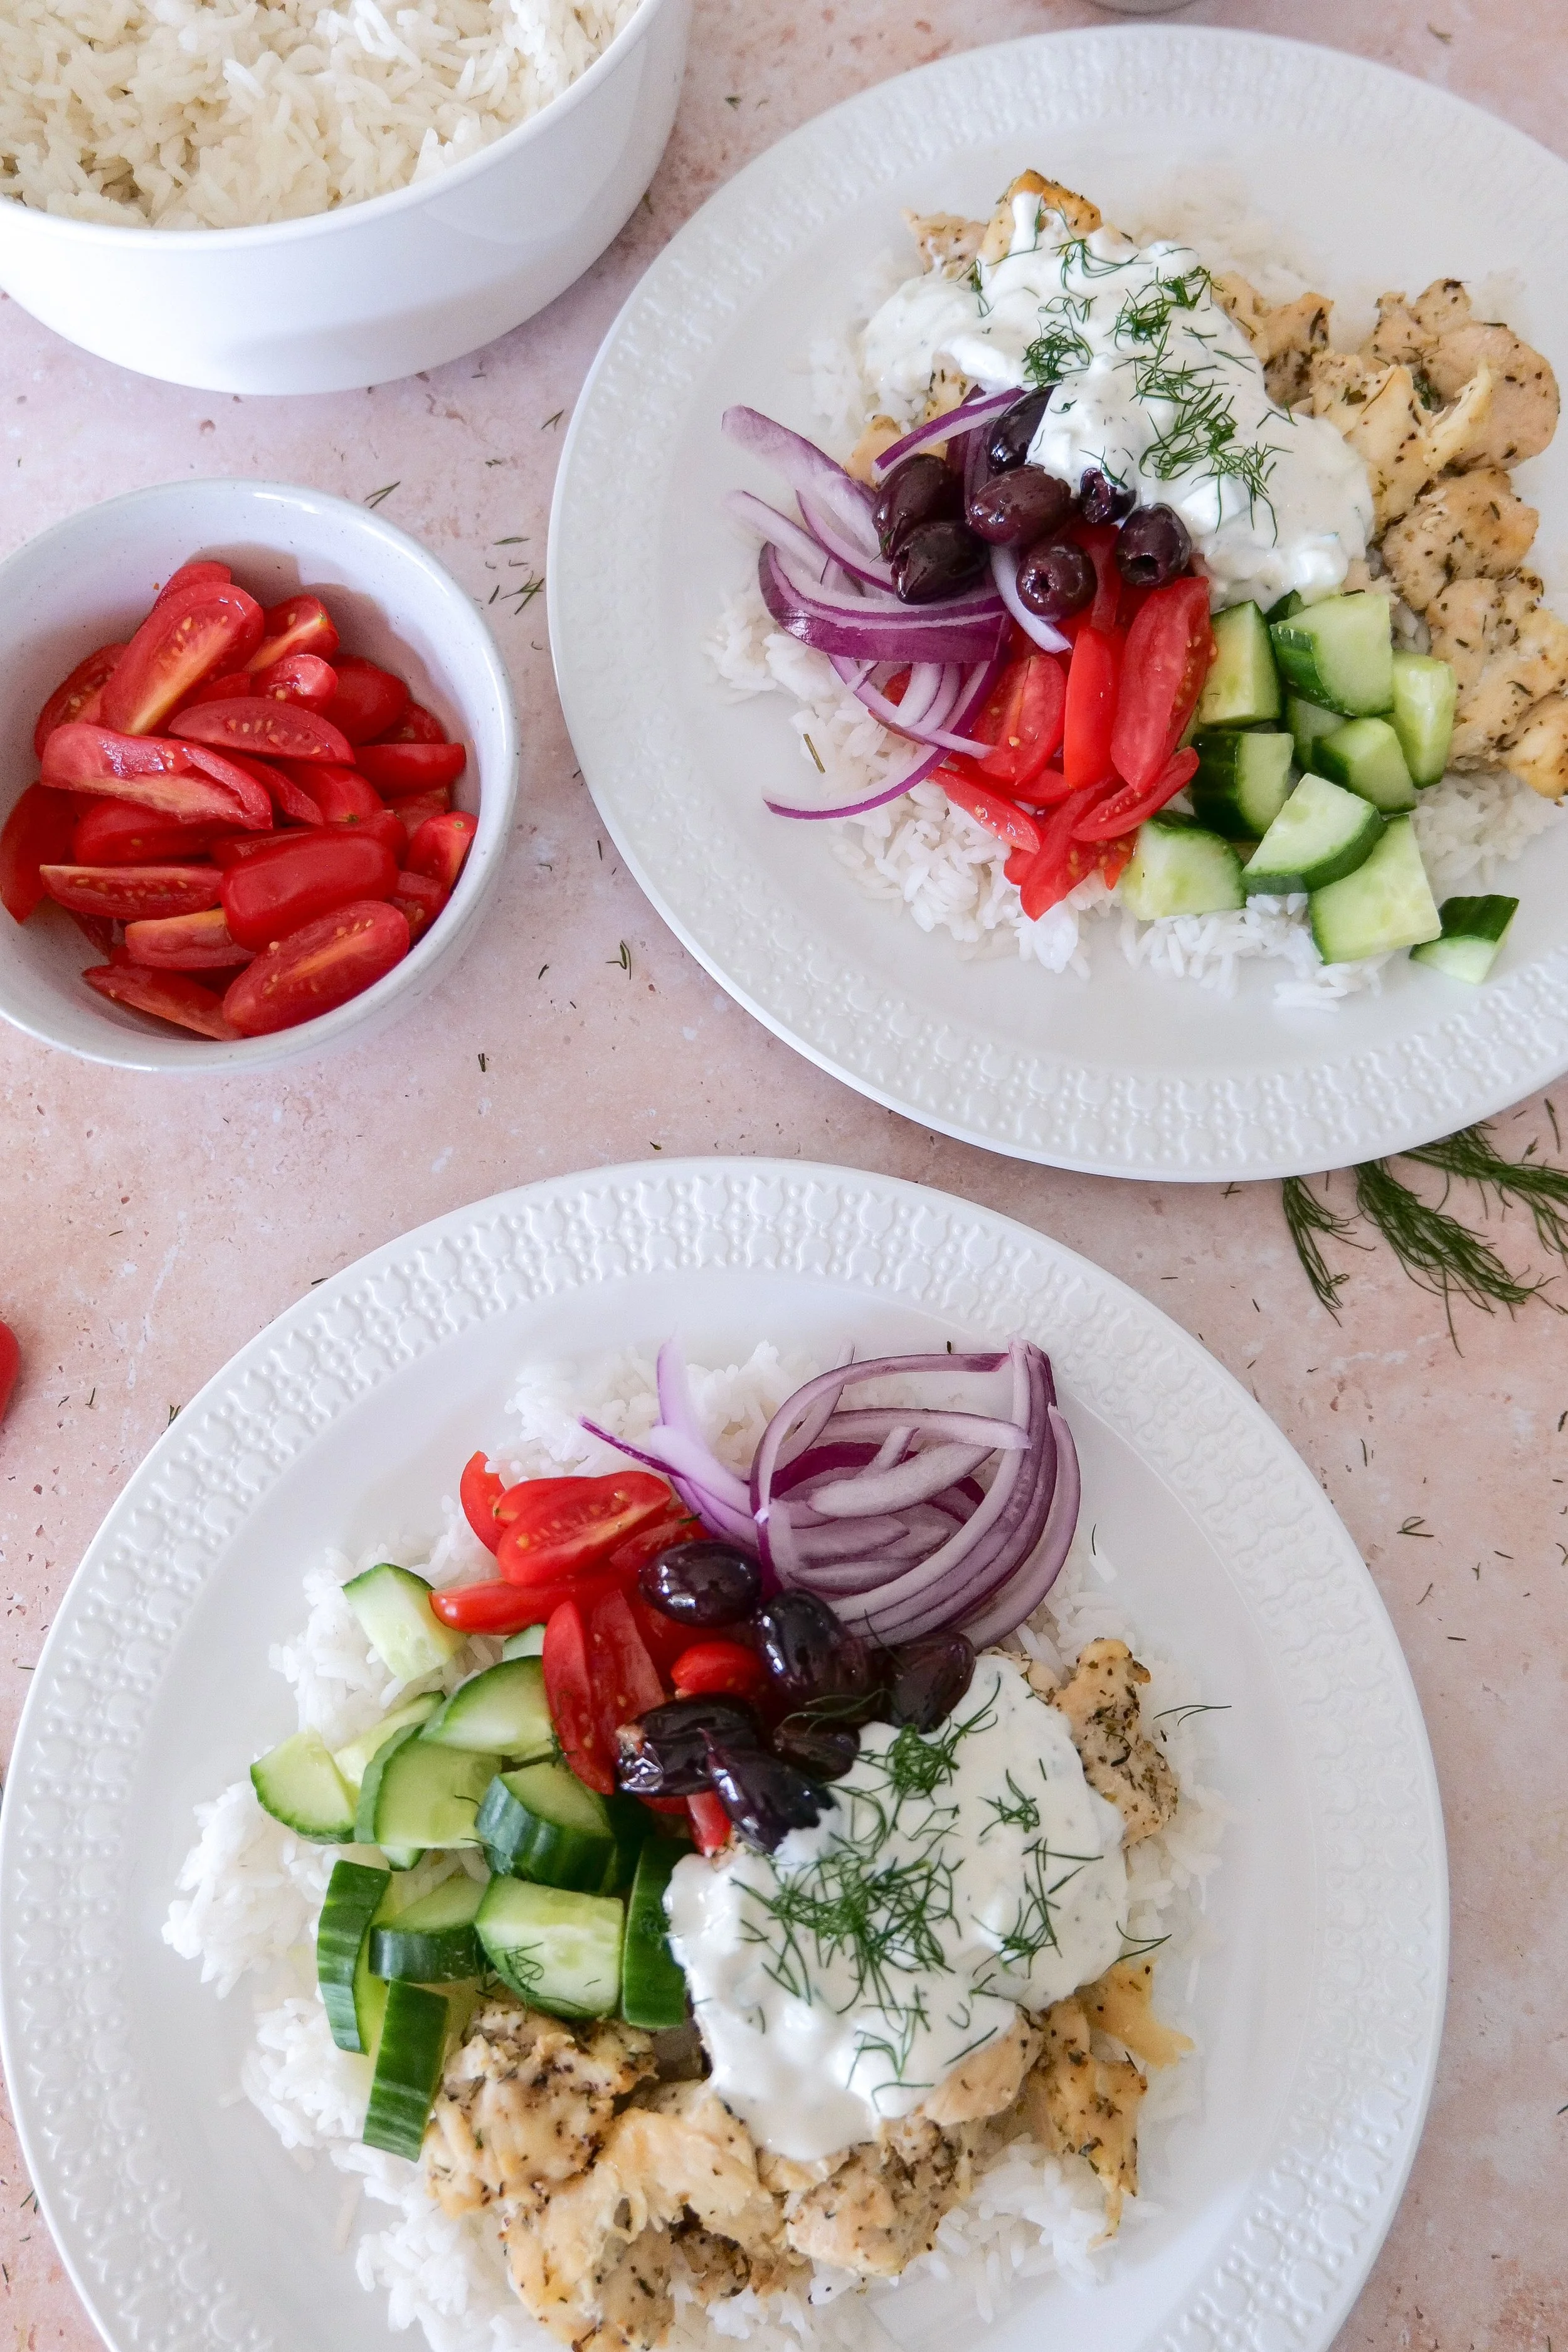
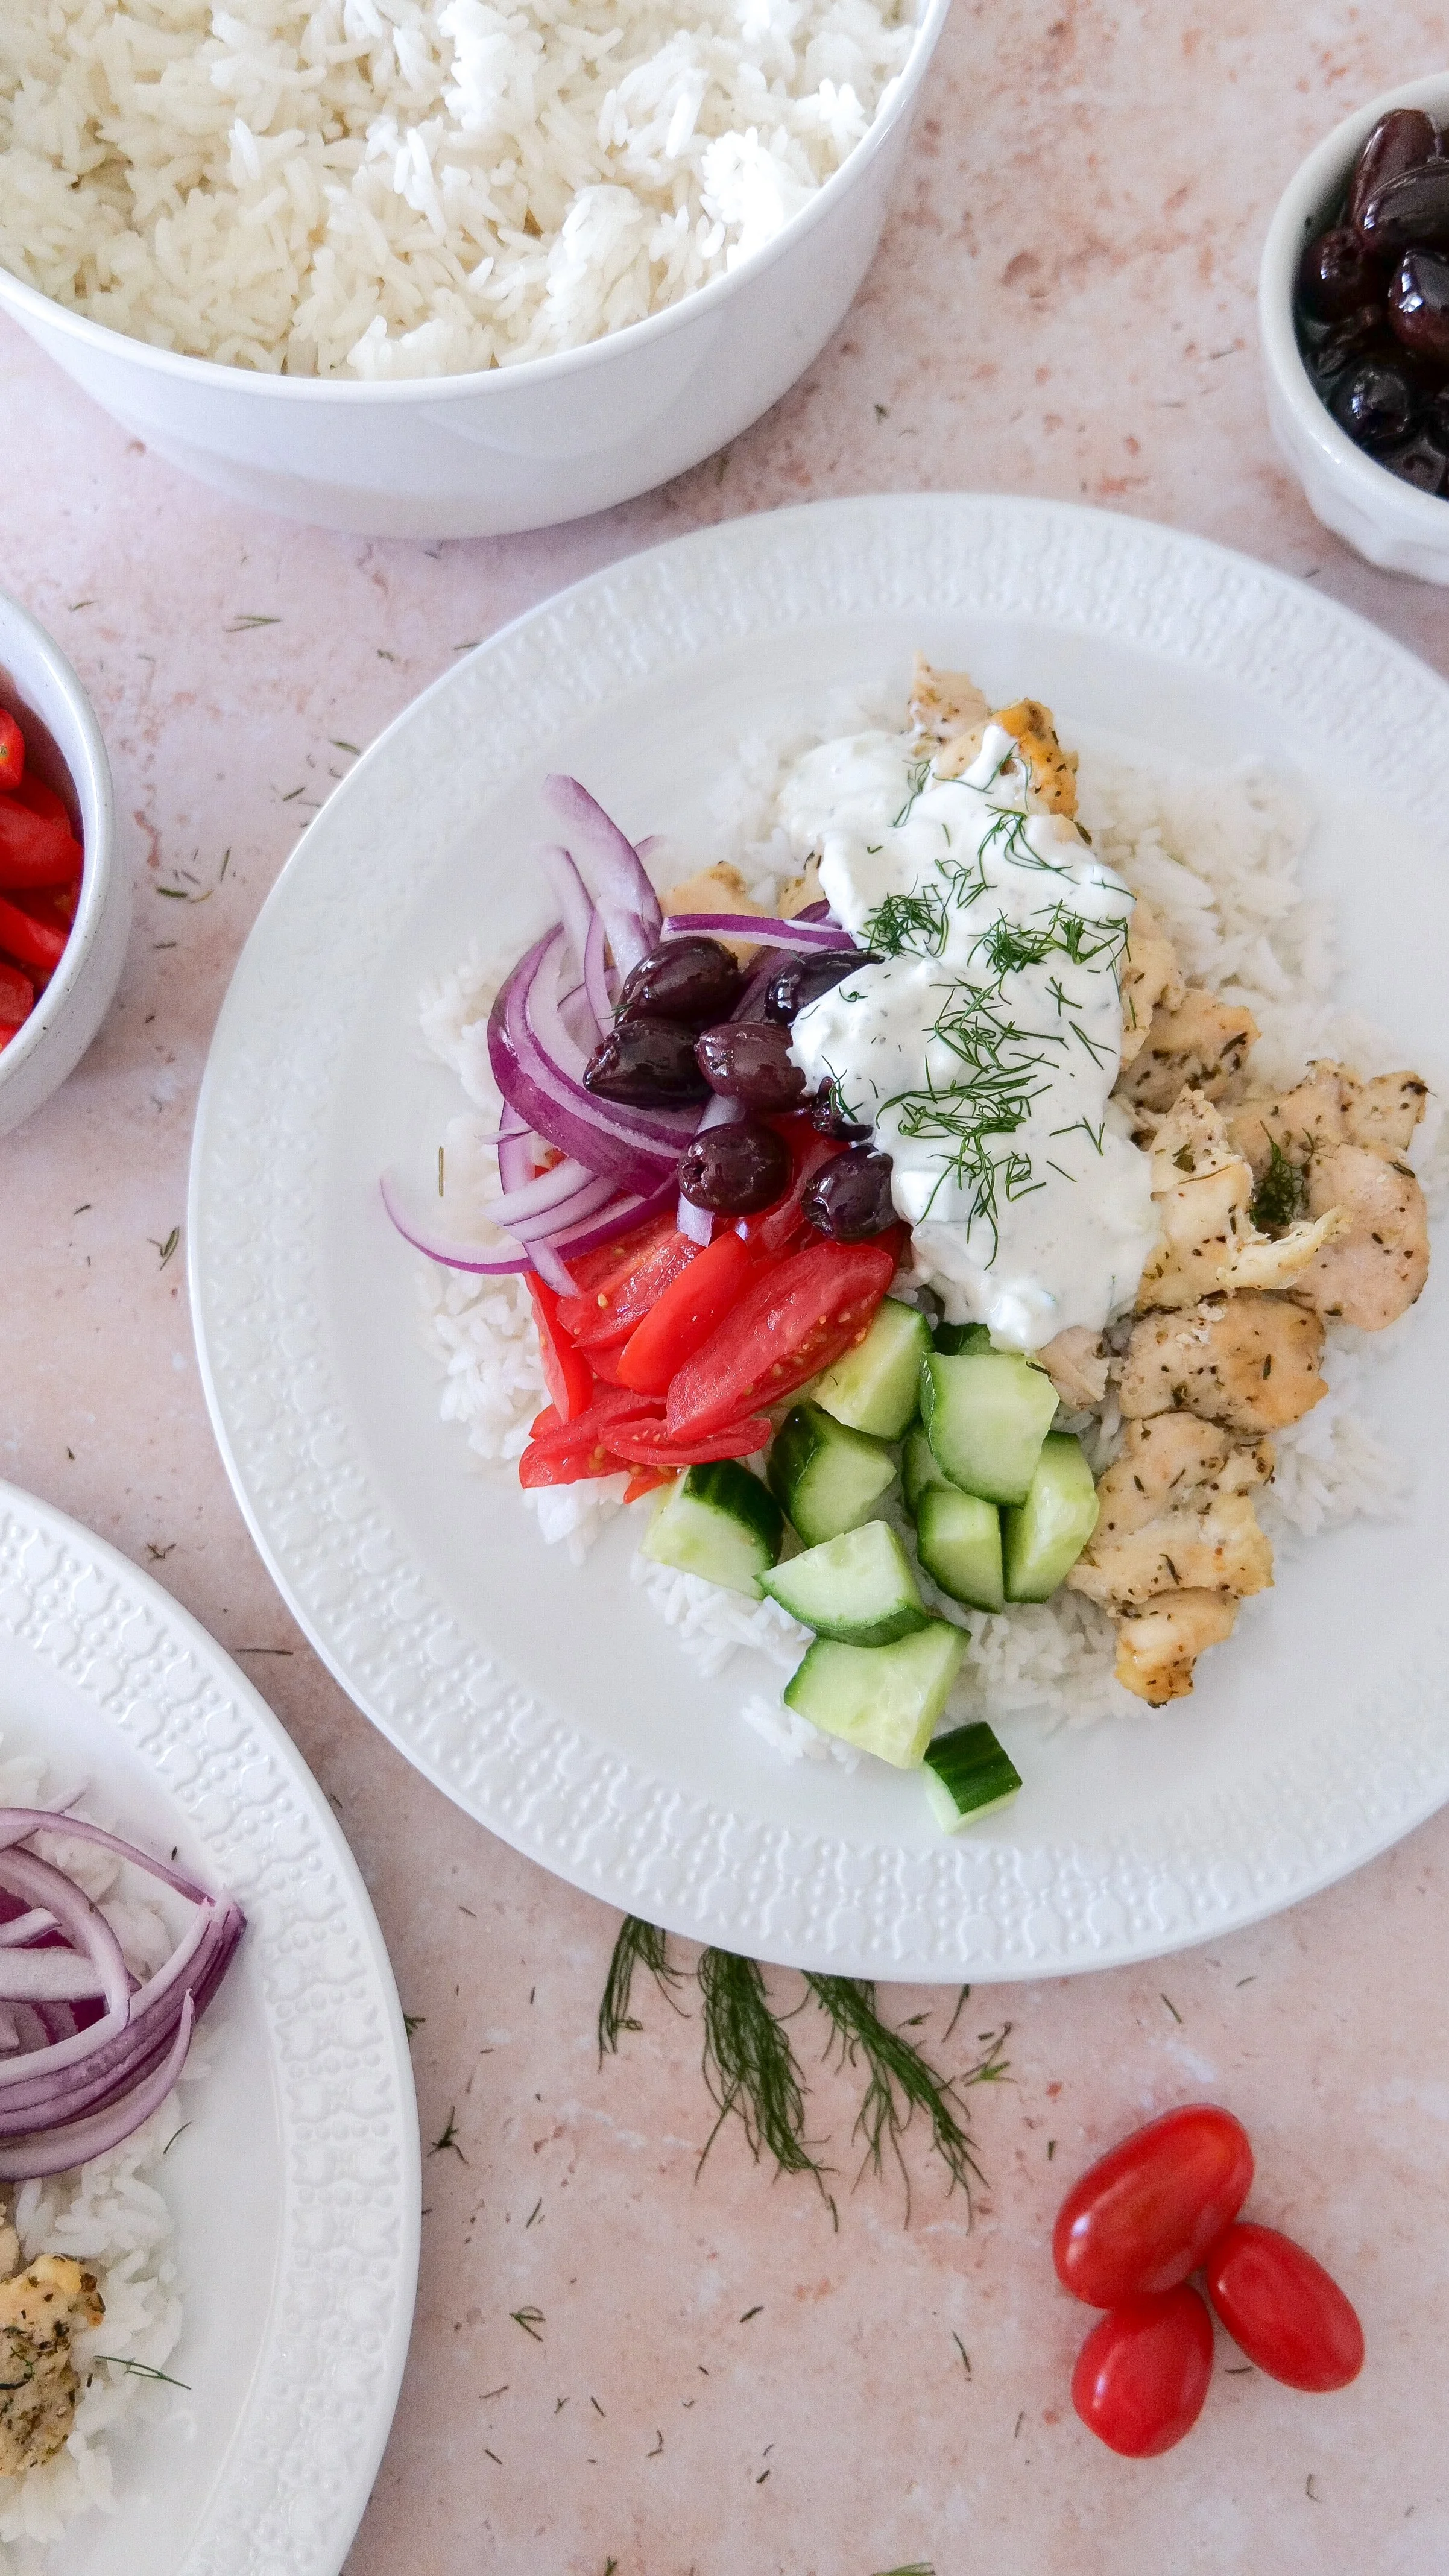
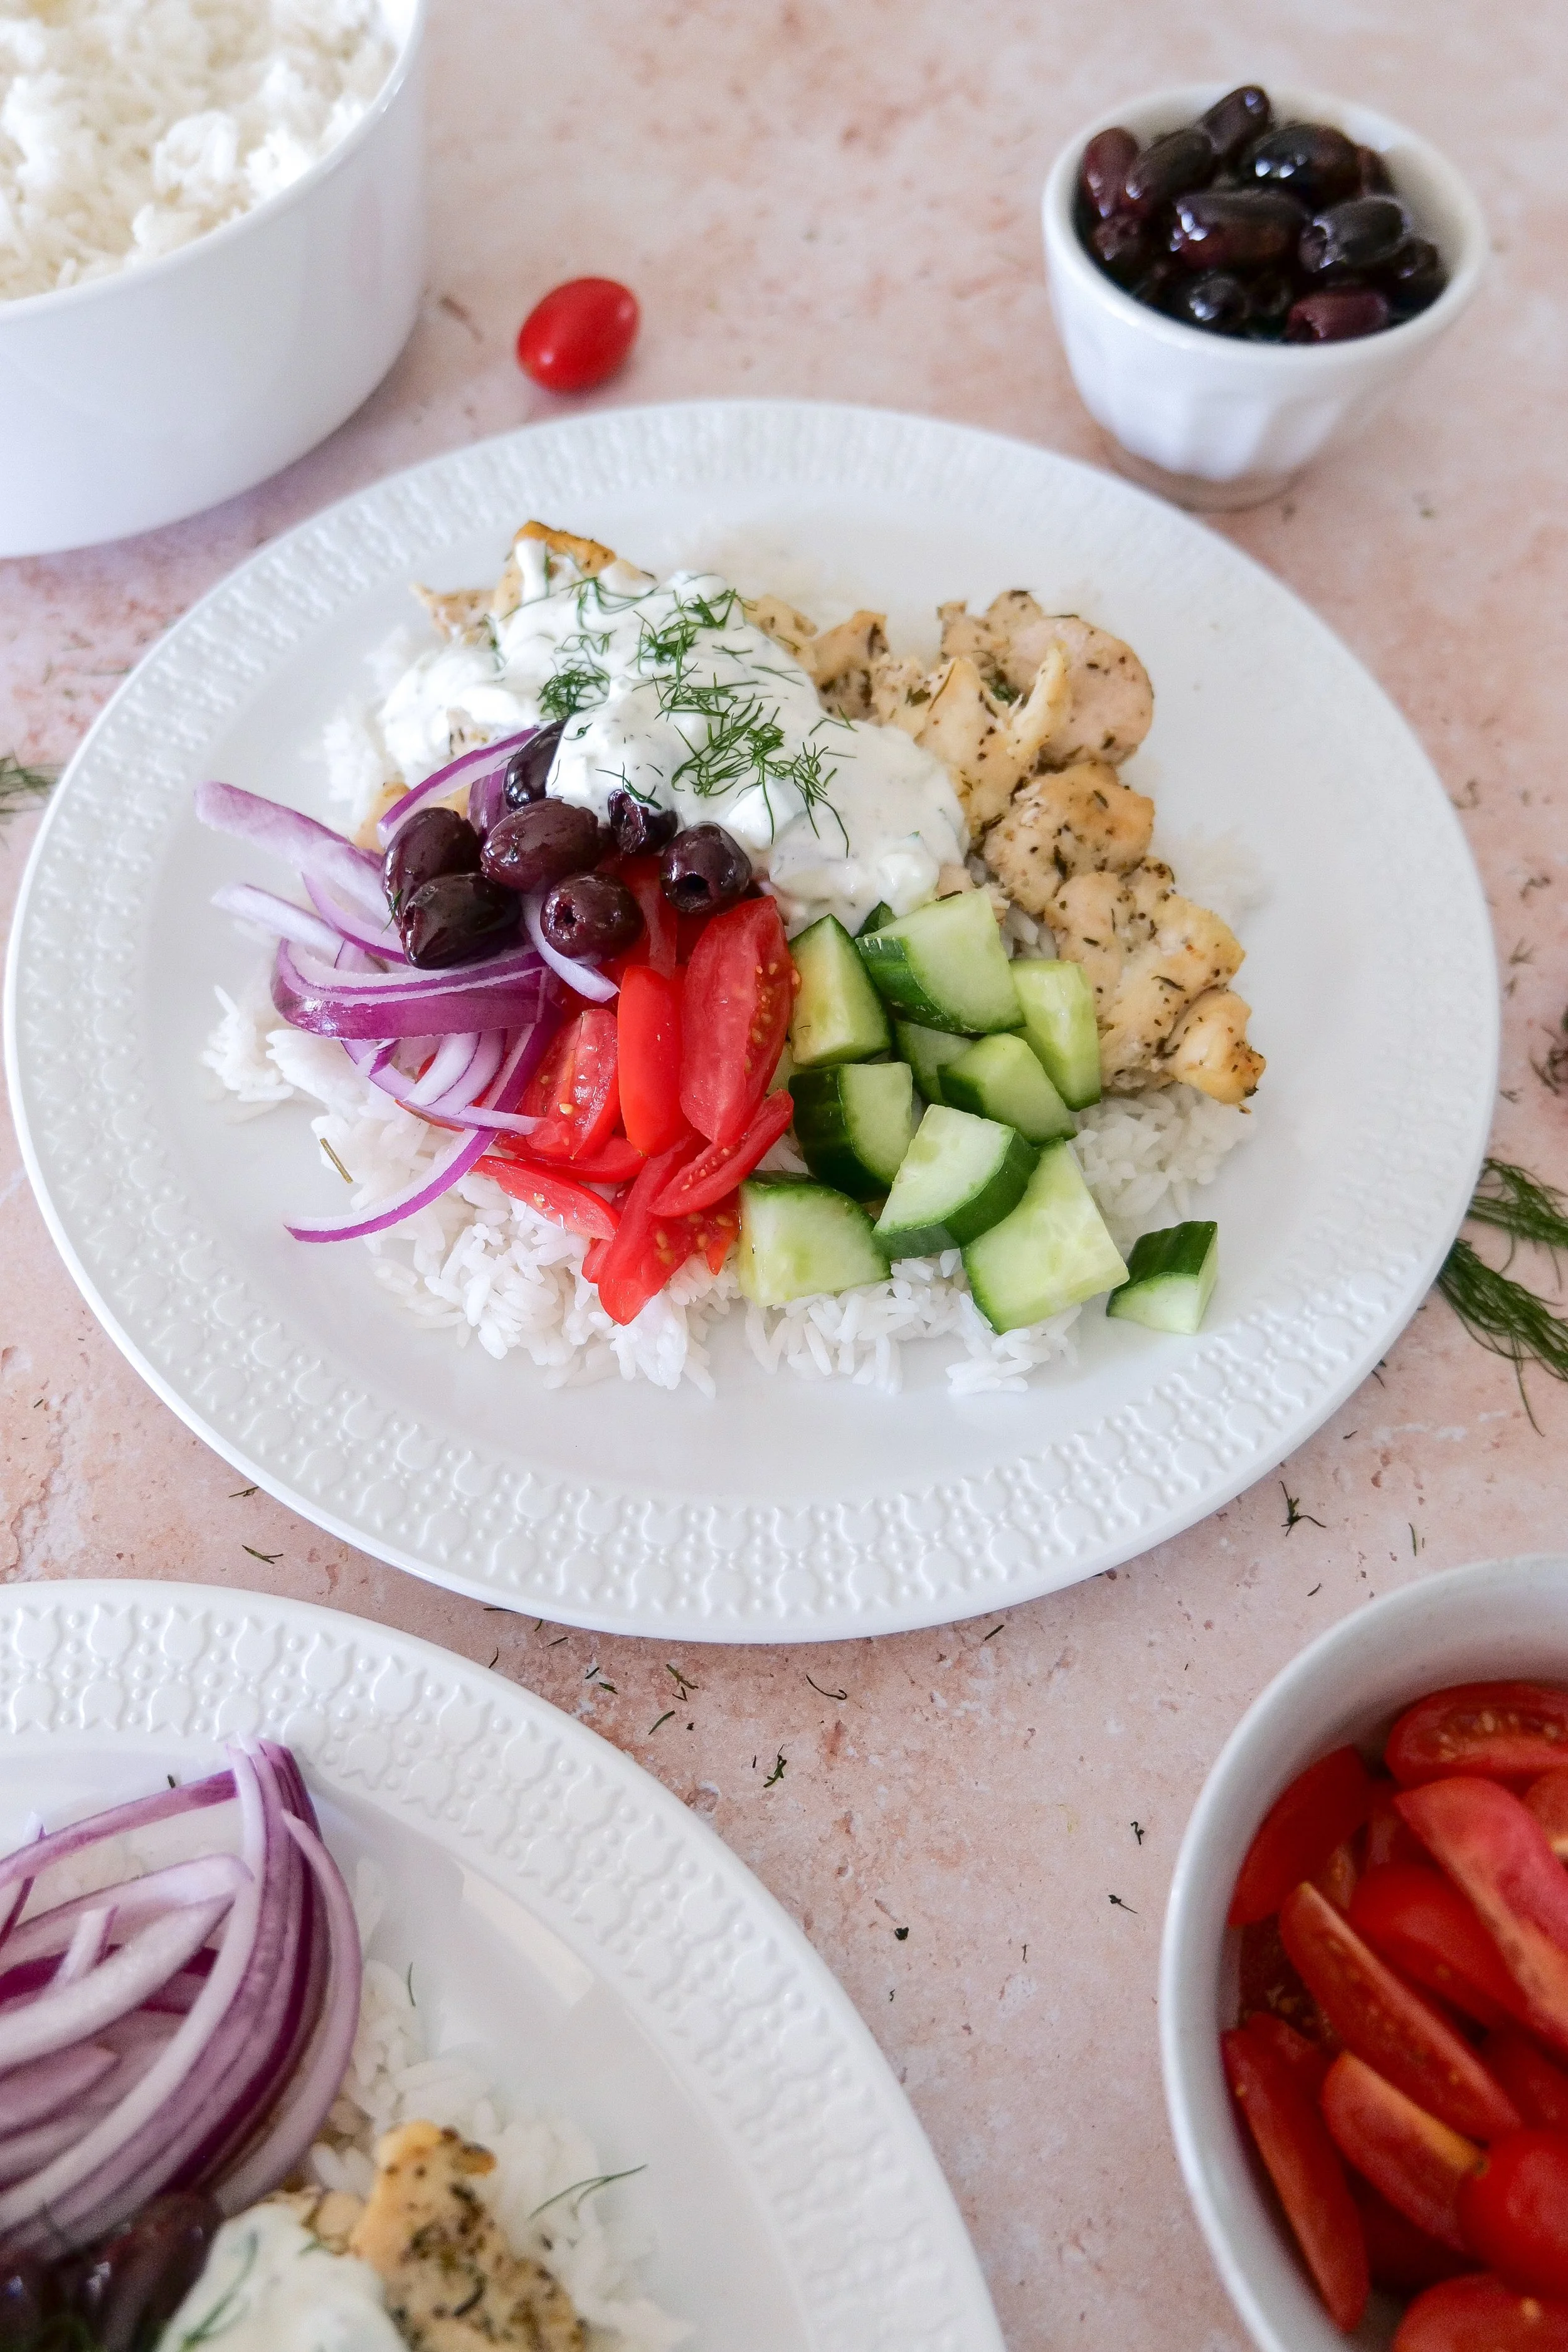
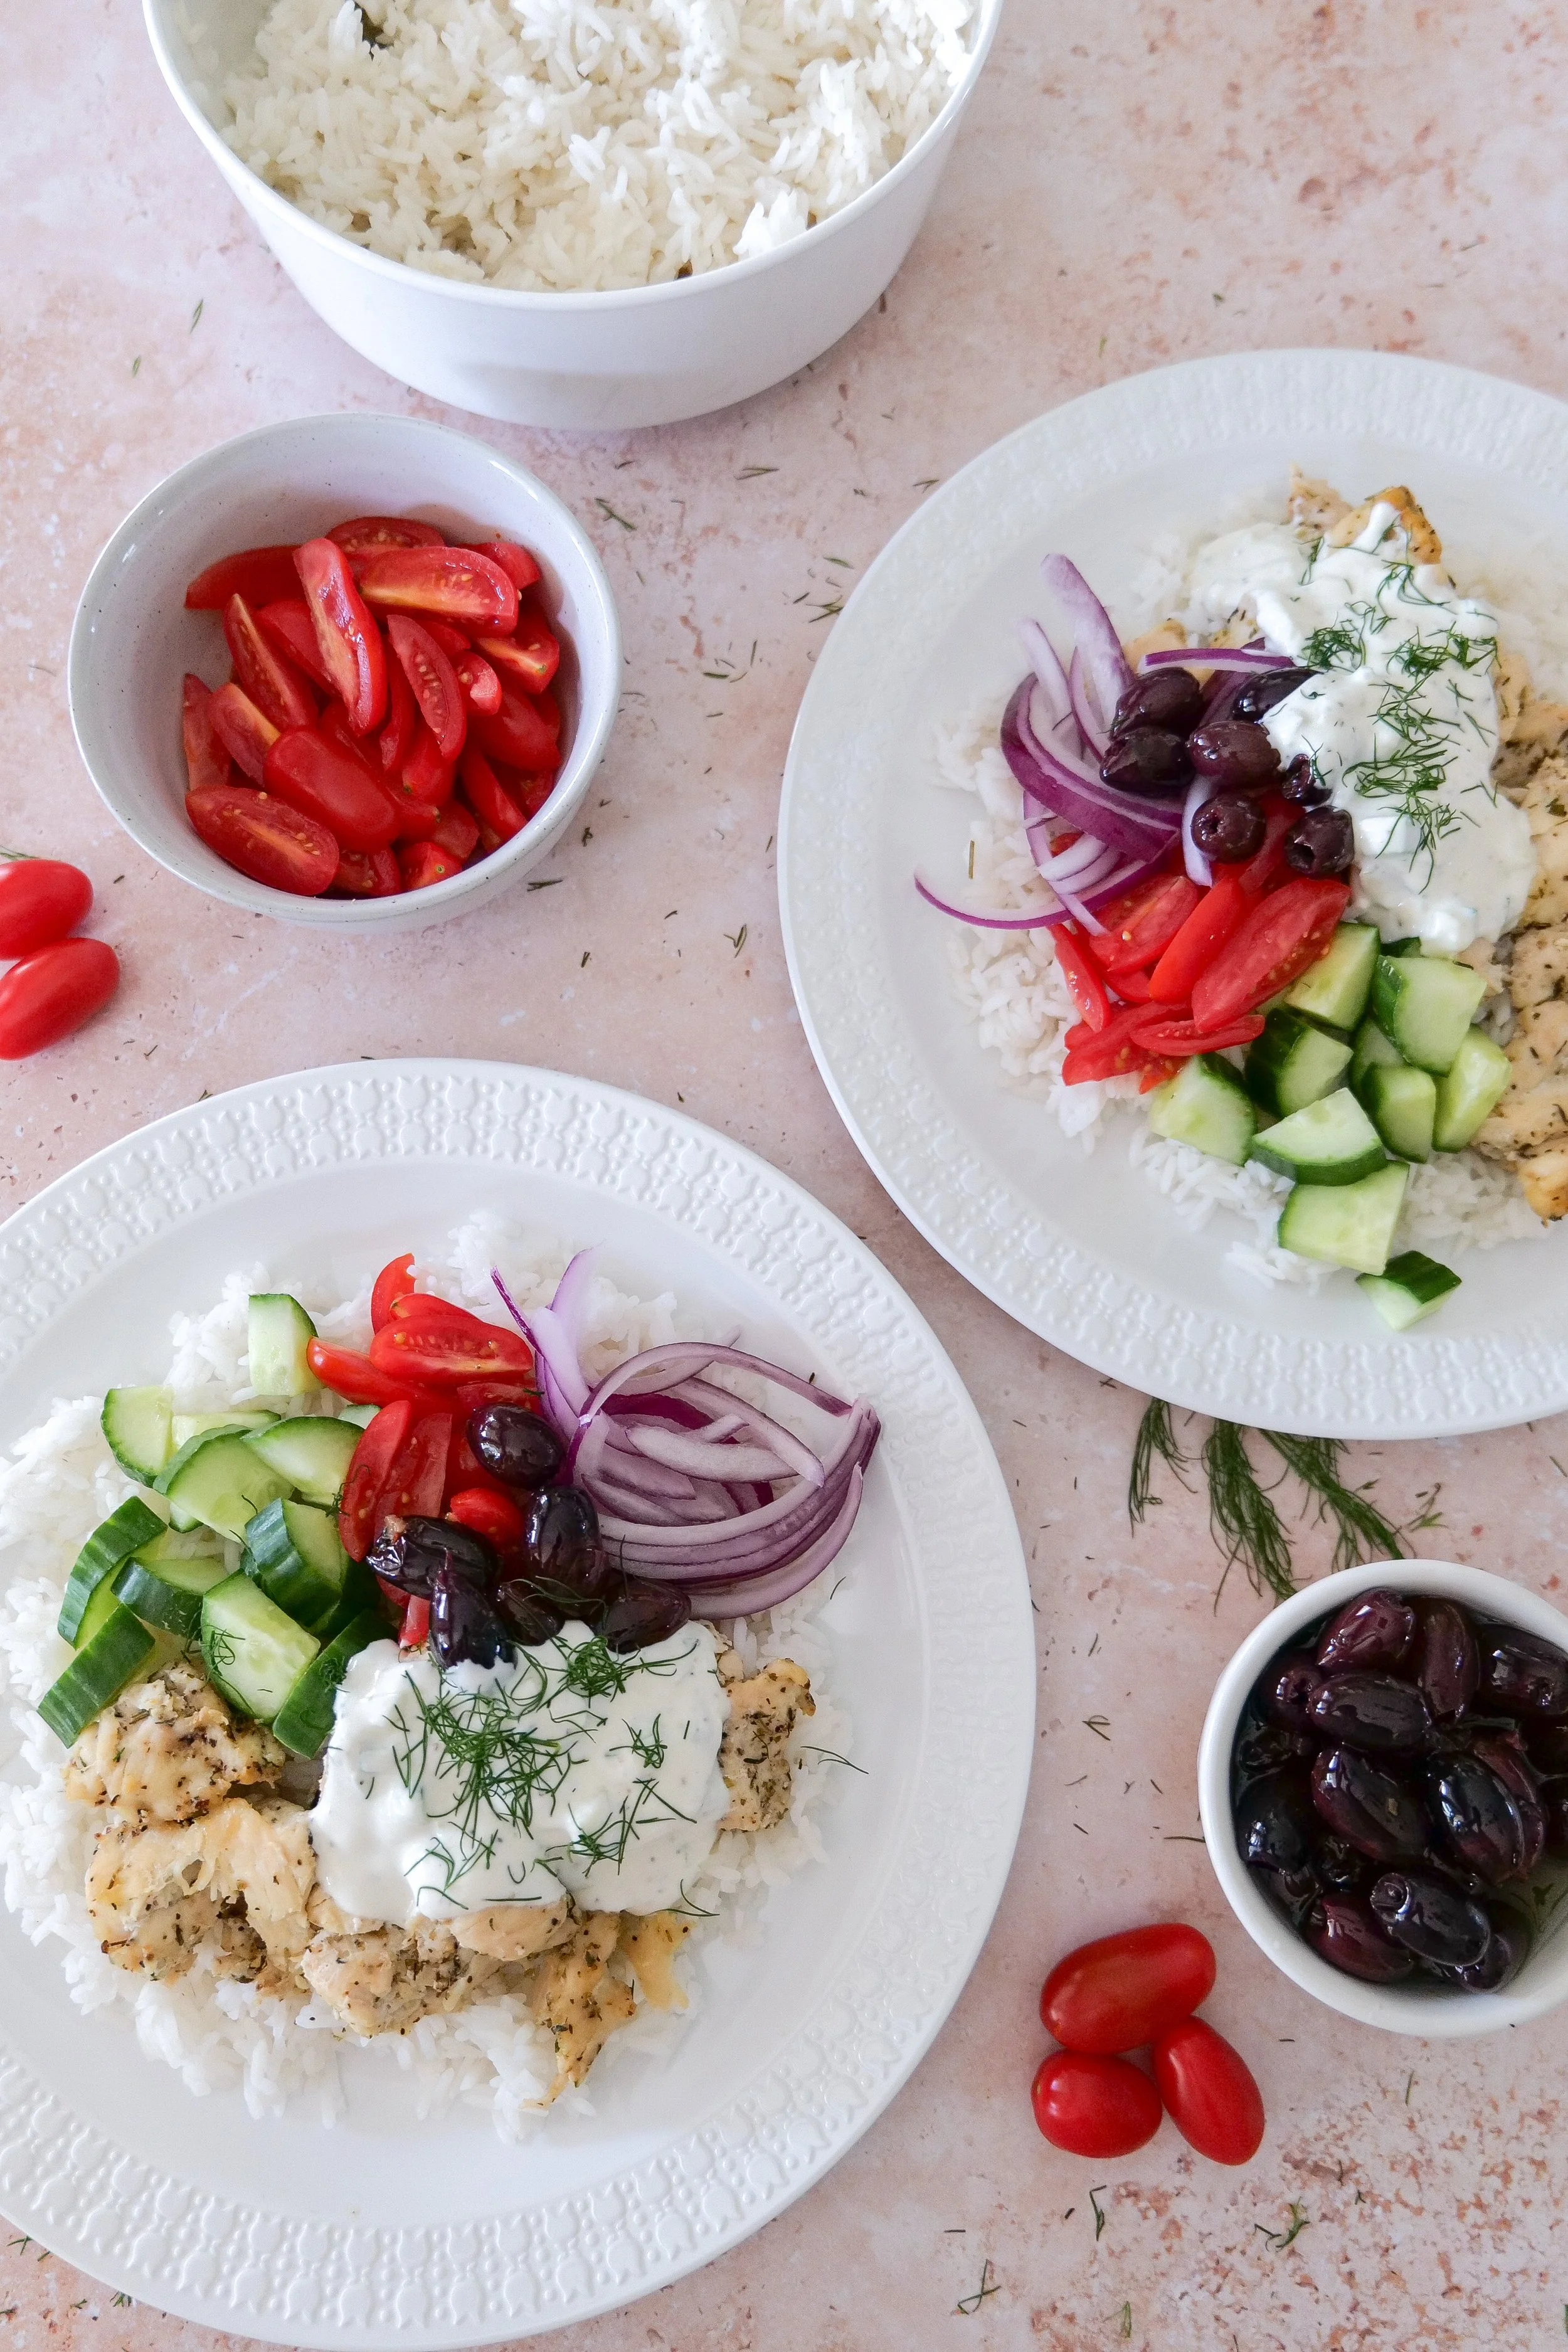
Mediterranean Chicken & Rice Bowls made with Minute Rice

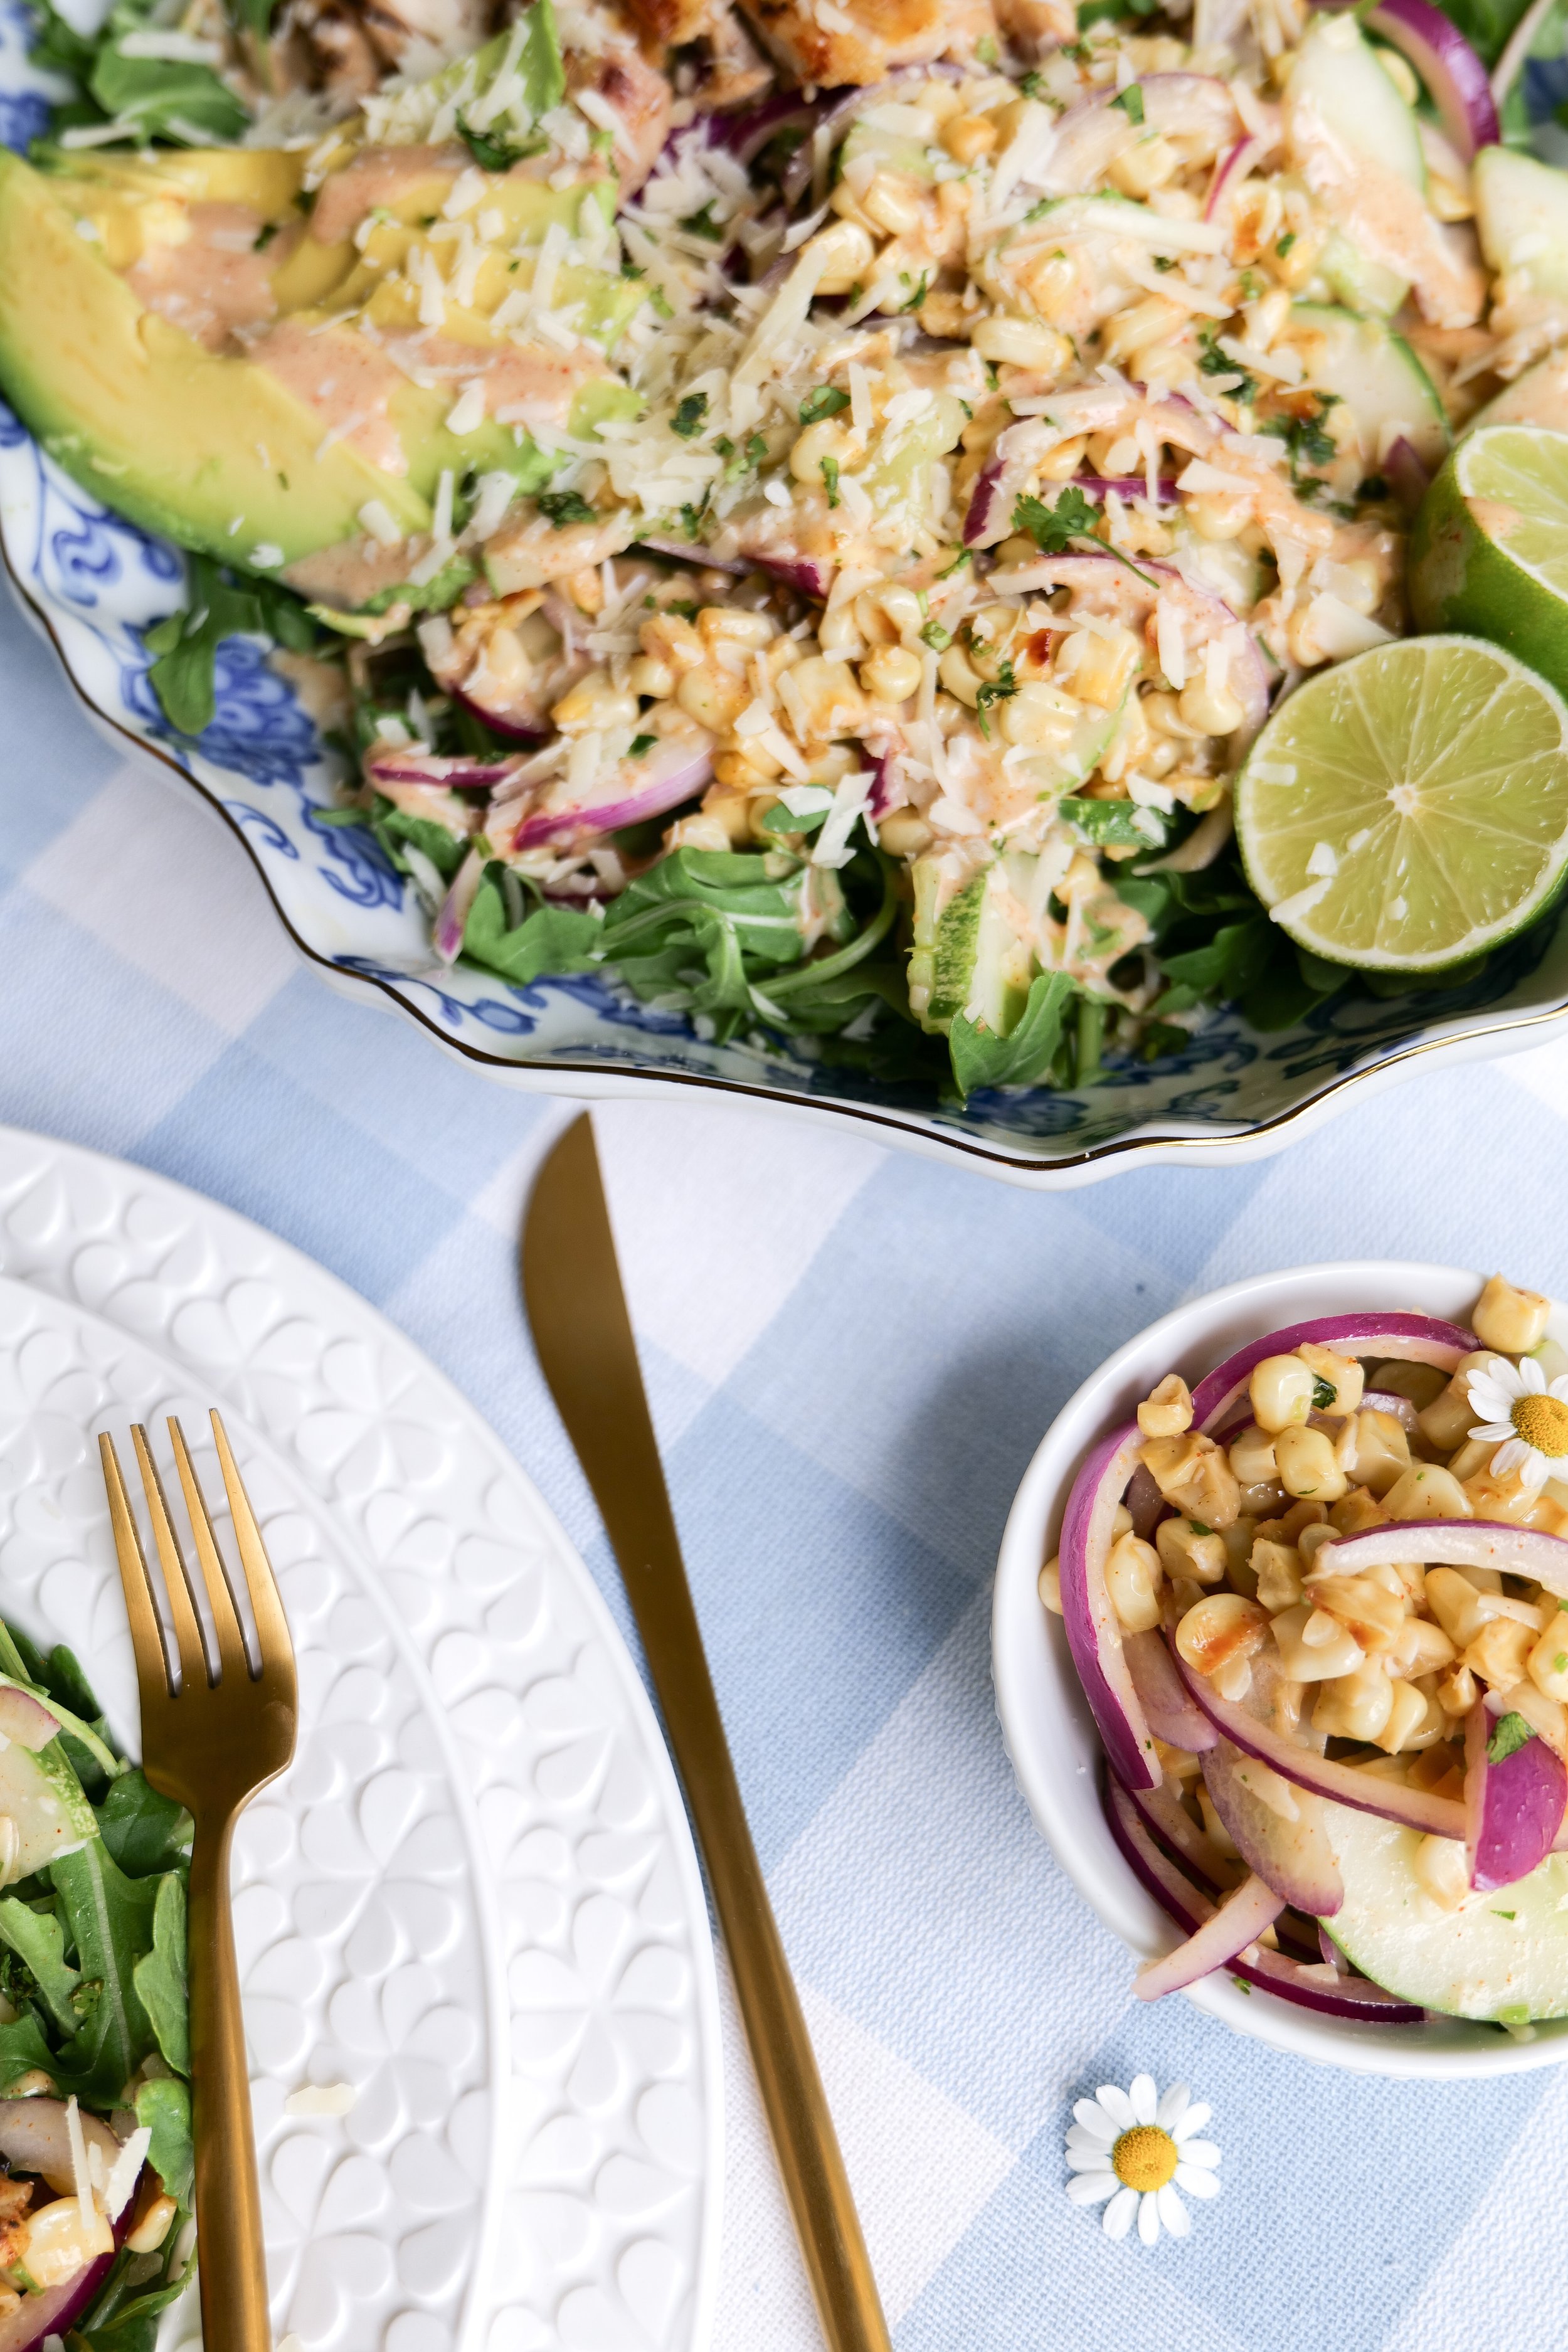
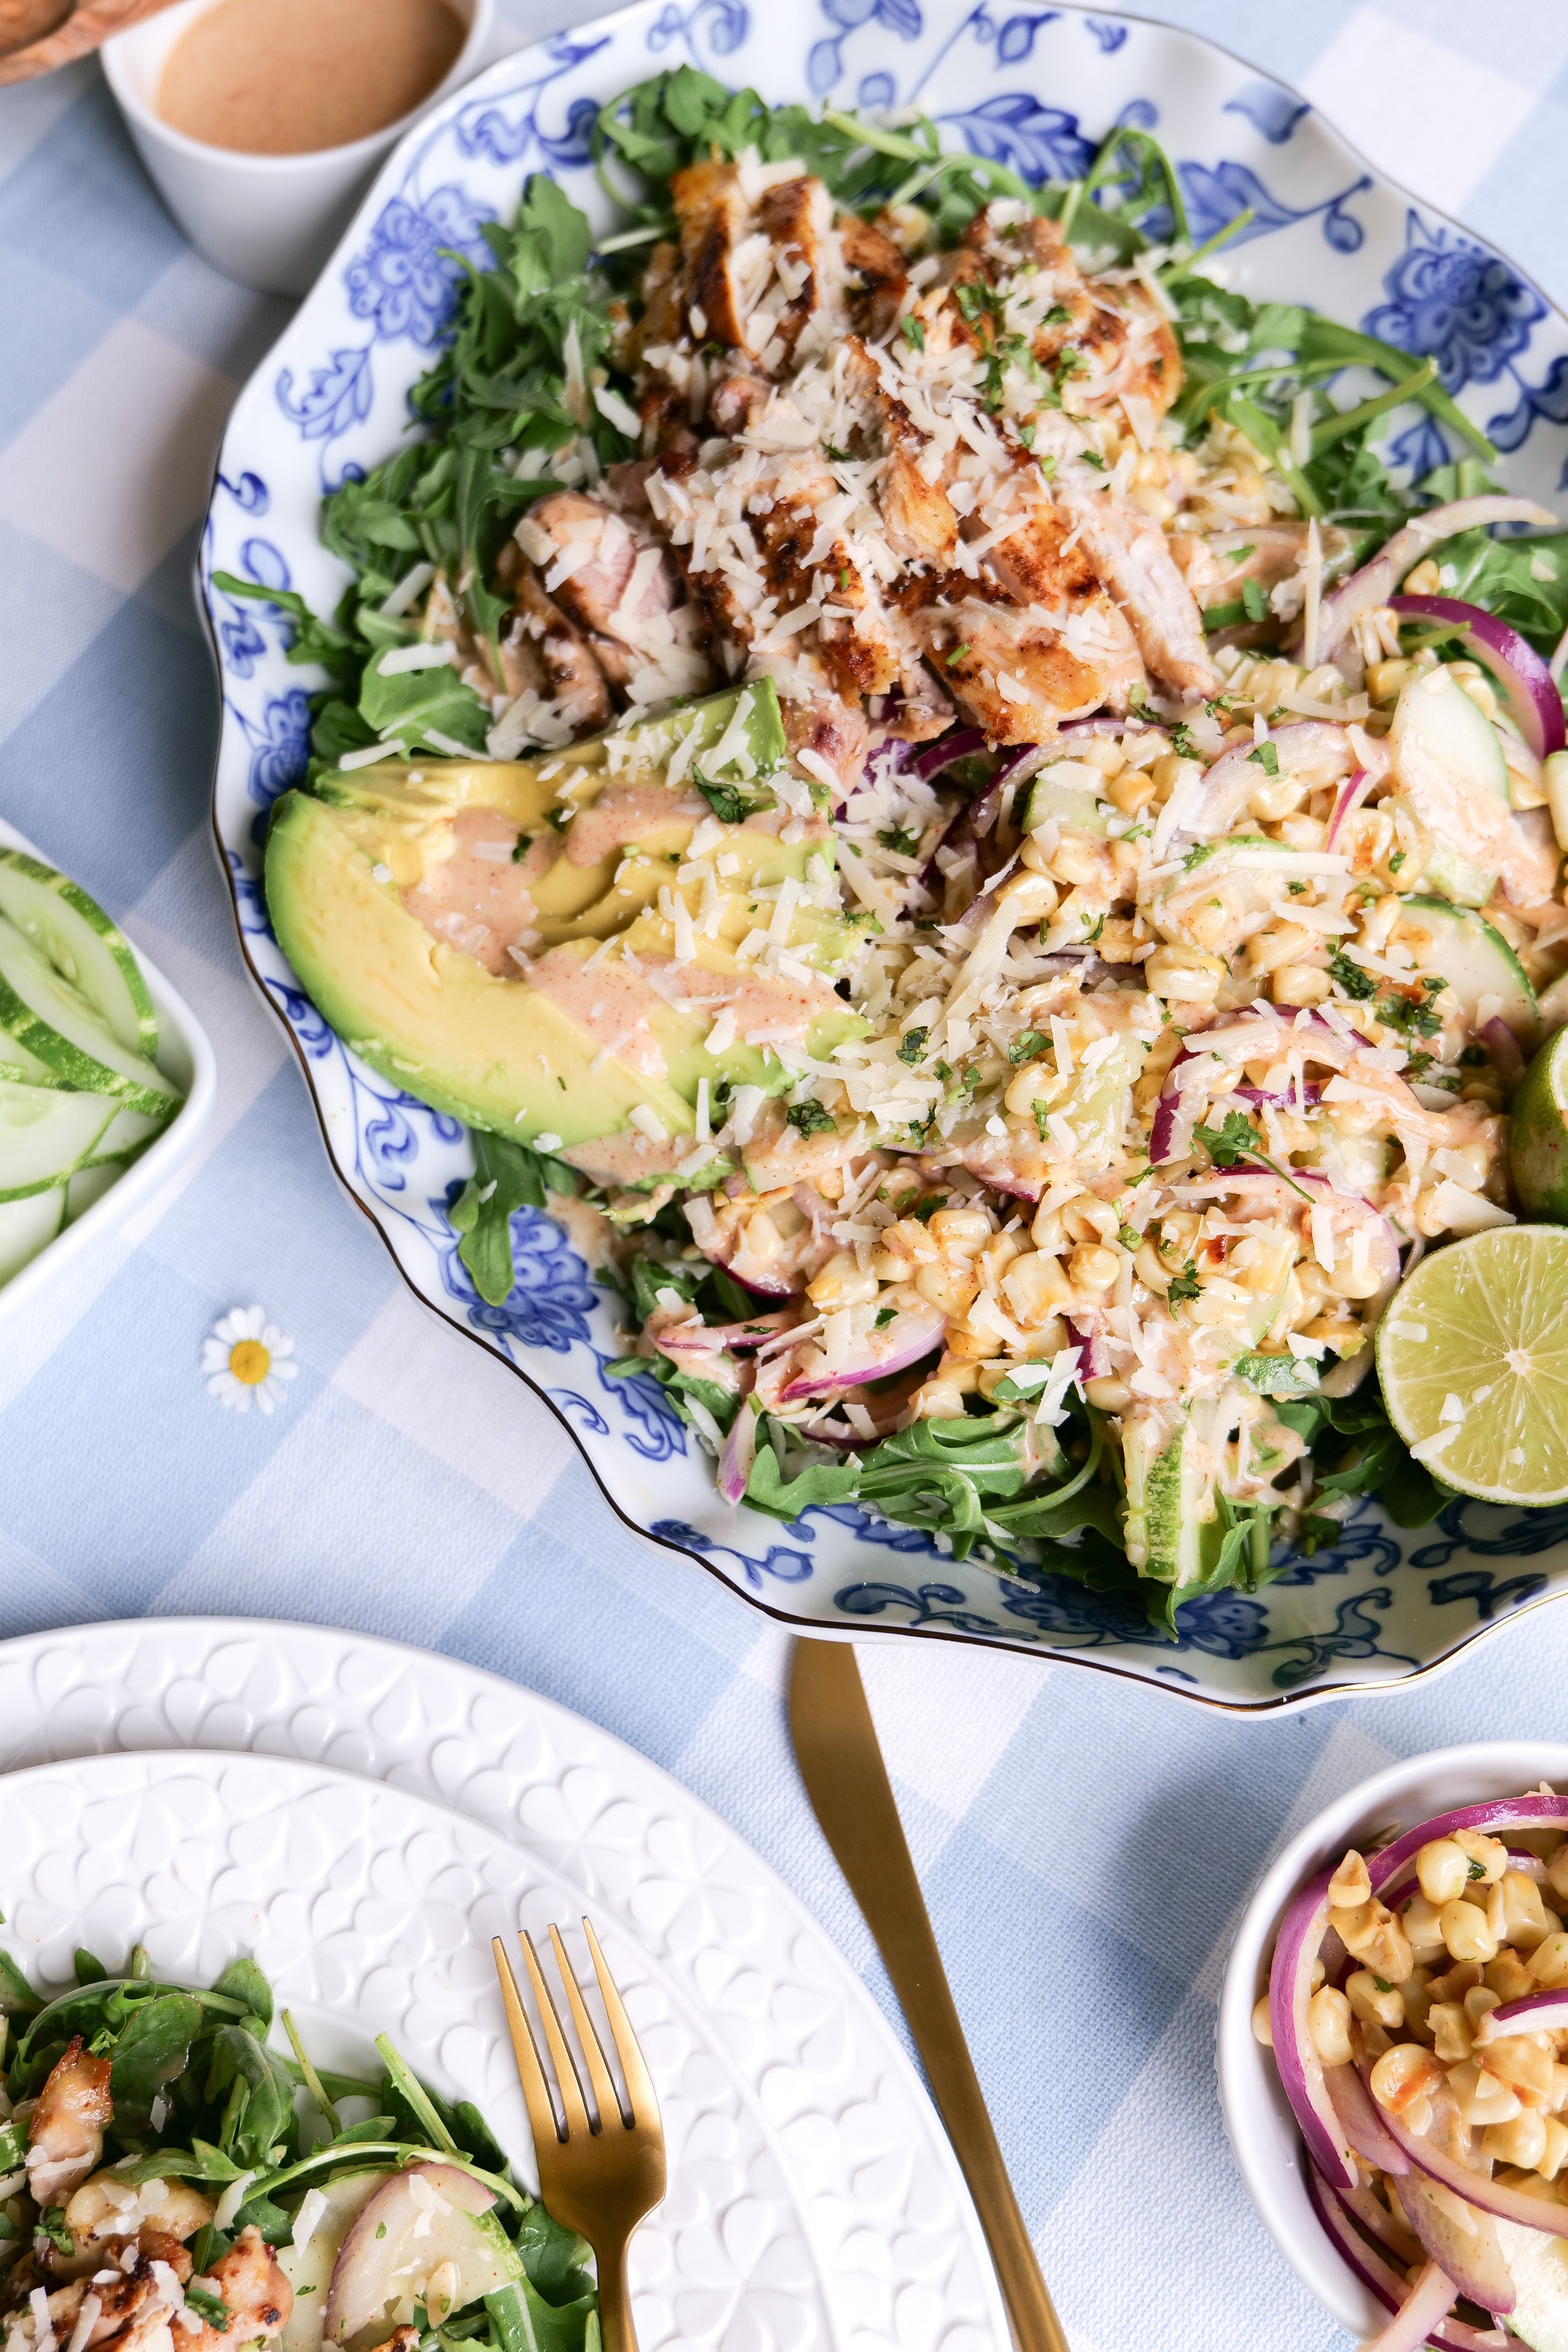
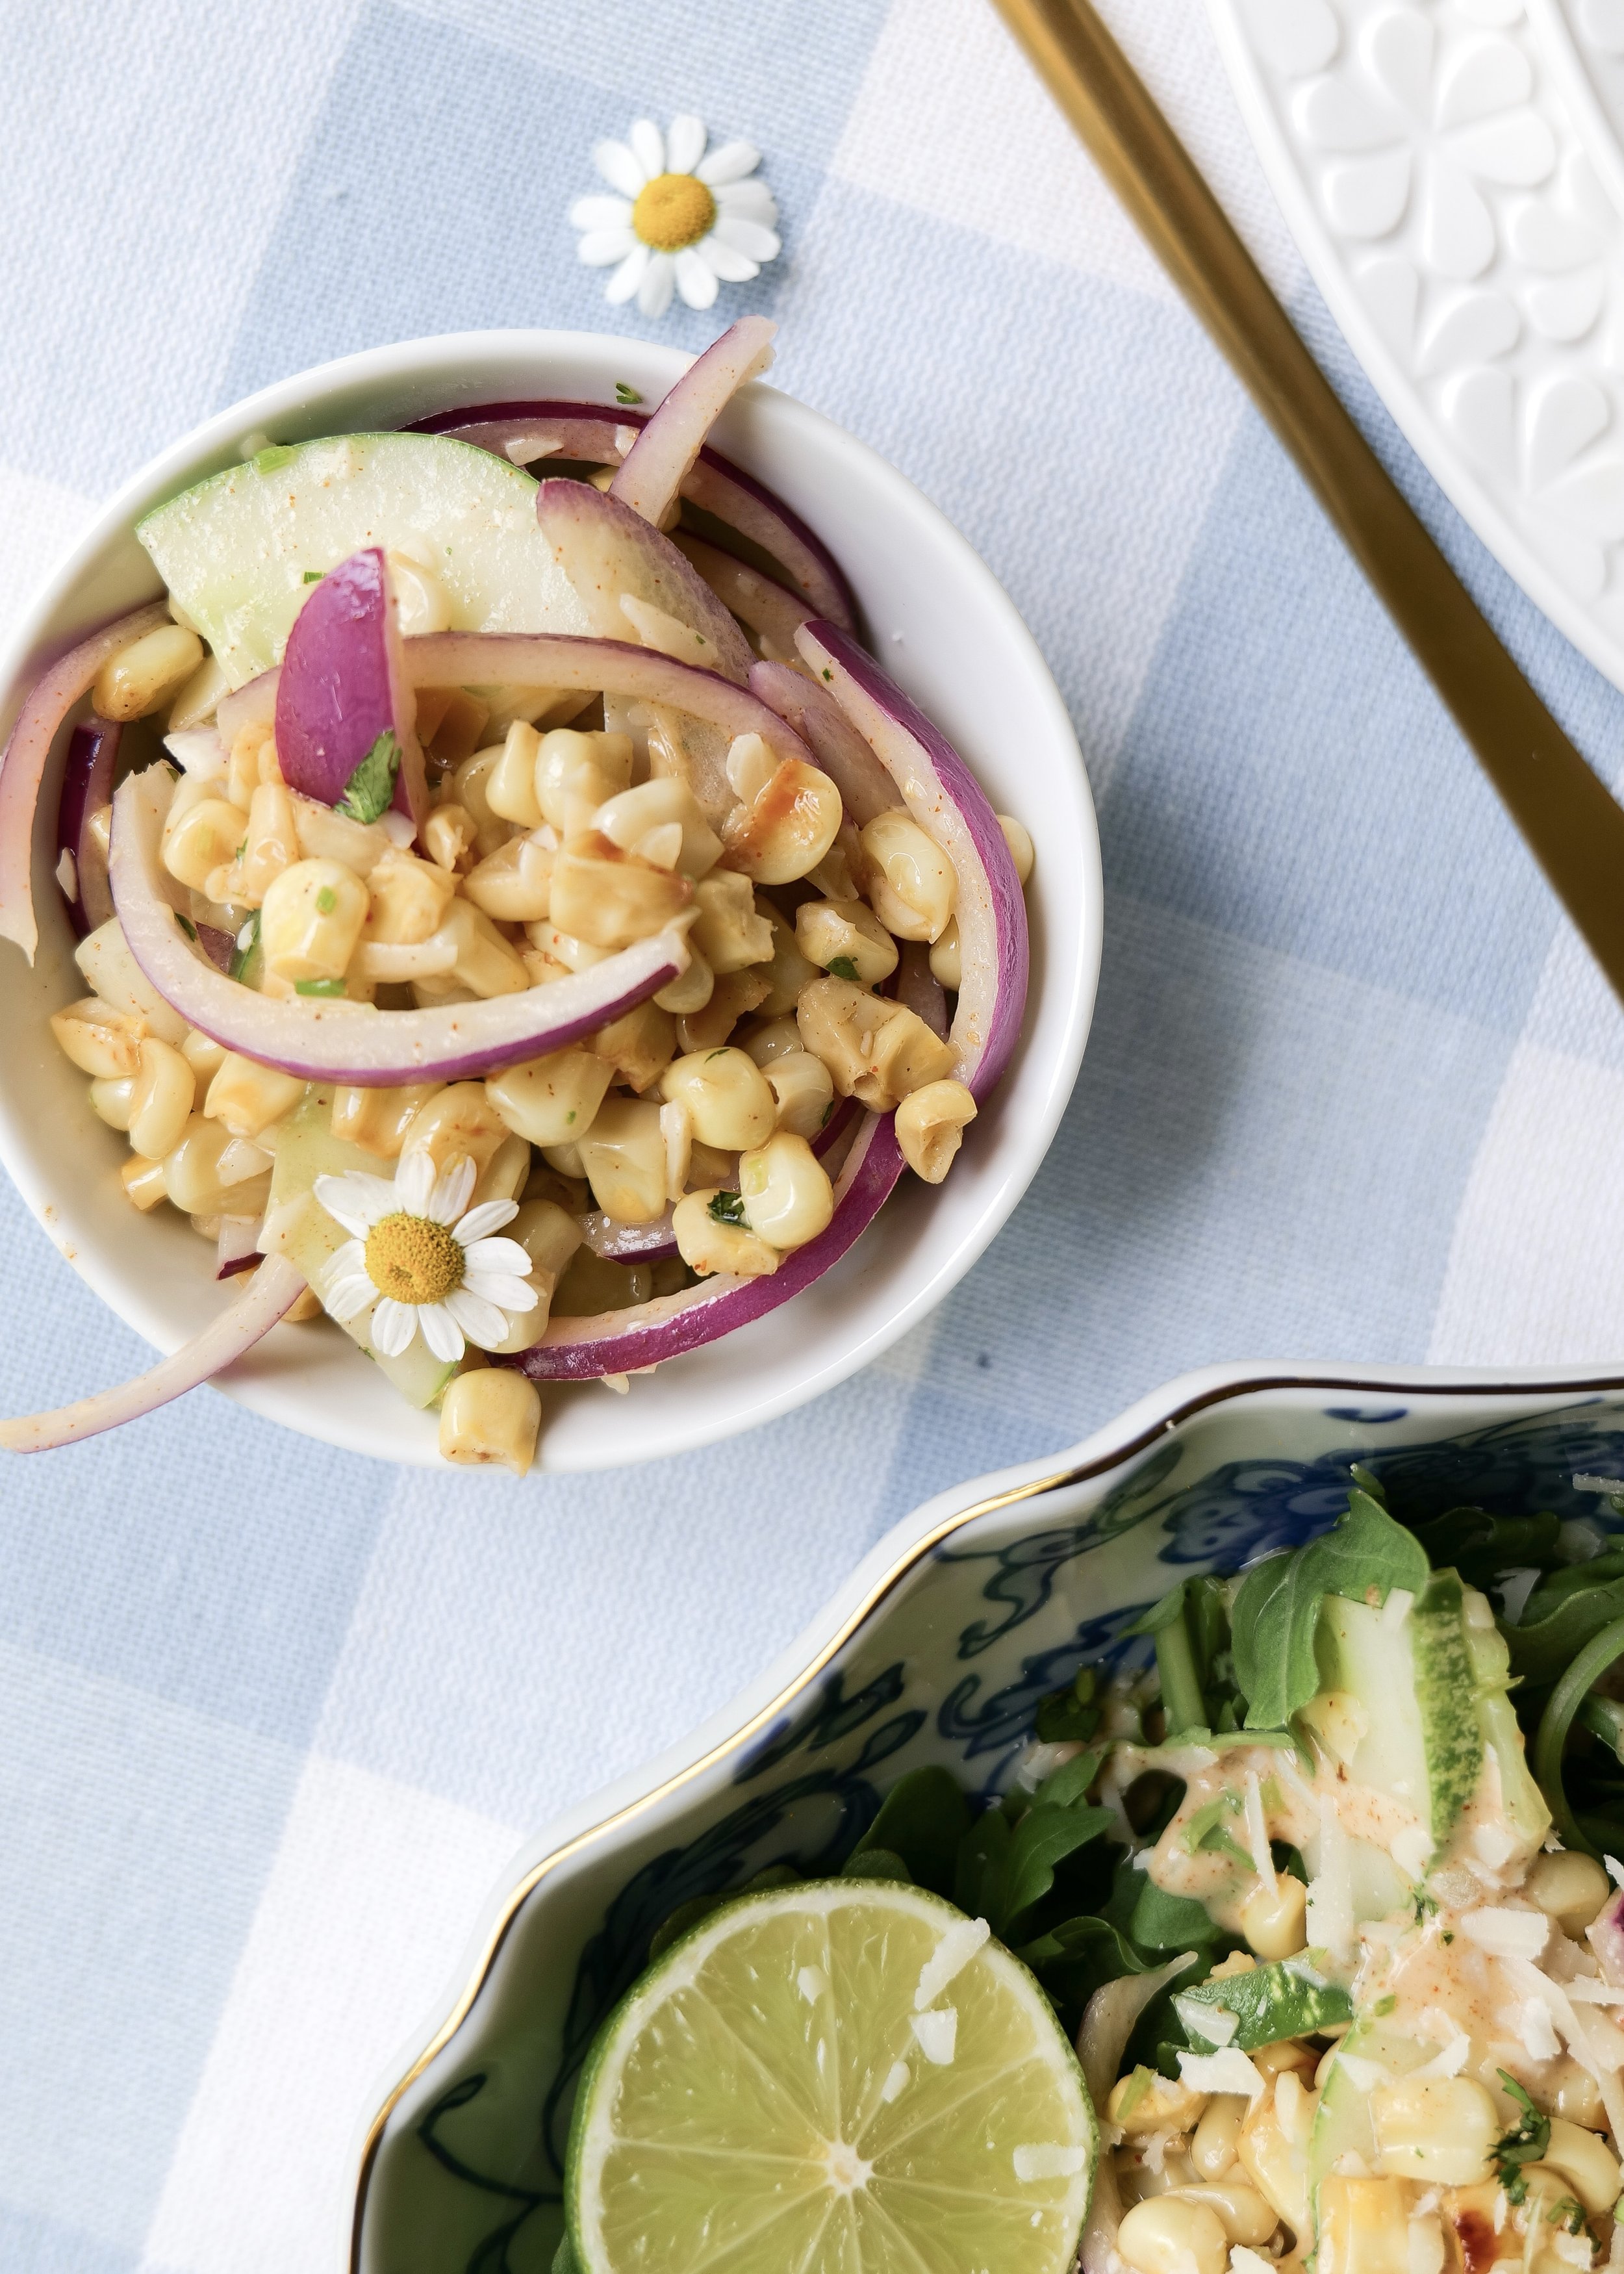
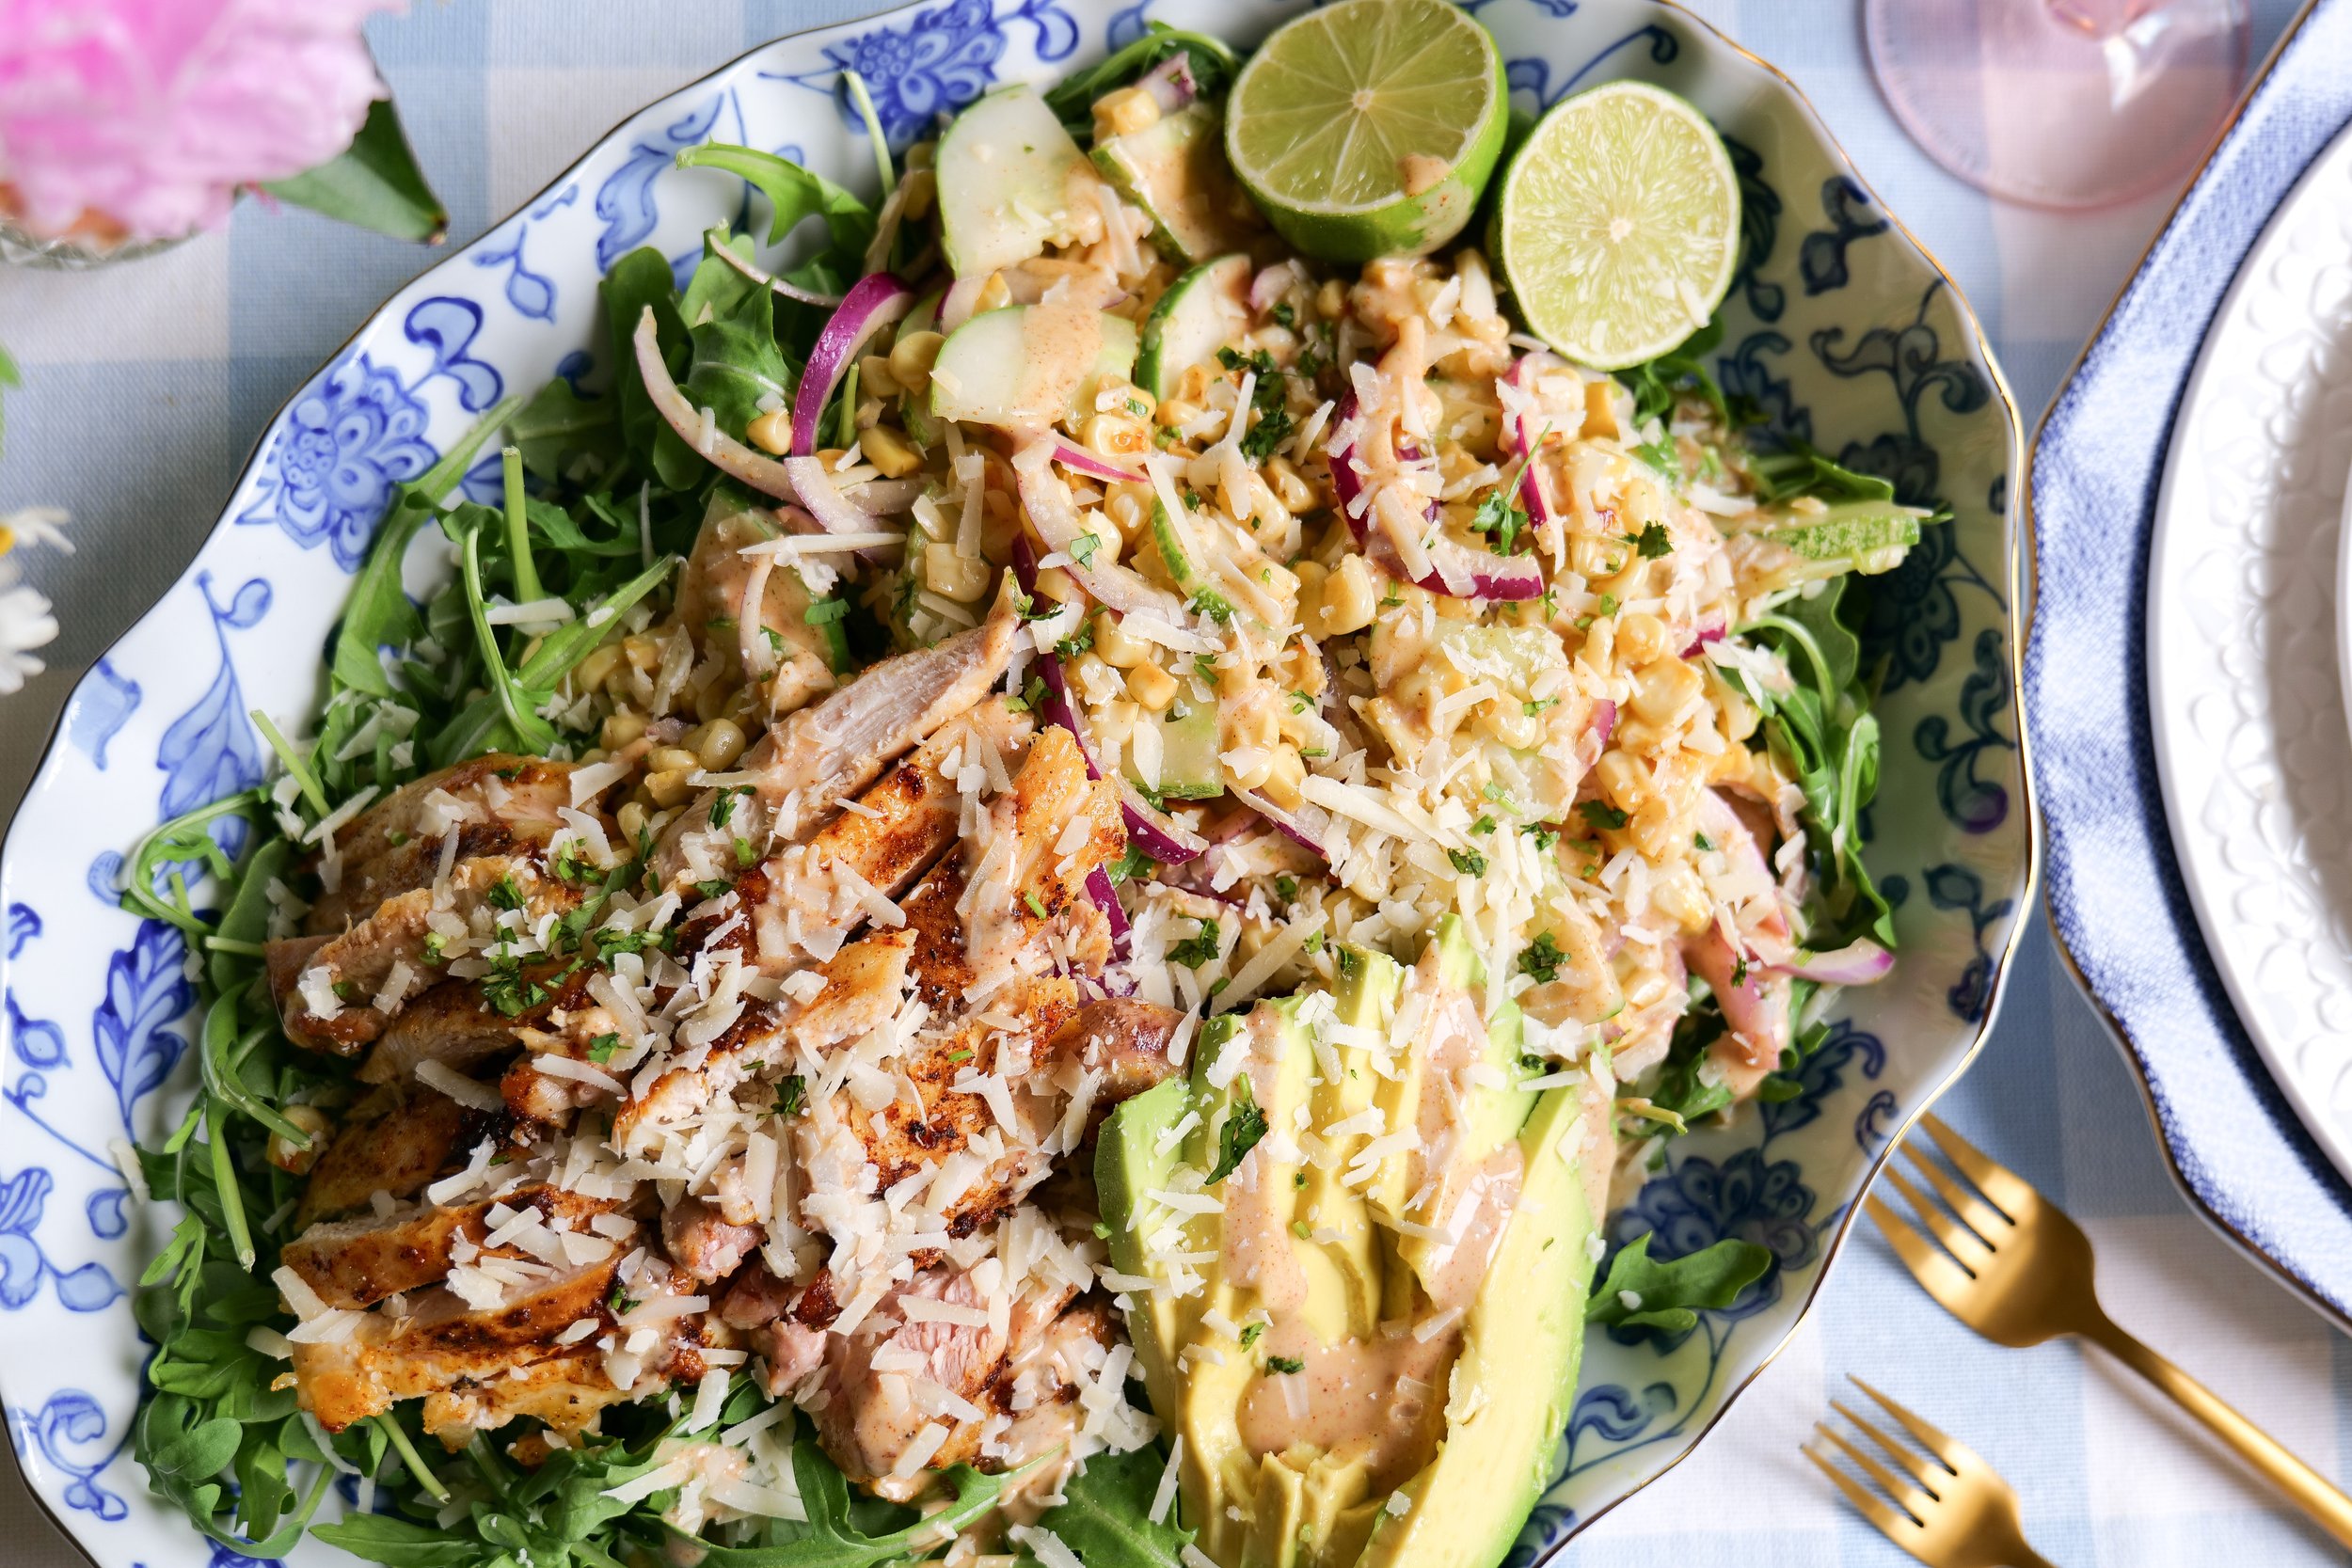
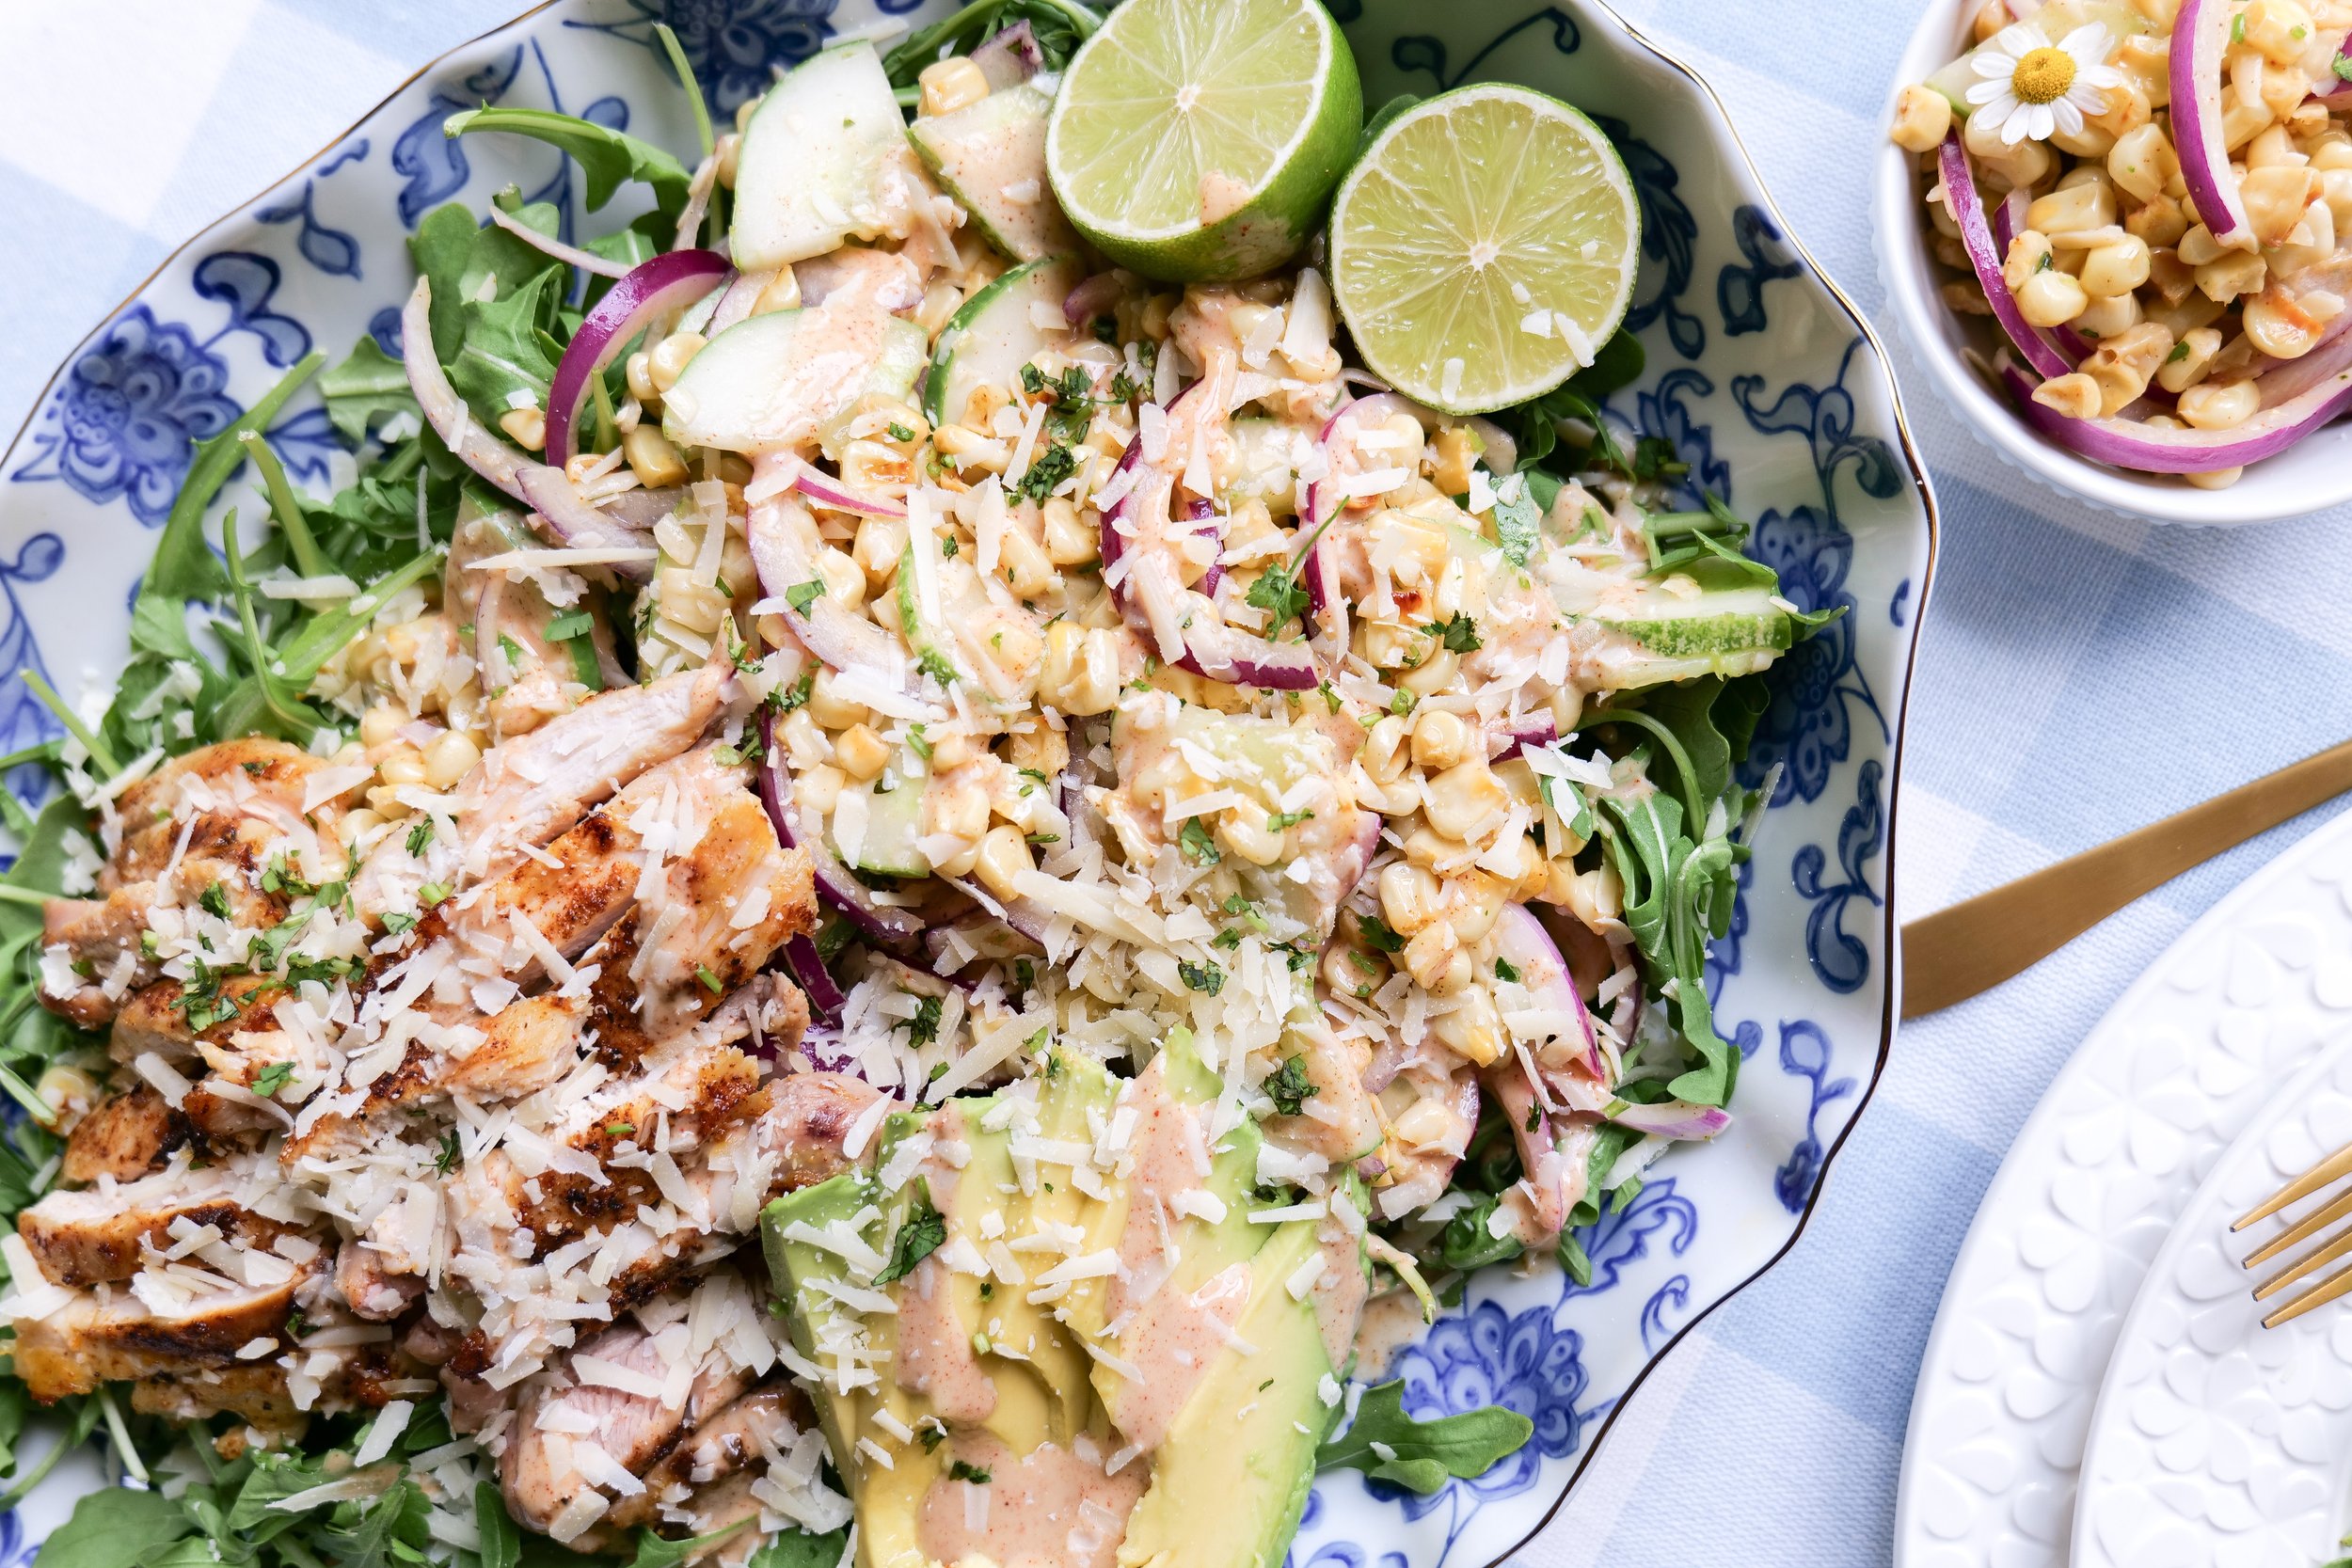
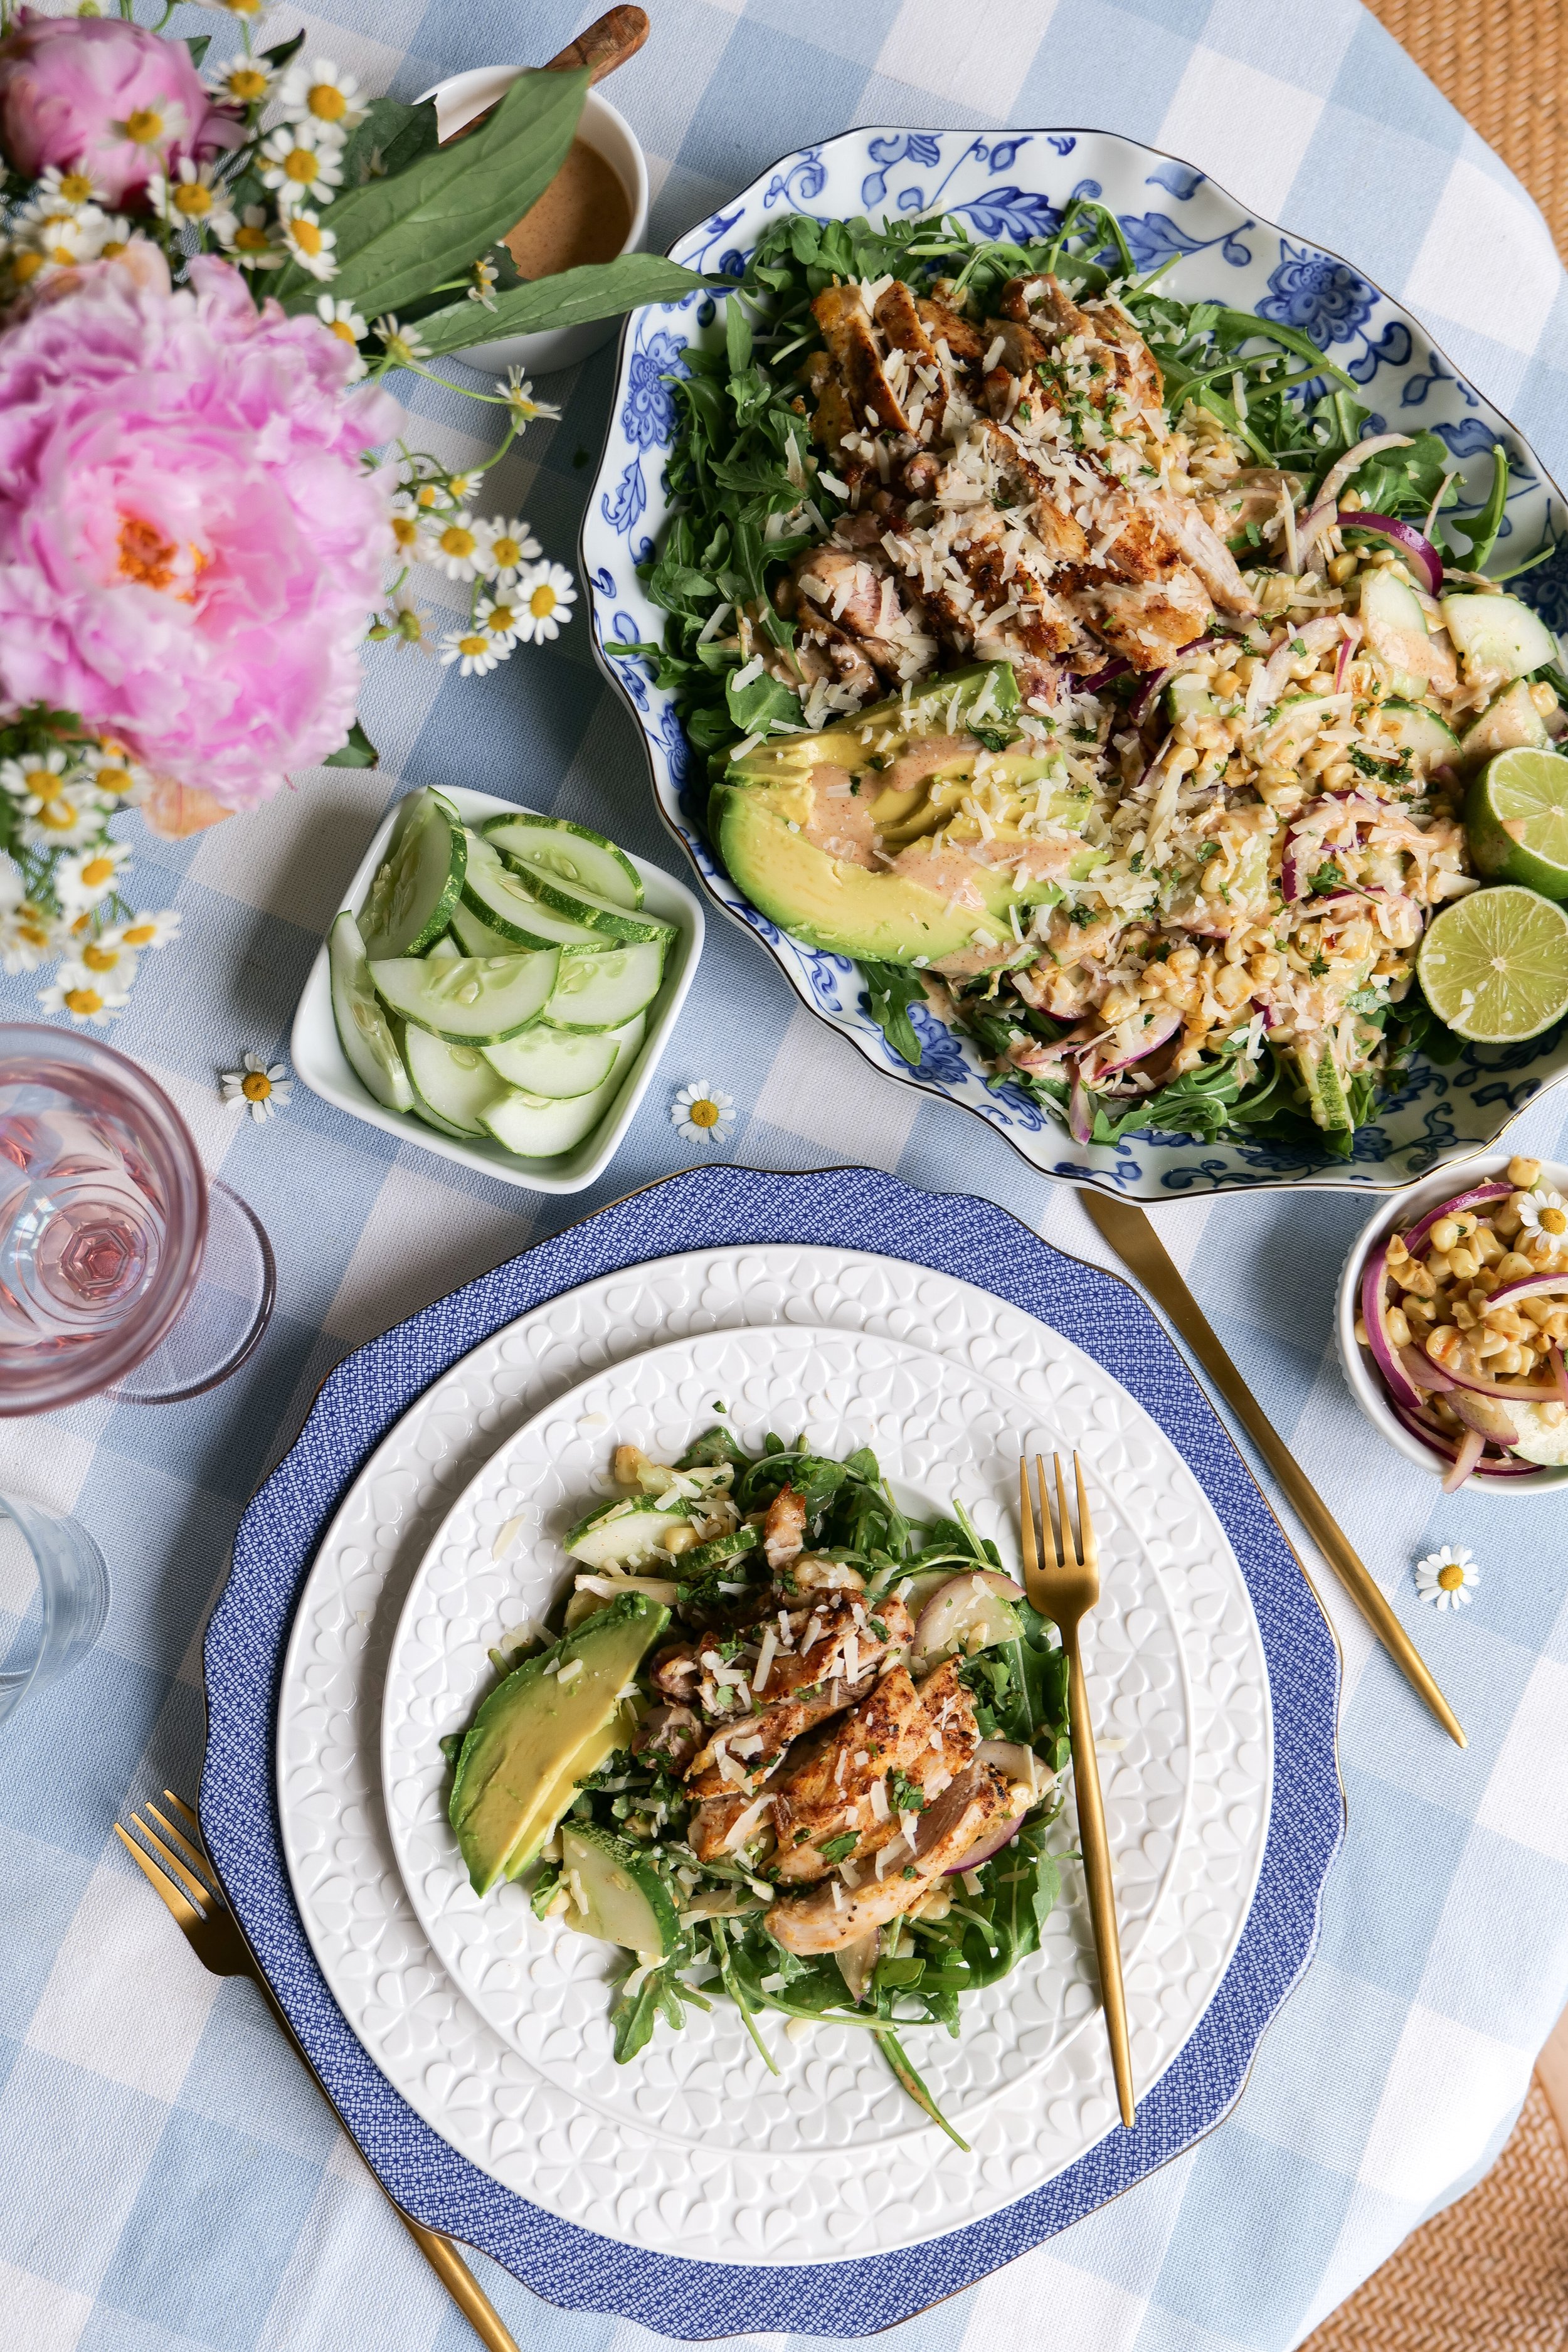
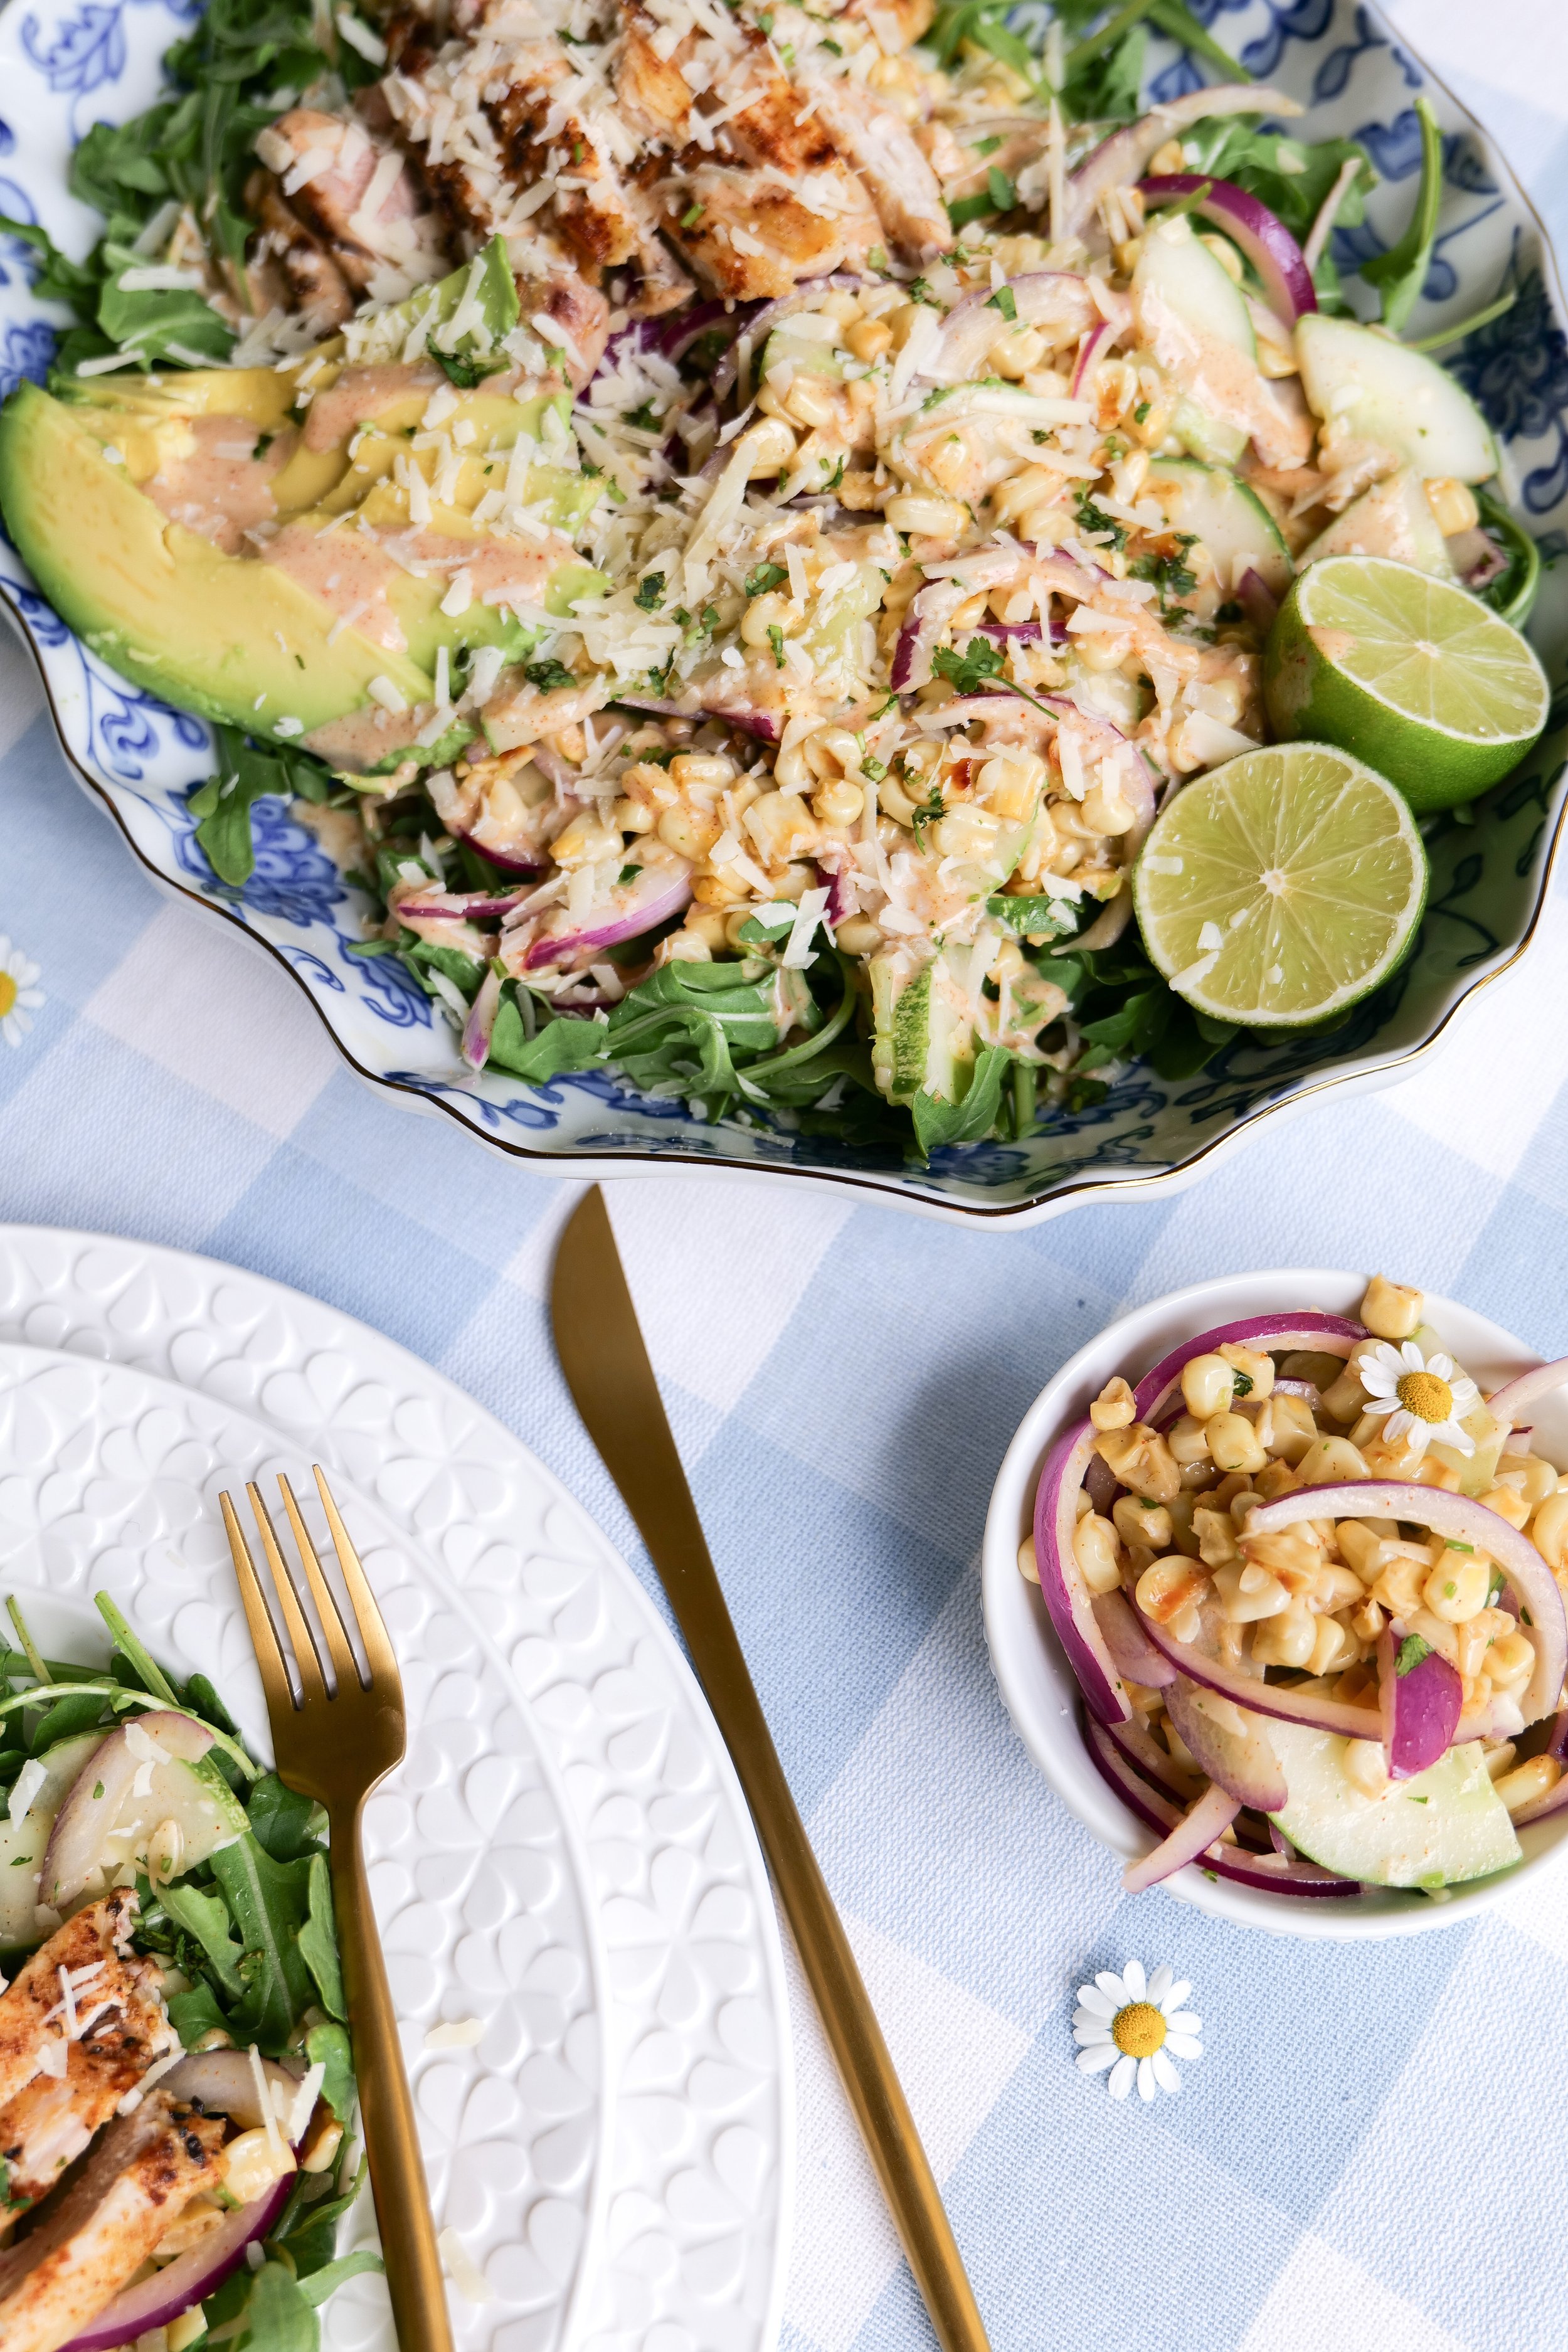
The Perfect Summer Meal: Grilled Chicken, Mexican Street Corn & Cucumber Salad

Easy & Flavorful Fiesta in a Bowl: Ultimate Slow Cooker Chicken Tortilla Soup Recipe!

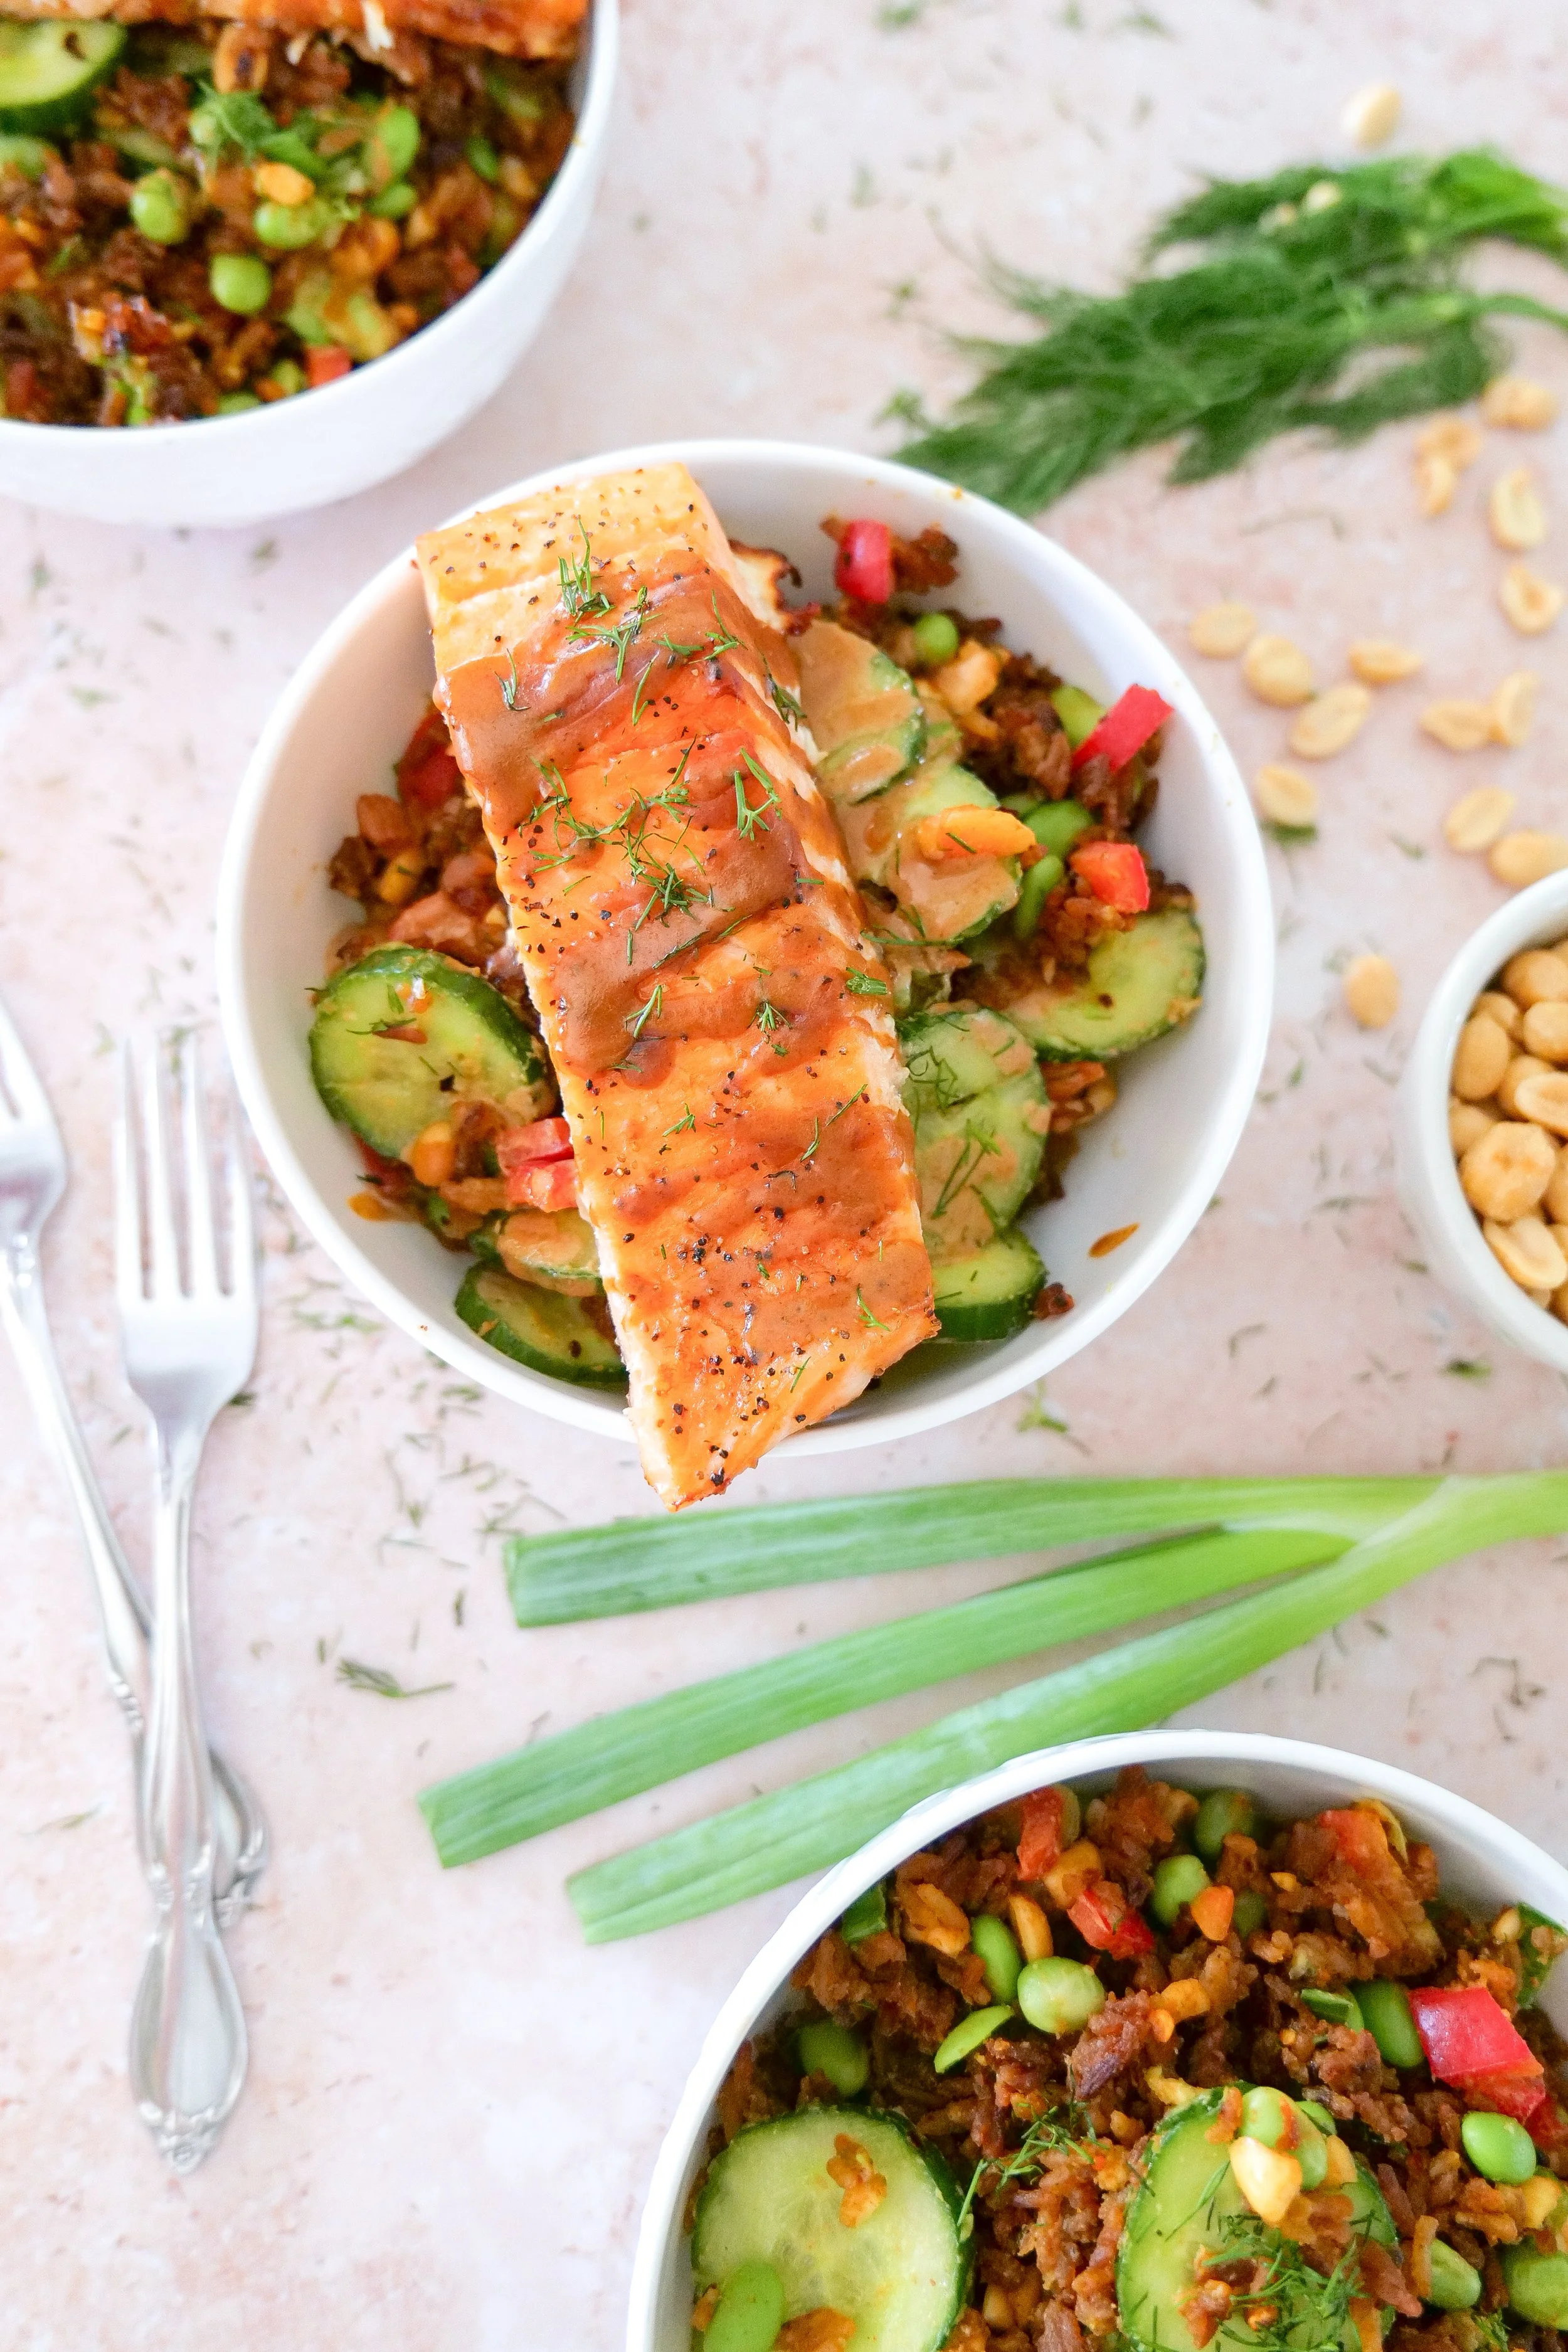
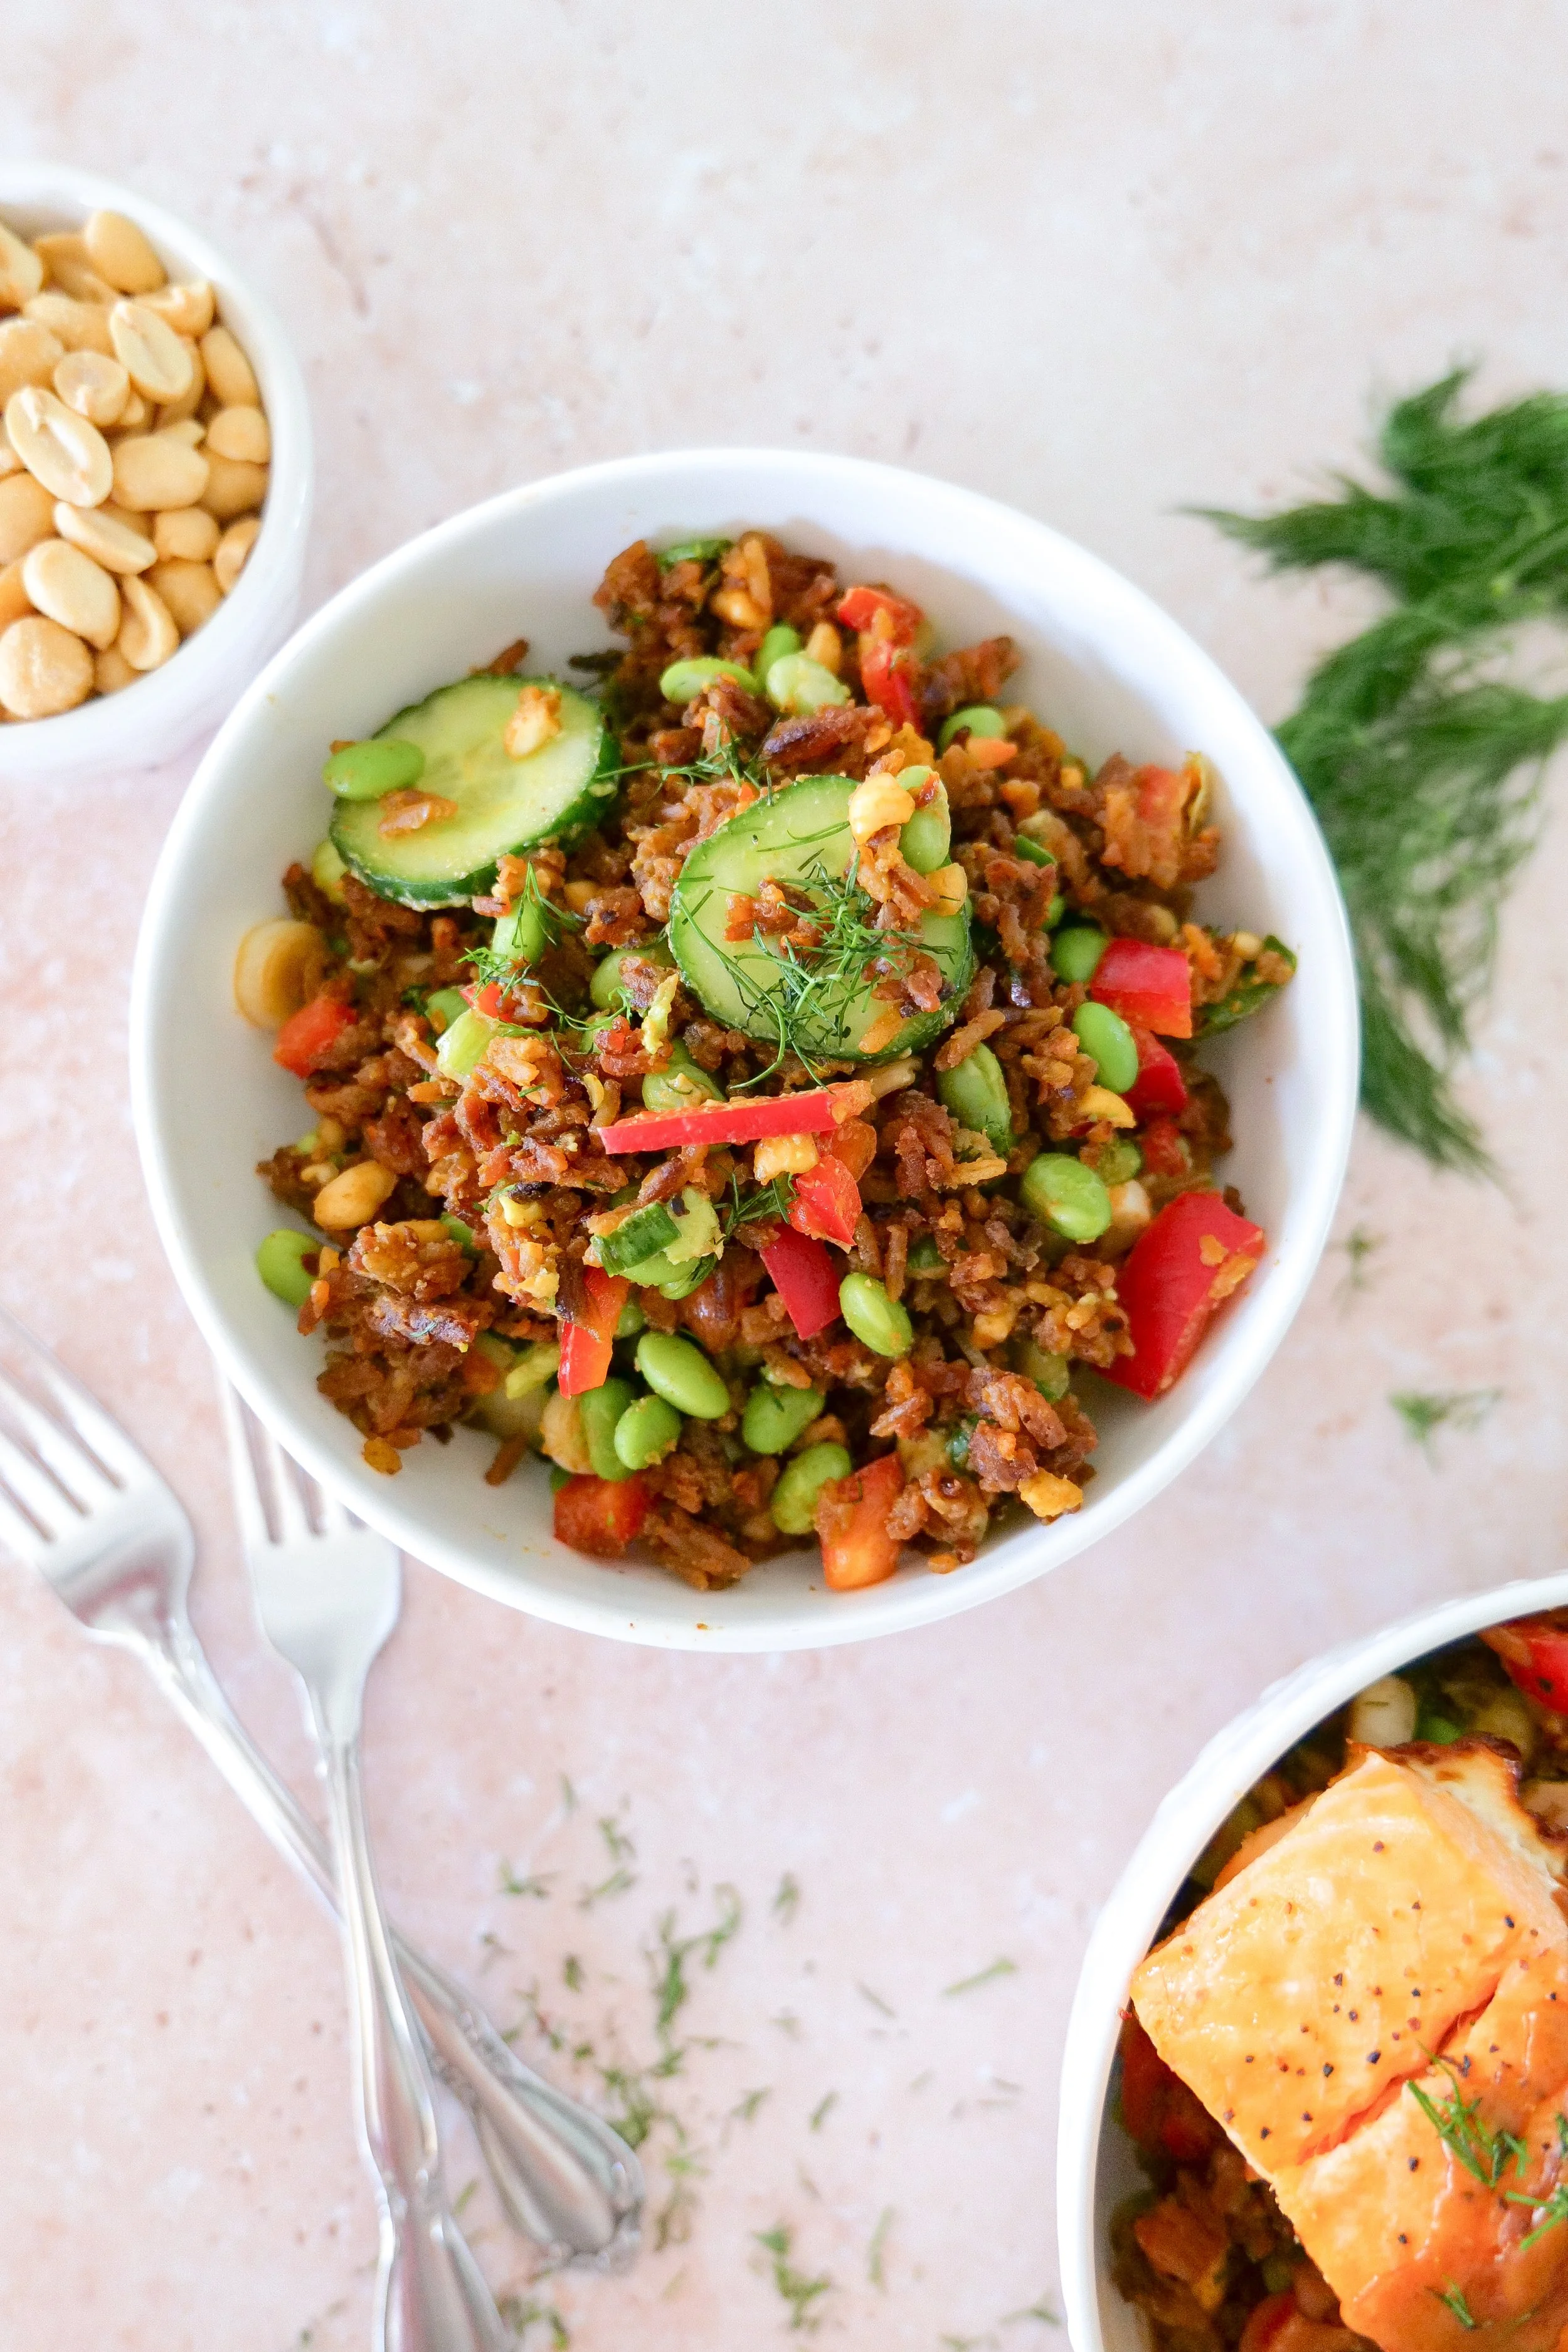
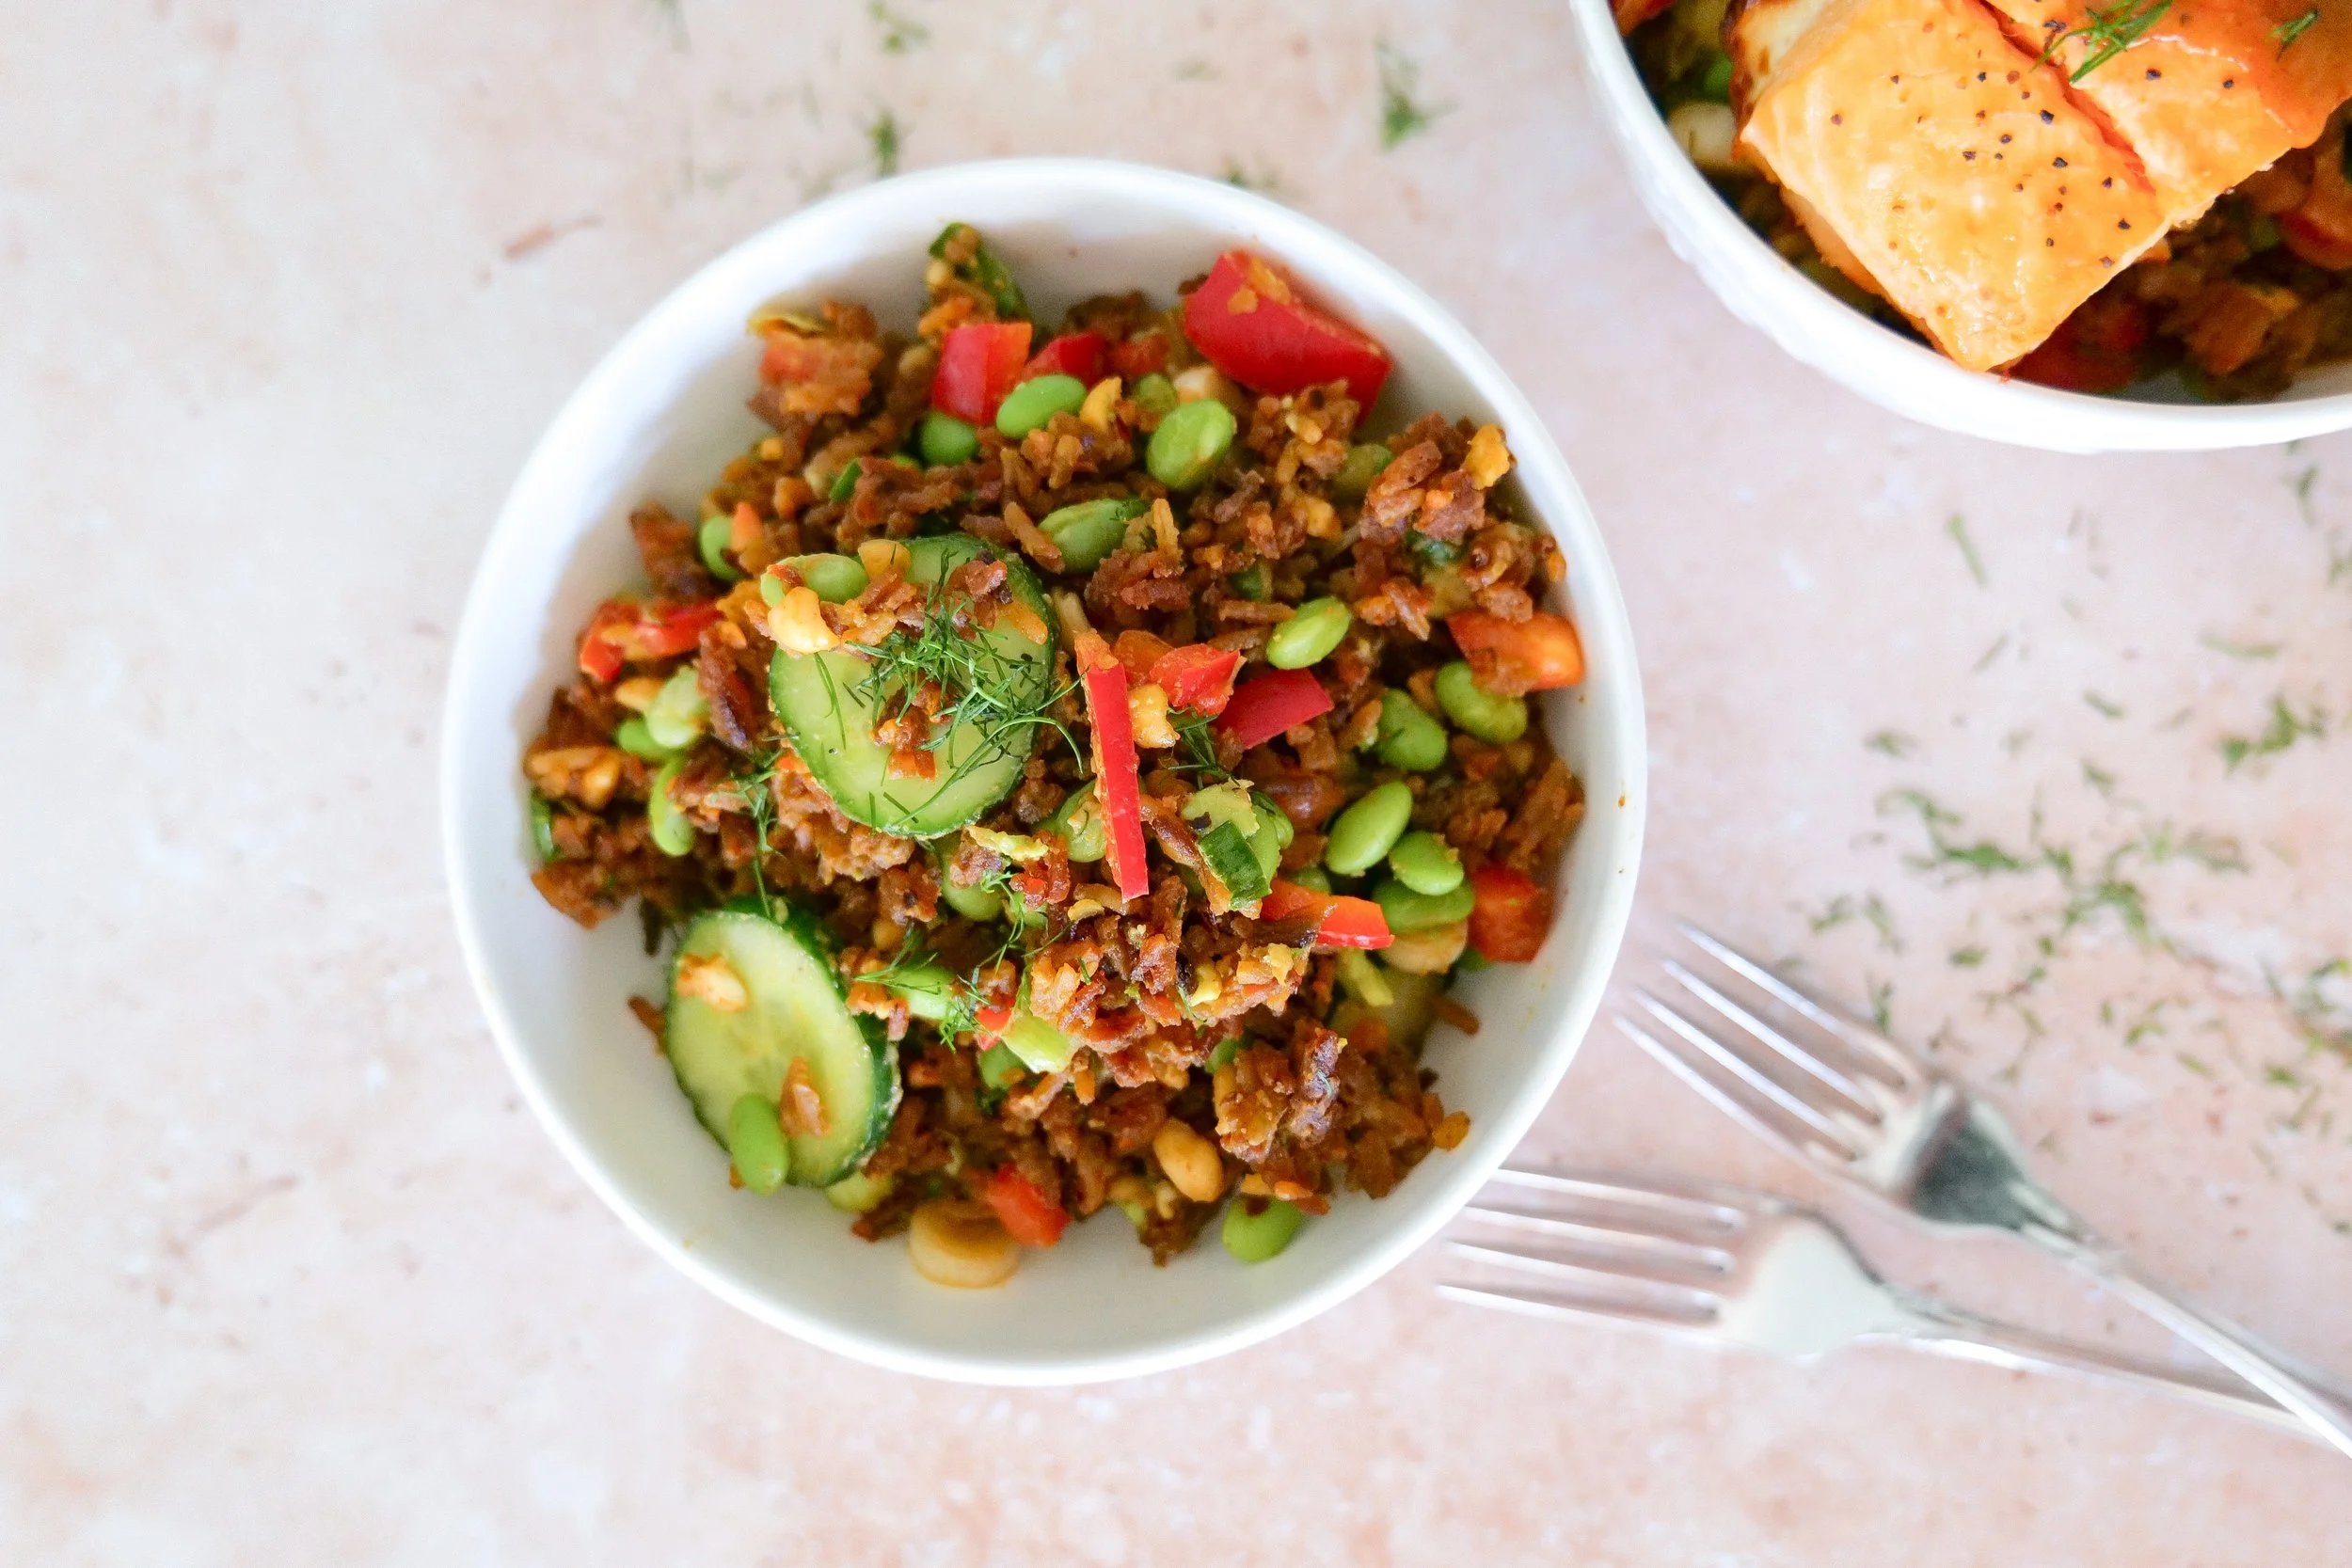
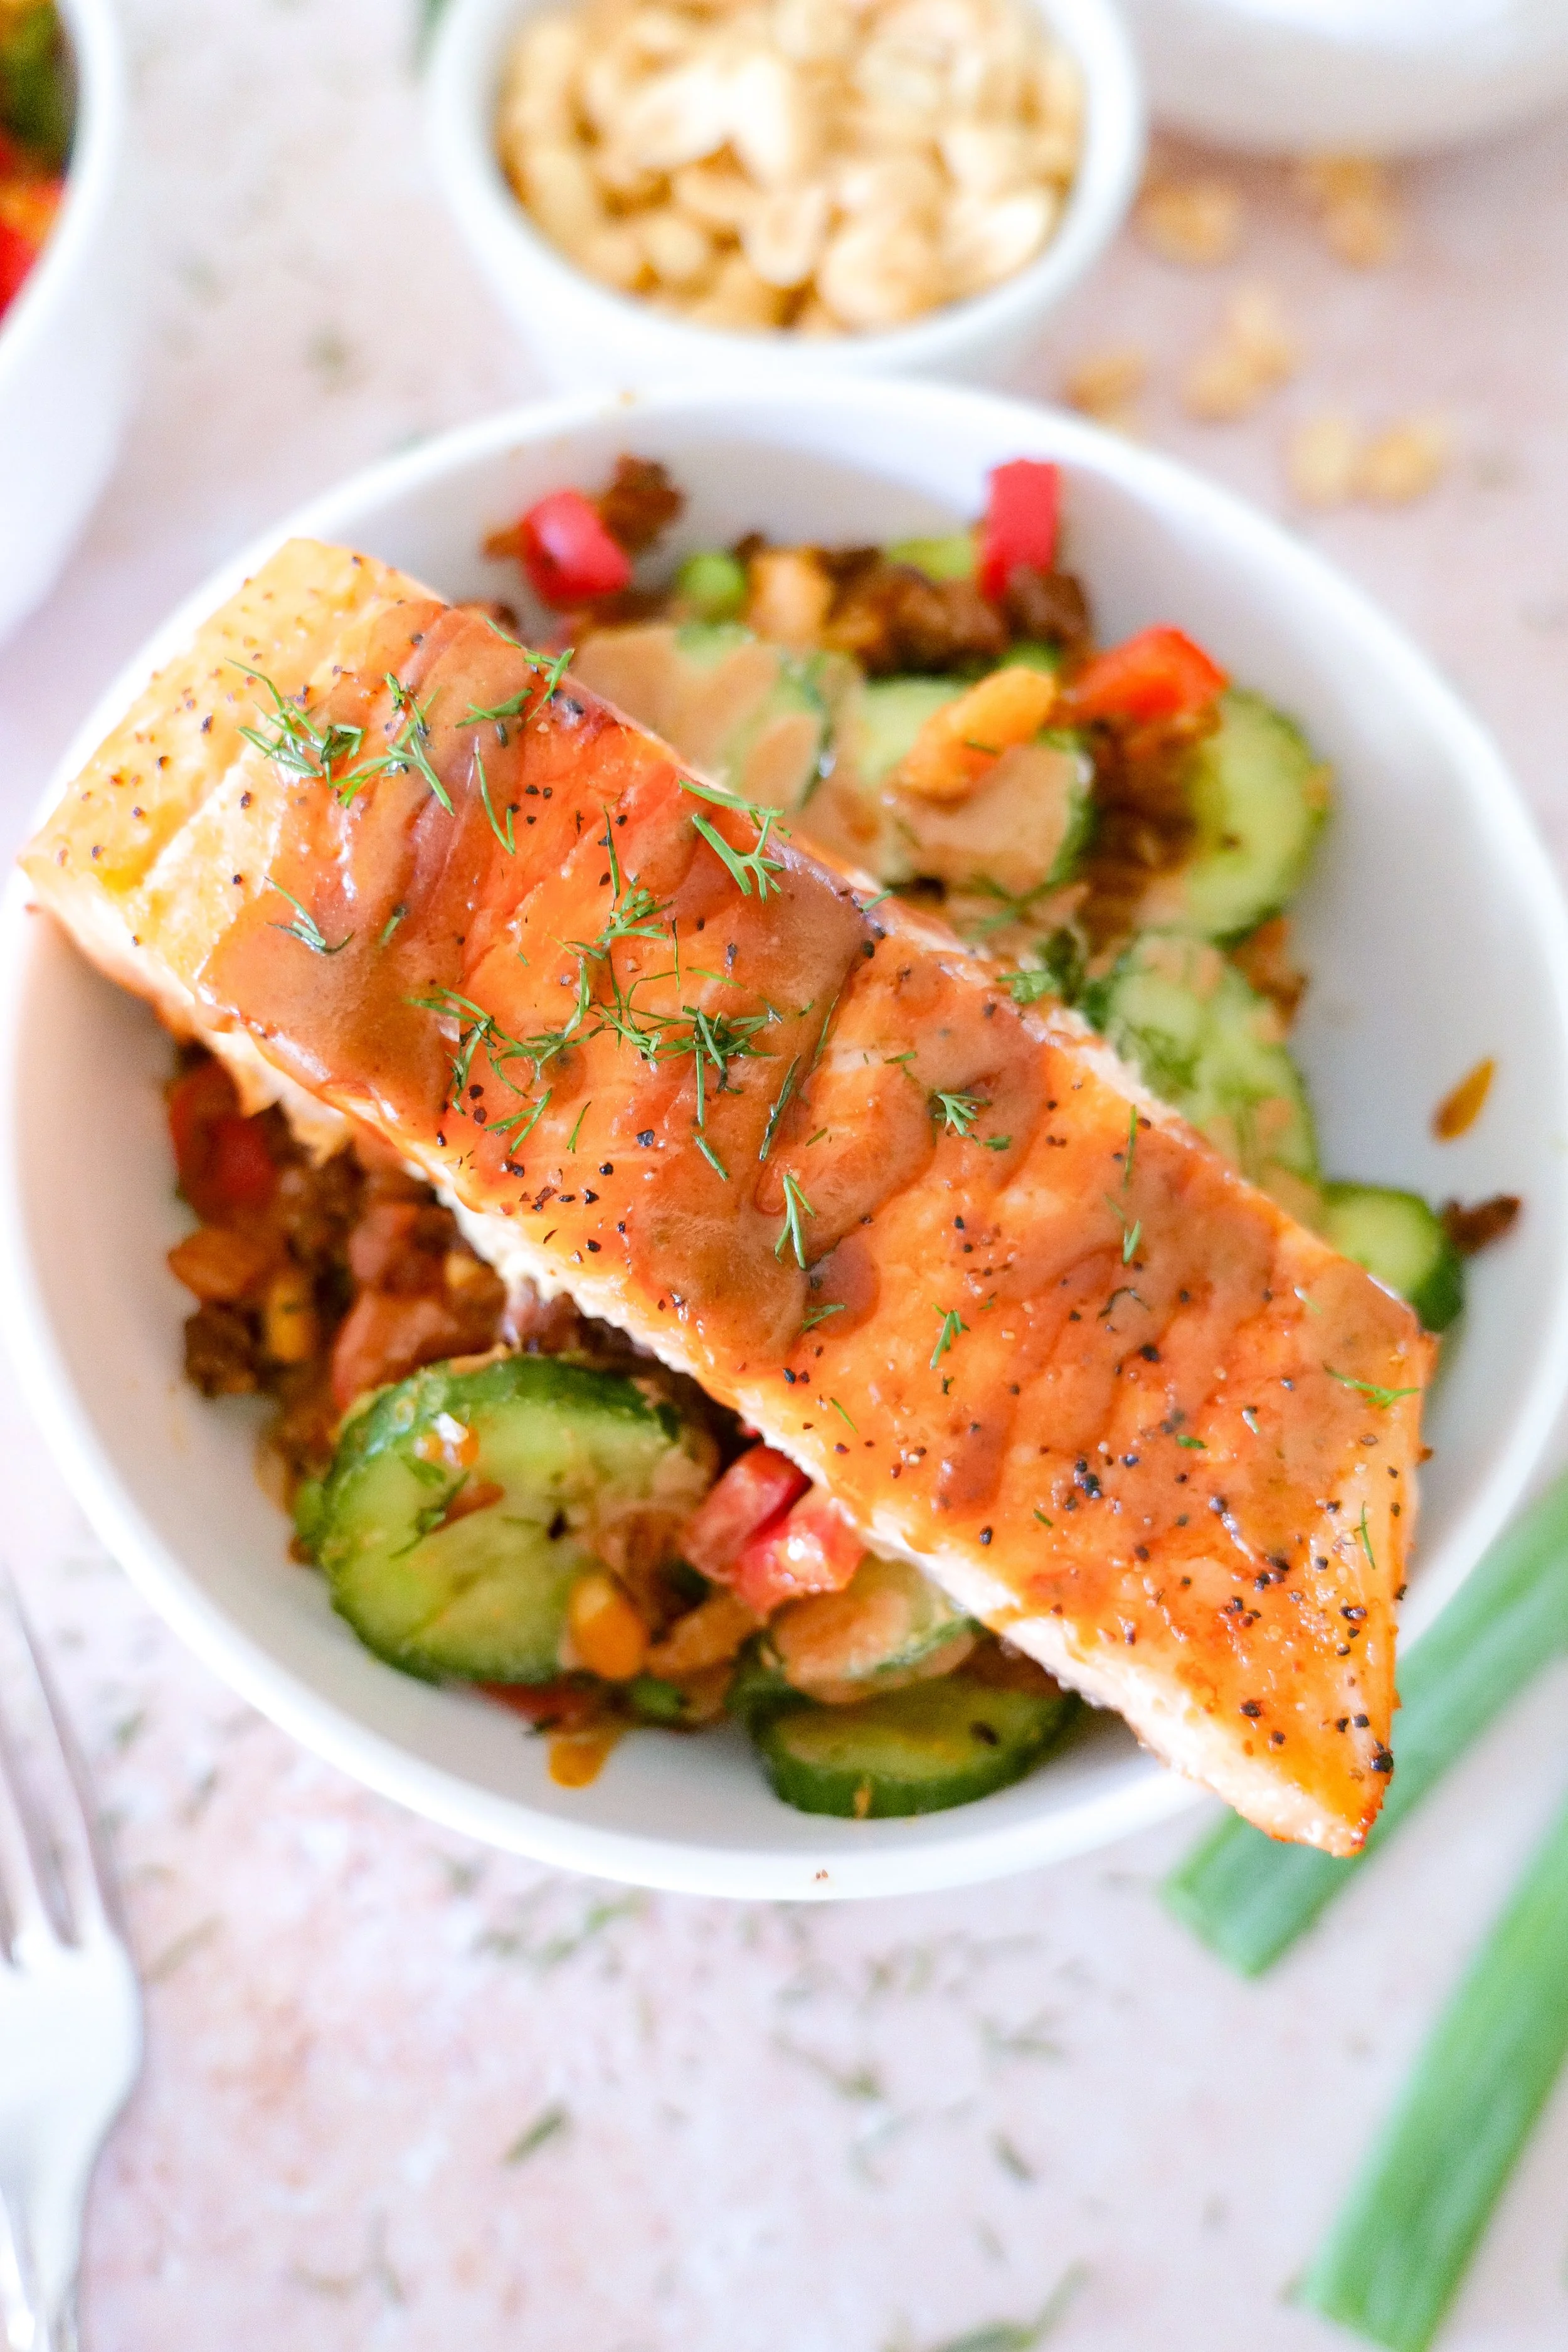
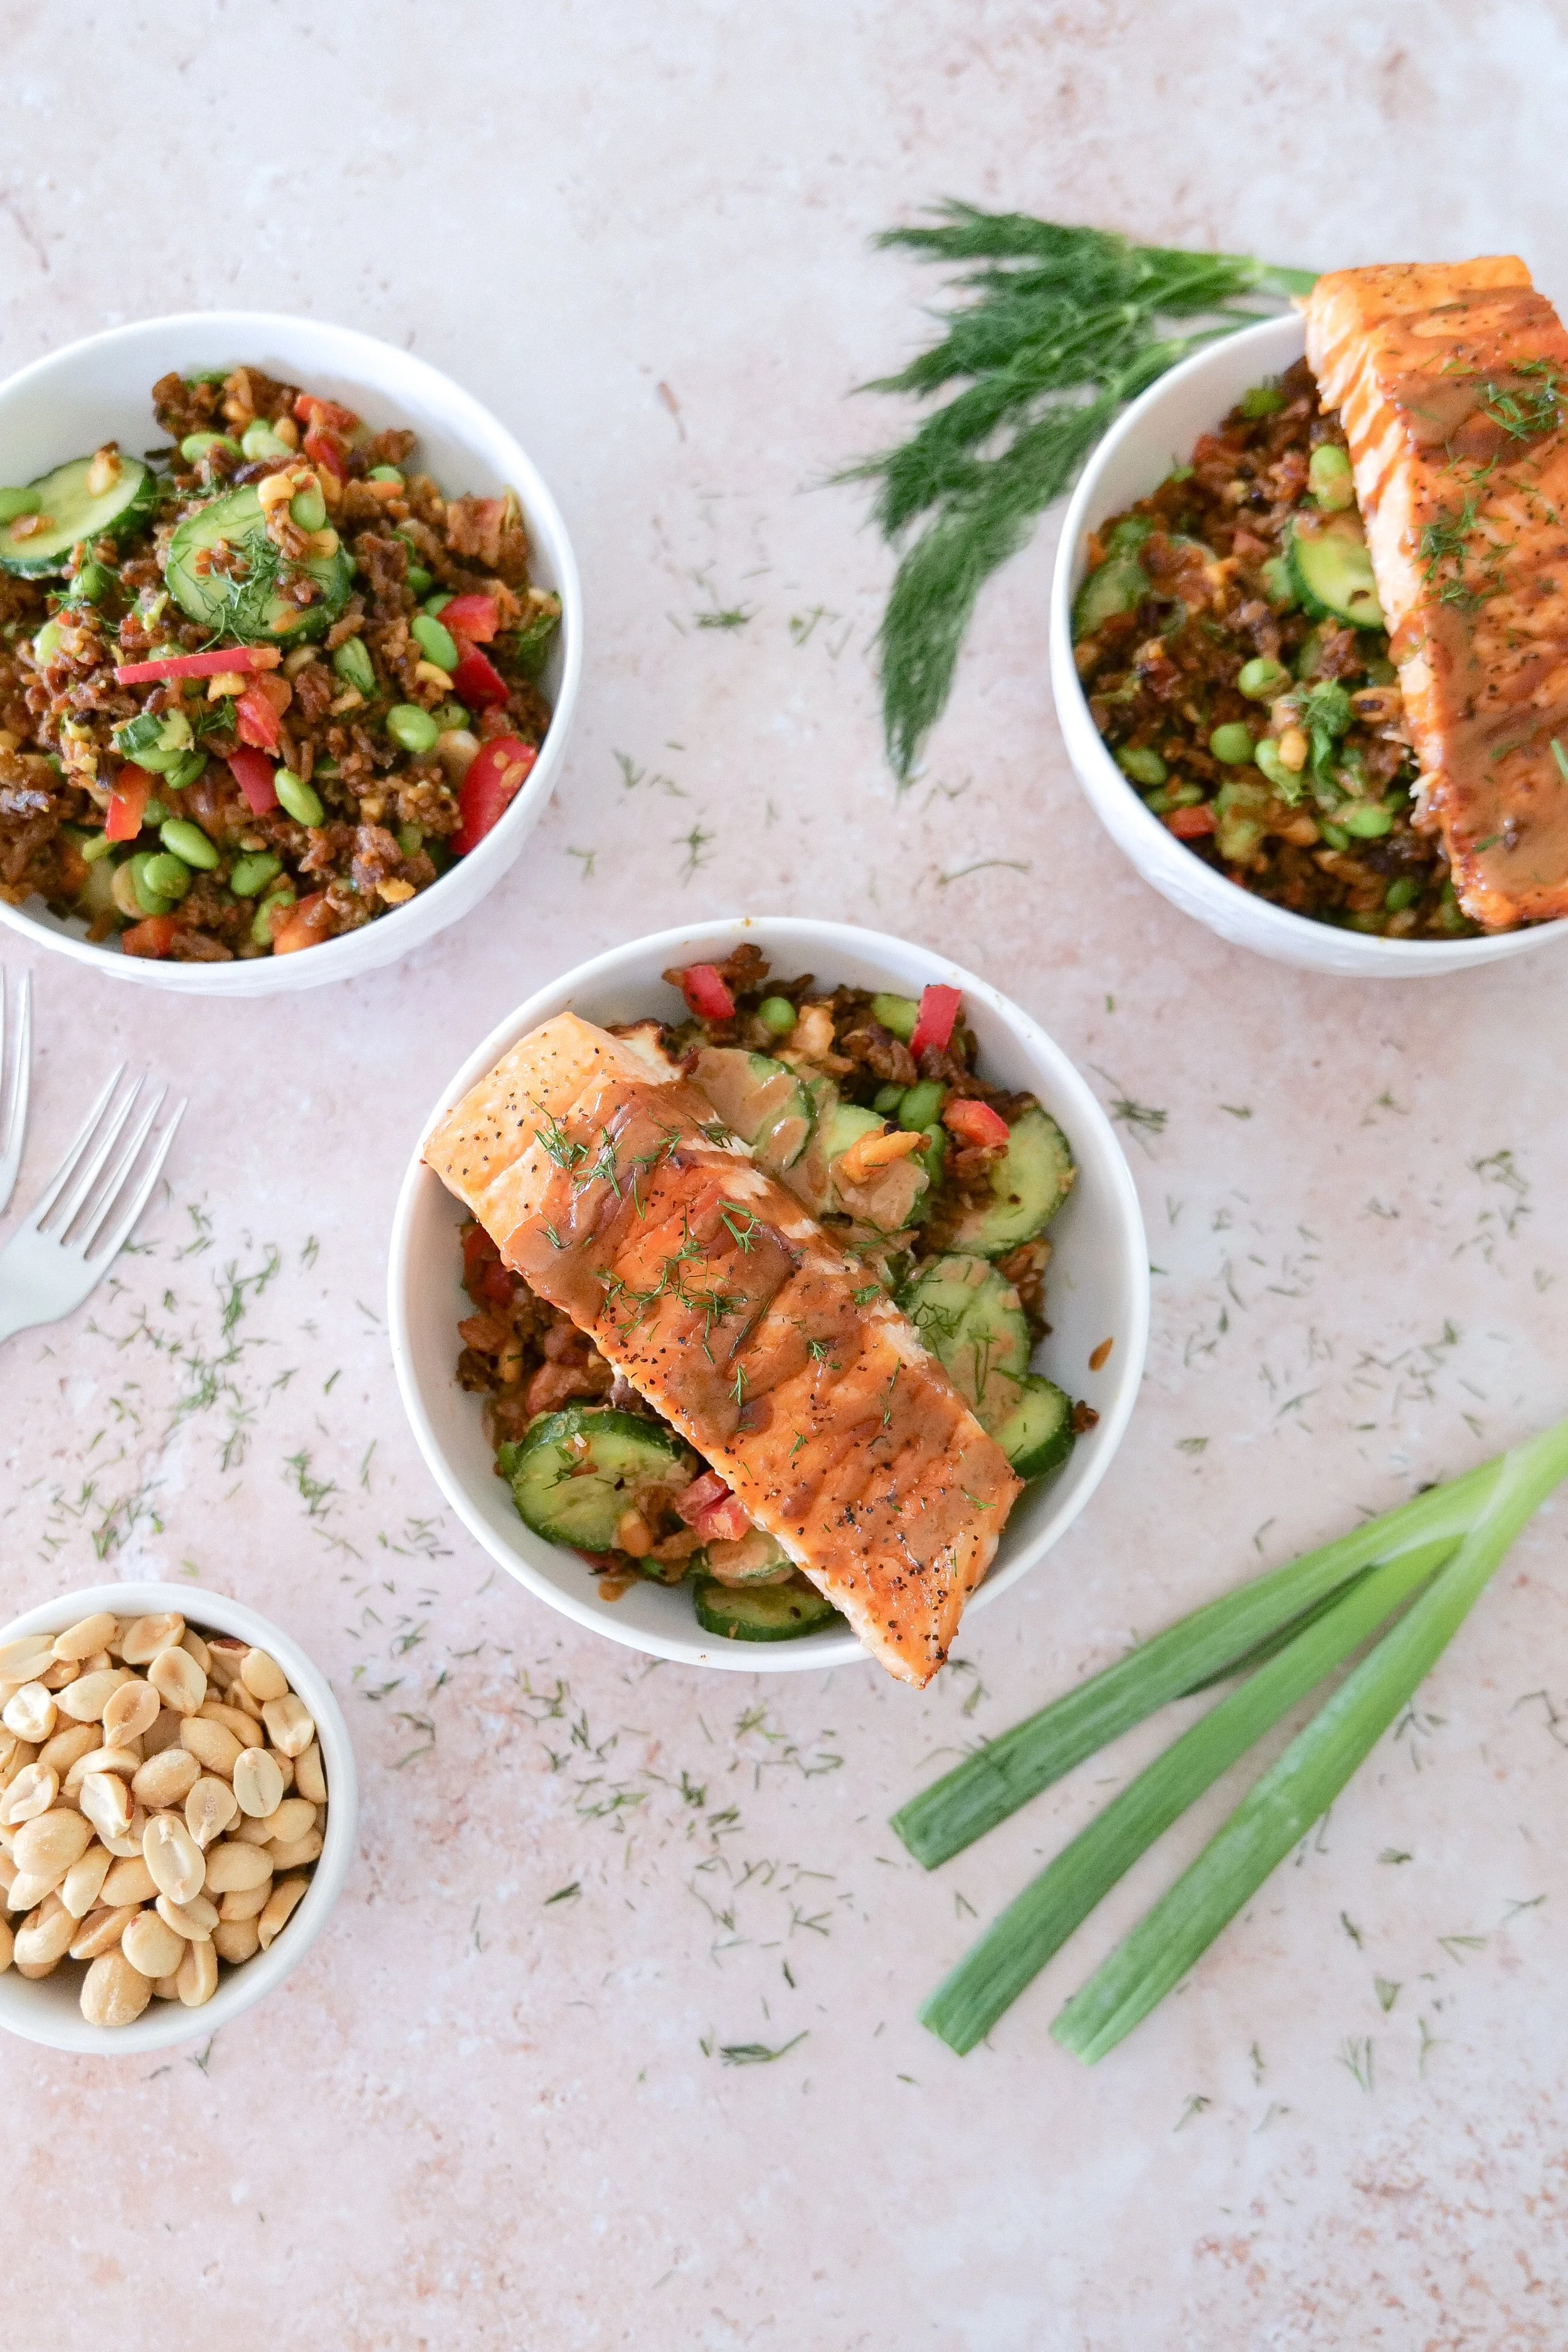
Delicious Sweet & Spicy Salmon Bowls

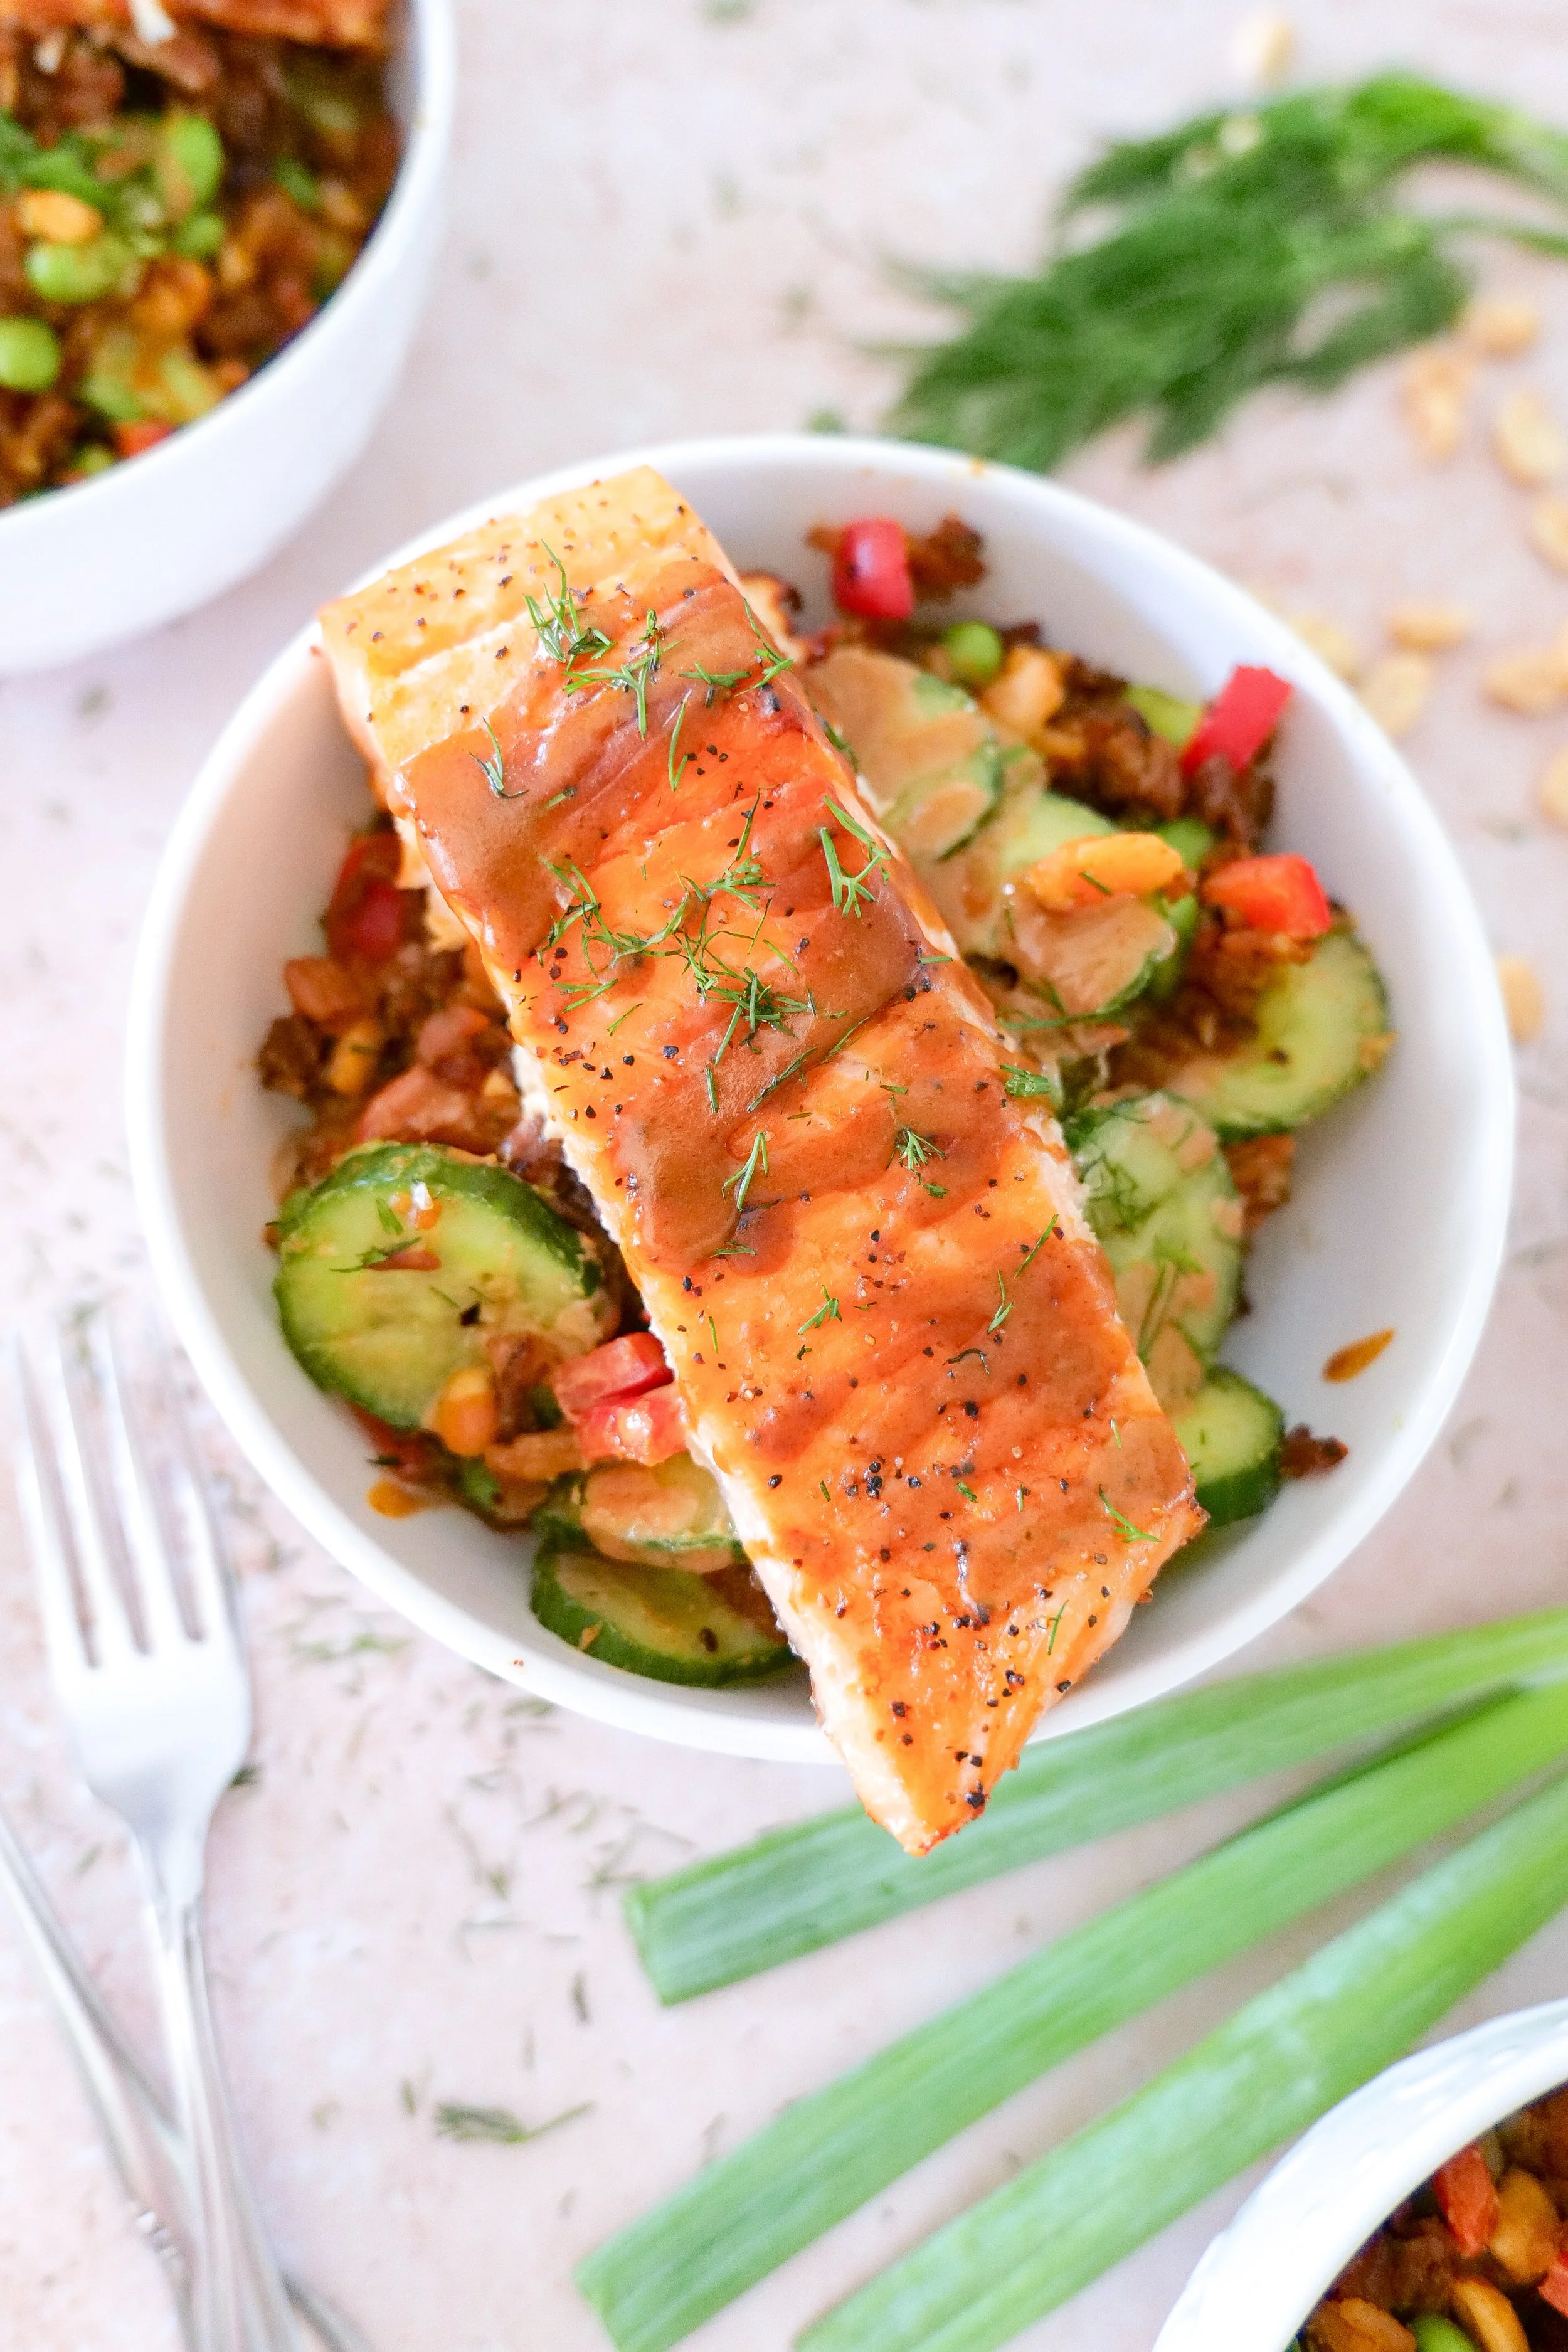
Seafood bowls have become quite popular these days. Finding the most refreshing balance between sweet and spicy can take you on a delicious culinary adventure, and these sweet and spicy salmon bowls are the perfect testament to that. The combination of succulent salmon, perfectly seasoned with a mix of honey and sriracha, lays the foundation for a meal that's both delightful and nutritious. If you're looking for a dish that's quick to prepare yet satisfyingly beautiful on every palate, you're in for a treat. In this blog post, we'll dive deep into the key ingredients and the step-by-step process to create these mouthwatering restaurant style bowls right in the comfort of your own home.

Salmon

The star of the sweet and spicy salmon bowls is undoubtedly the salmon. Using freshest, high-quality salmon fillets is essential for achieving the rich, savory base this dish requires. Salmon is not only deliciously good but also packed with omega-3 fatty acids, making it a healthy protein choice. The fillets should be firm and have a vibrant, reddish-pink color. You can either purchase pre-cut portions or a whole side of salmon that you then cut into portions yourself. A few key steps are to look for wild-caught or responsibly farmed salmon, remove any pin bones from the fillets and keep the salmon refrigerated until you're ready to marinate.

Marinade

The marinade is the soul of this recipe, and it infuses the salmon with a delicious blend of sweet and spicy flavors. A combination of honey, coconut aminos, garlic, and siracha creates a flavor profile that's hard to resist, bringing out the best in the salmon. Start by mixing honey and soy sauce in a bowl to achieve the perfect balance of sweetness and saltiness. Next, add in all the other ingredients to spice and flavor from siracha, garlic and onion and rice vinegar for bitter. Adding these all together gives the perfect marinade to marry the flavors together with your salmon. The marination process allows the salmon to absorb the rich flavors of the marinade. Coat the salmon fillets thoroughly in the marinade and let them sit for at least 30 minutes, if not longer. This step is crucial as it gives the salmon the chance to take in all of those deliciously balanced tastes.

Fresh Vegetables

Fresh vegetables provide a contrasting crunch and vibrant colors to the sweet and spicy salmon bowls. Incorporating a variety of vegetables not only enhances the bowl's nutritional value but also adds layers of flavor and texture. I added in the typical bowl ingredient of edamame for a delicious green, cucumbers for a crunchy crisp taste and avocado for a nutritious fat, but there are so many options you can add in to customize your favorite veggies! Choose vegetables that are fresh and firm for the best results.

Grains

Grains are the foundation layer that ties all the components of the sweet and spicy salmon bowls together. Steamed rice or quinoa serves as a hearty bed, absorbing the marinade's flavors and adding density to the meal. The slightly nutty flavor of quinoa complements the other ingredients, while jasmine rice offers traditional familiarity. Either choice provides a beautiful seamless base for the bowl.

Toppings

Finally, toppings give the dish its finishing touch by incorporating additional flavors, textures, and visual appeal. Sesame seeds, green onions, and a drizzle of Sriracha or creamy mayonnaise enhance both the flavor profile and aesthetics of the sweet and spicy salmon bowls. A final squeeze of lime juice brings everything together, elevating the dish to gourmet status.

Assemble the Bowl

Assembling the sweet and spicy salmon bowls involves laying out all components in a visually appealing manner. Start with a bed of steamed jasmine rice or quinoa, and then place the cooked salmon cubes on top. Next, arrange fresh vegetables such as avocado slices, cucumber, and quick-pickled carrots around the salmon. Ensure each bowl has a balanced combination of all ingredients for a wholesome meal. Use wide, shallow bowls to display the ingredients attractively. Ensure an even distribution of rice, vegetables, and salmon.

Honey Sriracha Spicy Salmon Rice Bowl

Honey and Sriracha create a unique fusion that makes these salmon bowls truly special. The honey's sweetness counters the Sriracha's heat, resulting in a blend that's both exciting and flavorful. This recipe allows the salmon fillets to be marinated and then glazed with this heavenly combination. The balanced sweet and spicy flavors make the bowls a go-to choice for a wide range of taste preferences. Whether you prefer more sweet honey or extra spicy Sriracha, this recipe can be easily customized while still retaining its core profile.

This easy and quick recipe makes it the perfect choice for weeknight dinners or for nicely timed or prepped healthy lunches. From preparation to table, it can be done in under an hour, making it convenient and satisfying. Despite its simplicity, every bite bursts with robust flavors that make it seem like a gourmet meal. The marination and quick-cooking process saves you time while the recipe itself requires minimal preparation while offering maximal taste.

One of the greatest qualities of these sweet and spicy bowls is how easy they are to prepare. With an uncomplicated recipe that even beginners can follow, this dish is ideal for quick meals without sacrificing quality. Follow the straightforward steps, from marinating to cooking and assembling, and enjoy a gourmet-style meal without a significant time investment.

Packed with protein and essential nutrients, honey Sriracha salmon bowls offer a healthy, balanced meal. The high-quality salmon provides omega-3 fatty acids, while fresh vegetables add vitamins and antioxidants. When combined with hearty grains like rice or quinoa, this meal ensures both nutrition and satisfaction. The variety of textures, from the tender salmon to the crunchy veggies, makes every bite a delightful experience. These bowls are an epitome of eating wholesomely without compromising on taste.

Make Ahead and Storage Tips

Prep Components in Advance

For those with busy schedules, making ahead certain components of your sweet and spicy salmon bowls can streamline dinner preparations. Cooking and storing components like the rice, chopped vegetables, and the marinade can significantly simplify your weeknights. You can have these components prepped up to three days in advance without compromising on freshness. This approach ensures you can have a delicious, nutritious meal ready in no time. Store your pre-cooked rice in airtight containers and keep chopped vegetables crisp in separate storage to maintain their freshness.

To maintain the maximum freshness and texture, store all cooked and chopped components separately. Assemble all the components only when ready to eat, avoiding any sogginess that may take away from the final dish's quality. Be sure to also keep liquid ingredients like marinade in sealed jars.

Freezing Option

You can freeze portions of cooked salmon for longer storage. Wrap them tightly to avoid freezer burn and label with the date for future reference. Thaw in the refrigerator overnight before reheating. Freeze salmon in airtight bags or containers and thaw slowly in the fridge to maintain texture to your salmon bowl recipe.

Quick Reheat Tips

Gently reheat stored leftovers to retain their flavors and textures. Microwave or reheat on the stovetop, adding sauce last to ensure vibrant flavors. Be sure to use low to medium heat for reheating and add fresh toppings once warmed.

Ingredients

Spicy Mayo:

1/4 cup mayo

2 tablespoons siracha

1 tablespoon water

Salmon:

1 pound wild caught salmon

1/4 cup coconut aminos

1/4 cup rice vinegar

1 tablespoon sesame seed oil

1 tablespoon siracha

1 tablespoon honey

2 cloves minced garlic

2 green onion

Bowl:

4 cups prepared white rice

1 small avocado, sliced and divided

1-2 cucumbers sliced

1 cup edamame

2 tablespoons sesame seeds

Instructions

1. Preheat oven to 425 degrees. Whisk together coconut amino, rice vinegar, sesame seed oil, siracha, honey, minced garlic and white parts of green onion. Save the green parts to top at the end. Cut salmon into cubes and add to a bowl.

2. Once oven is ready and salmon has sat in the bowl with marinade ( I like to do 30 minutes) place on a baking sheet and add into oven for 10-12 min to bake. Turn oven up to broil at the end for 2-3 min to give the salmon a nice crispy edge.

3. While salmon bakes mix together mayo, siracha, and water for sauce and set aside.

4. Prep the bowls. Line the bottom of each bowl with white rice, or rice of your choice. Add in cucumber slices, edamame, prepared salmon and avocado. Top bowls with sesame seeds and remaining green onion. Serve and enjoy!

Other Delicious Bowl & Easy Dinner Recipes

Discover the Bliss of Homemade Acai Bowls

Mediterranean Chicken & Rice Bowls made with Minute Rice

Pork Banh Mi Bowl : Deliciously Satisfying

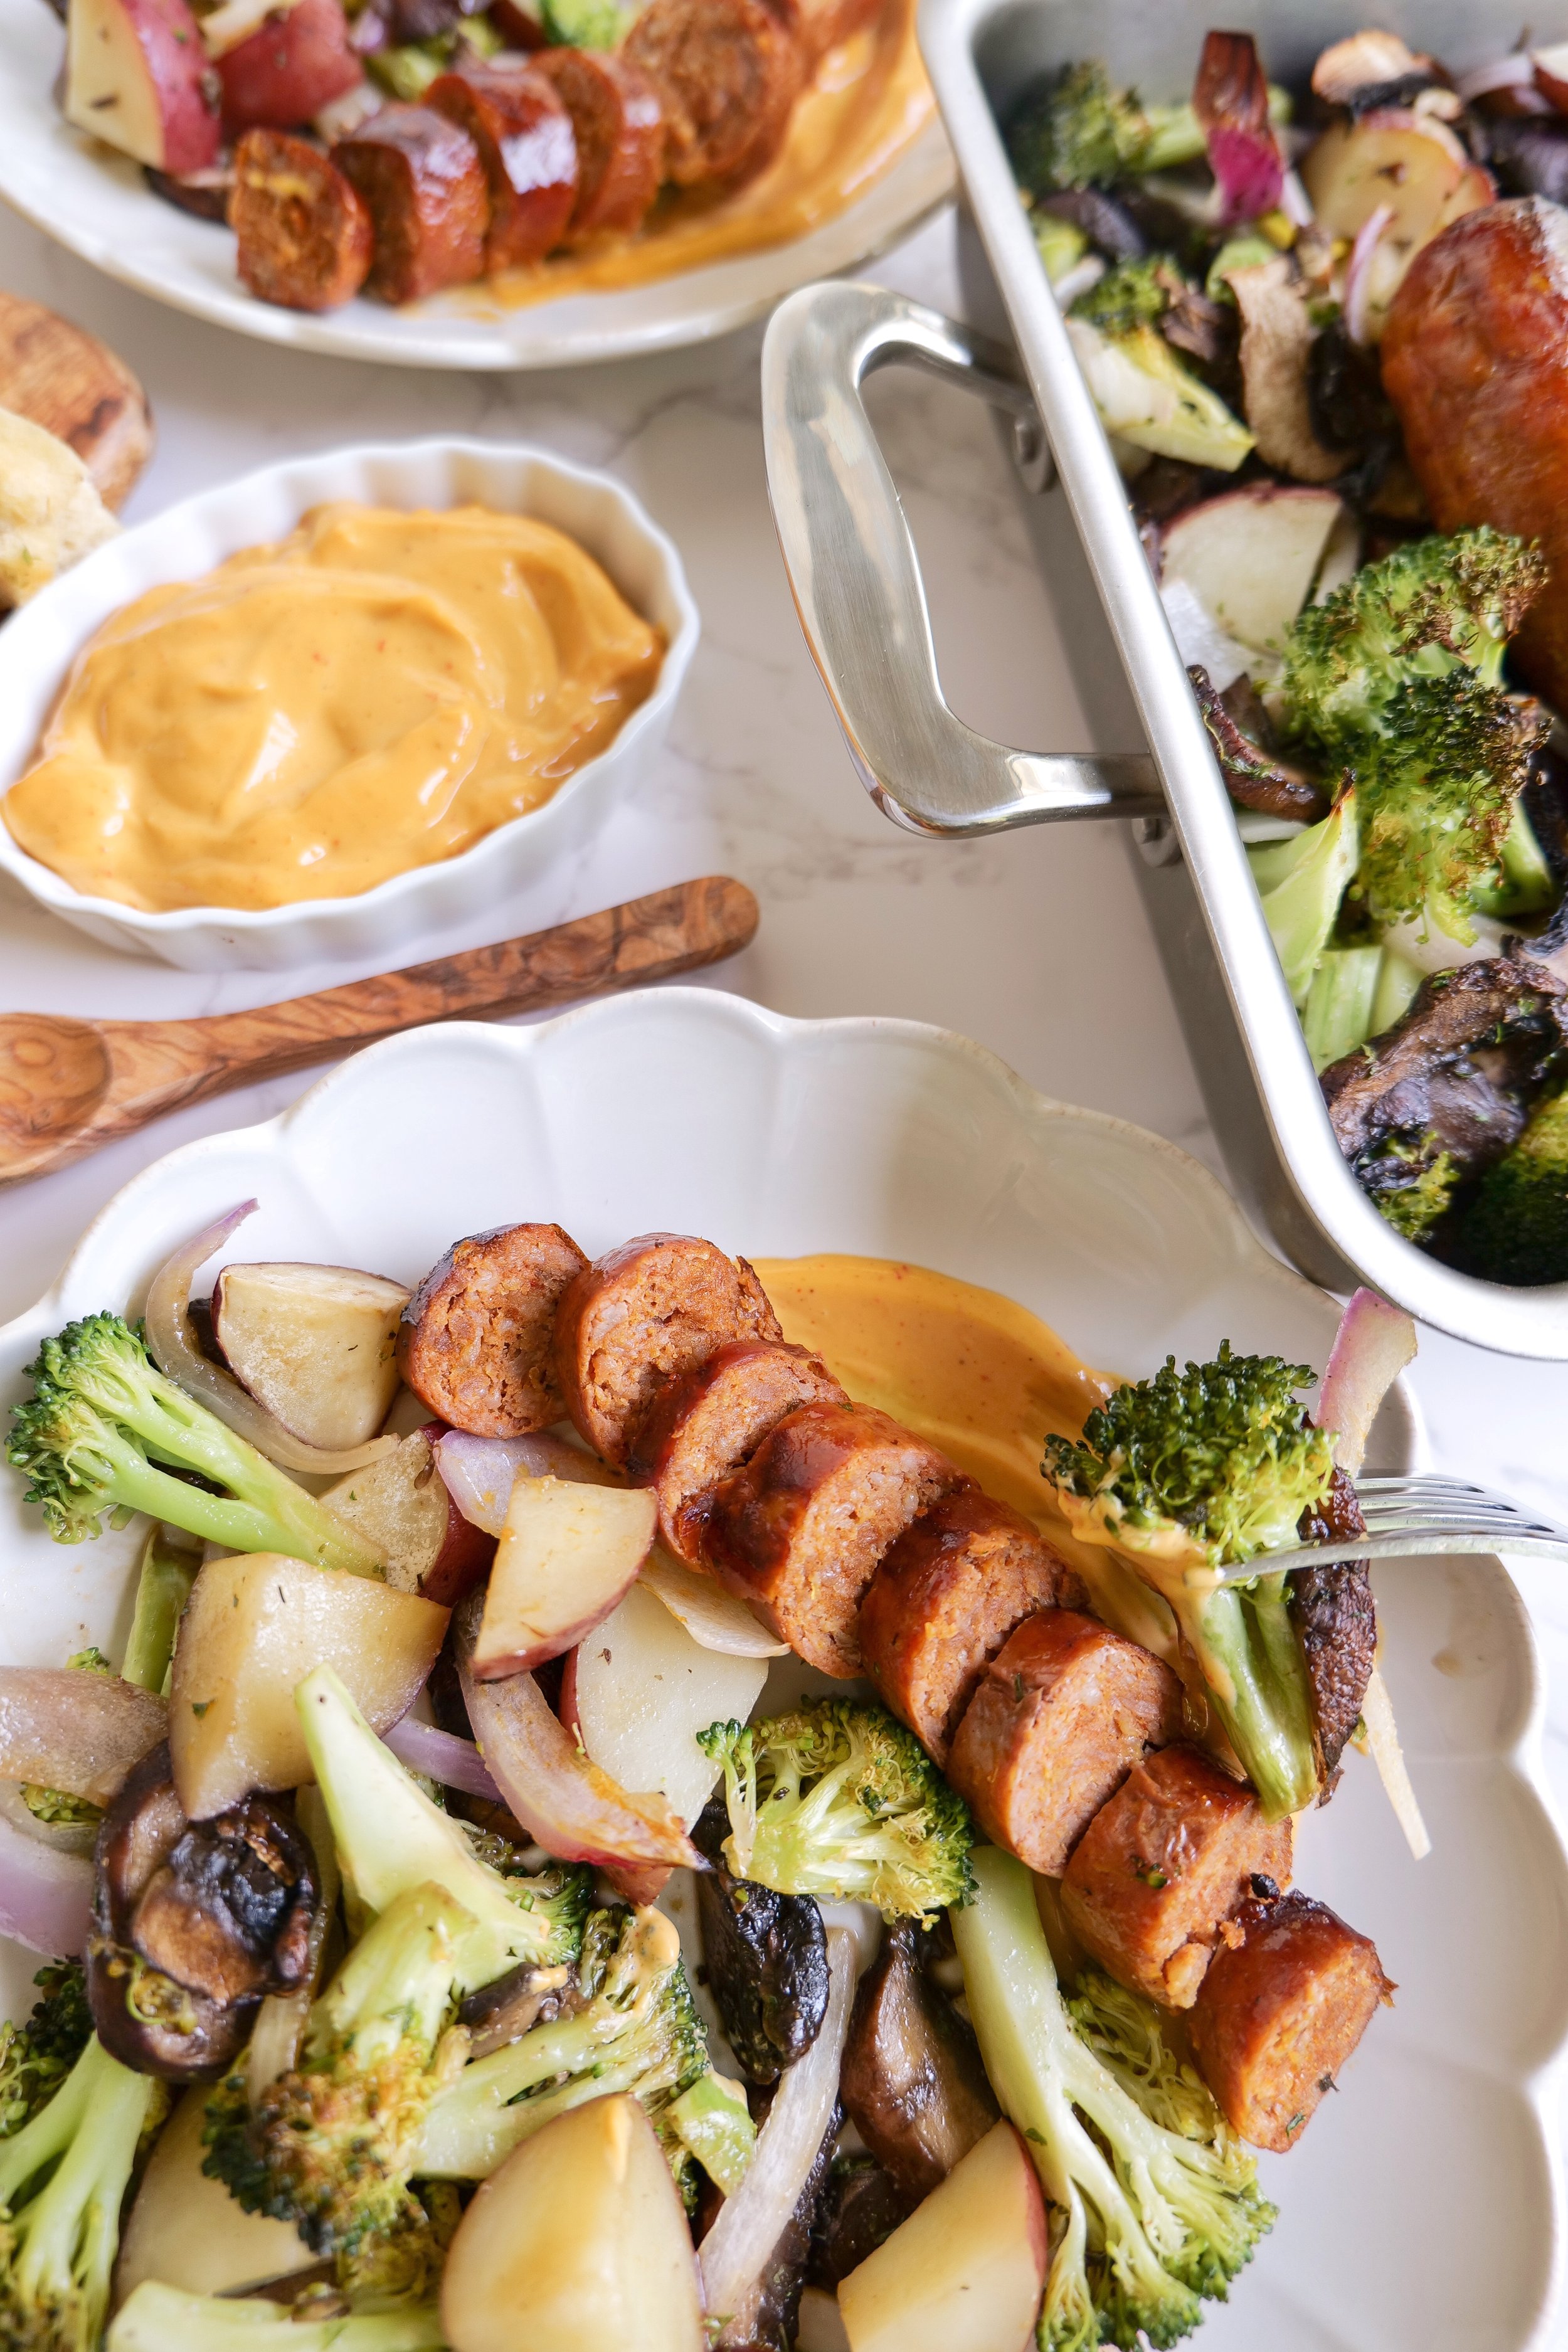
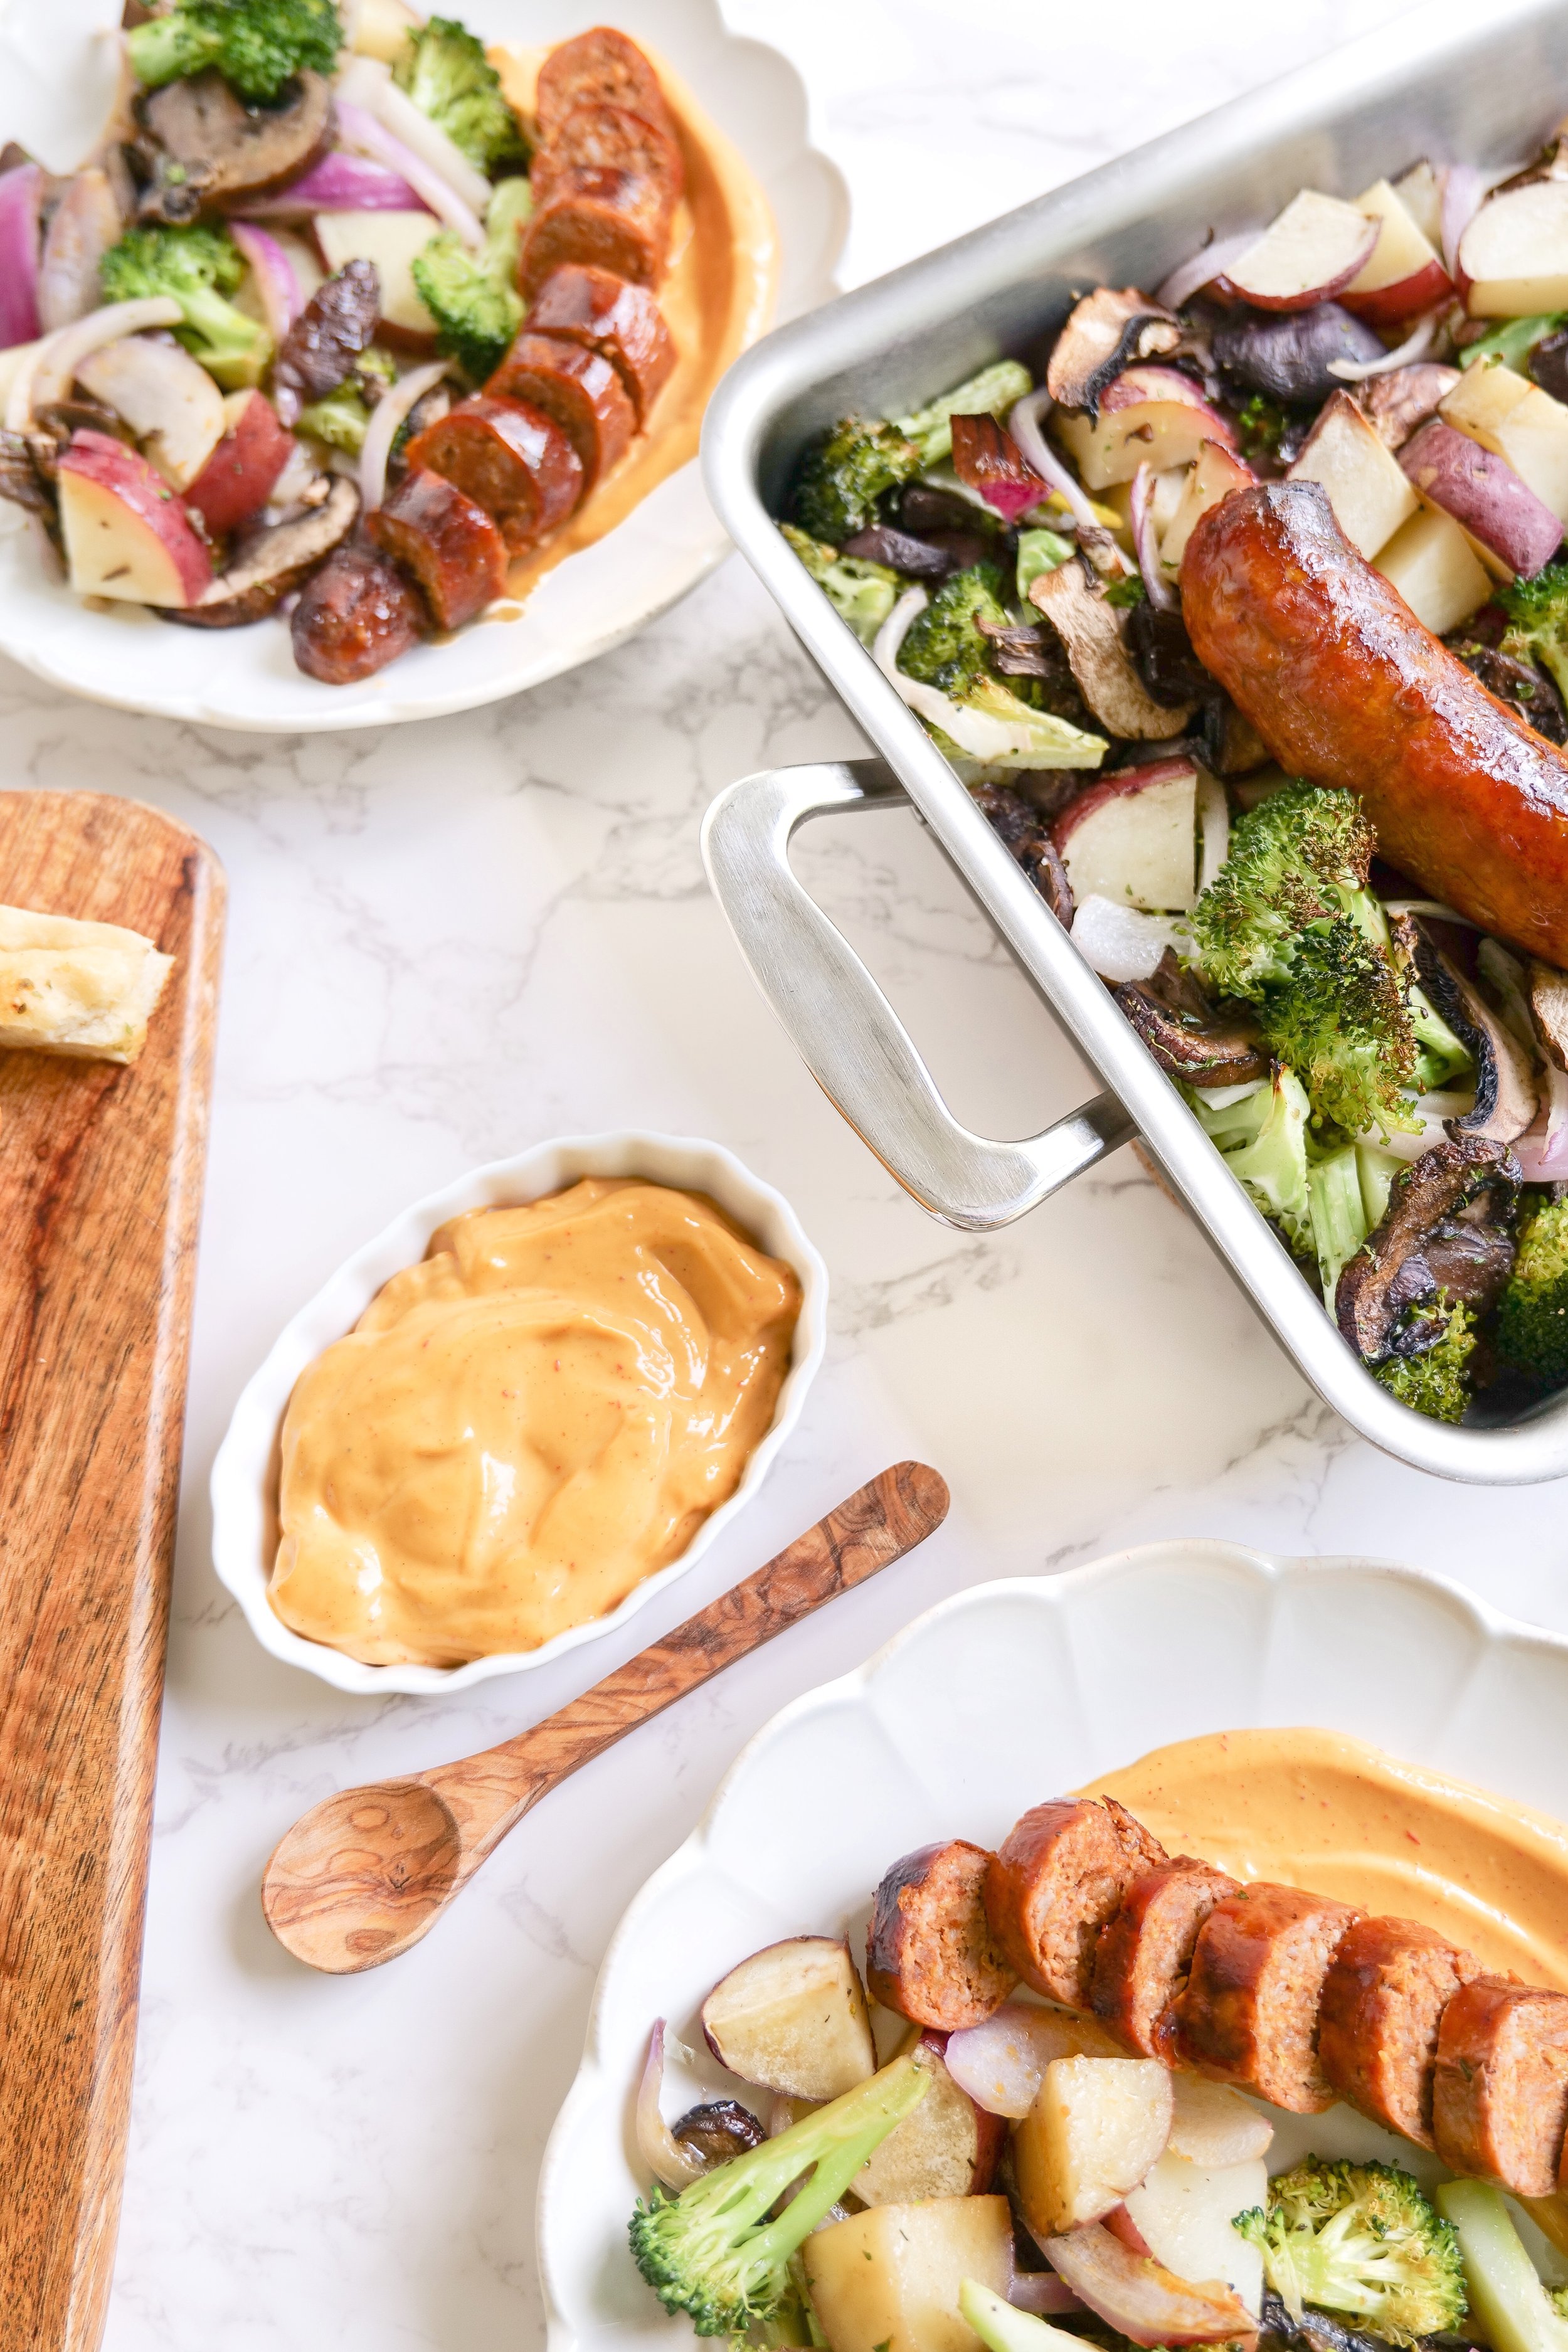
Delicious and Easy Chorizo One Pan Dinner

Salsa Verde Chicken Enchiladas

Savor the Tradition: Easy & Delicious Italian Sausage Spaghetti Squash Dinner

Who says vegetable meals can't be hearty? Dive into this plate of Easy & Delicious Italian Sausage Spaghetti Squash Dinner. This is a traditional meal that nicely meets nutritional needs. This dish offers a symphony of flavors, blending the savory taste of Italian sausage with the subtly sweet undertones of spaghetti squash for a delightful meal your entire family will love. Packed with micronutrients such as vitamin A, vitamin C, and potassium, embracing this squash is a wellness decision you'll want to make more than once. With its versatility, spaghetti squash adapts to a spectrum of cuisines, even finding its place in signature dishes like this Italian sausage-infused delight we are making today.

This delicious meal is surprisingly scarce in calories yet abundant in fiber. The unique squash variant stands out with its pasta-like strands, making it a favorite in low-carb and keto circles. The squashes mildly sweet zest serves as an ideal backdrop for an array of ingredients, from rich marinara to spicy Italian sausage, crafting dishes that please the palate while also nourishing the body. They are easy to prepare by either roasting, microwaving, or boiling. Spaghetti squash emerges as a nice replacement to traditional noodles, seamlessly blending into recipes for the health-conscious and flavor-seekers alike. At first glance it may look daunting, but its preparation is straightforward. Start with cutting, deseeding, and cooking until the magic of its spaghetti-like interior is revealed. Let's not forget that this squash isn't just a sidekick, it's fully capable of playing the main role in a multitude of dishes while supporting various dietary lifestyles, from gluten-free to those aiming for fewer carbs on their plate.

Does Squash Taste Like Spaghetti?

With its fibrous insides, it's no wonder spaghetti squash has become such a popular and unique pasta substitute. Coupled with Italian sausage's juicy taste and with the marinara sauce many may wonder the difference between squash and actual noodles. You may start believing you're indulging in a classic bowl of spaghetti. The squash embodies the al dente quality we cherish in noodles and, when seasoned with a dusting of Italian herbs and with the rich sausage, it fulfills a flavor profile that traditional pasta dishes offer. The natural sweetness of the squash brings an unexpected note, complementing savory sauces and seasonings but also being quite different then pasta. Achieve a spaghetti sensation by twirling the forkfuls of squash strands. The familiarity of this action adds to the overall dining experience and gives a similar experience as pasta noodles. The texture is probably the biggest note you will notice a difference on. Squash is a little crunchier than pasta and thinner, but equally delicious in a whole new way. Skeptics turn to believers when greeted with a steamy serving, realizing that while nothing can truly replace the deliciousness of a spaghetti strand, this hearty rendition stands as a formidable and tasty substitute.

How To Cut Spaghetti Squash

The journey to a scrumptious spaghetti squash dish begins with preparing the squash itself. Preheat your oven to the sweet spot of 400°F as you ready your tools for the task. Make a firm, confident slice down the center of the squash. As the flesh separates it reveals its seed-speckled core, beckoning for a scoop and scrape until hollowed out neatly. If the squash itself is too hard, then pierce with a knife and warm in the microwave for 3-5 minutes to better able yourself to cut. Select a sizeable and stable cutting board, positioning the squash securely before making the first incision lengthwise. Next you will remove seeds and stringy bits and dab olive oil, sea salt and black pepper into the squash's flesh for added moisture and flavor during roasting. Remember to handle your squash with care as it transitions out of the oven, its steam carrying whispers of the culinary adventure ahead.

Do I Have To Use Italian Sausage?

While Italian sausage is the star of this show, the script can be rewritten to suit your casting preferences. Ground turkey or beef can stride onto the stage, or for a greater veggie act, mushrooms and plant-based crumbles can take the spotlight. It's your palate to play with, and the spices are your friends, guiding the overall flavor to maintain that Italian flair. This dish is more than a recipe, it's a template for creativity, catering to carnivores and vegetarians alike without compromising the show-stopping taste it promises. Swap in spicy chorizo for an unexpected kick, or crumbled tofu for a leaner plot twist. A lentil and walnut mixture can offer a nutty, earthy profile, surprising in texture and rich in protein. Cooking up shrimp with garlic and white wine brings a coastal spin that may just transport you to the Italian seaside. Whether gathering ingredients from the market or raiding the pantry, remember that this Italian Sausage Spaghetti Squash Dinner is as changeable, depending on your preference, as it is delicious.

A dish both simple and sophisticated, it waits for no special occasion, fitting seamlessly into weeknight meal plans. The oven routine makes for perfection in every bite. Other substitutions you can make to this dish are adding a dash of red pepper flakes. Adding this can introduce a gentle heat and offset the sweetness of the squash. A sprinkle of parsley brings freshness, coloring the dish with splashes of vibrant green. Whether opting for mozzarella's melt or parmesan's sharpness, cheese is a must, and seals the deal with its unifying richness. An added bell pepper vegetable lends a crunch and color, brightening the dish with a sweet veggie note. Adding spinach can infuse an iron-rich dimension to the plate. A secret sprinkle of nutmeg, barely noticeable yet undeniably present, elevates the flavor profile with its warm, aromatic touch. When this delectable Italian dinner graces your table, it promises nothing short of a communal culinary embrace. As you plant your spoon into the heaped squash half, brace for an eruption of flavors that promise to leave you, and your cherished dinner mates, pining for more.

Imagine a twirl of flavors where the earthy spaghetti squash, the hearty sausage, and a vivacious marinara sauce come together in a culinary whirlwind. It's a trinity of textures and tastes, uniting to form a comforting quilt of deliciousness. Optimal for those moments when the stomach yearns for a touch of Italy, but the mind is mindful of nutrition. This dish rises to the occasion, offering a gluten-free journey into the heart of Italian cuisine without ever having to step on a plane. Pair with a side salad, garlicky green beans or fresh bread to round out the meal, making it a balanced plate of vibrant variety.

How Long Will This Take?

Time is precious, but so is a delectable meal. With a total time clocking in at roughly 45 to 60 minutes, this Italian Sausage Spaghetti Squash Dinner fits into your busy schedule. The initial legwork of prepping the squash is a brief, while the roasting develops flavor. Concurrently, the sausage sizzles and by the time the squash is fork-ready to be shredded, you are mere moments from assembly. This meal keeps time on your side while ensuring a wholesome and nourishing dinner is on its way to your table with ease.

Some tips to help you finish faster are start the sausage and sauce as the squash begins its oven stint, coordinating efforts to streamline the process. Use those roasting minutes to clean as you go or set the table, transforming preparation into a multitasking marvel. The squash's heat once out of the oven is enough to warm the sausage mixture, ensuring every bite is at its peak warmth when it's time to dine. As the oven timer dings, satisfaction is not just in the flavors but also in the knowledge of time well-spent. You can also double up the recipe to make for great leftovers and your efforts for making this meal will take you even farther.

Last Minute Tips

The secret to a flawless execution of spaghetti squash lies within a handful of helpful hints. Roasting it cut-side down is key to unlocking a treasure chest, revealing perfectly steamed strands ready for twirling. Perfection lies in the details, ensuring the dish's canvas is ready for the rich colors and textures of the toppings it will soon proudly bear. Embrace patience in roasting by letting the oven do its work and the squash reward you with its best texture. Infuse personality into the squash's pre-roast rub with a kiss of garlic powder or a whisper of chili flakes. A post-roast rest allows for excess steam to escape, minimizing sogginess and maximizing flavor retention.

As we bring our culinary exploration to a close, we've journeyed through preparation tips, flavor fusions, and customization techniques for a divine Easy & Delicious Italian Sausage Spaghetti Squash Dinner. This is more than just a meal, it's an expression of honoring the rich tones of one of my Italian cuisine favorites. So get out your apron, armed with this new recipe, and take in the delight of every savory bite.

Ingredients

4 Servings

2 Spaghetti Squash

4 tablespoons Italian Sausage

1 teaspoon Sea Salt

1 teaspoon Black Pepper

4 Garlic Cloves

2 pounds Italian Sausage

1 White Onion

1 jar of your favorite marinara sauce

1 tablespoon Italian seasoning

2 cups Parmesan Cheese

Instructions

1. Slice Spaghetti squash in half and scoop out the inside seeds. Drizzle olive oil over tops of all 4 halves, sprinkle with sea salt and black pepper, place a garlic clove in the center and flip over onto a dish or sheet pan with sides. Bake at 400 degrees for 40 minutes.

2. While squash cooks, add onion & sausage to a stove top pan over medium head and cook until well combined and meat is no longer pink. Add in Italian seasoning and marinara & let come to a simmer.

3. Once spaghetti squash is cooked remove from oven flip over and smash garlic into squash. Using a fork twirl up squash to resemble noodles and remove from sides of the outer edge. Add in meat marinara mixture and stir together. Top with parmesan cheese and place back in oven for an additional 20 minutes. Meal is ready to serve, you can add additional cheese and basil if you desire. Serve & Enjoy!

Other Delicious Recipes You Will Love:

Italian Sausage, Potato & Kale Soup

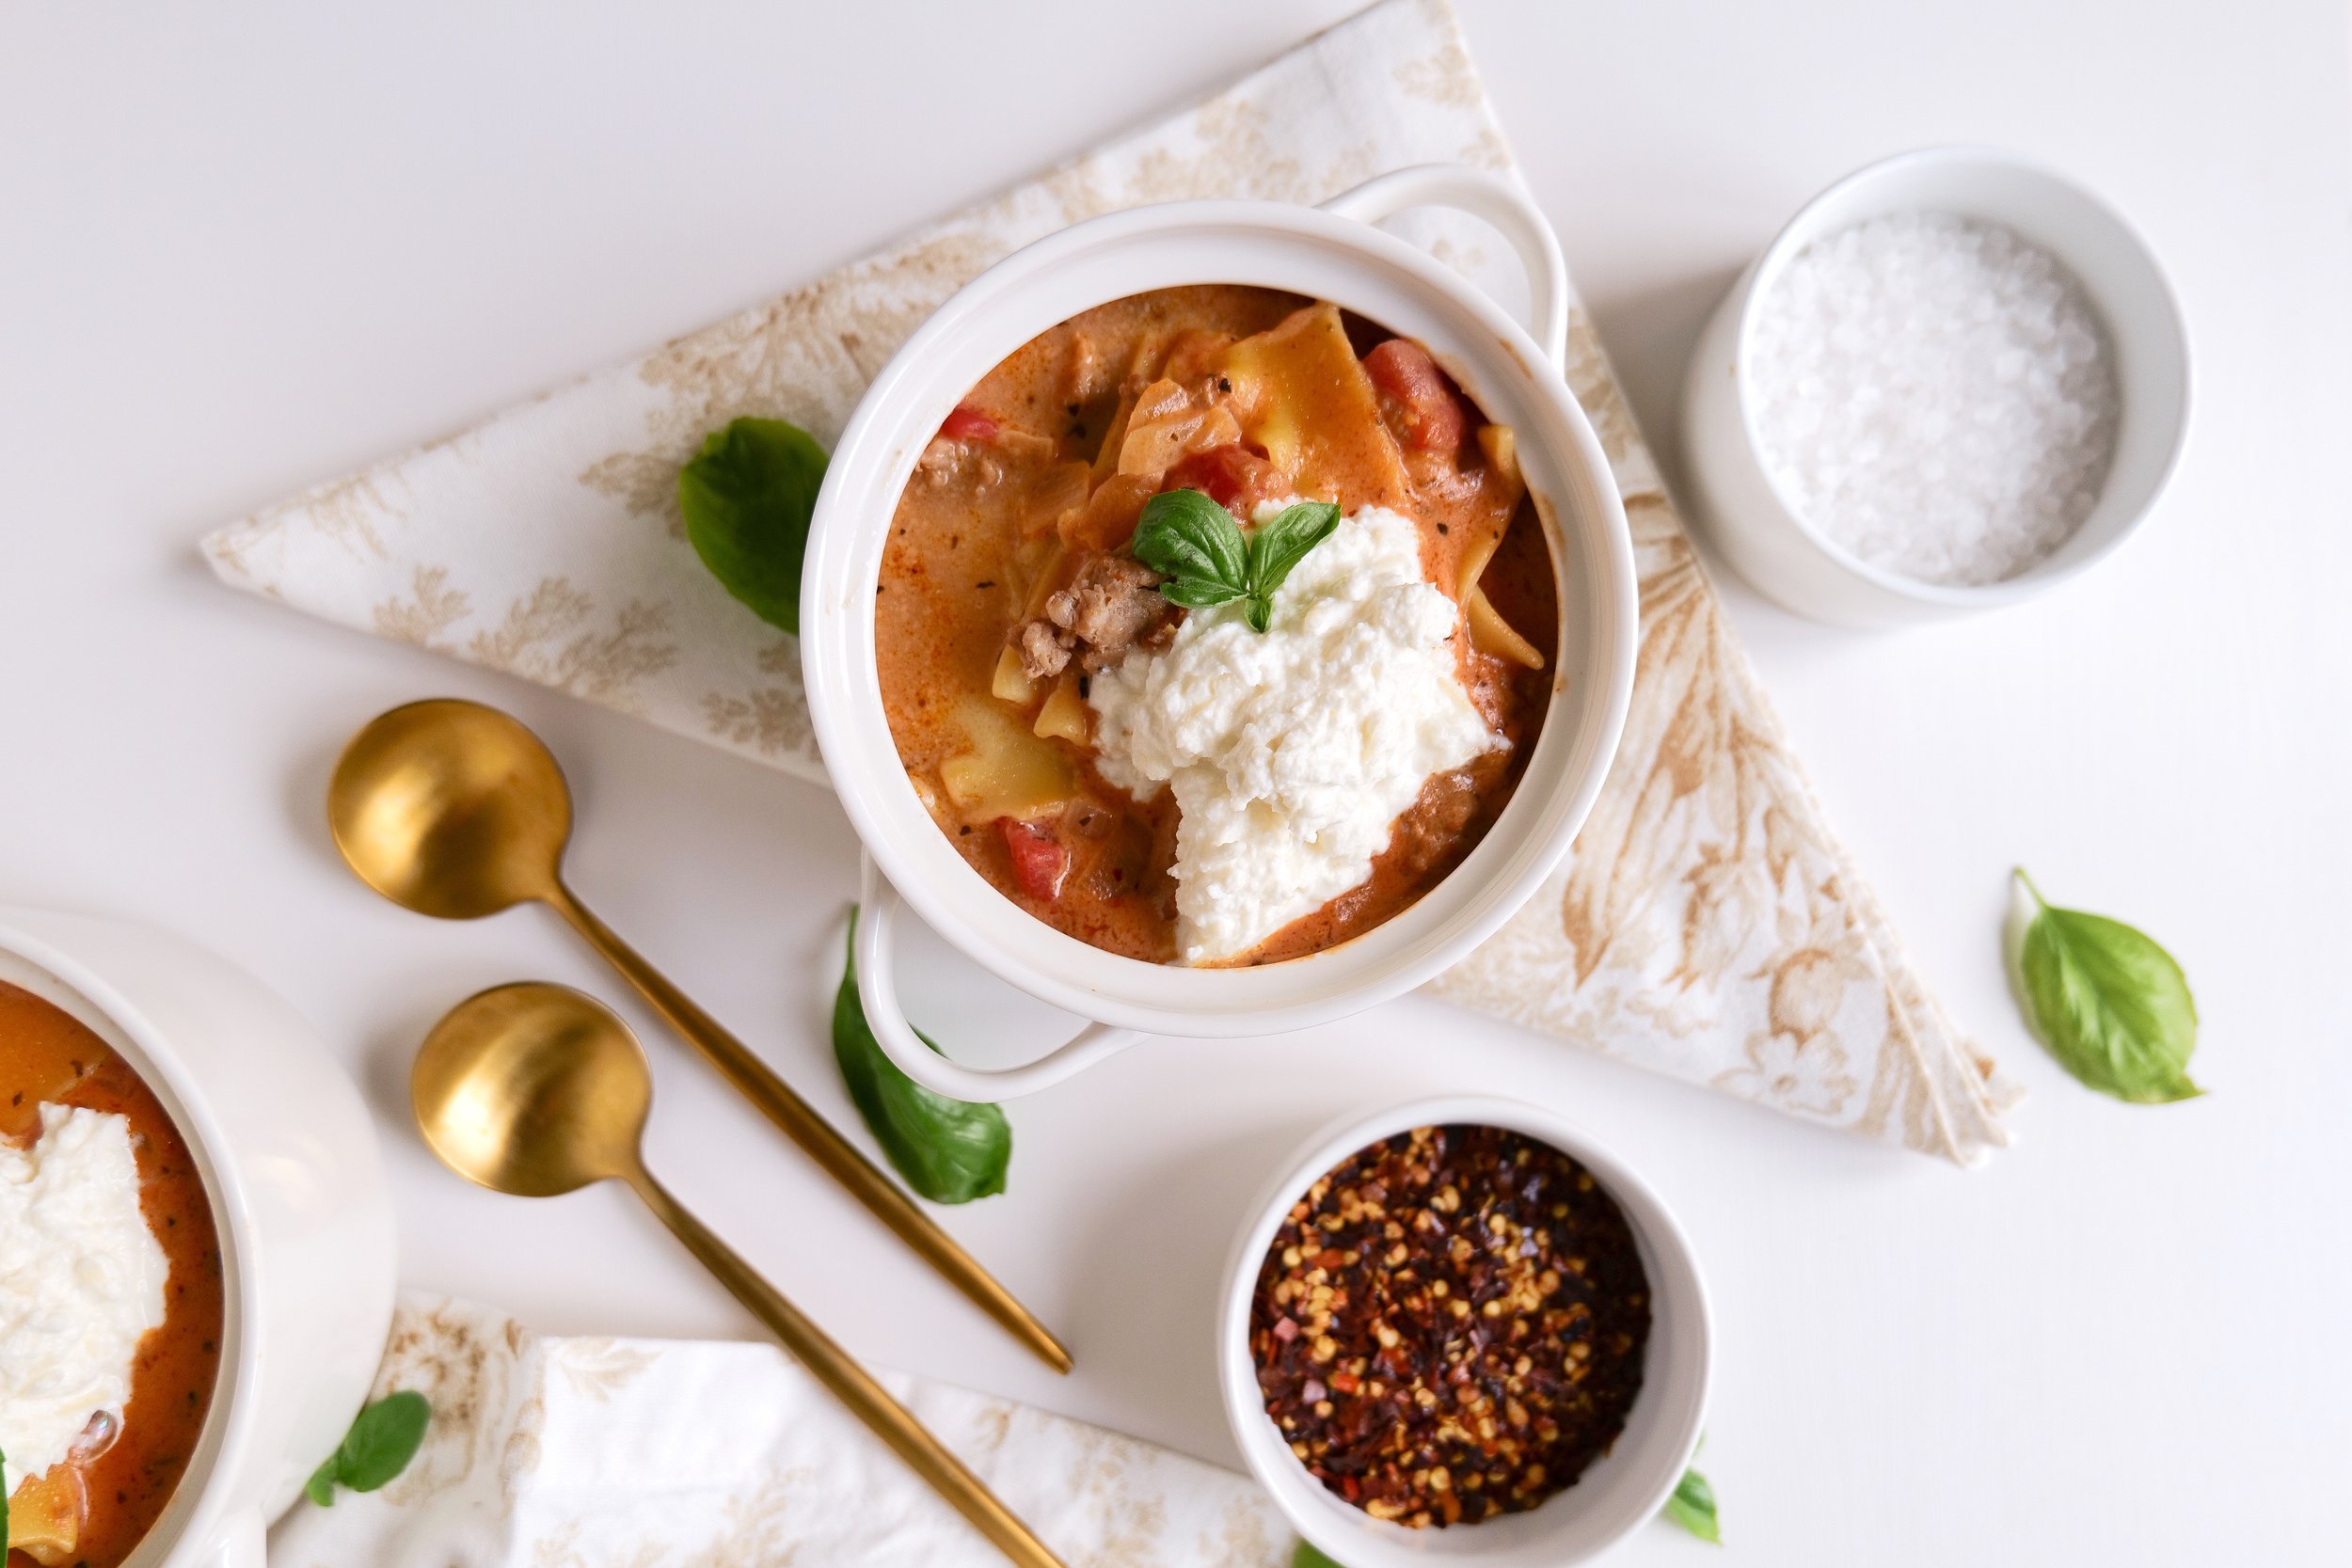
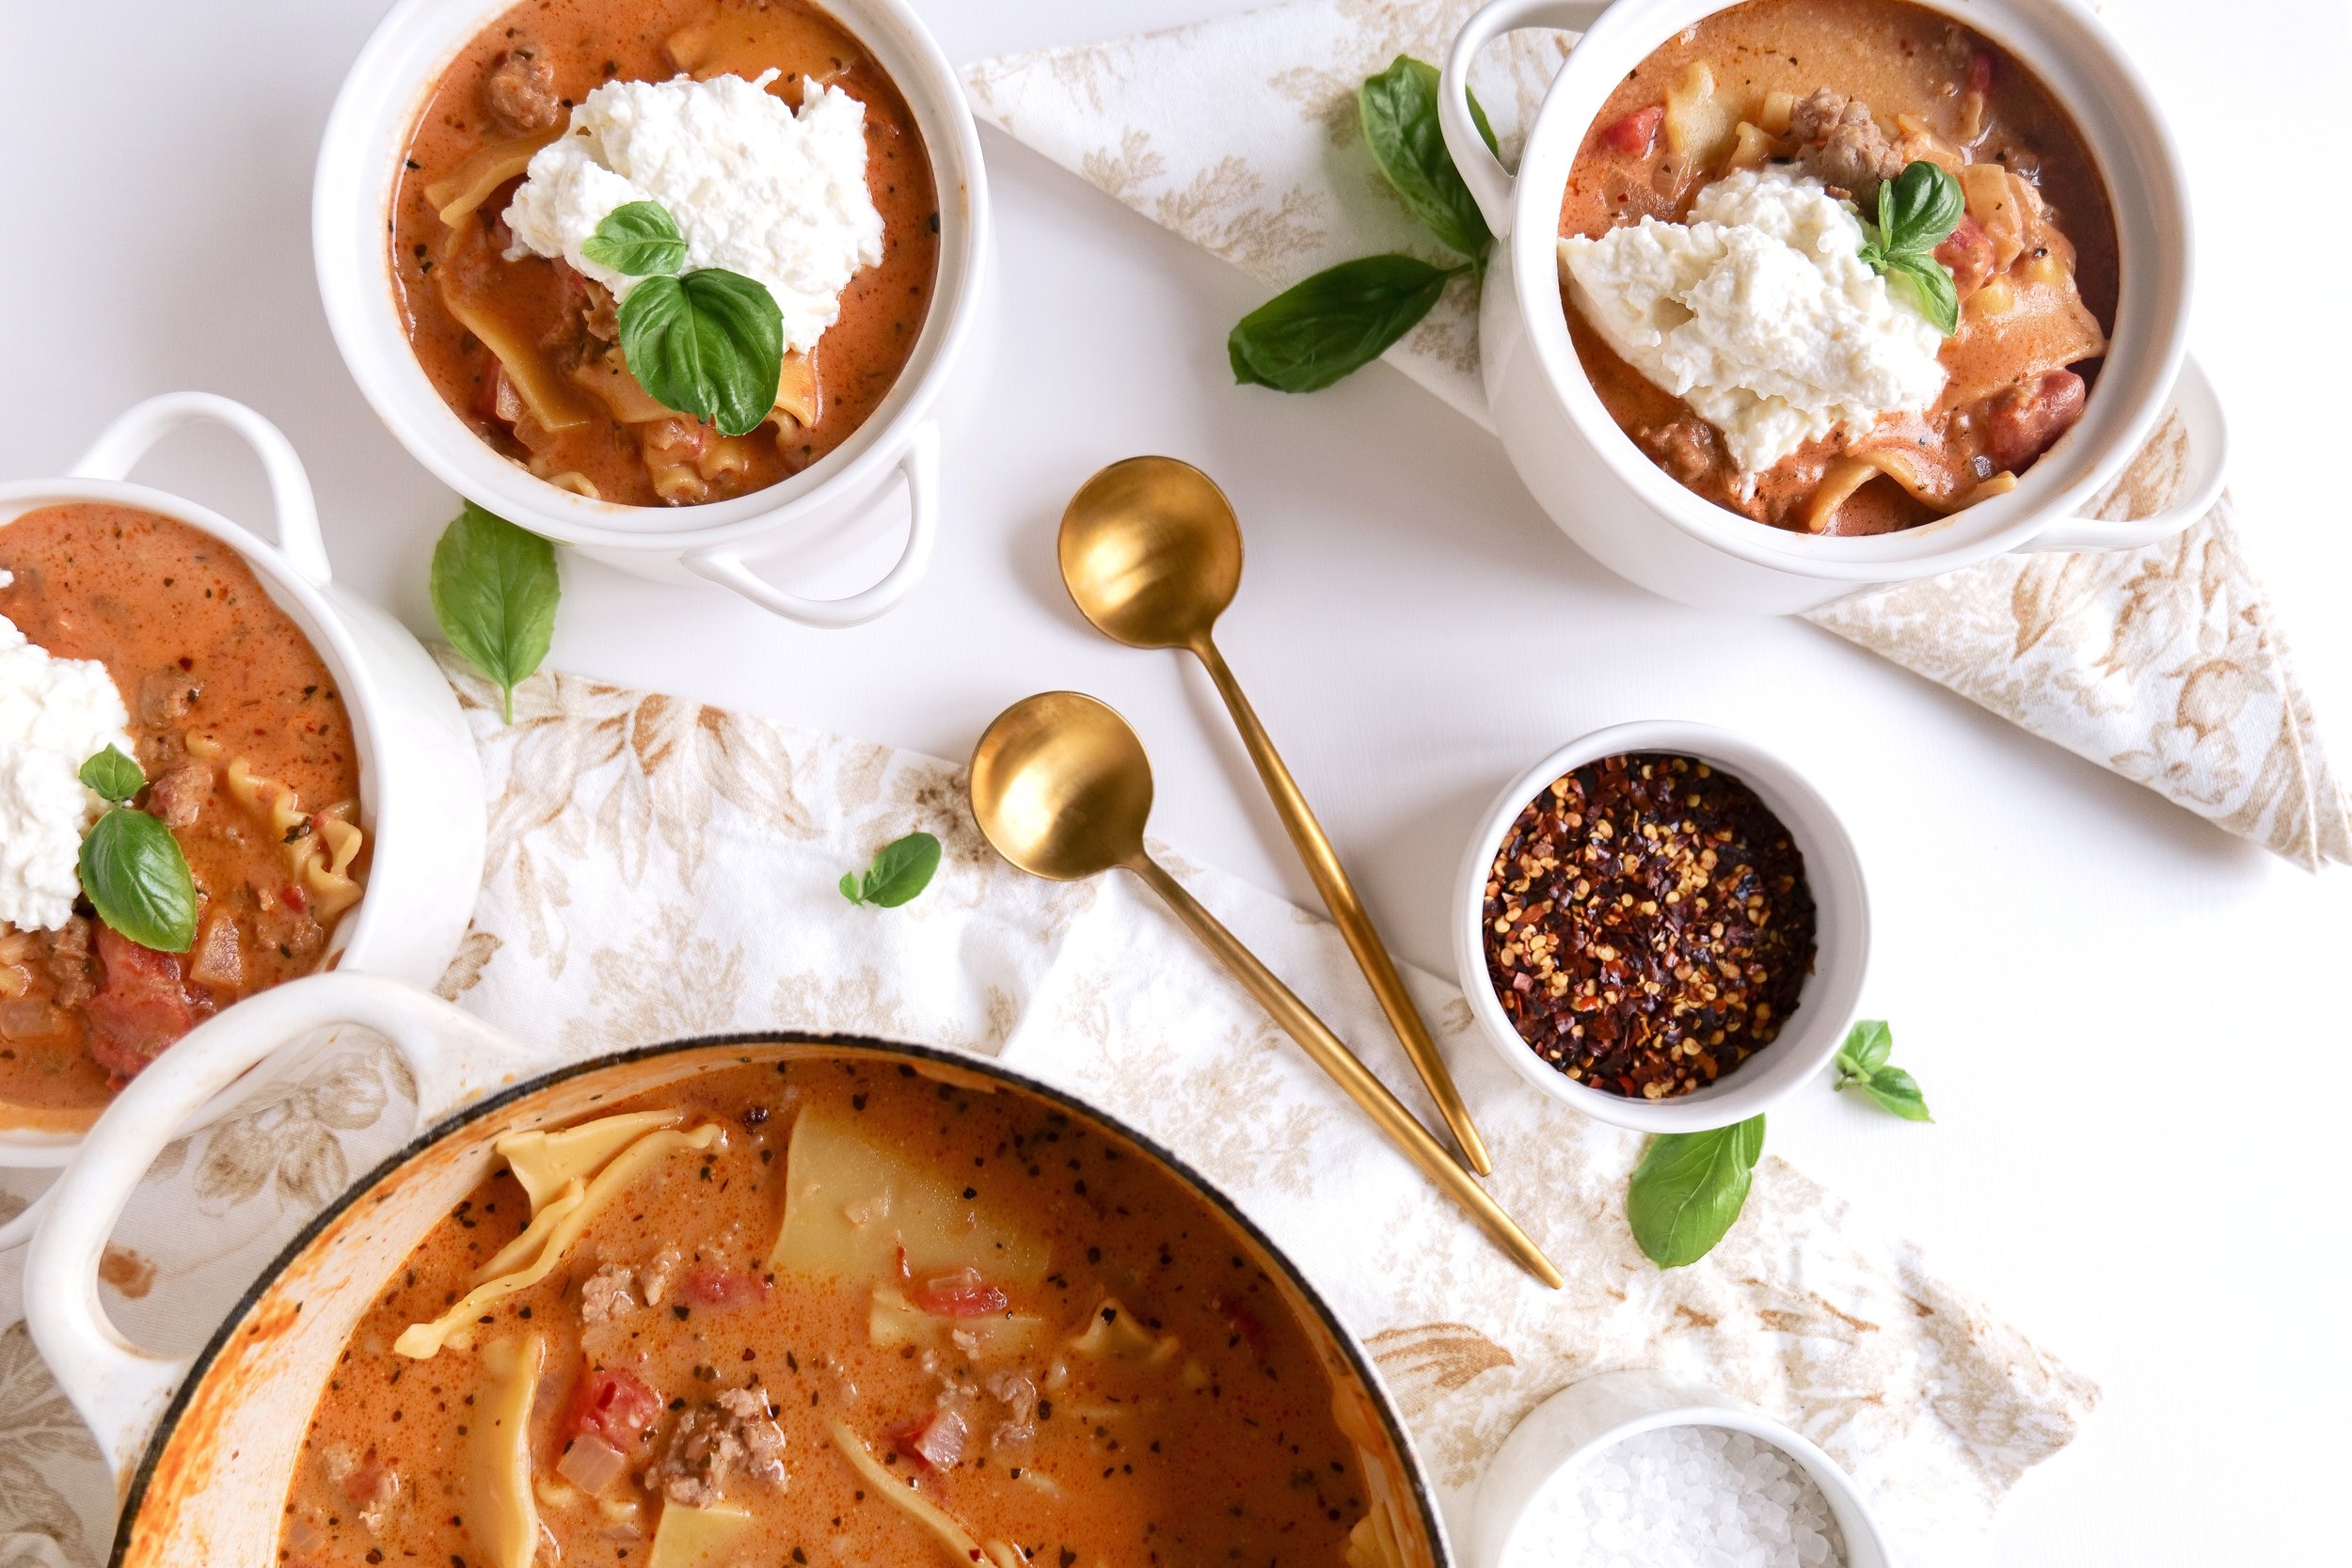
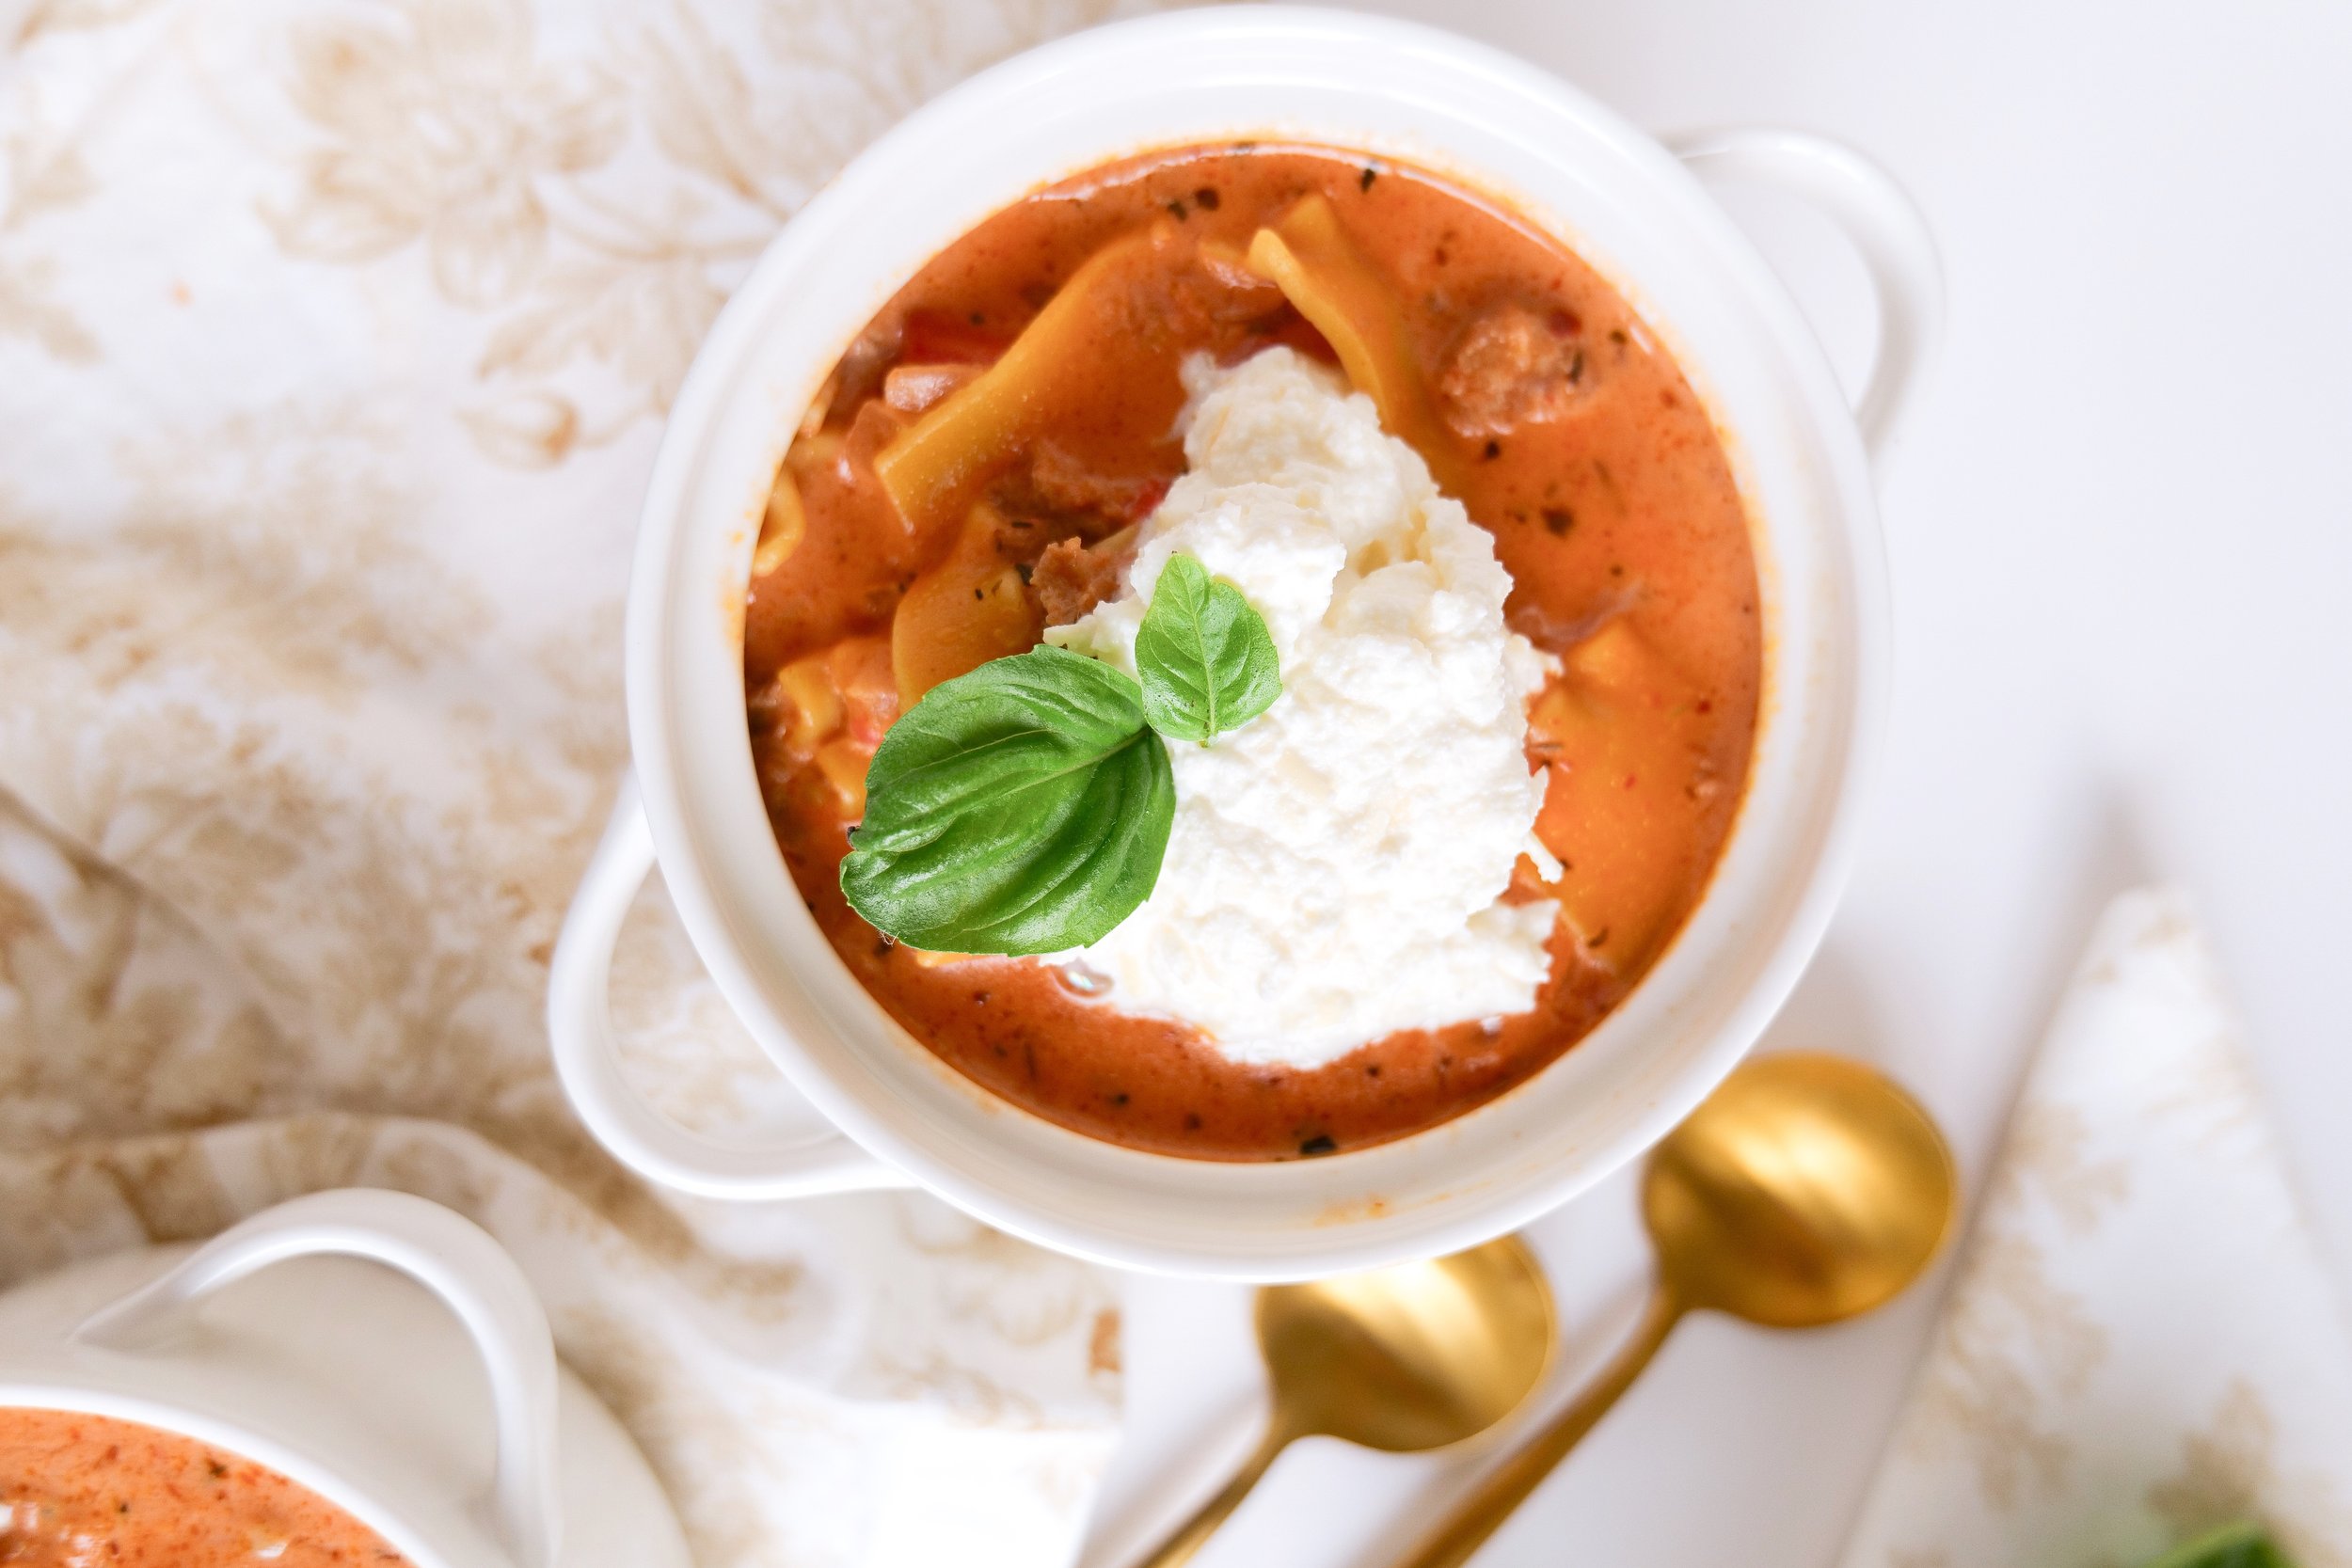
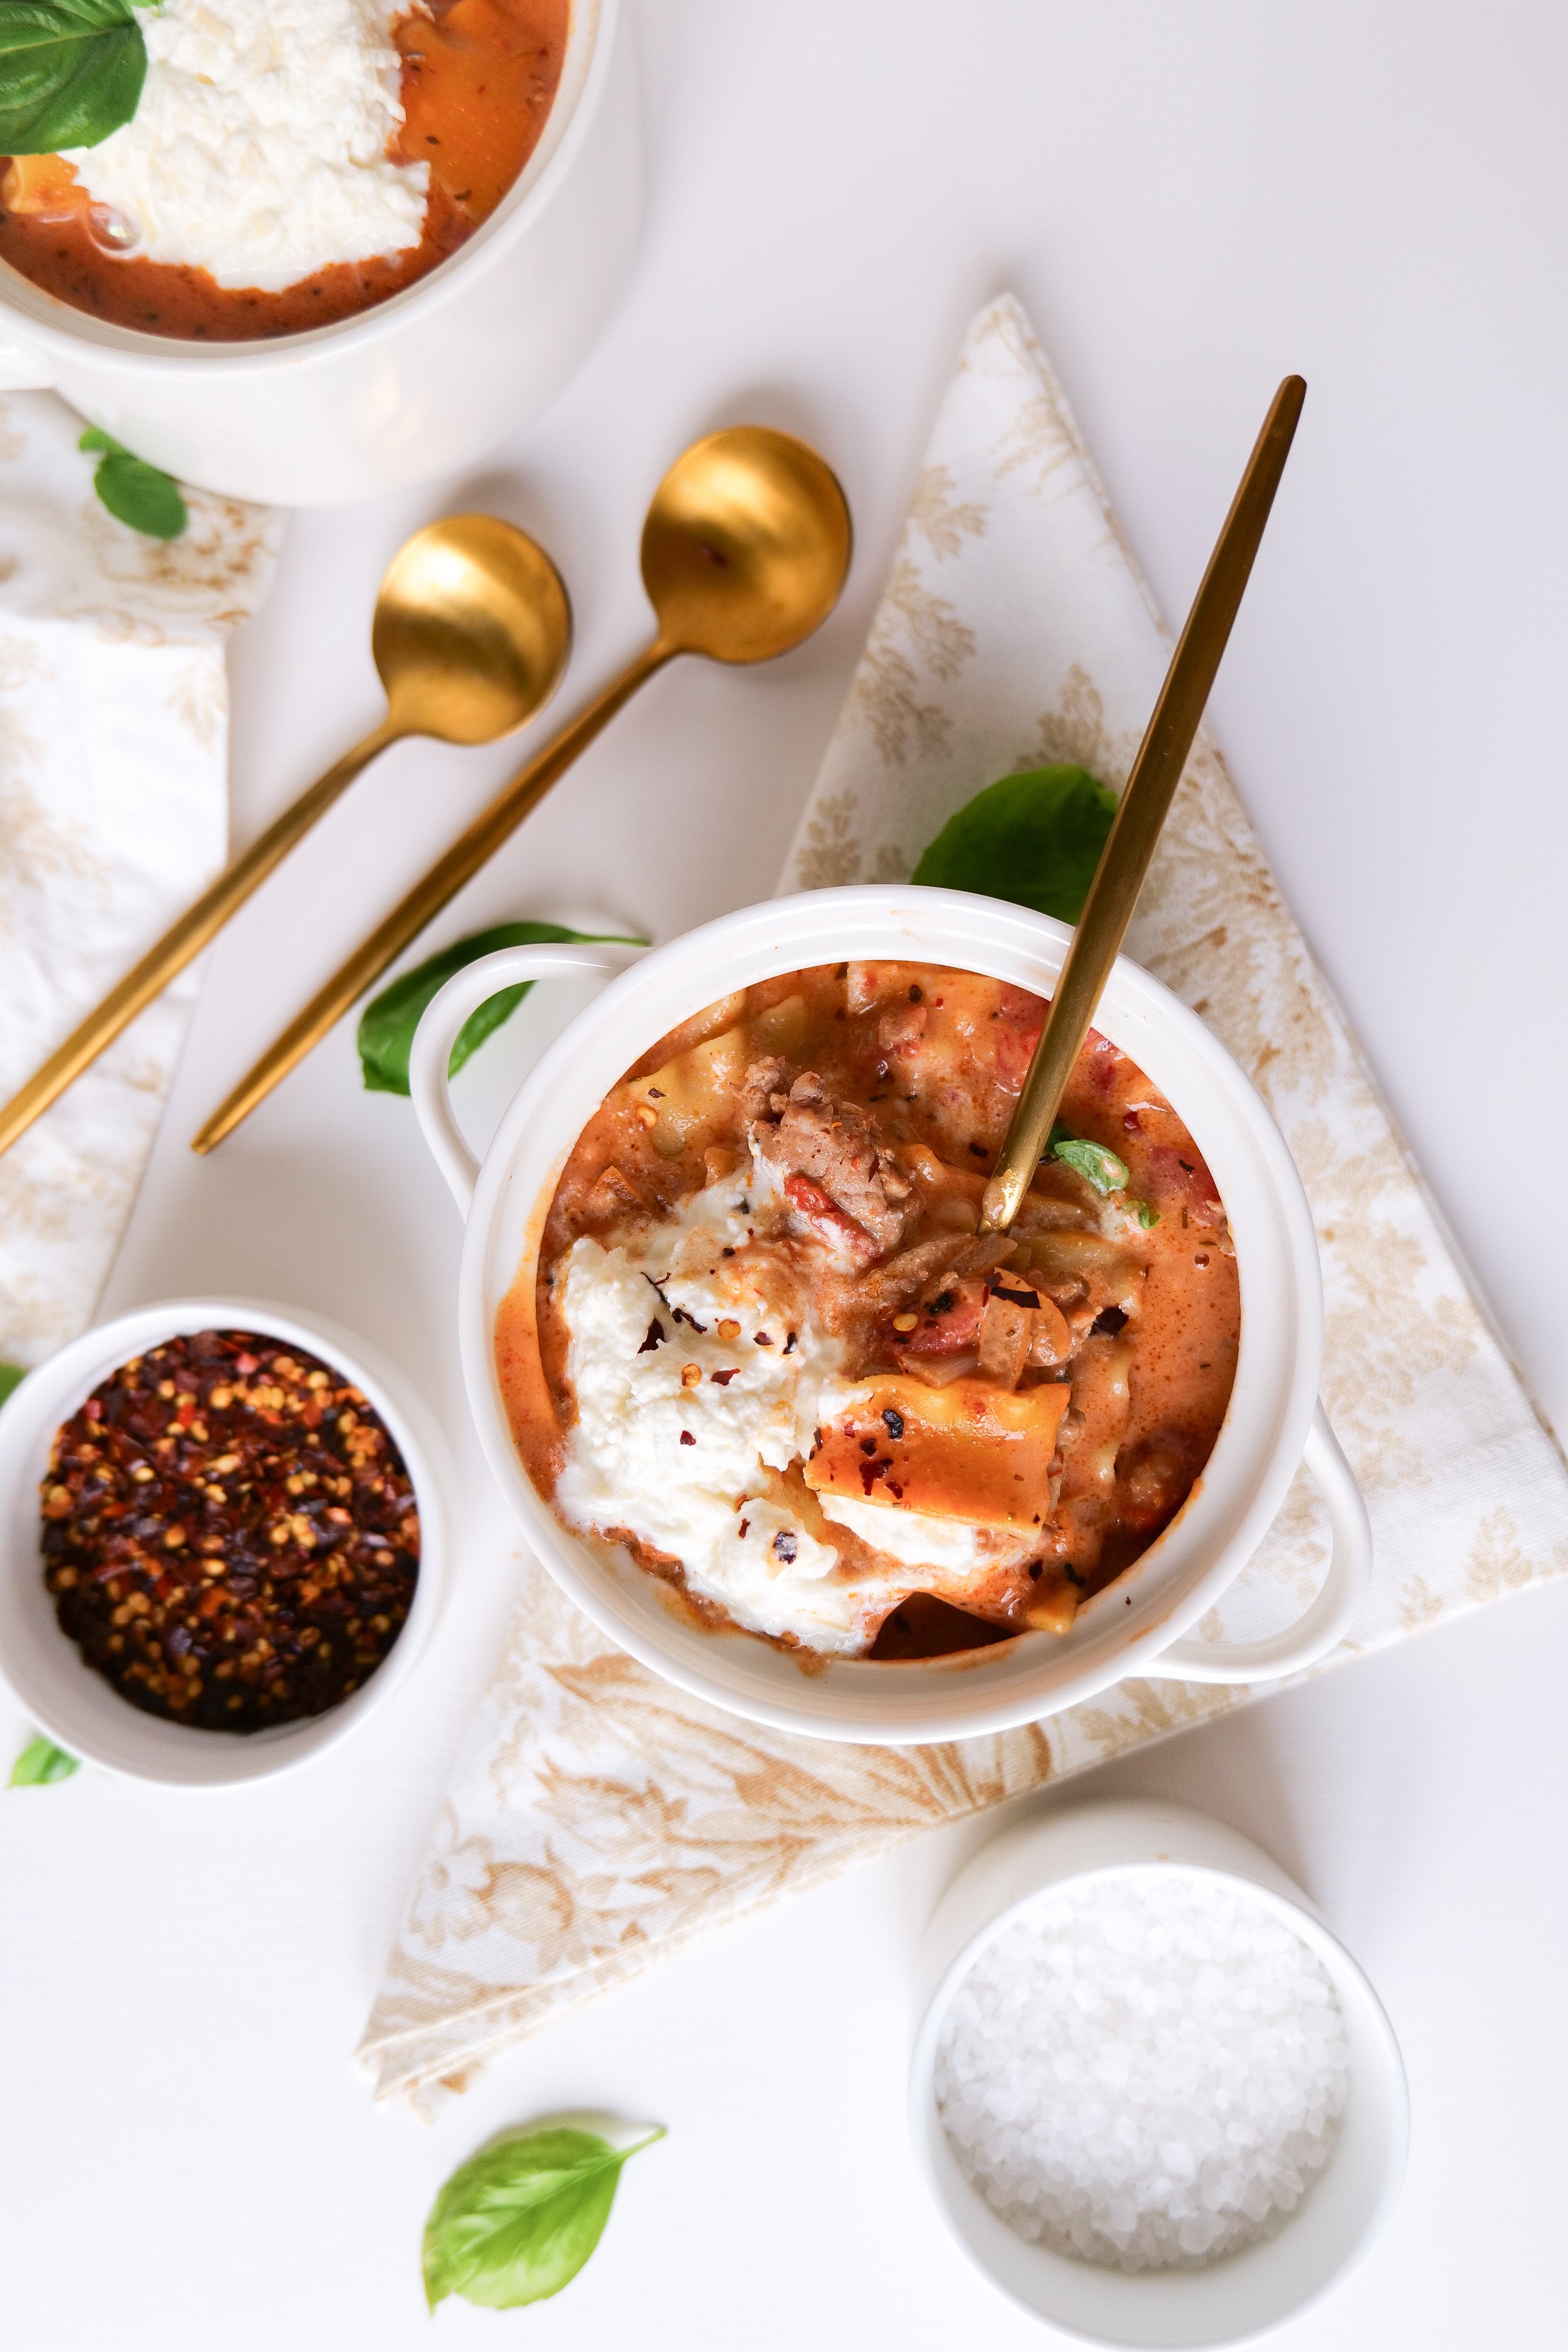
Delicious One-Pot Italian Lasagna Soup for Busy Weeknights!

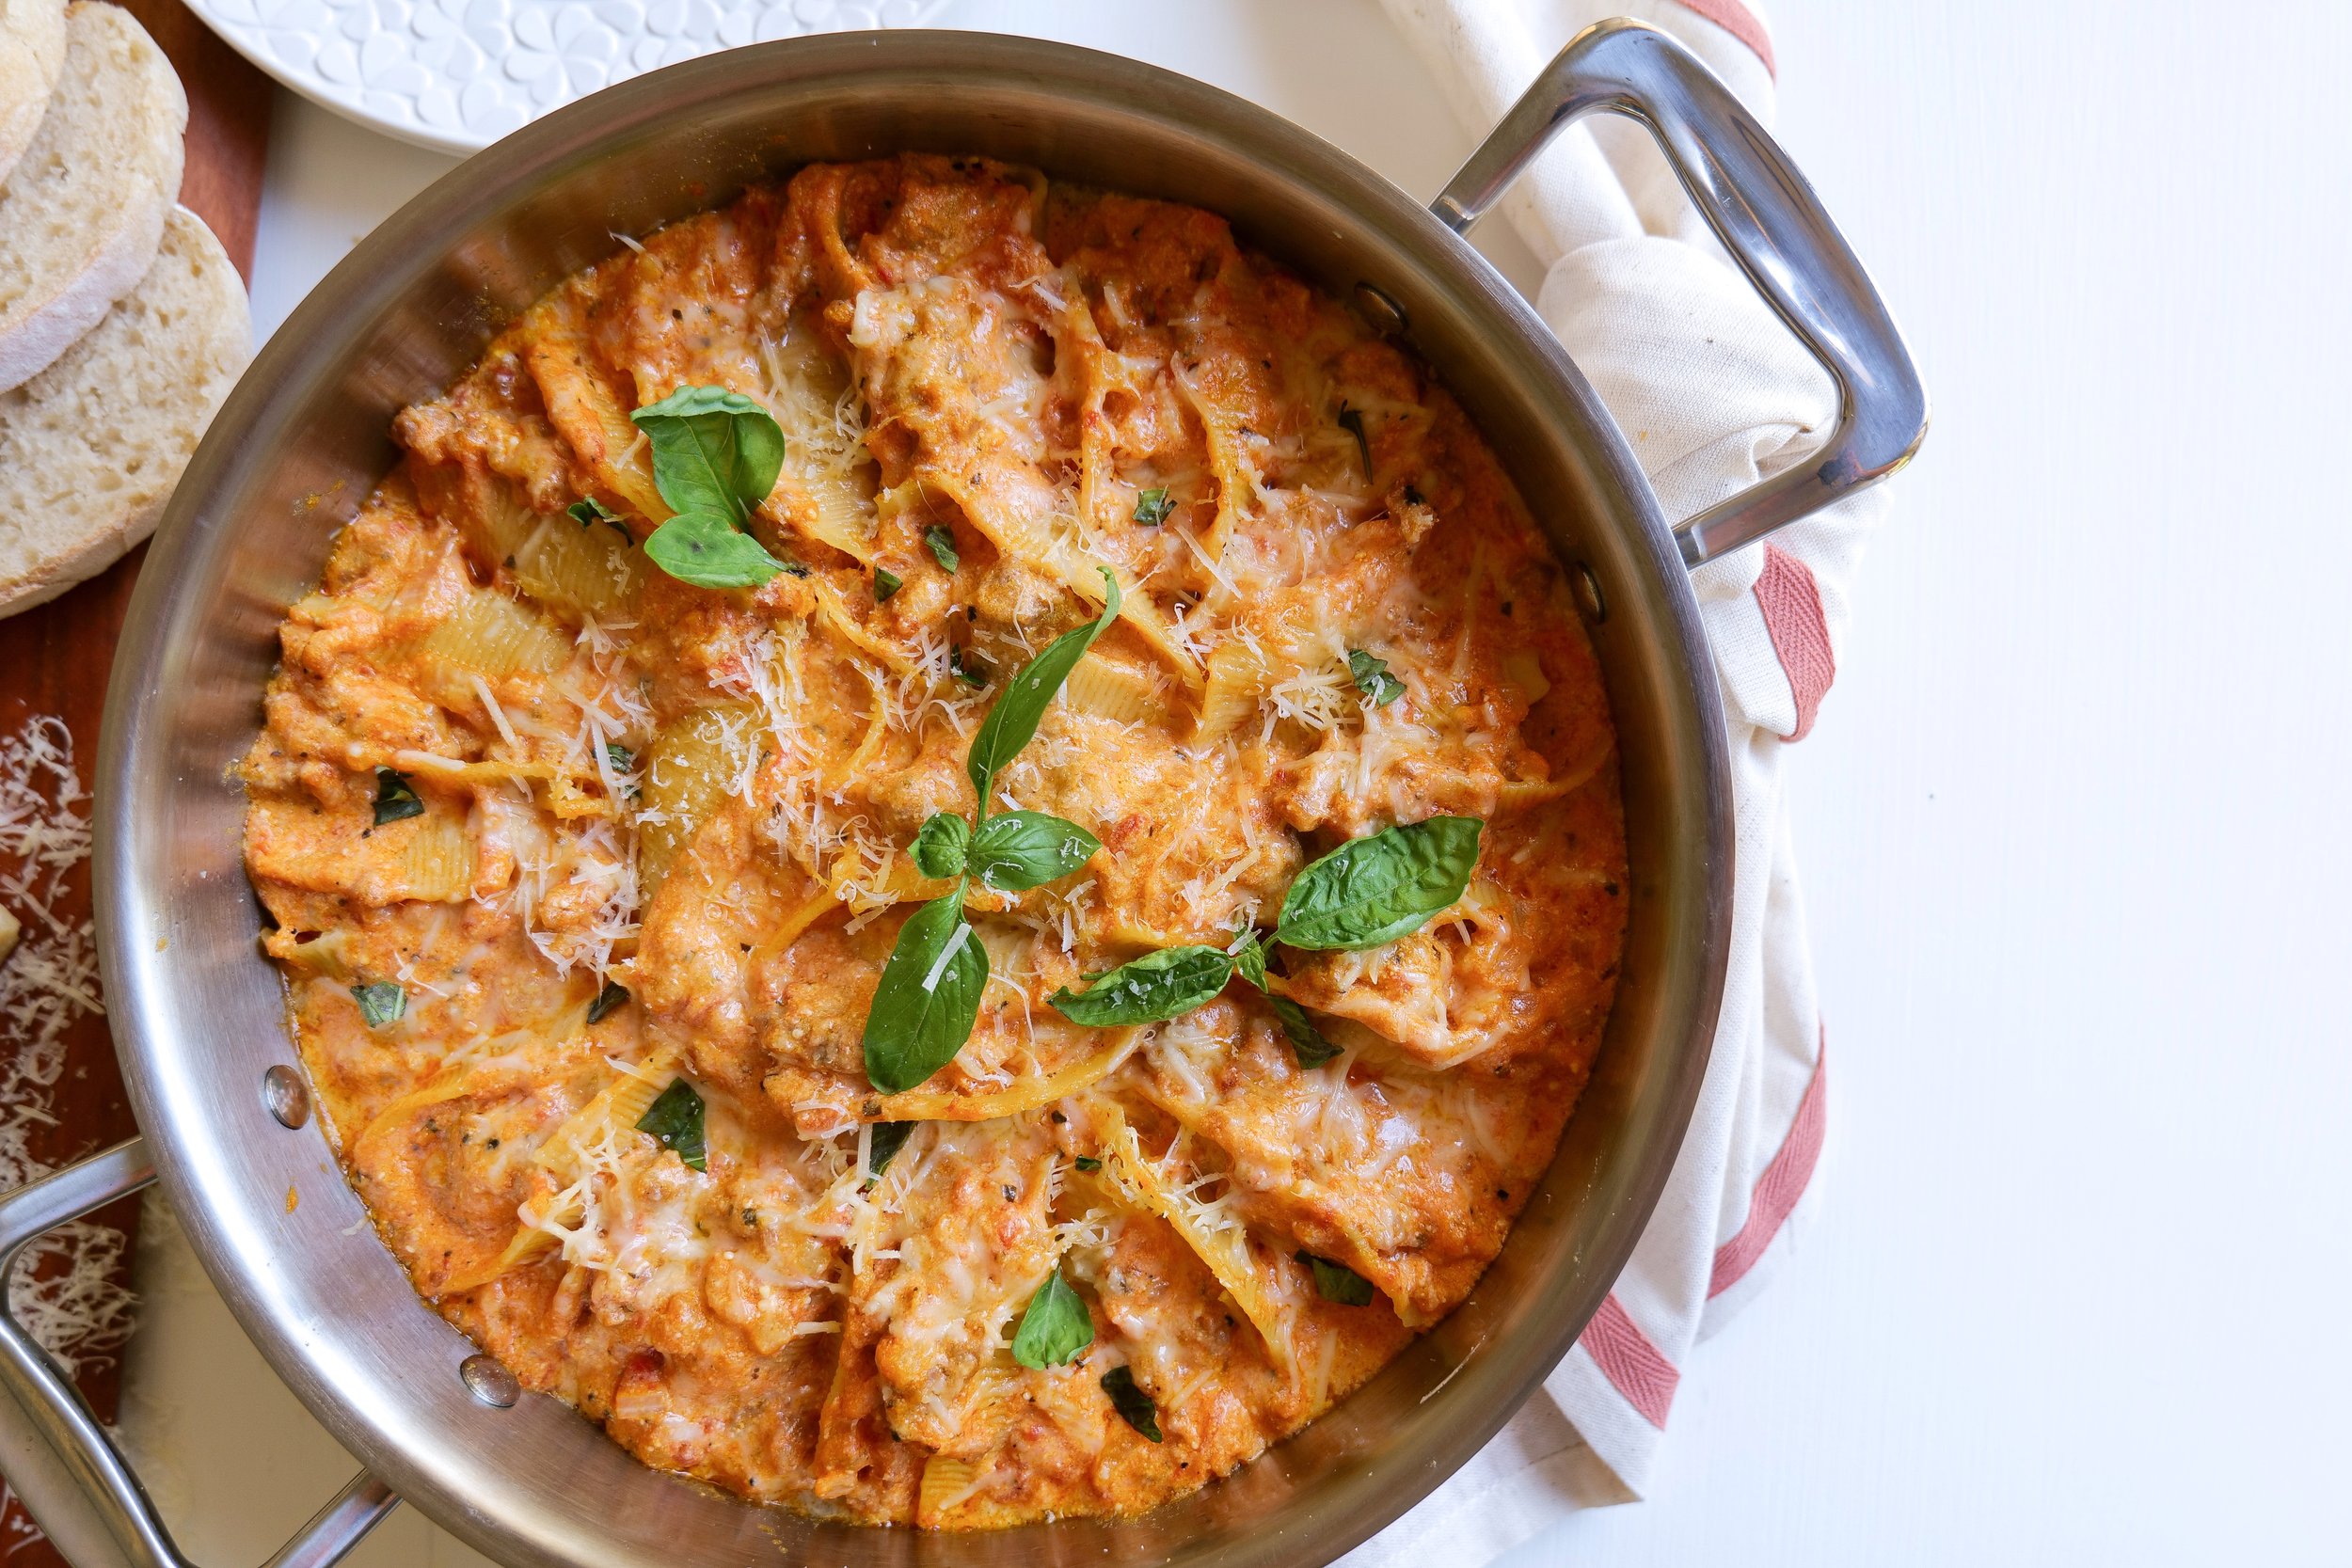
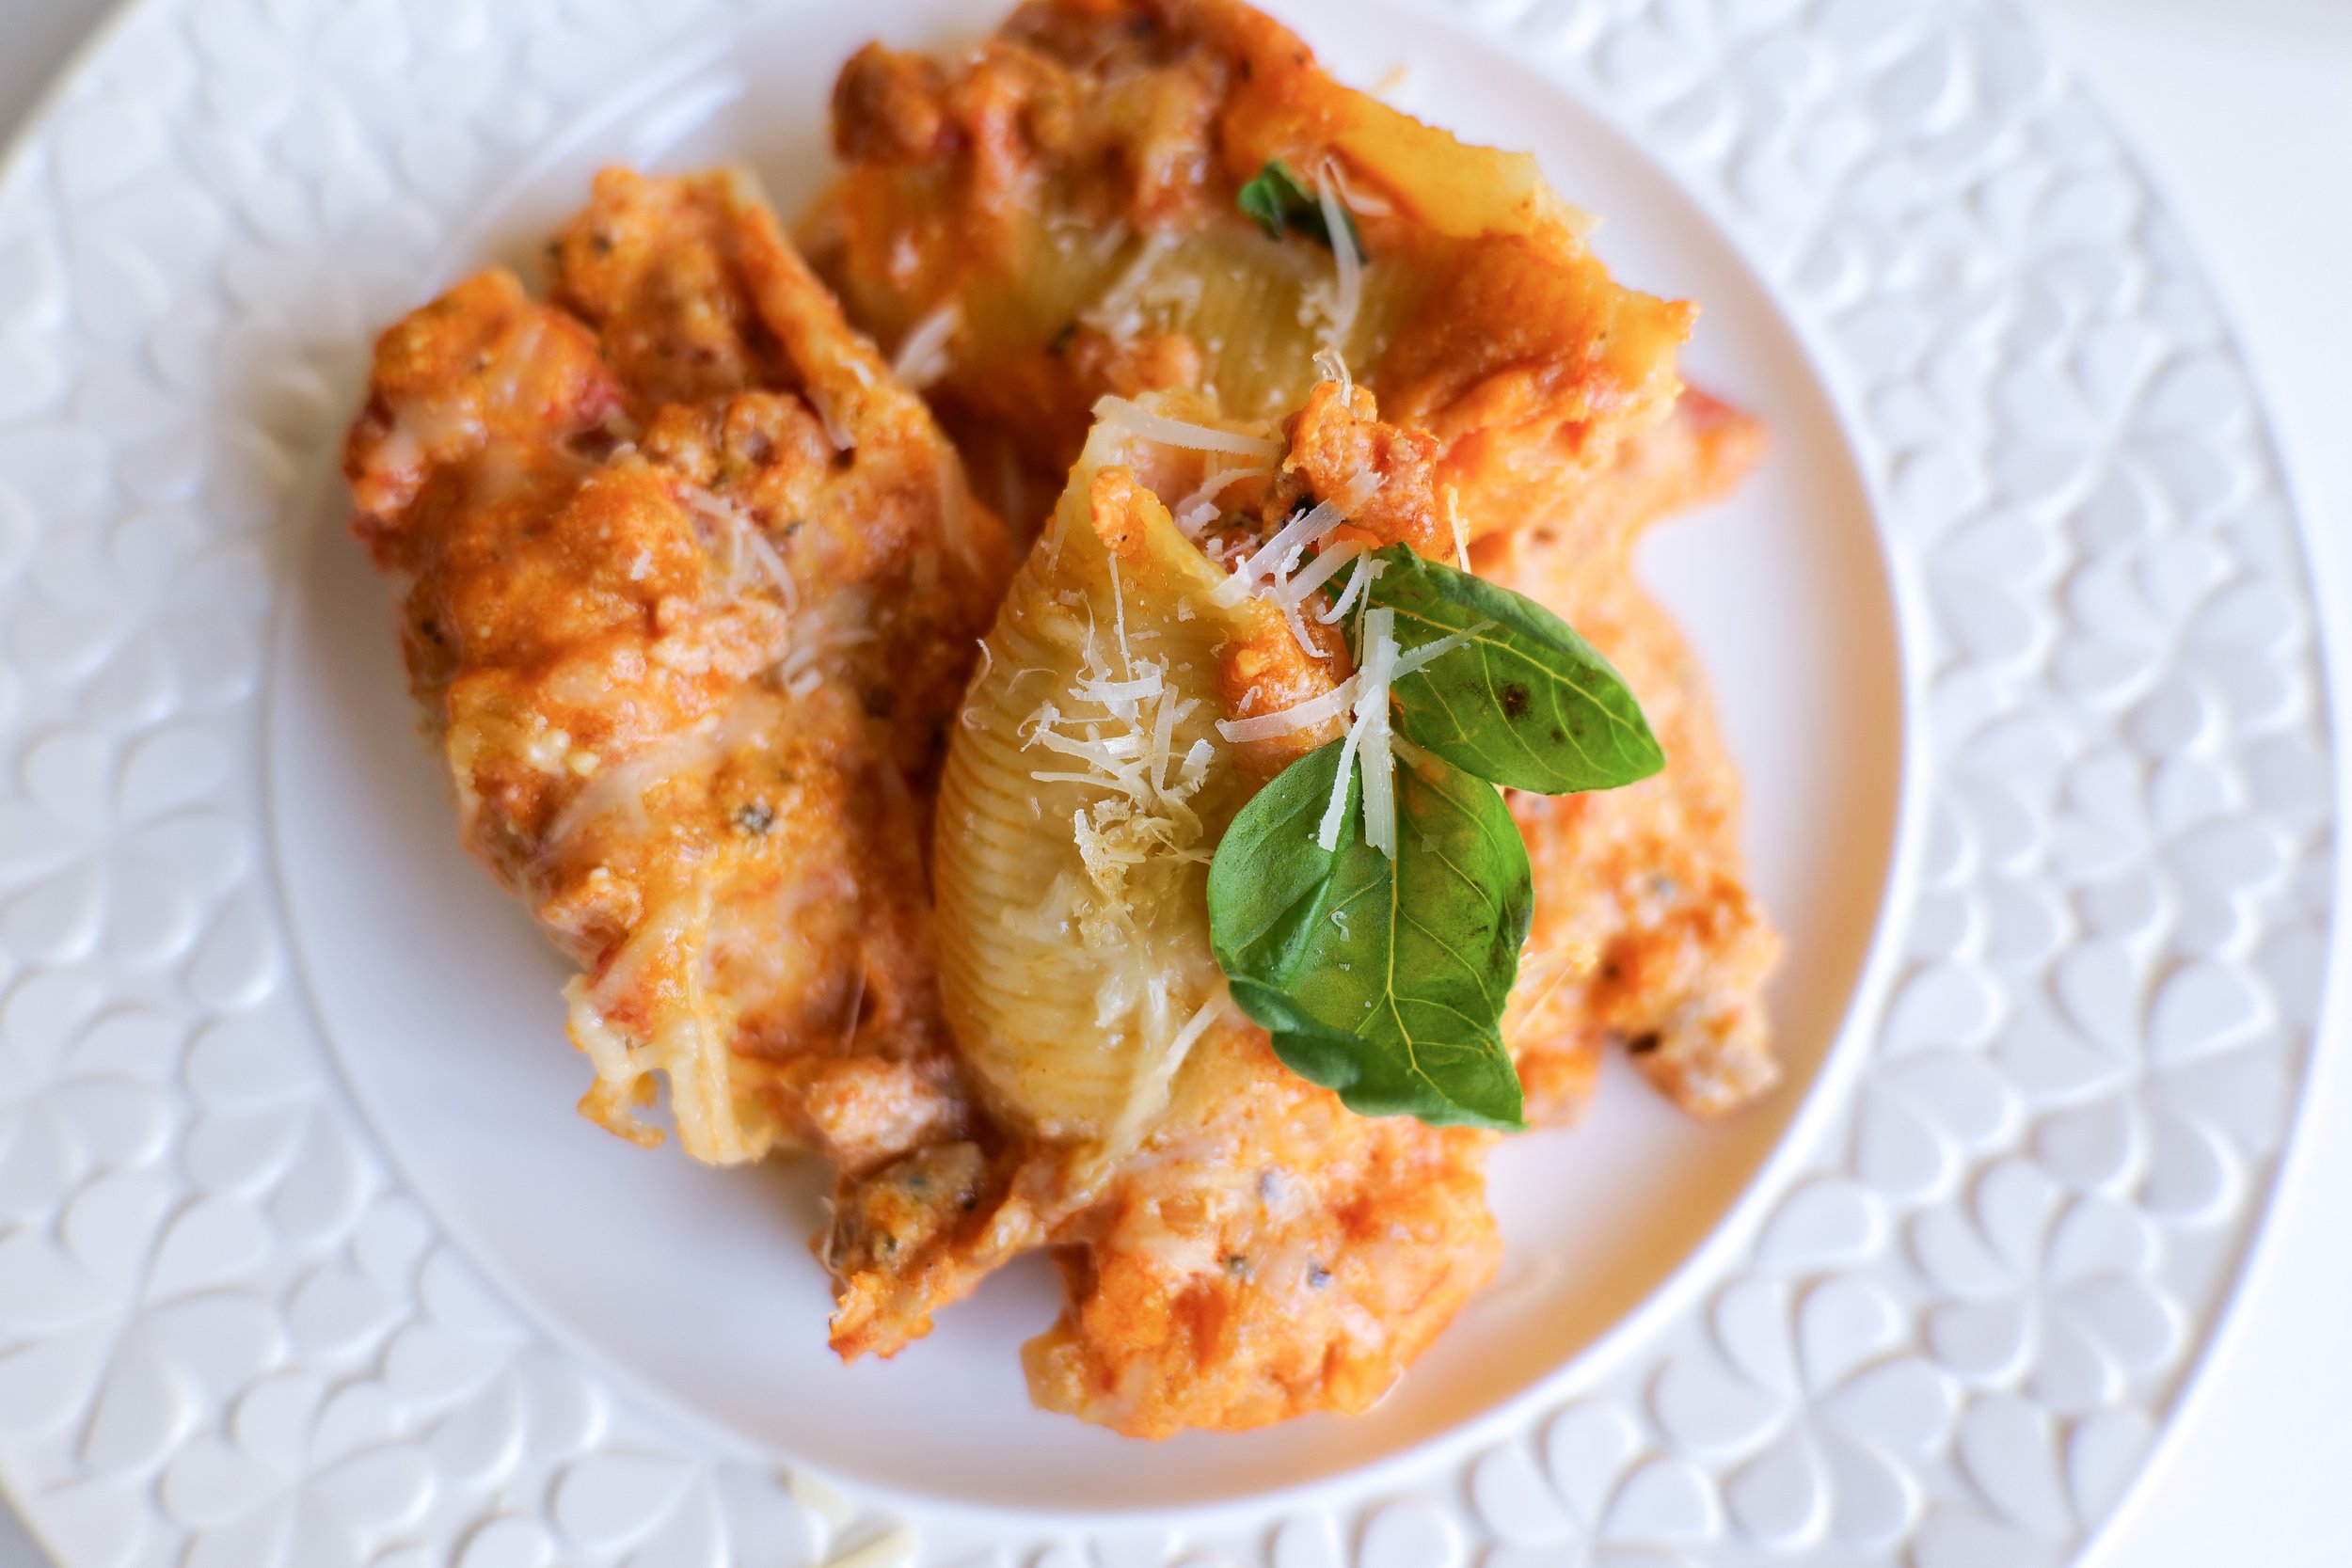
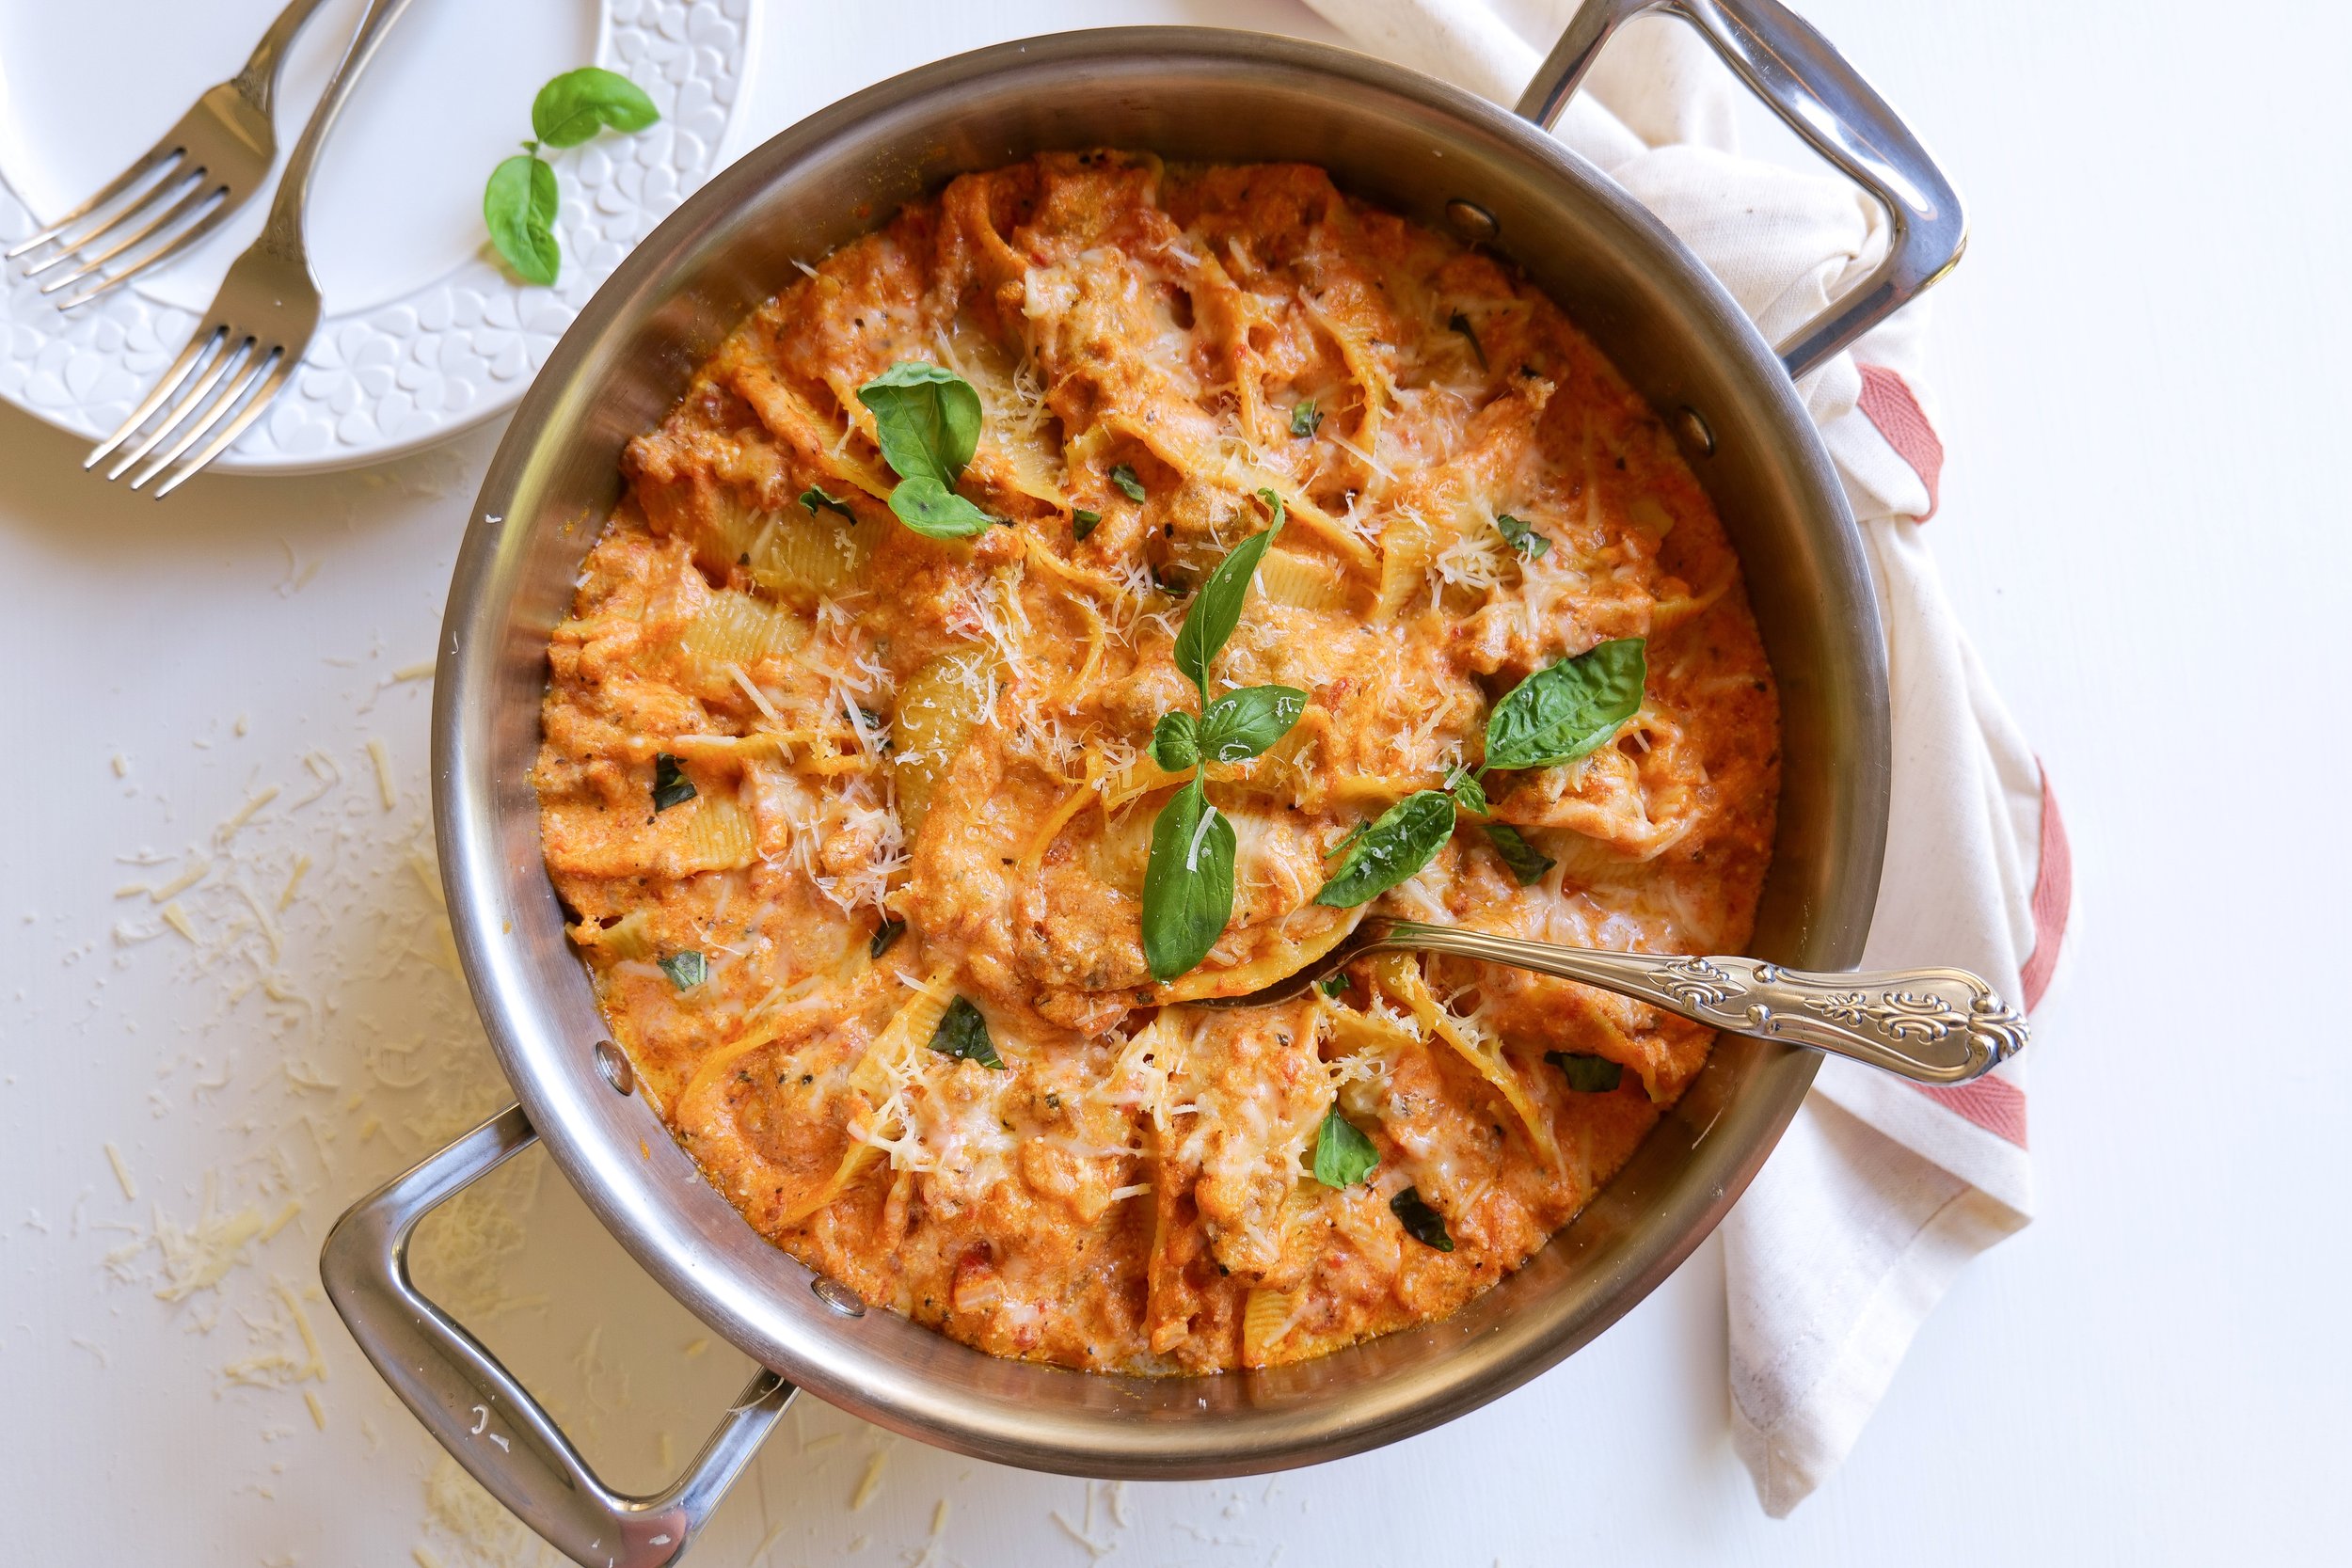
Enjoy Delicious Stuffed Italian Sausage Pasta Shells Tonight!

Garlic & Herb Focaccia Bread

Zesty Delight: Mastering the Ultimate Cod Piccata Recipe at Home

Zucchini Roll Ups Dinner: A Seasonal Delight at Your Table

The Perfect Pair: Chicken Picatta and J. Lohr Wine

Baked Burrata Pumpkin Ziti with Pork Sausage Recipe

Easy and Delicious Mushroom & Pea Risotto Recipe

Garlic Mushroom & Shrimp Pasta

Dive into this Delicious Chicken & Rice Enchilada Casserole

Imagine perfectly combining the zesty flavors of enchiladas and the hearty gratification of a rice casserole into one irresistible dish. This Chicken & Rice Enchilada Casserole is a meal that's both easy to prepare and extremely delicious. This casserole is of course a blend of traditional enchilada components along with comforting rice. This recipe offers a delicious mix of tender chicken, enchilada sauce, and aromatic spices. It's a heartwarming one-pan meal that simplifies your cooking experience, which makes it perfect for those busy weeknights. Finishing with a golden-brown cheesy top really elevates the dish, and your guests will be begging for it to be served alongside your favorite sides or all on its own. This dish is not only delicious and filling, but also a practical choice for anyone looking to minimize clean-up without compromising on flavor.
In your baking dish, tender pieces of chicken will nicely nestle into the creamy rice. Each spoonful will be rich with the tastes of the enchilada sauce and the bold taste of spices. One of the joys of making this casserole lies in its effortless approach that requires minimal prep and utilizes the convenience of cooking everything together. Versatile add-ins like beans or corn allow you to tailor the casserole to your tastes or dietary preferences. Adding additional toppings like a dollop of sour cream, fresh tomato chunks, or a scoop of guacamole can also serve as the perfect complements. Serve alongside a fresh green salad and tortilla chips and you're ready to serve this as an entire meal for a party. Every bite offers the taste of carefully prepared ingredients, coming together to create a dish that's both comforting and impressive.

This Chicken & Rice Enchilada Casserole is a testament to good old-fashioned heartwarming food, the kind that always finds its way onto your table during family gatherings. With the option to prepare ahead for future meals, this casserole guarantees that comfort food is never far out of reach. Indulge in the textural contrasts of gooey cheese against the softness of rice. This casserole promises satisfaction in every spoonful and is a perfect blend of flavors and textures that's sure to become a family favorite.

How To Make This Chicken Enchilada Rice Casserole

Begin with a bed of Minute Instant White Rice, laying the foundation with well-seasoned grains for a nod to Mexican culinary heritage. Shred tenderly cooked and shredded chicken, creating a protein-rich layer that nicely blends into the rice. Drench the dish with a generous coat of your enchilada sauce, ensuring each grain and chicken piece is covered. Then add in your favorite veggies & beans. We opted for whole beans, corn and lots of gooey cheese. The casserole comes to life in the warmth of the oven and is topped with the sharp tang of onions, the herbal freshness of cilantro, and the juicy sweetness of diced tomatoes. This mix is so colorful and will start to draw your guests into the kitchen with its delicious smells.

Can I Substitute Chicken Breast?

Adaptable to your heart's desires, the Chicken & Rice Enchilada Casserole works with a wide range of proteins. Feel free to substitute chicken with turkey, pork, or beef, keeping the dish familiar yet also allowing for personal twists. For a plant-based variant, tofu, tempeh, or leaving just beans can replace the chicken, providing a meatless rendition still rich in flavors and textures. Seafood lovers can enjoy shrimp or airy flakes of white fish to make delightful seafood tasty enchiladas. Regardless of your choice, the transformation of proteins should be well prepared, and you should still adhere to proper cooking times to maintain the essence and safety of the dish.
For a Chicken & Rice Enchilada Casserole that screams authenticity, be sure to select quality ingredients. Other substitutions you can make are with the cheese. Here we did a Mexican medley to add lots of flavors, however if you don't have it on hand add in mozzarella, cheddar or your personal favorite. The flavor attraction, which greatly comes from the enchilada sauce, will seep into every corner and bite, with its signature taste. You can opt for green or red sauce here to achieve your desired flavor. Lastly adding in personal touches like black beans, corn, diced green chilies, green bell pepper, onions, jalapeños and cilantro can help to give this casserole that extra oomph. Whatever you enjoy in your enchiladas is totally up to you. Every component comes together so well to achieve the success of this Chicken & Rice Enchilada Casserole.

How To Serve & Store

Presentation is an art, especially with a dish as visually appealing as this Chicken & Rice Enchilada Casserole. Warm it well to allow the flavors to stretch out, reaching their optimum strength and character. Make sure when serving to cut the casserole into clean-cut portions, making it as much a delight to the eyes as it is to the mouth. Sprinkle some cilantro for some freshness, or a smooth slice of avocado or scoop of sour cream. Accompany this casserole with light, crispy tortilla chips or with fresh greens. These two things are the perfect pairing with the delicious casserole.

Can the Chicken & Rice Enchilada Casserole be made ahead of time and frozen?
Indeed, this delicious meal is a friend to those who plan ahead. Freeze it post-preparation for a taste of perfection on demand. Wrap it well and protect in an airtight container to fight against the chill until it's time to bring it back to life in the warmth of an oven. Flexibility is key with this dish, freeing you to enjoy it whenever the craving strikes. Once you are ready to reheat leftovers lies in preserving its quality. Warm your oven to 350°F to awaken the flavors gently. Cover the dish to trap moisture, keeping the casserole as succulent as when it was first baked. A final touch of cheese or adding a bit of additional enchilada sauce before reheating can also help the freshness of the original meal. Rediscovering the Chicken & Rice Enchilada Casserole the day after is welcomed experience, and ensures that not a bite of this meal goes to waste.
With its layers of tender chicken, creamy sauce, delicious rice, and crowned with a golden cheesy crust, the casserole pleases with every bite. It's a classic blend of preferred flavors, a convenient meal that should easily provide leftovers, and a powerhouse of a home-cooked meal. So, gather your ingredients, preheat your oven, and get ready to create a dish that's sure to become a staple in your weekday routine.

Ingredients

3 cups Minute Instant White Rice, prepared according to the directions on packaging

3 cups shredded chicken

20-ounce enchilada sauce

16 oz refried beans

2 cups shredded Mexican cheese blend

2 cans of frozen corn

2 tablespoons taco seasoning

Optional Toppings: Avocado, Sour Cream, Diced Tomatoes, Diced Red Onion

Instructions

1. Preheat the oven to 375. Prepare Minute Instant Rice according to the instructions on the box.

2. In a large mixing bowl mix together cooked rice, shredded chicken, enchilada sauce, refried beans, half of the shredded cheese, corn and taco seasoning.

3. Spread the mixture into an oiled casserole dish. Sprinkle the second half of cheese over top.

4. Bake for 25-30 minutes or until cheese on top is browned and bubbling. Serve and enjoy!

Other Minute Rice Recipes:

Quinoa Fried Rice: A Twist on the Classic with Minute Rice & Quinoa

Mediterranean Chicken & Rice Bowls made with Minute Rice

Other Delicious Mexican Recipes You Will Love:

Easy & Flavorful Fiesta in a Bowl: Ultimate Slow Cooker Chicken Tortilla Soup Recipe!

The Perfect Summer Meal: Grilled Chicken, Mexican Street Corn & Cucumber Salad

Salsa Verde Chicken Enchiladas

A Taste of the Southwest: Southwestern Chop Salad Recipe

Quinoa Fried Rice: A Twist on the Classic with Minute Rice & Quinoa

This fried rice recipe using quinoa instead of traditional white rice makes for a revolutionary dish that reimagines an all-time favorite teppanyaki staple of garlic fried rice. Leave your calorie and carb guilt behind as you indulge in this Deliciously Good Garlic Fried Rice & Quinoa Recipe. By incorporating quinoa into this recipe, you provide an alternative that still gives you the classic flavors of delicious fried rice. 

To bring this Garlic Fried Rice & Quinoa Recipe to life, you'll blend in the nutty flavors of quinoa with the delicious punch of garlic. Start with Minute Instant Rice & Quinoa to lay the perfect foundation for this recipe. Next you need the zest of fresh minced garlic cloves infusing the scent into every tasty bit. An array of vegetables like carrots and peas will make your dish not only nutritional, but very tasty. This lineup ensures that every forkful is full of different textures with just the right taste.

When Minute Instant Rice & Quinoa meets the pan with crispy garlic the result is a tasty version of the traditional fried rice. The Quinoa Fried Rice lies at the heart of our dish, taking a beloved classic and enriching it with added proteins. The crispy garlic cloves elevate your Minute Instant Rice & Quinoa, introducing a delight that crunches with every bite. In no time, this will become your go-to meal prep hero and be a savior during the hustle and bustle of the busy week. The meal is set up for success from the beginning with the aroma of garlic and onions setting the stage. Pre-cooked rice & quinoa helps to achieve the ideal texture. Sautéing garlic & butter enhances flavor and gives a crunchy flavor. When adding vegetables, feel free to mix and match them to your favorites. For today's recipe I chose classic carrots, onion & peas but feel free to substitute green beans, asparagus or peppers even. This is your dish, so be sure to customize it to your liking.

With Deliciously Good Garlic Fried Rice & Quinoa, we have crafted a dish with layers of flavors, rich in nutrients, all while bringing together a familiar favorite comfort food. This dish isn’t just a meal, it’s a celebration of versatility, at home alternatives, and above all, a love for good food that pleases the heart as much as it satisfies the palate. Serve alone or alongside your favorite protein. You can even top with spicy mayo or chili oil to give it an added kick, Bon Appétit!

Ingredients

3 garlic cloves, minced

2 scallions white, thinly chopped

1 tablespoon olive oil

4 tablespoons butter

4 cups Minute Instant Rice & Quinoa, prepared according to package directions

1 small white onion, diced

1/2 cup frozen peas

1 carrot, chopped

1 cup green beans, chopped

2 tablespoon soy sauce

3 eggs

2 Tbsp sesame oil

1 cup chicken, cooked & chopped

Instructions

  • Prepare Minute Instant Rice & Quinoa according to the directions on the packaging.

  • While your Rice & Quinoa is being prepared, at medium-high, add a drizzle of olive oil to a pan and then scramble the eggs. Remove from pan

  • Add garlic to the same pan and sauté in olive oil until fragrant, add in the carrots, peas, scallions, & onion sauté for 3-5 minutes.

  • Stir in the soy sauce.

  • Add in the sesame oil, the chicken, and prepared Minute Instant Rice & Quinoa and stir it all together. Add in butter and let cook around 3-4 minutes until crispy on edges turning and stirring until as crispy to your liking.

  • Stir for 2-3 more minutes, adding in eggs. Serve & enjoy!!

  • Additionally, you can add your favorite sauces - like chili olive oil to make it a bit spicy or spicy mayo for a creamy & spicy kick. As well as serving more chicken or other desired protein.

Other Delicious Rice Recipes:

Mediterranean Chicken & Rice Bowls made with Minute Rice

Zucchini Roll Ups Dinner: A Seasonal Delight at Your Table

As the green hues of zucchini begin to grace our gardens and farmers' markets, it's the perfect time to infuse more of this versatile vegetable into our dinners. Today, I'm excited to introduce a tasty dish that combines health consciousness with delectable flavors. This Zucchini Roll Ups dish isn't just about tasting good, it's about feeling good. So, get ready to roll up your sleeves and dive into a meal that’s as nourishing as it is delightful!

There's something about zucchini season that beckons us to get creative in the kitchen. A Zucchini Roll Ups Dinner is perfect for embracing this bountiful time. Made with fresh, garden-picked zucchinis, these roll-ups are not only delicious but also wholesome.

For many, the appeal lies in their light yet satisfying nature. Roll-ups can be easily customized and often feature a mixture of cheeses like ricotta and herbs such as basil, plus the addition of lean proteins like ground beef to create a balanced meal. What sets this dish apart is the use of thinly sliced zucchini in place of pasta, presenting a nutritious twist lower on carbs than the traditional roll-up dishes. Not only are they quick to prepare, but the visual appeal of vibrant green spirals makes these Zucchini Roll Ups a surefire hit for both casual family dinners and entertaining guests. Some specific perks include using zucchini as a pasta alternative for a nutritious, low-carb dinner. The flexibility to customize the filling according to dietary preferences is also a plus. Convenience in preparation makes this dish totally suitable for busy weeknights. After rolling up these beauties, you'll enjoy a dish that captivates with its simplicity and its ability to deliver both flavor and health benefits in every bite.

Imagine taking a bite of a lightly grilled zucchini slice, filled with a rich cheese and herb mixture. This Zucchini Roll Ups recipe brings this vision to life. Begin by selecting fresh zucchini that will be thinly sliced to create the perfect base for the roll-ups. The key to the exceptional taste of this dish is the savory center which is a blend of ricotta cheese mixed with fresh herbs and a sprinkle of Parmesan. Once the roll-ups are snugly filled, they are topped with a coating of marinara sauce followed by a generous sprinkling of mozzarella cheese, drawing inspiration from classic Italian flavors. As you bake these Zucchini Roll Ups until the cheese turns into bubbly golden goodness, the aroma itself will assure you of the delightful meal to come. The outcome is a vegetarian-friendly meal that doesn’t skimp on taste or satisfaction. The golden-brown color indicates the perfect level of baked cheesy joy. The balance of textures is perfectly delightful with the softness of the cheese against the tender zucchini. This meal is a feast for the eyes as much as for the palate and promises to impress any guest.

Easy Zucchini Lasagna Ricotta Rolls

If you adore lasagna but are watching your carbs, the Zucchini Roll Ups Dinner morphs into a guilt-free indulgence with my Easy Zucchini Lasagna Ricotta Rolls. These rolls are a game-changer, delivering the comfort of the classic dish but with the added goodness of vegetables. The genius lies in replacing pasta sheets with zucchini, creating a low-carb, gluten-free experience that doesn’t yell "diet food." The filling is a dreamy mixture of ricotta and herbs, ensconced in rolled zucchini ribbons. This dish is not just healthy; it's a testament to the flavor potential in mindful cooking.

Zucchini Lasagna Ricotta Rolls can be the centerpiece of your dinner in five simple steps:

1. Use a mandoline slicer for evenly sized zucchini strips.

2. Prepare the ricotta filling, mix in some freshly chopped herbs for burst of flavor.

3. Roll the herbed cheese in the zucchini strips with care.

4. Lay them beautifully in a baking dish, and top with more cheese if desired.

5. Bake and watch as it transforms into a bubbly, irresistible dish.

What makes this recipe a treasure is its make-ahead friendliness. Prep these rolls a day ahead and just bake when needed; they're that easy and stress-free! As we bring our culinary journey to a close, it's clear that Zucchini Roll Ups Dinner is more than just a meal, it’s also a celebration of zucchini’s versatility. Whether you're a seasoned chef or a budding home cook, this dish paves the way for endless creativity and wholesome dining. It not only promises a delectably light yet fulfilling dinner but also embodies the essence of healthy comfort food. So go ahead, roll up some joy and savor the flavors of seasonal freshness tonight!

Ingredients

6 large zucchini

1 pound ground Italian sausage or ground beef

1 cup ricotta cheese

1/3 cup freshly grated Parmesan

1 large egg

1/4 cup chopped fresh basil leaves

4 cloves garlic, minced

2 cups marinara sauce

1 cups shredded mozzarella

1 cup grated parmesan cheese

Instructions

1. Preheat oven to 375 degrees.

2. Wash & Dry zucchini and chop off both ends. Taking a potato peeler make thin strips of zucchini to roll. Pat dry with paper towels and set aside.

3. Cook ground Italian sausage and garlic cloves on stove. Once fully cooked and broken up into pieces strain out grease and add to a large bowl. Mix in ricotta cheese, parmesan, egg, and basil leaves.

4. In a large dish for the oven. I use the 9 x 13 bake & roast pan from 360 cookware. Pour 1/2 cup of the marinara sauce on bottom. Beginning making the roll ups. You Will take a zucchini slice add in filling mixture and roll. Lay flat with zucchini showing on top in the baking dish. Once entire pan is filled our marinara over the top of all zucchini roll ups. Sprinkle with both mozzarella and parmesan on top.

5. Add into oven and bake for 20 minutes or until the tops of the cheese are bubbling. Serve & Enjoy!

Other Delicious Recipes You Will Love:

The Ultimate Guide to Creamy Cheddar Cauliflower Soup

The Perfect Mediterranean Pasta Salad Recipe for Summer Entertaining

Delicious & Refreshing Fruit Salad in a Cantaloupe Bowl

A Refreshing and Delicious Melon Burrata Salad Recipe

Indulge in the Sweet & Salty Deliciousness of Peach Baked Brie

The Perfect Peach Cobbler Recipe

The Perfect Summer Meal: Grilled Chicken, Mexican Street Corn & Cucumber Salad

Welcome To Summer Charcuterie Board for Your Next Gathering

Create a Delicious Layered Hummus Dip for Your Next Snack or Appetizer

The Perfect Match: Grilled Steak & Blue Cheese Salad with Grilled Corn paired with J. Lohr Estates Seven Oaks Cabernet Sauvignon

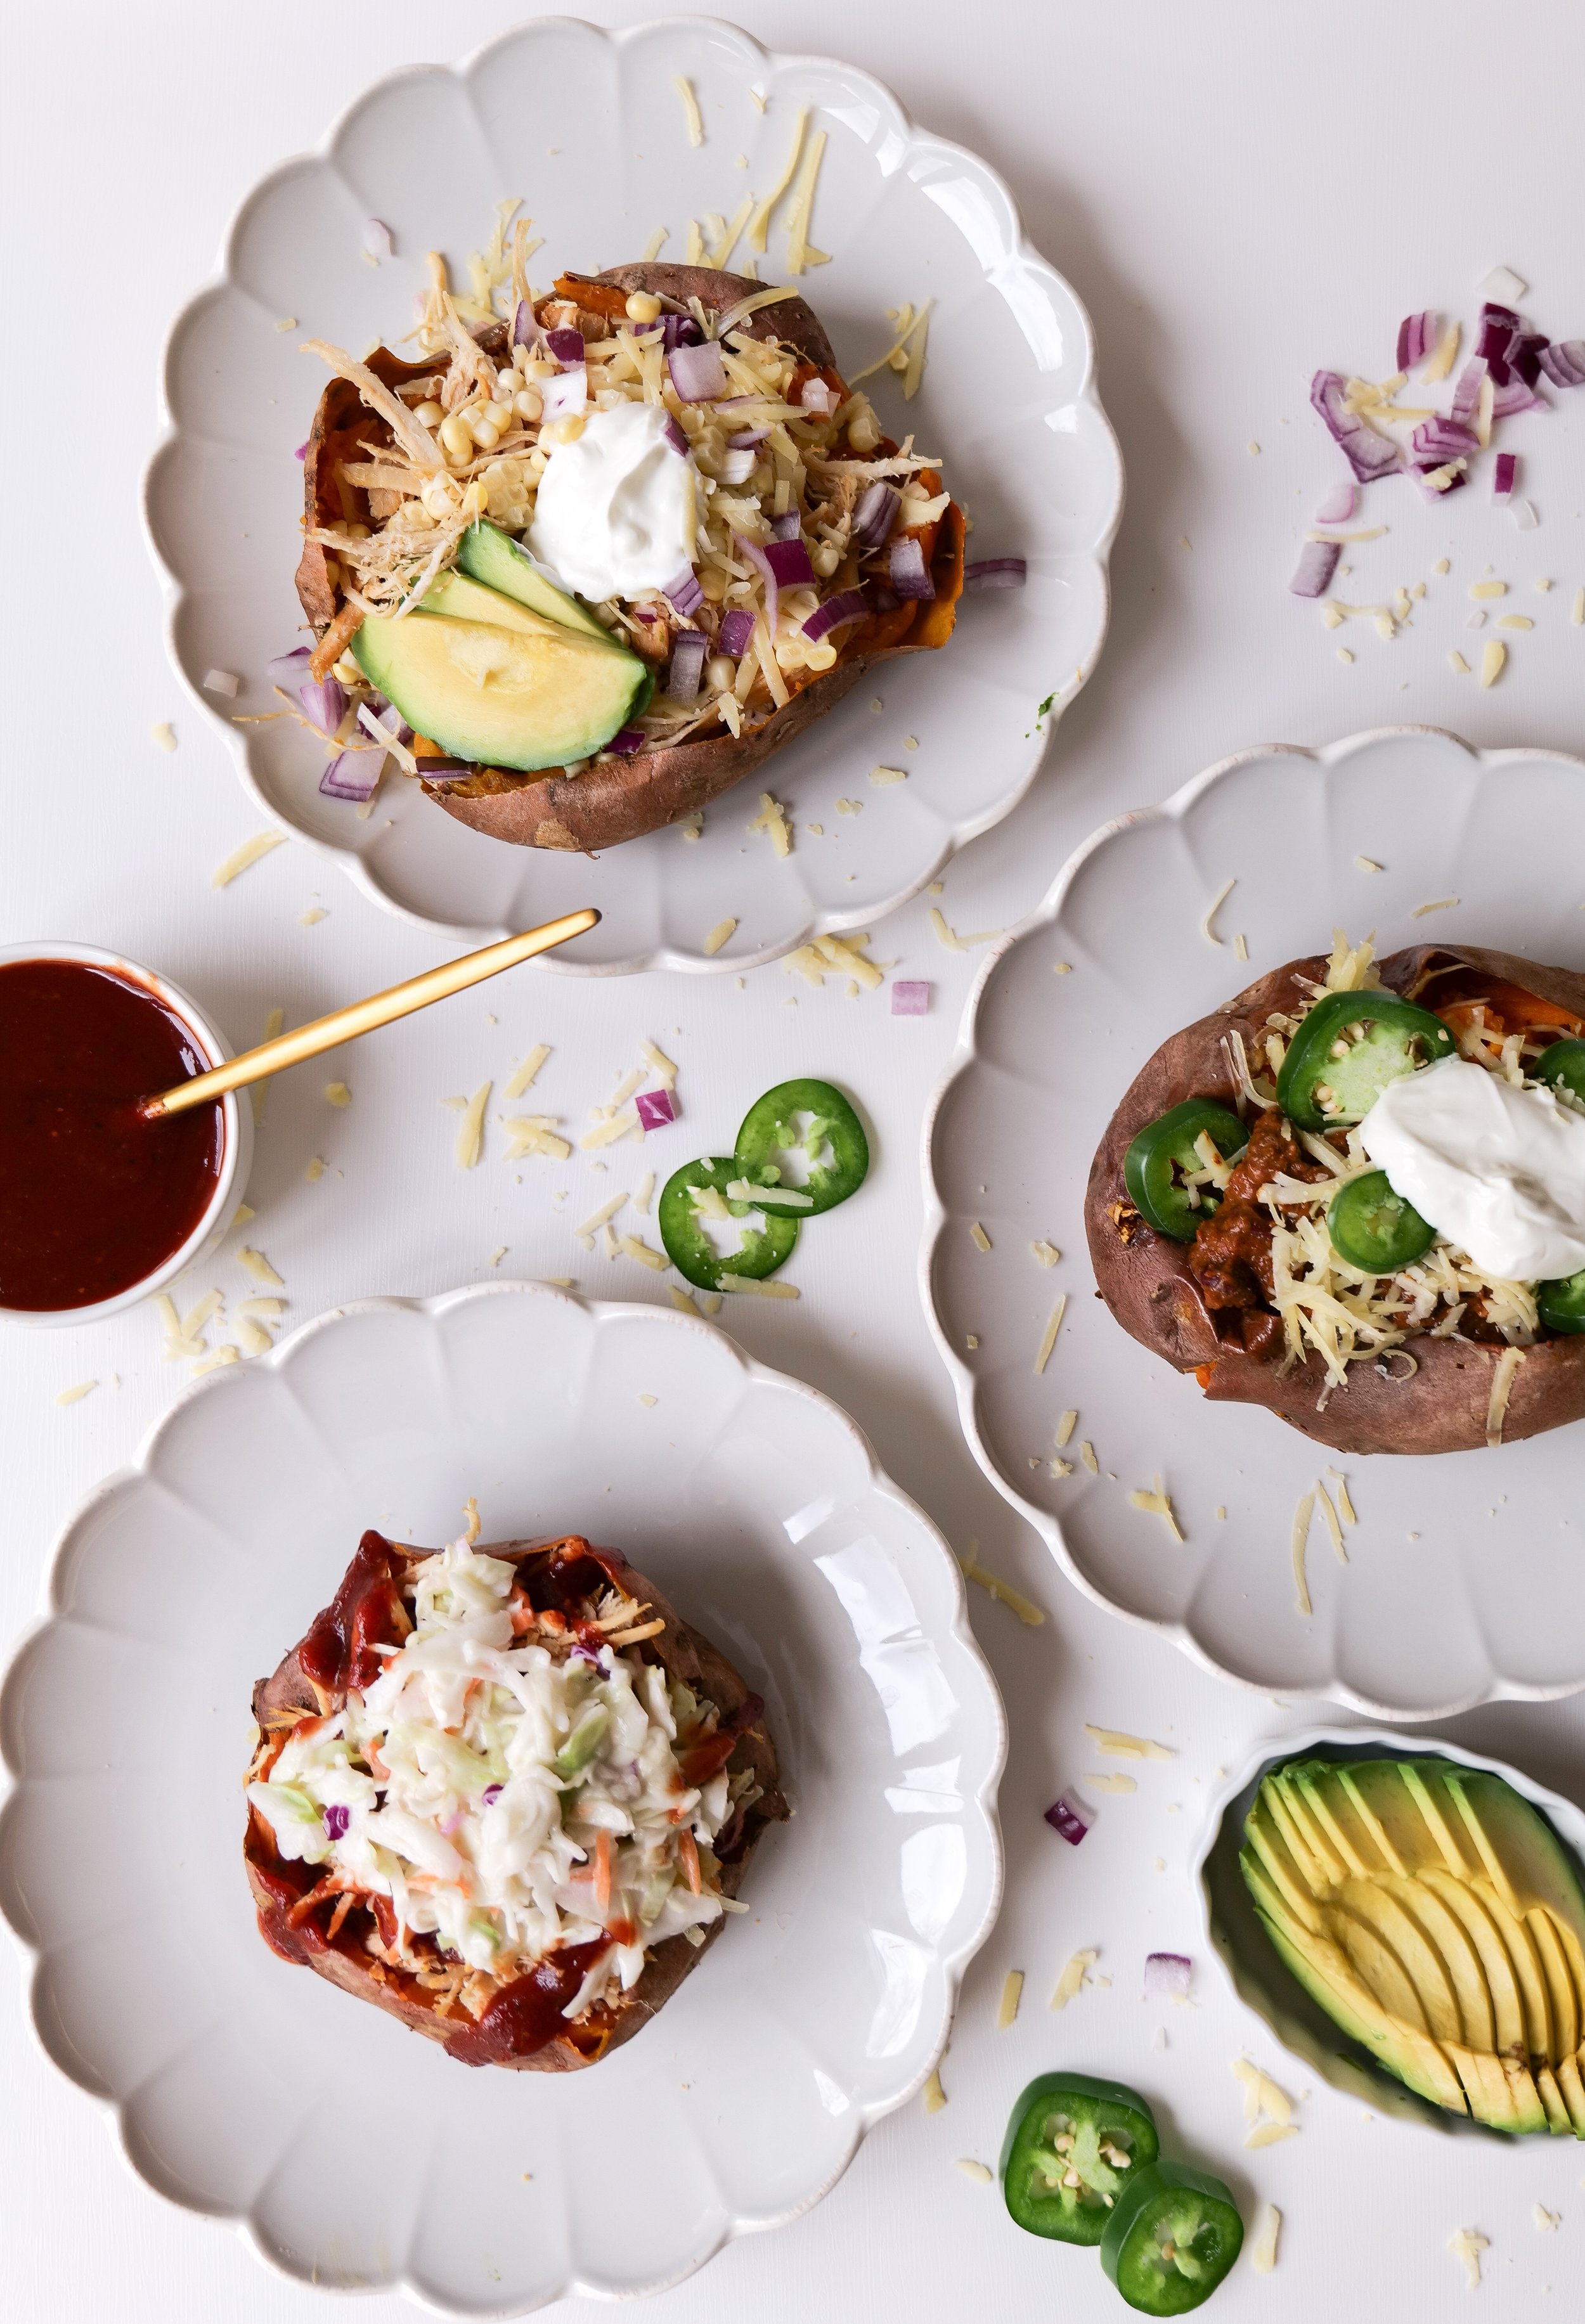
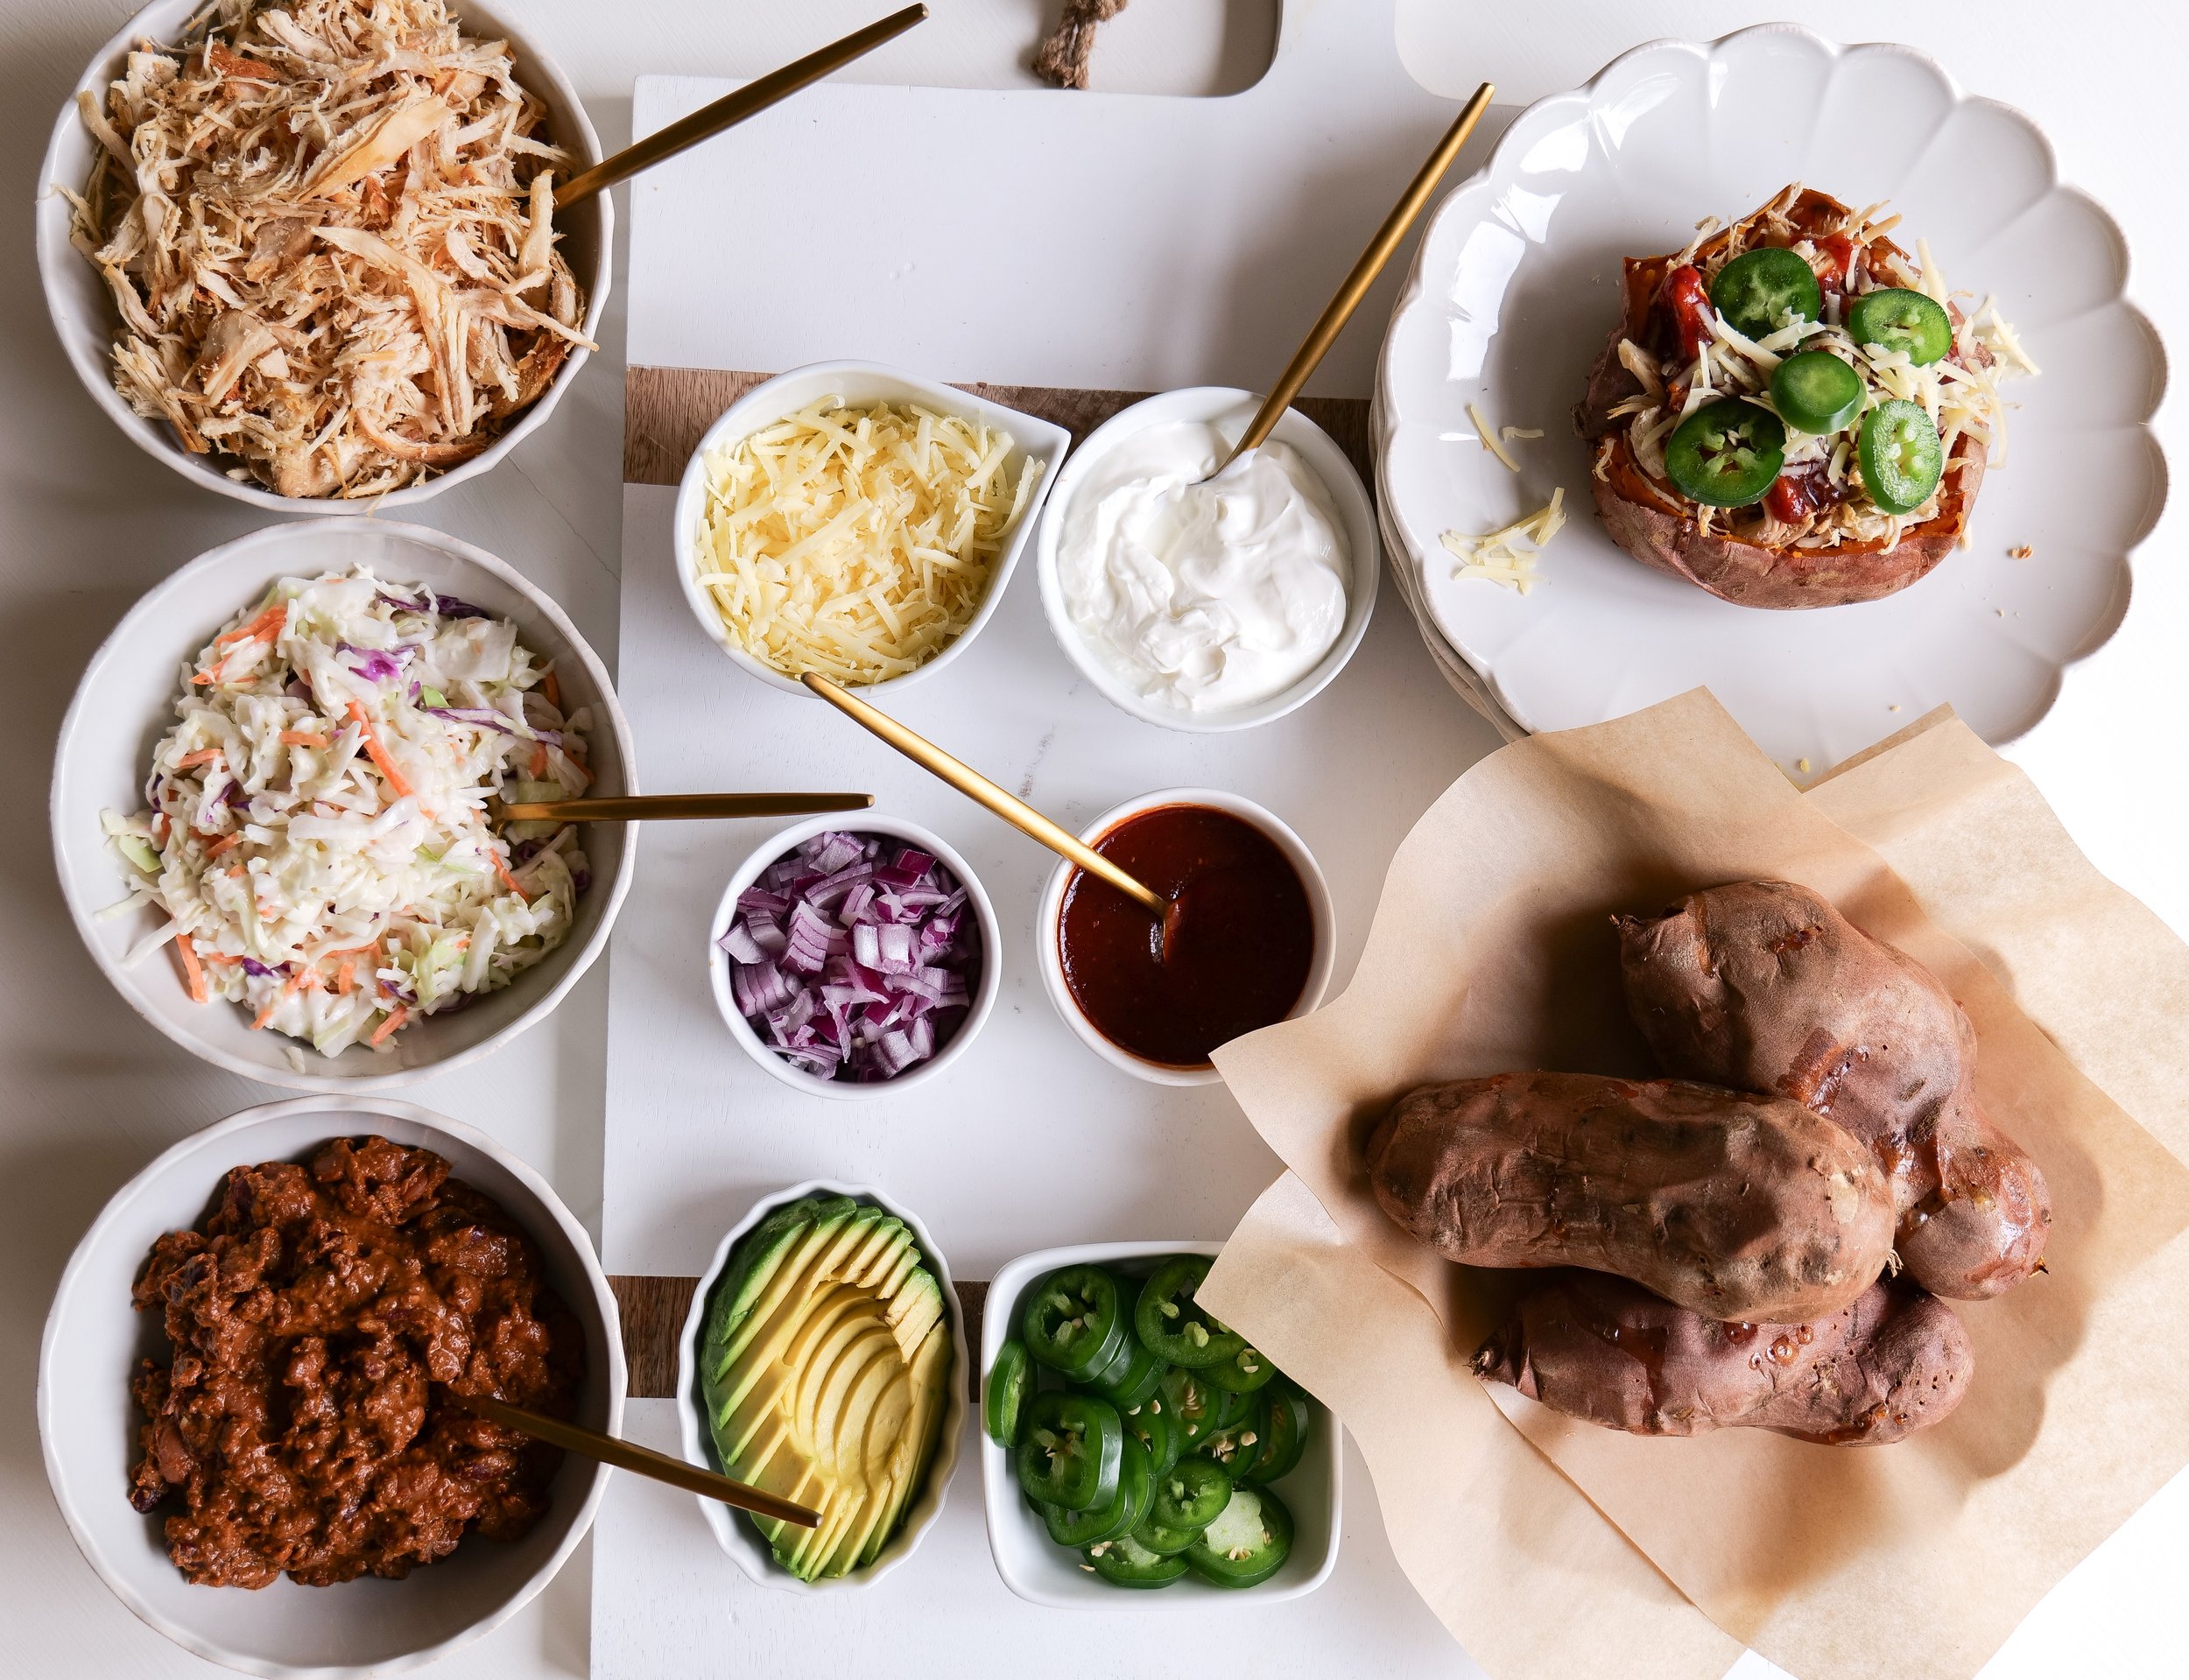
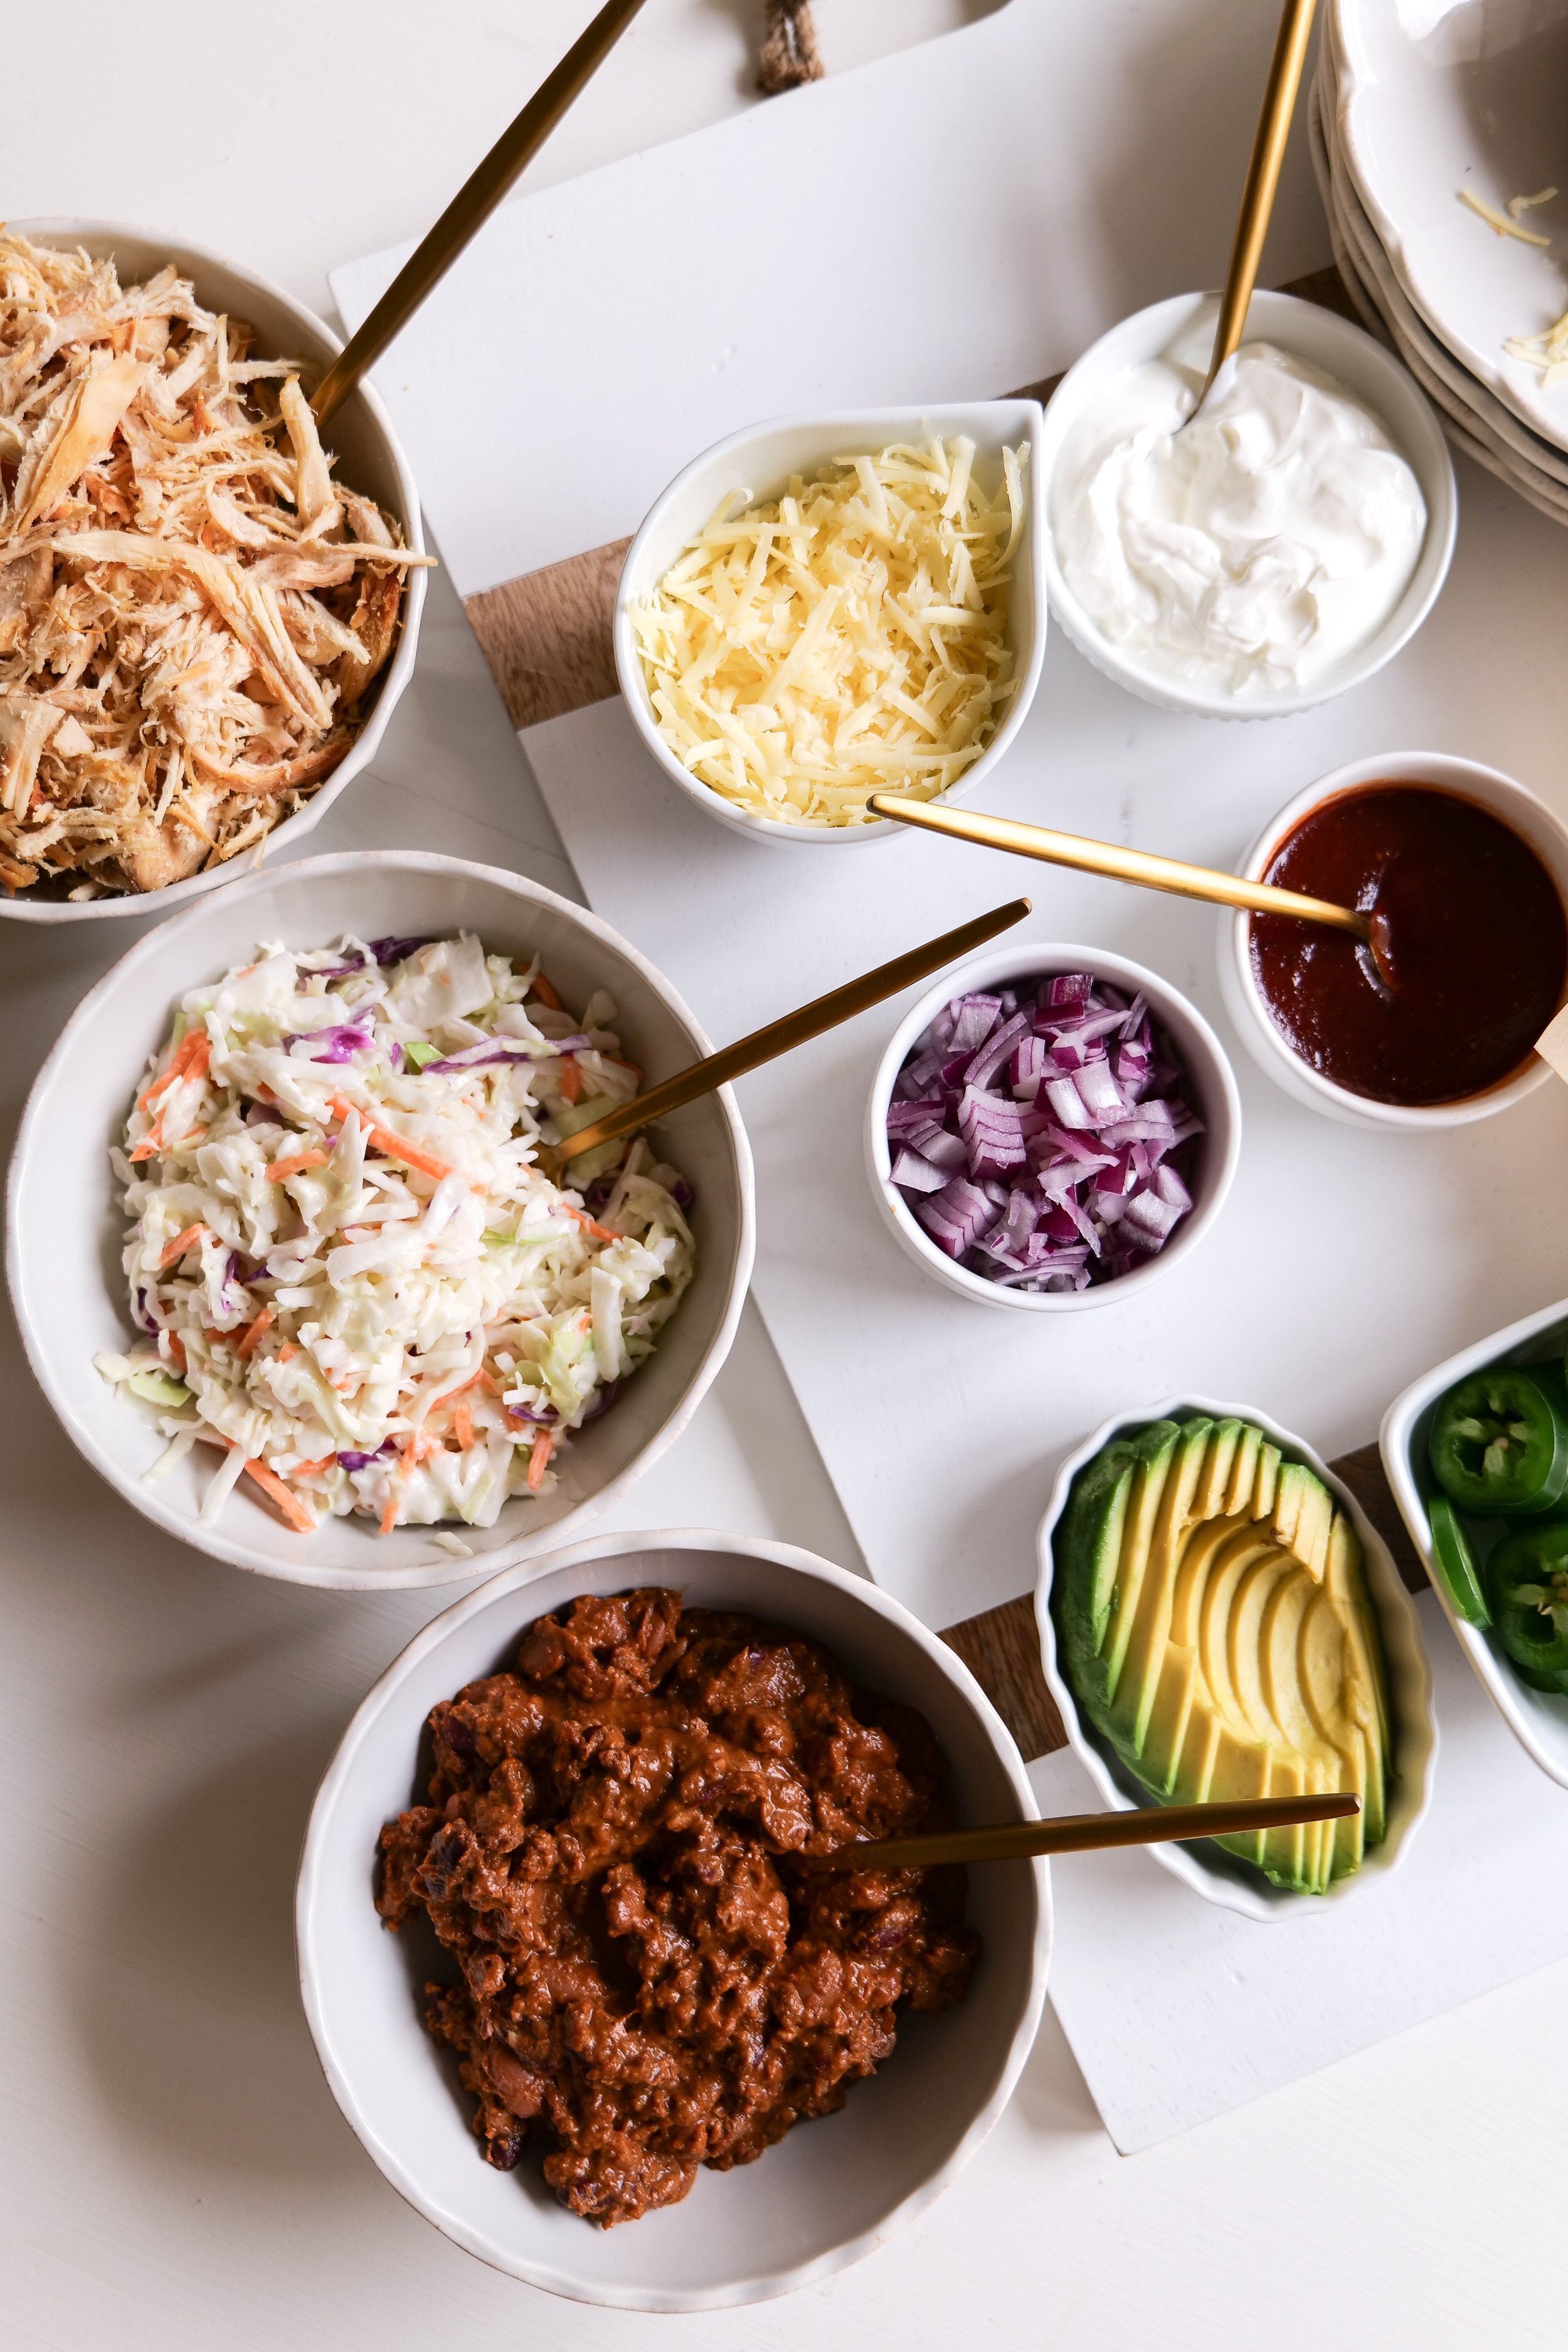
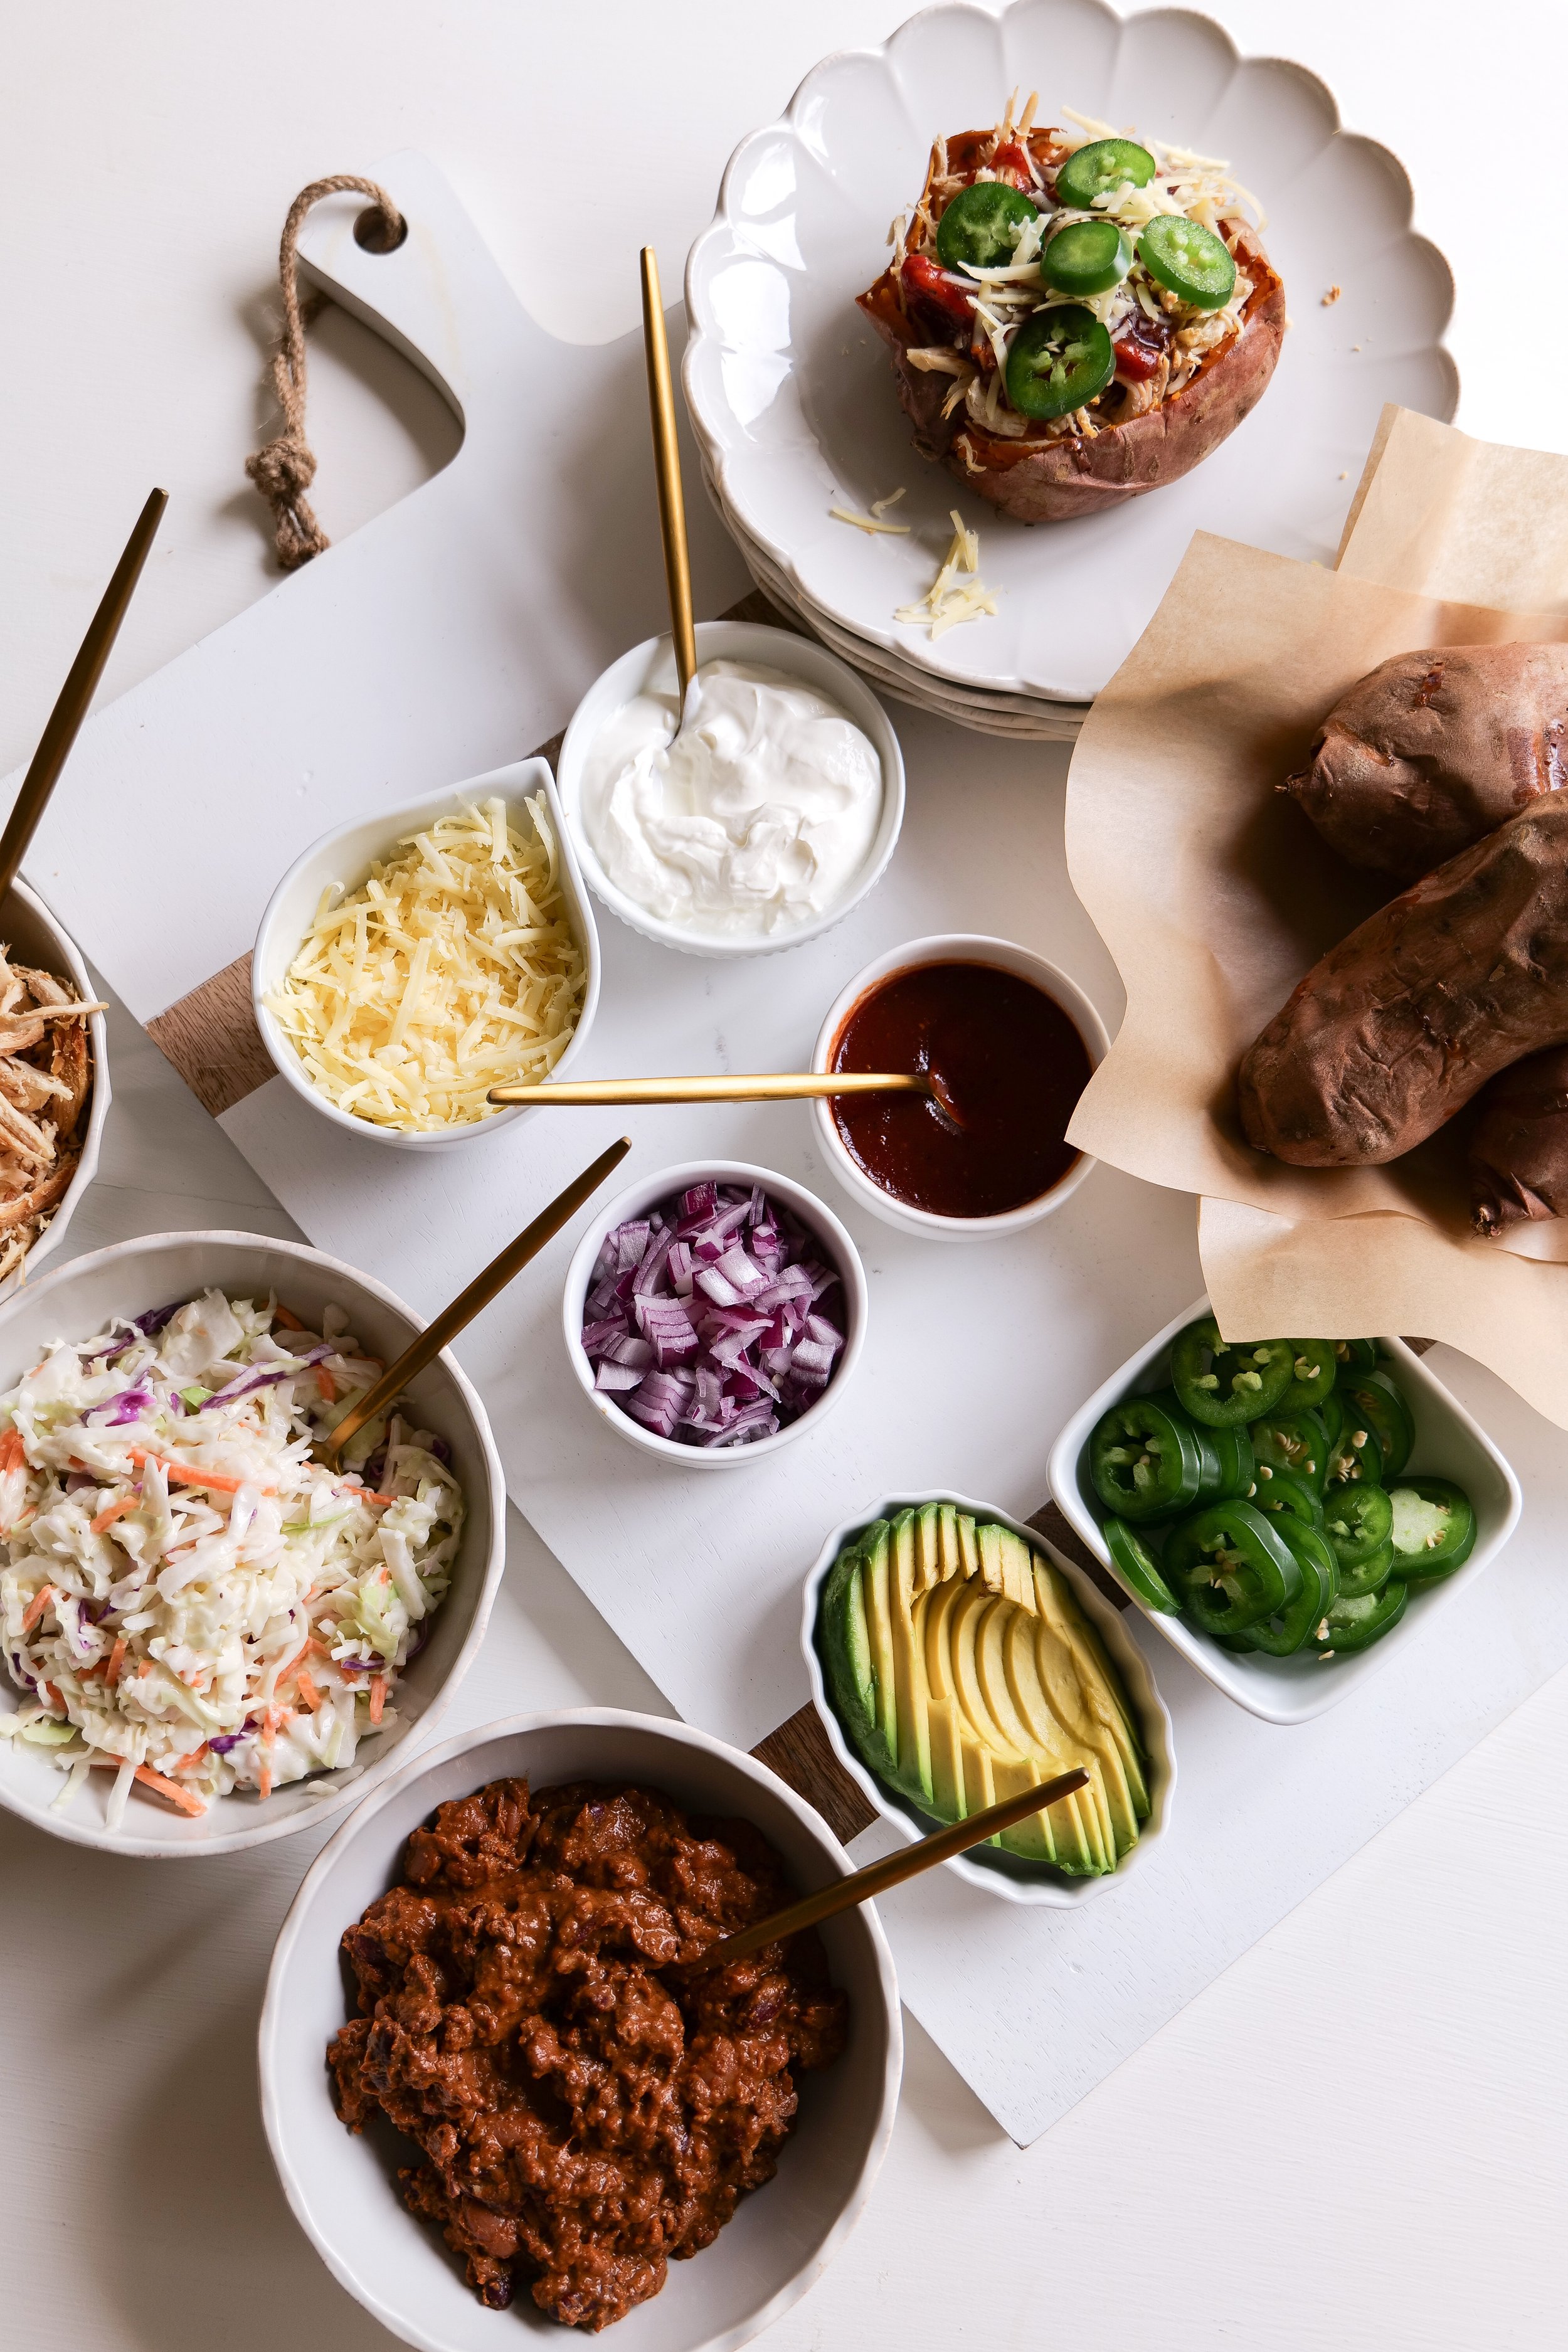
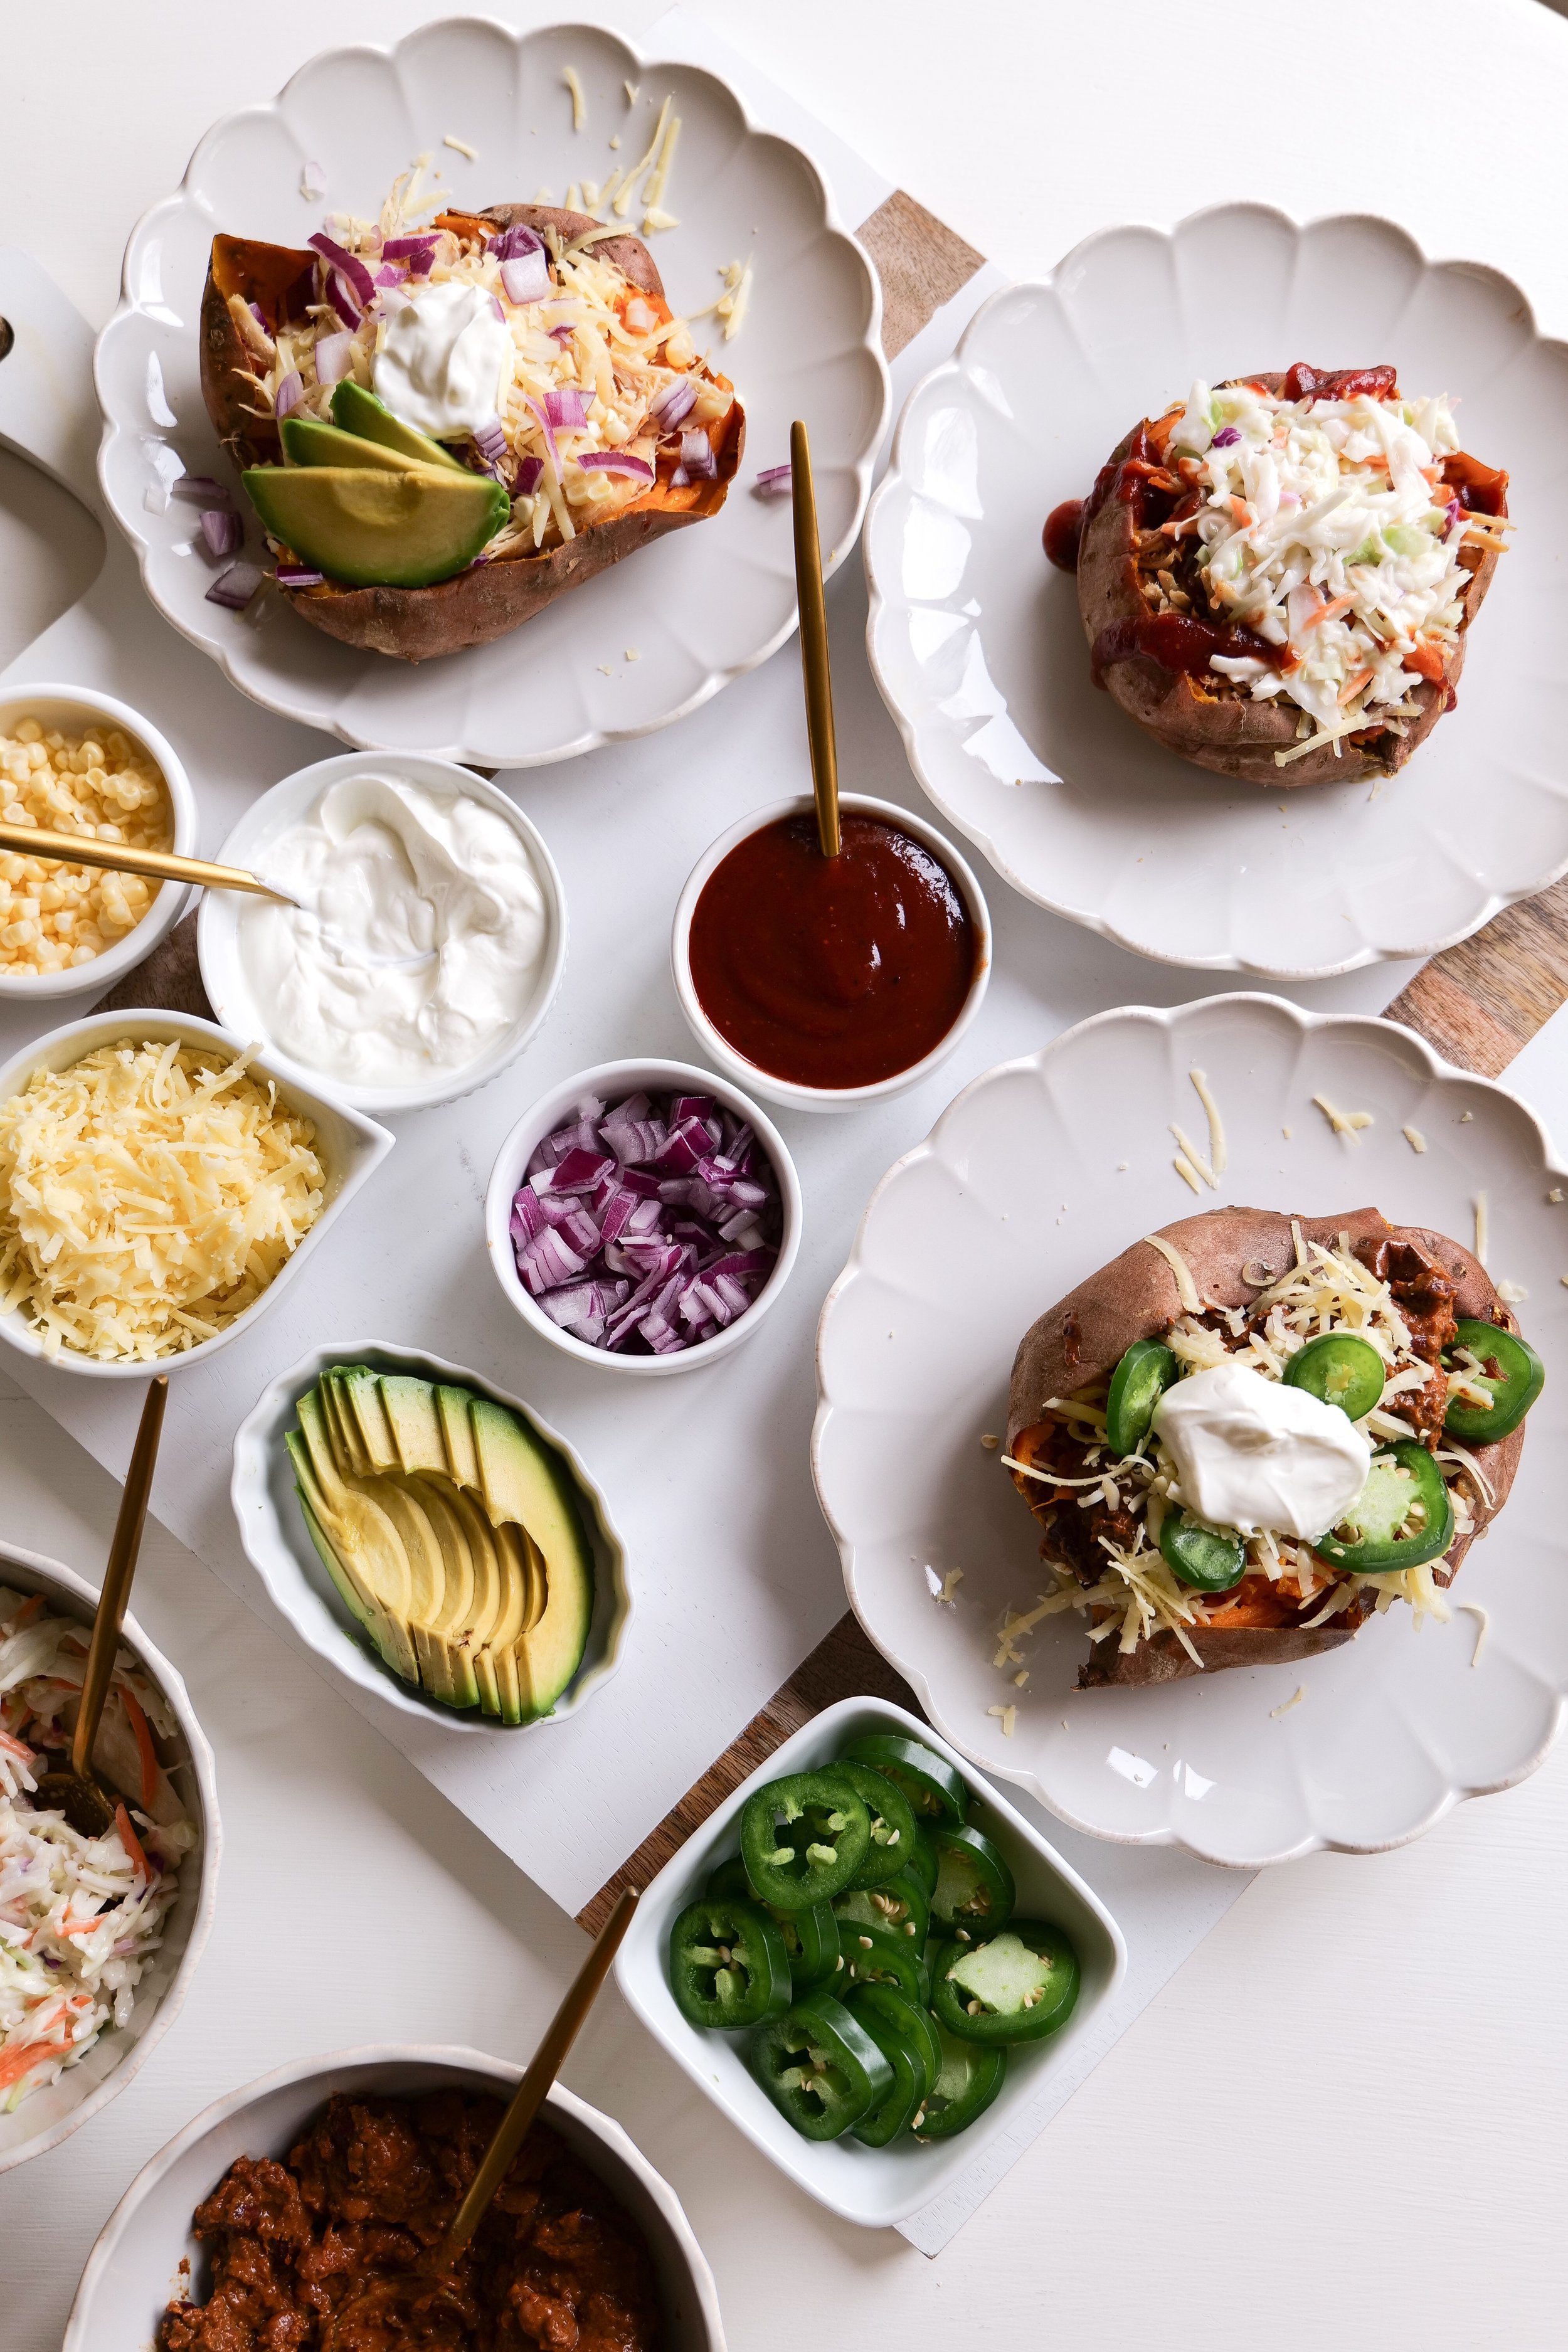
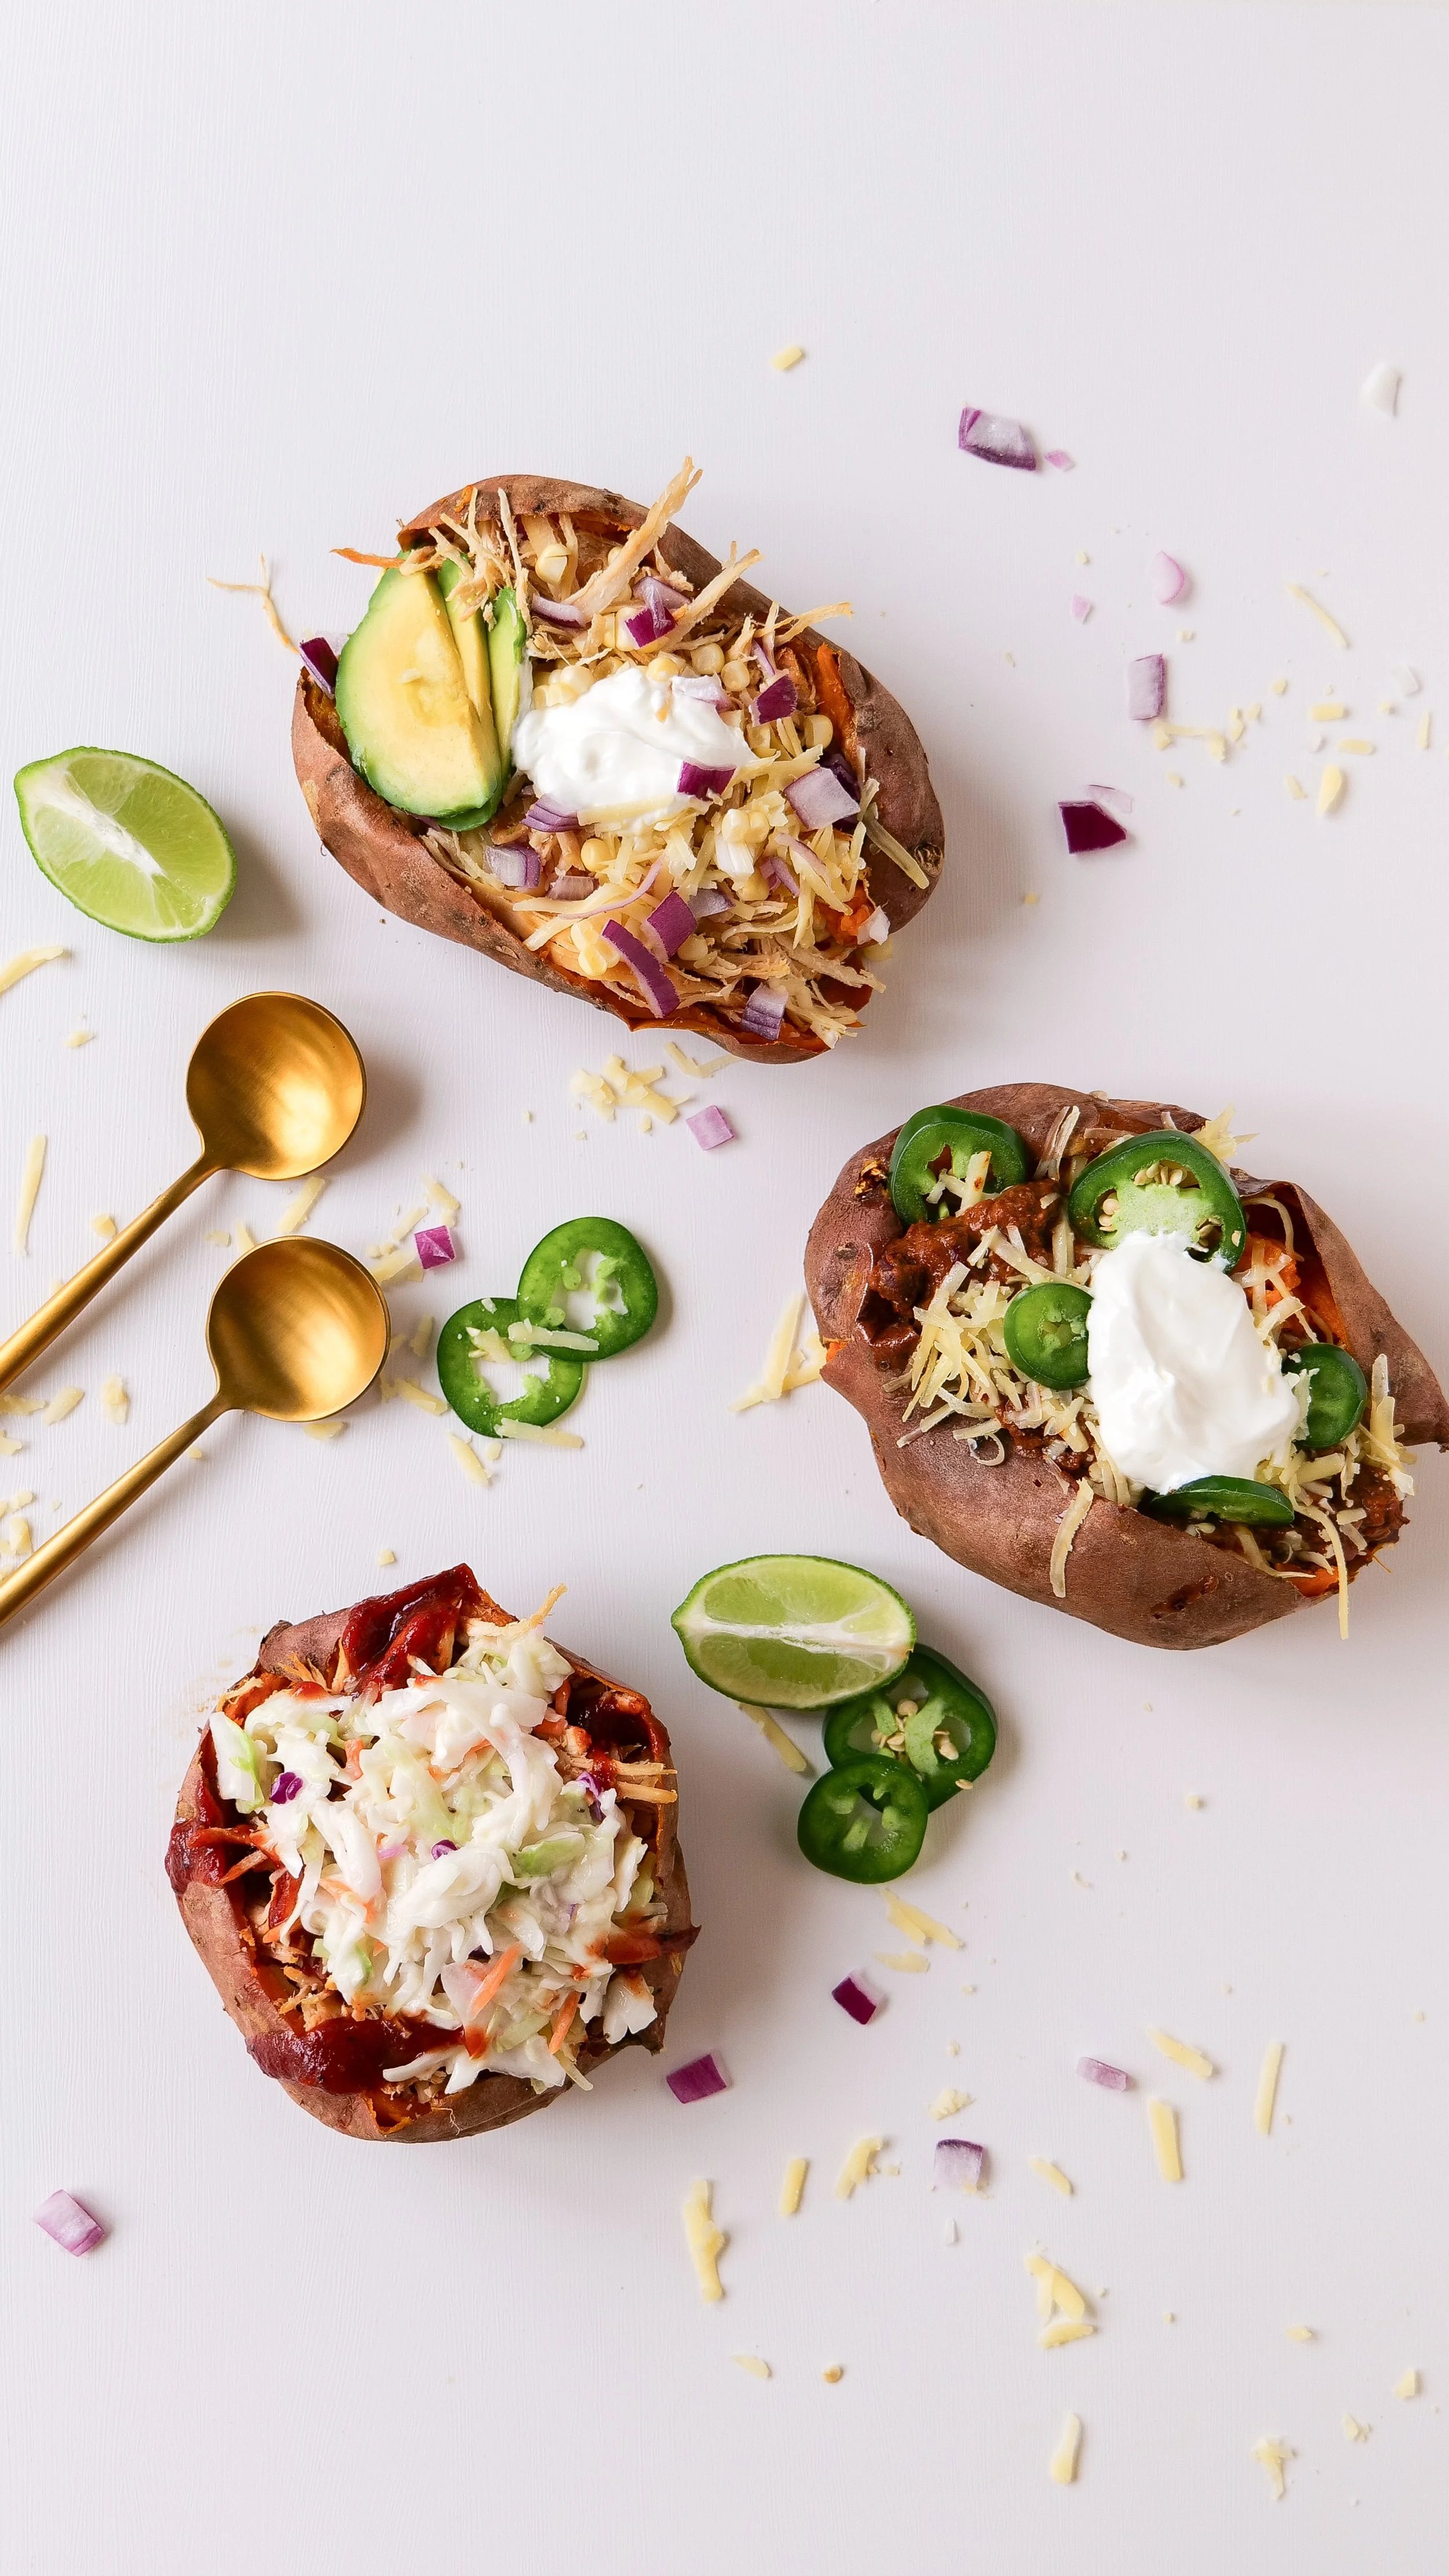
3 Easy & Nourishing Stuffed Sweet Potato Recipes

Stuffed sweet potatoes are a culinary delight that perfectly encapsulates comfort, health, and great taste all in one dish. This stuffed sweet potato recipe caters to those who love a hearty, nutrient-packed meal with the added benefits of being both delicious and easy to make. All three of the following recipes you can incorporate into the inside fillings of the potato, and all three provide a rich source of protein that compliments the sweet potatoes naturally sweet and satisfying base. Ideal for any meal, these recipes are especially suitable for those seeking both wholesome and nutritious options.

Sweet potatoes, with their velvety texture and natural sweetness, are not just for pies and casseroles—they make the most exquisite shells for a variety of stuffings. When stuffed with black beans or chili beans, shredded chicken or ground beef, they transform into a powerhouse of nutrition featuring a rich source of fiber, aiding in digestive health. They are also full of Vitamins A and C, which are vital for immune function and skin health, and highly filling, keeping you full and energized for hours. My 3 easy stuffed sweet potato recipes are listed below.

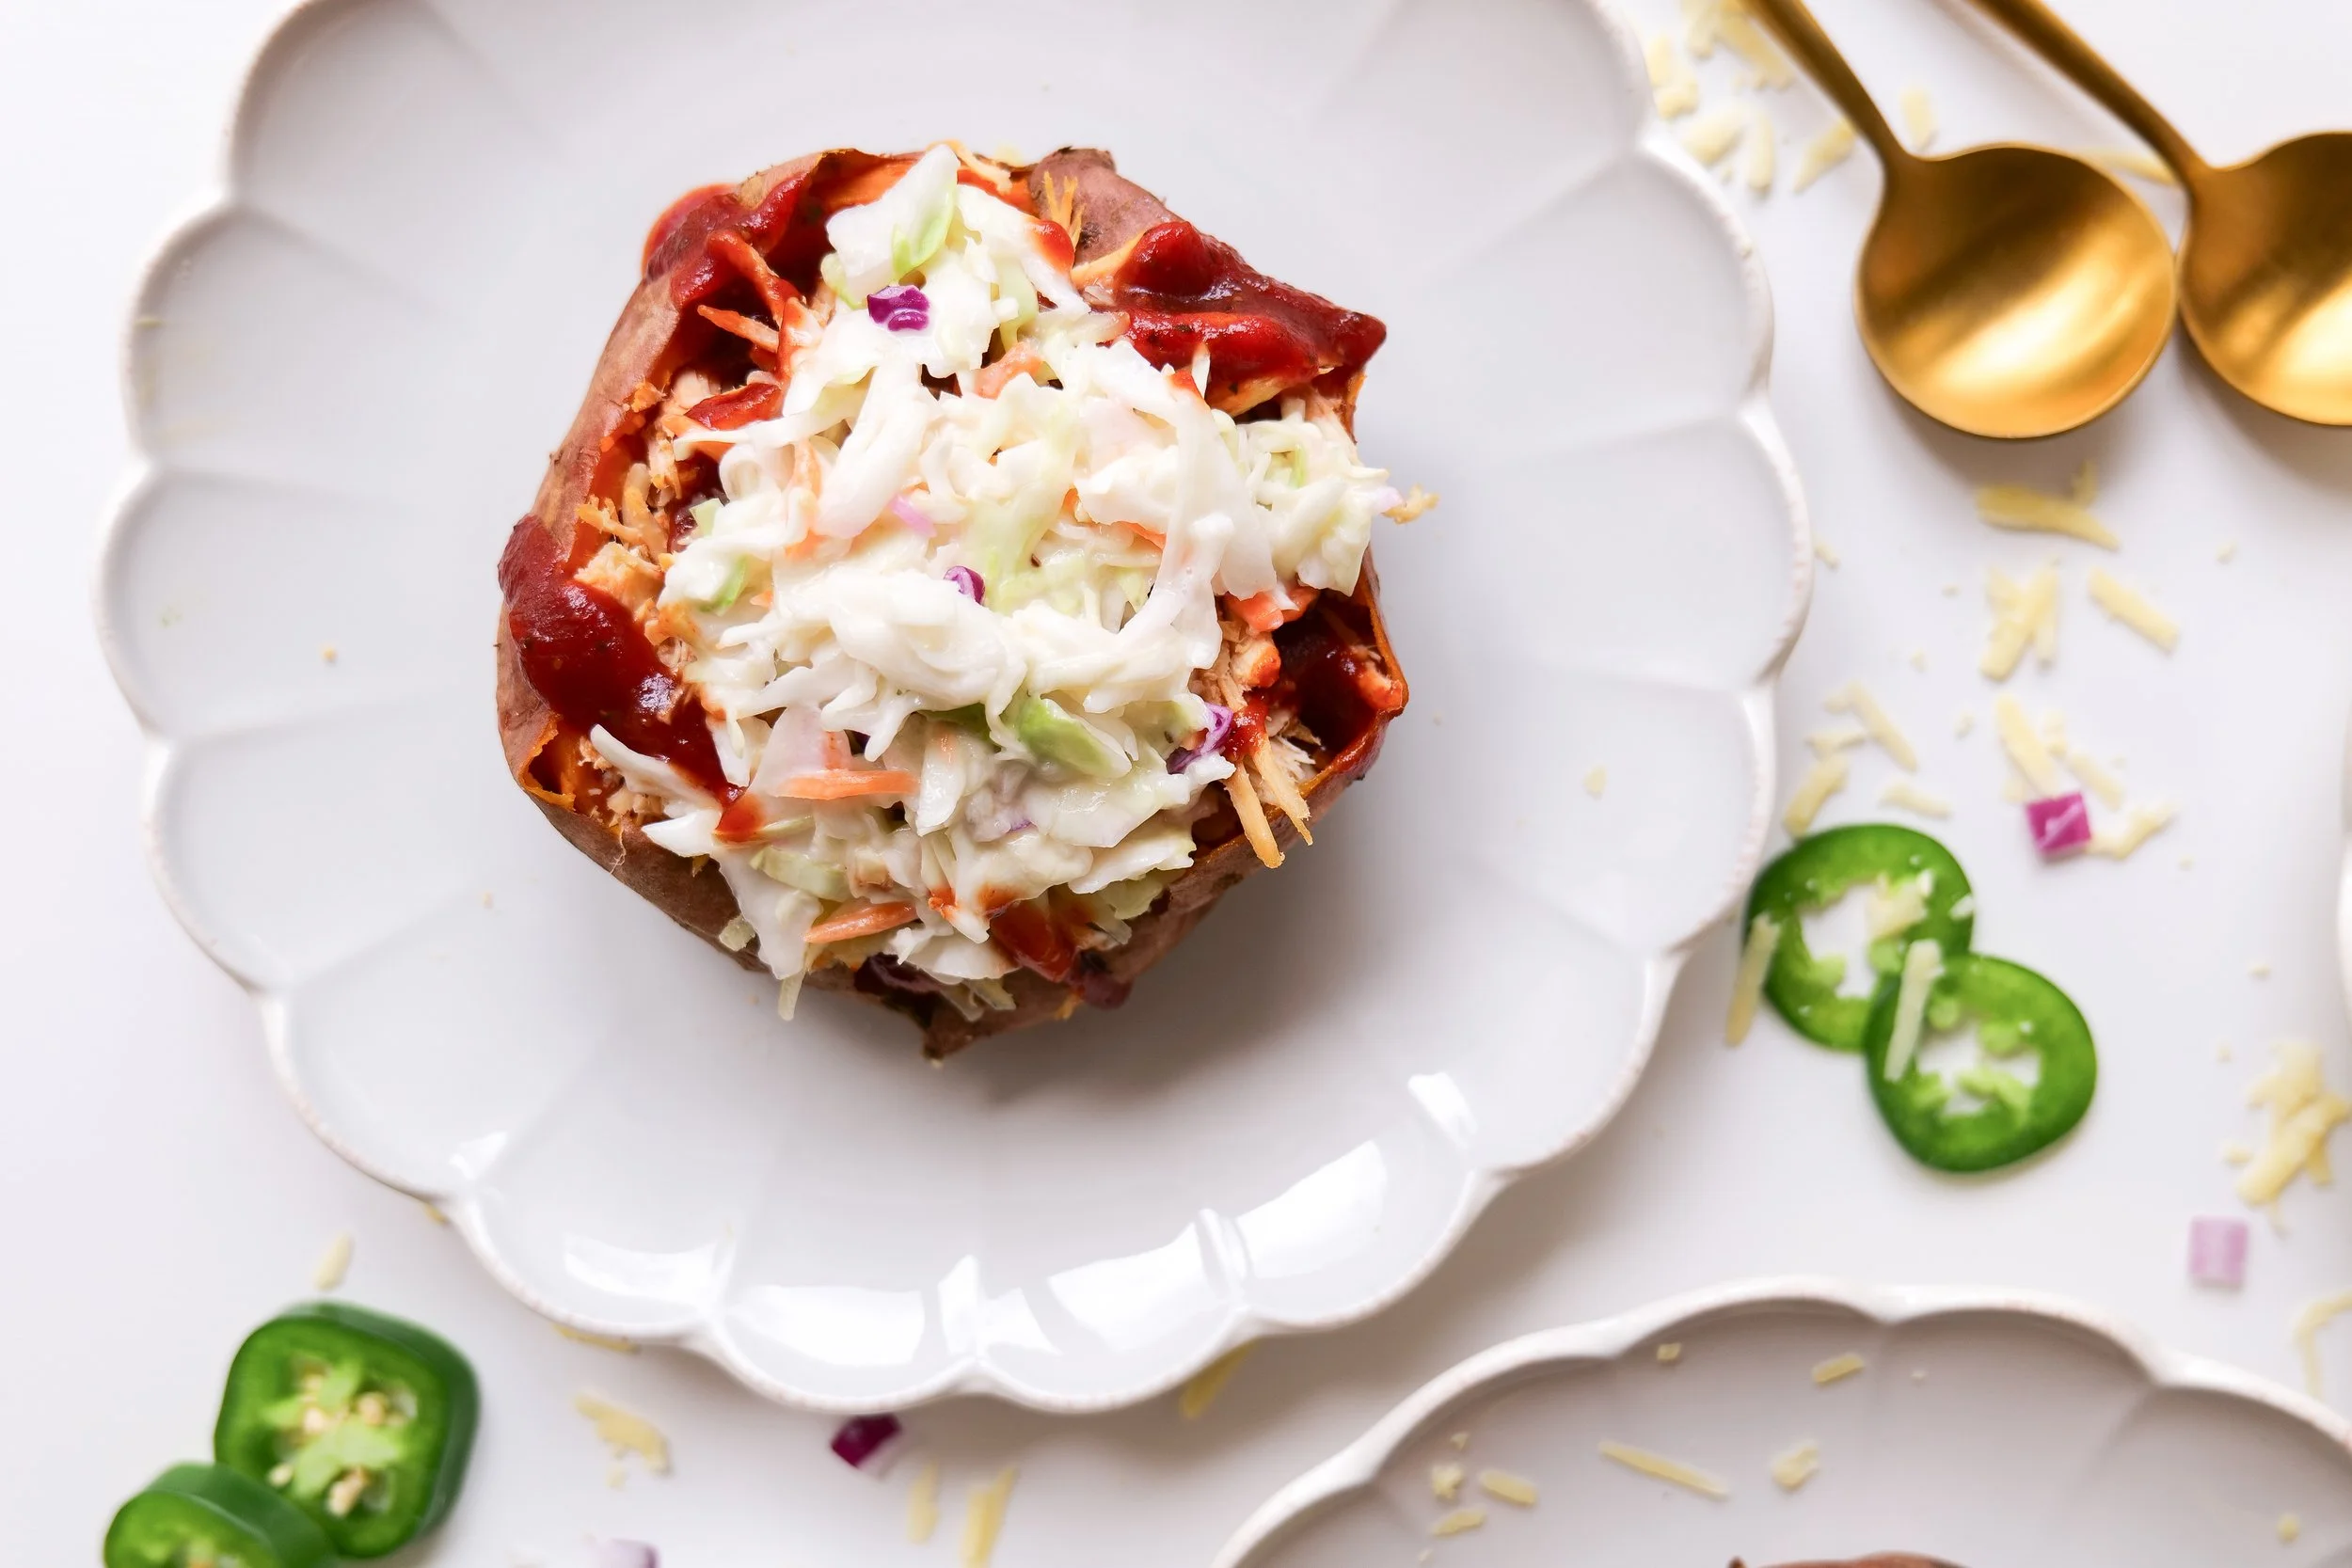
The BBQ Sweet Potato

Ingredients

1 baked sweet potato

1 tablespoon of salted butter

3-4 oz of slow cooker shredded chicken

1/4 cup of your favorite bbq sauce

Coleslaw mix (I used one from the store for an easy meal but you can make this yourself too)

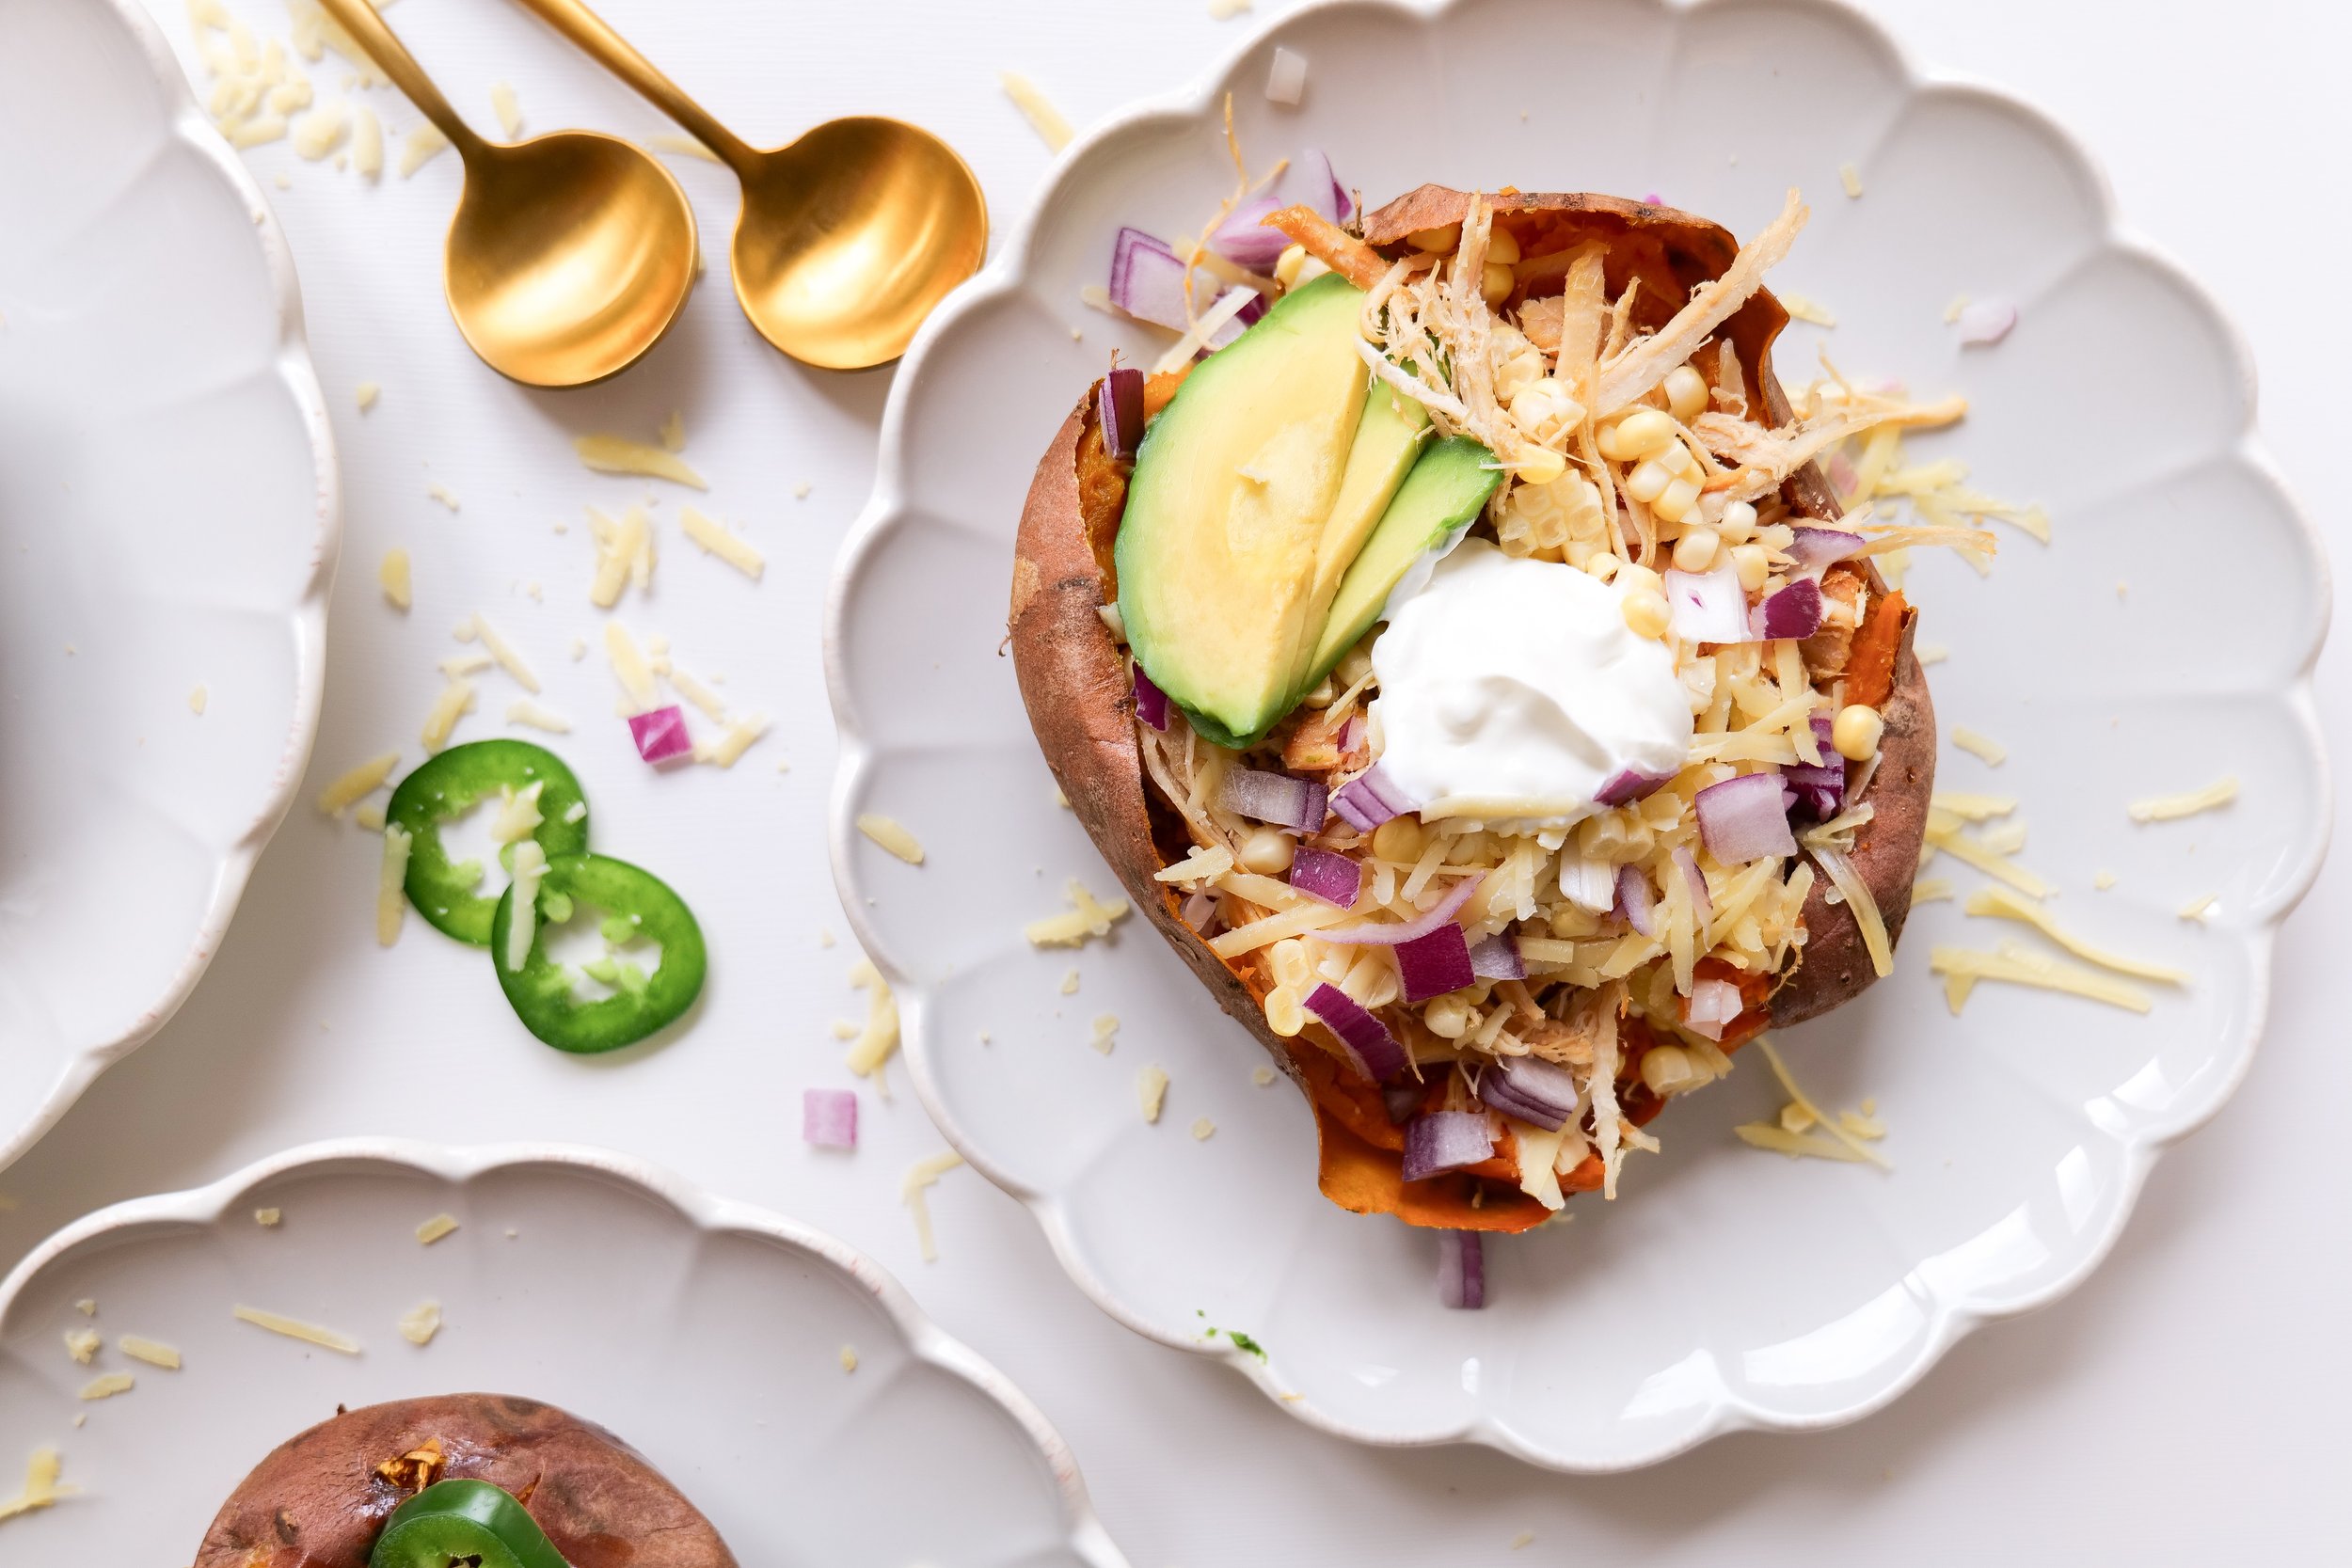
The Mexican Sweet Potato

Ingredients

1 baked sweet potato

1 tablespoon of salted butter

3-4 oz of slow cooker shredded chicken

1/4 cup corn

1/4 of an avocado, sliced or diced

1 or 2 tablespoons of sour cream

1 teaspoon taco seasoning

2 tablespoons monterey jack cheese

2 tablespoons finely chopped red onion

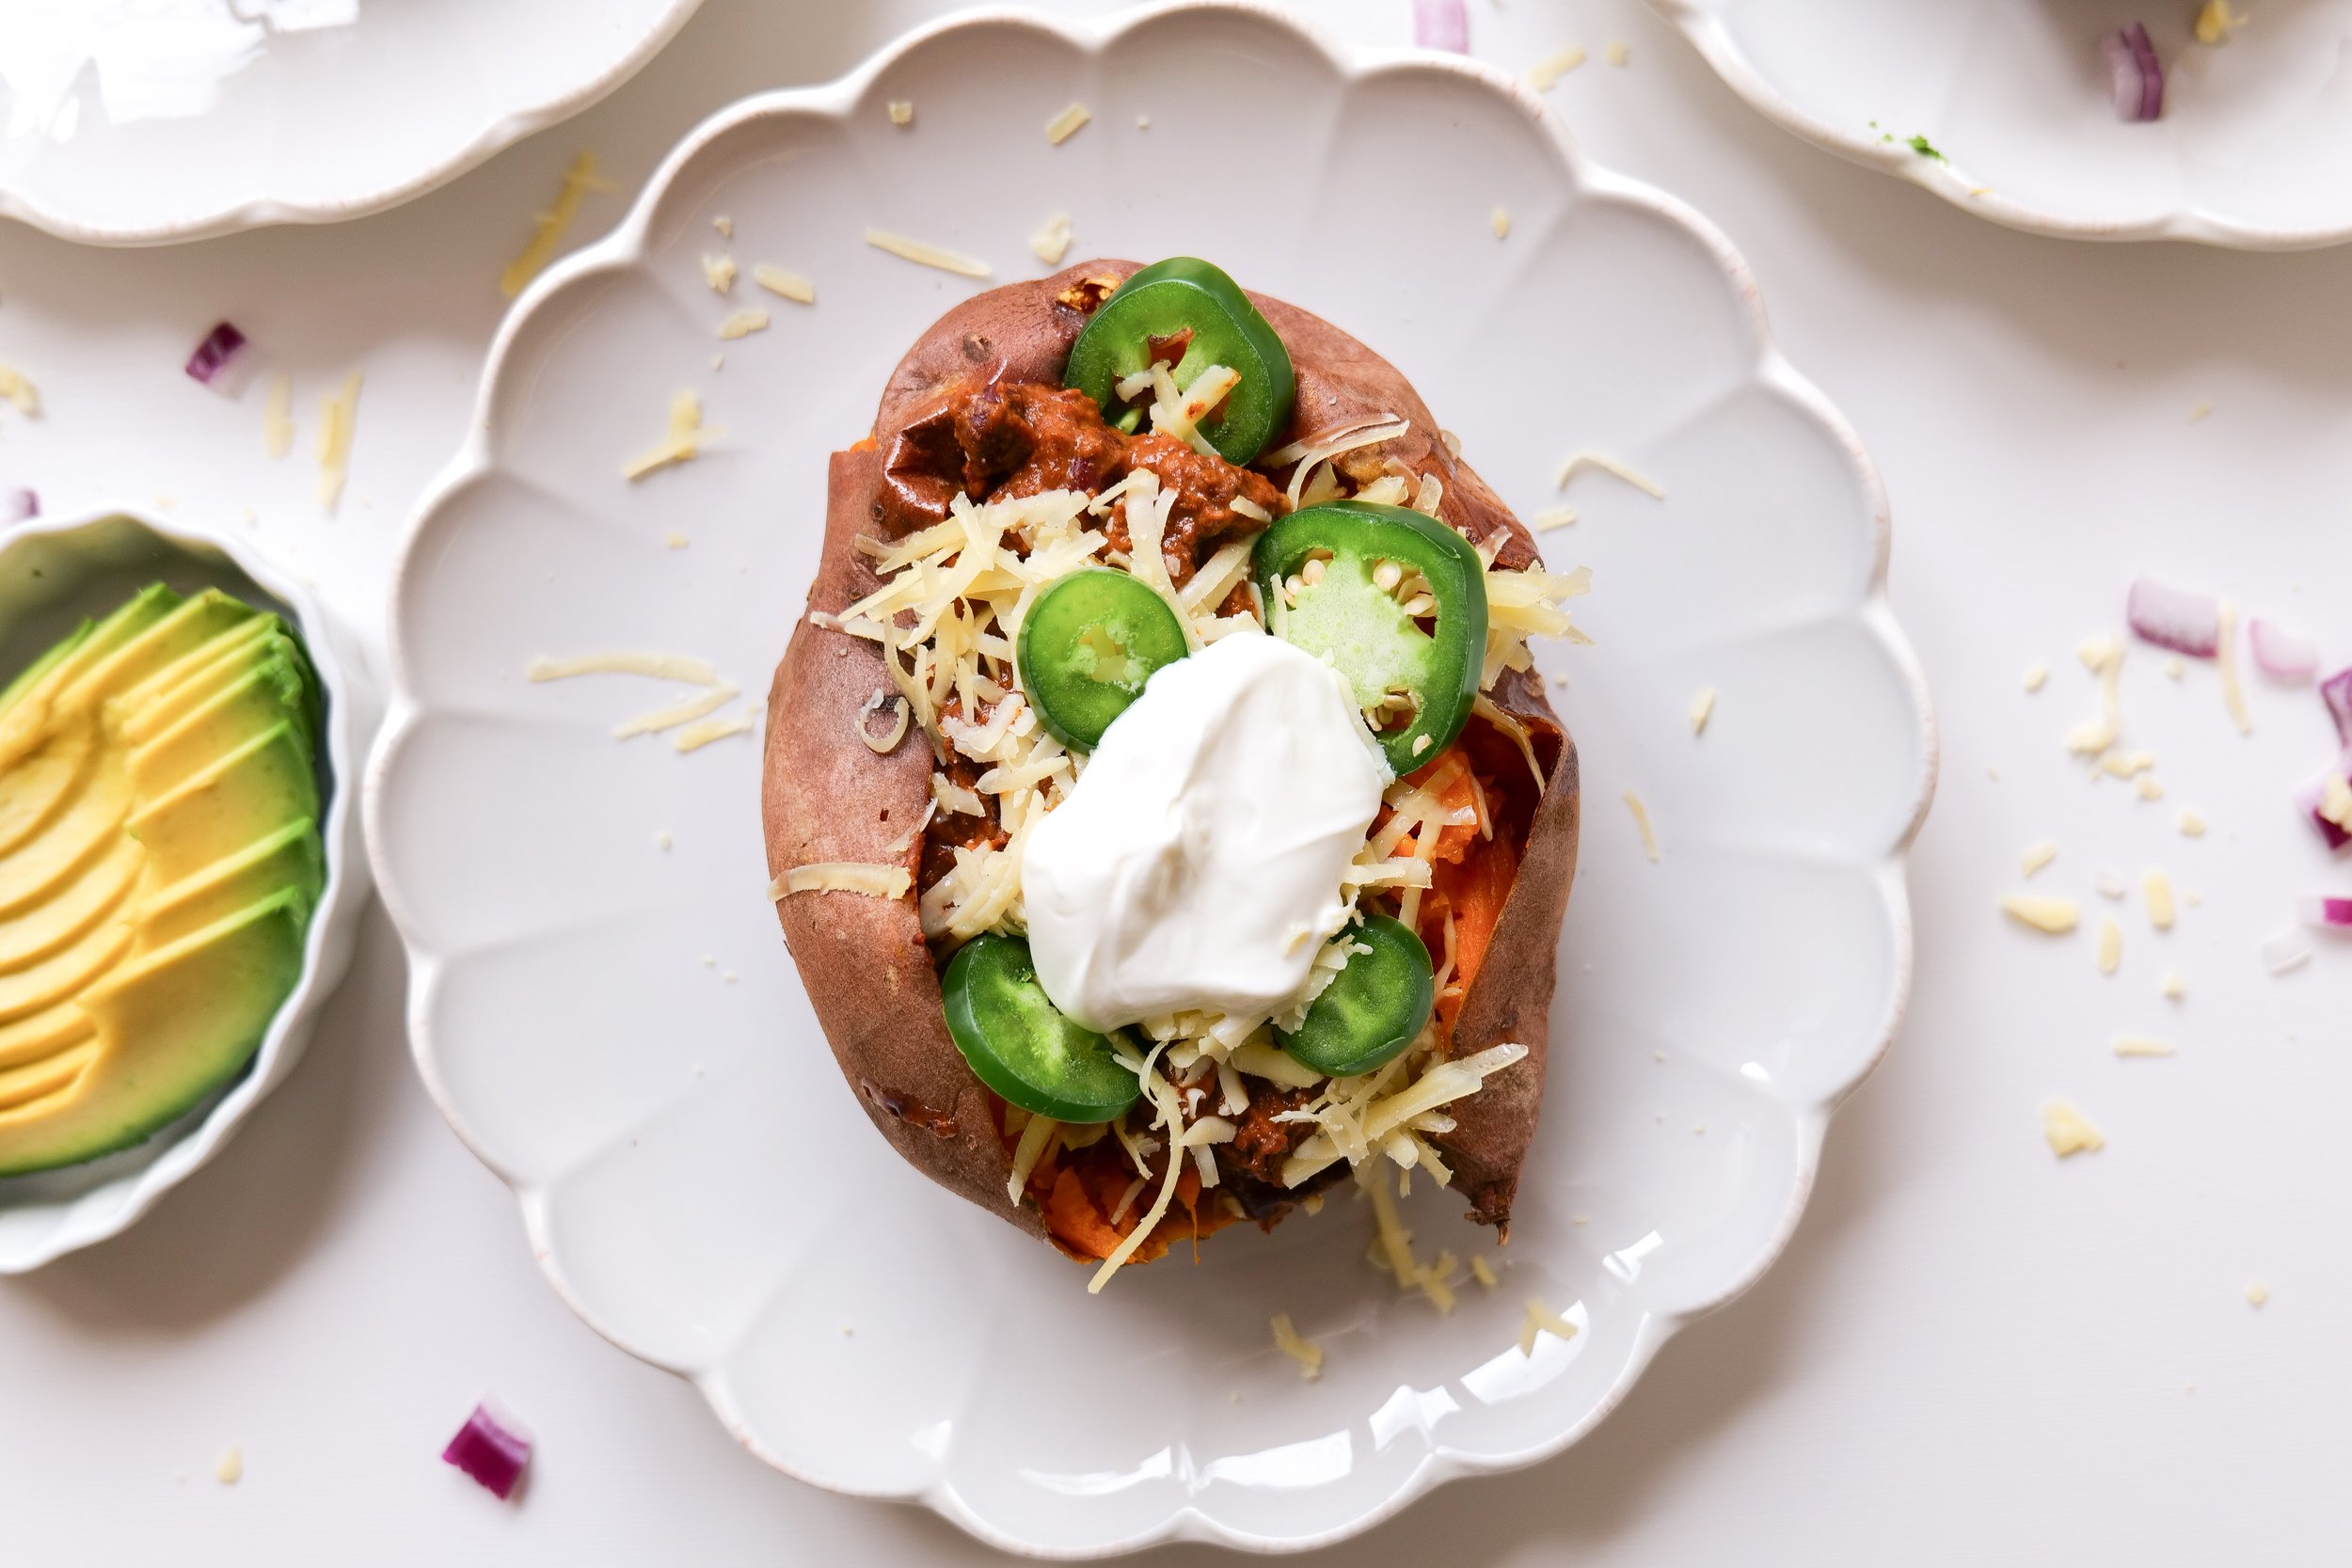
Chili Loaded Sweet Potato

Ingredients

1 baked sweet potato

1 tablespoon salted butter

1/2 cup chili

1 jalapeno sliced

1/4 cup cheddar cheese

2 tablespoons sour cream

Instructions

1. Preheat oven to 400. Scrub clean all sweet potatoes (above ingredients are per sweet potato but can be doubled, tripled etc. to make more). Pearce sweet potatoes with a fork all around and place on a parchment paper lined baking sheet. Bake in the oven for 1 hour. Turning every 20 minutes.

2. Once cooked Remove from oven and let cook slightly. Slice potatoes lengthwise down the middle and add in 1 tablespoon of butter. Smash with fork and mixing in butter to sweet potatoes.

3. Add in toppings of choice! Serve and Enjoy! You can even add these as a fun and festive sweet potato bar at your next gathering!

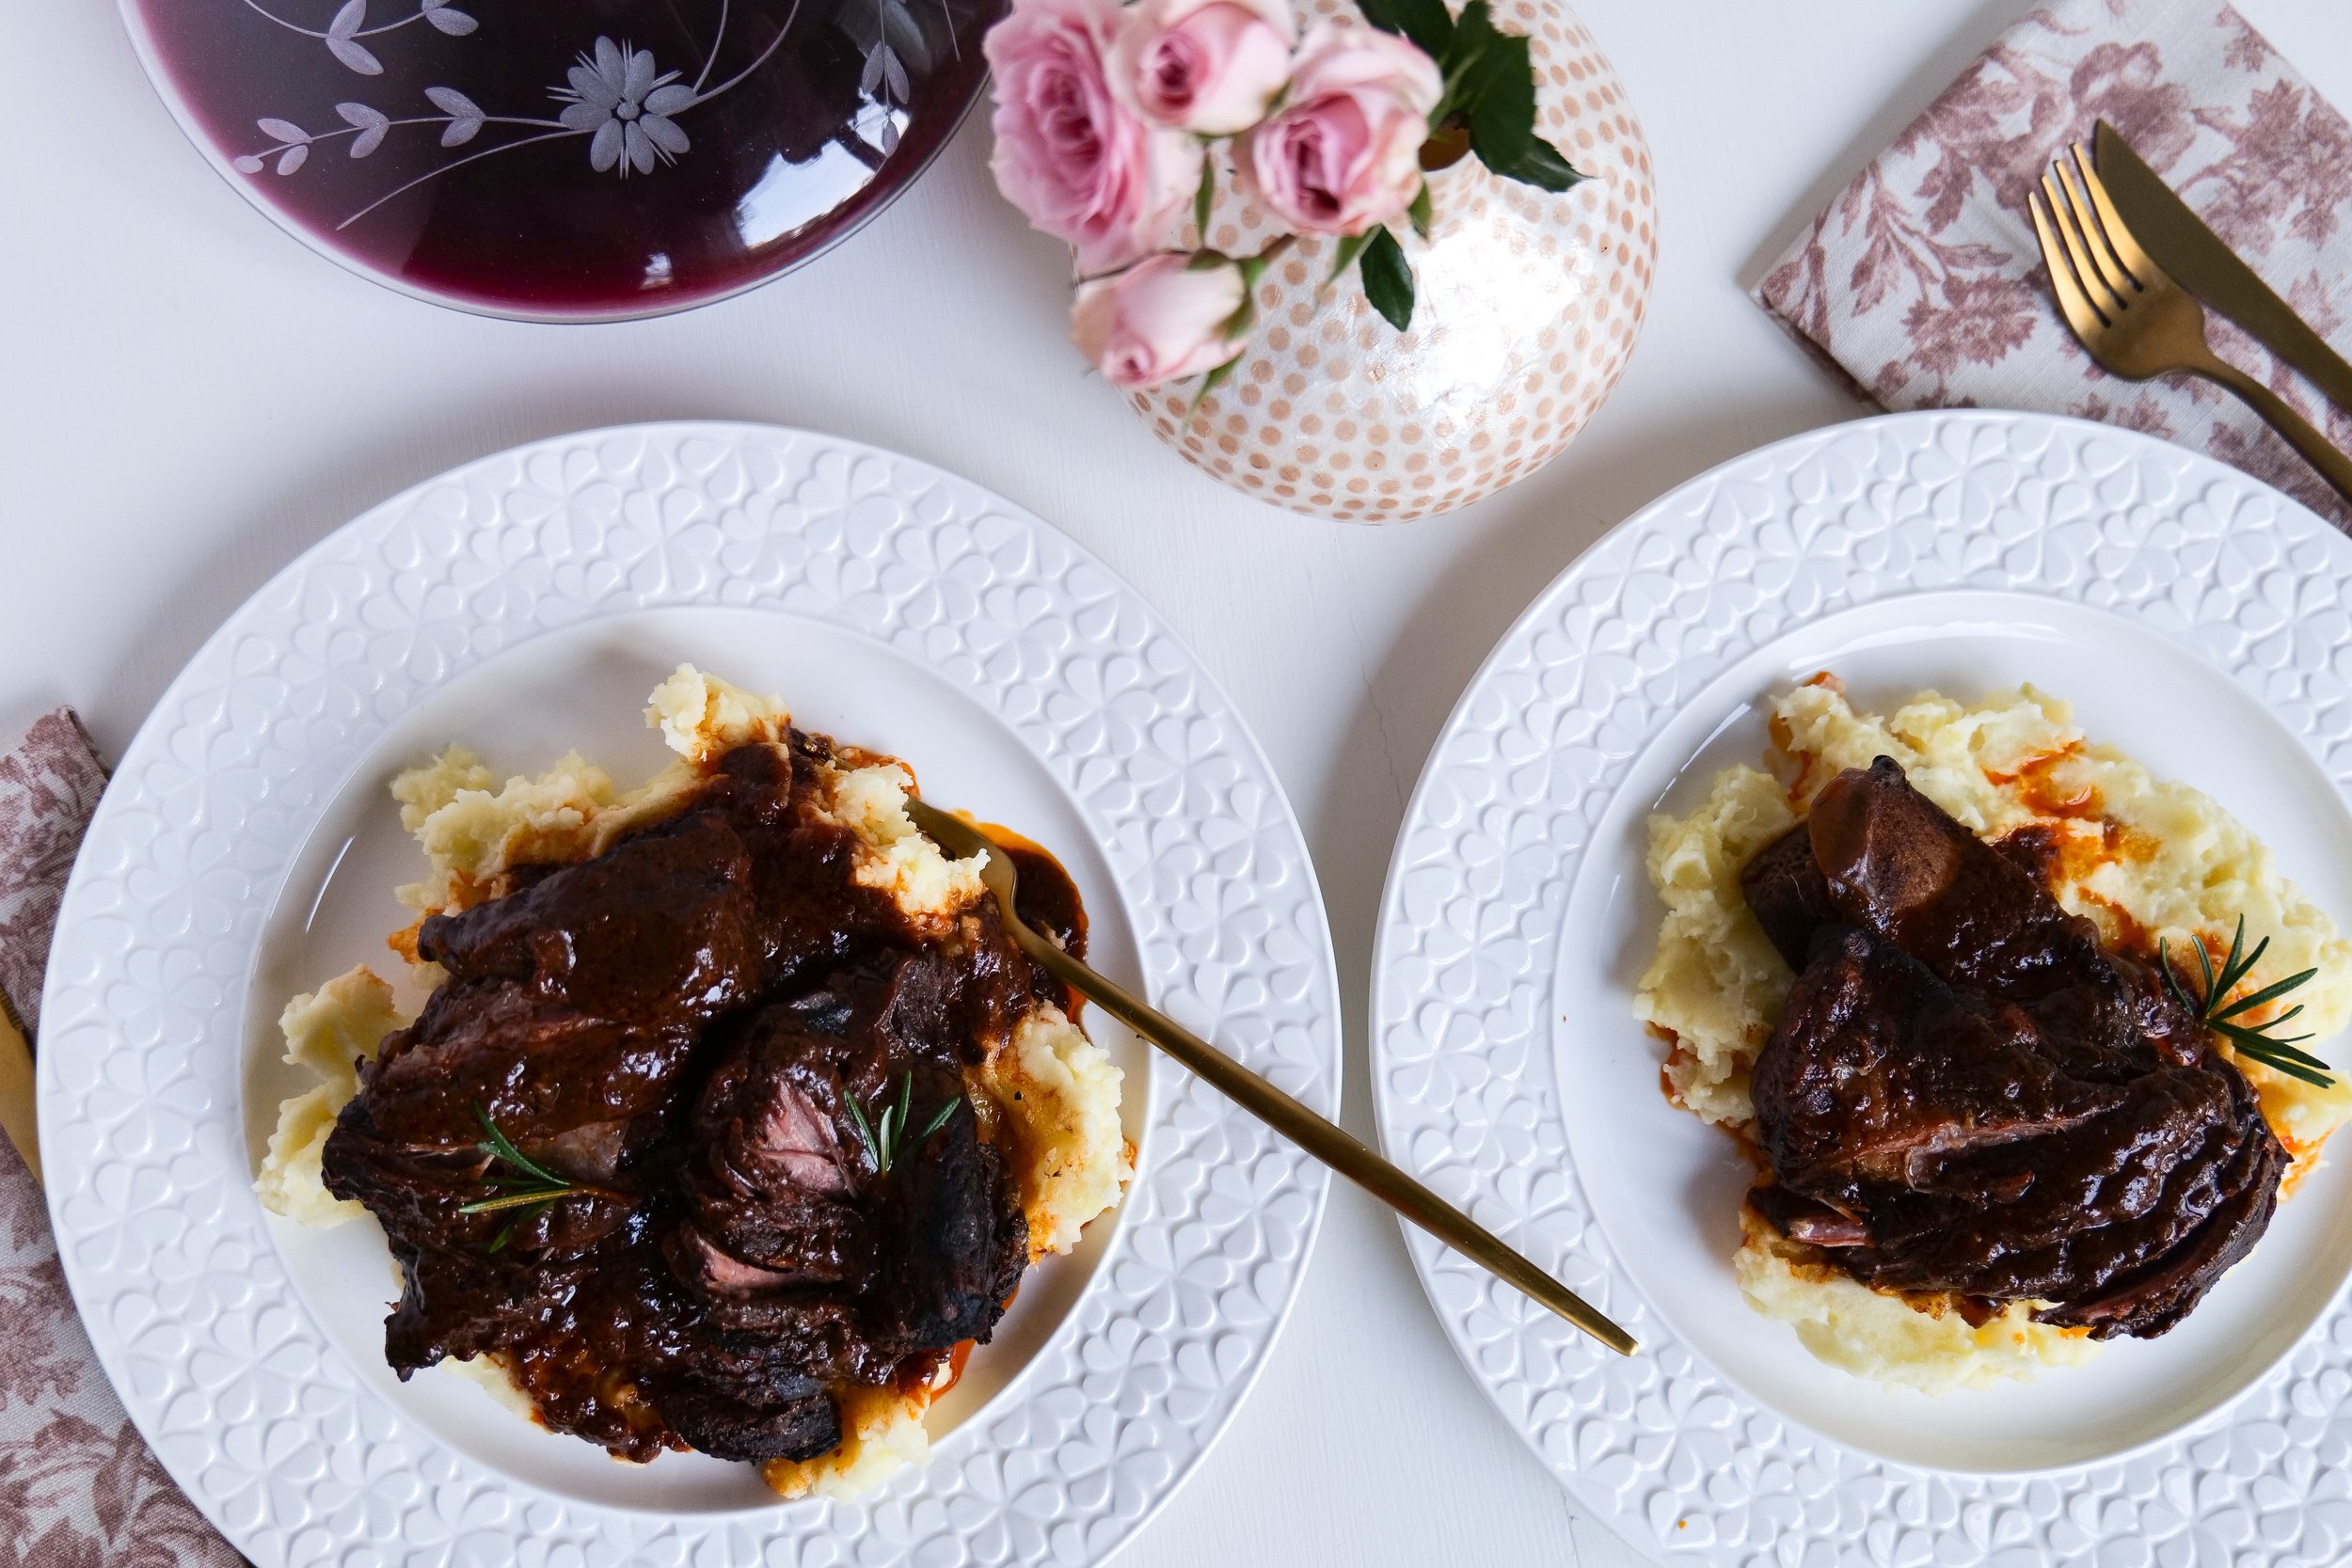
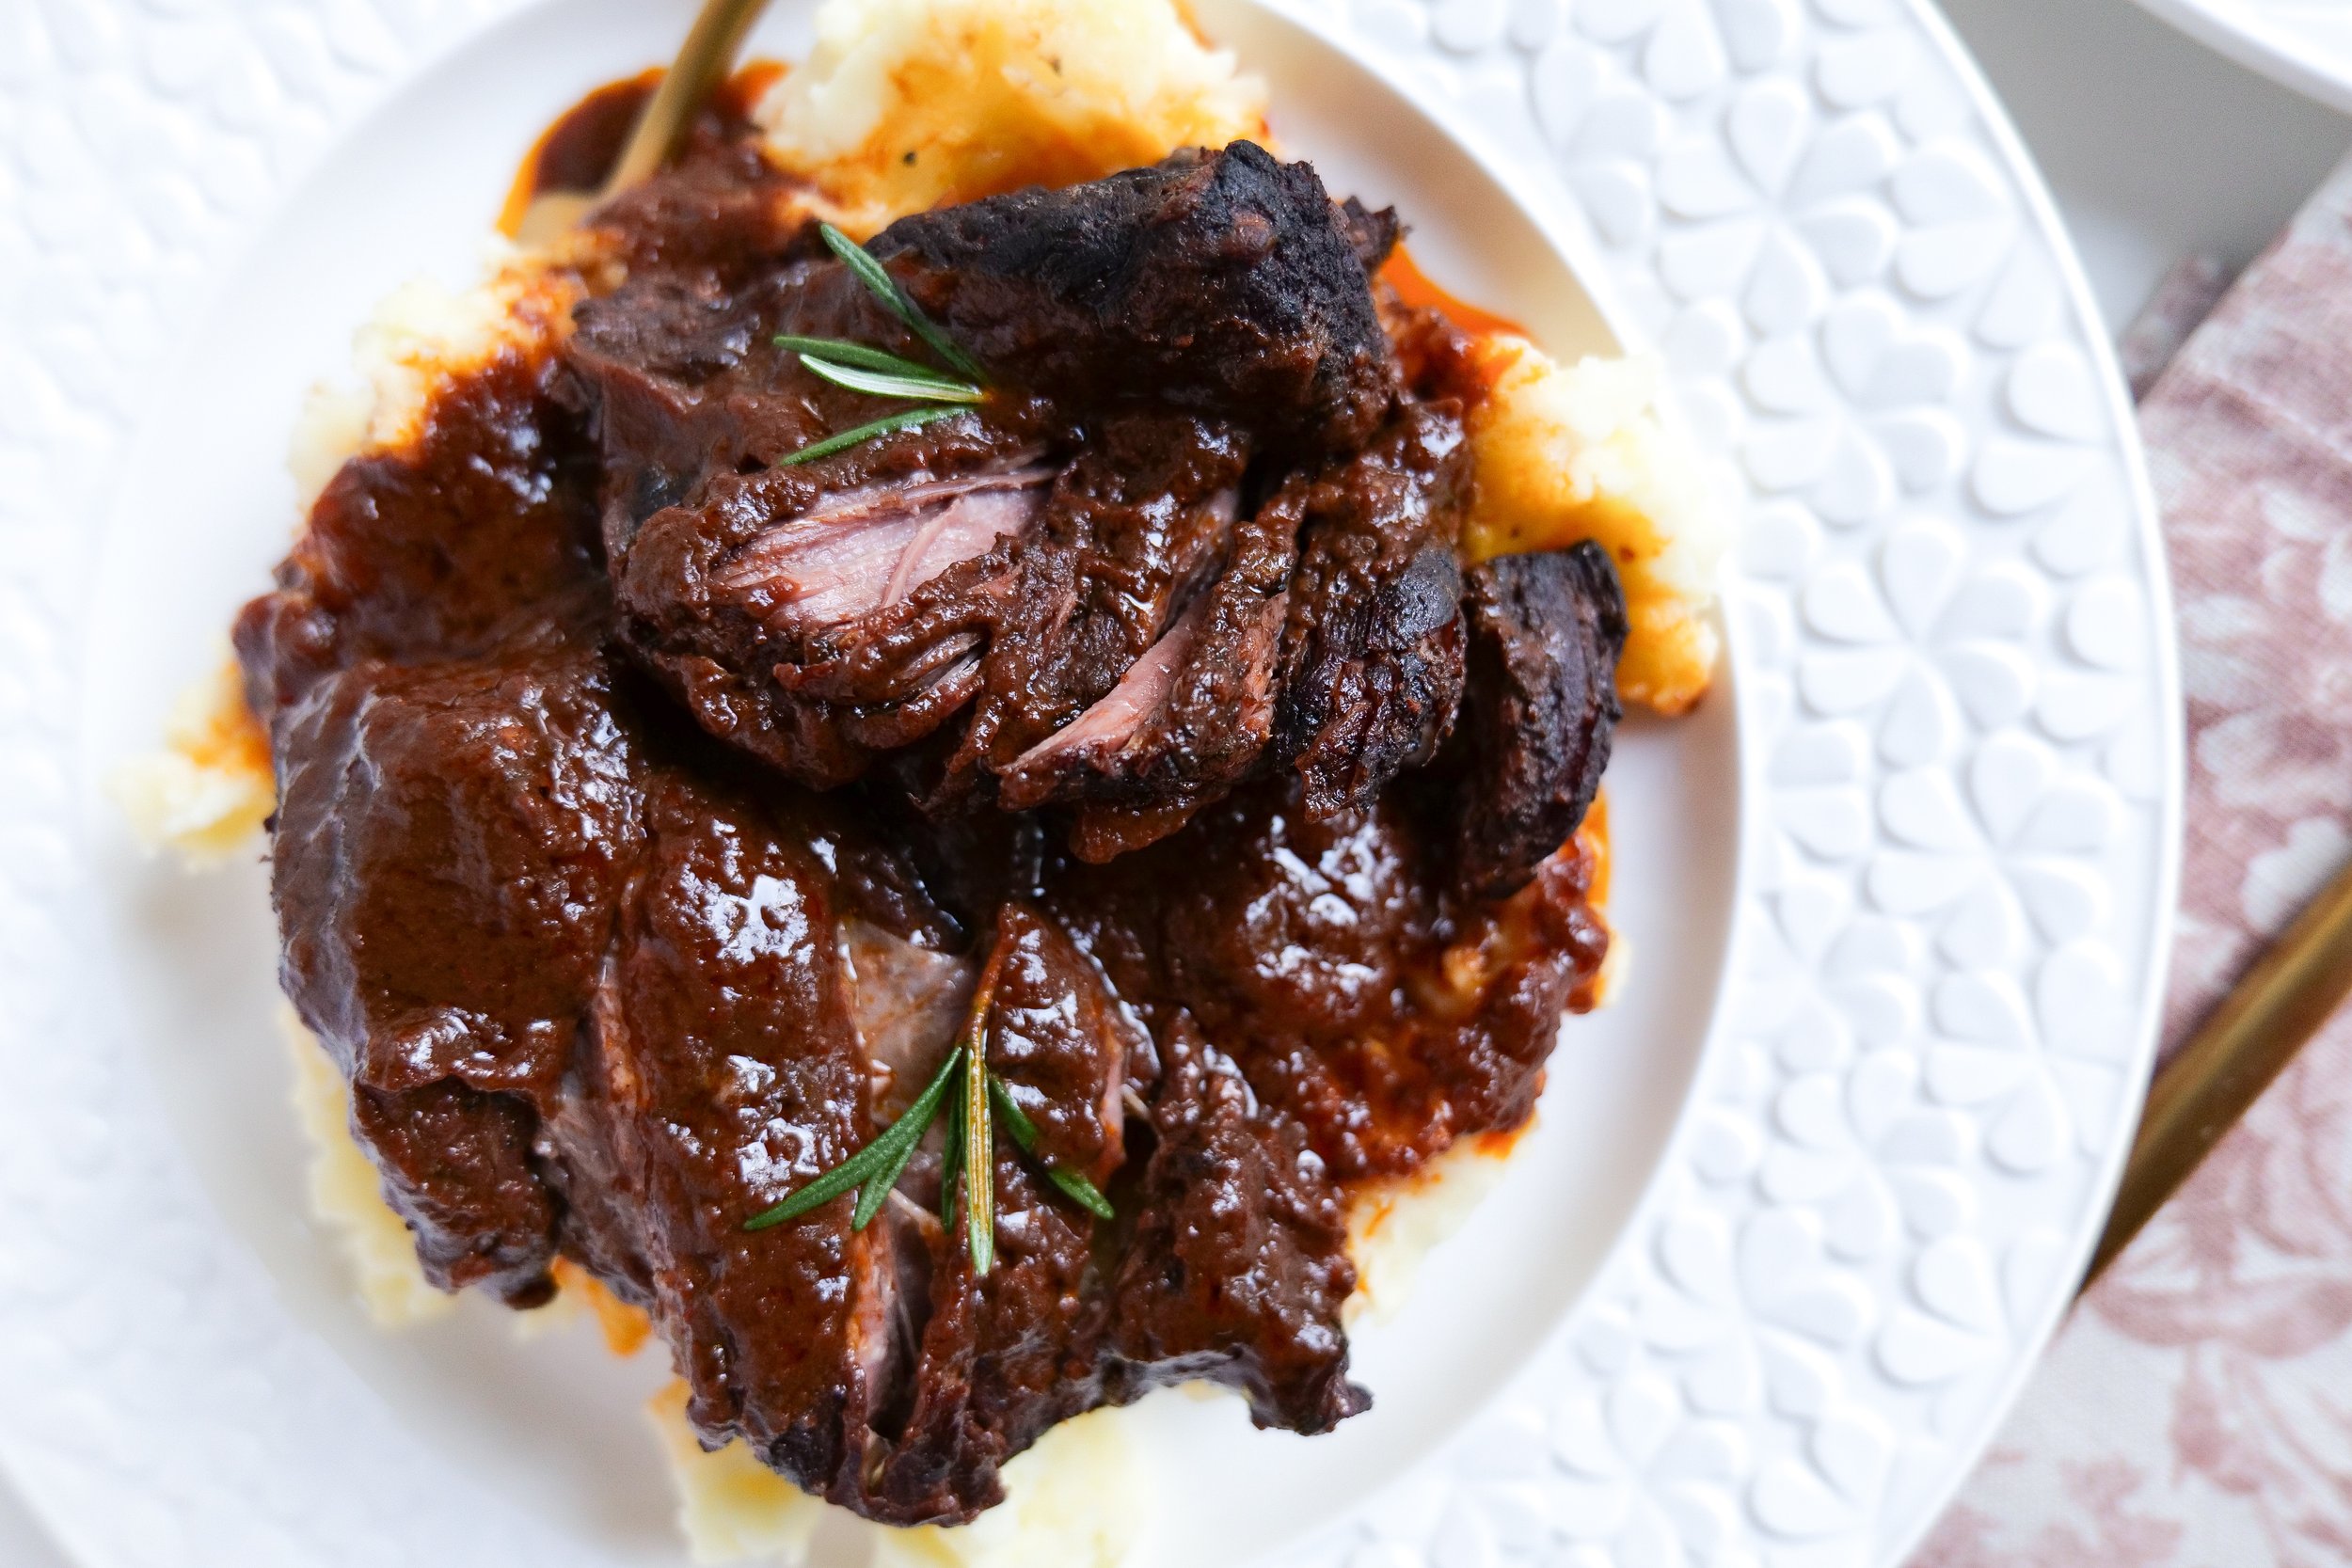
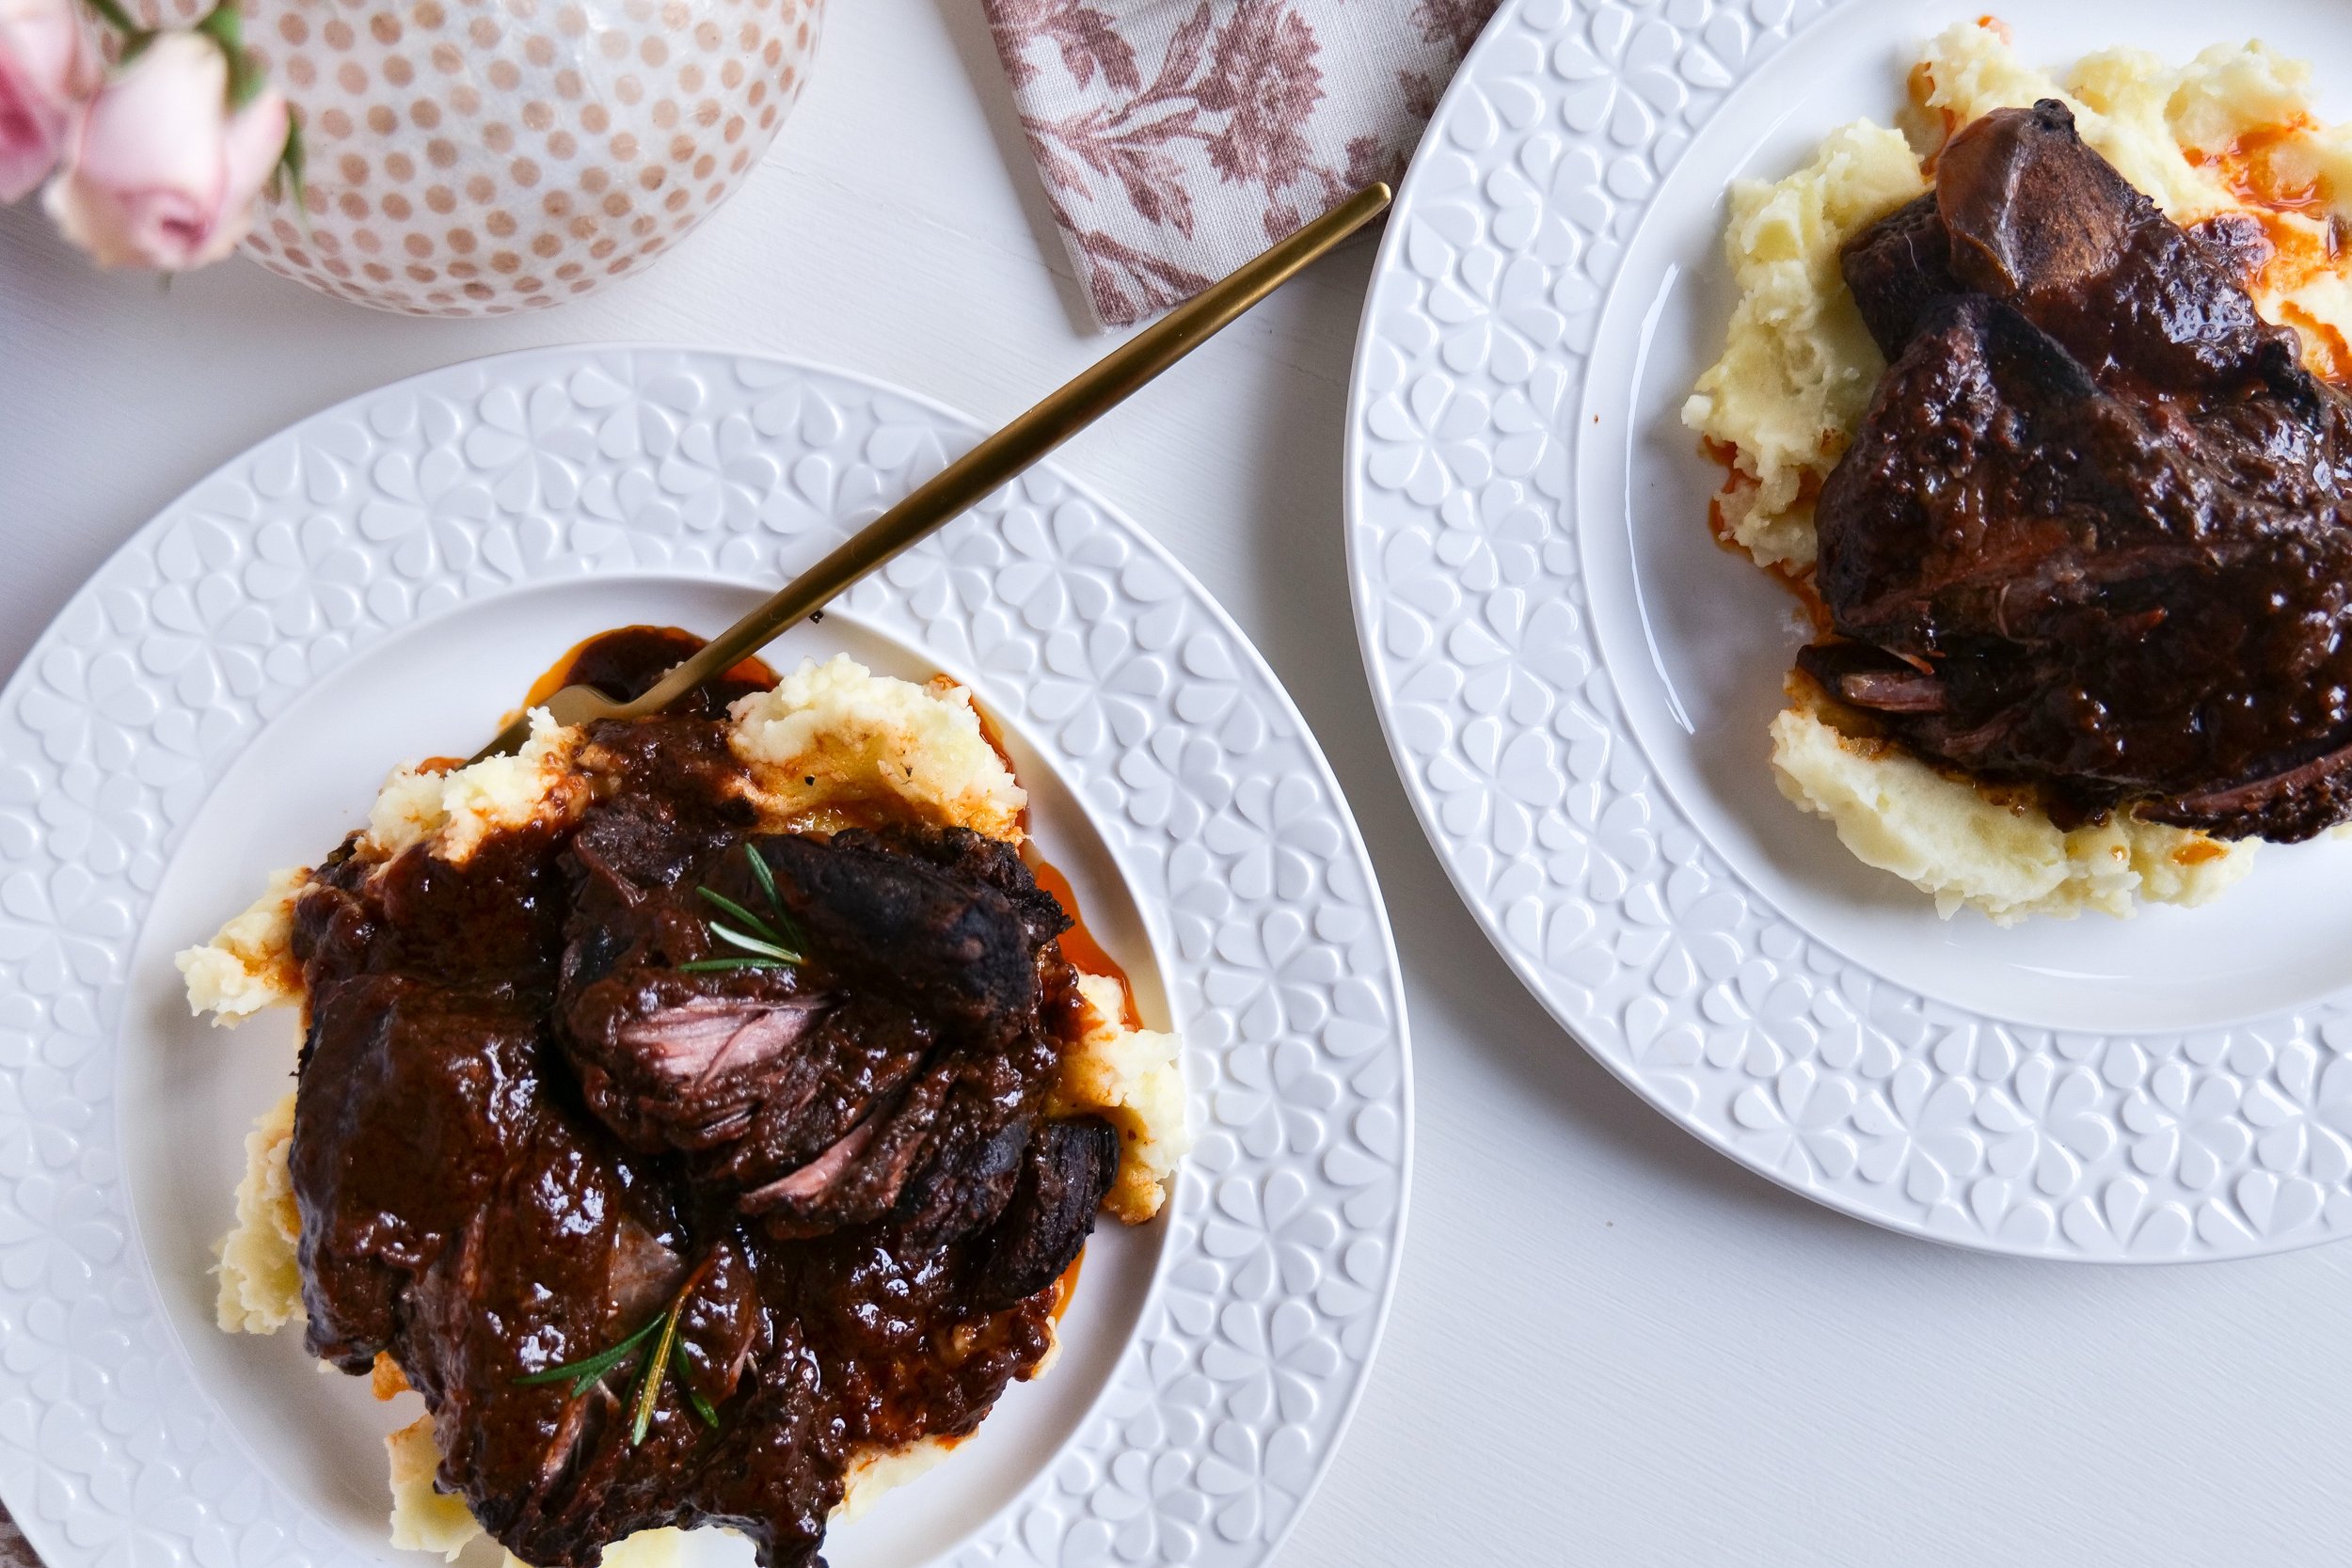
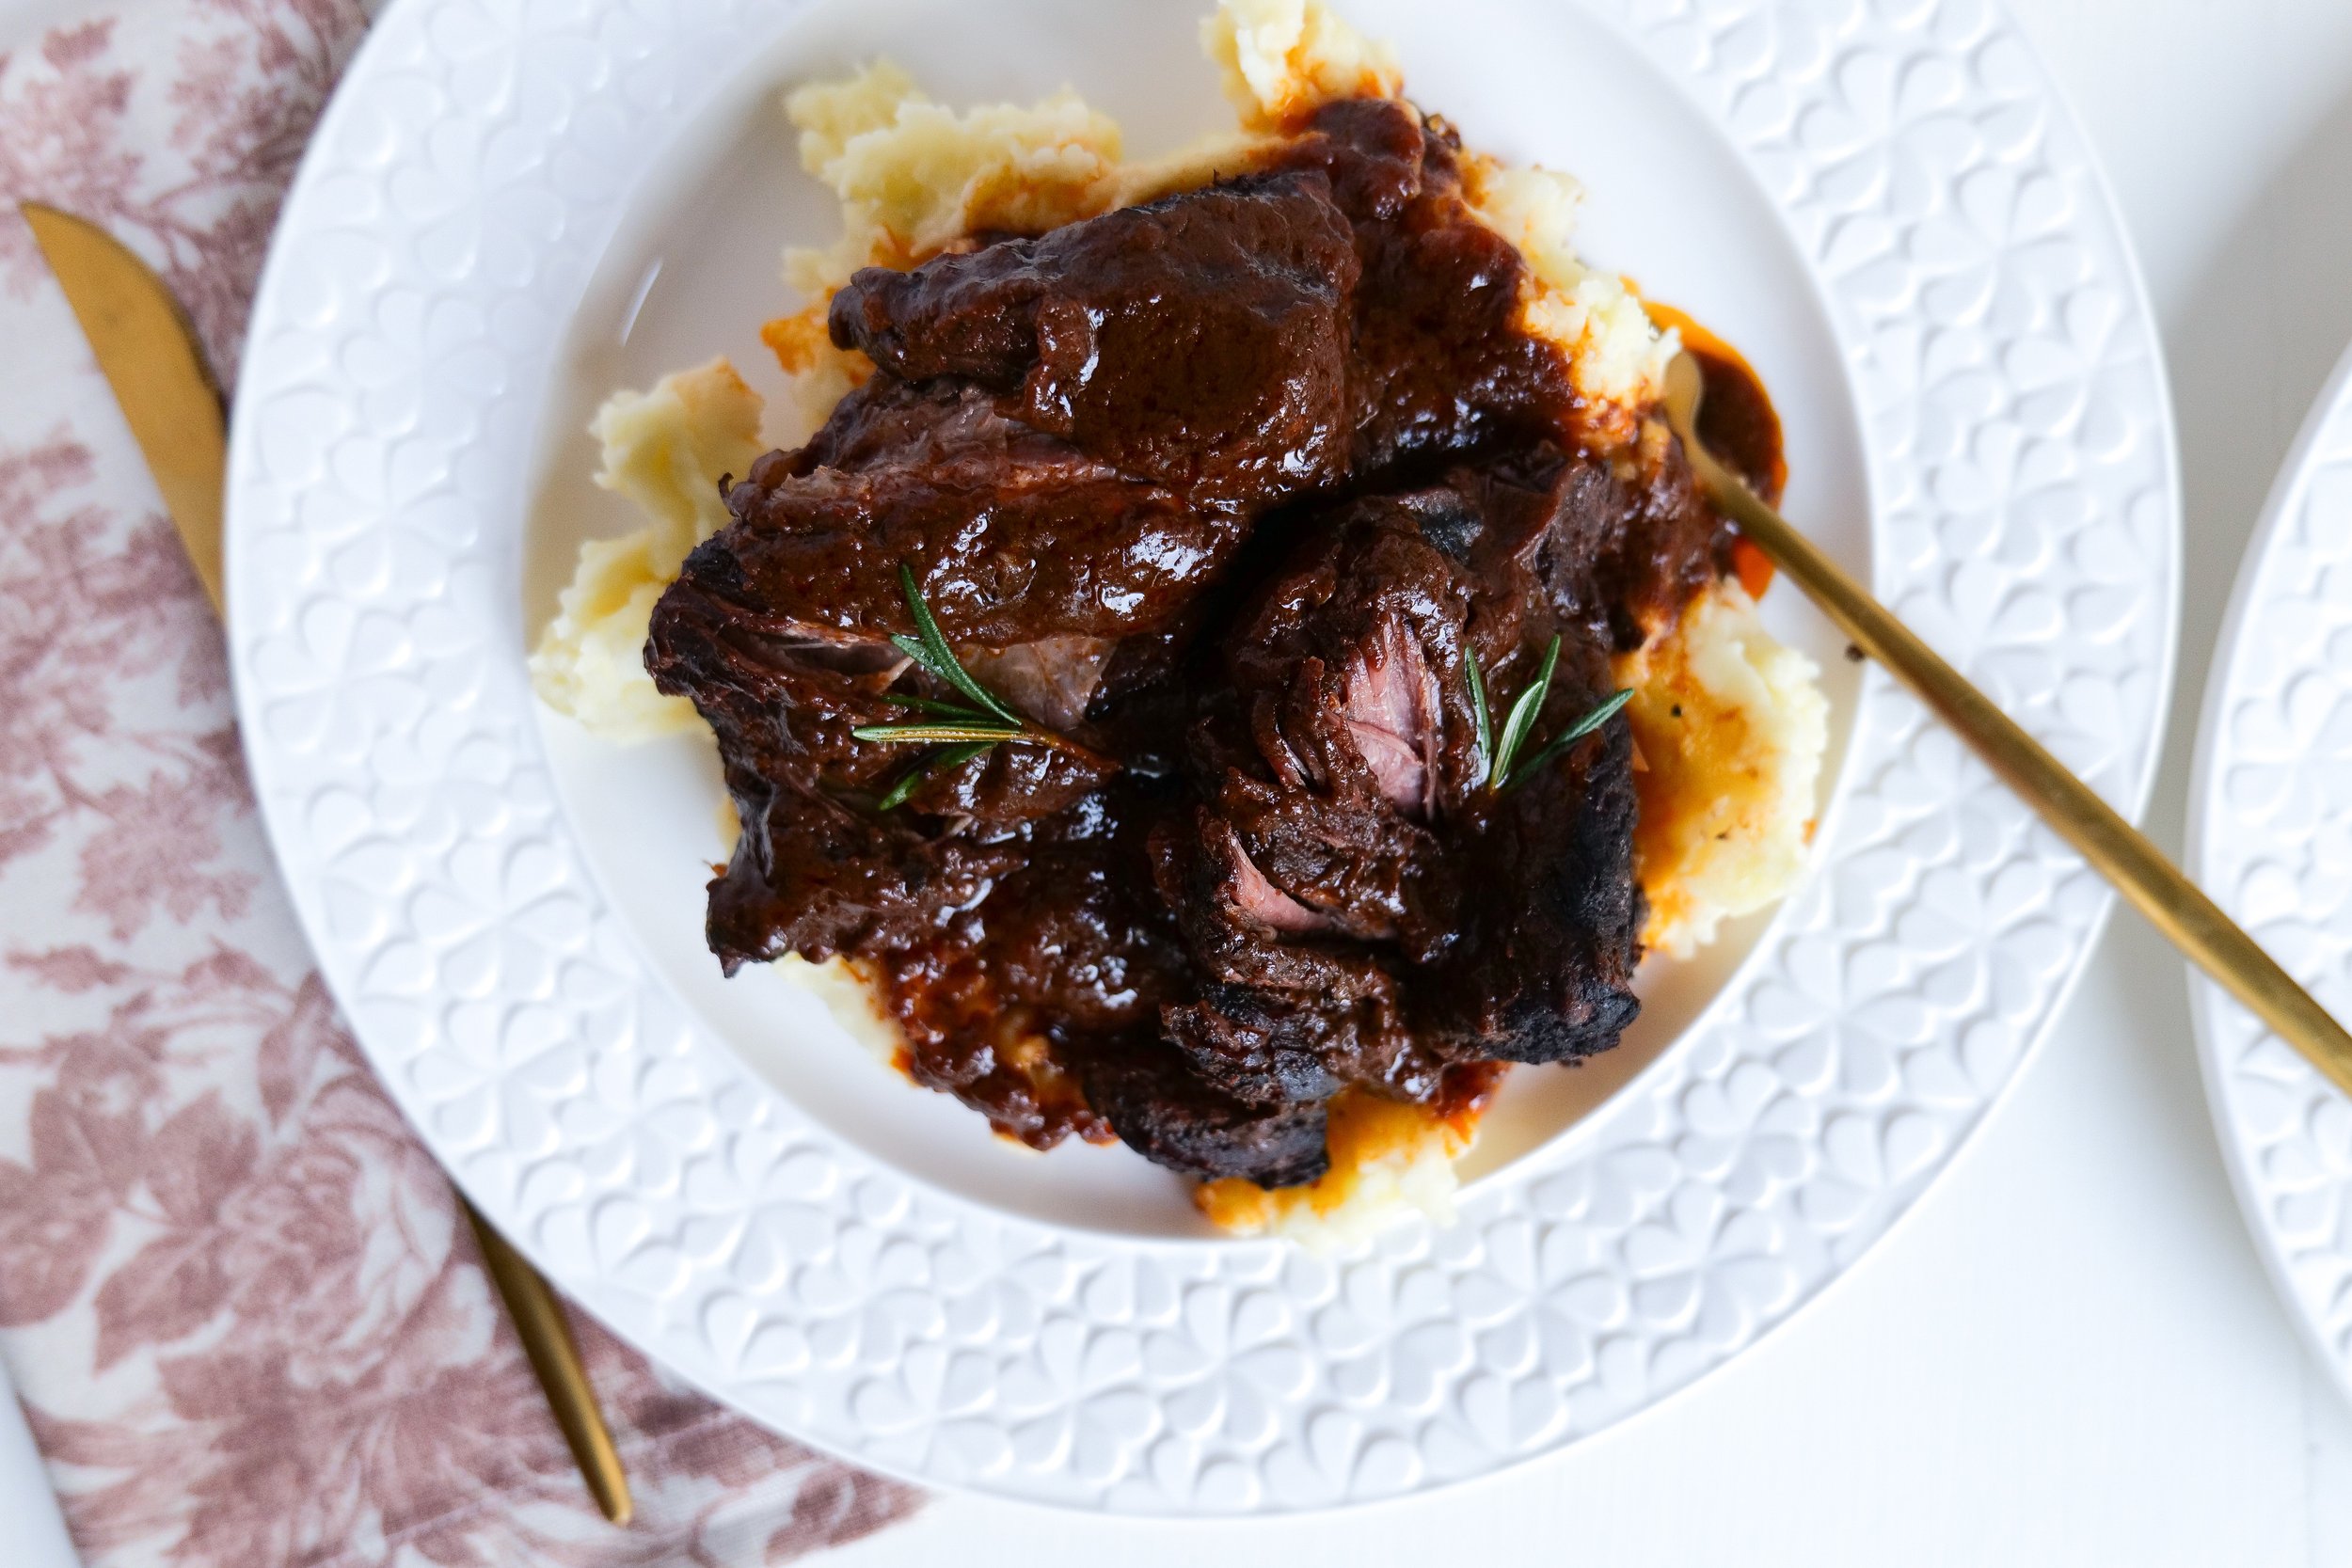
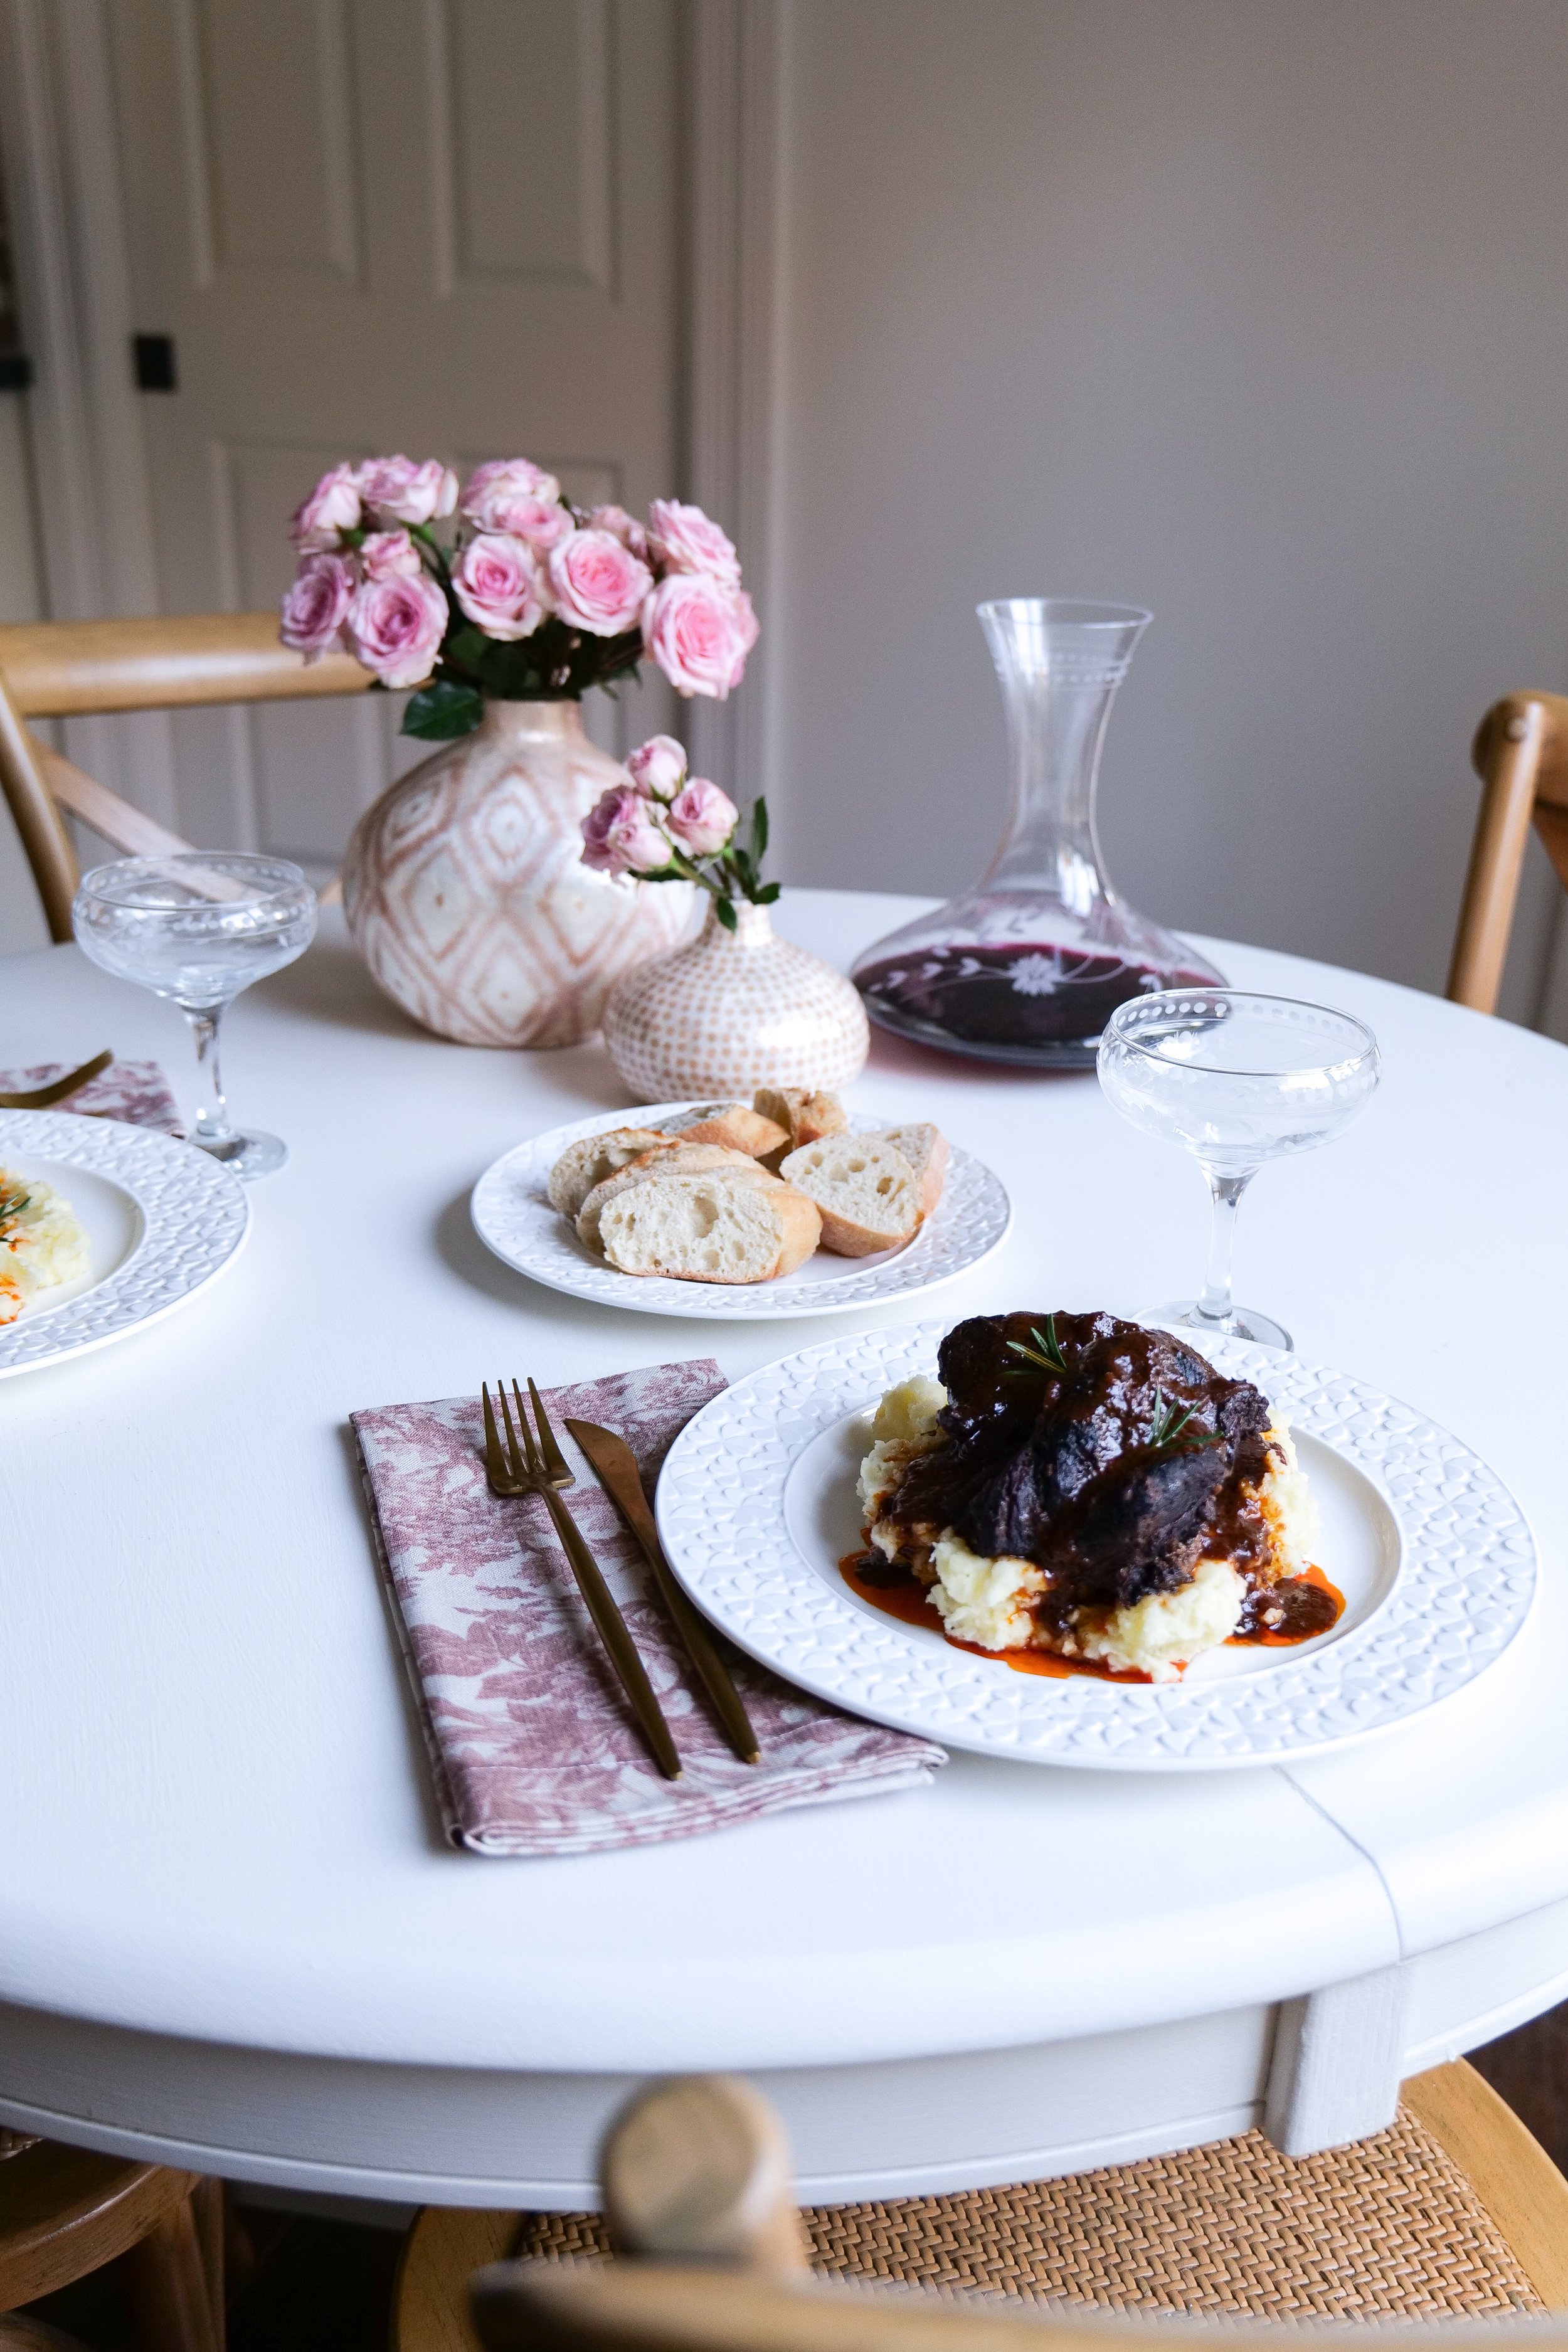
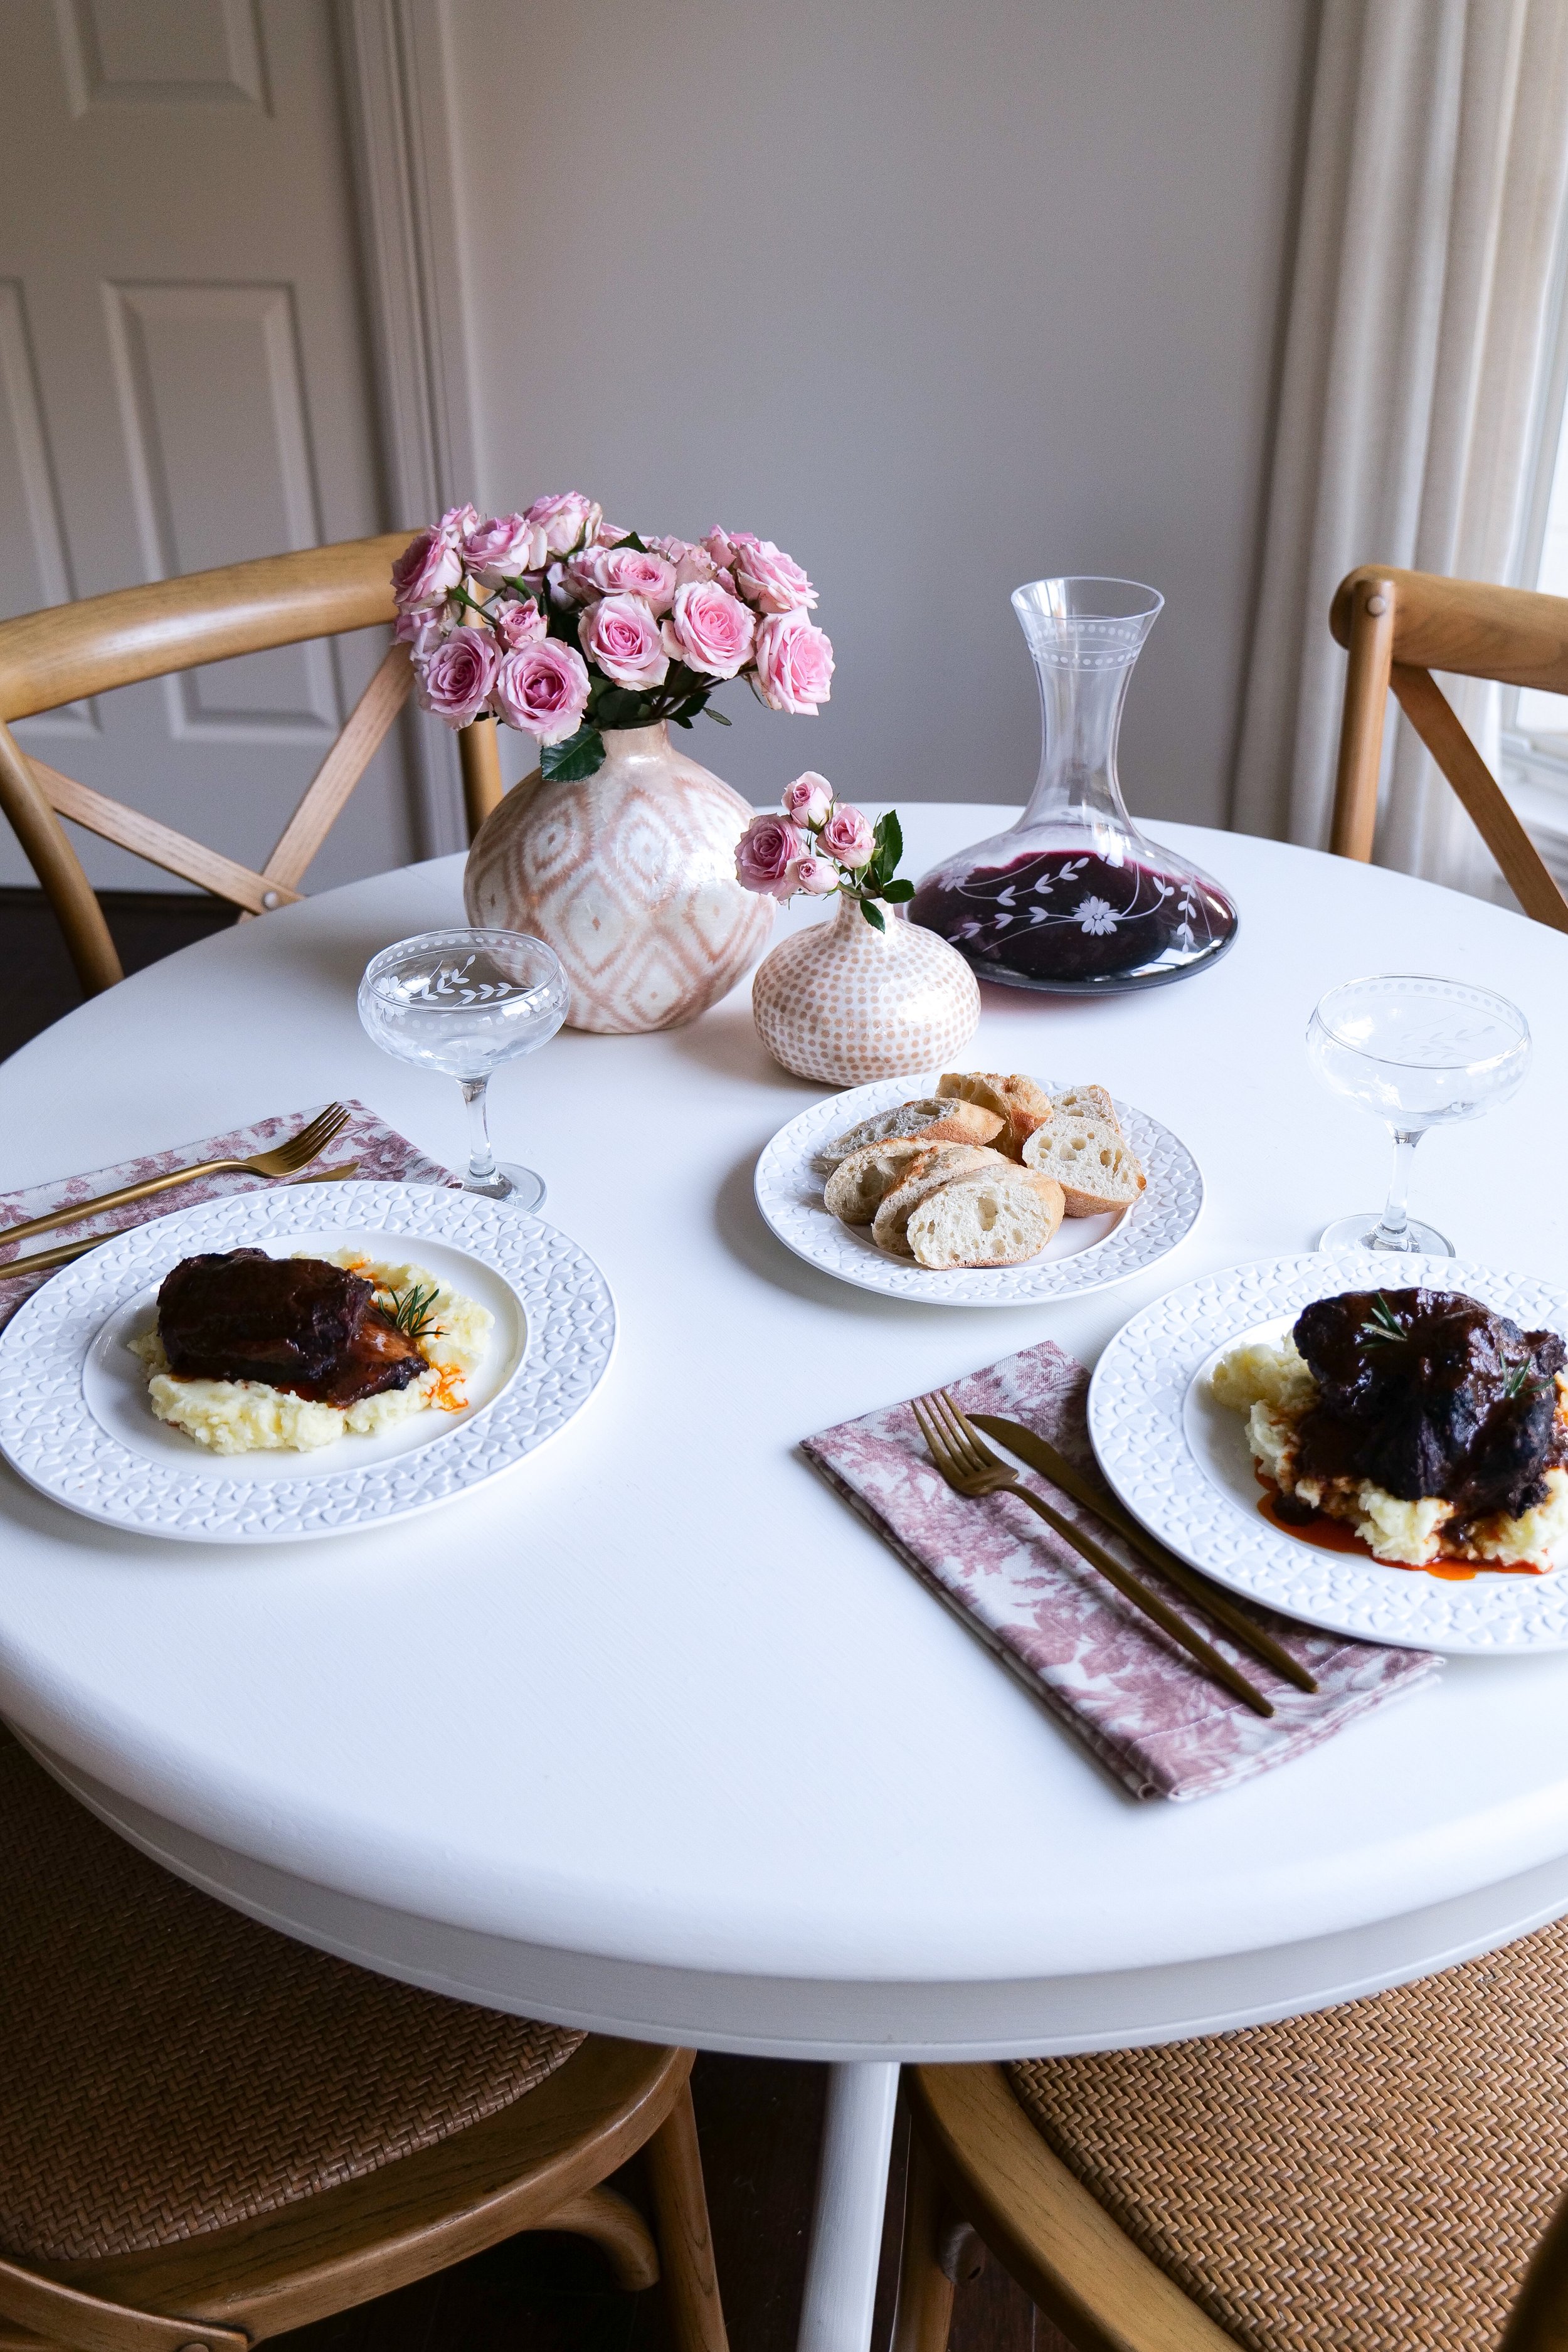
Fall-Off-The-Bone Feast: Mastering Slow Cooker Braised Short Ribs at Home

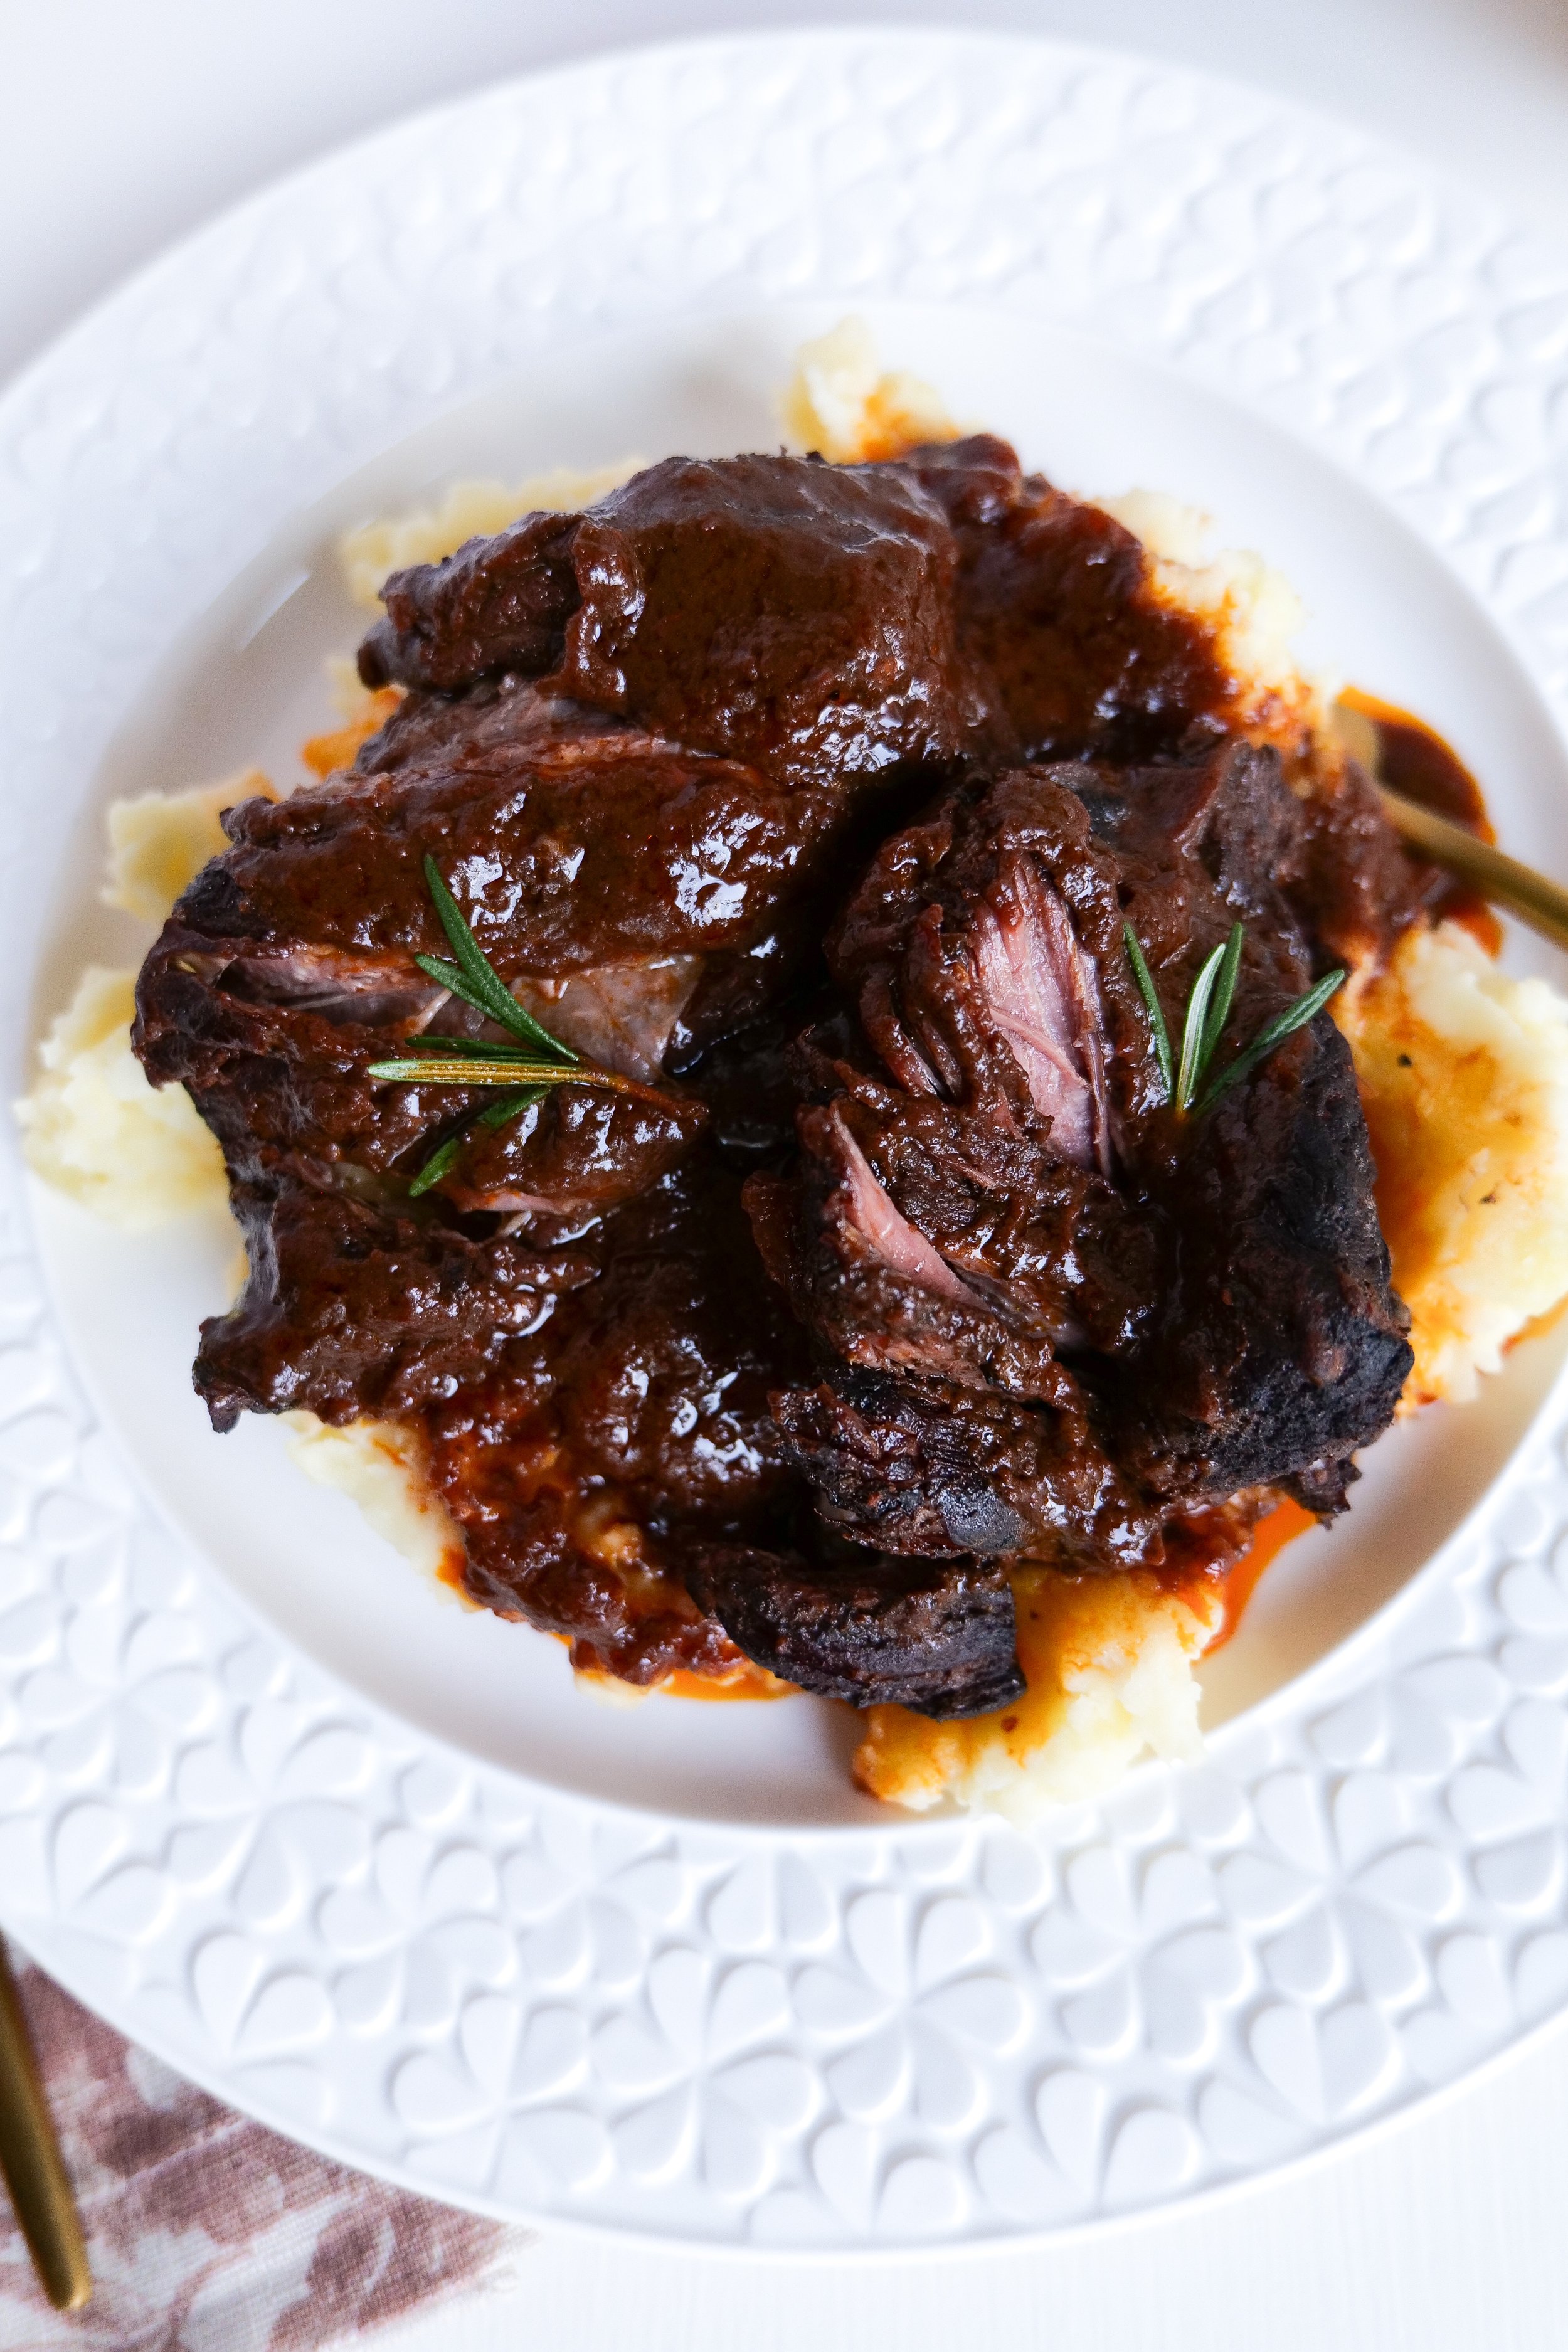
Welcome to the tender, melt-in-your-mouth world of slow-cooked indulgence, where the rich flavors and succulent textures of delicious Braised Short Ribs take center stage. Slow cookers, our trusty kitchen allies, unlock the full potential of this hearty cut of beef, allowing it to simmer gently and tear apart to perfection. In this blog post, we're diving into the art of crafting the ultimate Slow Cooker Braised Short Ribs—a dish that promises to transform your meal into a celebration of deep, comforting flavors. Whether you're a seasoned home cook or a slow cooker novice, you'll discover tips and tricks to making this classic recipe. The low and slow cooking process allows the flavors of the seasonings and broth to fully develop, resulting in a rich and flavorful dish.

Slow cooker braised short ribs are an incredibly flavorful and tender dish that can be easily prepared in a slow cooker. The key to making the perfect slow cooker braised short ribs is to brown the ribs before adding them to the slow cooker. This helps to create a flavorful crust on the outside of the ribs and helps to lock in the juices so that the ribs stay perfectly juicy and succulent. The slow cooking process helps to break down the tough fibers of the meat and creates an incredibly tender dish. The slow cooker should be set to low heat and left to cook for several hours until the ribs are tender and falling off the bone. The liquid used for braising should be a combination of beef broth, red wine, tomato paste, and herbs. Once the ribs are cooked, the liquid can be reduced to a thick and flavorful gravy for a delicious, slow-cooked meal.

What goes well with short ribs?

The ribs are typically served over a bed of mashed potatoes, but there are many options for sides that can be served alongside the short ribs for a complete meal. Roasted potatoes, buttered egg noodles, creamy mashed potatoes, sautéed mushrooms, caramelized onions, roasted root vegetables, buttery green beans, garlic-parsley roasted carrots, grilled corn on the cob, sautéed kale, creamy polenta, and baked macaroni and cheese all pair wonderfully with slow cooked short ribs. For extra flavor, a sauce can be created with the braising liquid from the short ribs and served over the top. With a variety of side dishes, these short ribs can be served for any occasion. Enjoy a comforting meal with minimal effort today and savor the flavors of Slow Cooker Braised Short Ribs.

Should you sear short ribs before slow-cooking?

Slow cooking is becoming an increasingly popular cooking method, and one of the most popular dishes to make in a slow cooker is braised short ribs. Short ribs have a lot of flavor and a good amount of fat, and the slow cooking process helps to bring out that flavor even more. But before you can slow cook your short ribs, you need to sear them. Searing your short ribs before slow-cooking them helps to add flavor and color to the dish. The process of searing creates a caramelized, brown crust on the outside of the short ribs, which helps to create a more flavorful end product. The fat from the short ribs is rendered out during the searing process, which can help to create a richer flavor. The browned bits that are left behind during the searing process are packed with flavor and can be deglazed with a bit of liquid to make a flavorful sauce or gravy. Another reason I love the 360 Cookware Slow Cooker is you only have to dirty one pan to sear and slow-cook these short ribs. So, get out your slow cooker and try making some delicious slow-cooker braised short ribs today!

How do you store your leftover short ribs?

Slow cooker braised short ribs are a delicious and easy meal that can be made in advance and enjoyed any day of the week. The slow cooking process tenderizes the ribs, making them juicy and full of flavor. Plus, the leftovers can be stored for later! Refrigerate leftover short ribs in their cooking liquid in an air-tight container for maximum freshness and use within 3 days. If you want to store the short ribs longer, you can freeze them in an air-tight container or freezer bag for up to 3-4 months. To reheat, defrost the short ribs in the refrigerator and heat them in a pot on the stove or in the oven. Enjoy the melt-in-your-mouth short ribs with some mashed potatoes, roasted vegetables, or a fresh salad.

Ingredients

4 tablespoons salted butter

3 pounds bone-in short ribs

1/2 tsp sea salt

1/2 tsp fresh cracked pepper

1 large yellow onion

1/2 cup chopped celery

1/2 cup chopped carrots

4 cloves minced garlic

1/4 cup tomato paste

2 cups red wine

3 cups beef broth

2 bay leaves

2 sprigs fresh thyme

2 sprigs fresh rosemary

Instructions

1. Using your 360 Slow cooker plug the base in and turn to 3 setting. Add the pot to the stovetop on medium-high heat. Let warm and add butter to the pan and let melt.

2. While butter is melting pat dry short ribs and season with salt and pepper. Add to hot pan and sear on all sides for 5 minutes each. Remove from pan when done.

3. Add in garlic and saute until fragrant. Add in onion, celery and carrots. Sautee for 5-6 minutes and pour in wine. Let come to a simmer and continue until the wine reduces in size by half.

4. Once wine is reduced add in beef broth, bay leaves, thyme, rosemary and short ribs. Move the pot onto the slow cooker base, cover and cook for 6-8 hours or until meat is falling off the bone.

5. Remove short ribs and strain out vegetables. Return juice to pot and place over the stovetop on medium-high heat again. Let come to a simmer and cook until thickened. Serve short ribs over mashed potatoes and pour juices over top. Enjoy!

Other Delicious Slow Cooker Meals:

Slow Cooker Orange Chicken

Slow Cooker Hot Cocoa Bar Station

Enjoy Delicious Stuffed Italian Sausage Pasta Shells Tonight!

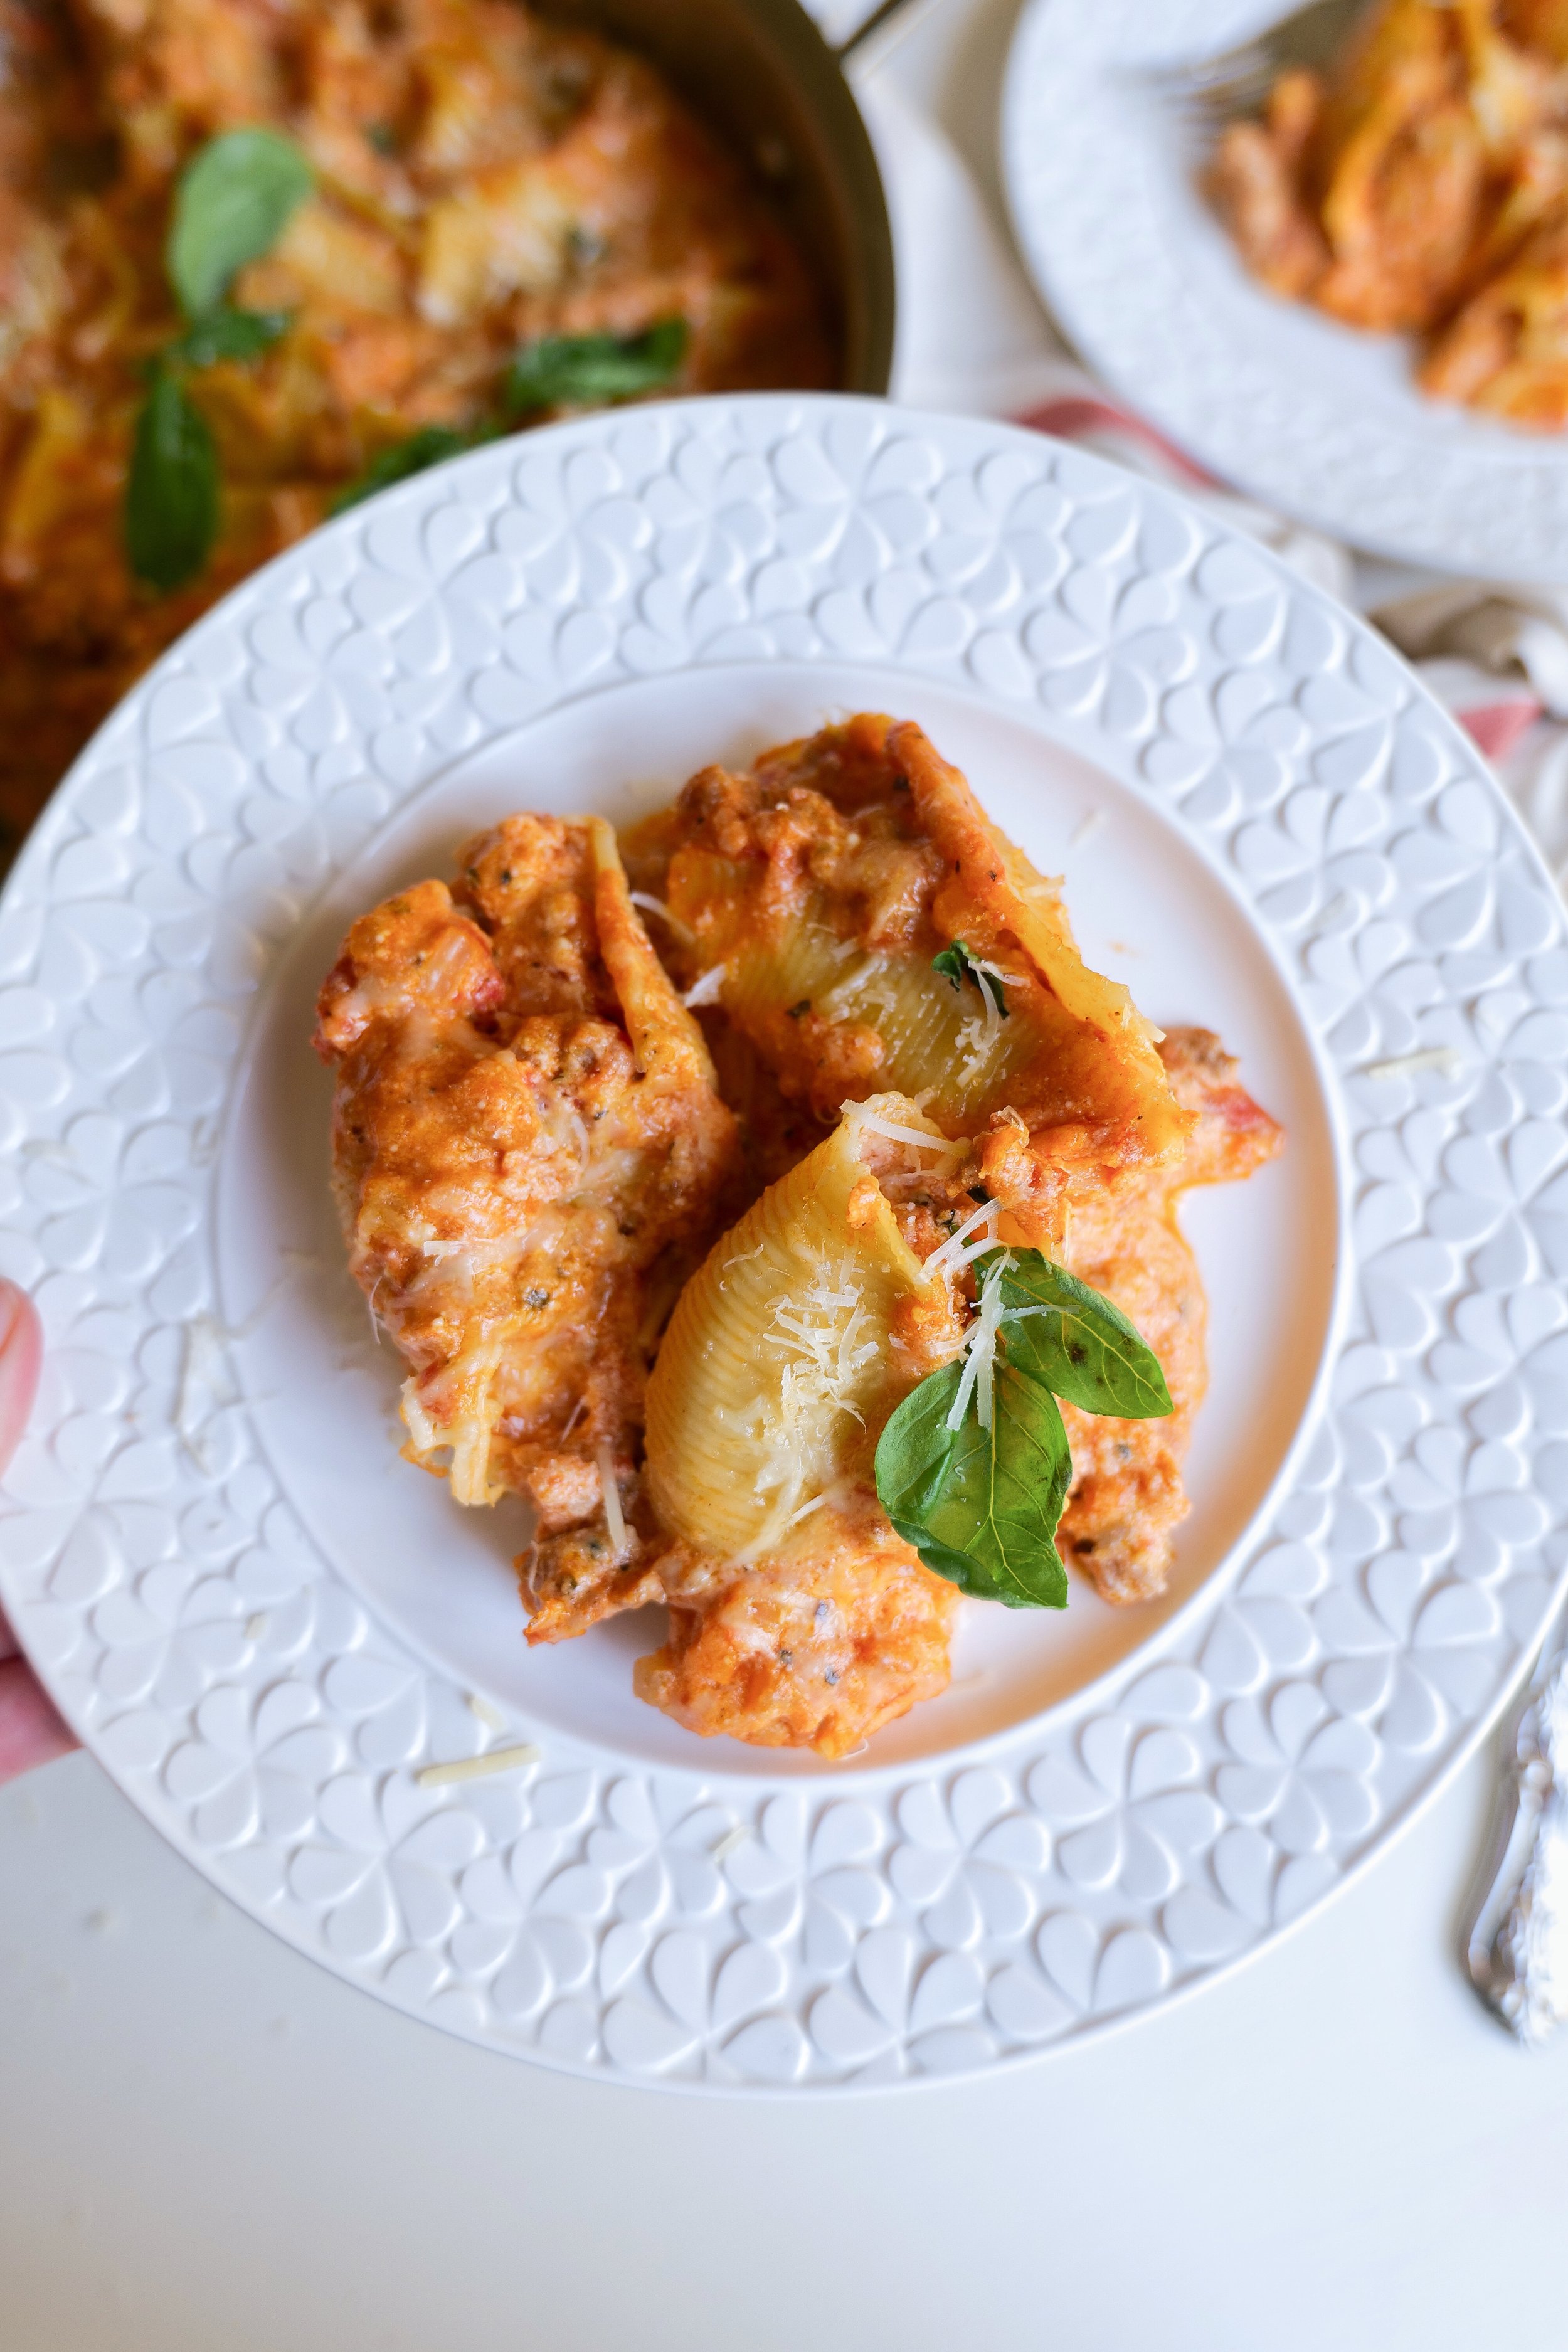
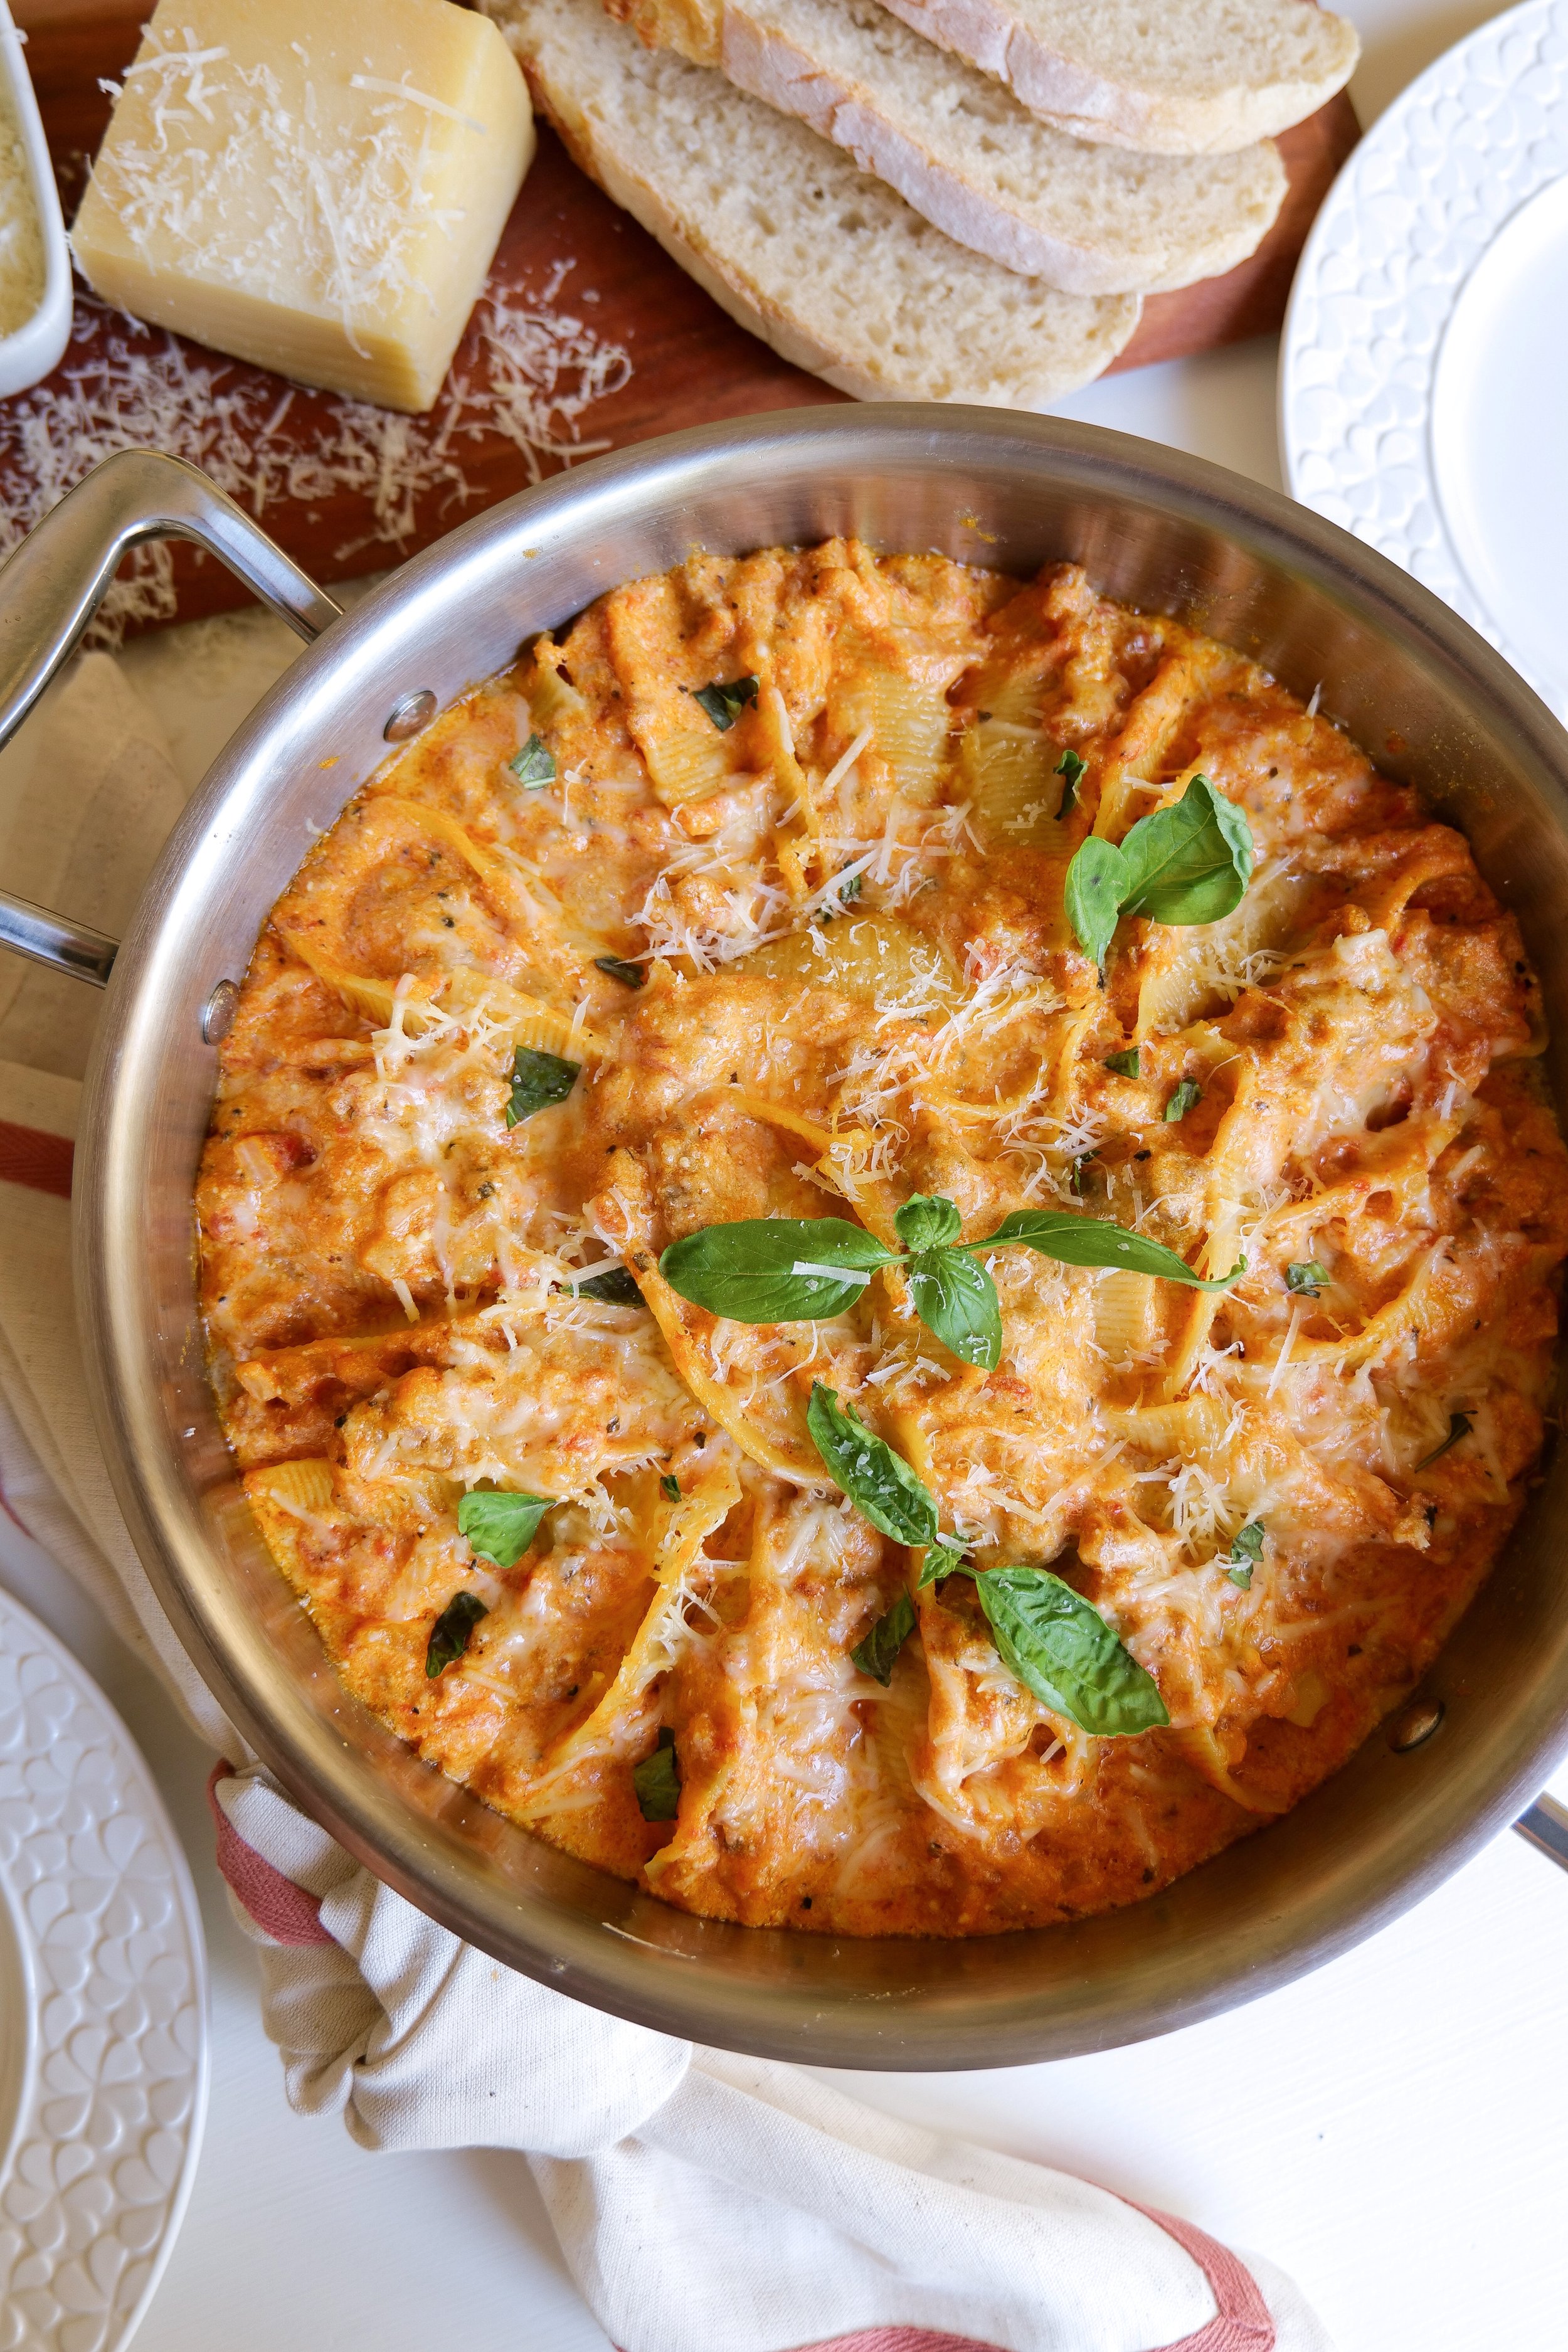
If you're looking for a deliciously hearty dinner idea, you have come to the right place! Italian Sausage Stuffed Pasta Shells are the perfect meal for any occasion. Not only are these stuffed shells incredibly flavorful, but they are also very easy to make. The combination of tasty Italian sausage, creamy ricotta, and gooey mozzarella cheese will make this dish a hit at your table!

Ground Beef Versus Ground Sausage

Ground beef is the perfect addition to the dish as it adds a hearty texture and flavor. Ground sausage is a more concentrated flavor and provides more spices and herbs, although it is a bit higher in fat and calories than ground beef in some cases. Ground beef is also a great source of protein and helps to make the dish more filling. For added depth of flavor, ground sausage adds a rich, smoky flavor. It is easy to substitute ground beef for ground sausage, as it is a less expensive alternative. Ground beef still provides all of the protein and texture of ground sausage, as well as a delicious flavor. No matter what protein you decide to add the result is sure to be a delicious, hearty dish that is sure to be a hit with the whole family.

Serving and Storage

Italian Sausage Stuffed Pasta Shells are a delicious and hearty meal that can be enjoyed for any dinner or lunch. This easy-to-make dish is made by stuffing pasta shells with Italian sausage, cheese, and vegetables, and then baking it in the oven until it’s golden and bubbly. For a flavorful and beautiful presentation, this easy Italian dish can be garnished with extra parmesan cheese, parsley, and/or red pepper flakes.

The Italian Sausage Stuffed Pasta Shells should be served warm. Any leftovers can be stored in an airtight container in the refrigerator and reheated in the oven or microwave. You can also freeze the Italian Sausage Stuffed Shells for up to 3 months. To do this, place the stuffed pasta shells in a single layer on a baking sheet and freeze until solid. Then, place them in a freezer-safe container or bag and store them in the freezer. When ready to enjoy, thaw the Italian Sausage Stuffed Pasta Shells in the refrigerator overnight before reheating.

Ingredients

1 package of jumbo pasta shells

2 tbsp butter

2 cloves of garlic, minced

1/2 yellow onion diced

1 pound of Italian sausage

3 cups ricotta cheese

2 cups of shredded mozzarella cheese

1/2 cup of grated parmesan cheese

1 large egg

1 tsp Italian seasoning

1 jar of marinara sauce

Fresh basil for garnish

Instructions

1. Start by preheating the oven to 350°F (176°C).

2. Bring a large pot of water to boil and cook the pasta shells until al dente.

3. While shells are boiling, take a large skillet and melt butter. Add in garlic and onion and cook until fragrant and the onion is opaque and the sausage is cooked through. Add half the pasta sauce.

3. In another bowl mix together ricotta, parmesan cheese, egg, Italian seasoning, salt and pepper. Add ricotta mixture to the sausage mixture.

4. Next, spoon the sausage mixture into the cooked (and drained) pasta shells and place them in a greased baking dish.

5. Pour the remainder of the pasta sauce over top of shells until evenly saturated and sprinkle the mozzarella cheese on top of the pasta shells.

6. Bake in the preheated oven for 20-25 minutes, or until the cheese is melted and bubbly. Serve warm and enjoy!

This Italian Sausage Stuffed Pasta Shells dish combines the flavors of Italian sausage, garlic, onion, bell pepper, tomato sauce, cream cheese, and Parmesan cheese. It's an easy and delicious meal that is sure to be a hit with the whole family. The pasta shells are stuffed with the sausage mixture and topped with mozzarella cheese. The end result is an ooey-gooey hearty and cheesy dish that is sure to satisfy any craving for Italian comfort food.

For a delicious Italian dinner, try these Italian Sausage Stuffed Pasta Shells. This easy and flavorful dish is sure to become a family favorite. With just a few simple ingredients, you can have a delicious meal on the table in no time. Preheat the oven, cook the pasta shells, and stuff with the sausage mixture. Top with cheese and bake until the cheese is melted and bubbly. Serve warm with a side salad and warm garlic bread for a complete meal and enjoy!

Recipe Shortcuts

Italian Sausage Stuffed Pasta Shells are a delicious and easy meal that you can make in no time. The pre-cooked Italian sausage makes this recipe a breeze, as you don't have to worry about cooking it before adding it to the dish. To save even more time, you can buy a jar of your favorite store-bought tomato sauce, instead of making your own. Ricotta cheese adds a creamy texture to the dish without too much extra effort. To top it all off, you can use pre-shredded cheese and pre-cooked pasta shells to make this dish come together quickly and easily.

Other Pasta Dishes You Will Love:

The Ultimate Guide to Making A Delicious White Pasta Sauce

Garlic Mushroom & Shrimp Pasta

Baked Burrata Pumpkin Ziti with Pork Sausage Recipe

Delicious One-Pot Italian Lasagna Soup for Busy Weeknights!

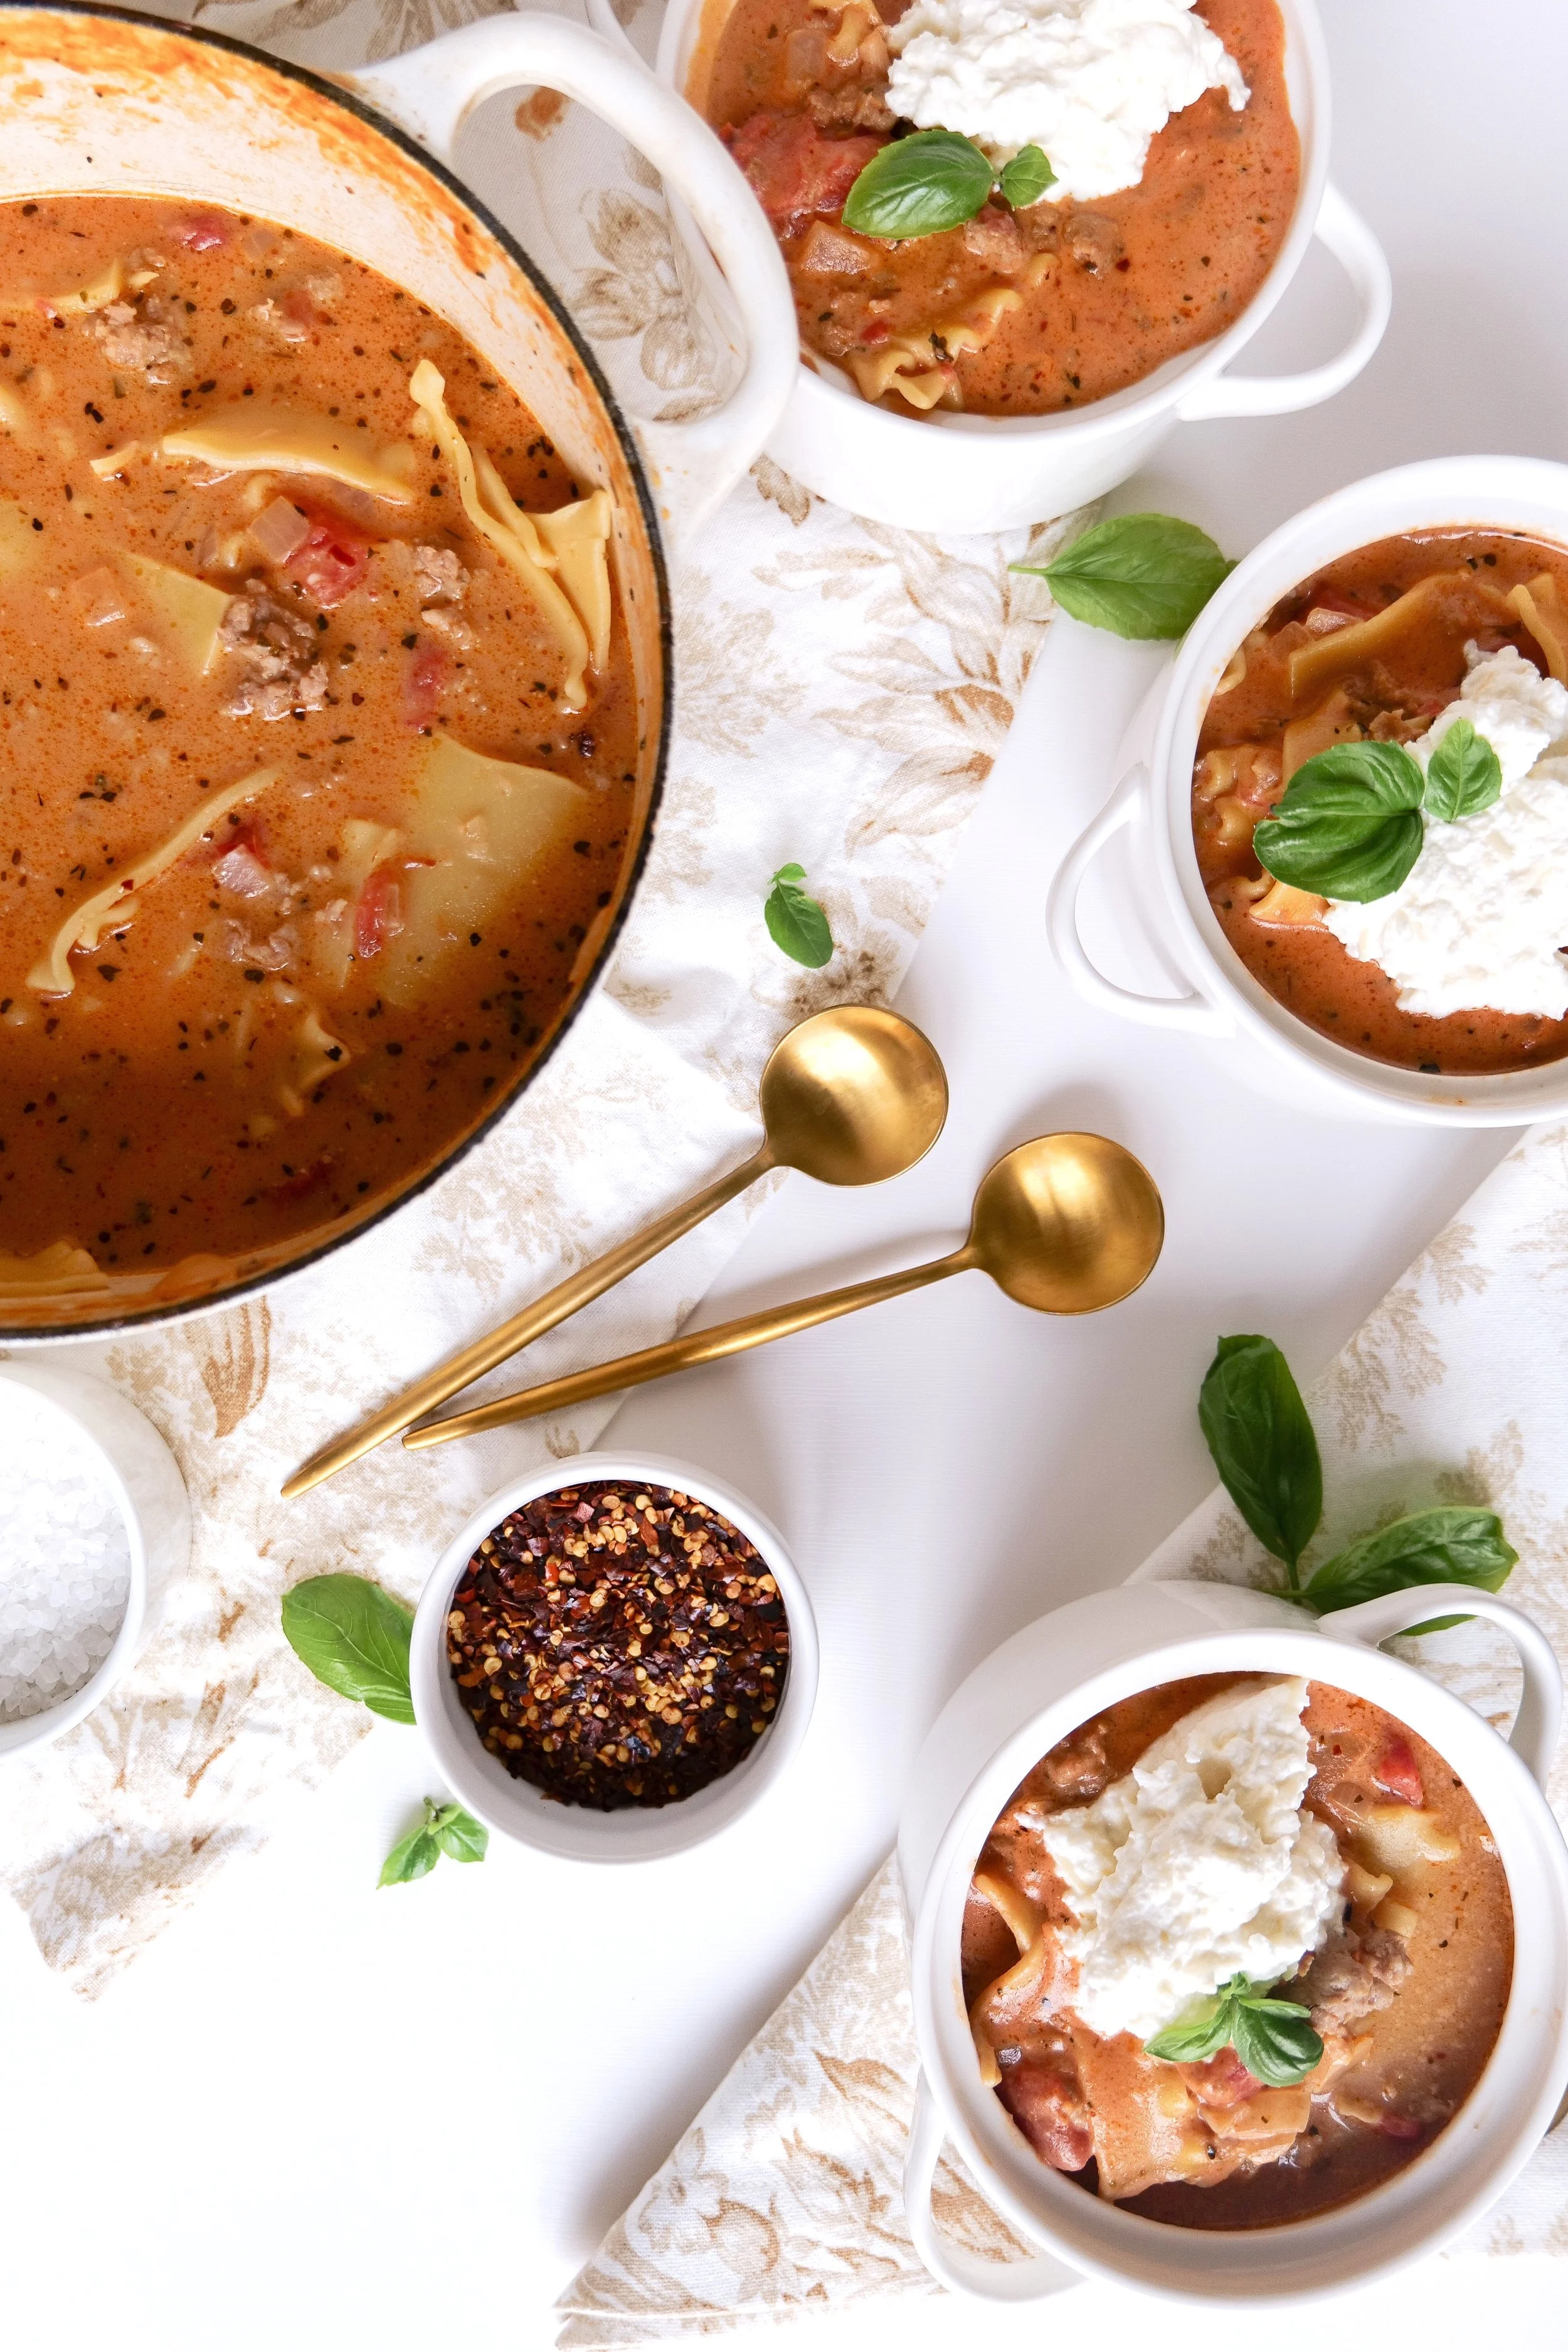
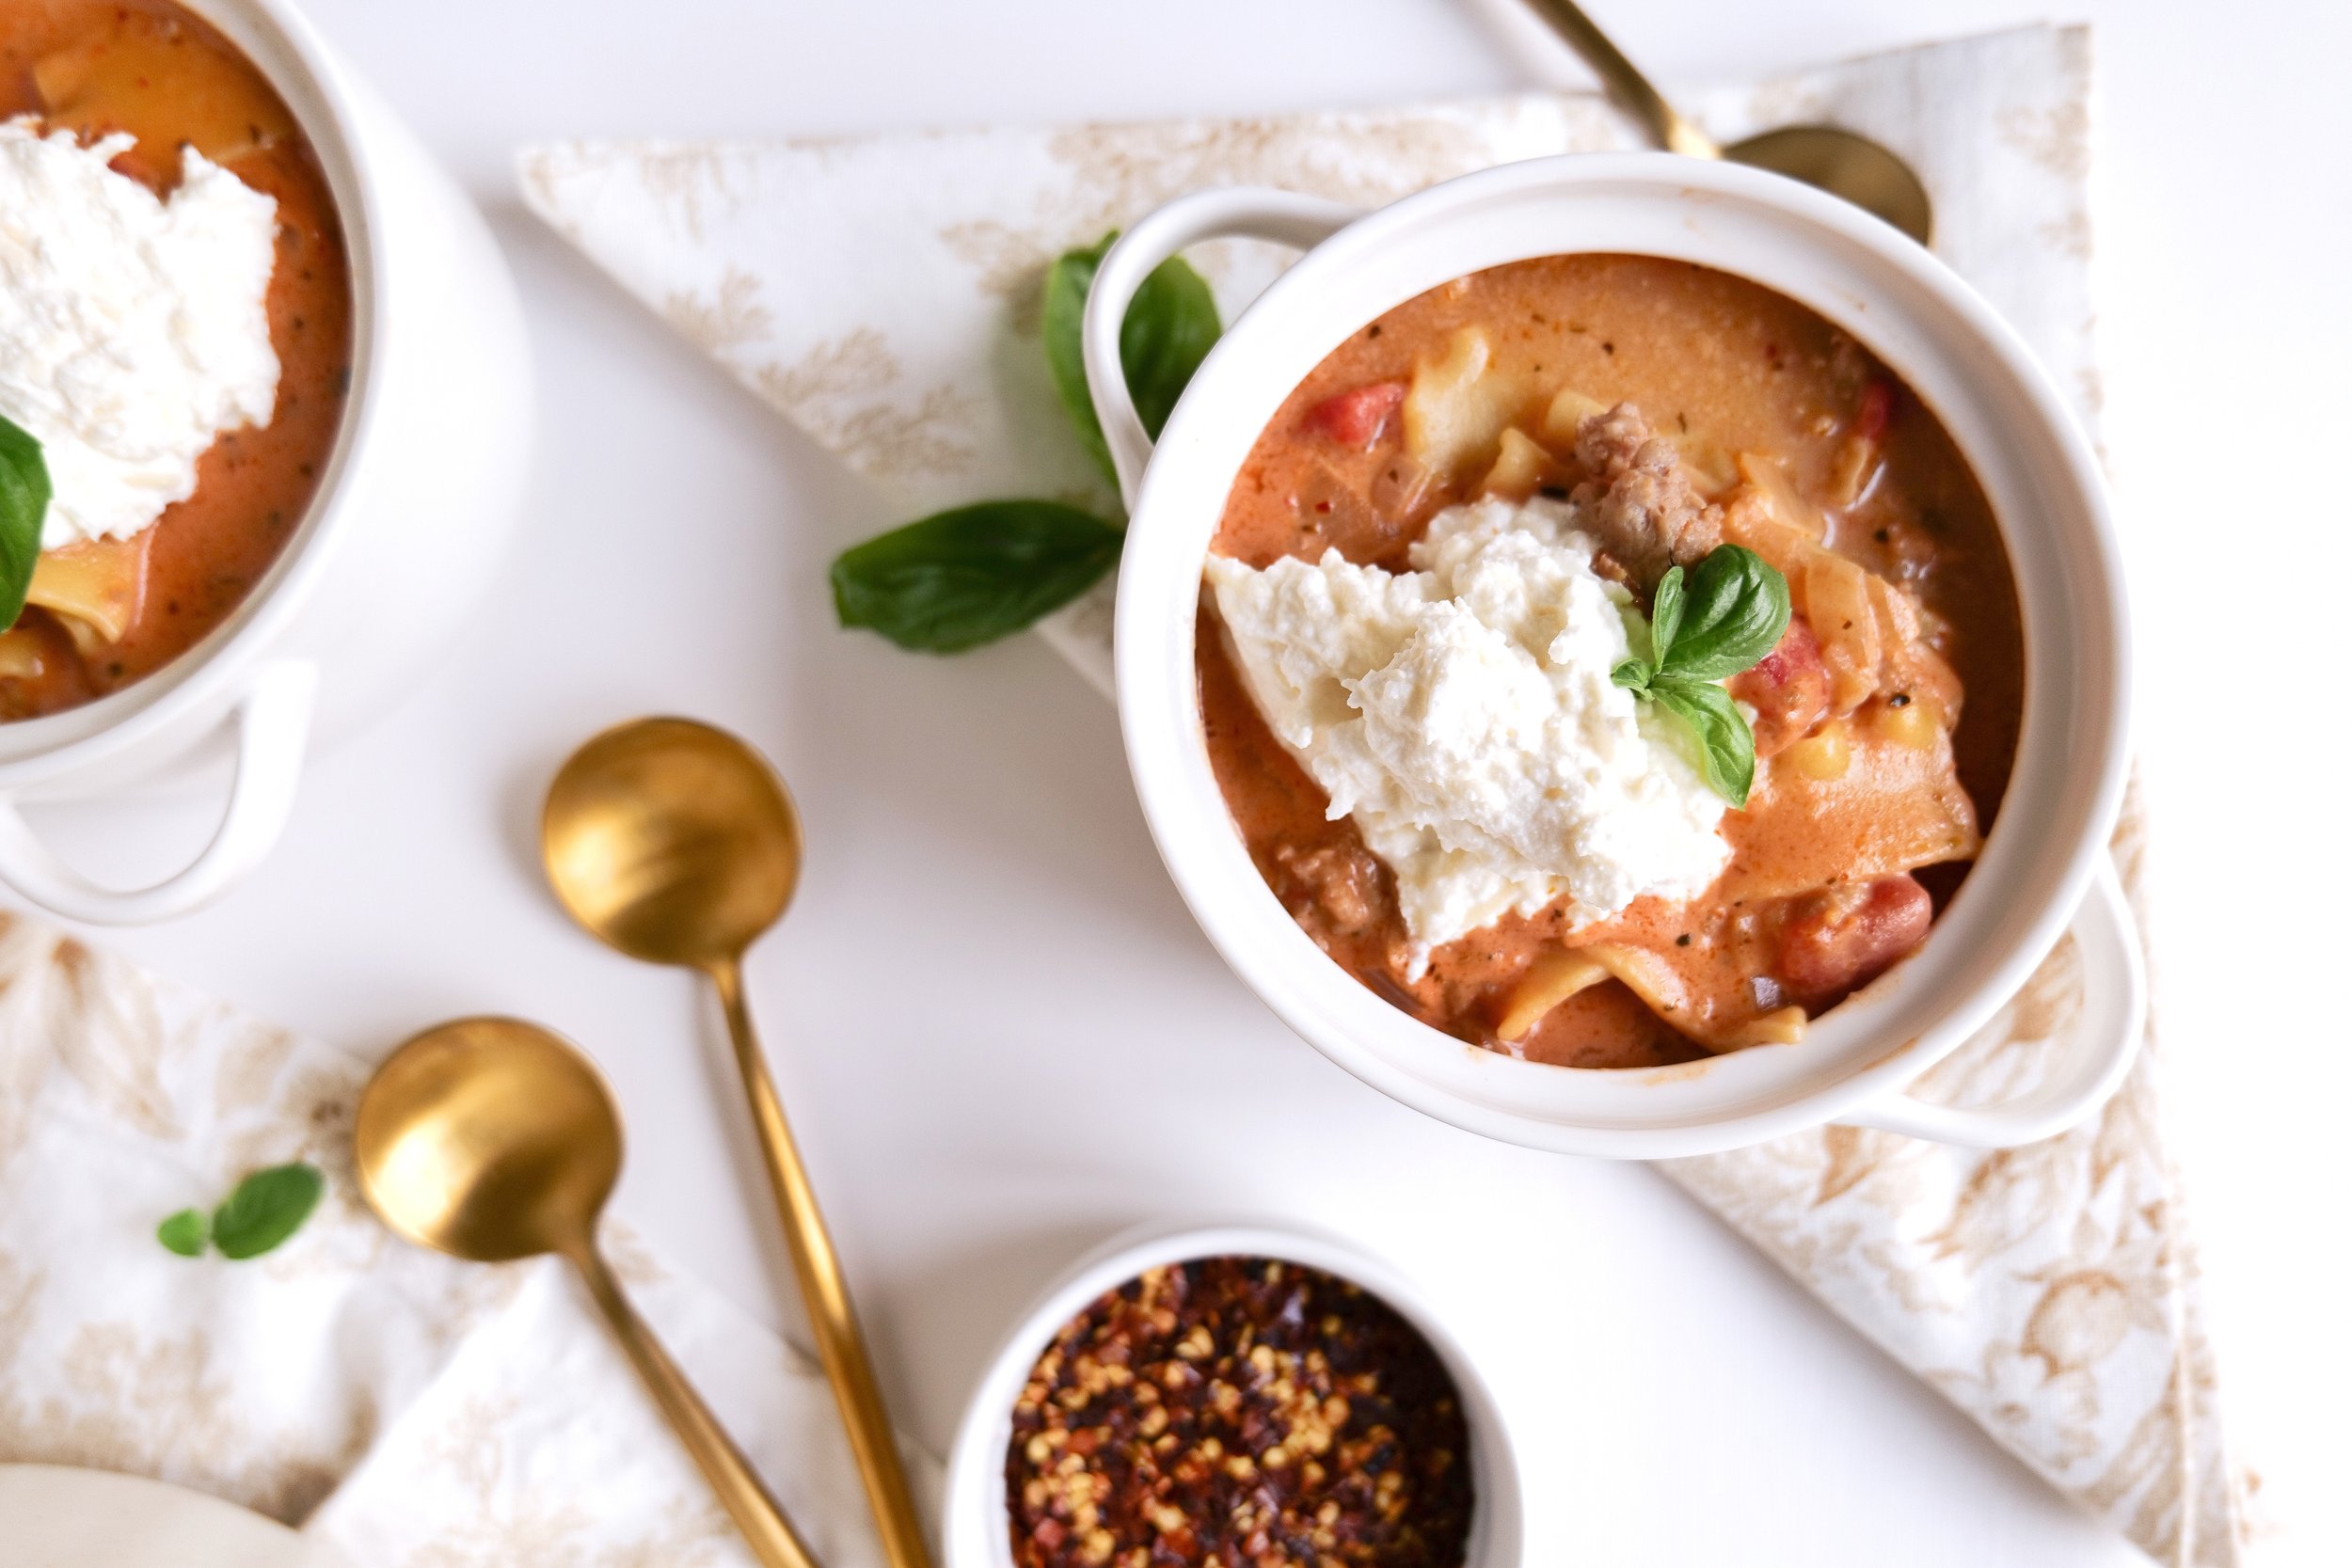
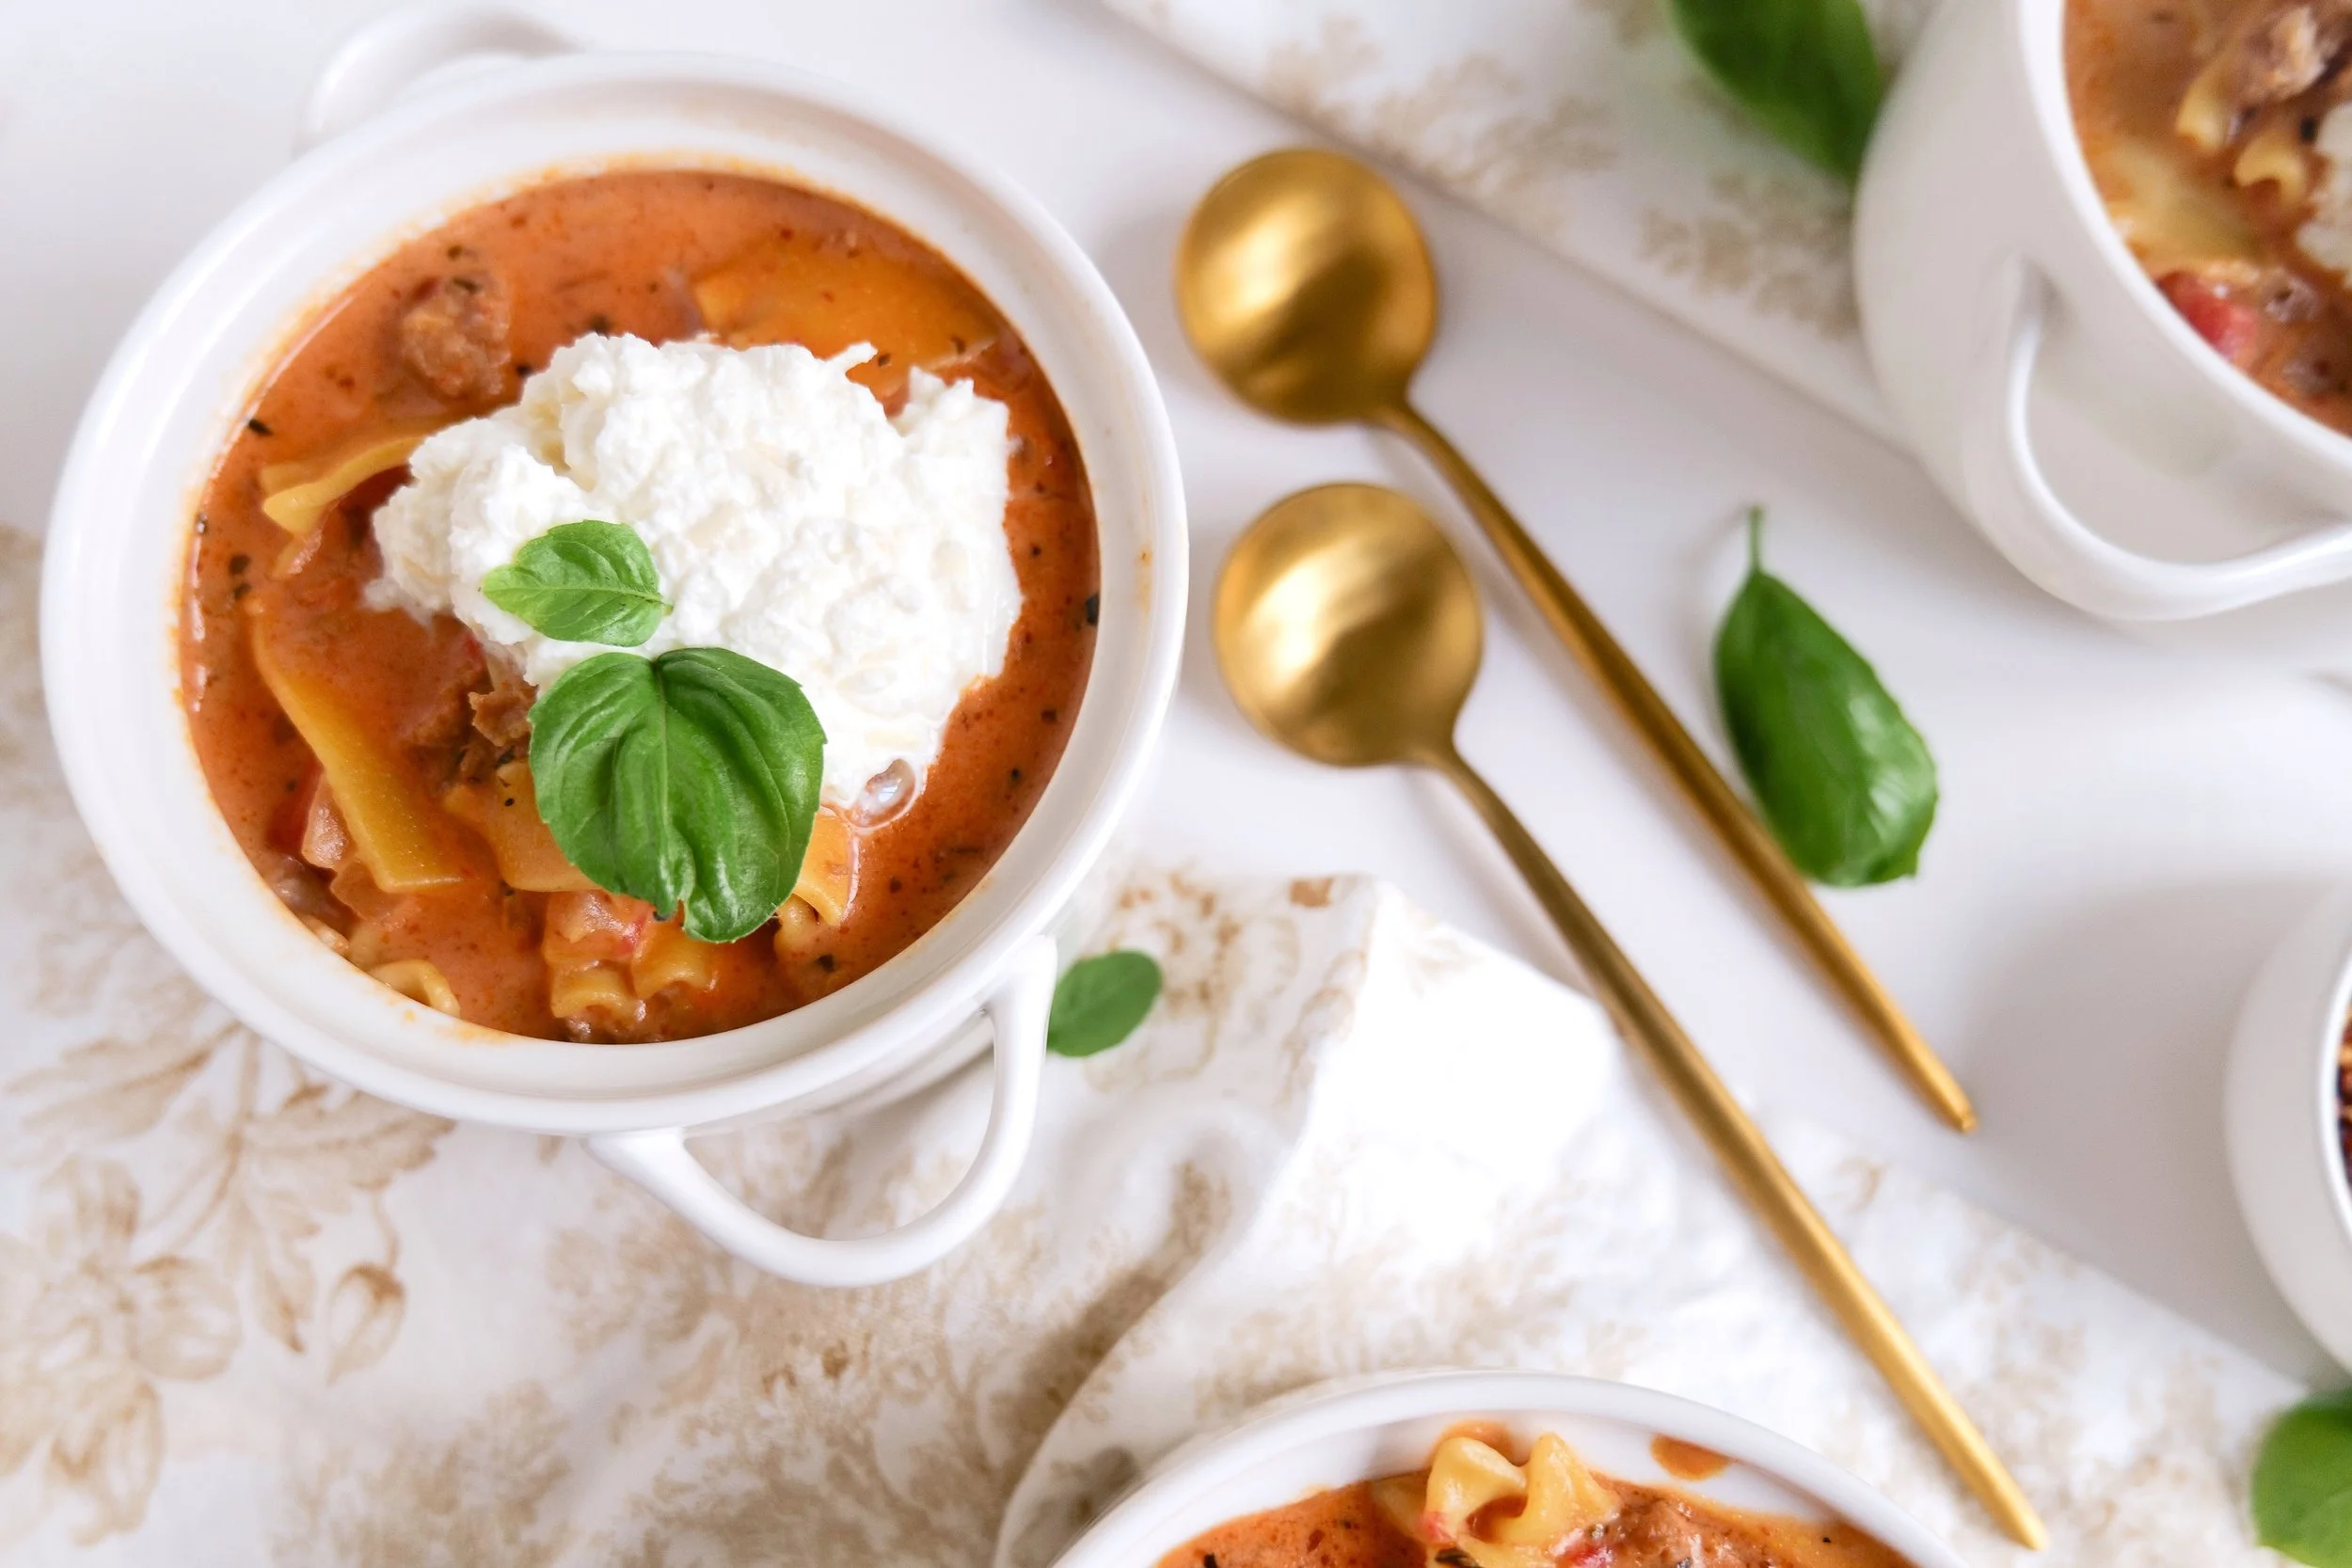
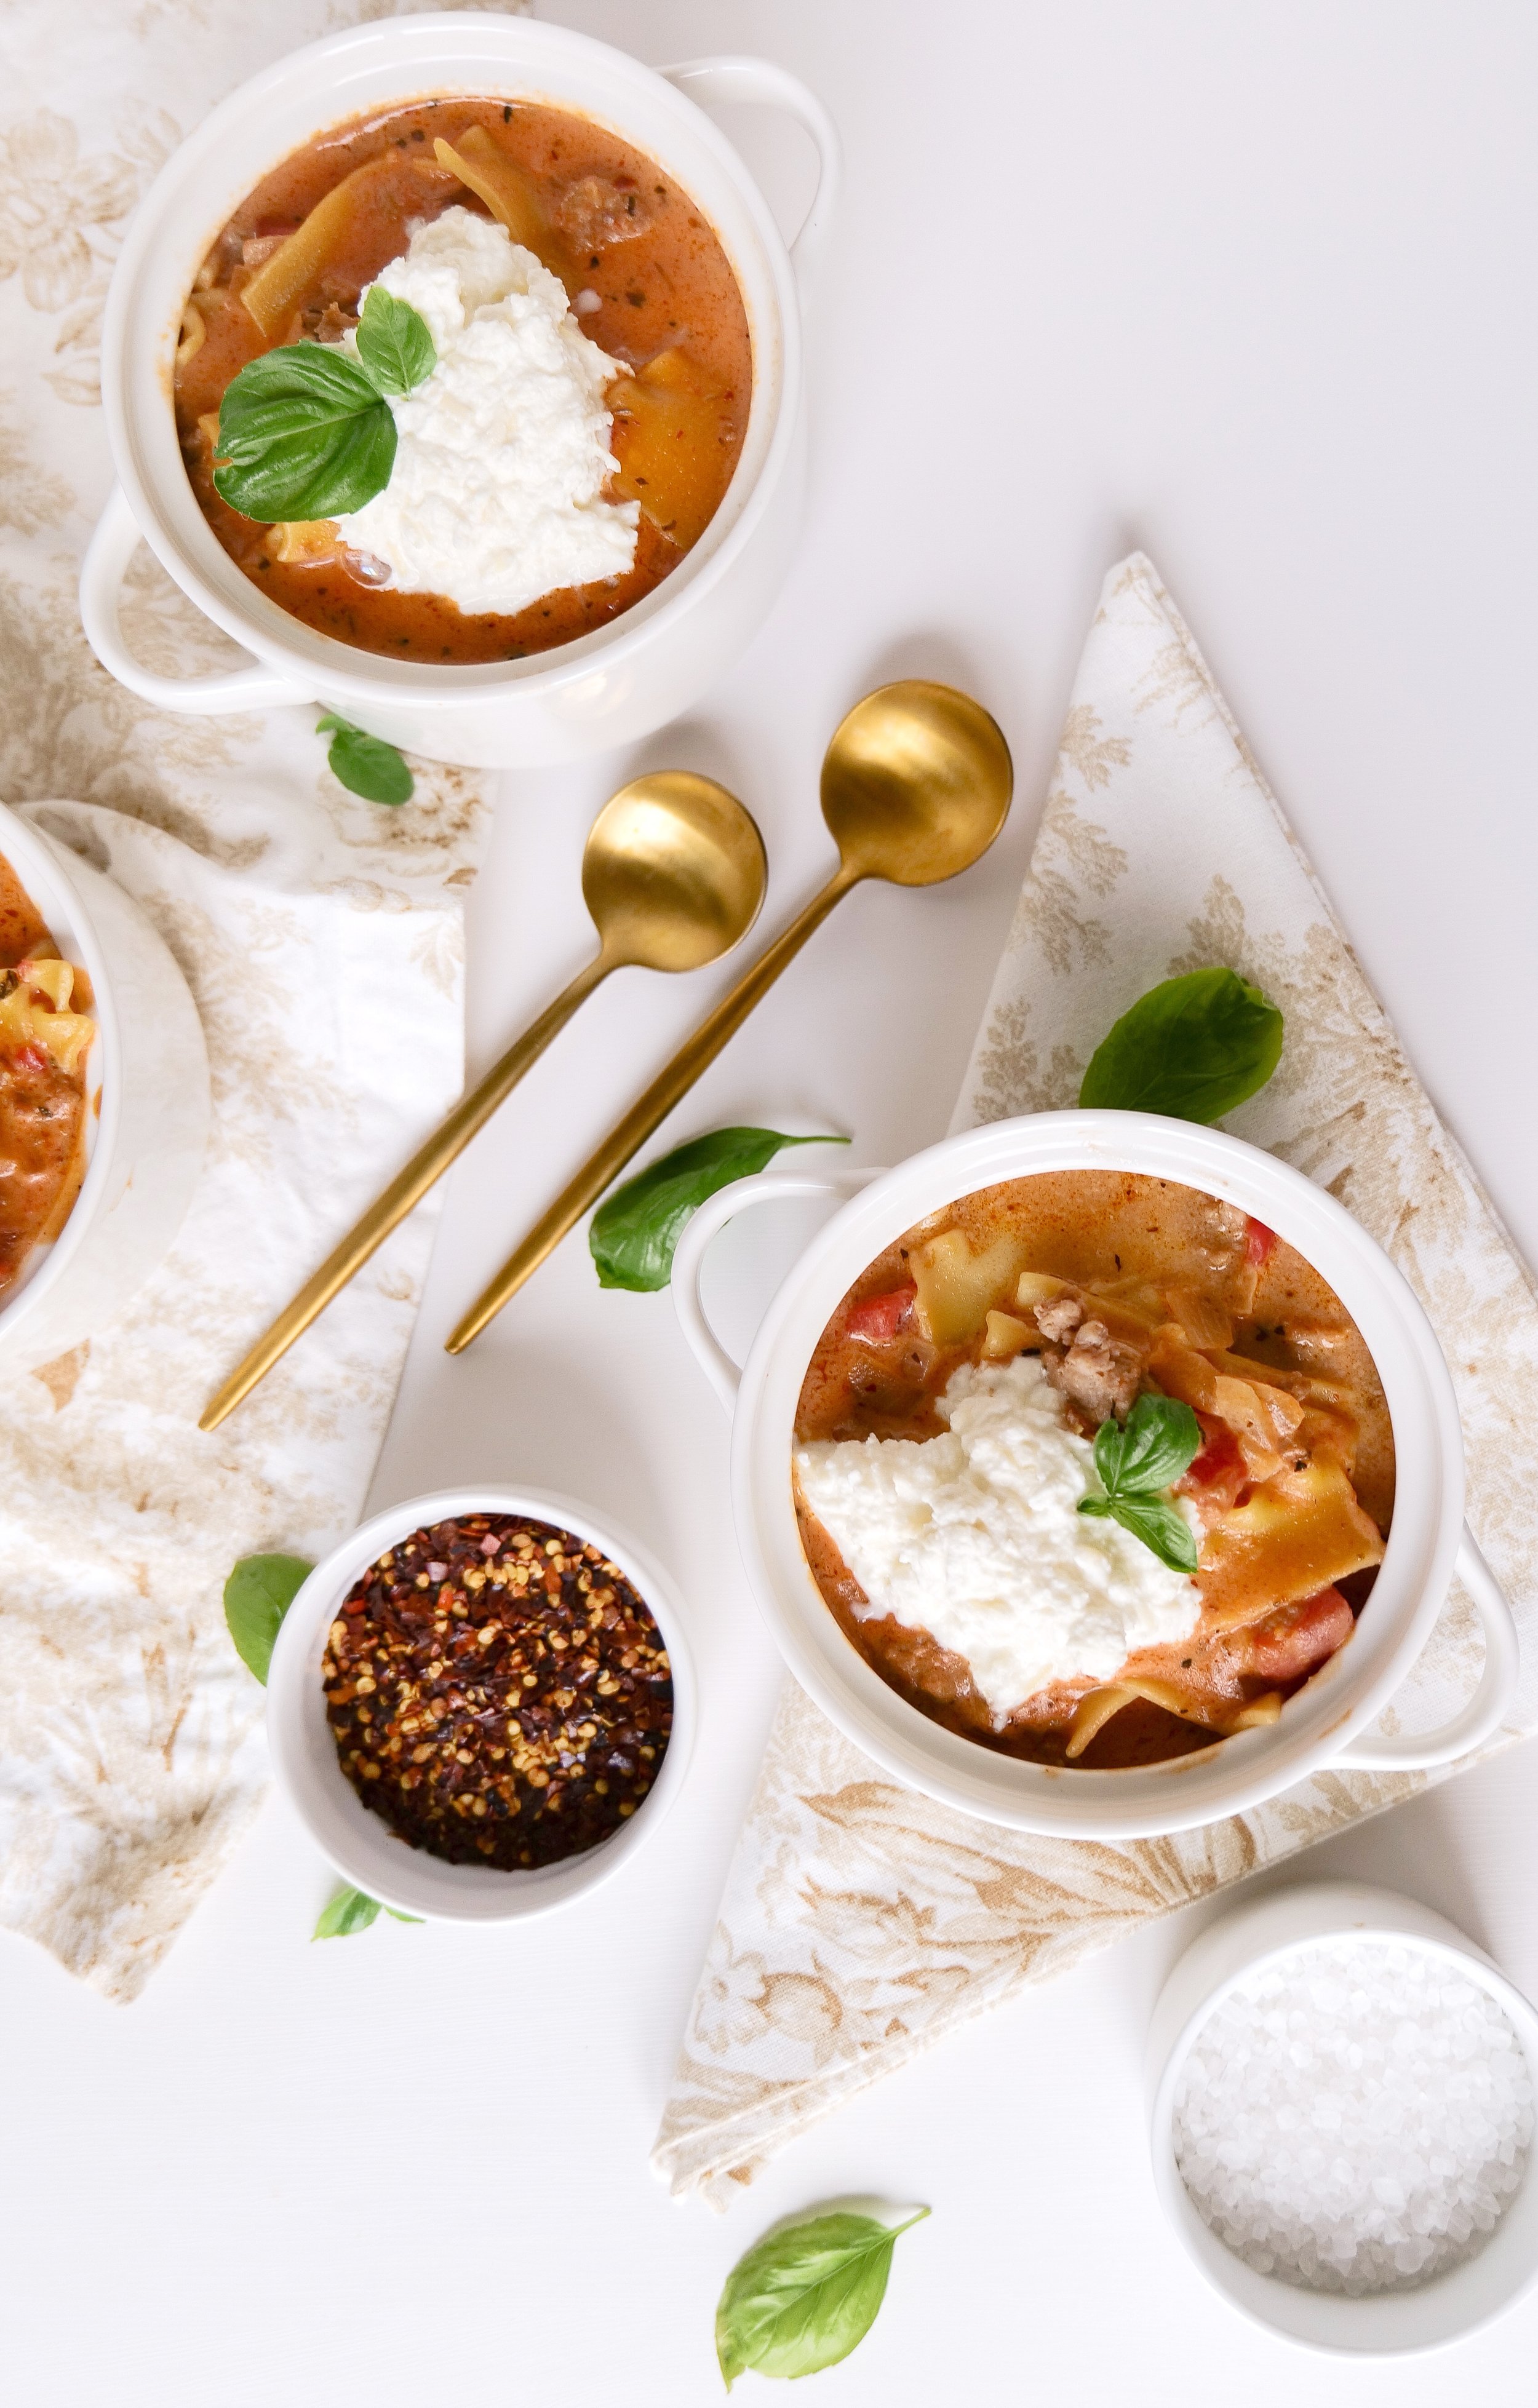
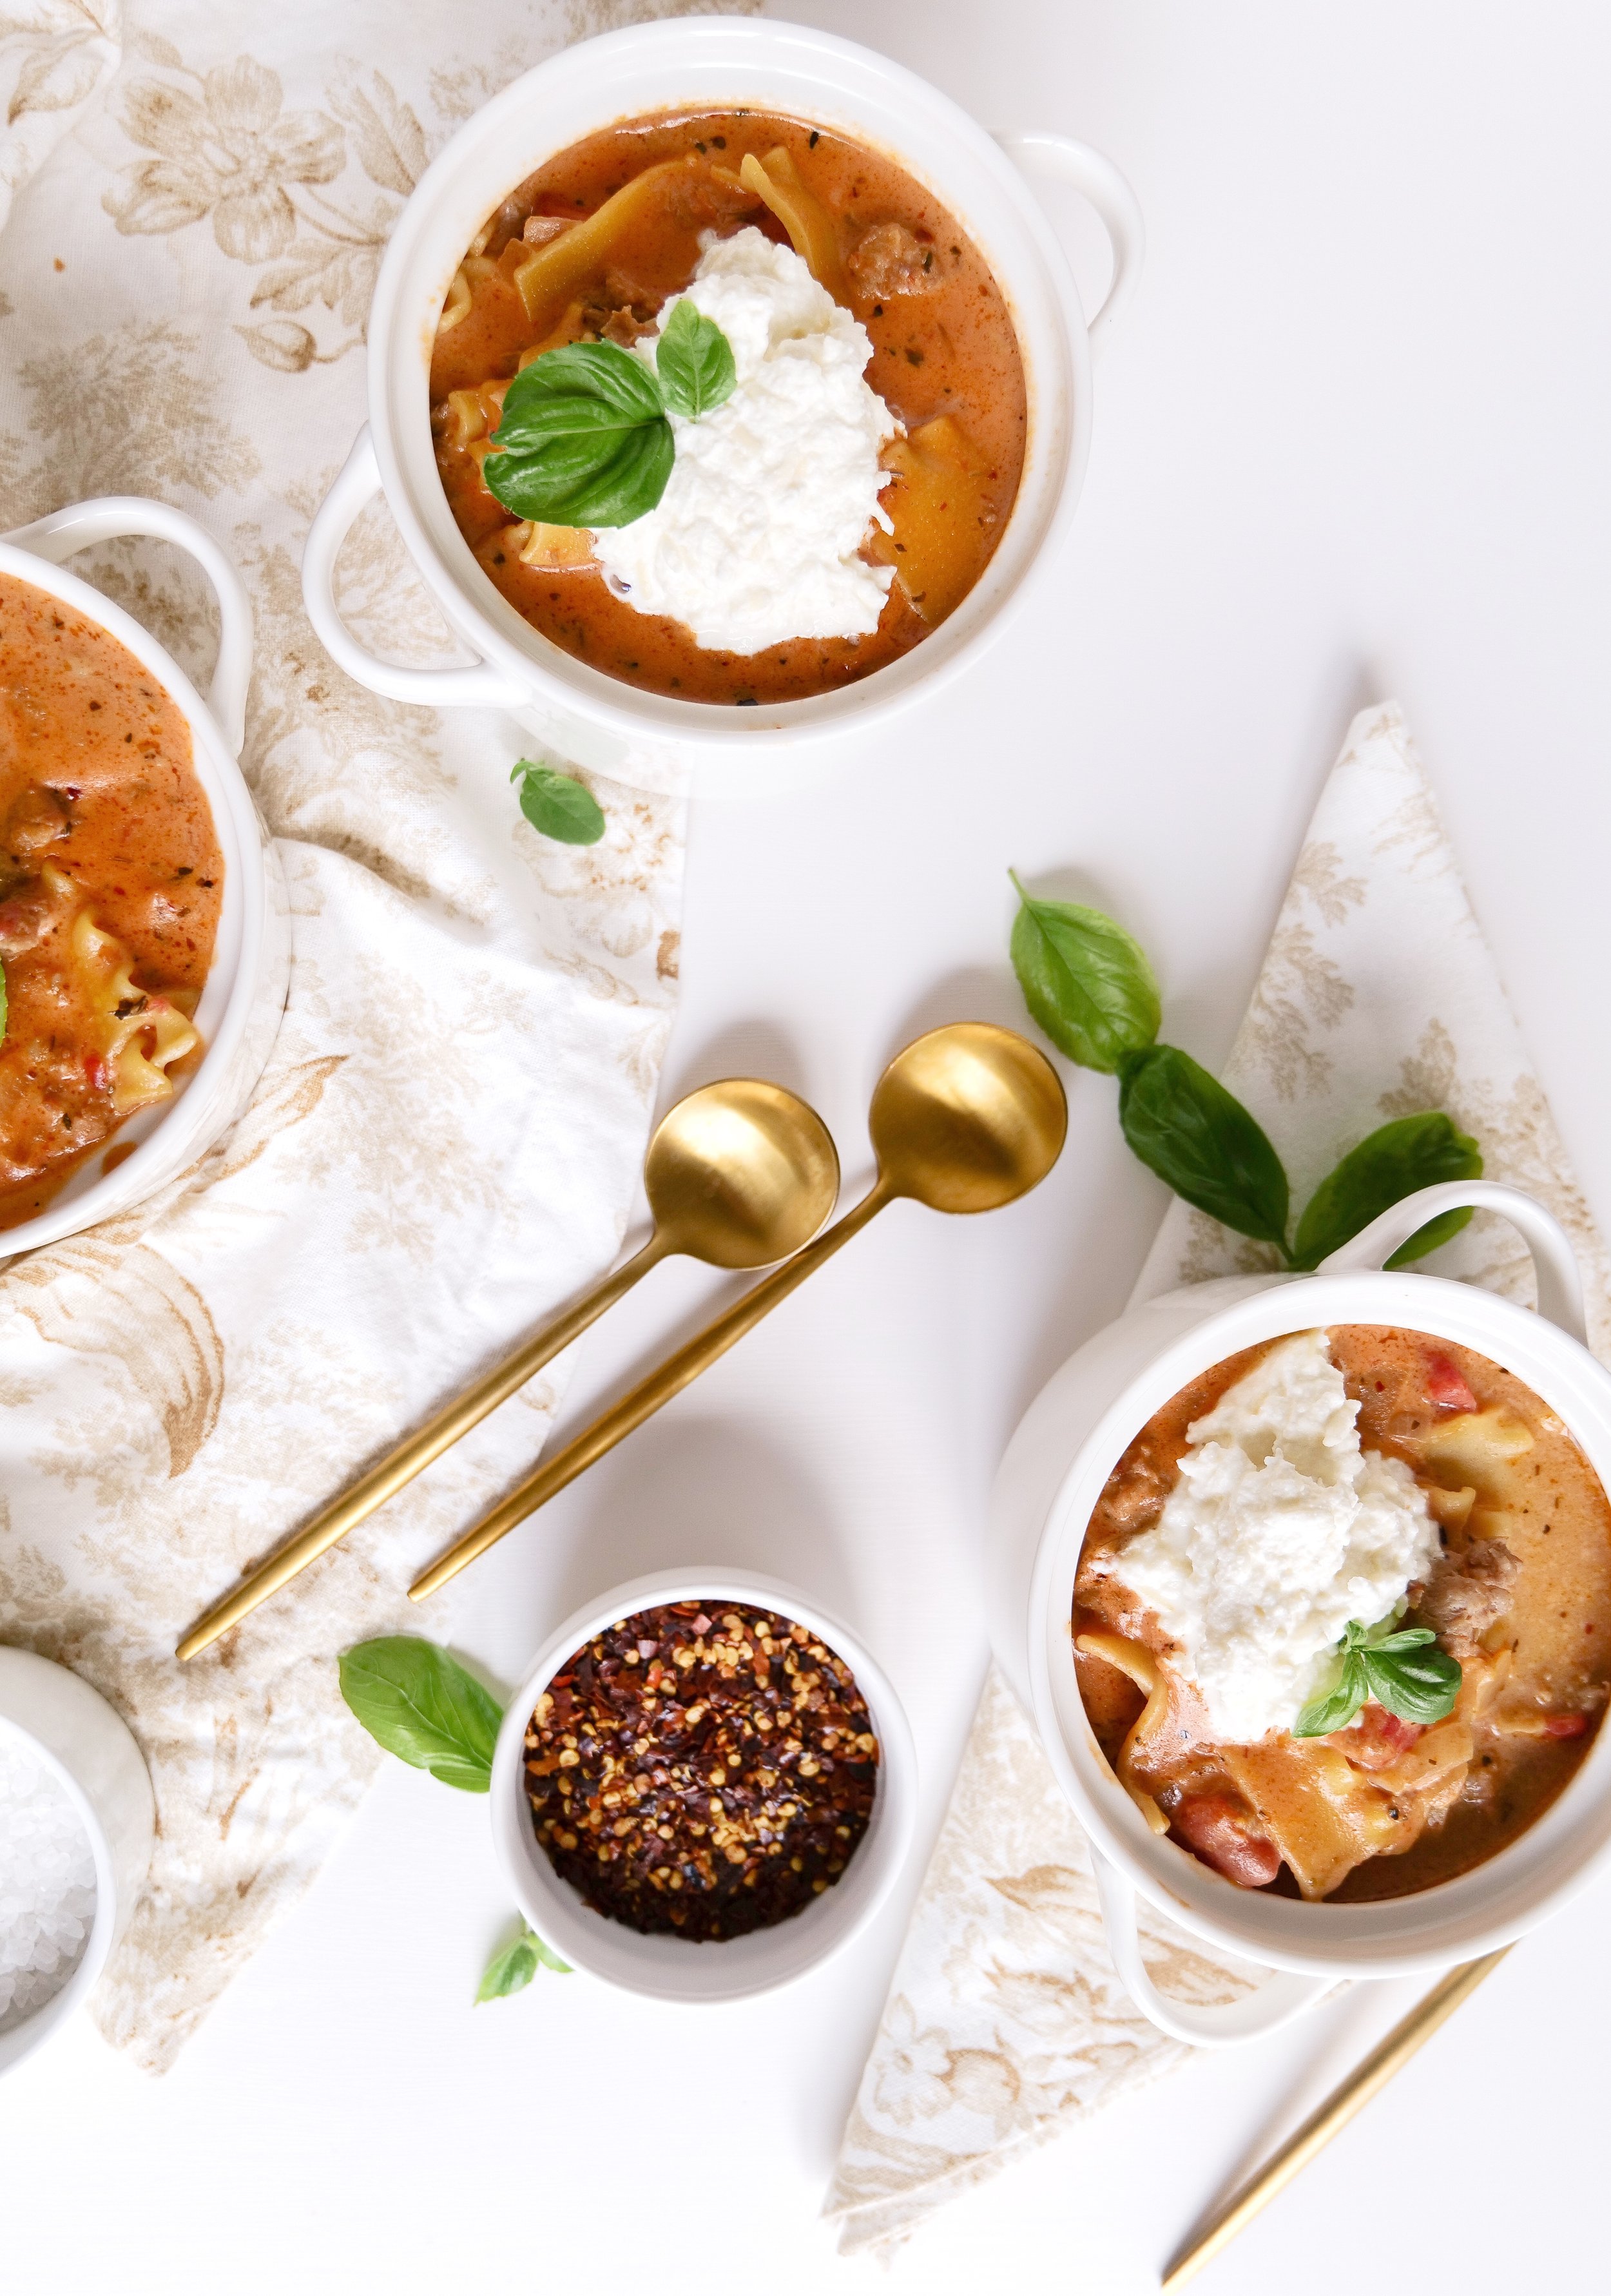
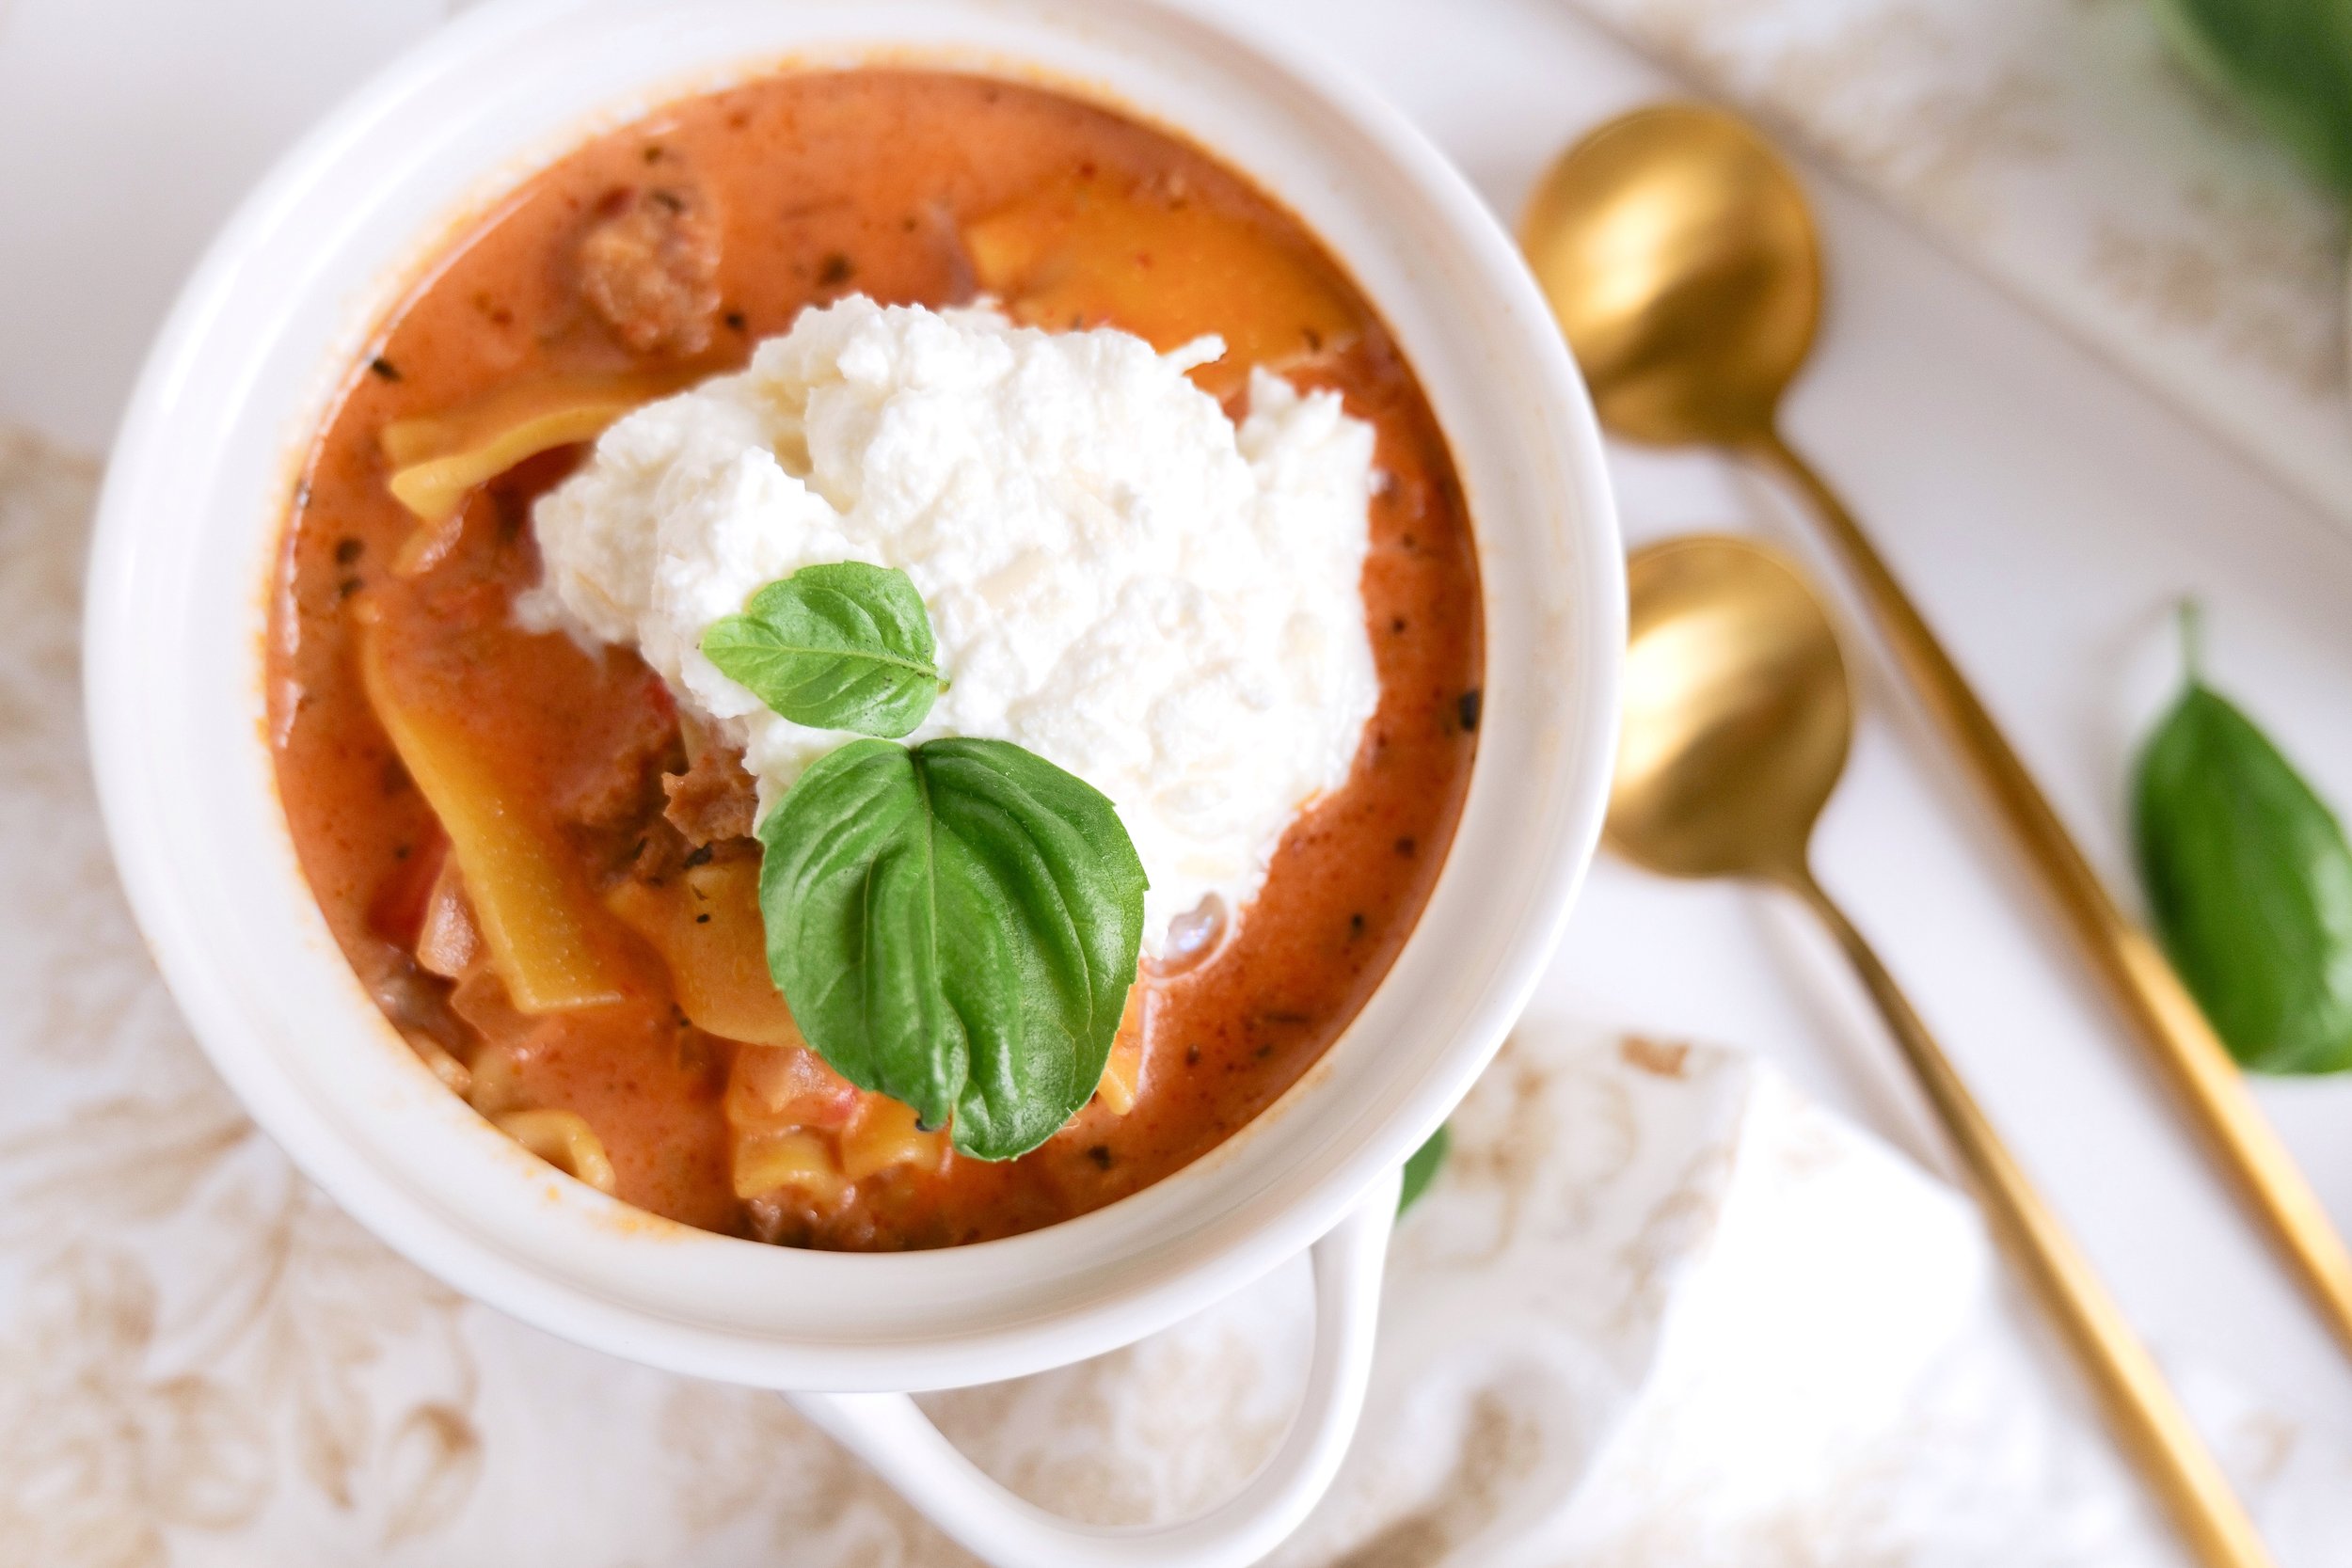
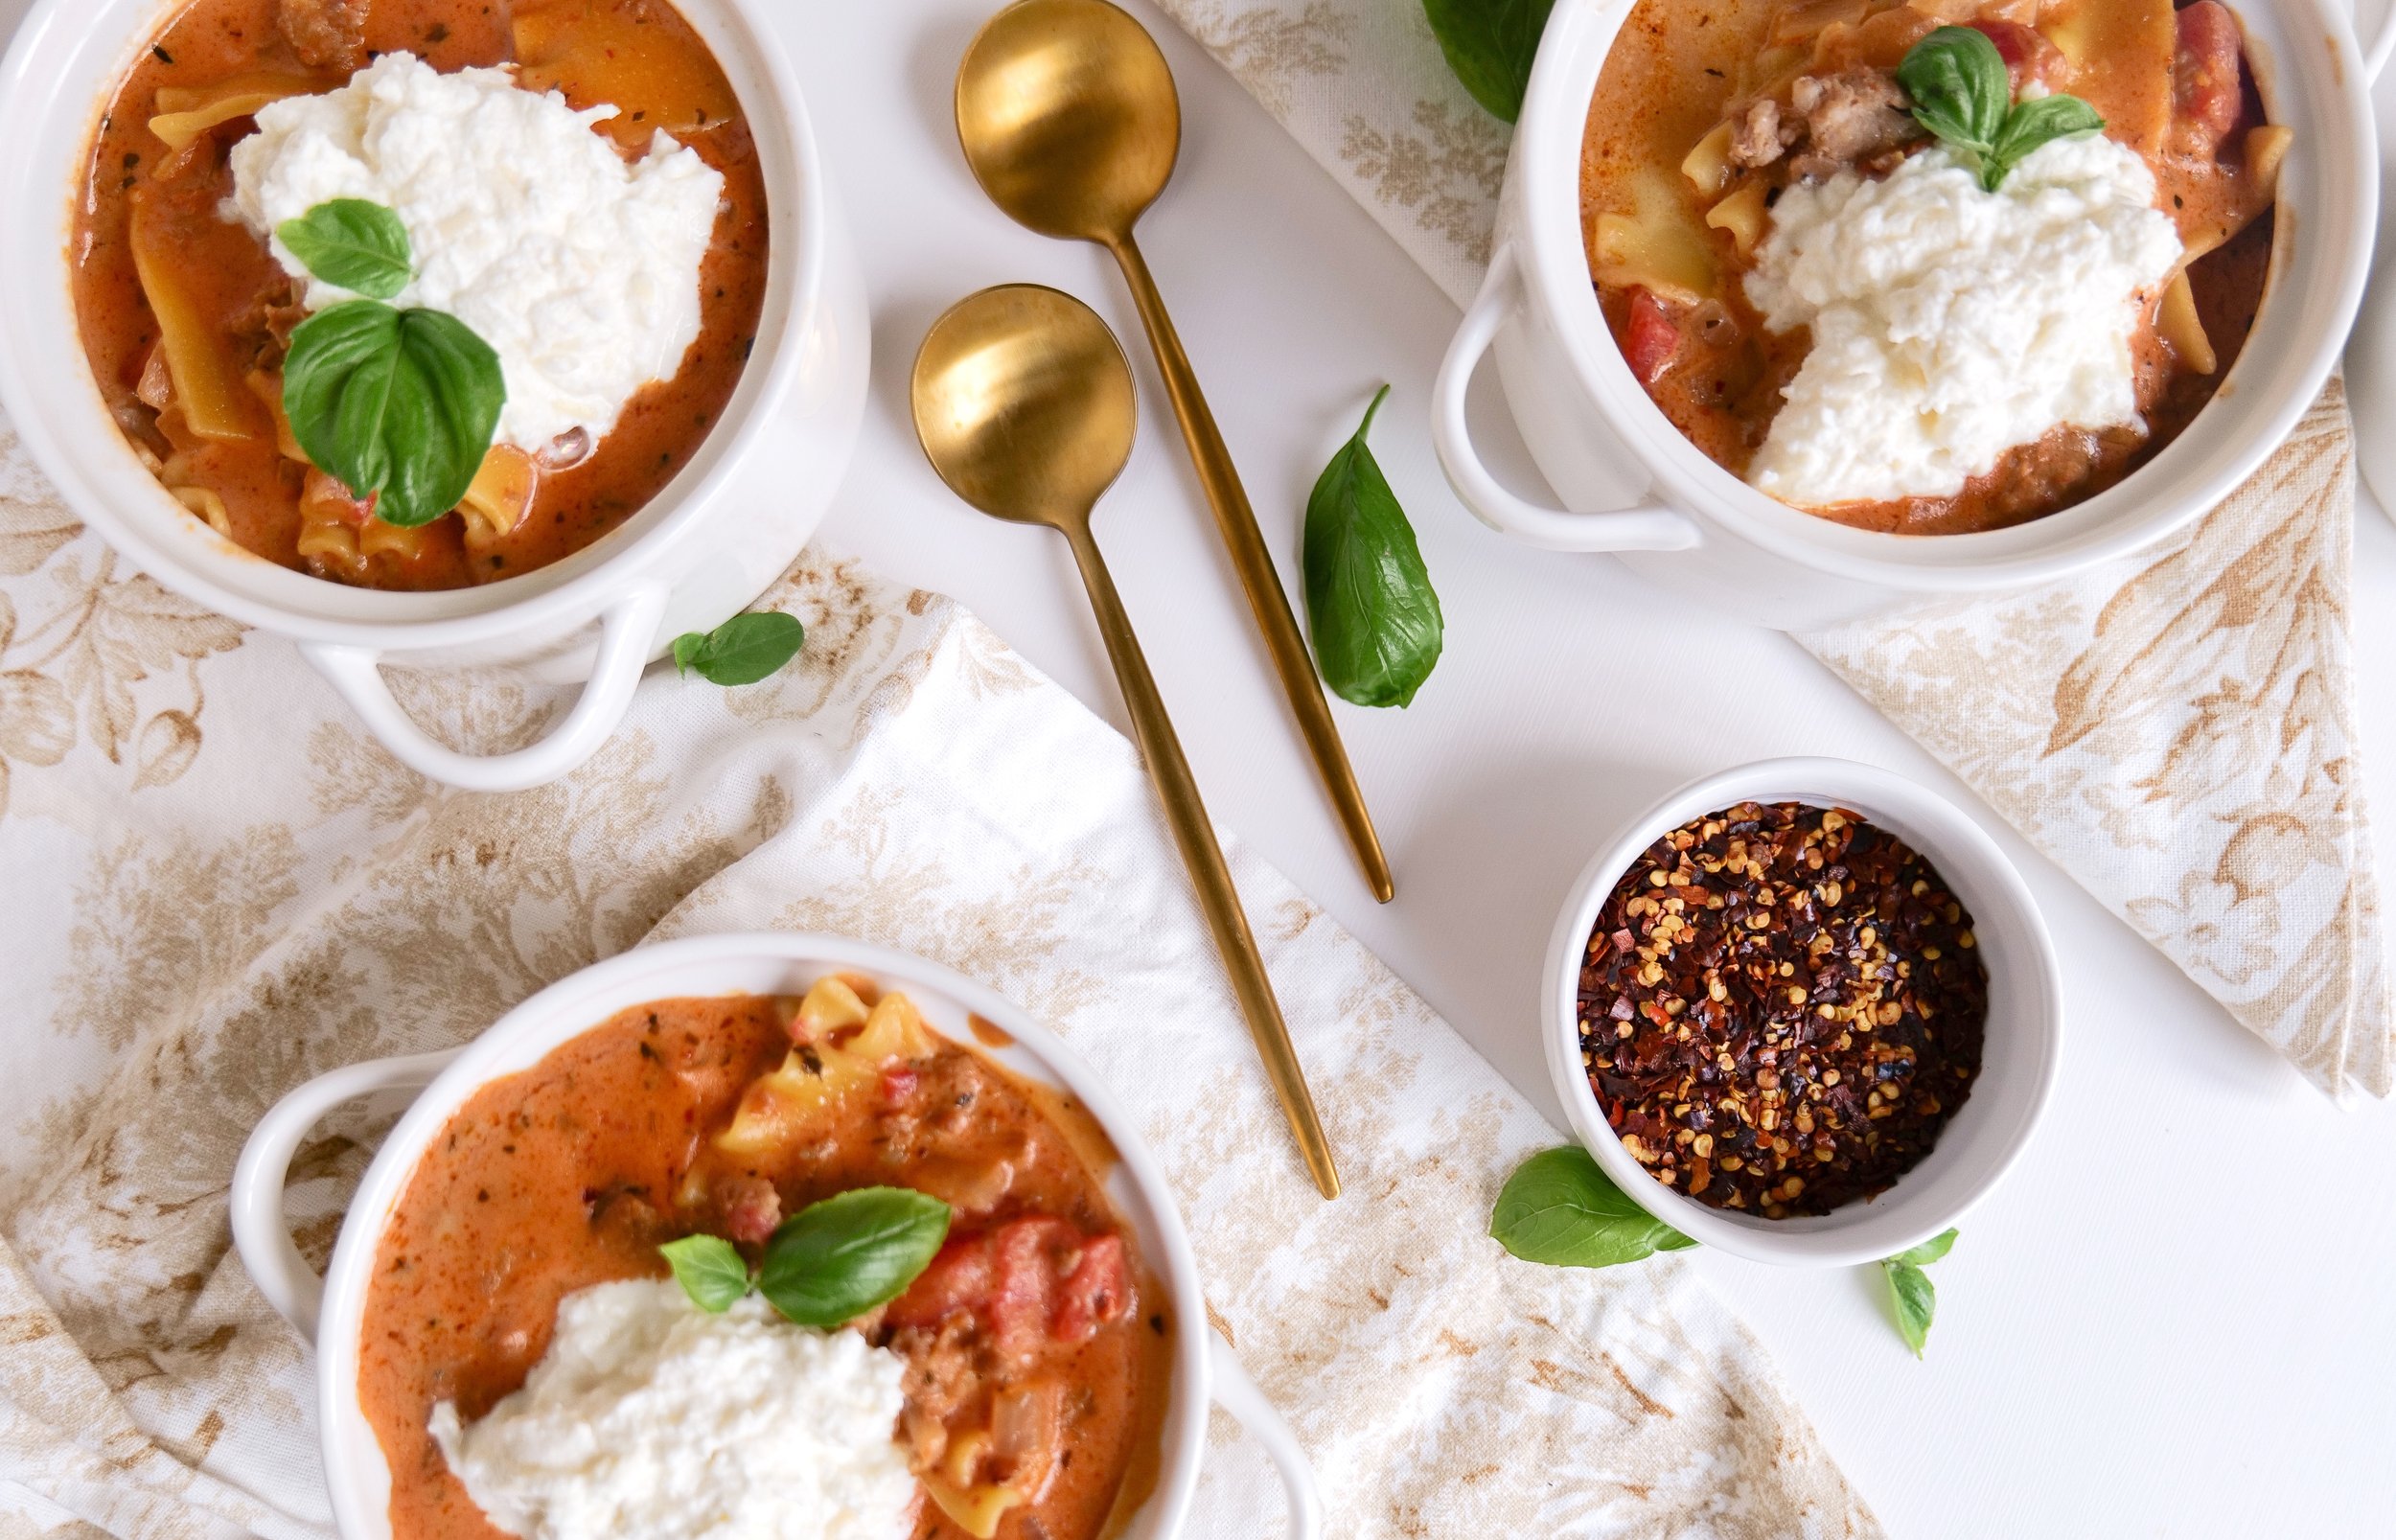
Imagine the rich, comforting flavors of a classic Italian lasagna mingling in a warm, savory broth, bringing all the delight of the traditional oven-baked favorite in a fraction of the time. Our One-Pot Italian Lasagna Soup is the perfect way to indulge in the layers of cheesy goodness, hearty meat, and herb-infused tomato sauce without lengthy preparation and baking time. This deconstructed twist on the beloved dish transforms it into an easy-to-make, cozy and heartwarming soup that's ideal for cold nights, busy weeknights, casual gatherings, or simply when the craving for Italian cuisine strikes. Grab your spoon and your appetite as we dive into the bubbling pot of this irresistible Italian Lasagna Soup that promises to please your palate and simplify your dinner routine.

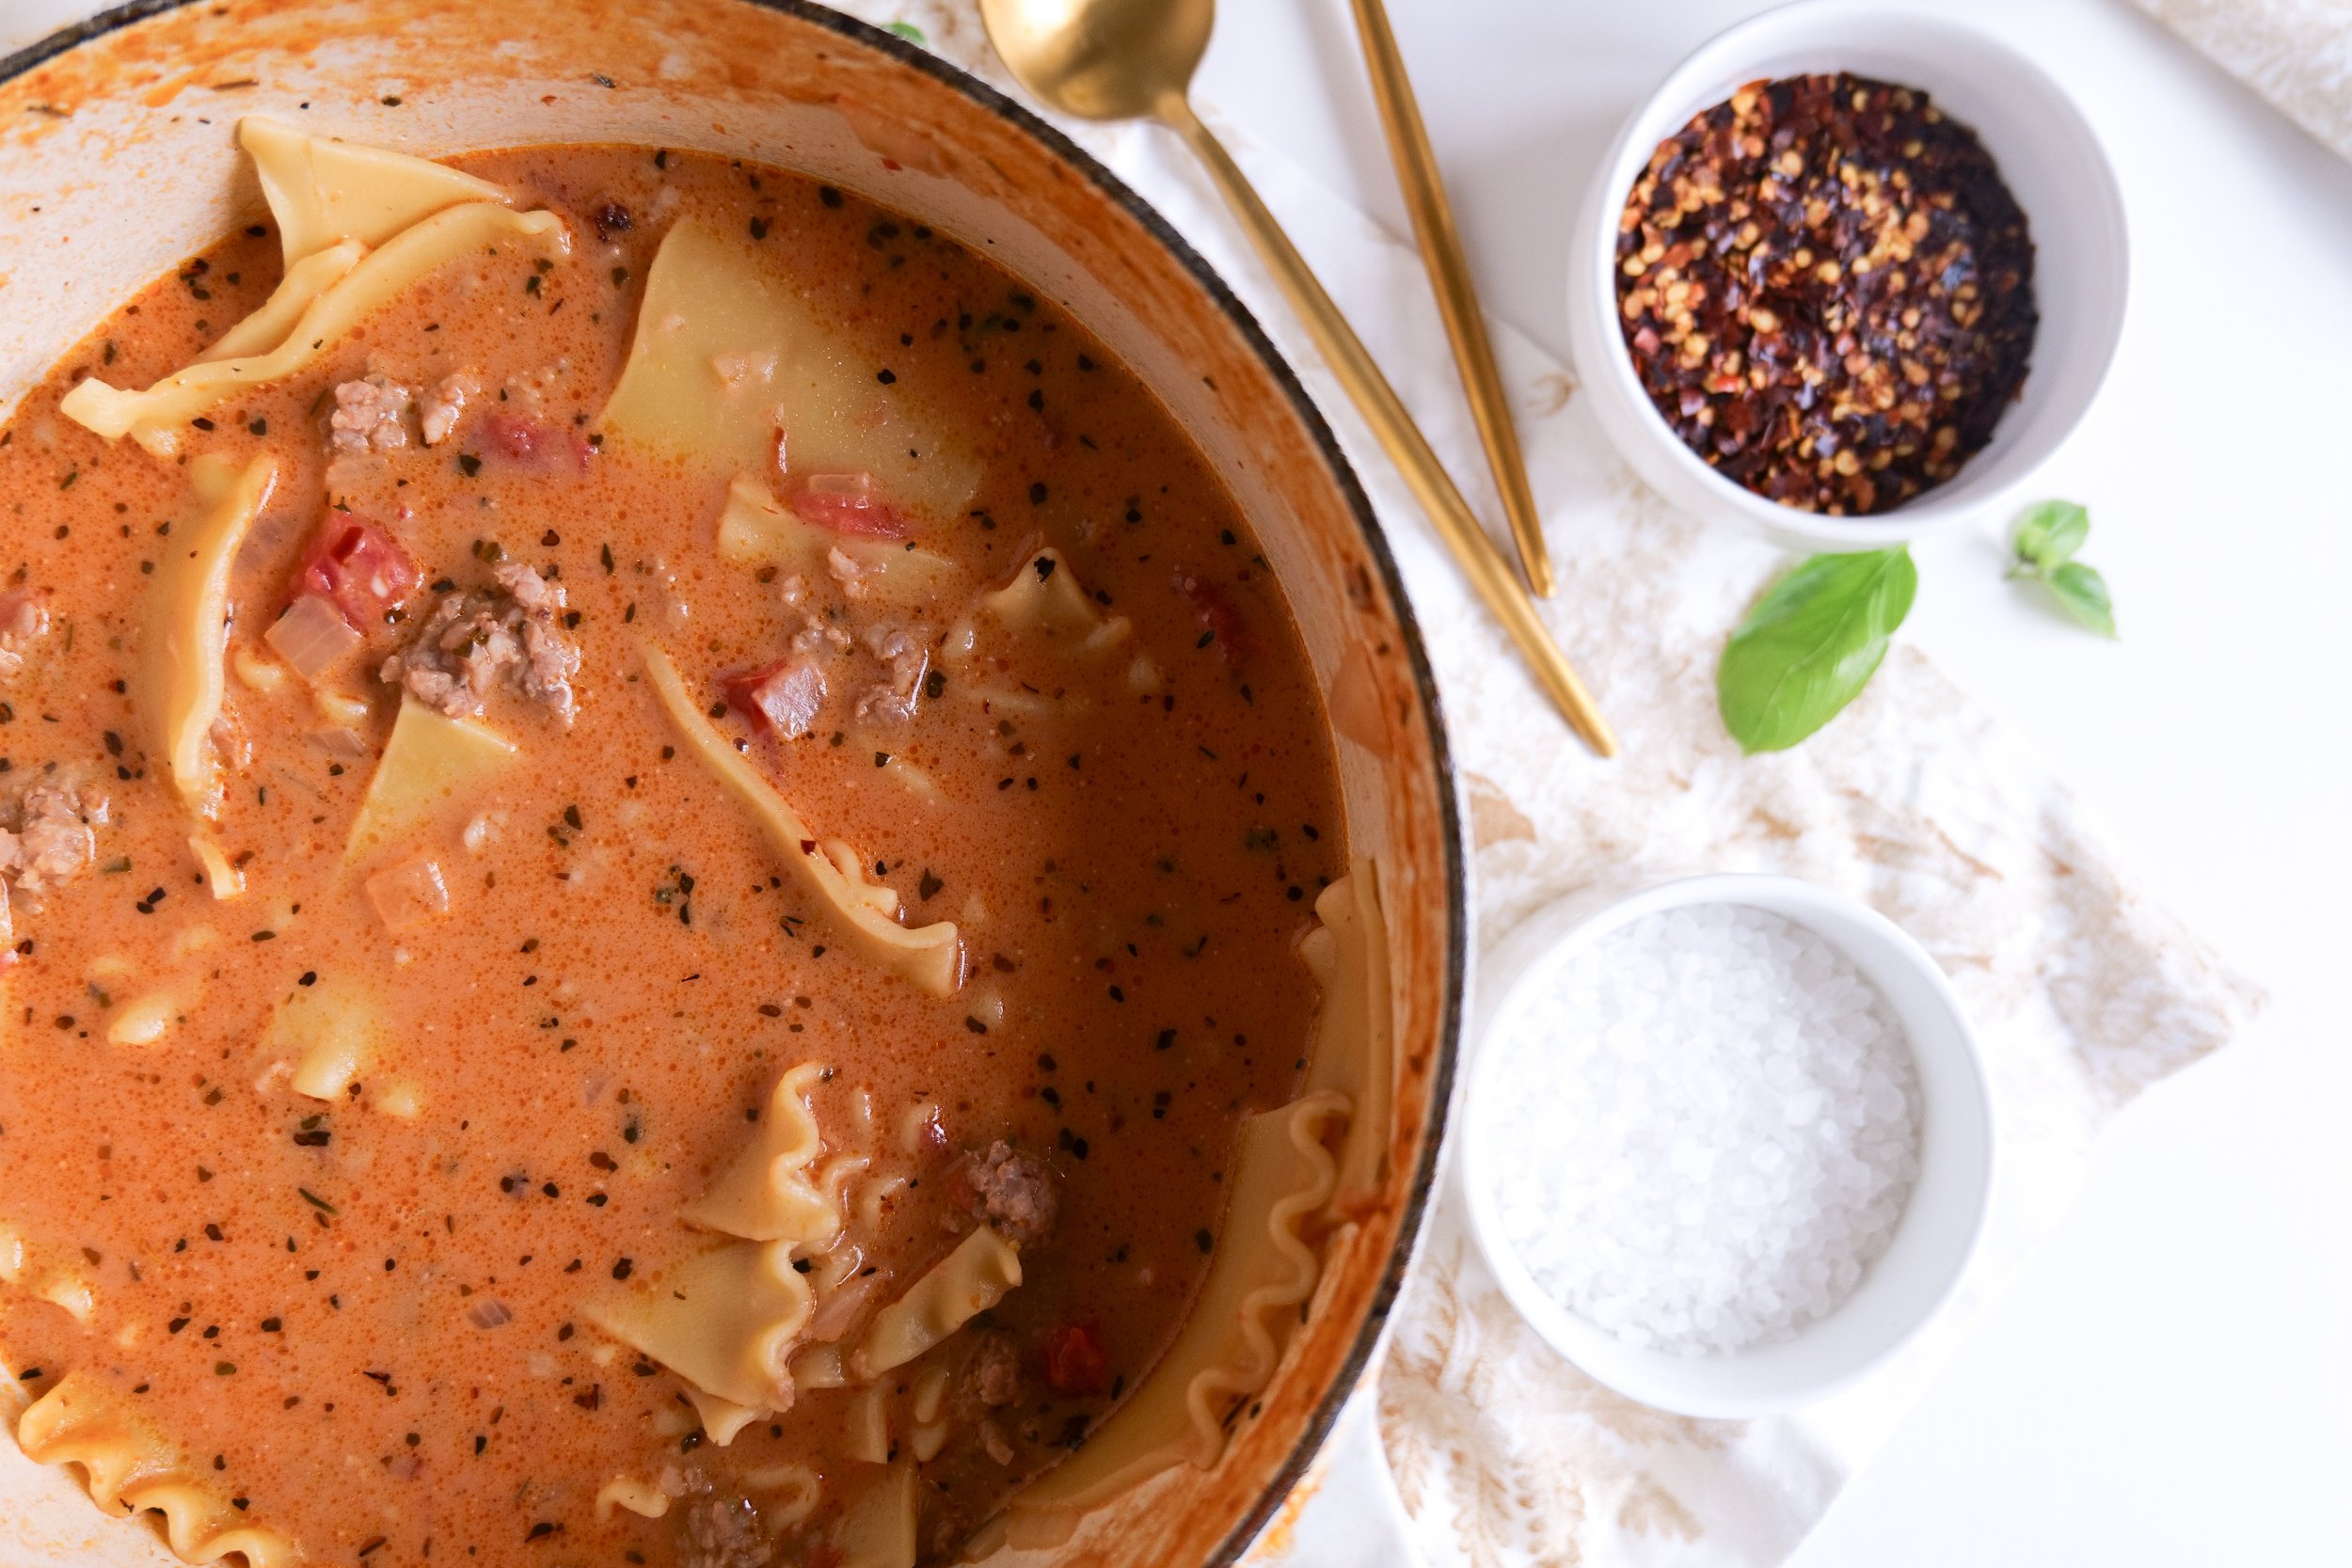
This delicious and comforting soup is quick and easy to make and can all be done in 30 minutes or less. The convenient part of preparing this meal is that you can find all the ingredients you need in most pantries. It is also extremely versatile and can be easily adapted to your taste. It is full of all the flavors of lasagna which makes it the perfect way to use up any leftovers you have in the fridge. Furthermore, it is a great way to impress your friends and family with a hearty and flavorful dish. So, the next time you are looking for a hearty and comforting meal, try out this delicious One-Pot Italian Lasagna Soup. You won't be disappointed!

Lasagna Soup Variations

A few ways you can easily make substitutions to fit your liking of this soup are as follows. For an extra kick of spice, try adding some spicy Italian sausage to the soup. If you're looking for a heartier soup, stir in some cooked ground beef. Diced carrots and celery add a boost of healthy vegetables to the soup. Crushed red pepper flakes or bell peppers provide a nice spicy touch. For a gluten-free version, use gluten-free lasagna noodles or zucchini noodles. For a smoky flavor, use fire-roasted tomatoes. For a less creamy version, take out some or all of the heavy cream. For a vegan version, use vegan cheese and remove pork sausage for a flavorful and meat-free meal. Finally, to add protein and texture, add a can of white beans. One Pot Italian Lasagna Soup is an easy and delicious meal that is perfect for busy weeknights. With its simple ingredients and hearty flavors, this soup is sure to become a family favorite.

What Is The Best Pot For Soup

For those looking for a simple and flavorful meal with minimal effort, One-Pot Italian Lasagna Soup is the perfect dish. One important key to a successful soup is using the right pot. When it comes to making this soup, my recommendation for the best pot to use is a Dutch oven. A Dutch oven is a heavy-bottomed pot with a tight-fitting lid, ideal for evenly distributing the heat which allows the flavors to meld together perfectly. It also has a large enough capacity to accommodate all of the ingredients, making it a great choice for a one-pot meal. Additionally, Dutch ovens are easy to clean and can be used for a variety of other recipes. So, if you’re looking for a delicious and effortless meal, One-Pot Italian Lasagna Soup is the perfect choice.

Lasagna Soup Recipe Easy storage

This soup is packed with flavor from Italian sausage, tomatoes, herbs, and cheese. You can also use any leftover meats or vegetables that you have on hand to make the dish even more delicious. The recipe is simple to make and can be served with a side of crusty bread or Caesar salad for a complete meal. This Italian-inspired meal is easy to prepare and can be stored in the fridge for up to four days. It is a great way to use up leftovers and make a delicious dinner in no time. Lasagna soup makes a great main course or side dish, and can also be made ahead of time and frozen for up to three months. To freeze, let the soup cool completely and then transfer it to an airtight container or freezer-safe bag. When ready to enjoy, thaw overnight in the refrigerator and then heat it up in a pot on the stovetop. If you're looking for a delicious and easy meal that is sure to please even the pickiest of eaters, look no further than One-Pot Lasagna Soup. The combination of savory Italian flavors and easy prep make this soup a family favorite. Make a batch today and enjoy all the flavors of lasagna without the work.

Can I use a different kind of pasta if I don't have lasagna noodles?

To make this dish even more interesting, you can switch up the traditional lasagna noodles for any kind of pasta of your choice. Penne, shells, macaroni, and other smaller-sized pasta can all be used for a unique and tasty twist. If you’re feeling creative, you can even mix and match different types of pasta for a one-of-a-kind lasagna soup. Just make sure to adjust the cooking time accordingly to make sure the pasta is cooked properly. With a few easy swaps, you can take your One-Pot Italian Lasagna Soup to the next level.

Is it possible to make this Italian Lasagna Soup Vegetarian?

One-Pot Italian Lasagna Soup is the perfect meal for anyone looking for an easy and delicious Italian dish. This hearty soup is made with a variety of delicious and nutritious ingredients such as ground beef, lasagna noodles, diced tomatoes, and cheese. It's also easy to customize to make it vegetarian if desired. Yes, it is possible to make this Italian Lasagna Soup vegetarian! Simply substitute the beef for a vegetarian option such as crumbled tofu, mushrooms, or extra vegetables. To add more flavor, consider adding garlic, Italian seasoning, and a bit of red pepper flakes. This will make the soup even more flavorful and satisfying. Vegetarian lasagna soup is a great dish for those who are trying to reduce their meat intake or follow a vegetarian diet. This One-Pot Italian Lasagna Soup is easy to make and is sure to please even the pickiest eaters. With a few simple ingredients and some creativity, you can have a delicious meal in no time. Serve it with a side salad for a complete meal that will keep everyone coming back for more.

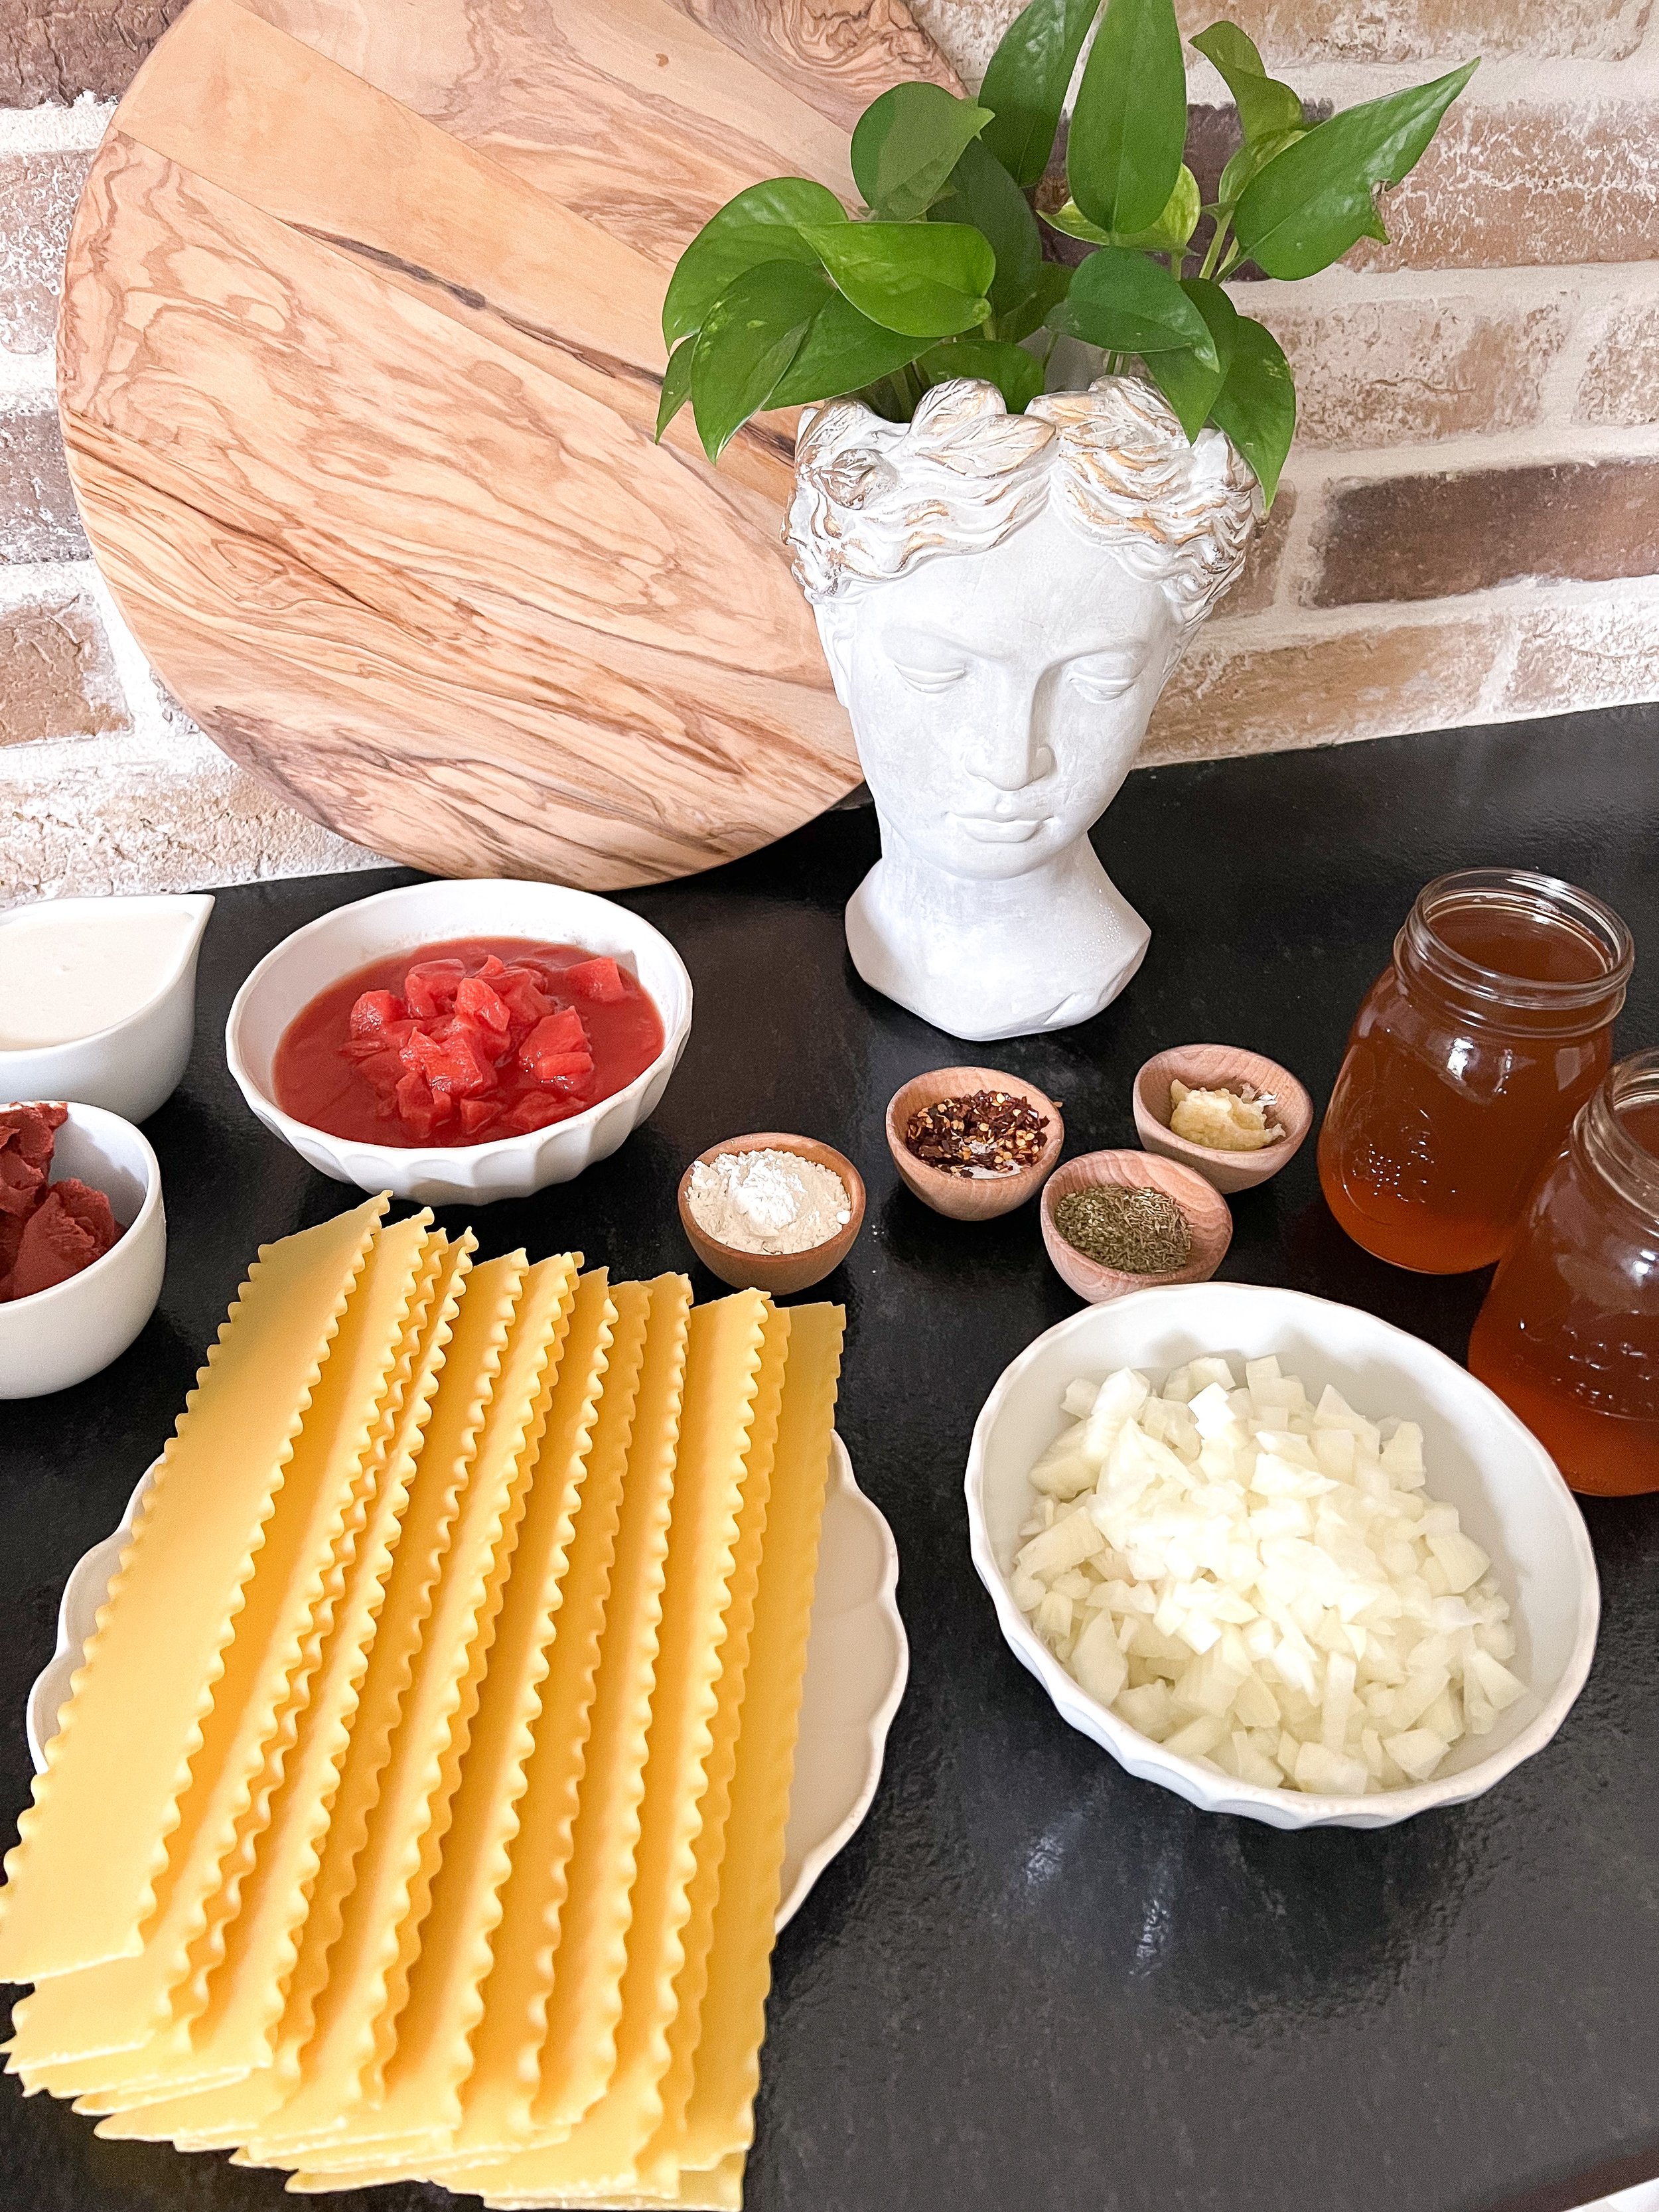
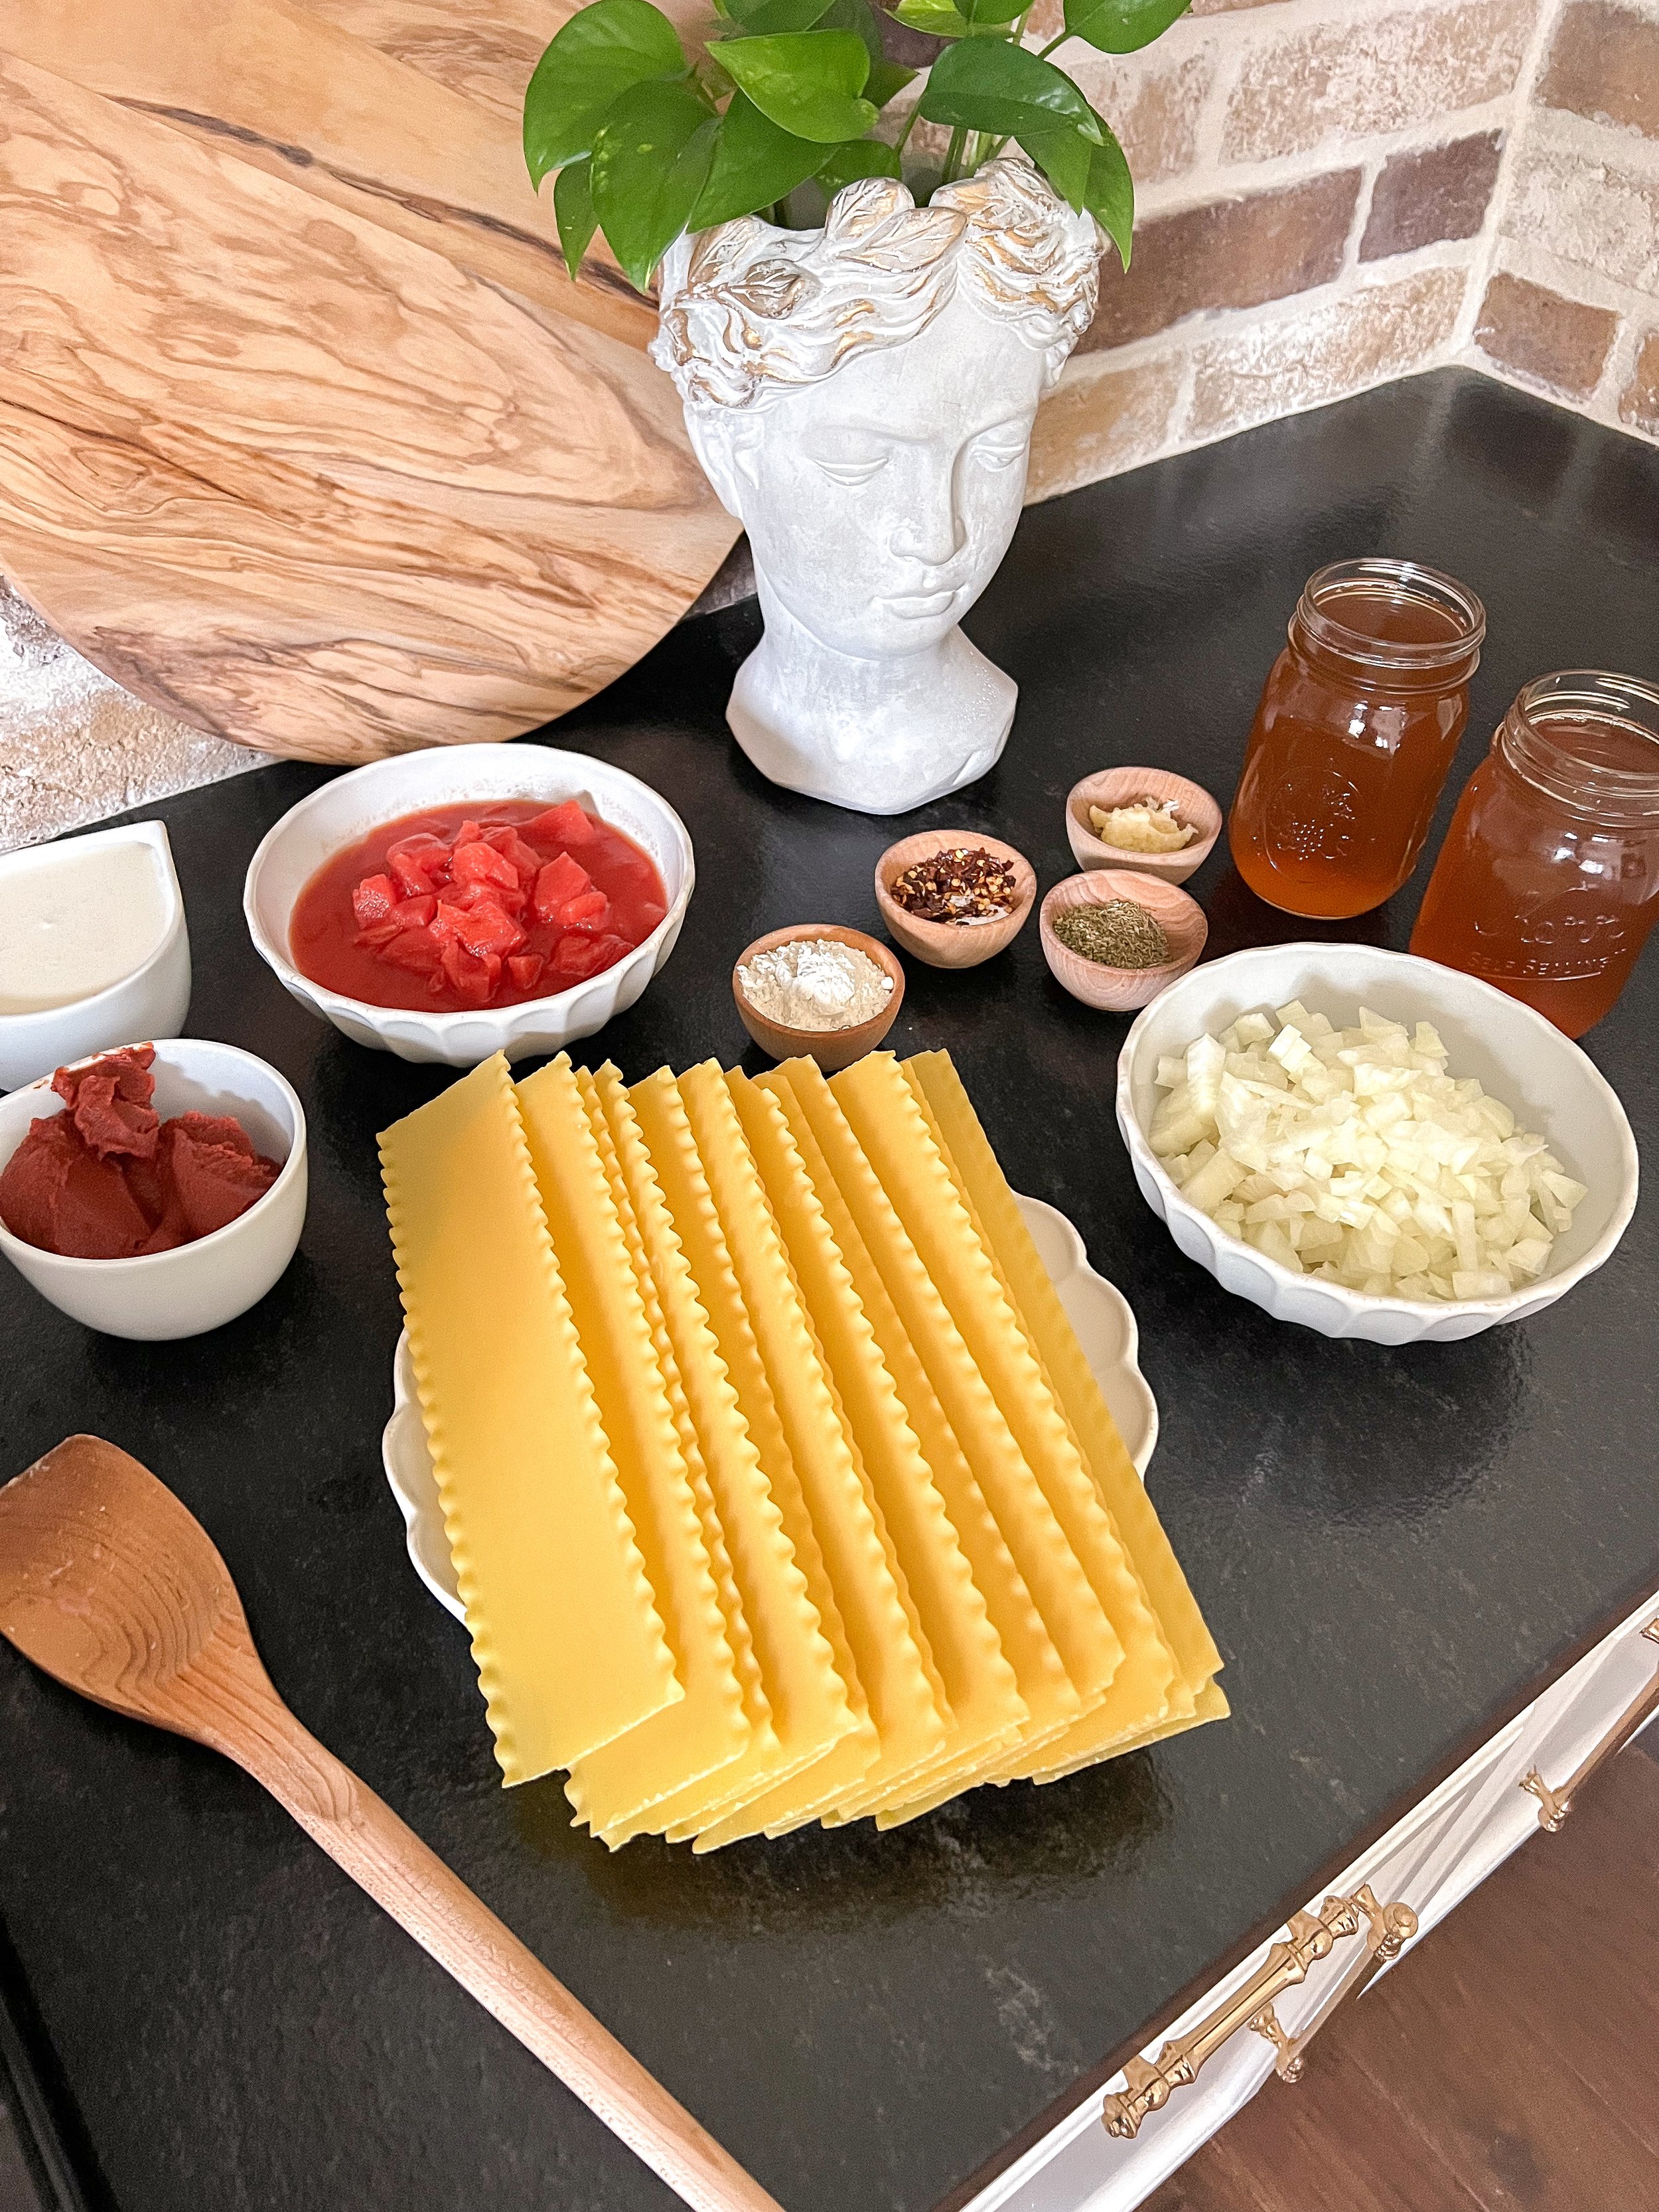
Ingredients

12 ounces Lasagna Pasta, broken into pieces

1 pound Italian Ground Pork Sausage

1 whole Onion, chopped

4 cloves Garlic, minced

2 tablespoons all-purpose flour

1/2 tsp basil

1 teaspoon thyme

1teaspoon oregano

1 (14.5 ounces) can Petite Diced Tomatoes

1 - 8 oz can of tomato paste

5 cups Vegteble Stock

1 teaspoon Sea Salt, plus more to taste

1-1/2 cups heavy whipping cream

Basil leaves for garnish

1/2 cup Ricotta Cheese

1/4 cup grated Parmesan Cheese

Instructions

1. Grab your soup pot and turn to medium-high heat. Add spicy Italian sausage, garlic and onion cooking until the onion is transparent and the sausage is cooked. Adding in Flour, red pepper flakes, sea salt, and herbs.

2. Pour in broth, diced tomatoes and paste. Stir and let come together. Add in lasagna noodles broken into large chunks and let come to a simmer. Cover and lower heat to medium-low for 15-25 min. Stirring Occasionally.

3. Once noodles are cooked add in heavy cream. Let simmer an additional 5 minutes until warmed throughout.

4. Mix together ricotta and parmesan cheese for topping. Top each soup with ricotta mixture and basil. Serve and Enjoy!

Other Delicious Soup Recipes:

Bring the Heat with this Deliciously Spicy Tortellini Soup

Deliciously Creamy Basil Tomato Soup: An Easy and Delicious Recipe

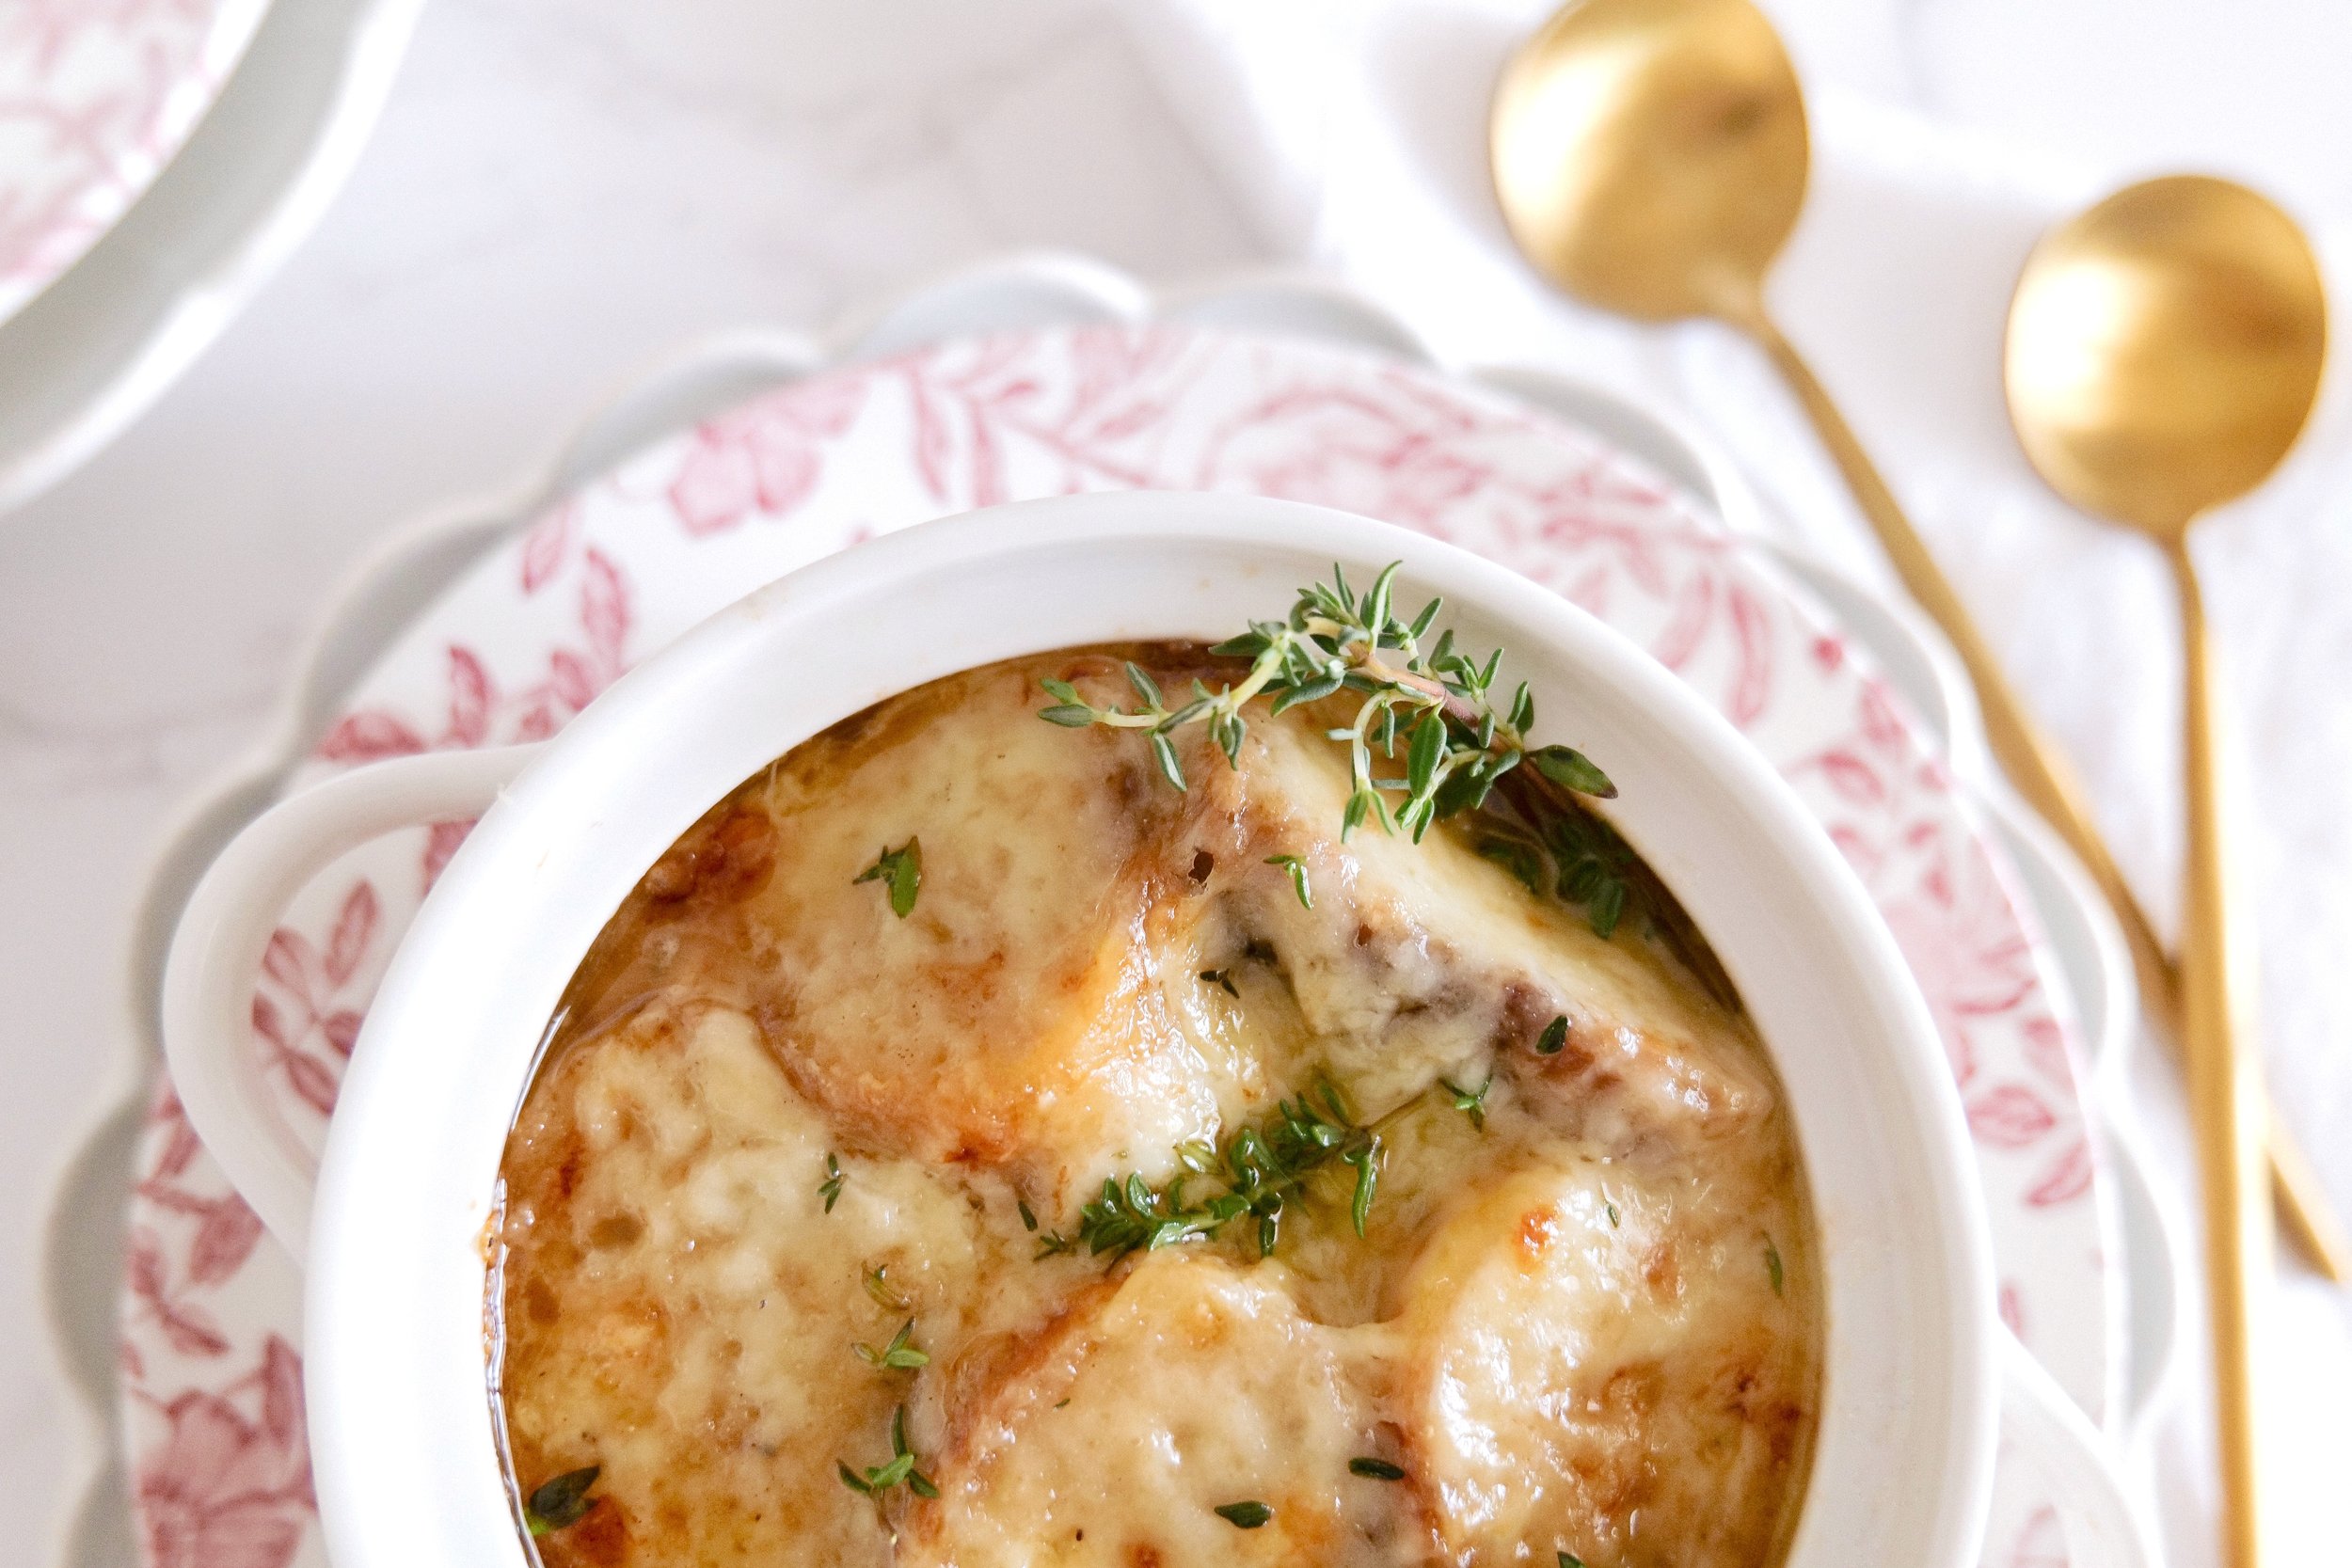
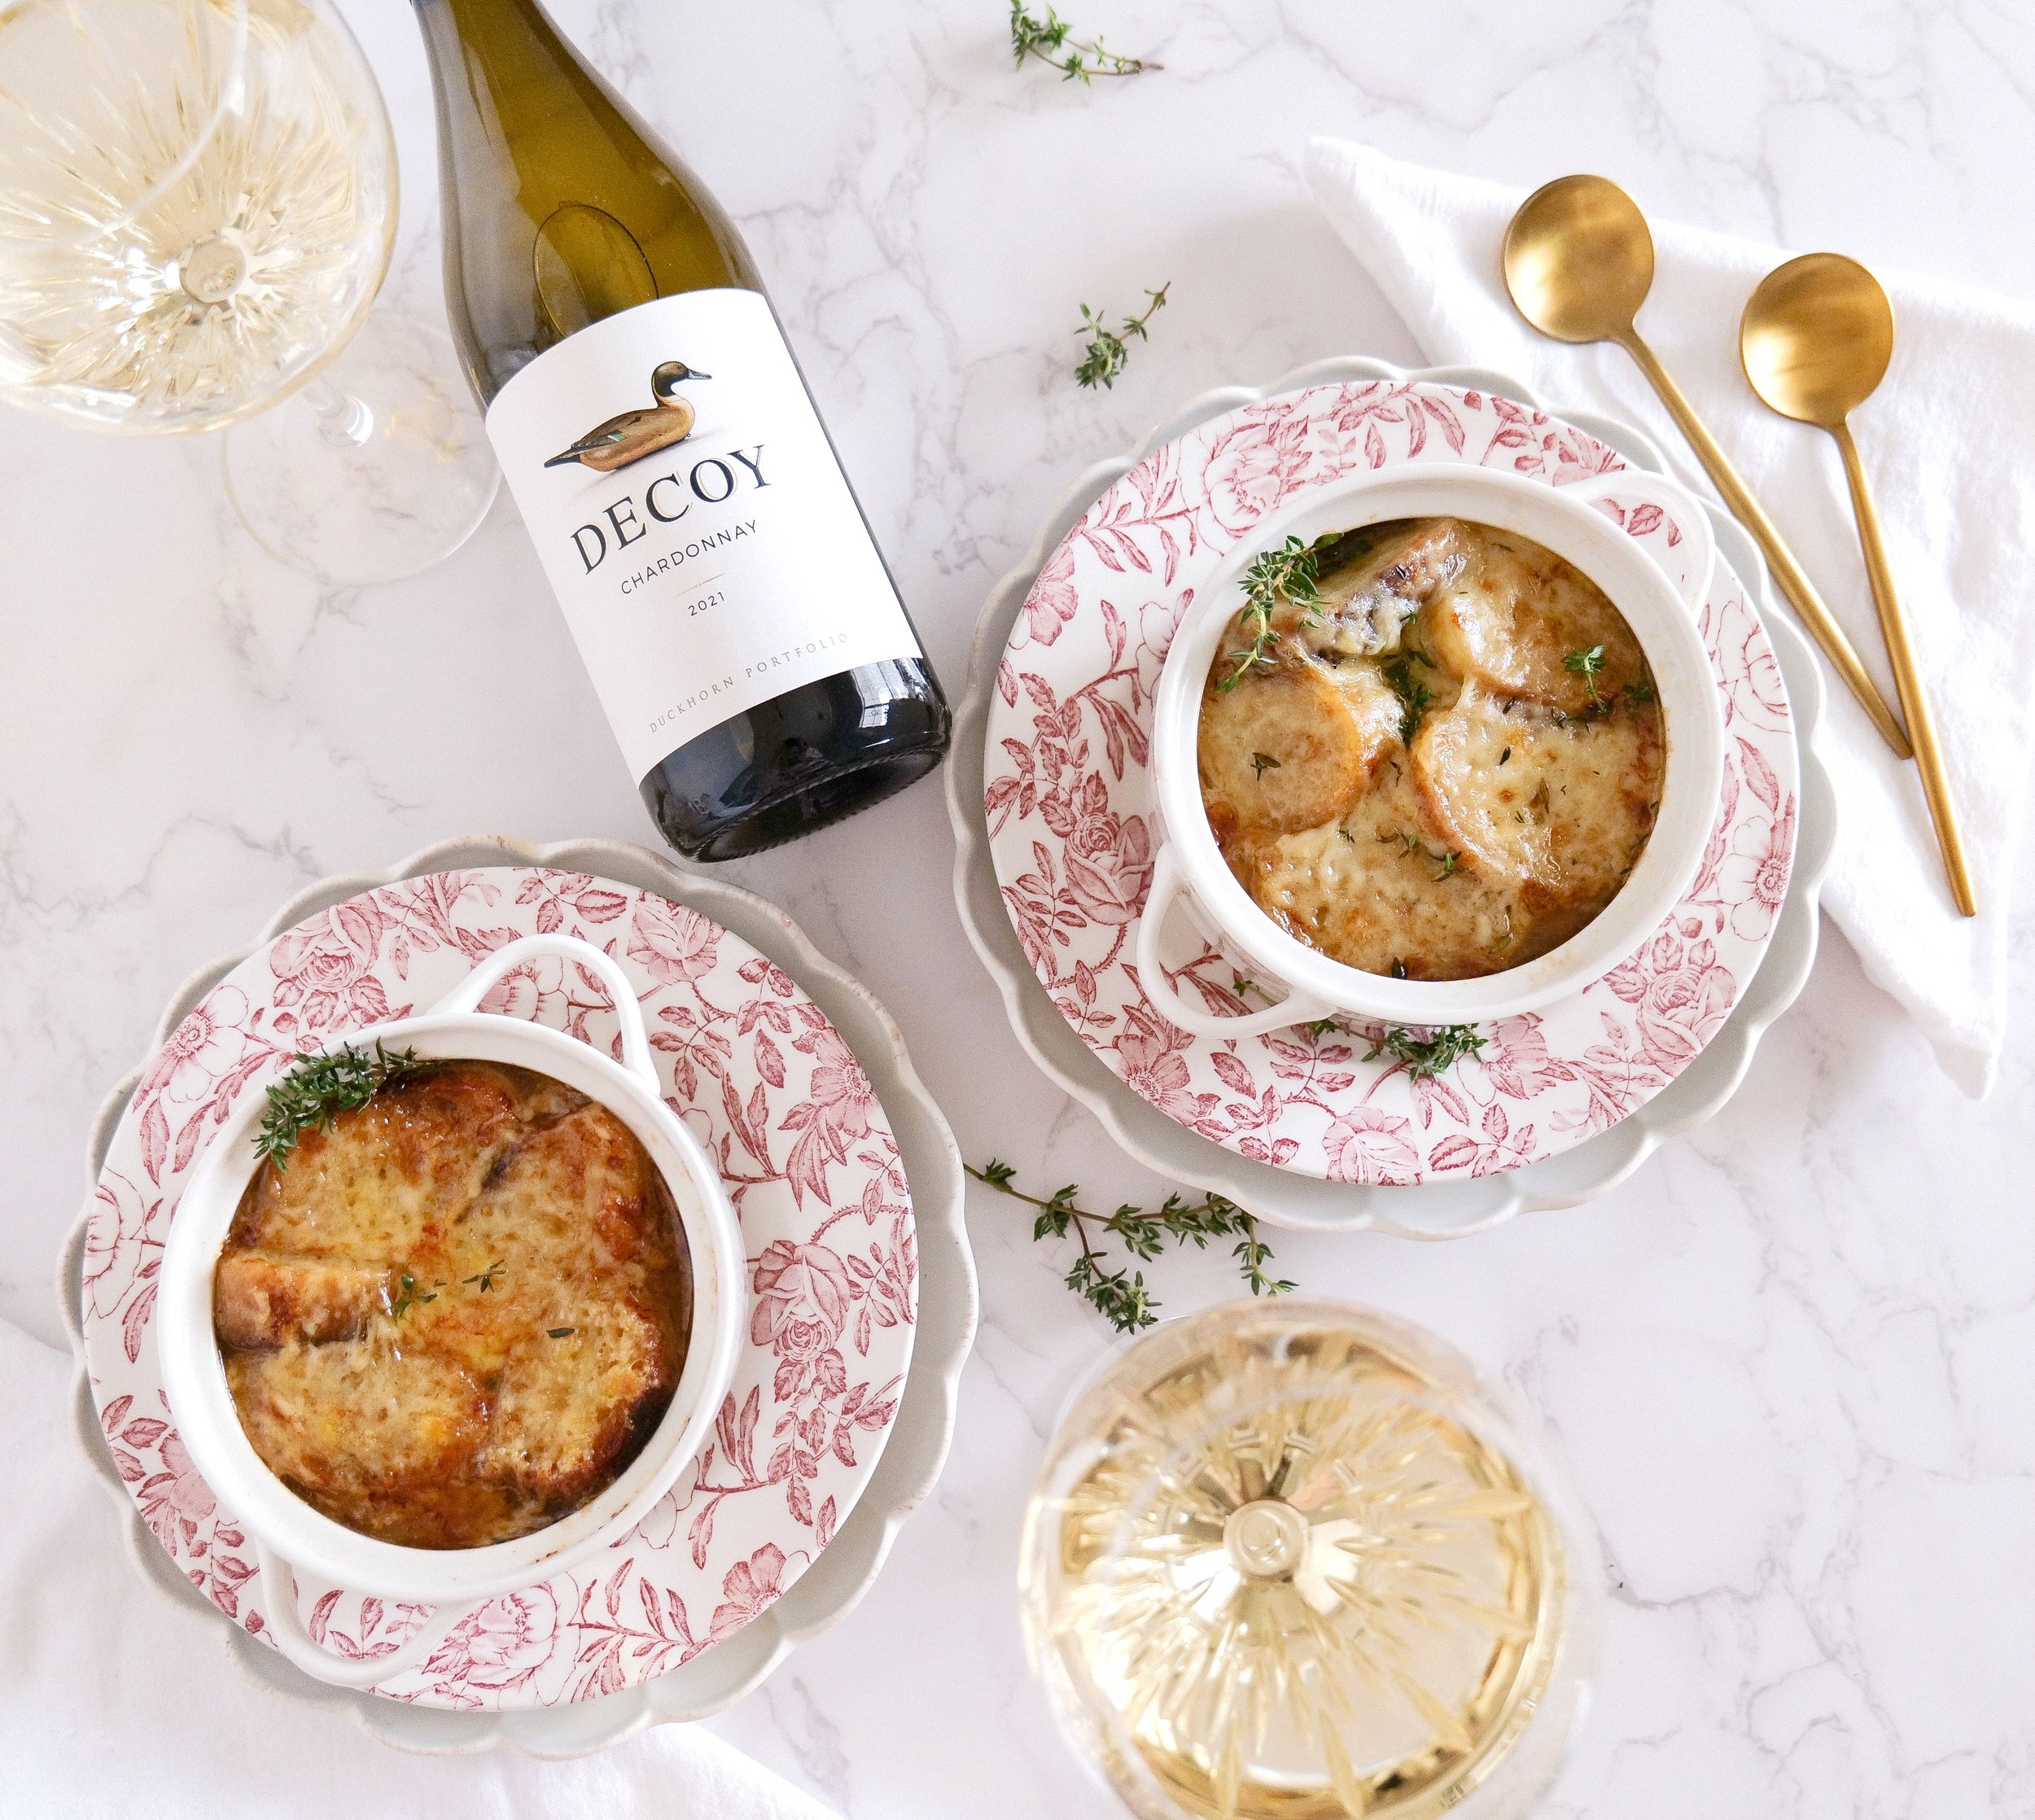
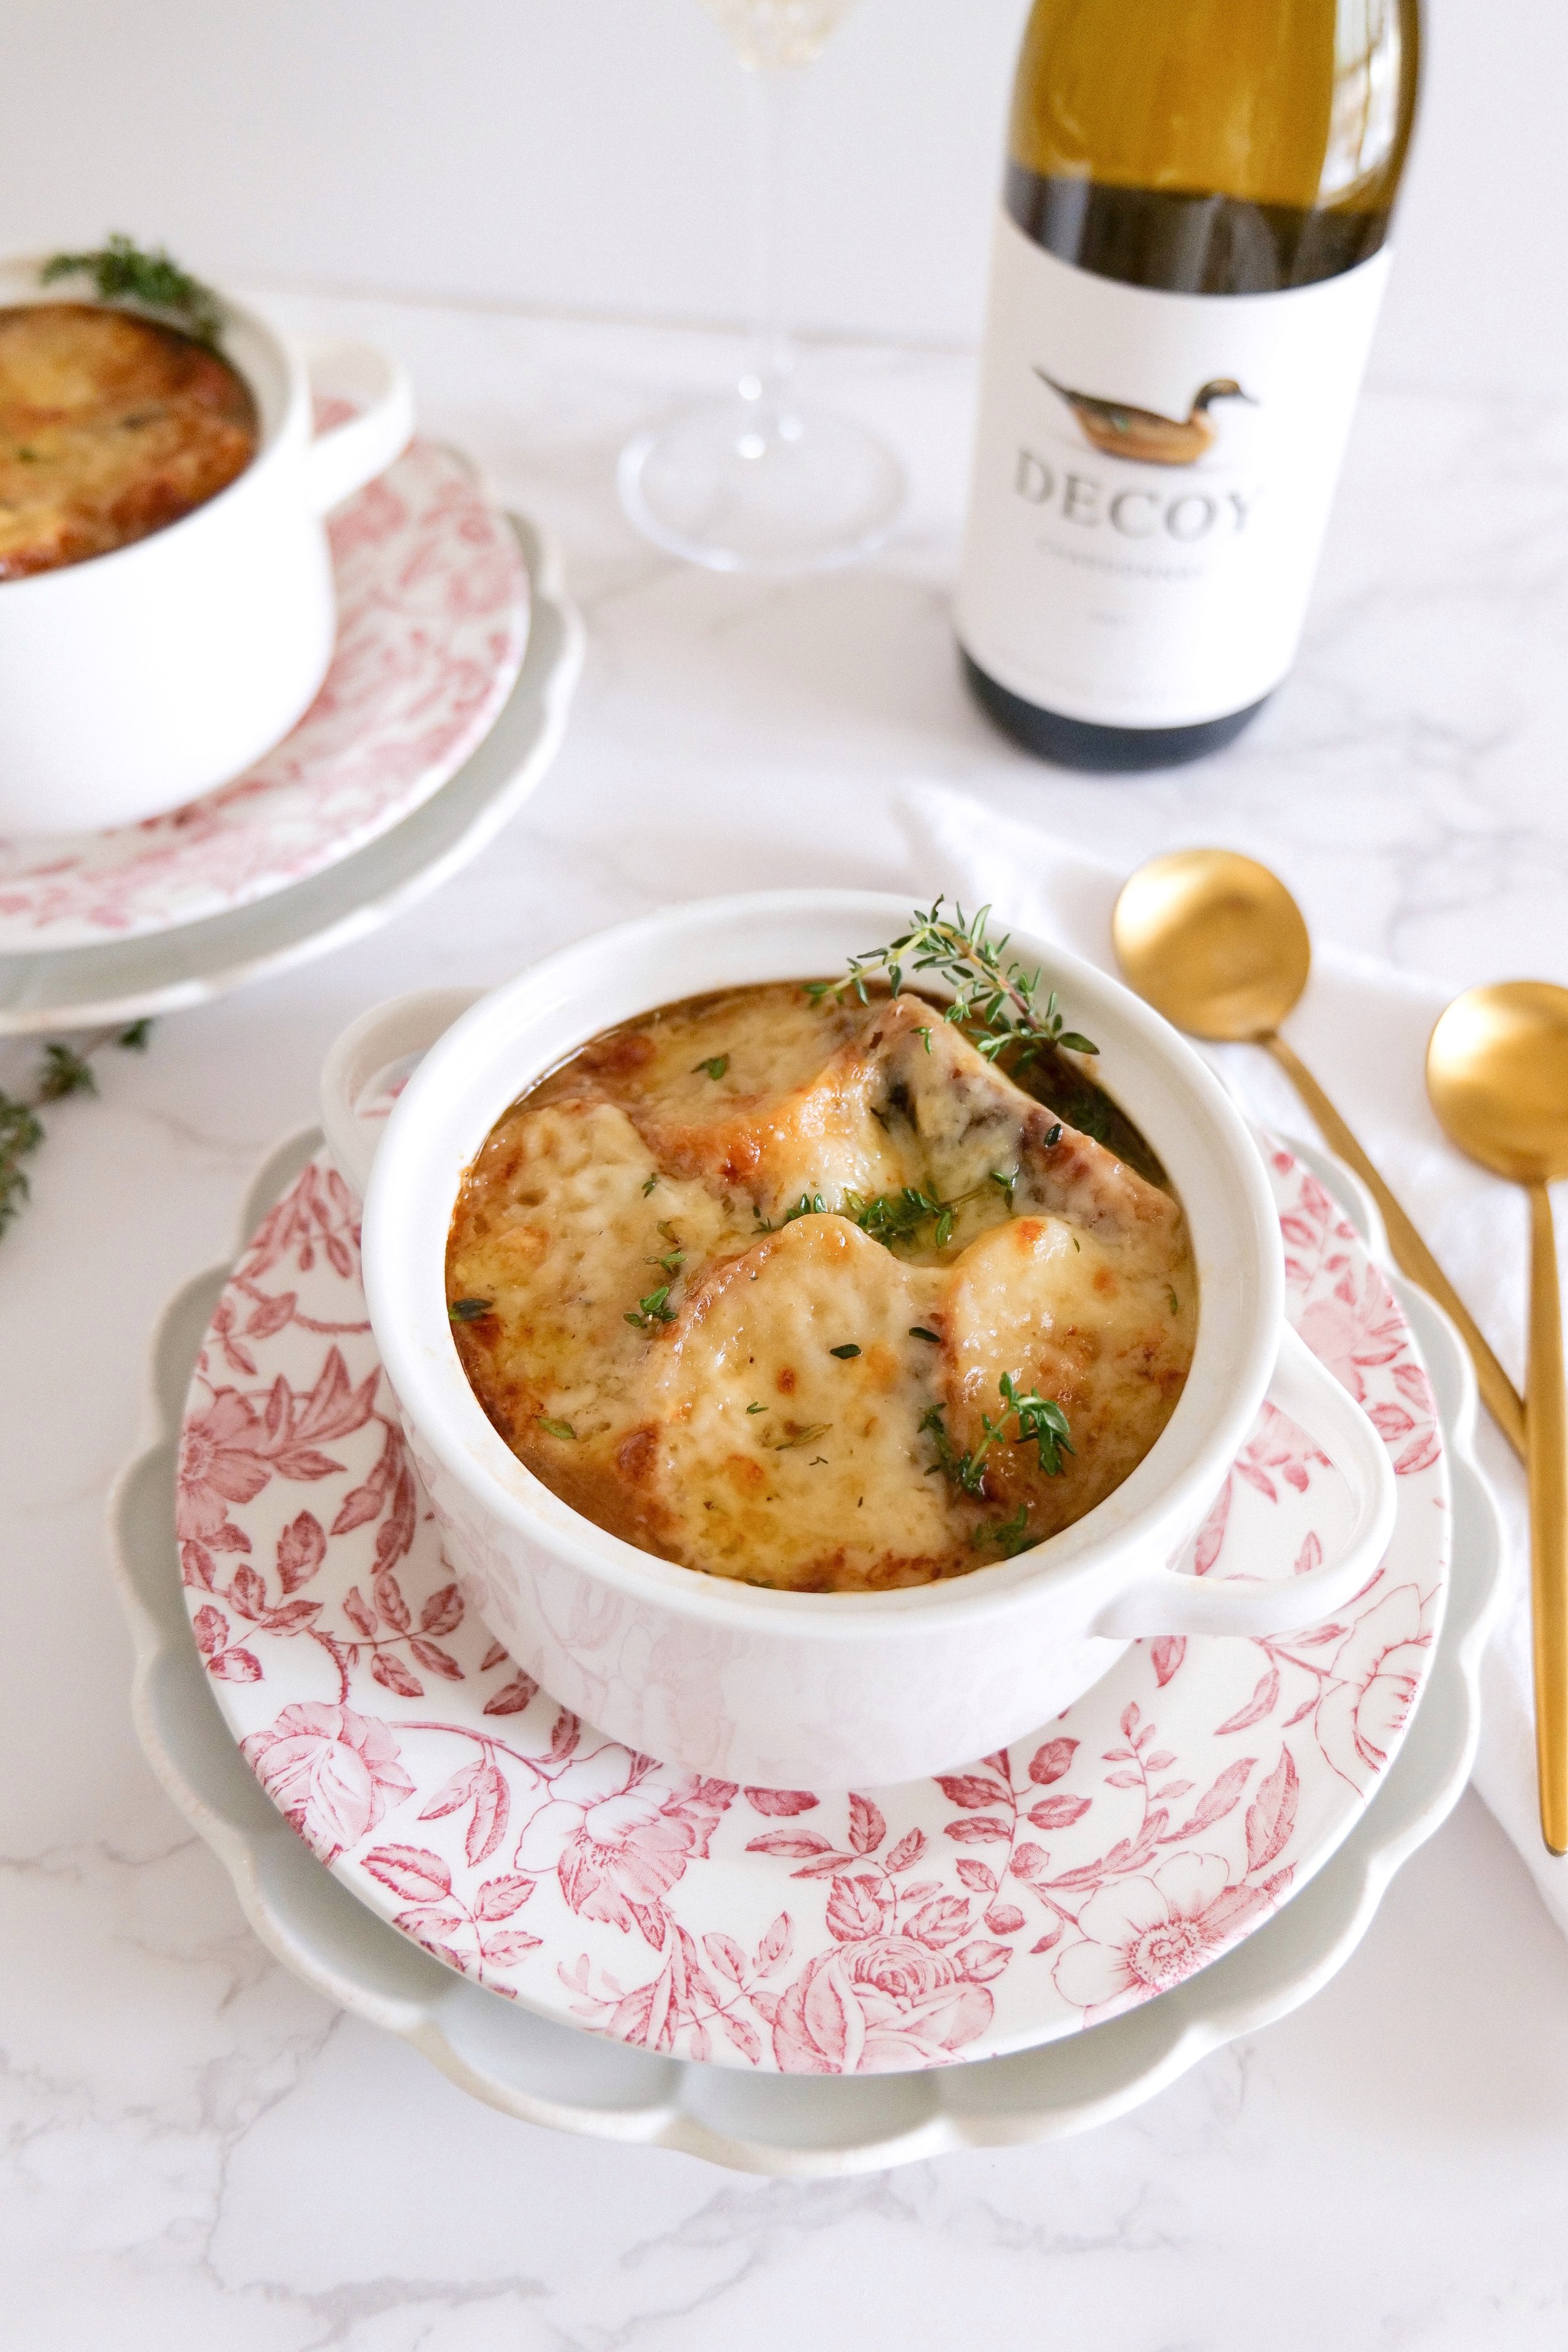
An Alluring Combination: French Onion & Shallot Soup Recipe

Mom's Favorite Minestrone Soup Recipe

Zesty Delight: Mastering the Ultimate Cod Piccata Recipe at Home

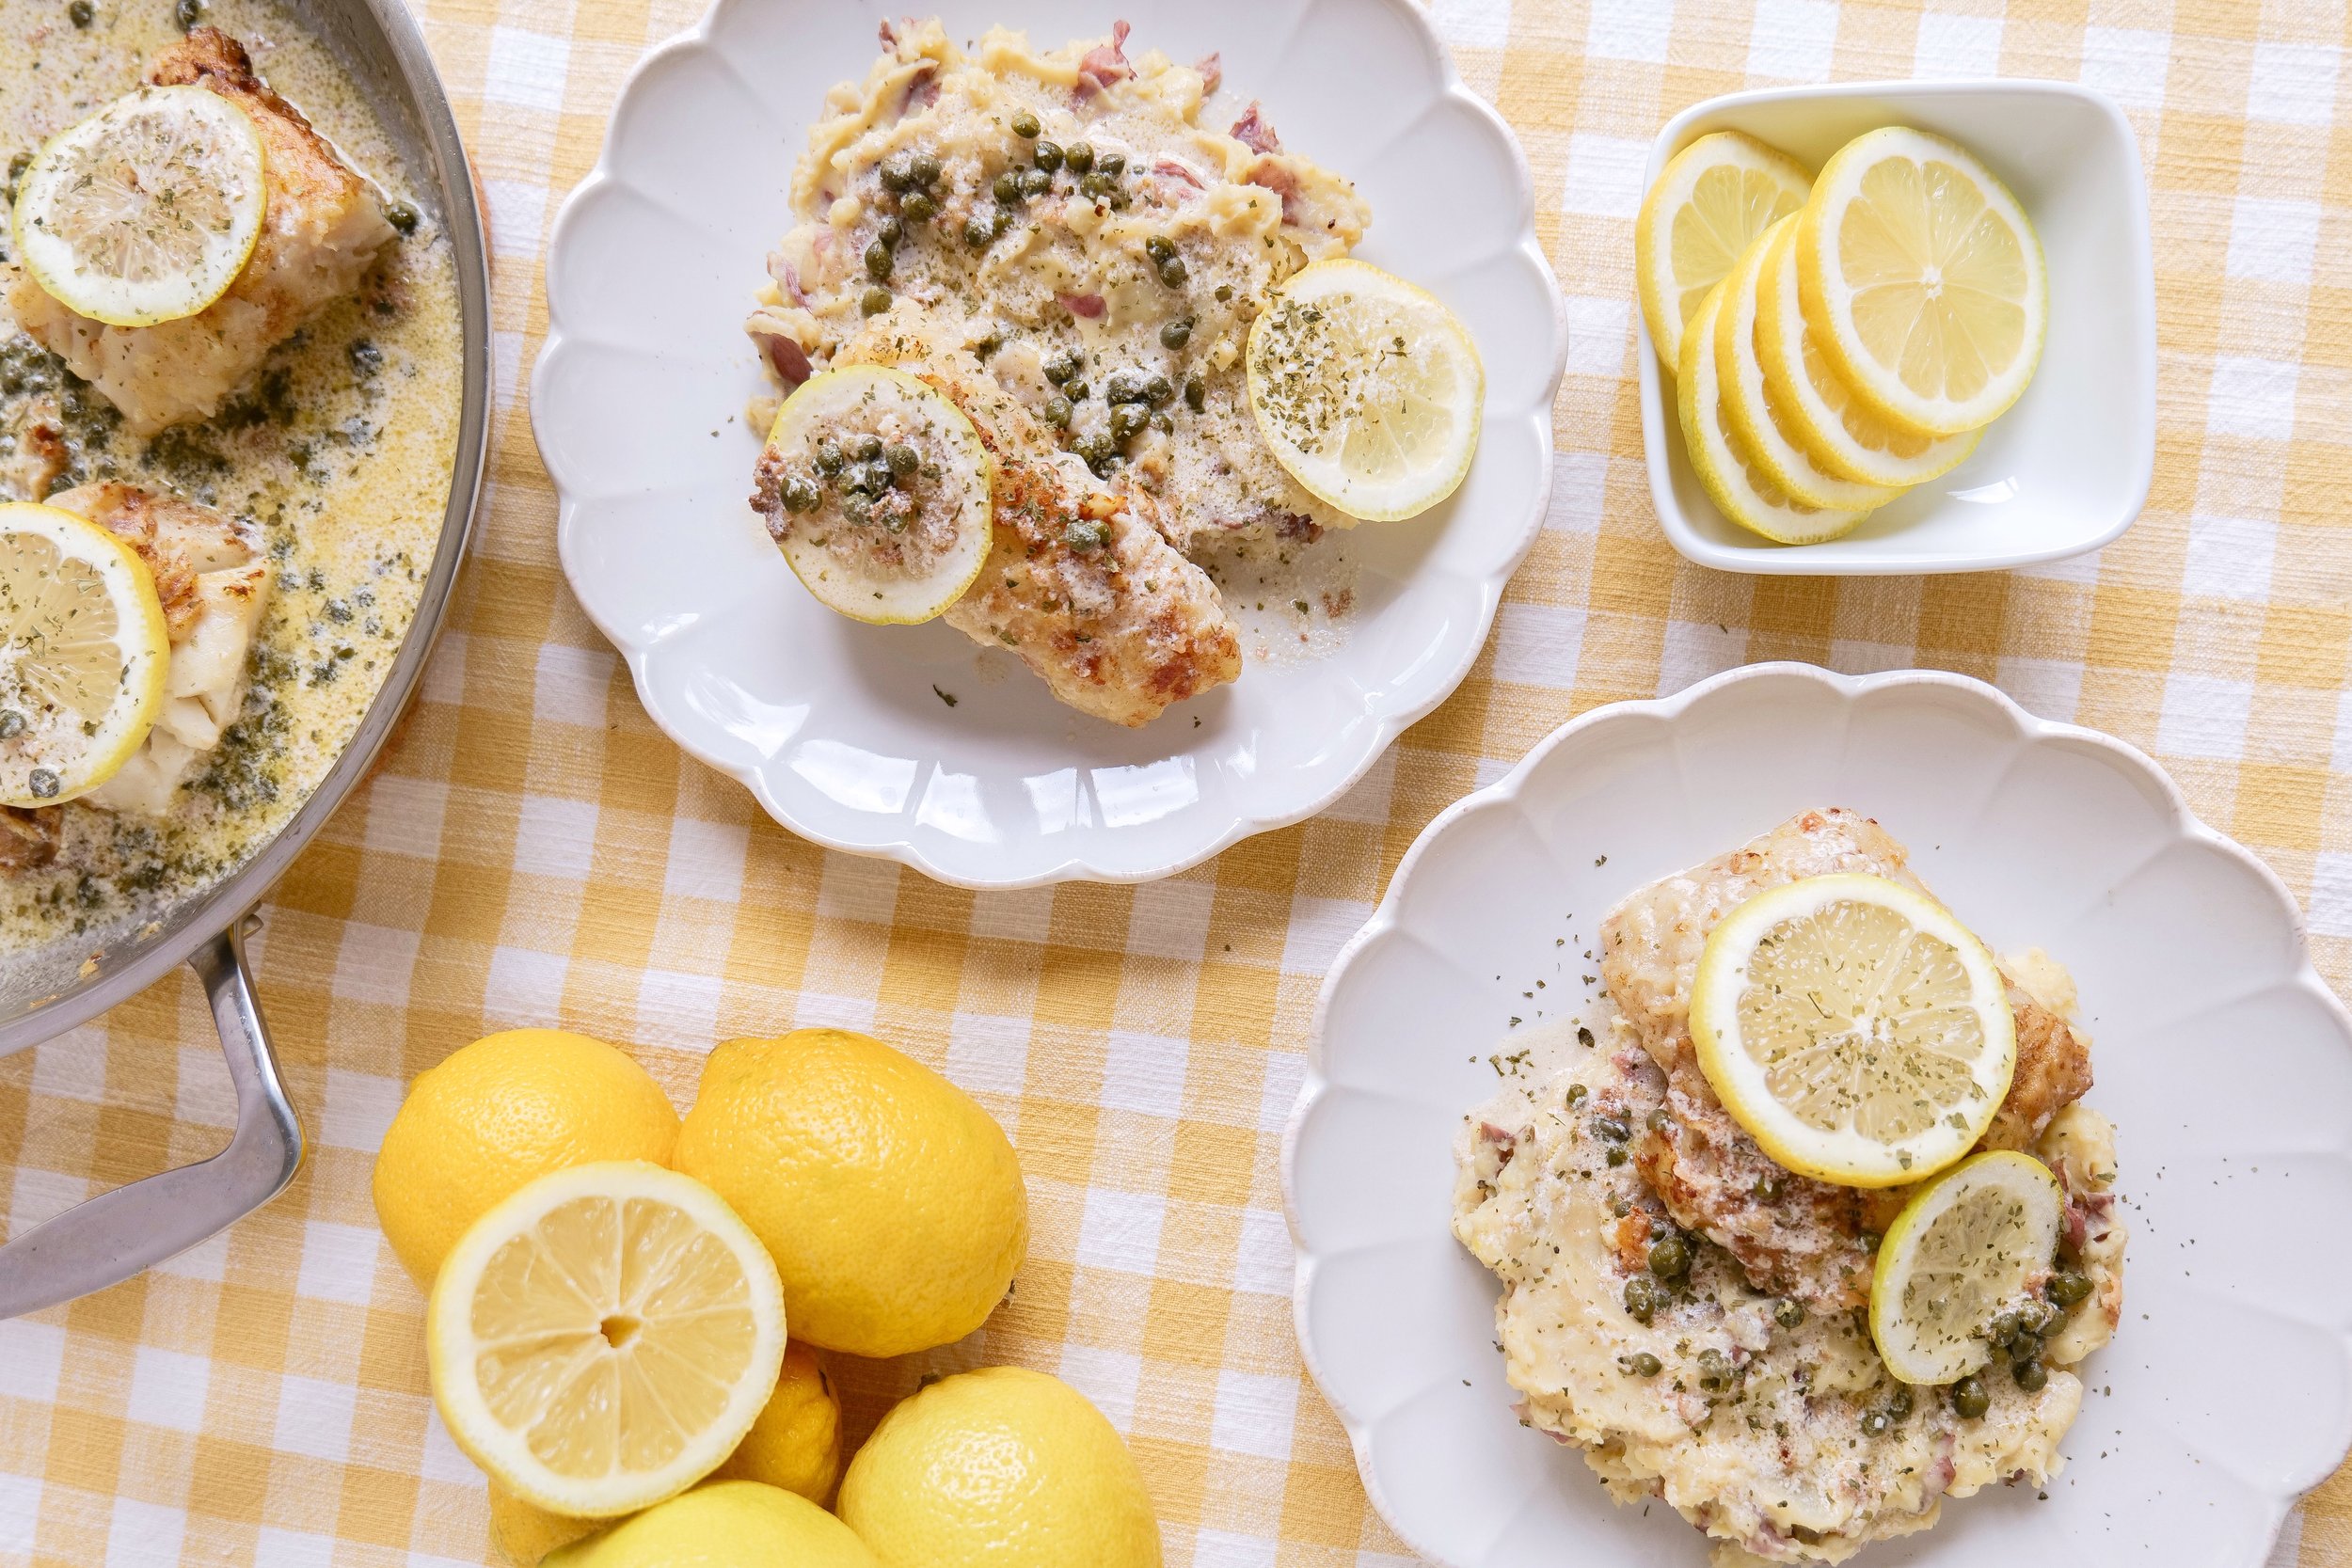
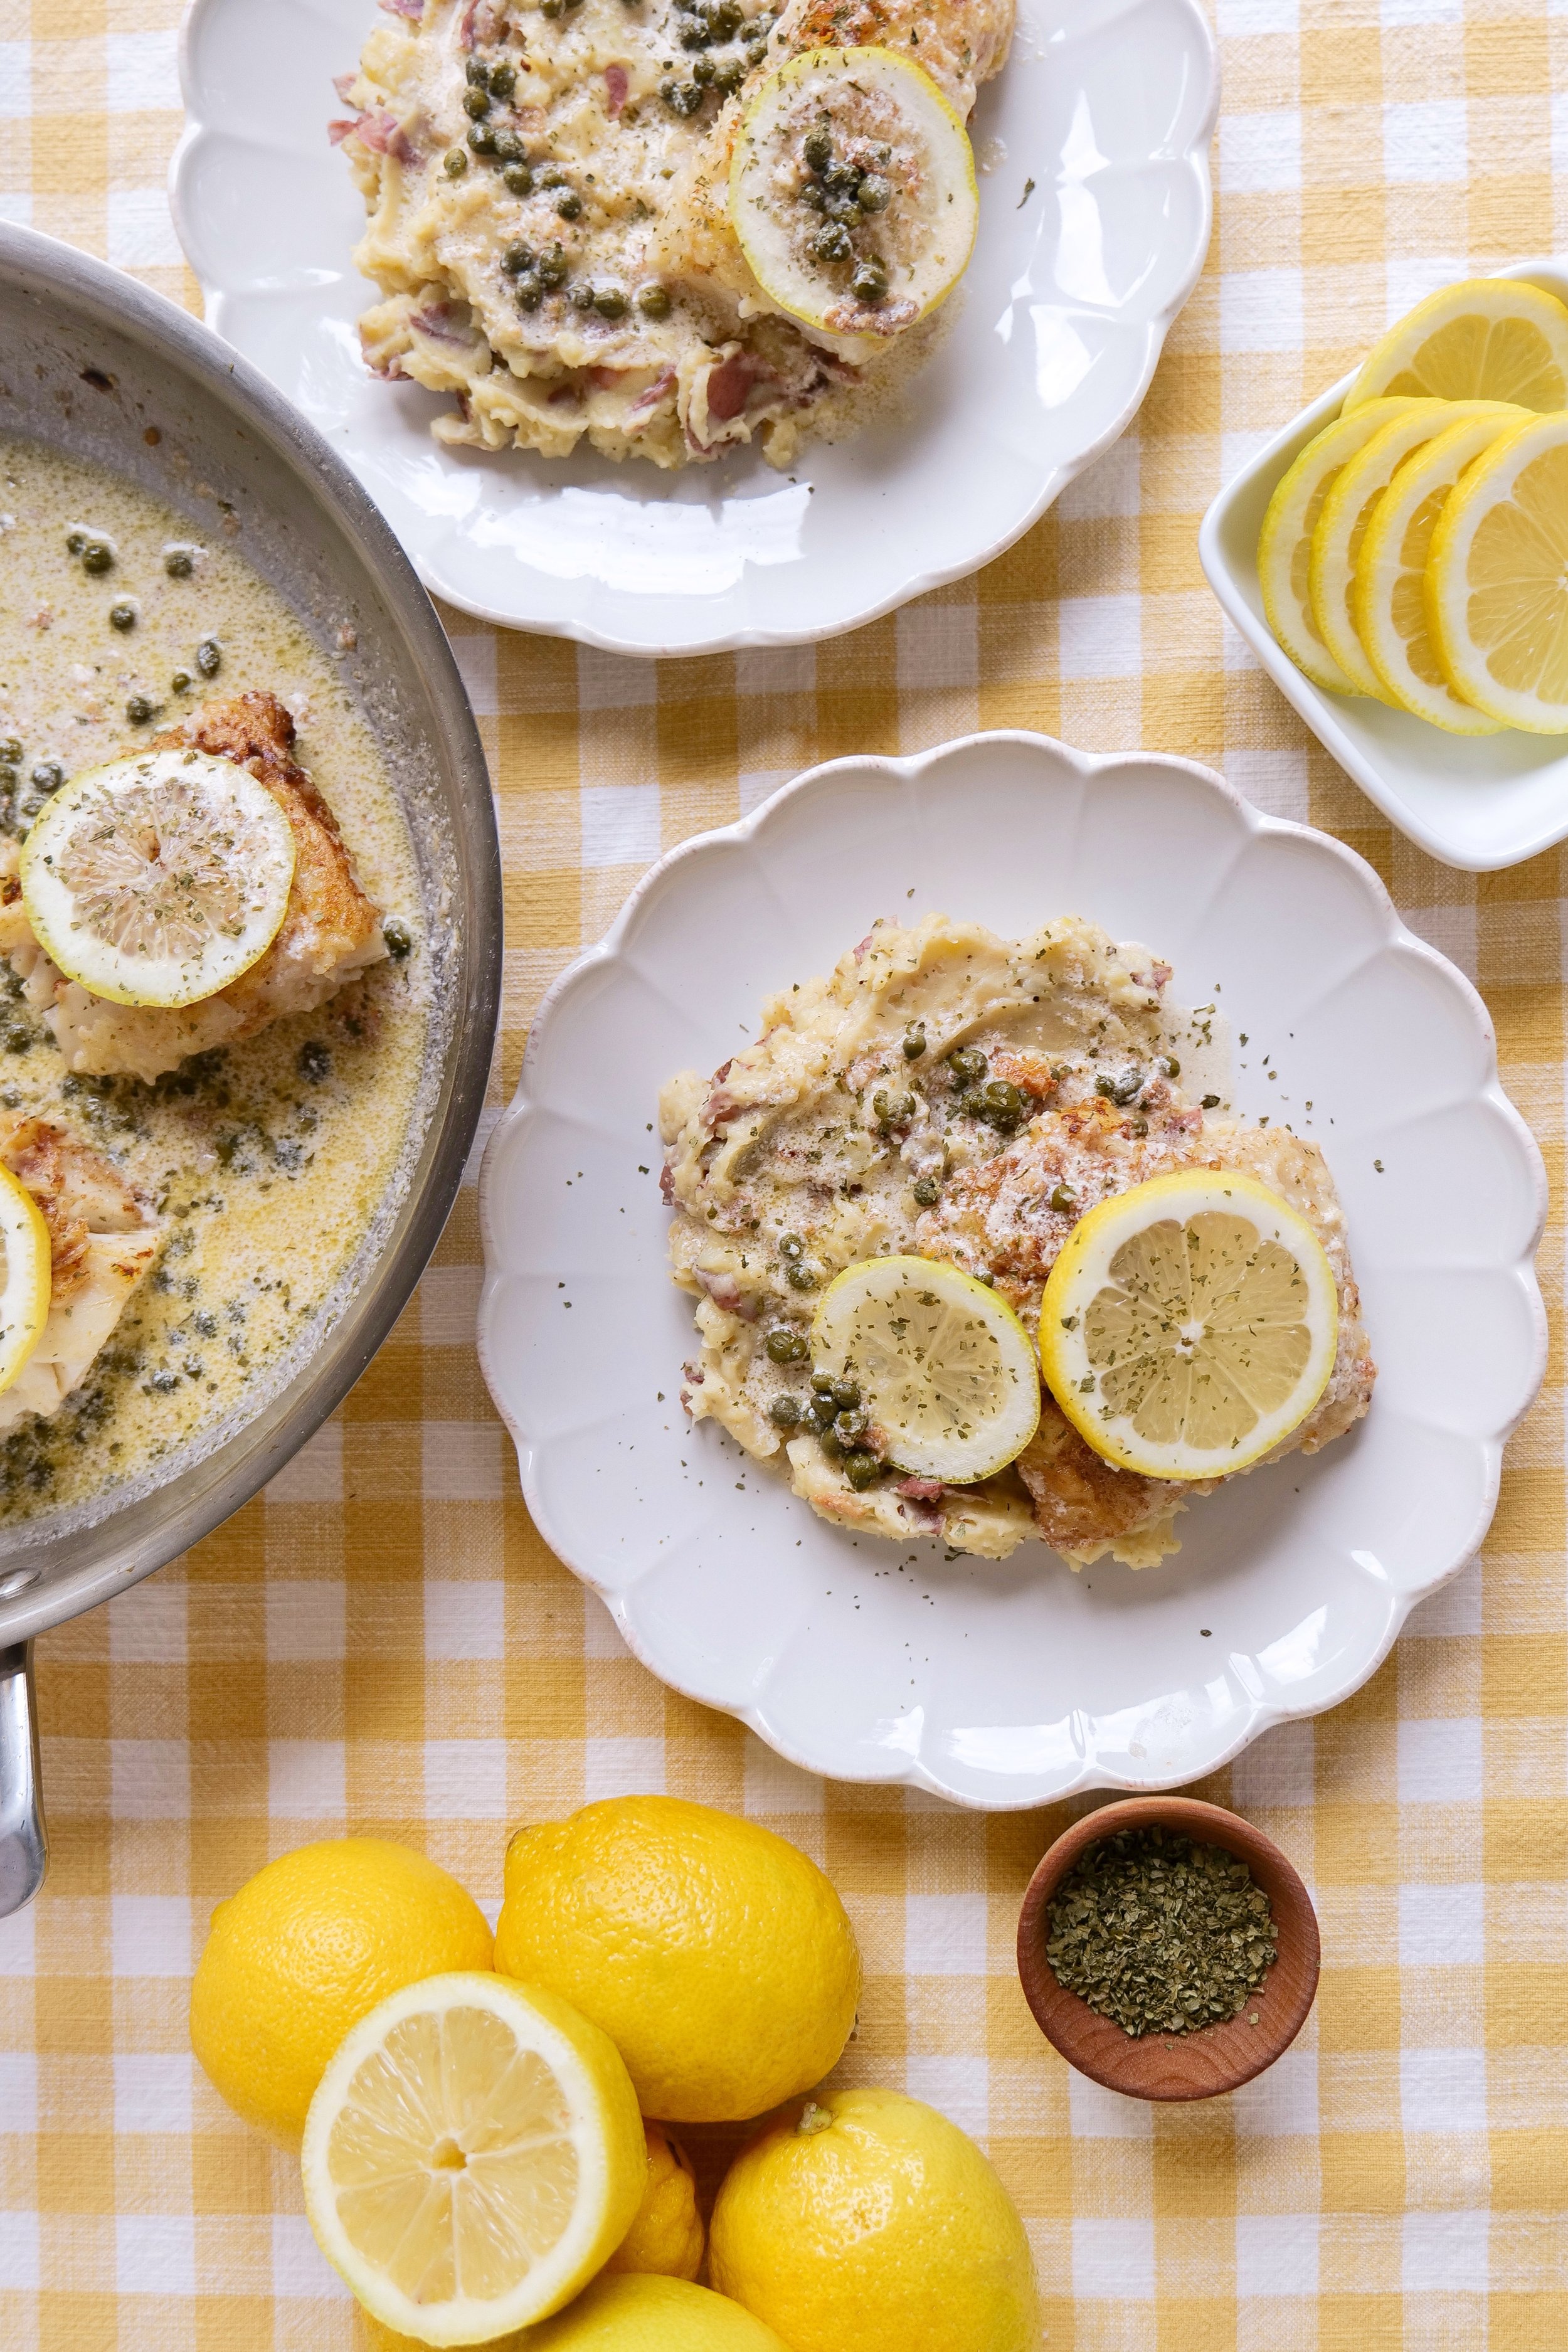
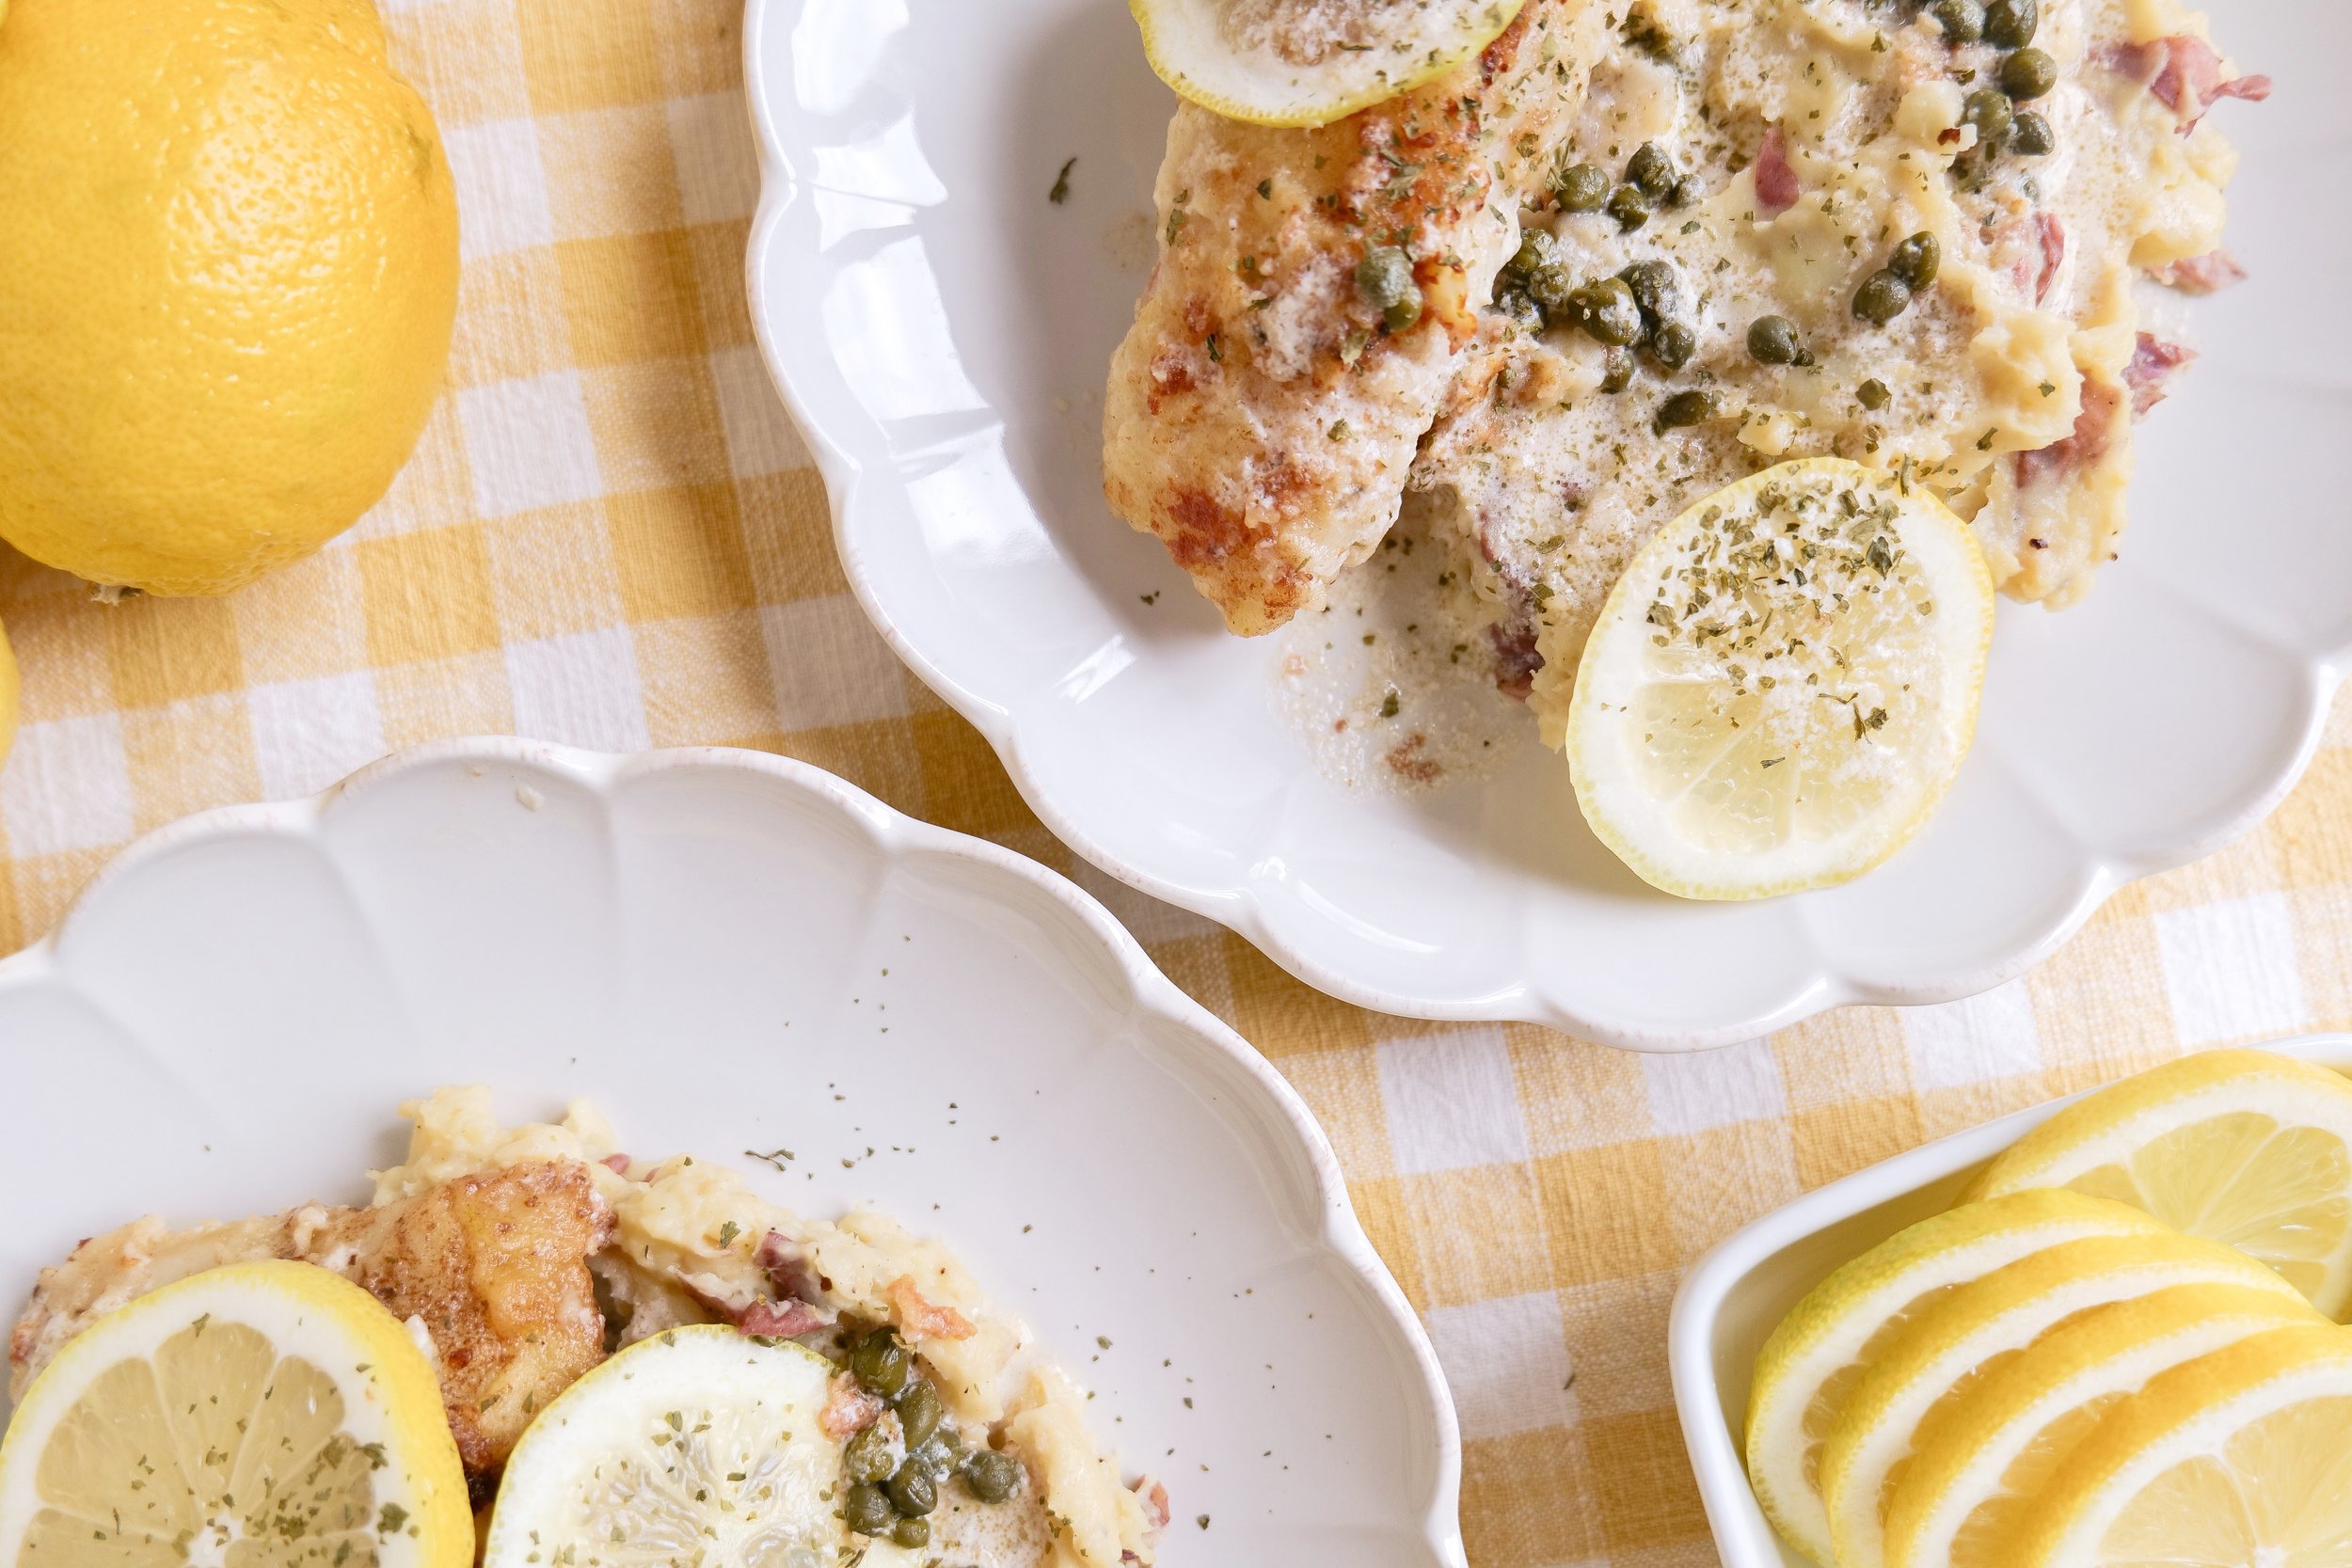
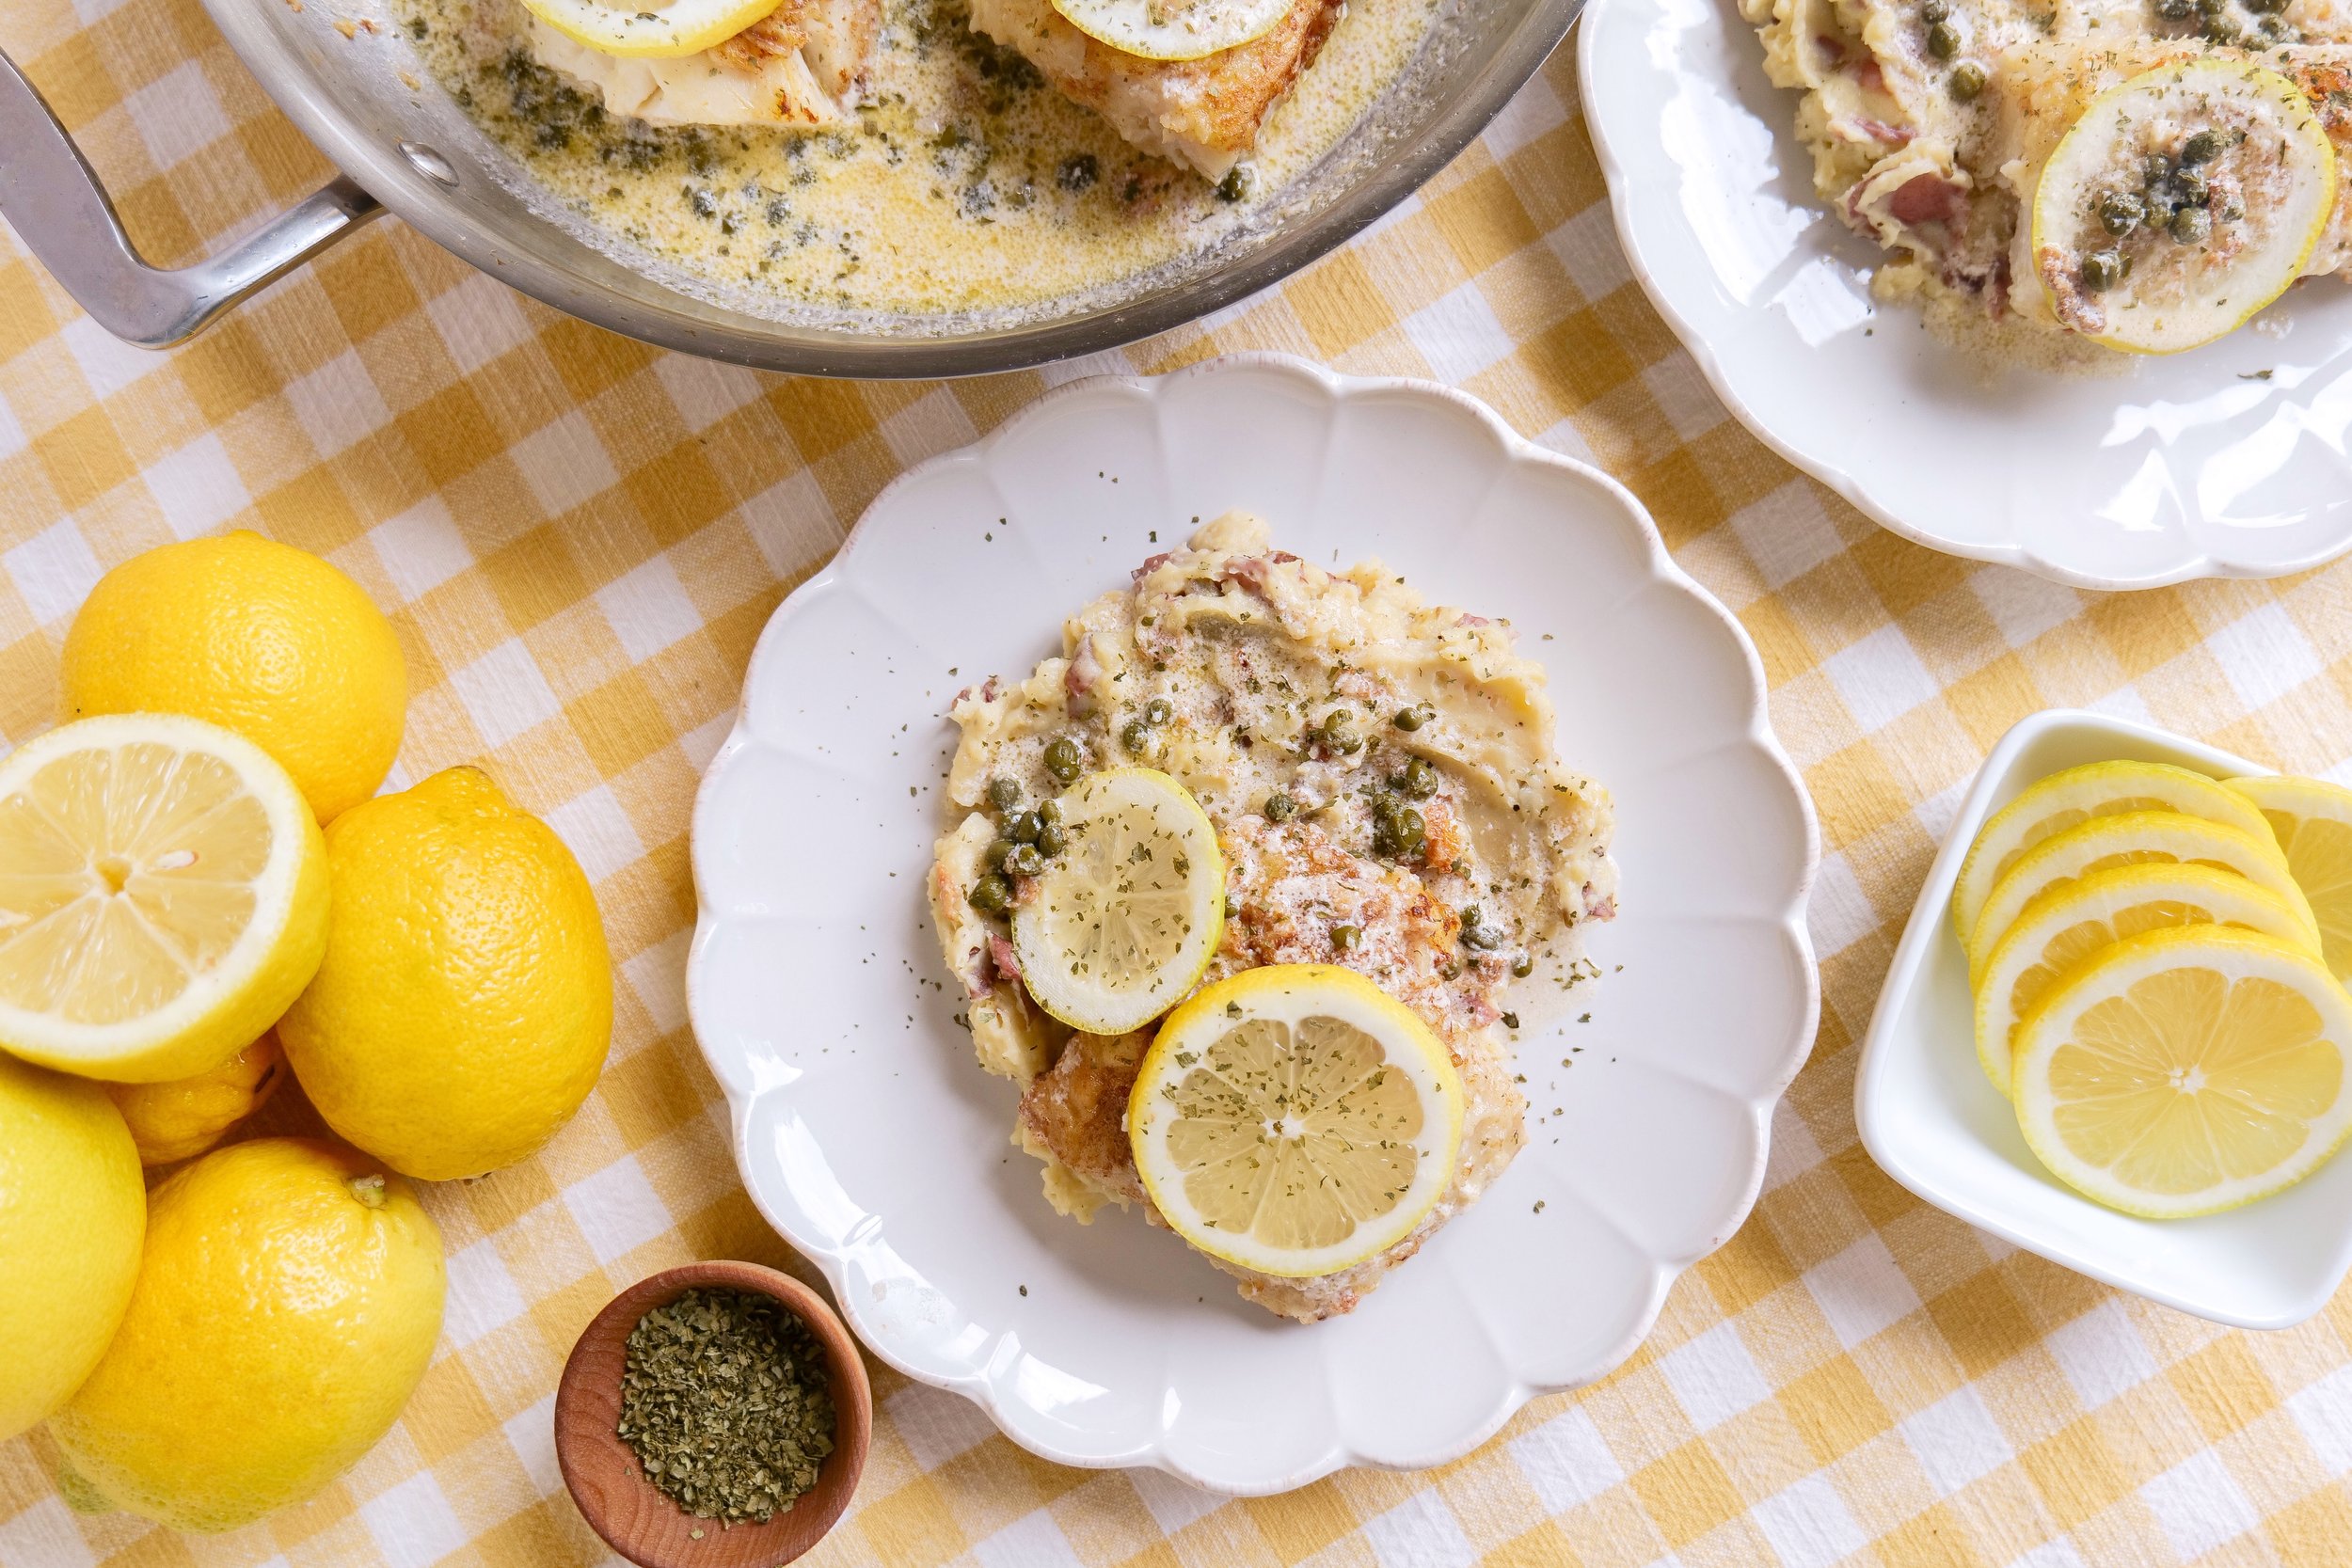
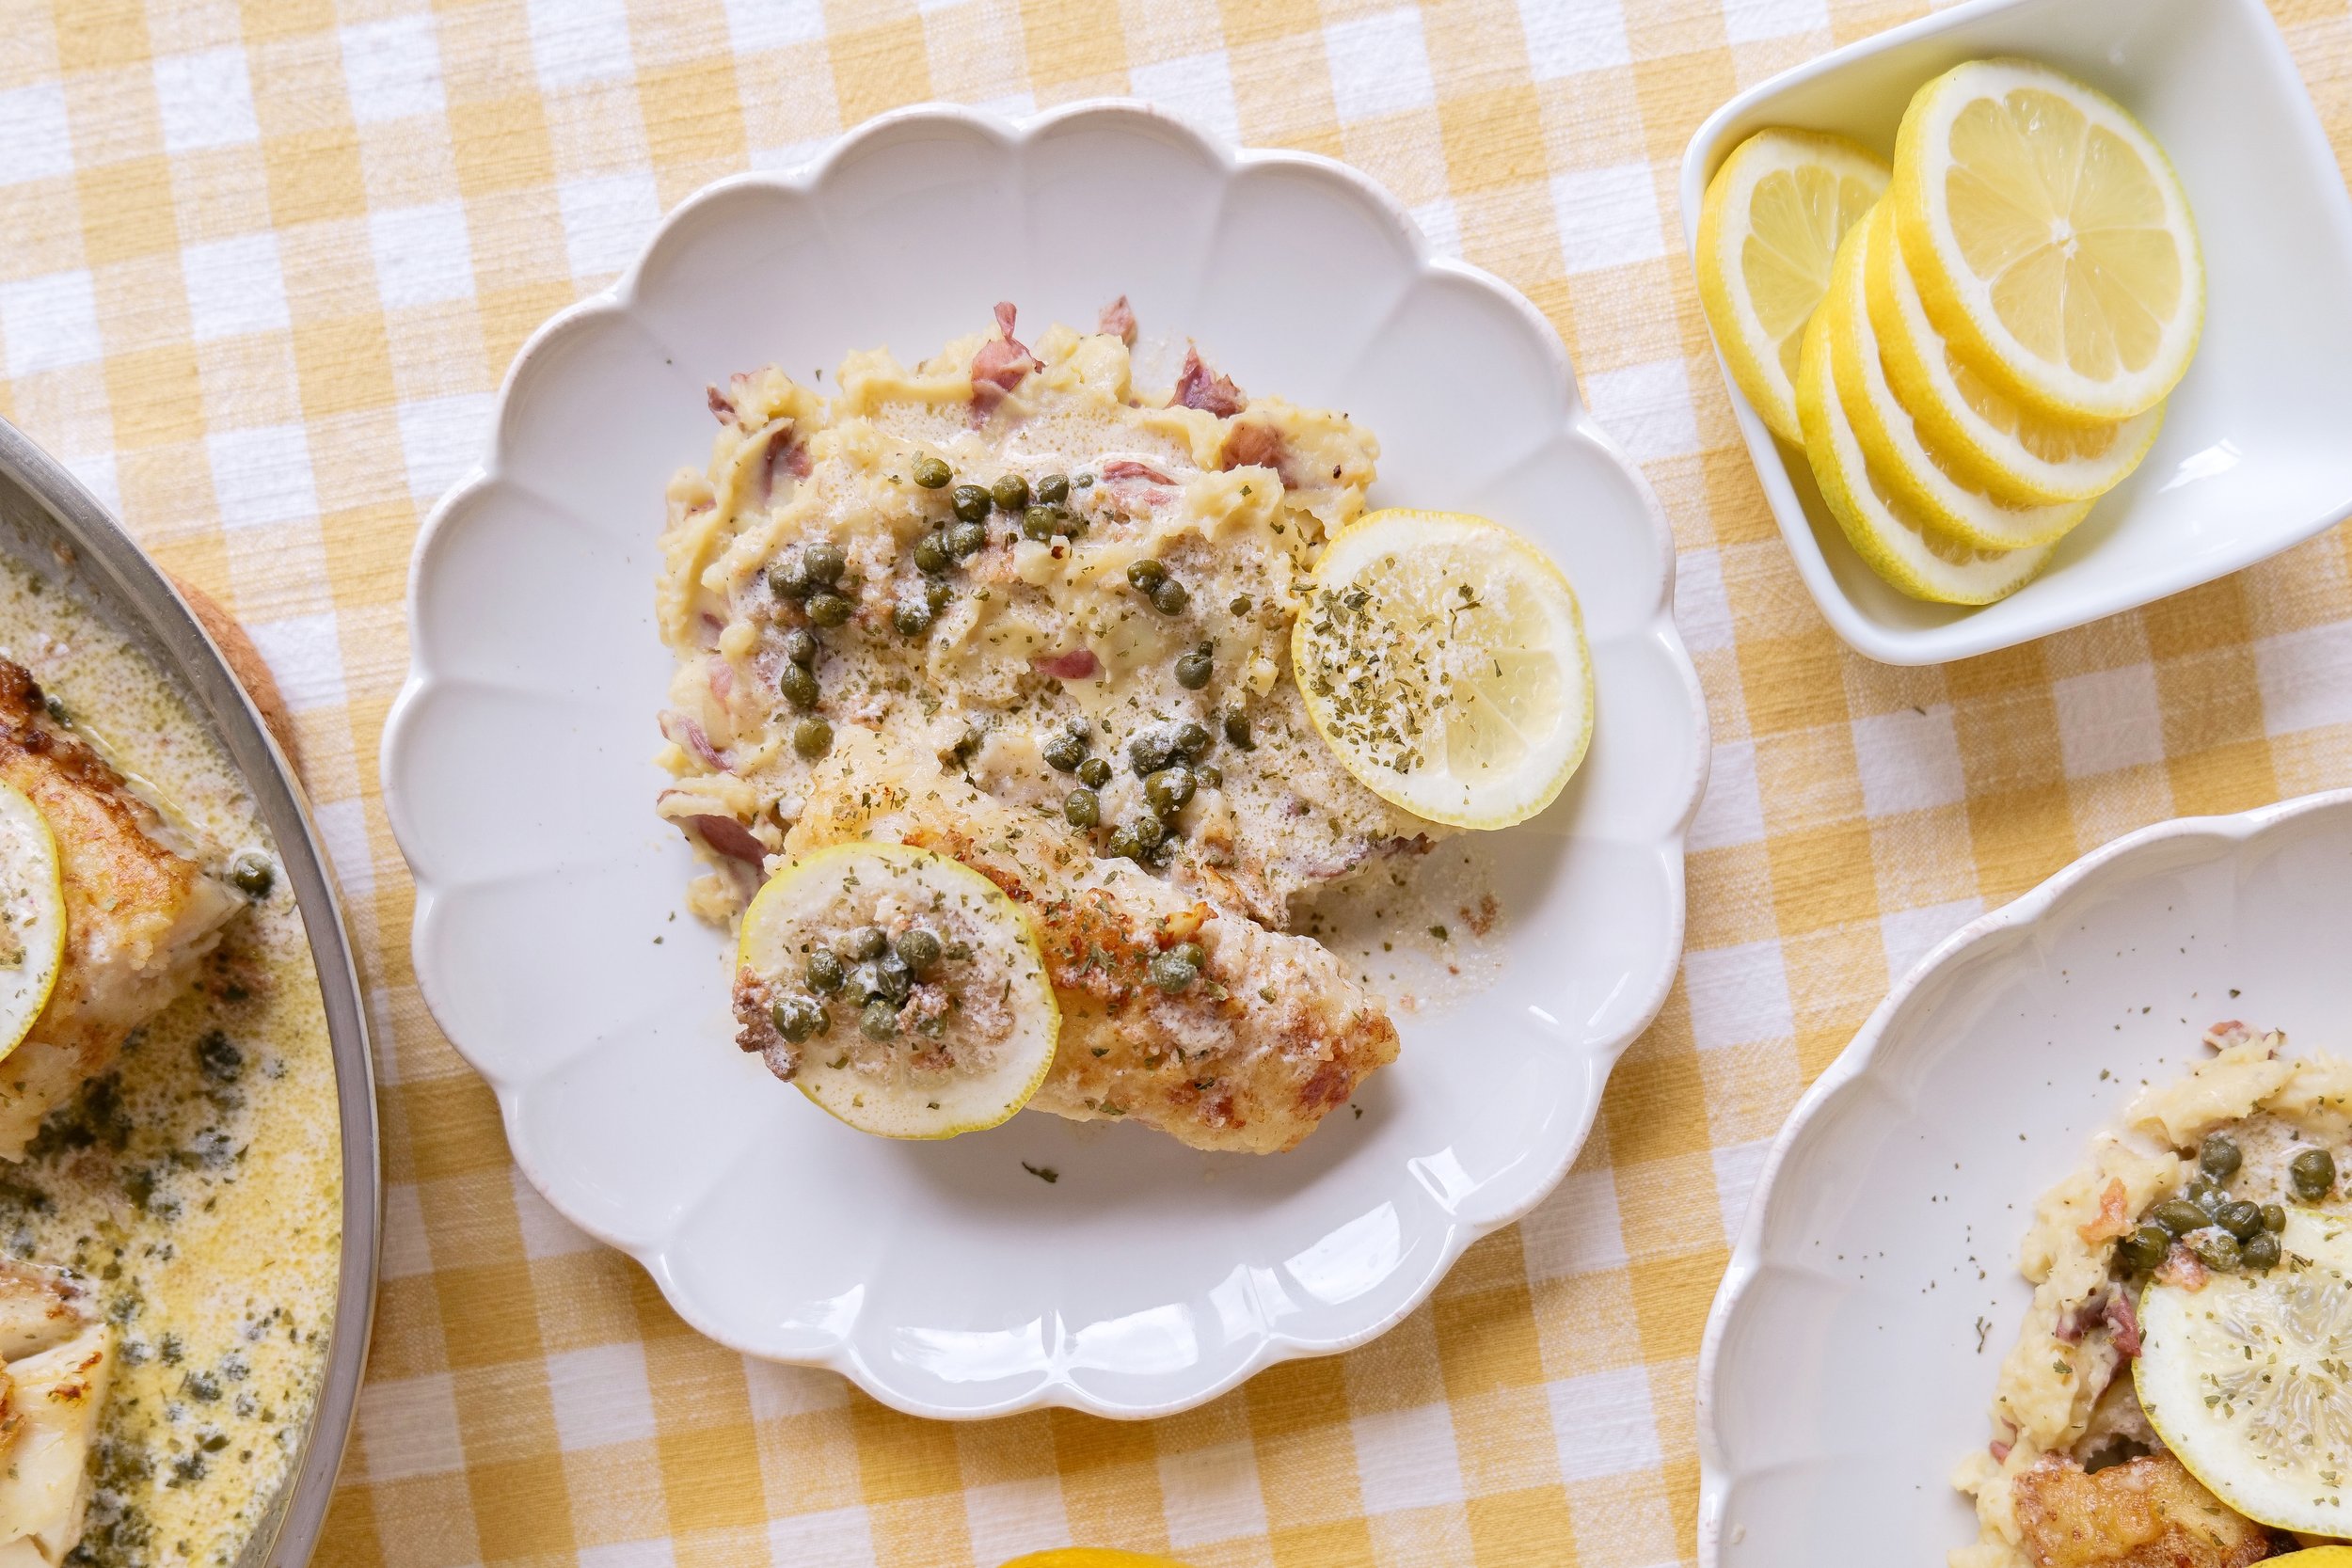
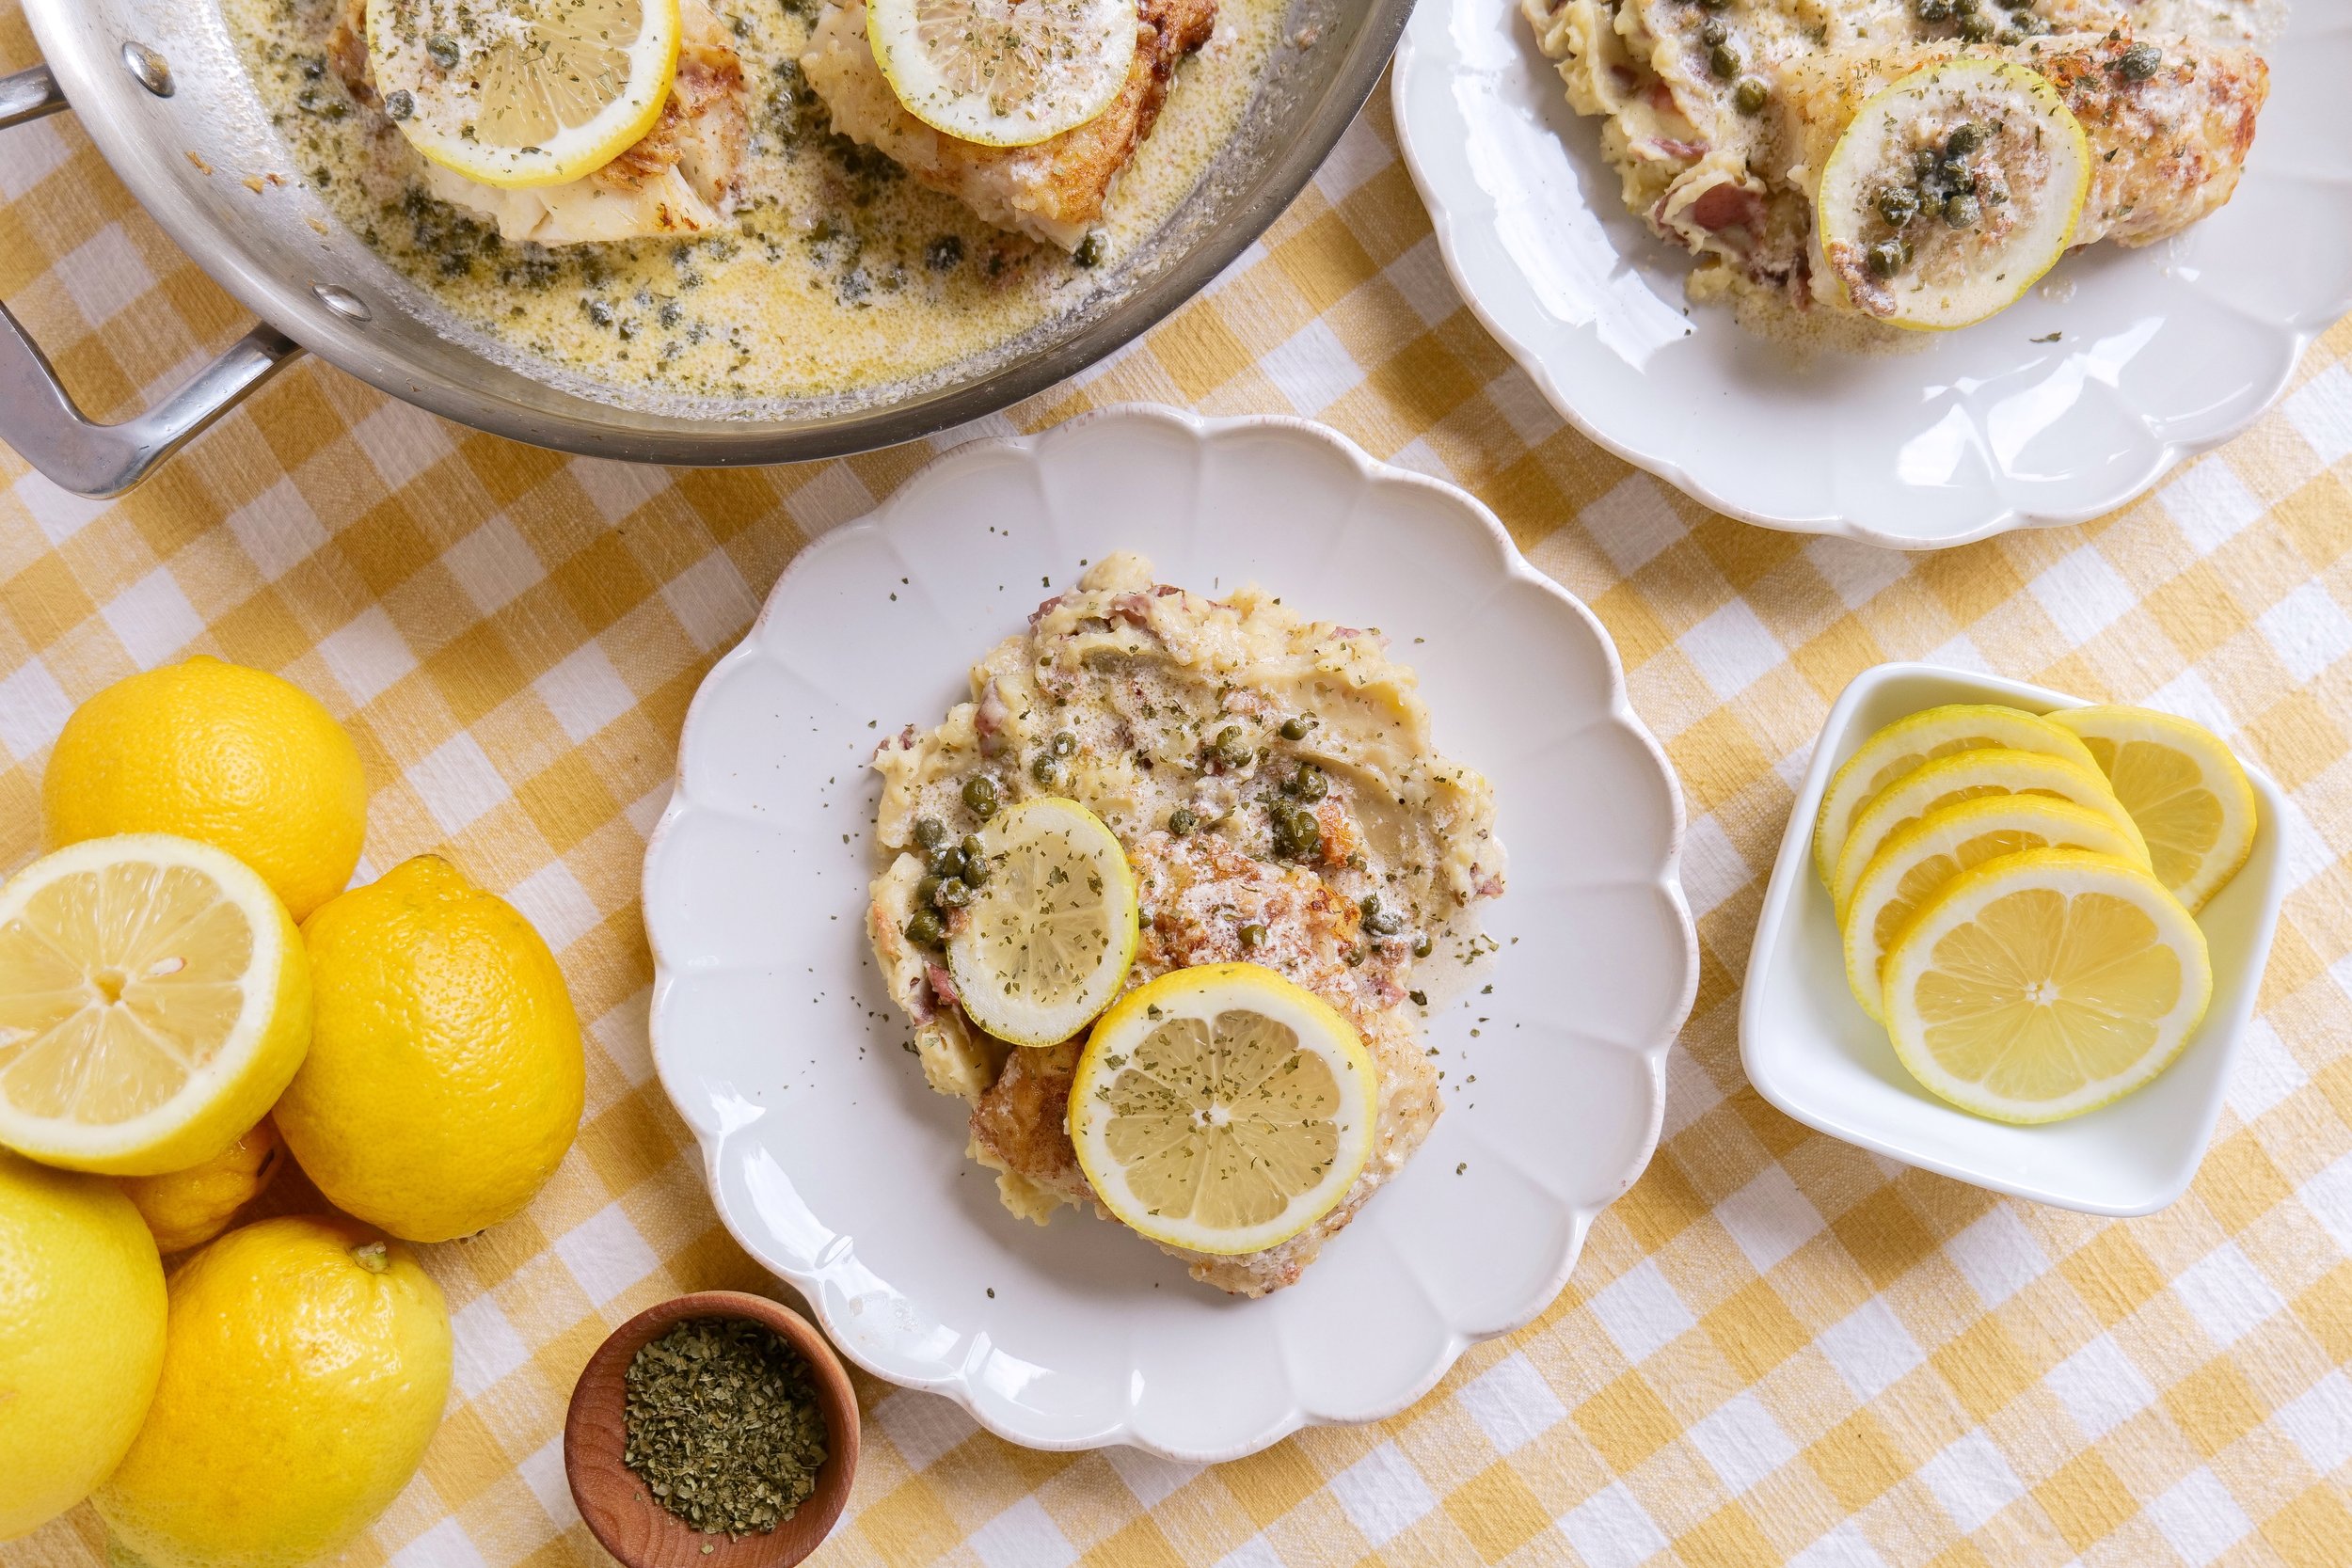
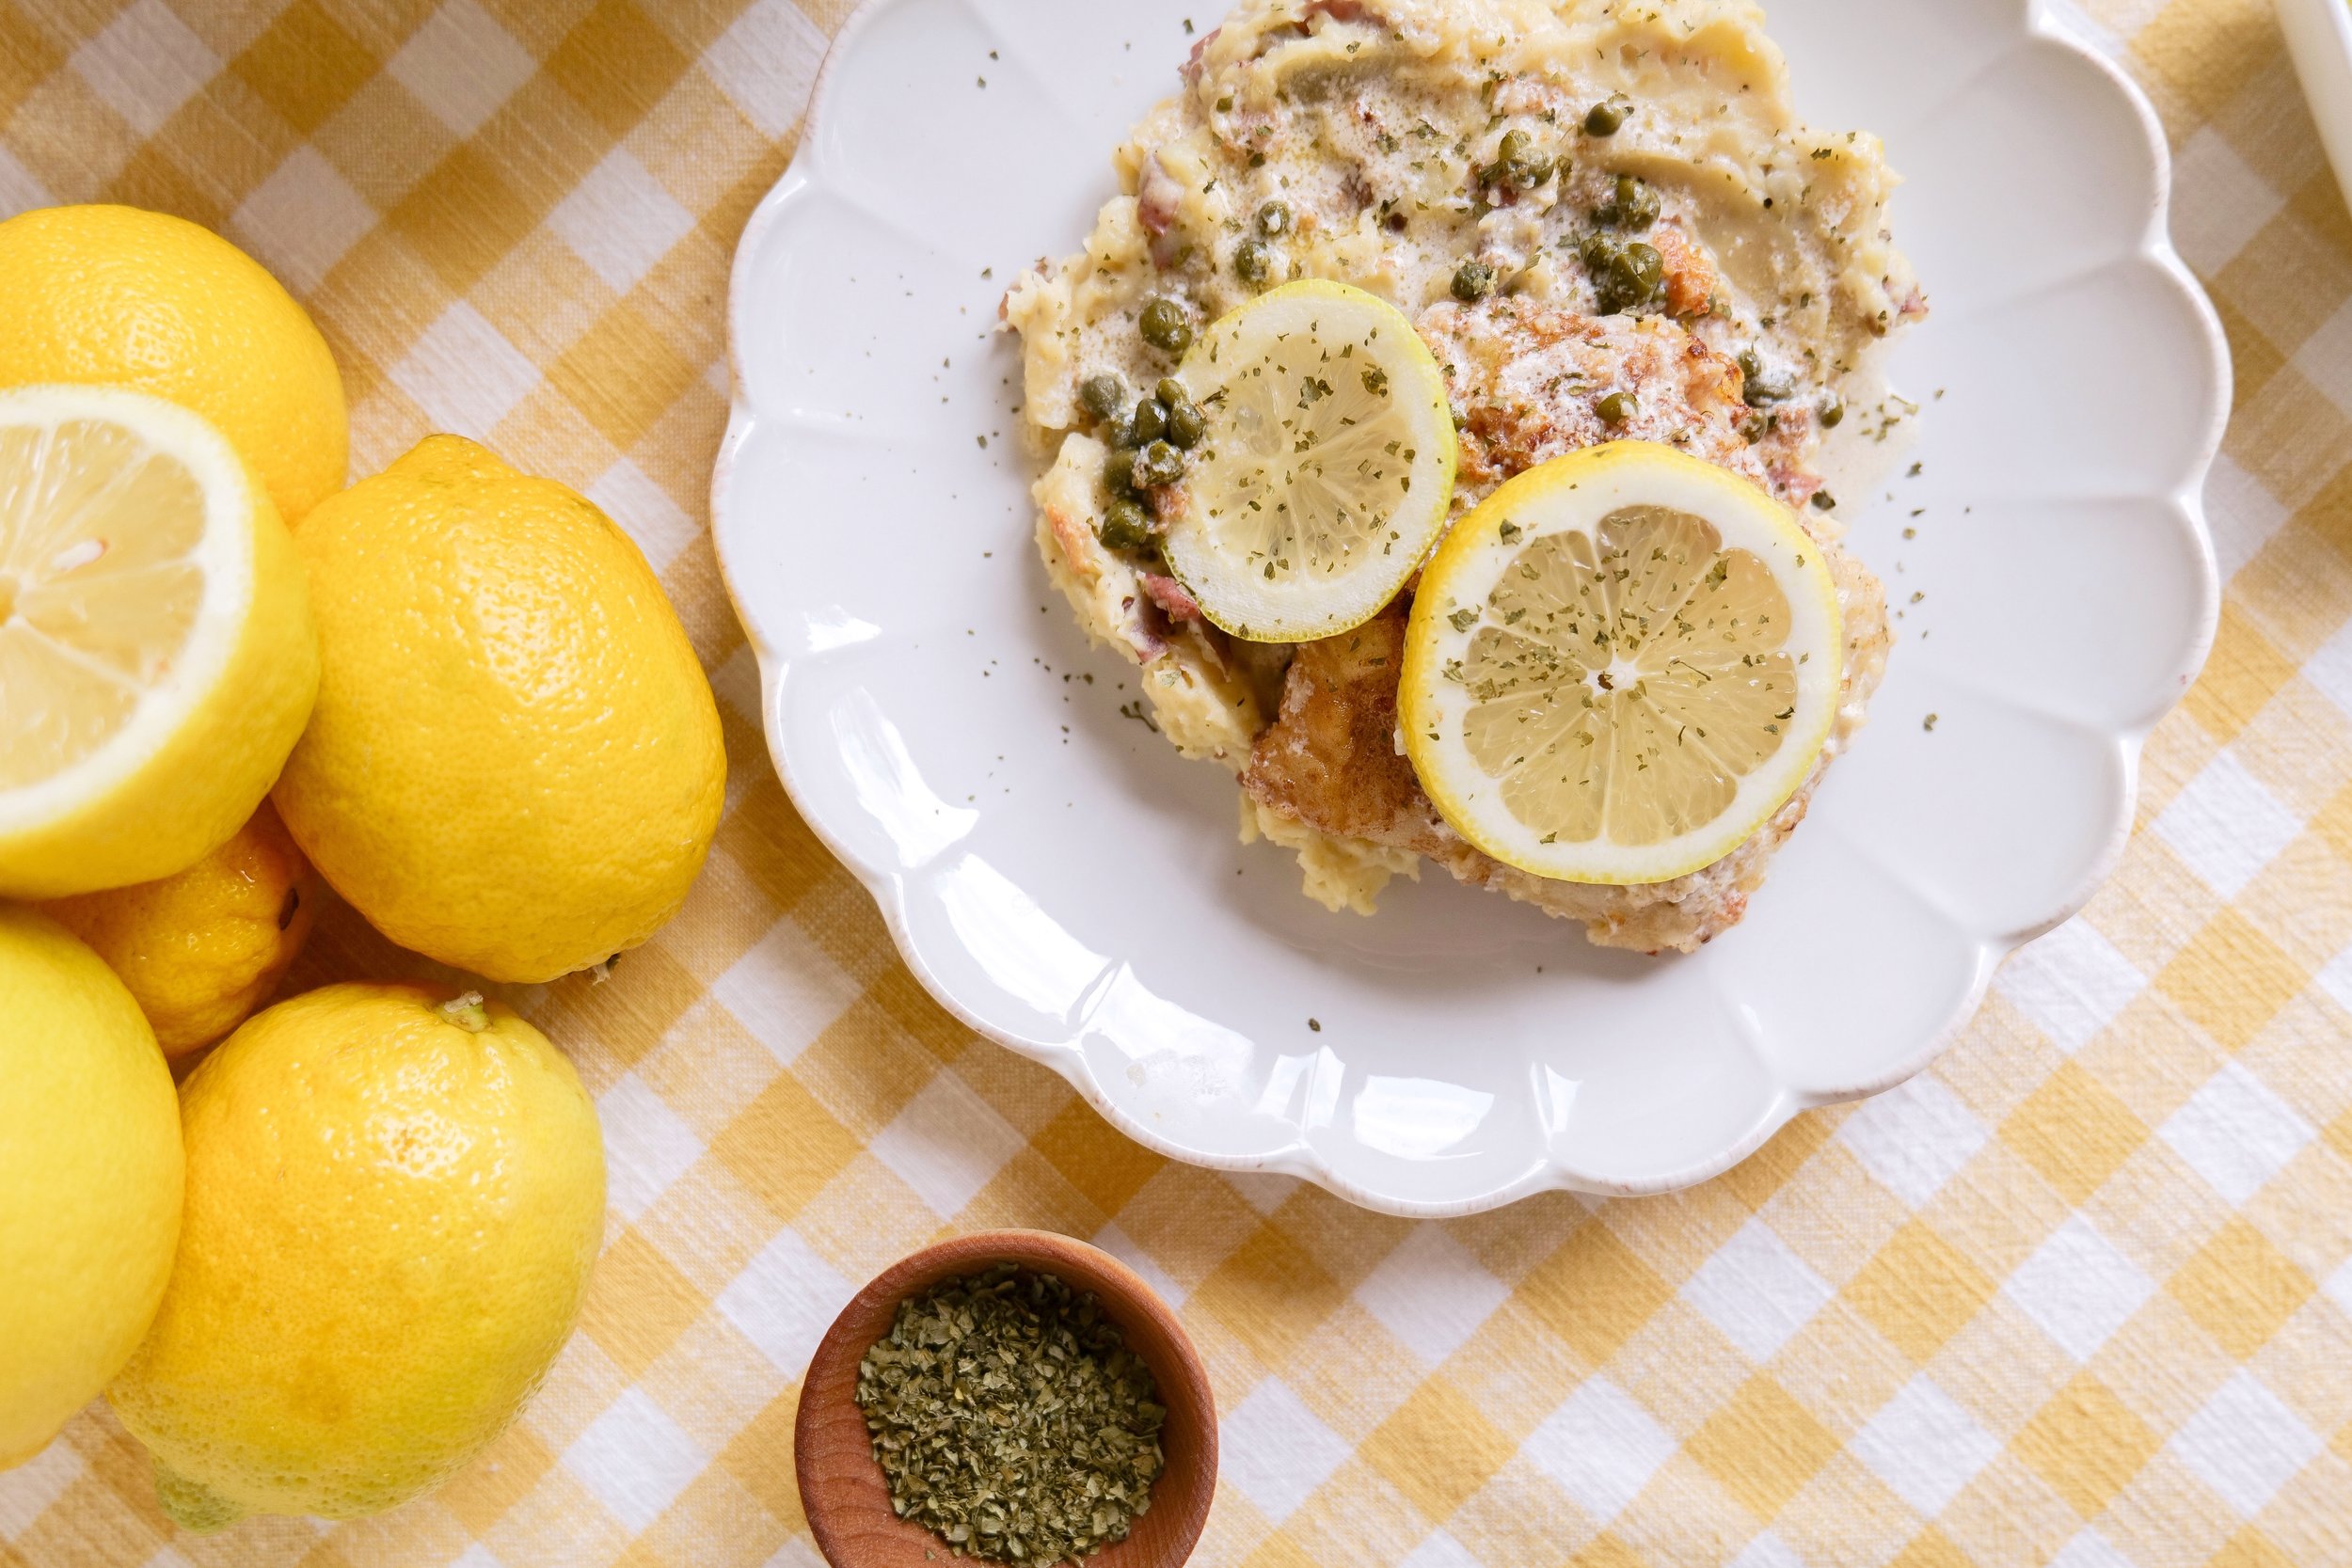
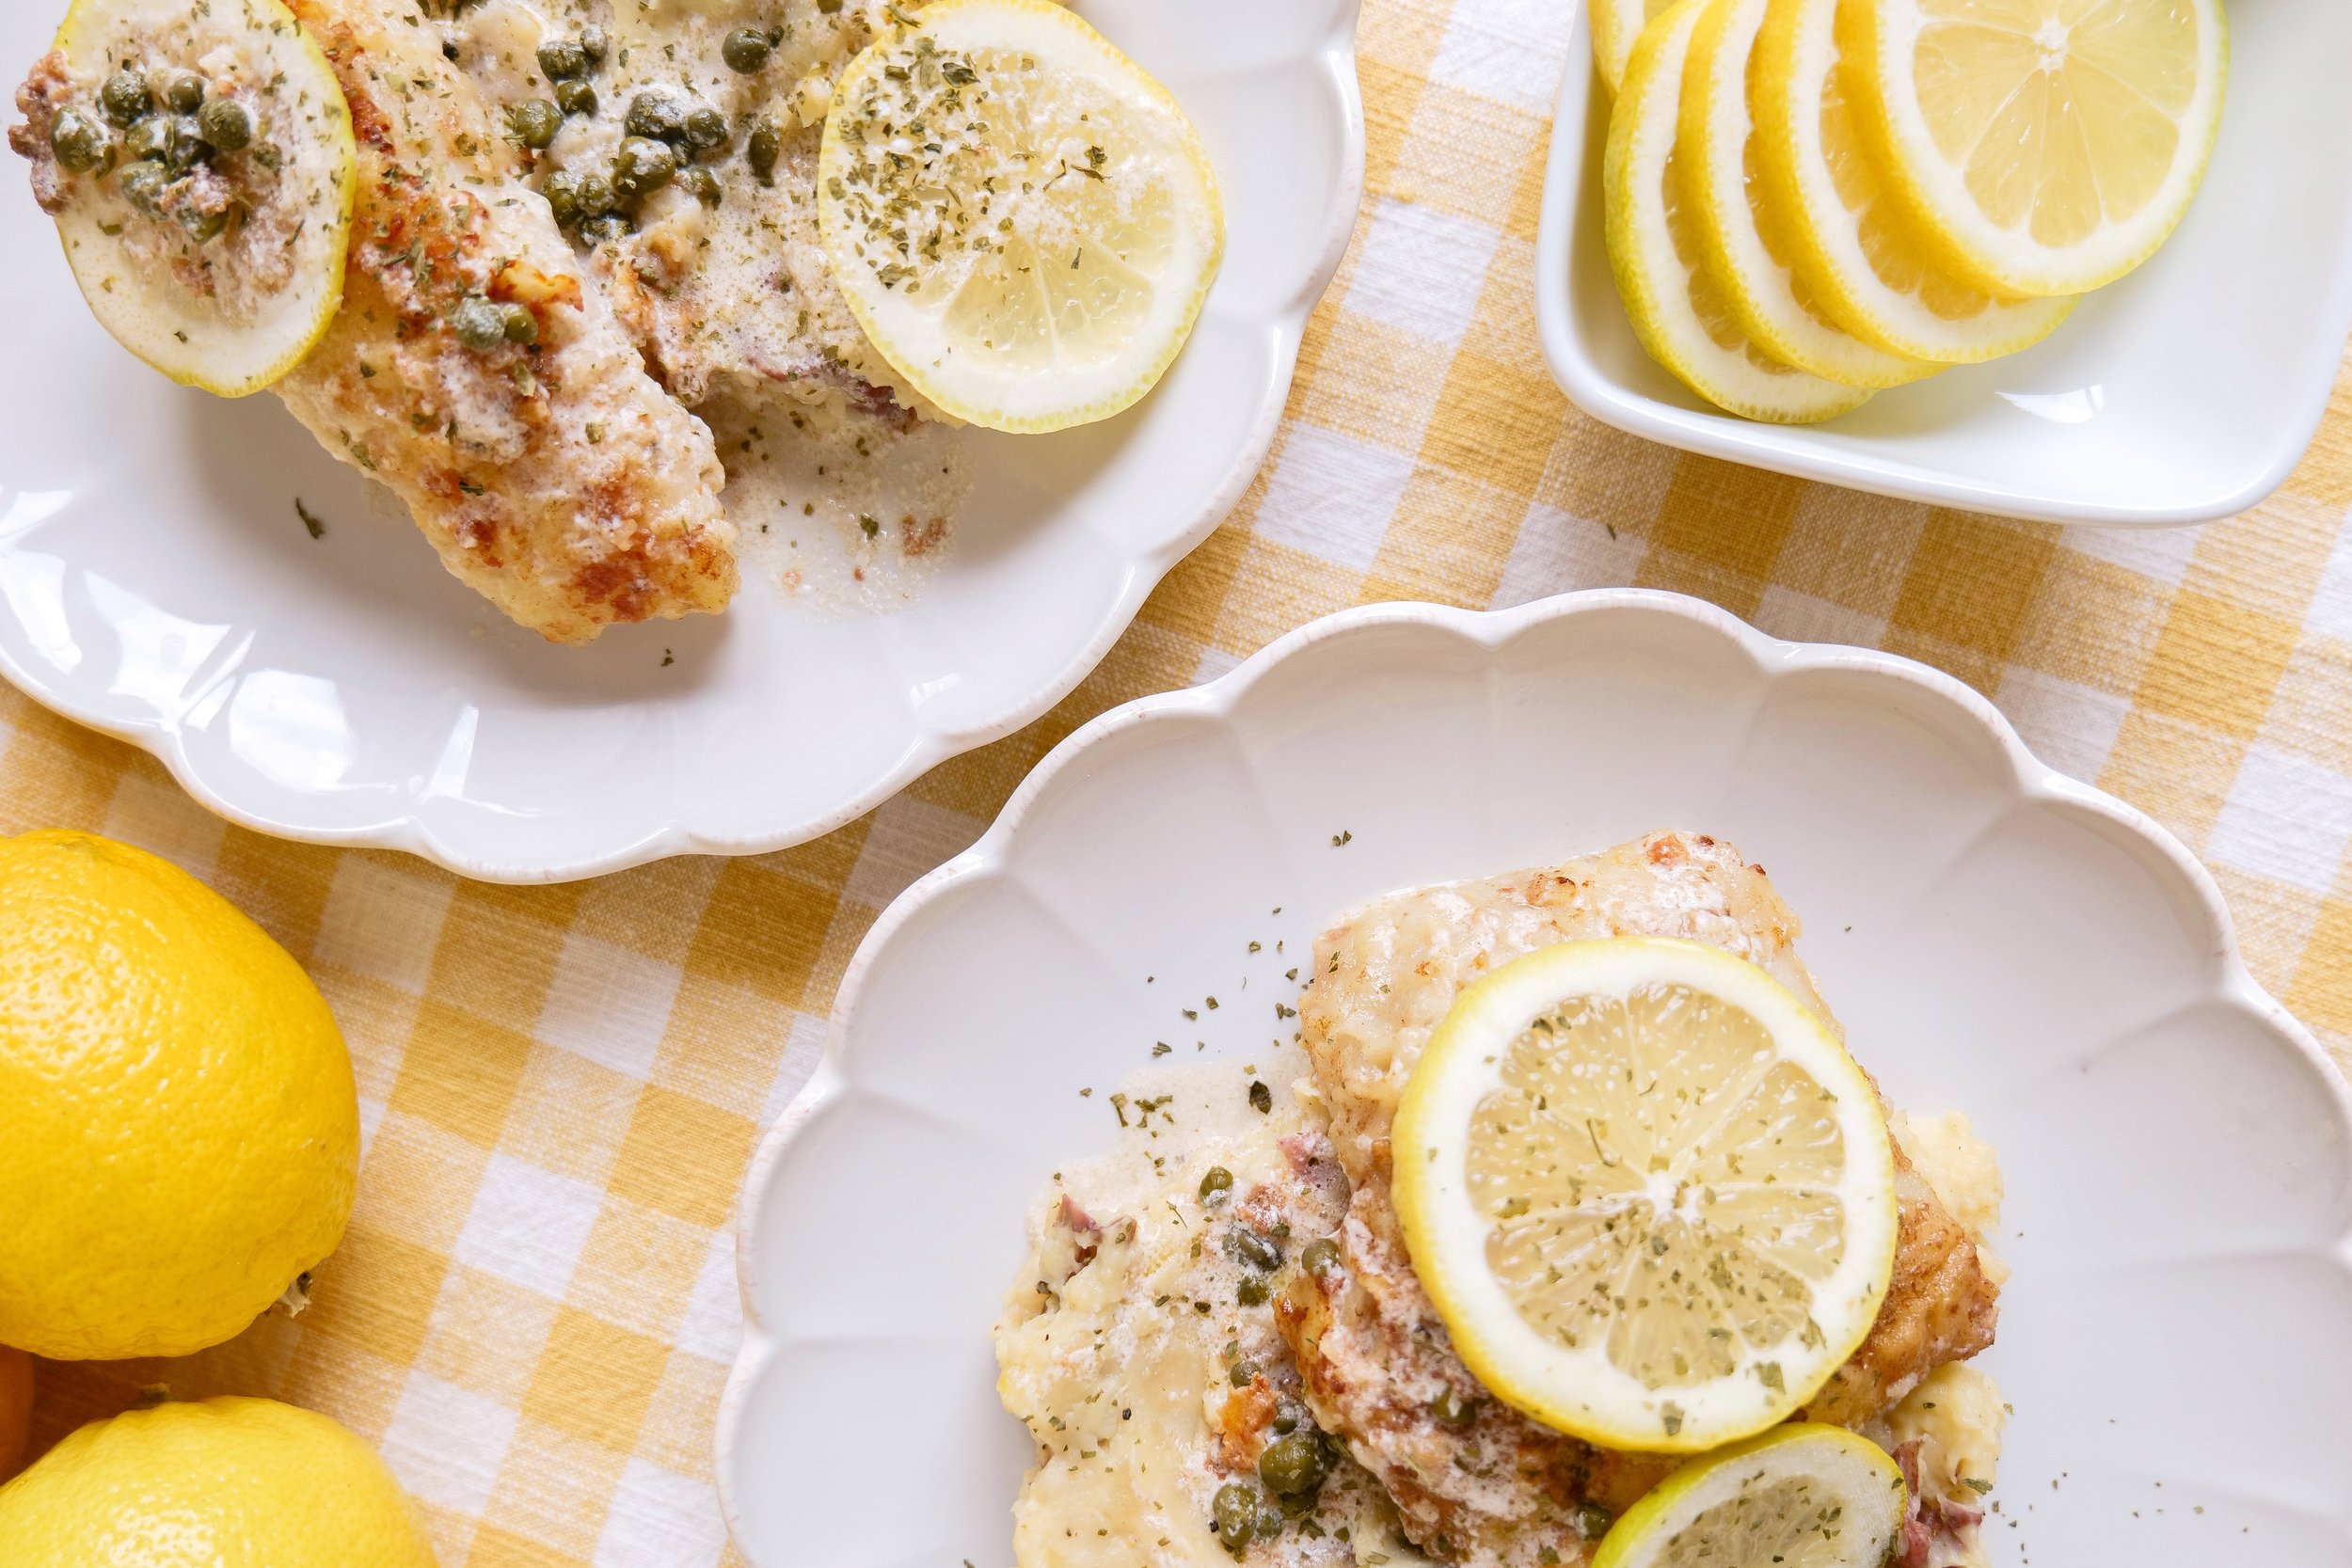
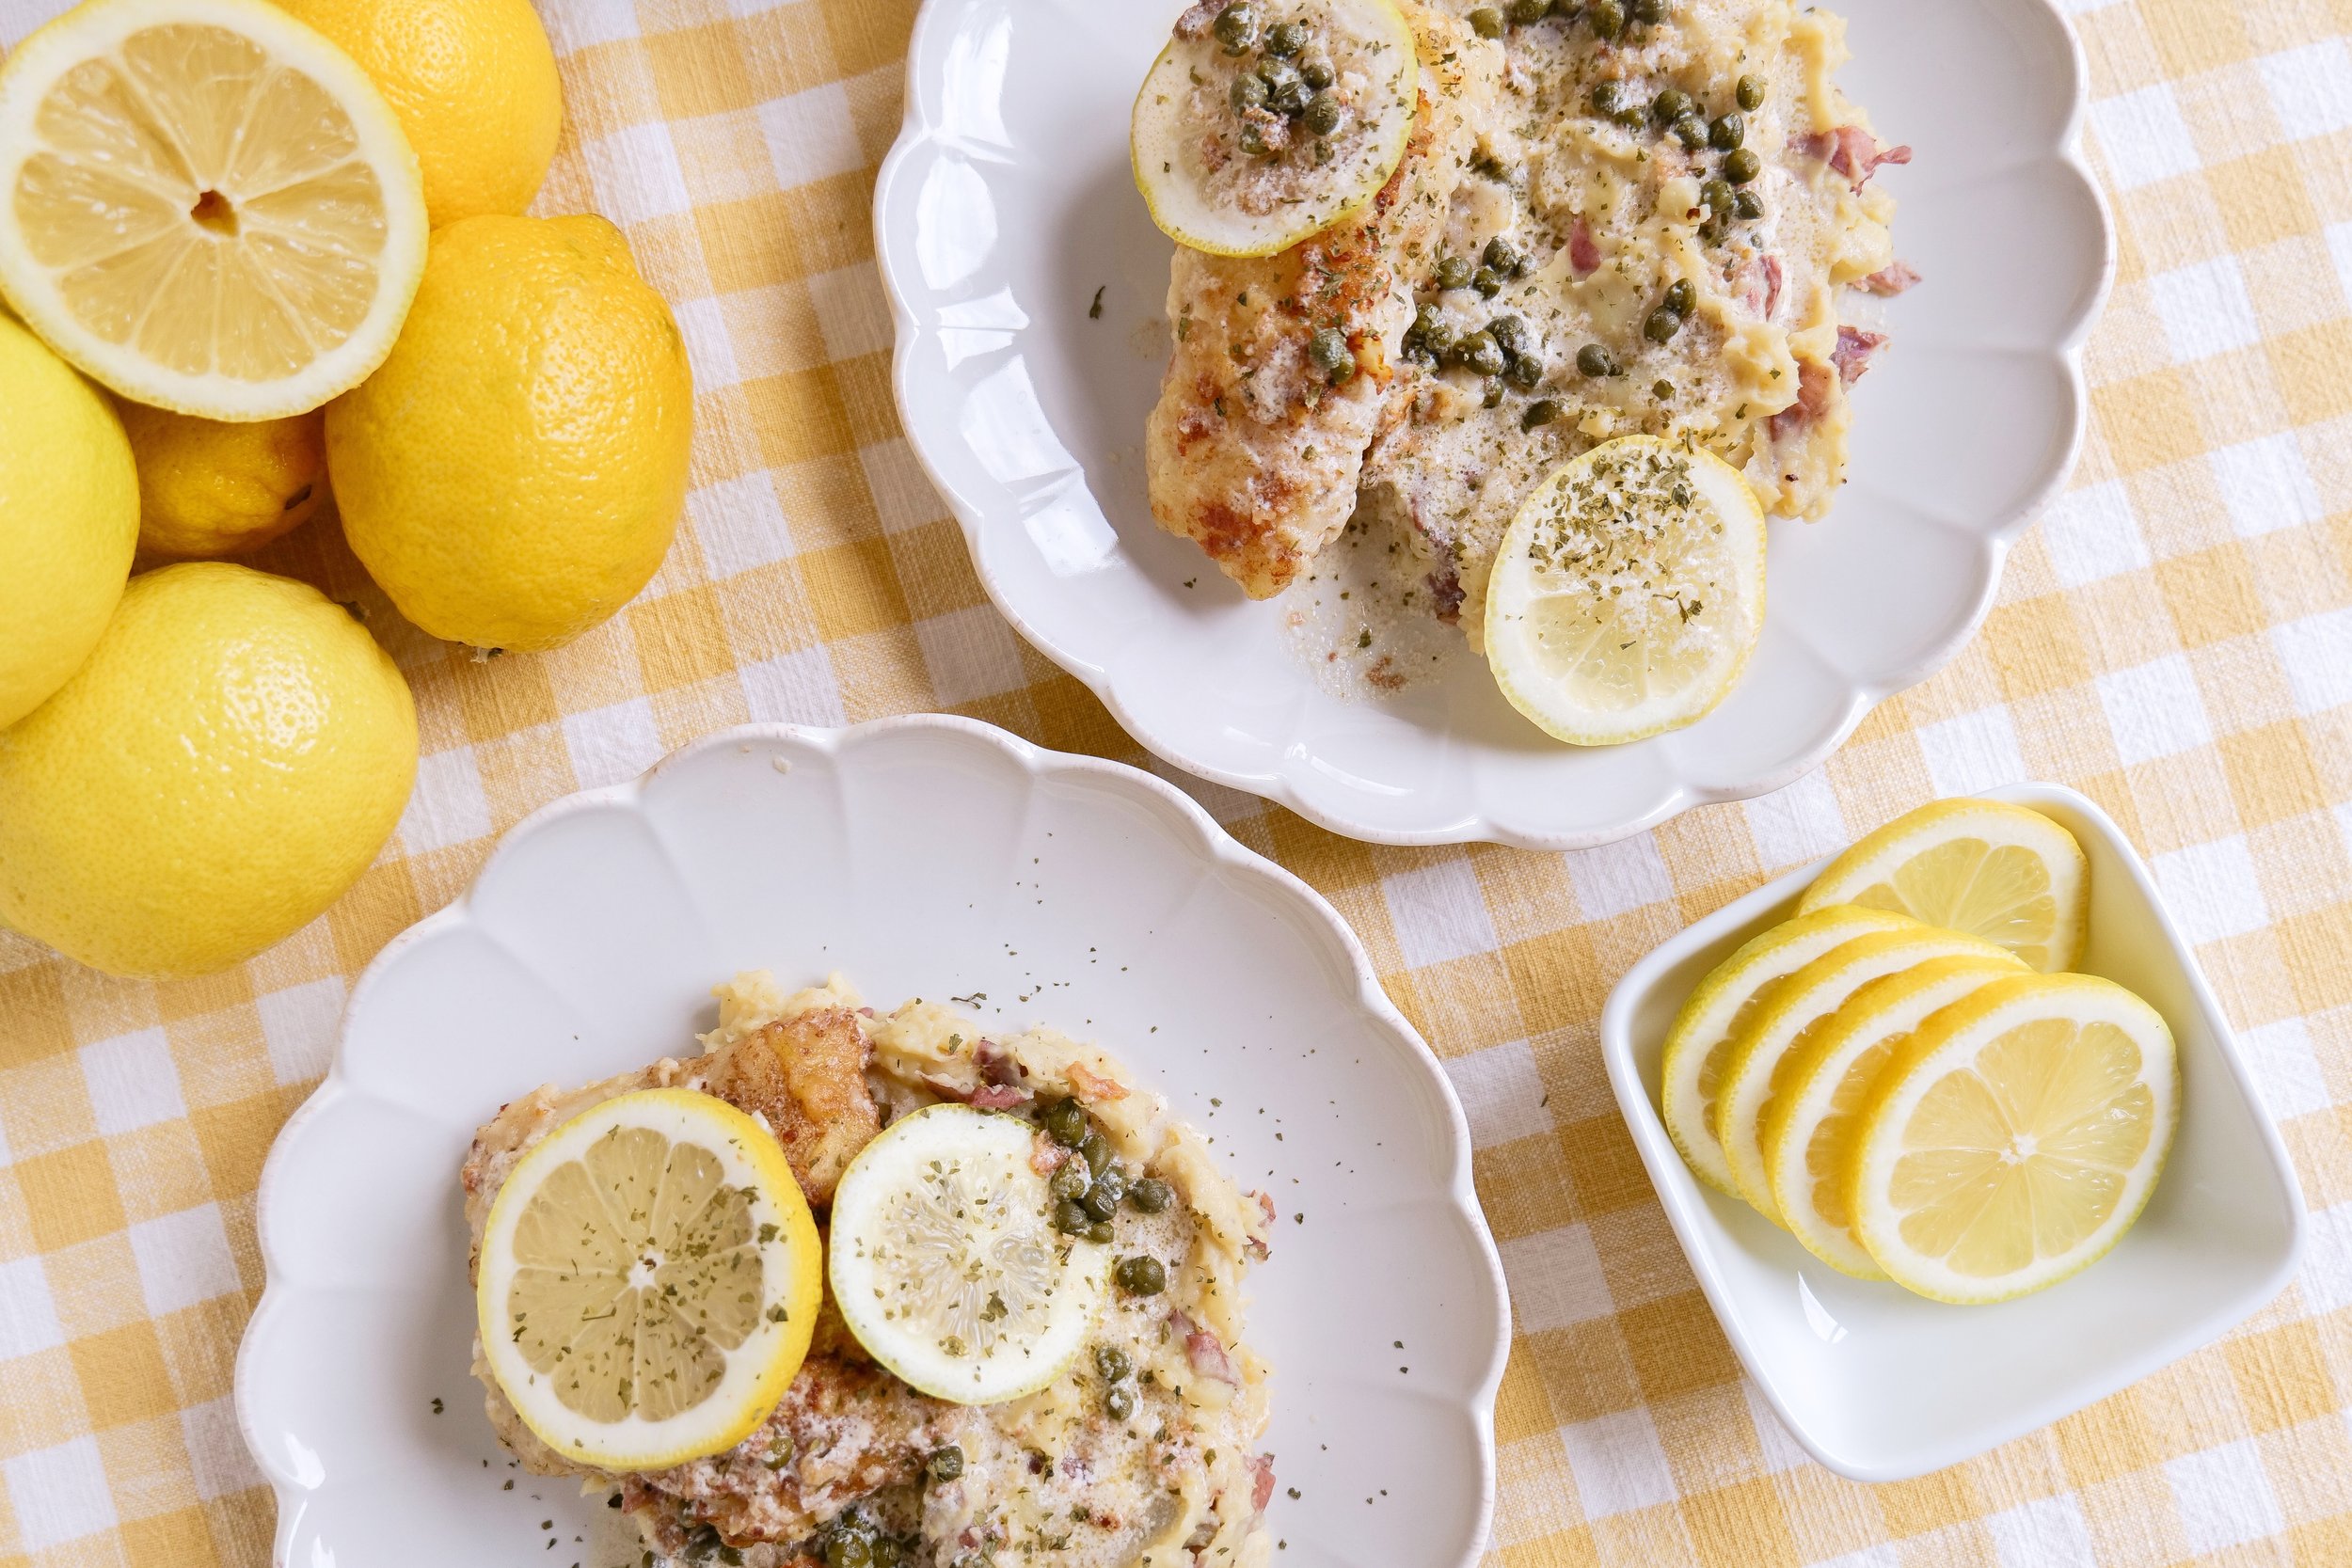
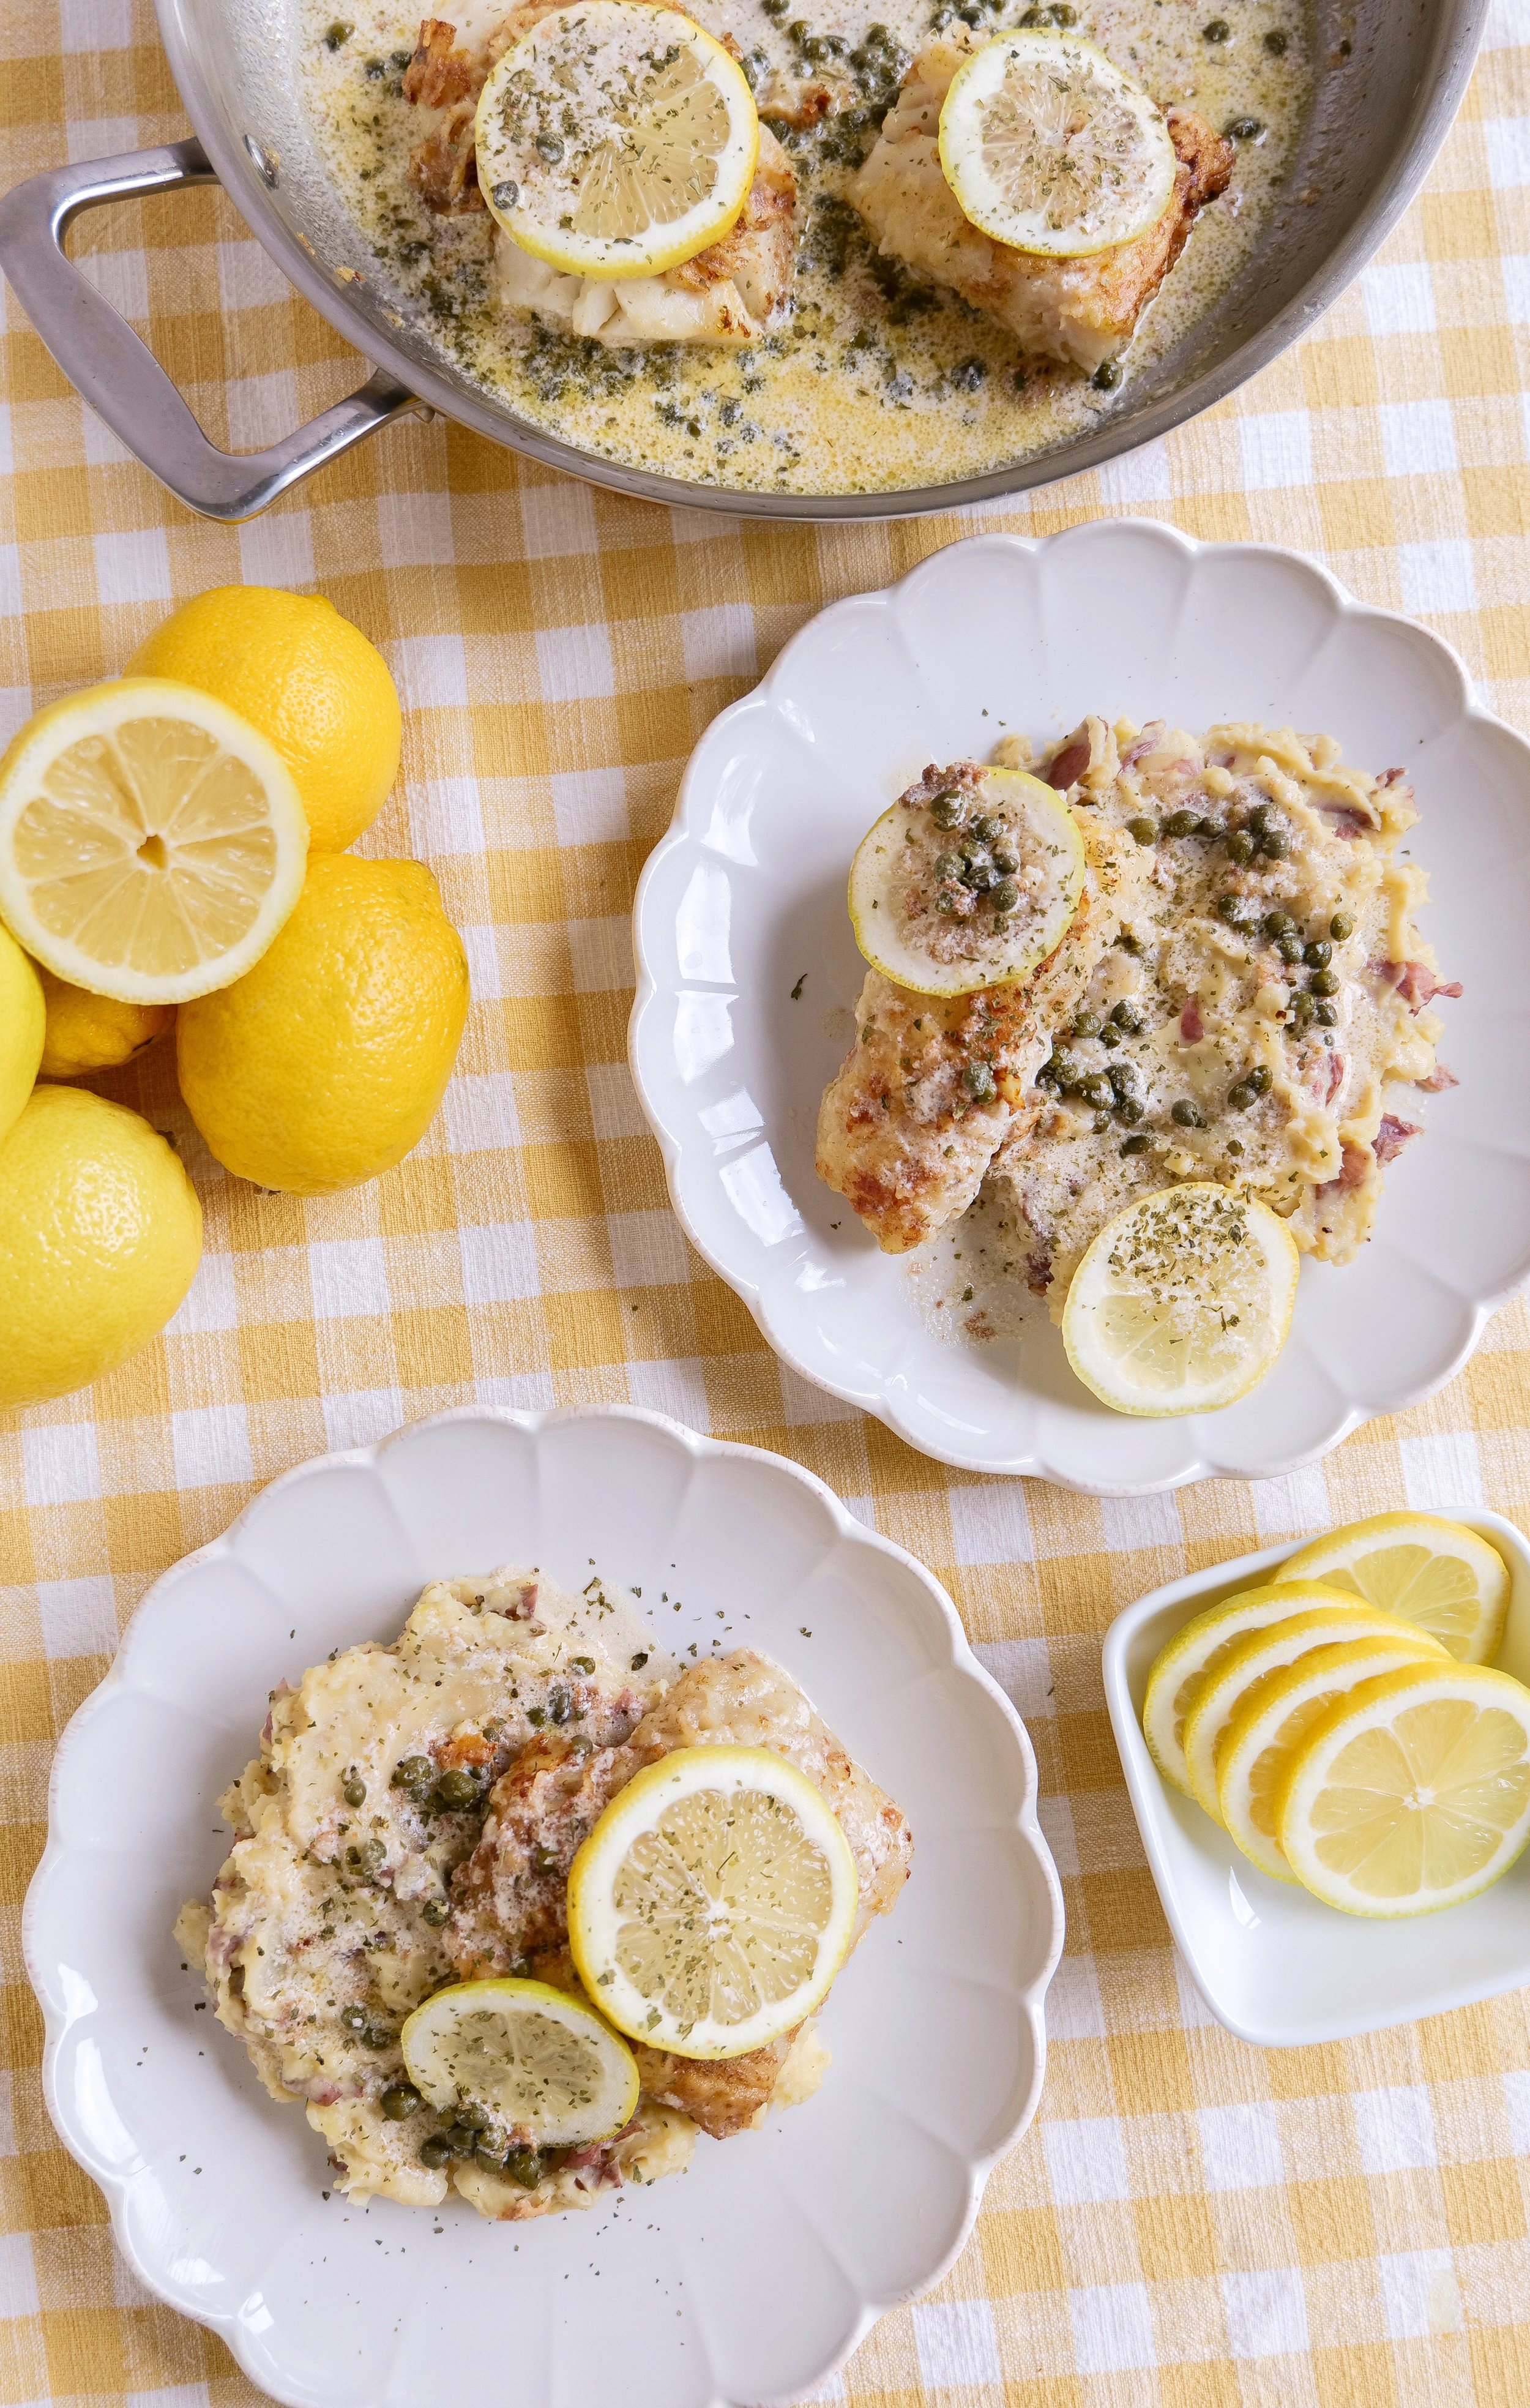
Welcome to our culinary corner, where today we're featuring an exquisite twist on a classic Italian seafood dish that's sure to delight your taste buds – Cod Piccata! This light, yet flavor-packed entrée marries the delicate flakiness of perfectly cooked cod with the bright, tangy notes of lemon and capers. Cod Piccata is not only a stunning dish to serve but also a wonderfully simple recipe to elevate your weeknight dinners or impress guests at your next gathering. With a few expert tips and the right ingredients, you'll be ready to transform this seafood staple into a gourmet masterpiece. So tie on your apron, and let's dive into creating a dish that balances the succulence of the sea with the zest of Italian cuisine.

This delicious Cod Piccata is a simple yet elegant dish that's sure to please any palate. The combination of the crispy cod fillets with the fragrant creamy lemon sauce creates a delicious flavor and texture that will have everyone at the dinner table asking for more. The best part is that it's easy to make and doesn't take a lot of time. Whether you're looking for a simple weeknight dinner or a special meal for a special occasion, this Cod Piccata recipe is sure to be a hit.

What is Piccata?

Cod Piccata is an Italian classic that can add a flavorful and elegant touch to any meal. The word piccata is Italian for "sliced thin," and is typically used to describe a dish prepared with butter, lemon juice, and capers. This classic Cod Piccata dish is made with pan-fried cod fillets cooked in a light lemon butter sauce with capers. The cod fillets are then garnished with fresh parsley and lemon slices for a bright and flavorful dish. For a delicious and easy meal, try making this Cod Piccata. The bright flavors of the lemon butter sauce and the capers are sure to bring a touch of Italian elegance to your table. Enjoy this classic Italian dish with your family and friends for an unforgettable culinary experience.

Is Cod Fish healthy?

Cod is an excellent choice for those looking to improve their health and nutrition. Not only is it a lean, white fish packed with protein and omega-3 fatty acids, but it is also low in calories and rich in iron, calcium, magnesium, phosphorus, potassium, vitamin B-12, vitamin D, and folate. Eating cod can help lower cholesterol levels and reduce the risk of heart disease, making it a great choice for a healthy diet. For those looking for a delicious way to include cod in their diet, try this easy cod piccata recipe. The ingredients in this recipe are simple and include butter, capers, garlic, broth, and lemon juice, which combine to create a rich, savory sauce. The cod is lightly pan-fried in butter for a crispy texture, while the capers and garlic add a zesty flavor. The lemon juice creates a bright, acidic sauce that pairs perfectly with the cod. Serve over a bed of pasta or with a side of roasted vegetables for a satisfying, healthy meal.

Storing leftovers

This cod piccata recipe is a delicious and easy-to-make meal that will have your family asking for seconds. Not only is it bursting with flavor, but it's also a great way to make dinner in a hurry. Once it's cooked, you can store the cod in an airtight container in the refrigerator for up to three days. To make sure that you don't waste any of the delicious sauce, keep it in a separate sealed container in the refrigerator for up to three days as well. When you're ready to enjoy the cod piccata leftovers, simply reheat the cod in a skillet over medium heat or in an oven preheated to 350°F. To reheat the sauce, put it in a small saucepan over medium heat and stir occasionally. However, make sure to discard any leftovers that have been in the refrigerator for more than three days just to be safe. Enjoy!

What to serve with Cod Piccata

Cod Piccata is a classic Italian dish that is sure to delight your taste buds! This delicious recipe is made with white fish fillets that are lightly seasoned and cooked in a lemon, butter, and caper sauce. To complete the meal, serve it with a variety of side dishes. A great option is to serve it with a light and fluffy Rice Pilaf. You can also add a side of warm French Bread for a delicious accompaniment. If you’re looking for a flavorful vegetable side dish, try steamed broccoli, roasted asparagus, sautéed green beans, roasted tomatoes, mashed potatoes, roasted sweet potatoes, garlic-sauteed spinach, or roasted cauliflower. All of these vegetables pair perfectly with the Cod Piccata and are sure to add an extra layer of flavor to the dish. For a complete meal, serve your Cod Piccata with one of these delicious side dishes and a glass of white wine. Your family and friends will love this classic Italian dish that is sure to become a regular favorite in your home.

Ingredients

4 cod fillets

1/3 cup flour (can also use almond flour is you want gluten free)

1/2 teaspoon salt

1/4 teaspoon black pepper

1/4 cup butter or extra virgin olive oil

3 garlic cloves, minced

3/4 cup chicken stock

1/4 cup heavy cream

3 tablespoons lemon juice

1/4 cup capers, drained

1 lemon thinly sliced

2 tbsp fresh parsley, chopped

Instructions

1. Mix these three ingredients together on a large plate or shallow bowl: flour, salt and pepper. Pat dry cod and set aside. Add skillet to stove top over medium-high heat. Add in butter and let melt while pan heats.

2. Add cod one piece at a time to the flour mixture making sure to lightly cover every inch. Once the pan is fully heated and the butter is melted add cod pieces.

3. Cook cod for 5-6 minutes per side (more or less depending on the thickness of the cod) Once cooked on both sides set aside.

4. Add minced garlic to a hot buttery pan and saute until fragrant, around 30 seconds. Pour in chicken stock into the hot pan, do not clean out beforehand. Using a spatula or wooden spoon scrape up and cod bits that may have stuck to the pan. Add in lemon juice and capers. Let come to a low simmer and completely comes together. Turn off the heat and add in heavy cream. Stir completely to incorporate. Add back in cod and place sliced lemons on top. Serve over a bed of pasta, rice, or mashed potatoes pouring additional liquid in a pan over top and enjoy!

Other Delicious Dinner Recipes:

The Perfect Pair: Chicken Picatta and J. Lohr Wine

Delicious and Easy Chorizo One Pan Dinner

The Perfect Summer Meal: Grilled Chicken, Mexican Street Corn & Cucumber Salad

An Alluring Combination: French Onion & Shallot Soup Recipe

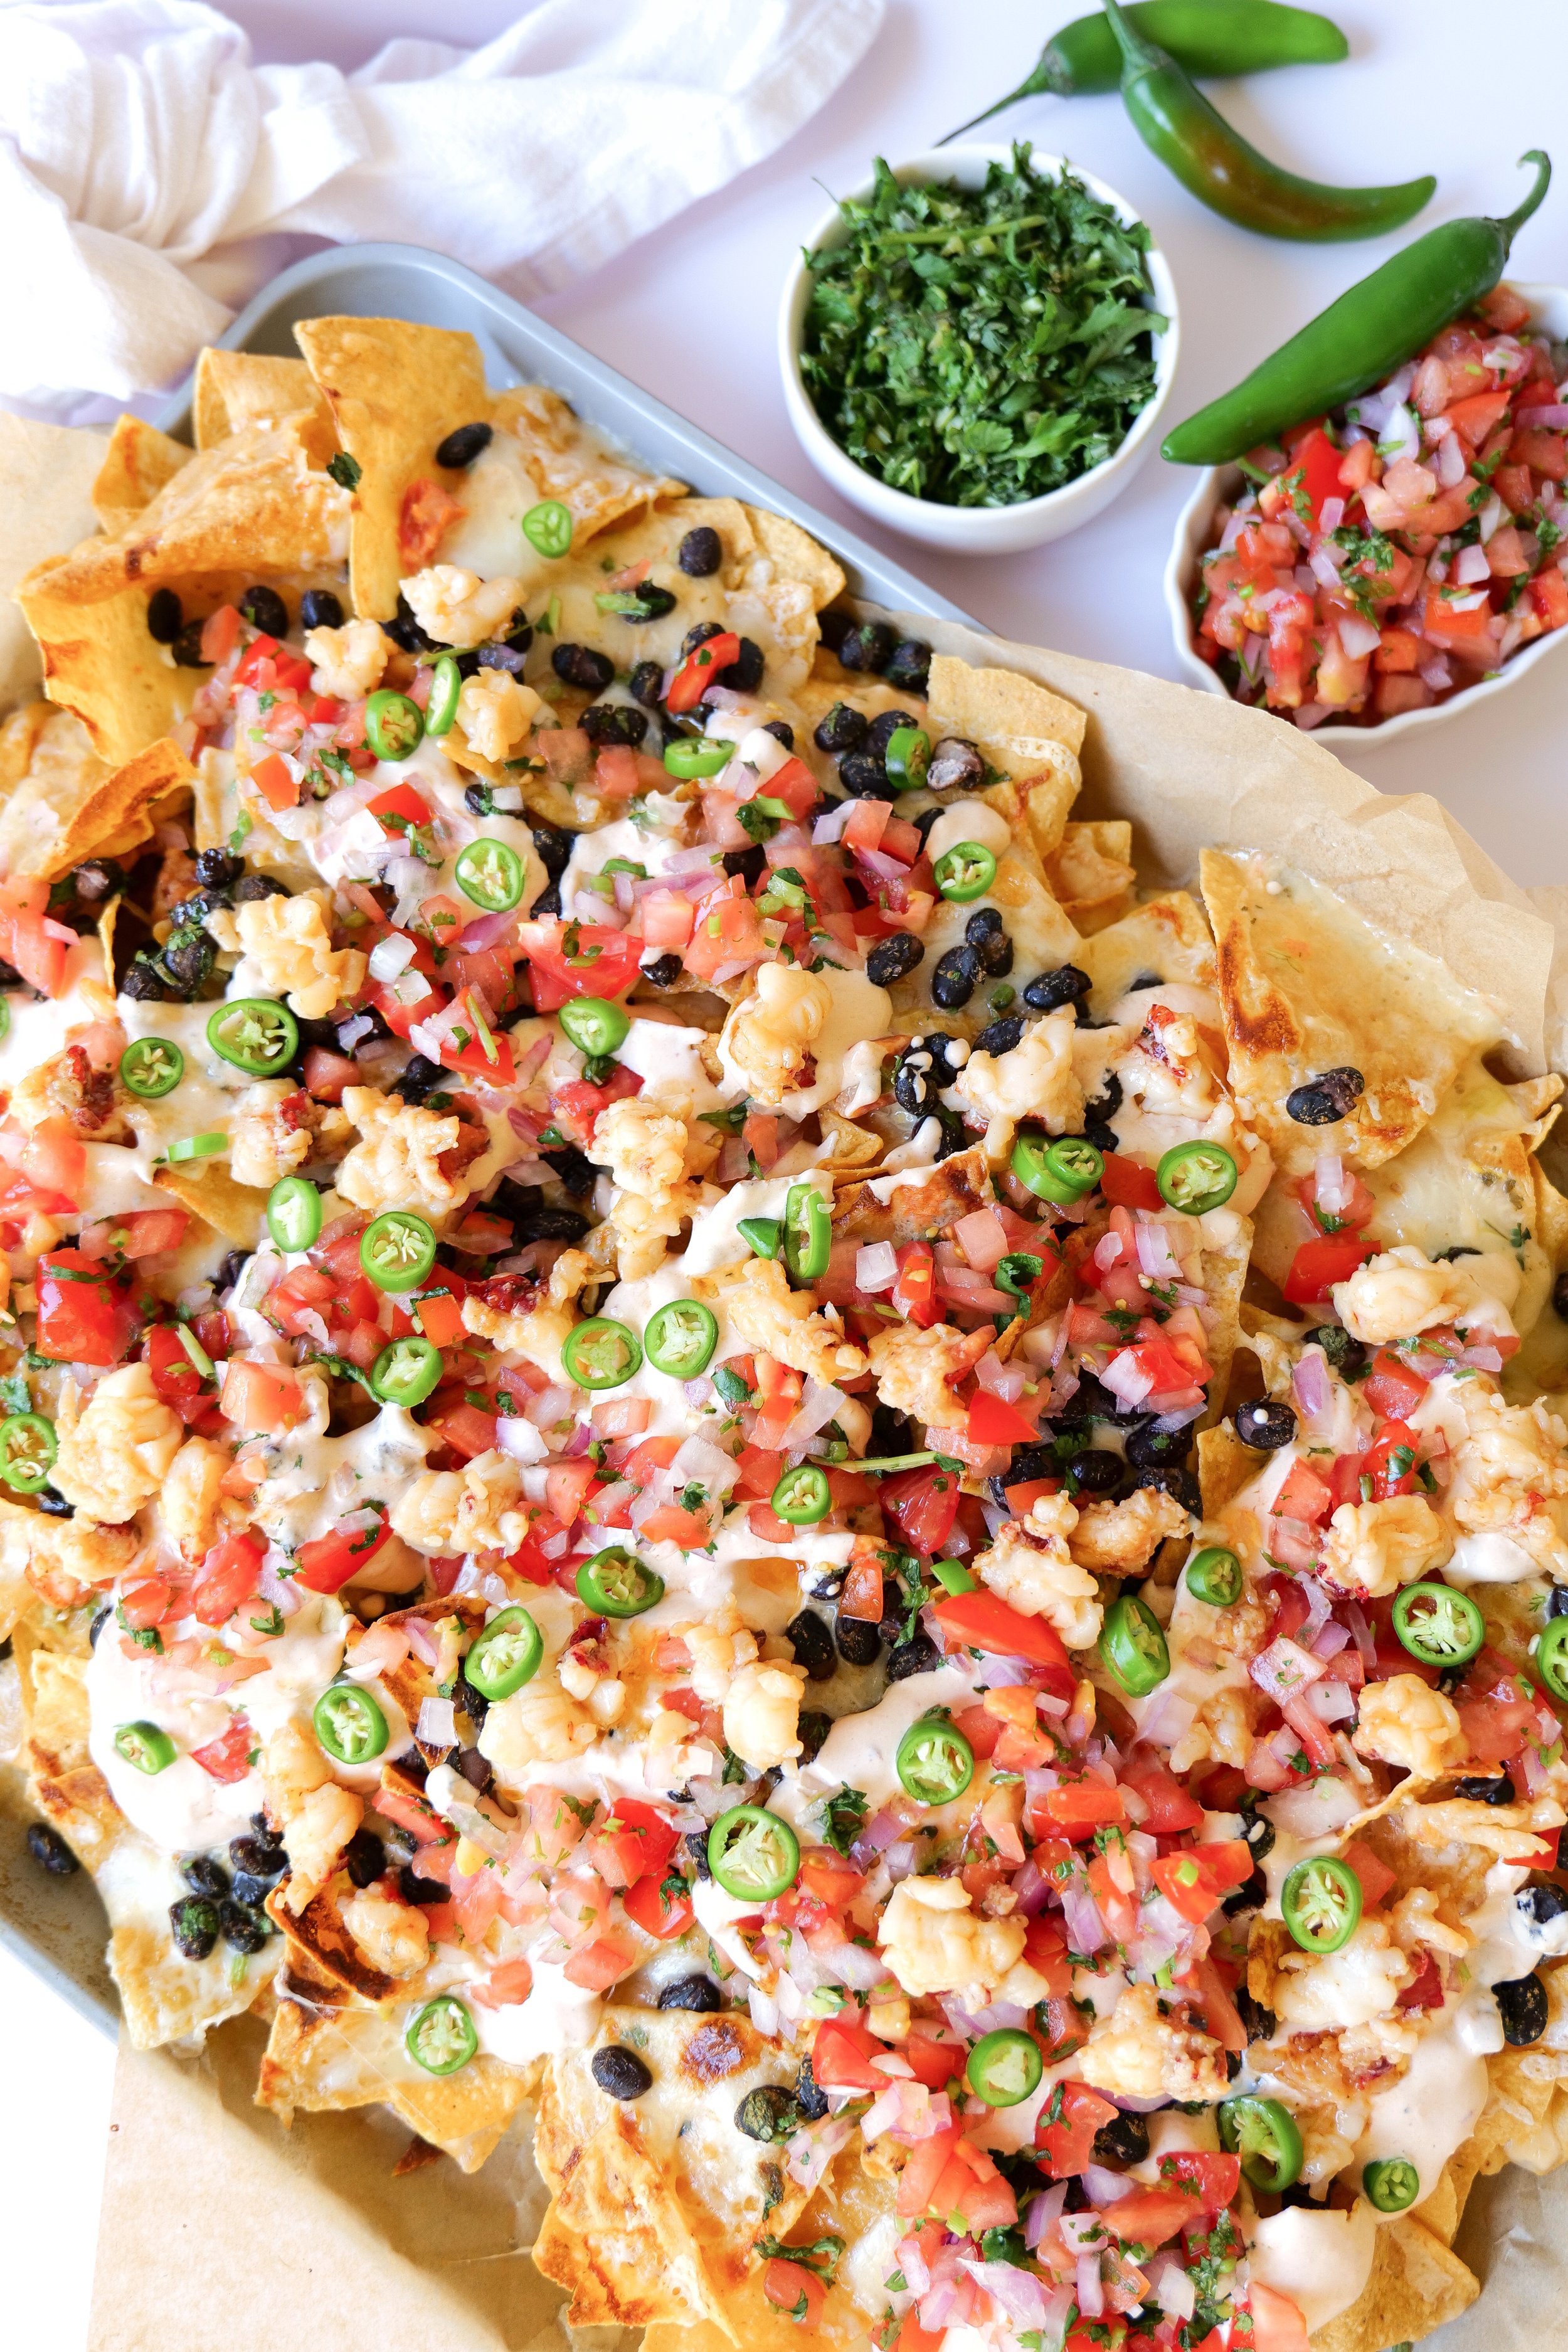
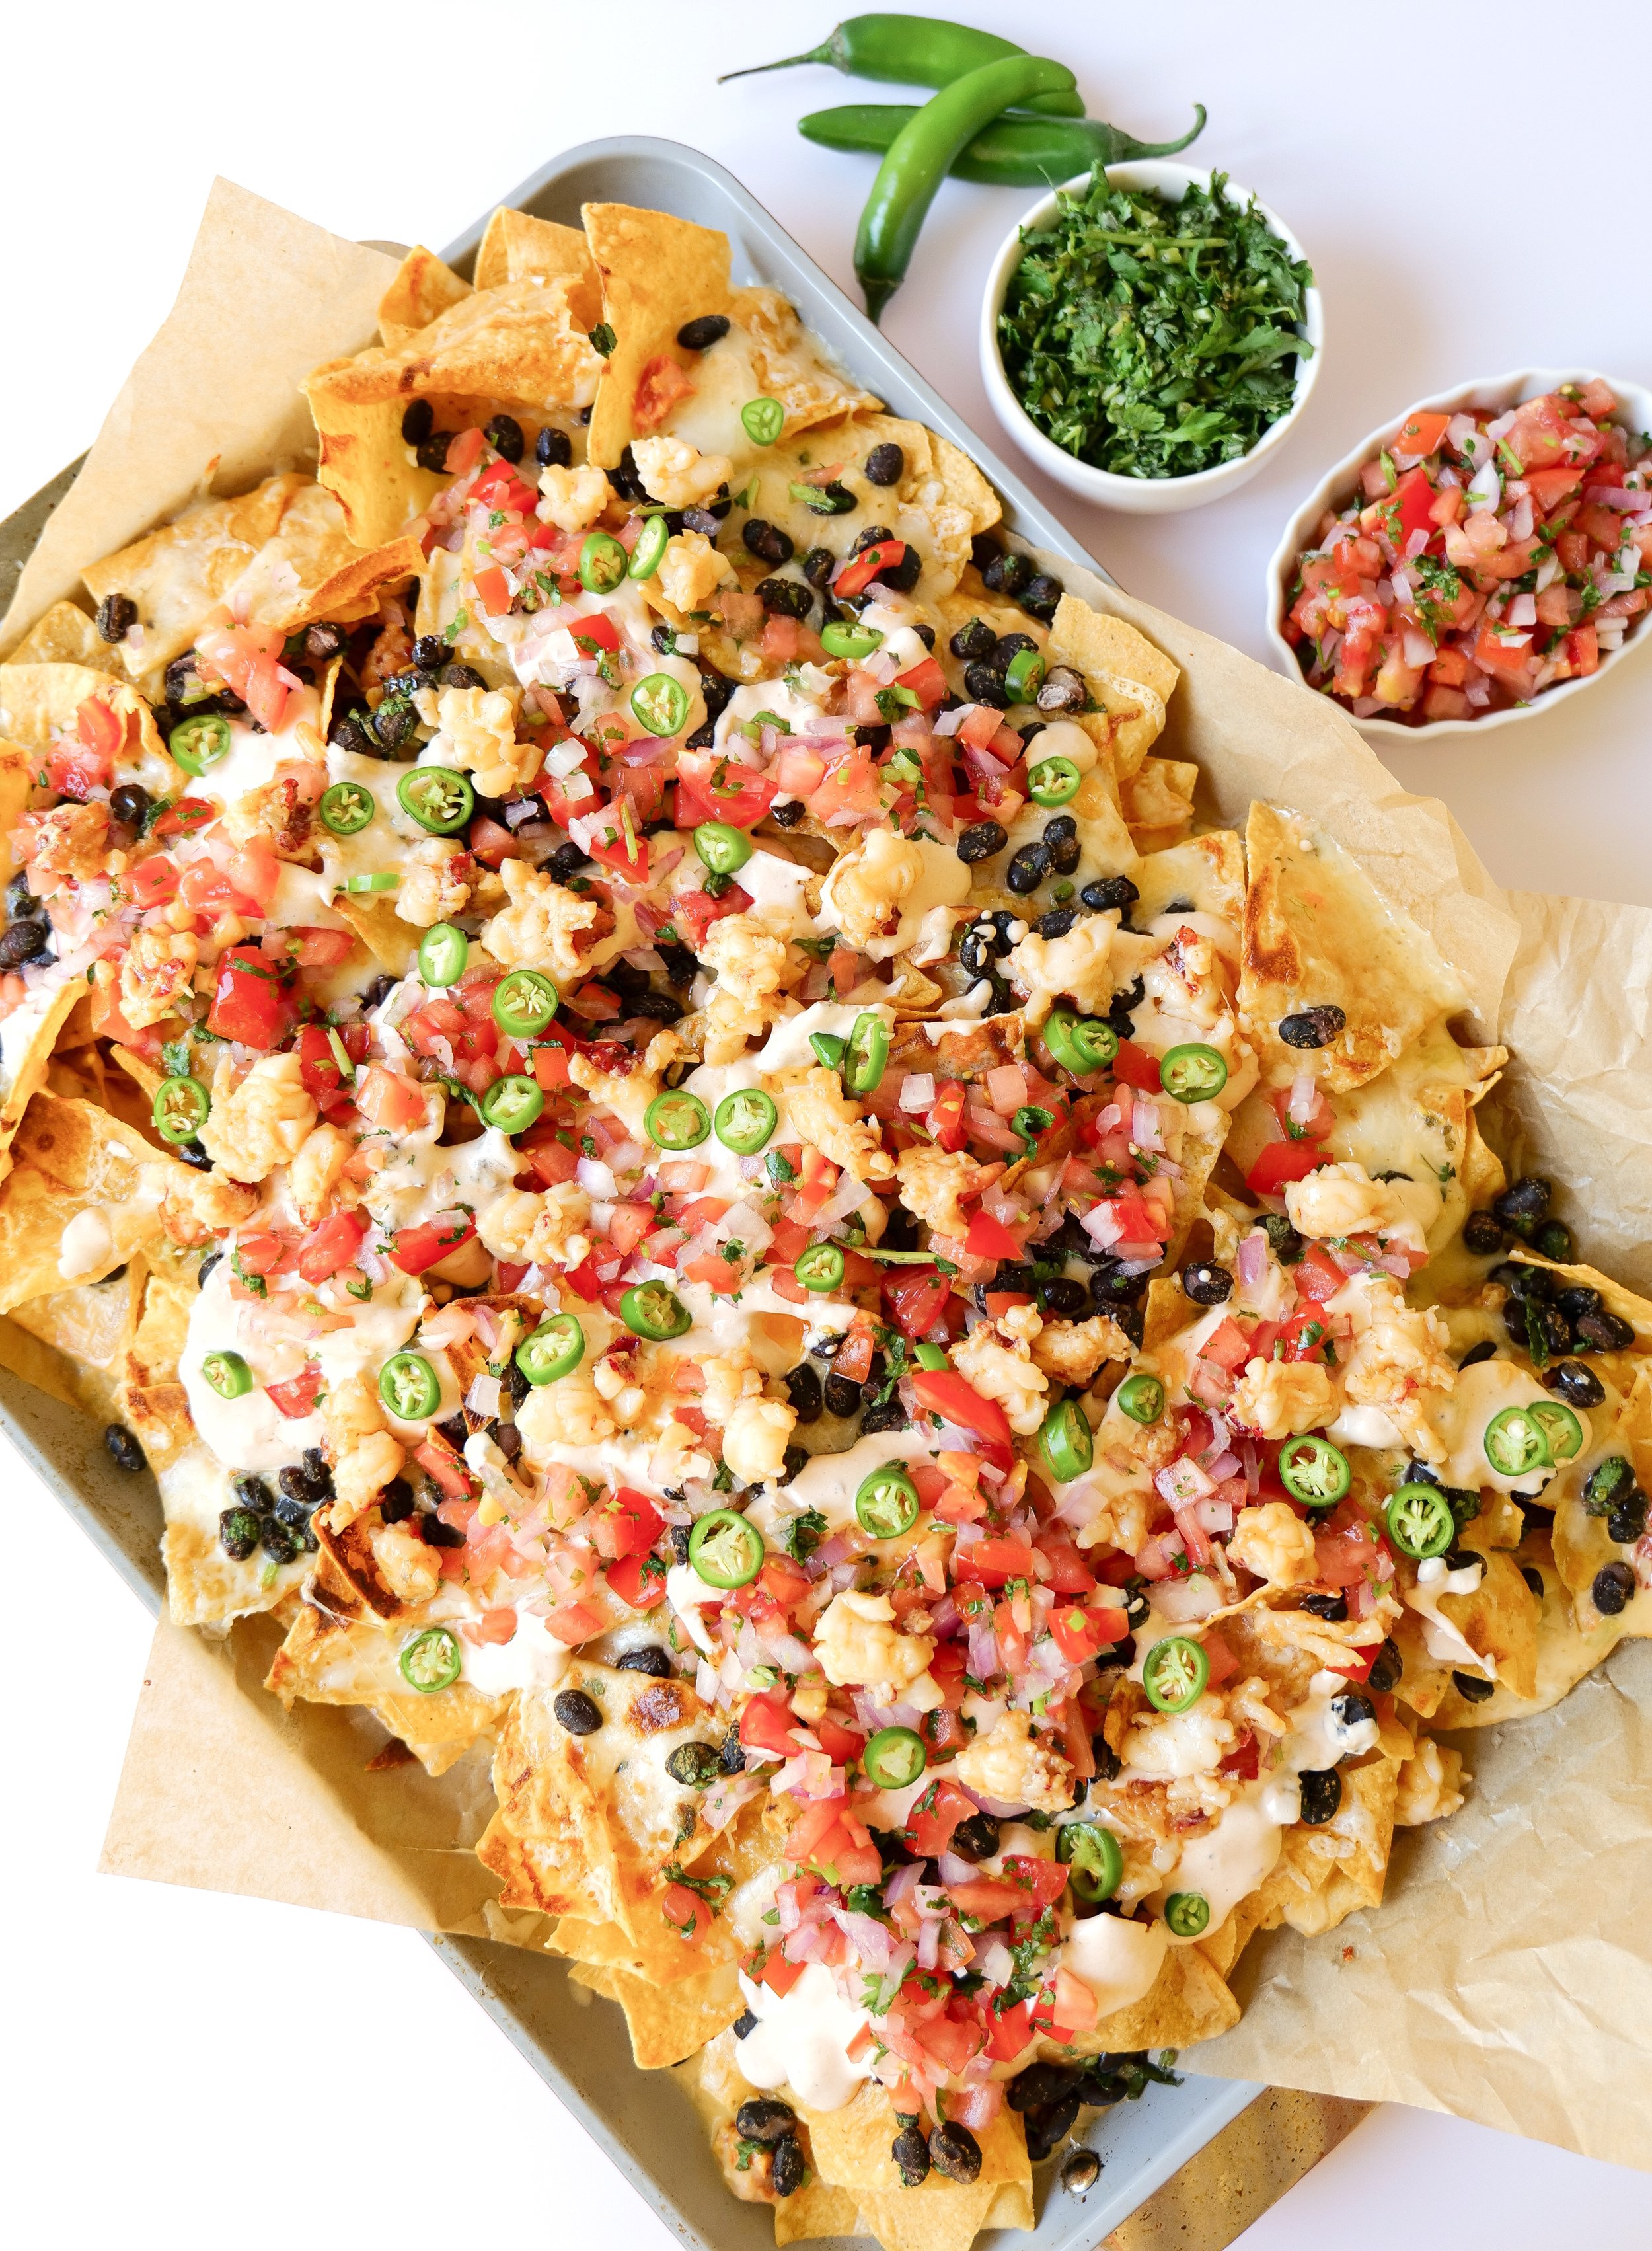
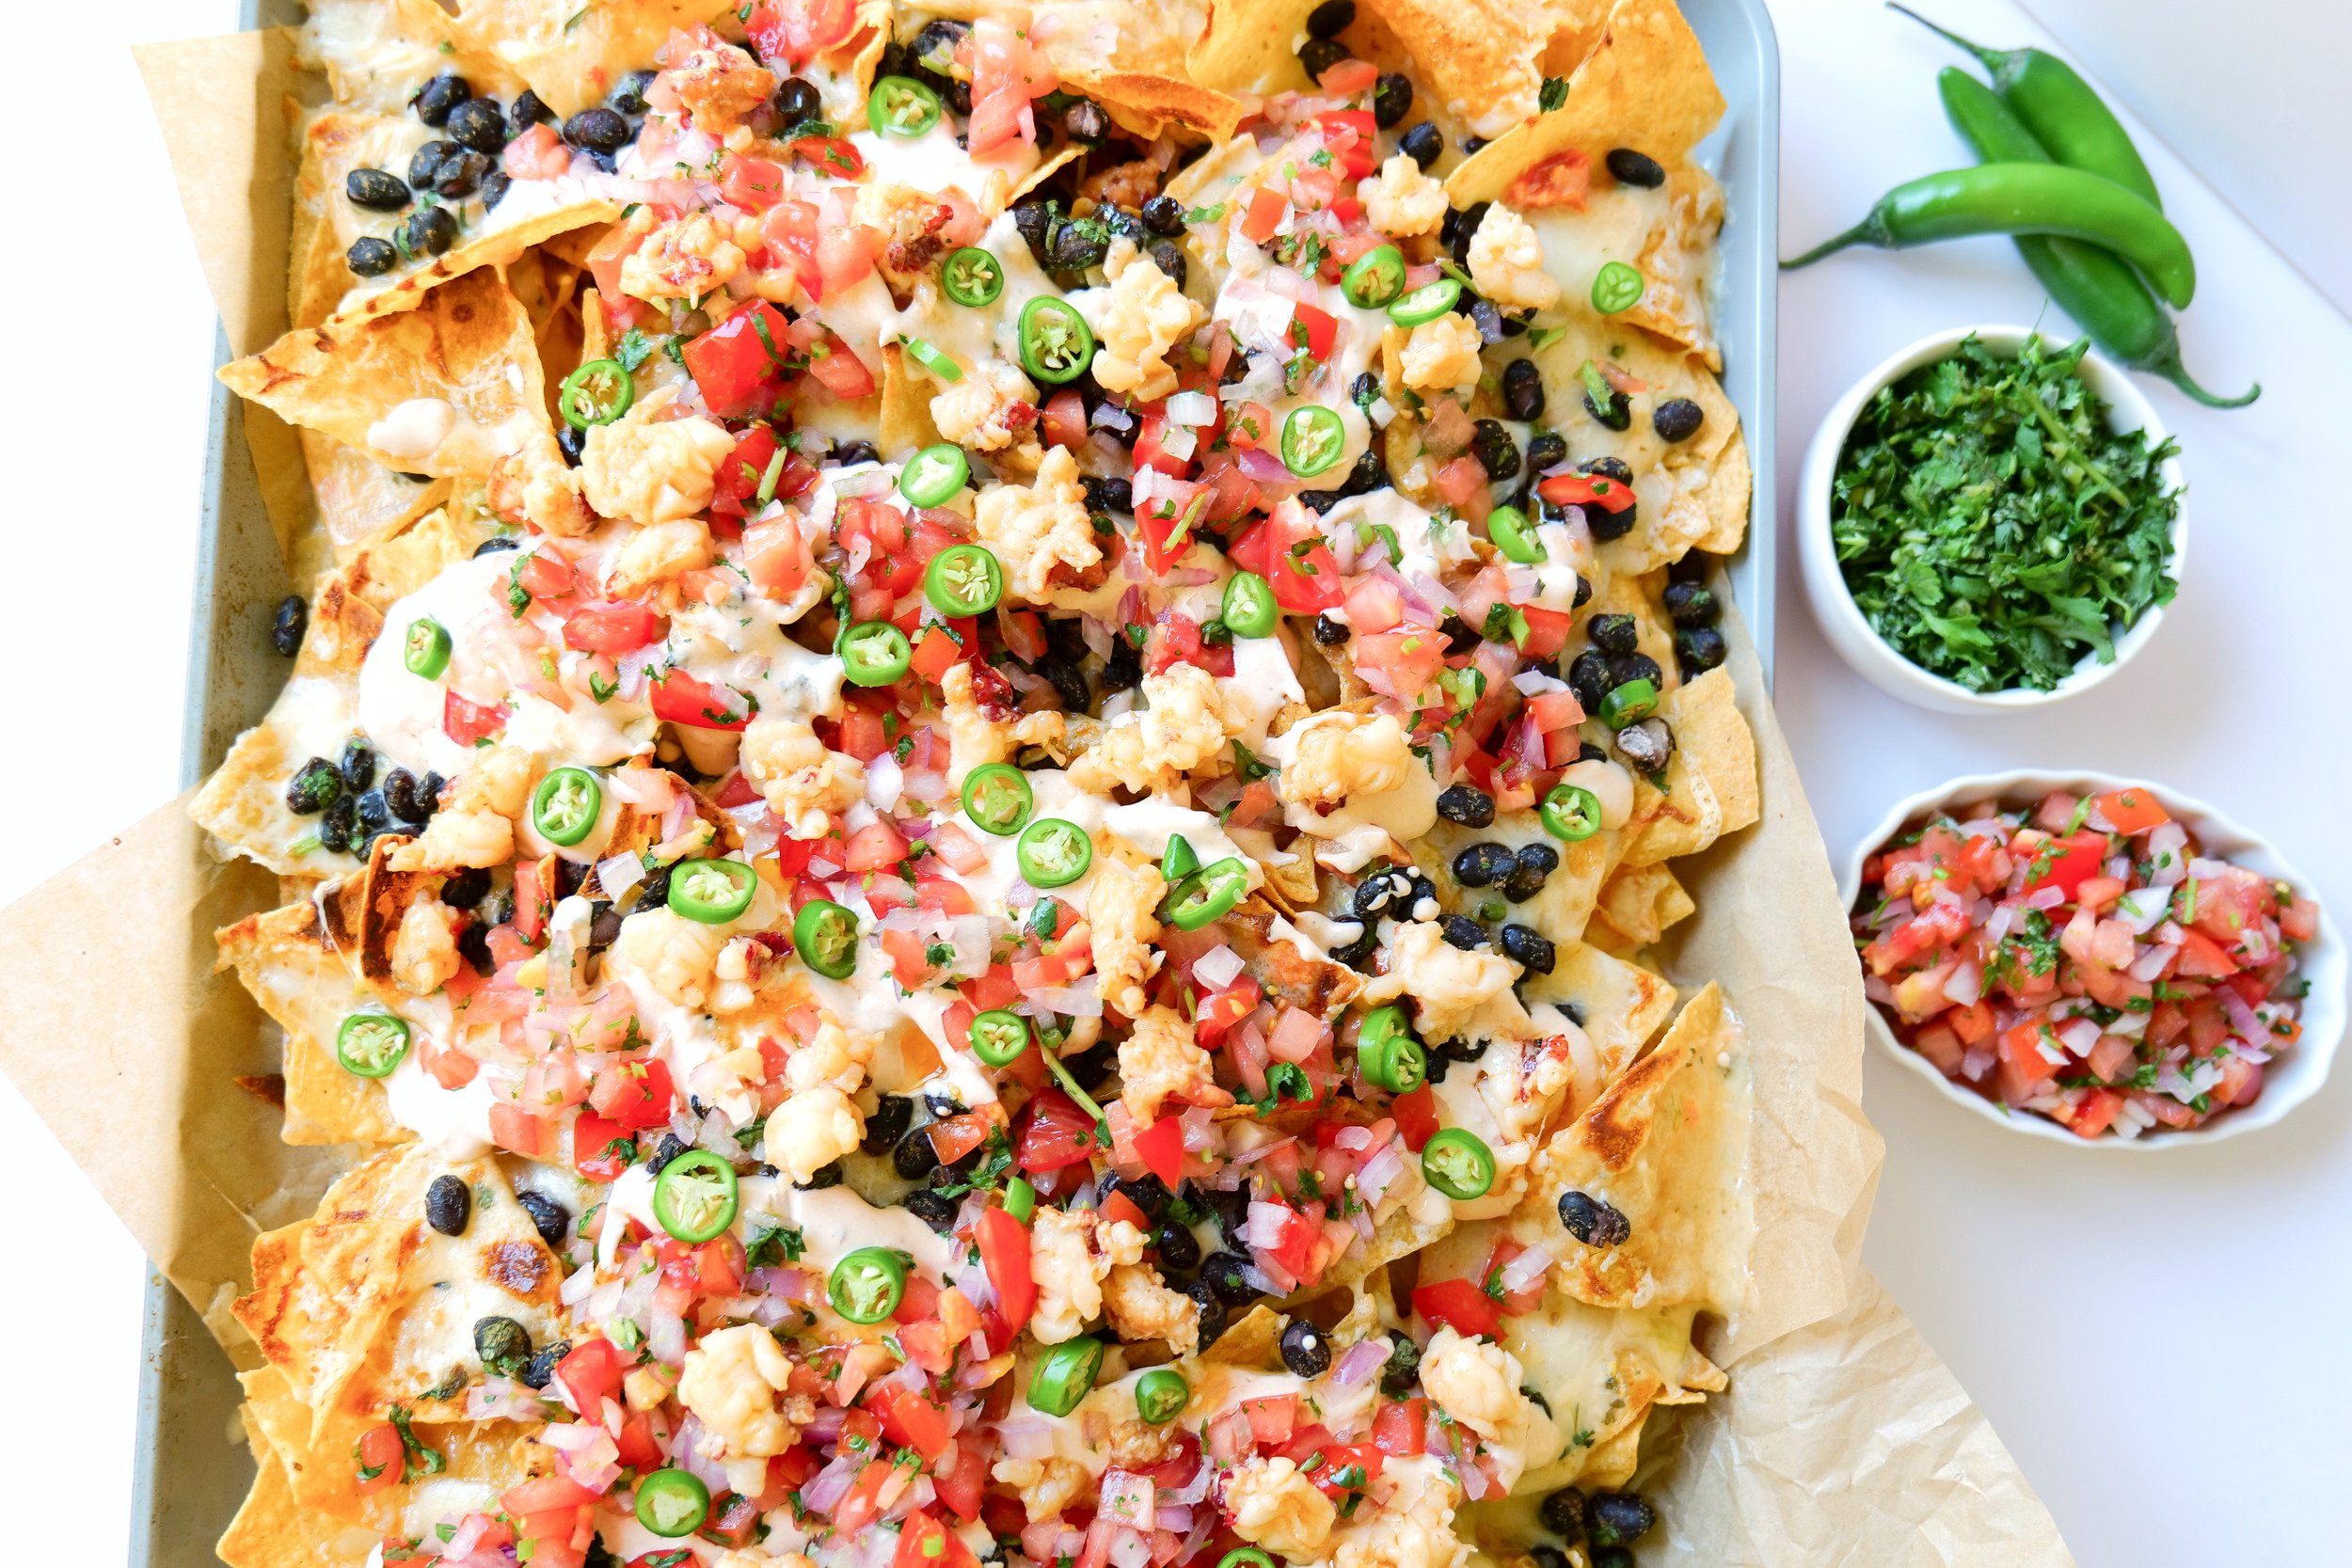
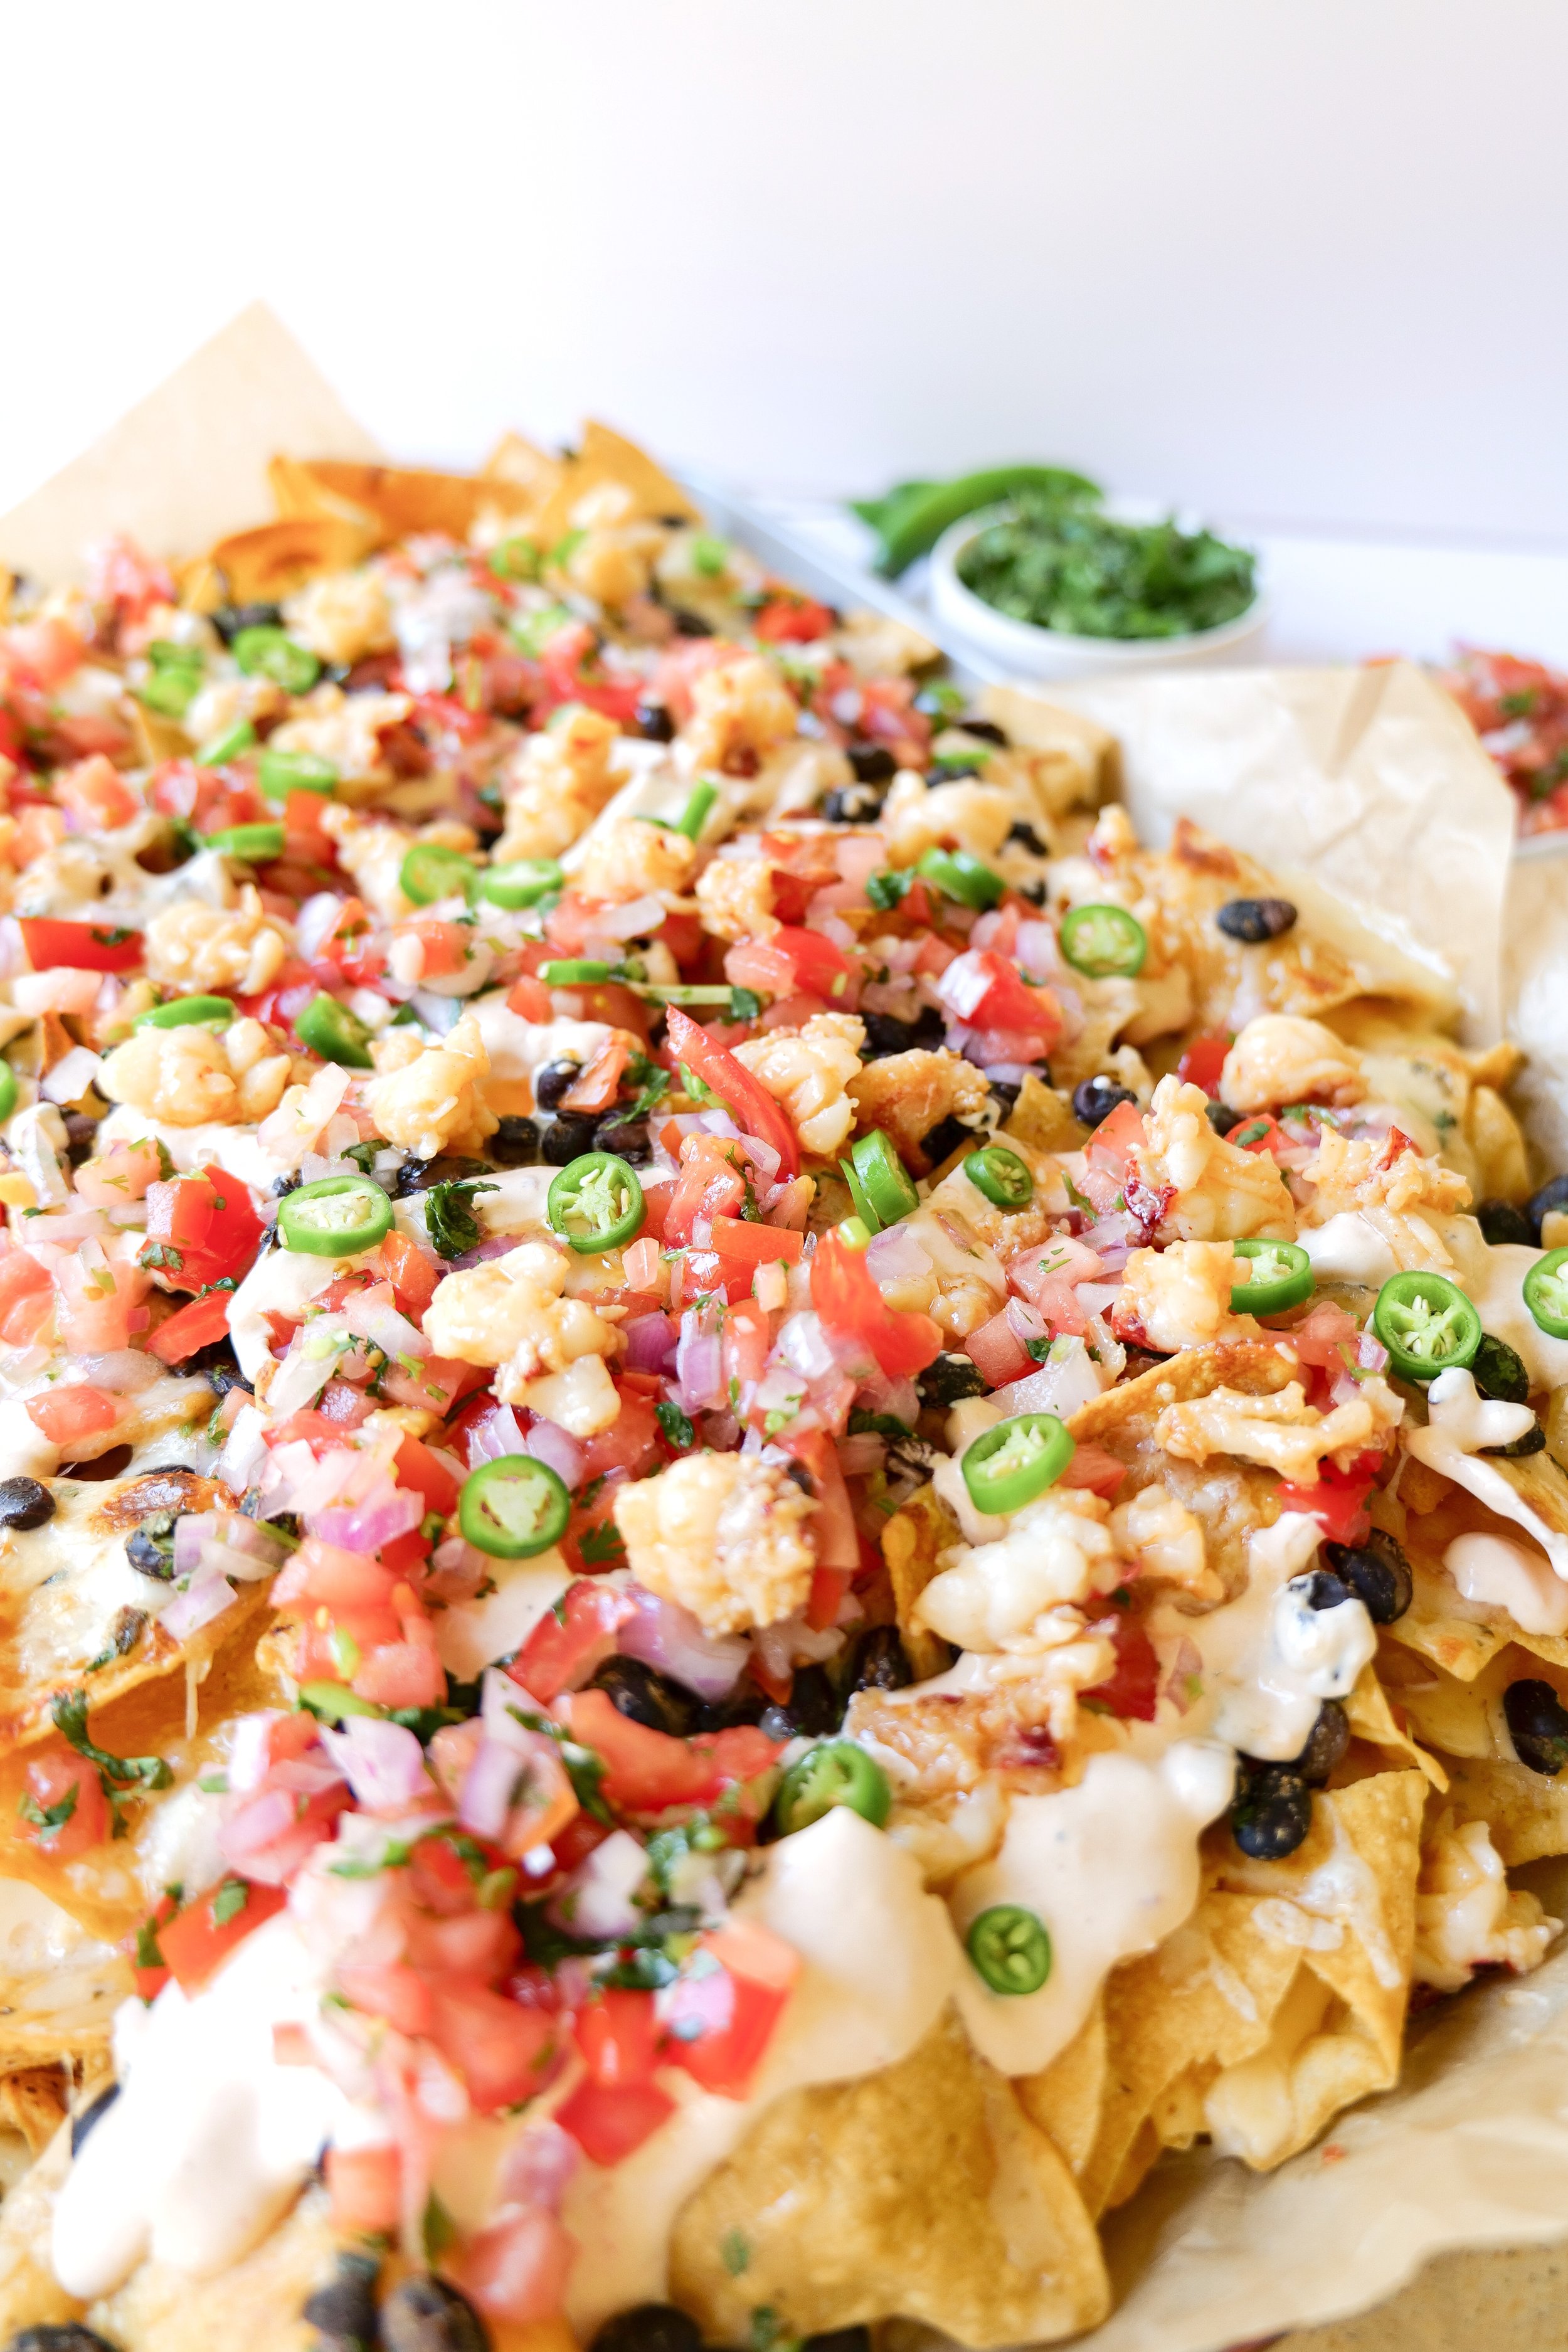
How to Make Delicious Lobster Sheet Pan Nachos At Home: A Step-by-Step Guide

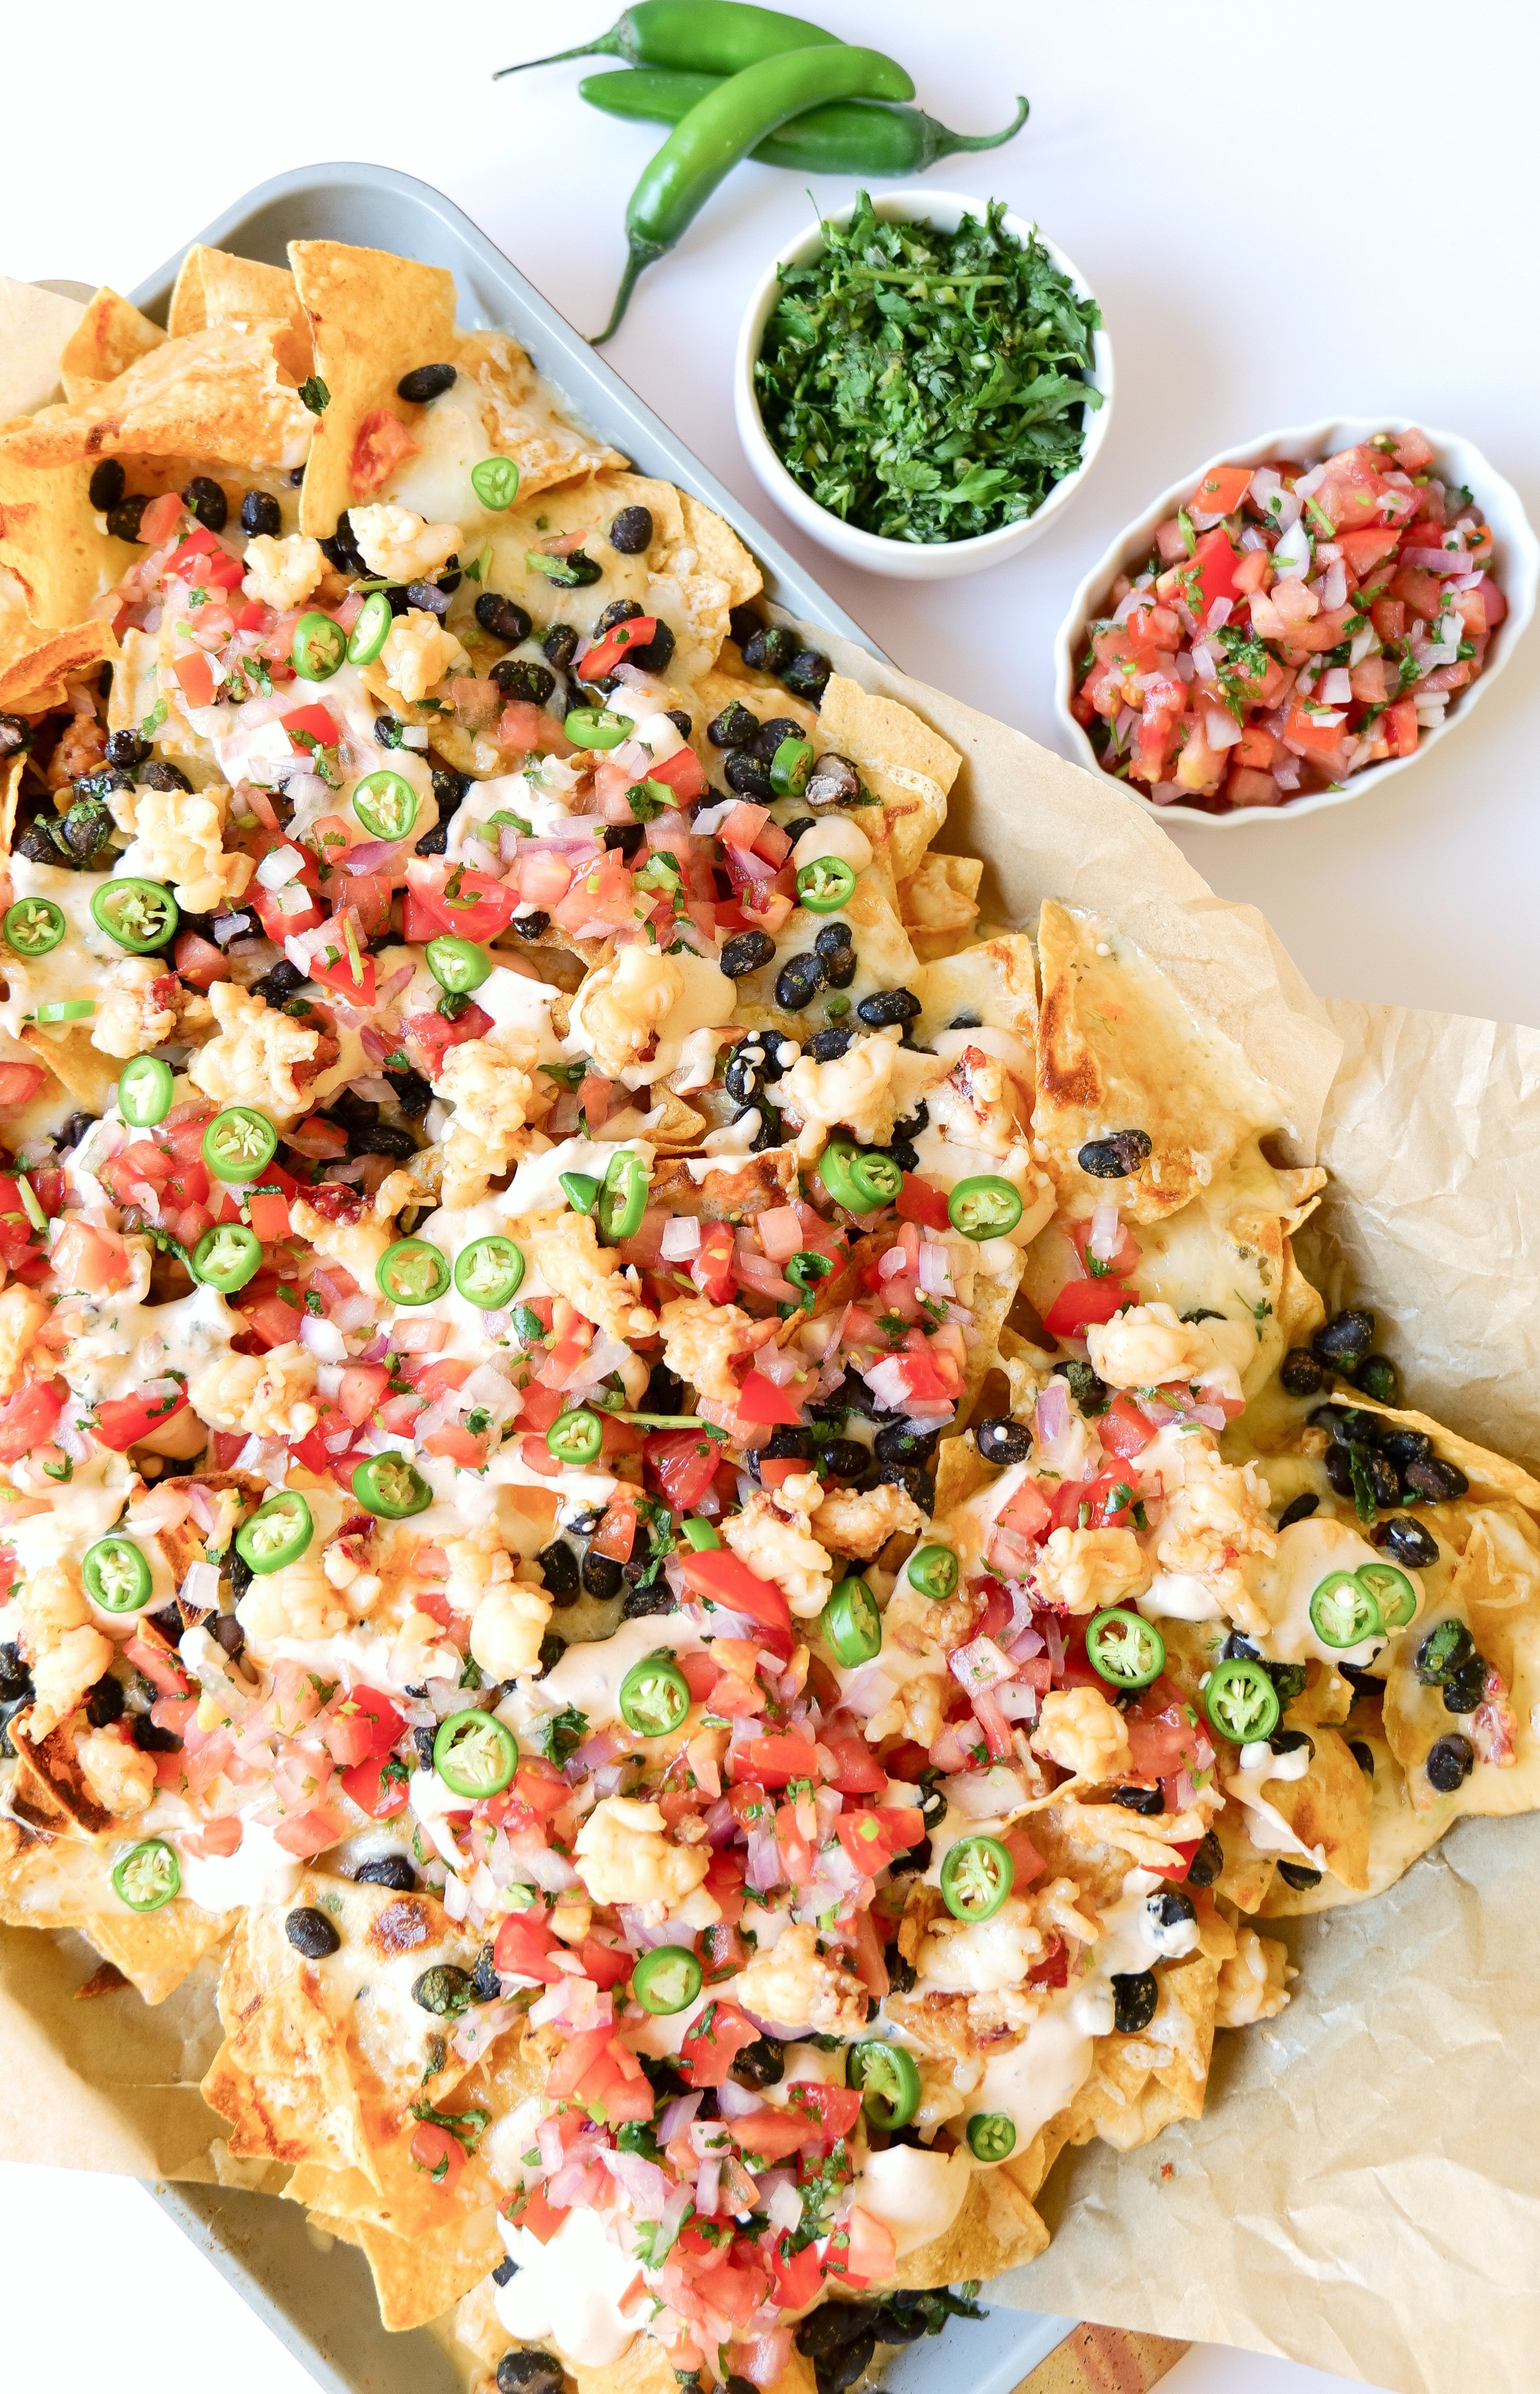
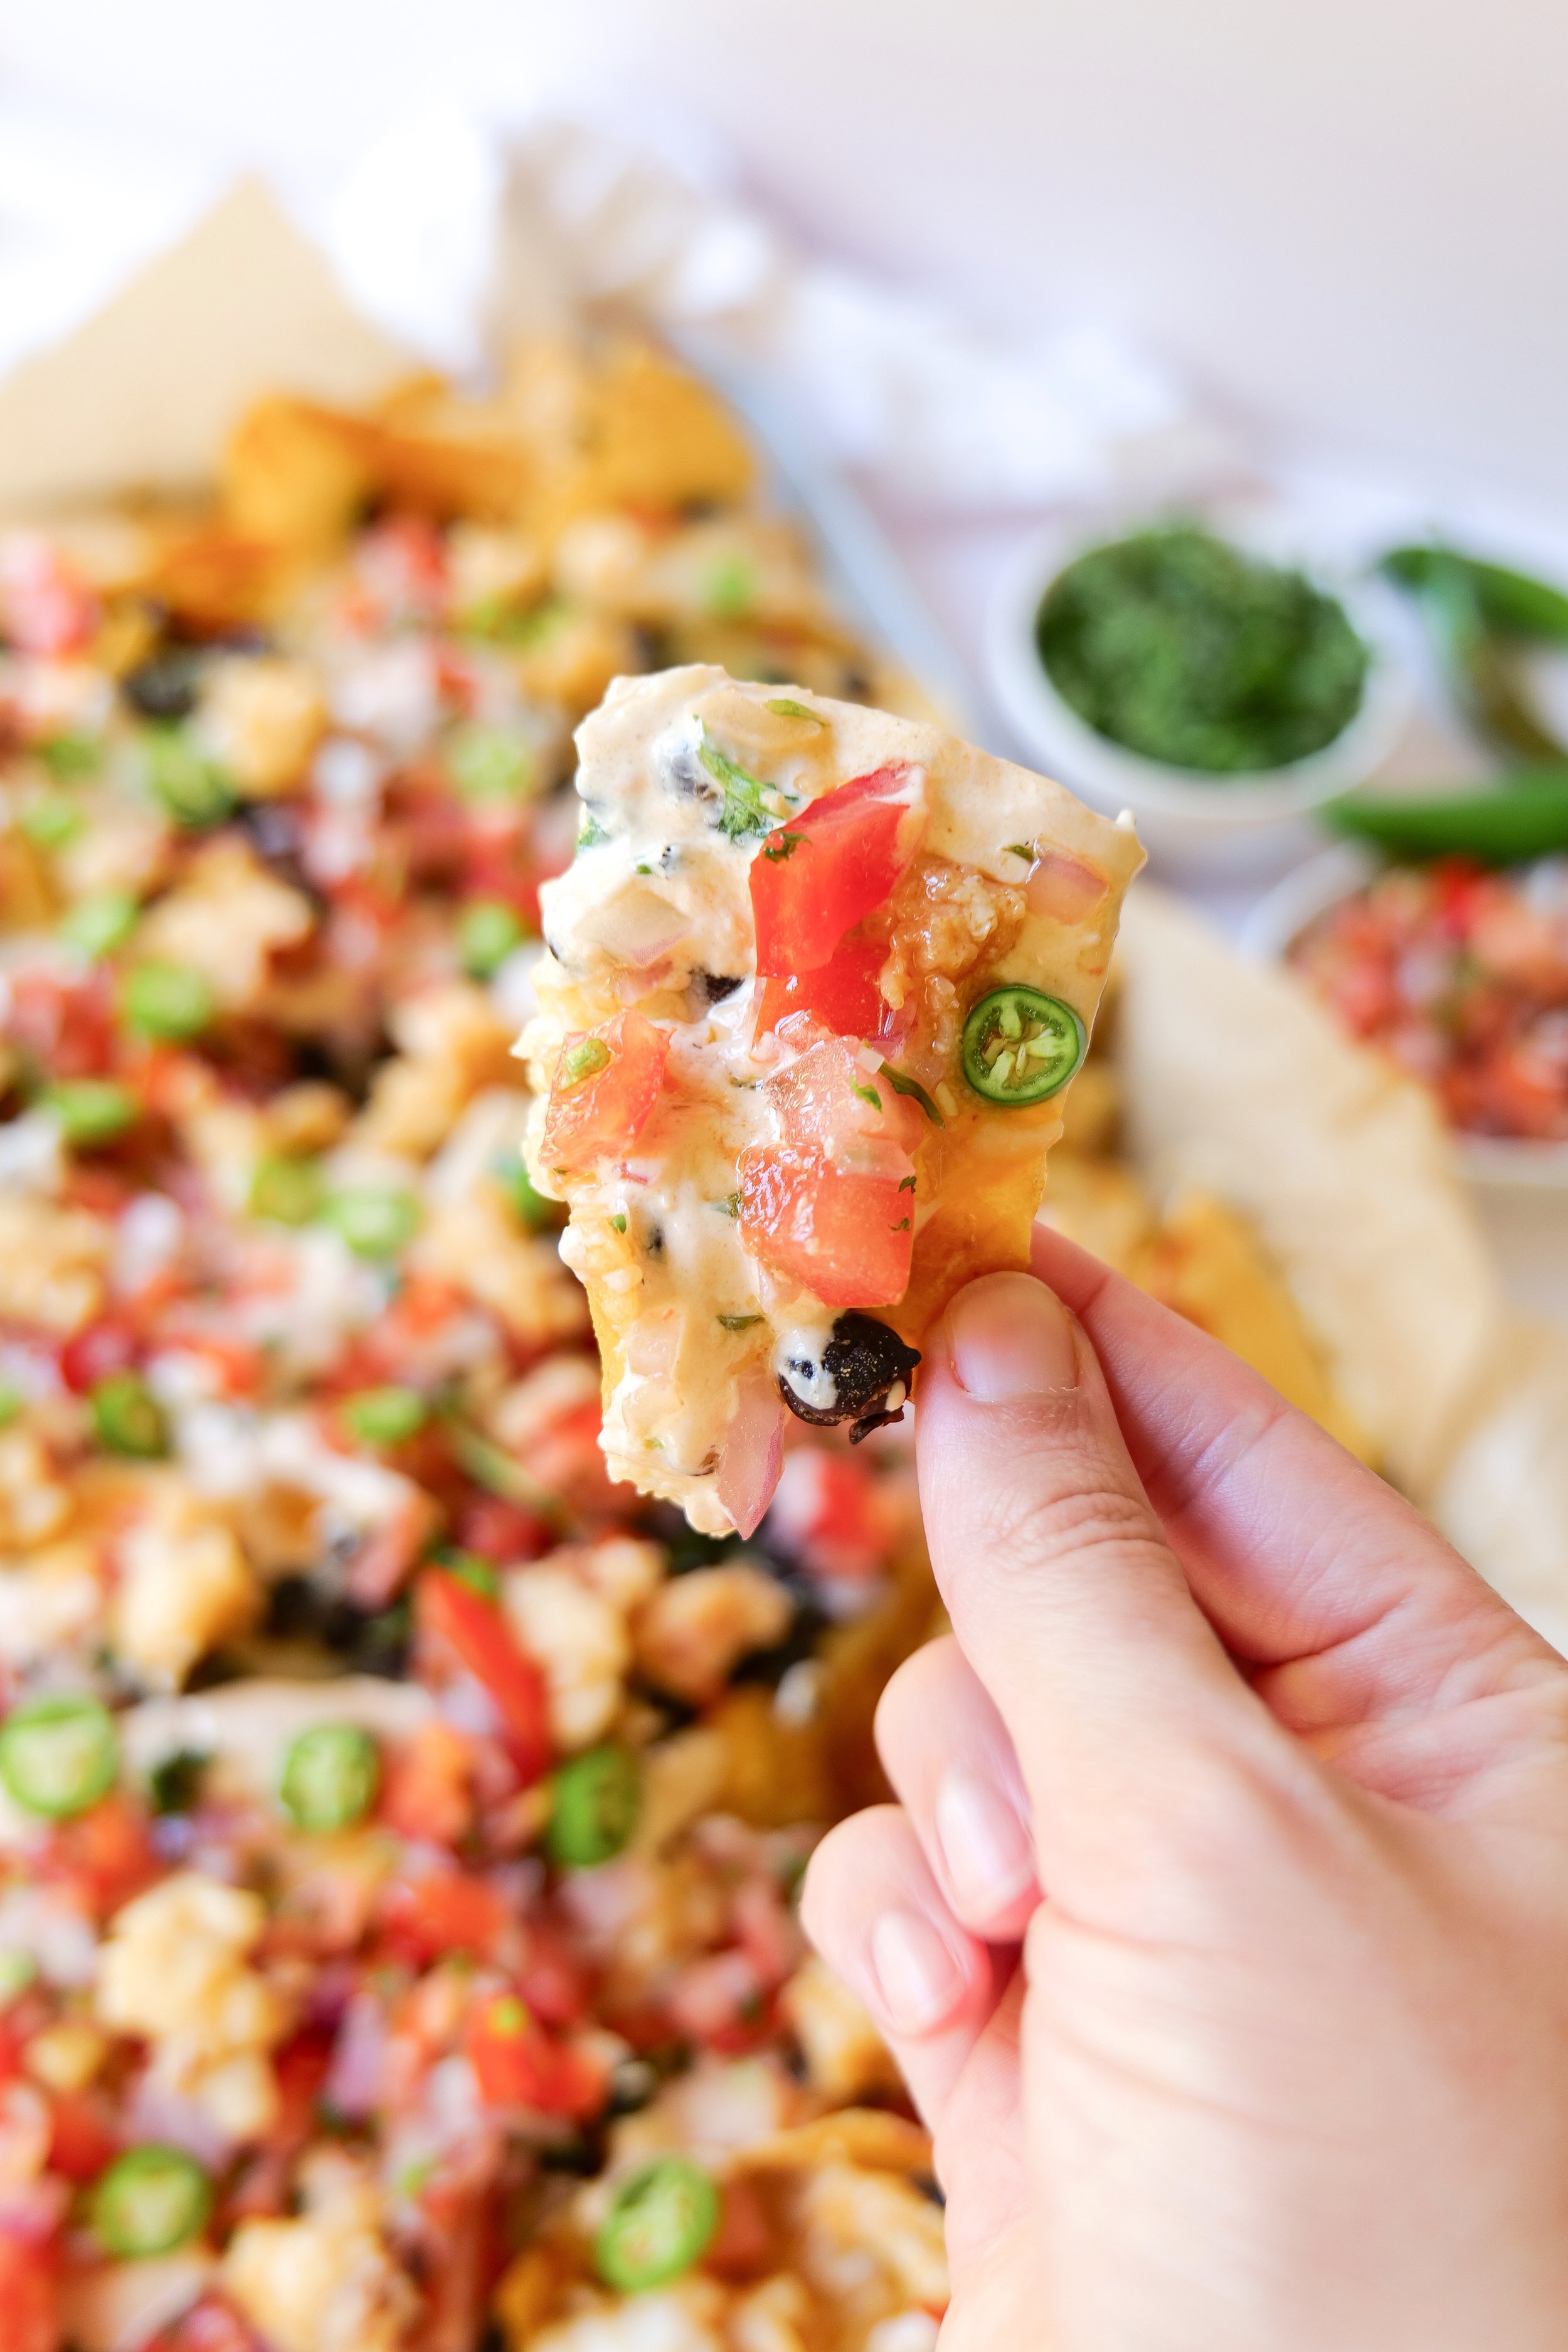
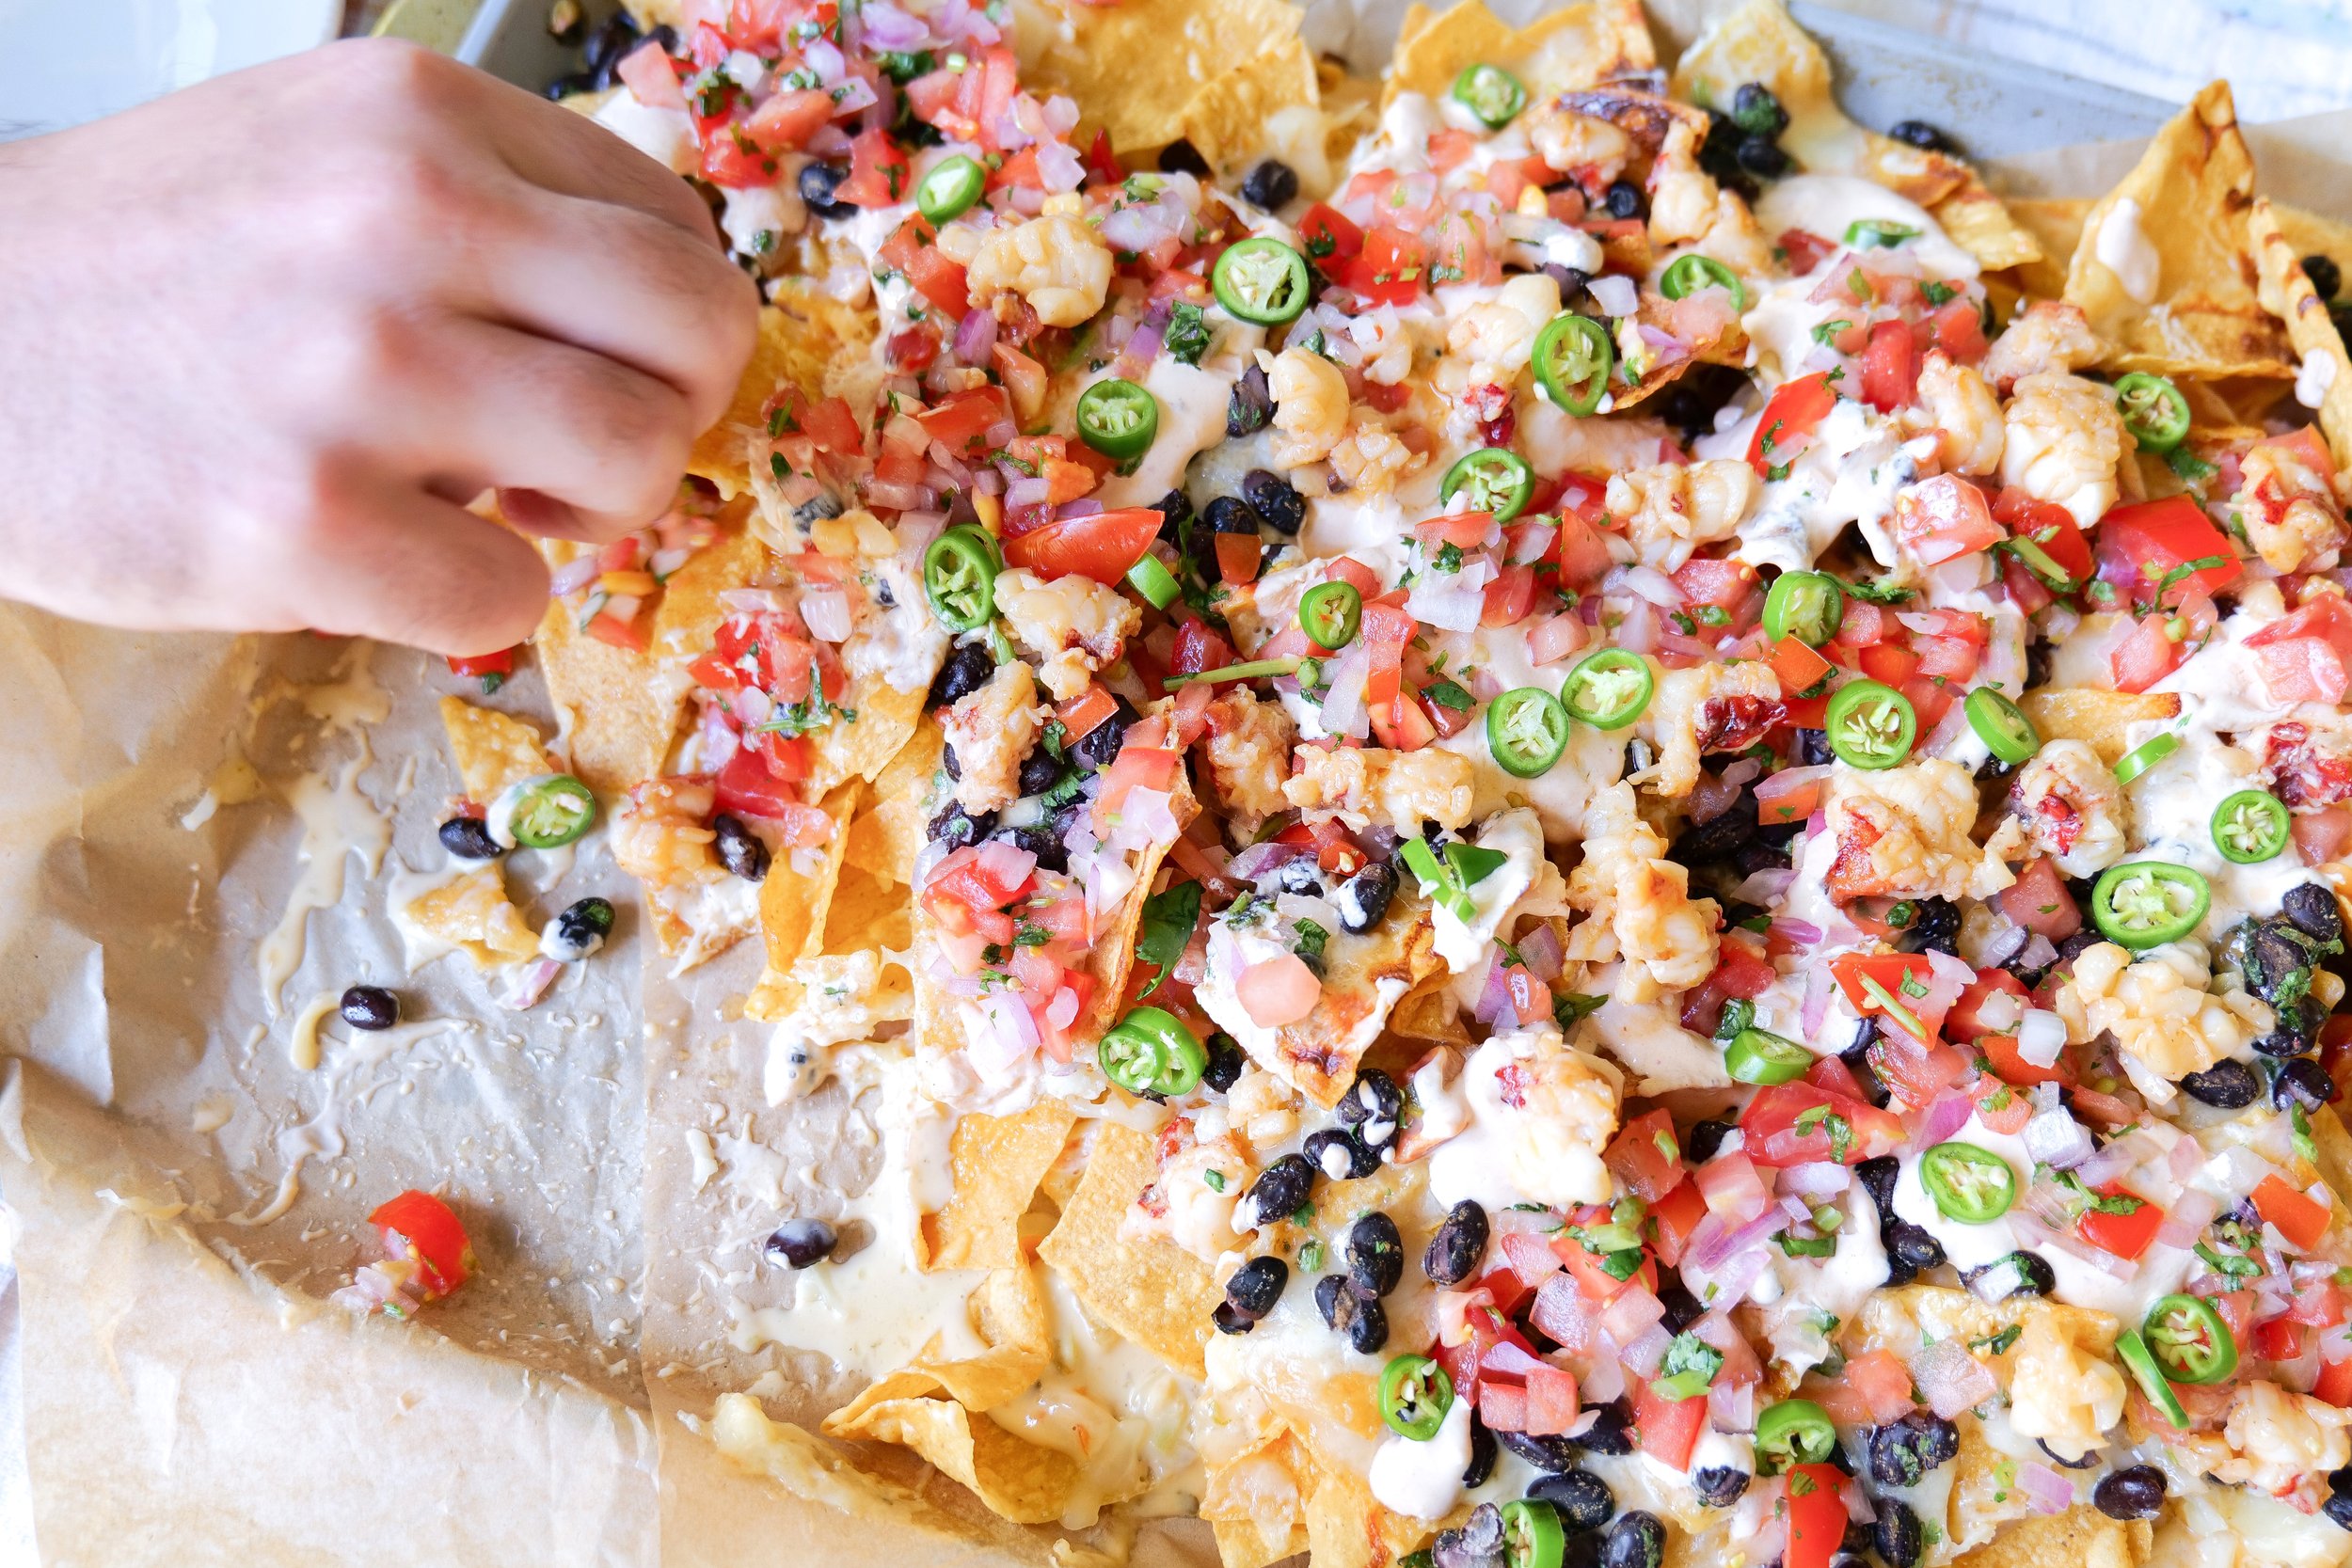
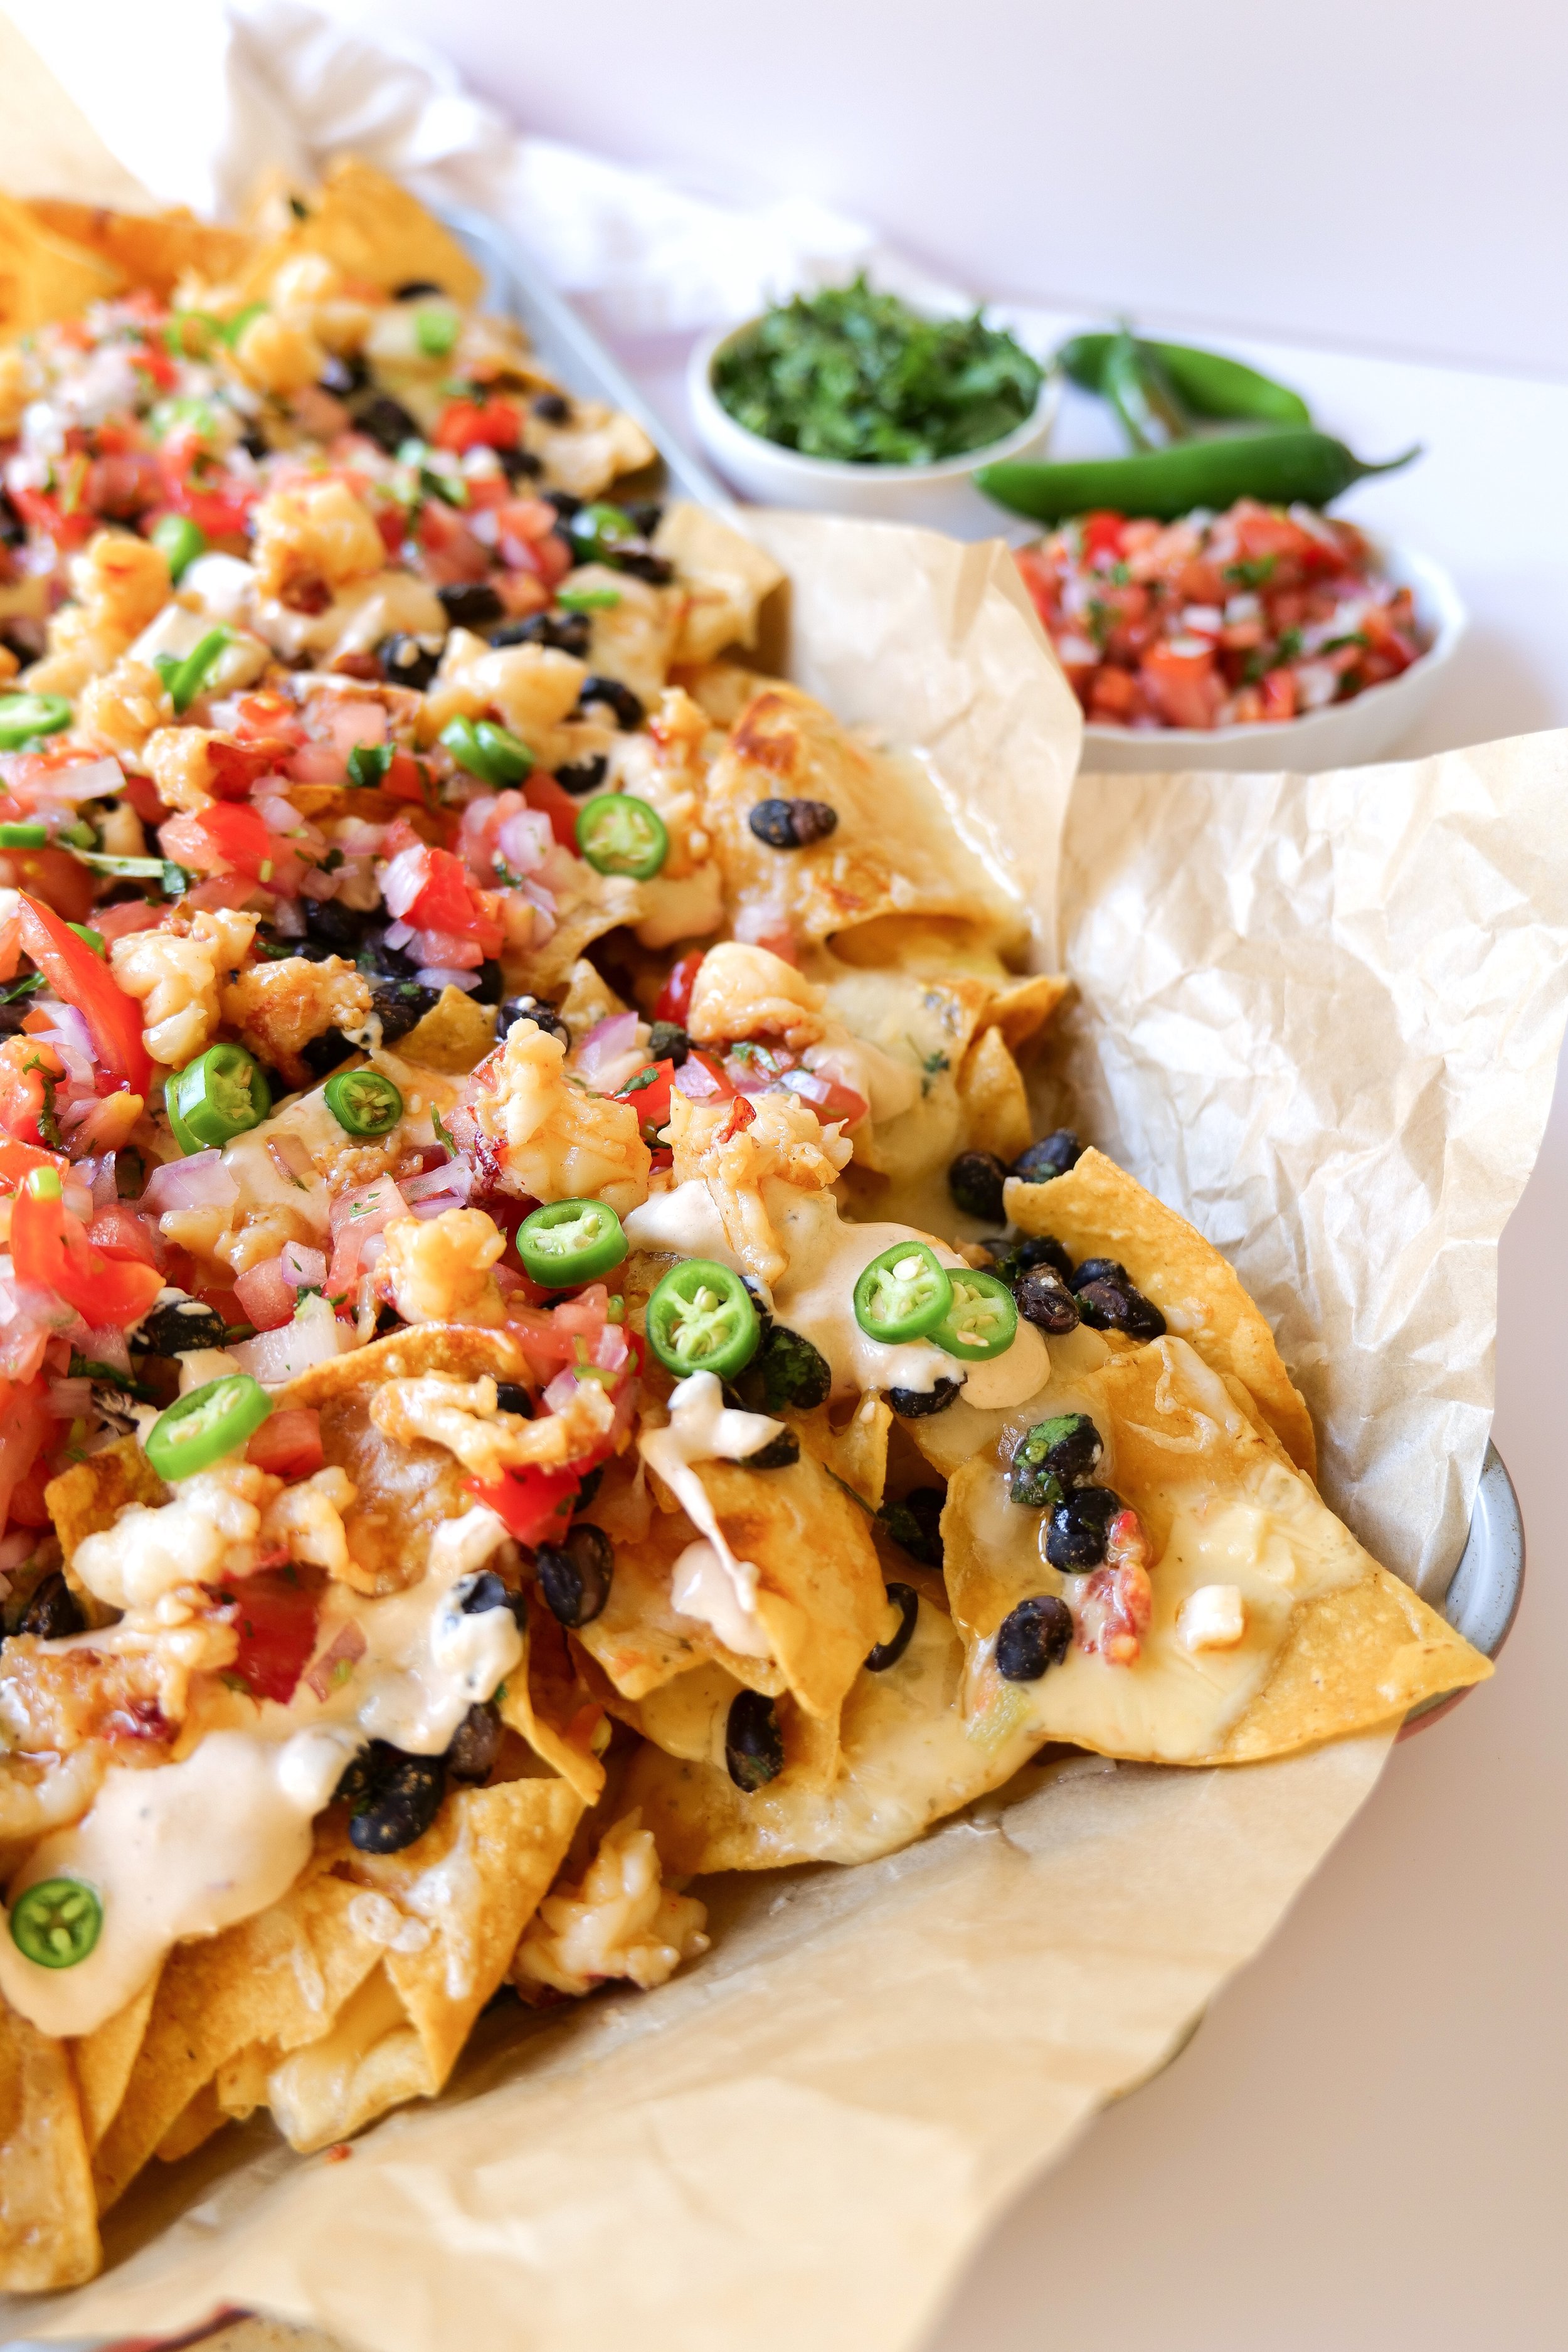
Treat yourself and your loved ones to a unique and delicious gourmet appetizer or lunch with these delicious Lobster Nachos! This decadent dish is made with crispy tortilla chips, succulent lobster chunks, creamy cheese sauce, and flavorful pico de gallo and is a dupe on Disney's California Adventure lobster nachos, which is where I first tried and fell in love with this dish. The combination of crunchy, salty chips, savory buttery lobster, and a creamy cheese sauce creates a flavor profile that is sure to be a hit with everyone who tries it. I had this many many years ago at what is now the Lamplight Lounge in Disneyland’s California Adventure and it is a continued favorite of mine. I haven't been to Disney in years, but have been craving this dish badly, so this is my version of their tasty dish!

The best part about these Lobster Nachos is that they are easy to make and can be prepared in less than 30 minutes. All you need is some fresh lobster, cheese, chips, and a few other ingredients. The full recipe is below and don't be afraid to add in anything else you'd like or take out things you don't. This dish is extremely customizable, so experiment and make it all your own! Most importantly, enjoy every last bite!

Does this recipe work well with other types of seafood?

The traditional nacho topping of cheese and cream is the perfect accompaniment to the sweet and savory lobster. You can also substitute the lobster with other types of seafood nachos such as shrimp, crab, or scallops. For a different twist on the dish, why not try adding a combination of different seafoods? You can enjoy the same cheesy, creamy nacho topping with a variety of seafoods. Transform the dish into a seafood medley by adding different types of seafood. Experiment with different textures and flavors by adding different types of seafood. This delicious Lobster Nacho Recipe is sure to be a hit at any gathering, especially for those that love the taste of lobster.

Ingredients

16oz Chips

1/2 pound shredded cheddar cheese

1/2 pound shredded Monterey jack cheese

4 Sliced Serrano peppers

queso (favorite store-bought or make your own)

Beans:

15 ounces seasoned black beans

2 tablespoons Fresh Cilantro, Chopped

1 teaspoon Ground Cumin

Crema:

1 1/2 tablespoons chipotle in adobo sauce

2 garlic cloves, minced

8 ounces sour cream

Salt and fresh cracked pepper to taste

Pico:

5 Roma Tomatoes, Diced

1/2 Medium Red Onion, Diced

1/4 cup Fresh Cilantro

1 tsp Sea Salt

1 tablespoon Fresh Lime Juice

Lobster:

3 large lobster tails

2 tbsp melted butter

Instructions

1. Preheat oven to broil. Prep beans by rinsing until the water runs clear. Add to bowl with cilantro and cumin and mix set aside.

2. Prep crema adding all ingredients to another bowl and mixing until well combined.

3. Prep Pico dicing all ingredients and adding to another bowl. Toss until well combined.

4. Cook lobster. Clean lobster removing all veins and hard shell. Chop into bite-sized pieces and pat dry. Add to a warm pan with butter and cook until bright pink. 3-5 minutes.

5. Layer chips on a sheet pan no chips overlapping. Add half of Monterey cheese & Cheddar cheese. Layer another layer of chips and cheese again. Top with queso & black beans. Place under the broiler until ready and the cheese is melted, watching carefully, 2 to 4 minutes.

6. Add pico de gallo; top with lobster. Drizzle chipotle crema over top and garnish with sliced serrano peppers (optional). Serve immediately & Enjoy!

Are there any variations to the recipe that I can try?

This delicious lobster nacho recipe is sure to be a hit at your next gathering. Start with a layer of crispy tortilla chips, then top with succulent lobster, melted cheese, and your favorite nacho toppings. For a seafood twist, substitute the lobster for cooked shrimp or crabmeat. Add a layer of refried beans for a heartier version of the dish. Sprinkle grilled corn or diced bell peppers over the top for added flavor and texture. Use jalapeños or other hot peppers for a spicy kick. Try adding a layer of cooked ground beef or chorizo for a meatier version. The toppings choices are endless – top with diced tomatoes, red onions, and avocado slices for a colorful finish. You can also use a different type of cheese, such as pepper jack or Monterey jack, for a different cheesy flavor. Finally, add a dollop of sour cream or guacamole to the top of each nacho for an extra creamy and flavorful finish. Serve these delicious lobster nachos with your favorite beverages and get ready to enjoy!

Other Appetizer Recipes You Will Love:

Create a Delicious Layered Hummus Dip for Your Next Snack or Appetizer

Delicious Buttery Italian Croissant Sandwich

Fruit & Goat Cheese Bruschetta

5 Ingredient Bacon Ranch Football Shaped Cheese Ball

The Perfect Summer Meal: Grilled Chicken, Mexican Street Corn & Cucumber Salad

Summer is the perfect time to enjoy fresh garden produce and a delicious grilled meal. This Grilled Chicken, Mexican Street Corn & Cucumber Salad is the perfect way to enjoy some of Summer's offerings. The combination of grilled chicken, Mexican street corn, and cucumber salad provides a delicious and unique mix of flavors and textures that will have your family and friends begging for more. Not only is this meal delicious, but it is also fairly simple to make and can be served as a main course, or served as a side at your Summer BBQ. This recipe is sure to be a hit! Let's get to grilling!

This Mexican Street Corn Chicken Salad Has All the Grilled Corn Flavor In a Bowl of Greens and Veggies with Chicken. This delicious Grilled Chicken Mexican Street Corn & Cucumber Salad is the perfect meal for any lunch or dinner. It combines the creamy, crunchy, and savory flavors of grilled chicken, Mexican street corn, and fresh cucumbers for an ideal balance of tastes and textures. Not only is this meal bursting with flavor but it’s also packed with protein and veggies for a tasty and nutritious meal. Plus, you can have it ready in just 15 minutes for an incredibly quick and easy dish.

This versatile recipe can be easily customized with your favorite proteins and veggies. Whether you’re looking for something to serve at a Summer barbecue or a potluck, this Grilled Chicken Mexican Street Corn & Cucumber Salad is sure to be a hit. Try it today and enjoy a delicious and nutritious meal that’s sure to please everyone.

What is Mexican Street Corn?

Mexican Street Corn or "Elote" is a type of grilled corn that is often served in Mexico. This classic Mexican dish is often served as an appetizer or side dish. It's a simple yet delicious combination of fresh sweet corn, mayonnaise, parmesan or cotija cheeses, chili powder, and lime juice that creates a unique and pleasing flavor. If you're looking for a fun twist on this traditional dish, try my Grilled Chicken Mexican Street Corn & Cucumber Salad! I've taken the classic Mexican Street Corn recipe and added grilled chicken and a crisp cucumber salad to the mix for an extra boost of flavor. The result is a delicious and satisfying meal that is sure to be a hit at any gathering. The combination of flavors in this dish is truly something special, making it a great addition to any meal. So if you're looking for a unique and flavorful dish, give this Street Corn Salad a try!

This tasty salad is made with fresh ingredients like grilled chicken, Mexican street corn, cucumbers, arugula, avocado, cilantro, olive oil, lime juice, garlic, and cumin. The chicken is cooked to perfection, while the Mexican street corn adds a delightful sweetness and spice. The cucumbers give the salad a nice crunch, while the avocado adds a bit of creaminess. The olive oil, lime juice, garlic, and cumin provide an extra layer of flavor that makes this salad irresistible. This dish is easy to make and can be enjoyed as a main or side dish. It is a great way to get in your daily serving of vegetables in a flavorful and satisfying way. The combination of flavors is sure to please the whole family.

Ingredients

1 lbs Grilled Chicken

1/4 teaspoon paprika

1/4 teaspoon garlic powder

7 oz. Arugula Lettuce

3 cups corn

2 cups cucumber

1 tbsp olive oil

1 bunch of fresh cilantro

1/2 large red onion

2/3 cup parmesan or cotija cheese

1 large avocado

Dressing

1/4 cup mayonnaise

3 tablespoons fresh lime juice

1/2 teaspoon cumin

1/2 teaspoon paprika

1/4 teaspoon chili powder

sea salt & black pepper to taste

Instructions

1. Season chicken with paprika, garlic powder and salt & pepper to taste. Grill on bbq or on the stovetop. 6 minutes on each side or until fully cooked. Set aside to rest for 10 min while preparing salad. Slice thinly once it has rested.

2. Prepare dressing by mixing together all ingredients above until fully blended; mayonnaise, lime juice, cumin, paprika, chili powder and salt & pepper to taste.

3. Mix together street corn. Add corn to pan used to cook chicken toast lightly on the outside to give a grilled flavor or if BBQing add to grill with chicken. Slice cucumbers in half and thinly slice. Same with red onion. Add cucumber, red onion and corn to bowl and mix together with olive oil 1 tsp fresh chopped cilantro 1/3 cup of shredded cheese. Mix together until fully saturated and blended well.

4. Assemble salad. Lay down lettuce, add sliced grilled chicken, slices of avocado and Mexican street corn mix. Drizzle dressing on top and sprinkle additional cilantro on top. Serve immediately and enjoy!

Is This Dish Suitable for Vegetarians?

Unfortunately, it is not suitable for vegetarians, as it includes grilled chicken. However, the dish can be easily modified to make it vegetarian-friendly. To make the dish vegetarian-friendly, simply replace the chicken with a plant-based protein such as tofu or beans. The salad can also be served without the chicken, and still be packed with flavor and nutrients.

To make the dish vegan-friendly, be sure to choose vegan-friendly ingredients such as vegan mayonnaise and vegan cheese. Additionally, you can also use plant-based milk, vegan margarine, and vegan yogurt to make the salad vegan-friendly. With these simple modifications, you can create an incredibly delicious and nutritious vegan version of this dish. Feel free to make it all your own! Whether you choose to make it vegetarian or vegan, this dish is packed with flavor and nutrition, and it is sure to become a family favorite.

Can I Make the Salad Spicier?

This Grilled Chicken Mexican Street Corn & Cucumber Salad is a delicious and easy meal to make for the whole family. Not only is it healthy and flavorful, but it can also be easily customized to suit everyone’s taste. For those who like a little bit of heat, try adding extra chili powder to the dressing. Or, for an even more spicy crunch, add diced jalapeños to the salad. If you’re looking for a smoky flavor, add diced chipotle peppers. To add a subtle spicy flavor, sprinkle red pepper flakes over the salad. Finally, for a burst of flavor, add a few dashes of your favorite hot sauce to the dressing. No matter which additions you choose, this Grilled Chicken Mexican Street Corn & Cucumber Salad is sure to be a hit!

Other Salad Recipes You Will Love:

How to Make the Perfect Pear and Pomegranate Arugula Salad

Shaved Brussel Sprout Salad with Apples, Goat Cheese & Candied Pecans

The Perfect Pair: Chicken Picatta and J. Lohr Wine

If you're looking for a delicious dinner option that pairs perfectly with a great bottle of wine, look no further than this Chicken Piccata recipe paired with the J. Lohr Estates Riverstone Chardonnay. This traditional Italian dish includes chicken breasts, butter, garlic, and white wine. It is served with a smooth, light lemon, caper, and butter sauce. The accompaniment of a glass of Riverstone Chardonnay makes for the perfect pairing, offering a unique flavor and aroma that will enhance the flavors of the dish. Whether you're hosting a dinner party or just looking to create a delicious dinner for two, this Chicken Piccata paired with the J. Lohr Wines Riverstone Chardonnay is sure to please!


Tips for Pairing Wine with Chicken Piccata

Chicken Piccata is a favorite dish of mine that combines butter, capers, and very subtle hints of lemon that creates a flavorful and acidic sauce, which pairs perfectly with a creamy white wine such as Chardonnay. For a classic pairing, I recommend enjoying a glass of the J. Lohr Estates Riverstone Chardonnay with this meal. With its light acidity and hints of lemon, you'll find that this wine perfectly complements the acidic and buttery sauce of the Chicken Piccata. As you will see in the recipe below, I don't add extra lemon juice or zest like many other traditional Chicken Piccata dishes because of the selected wine pairing. With this wine having a hint of ripe Meyer lemon in its flavor profile, I didn't want an overly lemony sauce to pair with it. If opting to exclude the extra lemon juice, you can substitute with some vegetable broth. This recipe, just like the wine, can be very versatile to suit your taste buds.

J. Lohr Vineyards & Wines produces some of the world's most popular and well-regarded Chardonnays, which they call REAL Chardonnay. What is REAL Chardonnay? It’s when the wine comes from perfectly sited, cool-climate, and sustainably farmed vineyards in Monterey's Arroyo Seco AVA. It's also using 10 different Chardonnay clones and aging using only the finest oak barrels. The range of flavors, from light and crisp to full-bodied and complex, makes each of J. Lohr's three Chardonnays the perfect accompaniment to this classic Italian dish.

The J. Lohr Estates Riverstone Chardonnay has aromas of orange, white peach, a little pear, and sweet oak with baking spices on the long finish, giving it a delicious flavor. The wine is medium-bodied, with a smooth and creamy finish. These flavors work perfectly with the lemon and caper sauce in Chicken Piccata, as the richness of the wine helps to balance the acidic nature of the sauce. The fruit flavors of the wine help to enhance the delicate flavors of the chicken. The medium body of the wine also helps to bring out the subtle flavors of the dish without overpowering it.

So, if you're looking for a delicious and easy-to-prepare meal to pair with a bottle of J. Lohr wine, Chicken Piccata is a perfect choice. The combination of the wine's rich and fruity flavors and the dish's tangy and delicate flavors will create a unique culinary experience that your guests are sure to love. Other pairings for the J. Lohr Estates Riverstone Chardonnay are seafood risotto, mussels in white wine sauce, roast chicken with apples, and holiday ham and turkey.

My Chicken Piccata Recipe

Serves 6

Ingredients

3 large chicken breasts, cut in half and pounded

Salt & Pepper to taste

1/2 teaspoon garlic powder

Flour (for dredging)

6 tablespoons butter, divided

2 tablespoons olive oil

1 shallot, diced

1/4 cup chicken broth 

Splash of white wine

1 lemon, thinly sliced

1 tablespoon brined capers, drained

1/2 cup heavy whipping cream

Freshly grated parmesan cheese


Instructions

1. Slice chicken breasts in half to make 6 smaller chicken pieces. Pound until thin. Season chicken generously with salt

and pepper. Place flour on a plate, add garlic powder and mix. Coat the chicken in your flour mixture.

2. Add 2 tablespoons of butter and olive oil to a skillet over medium-high heat.

3. Once the pan is hot, cook the chicken pieces for about 7-8 minutes per side or until golden.

4. Remove the chicken from the skillet and set aside on a plate layered with paper towels.

5. Take the pan and add a splash of white wine to help pick up the brown bits and add flavor. Once brown bits come up, add 2 tablespoons of butter and the shallots. Let shallots cook until they are transparent.

6. Add the chicken broth, the last 2 tablespoons of butter, and capers to the skillet. Stir until the butter is melted and turn off the heat. Stir in the cream. (If you want to make this recipe without cream, increase the chicken broth to 3/4 cup.) Mix and add lemon slices. 

7. Add the chicken to the pan and garnish with parmesan cheese. 

 To learn more about J. Lohr: REAL Chardonnay click -here-

Looking for other articles on wine?

The Bloggers Guide to Merlot for more on this wine & other J. Lohr wines click -here-

Delicious and Easy Chorizo One Pan Dinner

This easy and delicious chorizo one-pan dinner is a great way to get a hearty meal on the table in no time. With just a few simple ingredients, you can create a flavorful meal that the whole family will love. The combination of chorizo, potatoes, and veggies gives this dish a wonderful balance of flavors, and the one-pan preparation makes it a breeze to clean up after. So if you're looking for a quick and tasty dinner that won't break the bank, this chorizo one-pan dinner is a perfect choice.

Are you looking for a quick and easy meal to make on a busy night? Look no further than a chorizo one-pan dinner! This delicious meal only requires one pan, so you won't have to worry about cleaning multiple dishes afterward. The chorizo adds a smoky flavor to the meal that your whole family will love. You won't even have to worry about leftovers - all of the ingredients are cooked in the same pan!

Chorizo one-pan dinners is the perfect meal for busy days. They are quick, easy and delicious meals that the whole family will love. With only one pan needed, you can make a delicious dinner without having to clean multiple dishes. The chorizo adds a delicious smoky flavor to the meal that will make your taste buds happy! Plus, you don't have to worry about leftovers when making chorizo one-pan dinner - all of the ingredients are cooked in the same pan!

If you're looking for a quick and easy meal that the whole family will love, chorizo one-pan dinner is a perfect choice. Not only is it delicious, but it also only requires one pan - so you can spend less time cleaning and more time enjoying a delicious meal. Give it a try and you won't be disappointed!

What Ingredients Do I Need to Make a Chorizo One Pan Dinner?

To make this one-pan dinner for 4 people, you'll need: 4 links of chorizo sausage, 4 red potatoes, 1 red onion, 4 cups broccoli, 16 oz mushrooms, 1/3 cup olive oil, 2 tbsp Homemade Ranch Seasoning, and Spicy Mayo.

Your Chorizo One Pan Dinner is now ready to enjoy with your favorite group of people, but can be made for as many or as few people as desired! Serve it up "as is", or with a great sauce such as a yummy spicy mayo or creamy sauce. This one-pan dinner is a great way to get a healthy and delicious meal on the table in no time! Another way to make it your own is changing out the veggies to your family's favorites!

Ingredients

4 chorizo links

4 red potatoes

1 red onion

4 cups broccoli

16 oz mushrooms

1/3 cup olive oil

2 tablespoons Homemade Ranch Seasoning

Spicy Mayo

Directions

1. Preheat oven to 375

2. Lay chorizo links in 360 cookware bake & roast pan. Place in oven while you prep veggies, about 15 minutes.

3. Prep veggies by cutting them into bite sizes and placing them in a bowl to combine. Once it's all cut and ready add olive oil and seasoning and toss to fully coat.

4. Take out the pan with the chorizo and remove the chorizo to a clean plate. Layer veggie mixture into pan and place chorizo on top.

5. Return to oven and continue to bake for another 30-45 minutes or until a fork easily pokes into potatoes

6. Slice chorizo and plate with veggies and spicy mayo (you can omit if you don't prefer sauce)

Other Dinner Recipes:

Easy and Delicious Mushroom & Pea Risotto Recipe

Garlic Mushroom & Shrimp Pasta

Pork Banh Mi Bowl : Deliciously Satisfying

Baked Burrata Pumpkin Ziti with Pork Sausage Recipe

An Alluring Combination: French Onion & Shallot Soup Recipe

French Onion & Shallot Soup is a classic French dish that has been delighting people for centuries. This hearty, flavorful soup is perfect for a cold winter day and is sure to warm you up while still delighting your taste buds. This soup is easy to make and is filled with ingredients that are sure to tantalize your taste buds. Whether you're a novice in the kitchen or a professional chef, French Onion & Shallot Soup is a great dish to make for your next dinner. In this blog post, I will walk you through the steps for making this delicious soup.

Best French Onion and Shallot Soup

The combination of the two creates a delicious flavor and texture. The sweetness of the caramelized onions and shallots pairs perfectly with the beef broth and creates a rich, flavorful soup. Caramelizing the onions and shallots is key to getting the most out of this simple dish.

The process of caramelizing the onions and shallots for this soup is straightforward and easy. To start, heat up a large skillet over medium heat and add a few tablespoons of butter. Once the butter melts, add the onions and shallots and cook until they are lightly browned. This will take close to an hour. Once the onions and shallots are caramelized, add the beef broth and bring to a boil. To make the soup even more flavorful, add wine, a pinch of thyme or a bay leaf. Once the soup is boiling, reduce the heat to a simmer and cook for about 15 minutes. After 15 minutes, the soup should be thick and flavorful. To top the soup off, pour into individual bowls and add a crunchy baguette and cheese. This adds a nice contrast and texture to the soup. You will pop in the oven until cheese is melted and browning on top.

French Onion and Shallot Soup is a classic French dish that is easy to make and bursting with flavor. Topping the soup off with crunchy croutons or cheese croutons adds texture and a nice contrast. French Onion and Shallot Soup is a great way to use up leftover onions and shallots and is a comforting meal for any time of year. With its rich and hearty flavor profile, it's no wonder why it's a popular choice whenever you're looking for something comforting and delicious. Beef stock, garlic, and herbs give the soup an added depth of flavor that takes it to the next level.

The best French onion and shallot soup is made with freshly caramelized onions and shallots. This caramelization process takes time but is well worth the effort as it brings out the sweet flavor of the onions and shallots. Adding a dash of brandy or cognac is a great way to enhance the flavor, or you can also add wine or sherry to the soup for a rich, complex flavor. Topping the soup with a generous sprinkling of grated cheese enhances the flavor and gives the soup a cheesy crust. My favorite way to top off this meal is with a glass of Decoy Chardonnay. The Gruyère cheese topping with the french onion & shallot soup pairs very well with Chardonnay, and makes this a delicious combo.

Ingredients

1/2 cup butter

4 yellow onions, thinly sliced

3 shallots, thinly sliced

1 teaspoon salt

2 sprigs of fresh thyme, additional for topping

2 bay leaves

2 cloves minced garlic

1/2 cup white wine

6 cups chicken or beef broth

salt & black pepper to taste

6-12 sourdough baguette slices

8 oz shredded gruyère cheese

Instructions

1. First you will add butter to hot pan. Letting melt before starting to add in Shallots. I like to brown mine a little bit to add additional flavor. Once butter is ready add in shallots and coat with butter. Let sauté in pan for 5 minutes & add onions. Stirring frequently (every 5 minutes) over medium-high heat for an hour until onions and shallots are fully caramelized and cooked down. Make sure as you are stirring you scrape up any brown bits that might start to form each time. If they are too hard to rise off the pan, you can pour in some of the wine that we use later now to help.

2. Add in salt, thyme, bay leaves and garlic. Stir together to incorporate. Slowly pour in white wine and chicken or beef broth. Let come to a boil and reduce heat to medium-low. Let simmer for 15 minutes.

3. While soup is simmering preheat oven to broil and lightly butter baguette let toast while oven is preheating. Grate cheese for next step.

4. Now that soup is ready pour equally into oven safe bowls. Top each bowl with sourdough baguette slices. This could be 1-2 per bowl depending on the size of bowl and baguette. Top that with your gruyere cheese and place of a baking sheet.

5. Put soup bowls on baking sheet in the oven and bake for 5-10 minutes or until cheese is melted and starting to become a deep golden on tops.

6. Remove from oven, top with additional fresh thyme salt and black pepper. Serve and Enjoy!

French onion and shallot soup is best served with a side of crusty French bread or delicious Cesar salad. The combination of the savory soup and the crunchy bread makes for the perfect incredible bite. You'll be sure to enjoy every last spoonful of this classic soup.

Notes

French Onion & Shallot Soup is a classic French comfort food dish that is sure to please anyone who enjoys the sweet and savory flavor of caramelized onions. The soup’s flavor comes primarily from the combination of caramelized onions and shallots, along with a variety of herbs and spices. However, if you’re not a fan of shallots, they can be substituted by removing them and adding two additional onions to the soup. You can also add in mushrooms for an even richer flavor.

For other ways to substitute, I recommend using beef or chicken stock but if you’re looking for a vegetarian option, you can use vegetable stock instead. The soup is usually served topped with a baguette and melted gruyere cheese, but croutons topping instead of a baguette make for an added crunch, which I occasionally prefer. For a healthier version, use low-sodium broth and skip the cheese and croutons. For an added touch of protein, you can top with crispy bacon and additional herbs. French Onion & Shallot Soup is a delicious meal that can be adapted to meet a variety of dietary needs. Whether you’re looking for a comforting meal or a first course, this dish will be sure to please.

Other Soups You’ll Love!

For those looking for a creamier option, there is also the classic Italian Sausage, Potato & Kale Soup. This dish combines sausage, potatoes, kale, blended of herbs and is finished off with a hint of cream for a truly decadent experience. Or, for those looking for something a bit more substantial, there is always Mom's Favorite Minestrone Soup Recipe, a protein-packed dish that is sure to fill you up on even the coldest of days. Needing something with a little kick? Bring the Heat with this Deliciously Spicy Tortellini Soup. Finally, there is the classic Deliciously Creamy Basil Tomato Soup, which combines tomatoes and basil with a hint of cream for an unforgettable flavor. Whether you’re looking for a comforting soup or something a bit more substantial one of these recipes is sure to hit the spot.

I truly hope you enjoy this recipe and all my others. If you are looking for a recipe on amandawarrenblog.com you can search in my search bar for anything you can't find. I am always sharing more videos on my Instagram, Pinterest and Tik Tok as well so you can see the exact process of how each meal is made. Thank you again for stopping by and I hope to see you again soon!

Mom's Favorite Minestrone Soup Recipe

"Mom's Favorite" Minestrone Soup Recipe: A Delicious and Nutritious Meal for Everyone

If you're looking for a comforting and delicious soup recipe that will bring as big of a smile to your mom's faces as it does to my moms, then look no further! This classic minestrone soup recipe is sure to please. It's easy to make, packed with nourishing ingredients, and simply tastes like good old-fashioned home cooking. An added bonus is it's a great way to use up any leftovers you have in the fridge. With just a few simple ingredients, you can whip up a pot of this soup in no time and make your mom happy and proud. Read on for the recipe!

Tips for Minestrone Soup

Mom's Favorite Minestrone Soup Recipe is a hearty and flavorful soup that is sure to be a hit with not just Mom, but the whole family. It's a great way to use up any vegetables you have on hand. I actually started making this soup because it's the only soup my mom truly enjoys and will order when out at a restaurant. So naturally, I had to try my own hand at it. I am always trying to please the family and make meals they all will love.

To start off this delicious soup, melt some good quality butter in a large pot over medium heat. Once the butter has melted, add in some chopped garlic and onion and sauté until the onion is soft and translucent. Next, add in the vegetables of your choice, such as carrots, celery, or zucchini, and sauté for a few minutes until they start to soften. Once the vegetables have softened, add in some canned tomatoes, 5 oz of chopped pancetta, cannellini beans and season with your favorite Italian seasoning blend. I personally use my own italian seasoning, which I make monthly to just to have on hand. Pour in enough broth or stock to cover the vegetables and bring to a boil. Once boiling, reduce the heat and let simmer for 15-20 minutes.

Next, add in some cooked pasta and beans, such as cannellini beans, and simmer for an additional 10 minutes. Once the pasta is cooked, taste and adjust seasoning as desired. Finish off your soup with freshly grated Parmesan cheese and additional herbs if desired. Serve with a crusty loaf of bread and a side salad for a complete meal.

Mom's Favorite Minestrone Soup Recipe is sure to be a hit with the whole family. It's a hearty and flavorful soup that is packed with vegetables and beans and is sure to become a regular in your dinner rotation, especially on those cold days.

What to Serve with Vegetarian Minestrone Soup

Mom’s favorite minestrone soup recipe is a simple yet satisfying dish that will make anyone’s mouth water. The perfect combination of veggies, broth, and spices make this dish a family favorite. This soup is best served with a variety of accompaniments such as crusty French bread, grilled cheese sandwiches, garlic bread, Caesar salad, grilled vegetables, antipasto platter, focaccia bread, cheese & herb biscuits, caprese salad, roasted garlic bread, toasted ciabatta bread, garlic toast, and bruschetta.

This soup is a great way to make a meal out of whatever ingredients you have on hand. You can customize the soup by adding different veggies and beans, or even switching up the broth and seasonings. If you’re looking for an easy, yet delicious meal, Mom’s favorite minestrone soup recipe is just the thing. Enjoy a bowl of this comforting soup and pair it with any of the accompaniments listed above for a complete meal.

Ingredients

3 tablespoons salted butter

1 large onion

4 cloves minced garlic

5 oz diced pancetta

1 cup chopped carrots

1/4 cup chopped celery

1 zucchini chopped

1 can diced tomatoes (lightly drained)

6 cups vegetable broth

1 tablespoon Italian seasoning

2 bay leaves

black pepper (to taste)

1 can cannellini beans

1 1/2 cup pasta (of your choice)

2 handfuls of spinach, roughly chopped

1/2 cup white wine

2 tablespoons basil pesto

Parmesan for topping

Instructions

1. To make this delicious soup, simply gather all of the ingredients and have them ready. Then, chop the onion, celery, carrots, and garlic. Heat the butter in a large pot over medium-high heat in your favorite stockpot. I love my 8 qt 360 Cookware stockpot for making all soups. Then add the vegetables and cook until they are soft, about 5 minutes.

2. Next, add the canned tomatoes, pancetta, vegetable broth, Italian seasoning and bay leaf and bring to a boil. Then, add the zucchini, beans and pasta and reduce the heat to low and simmer for 25-30 minutes.

3.To finish it off, you will stir in the spinach, white wine (I prefer to use Decoy Chardonnay and enjoy the rest of the bottle to serve with the soup), basil pesto and season with pepper to taste. Let ingredients come together for an additional 10-20 minutes or until the spinach has changed color to a dark leafy green.

Serve the soup hot, with a sprinkle of freshly grated Parmesan cheese and slices of crusty bread. Enjoy! This flavorful and comforting soup will become a staple in your house. Remember, this minestrone soup is easy to make and is sure to please the entire family. Enjoy!

Recipe Variations

Mom's favorite minestrone soup recipe is a classic Italian dish that is perfect for a cozy lunch or dinner. It's a hearty soup made with a variety of vegetables, beans, broth and optional pancetta. This soup is so versatile and can be easily customized depending on your taste preferences. Feel free to make it all your own.

For a creamier texture, add a ½ cup of heavy cream to the broth before adding the vegetables. If you are looking for a heartier soup, you can add ½ cup of cooked quinoa or barley to the soup with the vegetables. For a protein packed version, add a can of drained and rinsed black beans. To give the soup a smoky flavor, add a teaspoon of smoked paprika to the broth. If you want to make a vegan version, add in extra vegetables like butternut squash or green beans, substitute the beef broth with vegetable broth and omit the pancetta. You can also add a teaspoon of crushed red pepper flakes to the broth to give it a spicier flavor. For an extra flavor boost, add a few sprigs of fresh thyme or oregano or an additional tomato paste.

This soup is sure to please everyone at the table! Enjoy Mom's favorite minestrone soup recipe with a crusty loaf of bread and a glass of your favorite white wine.

Other Soups & Bread Recipes to Make

Italian Sausage, Potato & Kale Soup

The Perfect Beginners Sourdough Bread Recipe for Delicious Homemade Bread

Garlic & Herb Focaccia Bread

Italian Sausage, Potato & Kale Soup

There is just something about cold, foggy, or rainy days that makes you want to curl up with a warm bowl of soup! I’ve been trying to add more greens creatively into recipes and meals I cook this year. So here is one of my favorite soups to make all year round, but especially right now as we finish off the cold of Winter.

Serves: 10 (2 cup Serving)

Ingredients:

2 lbs. of Italian Sausage

1 Onion

1/4 tsp. red pepper flakes

1 tsp sea salt

1 tsp italian seasoning

5 cloves of minced garlic

2 tbsp flour

4 cups vegetable broth

3 cups whole milk

3 large potatoes

6 cups chopped kale (if not fresh I get the pre chopped)

1-1/2 cups heavy cream

Parmesan Cheese to garnish

Directions:

  1. Grab your biggest pot! I use the 8 quart stockpot with cover from 360cookware so I have plenty of room. The 6 quart will work great too (discount code below!). Heat on Low-Medium.

  2. Add in Italian sausage and onion. Cooking and stirring until meat is cooked and onion is softened. Making sure to break up sausage into little bits.

  3. Once cooked add in seasonings (red pepper flakes, sea salt Italian seasoning). Stir. Add in garlic and stir until fragrant. About 1 minute.

  4. Next you will add the 2 tbsp. of flour and stir until well coated.

  5. Add in Vegetable broth nice and slow to incorporate into the meat mixture. Then the whole milk. Stirring until well combined.

  6. Take cut Potatoes (you can have these as small or as big as you like, but I do about an inch size) and add into pot. Stir to make sure they are all covered. Let come to a simmer and turn heat to low. Cover and let cook until fork can go through potatoes. 20-30 min.

  7. Once potatoes are done add in heavy cream and then kale. Making sure to stir all together and incorporate fully so kale can soften.

  8. Let cook for around 15 min until kale is soft.

  9. Serve in bowl with parmesan cheese for garnish! Enjoy!!

Macros: FAT=28.6 CARB=20.2 PROTEIN=21.8

For Discount on Pot used and the ENTIRE site of 360cookware use “AMANDA20” for 20% off!

www.360cookware.com

Salsa Verde Chicken Enchiladas

I’ve been making this delicious dish for as long as I’ve been married! It’s a perfect Mexican treat for lunch or dinner that can be enjoyed fresh out of the oven, frozen and saved for later, or as a tasty treat to take to family gatherings or to friends in need of a good home cooked meal. Let’s be honest…who doesn’t love some delicious Mexican food?

Ingredients:

2 ears of sweet corn

1 red onion

2 large peppers

1 lb chicken

1 cup rice (1 cup water)

2 tbsp salted butter

16 oz shredded mozzarella cheese

6 oz blended cheese

24 oz salsa verde

12 corn tortillas

Directions:

  1. Preheat oven to 425

  2. Cut onion in 4ths and cut peppers in half and deseed. Toss onion, peppers and corn in olive oil and place in oven for 25 mins.

  3. Rinse chicken and pat dry (I like to use strips of chicken to cook faster, you can pre cut now if you didn’t purchase that way). Take a pan with olive oil and heat on medium. Once pan is heated up add chicken and let cook on both sides.

  4. While chicken is cooking take another pan out and melt butter. Once melted add in rice and stir until toasted. Then add in water. It will quickly boil so add lid and reduce heat to low. Let simmer for 15 min.

  5. While rice and vegetables are finishing up moving chicken to cutting board and cutting into small 1/2 inch pieces. Add to a bowl.

  6. Once veggies are done cooking remove from oven and let cool. Once cooled and able to touch cut corn off the cobb and cut small almost minced size onion and jalapenos.

  7. After taking out veggies turn temp down to 350 in oven.

  8. Add veggies, chicken, almost all mozzarella (leave 1 cup out), 1 cup of salsa verde and cooked rice to a bowl. Mix well.

  9. Take 2 damp paper towels and wrap around tortillas. Place in microwave for 30 seconds. This helps tortillas from breaking while rolling. Sometimes I do half at a time so they stay warm.

  10. Put 1 cup of salsa verde on bottom of pan and start placing enchiladas. I try to stuff about 1 cup into each tortillas and roll.

  11. Once all tortillas are rolled I put rest of salsa Verde over top. Then add on the blended cheese and left over mozarella.

  12. Bake for 25 min and its ready!

  13. Add any toppings you desire! Avocado, Feta, Cilantro, Lime, Sour Cream.. you name it!!

public.jpeg

This is one of my favorite recipes to enjoy all year long. Its light, crispy and delicious for Summer, and come Winter I love to get creative and change the chicken out for left-over Thanksgiving and Christmas turkey. It is just as delicious and a great Holiday dish to add to the parties! I also love to double the recipe and freeze half for easy dinners on busy work nights or if I’m out of town and Scotty needs a quick meal. I do everything up until it goes into the oven. I freeze until I am ready to eat and take out then put right into the oven adding an extra 20 min to bake time.

Hope you love these as much as our family does!

Xo, Amanda

Whole 30 Chicken Piccata

Chicken Piccata has always been a favorite dish around our house and once we started the “Whole 30” diet, I had to find a way to still enjoy it! To our pleasant surprise, now that I have changed the recipe, we like it so much that we will probably never go back to the old one! Finding new ways to enjoy our favorite dishes while still keeping them healthy is the best thing that has come from being on this new diet. Another great perk is how it takes me back to our time Italy when we enjoyed this on the cobblestone streets. Although we couldn’t go this year, we get to enjoy our stay cation with Mezzetta right at home! I hope you enjoy making and eating this dish just as much as we do!

Mezzetta is a California based company right here in the USA and I couldn’t be more excited to support them! Other delicious treats from Mezzetta we have been enjoying on our ‘whole 30’ diet are green olives on salads, jalapeno peppers on EVERYTHING, and peperoncini’s in our lettuce wraps!

IMG_1205.JPG
IMG_1176.jpg

Ingredients:

2 lbs chicken cutlets

2 organic eggs

1 cup almond flour

1/4 cup olive oil + 2 tablespoon

4 minced garlic cloves

1 shallot

1-2 tablespoon arrowroot

1 cup chicken broth

1/4 cup fresh lemon juice

1/4 cup Mezzetta capers (drained)

Salt & pepper to taste

Directions:

1. Rinse and pat dry chicken. Beat eggs in a bowl and put almond flour in a separate bowl. Put 1/4 cup olive oil in large pan on medium heat. Once olive oil is to medium temp (you can test by placing egg and making sure it doesn’t over cook) you can place each piece of chicken into egg mixture and then into almond mixture (making sure to coat well) then place into olive oil. Cook until golden brown on both sides.

2. Once all chicken is cooked place onto paper towel lined plate while making sauce. Clean out pan and return to stove top.

3. Begin making sauce by dicing shallot and mincing garlic. Add remains of olive oil to pan on medium heat. Add in shallot and garlic and cook until fragrant. Now add in arrowroot until well coated.

4. Add in chicken broth and lemon juice and let simmer. Once simmering to add a nice texture add in Mezzetta capers and salt and pepper until you like the taste!

5. You can now add chicken back in or you can plate it and pour sauce over, however you like to serve! I like to put mine over a bed of cauliflower rice and pour sauce on top!

6. ENJOY!!

IMG_1187.jpg
IMG_1166.JPG

This is a paid sponsorship with Mezztta.