Slow Cooker Scalloped Potatoes: The Perfect Savory Side Dish for Any Occasion!

↓ Skip to Recipe

The Creamiest Slow Cooker Scalloped Potatoes for Holidays & Cozy Family Dinners
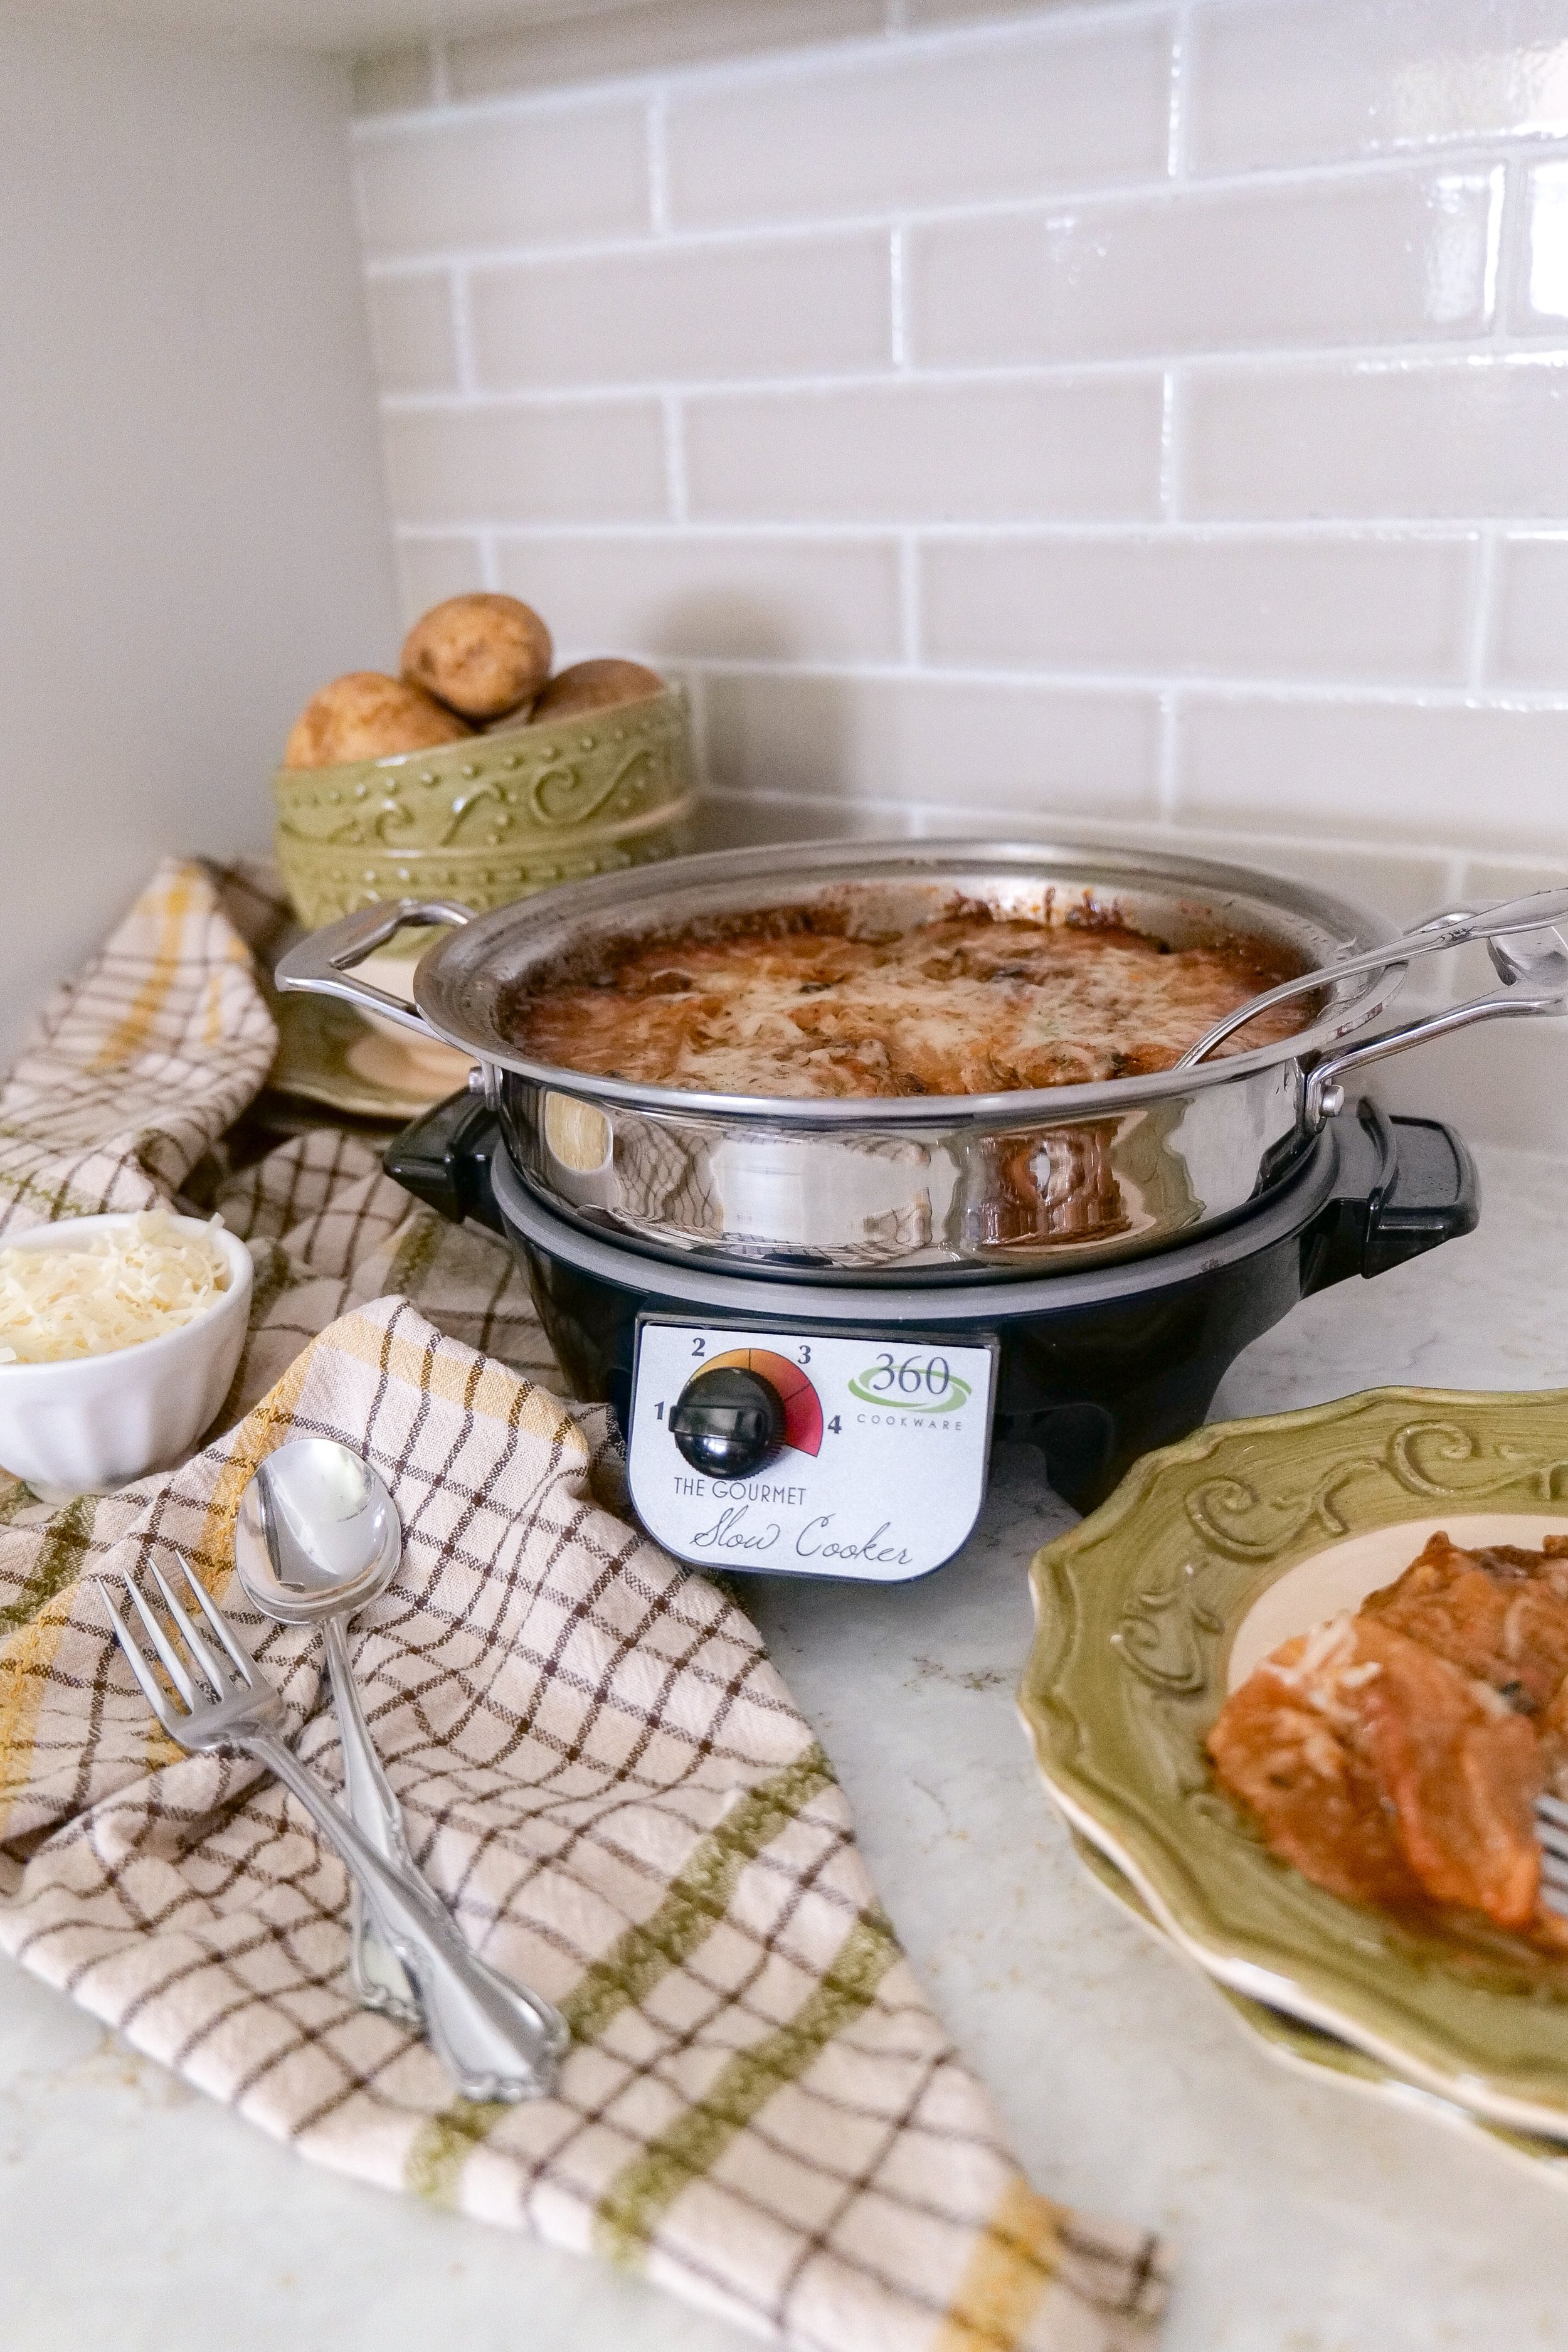
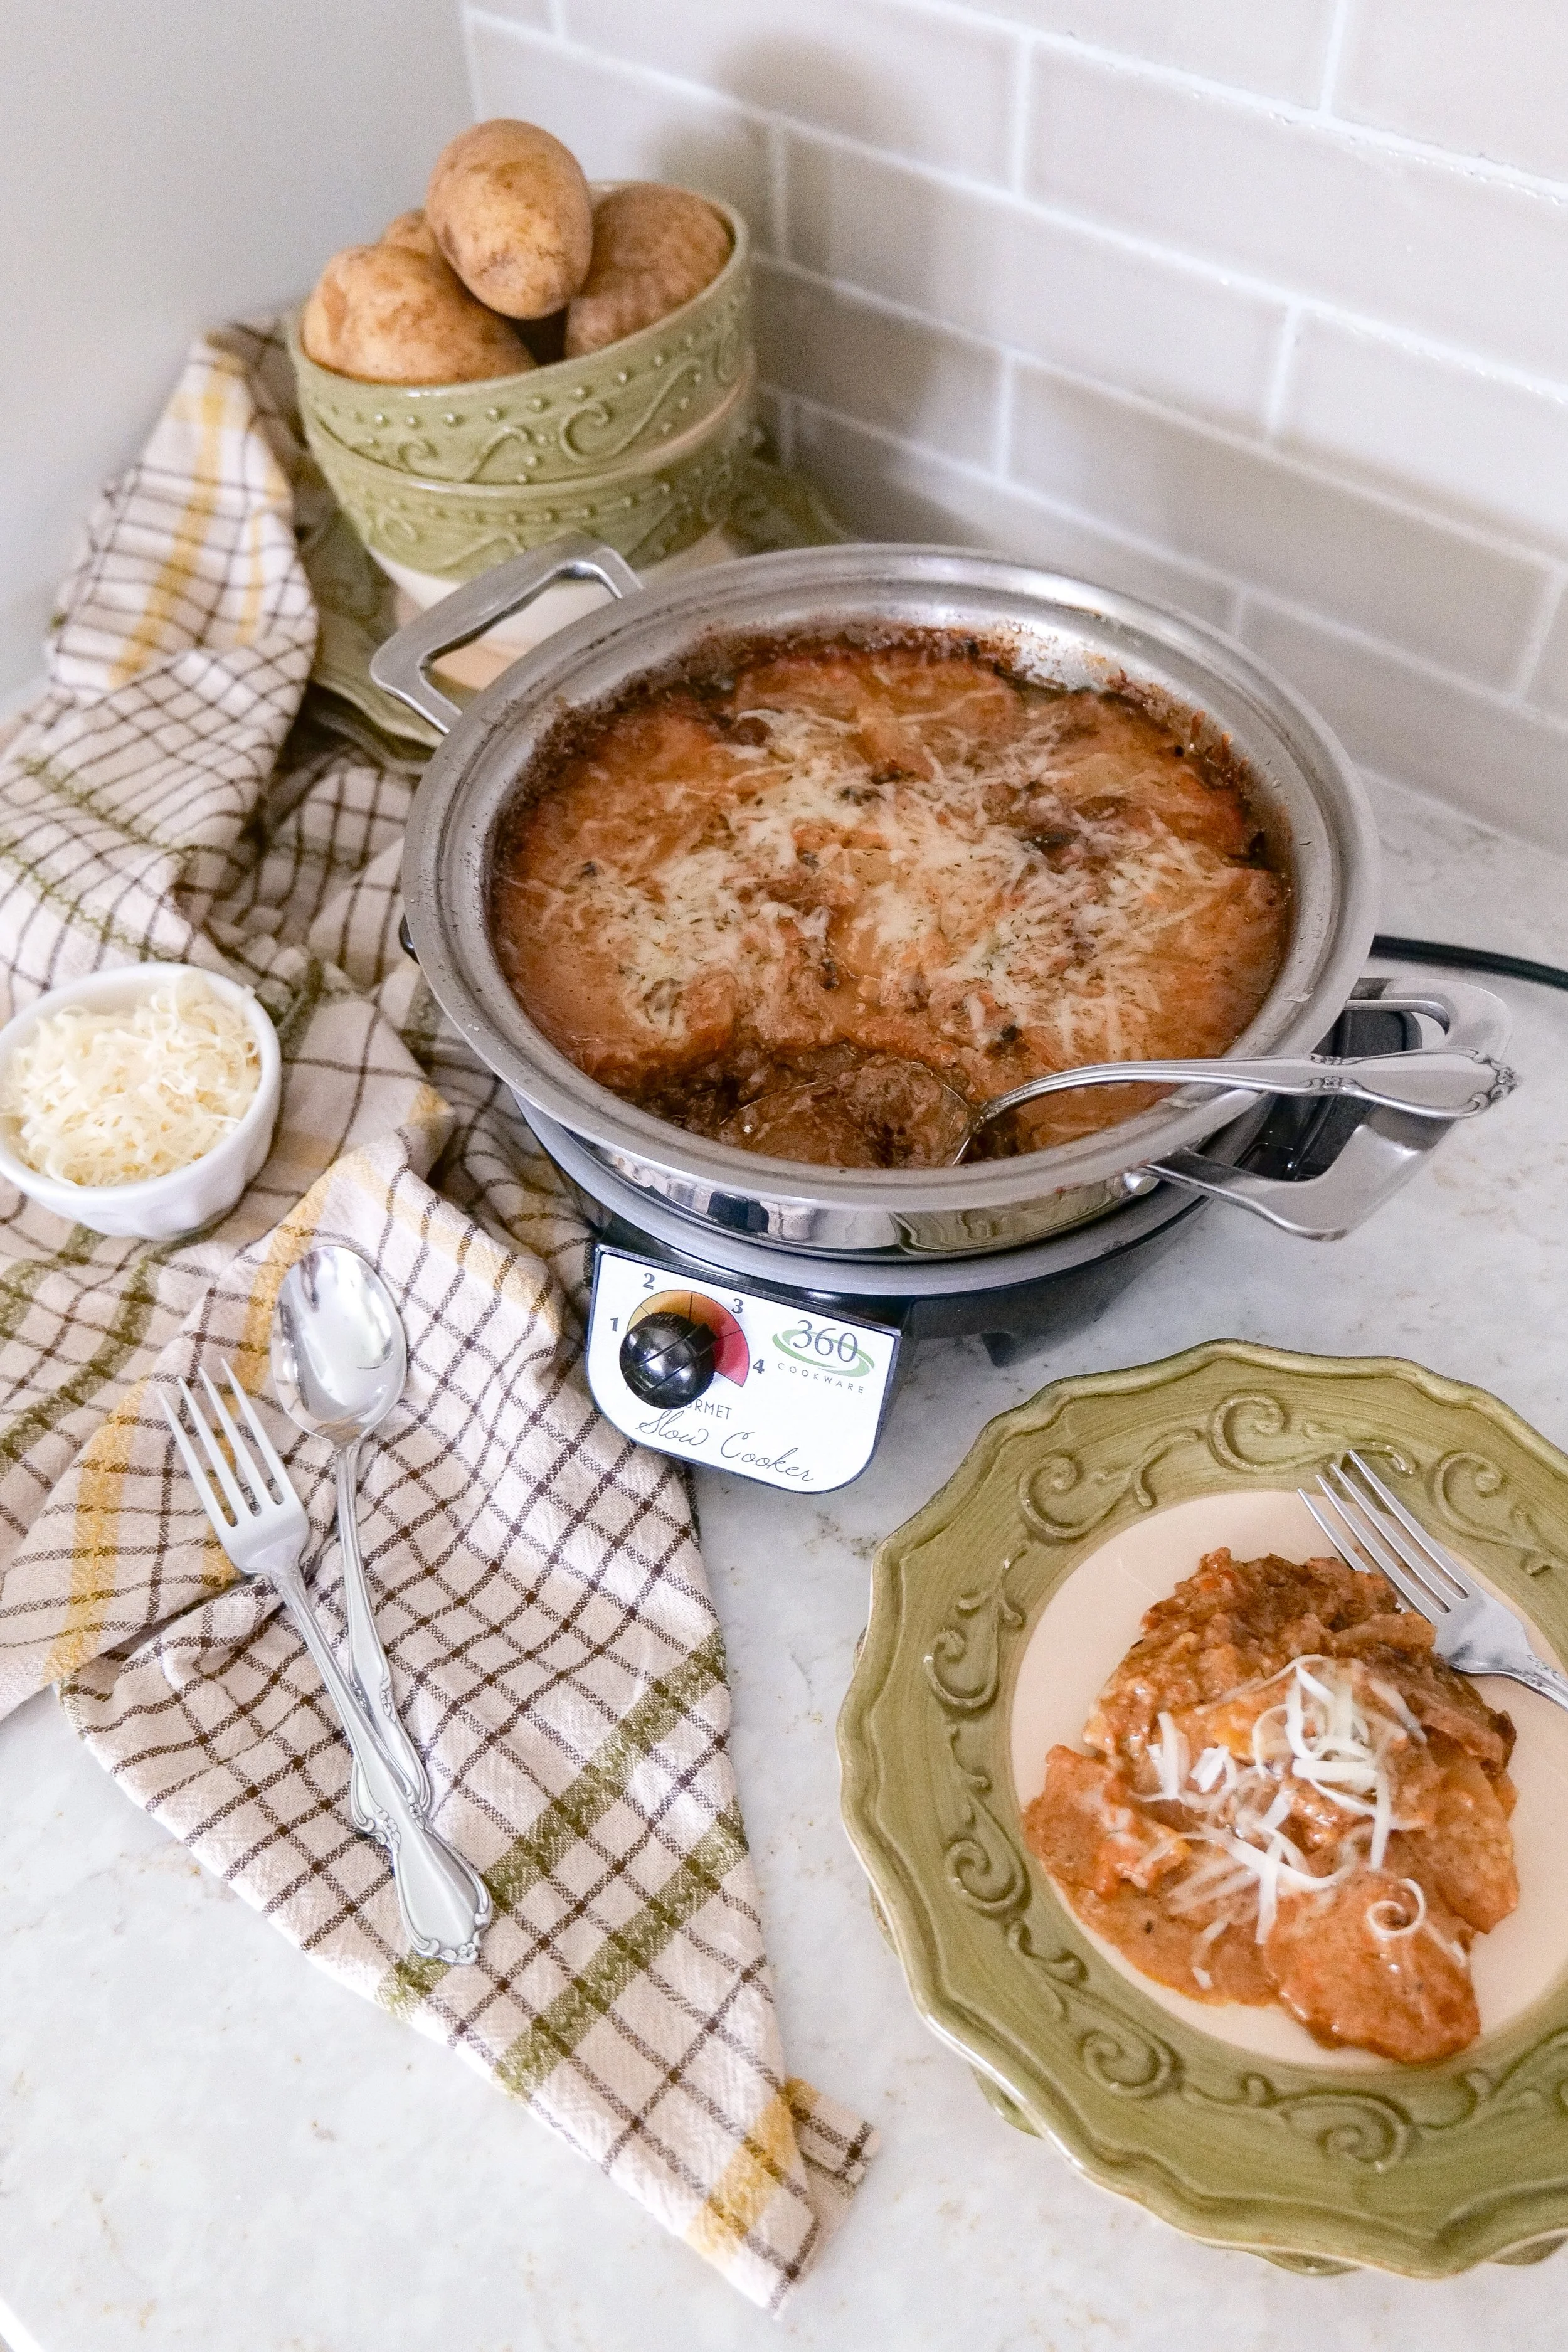
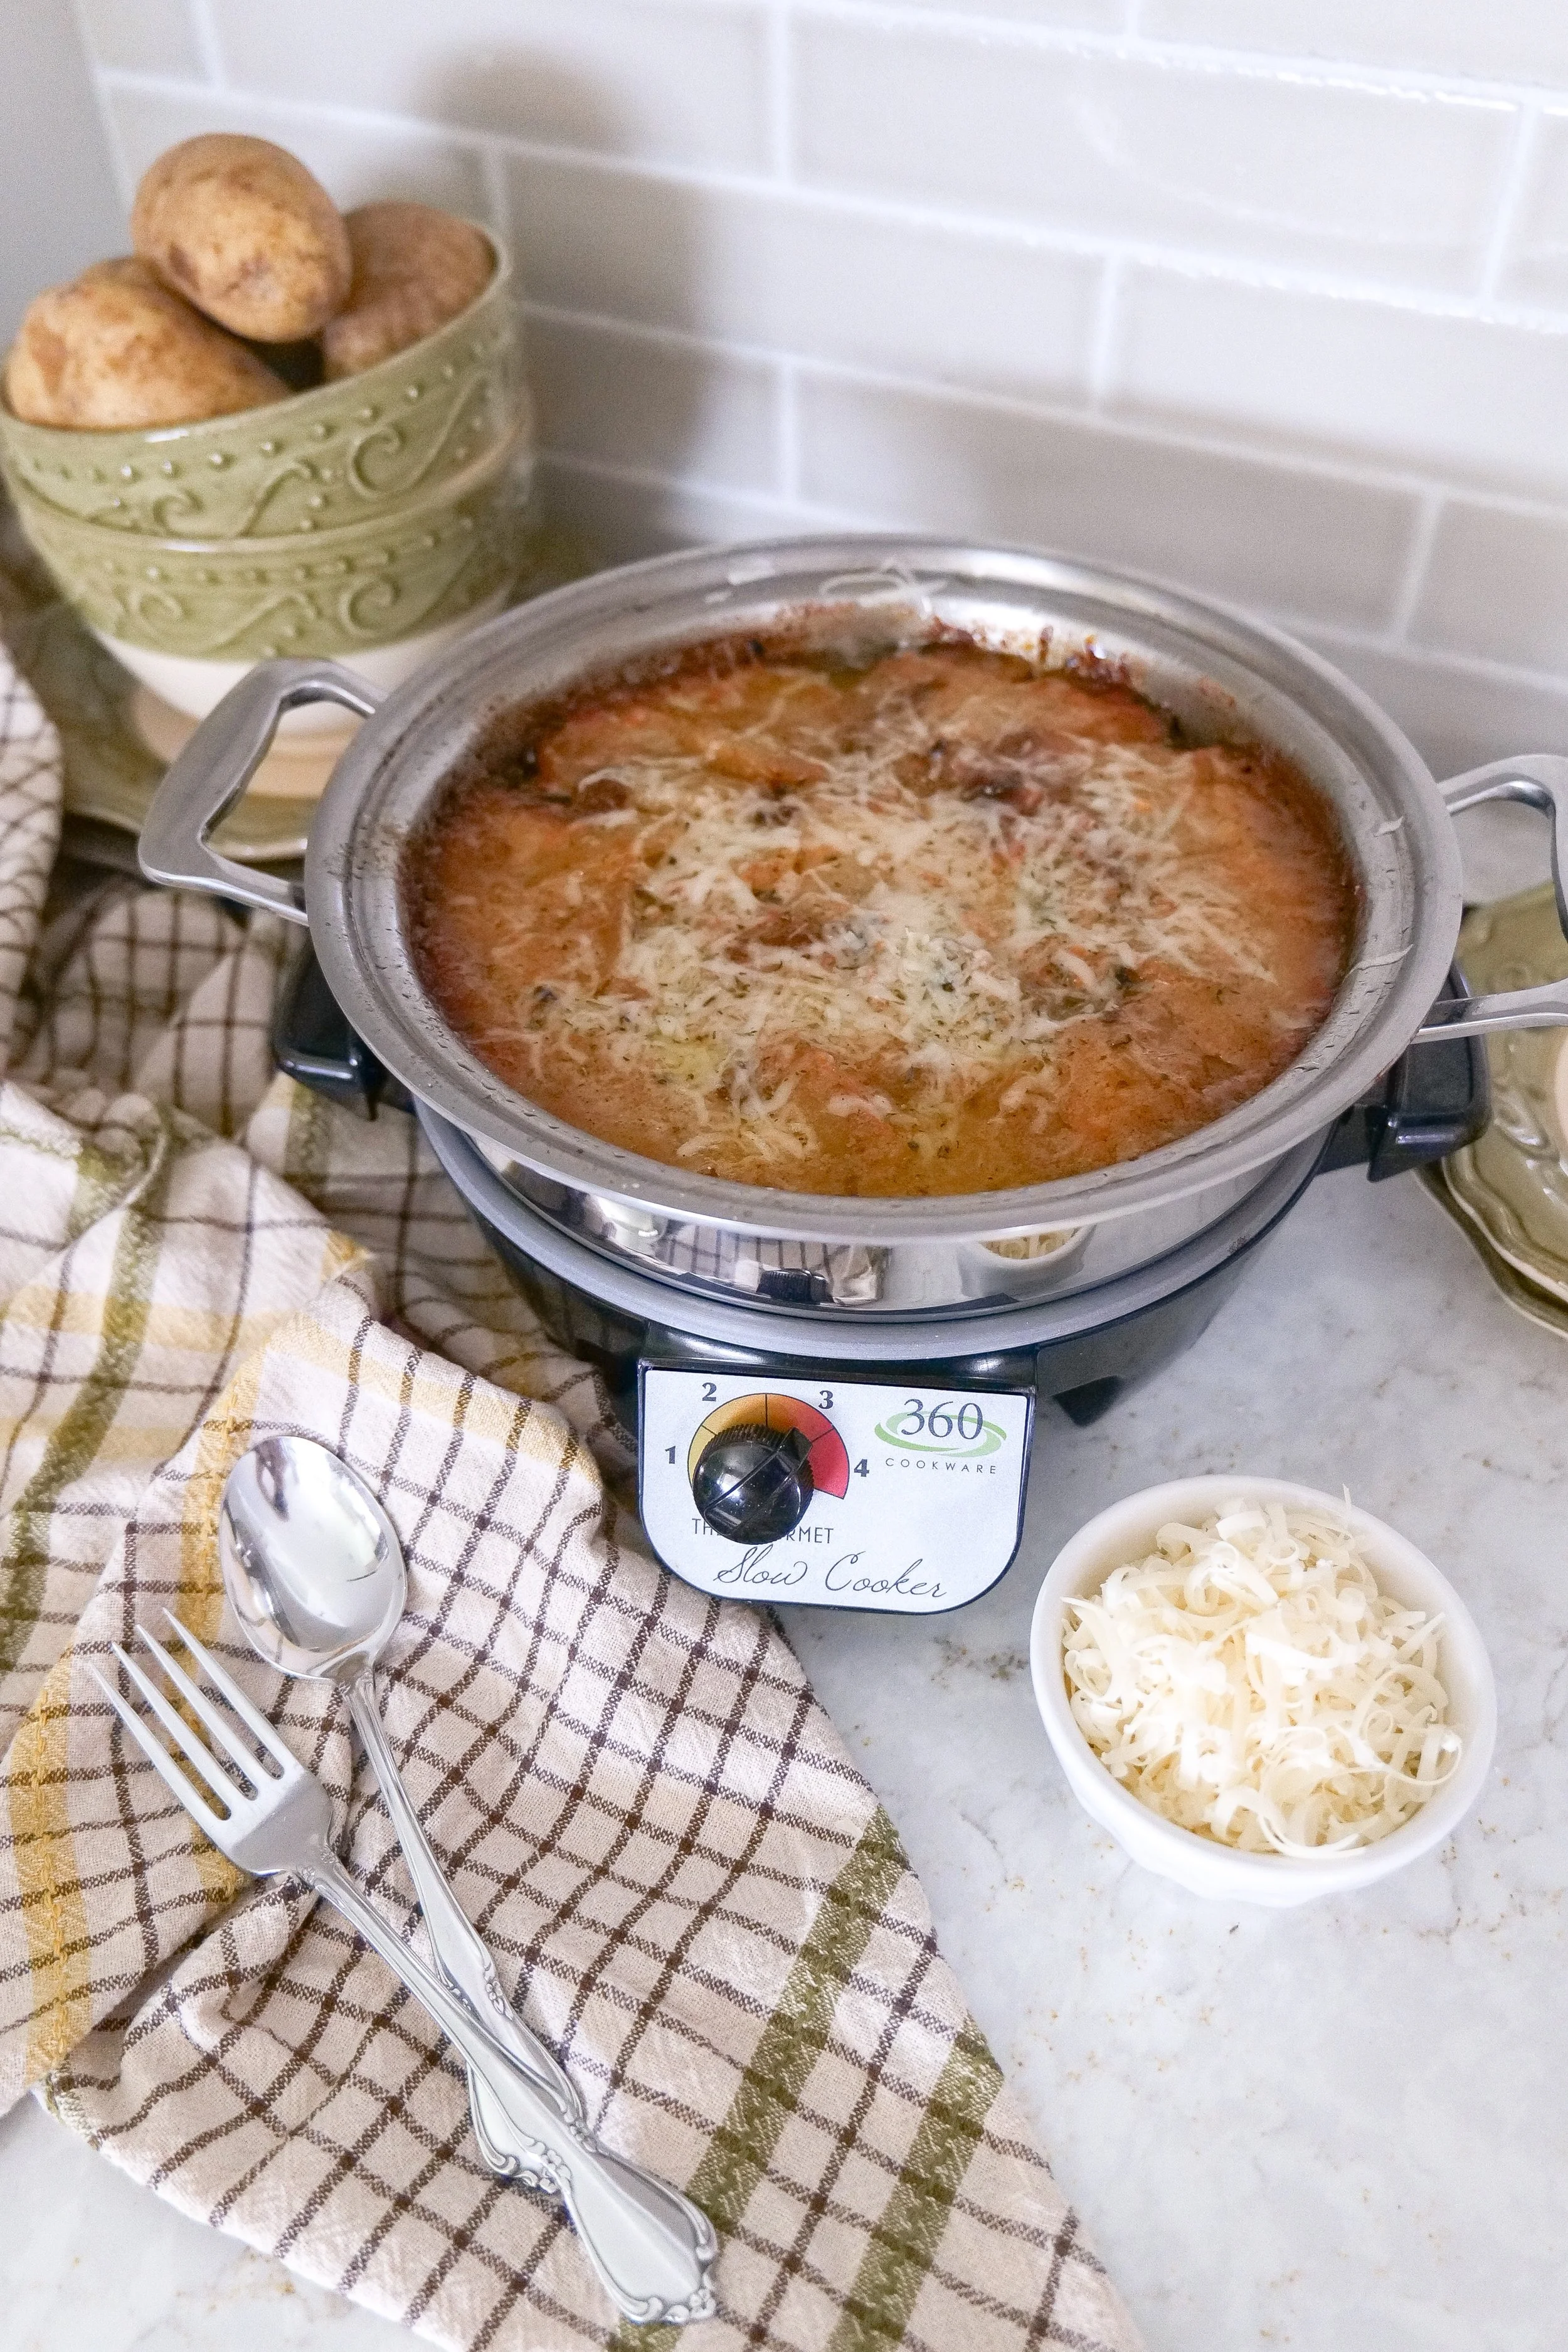
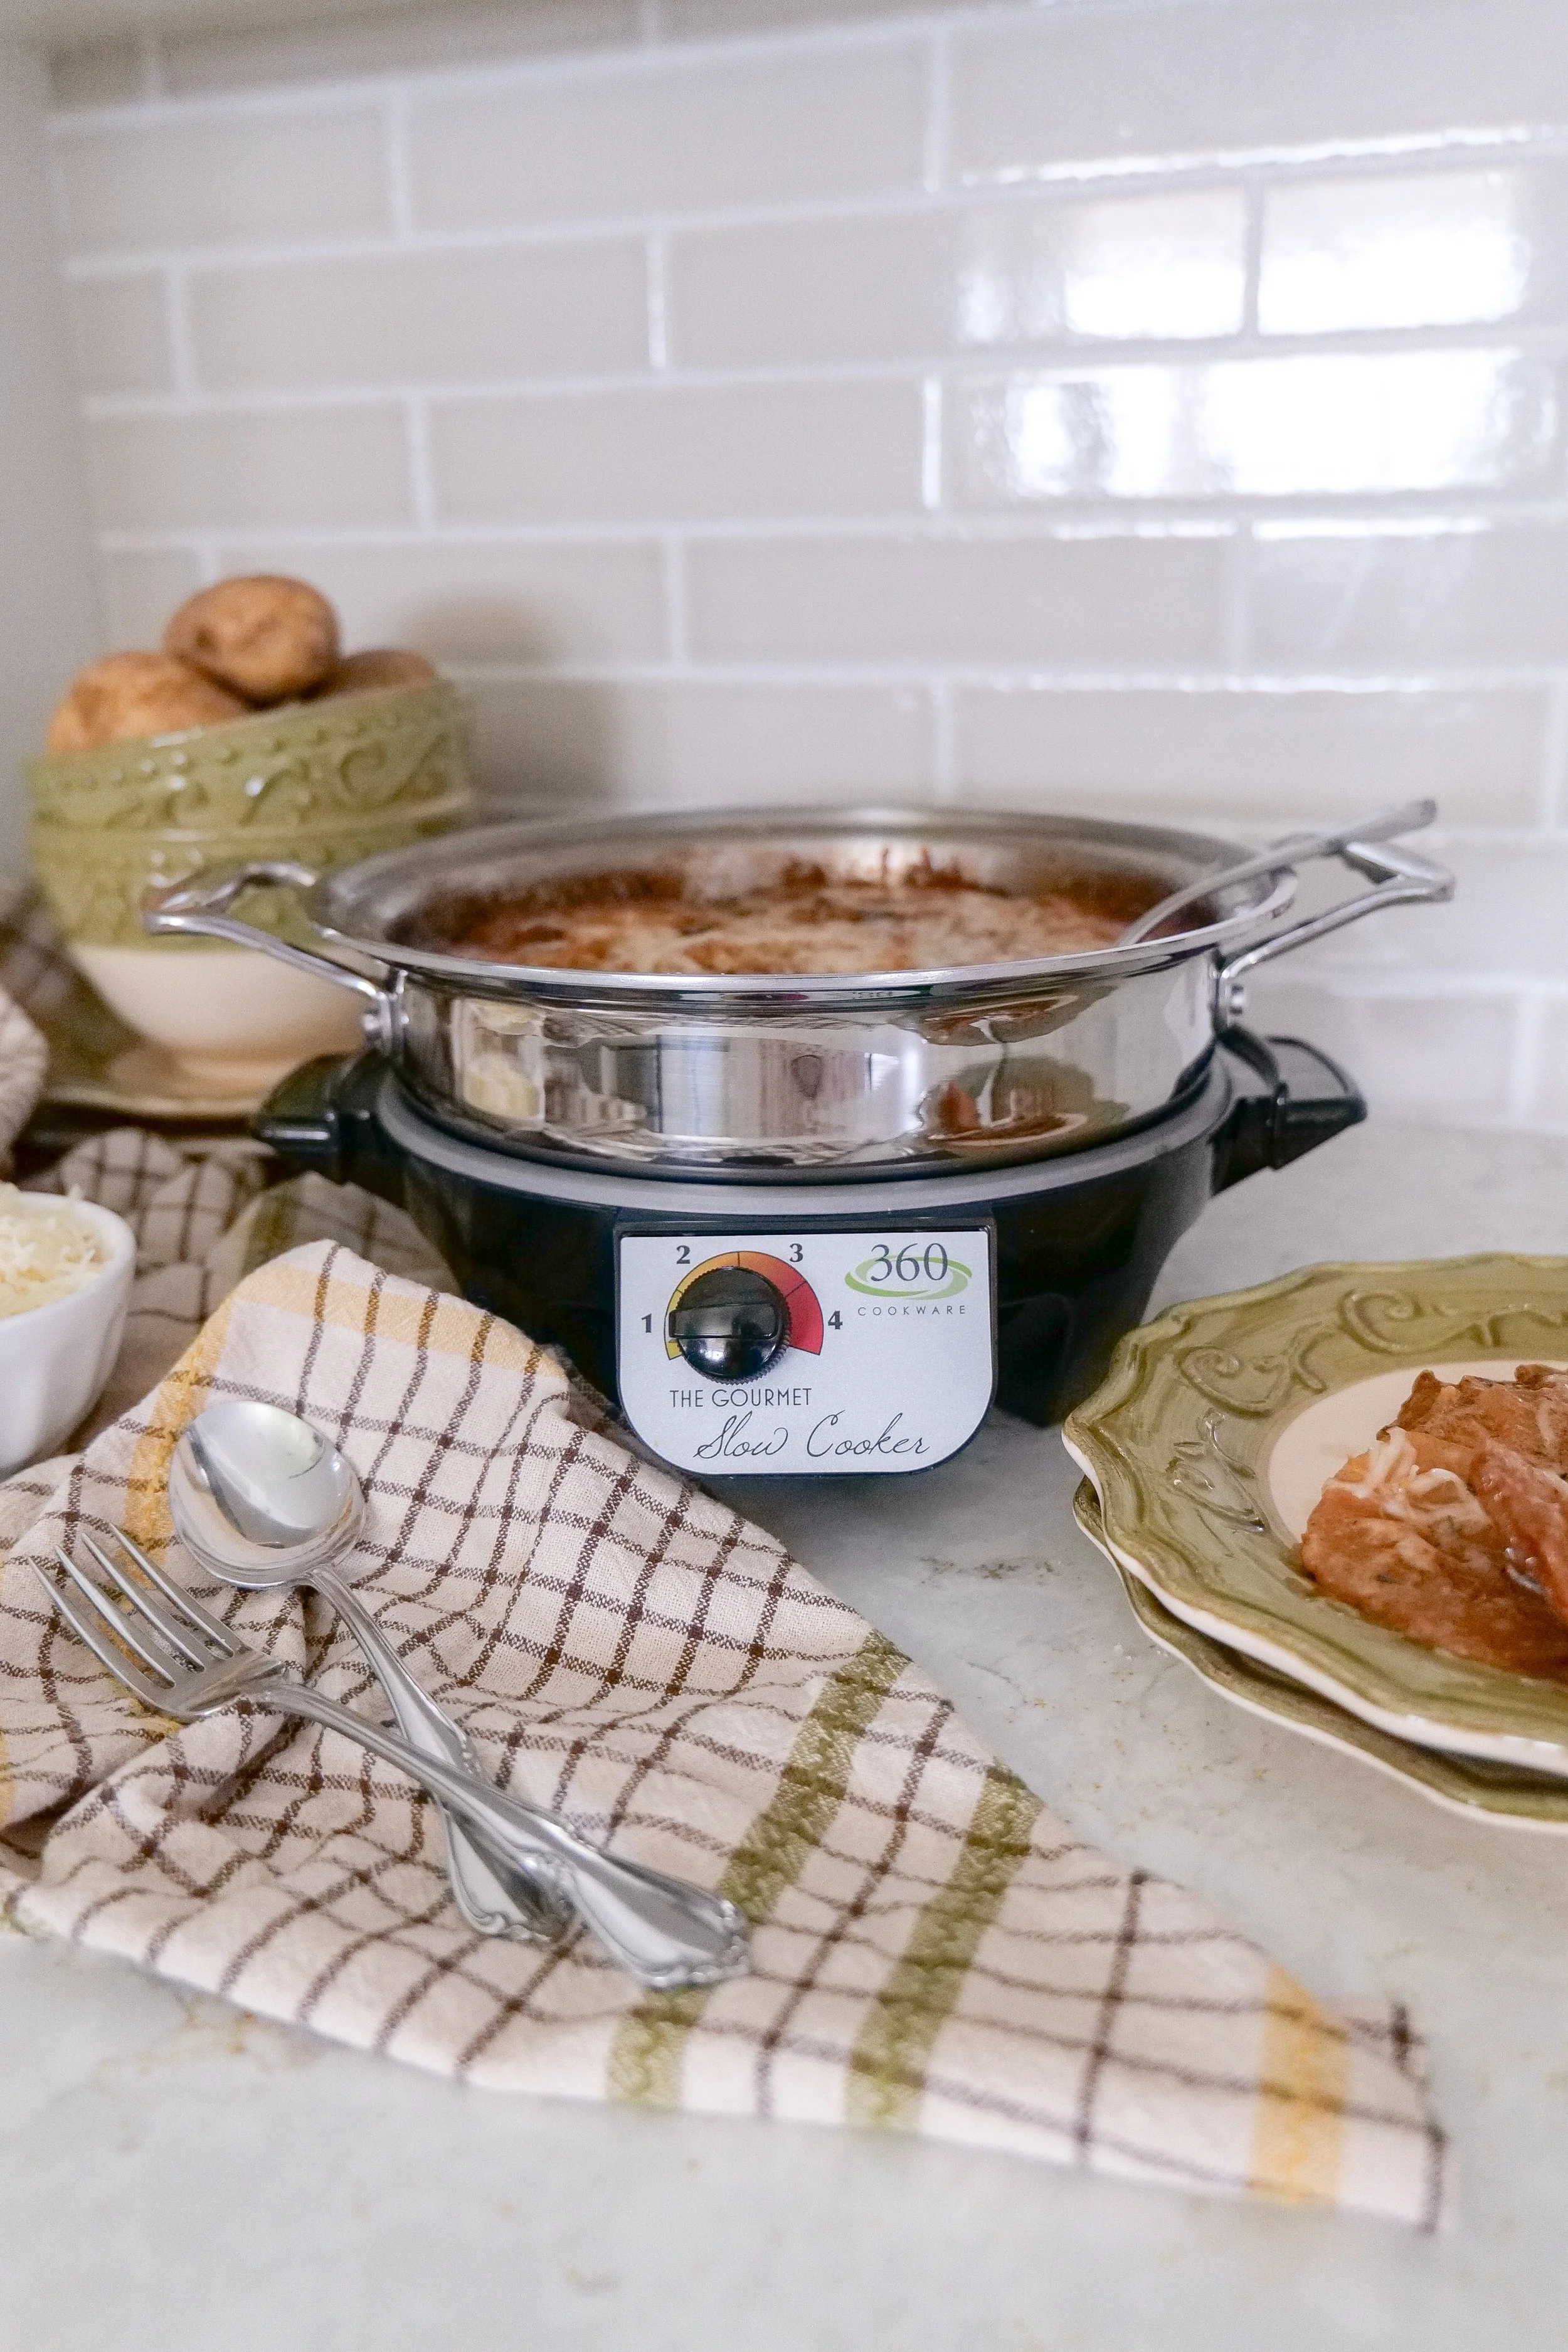
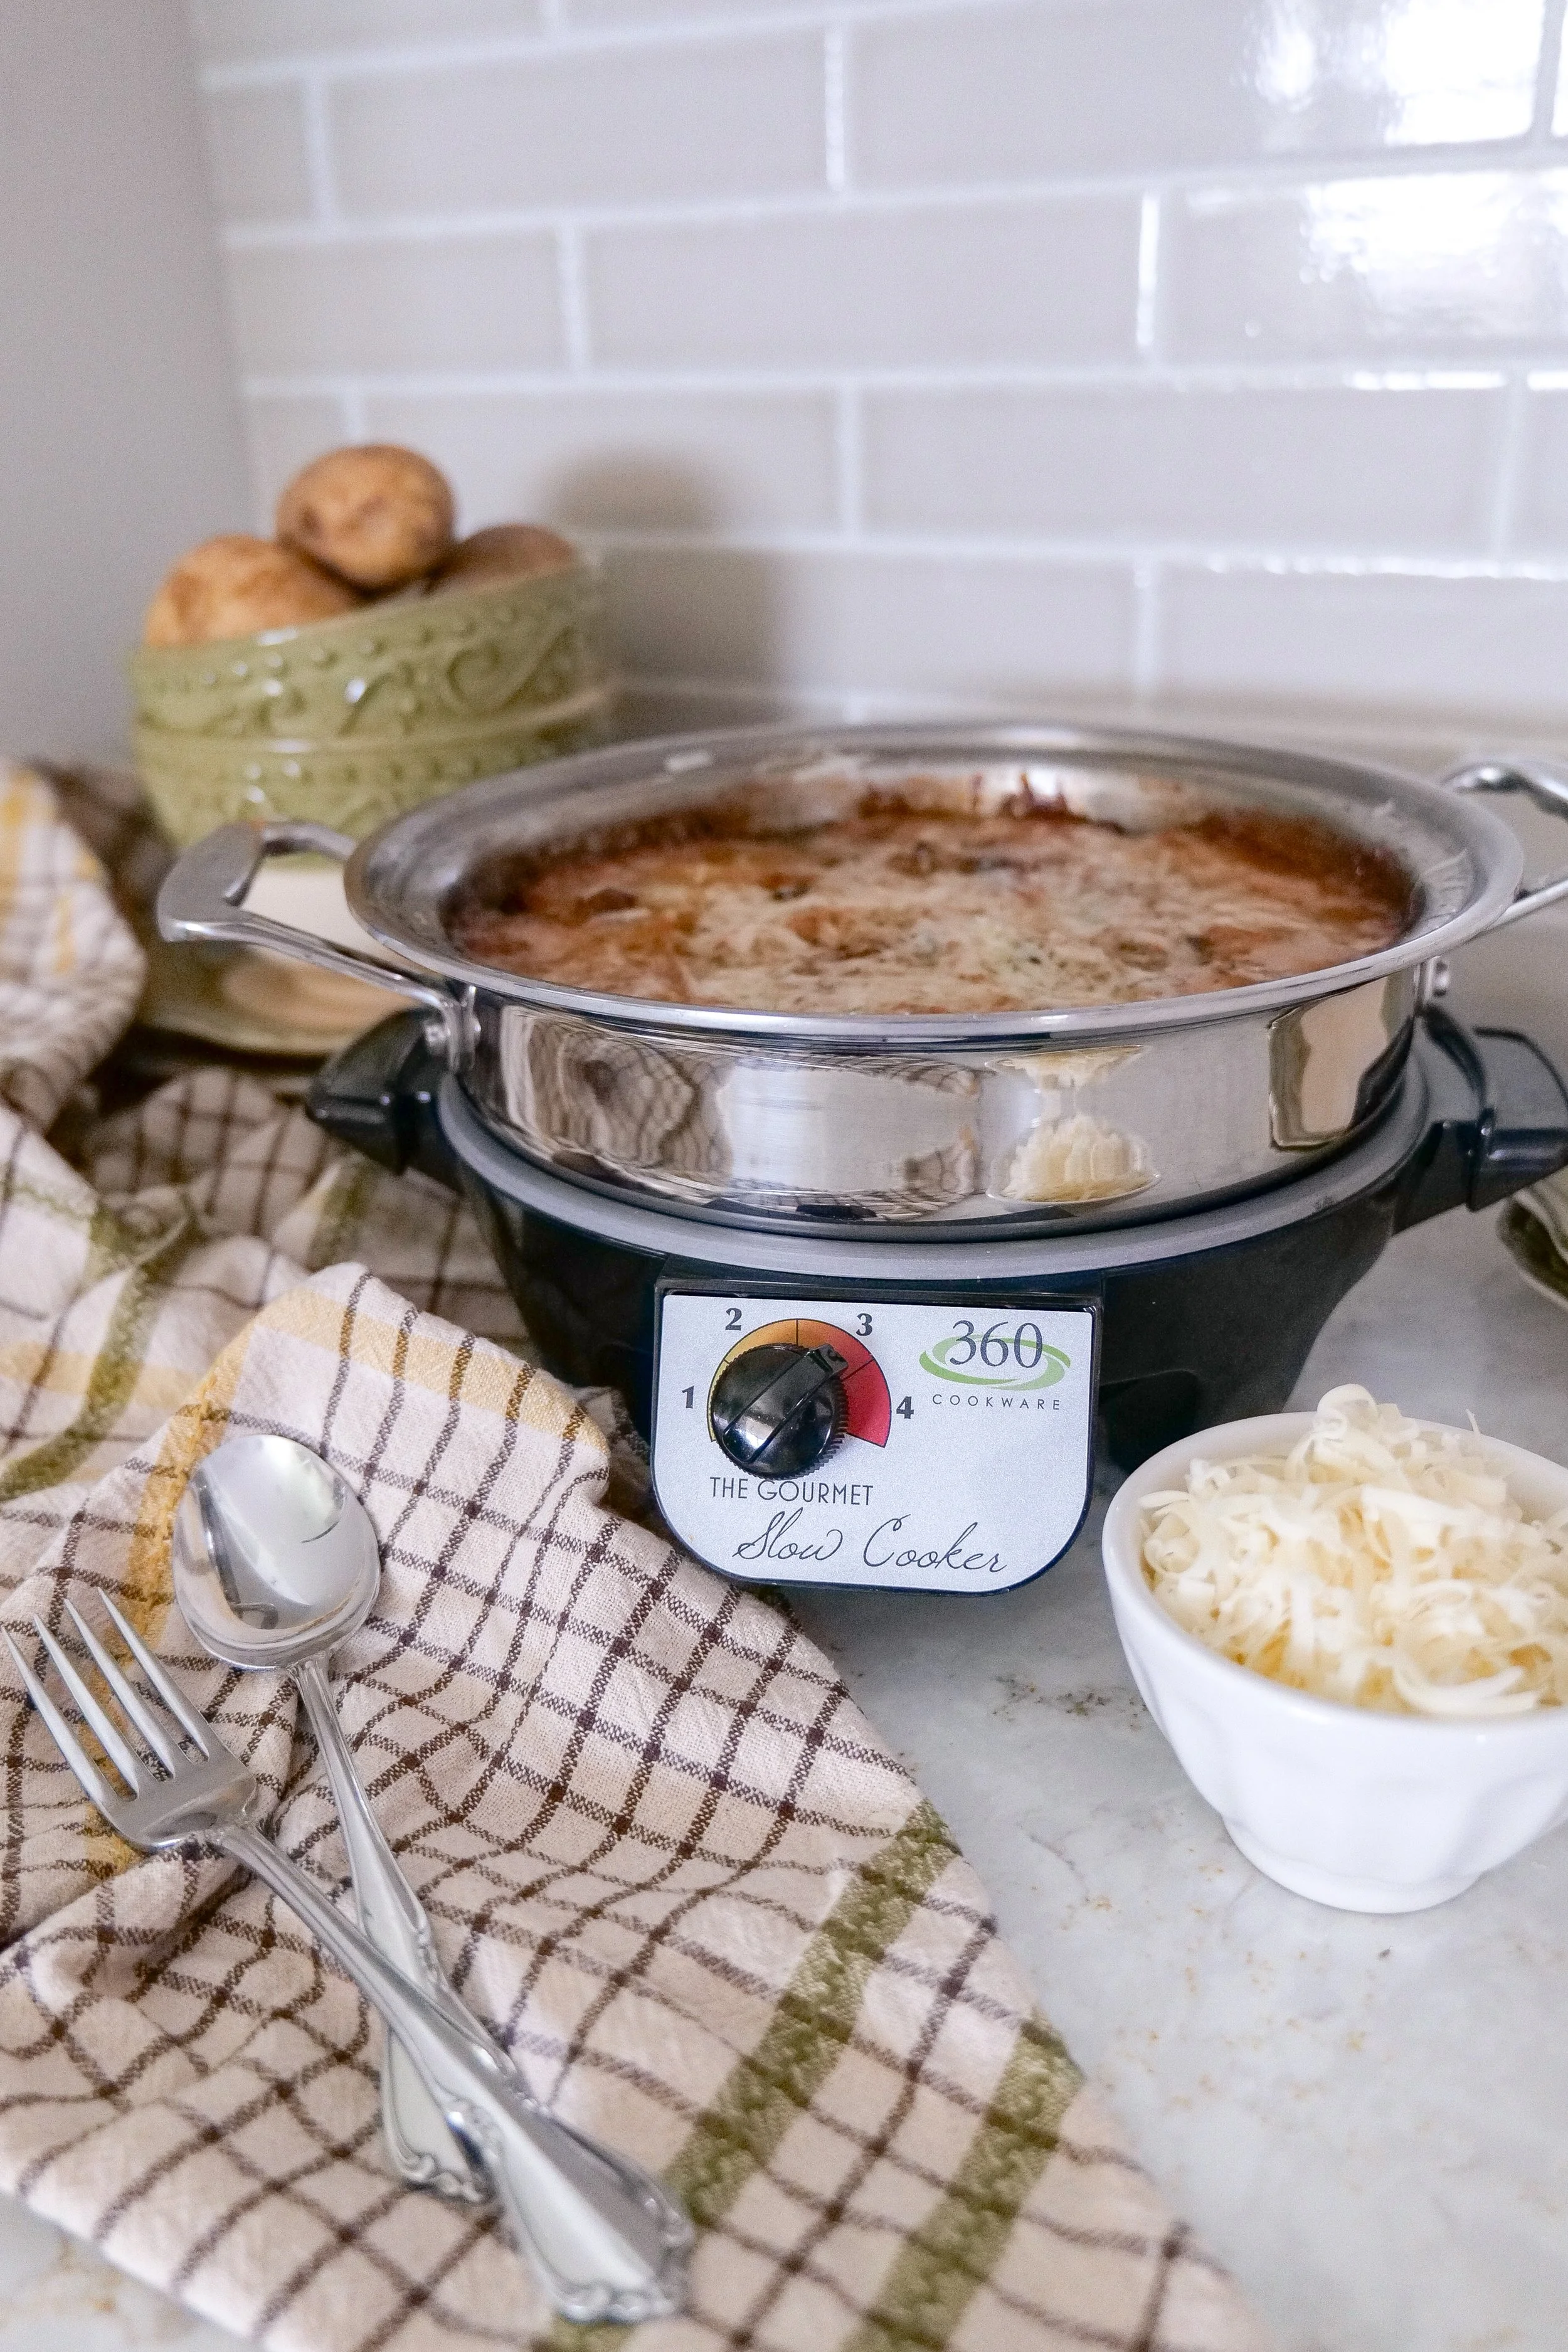
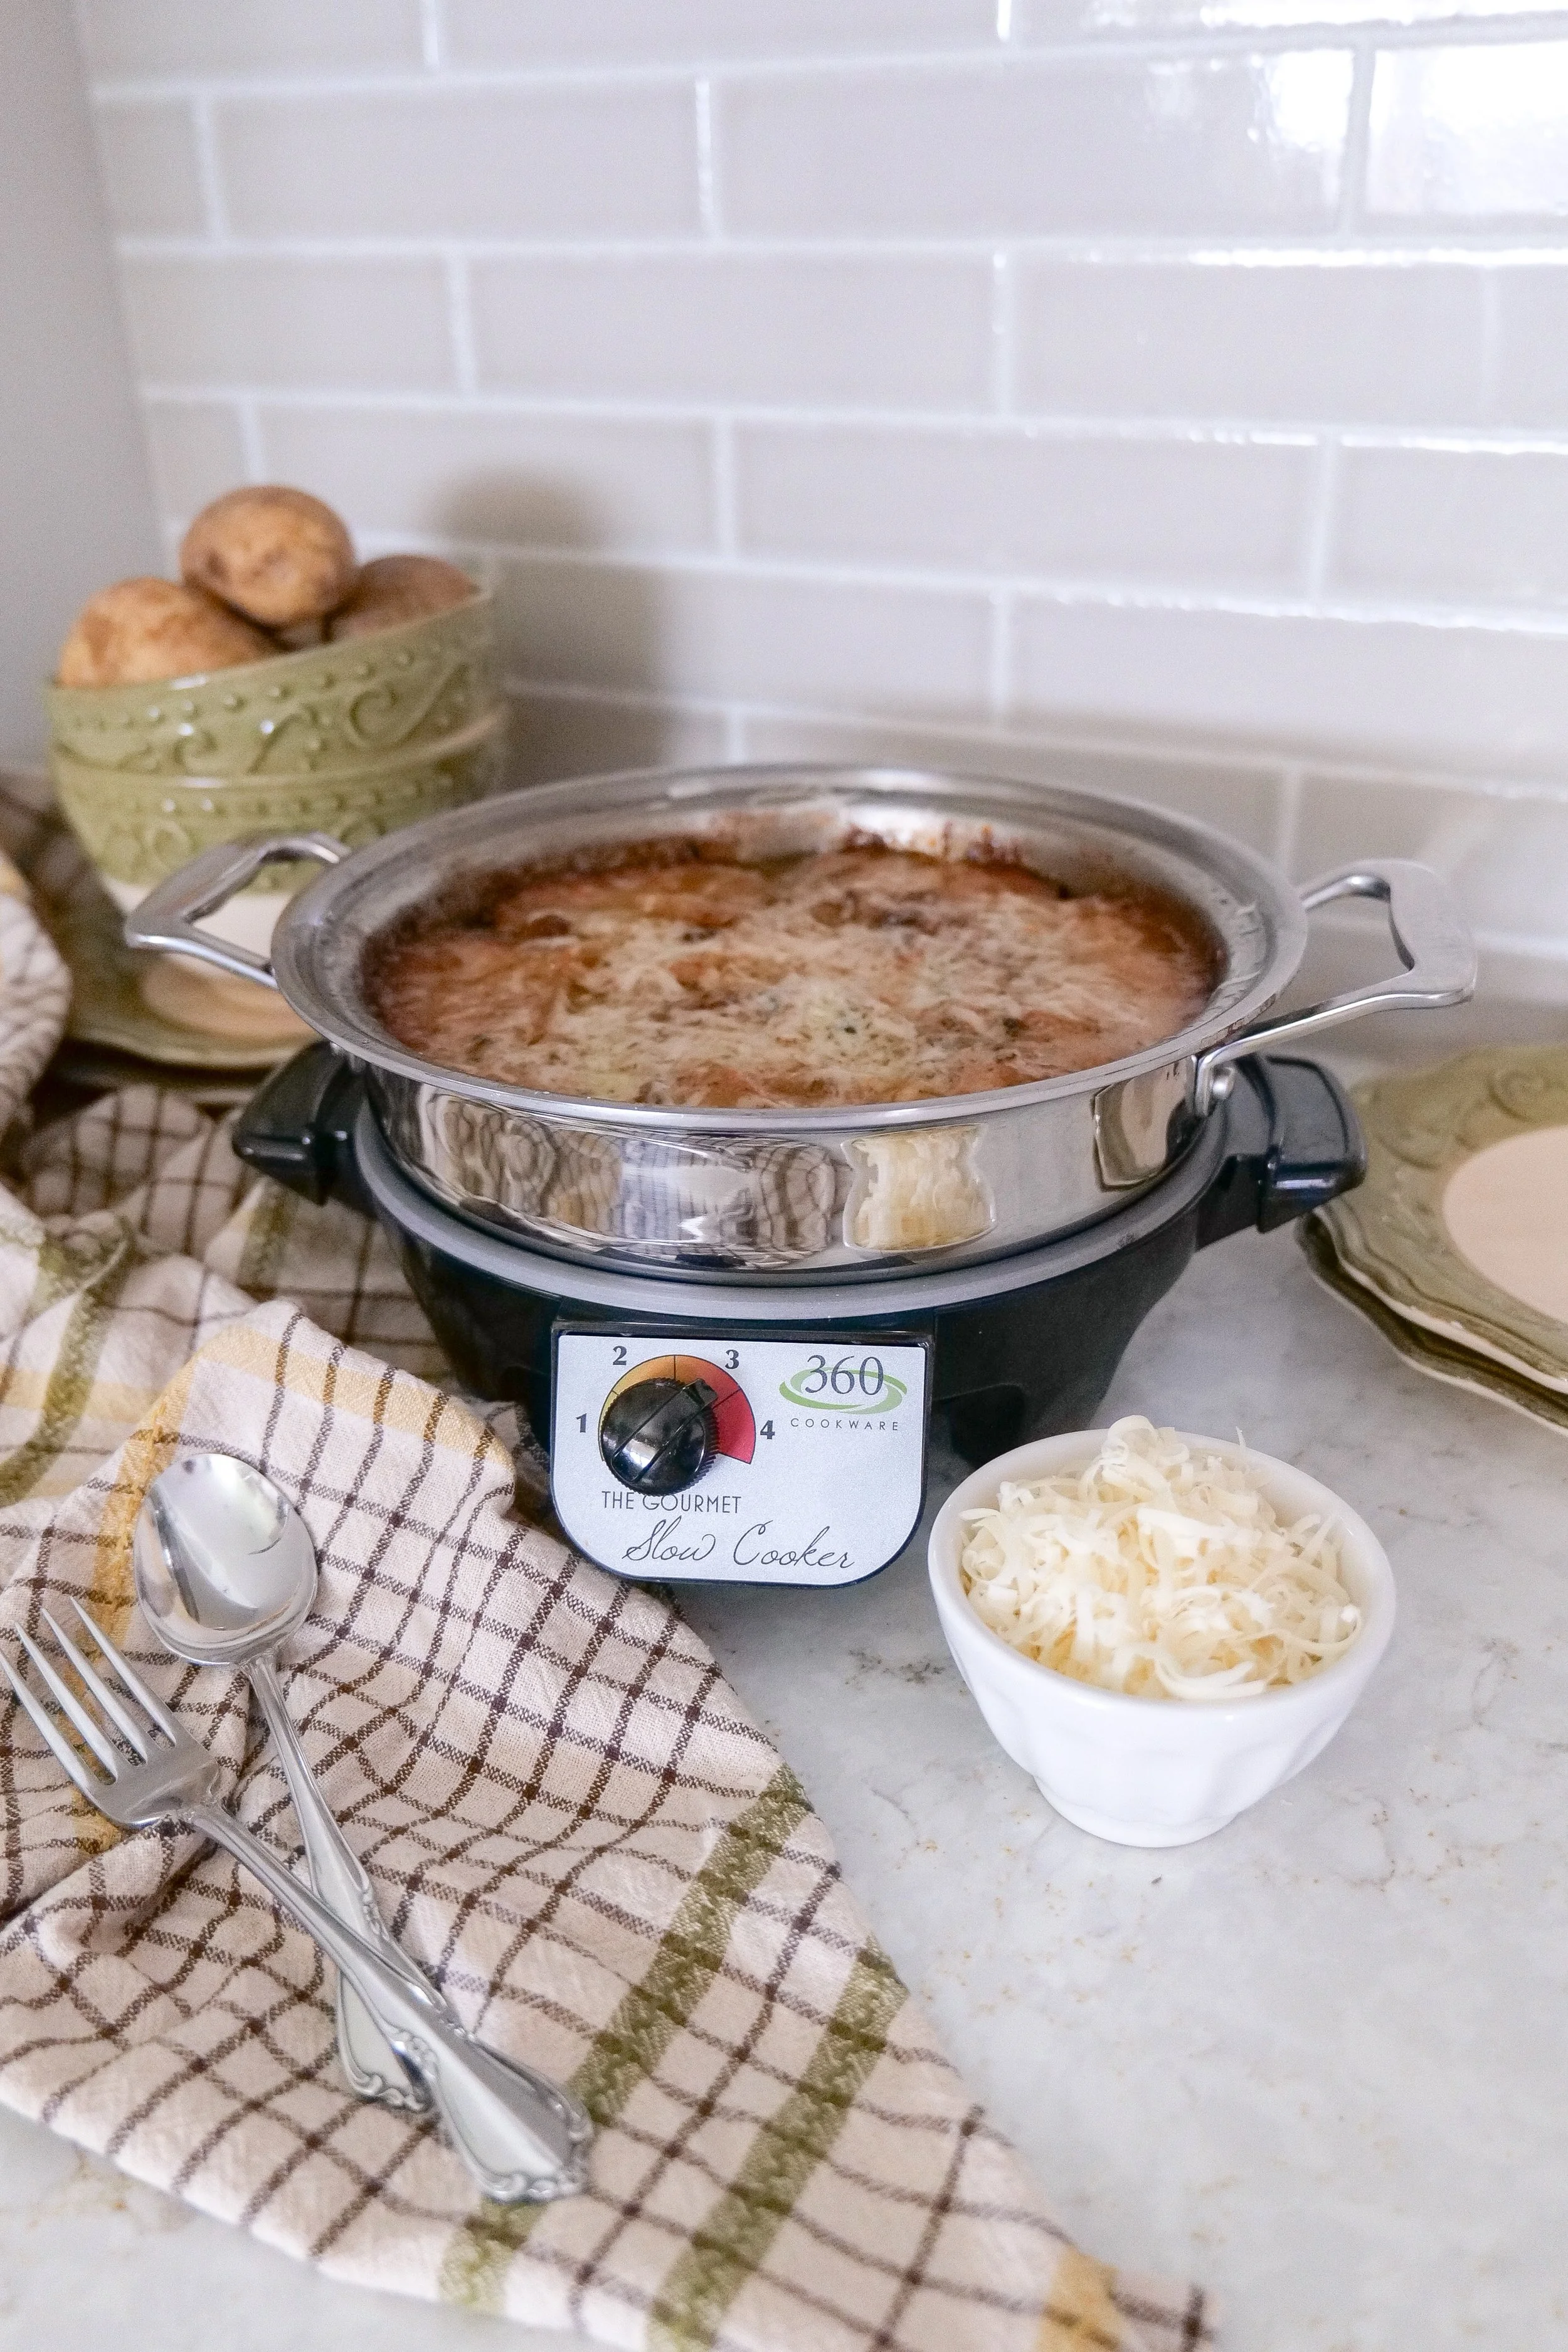
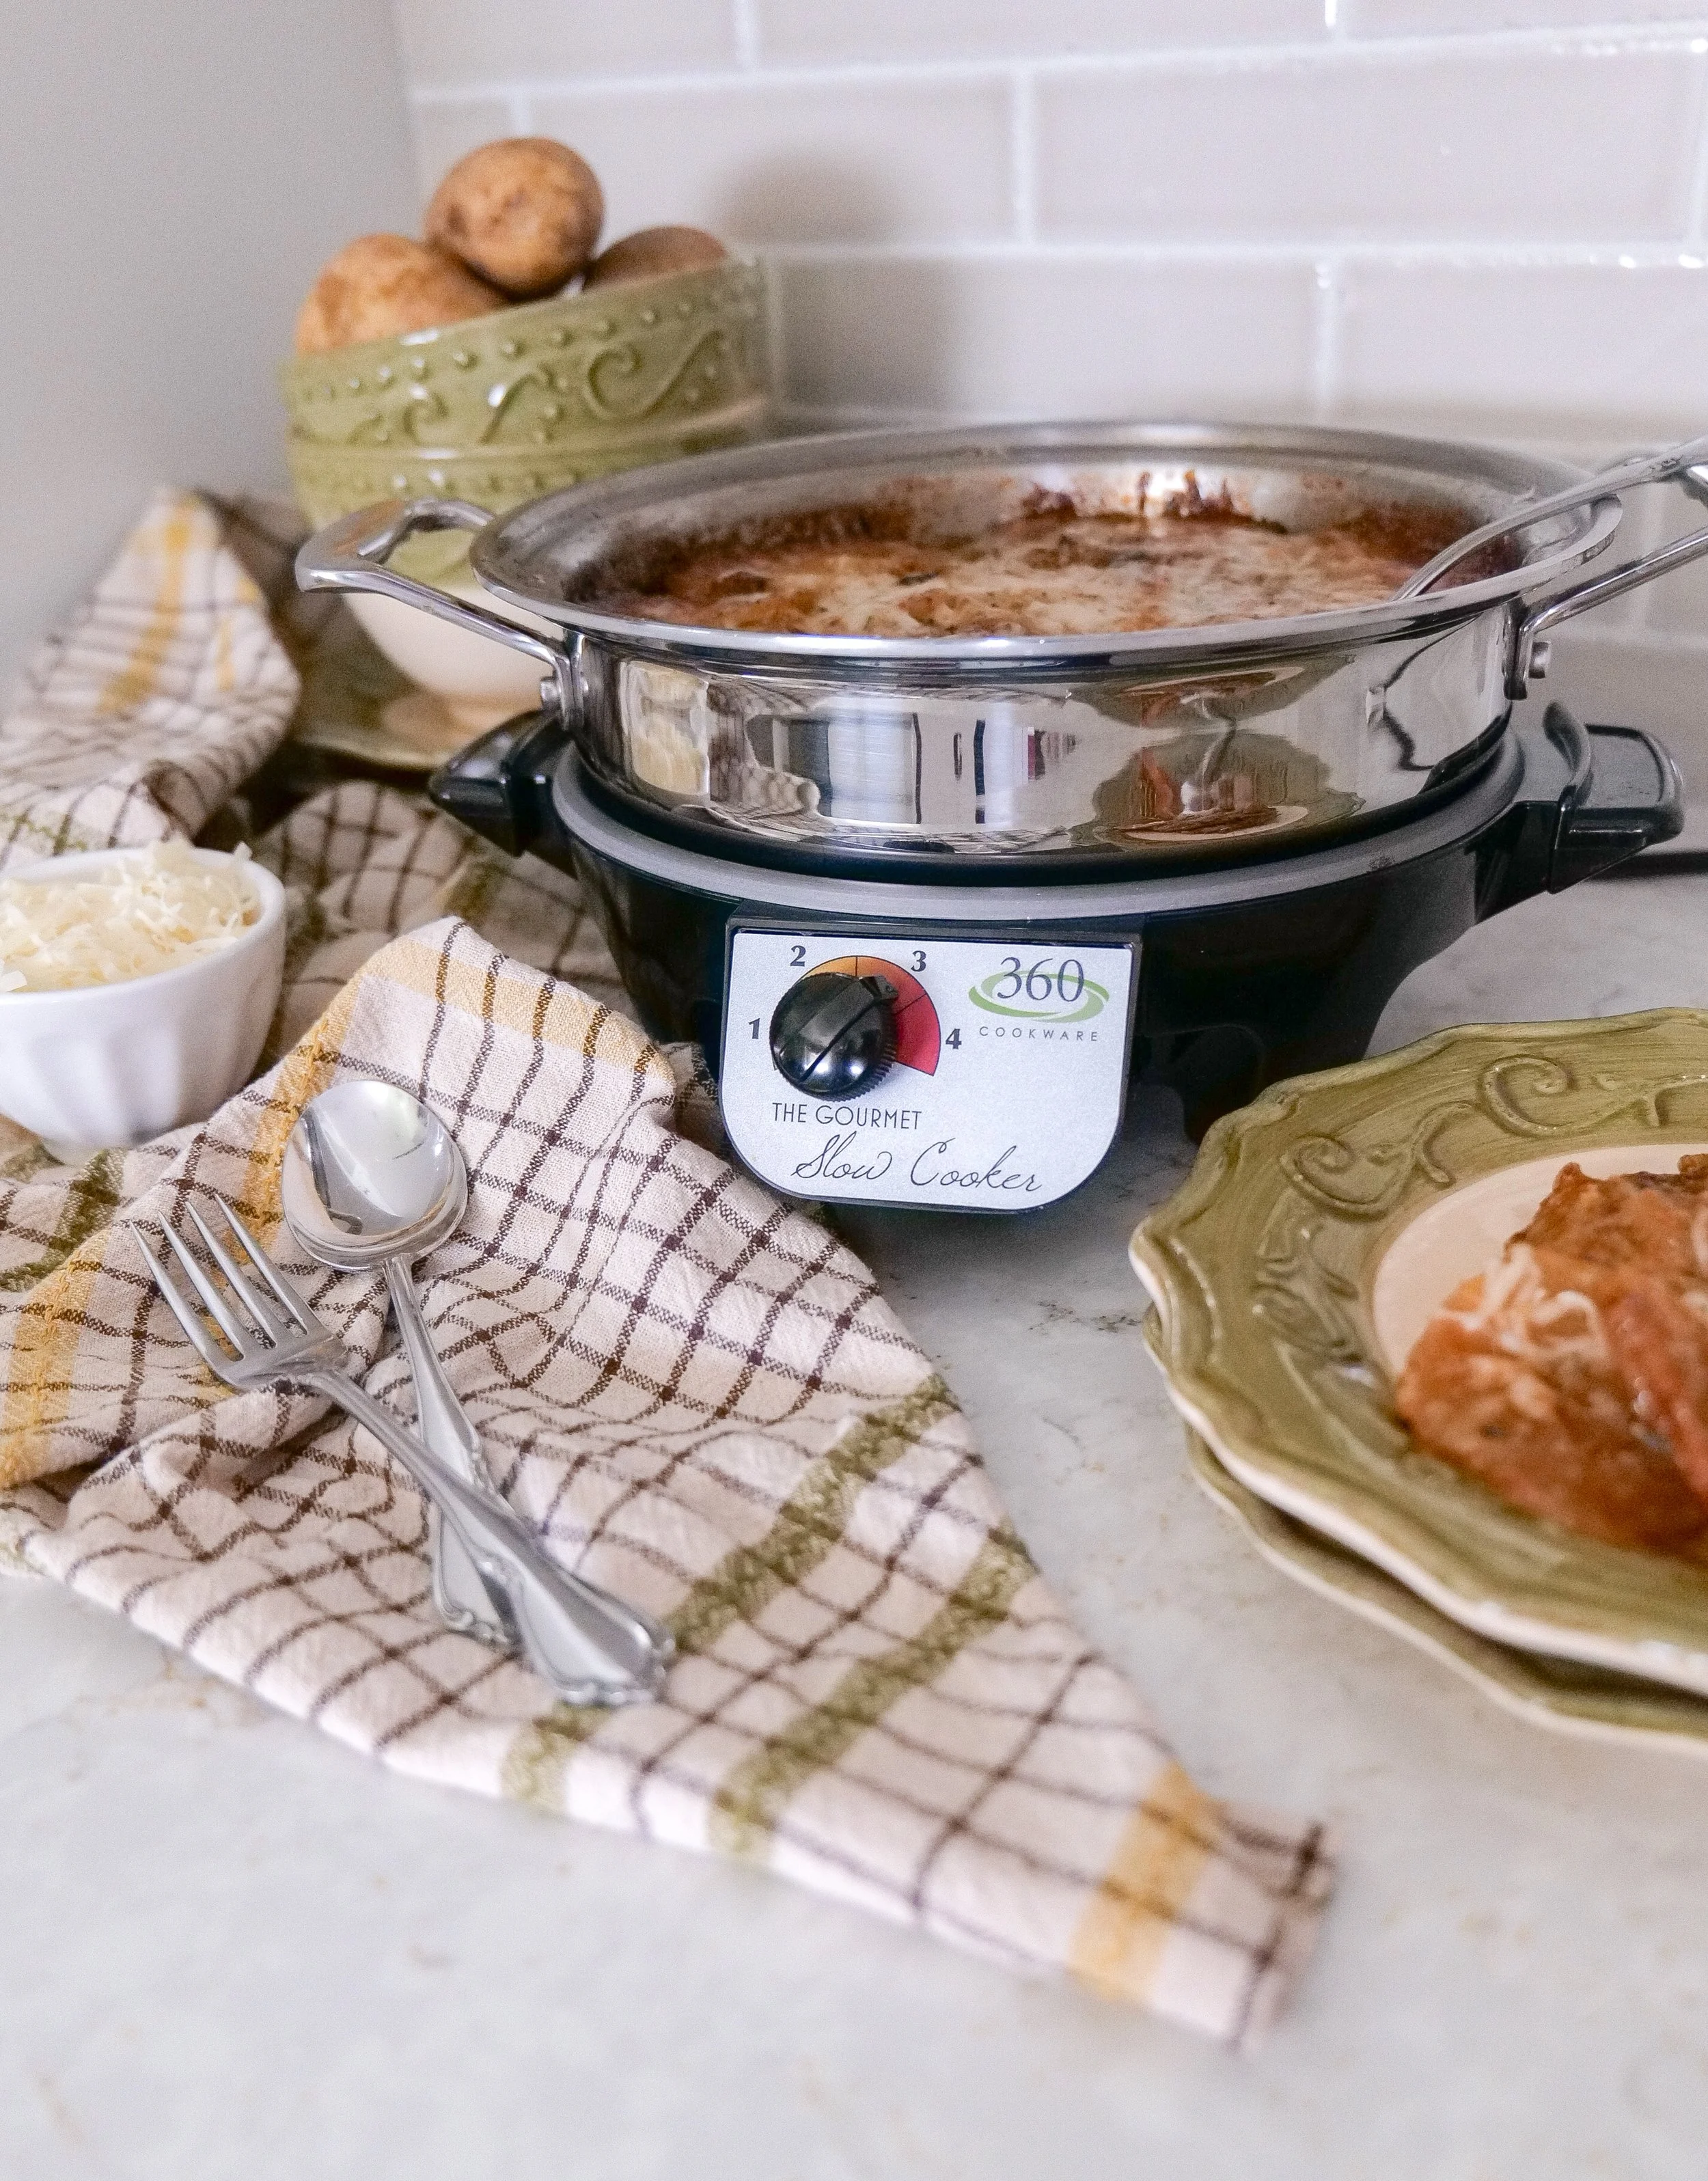
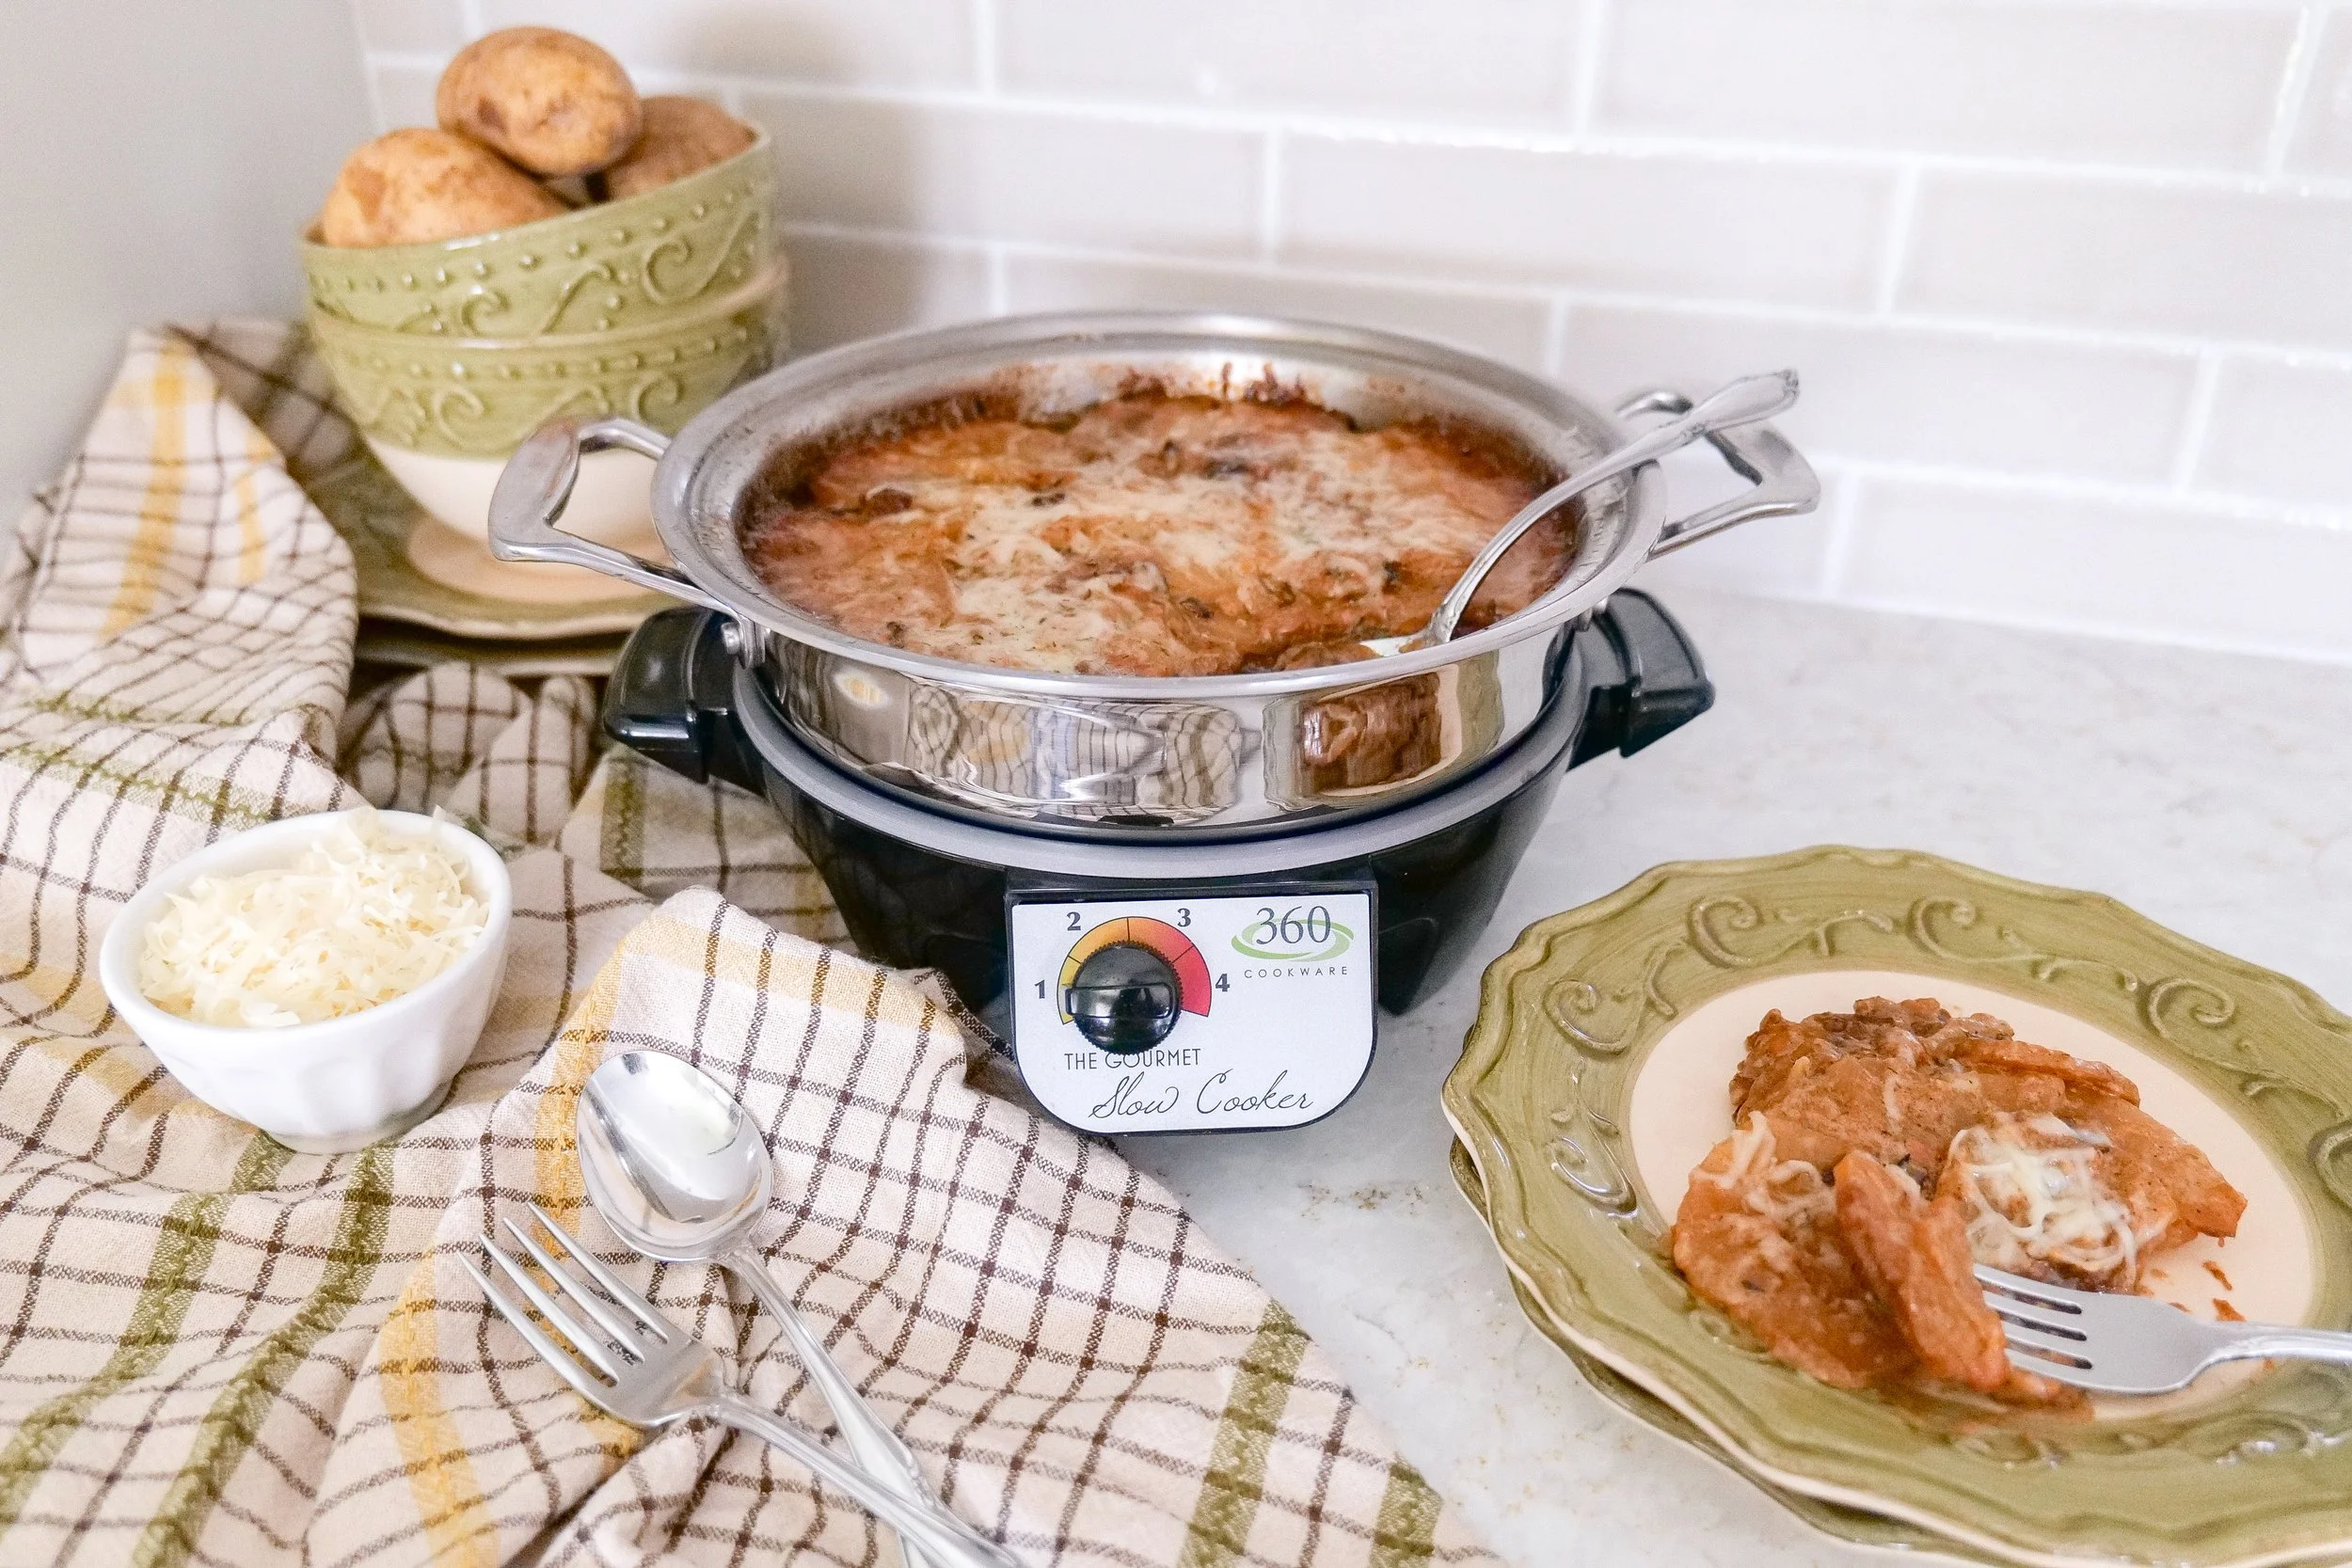
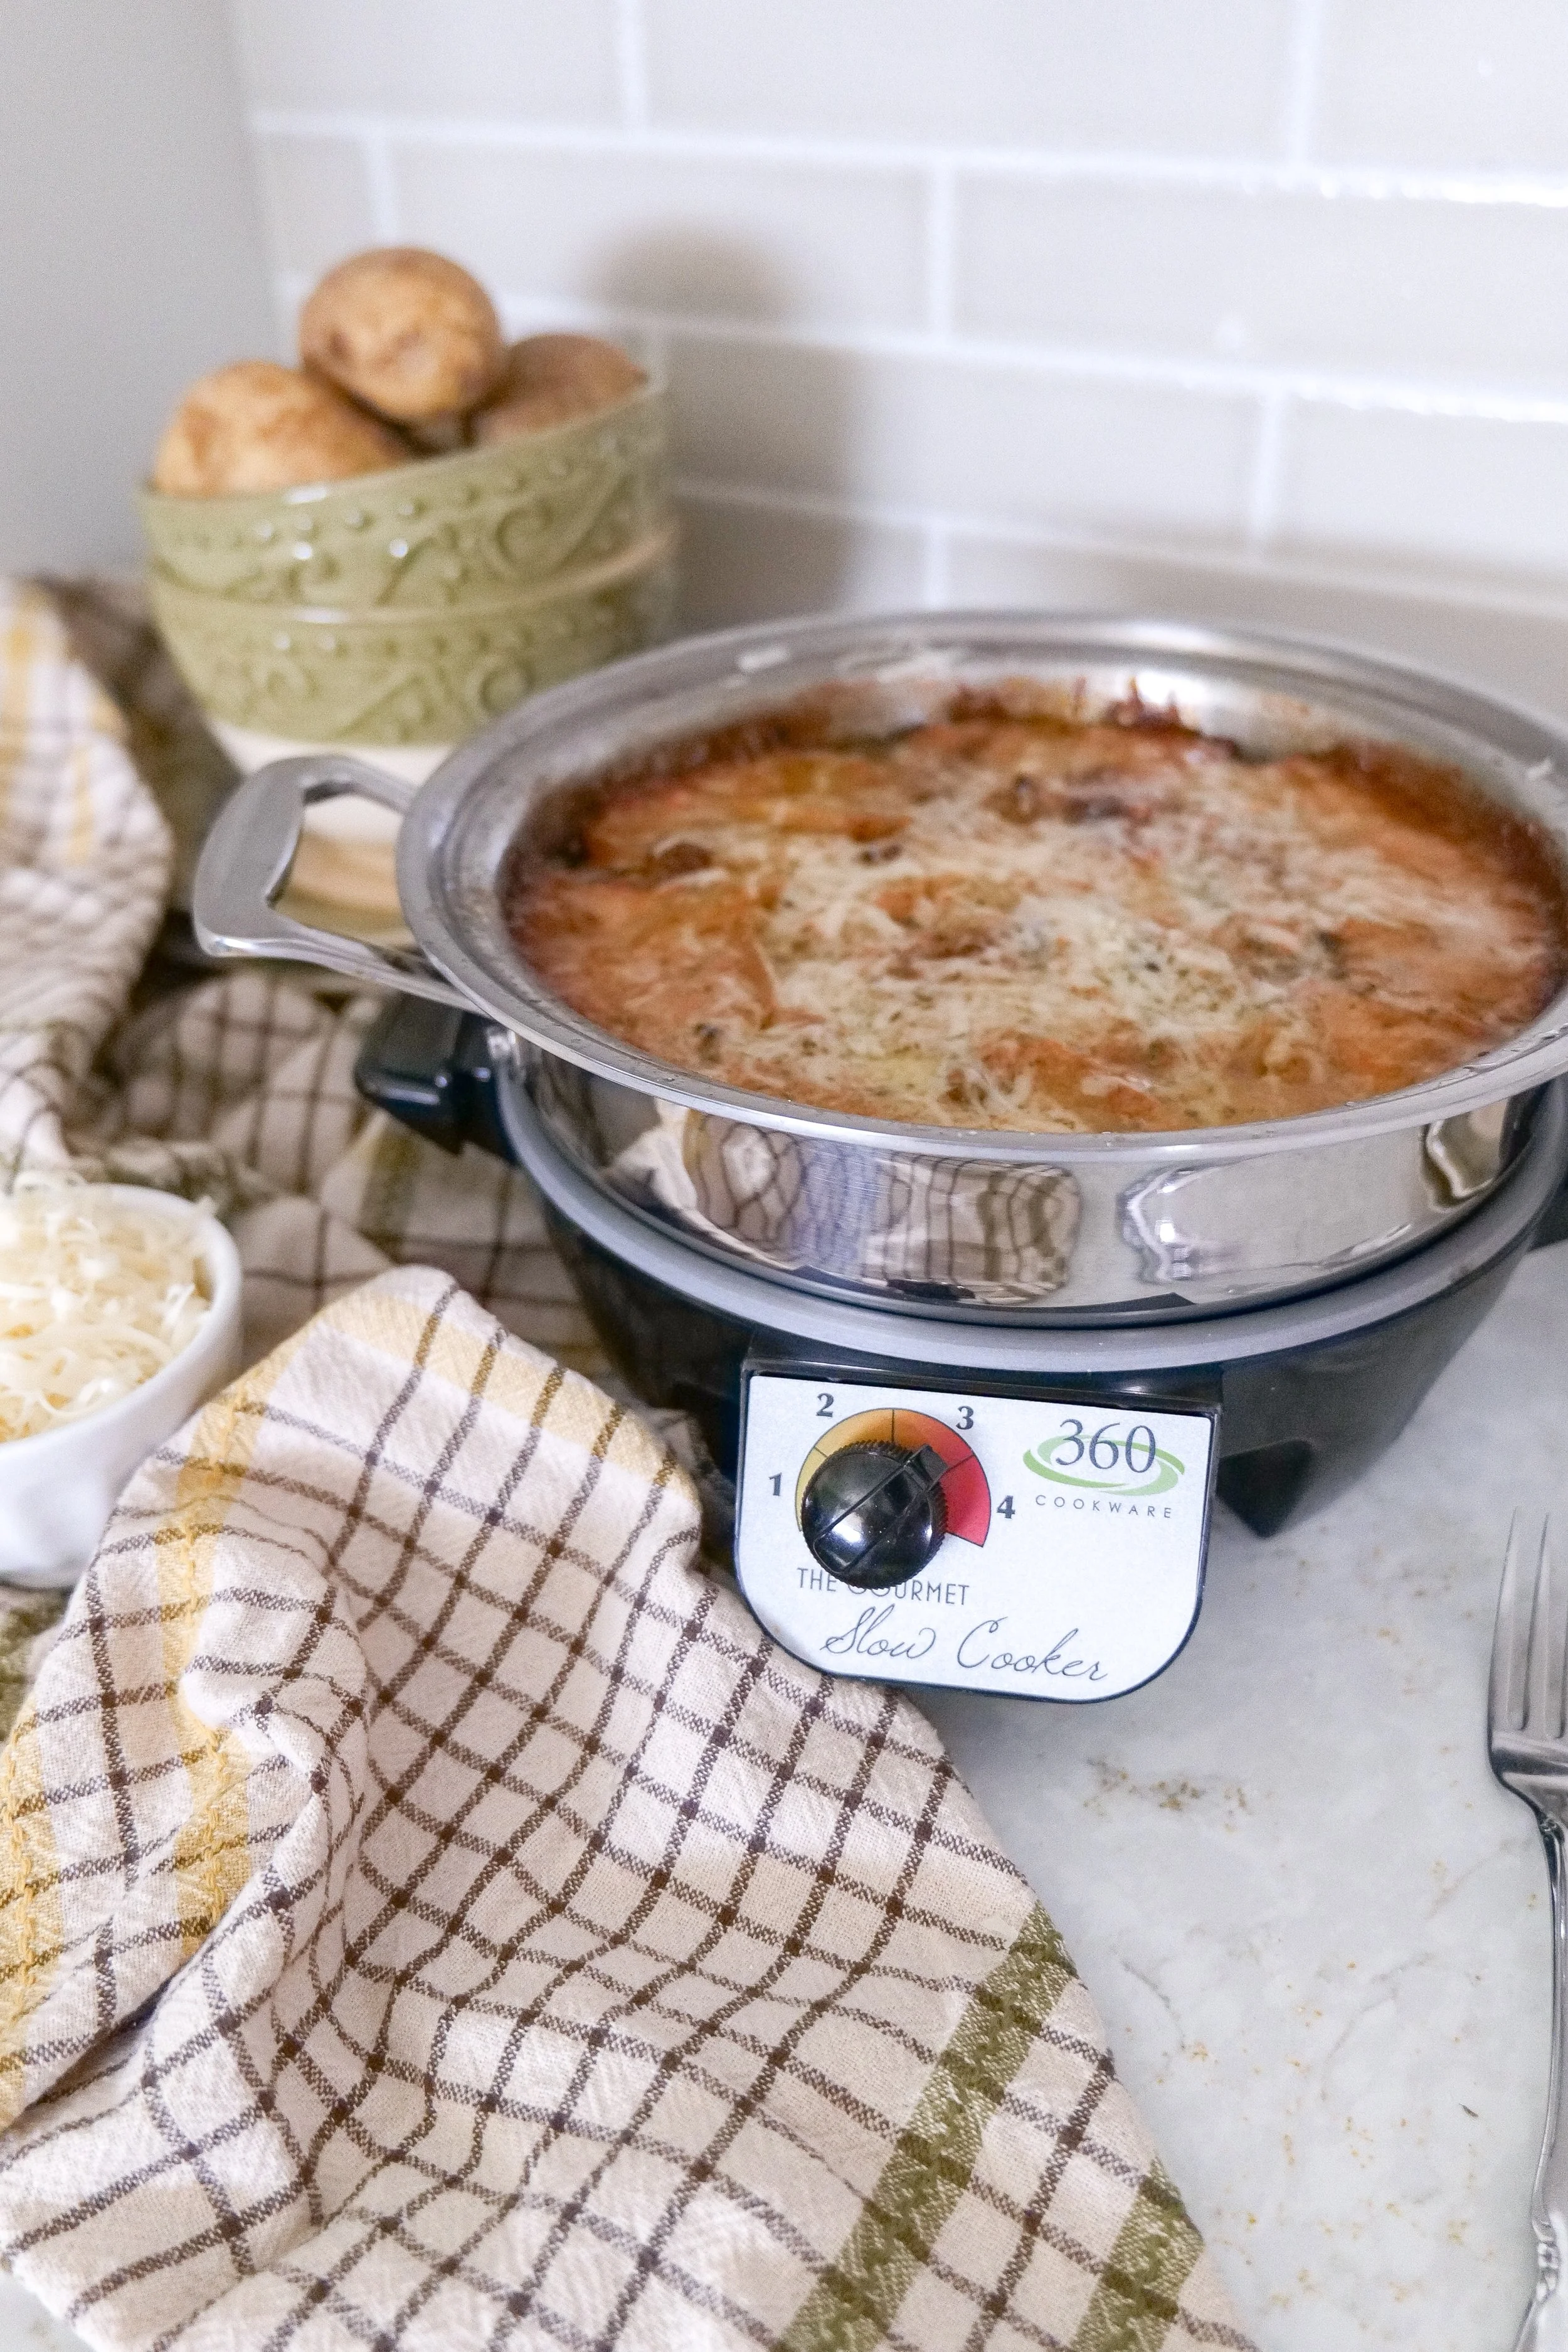
Creamy slow cooker scalloped potatoes layered with Gruyère cheese and baked until tender.

There are some recipes that simply never go out of style, and these Slow Cooker Scalloped Potatoes have become one of those recipes in our home.

Whether I'm planning Thanksgiving dinner, Christmas with family, Easter brunch, or a cozy Sunday meal, this is the side dish everyone quietly hopes makes it onto the table.

One of my favorite parts about making scalloped potatoes in the slow cooker is that it frees up precious oven space—especially during the holidays when every rack seems to be full. While these potatoes slowly cook away, I can spend my time setting the table, preparing dessert, or simply enjoying the people gathered in my kitchen instead of worrying about another casserole.

Thinly sliced russet potatoes are layered with caramelized onions, fresh garlic, Gruyère cheese, and a rich cream sauce before slowly cooking into one of the creamiest potato dishes you'll ever make.

If you're looking for an easy slow cooker side dish that's comforting enough for winter holidays but simple enough for family dinners throughout the year, this recipe is one you'll come back to again and again.

Why You'll Love These Slow Cooker Scalloped Potatoes

  • Rich, creamy Gruyère cheese sauce

  • Perfect for Thanksgiving, Christmas, Easter, or Sunday dinner

  • Frees up oven space during the holidays

  • Easy to prepare ahead of time

  • Family-friendly comfort food

  • Elegant enough for entertaining

  • Minimal hands-on cooking

Make-ahead slow cooker scalloped potatoes for holiday entertaining.
Classic scalloped potatoes for holiday entertaining and family dinners.

Ingredients

Easy slow cooker scalloped potatoes recipe made with russet potatoes and heavy cream.
  • 2 pounds russet potatoes

  • 3 cloves garlic, minced

  • ½ teaspoon dried thyme

  • 1 teaspoon sea salt

  • 1 teaspoon ground black pepper

  • 2 tablespoons all-purpose flour

  • 1 yellow onion

  • 3 tablespoons salted butter

  • 1 cup Gruyère cheese

  • 2 cups heavy cream

Ingredient Notes

Russet Potatoes

Russet potatoes are my favorite choice because they become perfectly tender while still holding their layers beautifully after hours of slow cooking.
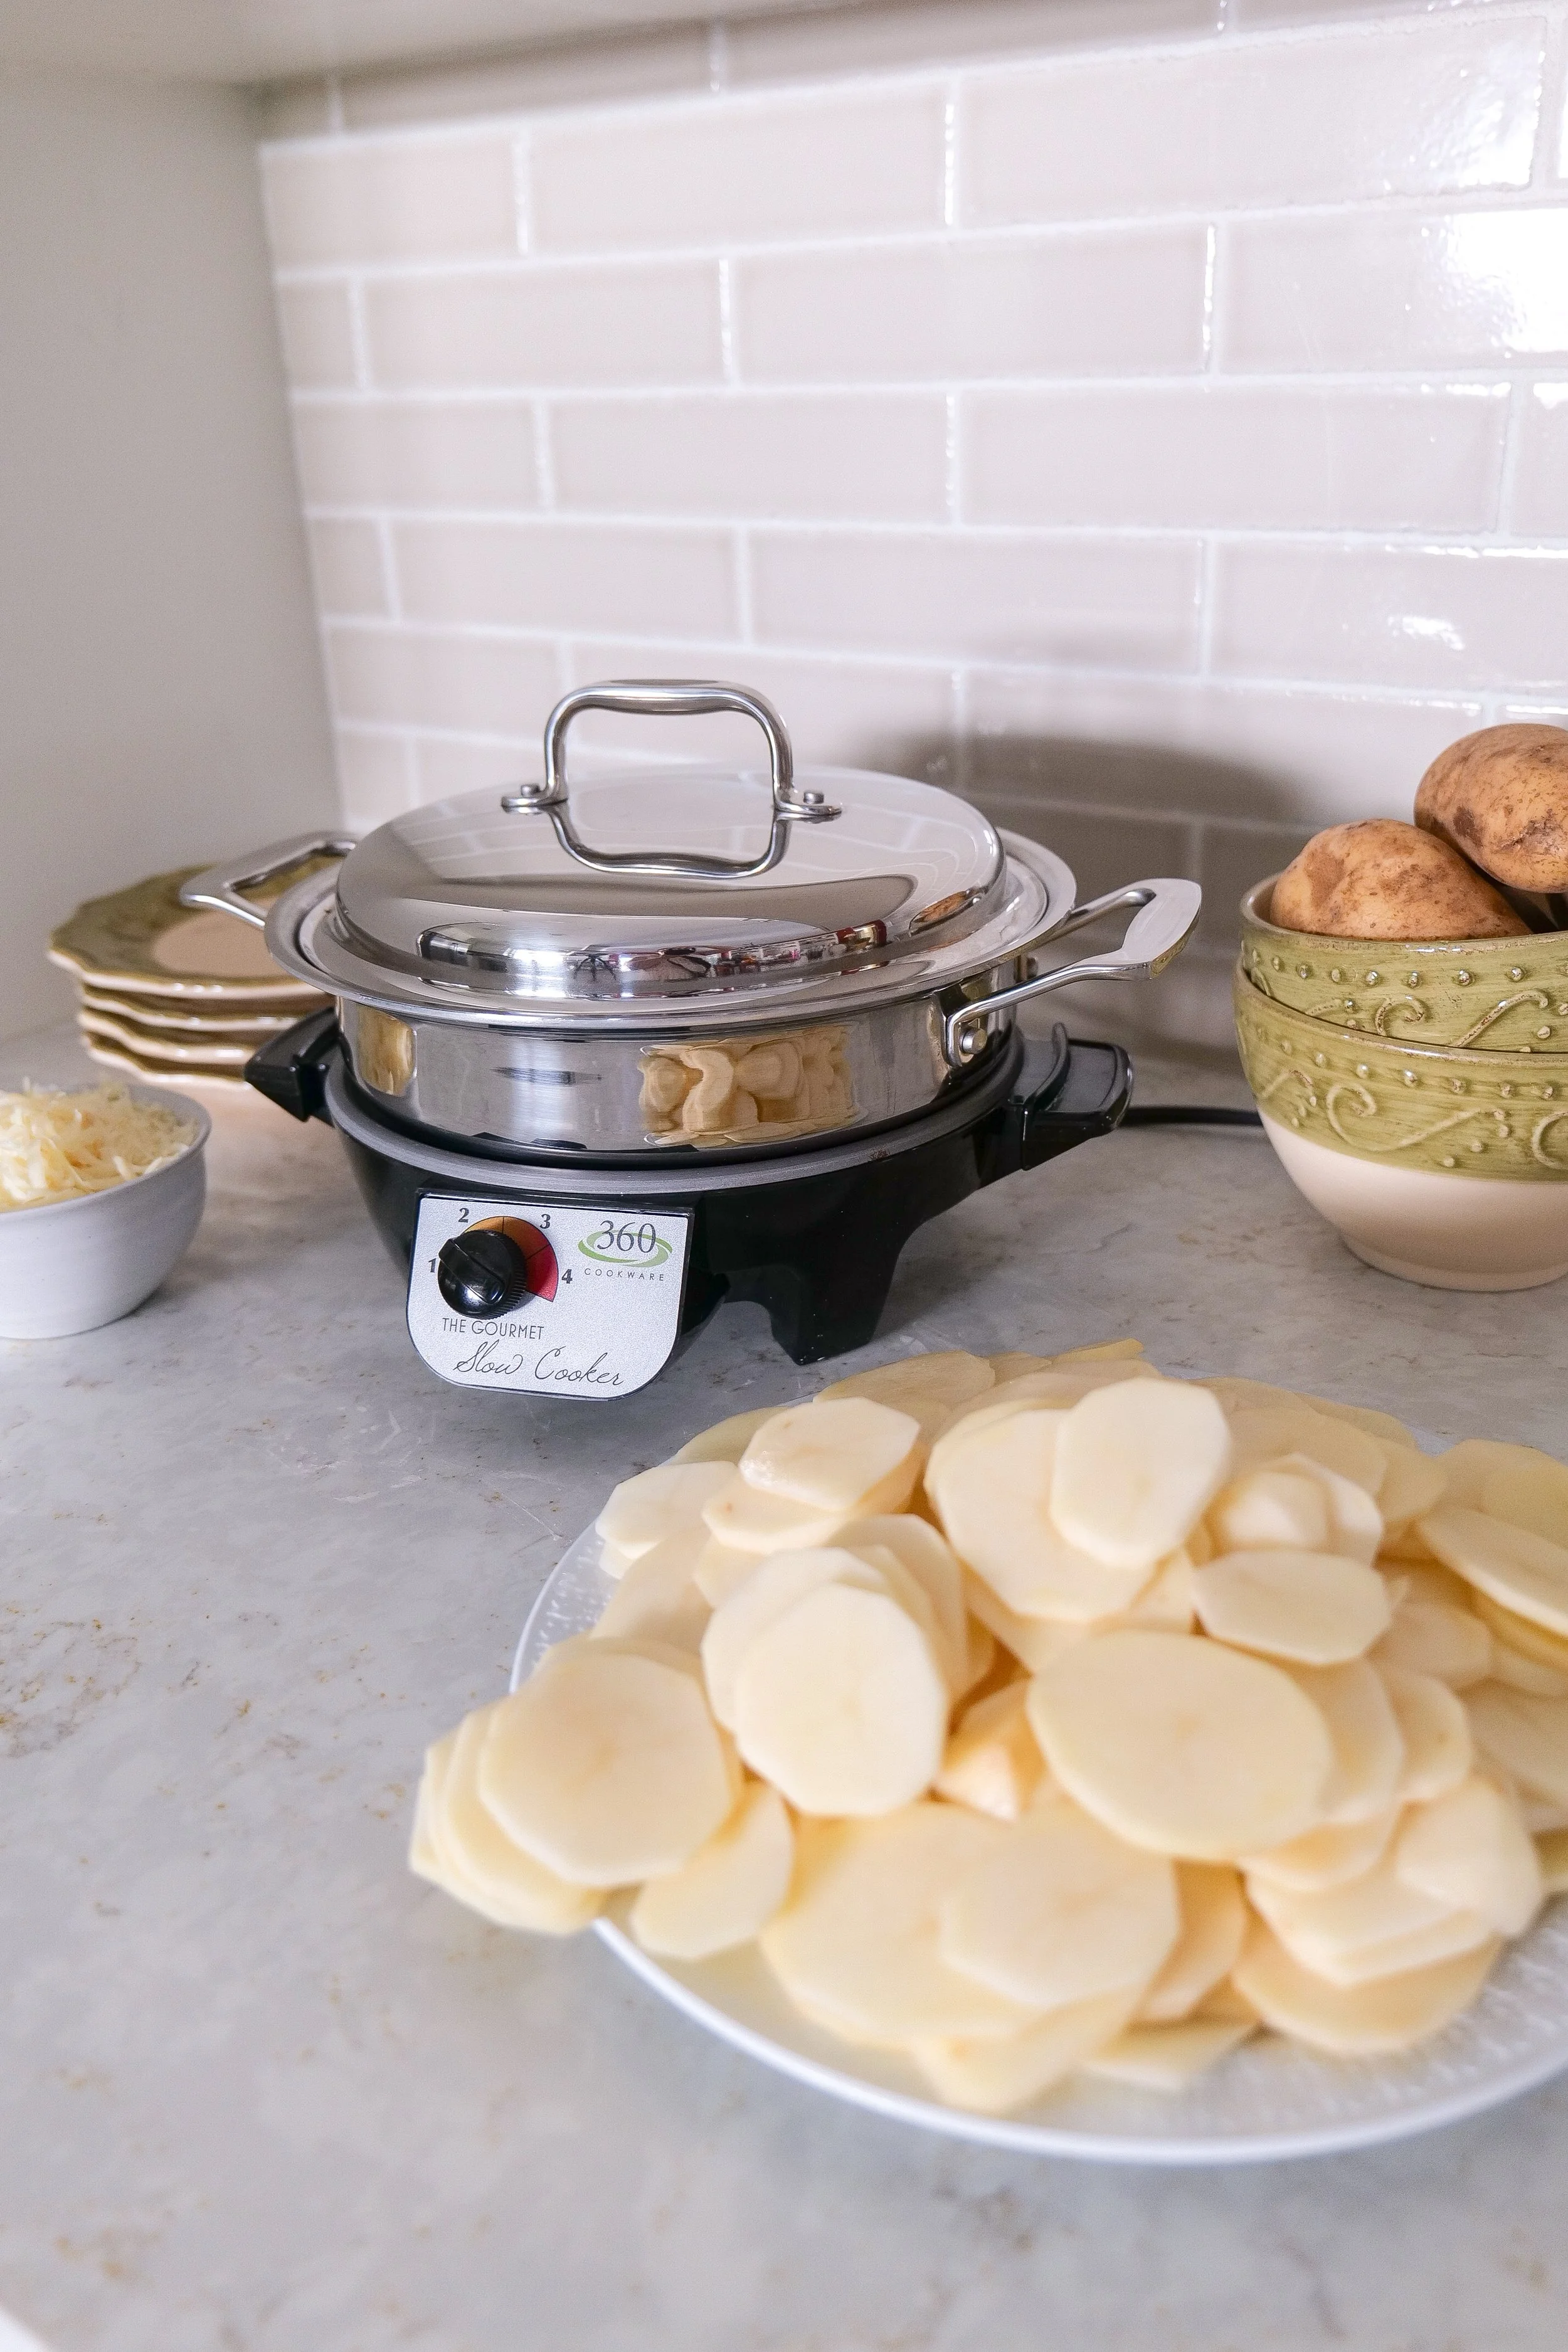
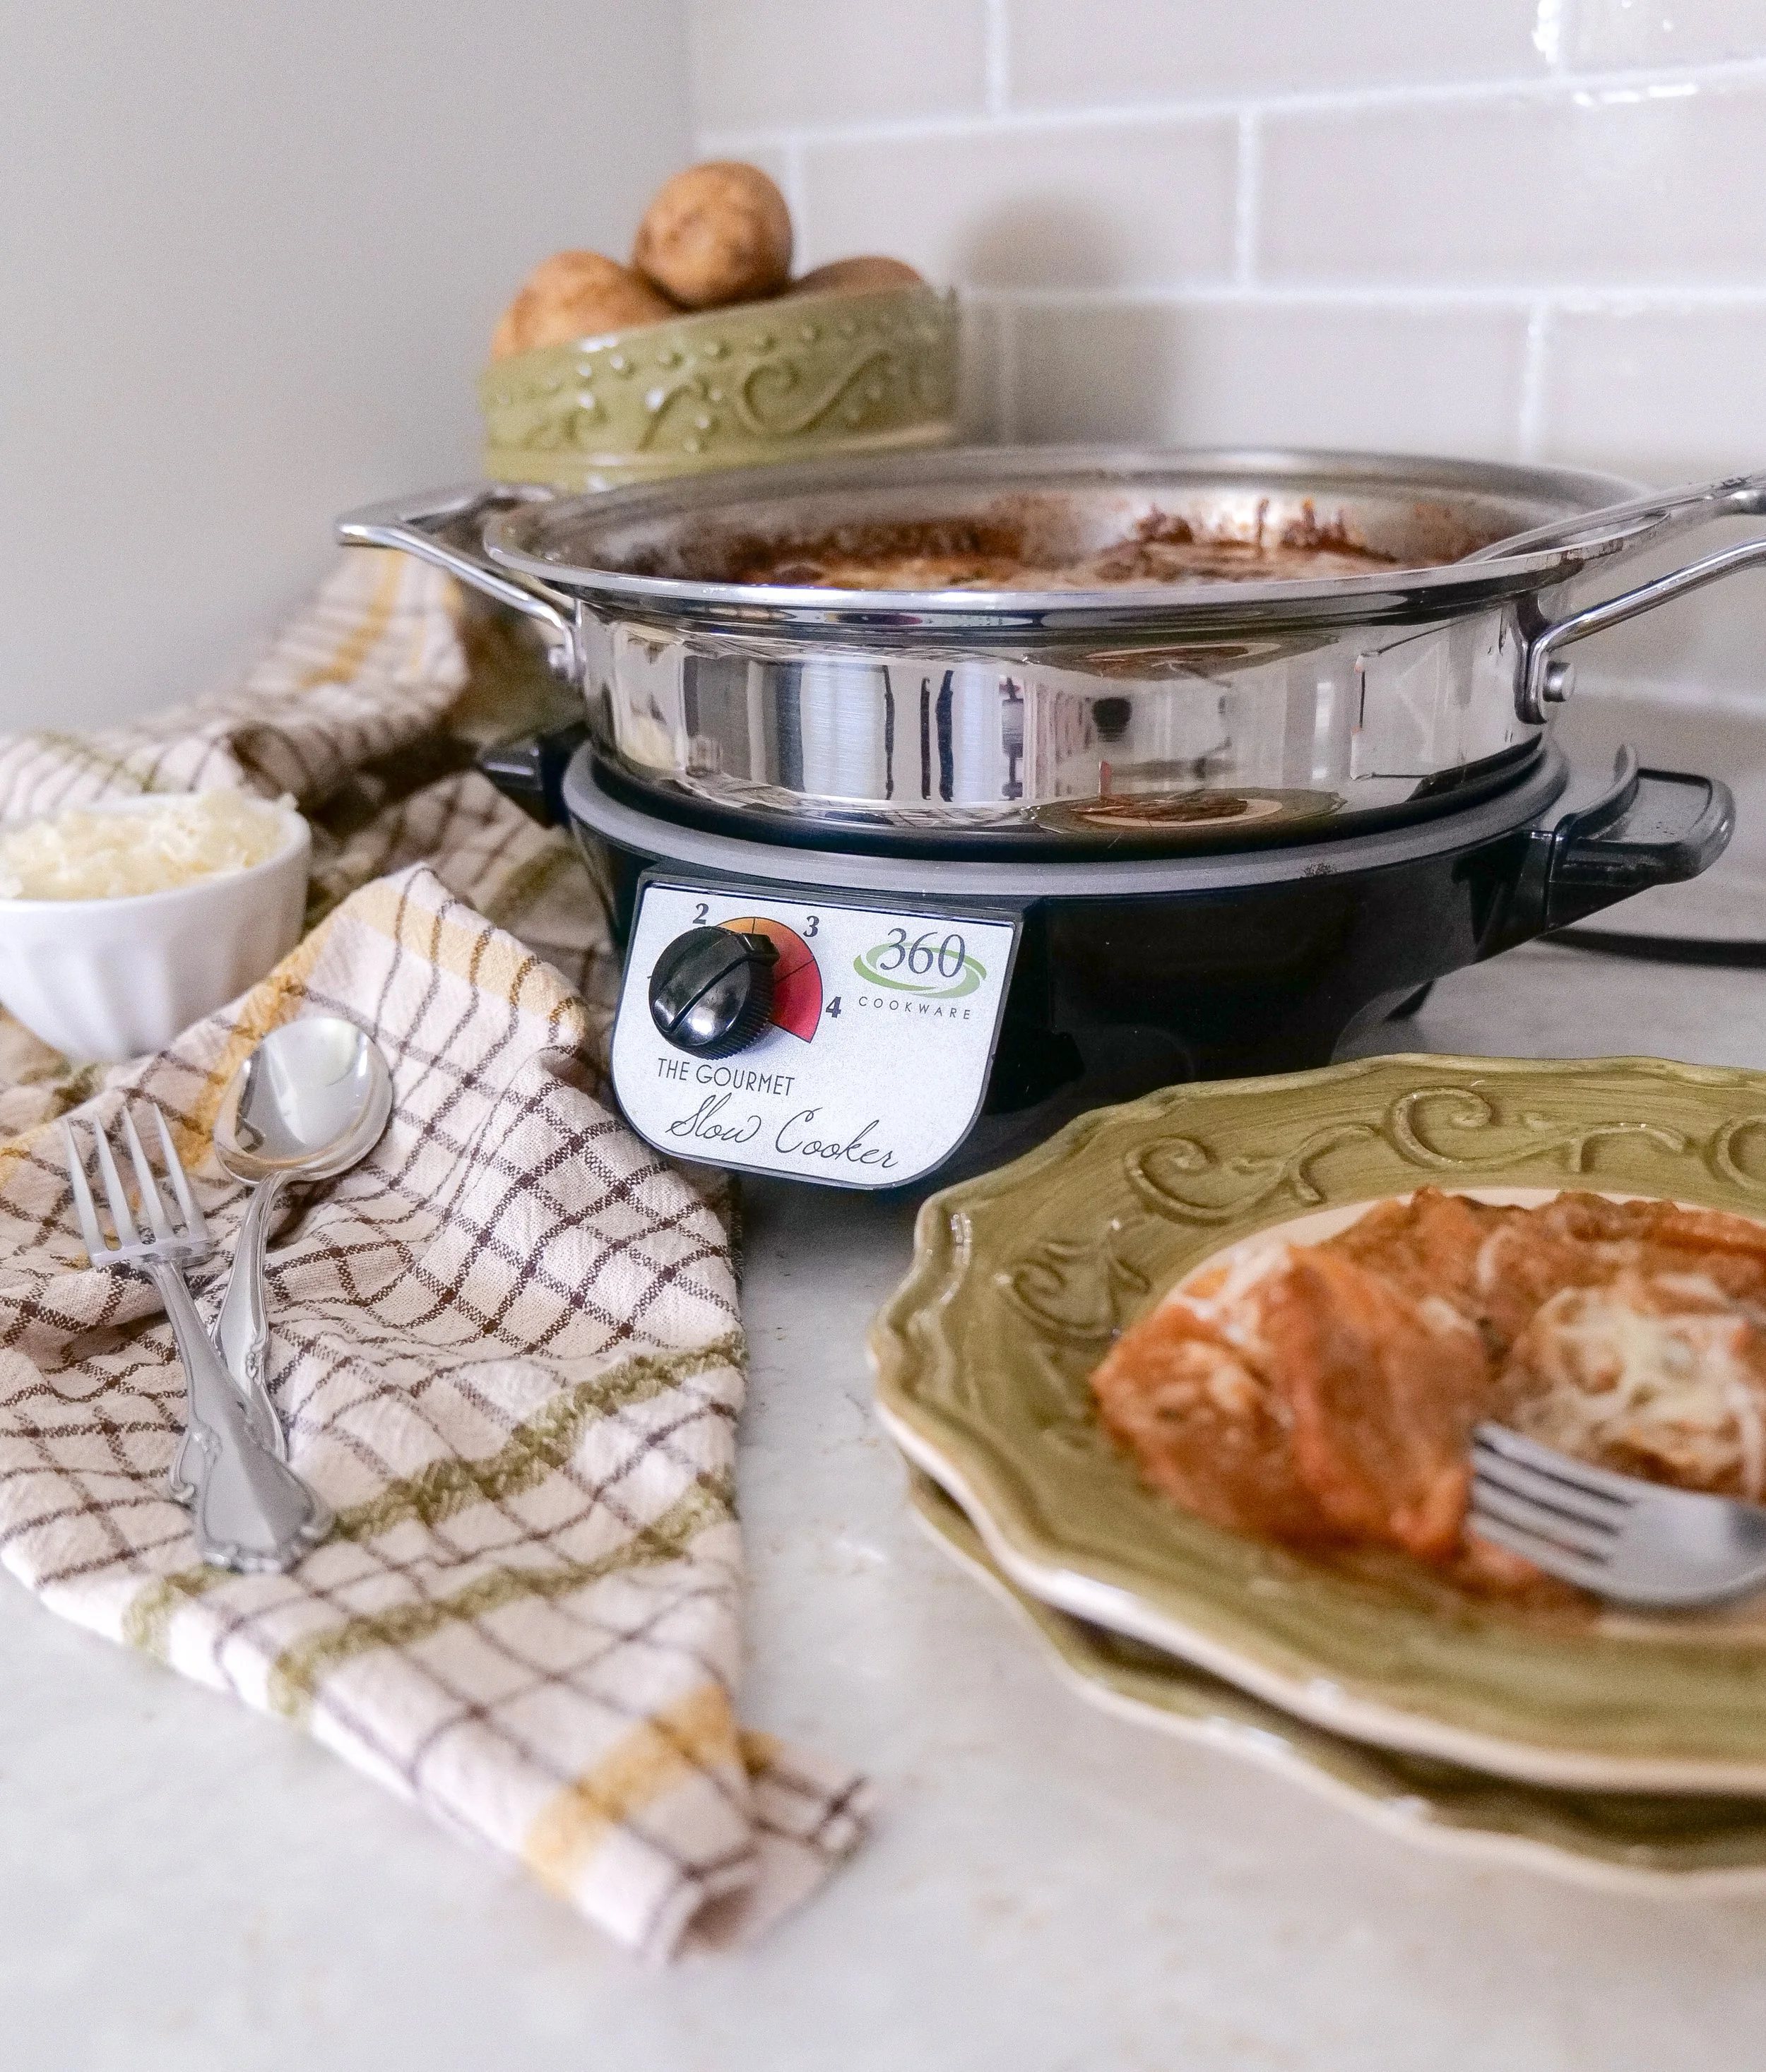
Creamy crockpot scalloped potatoes served as a cozy holiday side dish.

Gruyère Cheese

Gruyère adds a rich, nutty flavor that melts beautifully into the cream sauce.

Heavy Cream

Heavy cream creates the luxurious sauce that makes these potatoes so irresistible.
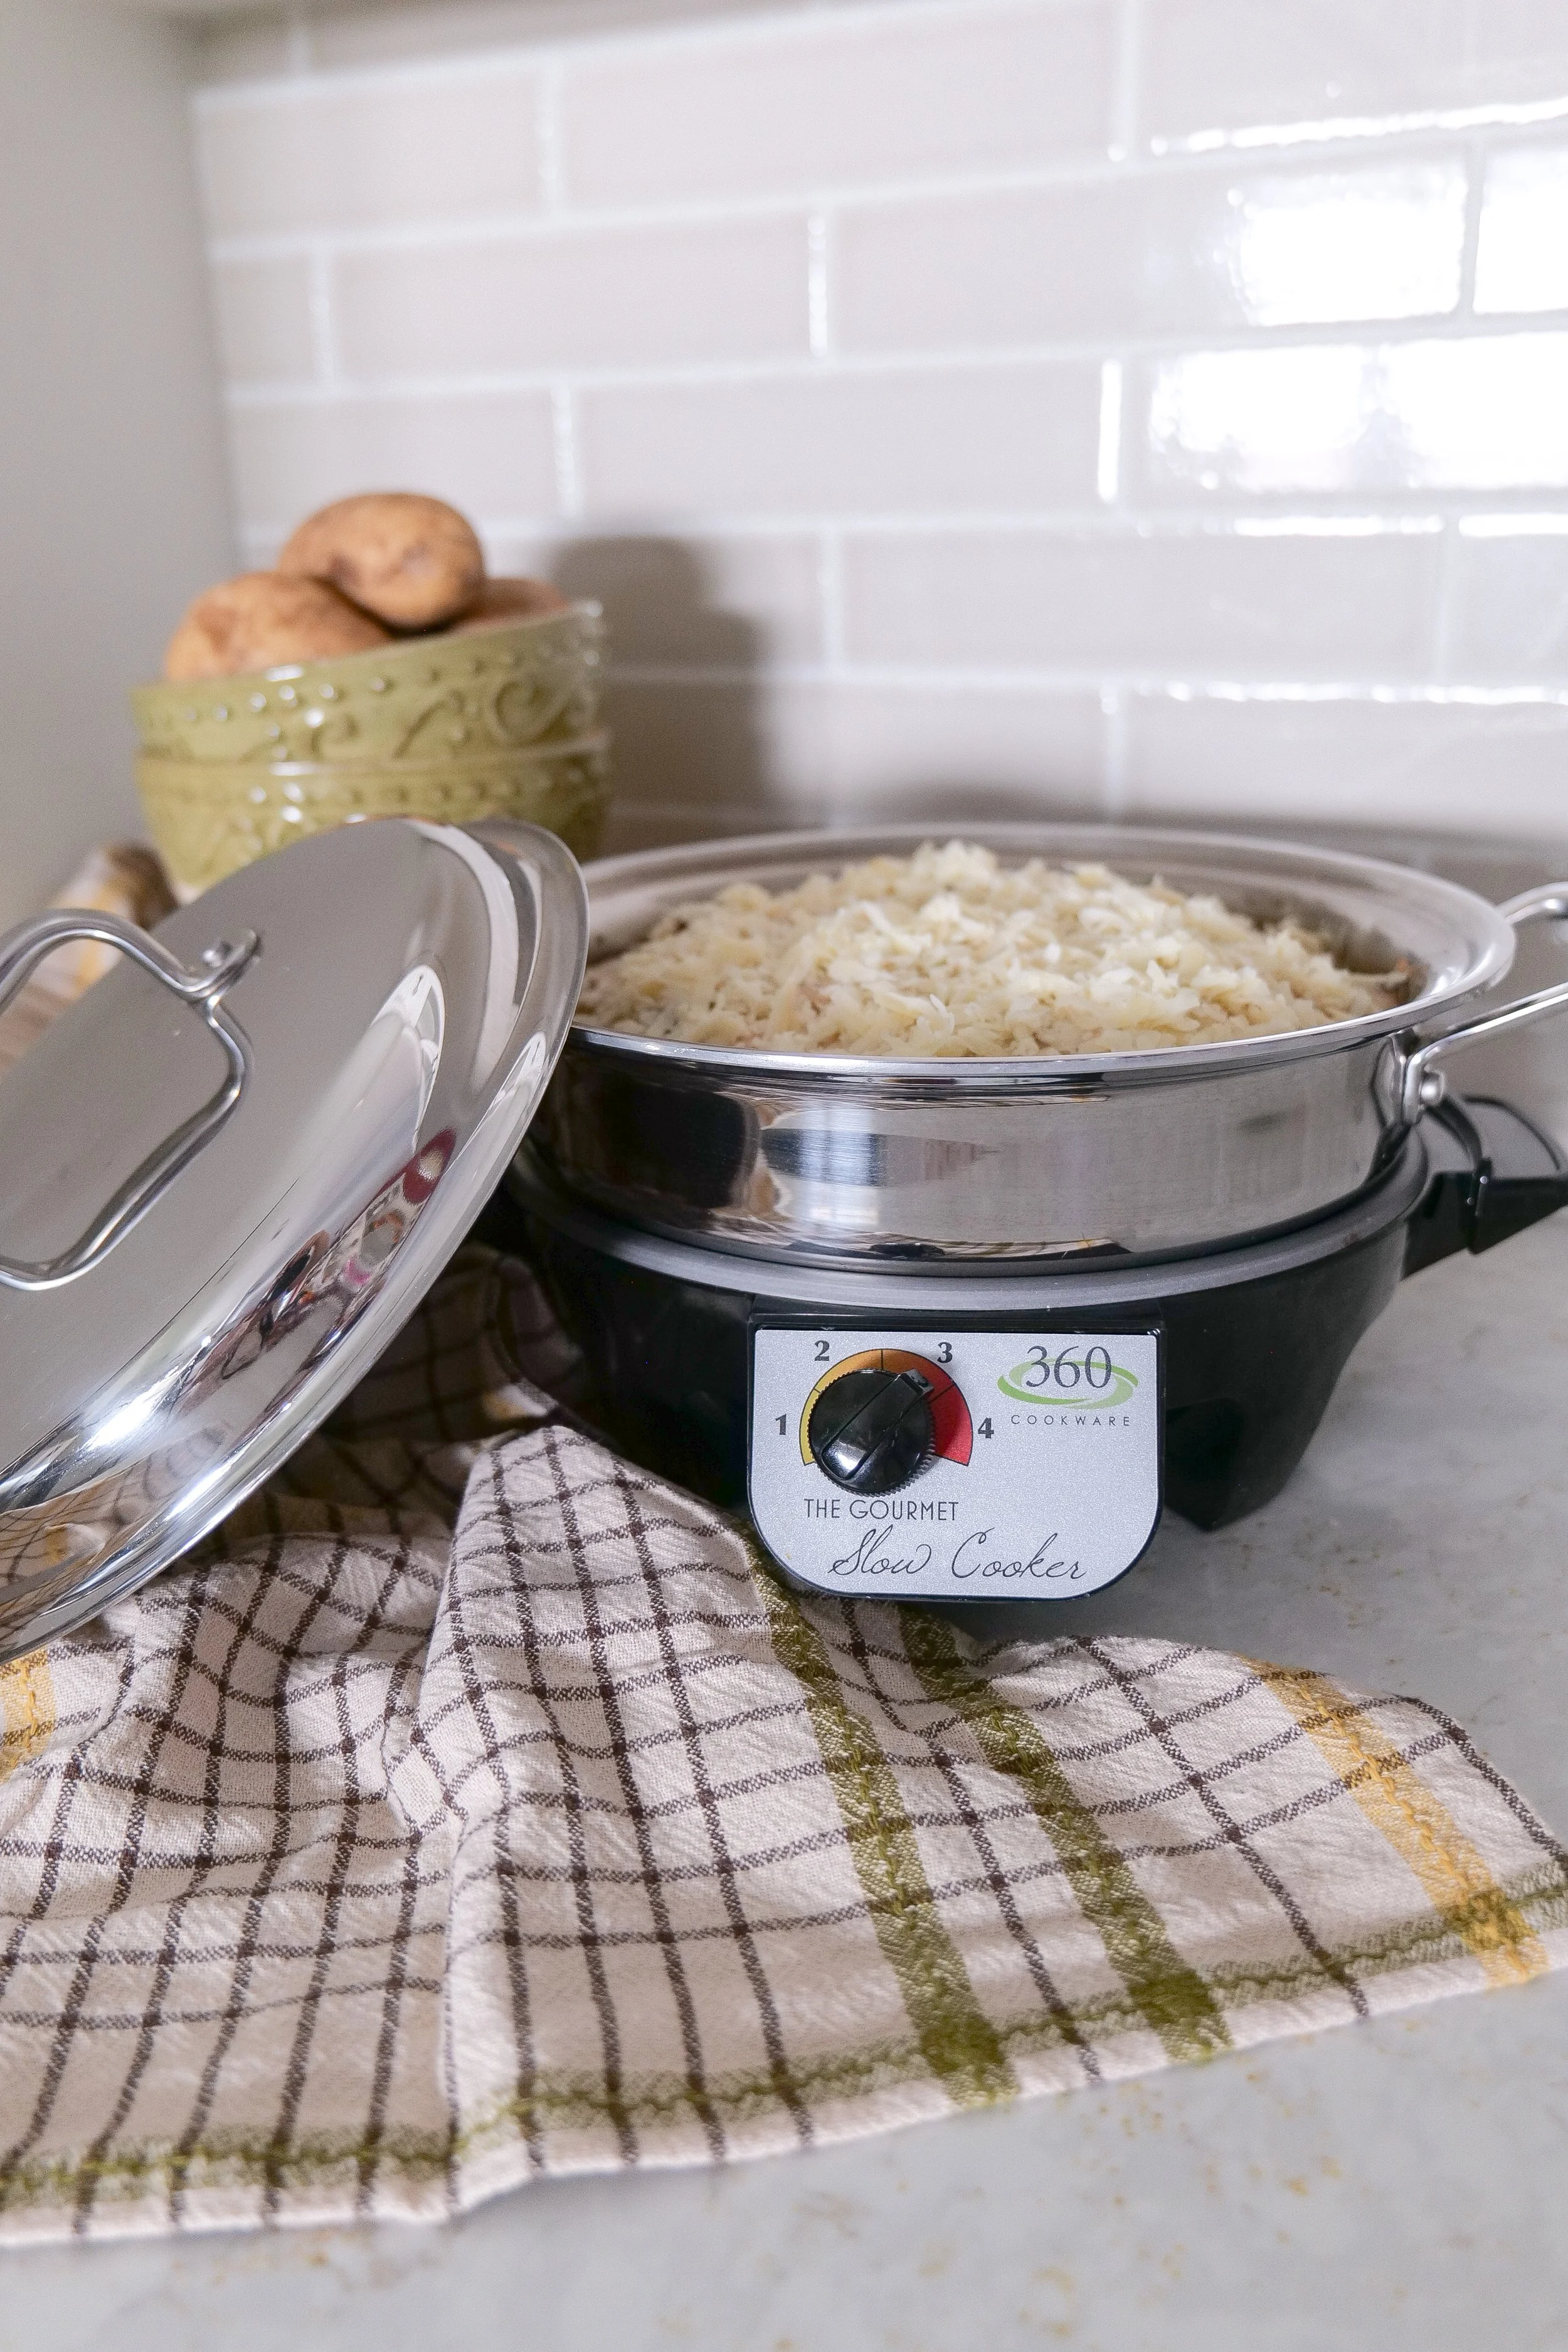
Slow cooker scalloped potatoes served for a Thanksgiving holiday dinner.

How to Make Slow Cooker Scalloped Potatoes

Step 1

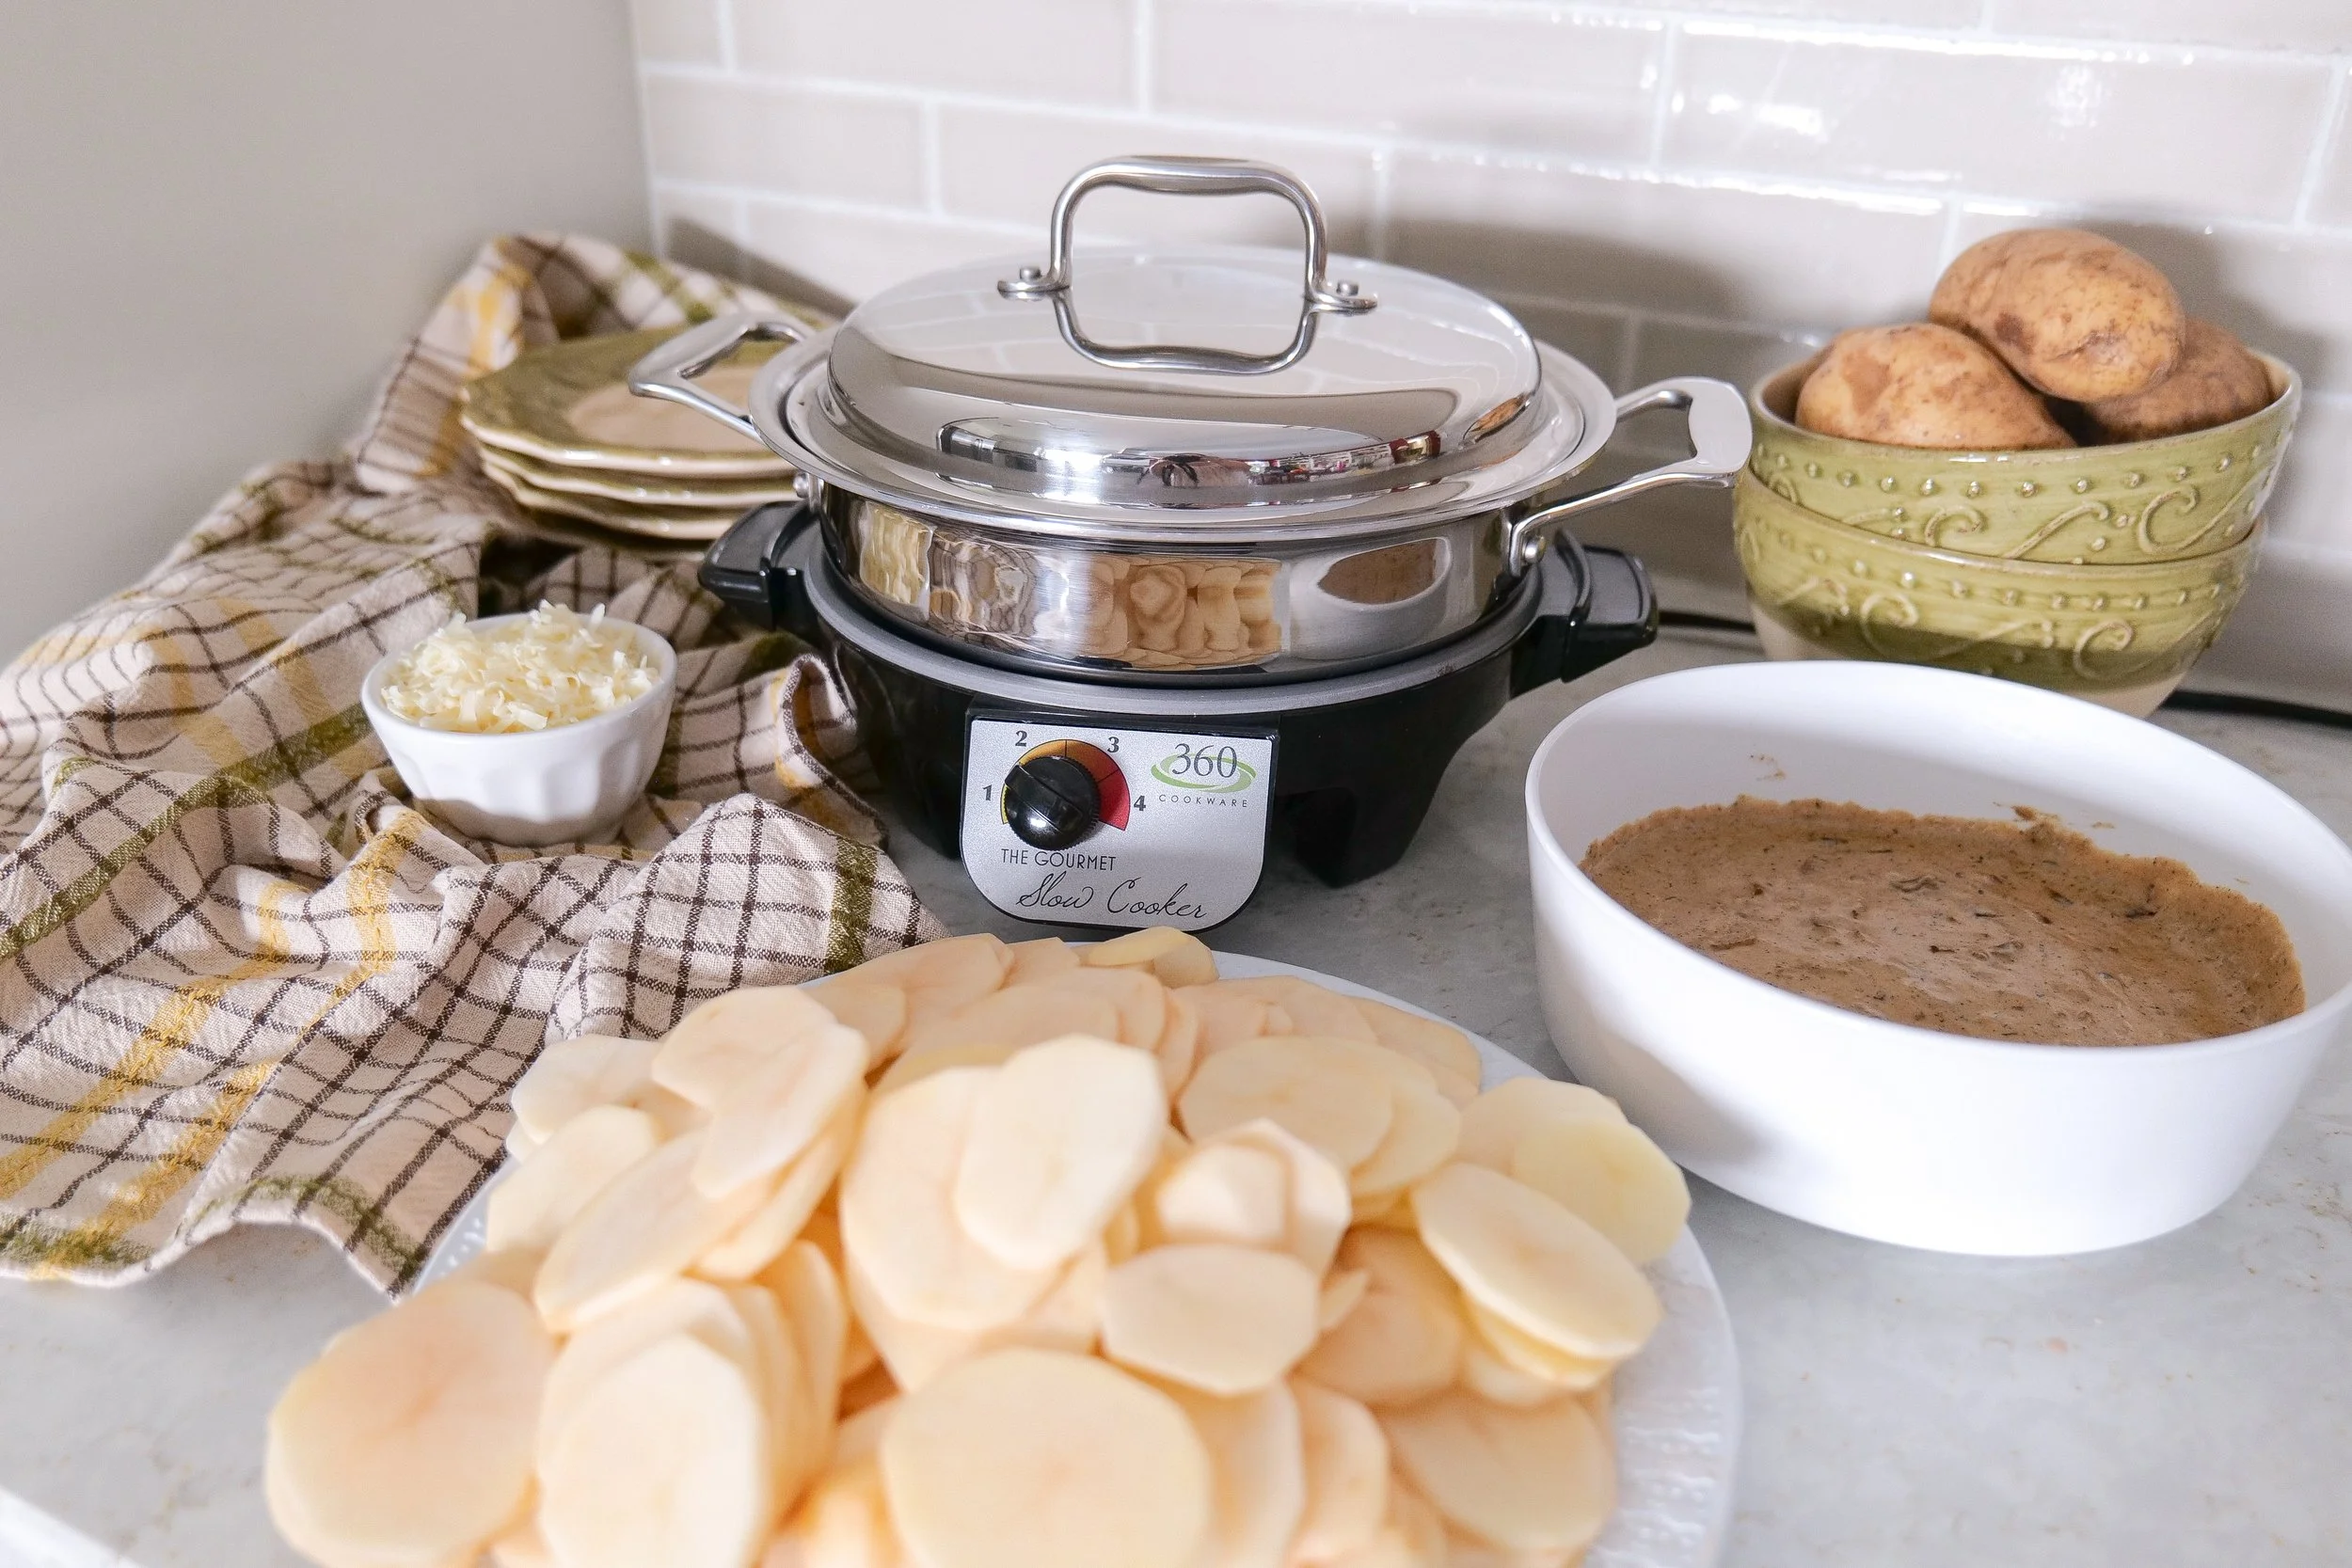
Wash and peel the potatoes before slicing them about ⅛-inch thick using a mandoline or sharp knife.

Step 2

Melt butter in a skillet before caramelizing the onions. Stir in garlic before whisking together the heavy cream, flour, thyme, salt, and pepper until smooth.

Step 3

Layer potatoes, Gruyère cheese, and cream sauce into the slow cooker.

Repeat until everything has been used.

Step 4

Cook for approximately four hours until fork tender.

Allow to rest before serving.
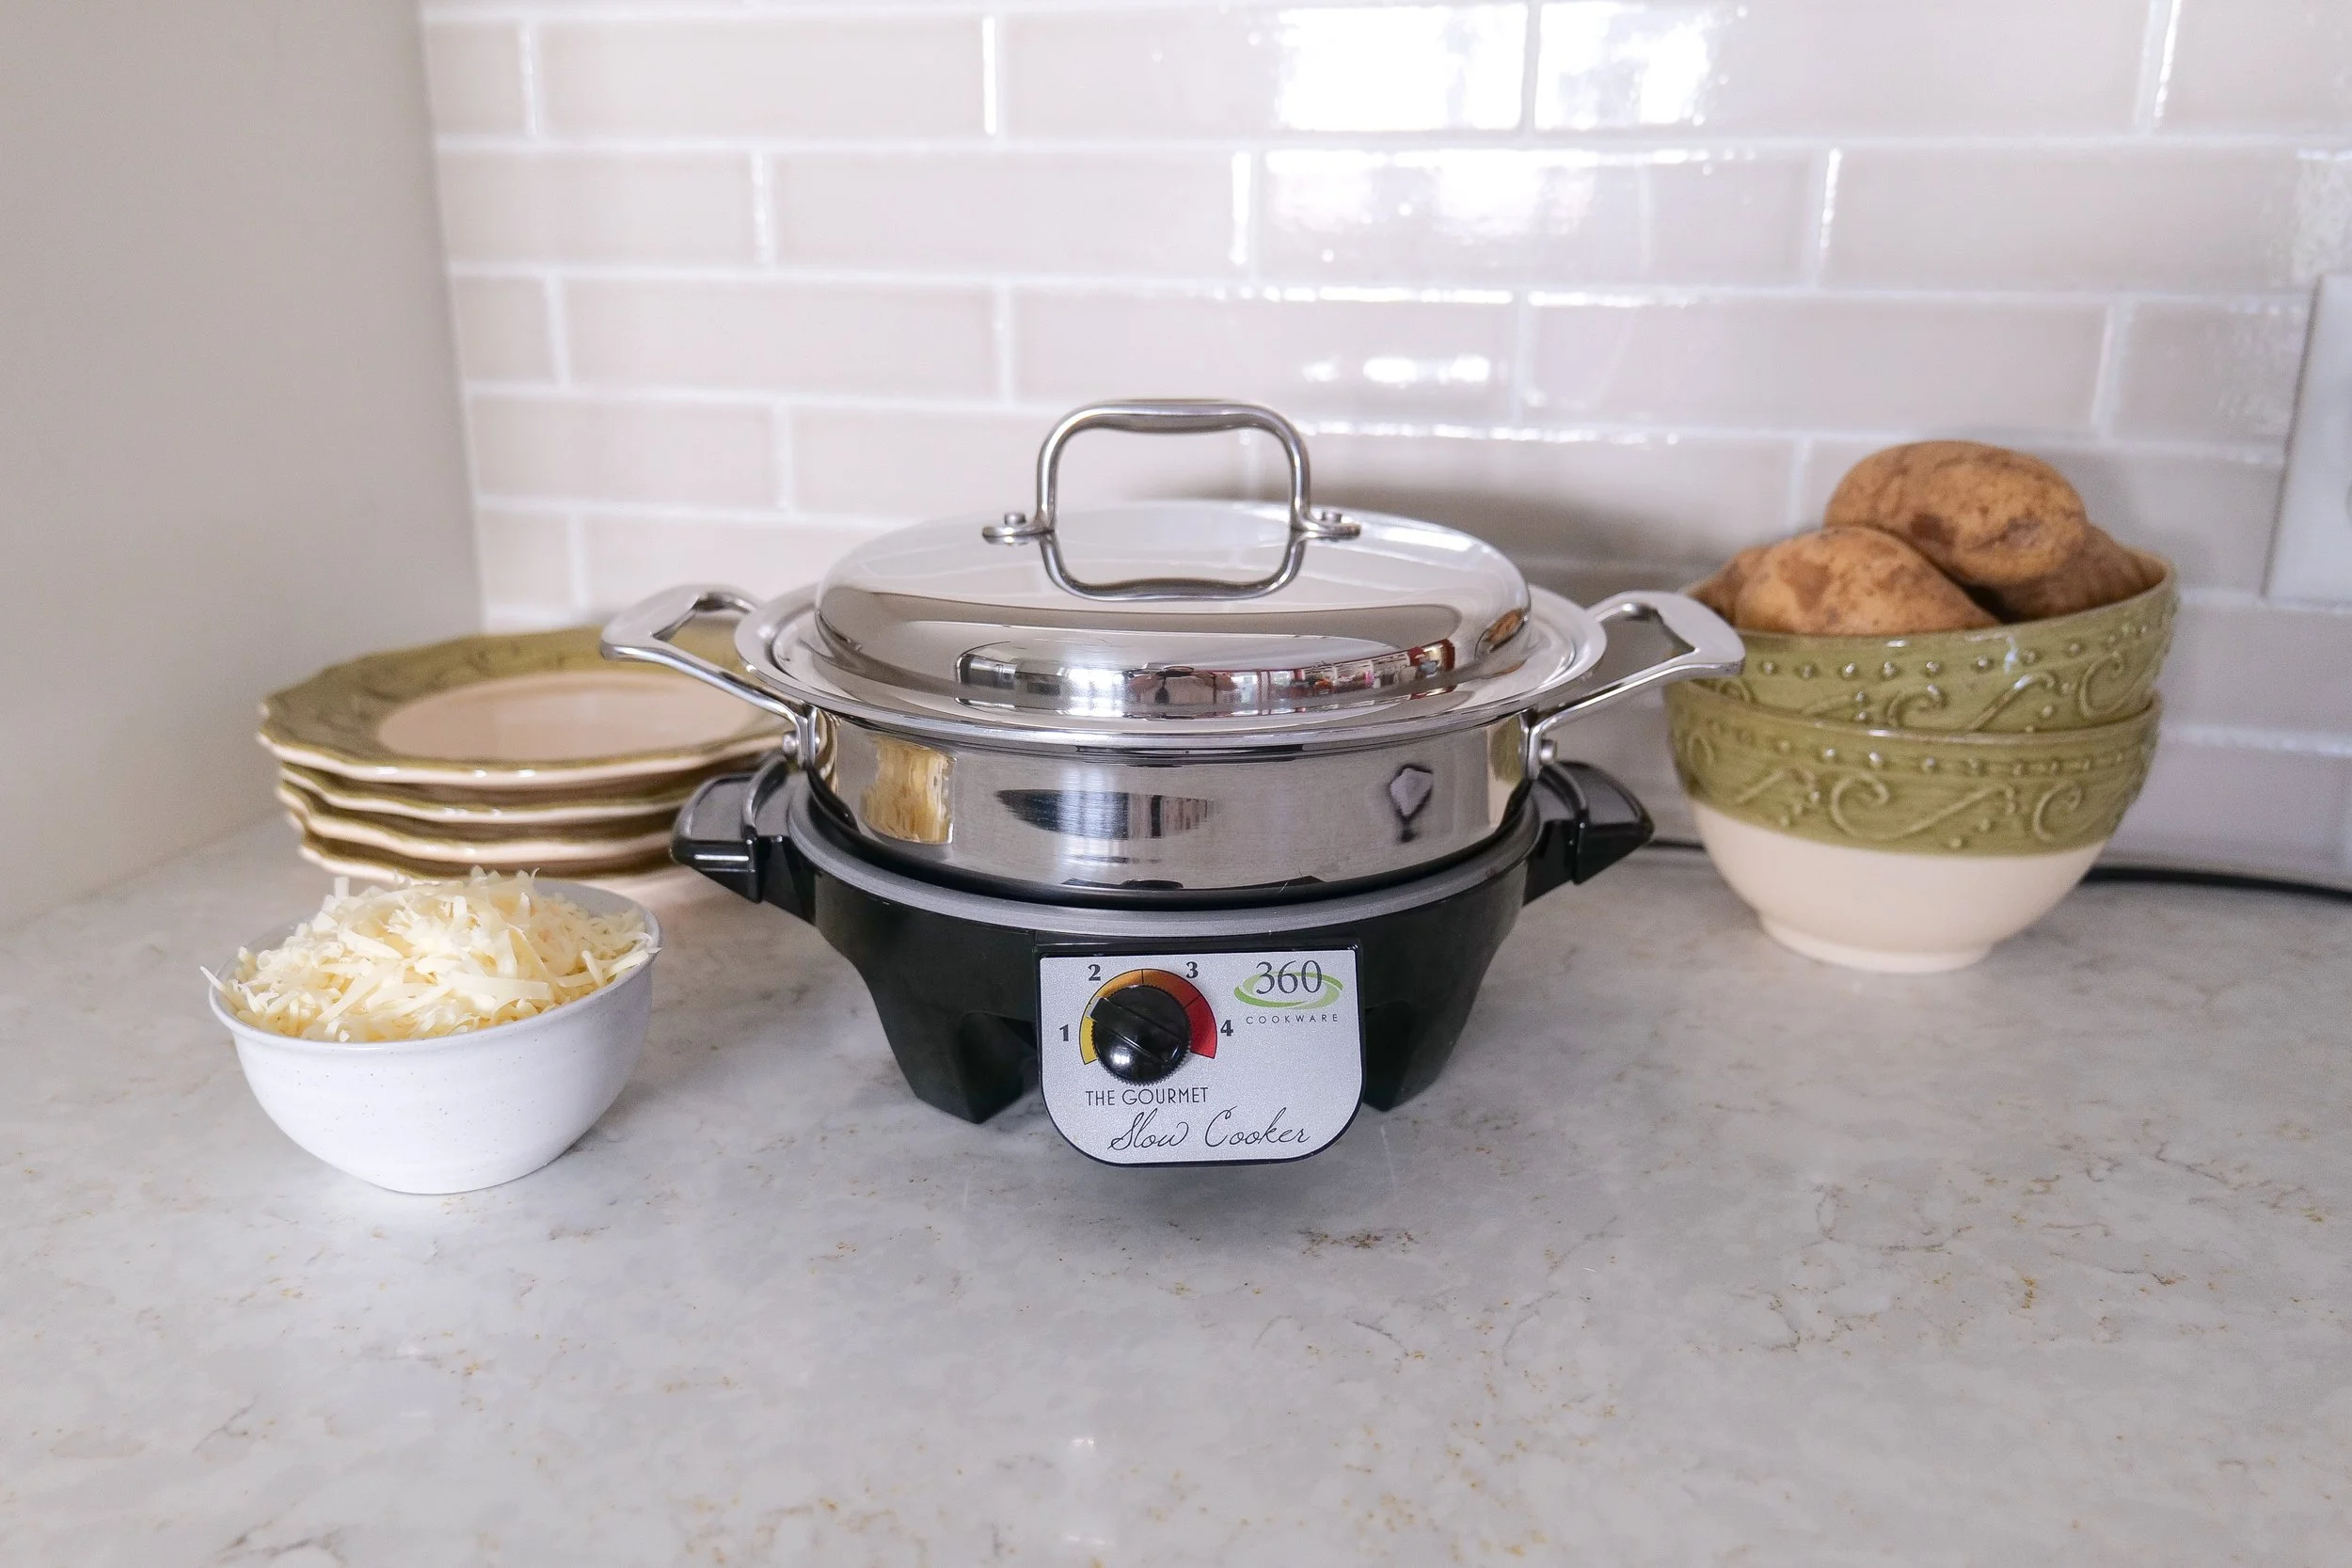
Creamy slow cooker scalloped potatoes layered with Gruyère cheese and baked until tender.

Amanda's Tips

• Slice evenly.

• Freshly shred cheese.

• Let rest.

• Grease slow cooker.

• Use a mandoline.
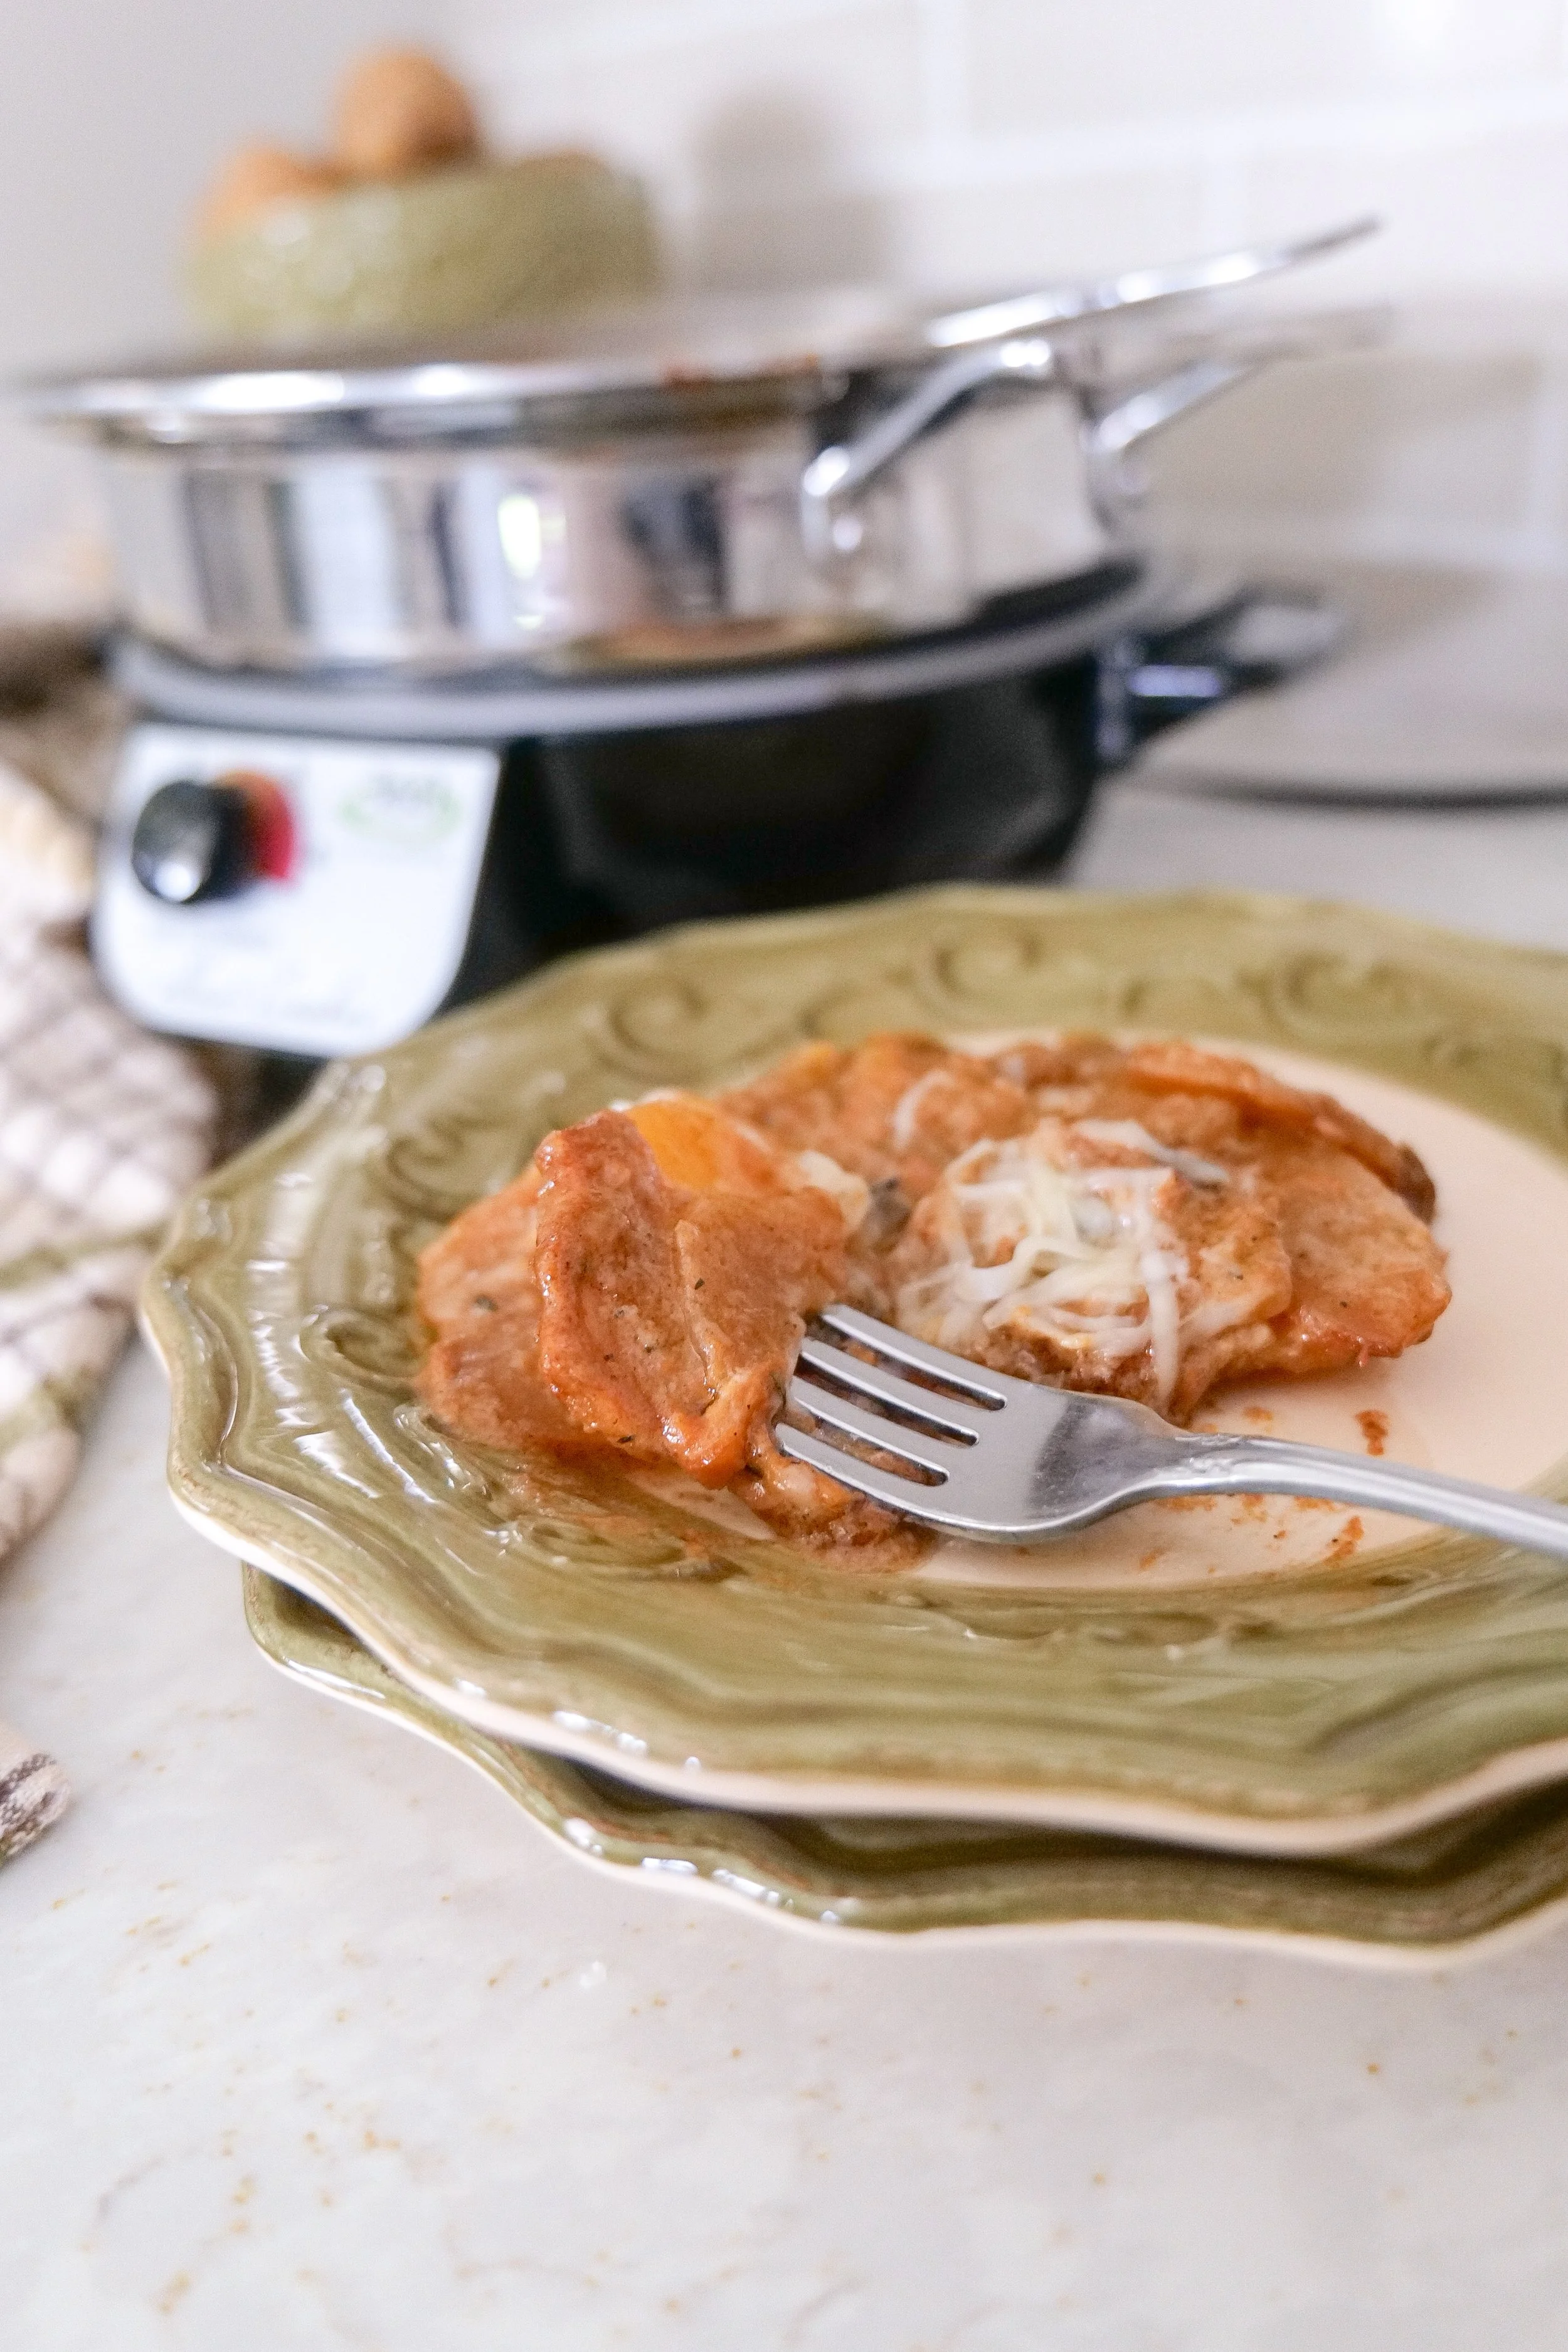
Easy crockpot potato recipe with garlic, onions, Gruyère cheese, and herbs.

Make Ahead Instructions

This recipe is perfect for holiday meal prep.

Assemble everything the night before, refrigerate, then simply place the insert into the slow cooker the next day.
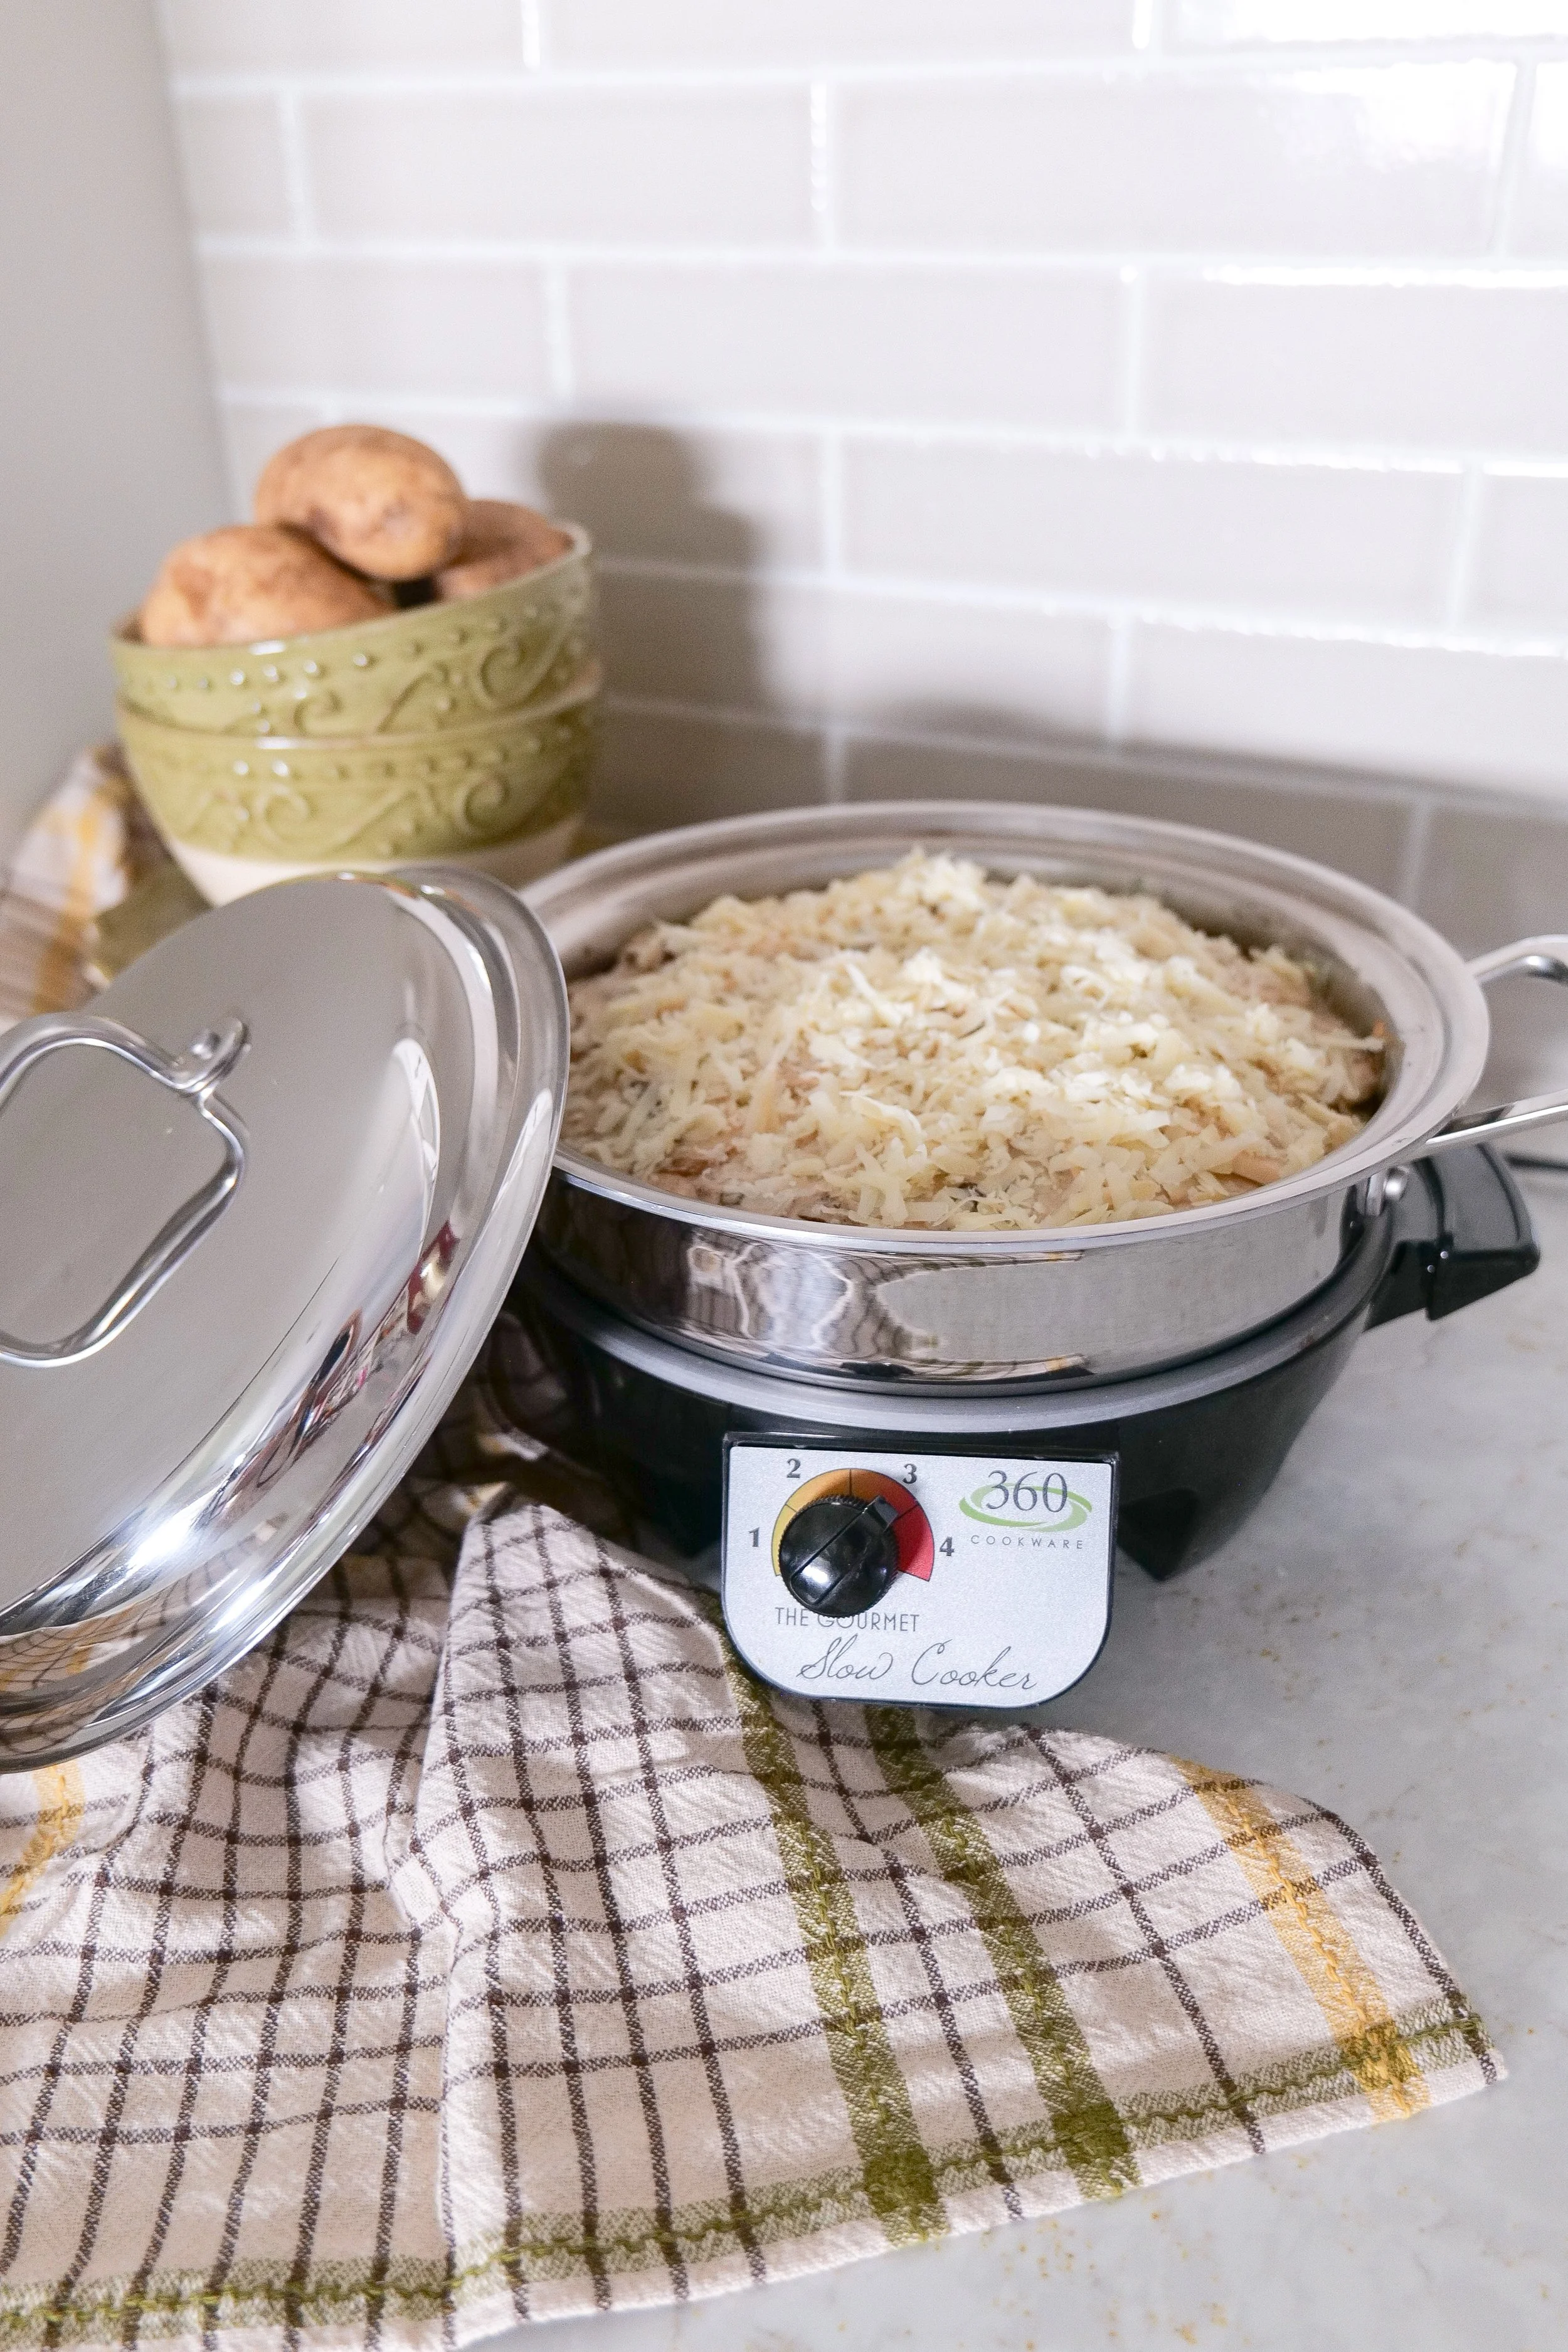
Cheesy Gruyère scalloped potatoes with caramelized onions and garlic.

Storage & Reheating

Store in an airtight container up to four days.

Reheat gently.
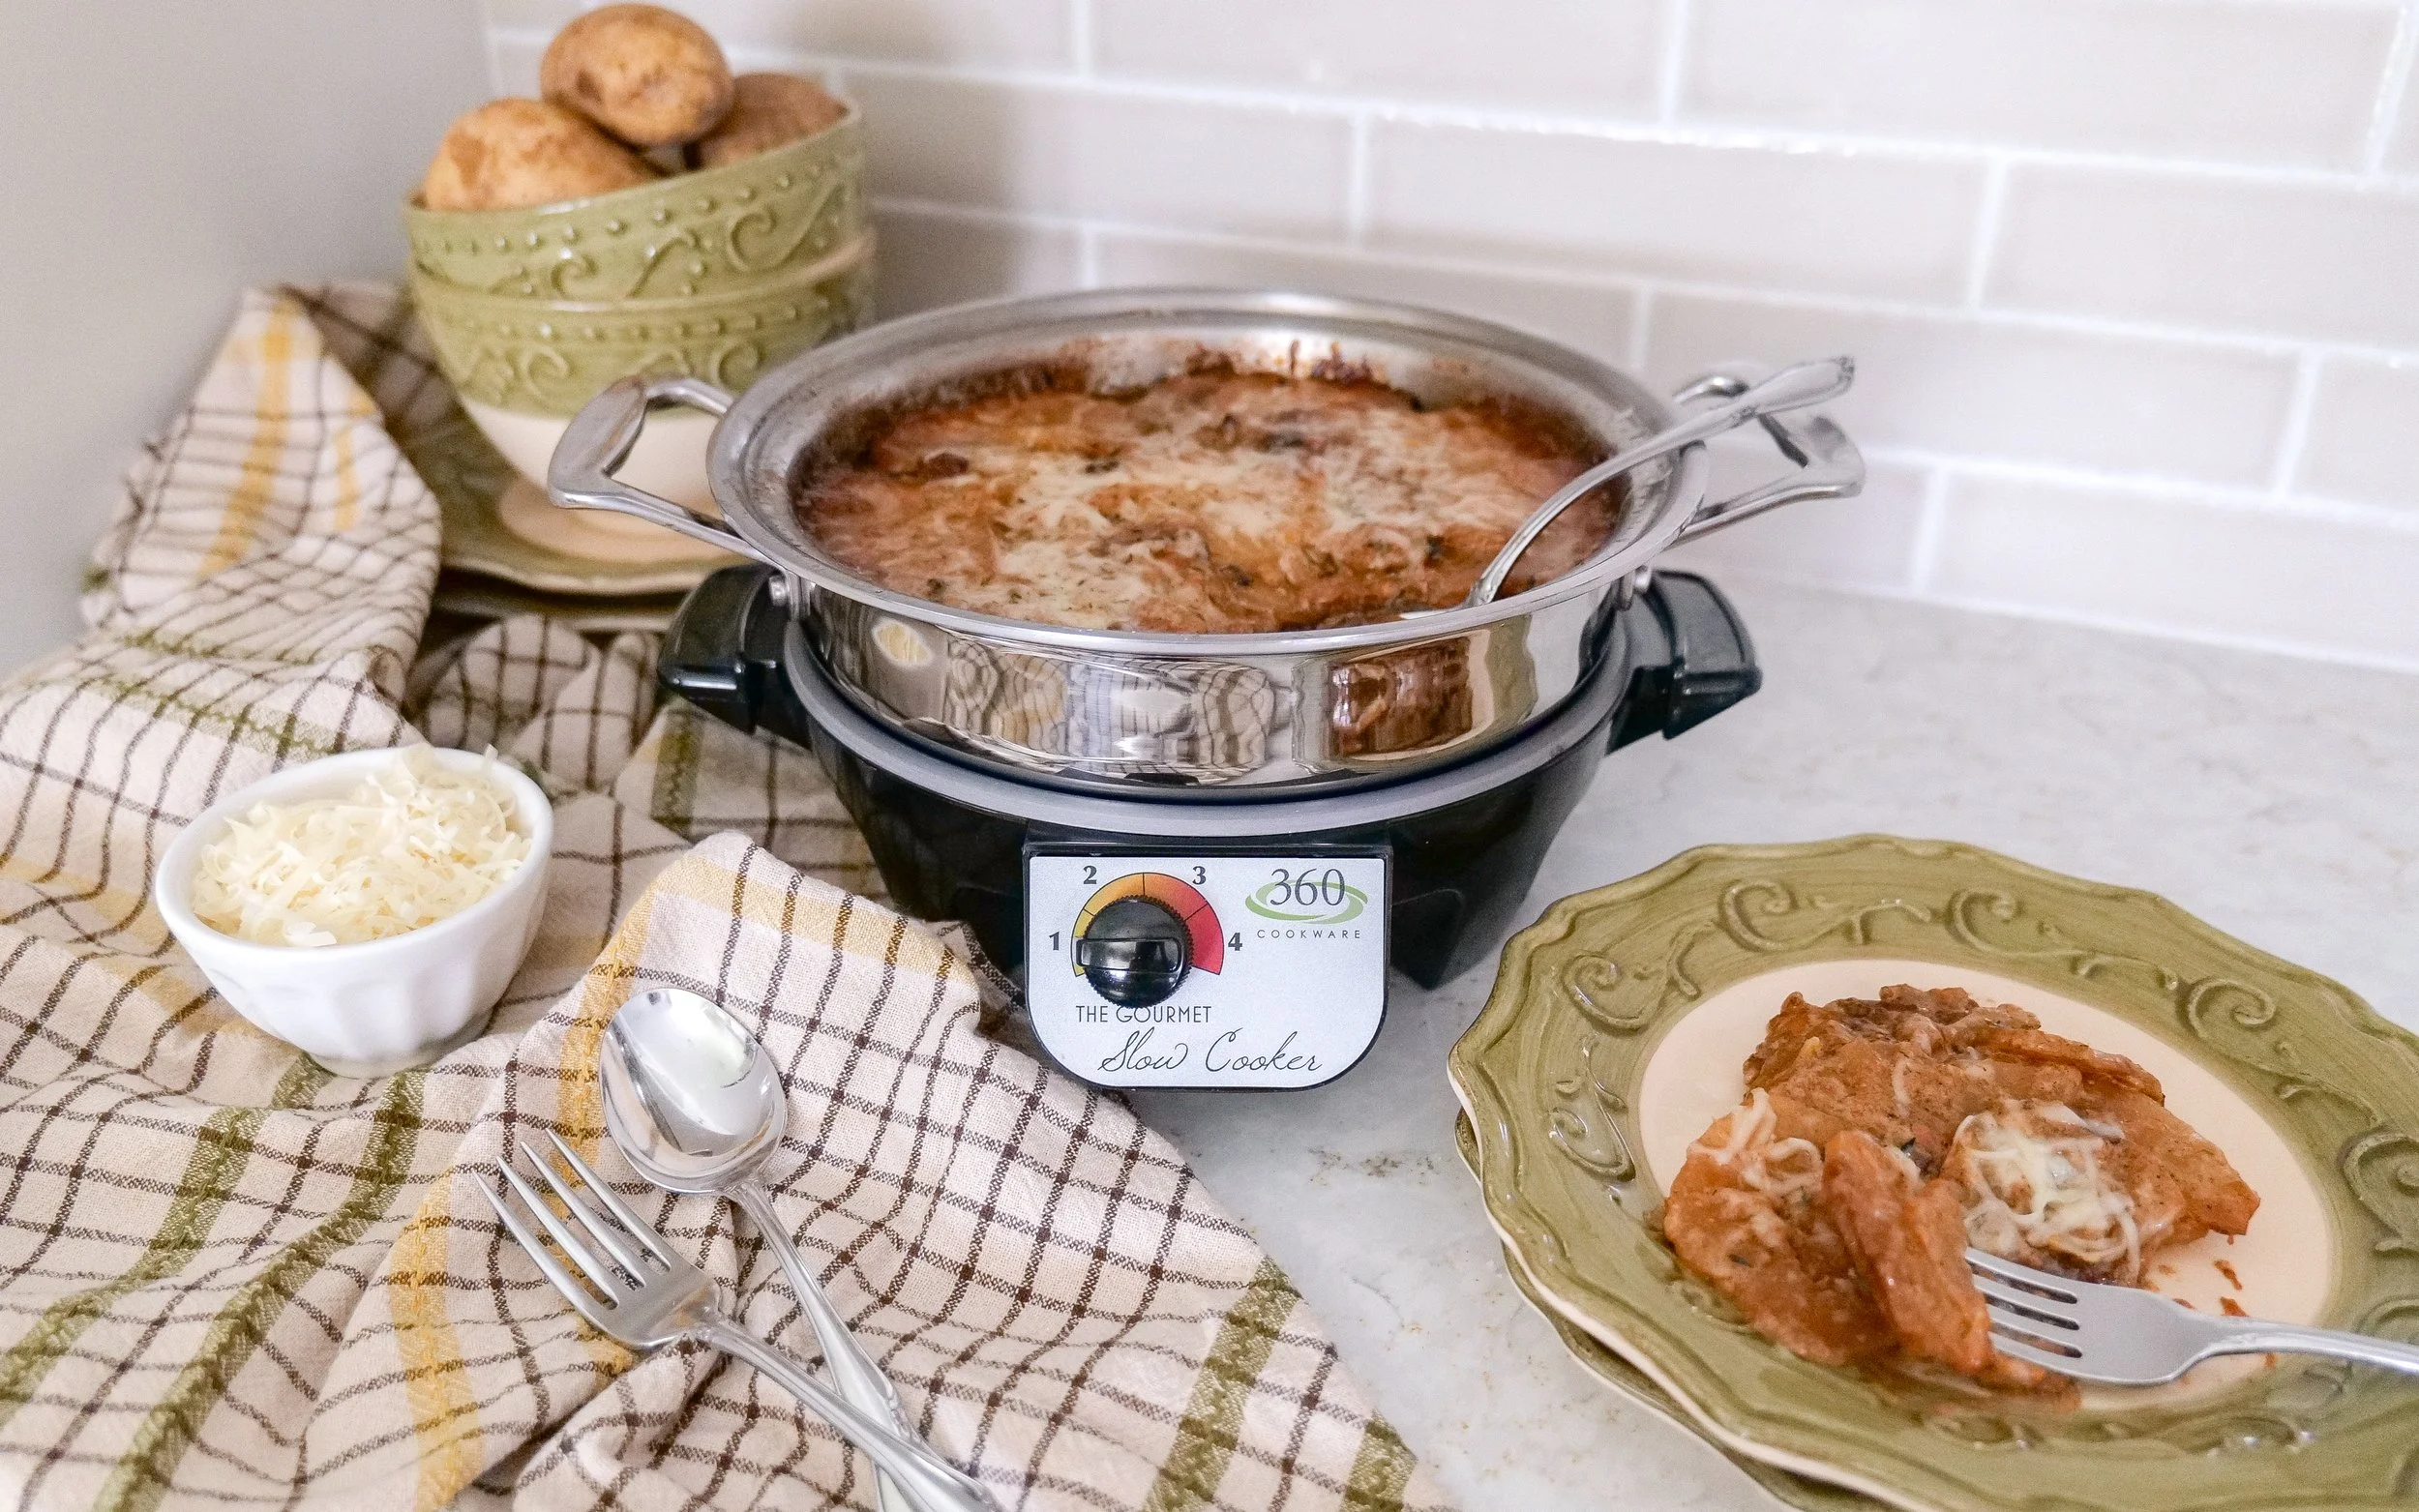
Easy potato side dish for weeknight dinners and holidays.

What to Serve with Slow Cooker Scalloped Potatoes

One of my favorite things about these potatoes is just how versatile they are. They're equally at home on a holiday table or served alongside a cozy weeknight dinner.

If you're planning a complete meal, these recipes pair beautifully with this creamy side dish:

Apple Glazed Chicken Thighs

A sweet and savory main dish that complements the rich, cheesy potatoes beautifully.

Grilled Peach Caprese Chicken

Fresh peaches, basil, mozzarella, and balsamic glaze make this one of my favorite warm-weather pairings.

Baked Caesar Asparagus

A fresh vegetable side that balances the richness of the potatoes.

Shaved Brussels Sprout Salad with Apples, Goat Cheese & Candied Pecans

Crisp, colorful, and perfect for holiday meals.

Stuffed Mushrooms

An elegant appetizer for Thanksgiving, Christmas, or dinner parties.

Sweet Kale Salad with Poppy Seed Dressing

A bright and refreshing salad to round out the meal.

Shop My Kitchen

If you've been around here for a while, you know I love investing in kitchen tools that last for years.

I've linked my favorite slow cooker, mandoline slicer, Dutch oven, serving dishes, and entertaining favorites in my Cozy Kitchen Essentials ShopMy Shelf.
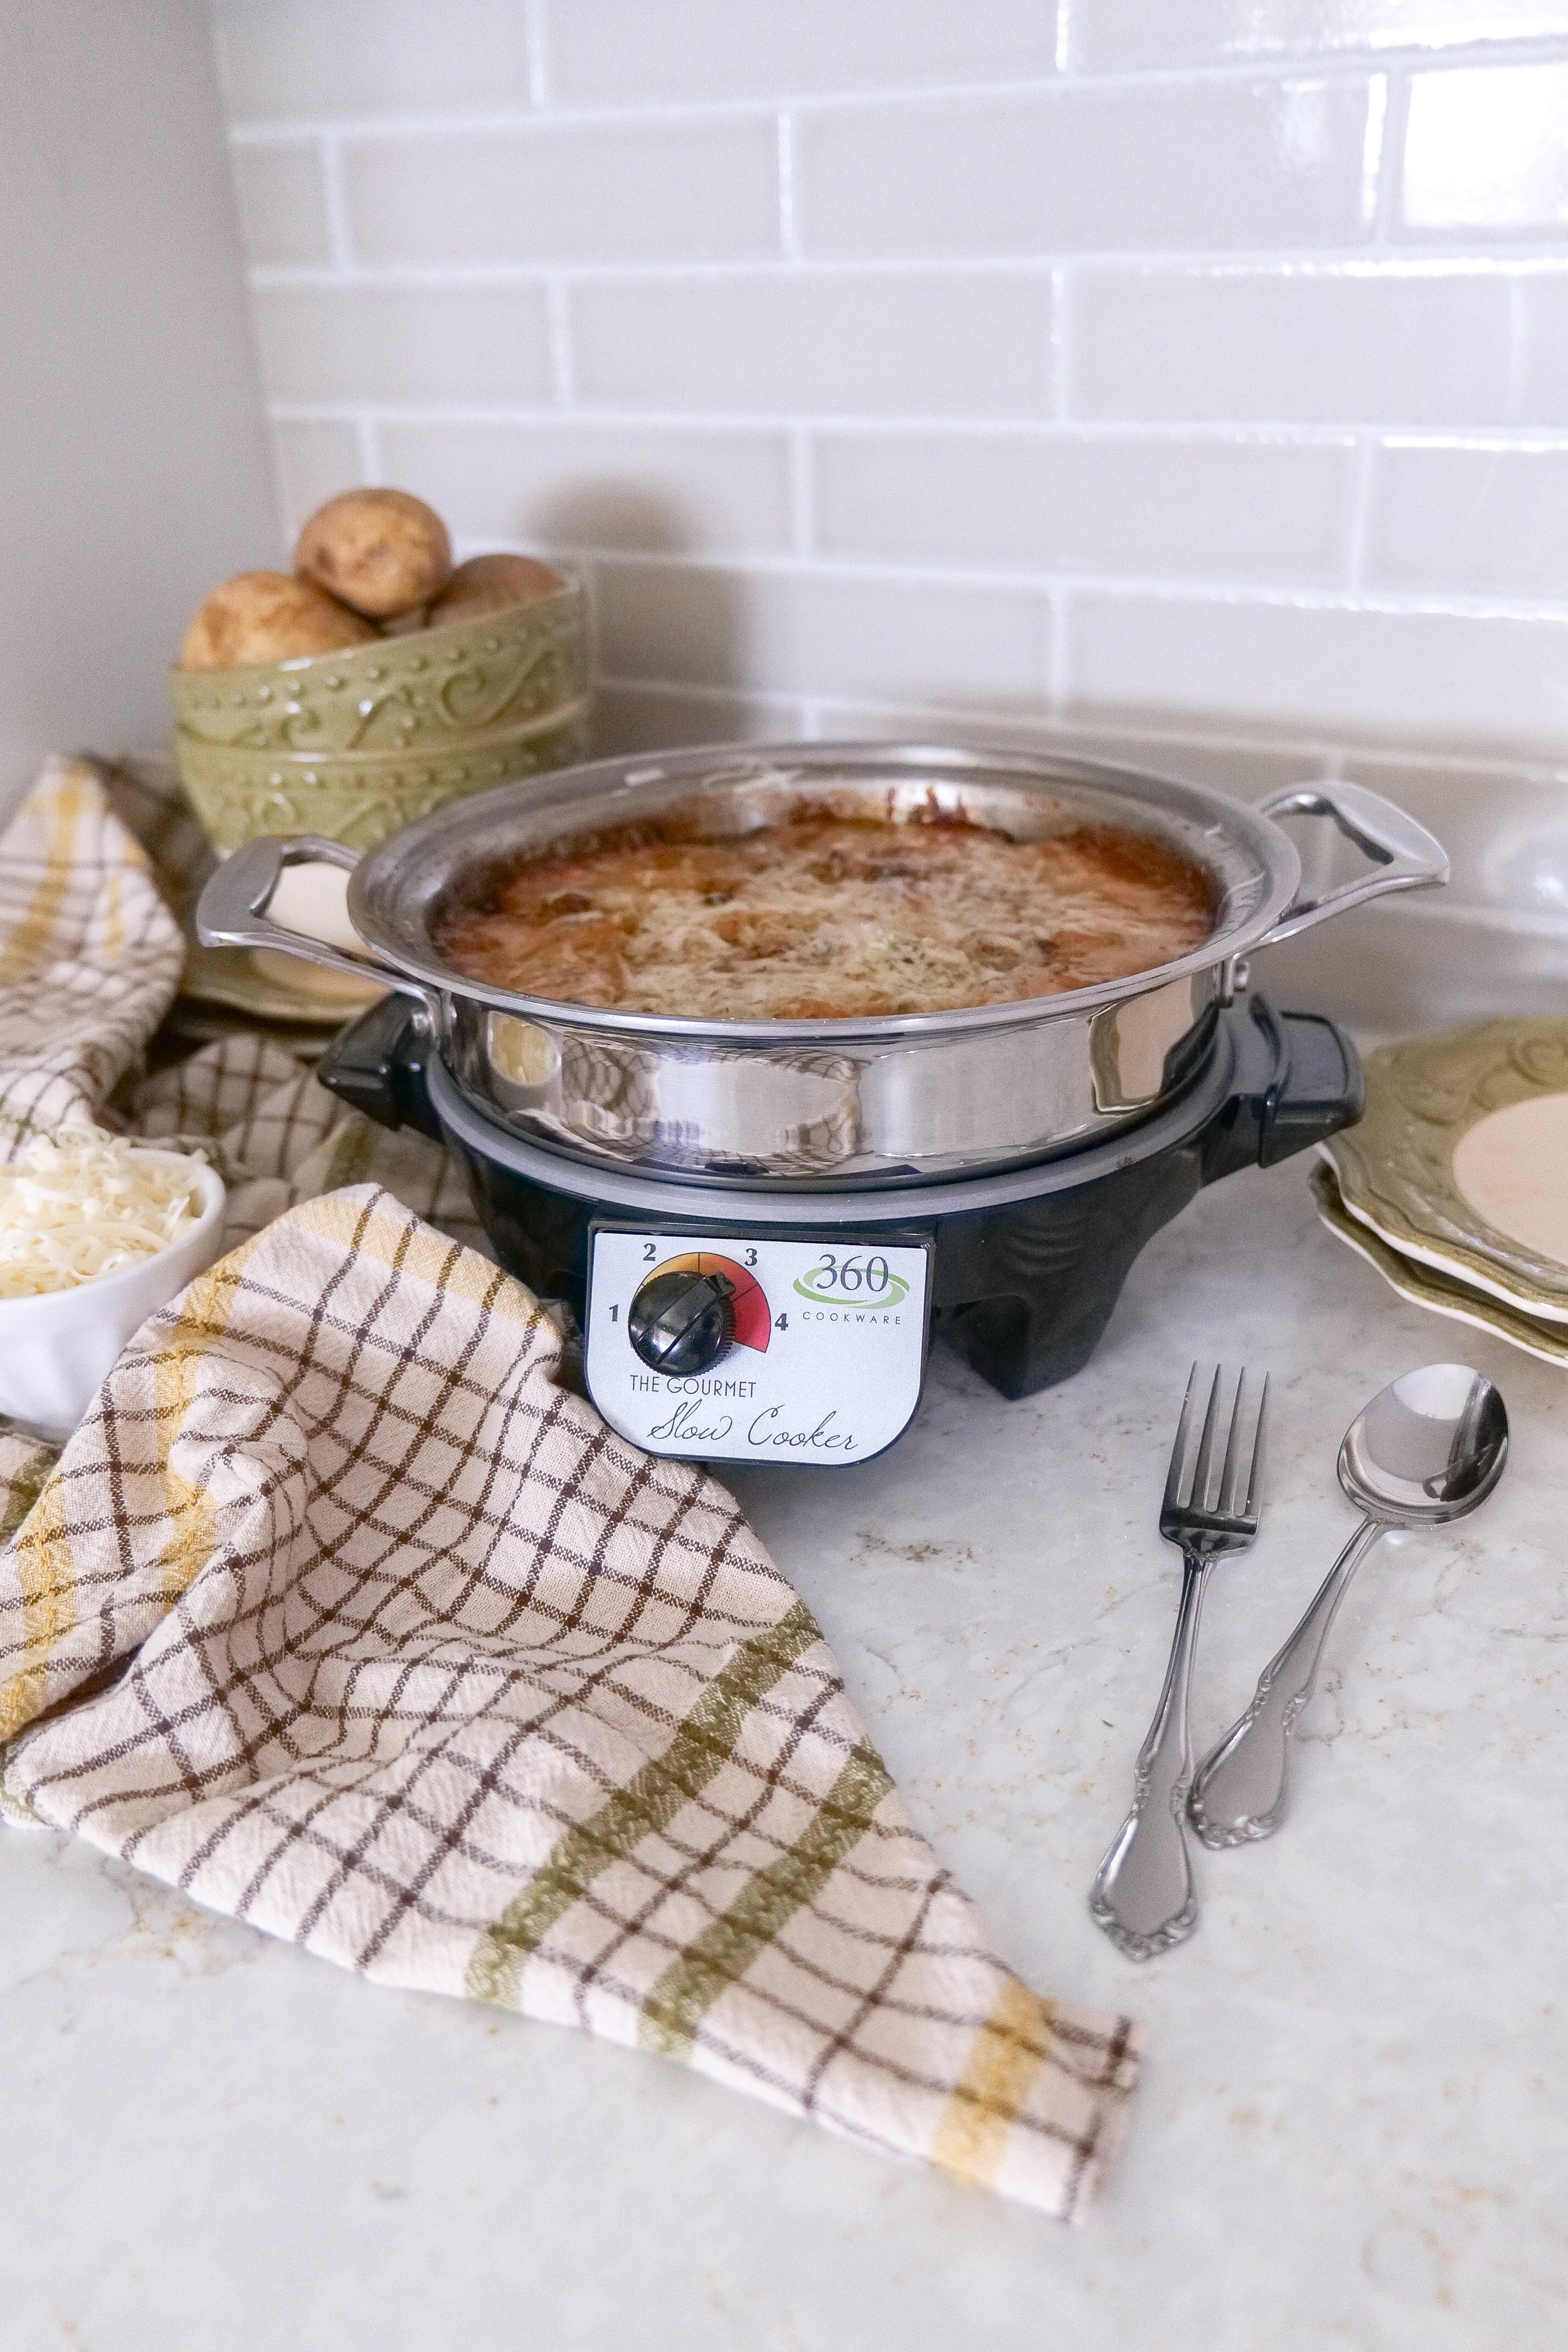
Homemade scalloped potatoes with a creamy herb sauce.

Frequently Asked Questions

Can I make these the night before?

Yes!

Can I use Yukon Gold potatoes?

Absolutely.

What's the difference between scalloped potatoes and potatoes au gratin?

Traditional scalloped potatoes use a cream sauce, while au gratin potatoes typically contain more cheese. This recipe offers the best of both.

Can I freeze them?

Cream sauces don't freeze as well, so I recommend enjoying them fresh.
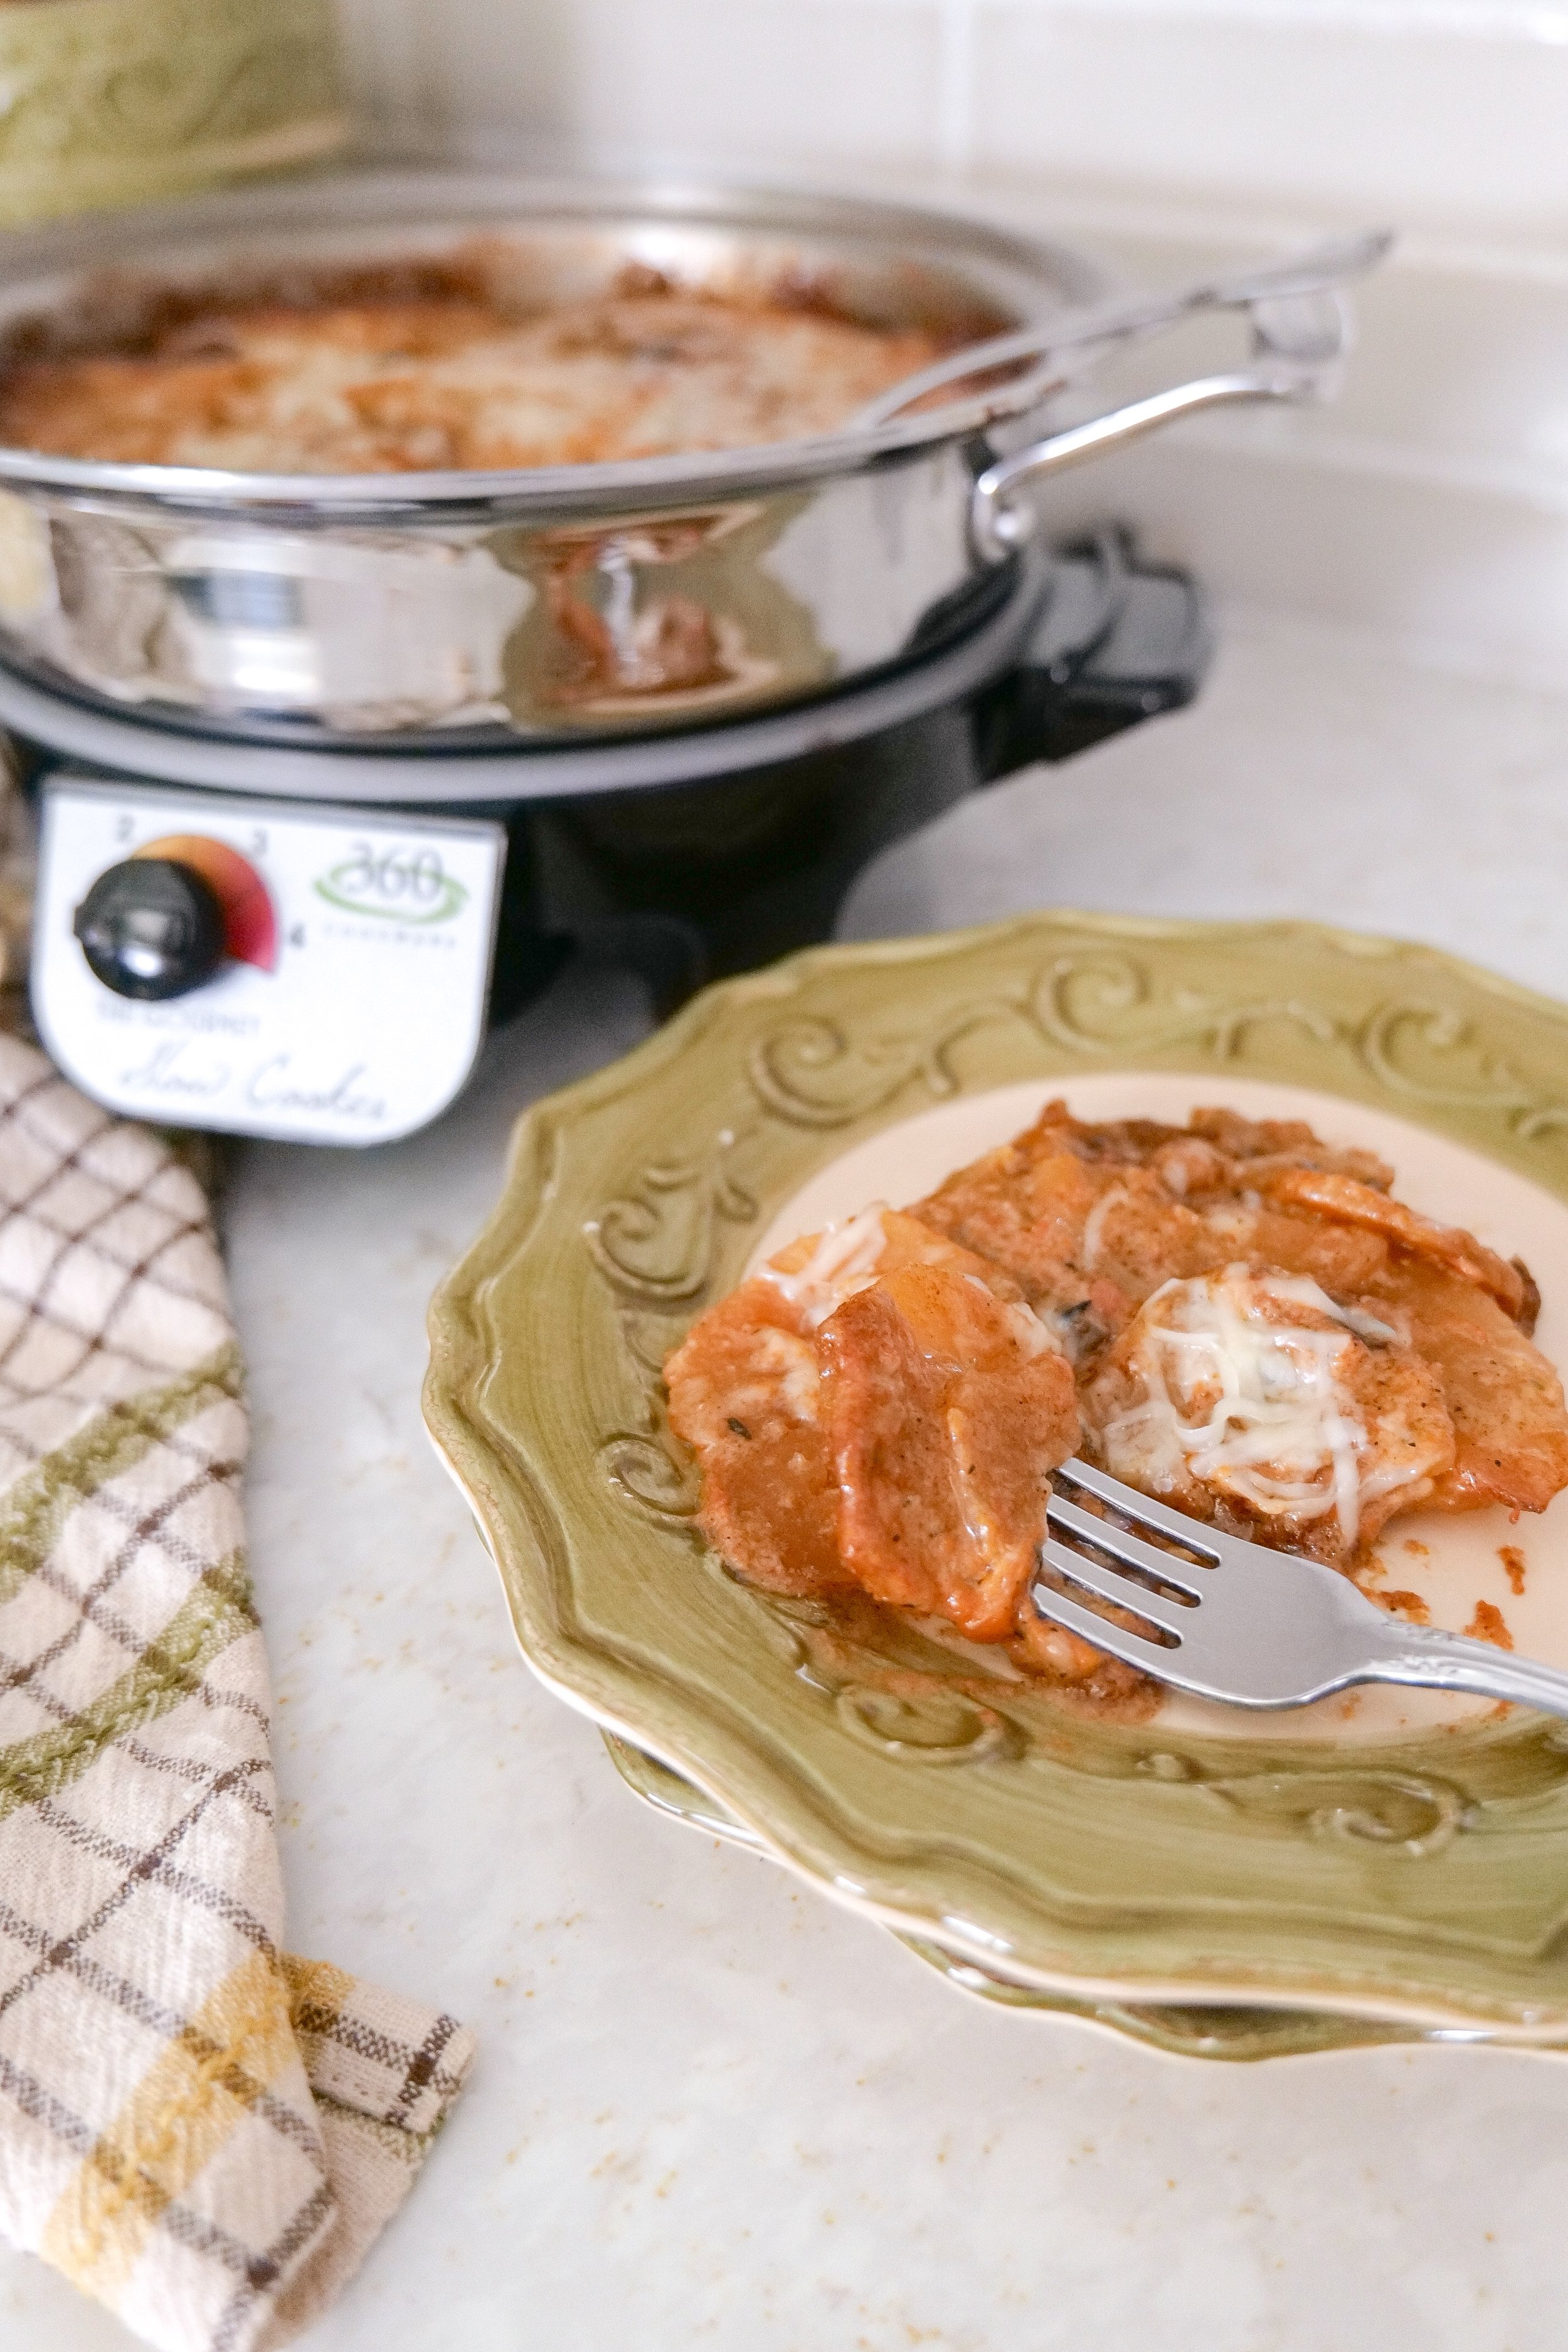
The best creamy scalloped potatoes made in the slow cooker.
Creamy potato side dish served with roasted chicken for family dinner.

More Cozy Recipes You'll Love

If you're building a holiday menu or simply love comforting family dinners, here are a few more favorites from my kitchen.

Elevate Your Plate with a Baked Caesar Asparagus Side Dish

Shaved Brussels Sprout Salad with Apples, Goat Cheese & Candied Pecans

A Crowd-Pleasing Stuffed Mushroom Recipe

Discover the Delightful Twist of Sweet Kale Salad with Poppy Seed Dressing

Holiday Menus You'll Love

If entertaining is one of your favorite ways to love on people, I think you'll enjoy these seasonal menus and hosting guides too.

Red, White & Boil: An Americana Southern Dinner Party

America's 250th Summer Tablescape

Easy Shrimp Boil Recipe

Brown Butter Herb Corn on the Cob

Slow Cooker Baked Beans with Bacon

All-American Charcuterie Board

From Amanda's Kitchen

Love having recipes you can print and keep? I've started creating beautiful printable recipe cards for some of my favorite recipes so you can save them in your recipe binder, tuck them into a cookbook, or share them with family and friends.
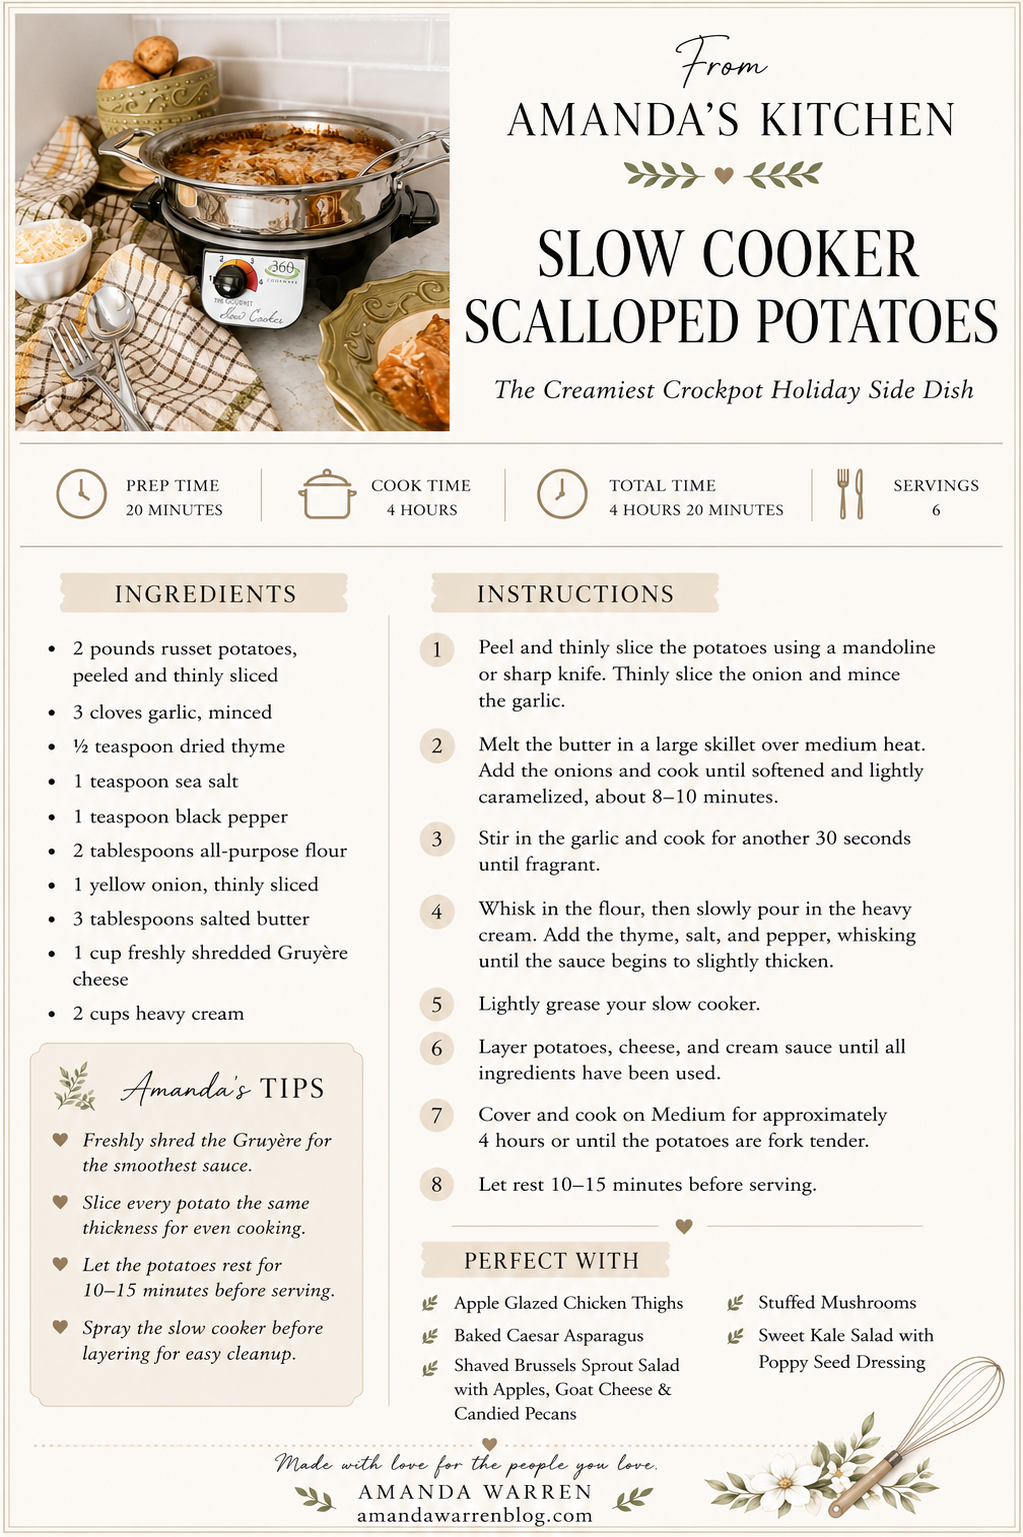
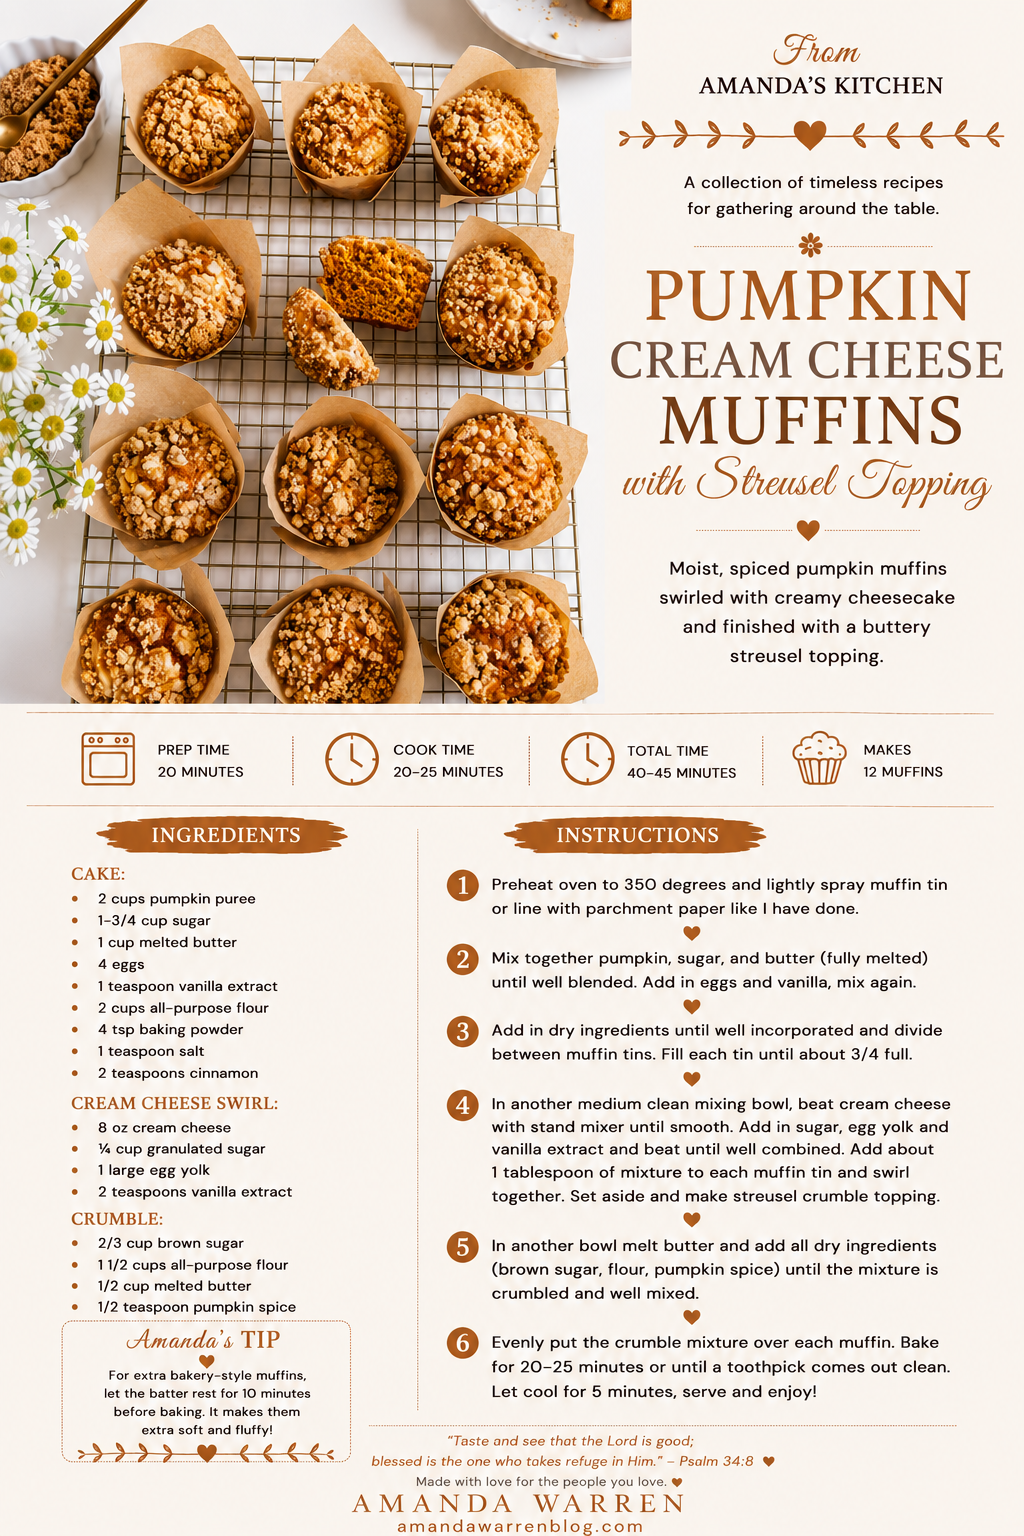
Printable recipe card for creamy slow cooker scalloped potatoes made with russet potatoes, Gruyère cheese, garlic, onions, and heavy cream. Easy crockpot holiday side dish from Amanda's Kitchen.
Easy potato side dish perfect for Christmas, Easter, and Thanksgiving meals.
Slow cooker holiday side dish recipe with creamy scalloped potatoes.
Close-up of creamy slow cooker scalloped potatoes ready to serve.
Cheesy potato casserole cooked low and slow in the crockpot.
Comfort food scalloped potatoes with rich cream sauce and cheese.
Rustic homemade scalloped potatoes in a slow cooker.

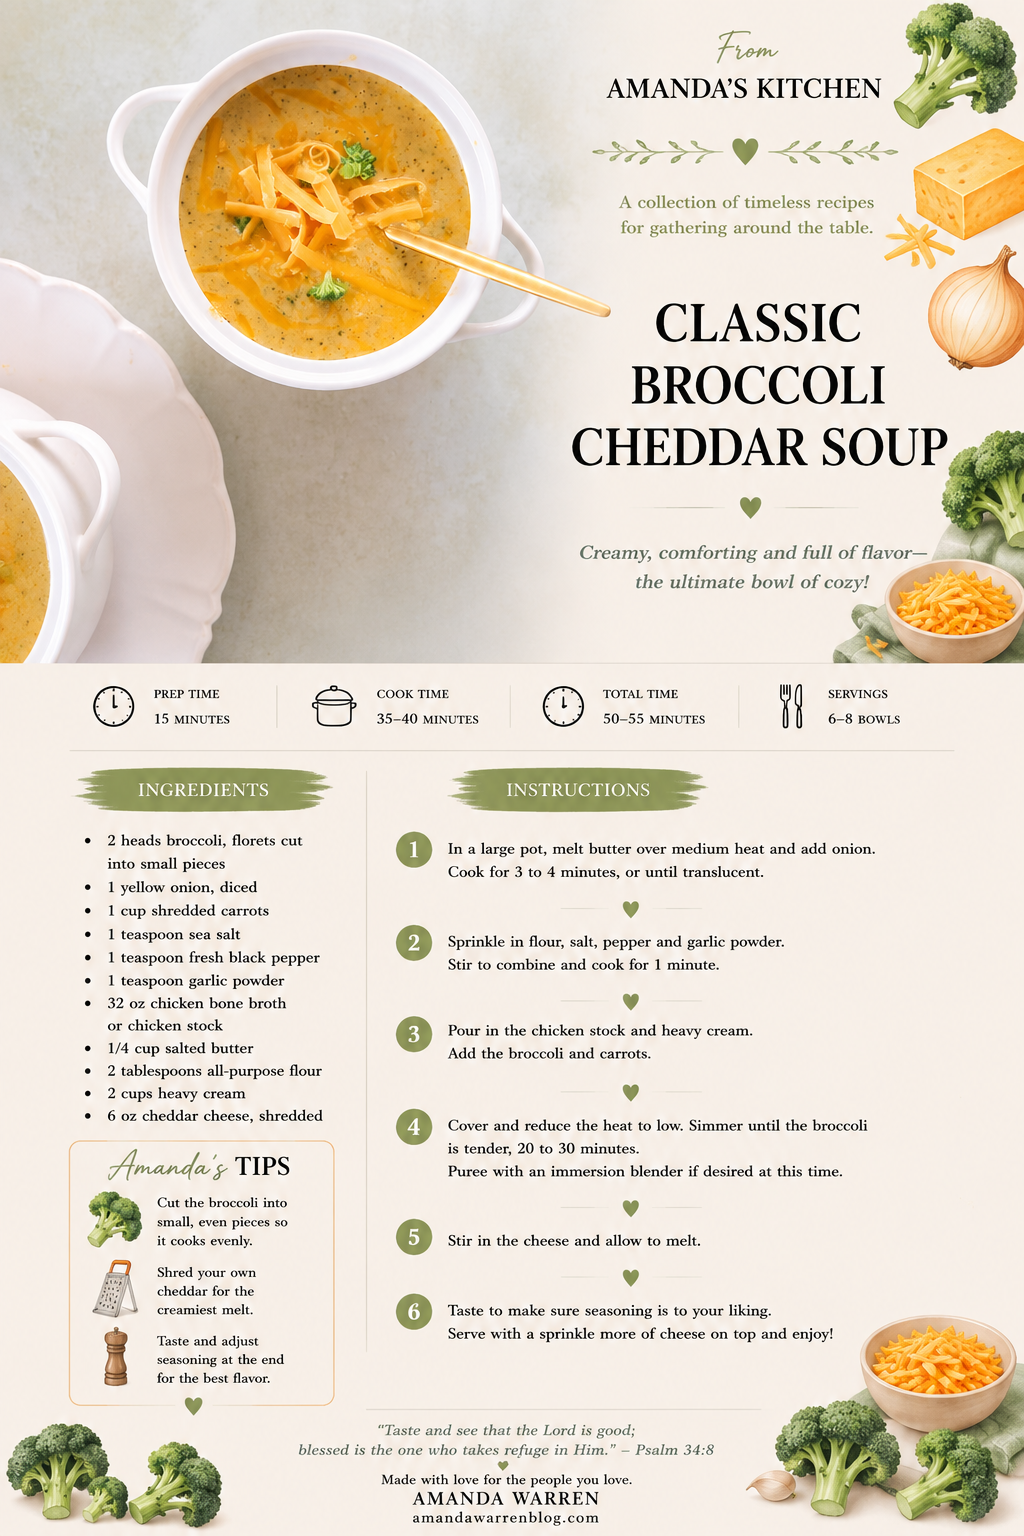
Creamy Broccoli Cheddar Soup Recipe

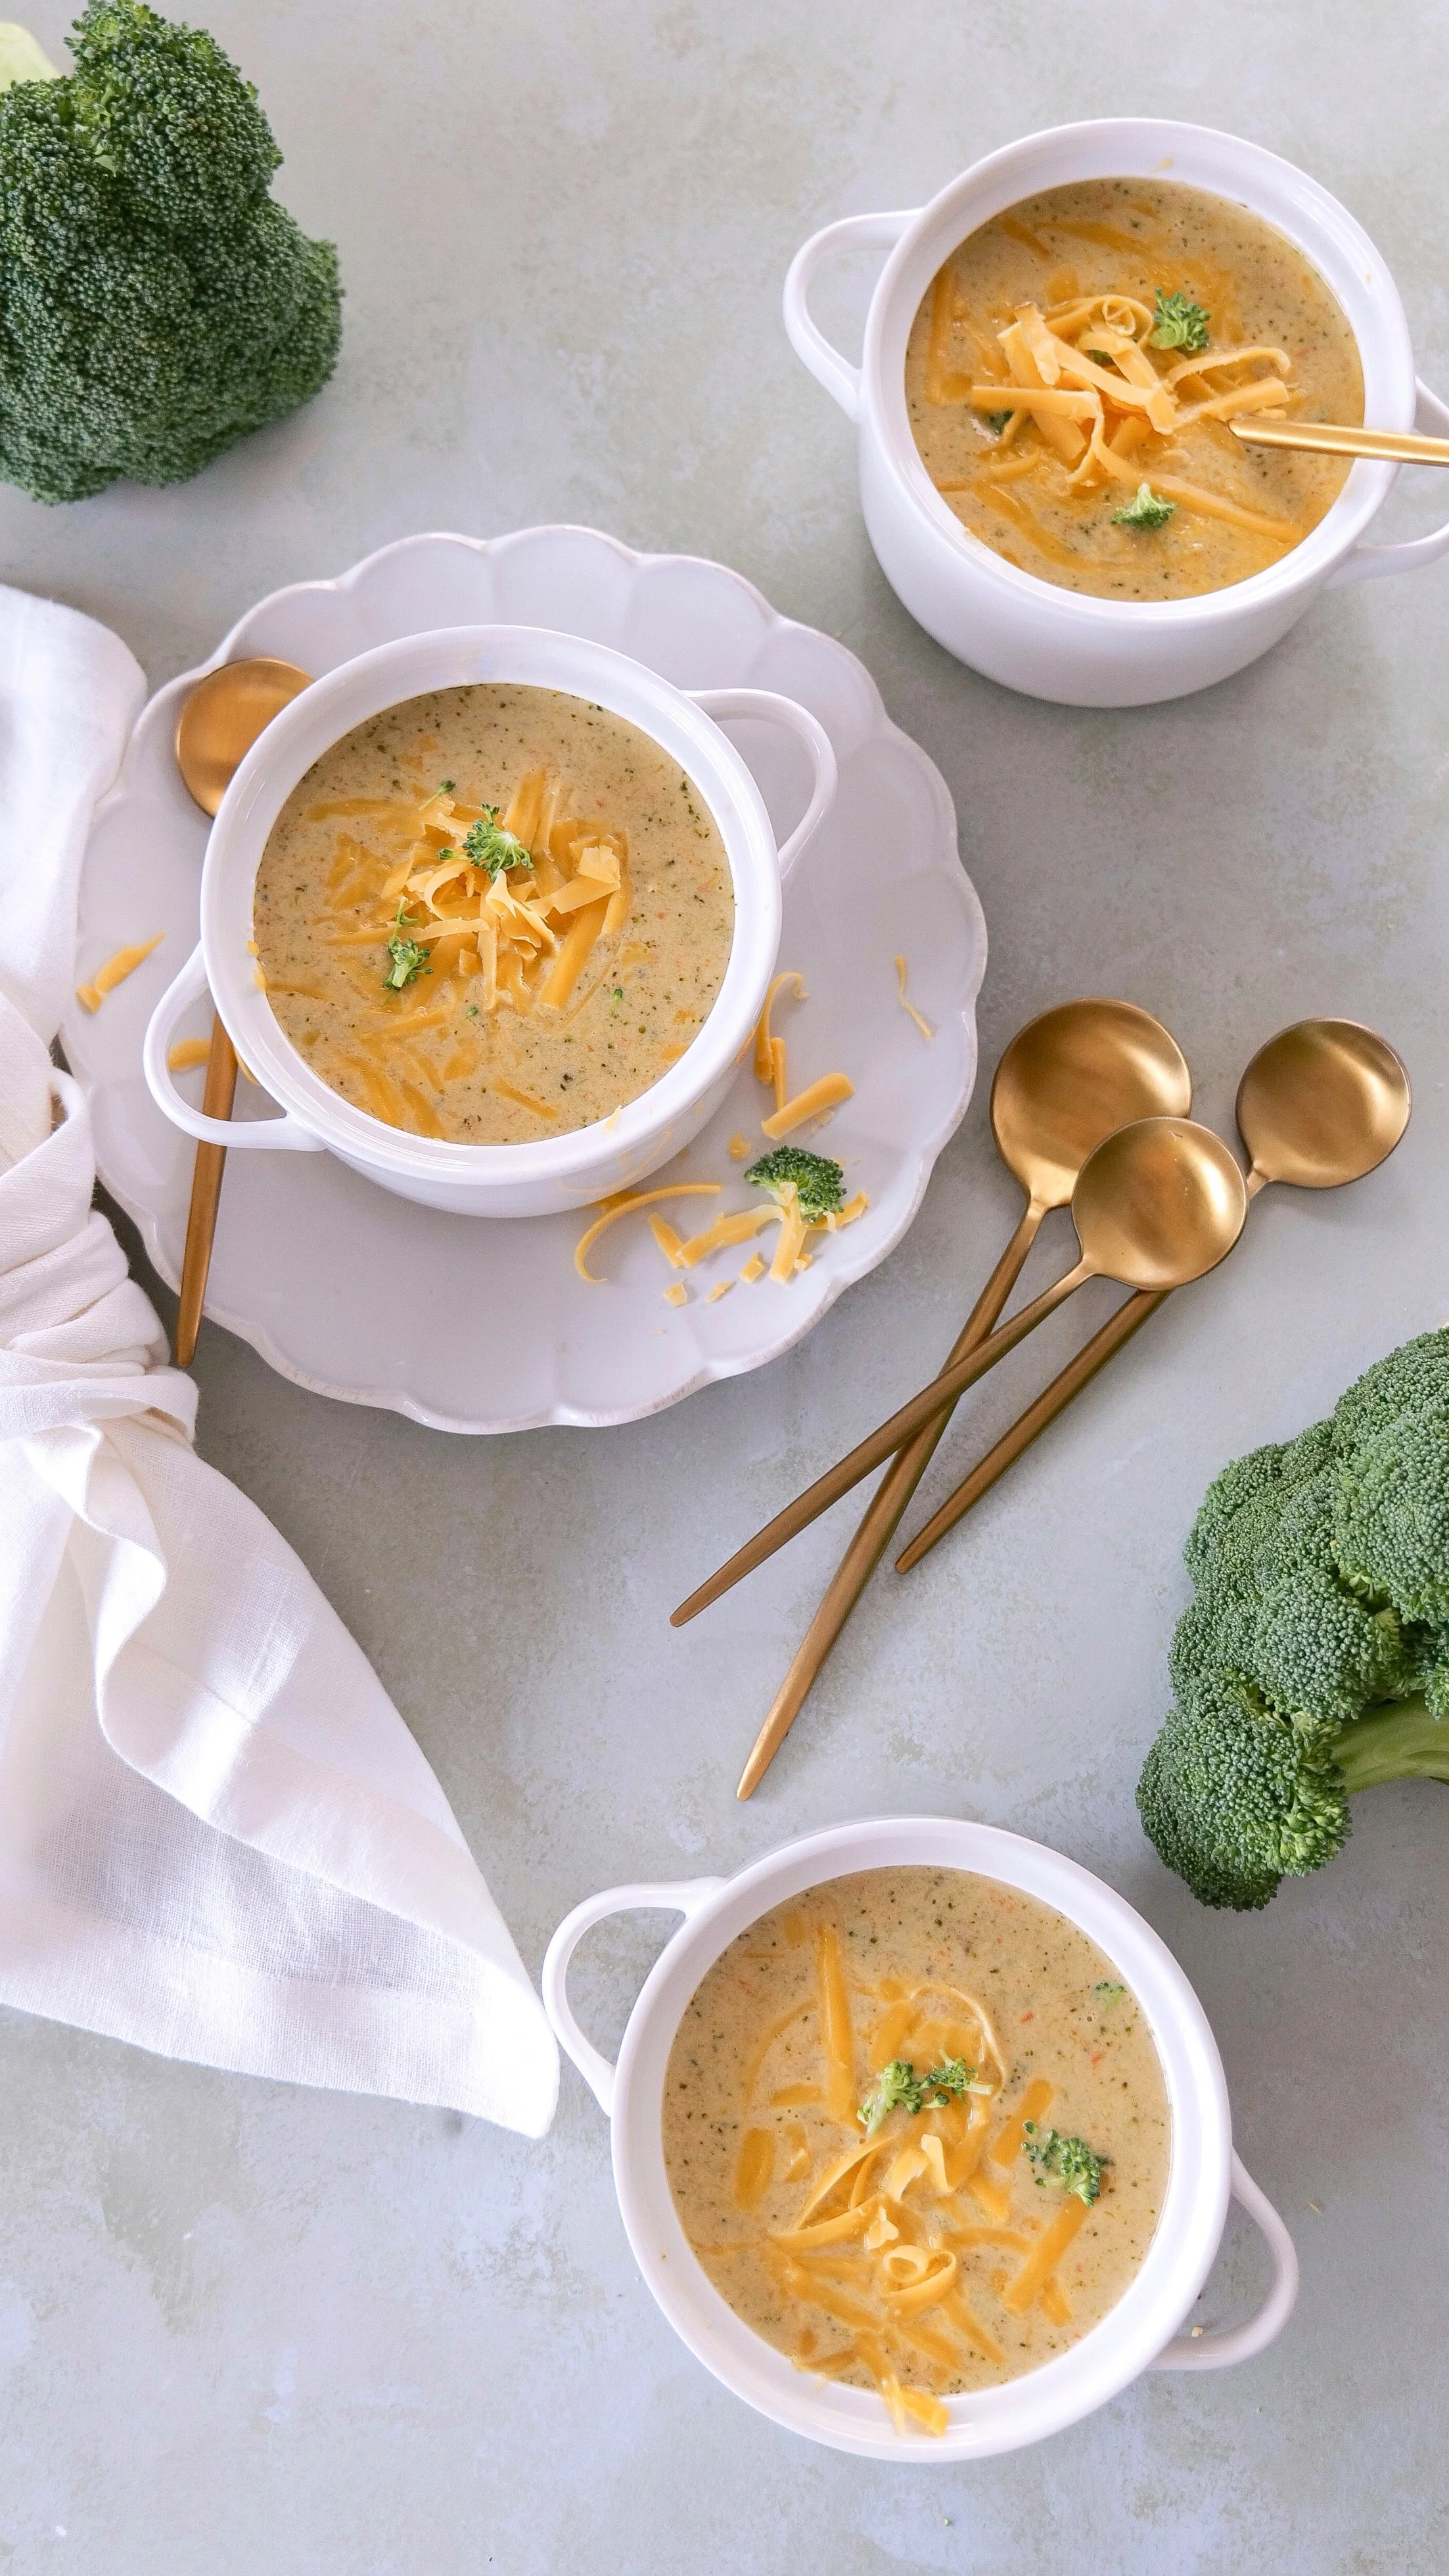
There is something about a warm bowl of homemade broccoli cheddar soup that instantly feels like comfort food. Creamy, cheesy, filled with tender broccoli and carrots, and hearty enough to make a meal on its own, this is one of those soup recipes I come back to when we want something warm and satisfying.

My version is made with fresh broccoli, shredded carrots, chicken bone broth, heavy cream, and plenty of cheddar cheese. I also use a simple butter and flour base to give the soup that thick, creamy consistency you want from broccoli cheddar soup without making it overly complicated.

It's easy enough for a weeknight dinner but also one of those recipes that feels especially good on a cold or rainy day. Add warm bread on the side and dinner is done.

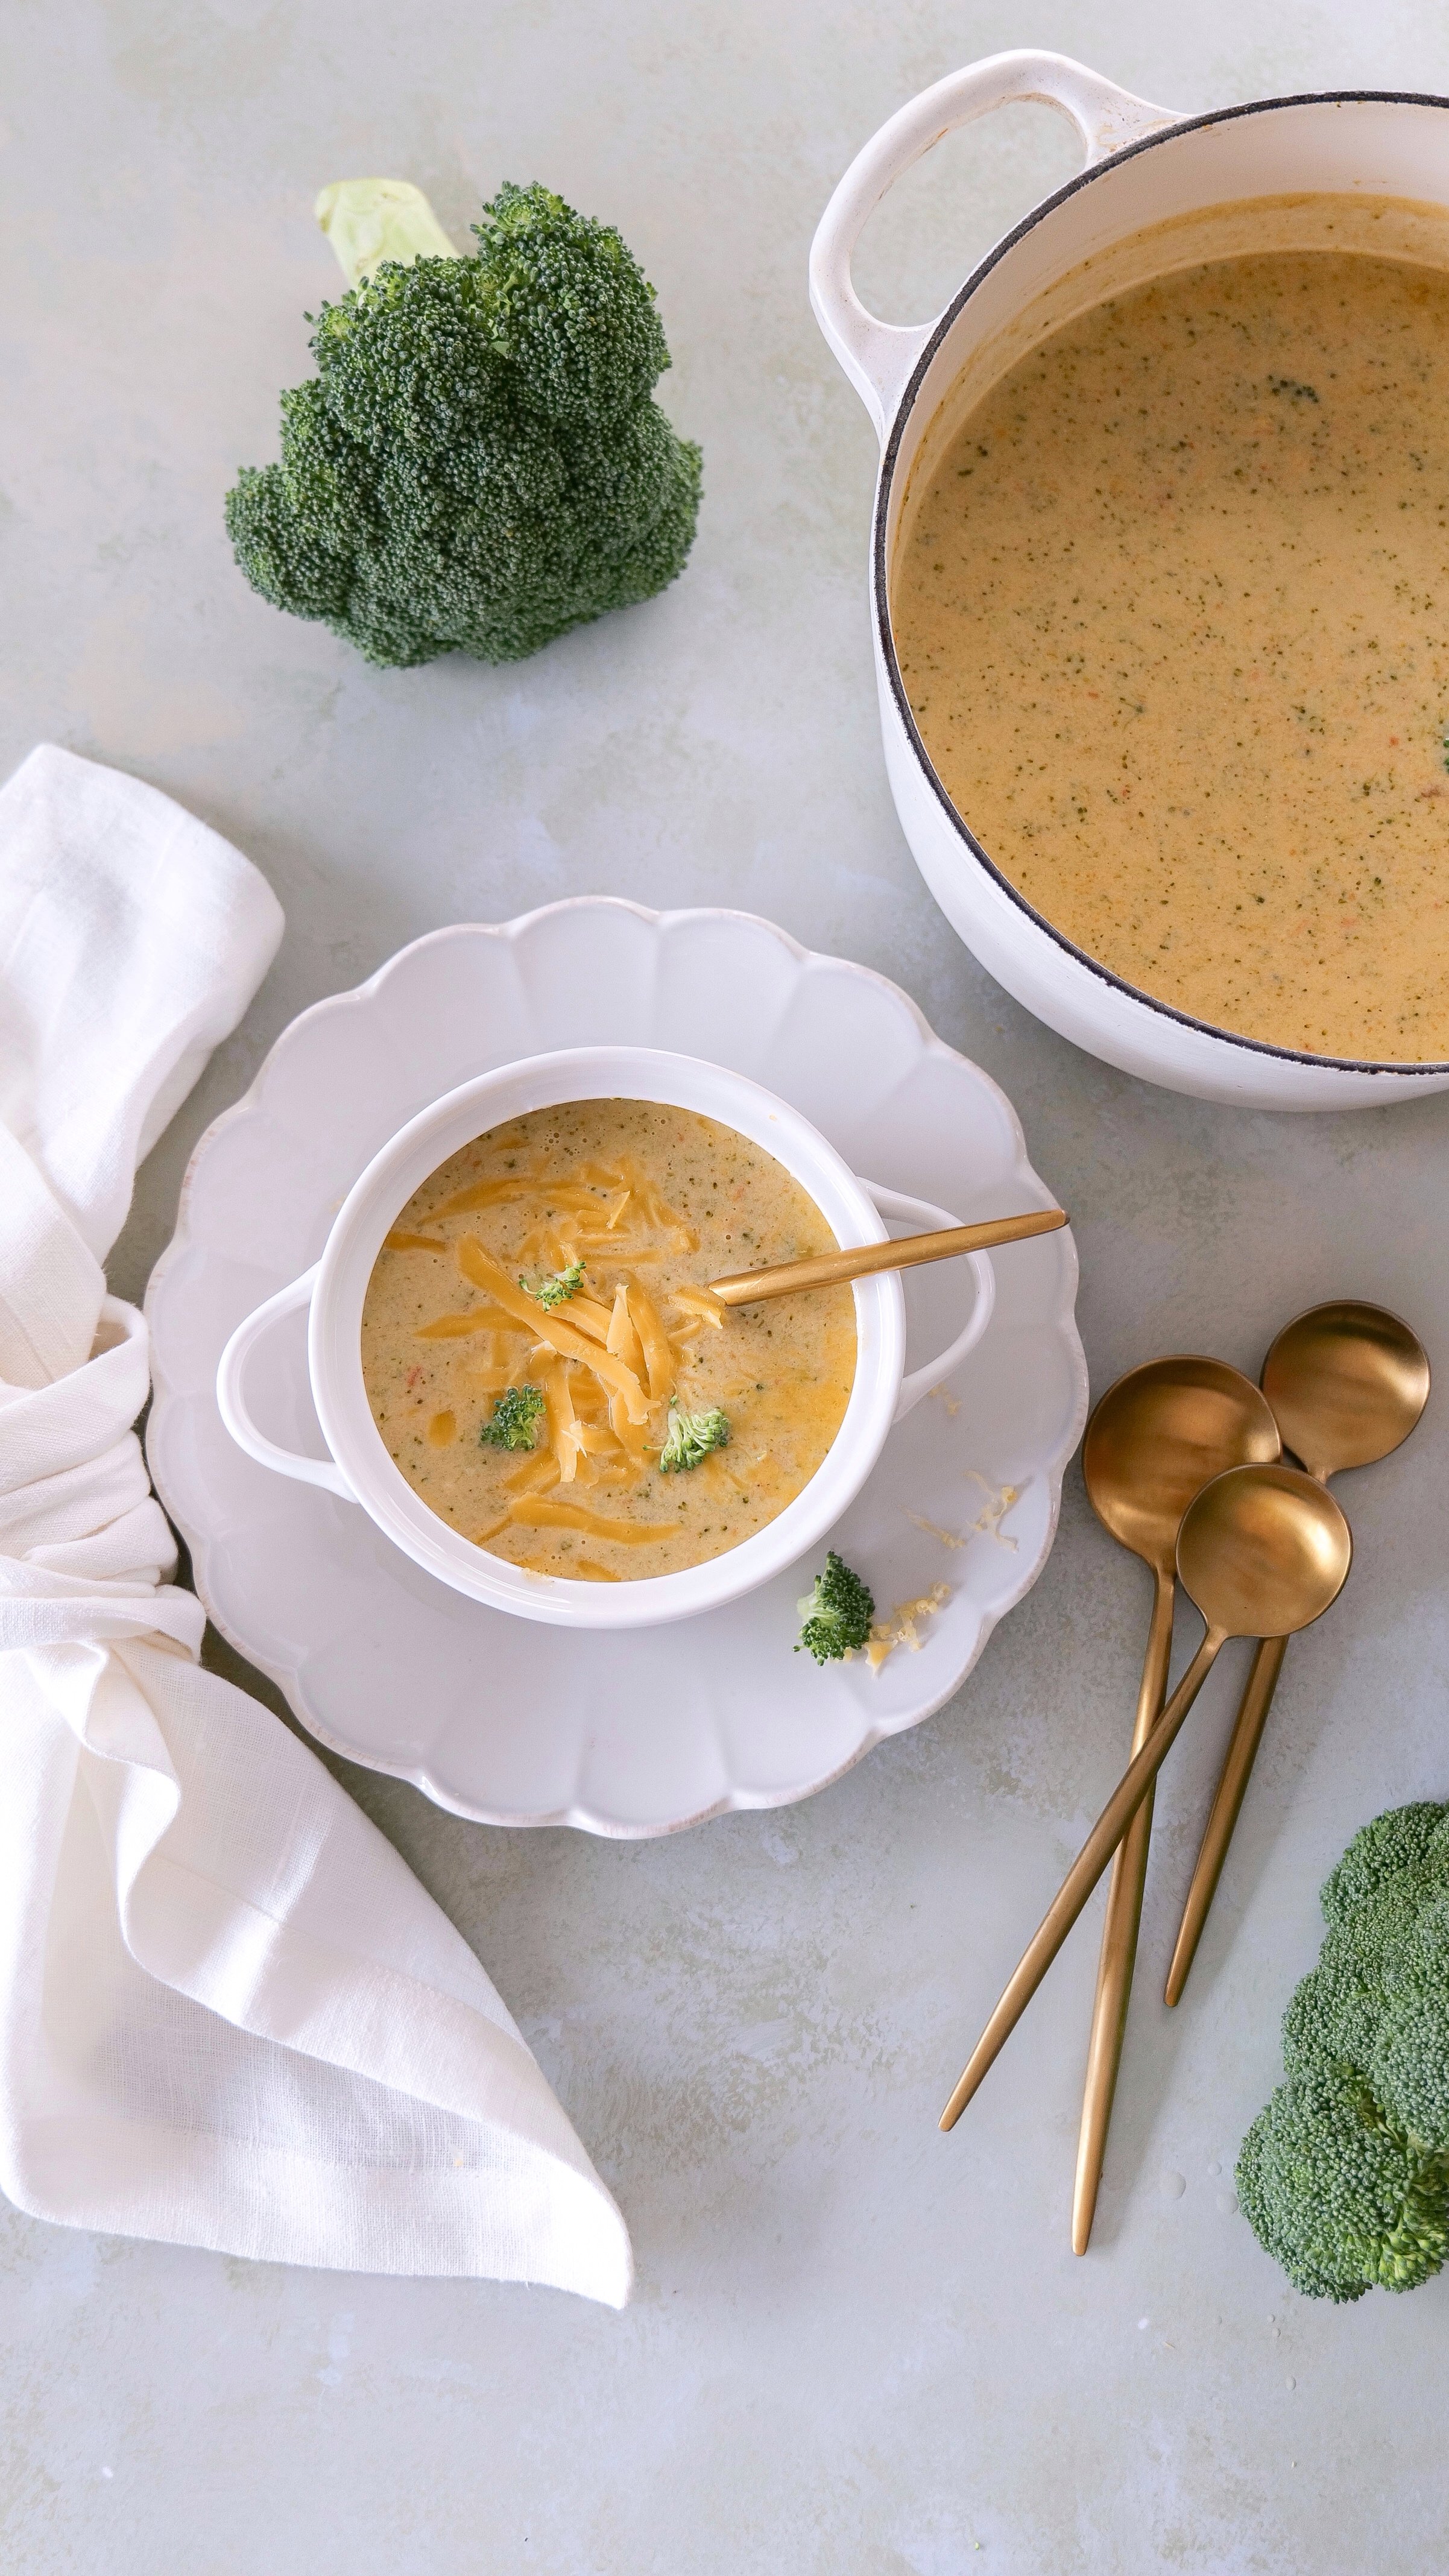
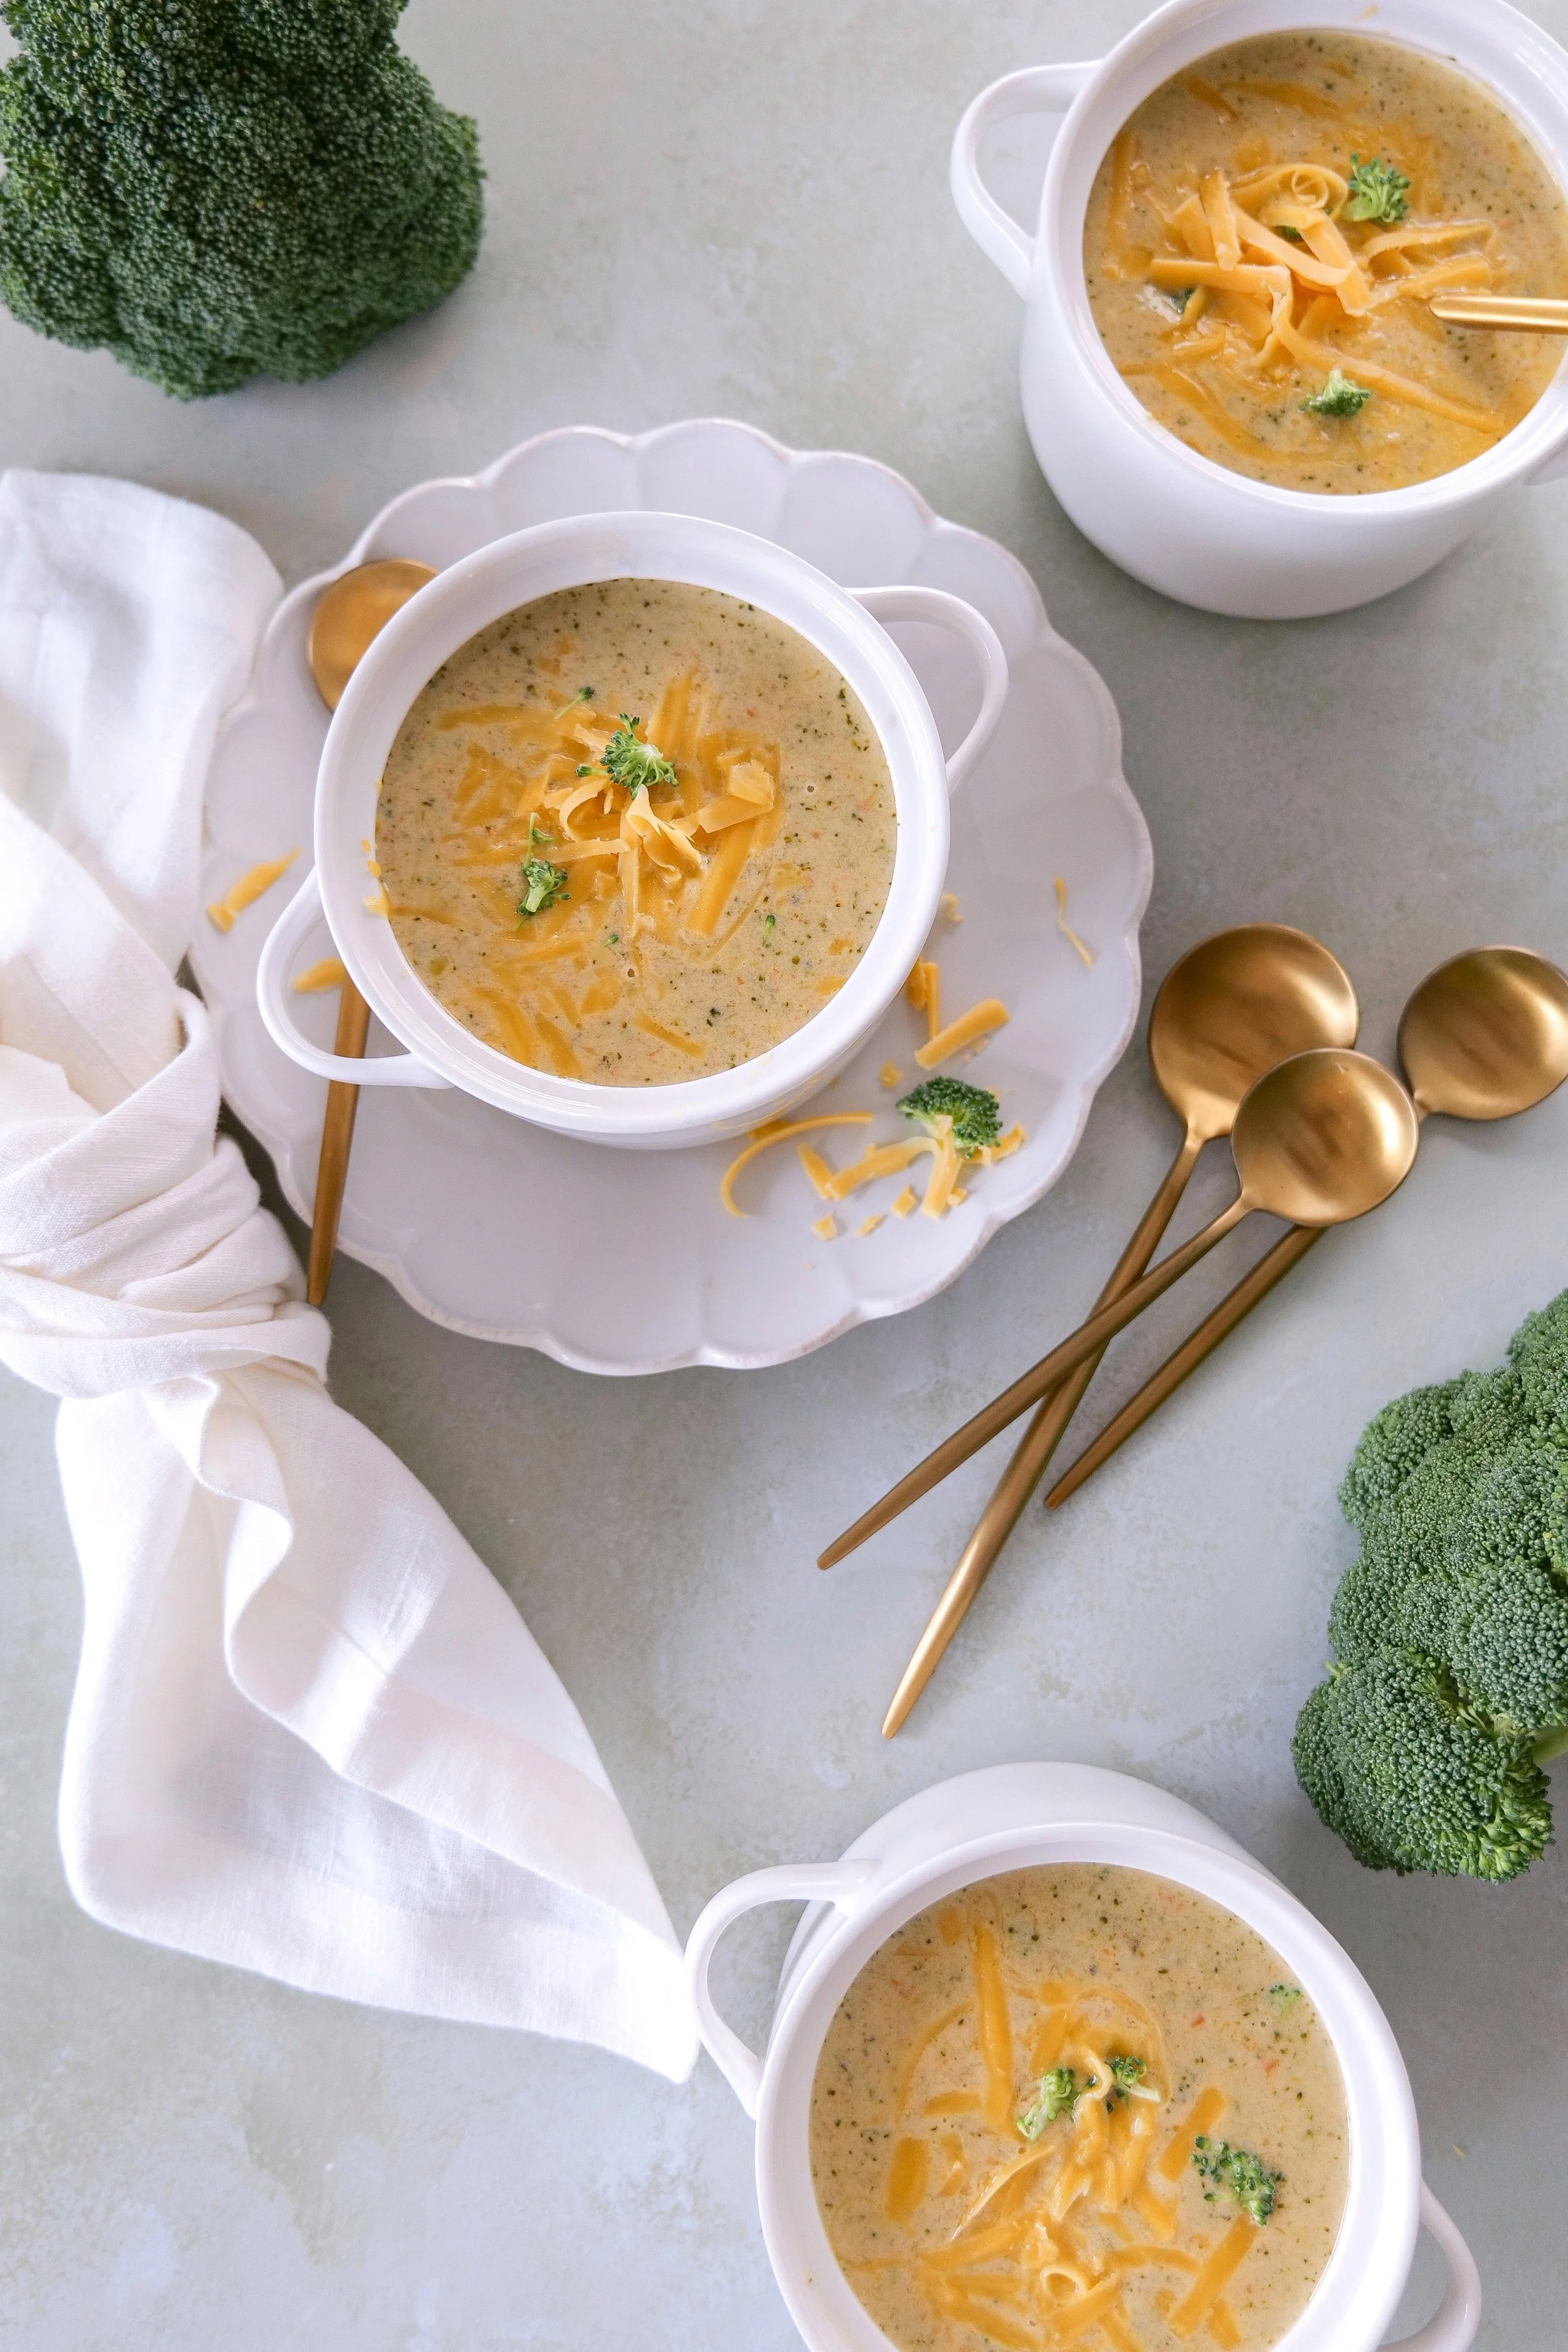
Creamy homemade broccoli cheddar soup with fresh broccoli, carrots and shredded cheddar cheese.
↓ Skip to Recipe

Why You’ll Love This Broccoli Cheddar Soup

There are plenty of versions of broccoli cheddar soup, but I love keeping mine relatively simple and letting the broccoli and cheddar be the stars.

Fresh broccoli gives the soup texture and heartiness, while shredded carrots add just a little natural sweetness. I use chicken bone broth or chicken stock instead of water for a more flavorful base, and heavy cream gives everything that rich, creamy consistency.

Then, of course, there’s the cheddar.

Once it melts into the broth, everything comes together into a thick, cheesy soup that feels substantial enough to serve as dinner rather than just a starter.

You can also adjust the texture depending on what your family prefers. Leave all of the vegetables intact for a chunky broccoli cheddar soup, or use an immersion blender to blend some of the broccoli into the broth for a smoother, thicker consistency.

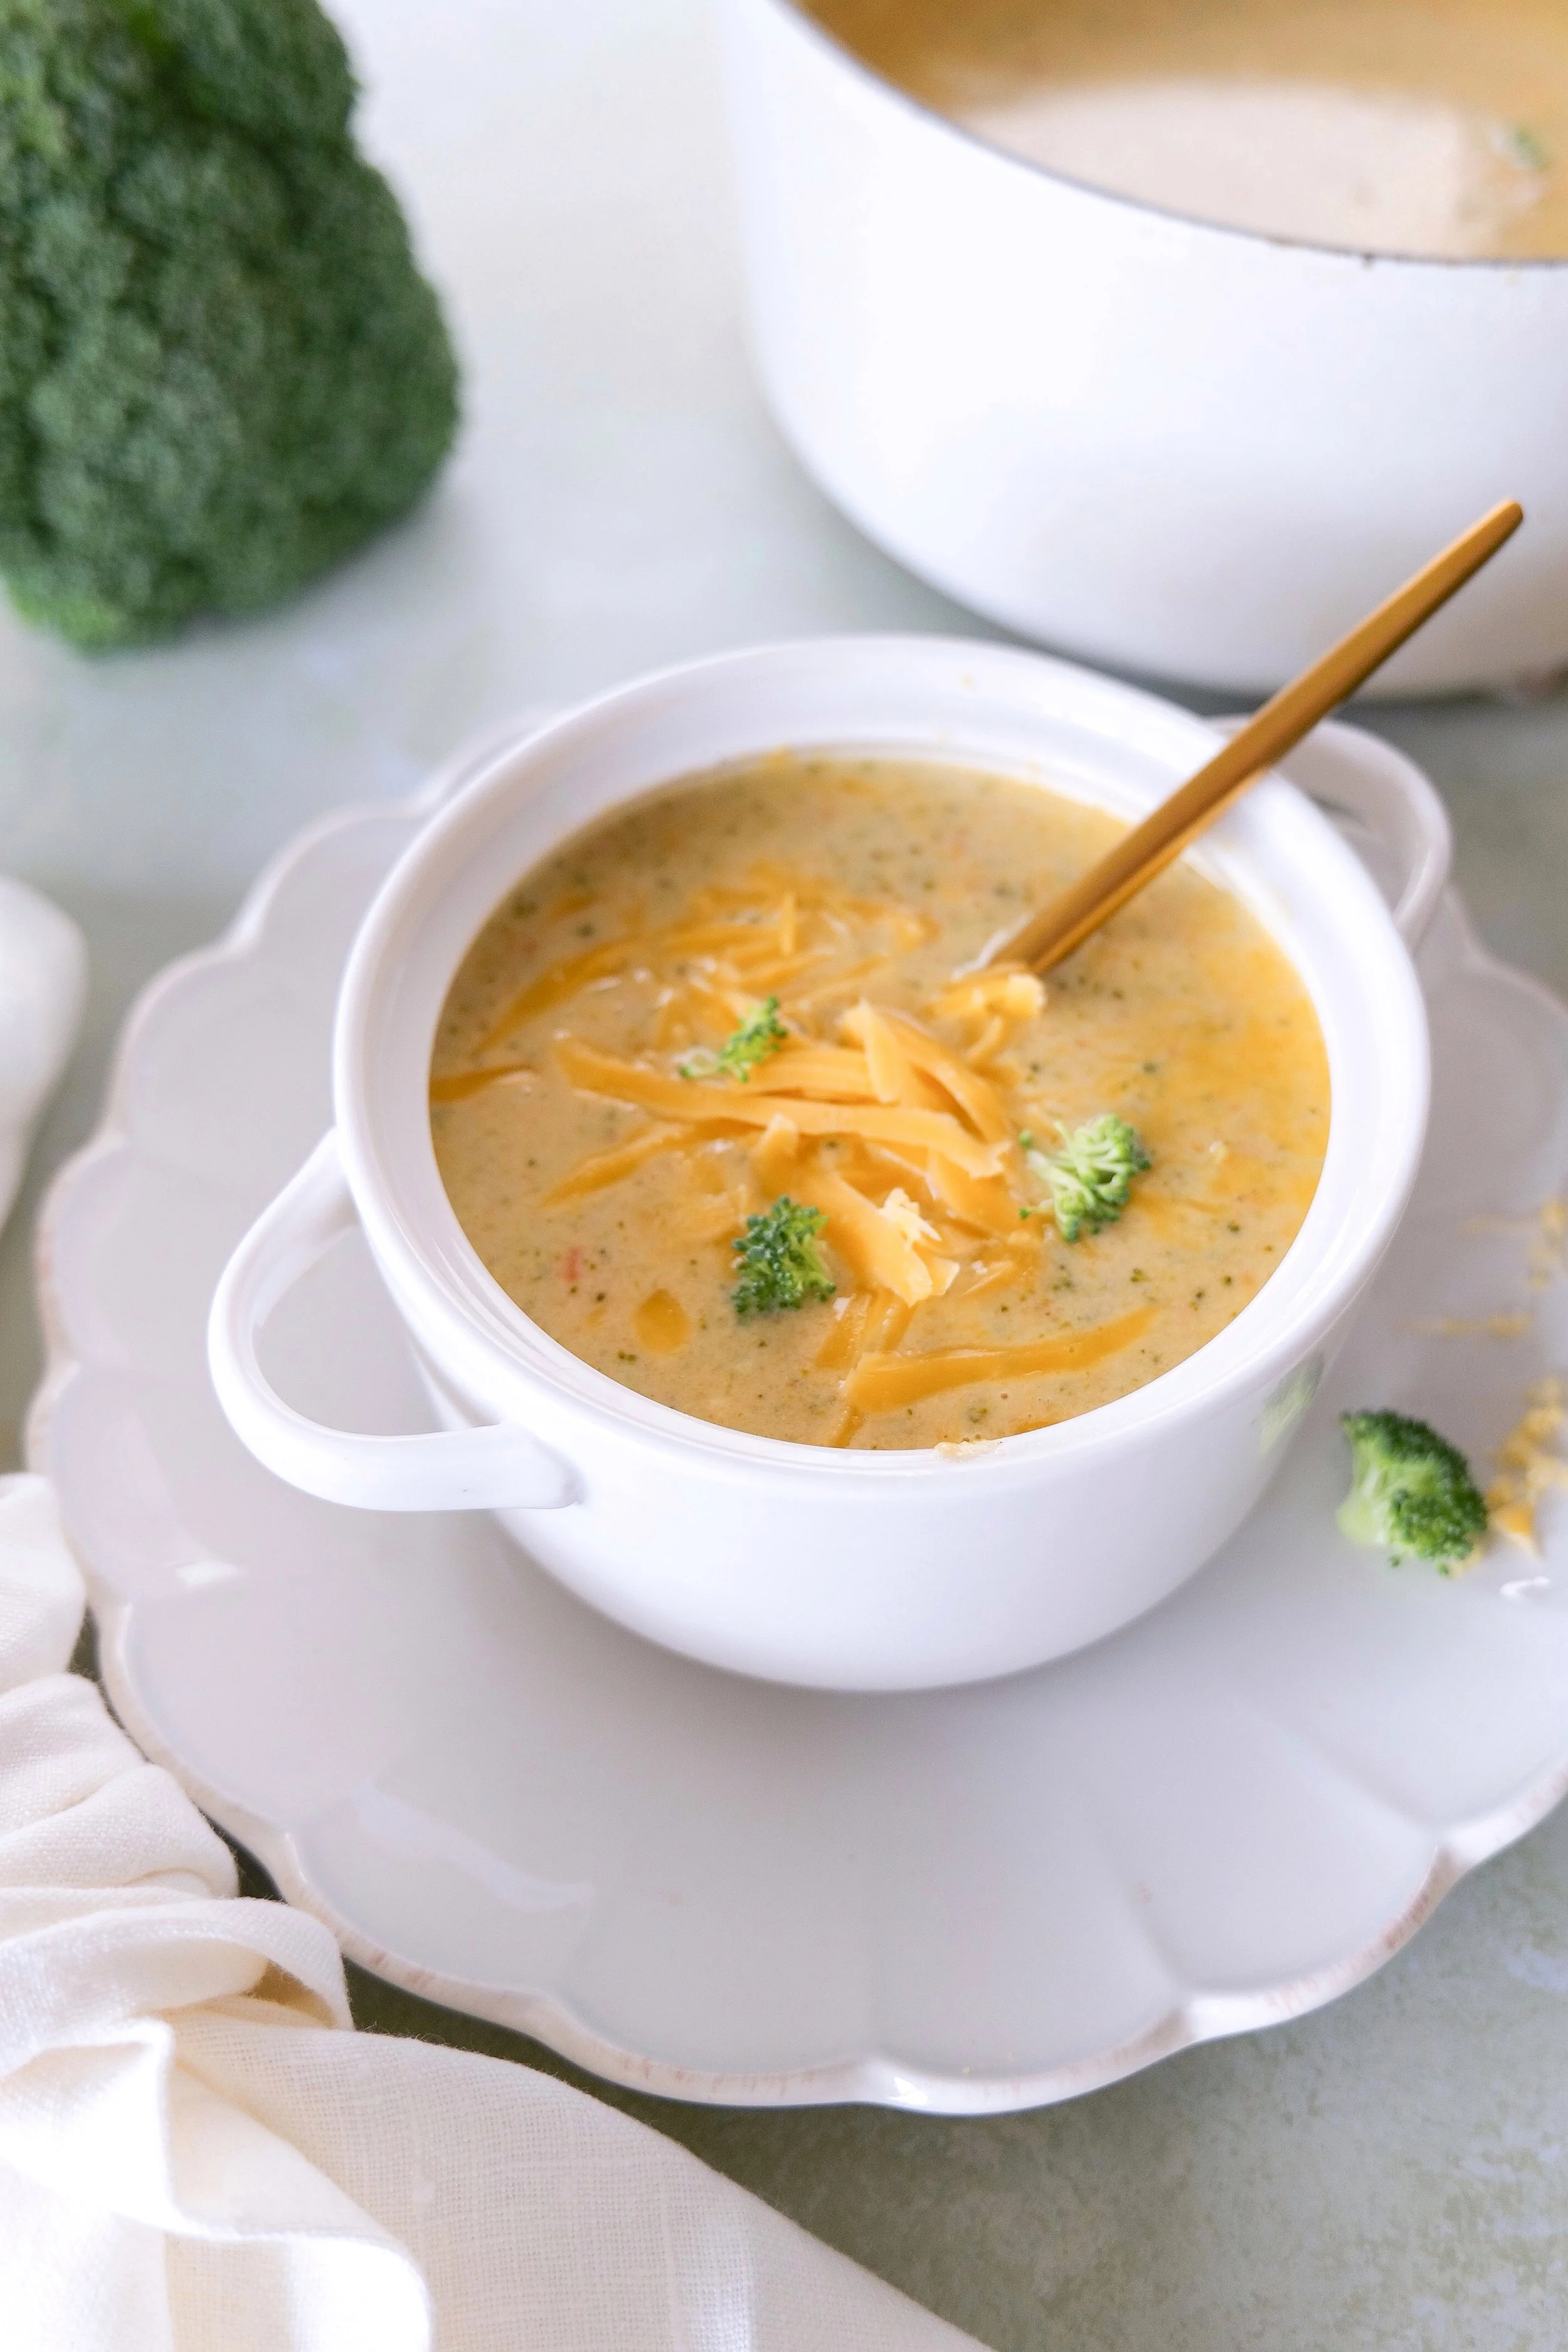
Homemade broccoli cheddar soup served warm with tender broccoli and carrots.

What You’ll Need to Make Broccoli Cheddar Soup

One of the things I love about this recipe is that you don’t need a huge ingredient list.

Fresh broccoli is the base of the soup, so I like to cut the florets fairly small. They’ll cook more evenly and you’ll get broccoli in every spoonful rather than having to navigate huge pieces.

Shredded carrots add color, texture, and a subtle sweetness that works so well with the sharp cheddar.

For the liquid, I use chicken bone broth or chicken stock. Either works beautifully, although bone broth can add a little extra richness.

And for that signature creamy texture, I use heavy cream along with a simple roux made from salted butter and flour.

Finally, freshly shredded cheddar cheese melts into the soup at the end.

Easy broccoli cheddar soup with a rich and creamy cheddar cheese broth.
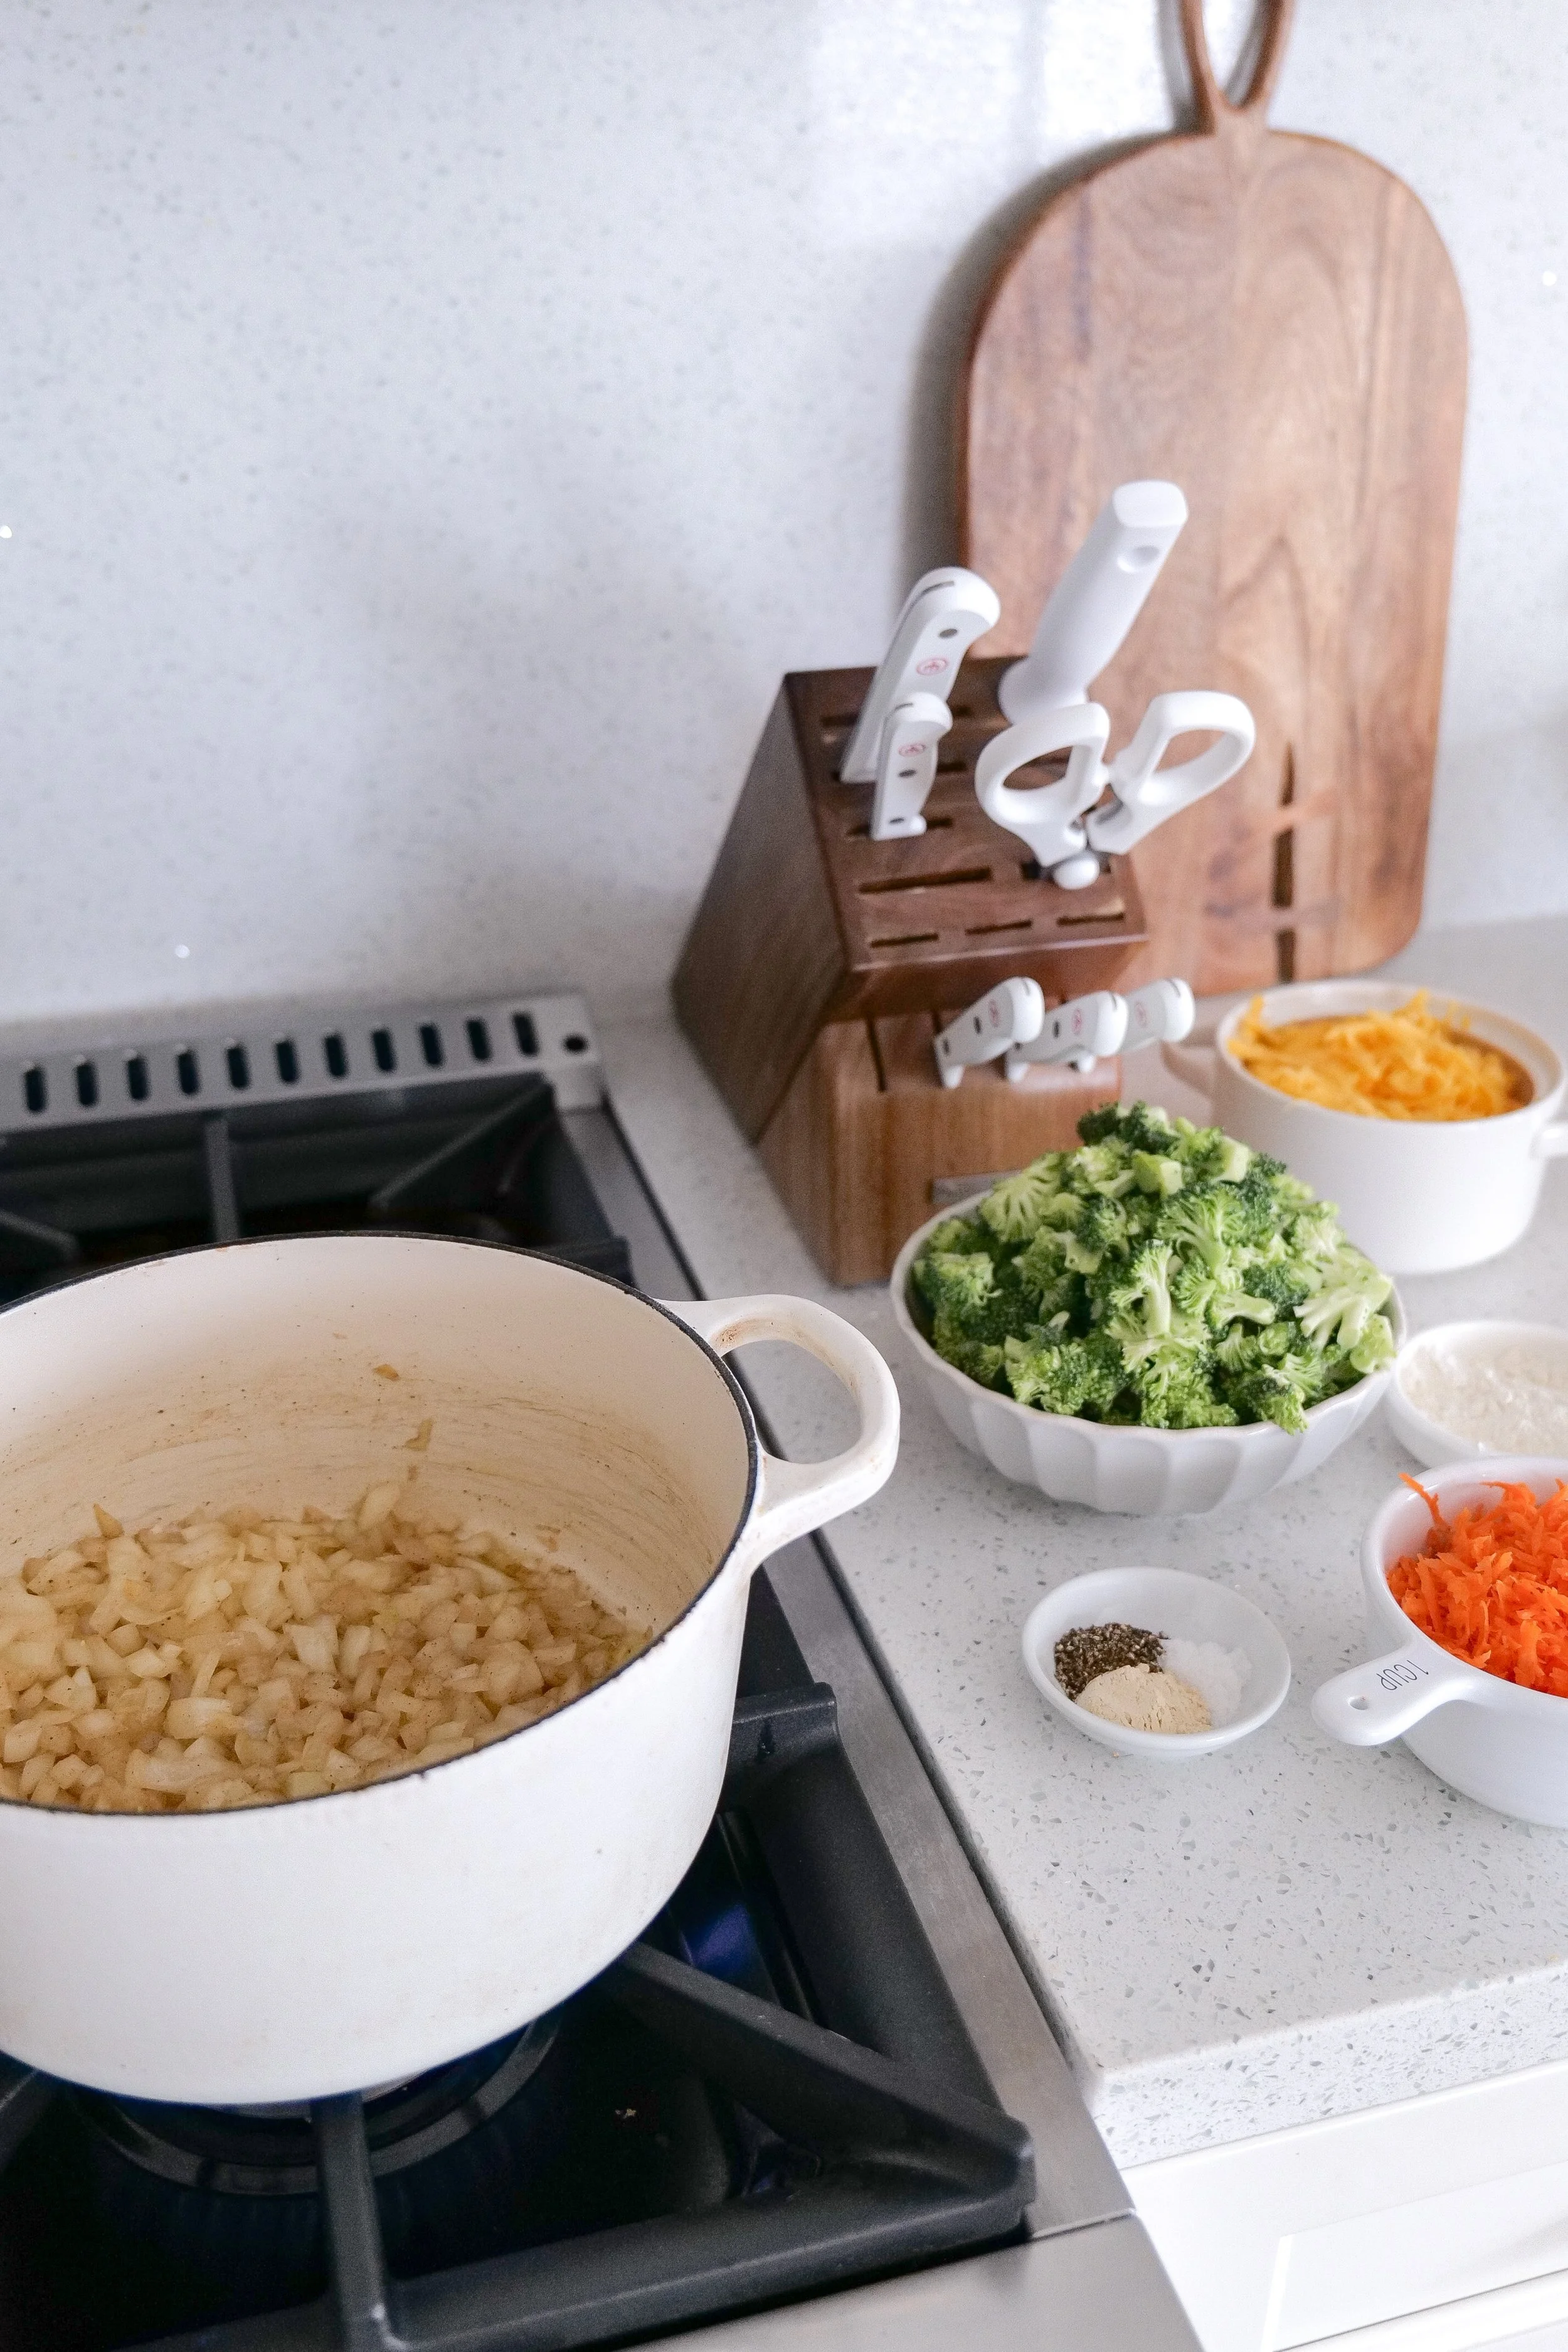
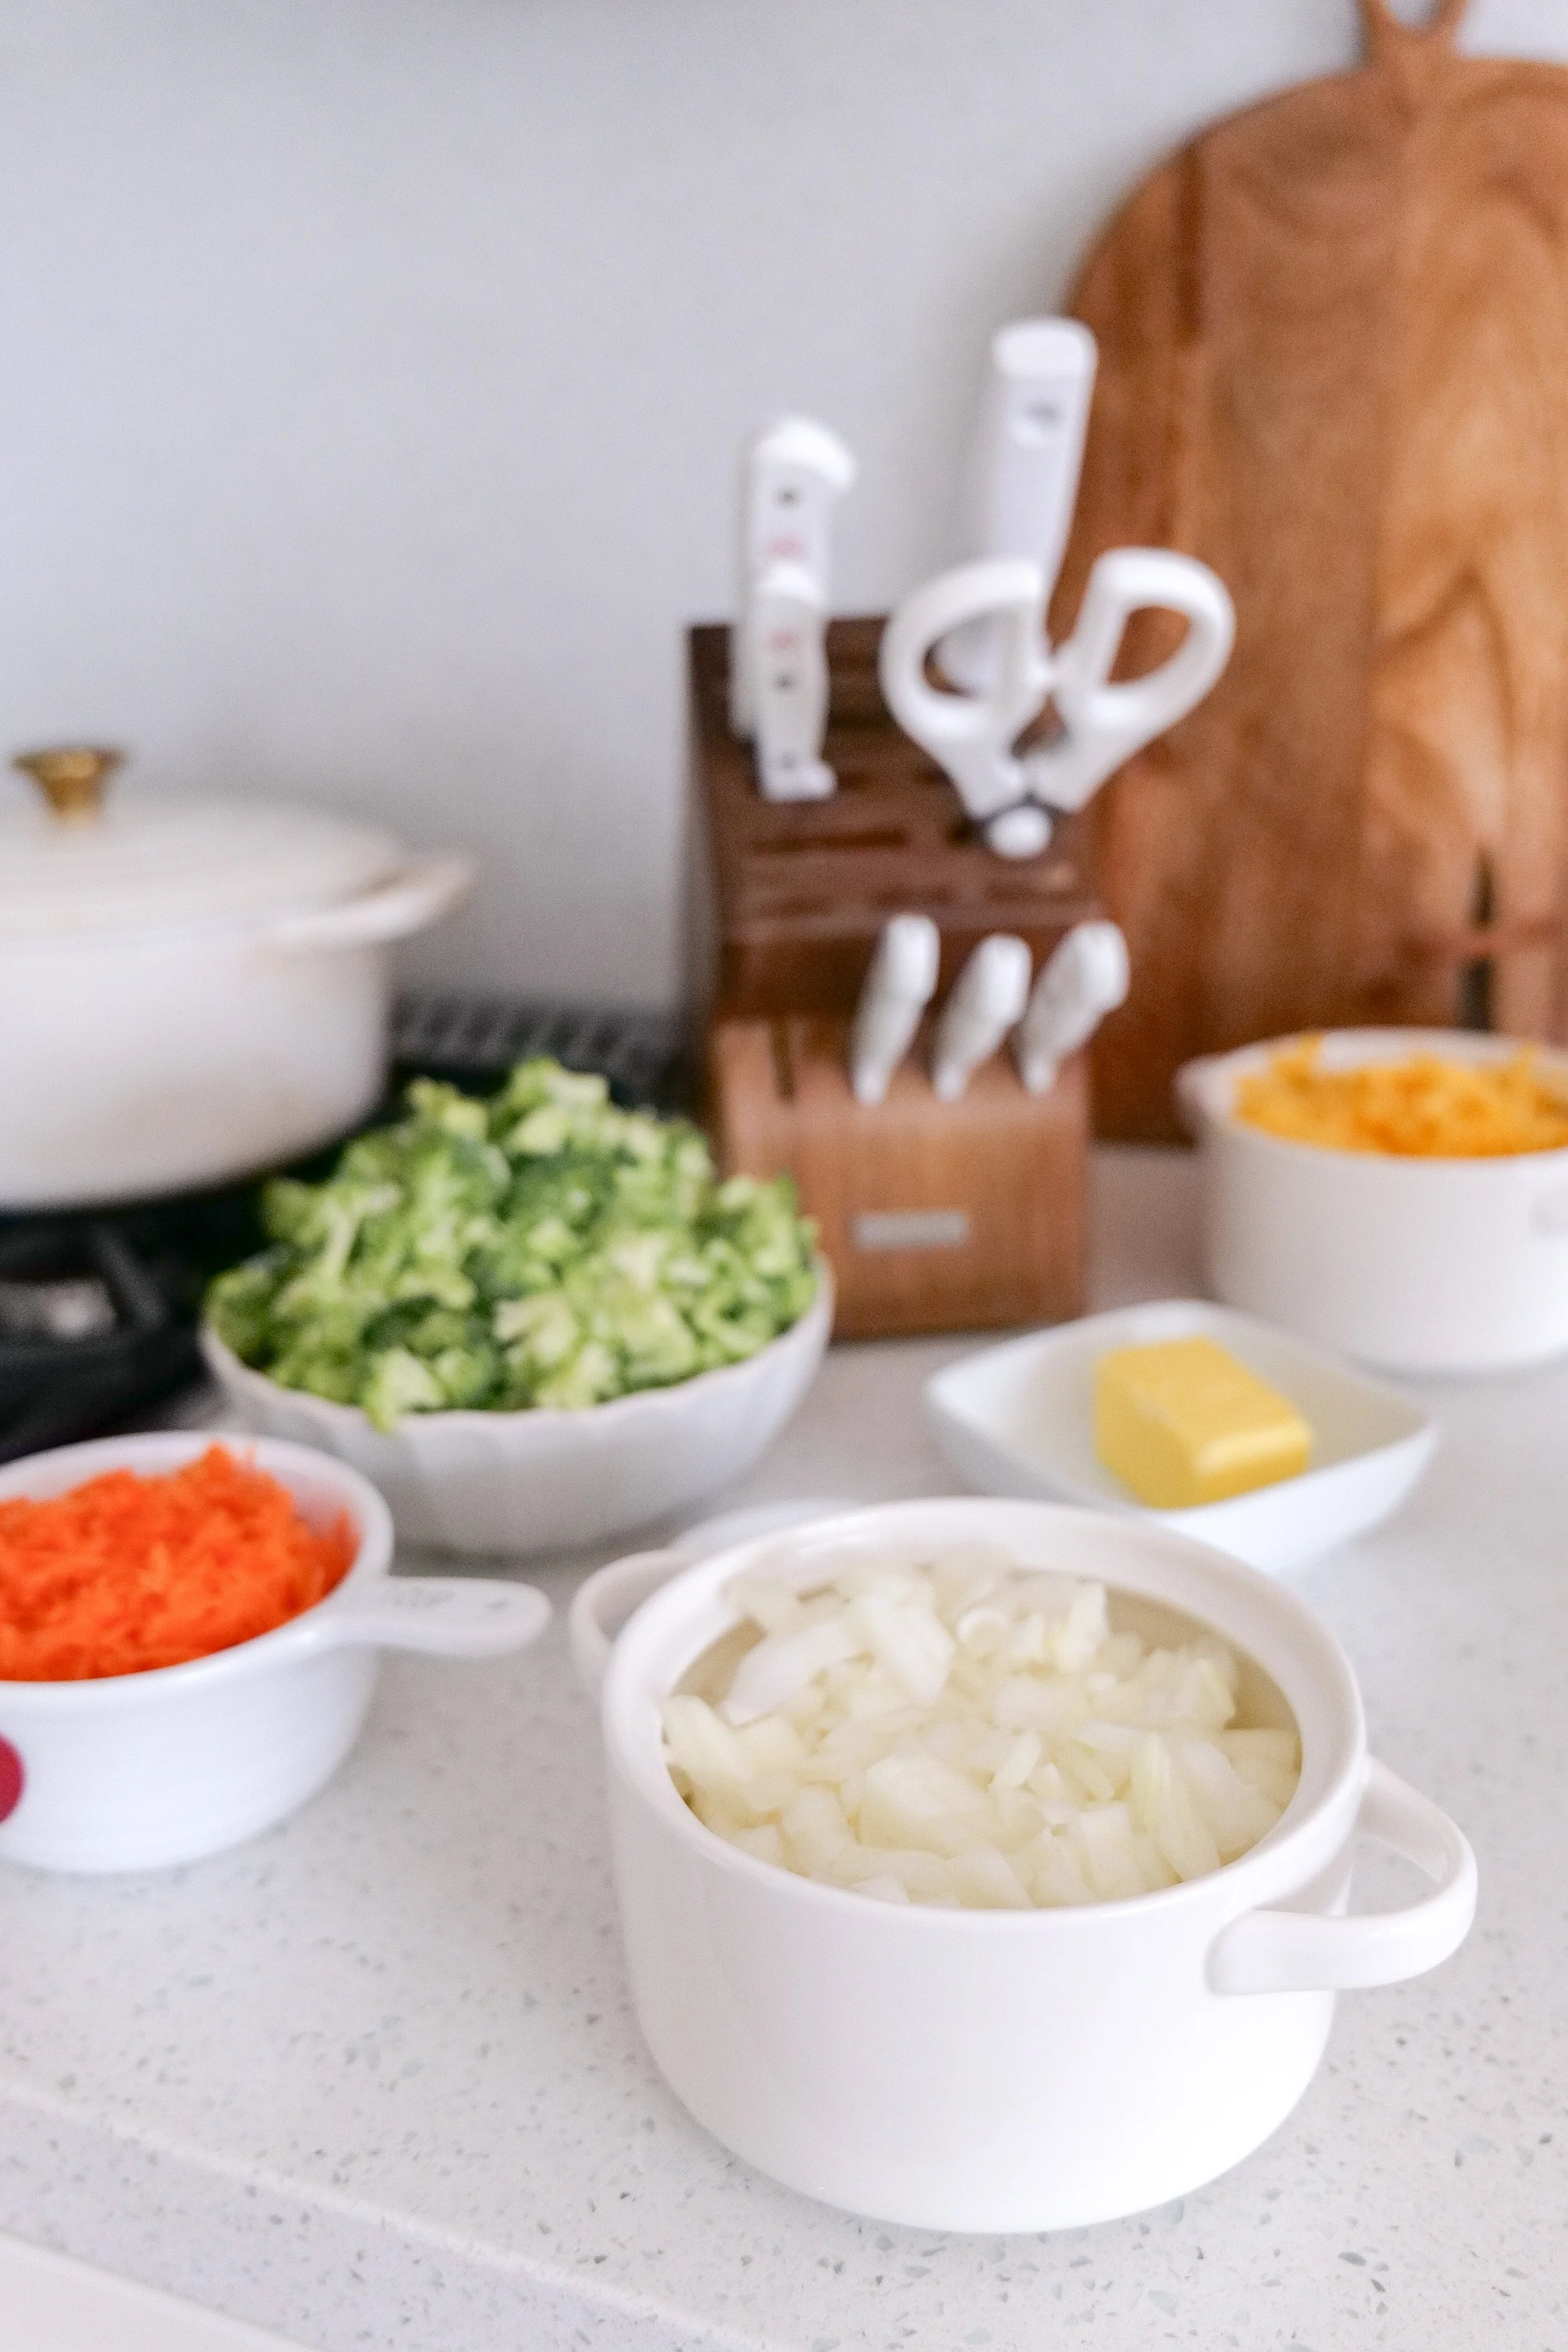
Fresh ingredients for homemade broccoli cheddar soup arranged in the kitchen.
Broccoli, carrots, cheddar cheese and other ingredients for creamy broccoli cheddar soup.

The Secret to a Creamy Broccoli Cheddar Soup

The texture is one of the most important parts of a good broccoli cheddar soup. You want it creamy and thick enough to feel indulgent without turning it into cheese sauce.

The butter and flour create a simple roux at the beginning of this recipe. Once the broth and heavy cream are added, that roux helps thicken the entire soup as it simmers.

If you want an even thicker soup, an immersion blender is one of my favorite tricks.

Once the broccoli is tender, blend just a portion of the soup before adding the cheddar. This thickens the broth naturally while still leaving plenty of broccoli and carrots intact.

Of course, if your family prefers a completely smooth soup, you can blend more of it. If you love a chunky broccoli cheddar soup, skip the blender altogether.

There really isn’t a wrong answer here.

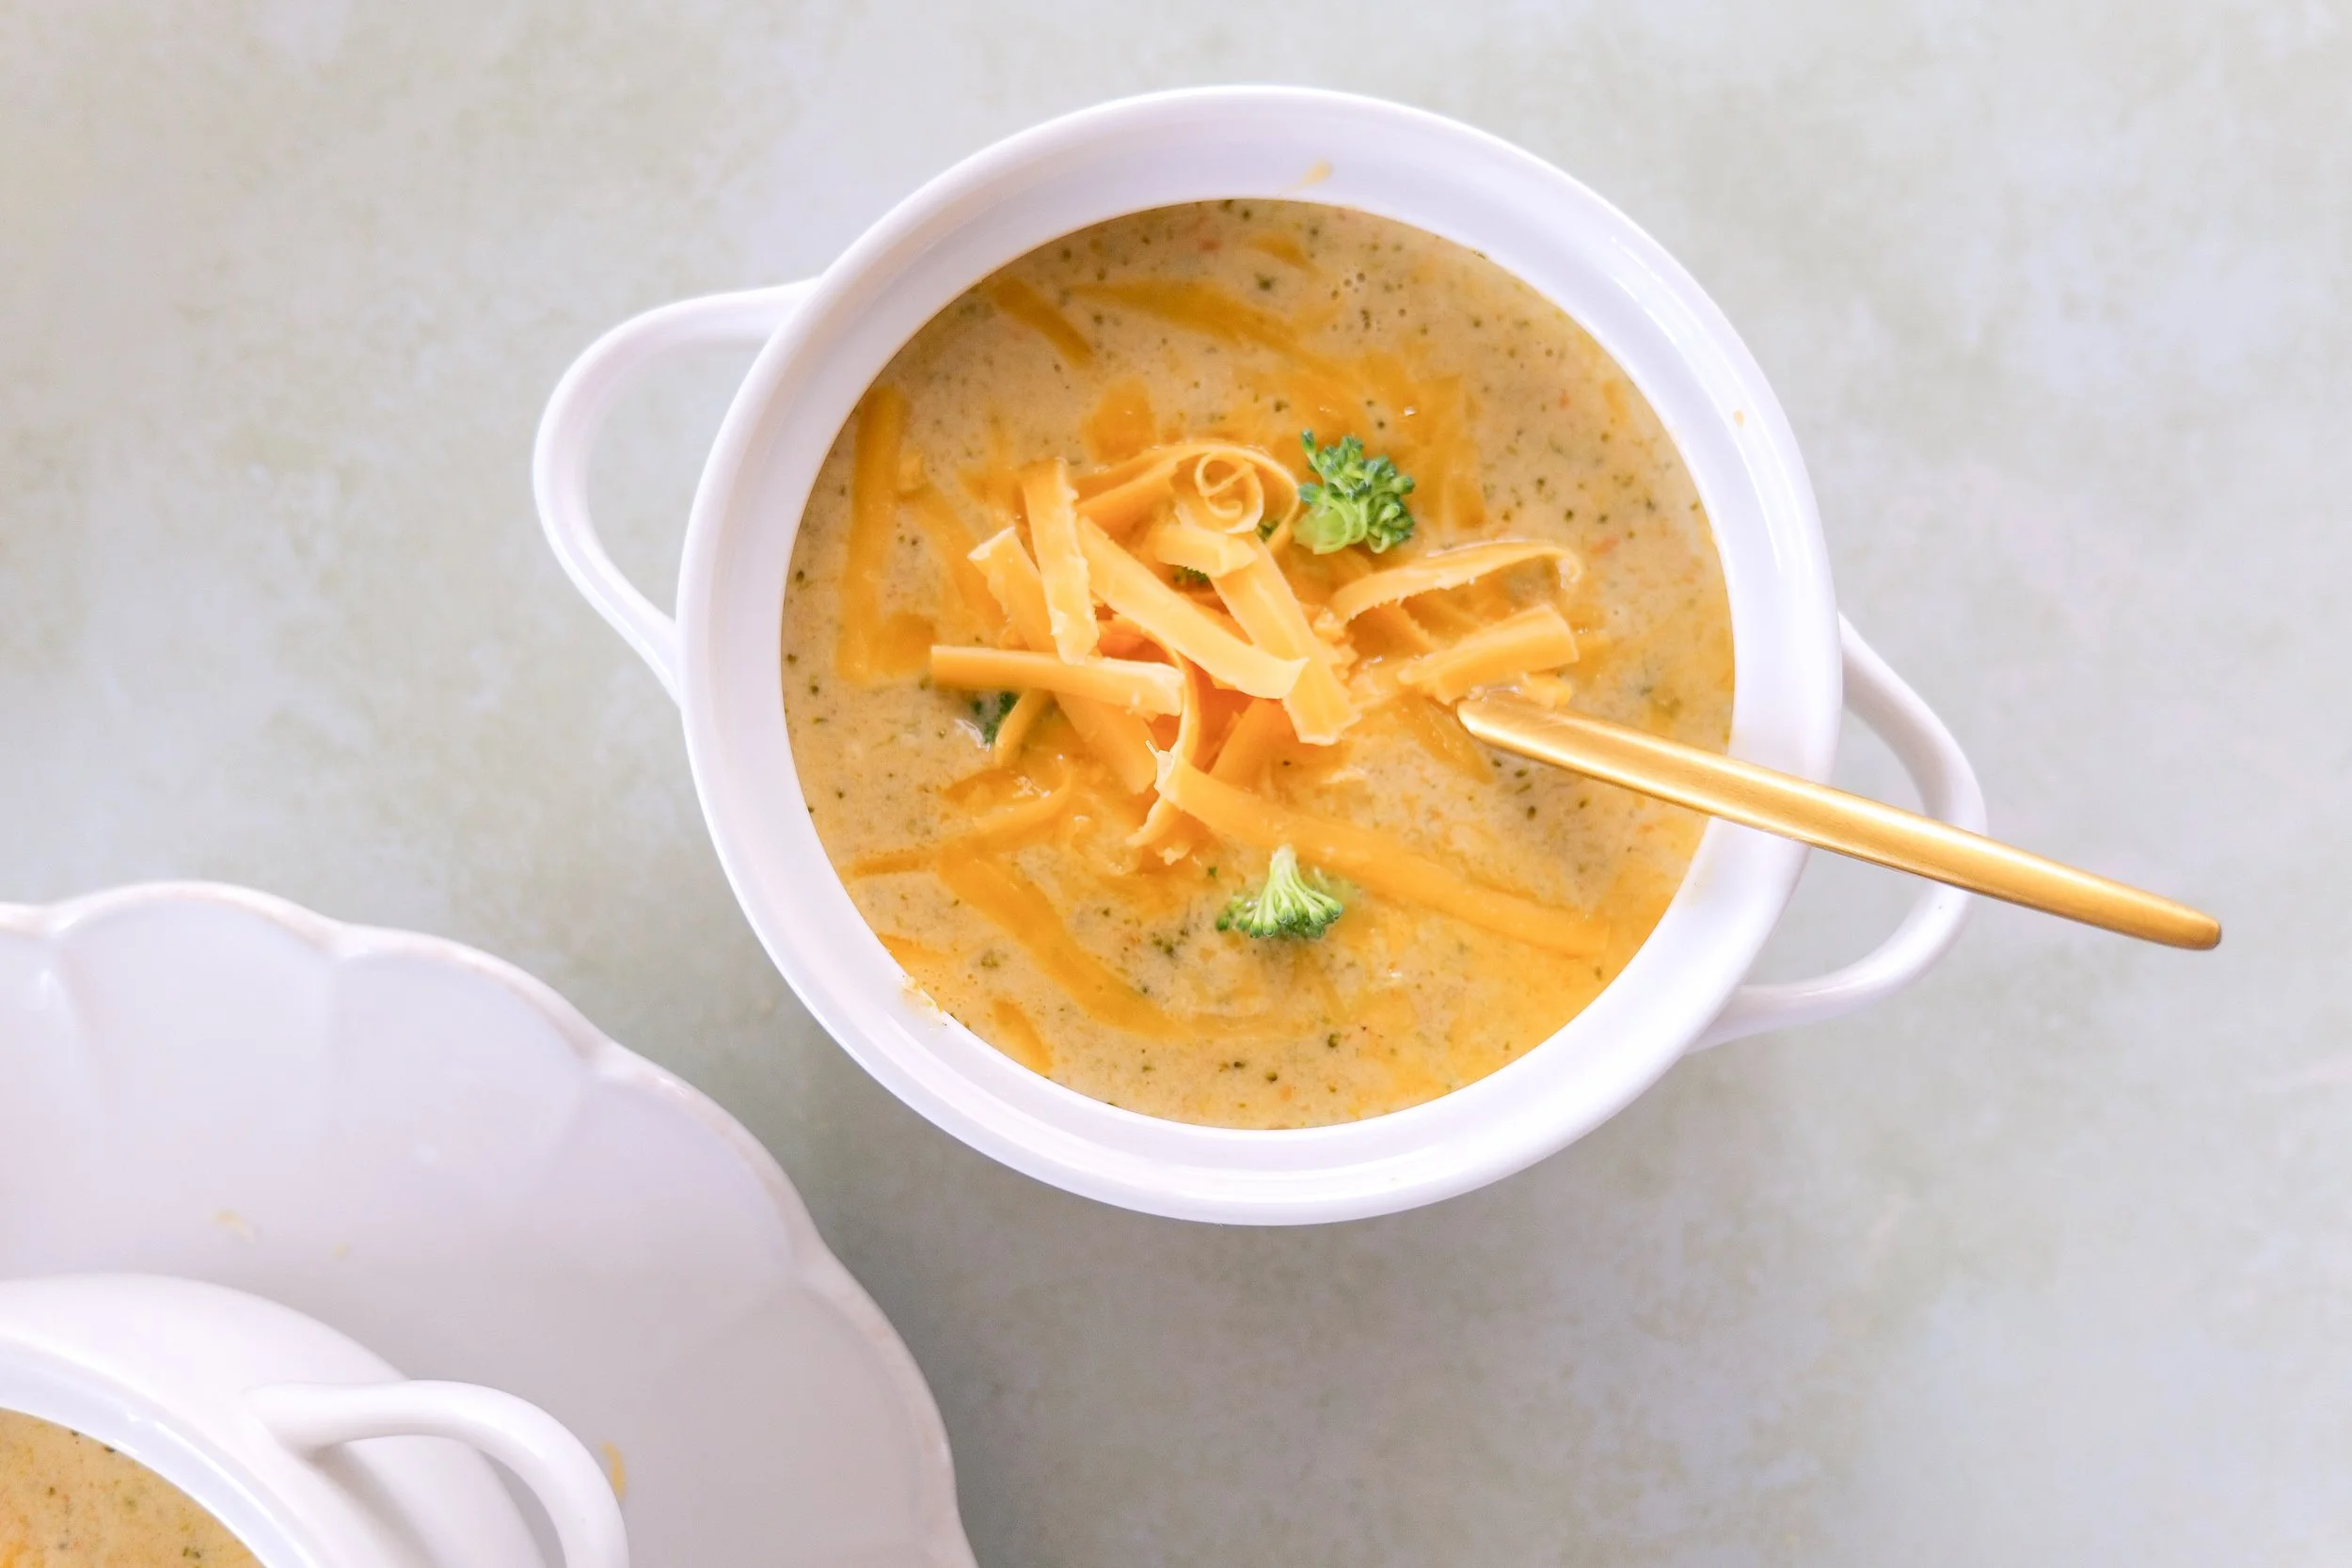
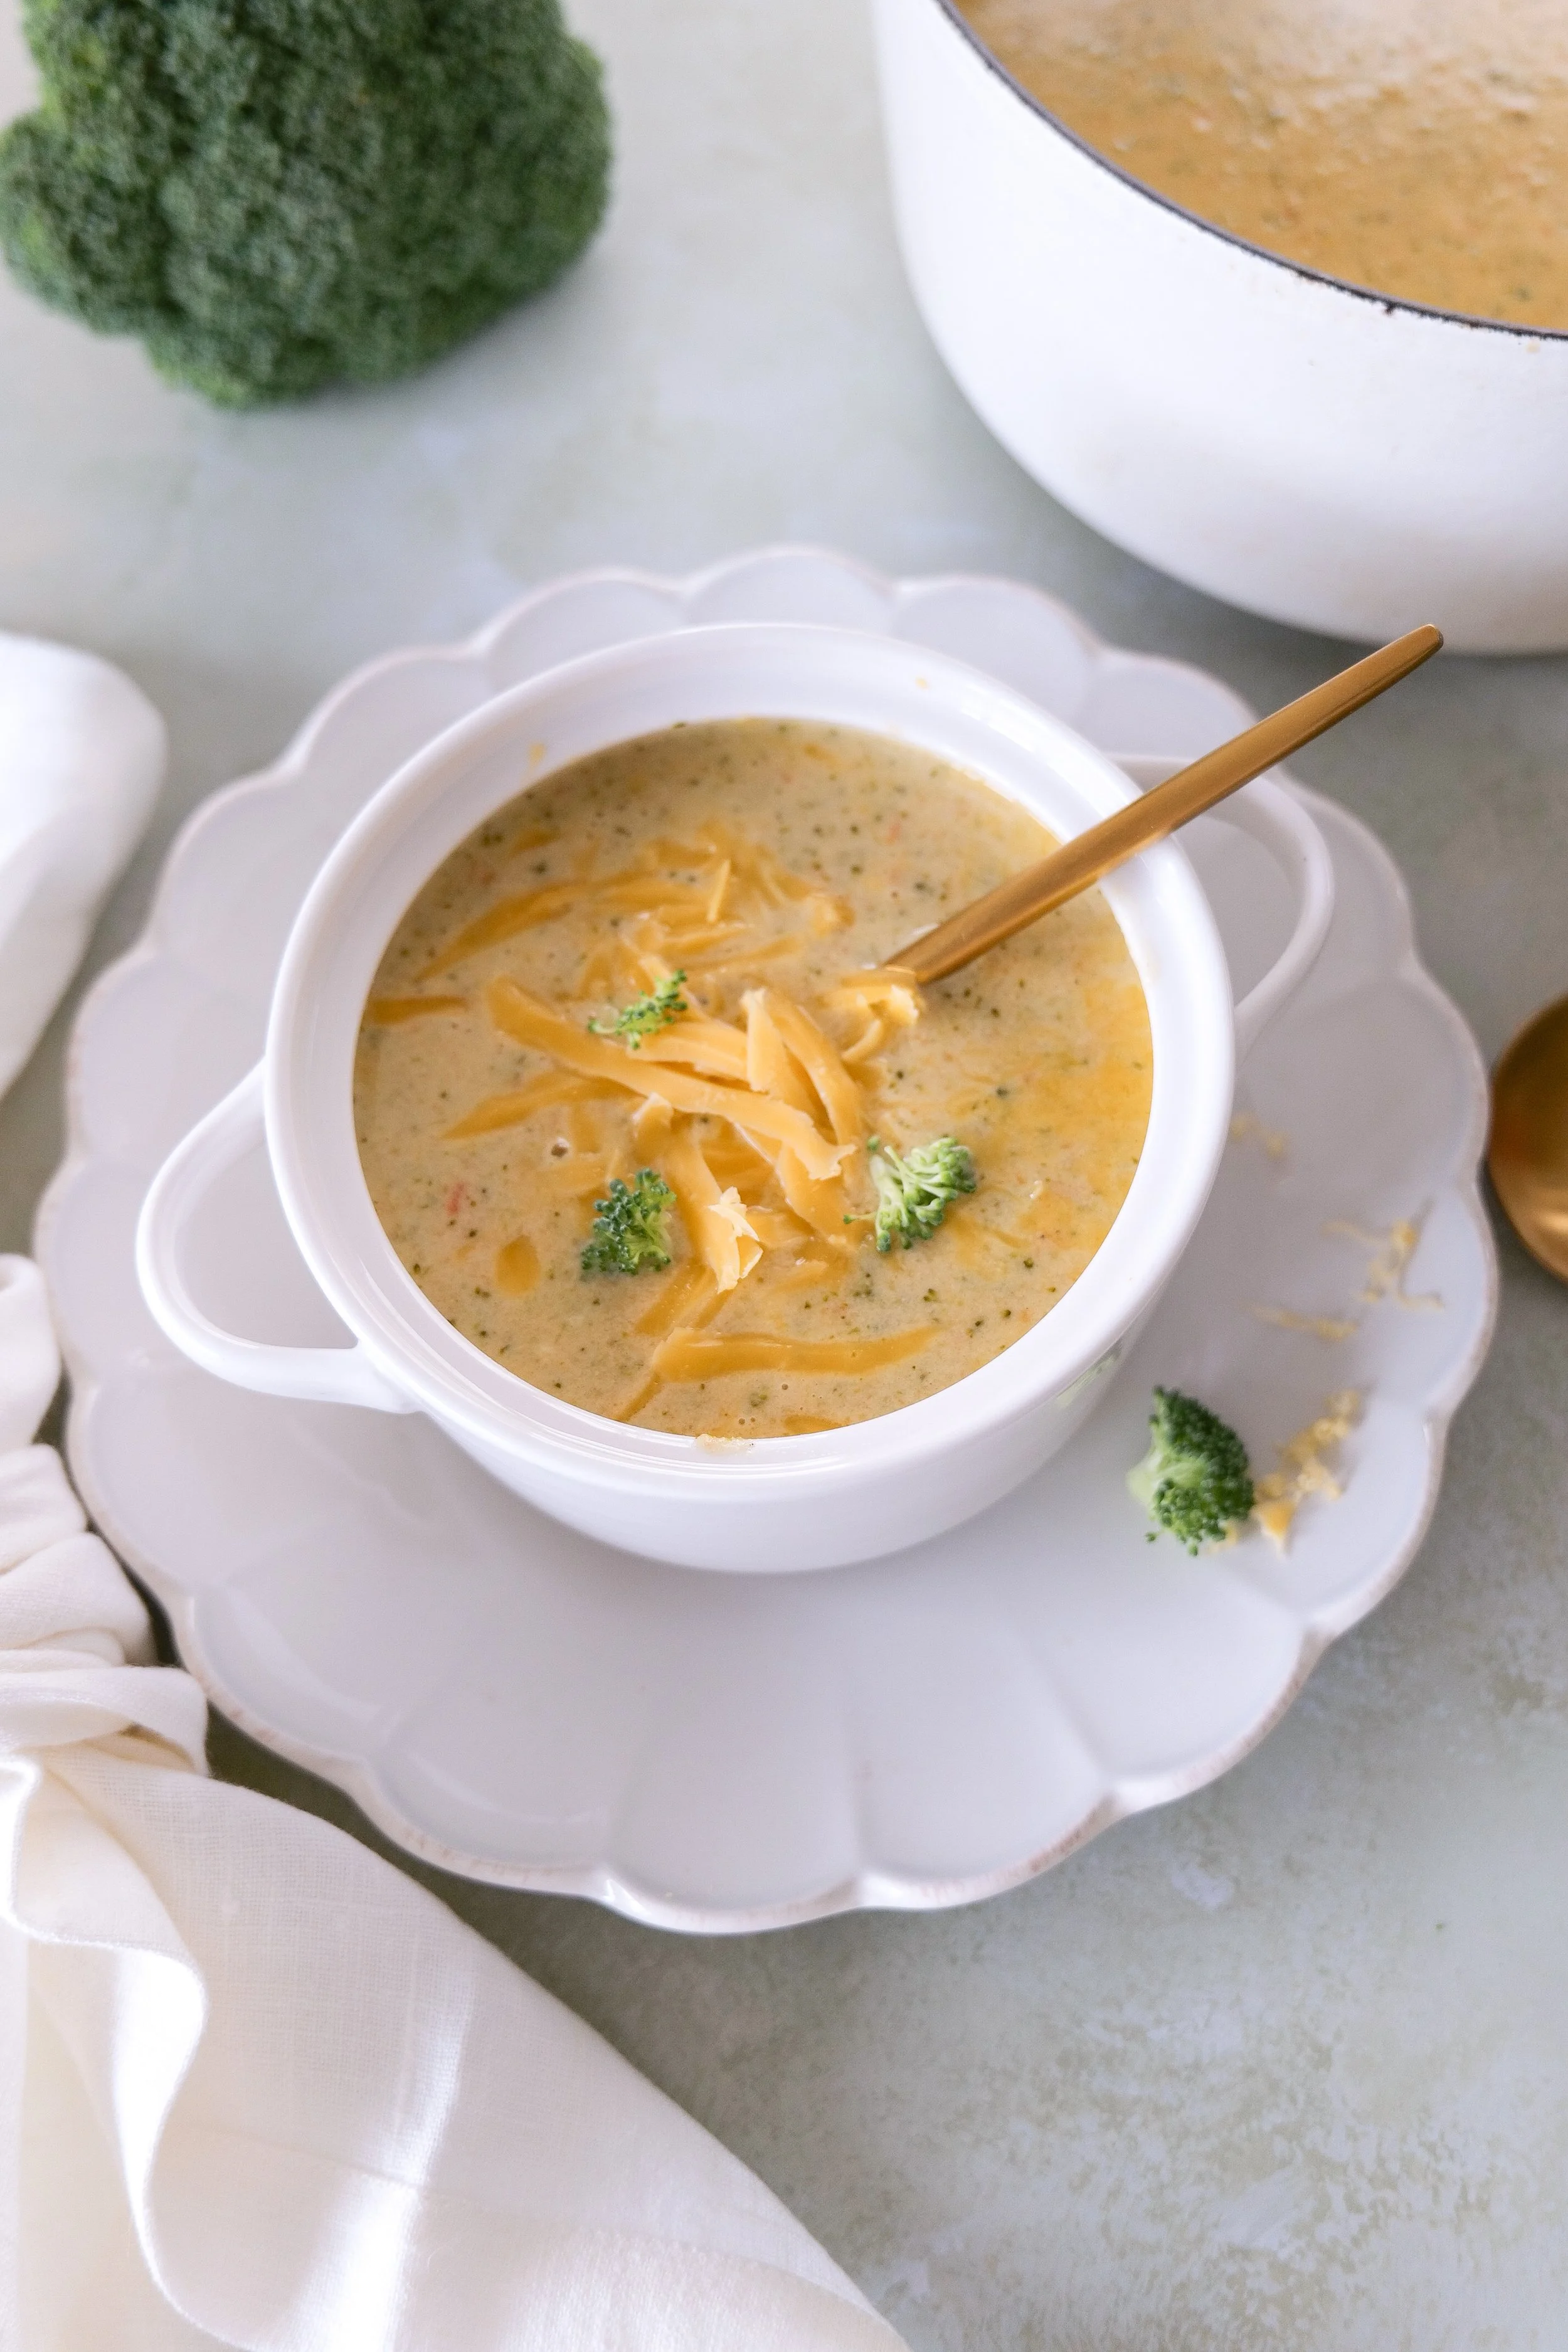
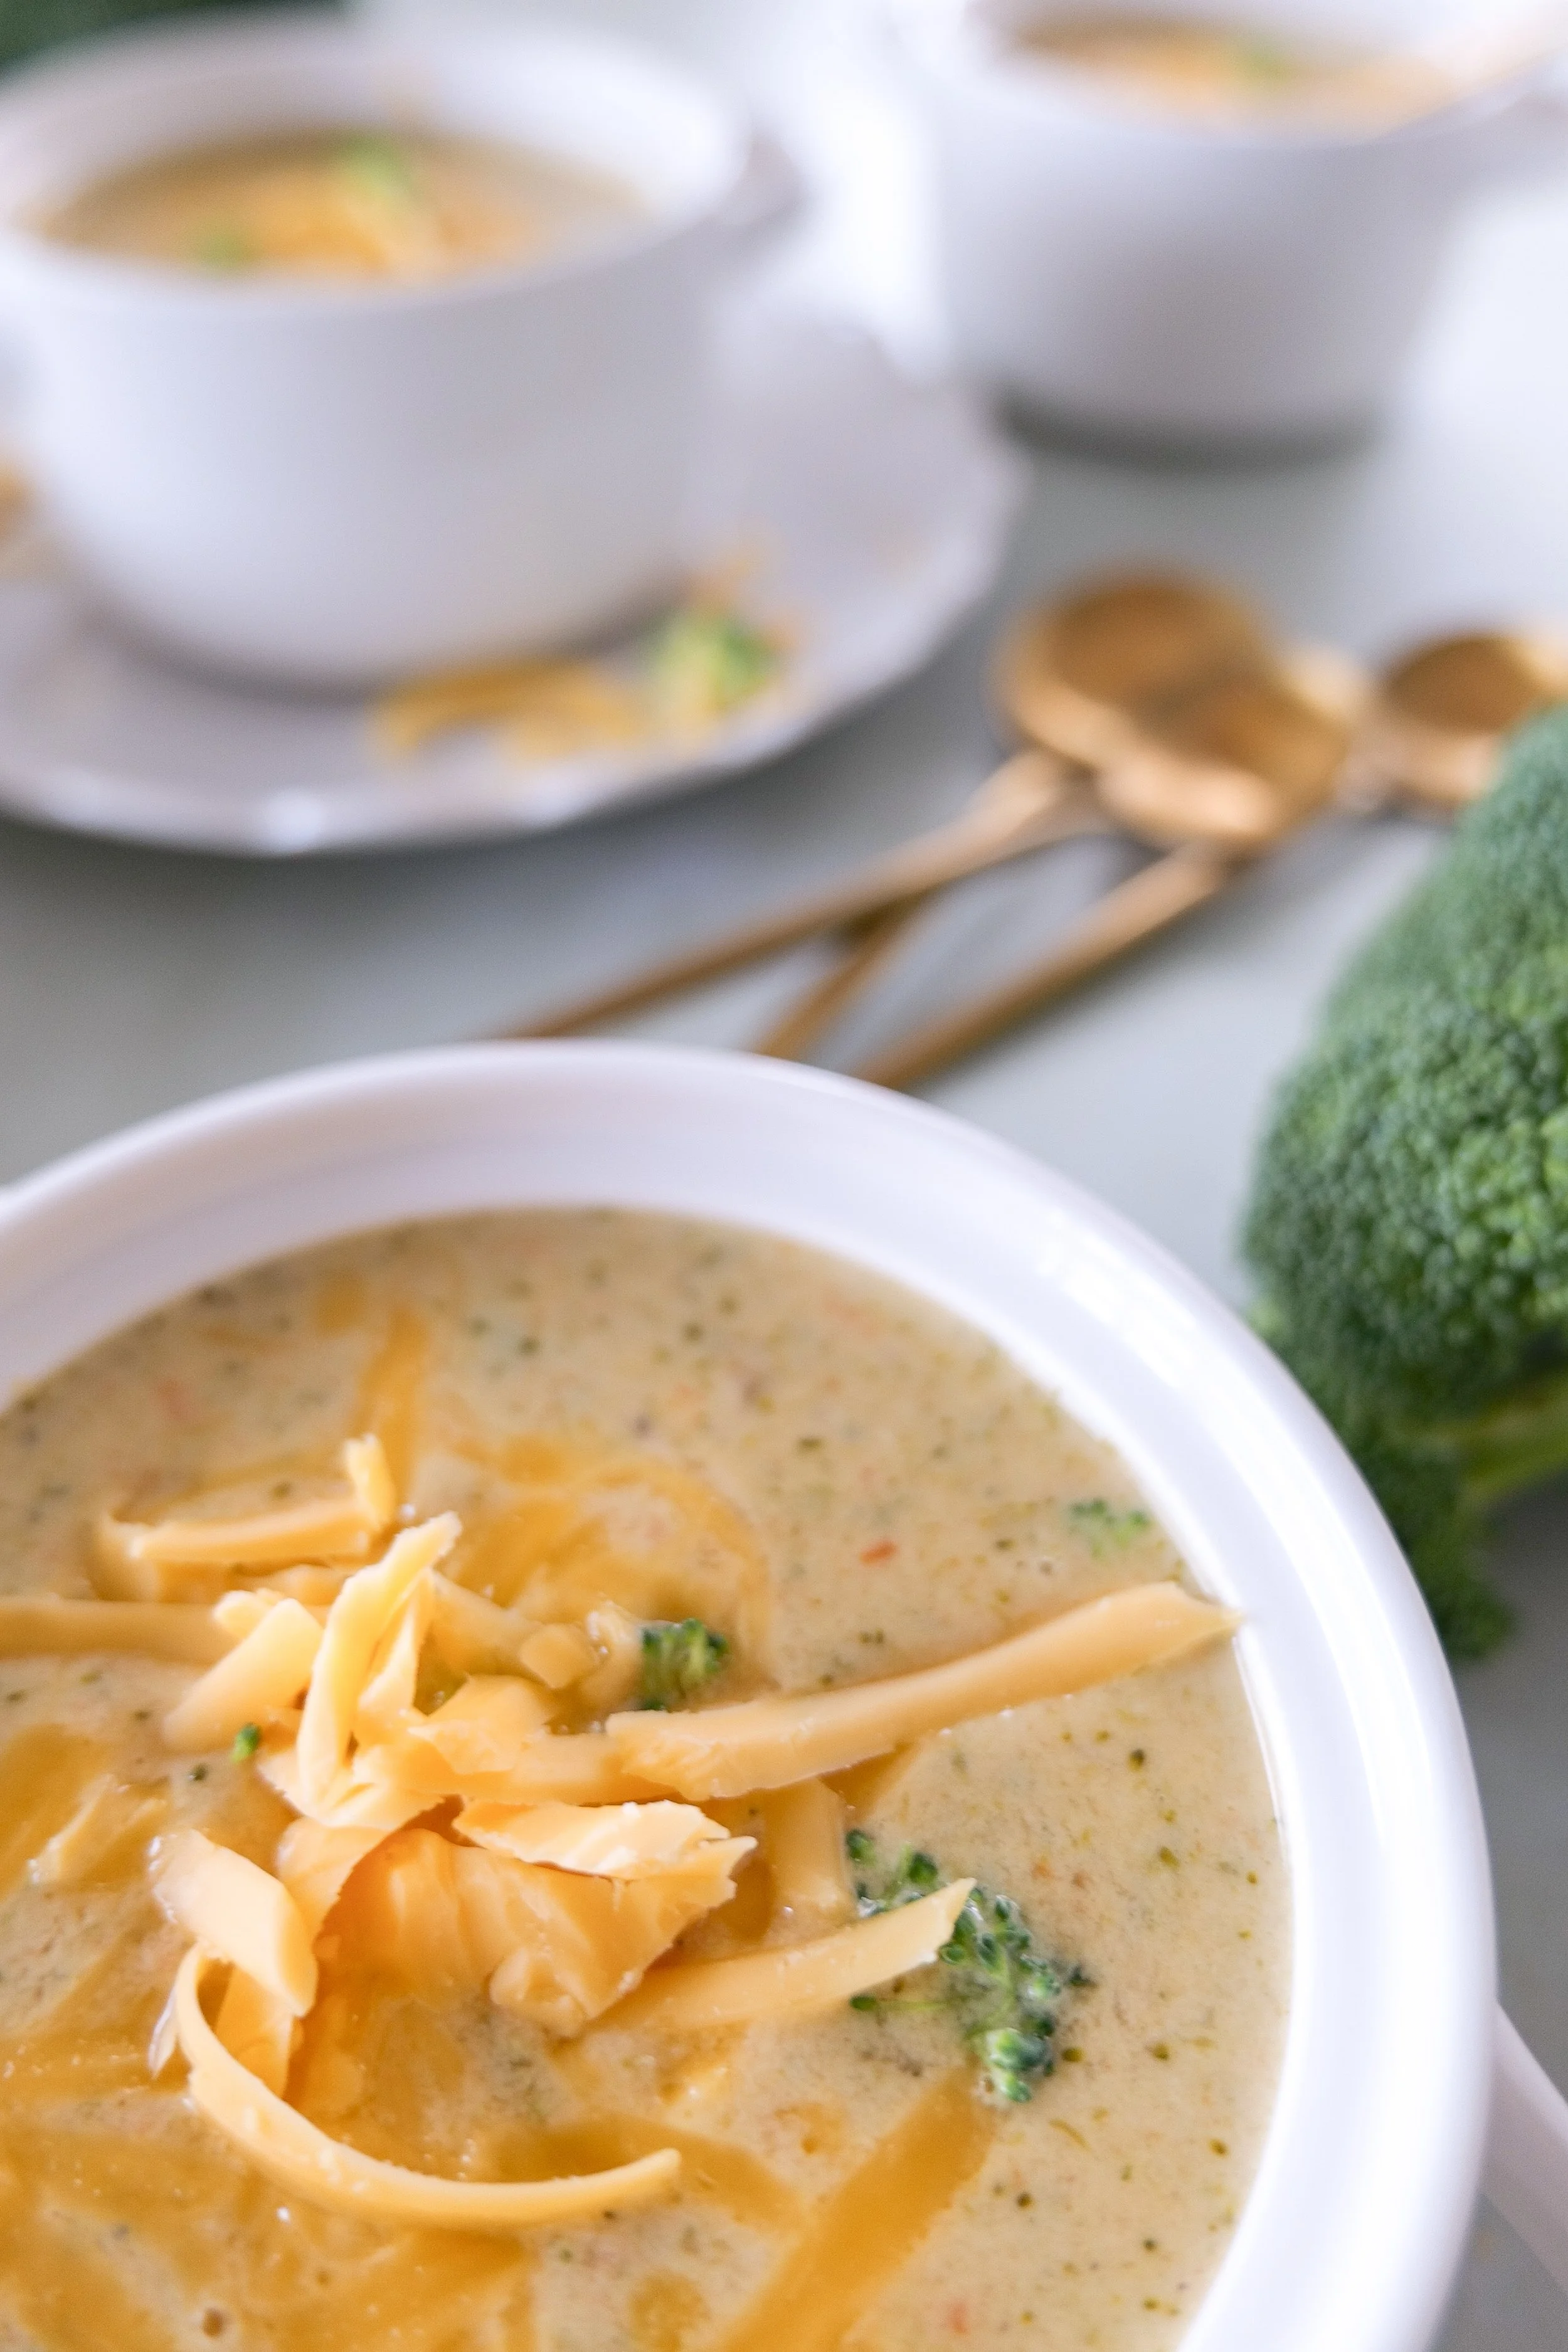
Close-up of creamy broccoli cheese soup with tender pieces of fresh broccoli.

What Is the Best Cheese for Broccoli Cheddar Soup?

I recommend using a flavorful cheddar cheese and shredding it yourself.

Sharp cheddar will give you a stronger cheese flavor, while medium cheddar will make the soup a little milder. Either works, so use whichever your family prefers.

Whenever possible, I like to start with a block of cheddar rather than pre-shredded cheese. Freshly grated cheddar generally melts more smoothly into soups and sauces.

Another important tip is to keep your heat low once you add the cheese.

You don’t want the soup rapidly boiling while the cheddar melts. Instead, stir it into the hot soup over low heat until it becomes smooth and creamy.

Rich broccoli cheddar soup made with heavy cream and freshly shredded cheddar.

What to Serve With Broccoli Cheddar Soup

My favorite way to serve broccoli cheddar soup is with something warm and crusty for dipping. A loaf of homemade bread turns a bowl of soup into such a simple but comforting dinner.

My Garlic & Herb Focaccia Bread would be delicious alongside it, or you can make my Beginner’s Sourdough Bread if you want a classic crusty loaf.

For something lighter on the side, try my Pear & Walnut Salad with Honey Mustard Dressing or Shaved Brussels Sprout Salad with Apples, Goat Cheese & Candied Pecans.

You can also keep things incredibly simple with a warm baguette, crackers, or even a grilled cheese sandwich on the side.

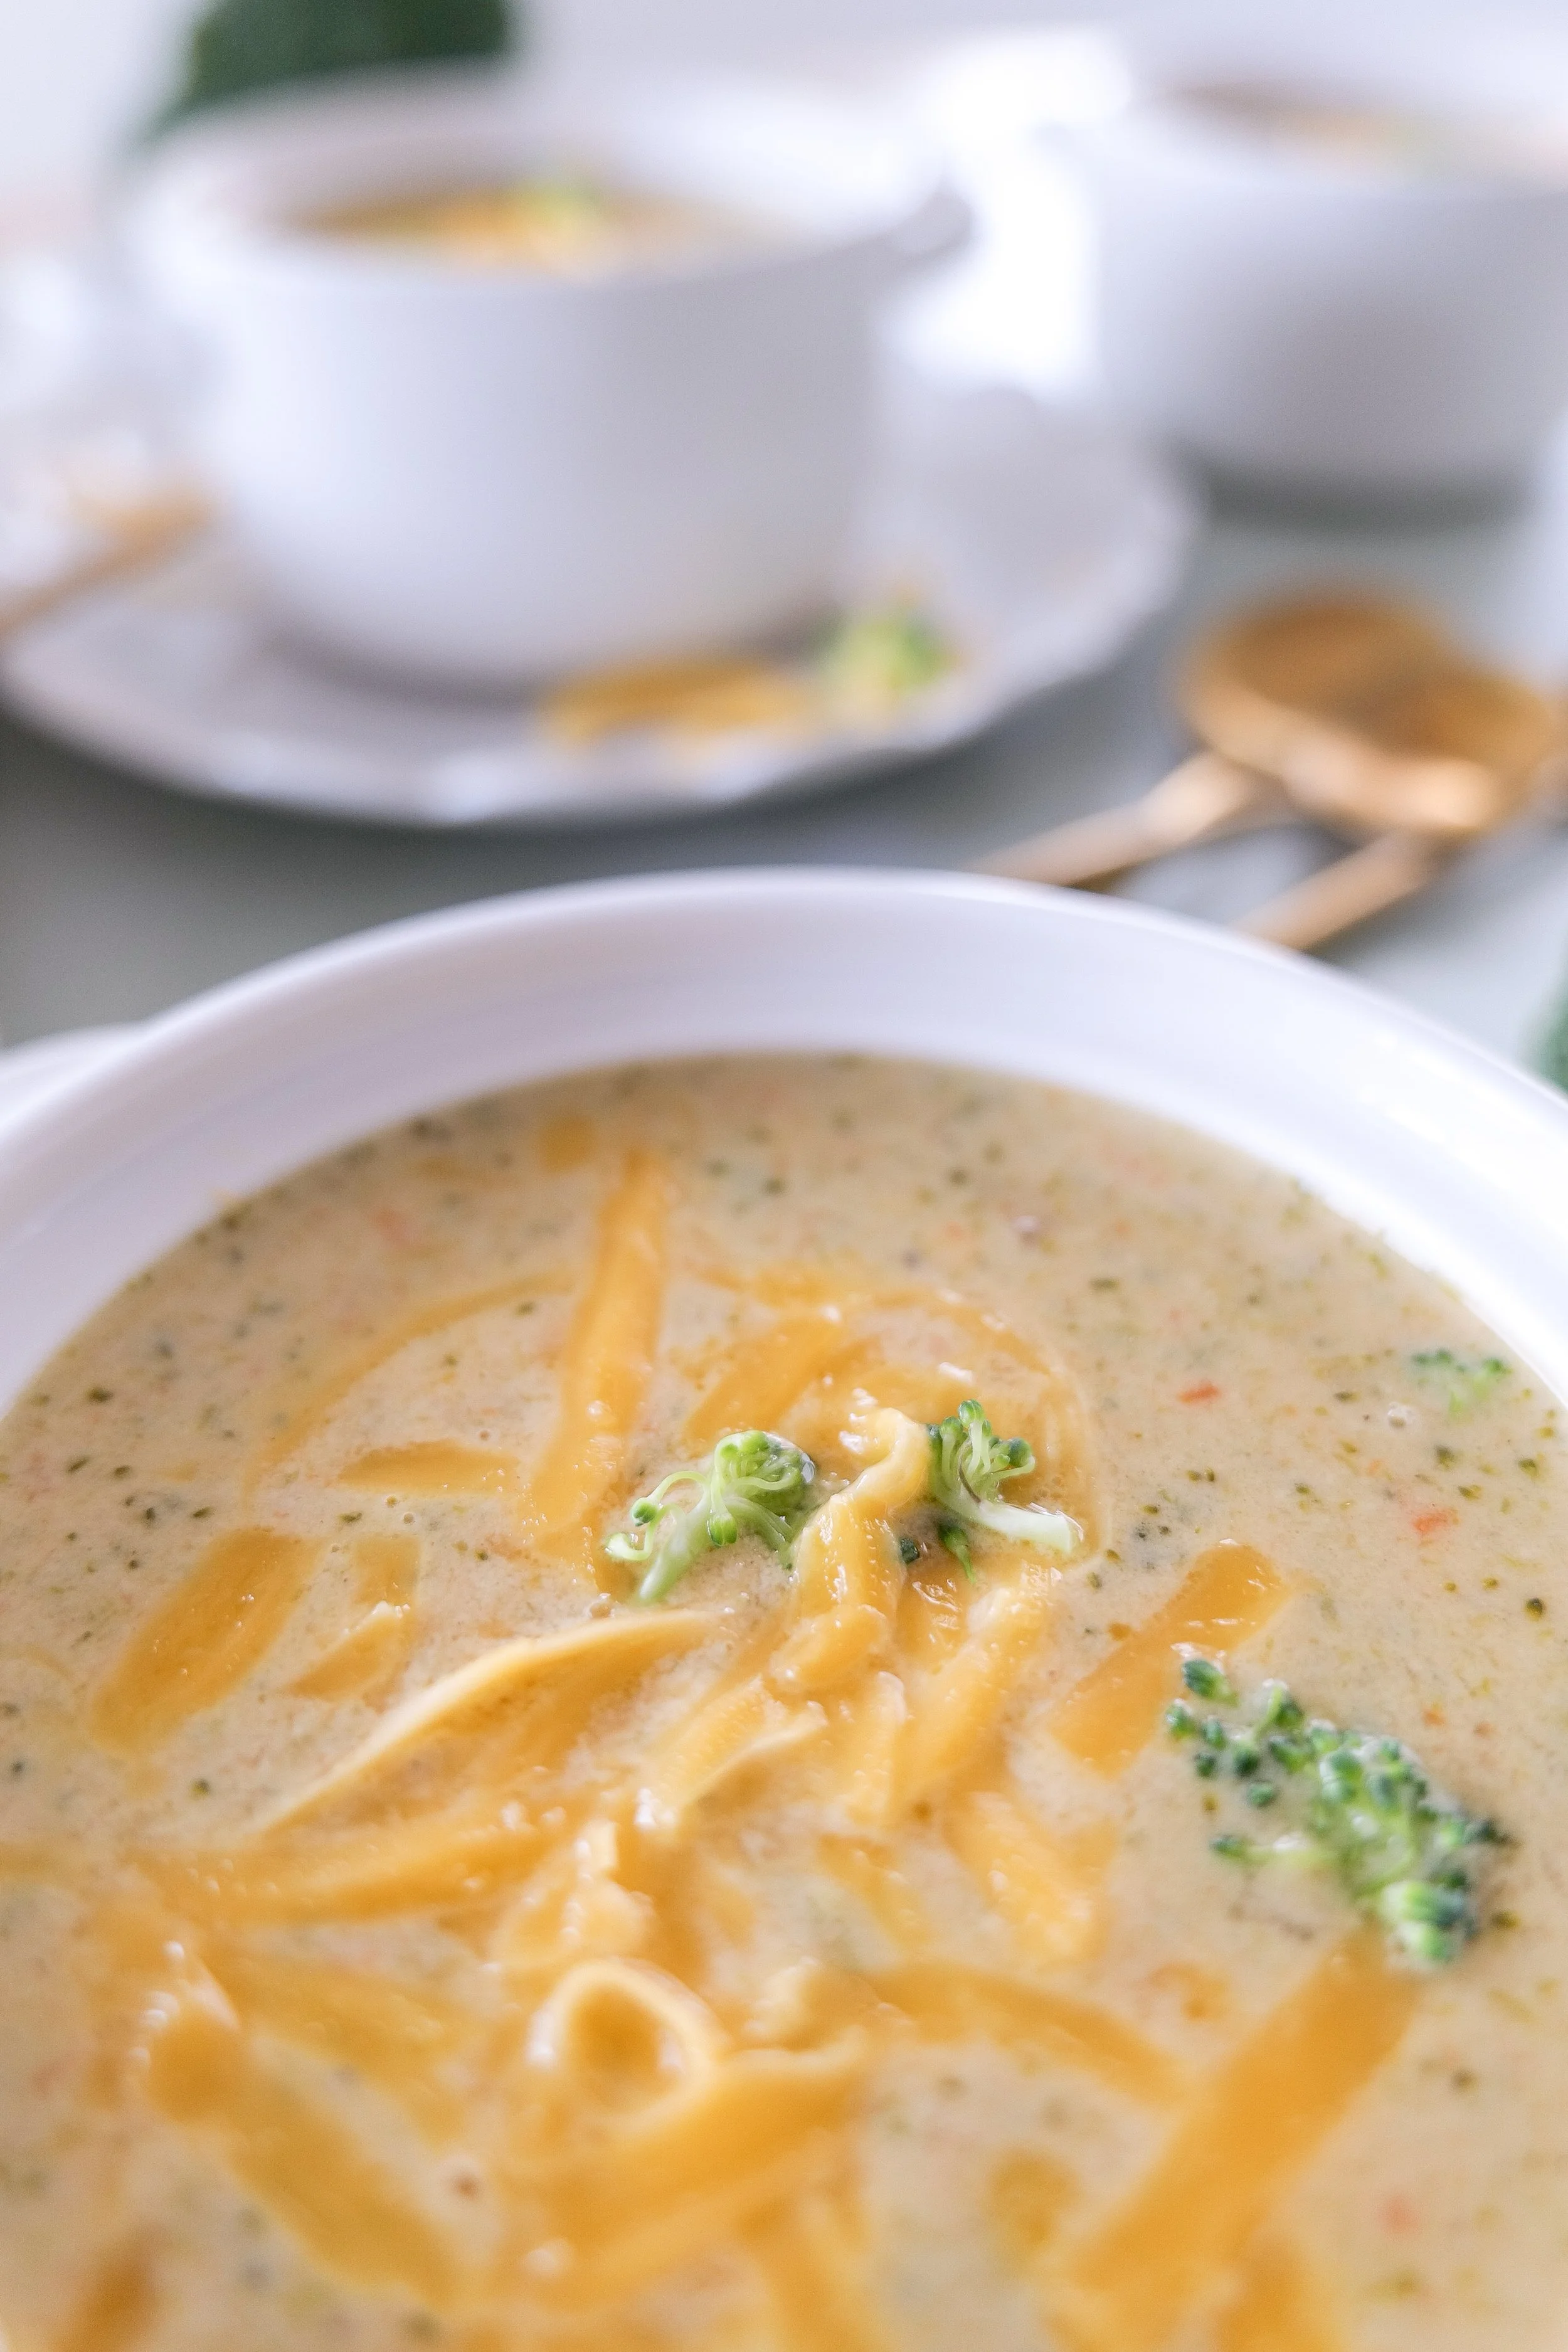
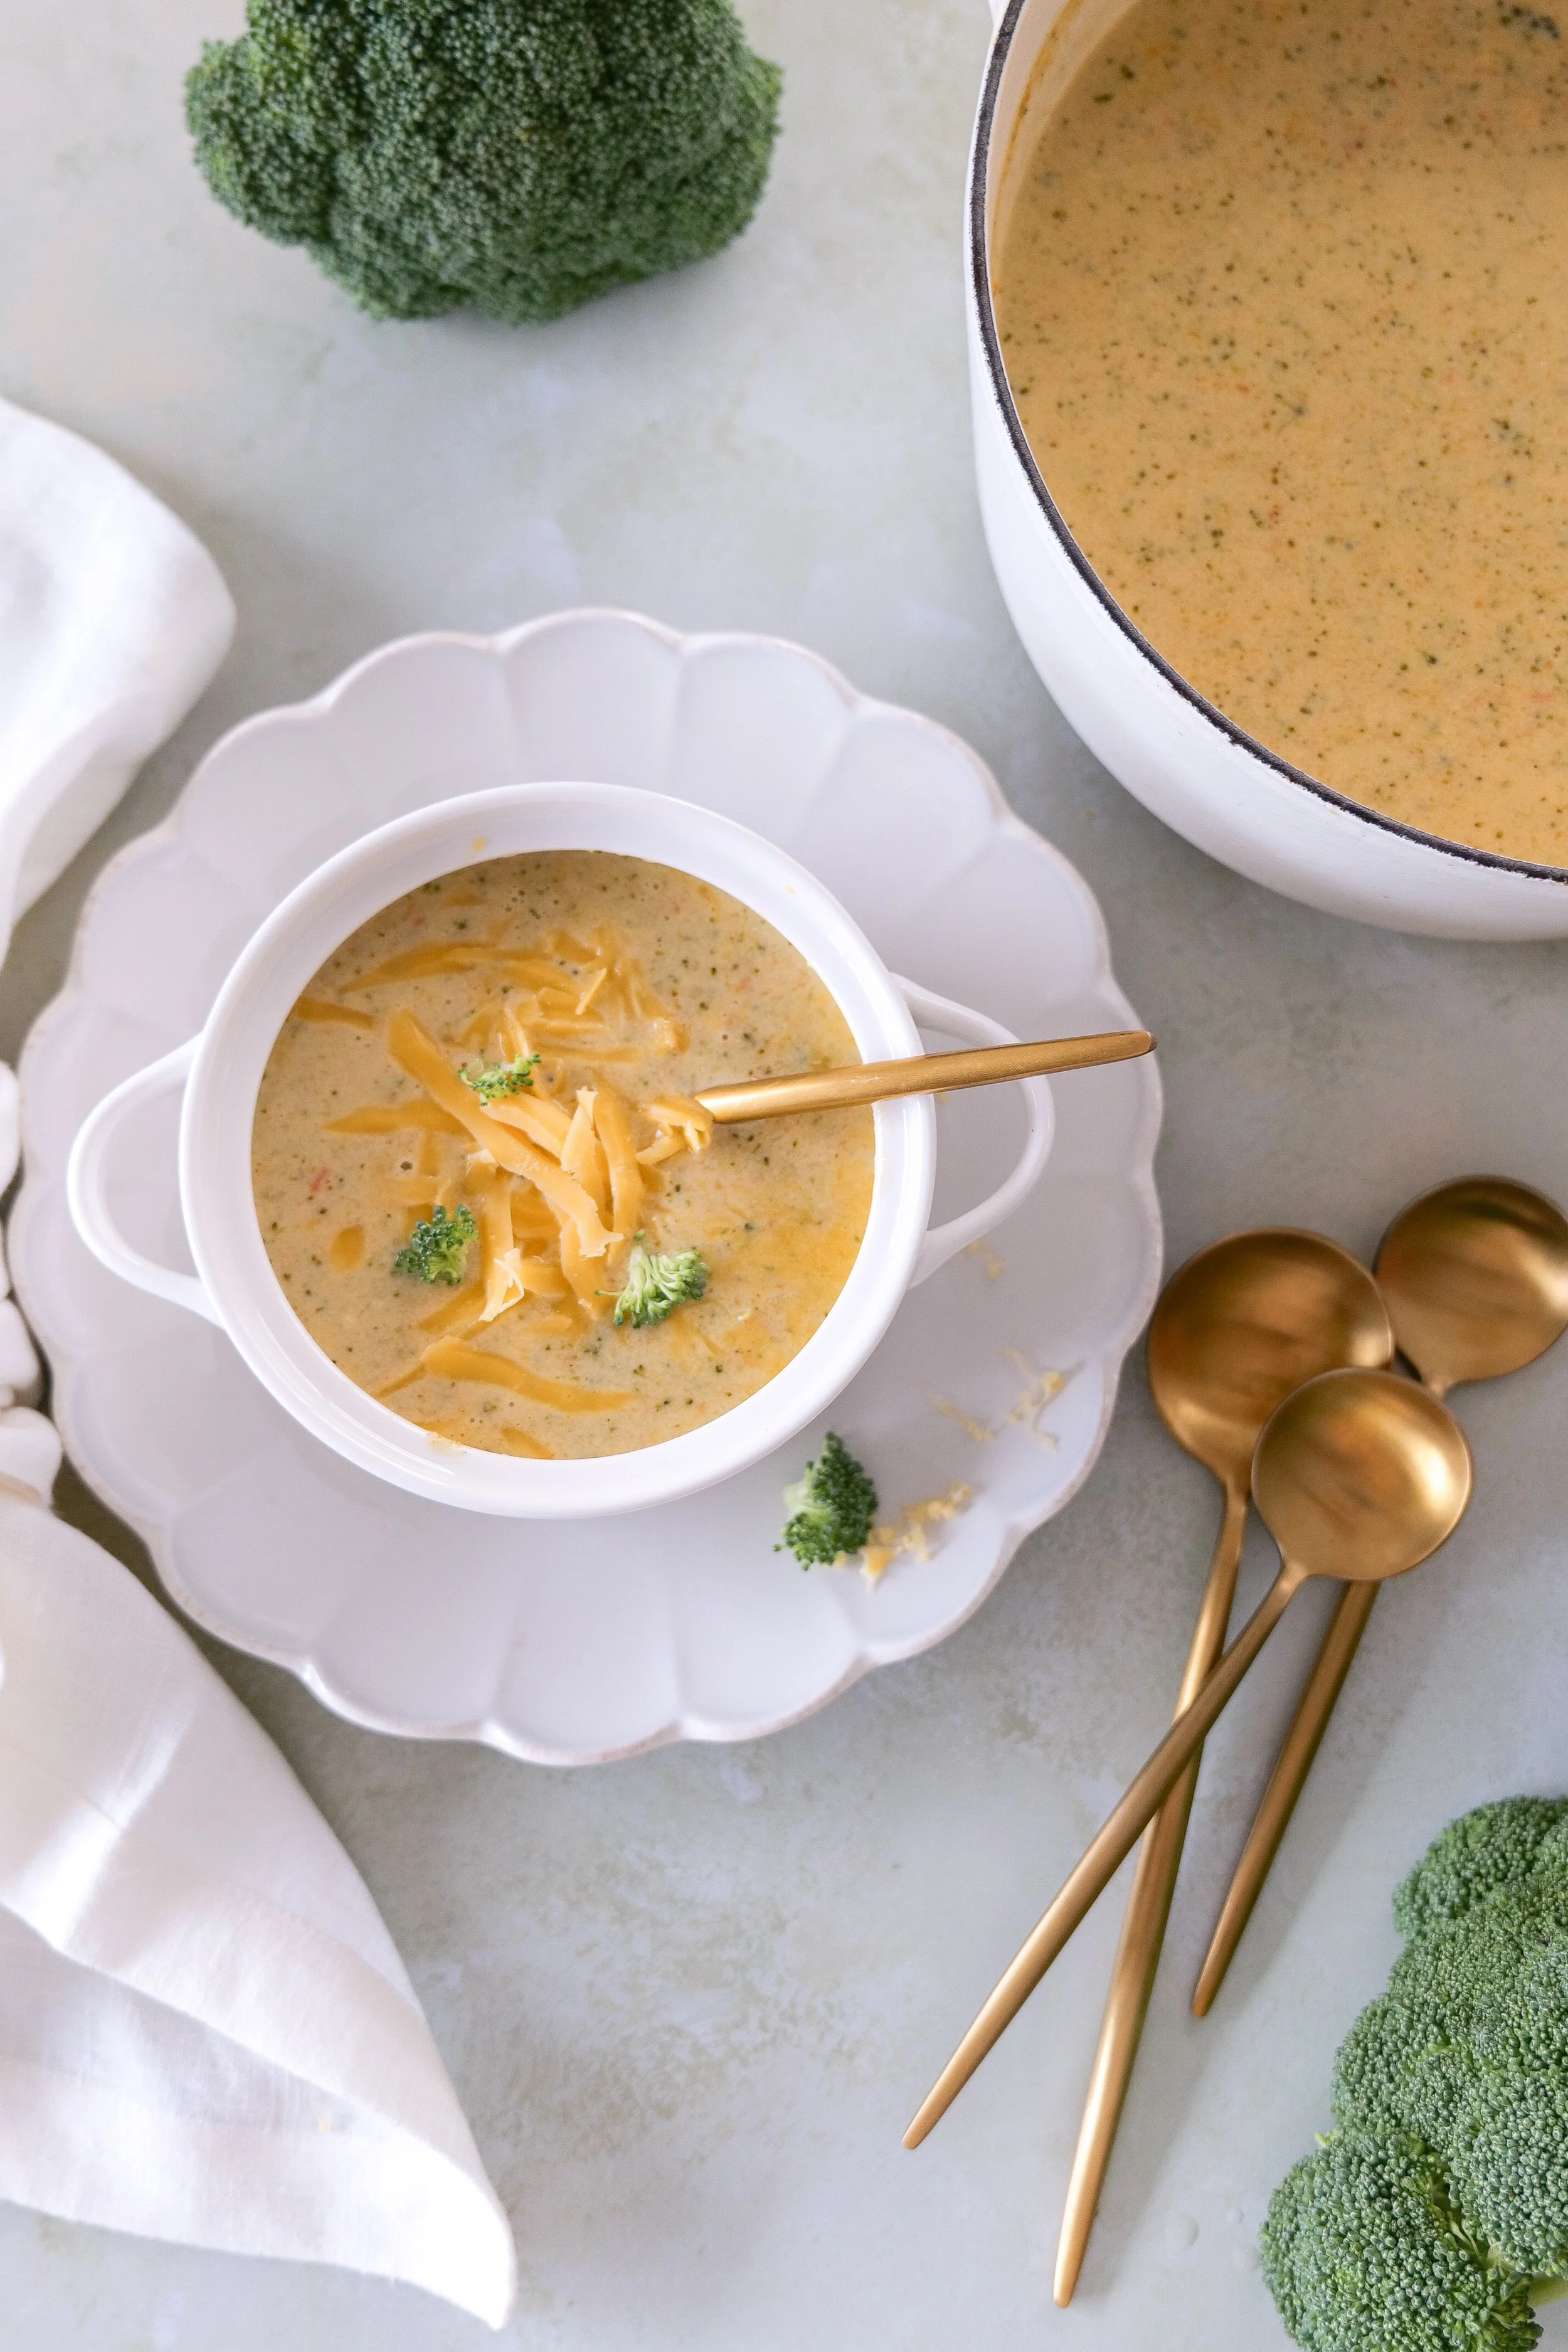
Warm bowl of homemade broccoli cheddar soup ready to serve for dinner.

My Favorite Soup-Making Essentials

I make homemade soup all throughout the cooler months, so there are a few kitchen pieces I find myself reaching for again and again. A good pot, immersion blender, ladle, soup bowls, and a few simple prep tools make everything from creamy soups to hearty slow cooker recipes so much easier.

I gathered my favorite soup-making essentials together below if you’re looking for any of the pieces I use in my own kitchen.

Classic broccoli cheddar soup with a thick creamy texture and fresh vegetables.

Tips for the Best Broccoli Cheddar Soup

A few simple things will help give you the best texture and flavor every time you make it.

Cut your broccoli into smaller florets. This helps it cook evenly and makes the finished soup much easier to eat.

Give the flour a minute to cook. After adding it to the butter and onions, let it cook for about a minute before adding your liquid. This helps eliminate the raw flour flavor.

Shred your own cheese if possible. Freshly grated cheddar tends to melt much more smoothly.

Blend before adding the cheese. If you want to use an immersion blender, blend the soup once the broccoli is tender and then add your cheddar.

Keep the heat low once the cheddar goes in. Gentle heat helps the cheese melt into a smooth, creamy soup.

Taste before adding additional salt. Broth and cheddar both contribute saltiness, so taste the finished soup and adjust if needed.

Thick and creamy broccoli cheddar soup made from scratch with cheddar cheese.

How to Make Broccoli Cheddar Soup

Making homemade broccoli cheddar soup is much easier than you might think.

Start by melting your butter in a large pot over medium heat. Add the diced onion and let it cook until softened and translucent.

Next, add the flour and seasonings. Stir everything together and allow the flour to cook for about one minute.

Slowly pour in your chicken bone broth or chicken stock, stirring as you go. Then add the heavy cream, broccoli, and carrots.

Cover the pot, reduce the heat, and let everything gently simmer until the broccoli is tender.

At this point, you can use an immersion blender if you want a smoother or thicker soup. Once you have the texture you like, lower the heat and gradually stir in the shredded cheddar.

As soon as the cheese is melted and the soup is creamy, it’s ready to serve.

Homemade broccoli cheddar soup from scratch served warm in a bowl.

Creamy Broccoli Cheddar Soup Recipe

Ingredients

  • 2 heads broccoli, florets cut into small pieces

  • 1 yellow onion, diced

  • 1 cup shredded carrots

  • 1 teaspoon sea salt

  • 1 teaspoon freshly ground black pepper

  • 1 teaspoon garlic powder

  • 32 ounces chicken bone broth or chicken stock

  • ¼ cup salted butter

  • 2 tablespoons all-purpose flour

  • 2 cups heavy cream

  • 6 ounces cheddar cheese, freshly shredded

Instructions

1. Sauté the onion.
Add the butter to a large pot or Dutch oven over medium heat. Once melted, add the diced onion and cook for approximately 3–4 minutes, or until softened and translucent.

2. Make the roux.
Sprinkle the flour, sea salt, black pepper, and garlic powder over the onions. Stir continuously for approximately 1 minute to coat the onions and cook the flour.

3. Add the liquids.
Slowly pour in the chicken bone broth while stirring to help keep the soup smooth. Add the heavy cream and stir until combined.

4. Add the vegetables.
Add the broccoli florets and shredded carrots. Stir everything together.

5. Simmer.
Cover the pot and reduce the heat to low. Allow the soup to gently simmer for approximately 20–30 minutes, or until the broccoli is tender.

6. Blend, if desired.
For a smoother and slightly thicker soup, use an immersion blender to blend some or all of the vegetables directly in the pot. For a chunkier broccoli cheddar soup, leave the vegetables as they are.

7. Add the cheddar.
Keep the soup over low heat and gradually stir in the freshly shredded cheddar cheese. Continue stirring until the cheese has completely melted and the soup is creamy.

8. Taste and serve.
Taste and adjust the seasoning if needed. Spoon into bowls, top with a little additional shredded cheddar if desired, and serve warm.

Creamy cheesy broccoli soup filled with broccoli florets and shredded carrots.

How to Store and Reheat Broccoli Cheddar Soup

If you have leftovers, transfer the soup to an airtight container and refrigerate it promptly. It will keep well in the refrigerator for about 3–4 days.

Because this soup contains heavy cream and cheddar, I recommend reheating it gently rather than bringing it to a hard boil.

Add your leftovers to a saucepan and warm over low to medium-low heat, stirring occasionally until heated through. If the soup has thickened considerably in the refrigerator, you can add a small splash of broth or cream until it reaches the consistency you like.

You can freeze broccoli cheddar soup, although cream-and-cheese-based soups can sometimes have a slightly different texture once thawed.

If you do freeze it, let the soup cool, transfer it to a freezer-safe airtight container, and leave a little room for expansion. Thaw overnight in the refrigerator before gently reheating it on the stovetop.

Easy homemade broccoli cheese soup with a creamy cheddar broth.

Frequently Asked Questions

Can I make broccoli cheddar soup ahead of time?

Yes. You can make this soup ahead and keep it refrigerated in an airtight container for about 3–4 days. Reheat it gently on the stovetop before serving.

Can I use frozen broccoli?

Fresh broccoli is my preference for this recipe, but frozen broccoli can work when needed. Because frozen broccoli is already partially softened, you may find that it cooks more quickly than fresh.

Do I have to blend broccoli cheddar soup?

Not at all. Blending is completely optional. Leave the vegetables whole for a chunkier soup, blend a small portion for a thicker broth, or blend more for a smoother consistency.

Why isn't my cheddar melting smoothly?

High heat can make cheese-based soups grainy. Lower the heat before adding the cheddar and stir it in gradually. Freshly shredded cheese also tends to melt more smoothly than packaged shredded cheese.

Cozy bowl of creamy broccoli cheddar soup topped with additional cheddar cheese.

More Cozy Soup Recipes You’ll Love

If you loved this creamy broccoli cheddar soup, here are a few more cozy soup recipes to make next:

There’s something so comforting about having a collection of homemade soup recipes to turn to when the weather cools down. Whether you’re looking for something creamy and cheesy like this broccoli cheddar soup or a hearty soup that can serve as dinner on its own, these are the kinds of recipes I love gathering around the table with my family.

Shop My Favorite Soup Essentials

If you're working your way through more of my soup recipes, you can find the cookware, serving pieces, and kitchen essentials I use for homemade soup all together under my Soup & Slow Cooker Essential guide.

Save This Recipe

Whether you're planning ahead for a cozy weeknight dinner or adding a new favorite to your recipe collection, I've included a printable recipe card below so it's easy to save, print, and share with the people you love.

Printable creamy broccoli cheddar soup recipe card from Amanda’s Kitchen.

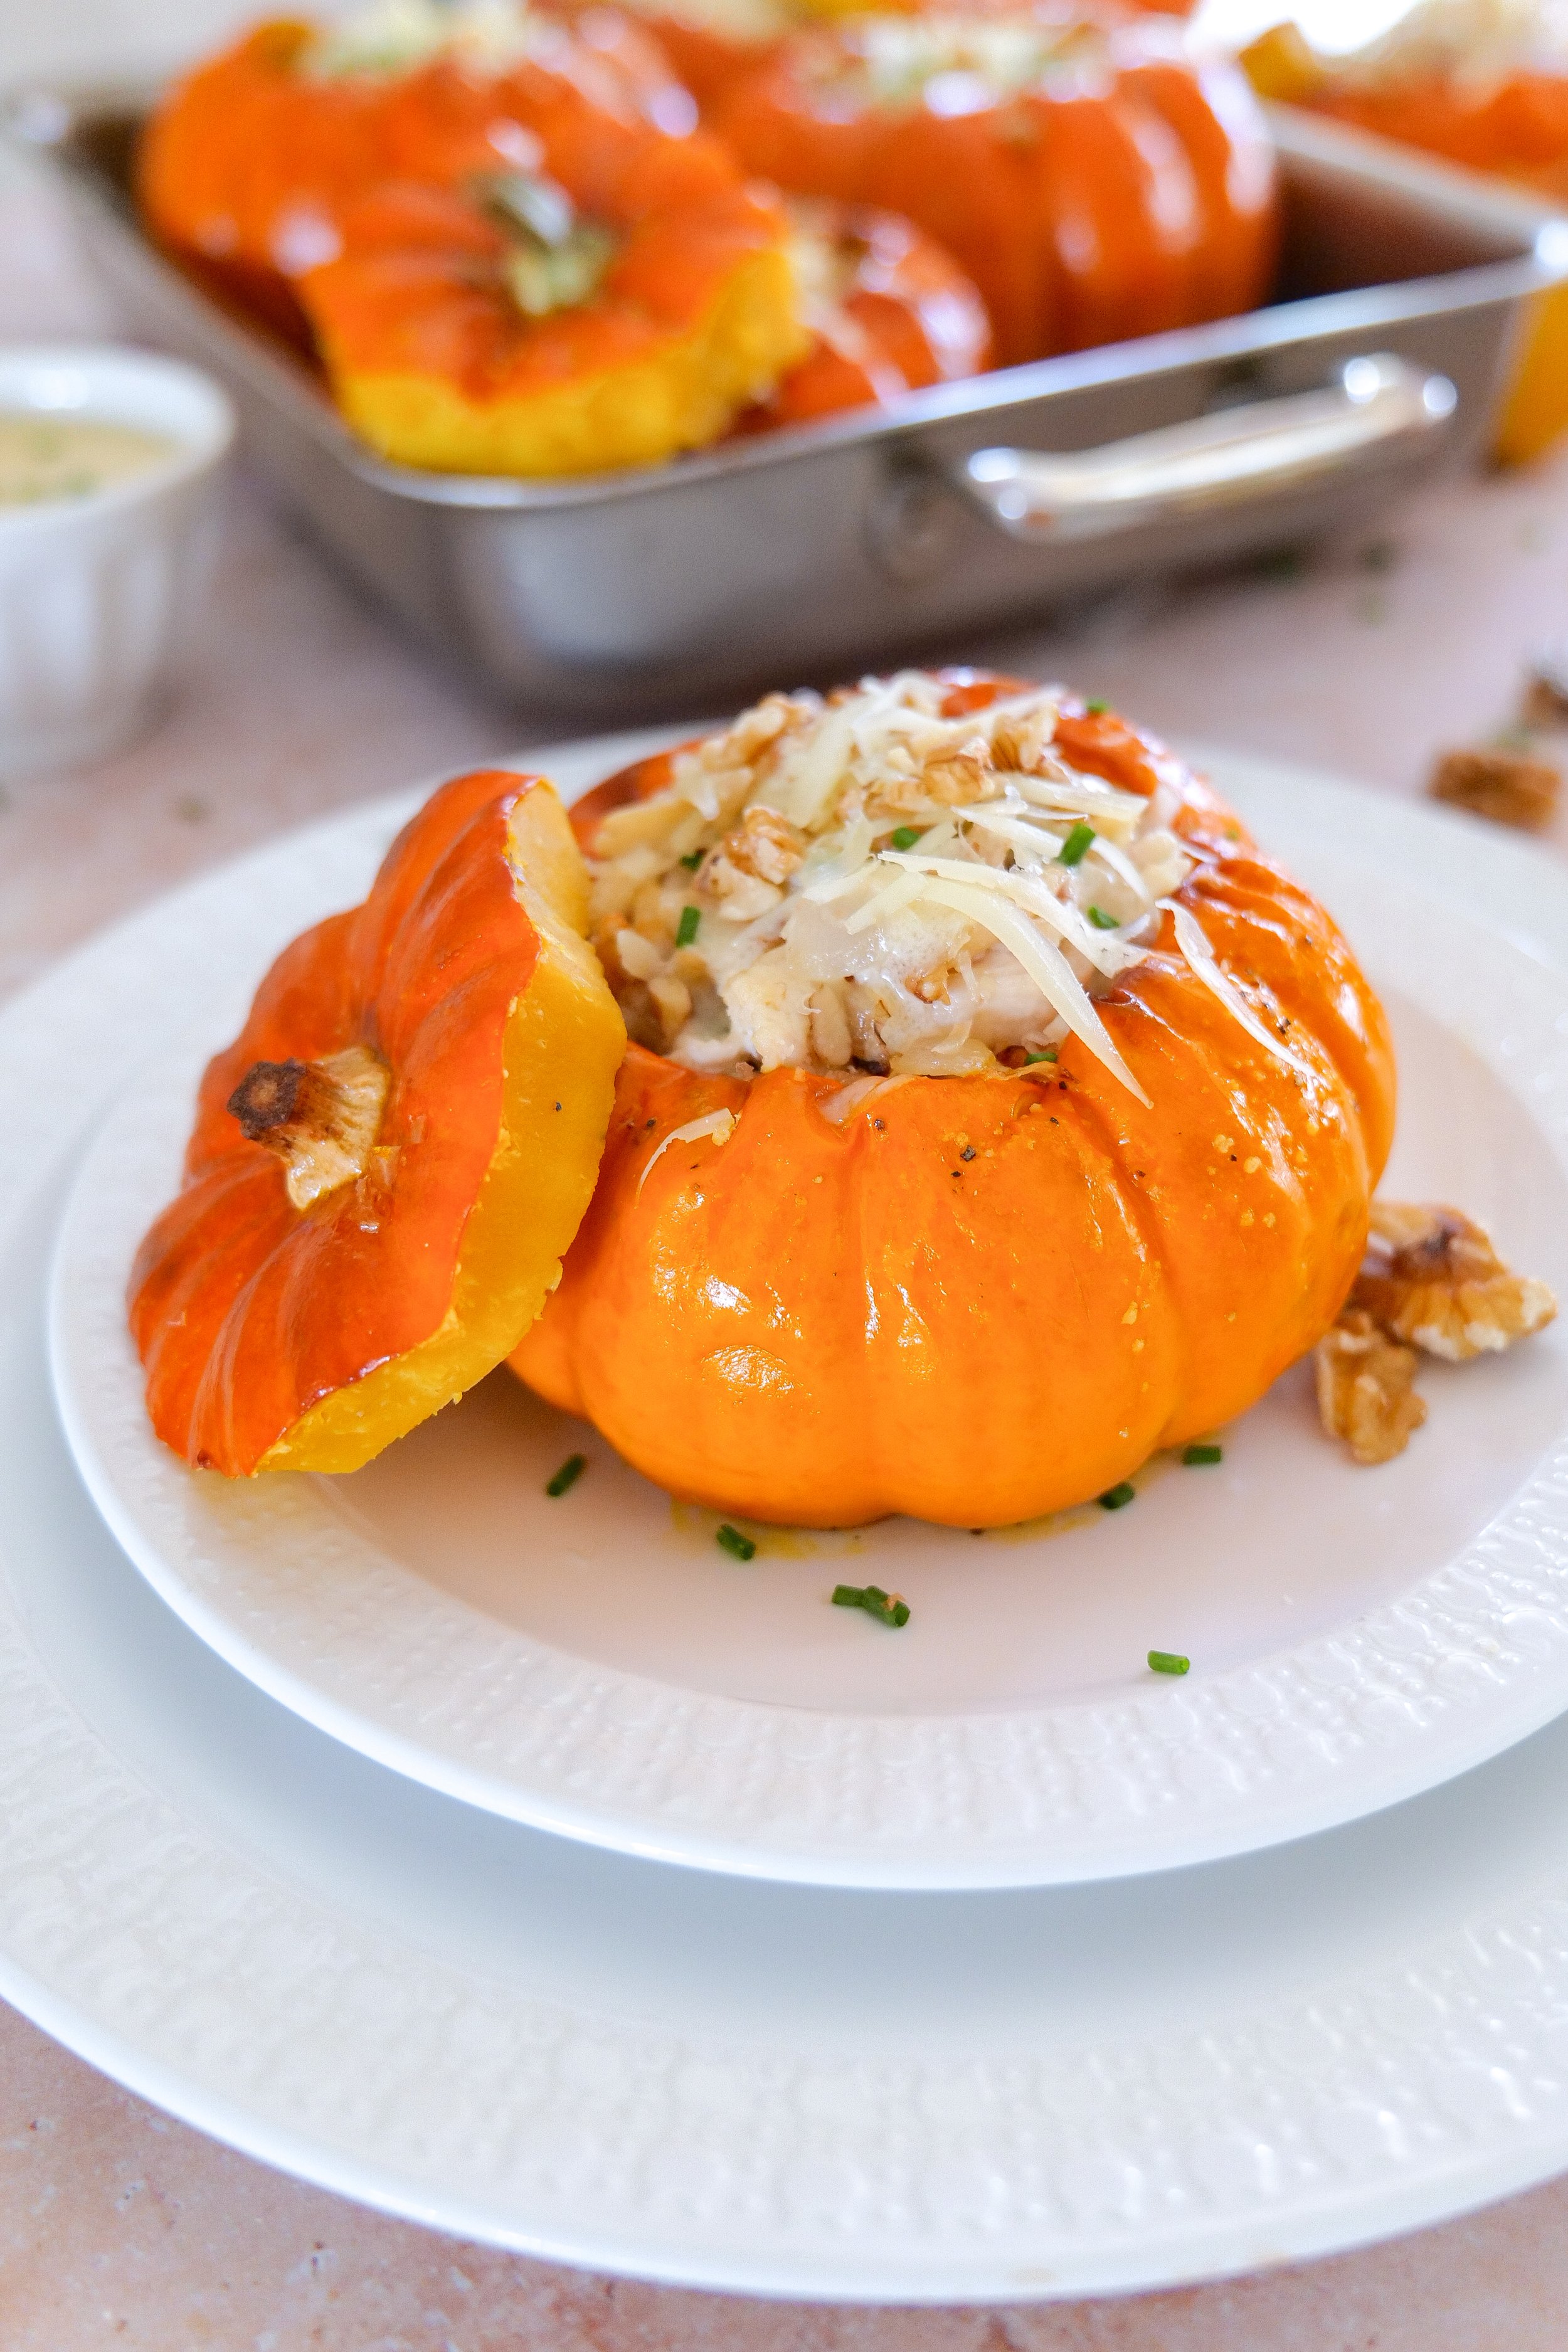
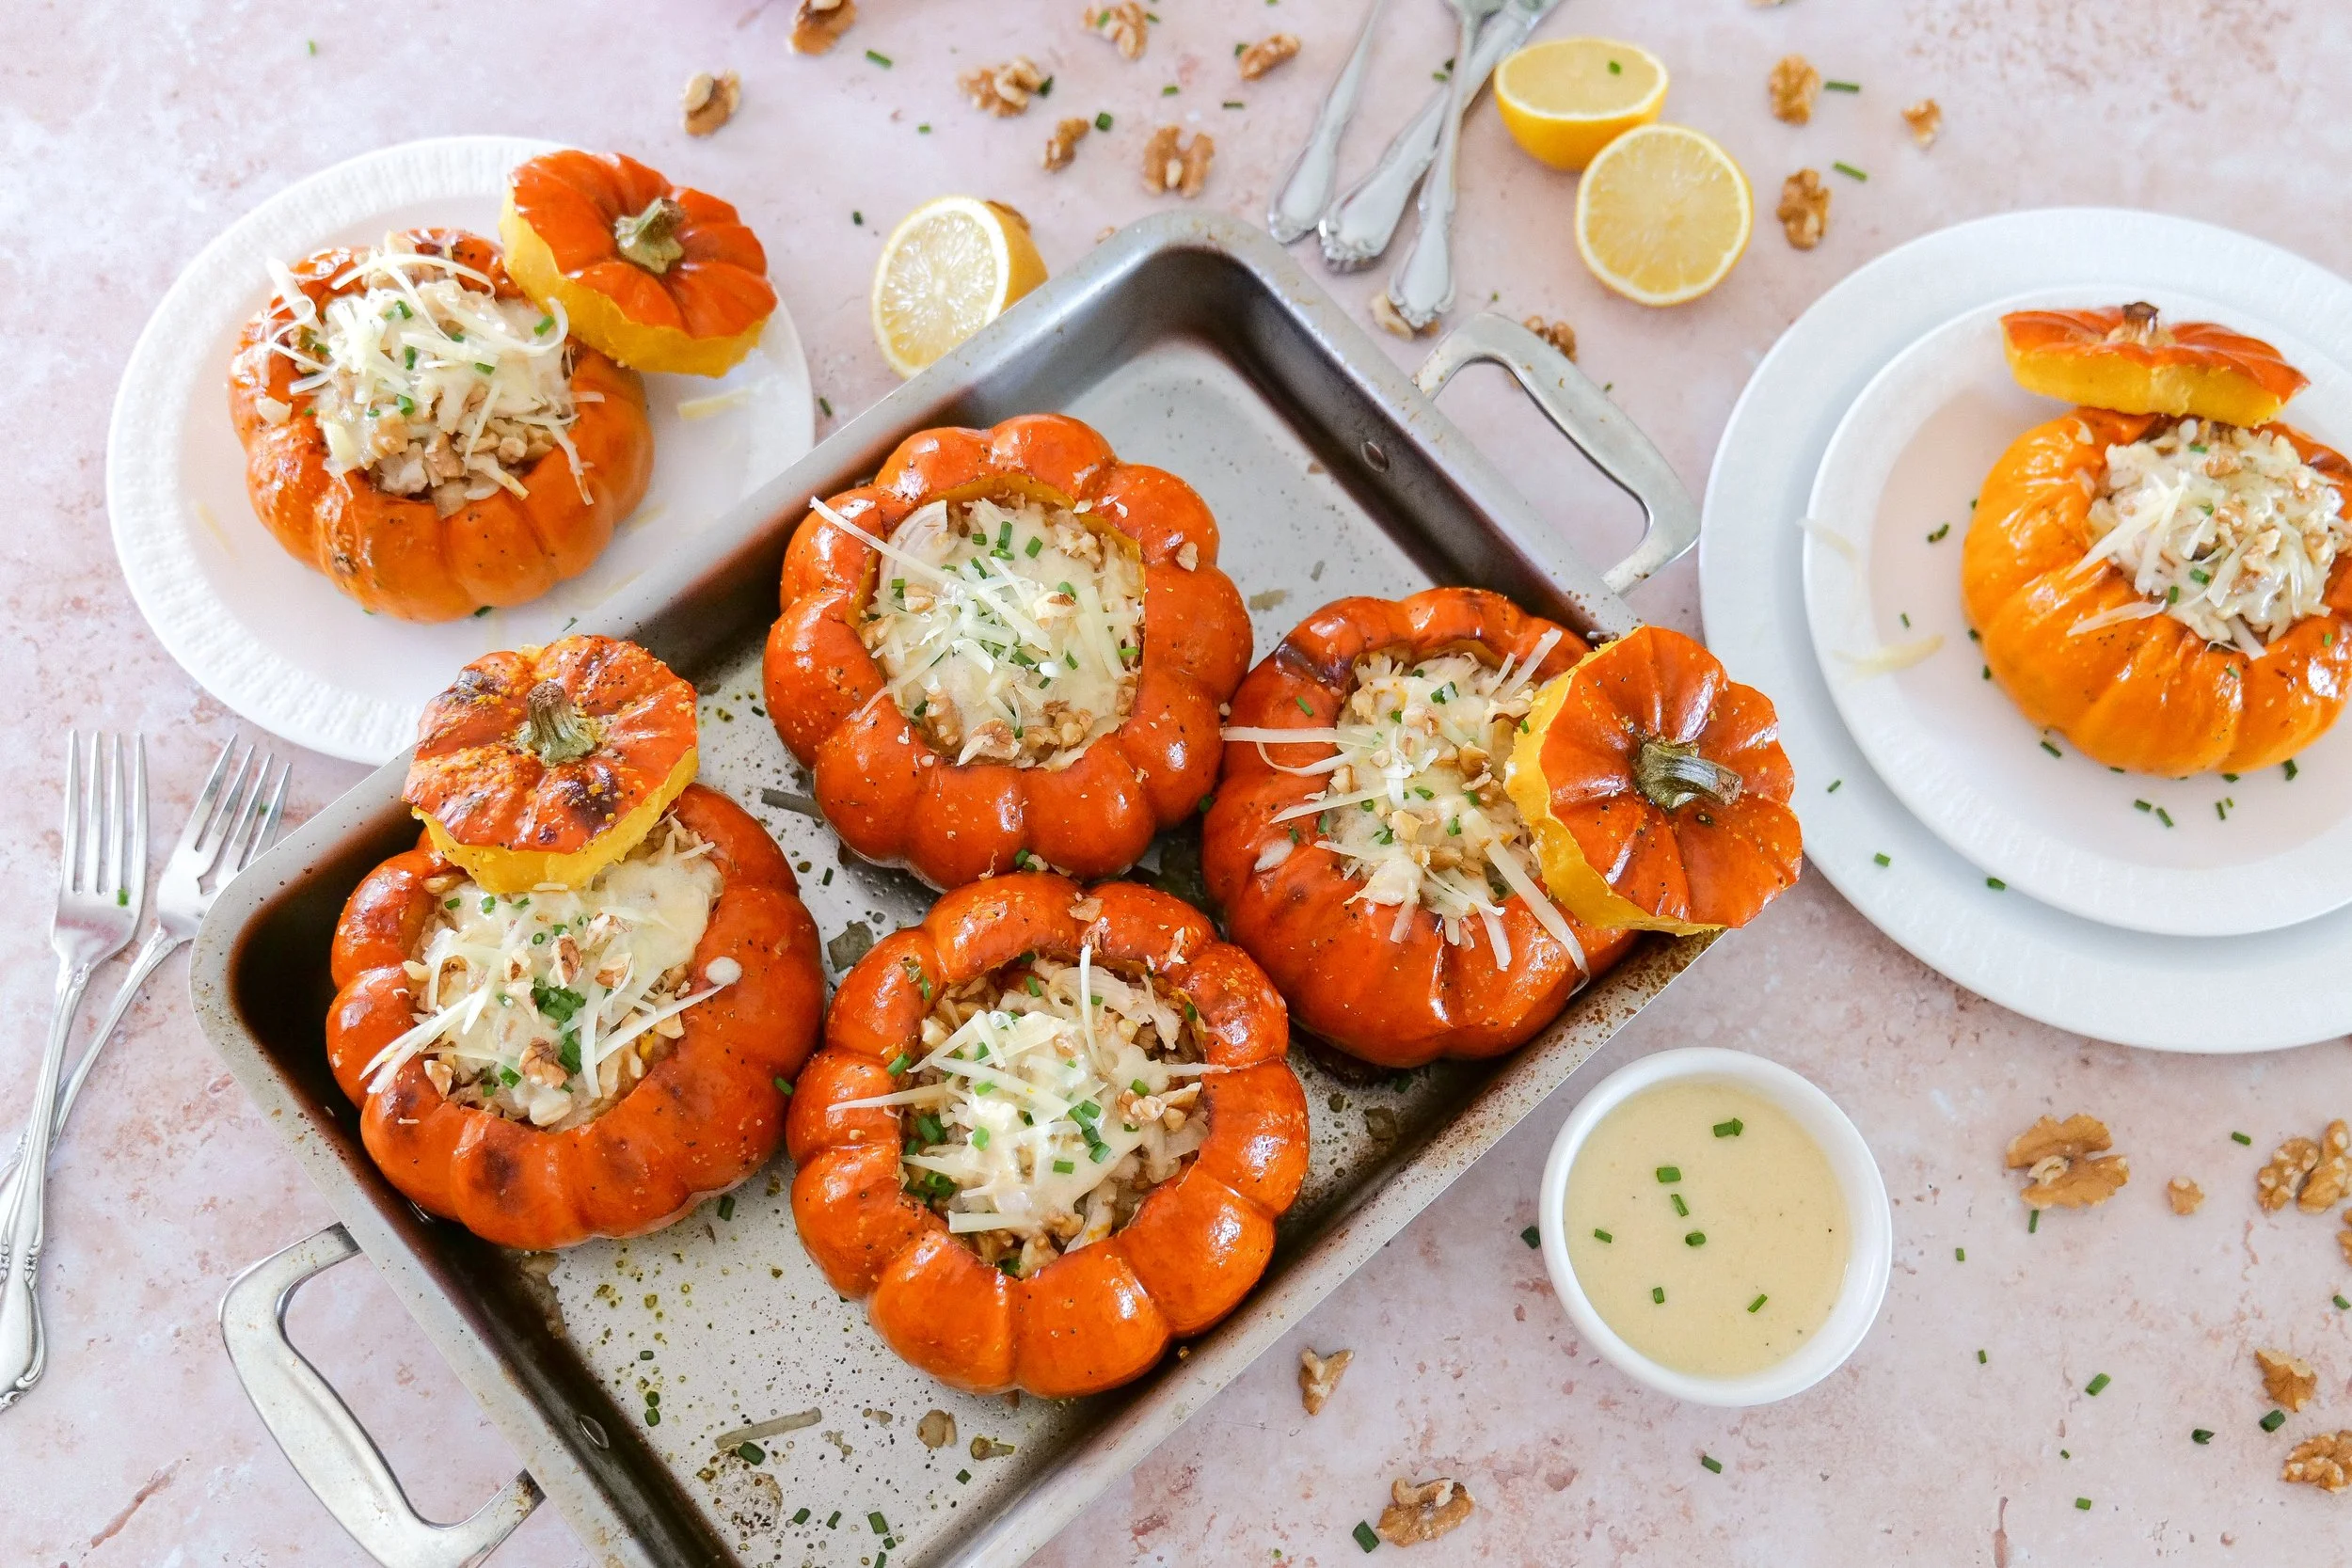
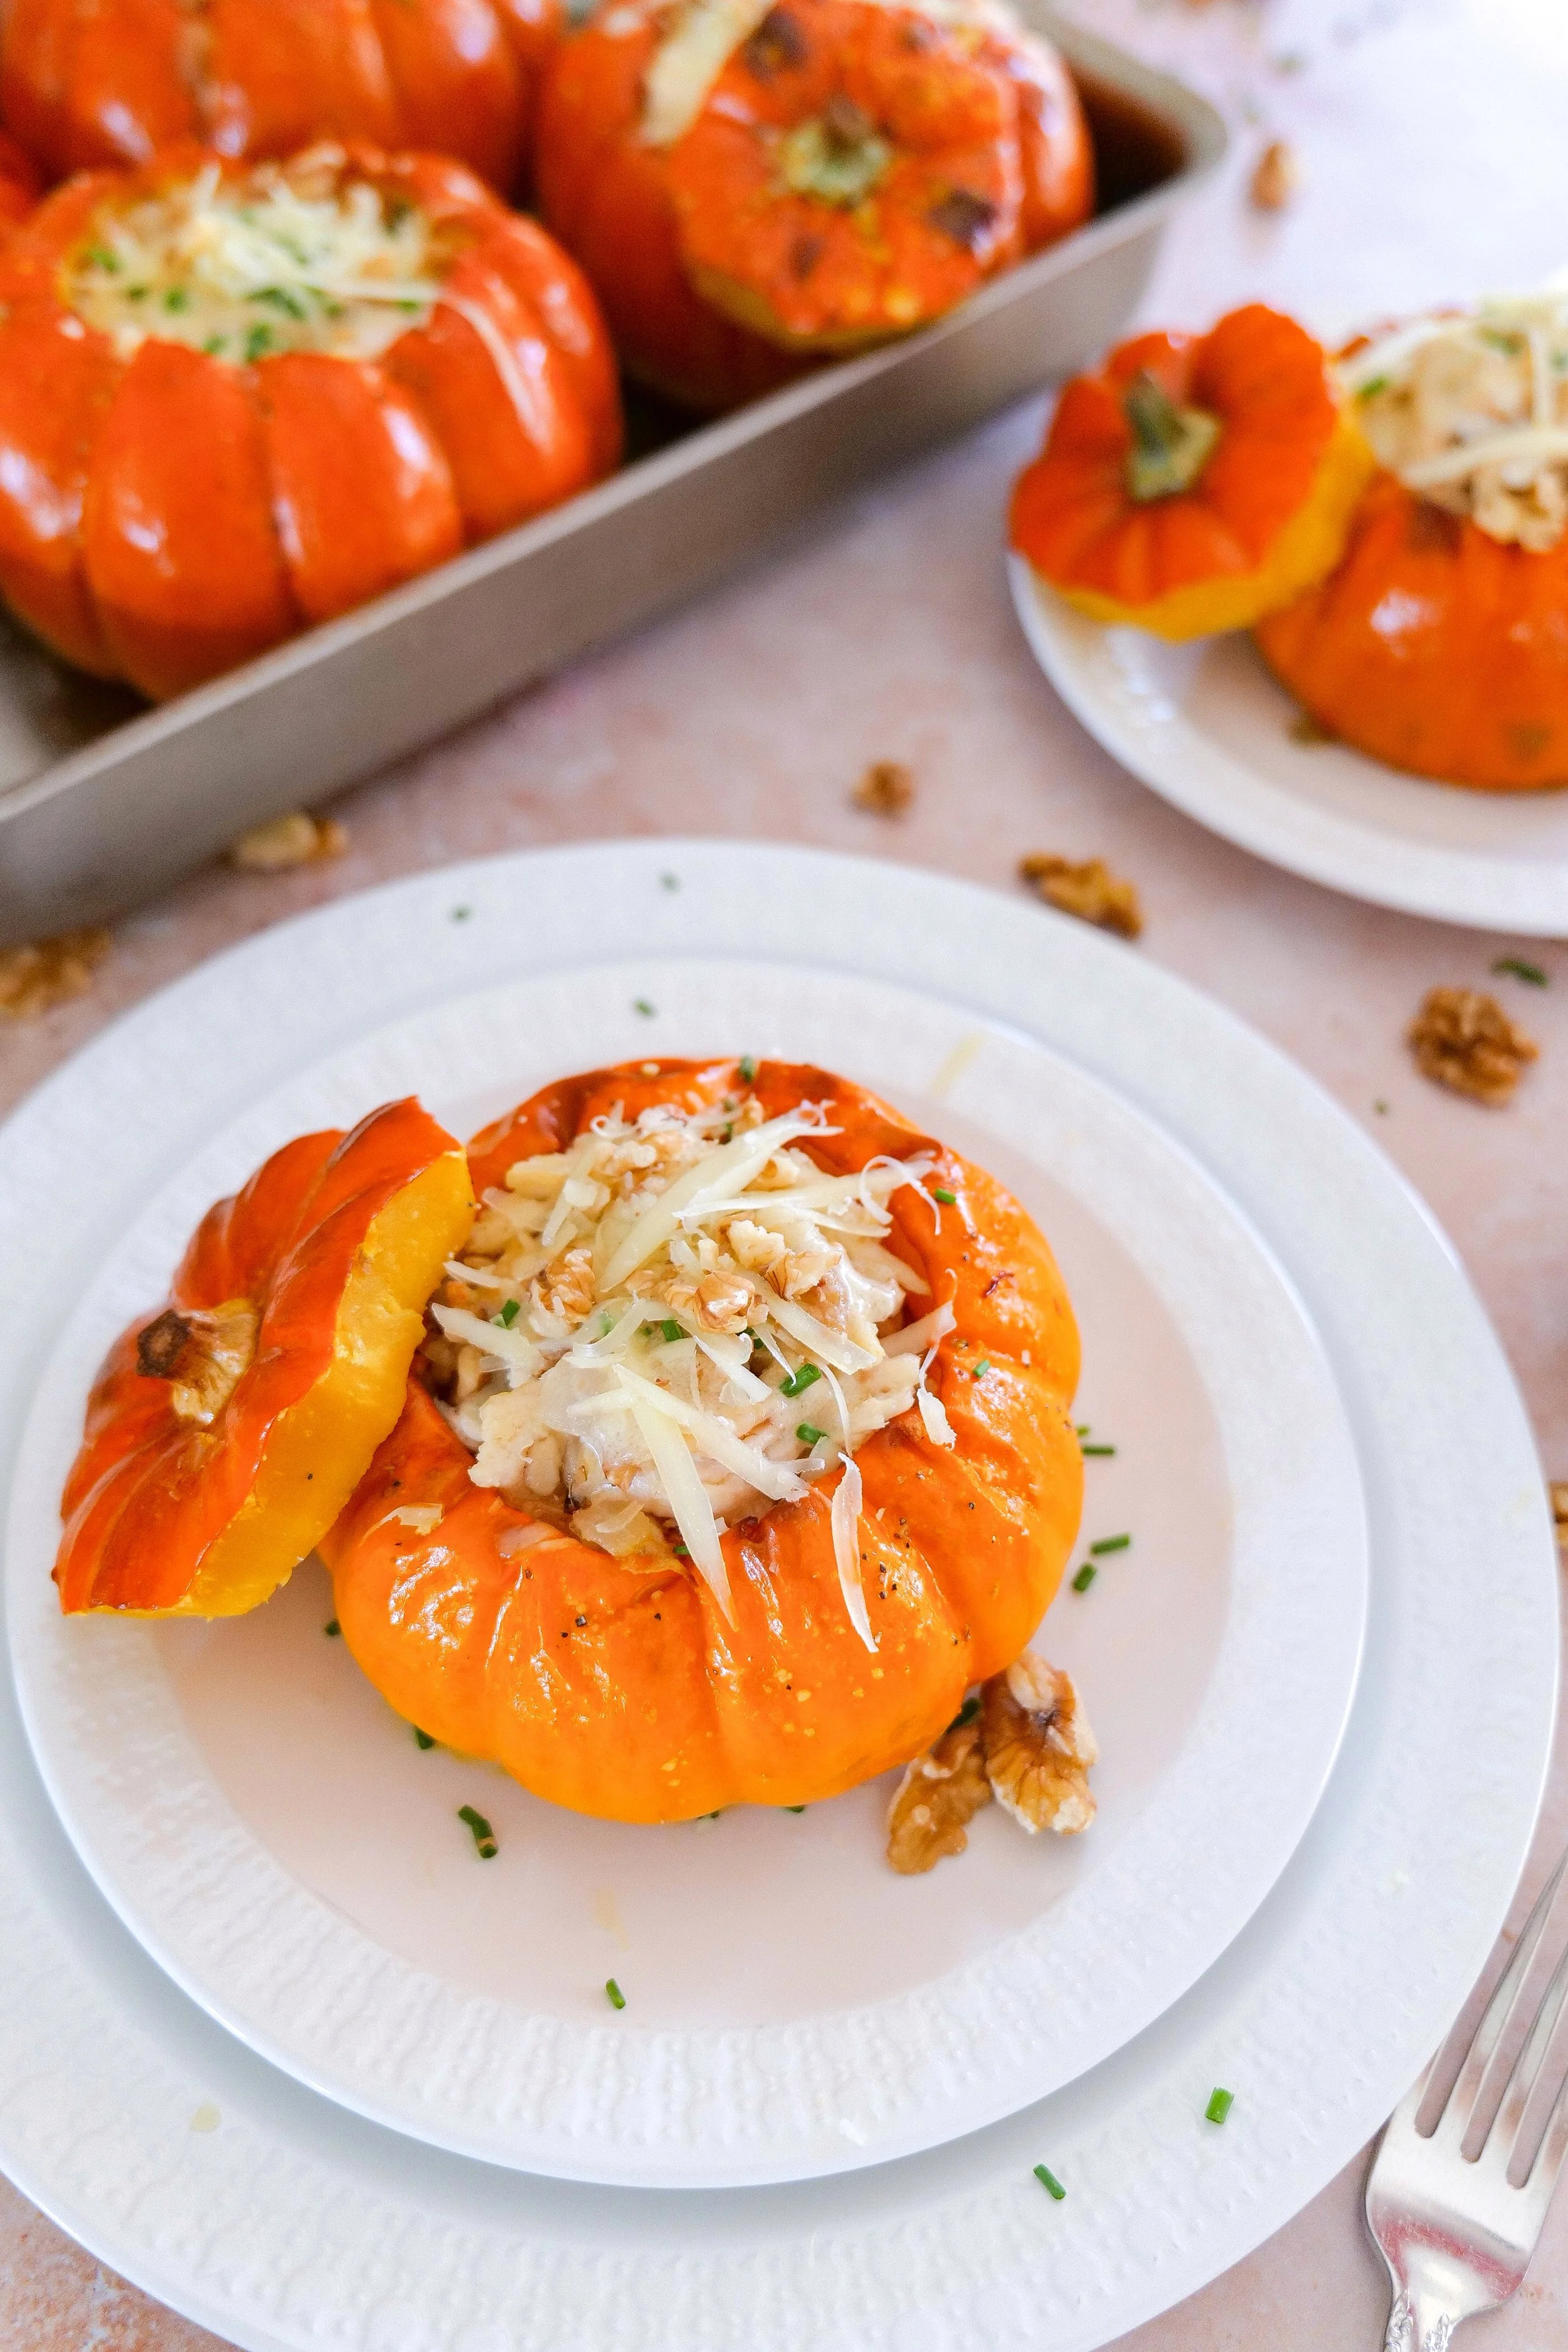
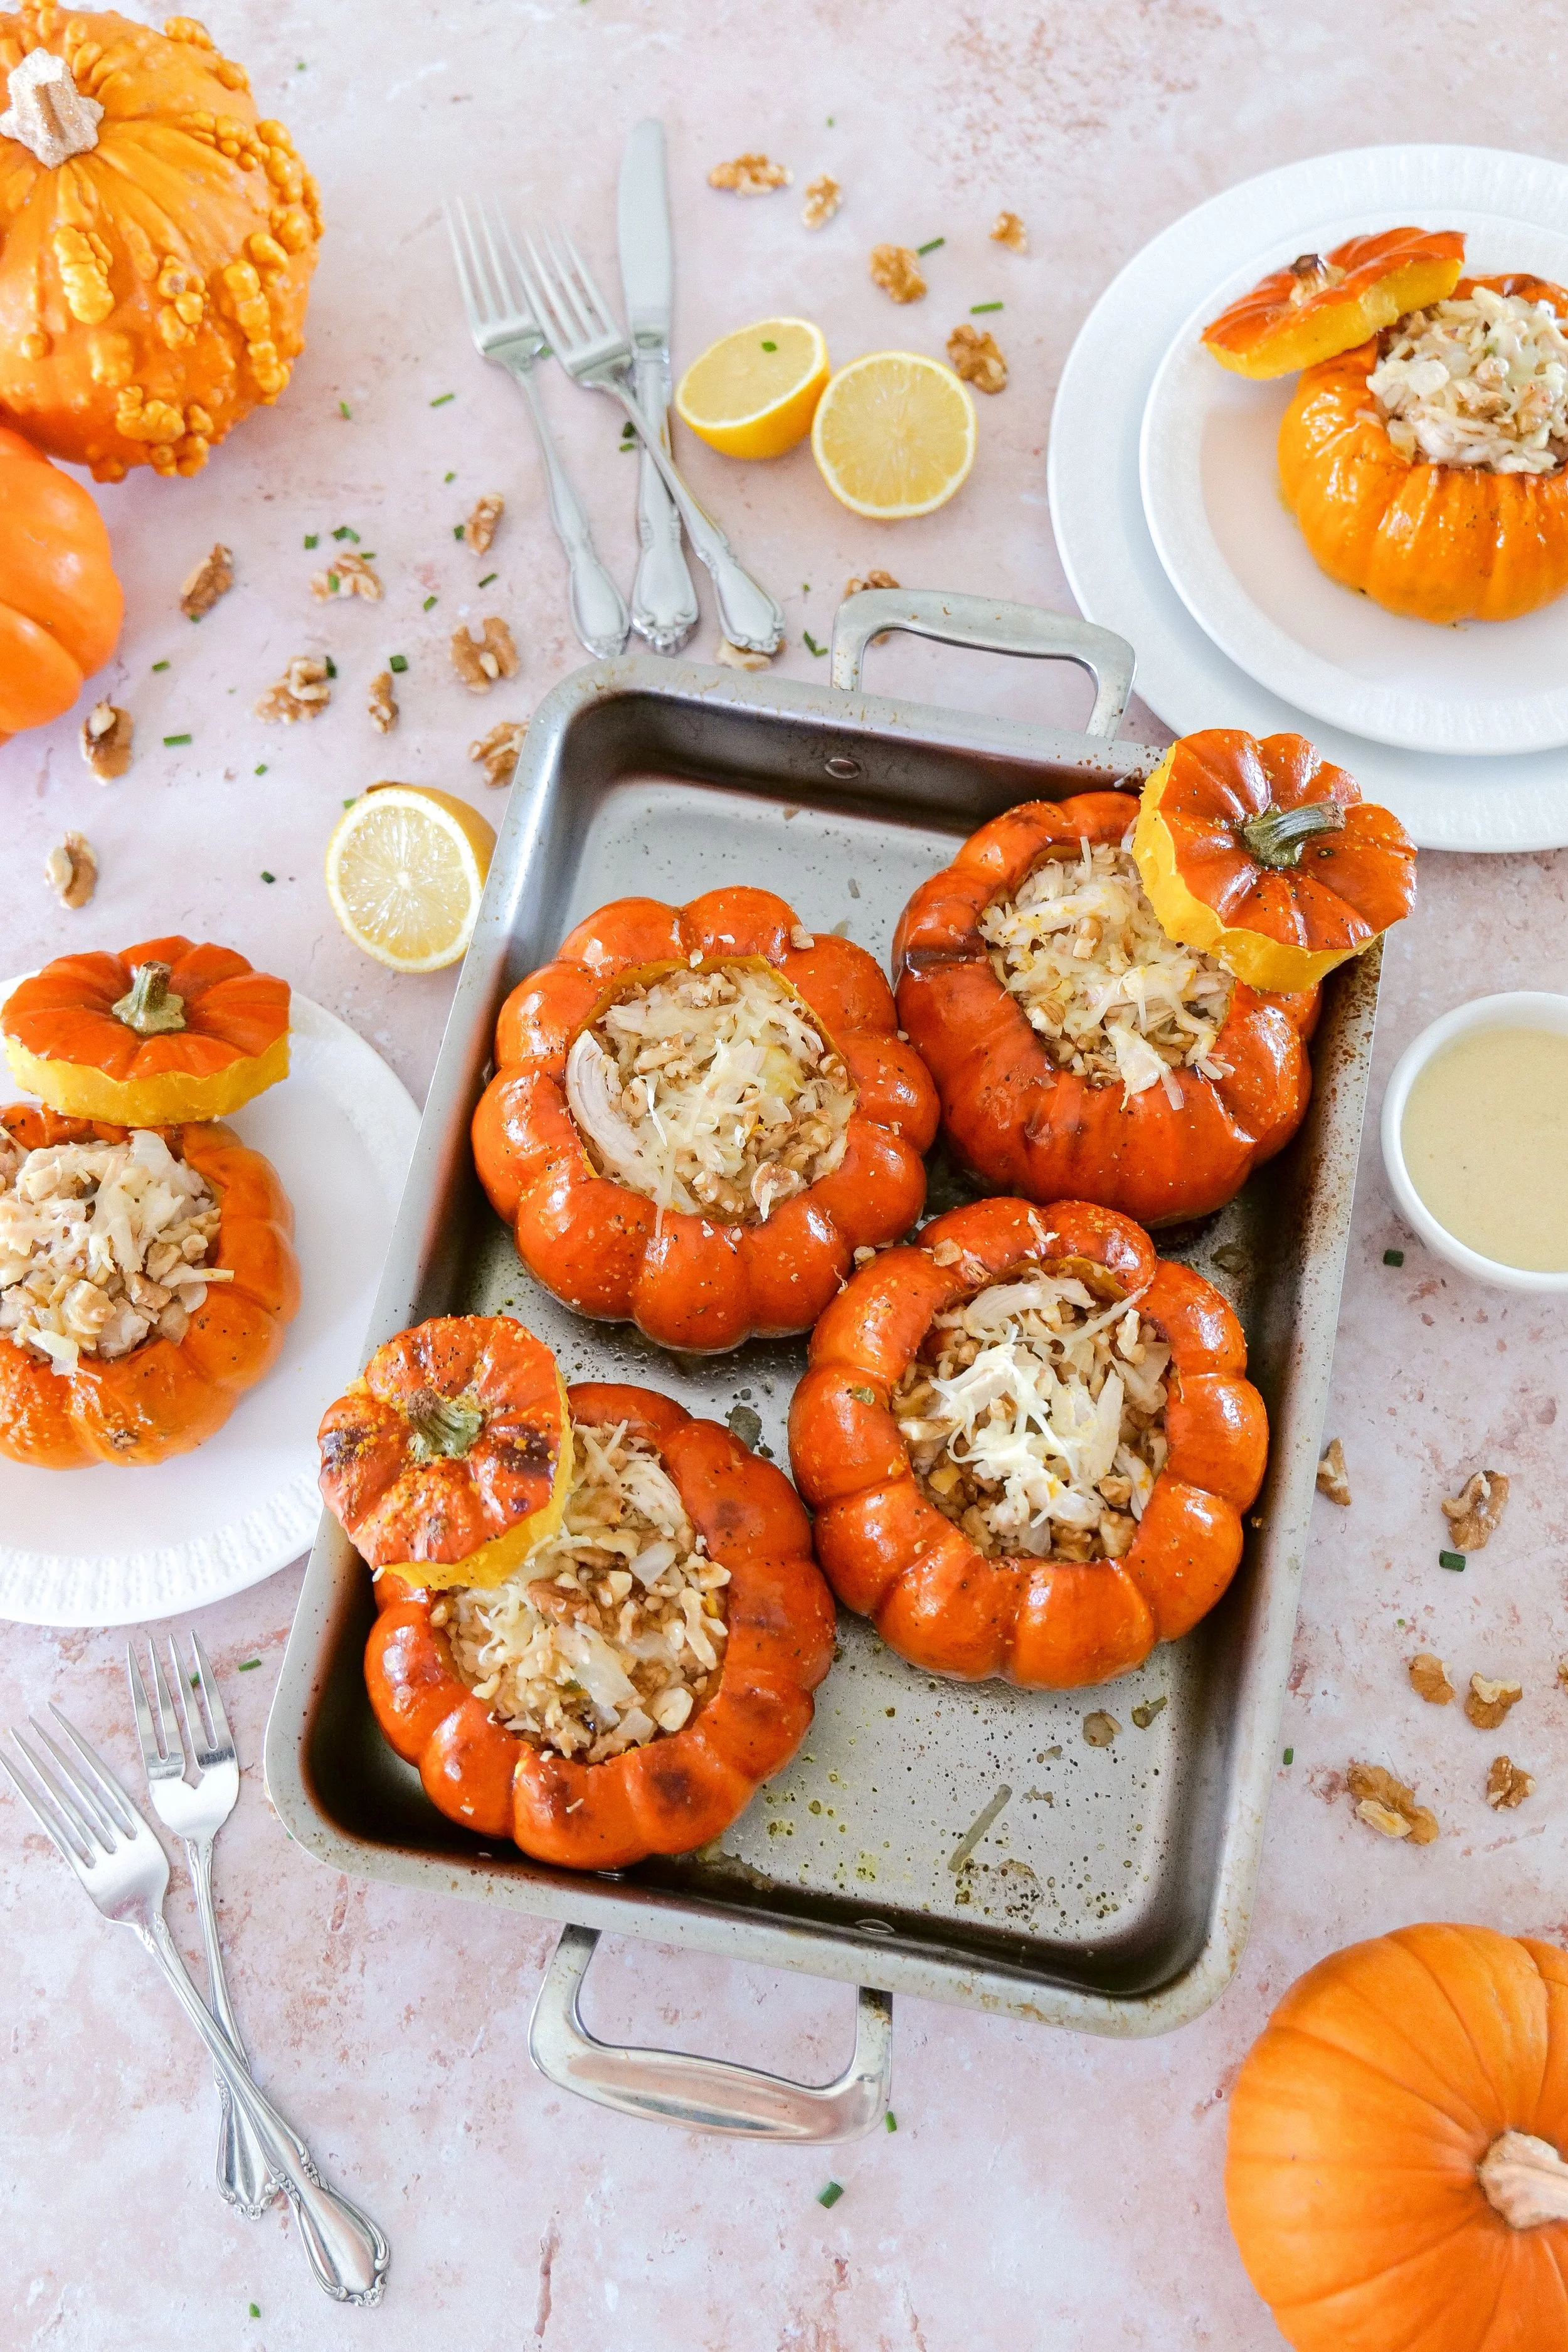
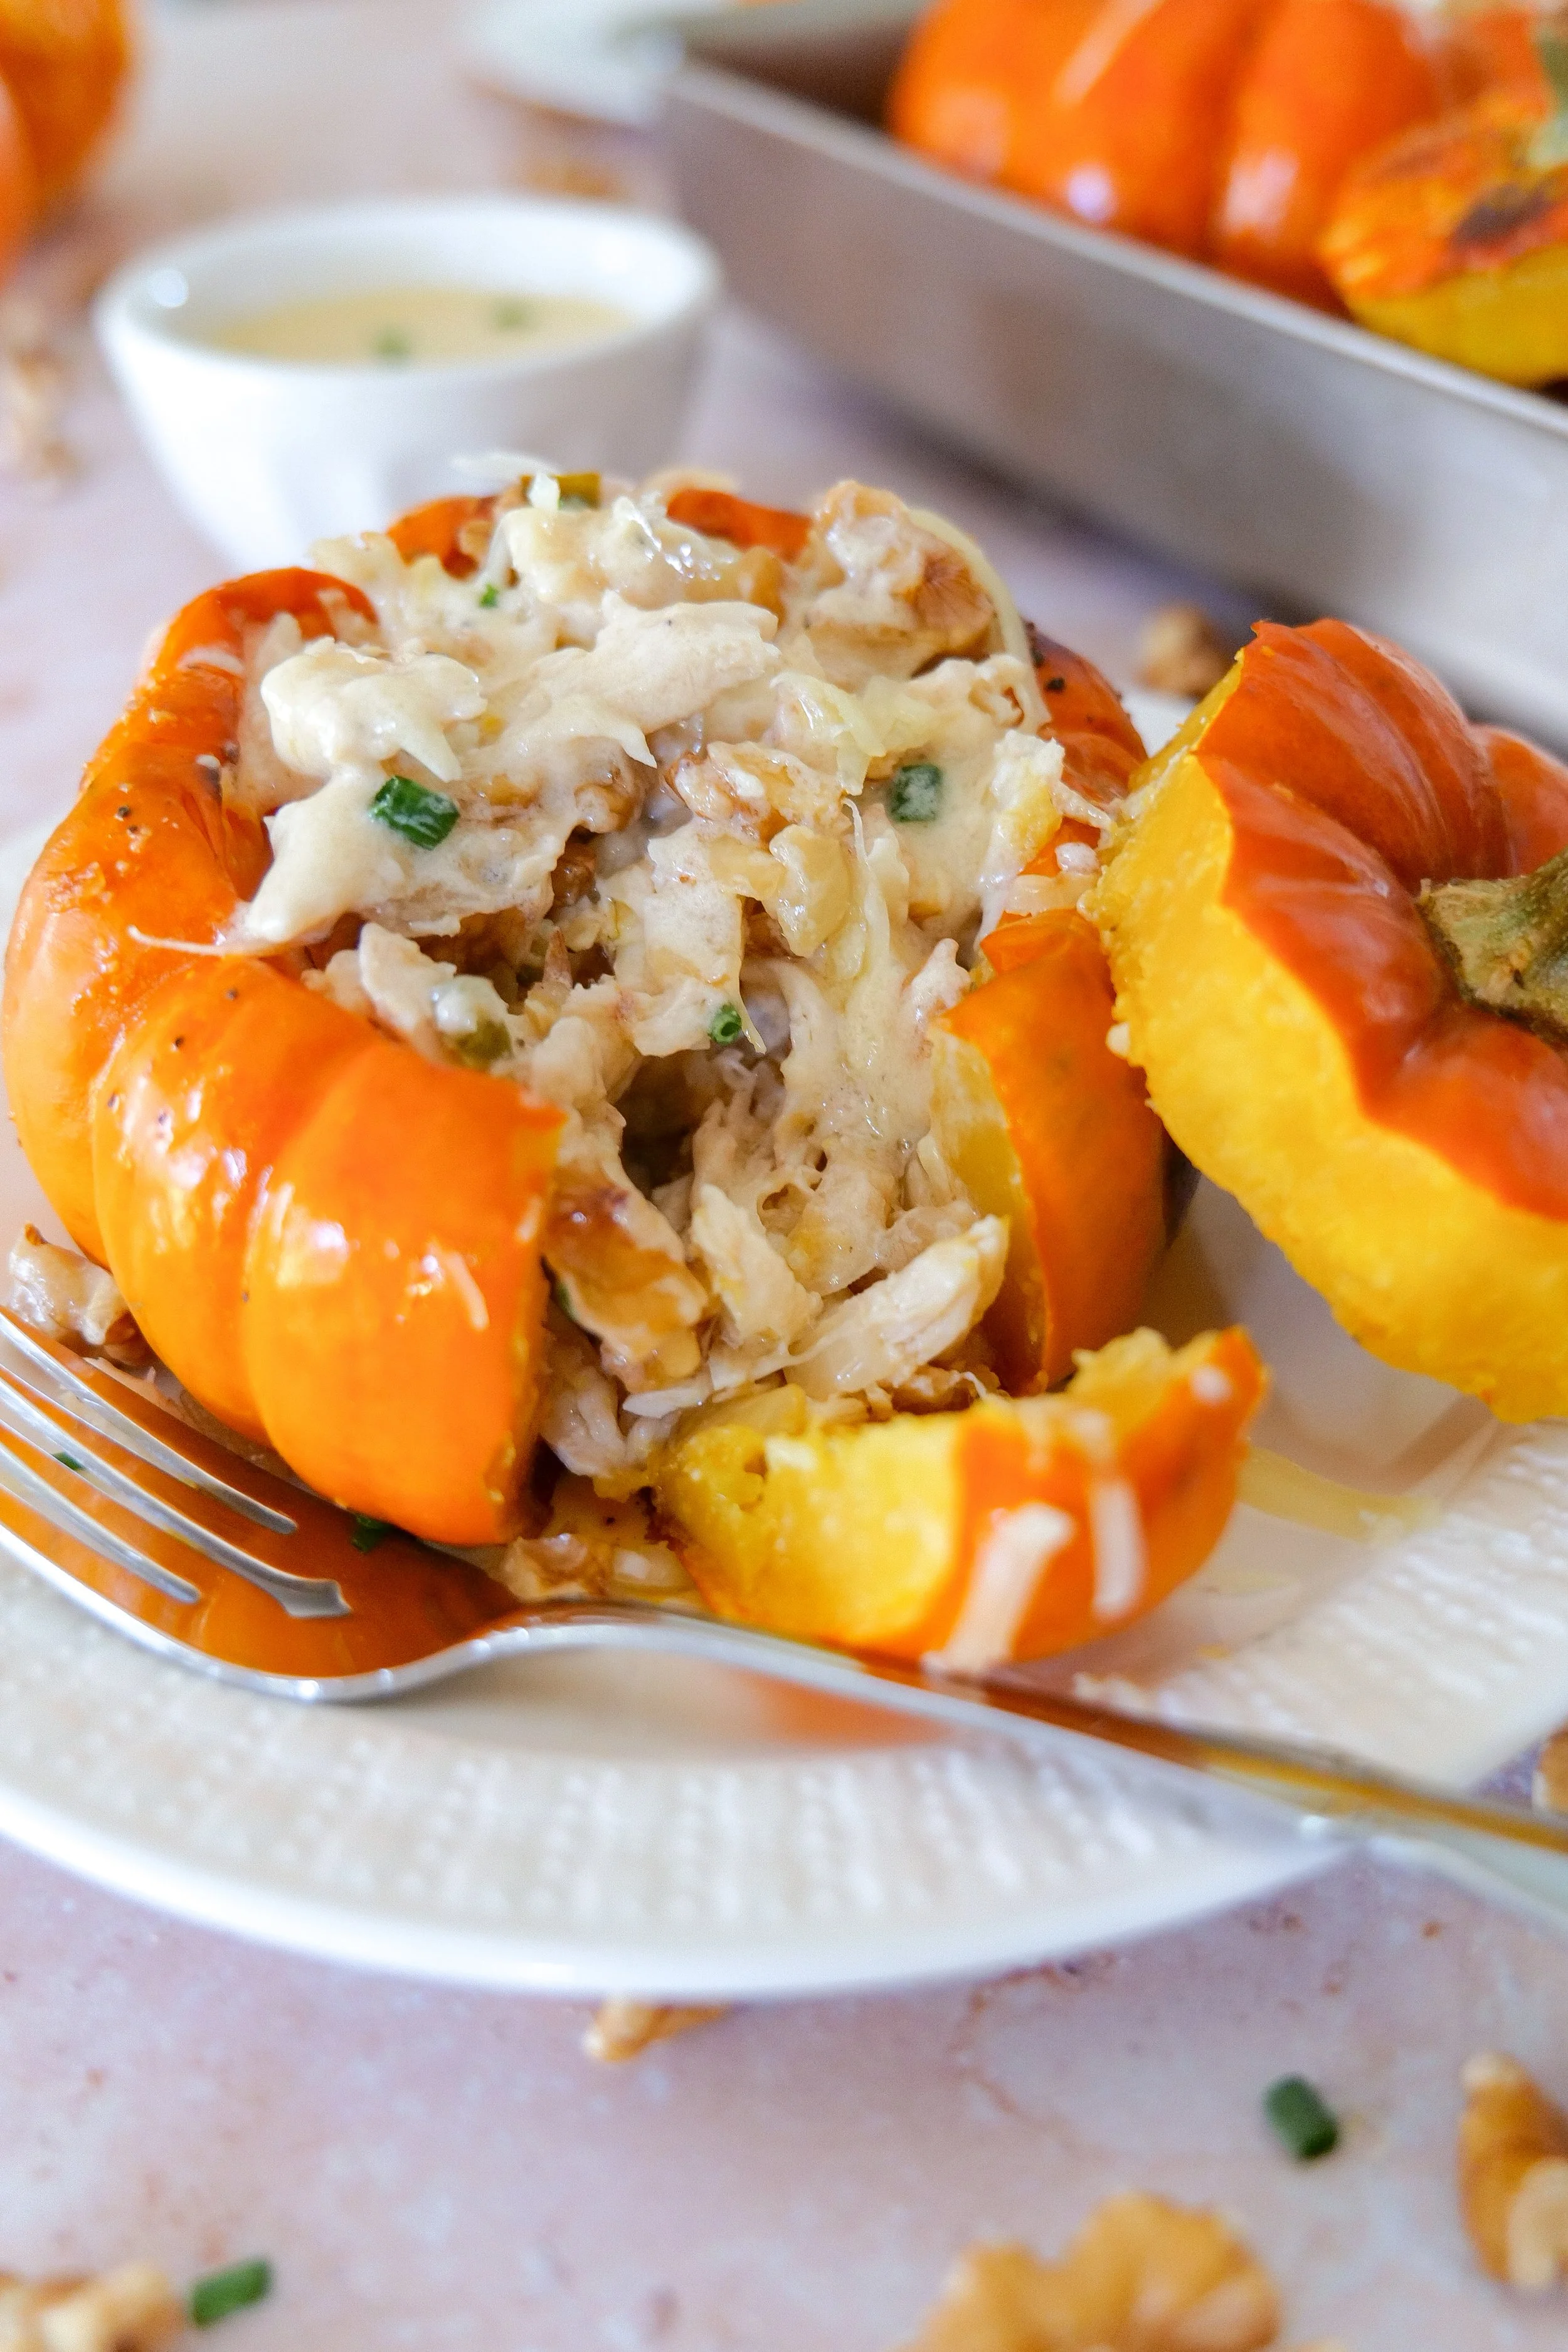
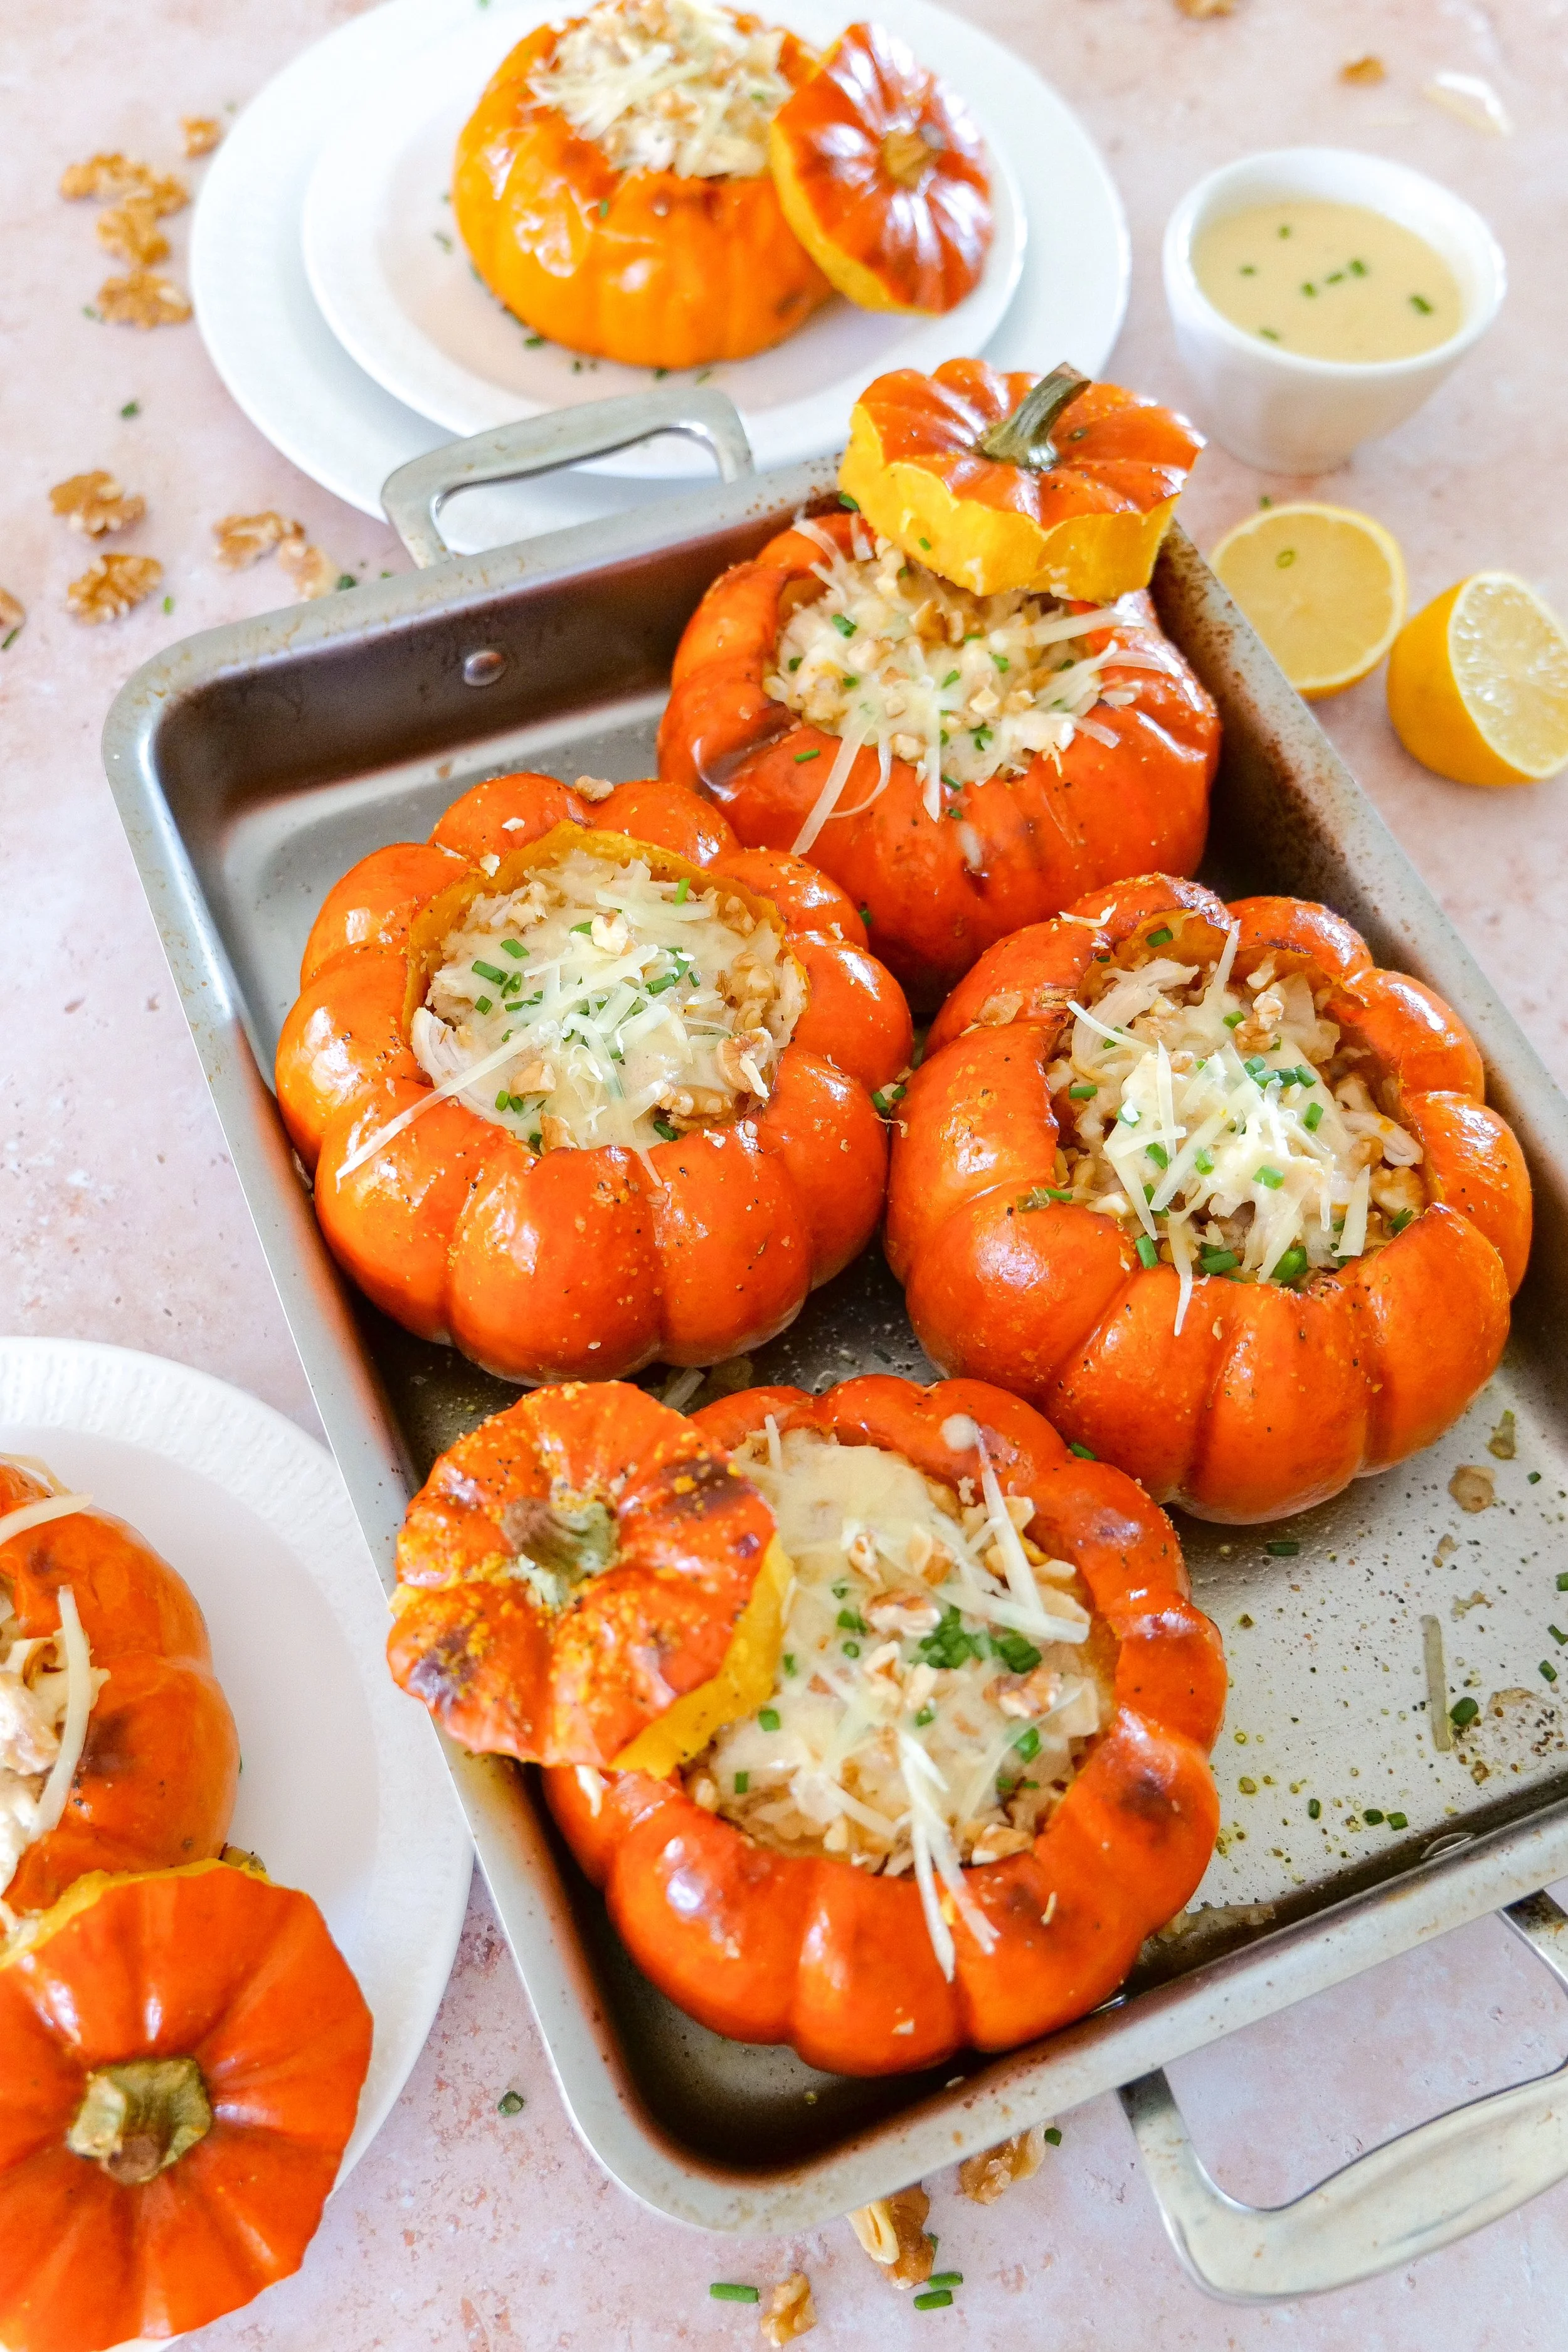
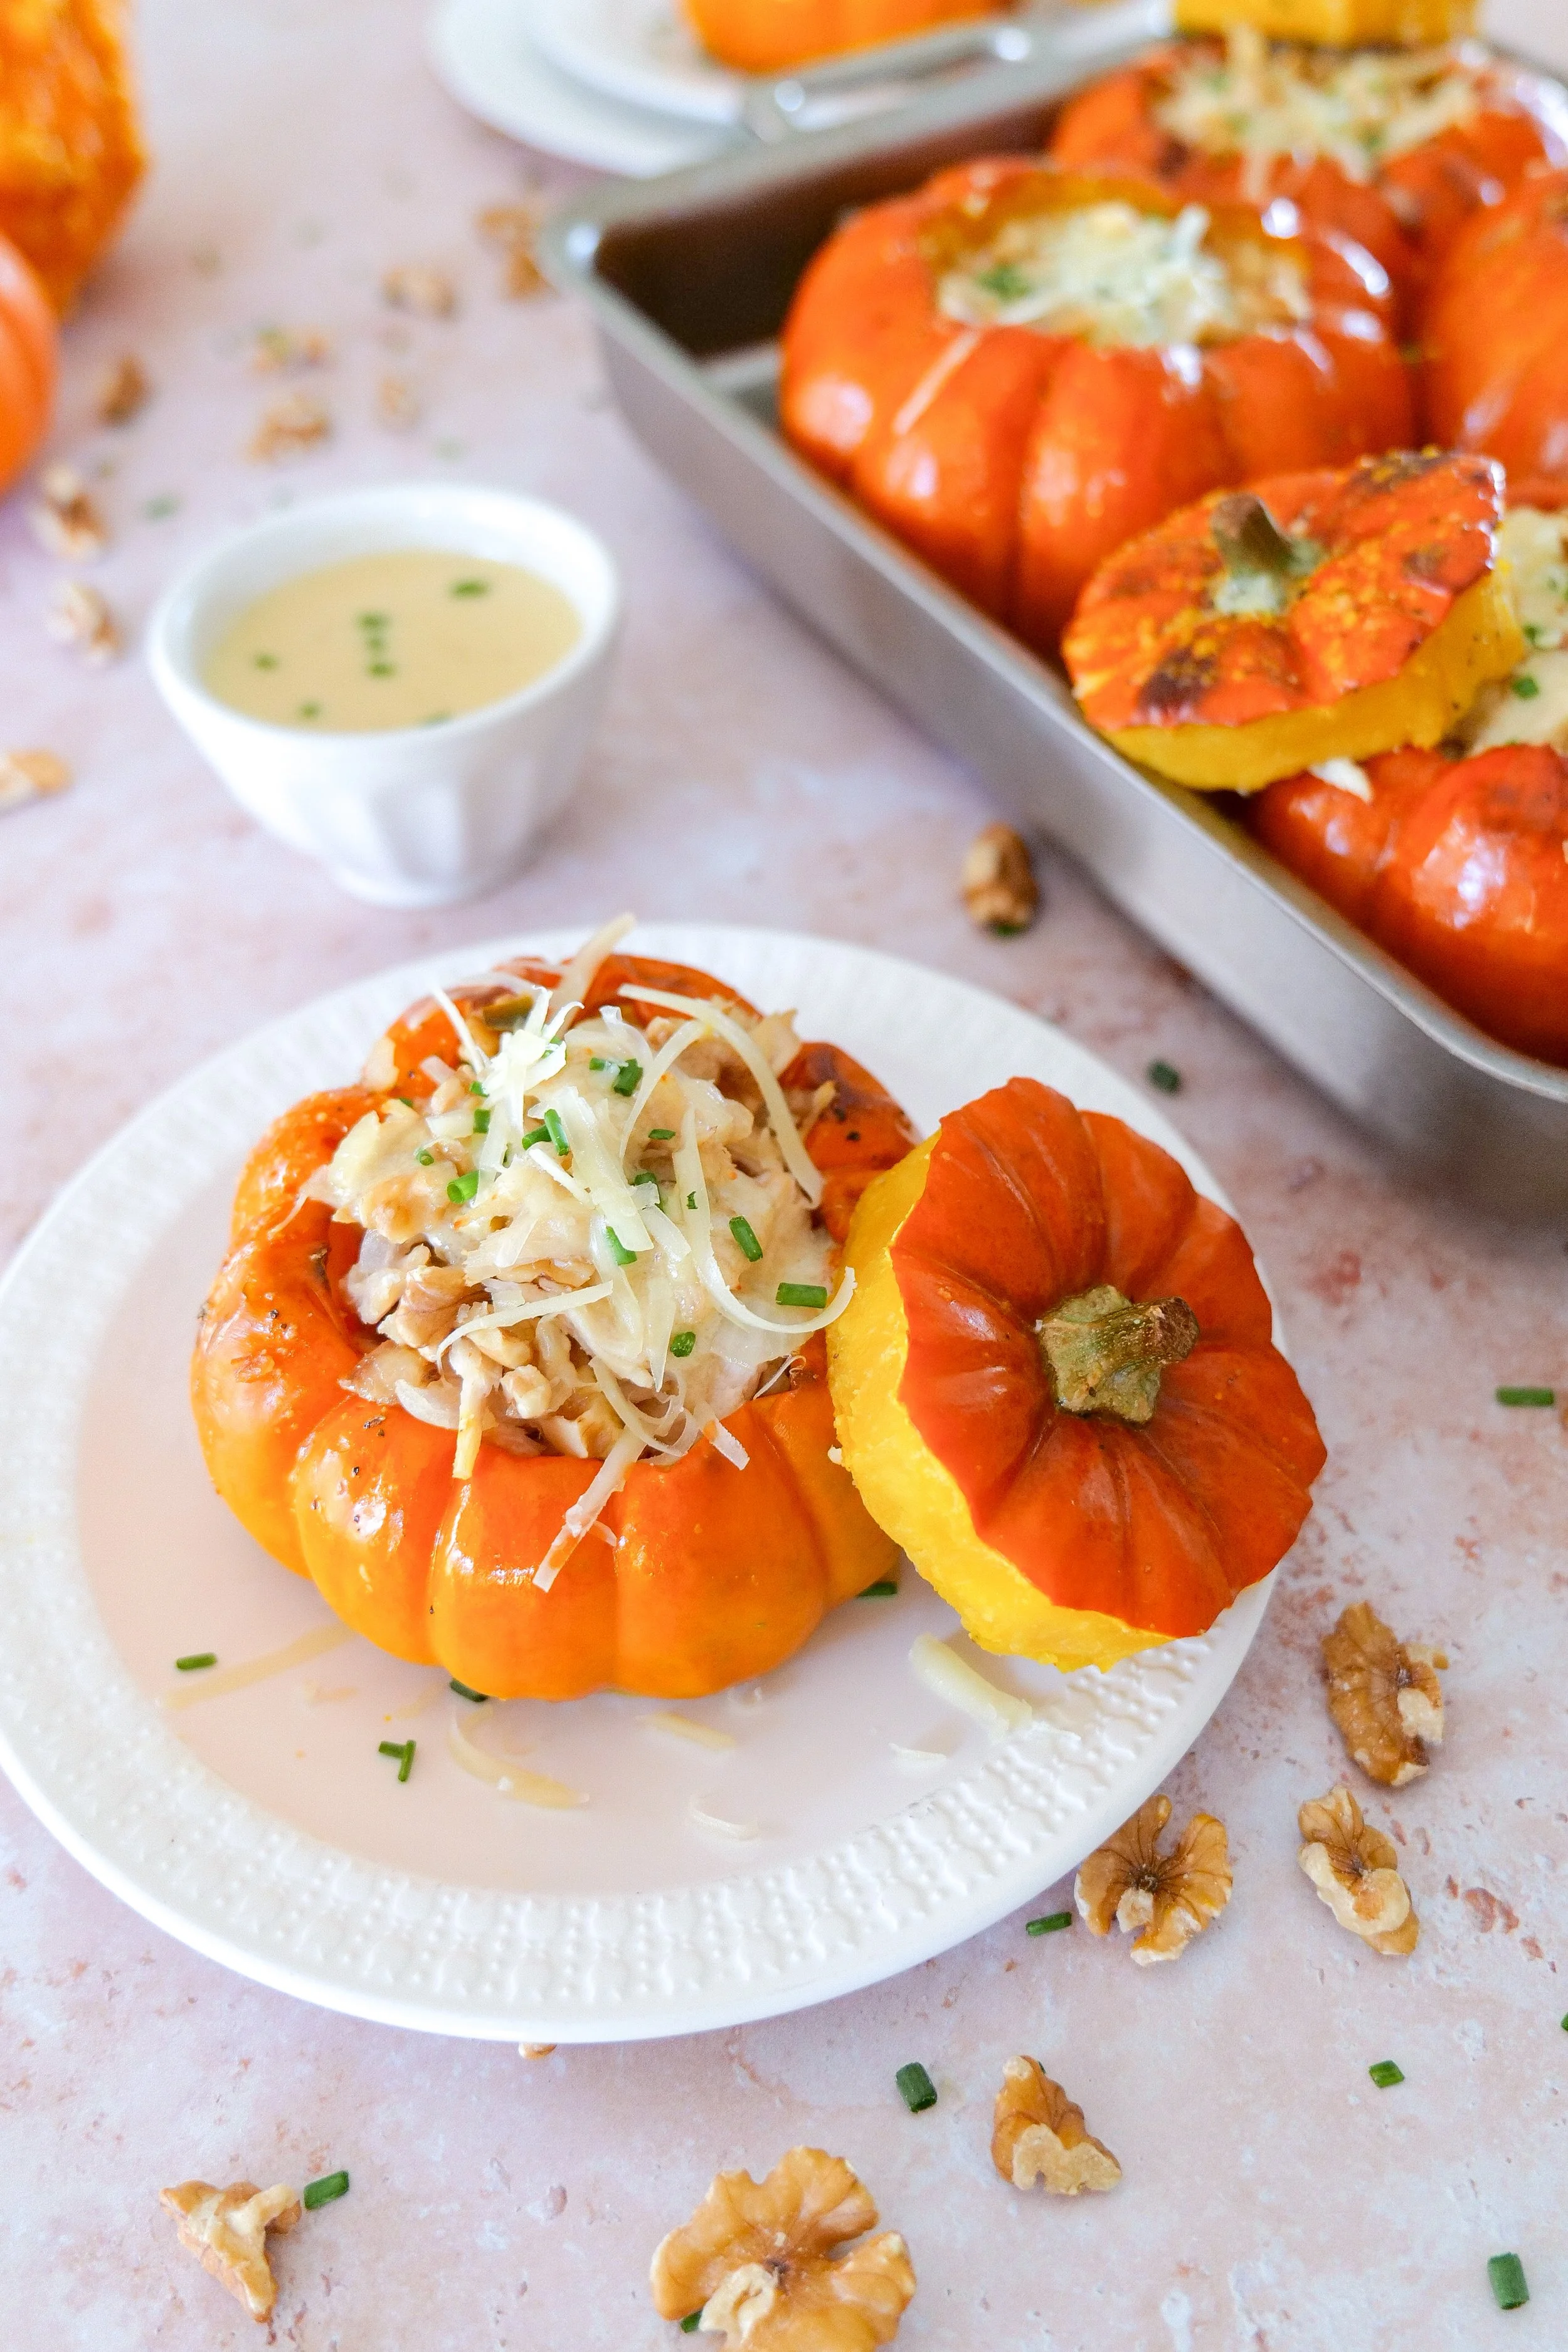
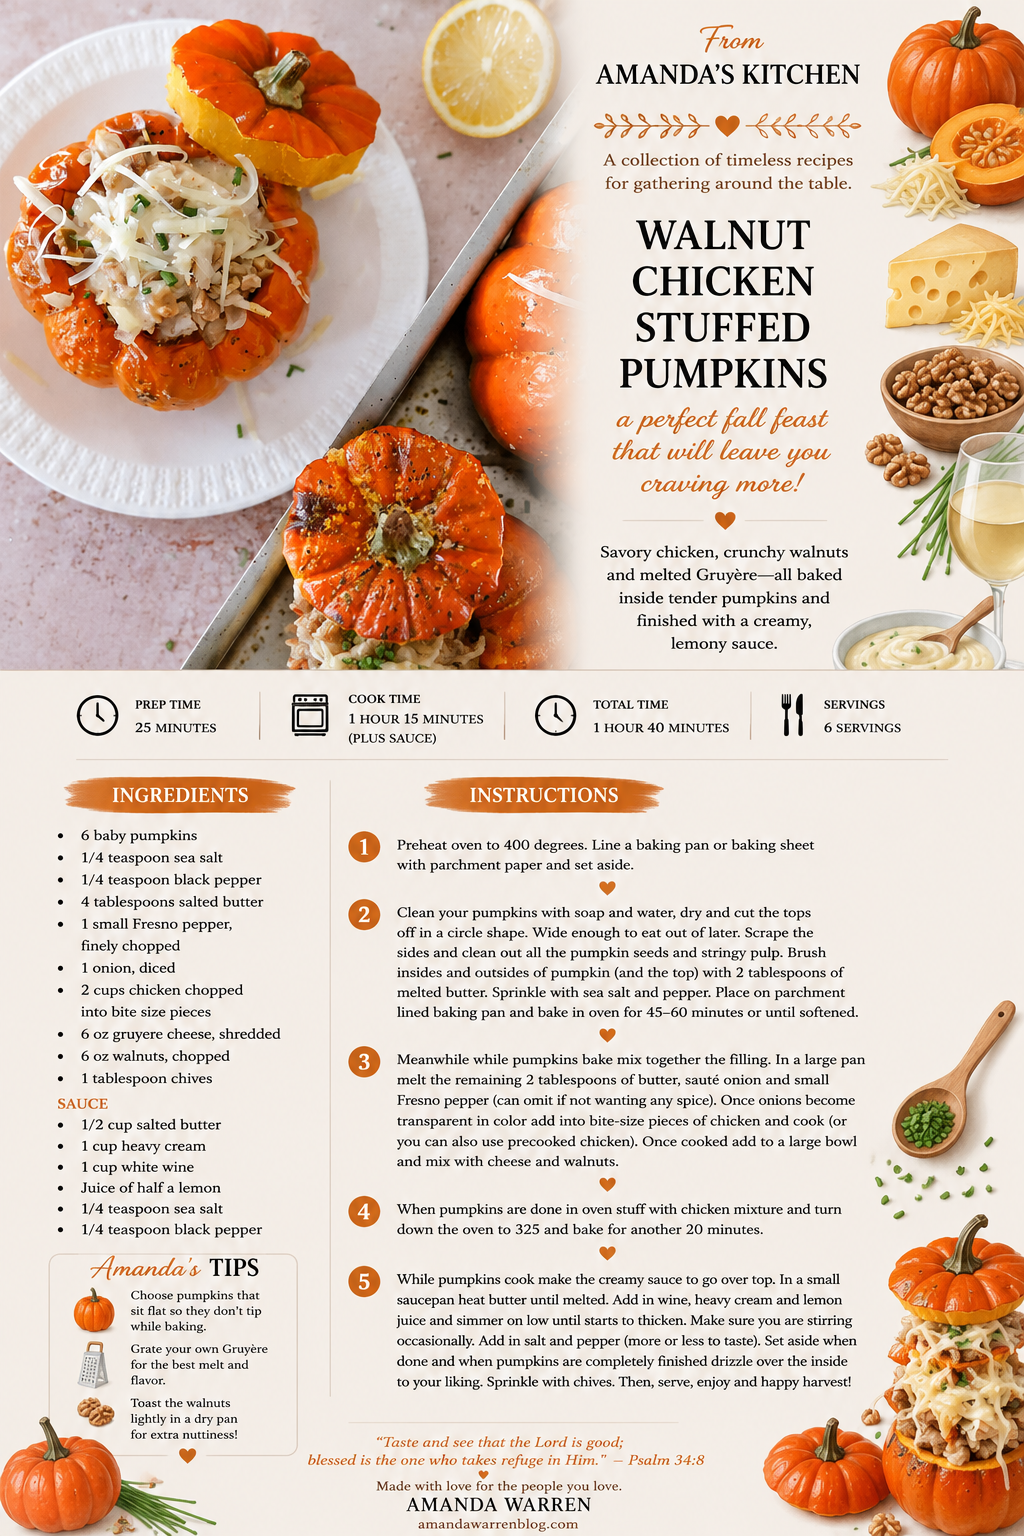
Creamy Walnut Chicken Stuffed Pumpkins

Roasted baby pumpkins filled with savory chicken, Gruyère and walnuts, then finished with a creamy white wine sauce for a beautiful fall dinner.

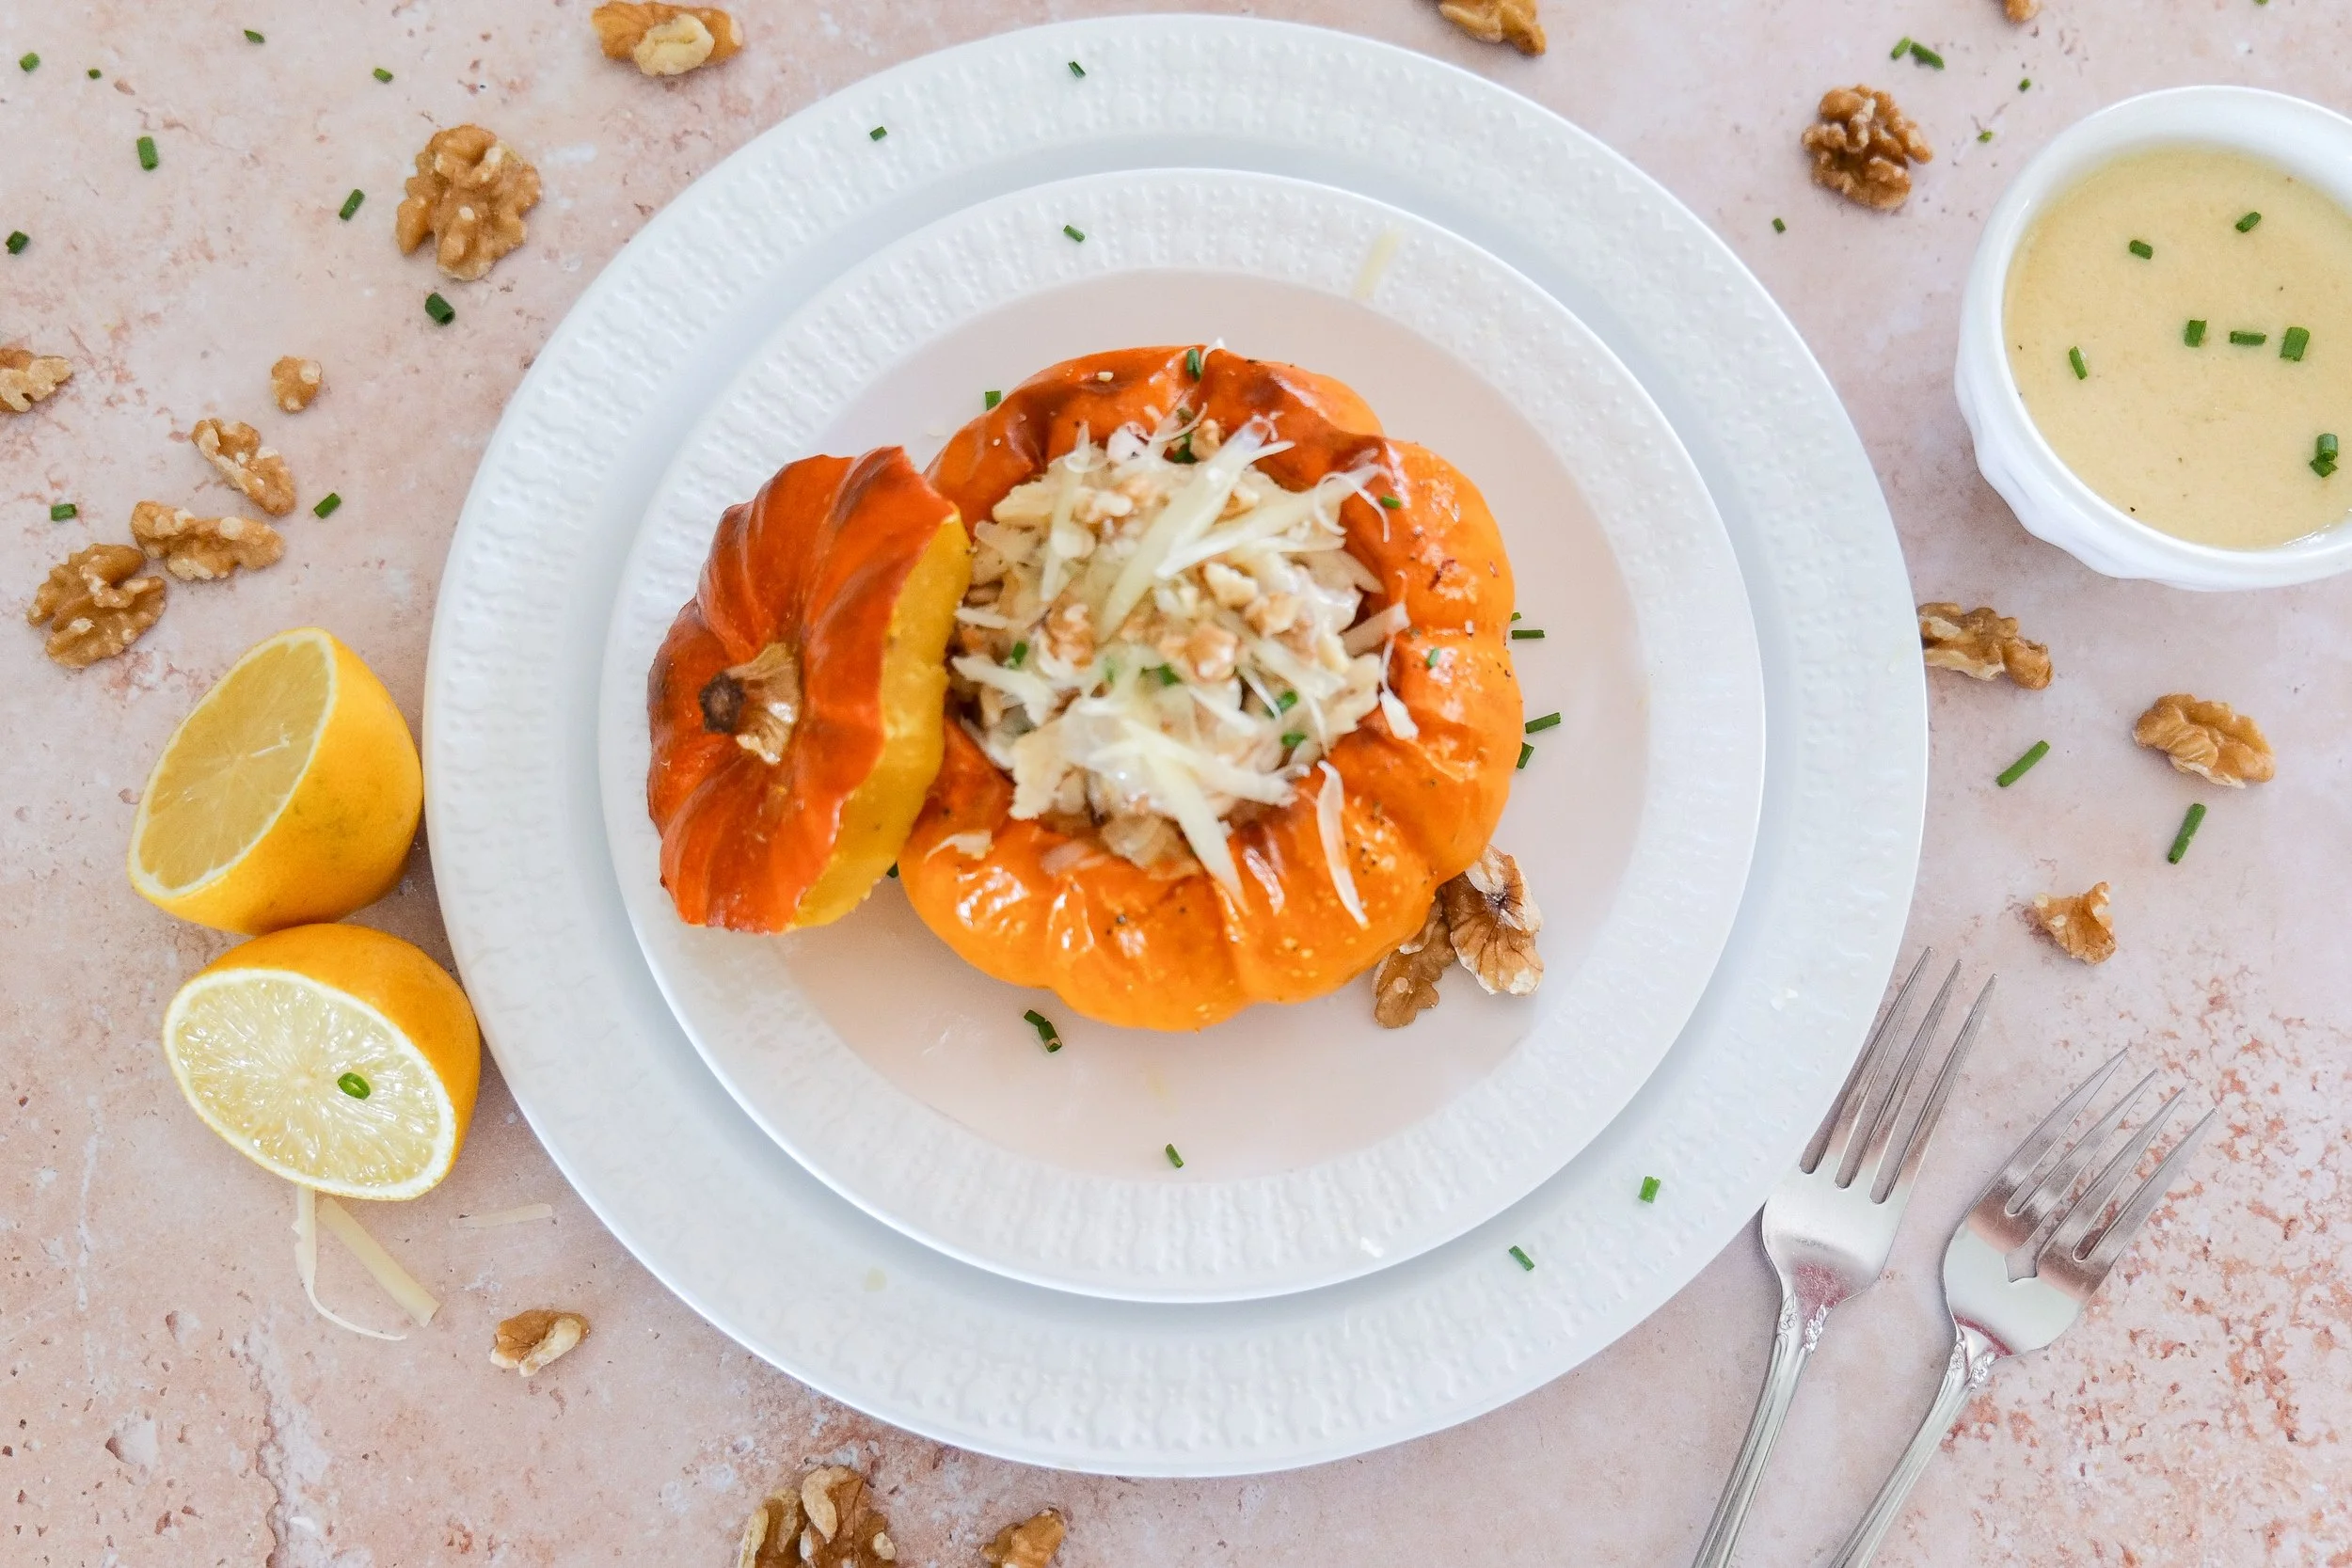
There are some recipes that simply feel like fall, and these Creamy Walnut Chicken Stuffed Pumpkins may be one of my favorites.

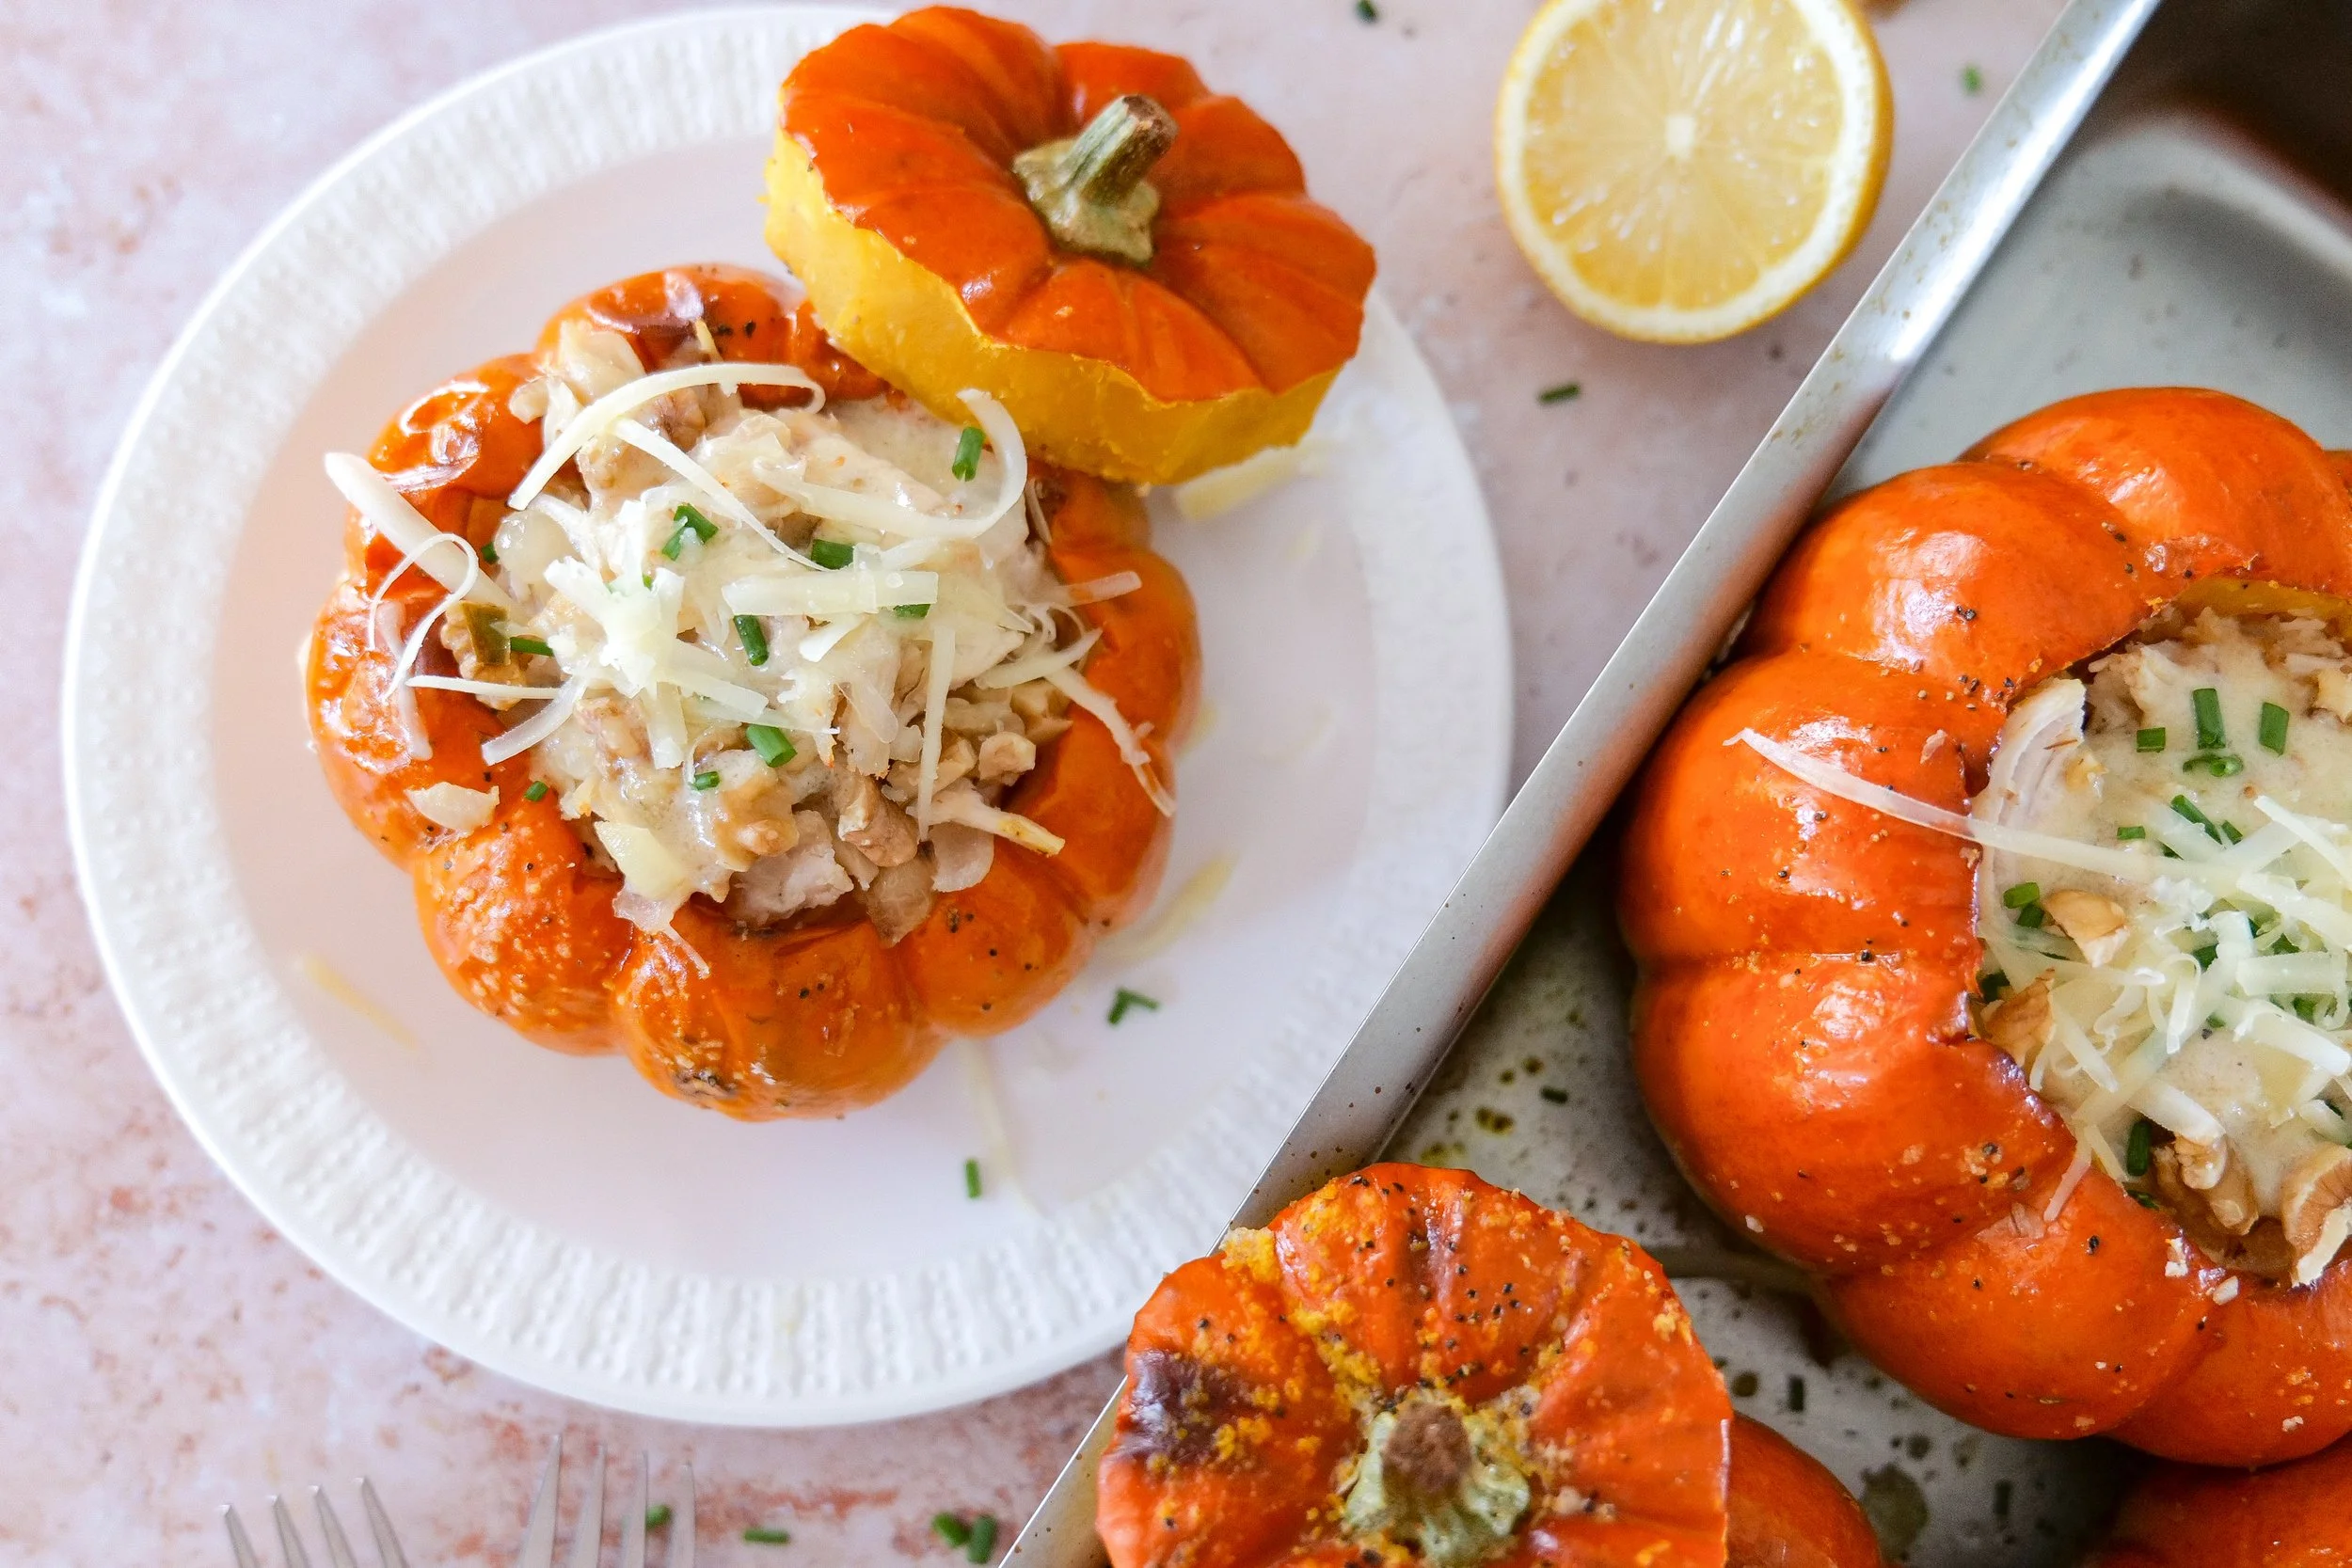
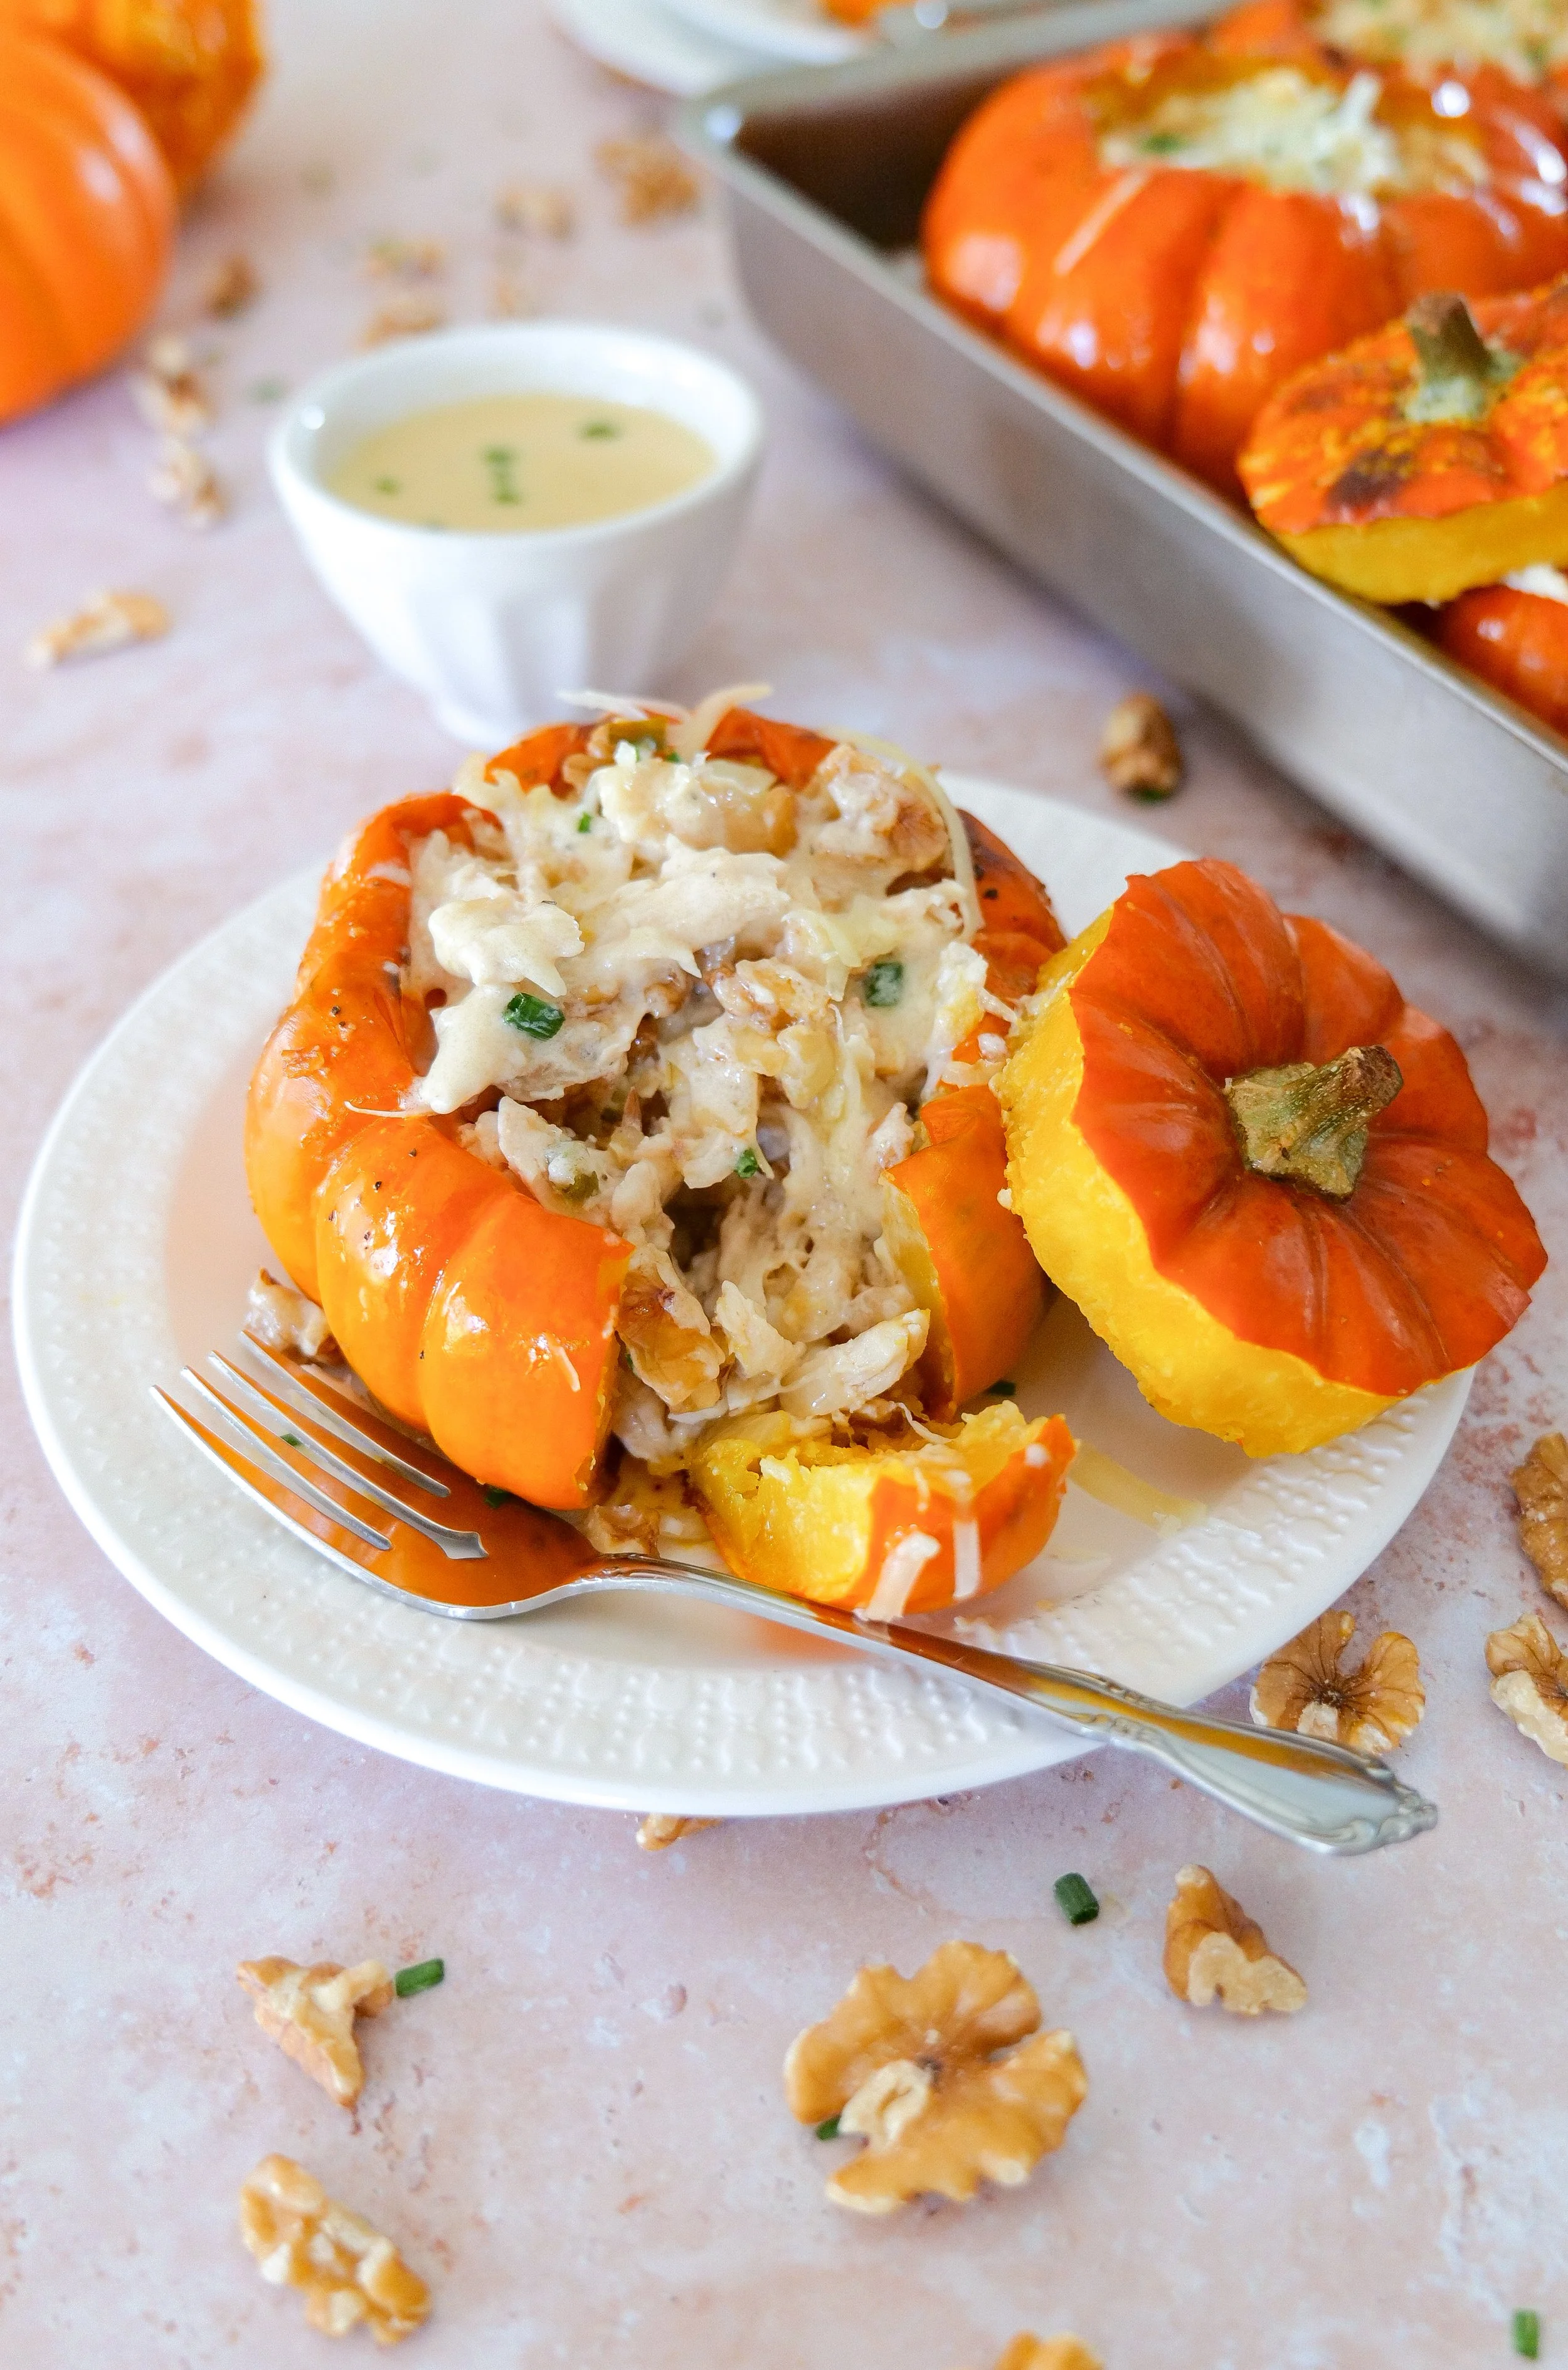
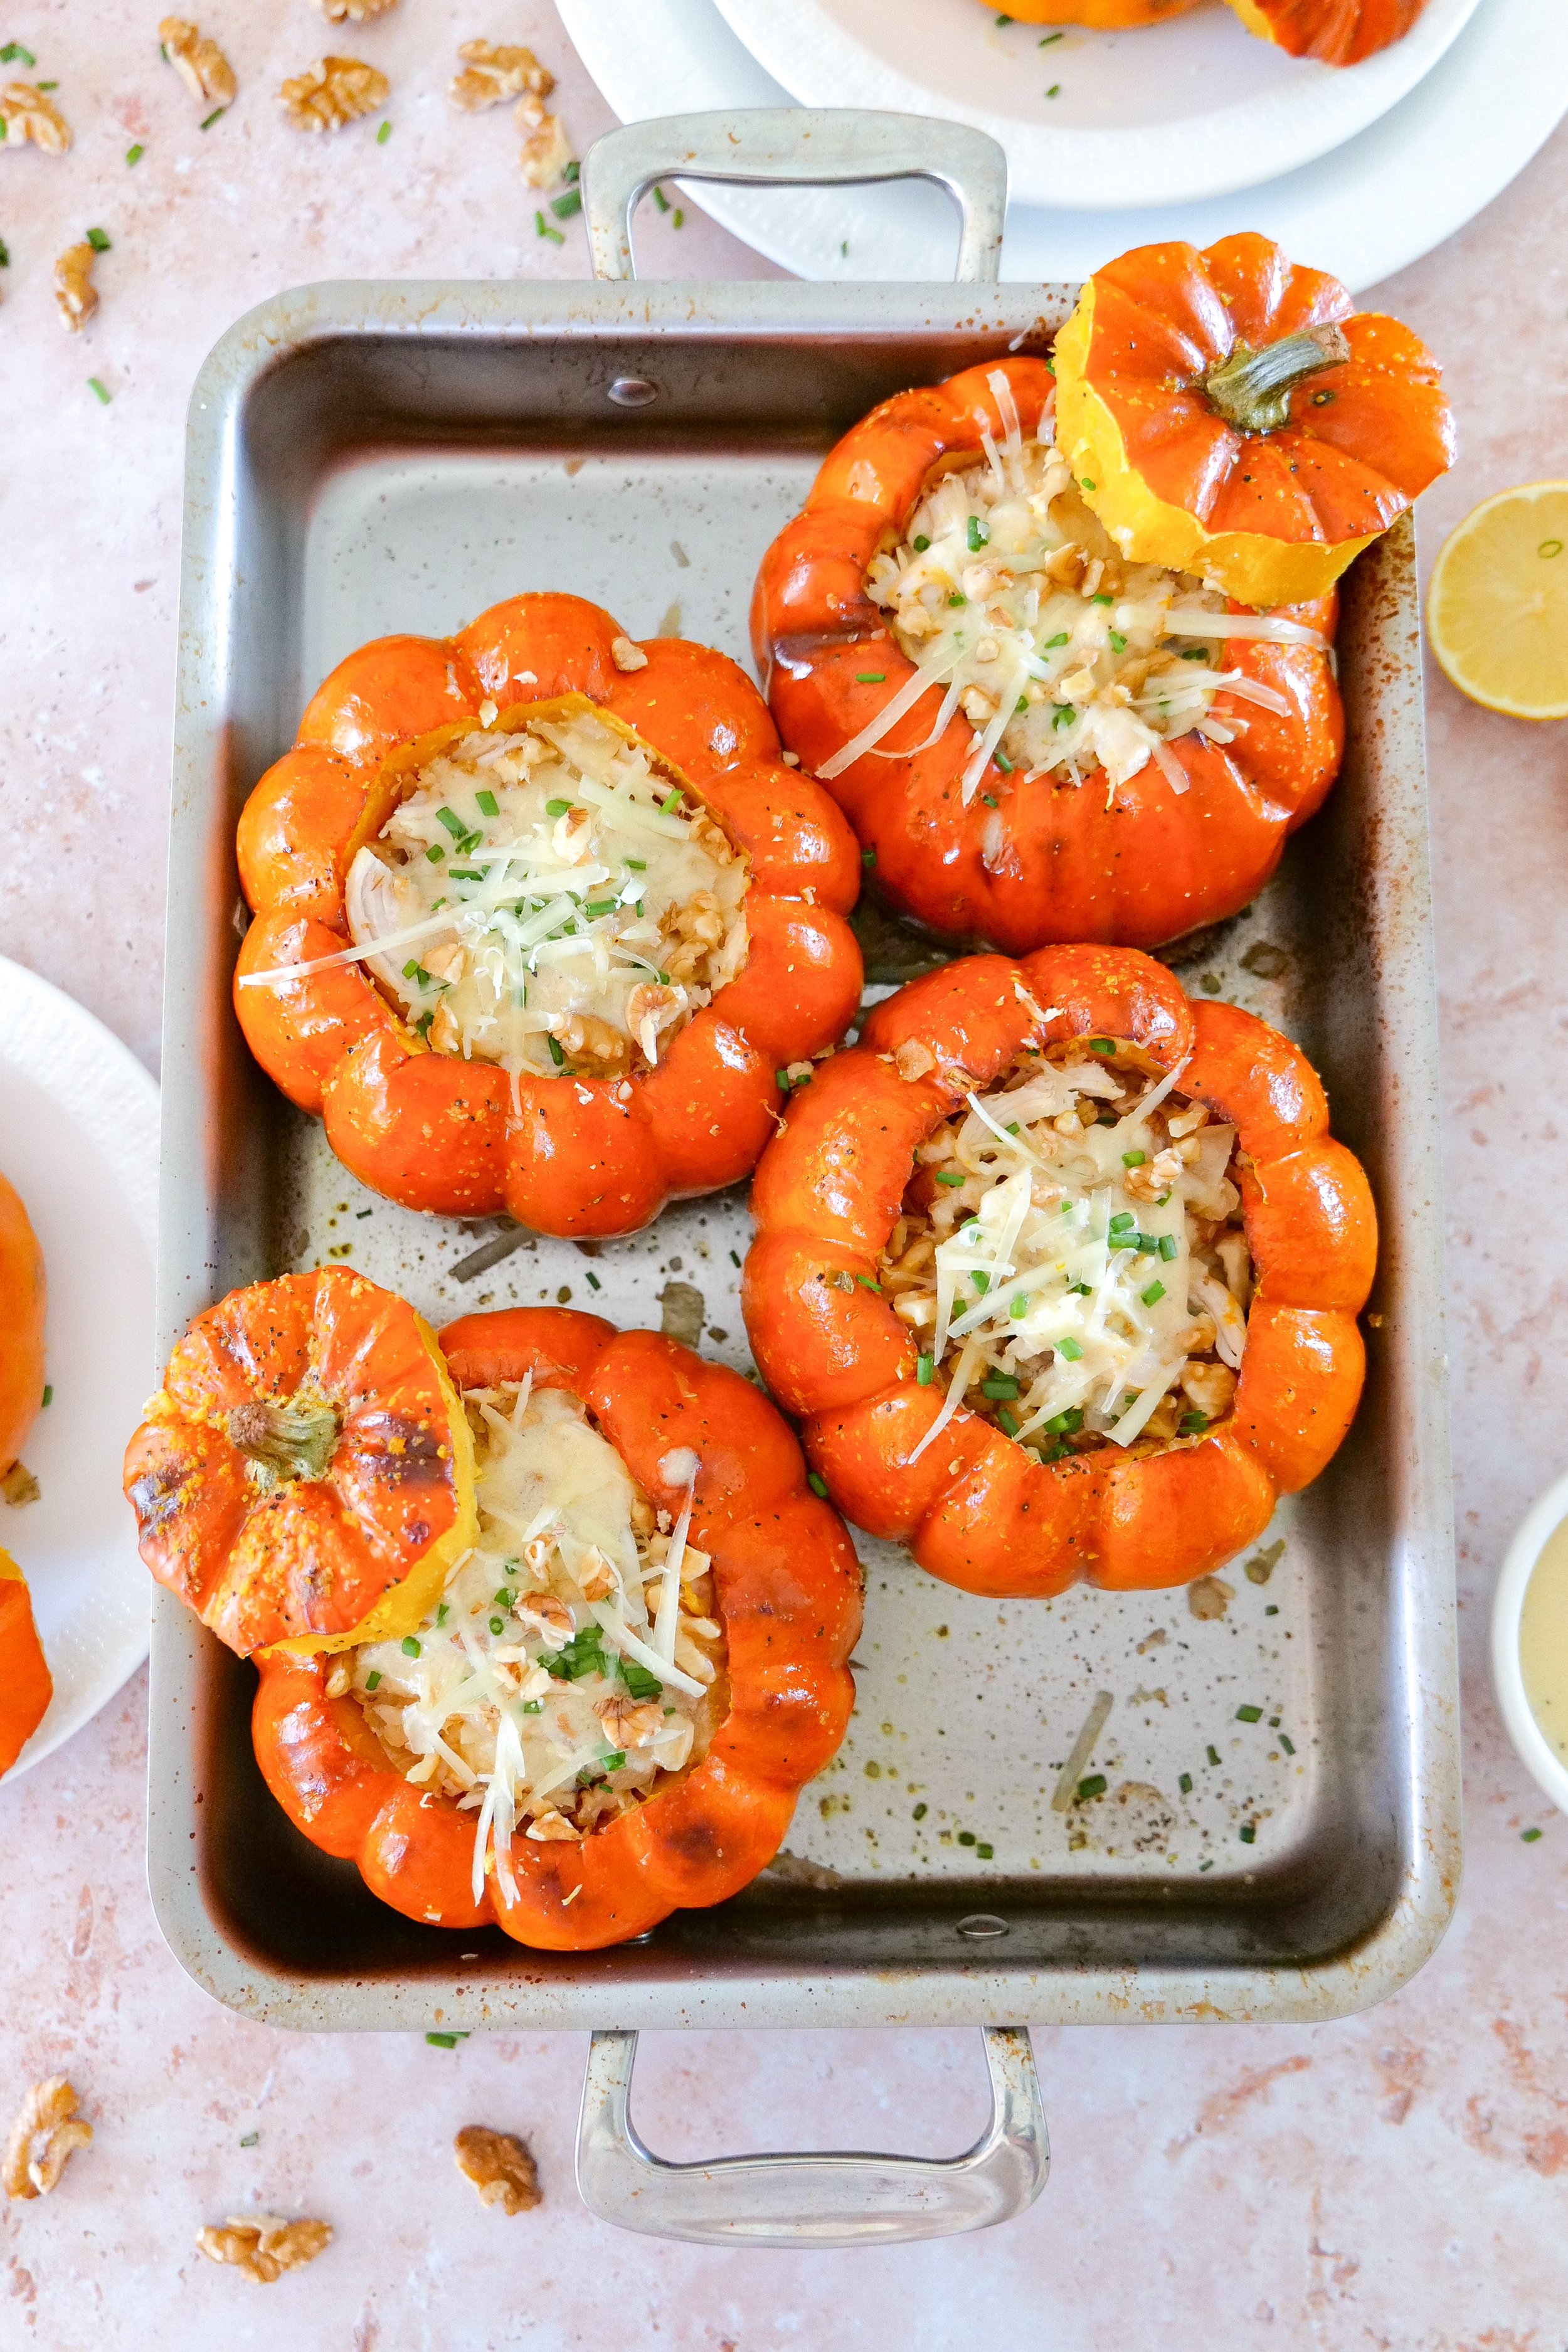
Instead of simply adding pumpkin to the recipe, we're turning individual baby pumpkins into edible serving bowls. Each roasted pumpkin is filled with savory chicken, Gruyère cheese, toasted-tasting walnuts, onion and a little Fresno pepper before going back into the oven until everything is warm and melty.

Then comes my favorite part: a creamy white wine sauce with butter, heavy cream and fresh lemon spooned right over the filling.

It's cozy and comforting, but the individual pumpkins make it beautiful enough for a fall dinner party, Thanksgiving season or one of those evenings when you just want dinner to feel a little more special.

Creamy walnut chicken stuffed pumpkins with Gruyère and white wine cream sauce for a cozy fall dinner.
↓ Skip to Recipe

Why You'll Love These Stuffed Pumpkins

This isn't your everyday chicken dinner — and that's exactly why I love it.

  • The pumpkin is the serving dish. Each person gets an individual roasted pumpkin filled with creamy chicken.

  • Sweet and savory work together. The natural sweetness of the roasted pumpkin pairs beautifully with savory chicken, Gruyère and walnuts.

  • There's so much texture. Tender pumpkin, creamy cheese, juicy chicken and crunchy walnuts make every bite a little different.

  • The white wine sauce brings everything together. Butter, cream, wine and lemon create a rich sauce with just enough brightness.

  • It's made for fall entertaining. These look gorgeous served individually around a fall table.

  • It feels impressive without being overly complicated. Most of the cooking time is simply letting the pumpkins roast in the oven.

Savory roasted pumpkin filled with creamy chicken, melted Gruyère and chopped walnuts.

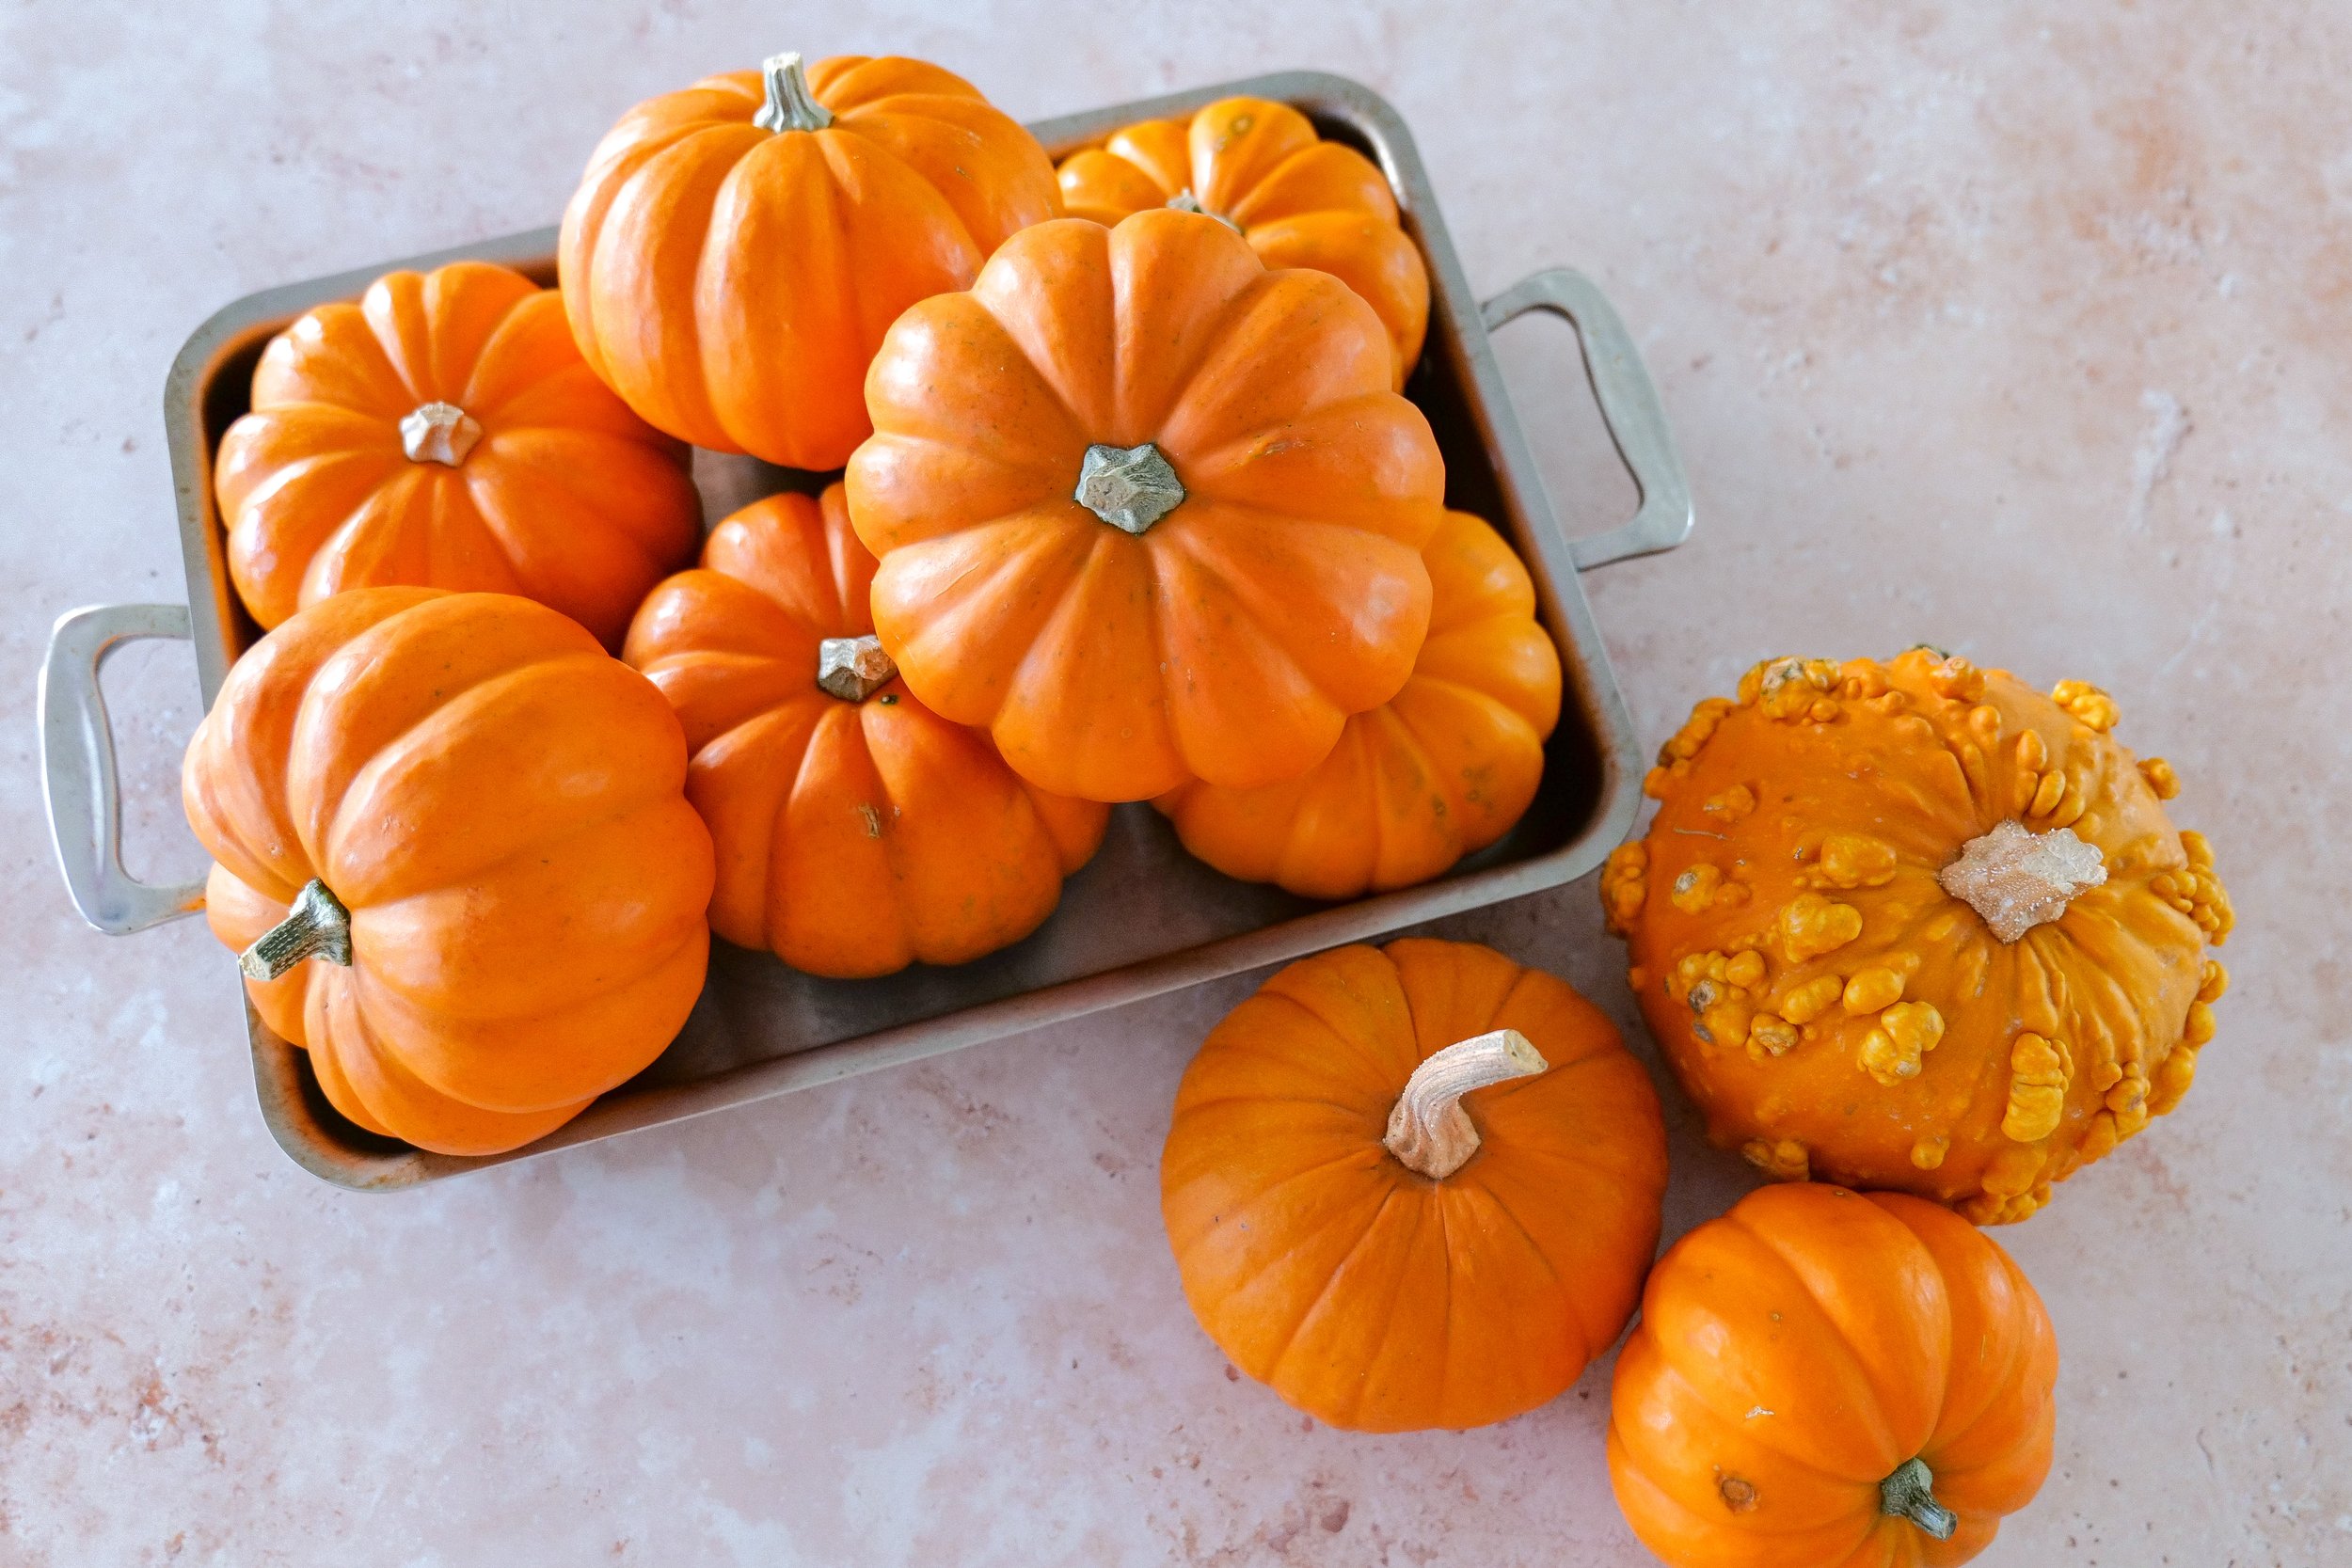
Choosing Pumpkins for Stuffing

Small whole baby pumpkins ready to be prepared for savory stuffed pumpkins.

For this recipe, you want small edible pumpkins that are large enough to hold an individual serving of filling.

Look for pumpkins that are relatively similar in size so they'll roast at approximately the same rate. They should also sit fairly flat on the bottom — you don't want your beautiful cream sauce tipping onto the table later.

Because we're actually eating the pumpkin rather than simply using it decoratively, make sure you're buying a culinary variety intended for cooking.

You'll need six small pumpkins for this recipe.

How to Prepare Pumpkins for Stuffing

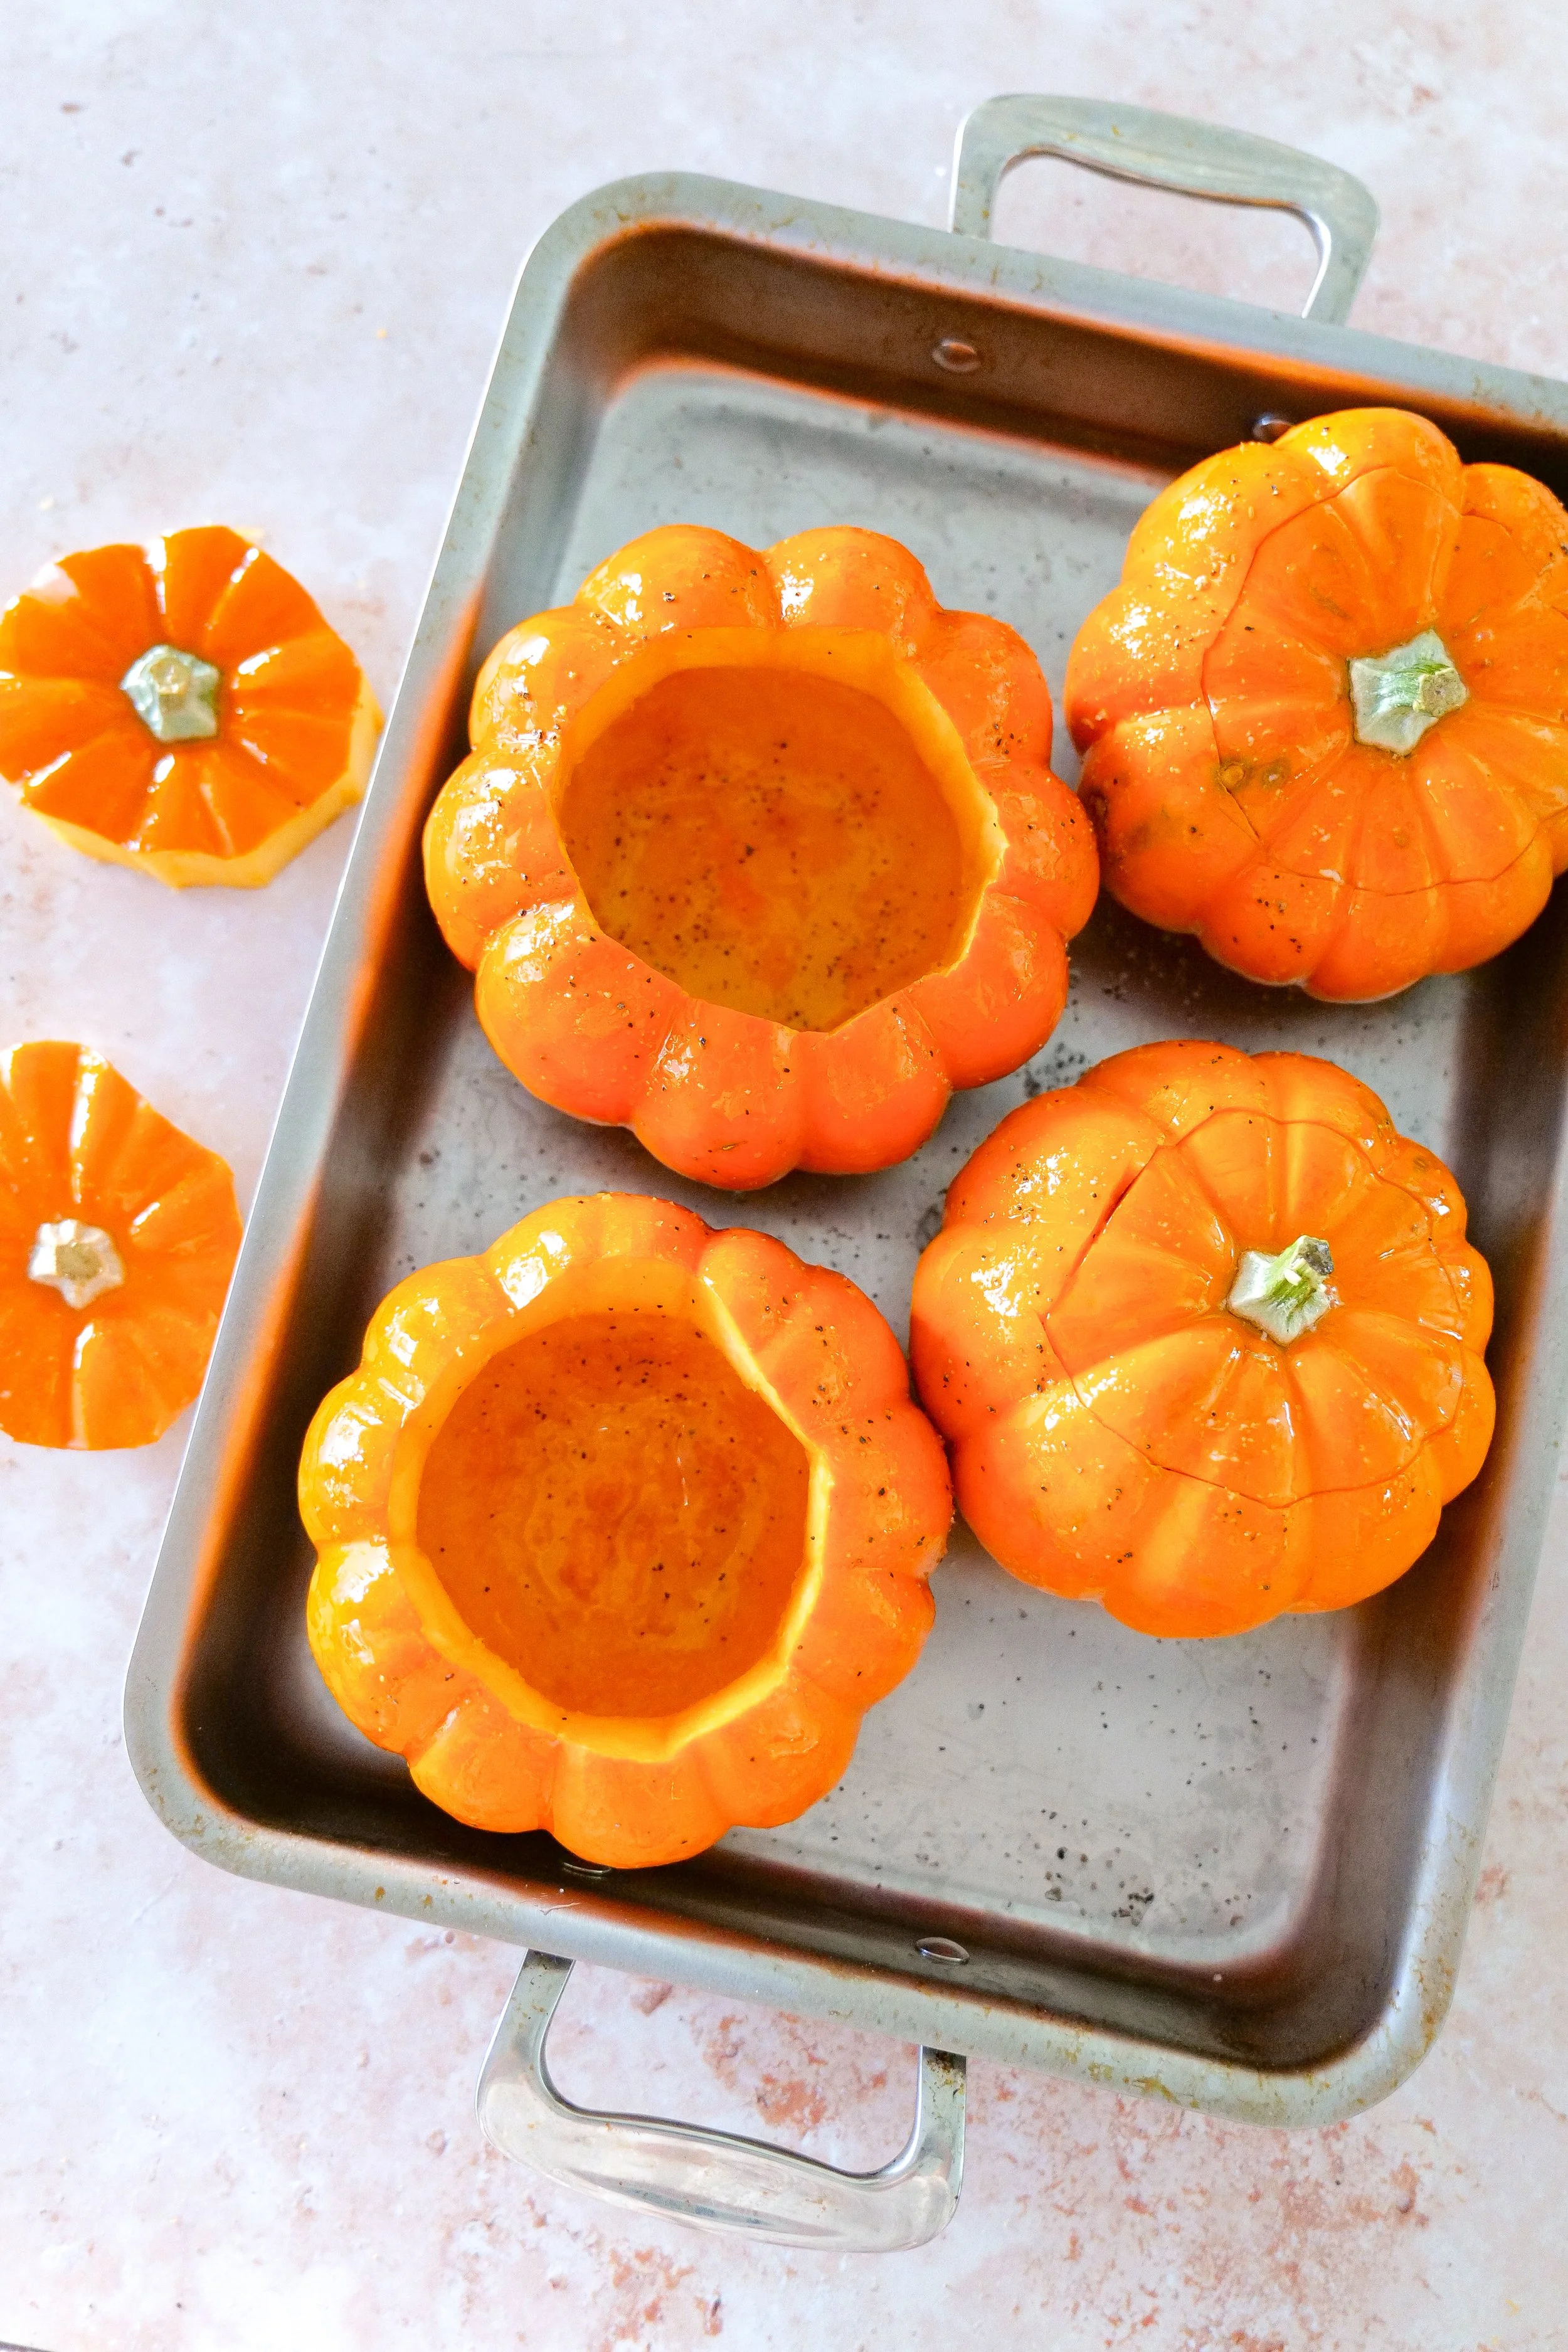
Small pumpkins with the tops removed and centers cleaned out before roasting and stuffing.

Wash and dry your pumpkins, then carefully cut a circle around each stem to create a lid.

Make the opening wide enough that you'll comfortably be able to spoon the filling inside — and later eat from it.

Remove the seeds and stringy pulp from the center and scrape the inside clean.

Brush the inside and outside of each pumpkin, including its little lid, with melted butter. Finish with sea salt and black pepper.

Place everything onto a parchment-lined baking sheet and roast at 400°F for 45–60 minutes, or until the pumpkin flesh has softened.

You want the pumpkin tender enough to eat with the filling, but still sturdy enough to hold its shape.

Individual roasted pumpkins filled with chicken, Gruyère cheese and walnuts.

Ingredient Notes

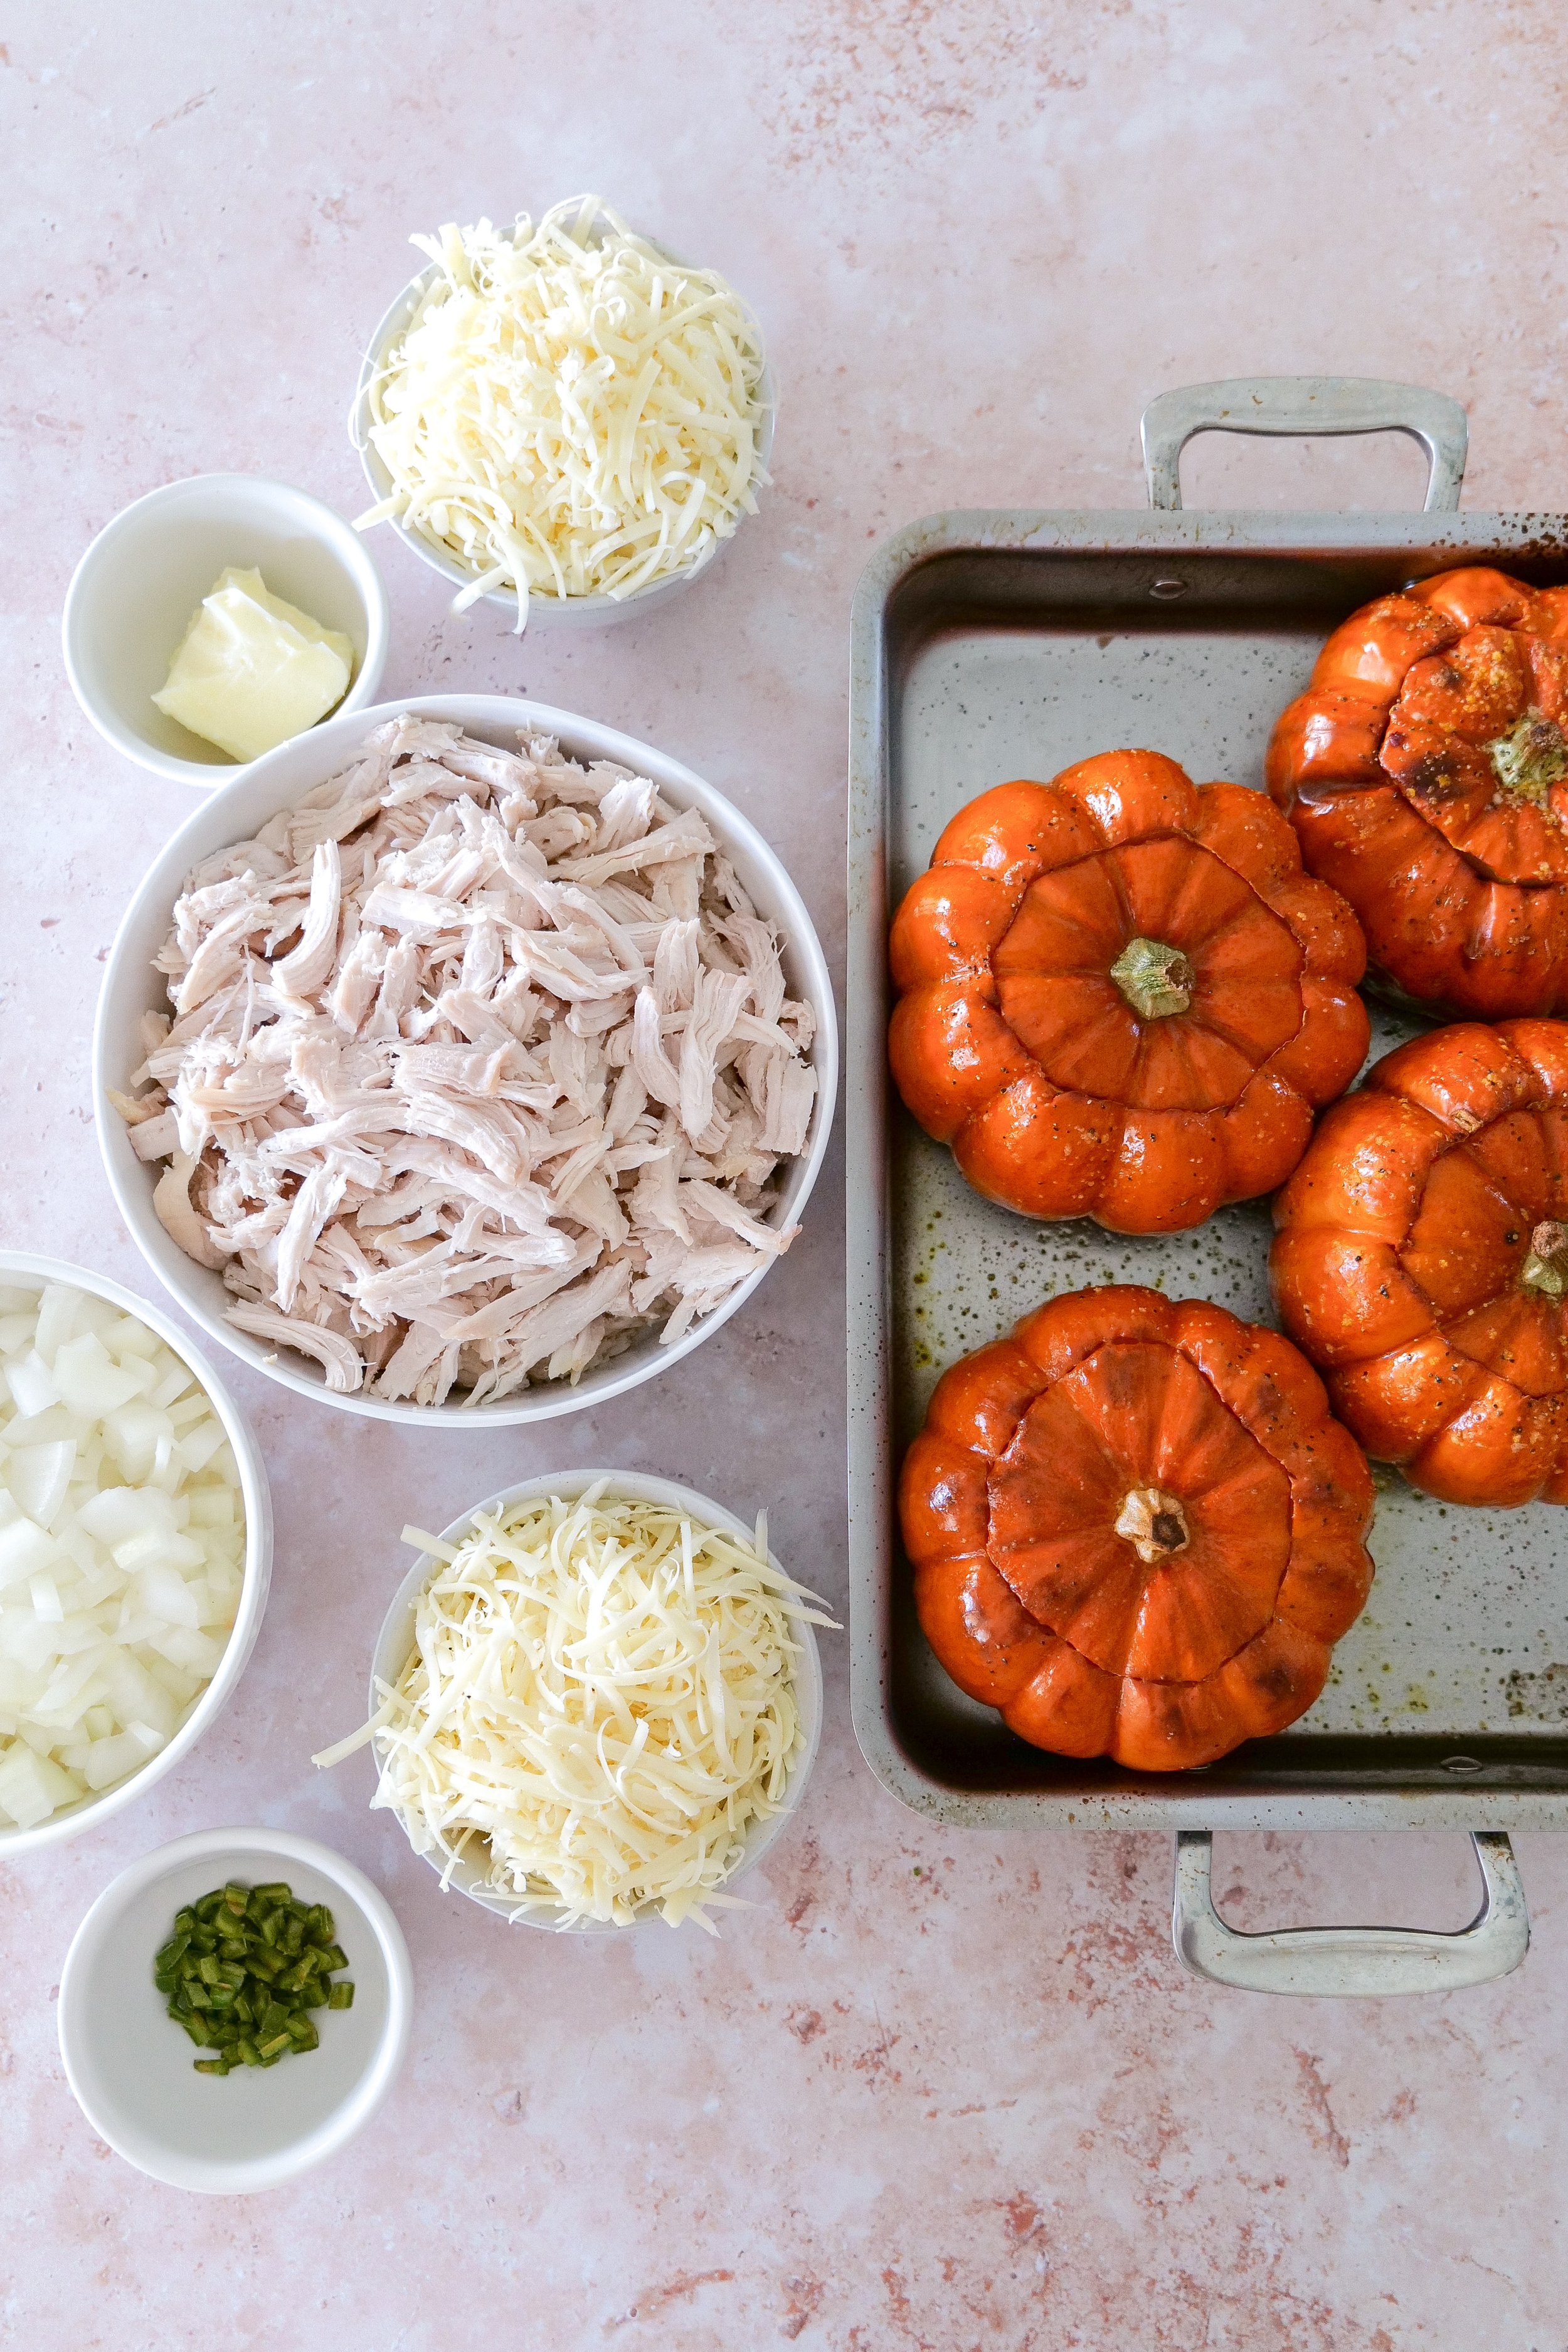
Ingredients for creamy chicken stuffed pumpkins with baby pumpkins, chicken, Gruyère cheese and walnuts.

Chicken

I use chicken cut into small bite-size pieces so every spoonful of filling gets some. You can cook it while the pumpkins roast, or use precooked chicken to make the recipe a little quicker.

Gruyère

Gruyère is one of my favorite parts of this filling. It's rich and nutty and melts beautifully alongside the chicken and walnuts.

Walnuts

Chopped walnuts give the creamy filling some much-needed texture and another layer of nutty flavor.

Fresno Pepper

A finely chopped Fresno pepper adds a little warmth without taking over the dish. If you're serving someone who doesn't enjoy spice, you can simply leave it out.

Heavy Cream

Heavy cream forms the base of our sauce and gives it that luxurious texture.

White Wine

White wine adds depth and keeps the cream sauce from tasting one-dimensional.

Lemon

Fresh lemon juice adds just enough brightness to balance all the butter, cream and cheese.

Roasted baby pumpkins served as edible bowls for a savory chicken and walnut filling.

How to Make the Walnut Chicken Filling

While the pumpkins are roasting, start the filling.

Melt 2 tablespoons of butter in a large skillet and add the diced onion and finely chopped Fresno pepper.

Sauté until the onion becomes soft and translucent.

Add the bite-size pieces of chicken and continue cooking until the chicken is completely cooked through.

Transfer the chicken mixture to a large bowl and combine it with the Gruyère and chopped walnuts.

And that's our filling.

The flavors are simple, but once they're tucked into that sweet roasted pumpkin, they work so beautifully together.

Chicken stuffed pumpkin served as a warm and savory fall dinner.

Stuff and Bake the Pumpkins

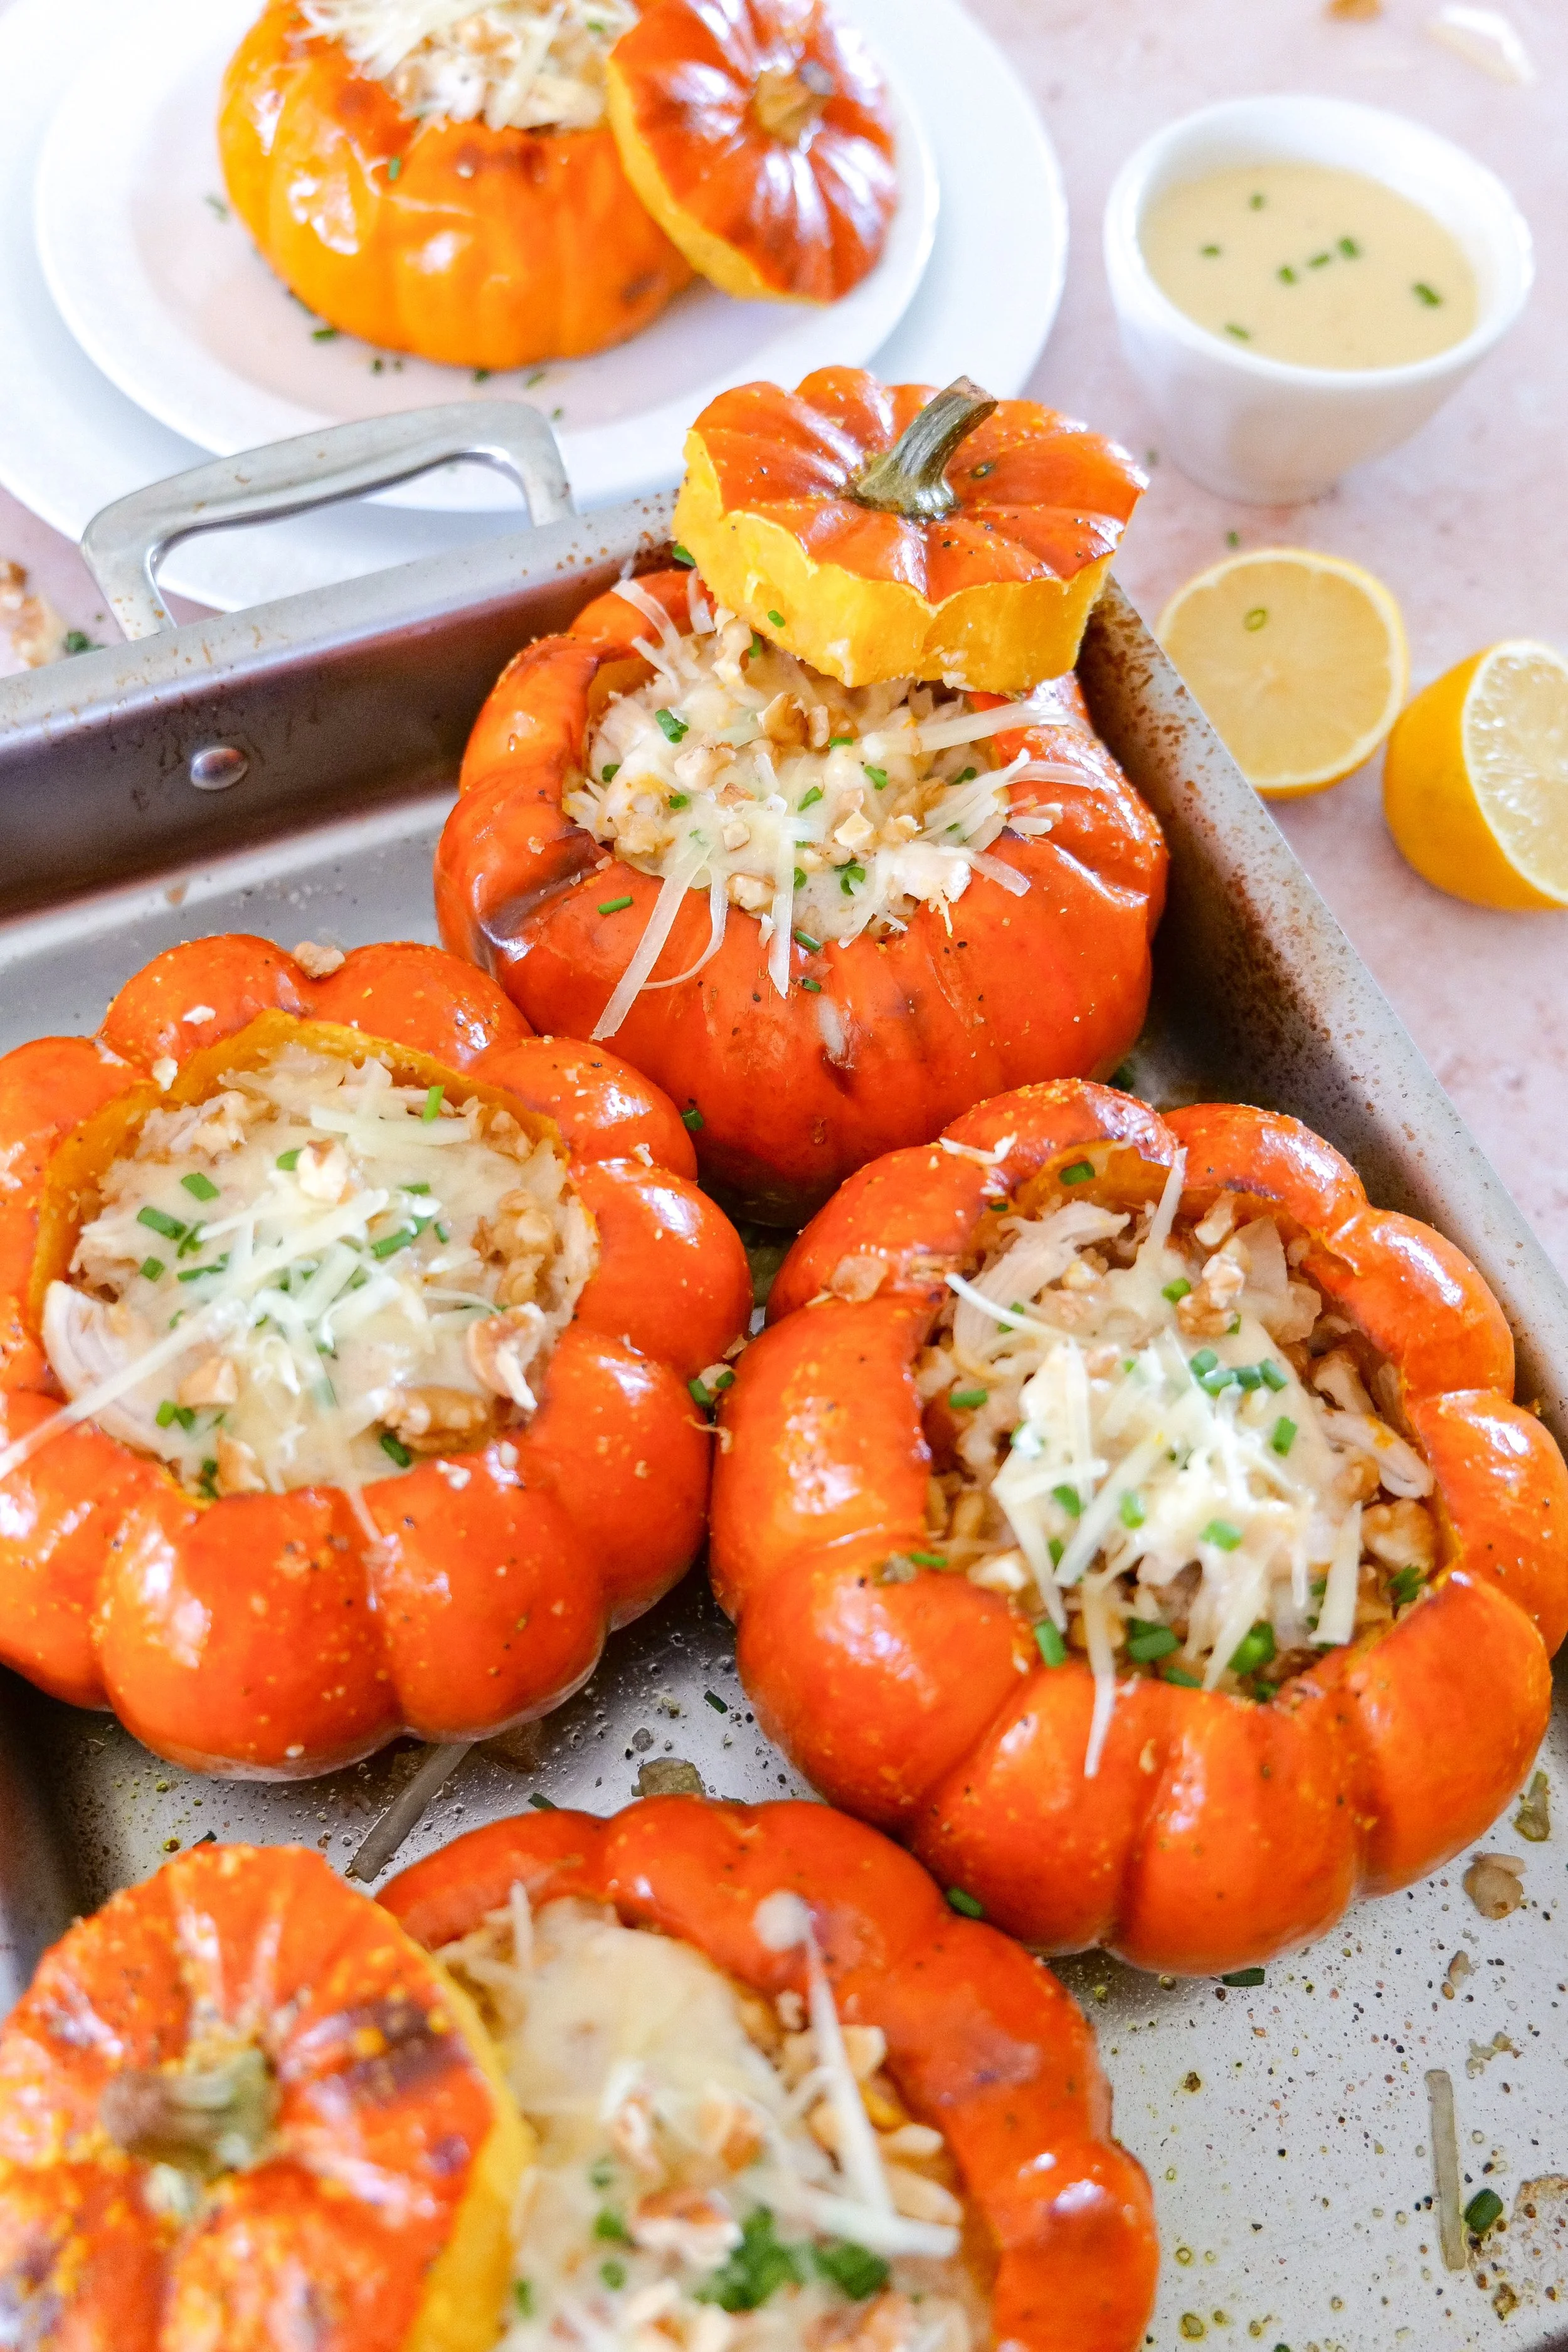
Once the pumpkins are tender, remove them from the oven and carefully spoon the chicken mixture into each one.

Lower the oven temperature to 325°F and return the stuffed pumpkins to the oven for another 20 minutes.

This gives the filling time to warm through and allows that Gruyère to melt into the chicken and walnuts.

Individual stuffed mini pumpkins filled with creamy chicken for a beautiful fall dinner.

The Creamy White Wine Sauce

Don't skip this part.

While the stuffed pumpkins finish baking, melt the butter in a small saucepan.

Add the white wine, heavy cream and fresh lemon juice and allow the sauce to gently simmer over low heat until it begins to thicken, stirring occasionally.

Season with salt and black pepper to taste.

Once the stuffed pumpkins come out of the oven, drizzle that warm cream sauce right over the filling and finish each one with fresh chives.

It takes an already delicious stuffed pumpkin and makes the entire dish feel complete.

Roasted pumpkin filled with creamy chicken, Gruyère cheese and crunchy walnuts.

Amanda's Quick Tips

Choose similarly sized pumpkins. They'll cook more evenly and look beautiful when served together.

Make the opening large enough. You're going to fill and eat from these pumpkins, so don't cut a tiny decorative lid.

Don't over-roast the pumpkins. You want tender flesh, but the exterior still needs enough structure to hold the filling.

Cut the chicken small. Bite-size pieces make these much easier to eat directly from the pumpkin.

Leave out the Fresno pepper if needed. You'll still have plenty of flavor without the added heat.

Use precooked chicken when you're short on time. It's an easy shortcut for this recipe.

Make the sauce last. I love serving it warm right over the pumpkins.

Don't forget the pumpkin itself. As you eat the filling, scoop some of that tender roasted pumpkin flesh from the sides into each bite.

Savory stuffed pumpkin finished with a creamy butter and white wine sauce.
Walnut chicken stuffed pumpkin with tender roasted pumpkin and creamy Gruyère filling.

Shop My Fall Cooking Essentials

A few of the cookware and kitchen essentials I reach for when making cozy fall dinners — from everyday prep tools to the pieces I love using when something special is coming out of the oven.

Individual roasted stuffed pumpkins ready to serve for a cozy autumn dinner.

Creamy Walnut Chicken Stuffed Pumpkins

Roasted baby pumpkins filled with chicken, Gruyère and walnuts and finished with a creamy white wine sauce.

Ingredients

Stuffed Pumpkins

  • 6 baby pumpkins

  • 1/4 teaspoon sea salt

  • 1/4 teaspoon black pepper

  • 4 tablespoons salted butter, divided

  • 1 small Fresno pepper, finely chopped

  • 1 onion, diced

  • 2 cups chicken, chopped into bite-size pieces

  • 6 oz Gruyère cheese

  • 6 oz walnuts, chopped

  • 1 tablespoon chives

Creamy White Wine Sauce

  • 1/2 cup salted butter

  • 1 cup heavy cream

  • 1 cup white wine

  • Juice of 1/2 lemon

  • 1/4 teaspoon sea salt

  • 1/4 teaspoon black pepper

Instructions

  1. Preheat oven to 400°F. Line a baking sheet or baking pan with parchment paper.

  2. Wash and dry the pumpkins. Carefully cut a circle around the top of each pumpkin, creating an opening wide enough to fill and eat from later.

  3. Scoop out the seeds and stringy pulp and scrape the insides clean.

  4. Melt 2 tablespoons of the butter. Brush the insides and outsides of each pumpkin and the pumpkin lids with melted butter. Sprinkle with sea salt and black pepper.

  5. Arrange the pumpkins and lids on the prepared baking sheet and roast for 45–60 minutes, or until the pumpkin flesh is tender while the pumpkins still hold their shape.

  6. While the pumpkins roast, melt the remaining 2 tablespoons butter in a large skillet over medium heat.

  7. Add the diced onion and finely chopped Fresno pepper. Sauté until the onion becomes soft and translucent.

  8. Add the bite-size chicken pieces and cook until the chicken is completely cooked through. Alternatively, precooked chicken can be used.

  9. Transfer the chicken mixture to a large bowl and combine with the Gruyère cheese and chopped walnuts.

  10. Once the pumpkins are tender, remove them from the oven and fill each one with the chicken mixture.

  11. Reduce the oven temperature to 325°F and bake the stuffed pumpkins for another 20 minutes.

  12. While the stuffed pumpkins bake, prepare the sauce. Melt 1/2 cup butter in a small saucepan over low heat.

  13. Add the white wine, heavy cream and lemon juice. Gently simmer, stirring occasionally, until the sauce begins to thicken.

  14. Season the sauce with sea salt and black pepper to taste.

  15. Remove the stuffed pumpkins from the oven and drizzle the warm cream sauce over the filling.

  16. Sprinkle with fresh chives and serve warm, scooping the tender roasted pumpkin flesh together with the chicken filling.

Happy harvest!

Stuffed pumpkins filled with savory chicken, walnuts and melted Gruyère cheese.

What to Serve With Stuffed Pumpkins

These are hearty enough to be the centerpiece of dinner, so I'd keep the sides fairly simple.

A crisp fall salad is probably my first choice because the freshness balances the creamy filling and sauce beautifully.

My Pear & Walnut Salad with Honey Mustard Dressing would be especially good here and carries the walnut flavor through the meal.

You could also serve these alongside my Spinach Salad with Warm Shallot Dressing, or Autumn Apple Salad with maple bacon dressing for an especially pretty fall table.

Crusty bread is another simple addition and perfect for catching any of that white wine cream sauce left behind.

Roasted baby pumpkin used as an edible bowl for creamy chicken and walnut filling.

Are You Supposed to Eat the Pumpkin?

Yes! That's half the fun of this recipe.

The baby pumpkin isn't simply a serving bowl. Once properly roasted, the flesh inside becomes tender and slightly sweet.

As you work your way through the chicken filling, use your spoon to scrape a little roasted pumpkin from the sides and eat the two together.

That's where the recipe really comes together — creamy, savory chicken and Gruyère with crunchy walnuts and sweet roasted pumpkin in the same bite.

Savory stuffed pumpkins with a creamy chicken filling served warm for fall.
Individual stuffed pumpkin served as a festive autumn main dish.
Creamy stuffed pumpkin with chicken, melted Gruyère, walnuts and fresh chives.

More Fall Dinner Recipes You'll Love

If you're looking for more cozy dinners to make this season:

Apple-Glazed Chicken Thighs
A savory fall chicken dinner with a sweet apple glaze.

Baked Burrata Pumpkin Ziti with Pork Sausage
A cozy baked pasta filled with pumpkin, sausage and creamy burrata.

Stuffed Italian Sausage Pasta Shells
Another comforting stuffed dinner that's perfect for family meals.

Save This Recipe

Whether you're planning a fall dinner with friends, looking for something special to serve during the Thanksgiving season or simply want to celebrate pumpkin season in a new way, I've included a printable recipe card below so it's easy to save, print and come back to every fall.

Printable From Amanda’s Kitchen recipe card for creamy walnut chicken stuffed pumpkins.

A Note From Amanda

Fall is one of my favorite seasons to slow down in the kitchen and make dinner feel a little more special.

There's something about bringing these little pumpkins to the table that feels like celebrating the season exactly as it is. They're beautiful, comforting and just a little unexpected — but underneath it all, it's still a warm homemade dinner meant to be shared.

I hope this becomes one of those recipes you look forward to making when the pumpkins start appearing each fall.

"The earth is the Lord's, and everything in it."
Psalm 24:1

Made with love for the people you love.

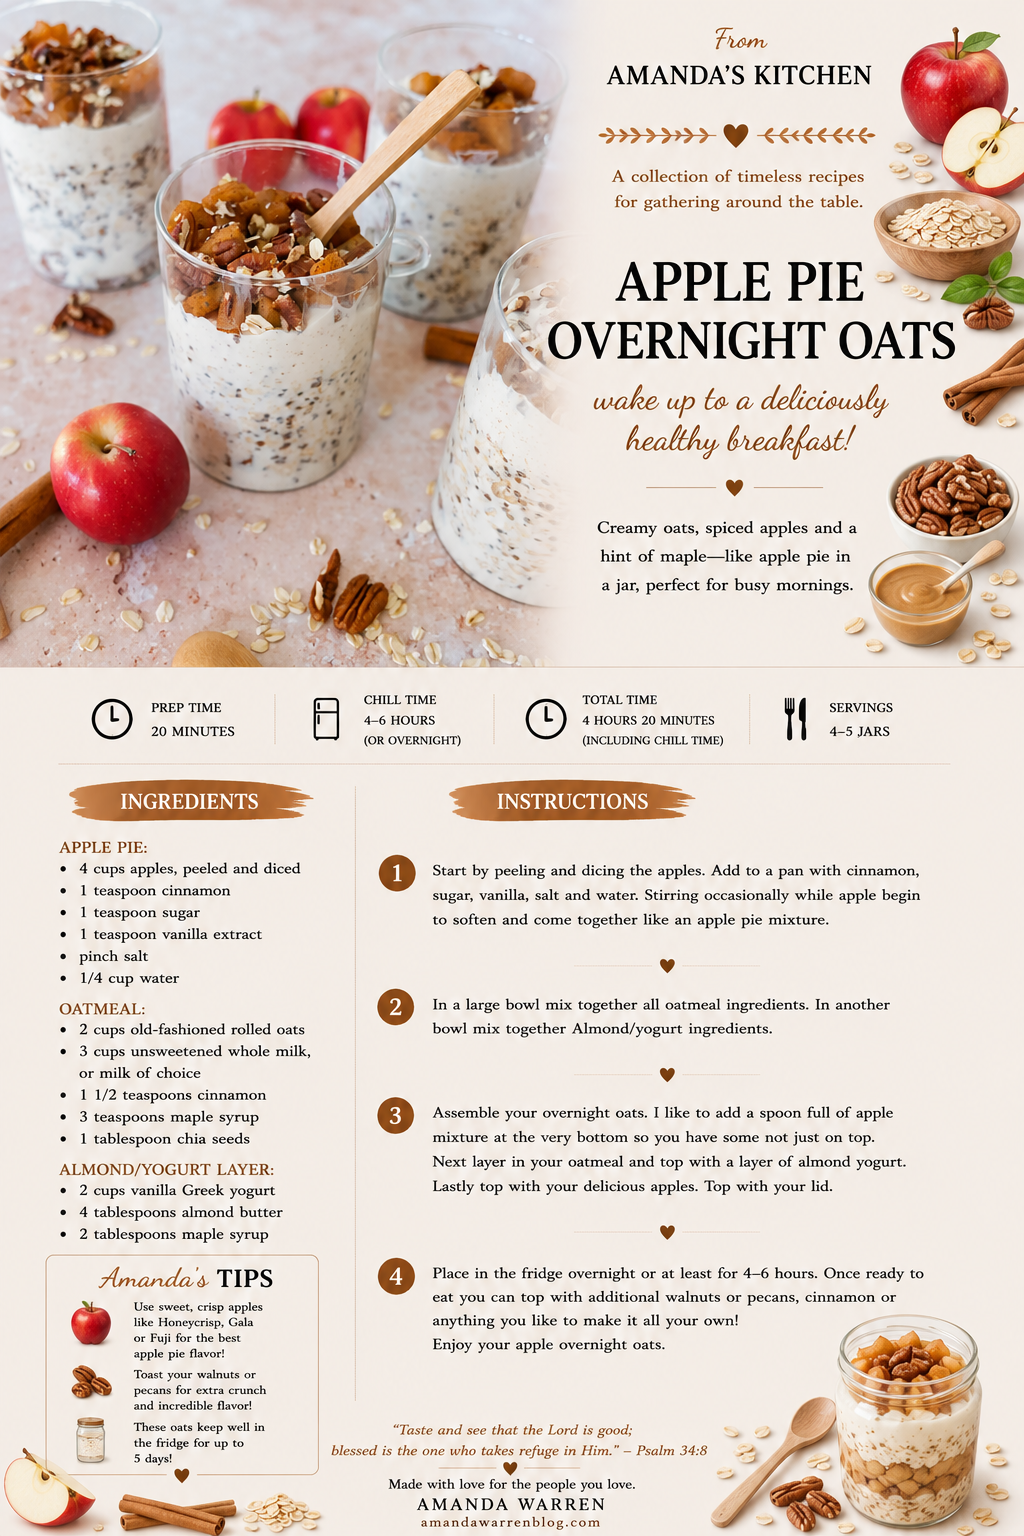
Apple Pie Overnight Oats

Creamy cinnamon overnight oats layered with homemade apple pie filling and vanilla Greek yogurt swirled with almond butter and maple syrup for an easy make-ahead fall breakfast.

There are few flavors that make a kitchen feel more like fall than warm apples and cinnamon.

These Apple Pie Overnight Oats take those cozy flavors and turn them into an easy breakfast you can make the night before. Instead of simply stirring diced apples into oatmeal, we're making a quick homemade apple pie filling with cinnamon, vanilla and just a touch of sugar.

Then we layer it with creamy cinnamon-maple overnight oats and a vanilla Greek yogurt mixture made with almond butter and maple syrup.

I especially love putting some of the apples at the bottom of the jar and more on top. That way you don't eat all the best part first — there's a little apple pie flavor waiting for you all the way through.

Make them at night, refrigerate and breakfast is already waiting the next morning.

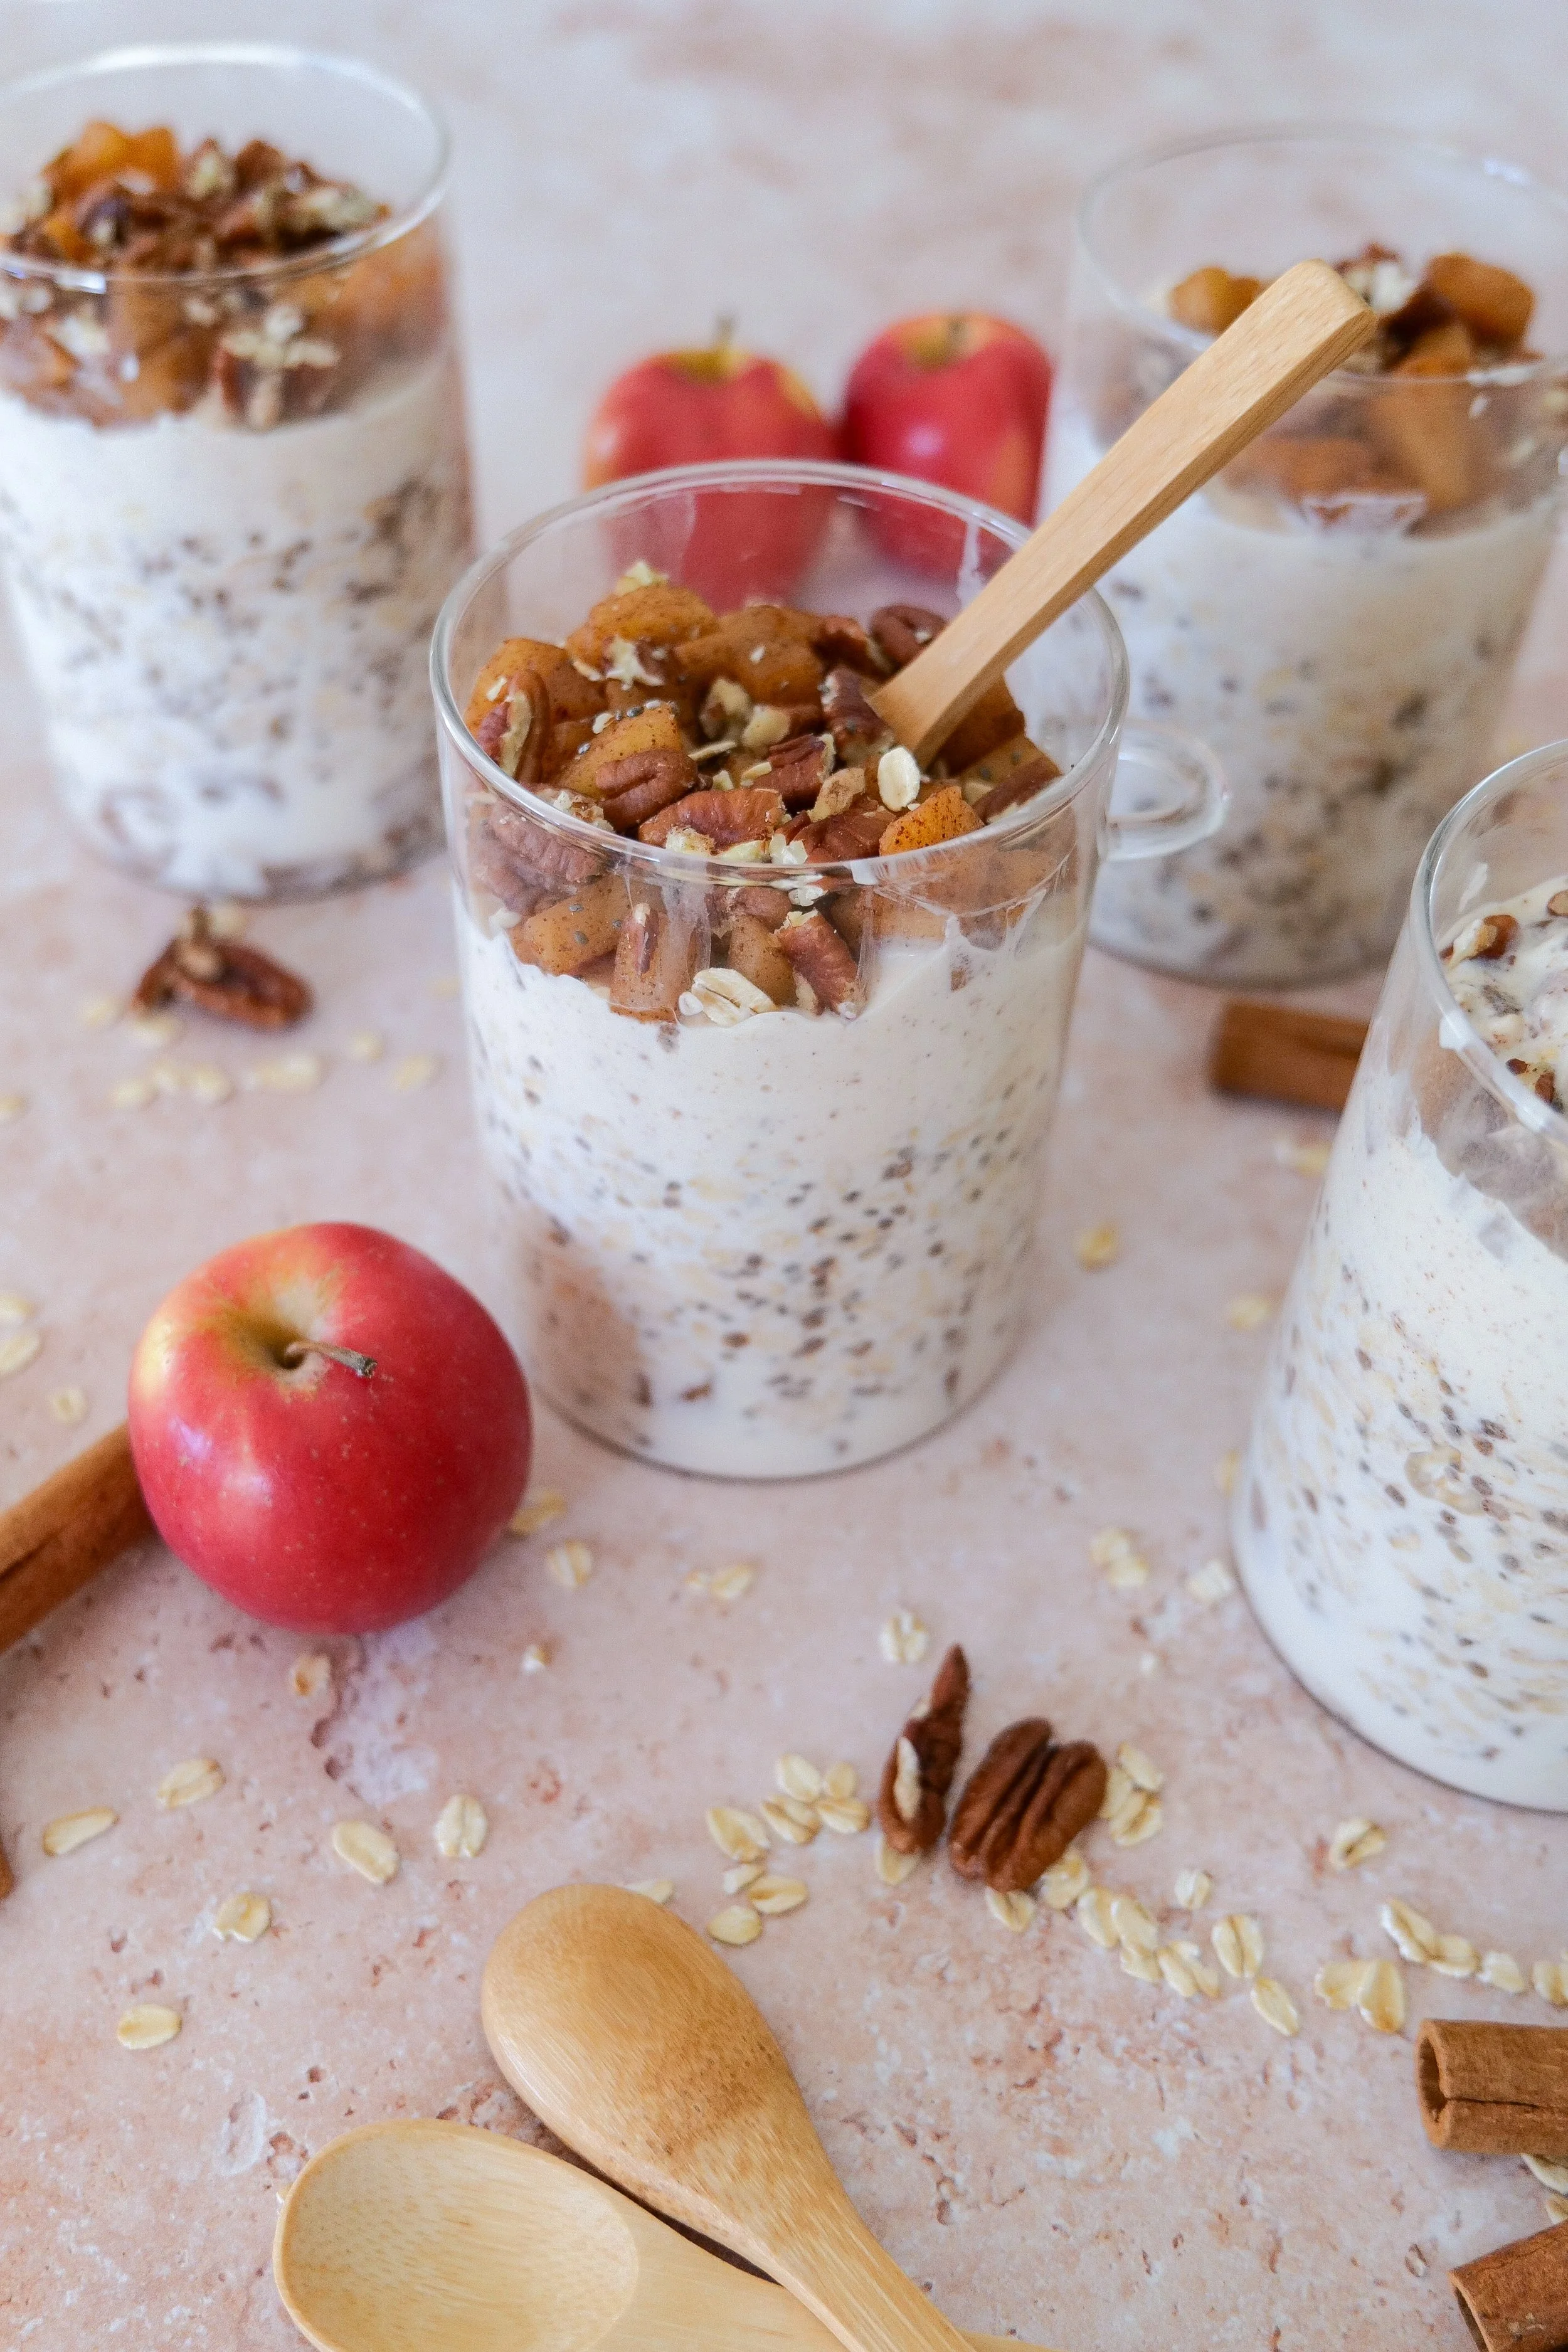
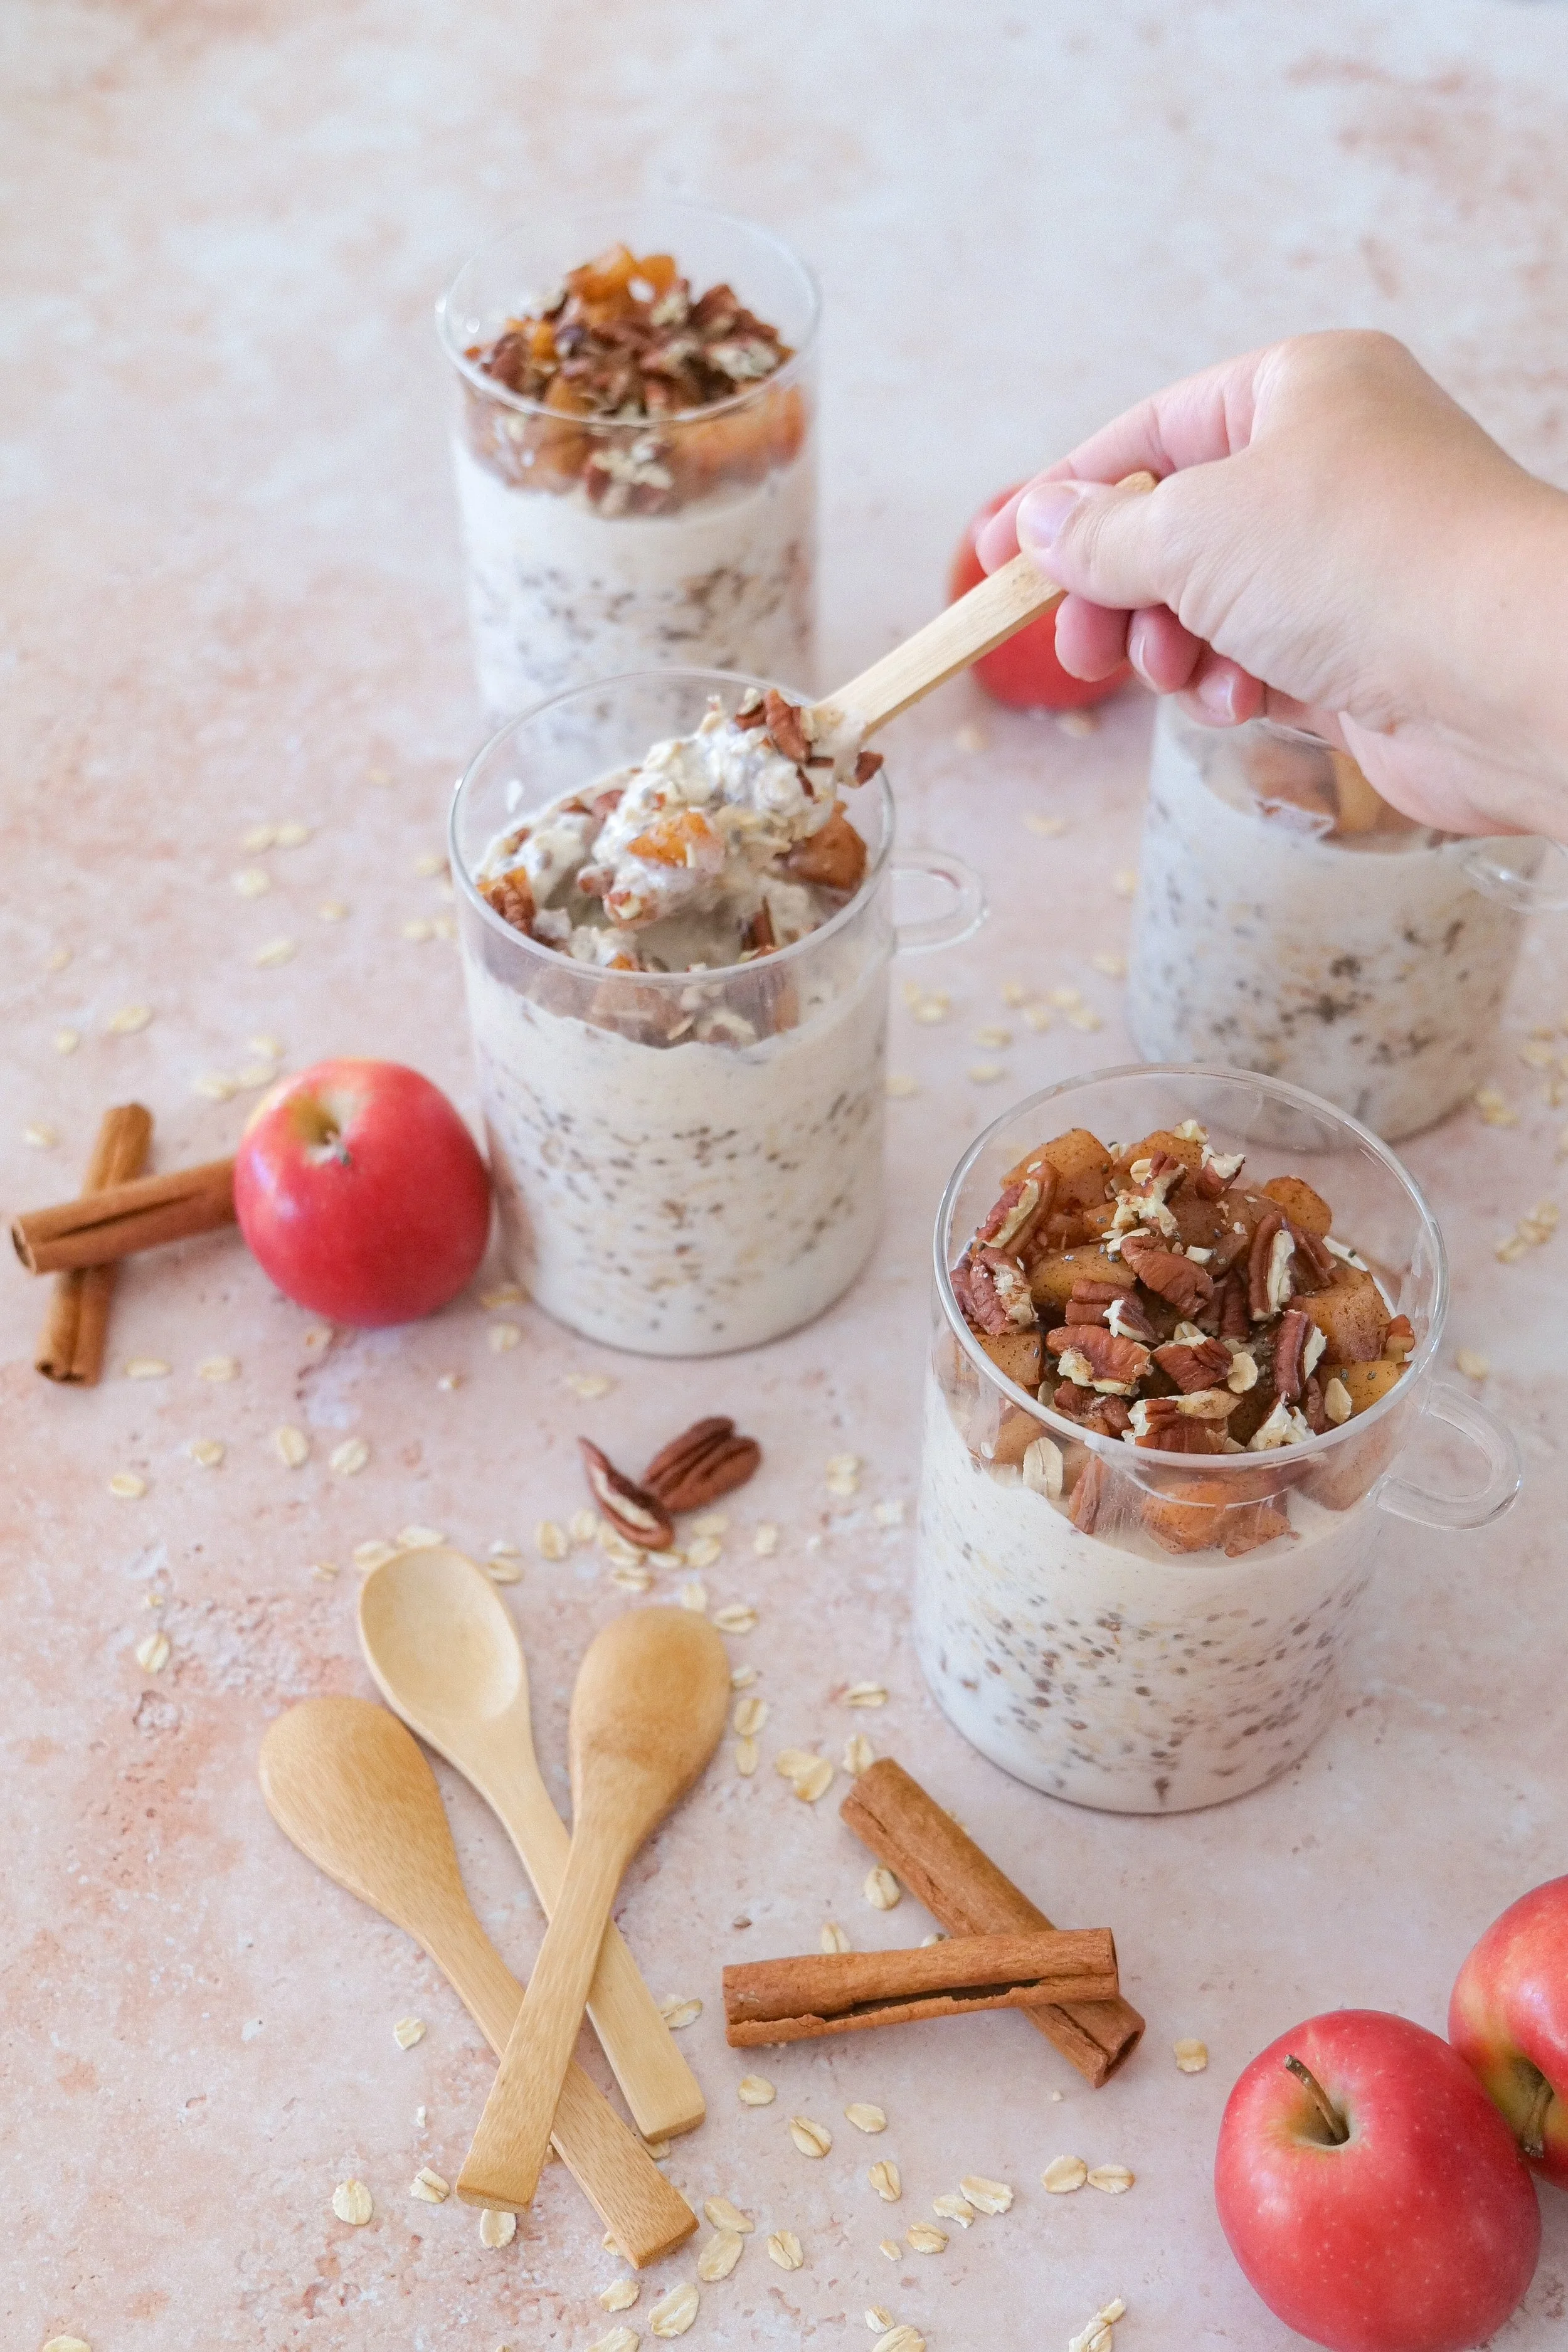
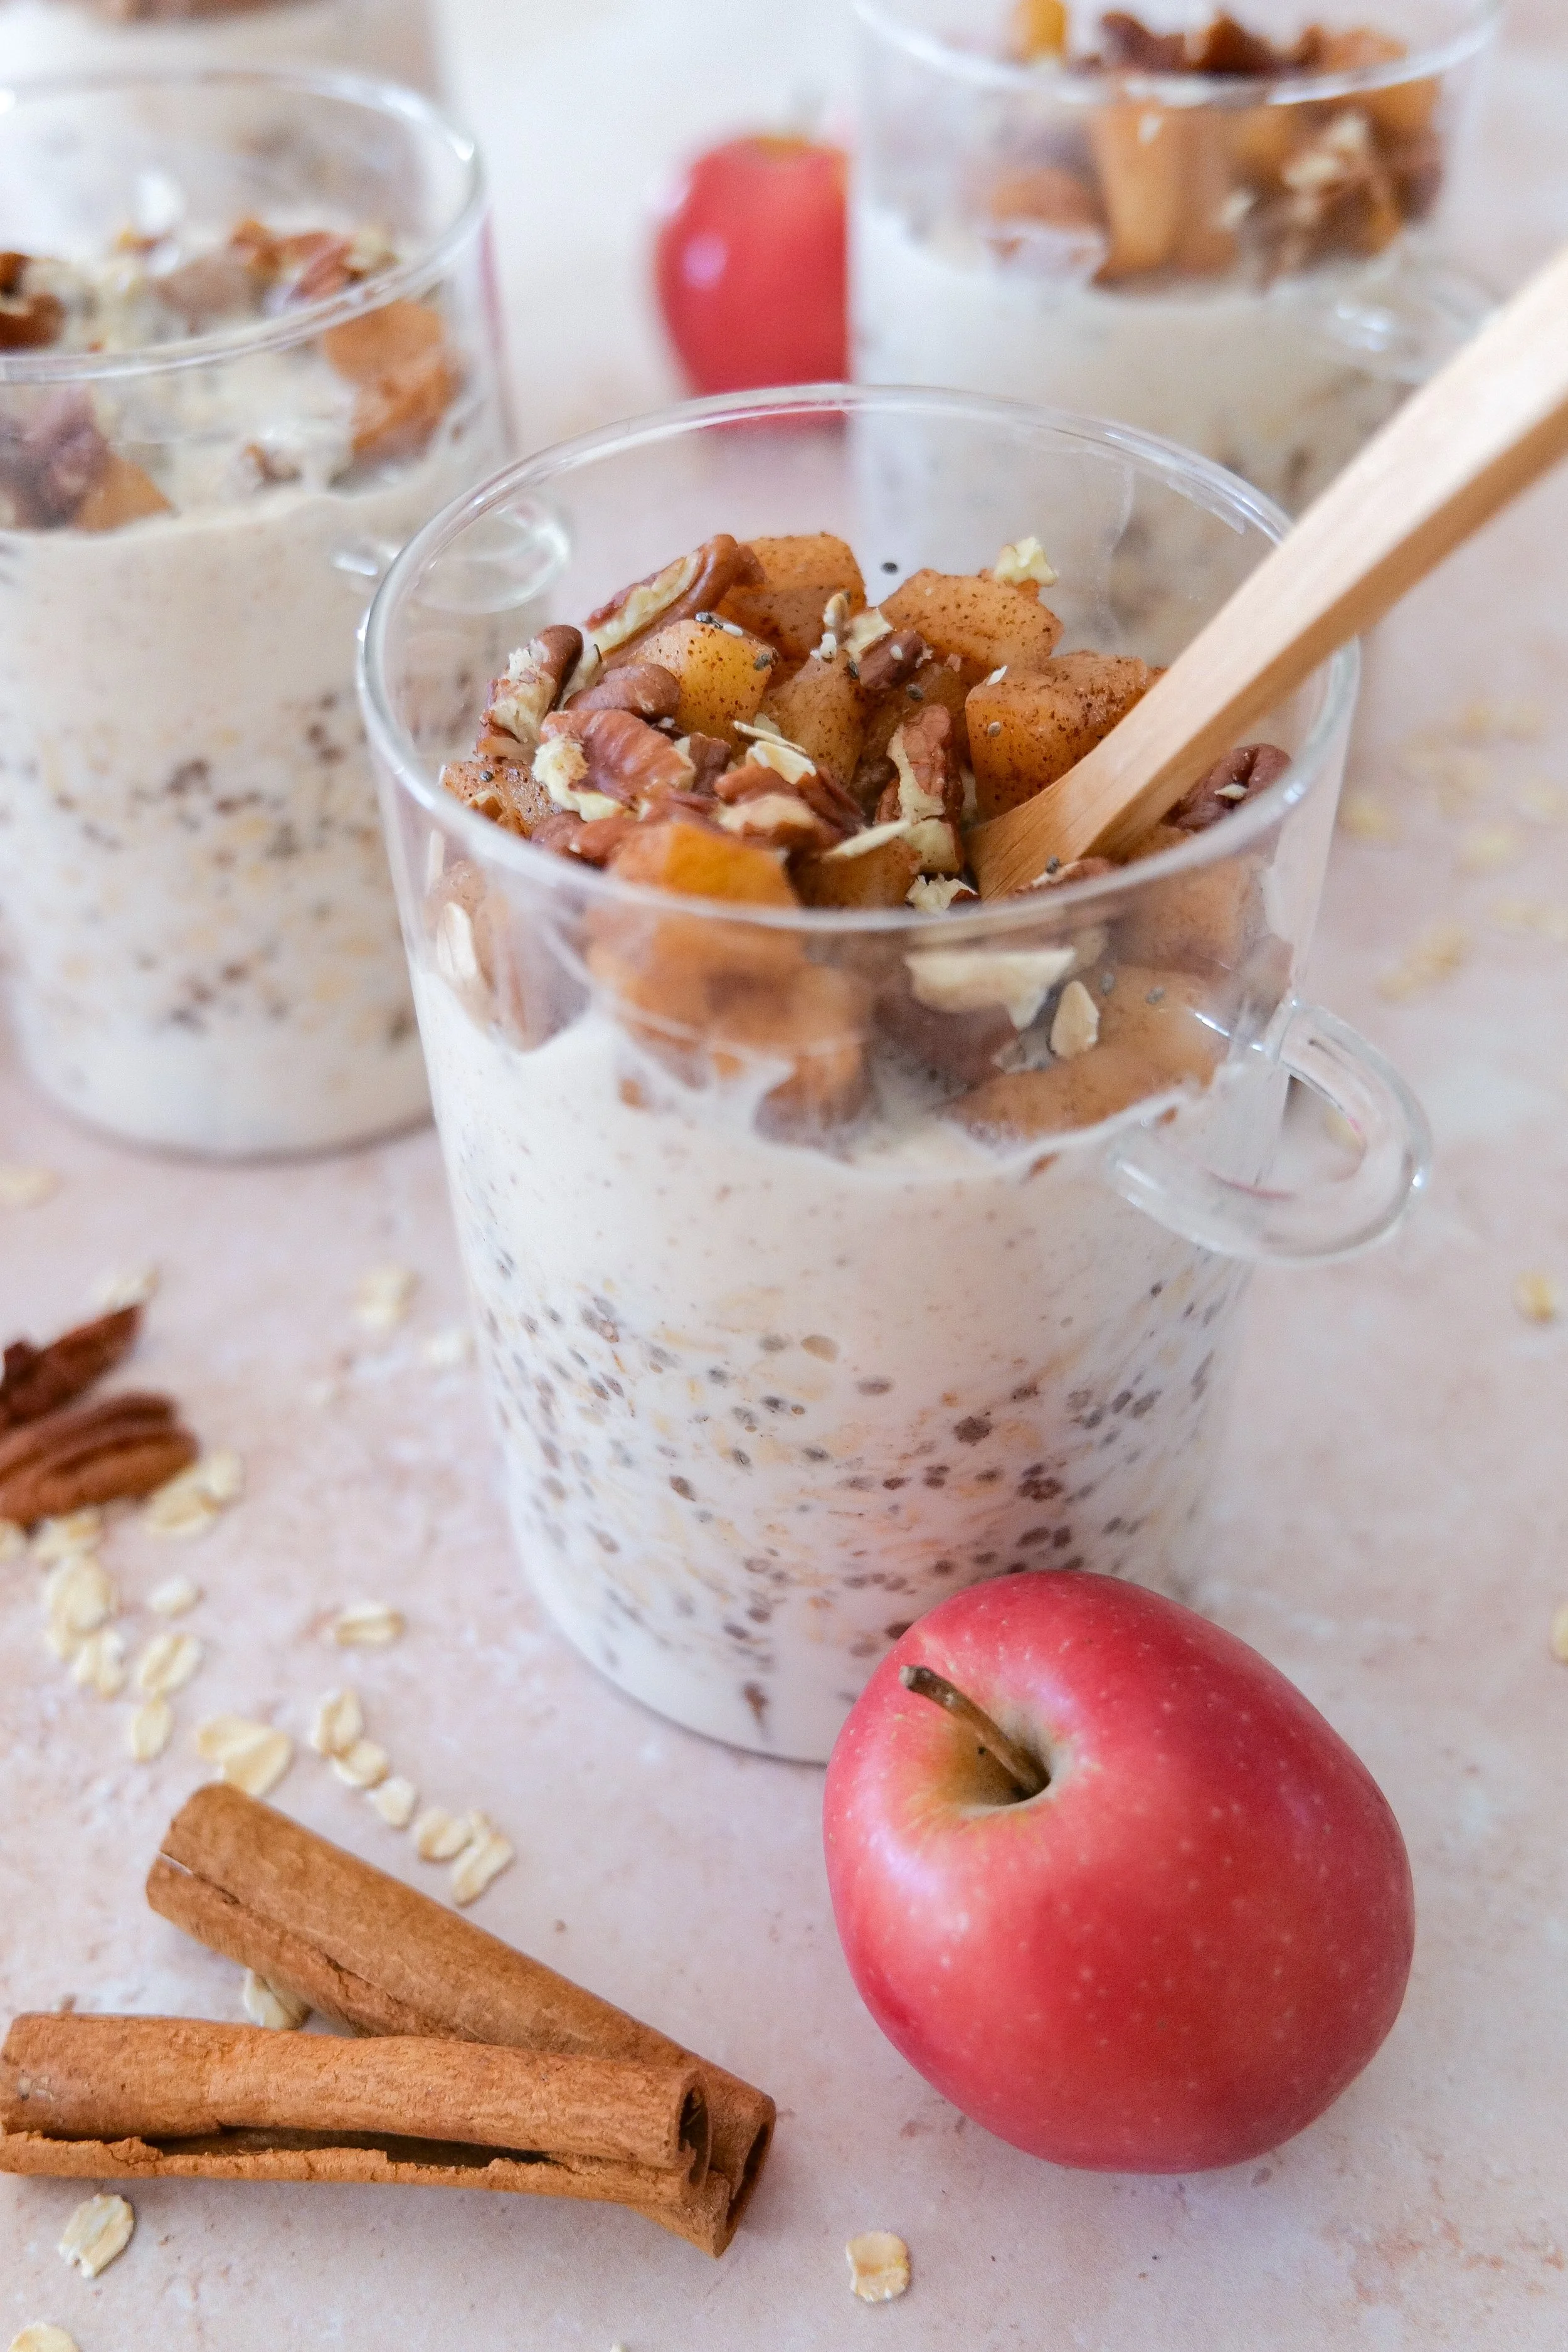
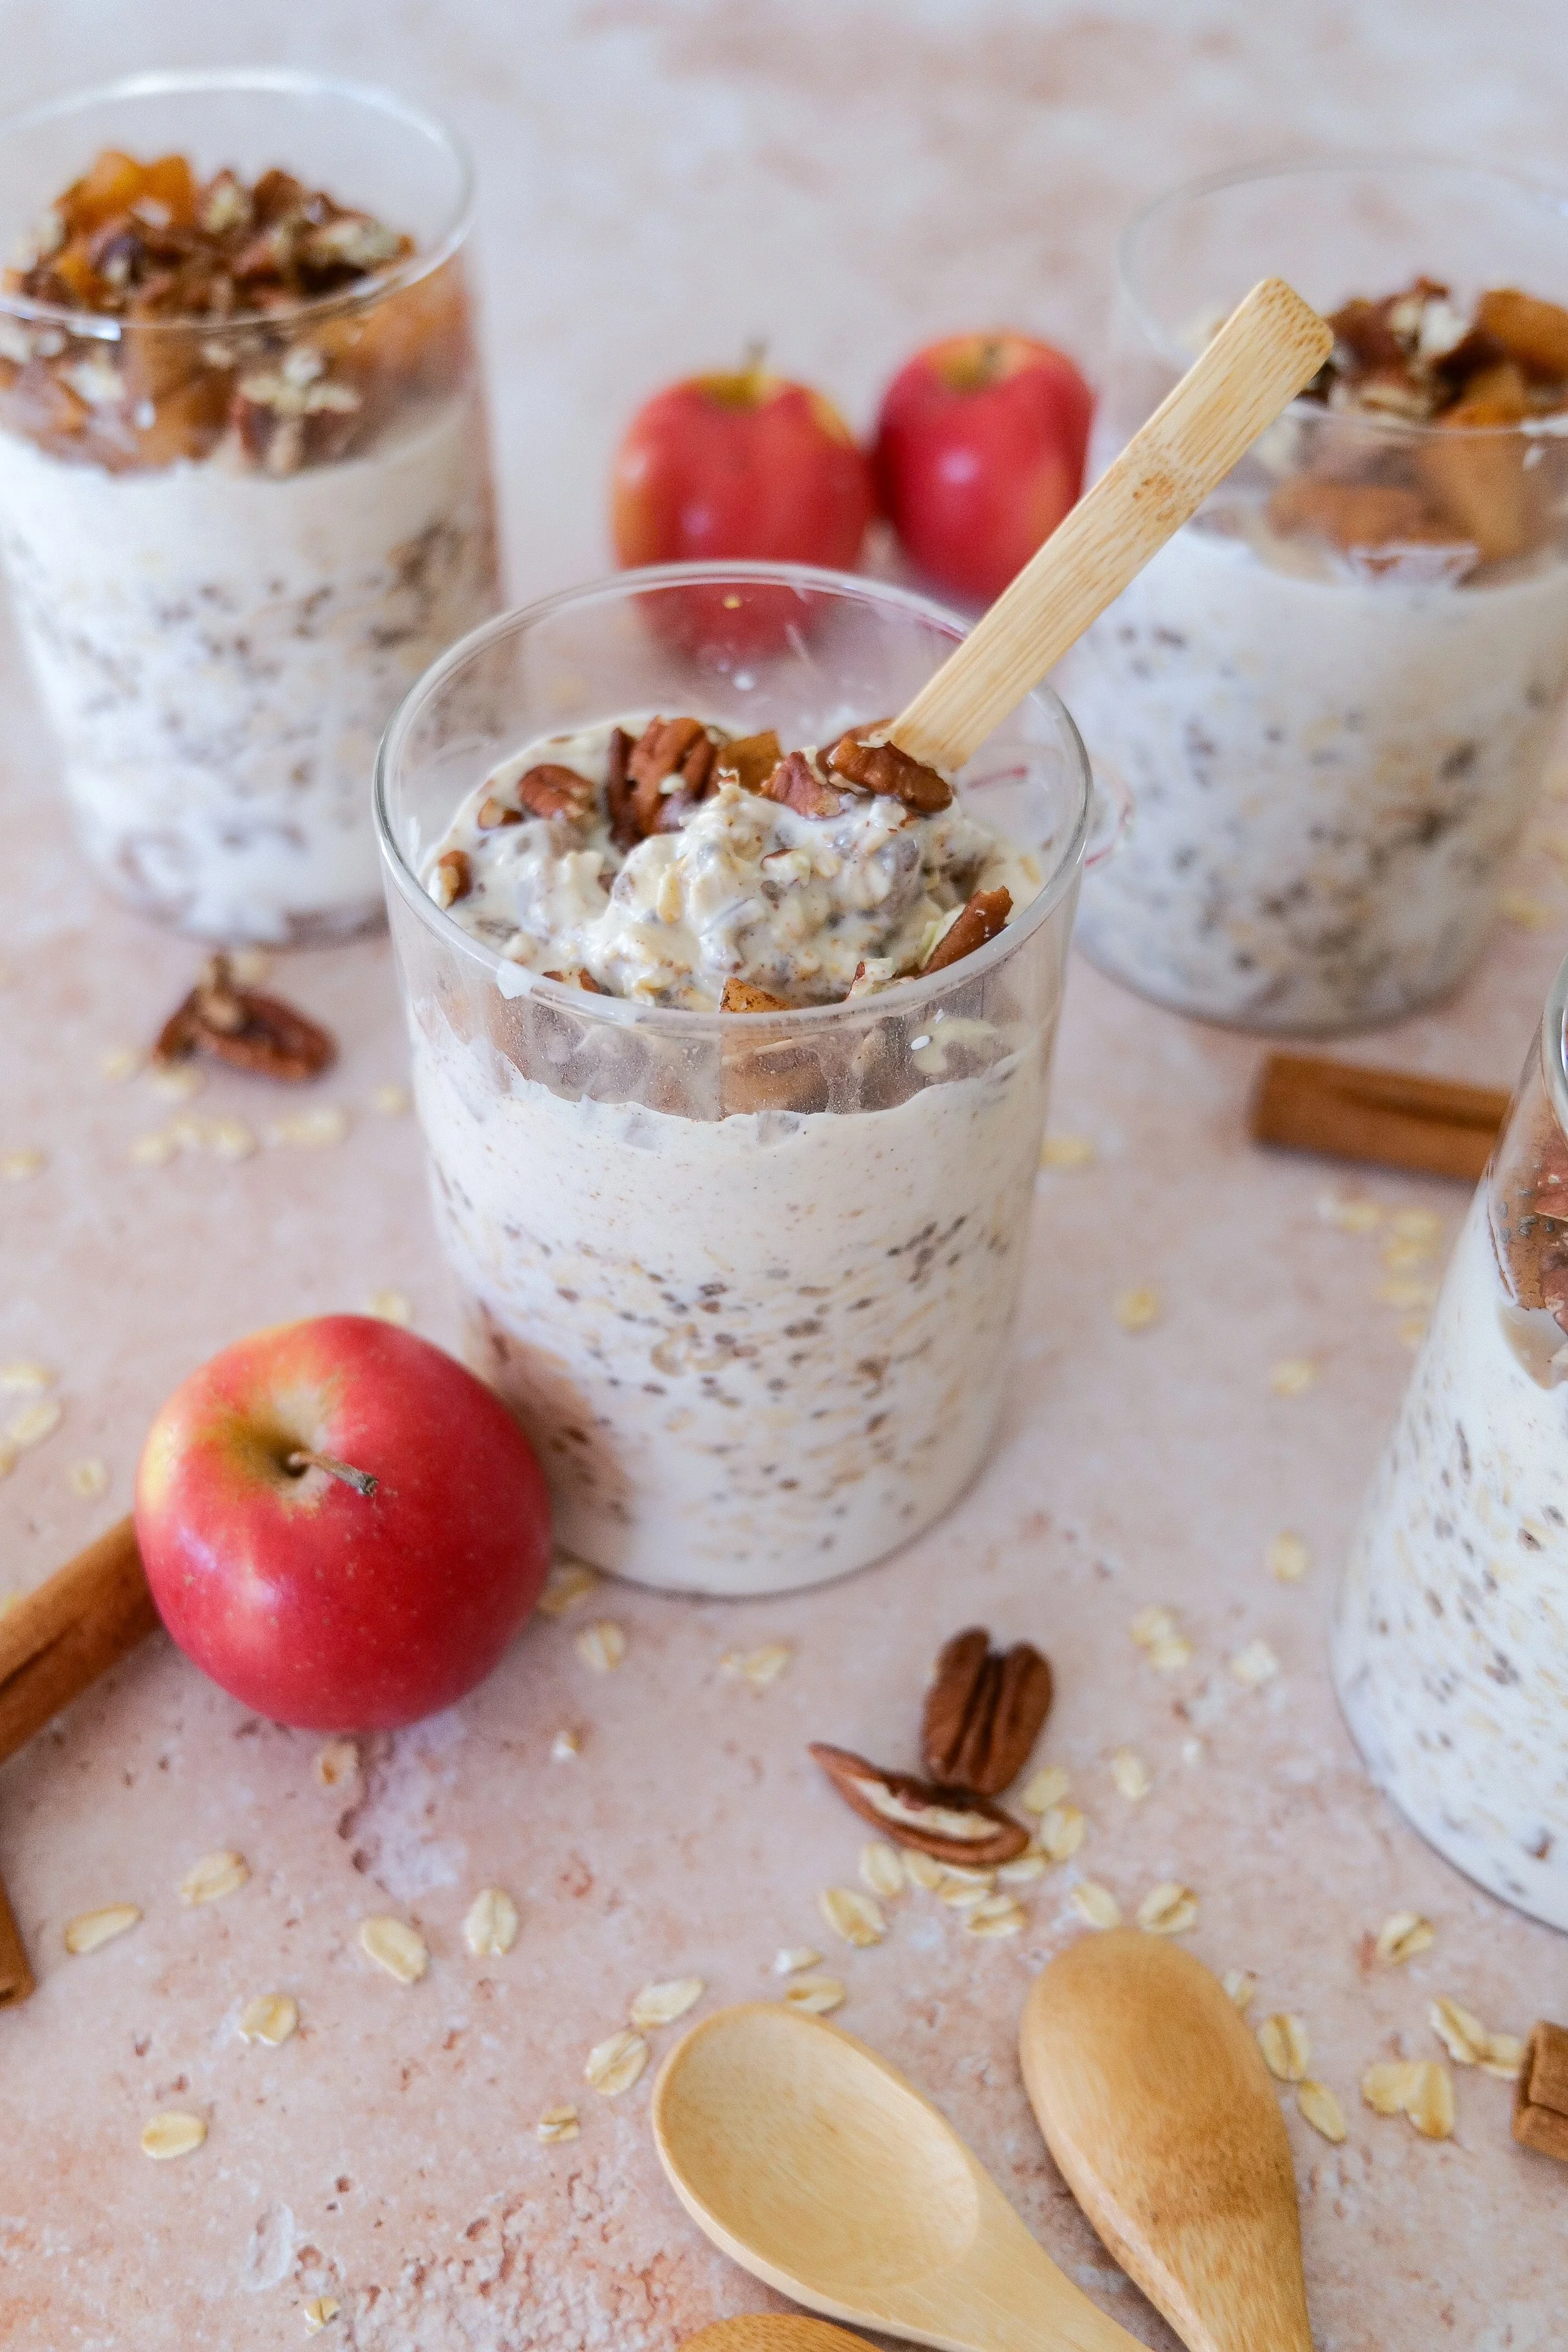
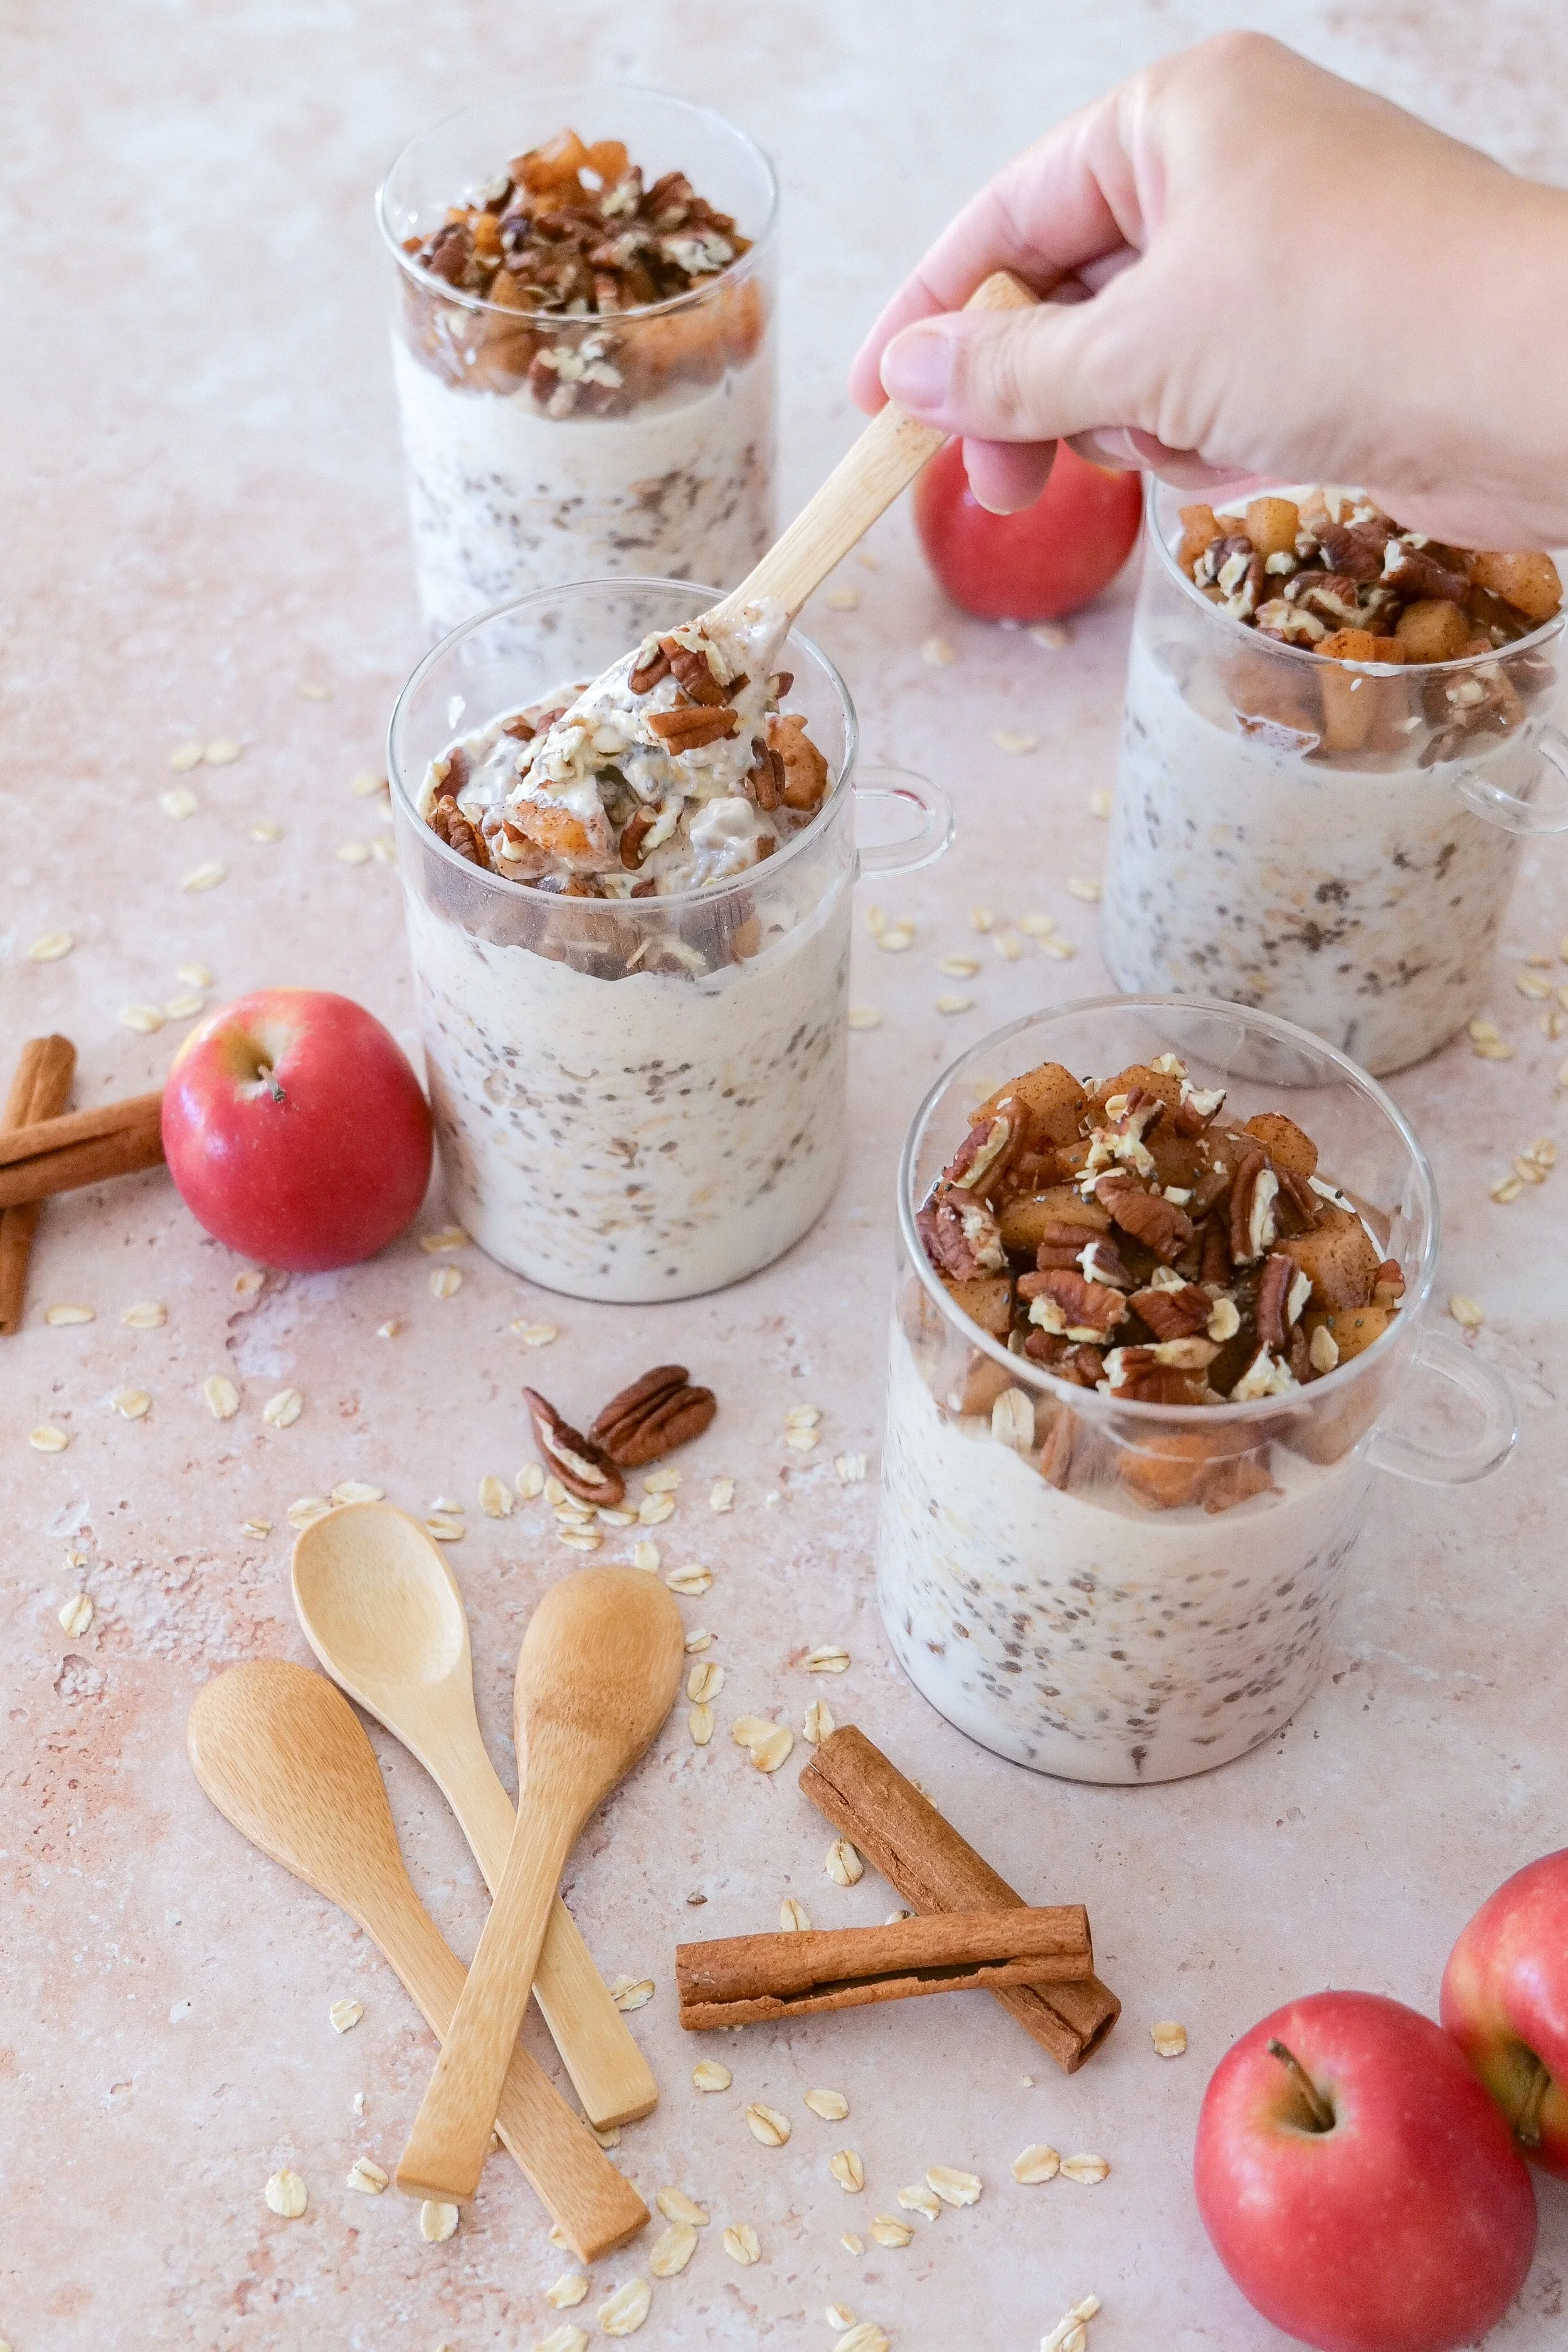
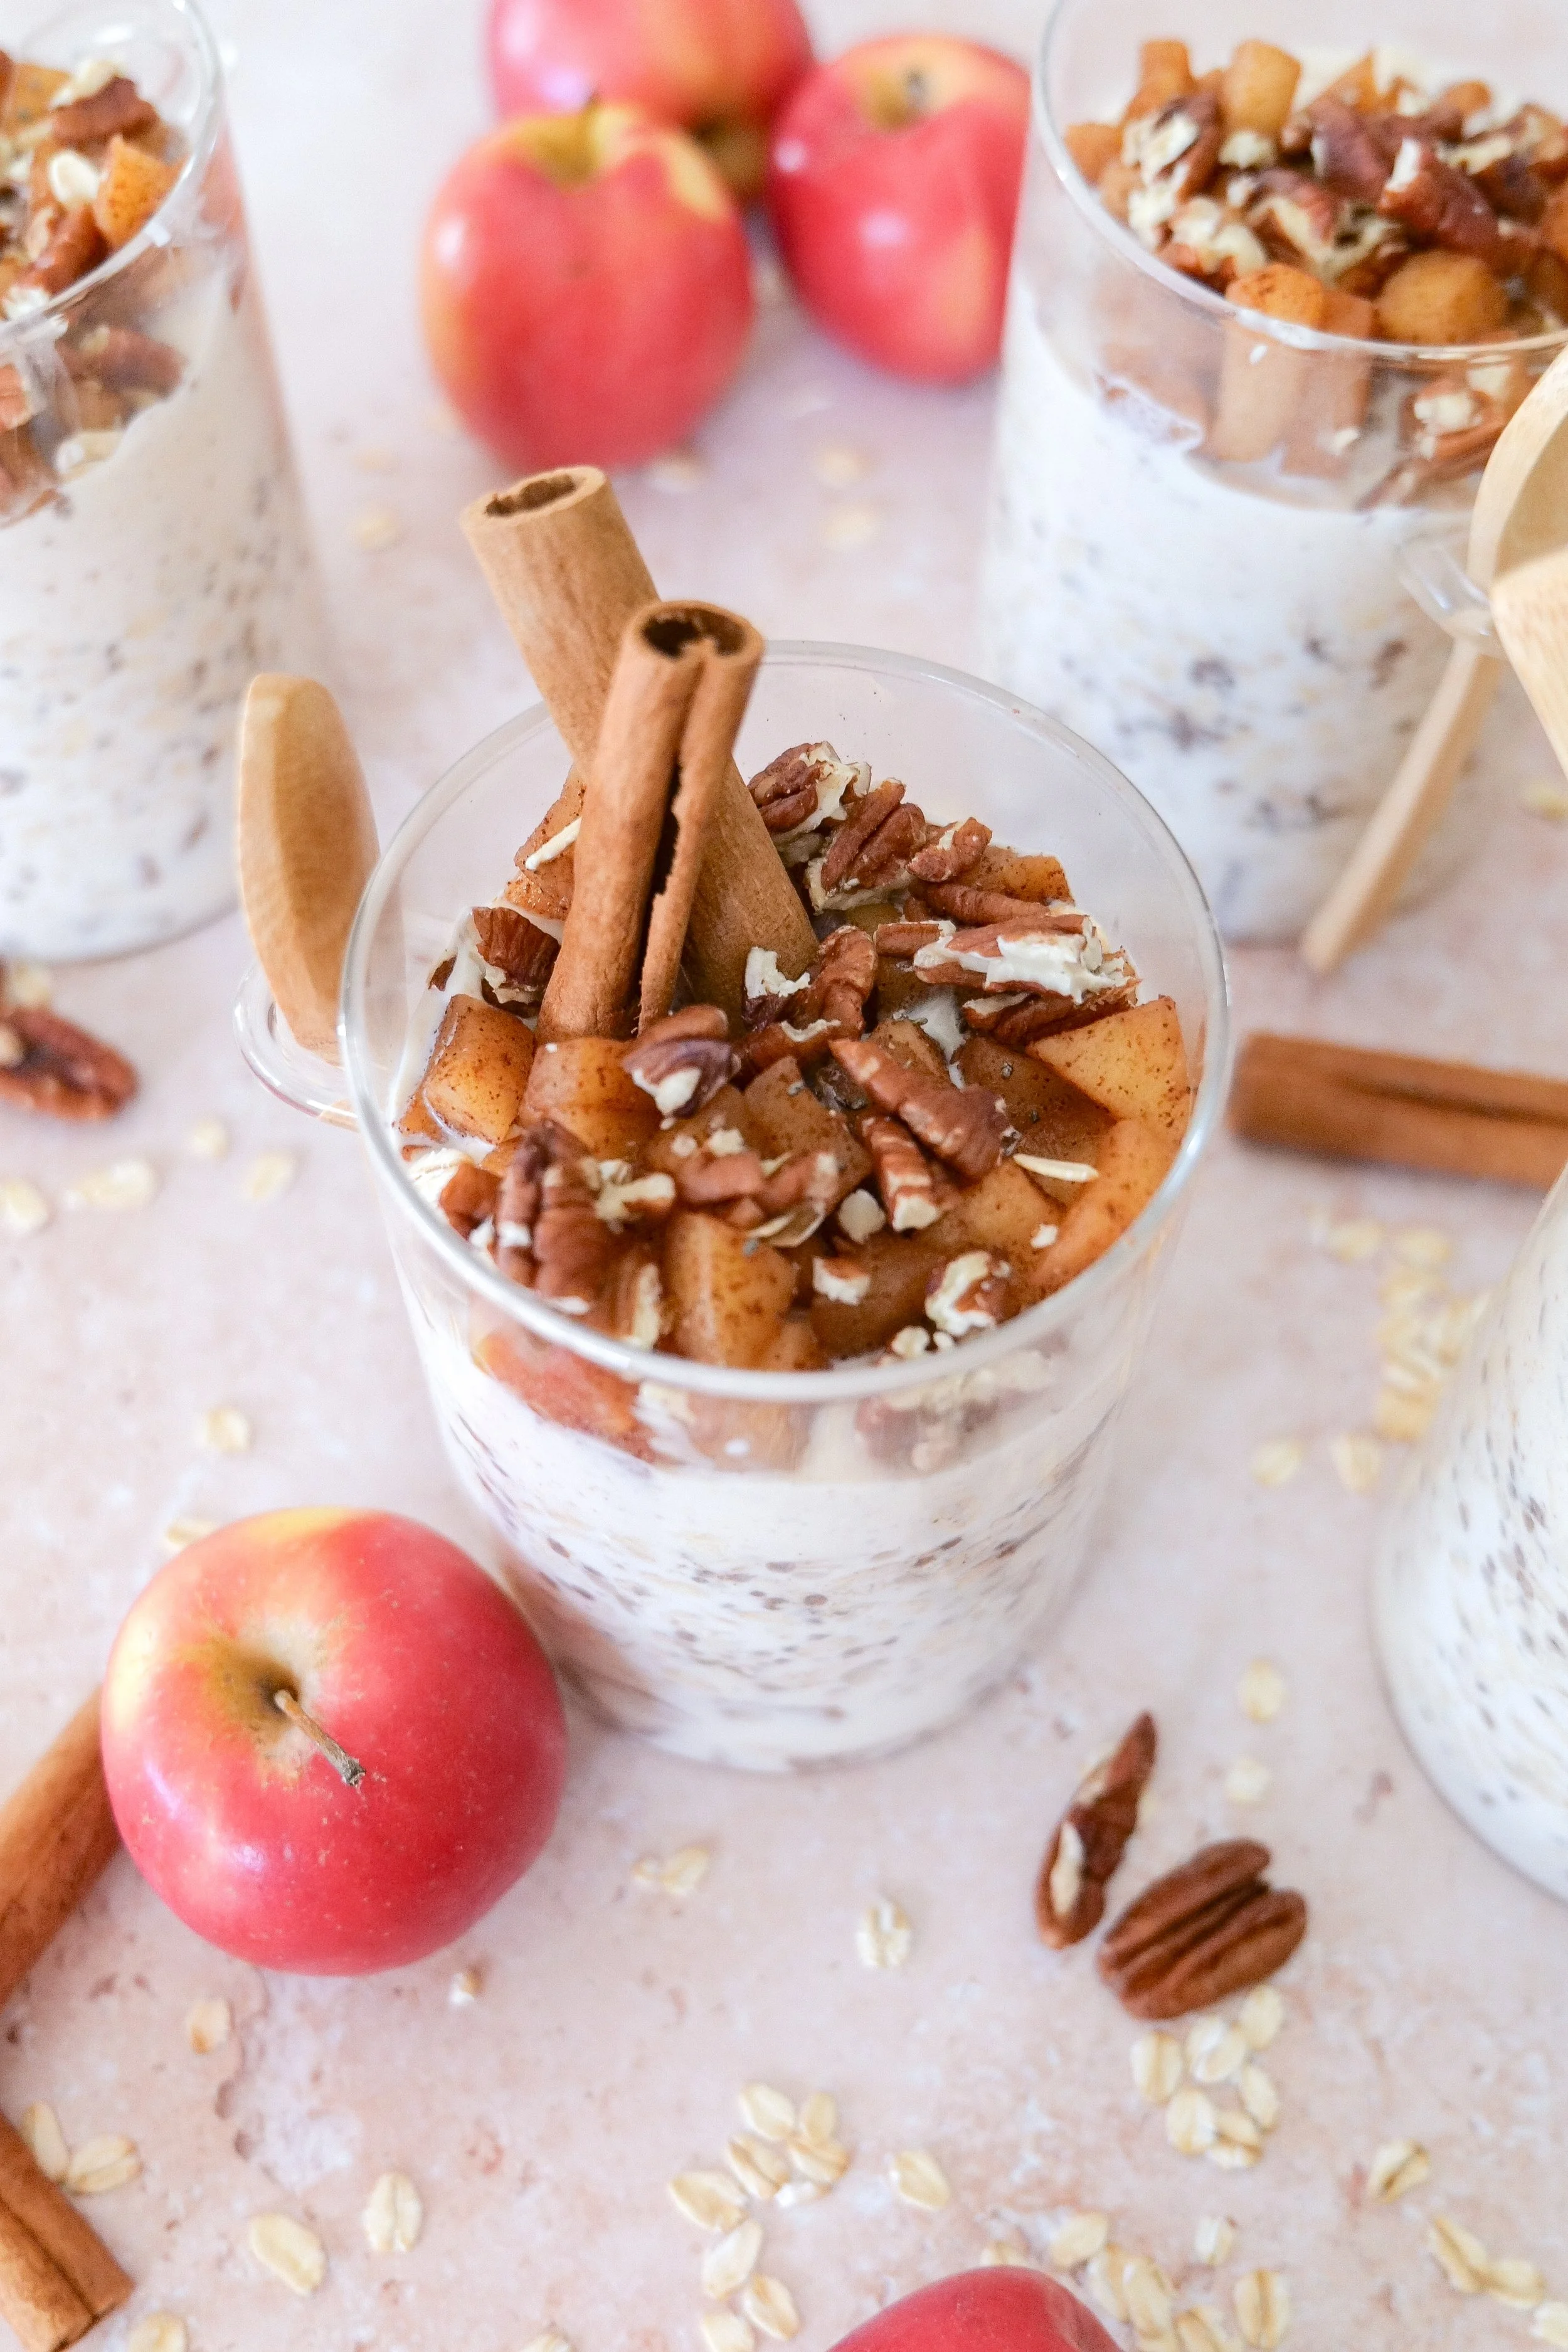
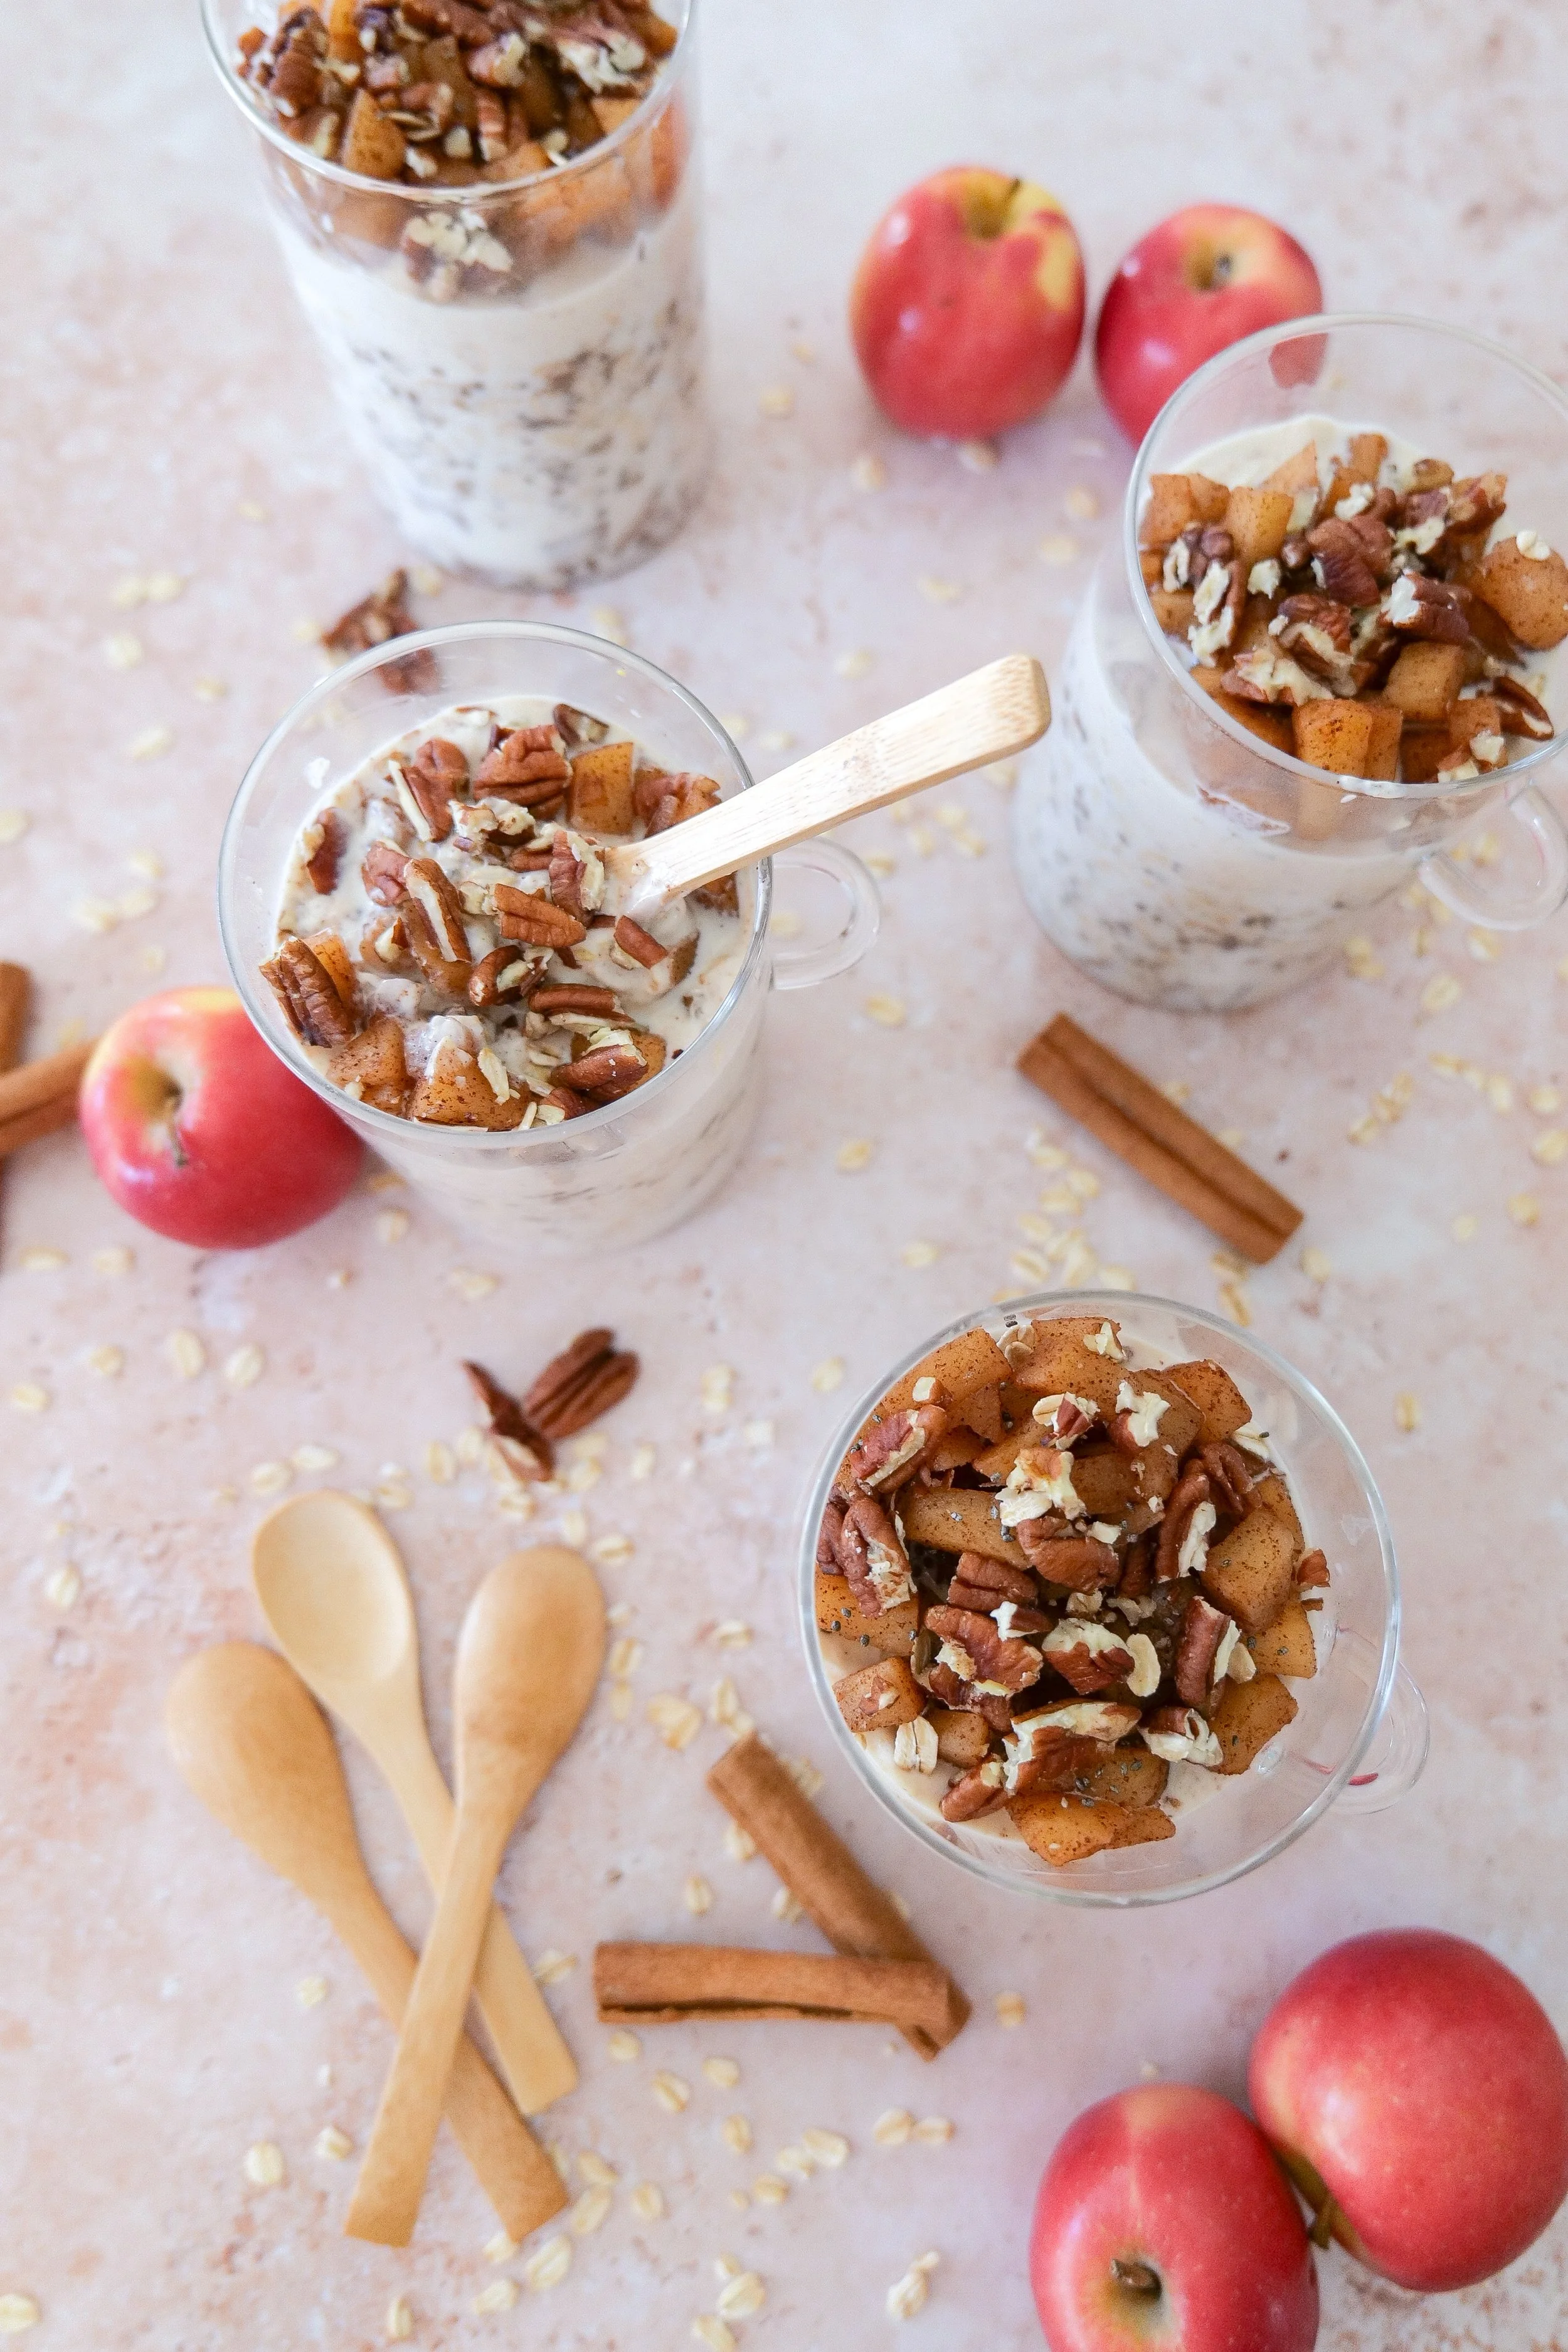
Apple pie overnight oats layered with cinnamon apples, creamy oats and almond butter Greek yogurt.
↓ Skip to Recipe

Why You'll Love These Apple Pie Overnight Oats

This is one of those breakfasts that feels special without making your morning more complicated.

Make them the night before. Everything gets assembled ahead of time and goes straight into the refrigerator.

They really taste like fall. Apples, cinnamon, vanilla and maple give you those familiar apple-pie flavors in breakfast form.

There are three delicious layers. Instead of one bowl of oats, you get homemade apple filling, cinnamon overnight oats and creamy almond-butter yogurt.

The apples are actually cooked. Cooking the apples first gives them that soft, cinnamon-filled texture I wanted rather than simply adding raw apple chunks.

They're easy to customize. Add walnuts, pecans, extra cinnamon or another favorite topping before eating.

They work for meal prep. Make several jars at once and you've already done some of the work for future mornings.

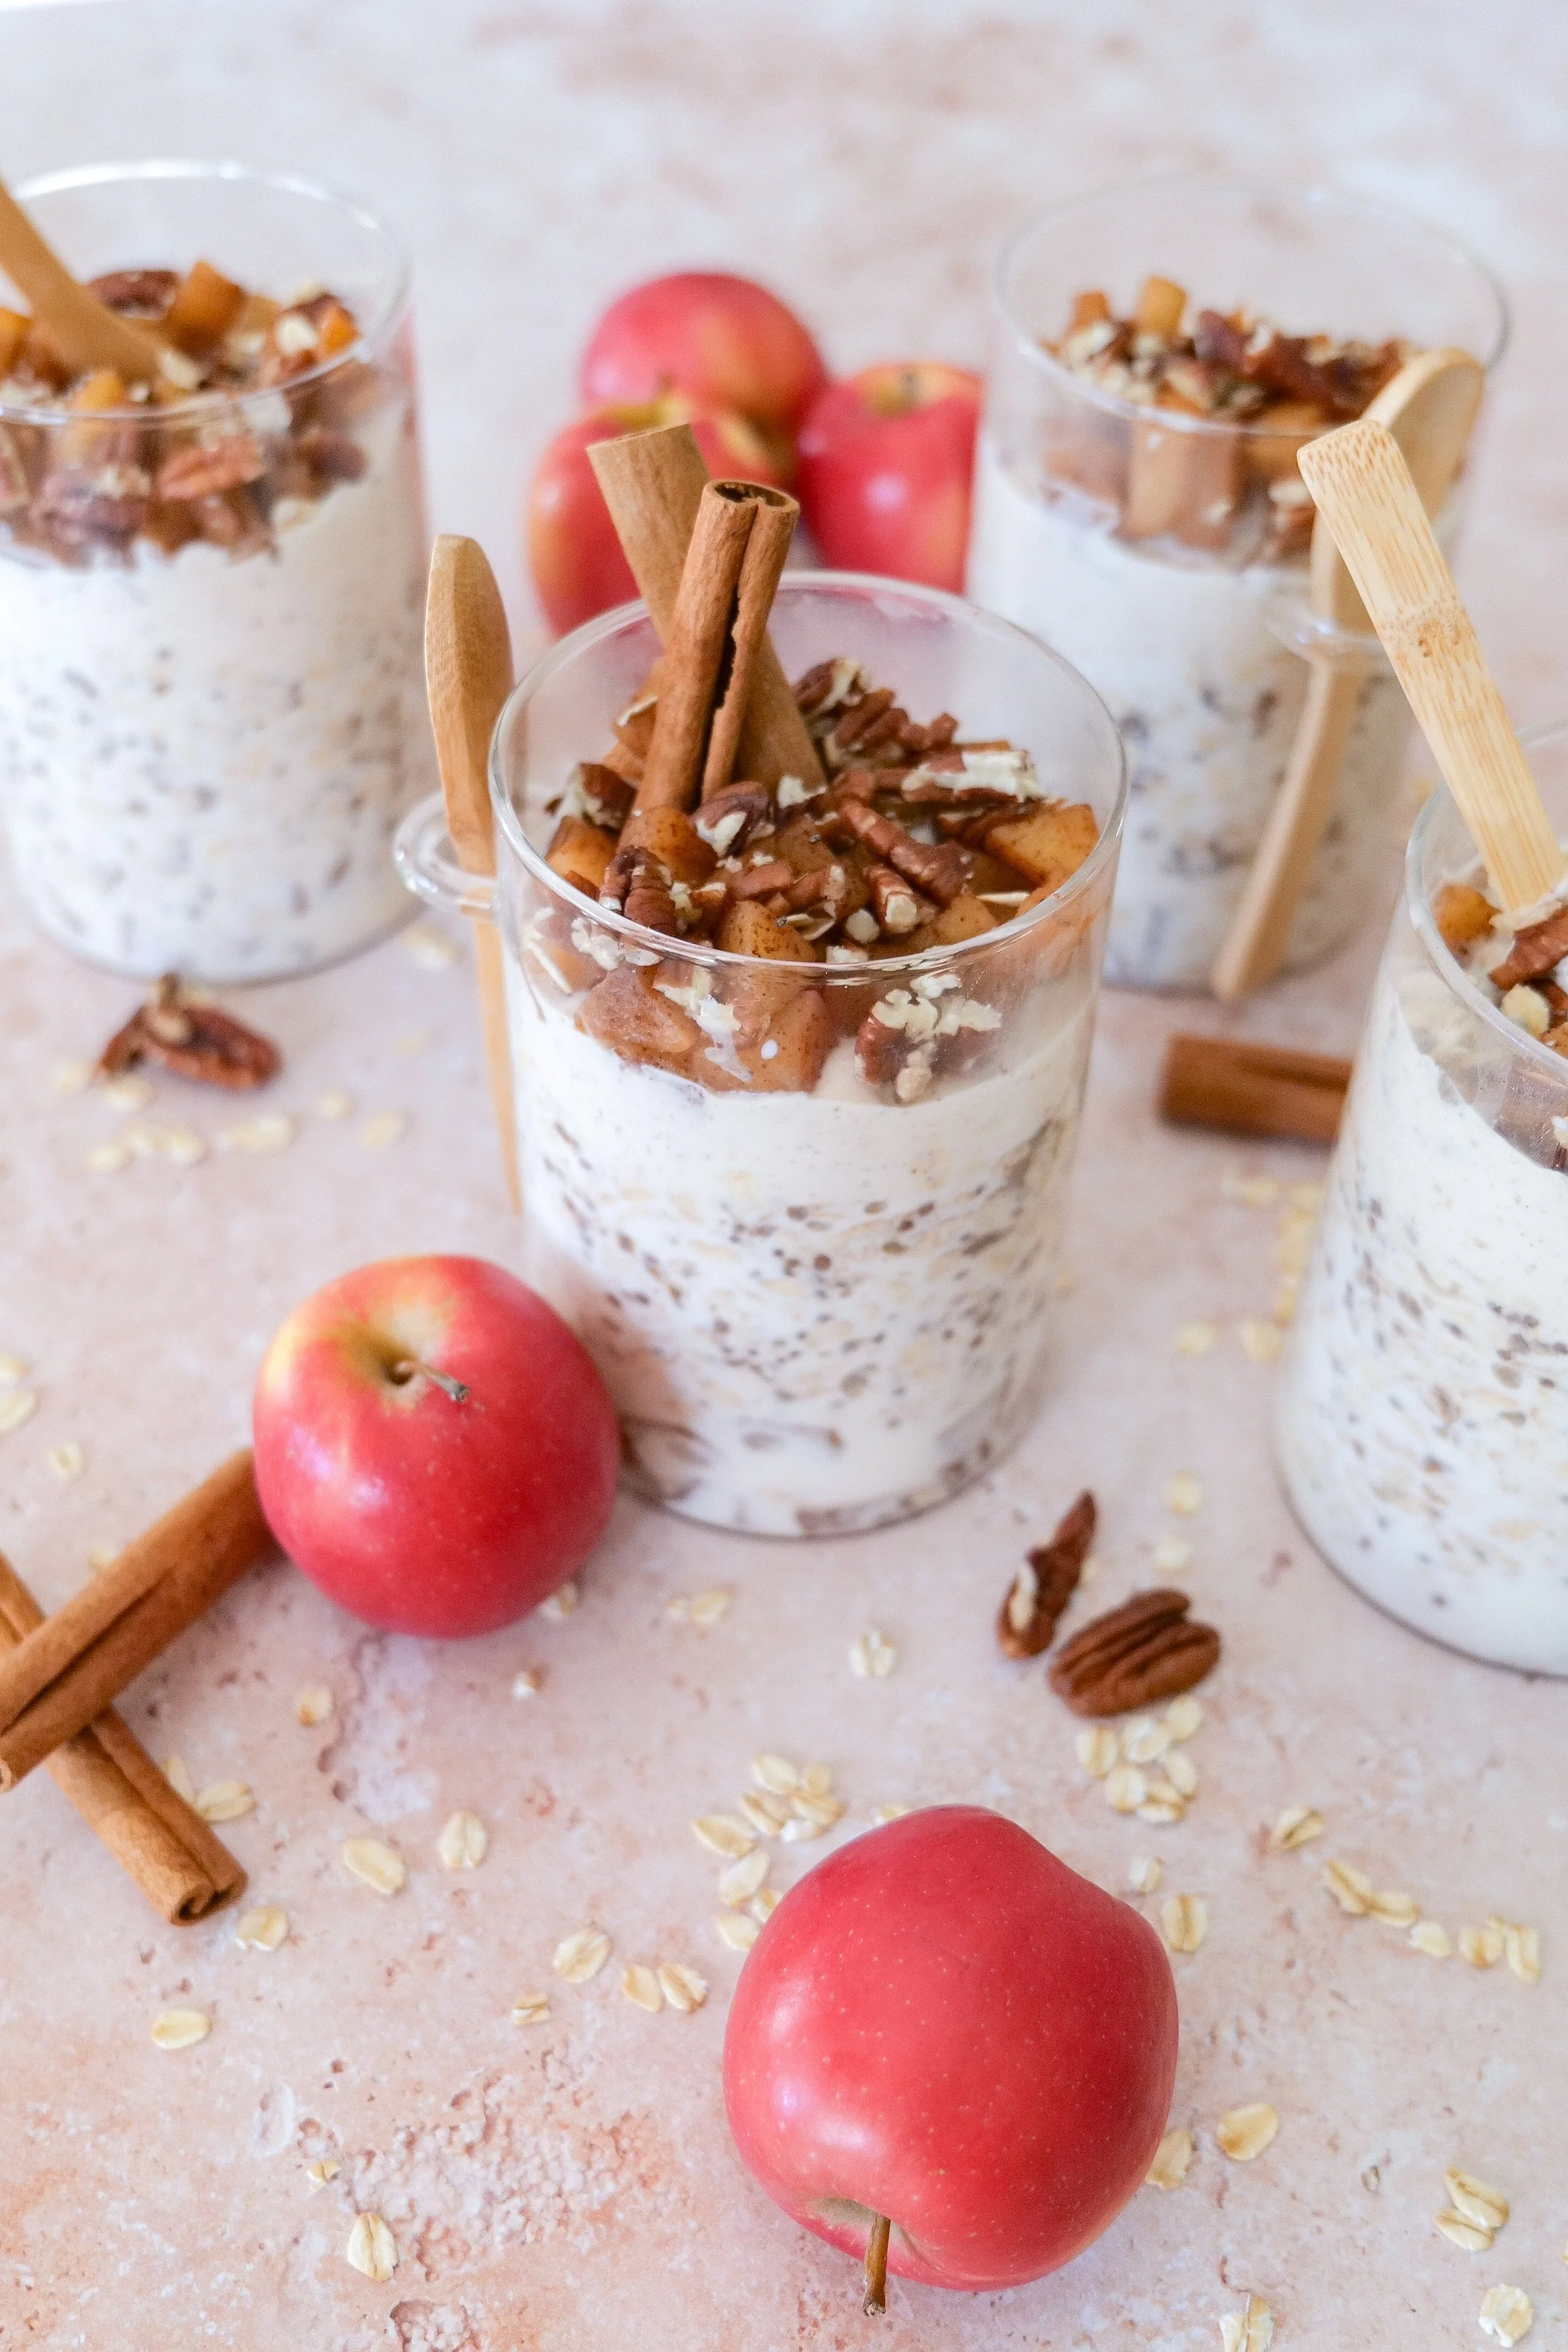
Cinnamon apple overnight oats topped with homemade apple pie filling.

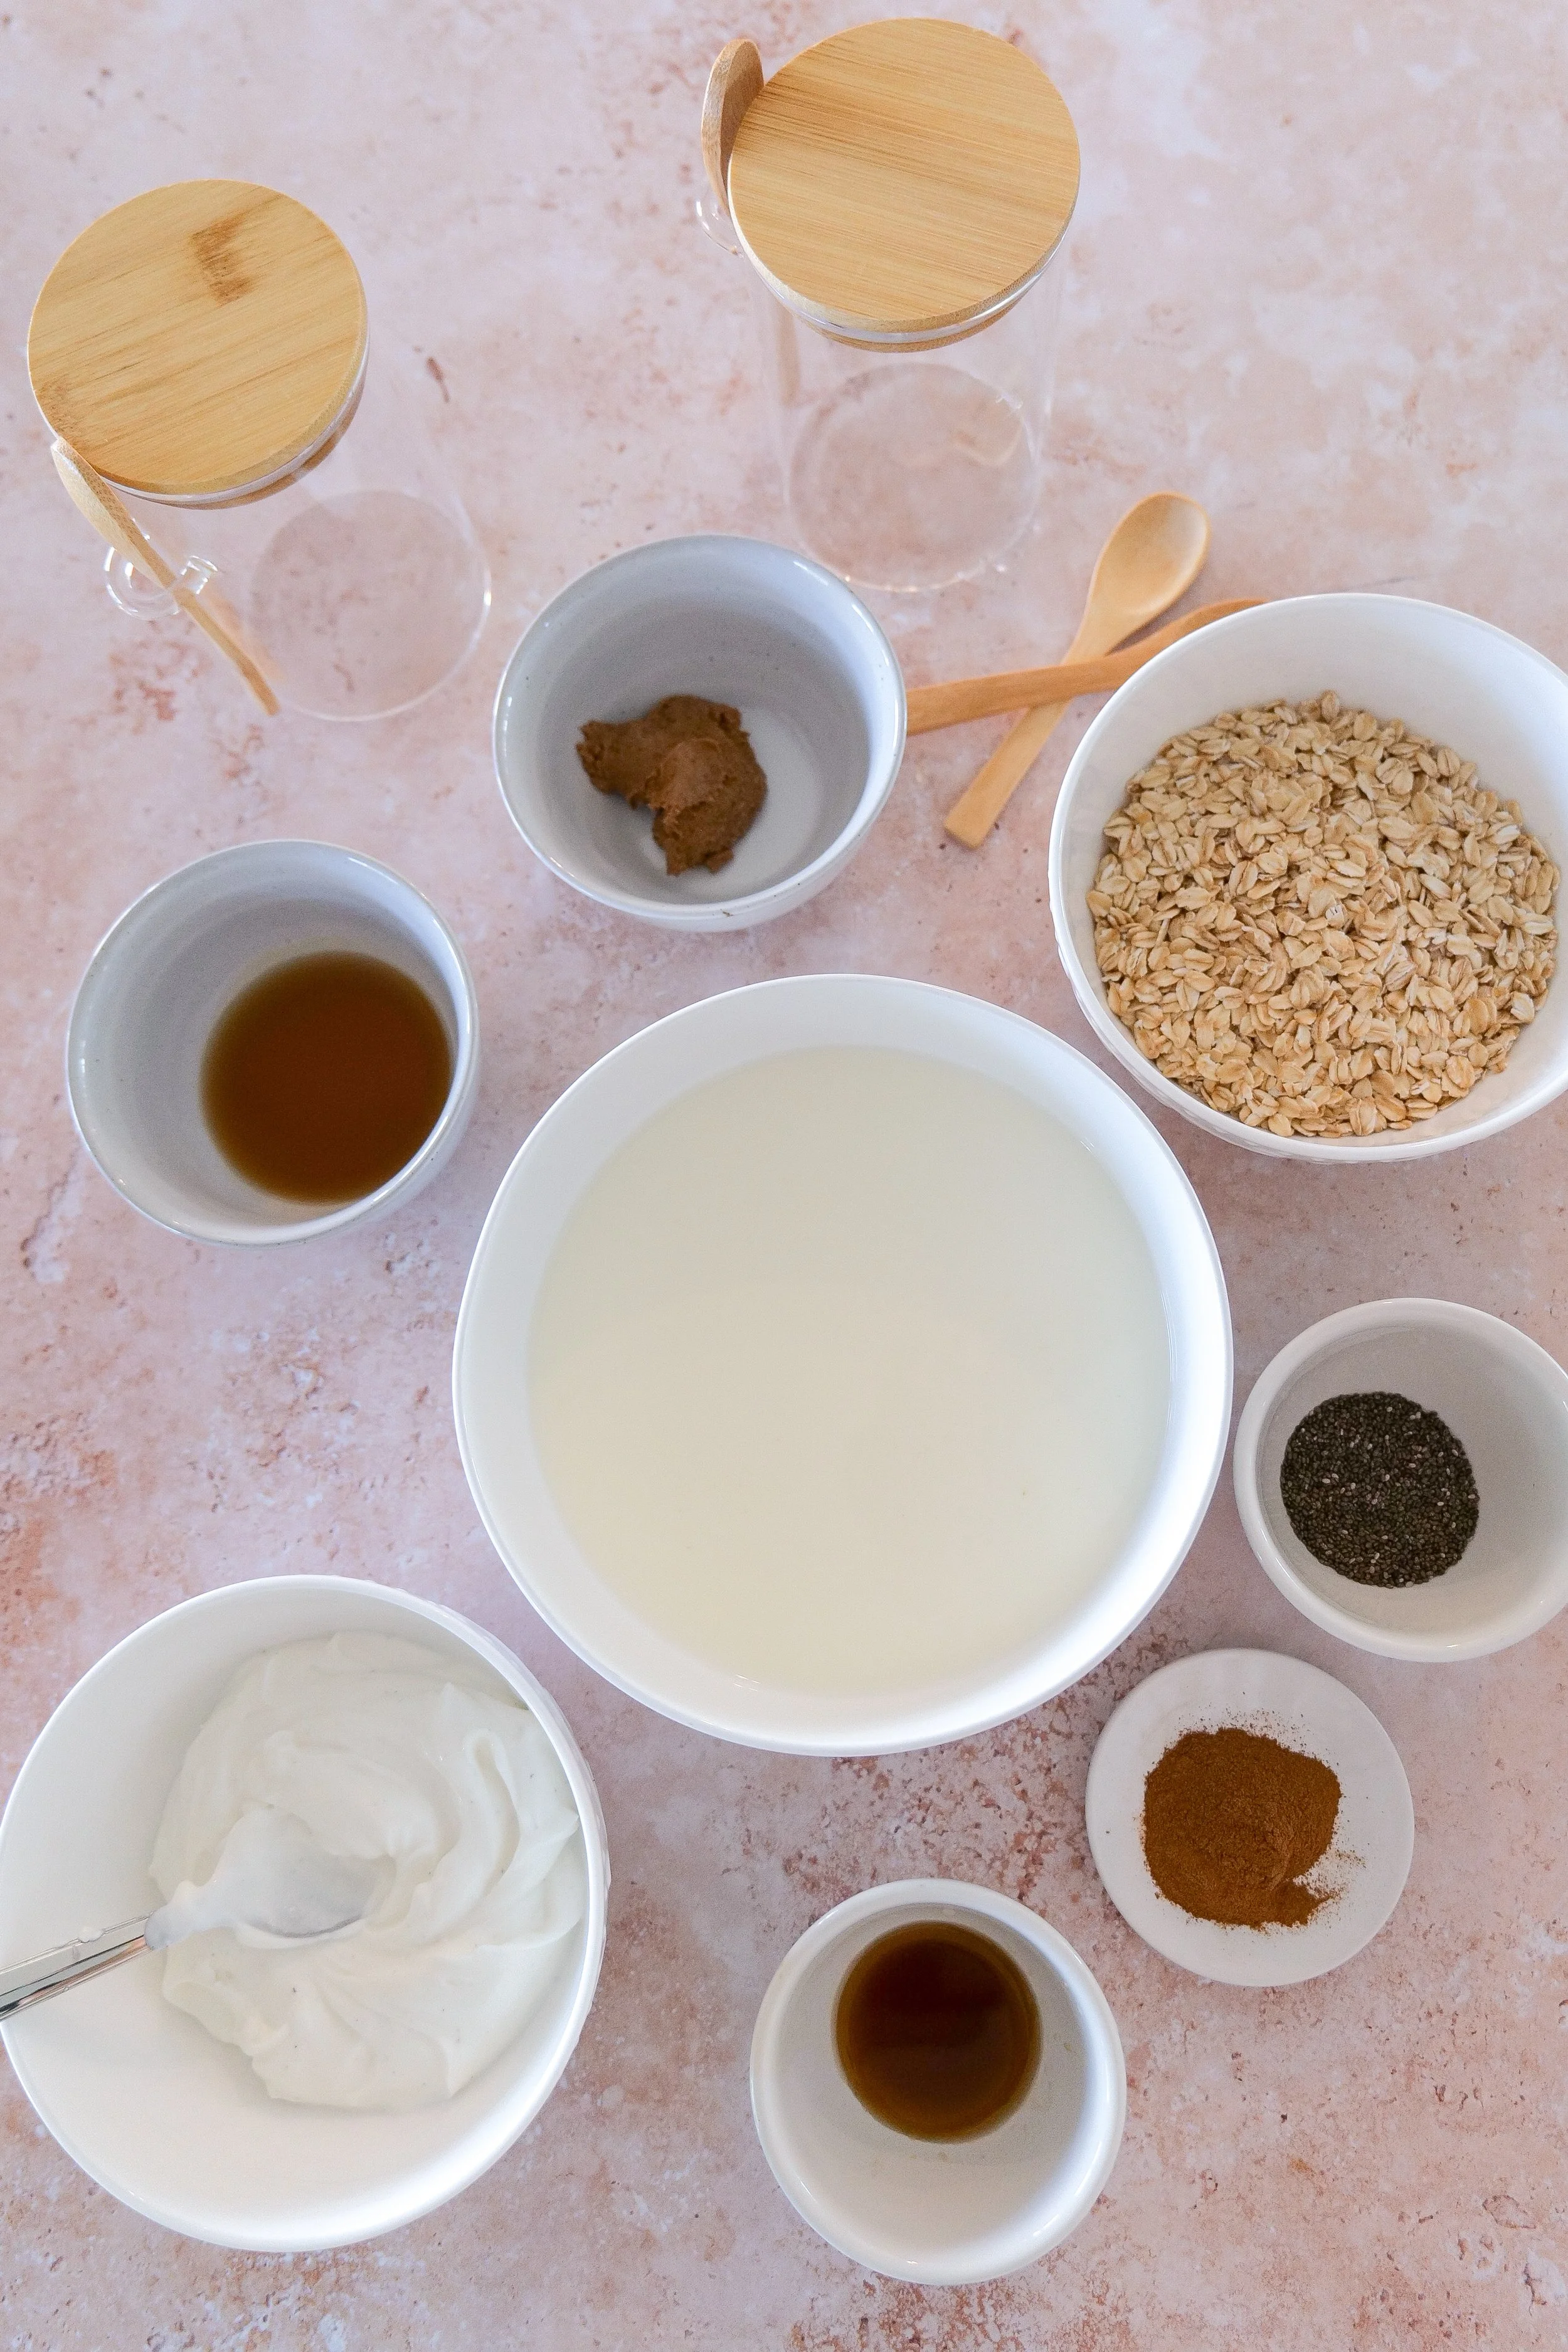
Ingredients You'll Need

Ingredients for homemade apple pie overnight oats with apples, rolled oats, cinnamon, Greek yogurt and almond butter.

Apples

Use an apple you enjoy eating and baking with. We're peeling and dicing four cups of apples before cooking them with cinnamon, vanilla and a little sugar.

I like keeping the pieces fairly small so you get apple in almost every spoonful.

Old-Fashioned Rolled Oats

Use old-fashioned rolled oats rather than instant oats. They soften overnight while still giving the finished breakfast some texture.

Cinnamon

Cinnamon goes into both the apple mixture and the oatmeal itself, tying all three layers together.

Maple Syrup

Maple syrup adds sweetness to both the oats and the almond-butter yogurt layer.

Chia Seeds

A tablespoon of chia seeds goes into the oat mixture and helps everything come together as it rests overnight.

Vanilla Greek Yogurt

This becomes our creamy middle layer and is mixed with almond butter and maple syrup.

Almond Butter

I love the nutty flavor almond butter adds alongside the apples and cinnamon. It makes the yogurt layer feel like its own part of the recipe rather than simply adding yogurt on top.

Layered apple pie overnight oats with cinnamon apples, oatmeal and creamy Greek yogurt.

How to Make the Apple Pie Filling

Start by peeling and dicing your apples.

Add them to my favorite saucepan with cinnamon, sugar, vanilla extract, a pinch of sea salt and water.

Cook everything together, stirring occasionally, as the apples begin to soften.

You're looking for tender pieces of apple surrounded by those cinnamon and vanilla juices — almost like a quick stovetop apple pie filling.

You don't need to completely break down the apples. I like leaving some texture so you can still get little bites of apple throughout the oats.

Let the apple mixture cool before assembling your jars.

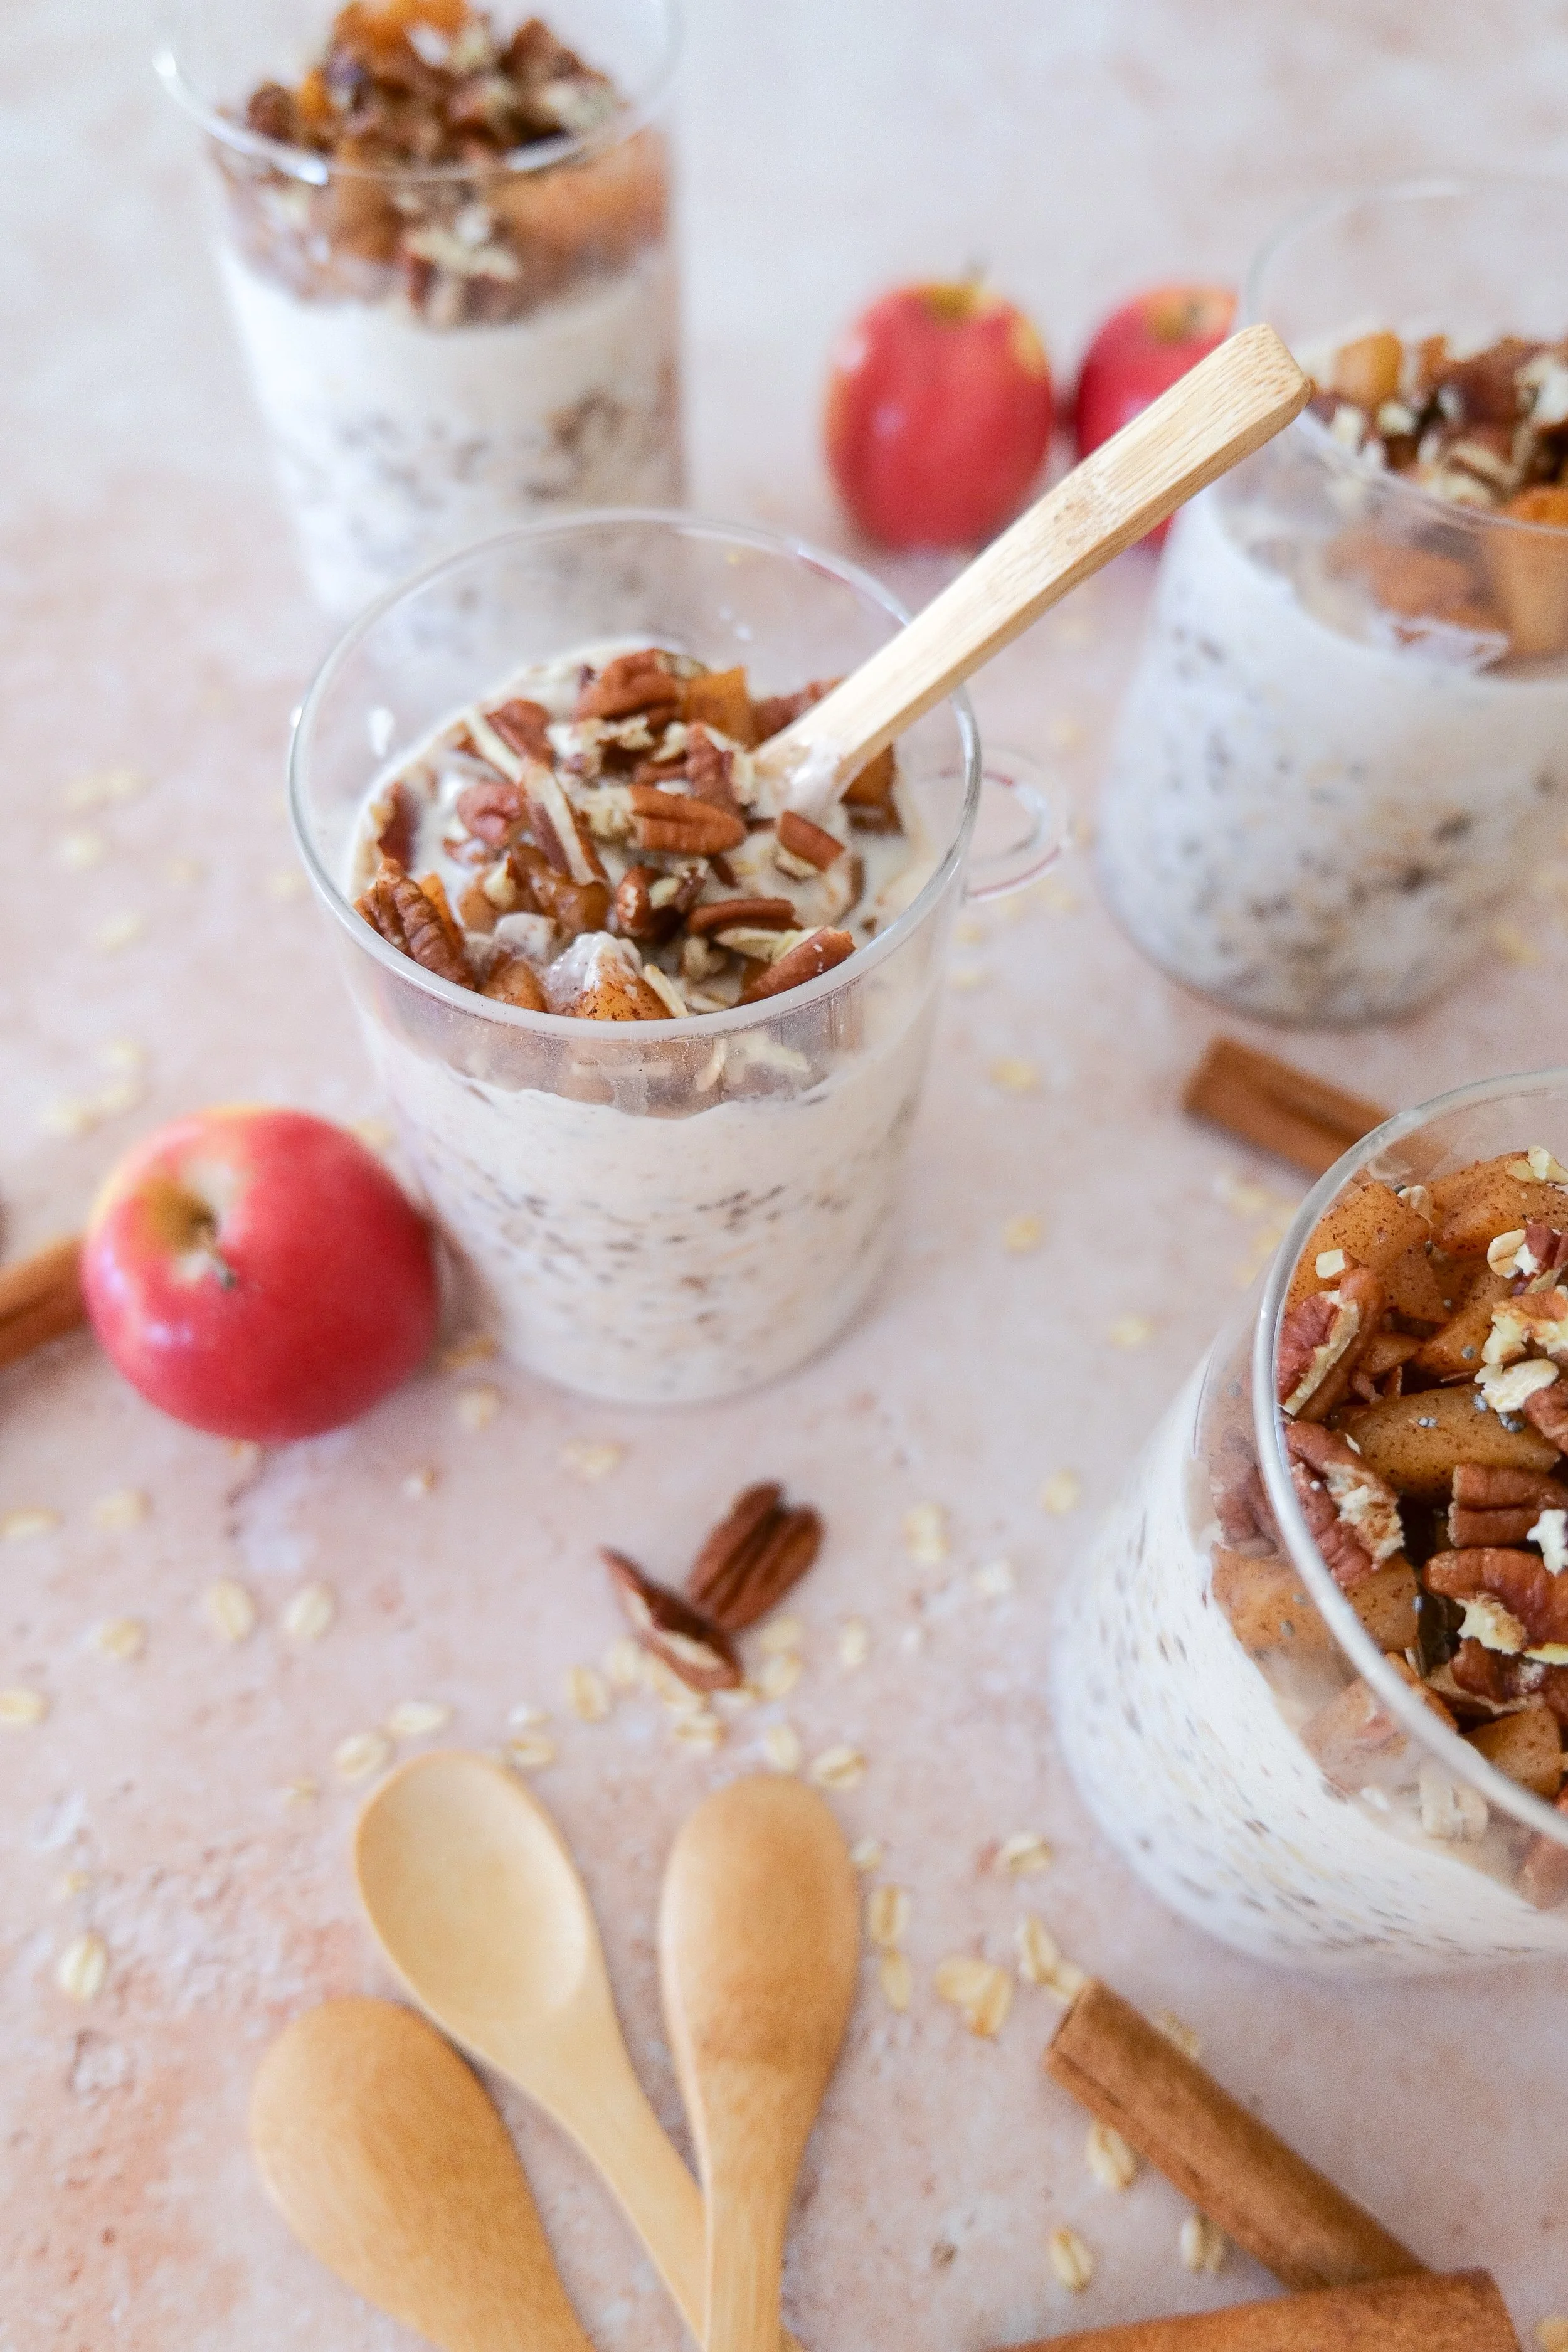
Creamy overnight oats with soft cinnamon apples for an easy make-ahead breakfast.

Make the Cinnamon Overnight Oats

In a large bowl, combine:

  • old-fashioned rolled oats

  • milk

  • cinnamon

  • maple syrup

  • chia seeds

Stir until everything is evenly incorporated.

That's it.

The refrigerator does the rest of the work for us.

As the oats sit, they absorb the milk and all of that cinnamon-maple flavor, giving you a creamy breakfast without having to cook oatmeal in the morning.

Apple cinnamon overnight oats layered in a glass jar and topped with cooked apples.

Make the Almond Butter Yogurt Layer

In a separate bowl, combine the vanilla Greek yogurt, almond butter and maple syrup.

Stir until creamy and completely combined.

This might be my favorite little addition to the recipe.

The tangy vanilla yogurt, nutty almond butter and maple syrup are such a good contrast to the cinnamon apples, and having that creamy layer between the oats and fruit makes these feel much more special than your everyday overnight oats.

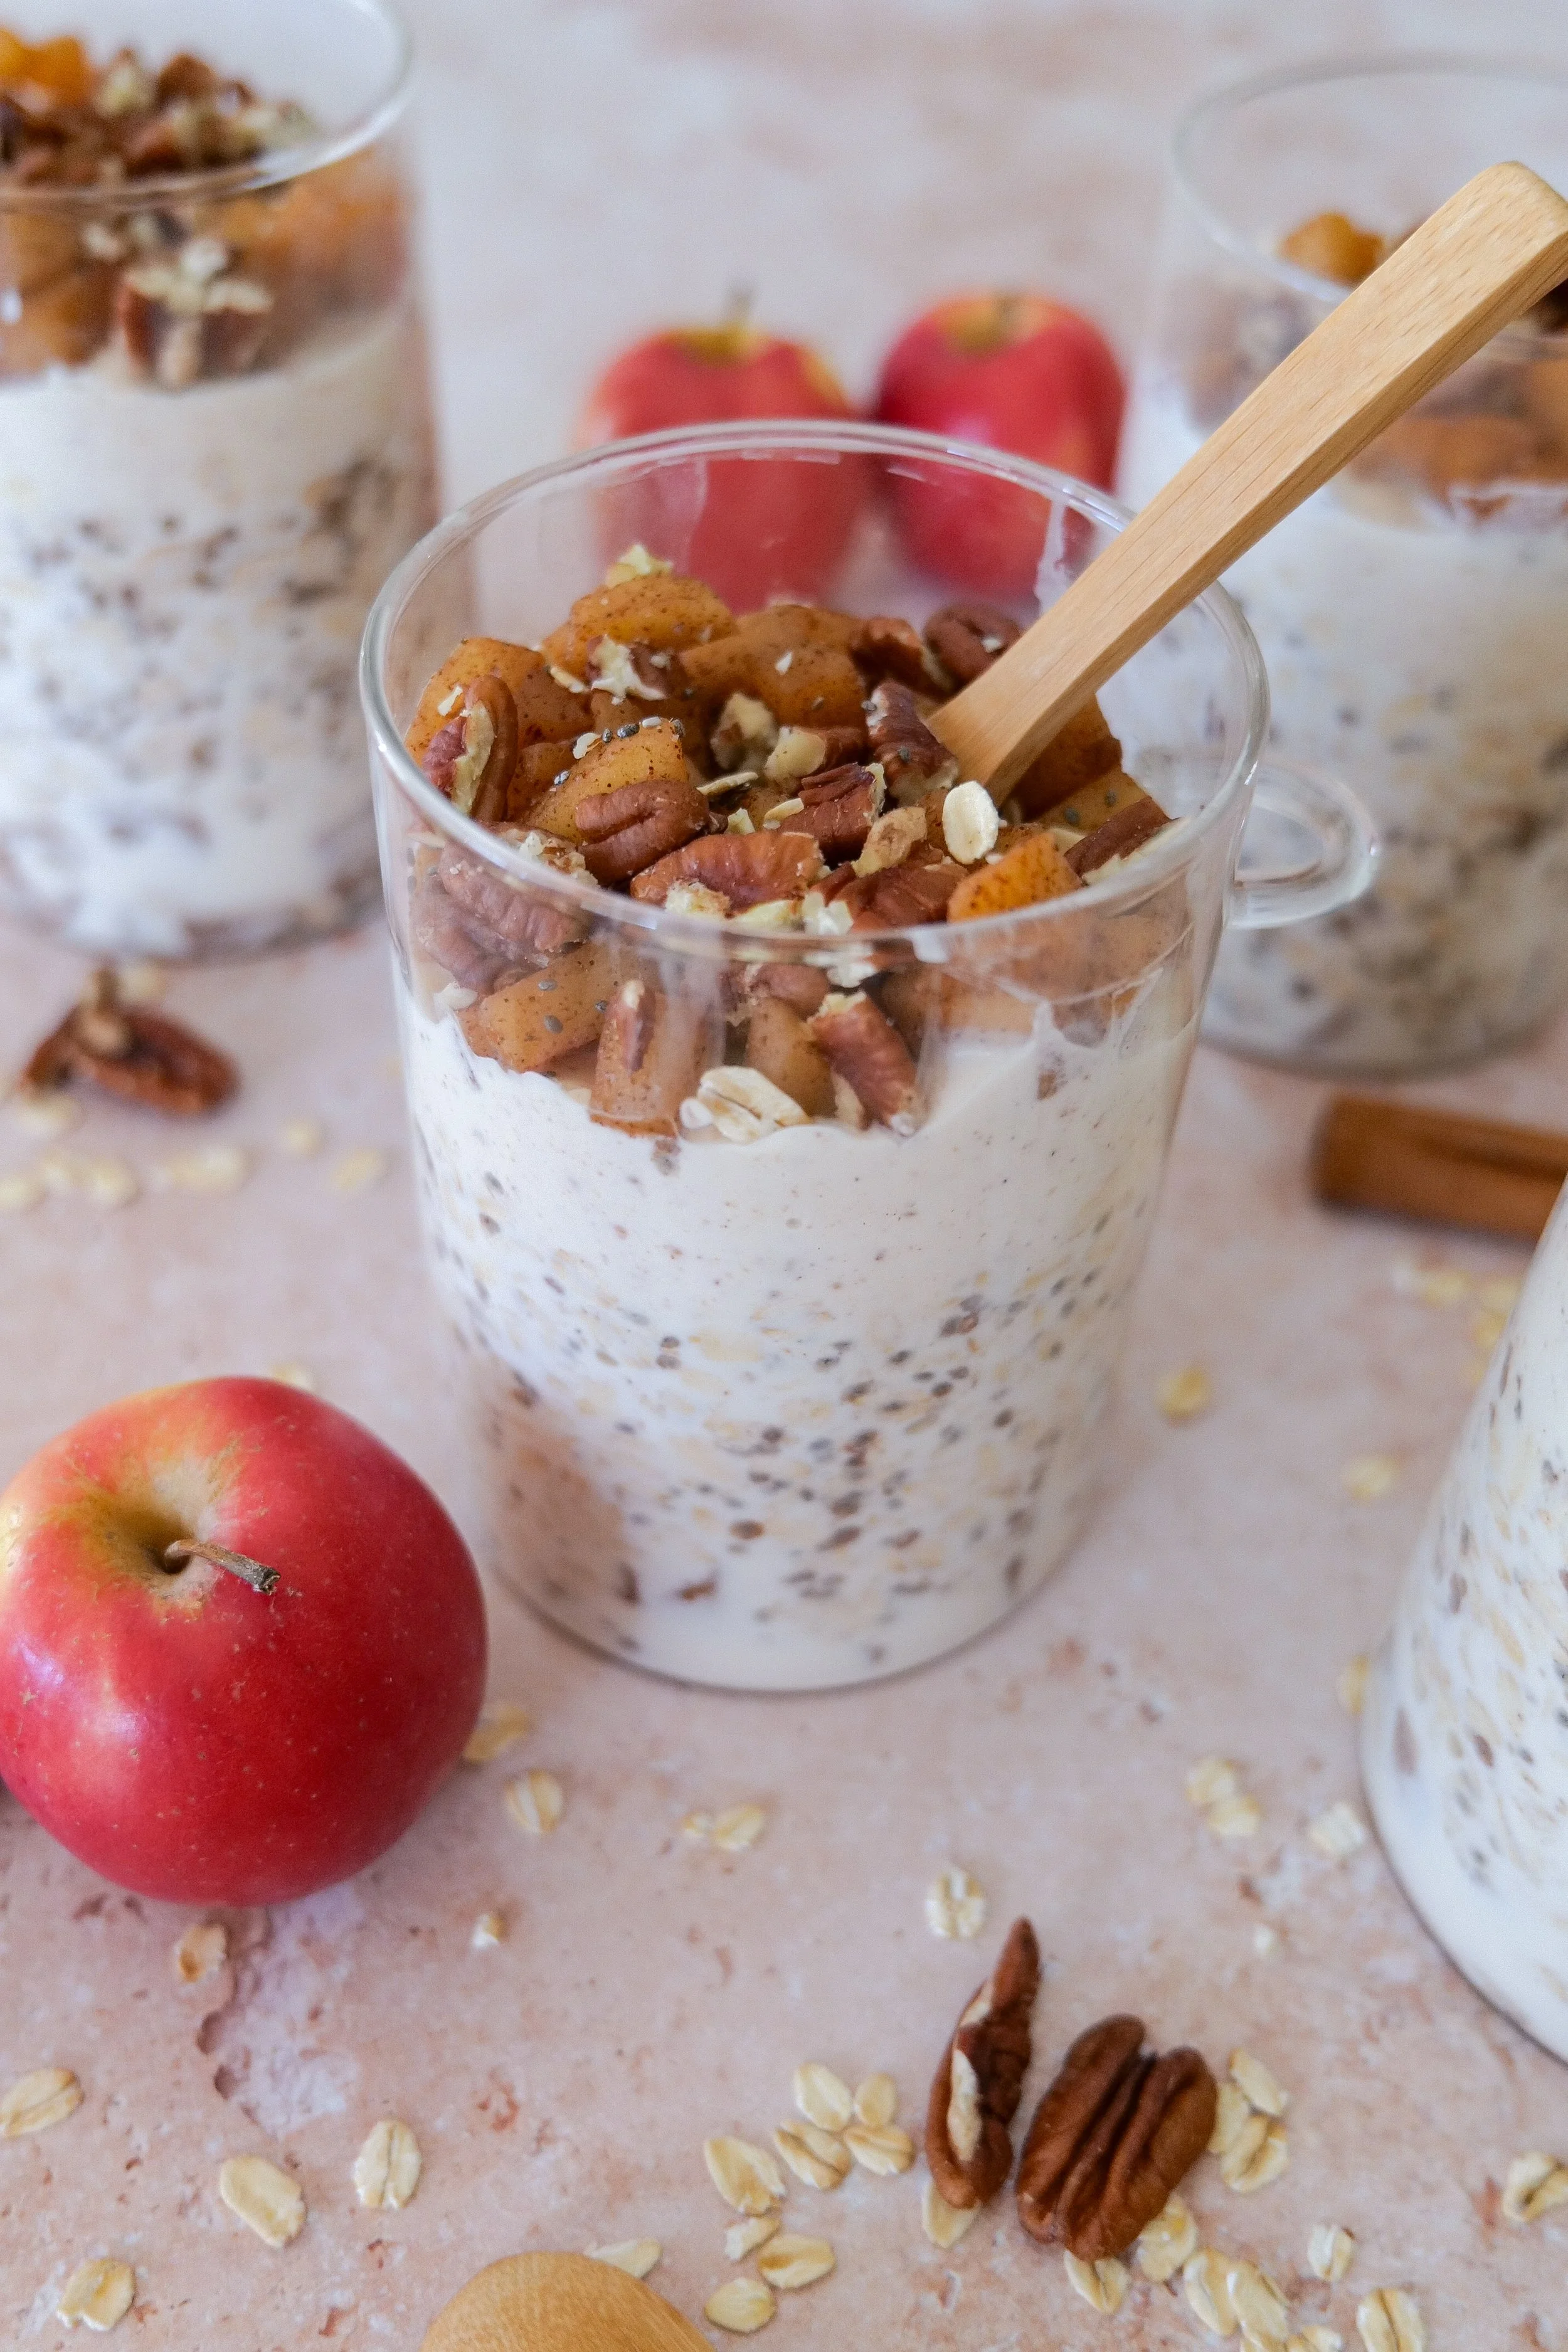
Close-up of creamy apple pie overnight oats with cinnamon apple topping.

How to Layer Apple Pie Overnight Oats

Here's where I do things a little differently.

Start with a spoonful of the cooked apple mixture at the bottom of your jar.

Then add a layer of cinnamon overnight oats.

Spoon the almond-butter Greek yogurt mixture over the oats.

Finish with another generous spoonful of those cinnamon apples.

Now you have apple pie flavor on the top and waiting at the bottom.

Add the lid and refrigerate overnight or for at least 4–6 hours before eating.

I like assembling mine in these glass jars with lids because I can make several at once, refrigerate them and grab one when I'm ready for breakfast.

Fall overnight oats with tender cinnamon apples and a creamy yogurt layer.

Do You Eat Overnight Oats Hot or Cold?

Either works.

Overnight oats are traditionally eaten cold straight from the refrigerator, and that's certainly the easiest way to enjoy them.

But because these have warm apple-pie flavors, you may prefer them slightly warmed — especially on a cool fall morning.

If you plan to heat yours, make sure you're using a microwave-safe container and warm the oats according to your preference.

You can also add the yogurt layer after warming if you'd rather keep it cool and creamy.

Make-ahead apple overnight oats prepared in a glass jar for an easy breakfast.

Amanda's Quick Tips

Dice the apples fairly small. Smaller pieces distribute throughout the jars much better than large chunks.

Don't cook the apples into applesauce. Soften them while leaving some texture.

Let the apples cool before assembling. I wouldn't put piping-hot fruit directly into your yogurt and oats.

Use old-fashioned rolled oats. They're my choice for the best overnight texture.

Don't skip the apples on the bottom. It's a small thing, but it means there's apple flavor throughout the entire jar.

Give the oats enough time. Refrigerate for at least 4–6 hours, although overnight is ideal.

Wait to add crunchy toppings. If you're using walnuts or pecans, add them shortly before eating so they stay crunchy.

Adjust the milk if needed. If your oats are thicker than you prefer the next morning, stir in a small splash of milk.

Shop My Breakfast & Baking Essentials

These are some of the kitchen essentials I reach for when making breakfasts, baked goods and meal-prep recipes for my family.

Apple pie oats layered with vanilla Greek yogurt, almond butter and cinnamon apples.

Apple Pie Overnight Oats

Creamy cinnamon overnight oats layered with homemade apple pie filling and an almond-butter vanilla Greek yogurt layer.

Ingredients

Apple Pie Filling

  • 4 cups apples, peeled and diced

  • 1 teaspoon cinnamon

  • 1 teaspoon granulated sugar

  • 1 teaspoon vanilla extract

  • Pinch of sea salt

  • 1/4 cup water

Overnight Oats

  • 2 cups old-fashioned rolled oats

  • 3 cups whole milk, or milk of choice

  • 1 1/2 teaspoons cinnamon

  • 3 teaspoons maple syrup

  • 1 tablespoon chia seeds

Almond Butter Yogurt Layer

  • 2 cups vanilla Greek yogurt

  • 4 tablespoons almond butter

  • 2 tablespoons maple syrup

Instructions

1. Make the Apple Pie Filling

Peel and dice the apples into small pieces.

Add the apples, cinnamon, sugar, vanilla extract, sea salt and water to a saucepan.

Cook over medium heat, stirring occasionally, until the apples begin to soften and the mixture resembles a chunky apple pie filling.

Remove from the heat and allow to cool.

2. Make the Overnight Oats

Add the old-fashioned rolled oats, milk, cinnamon, maple syrup and chia seeds to a large bowl.

Stir until thoroughly combined.

3. Make the Almond Butter Yogurt

In a separate bowl, combine the vanilla Greek yogurt, almond butter and maple syrup.

Stir until smooth and creamy.

4. Assemble

Add a spoonful of the cooled apple mixture to the bottom of each jar.

Layer the oatmeal mixture over the apples.

Add a layer of almond-butter yogurt.

Finish with another spoonful of apple mixture on top.

Cover each jar with a lid.

5. Refrigerate

Refrigerate overnight or for at least 4–6 hours.

When ready to serve, top with walnuts, pecans, additional cinnamon or your favorite toppings.

Enjoy!

Easy apple overnight oats topped with homemade cinnamon apple pie filling.

How Long Do Apple Pie Overnight Oats Last?

For make-ahead breakfasts, keep the oats covered in the refrigerator.

Because the recipe contains cooked fruit, milk and Greek yogurt, keep everything properly refrigerated rather than leaving the jars sitting at room temperature.

I personally prefer these within the first few days, when the apple texture and layers are at their best.

If you're adding walnuts or pecans, wait until serving rather than storing them on top so you don't lose that crunch.

Can I Make These Ahead for the Week?

That's exactly what makes overnight oats so convenient.

You can prepare multiple jars during one kitchen prep session and have breakfast waiting in the refrigerator.

If you're planning several days ahead, another option is to prepare the apple mixture separately and assemble additional jars as needed.

Easy Topping Ideas

You don't need anything else, but toppings are an easy way to make each jar a little different.

Try chopped walnuts or pecans for crunch, another drizzle of almond butter, a sprinkle of cinnamon, a little extra Greek yogurt or a small drizzle of maple syrup.

For me, pecans + cinnamon are particularly good with the apple pie flavors.

Frequently Asked Questions

Can I use a different milk?

Yes. I use whole milk, but you can use your preferred milk in the oat mixture.

Can I use quick oats?

I recommend old-fashioned rolled oats because they hold their texture well as they soak overnight.

Do the apples need to be cooked first?

For this recipe, yes. Cooking the apples with cinnamon, vanilla and a little sugar gives us the soft apple-pie-style layer that makes these overnight oats different.

How long do overnight oats need to soak?

Give them at least 4–6 hours in the refrigerator. I prefer making them the night before so they're ready for breakfast in the morning.

Can I eat apple pie overnight oats warm?

Yes. They can be enjoyed cold or warmed according to your preference. If warming them, use an appropriate heat-safe container.

Can I make these without almond butter?

You can omit or substitute the almond butter if necessary, although it will change the flavor of the creamy yogurt layer.

More Apple Recipes You'll Love

If you have plenty of apples to use this fall, try one of these next:

Nana's Apple Pancakes
A family breakfast recipe that's especially perfect during apple season.

Easy Apple Pie
A classic fall dessert and the inspiration behind all those cinnamon-apple flavors.

Apple Cider Loaf with Brown Butter Glaze
A cozy fall loaf that's perfect alongside morning coffee.

Apple-Glazed Chicken Thighs
For something savory, this is one of my favorite ways to bring apple flavor to the dinner table.

Save This Recipe

Whether you're meal prepping for busy mornings, making the most of apple season or simply want breakfast waiting for you when you wake up, I've included a printable recipe card below so it's easy to save, print and make again.

Printable From Amanda’s Kitchen recipe card for homemade apple pie overnight oats.

A Note From Amanda

Some mornings call for a big breakfast around the table, and some mornings call for opening the refrigerator and being very thankful that you thought ahead the night before.

These overnight oats are for those mornings.

I love that something as simple as oats can still feel special when you layer them with warm cinnamon apples and creamy almond-butter yogurt. And there's something particularly cozy about having those apple pie flavors waiting for you on a fall morning.

I hope they make one of your busy mornings a little sweeter.

"This is the day that the Lord has made; let us rejoice and be glad in it."
Psalm 118:24

Made with love for the people you love.

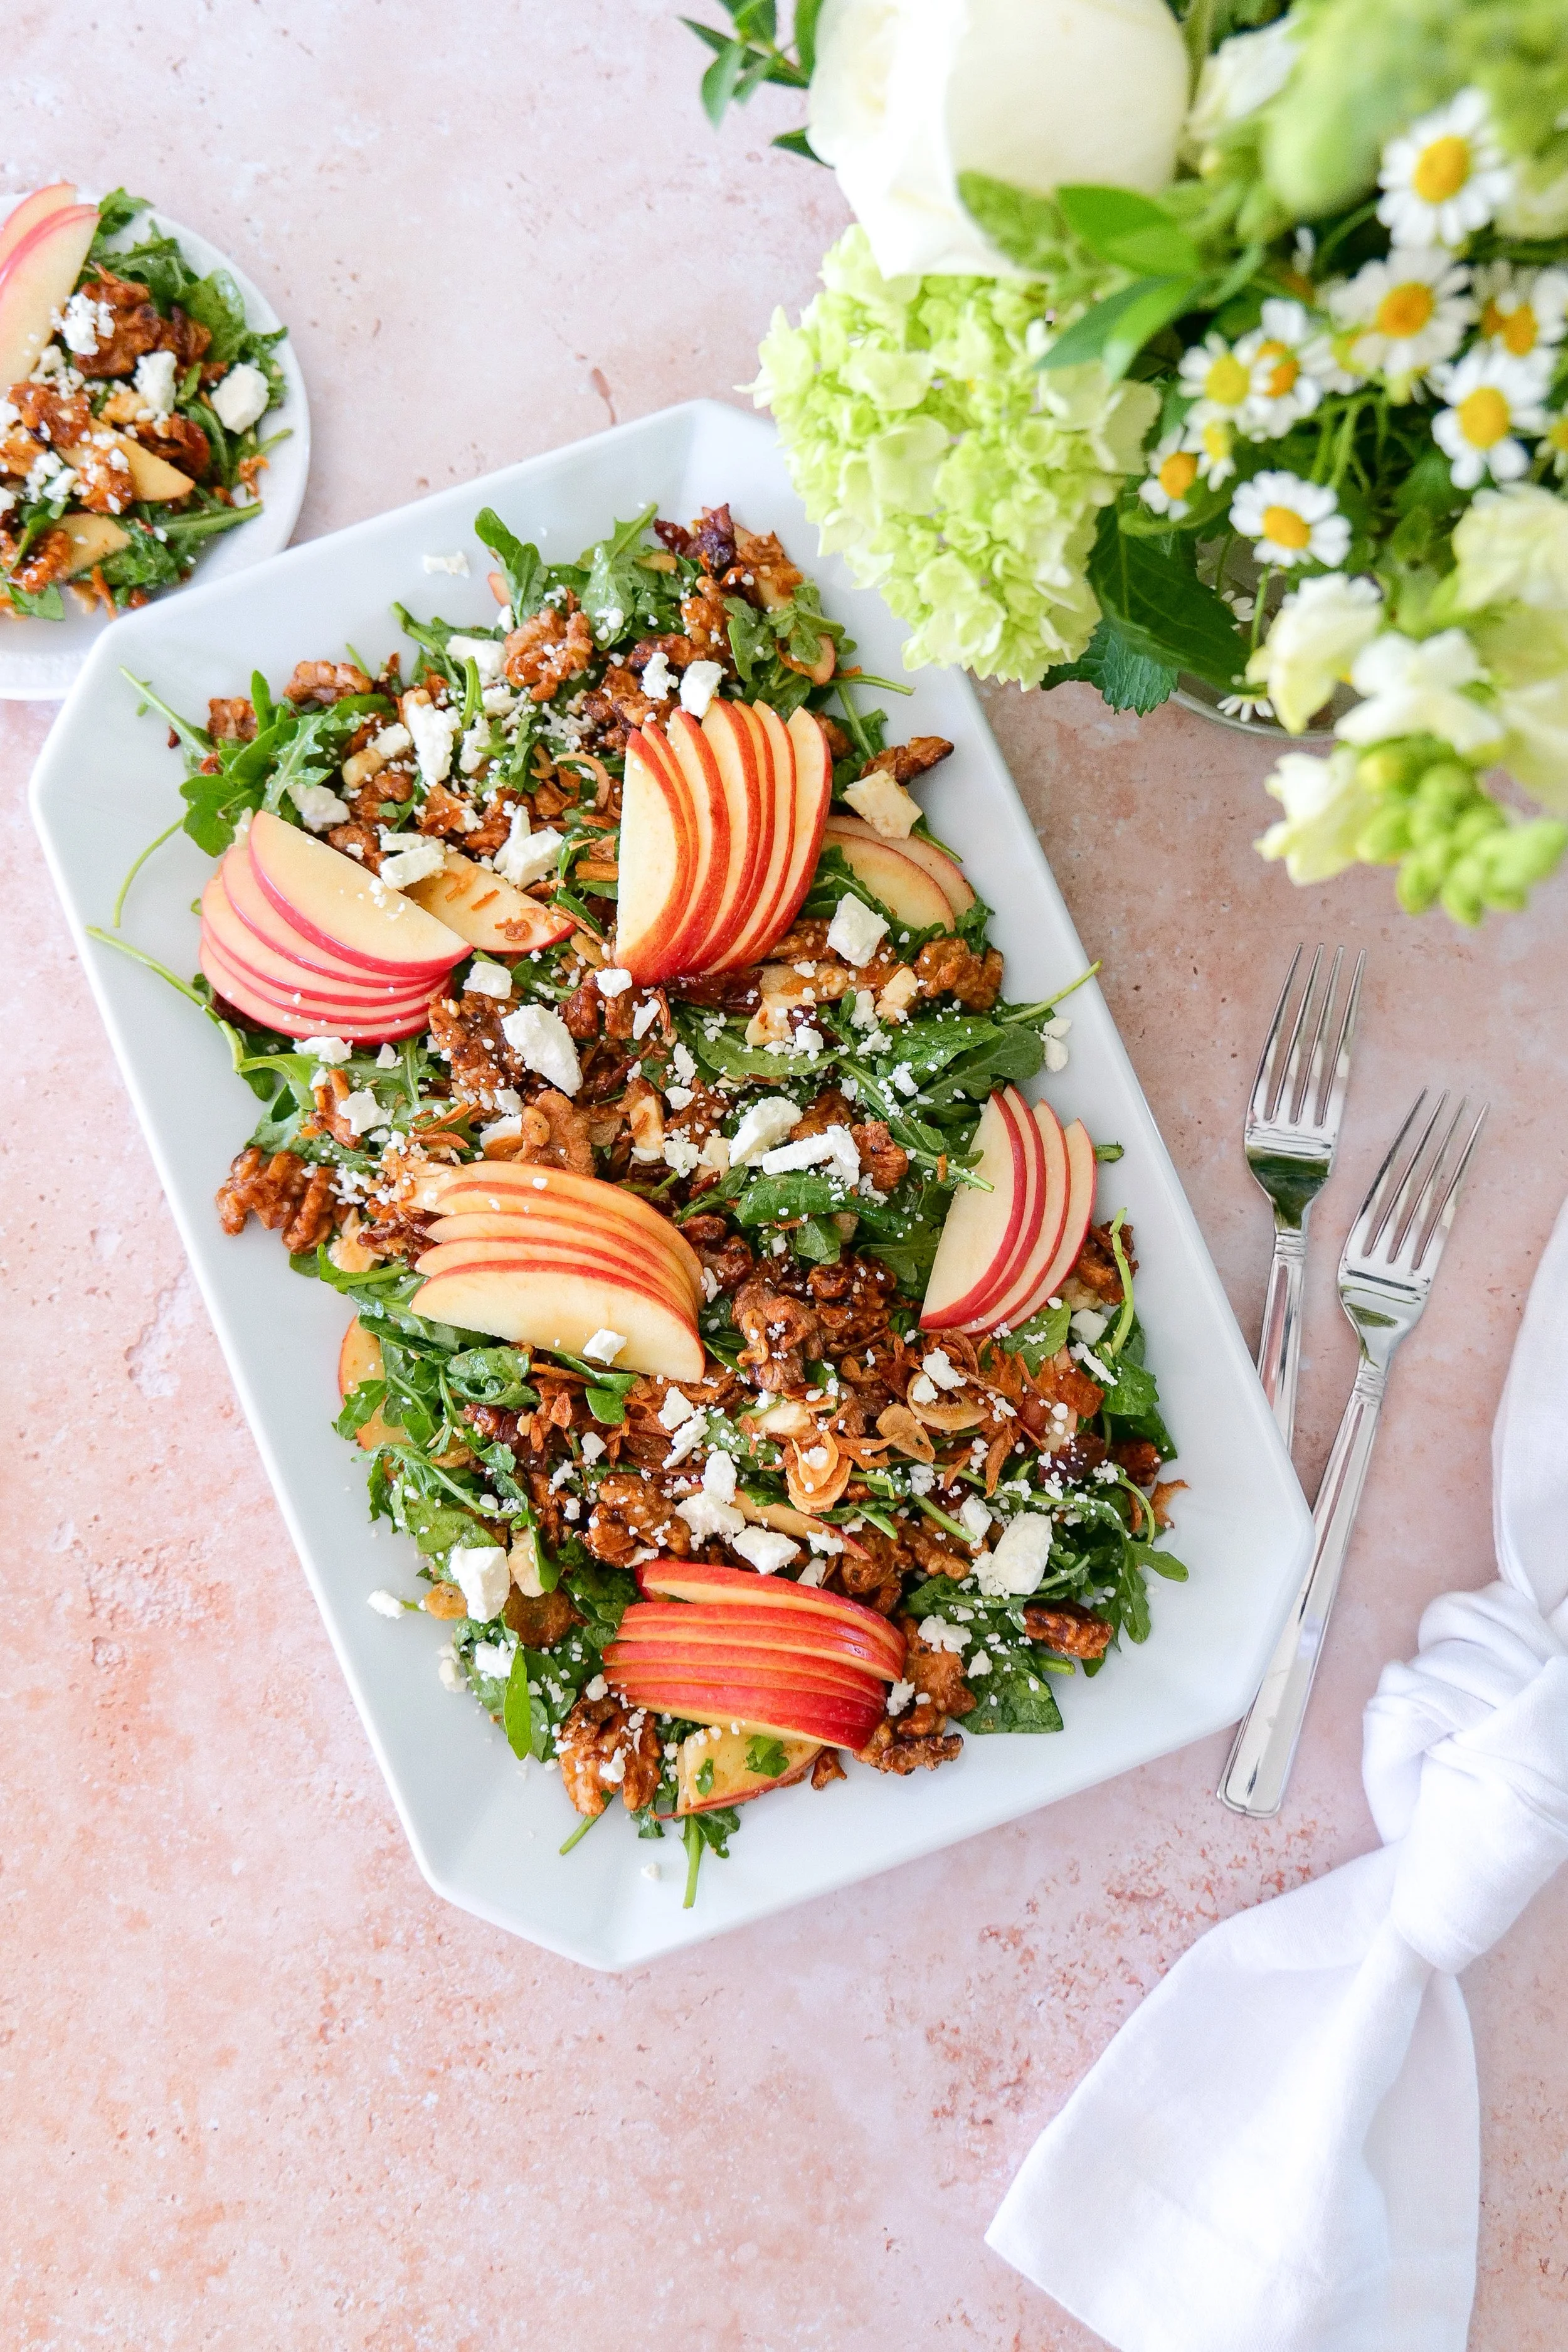
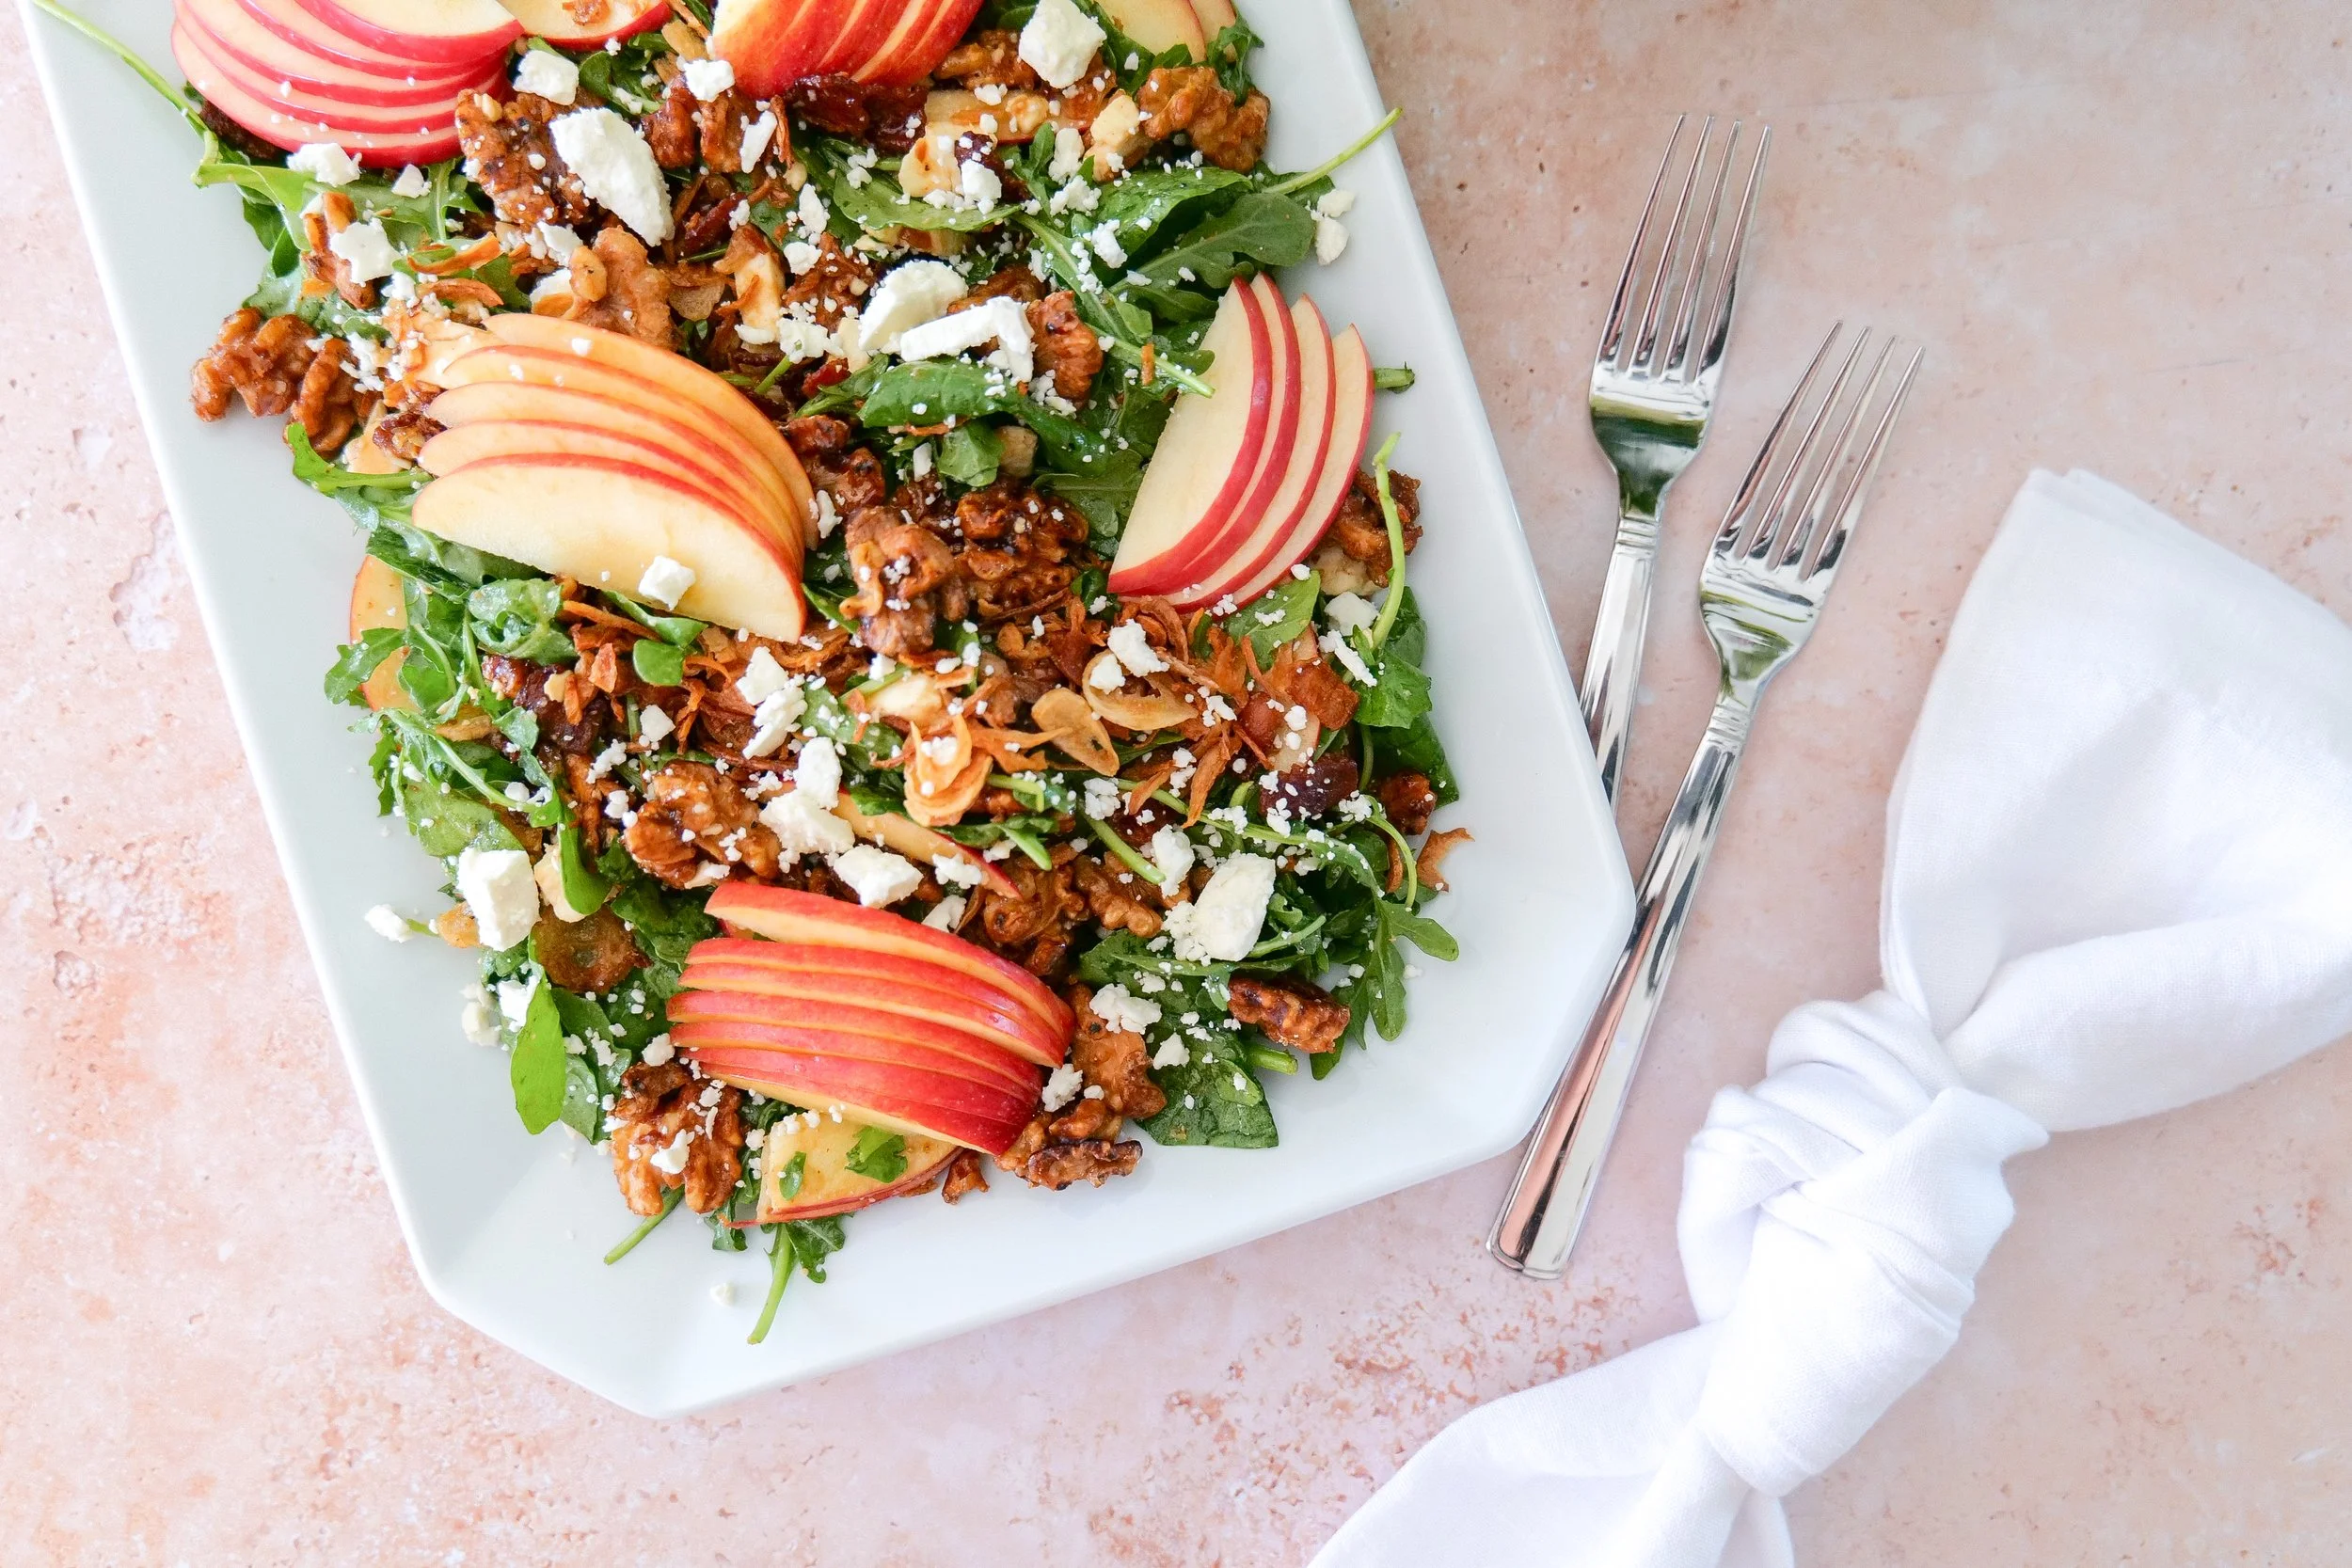
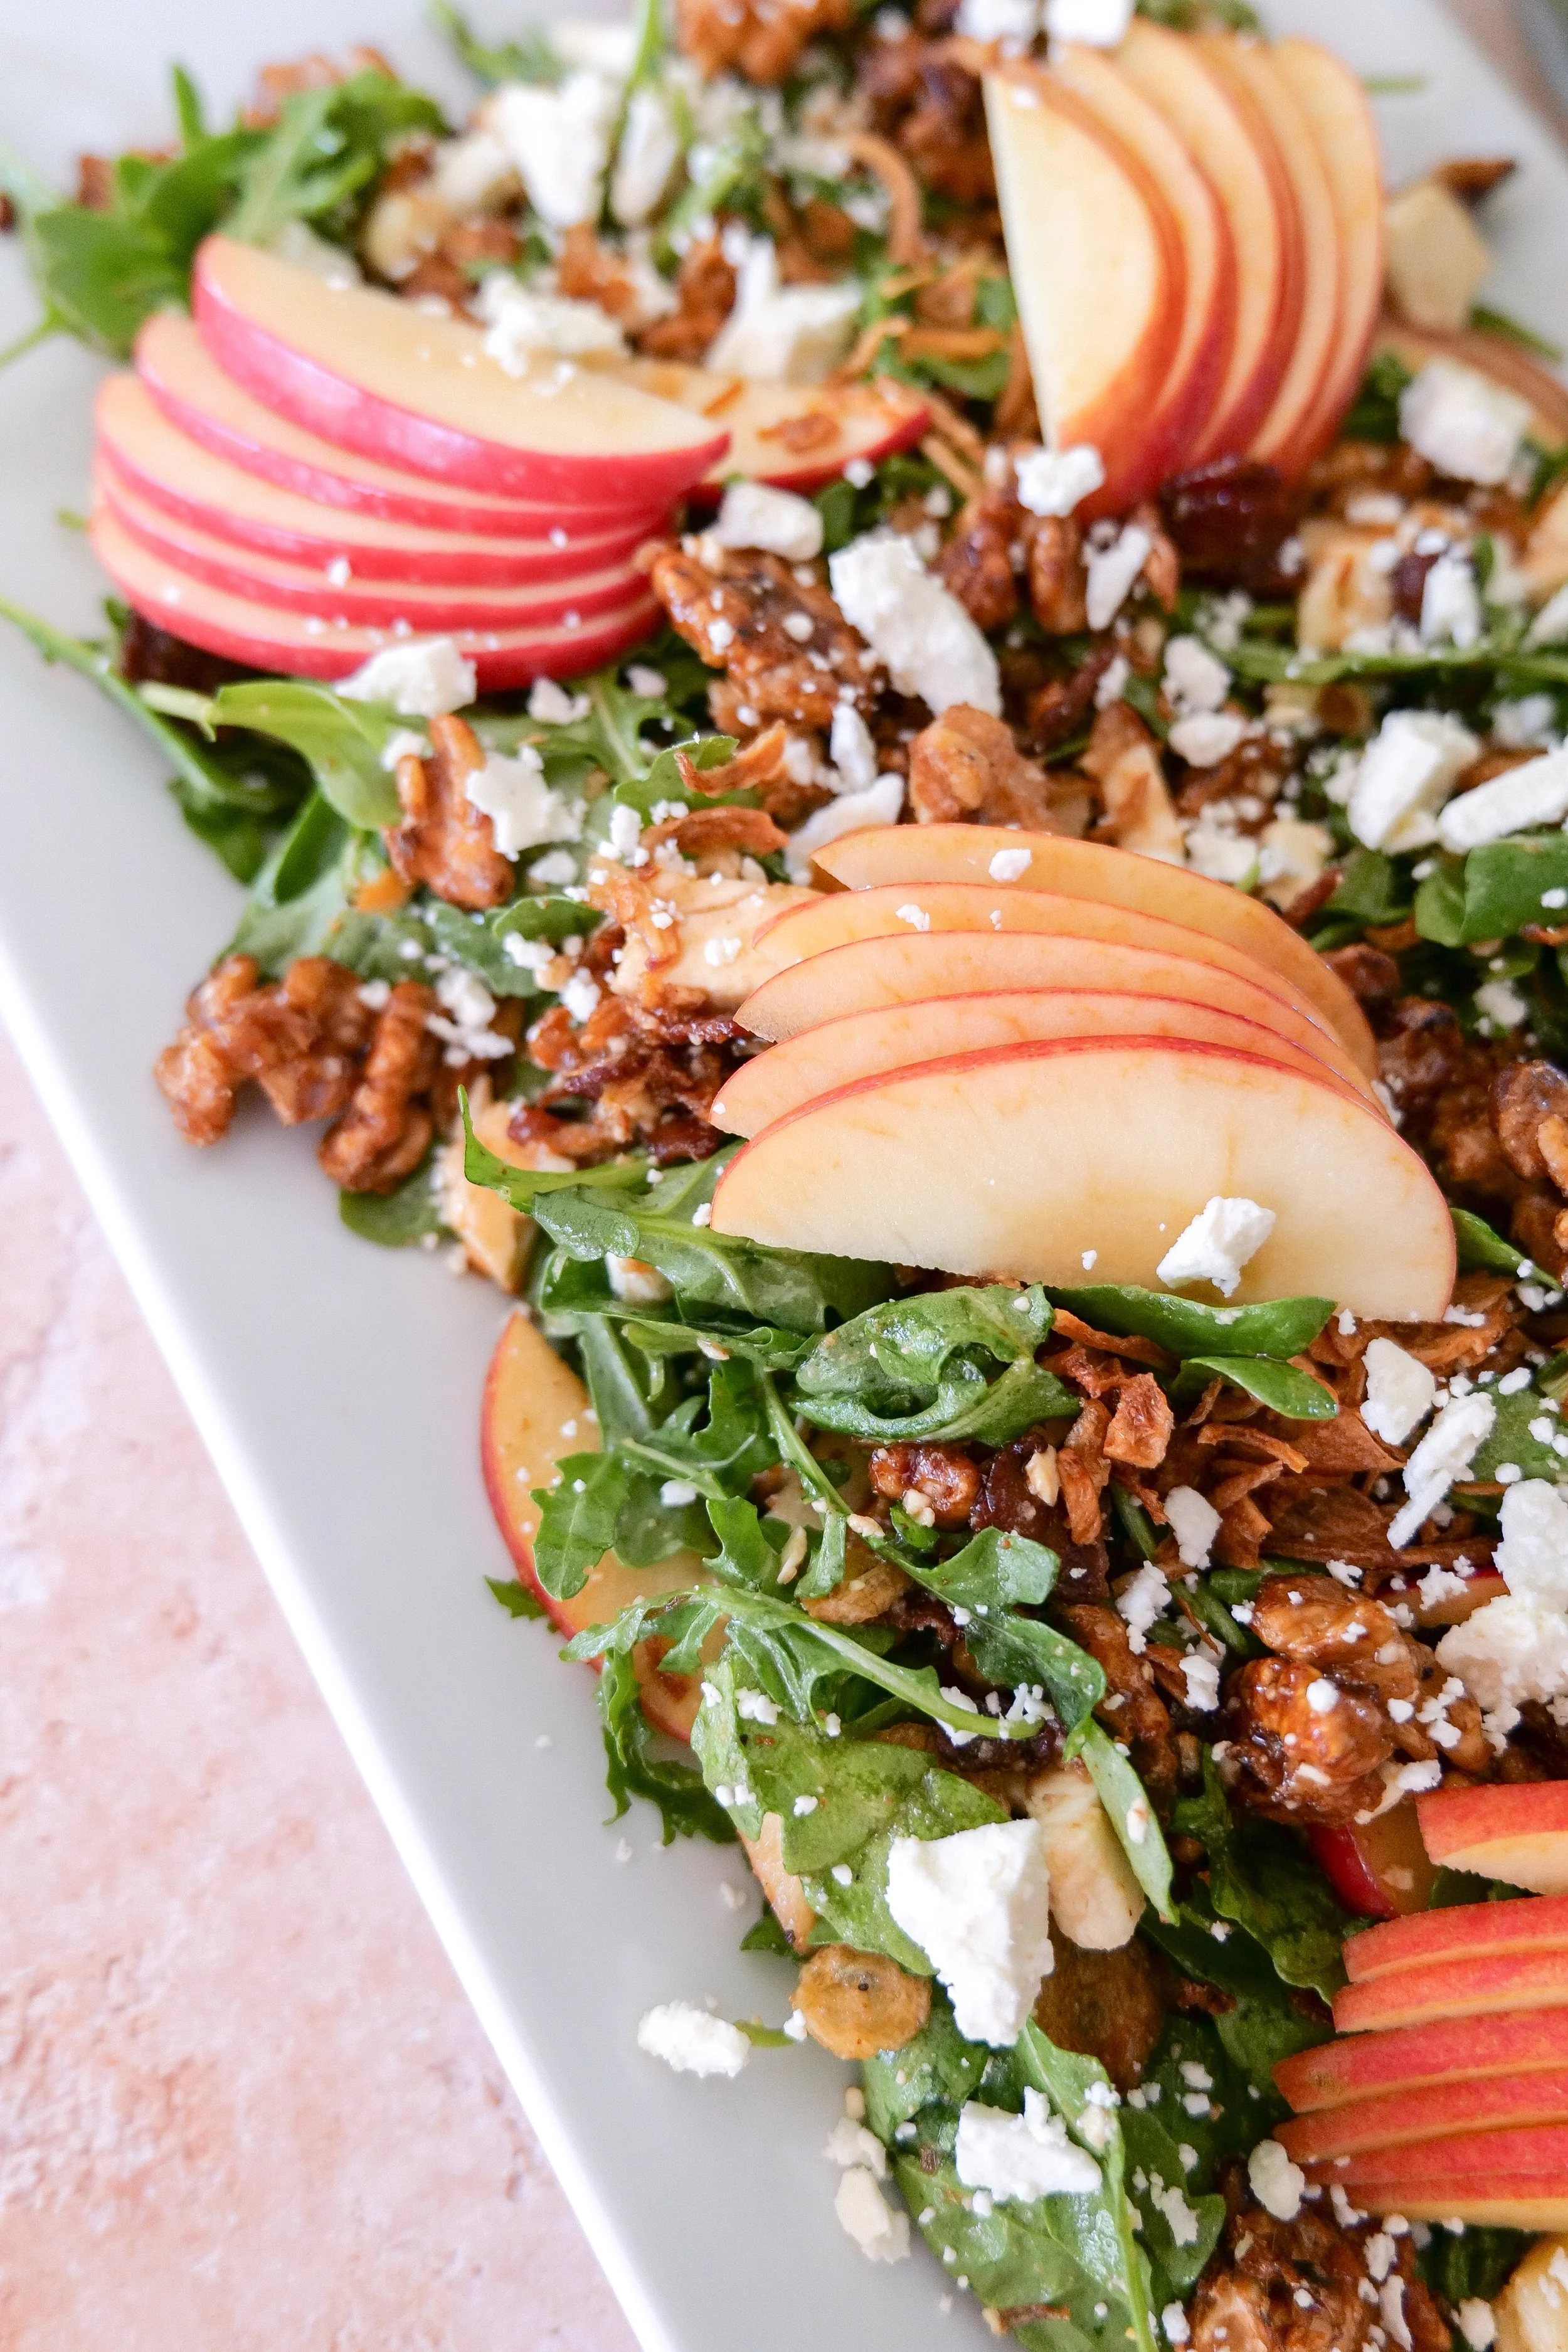
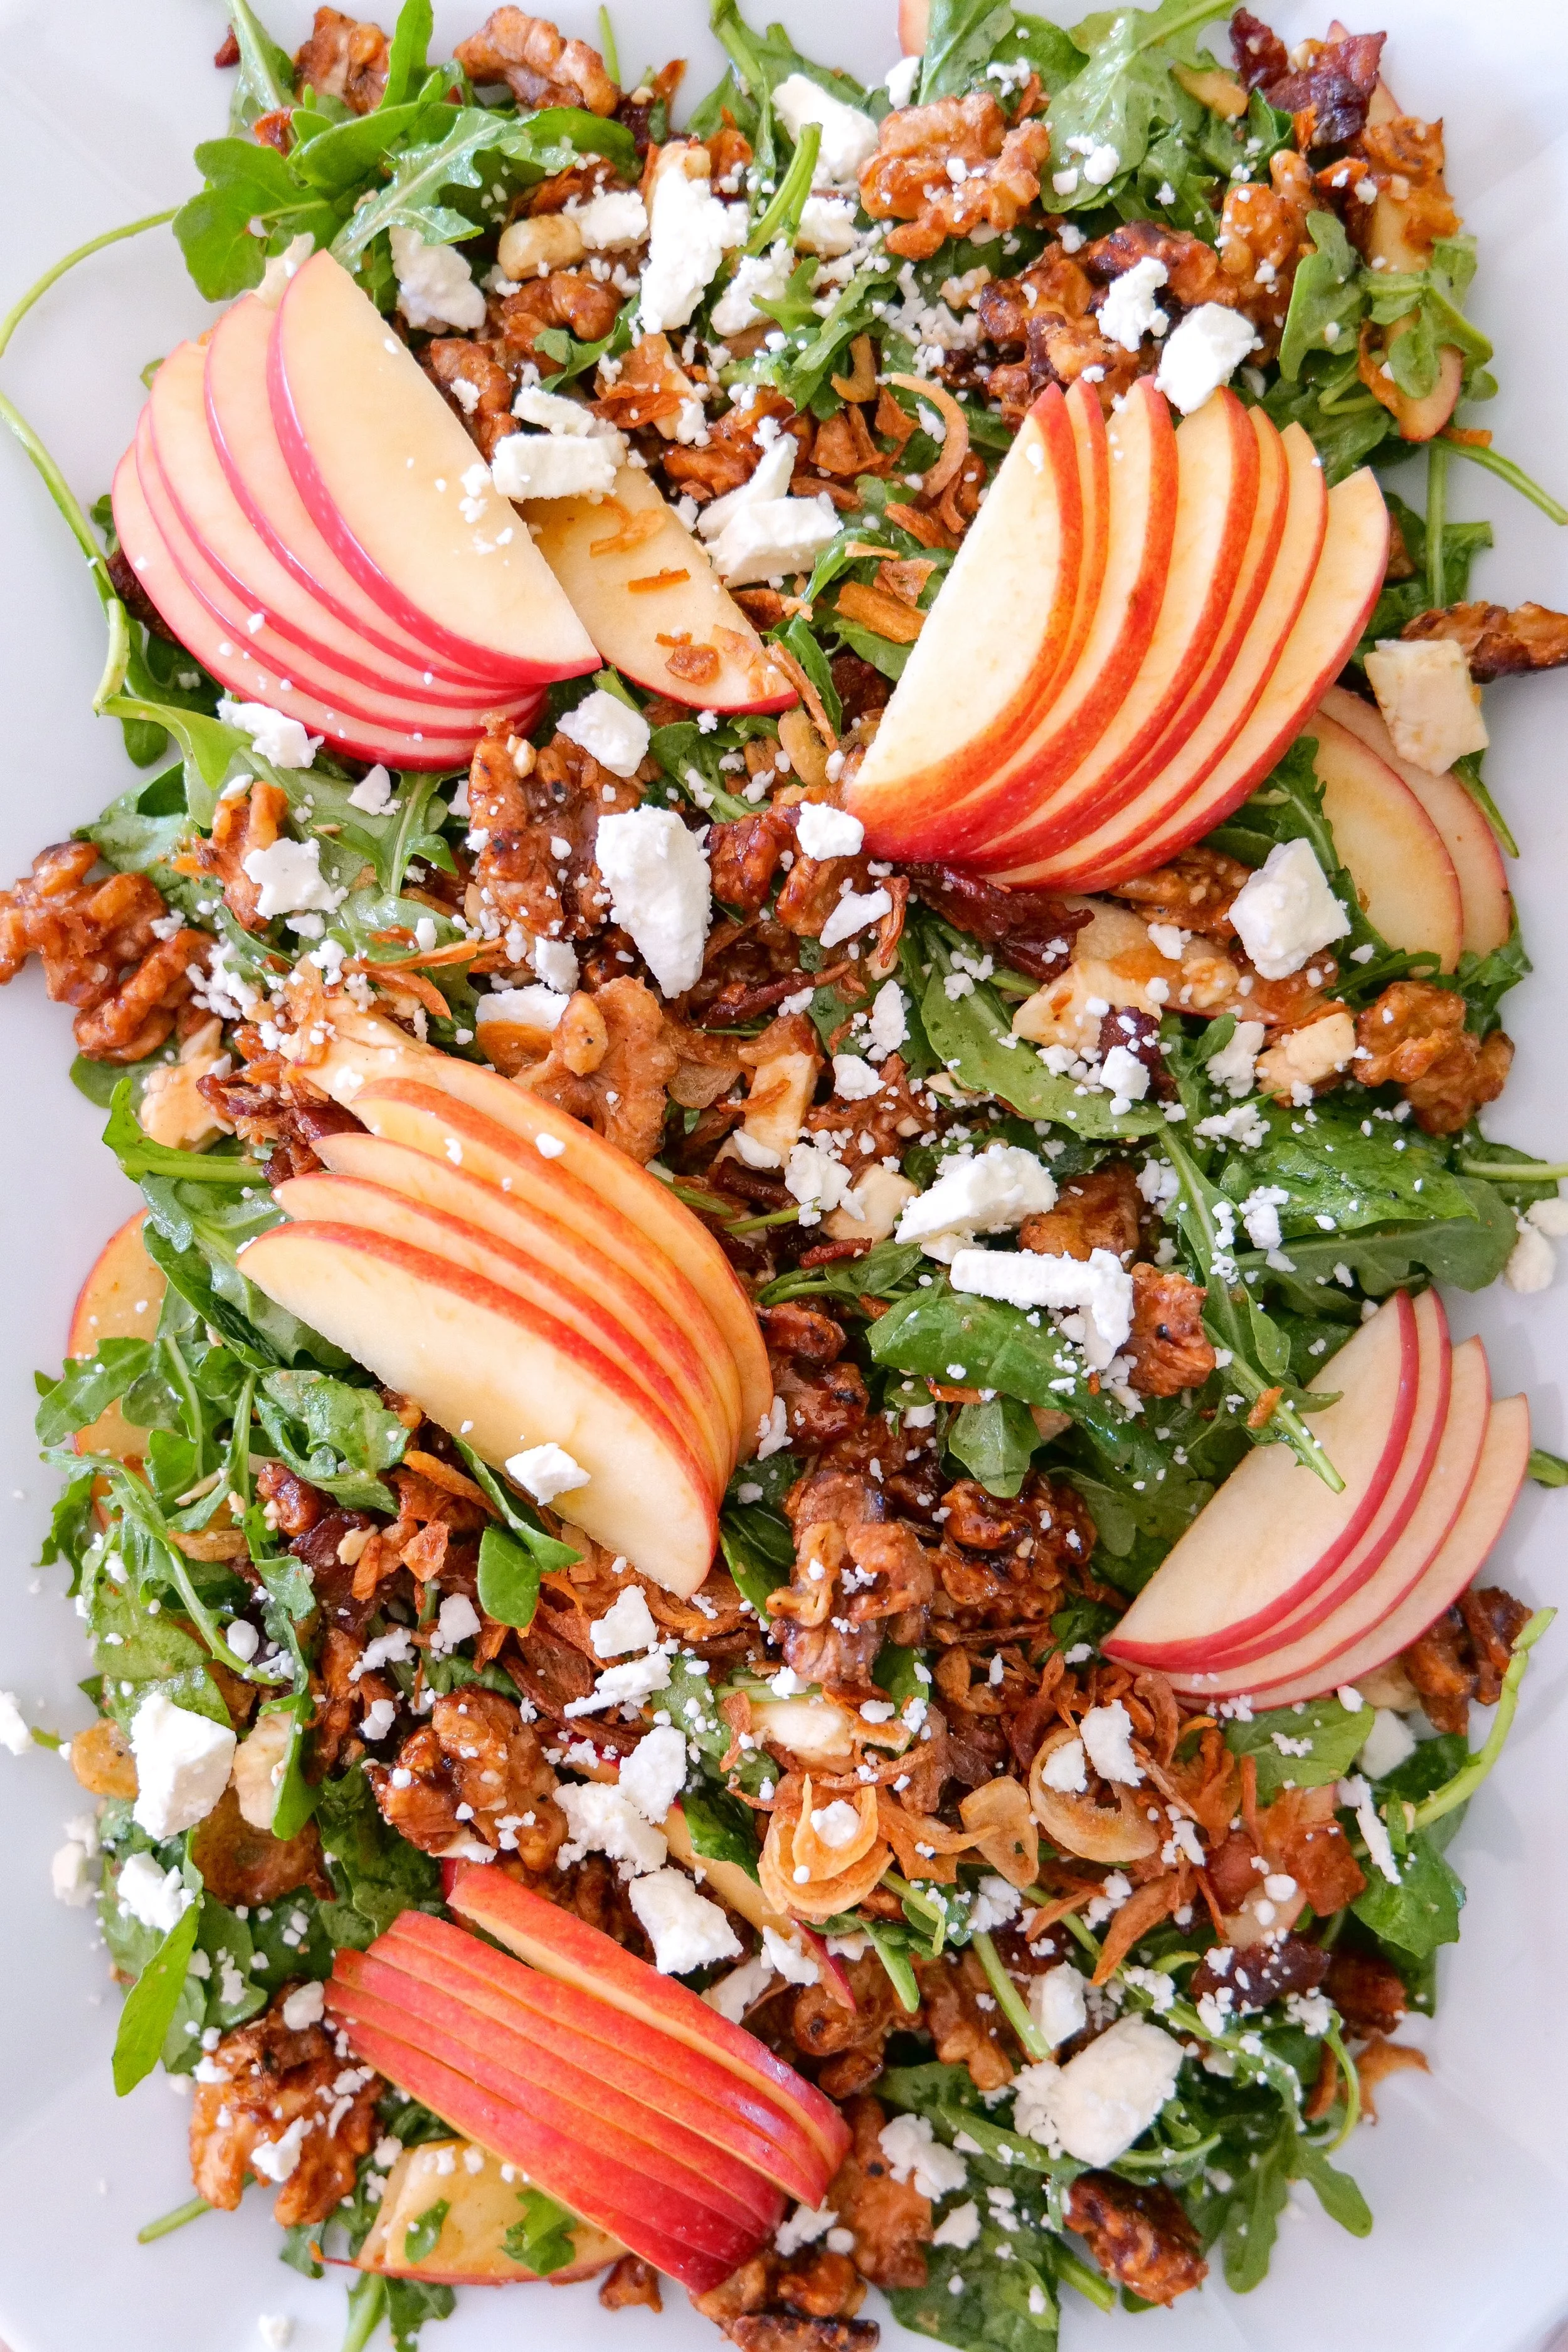
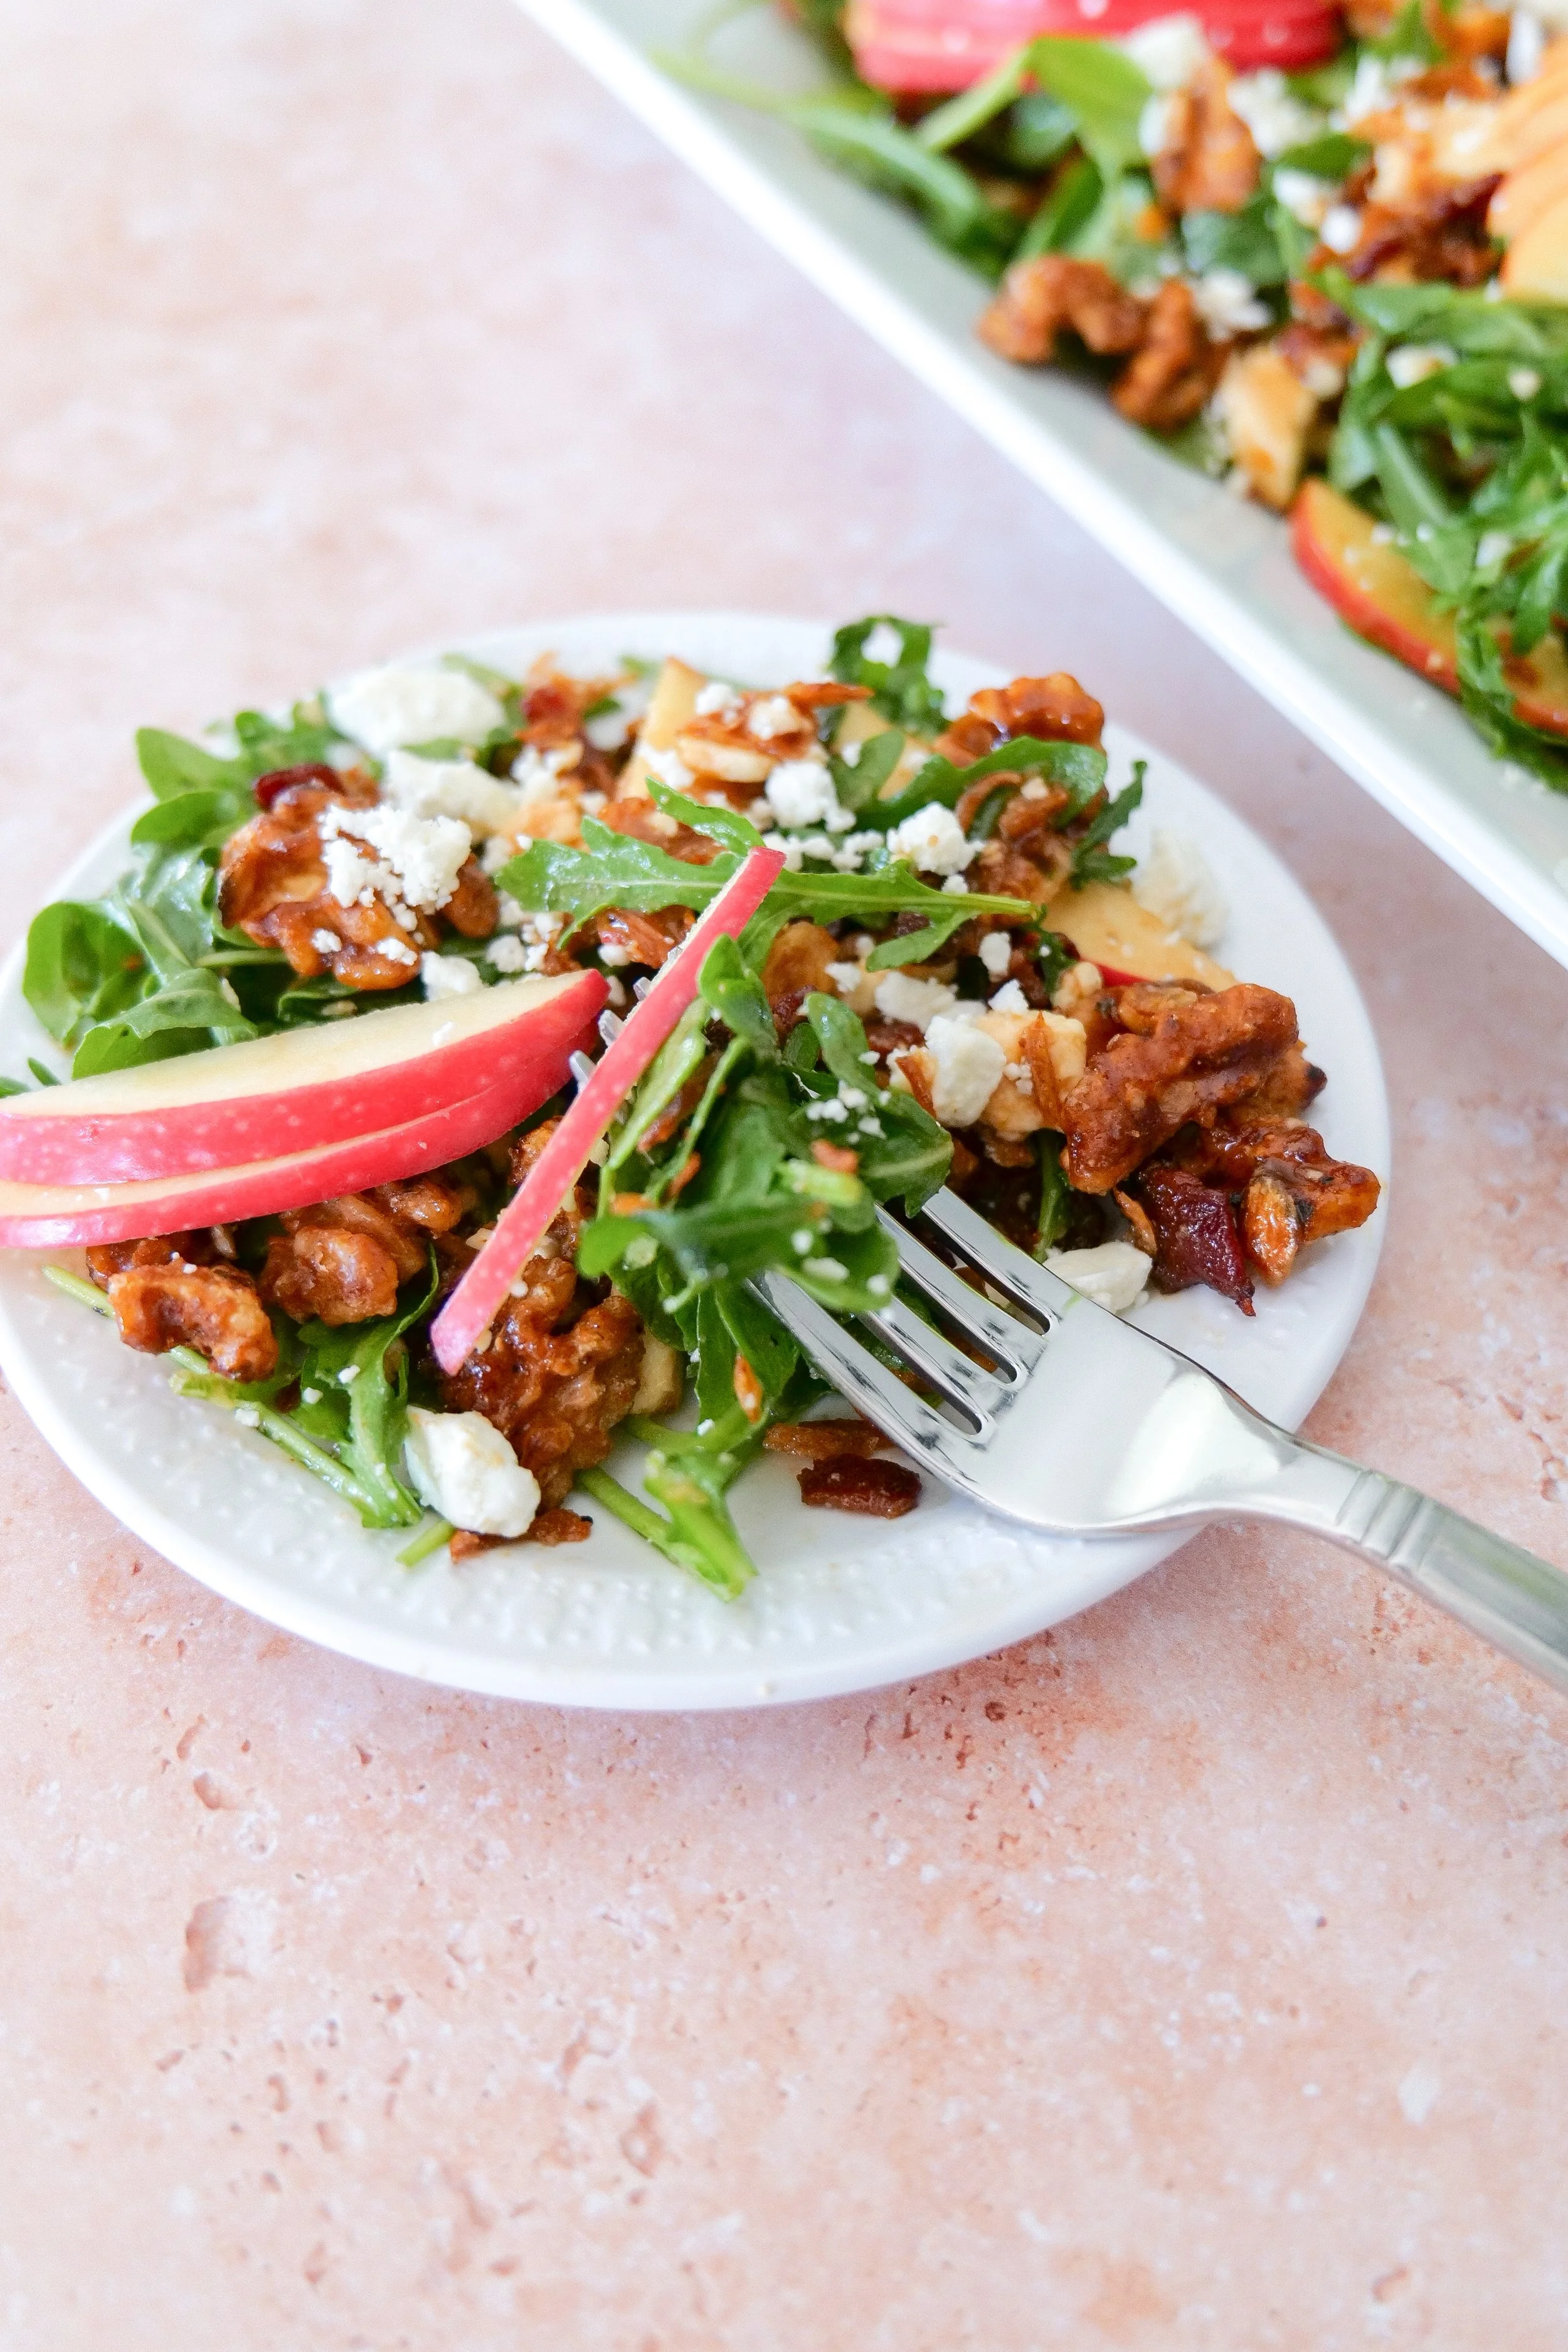
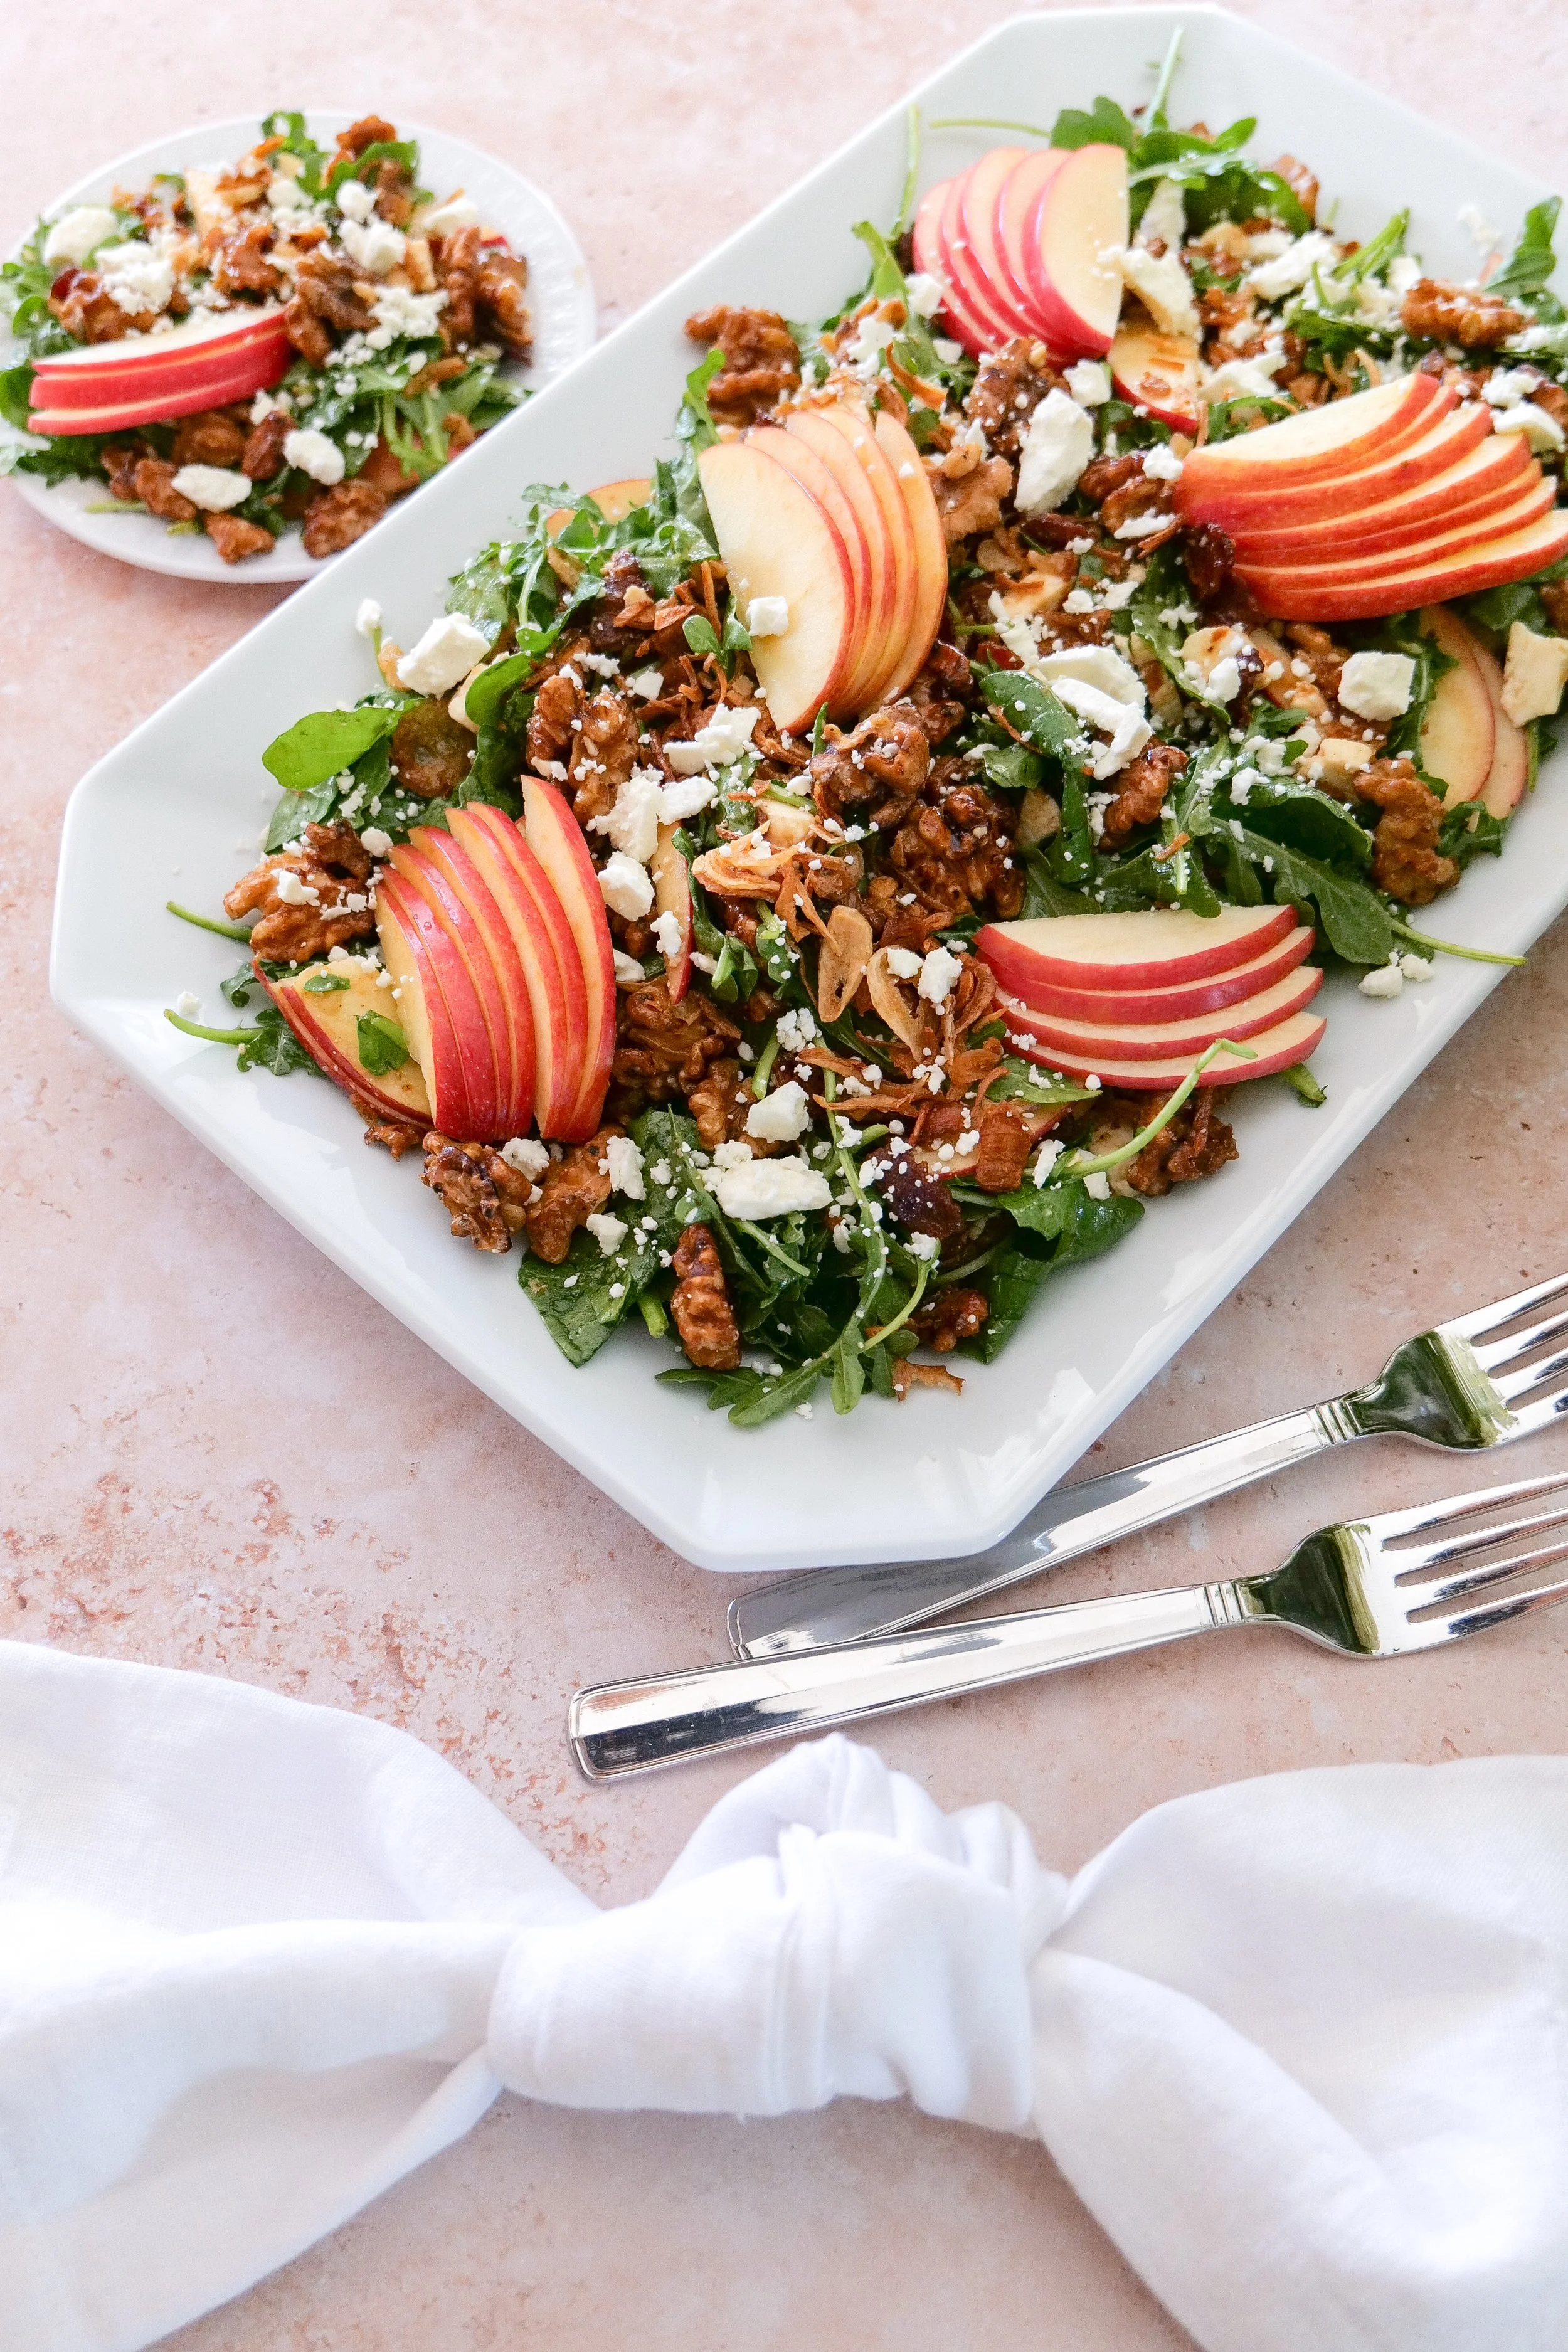
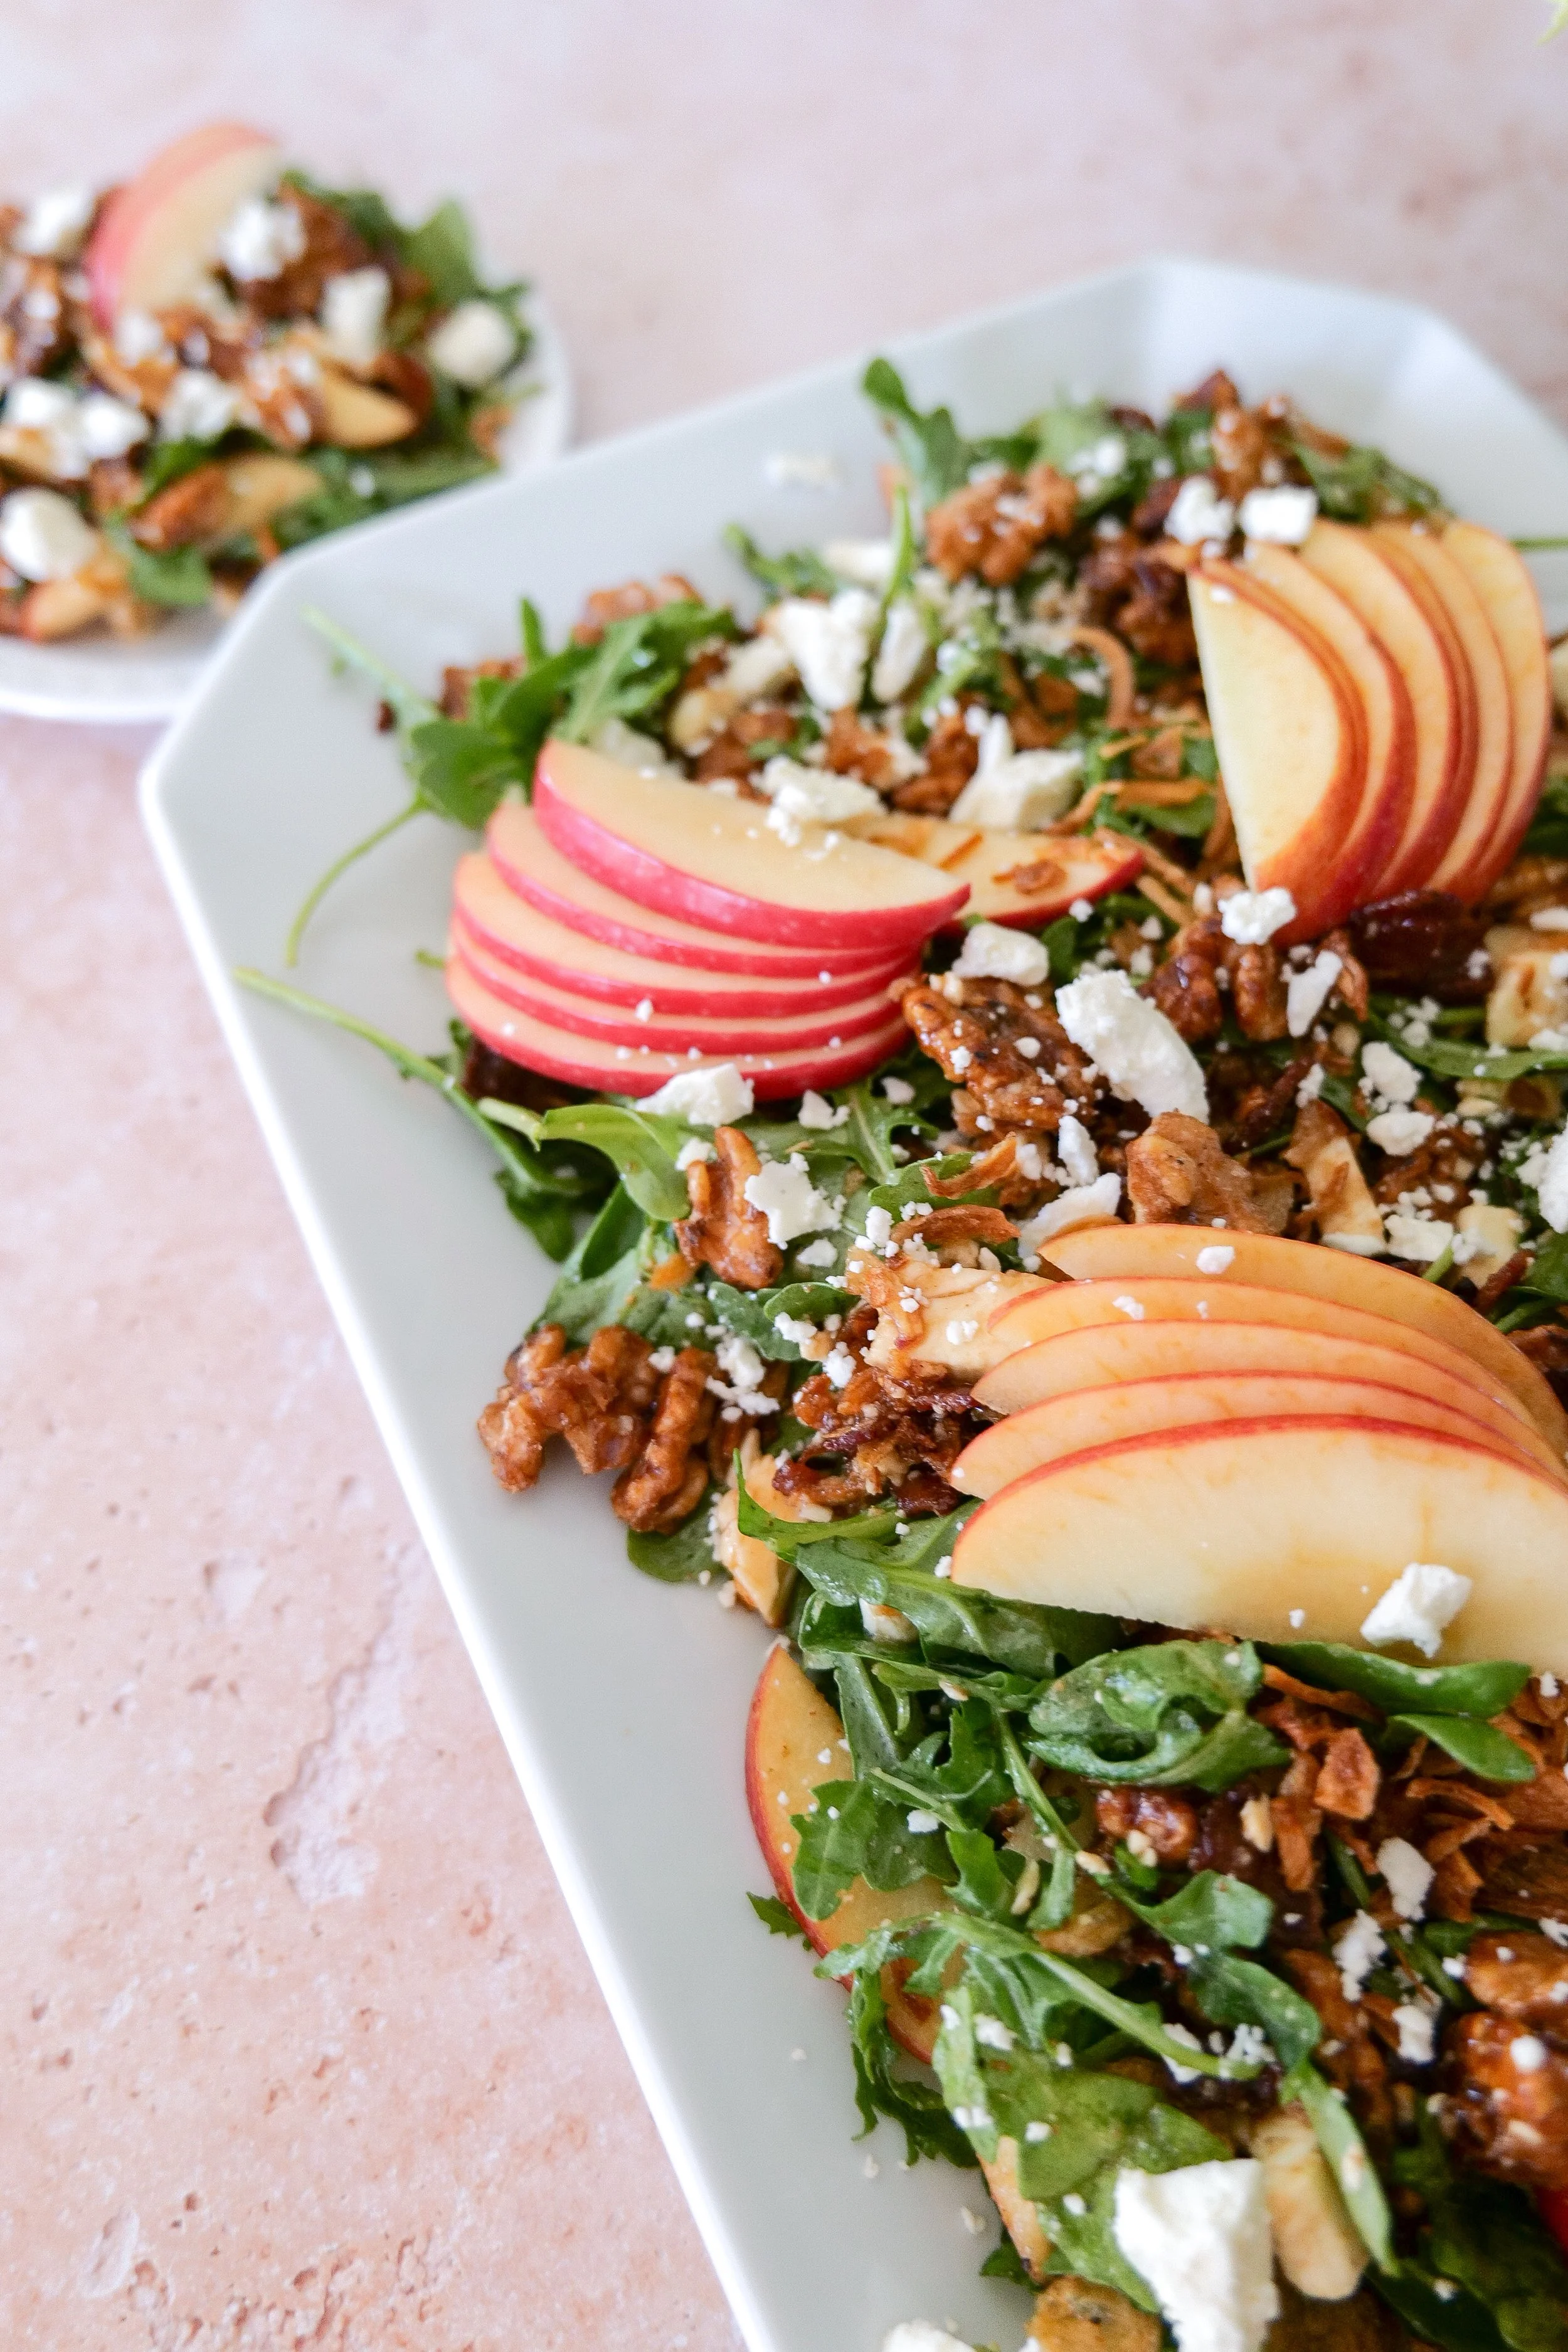
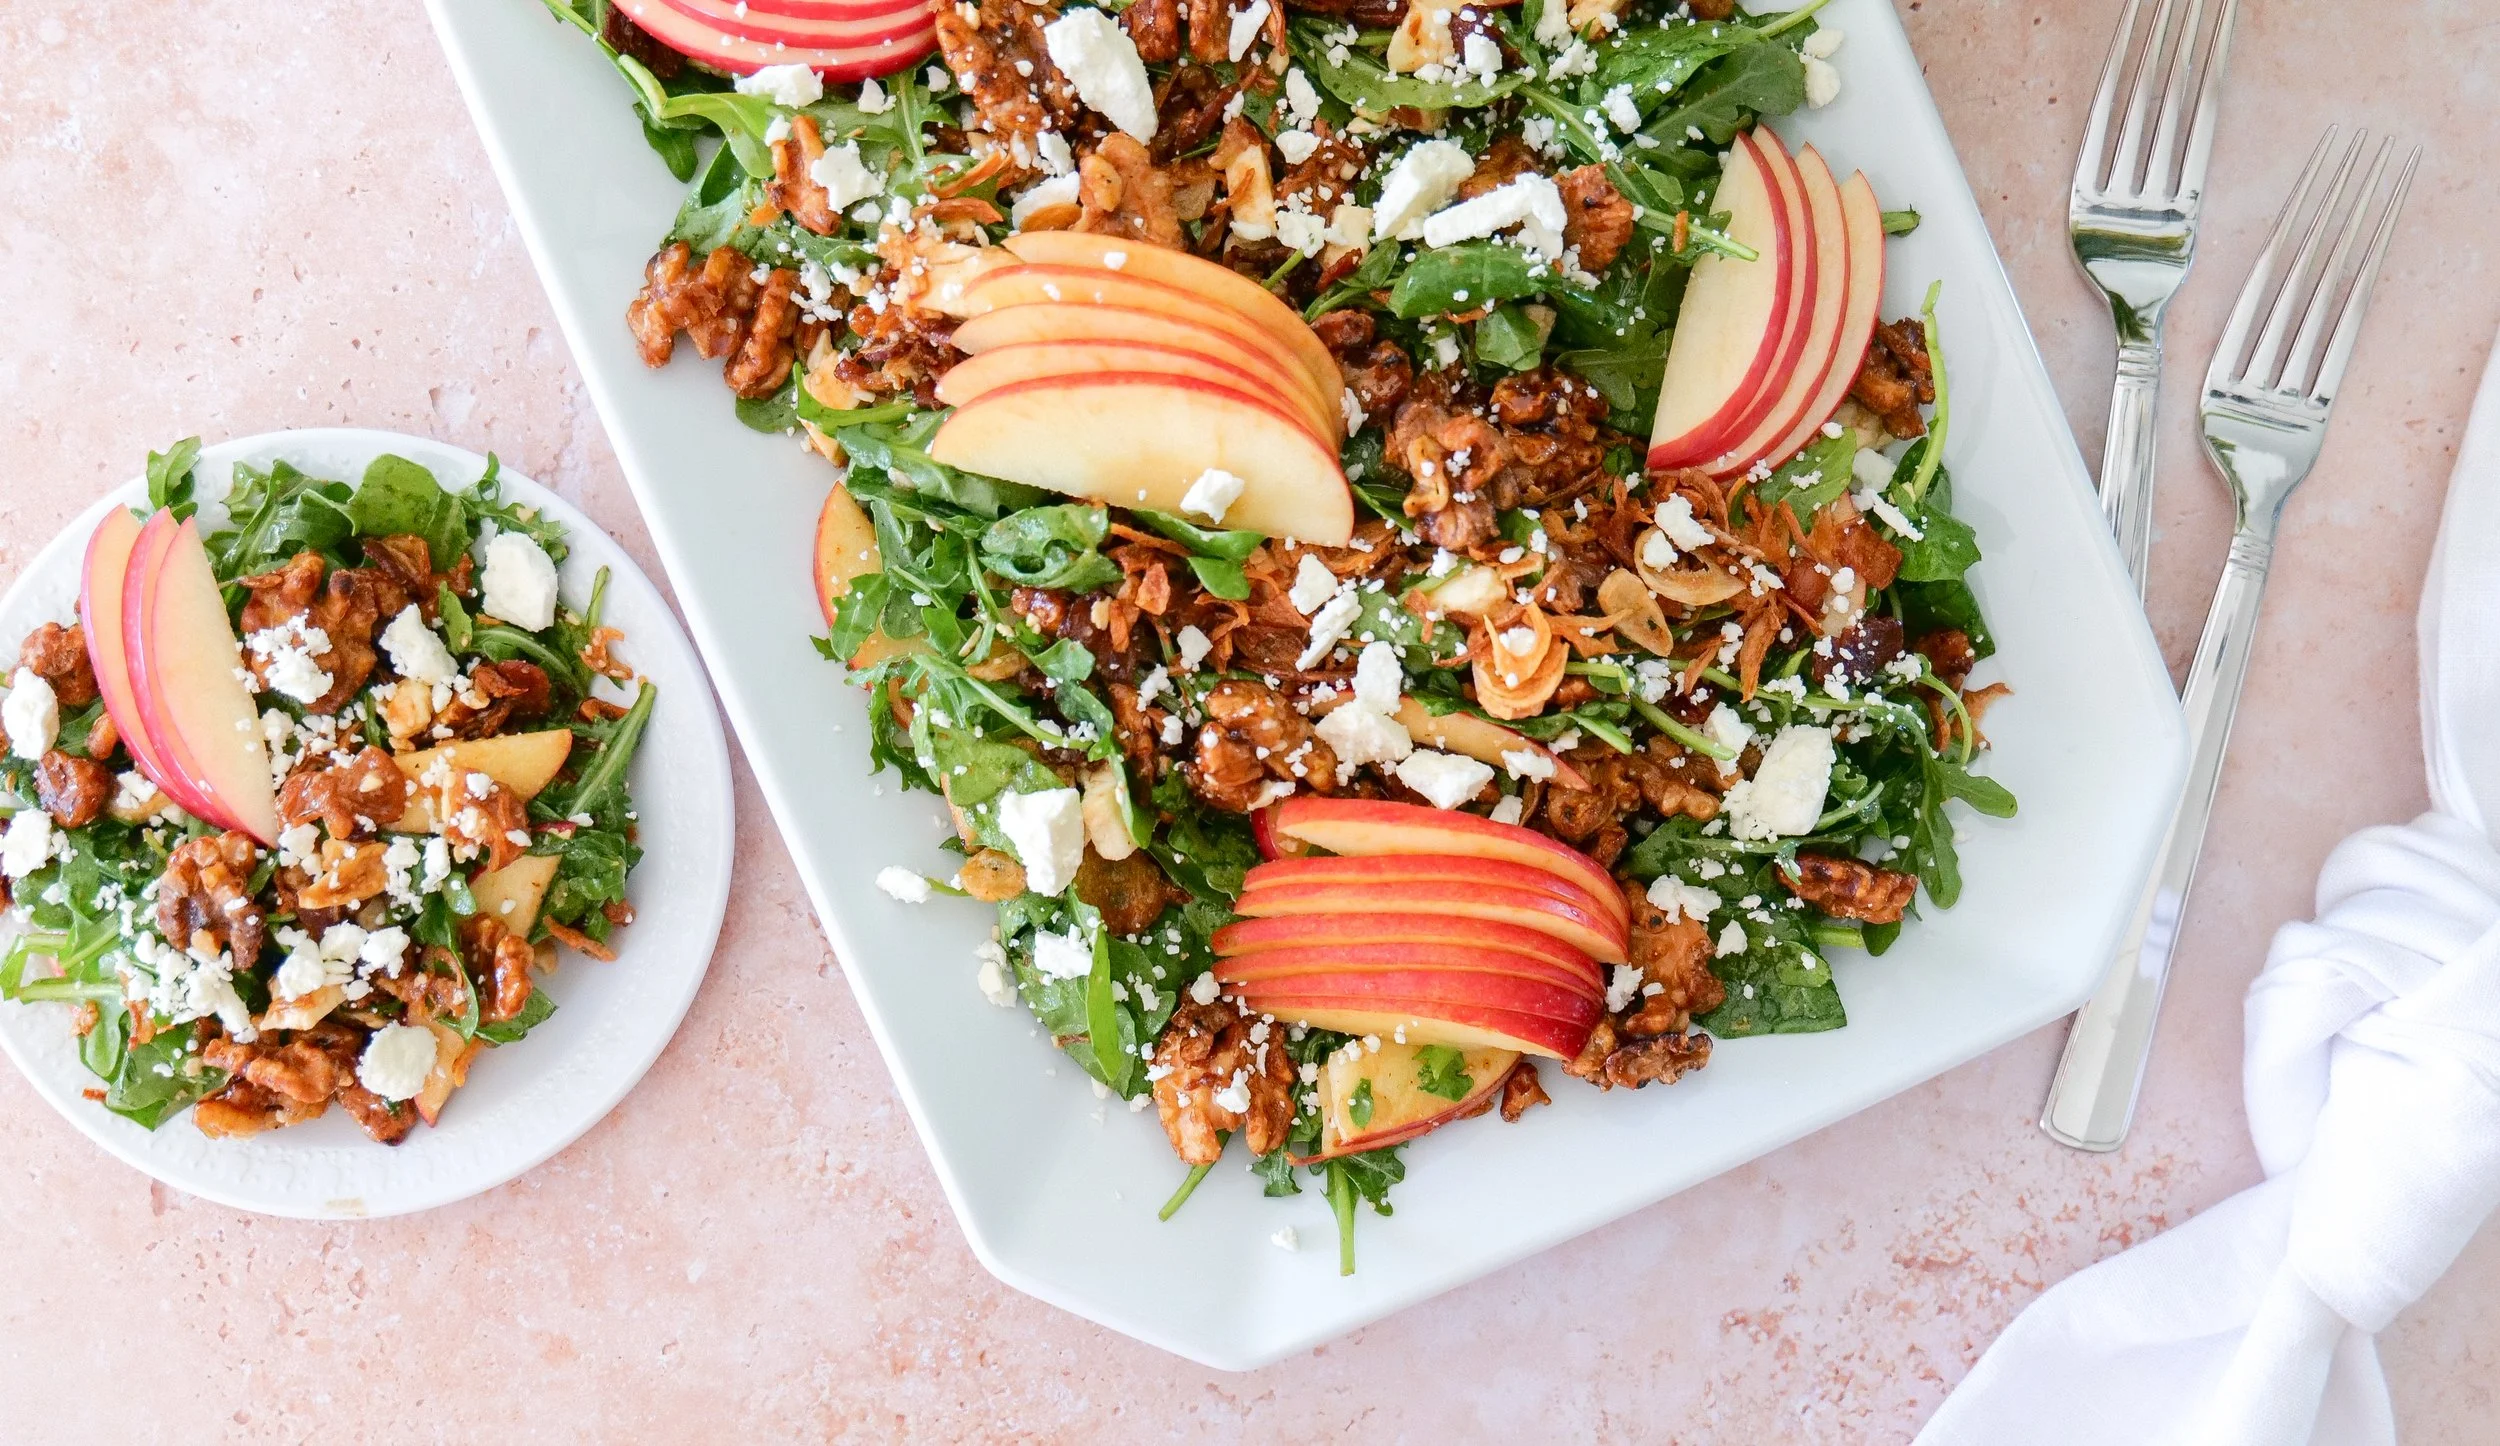
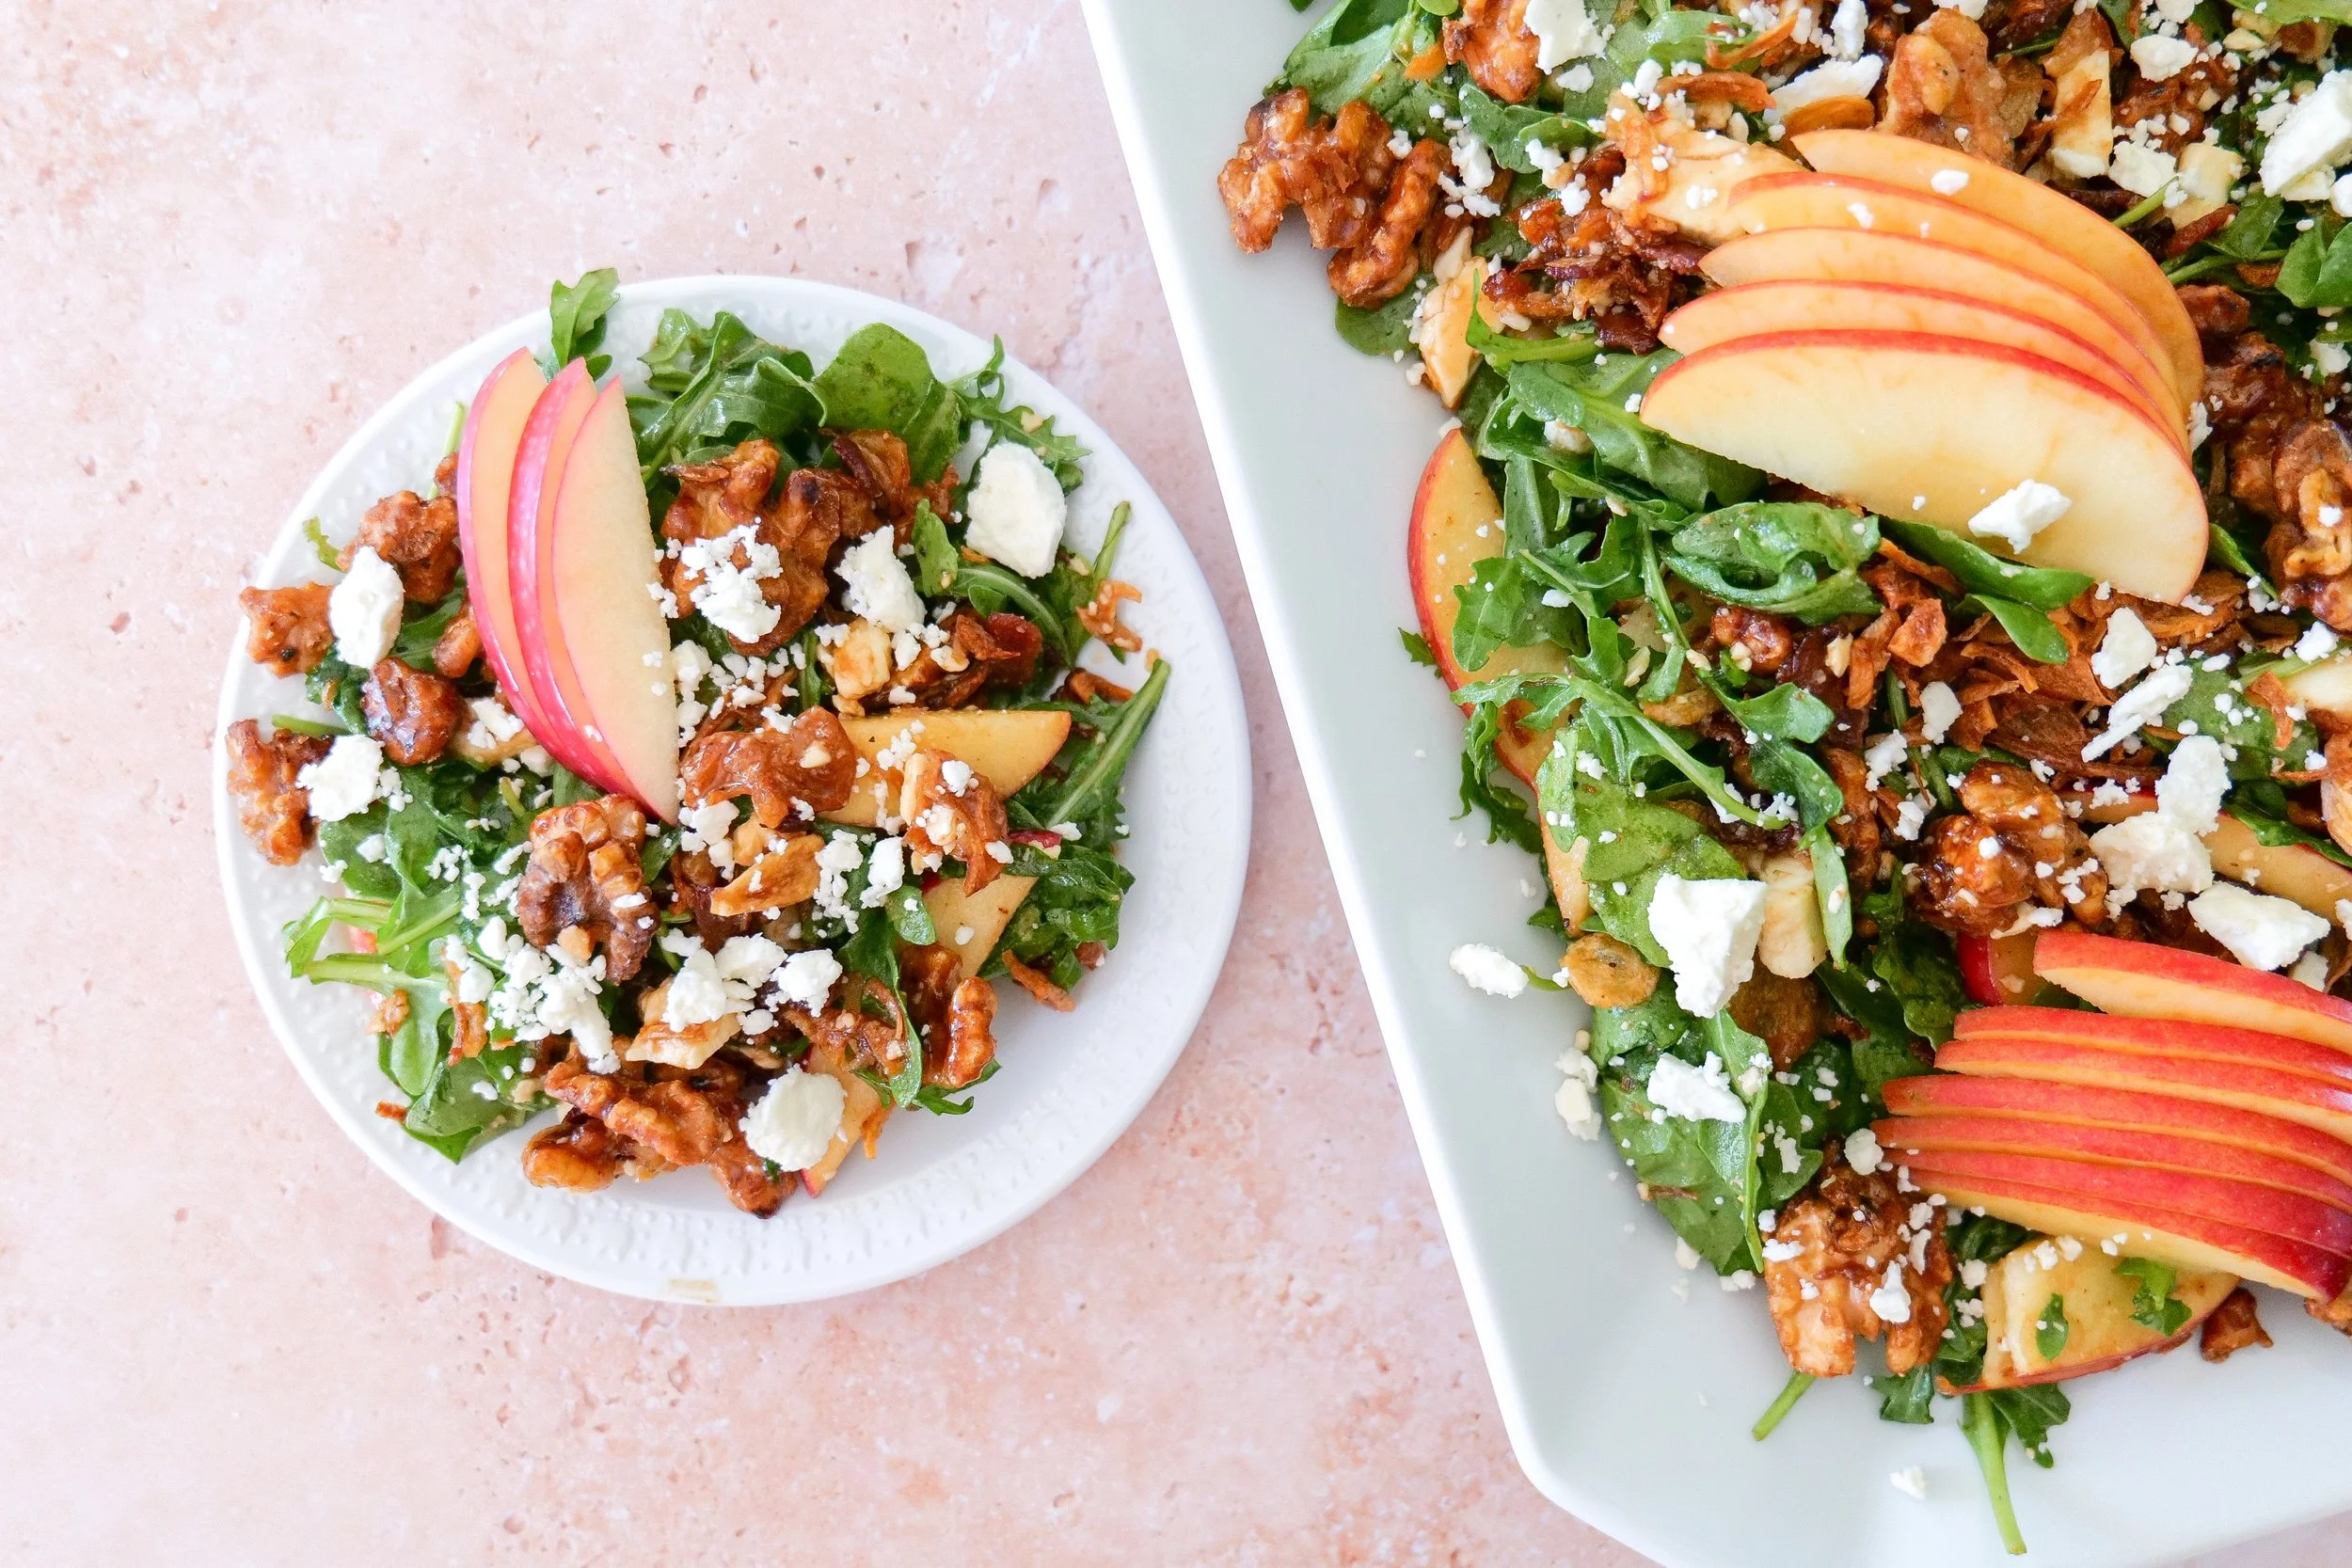
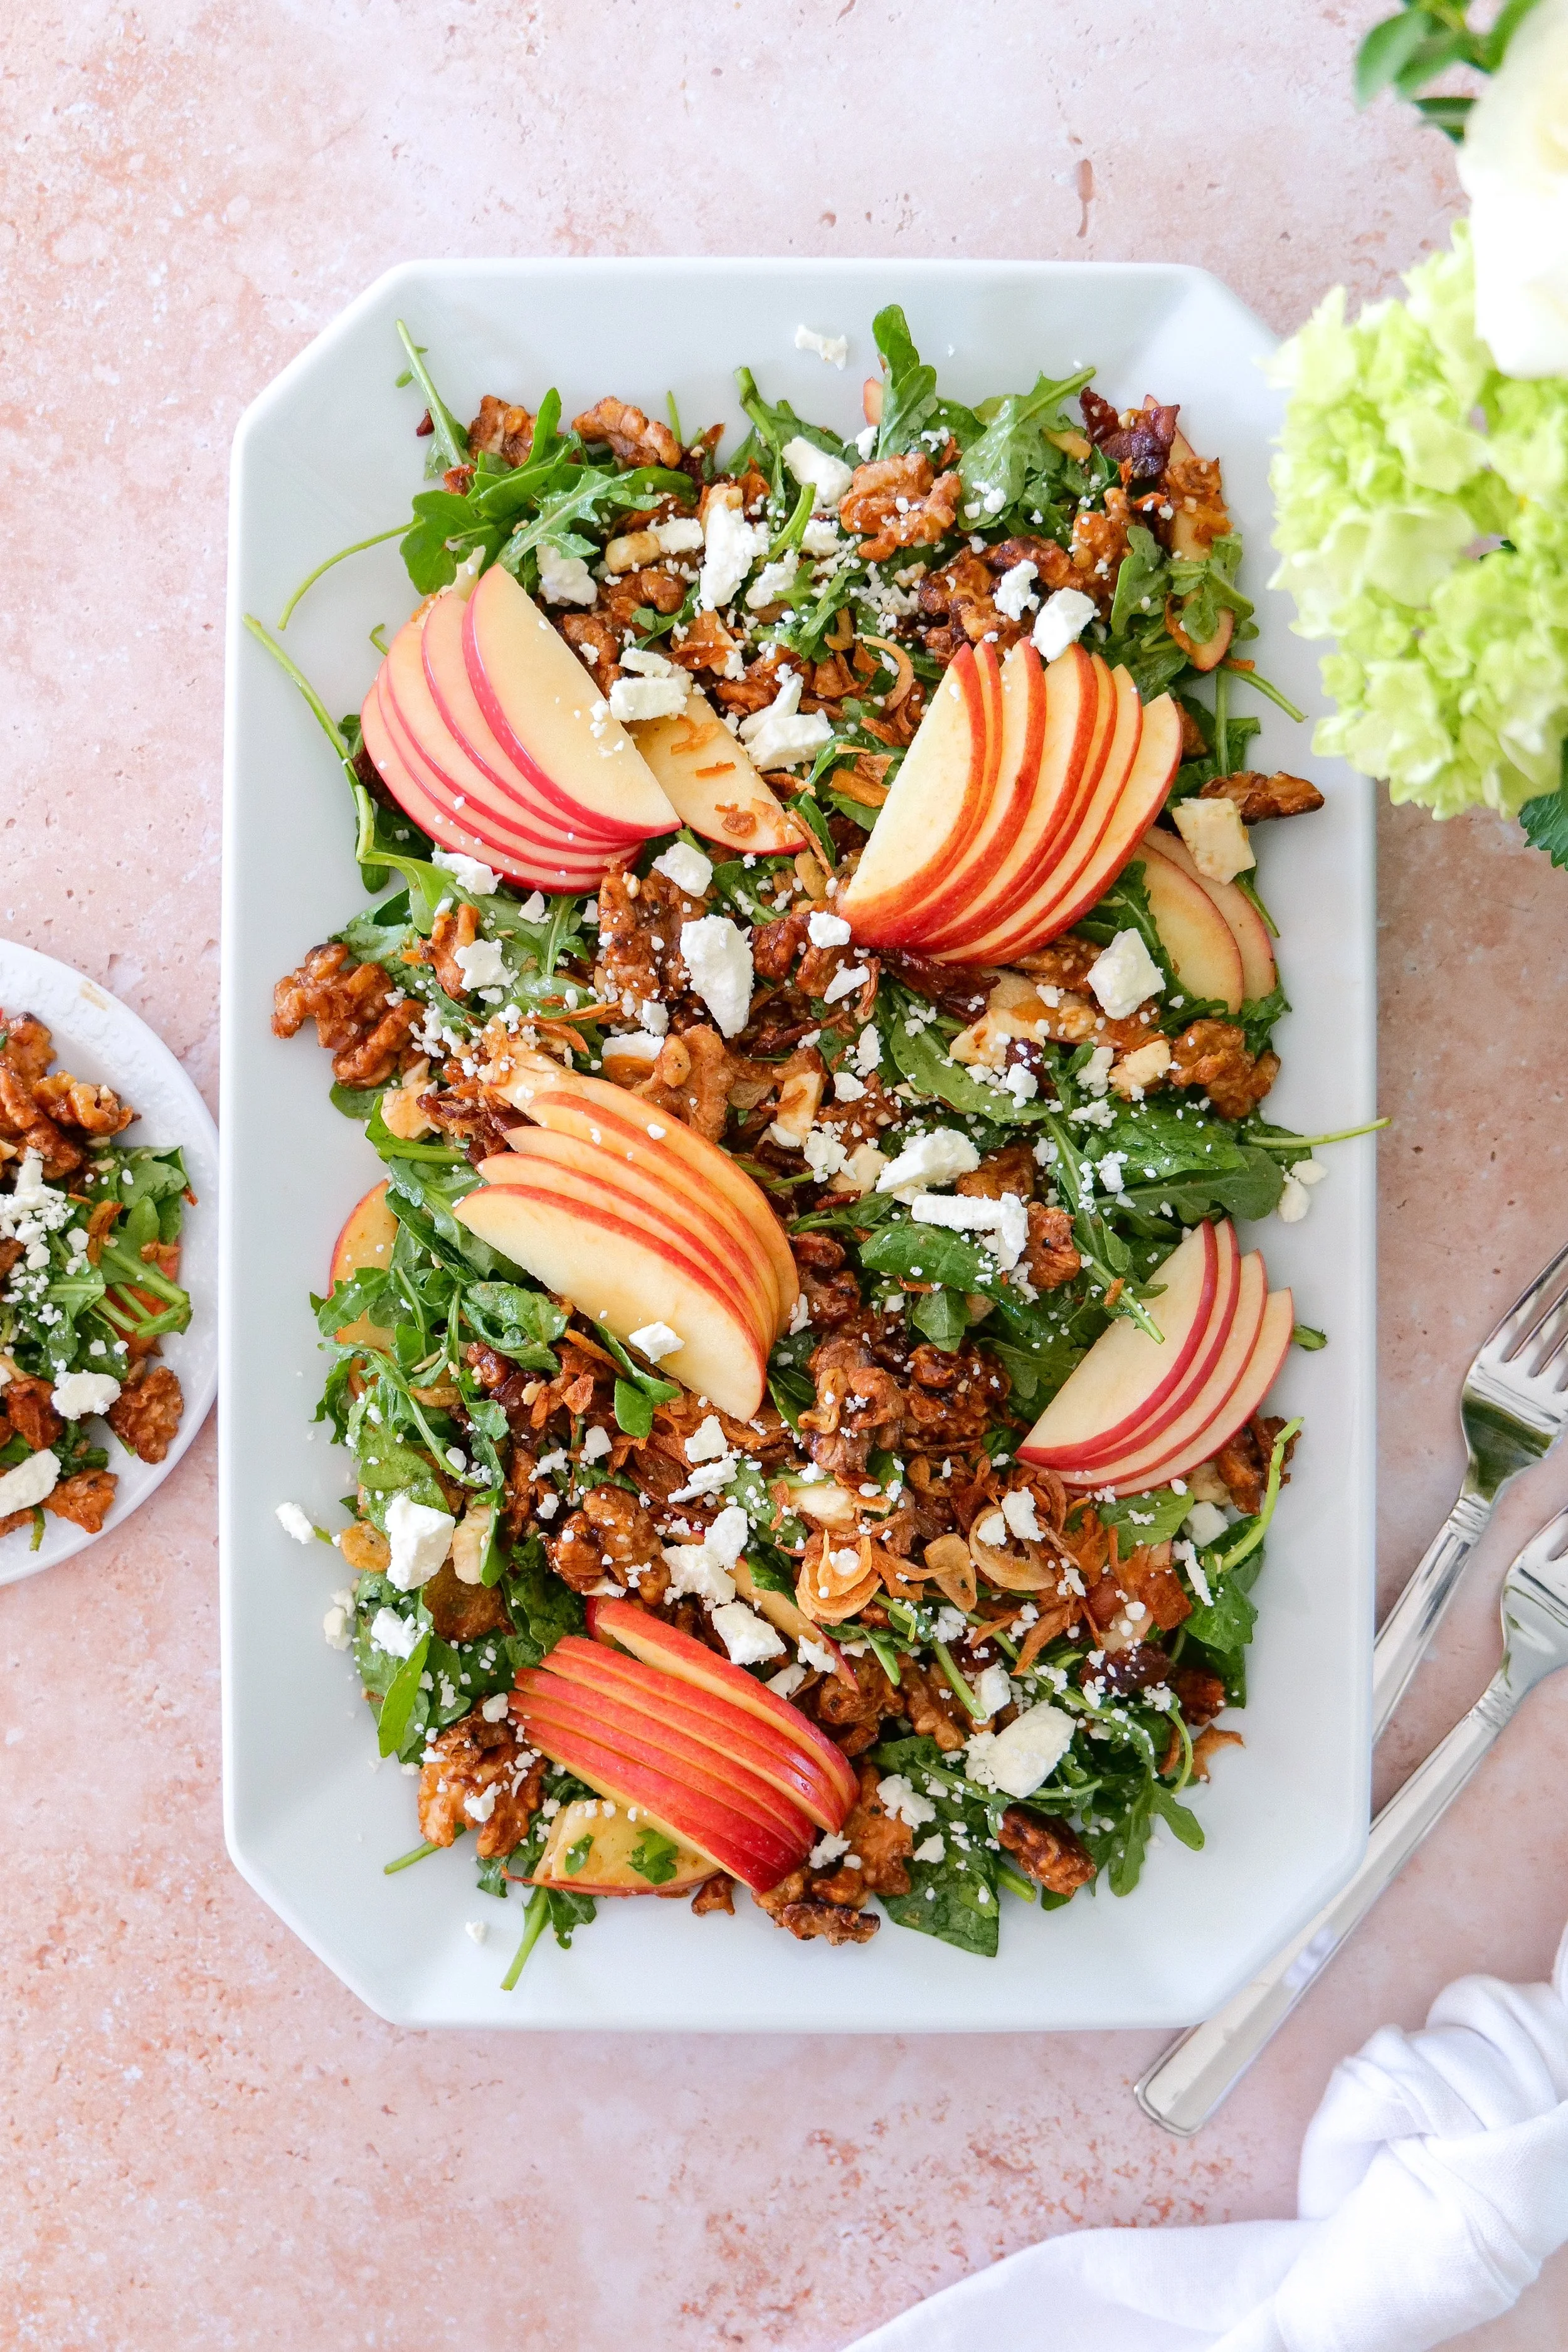
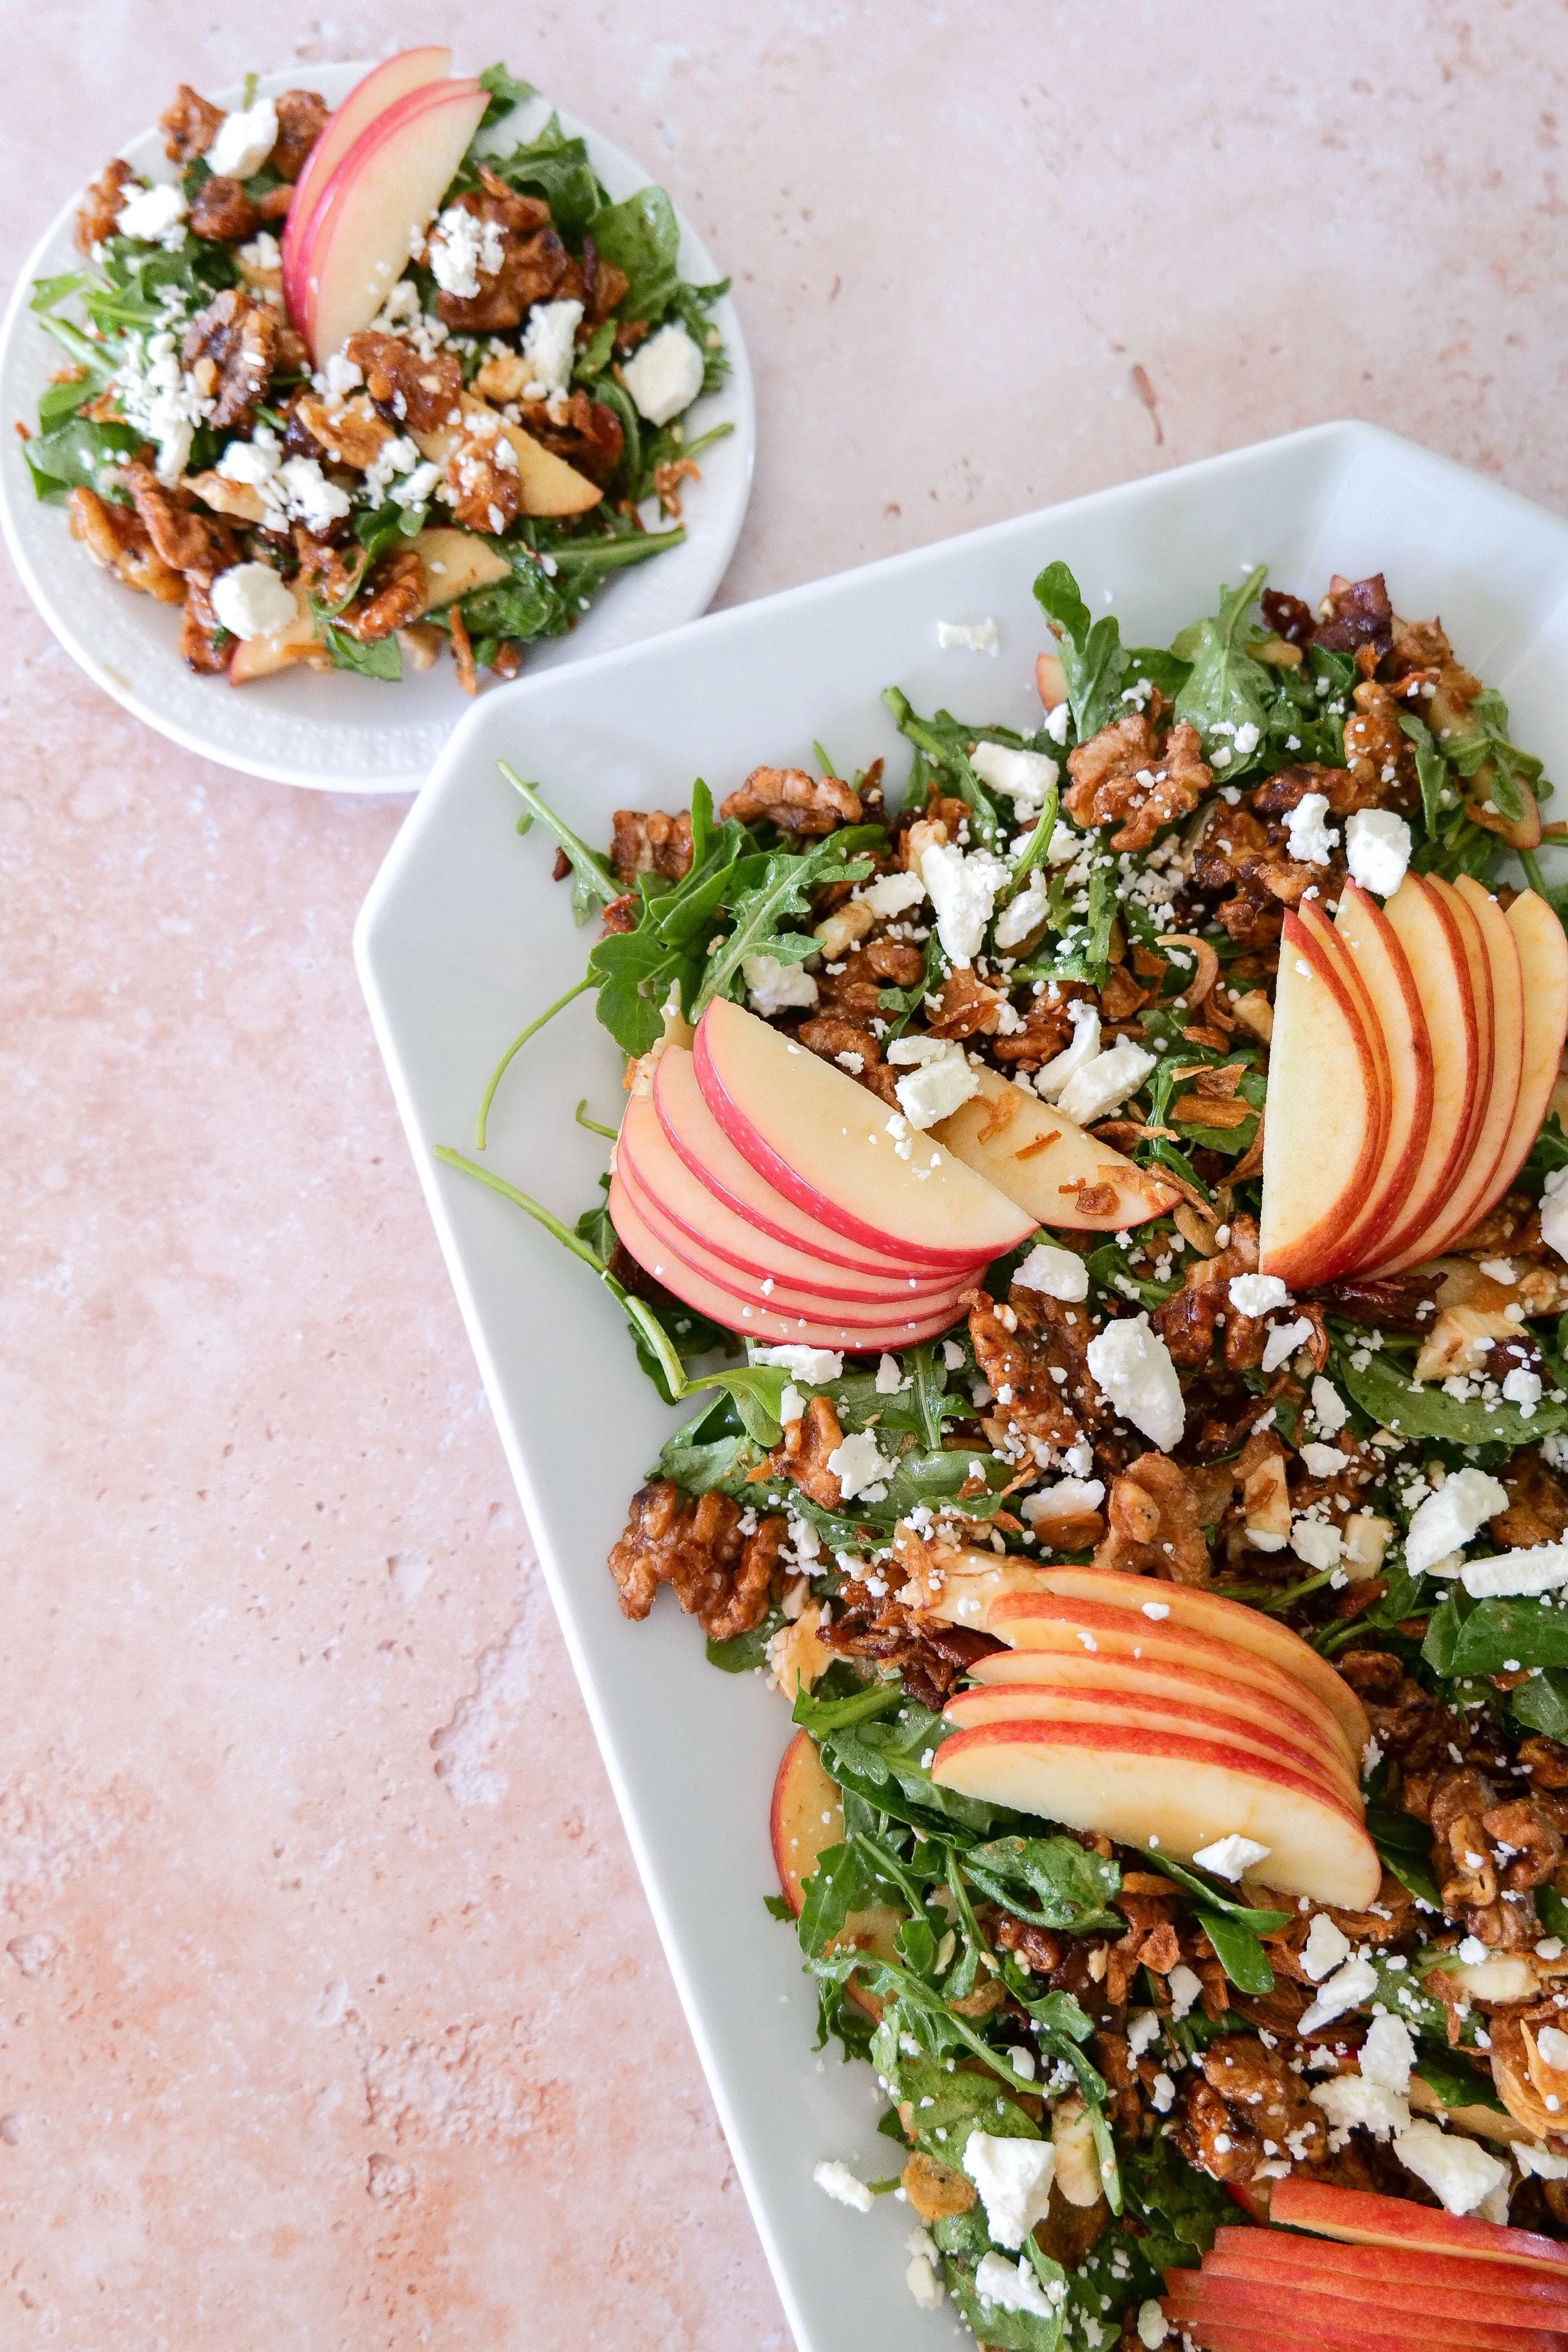
Maple Bacon Fall Salad with Apples, Feta & Maple Walnuts

A beautiful fall salad filled with crisp apples, smoky bacon, creamy feta, maple-glazed walnuts and crispy shallots, all tossed in a homemade maple bacon vinaigrette.

If fall could be served in a salad bowl, I think it might look a lot like this.

This Maple Bacon Fall Salad has just about everything I want in an autumn salad: crisp apples, salty bacon, creamy feta, crunchy maple walnuts and golden crispy shallots layered over a mix of spinach and arugula.

But the part that brings everything together is the homemade maple bacon vinaigrette.

Instead of letting the bacon drippings go to waste, we're whisking them into the dressing with balsamic vinegar, maple syrup and Dijon mustard. It's smoky, sweet, tangy and so good with the apples and feta.

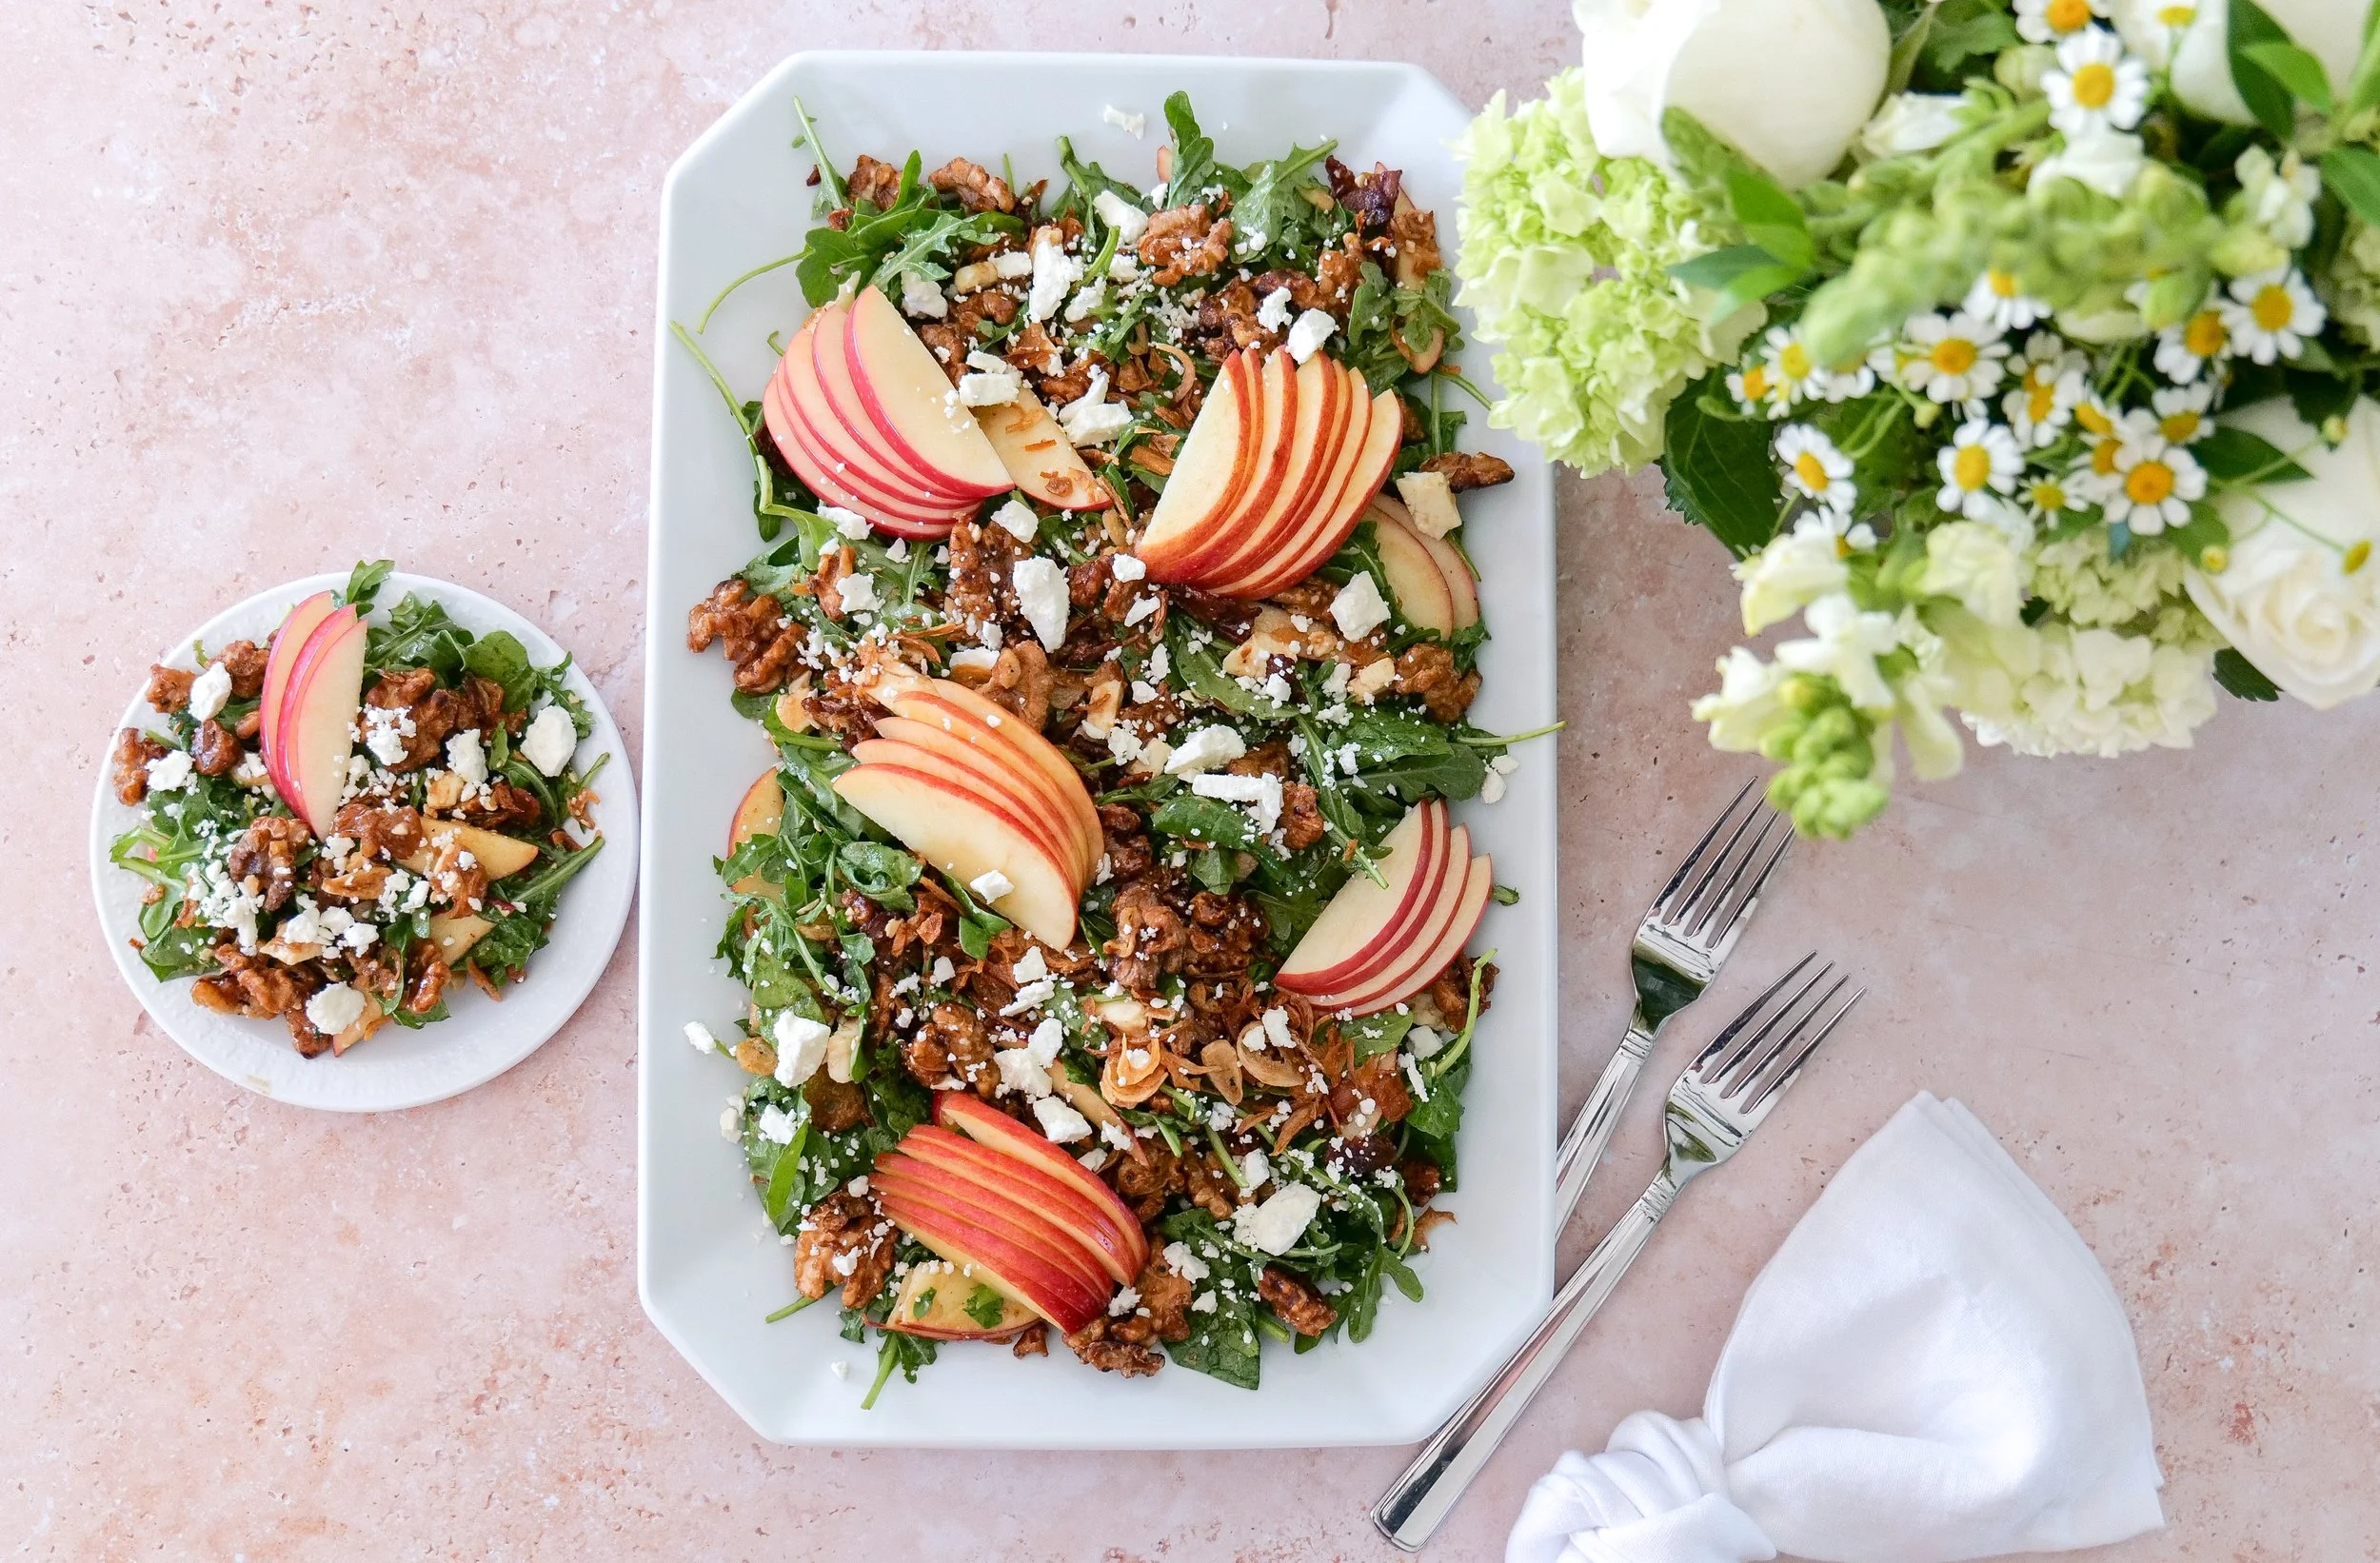
I also have a little trick when assembling this one: I toss some of every topping into the salad first, then save the rest to scatter over the top after plating. You get all of those flavors throughout the salad without hiding the beautiful ingredients underneath the greens.

It's colorful, a little indulgent and exactly the kind of salad I want on the table from the first hint of fall through Thanksgiving.

Maple bacon fall salad with sliced apples, feta, maple walnuts and crispy shallots over spinach and arugula.
↓ Skip to Recipe

Why You'll Love This Fall Salad

There is a lot happening in this bowl, and that's exactly why it works.

Sweet + savory. Maple syrup and apples balance the smoky bacon and salty feta.

So much texture. Crisp apples, crunchy walnuts, crispy shallots and tender greens keep every bite interesting.

The dressing uses the bacon drippings. We're turning something already created while making the salad into one of its best components.

The maple walnuts are homemade. They're sweet, crunchy and incredibly easy to make.

It looks beautiful on a table. This is one of those salads I'd happily serve for a fall dinner, Sunday supper or Thanksgiving.

You can prep several components ahead. Make the walnuts and dressing before you're ready to assemble.

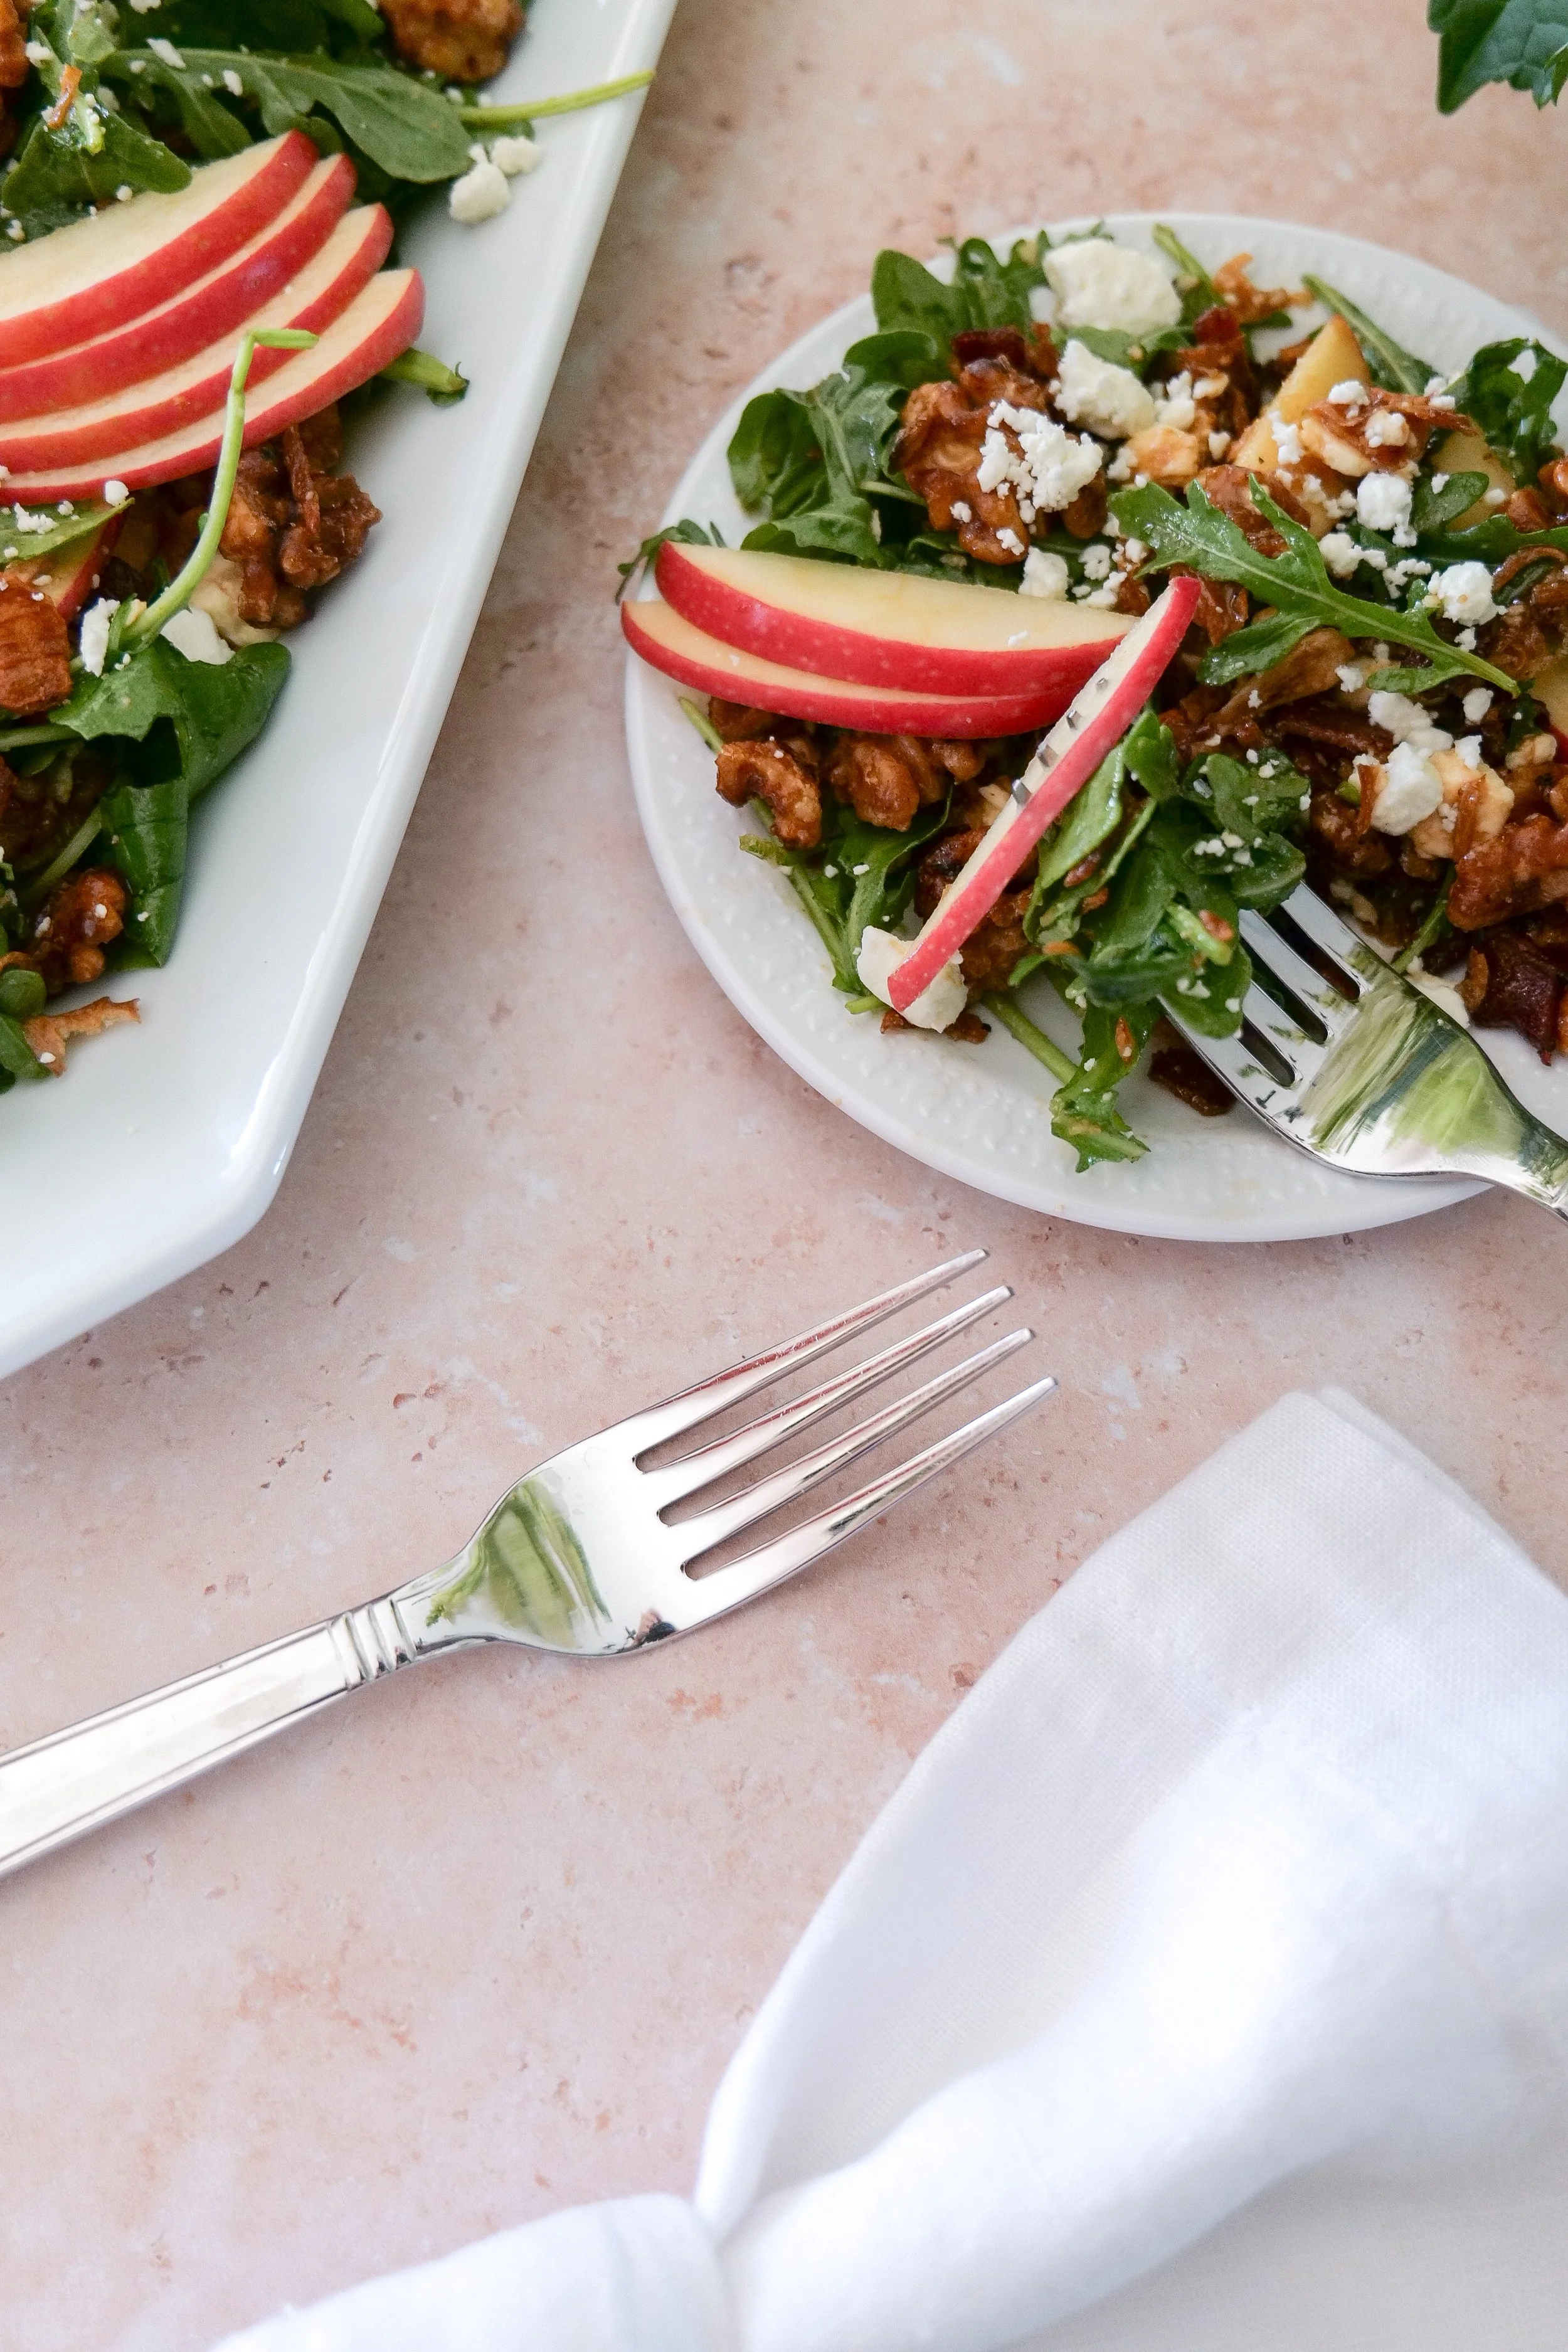
Fall salad with crisp sliced apples, crumbled feta, bacon and maple-glazed walnuts.

What's in This Maple Bacon Fall Salad?

There aren't any complicated ingredients here. It's how they all come together that makes this salad special.

Spinach + Arugula

I use a combination of spinach and arugula for the base. Spinach is mild while arugula brings a little peppery bite that works especially well with the sweeter toppings.

Apples

Thinly sliced apples bring freshness and crunch.

Pink Lady apples are one of my favorites because I love their sweeter flavor and beautiful skin, but Honeycrisp would also be delicious. If you prefer more tartness, Granny Smith is another option.

Bacon

The bacon does double duty.

First, we crumble it over the salad. Then we reserve some of the rendered bacon fat to make our maple vinaigrette.

Feta

Feta adds a salty, creamy element that balances the maple and apples.

Maple Walnuts

Walnuts are coated in maple syrup and brown sugar for a sweet, crunchy topping.

Crispy Shallots

Thinly sliced shallots cooked until golden give the salad one more savory, crispy layer.

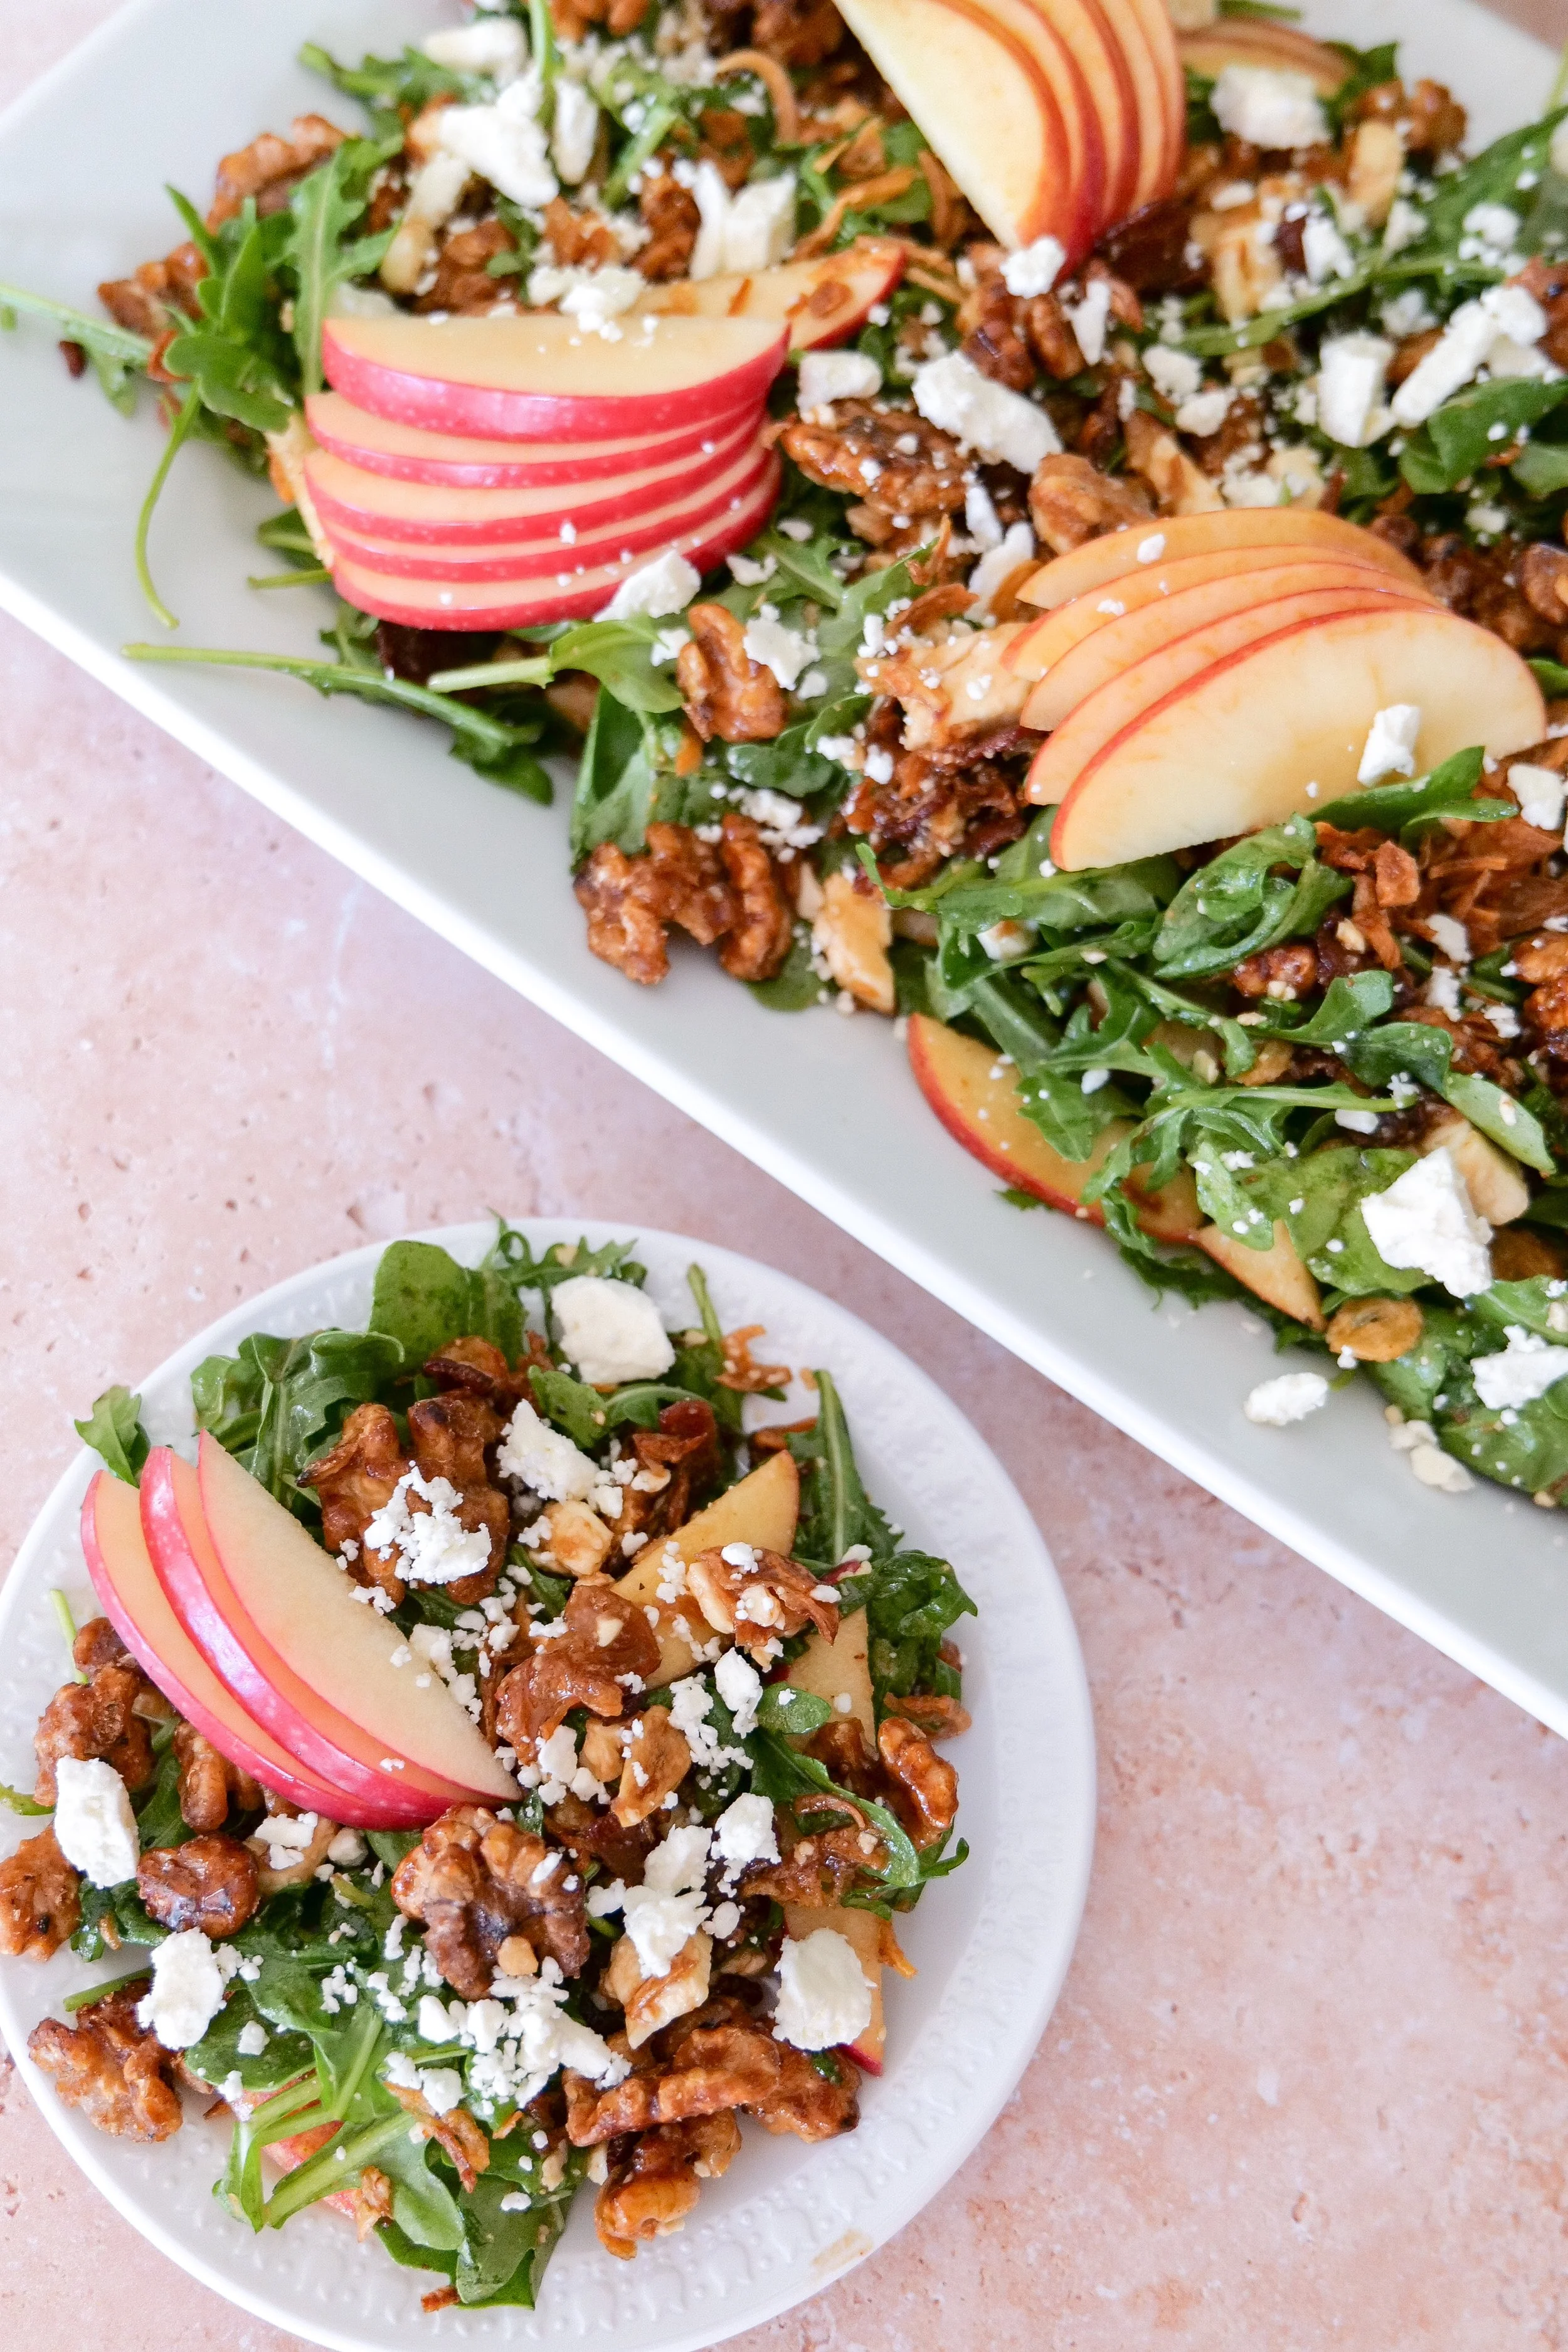
Apple bacon fall salad with mixed greens, feta cheese, walnuts and crispy shallots.

How to Make the Maple Walnuts

I always start with the walnuts because they need time to cool.

Line a baking sheet with parchment paper and set it aside.

Add the maple syrup and brown sugar to a saucepan and cook until the mixture has melted together and begins to bubble.

Add the walnuts and stir until they're completely coated in that glossy maple mixture. I make the maple coating in my 360 Cookware 1-Quart Saucepan, then immediately transfer the walnuts to the prepared pan.

Transfer the coated walnuts to your parchment-lined pan and separate them as much as possible before they cool. Once the maple coating sets, they'll be ready to scatter over the salad.

My 360 Cookware Jelly Roll Pan works perfectly for spreading the walnuts out while they cool.

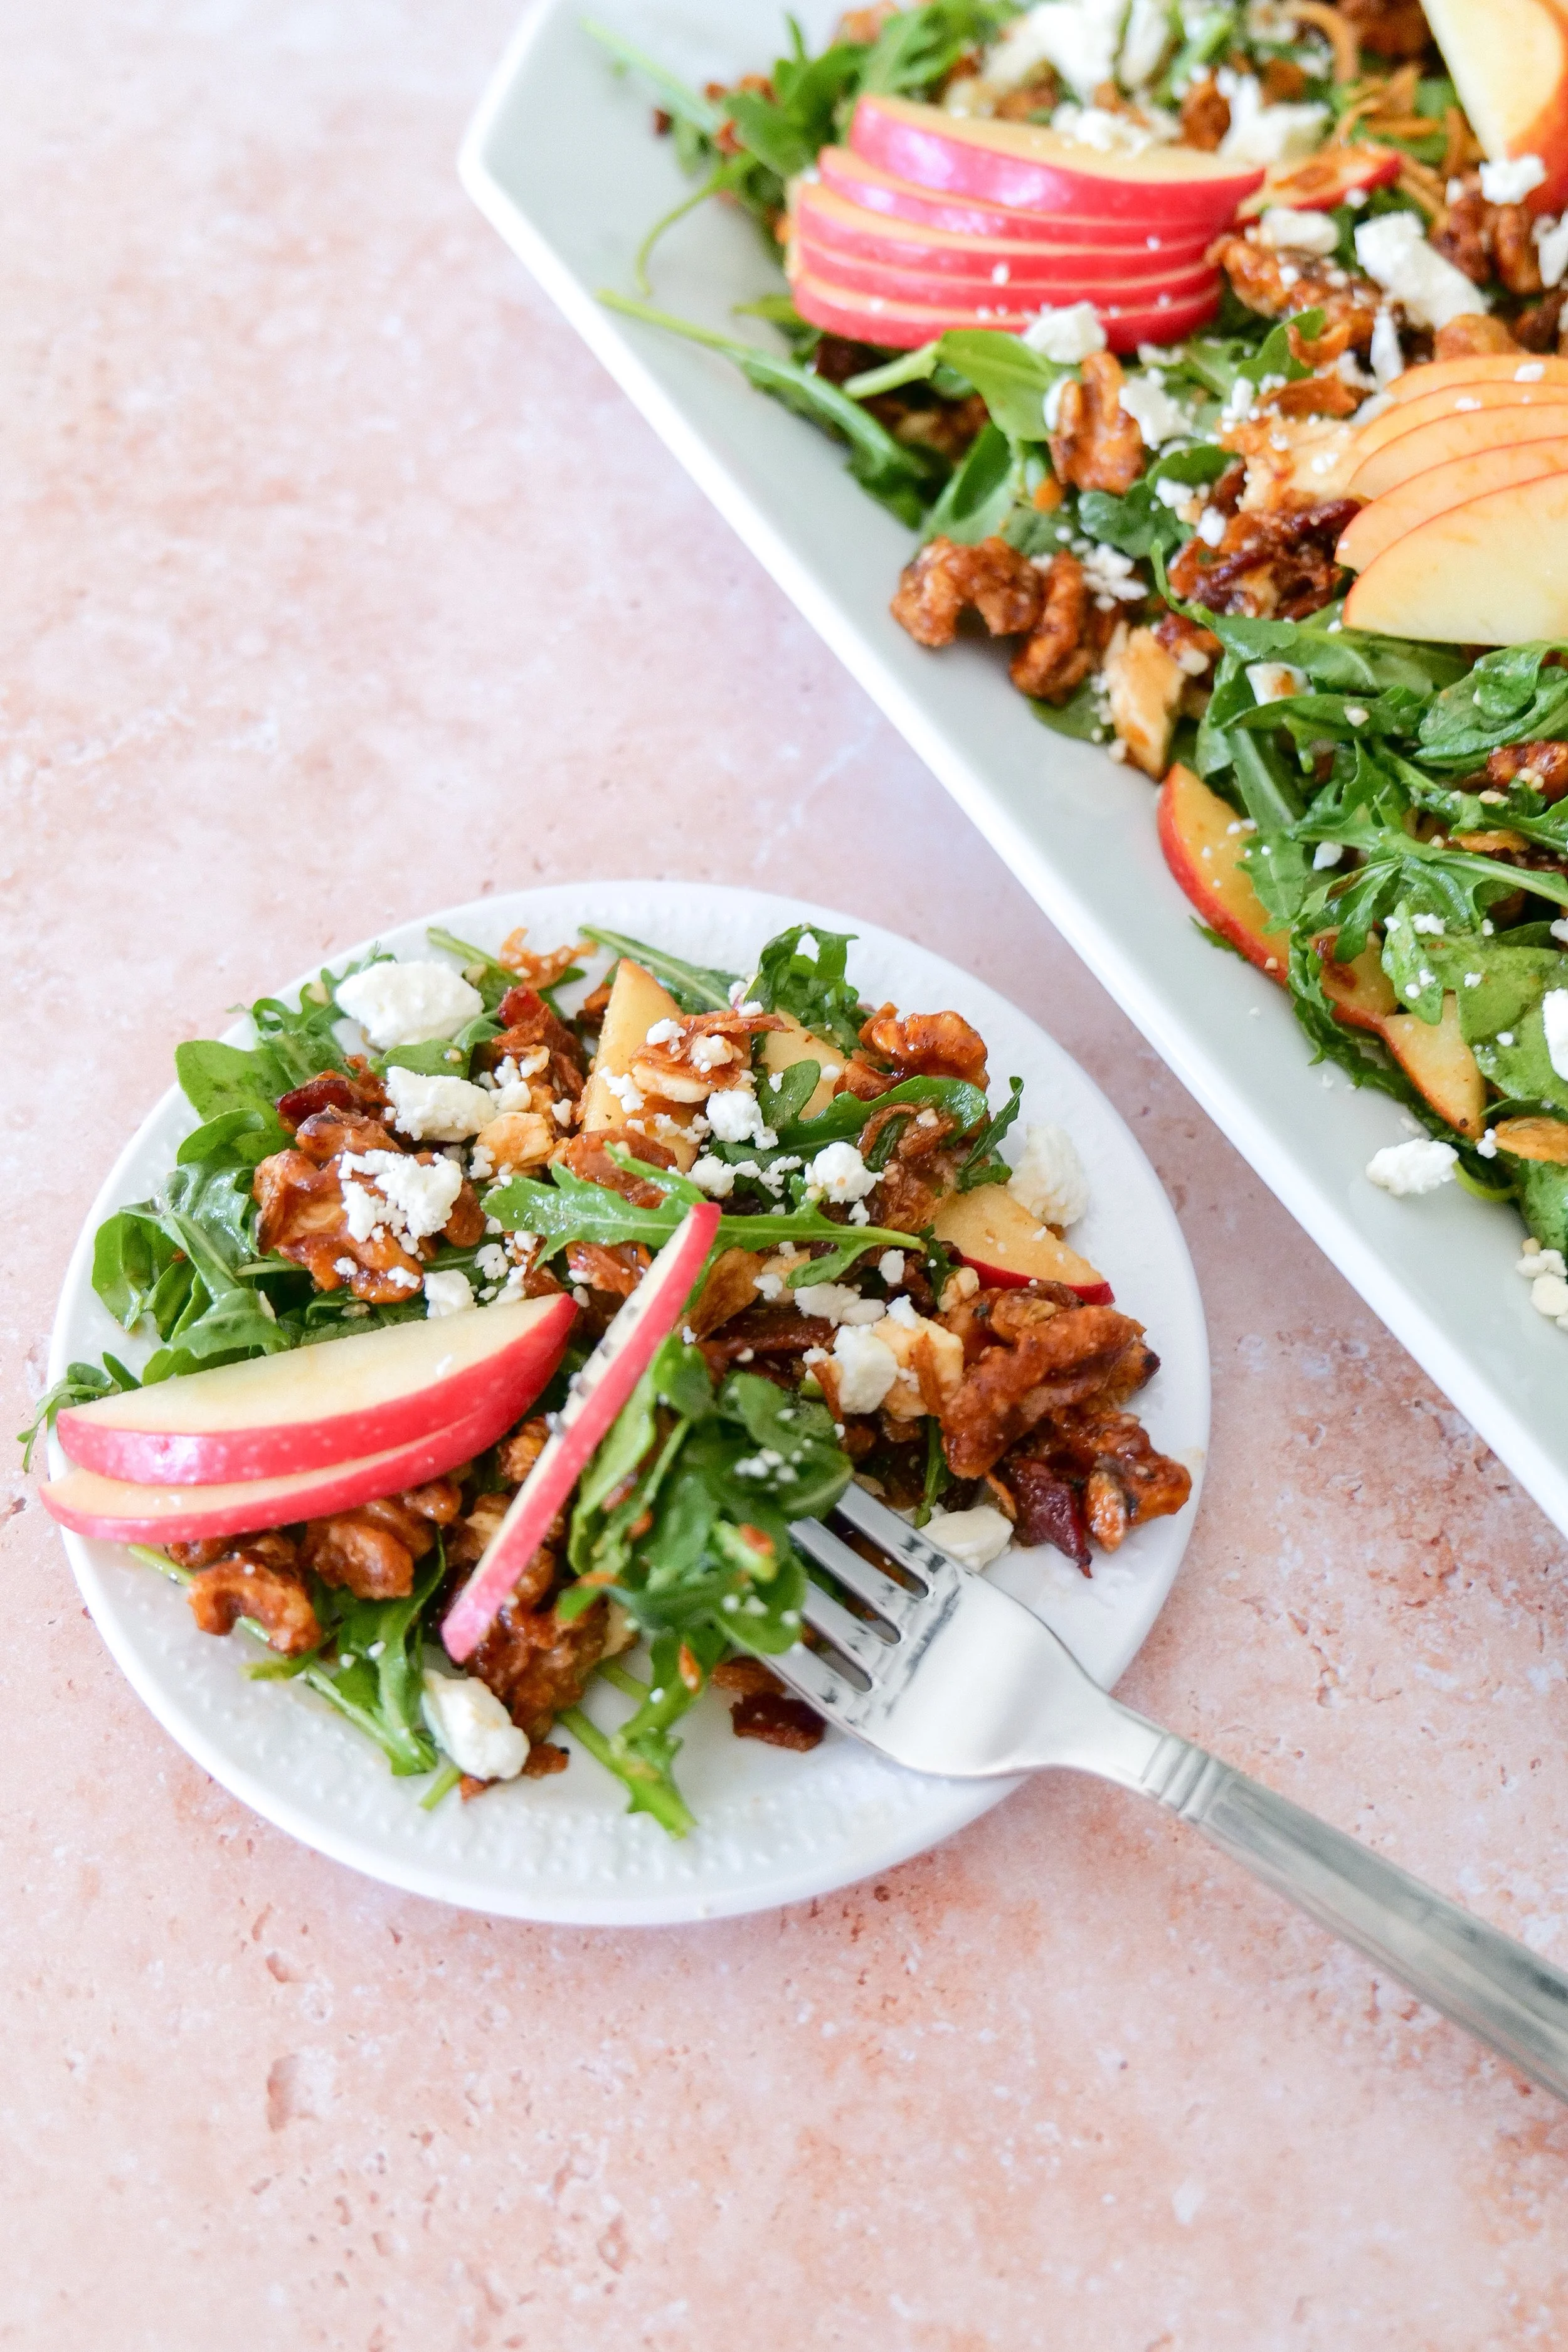
Close-up of maple bacon salad topped with fresh apple slices, feta and crunchy walnuts.

How to Make Crispy Shallots

The crispy shallots are one of those toppings that might seem small until you taste the salad without them.

Cook your bacon in a large skillet until crisp enough to crumble.

Remove the bacon from the pan and set aside 1/4 cup of the rendered bacon fat for the dressing.

Thinly slice the shallots and add them to the hot pan with the remaining bacon fat. If you need a little more cooking fat, add butter or extra-virgin olive oil.

Cook until the shallots become golden and crispy.

Transfer them to a paper-towel-lined plate to drain while you finish the rest of the salad.

Keep an eye on them toward the end — thinly sliced shallots can go from golden to too dark fairly quickly.

Autumn apple salad with feta, smoky bacon, maple walnuts and mixed greens.

The Maple Bacon Vinaigrette

This might be my favorite part of the entire recipe.

The bacon isn't simply a salad topping. We're taking some of that rendered bacon fat and using it as the base of the dressing.

Add the dressing ingredients to a blender and blend until smooth. I use my Ninja blender for dressings like this because it gets everything really smooth in seconds.

Taste and adjust the seasoning if needed. If you'd like to thin the dressing or need a little additional oil, add extra-virgin olive oil until you reach the consistency you prefer.

You end up with a vinaigrette that's smoky from the bacon, sweet from the maple and tangy from the balsamic and Dijon.

And once it hits the apples and feta? So good.

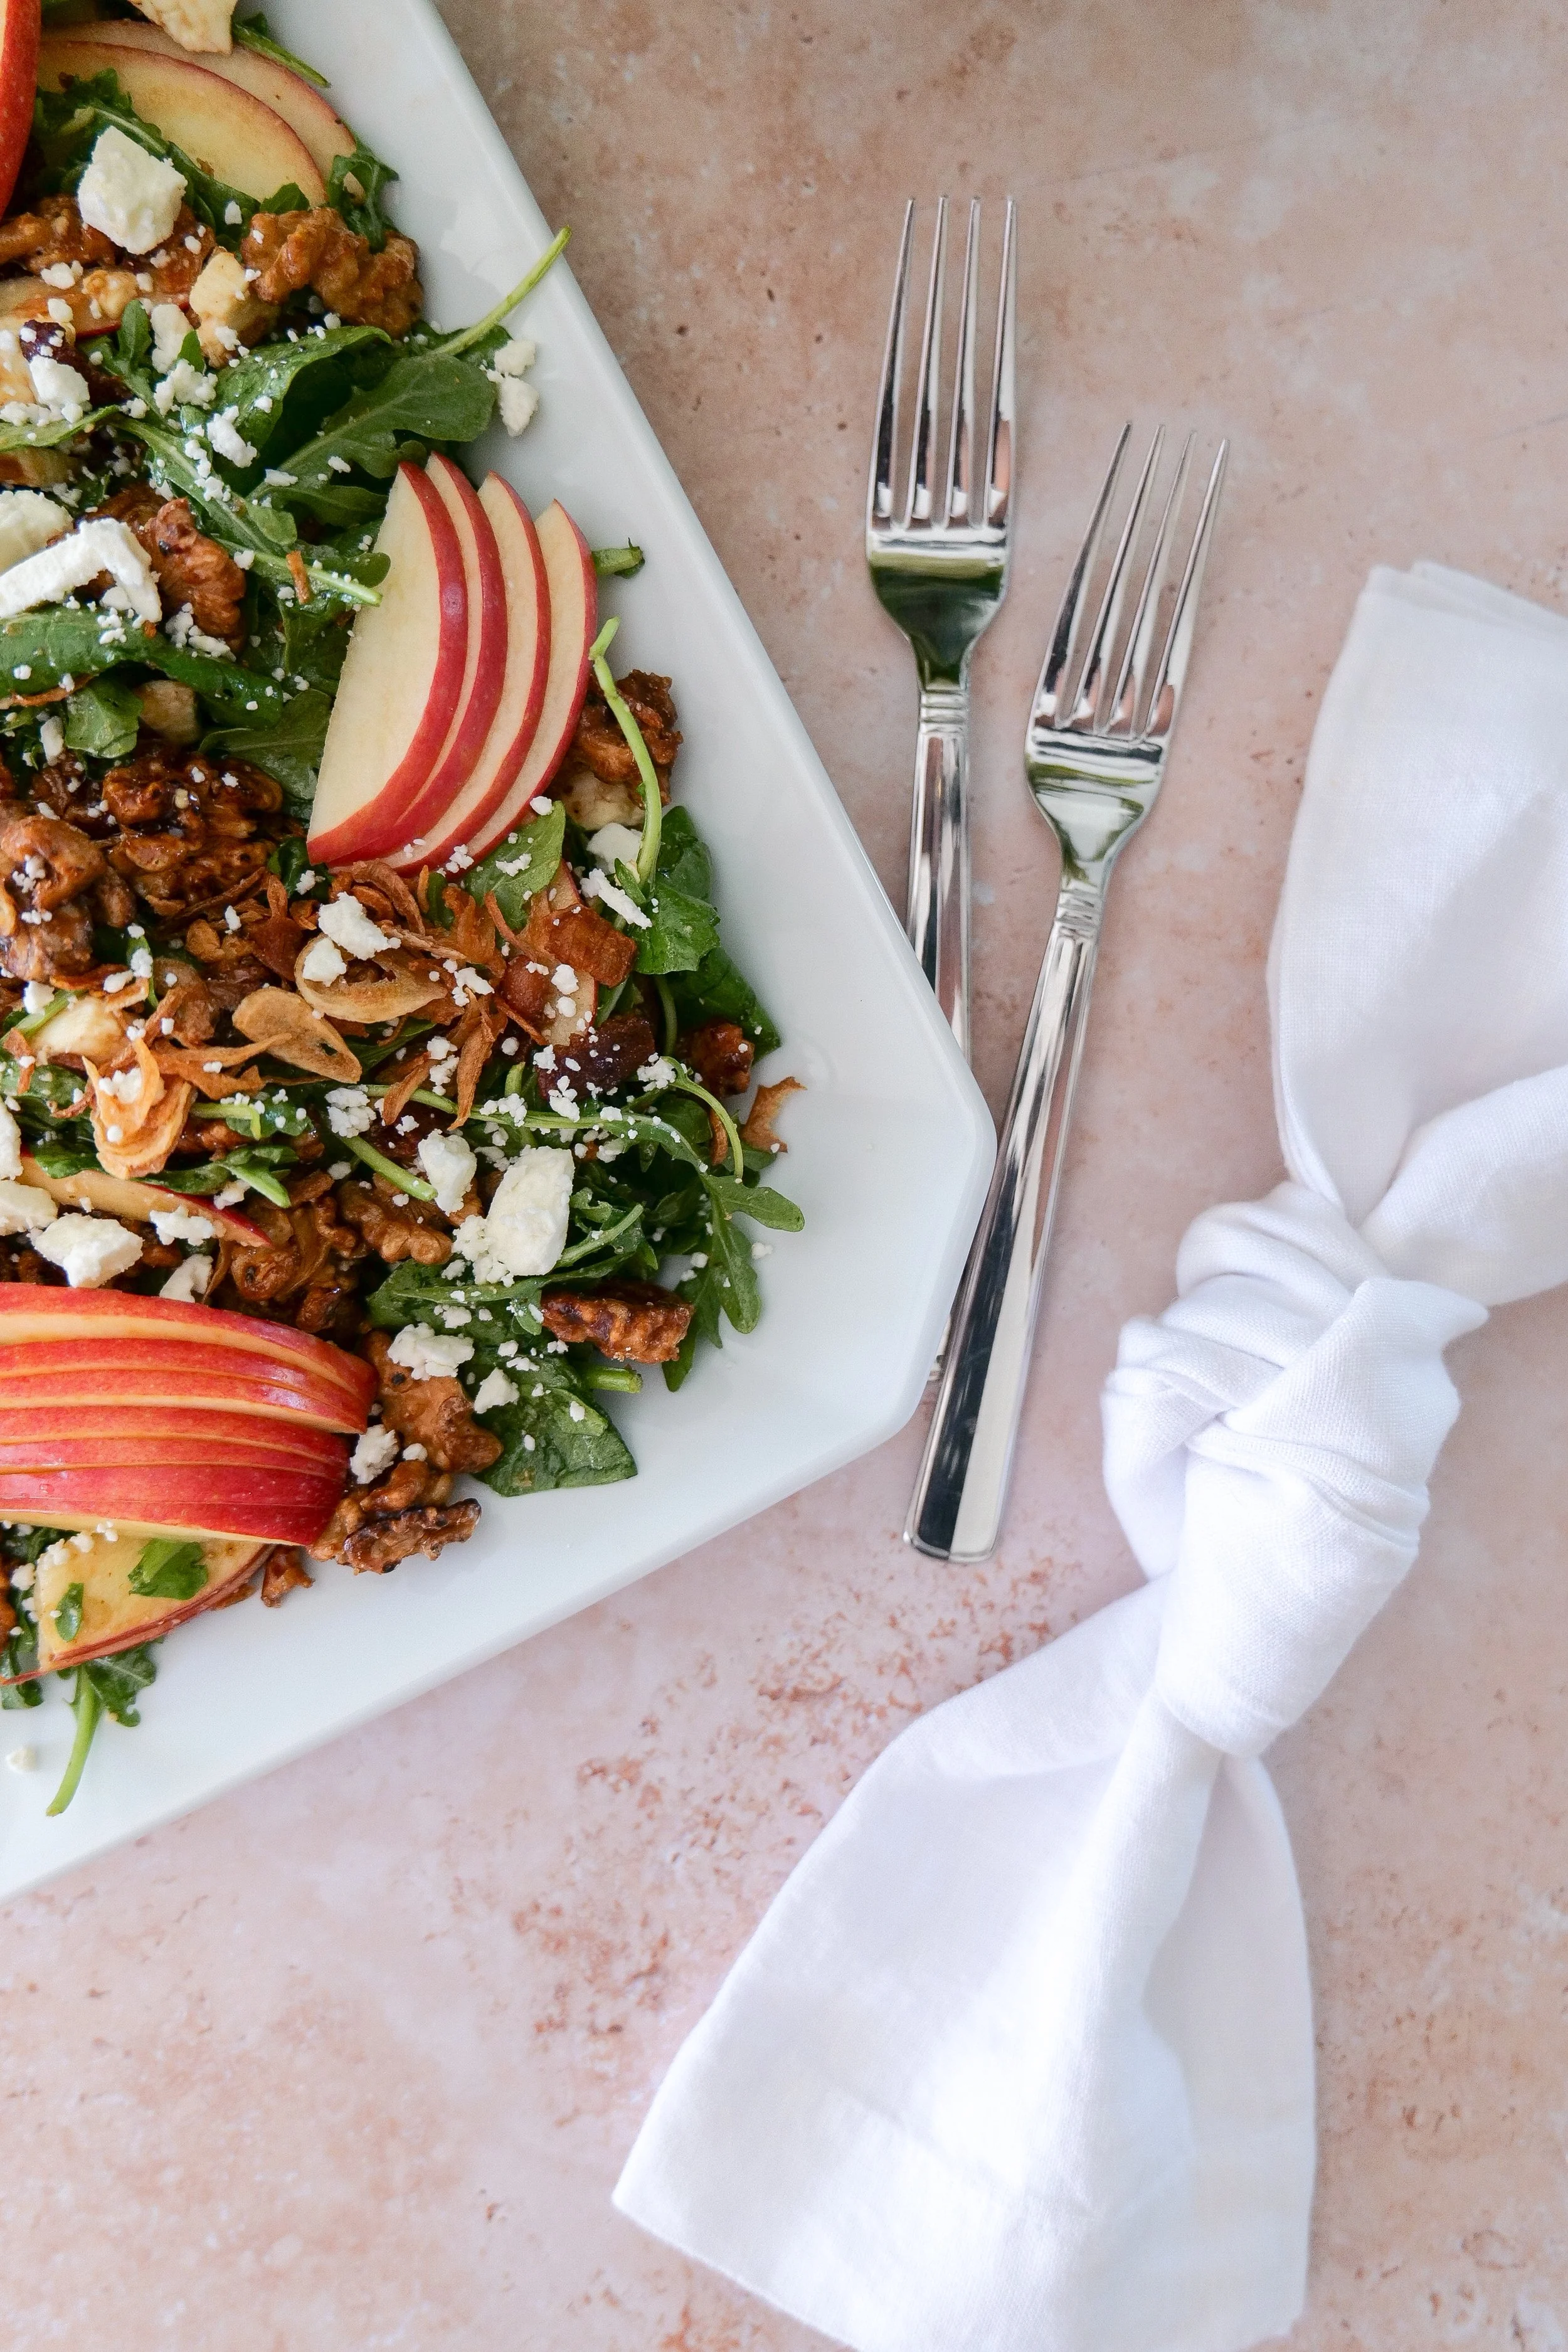
Colorful fall harvest salad with apples, bacon, feta, walnuts and crispy shallots.

How to Assemble the Prettiest Fall Salad

There actually is a trick to this.

And considering how beautiful this salad photographs, I wouldn't change it.

Add the spinach and arugula to your serving bowl.

Then add approximately half of your sliced apples, feta, crispy shallots, bacon and maple walnuts.

Drizzle with dressing and gently toss.

Once the salad is tossed, add the remaining apples, feta, shallots, bacon and walnuts over the top.

That last step matters.

If you put everything in before tossing, half of those gorgeous toppings disappear underneath the greens. Saving some for the end gives you all the flavor throughout the salad and keeps those beautiful fall colors and textures visible on top.

What Apples Are Best for Fall Salad?

You want an apple that stays crisp after slicing.

I personally love Pink Lady apples for this recipe. They're sweet rather than overly tart, stay beautifully crisp and their pink-red skin looks especially pretty against the greens.

Honeycrisp is another great choice if you want that sweet-tart balance.

For more tartness, use Granny Smith.

You can even combine two varieties if that's what you have at home.

I wouldn't peel the apples for this salad. The skin adds color, texture and is part of what makes the finished salad so beautiful.

Fall salad topped with homemade maple walnuts, sliced apples, feta cheese and bacon.
Apple salad with maple-glazed walnuts, crumbled feta, bacon and spinach and arugula.

Can I Substitute the Feta?

Absolutely.

Feta is my choice because its salty, tangy flavor cuts through the sweeter maple components without overwhelming the apples.

If you want to change it, goat cheese would be my first substitute. Its creamy texture is especially good with apples and walnuts.

Blue cheese would give you a much stronger flavor, but if you love blue cheese, it works beautifully with bacon and apple.

Just know that changing the cheese will change the overall personality of the salad — and I really do love the feta here.

Fall salad finished with crispy shallots, apples, bacon, feta and maple walnuts.

Amanda's Quick Tips

Make the walnuts first. They need time to cool and set before you add them to the greens.

Don't throw away the bacon fat. Measure out 1/4 cup while it's still easy to work with and save it for the dressing.

Slice the shallots thinly. This is what helps them get beautifully crispy.

Watch the shallots closely. Once they start turning golden, they can brown quickly.

Leave the apple skin on. It gives the salad more color and crunch.

Slice the apples fairly thin. You want apple in plenty of bites without large pieces taking over.

Save half the toppings. Toss half into the greens and add the rest after plating.

Don't dress it too early. Toss the salad closer to serving so the greens stay fresh.

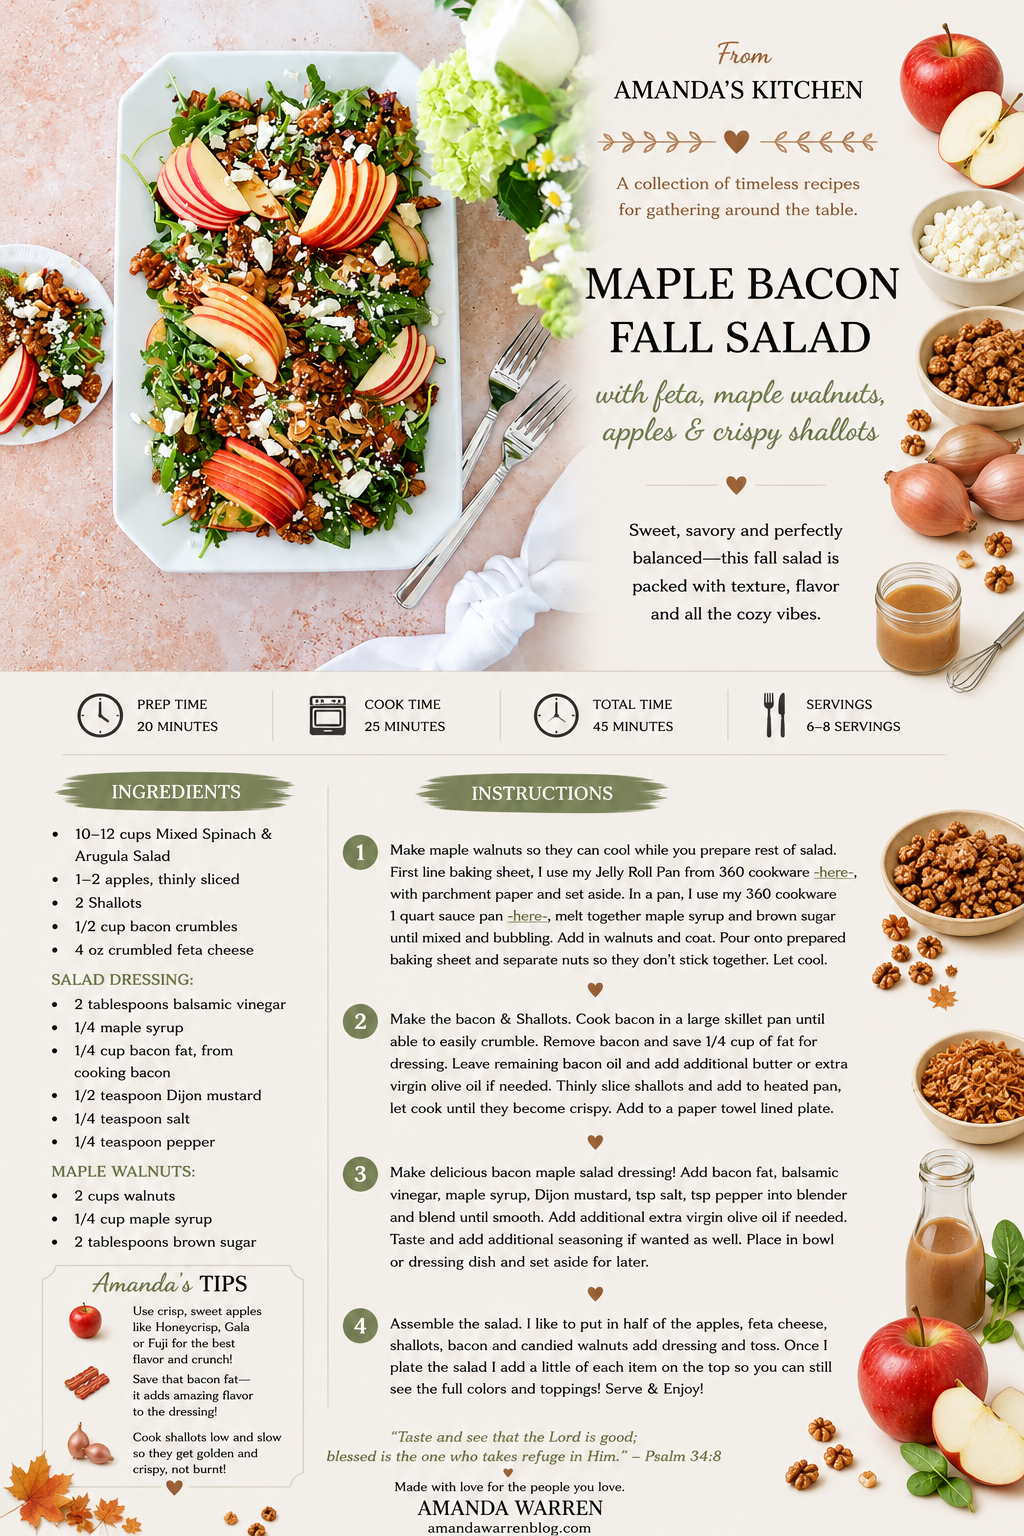
Maple Bacon Fall Salad with Apples, Feta & Maple Walnuts

A beautiful spinach and arugula salad with apples, maple bacon, feta, homemade maple walnuts, crispy shallots and maple bacon vinaigrette.

Ingredients

Salad

  • 10–12 cups mixed spinach and arugula

  • 1–2 apples, thinly sliced

  • 2 shallots

  • 1/2 cup bacon crumbles

  • 4 oz feta cheese, crumbled

Maple Bacon Vinaigrette

  • 2 tablespoons balsamic vinegar

  • 1/4 cup maple syrup

  • 1/4 cup bacon fat, reserved from cooking the bacon

  • 1/2 teaspoon Dijon mustard

  • 1/4 teaspoon sea salt

  • 1/4 teaspoon black pepper

  • Extra-virgin olive oil, if needed

Maple Walnuts

  • 2 cups walnuts

  • 1/4 cup maple syrup

  • 2 tablespoons brown sugar

Instructions

1. Make the Maple Walnuts

Line a baking sheet with parchment paper and set aside.

Add the maple syrup and brown sugar to a saucepan. Heat until melted together and bubbling.

Add the walnuts and stir until completely coated.

Transfer the walnuts to the prepared baking sheet and separate them so they don't stick together as they cool.

Allow to cool completely.

2. Cook the Bacon and Shallots

Cook the bacon in a large skillet until crisp enough to crumble.

Remove the bacon from the pan and reserve 1/4 cup bacon fat for the dressing.

Thinly slice the shallots.

Add the shallots to the hot skillet with the remaining bacon fat. Add a little butter or extra-virgin olive oil if additional cooking fat is needed.

Cook until golden and crispy.

Transfer to a paper-towel-lined plate.

3. Make the Maple Bacon Vinaigrette

Combine the reserved bacon fat, balsamic vinegar, maple syrup, Dijon mustard, sea salt and black pepper in a blender.

Blend until smooth.

Taste and adjust seasoning as desired. Add a little extra-virgin olive oil if needed to reach your preferred consistency.

4. Assemble the Salad

Add the spinach and arugula to a large serving bowl.

Add approximately half of the sliced apples, feta, crispy shallots, crumbled bacon and maple walnuts.

Drizzle with the maple bacon vinaigrette and gently toss.

Plate the salad and finish with the remaining apples, feta, shallots, bacon and walnuts so the colorful toppings remain visible.

Serve and enjoy!

Apple and feta fall salad with maple walnuts, bacon and crispy shallots.

Can I Make This Fall Salad Ahead of Time?

Yes — but I wouldn't assemble the entire salad ahead.

The trick is prepping the components.

Make the maple walnuts ahead and keep them separate once completely cooled.

Cook the bacon and crispy shallots and store them separately.

Prepare the dressing and refrigerate it in a covered container.

Slice the apples and toss the salad closer to serving for the best texture and appearance.

If the dressing has been refrigerated, remember that bacon fat firms when cold. Give the dressing time to come closer to room temperature and stir or blend it again before serving as needed.

What to Serve with Maple Bacon Fall Salad

This salad has enough going on that it can absolutely be the star of a lighter meal, but it's also such a good side for a cozy fall dinner.

I especially love it alongside a simple roasted chicken or another warm autumn main dish.

If you're planning a fall dinner, my Apple-Glazed Chicken Thighs would be such a natural pairing with the apples and maple flavors here.

And for one of the prettiest fall dinners we've made, serve it alongside my Creamy Walnut Chicken Stuffed Pumpkins. The walnut connection ties the two recipes together beautifully.

Spinach and arugula fall salad topped with apples, feta, bacon and maple walnuts.

Frequently Asked Questions

Can I make the maple walnuts ahead of time?

Yes. In fact, I prefer making them before assembling the rest of the salad so they have plenty of time to cool and the maple coating can set.

What apples are best for this fall salad?

Pink Lady is my personal favorite because it's crisp, sweet and beautiful in the finished salad. Honeycrisp and Granny Smith are also good options depending on how sweet or tart you prefer your apples.

Can I use goat cheese instead of feta?

Yes. Goat cheese is probably my first choice if you're substituting the feta because its creamy, tangy flavor works beautifully with apples, bacon and maple walnuts.

Can I make the maple bacon vinaigrette ahead?

Yes. Store it covered in the refrigerator. Because the dressing contains bacon fat, it can firm when chilled, so allow it to warm slightly and stir or blend again before serving if needed.

How do I keep the apples from browning?

For the prettiest presentation, slice the apples closer to when you plan to serve the salad. If you need to cut them earlier, a small amount of lemon juice can help slow browning, although it will add a little acidity.

When should I dress the salad?

Dress and toss the salad shortly before serving. This keeps the spinach and arugula fresher and prevents the greens from becoming soggy.

Colorful fall salad arranged with apples, feta, maple walnuts, bacon and golden crispy shallots.
Maple bacon harvest salad with crisp apples, mixed greens, feta cheese and walnuts.
Fresh apple walnut salad with bacon, crumbled feta and crispy shallots over mixed greens.
Easy fall salad with thinly sliced apples, bacon, feta, walnuts and crispy shallots.
Maple bacon apple fall salad topped with feta, maple walnuts and crispy shallots over fresh mixed greens.

Save This Recipe

Whether you're planning a cozy fall dinner, adding something beautiful to your Thanksgiving table or simply want a salad that makes the most of apple season, I've included a printable recipe card below so it's easy to save, print and make again.

Printable From Amanda’s Kitchen recipe card for maple bacon fall salad with apples, feta and maple walnuts.

A Note From Amanda

I know a salad isn't usually the dish everyone gathers around the table talking about — but this one might be an exception.

There's something about all those fall colors piled into one bowl, with the apples, maple walnuts, crispy shallots and feta peeking through the greens, that makes it feel just as special as the rest of the meal.

And then there's that maple bacon dressing.

This is the kind of recipe I love for fall: beautiful enough to put in the middle of a gathering, but made from familiar ingredients that simply taste really good together.

I hope it finds its way onto your table this season.

"Taste and see that the Lord is good."
Psalm 34:8

Made with love for the people you love.

Delight in Every Bite: Pumpkin Swirl Brownies

The love of the smell of freshly baked brownies is universal, but when autumn arrives, incorporating the essence of the season into the classic treats leads a delightful recipe. These Pumpkin Swirl Brownies are a perfect blend of deep chocolate tones and the comforting spices of a pumpkin pie. This dessert is a symphony of flavors that echoes the spirit of the fall season. Chocolate and pumpkin might just be the unsung heroes of the autumn flavor palette. Not only do Pumpkin Swirl Brownies satisfy that deep, chocolaty craving, but they also embrace the nostalgia of pumpkin pie spices. Crafting these brownies involves preparing a chocolate brownie batter and a pumpkin spice blend separately. Layering and swirling the two batters together creates a beautiful, marbled design. The result is a creation that not only looks impressive but delivers a complexity of flavors that will have everyone rushing to the kitchen.

In this simple yet exquisite dessert, each ingredient plays an important role. To achieve the perfect Pumpkin Swirl Brownie, you'll need brownie ingredients, pumpkin layer and a good swirl technique. Begin by sourcing fresh, quality ingredients, including real pumpkin puree, not just for its taste but for the moistness it lends. For the brownie this includes classics like melted chocolate or cocoa powder, flour, sugar, and butter that provide the dense and chocolatey foundation. For the pumpkin layer it will be made with real pumpkin puree, cinnamon, nutmeg, and cloves, as this mixture infuses the brownies with the season's signature scents and tastes. Lastly, achieving the swirl technique involves adding dollops of pumpkin mixture atop the brownie batter and artfully swirling with a knife.

The Art of Swirling Success:

- Place spoonsful of pumpkin batter about an inch apart on top of the chocolate layer.

- Using the tip of a knife or toothpick, glide through the batters in a swirling motion to create a marbled effect.

- Tap the pan gently on the countertop to settle the batter and enhance the swirls' visibility.

- For a pronounced pattern, use a consistent swirling motion.

- To enhance the effect, alternate the swirl direction between adjacent rows.

- Remember, less is more, and over-swirling can muddy the distinct flavors.

The swirling not only makes for a stunning presentation but also allows every bite to deliver a great fusion of flavors. Visual appeal is half the treat with these brownies. Achieving it is a simple, yet delicate process so be sure to follow these steps on how to swirl brownies.

Pro Tips for Ultimate Brownie Success

Crafting perfection requires more than a just a recipe, it also at times requires a certain finesse. Some expert tips on how to achieve this for the best pumpkin brownies are as follows. First don't skimp on the good stuff, find high-quality chocolate. The type of chocolate you use matters. Opt for a rich, high-quality chocolate for the best flavor. Same goes for your pumpkin so be sure to find a quality pumpkin puree. For the best flavor and texture, use unadulterated pumpkin puree. Next you need to spice it right. Don’t skimp on the fall spices, they are after all the soul of the pumpkin layer. Like we mentioned above, make sure to use smooth swirls. This is so important that I feel like I have to mention it twice. Use a skewer, knife tip or the handle end of a spoon for more control when swirling. Lastly before putting in the oven be sure to do pan tapping. Gently tap the pan before baking to remove any air bubbles. Just like with any recipe consistent oven temperature is key. An overlooked element in brownie baking is oven temperature. Make sure your oven is properly calibrated for the perfect bake. A few careful steps can elevate your brownie experience from delightful to unforgettable. Enjoy these moist and flavor-packed Pumpkin Swirl Brownies and remember that each bite is a perfect celebration of the season.

These brownies represent a comforting fusion of worlds where the timeless appeal of a gooey chocolate brownie meets the warm, spiced caress of pumpkin. It's a match made in heaven, and especially one for the Fall months. This treat is perfect for enjoying with a hot drink as the leaves turn golden. The Pumpkin Swirl Brownie is not just a seasonal delicacy, as you'll find that it's so loved that people will crave it year-round. Appreciate the moist, tender crumb of these brownies, as it is a result of the perfect balance between chocolate and pumpkin. With every swirl, just the right hint of cinnamon, nutmeg, and clove will hit your taste buds amid the backdrop of the decadent chocolate. Take pleasure in creating and savoring these glorious Pumpkin Swirl Brownies. They are sure to become a treasured part of your fall tradition and will have your entire house filled with the best smells of fall.

Ingredients

Brownie Batter

½ cup dark brown sugar packed

1 cup granulated sugar

3 large eggs

2 teaspoons vanilla extract

1/2 cup salted butter

1 cup all-purpose flour 

1/2 cup unsweetened cocoa powder

1/2 tsp baking powder

¼ teaspoon salt

1 cup heavy whipping cream

Pumpkin Batter

1 cup pumpkin puree

1/4 cup granulated sugar

6 oz cream cheese, softened

3/4 teaspoon cinnamon

1/2 teaspoon ground cloves

1/2 teaspoon ground nutmeg

1 large egg

Instructions

  1. Preheat the oven to 350 degrees and oil and line an 9X13 pan with cooking spray and parchment paper (if desired).

  2. In a large mixing bowl, whisk together the melted butter, dark brown sugar, and granulated sugar until light and fluffy. Add in eggs and vanilla and mix again. Set aside.

  3. In another medium bowl, whisk together the all-purpose flour, salt, baking powder and unsweetened cocoa powder. Gradually mix in wet ingredients into dry. Lastly, add in heavy whipping cream.

  4. Pour the batter into the prepared pan and begin mixing pumpkin mixture.

  5. In a medium sized bowl mix together cream cheese and sugar until blended. Add in pumpkin, spices and egg.

  6. Once blended add in large spoonsful of pumpkin batter on top of brownie mix. Using a knife swirl batter and pumpkin mixture, be sure to not over blend the two together but make a swirl. Tap on table to remove air bubbles.

  7. Bake for 45 minutes or until a toothpick inserted comes out clean. Remove from oven and let cool for five minutes. Cut into squares, serve and enjoy!

Other Delicious Pumpkin Recipes You Will Love:

Deliciously Sweet: Mastering the Perfect Pumpkin Molasses Cookie Recipe for the Autumn Season

The Ultimate Thanksgiving Dessert - My Pumpkin Crisp Recipe

Savor the Fall Season with the Perfect Pumpkin Espresso Martini

Yummy Pumpkin Ice Cream Recipe with a Twist: Pumpkin Molasses Cookie Chunks!

Sweet Serenity: Mastering the Art of Pumpkin Cinnamon Rolls with Cream Cheese Icing

Deliciously Sweet: Pumpkin Coffee Cake with Pecan Crumbles

Baked Burrata Pumpkin Ziti with Pork Sausage Recipe

Save This Recipe

Whether you're planning ahead for a special occasion or adding a new favorite to your recipe collection, I've included a printable recipe card below so it's easy to save, print, and share with the people you love.

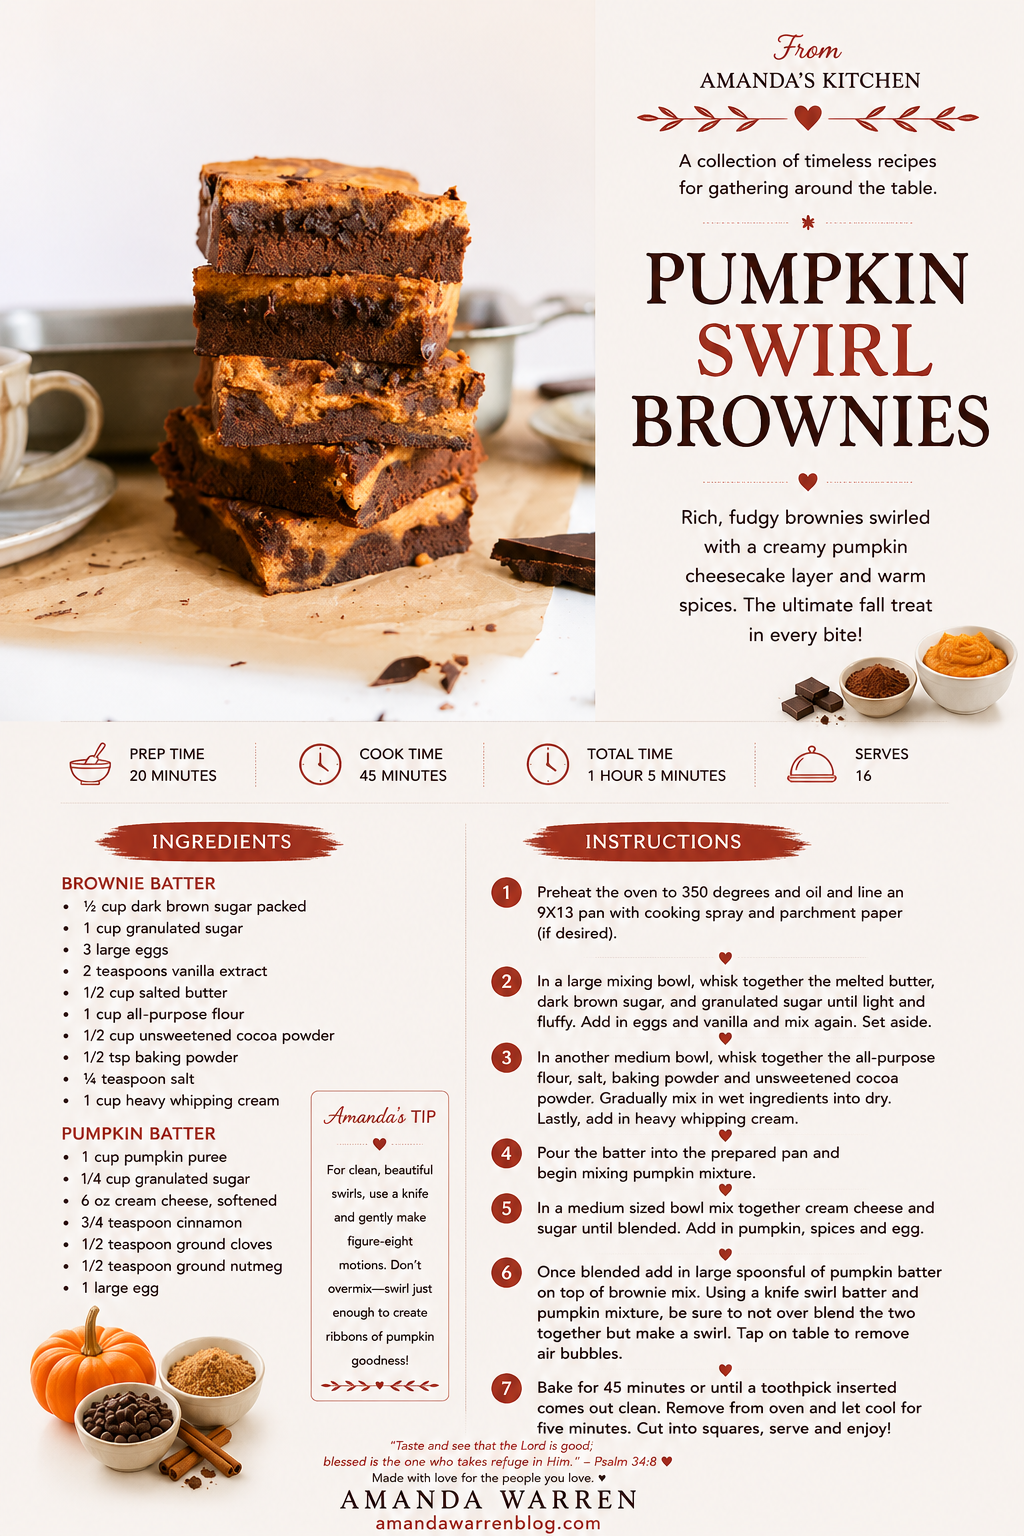
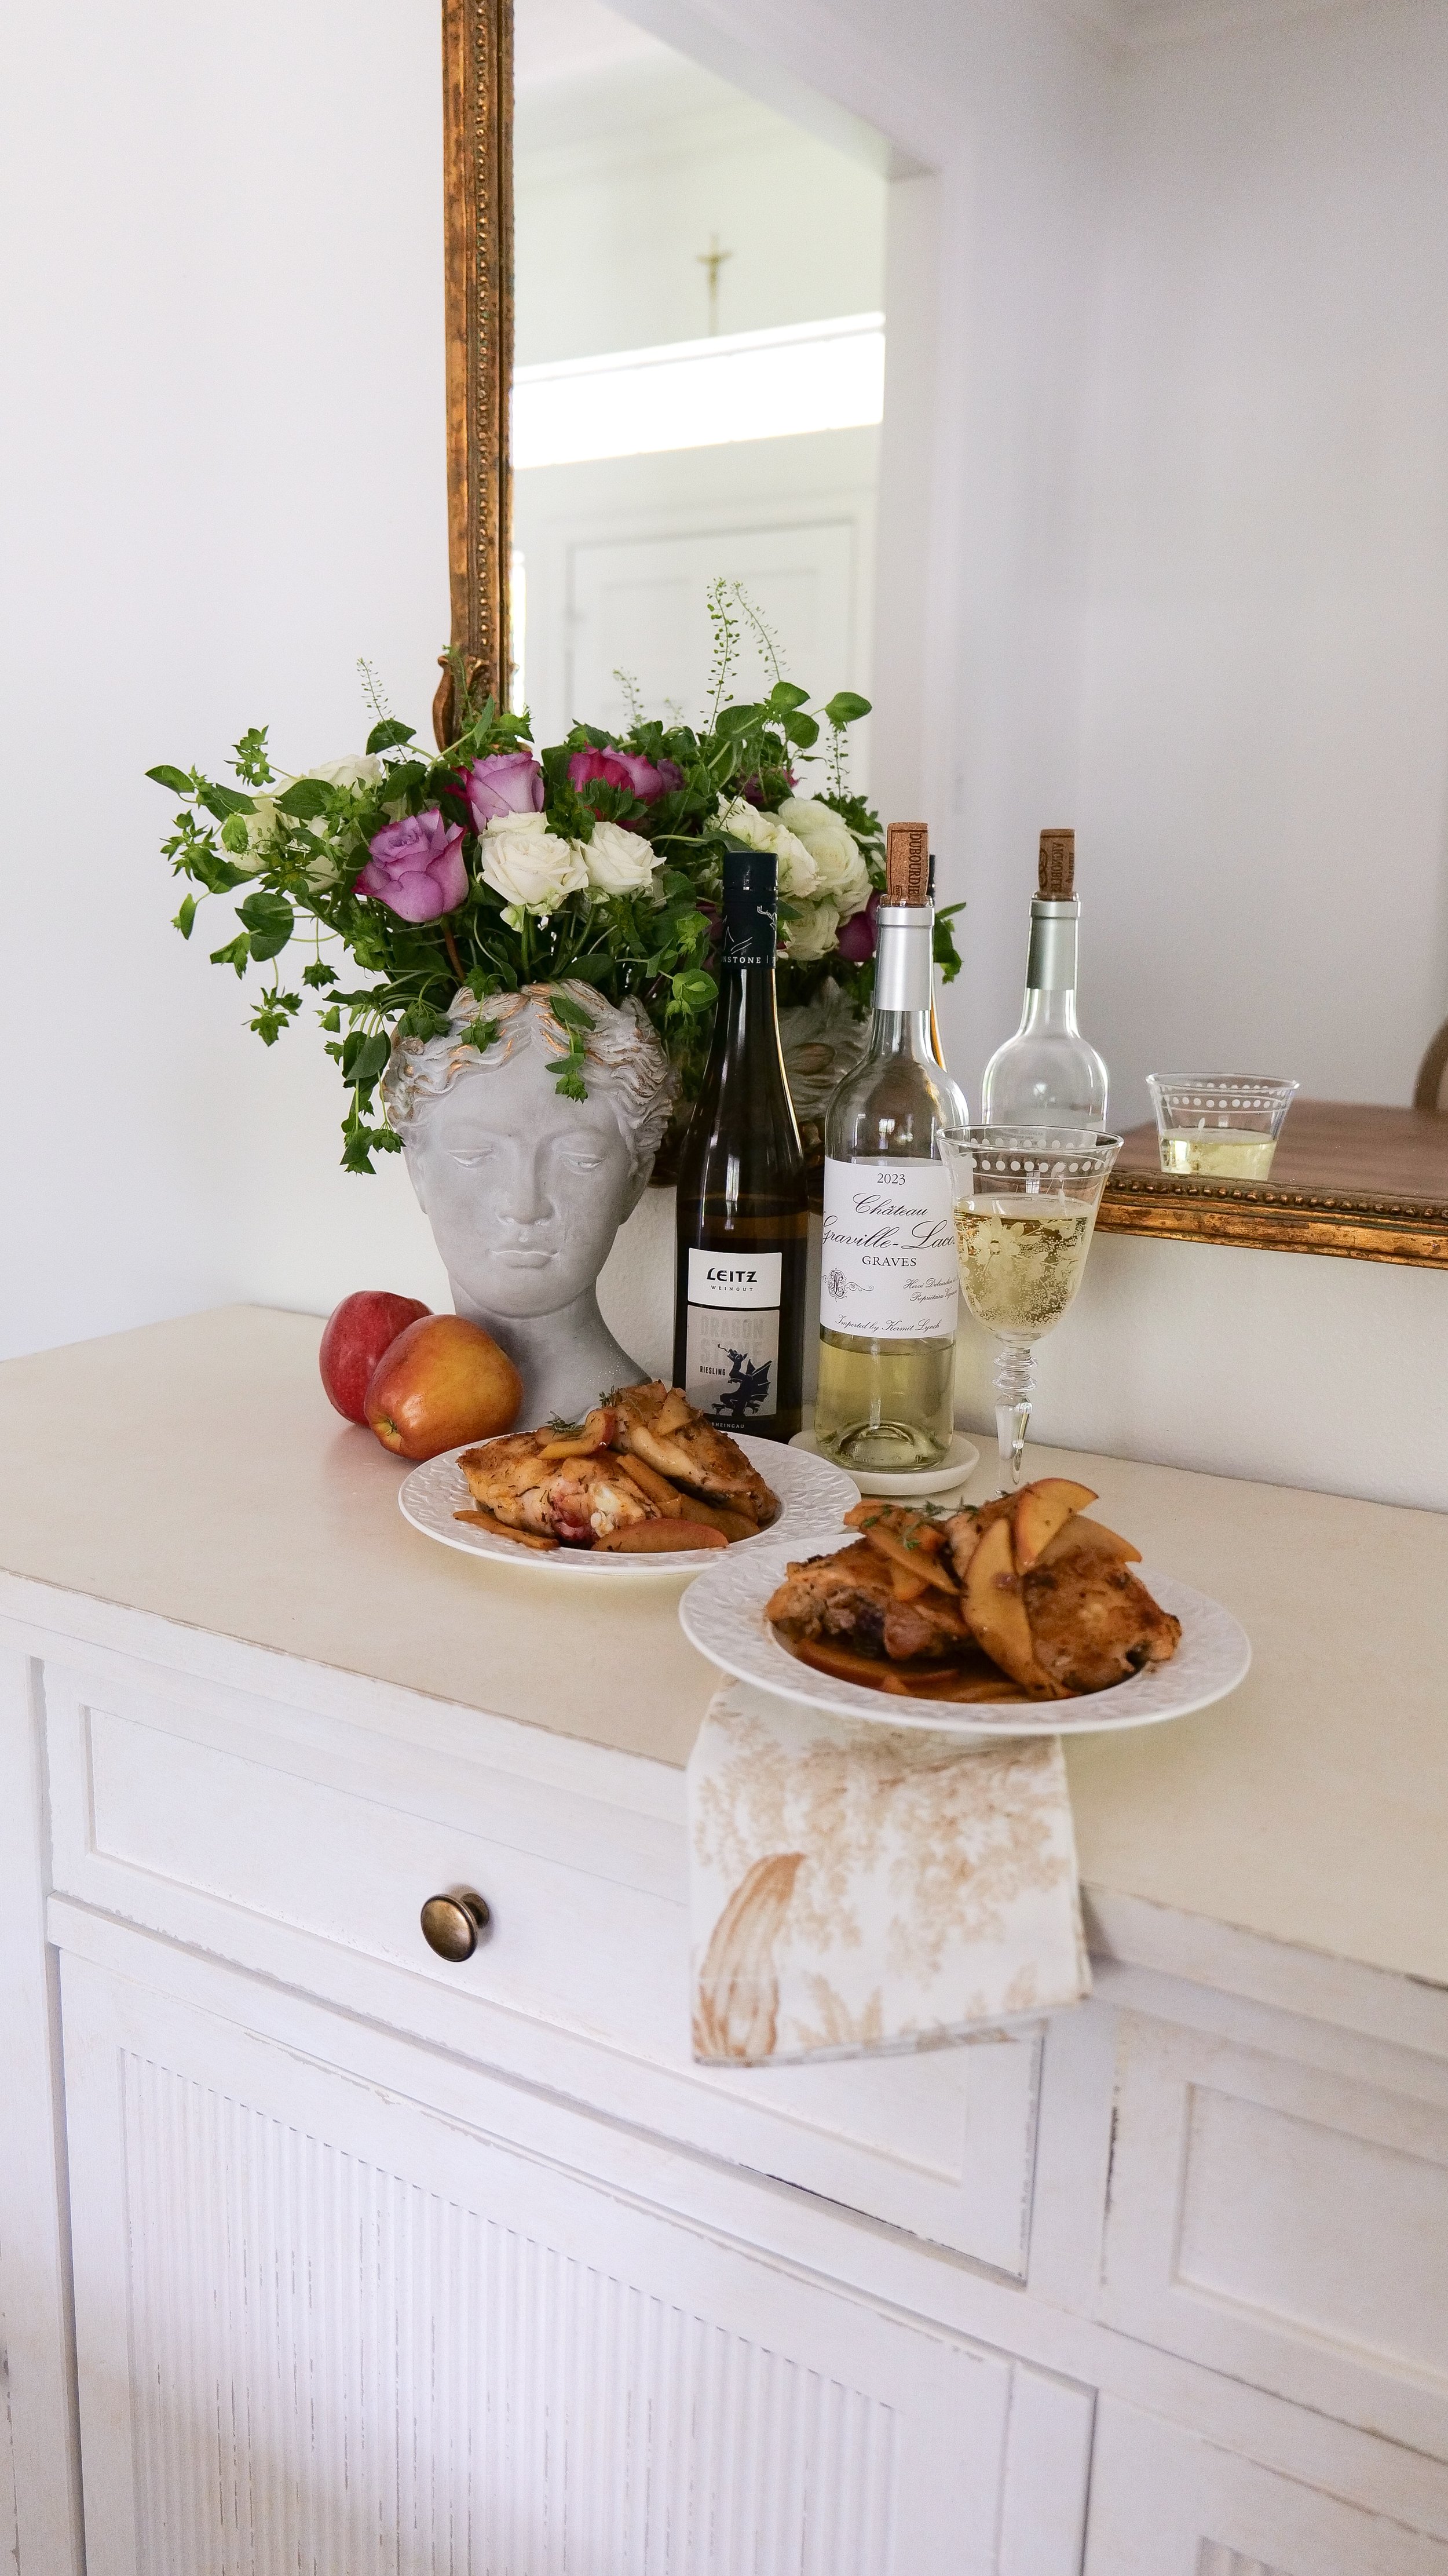
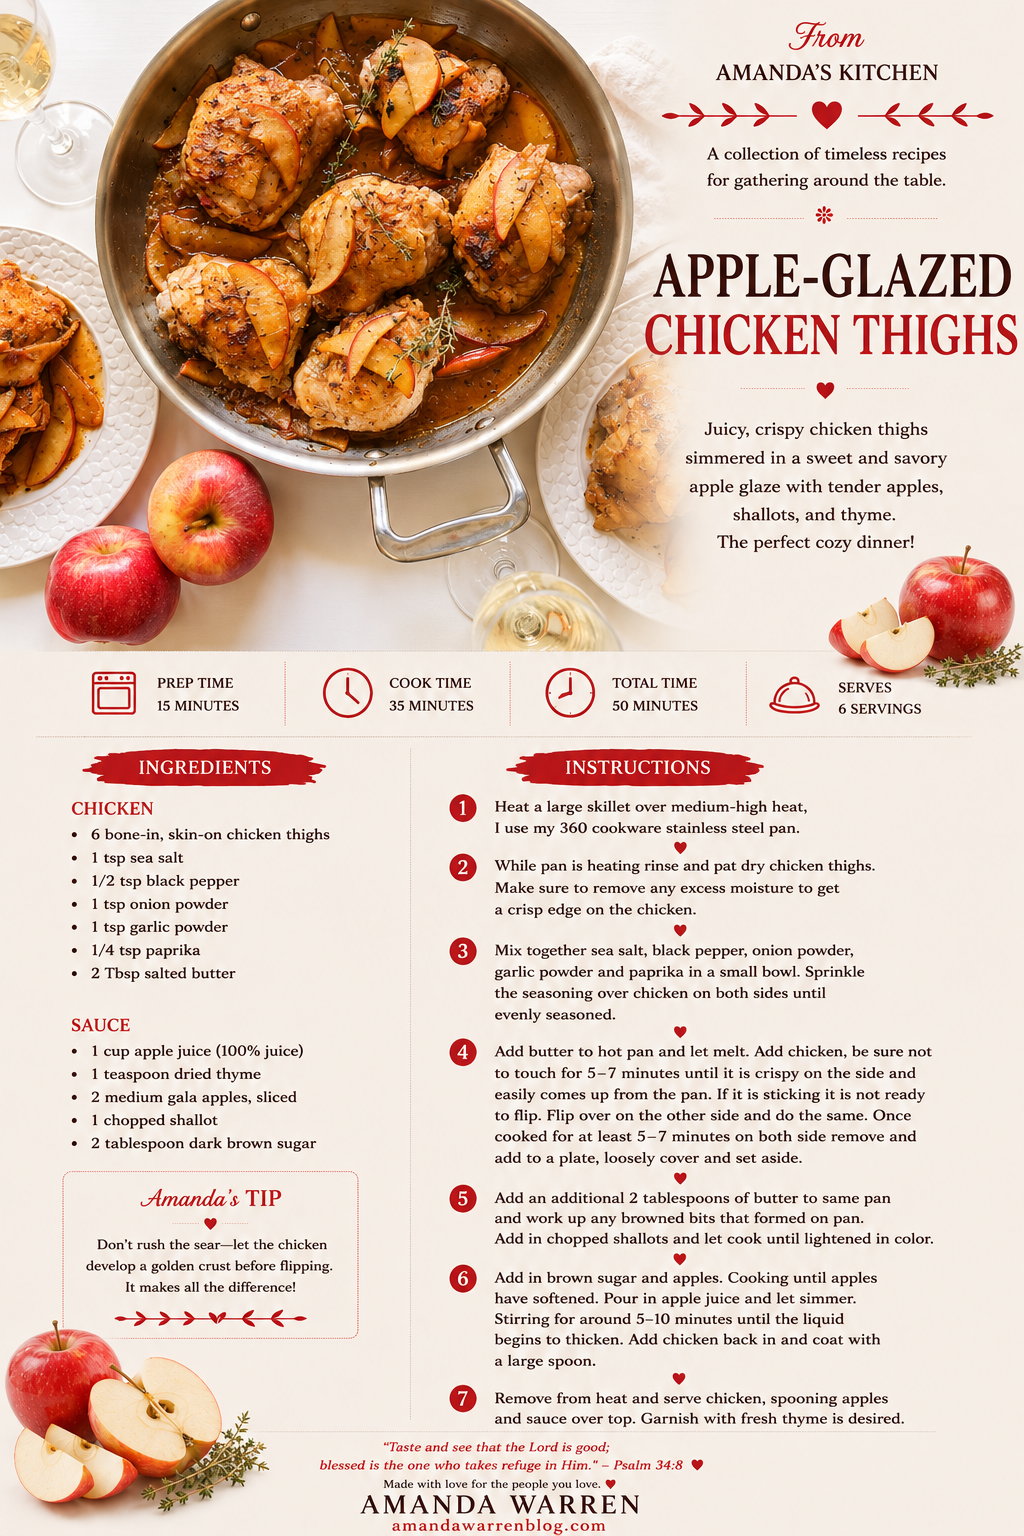
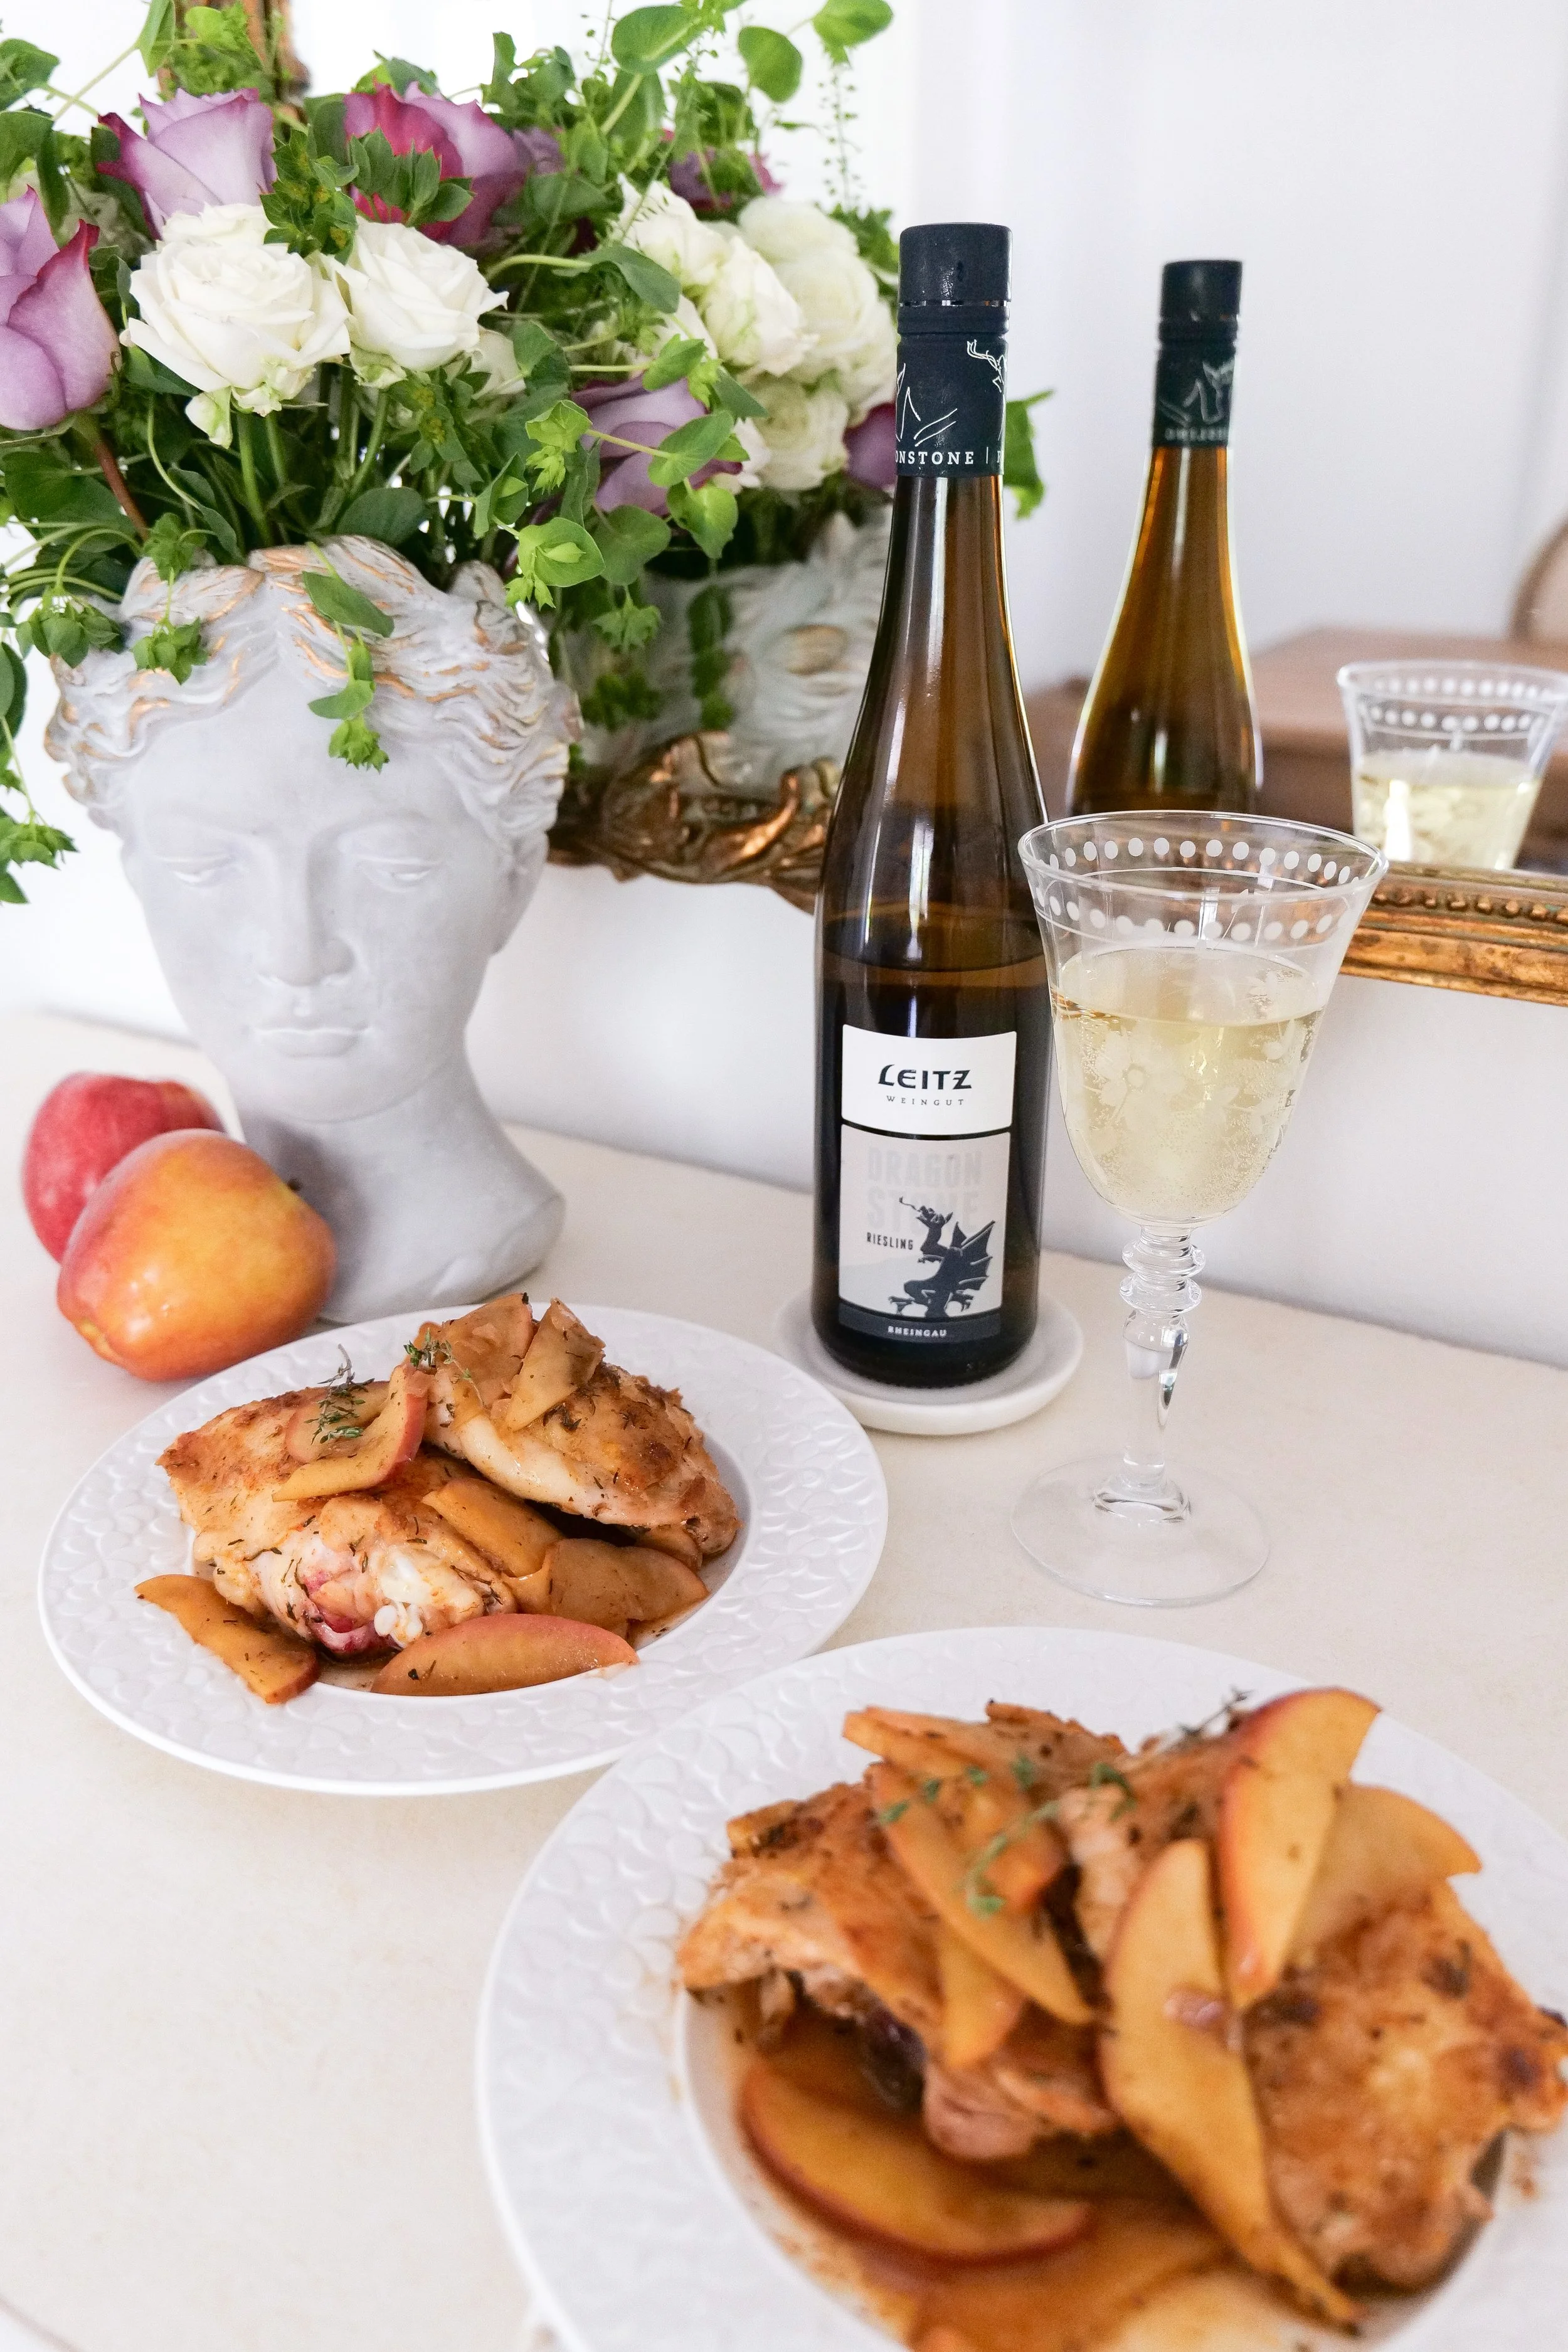
Apple-Glazed Chicken Thighs : A Fall Dinner Everyone Will Love

Apple Glazed Chicken Thighs are a delicious and unique spin on the traditional chicken meal. This savory dish features tender chicken thighs coated in a sweet and tangy apple glaze. Combining traditional, simple ingredients such as chicken thighs, apple cider or juice, fresh herbs, and spices, this dish brings a balanced mix of sweet and savory flavors to your dinner table. Whether you're preparing a weeknight dinner or a weekend feast, this versatile recipe can be paired nicely with the usual good side dishes like roasted vegetables or rice for a complete, satisfying meal.

One Pan Apple Glazed Chicken Thighs offer an easy and convenient way to prepare a delicious dinner without the hassle of multiple dishes. This straightforward recipe combines the juiciness of chicken thighs with a delectable apple glaze for an explosion of flavors. The appeal of a one-pan meal lies in its simplicity, making it perfect for busy weeknight dinners where time and cleanup time are extra important. The combination of tangy sweetness from the apples and the richness of well-cooked chicken creates a delightful dish that is sure to please. Once again, you can serve this dish with various sides such as mashed potatoes, rice, or seasonal vegetables to create a satisfying meal.

Can I Make This Recipe with Chicken Breasts?

Of course, you can make this Apple Glazed Chicken Thighs recipe with chicken breasts or other cuts if you prefer. Using chicken breasts results in a leaner dish, providing a healthier option without compromising the delicious apple glaze. To adapt the recipe, you must adjust the cooking time, as chicken breasts cook faster than thighs. This helps to avoid drying them out. Ensure that the apple glaze is evenly distributed over the chicken breasts for consistent flavor throughout the dish. The internal temperature should reach 165°F for safe consumption.

Chicken pairs remarkably well with fruit-based glazes like the apple one. The blend of natural sweetness from apples combined with the savory profile of chicken creates an elevated flavor that can turn an ordinary meal into a feast. It's an excellent option for anyone looking to elevate their everyday chicken meals with a unique recipe.

What Ingredients Do I Need to Make Apple-Glazed Chicken Thighs?

To make Apple Glazed Chicken Thighs, gather a few essential ingredients to create this flavorful dish. You'll need bone-in, skin-on chicken thighs for optimal juiciness and flavor. The glaze requires apple cider and apple cider vinegar as the base, while honey or brown sugar adds the necessary sweetness. Spices such as garlic, thyme, and paprika elevate the taste profile. Finally, salt, pepper, and butter are essential for marinating the chicken, ensuring it absorbs maximum flavor before cooking.

What Type of Apples Work Best for the Glaze?

Choosing the right type of apples is critical to creating a balanced and the right flavorful glaze for this type of meal. Tart apple varieties, such as Granny Smith, are recommended for their balanced sweetness and sharpness. Firm apples hold their shape during cooking, adding texture to the glaze. Avoid overly sweet apples like Red Delicious, as they may overpower the other flavors of the dish. Honeycrisp apples are a good choice due to their crisp texture and balanced flavor profile. You can even combine different types of apples to create a more complex and layered glaze flavor. My personal favorite for this meal is to use gala apples, but you can feel free to substitute for any apples you choose.

Can I Use Boneless Skinless Chicken Thighs Instead of Bone-In?

Yes, you can use boneless skinless chicken thighs instead of bone-in for the Apple Glazed Chicken Thighs recipe. Boneless thighs cook faster, so you will need to adjust the cooking times to avoid overcooking them. They are also easier to serve and eat, making them a convenient option. However, it's worth noting that the flavor and moisture retention might be slightly different from bone-in thighs. Ensure the boneless thighs are evenly coated with the apple glaze to maintain a consistent taste throughout the dish.

What Side Dishes Pair Well with Apple Glazed Chicken Thighs?

Pairing the Apple Chicken Thighs with the right-side dish can enhance your dining experience. Some recommendations are roasted vegetables like carrots, brussels sprouts, and sweet potatoes will complement the sweet and savory glaze. Something creamy like mashed potatoes balance the tangy apple glaze with their smooth texture. A fragrant rice pilaf adds an aromatic component that harmonizes well with the chicken's flavors. However, you can never go wrong with a fresh green salad with a light vinaigrette provides a refreshing, crisp contrast. Looking for something nutty and protein-rich quinoa serves as a healthy, versatile side that pairs deliciously. All of this complement well and you can't go wrong with serving any of them alongside this chicken apple glaze recipe.

Apple Chicken Thighs offer a delightful way to elevate your chicken dinner with minimal effort. By choosing high-quality ingredients, marinating correctly, and pairing with the right side dishes, you can ensure a meal that's both flavorful and satisfying. Whether you opt for a one-pan method or grill for added flavor, this recipe will undoubtedly become a family favorite. Incorporate the unique flavors of apples and perfectly cooked chicken thighs into your next meal, and watch as it transforms an ordinary dinner into a gourmet experience. From busy weeknights to special occasions, Apple Glazed Chicken Thighs are the perfect way to impress and satisfy. Happy cooking!

Apple Glazed Chicken Thighs

Ingredients

6 Servings

6 bone-in, skin-on chicken thighs

1 tsp sea salt

1/2 tsp black pepper

1 tsp onion powder

1 tsp garlic powder

1/4 tsp paprika

2 Tbsp salted butter

1 cup apple juice (100% juice)

1 teaspoon dried thyme

2 medium gala apples

1 chopped shallot

2 tablespoon dark brown sugar

Instructions

1. Heat a large skillet over medium-high heat, I use my 360 cookware stainless steel pan.

2. While pan is heating rinse and pat dry chicken thighs. Make sure to remove any excess moisture to get a crisp edge on the chicken.

3. Mix together sea salt, black pepper, onion powder, garlic powder and paprika in a small bowl. Sprinkle the seasoning over chicken on both sides until evenly seasoned.

4. Add butter to hot pan and let melt. Add chicken, be sure not to touch for 5-7 minutes until it is crispy on the side and easily comes up from the pan. If it is sticking it is not ready to flip. Flip over on the other side and do the same. Once cooked for at least 5-7 minutes on both side remove and add to a plate, loosely cover and set aside.

5. Add an additional 2 tablespoons of butter to same pan and work up any browned bits that formed on pan. Add in chopped shallots and let cook until lightened in color.

6. Add in brown sugar and apples. Cooking until apples have softened. Pour in apple juice and let simmer. Stirring for around 5-10 minutes until the liquid begins to thicken. Add chicken back in and coat with a large spoon.

7. Remove from heat and serve chicken, spooning apples and sauce over top. Garnish with fresh thyme is desired.

Other Delicious Dinner Recipes

Salsa Verde Chicken Enchiladas

Slow Cooker Orange Chicken

Delicious and Easy Oven Baked Drumsticks Recipe

The Perfect Pair: Chicken Picatta and J. Lohr Wine

Mediterranean Chicken & Rice Bowls made with Minute Rice

The Perfect Summer Meal: Grilled Chicken, Mexican Street Corn & Cucumber Salad

Easy & Flavorful Fiesta in a Bowl: Ultimate Slow Cooker Chicken Tortilla Soup Recipe!

Save This Recipe

Whether you're planning ahead for a special occasion or adding a new favorite to your recipe collection, I've included a printable recipe card below so it's easy to save, print, and share with the people you love.

Discover the Magic in Every Bite: Pumpkin Cream Cheese Muffins with Streusel Topping

As the leaves begin to swirl in the crisp autumn air and the scent of pumpkin spice fills our homes, it's once again time to embrace the flavors of the season. The delicious combination of pumpkin and cream cheese is a hallmark of fall, bringing comfort and warmth to our palates, and when you top this amazing duo with a crumbly, sugary streusel topping, you create a happy mix of textures and tastes that are delightfully festive. Imagine taking a bite into a muffin that merges the soul-warming flavors of pumpkin pie with the luxuriousness of cheesecake. This isn't just any old ordinary muffin, as it's also a decadent fusion of pumpkin pie and cheesecake flavors in a form that fits perfectly in the palm of your hand. These treats are perfect for any occasion from a cozy breakfast to a grand ending post-dinner, not to mention their status as a beloved festive snack during holiday gatherings. To fully appreciate these confections, imagine savoring them on a brisk morning, wrapped in a soft sweater, with a mug of hot cider close at hand.

3 Components To These Muffins

Every stellar recipe starts with understanding its components. Three key components define these delicious muffins. The creation of pumpkin cream cheese muffins is an artful process, inviting you to blend spices and textures. You begin with a warm spiced pumpkin muffin batter covered with the coziness of cinnamon and nutmeg. This base acts as a canvas, flavored with autumn's signature spices. The spiciness of cinnamon and the subtle warmth of nutmeg coax out the full spectrum of pumpkin's potential.

After the batter is ready, you will prepare a heavenly cream cheese mixture, sweetened to perfection and made more complex with a hint of vanilla. The cream cheese, sweet and tangy, nestles within, creating a creamy contrast that melts in the mouth. A delicious surprise waiting at the heart of the treat.

Next up is the streusel. Crowning it all is the streusel topping where butter meets sugar and flour to form a crumbly texture that breaks up the softness of the muffin with a welcome bite. After careful assembly, the muffins are baked until their tops take on a golden color, and the streusel crisps to perfection. What you're left with is a seasonal treat that's not just a delight to the senses but a comforting embrace for the soul. These perfect treats for autumn encapsulate all of the loved flavors in a single baked good, a are a fusion of delight in every bite.

These muffins are an easy bake for both baking beginners and seasoned pastry chefs to explore a world filled with the lovely scents and flavors of fall. Perfect for snagging on your way out or enjoying during a quiet moment, these muffins are the perfect example of autumn comfort food, delicious down to the last crumb.

Crafting the perfect batch requires a few key tips. Starting with a spiced pumpkin muffin batter with pure pumpkin puree and quintessential autumn spices ensures a base of deep, rich flavor. Begin with a true fall flavor base using pure pumpkin puree spiced just right. This is the perfect recipe to use up all your extra pumpkin puree from those pumpkin pies you are baking this time of year. Next you have a creamy cheese filling that not only adds a sweet, tangy contrast but also a moisture that beckons with every bite. Cream cheese filling should be light and tangy to complement the muffin's richness. This can be added after or before baking and swirled throughout. The choice is yours. Lastly to top it all off, a crunchy streusel of flour, brown sugar, and butter introduces a caramelized sweetness that ties everything together. A well-made streusel crowns the muffin with a caramelized crunch. Carefully layer for even flavors and bake until the golden hue signals readiness.

Properly layering each component within the muffin cups guarantees a uniform distribution of flavors, making every muffin a complete taste experience. Baking until the muffins are golden and the streusel is just crisp allows the diverse elements to meld into an indulgent autumn pastry that is both moist and crunchy. Follow these tips, and you'll have a perfect muffin that no one can resist, especially with a warm drink and watching the leaves fall.

Can I make the streusel topping ahead of time?

In the world of efficient baking, streusel topping is your ally, capable of being prepared in advance. Make your streusel and store it in an airtight container in the fridge for up to a week. The flavor and texture will be delightfully uncompromised. For those who plan even further ahead, streusel can be frozen for up to three months. You will just need to thaw it to room temperature before use. Knowing this in the hustle and bustle of everyday can help to save precious time on baking day, making the muffin-assembly process swift and hassle-free. Remember to let the streusel reach room temperature before use to achieve a consistent bake and the desired crunchy exterior. Advance-prepped streusel equals one less step between you and a fresh tray of pumpkin cream cheese muffins.

Are the pumpkin cream cheese muffins with streusel topping suitable for freezing?

Yes, these delightful muffins freeze well, allowing you to savor the flavors of fall long after the season ends. To freeze, completely cool the muffins post-baking, then wrap them snugly in cling wrap and store them in a freezer-safe bag or container. They retain their quality and taste for 2-3 months, making them an enduring treat. Thawing is as simple as leaving them out at room temperature, or for a quick warm-up, a short stint in the microwave will work. Thanks to the resilience of the streusel topping, your muffins will maintain their texture even after a deep freeze. This allows you to enjoy the convenience of having these muffins on hand whenever the pumpkin craving strikes or company stops by.

The pumpkin cream cheese muffins with streusel topping offer a comforting blend of flavors and textures that define the fall season. They truly embody the warm spices of autumn and are perfectly complimented by the comforting tang of cream cheese all in one little muffin. Let's get started on making these delicious treats!


Instructions

Cake:

2 cups pumpkin puree

1-3/4 cup sugar

1 cup melted butter

4 eggs

1 teaspoon vanilla extract

2 cups all-purpose flour

4 tsp baking powder

1 teaspoon salt

2 teaspoons cinnamon

Cream Cheese Swirl:

8 oz cream cheese

¼ cup granulated sugar

1 large egg yolk

2 teaspoons vanilla extract

Crumble:

2/3 cup brown sugar

1 1/2 cups all-purpose flour

1/2 cup melted butter

1/2 teaspoon pumpkin spice

Instructions

1. Preheat oven to 350 degrees and lightly spray muffin tin or line with parchment paper like I have done.

2. Mix together pumpkin, sugar, and butter (fully melted) until well blended. Ad in eggs and vanilla, mix again.

3. Add in dry ingredients until well incorporated and divide between muffin tins. Fill each tin until about 3/4 full.

4. In another medium clean mixing bowls, beat cream cheese with stand mixer until smooth. Add in sugar, egg yolk and vanilla extract and beat until well combined. Add about 1 tablespoon of mixture to each muffin tin and swirl together. Set aside and make streusel crumble topping.

5. In another bowl melt butter and add all dry ingredients (brown sugar, flour, pumpkin spice) until the mixture is crumbled and well mixed.

6. Evenly put the crumble mixture over each muffin. Cook for 20-25 min or until a toothpick comes out clean. Let cool for 5 minutes, serve and enjoy!

Other Pumpkin Recipes You Will Love:

Deliciously Sweet: Mastering the Perfect Pumpkin Molasses Cookie Recipe for the Autumn Season

The Ultimate Thanksgiving Dessert - My Pumpkin Crisp Recipe

Savor the Fall Season with the Perfect Pumpkin Espresso Martini

Yummy Pumpkin Ice Cream Recipe with a Twist: Pumpkin Molasses Cookie Chunks!

Sweet Serenity: Mastering the Art of Pumpkin Cinnamon Rolls with Cream Cheese Icing

Deliciously Sweet: Pumpkin Coffee Cake with Pecan Crumbles

Baked Burrata Pumpkin Ziti with Pork Sausage Recipe

Save This Recipe

Whether you're planning ahead for a special occasion or adding a new favorite to your recipe collection, I've included a printable recipe card below so it's easy to save, print, and share with the people you love.

Satisfy Your Sweet Tooth: A Guide to Making Irresistible Salted Pecan Brownies

Get ready to delve into the world of rich chocolatey decadent desserts again with our current star of the day - Salted Pecan Brownies! This combination of creamy salted caramel and crunchy pecans creates a truly mouth-watering treat. These brownies are moist and rich, with a texture that melts in your mouth. Topping these brownies off with a sprinkle of sea salt adds a layer of flavor and crunch, creating a unique combination of deep chocolate flavor combined perfectly with salty and sweet elements. The result is a harmonious touch of all the right taste buds perfectly at once. Salted caramel pecan brownies are perfect for any occasion, from a casual family gathering to an elegant dinner party. Whether you’re looking for a delicious dessert to enjoy with your family or to impress your guests, these brownies are sure to make your mouth water.

Equipment

Making a delicious batch of salted pecan brownies doesn't require a lot of fancy equipment. All you need is an 8 x 8-inch baking dish, a mixing bowl, a whisk, a rubber spatula, a wooden spoon, a baking sheet, parchment paper, an oven mitt, and an oven.

To begin, preheat the oven to 350°F. Then, you'll need to prepare the ingredients for the salted pecan brownies. Start by mixing all of the dry ingredients in a bowl with a whisk. Once the dry ingredients are blended, add the wet ingredients and mix them all with a wooden spoon.

Next, you'll need to get the baking dish ready. Line it with parchment paper and lightly grease it with butter or cooking spray. Pour the brownie batter into the 8 x 8-inch baking dish and spread it out evenly. Sprinkle a generous handful of salted pecans over the top of the batter, and then place the baking dish in the oven. Bake the salted pecan brownies for 15-20 minutes, or until they are golden brown.

Once the brownies are done, it’s time to make the topping. Start by melting the butter and brown sugar together in a small saucepan. Add the pecans and stir until the caramel is thick and bubbly. Pour the topping over the brownies and sprinkle with sea salt. Let the brownies cool before cutting into slices and serving. Enjoy your Salted Pecan Pie Brownies with a scoop of vanilla or your favorite ice cream or a drizzle of chocolate syrup. Enjoy!

Brownie Batter

½ cup dark brown sugar packed

1 cup granulated sugar

3 large eggs

2 teaspoons vanilla extract

1/2 cup salted butter

1 cup all-purpose flour 

1/2 cup unsweetened cocoa powder

1/2 tsp baking powder

¼ teaspoon salt

1/3 cup heavy whipping cream

Salted Pecan Topping

1/2 cup Granulated Sugar

1/2 cup Dark Brown Sugar

2 tablespoons All-Purpose Flour

1/2 cup Dark Corn Syrup

2 Large Eggs

1/2 cup salted Butter

2 teaspoon Vanilla Extract

1 cup Chopped Pecans

1/2 cup whole pecans

1/2 tablespoon Sea Salt Flakes (sprinkled on before baking)

Instructions

  1. Preheat the oven to 350 degrees and oil and line an 8 x 8 pan with cooking spray and parchment paper. 

  2. In a large mixing bowl, whisk together the melted butter, dark brown sugar, and granulated sugar until light and fluffy. Add in eggs and vanilla and mix again. Set aside.

  3. In another medium bowl, whisk together the all-purpose flour, salt, baking powder and unsweetened cocoa powder. Gradually mix in wet ingredients into dry. Lastly, add in heavy whipping cream.

  4. Pour the batter into the prepared pan & smooth the top to an even level.

  5. Place into oven and bake for 20 minutes. While this is baking prepare the pecan topping.

  6. In a small stovetop saucepan, combine the sugar, dark brown sugar, flour, corn syrup, lightly whisked egg and vanilla. Stir constantly over medium heat until the sugar dissolves. This will be about 5 minutes. Stir in the pecans and butter until well combined.

  7. Once the brownies are done baking pull out of the oven and pour the pecan mixture over top. Add whole pecans on top of the pecan mixture evenly over top and sprinkle with sea salt. Bake for an additional 25-30 minutes or until the pecan layer is starting to set. It will still be slightly jiggly in the middle.

  8. Once baked remove from oven and let cool for 10-15 minutes. Remove brownies from the pan with parchment paper and place on a cookie sheet to let cool completely. Place in fridge for 30-45 minutes to let set and cool.

  9. Remove from refrigerator and cut into squares with a warm sharp knife. Enjoy!

These brownies are easy to make and are a guaranteed crowd-pleaser! With just a few simple ingredients, you can have this delicious treat in no time. Not only are they delicious, but they also make a great gift idea for any occasion. So, the next time you're looking for a special treat that will satisfy everyone, Salted Pecan Pie Brownies are the perfect choice.

Save This Recipe

Whether you're planning ahead for a special occasion or adding a new favorite to your recipe collection, I've included a printable recipe card below so it's easy to save, print, and share with the people you love.

Can I freeze the salted pecan brownies for later consumption?

Ever found yourself in a situation where you craved brownies so bad but you weren't going to be able to enjoy the whole batch over the next few days? Maybe it's because you are leaving town. Well, we have a solution for you! The rest of these Salted pecan brownies can be frozen for later consumption! To freeze the brownies, place them in an airtight container or wrap them in plastic wrap or aluminum foil. If you choose to wrap them in plastic wrap, make sure to remove as much air as possible before sealing. To thaw the brownies, place them in the refrigerator overnight or for several hours. Enjoy your delicious salted pecan brownies whenever you are ready! With this simple freezing and thawing hack, you can still have the rest of your delicious treat whenever you want!

Other Delicious Desserts You Will Love:

Deliciously Sweet: Pumpkin Coffee Cake with Pecan Crumbles

Tantalizingly Delicious Recipe For Lemon Cheesecake With An Amazing Glaze

Brown Butter Caramel Pretzel Cookies

Delicious & Easy Apple Pie

Indulge your Sweet Tooth: The Ultimate Guide to Making Brown Butter Maple Pecan Chocolate Chunk Cookies

Welcome to an utterly scrumptious journey into the world of baking! Today, we're indulging in the divine fusion of flavors that is none other than Brown Butter Maple Pecan Chocolate Chunk Cookies. The name might be a mouthful, but so is every bite of these glorious treats! These are not your typical chocolate chip cookies. They are packed with loads of different great flavors and textures that all hit you at the perfect time. With the sophistication of brown butter, the earthy sweetness of maple, the nutty crunch of pecans, and the gooey richness of chocolate chunks, these little pieces of sweet heavenly tastes and textures will make your taste buds dance in delight. So, put your apron on and get ready to be the star of any bake sale, class party, or family gathering with these irresistible delights!

What is brown butter?

The secret ingredient that sets these cookies apart from the rest is brown butter. Brown butter is a cooking technique that adds a rich and nutty flavor to recipes. To make brown butter, simply melt butter in a saucepan over medium heat until the butter foams and the milk solids turn golden brown. This technique can add an extra layer of flavor to a variety of dishes, from sauces and soups to baked goods. The brown butter in these cookies is what gives them such an incredible depth of flavor, and it is further enhanced by the addition of maple syrup, pecans, and chocolate chunks. With a combination of sweet and savory flavors, these Brown Butter Maple Pecan Chocolate Chunk Cookies will quickly become a favorite.

INGREDIENTS

1 cup pecans

2 tablespoons pure maple syrup

1 cup butter (2 sticks)

3/4 cup granulated sugar

3/4 brown sugar

1 teaspoon maple extract

2 large eggs

2 1/4 cups flour

3 teaspoons baking powder

1 teaspoon salt

1 1/2 cups of chopped semi-sweet chocolate

INSTRUCTIONS

1. Start by making brown butter in a pan, once browned pour into a new bowl and let come to room temperature. In another pan add in maple syrup & pecans toasting until browned (usually around 4-7 minutes). Then set aside and let come to room temp. Once cooled chop and set aside.

2. Preheat oven to 375 degrees. Melt the butter for 30 seconds in the microwave (if the butter is not at room temperature).

3. Add sugar & brown sugar into butter and mix. Scrape sides and mix again immediately after. Mix in Vanilla Extract and eggs. Mix again.

4. Gradually add all-purpose Flour, Baking Soda, and salt. Mix well. Once mixed well add in chopped chocolate bar that equals 1-1/2 cups and chopped pecans made above.

5. Using an ice cream scooper scoop onto a baking sheet or parchment paper 2 -3 inches apart. Sprinkle with flaky sea salt and place in oven.

6. Bake for 9 minutes and cool on a cookie sheet. Once cooked through move cookies to cooling rack. Enjoy!

Save This Recipe

Whether you're planning ahead for a special occasion or adding a new favorite to your recipe collection, I've included a printable recipe card below so it's easy to save, print, and share with the people you love.

Feel free to use plastic wrap to cover or if in need of longer storage an airtight container to keep cookies as fresh as possible! These make a great cookie for any time of the year, but they're especially great now for the Fall, Thanksgiving or Christmas gatherings for everyone to come! Serve with a nice hot drink for a perfect treat for the holidays!

Other Delicious Cookie Recipes:

How to Make Delicious Nutter Butter Cookies At Home

The Best Monster Cookie Recipe You'll Ever Try!

Deliciously Sweet: Mastering the Perfect Pumpkin Molasses Cookie Recipe for the Autumn Season

Brown Sugar Toffee Cookies

Brown Butter Caramel Pretzel Cookies

Birthday Cutout Sugar Cookies

How to Make Fall Chai Low Sugar Scones with Splenda

Delight your palate and satisfy your sweet tooth with a healthier twist on a classic treat. Introducing Chai Scones, crafted especially for those who yearn for sweet and spicy flavors married together, but minus the guilt. What is the secret ingredient in these scones making them a healthier choice? Splenda! Through our wonderful recipe, you can enjoy these warm, spicy scones that are beautifully balanced with the mild sweetness of frosting, without worrying about your sugar content. Get ready to embark on an unforgettable culinary journey as we dive into the world of guilt-free baking with this indulgent Splenda-infused creation that brings in Fall flavors. Let's learn how to turn this traditional teatime delight into a health-friendly delicacy that is just as delicious!

Enjoy a cozy afternoon with a cup of hot tea and a chai scone for a delicious treat. Make a decadent dessert plate by adding a few of these sweet treats, and top it off with a dollop of fresh whipped cream or the delicious frosting recipe below. For a lighter snack, serve the chai scones with a glass of cold almond milk. If you’re feeling creative, make “tea sandwiches” by cutting the scones in half, spreading a thin layer of frosting, and adding a layer of fresh fruit. Enjoy a chai scone as a morning treat with a cup of coffee or espresso for a delicious combination to start your day. With Splenda, you can indulge without the guilt. Try chai scones with maple frosting made with Splenda and enjoy a sweet treat without all the calories!

INGREDIENTS:

21/2 cups flour

1/4 cup splenda

1/2 tsp salt

1 tbsp baking powder

1/2 cup cold butter

2 eggs

1 tsp vanilla extract

1 cup heavy cream

8 ounce package of light cream cheese

1/4 cup splenda (to cover cream cheese with)

1 tablespoon chai spice blend

1/2 teaspoon ground cloves

Frosting:

3 tbsp splenda

4 oz light cream cheese

1 tsp vanilla

1 tablespoon splenda multi-use syrup

2 teaspoons chai spice blend

INSTRUCTIONS:

1. Mix together dry ingredients in a large bowl

Grate butter into bowl and blend with dry mixture. I use my hands to make sure that the butter doesn’t stick together any larger then a pea size amount.

2. After well mixed make a hole in the center of the mix and put all wet ingredients; egg, vanilla and heavy cream. Mix together.

3. Cube cream cheese into cube size chunks. Coat in a small bowl with Splenda and add into the dough. Don’t over mix just enough that its well spread out in the dough.

4. After all is mixed together, flour your work station and make dough into a pie looking round shape. Once in a circle cut like a pizza into slices. I do about 8. Place on a cookie sheet and put in the fridge for 45 min to an hour.

5. The last 10 min preheat oven to 400 degrees

Bake at 400 degrees for 15 min. Turn the temp down to 350 and bake for 10 min.

6. While baking make glaze! Melt cream cheese completely in a bowl and add in the other ingredients. Mix with a fork until you have your desired consistency. You can add heavy cream to make runnier if needed.

7. Transfer scones to cookie sheet and drizzle glaze on top. Let cool and enjoy!!

Save This Recipe

Whether you're planning ahead for a special occasion or adding a new favorite to your recipe collection, I've included a printable recipe card below so it's easy to save, print, and share with the people you love.

Sweet Serenity: Mastering the Art of Pumpkin Cinnamon Rolls with Cream Cheese Icing

Welcome to another delicious recipe post! As the leaves start to crinkle and colors change, there's almost nothing more iconic of the coming Autumn season than pumpkin-flavored delicacies. Today, we are going to add a twist to one of your favorite traditional breakfast treats. We're going places where the savory pumpkin harmonically frolics with the spicy warmth of cinnamon, all under the creamy, velvety robe of cream cheese icing. So, buckle up for the ultimate guide to making heavenly Pumpkin Cinnamon Rolls with Cream Cheese Icing - a scrumptious indulgence that brings the best of fall flavors to your morning table!

Which yeast is best for cinnamon rolls + how to know when yeast is activated

The key to success is using the right type of yeast. Active dry yeast is the best choice for this recipe. To ensure that the yeast is activated, look for bubbles forming on the surface of the mixture. You will pre-check this after adding the yeast to water in this recipe. Once the yeast is activated, the mixture will expand and become foamy. If your mixture does not foam, the yeast may be old or not activated properly. To avoid disappointment, always check the expiration date on your yeast package before using it. With the right yeast and a few simple steps, you can enjoy delicious pumpkin cinnamon rolls with cream cheese icing in no time.

Making Ahead, Storing, and Freezing Pumpkin Cinnamon Rolls:

These pumpkin cinnamon rolls with cream cheese icing are the perfect treat for any chilly Autumn morning. Plus, with the make-ahead and storing options, you can enjoy these sweet treats any day of the week. To make these pumpkin cinnamon rolls easy, you can prepare them up to a day ahead of time. Simply assemble the rolls and refrigerate them in their pan overnight. The next morning, bake them as directed and enjoy. If you have any leftovers, store the rolls in an airtight container for up to 2 days. For those who like to plan ahead, you can also freeze these pumpkin cinnamon rolls for up to 3 months. Allow the rolls to cool completely before freezing. Wrap each one individually in plastic wrap and place them in a freezer bag. When you’re ready to enjoy them, thaw the rolls overnight in the refrigerator. To reheat, place the rolls in the microwave for 15-20 seconds or in the oven at 350°F for 5-10 minutes. If you want to freeze the rolls for later, wrap them tightly in plastic wrap and aluminum foil, then place them in a freezer-safe container or bag.

Are there any variations available for Pumpkin Cinnamon Rolls with Cream Cheese Icing recipe?

Pumpkin cinnamon rolls with cream cheese icing are a delicious way to enjoy the flavors of Fall. This sweet treat is packed with all the flavors of Autumn. With a few variations, you can take these pumpkin cinnamon rolls to the next level.

Variation 1: Add your favorite spices such as nutmeg, allspice, and cinnamon to the dough for a more spicy flavor. This will amp up the flavor of the rolls and give them a unique twist.

Variation 2: Use pumpkin puree instead of regular milk for a richer and denser texture. The pumpkin puree will add a subtle sweetness and depth of flavor to the rolls.

Variation 3: Swap out the cream cheese icing for pumpkin cream cheese icing for an extra-special treat by adding in pumpkin puree again. The pumpkin cream cheese icing adds a unique flavor and pairs perfectly with the pumpkin cinnamon rolls. You can also add maple to the cream cheese frosting to make a maple cream cheese for an even more unique flavor.

Variation 4: Top the rolls with a streusel topping for a crunchy addition. The streusel topping adds texture and a slight sweetness to the rolls.

Variation 5: Add dried cranberries or chunks of chocolate chips for a sweet surprise. The dried cranberries or raisins add a hint of sweetness and texture to the rolls.

Variation 6: Substitute the granulated sugar for light brown or dark bown sugar for a deeper flavor. The light brown sugar adds a deep molasses flavor to the rolls and makes them even more delicious.

These variations make pumpkin cinnamon rolls with cream cheese icing a delicious and unique treat. With these variations, you can enjoy the flavors of Fall deliciously and uniquely.

Can the Pumpkin Cinnamon Rolls be made without Cream Cheese Icing?

If you're looking for a delicious Fall treat, look no further than these Pumpkin Cinnamon Rolls! These delicious rolls are made with pumpkin puree and are spiced with cinnamon, making them the perfect way to enjoy the flavors of the season. But what if you don't want to use cream cheese icing? Can these rolls still be made without the icing? The answer is yes! To make the rolls without the cream cheese icing, simply omit the cream cheese and icing ingredients from the recipe. You can still enjoy a delicious treat without the cream cheese icing by adding a bit of cinnamon and sugar to the top of the rolls or even some melted butter for a delicious glaze. You can also serve the cream cheese frosting on the side for an option to guests. These Pumpkin Cinnamon Rolls are a great way to enjoy the flavors of the season. With or without the cream cheese icing, these delicious rolls are sure to be a hit with your family and friends.
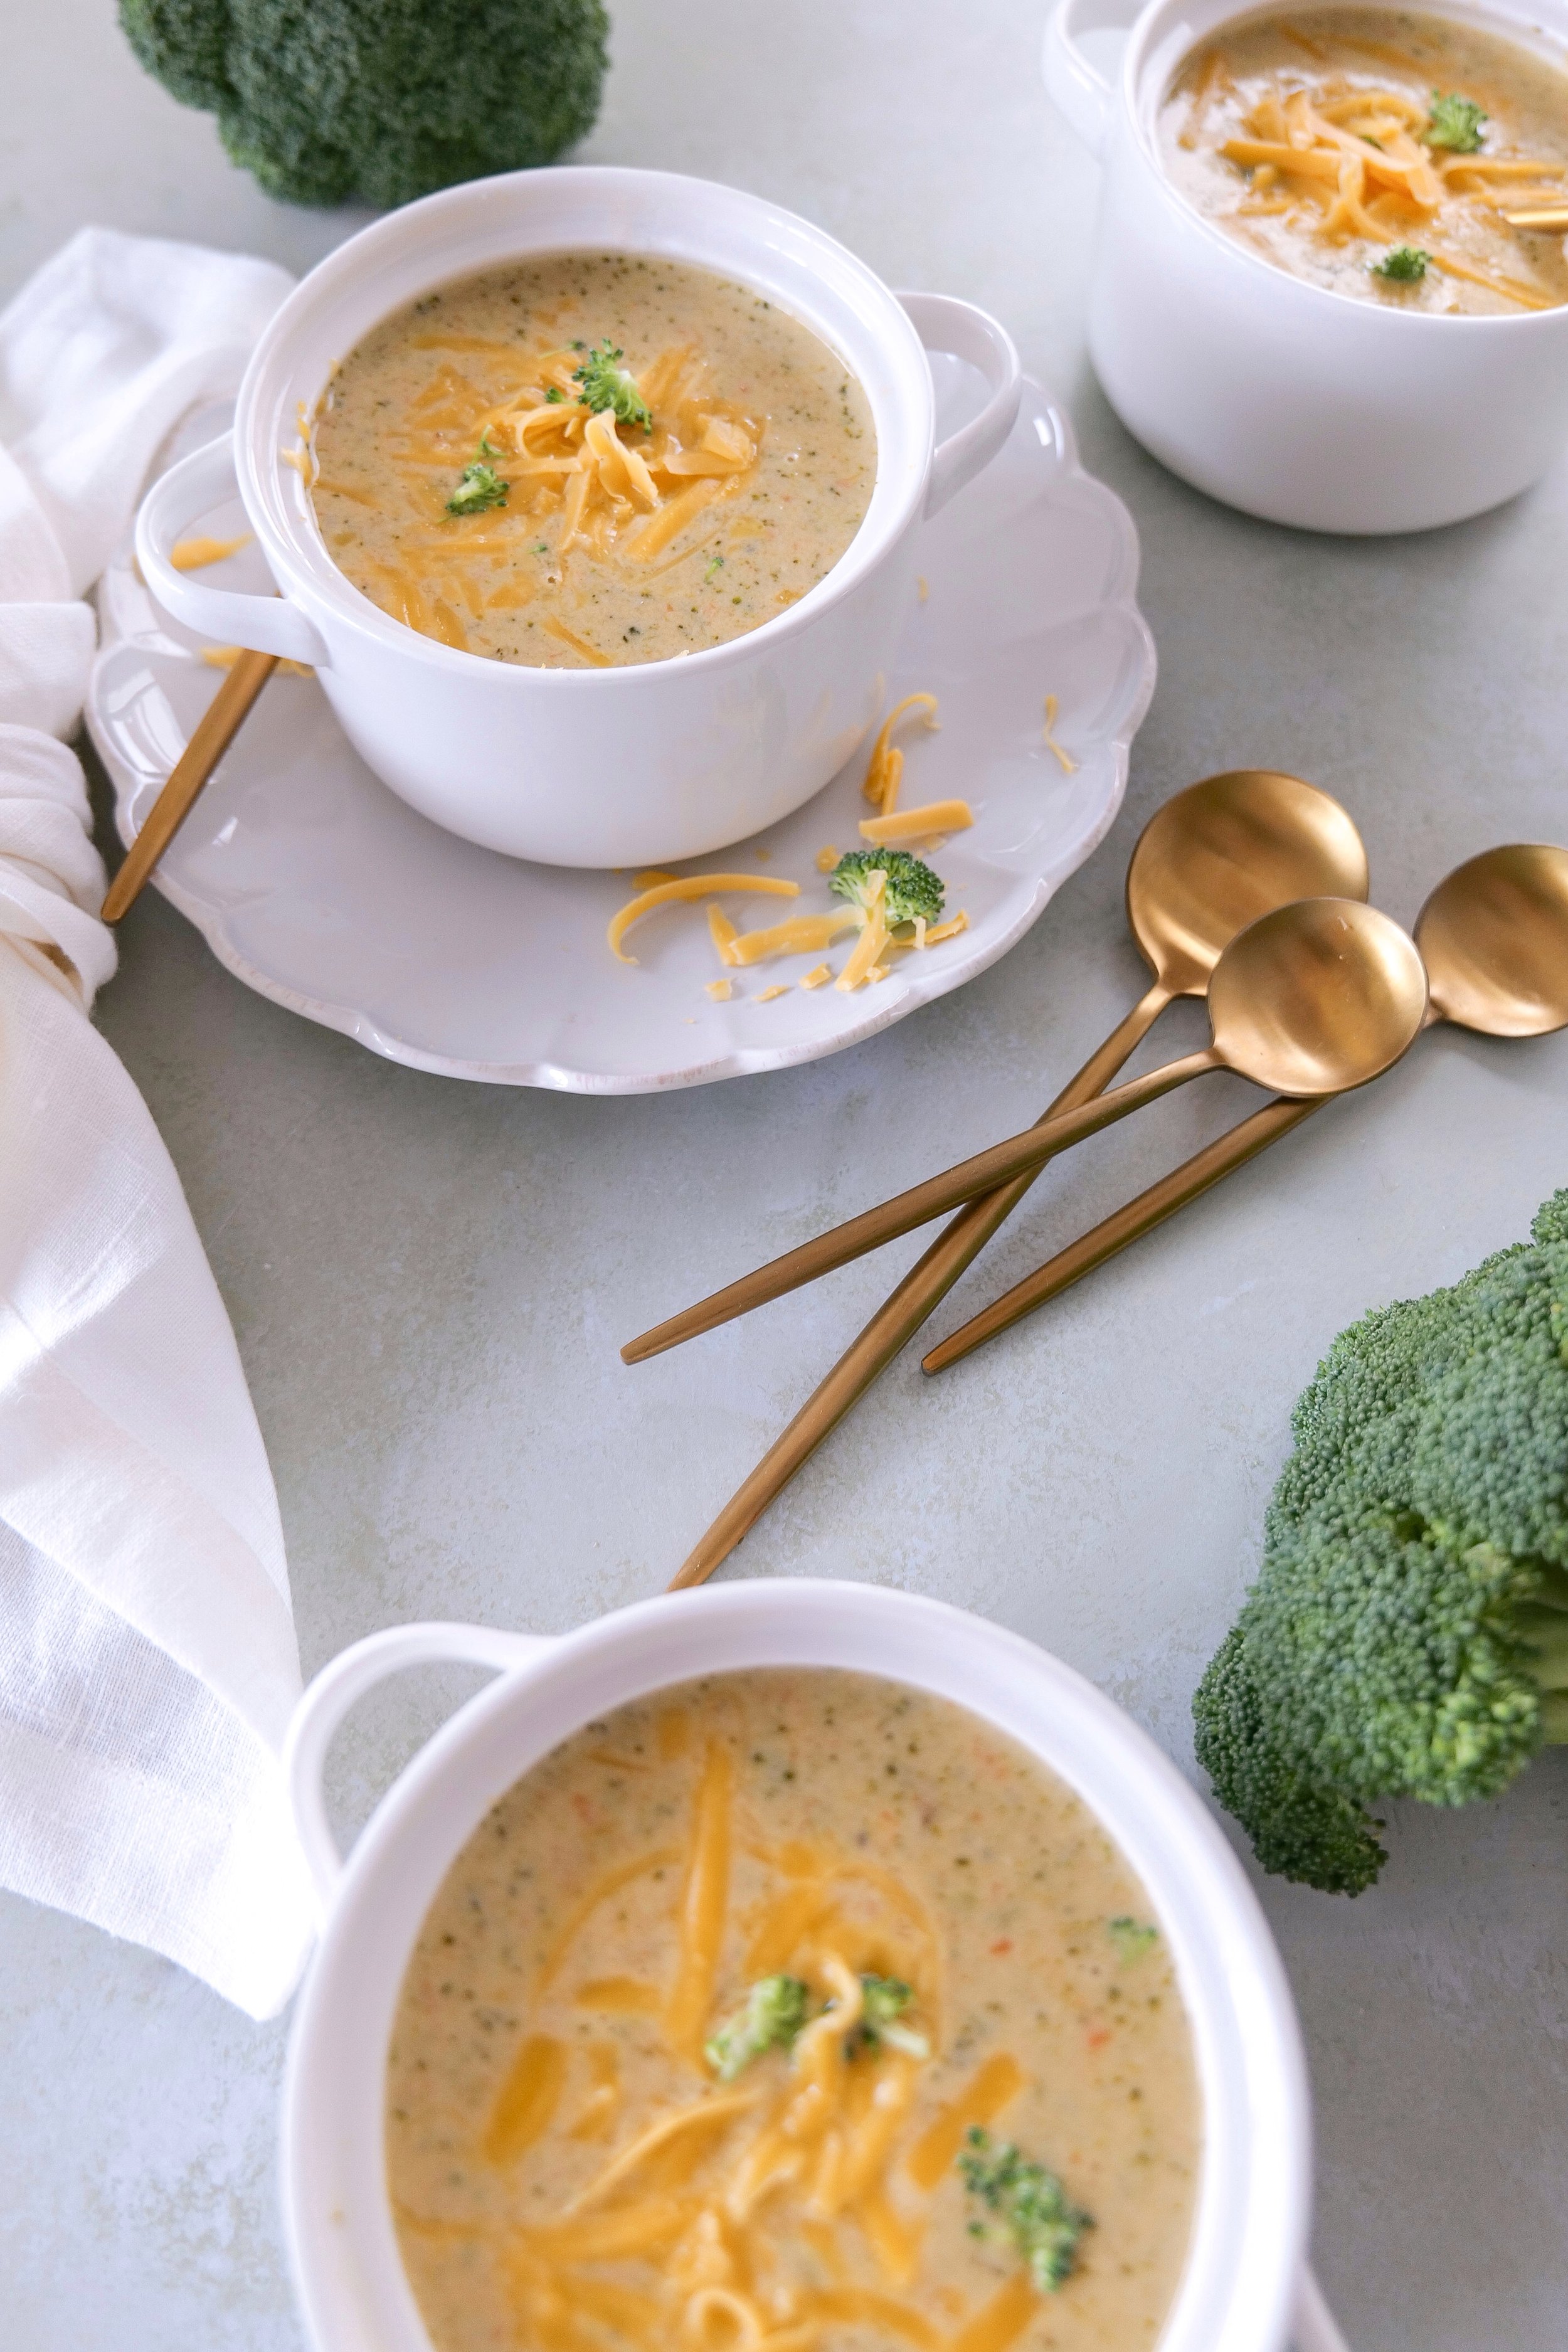
Ingredients

Dough

4 1/2 tsp fact-acting dry yeast

1/2 cup sugar

1/2 cup butter

1 egg

1 tsp salt

4 cups flour

1/4 cup warm water

1 cup milk

1 tsp pumpkin spice

Filling

1/2 cup melted butter

1/2 cup pumpkin puree

1/2 cup sugar

2 tbsp cinnamon

Icing

8 oz cream cheese

1/2 cup butter

4 cups powdered sugar

4 tbsp milk

2 tsp vanilla extract

1 tsp pumpkin spice

Step-by-step Instructions

  1. Mix lukewarm water and yeast, and let sit for around 10 minutes to make sure the yeast is still active. You will notice the yeast growing in size.

  2. While the yeast is growing whisk together in another bowl sugar, butter (softened for 15-20 sec on microwave) egg, milk and salt. Add into yeast mixture.

  3. Slowly add in flour and pumpkin spice, once you have added in all 4 cups make sure the dough is slightly sticky and looks like dough. Once you see this mix for another few minutes. If you still don’t see the dough looking proper, add in more flour, 1/4 cup at a time, until you do.

  4. Once you have tipped the bowl over and poured out the dough lightly flour the top and cover with a clean kitchen towel. Form into a ball in your bowl, cover, and let rise in a warm place for 2 hours.

  5. Once you are about ready to roll dough, soften butter and mix in cinnamon and sugar for filling. When the dough is ready roll out to about 1/4 inch thick rectangular shape. Add filling to the middle making sure to cover all of the dough

  6. Roll dough from one side of the rectangle to the other and place it on a baking sheet lined with parchment paper. Cut along the middle and crisscross the dough from one side to the other. Tuck both ends under.

  7. Bake at 350 for 20-25 minutes or until golden brown on the top.

Frosting:

  1. Mix softened cream cheese and butter until smooth. (If not in the room temp warm it for 30 seconds in the microwave before)

  2. Add powdered sugar, milk, and vanilla extract.

Other Baked Goods You Will Love:

Blackberry Cinnamon Rolls with Mascarpone Frosting

Soft Cream Cheese Lemon Blueberry Scones

Deliciously Sweet and Tangy: Blueberry Orange Glazed Muffins

Banana Bread Recipe

Save This Recipe

Whether you're planning ahead for a special occasion or adding a new favorite to your recipe collection, I've included a printable recipe card below so it's easy to save, print, and share with the people you love.

Sweet Perfection: Baking the Ultimate Cinnamon Roll Loaf with Espresso Glaze

If you're looking for an indulgent, coffee-infused twist on the classic cinnamon roll, then you have to try this Cinnamon Roll Loaf with Espresso Glaze! This sweet and decadent dessert is the perfect combination of a classic cinnamon roll and a rich espresso taste with a yummy glaze. The loaf is incredibly moist and has all the flavorful delight of a classic cinnamon roll. Plus, the espresso glaze adds an extra layer of flavor that will have you coming back for more. So, if you're in the mood for the perfect morning treat, this Cinnamon Roll Loaf with Espresso Glaze is the perfect indulgence. It is great for breakfast, brunch, or dessert. Plus, it is easy to make and packed with flavor. So don’t wait, give it a try today!

What type of flour is best to use for the Cinnamon Roll Loaf with Espresso Glaze?

Making a delicious Cinnamon Roll Loaf with Espresso Glaze is easy and simple with the right ingredients. All-purpose flour is the best type of flour to use for this recipe, as it will give the loaf the right texture. If you want a fluffier, lighter loaf, try substituting half of the all-purpose flour for cake flour. To ensure the best results, it's important to measure the flour correctly. Flour should be spooned into a measuring cup and leveled off with the back of a knife. For a gluten-free version of Cinnamon Roll Loaf with Espresso Glaze, use a gluten-free all-purpose flour blend. If you’d like a nuttier flavor, you can also use whole wheat flour instead of all-purpose flour. For an even richer flavor, try substituting some of the all-purpose flour with almond flour. With all of the right ingredients and the right measurements, your Cinnamon Roll Loaf with Espresso Glaze will be a delicious success!

Is the Espresso Glaze necessary for the Cinnamon Roll Loaf?

The Espresso Glaze is an optional topping for the Cinnamon Roll Loaf that adds a unique flavor and richness to the dessert. However, it of course isn't mandatory and can just as easily be served on the side or substituted for any glaze or frosting of your liking. This espresso glaze recipe adds a very subtle coffee flavor to the loaf that pairs perfectly with the cinnamon and sugar in the rolls. The coffee taste is not overpowing, and your classic cinnamon roll lovers will find it just as irresistible. The Espresso Glaze is not necessary for the Cinnamon Roll Loaf, but it is a delicious addition that adds a unique flavor and makes the dessert even more special.

What type of espresso should be used for the Espresso Glaze?

The best type of espresso to use for the perfect flavor of Espresso Glaze is actually instant espresso powder. If you don't have espresso powder, you can also use a freshly made espresso shot. When using a freshly made espresso shot be sure to take out some of the milk or add additional powdered sugar to keep consistency the same. If you want a stronger espresso flavor in your glaze, you can use a double amount of espresso powder instead of the recommended amount in the recipe. This will give your glaze a bold and rich coffee flavor. The espresso flavor if very mild in this recipe to not overpower the cinnamon roll taste, but be sure to add more if you feel necessary. You can also add espresso to the filling to make these espresso cinnamon rolls to pair with the glaze frosting. With the combination of the cinnamon roll dough and the espresso glaze, this dessert is sure to please even the pickiest of eaters!

Ingredients:

Dough

4 1/2 teaspoons fast-acting dry yeast

1/2 cup sugar

1/2 cup butter

1 egg

1 teaspoon salt

4 cups all-purpose flour

1/4 cup warm water

1 cup milk

Filling

1 cup browned butter

1/2 cup sugar

2 tablespoons cinnamon

Icing

1/4 cup butter

3 cups powdered sugar

1/4 cup milk

2 teaspoons vanilla

2 tablespoons espresso powder

Instructions:

  1. Mix lukewarm water and yeast, and let sit for roughly 10 minutes to make sure the yeast is still active and bubbling. You will notice the yeast growing in size.

  2. While the yeast is growing, you will whisk these together in a new bowl: sugar, butter (softened for 15-20 sec on microwave) egg, milk and salt with an electric mixer. Add in yeast mixture until fully incorporated.

  3. Slowly add in flour with a wooden spoon, once you have added in all 4 cups make sure the dough is slightly sticky and looks like dough. Once you see this mix for another few minutes. If you still don’t see it looking like dough, add in more flour, 1/4 cup at a time, until you do.

  4. Once you have fully mixed together the dough form into a ball in your bowl, cover with a kitchen towel or plastic wrap and let rise in a warm place for 2 hours.

  5. Next, soften butter and mix in cinnamon and sugar for filling and preheat oven to 350 degrees. When the dough is ready roll out lightly flour your work area and roll to about 1/4 inch thick rectangular shape. Add filling to the middle making sure to cover all of the dough

  6. Roll dough from one side of the rectangle to the other and place it on a baking sheet lined with parchment paper. Cut along the middle and crisscross the dough from one side to the other. Tuck both ends under.

  7. Bake at 350 for 20-25 minutes or until golden browned on the top.

Frosting:

  1. Mix softened cream cheese and butter until smooth. (If not in the room temp warm it for 30 seconds in the microwave before)

  2. Add powdered sugar, milk, and vanilla. Mix and drizzle over cinnamon roll loaf, serve extra on the side for those who like extra frosting. Enjoy!

The espresso glaze is simple to make and adds a unique flavor to the rolls, while the cinnamon roll dough is light and fluffy, making it the perfect addition to any special breakfast. The espresso glaze gives the cinnamon rolls a beautiful sheen and adds to the flavor, making them a must-try for any cinnamon roll lover. These Espresso Glazed Cinnamon Rolls will be a hit no matter what the occasion is. Not only are they delicious and easy to make, but they’re also a great way to enjoy a special treat at home. So, if you’re looking for a unique twist on the classic cinnamon roll, these espresso glazed rolls are a must-try!

Other Fall Inspired Recipes:

Blackberry Cinnamon Rolls with Mascarpone Frosting

Indulge in Delicious Personal Pear Tarts

Indulge Your Sweet Tooth with This Delicious Brown Butter Spice Cake with Honey & Fig Jam Frosting

Save This Recipe

Whether you're planning ahead for a special occasion or adding a new favorite to your recipe collection, I've included a printable recipe card below so it's easy to save, print, and share with the people you love.

Whip up a Breakfast Delight: Pumpkin Pie Overnight Oats with A Hard Chocolate Top - A Recipe Worth Waking Up For

Start your day off right with a delicious bowl of overnight pumpkin oats topped with a hard chocolate shell. This no-fuss, nutritious, and decadent breakfast option packs in the best flavors of the season and makes the perfect treat for any chilly Autumn morning. This recipe not only ensures you indulge in a guilt-free treat but is also a fantastic way to sneak in some extra fiber and vitamins into your diet. So, get ready to usher in the season of pumpkins and warm spices with this utterly comforting and delectably healthy breakfast bowl. Overnight oats are an incredibly convenient, tasty breakfast option. Make a batch ahead of time and you’ll have breakfast ready in minutes for those busy weekday mornings. Continue reading to discover the magic behind this perfect blend of flavors and textures.

Ingredients

1 Serving (double, and triple to make more)

1/2 cup Oatsome overnight oats

1/2 cup oatsome organic oat drink

3 tablespoons pumpkin puree

1 tablespoon pure maple syrup

2 tablespoons chopped pecans

1/4 cup chocolate

1 tablespoon olive oil or coconut oil

Instructions

1. Mix until well blended in a medium bowl Oatsome overnight oats, Oatsome organic oat drink, pumpkin puree chopped pecans and maple syrup. Pour into a glass container or mason jar.

2. In a new bowl melt chocolate in the microwave for 30 seconds at a time until smooth. Add in oil to help consistency if needed.

3. Once the chocolate is smooth layer over top of the oatmeal mixture and smooth out to cover the entire top of the oatmeal touching the outside glass. Sprinkle with sea salt and place in refrigerator for at least 4 hours if not overnight. The next morning get ready to enjoy the perfect make-ahead easy pumpkin overnight oats!

Other Breakfast Recipes You Will Love:

Deliciously Sweet: Pumpkin Coffee Cake with Pecan Crumbles

An Irresistible Treat: The Delicious Berry Custard Puff Pastry Tart

Delight in Every Bite: Making the Ultimate Apple Cider Loaf with Brown Butter Glaze

Save This Recipe

Whether you're planning ahead for a special occasion or adding a new favorite to your recipe collection, I've included a printable recipe card below so it's easy to save, print, and share with the people you love.

Indulge in This Deliciously Sweet Chocolate Espresso Cream Pie Recipe

If you're looking for an indulgent dessert that will satisfy your sweet tooth, look no further than this delicious Chocolate Espresso Cream Pie recipe! This decadent pie is made with a rich chocolate filling and a creamy espresso topping, making it perfect for special occasions, nightcaps, or for just a simple indulgence. Enjoy the perfect balance of the flavors of coffee and creamy chocolate all in one amazing dessert. If you’re looking for an easy and delicious dessert that everyone will love, try this Chocolate Espresso Cream Pie recipe. Your guests are sure to be asking for seconds!

Can I make this with regular whipped cream instead of espresso?

If you are looking for a recipe that doesn't involve espresso, you can easily make this pie with regular whipped cream instead. To begin, you can omit the espresso powder in the whipped topping. For even more flavor, add 1 teaspoon of vanilla extract to the cream filling and omit the coffee liquor. To give the pie a special touch, sprinkle some unsweetened cocoa powder over the top. Now you can enjoy your delicious Chocolate Espresso Cream Pie with regular whipped cream instead of espresso.

Is it possible to make this Chocolate Espresso Cream Pie ahead of time?

This pie has a decadent and delicious flavor, but it’s not too hard to make. If you plan to make the Chocolate Espresso Cream Pie ahead of time, it is possible to make most of the components in advance. You can prepare the crust the day before and store it in the fridge until you are ready to assemble the pie. The espresso cream can also be made a few days in advance and stored in the refrigerator until you are ready to assemble the pie. When you are ready to assemble your pie, all you have to do is assemble the components and you are ready to go! Feel free to also add some melted chocolate or chocolate chips to the top of the pie for an even more indulgent, rich chocolate dessert. Try this delicious Chocolate Espresso Cream Pie recipe today and enjoy a delicious treat you can make ahead of time and serve any time!

Do I need to refrigerate the Chocolate Espresso Cream Pie after baking?

Once you’ve finished baking the Chocolate Espresso Cream Pie, there are several ways you can store it. Refrigeration isn’t necessary, so you can keep it at room temperature for up to three days. It can also be covered in plastic wrap or aluminum foil and refrigerated for up to five days. Refrigerating will make the pie last longer. However, it can also affect the texture of the crust and the creaminess of the filling. If you’d like to keep the Chocolate Espresso Cream Pie even longer, you can freeze it for up to three months after following the directions below.

Ingredients

3/4 cup granulated sugar

1/4 cup cornstarch

1/2 teaspoon sea salt

2 cups whole milk

1/2 cup heavy cream

4 egg yolks

4 tablespoons butter, cut into 4

4 oz semi-sweet chocolate

1 teaspoon vanilla

2 tablespoons coffee liquor

Crust

12 oz chocolate graham cracker

8 tablespoons melted butter

Whipped Topping

1 1/4 teaspoons instant espresso powder

1 1/4 cups cold heavy cream

1 tablespoon powdered sugar

Instructions

1. Preheat oven to 375. Spray pie pan with olive oil spray and make Crust by adding graham cracker to blender and processing until fine. Add in melted butter and blend again. Press the crust mixture into the bottom of the pan until even all the way around. I use a flat-bottom cup or a metal spoon to help. Bake in the oven for 13-15 minutes. Once done remove and let cool before adding filling.

2. Combine sugar, cornstarch and sea salt in a medium saucepan. Whisk in milk and heavy cream and cook over medium heat stir continuously until bubbling and thick.

3. In a large bowl whisk yolks. Pour in the milk mixture slowly while whisking. Once fully incorporated return to saucepan and cook over medium heat until returns to boil.

4. Remove from heat. Add in vanilla, coffee liqueur and butter. Whisky until butter cubes are fully dissolved and incorporated. Pour into pie pan with crust and let cool on the counter for 45 minutes.

5. Press plastic wrap onto the top of the custard filling. Fully covering. Place in the fridge for 4 hours or overnight.

6. Once the pie is ready to serve make espresso whipped topping. In a large bowl whisk add together cream and espresso powder with a hand mixer on medium-high until peaks form. Spread onto pie and sprinkle with additional espresso powder or chocolate shavings.

Save This Recipe

Whether you're planning ahead for a special occasion or adding a new favorite to your recipe collection, I've included a printable recipe card below so it's easy to save, print, and share with the people you love.

Delicious and easy to make, this Homemade Chocolate Espresso Cream Pie Recipe is the perfect way to end your meal. Satisfy your sweet tooth with this classic dessert that everyone loves.

Other Delicious Desserts You Will Love:

Tantalizingly Delicious Recipe For Lemon Cheesecake With An Amazing Glaze

Taste the Deliciousness of Pistachio Cake: A Treat for Any Occasion

Indulge in Delicious Personal Pear Tarts

Deliciousness Cherry Chip Cake with chunks of dark chocolate recipe

Delight in Every Bite: Making the Ultimate Apple Cider Loaf with Brown Butter Glaze

Welcome to our delicious corner of the internet, where today, we're diving into the delectable flavors of Autumn with an exceptional Apple Cider Loaf covered in a mouth-watering Brown Butter Glaze. This cozy, comforting recipe captures the essence of the season, combining the rich aroma of fresh apples and spicy cider with a tantalizingly sweet and nutty brown butter glaze. Whether looking for a scrumptious addition to your brunch table, a decadent afternoon snack, or a homemade gift for loved ones, this Apple Cider Loaf recipe promises to take your Fall baking adventures to exciting new heights. So, put on your favorite apron, fire up your oven, and let's get baking!

How to Make Brown Butter

To make the brown butter glaze, you will need to first make brown butter. If you haven't done this before let me explain to you just how easy it is. Soon, you'll be doing this to your butter for many recipes you make. First, you will need to melt the butter in a small saucepan over a medium-low heat. Let that cook, stirring occasionally, until the butter is a light golden brown color and has a nutty aroma. Then remove from heat and let cool. Depending on the recipe you will let it come to room temp and place it in the fridge, let come to room temp alone with no fridge, or use right away. Any way you choose to use the butter, it takes every recipe to the next level. The combination of sweet apple cider and nutty brown butter makes for a truly indulgent treat. Brown butter glaze is the perfect finish to this autumnal delight.

How to Store This Cake

After baking the cake, allow it to cool completely before storing. To ensure the cake stays fresh, wrap the cake tightly in plastic wrap, foil, or place it in an airtight container or cake carrier. Store at room temperature for up to 3 days, and in the refrigerator if you plan to keep the cake for longer than 3 days. If freezing, wrap the cake tightly in plastic wrap and then in aluminum foil. Feel free if necessary to store in the freezer for up to 3 months. To thaw, remove from the freezer and place in the refrigerator overnight. Enjoy the delicious flavors of this Fall delight apple cider loaf with brown butter glaze, no matter what time of year it is.

The best part is that this cake is easy to make and can be prepped ahead of time for a quick and easy dessert. So don’t worry if you’re short on time - this cake is a great option for any busy holiday.

Why is this apple cider bundt cake so good?

If you’re looking for the perfect Fall dessert, look no further than this delicious apple cider loaf with brown butter glaze! The addition of apple cider in the batter makes the cake incredibly moist and fluffy, and the warm Fall spices, such as cinnamon, nutmeg, and allspice, give it an unmistakable seasonal flavor. The addition of brown butter in the glaze adds a rich, nutty flavor that perfectly complements the sweetness of the cake. Not only does it add flavor, but the brown butter glaze also adds a beautiful glossy finish to the cake, making it look as good as it tastes. The classic combination of apple flavor and cinnamon in this cake is sure to be a hit with your family and friends.
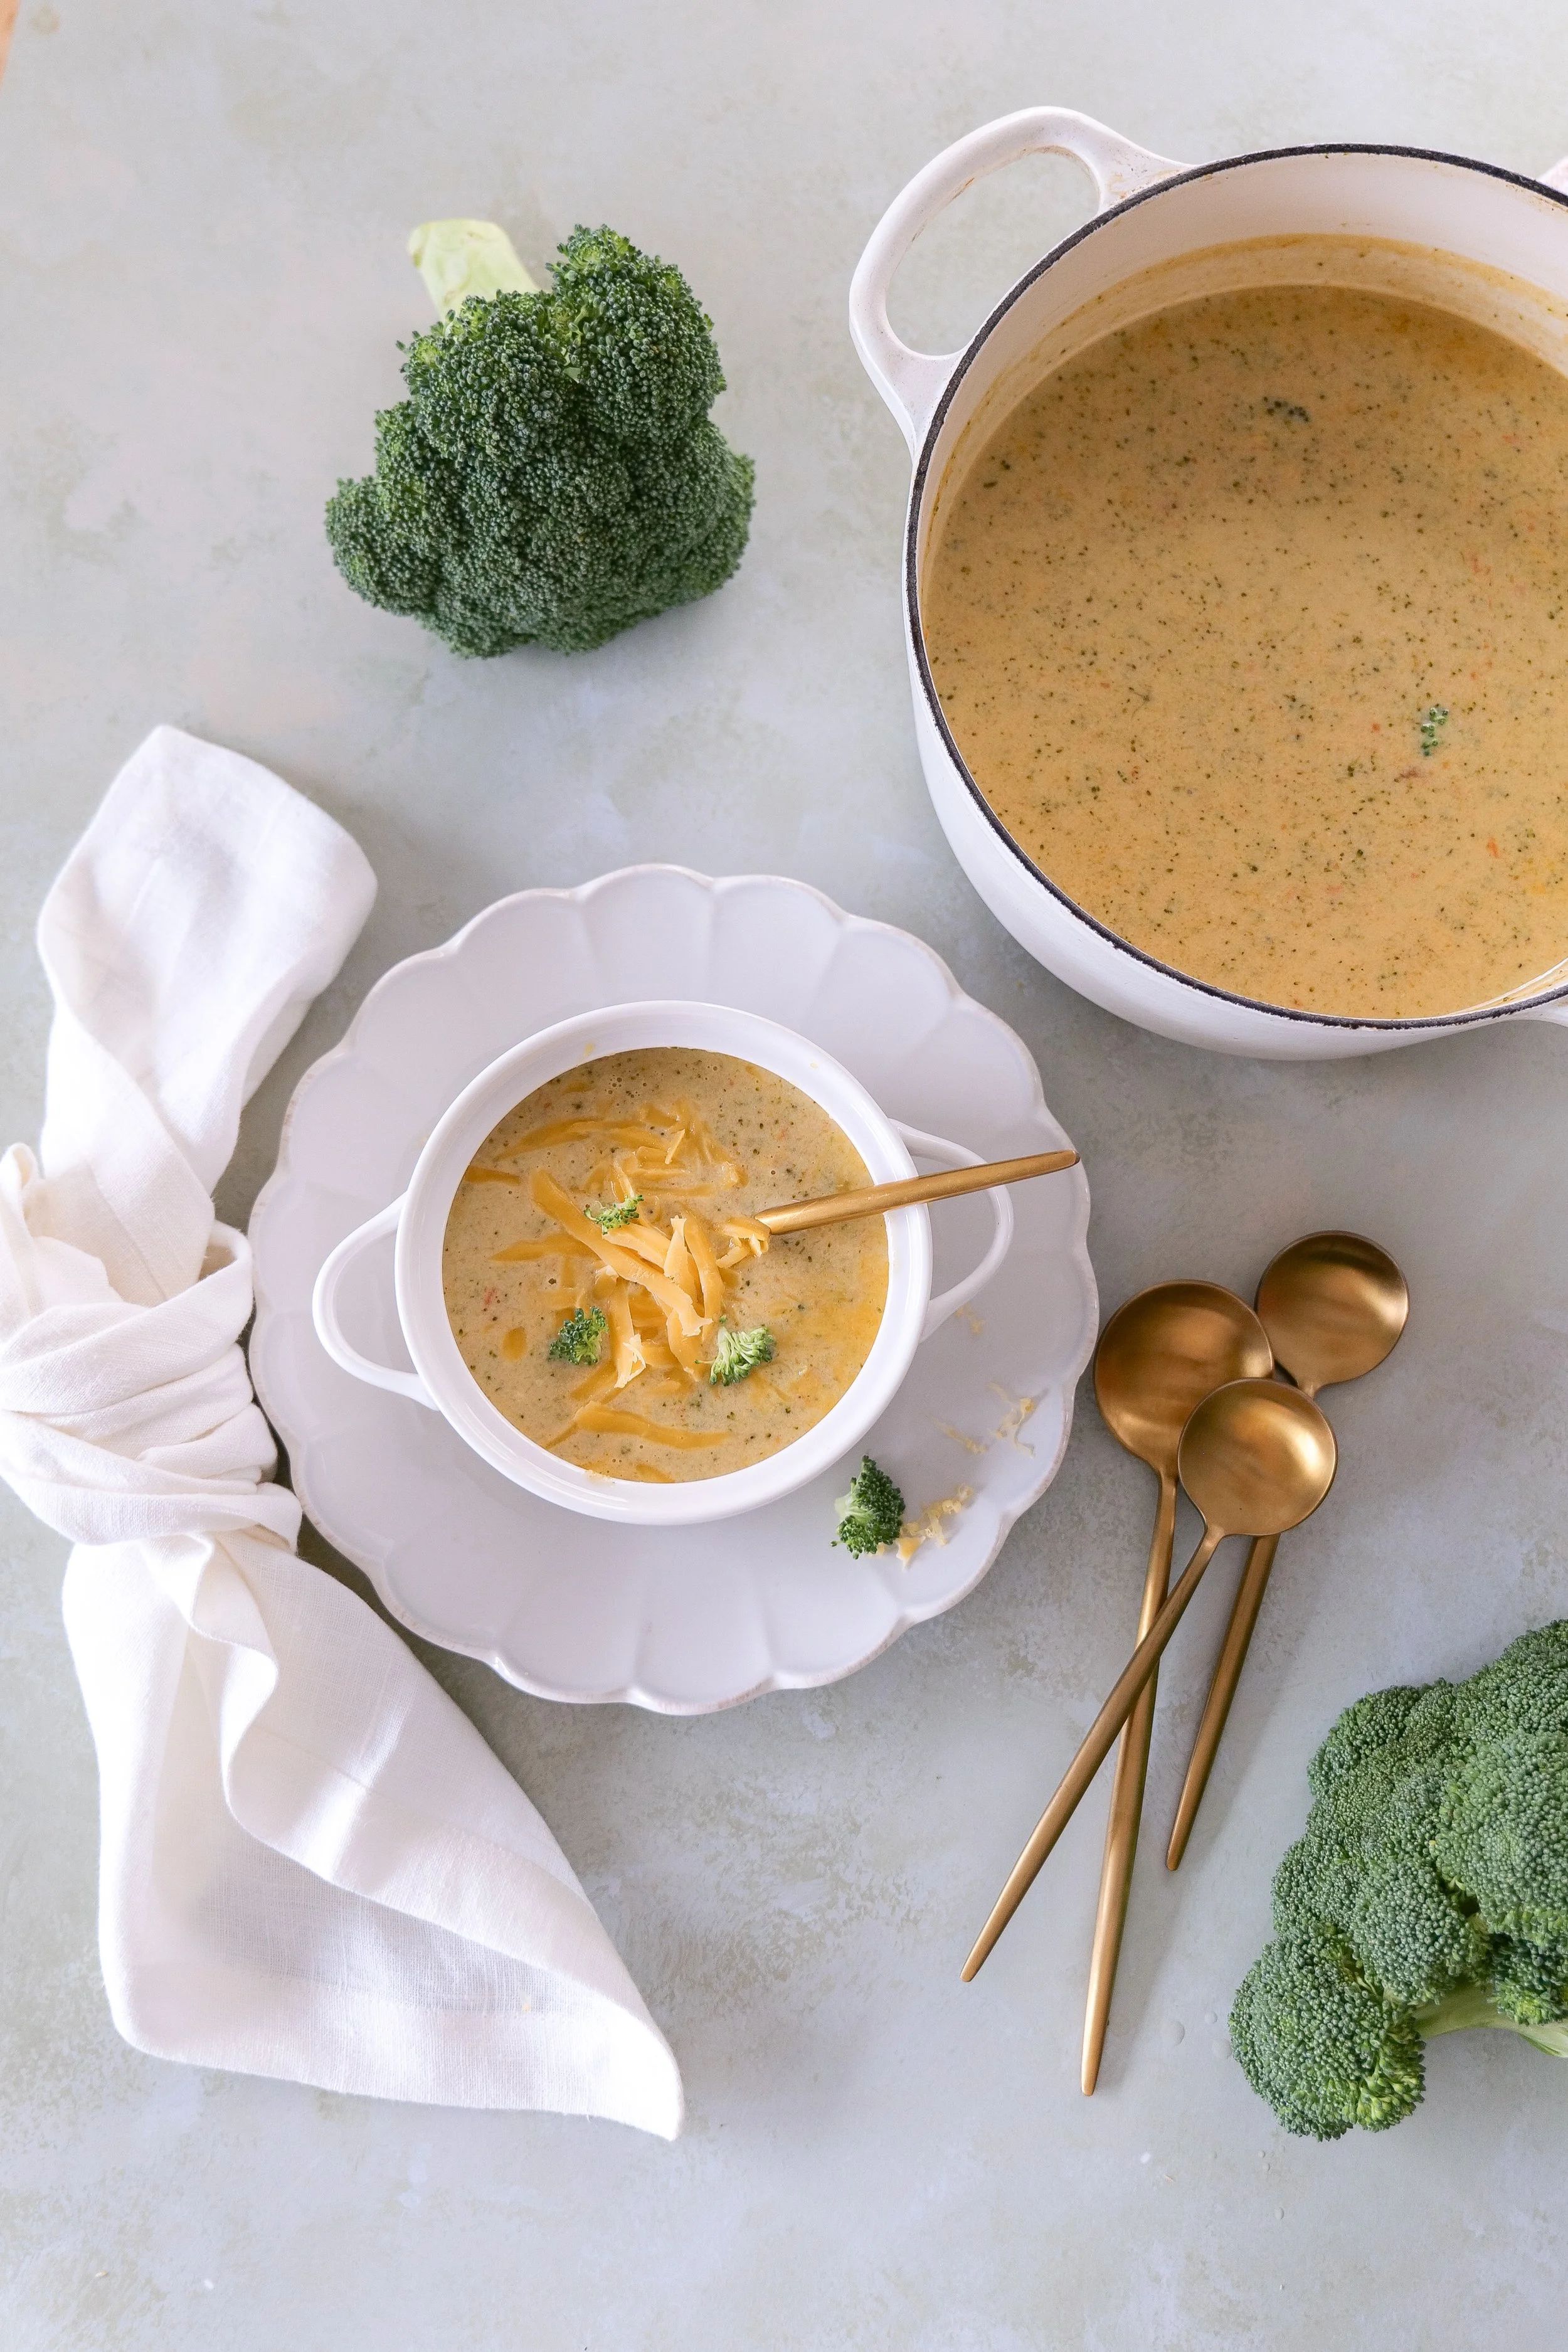
What’s the difference between apple cider and apple juice?

Apple cider and apple juice are both popular drinks enjoyed by many around the world, but they are not the same. Apple cider is made by pressing and fermenting apples while apple juice is made from the juice of apples that have already been pressed. Apple cider is slightly tart and usually contains less sugar than apple juice. Additionally, apple cider is often enjoyed warm and spiced while apple juice is served cold. Furthermore, apple cider has a shorter shelf life than apple juice, as it is not pasteurized. Apple cider is usually darker in color than apple juice. If you can't find fresh apple cider, store-bought apple cider will work just as well. For a sweeter loaf, opt for unfiltered, preservative-free apple cider. This will make the loaf more flavorful and give it a richer sweetness.

Using these flavorful ingredients, you can easily whip up this delicious apple cider loaf with brown butter glaze. This delightful loaf is perfect for a light breakfast or as an afternoon snack. Enjoy it on its own or with a side of Greek yogurt and fresh berries. The possibilities are endless!

Can the brown butter glaze be prepared ahead of time?

The brown butter glaze gives this cake a rich, nutty flavor and a creamy texture. Conveniently, the glaze can be prepared ahead of time. Up to one day ahead for best results. To prepare the glaze ahead of time, simply melt the butter, whisk in the spices, and then let cool to room temperature. When ready to use, whisk in the powdered sugar and apple cider until it's smooth and creamy. Refrigerate the glaze until ready to use, and then bring to room temperature before pouring over the loaf. The glaze will add a beautiful sheen to the loaf and a wonderful flavor that will make your taste buds sing. Serve this apple cider loaf with brown butter glaze at your next brunch gathering, holiday celebration, or any day you're looking for something sweet and special.

Can I substitute or omit any ingredients in the apple cider loaf with the brown butter glaze recipe?

There are always substitutions you can find to better suit your diet. Here are a few that are easy for this recipe. Know that these substitutions can alter the flavor and cook time, however. Instead of using butter, you can substitute applesauce to cut down on the fat content of the recipe. Omitting the nutmeg and cinnamon will still yield a tasty loaf, but adding raisins, dried cranberries, or chopped walnuts to the batter will give the loaf some extra texture and flavor. For an even more unique taste, you can substitute apple cider for apple cider vinegar. This will give the bread a slight tangy taste that will be sure to tantalize your taste buds.
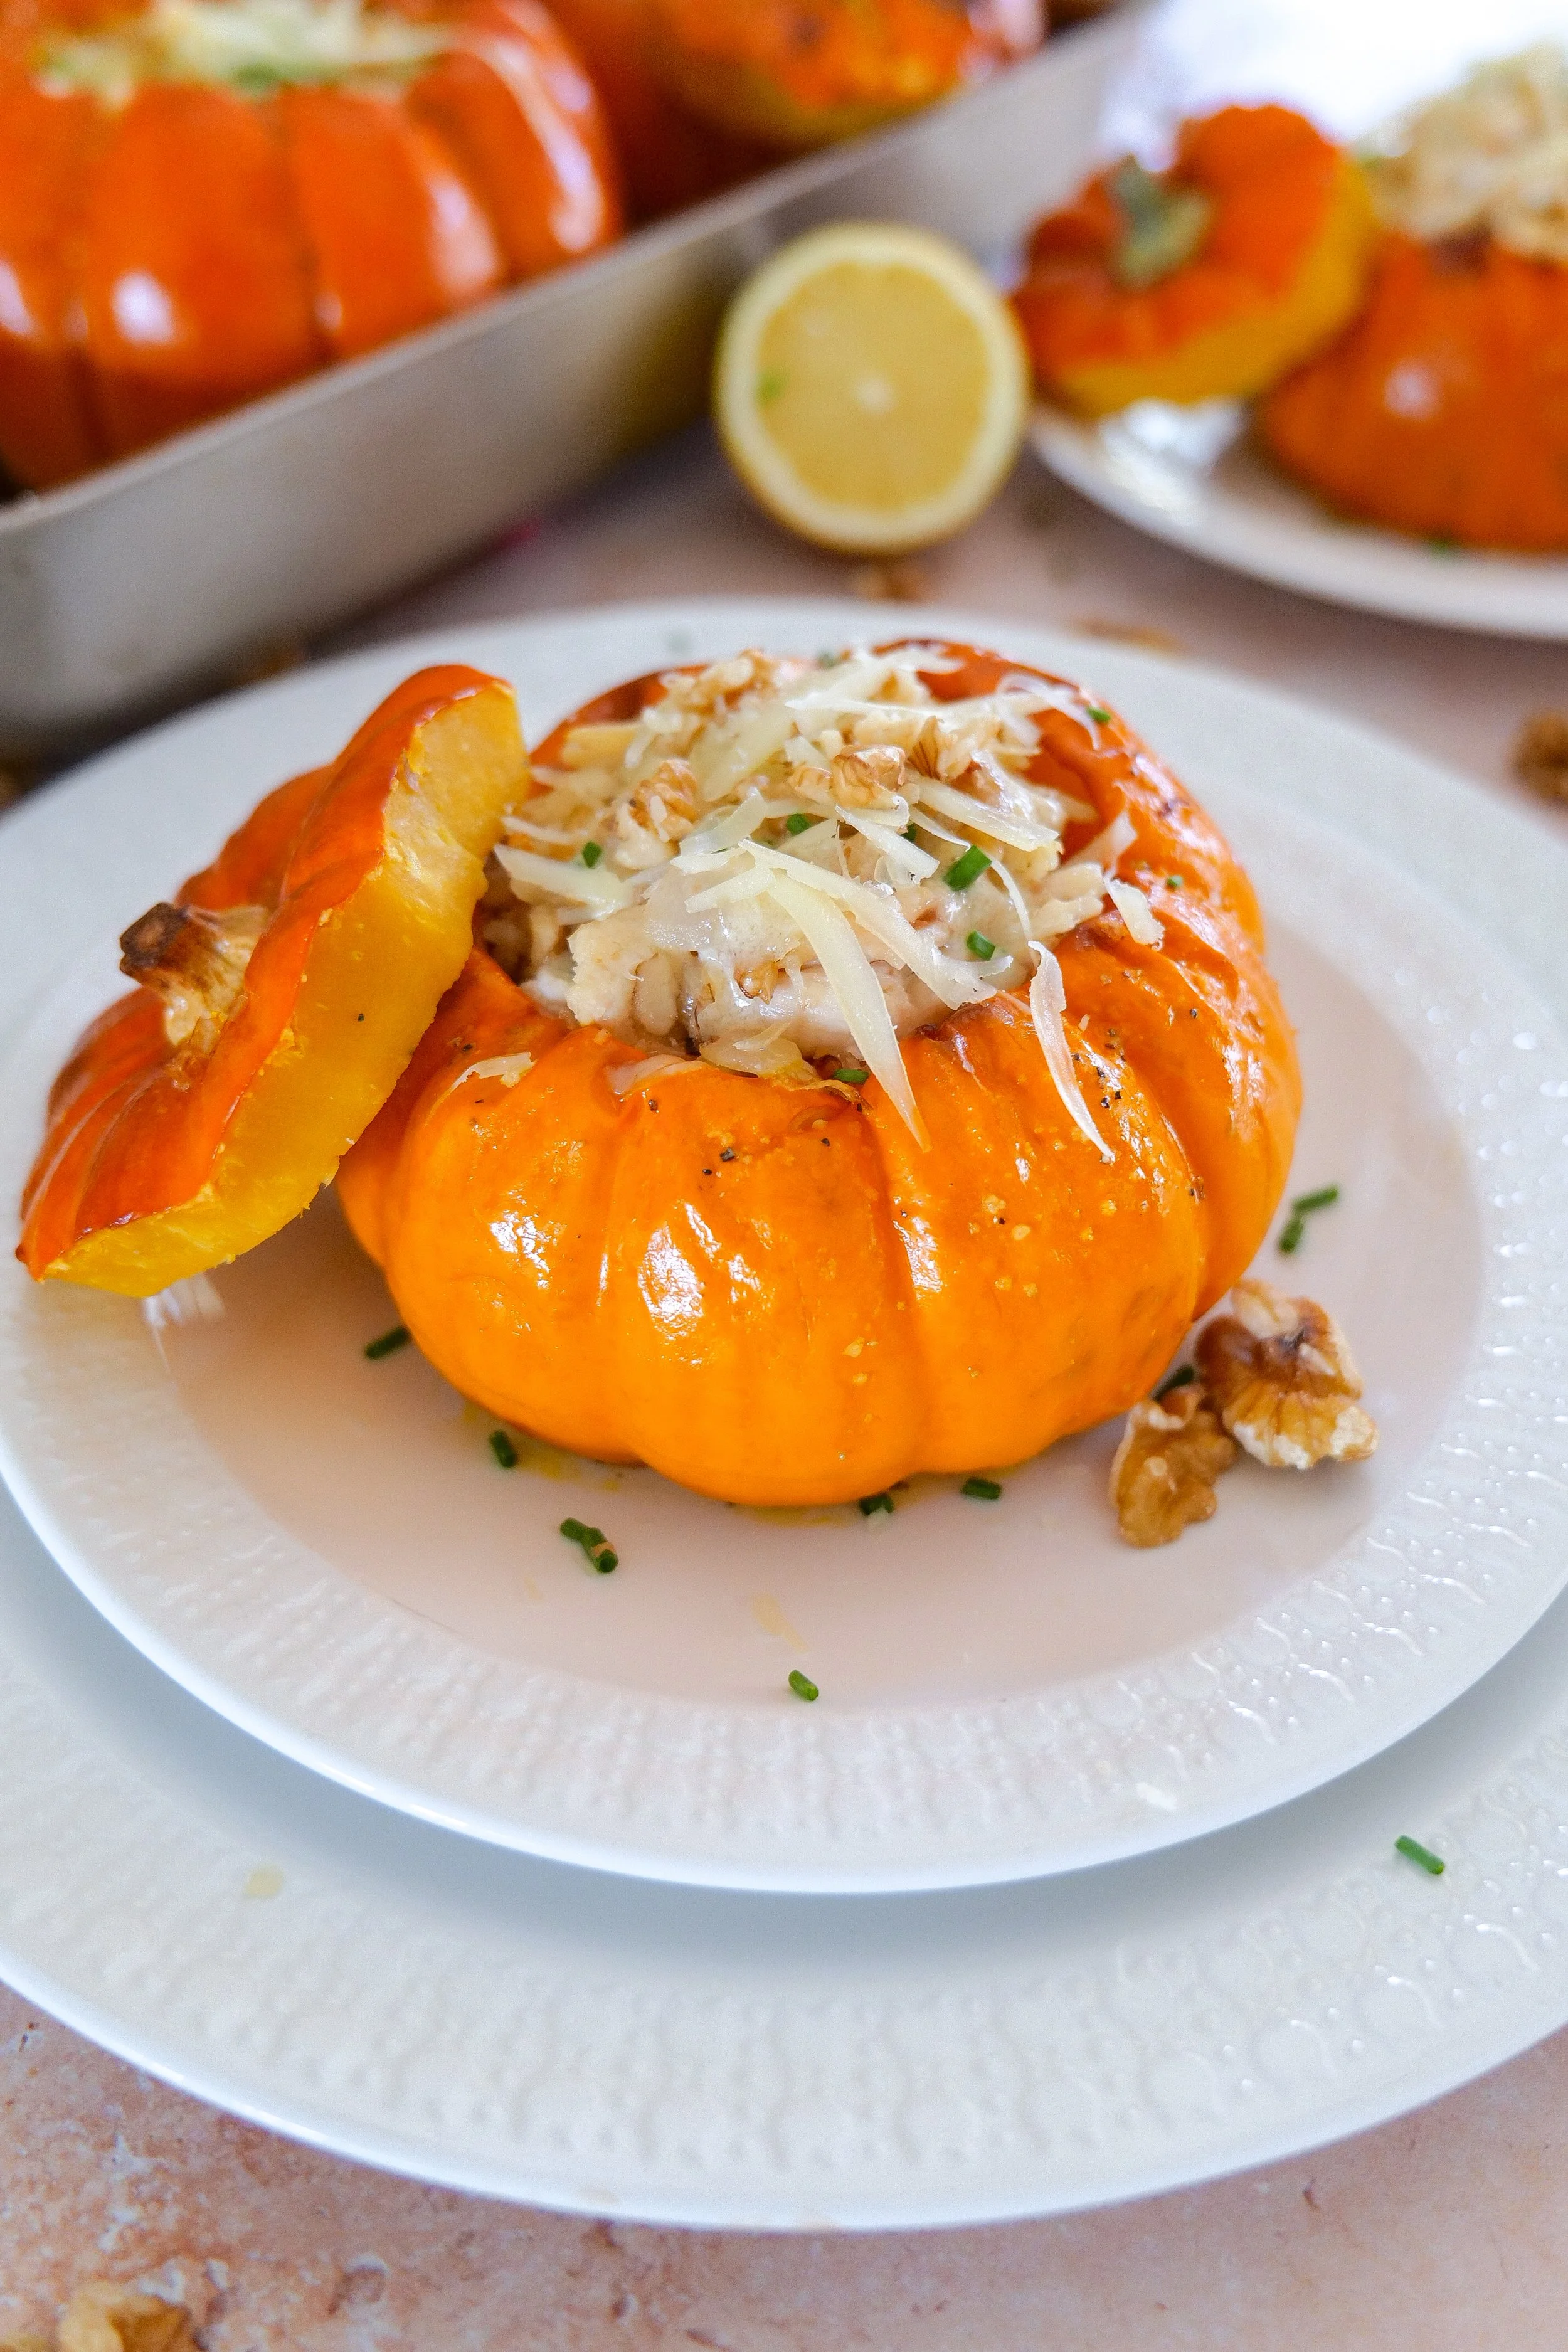
Ingredients

2 cups all-purpose flour

2 teaspoons baking powder

½ teaspoon cinnamon

¼ teaspoon nutmeg

½ teaspoon kosher salt

1 ½ cups apple cider reduced to ¾ cup

1 cup dark brown sugar

2 large eggs room temp

½ cup brown butter

1 teaspoon vanilla extract

½ cup sour cream

Glaze:

1 & 1/3 cups powdered confectioners sugar

3 tablespoons brown butter

2 tablespoons apple cider, saved from above

Instructions

1. Preheat oven to 375 and oil a loaf pan.

2. Put cider in a small saucepan over medium heat and bring to a boil. Boil for about 10 minutes, or until reduced to 3/4 cup. Pour the cider into a small bowl and set aside to cool slightly. Then brown butter for glaze and loaf (1/2 cup + 3 tablespoons) in the same saucepan until it gets a nutty fragrance and is browned. pour in another separate bowl and let cool. At this time you can take a third bowl and add in the 2 tablespoons of cider and 3 tablespoons of brown butter and set aside. This will be used later for the glaze

3. Once the bowl with apple cider has cooled to room temp add sour cream and set aside. Mix all wet ingredients, brown sugar, egg, brown butter, and vanilla extract with hand or stand mixer on medium-high until well combined.

4. Add dry ingredients to bowl of wet ingredients (not the one with apple cider), all-purpose flour, baking powder, and salt until smooth and no powder is showing and well incorporated. With a spatula mix in apple cider and sour cream mixture.

5. Pour batter into the prepared loaf pan. Bake for 55-60 minutes or until a toothpick in the center comes out clean.

6. While the loaf is baking mix powdered sugar and remaining brown butter and apple cider together for frosting. As soon as the loaf is done place it on a cooling rack and drizzle the glaze mixture on top so that it will stick well and melt into the warm loaf. Cut, Serve and Enjoy!

Save This Recipe

Whether you're planning ahead for a special occasion or adding a new favorite to your recipe collection, I've included a printable recipe card below so it's easy to save, print, and share with the people you love.

Apple Cider loaf with Brown Butter Apple Cider Glaze is a moist and flavorful loaf that will be sure to please any crowd. With a hint of apple cider, this loaf is the perfect way to use up any extra apple cider you may have. The brown butter glaze provides a nutty, caramel-like flavor that is sure to be a hit. The loaf is easy to make and only requires a handful of ingredients, so you can whip it up with ease. The result is a moist and flavorful loaf that will be sure to become a family favorite! Whether you're in the mood for a classic cake or something a bit more unique, this Apple Cider Loaf with Brown Butter Apple Cider Glaze is sure to satisfy. Serve it up with a dollop of whipped cream or a scoop of ice cream for a truly indulgent treat!

Other Fall Recipes You Will Love:

Indulge Your Sweet Tooth with This Delicious Brown Butter Spice Cake with Honey & Fig Jam Frosting

The Ultimate Thanksgiving Dessert - My Pumpkin Crisp Recipe

Baked Burrata Pumpkin Ziti with Pork Sausage Recipe

A Taste of Heaven: Deliciously Easy Apple Pie!

Indulge Your Sweet Tooth with This Delicious Brown Butter Spice Cake with Honey & Fig Jam Frosting

Welcome to my kitchen! This time, we’re baking a truly decadent cake that is sure to impress any dessert aficionado. Welcome the early fall season with this delicious and flavorful Brown Butter Spice Cake with Honey & Fig Jam Icing recipe. The brown butter and spices give the cake a unique flavor that will make it a favorite in your home. The sweetness of the fig jam icing is sure to be a hit with everyone as well. This recipe is perfect for any occasion, from a family dinner to a special celebration. You can make this cake ahead of time and store it in the refrigerator for up to a week, making it a great make-ahead dish. Serve it as is or dress it up with some fresh figs on top.

What type of honey works best in the icing?

Clover honey is the most popular honey for baking as it has a mild flavor, but you can also experiment with orange blossom honey for a subtle citrus flavor or wildflower honey for a bolder flavor. Acacia honey is a great choice as it is light and delicate in flavor, while Manuka honey is unique and has a distinctive flavor. Whichever honey you choose will go great with this delicious cake and add its own unique twist.

Are there any other variations of this recipe that can be tried?

To make the cake even more unique to you here are a few changes you can make on this cake. You can add walnuts, almonds, or hazelnuts to give it a crunchy texture. For a slightly different flavor, you can also swap the honey for maple syrup. To make the cake even more impressive, you can make this into 2 layers and add icing in between each layer instead of one thick cake. If you're looking for a different flavor, you can try using apricot or raspberry jam instead of fig jam. For a less intense flavor, try substituting dark brown sugar for white sugar. With so many different variations, you can make this Brown Butter Spice Cake with Honey & Fig Jam Icing Recipe your own.

Ingredients:

4 large eggs

1/2 cup buttermilk

1/3 cup brewed espresso

1 cup butter

2. teaspoons almond ext.

1 - 1/2 cup dark brown sugar

2-1/4 cups cake flour

1 tablespoon baking powder

1/2 teaspoon salt

1 teaspoon chai powder

1 teaspoon cinnamon

1/2 teaspoon ground cloves

1/2 teaspoon ginger

Frosting:

1 cup butter

8 oz cream cheese

4 cups powdered sugar

1 teaspoon almond extract

1/4 cup honey

Fig preserves or jam

Instructions:

1. Prep by greasing a 9-inch round cake pan & preheat the oven to 350 degrees.
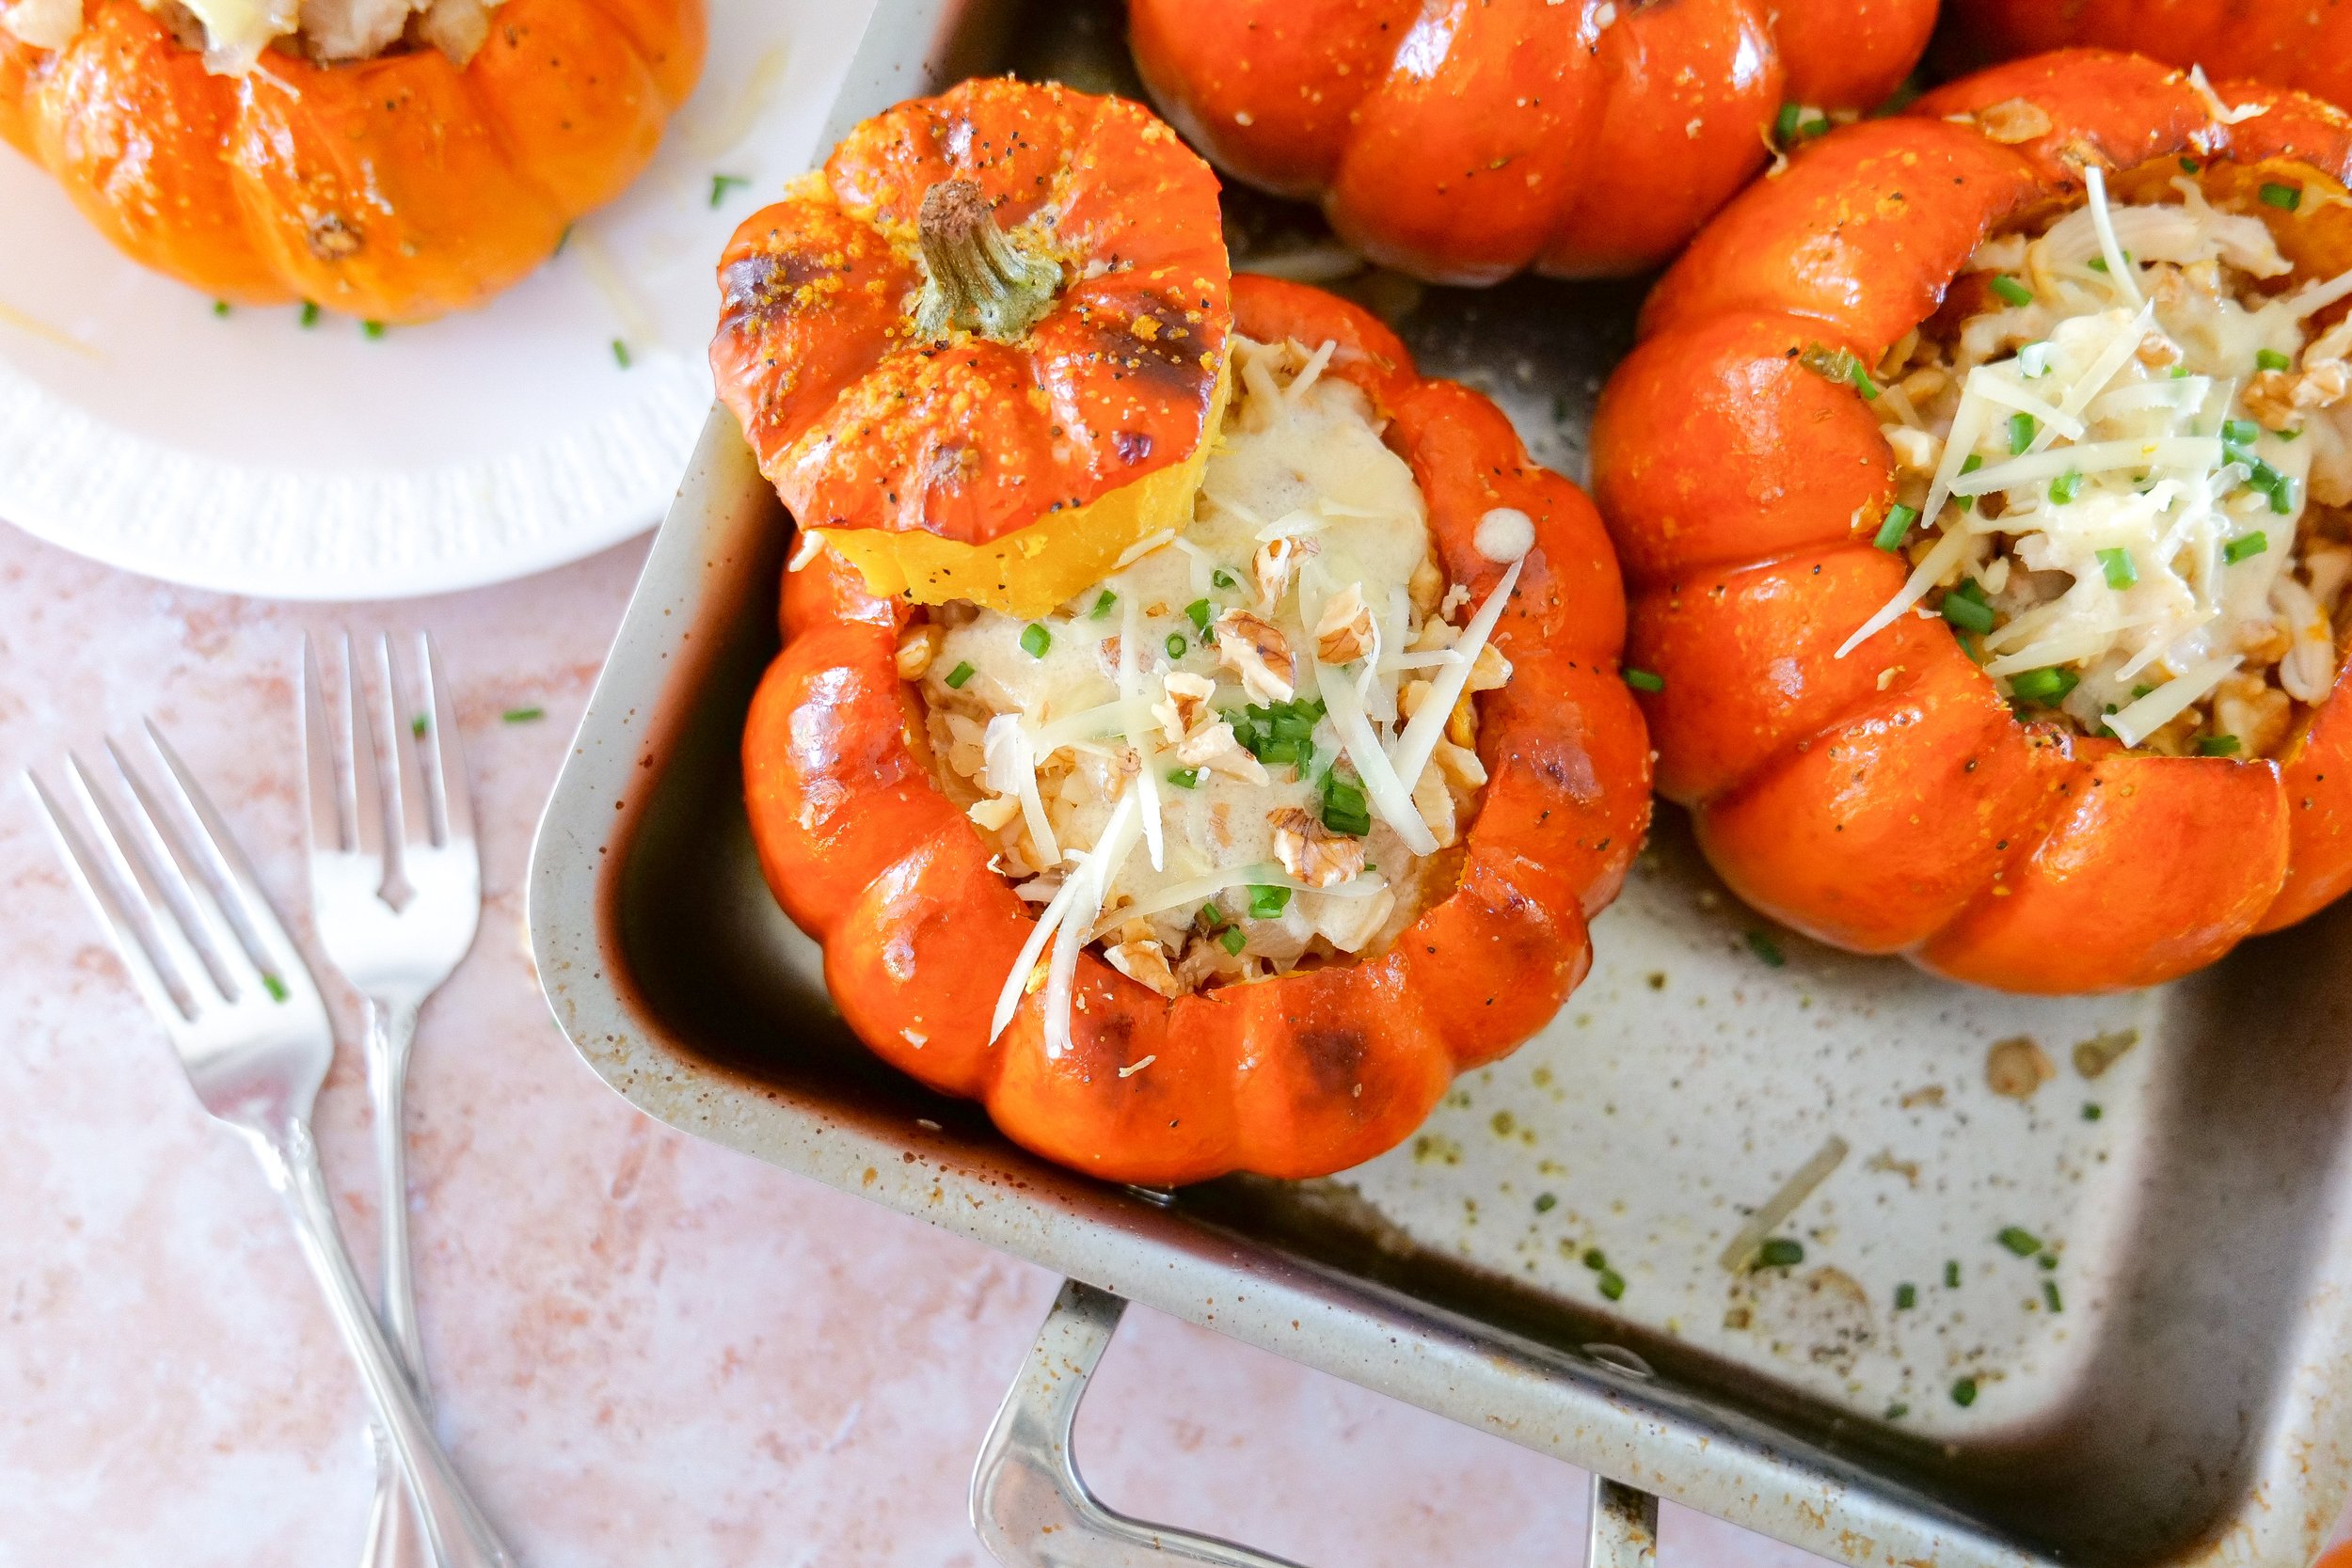
2. Brown butter in a saucepan and cook until browned and nutty in fragrance. Set aside in a clean bowl freshly brewed espresso and let cool while getting other ingredients ready.
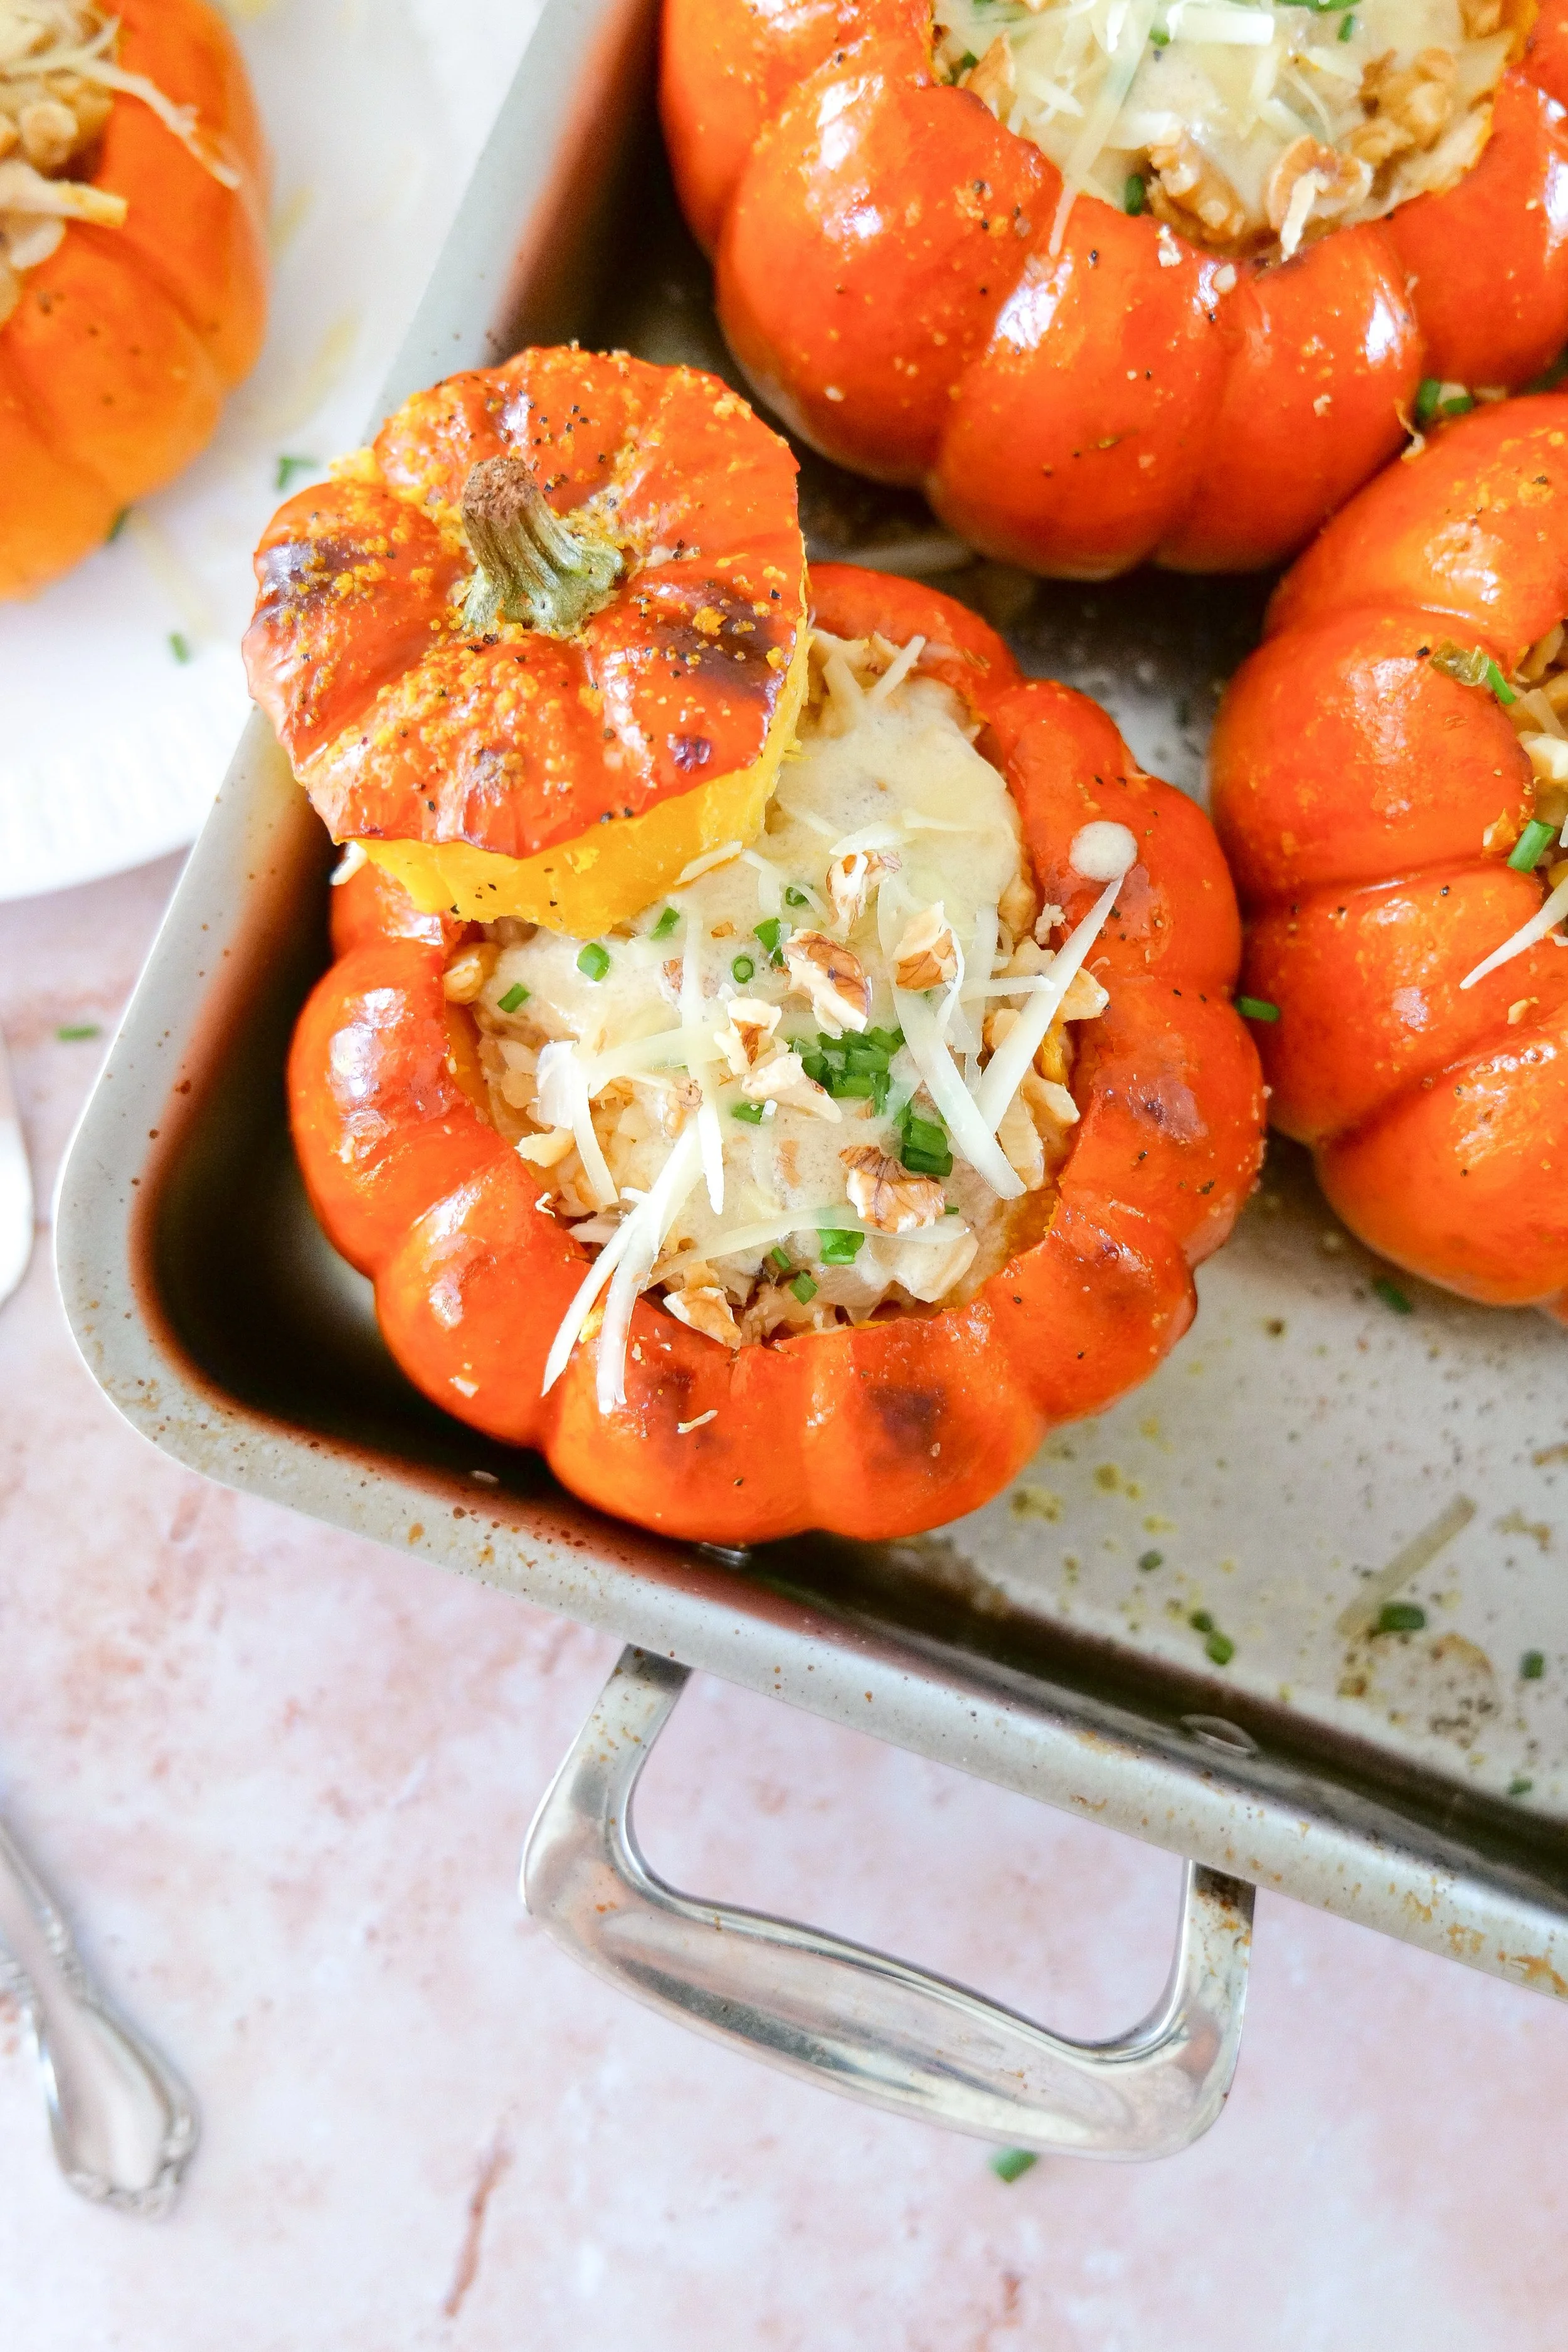
3. Blend eggs, heavy cream, almond extract and the brown butter/espresso mixture, from above, completely in a medium bowl.

4. In a new clean bowl whisk dry ingredients until combined. Add wet ingredients to dry and blend together with an electric hand mixer.

5. Once combined pour into an oiled 9-inch pan and place in the oven. Bake for 45-55 minutes or until a toothpick inserted comes out clean.

7. While the cake is baking blend together all frosting ingredients until well combined. (butter and cream cheese should be at room temperature if not heated in the microwave for 30 sec at a time)

8. Once the cake is done baking let cool in the pan for 15 min and transfer to the cooling rack for another 15.

9. Add Frosting to the top of the cake adding in a large spoon fulls of fig jam and using a knife or rubber spatula to blend to make a stunning and tasty marble effect. Add Fresh figs and drizzled honey on top for an even prettier and tastier cake and Enjoy!

Other Delicious Cake Recipes:

Taste the Deliciousness of Pistachio Cake: A Treat for Any Occasion

My Favorite White Cake Recipe

Indulge in Deliciousness: Cherry Chip Cake with Chunks of Dark Chocolate Recipe

Save This Recipe

Whether you're planning ahead for a special occasion or adding a new favorite to your recipe collection, I've included a printable recipe card below so it's easy to save, print, and share with the people you love.

Garlic Mushroom & Shrimp Pasta

This is one of my favorite quick and easy pastas to make. It’s deliciously light on sauce but full of great flavorful taste. Every time I make this dish Scotty easily cleans his plate and always tells me how delicious it was. Quotes like “It tastes like it’s from a fancy restaurant”… “Add this to the menu”…and “That was really good babe”.. always leaves me with a smile on my face. It’s such a great feeling when someone loves the food I cook. So I had to share for this months recipe because I want everyone leaving your table with a smile too!

public.jpeg

Ingredients:

Fresh Pasta, enough for 2-4 people

3 Cloves of Garlic

Olive Oil spray

8 oz Baby Bella Mushrooms

1/3 Pasta water

3 tbsp Butter

3 tbsp soy sauce

1/3 cup white wine

Shrimp (you can really use any amount you want here)

Directions:

1. Start water on medium heat for pasta. Once boiling add in pasta until Al dente.

2. While water is boiling spray skillet with olive oil cooking spray until fully coated and start on medium heat. Mince garlic and add into pan. Stirring until fragrant.

3. Add mushrooms to garlic pan and stir. Cooking for a few minutes then adding in wine. Let it cook while the liquid fully evaporates.

4. Once mushrooms are finished transfer to a plate for later. No need to wipe out pan just use another coating of olive oil spray and cook shrimp. Add a little salt and pepper onto shrimp and cook until done!

5. While mushroom and shrimp are cooking and pasta is done boiling. Drain and keep 1/3 cup pasta water.

6. Put pasta back into original pan and stir together with pasta water, butter and soy sauce.

7. Now that you have everyone ready to go.. plate your dish! pasta first, then add on your mushrooms and shrimp and serve!

8. Enjoy! Maybe even have a glass of that wine you opened!

Save This Recipe

Whether you're planning ahead for a special occasion or adding a new favorite to your recipe collection, I've included a printable recipe card below so it's easy to save, print, and share with the people you love.

public.jpeg
public.jpeg
public.jpeg