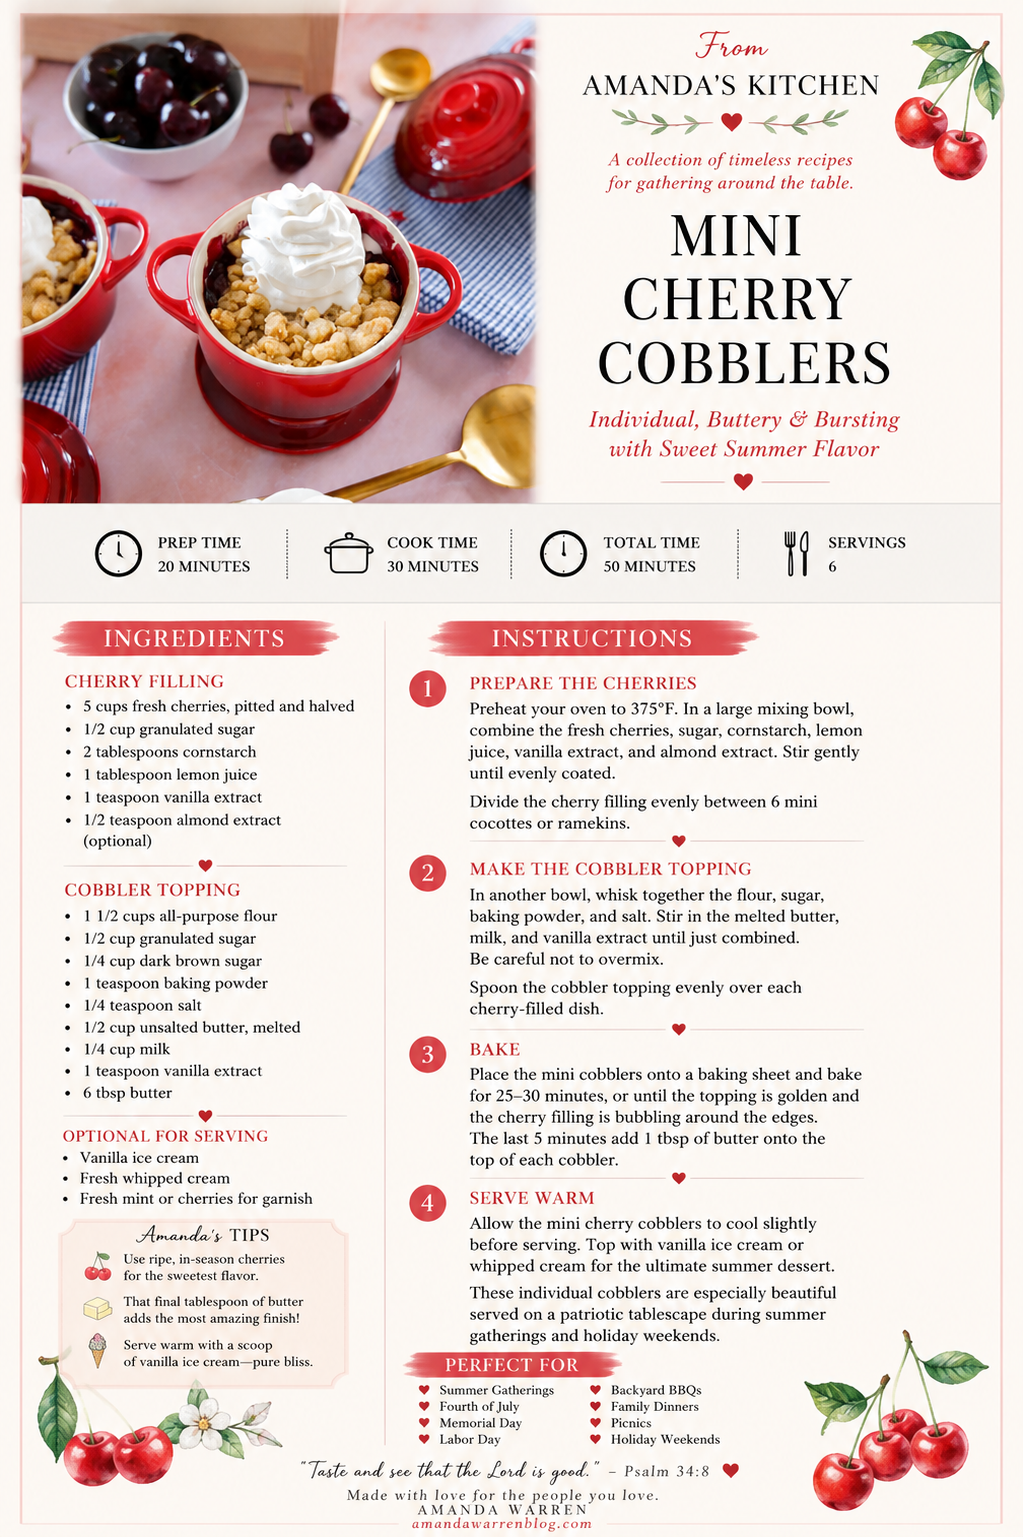
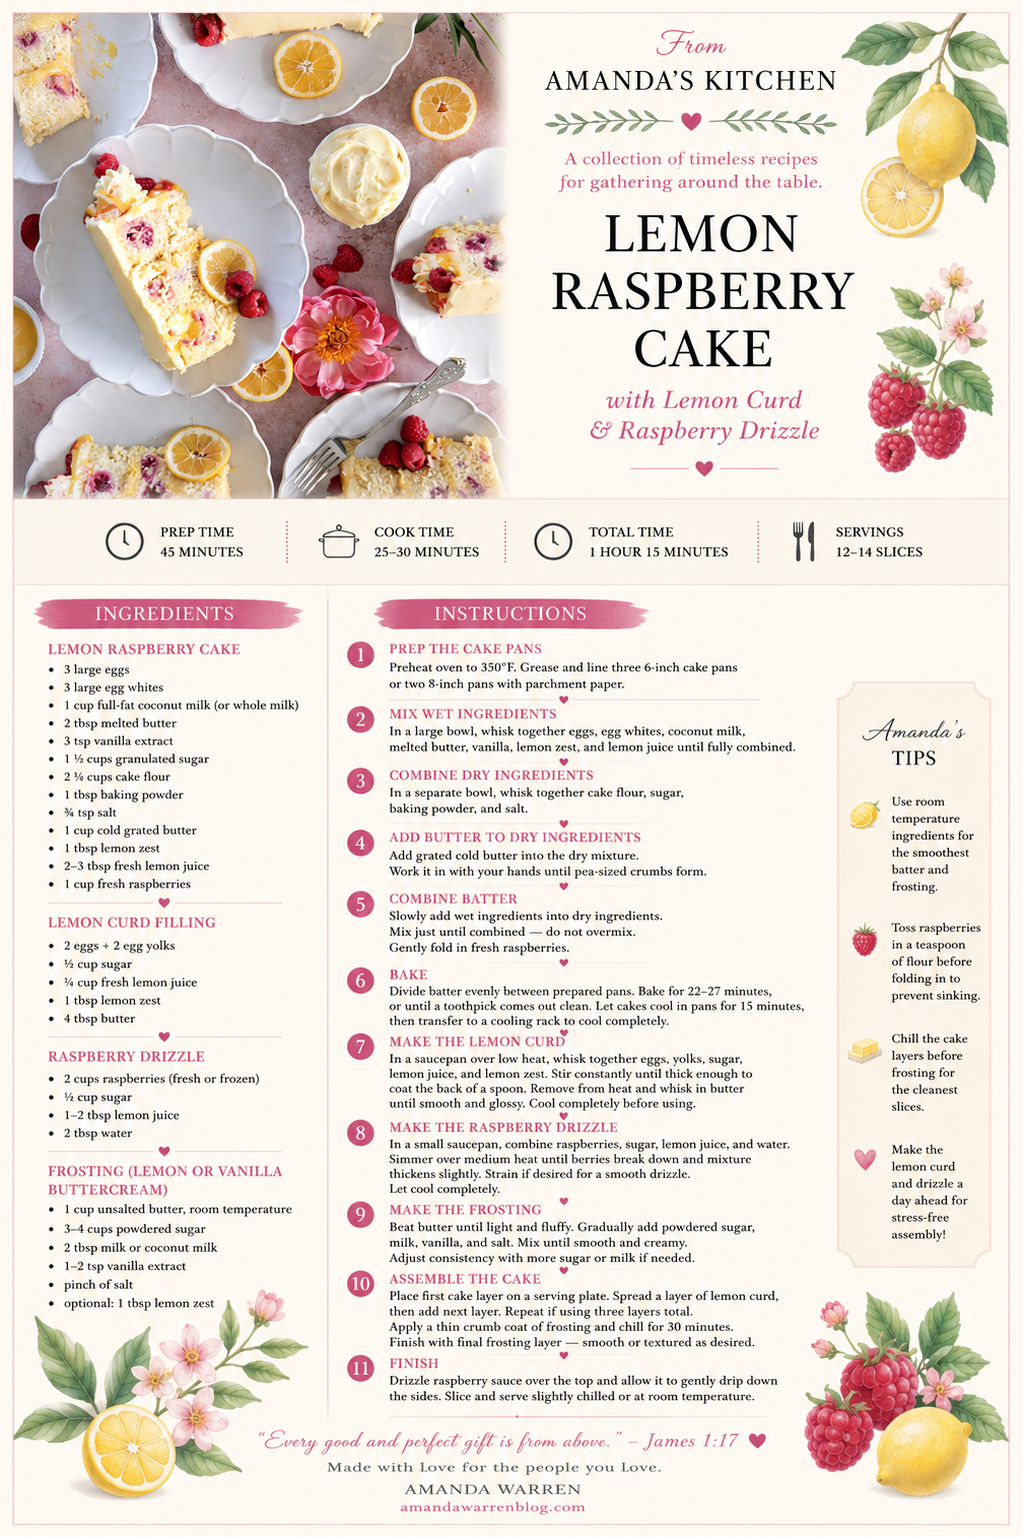
The One Home Upgrade I've Never Regretted (After Renovating Four Homes in 12 Years)
/
Over the past twelve years, my husband and I have renovated four homes.
Each one has looked a little different.
Two have embraced a timeless traditional coastal style, one leaned into classic traditional design, and another became a warm French country home. Every renovation has taught us something new, but one lesson has remained exactly the same through every project.
The smallest details often make the biggest difference.
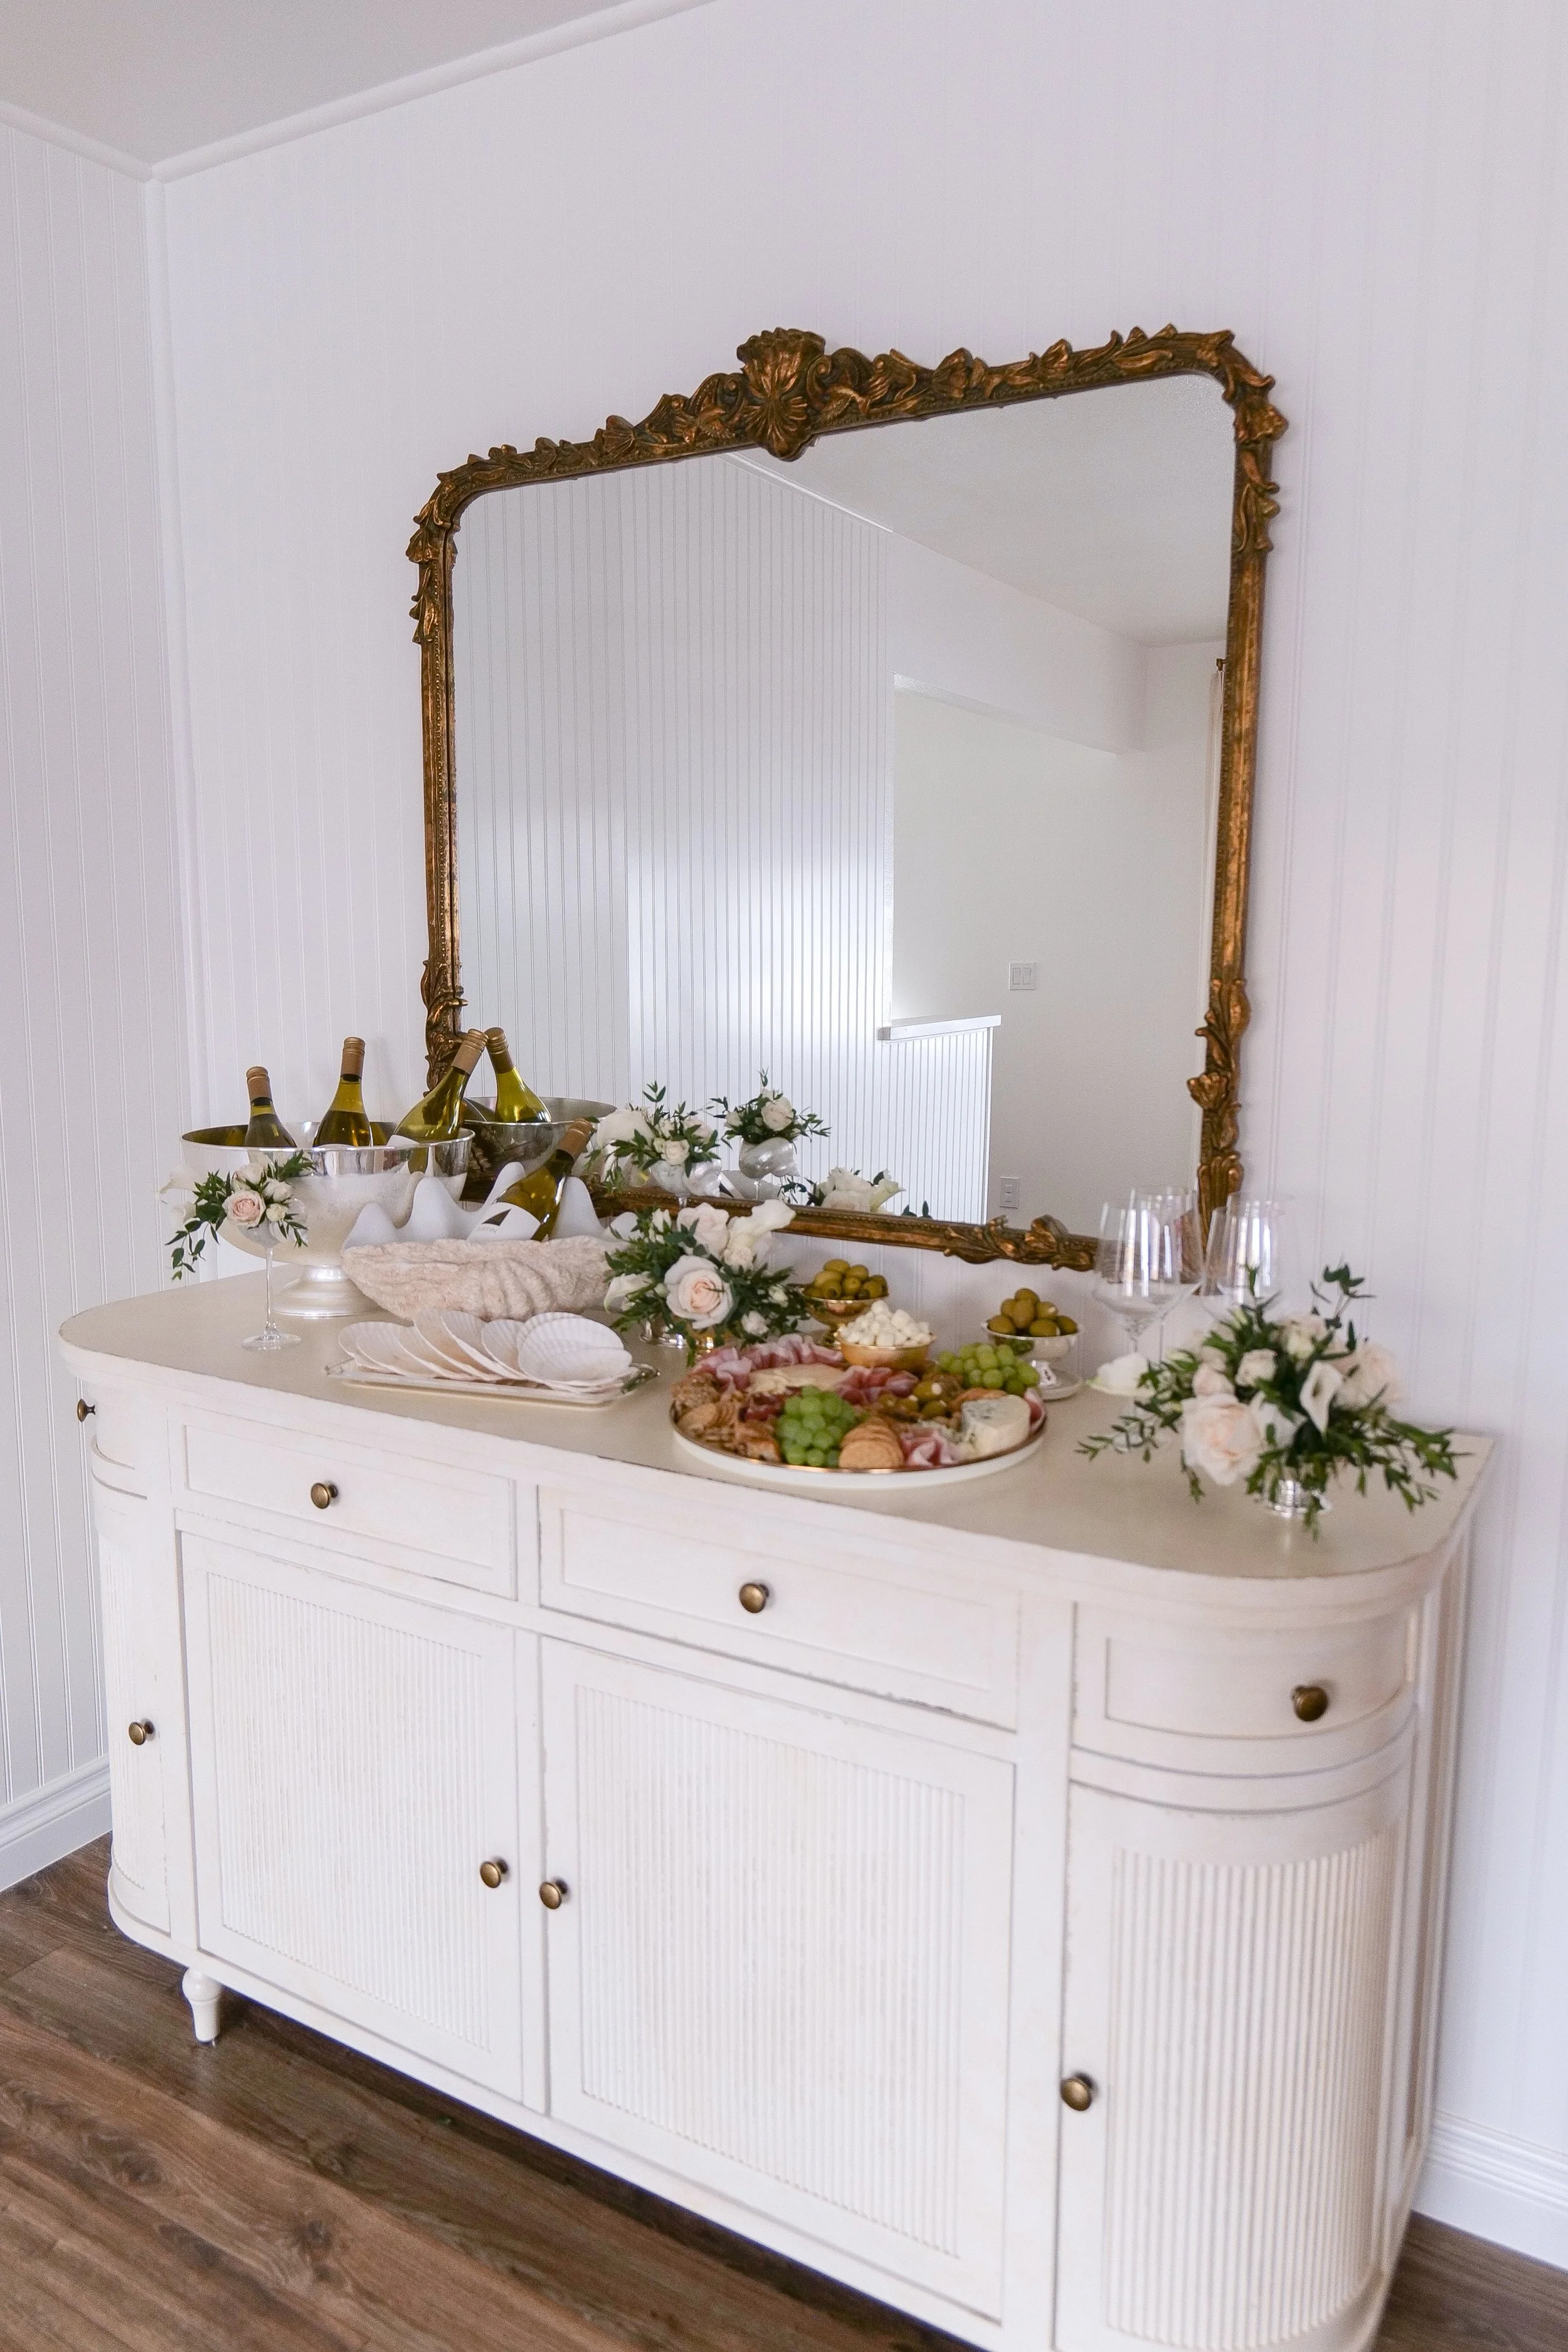
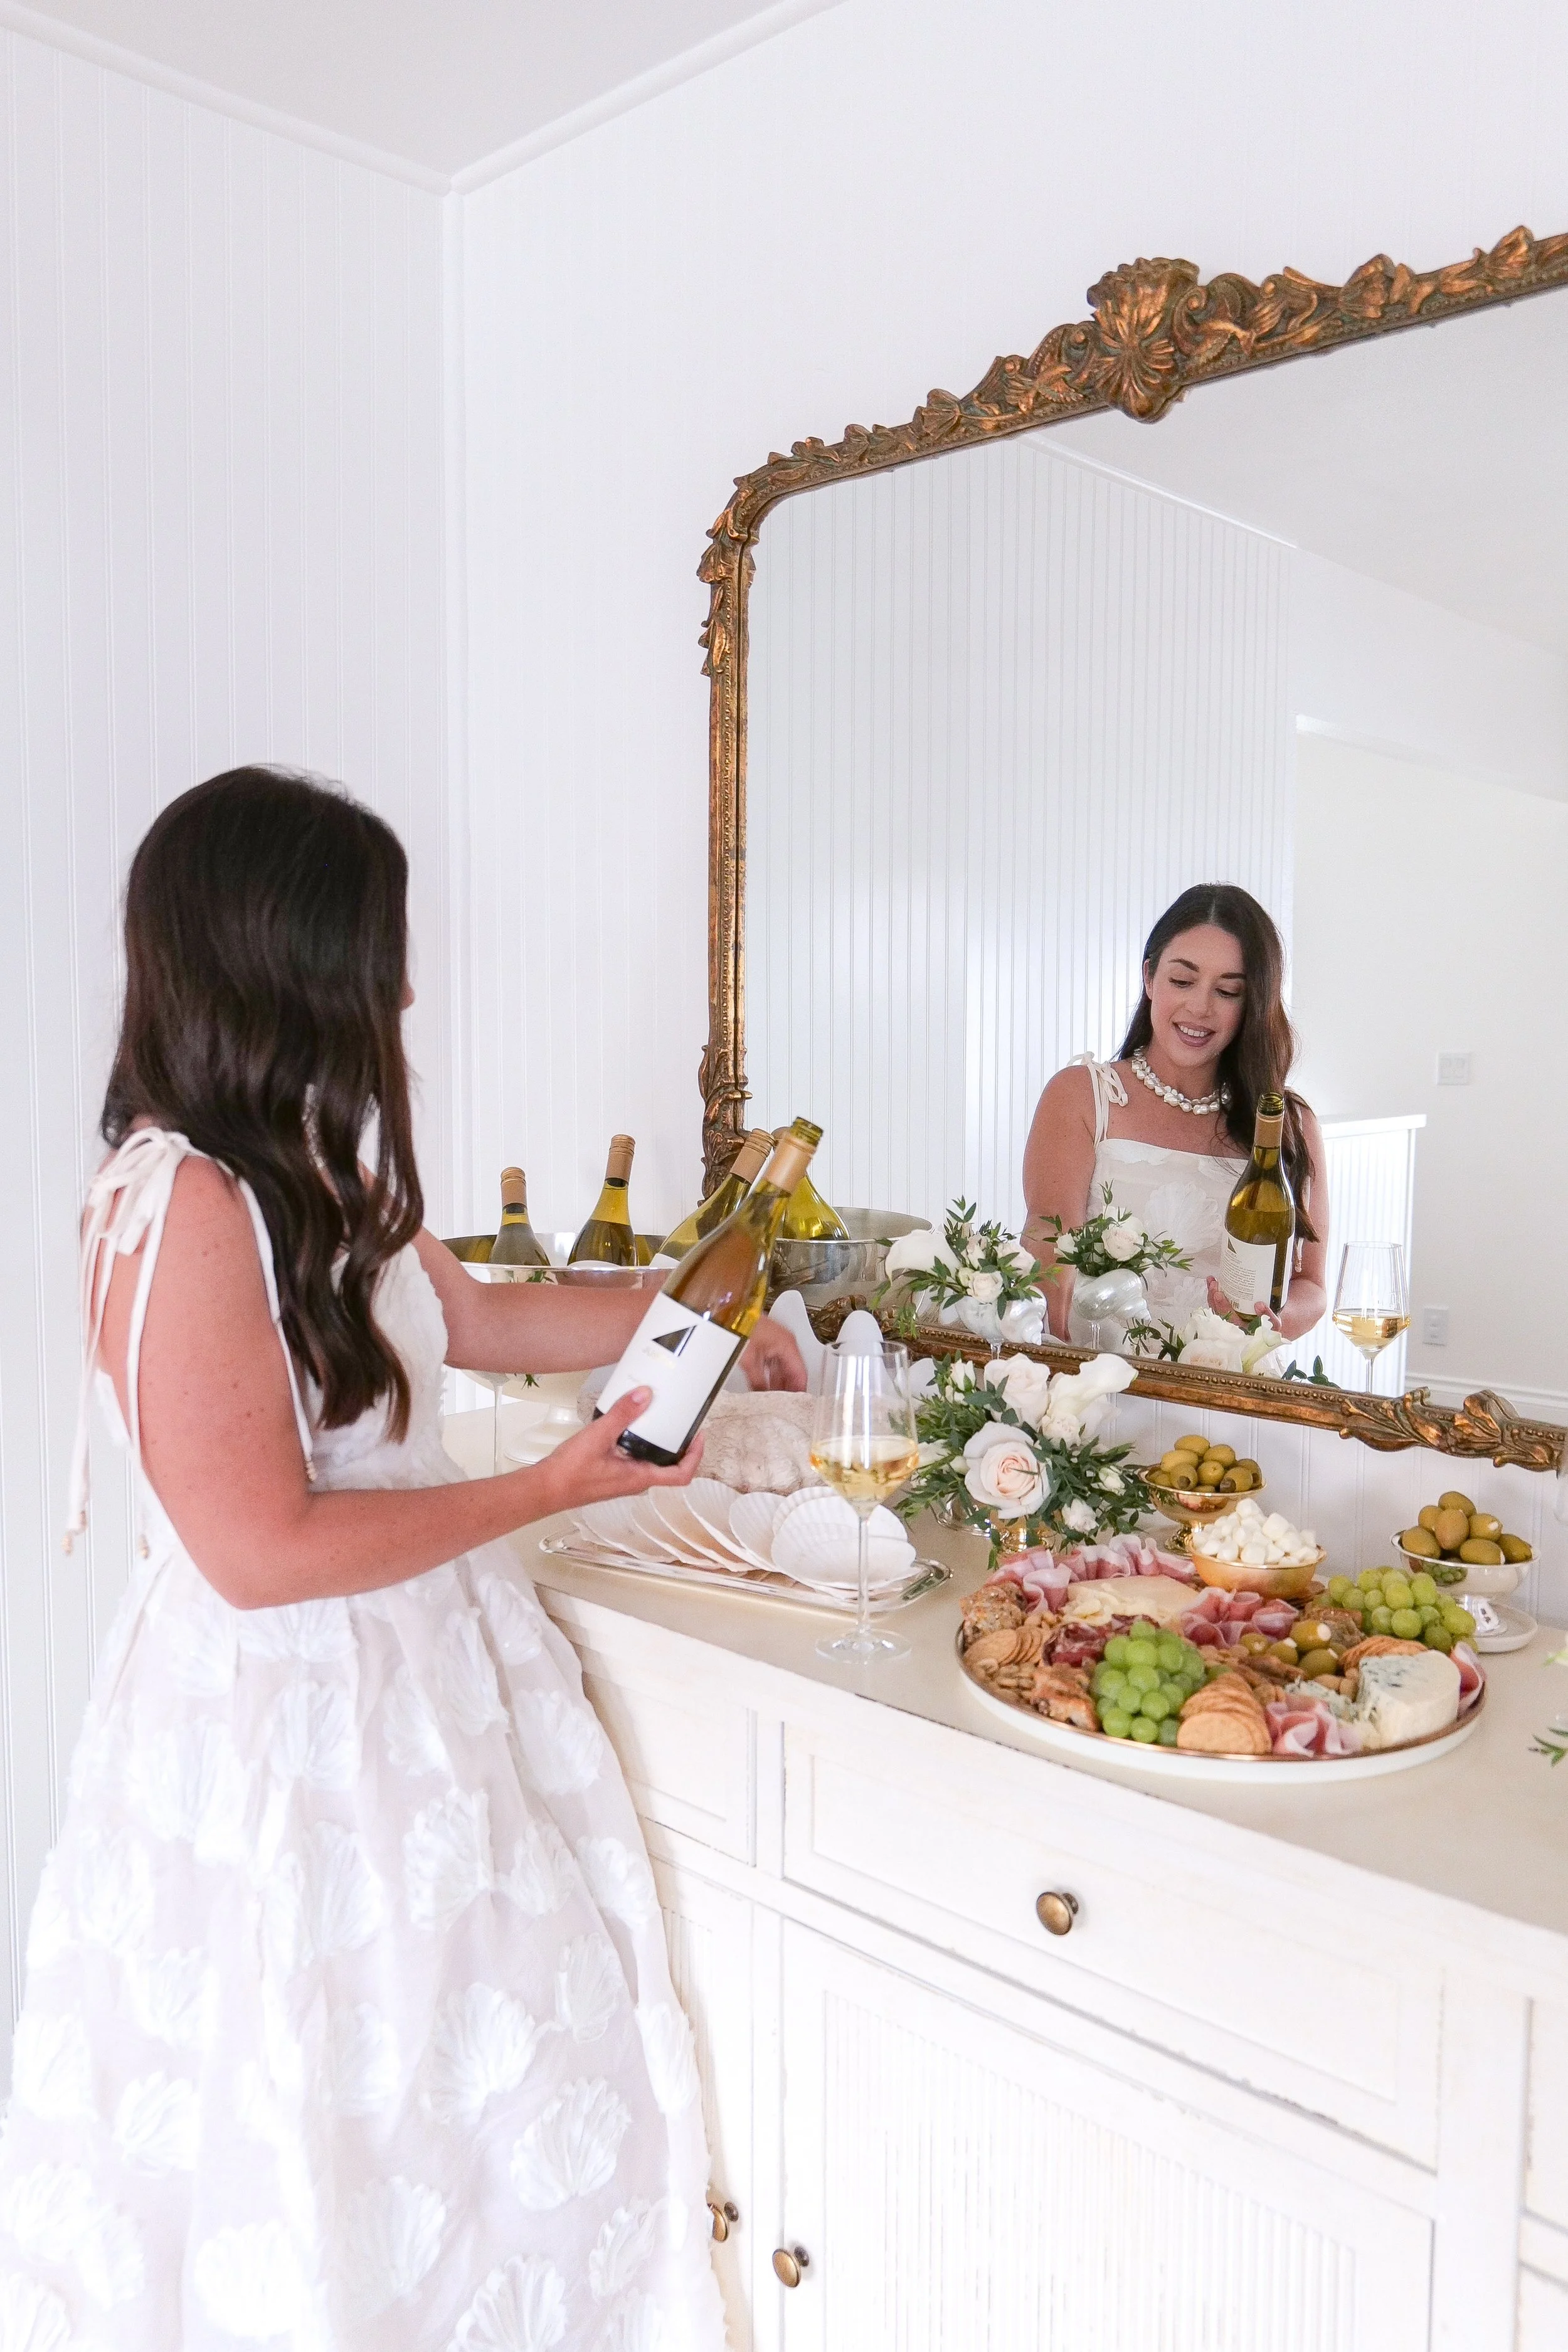
While kitchens and bathrooms usually get all the attention, I've found that it's often the details you touch every single day that quietly transform the feeling of a home.
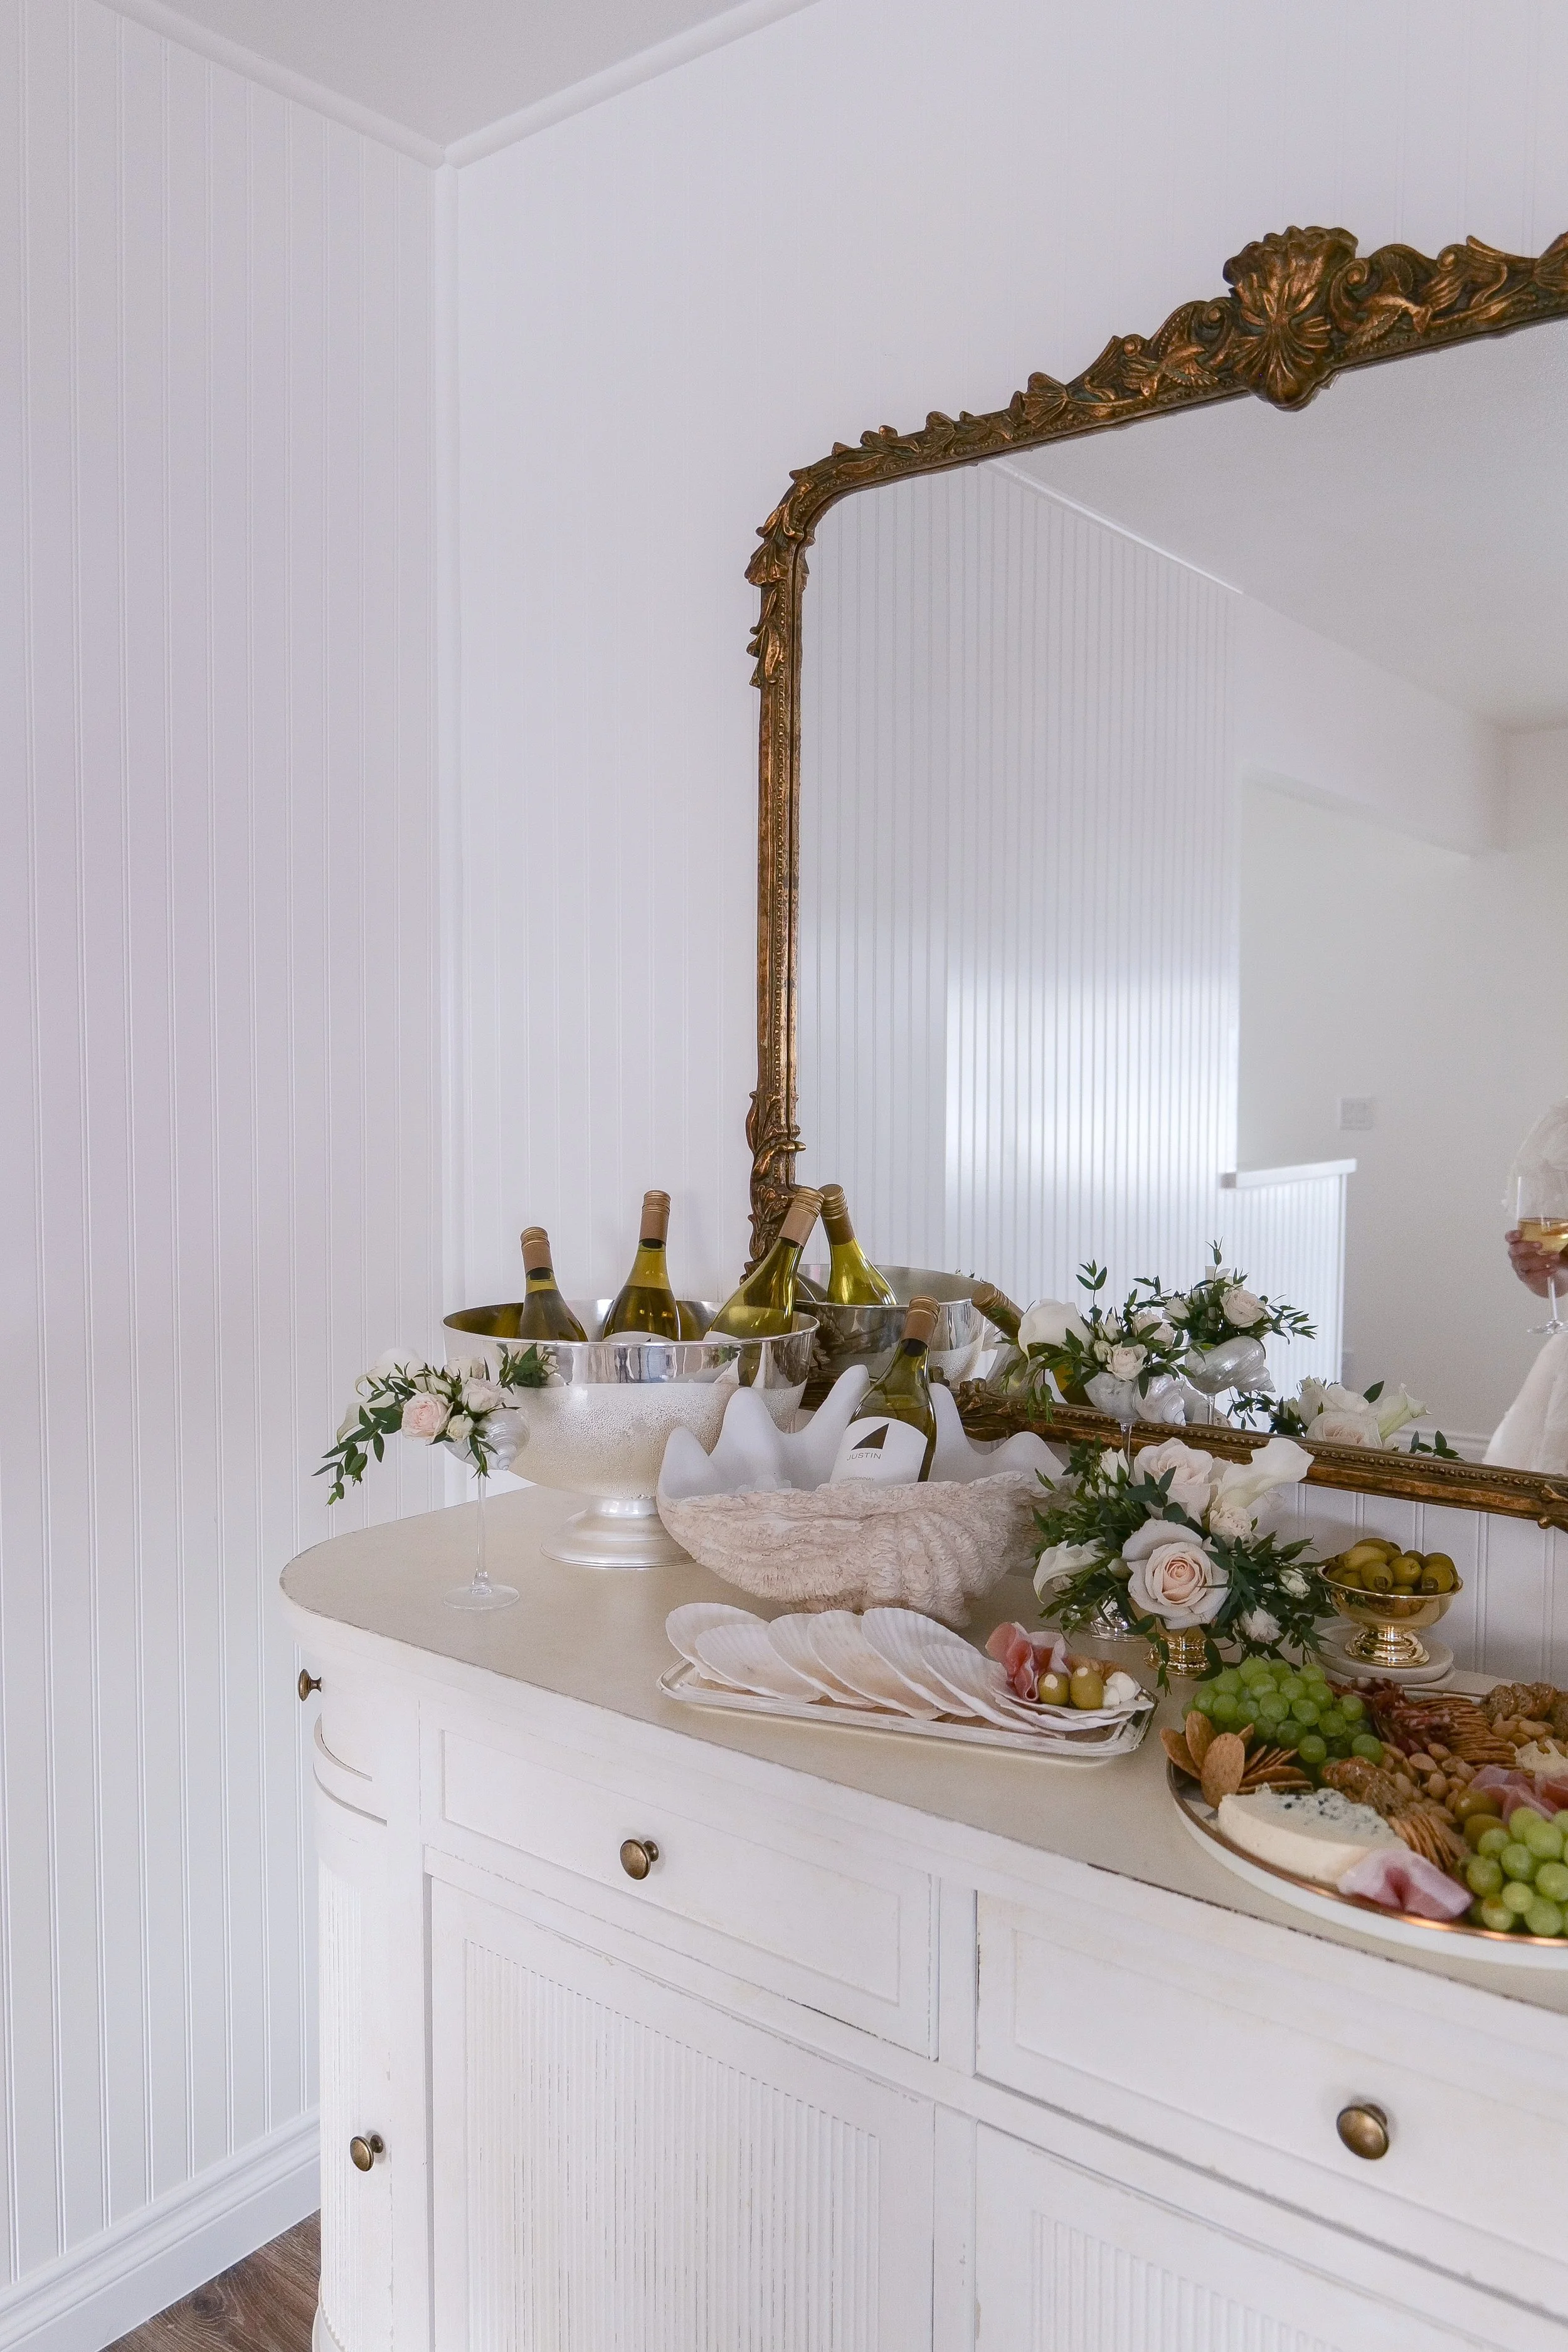
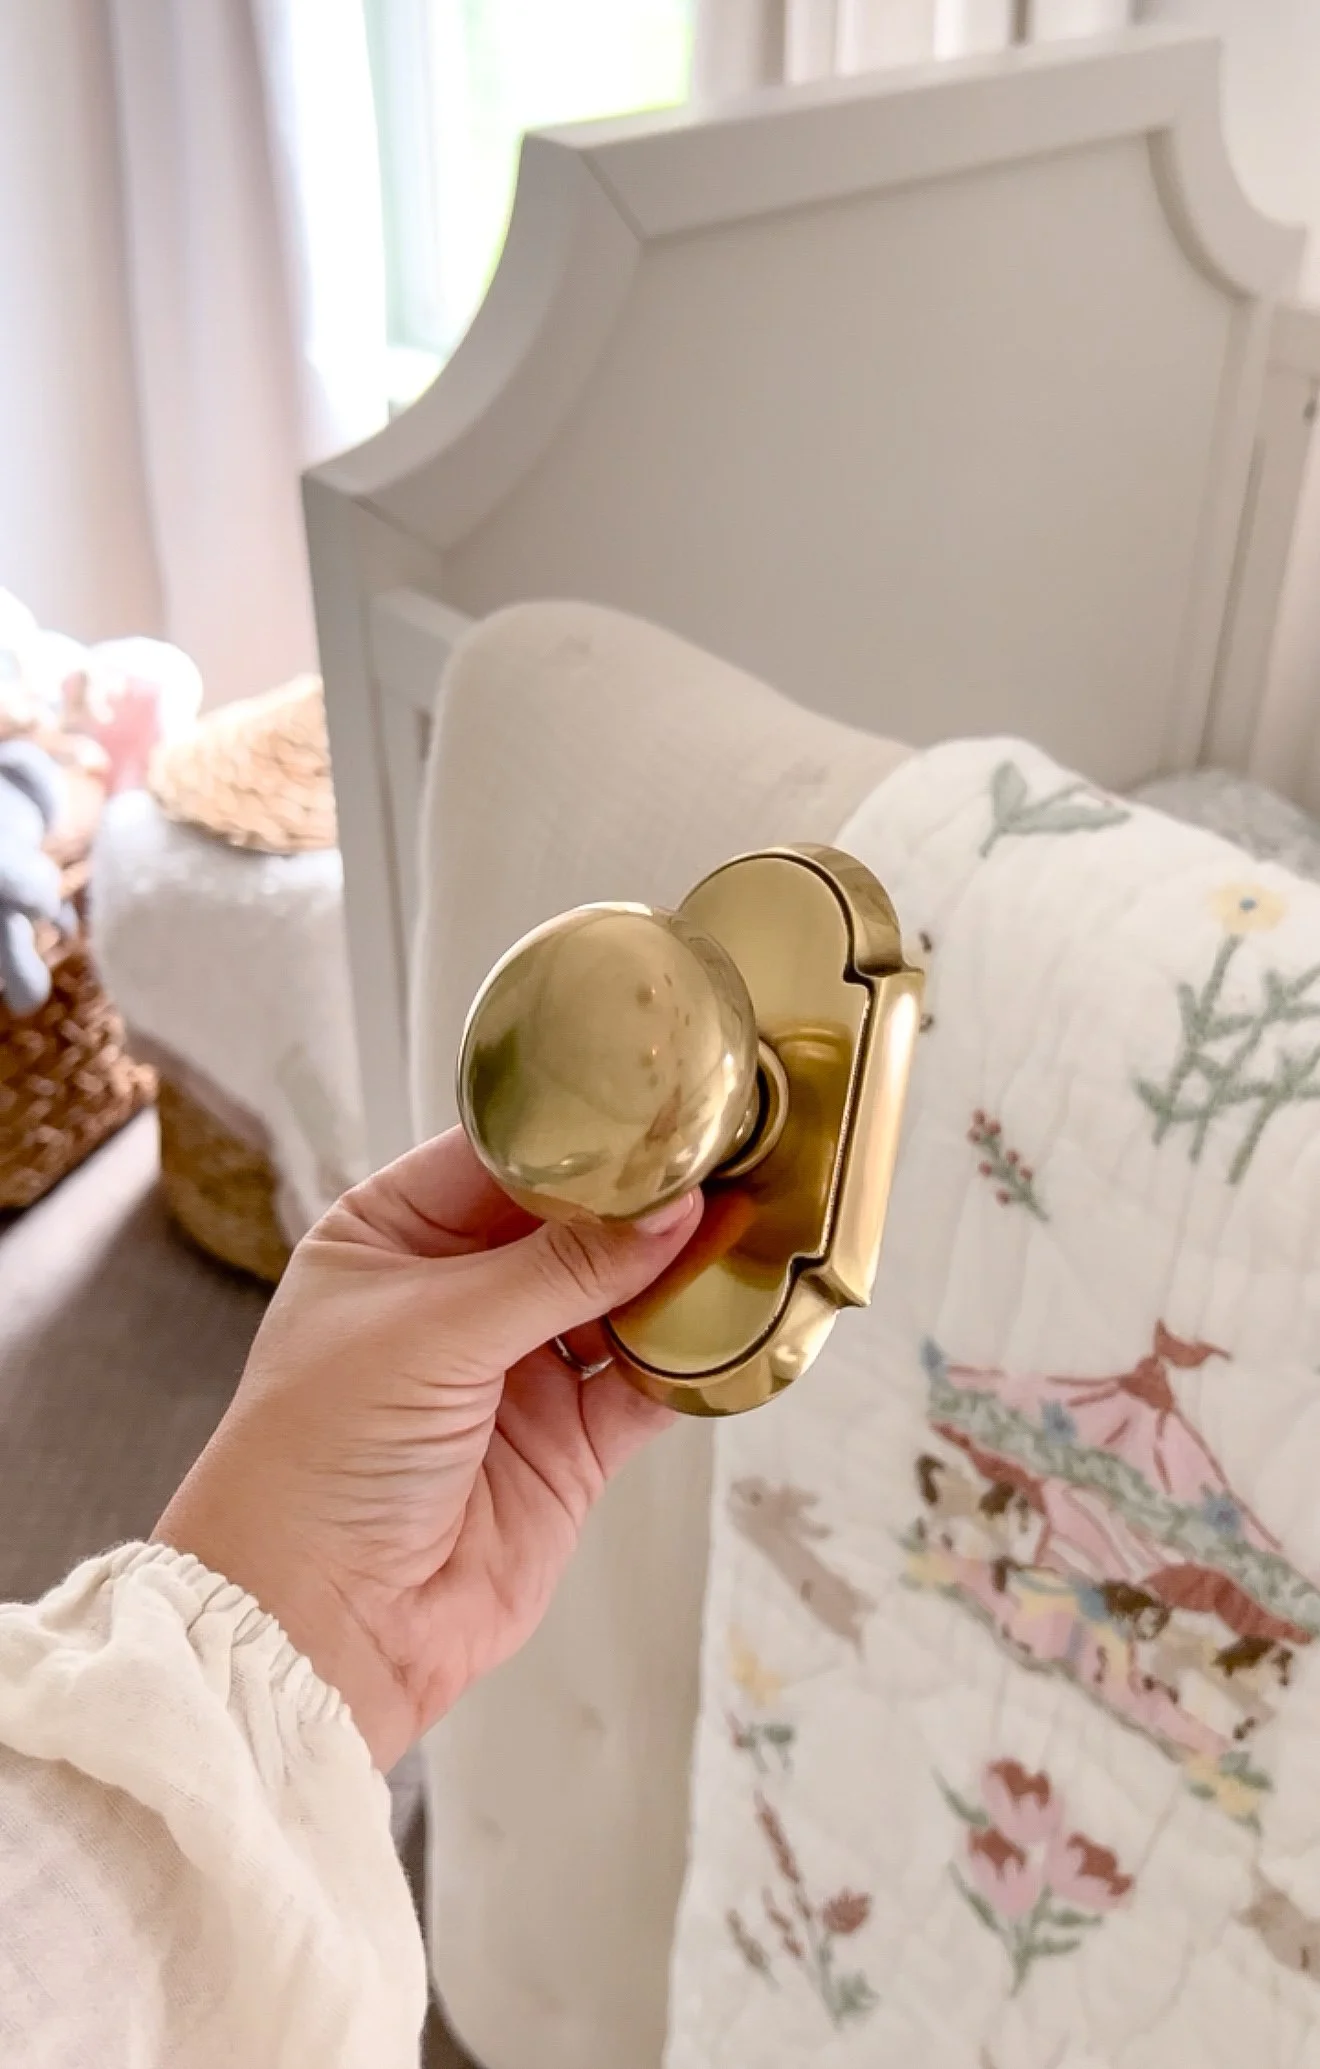
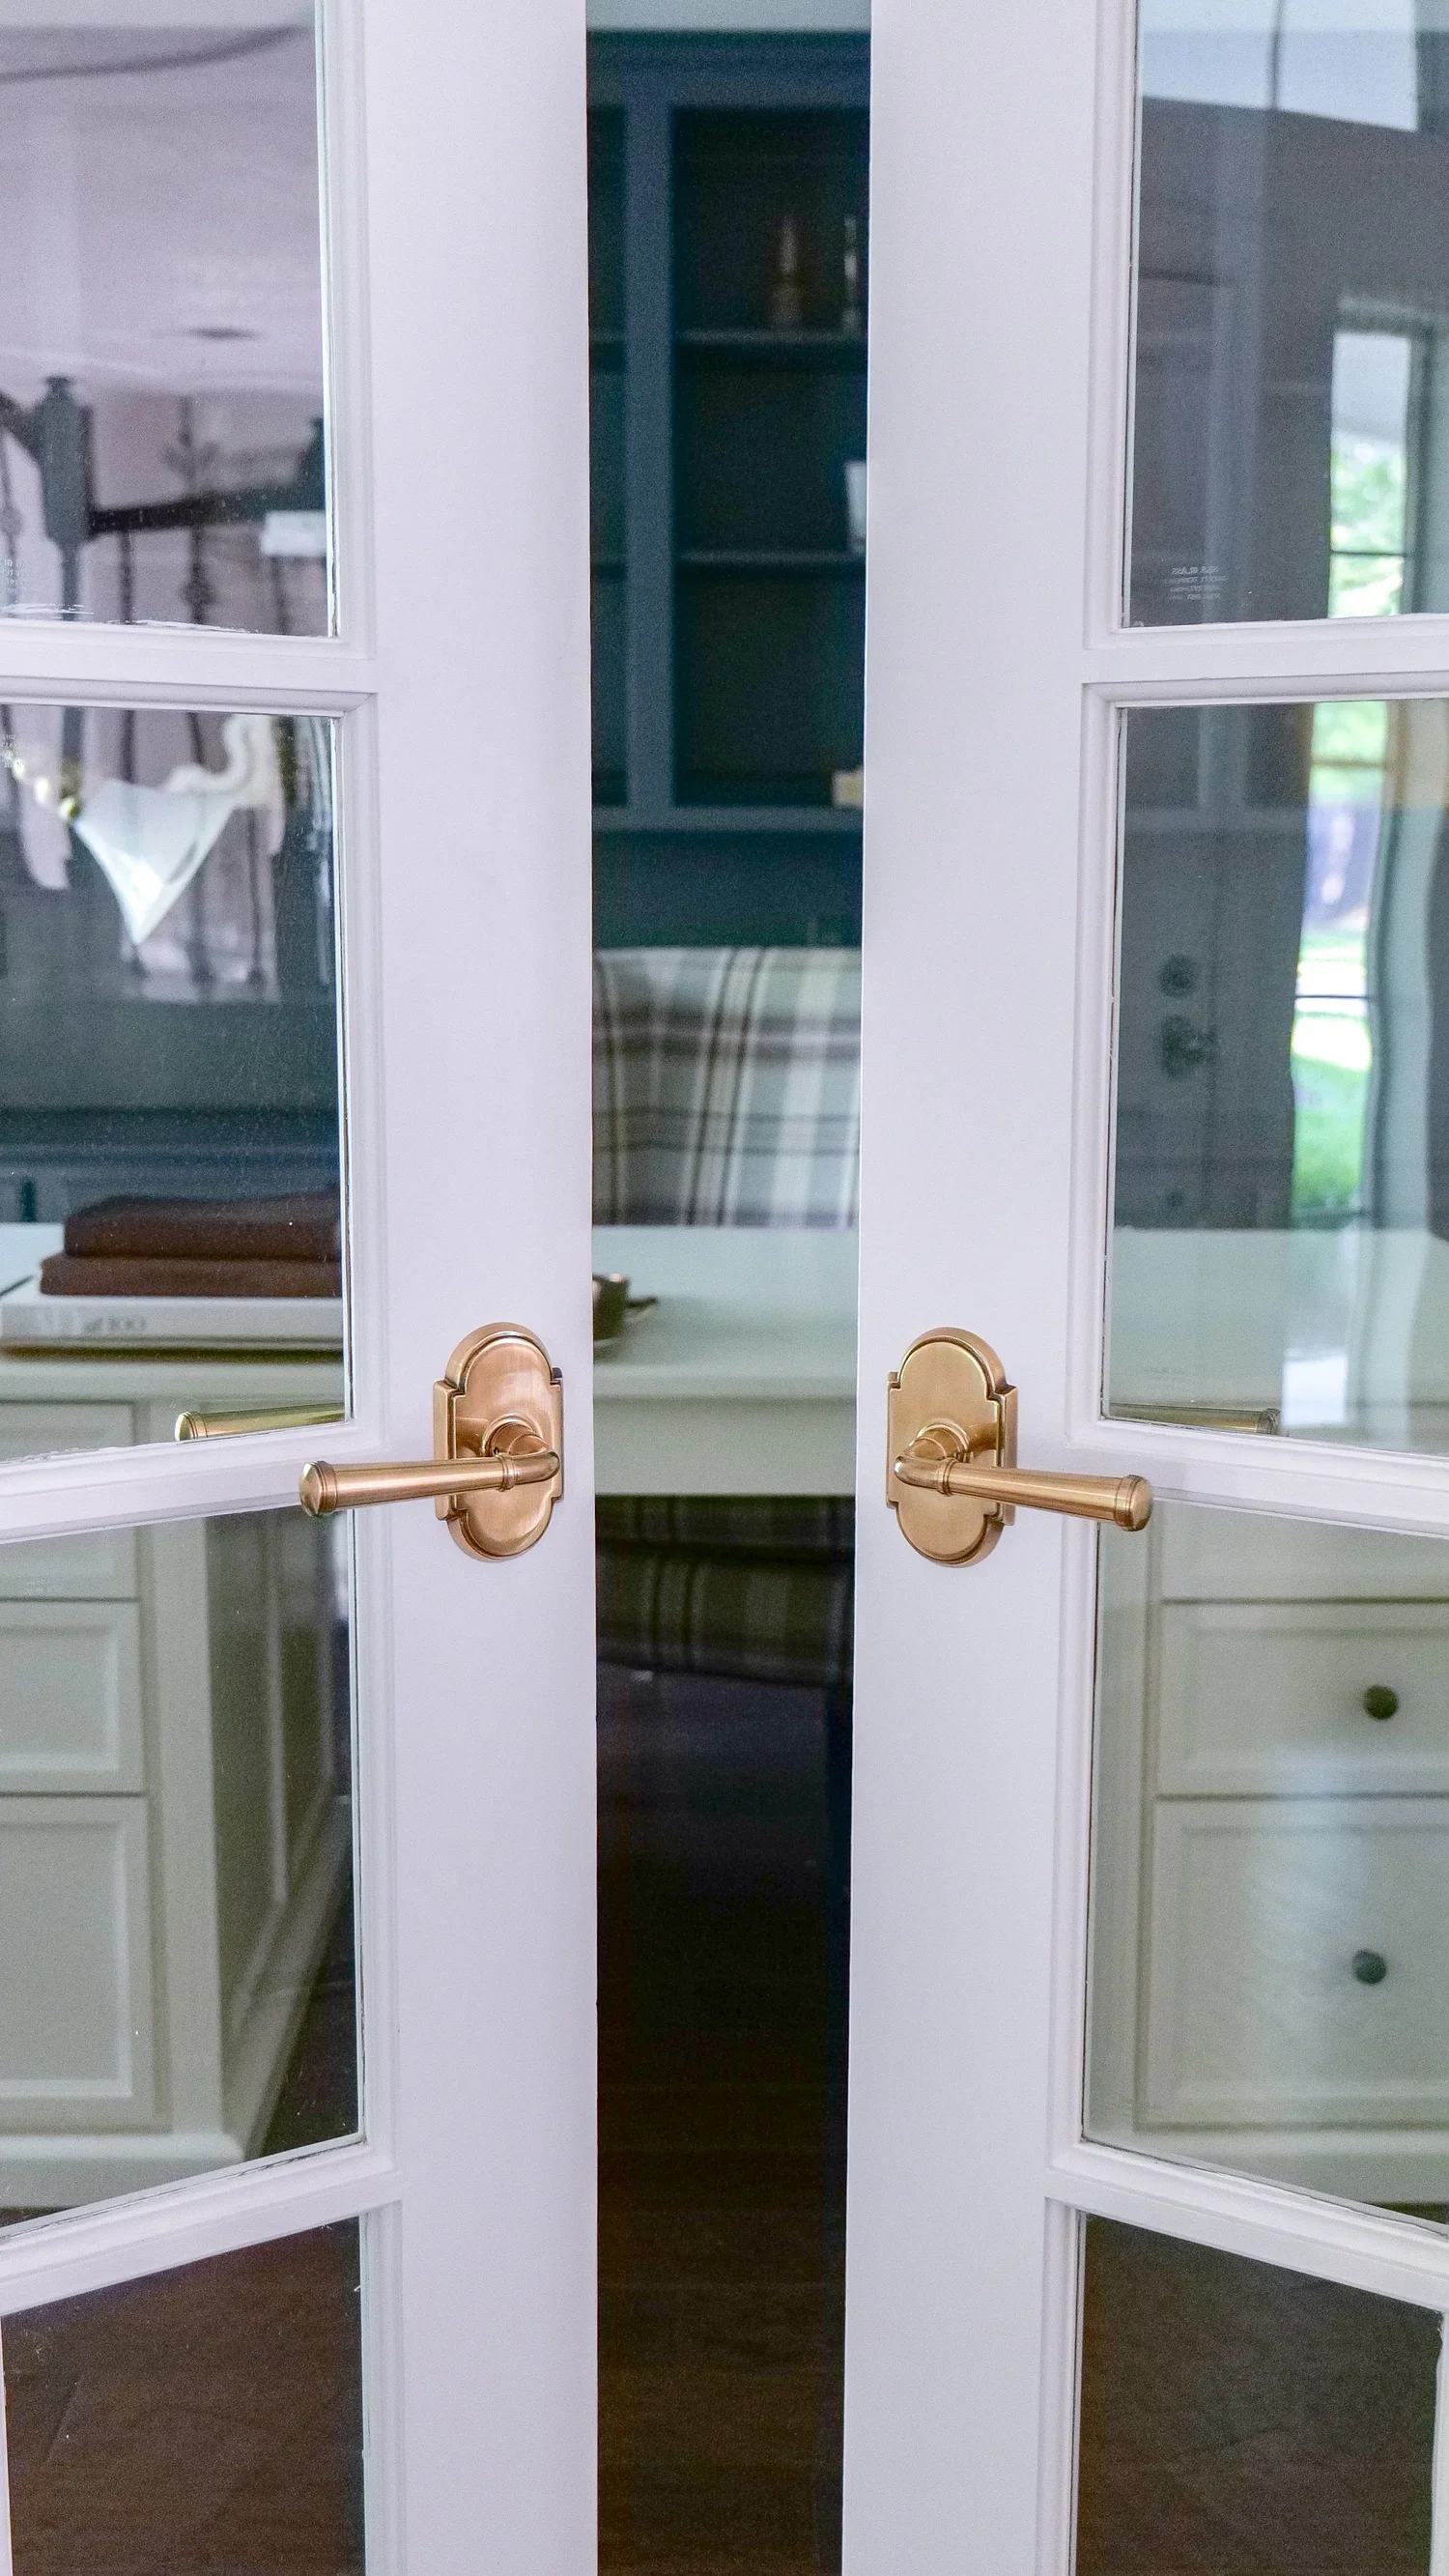
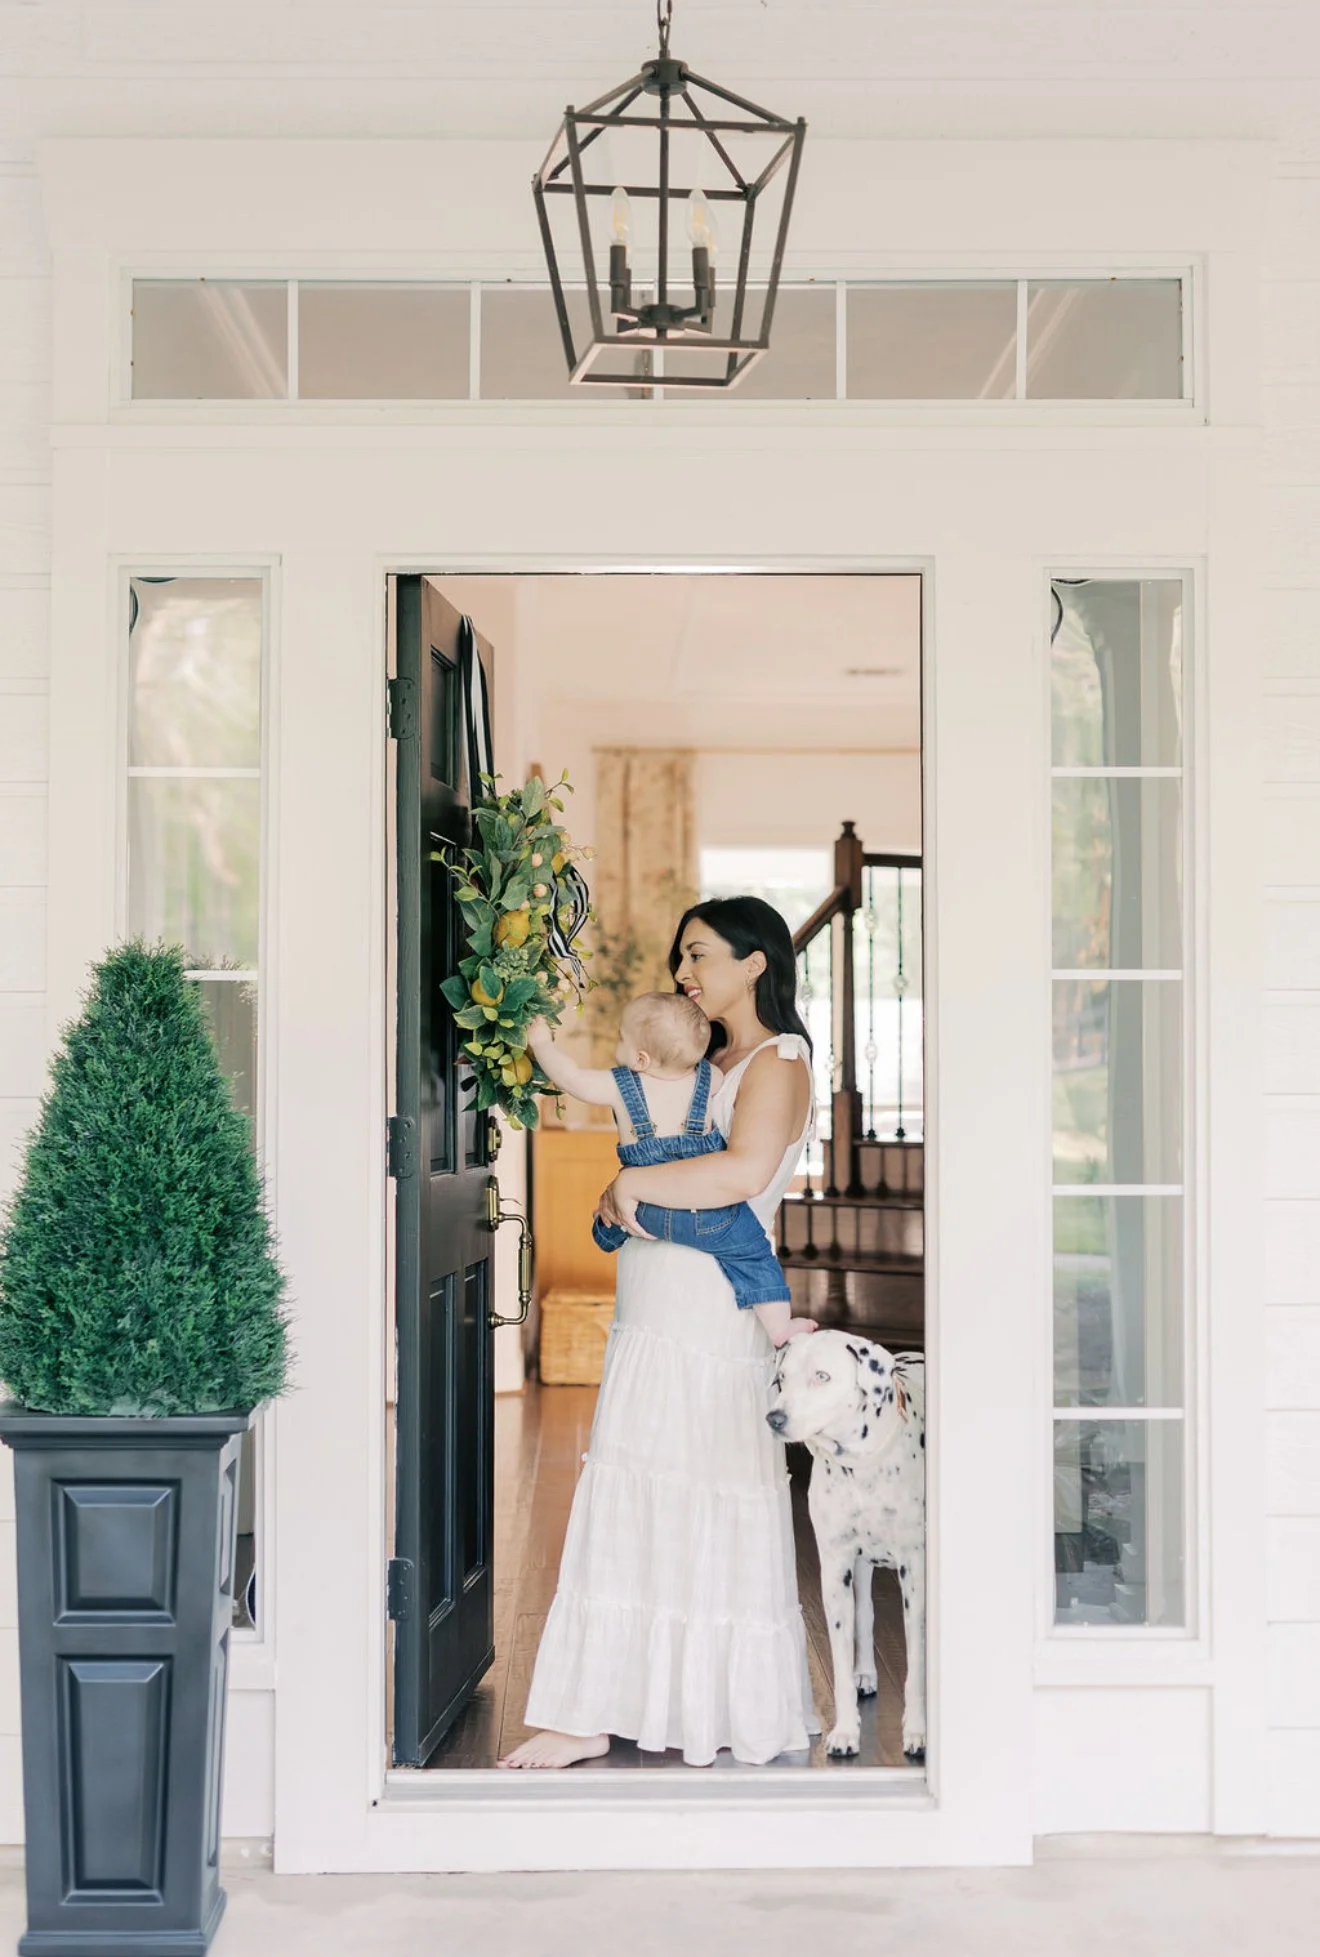
For us, that has always been the door hardware.
It's one of the very first updates we make in every renovation, and it's also one of the only decisions I've never second-guessed.
Over the years, those thoughtful improvements have helped every home feel more finished, more intentional, and ultimately more inviting when it came time for another family to make it their own.
If you're renovating, updating builder-grade finishes, or simply wanting your home to feel a little more custom, this is the first place I'd invest.
Watch the Transformation
The reel below unexpectedly became one of the most-loved home videos I've ever shared. It reminded me that people aren't always looking for the biggest renovation ideas—they're often searching for the little details that completely change how a home feels.
(Embed your viral Instagram Reel here.)
Shop My Home Hardware Favorites
Why Door Hardware Matters More Than Most People Realize
Most people immediately think about replacing countertops, flooring, cabinets, or paint when they begin updating a home.
Those upgrades absolutely matter.
But after four renovations, I've learned that beautiful homes are rarely built from one expensive project.
They're built from hundreds of thoughtful decisions.
Door hardware is one of those decisions.
You touch it countless times every day.
Guests interact with it the moment they walk through your front door.
Even if people can't explain why a home feels elevated, quality hardware quietly communicates craftsmanship and attention to detail.
It's subtle.
Timeless.
And one of the highest-impact upgrades we've ever made.
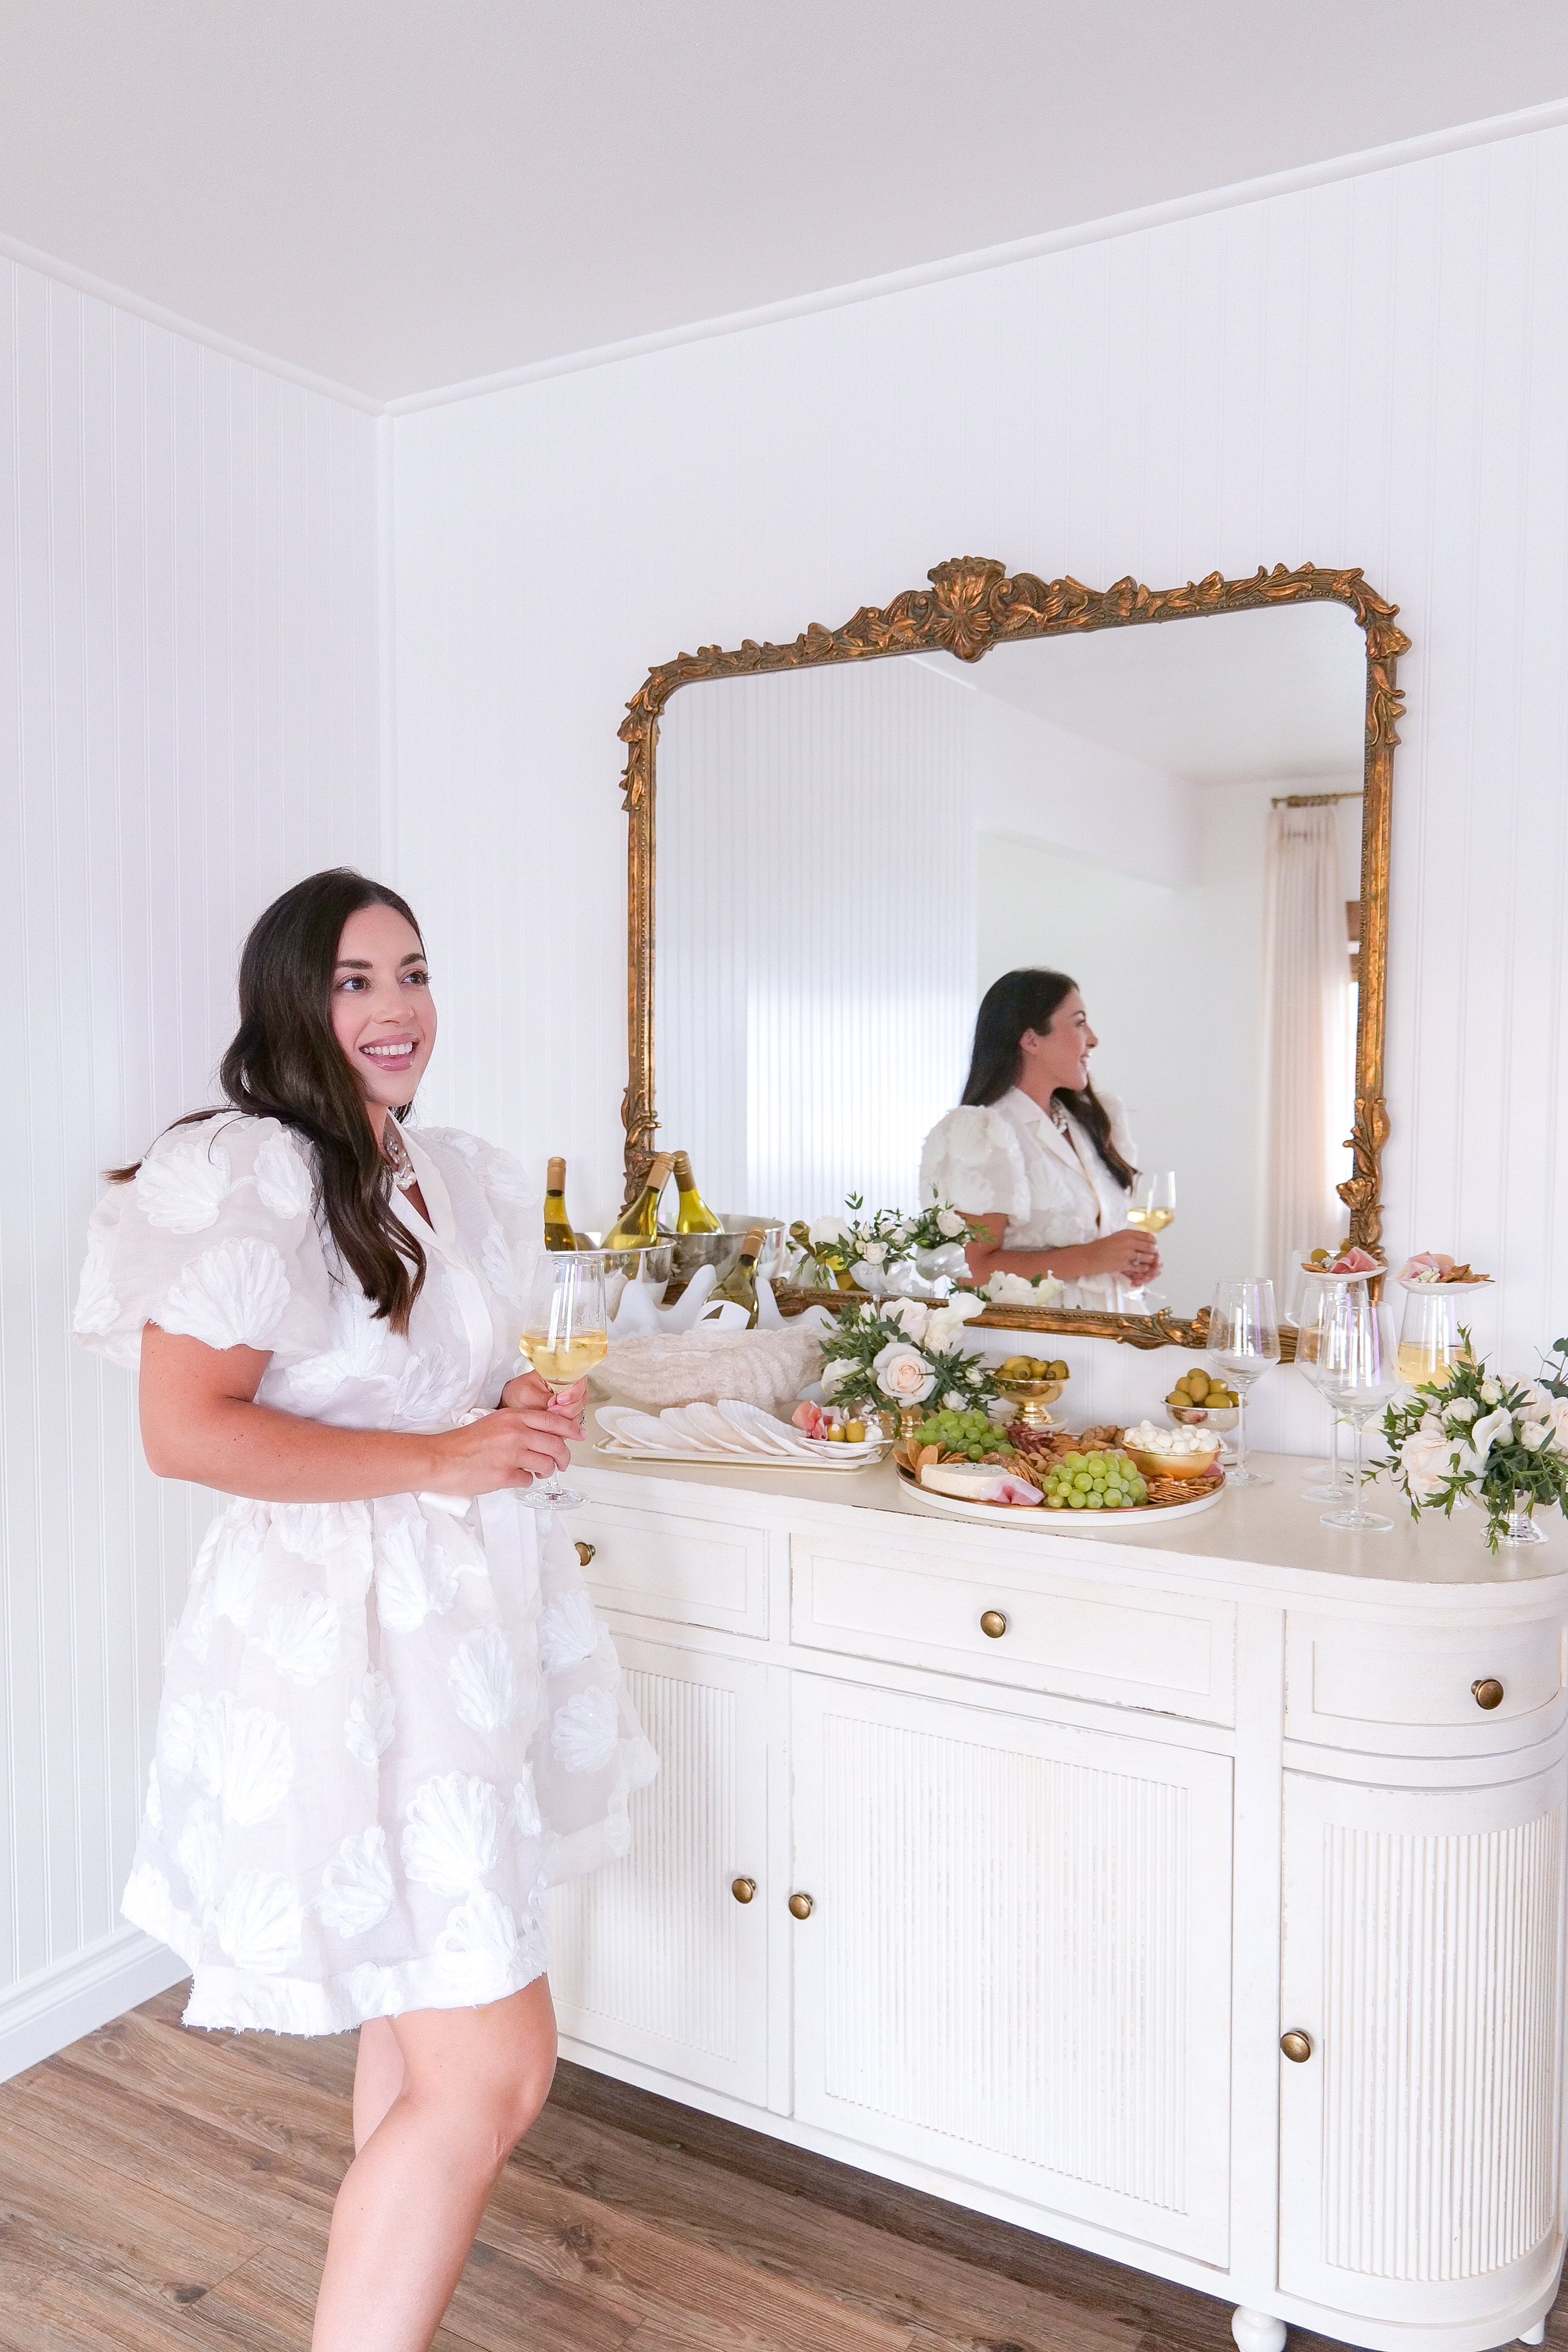
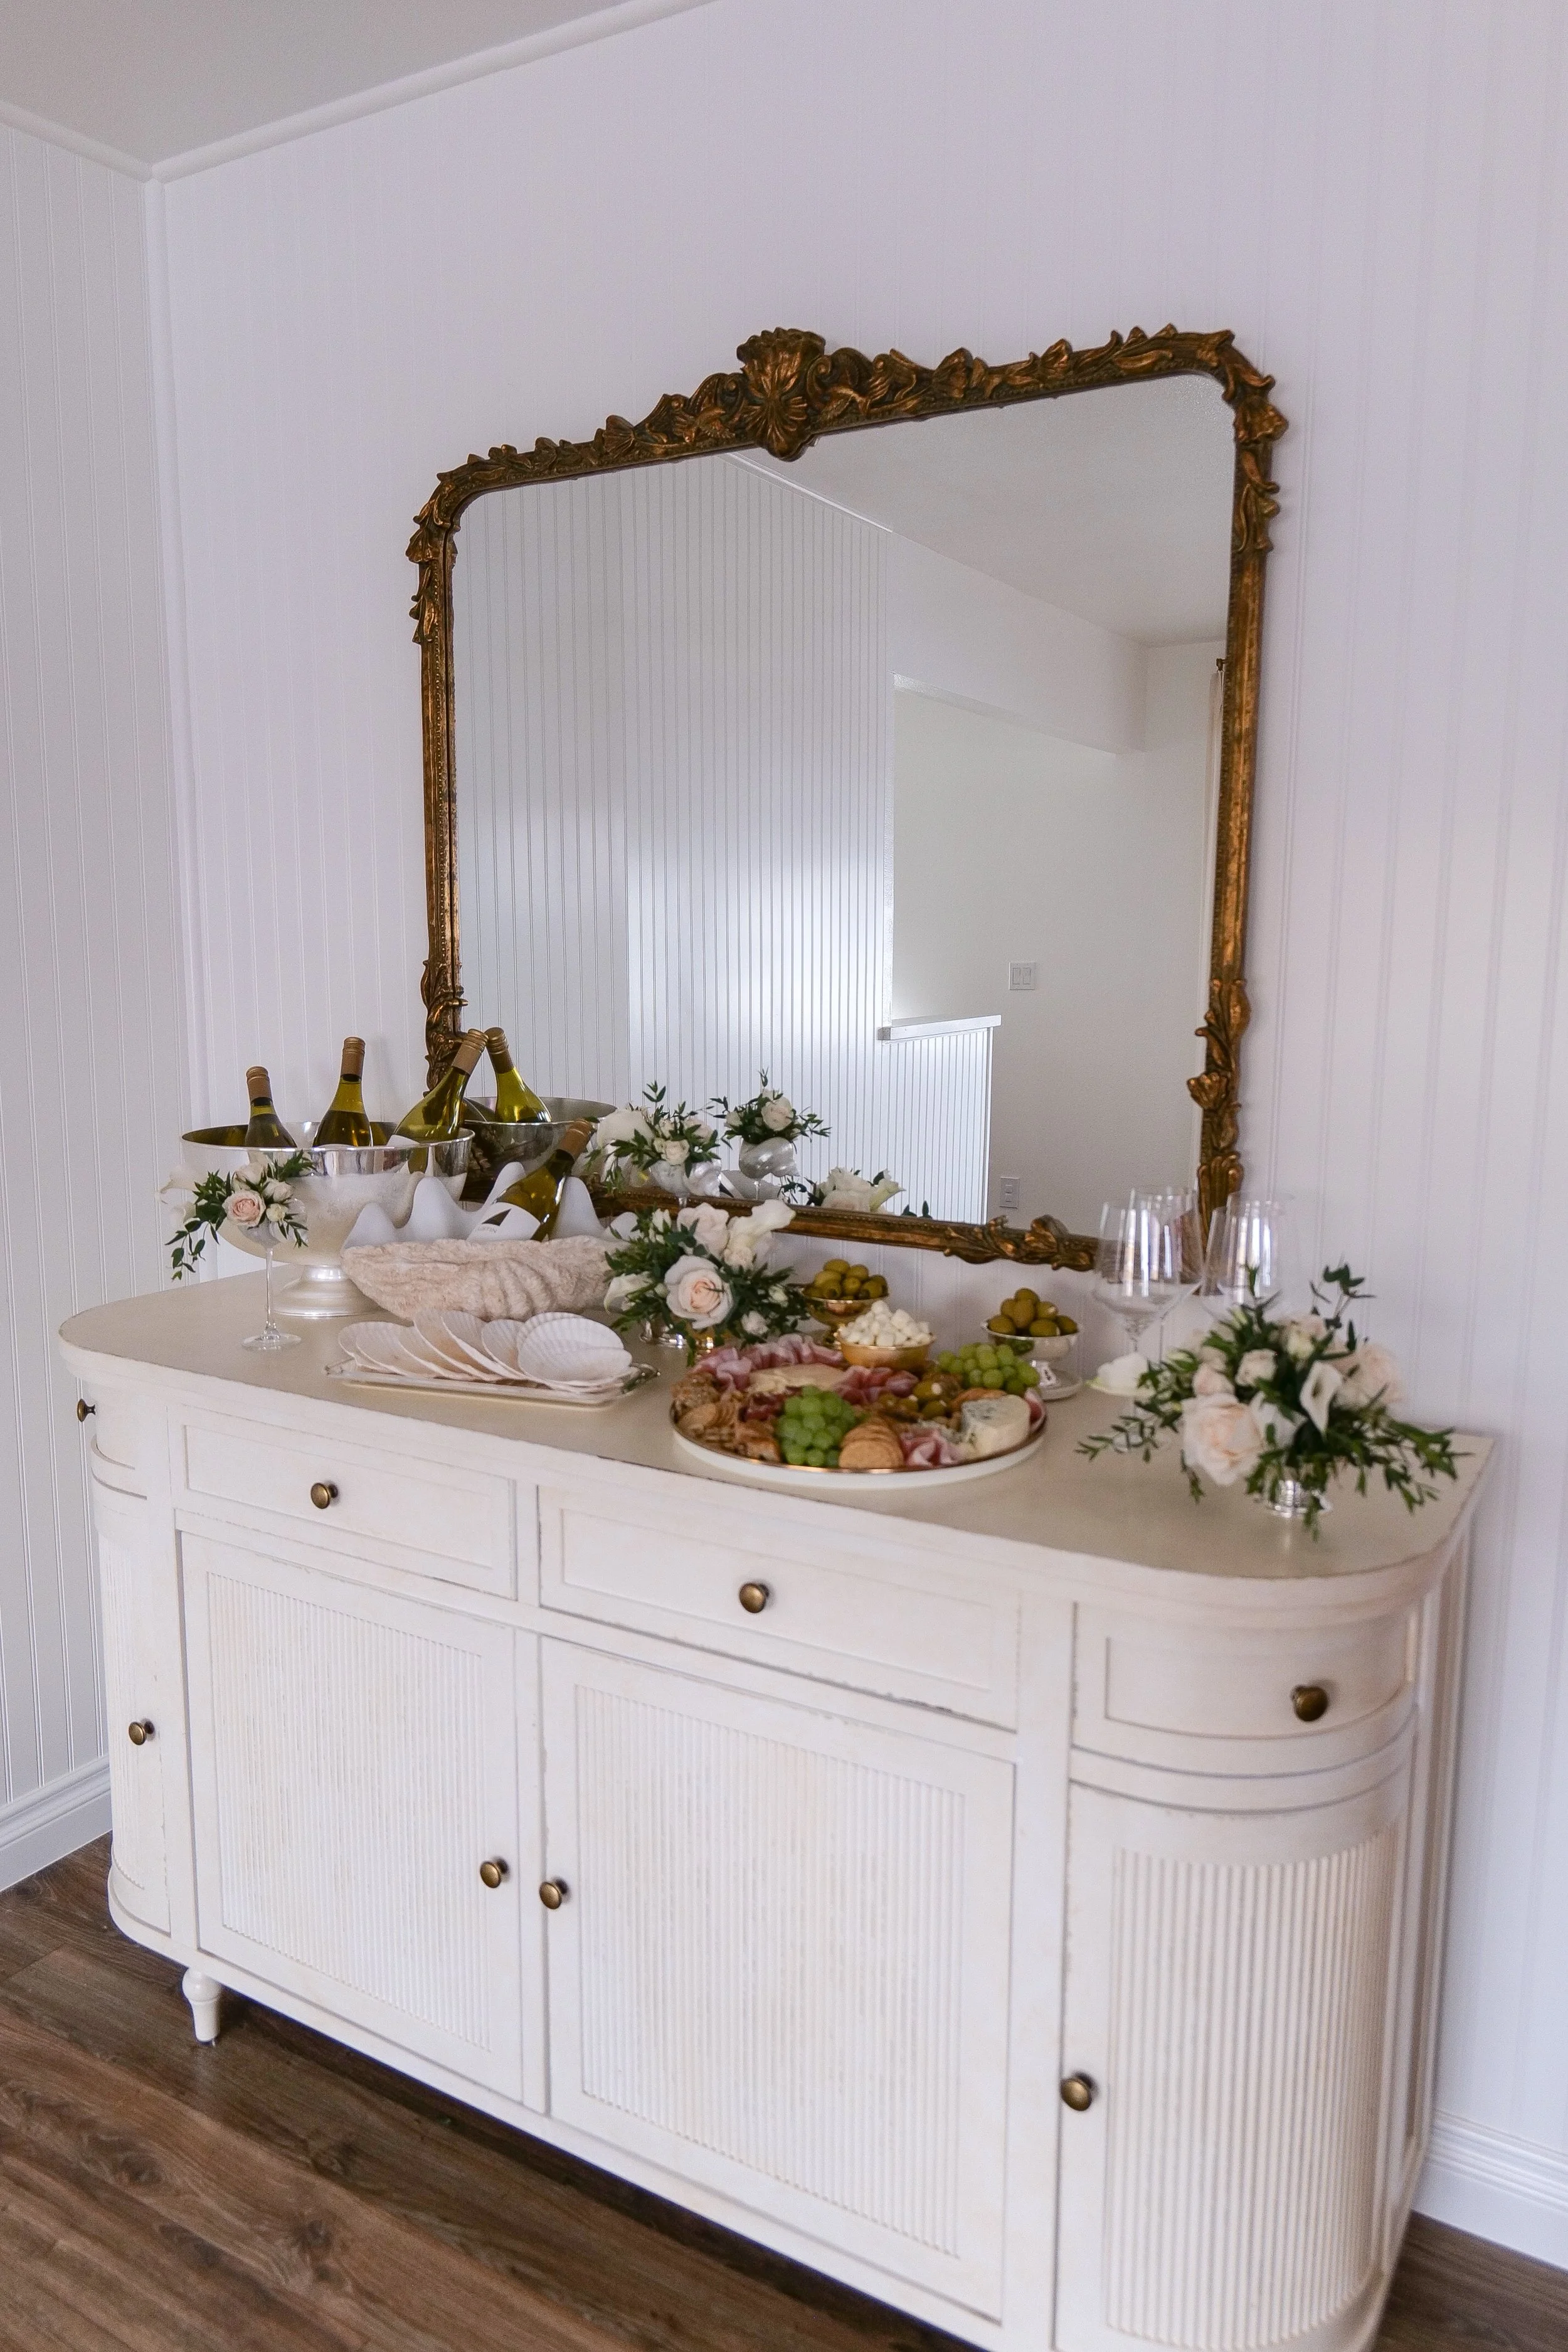
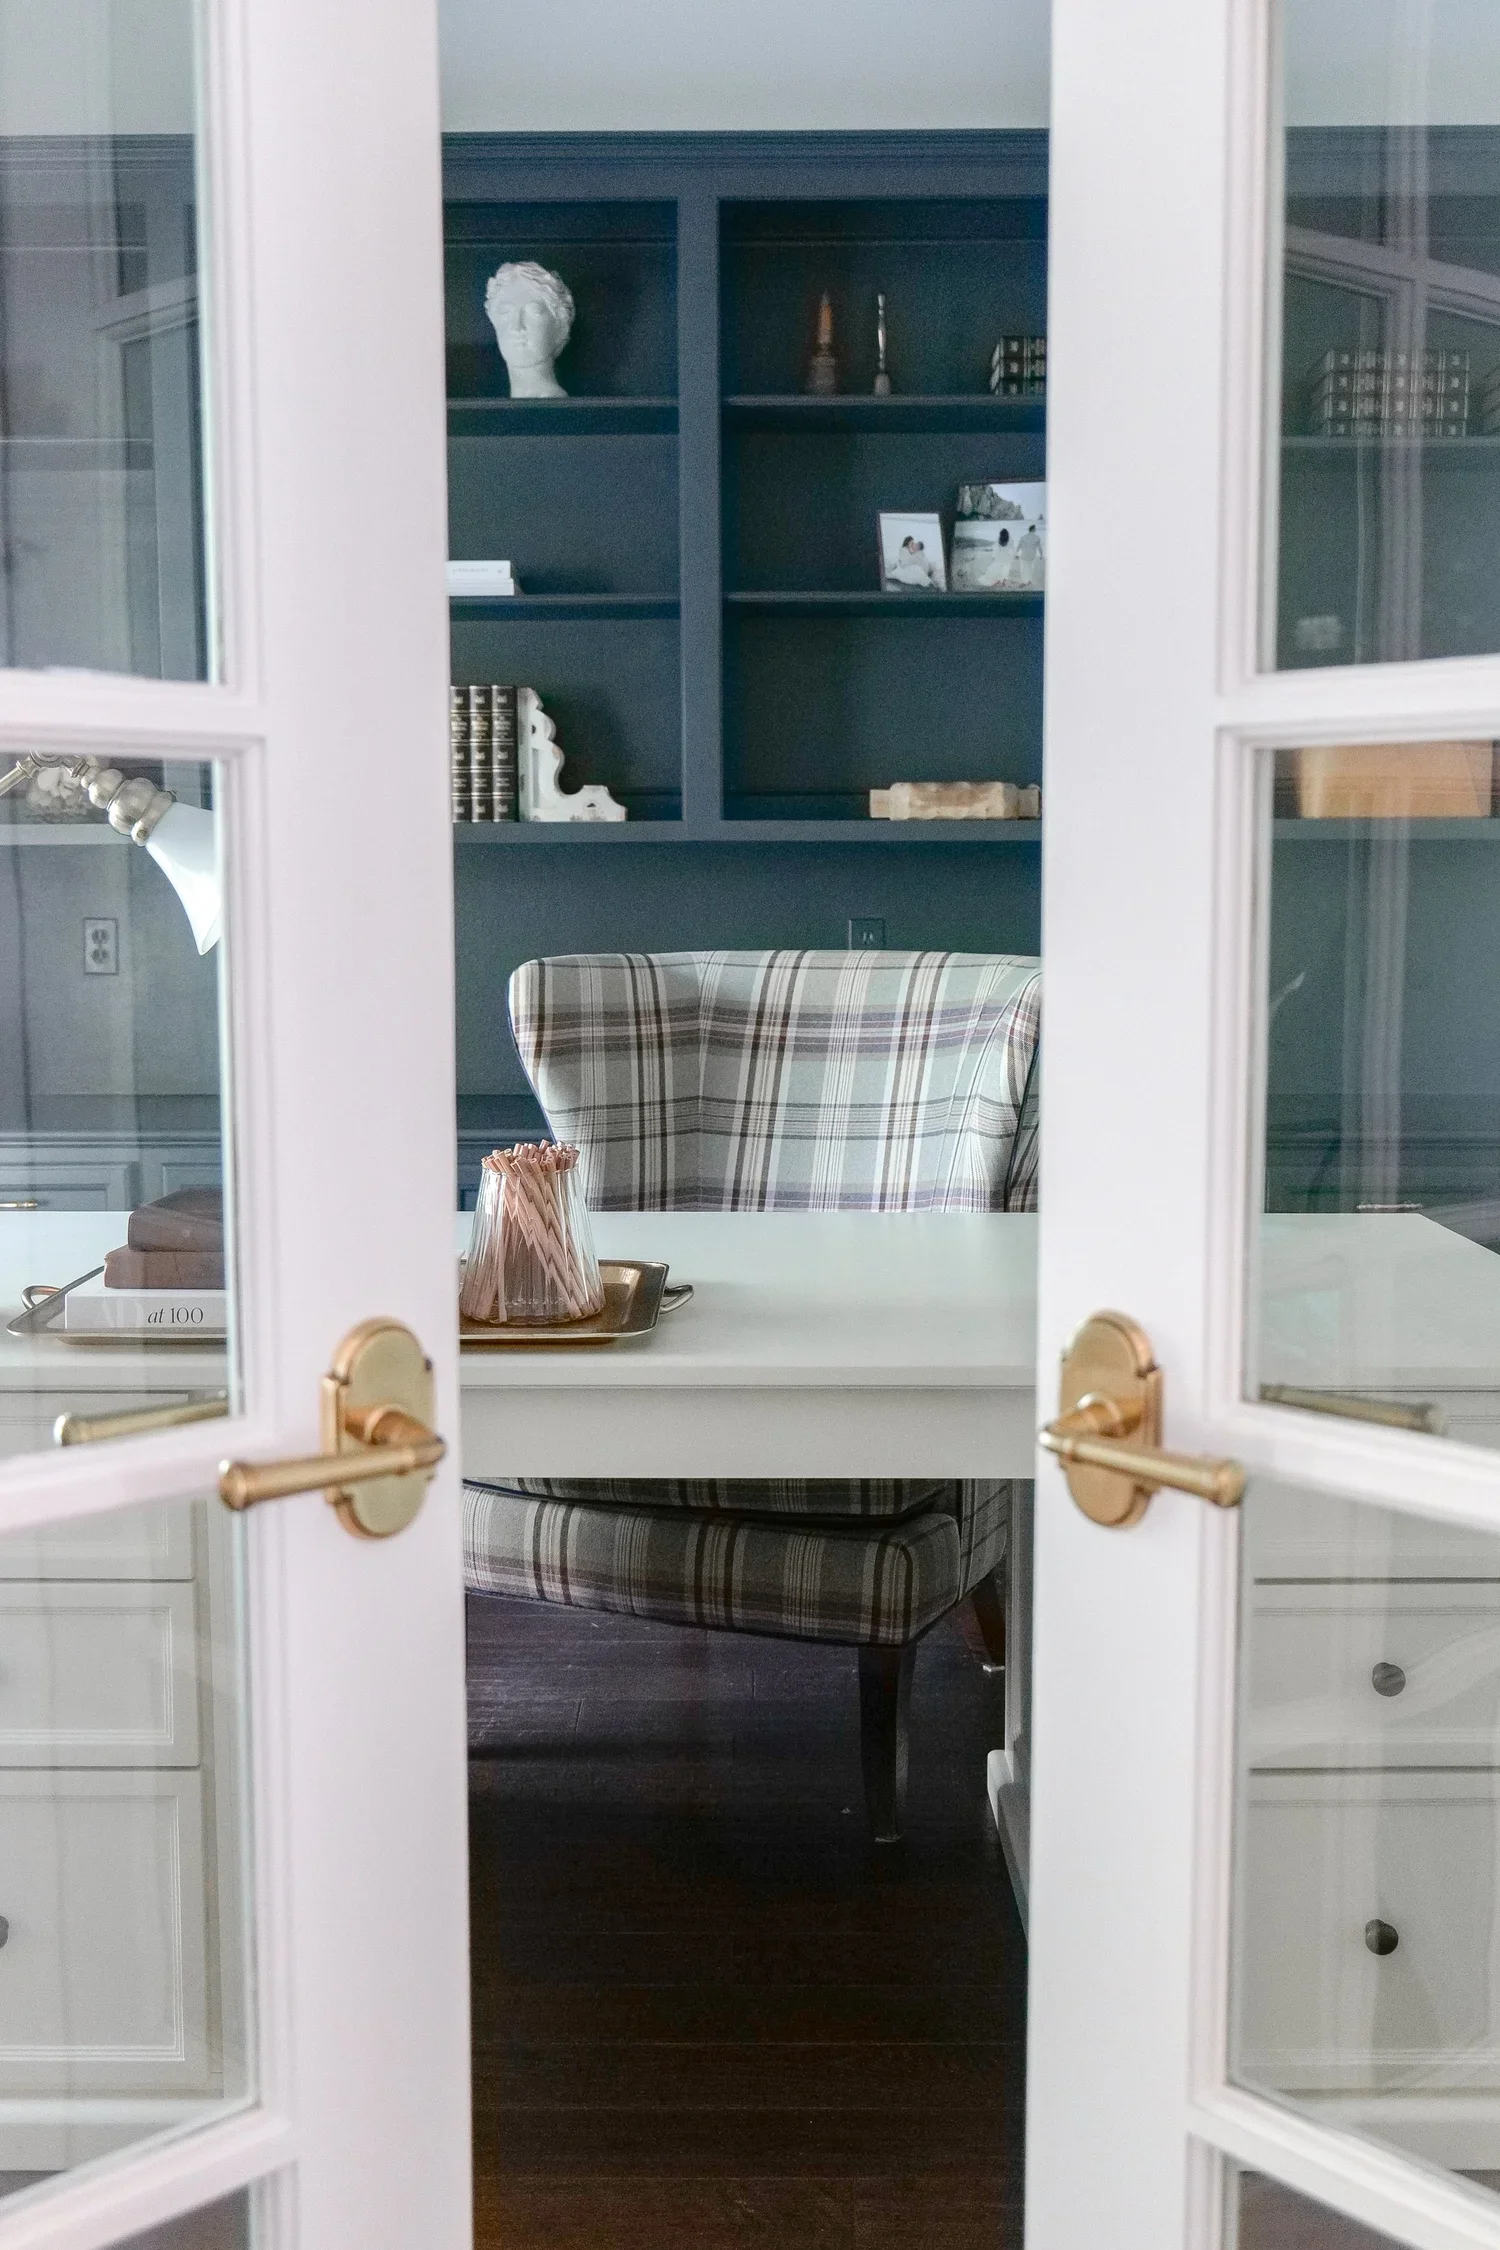
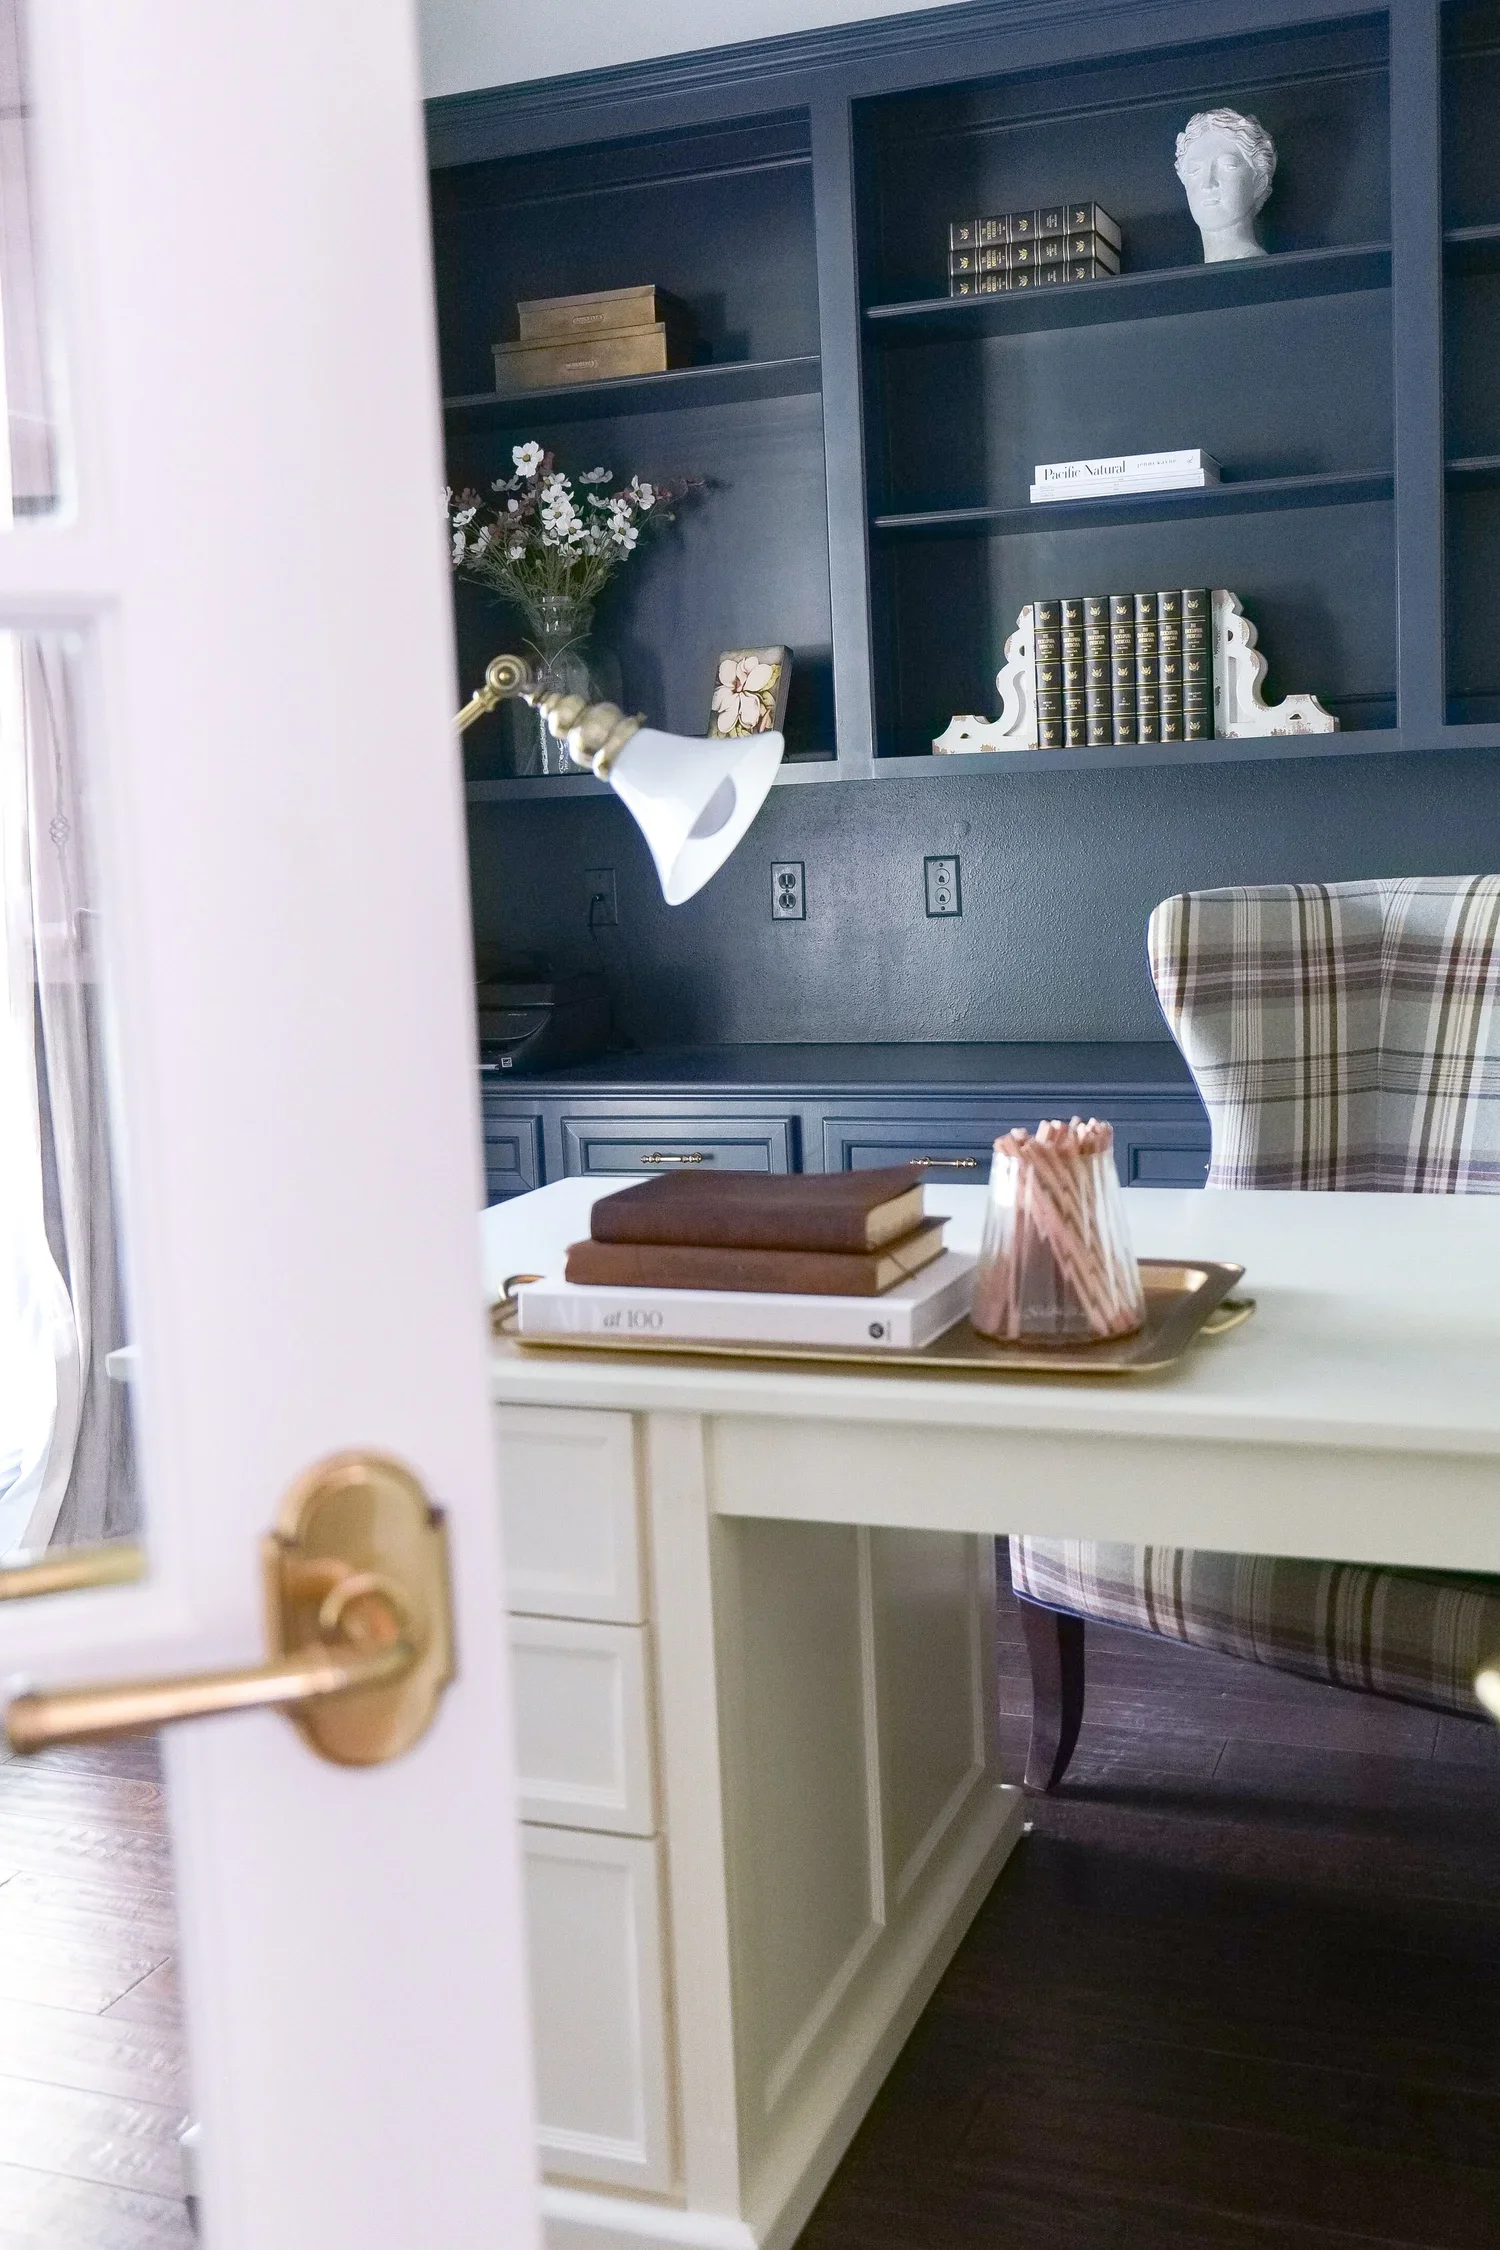
Our French Country Home
One of my favorite homes we've ever renovated leaned into a classic French country style.
Warm wood tones.
Collected antiques.
Natural textures.
Nothing felt overly trendy.
When it came time to choose the hardware, we looked for pieces that felt as though they had always belonged there.
Years later, I'd choose the exact same style again.
Because timeless design never feels outdated.
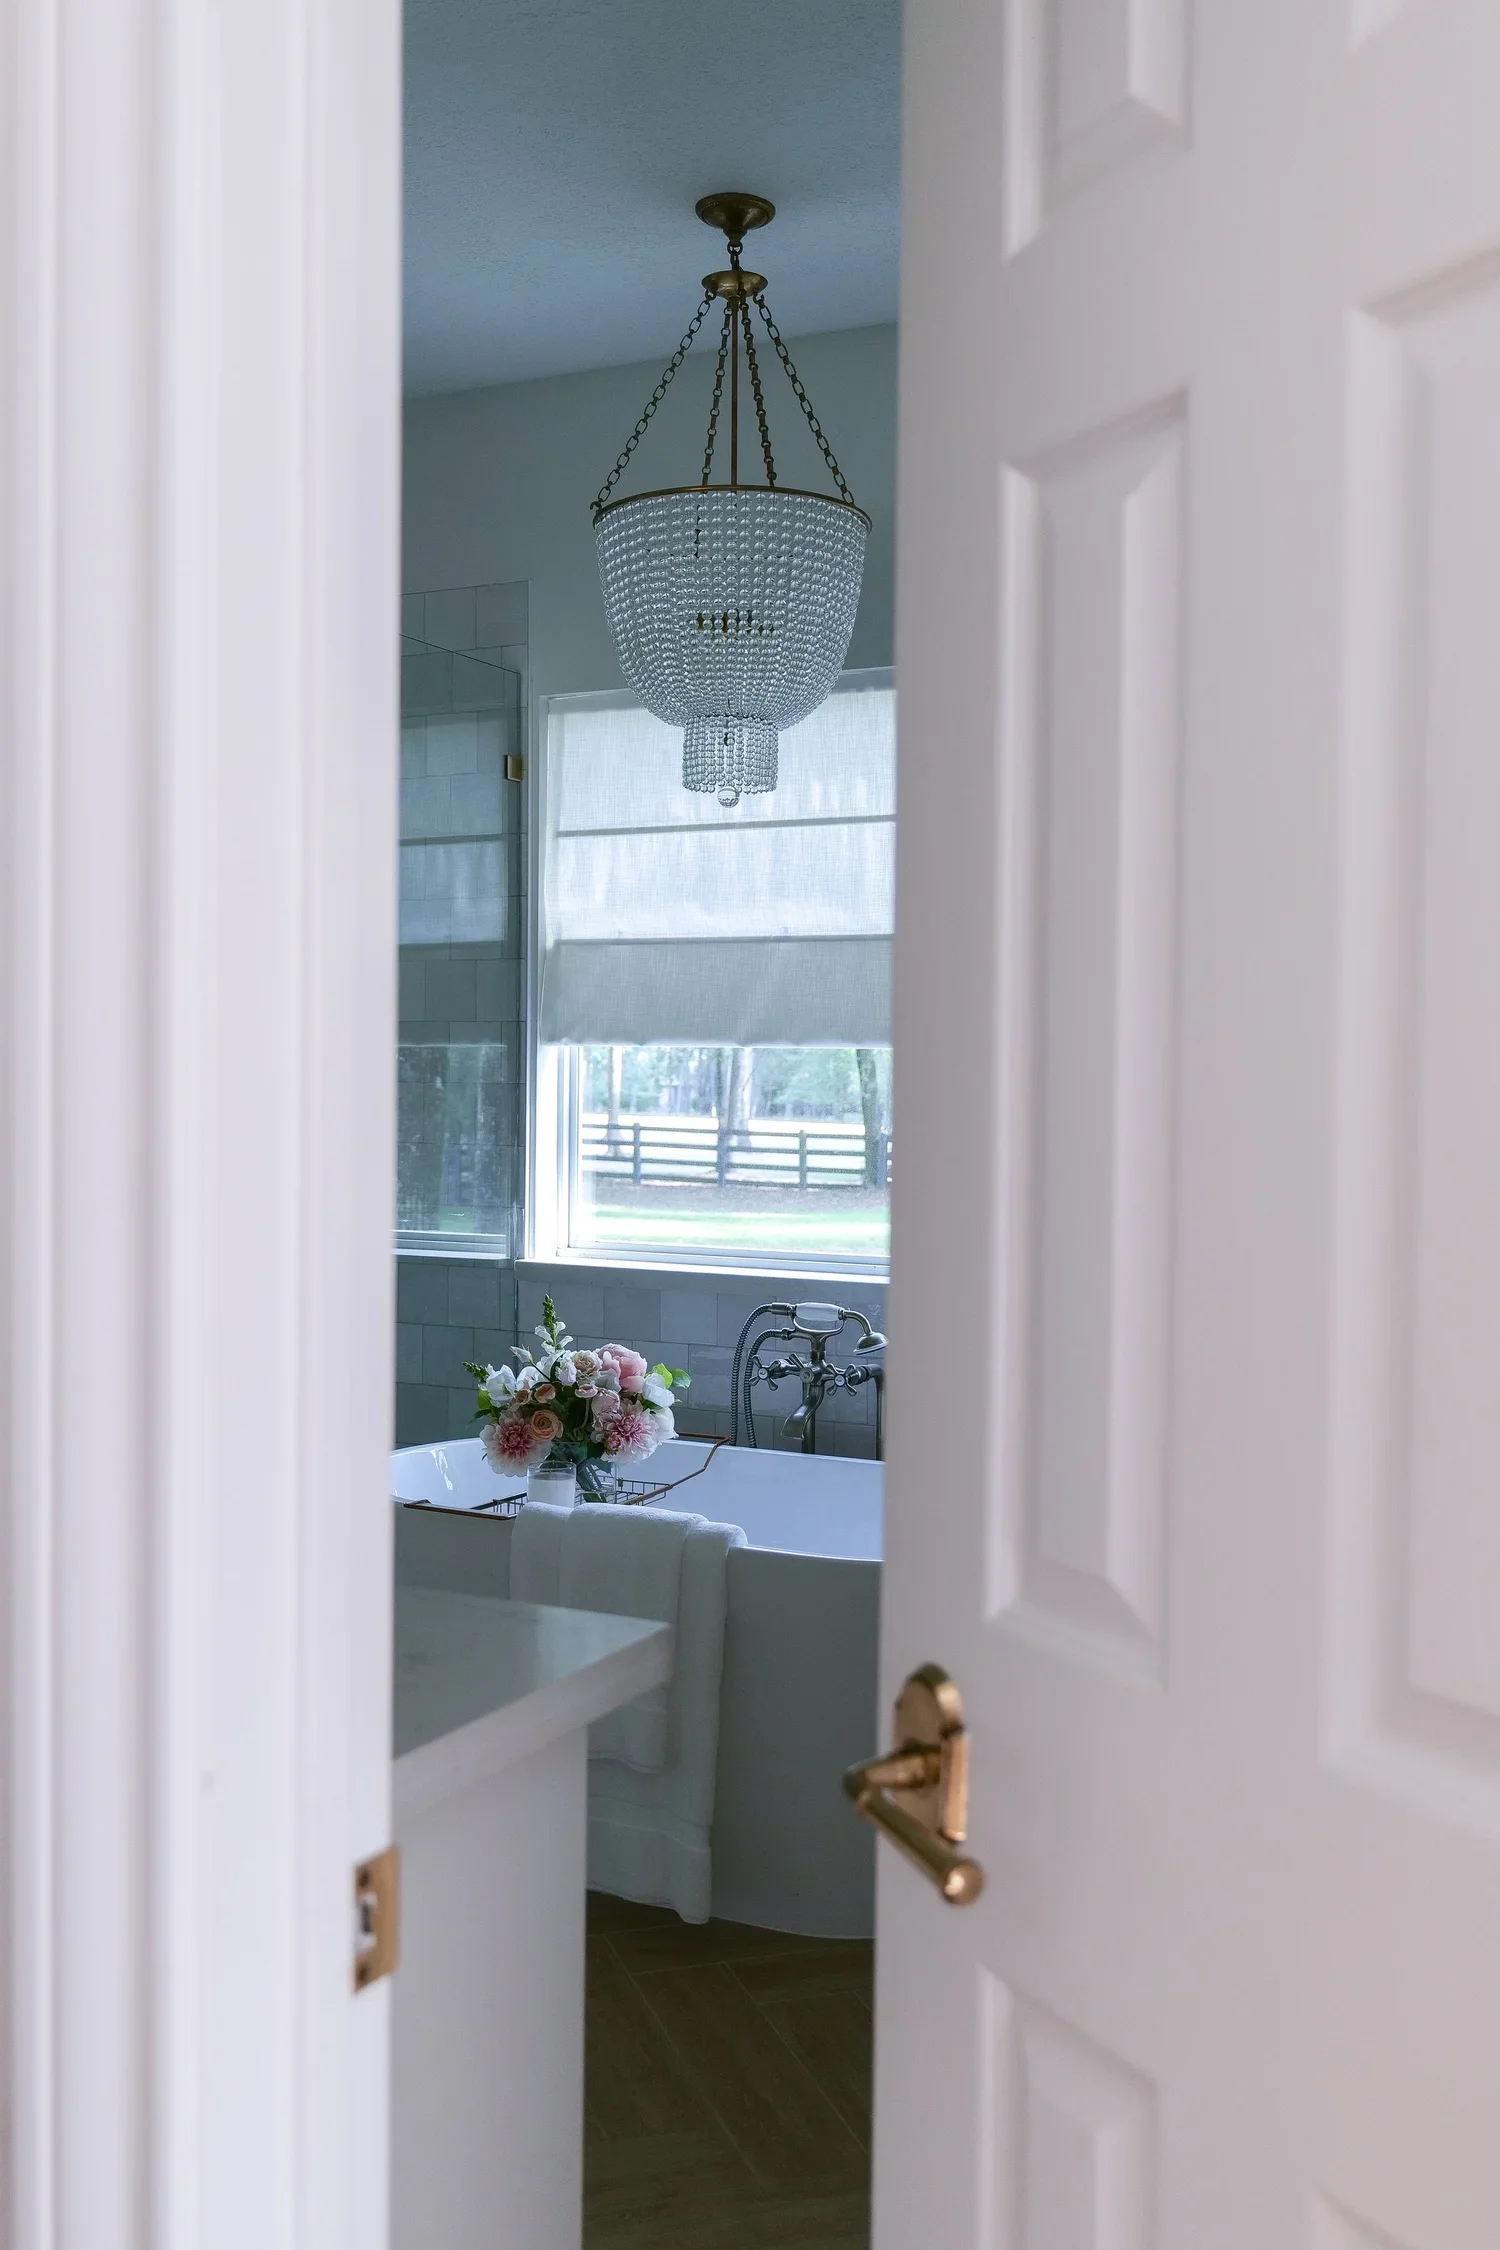
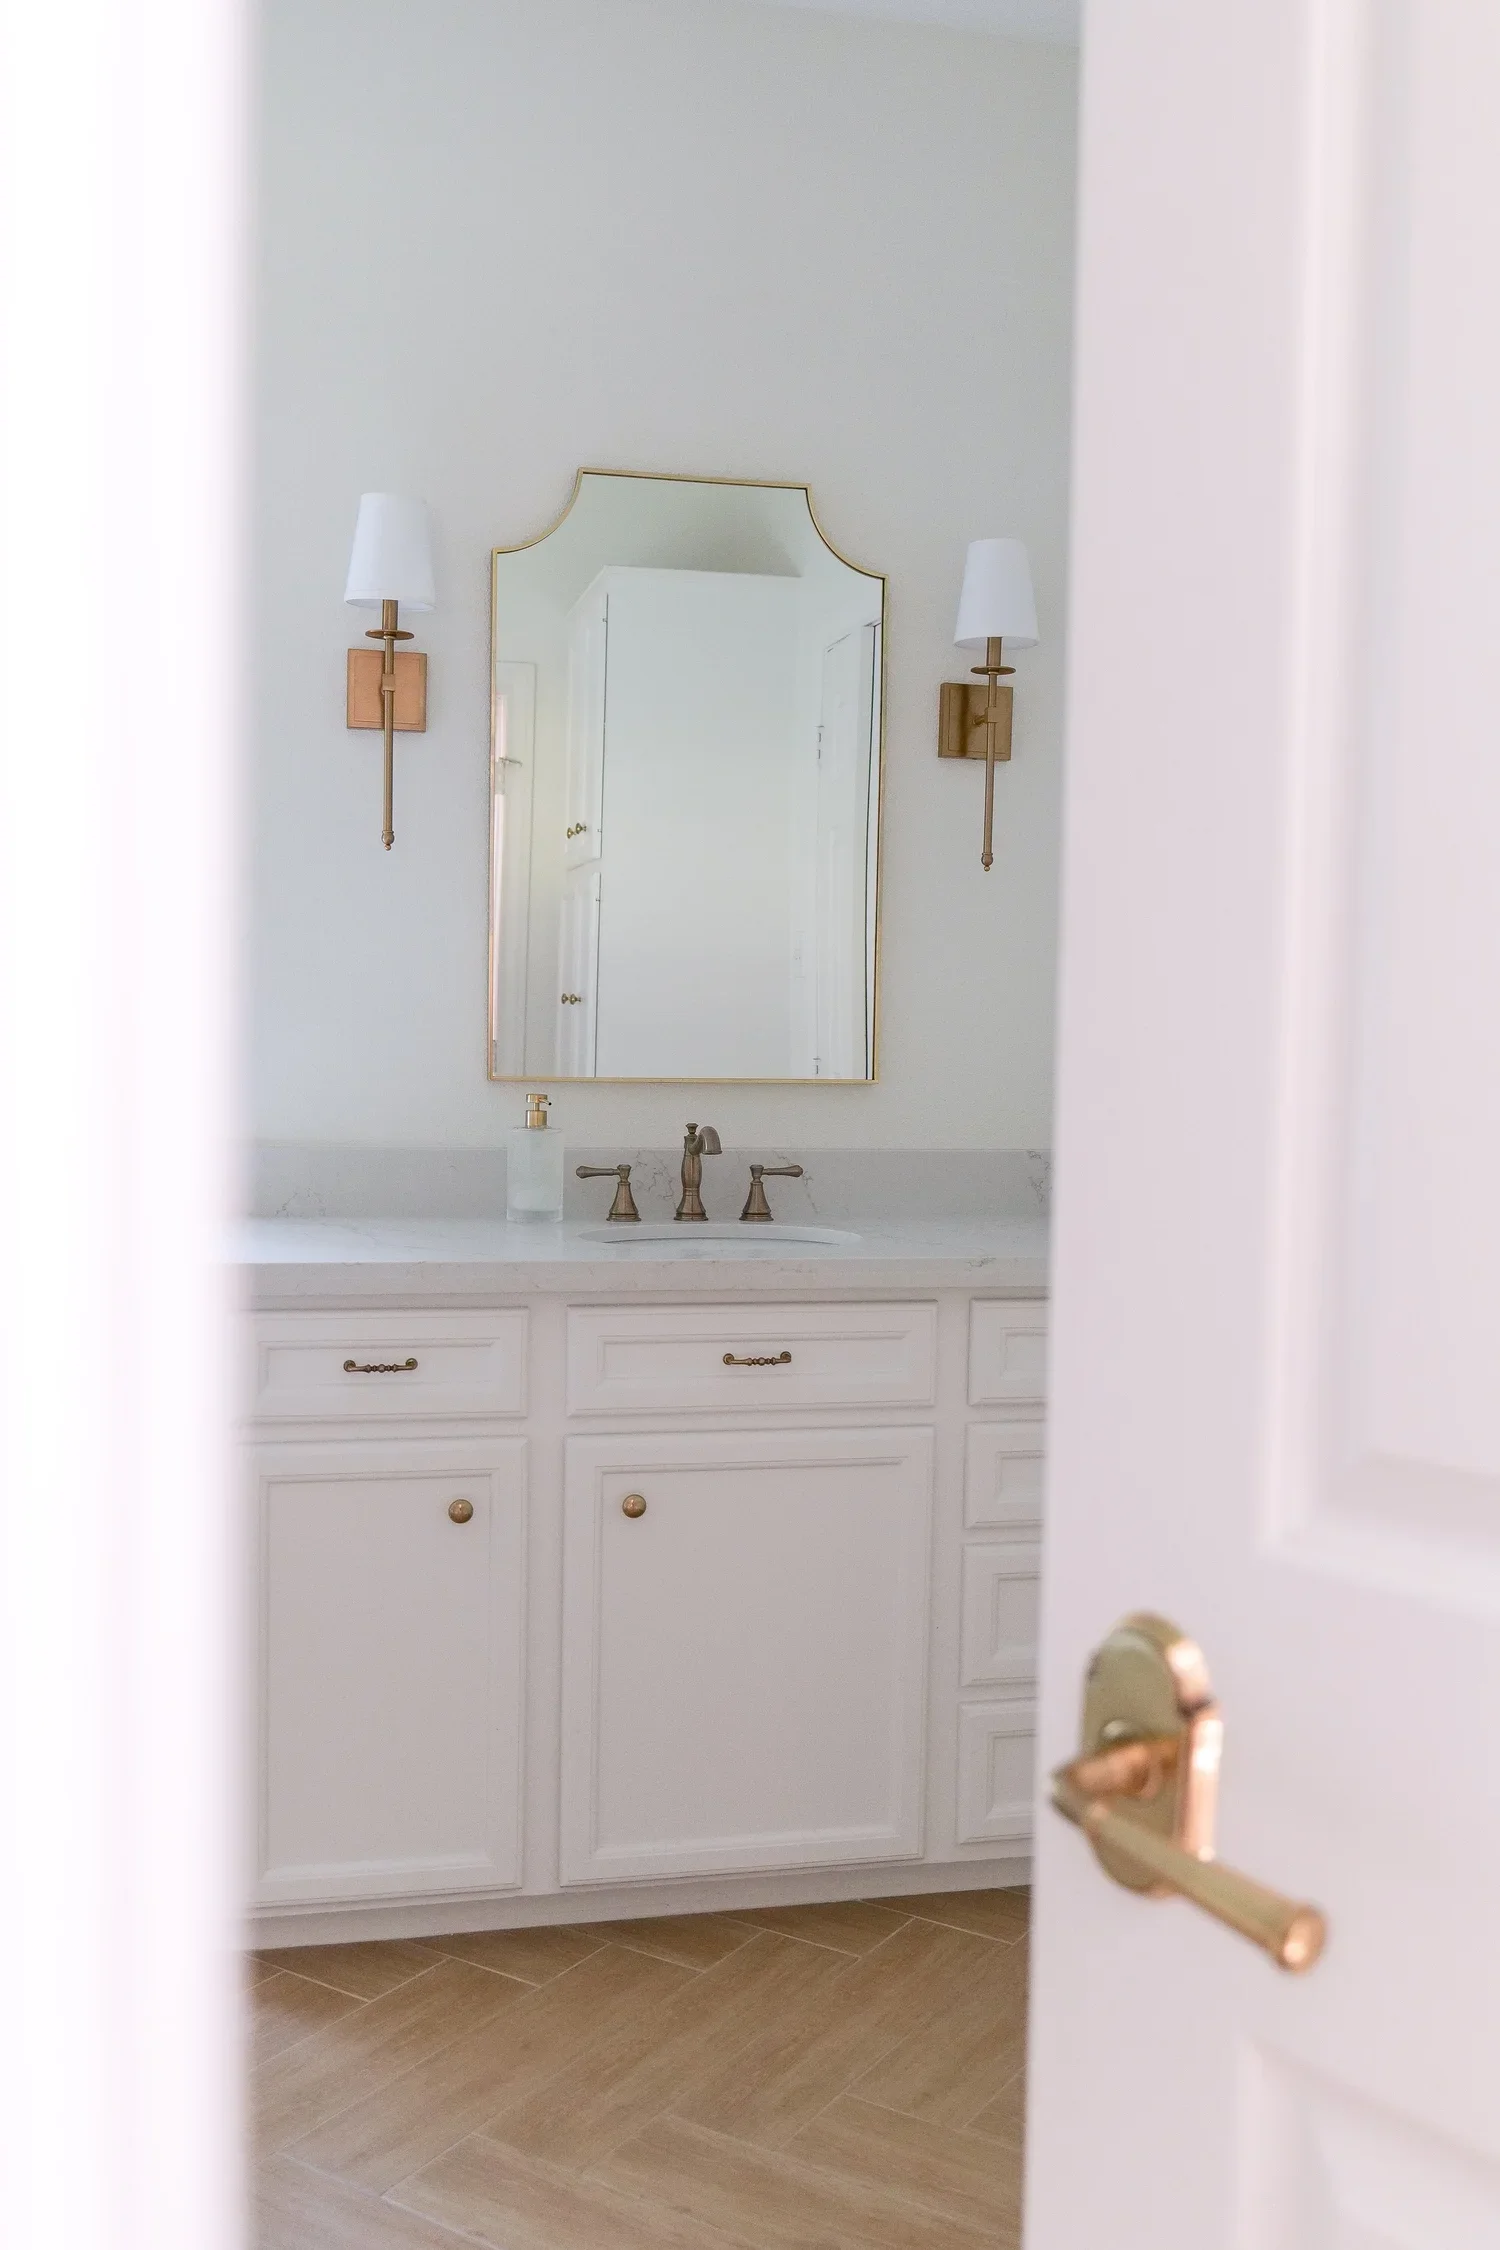
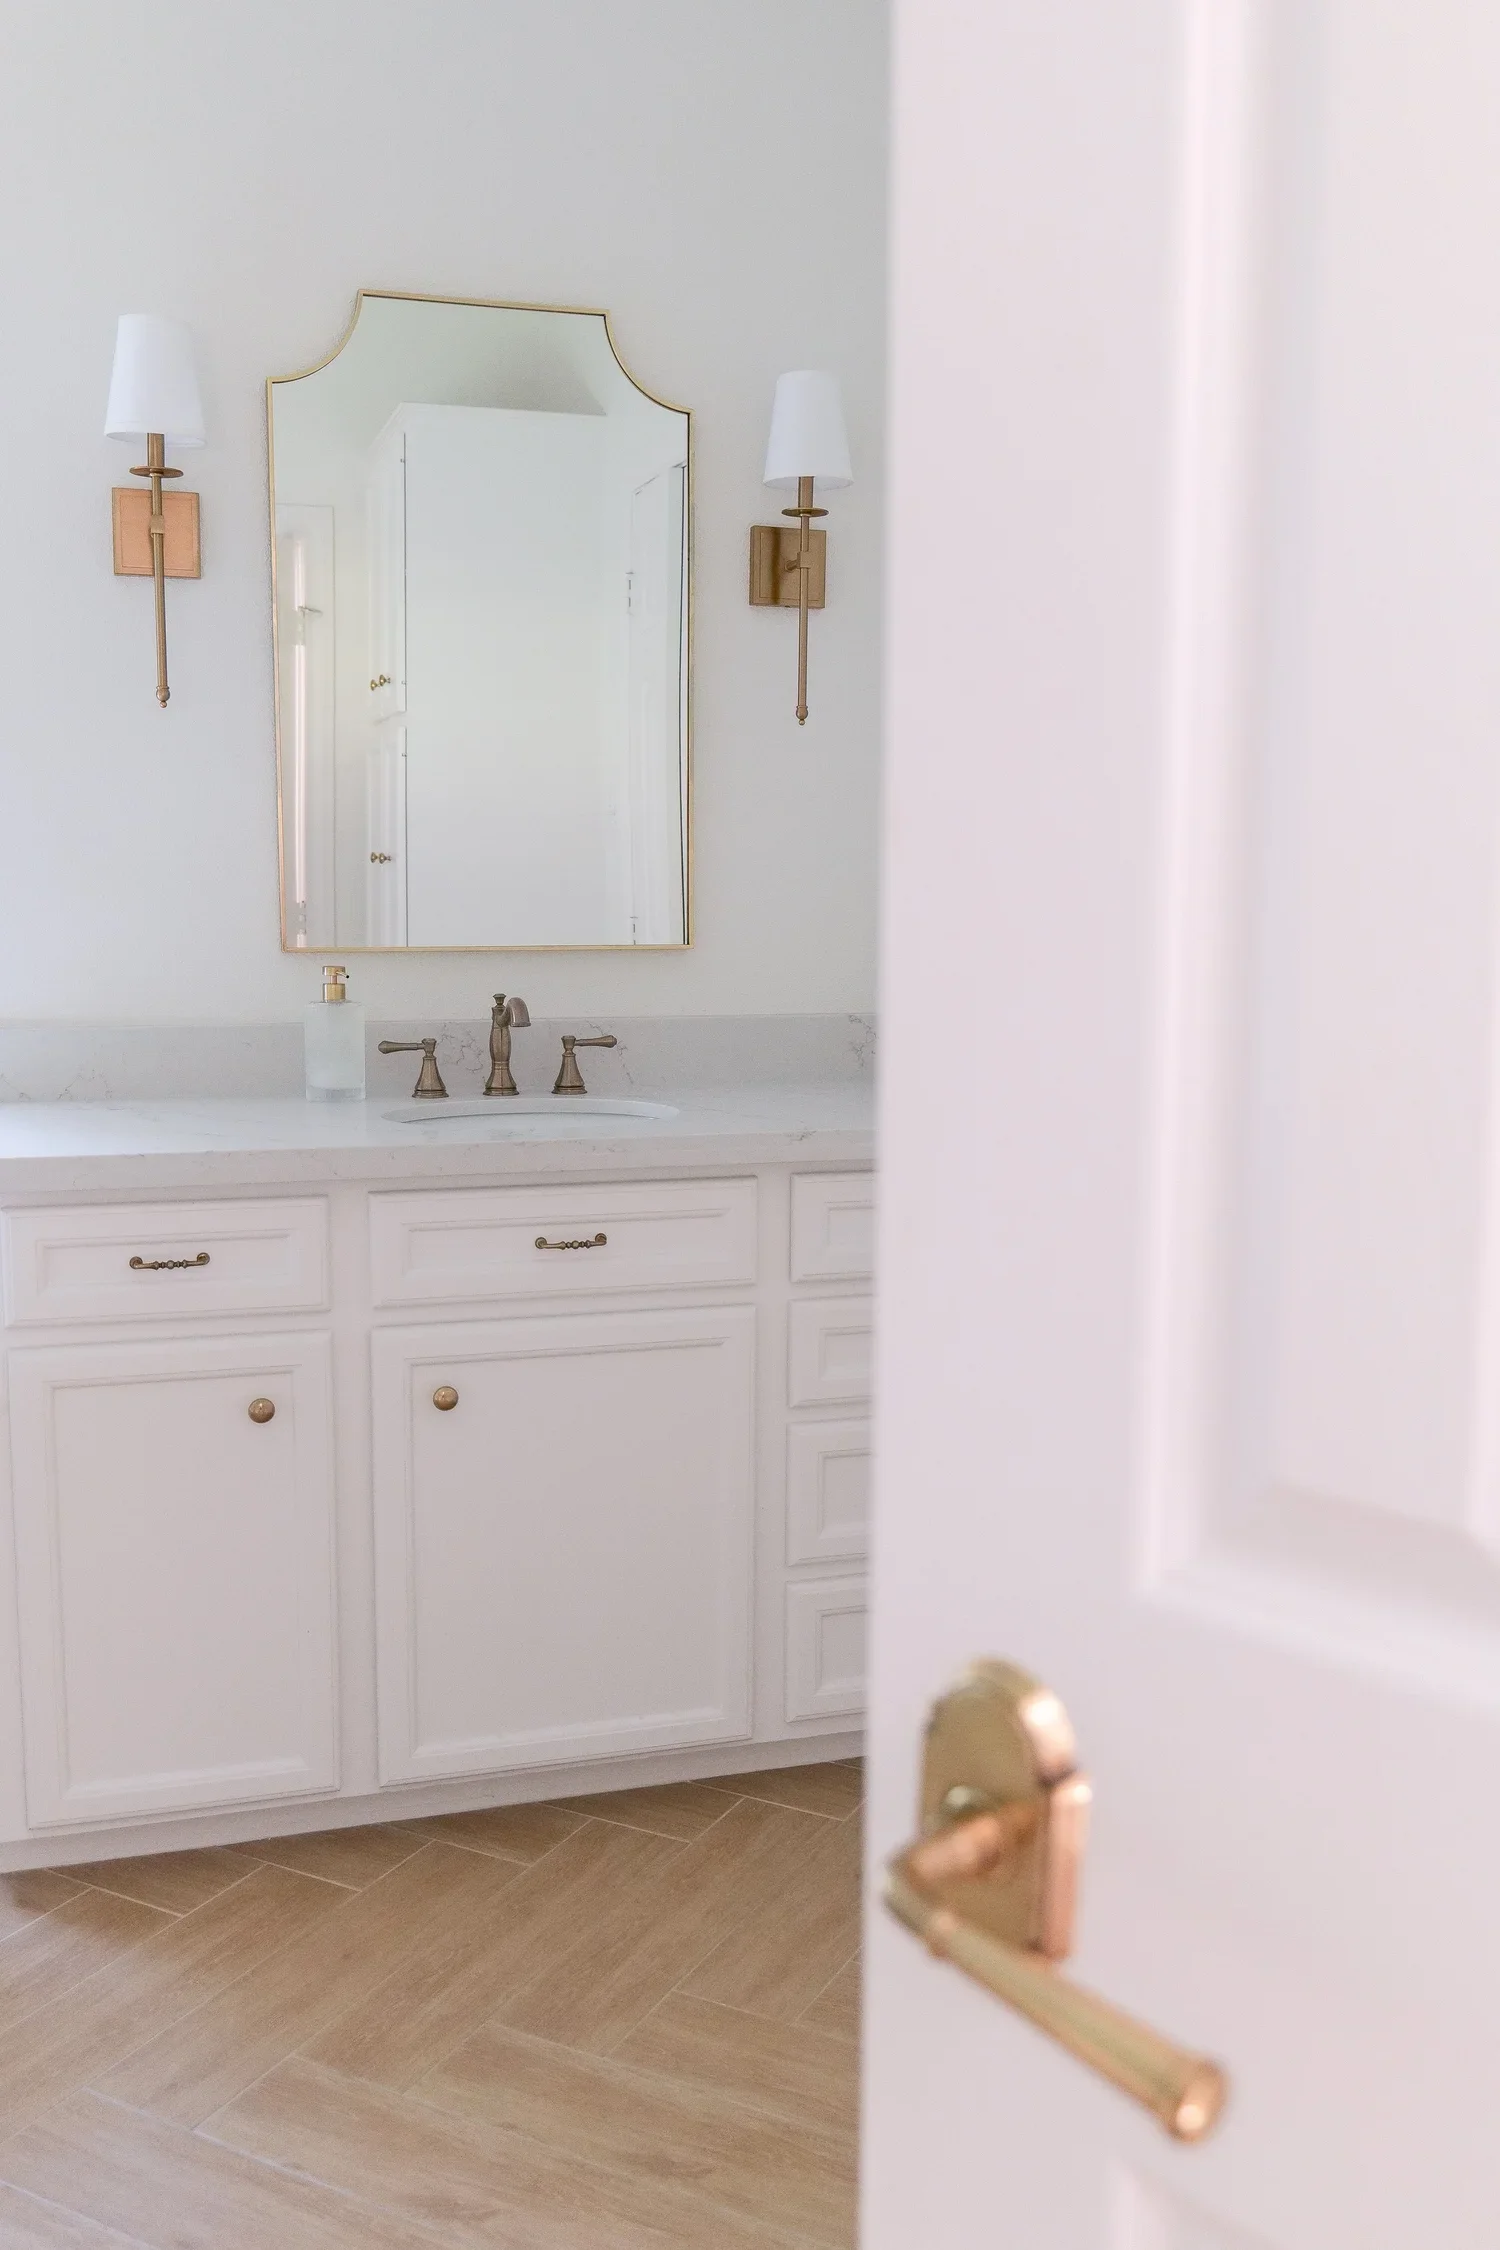
Our Traditional Coastal Home
Our next home couldn't have been more different.
Bright.
Airy.
Relaxed.
Traditional coastal homes have such a lightness to them, yet we found ourselves making the exact same decision with the hardware.
Instead of chasing what was trendy, we selected timeless pieces that complemented the home's architecture and would still feel beautiful years later.
That's one of the reasons I love classic hardware so much.
It adapts beautifully to different homes without ever feeling out of place.
The Places We Always Upgrade First
Whenever we renovate, these are the spaces we prioritize.
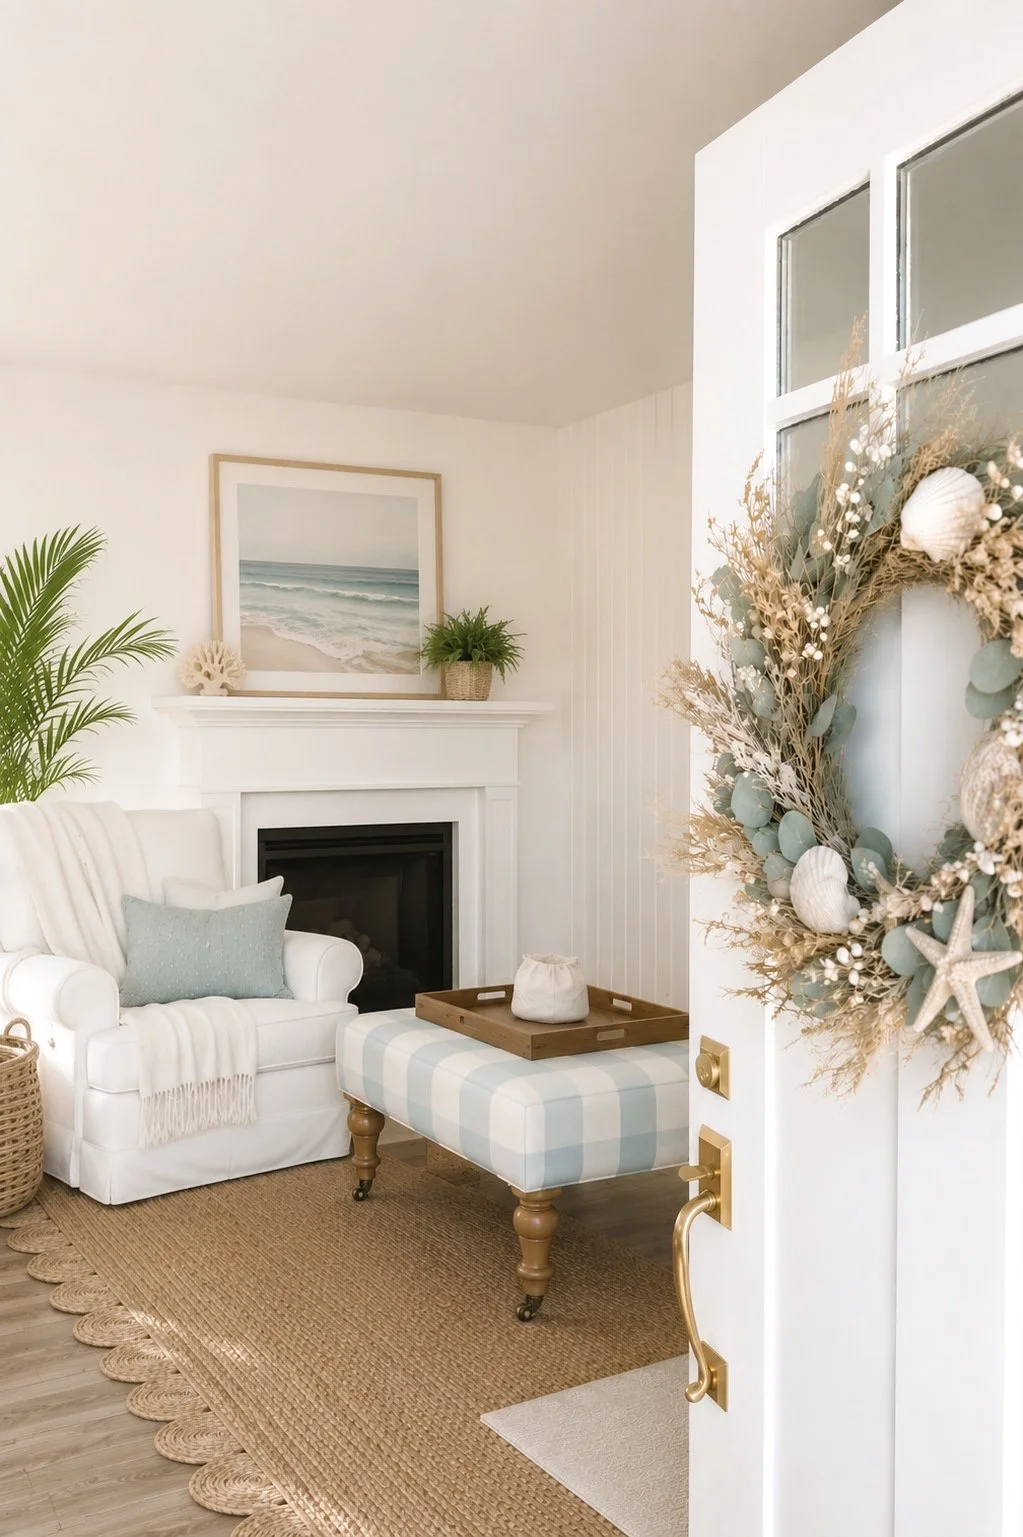
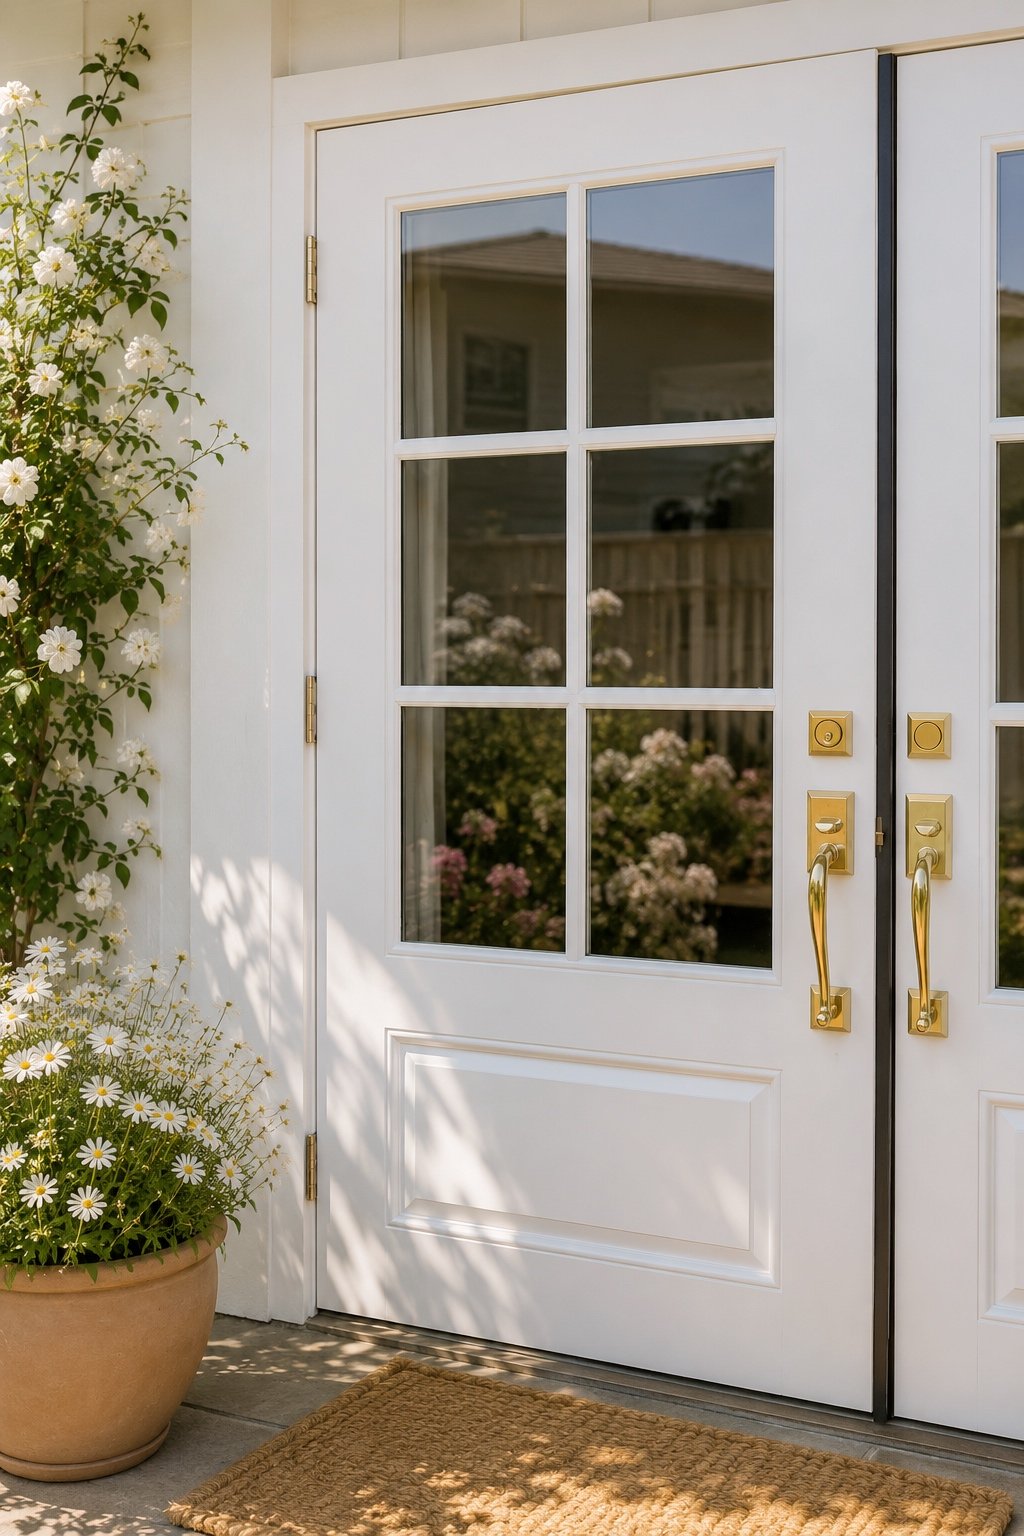
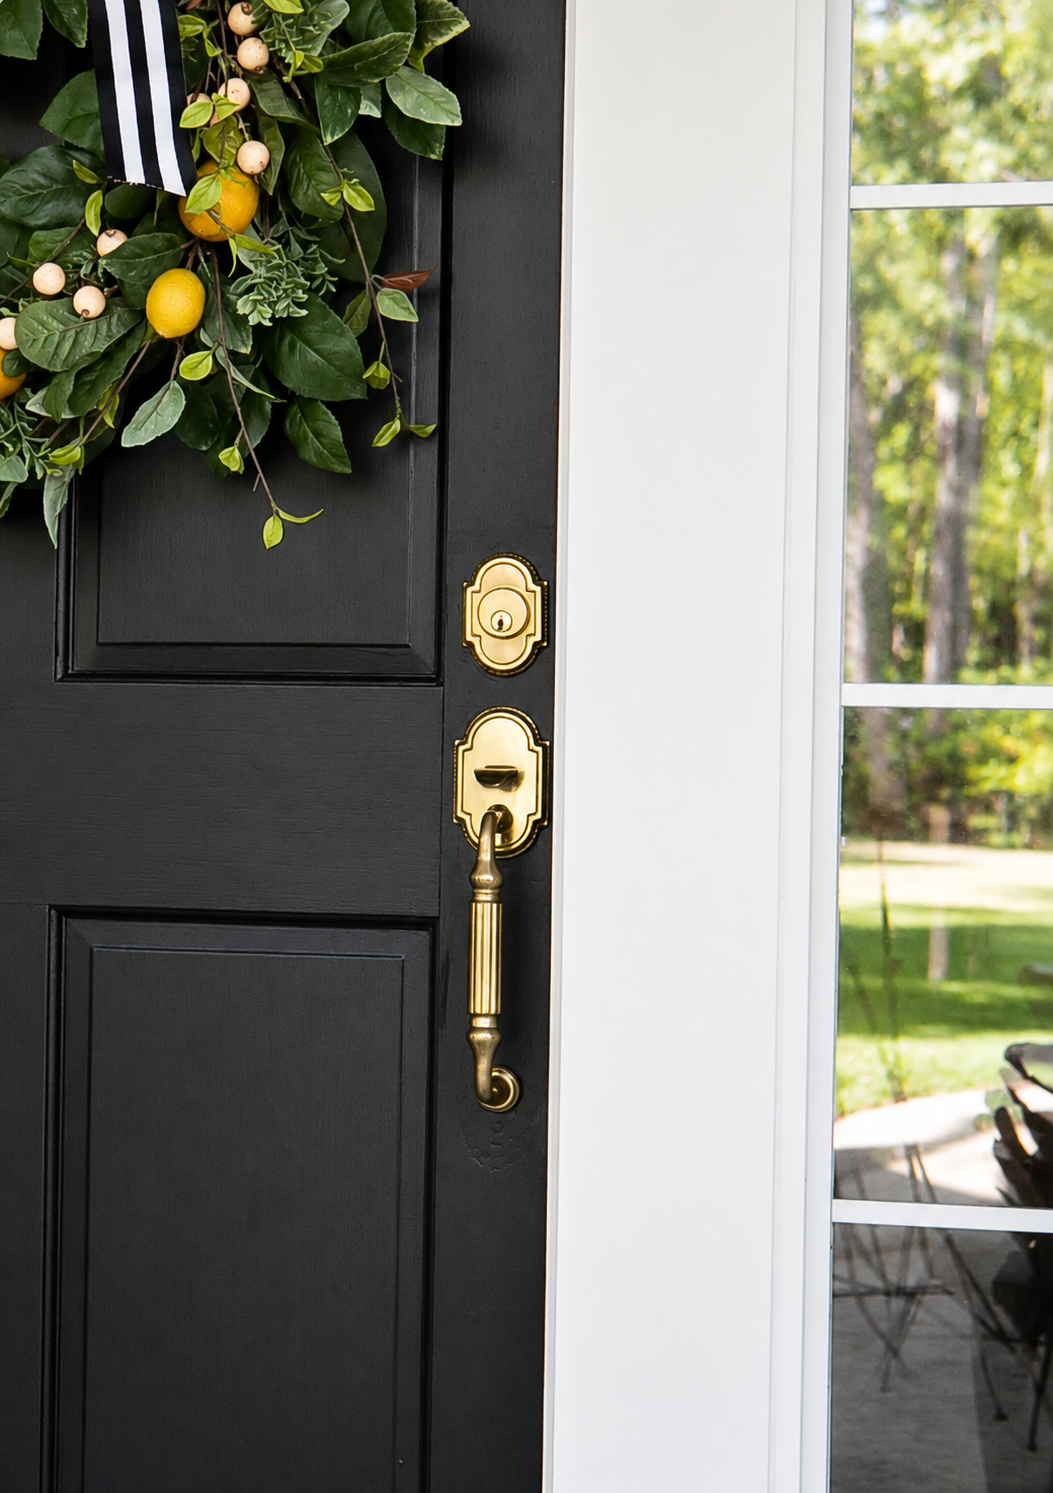
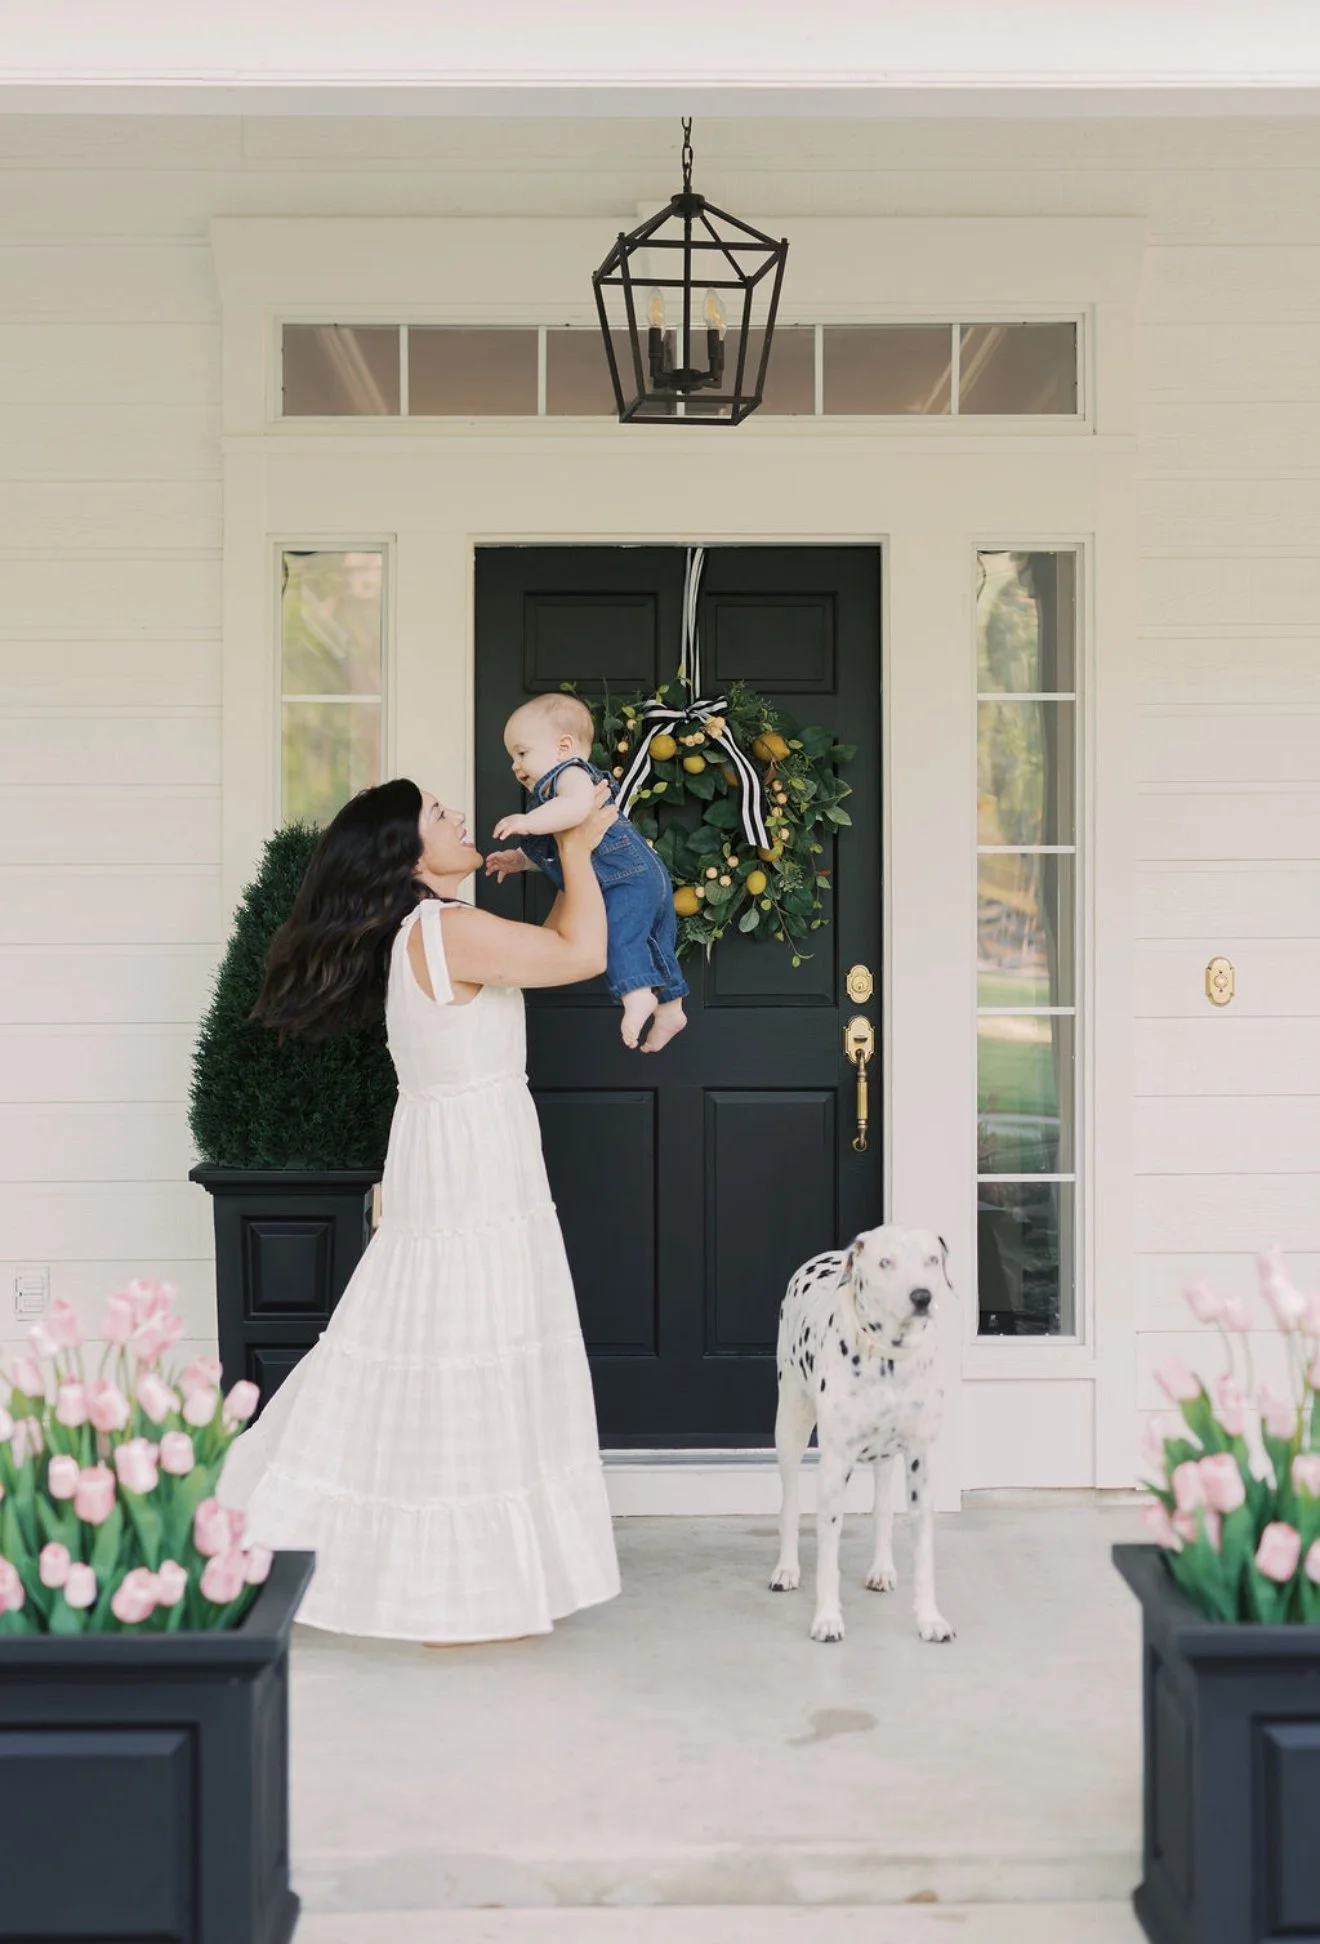
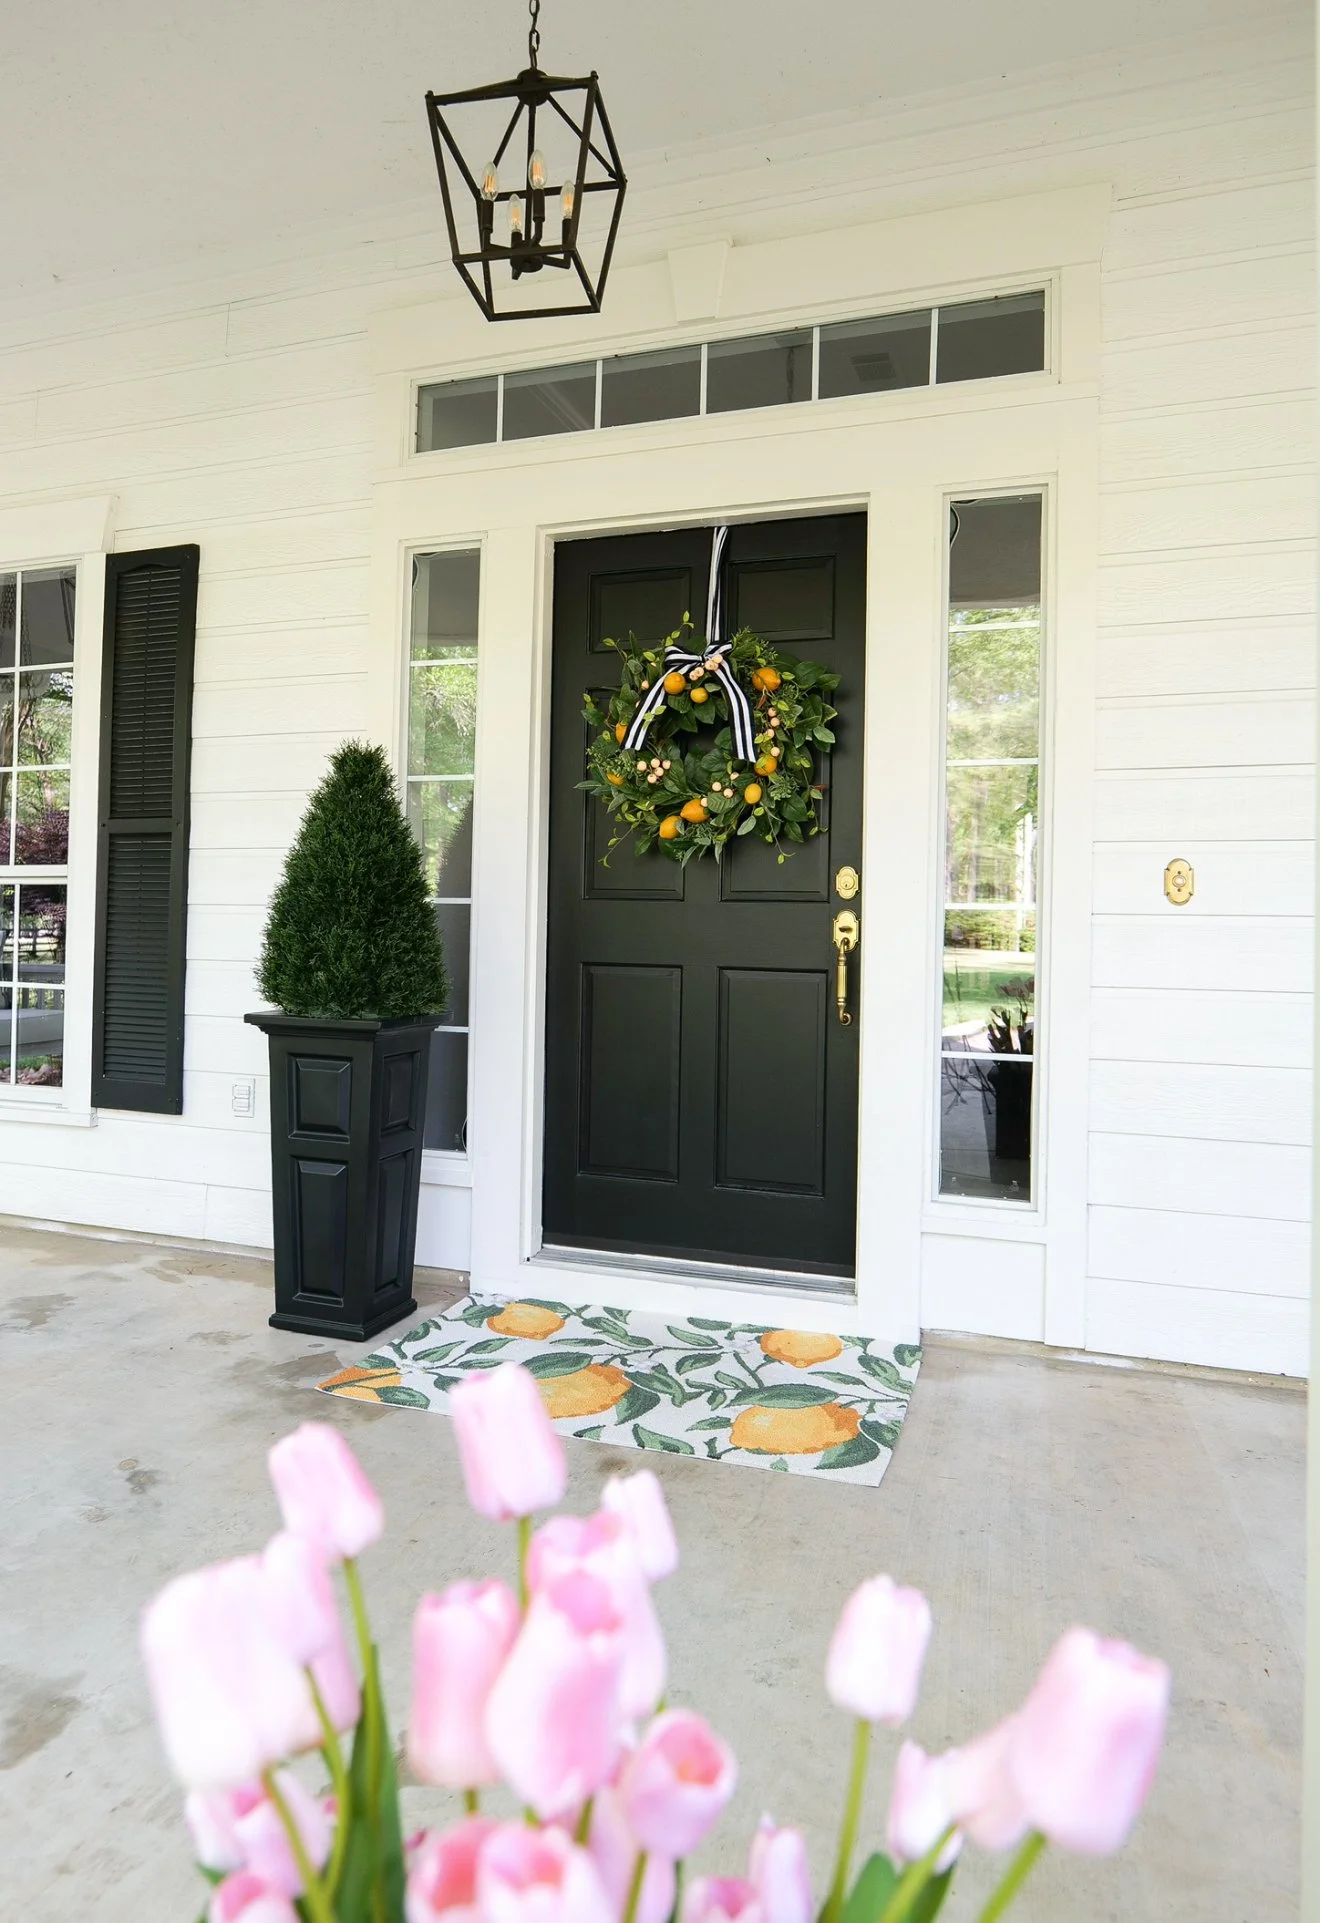
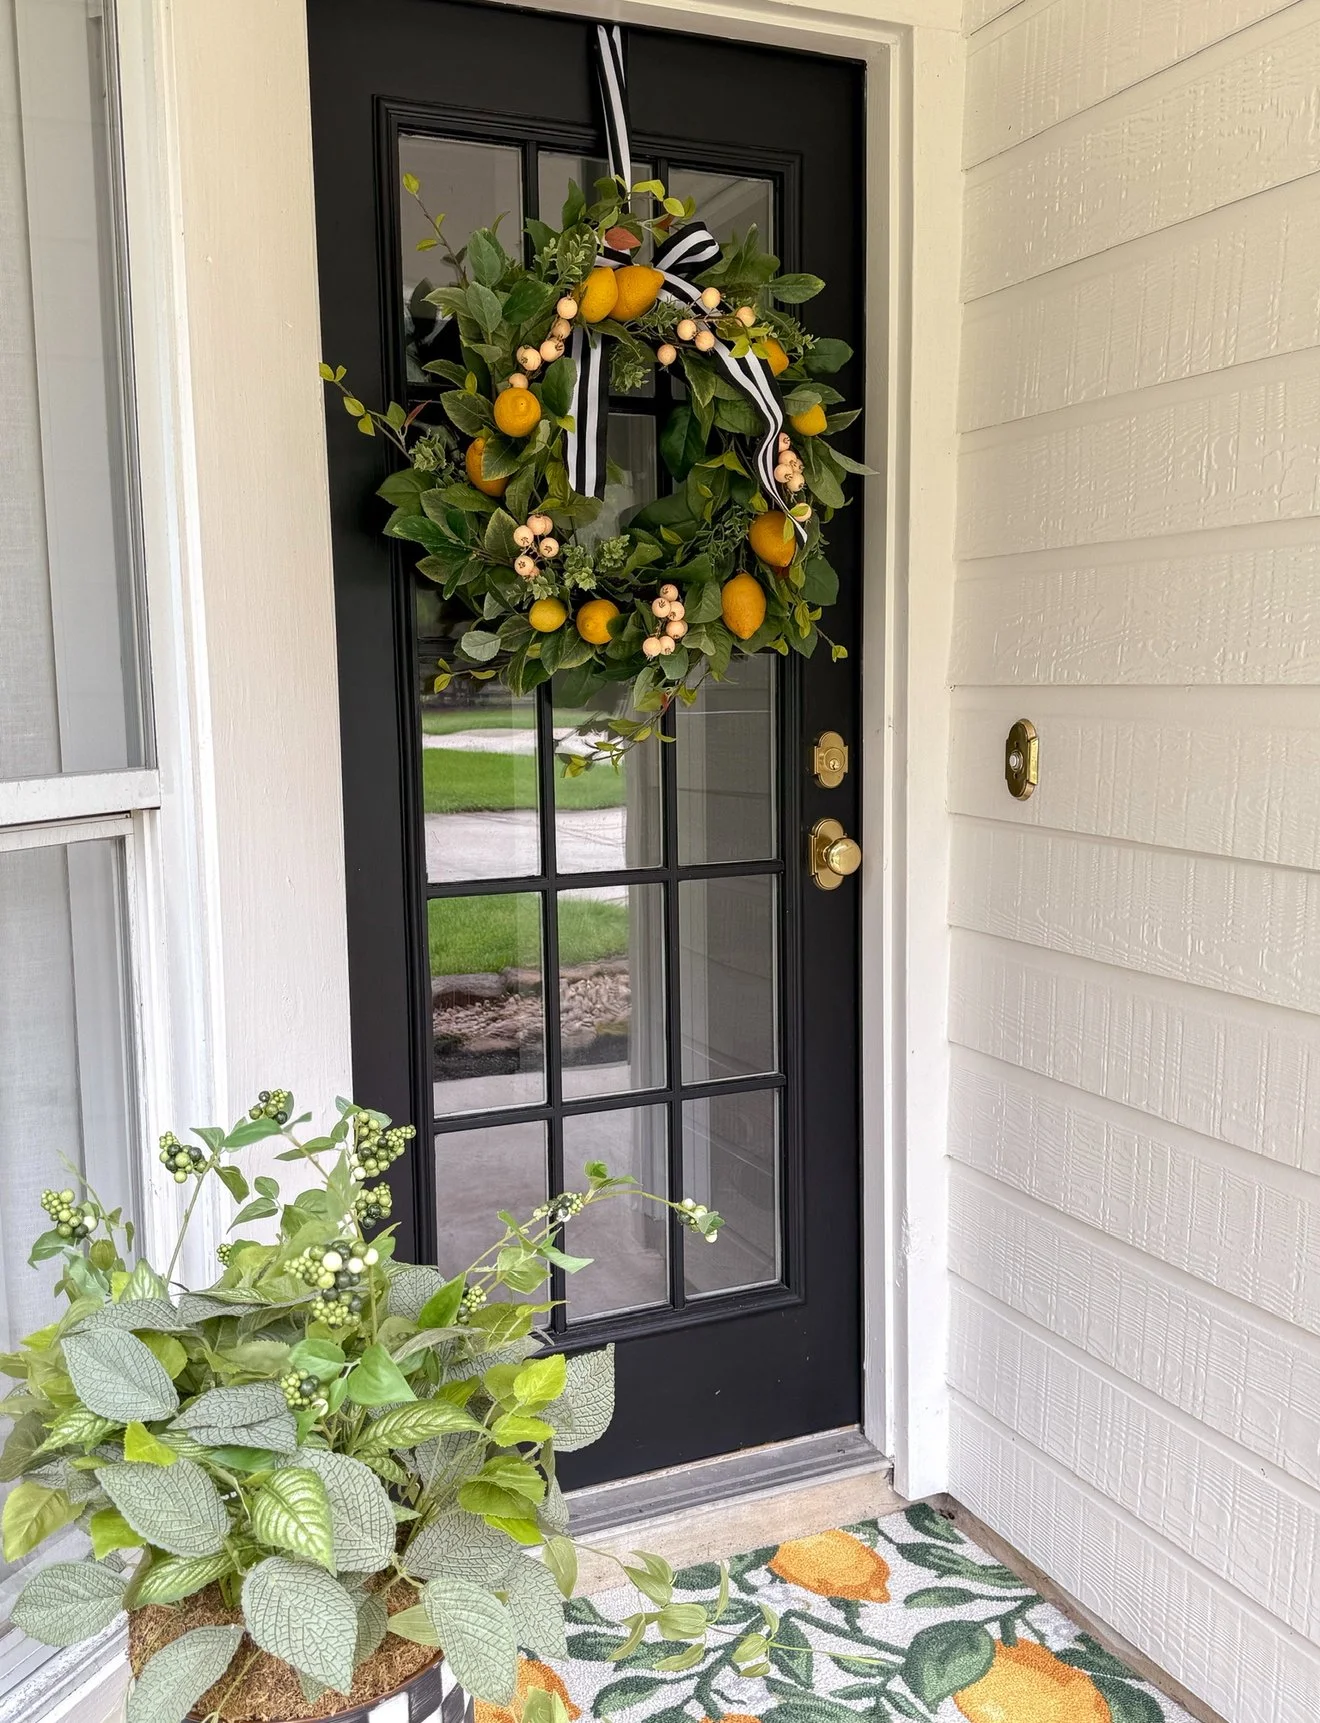
Front Door
Your front door is the very first impression of your home.
Beautiful hardware immediately sets the tone before anyone even steps inside.
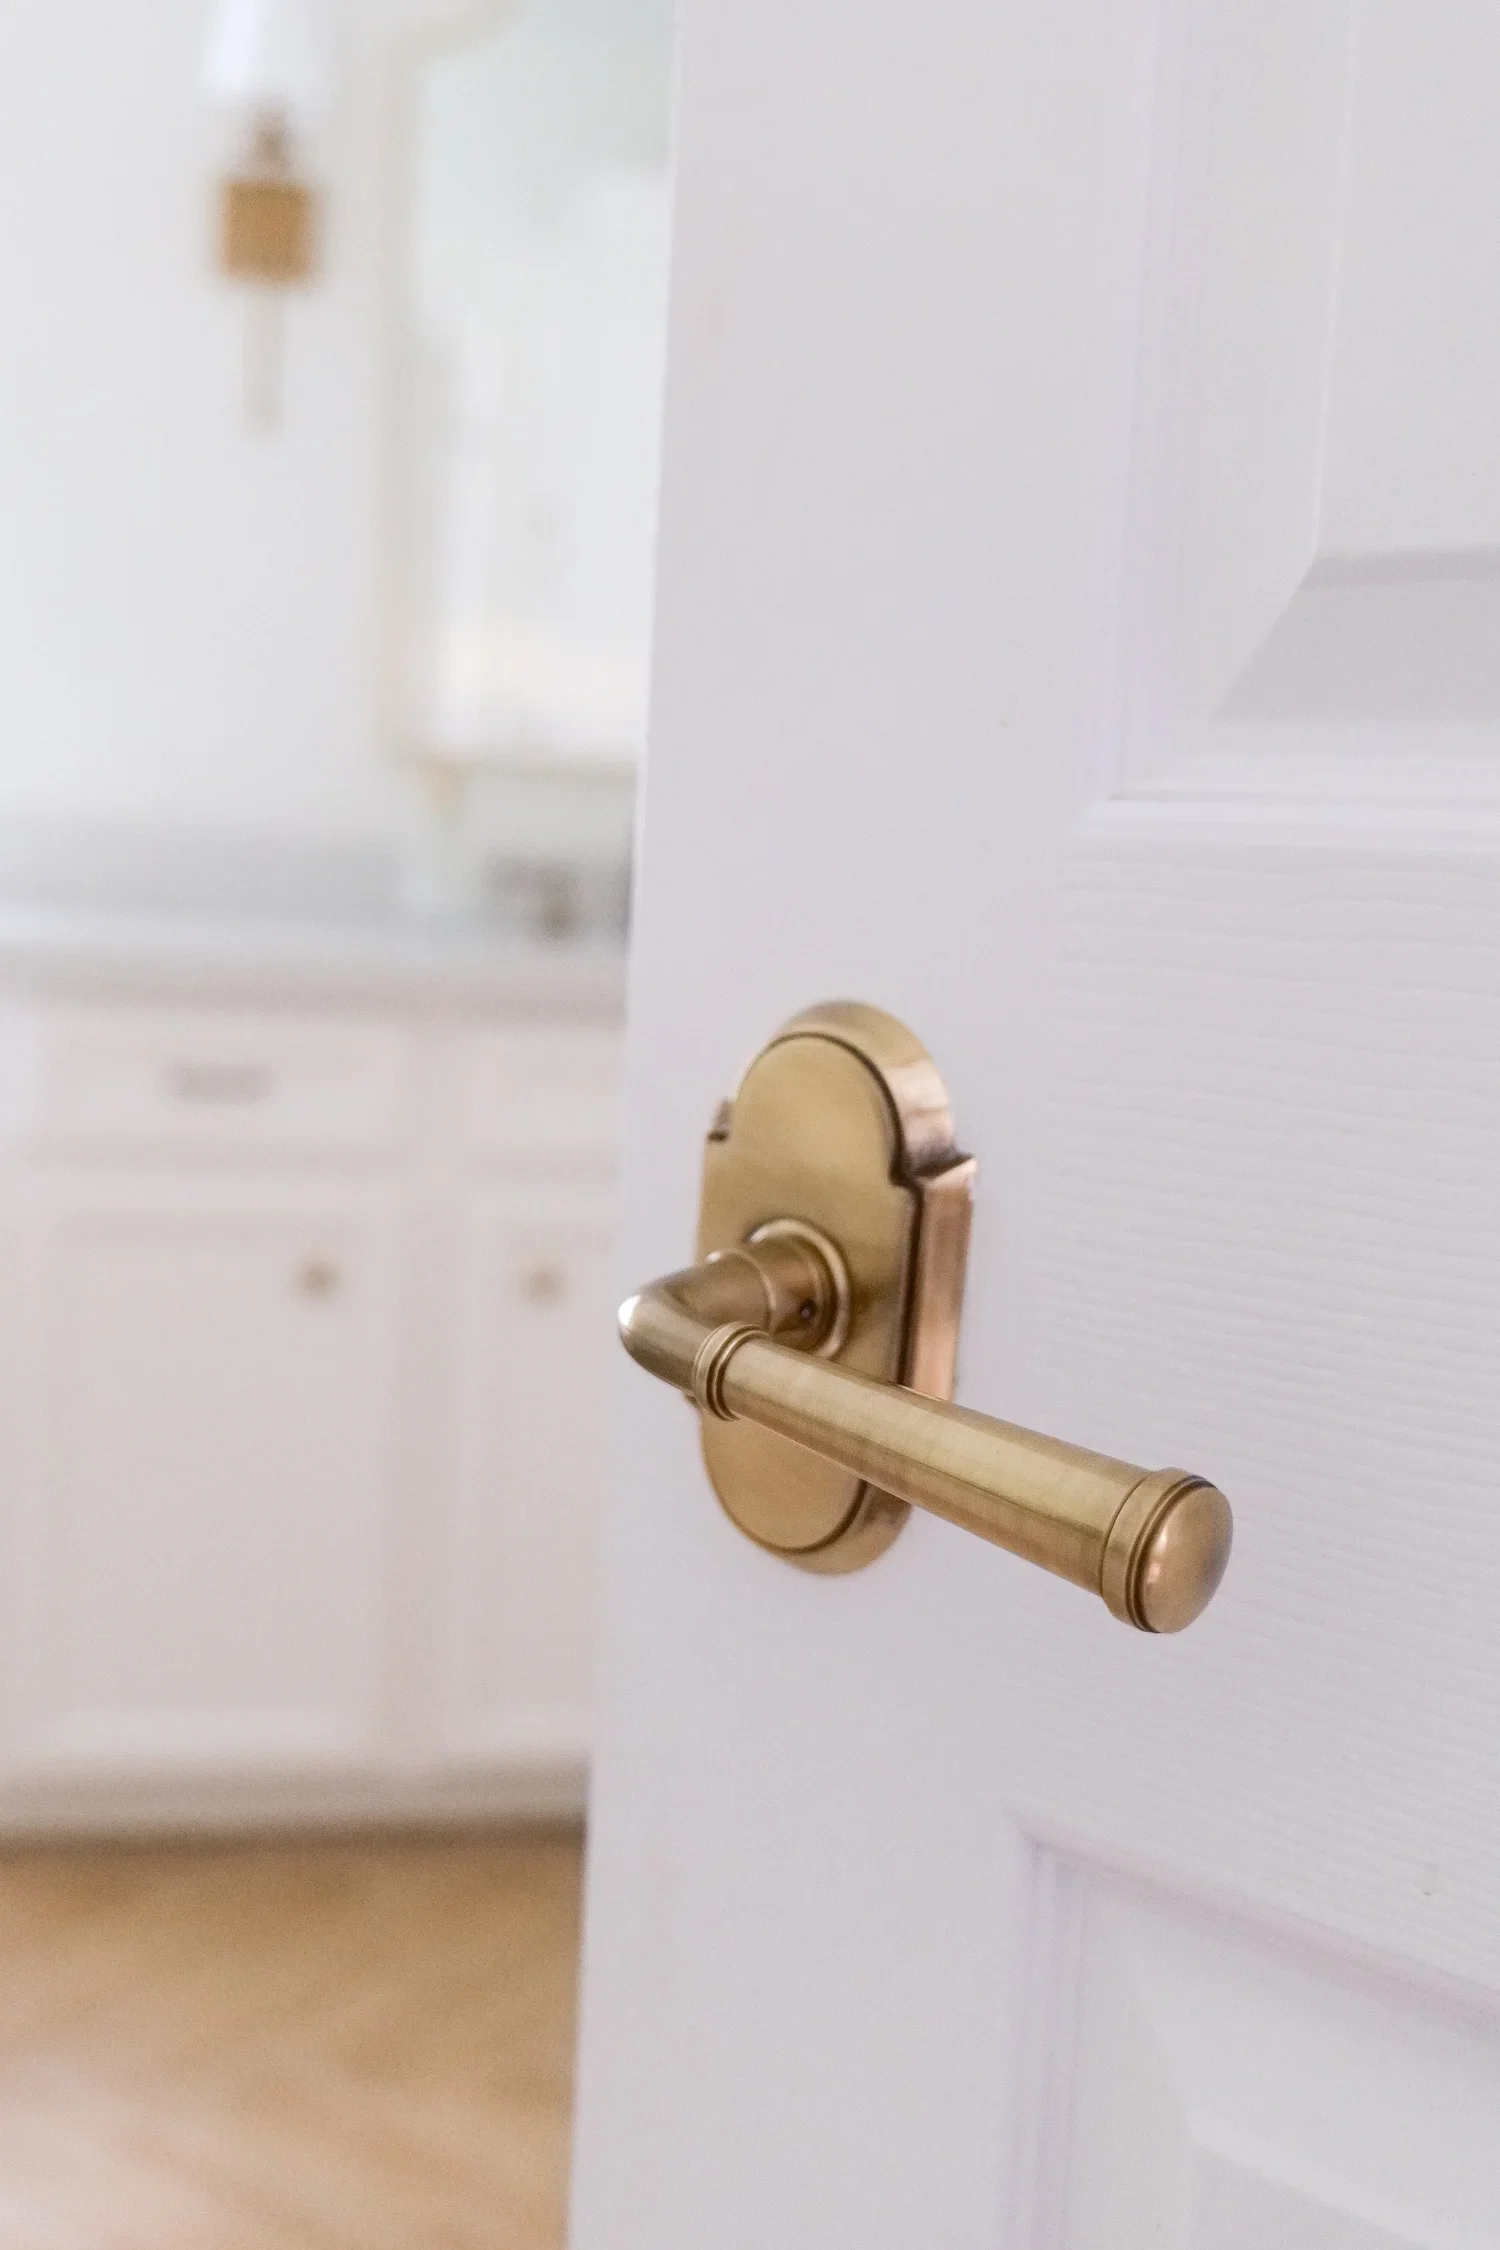
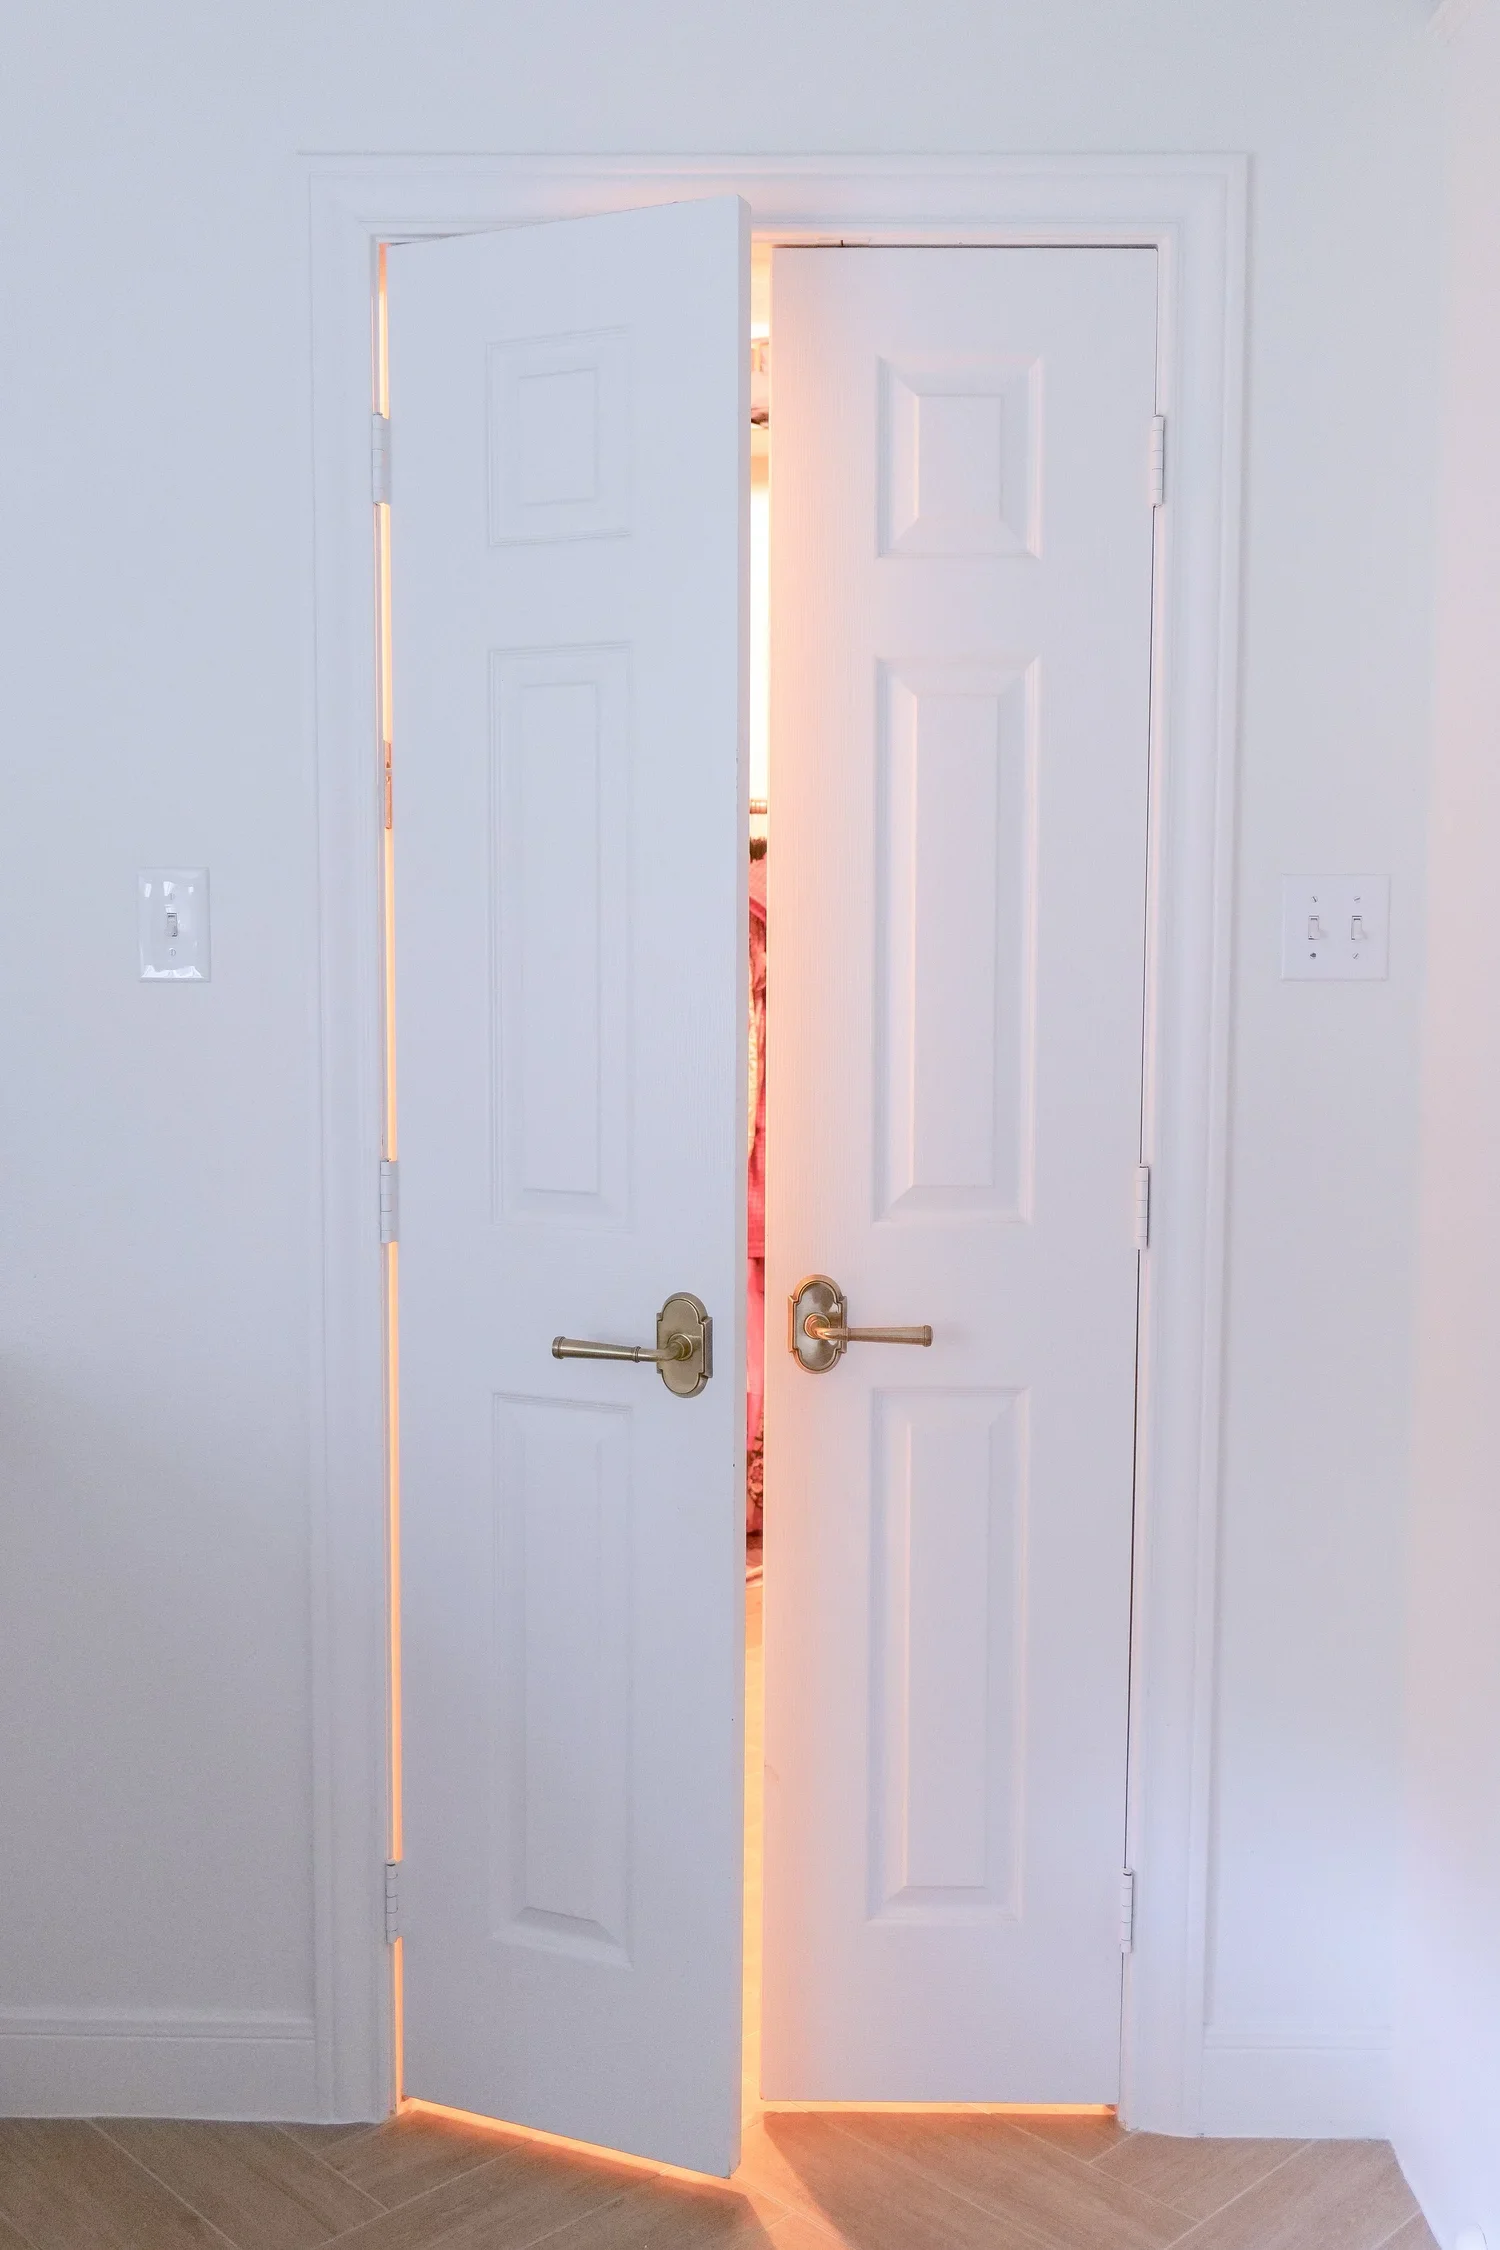
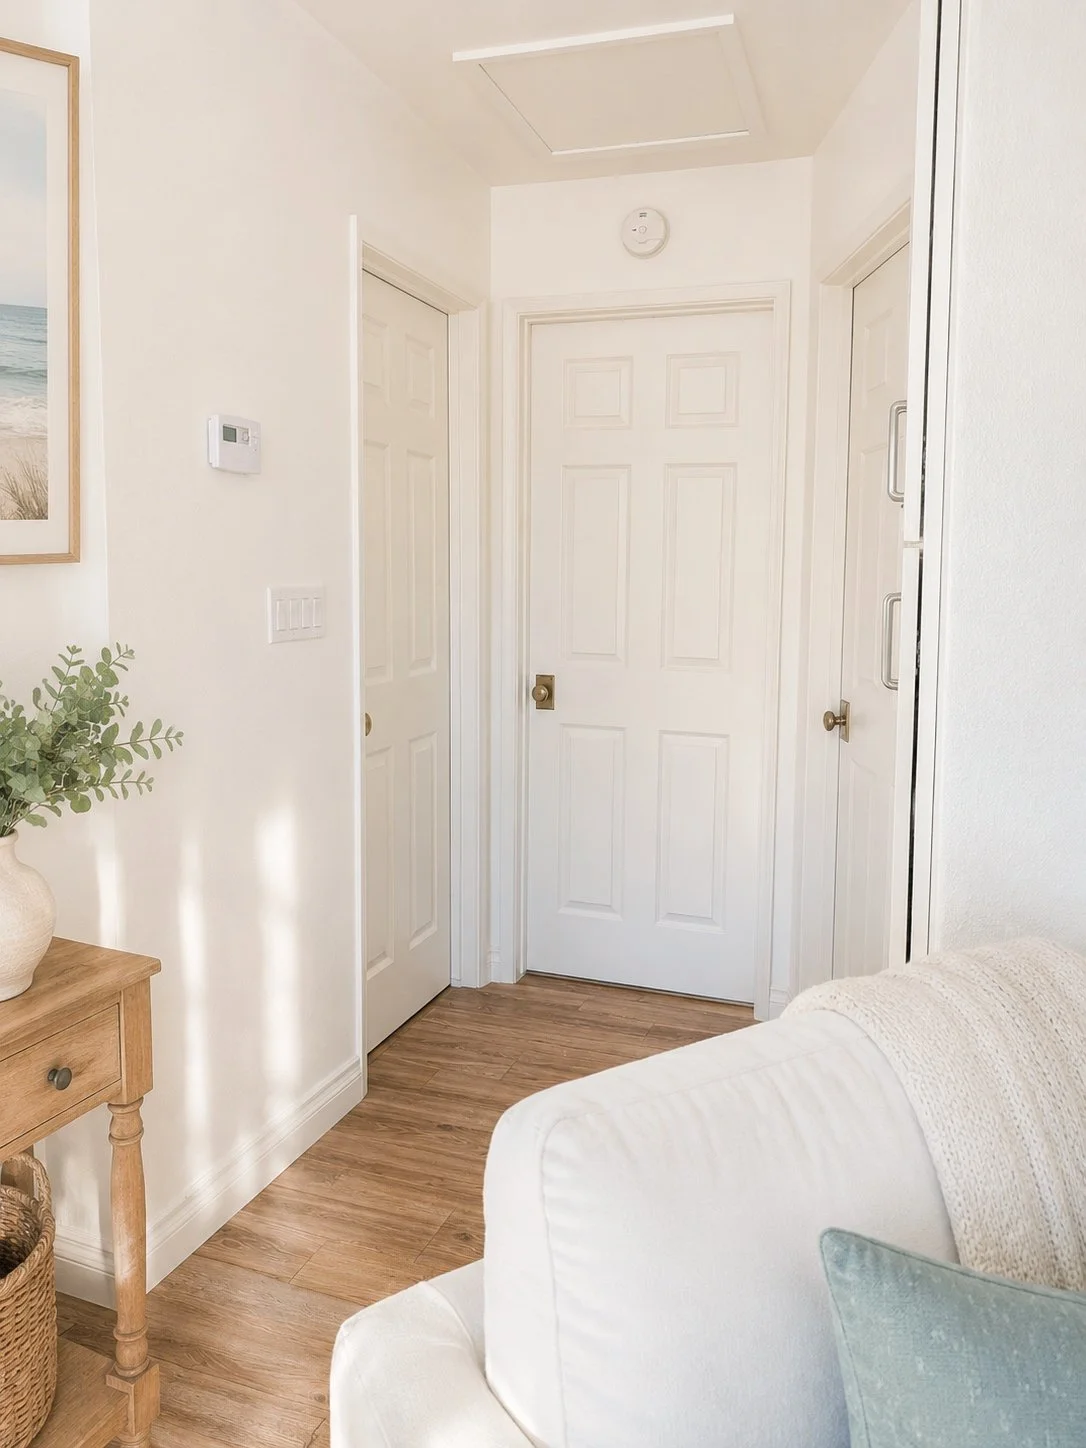
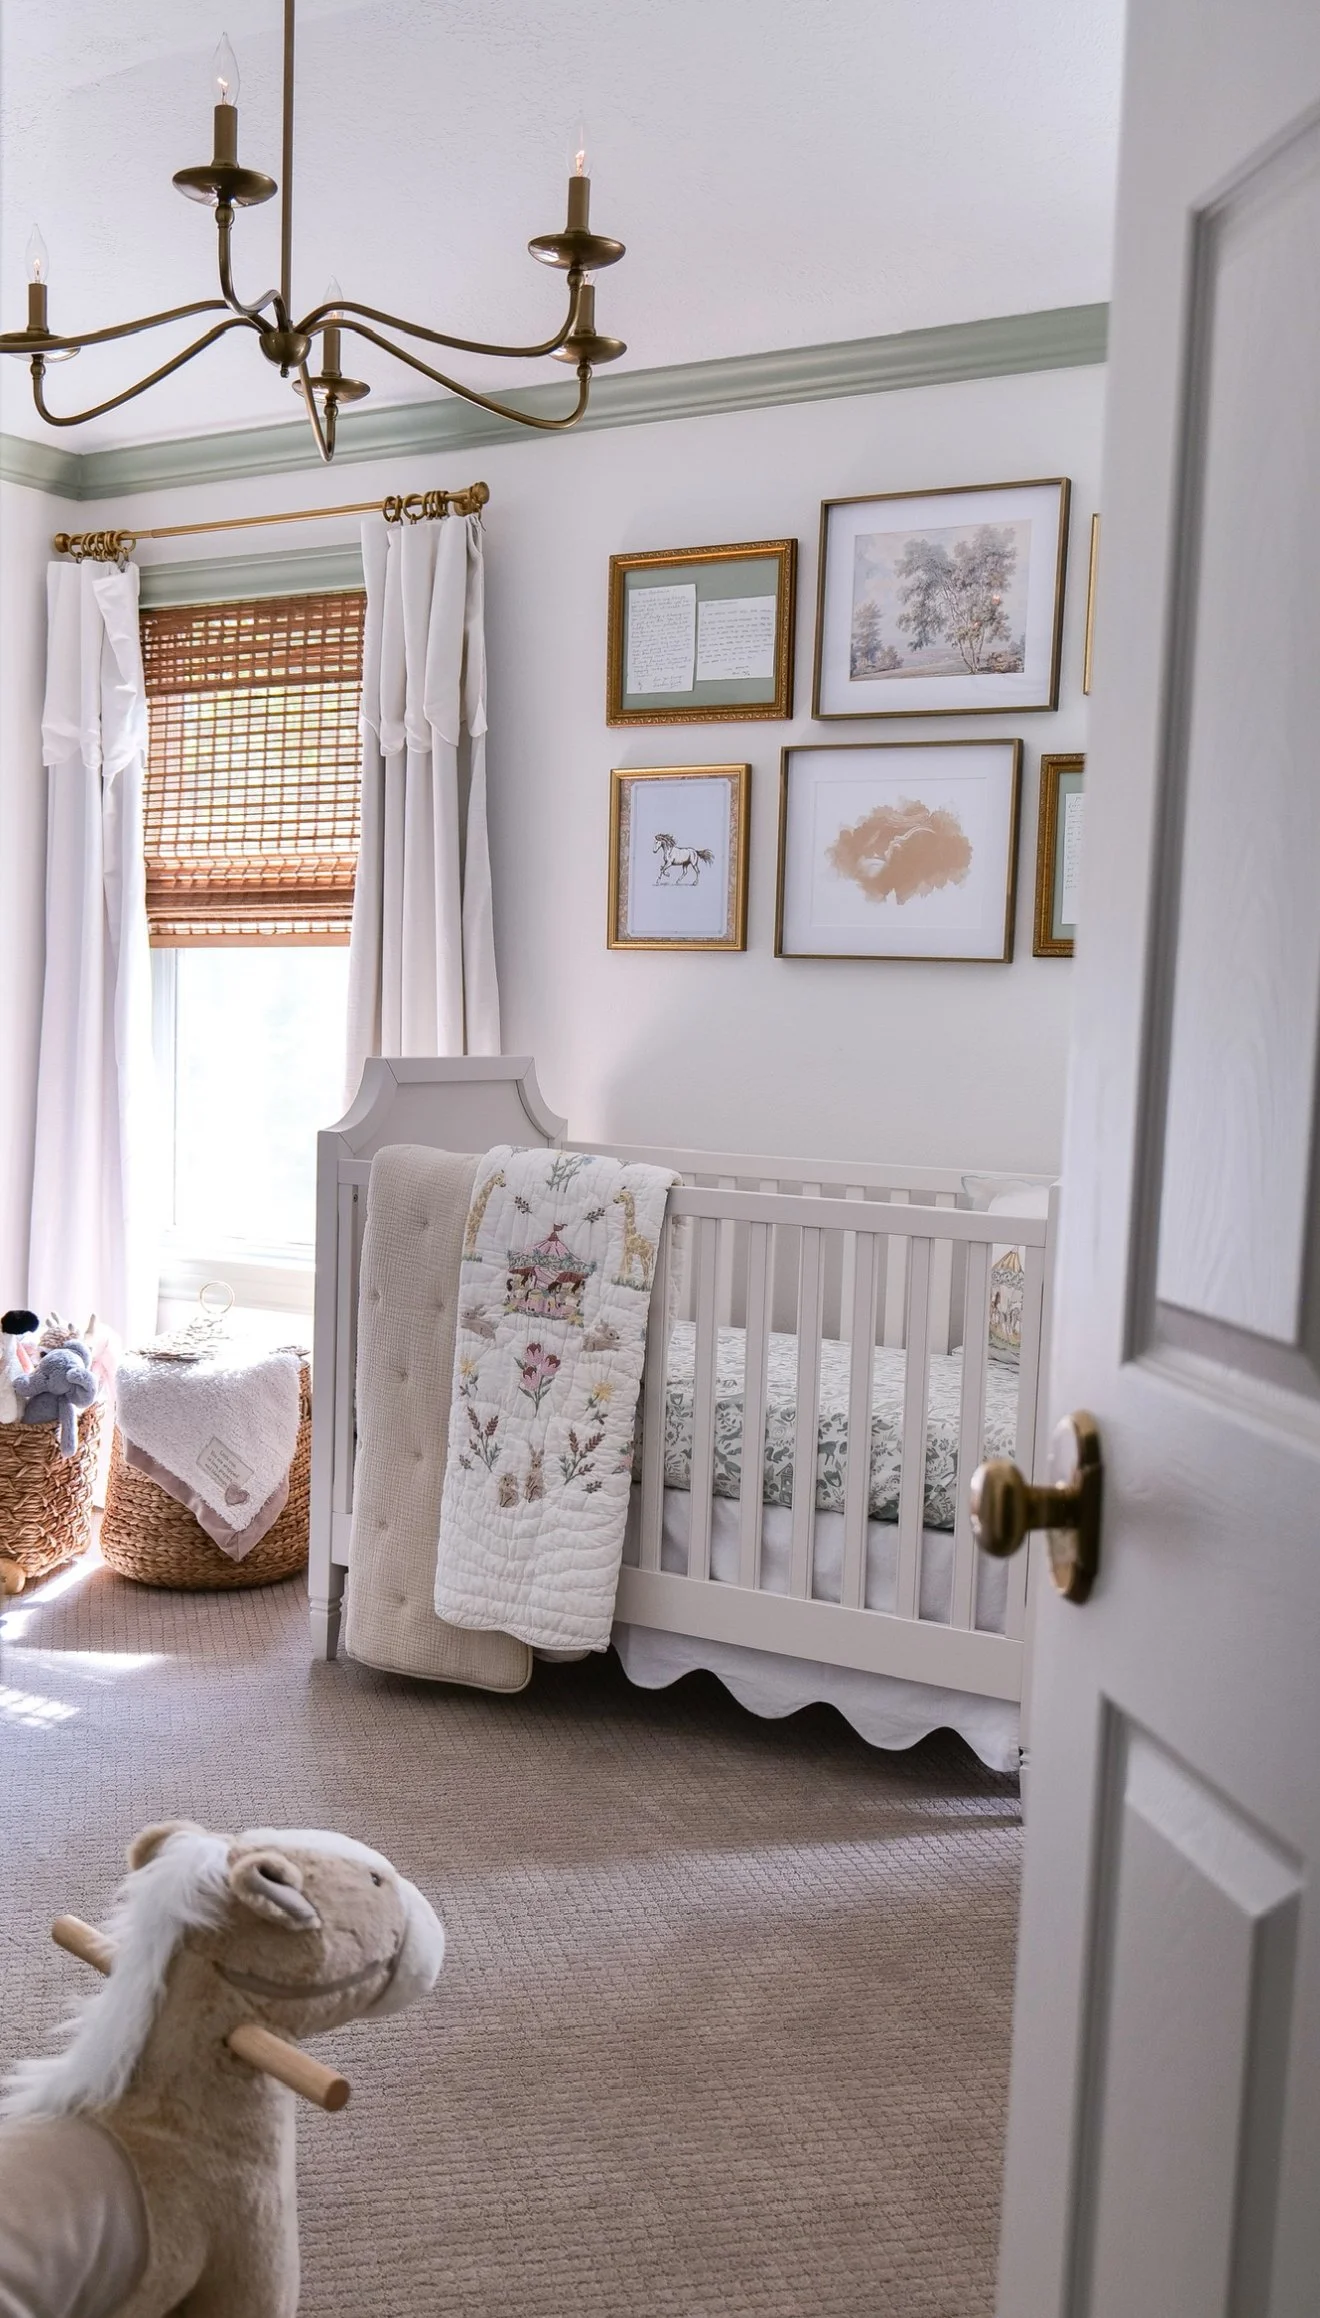
Interior Doors
Bedrooms.
Bathrooms.
Hallways.
Closets.
Replacing every interior knob creates consistency throughout the home and instantly makes it feel more custom.
Pantry
One of my favorite little details.
A pantry deserves just as much attention as the rooms everyone sees.
Laundry Room
A room used every single day should feel just as intentional as the rest of the house.
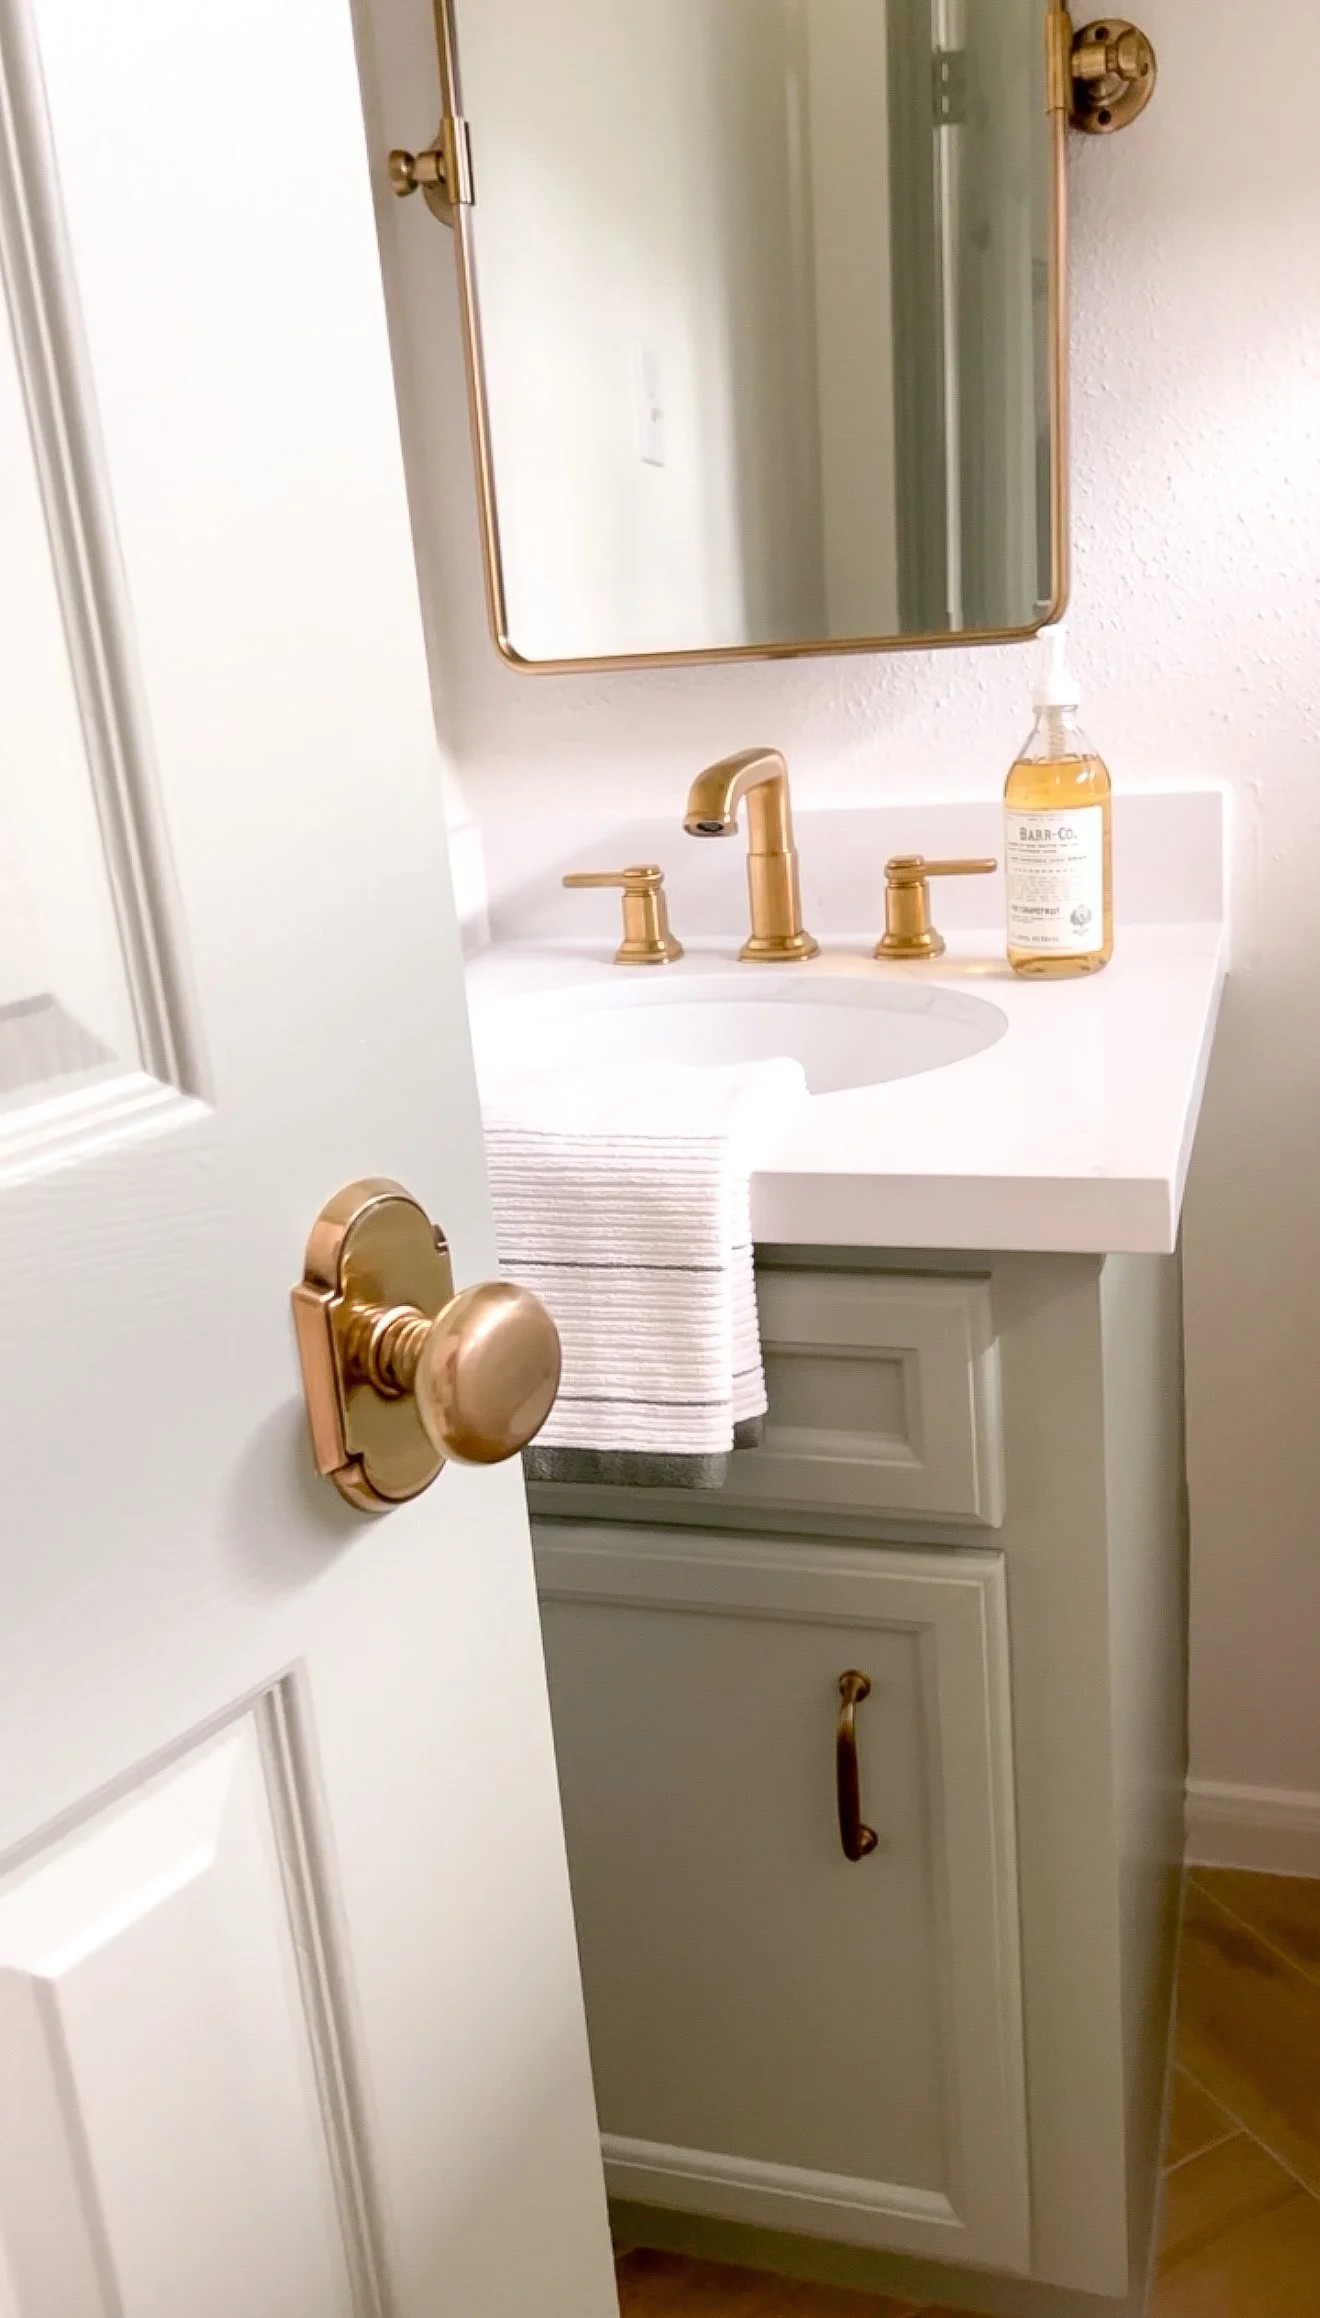
Bathroom Doors
Small update.
Big impact.
Closets
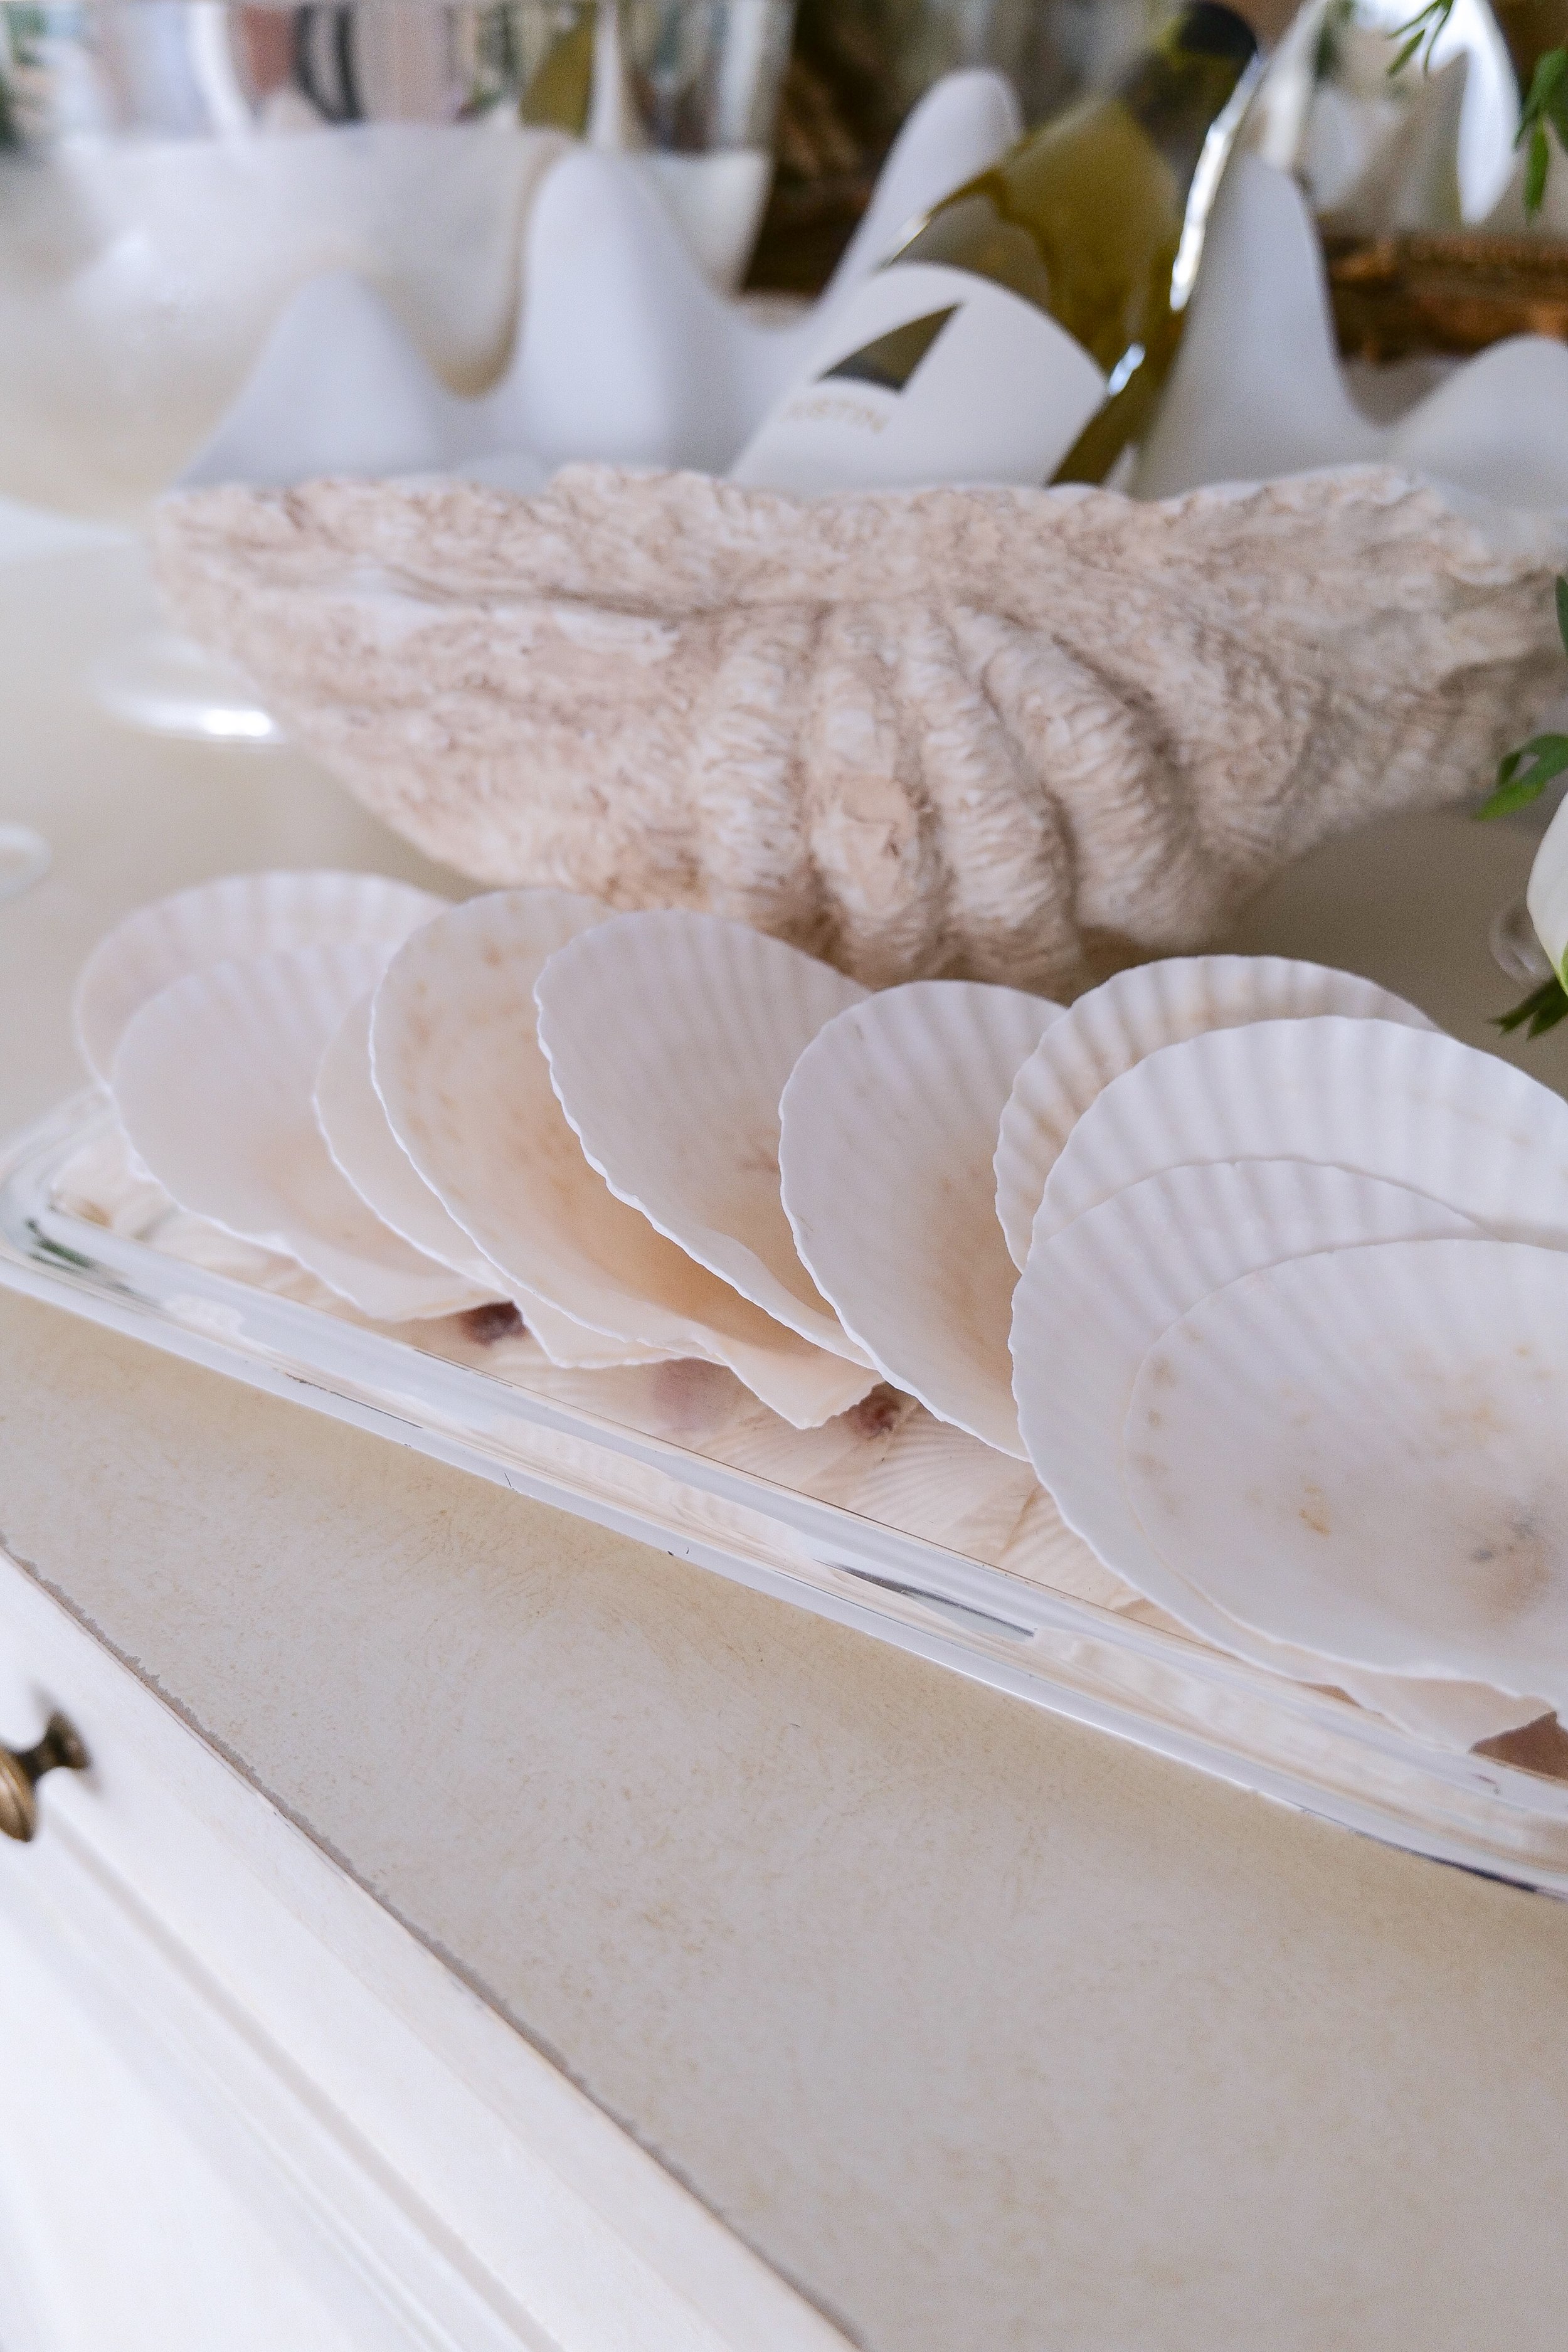
One of those quiet details that make a home feel thoughtfully finished.
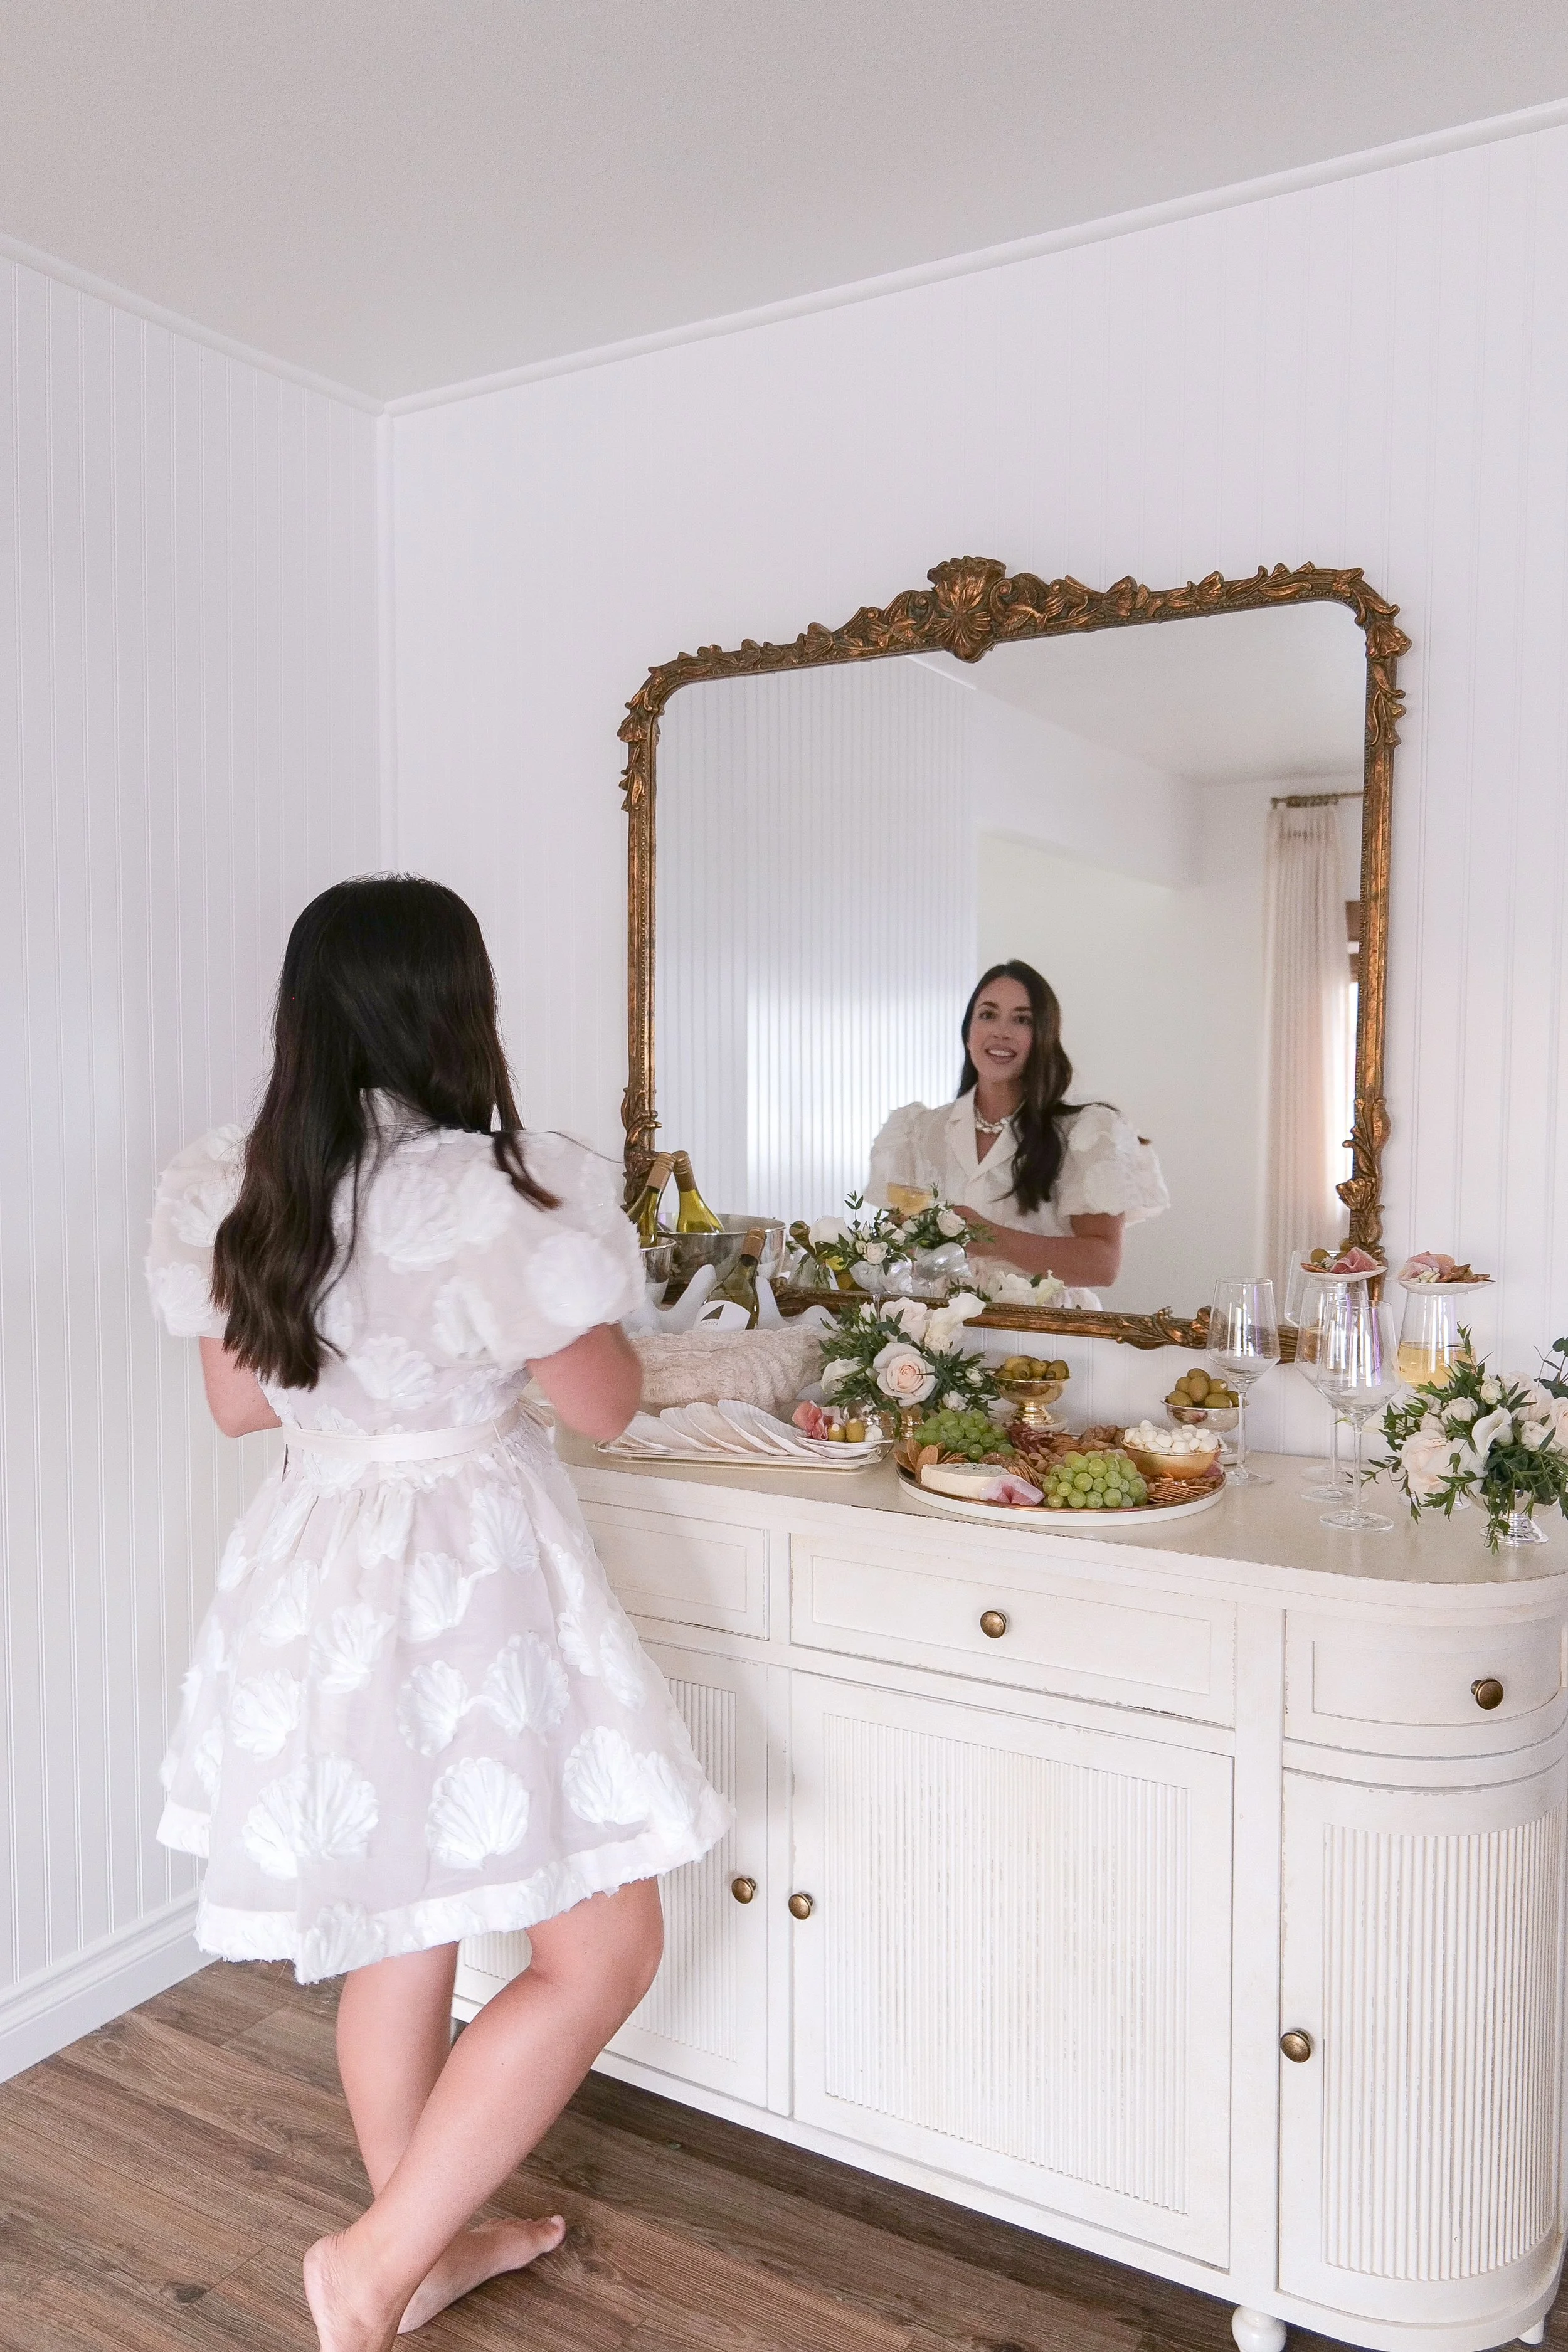
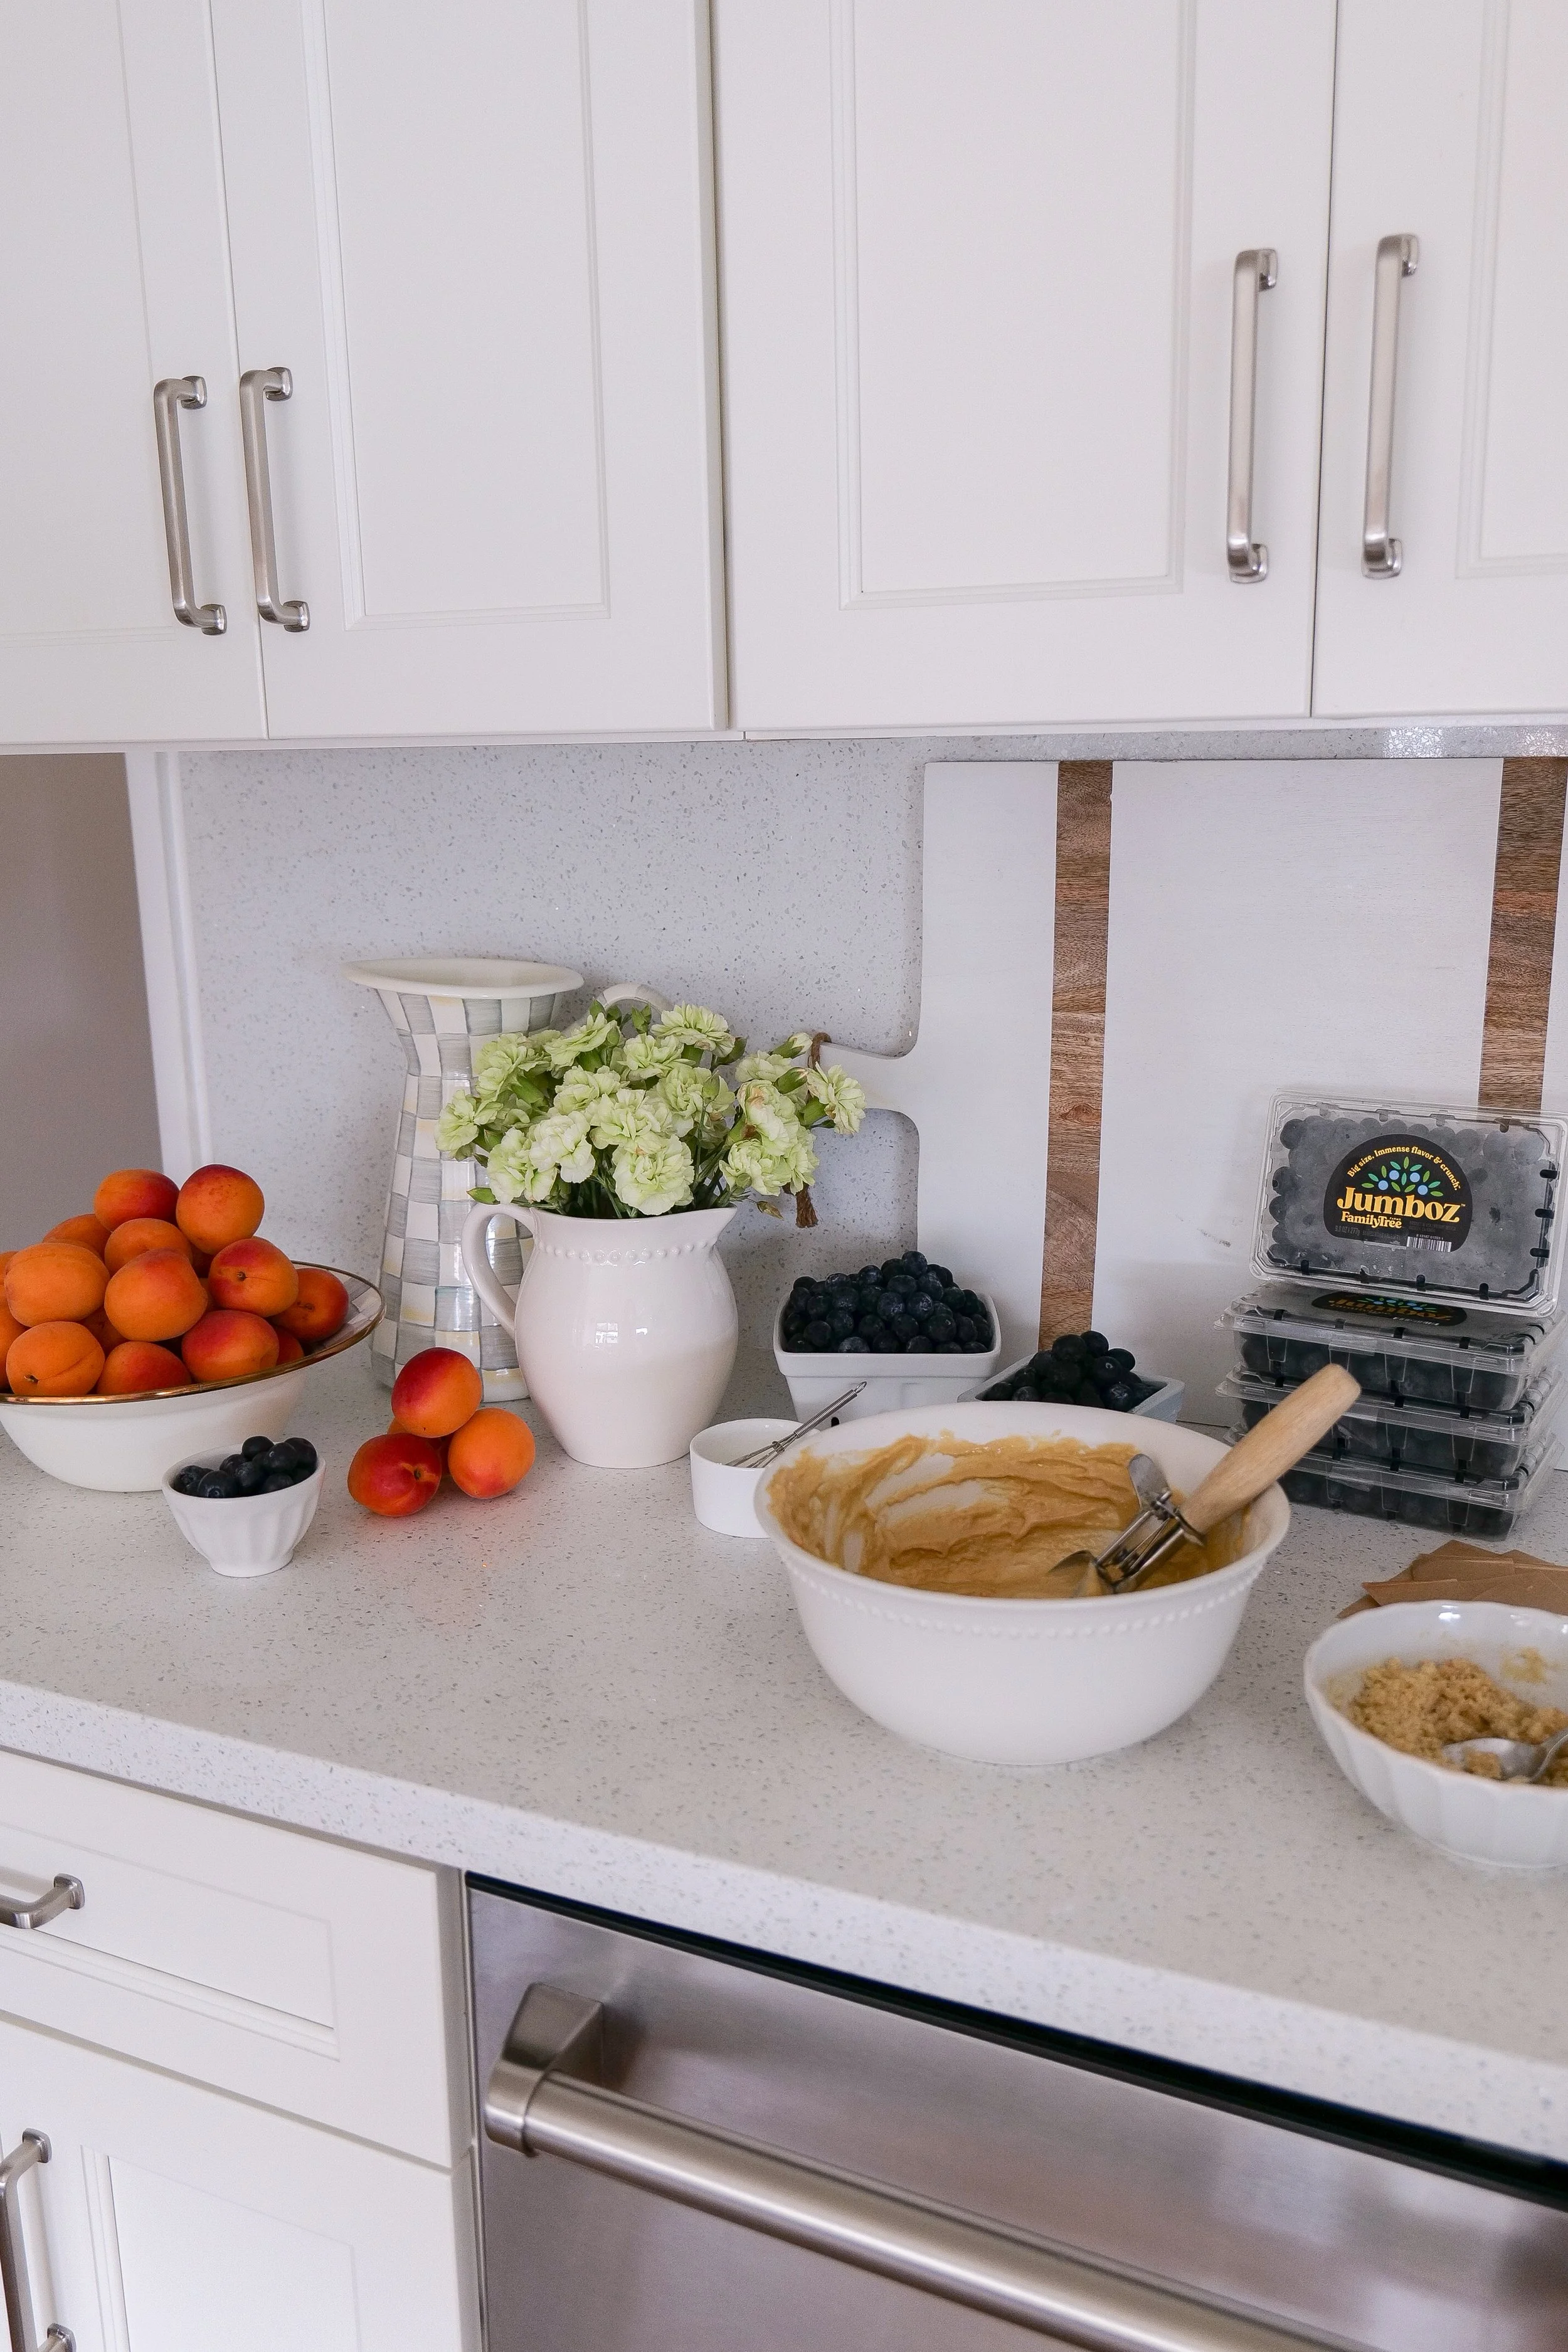
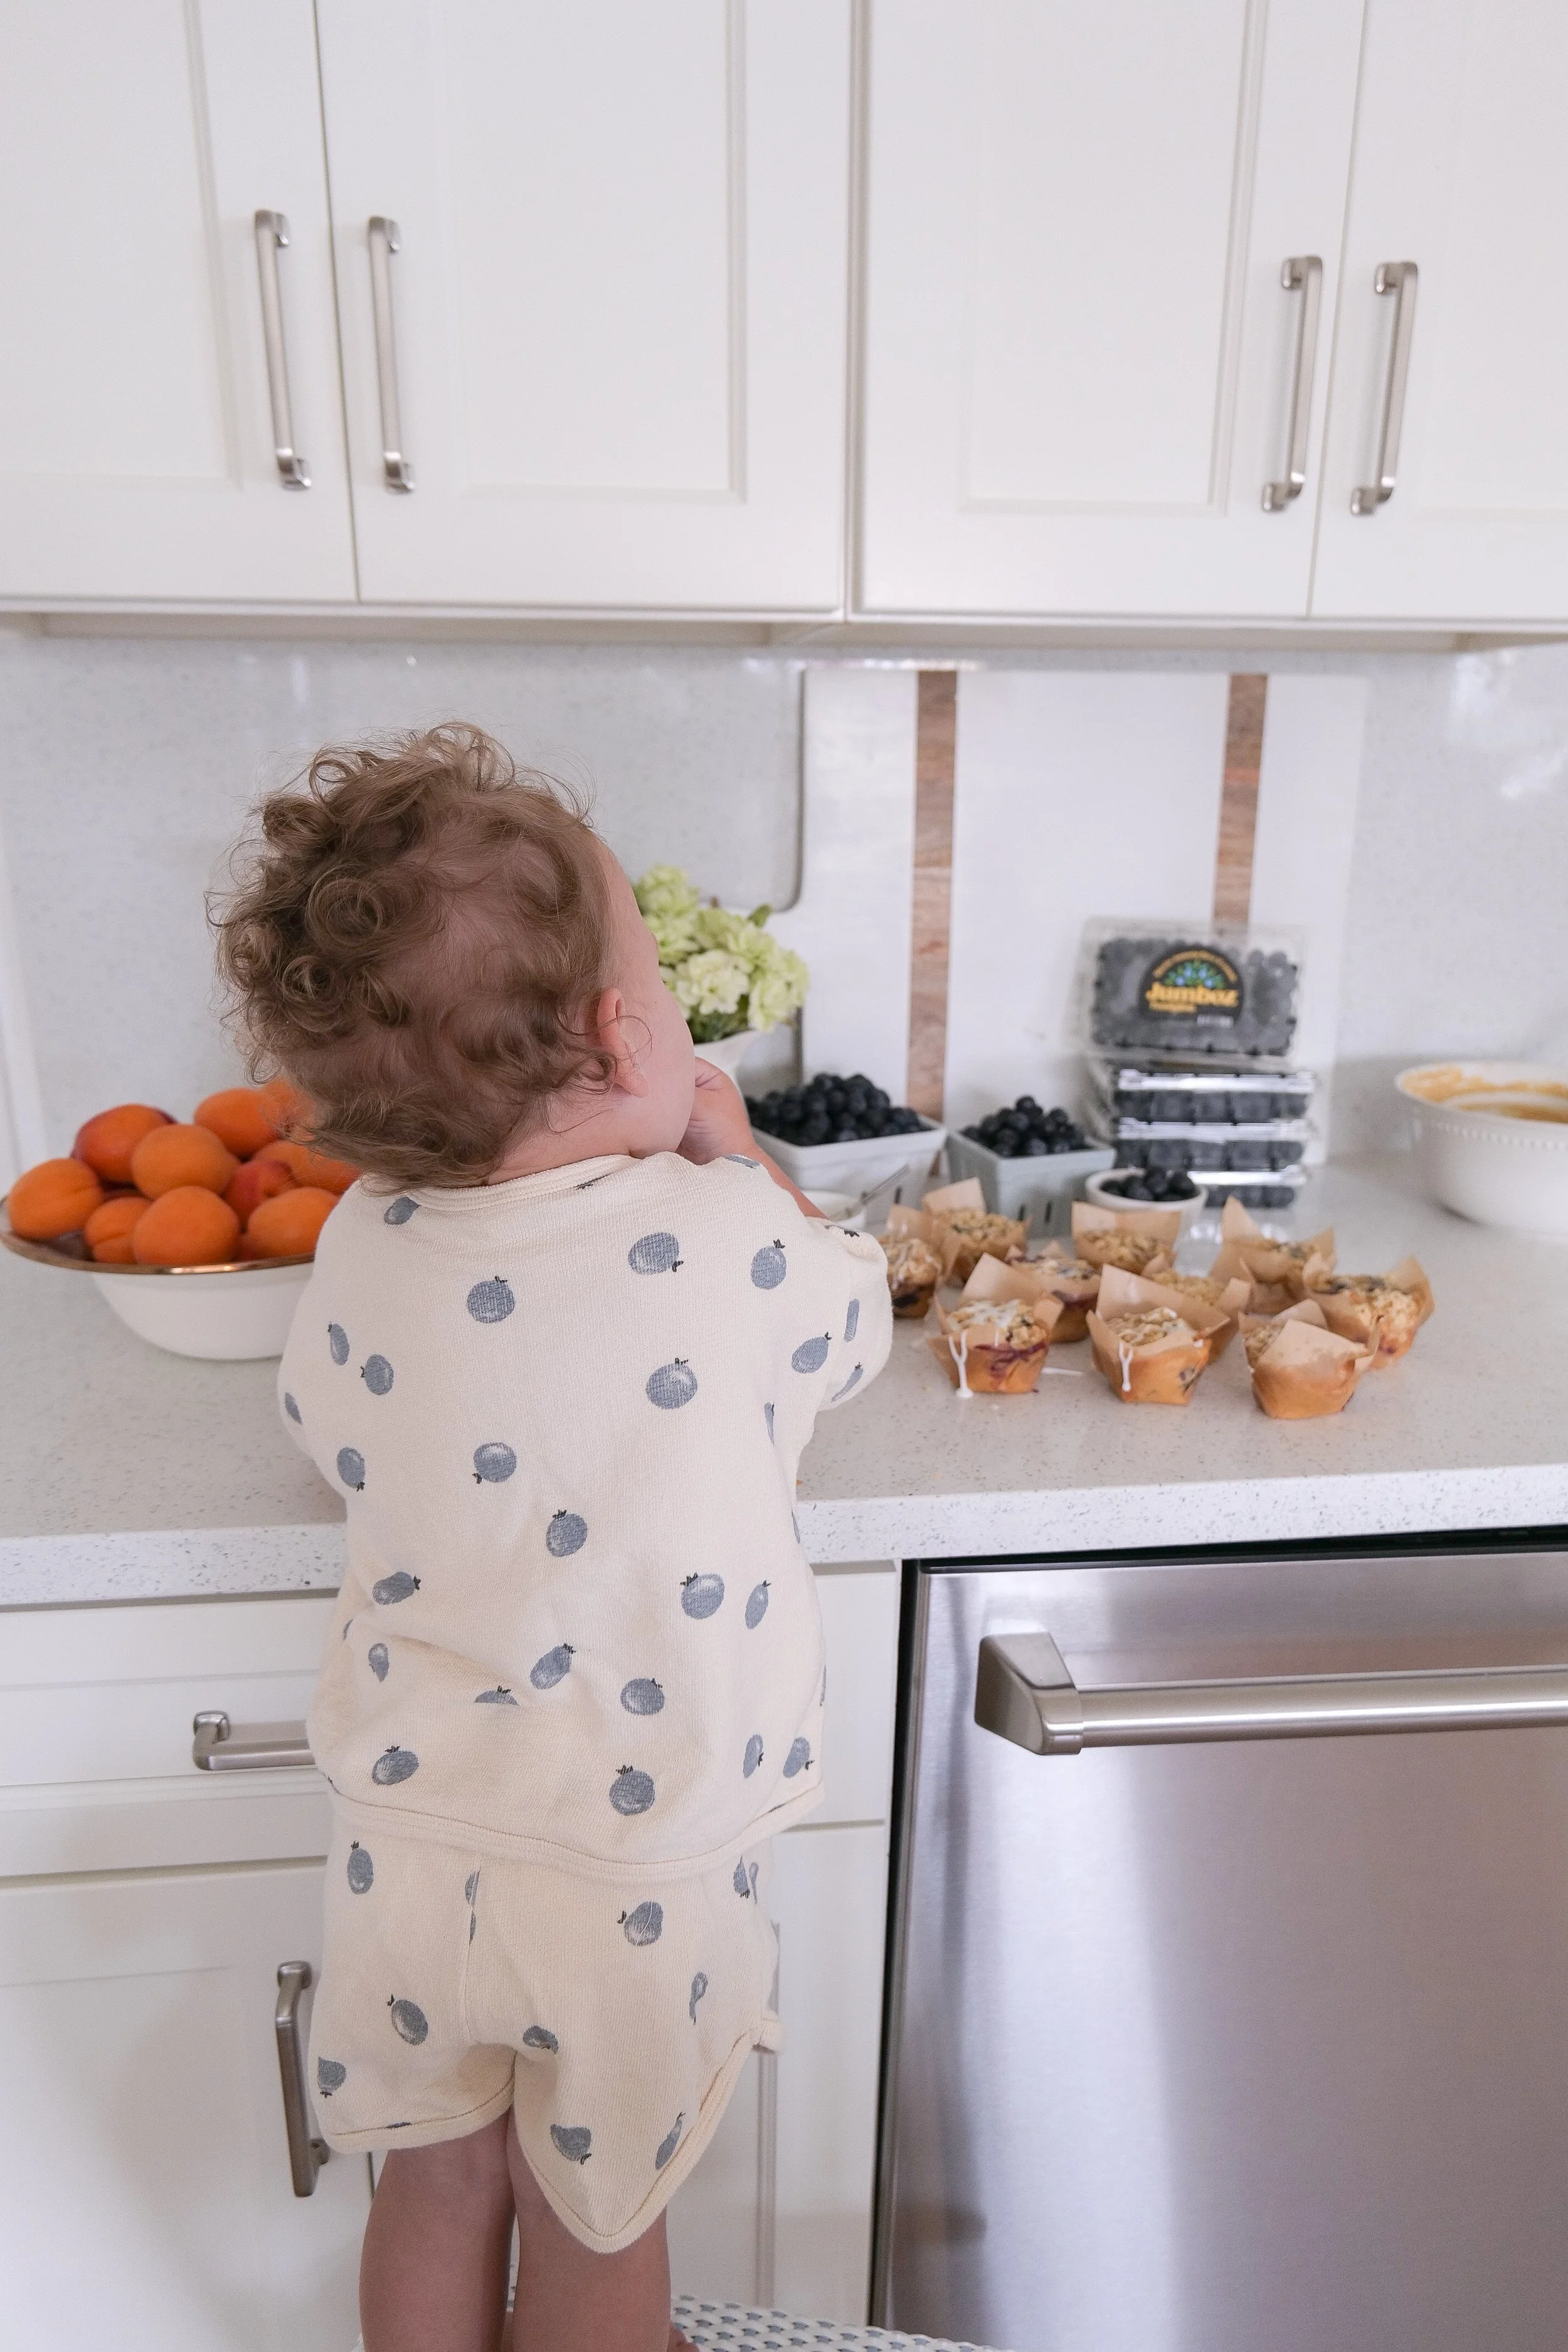
Kitchen Cabinet Hardware
Cabinet hardware might be one of the easiest ways to completely refresh an existing kitchen without replacing cabinetry.
Bathroom Cabinet Hardware
Matching cabinet hardware creates continuity from room to room.
Shop My Kitchen Favorites
Why Timeless Finishes Always Win
One thing I've learned through four renovations is that trends come and go much faster than quality craftsmanship.
I've never chosen hardware because it was the newest trend.
Instead, I've always looked for finishes that feel collected, classic, and appropriate for the architecture of the home.
Whether your style leans traditional, coastal, or French country, timeless finishes have a way of quietly blending into the home instead of competing for attention.
Years later, they still feel just as beautiful.
Shop My Home Decor Favorites
The Best Home Upgrades Aren't Always the Biggest
After renovating four homes, here's the biggest lesson I've learned.
Don't underestimate the little details.
It's easy to spend a renovation budget on dramatic projects.
But the things you'll appreciate every single day are often much smaller.
Door hardware.
Lighting.
Window treatments.
Cabinet hardware.
Quality paint.
Those quiet details are what give a home warmth, character, and a sense of permanence.
Shop My Home
If you're planning a renovation or simply refreshing your home one room at a time, I've linked my favorite timeless pieces below.
These are products I've returned to again and again because they've proven themselves across multiple homes and different design styles.
ShopMy Shelves
Frequently Asked Questions
Is replacing door hardware worth it?
Absolutely. It's one of the highest-impact updates we've made in every renovation and instantly makes a home feel more custom and thoughtfully designed.
Can replacing hardware make a builder-grade home feel custom?
Yes. It's one of the simplest upgrades with one of the biggest visual transformations, especially when used consistently throughout the home.
Does the same style of hardware work in different design styles?
It can. We've used similar timeless hardware in traditional coastal homes and French country homes because classic design transcends trends.
Should I replace cabinet hardware at the same time?
If your budget allows, yes. Coordinating door and cabinet hardware creates a cohesive look throughout your home.
More From Amanda's Home
If you enjoy timeless home design and thoughtful renovations, you may also like: