Blueberry Pie Overnight Oats
/The Best Blueberry Pie Overnight Oats for an Easy Make-Ahead Breakfast
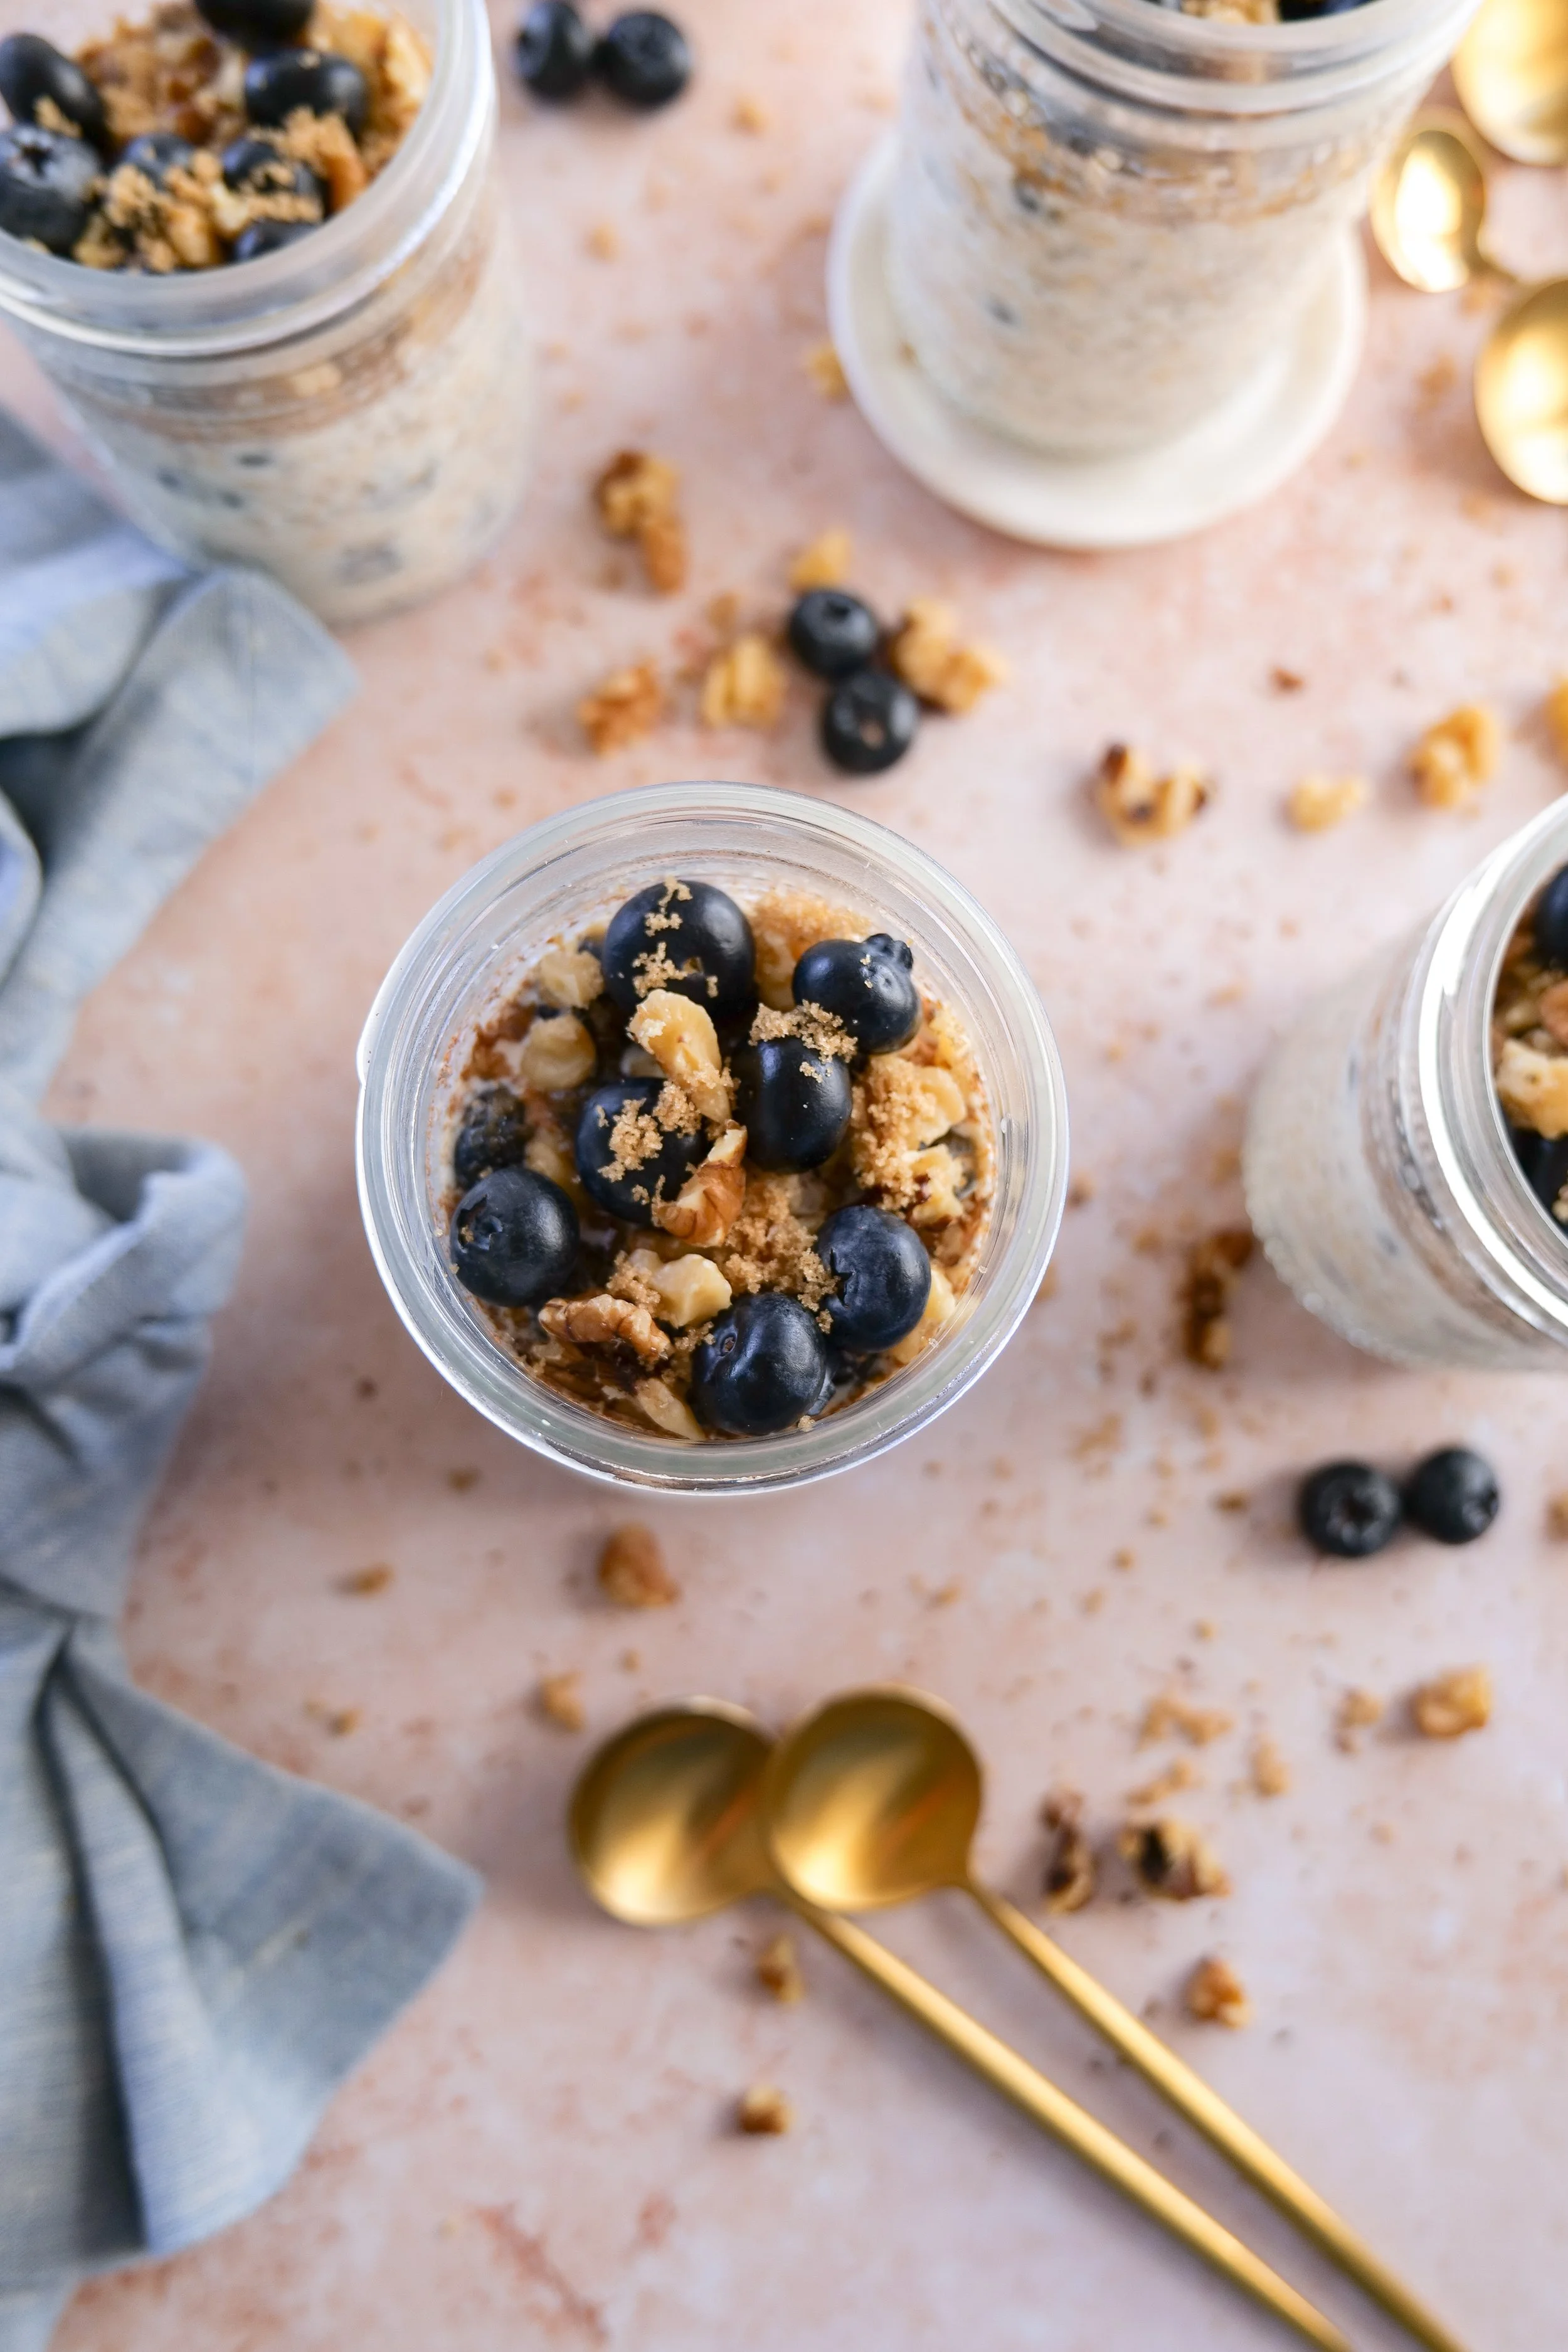
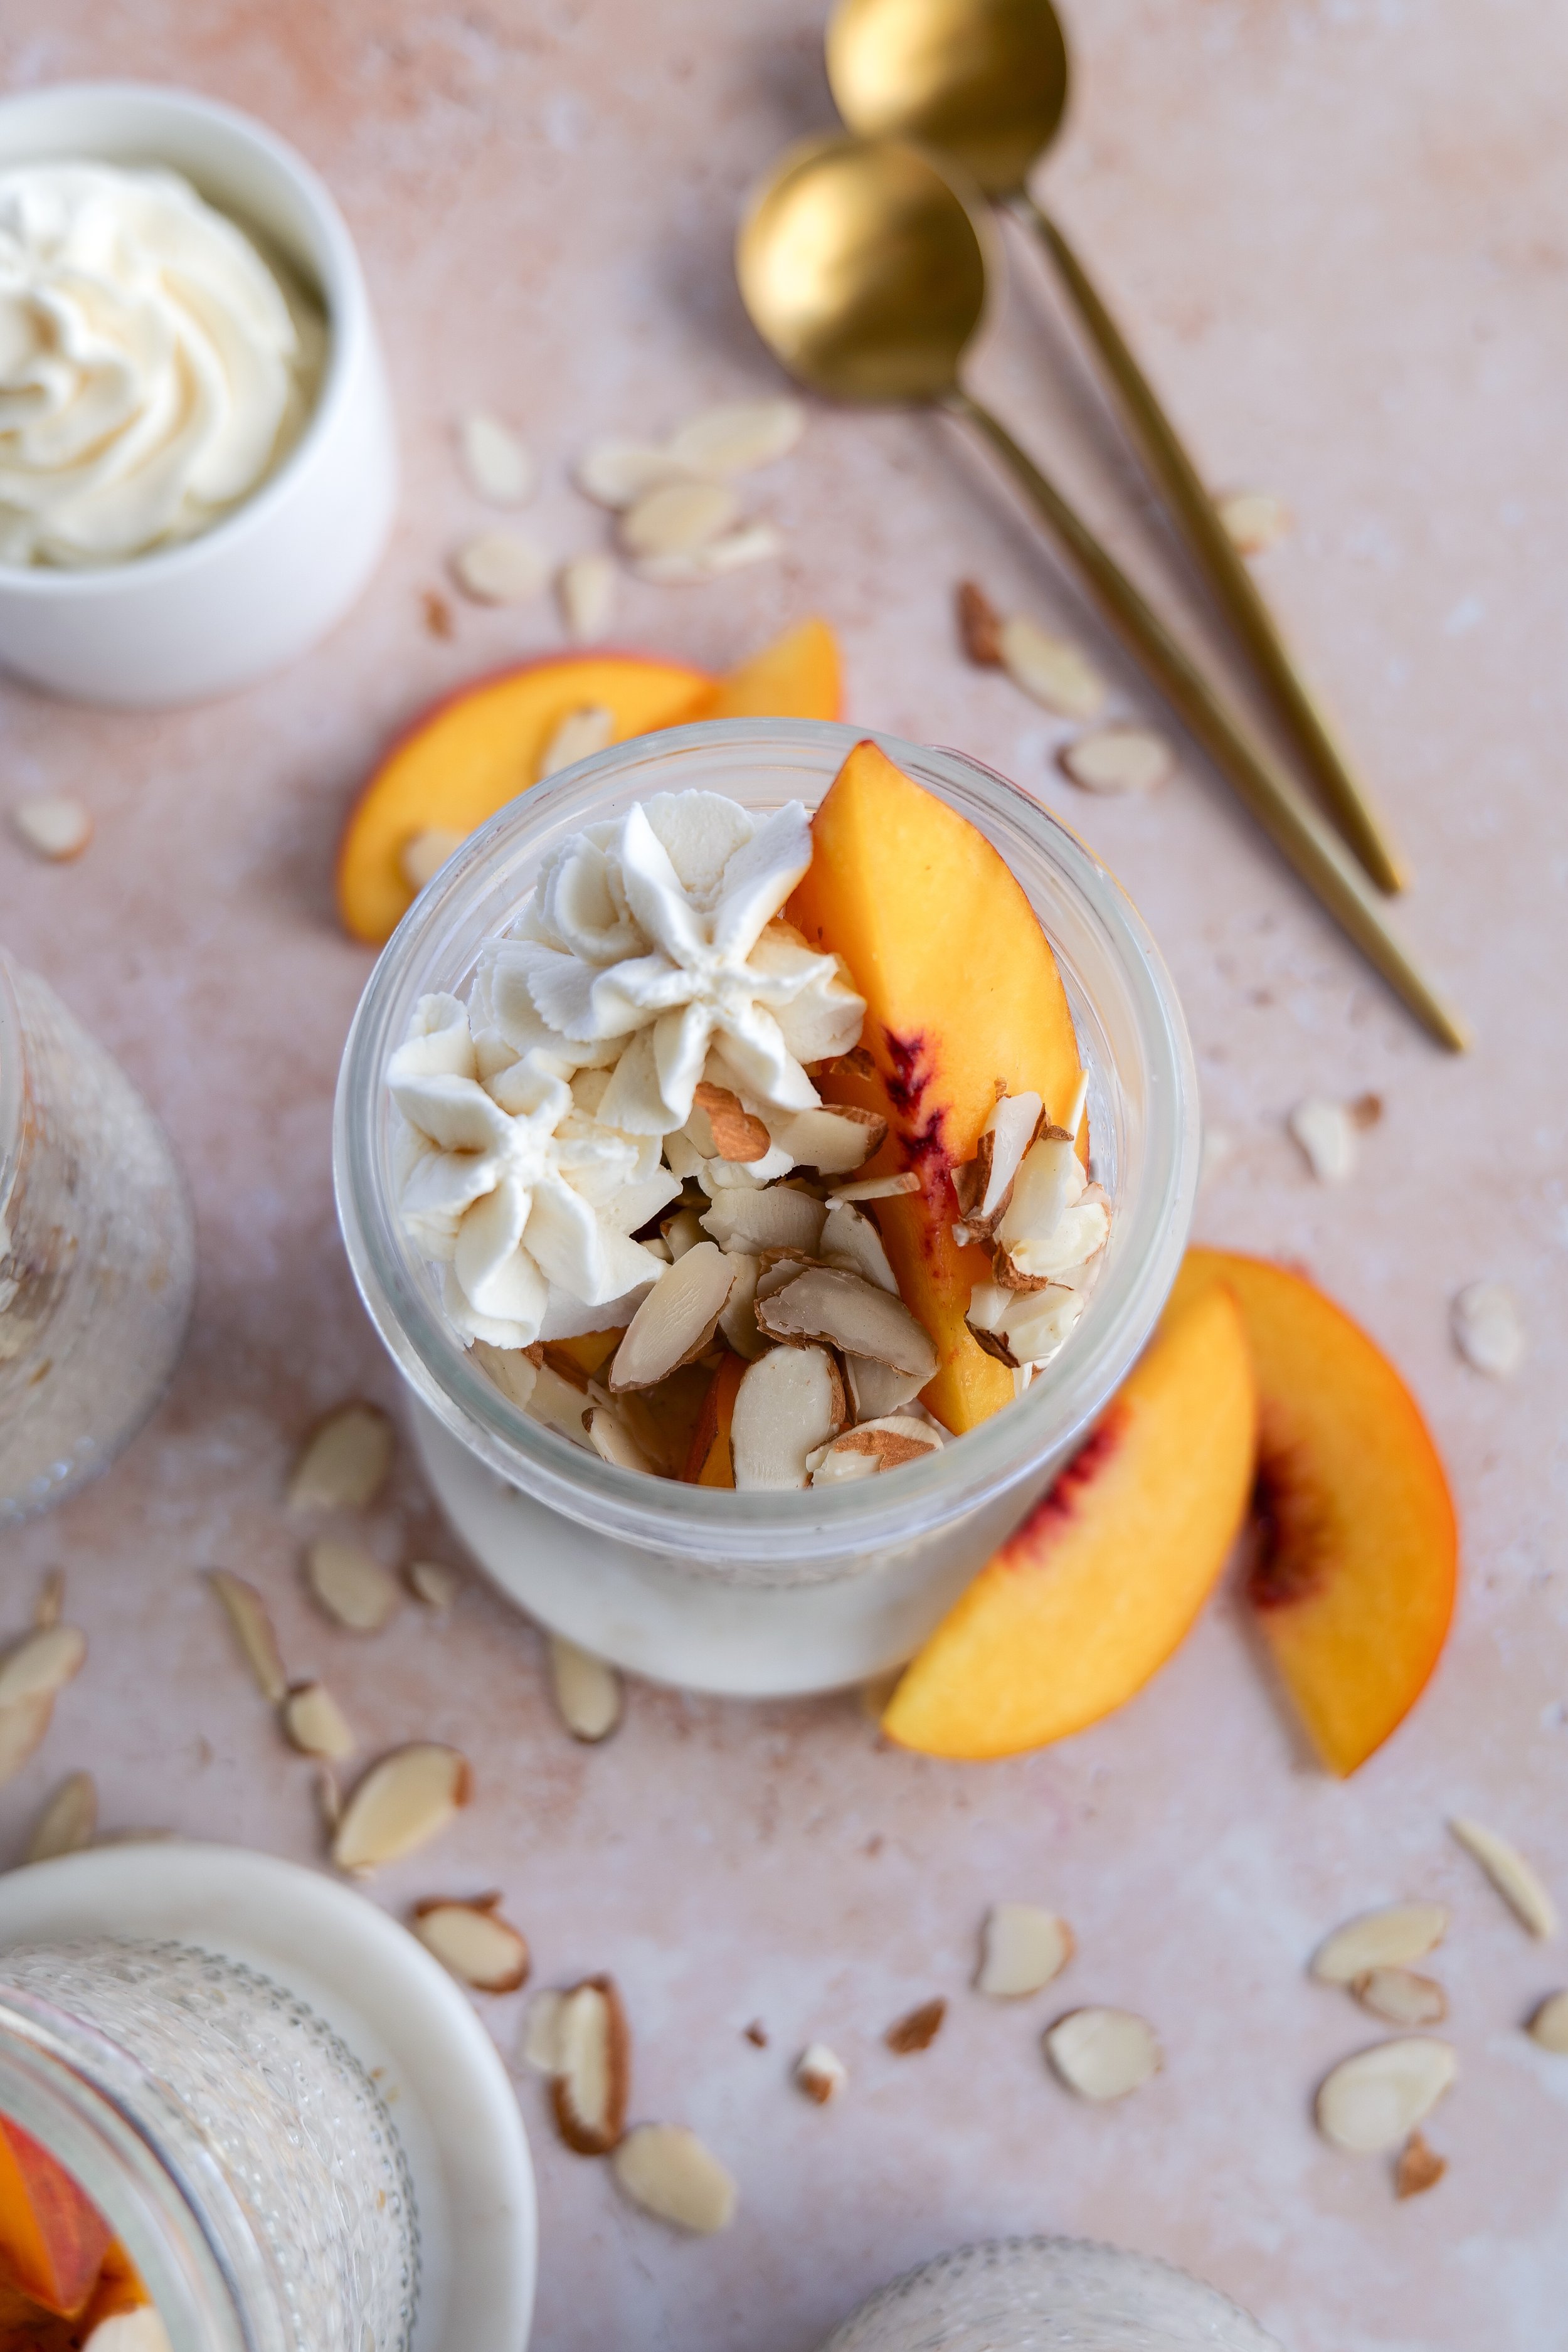
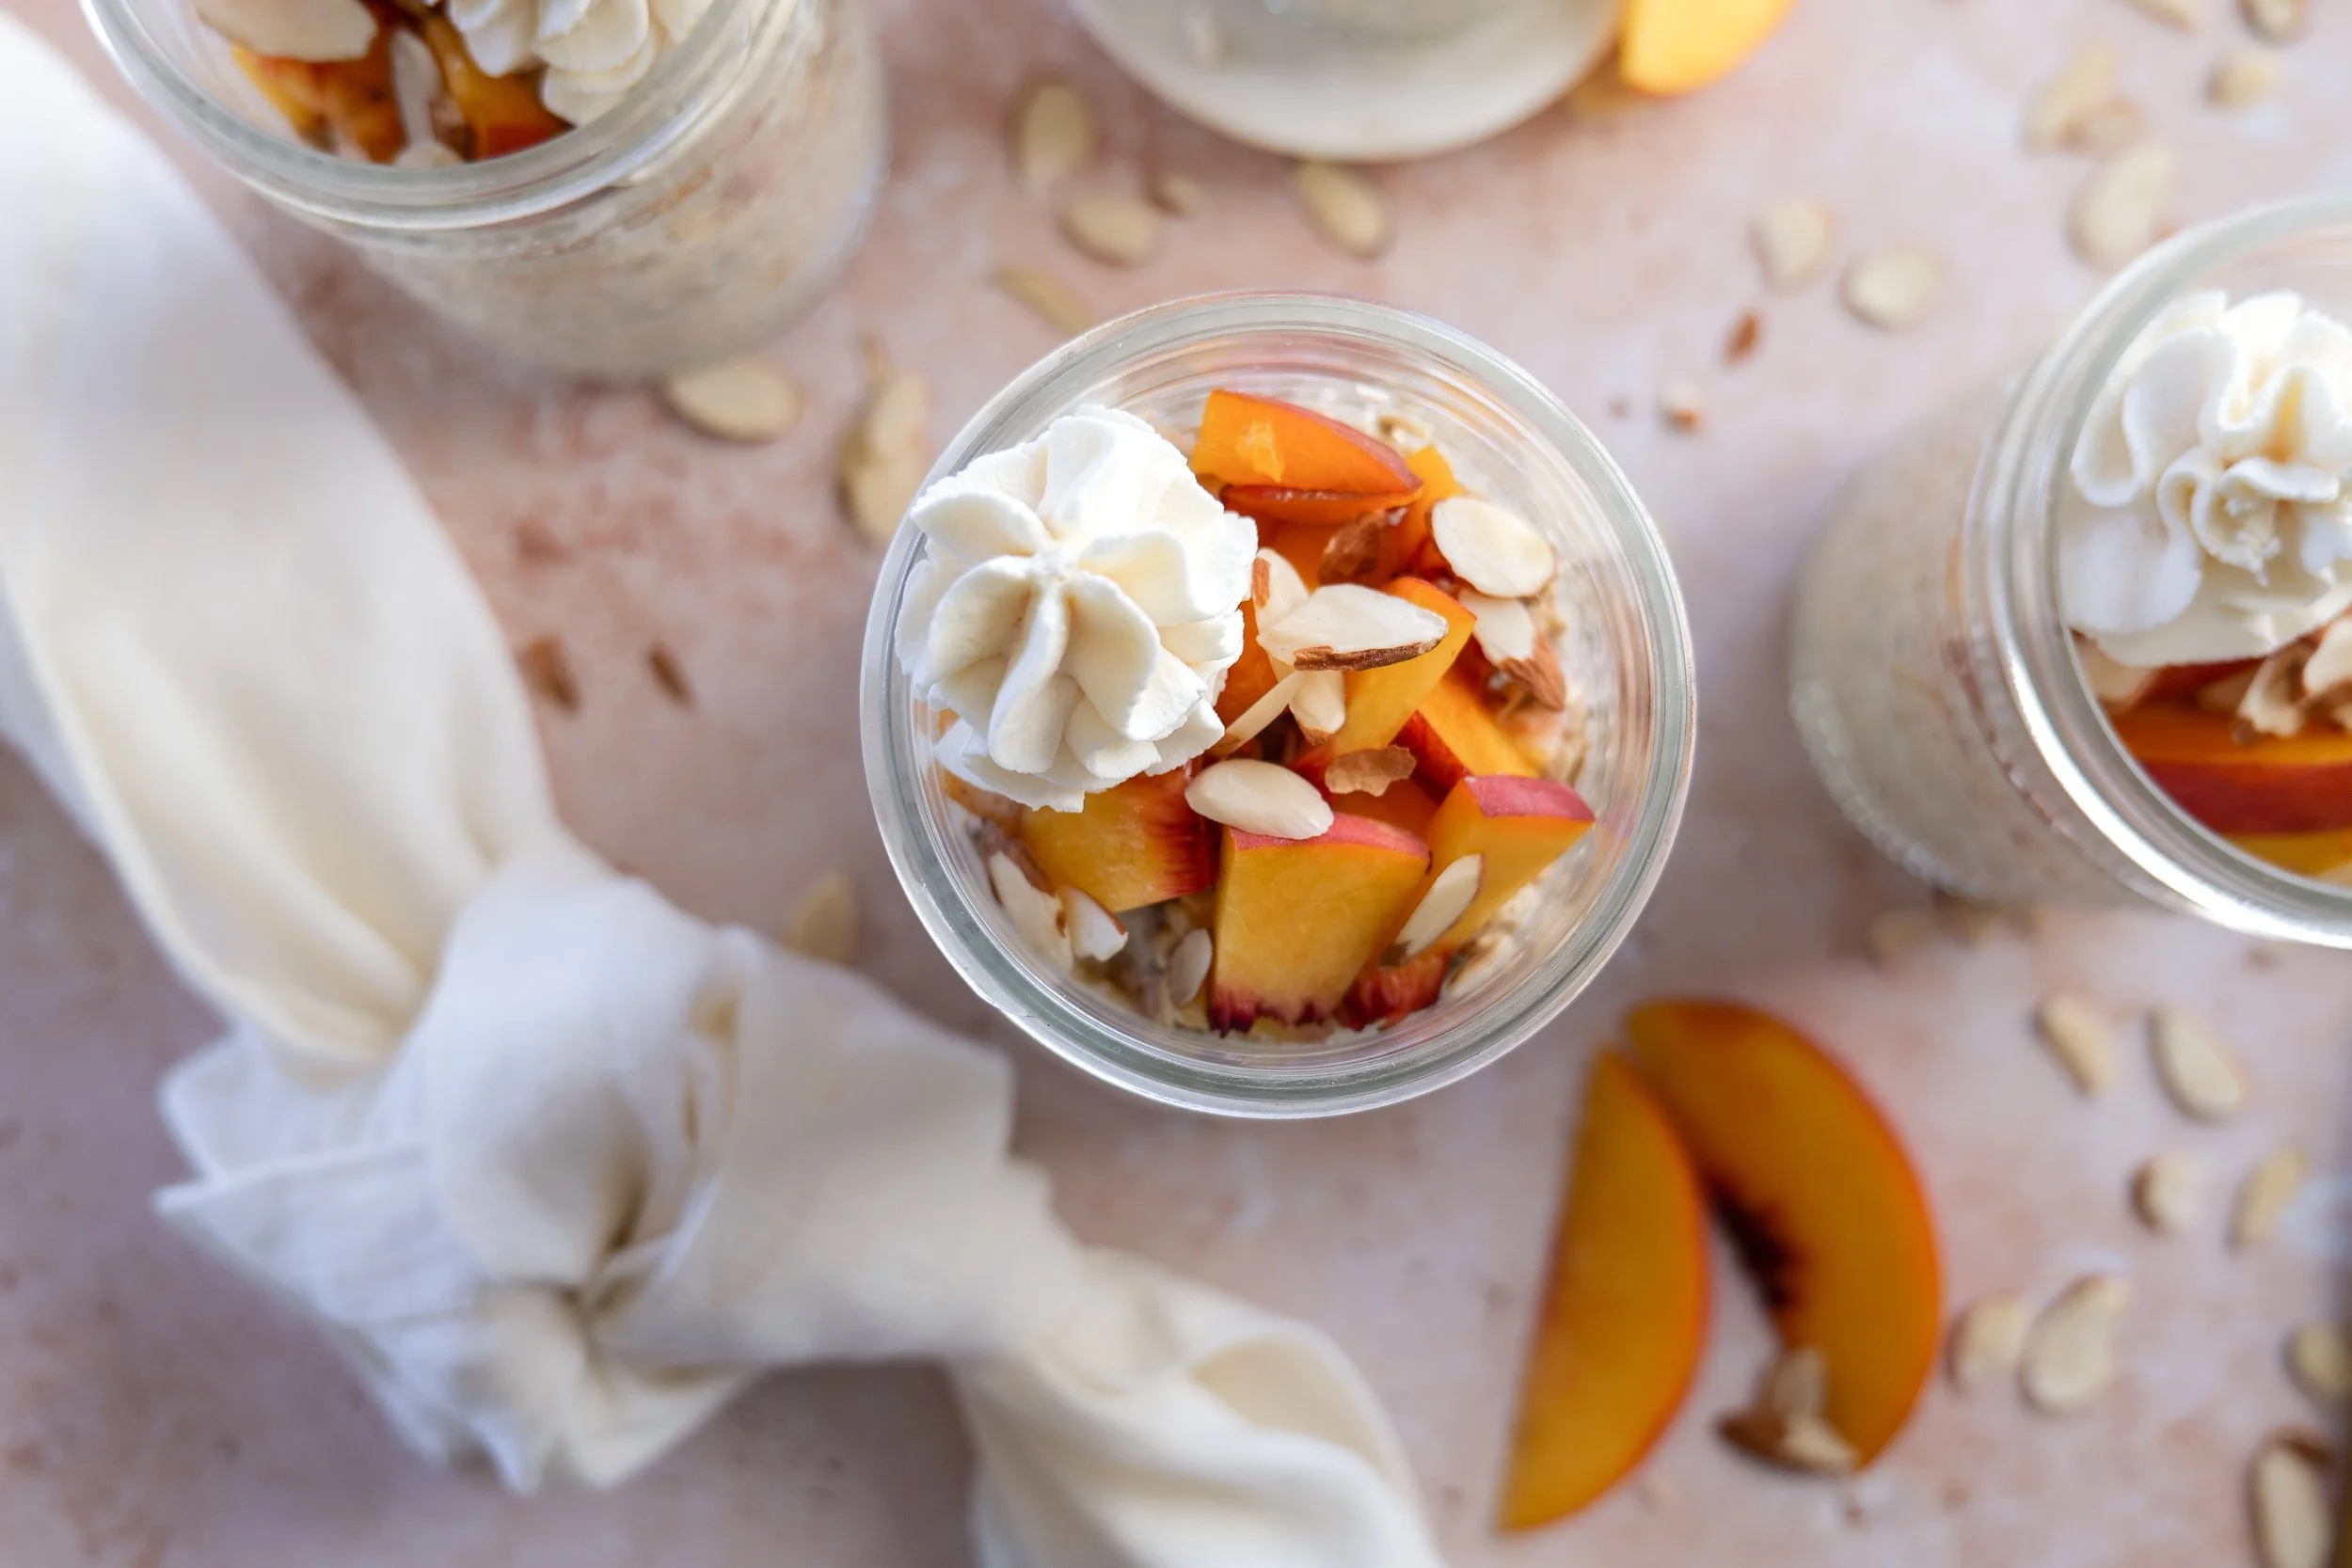
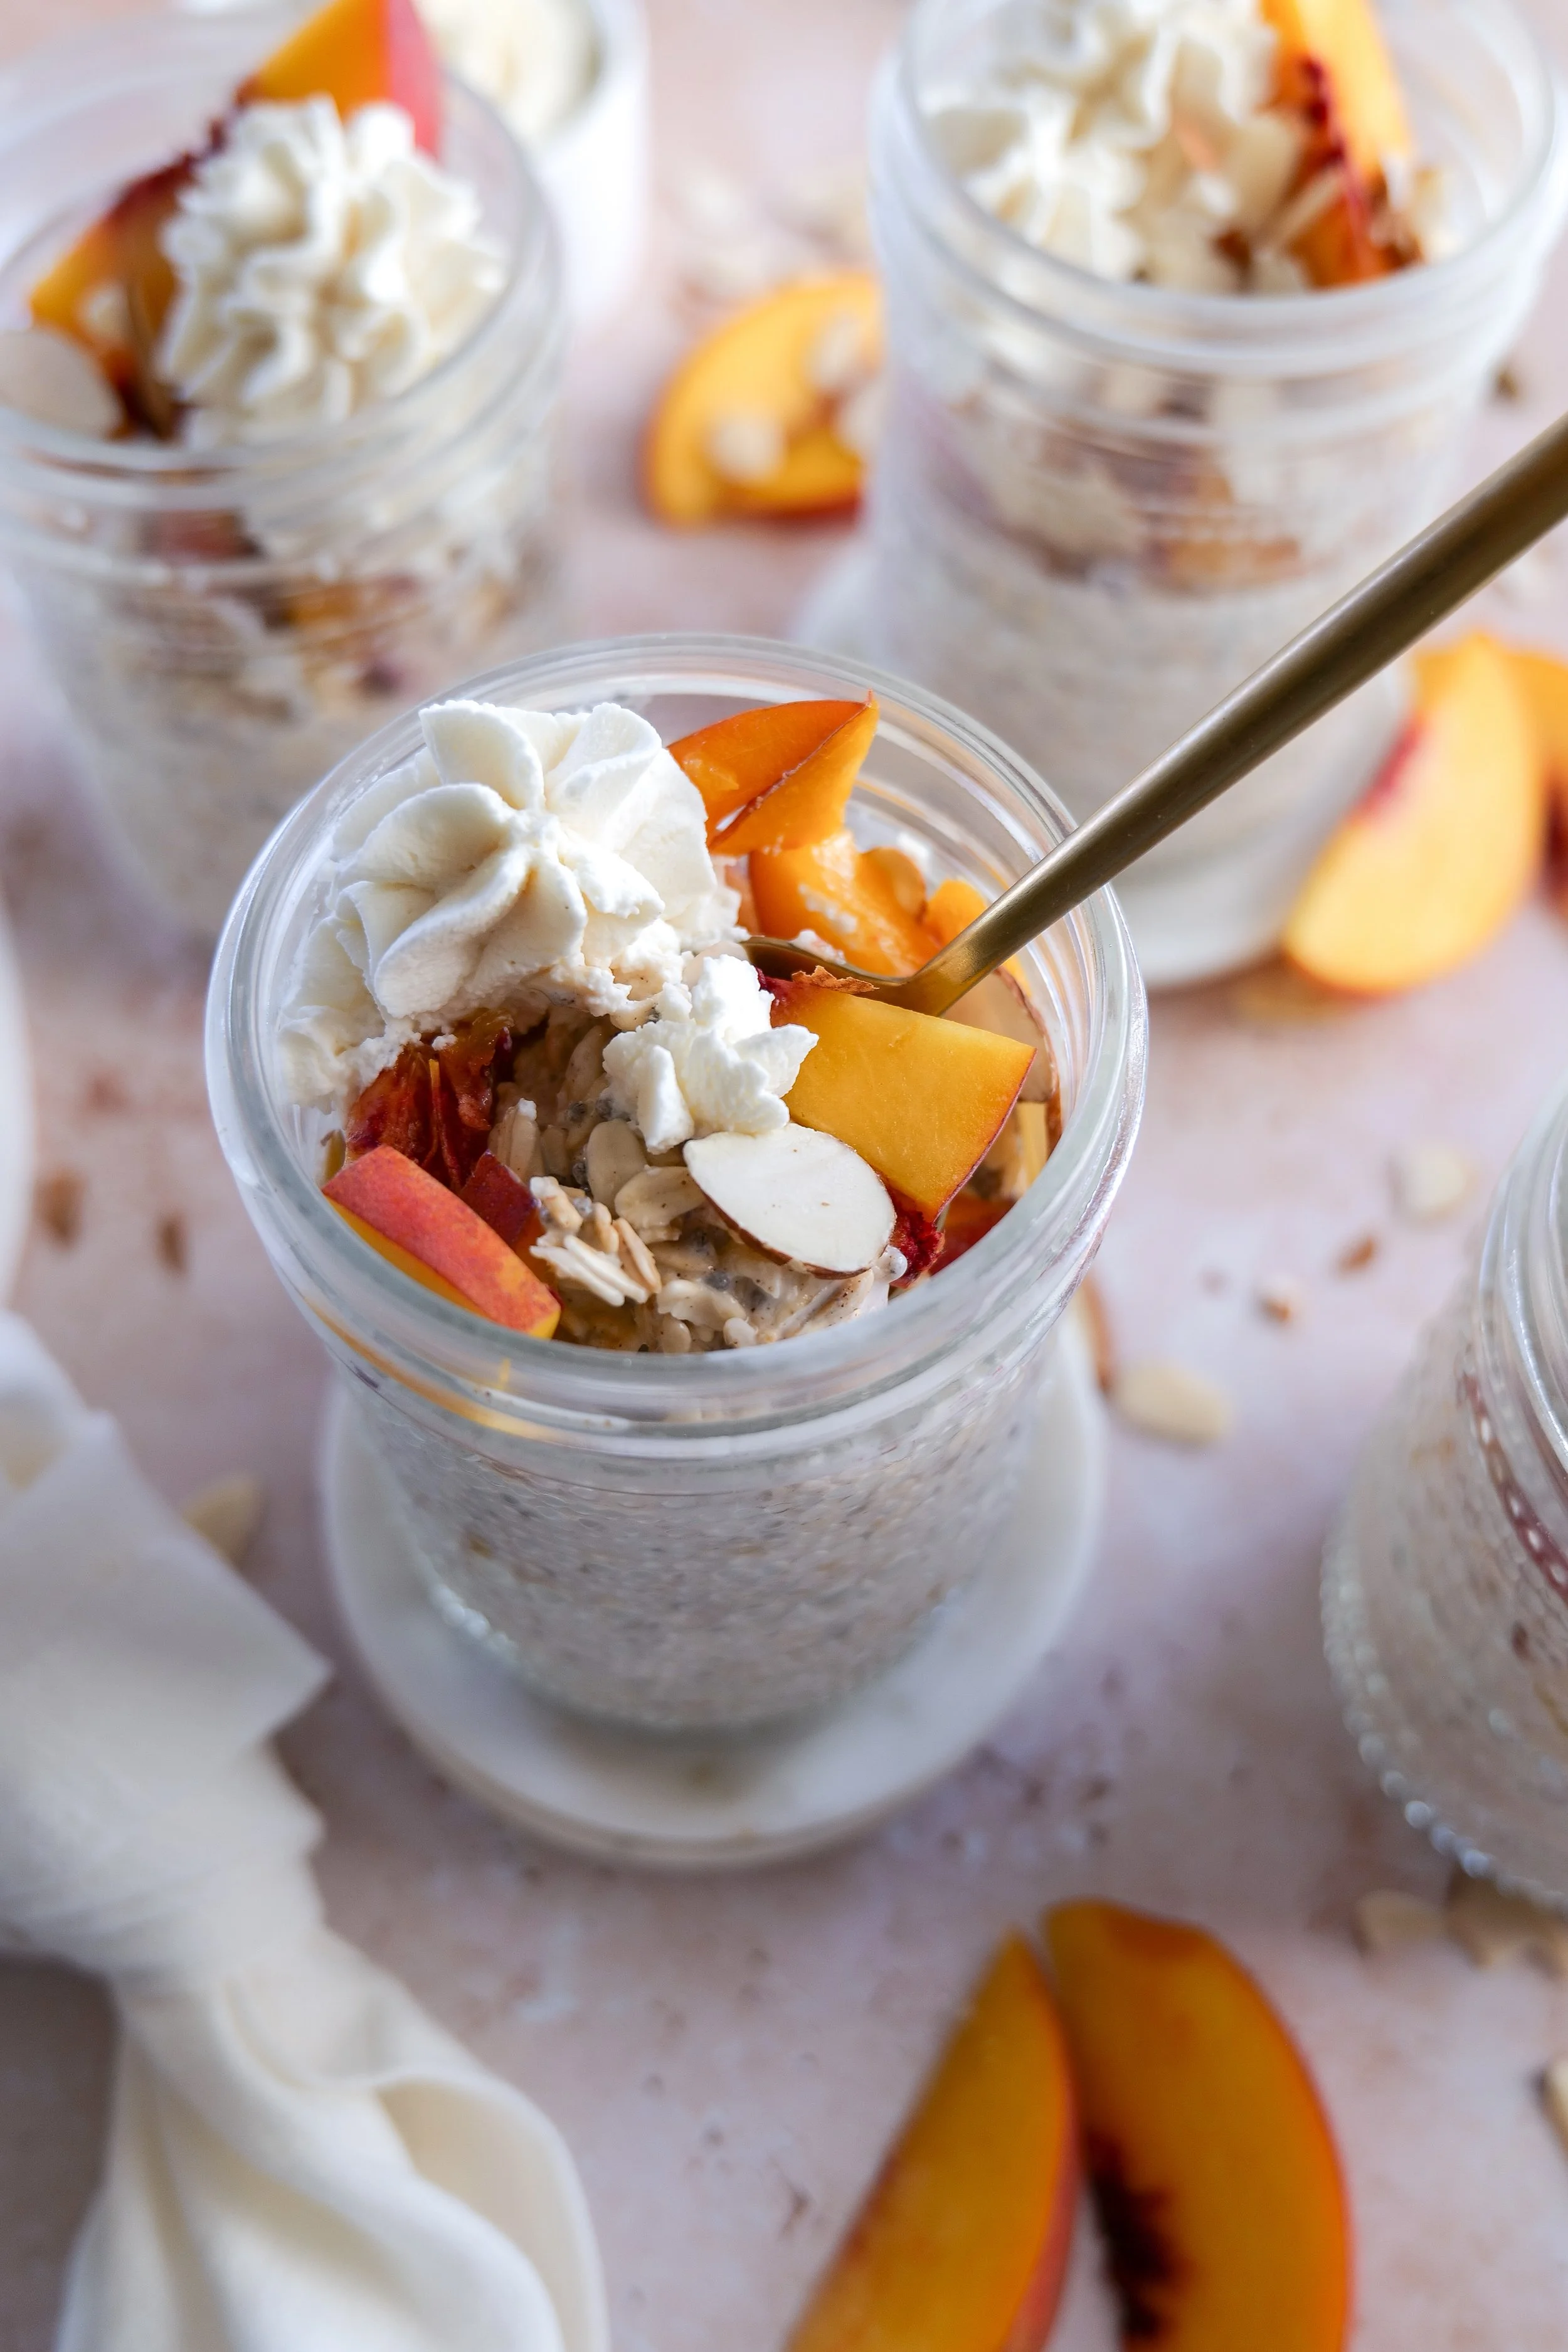
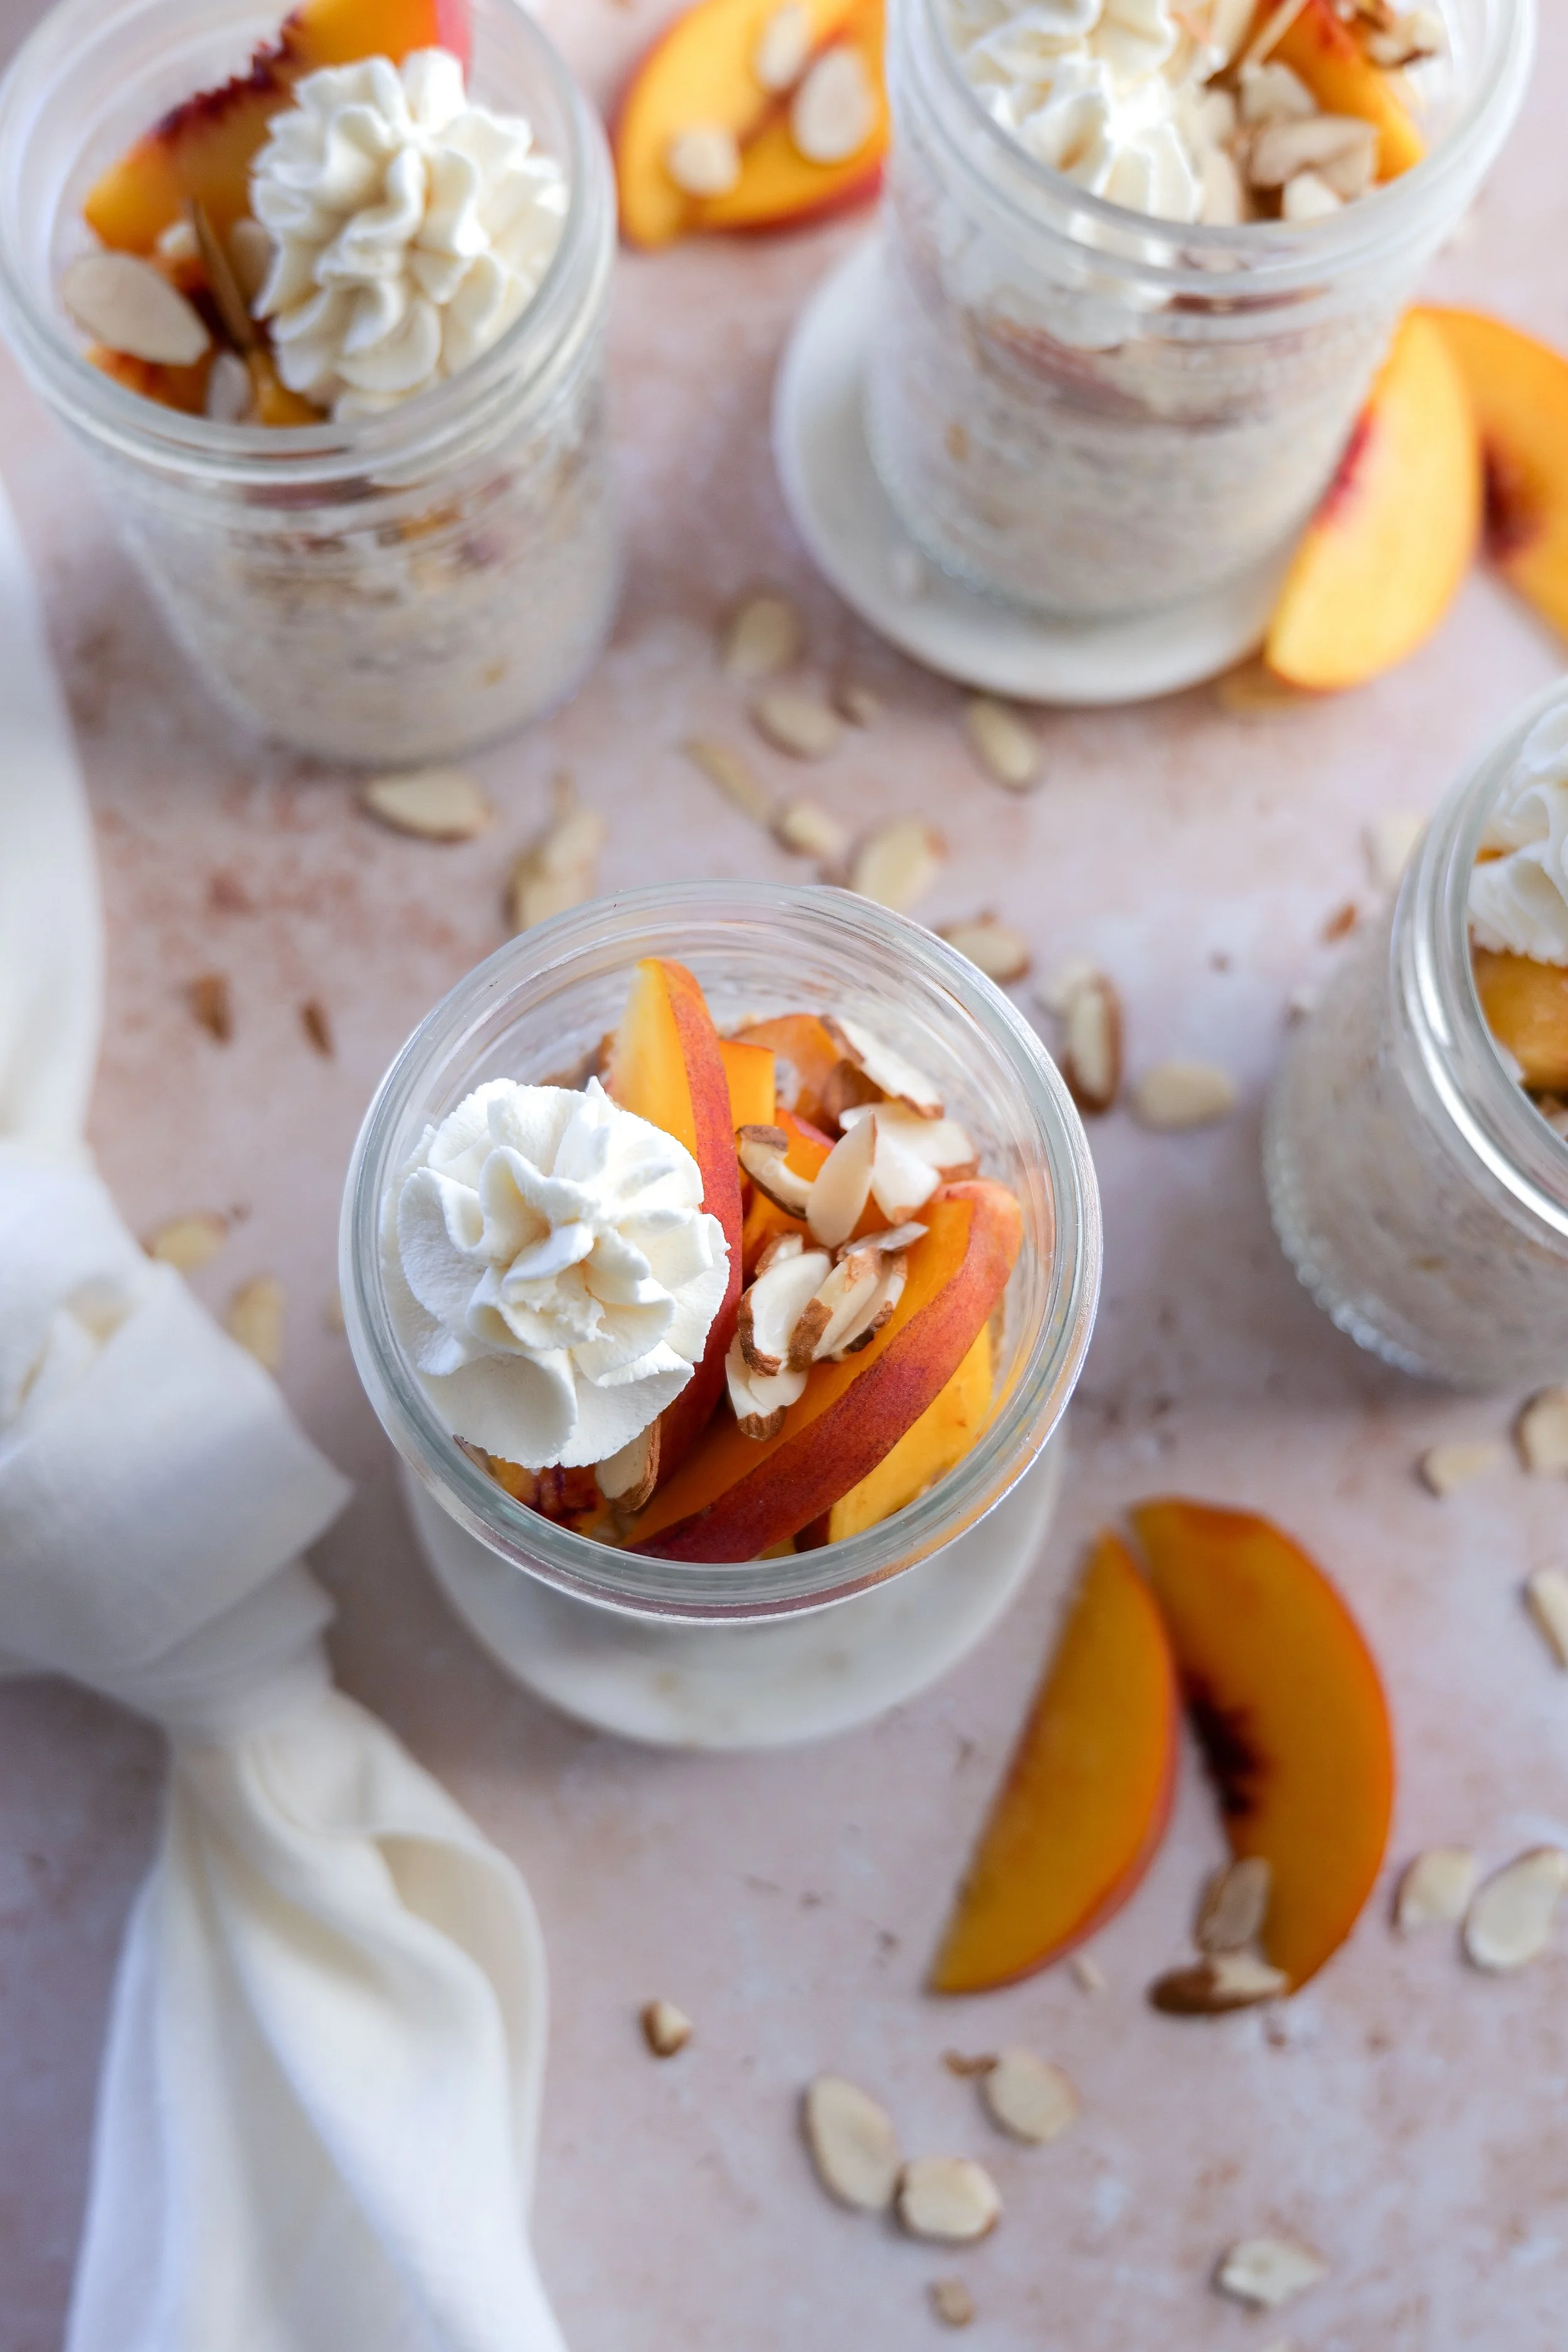
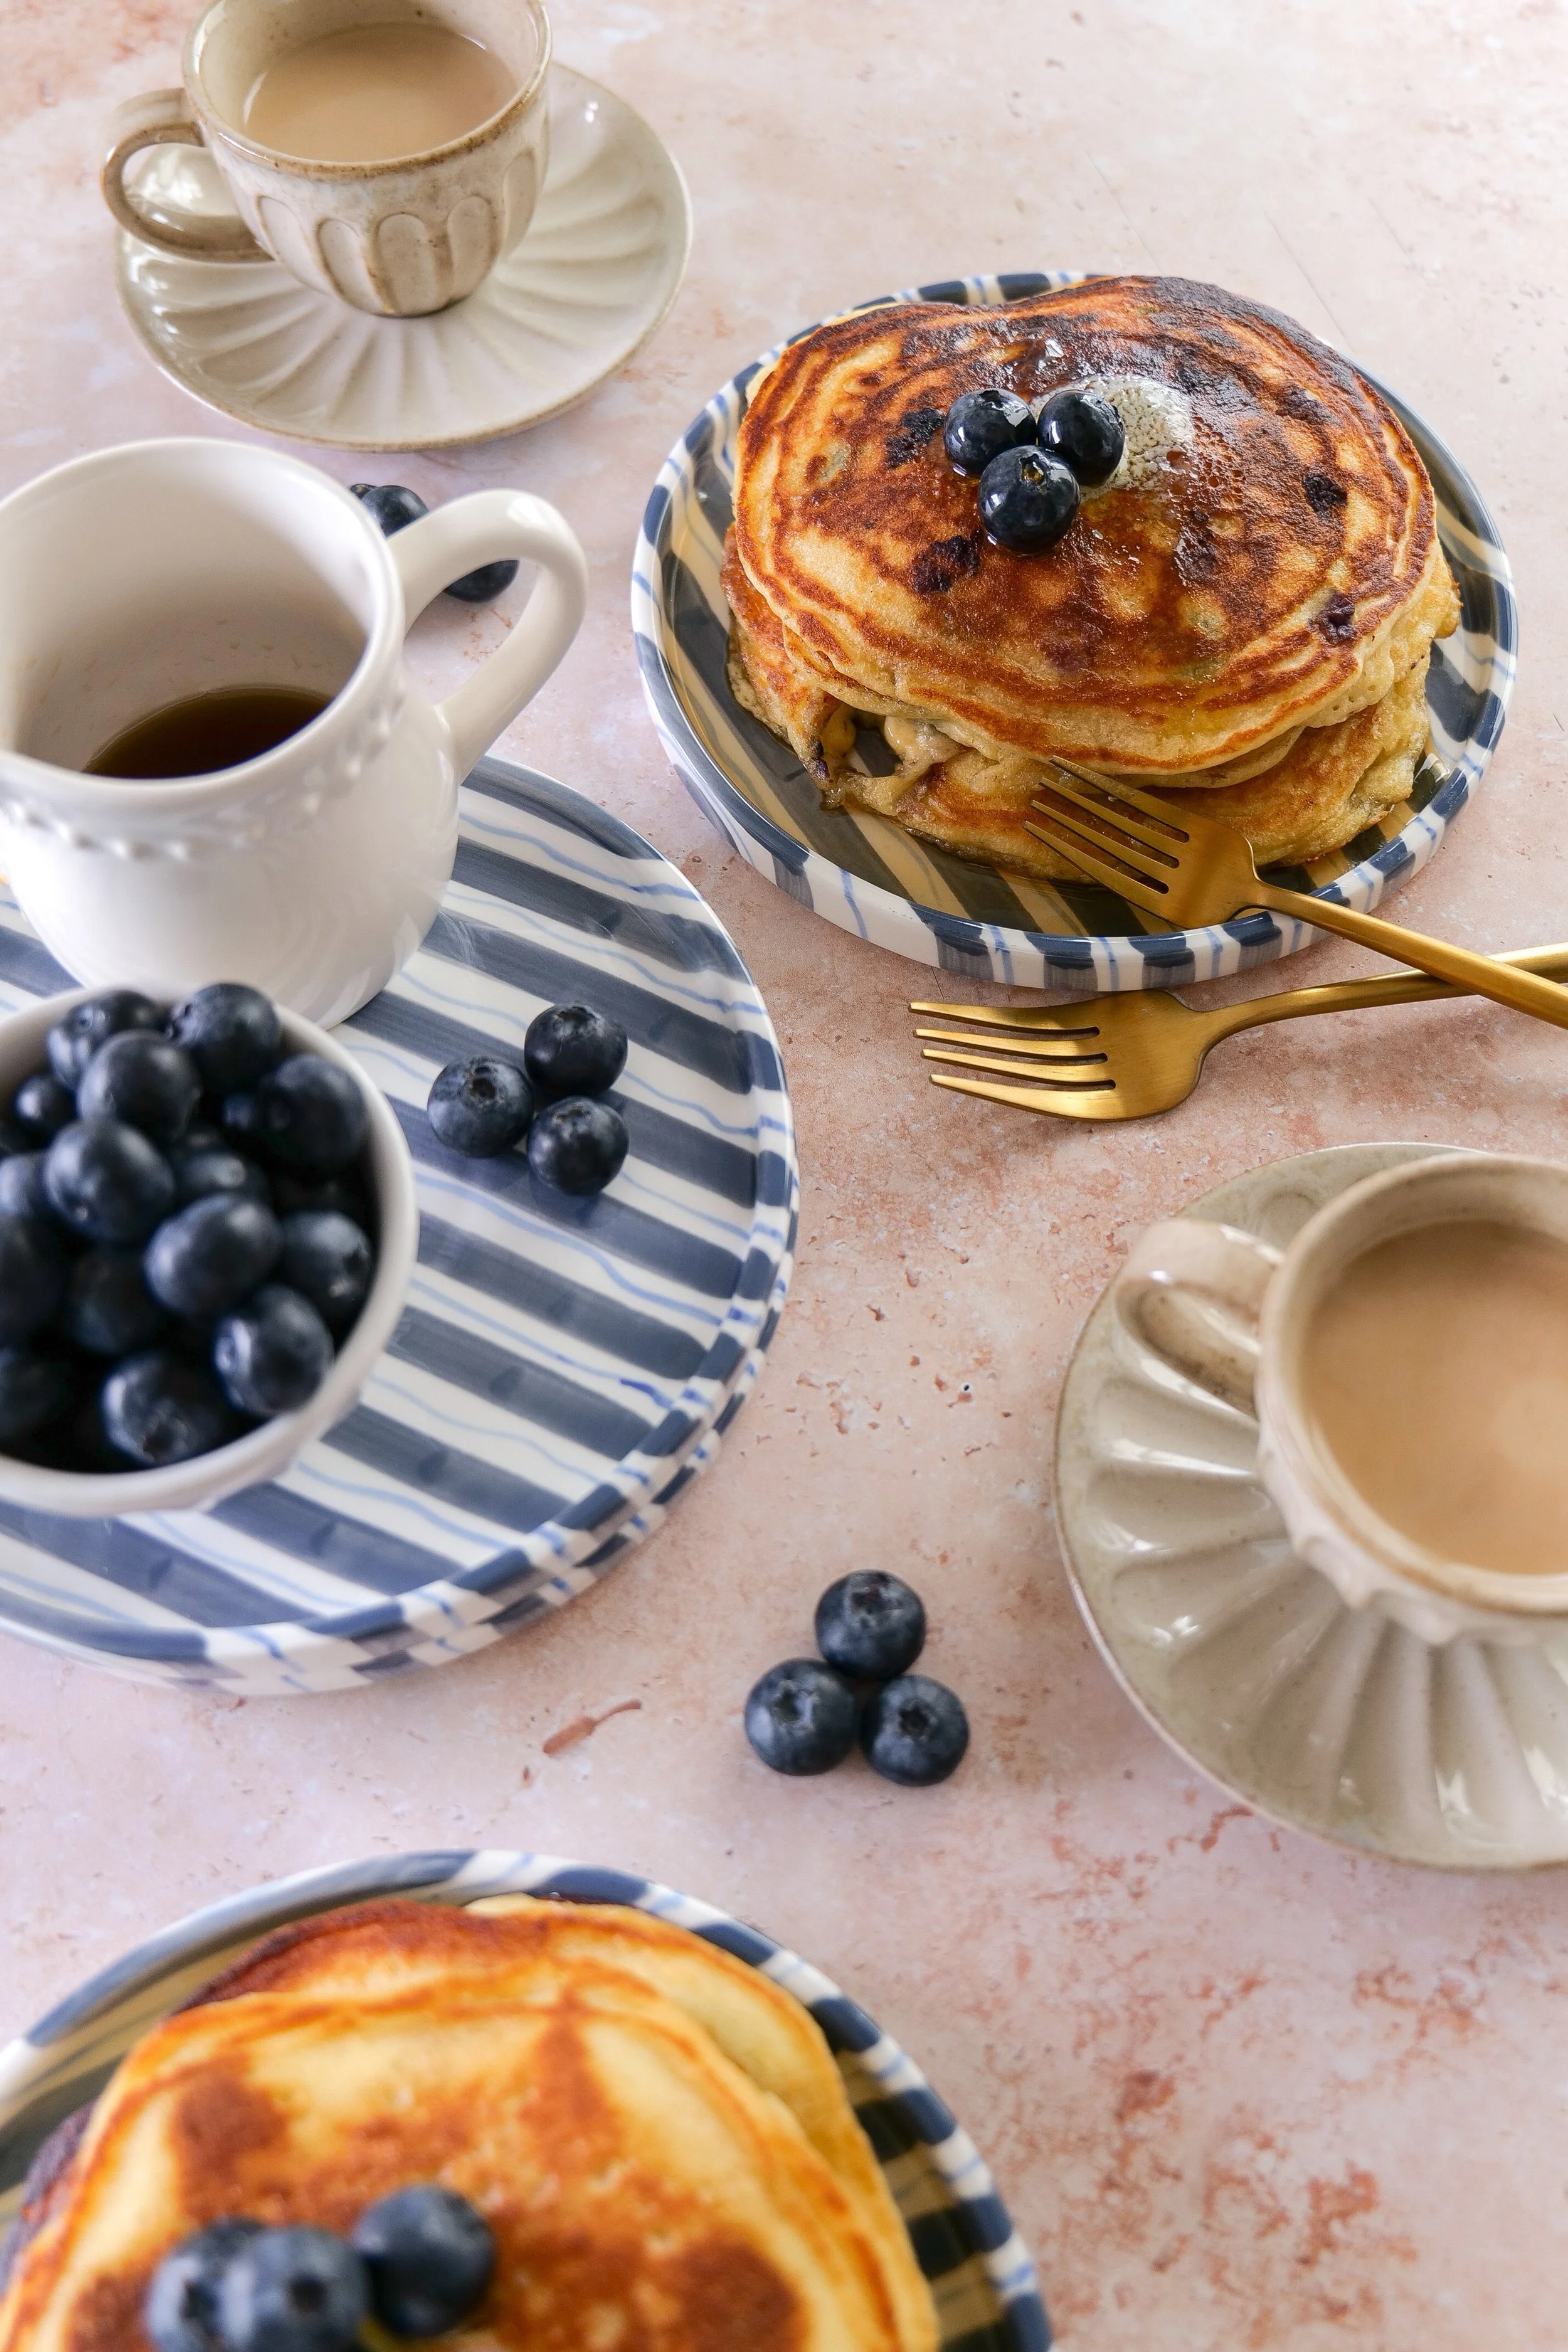
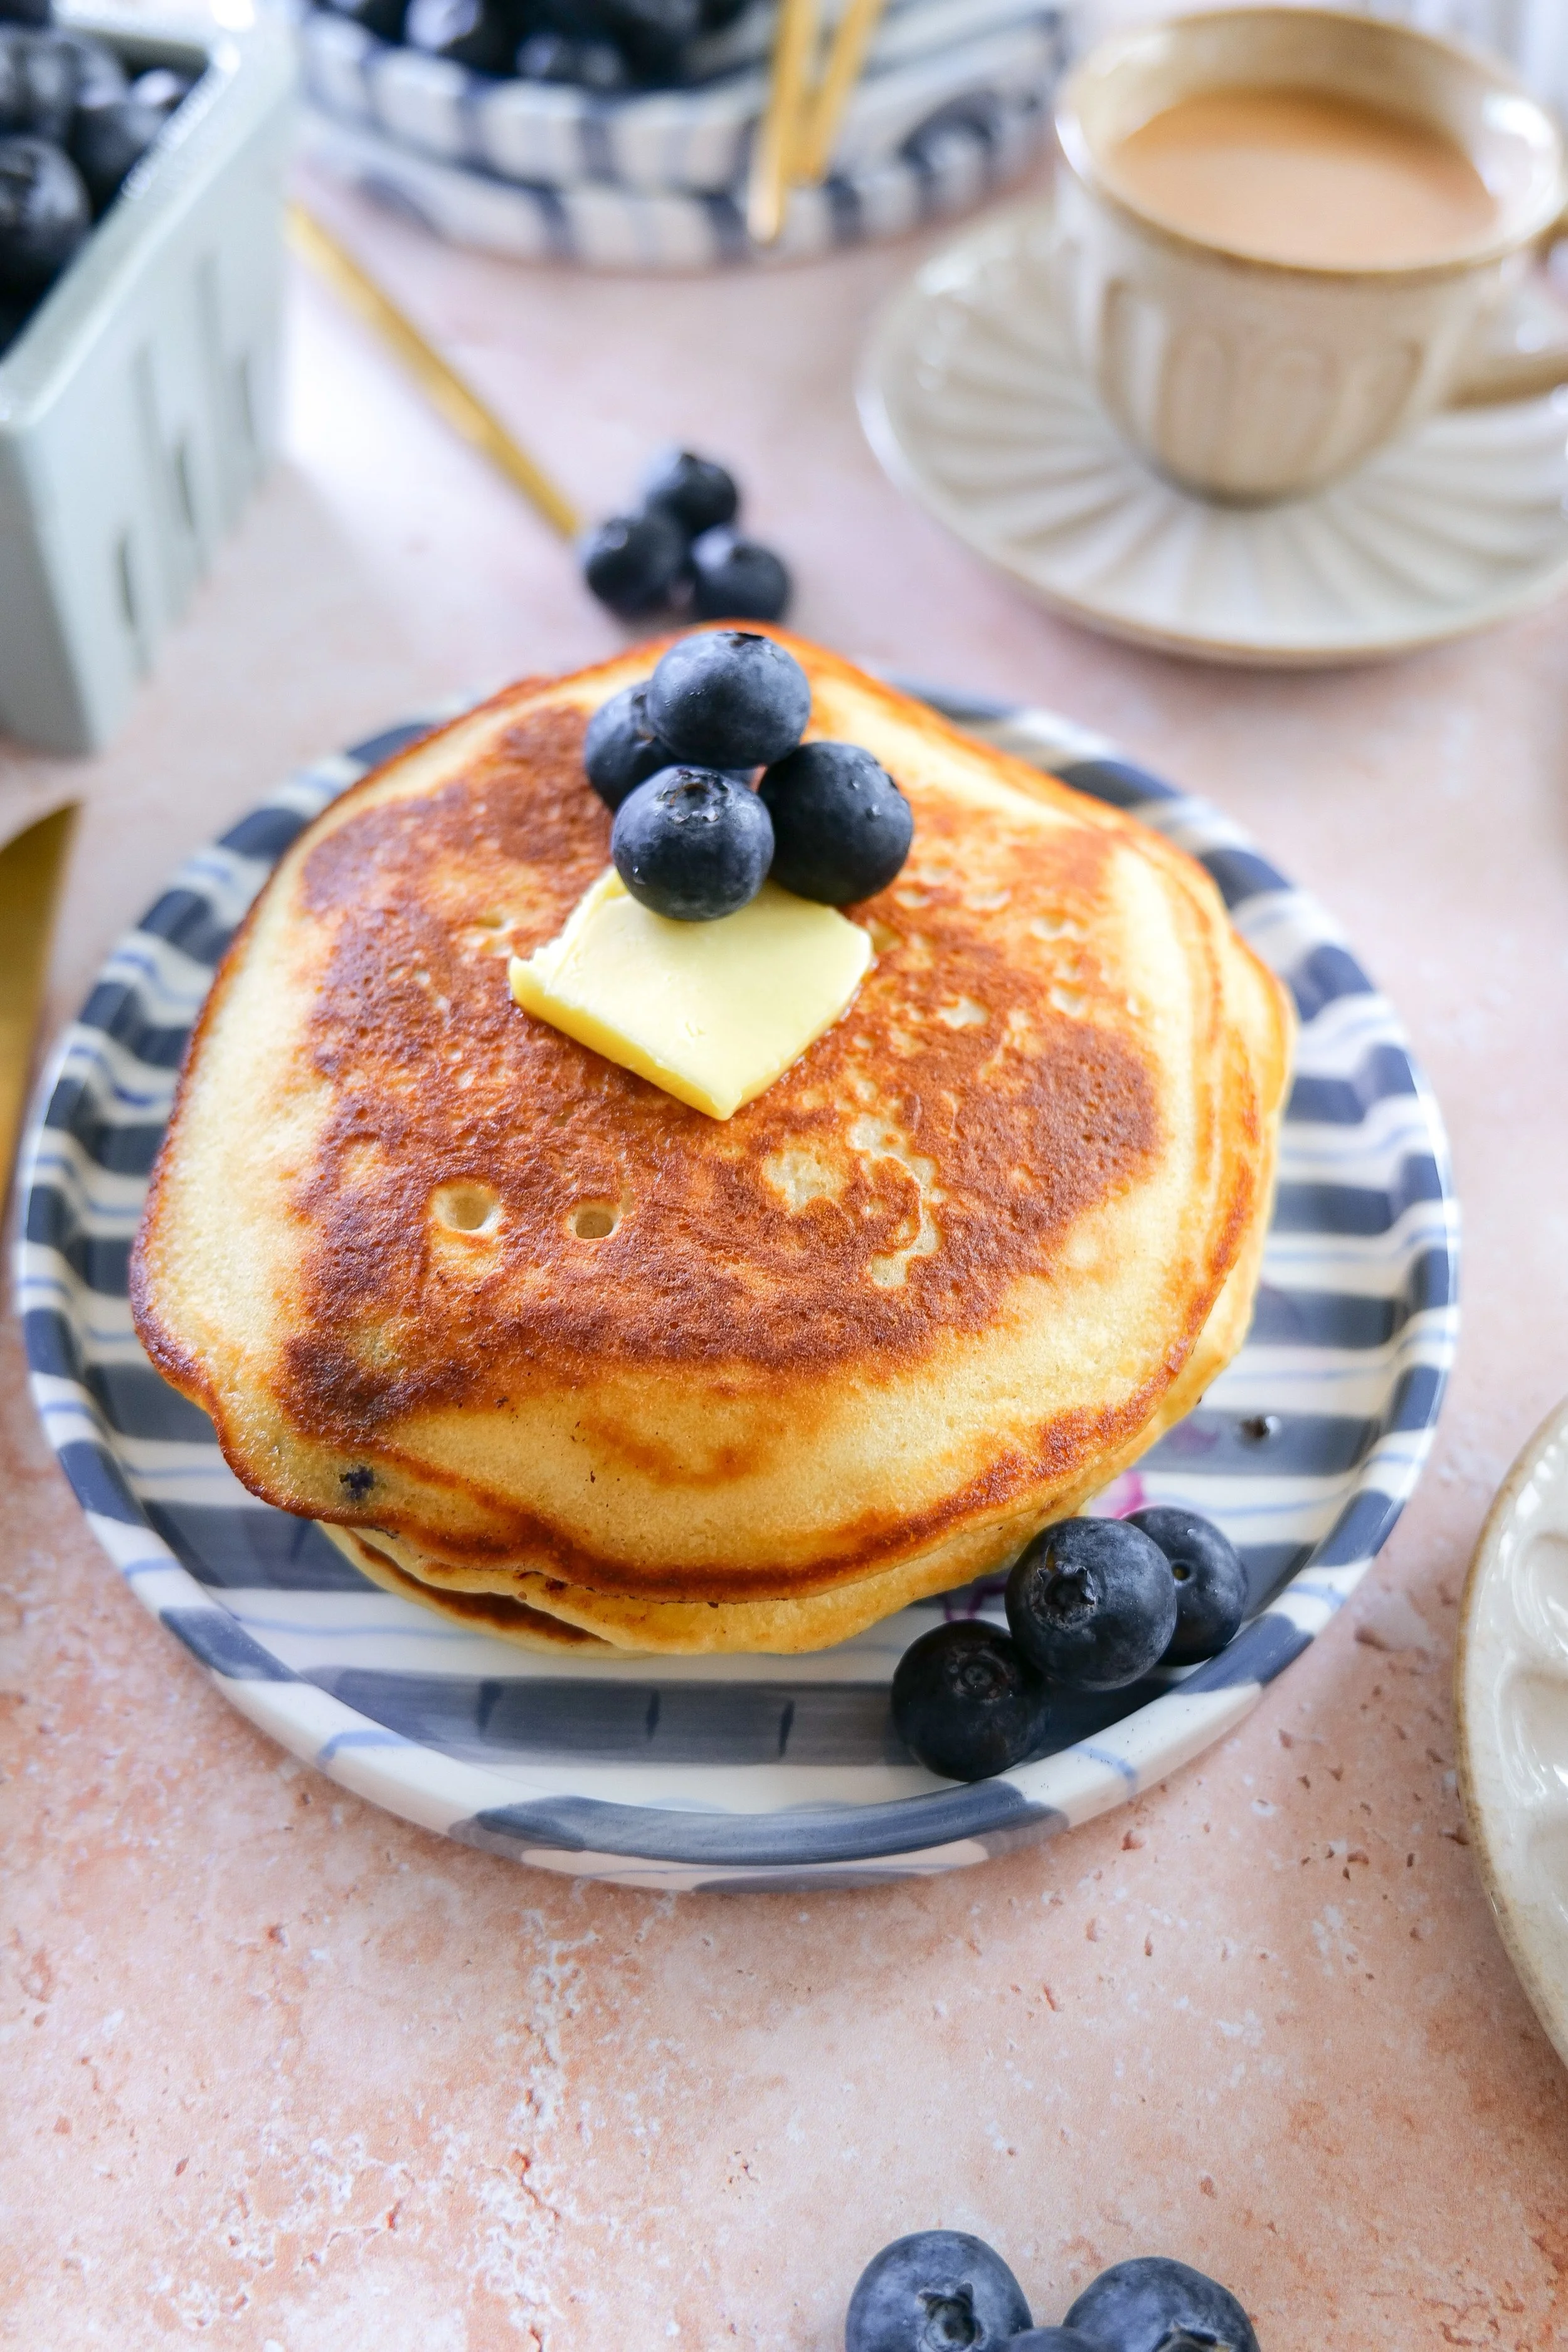
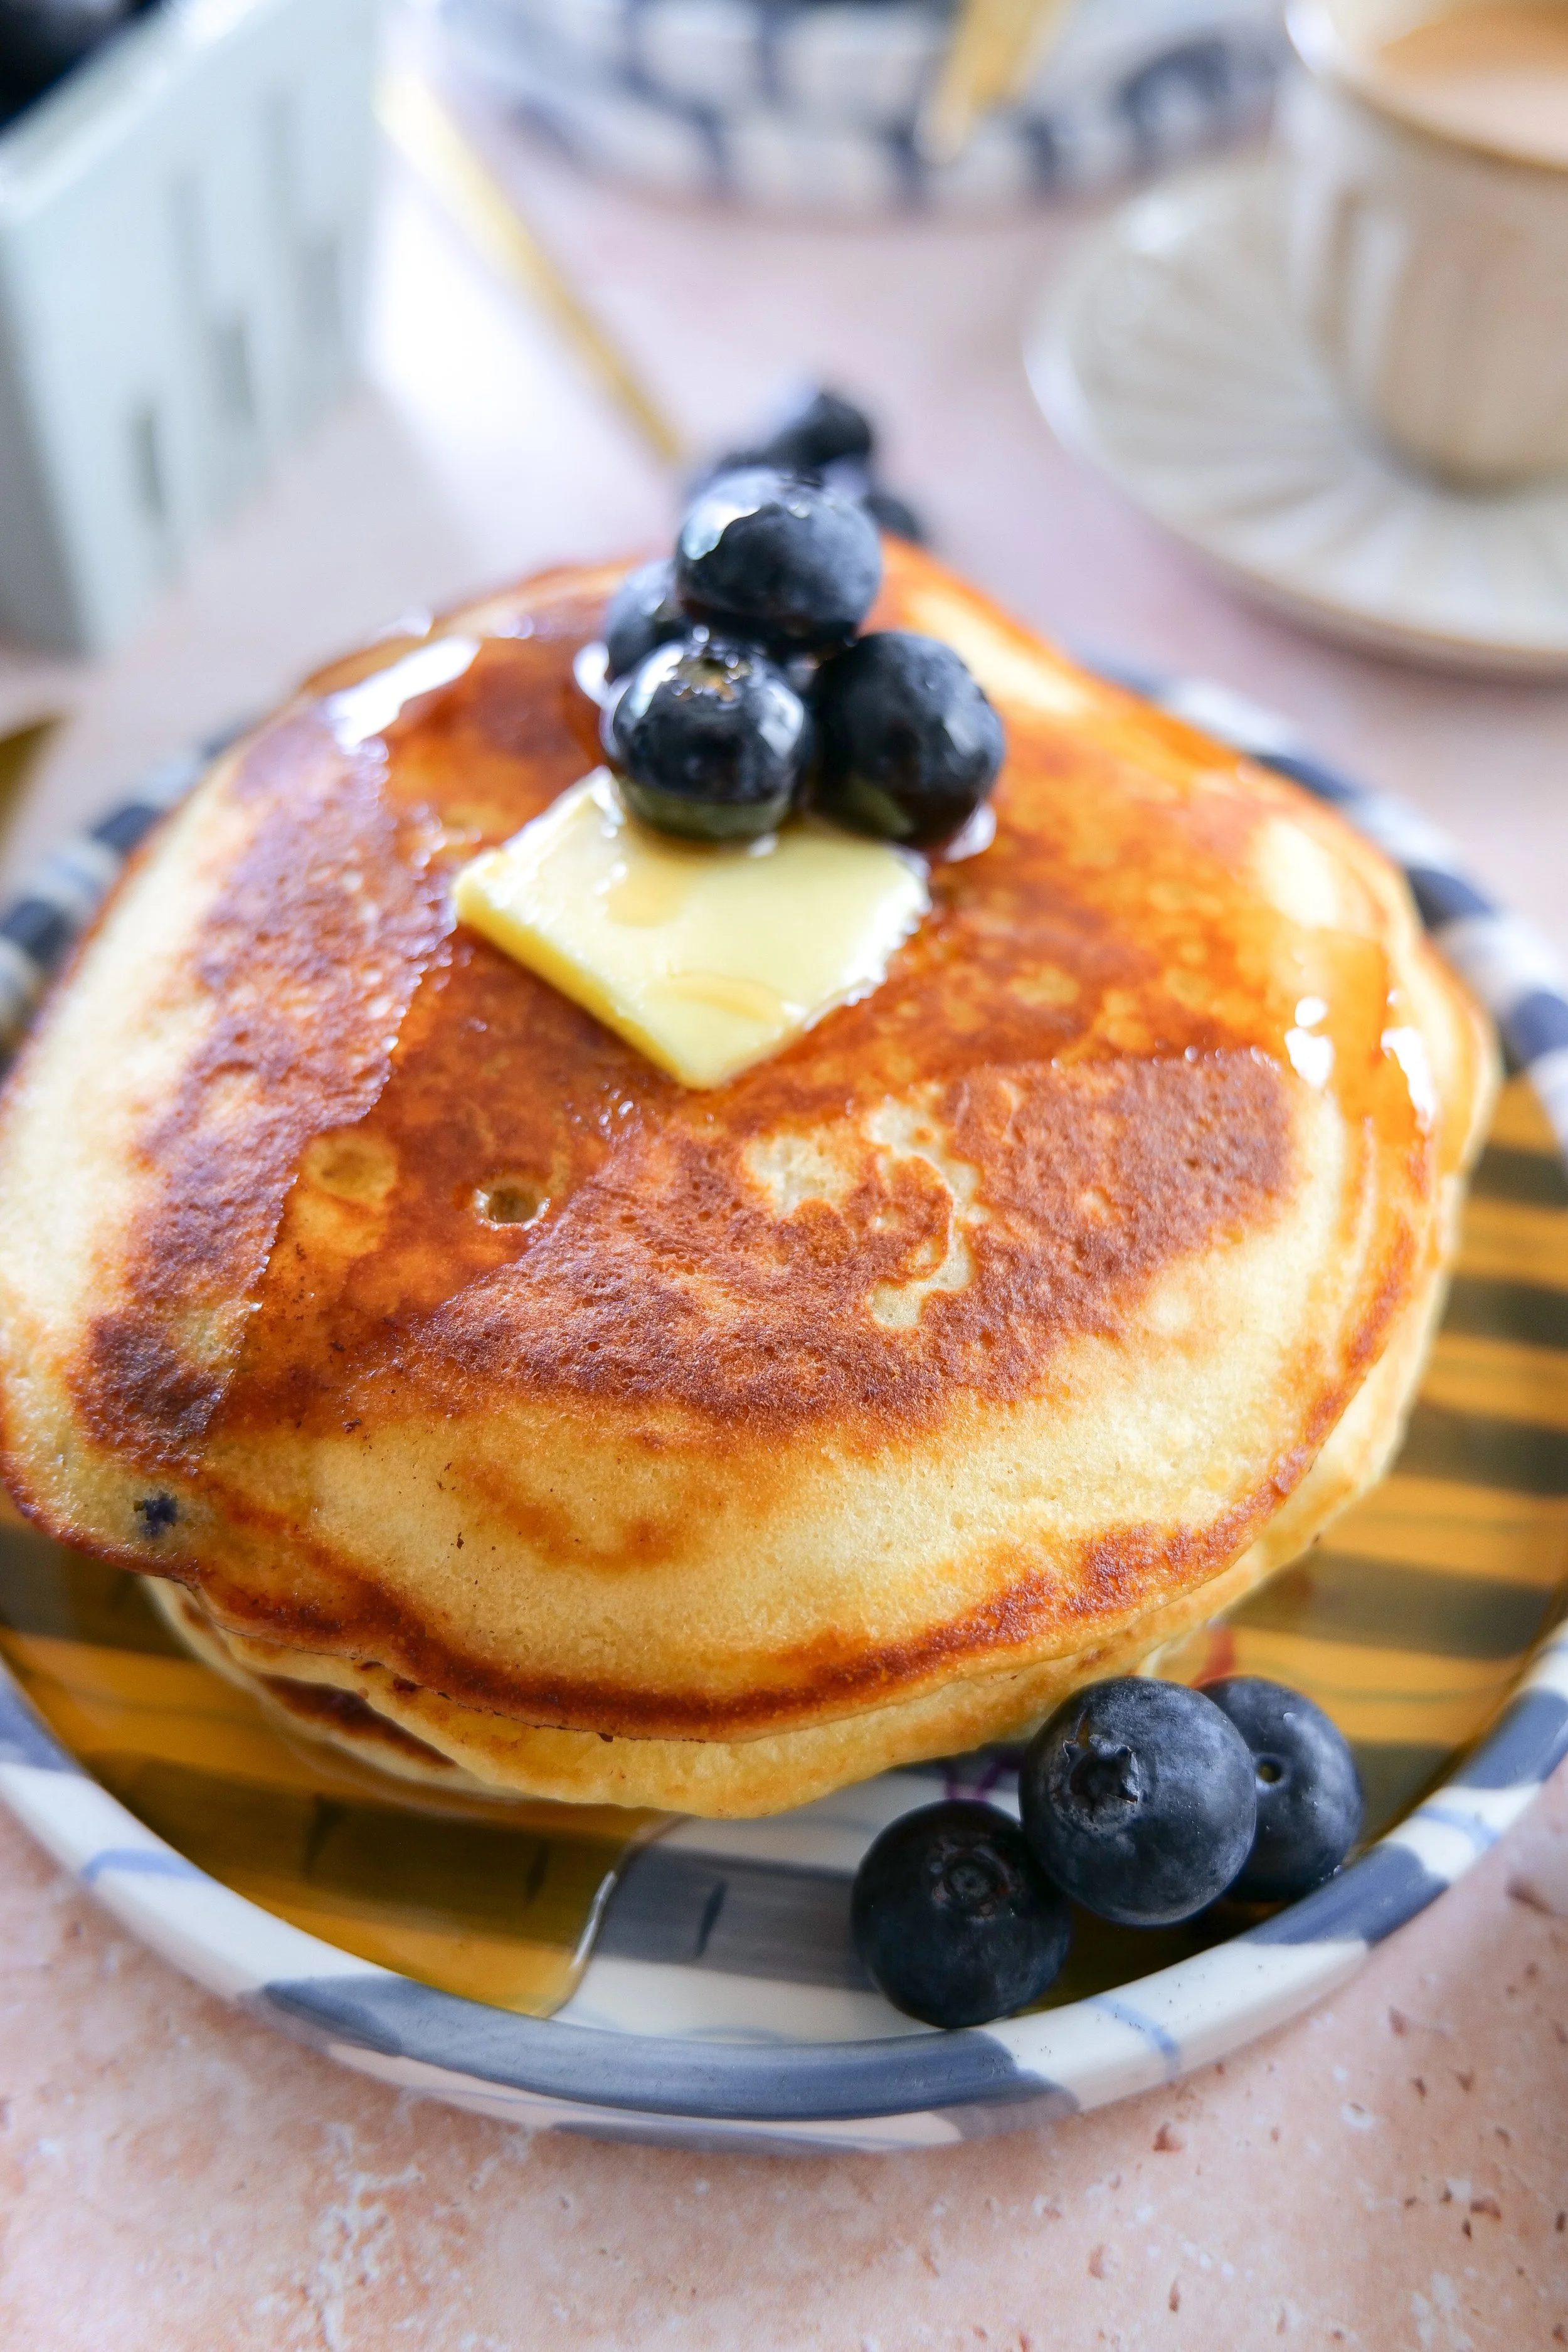
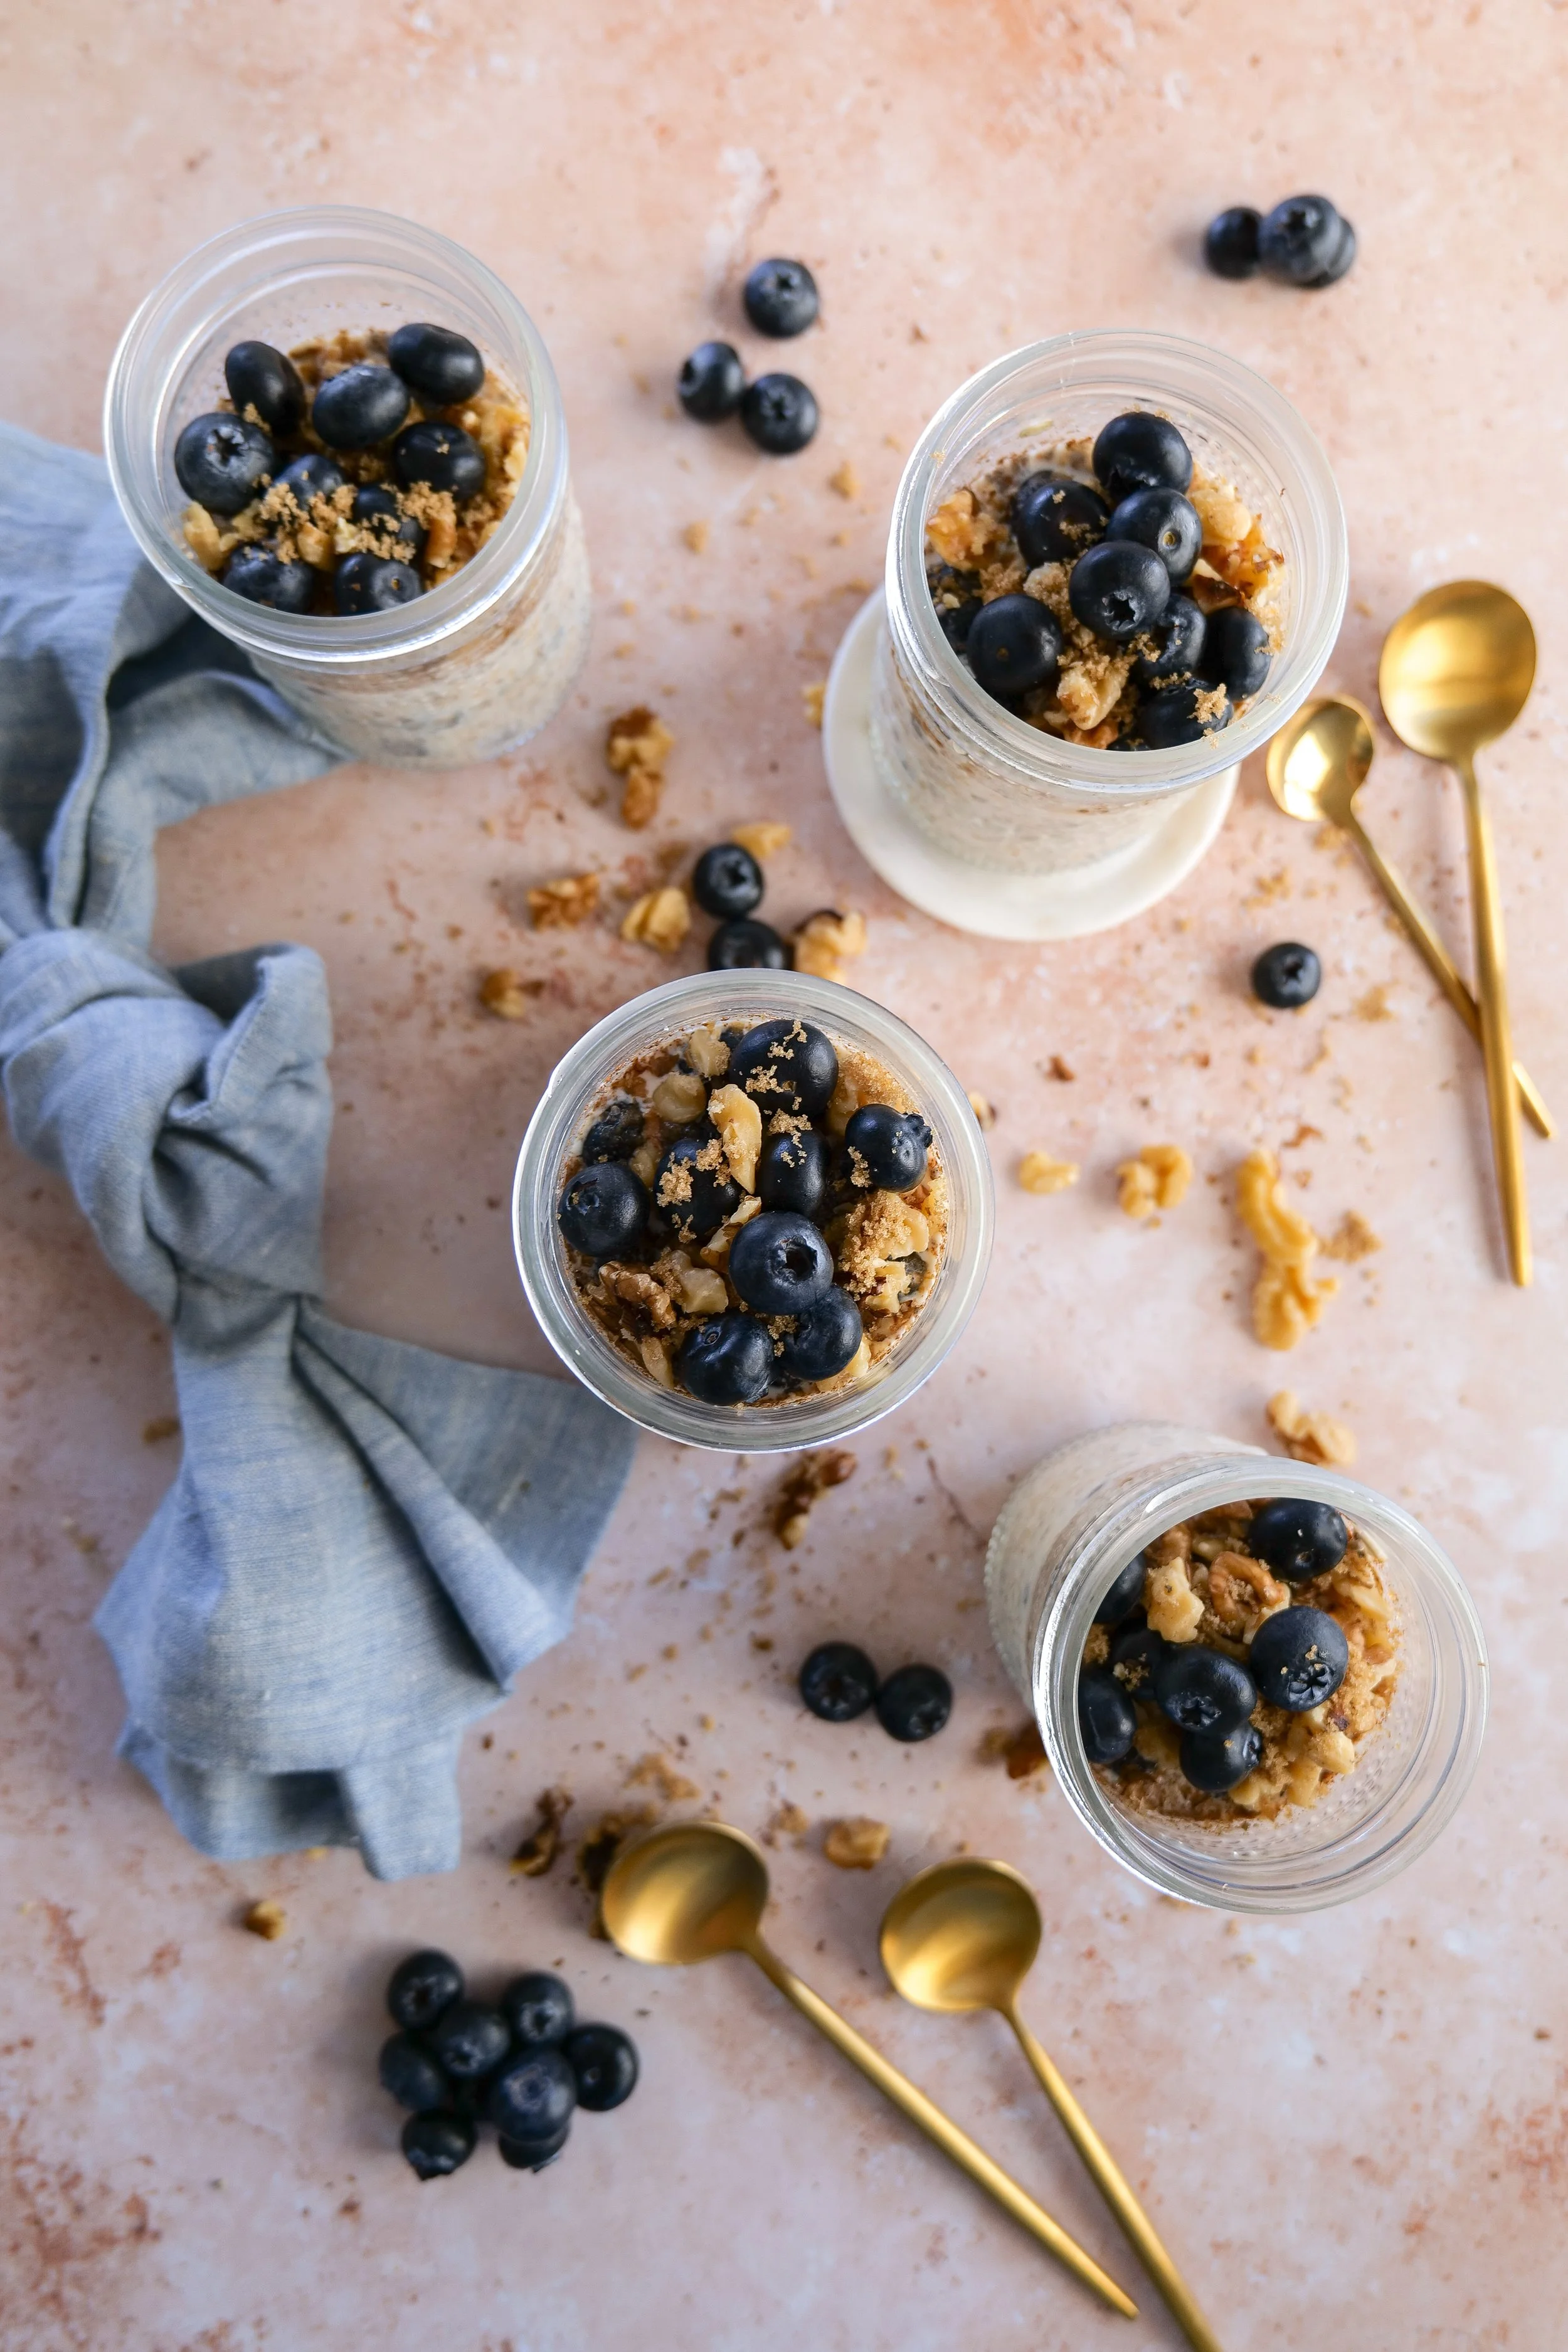
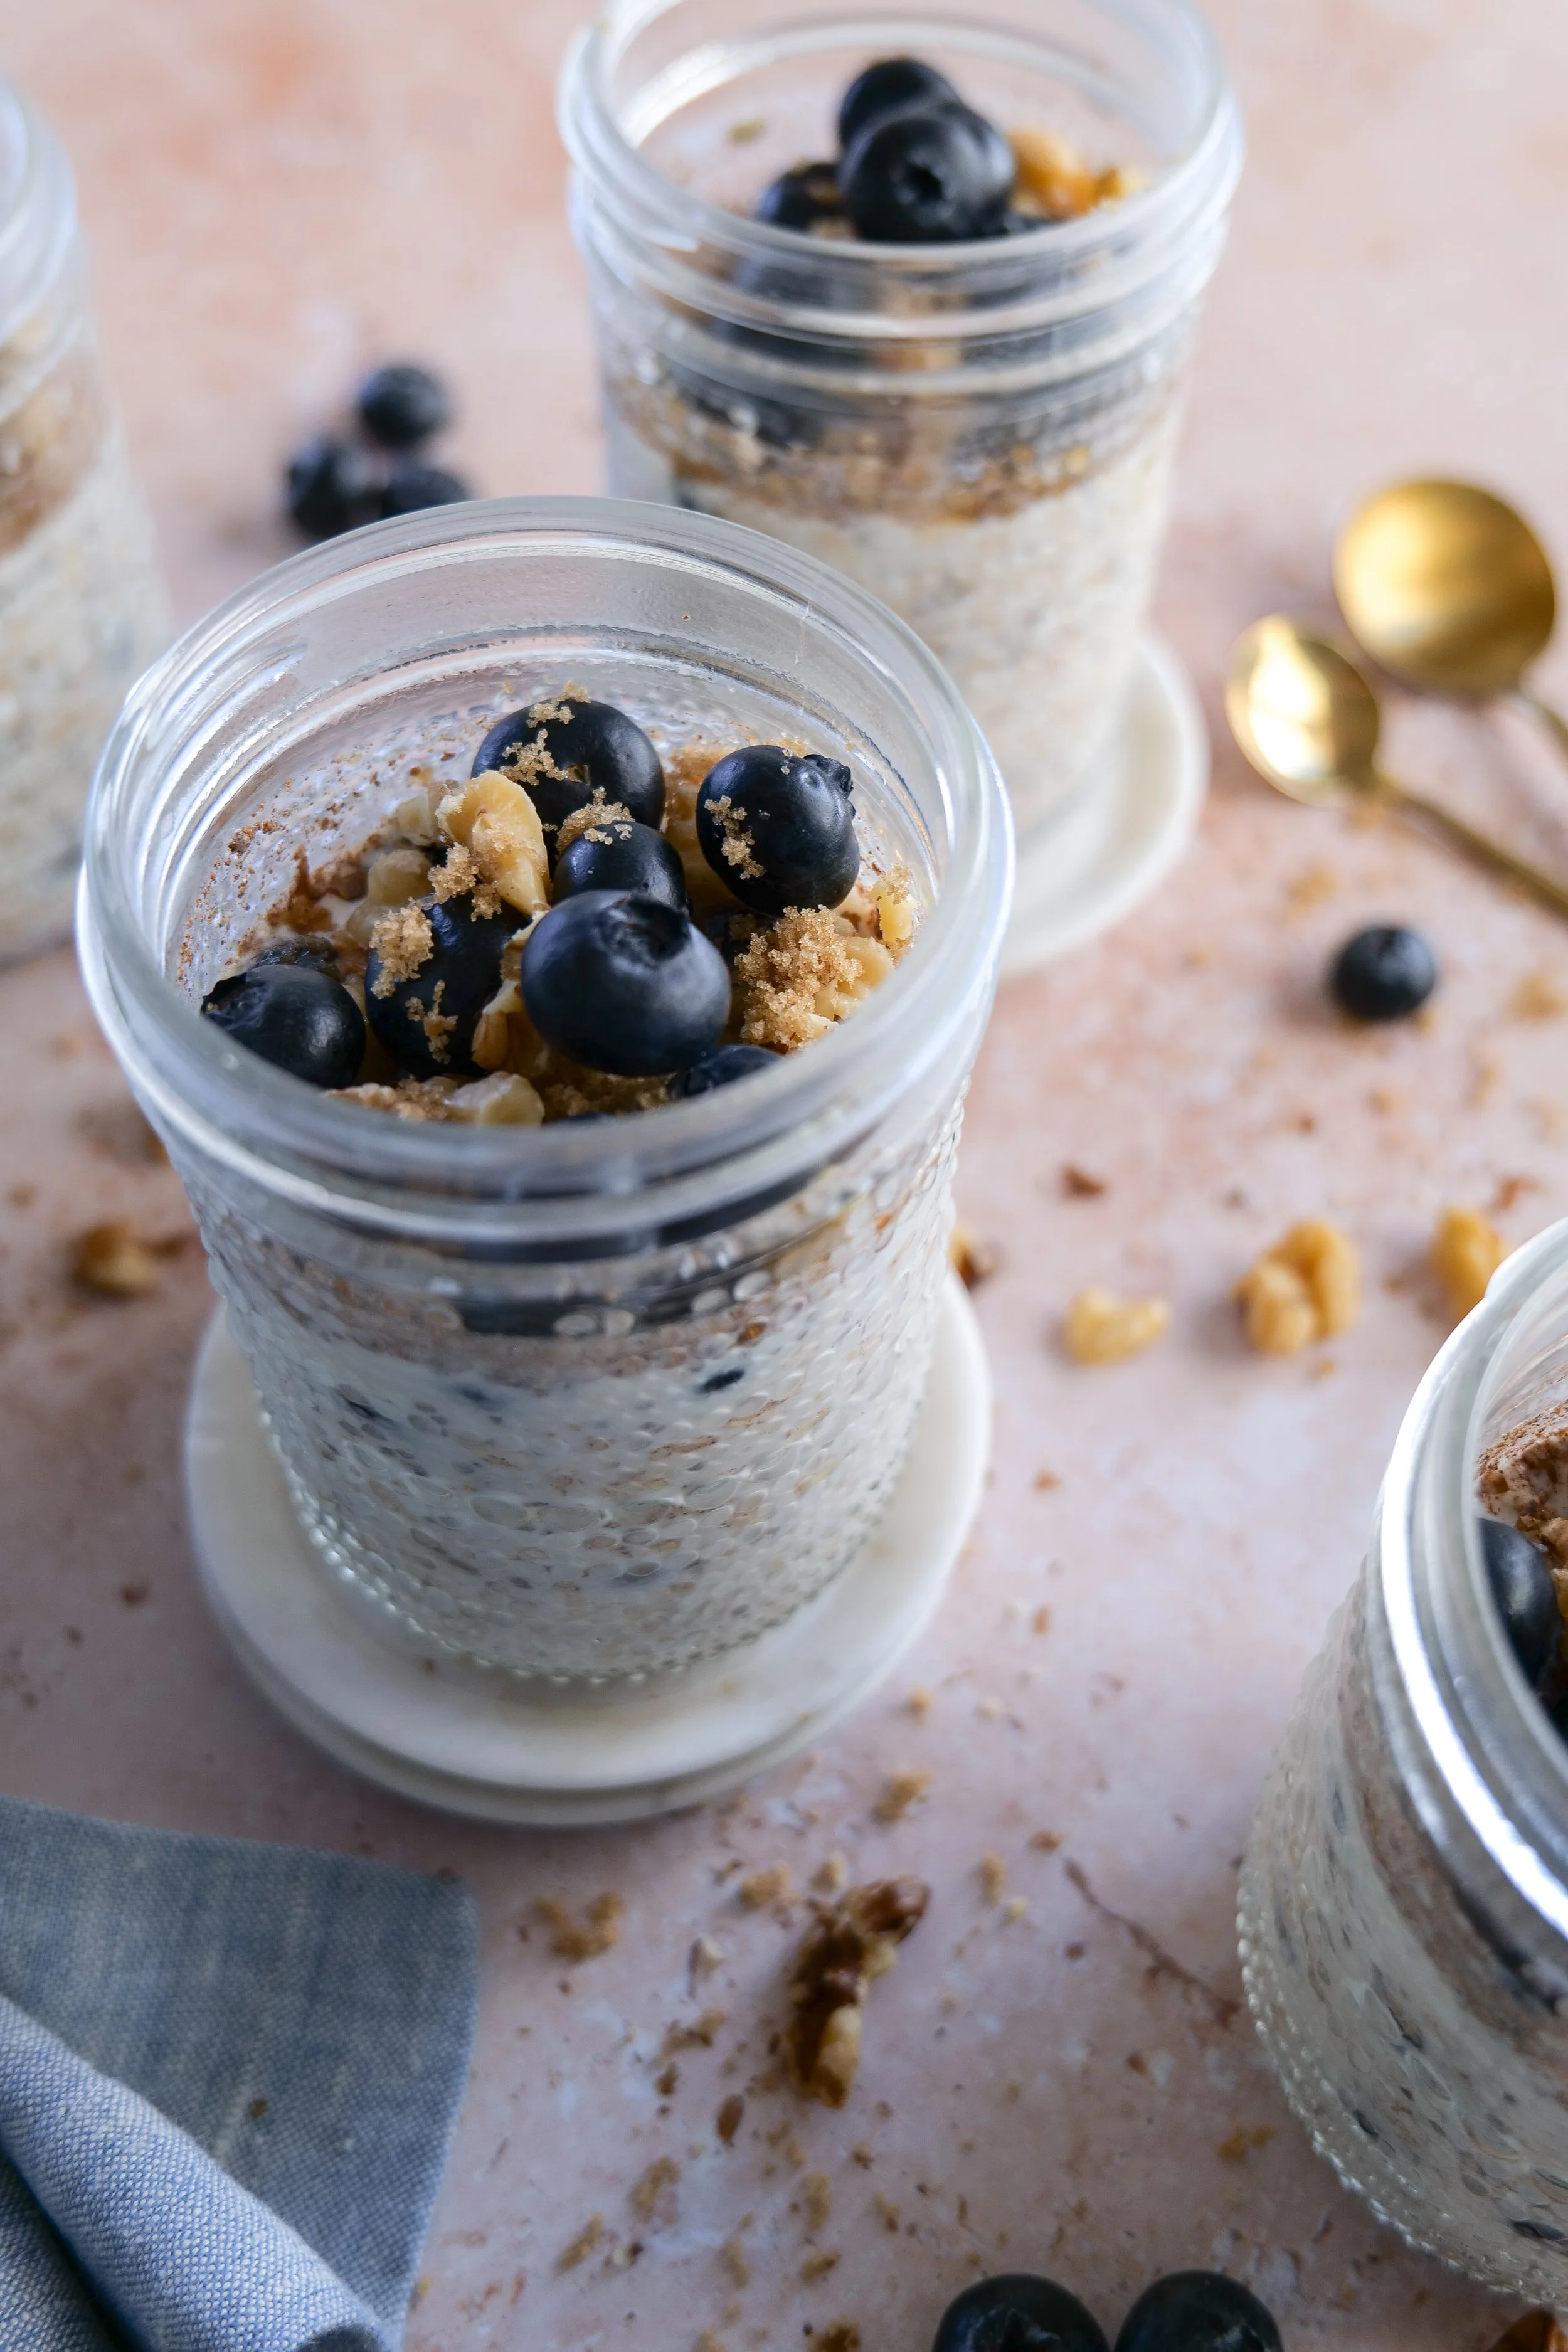
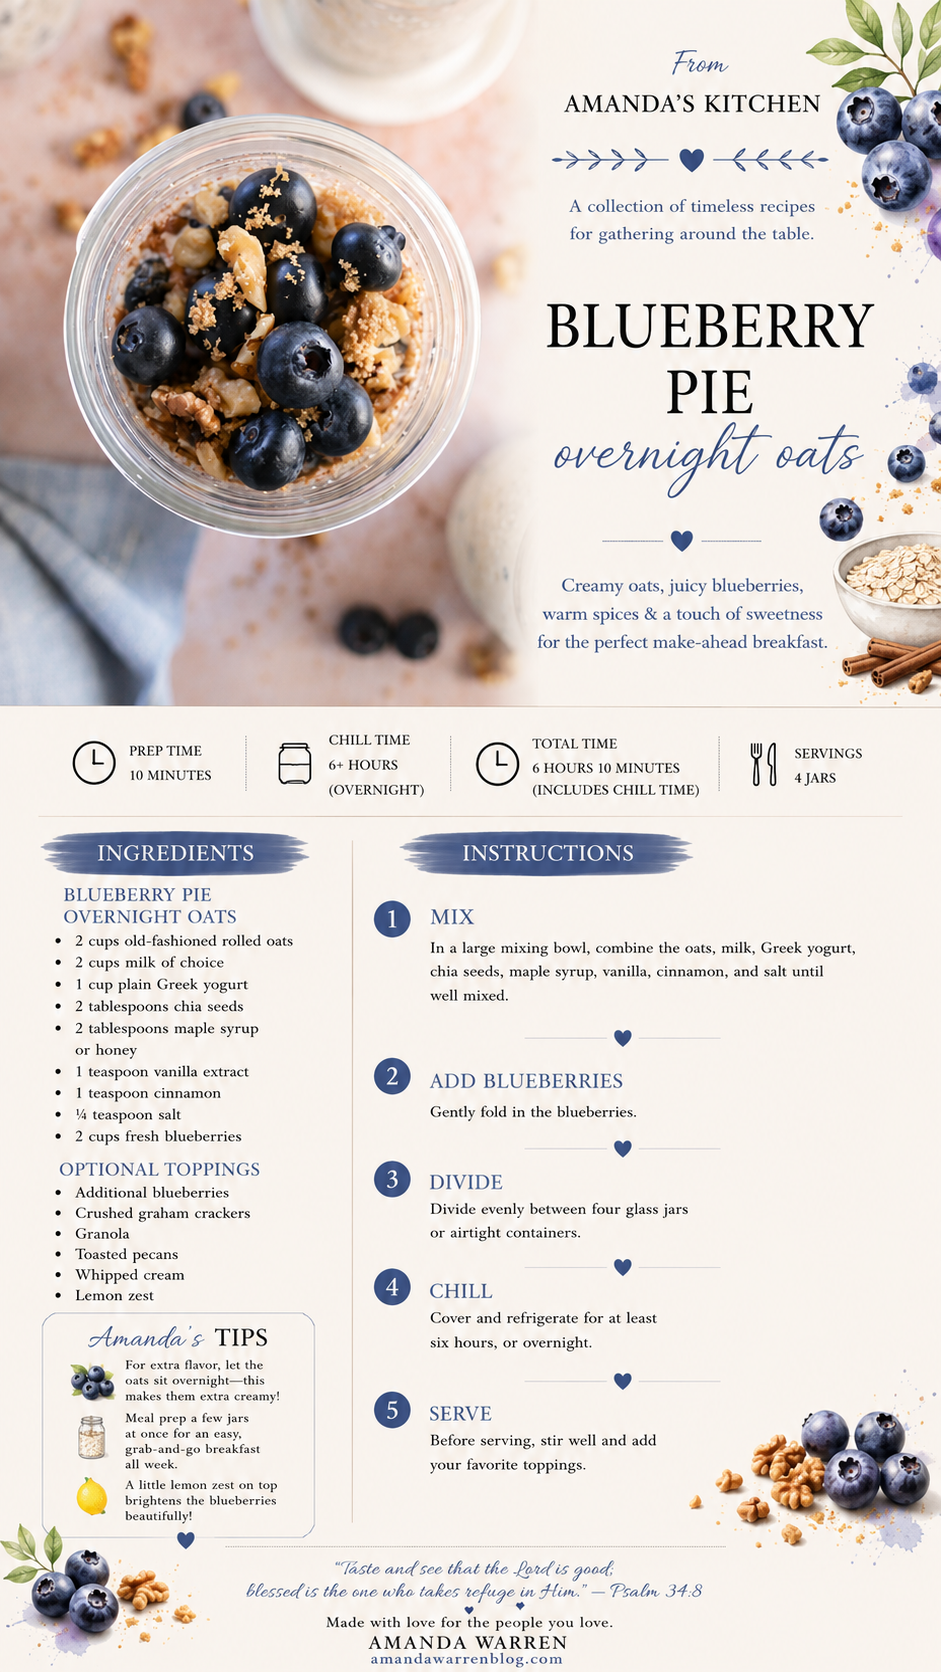
Creamy Blueberry Pie Overnight Oats made with fresh blueberries, Greek yogurt, rolled oats, and warm cinnamon. This healthy overnight oats recipe tastes just like homemade blueberry pie and is perfect for meal prep, busy mornings, and summer breakfast.
Welcome to the Summer Fruit Series
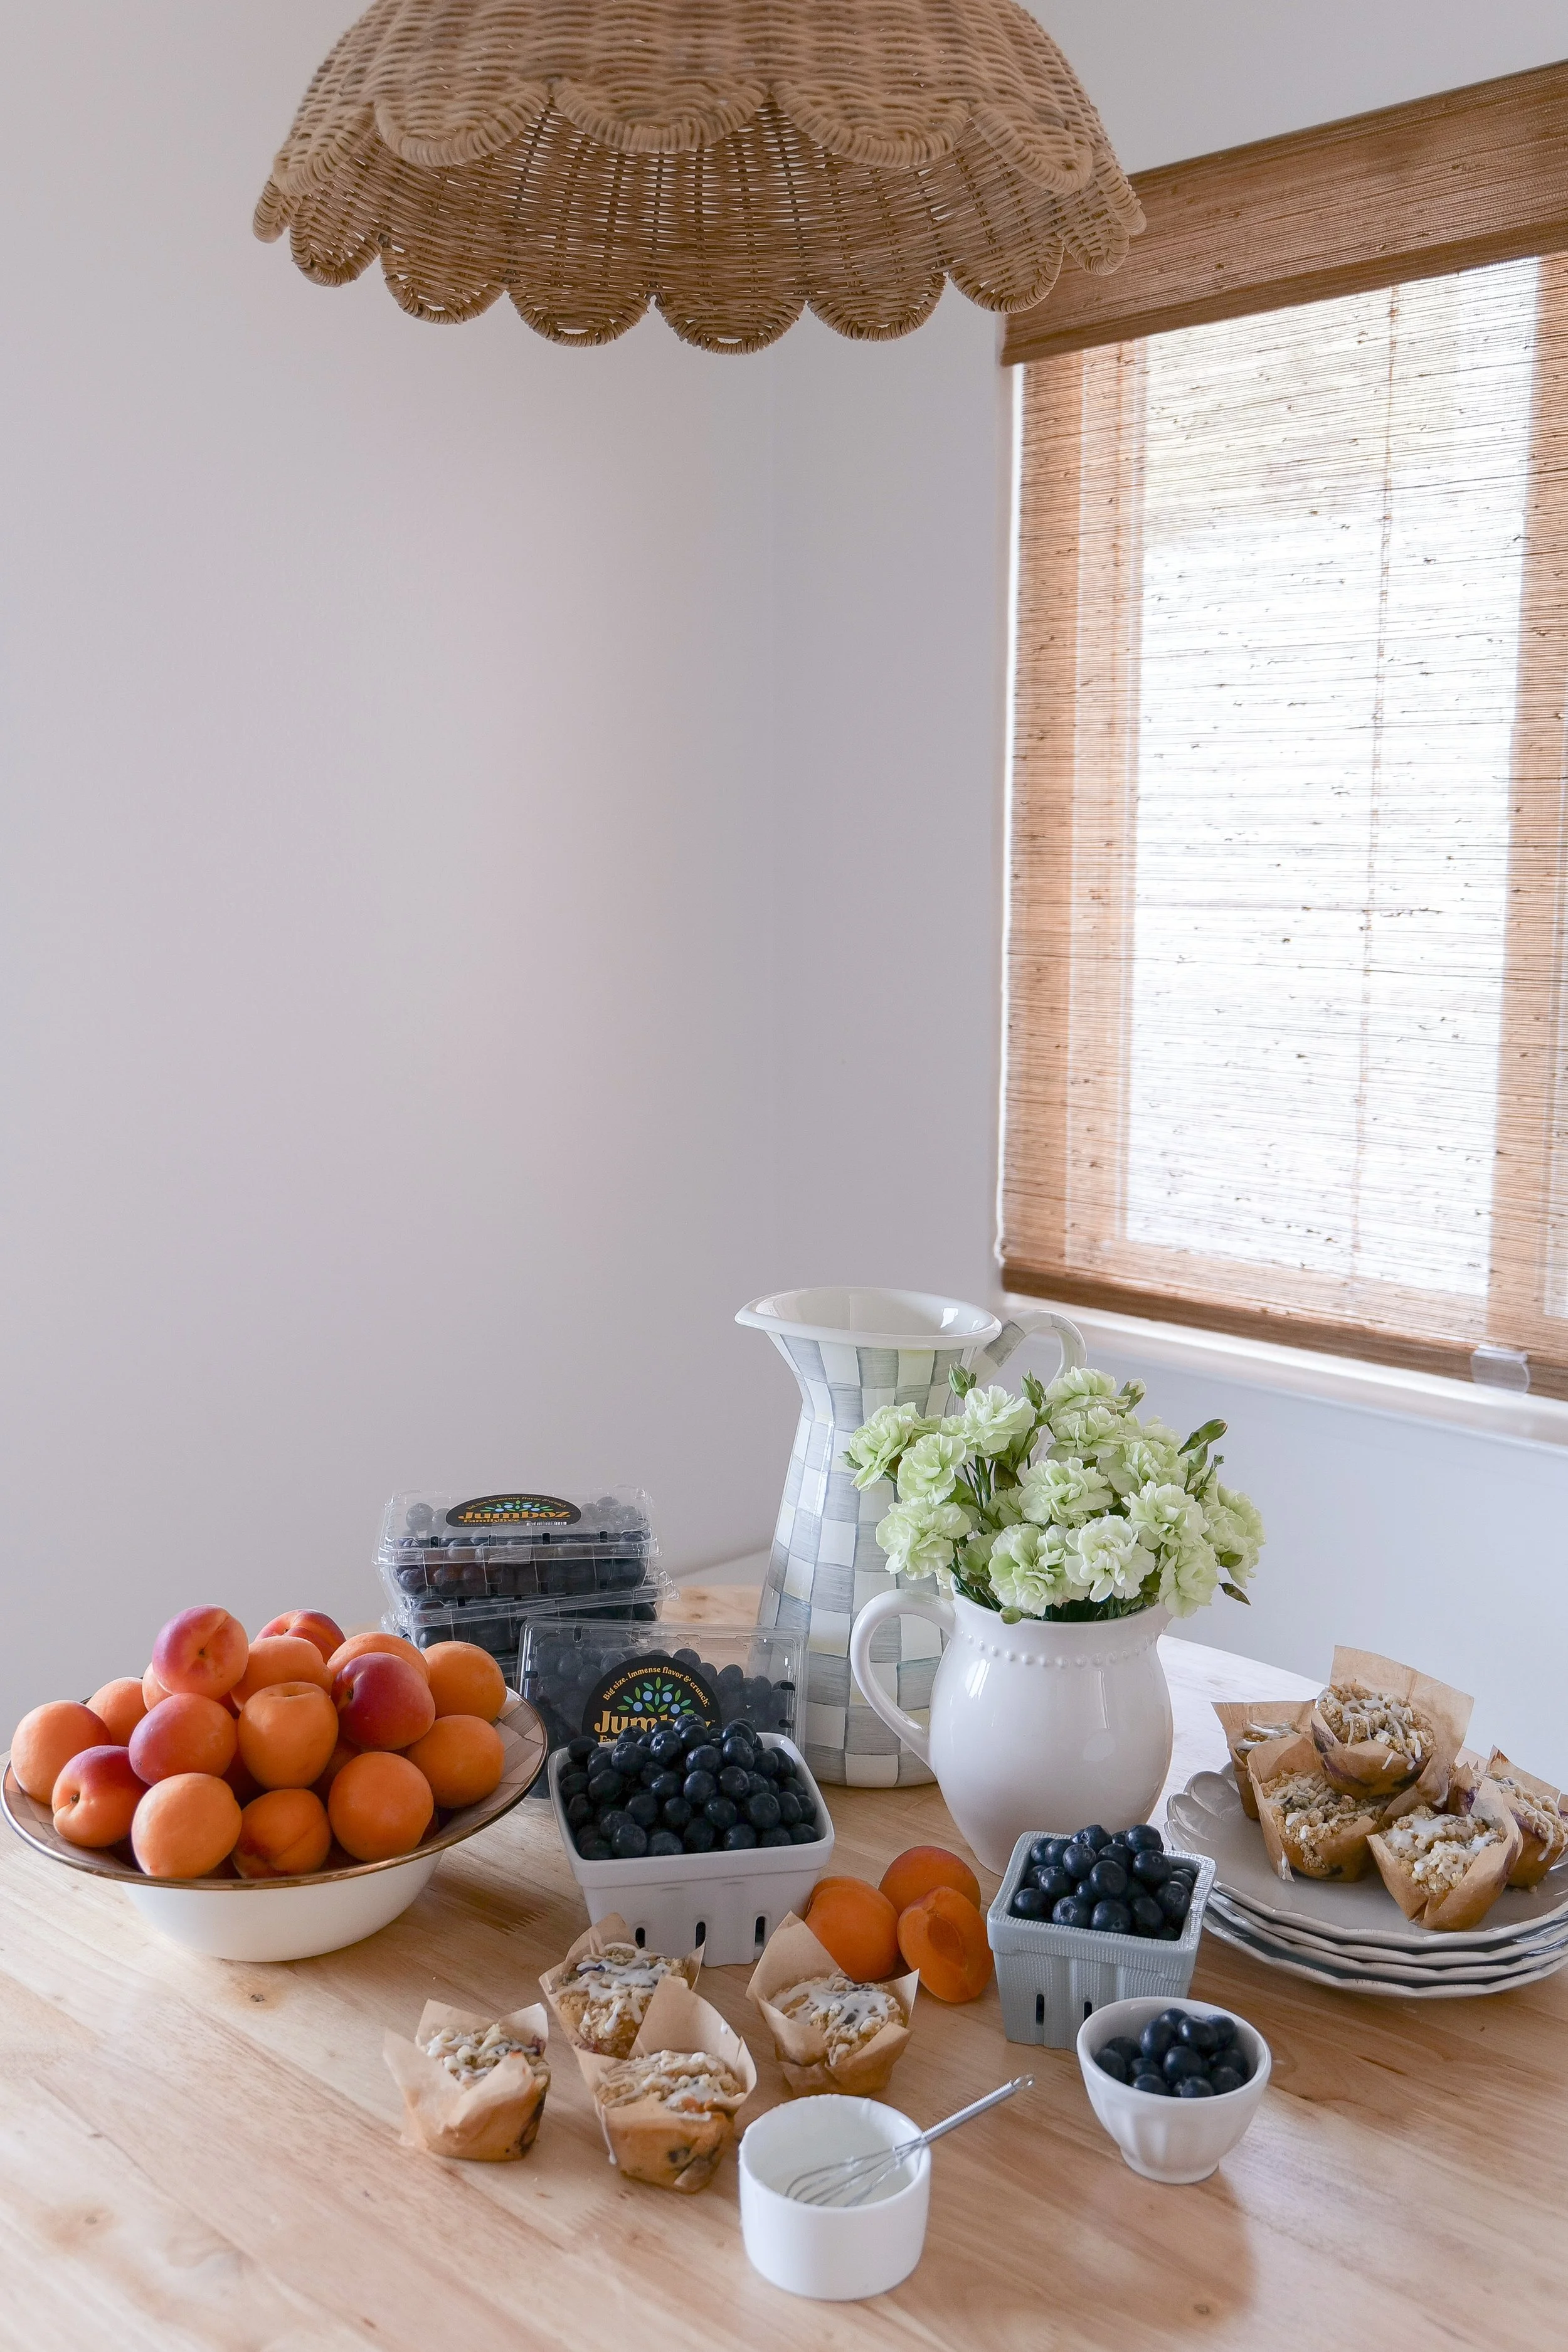
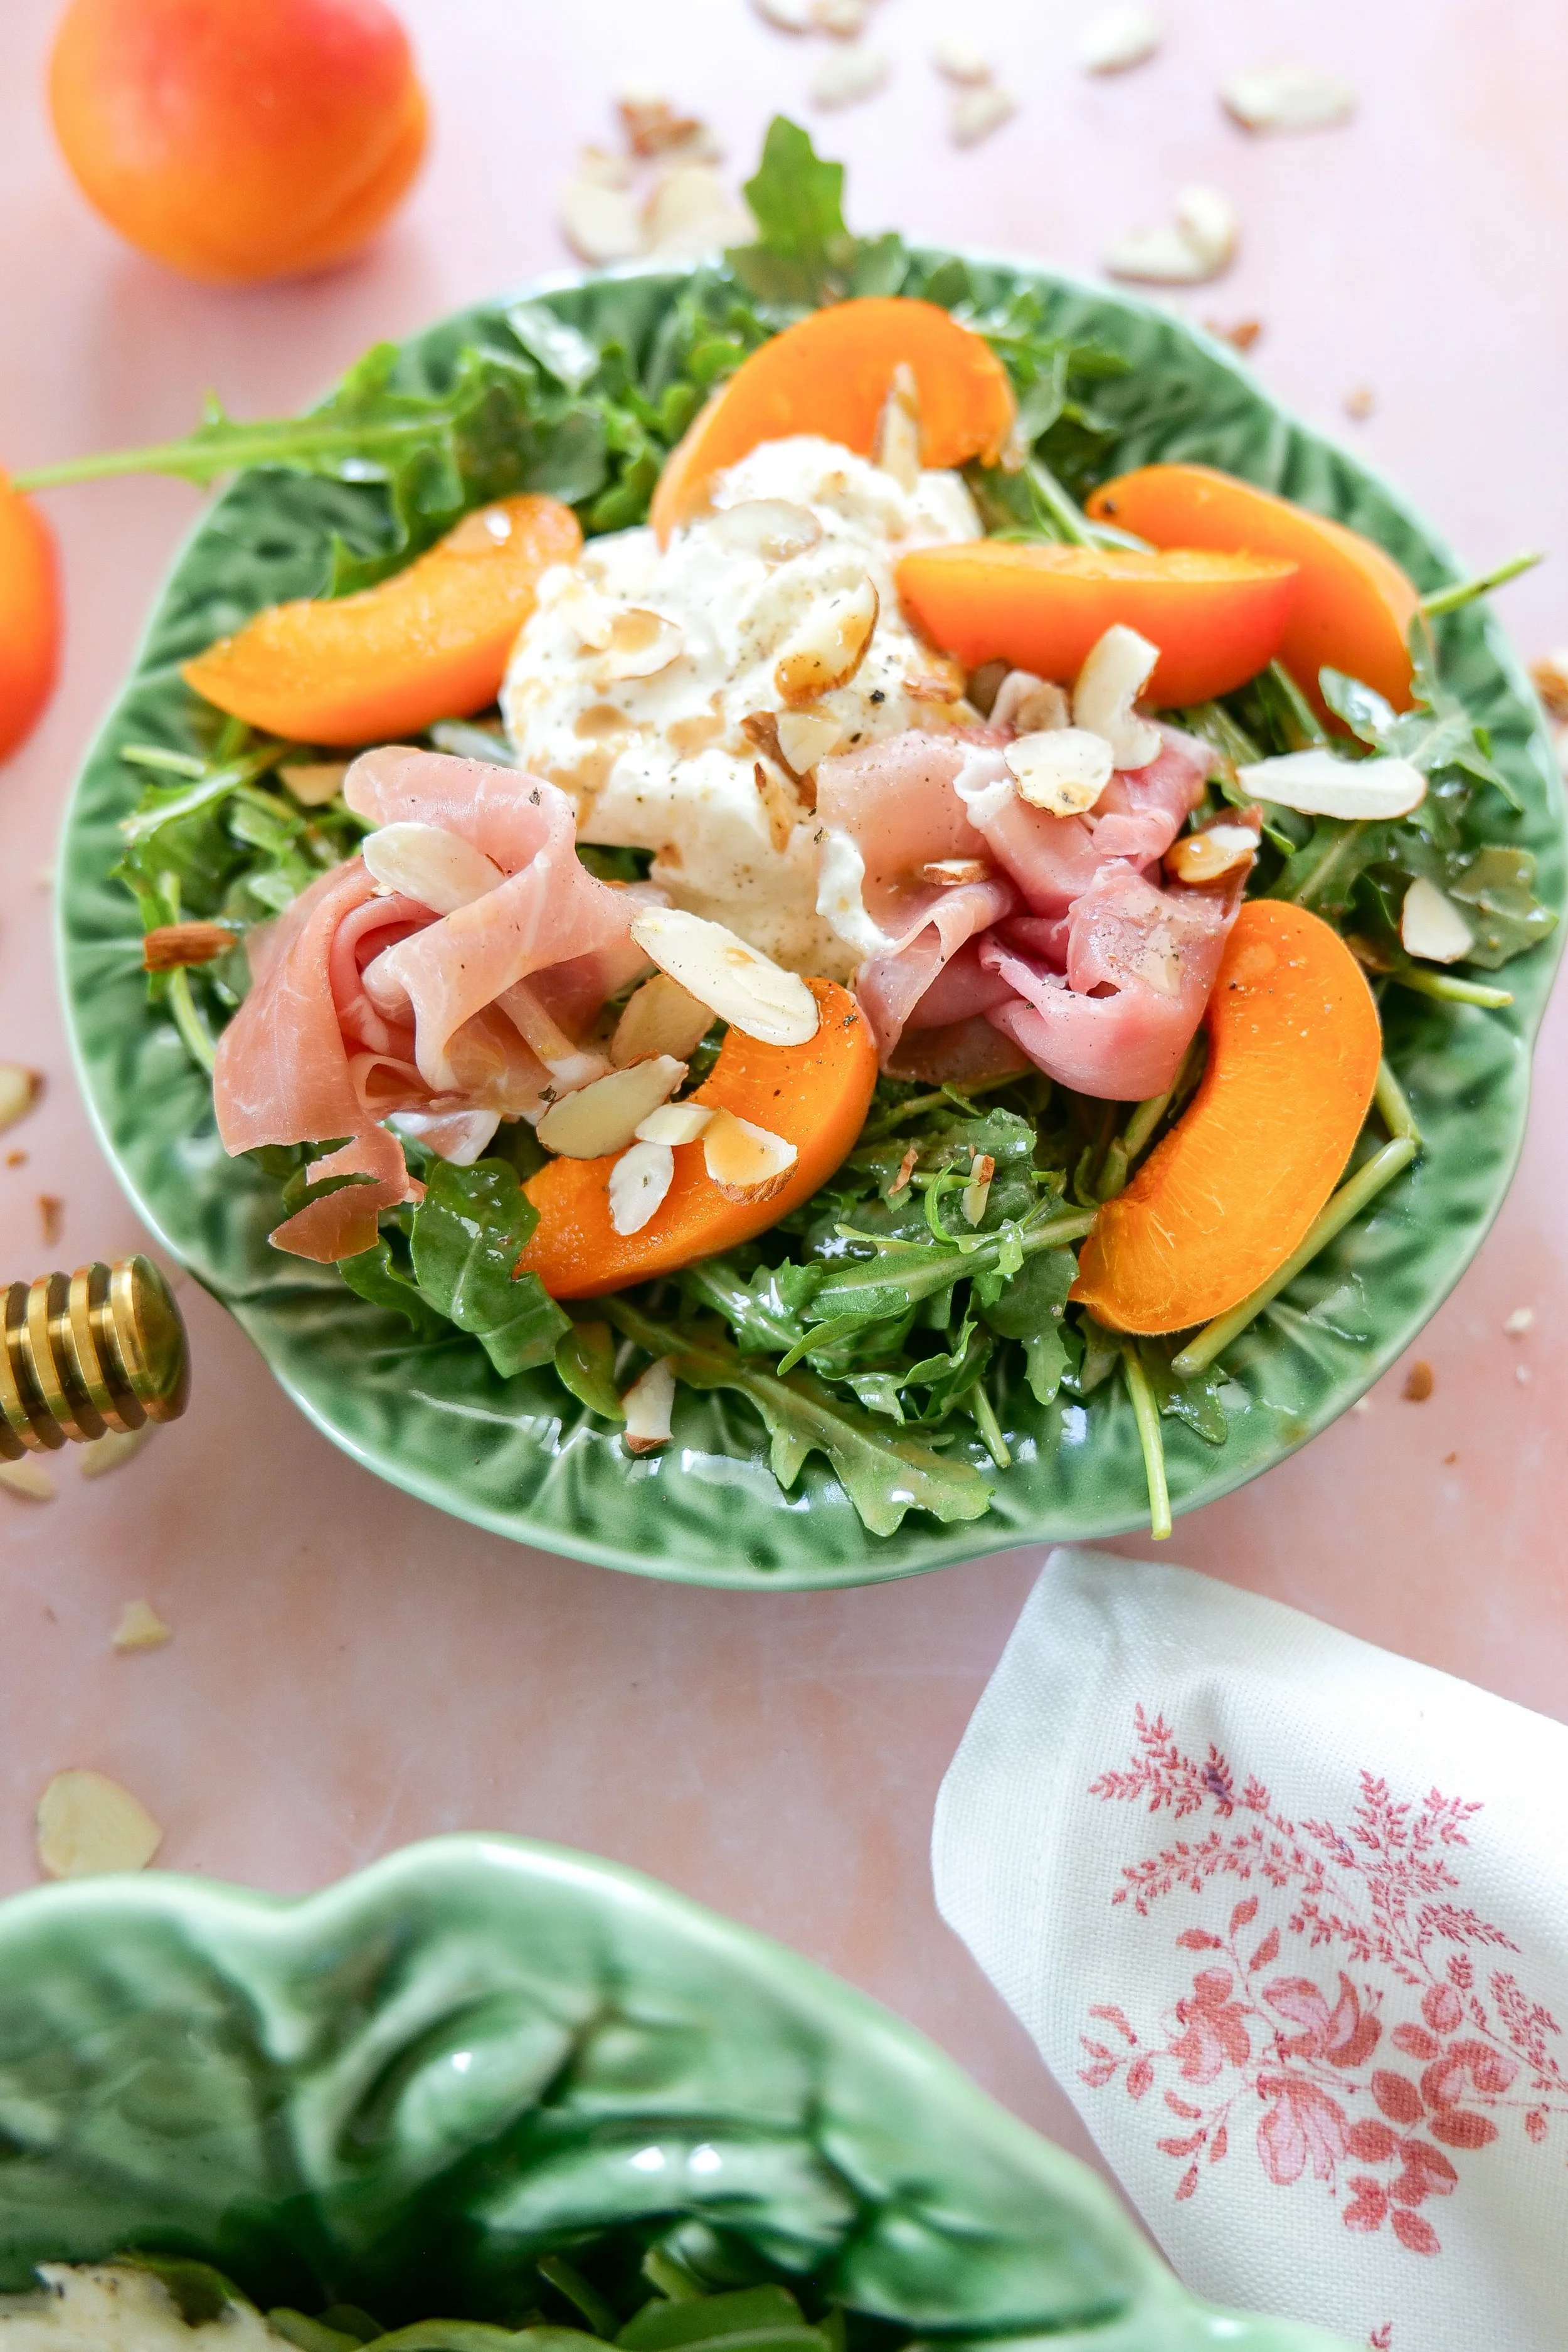
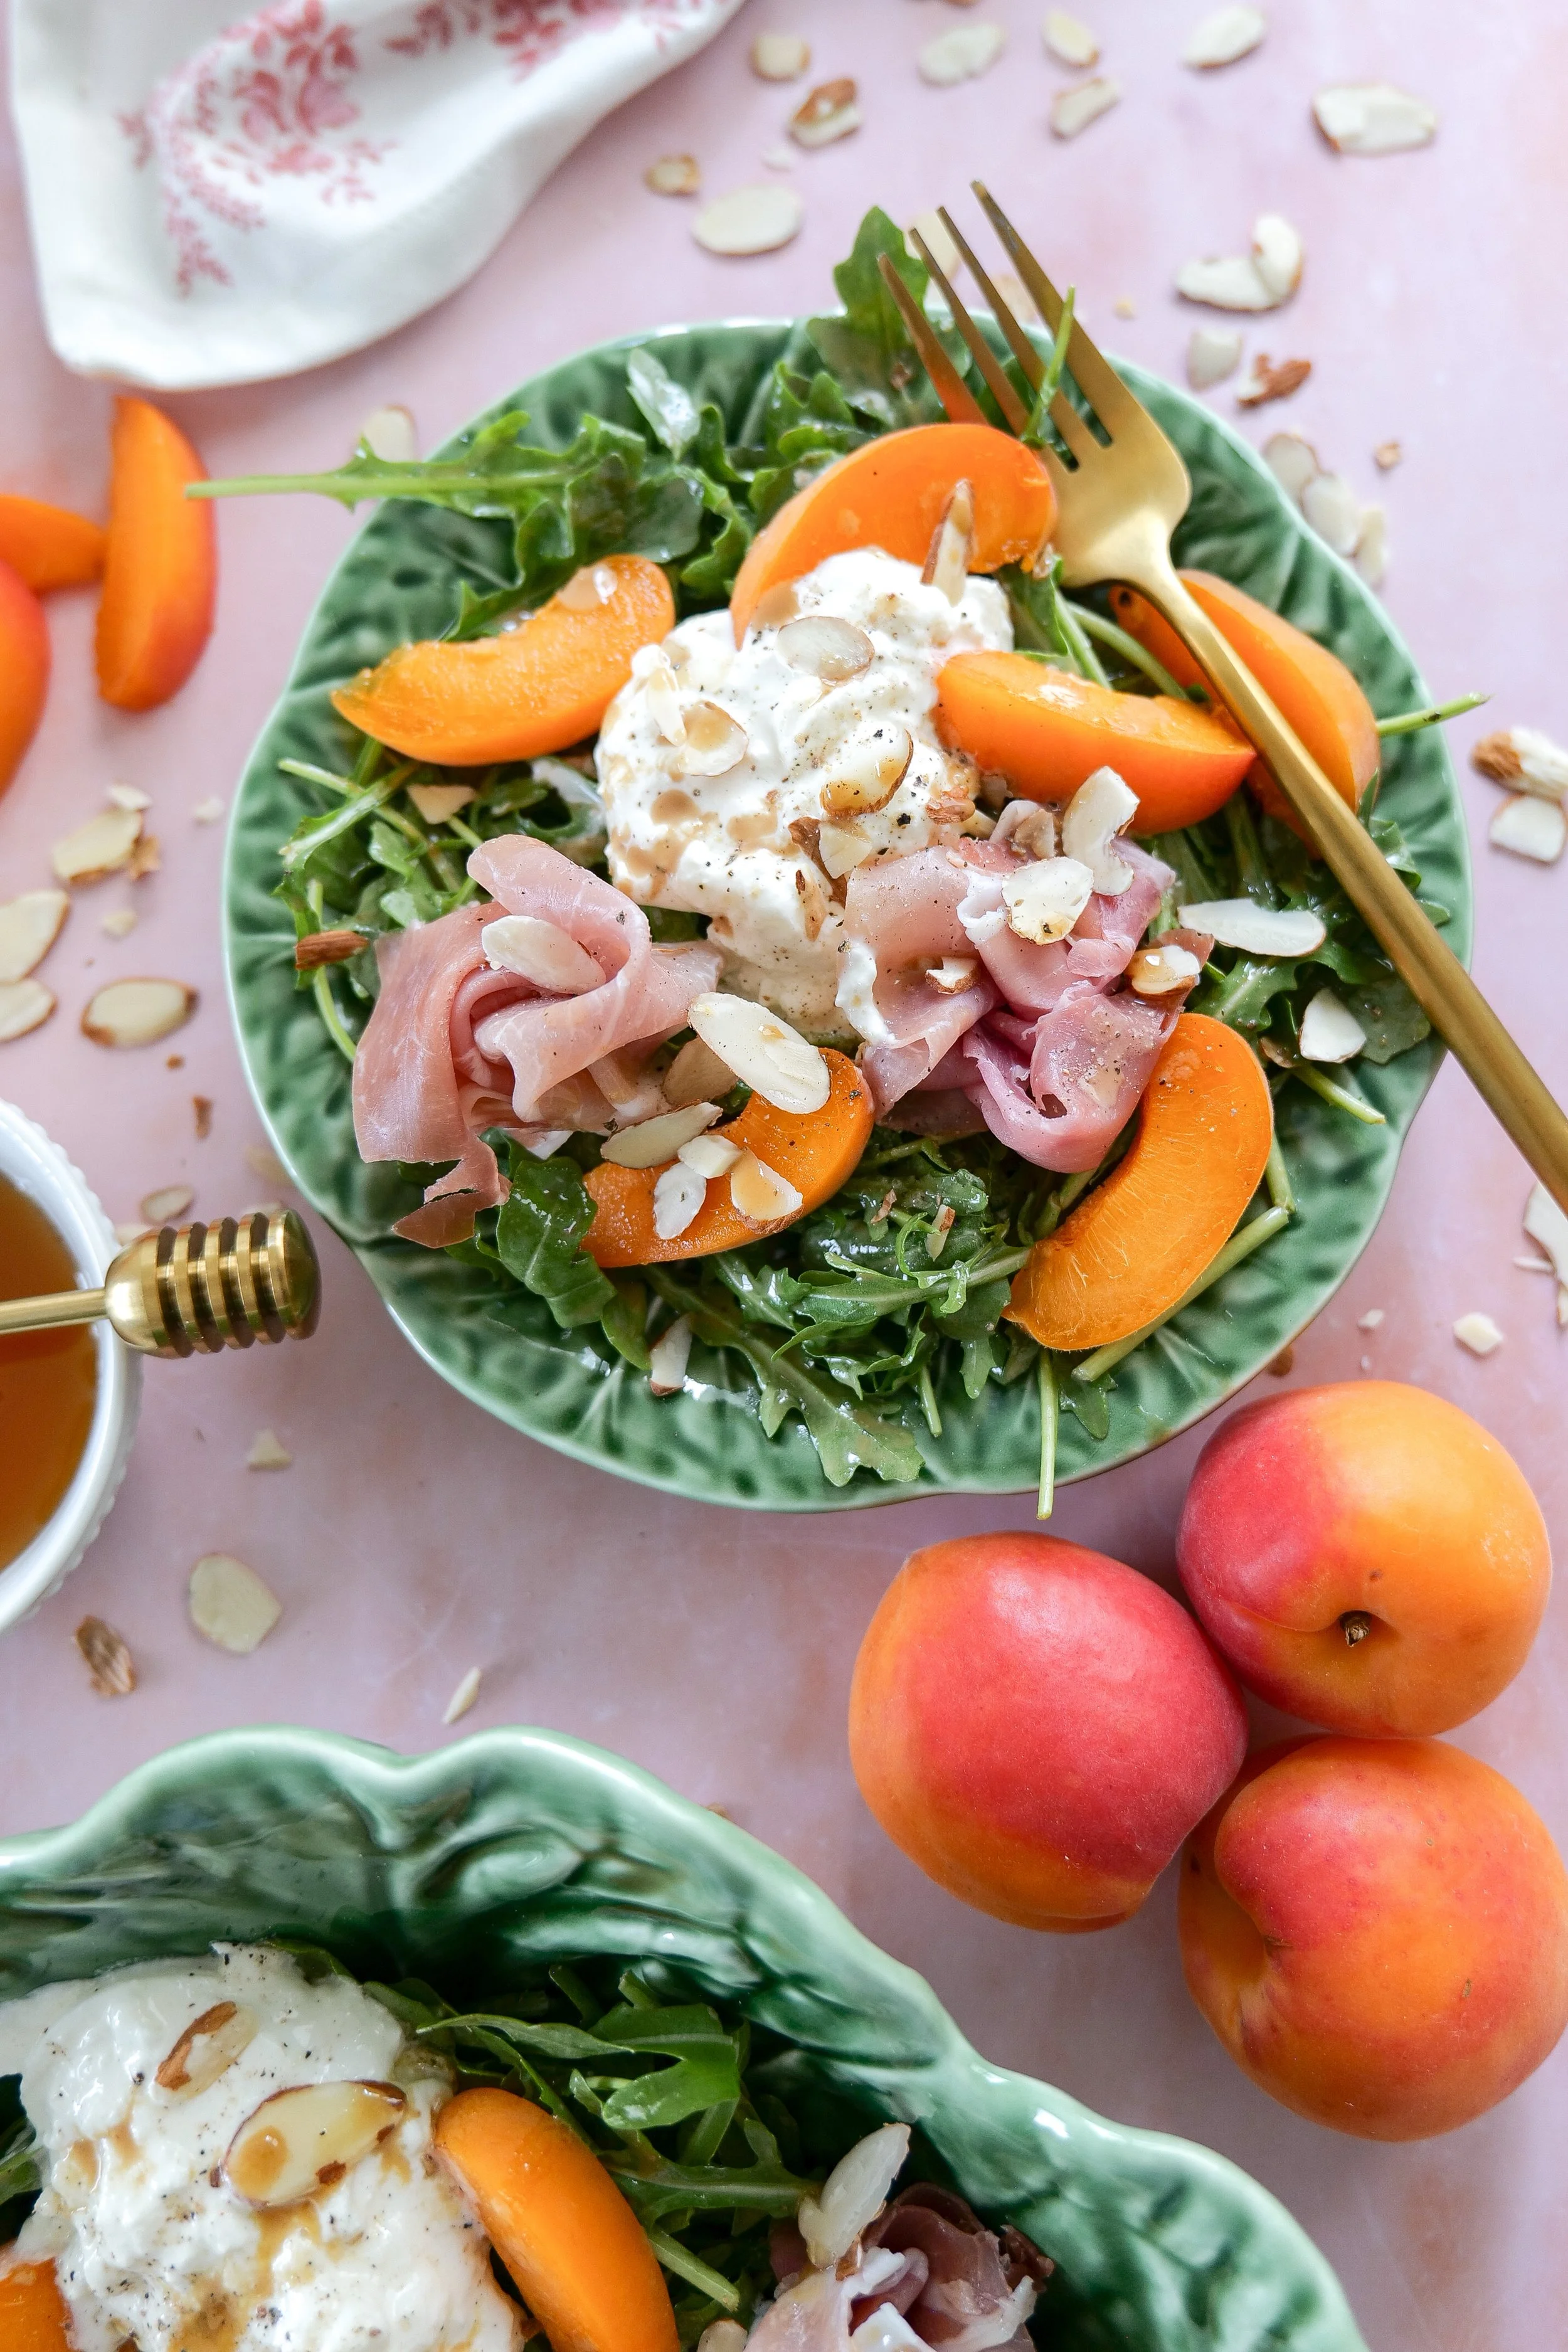
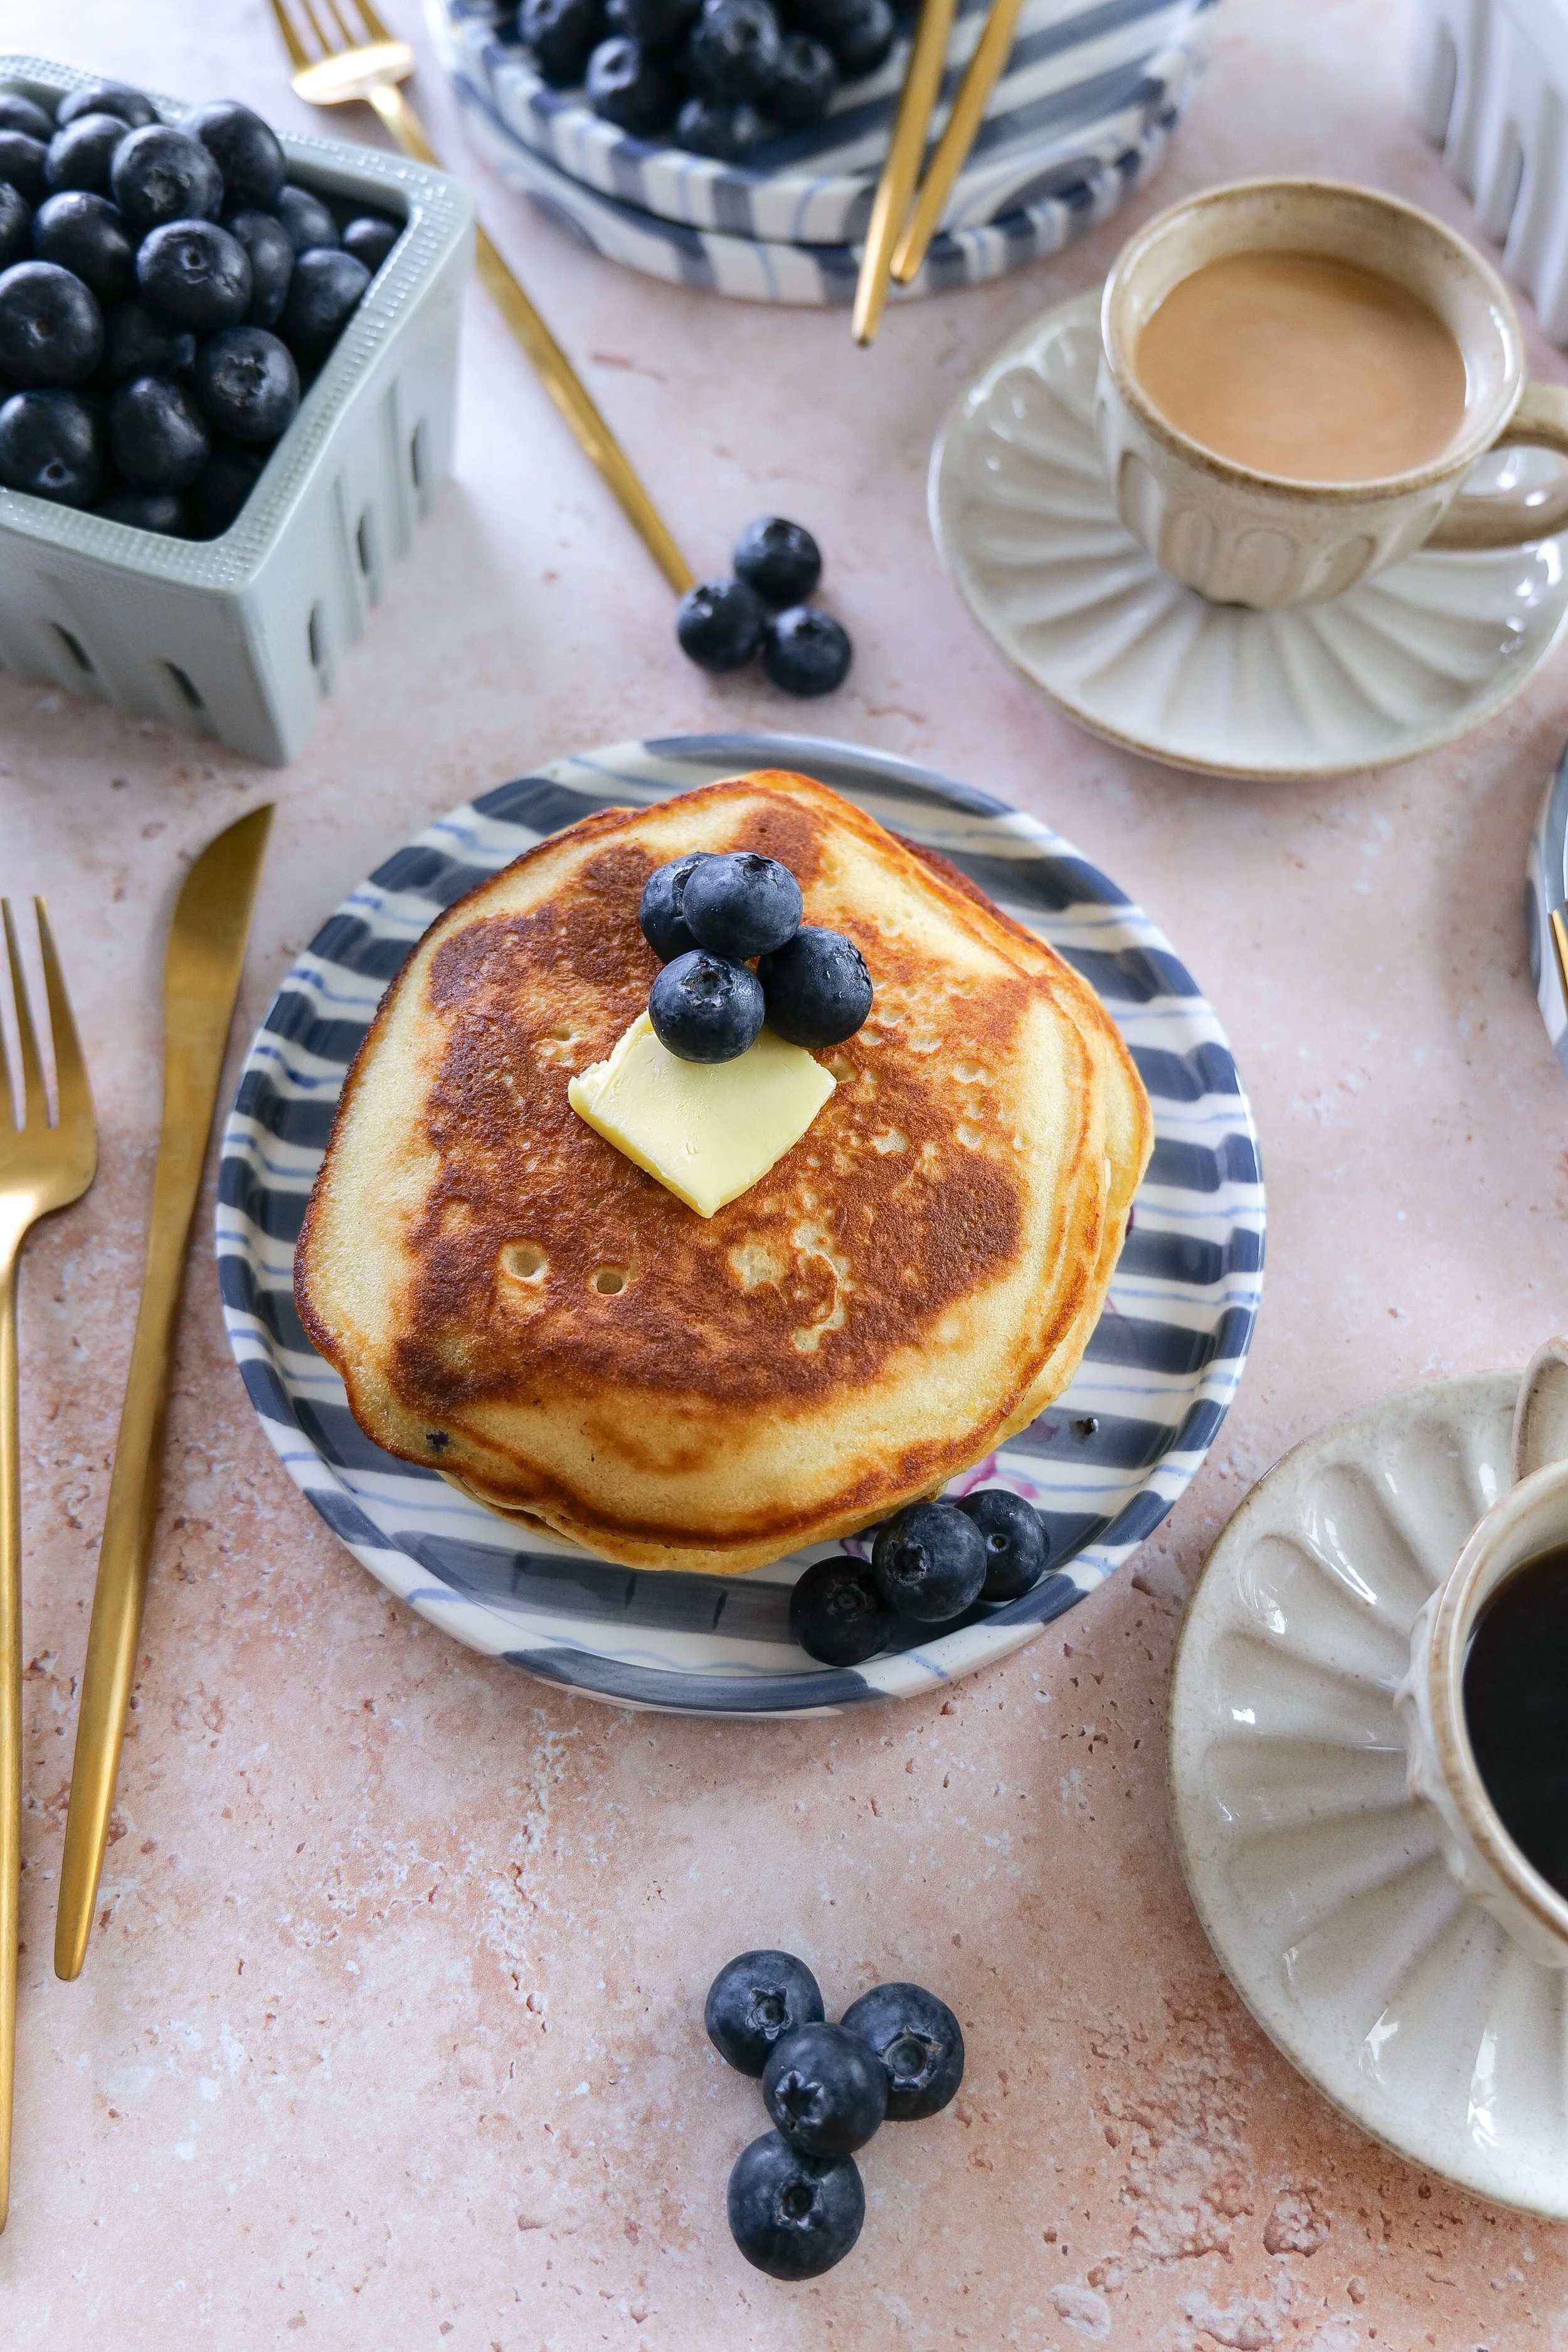
There is something special about baking and cooking with fruit that has been picked at the peak of the season. Every summer, I find myself reaching for baskets of fresh berries, ripe peaches, sweet cherries, and juicy apricots, dreaming up recipes that celebrate the simple joy of gathering around the table.
This recipe is part of my Summer Fruit Series—a seasonal collection of recipes inspired by summer's sweetest harvest. From breakfast to dessert, each recipe highlights fresh fruit in a way that's approachable, beautiful, and made for sharing.
If you're new here, I hope you'll take a few extra minutes to explore the rest of the collection before you leave.
Continue the Summer Fruit Series
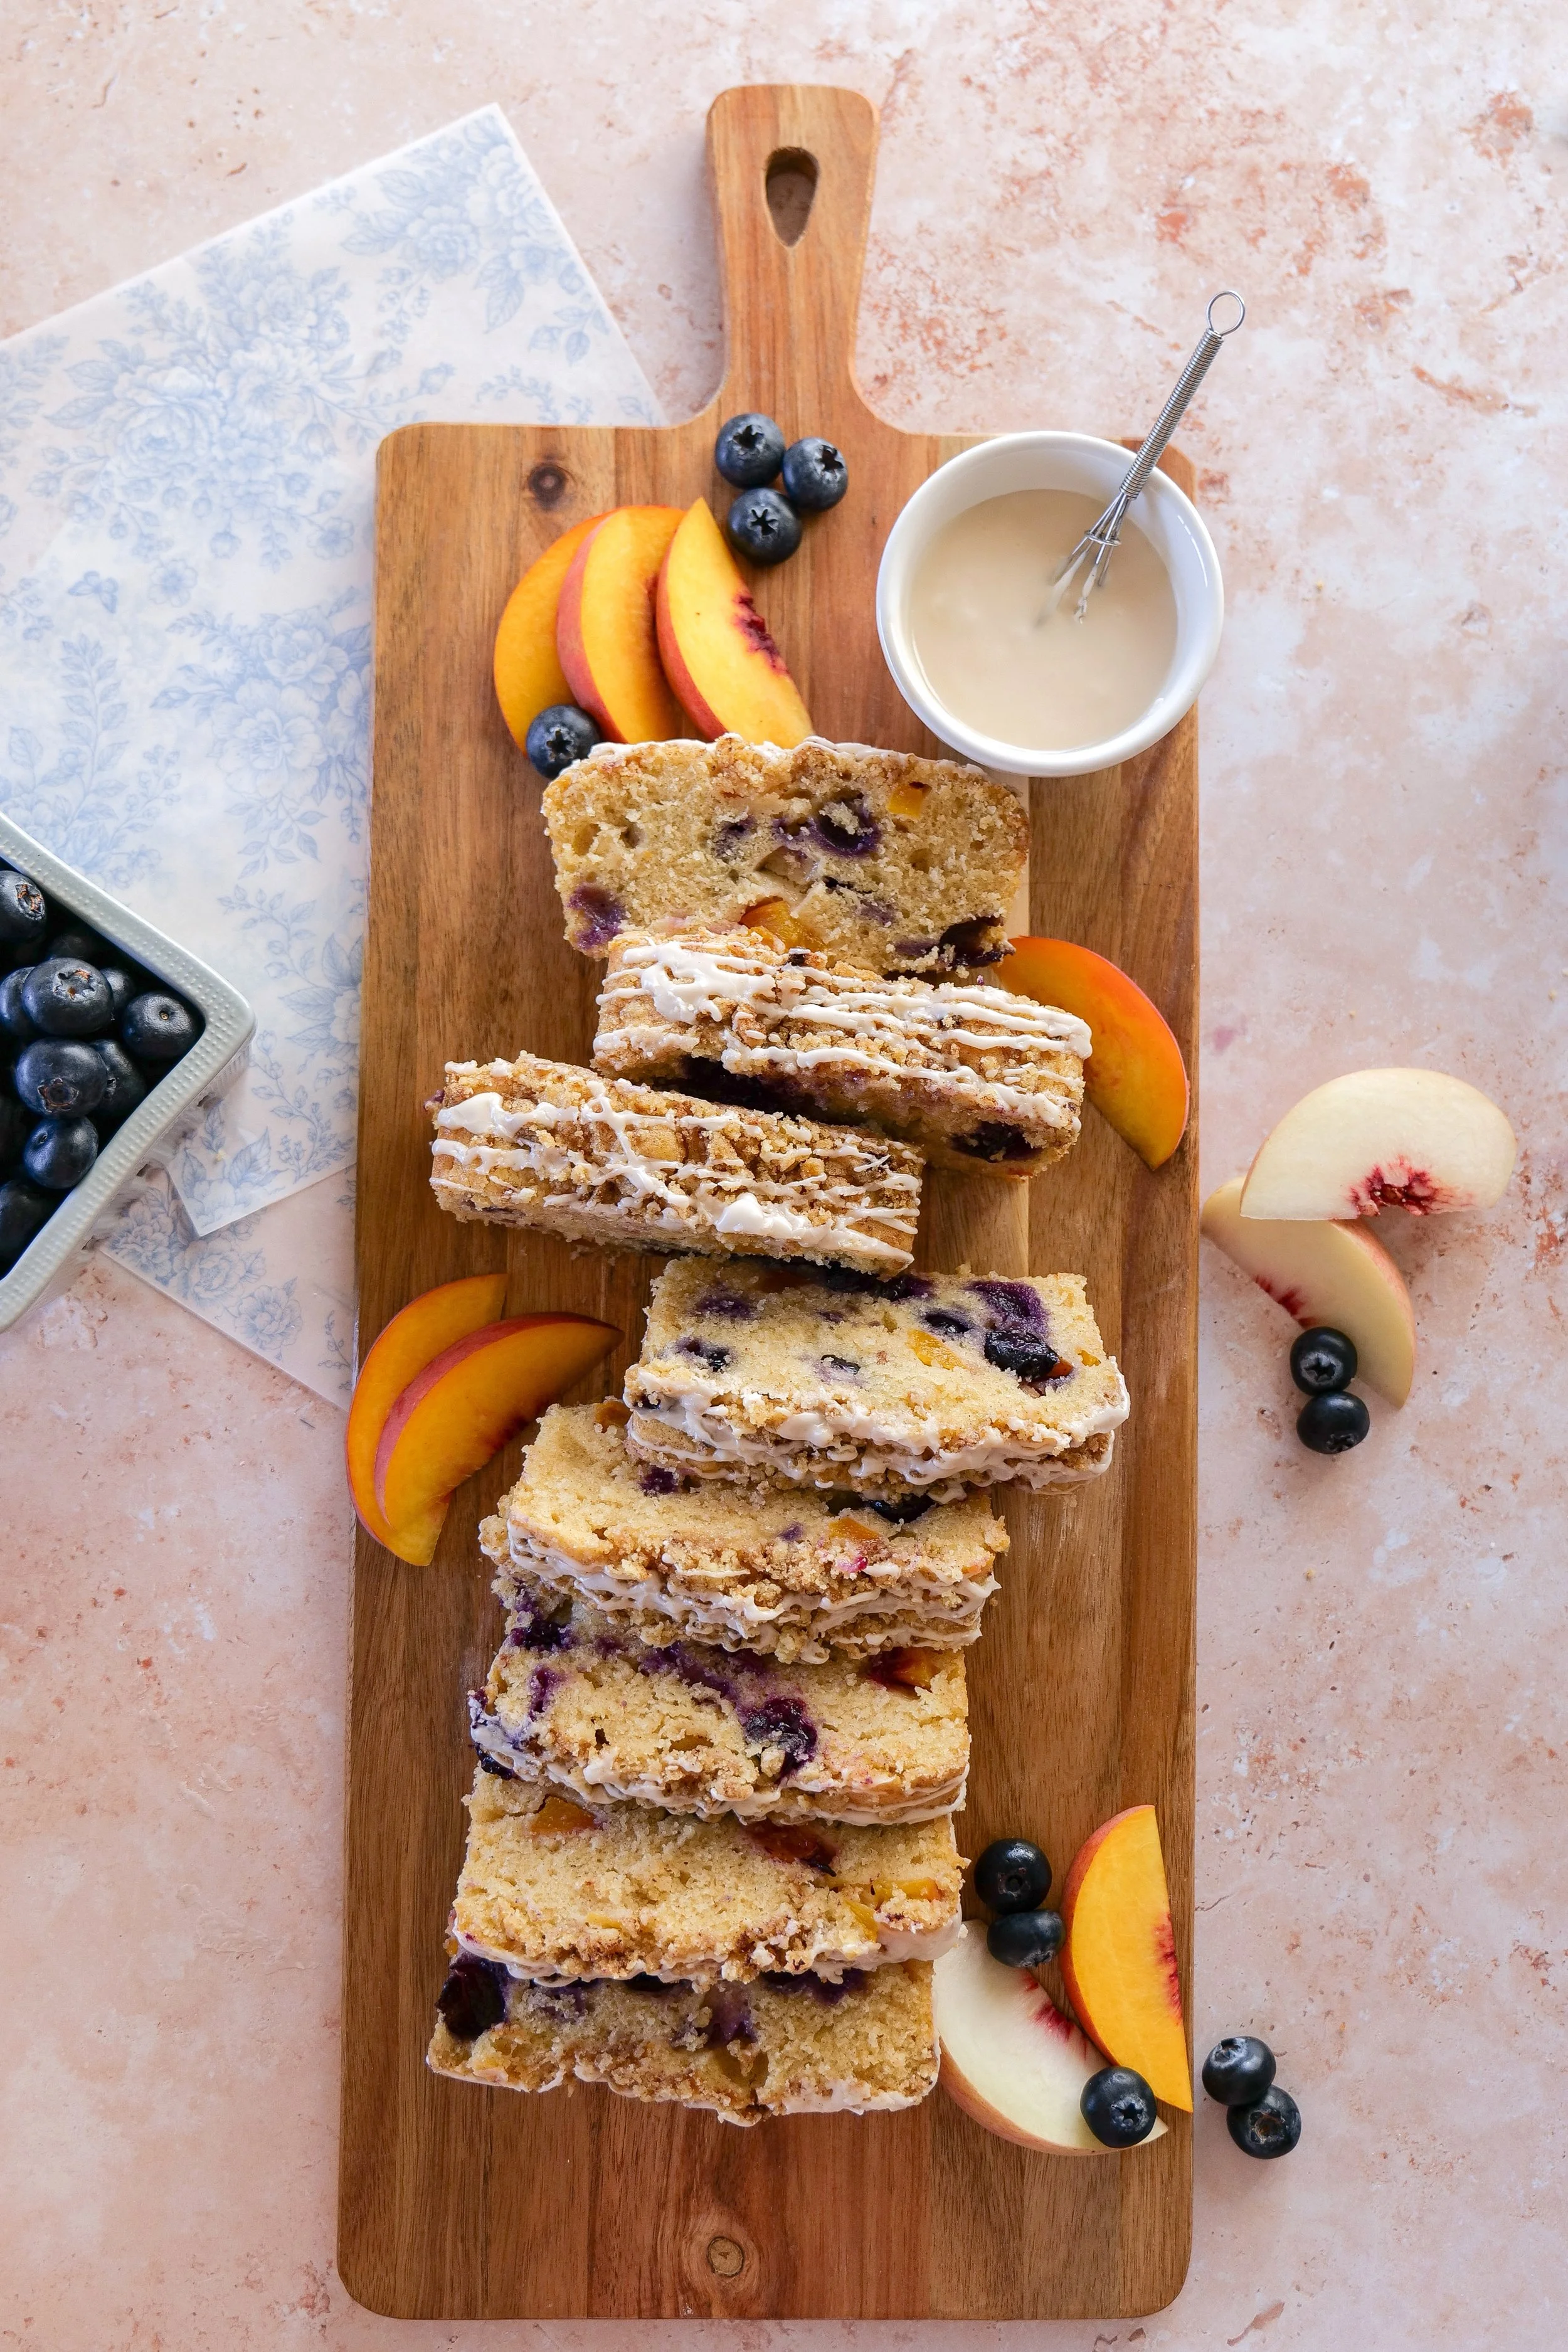
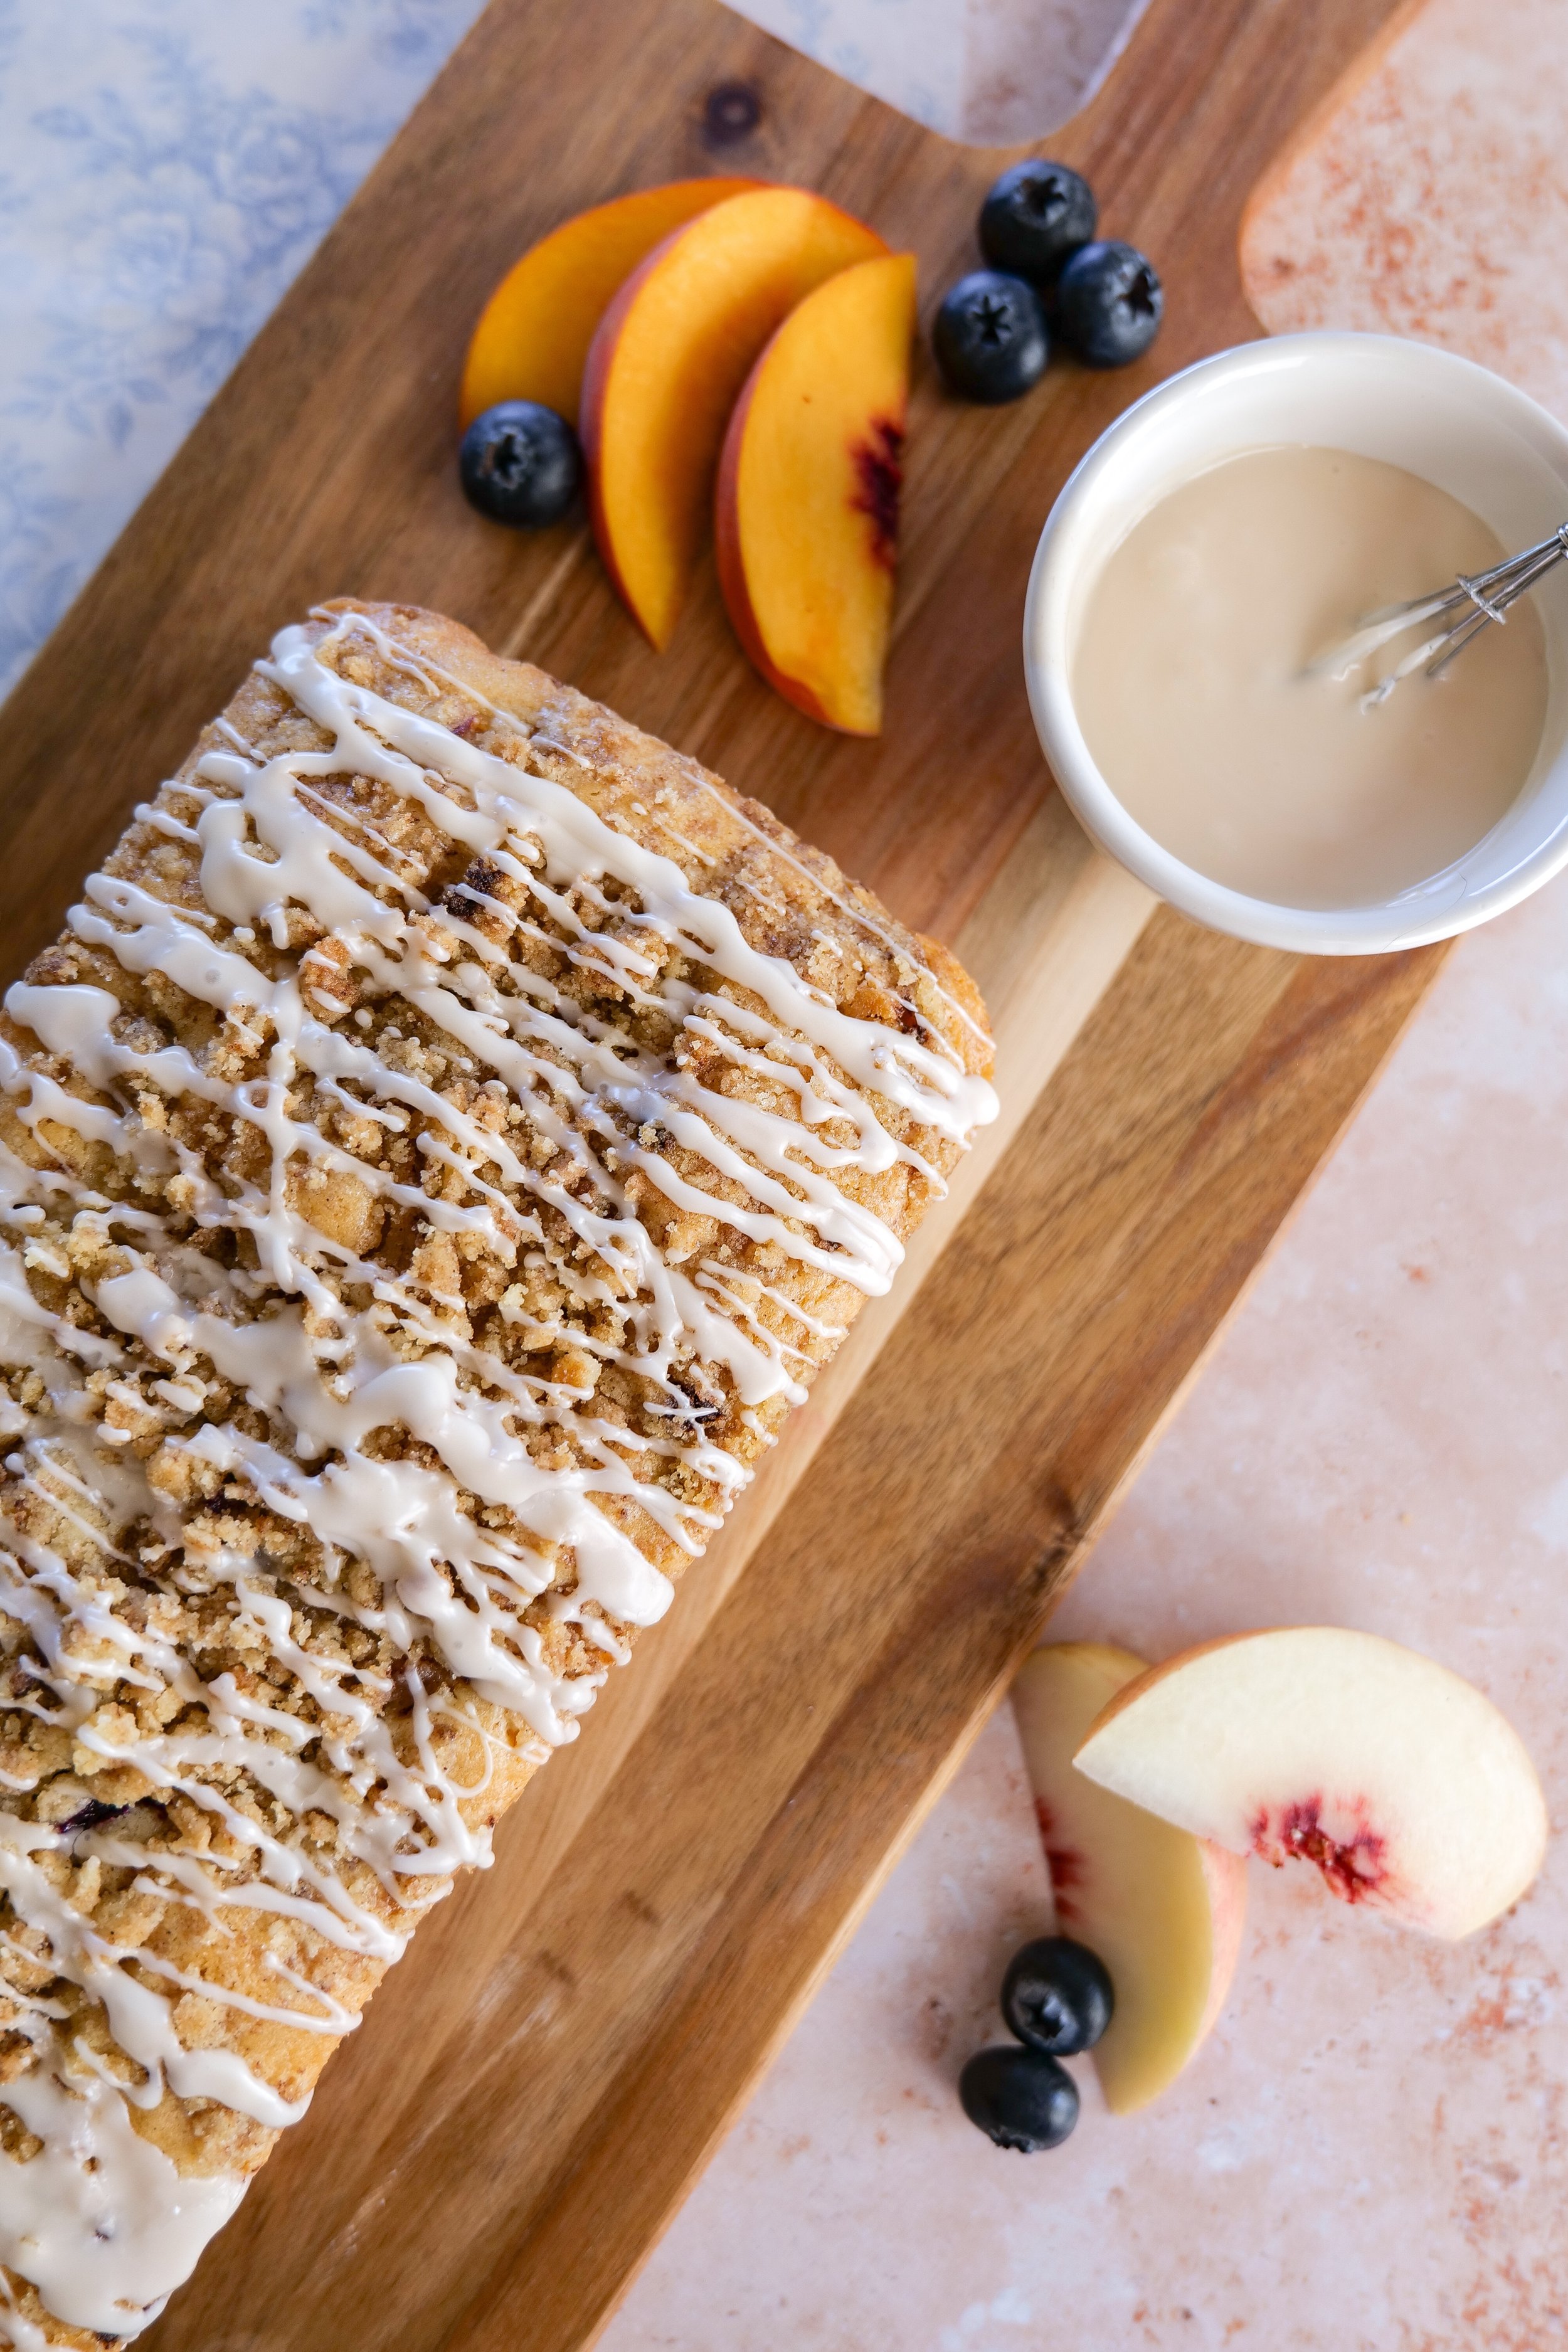
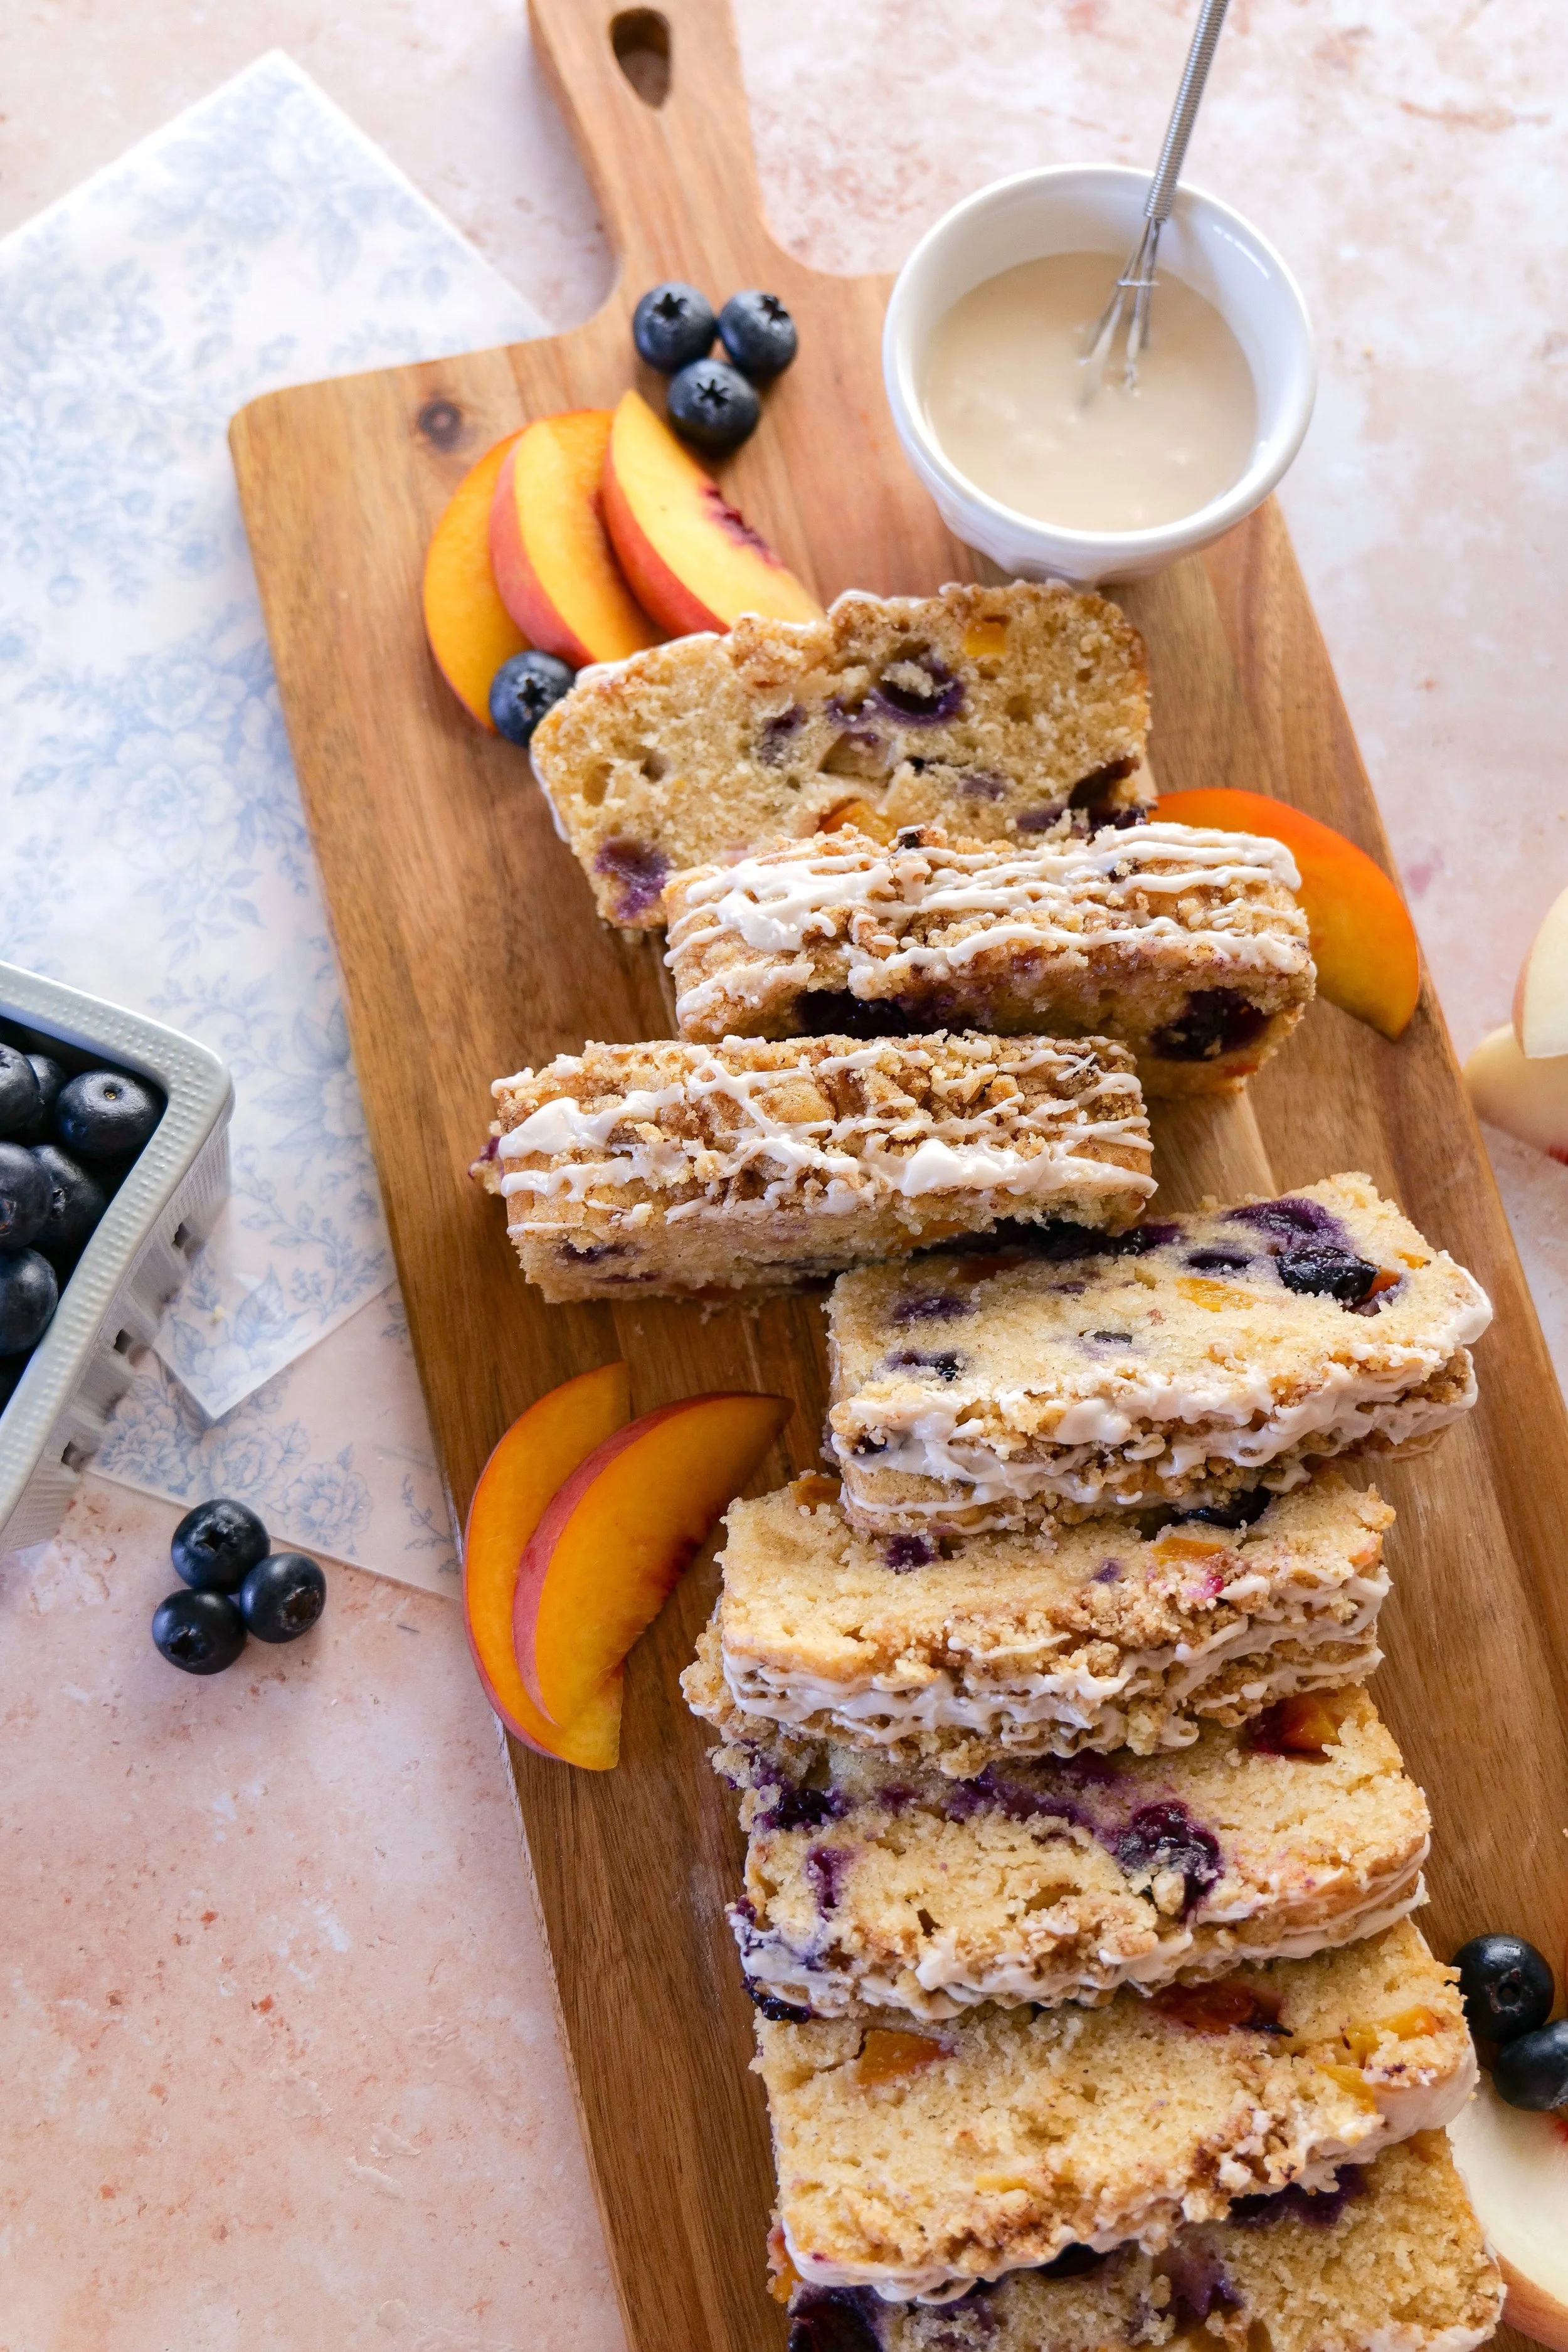
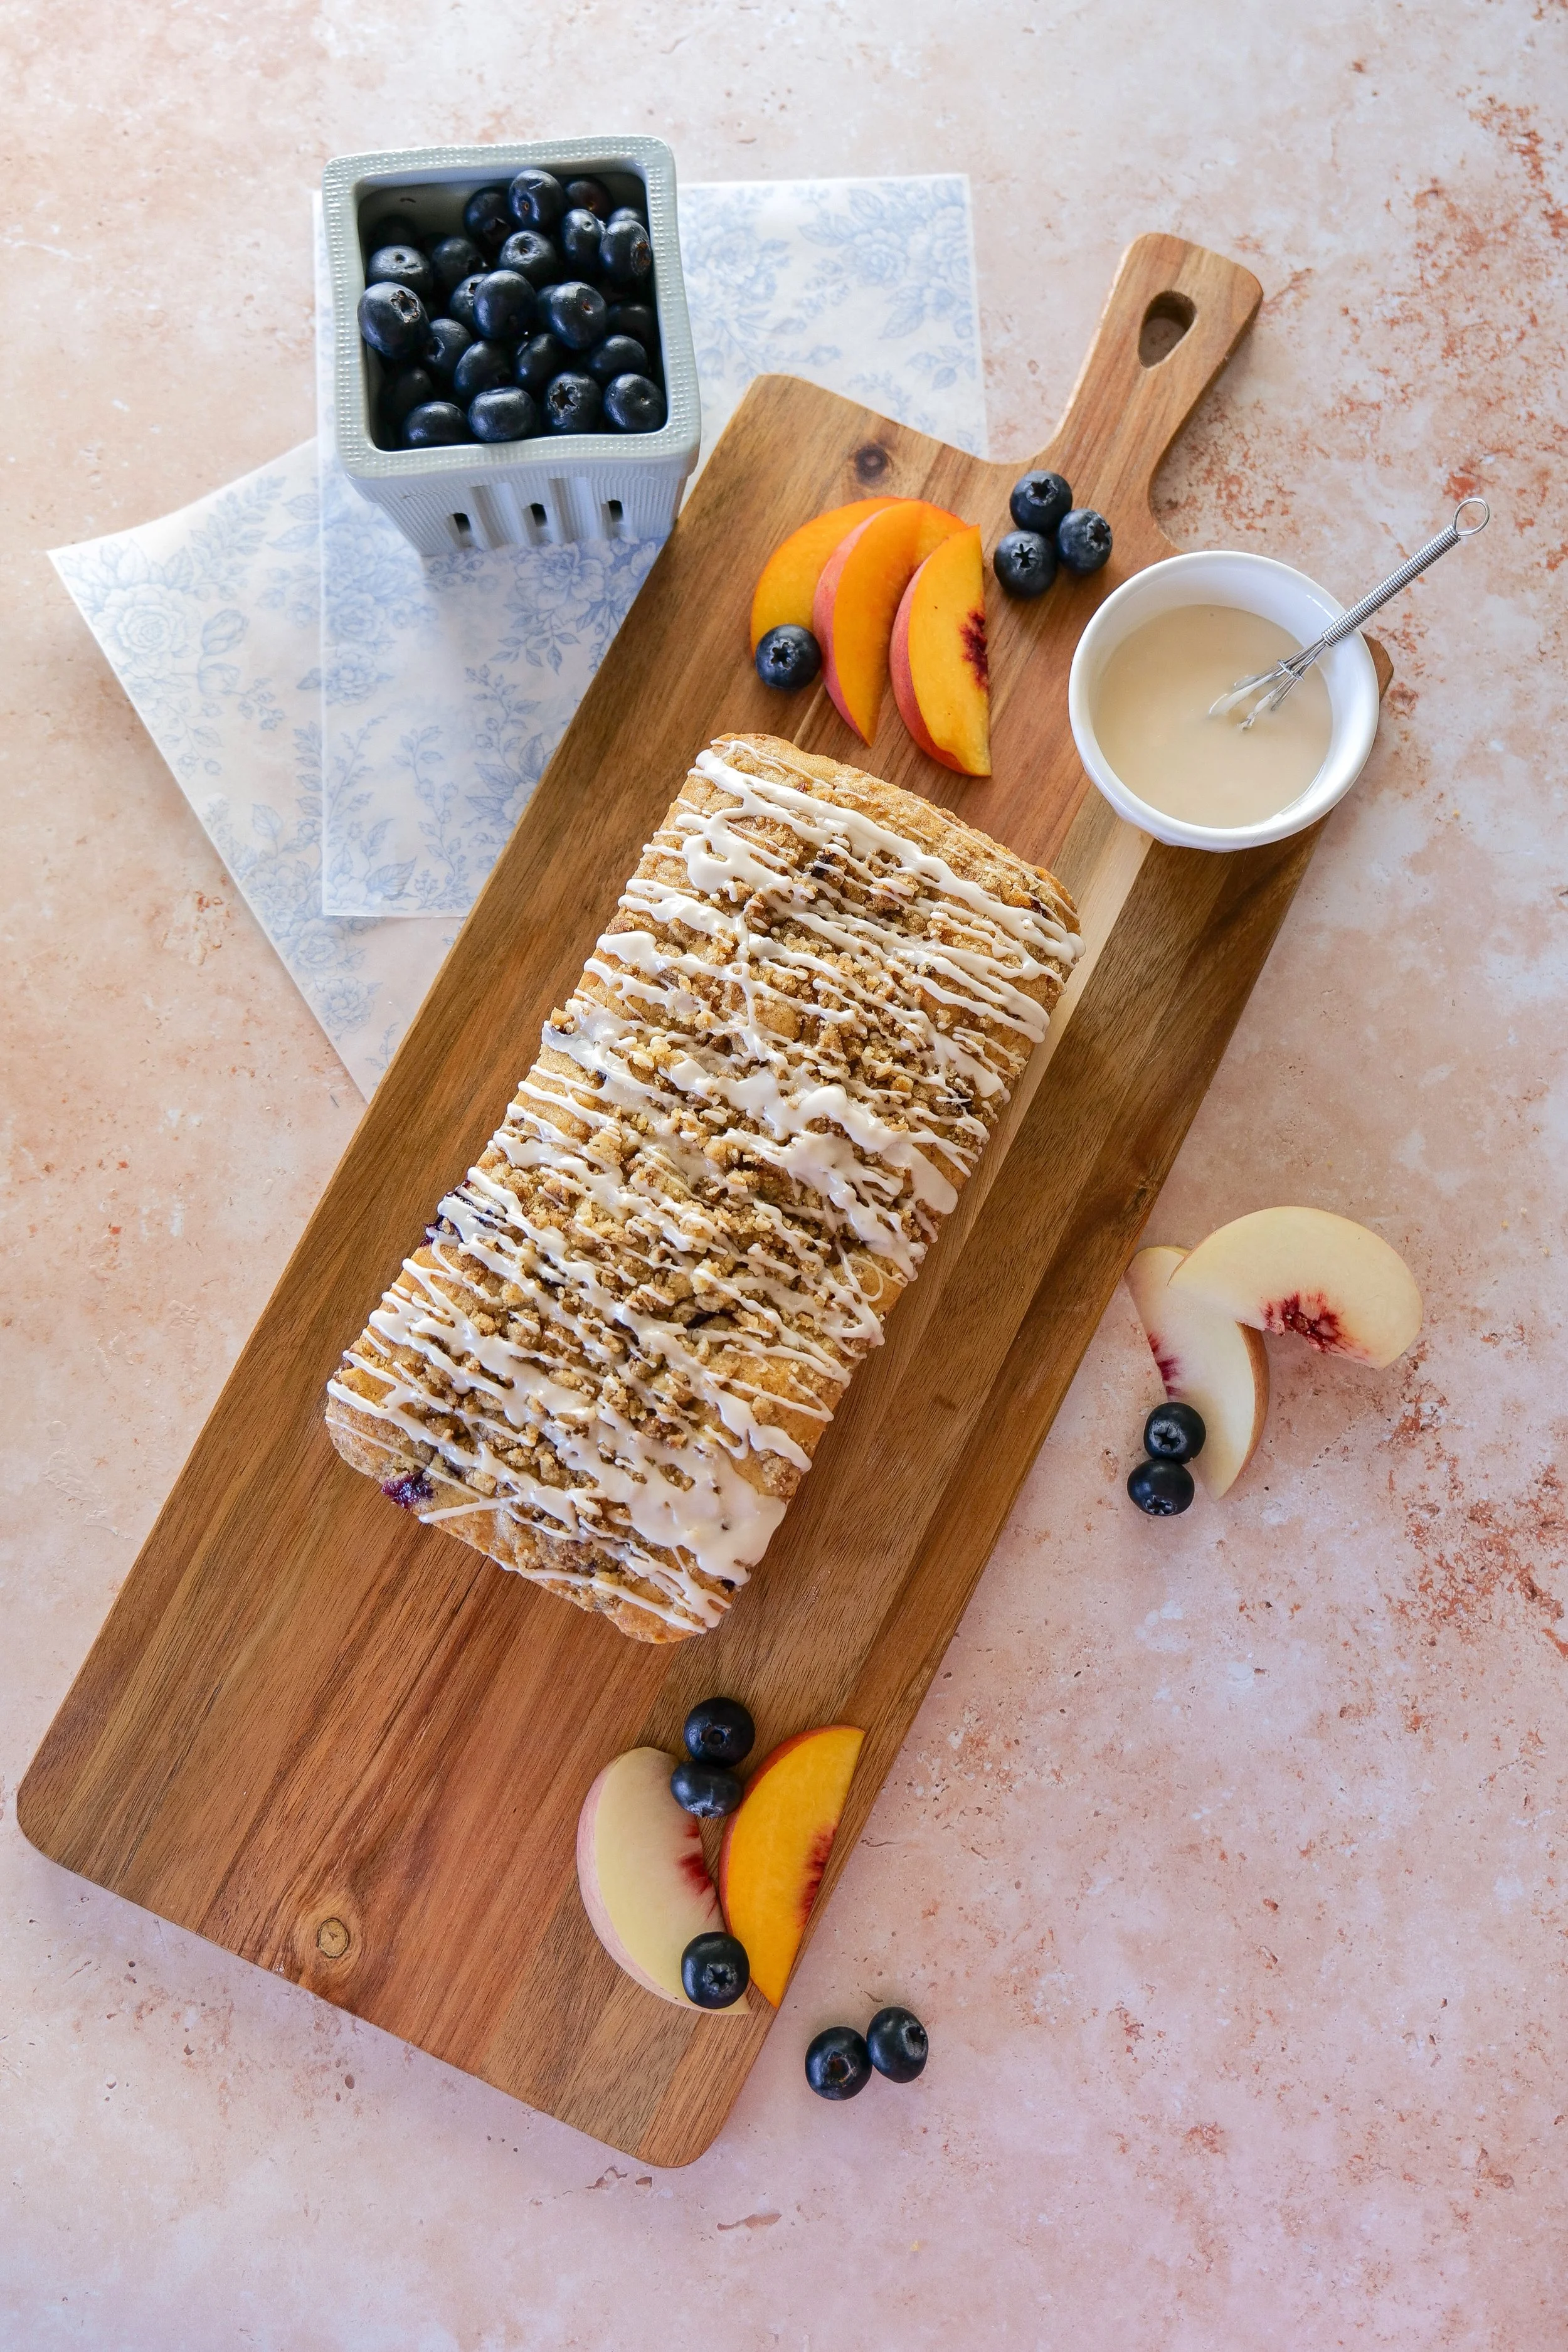
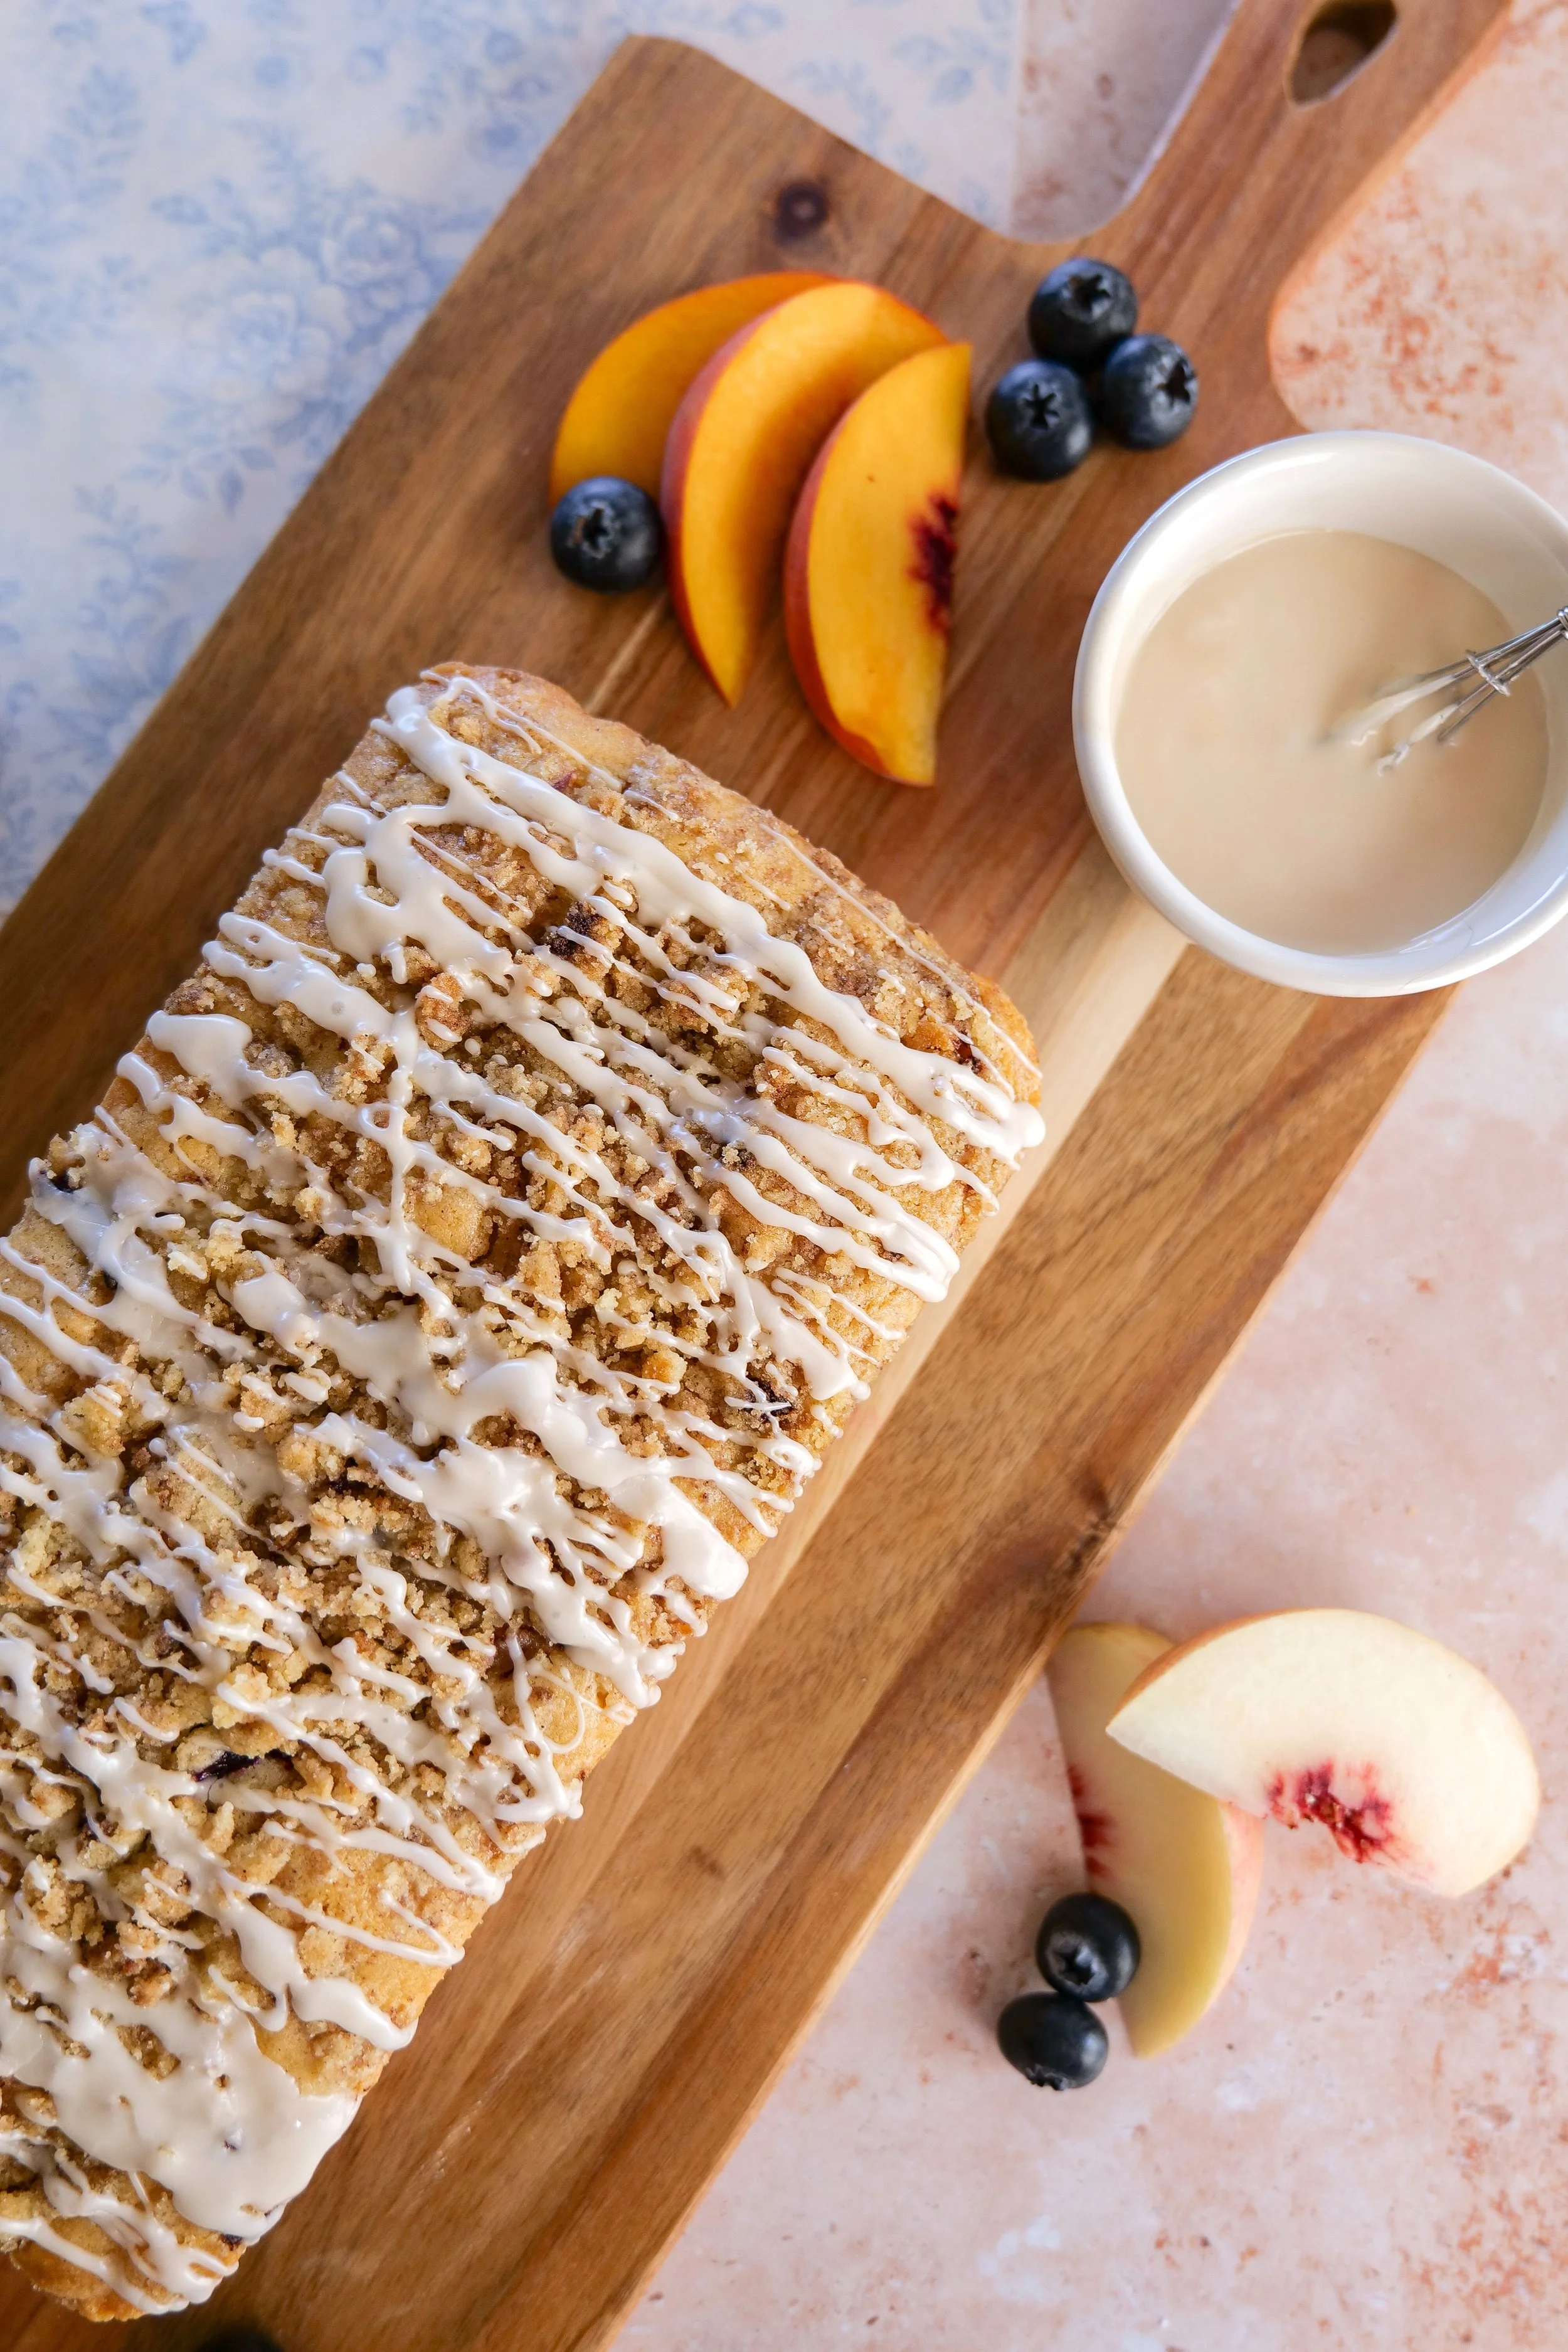
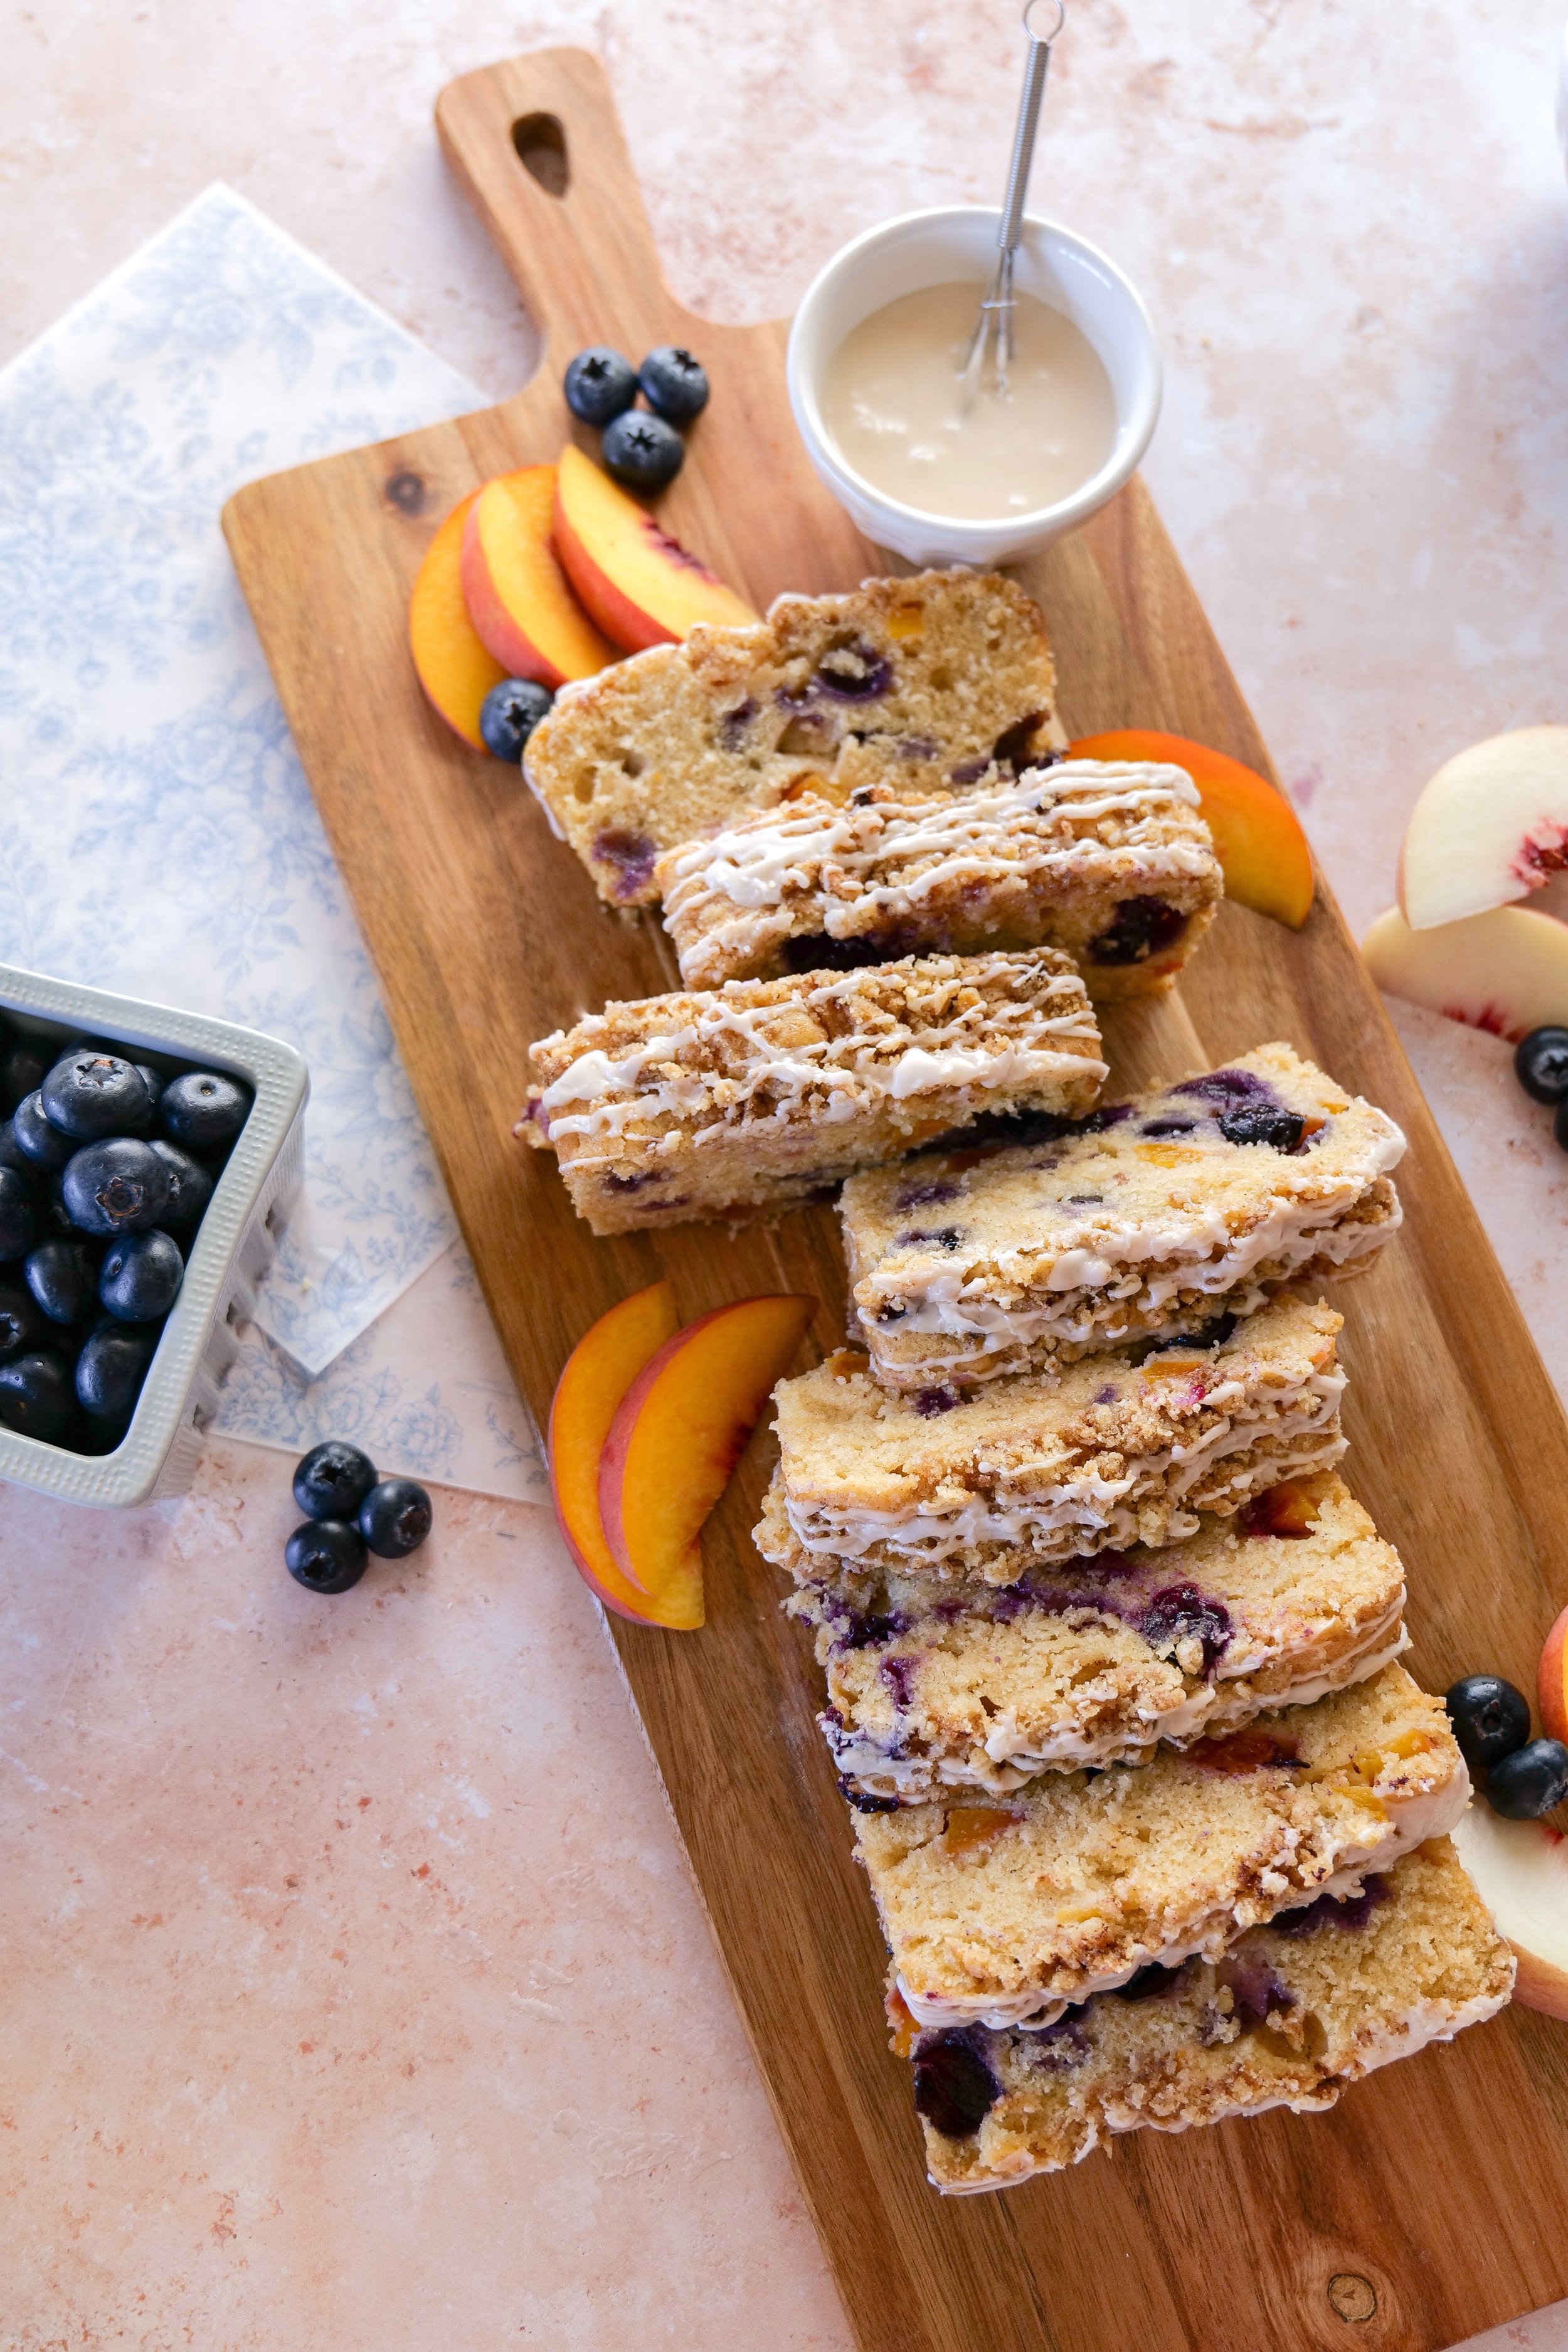
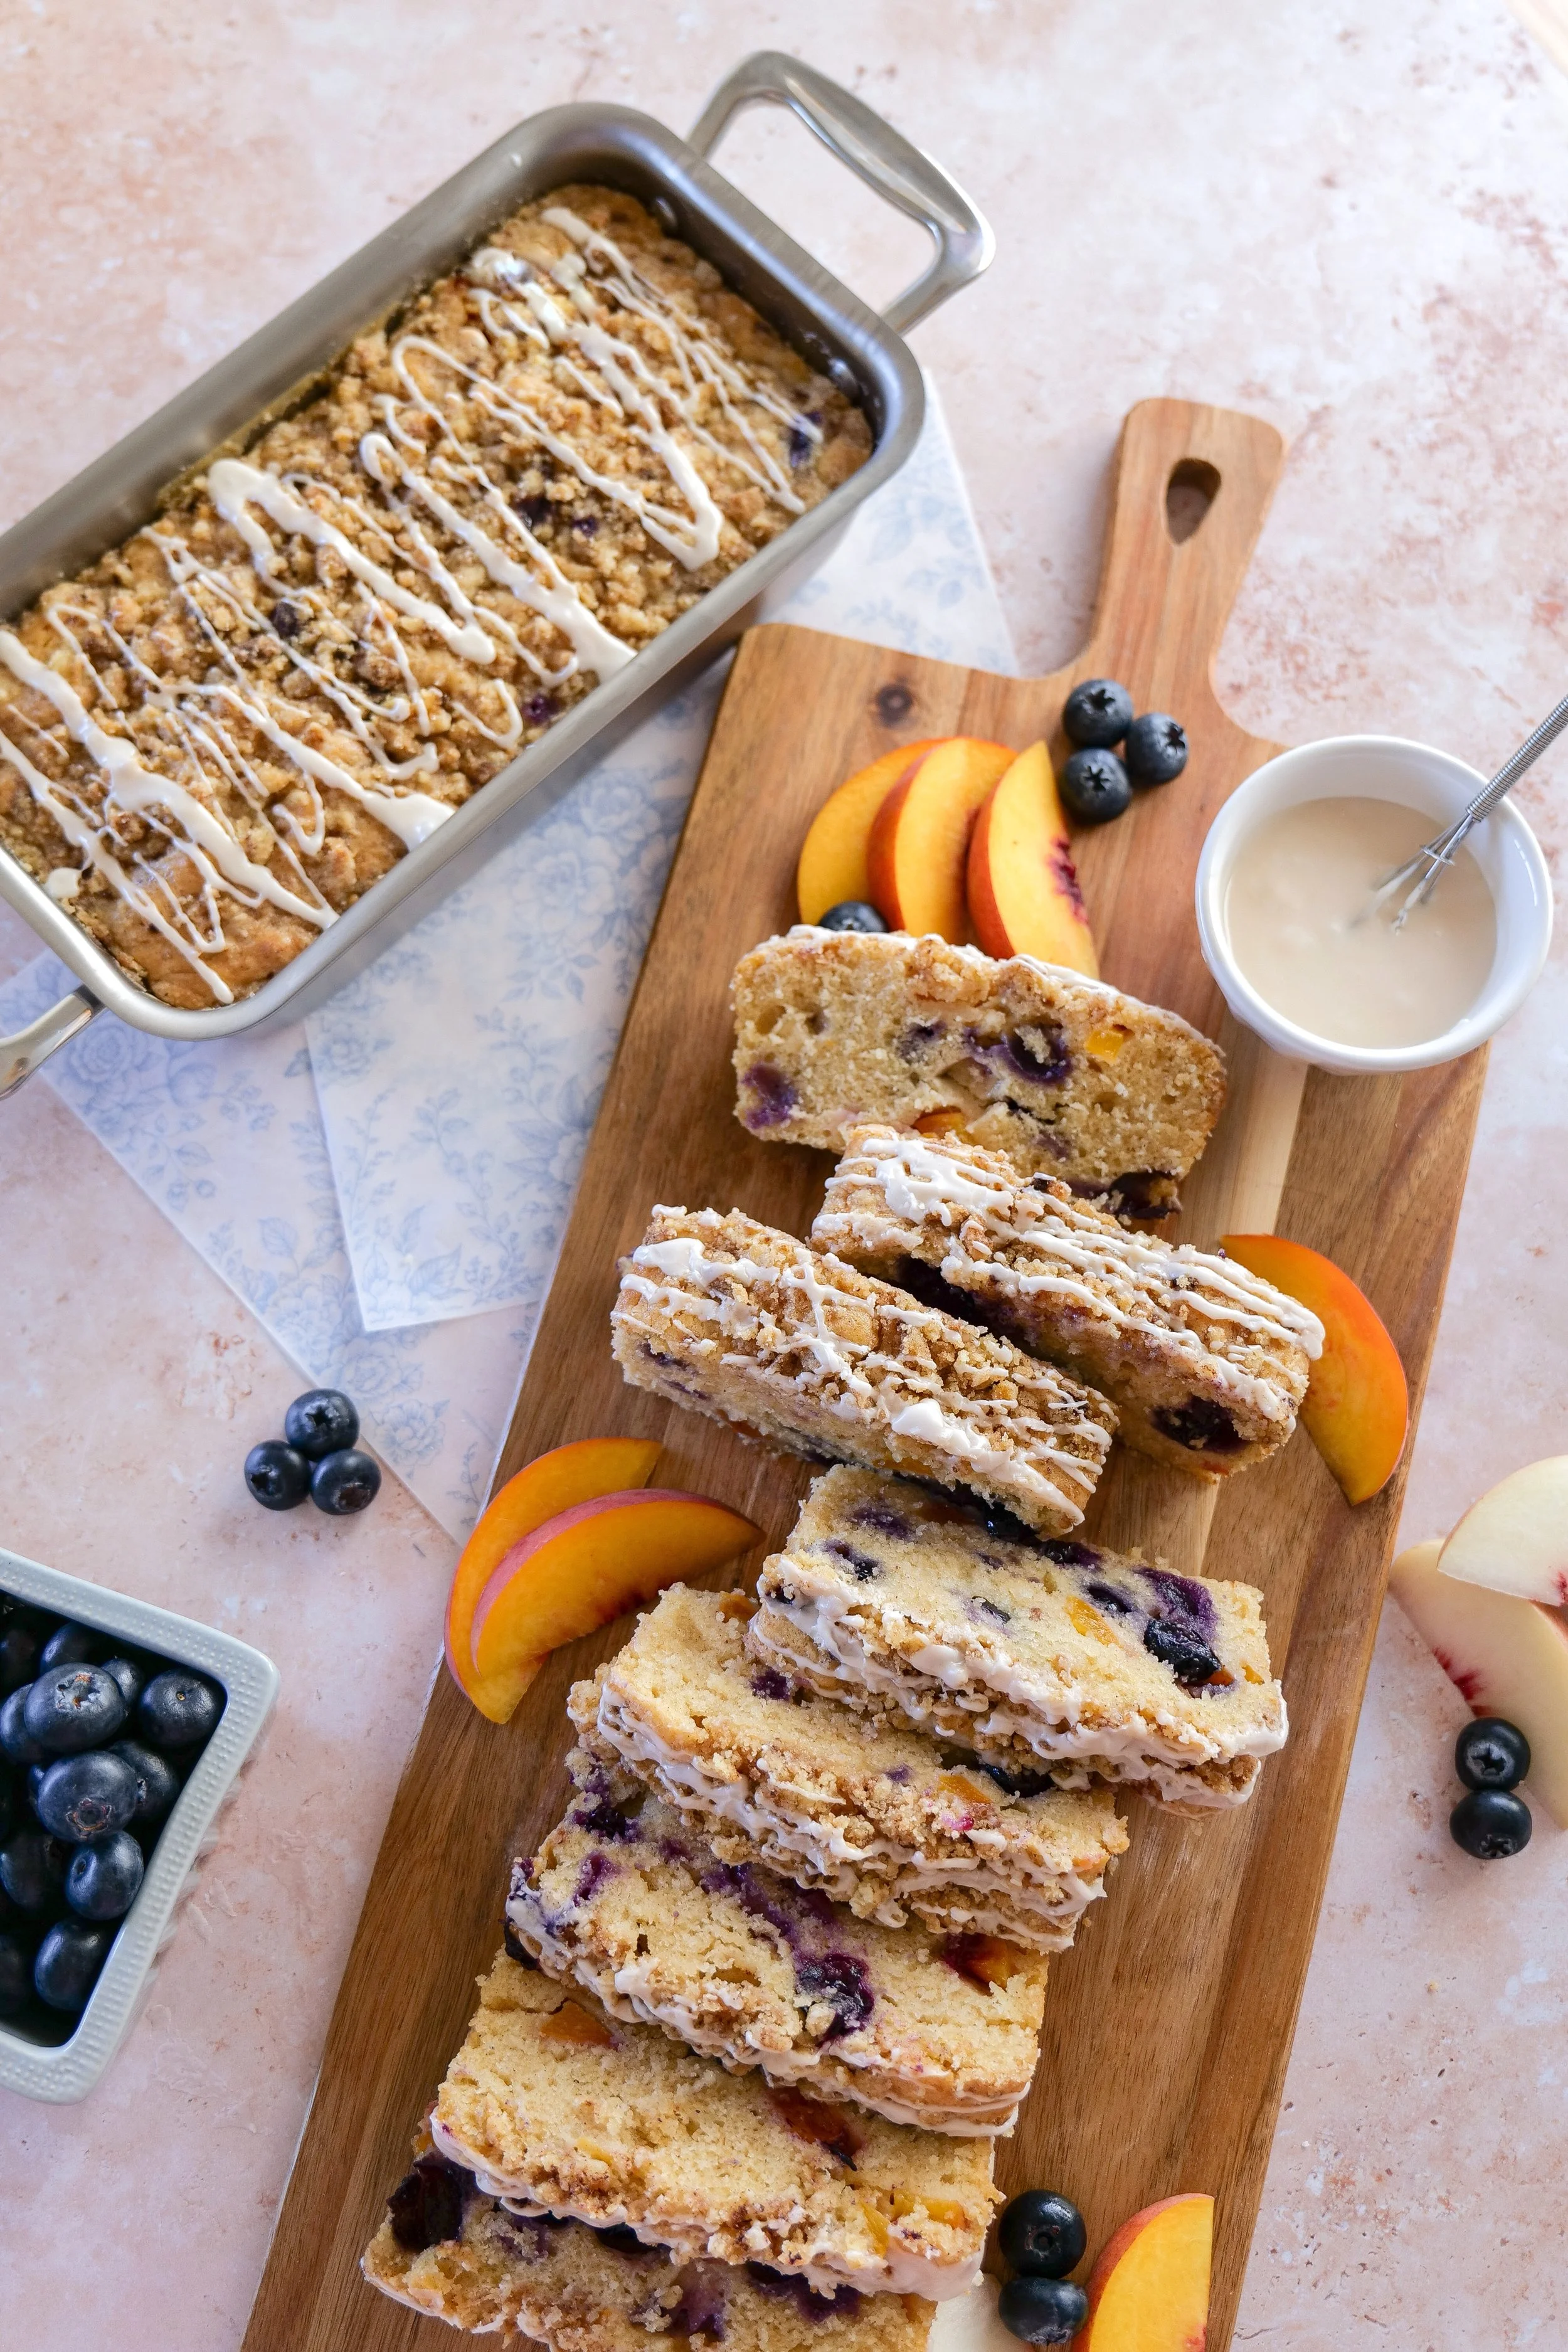
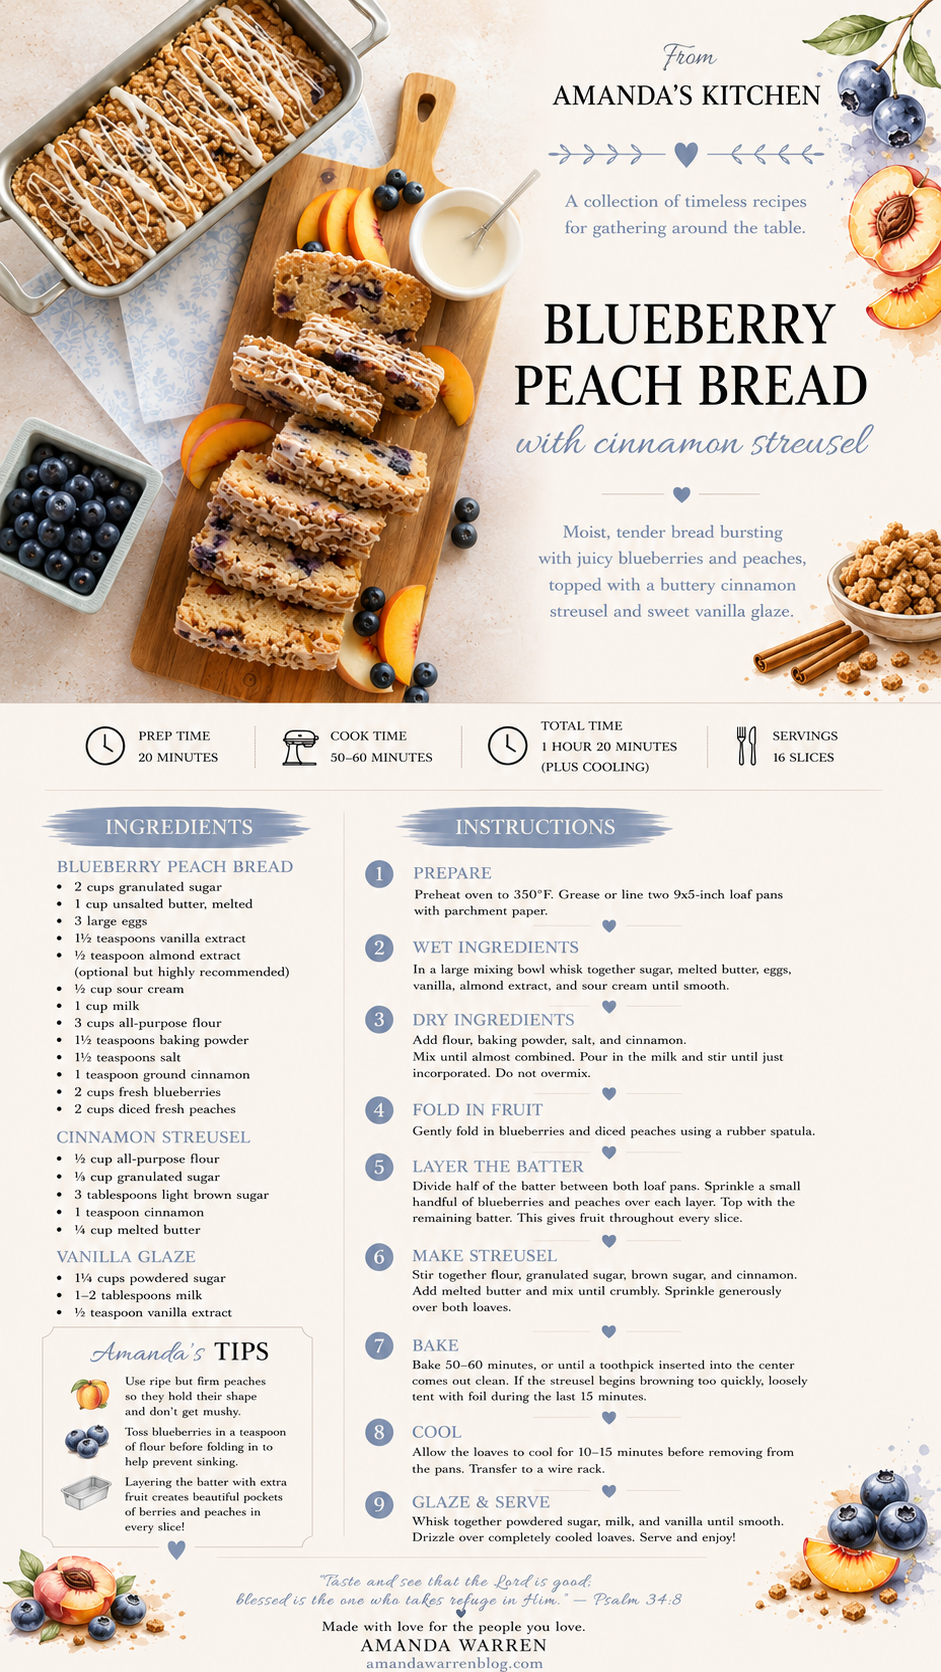
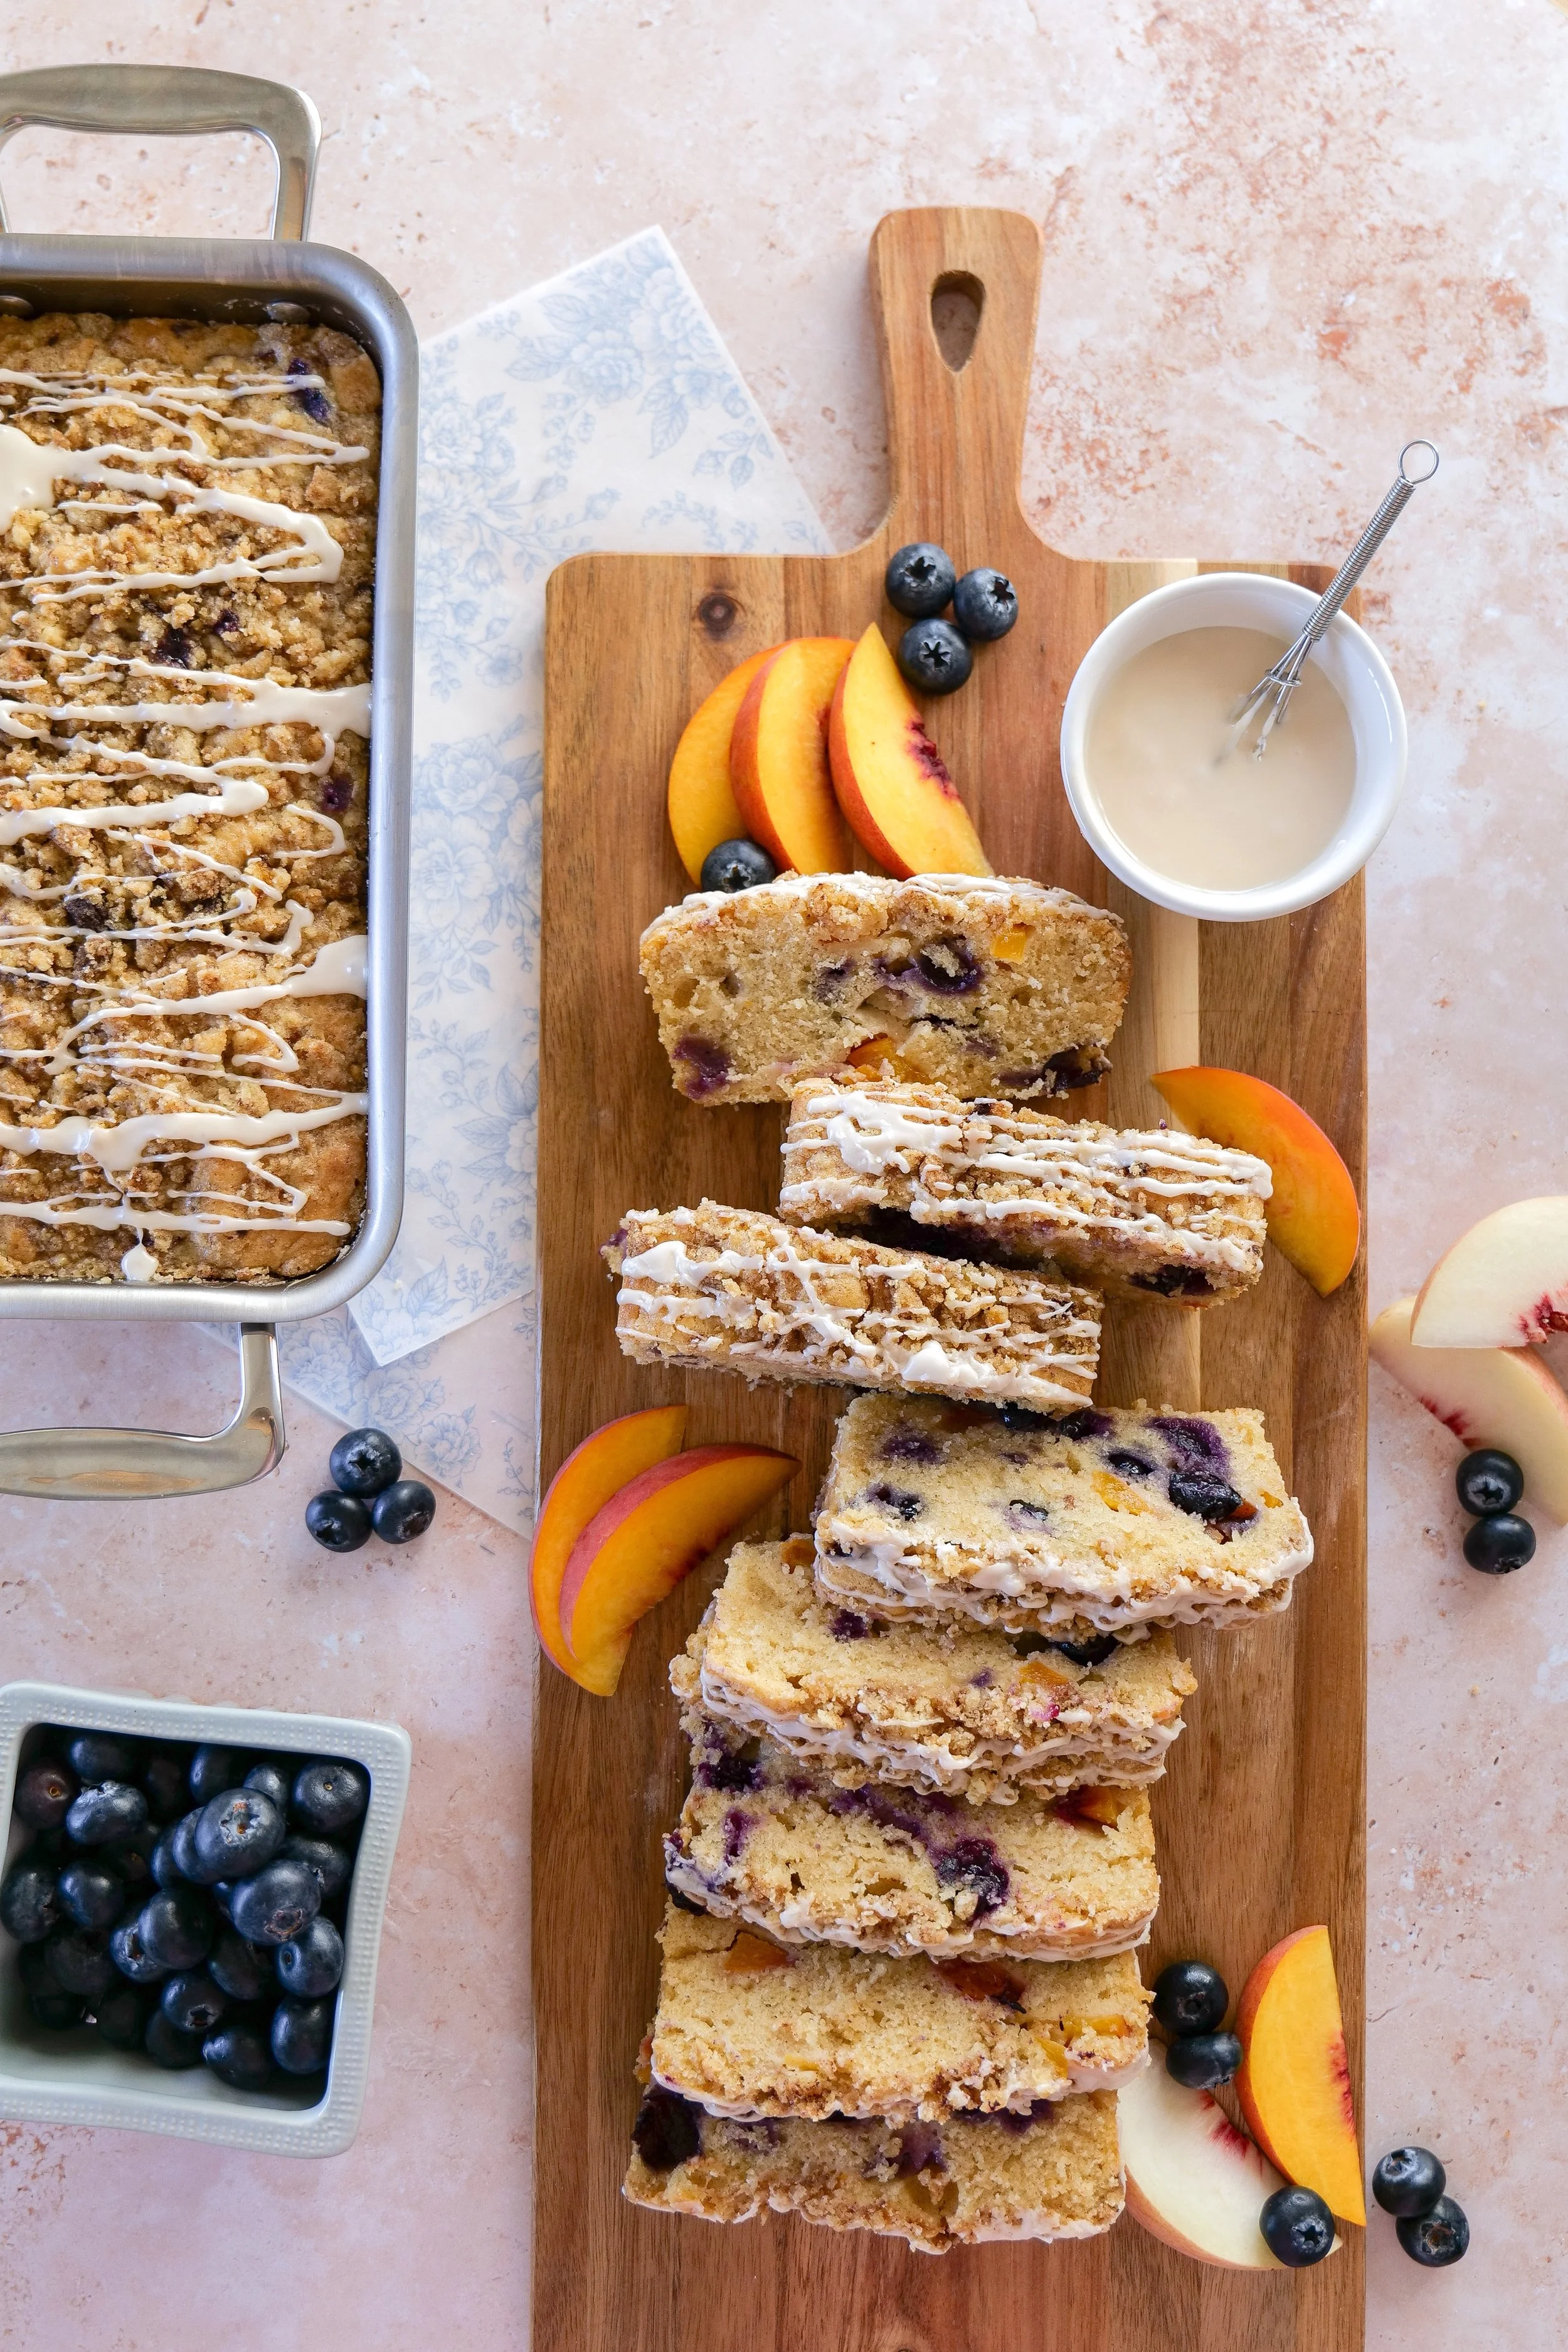
Blueberry Peach Bread with Cinnamon Streusel
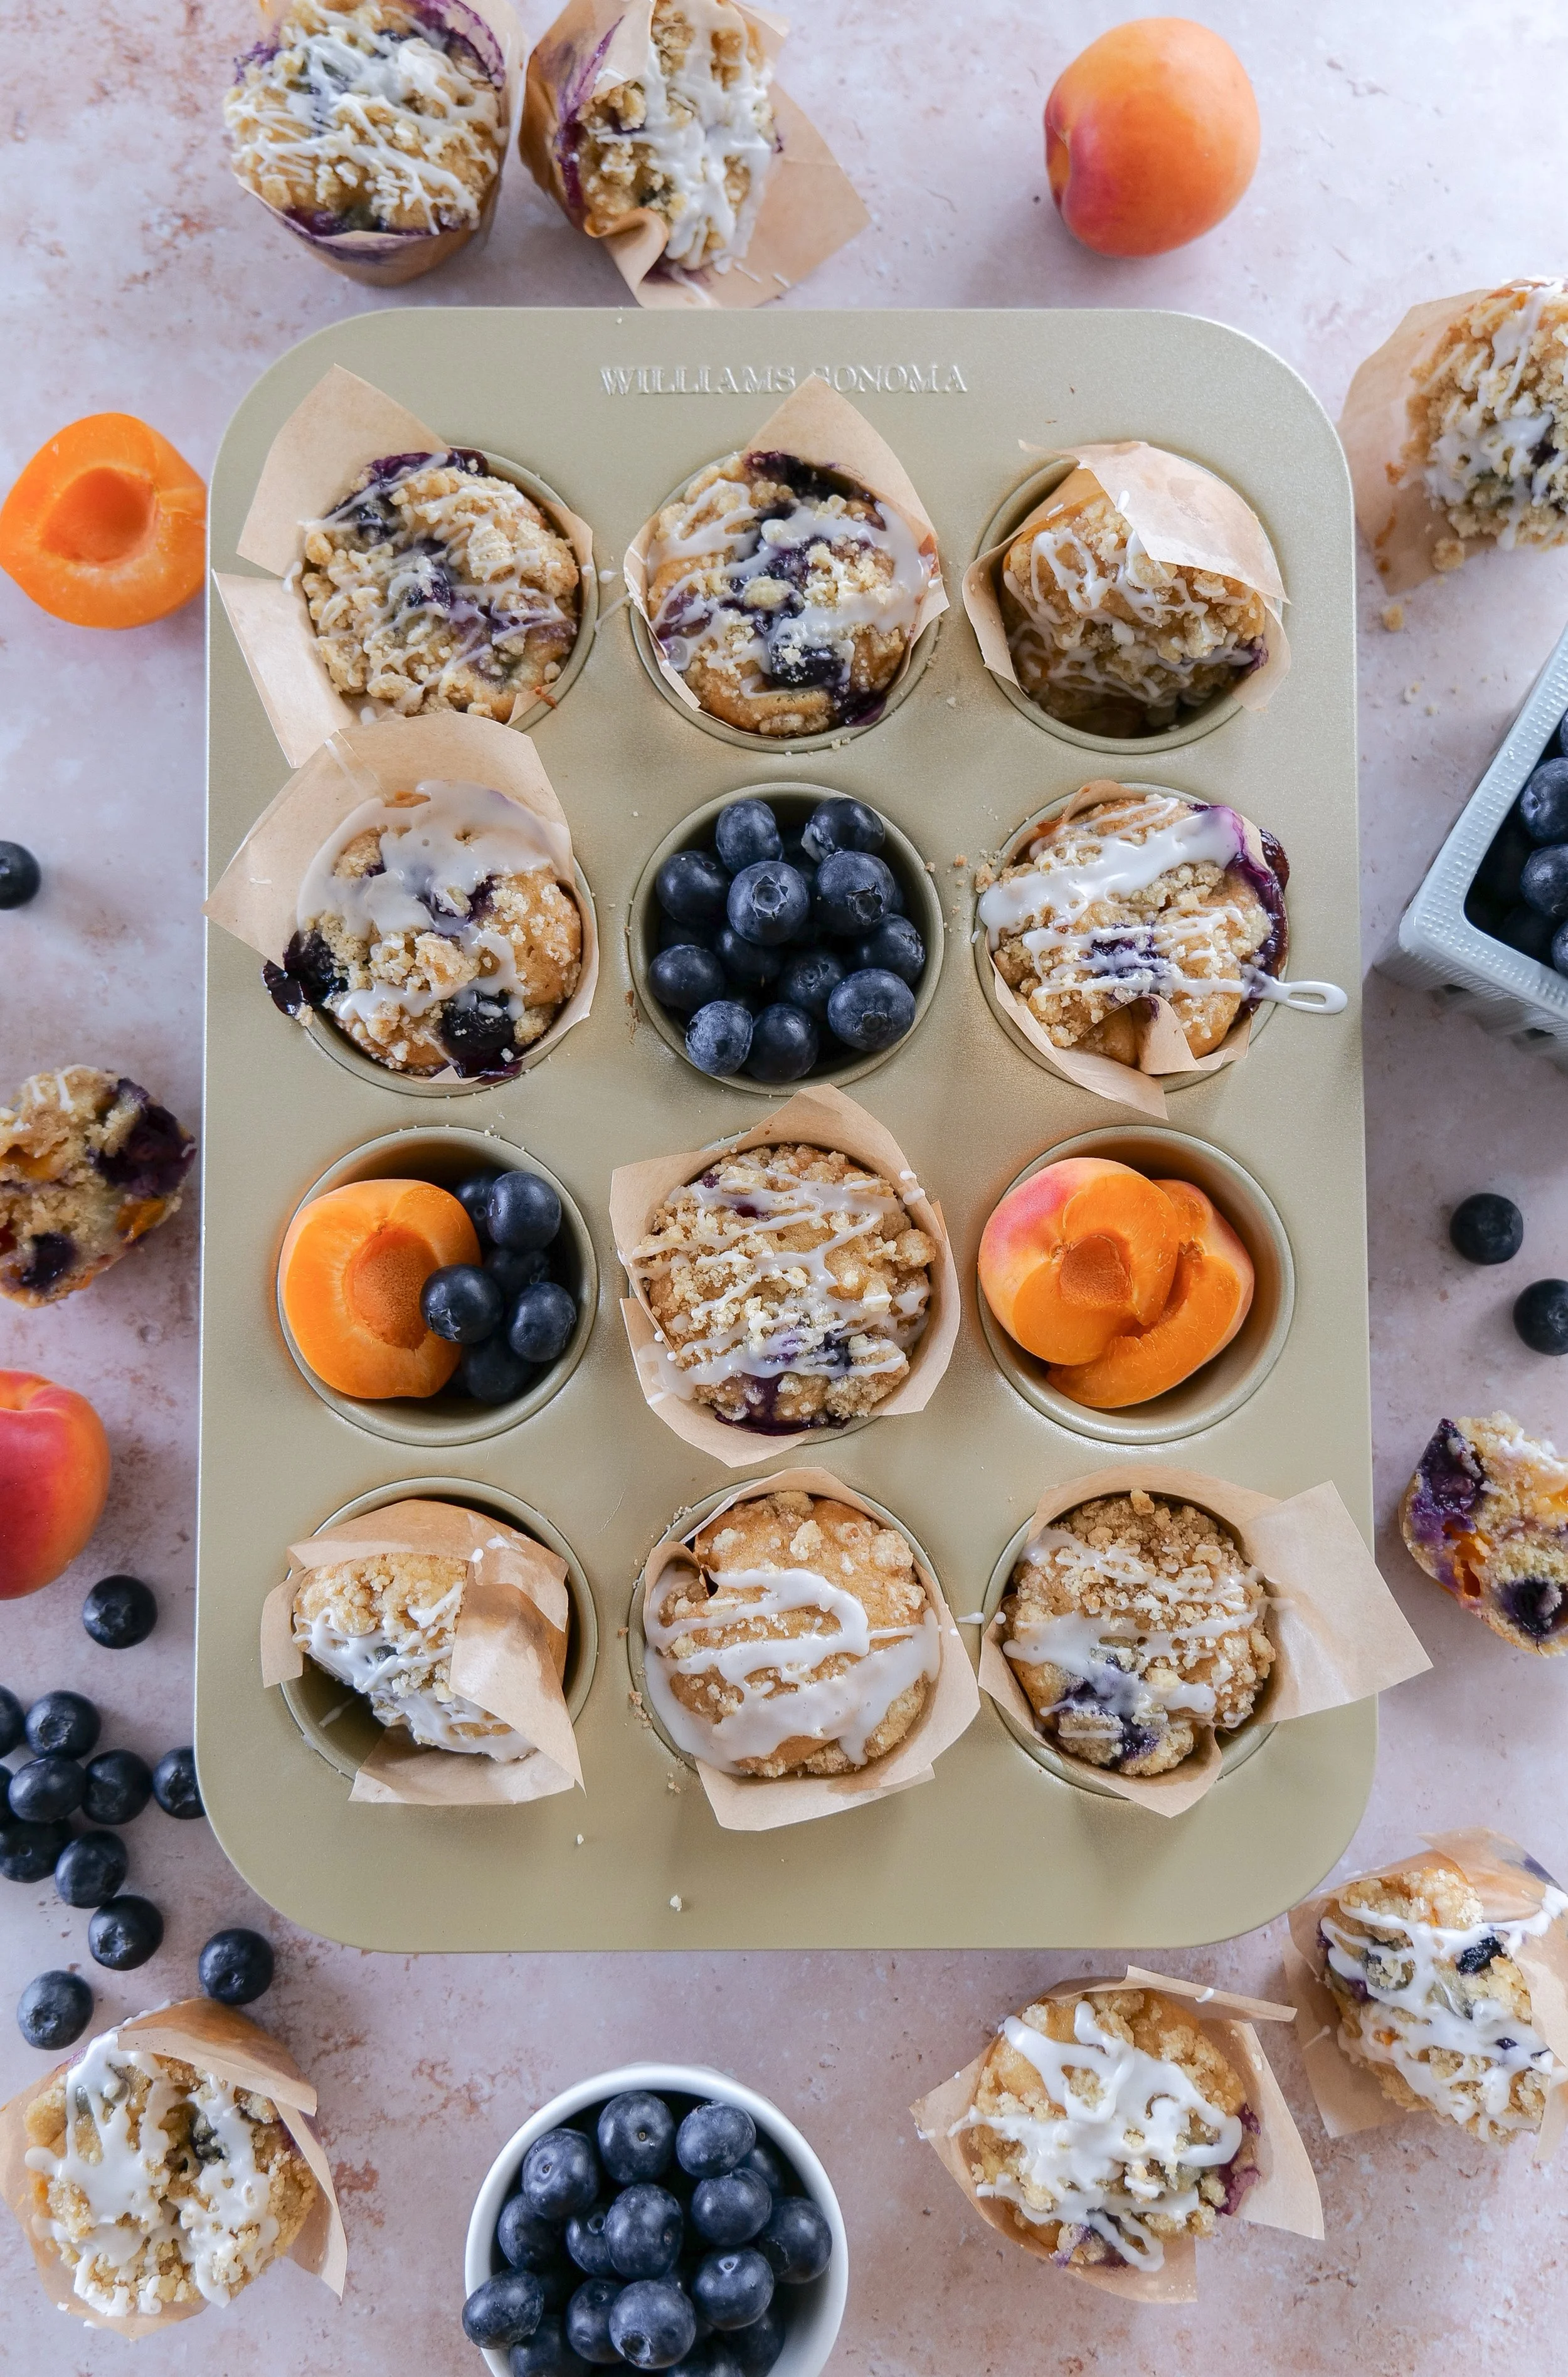
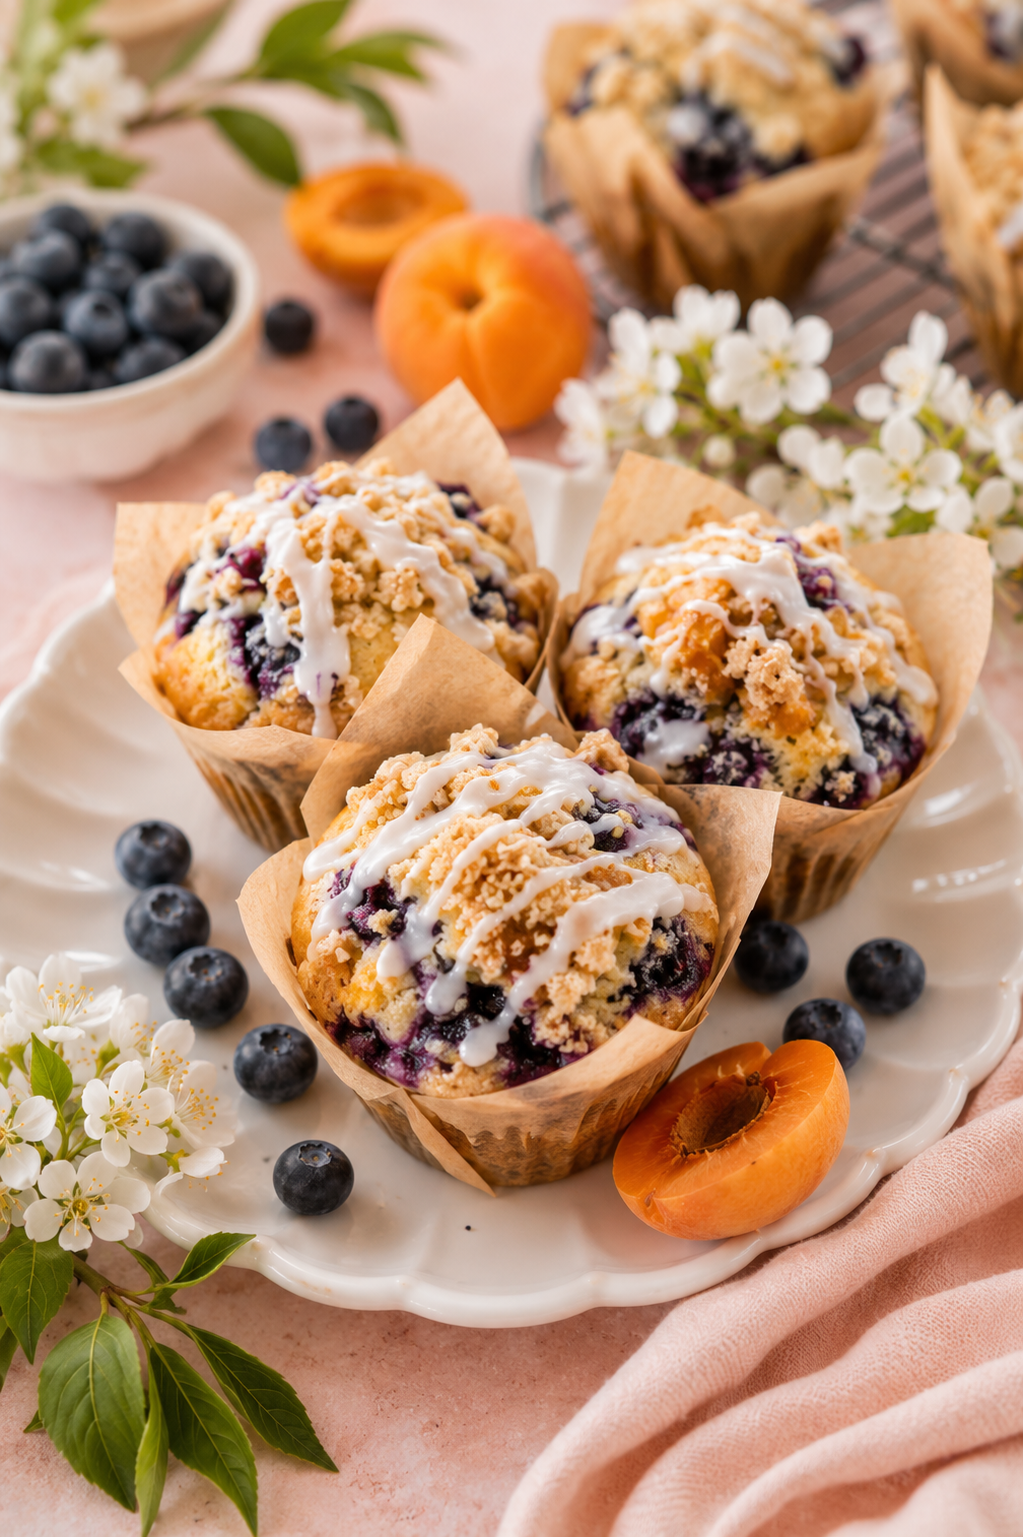
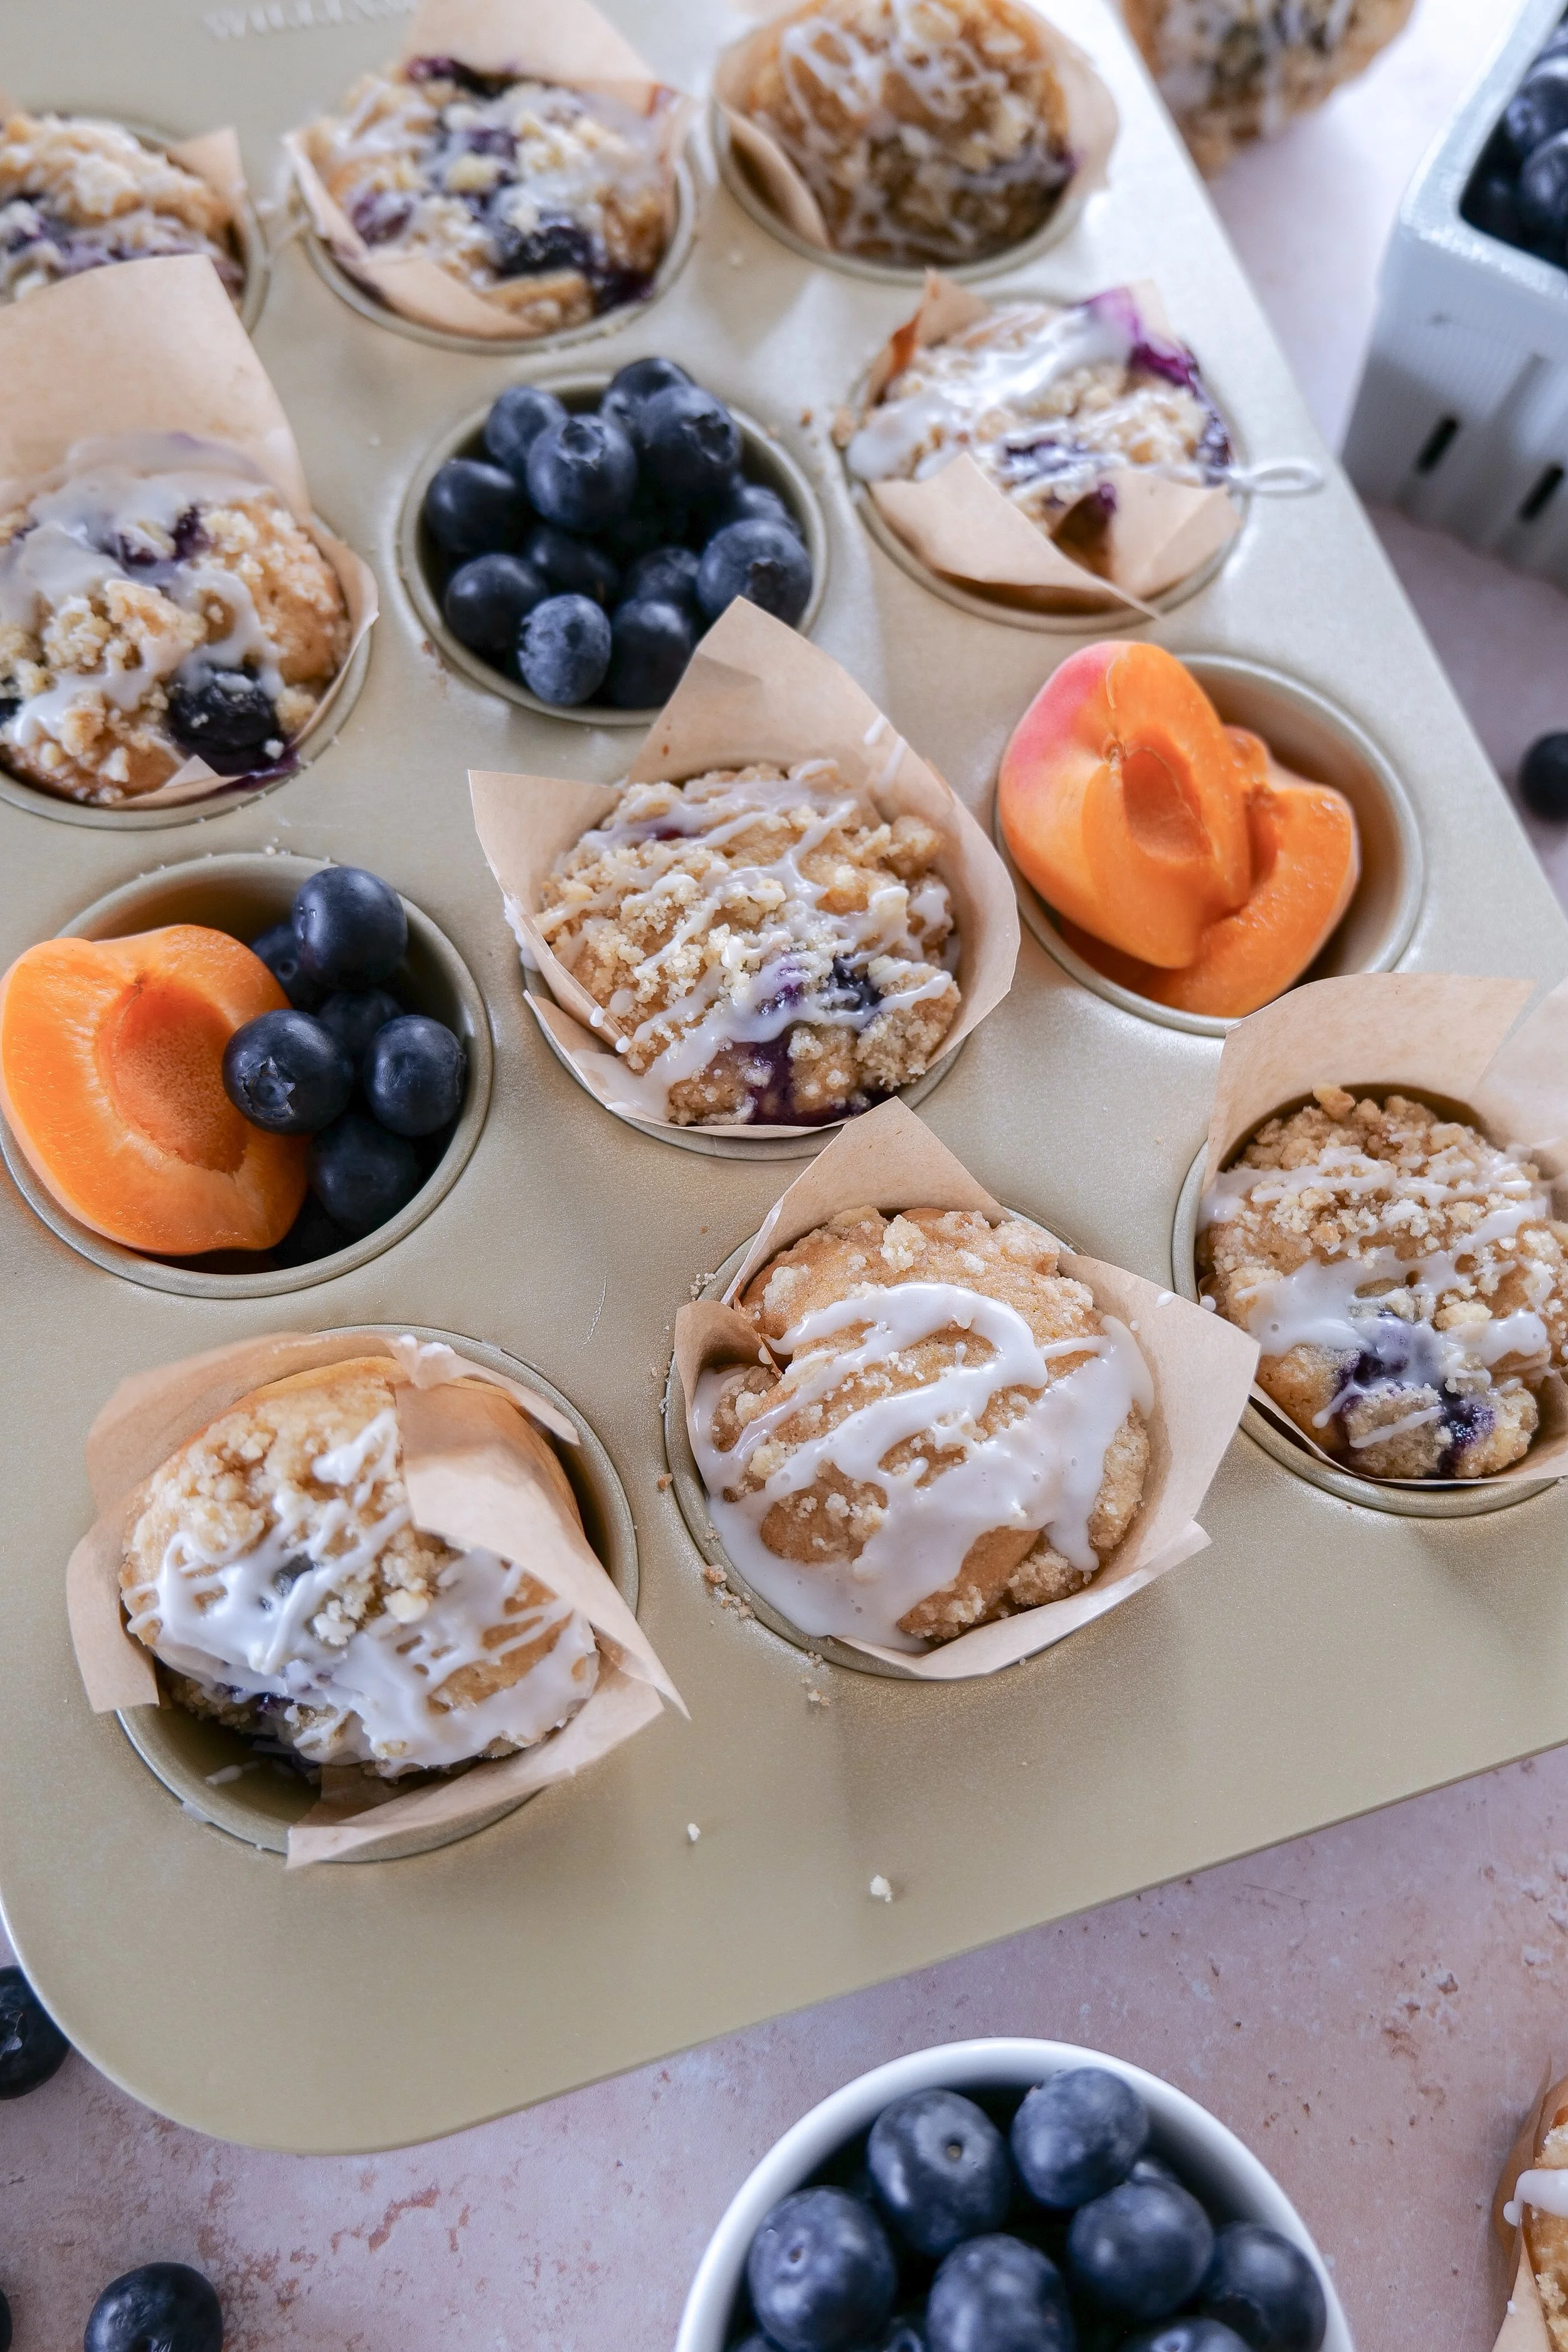
Blueberry Apricot Streusel Muffins
Why You'll Love These Blueberry Pie Overnight Oats
There are plenty of overnight oats recipes out there, but this one has quickly become one of my favorites because it captures all the cozy flavors of homemade blueberry pie while taking only a few minutes to prepare.
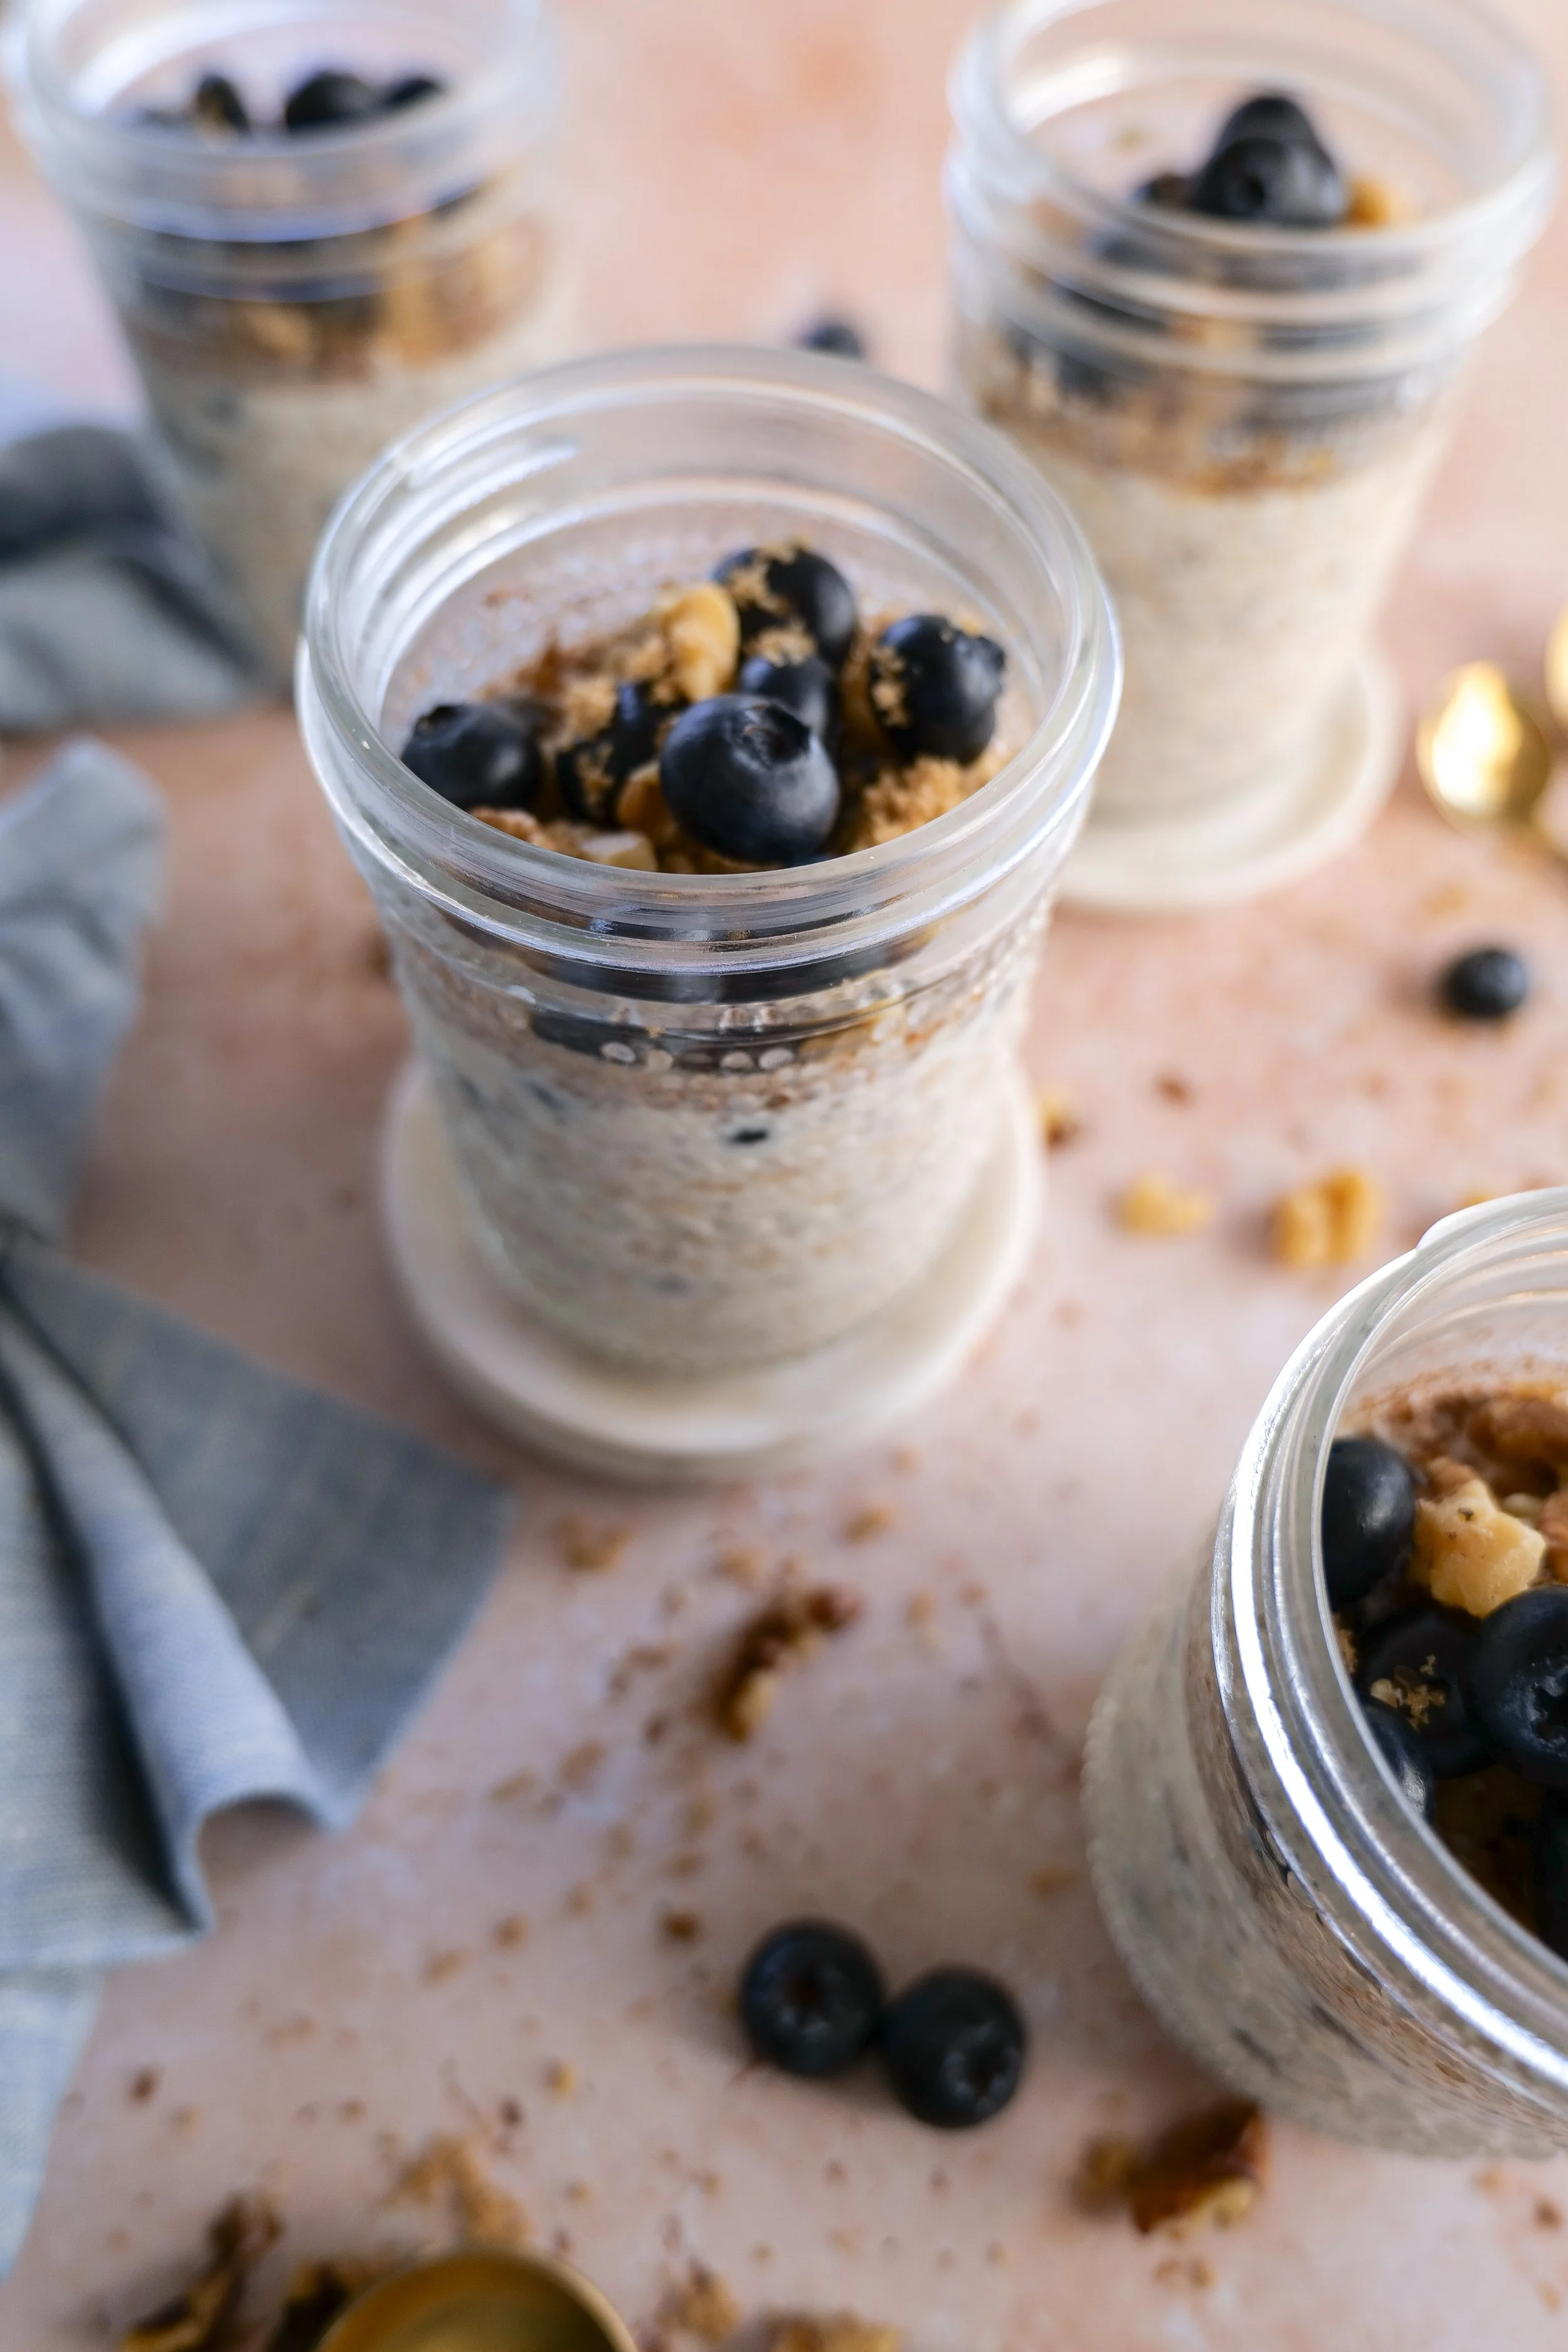
Instead of waking up and making breakfast from scratch, everything comes together the night before. By morning, the oats are perfectly creamy, the blueberries have softened just enough, and the cinnamon and vanilla have transformed into something that truly tastes like dessert for breakfast.
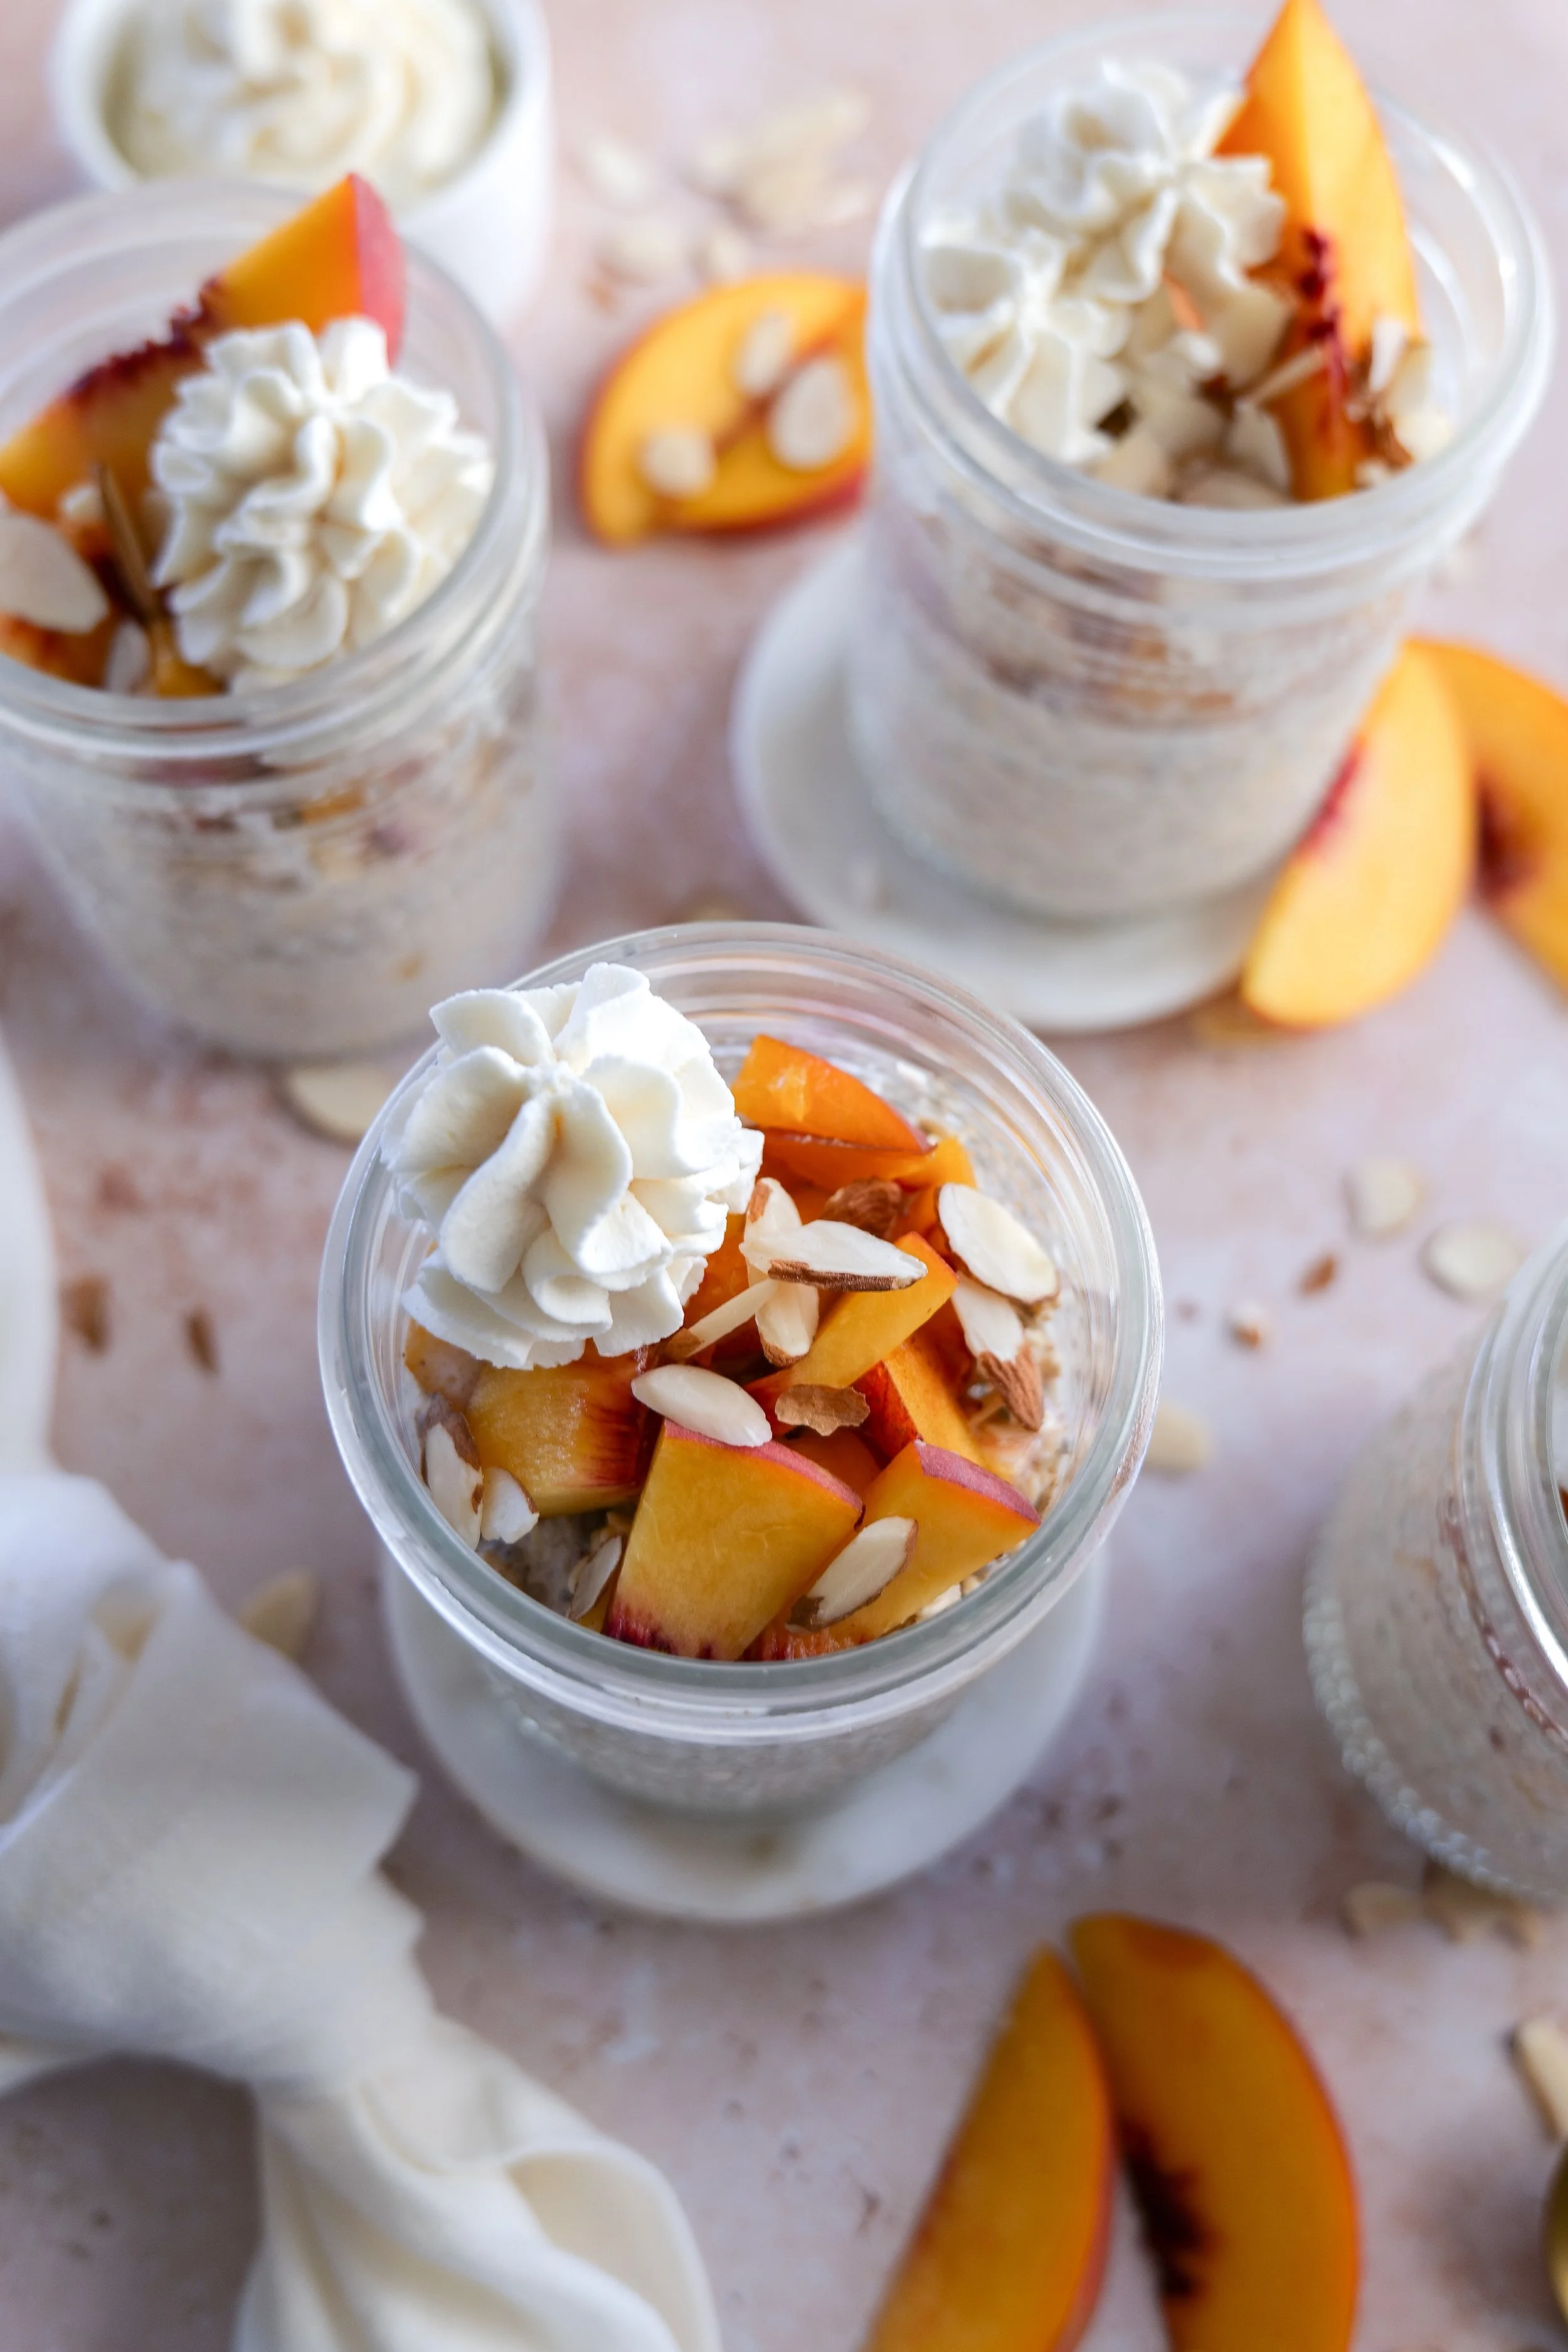
Whether you're meal prepping for the week, packing breakfast to take to work, or enjoying a slower morning at home with your family, these overnight oats make mornings feel just a little easier.
A Special Ingredient
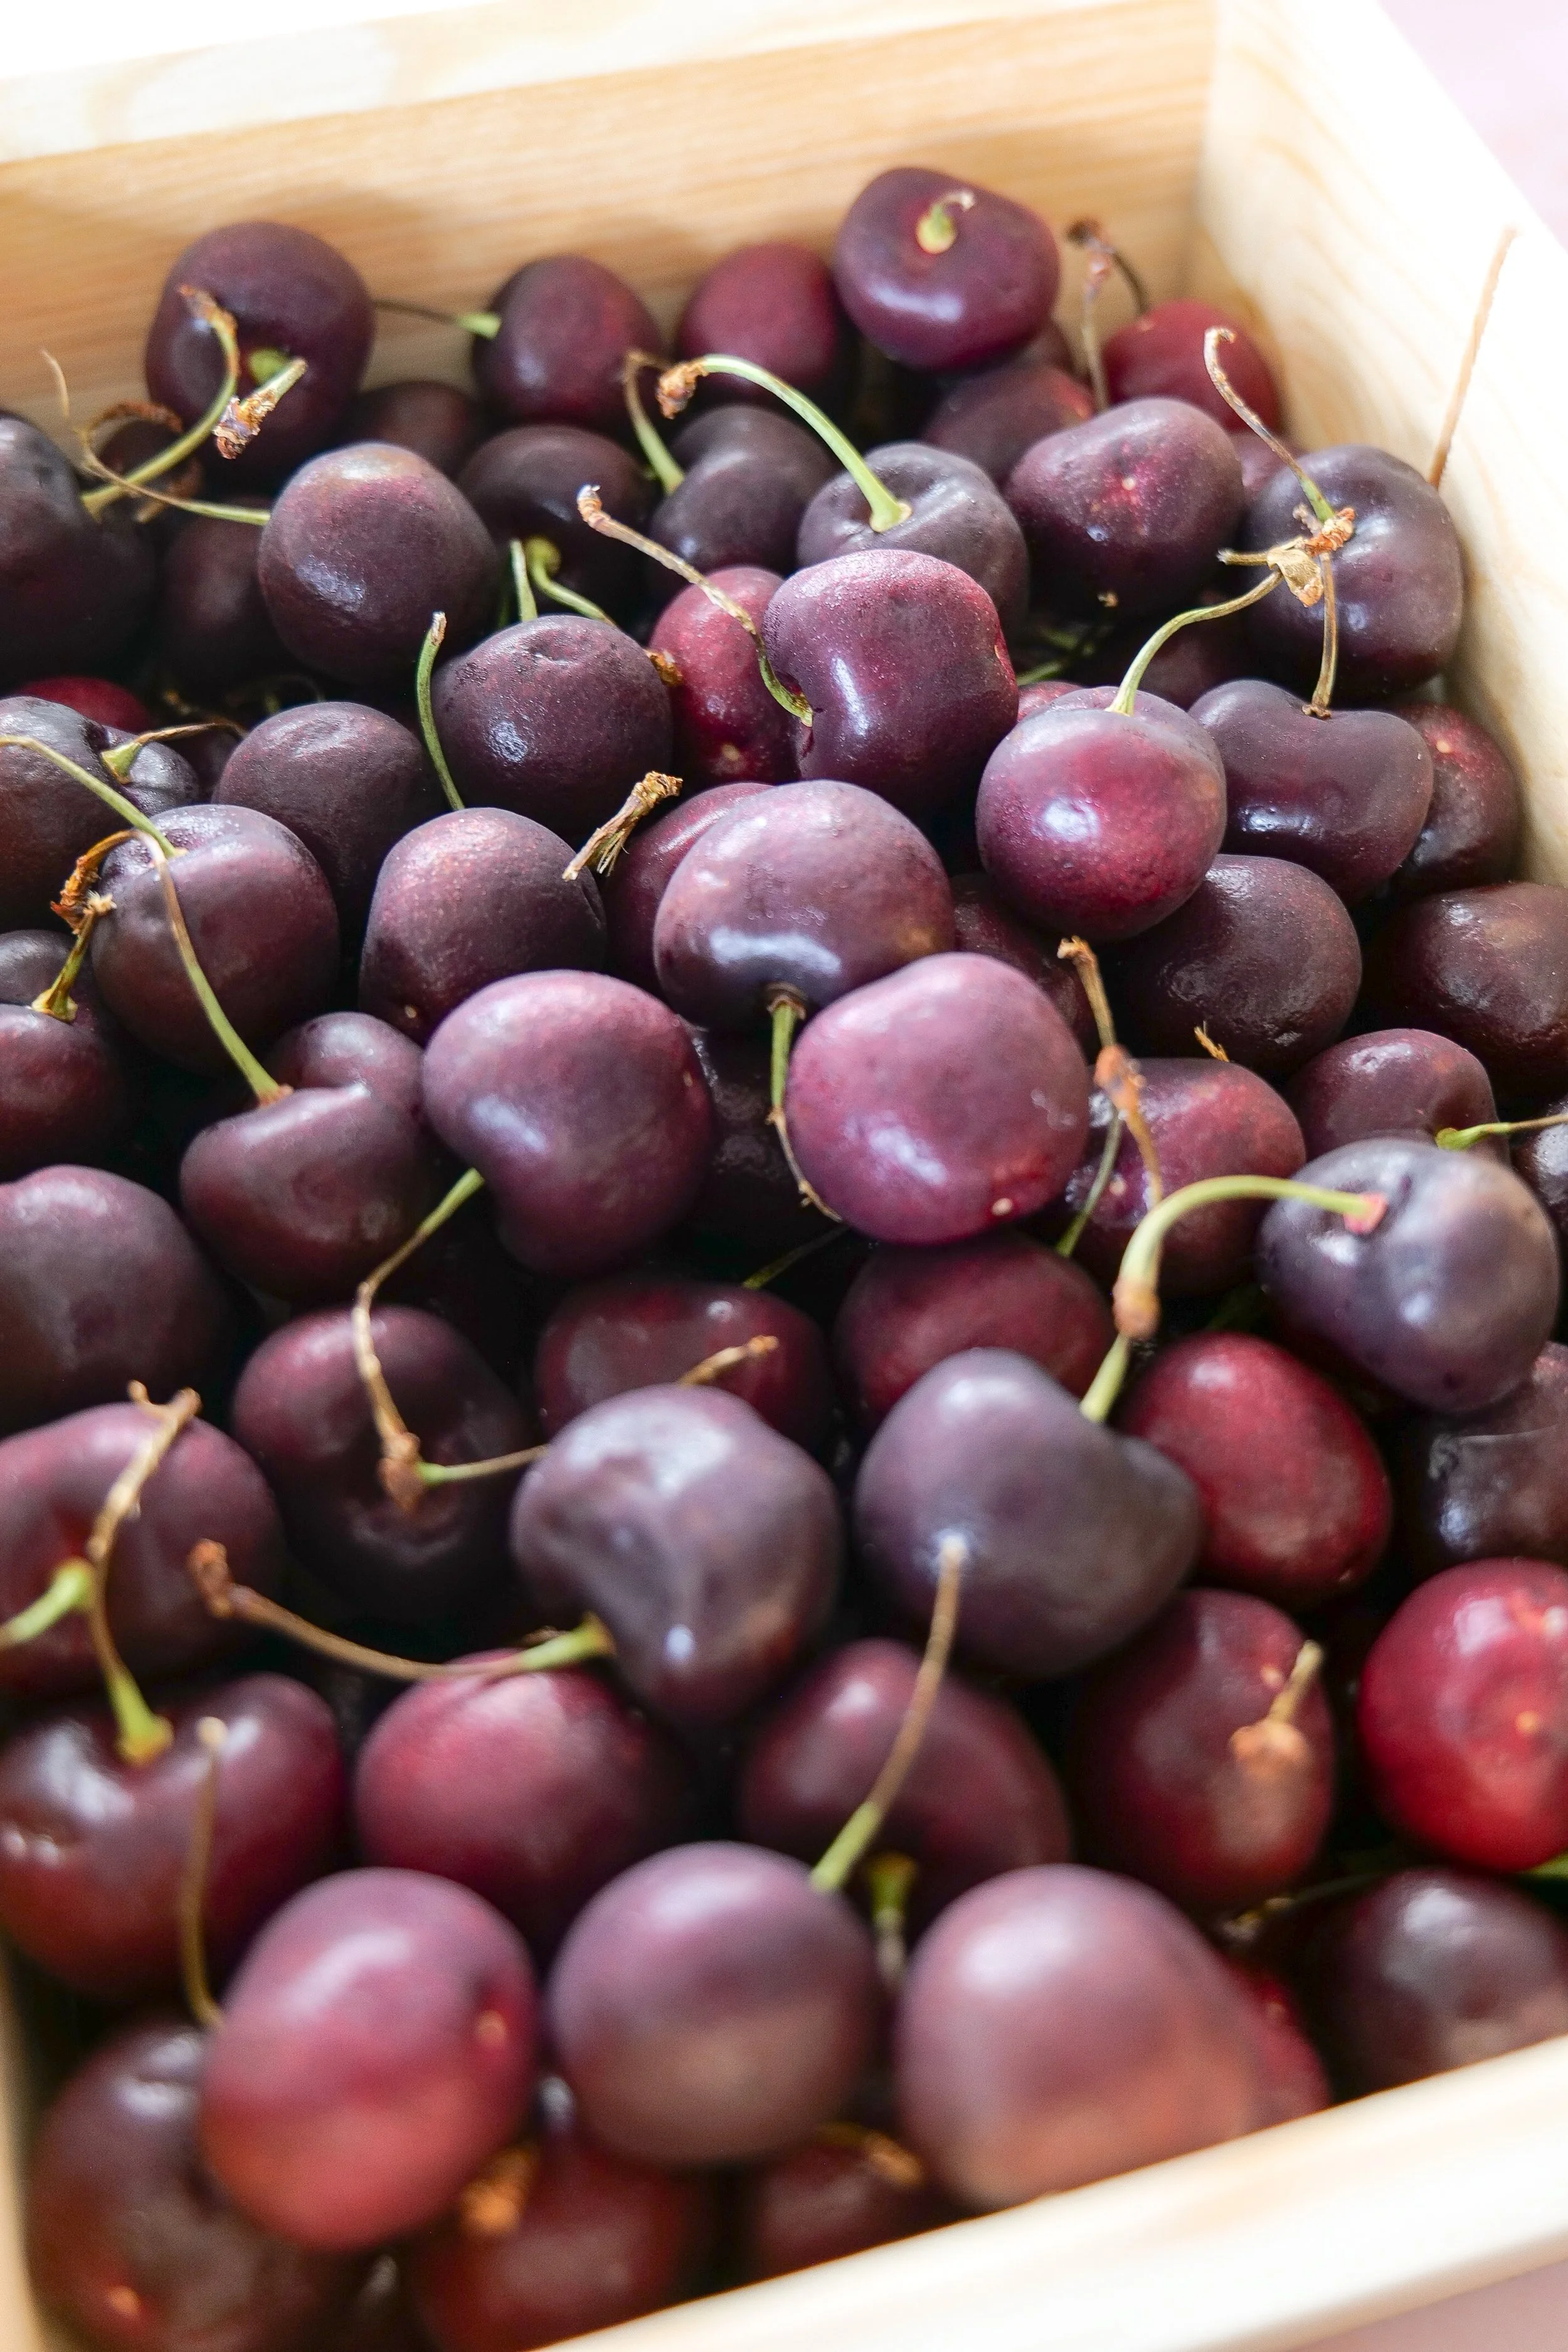
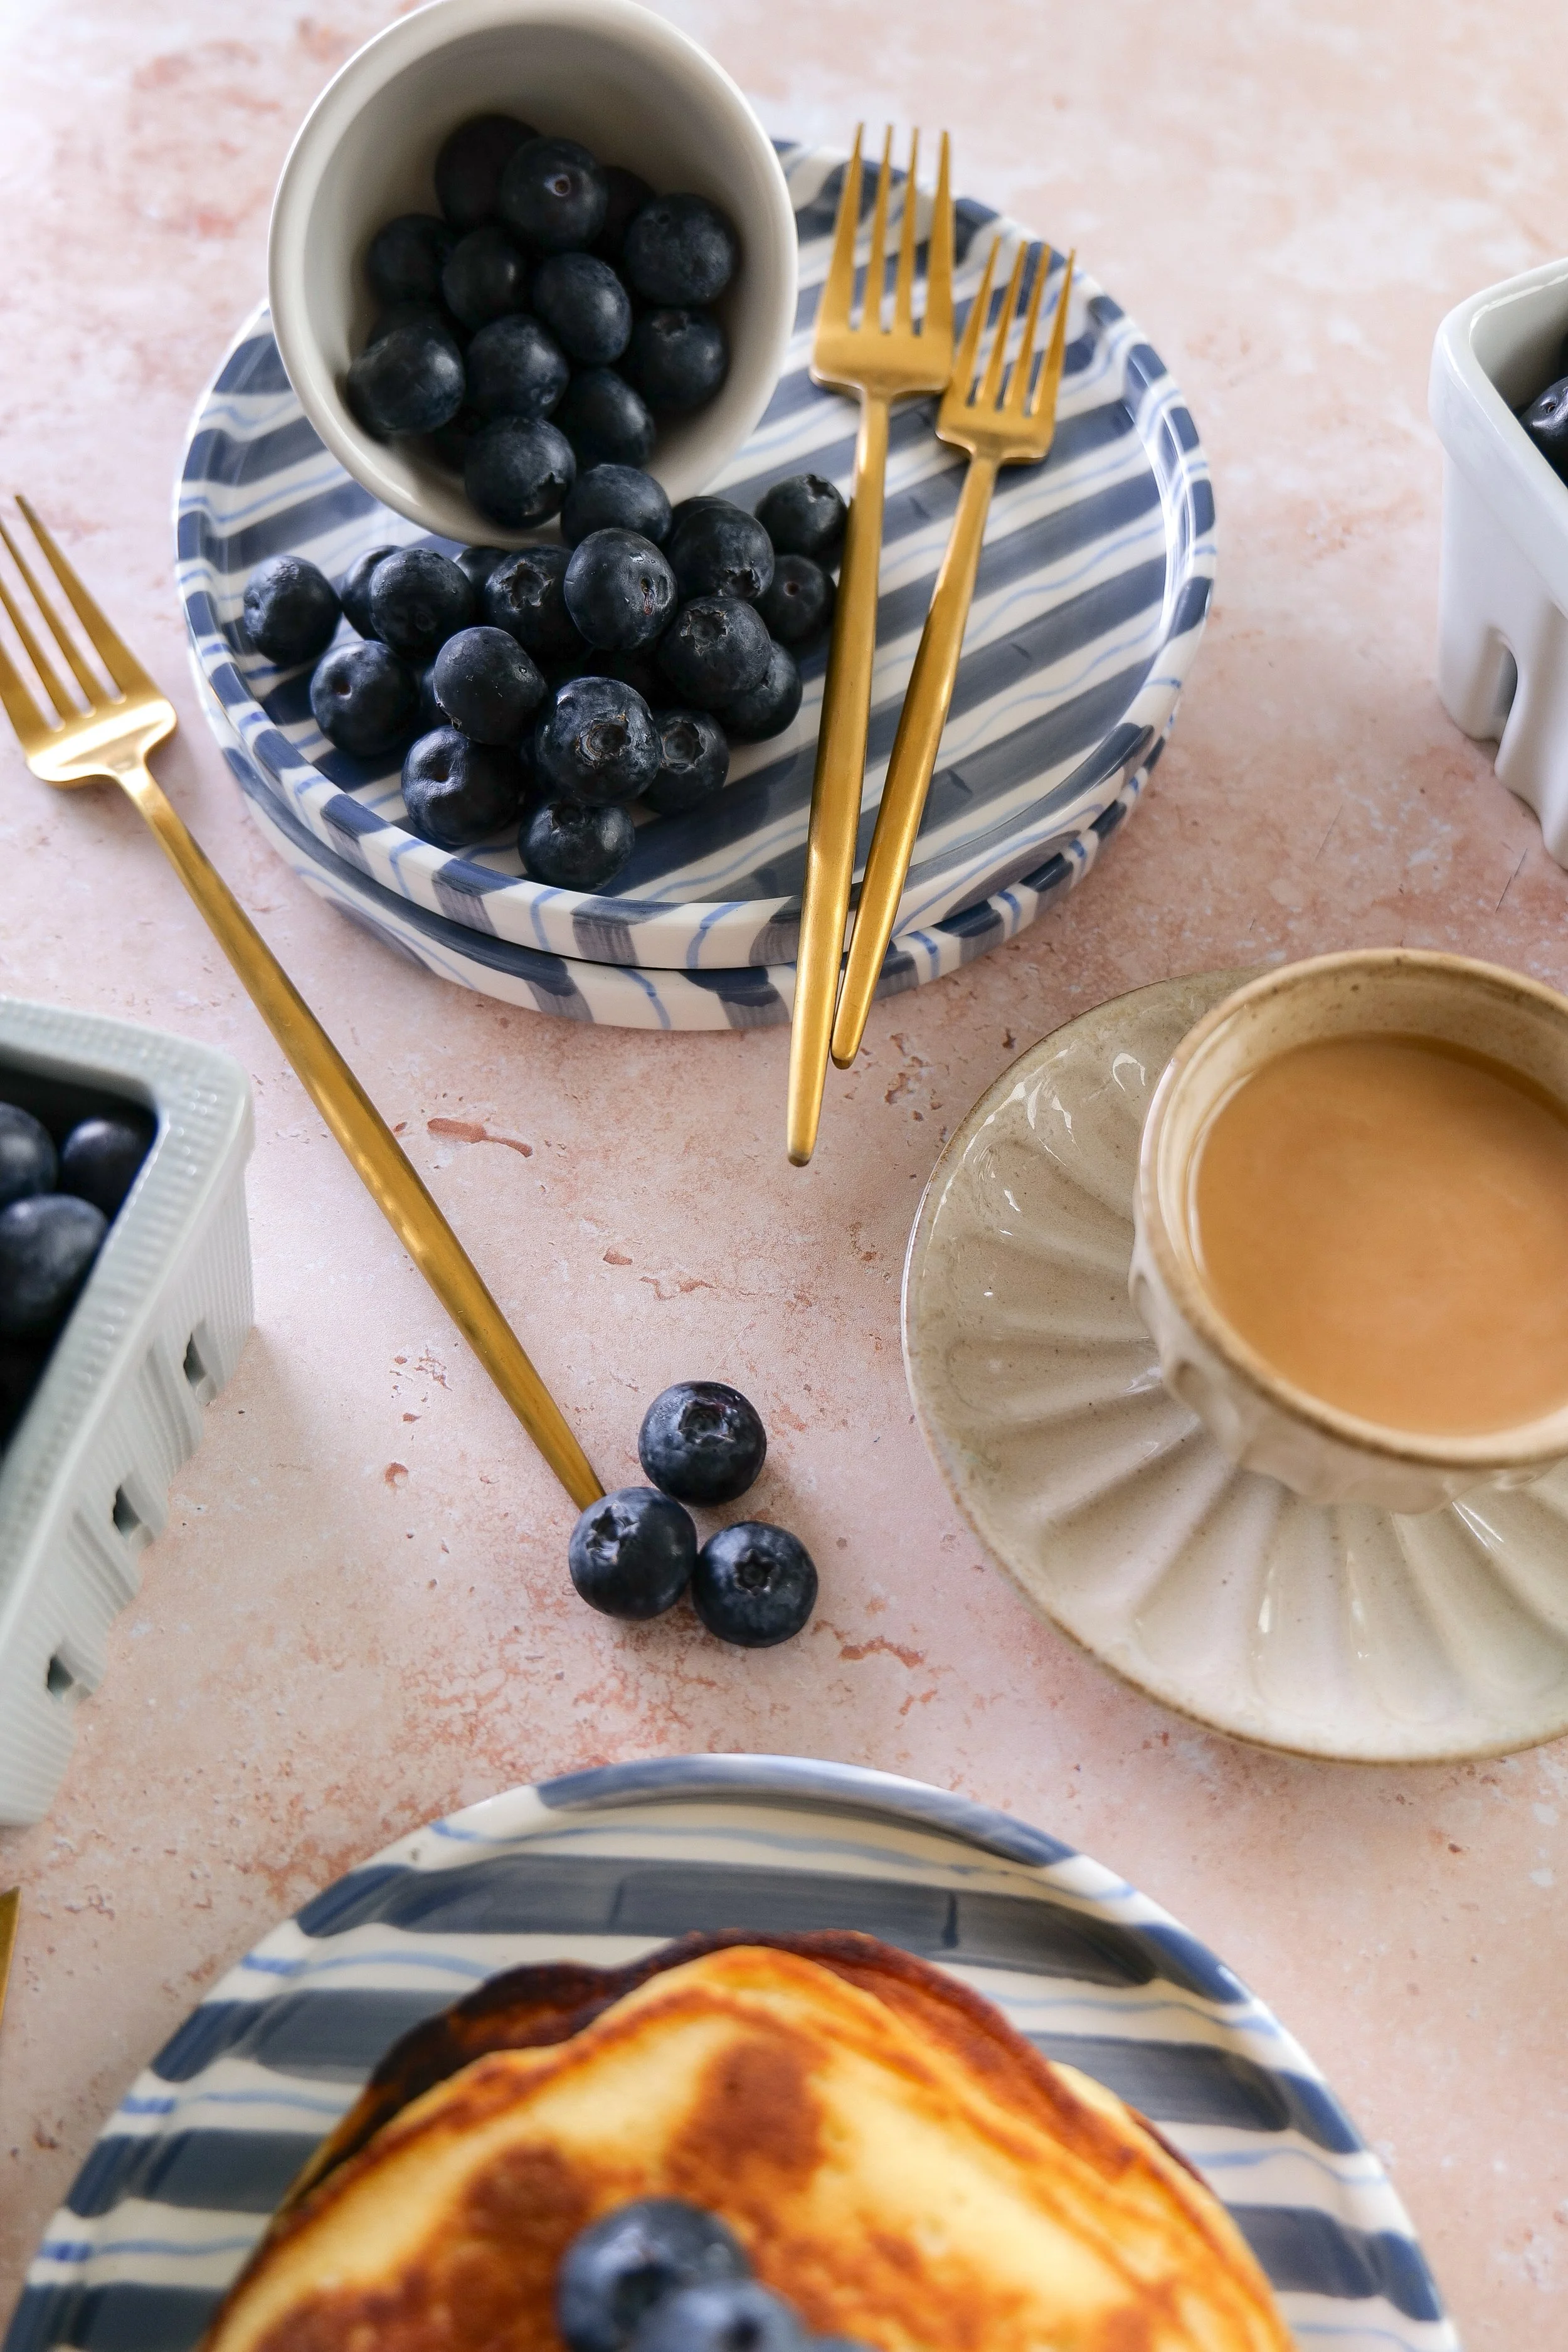
One of my favorite parts about summer baking and cooking is using fruit that's in season.
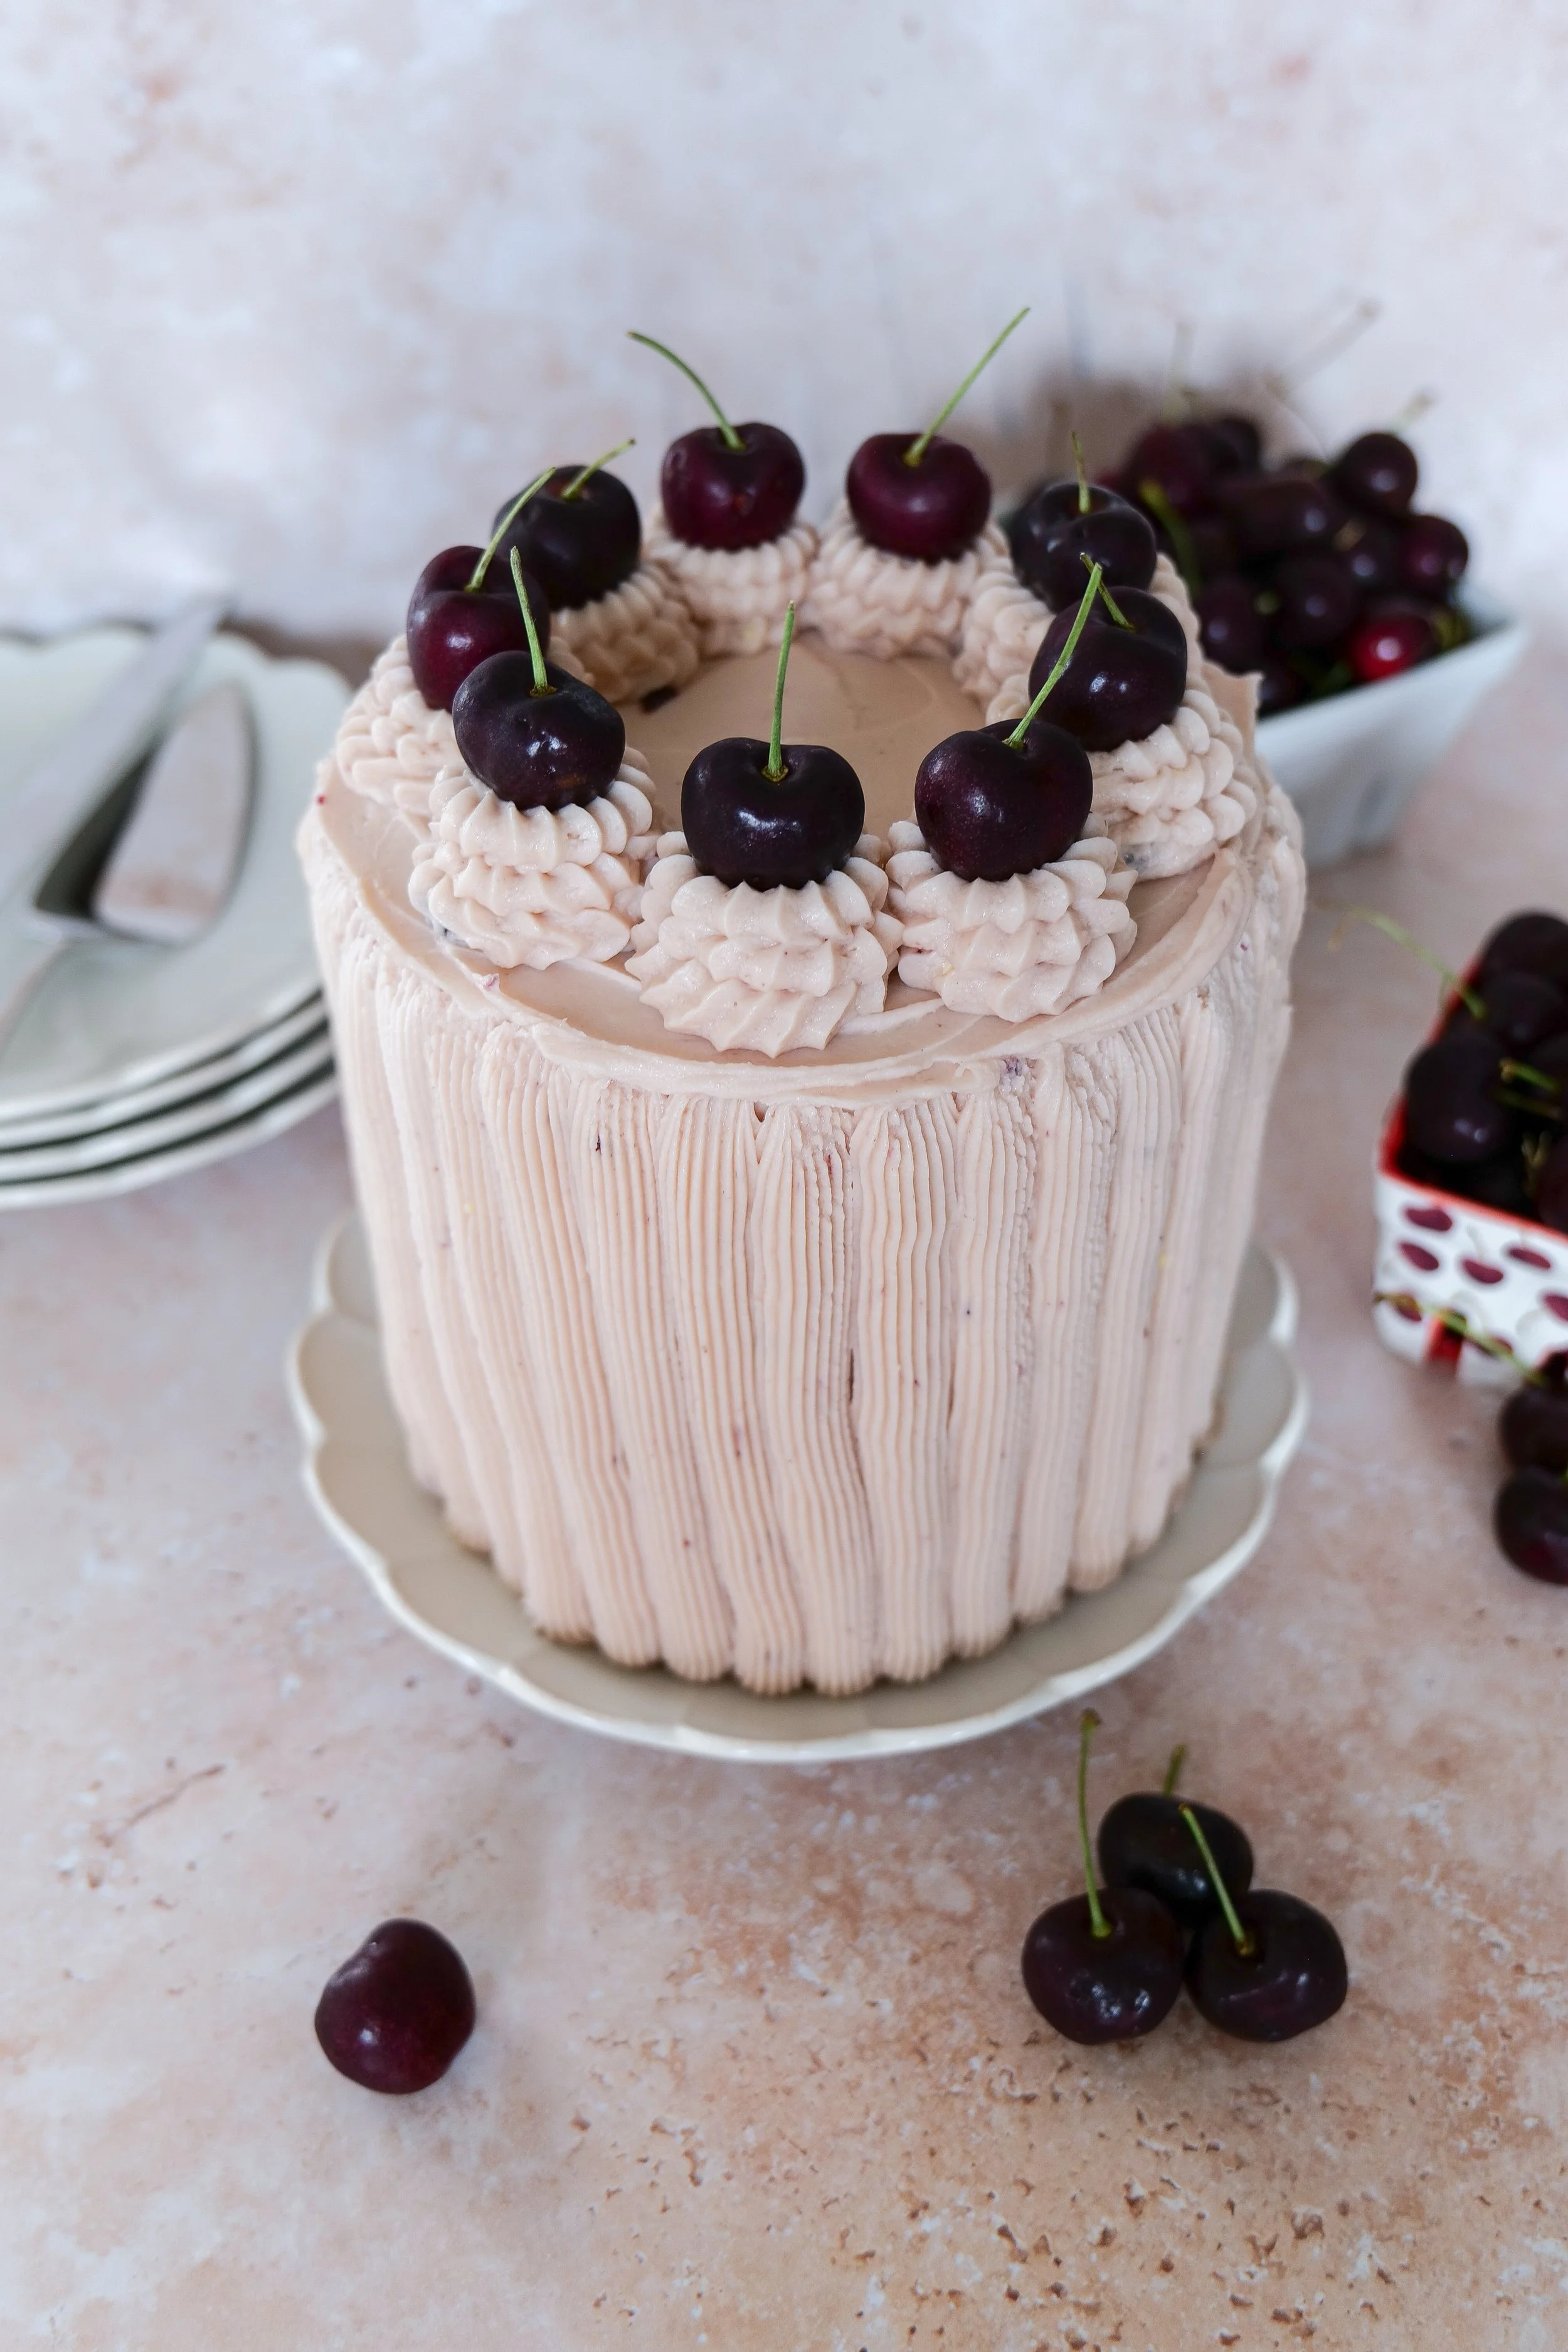
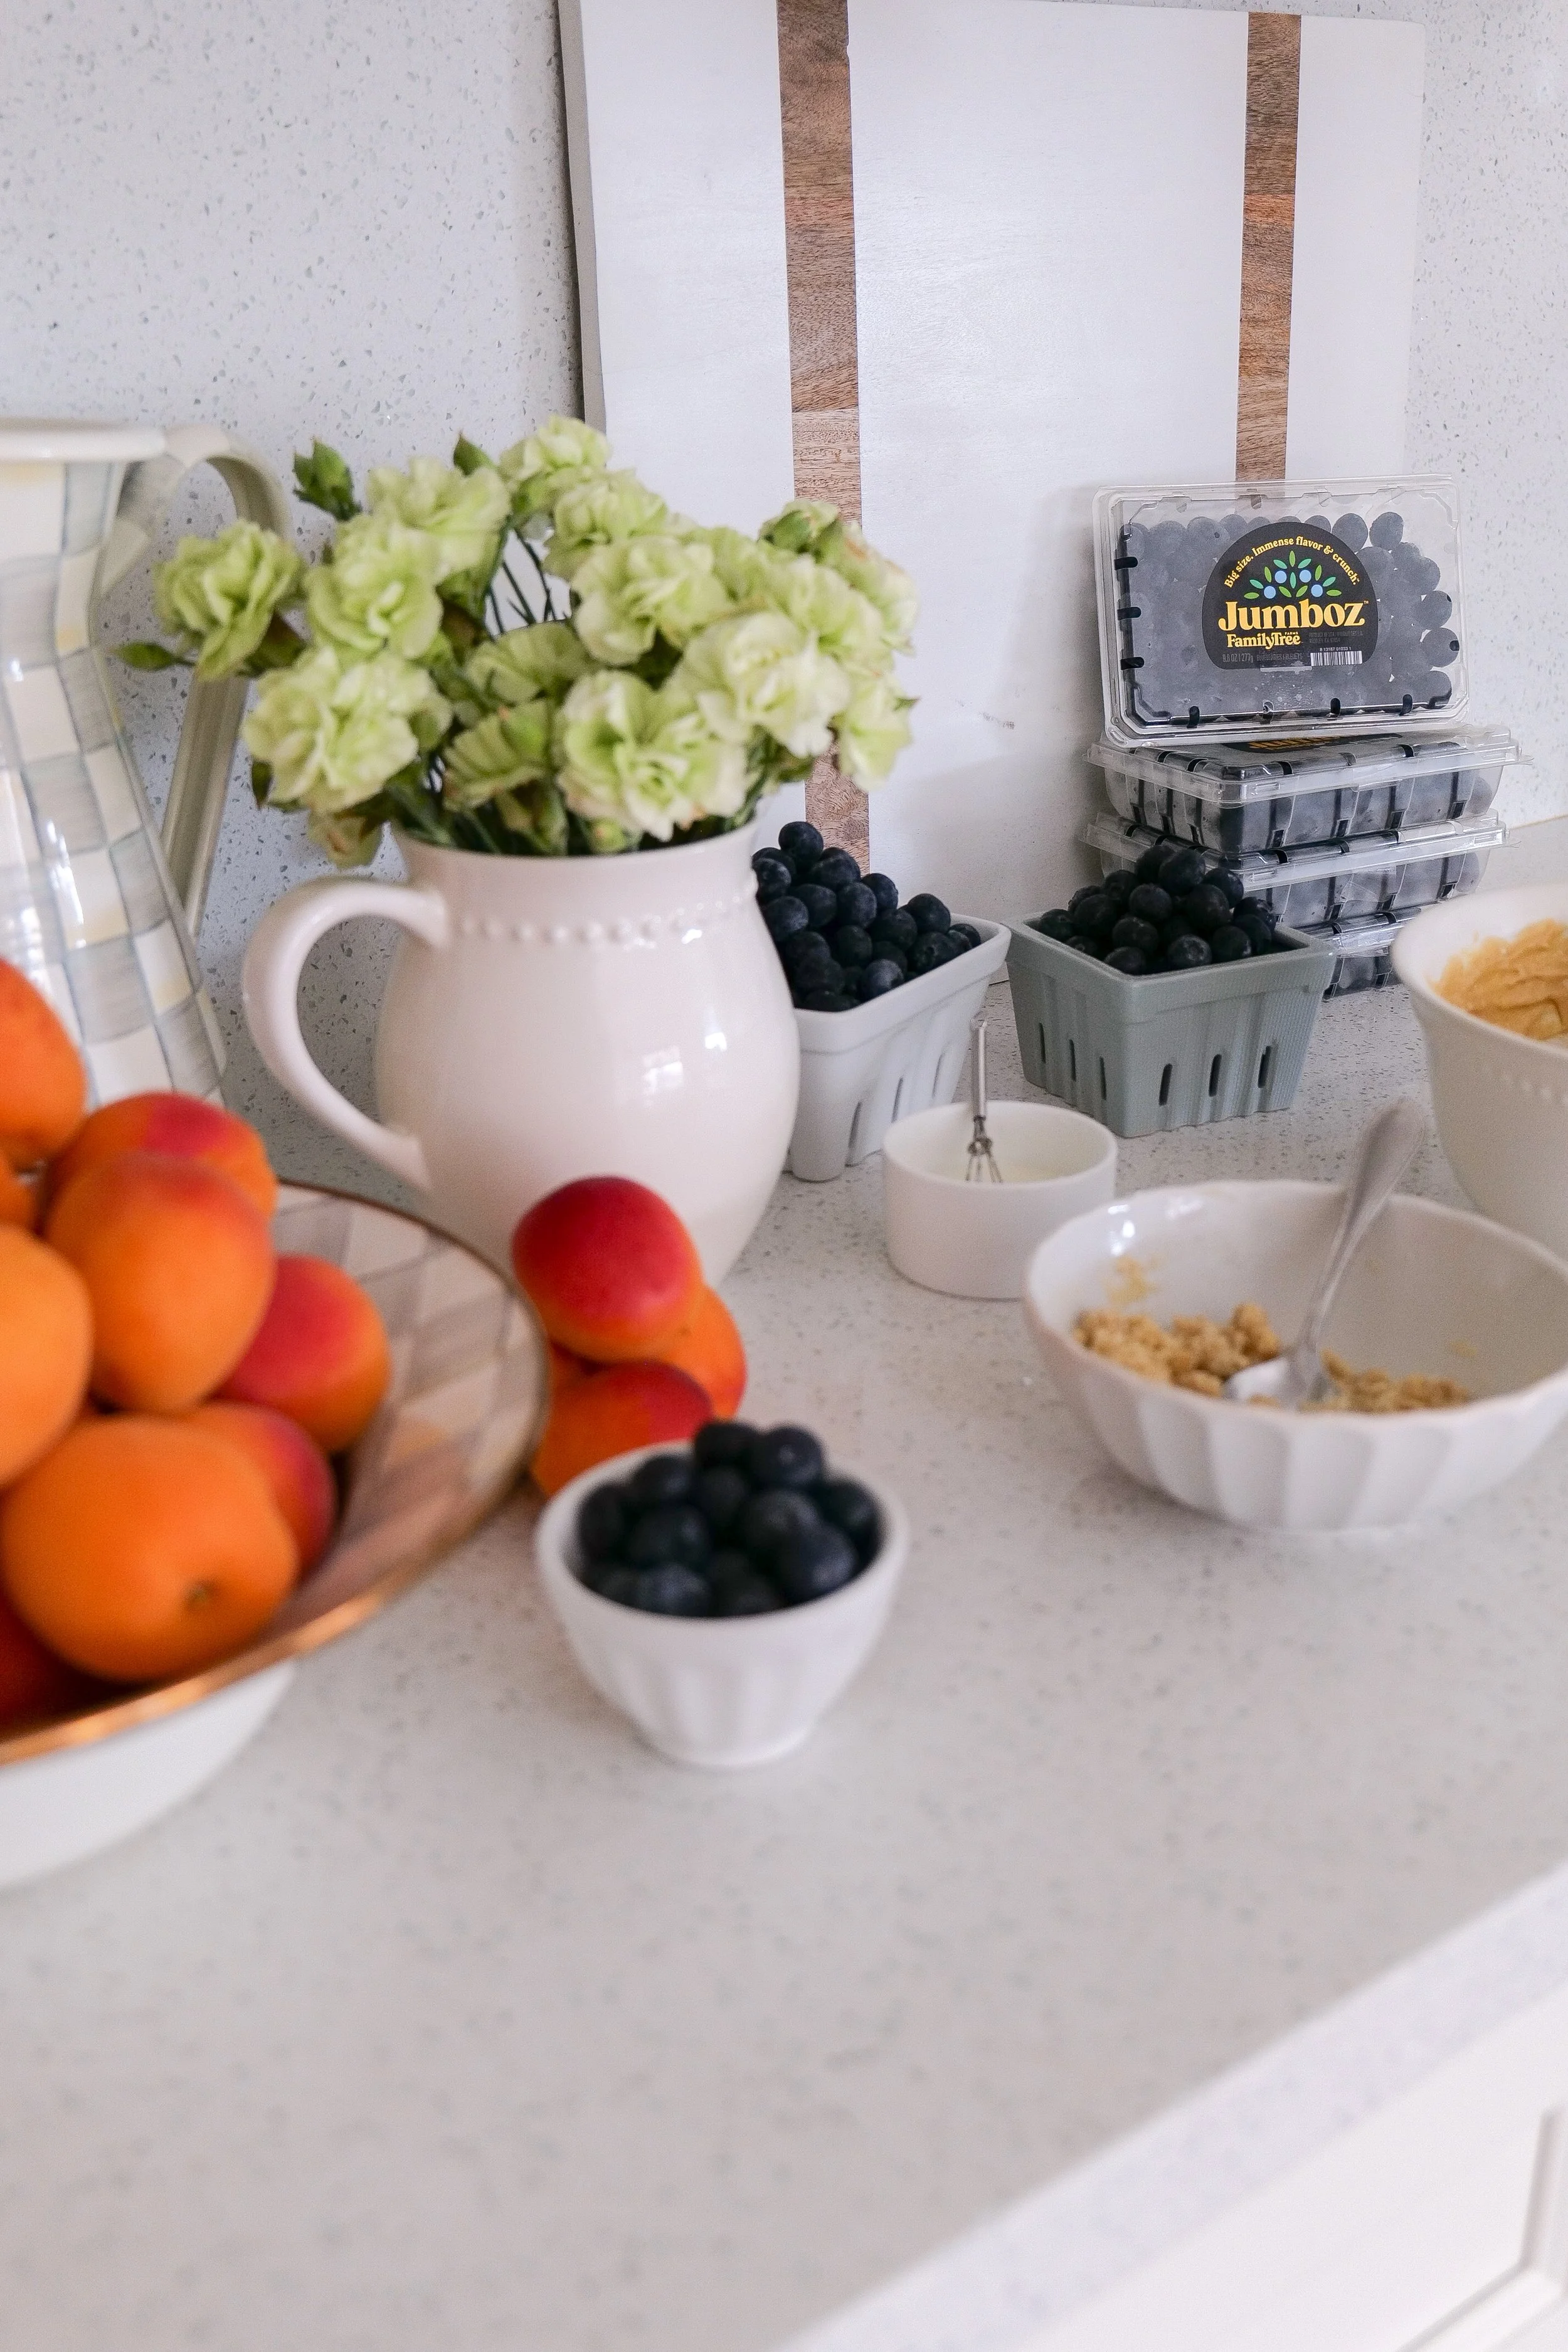
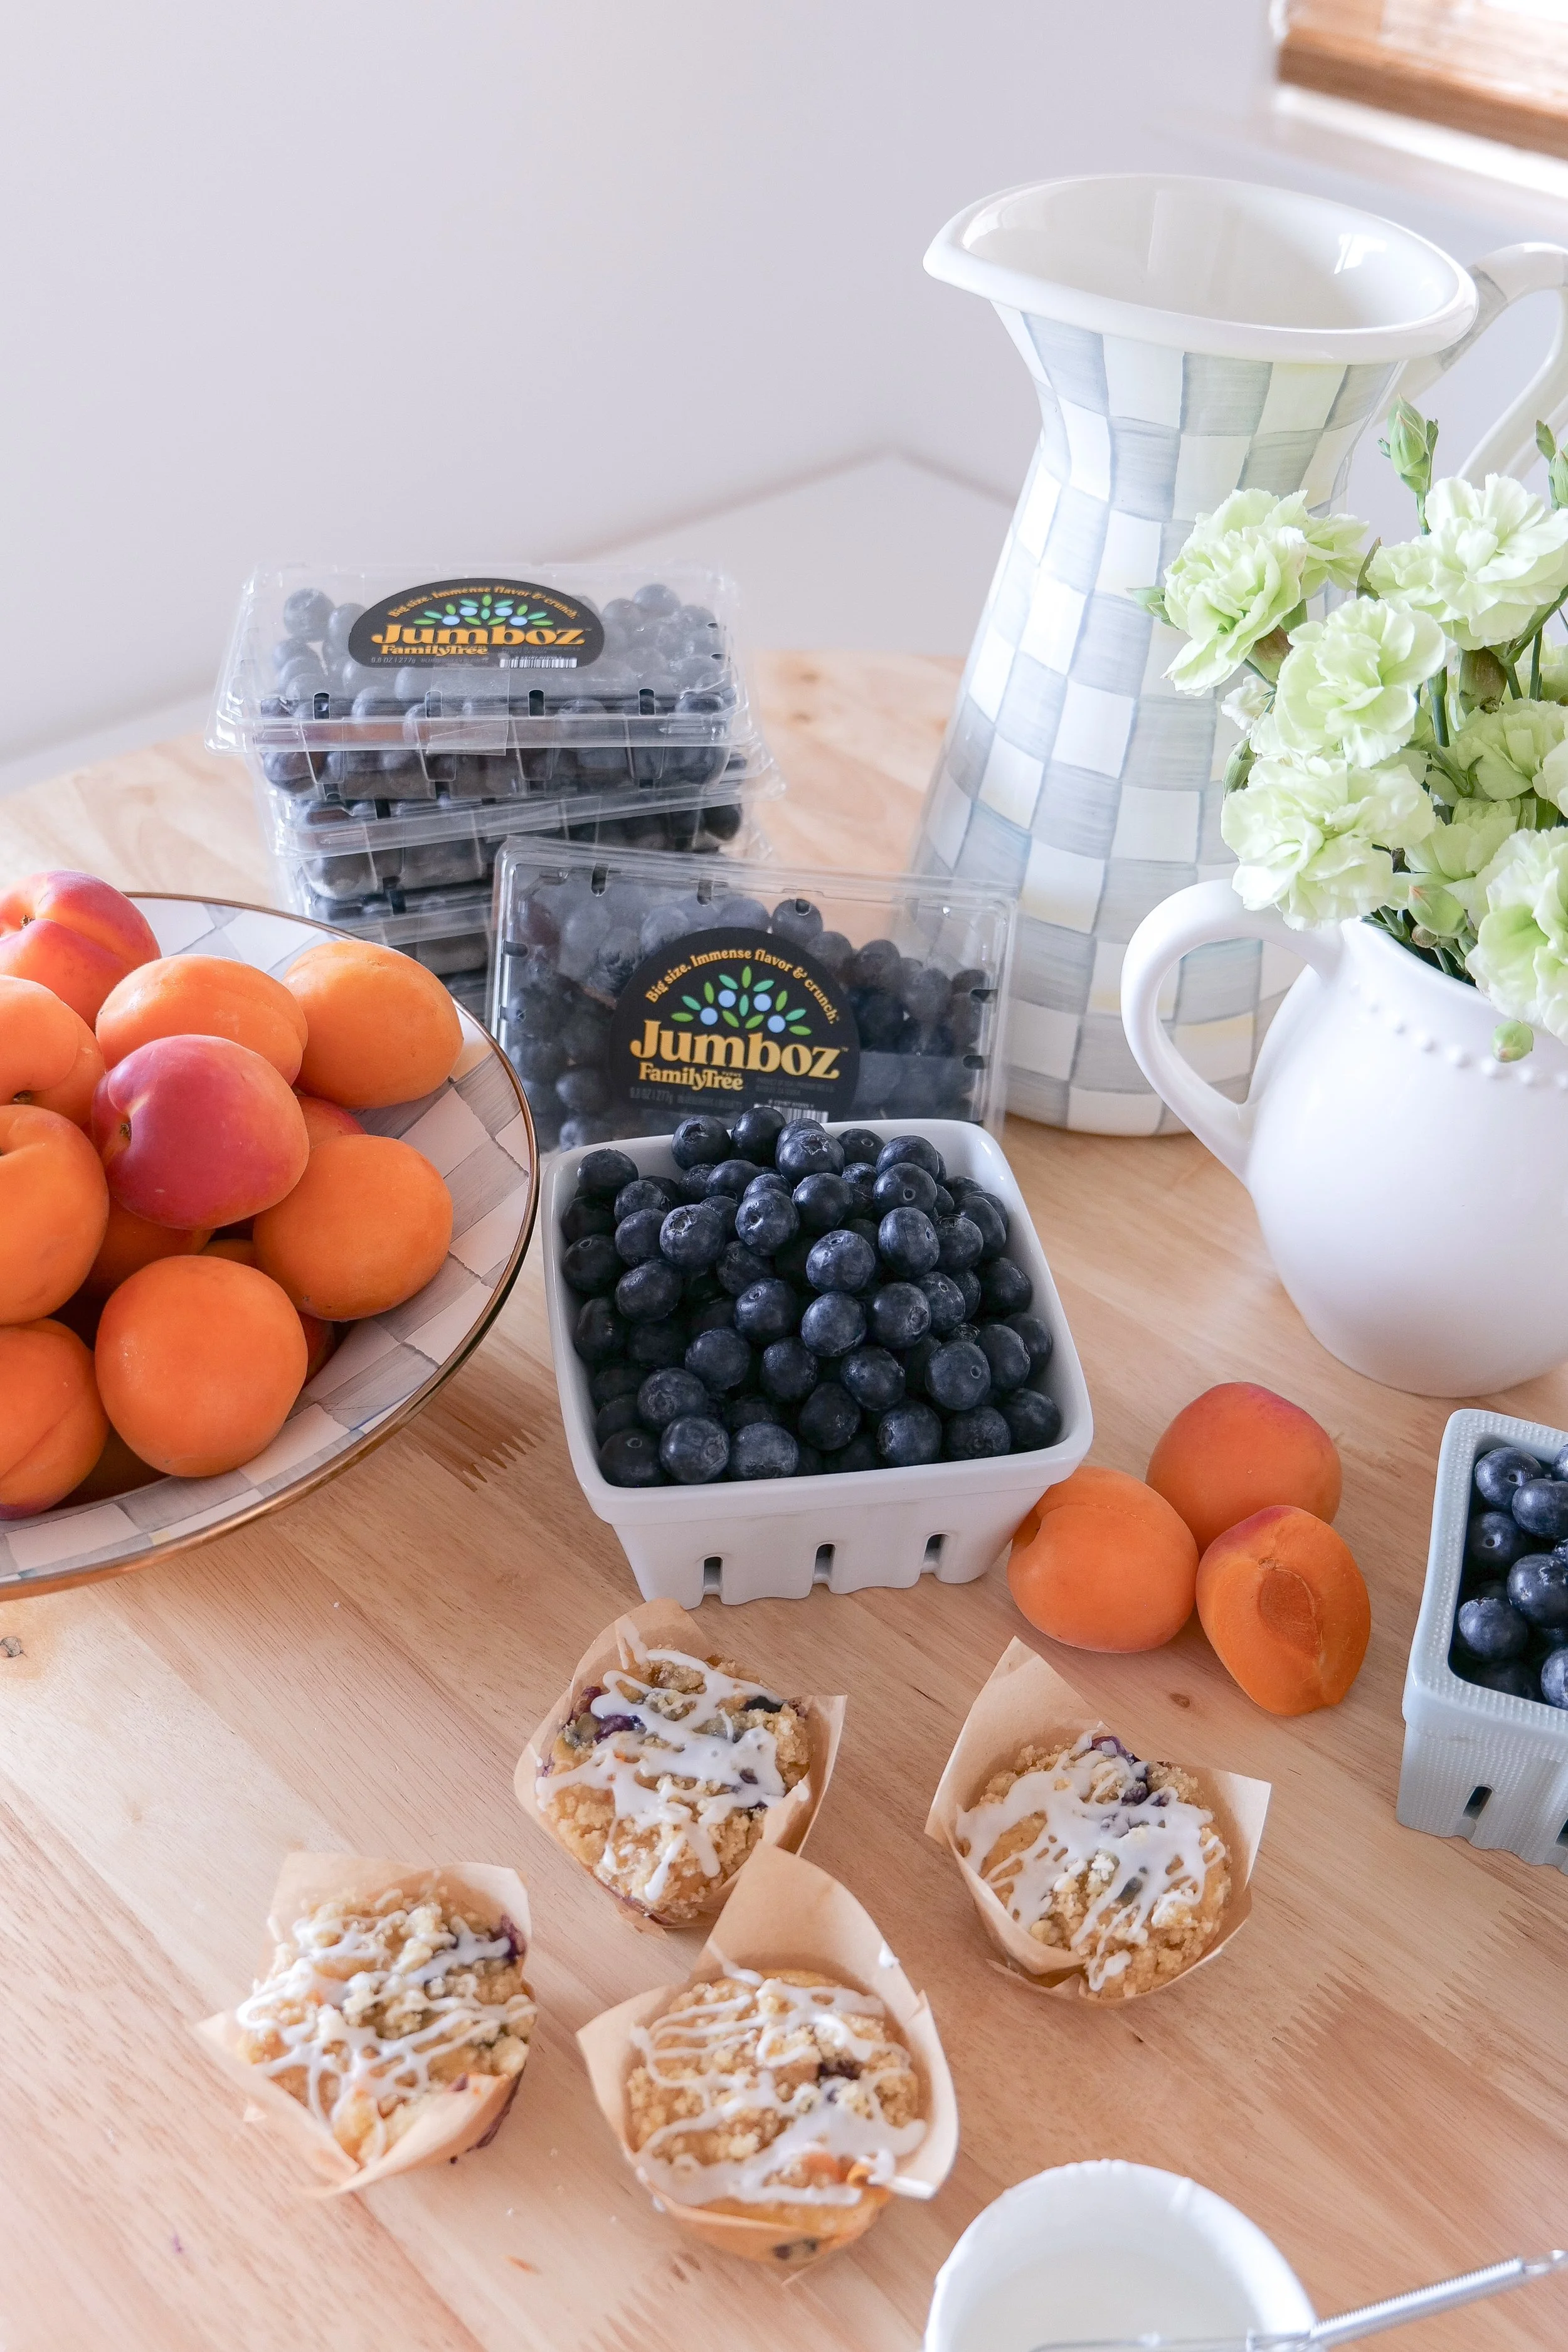
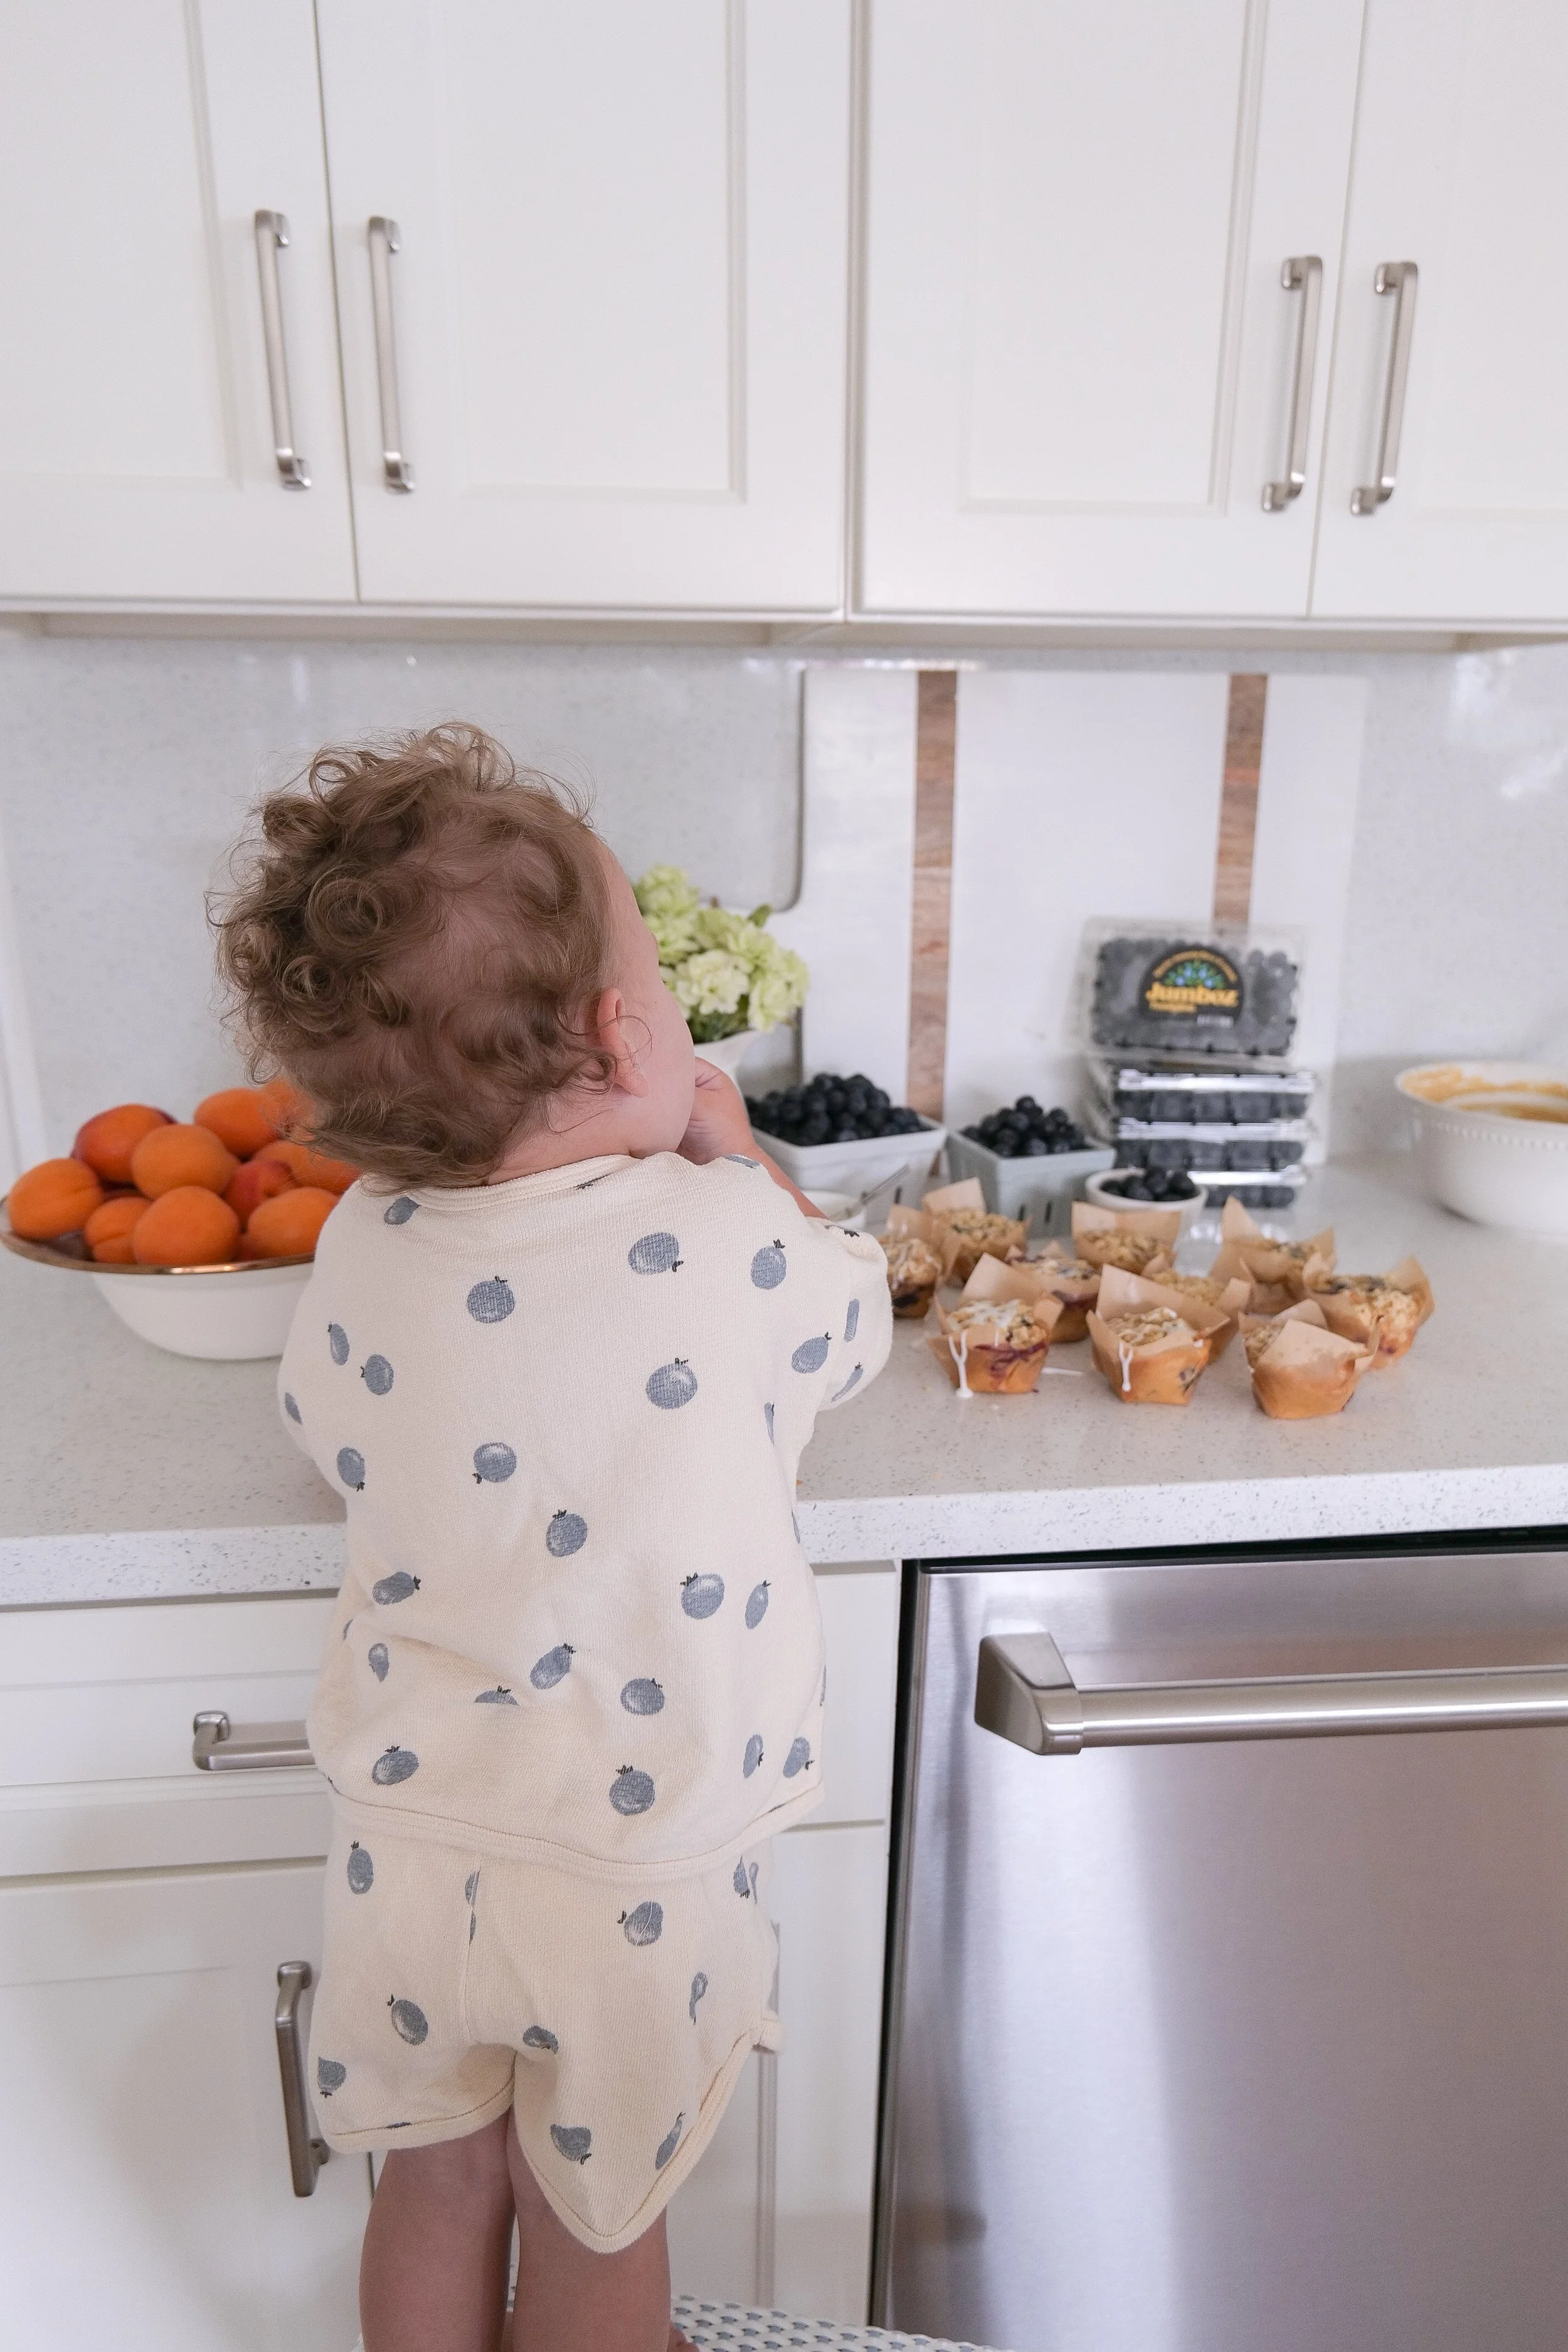
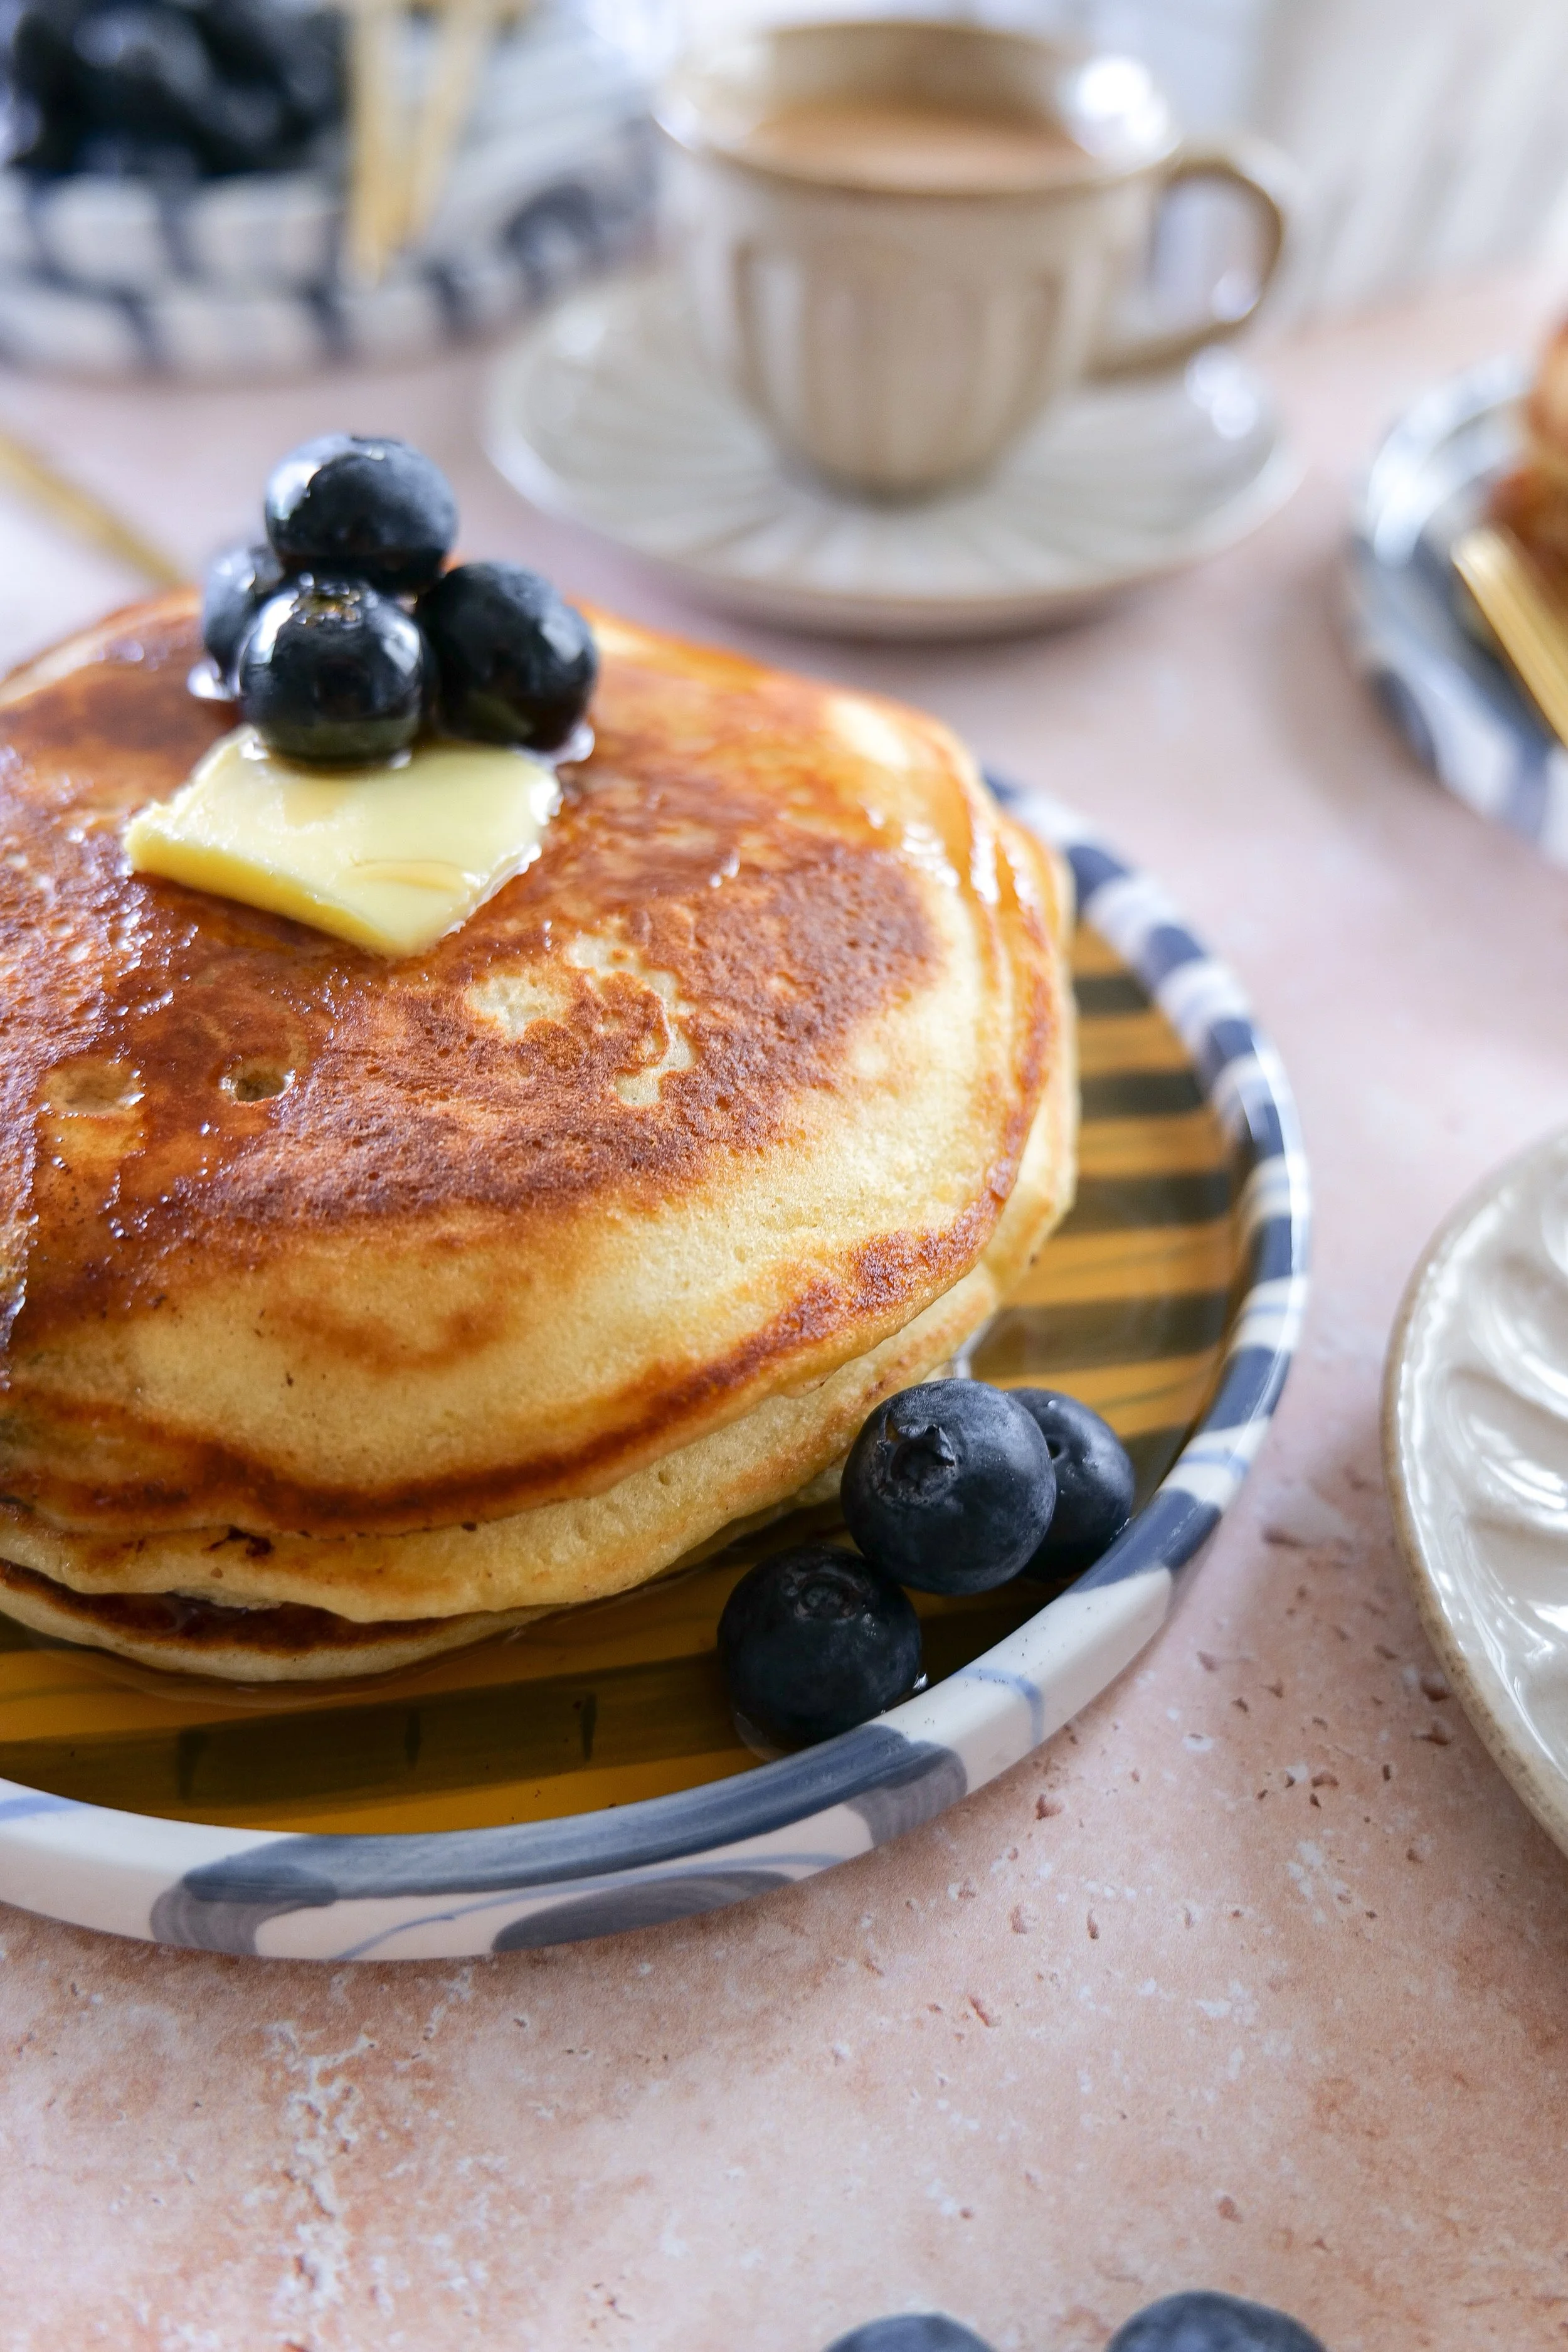
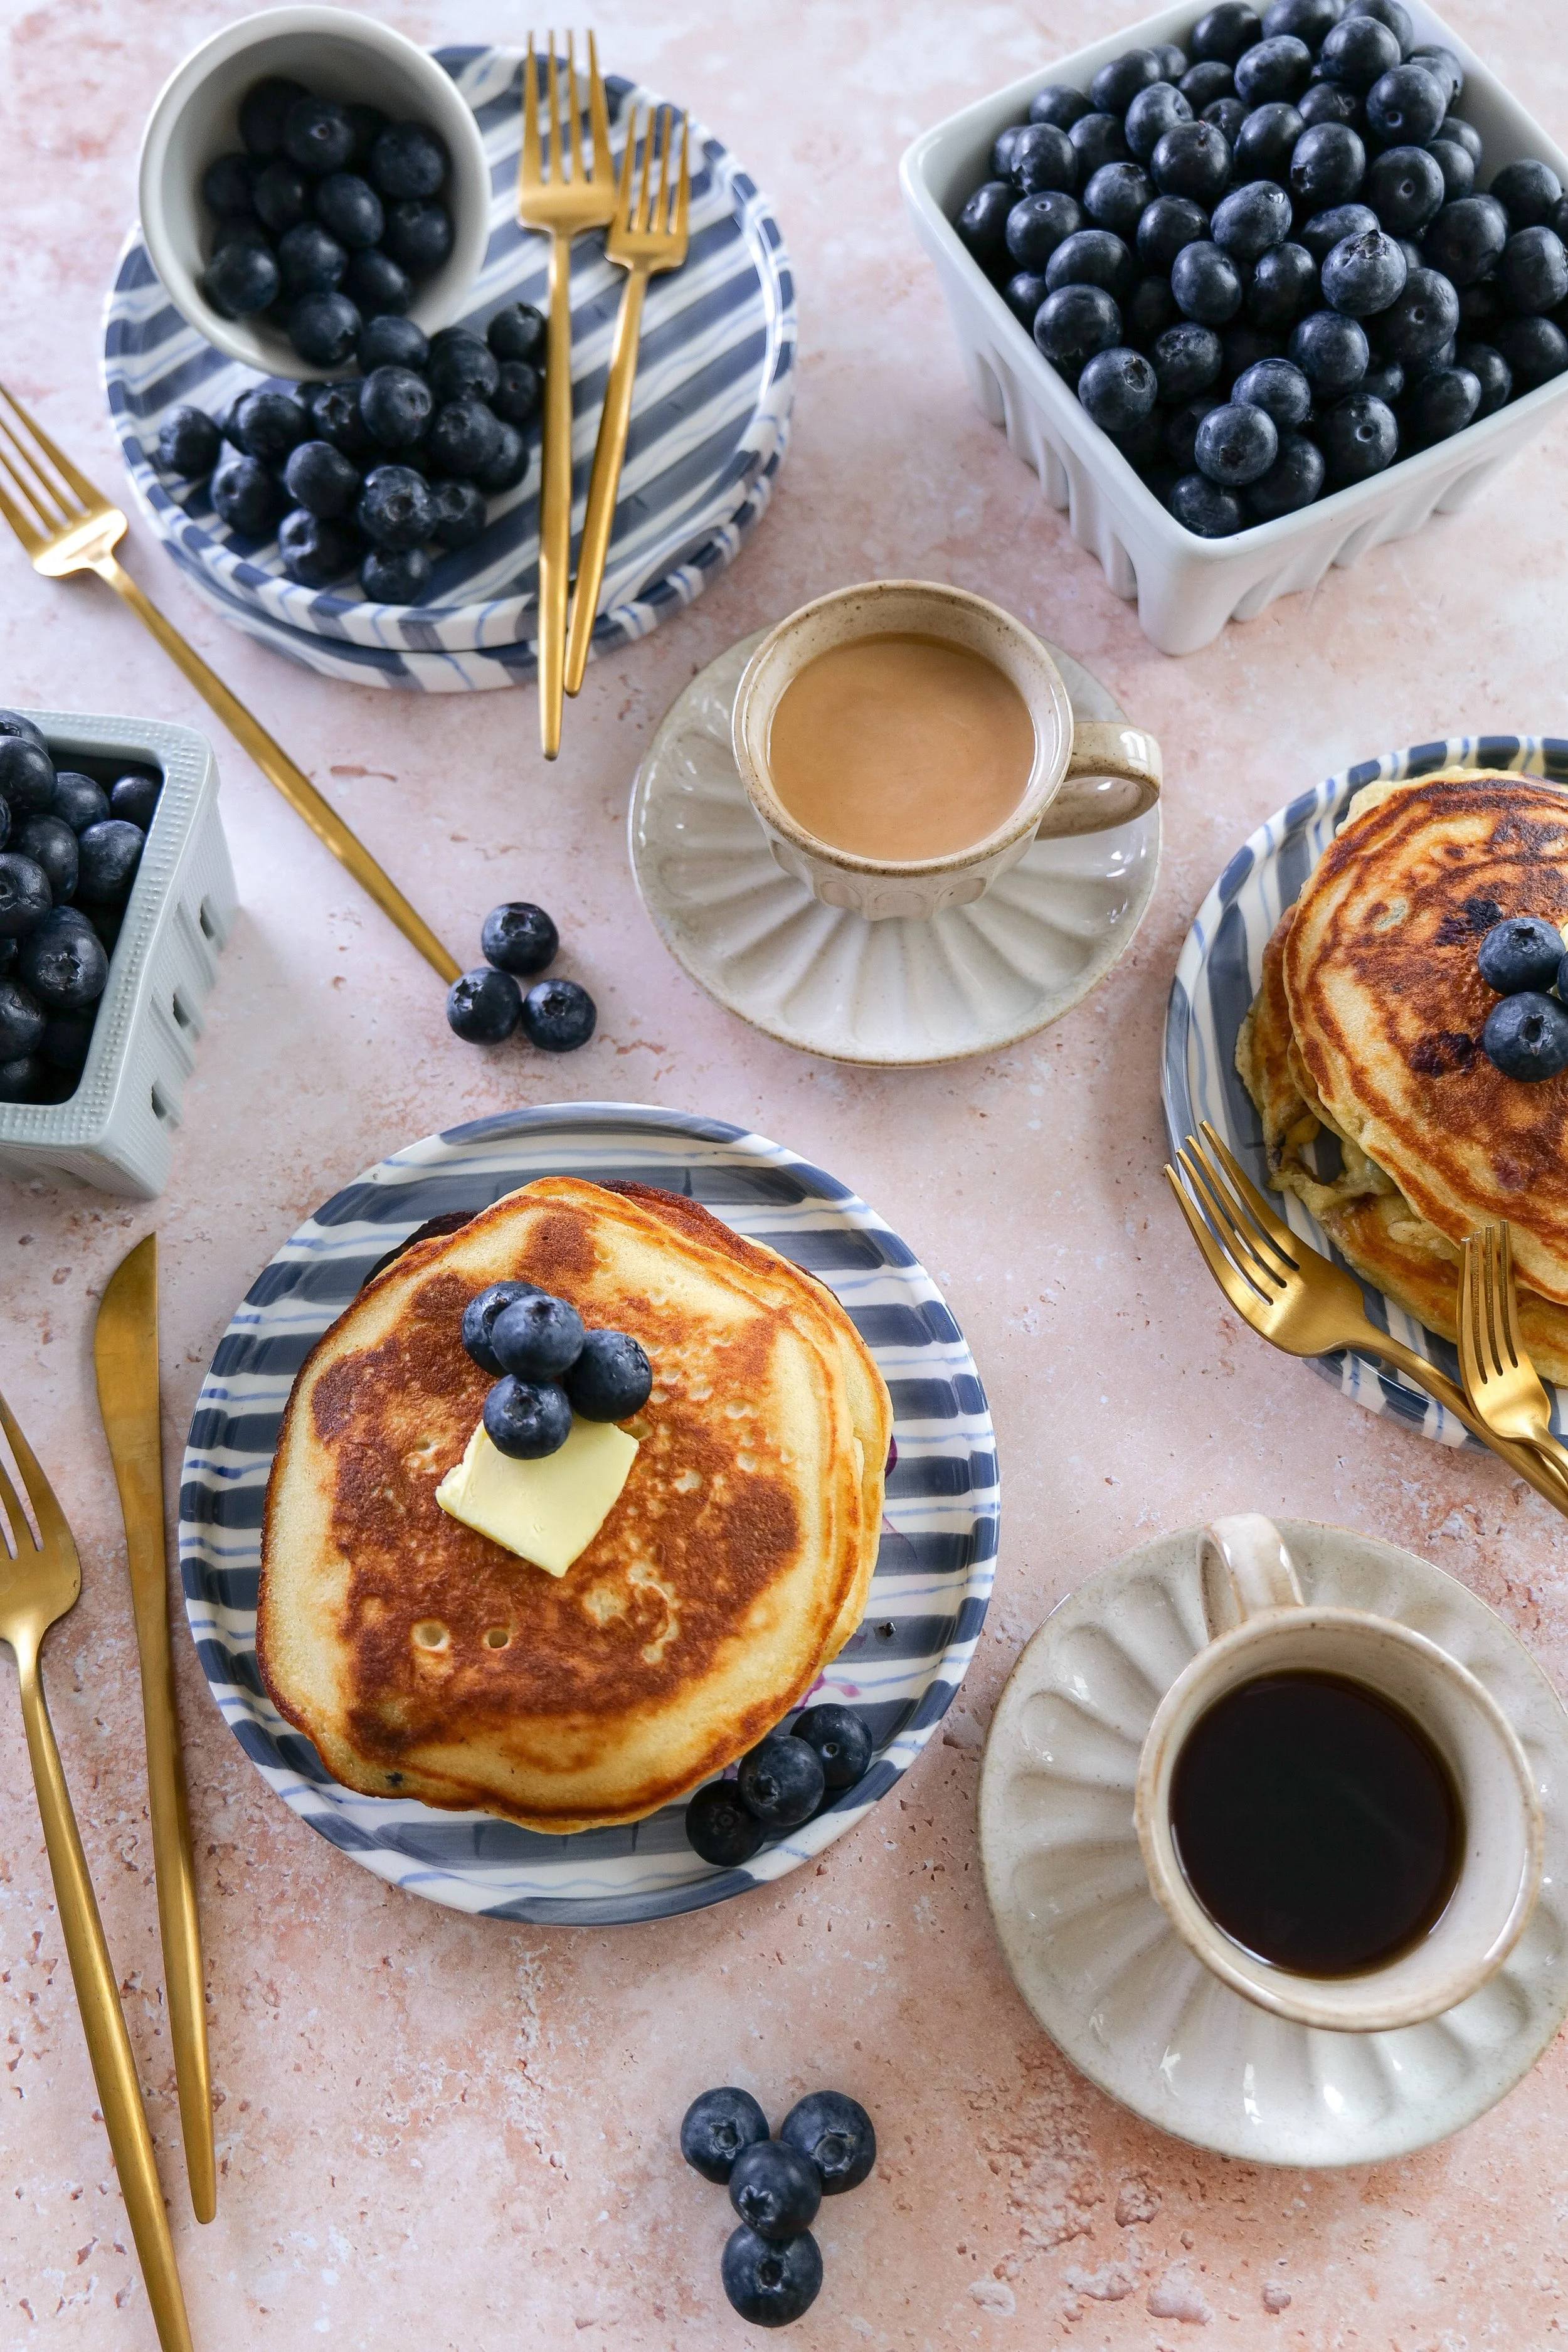
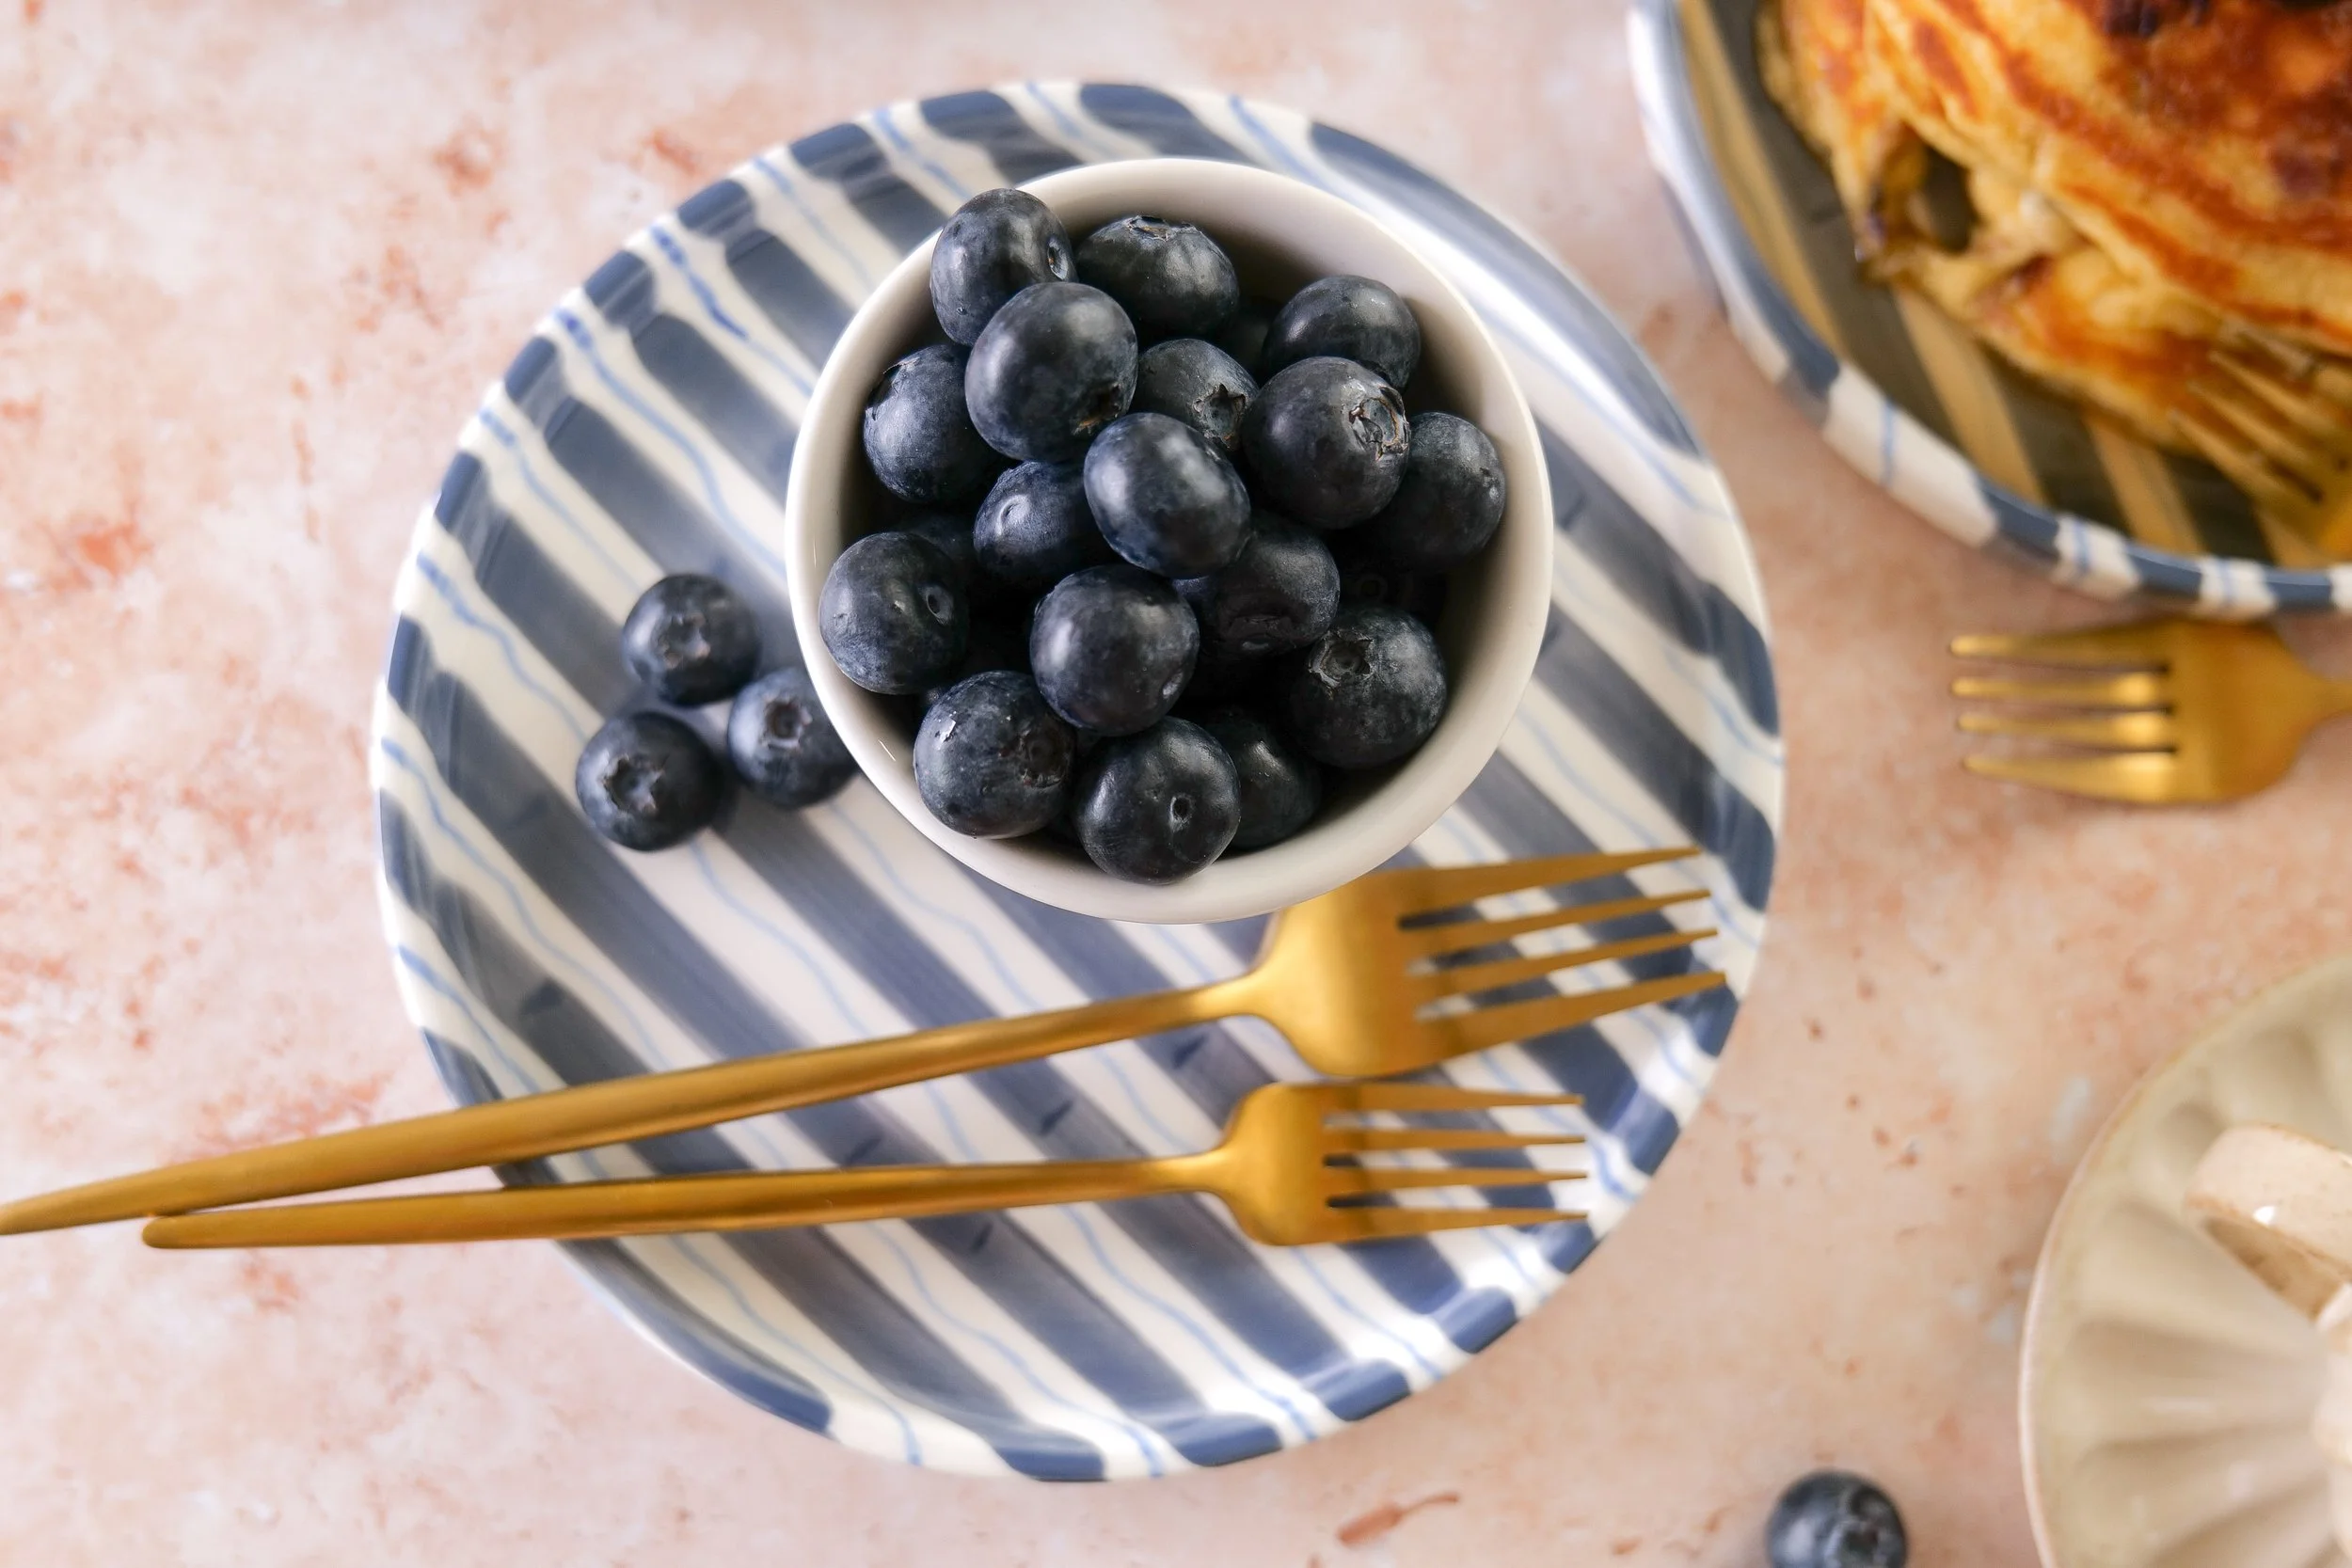
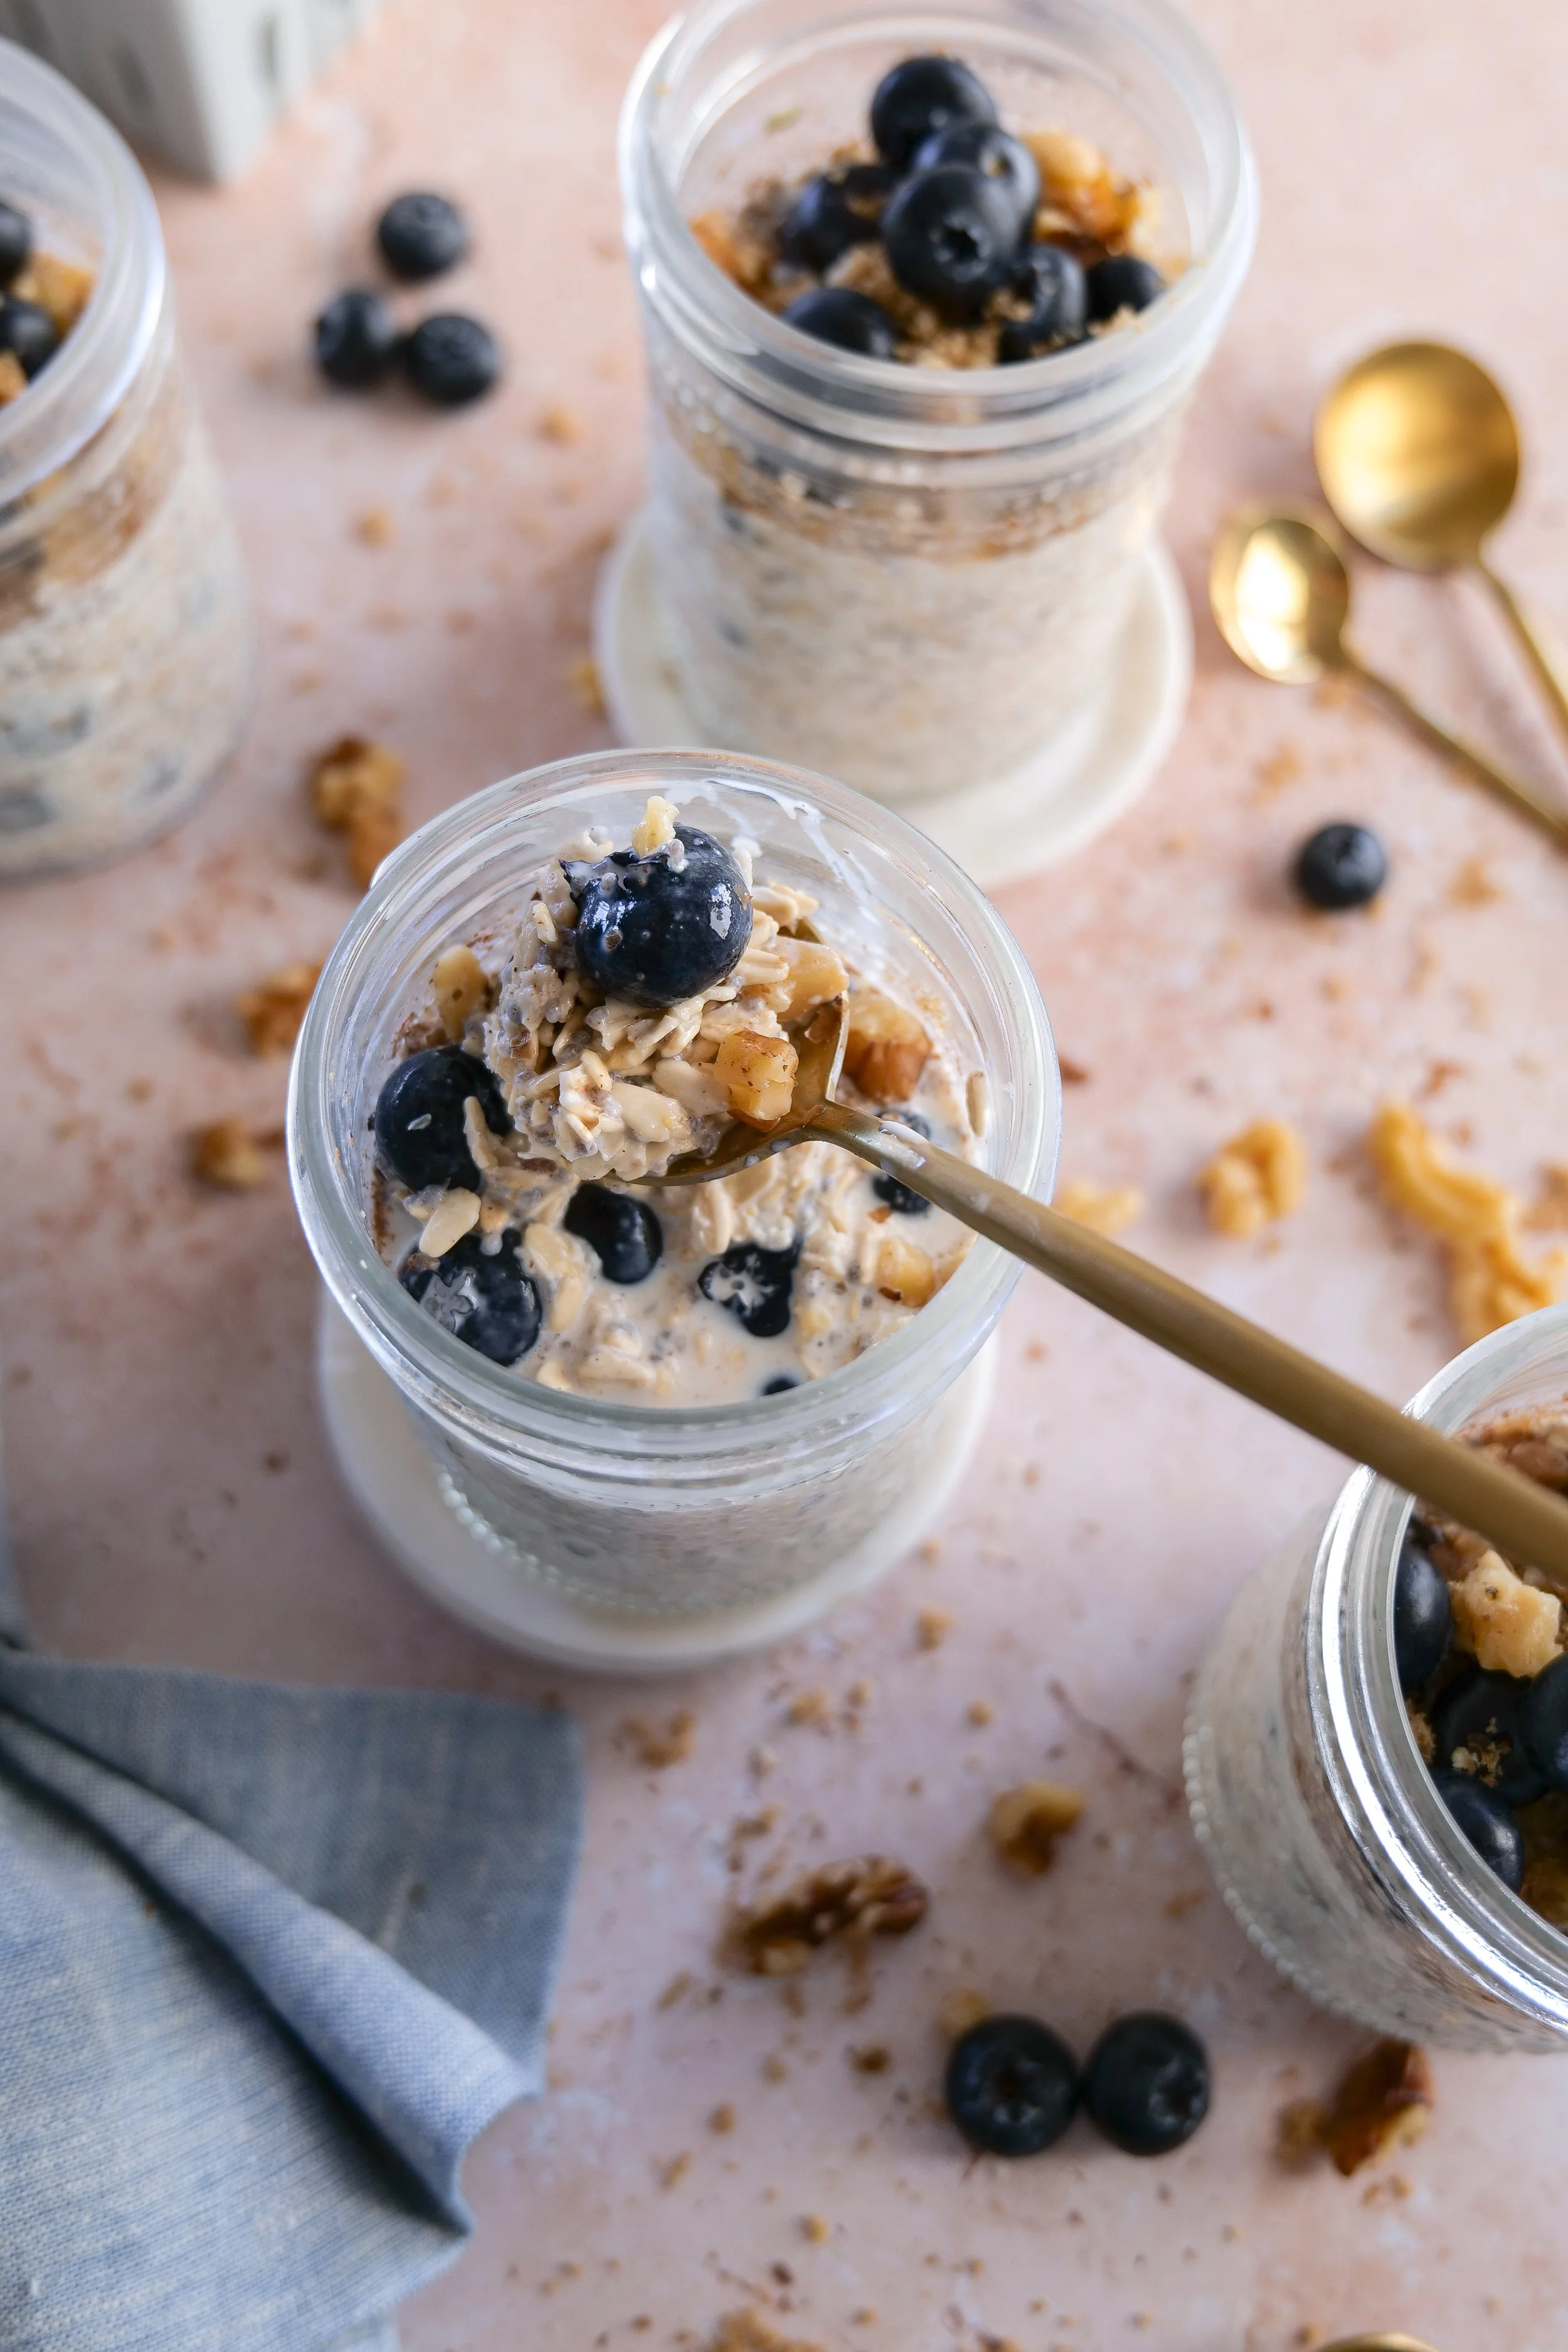
Fresh blueberries are truly the star of this recipe, adding natural sweetness and beautiful color in every bite.
A special thank you to Family Tree Farms for growing some of our family's favorite blueberries that inspire so many of my summer recipes.

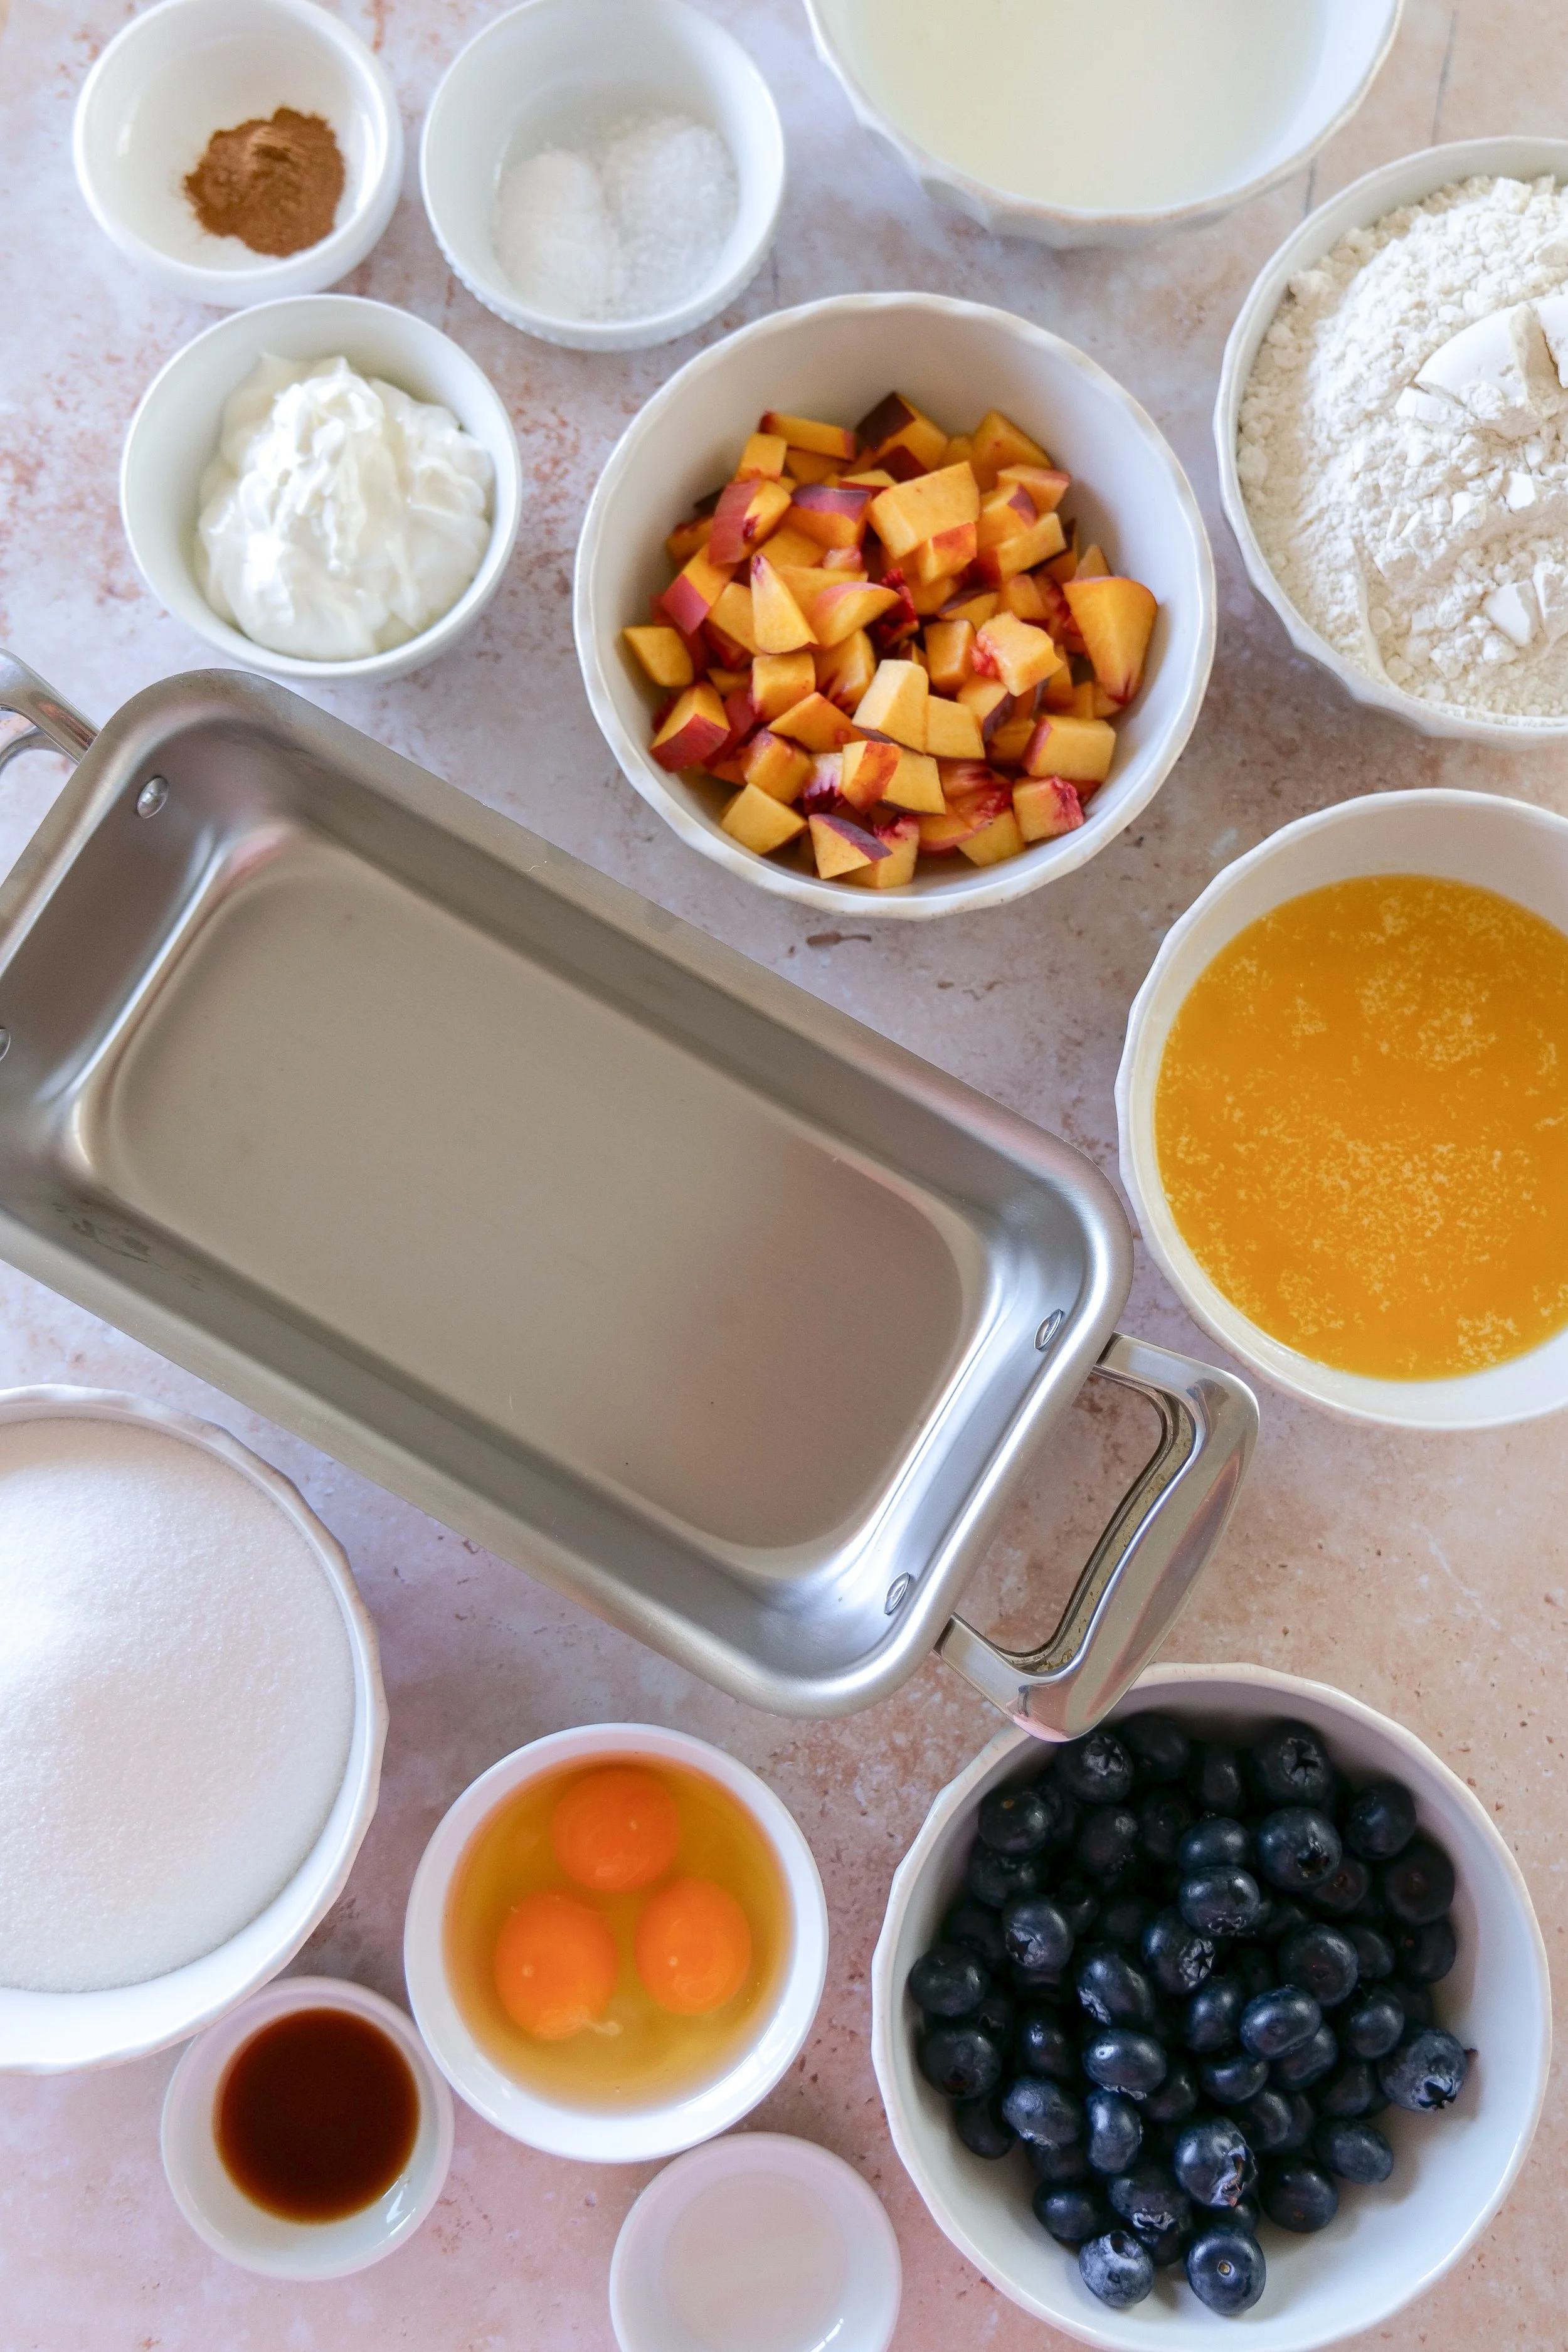
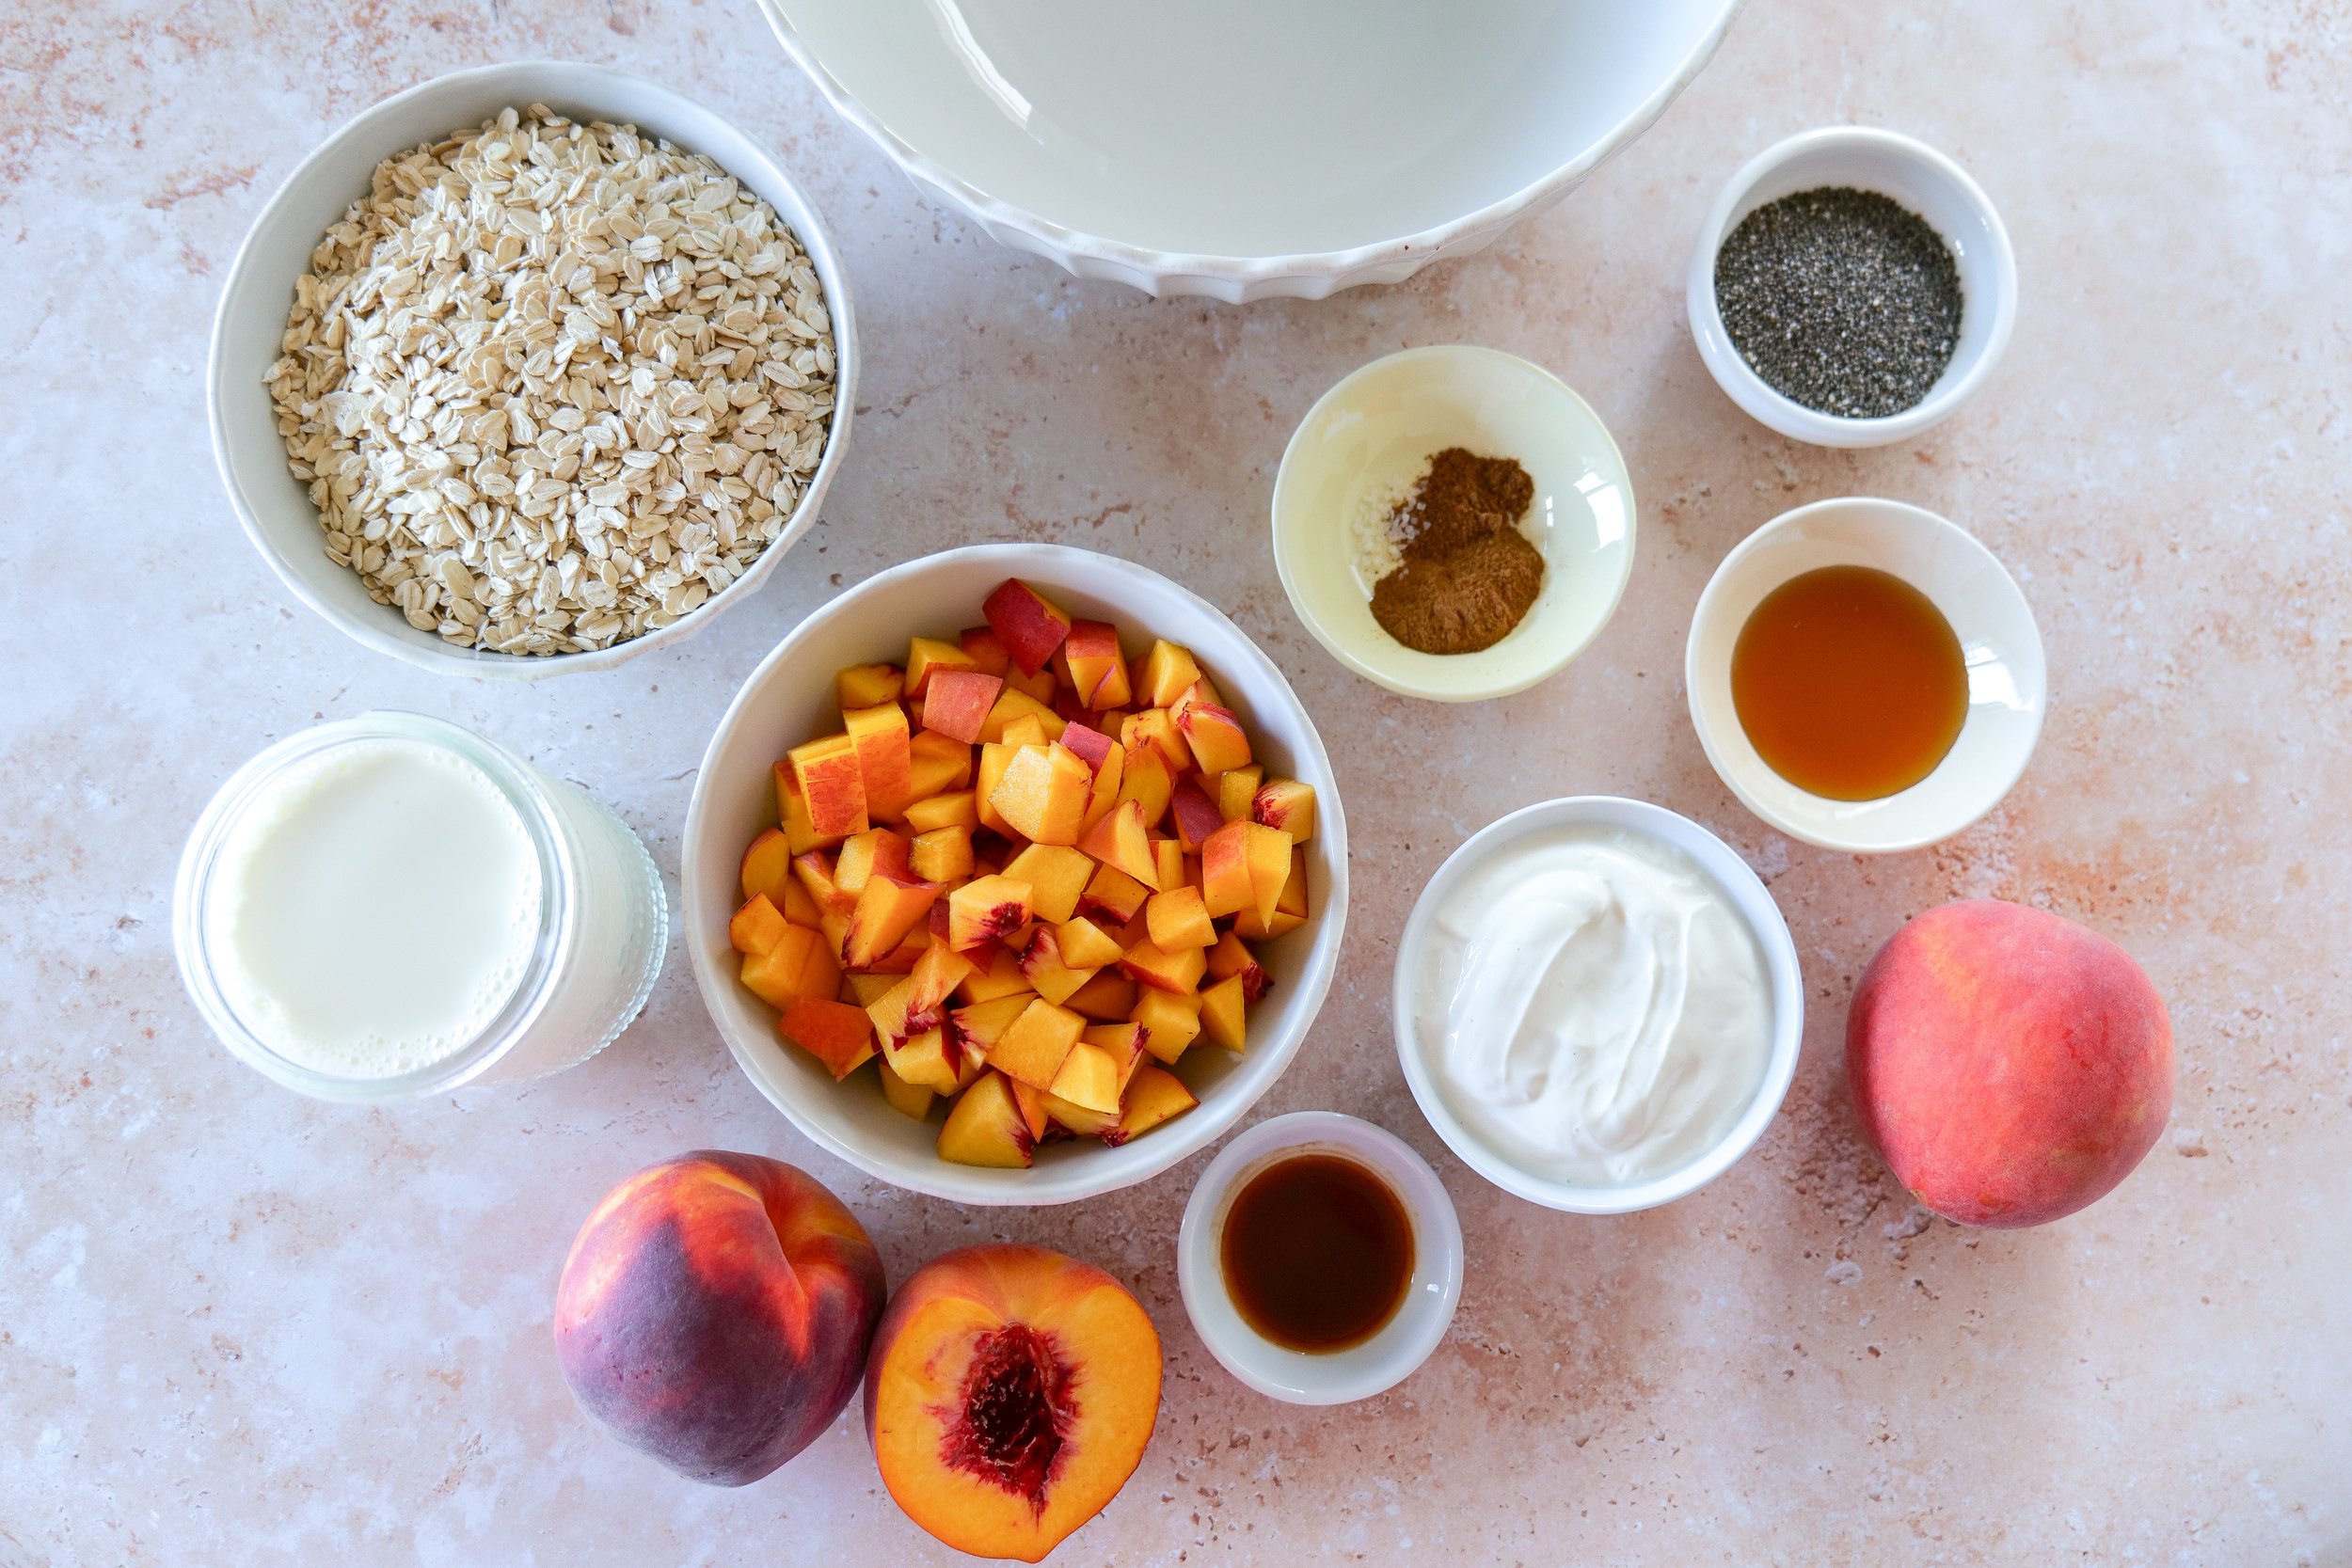
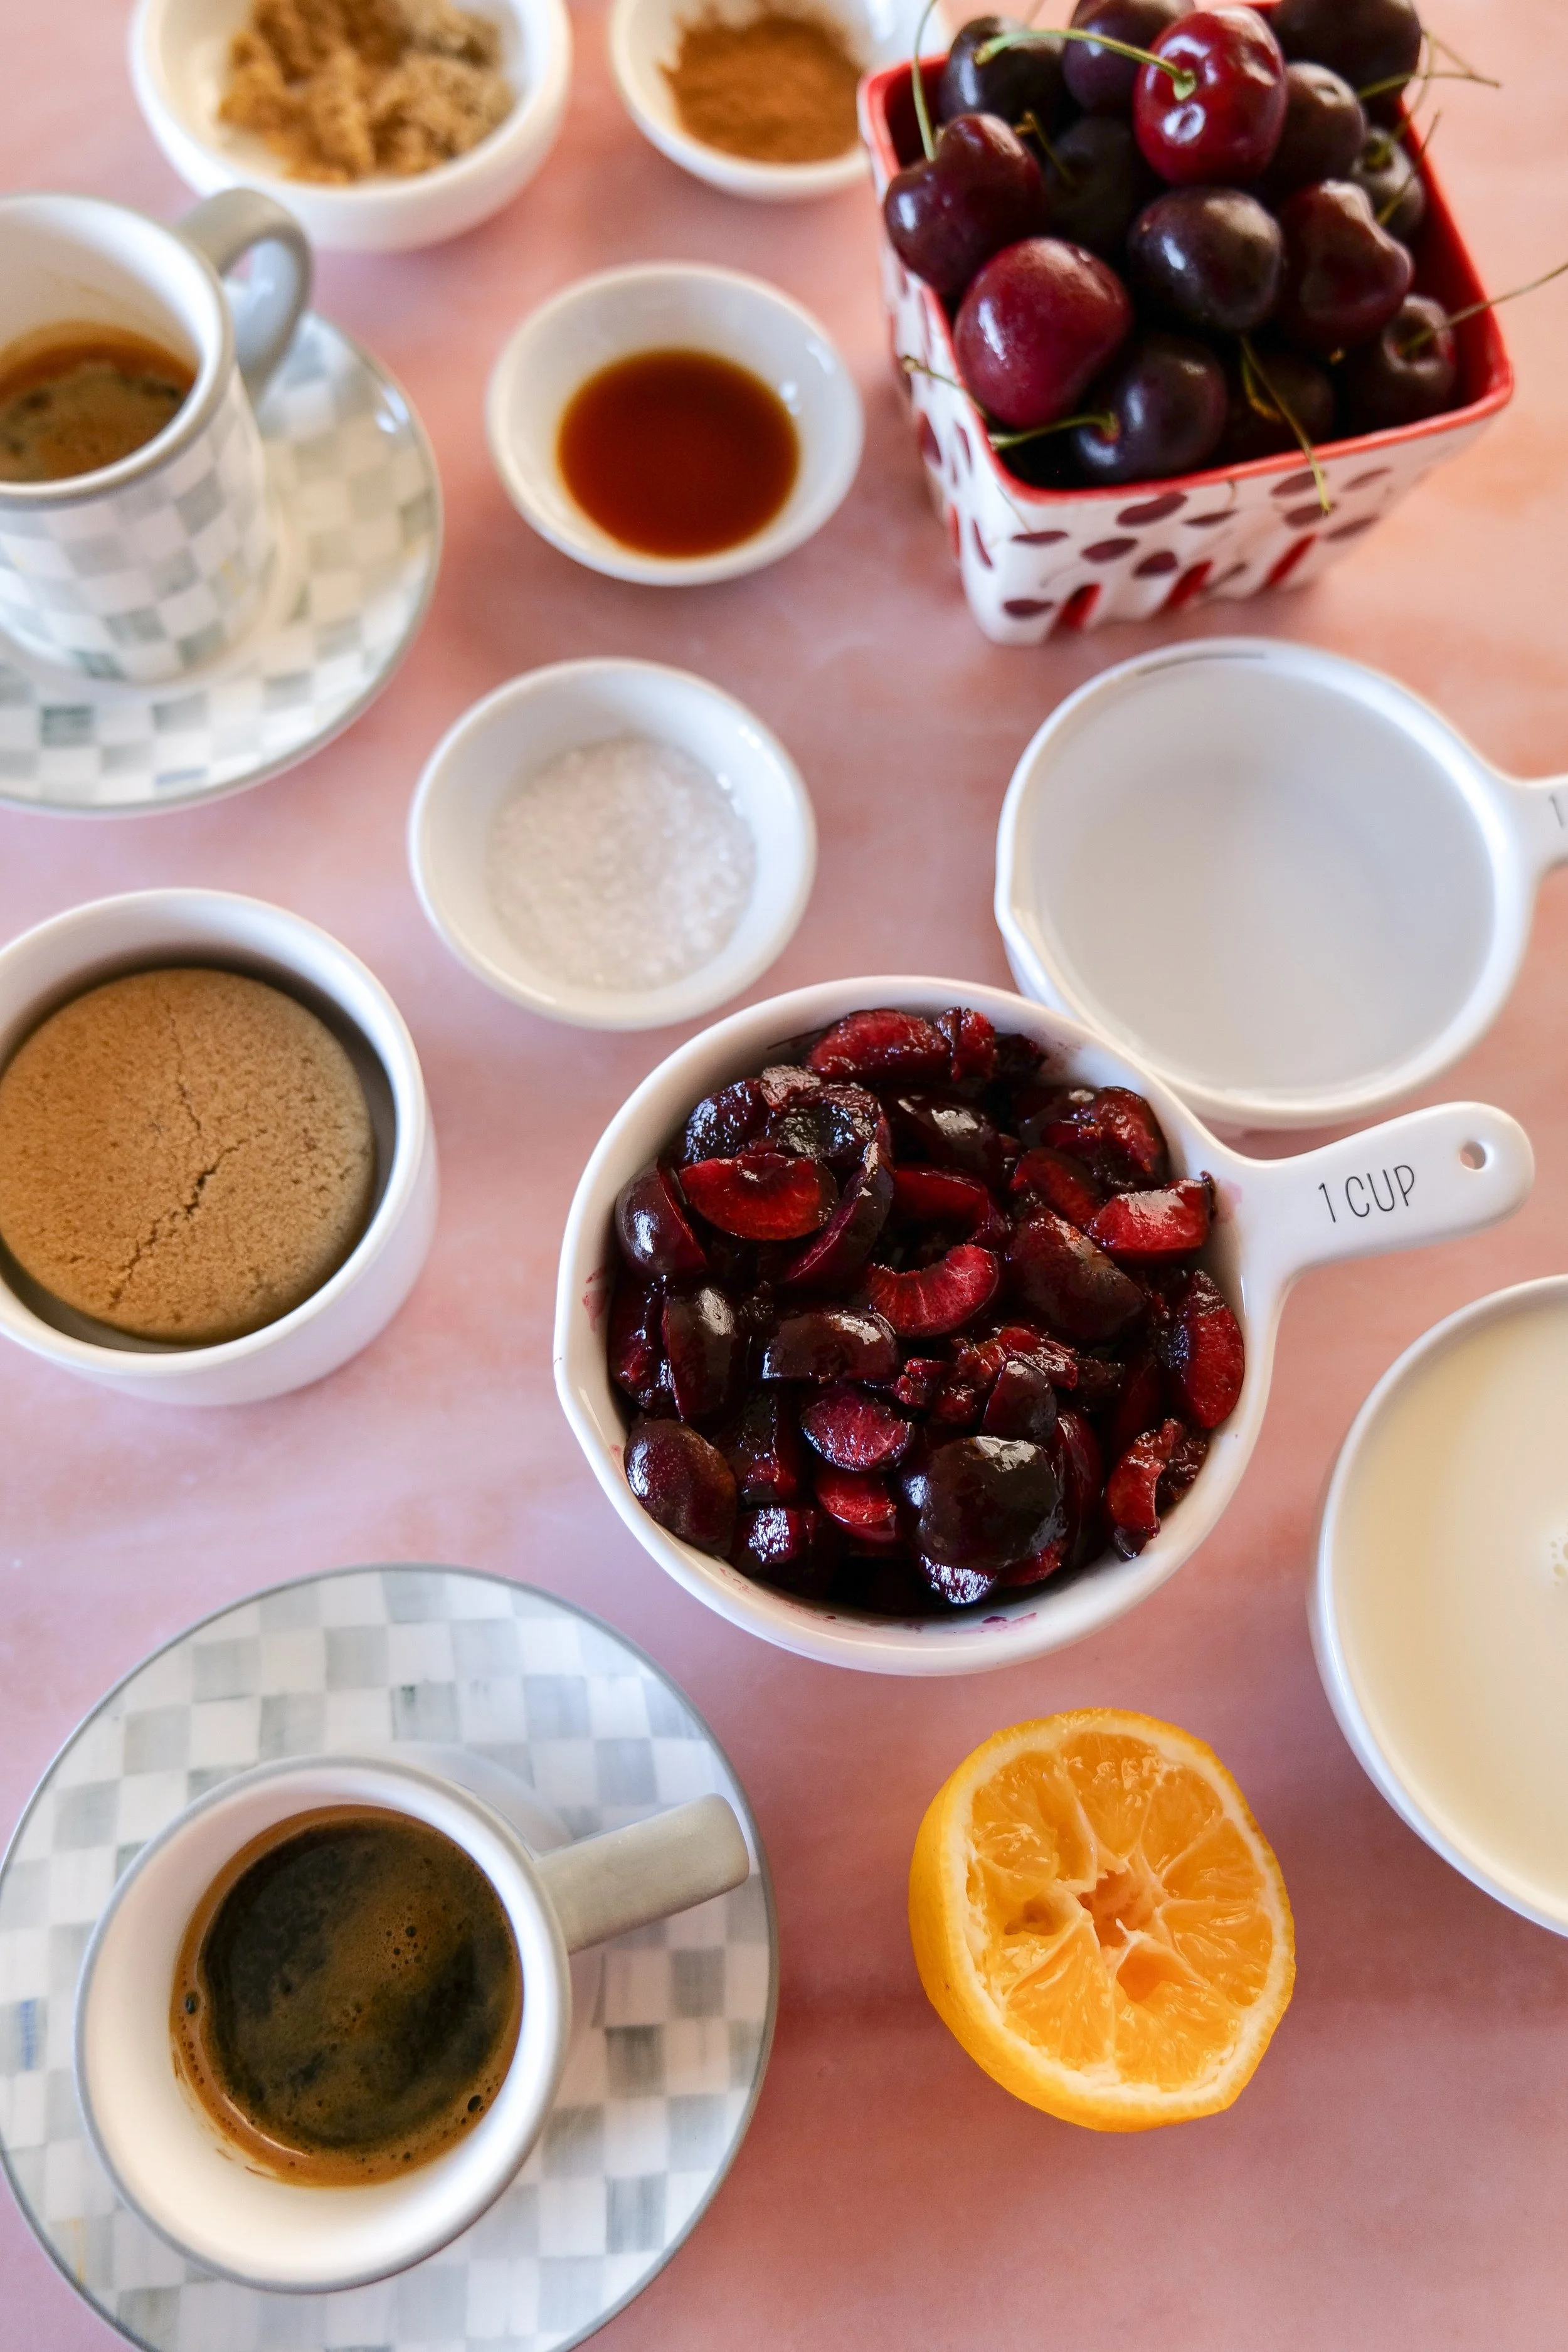
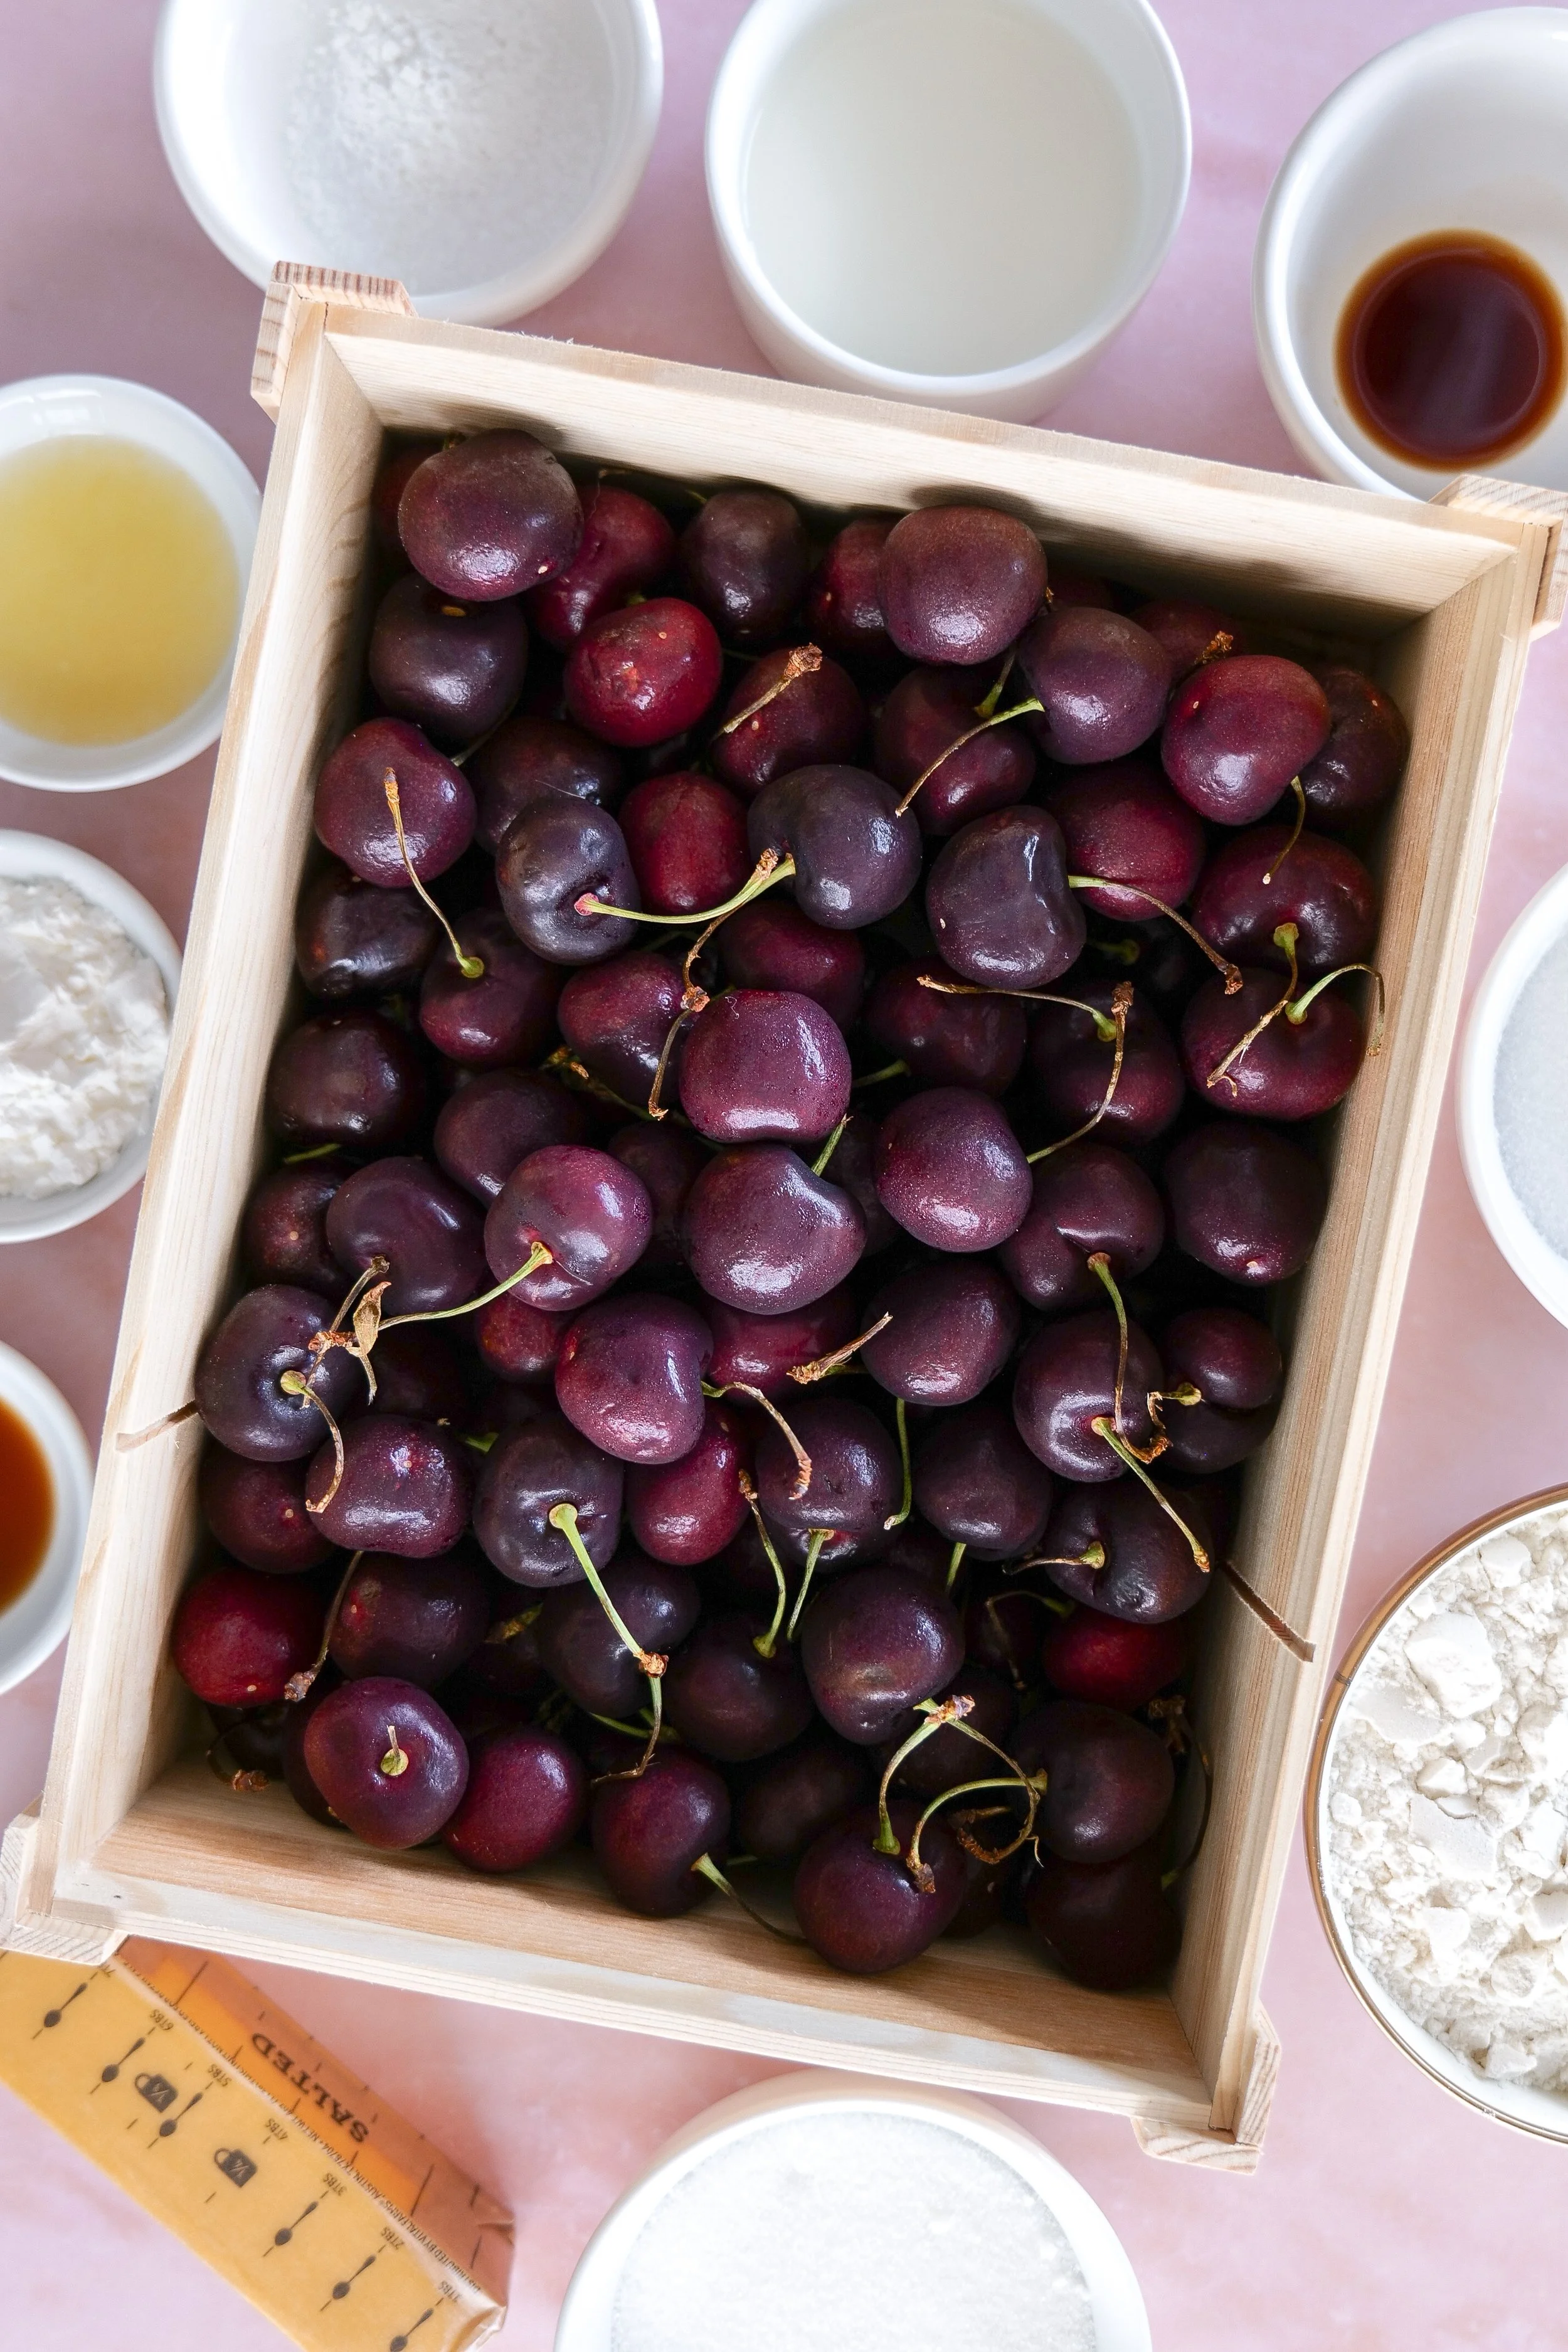
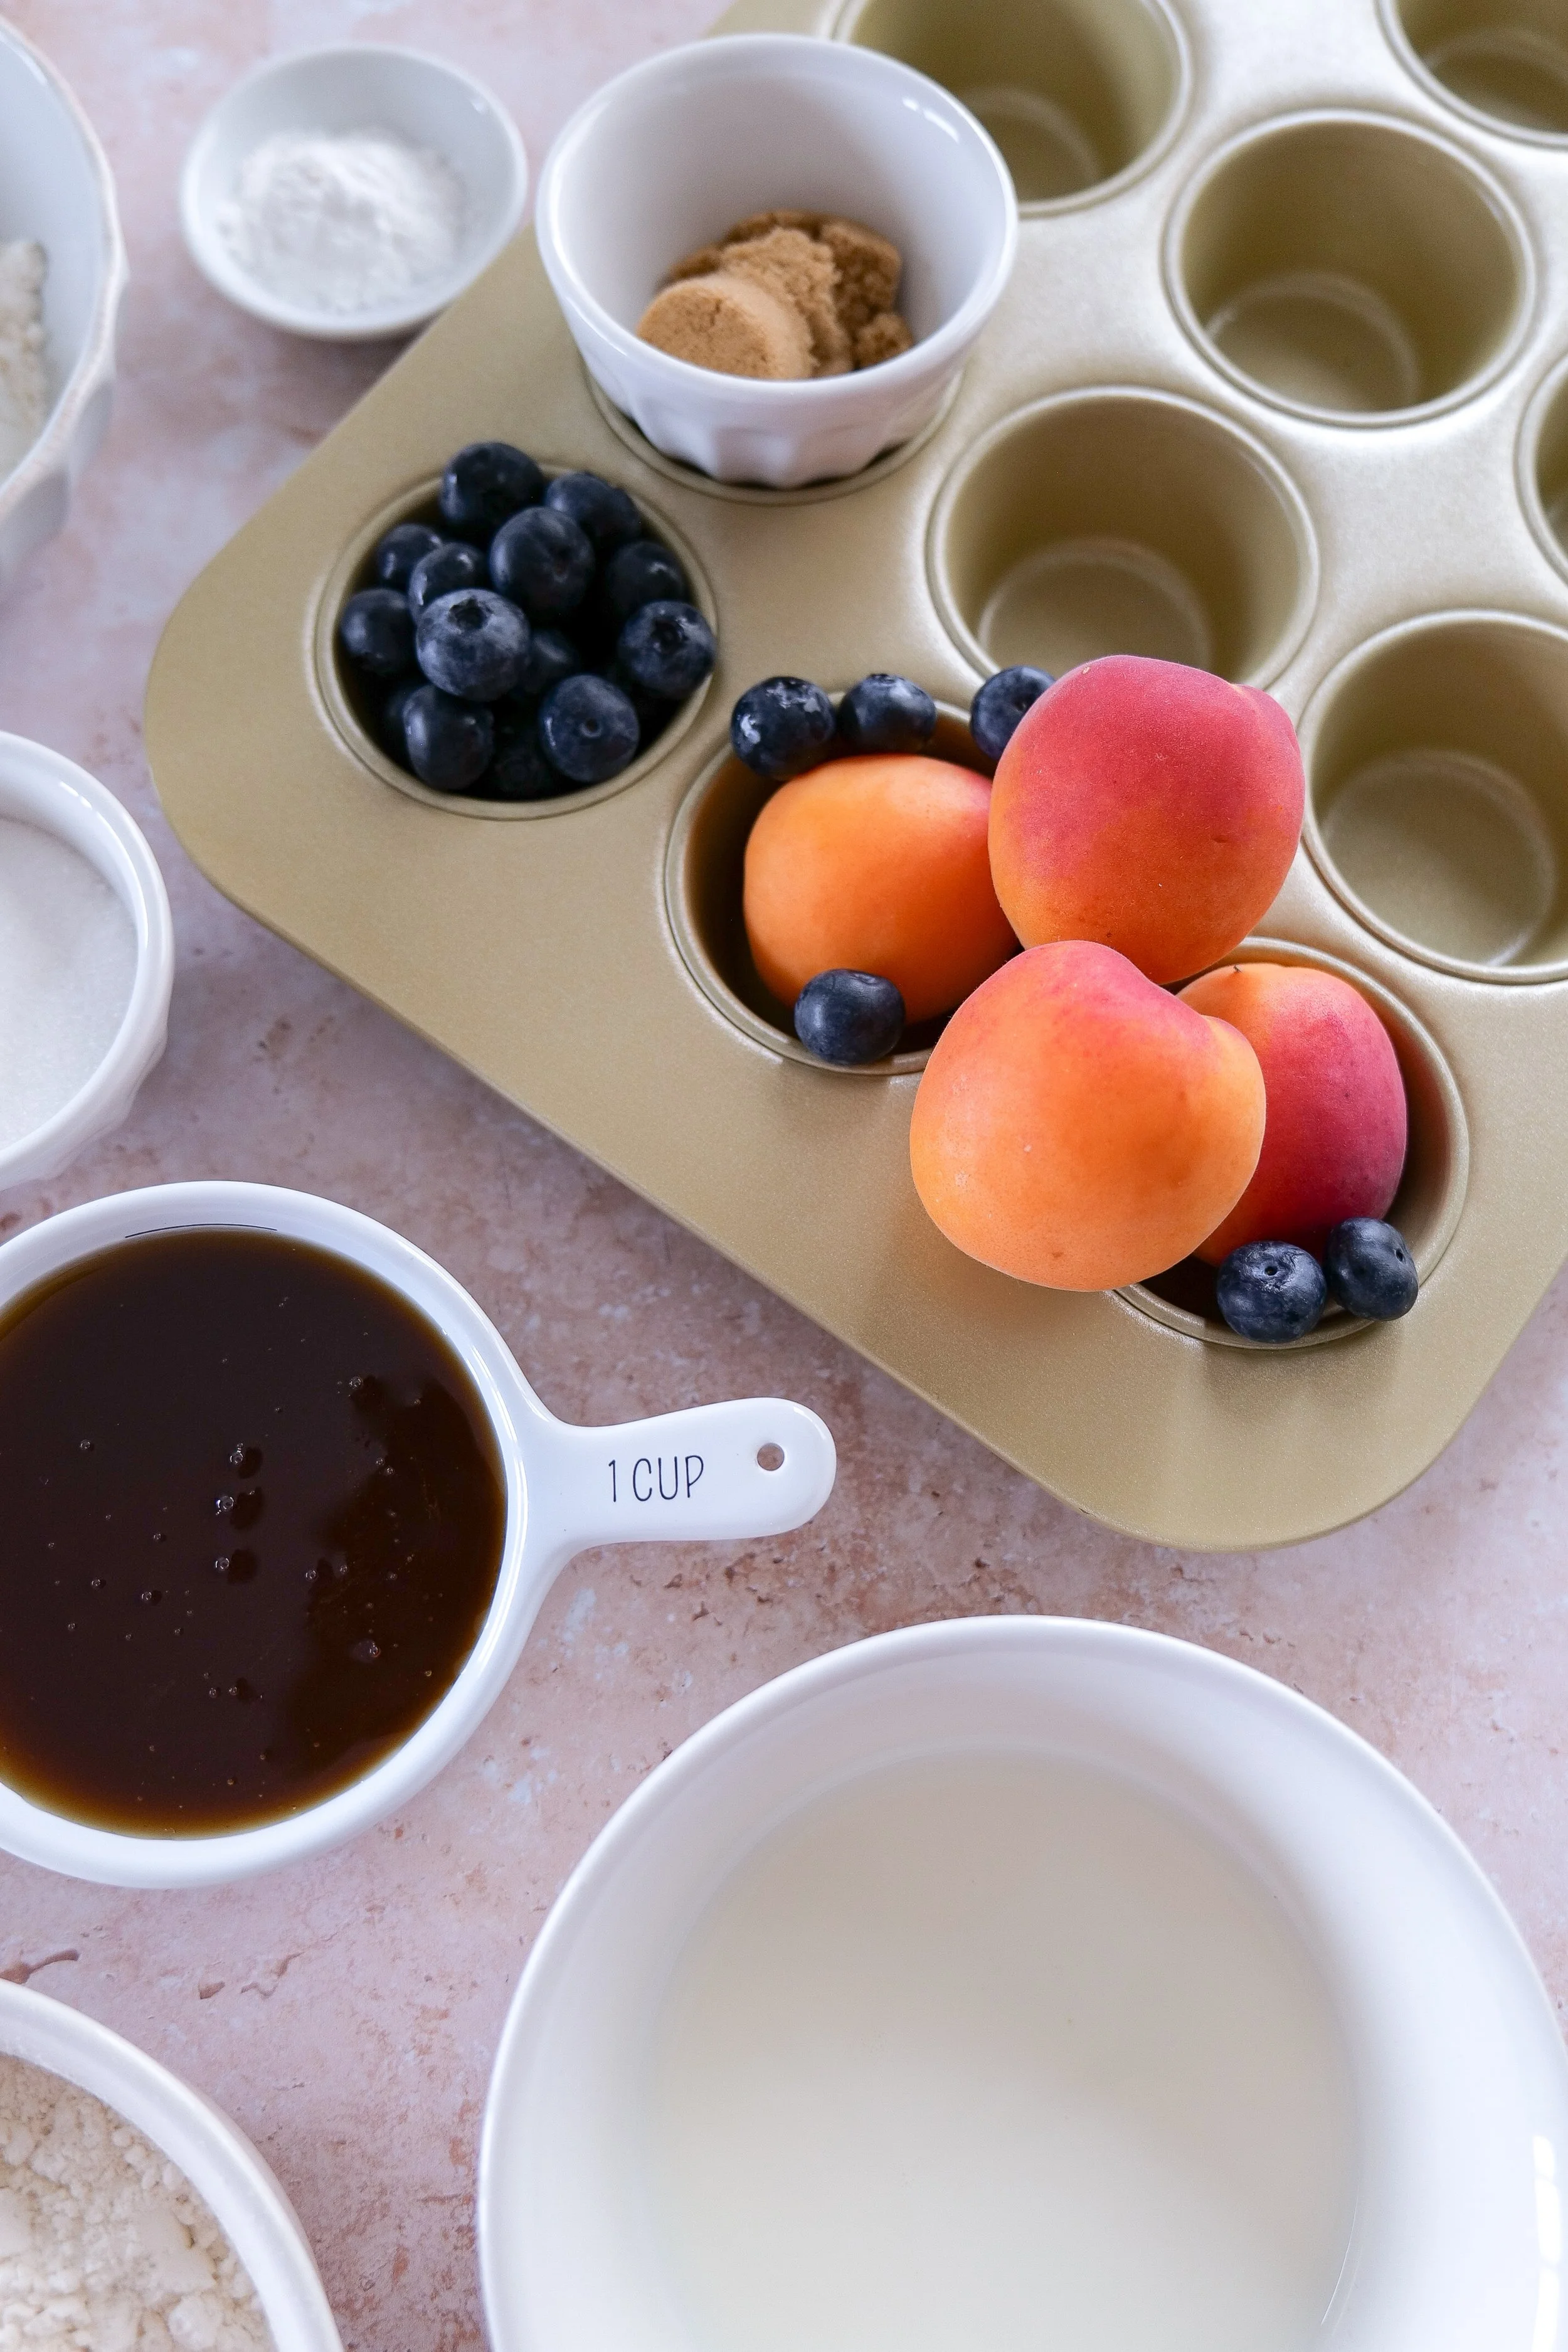
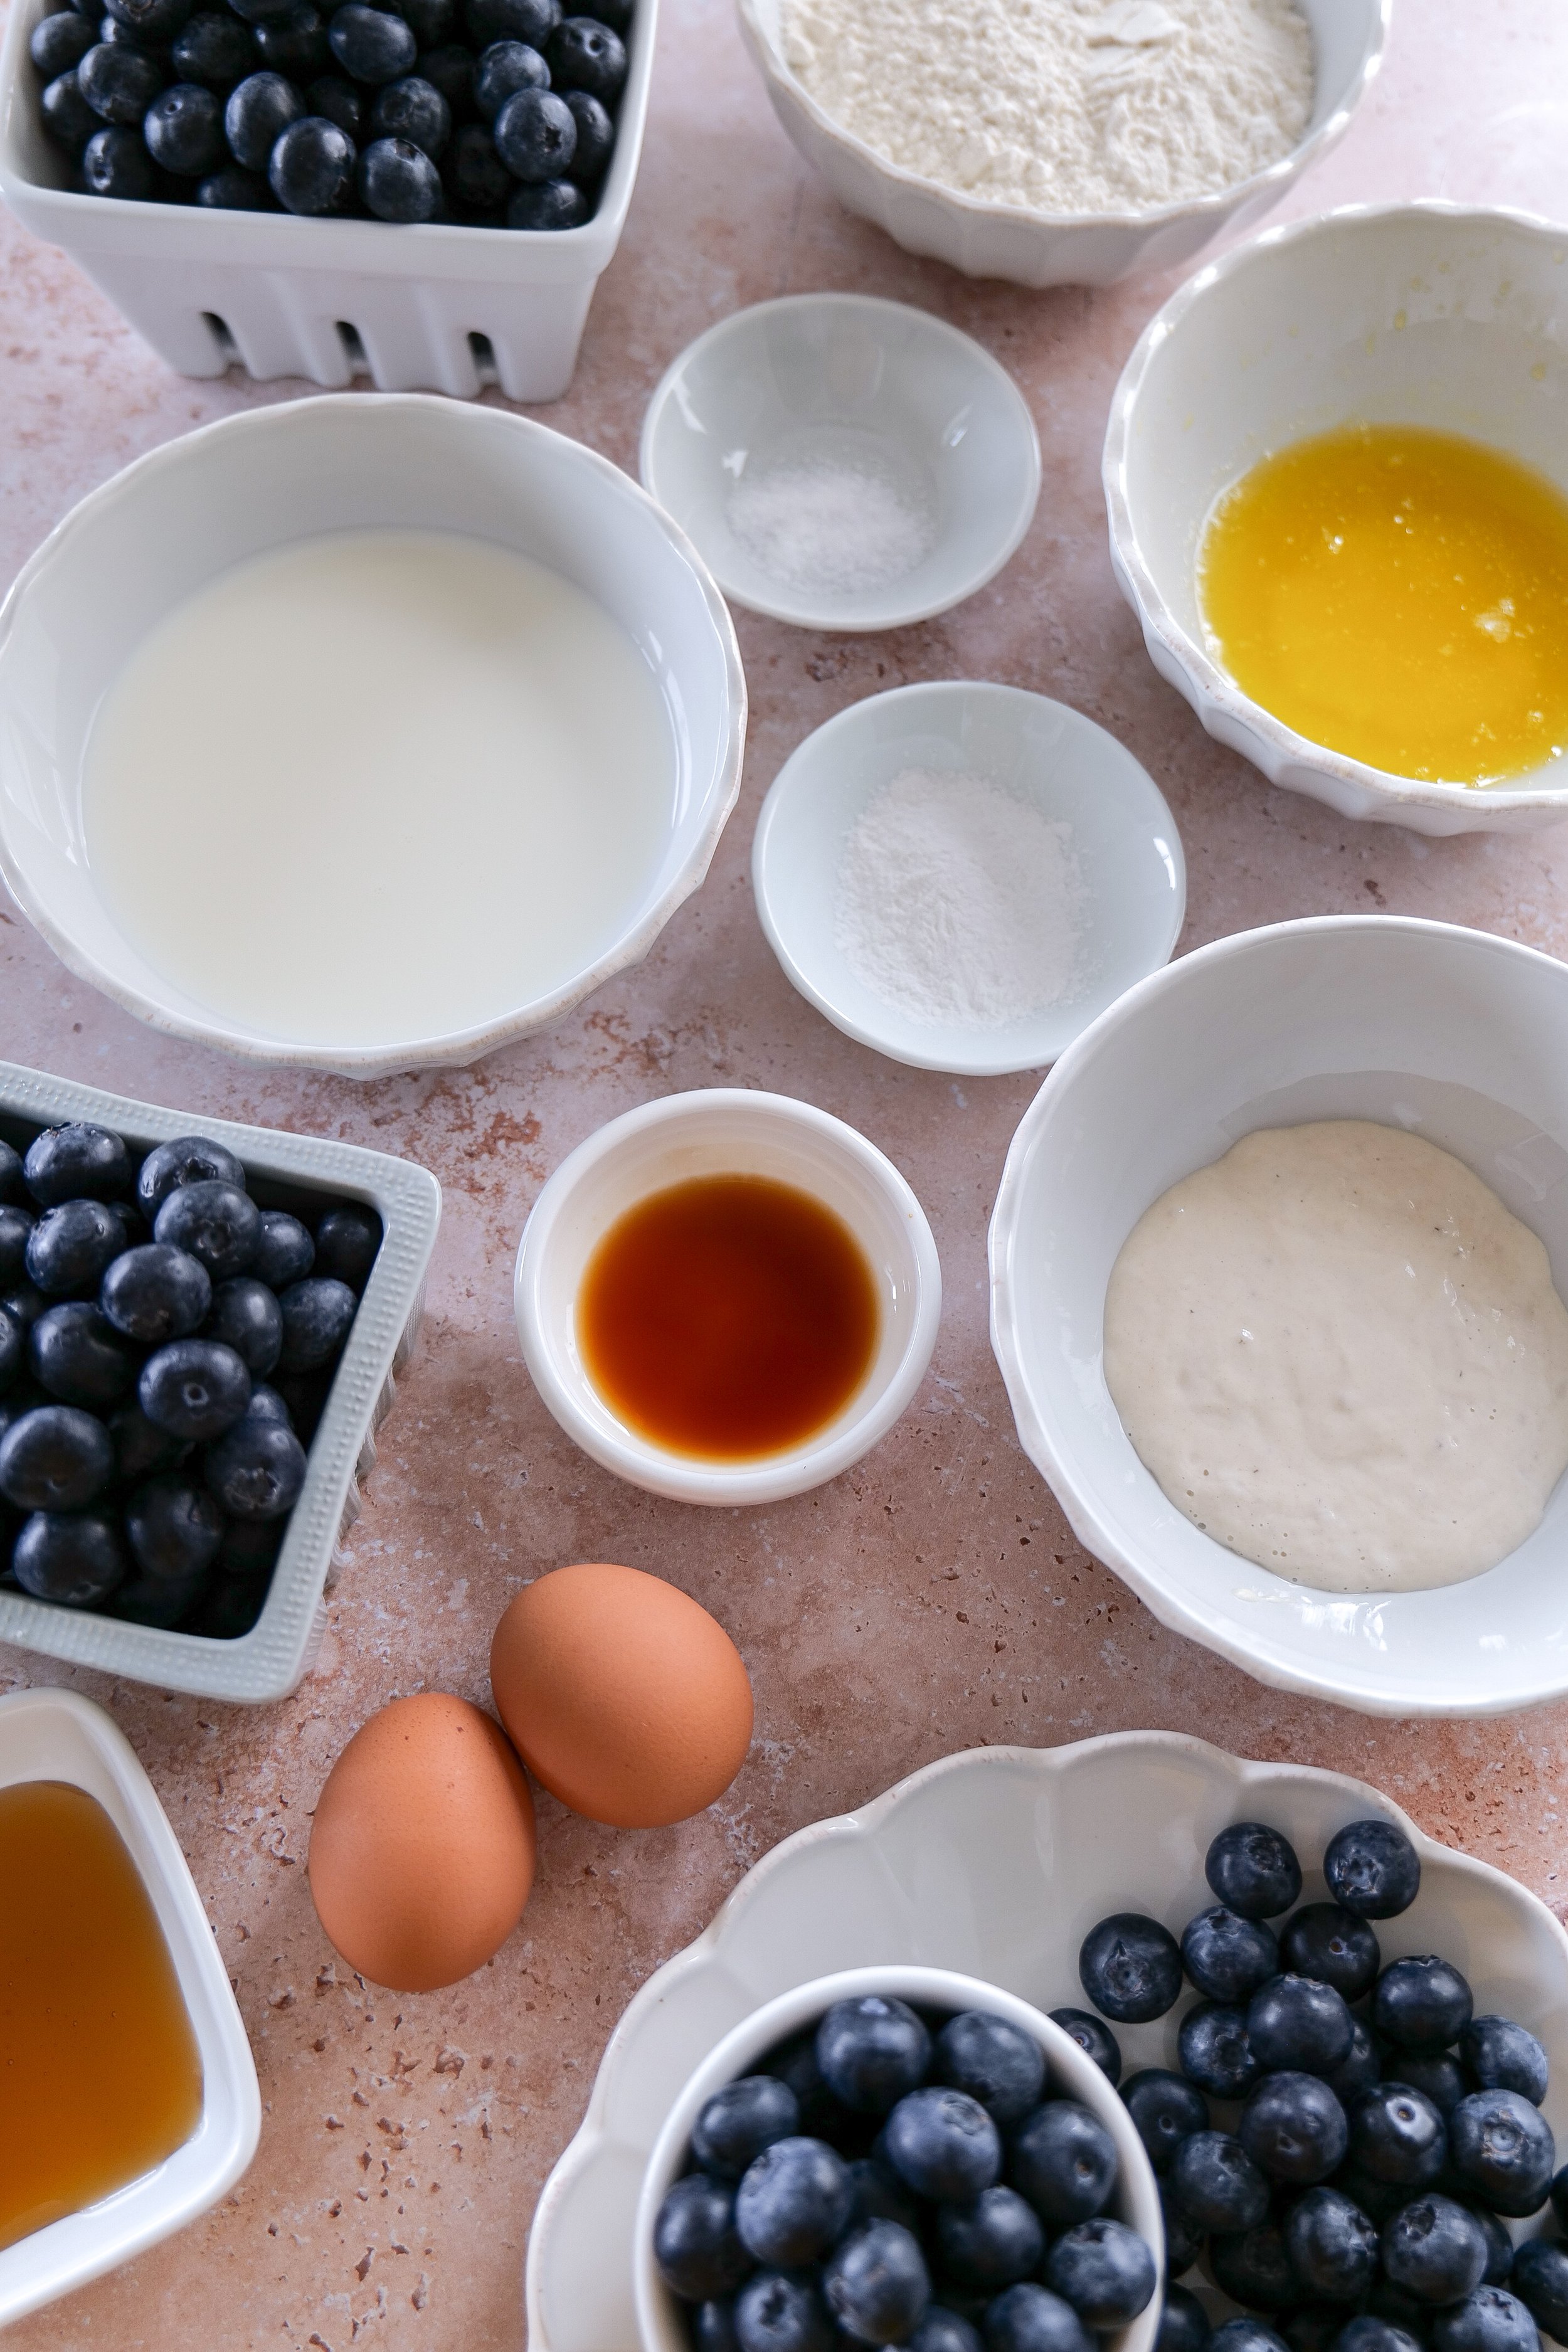
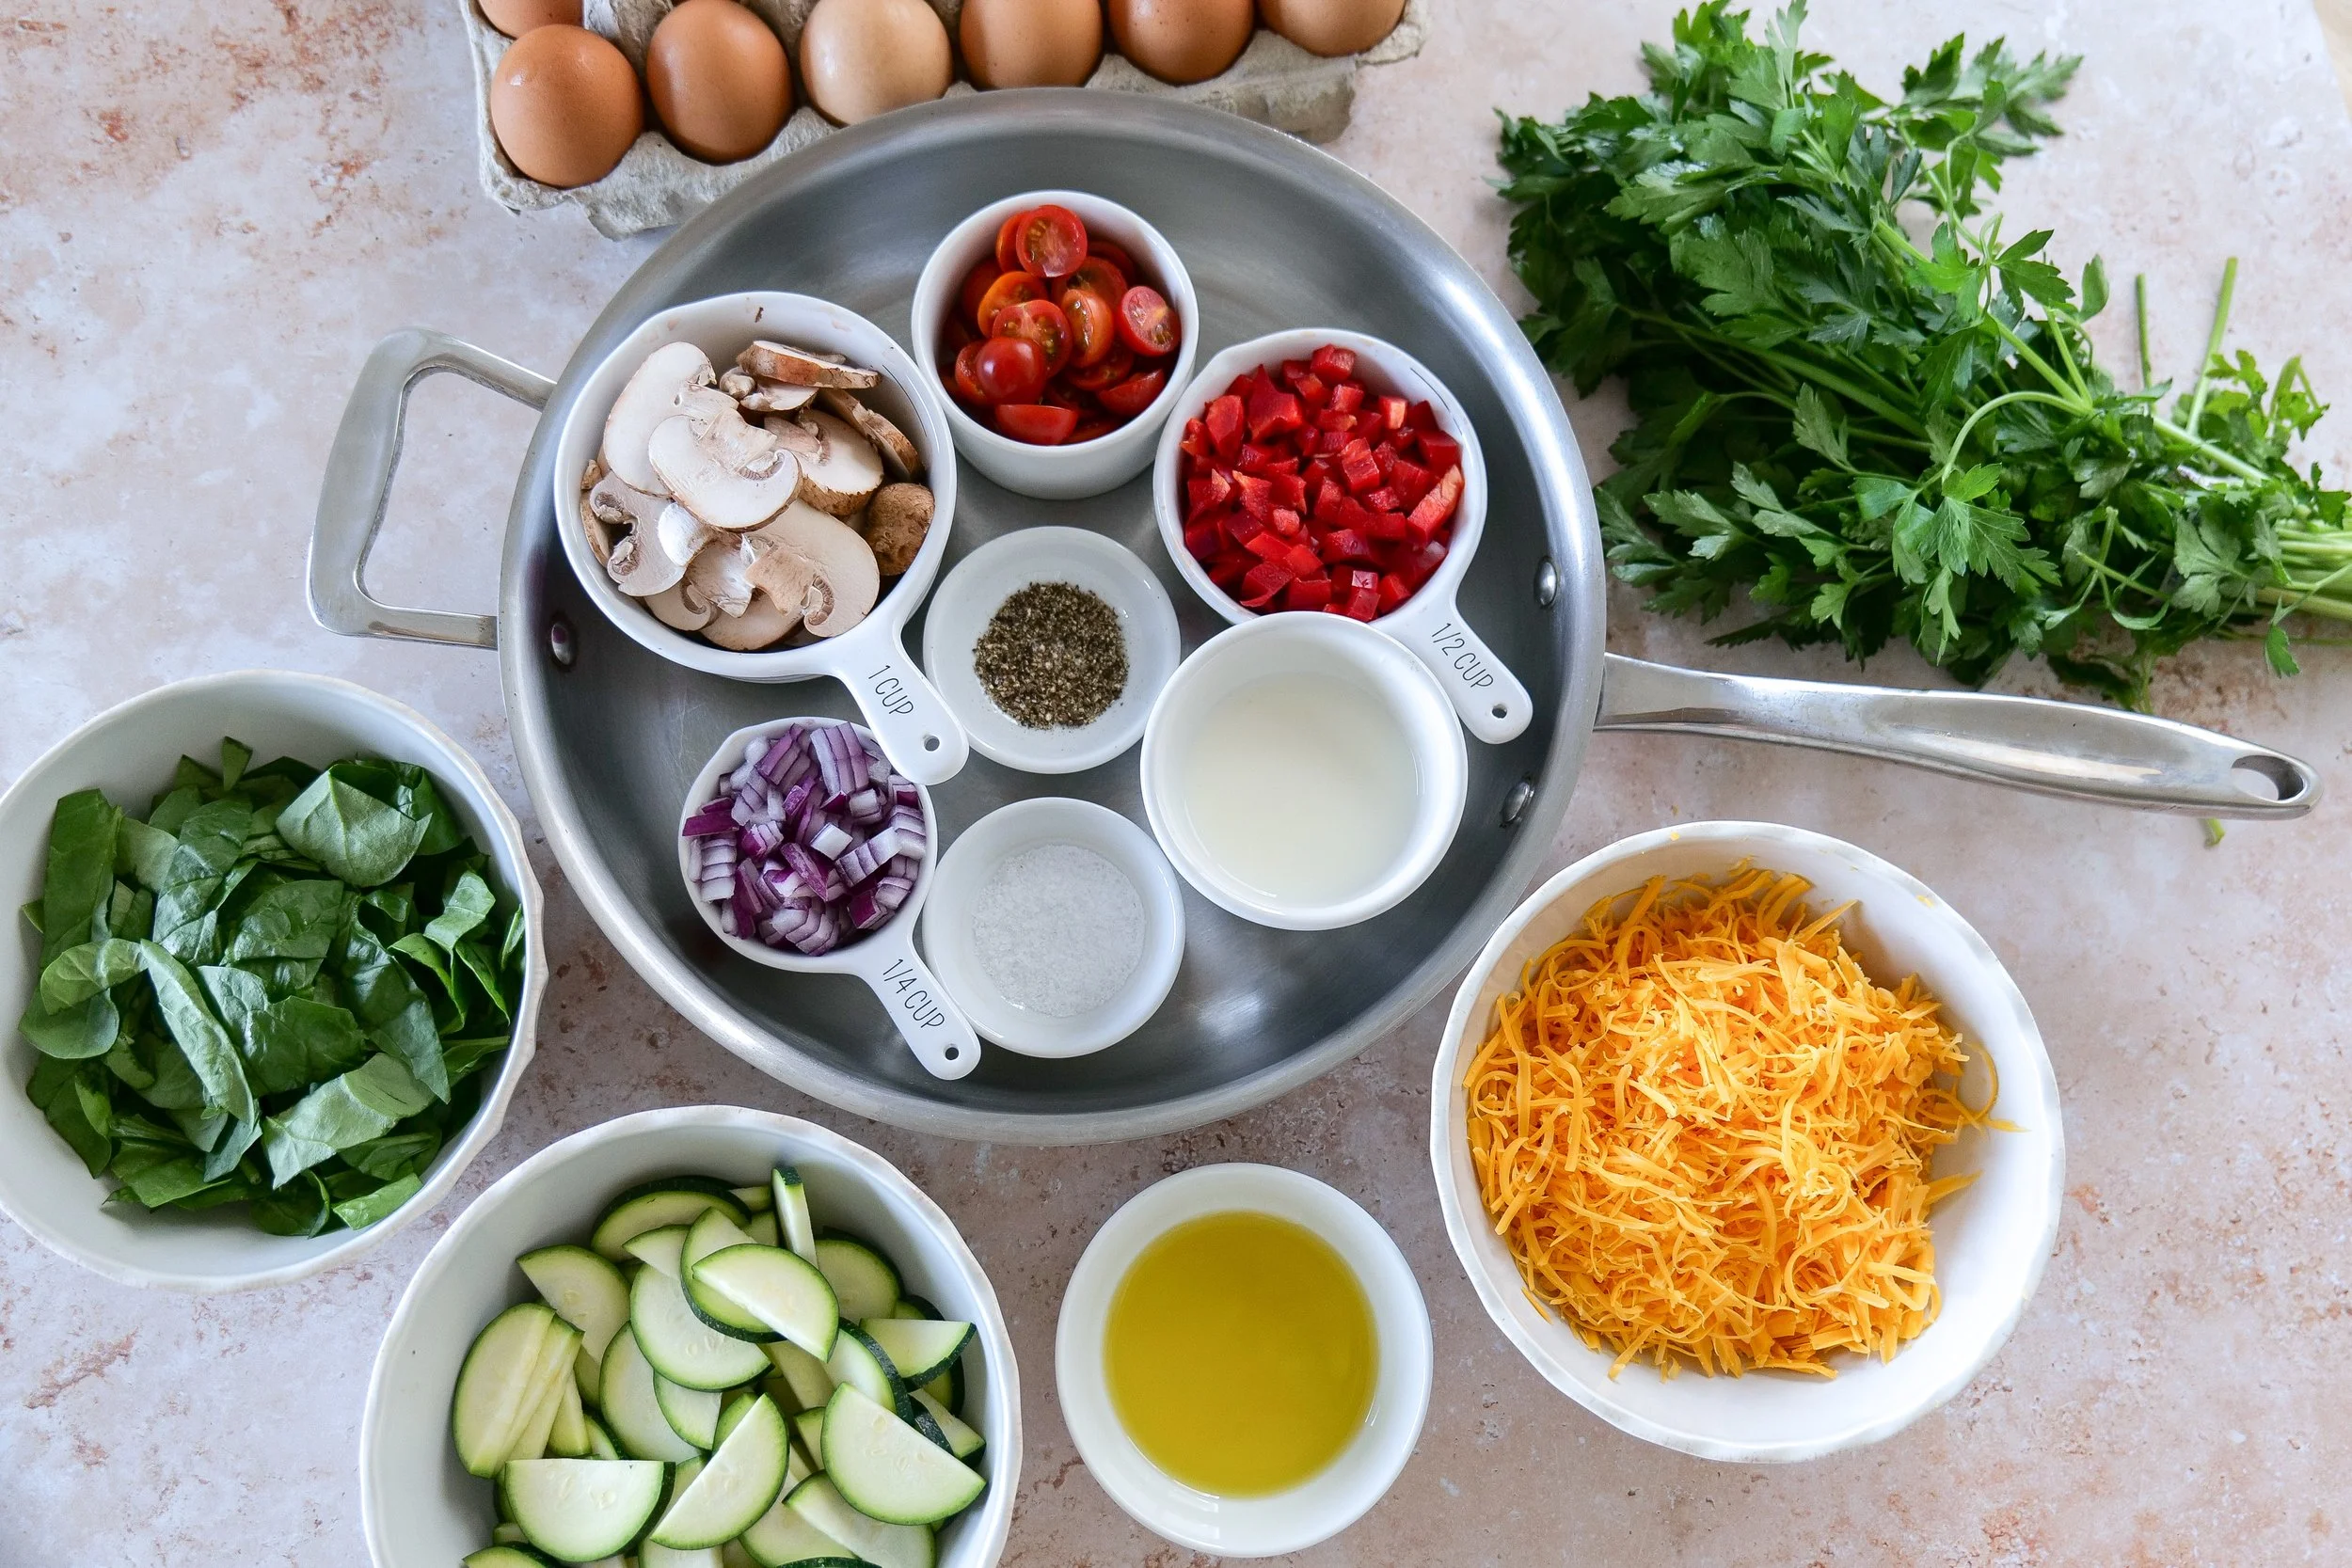
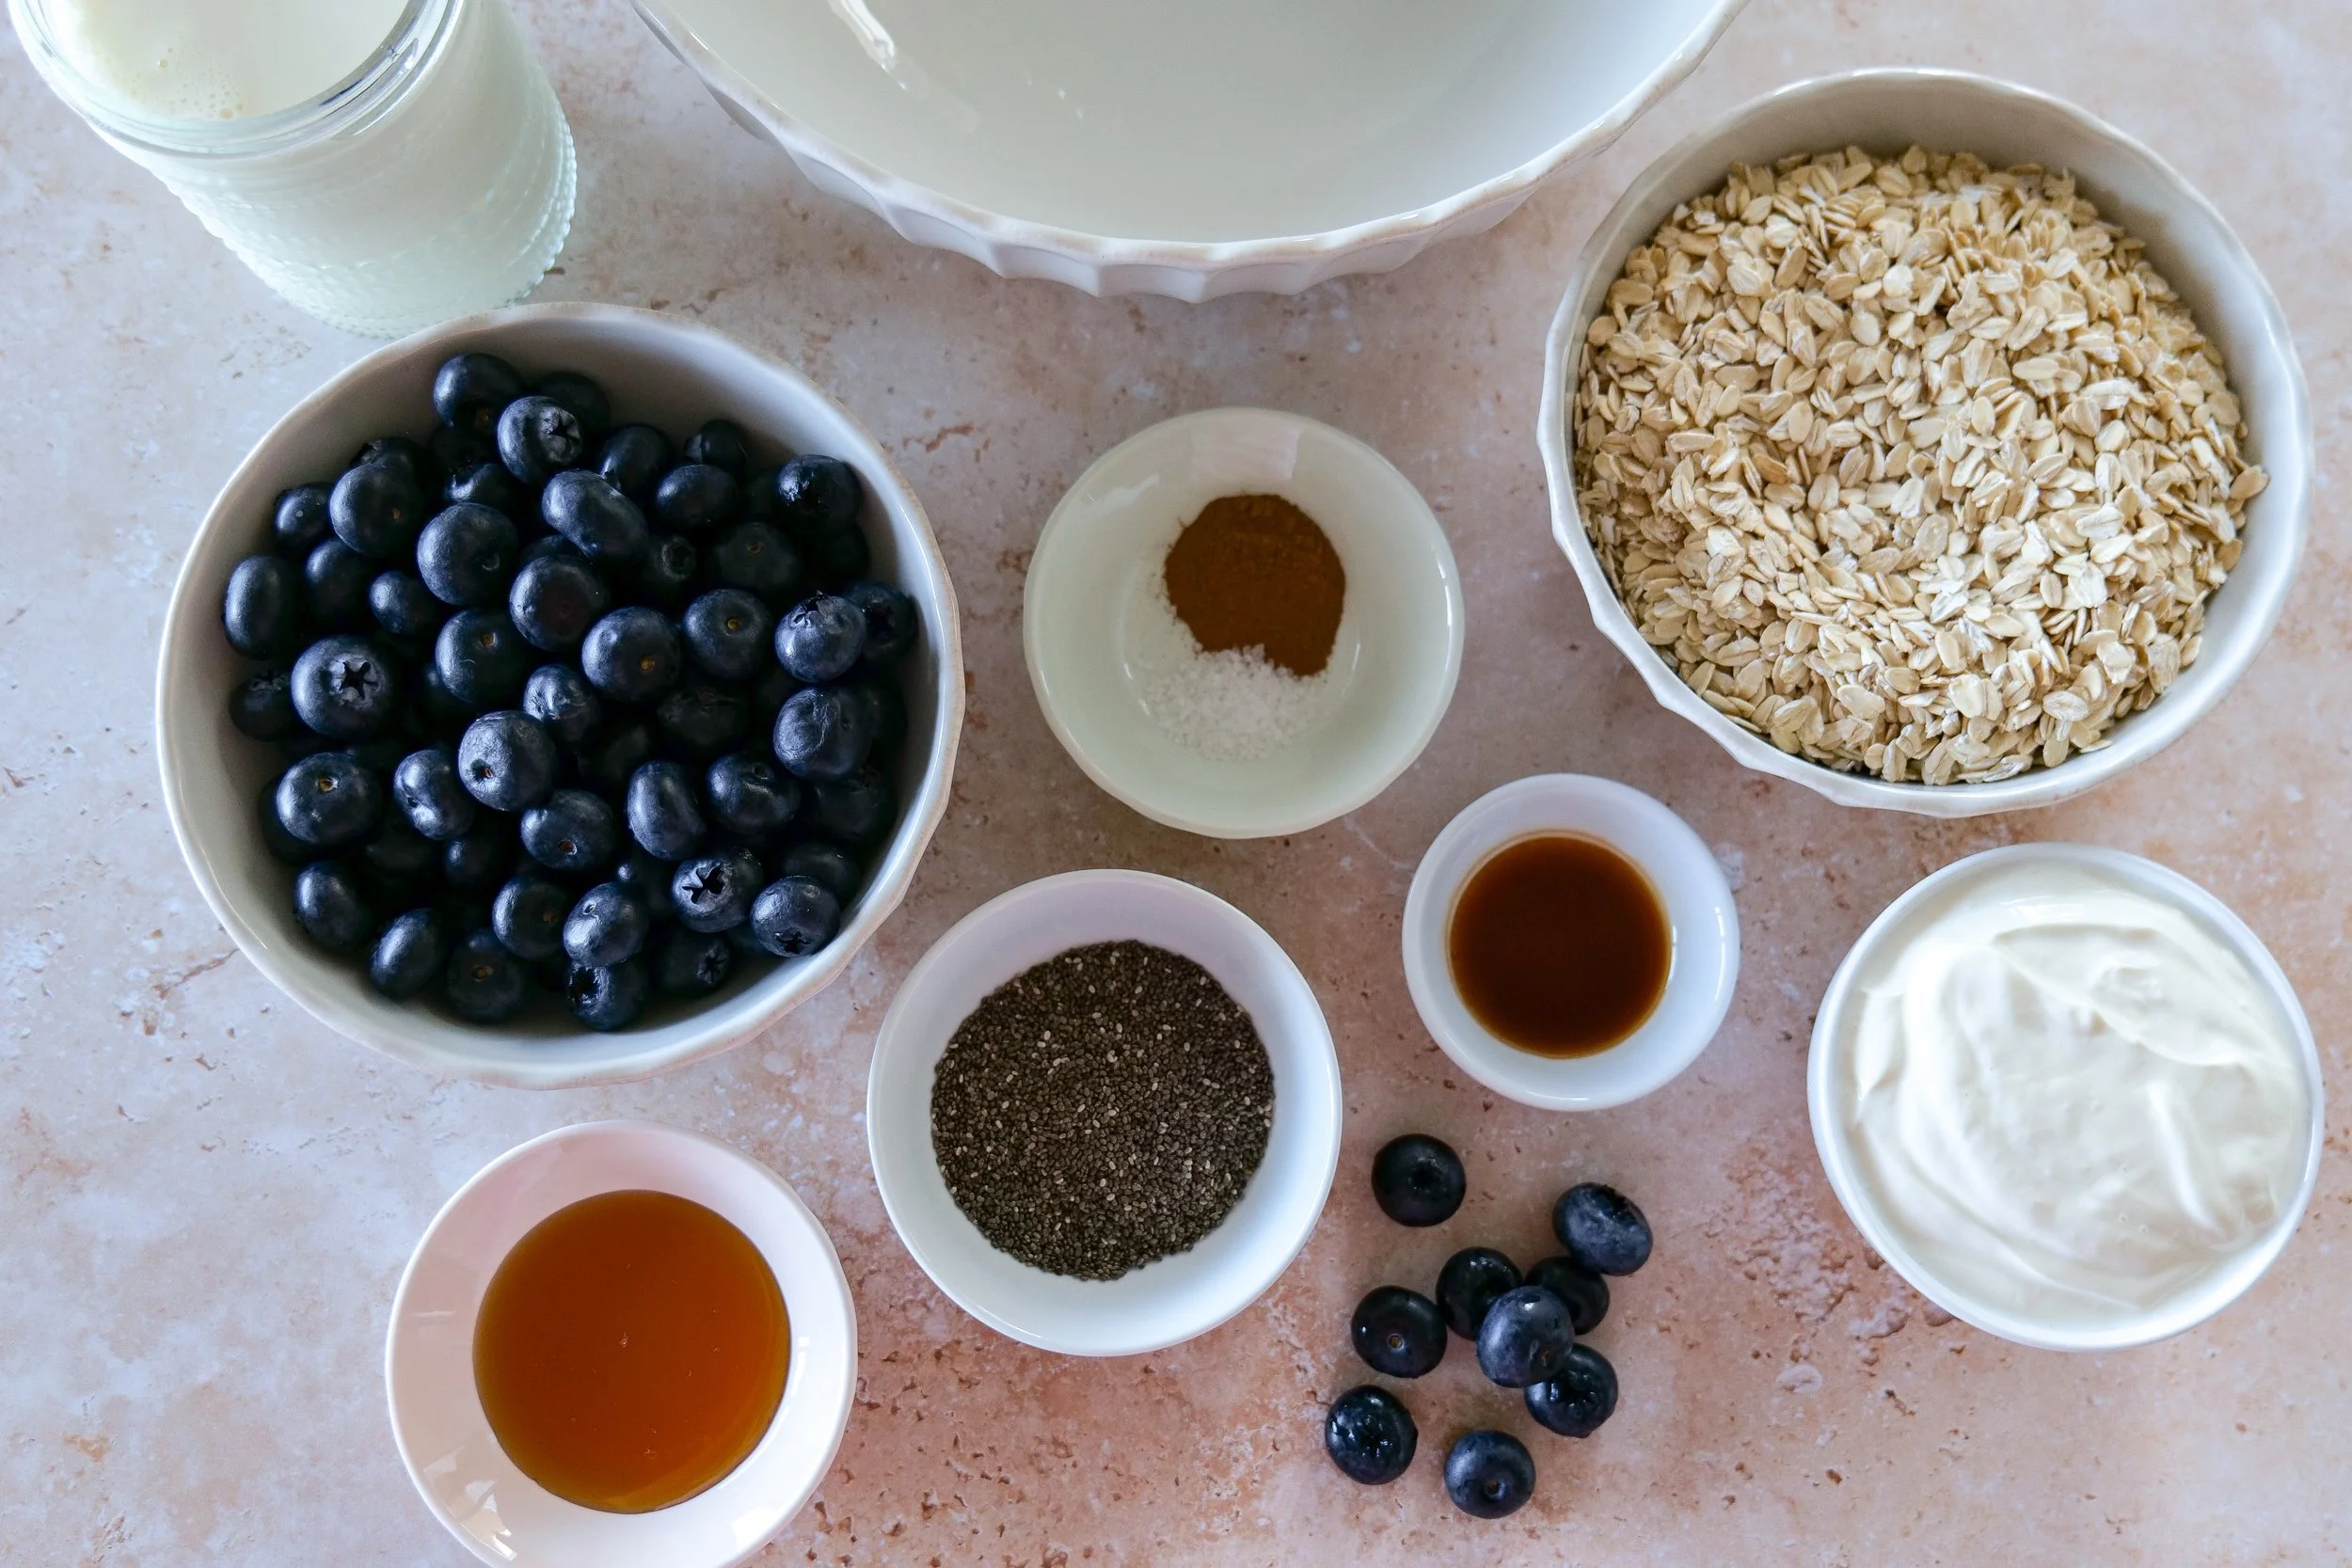
Ingredient Notes
Old-Fashioned Rolled Oats
Rolled oats create the perfect creamy texture while still keeping a little bite after soaking overnight.
Greek Yogurt
Greek yogurt makes these overnight oats incredibly creamy while adding protein that helps keep you full throughout the morning.
Fresh Blueberries
Fresh blueberries are my favorite when they're in season, but frozen blueberries work beautifully throughout the year.
Chia Seeds
Chia seeds naturally thicken the oats while adding fiber and healthy fats.
Cinnamon & Vanilla
These simple pantry staples bring everything together and create that unmistakable blueberry pie flavor.
Equipment You'll Need
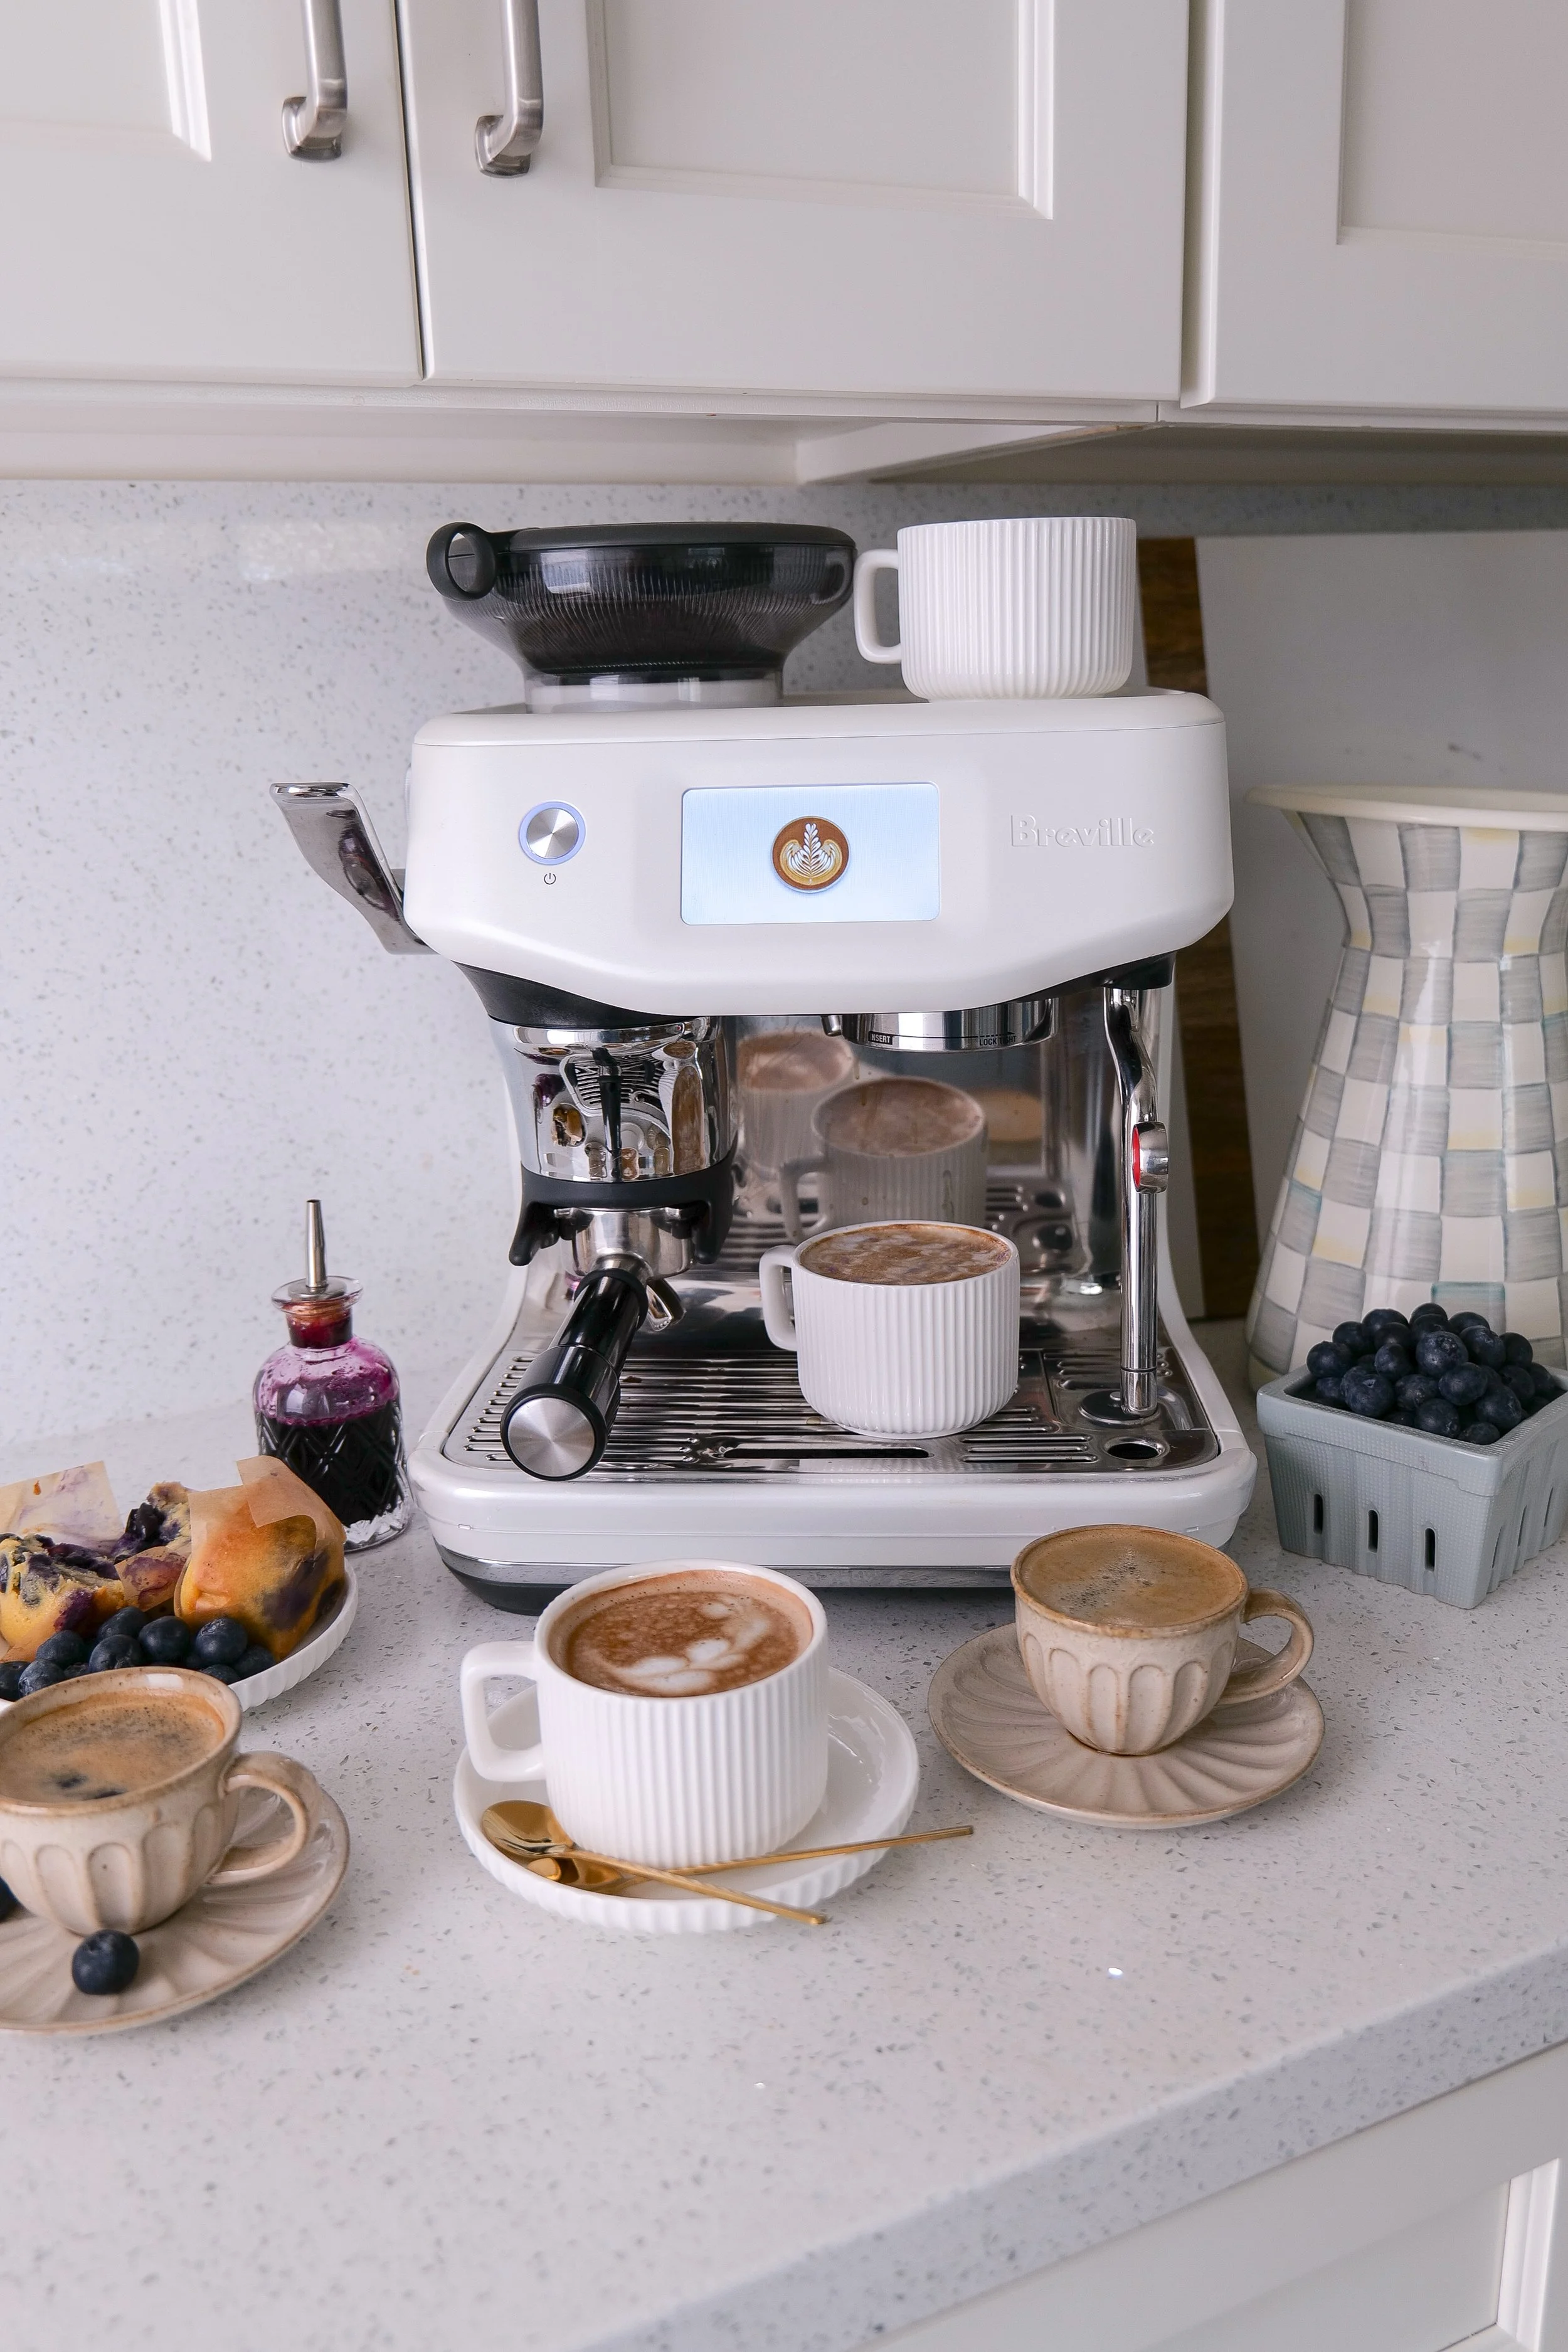
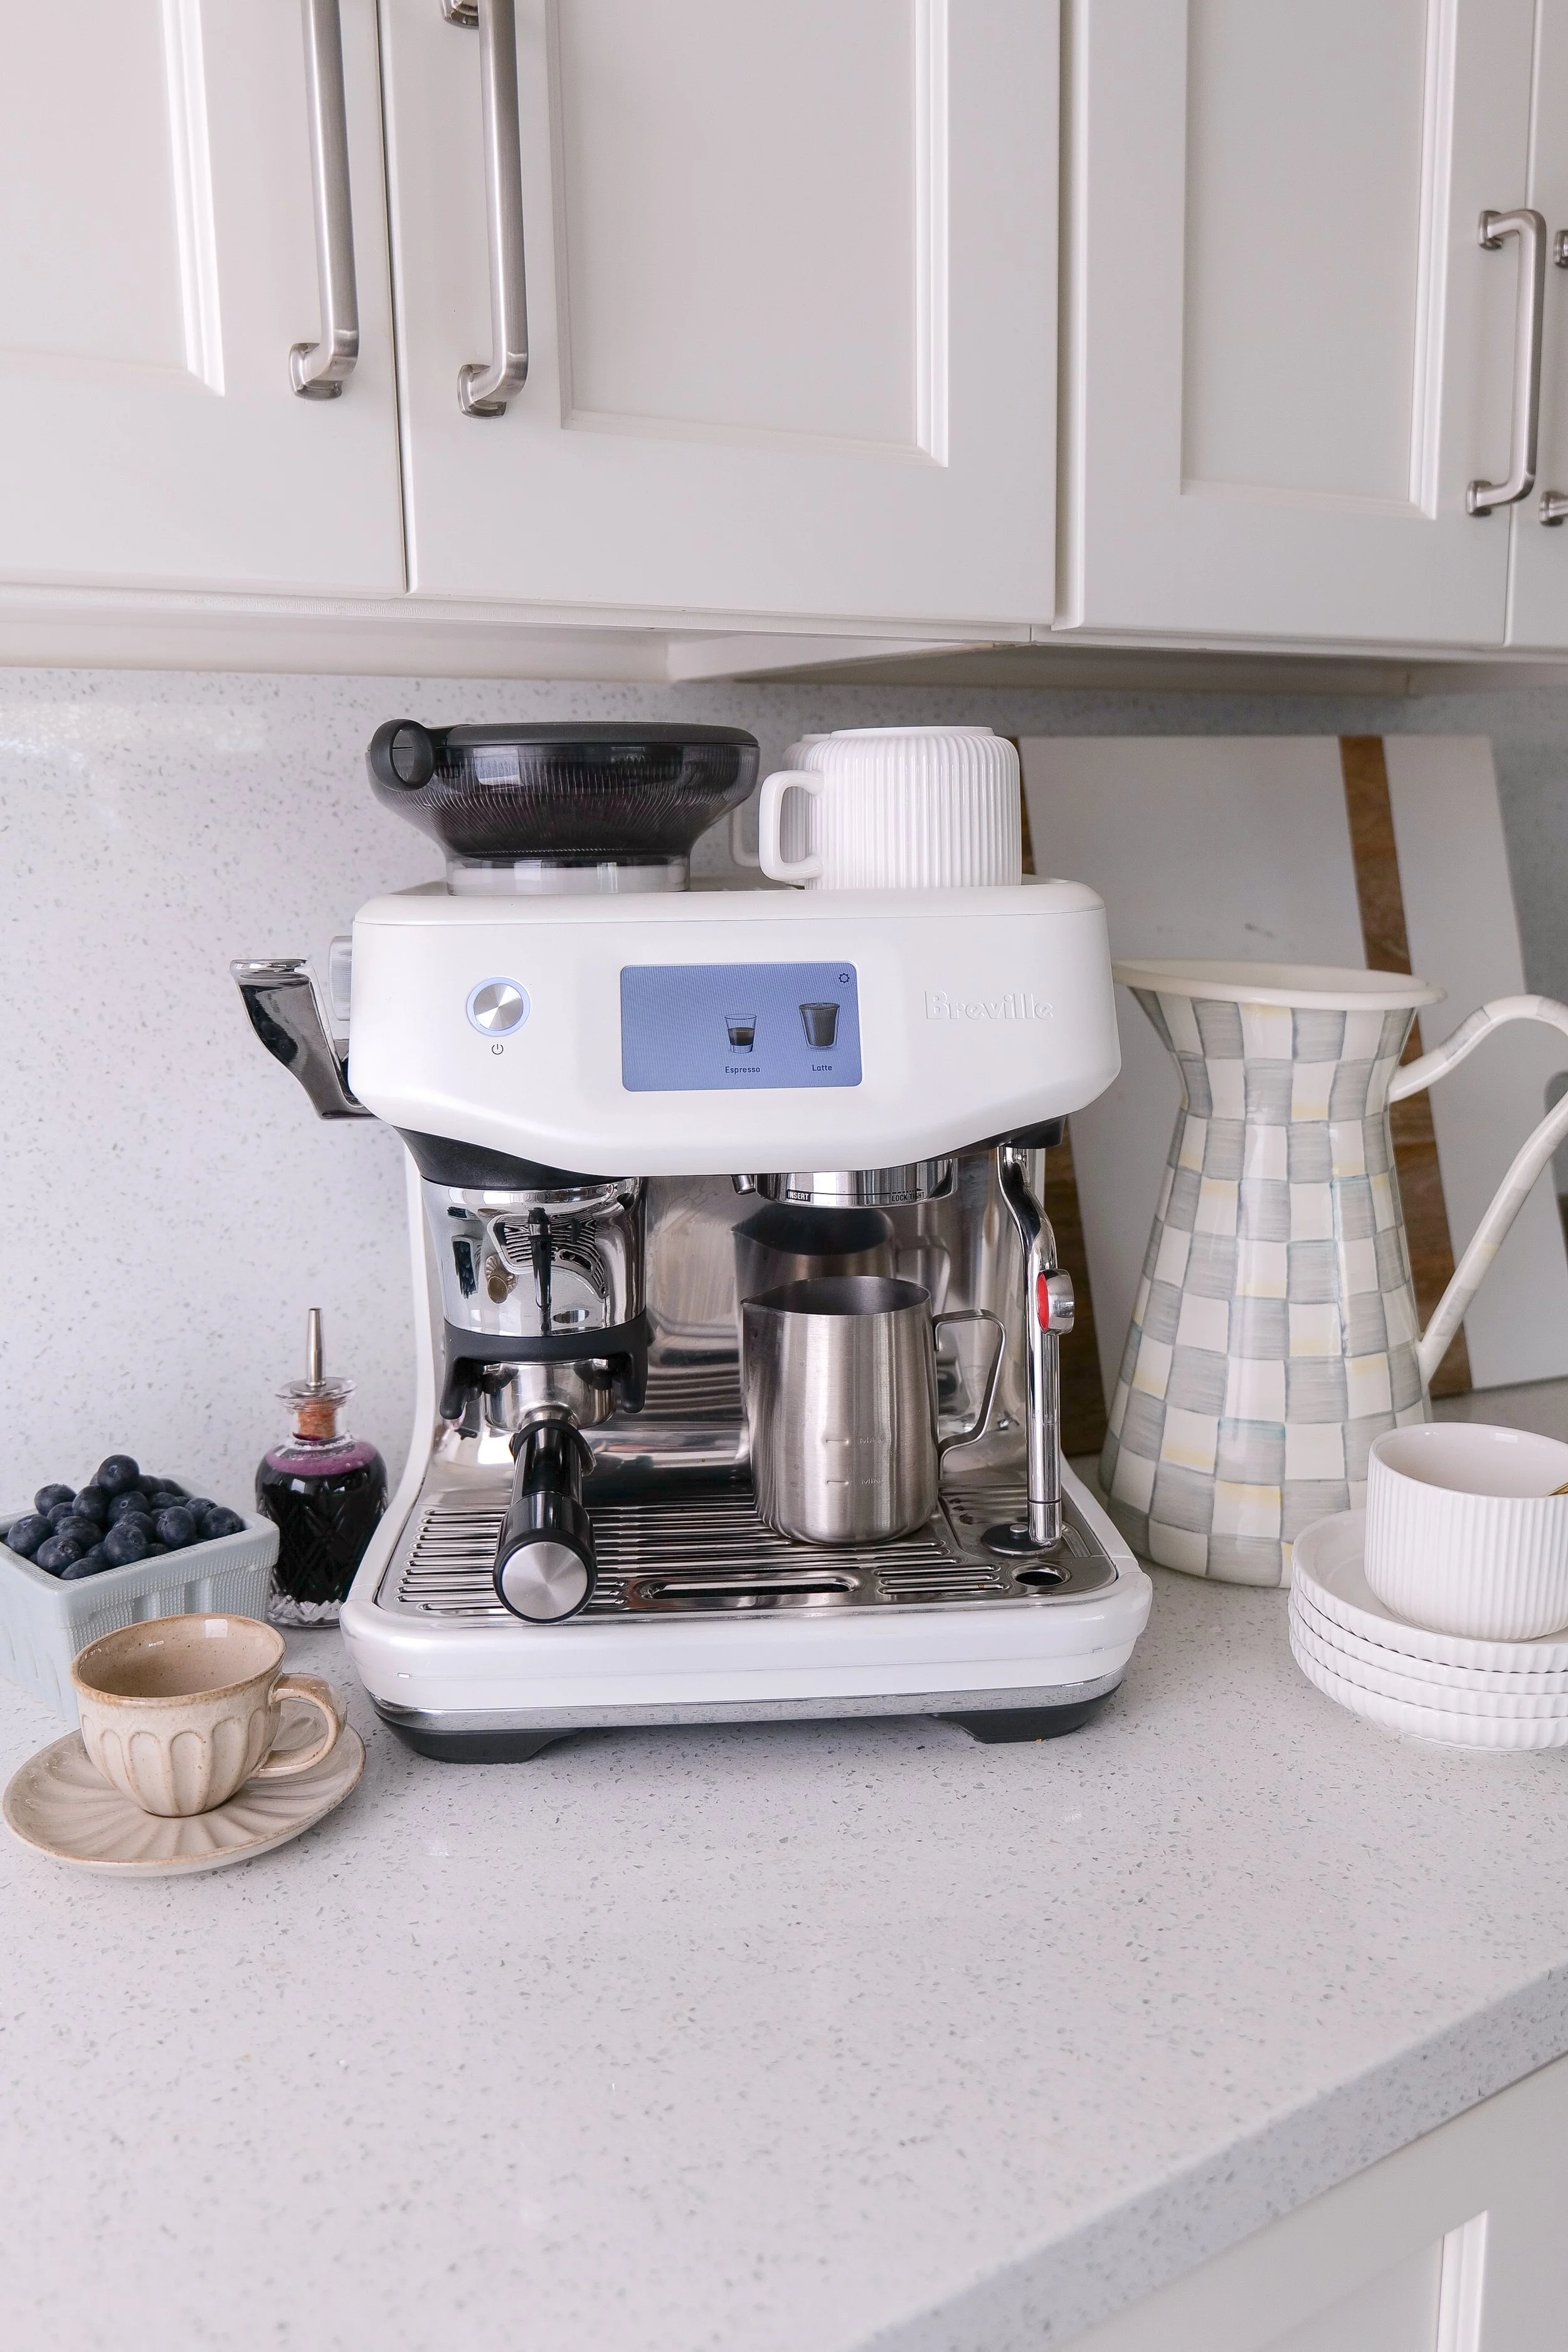
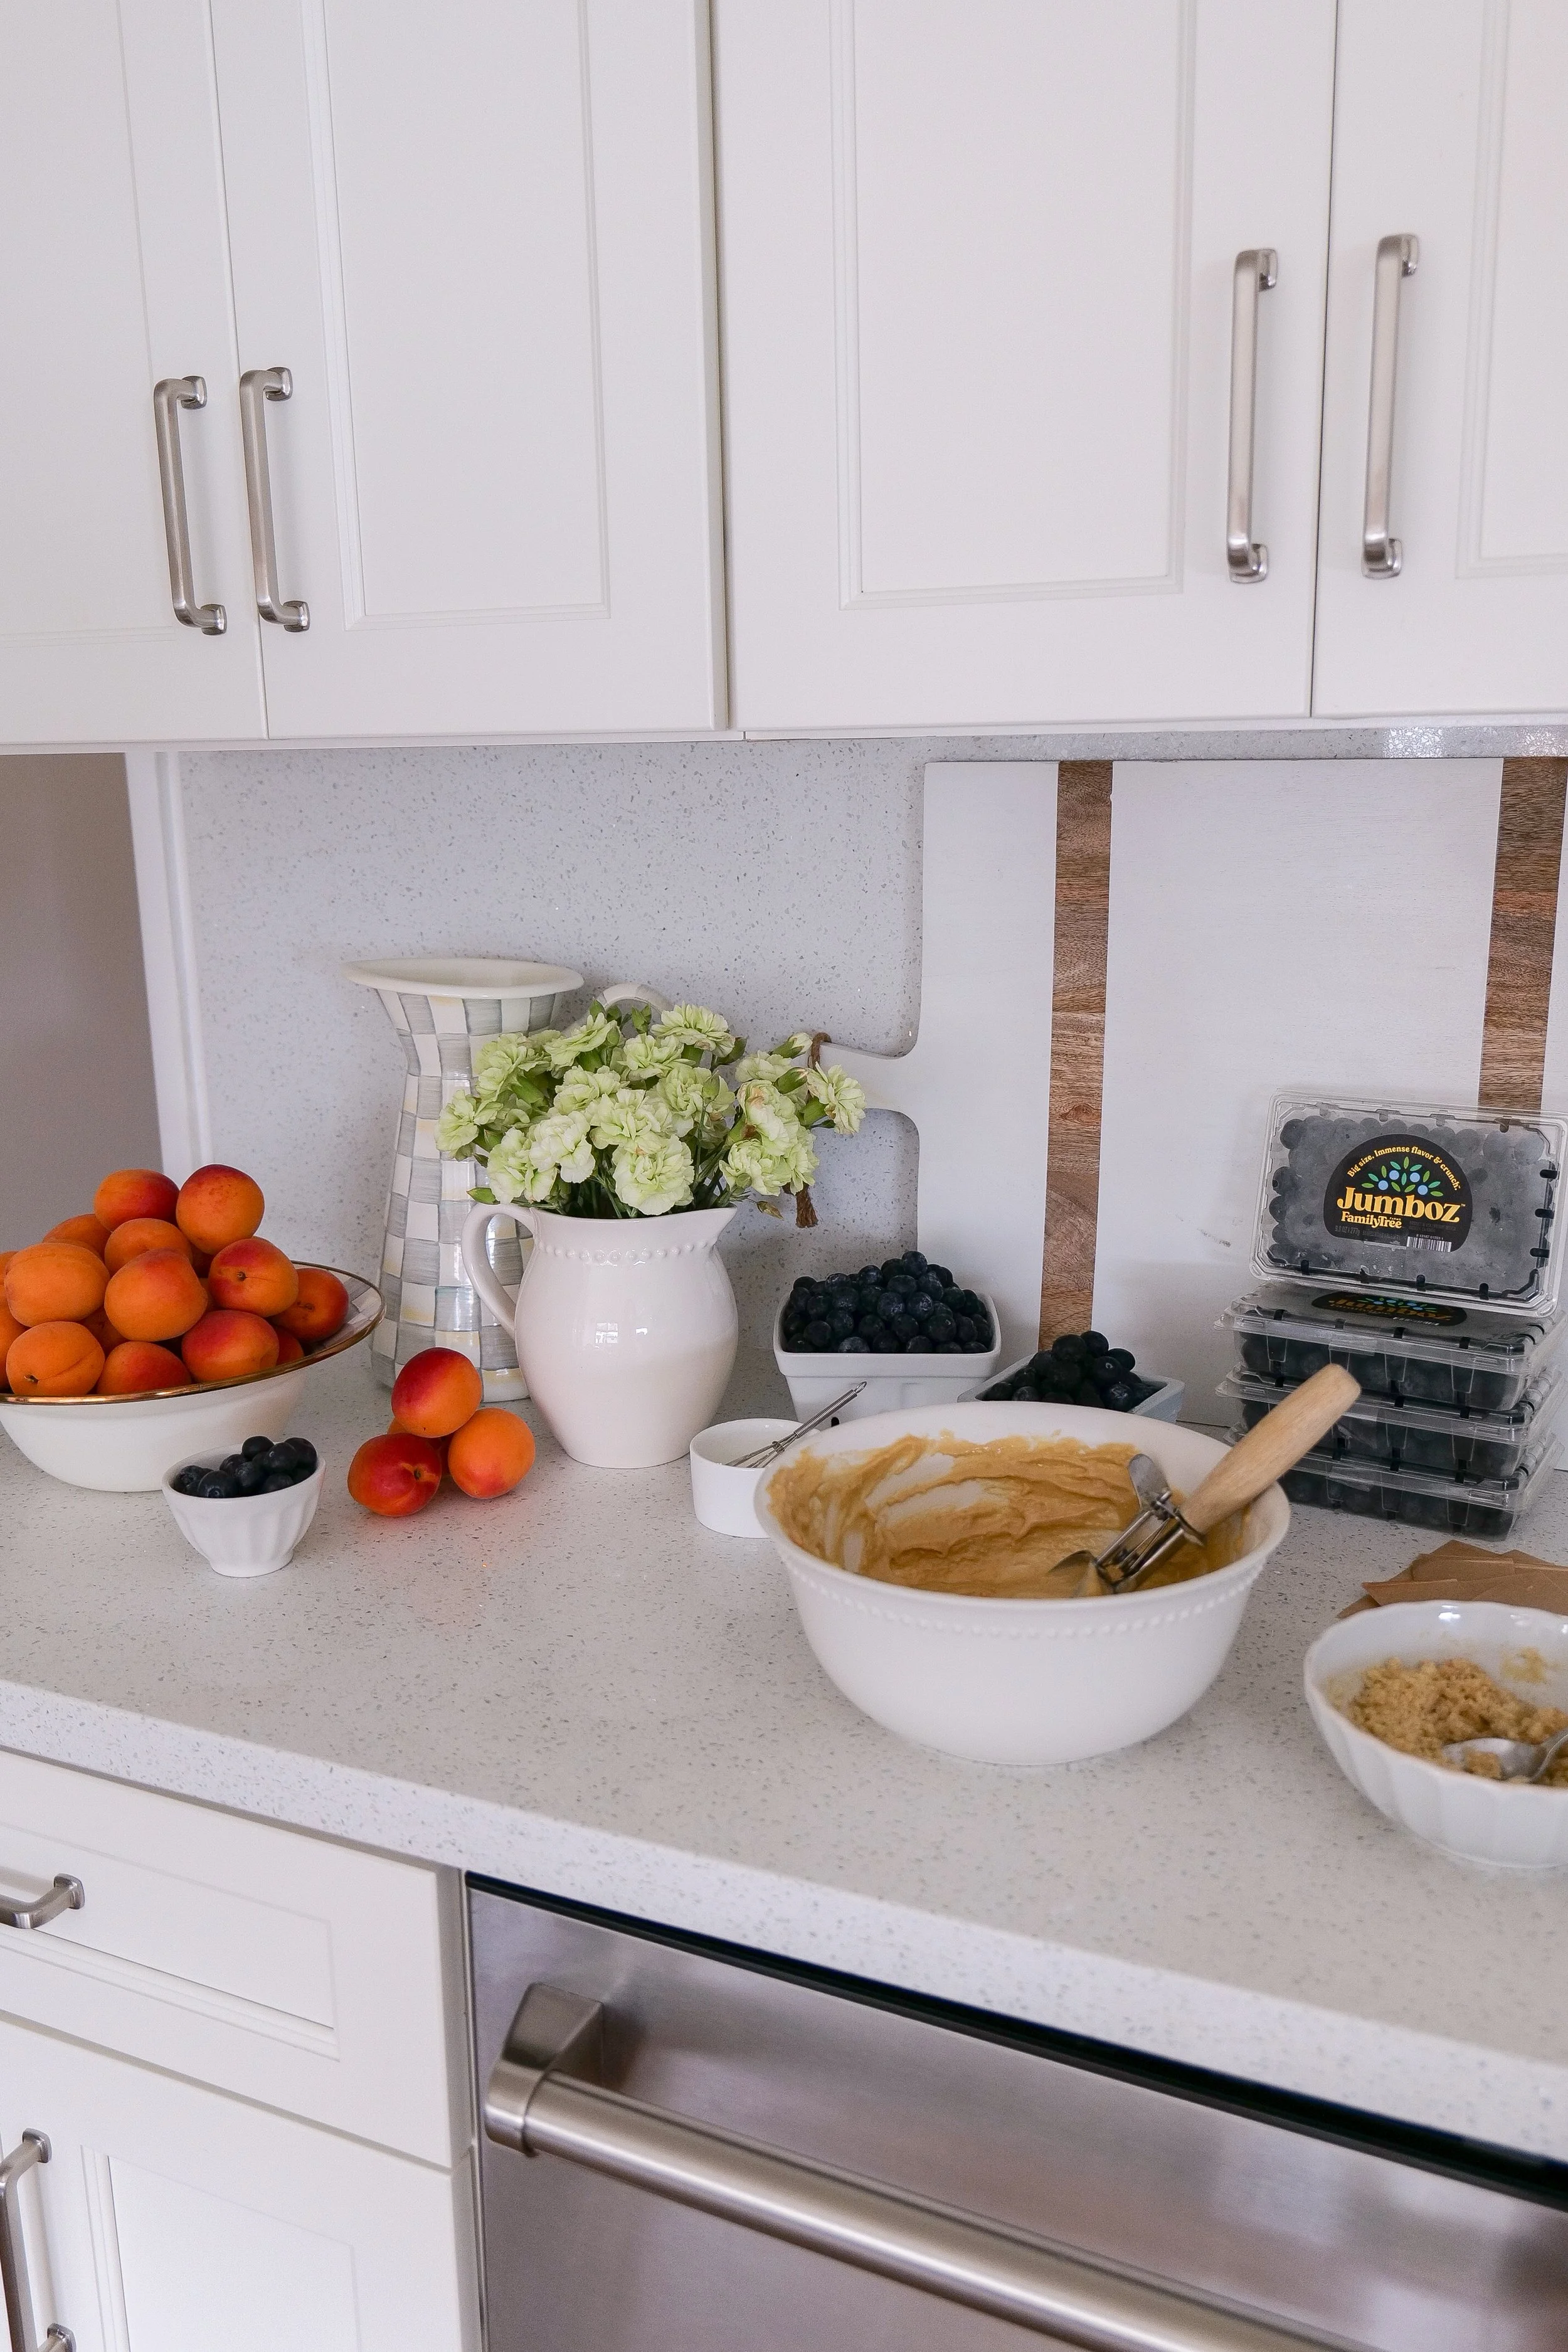
For this recipe, I used several everyday kitchen favorites that I reach for constantly.
You'll find them all:
Including:
Glass jars
Measuring cups
Mixing bowls
Silicone spatulas
Wooden spoons
Whisks
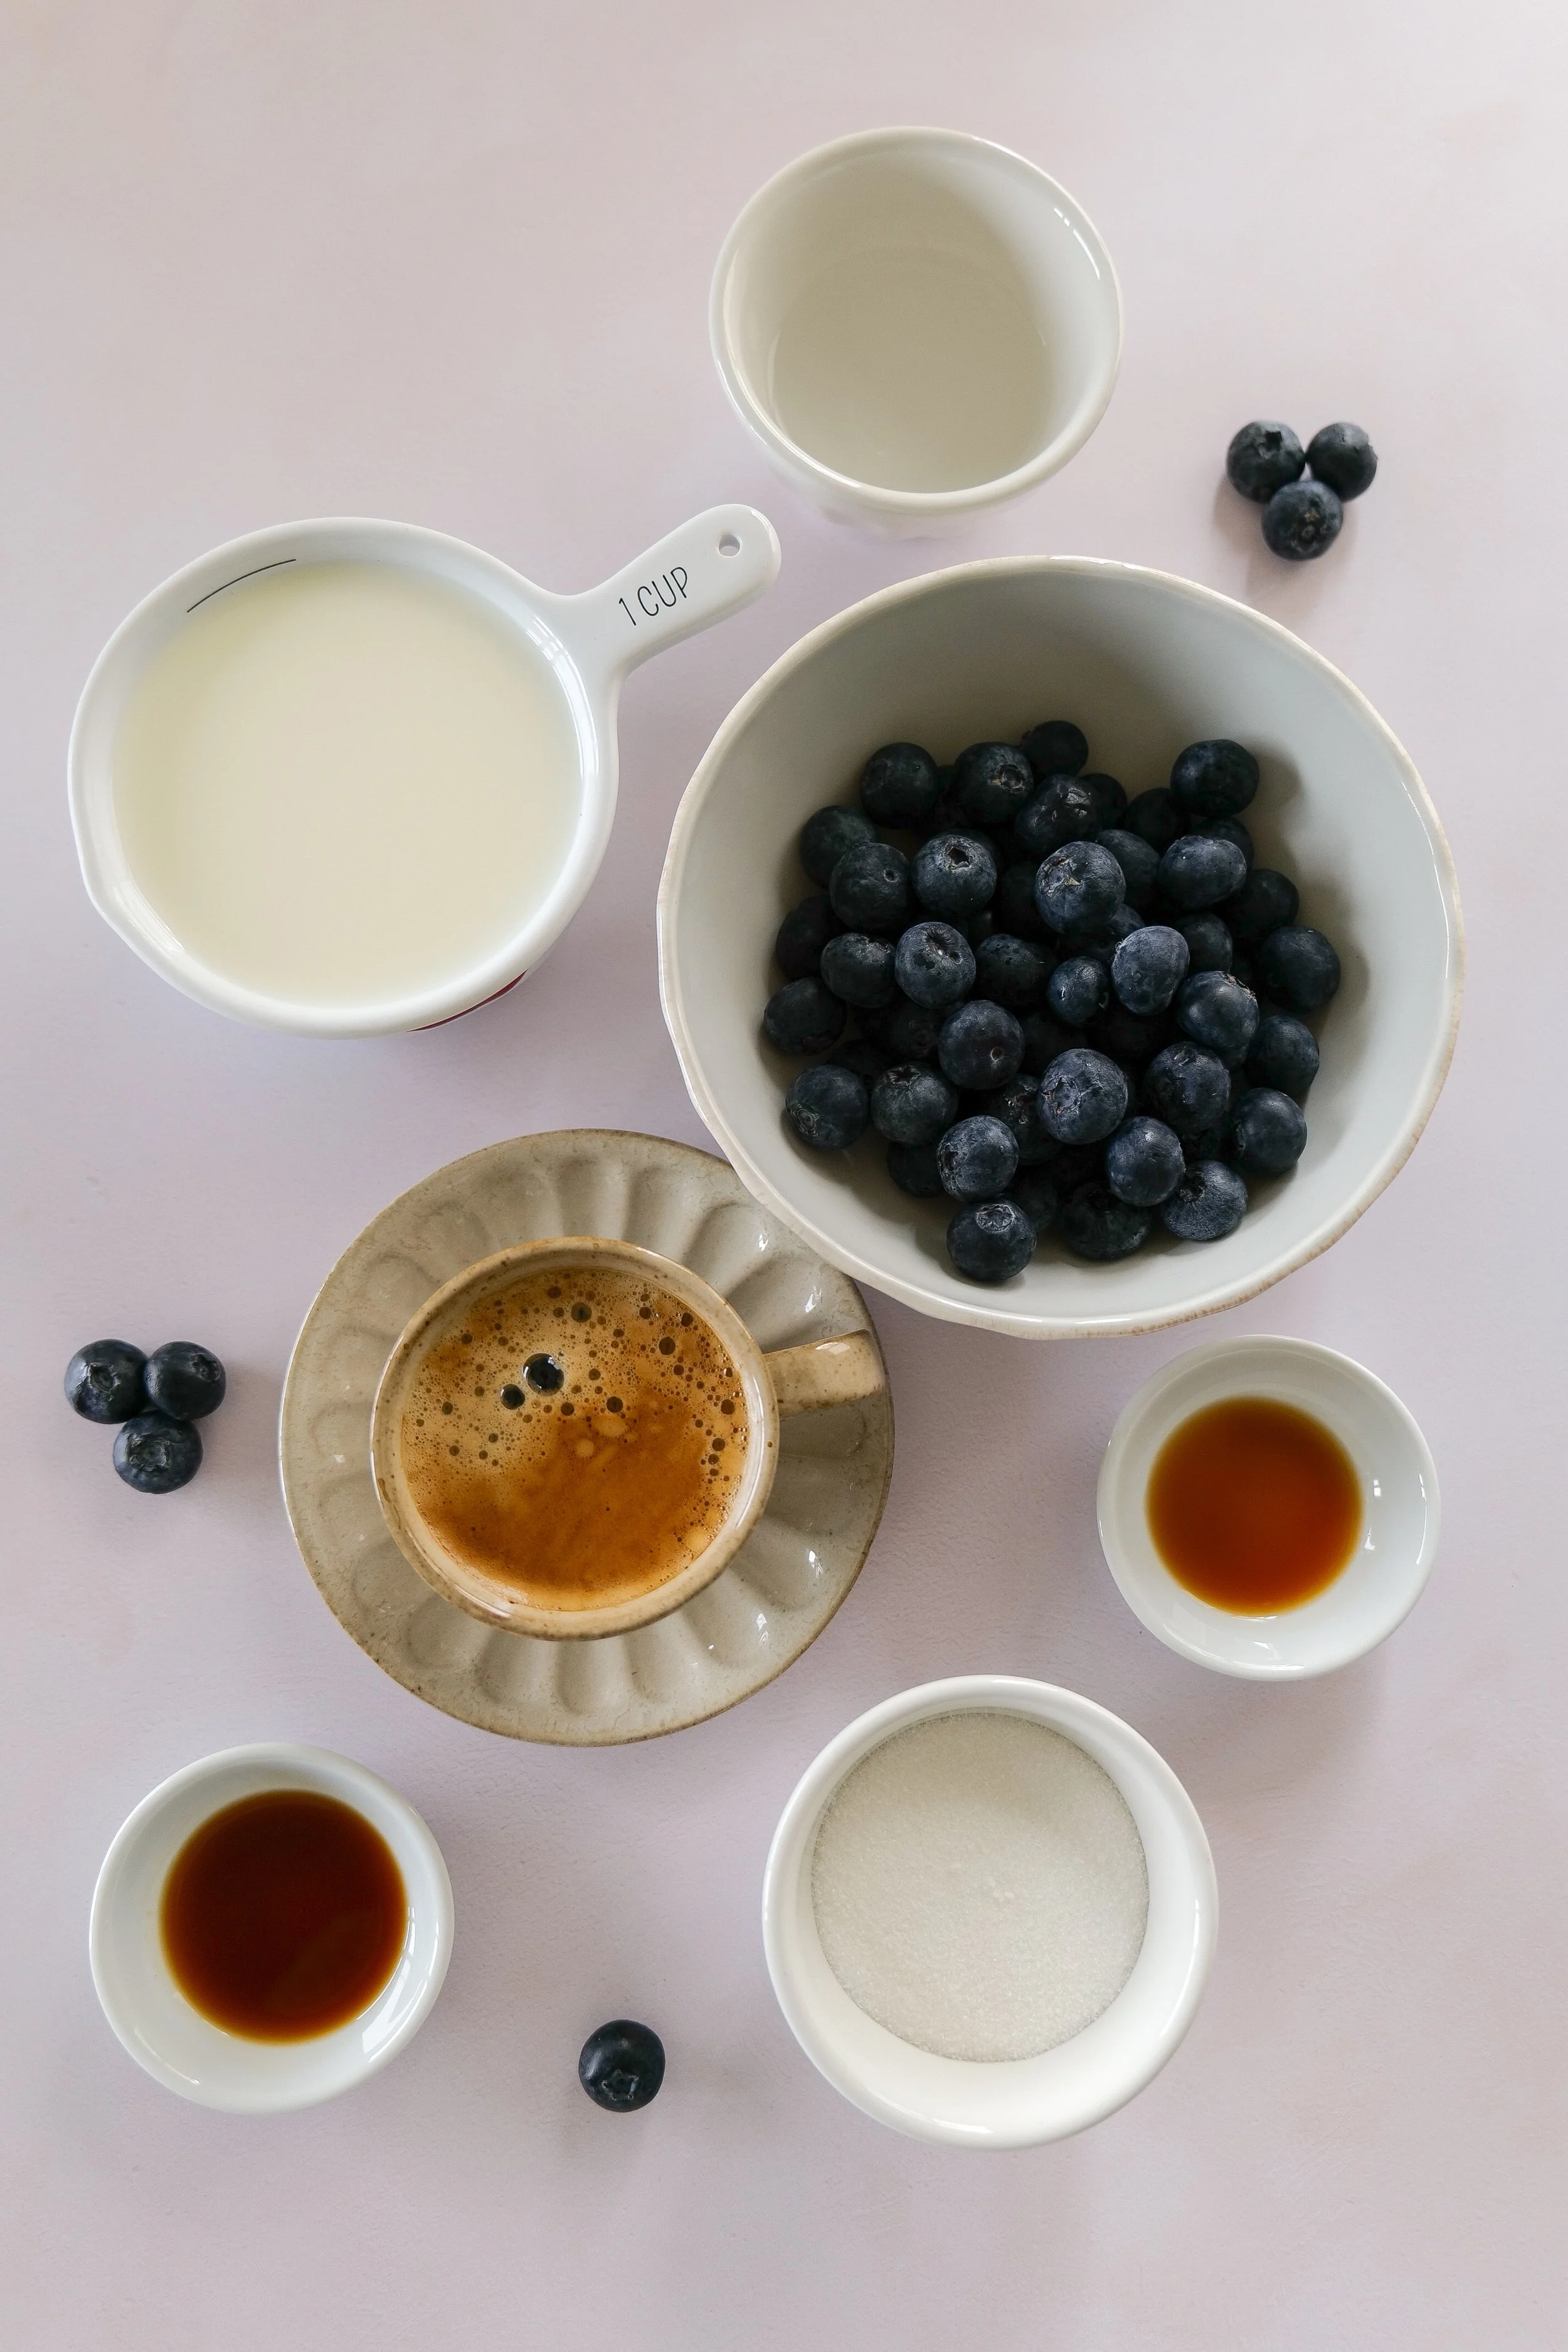
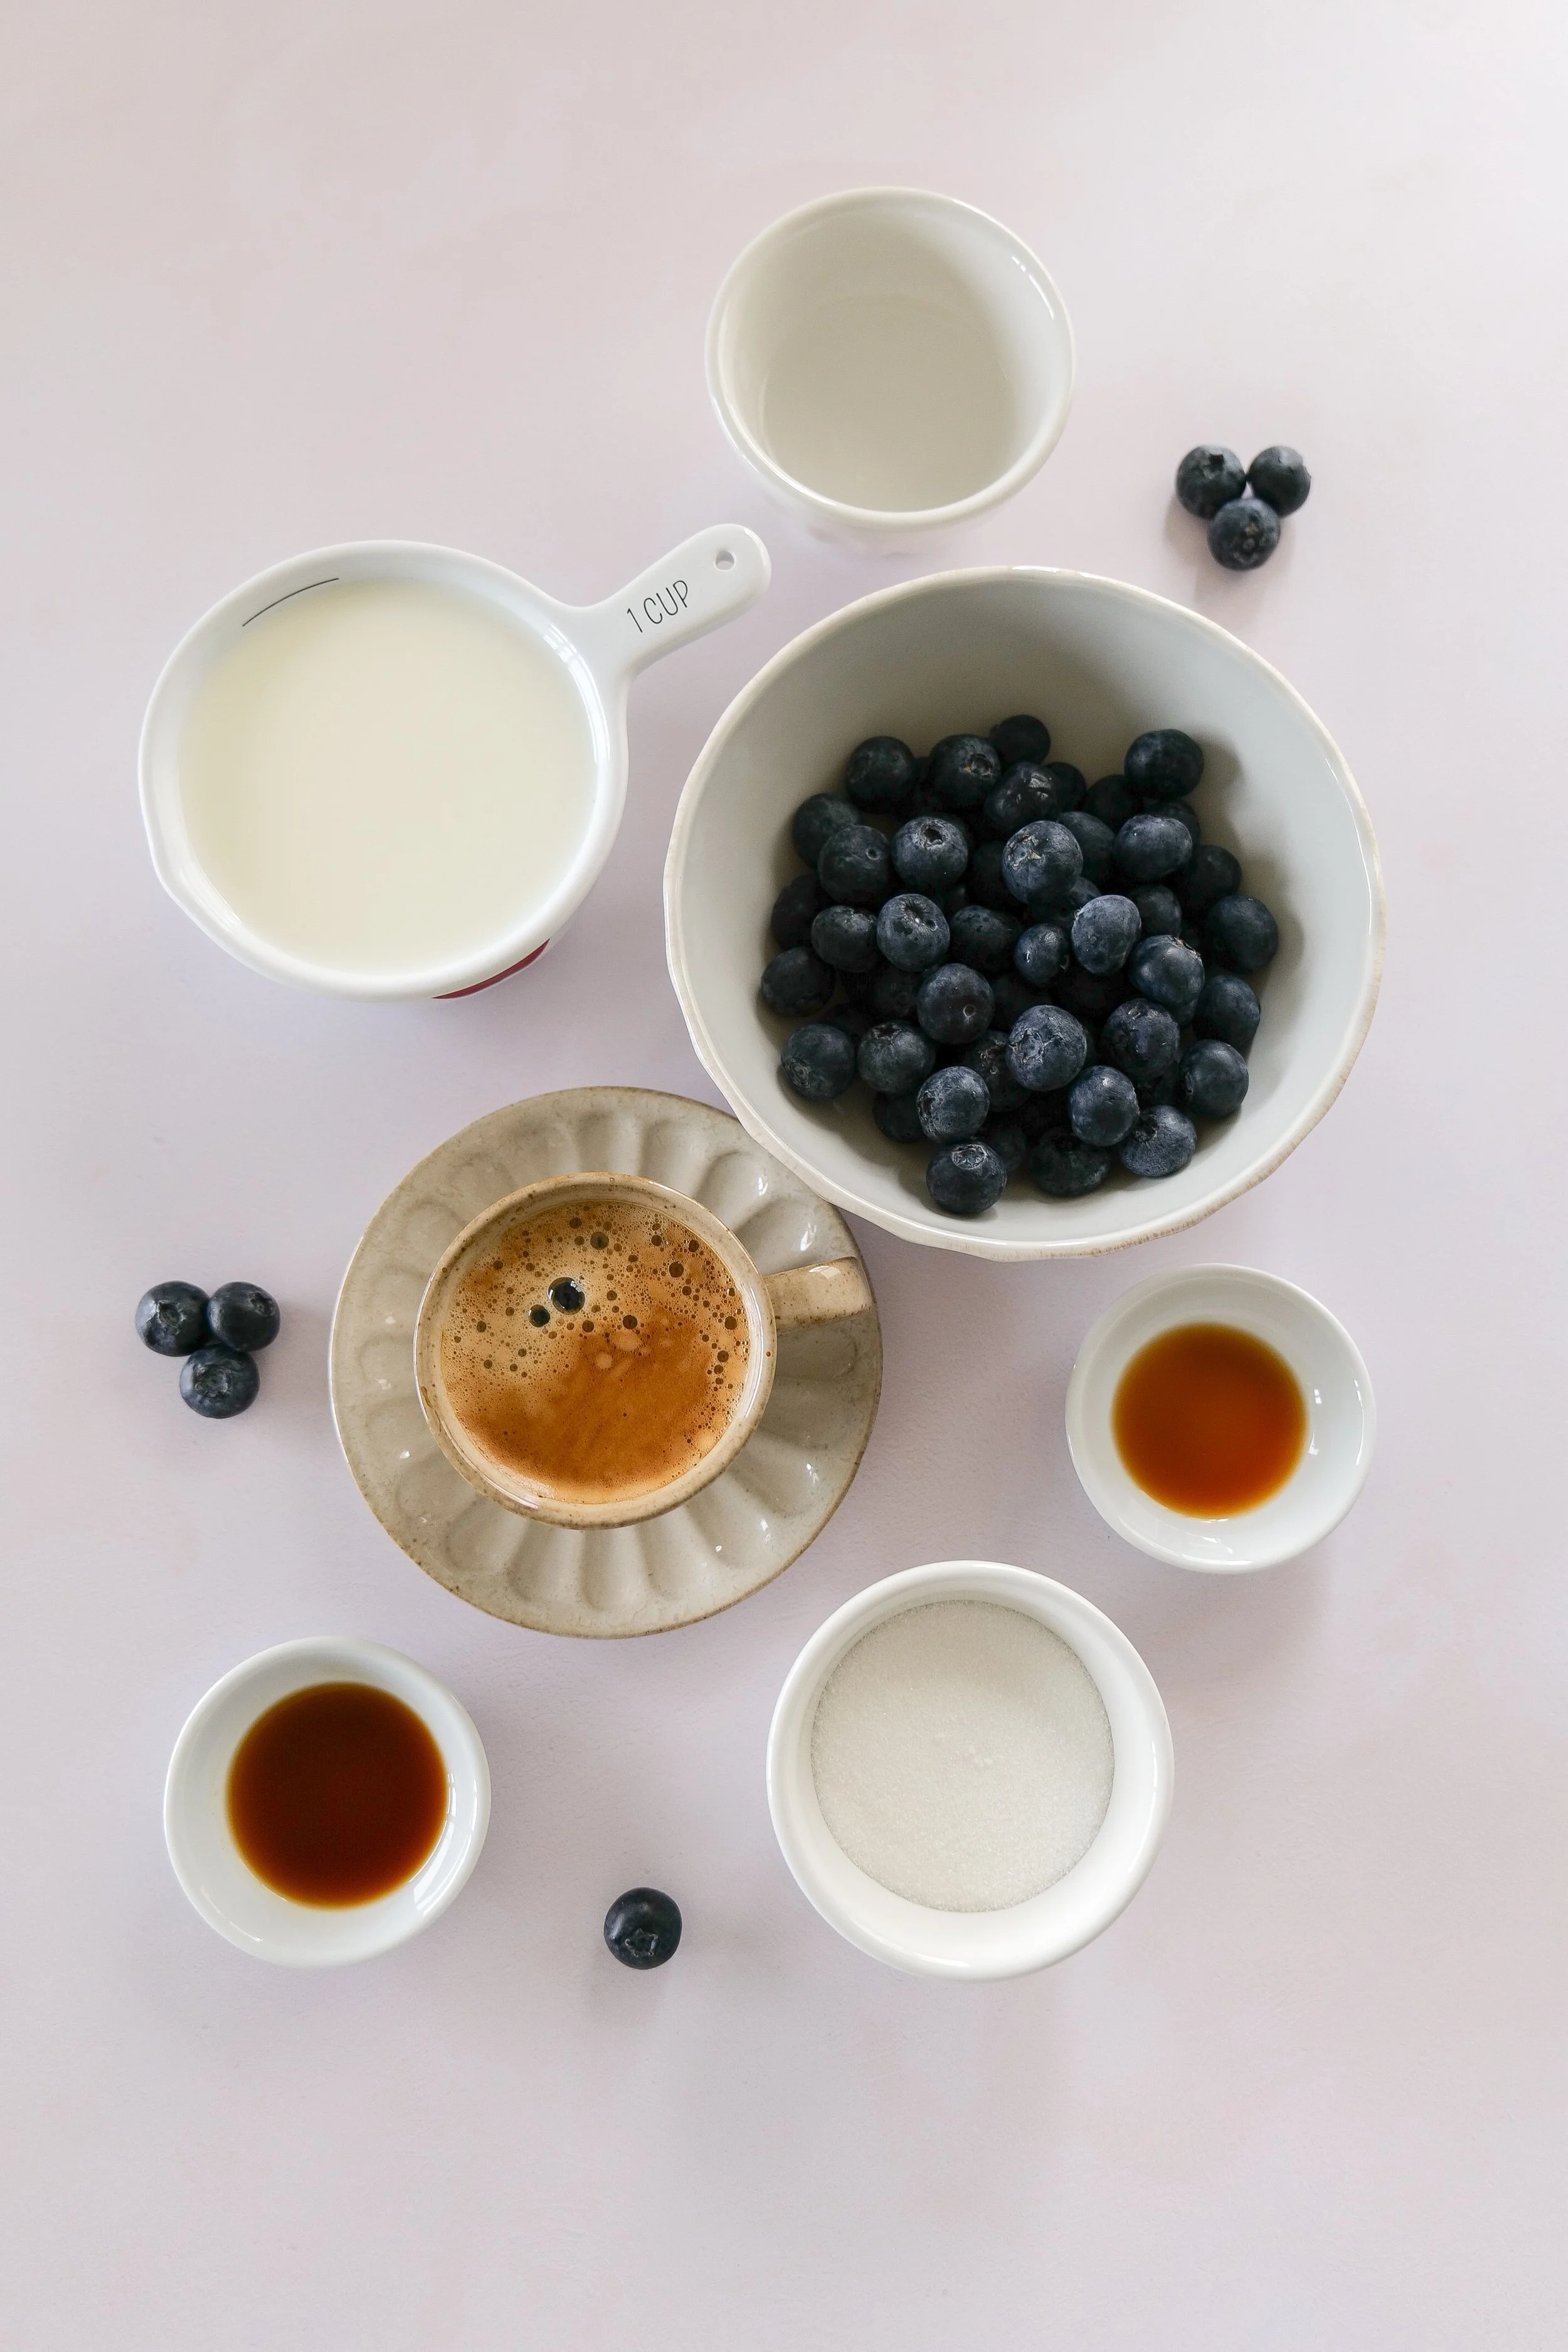
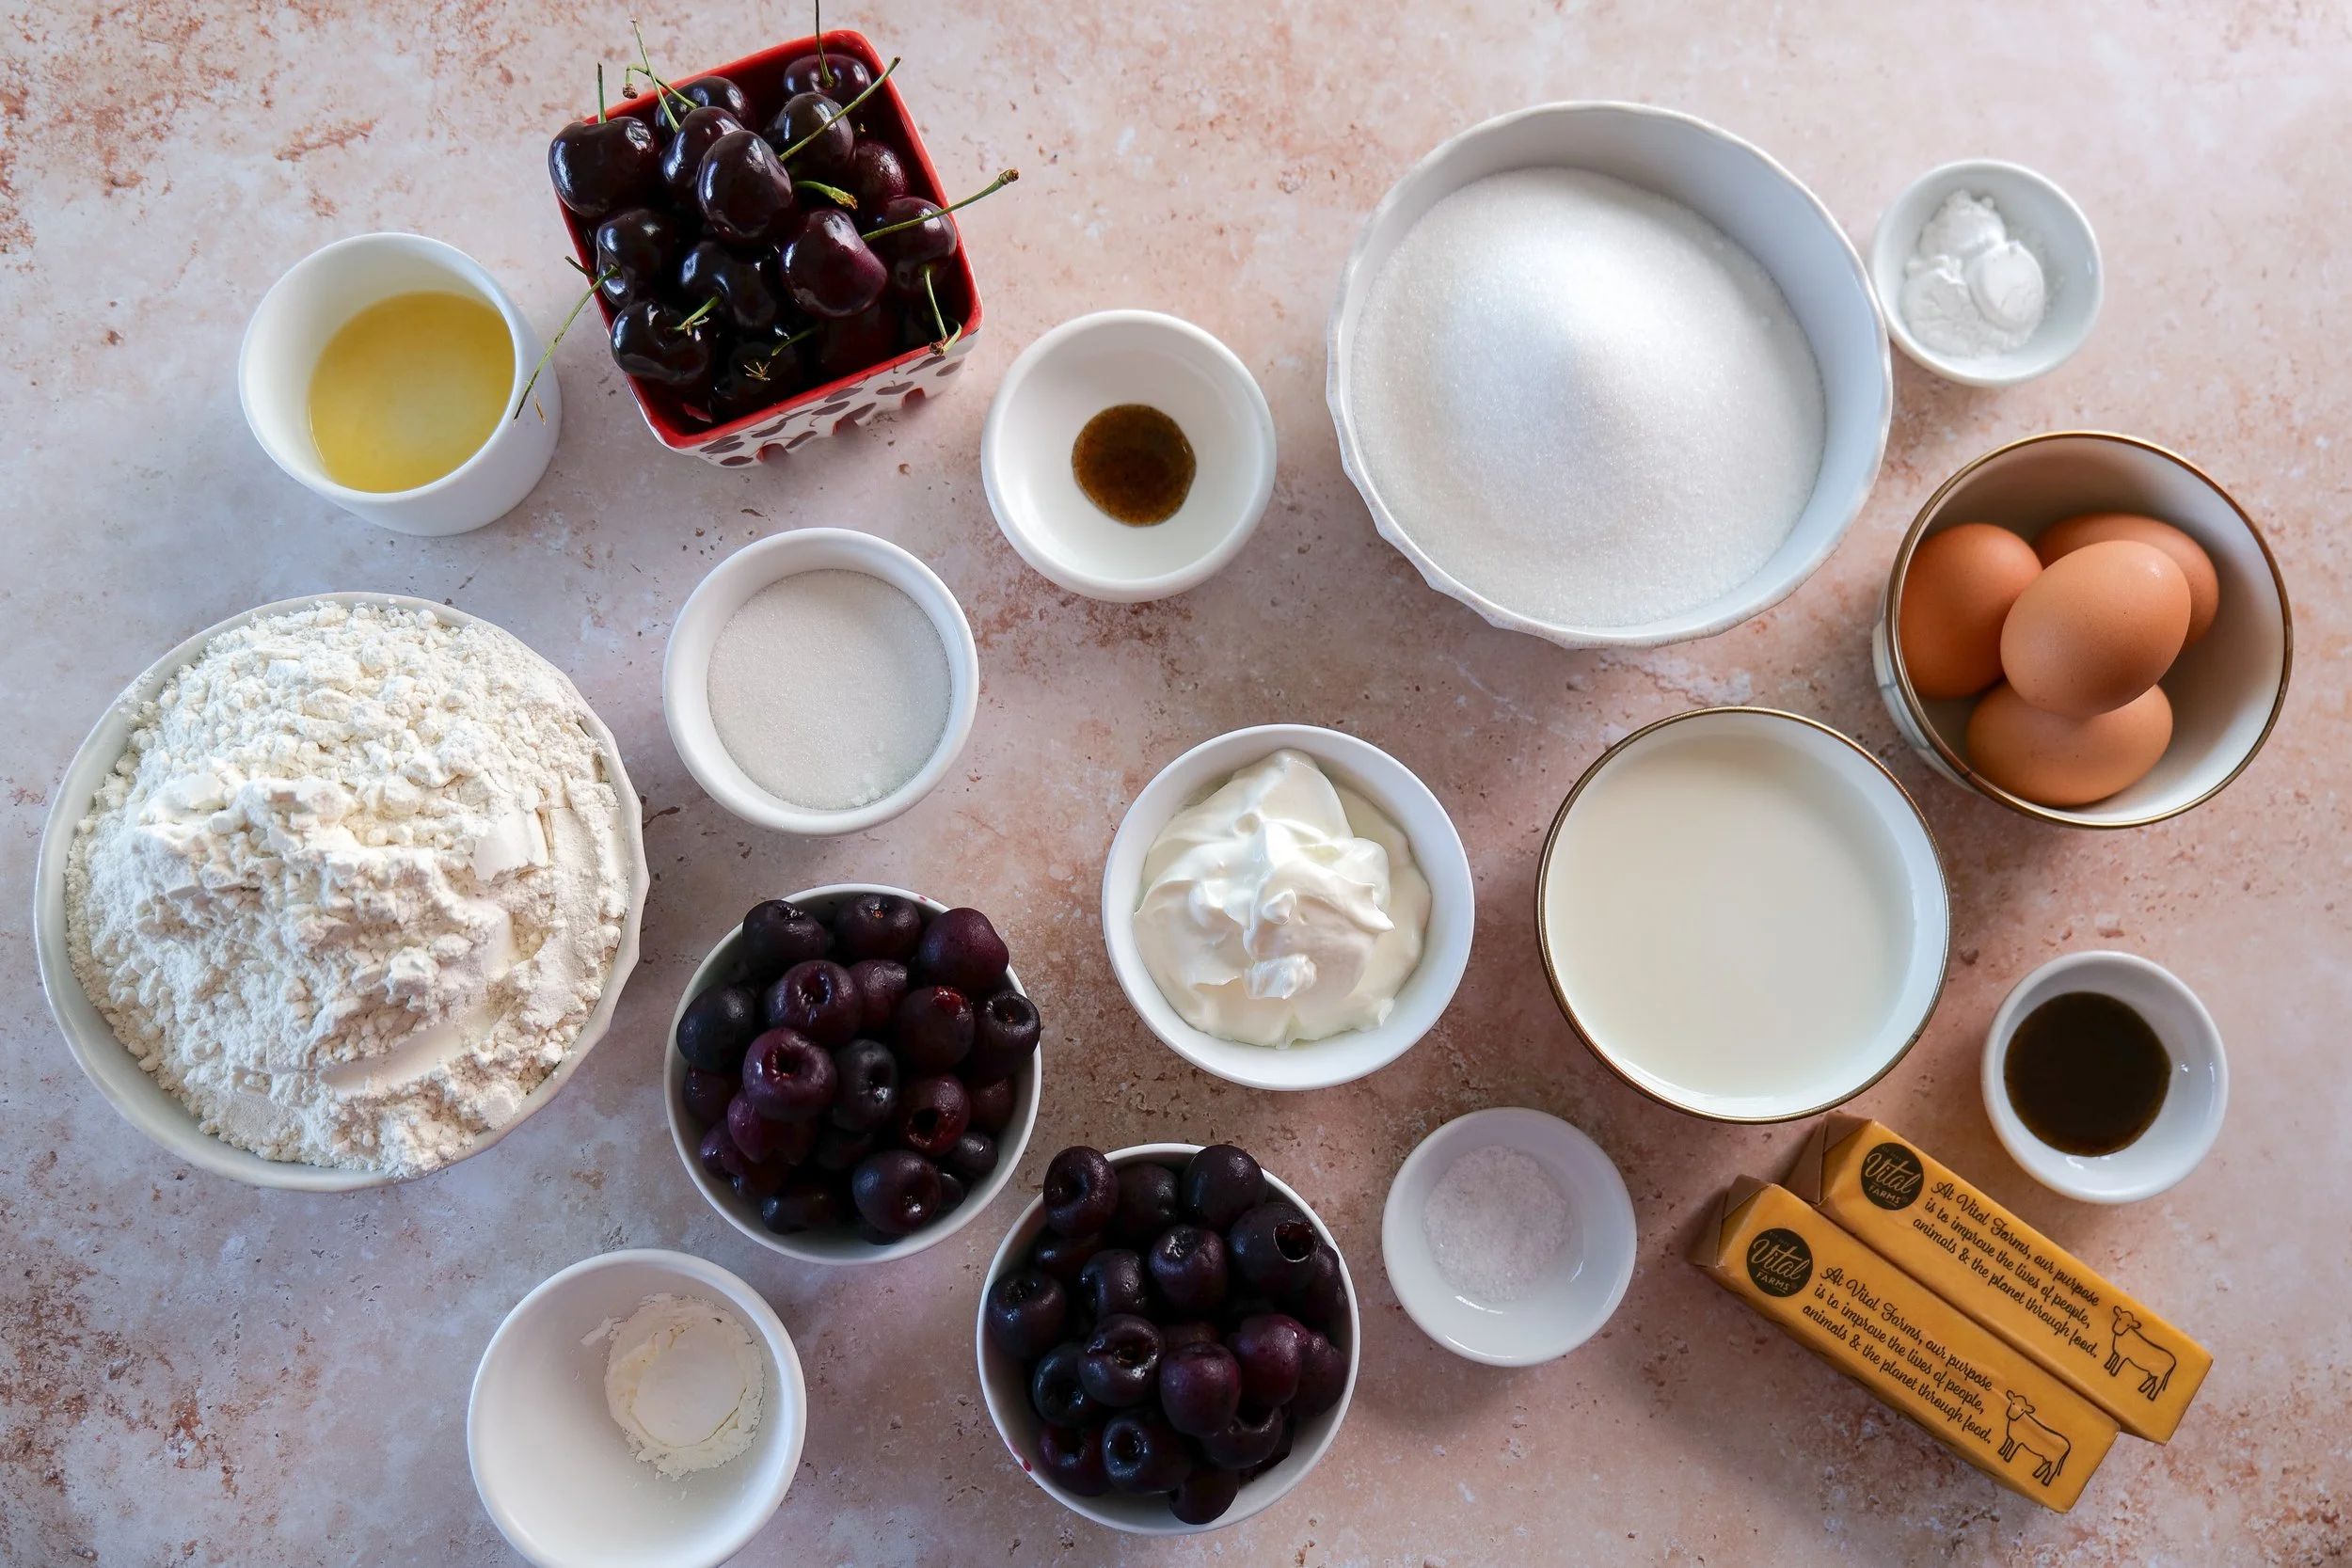
Ingredients
Blueberry Pie Overnight Oats
2 cups old-fashioned rolled oats
2 cups milk of choice
1 cup plain Greek yogurt
2 tablespoons chia seeds
2 tablespoons maple syrup or honey
1 teaspoon vanilla extract
1 teaspoon cinnamon
¼ teaspoon salt
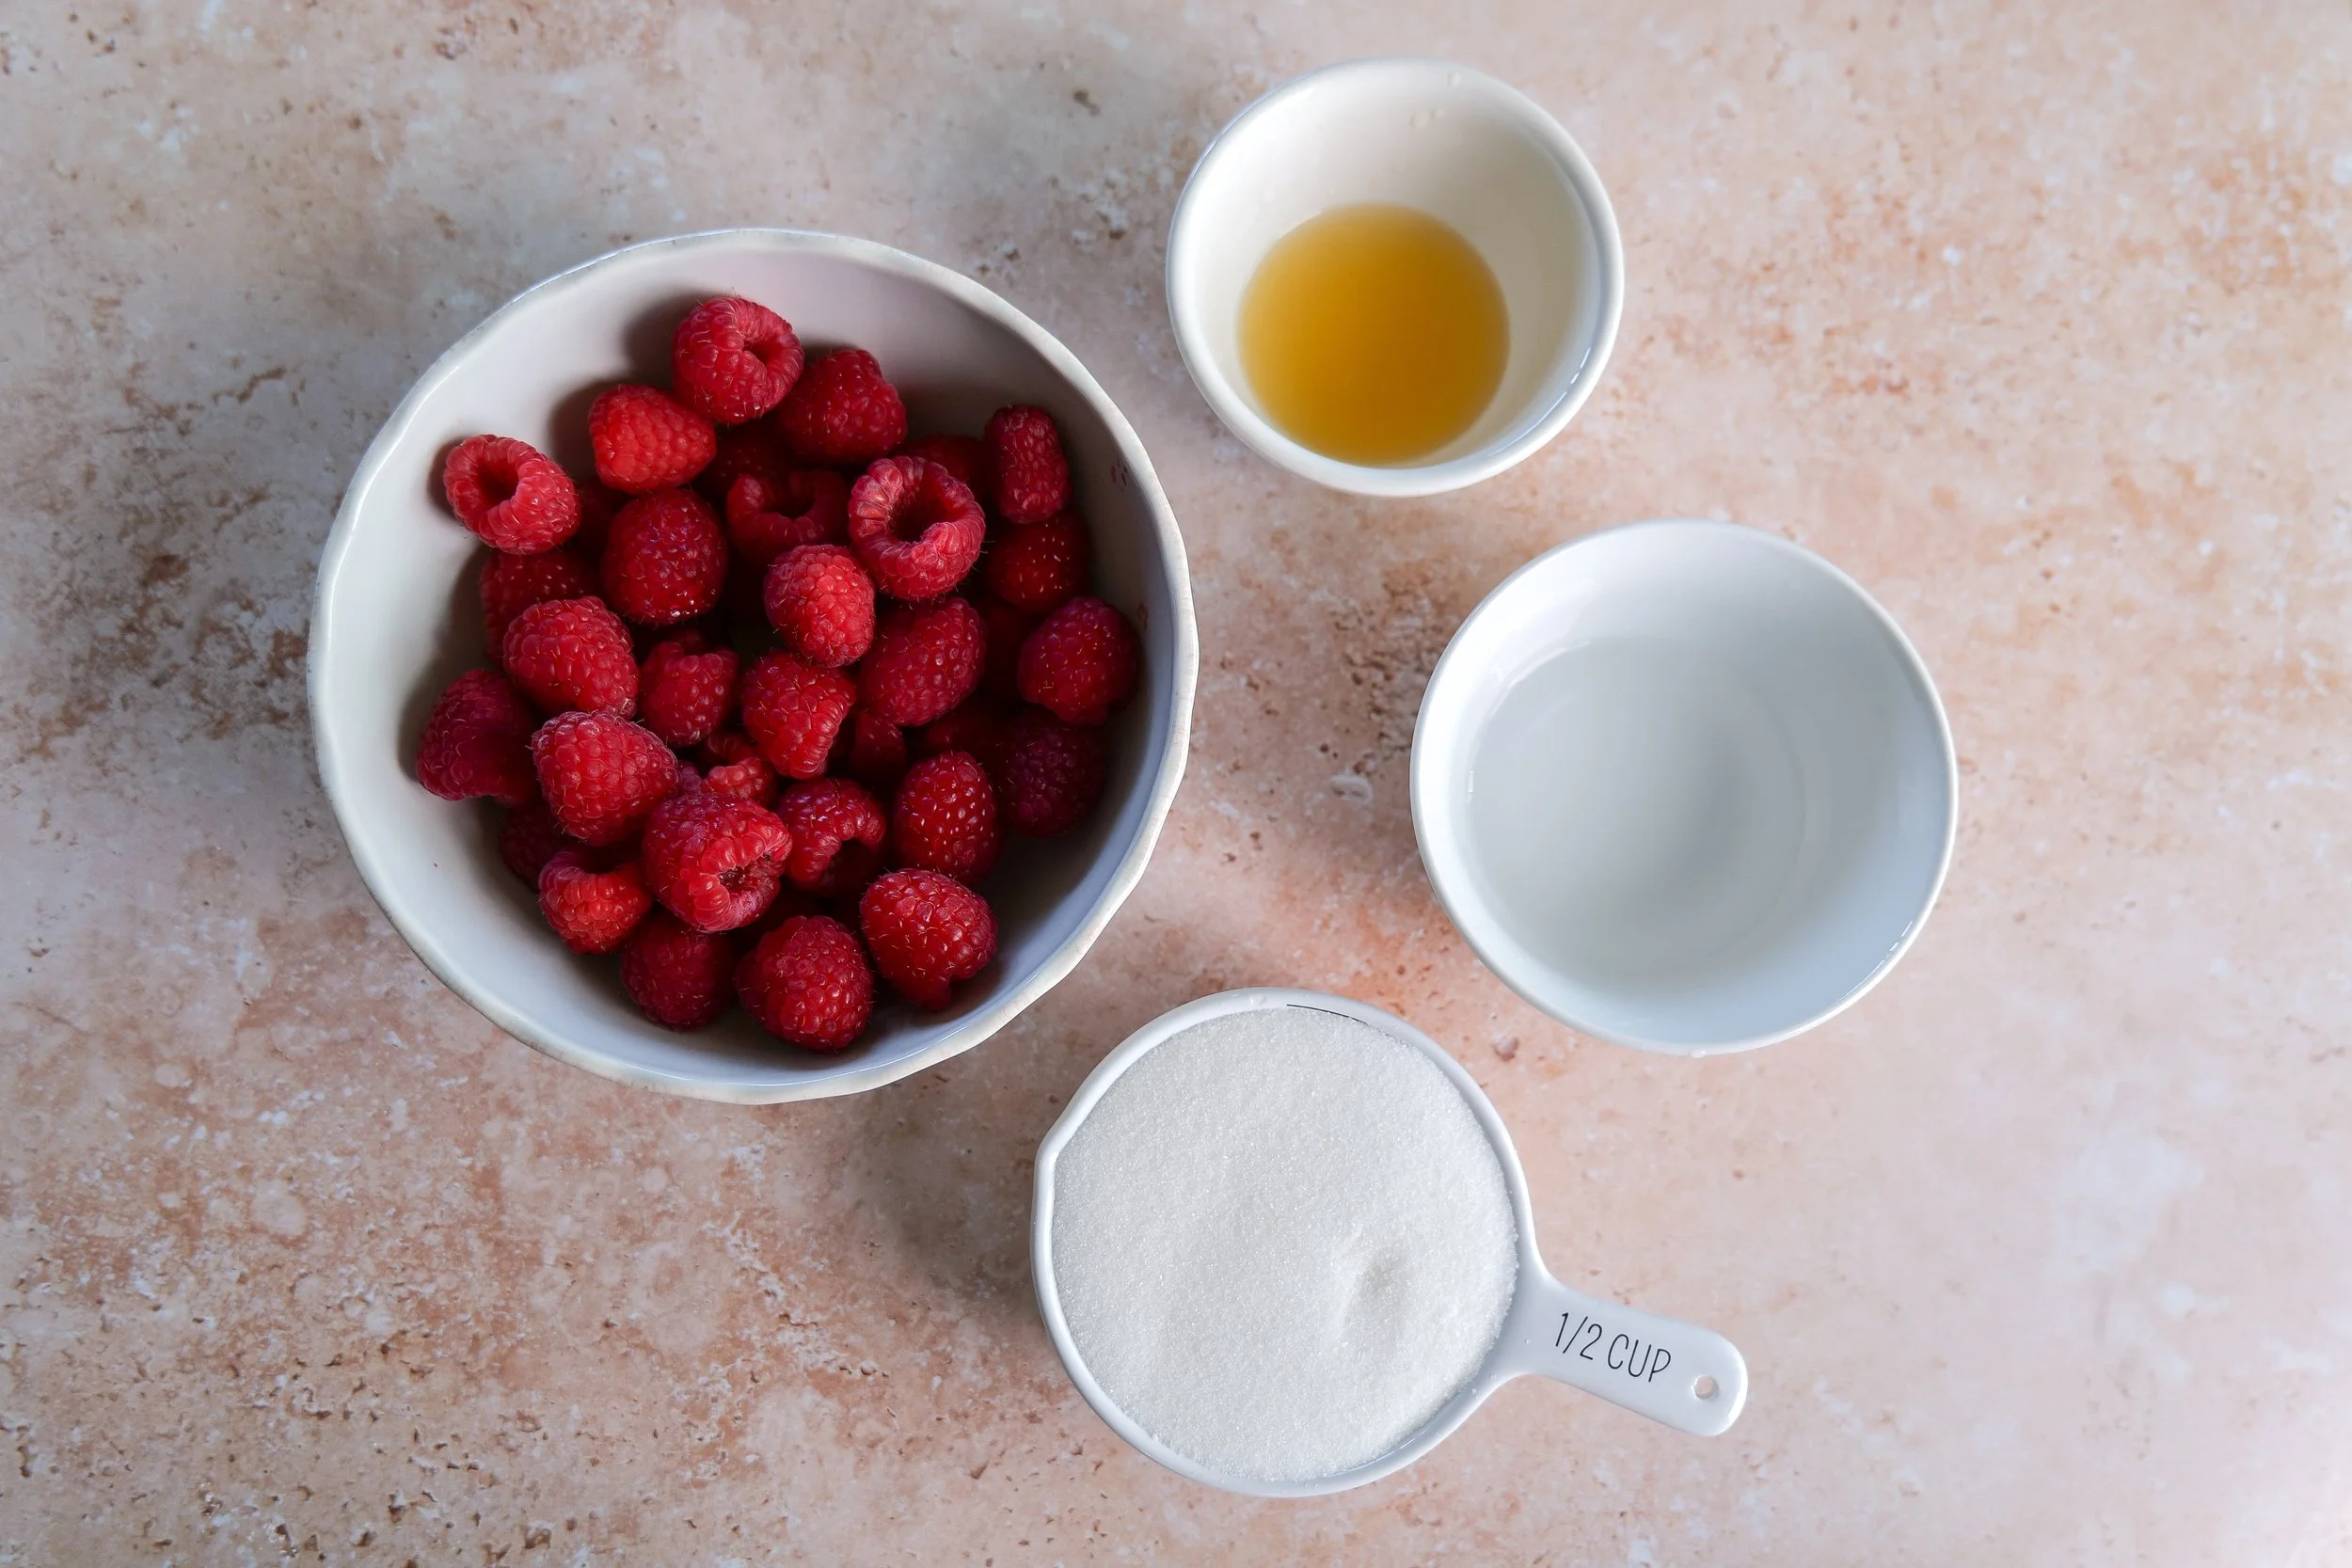
2 cups fresh blueberries
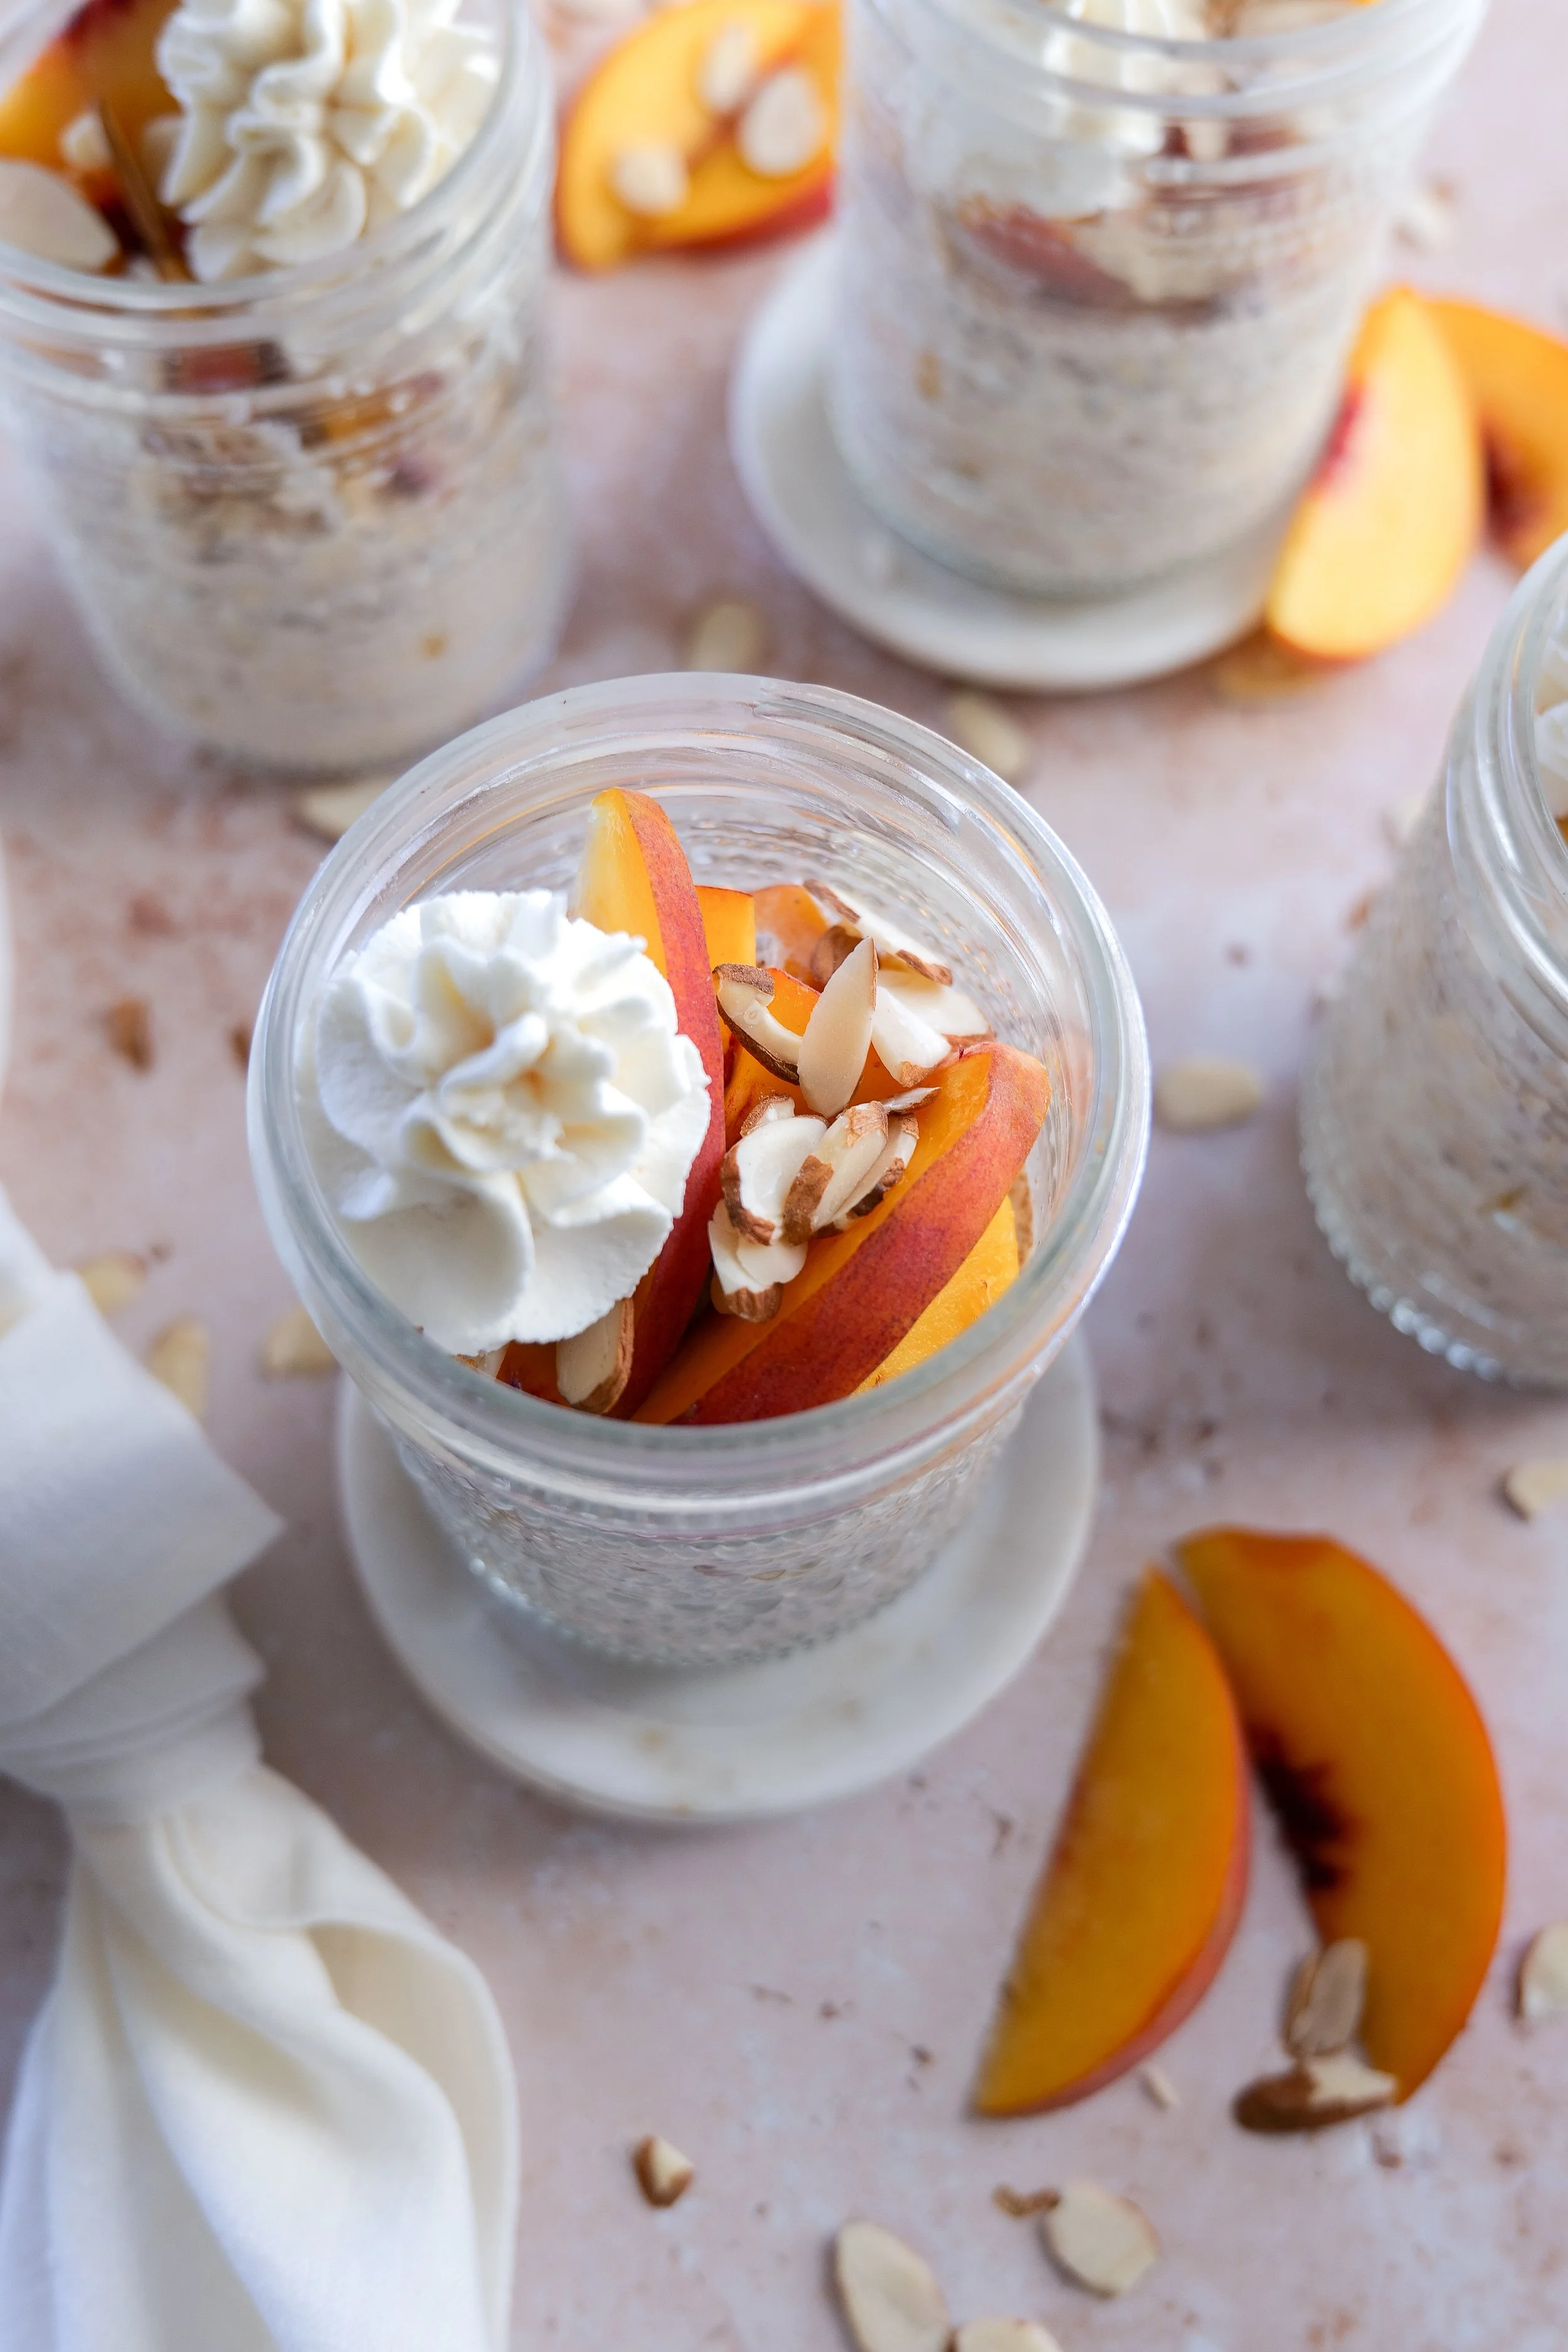
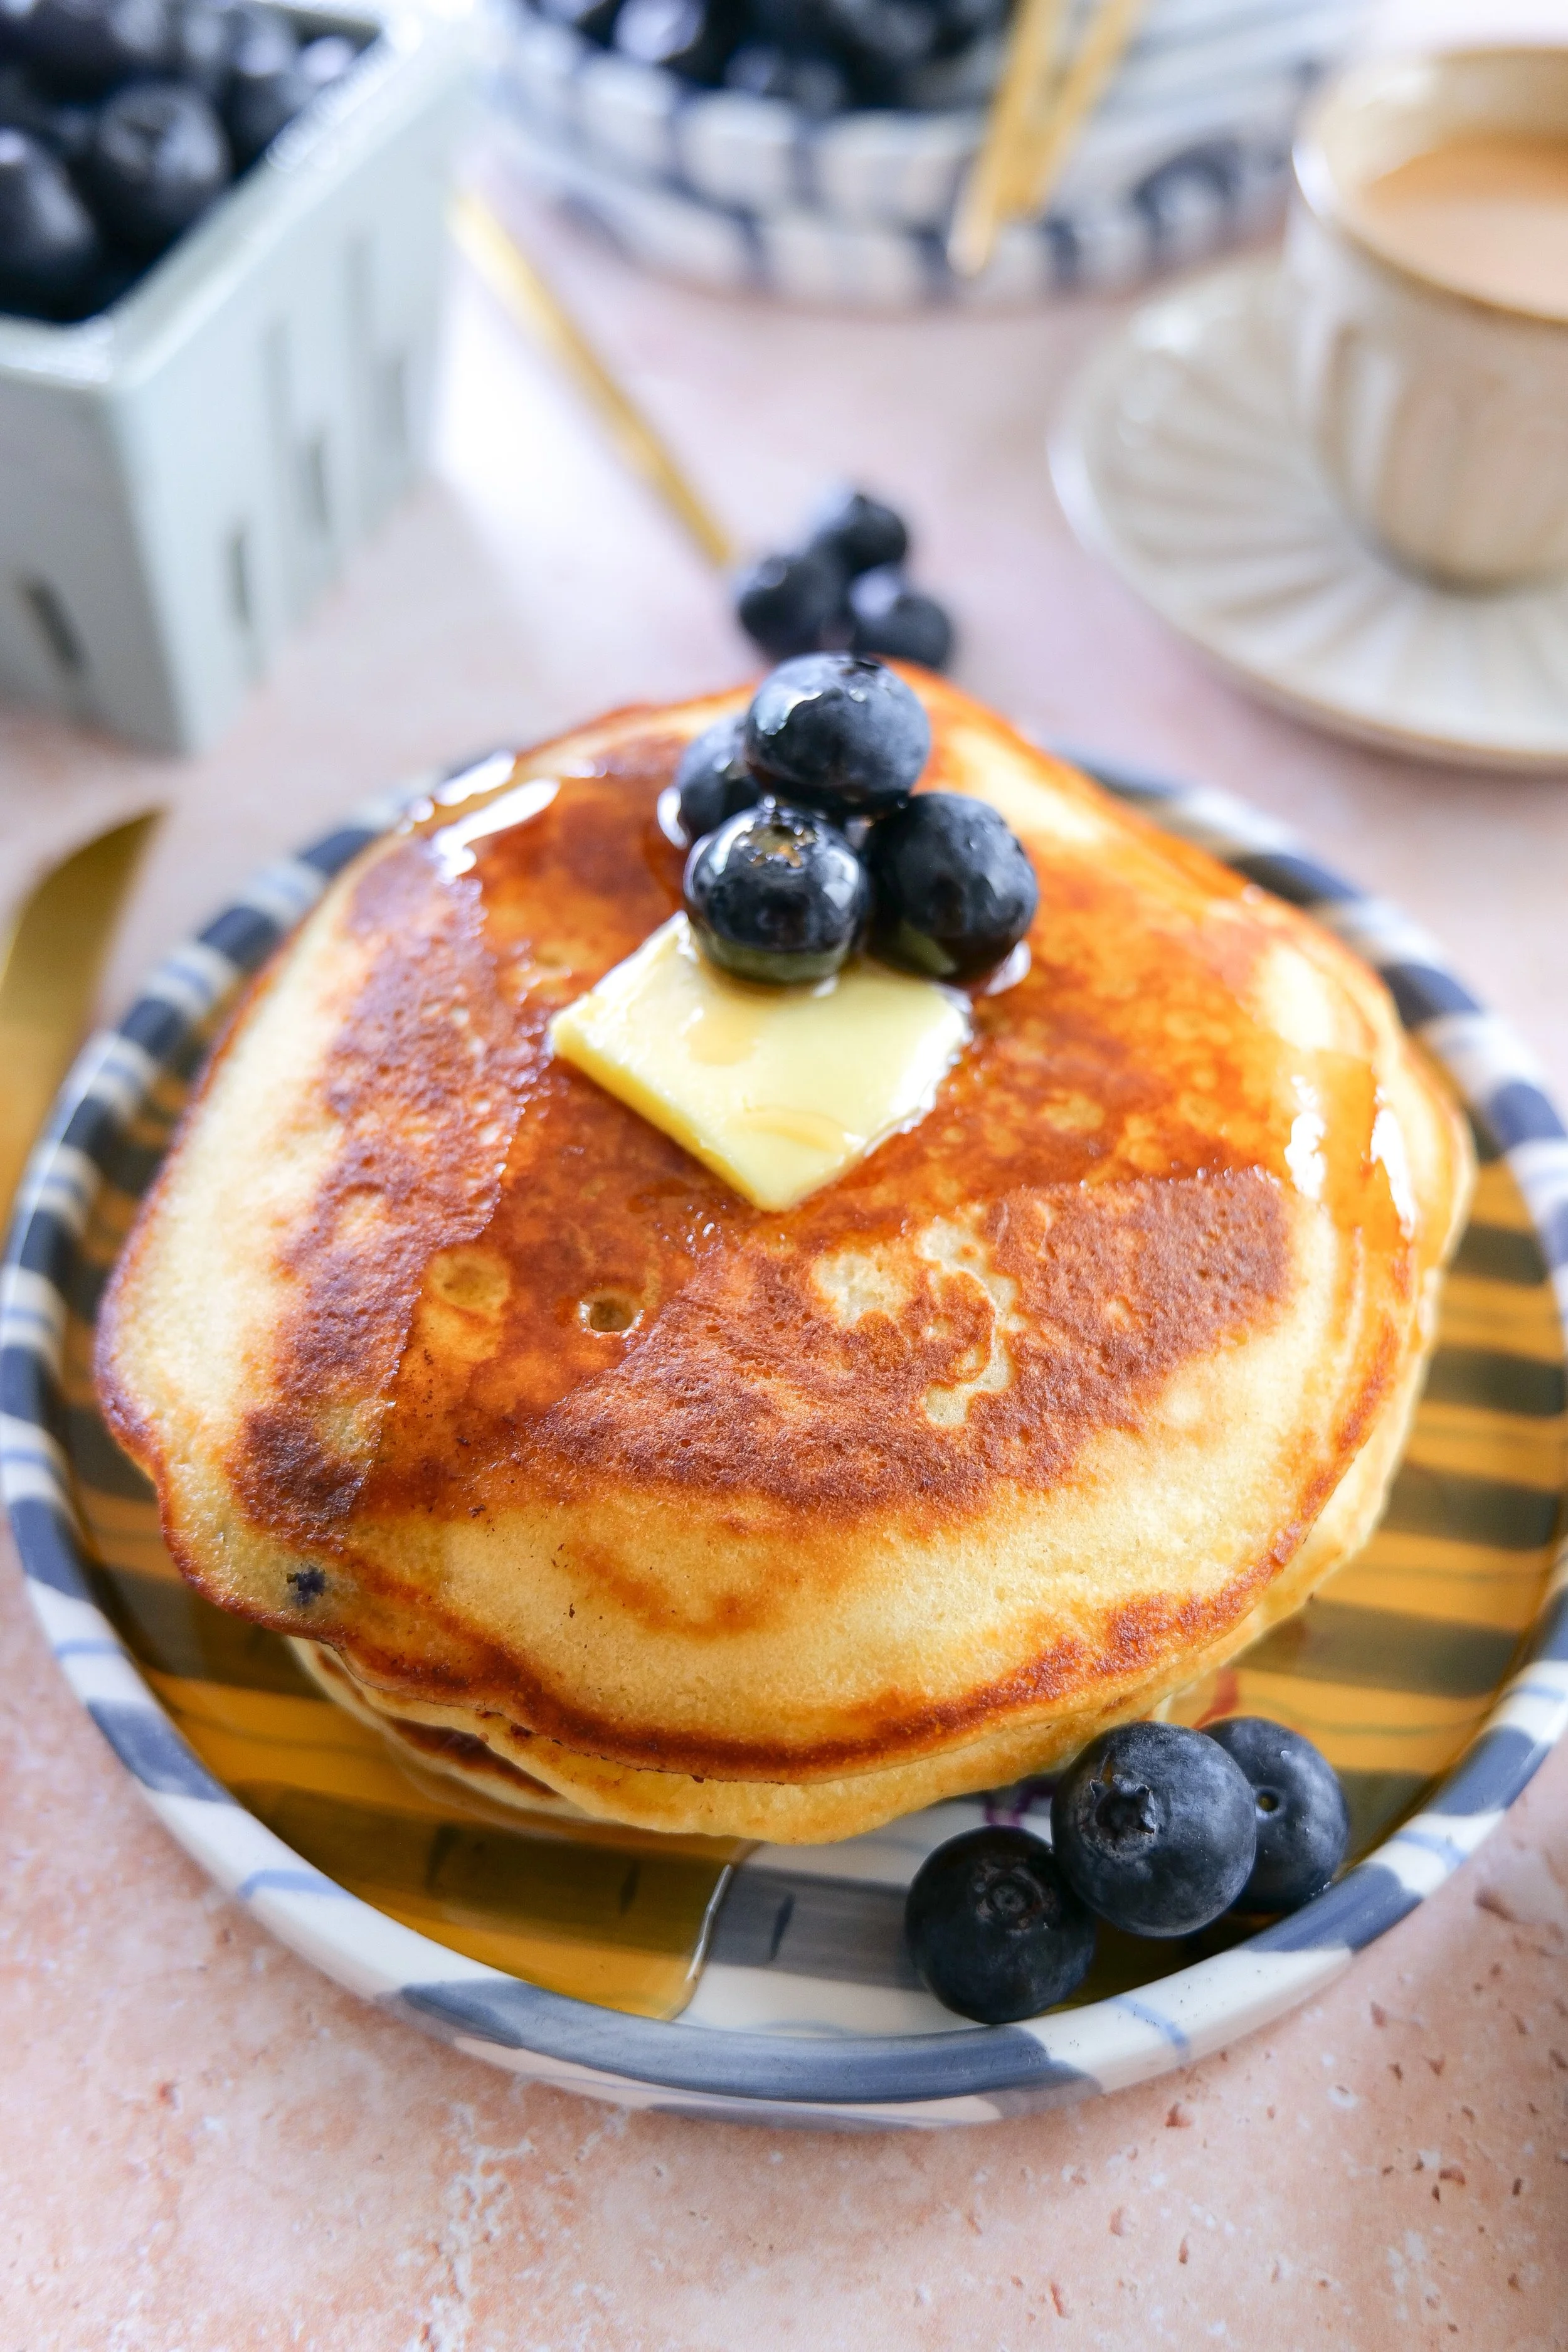
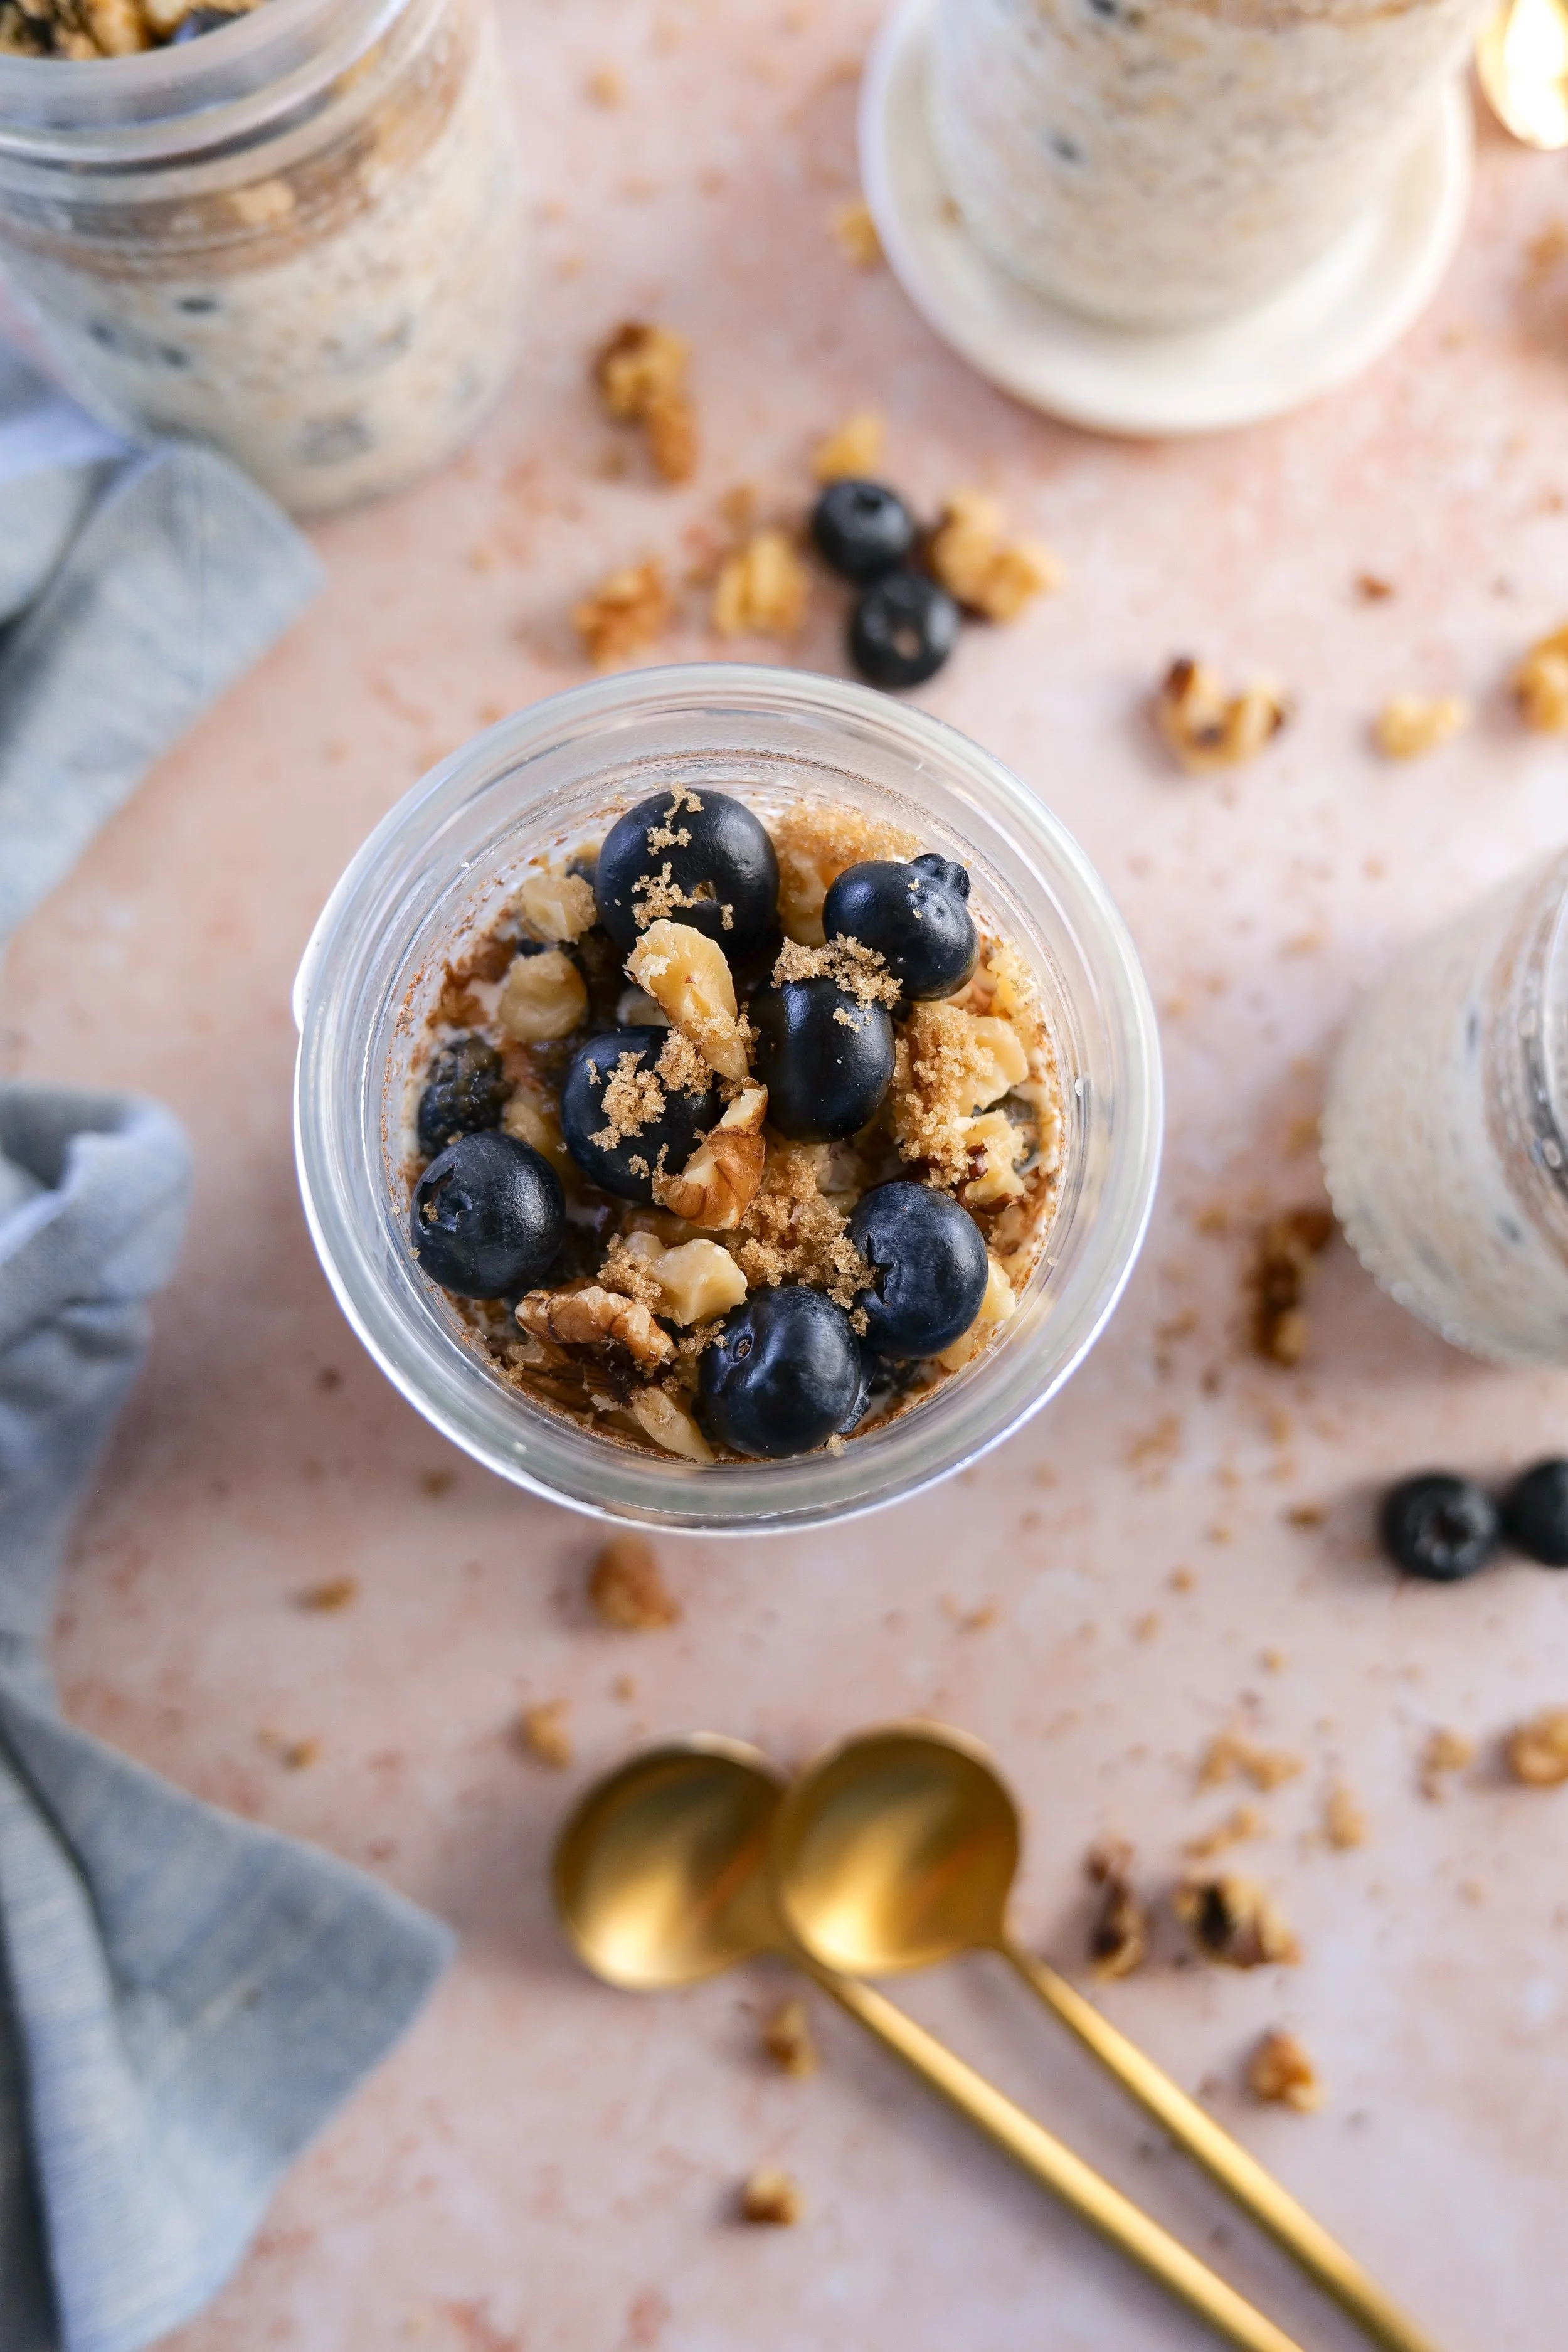
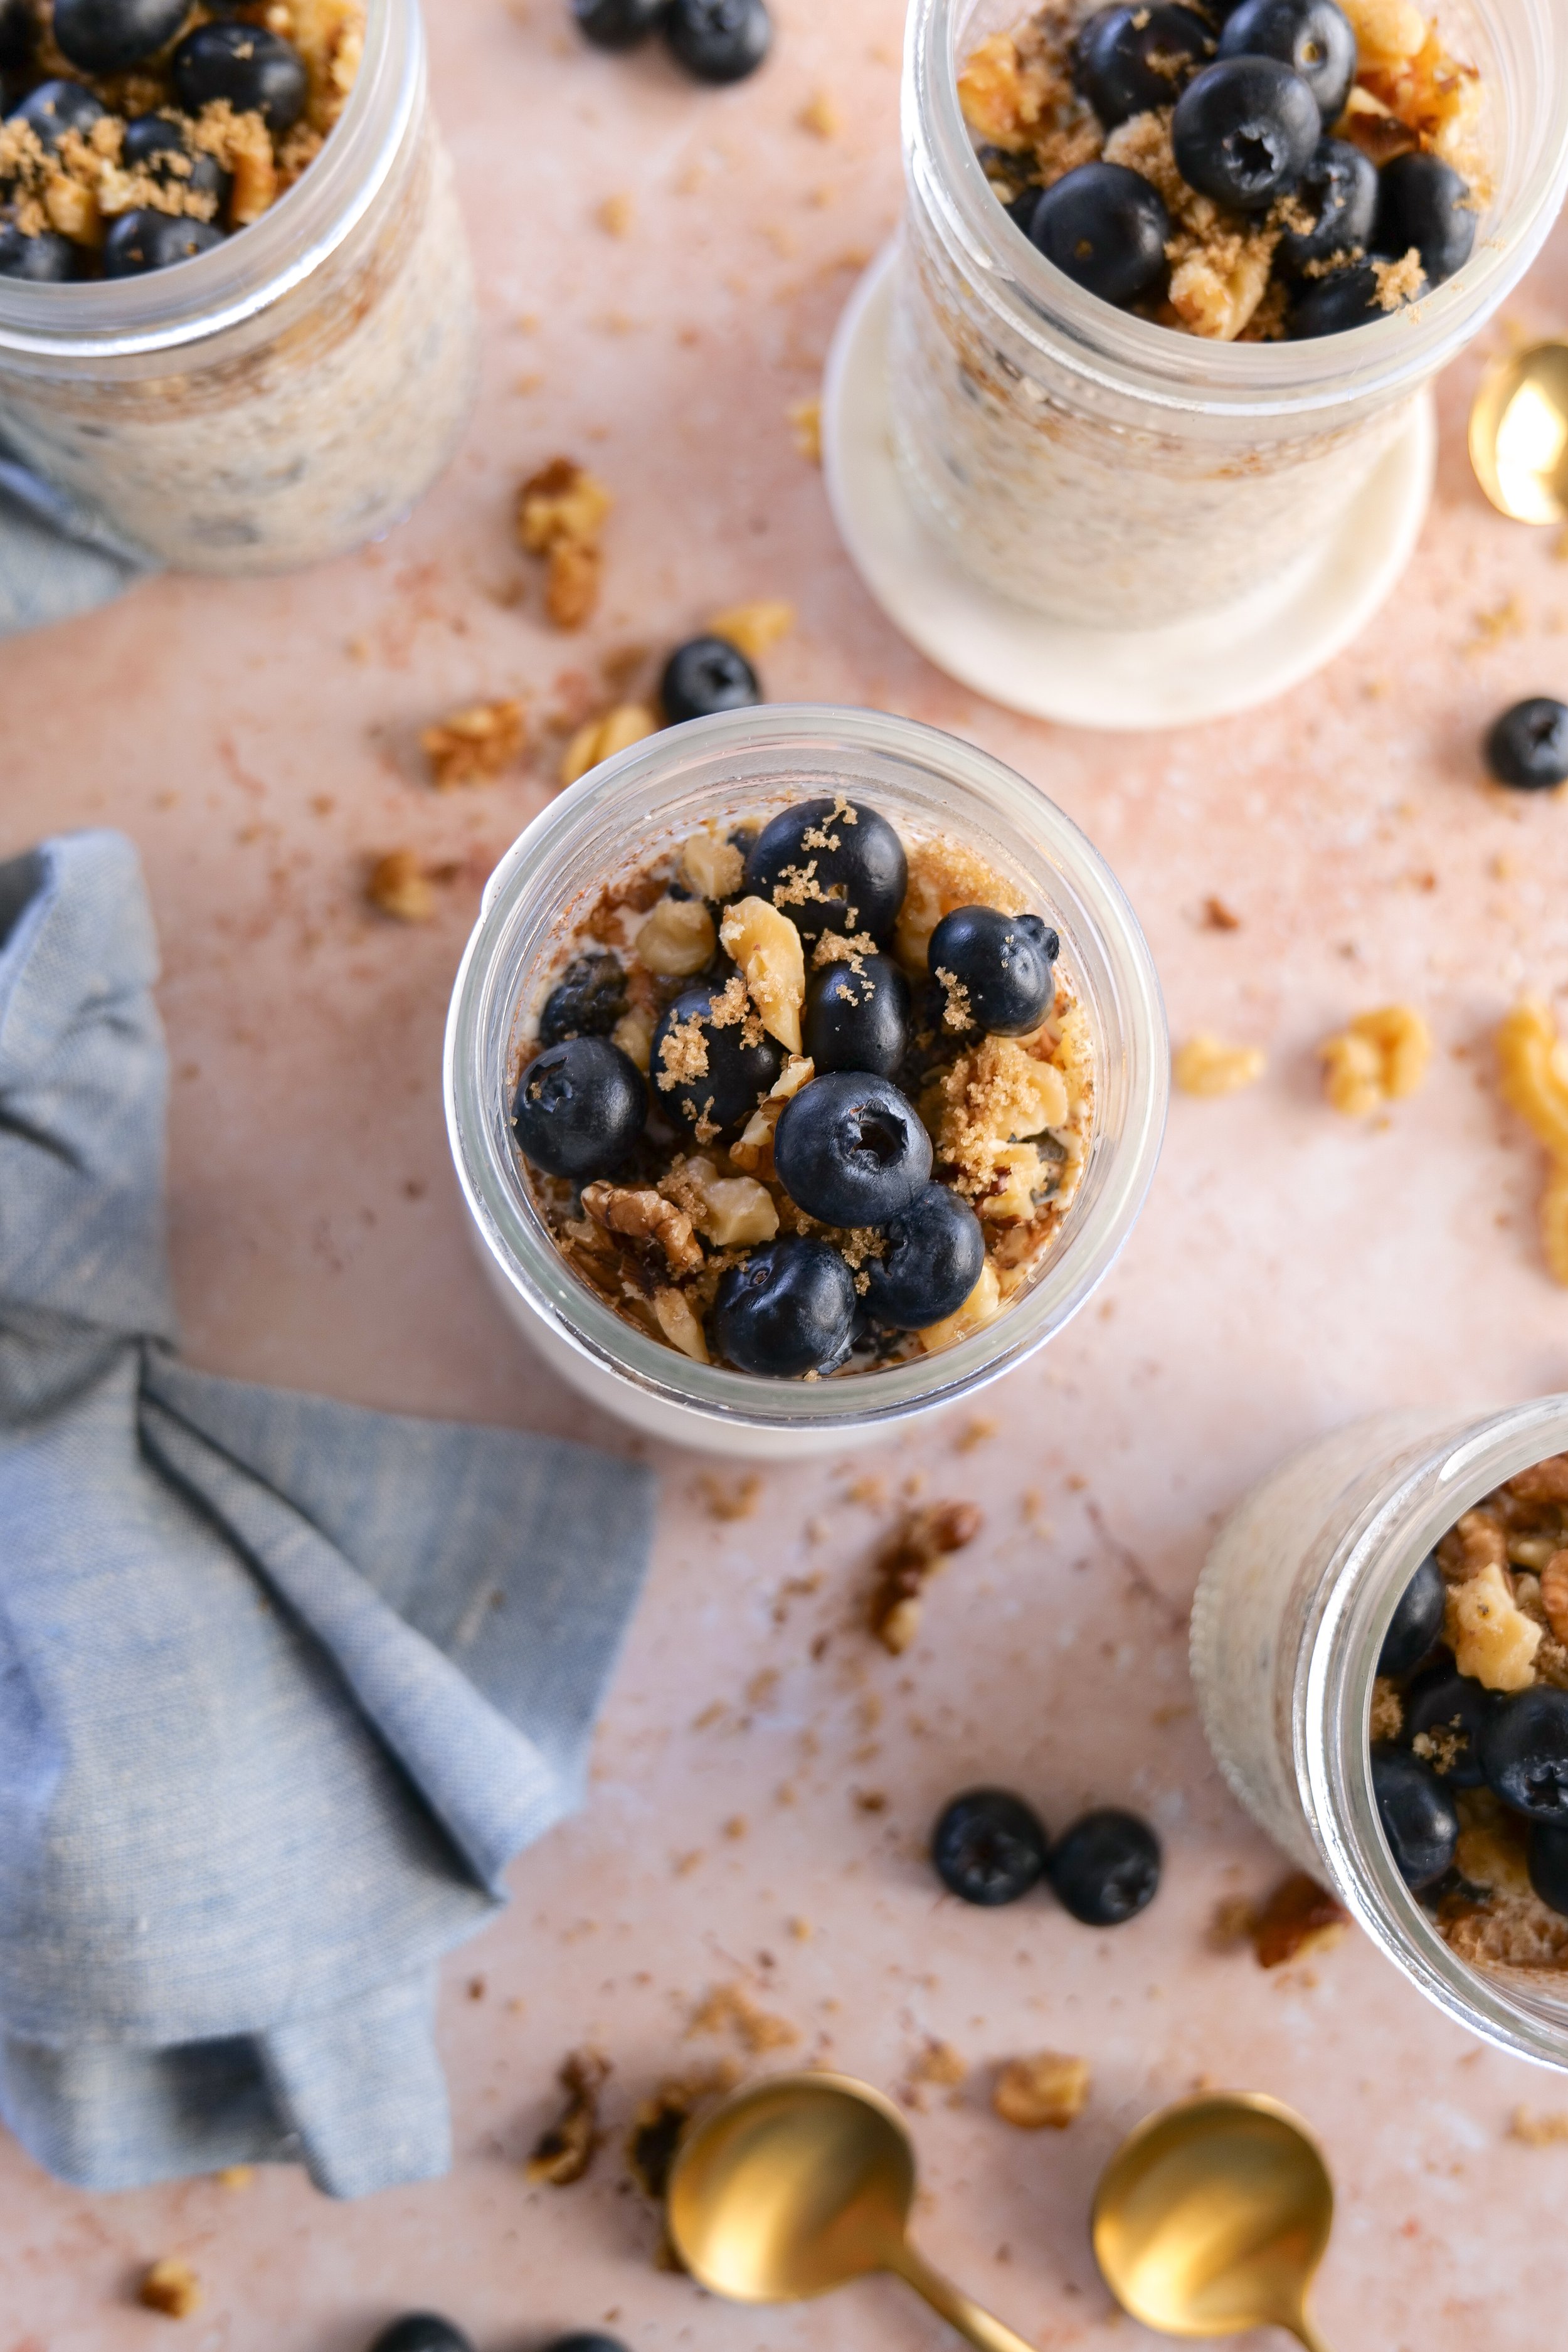
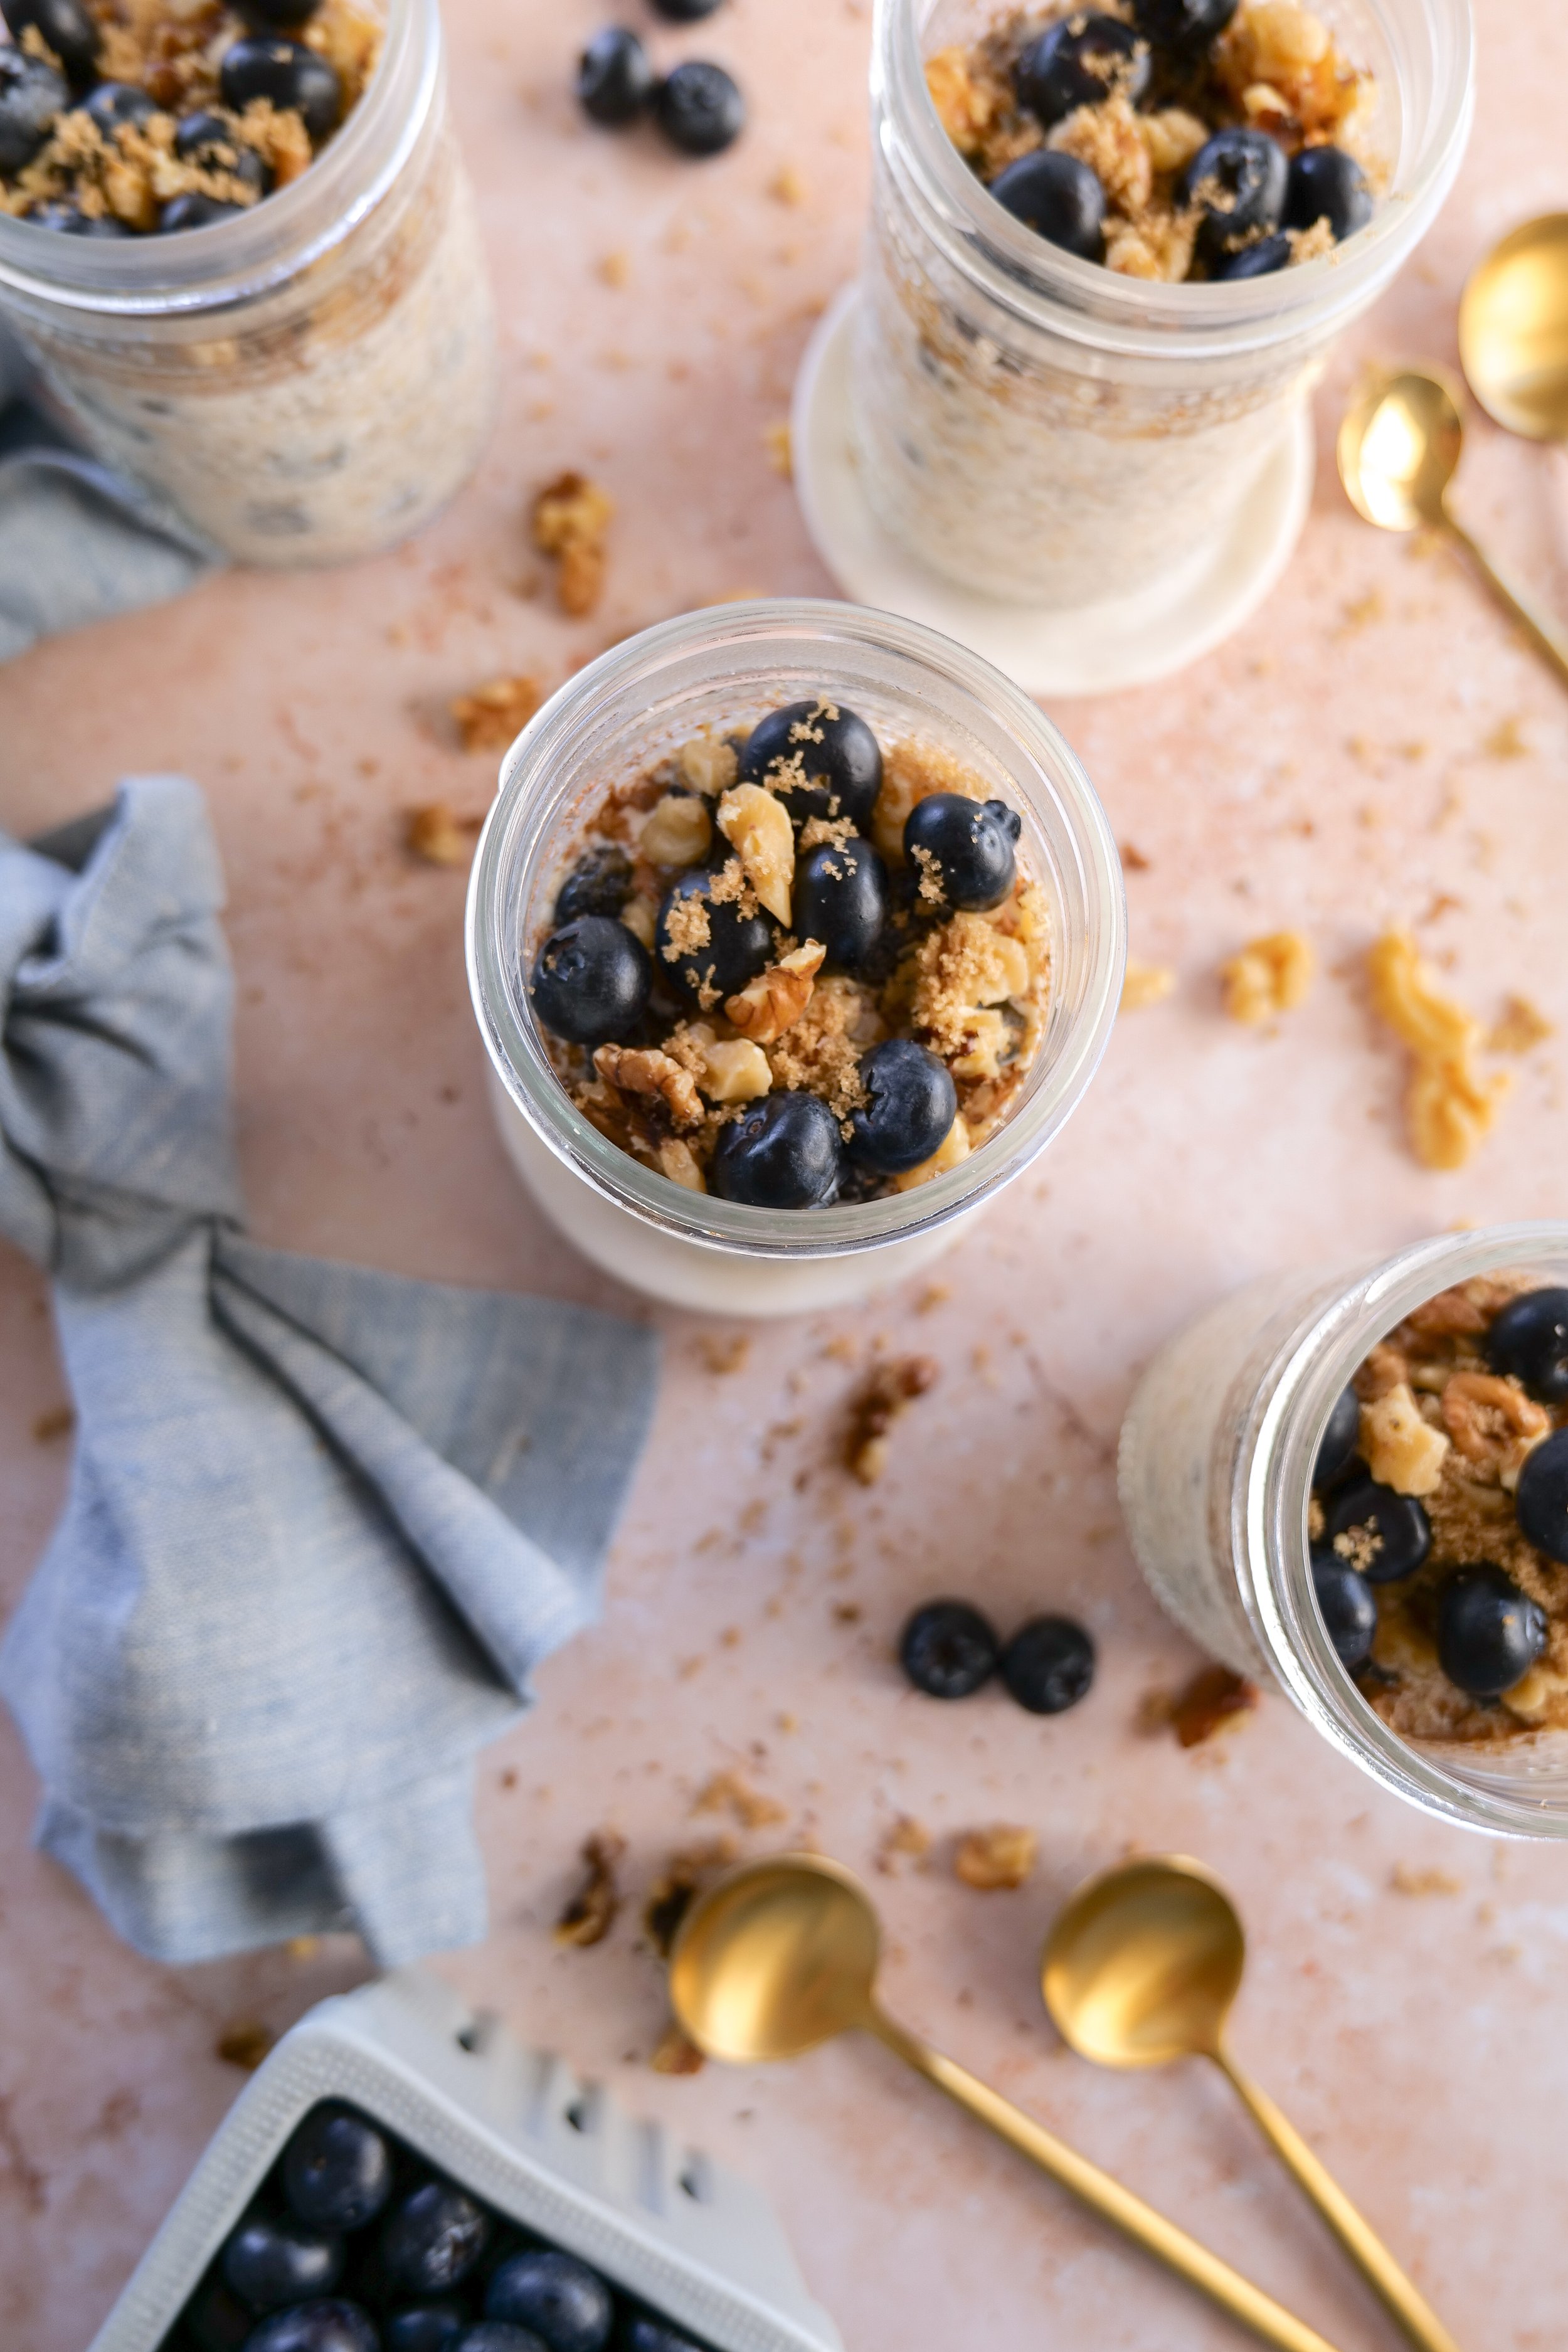
Optional Toppings
Additional blueberries
Crushed graham crackers
Granola
Toasted pecans
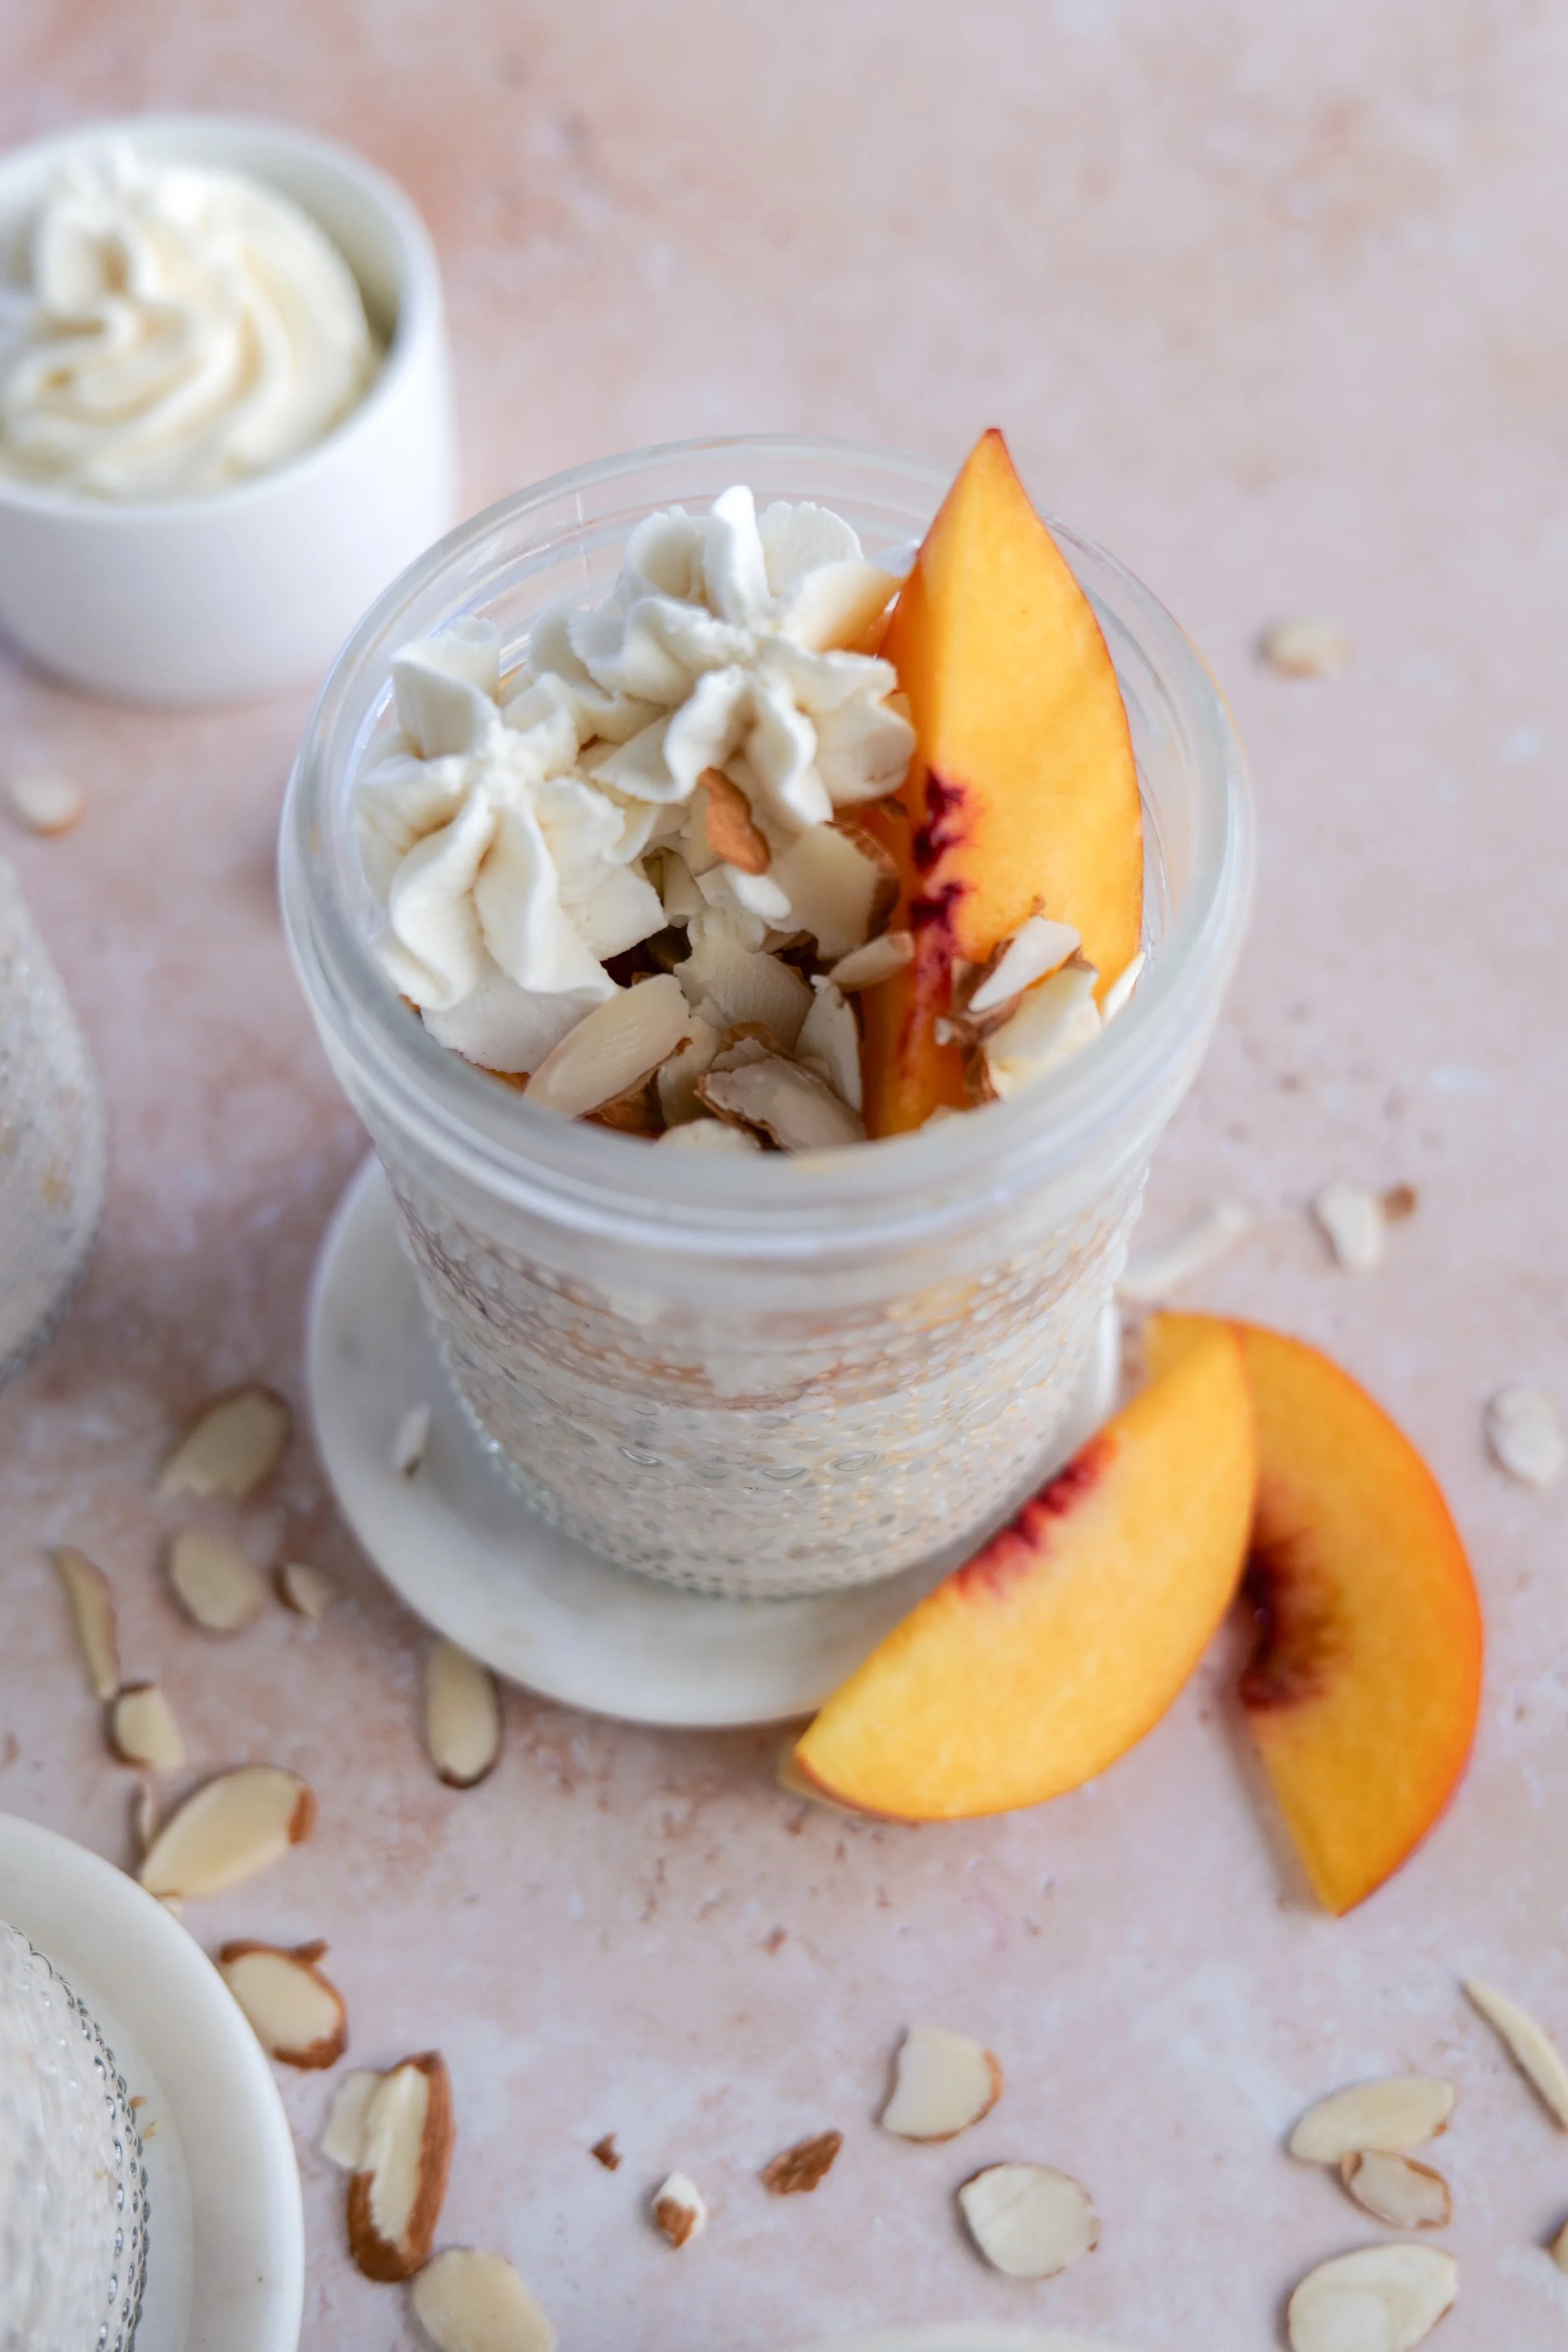
Whipped cream
Lemon zest
Instructions
Step 1
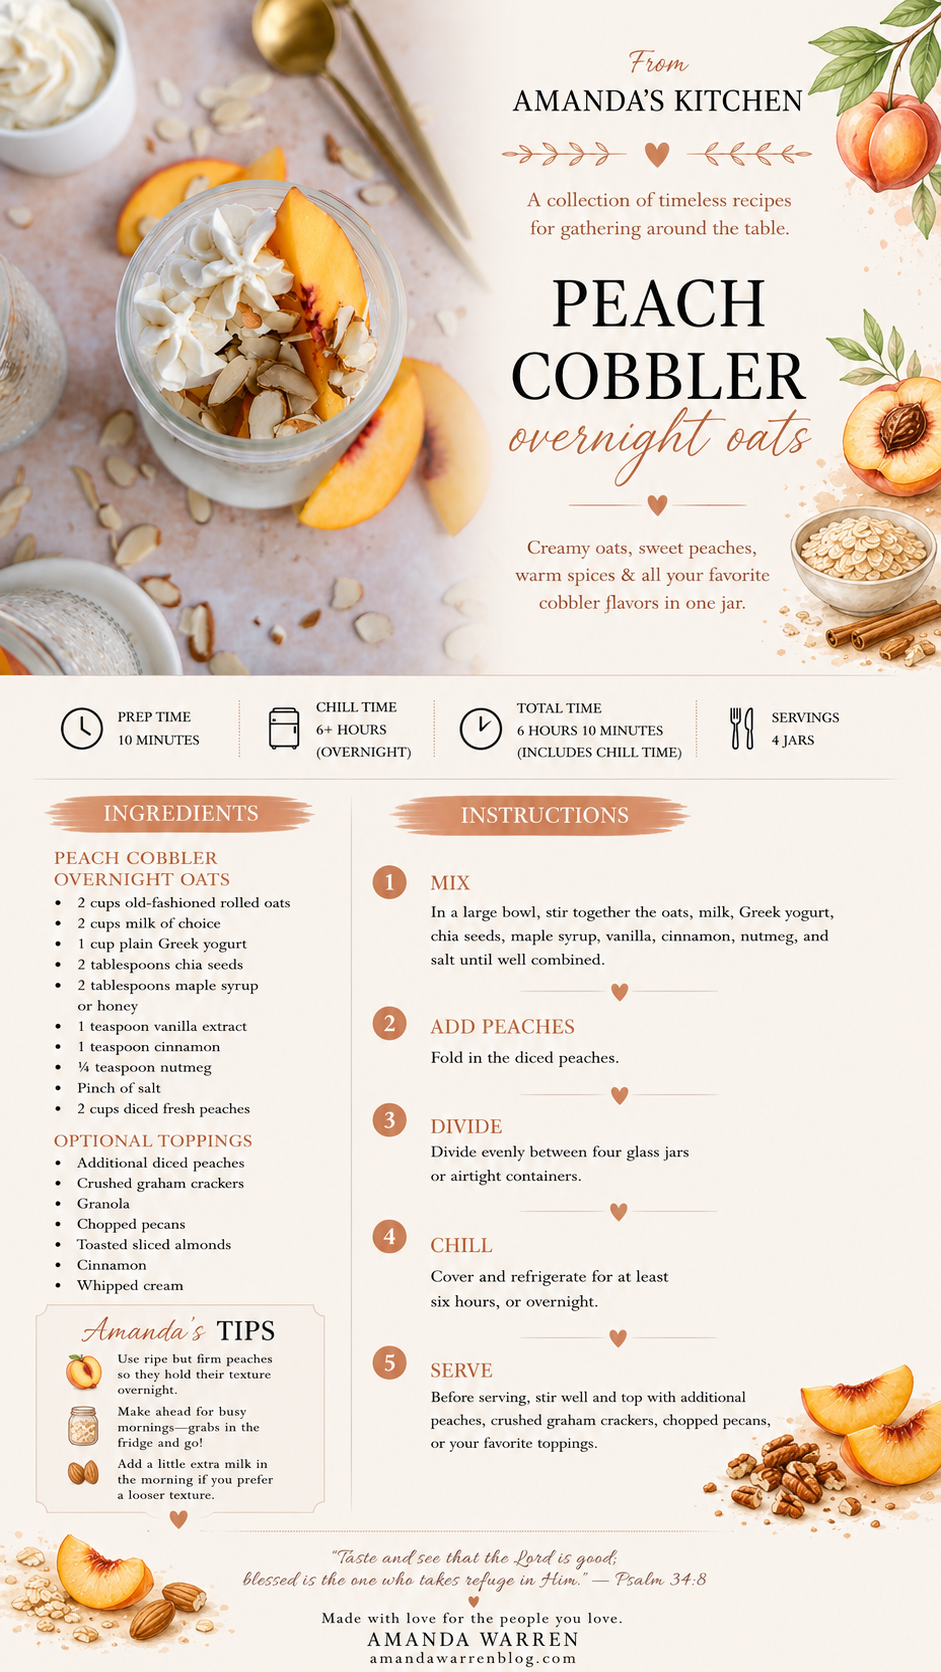
In a large mixing bowl, combine the oats, milk, Greek yogurt, chia seeds, maple syrup, vanilla, cinnamon, and salt until well mixed.
Step 2
Gently fold in the blueberries.
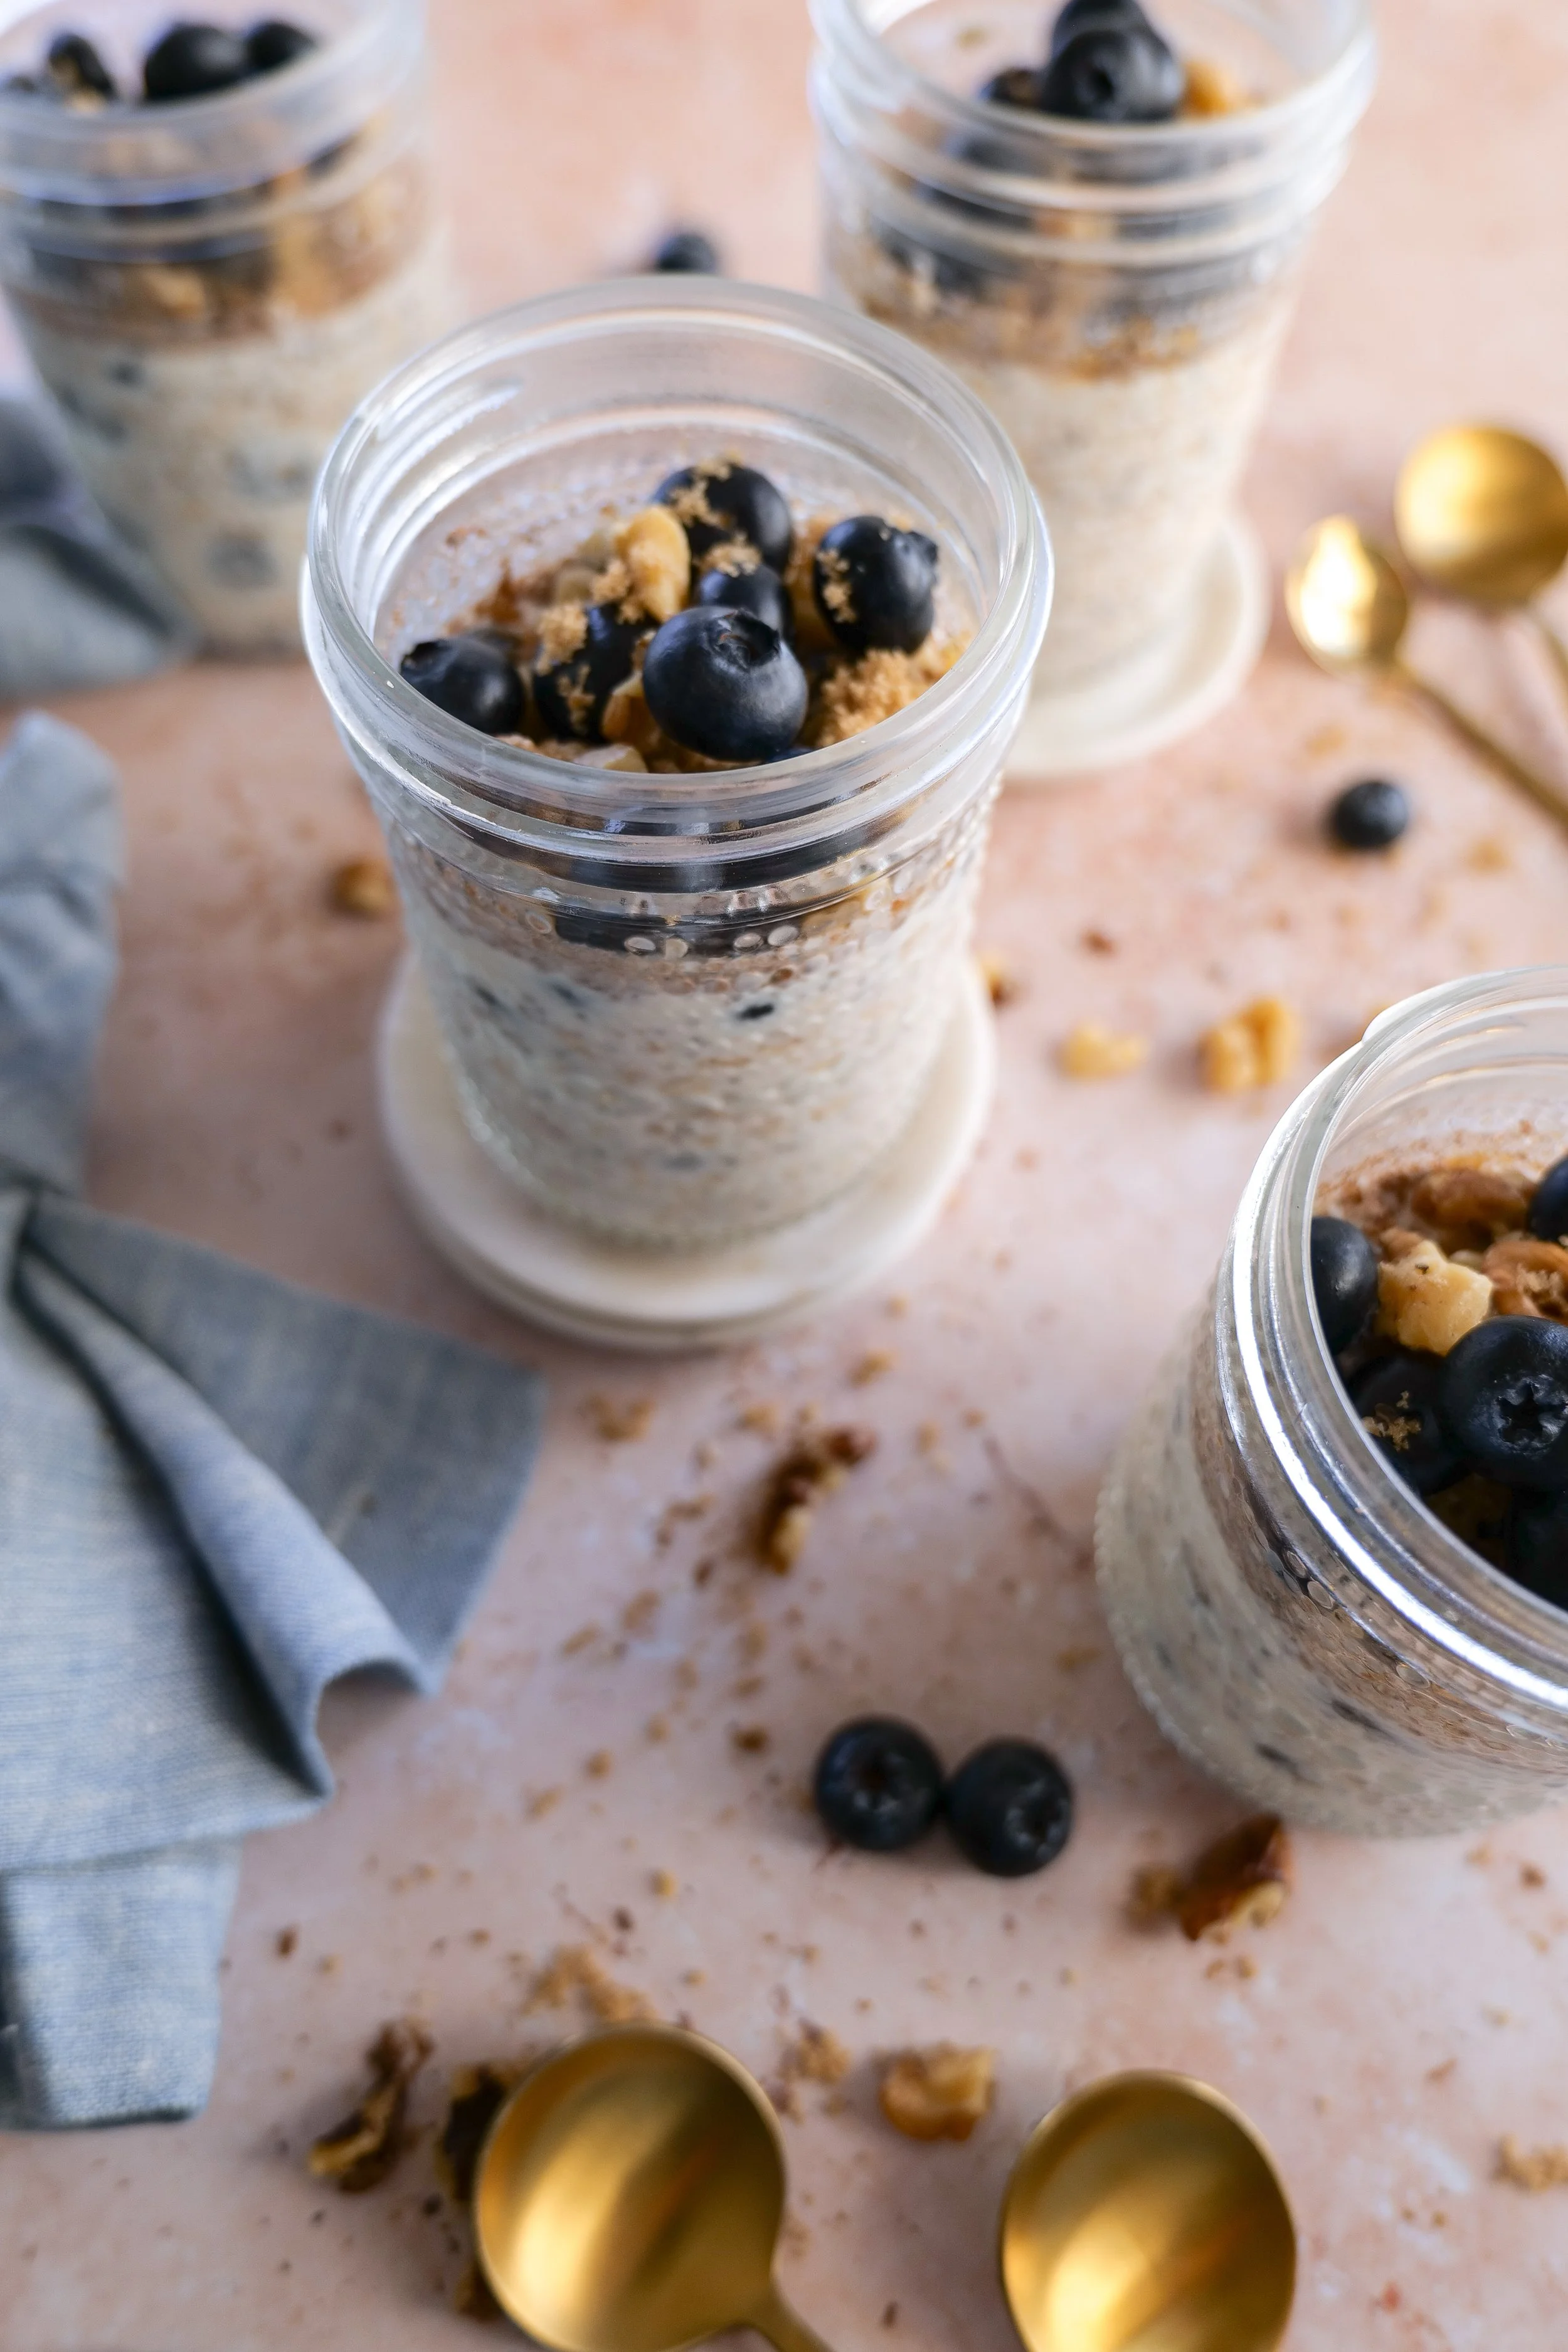
Step 3
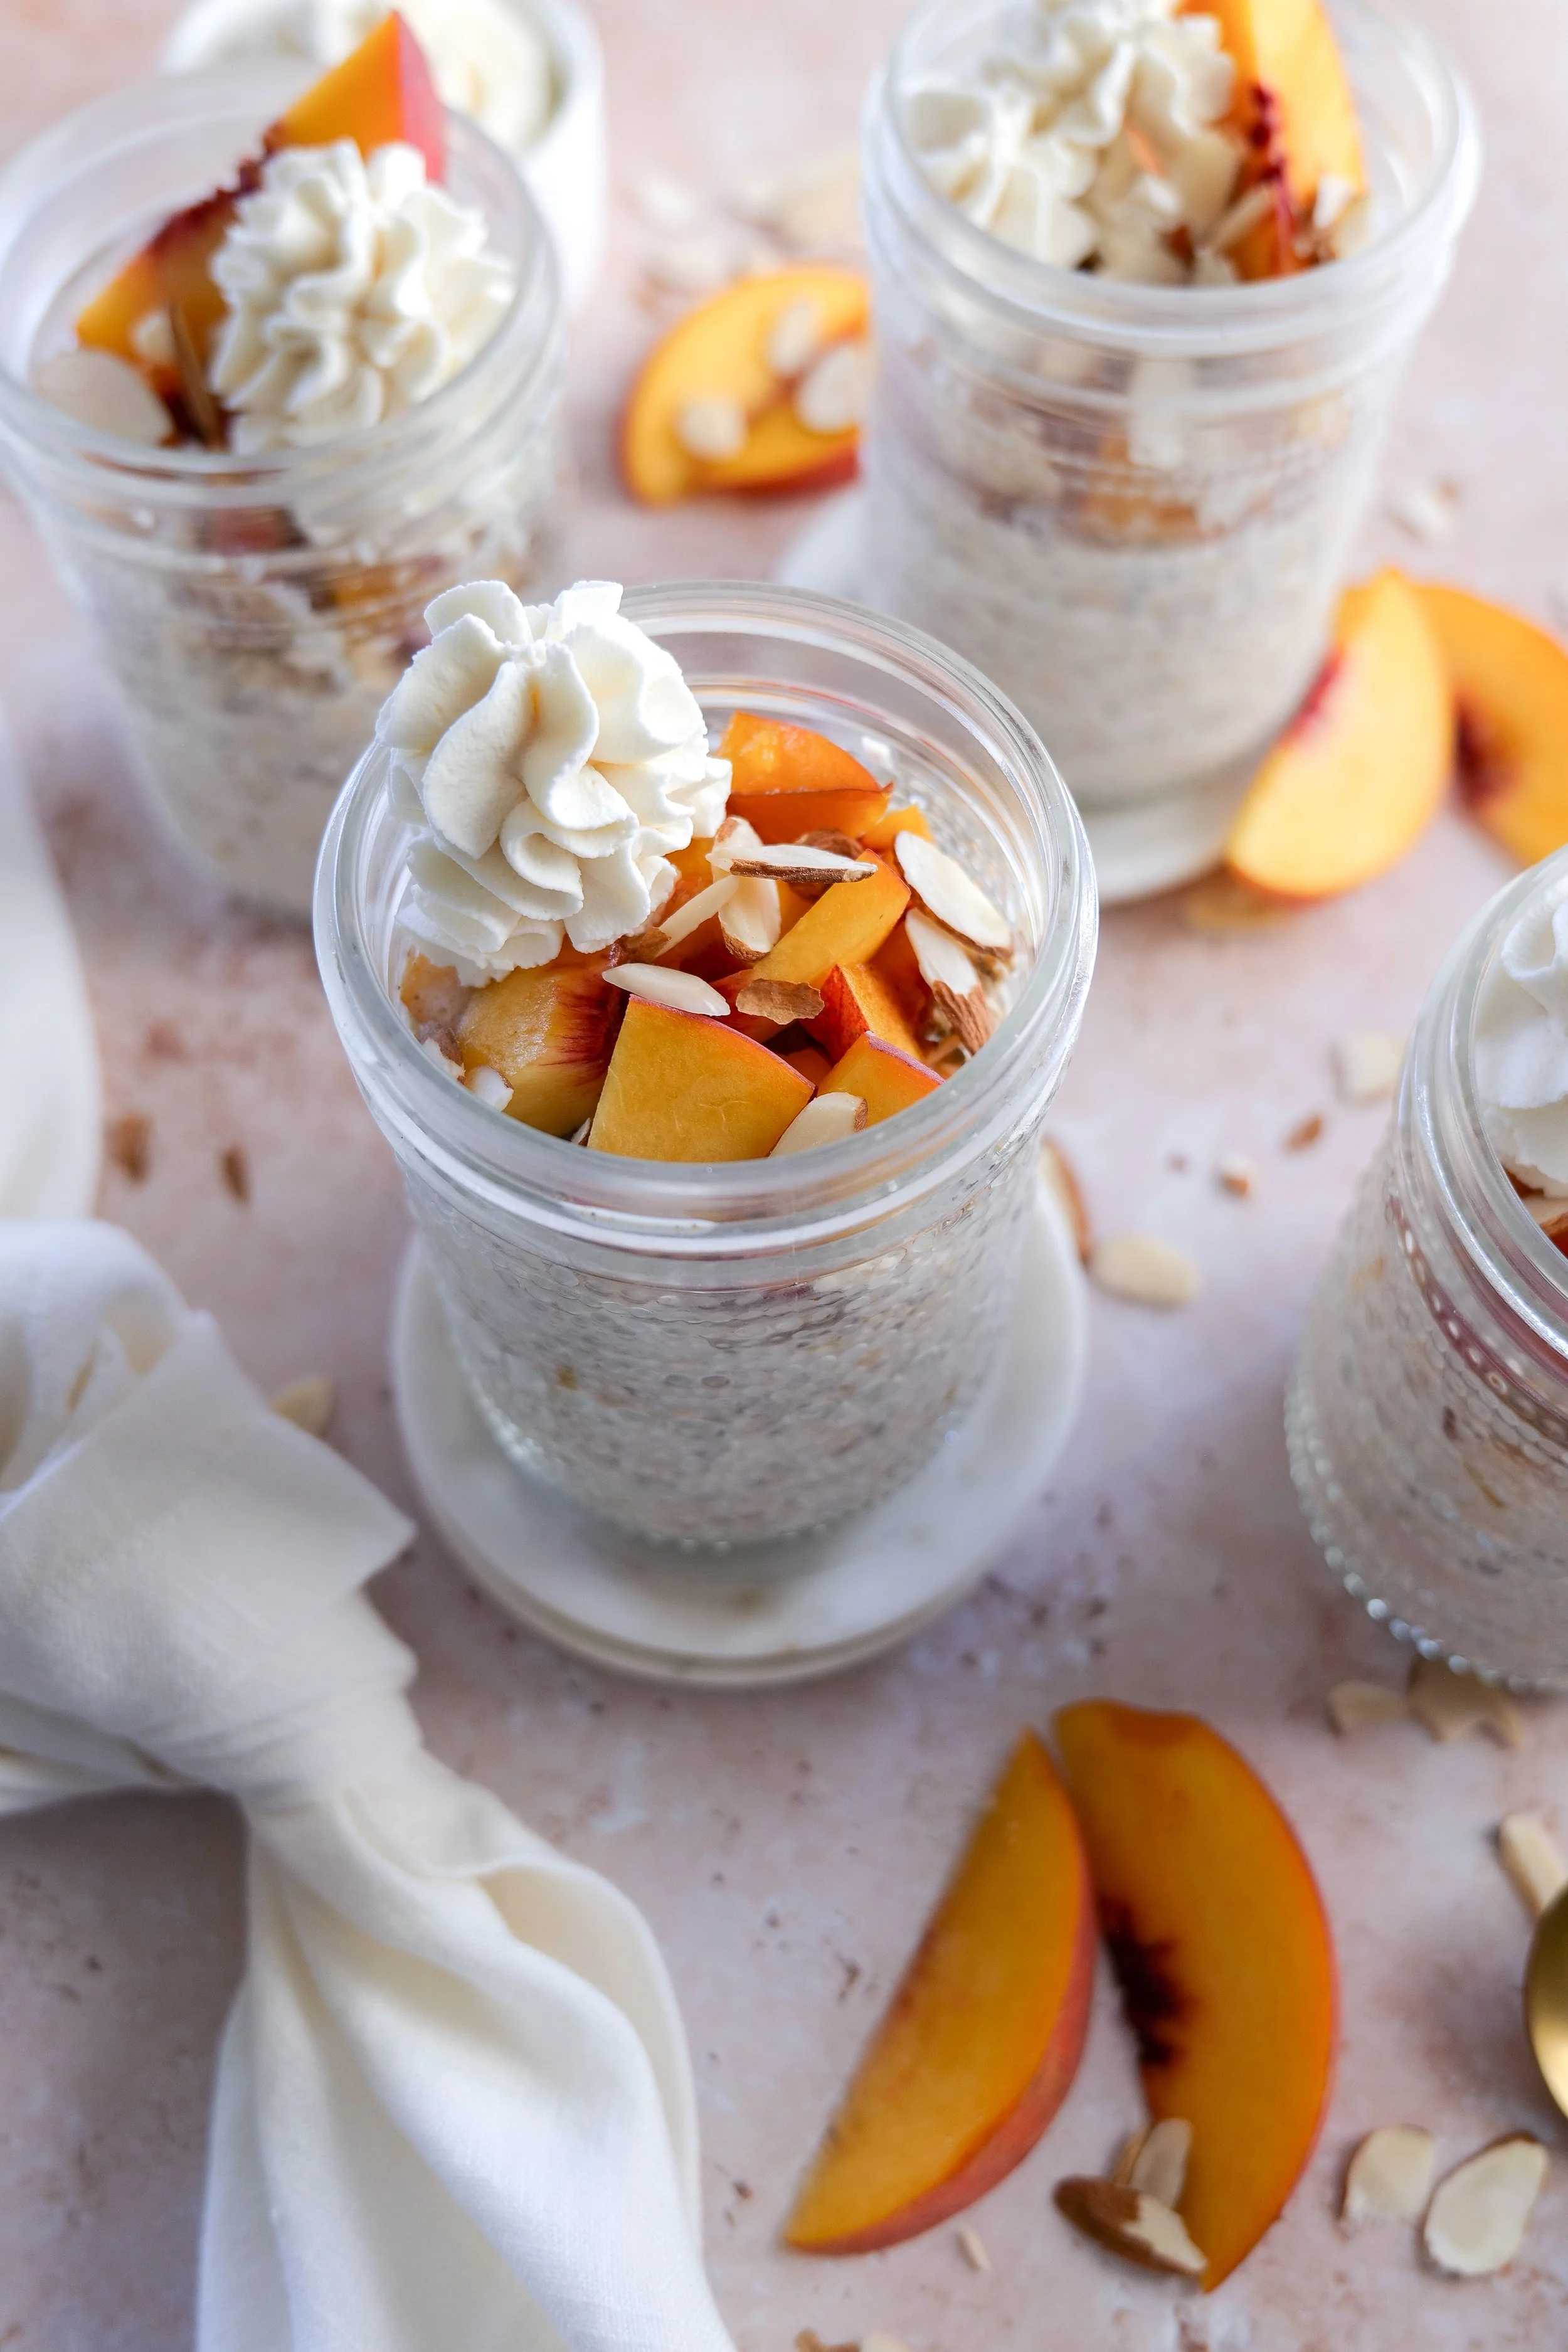
Divide evenly between four glass jars or airtight containers.
Step 4
Cover and refrigerate for at least six hours, or overnight.
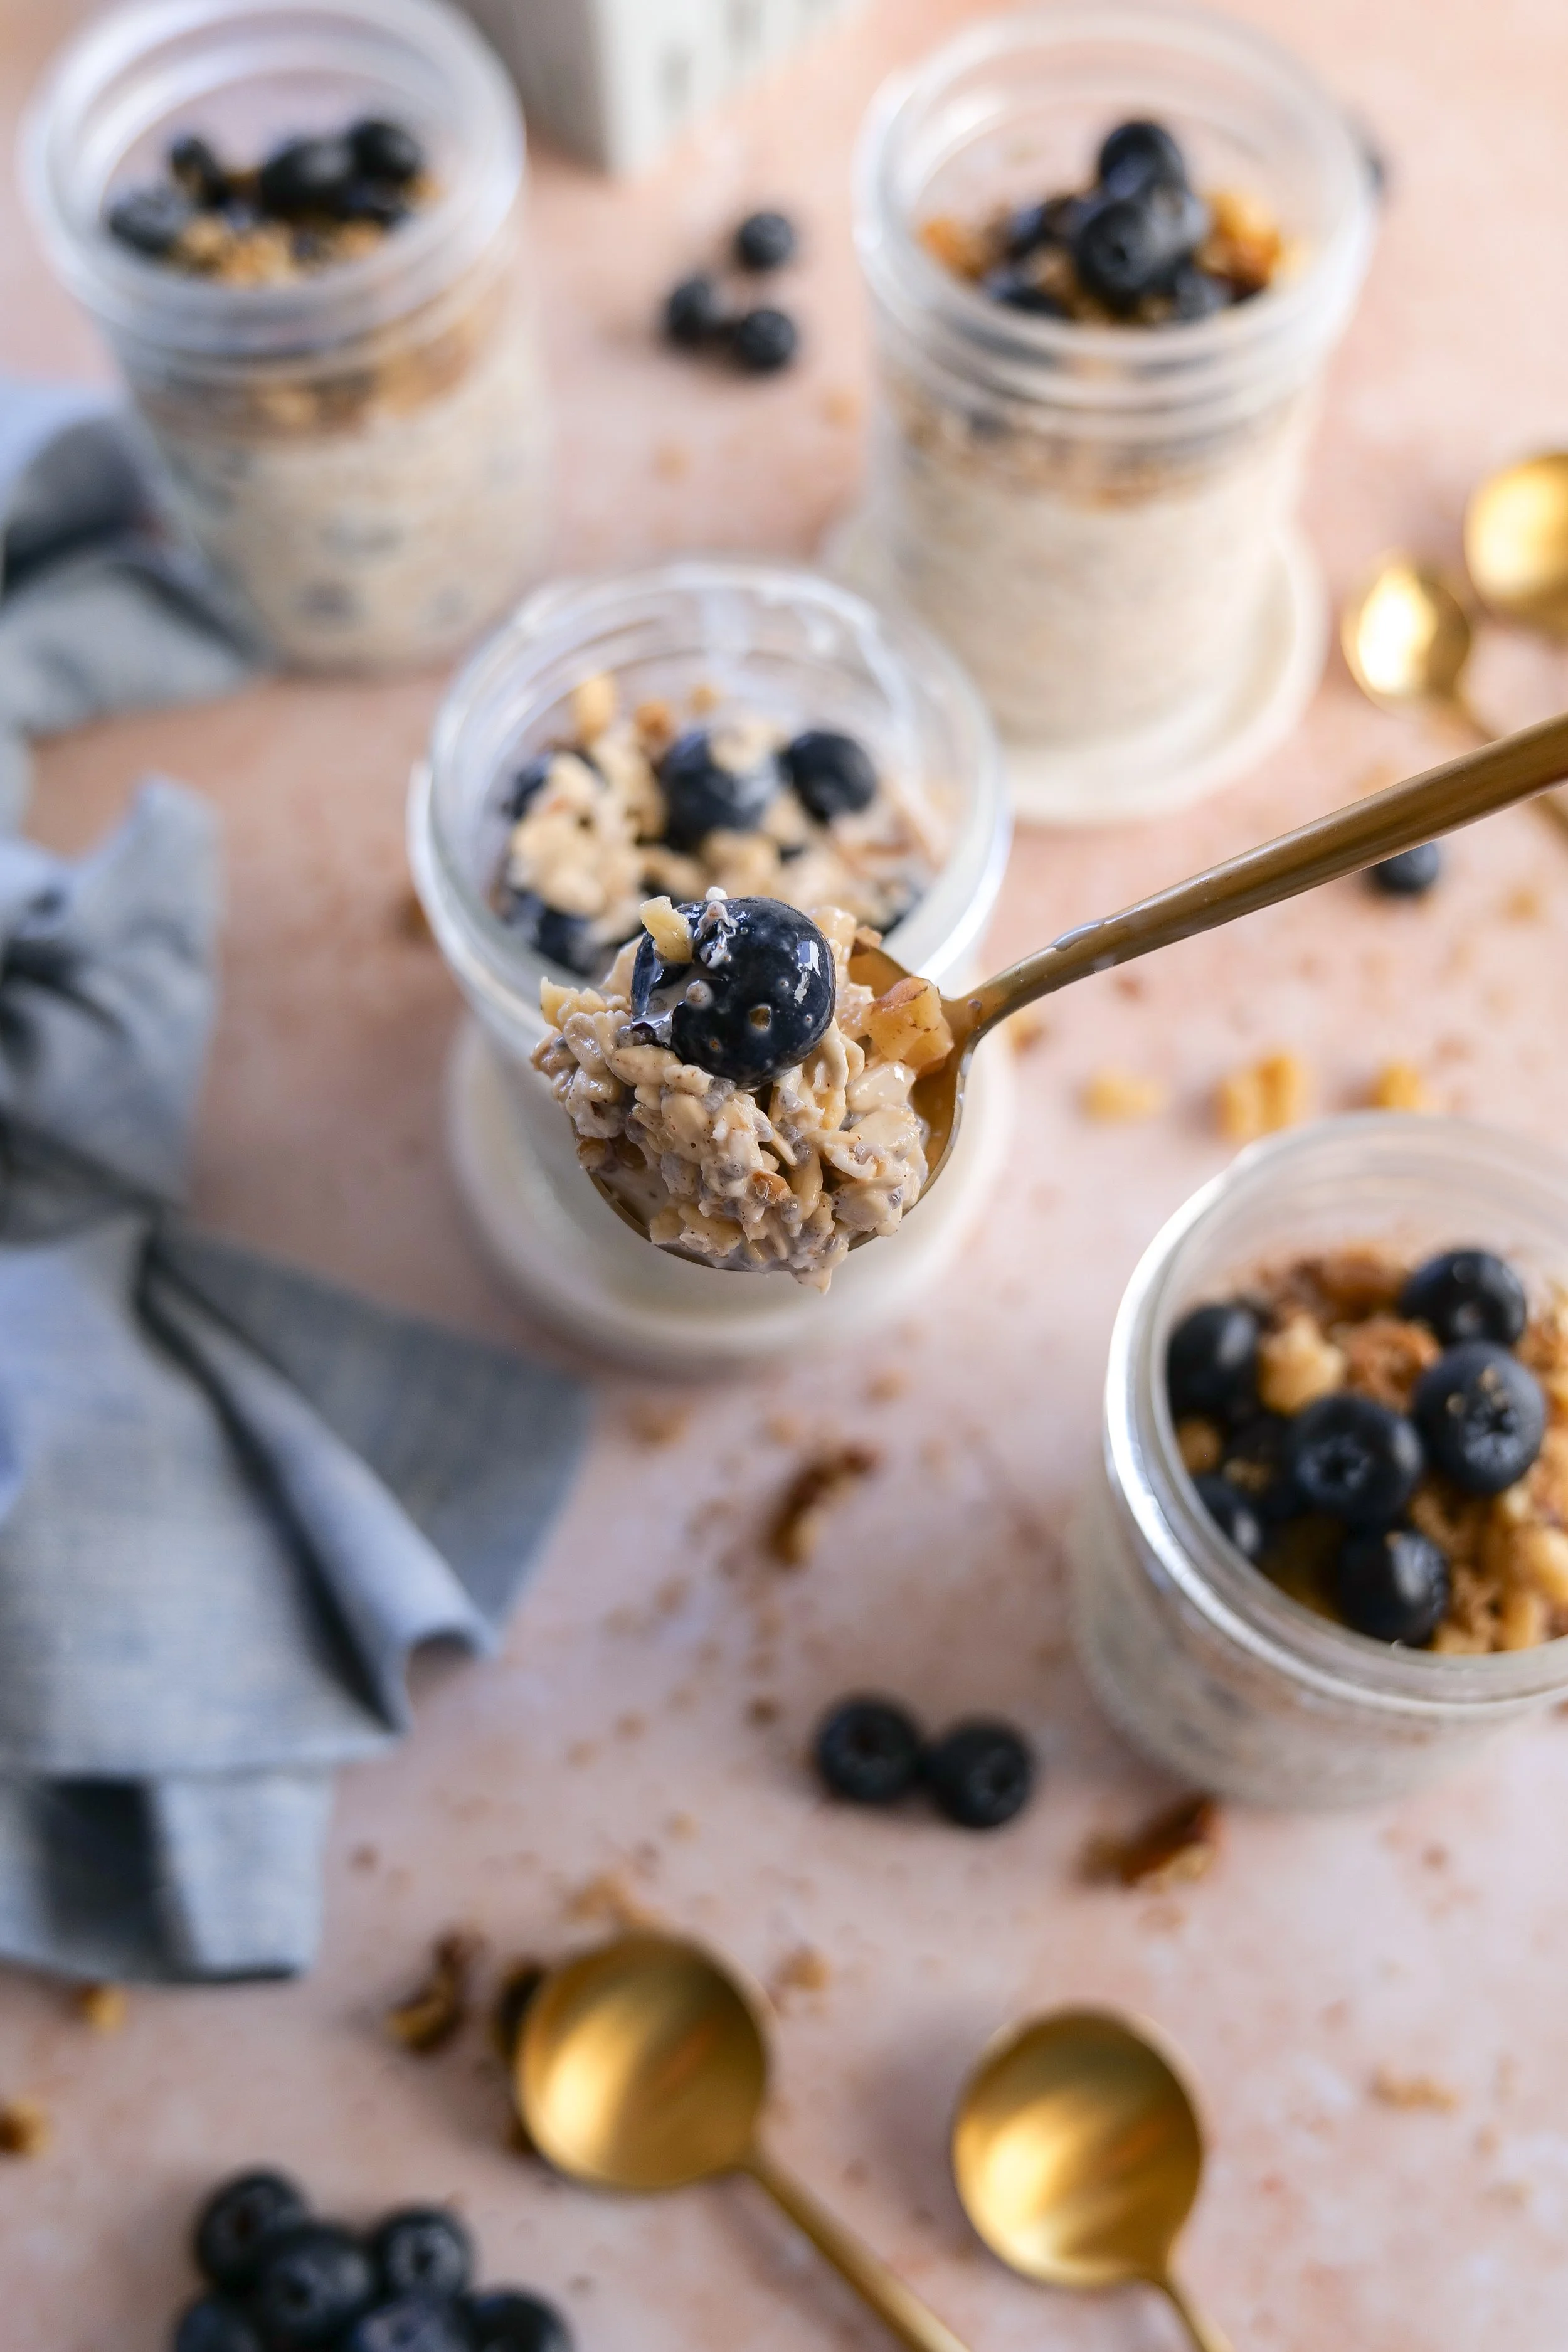
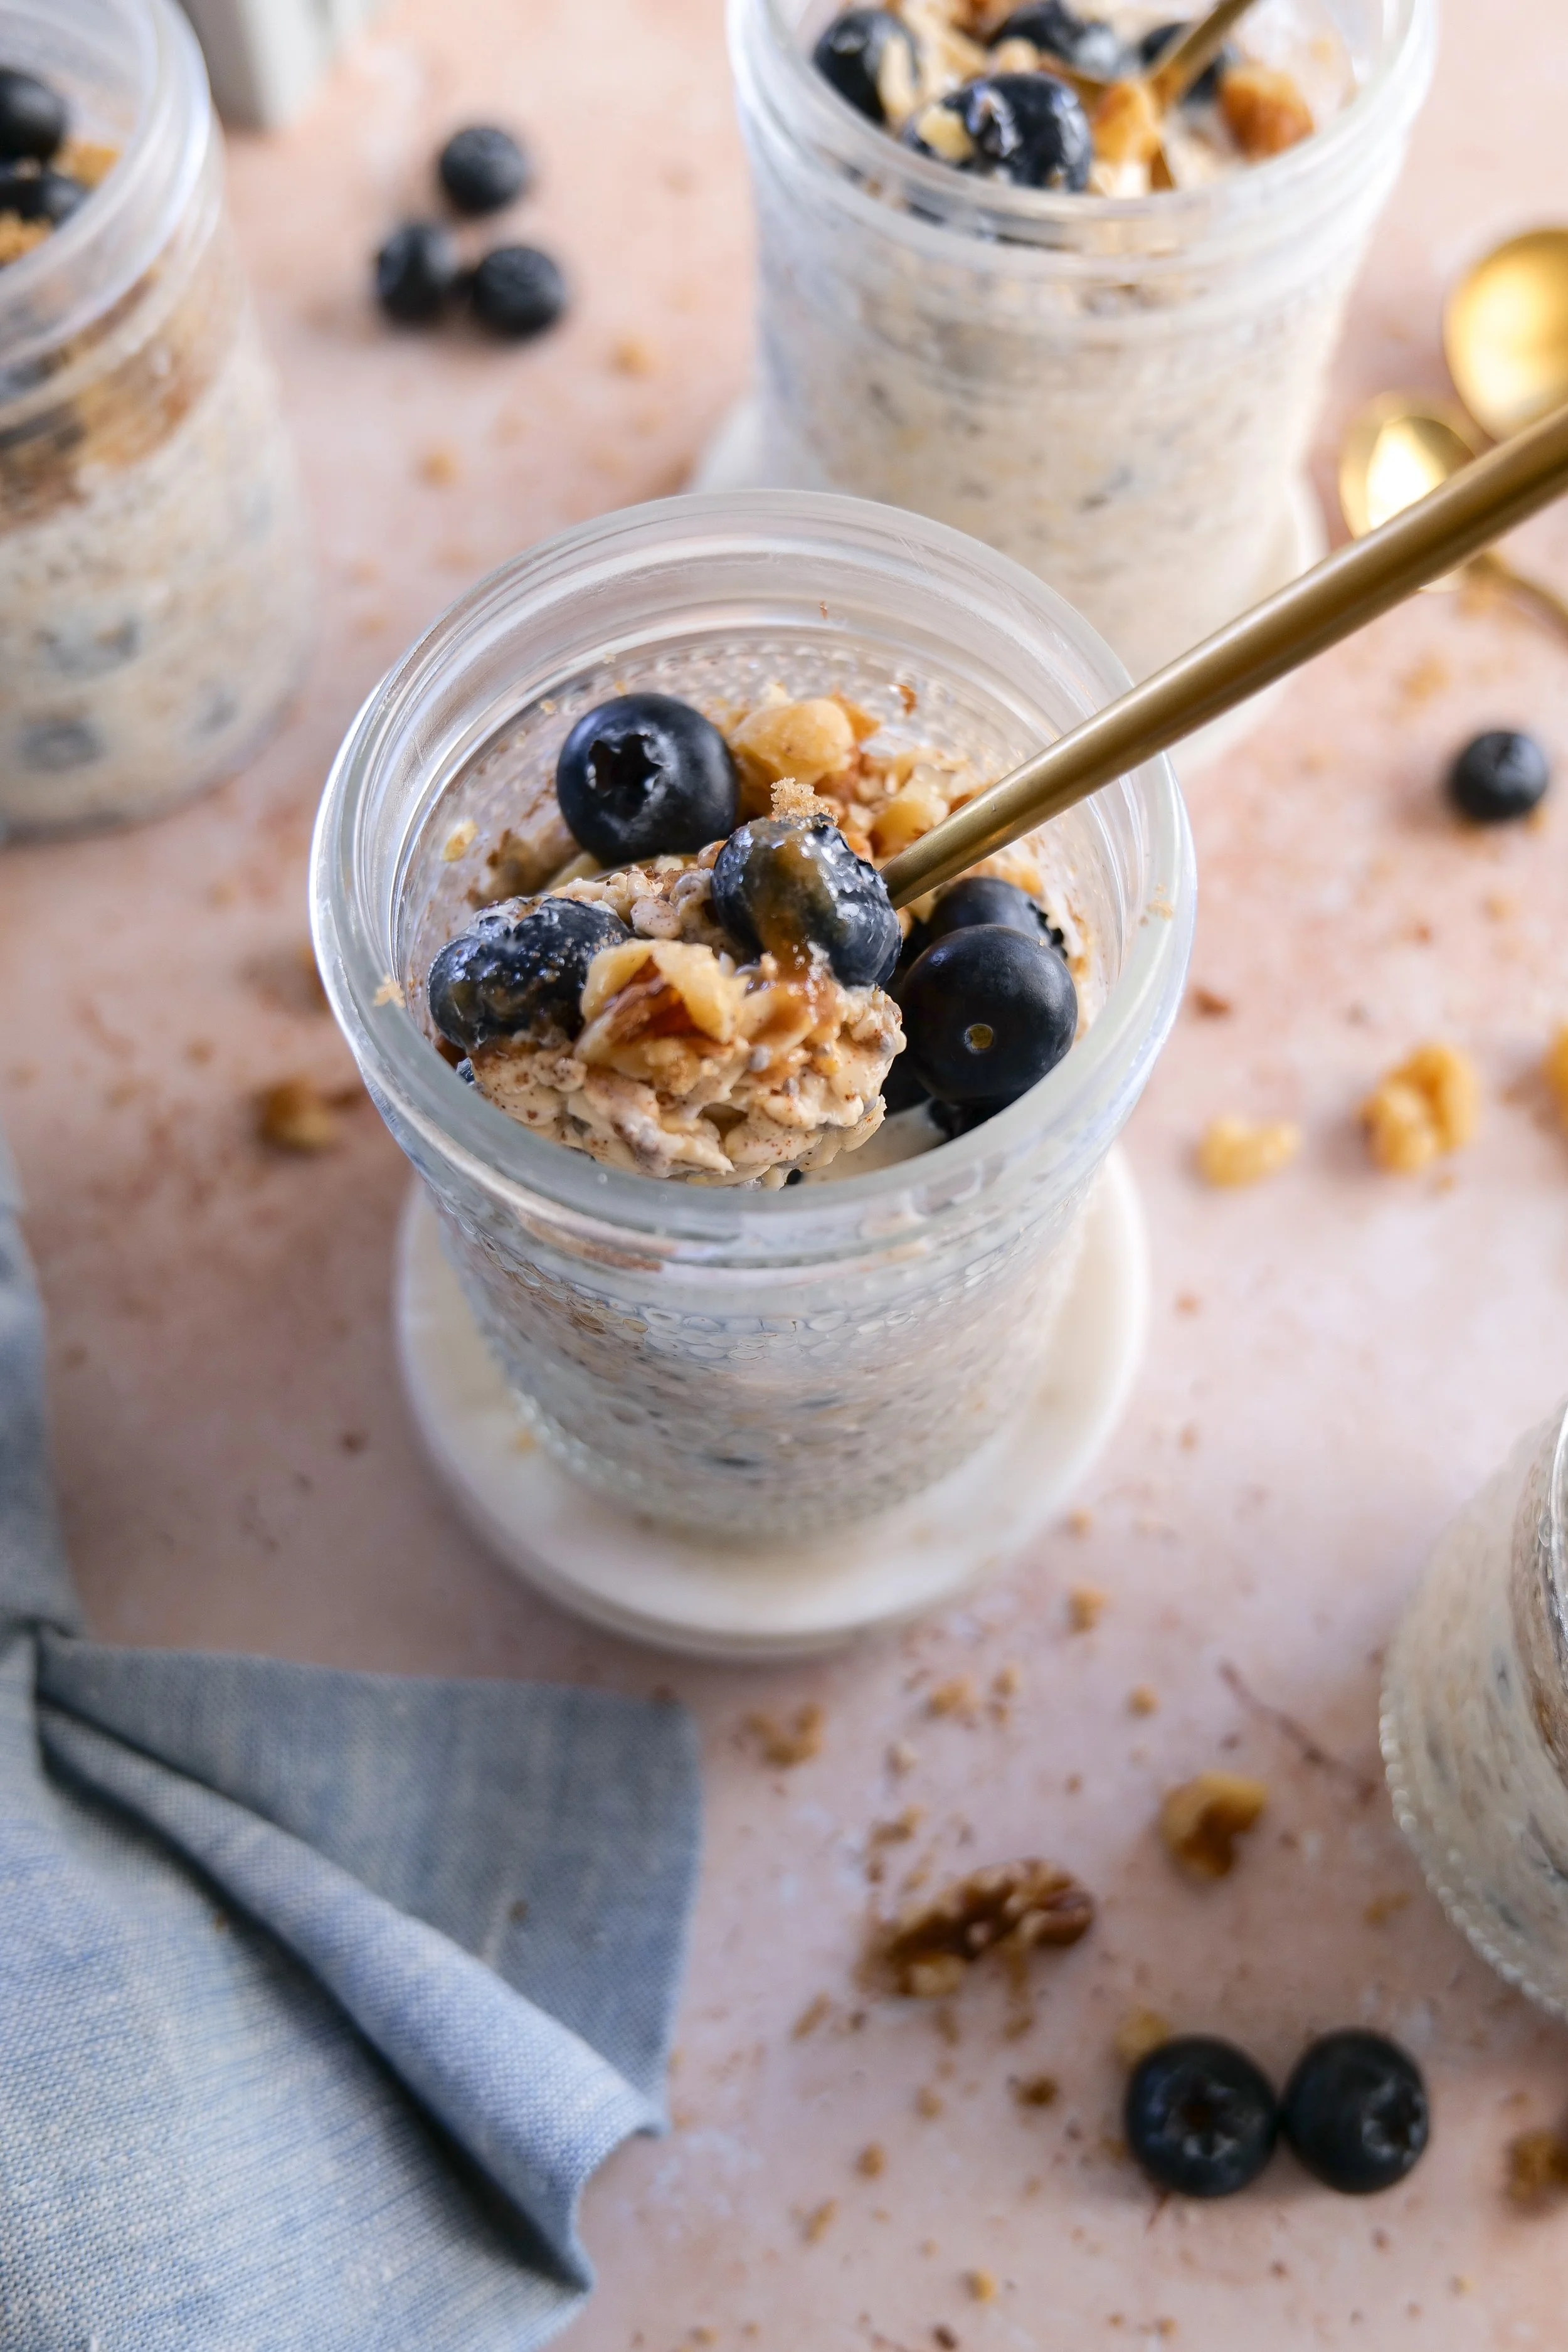
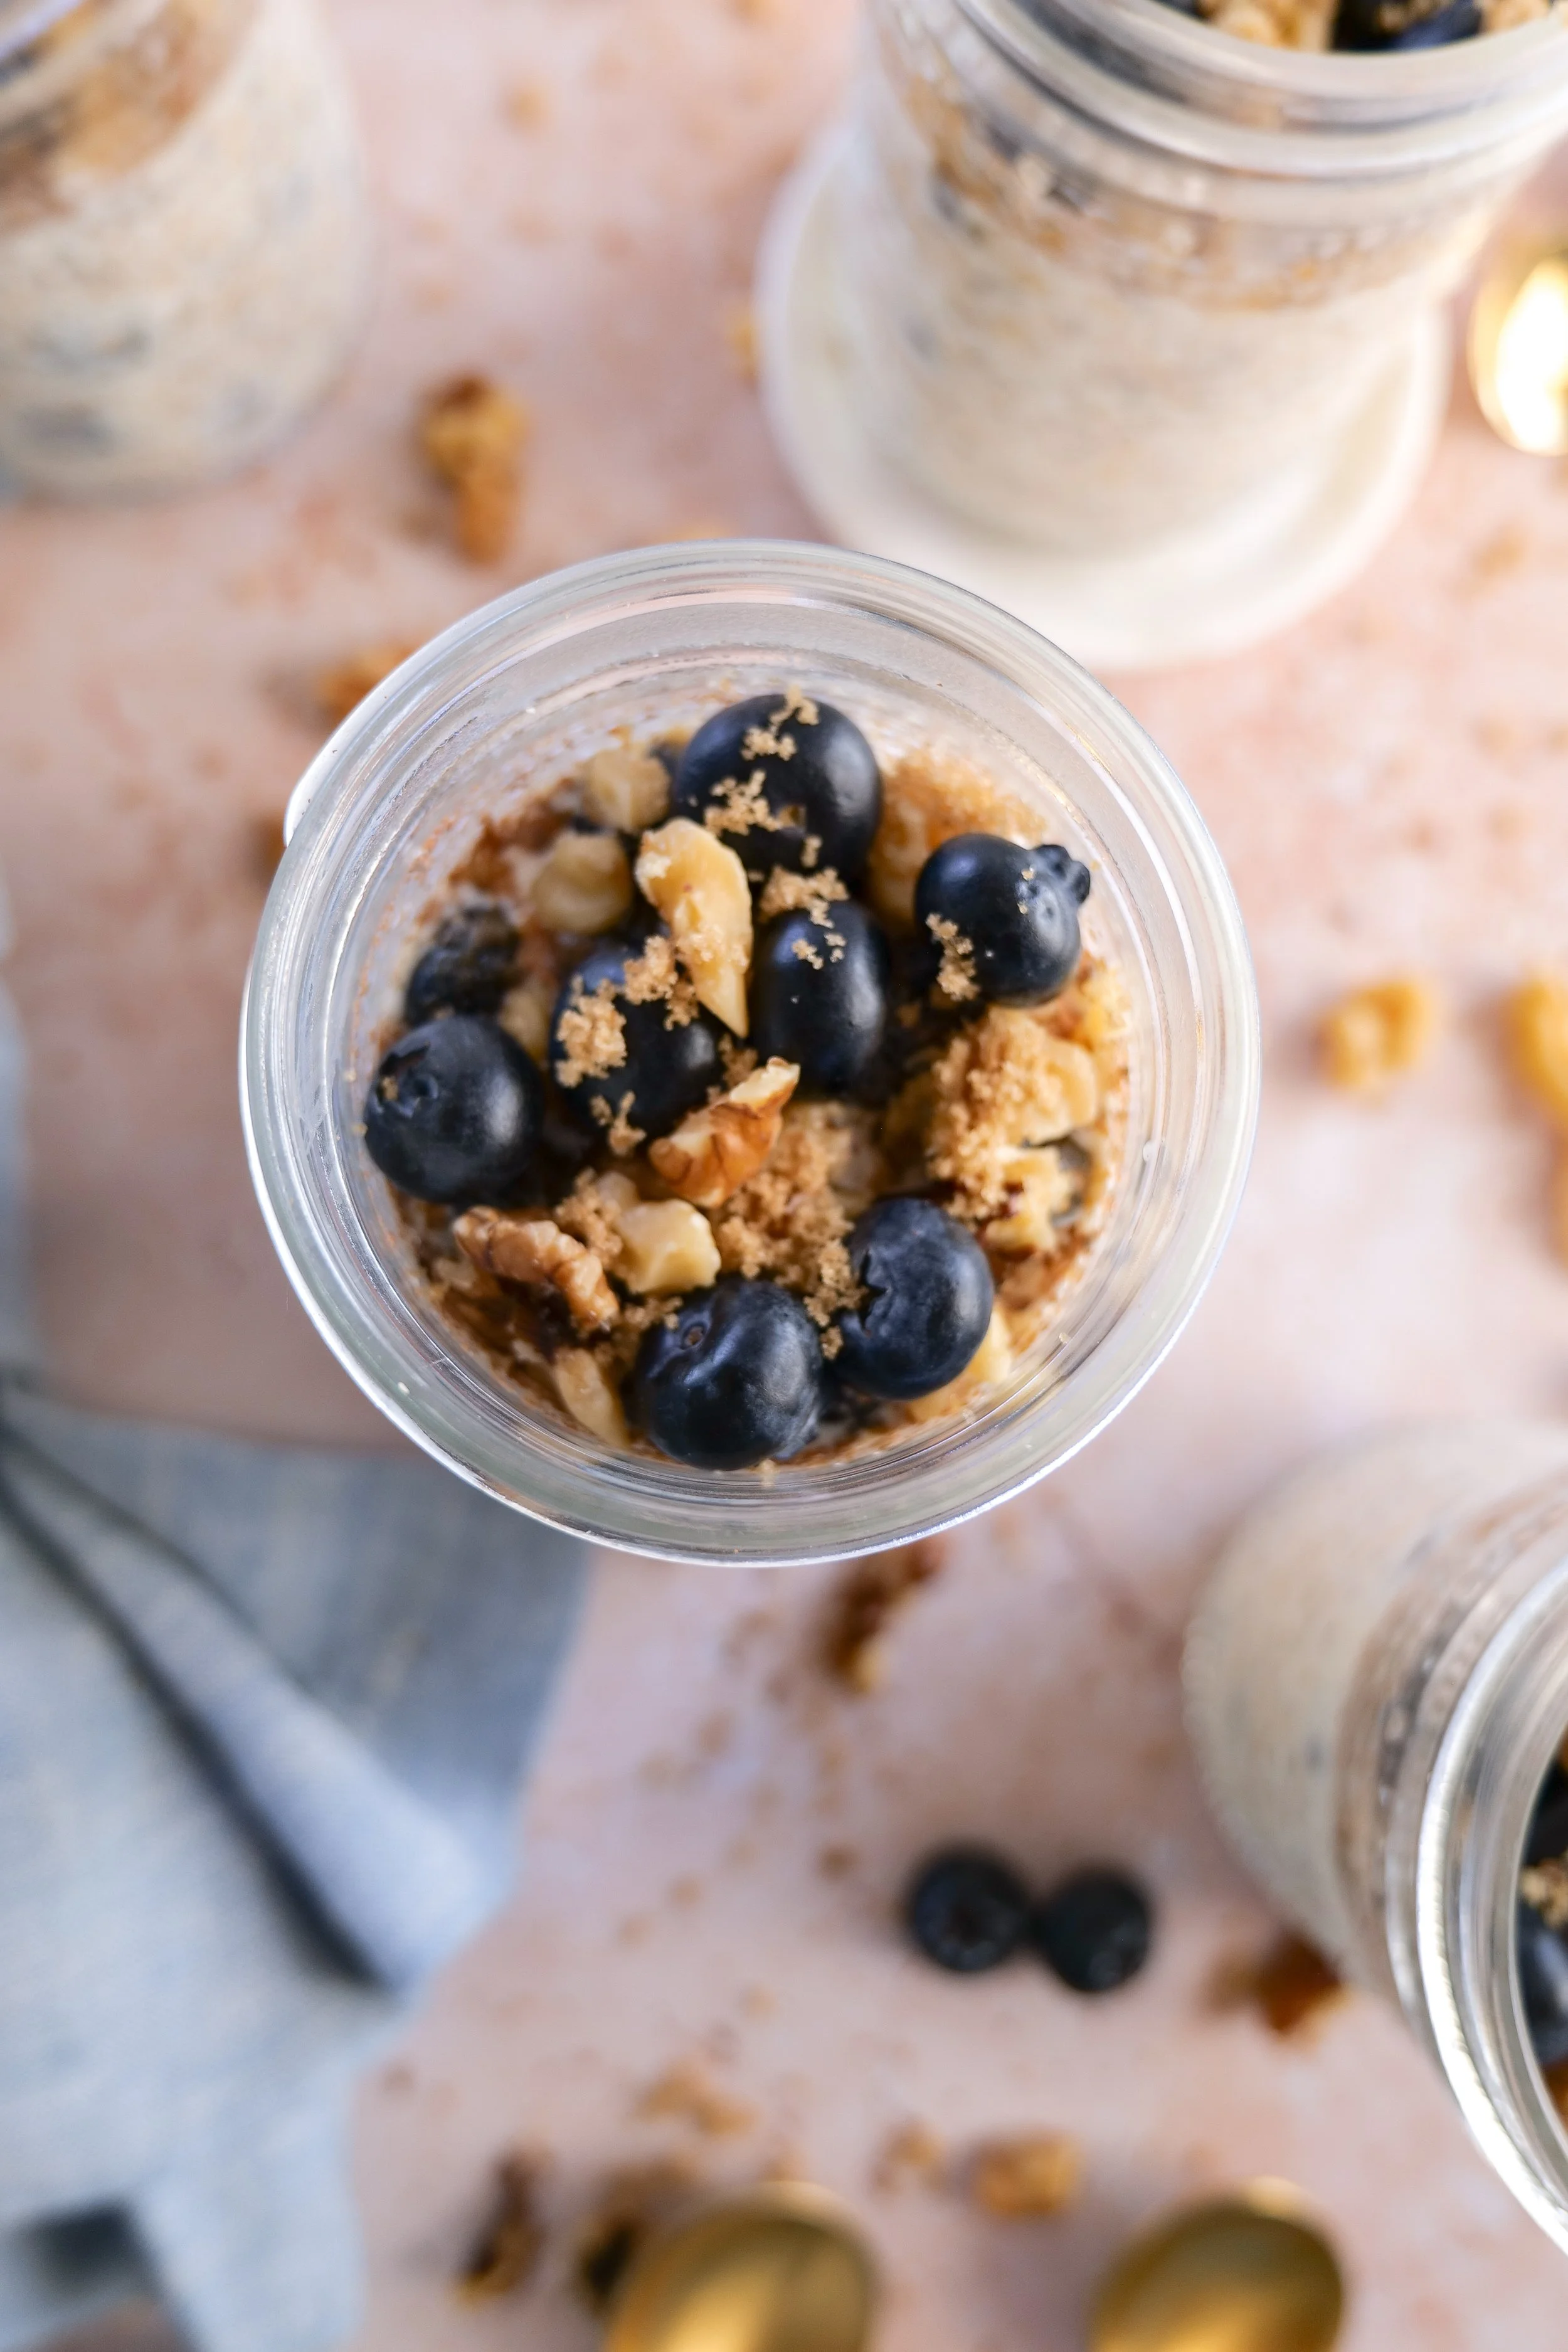
Step 5
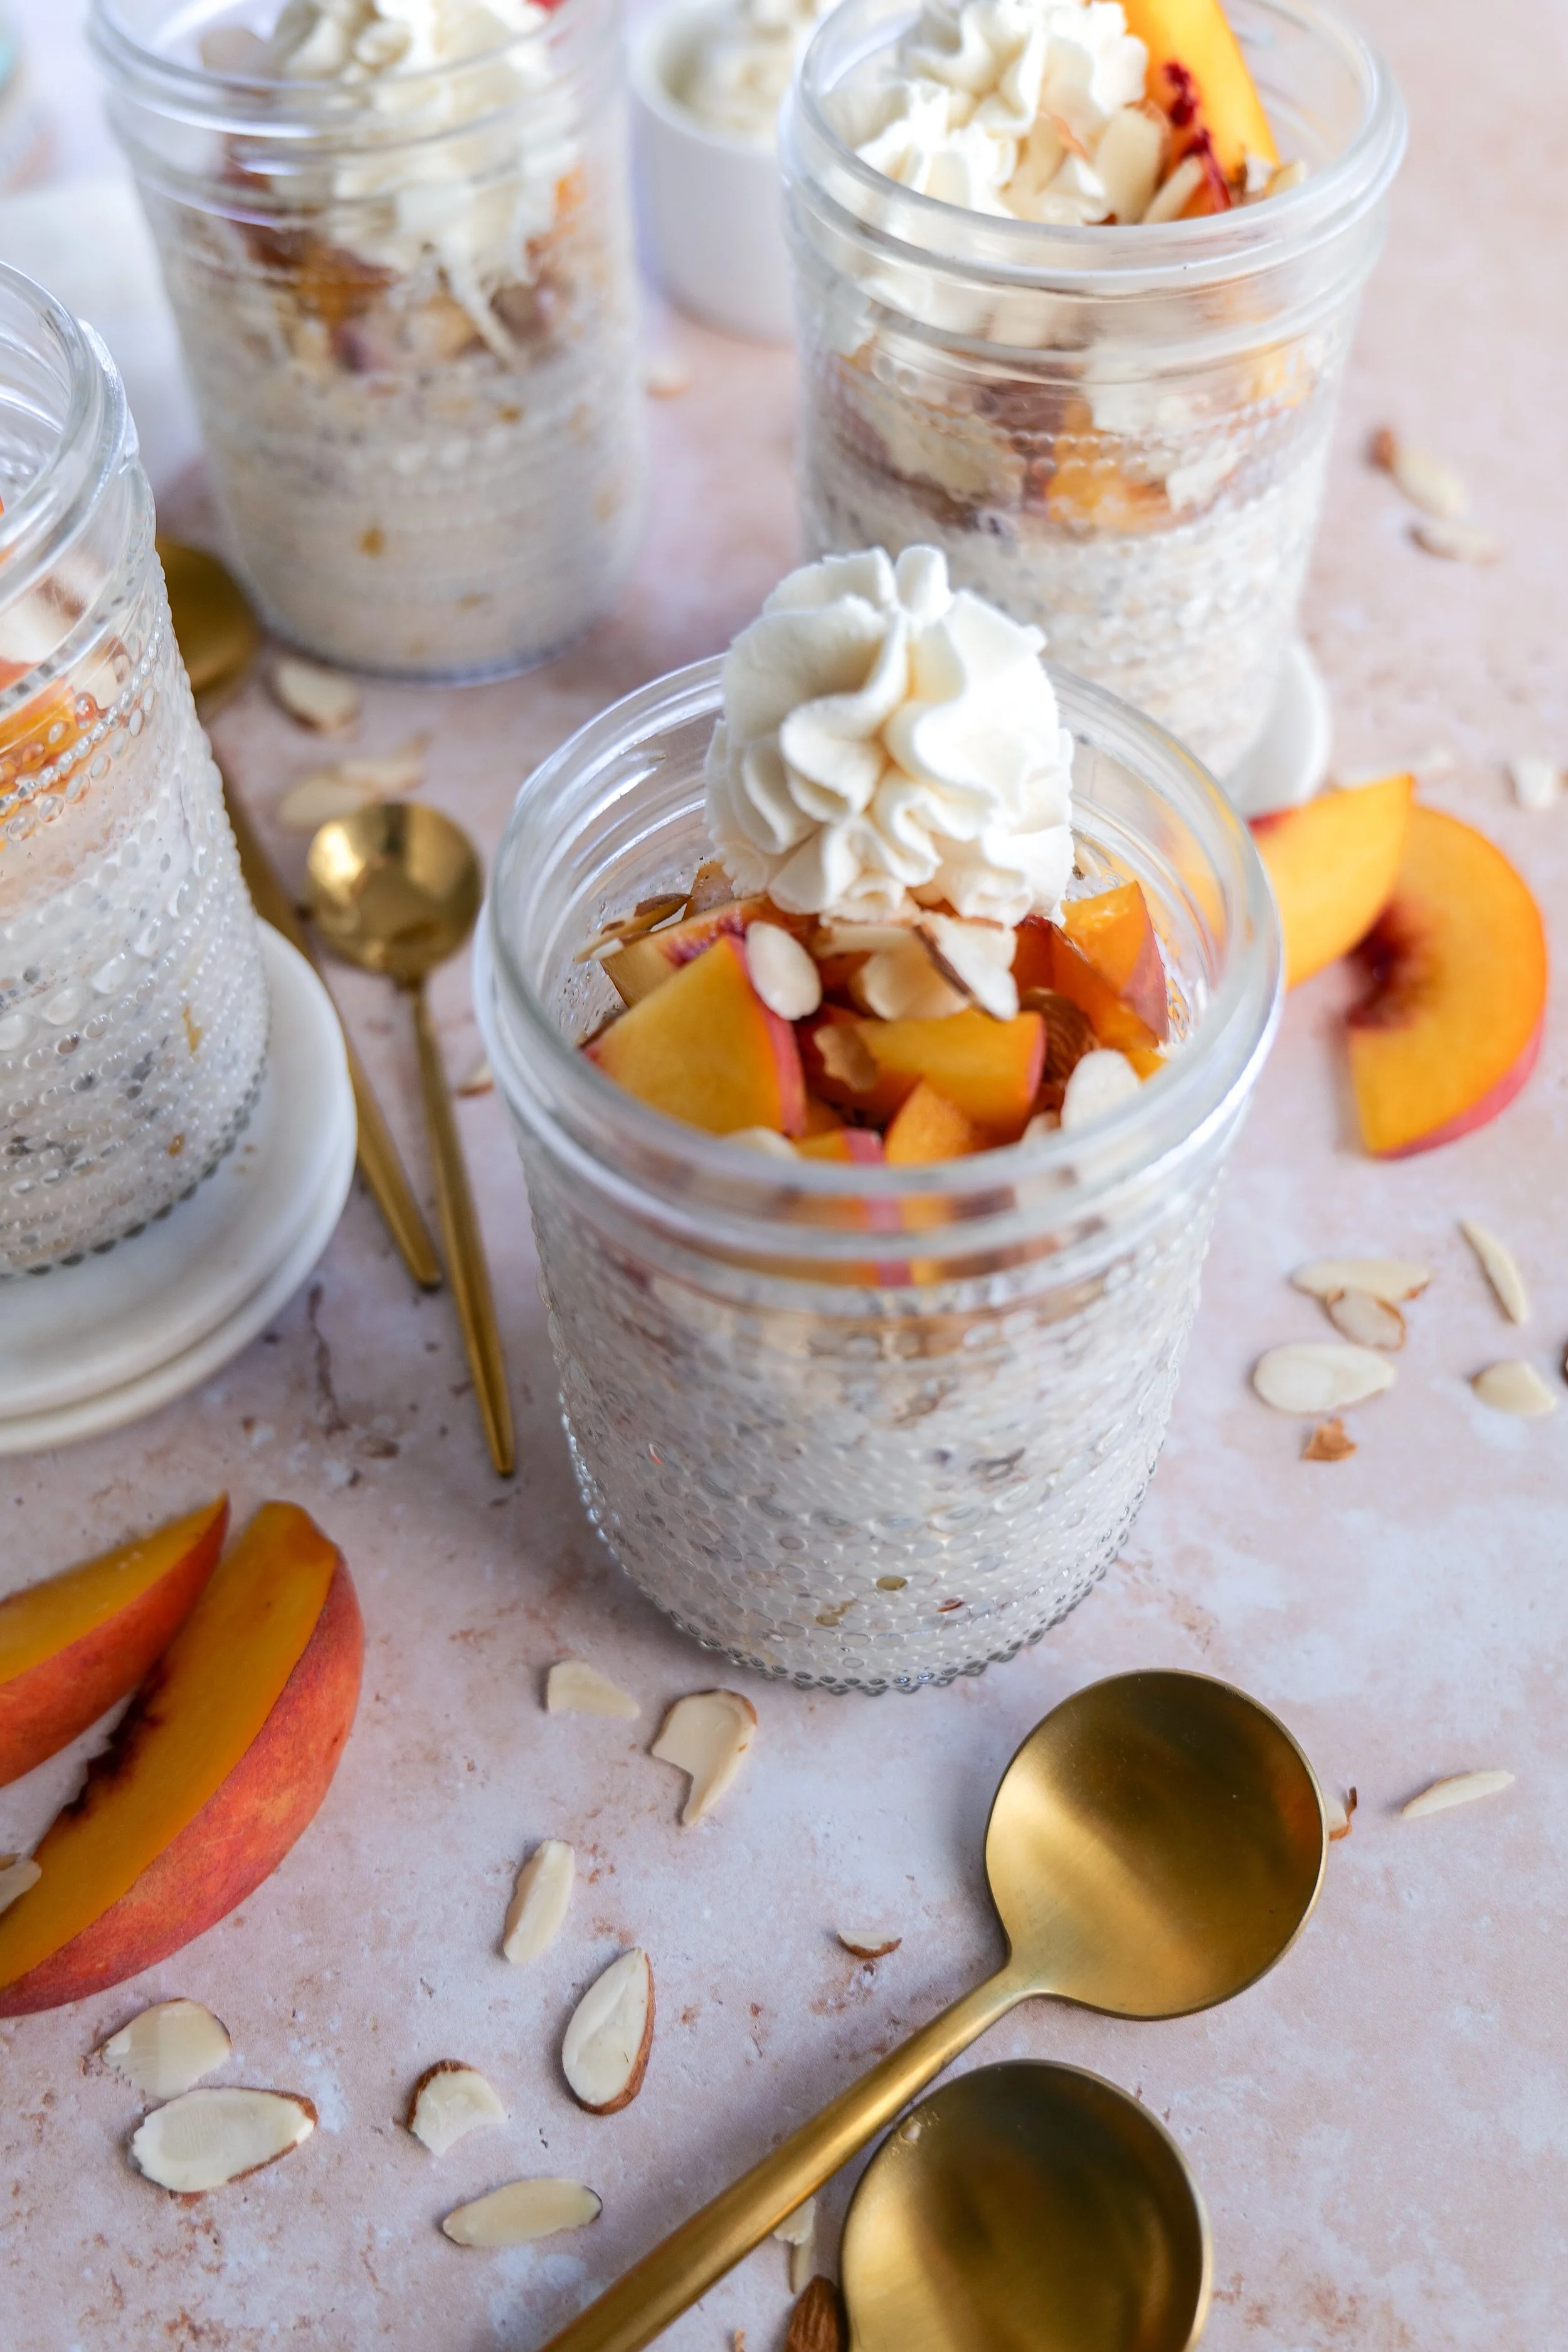
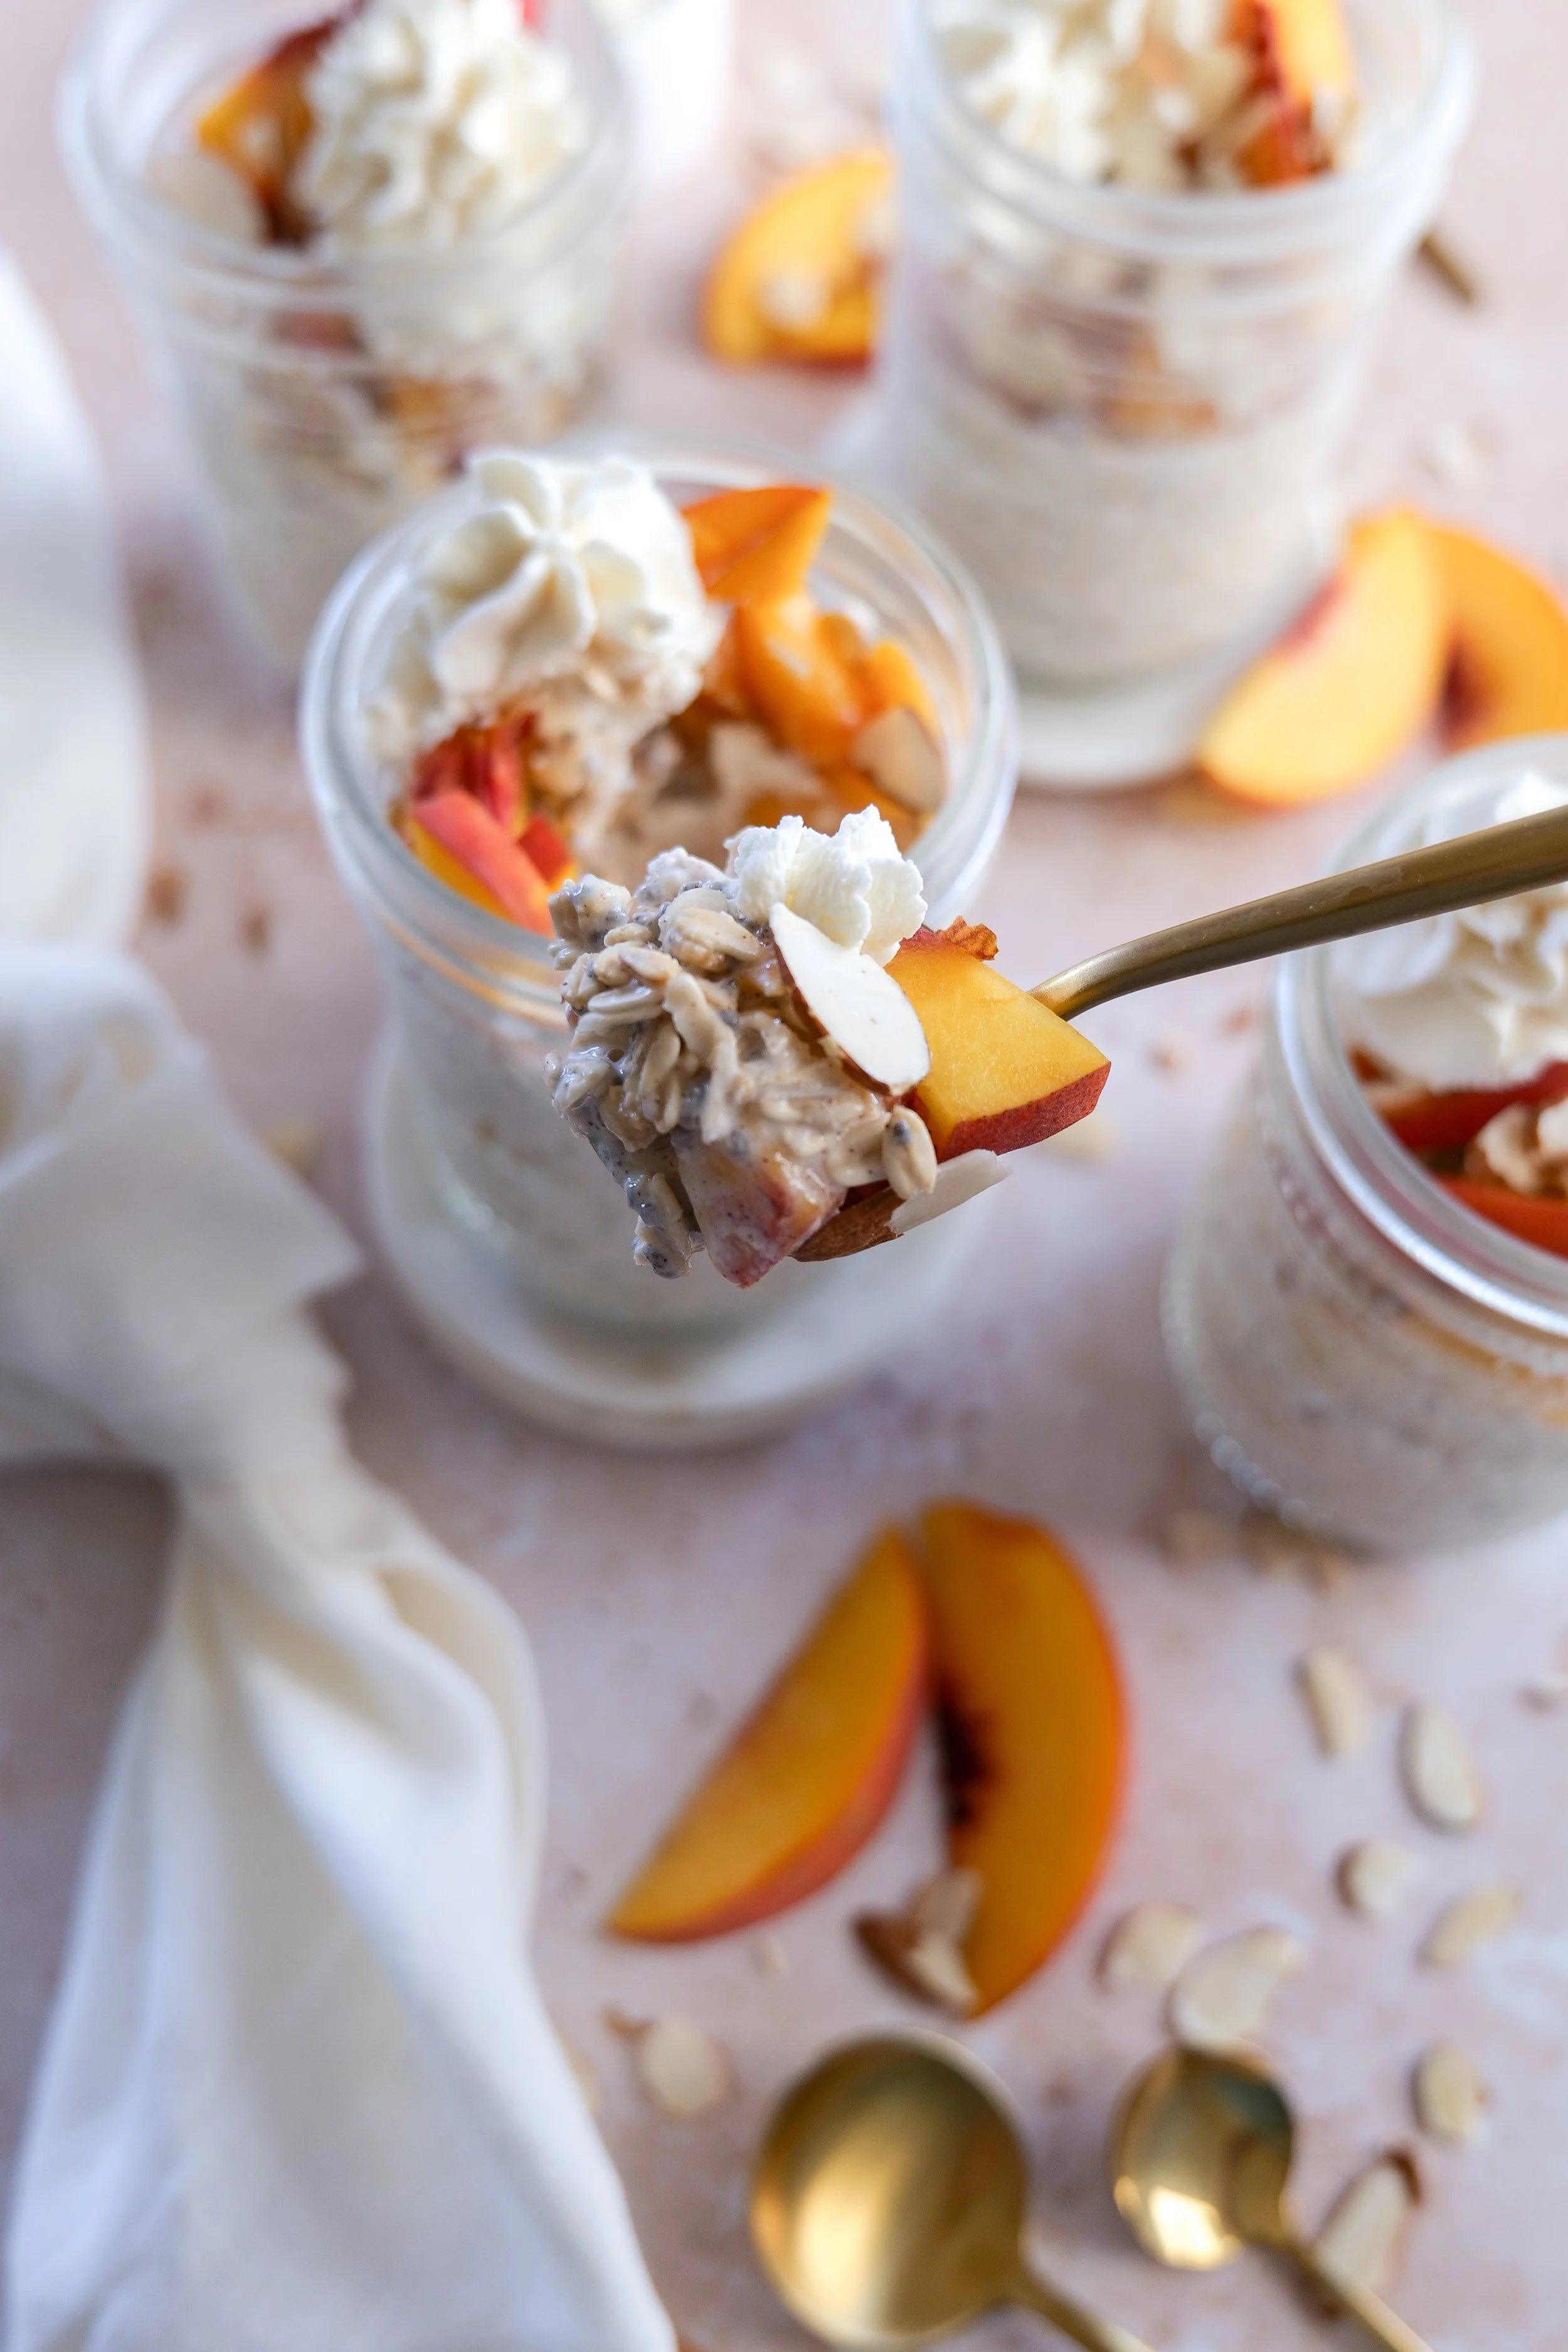
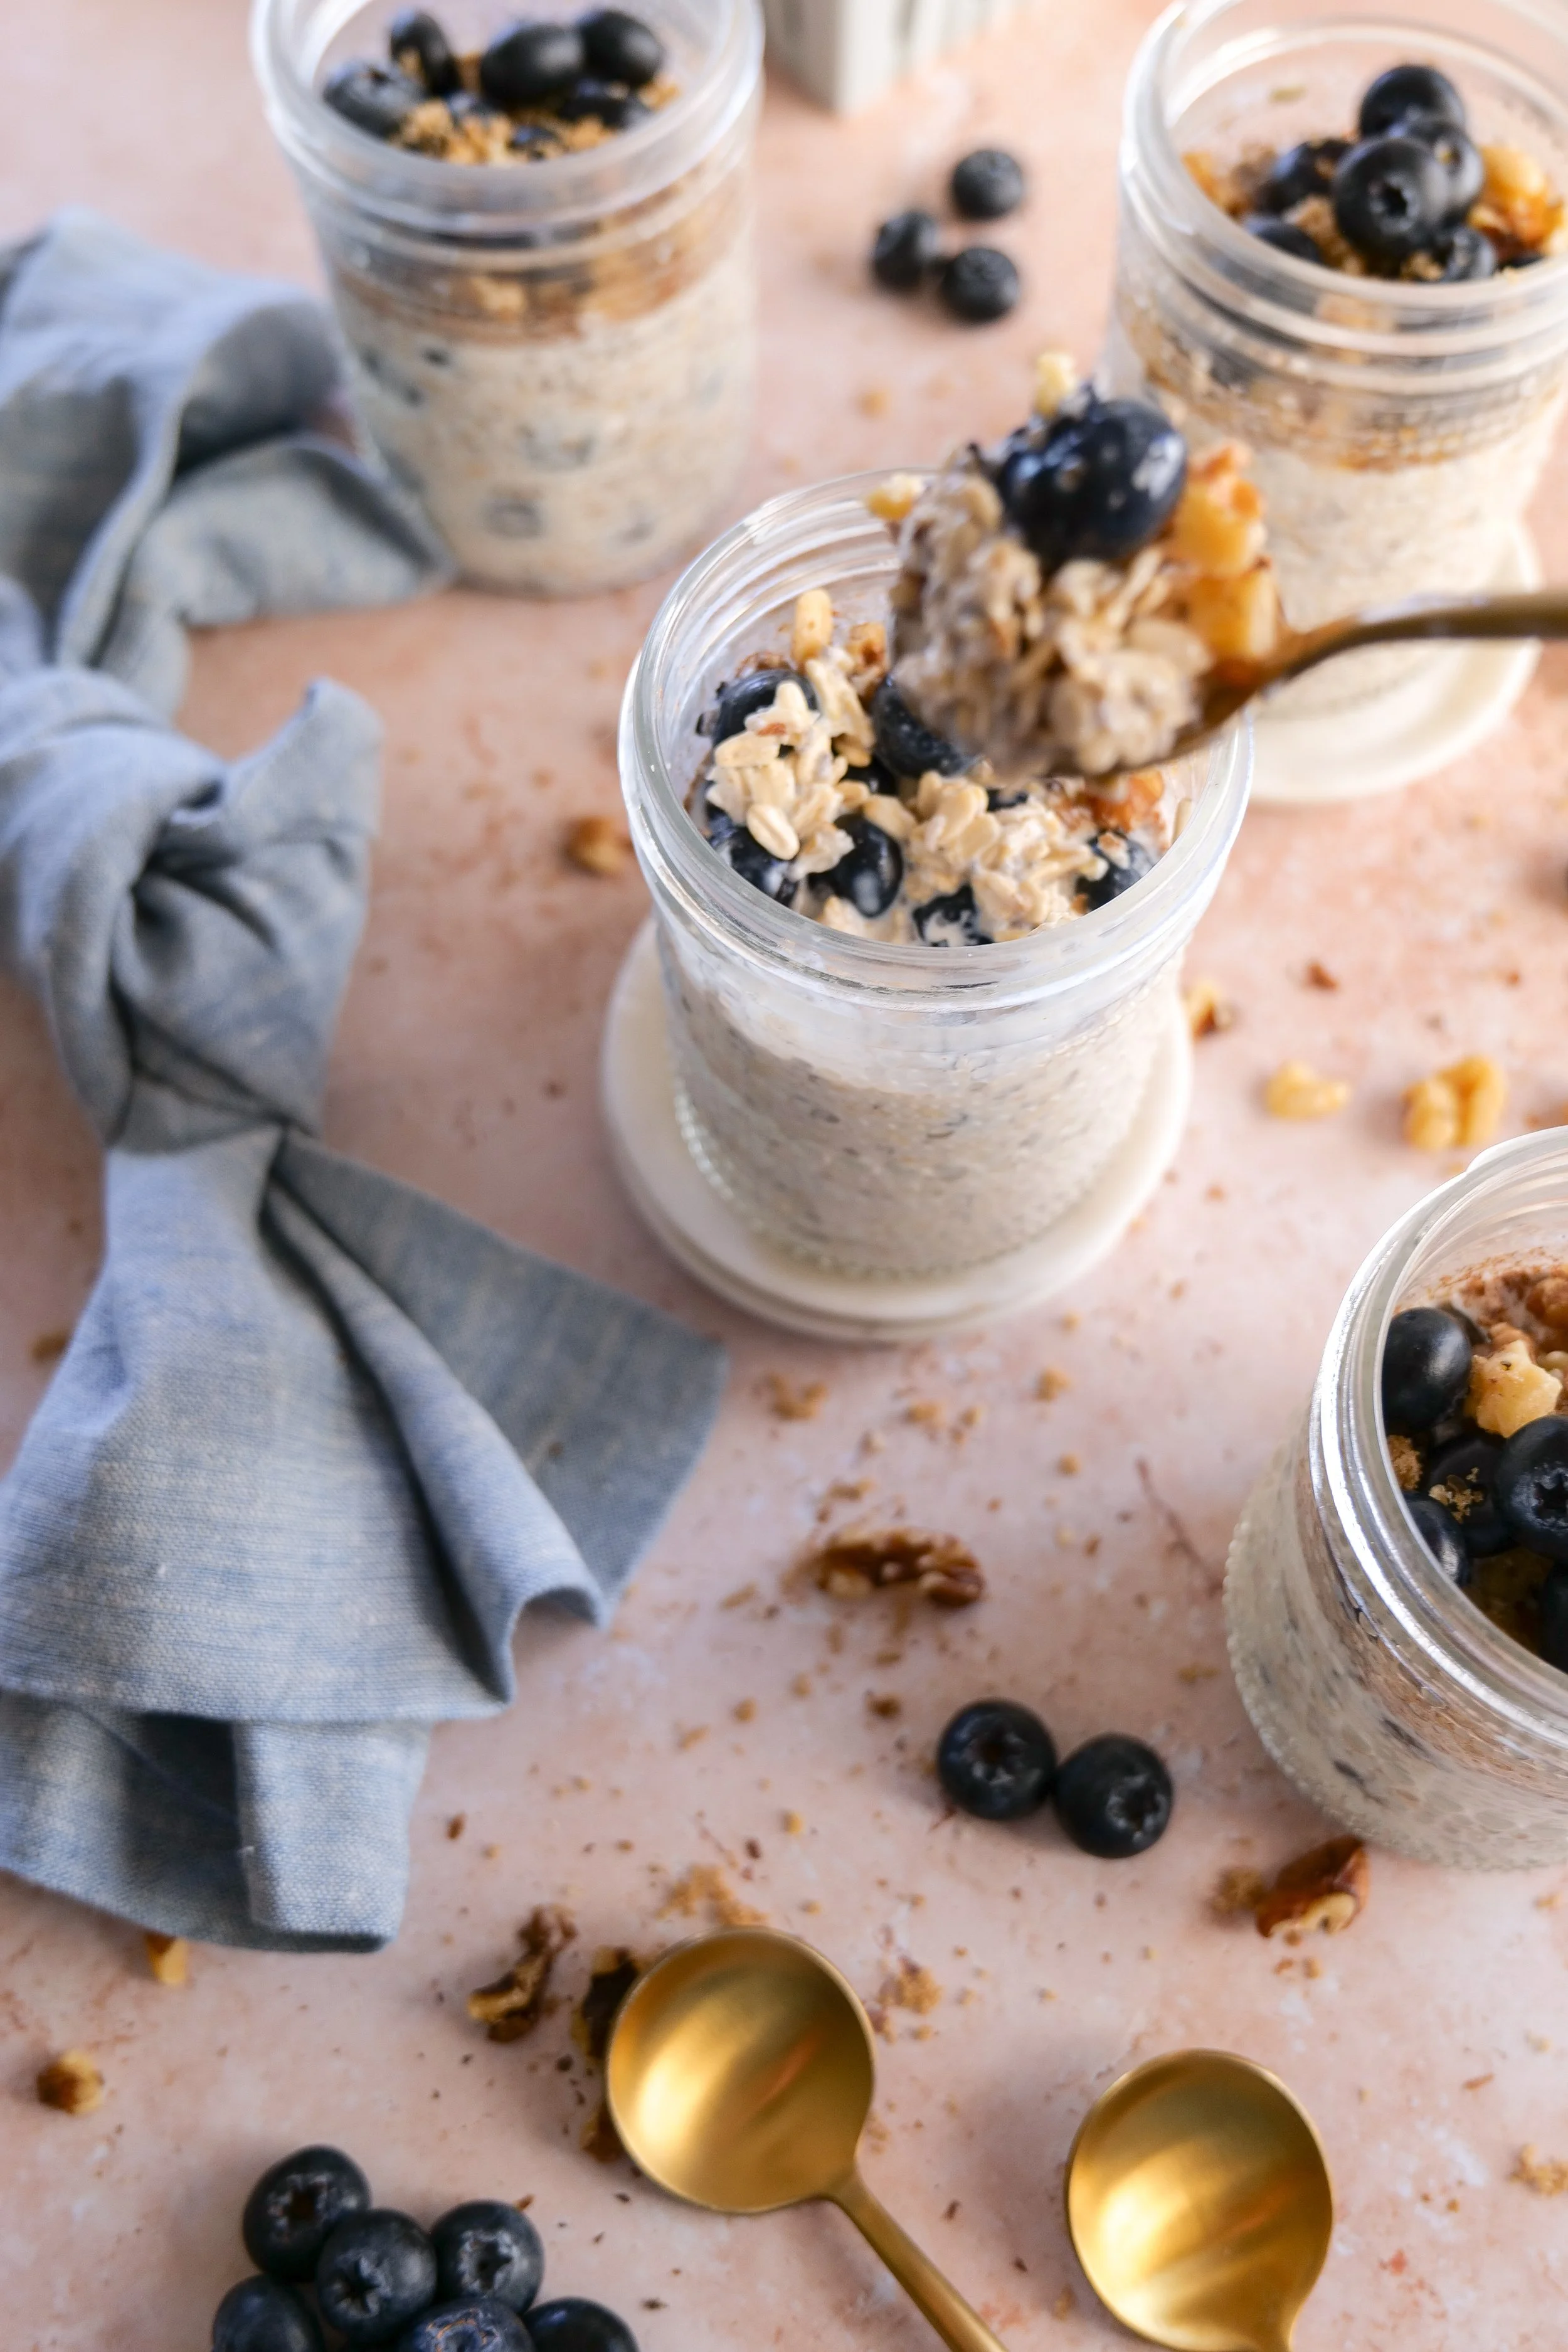
Before serving, stir well and add your favorite toppings.
Amanda's Tips
Add an extra splash of milk before serving for an even creamier texture.
Crushed graham crackers make these taste even more like blueberry pie.
Fresh lemon zest brightens all of the flavors.
Toasted pecans add wonderful crunch.
Make several jars at once for breakfast all week.
Variations
One of the things I love most about overnight oats is how easy they are to customize.
Try adding:
peaches
raspberries
strawberries
almonds
coconut
almond butter
vanilla protein powder
Storage
Store covered in the refrigerator for up to four days.
Because these are perfect for meal prep, I often make several jars at the beginning of the week.
Frequently Asked Questions
Can I use frozen blueberries?
Absolutely. Add them frozen before refrigerating overnight.
Are overnight oats healthy?
Yes. They're packed with fiber, protein, and wholesome ingredients that create a balanced breakfast.
Can I make these dairy-free?
Simply substitute your favorite dairy-free yogurt and milk.
Can I warm overnight oats?
Yes! Although I love them cold during the summer months, they're also delicious gently warmed.
What type of oats work best?
Old-fashioned rolled oats create the best texture.
Can kids enjoy overnight oats?
Absolutely. They're a wonderful breakfast for little ones and easy to customize with their favorite fruit.
Serving Suggestions
Pair these Blueberry Pie Overnight Oats with:
Fresh fruit
Homemade granola
Yogurt parfaits
More Summer Fruit Recipes
If you're enjoying fresh fruit this season, I think you'll love these recipes too.
Blueberry Peach Bread with Cinnamon Streusel
Blueberry Apricot Streusel Muffins
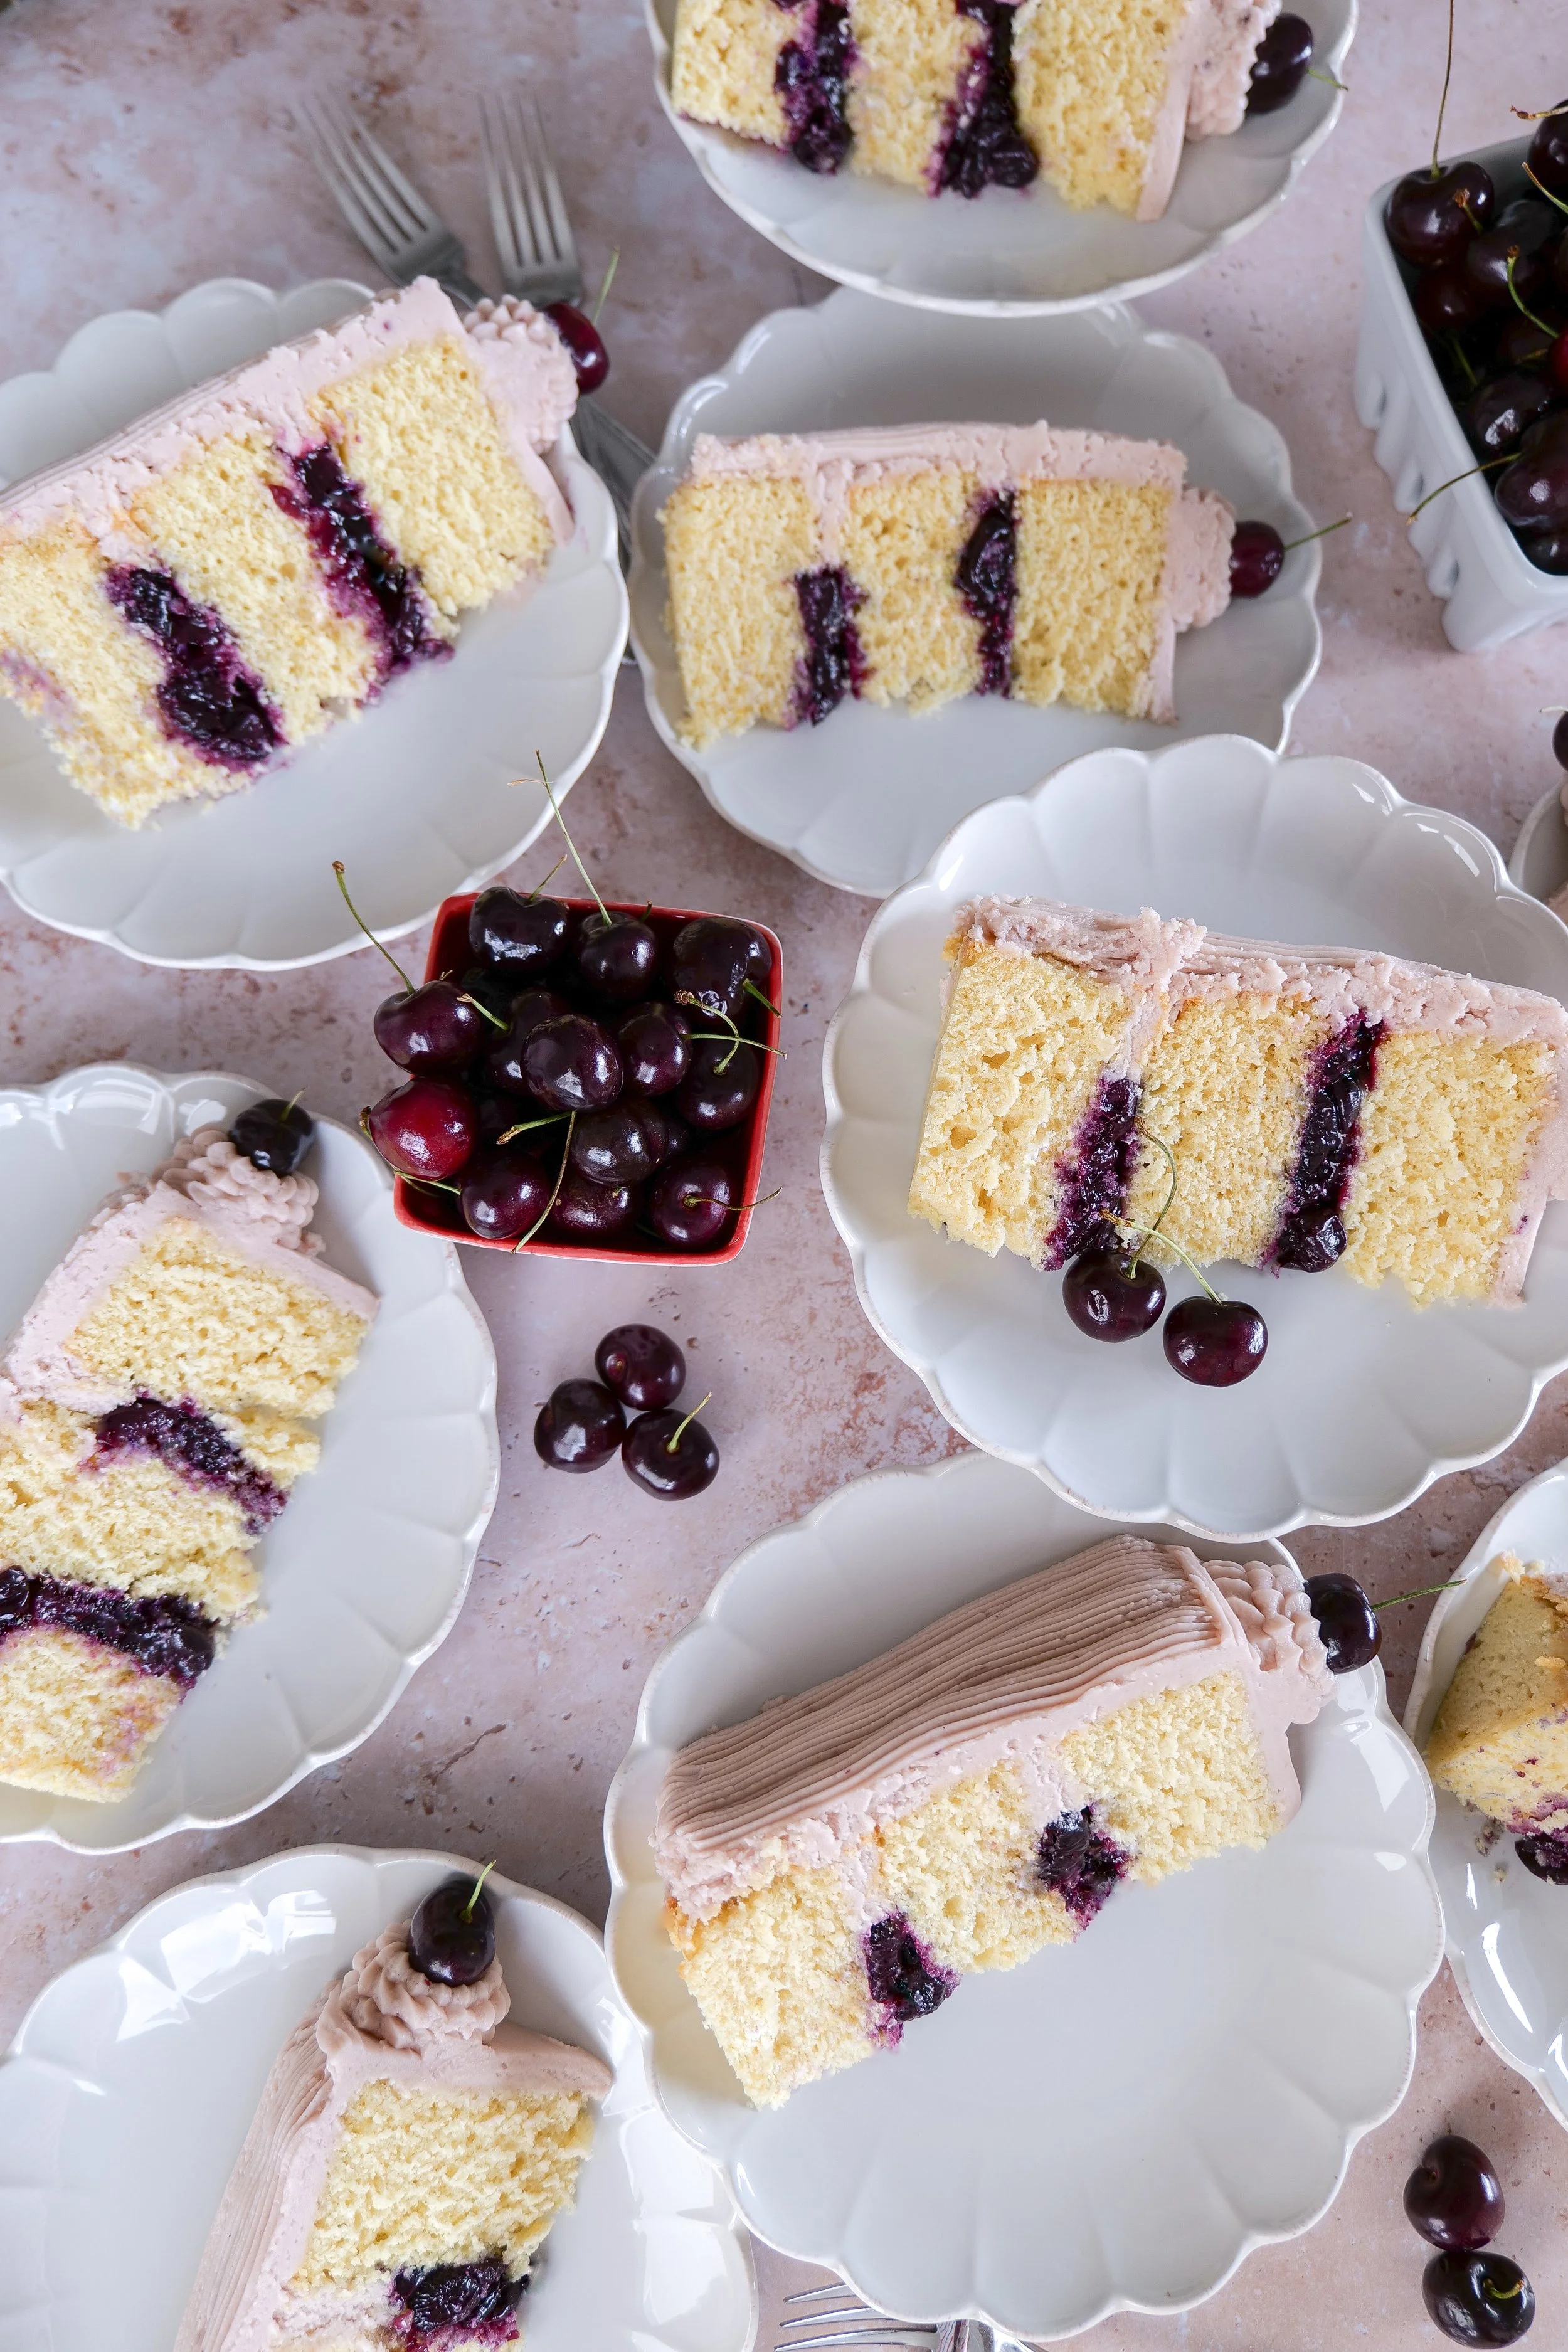
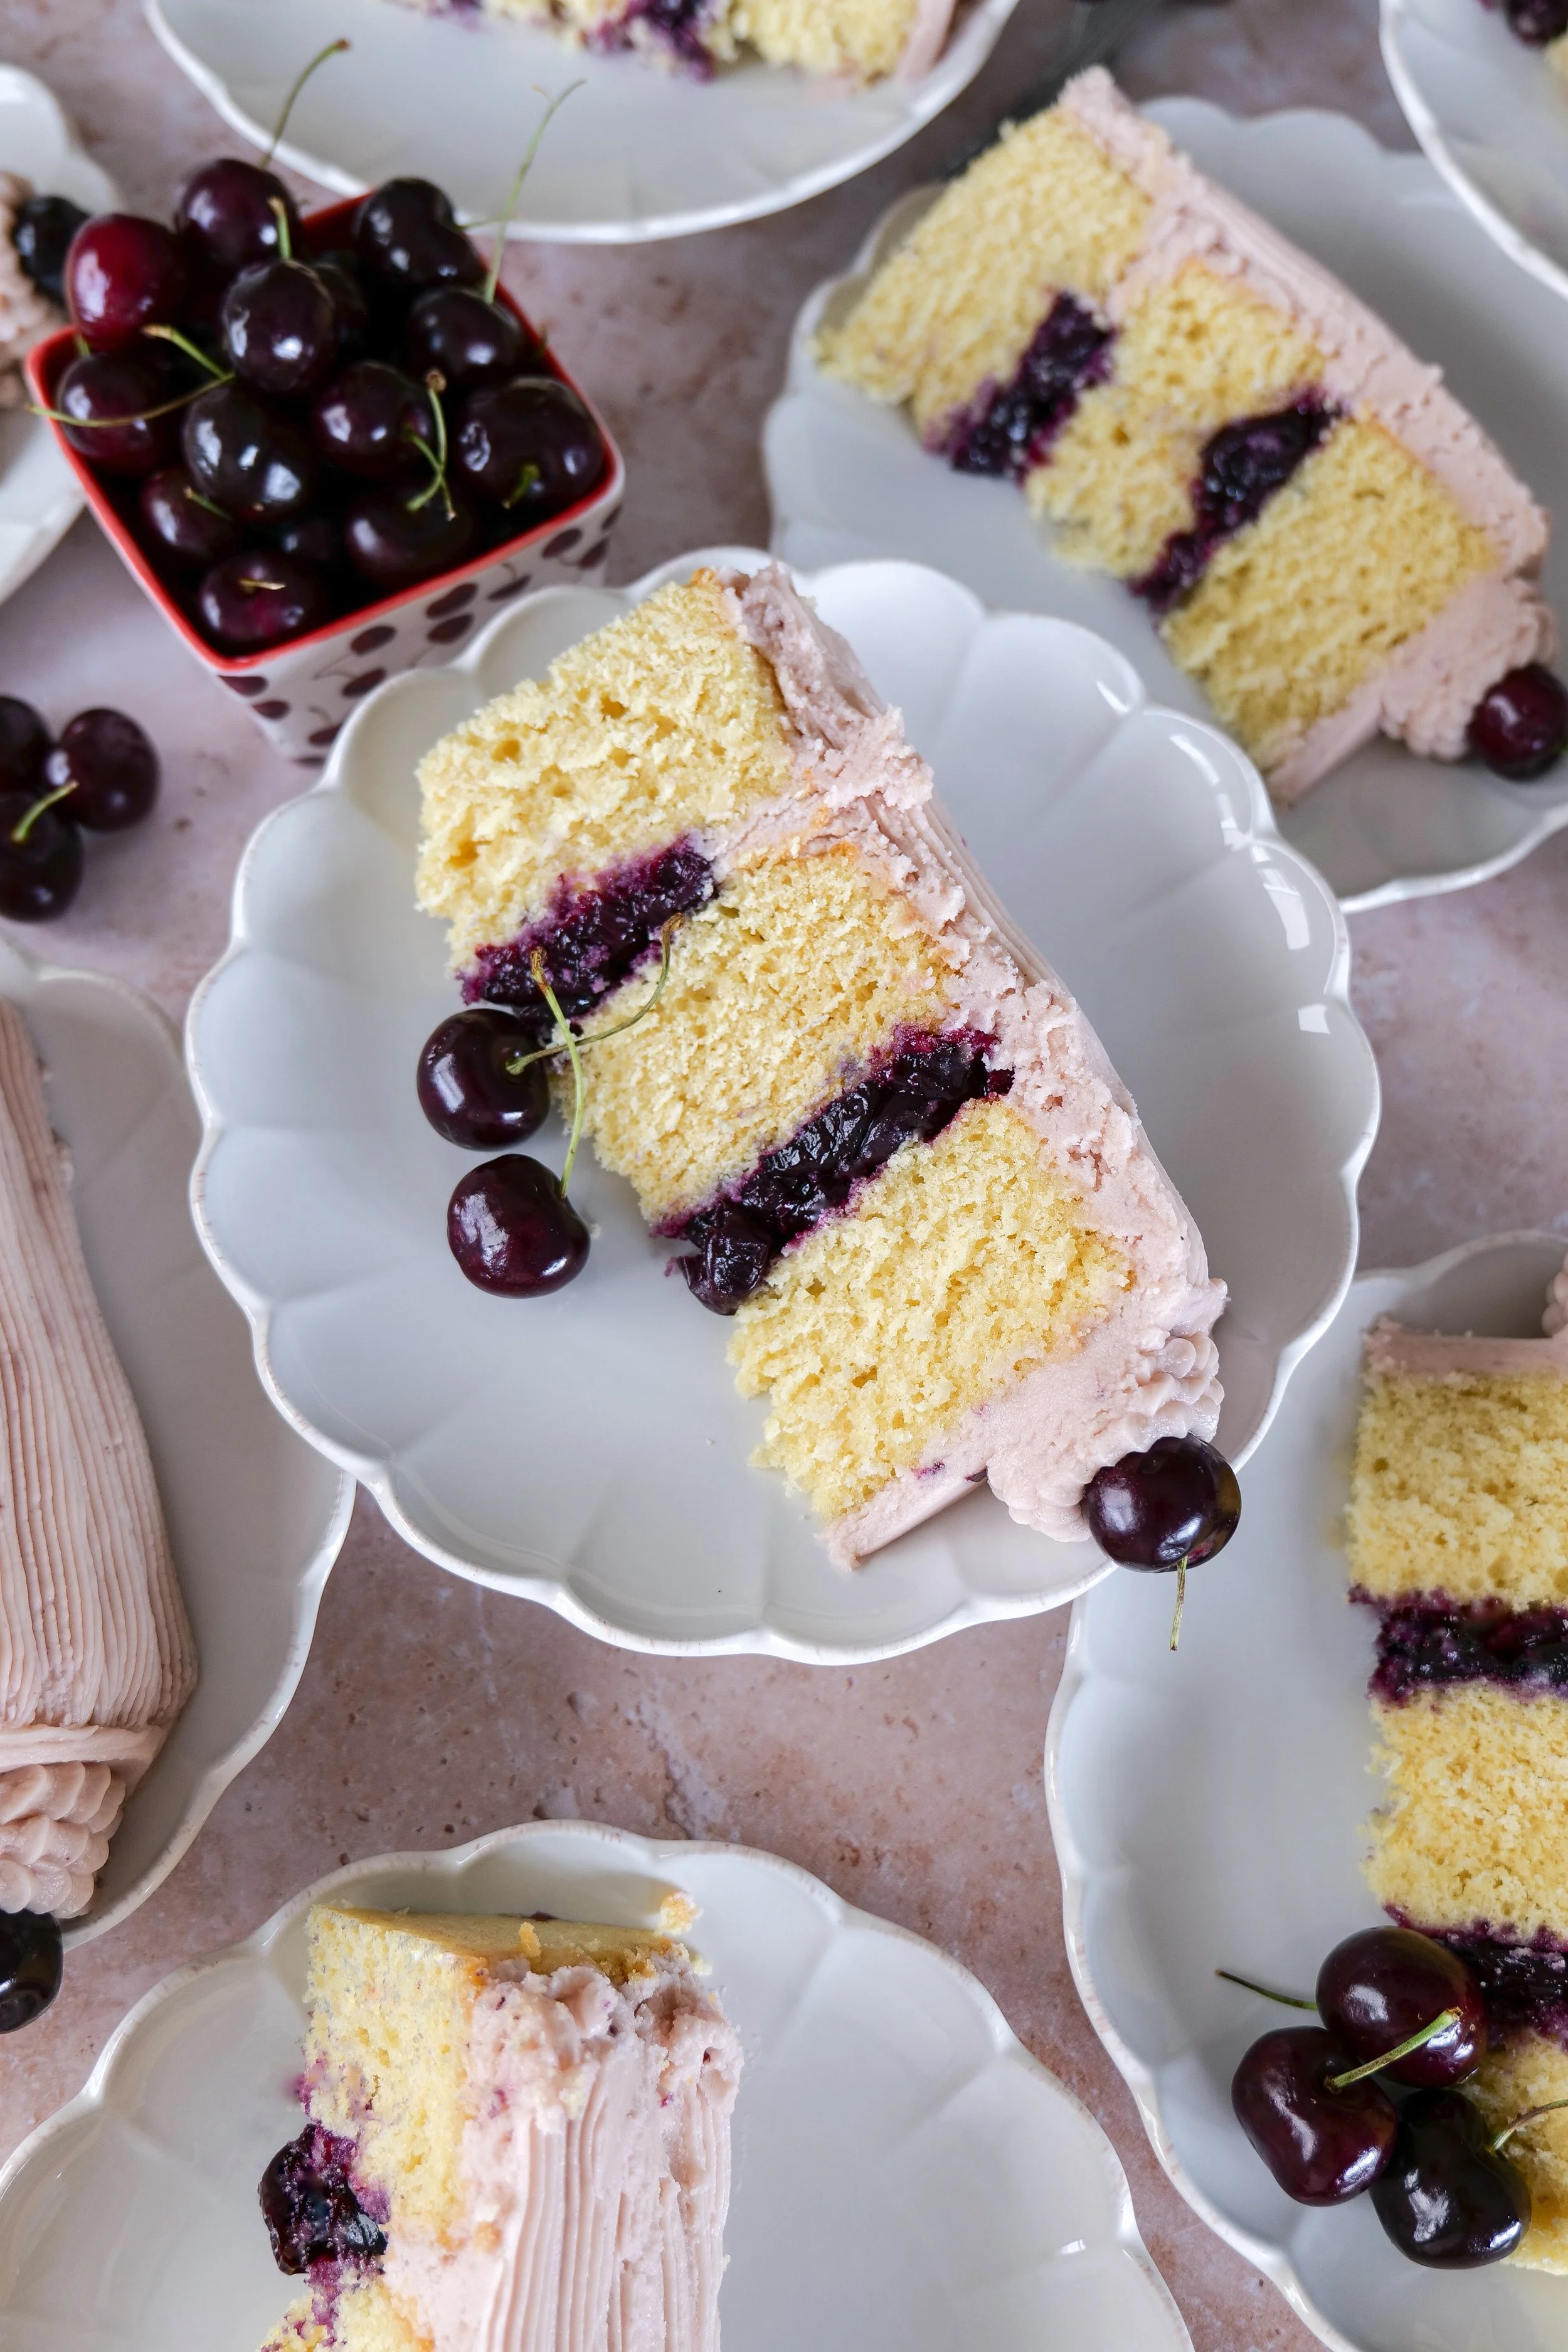
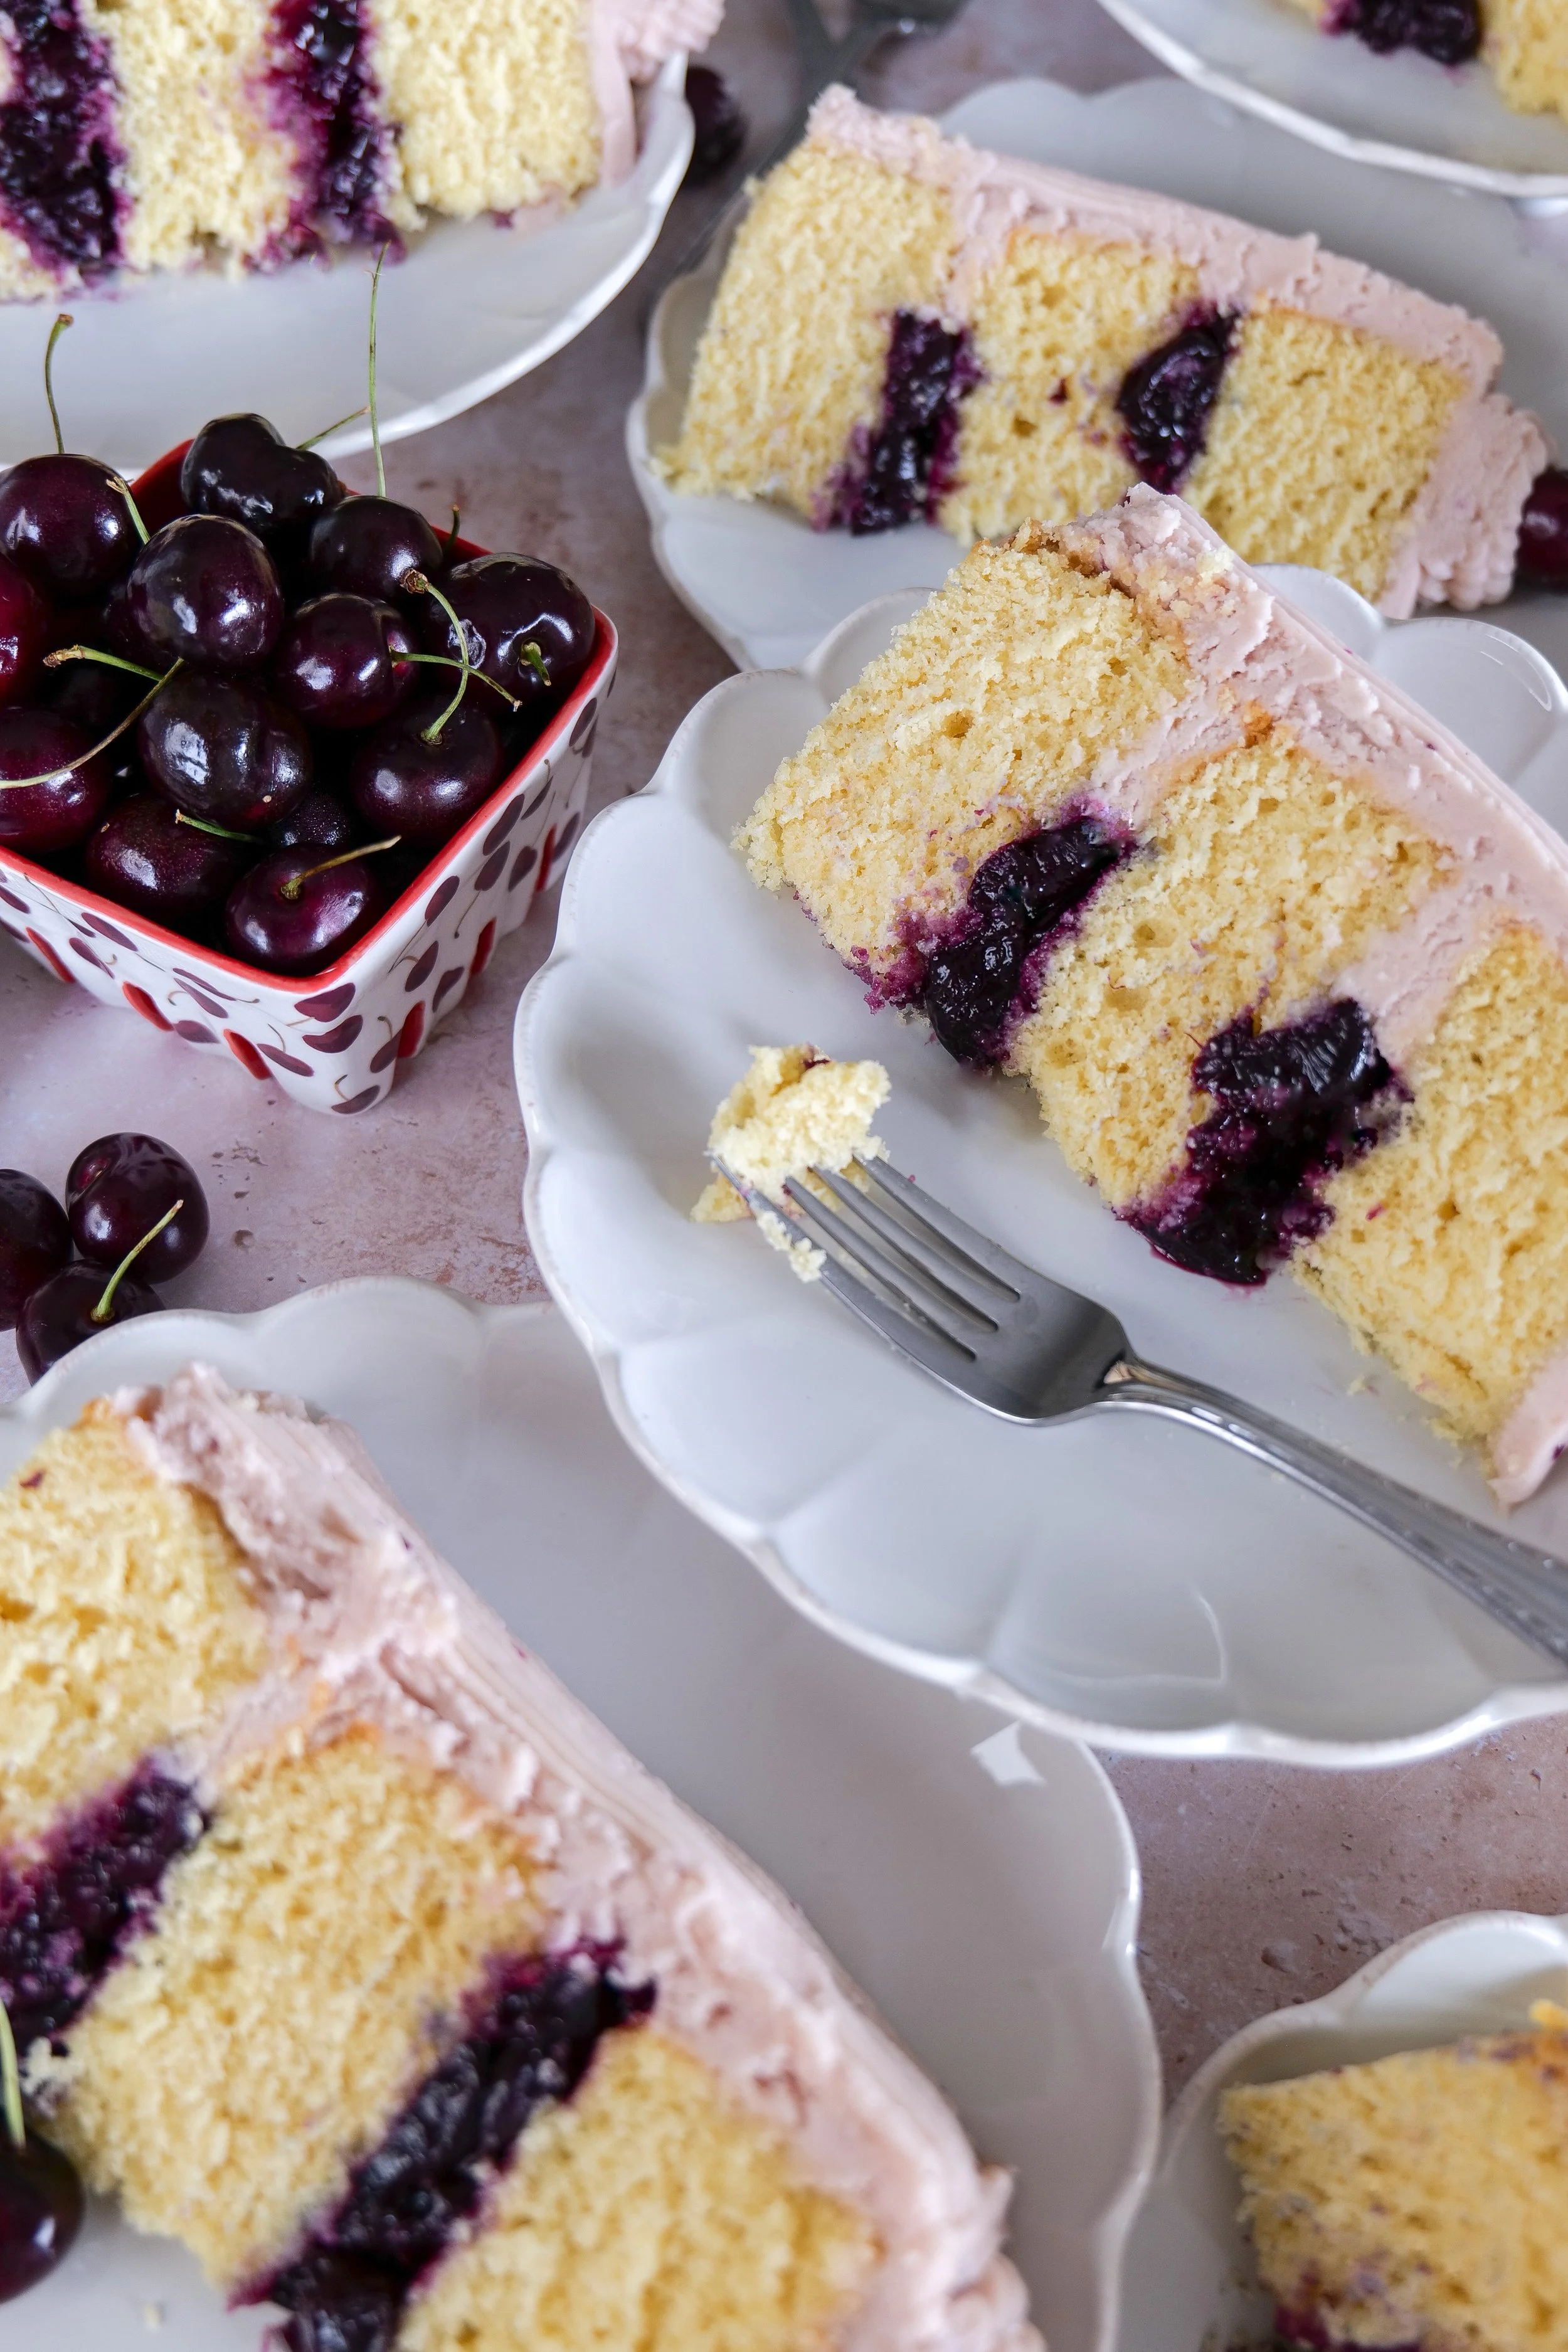
Almond Coconut Cake with Blueberry Curd Filling
Strawberry Puff Pastry Pop Tarts
Shop My Breakfast Favorites
I've linked all of the kitchen tools, meal prep jars, mixing bowls, measuring cups, and breakfast essentials I use regularly.
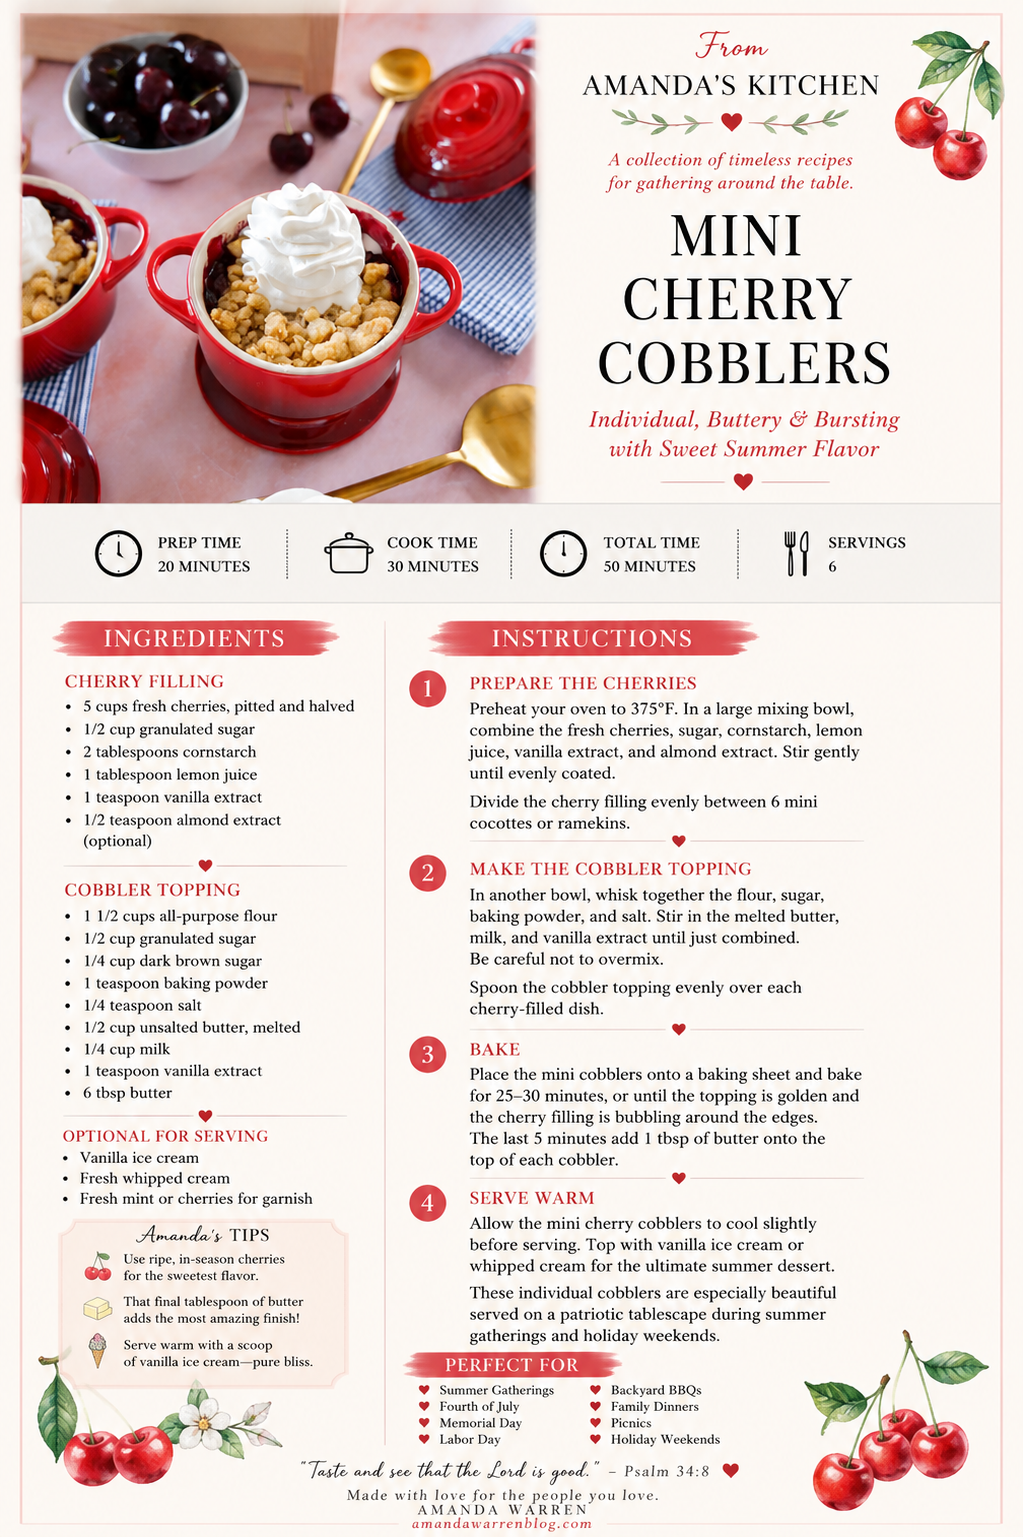
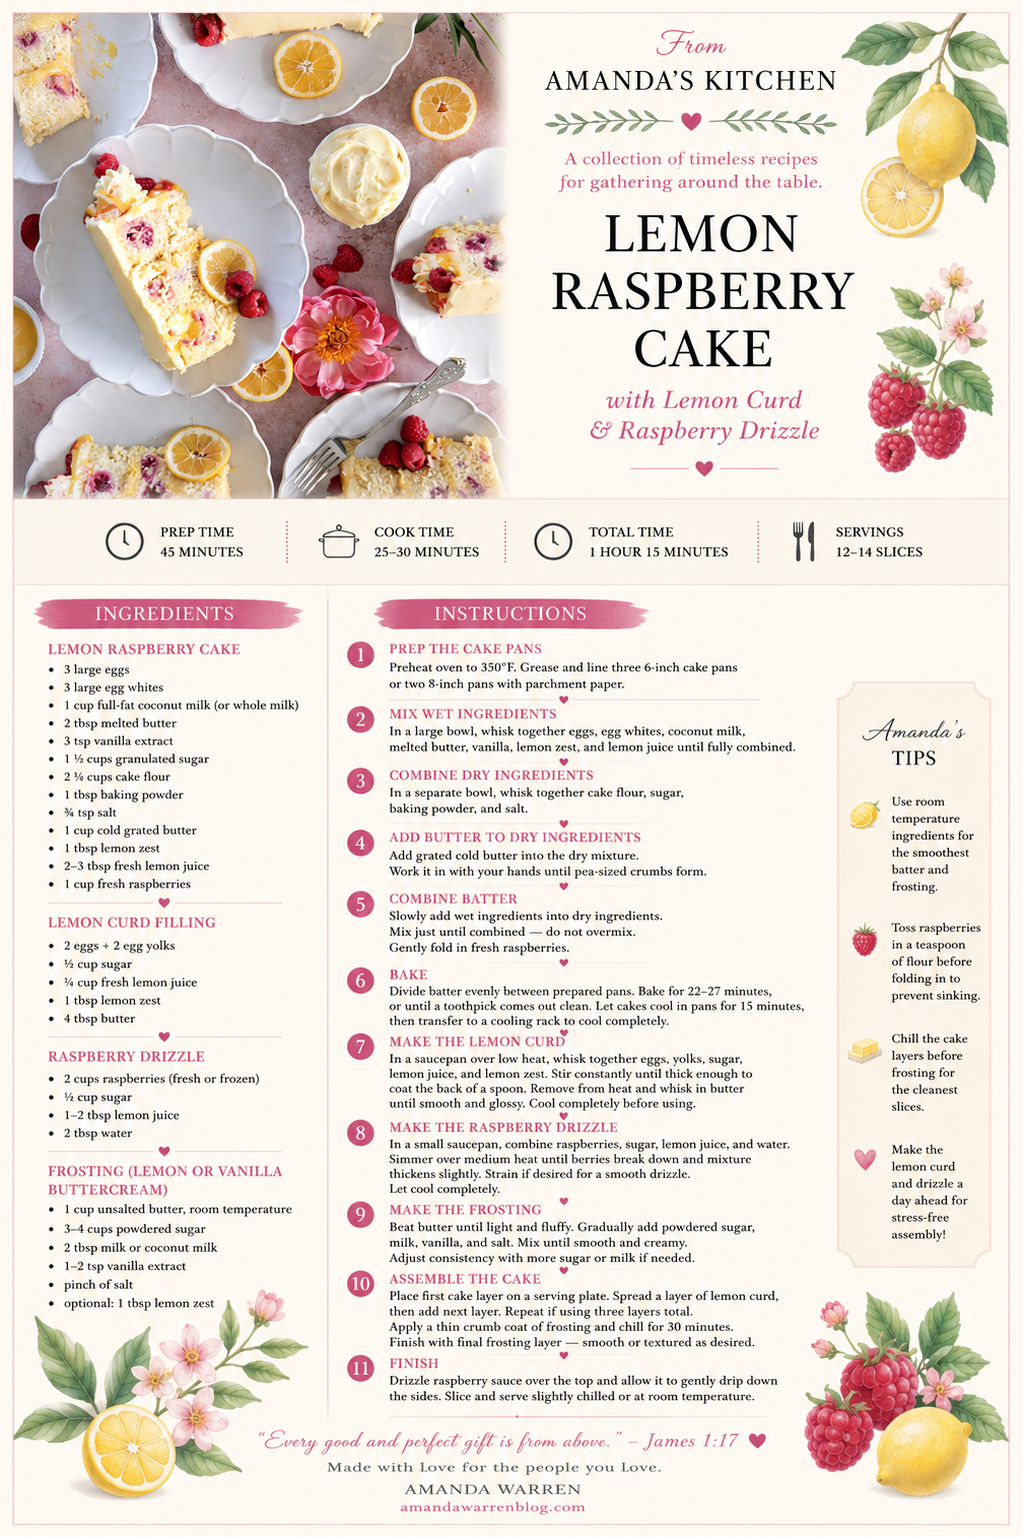
From Amanda's Kitchen Printable
Prefer a printable version?
I've created a beautiful From Amanda's Kitchen recipe card so you can print it for your kitchen or save it in your recipe binder for later.
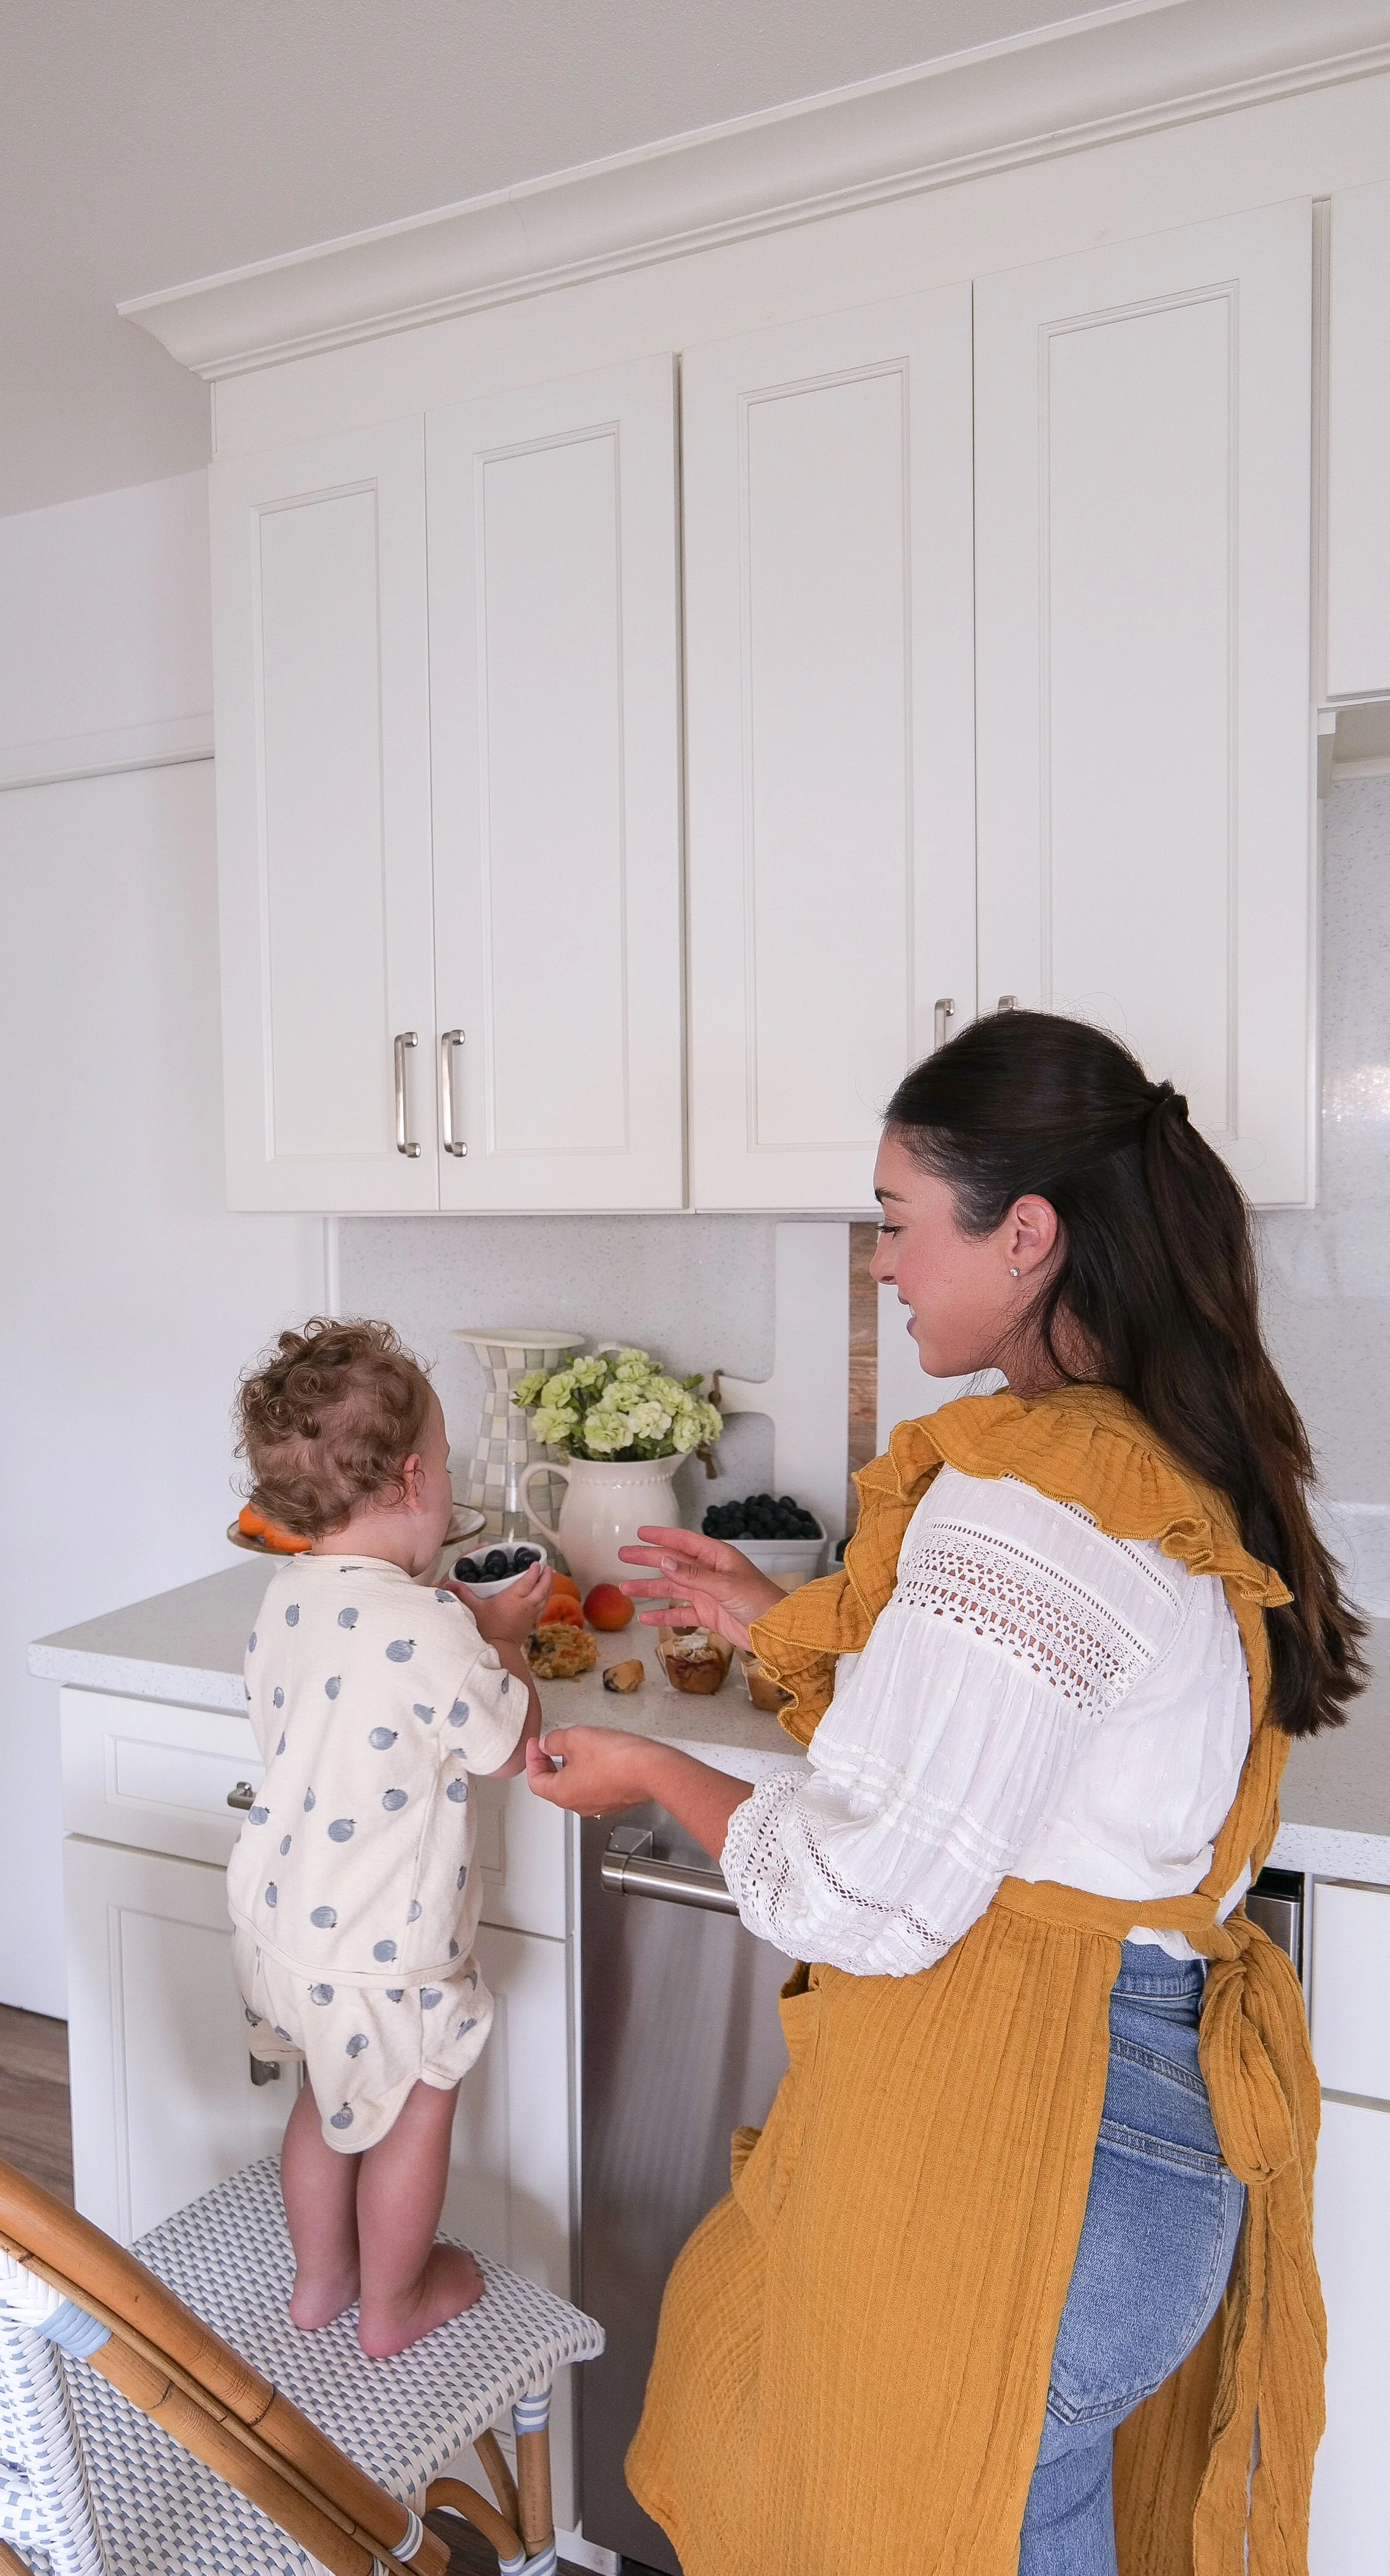
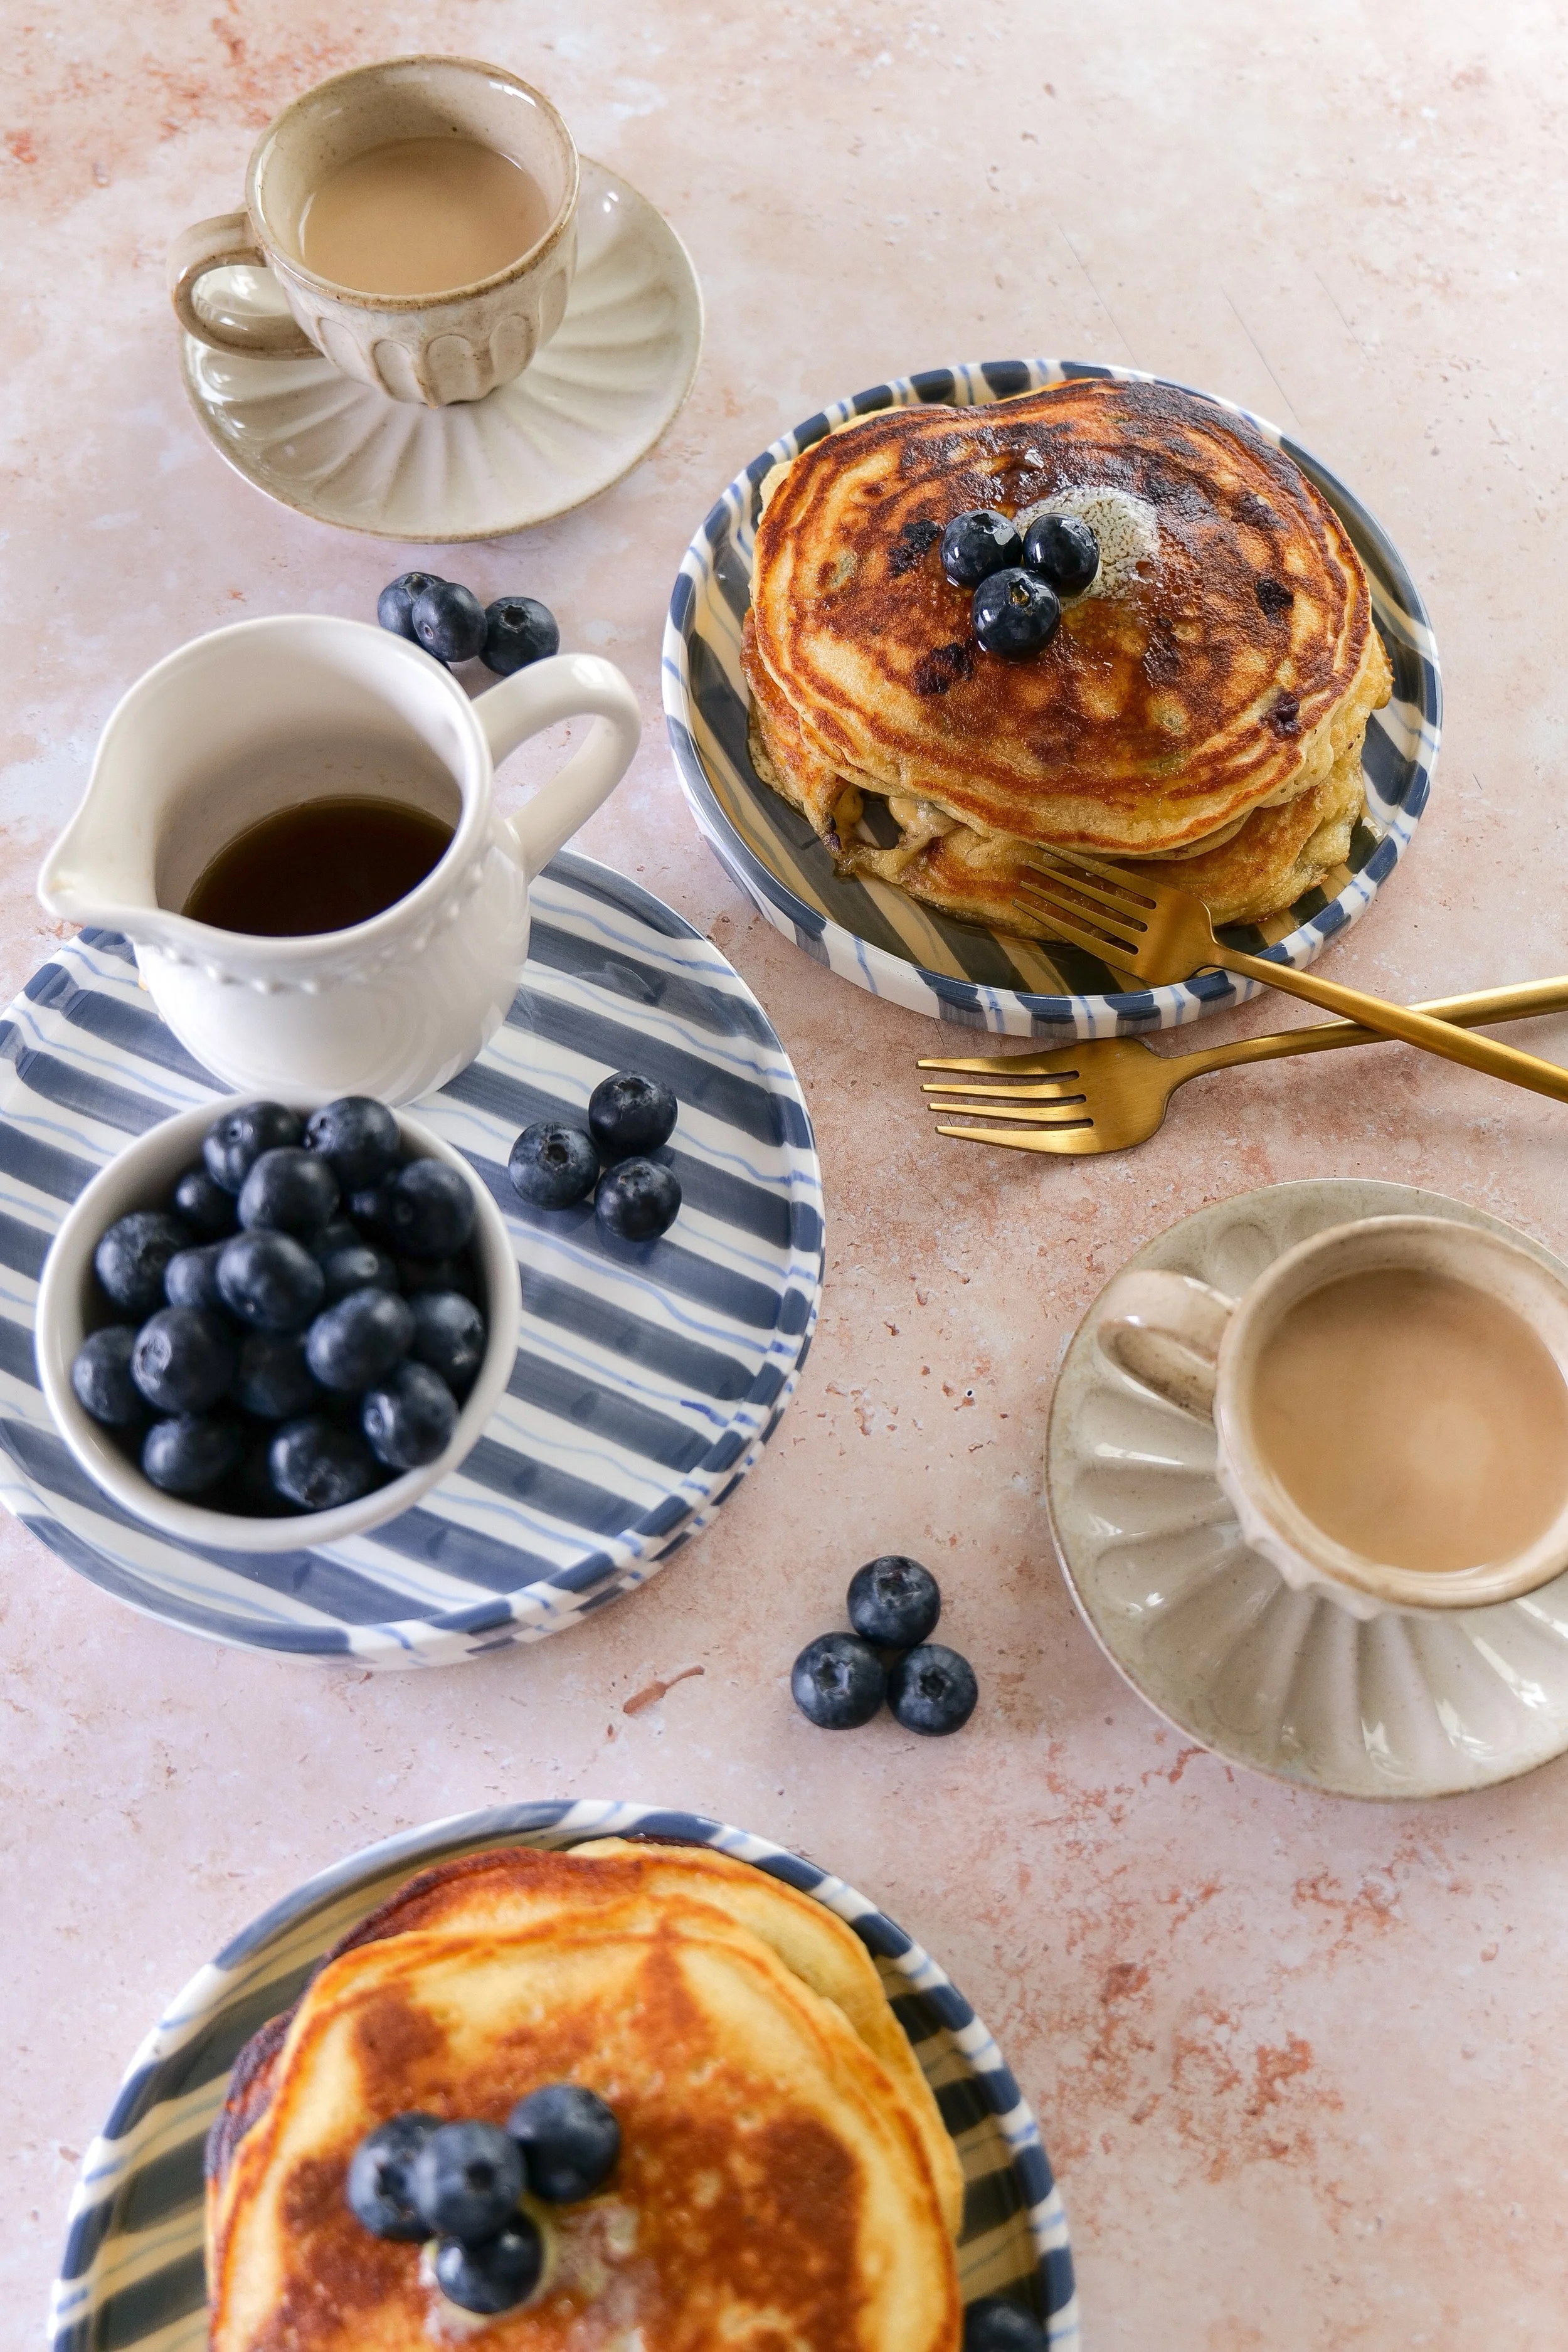
Gather Around the Table
Some mornings are slow, others are wonderfully chaotic, but I've found that having breakfast ready ahead of time creates a little more space to enjoy both.
Whether you're sharing these overnight oats around the breakfast table with your family or grabbing a jar on your way out the door, I hope this recipe reminds you that good food doesn't have to be complicated to be meaningful.
Thank you for spending a little time in my kitchen today. I hope this recipe becomes one you'll come back to every blueberry season.
Made with love for the people you love.