Discover the Ultimate Banana Cream Pie Recipe with an Irresistible Biscoff Cookie Crust

Banana cream pie has long been a beloved dessert in many households, so well-known for its creamy texture and sweet banana flavor. Ever considered how a few fun twists could elevate this classic dessert to entirely new heights? One of my favorite tasting twists is the Banana Cream Pie Recipe with a Biscoff Cookie Crust. This recipe blends the richness of banana cream pie with the spicy, caramelized warmth of a Biscoff cookie crust, resulting in a treat that’s so delicious. By integrating the distinctive taste of Biscoff cookies, you add great depth and a delightful crunch, making it an unforgettable dessert experience.

Incorporating Biscoff cookies into your banana cream pie creates not only enhanced taste but also texture. The process of creating this pie is fairly simple, yet the result is a show-stopping dessert that will be the highlight of any gathering. The unique Biscoff crust adds character to an otherwise classic pie, making it a great choice for any different type of occasion. Within each bite, a perfect blend of rich cream and spicy, crunchy base hits so well, begging for bakers of all skill levels to try their hand at this dessert masterpiece.

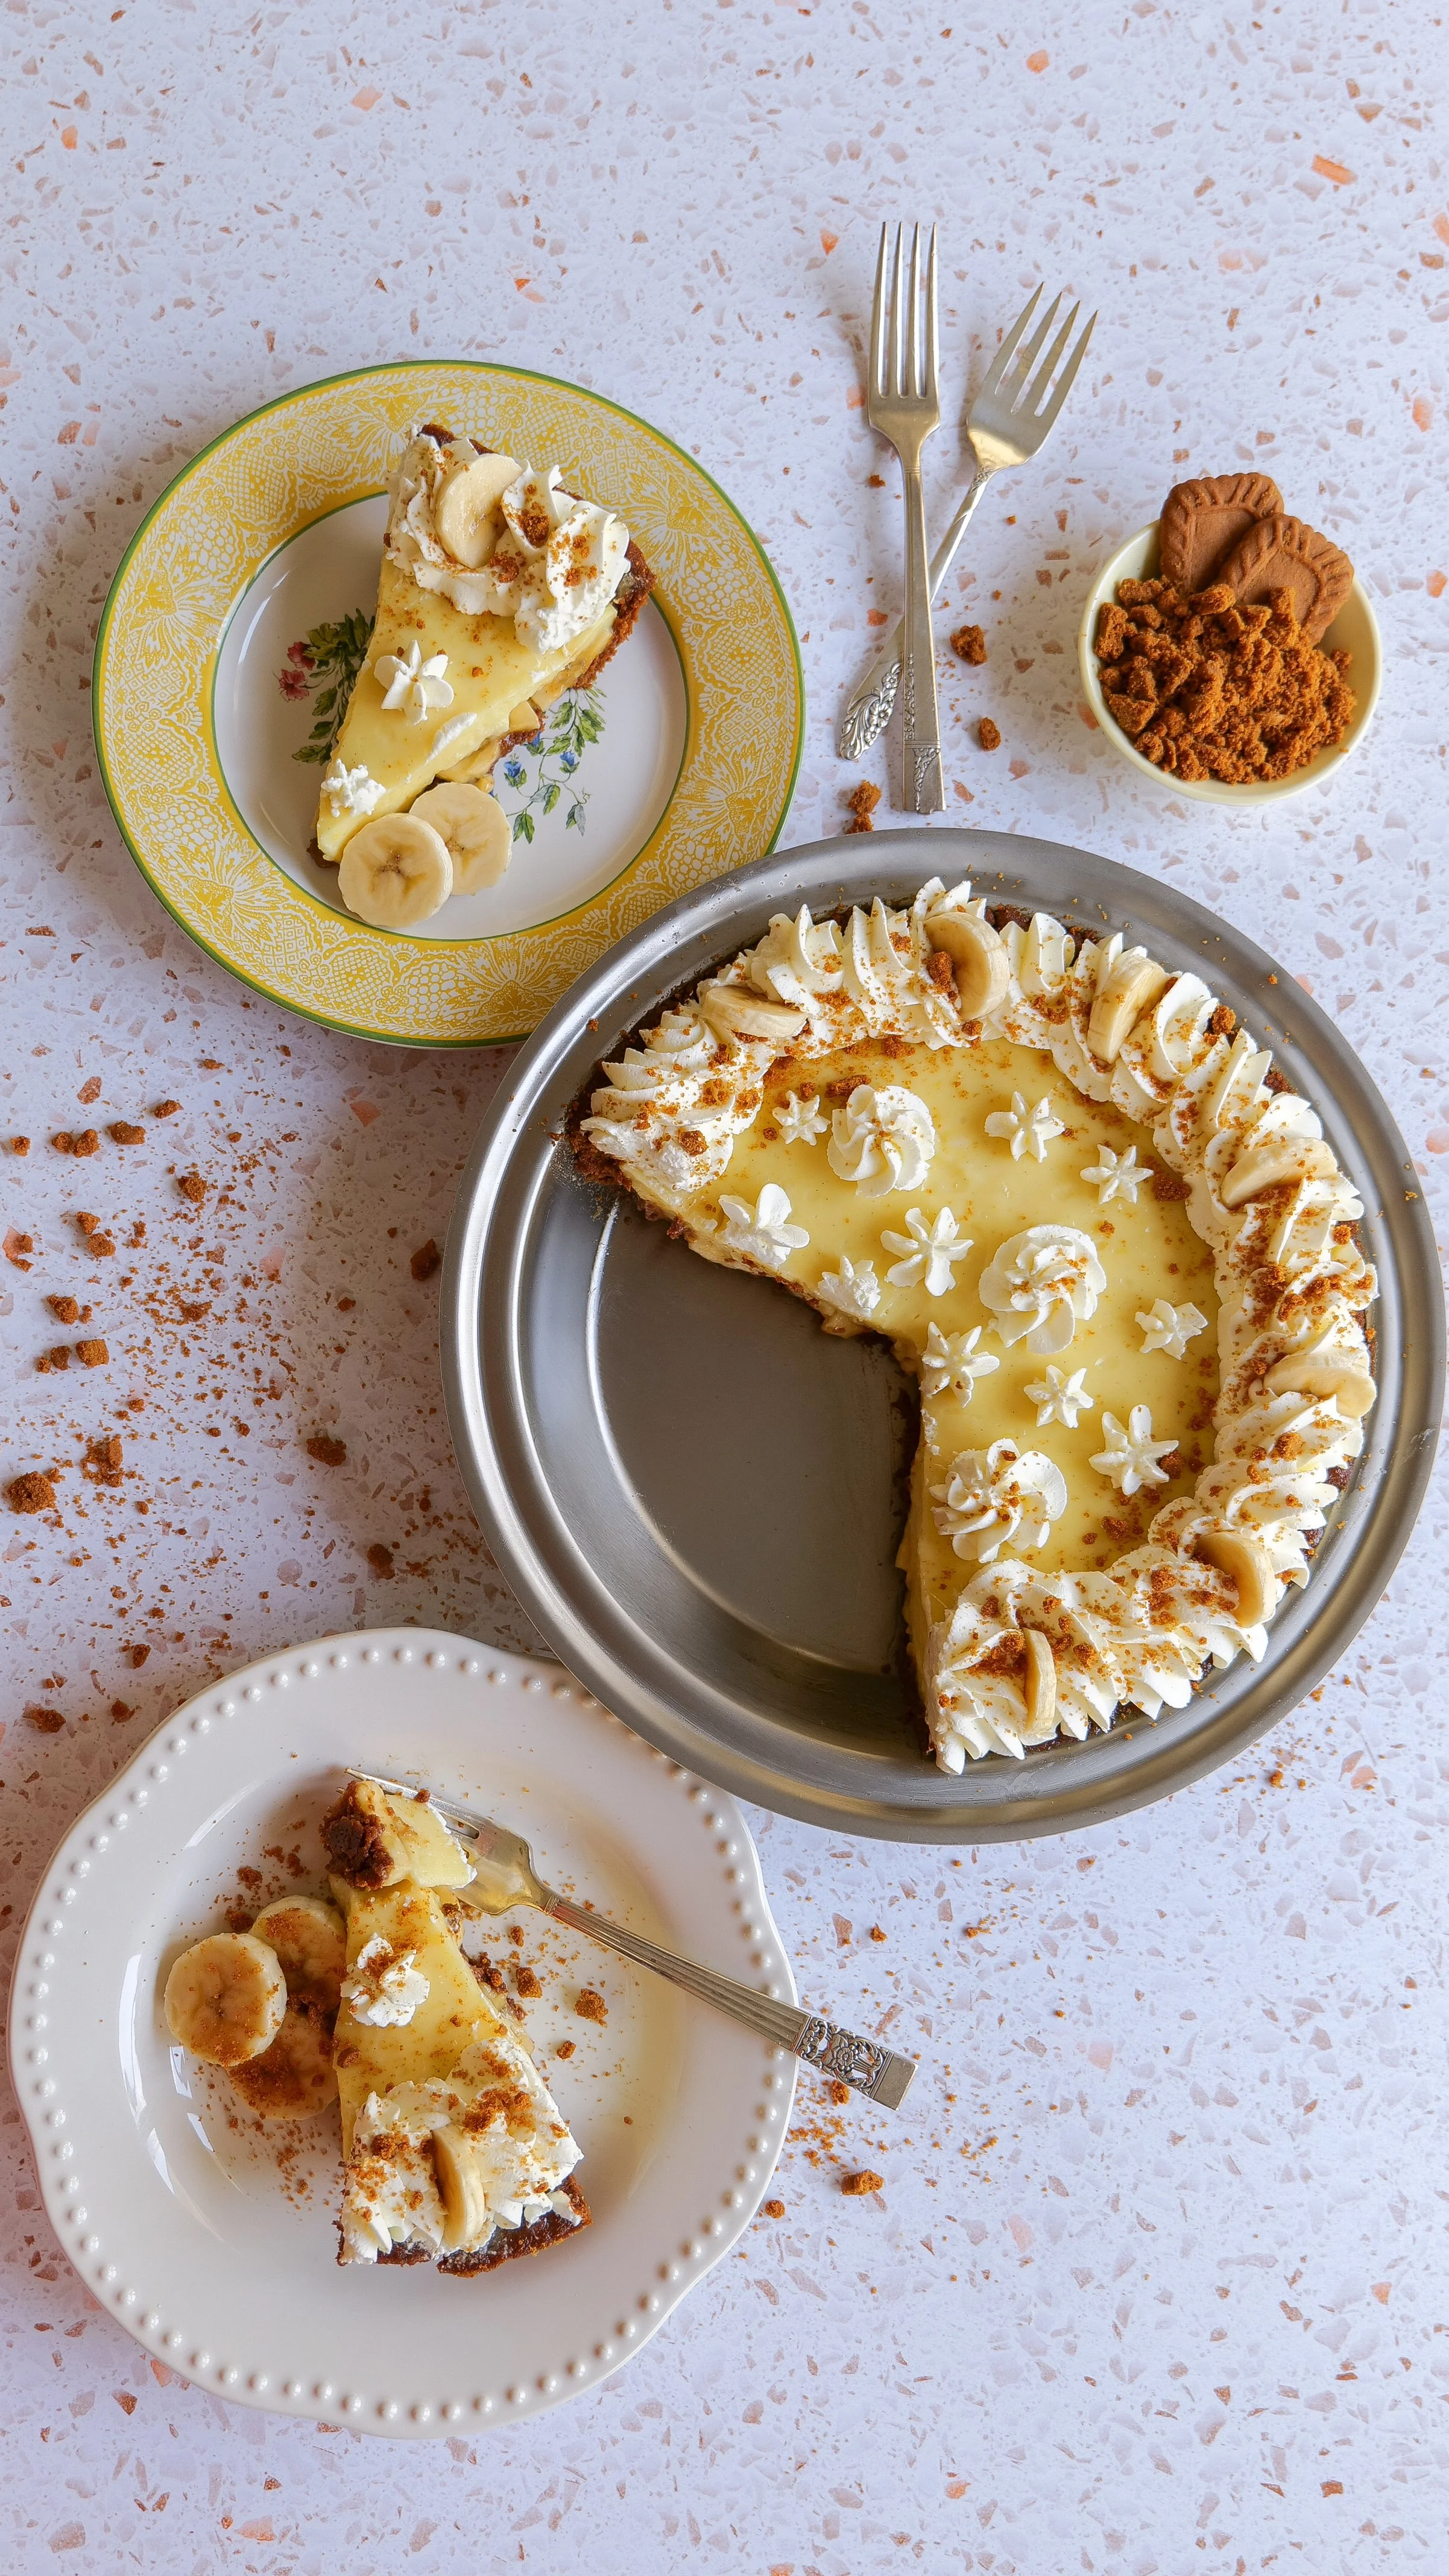
To construct the Biscoff Cookie Pie, begin with the creation of its delicious crust. Start by finely crushing your Biscoff cookies and mixing them with melted butter to form a sweetly blended mixture. Press this mixture firmly into a pie dish to create a form-fitting base for the creamy filling. The smooth banana filling is a perfect match, made from fresh bananas, sugar, and just a hint of vanilla extract to elevate the flavor. Once your crust is ready, layer freshly sliced bananas over it and pour the prepared banana cream over these layers, ensuring a yummy experience with every spoonful. Top with homemade whipped cream, generously spread to add a light, fluffy finish, and garnish with leftover Biscoff crumbs or banana slices for texture and decorative flair. This pie is not only delicious to taste but also is visually stunning.

Can I Prepare the Banana Cream Pie Ahead of Time?

One convenient aspect of this recipe is its versatility, which allows for make-ahead preparation. You can prepare the Banana Cream Pie with Biscoff Cookie Crust in advance, ensuring an easier, more relaxed serving experience. By assembling the pie a day ahead, you allow the flavors to sit and come together to enhance the taste profile of the dessert. For the best results, it is best to add your whipped cream topping just before serving to maintain its freshness and texture. The pie should be covered securely with plastic wrap or foil during refrigeration to retain its original flavor and avoid absorbing other odors. Typically, its recommended to consume the pie within two to three days of refrigeration to enjoy it at its best. This pre-preparation abilty makes it a stress-free choice for entertaining, allowing more time for enjoyment and less for worry.

Recommended Toppings for a Banana Cream Pie with Biscoff Cookie Crust

Enhancing the Banana Cream Pie with Biscoff Cookie Crust can be a creative undertaking with various toppings that introduce additional layers of flavor and texture. Classic whipping cream remains a favorite, offering a light, airy contrast to the creaminess of the filling and the crunch of the crust. Adding sliced bananas on top not only enhances the visual appeal but also amplifies the fruity flavor. For those desiring a richer, even sweeter dessert, drizzling caramel or chocolate sauce over the pie introduces just that. You can also sprinkle chopped nuts like walnuts or pecans that can add a satisfying crunch, providing a delightful nutty nuance. Lastly adding entire Biscoff cookies or crushed cookies can tie into the delicious crust and add another layer of crunch and that great taste as well. These topping are all great enhancements to the pie, making each serving a gourmet experience.

Time and Effort

In terms of time investment, the Banana Cream Pie recipe with Biscoff Cookie Crust is a fairly quick one. The total preparation and cooking time is roughly one hour in the kitchen, not counting time in the fridge to set, making it a pretty manageable project whether for planned events or for those spontaneous cravings. The Biscoff cookie crust, created in about 15 minutes, involves simple tasks such as crushing cookies and pressing the mixture into a pie dish. The banana cream filling takes about 30 minutes to cook to a thick, creamy consistency. Ensuring the pie is allowed at least four hours to chill in the refrigerator is important for the filling to set properly. Additional time for garnishing with bananas and whipped cream enriches both its taste and visual appeal. By planning ahead, you create a mouthwatering dessert ready to wow any crowd.

Baking your own Banana Cream Pie with Biscoff Cookie Crust promises to be better than any old average dessert. This twist is truly a celebration of great flavors and textures. This recipe combines beloved elements with fun innovations, making it perfect for those looking to impress or indulge. Easy enough for beginners yet sophisticated enough to please a crowd, this pie invites you to have fun and experiment. So, why not tweak your banana cream pie recipe and discover what delightful surprises await with the introduction of Biscoff cookies? Enjoy!

Ingredients

Filling

3/4 cup granulated sugar

1/4 cup cornstarch

1/2 teaspoon sea salt

2 cups whole milk

4 egg yolks

4 tablespoons salted butter, cut into 4

1 tablespoon vanilla bean paste

2 large bananas

Crust

12 oz Biscoff cookies

8 tablespoons melted butter

Whipped Topping

1 1/2 cups cold heavy cream

1/3 cups powdered sugar

Instructions

1. Preheat oven to 375. Spray pie pan with olive oil spray and make Crust by adding cookies to food processor or blender and pulse until fine. Add in melted butter and blend again. Press the cru/st mixture into the bottom of the pan until even all the way around. I use a flat-bottom cup or a metal spoon to help. Bake in the oven for 13-15 minutes. Once done remove and let cool before adding filling.

2. Combine sugar, cornstarch and sea salt in a medium saucepan. Whisk in milk and heavy cream and cook over medium heat stir continuously until bubbling and thick.

3. In a large bowl whisk yolks. Pour in the milk mixture slowly while whisking. Once fully incorporated return to saucepan and cook over medium heat until returns to boil.

4. Remove from heat. Add in vanilla and butter. Whisky until butter cubes are fully dissolved and incorporated. Slice 2 large bananas on top of the cooked and cooled crust. Pour filling mixture into pie pan over bananas and let cool on the counter for 45 minutes.

5. Press plastic wrap onto the top of the custard filling. Fully covering. Place in the fridge for 4 hours or overnight.

6. Once the pie is ready to serve make whipped topping. In a large bowl whisk add together cream and powdered sugar with a hand mixer on medium-high until peaks form. Spread onto pie and sprinkle top with additional banana slices and cookie crumbles if desired. Serve and Enjoy!

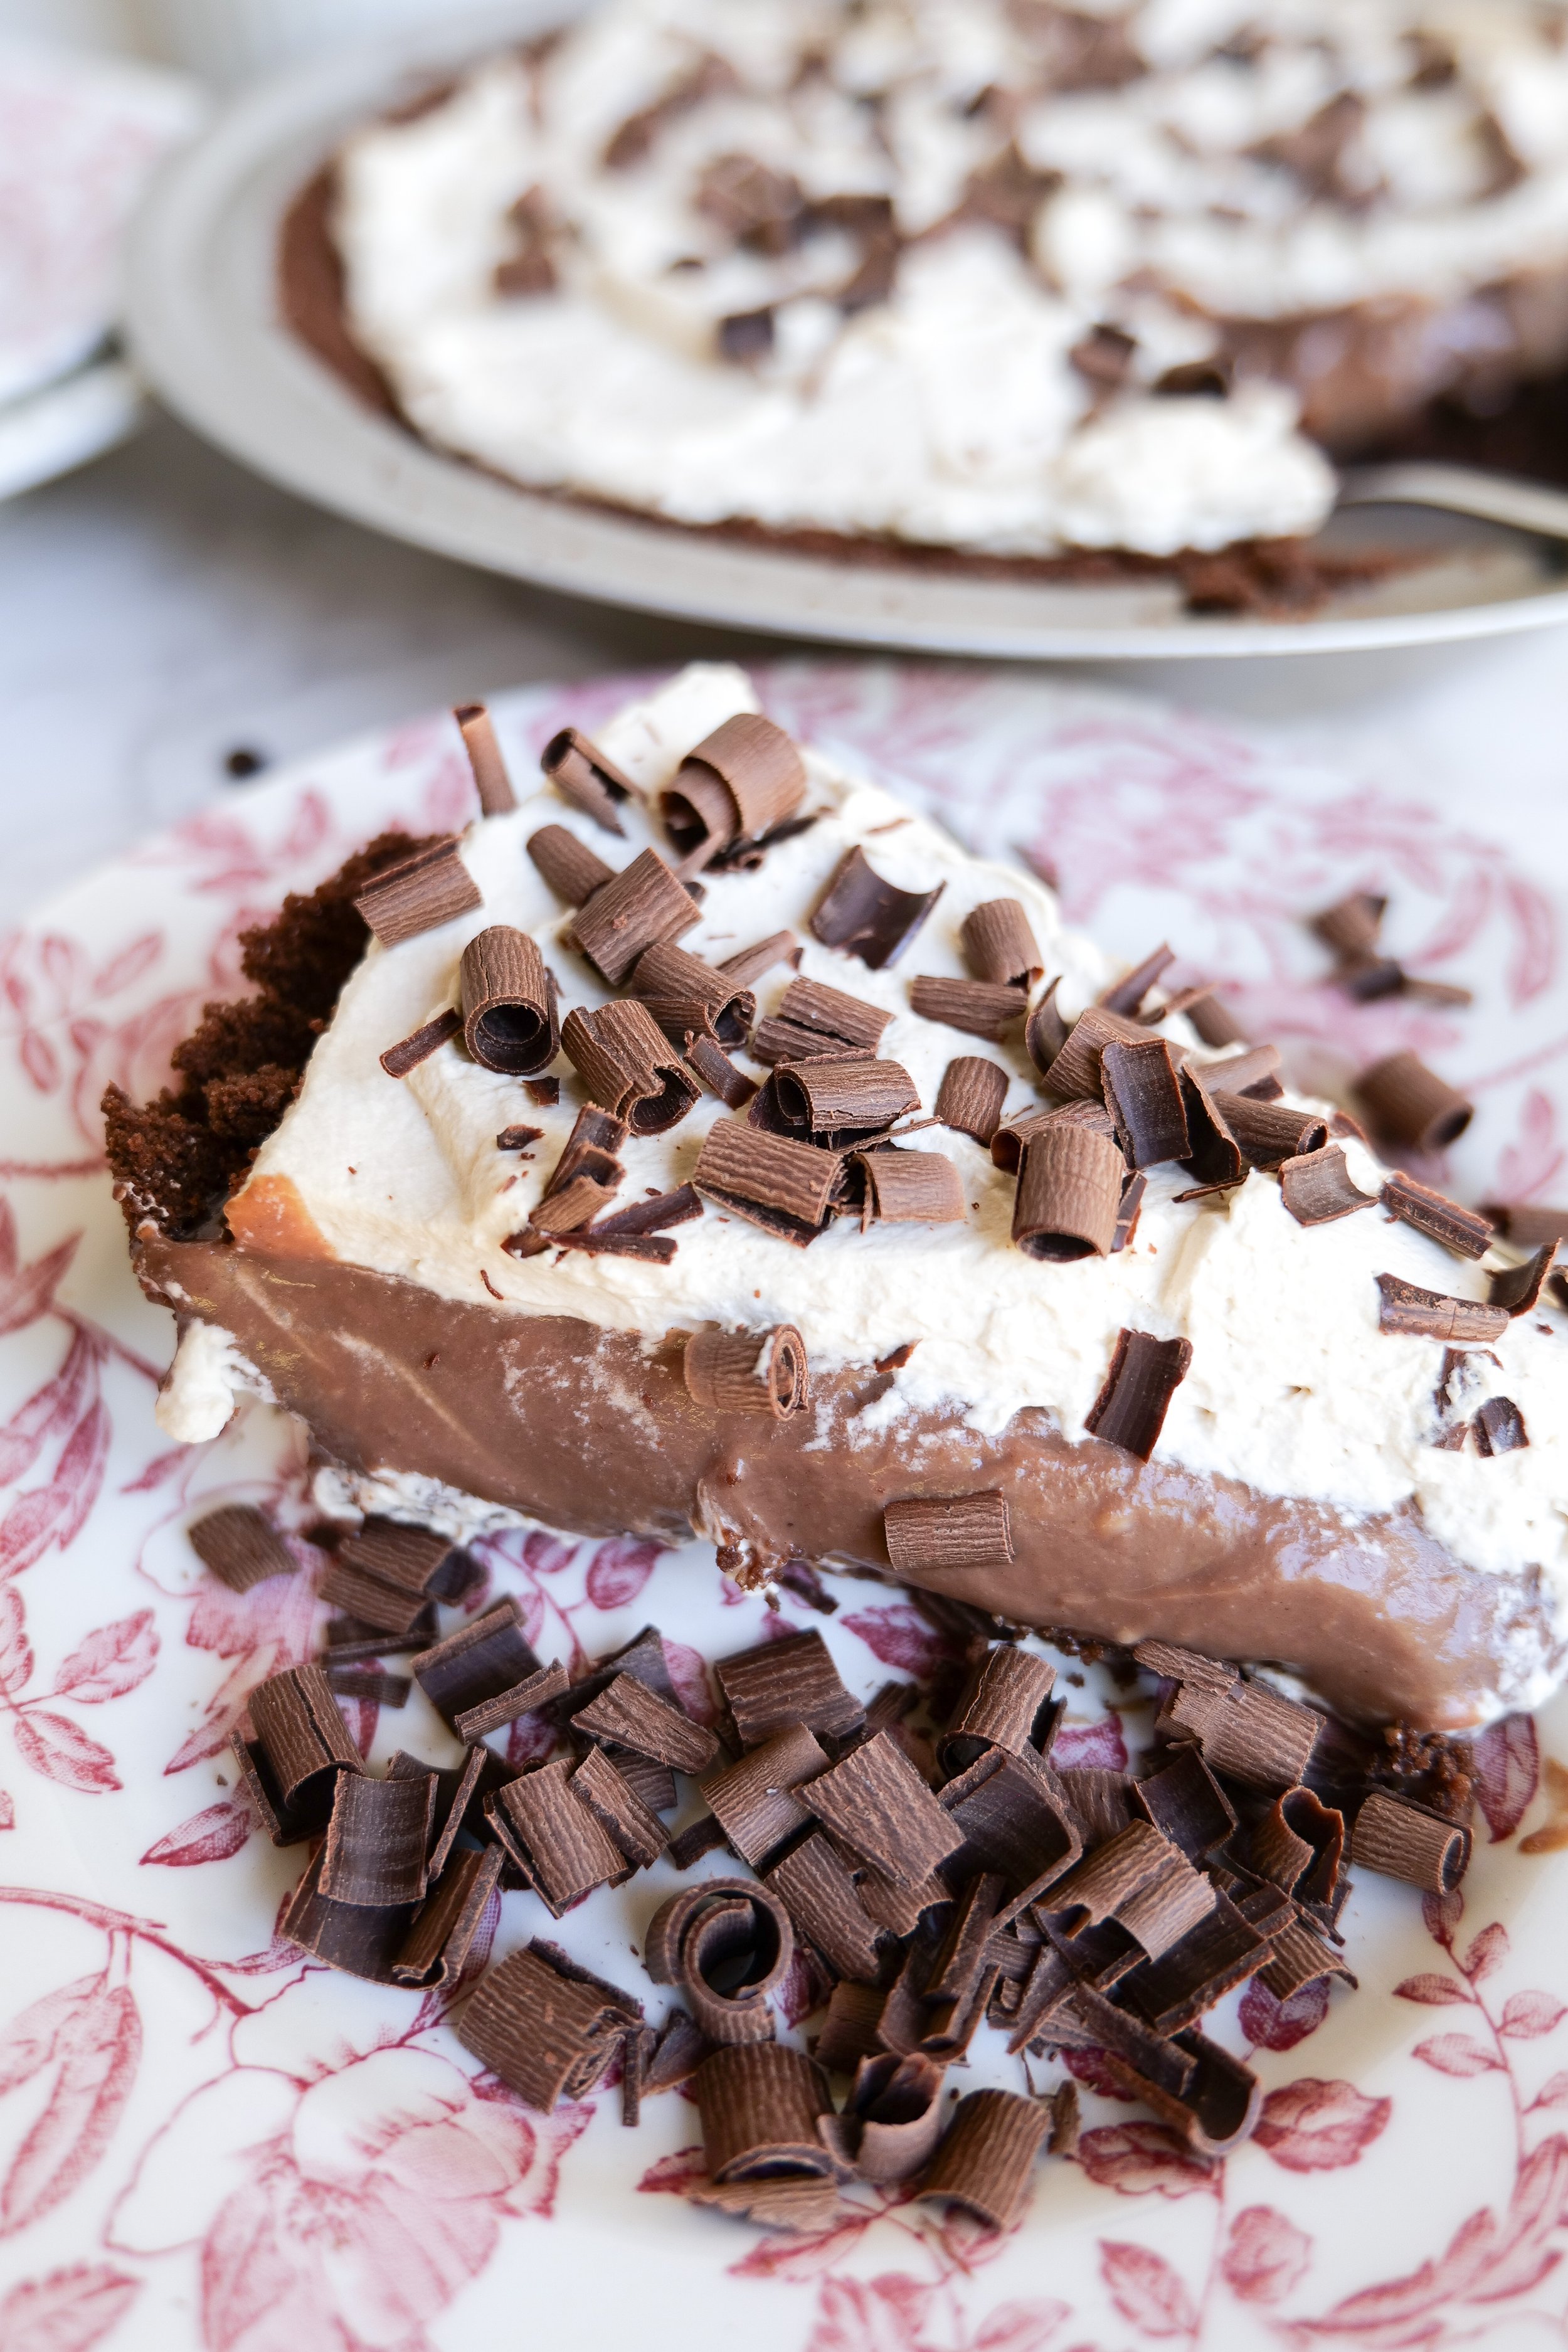
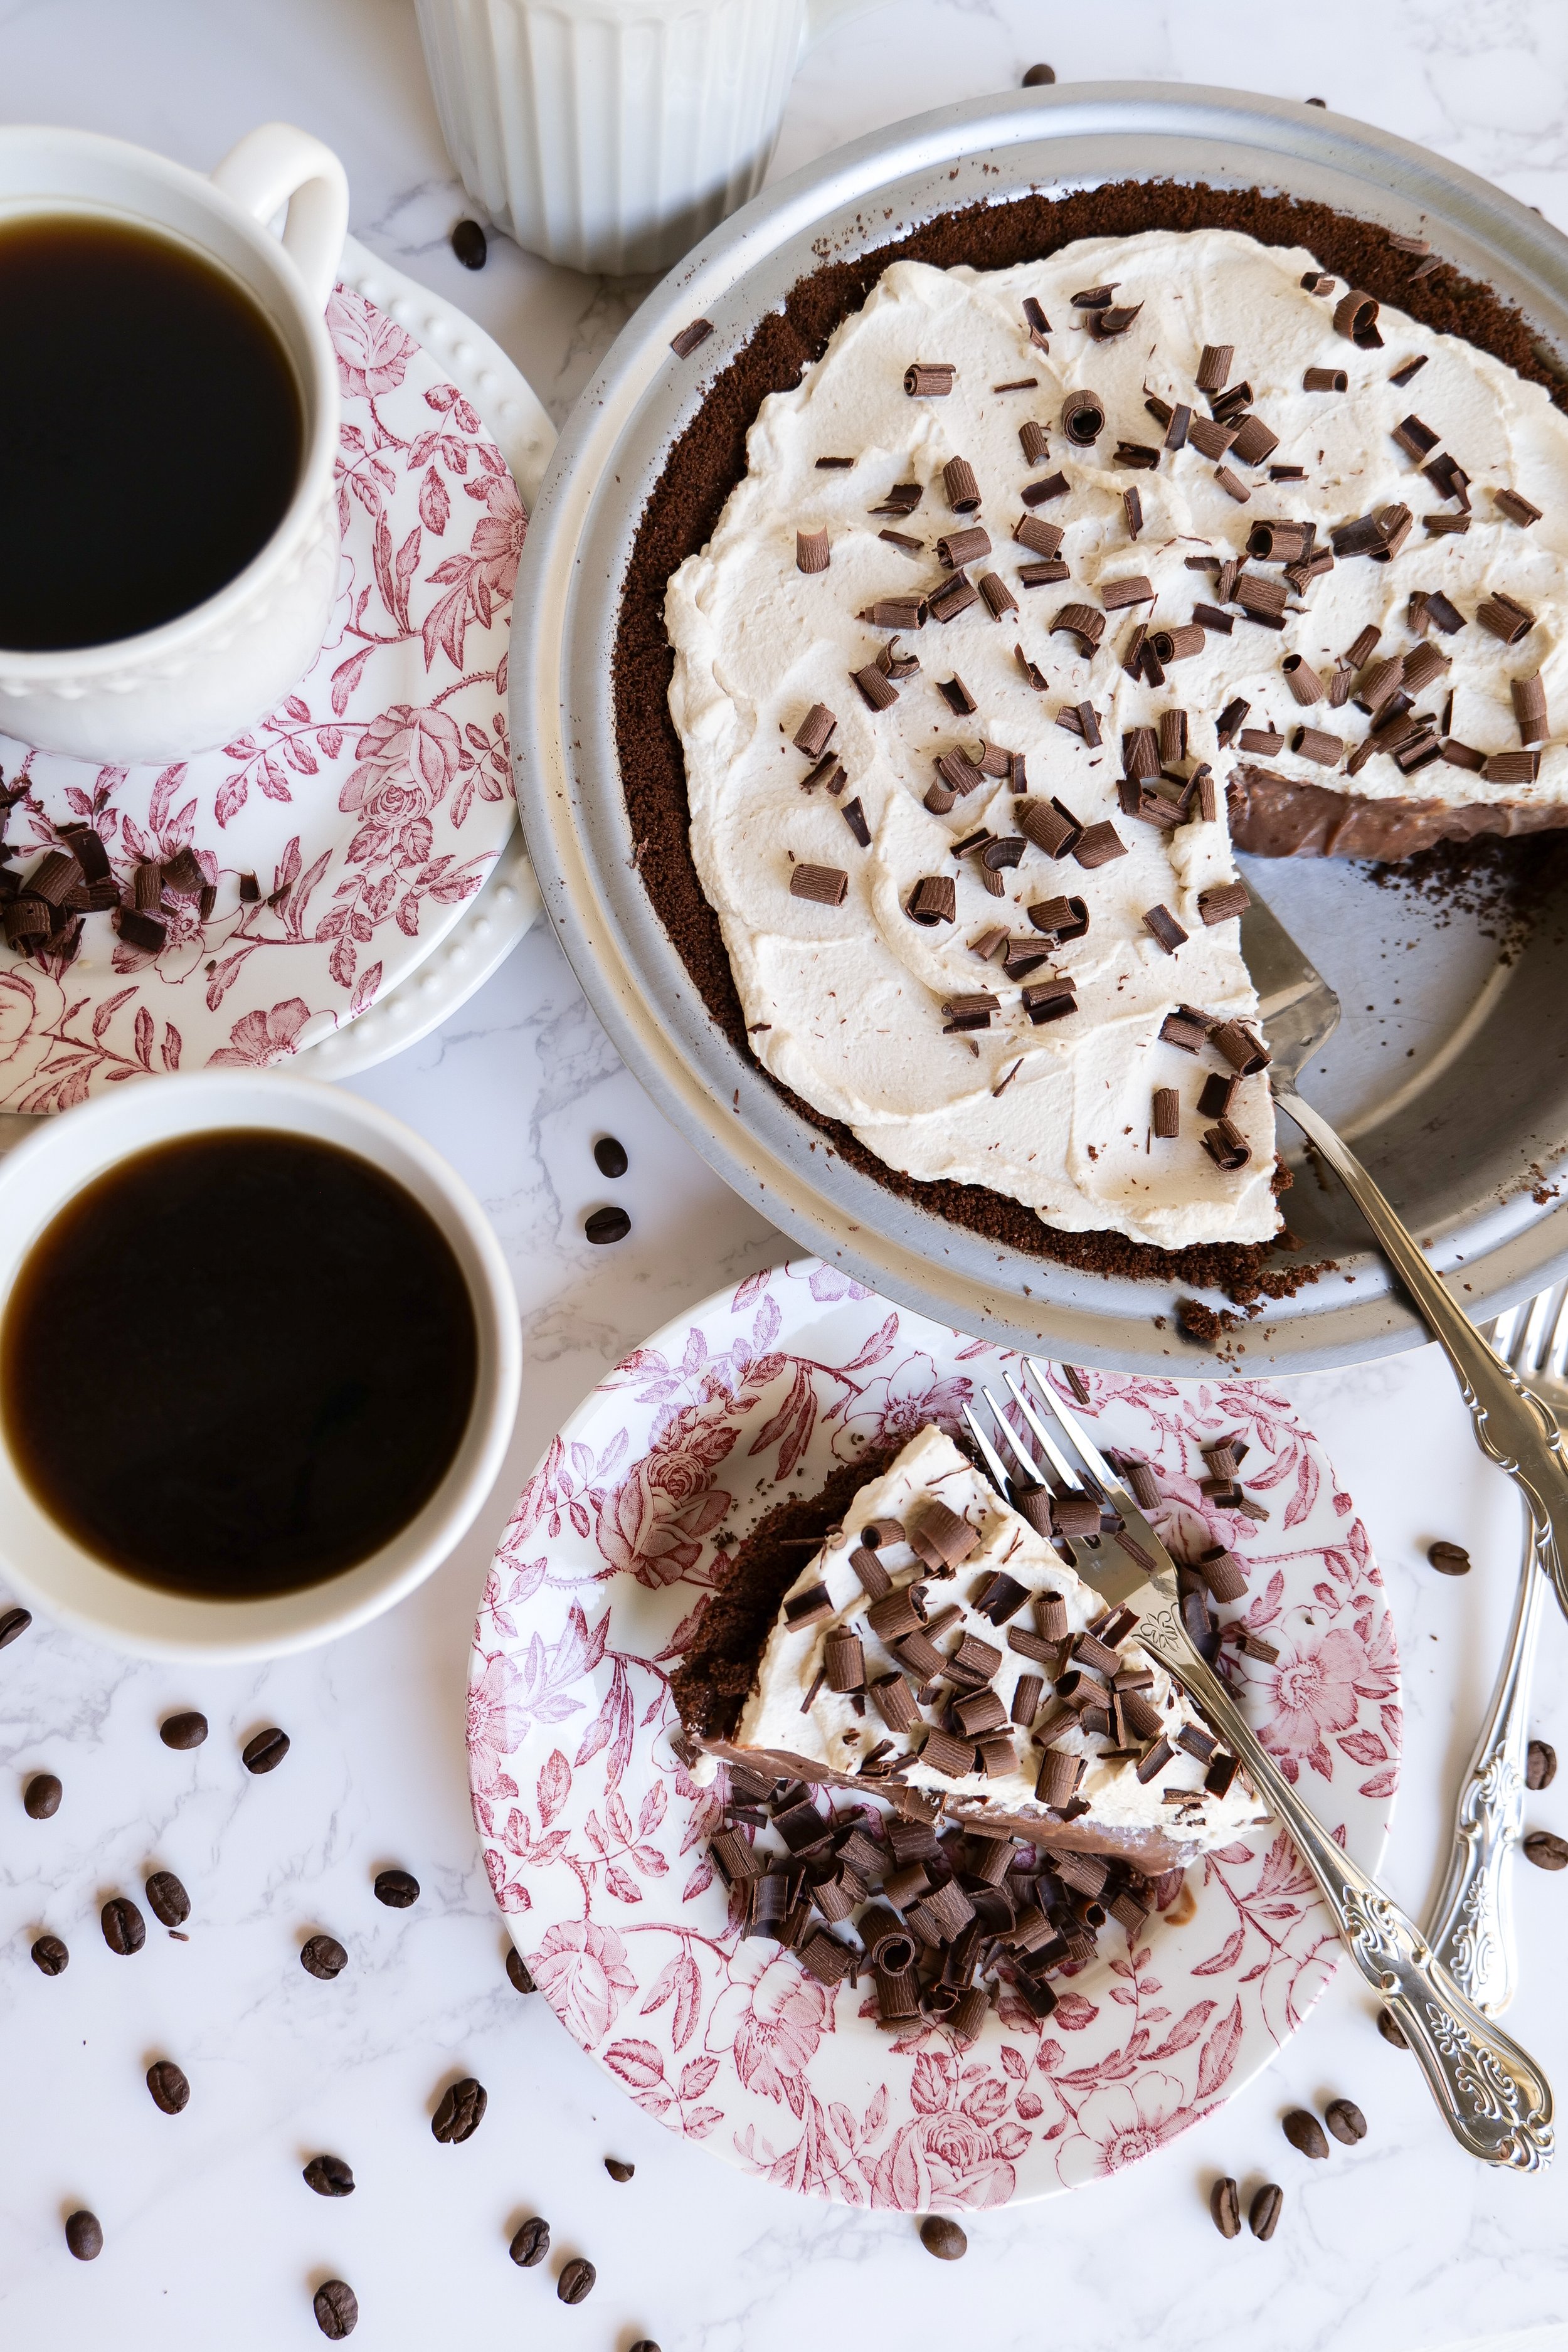
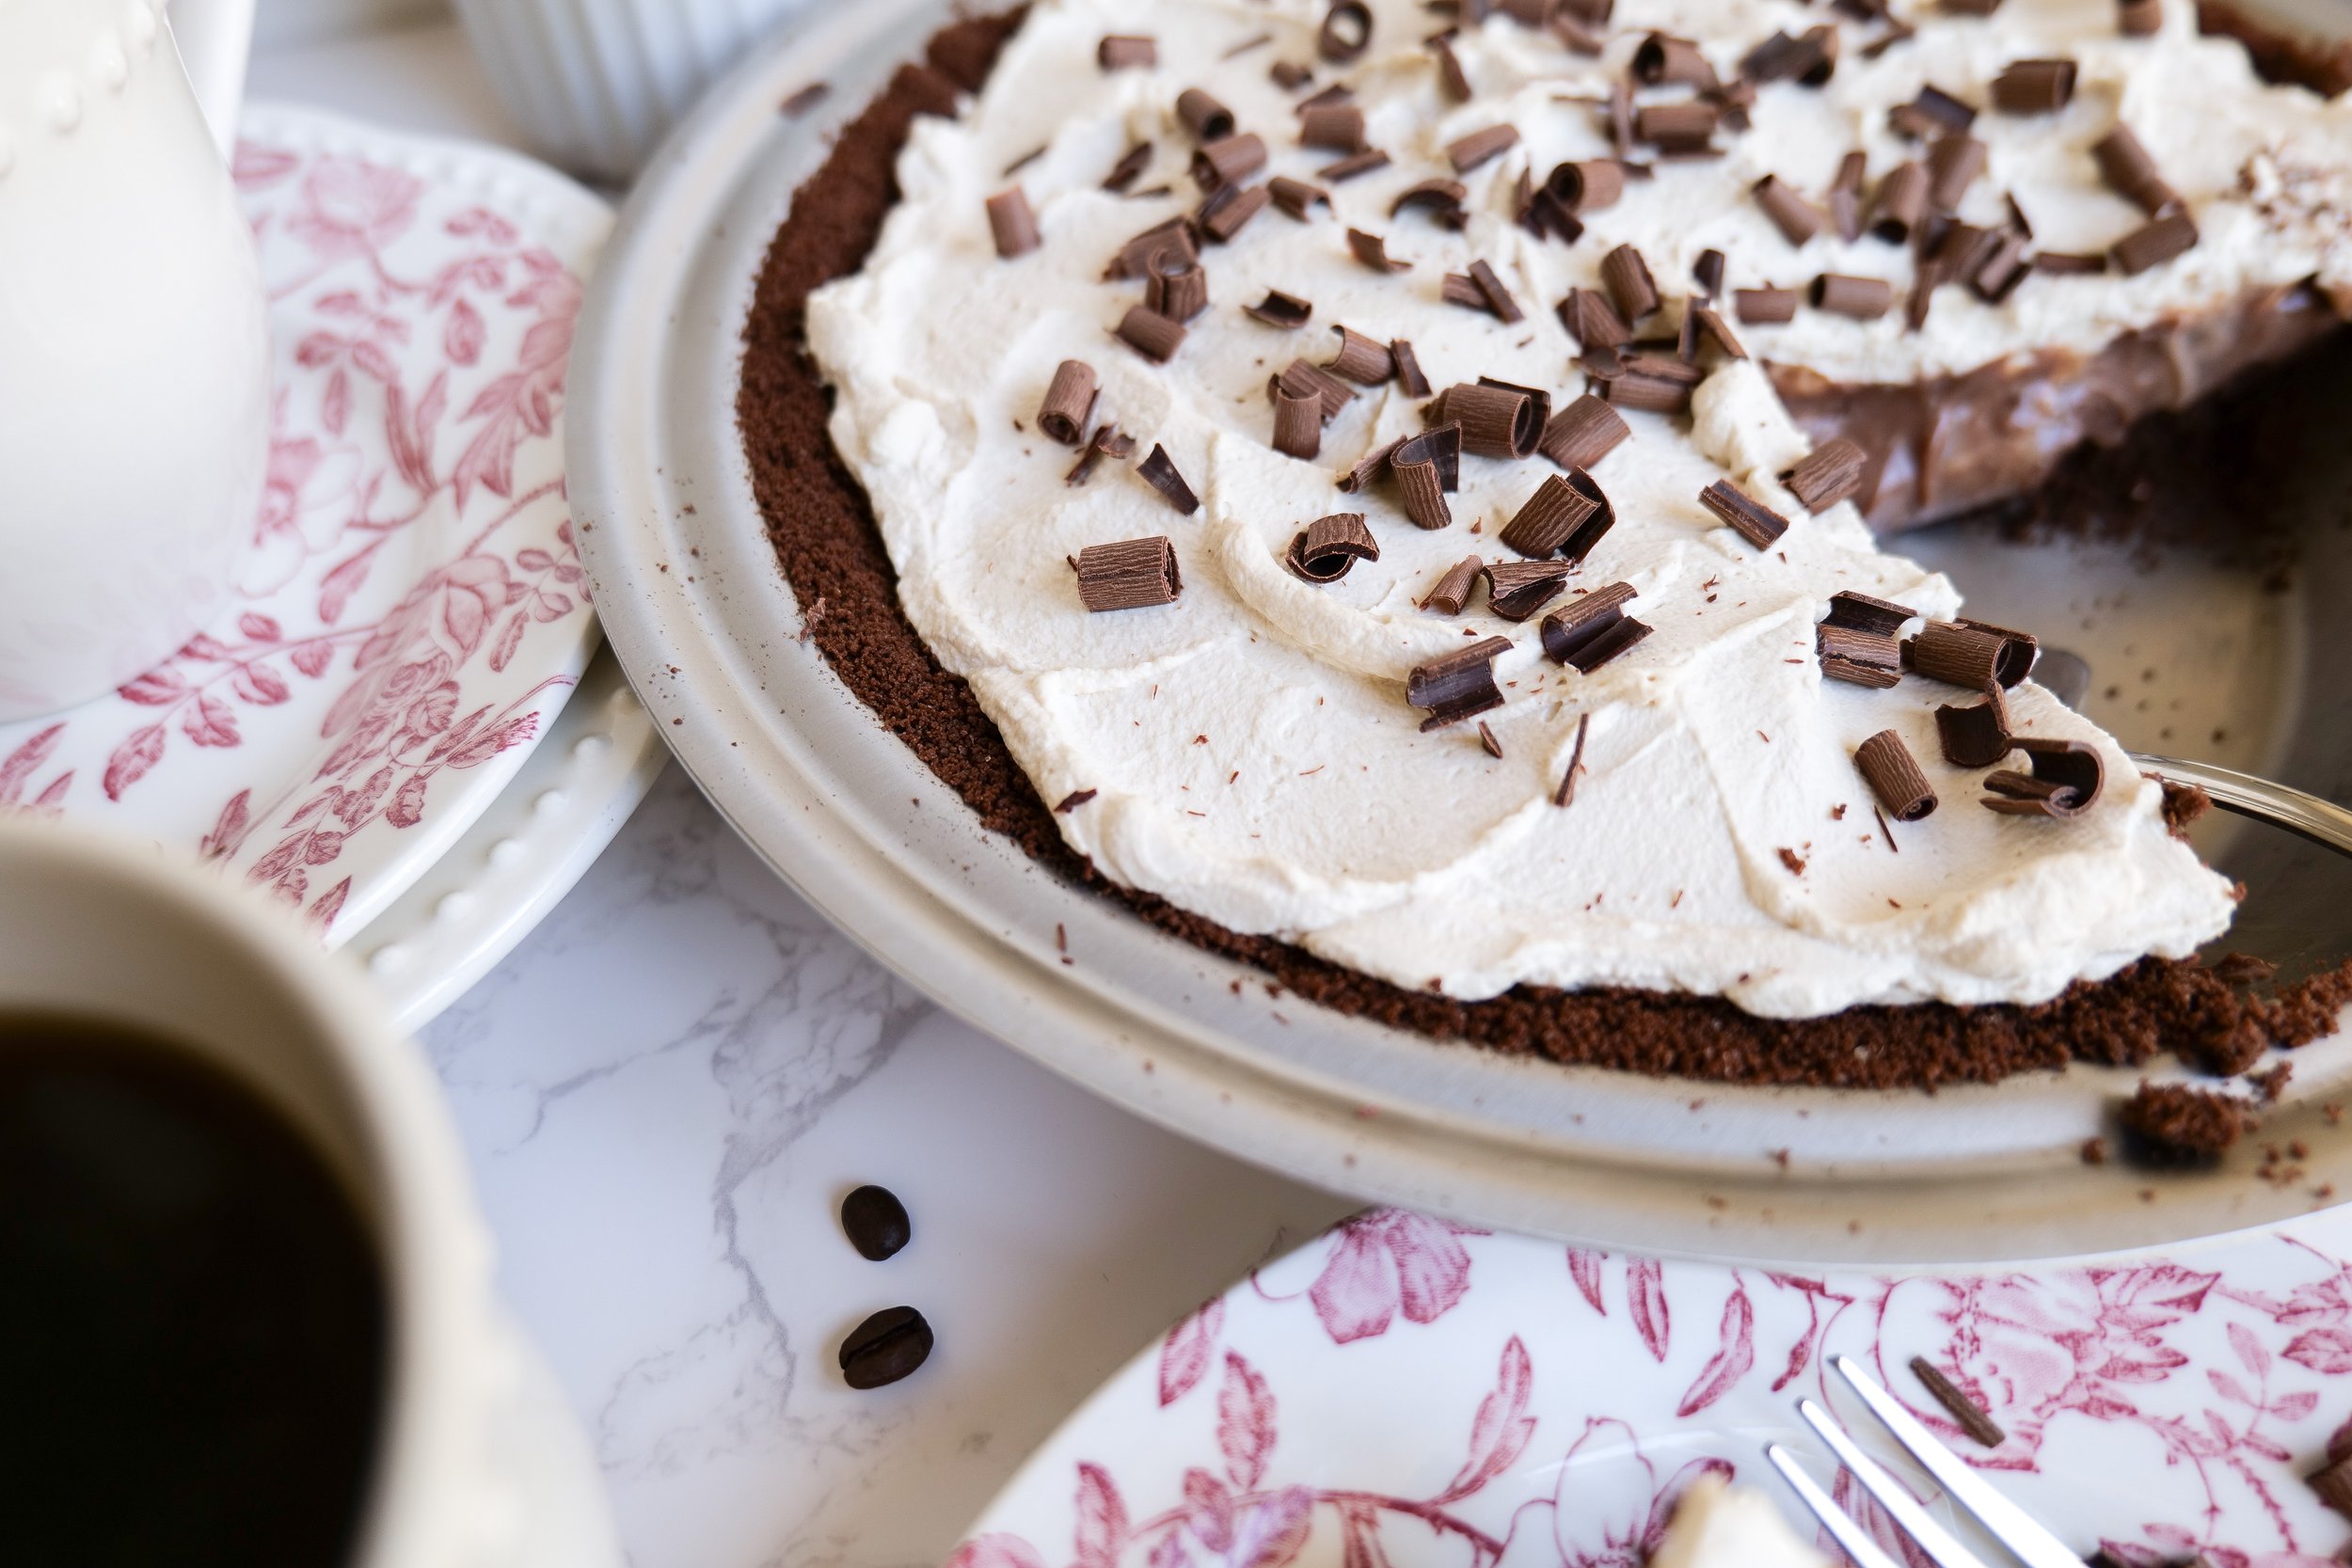
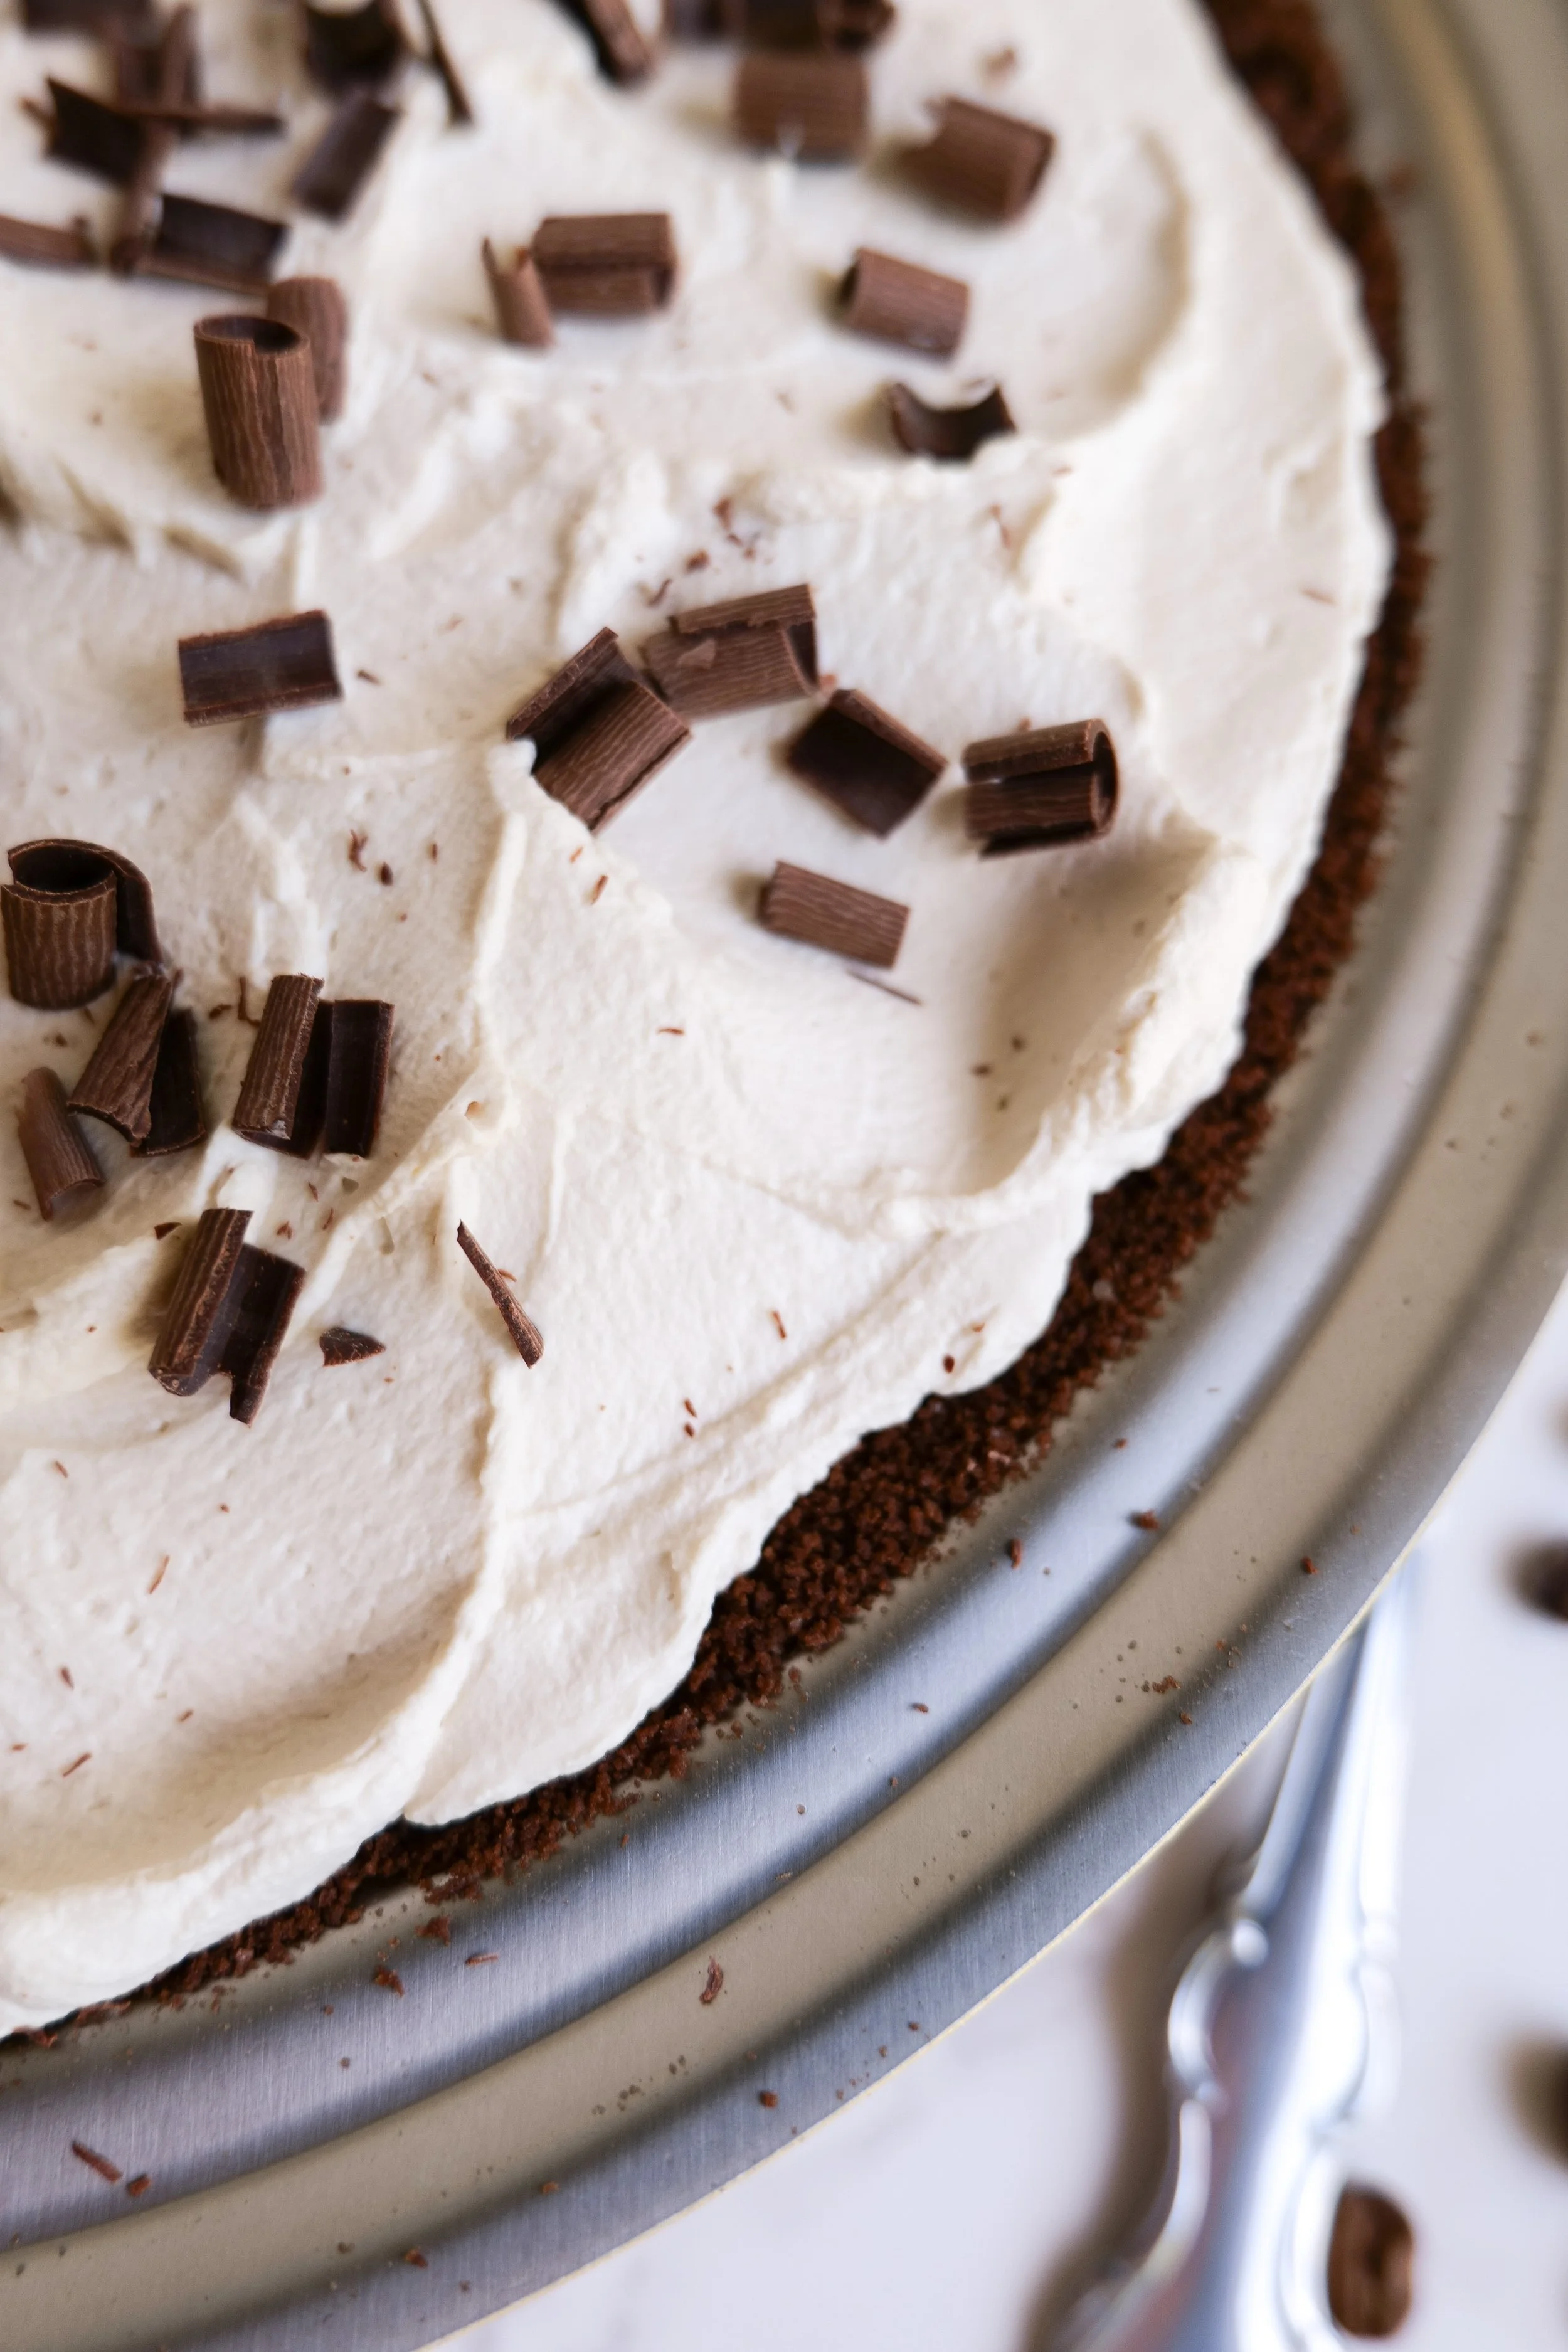
Indulge in This Deliciously Sweet Chocolate Espresso Cream Pie Recipe

If you're looking for an indulgent dessert that will satisfy your sweet tooth, look no further than this delicious Chocolate Espresso Cream Pie recipe! This decadent pie is made with a rich chocolate filling and a creamy espresso topping, making it perfect for special occasions, nightcaps, or for just a simple indulgence. Enjoy the perfect balance of the flavors of coffee and creamy chocolate all in one amazing dessert. If you’re looking for an easy and delicious dessert that everyone will love, try this Chocolate Espresso Cream Pie recipe. Your guests are sure to be asking for seconds!

Can I make this with regular whipped cream instead of espresso?

If you are looking for a recipe that doesn't involve espresso, you can easily make this pie with regular whipped cream instead. To begin, you can omit the espresso powder in the whipped topping. For even more flavor, add 1 teaspoon of vanilla extract to the cream filling and omit the coffee liquor. To give the pie a special touch, sprinkle some unsweetened cocoa powder over the top. Now you can enjoy your delicious Chocolate Espresso Cream Pie with regular whipped cream instead of espresso.

Is it possible to make this Chocolate Espresso Cream Pie ahead of time?

This pie has a decadent and delicious flavor, but it’s not too hard to make. If you plan to make the Chocolate Espresso Cream Pie ahead of time, it is possible to make most of the components in advance. You can prepare the crust the day before and store it in the fridge until you are ready to assemble the pie. The espresso cream can also be made a few days in advance and stored in the refrigerator until you are ready to assemble the pie. When you are ready to assemble your pie, all you have to do is assemble the components and you are ready to go! Feel free to also add some melted chocolate or chocolate chips to the top of the pie for an even more indulgent, rich chocolate dessert. Try this delicious Chocolate Espresso Cream Pie recipe today and enjoy a delicious treat you can make ahead of time and serve any time!

Do I need to refrigerate the Chocolate Espresso Cream Pie after baking?

Once you’ve finished baking the Chocolate Espresso Cream Pie, there are several ways you can store it. Refrigeration isn’t necessary, so you can keep it at room temperature for up to three days. It can also be covered in plastic wrap or aluminum foil and refrigerated for up to five days. Refrigerating will make the pie last longer. However, it can also affect the texture of the crust and the creaminess of the filling. If you’d like to keep the Chocolate Espresso Cream Pie even longer, you can freeze it for up to three months after following the directions below.

Ingredients

3/4 cup granulated sugar

1/4 cup cornstarch

1/2 teaspoon sea salt

2 cups whole milk

1/2 cup heavy cream

4 egg yolks

4 tablespoons butter, cut into 4

4 oz semi-sweet chocolate

1 teaspoon vanilla

2 tablespoons coffee liquor

Crust

12 oz chocolate graham cracker

8 tablespoons melted butter

Whipped Topping

1 1/4 teaspoons instant espresso powder

1 1/4 cups cold heavy cream

1 tablespoon powdered sugar

Instructions

1. Preheat oven to 375. Spray pie pan with olive oil spray and make Crust by adding graham cracker to blender and processing until fine. Add in melted butter and blend again. Press the crust mixture into the bottom of the pan until even all the way around. I use a flat-bottom cup or a metal spoon to help. Bake in the oven for 13-15 minutes. Once done remove and let cool before adding filling.

2. Combine sugar, cornstarch and sea salt in a medium saucepan. Whisk in milk and heavy cream and cook over medium heat stir continuously until bubbling and thick.

3. In a large bowl whisk yolks. Pour in the milk mixture slowly while whisking. Once fully incorporated return to saucepan and cook over medium heat until returns to boil.

4. Remove from heat. Add in vanilla, coffee liqueur and butter. Whisky until butter cubes are fully dissolved and incorporated. Pour into pie pan with crust and let cool on the counter for 45 minutes.

5. Press plastic wrap onto the top of the custard filling. Fully covering. Place in the fridge for 4 hours or overnight.

6. Once the pie is ready to serve make espresso whipped topping. In a large bowl whisk add together cream and espresso powder with a hand mixer on medium-high until peaks form. Spread onto pie and sprinkle with additional espresso powder or chocolate shavings.

Delicious and easy to make, this Homemade Chocolate Espresso Cream Pie Recipe is the perfect way to end your meal. Satisfy your sweet tooth with this classic dessert that everyone loves.

Other Delicious Desserts You Will Love:

Tantalizingly Delicious Recipe For Lemon Cheesecake With An Amazing Glaze

Taste the Deliciousness of Pistachio Cake: A Treat for Any Occasion

Indulge in Delicious Personal Pear Tarts

Deliciousness Cherry Chip Cake with chunks of dark chocolate recipe

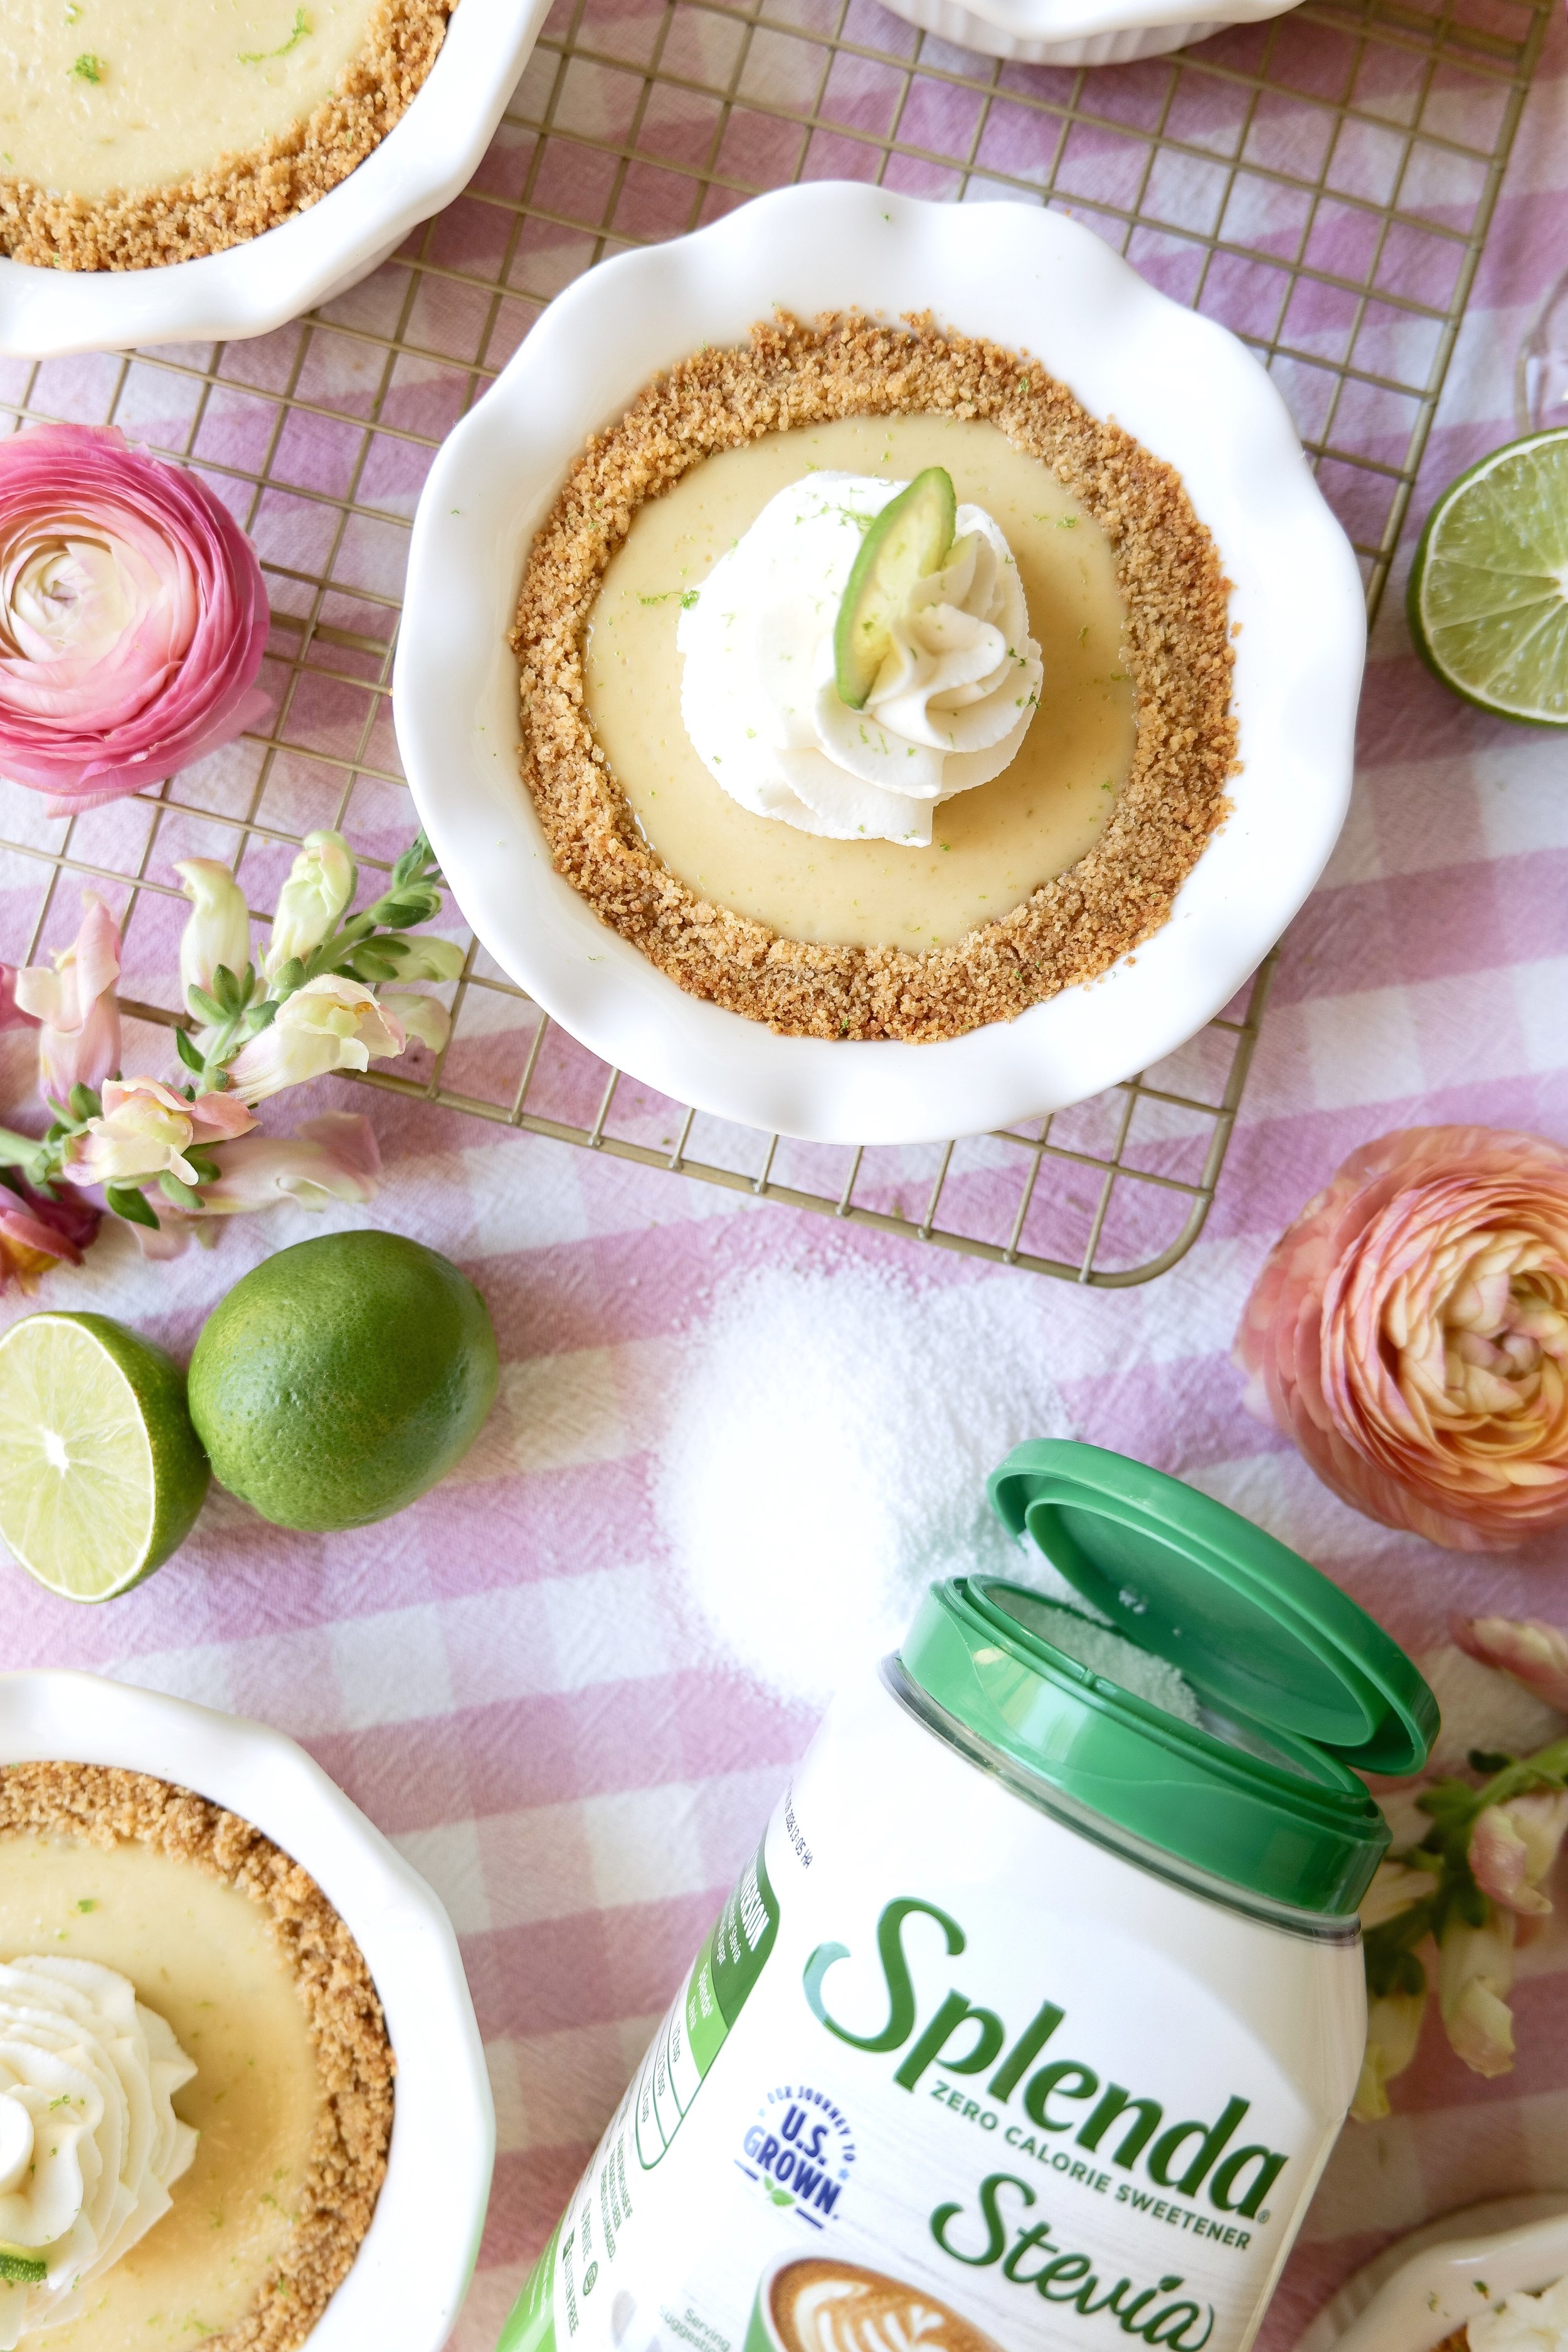
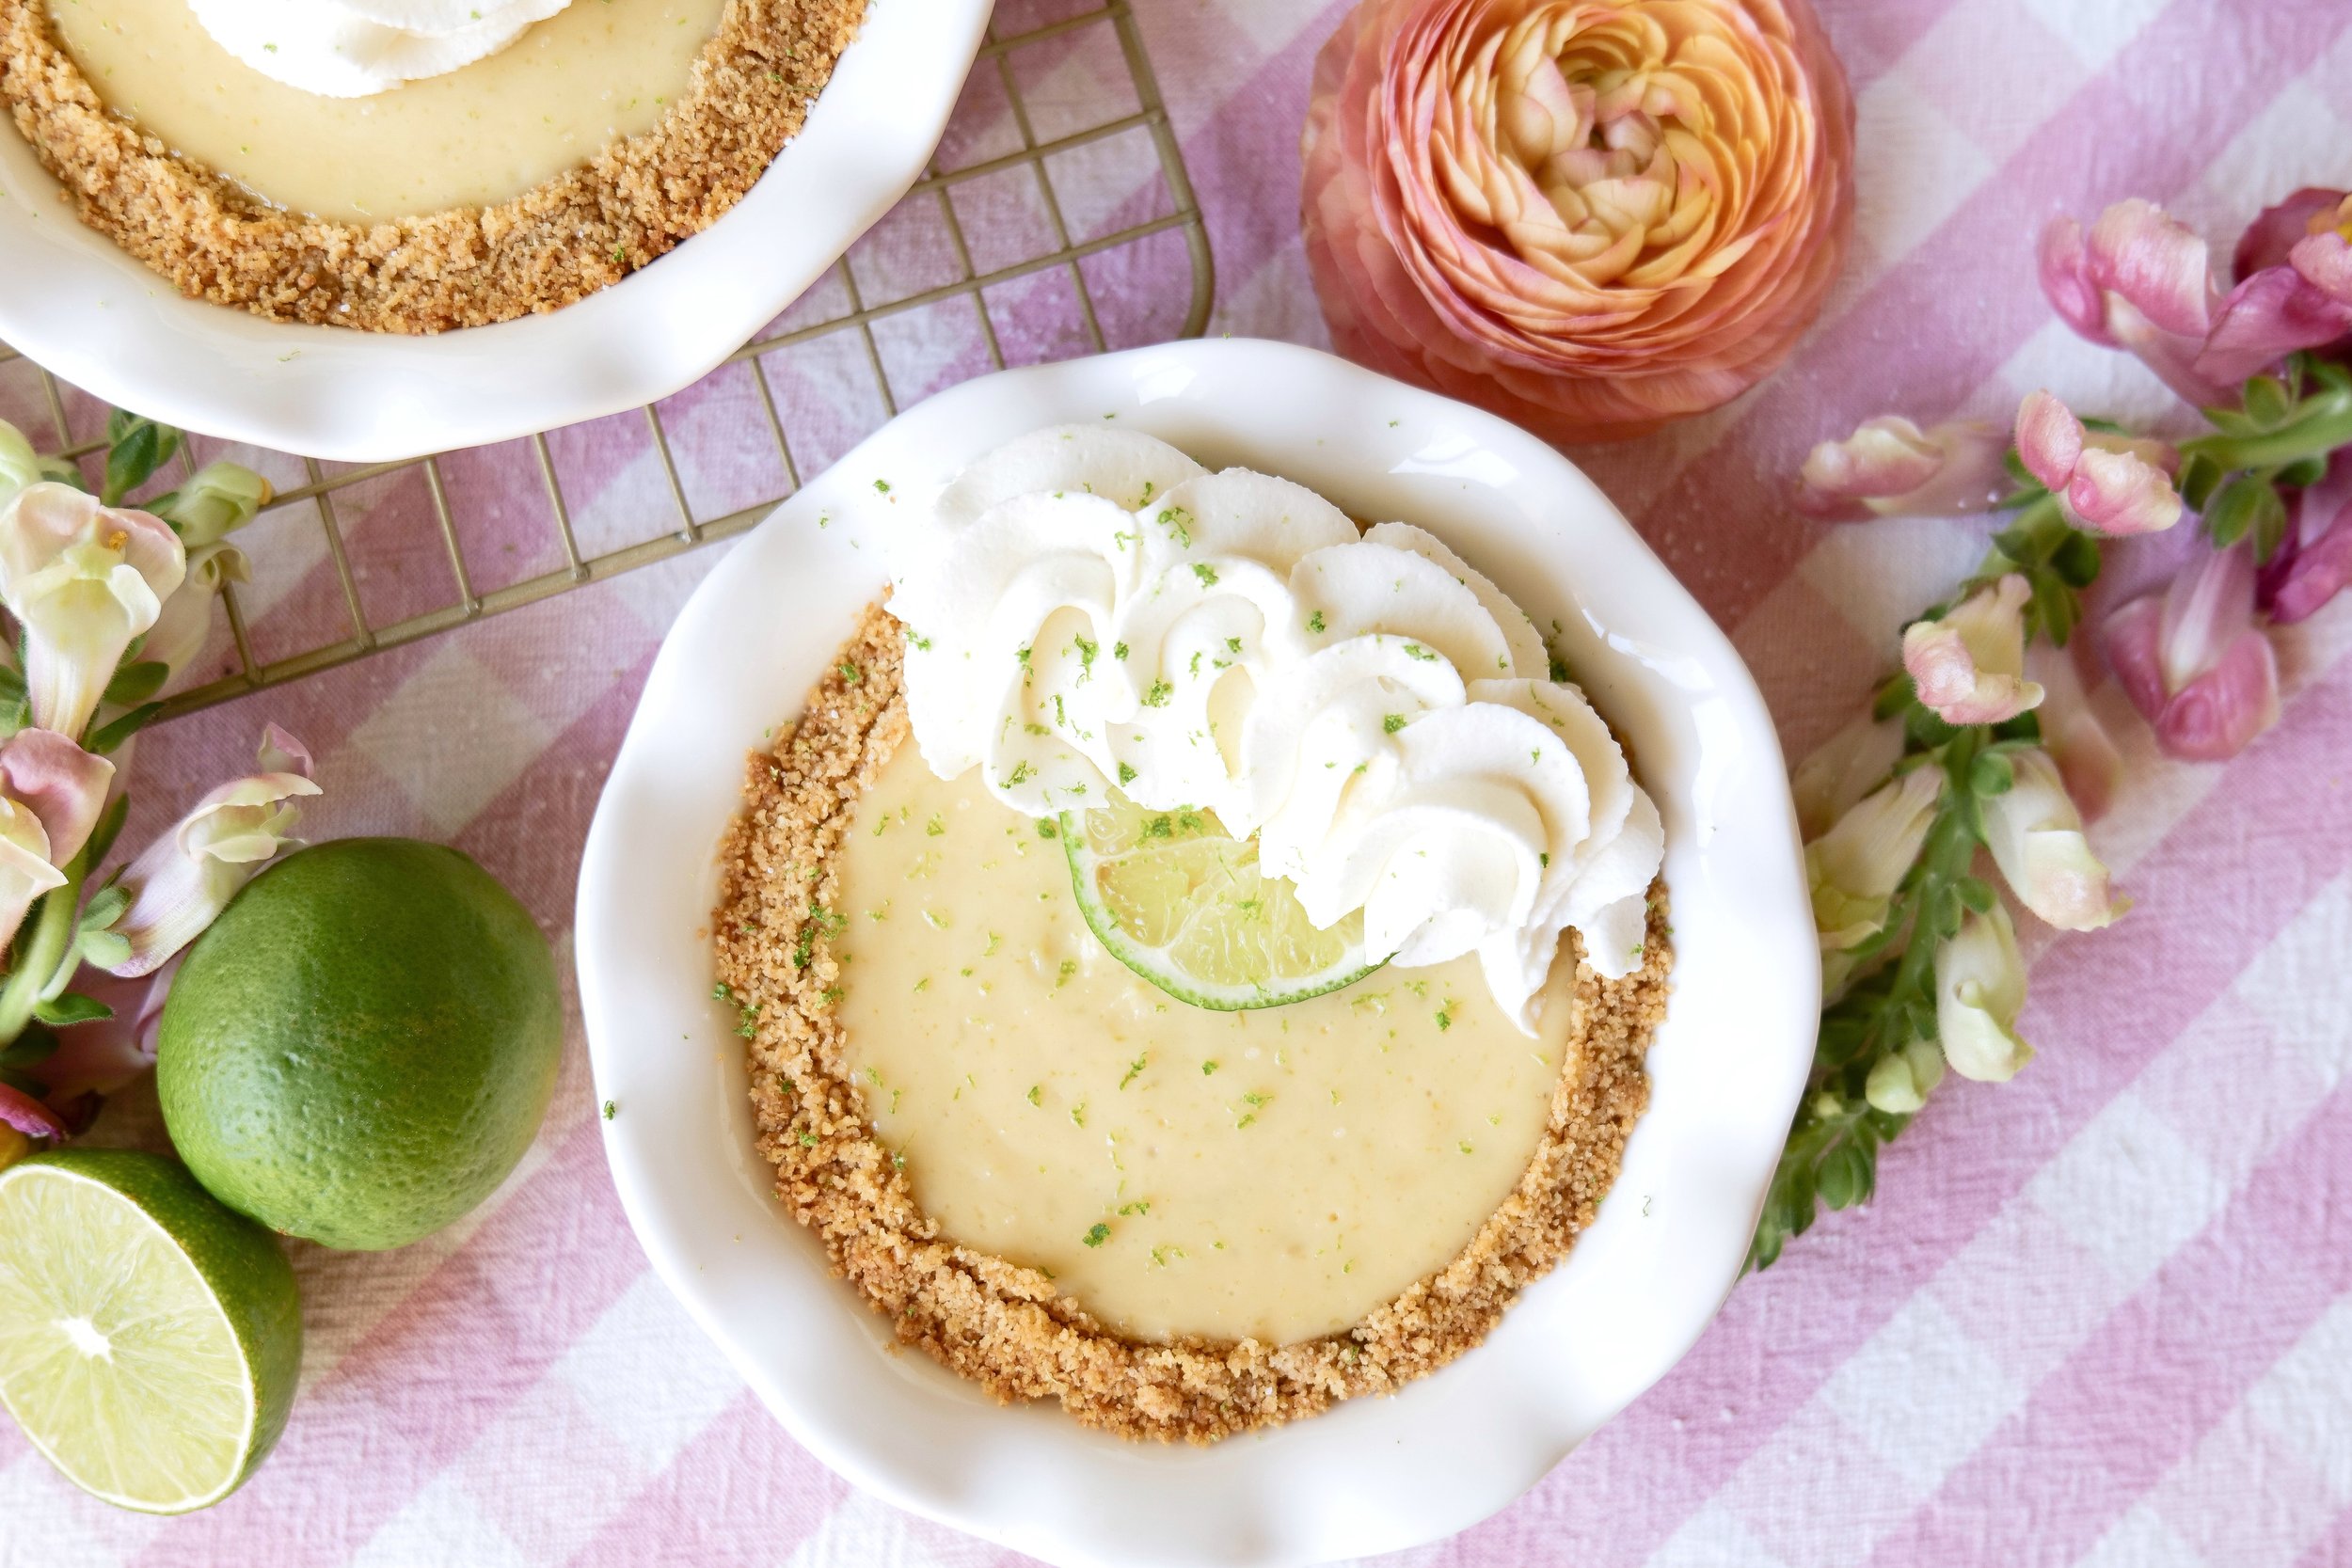
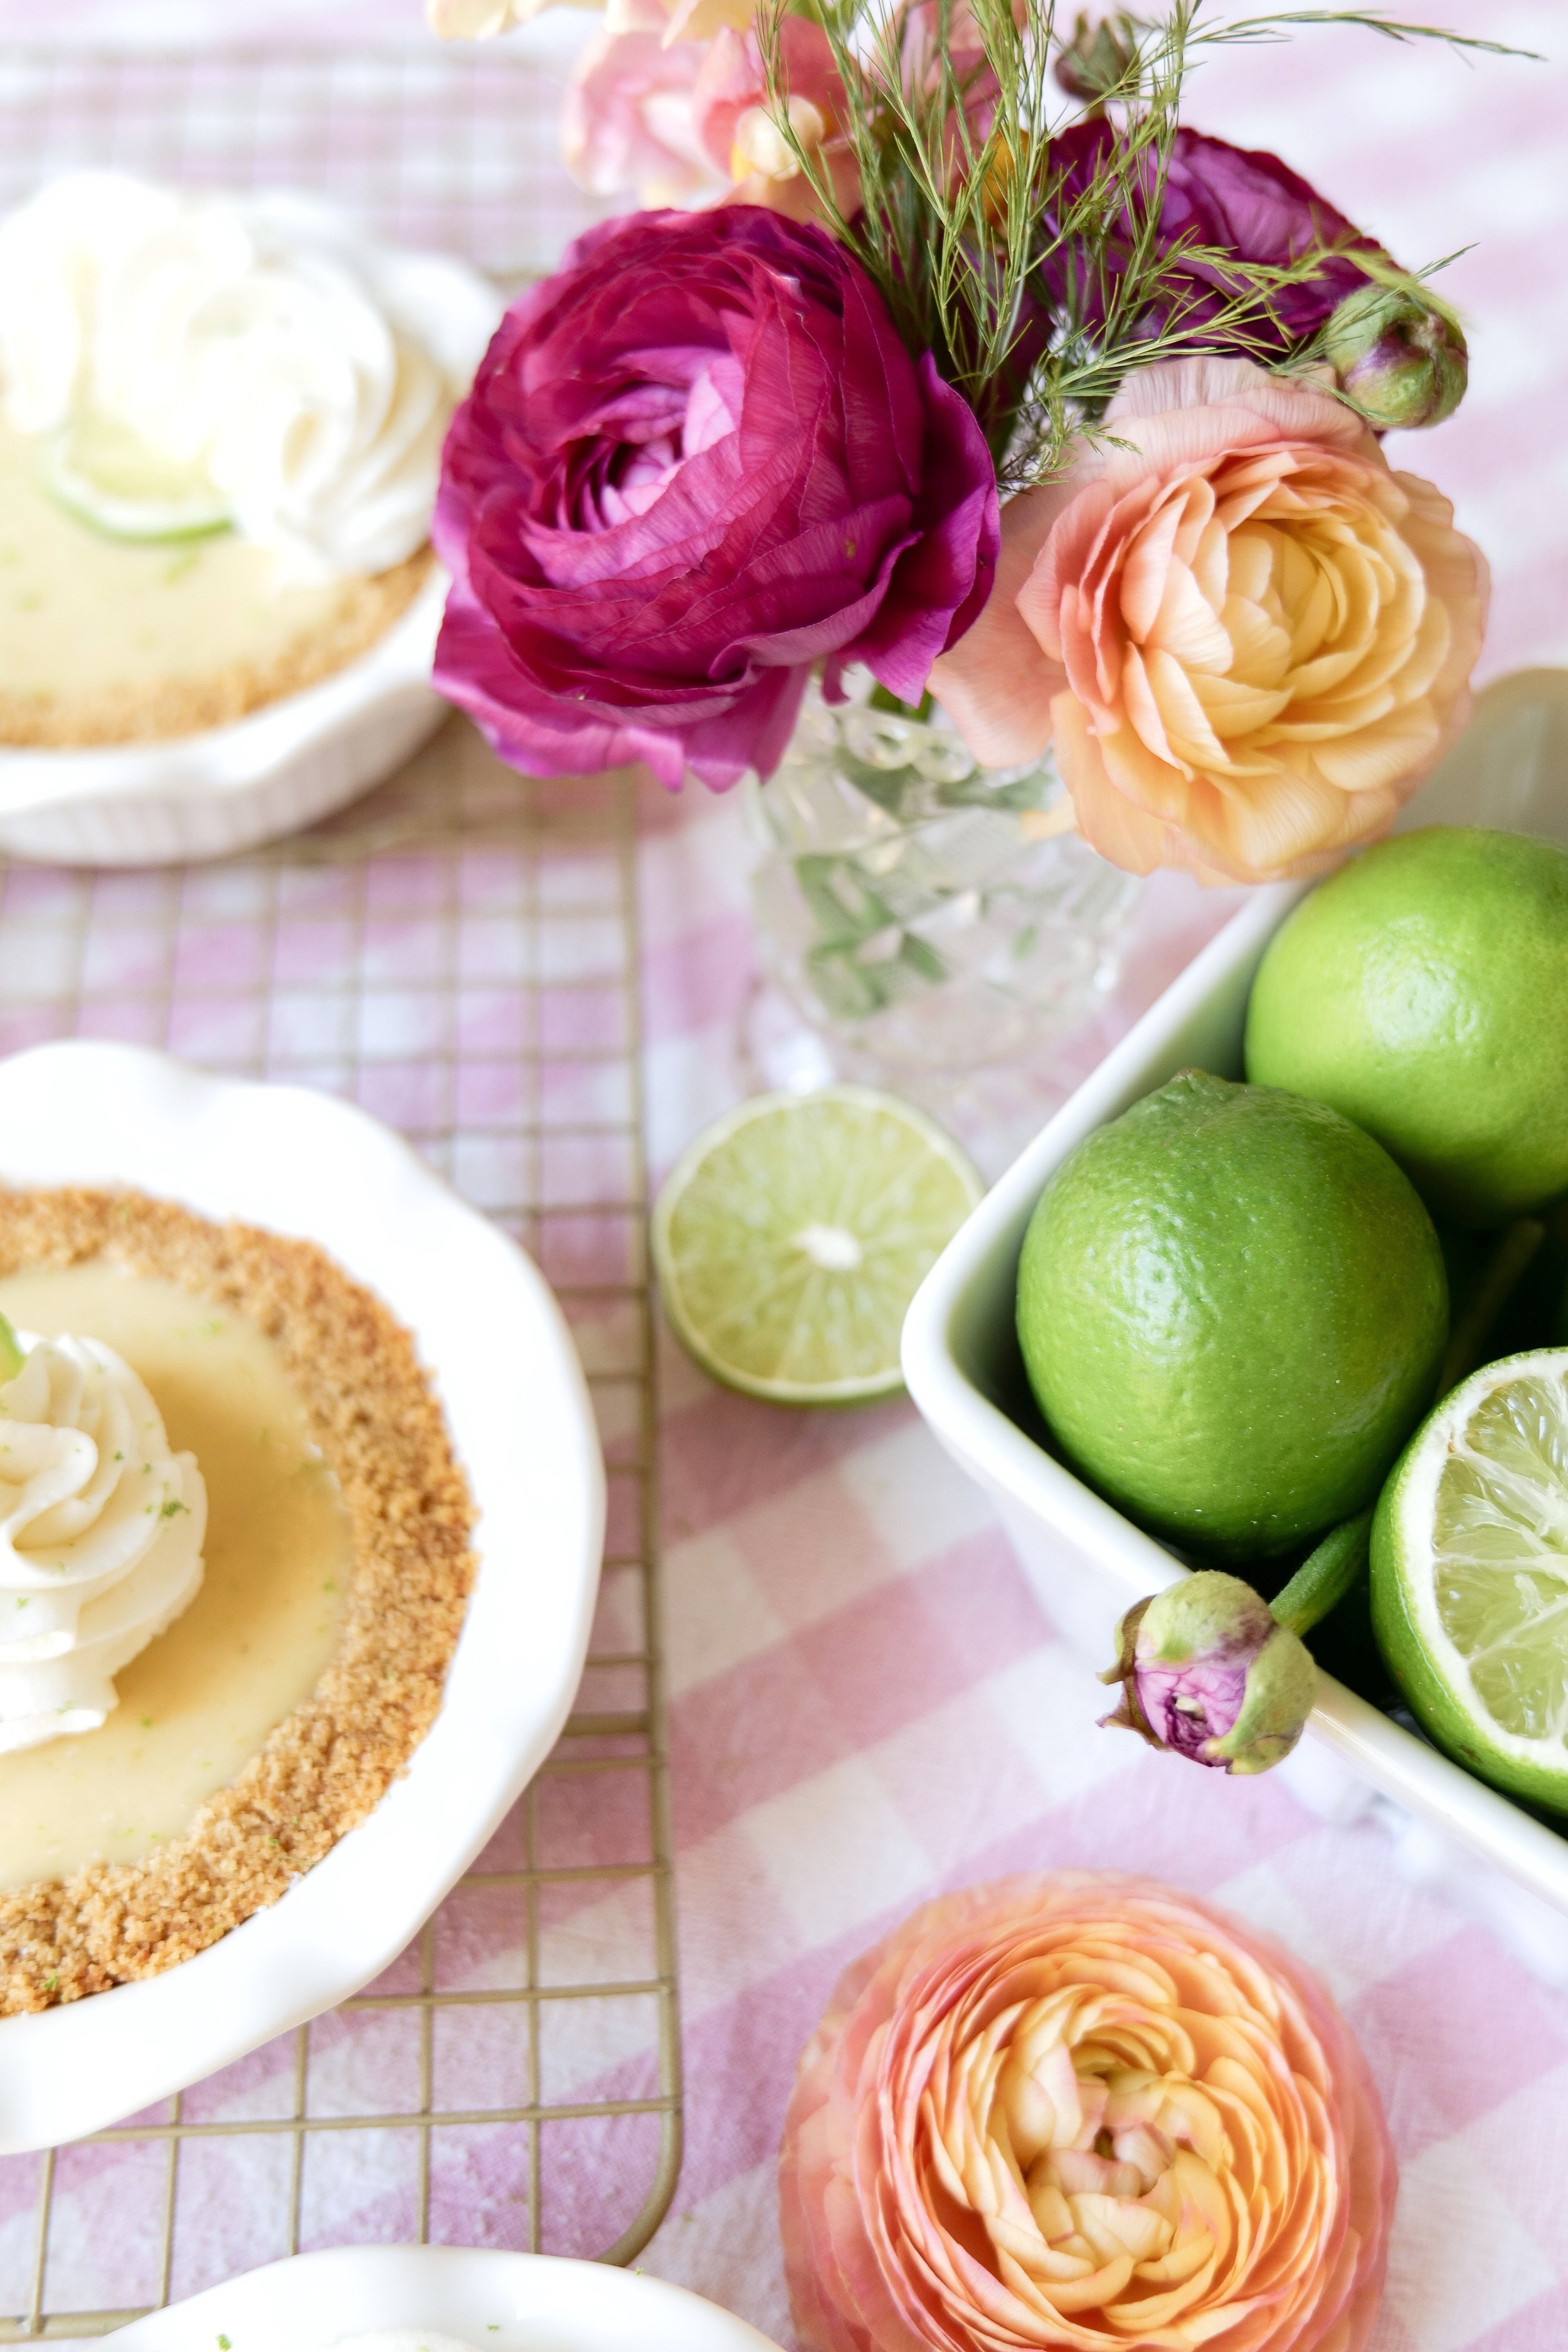
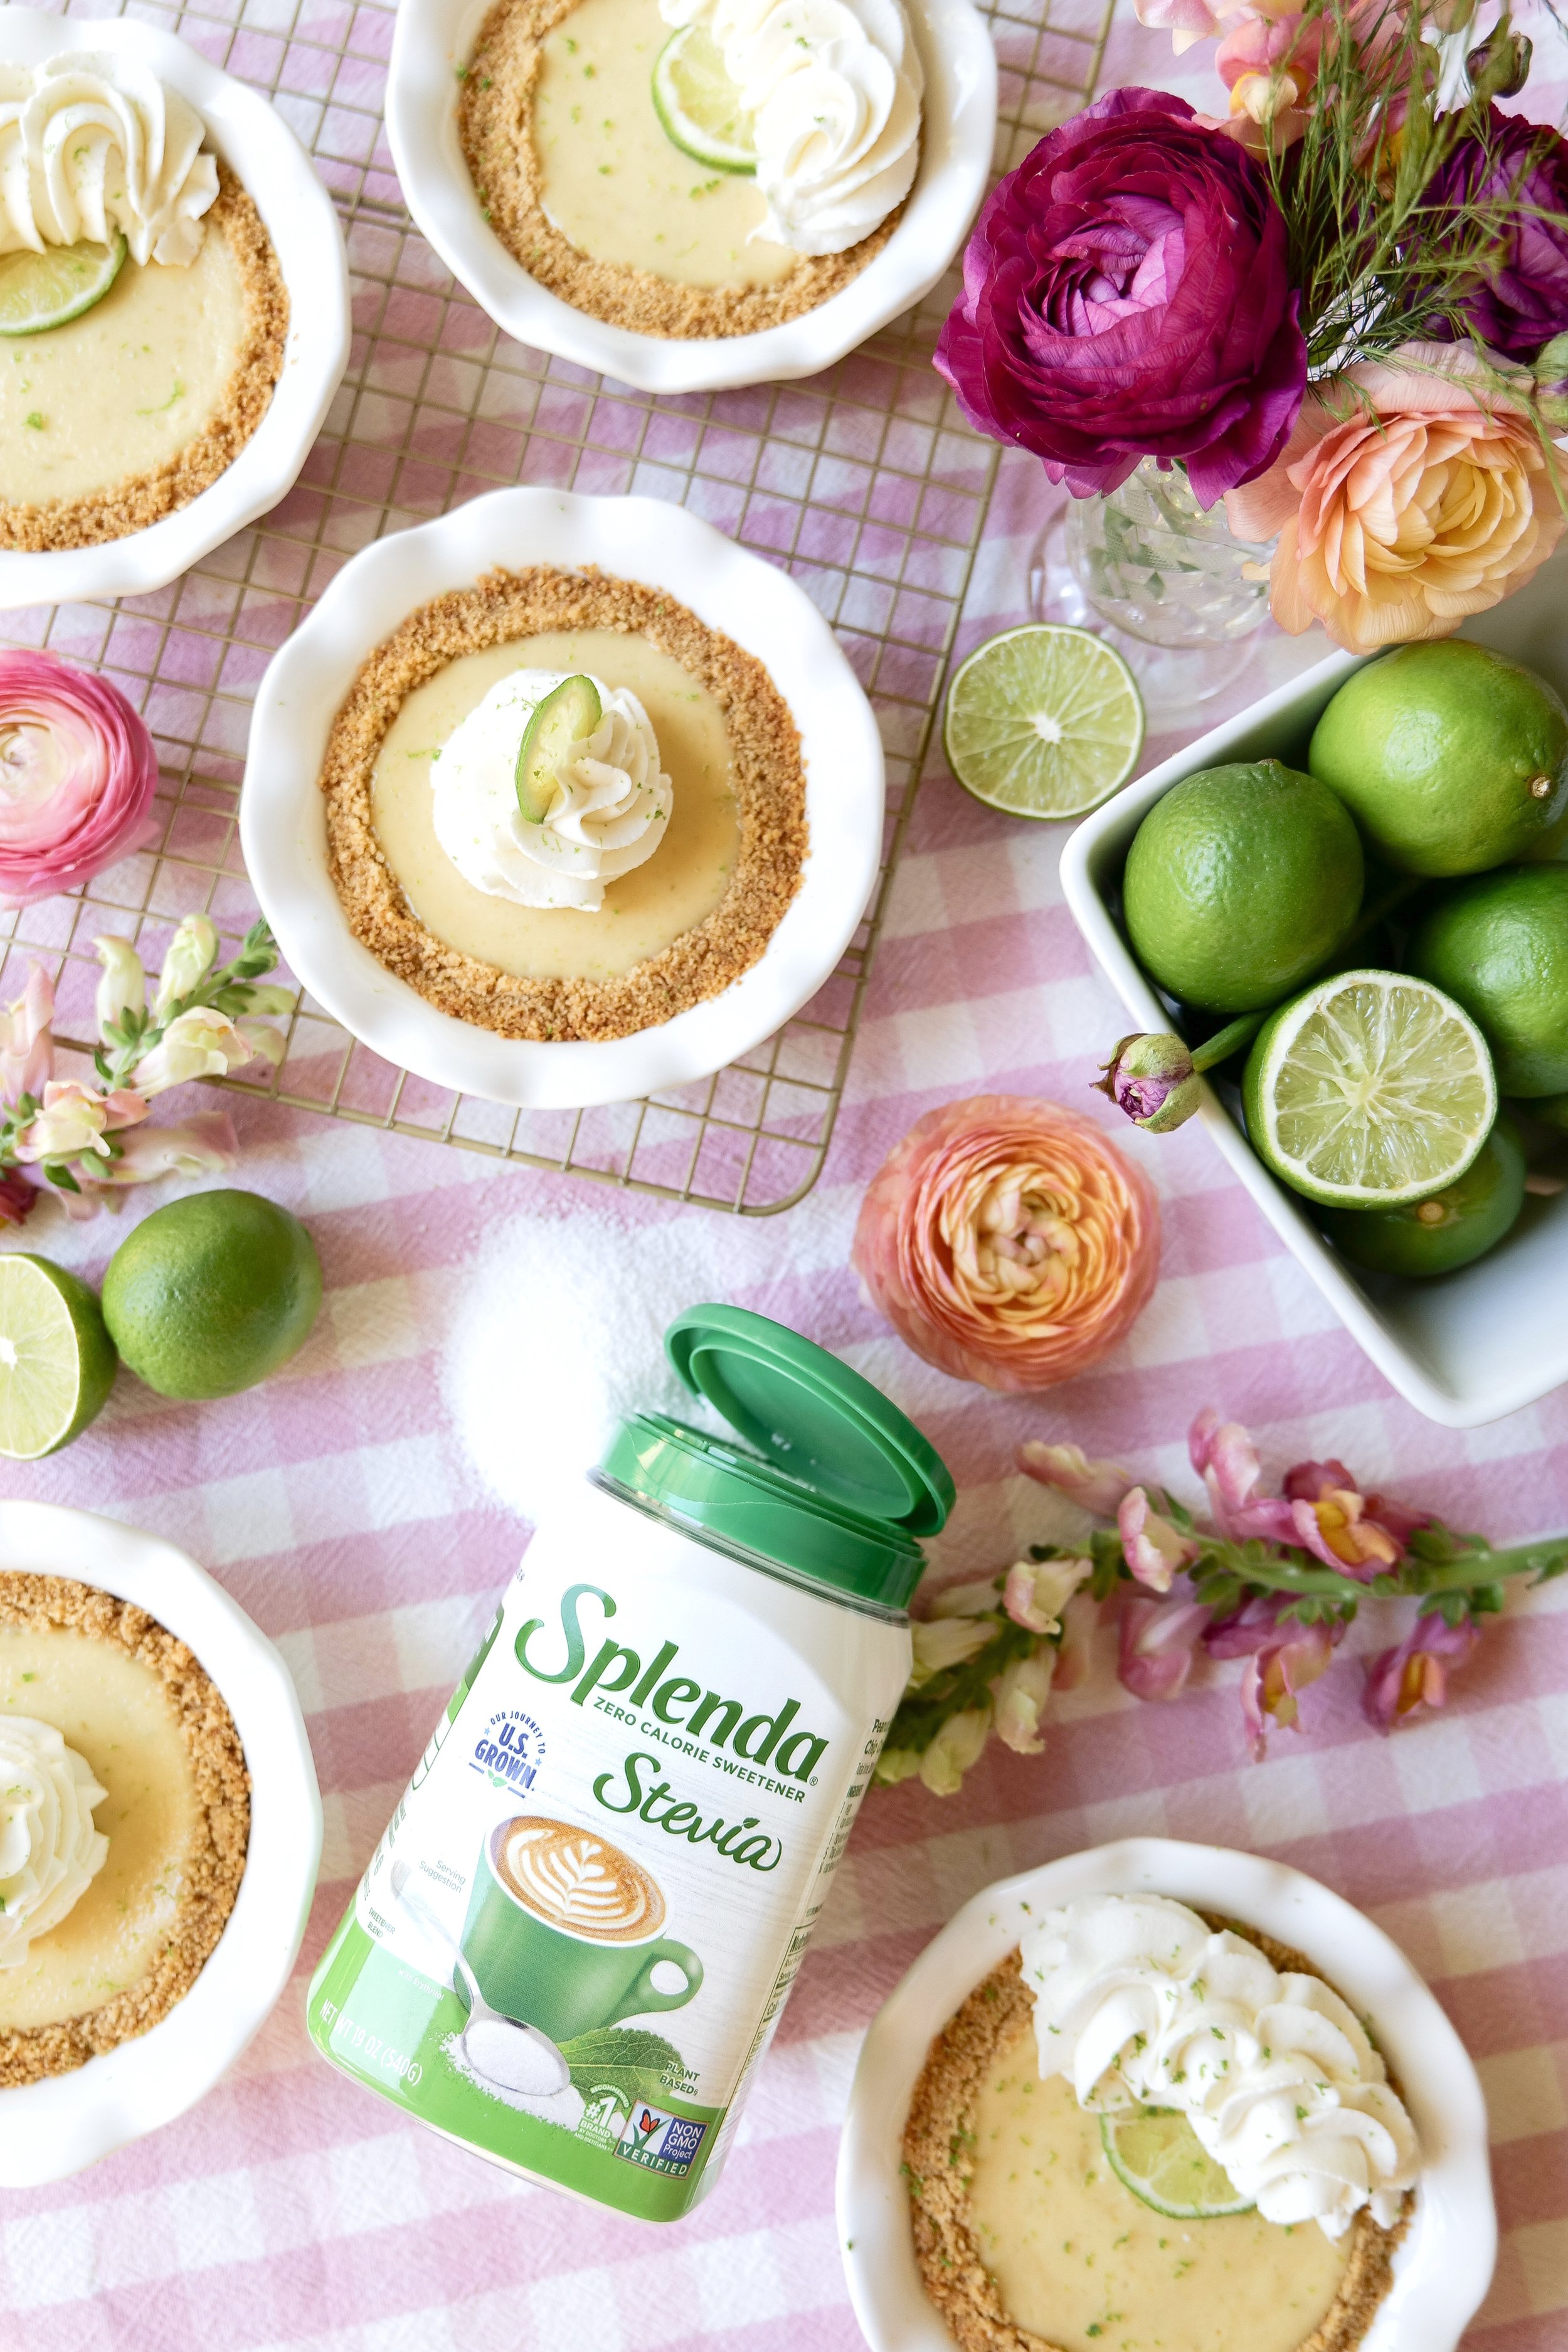
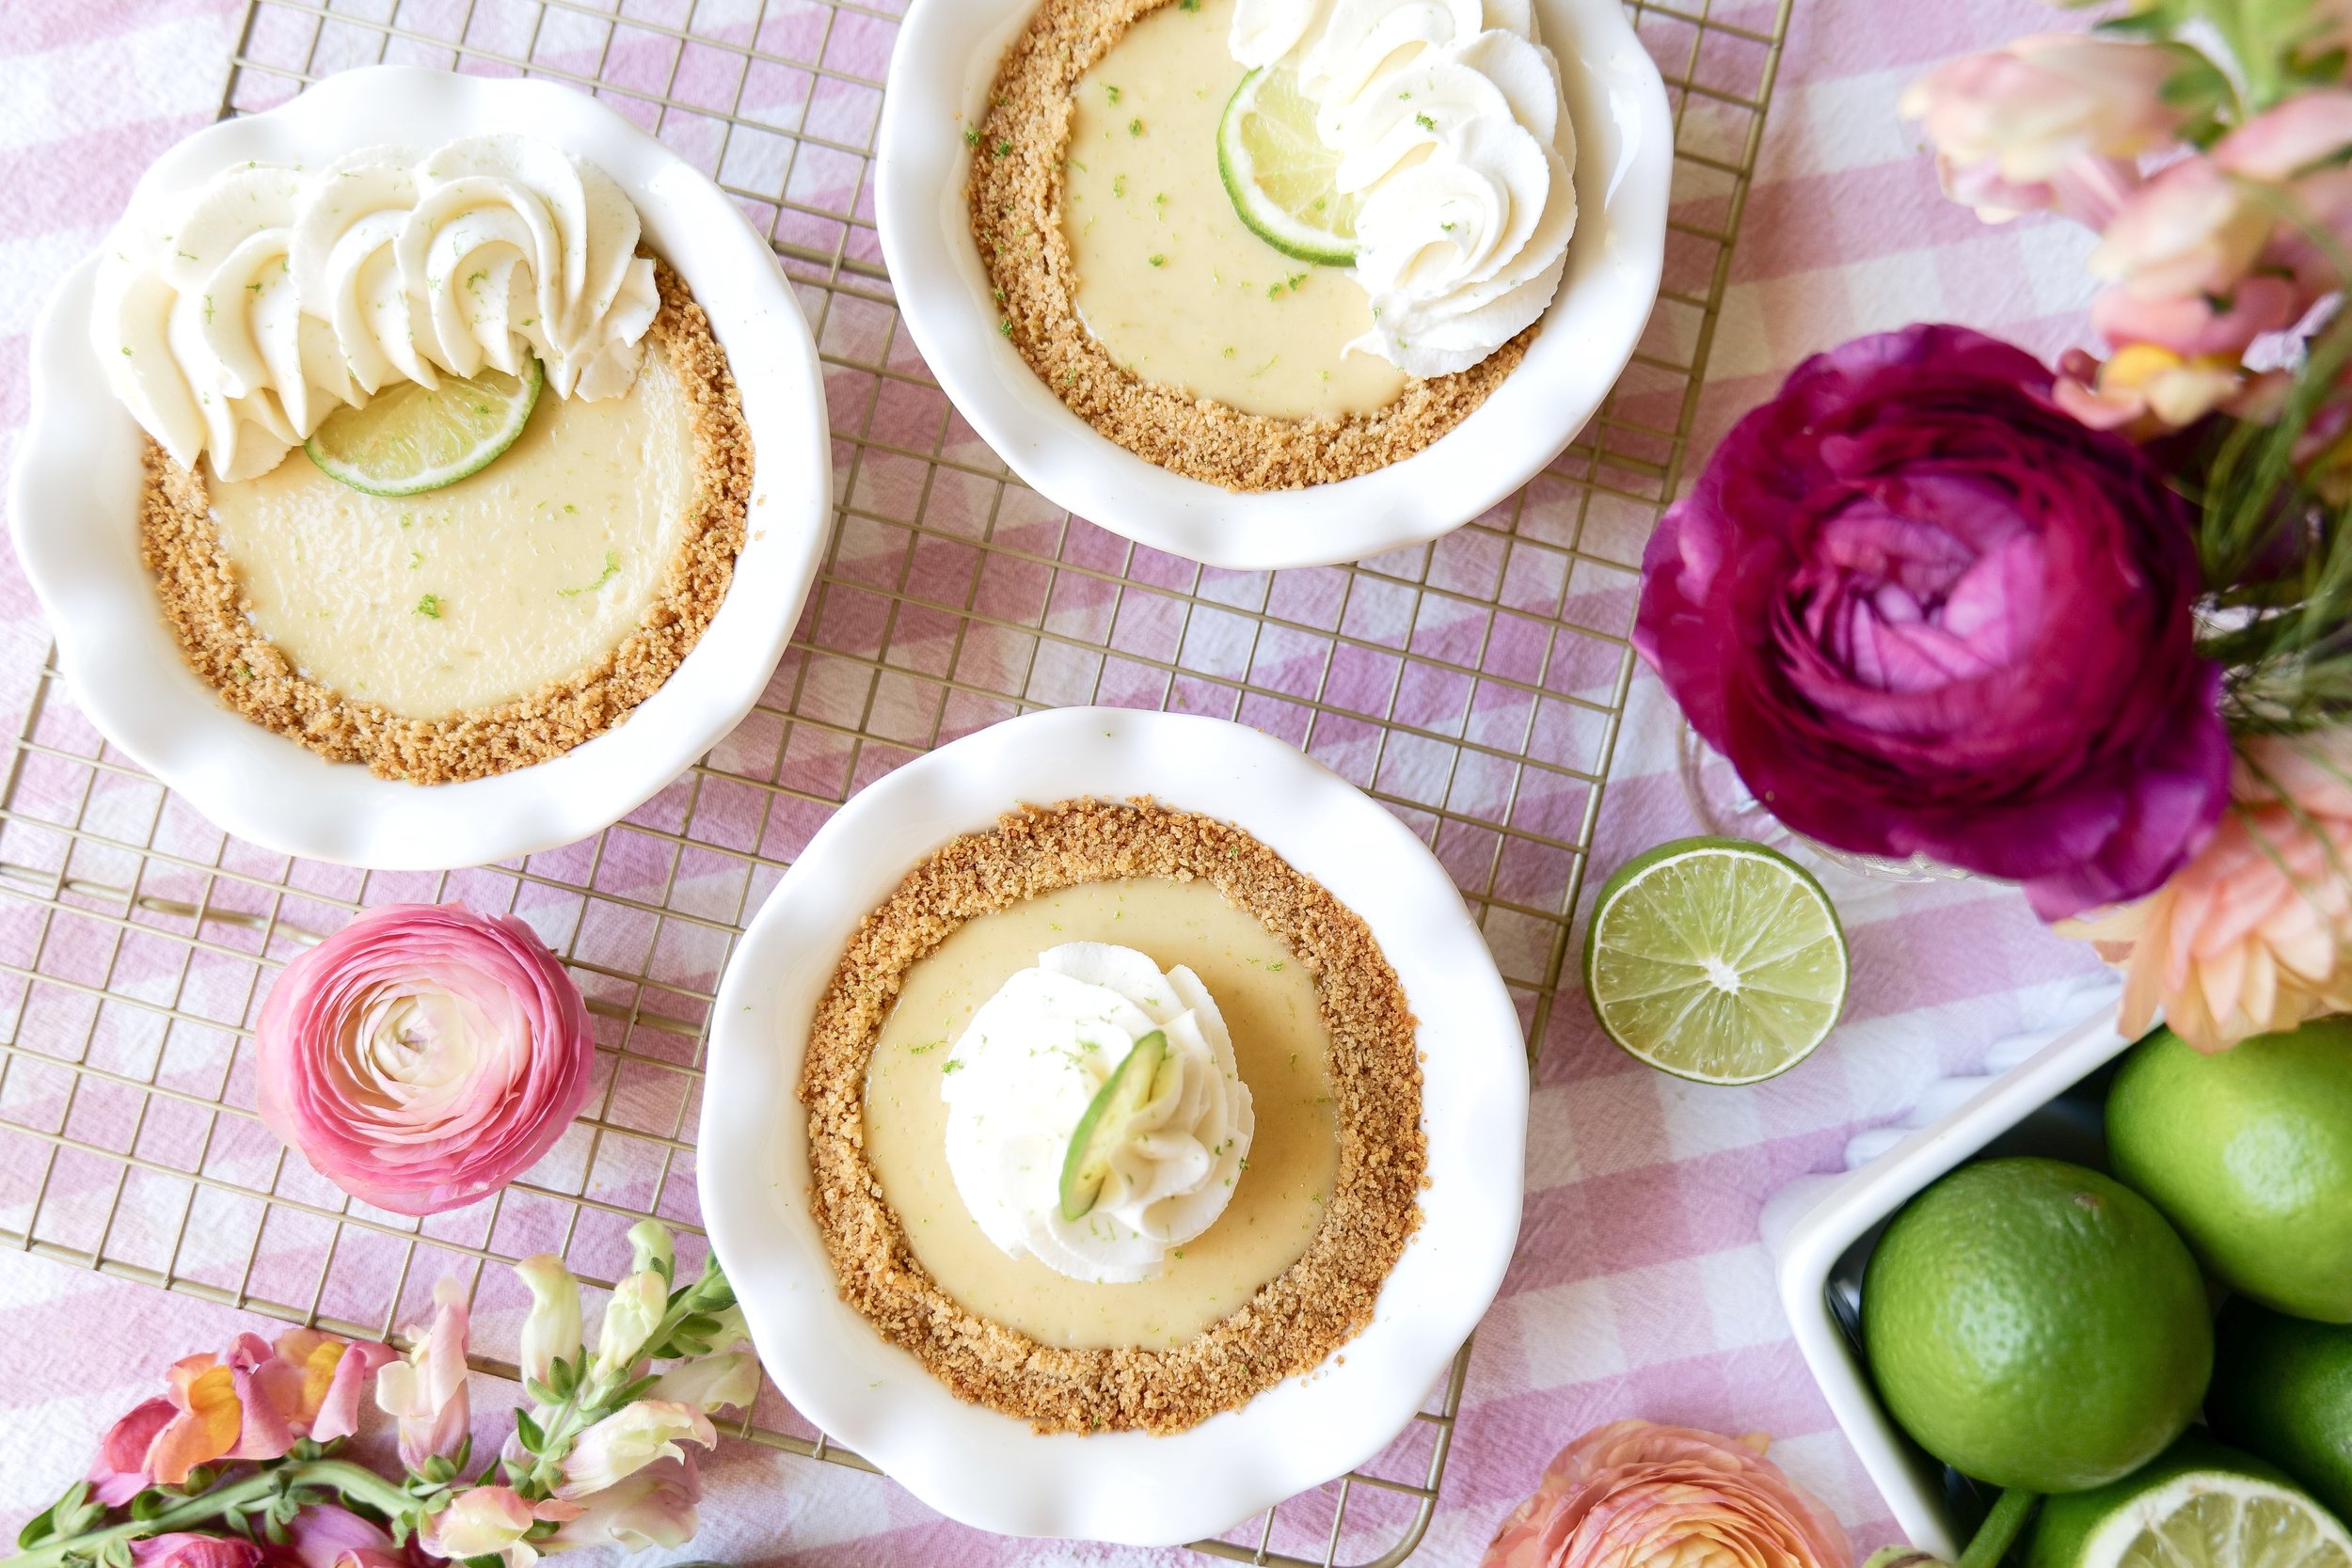
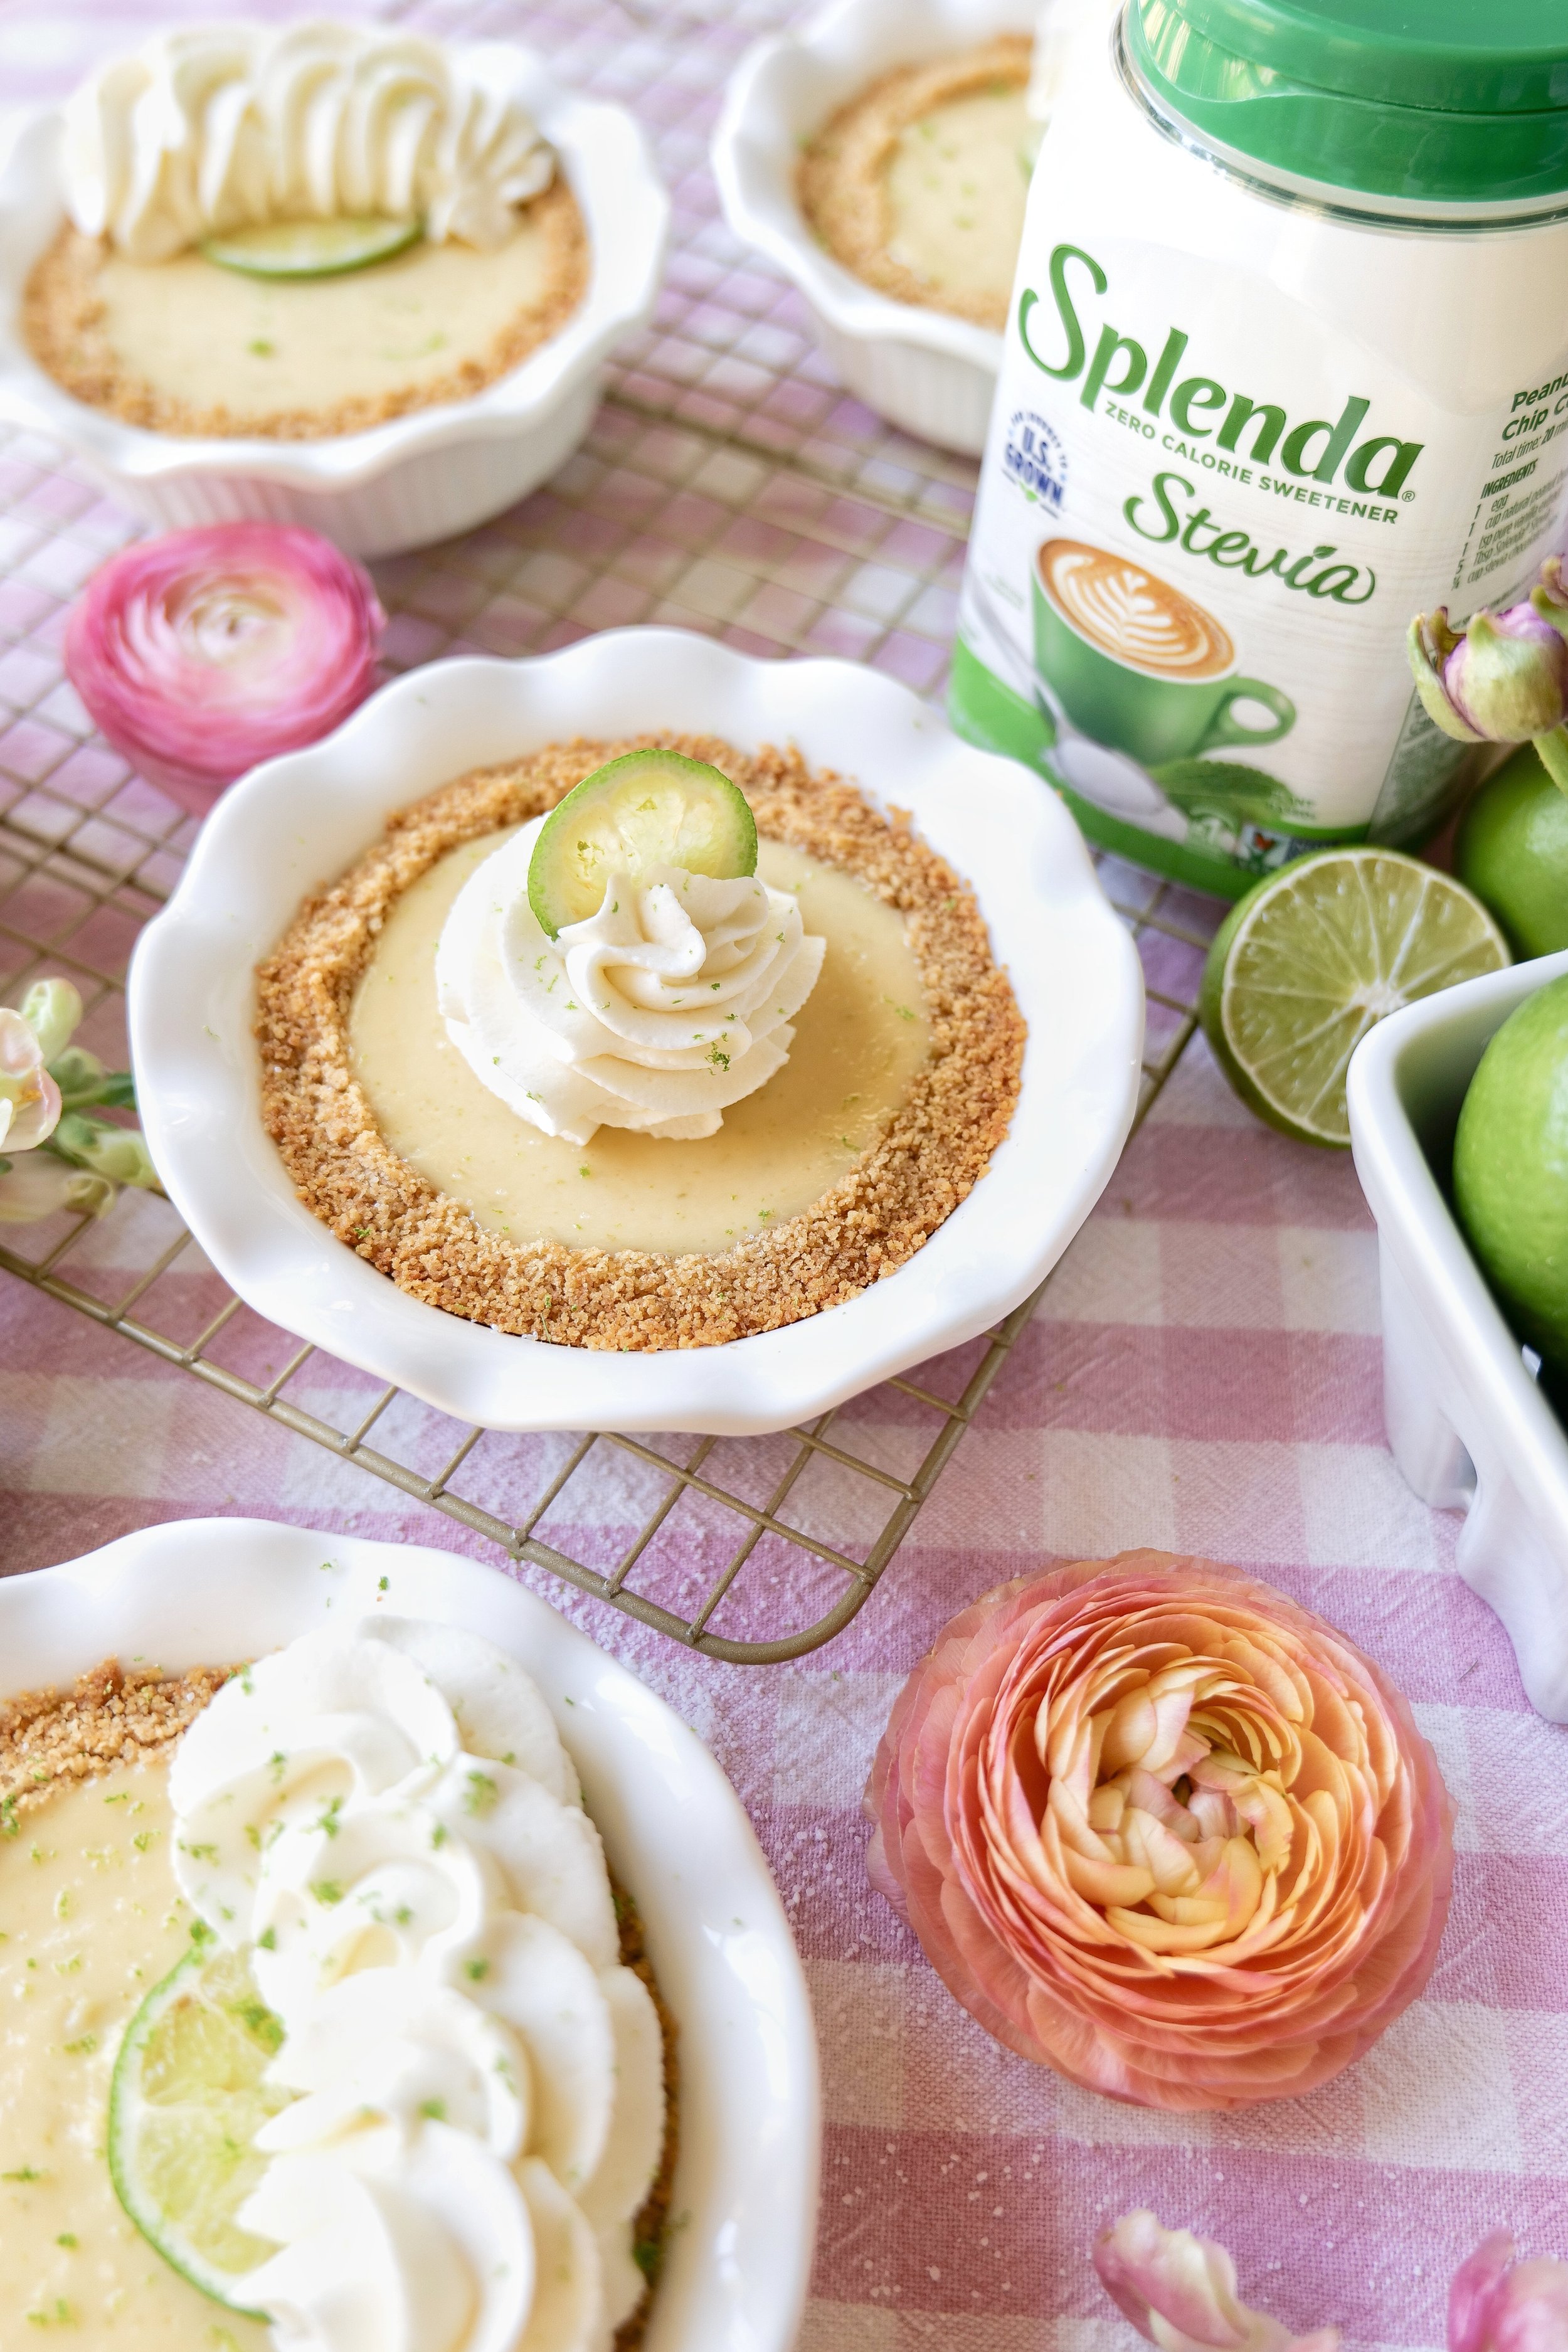
A Deliciously Sweet Treat: Mini Key Lime Pies with Splenda

When it comes to finding a deliciously light, fun, and colorful dessert, mini key lime pies made with Splenda are the perfect treat. Mini Key Lime Pies with Splenda are a delicious and sugar-free way to enjoy a classic dessert. Made with fresh lime juice and a generous helping of Splenda, these mini pies provide a guilt-free way to satisfy your sweet tooth without compromising on flavor. The tart lime flavor combines perfectly with the sweetness of Splenda, creating a flavor that won’t disappoint.

These mini pies are the perfect treat for diabetics and health-conscious individuals, as they are low in sugar but still packed with flavor. So, if you’re looking for a guilt-free dessert without compromising on flavor, then look no further than these Mini Key Lime Pies with Splenda. With a delicious taste and low sugar content, they’re sure to become a favorite in your household.

How do I store Mini Key Lime Pies with Splenda?

When it comes to storing Mini key lime pies with Splenda, there are a few key rules to follow. The pies can be refrigerated for up to one week. For longer storage, the pies can be frozen for up to one month. Be sure to label the pies with the date when they were placed in the freezer, so you can keep track of when the pies need to be eaten before going bad. Following these simple steps will ensure that your mini key lime pies with Splenda remain fresh and delicious.

Ingredients

Crust:

1.5 cups or 12 sheets of crumbled gram crackers

6 tbsp melted butter

2 tablespoons Splenda

Filling:

8oz cream cheese

1 can condensed milk, sweetened

2 large egg yolks

3/4 cup lime juice

1 tbsp lime zest

1/2 tsp Splenda

1 tsp vanilla

Whipped Topping:

2 cups cold heavy whipping cream

1 cup Splenda

1 teaspoon vanilla extract

Directions

1. Preheat oven to 350 degrees and oil pie pans.

2. Mix together crust ingredients, graham crackers, melted butter and Splenda. Portion out into 6 individual pies pans and press down on the bottom and around sides to form into pans. Bake in the oven for 5-7 minutes or until golden brown.

3. While crust bakes make filling. Blend cream cheese with a hand mixer until smooth. Add in egg yolks and blend again until fully incorporated. Add in remaining ingredients; condensed milk, lime juice, Splenda and vanilla until all mixed and fully blended.

4. Once the crust is done baking remove from the oven and let come to room temp. Then add in filling to each pan. Place back in the oven to bake for another 15-17 minutes or until the filling is set. Remove from oven and let come to room temperature. Place in refrigerator for at least 4 hours or overnight.

5. Before serving top the pie with homemade whipped cream. With an electric hand mixer set on high blend the whipping cream, Splenda monk fruit, and vanilla extract. (to make Splenda into powdered sugar consistency you will mix in blender on high until powdered sugar consistency forms). Whip until peaks form and add to key lime pies. Top with a lime wedge and/or lime zest and serve.

Using Splenda instead of sugar in Mini Key Lime Pie recipes will ensure that the dish maintains its sweet, tangy flavor without sacrificing flavor or texture. Splenda is a versatile sweetener that can be used in a variety of recipes and is a great way to reduce the sugar content of a Mini Key Lime Pie. The best part about Splenda is that it can help you enjoy all the flavor of a Mini Key Lime Pie without the guilt of consuming too much sugar.

Other Delicious Desserts Made with Splenda:

Banana Cake made with Brown Butter Frosting

Raspberry Low Sugar Scones made with Splenda