Deliciously Good Brown Butter Pumpkin & Chocolate Chip Oatmeal Pazooki
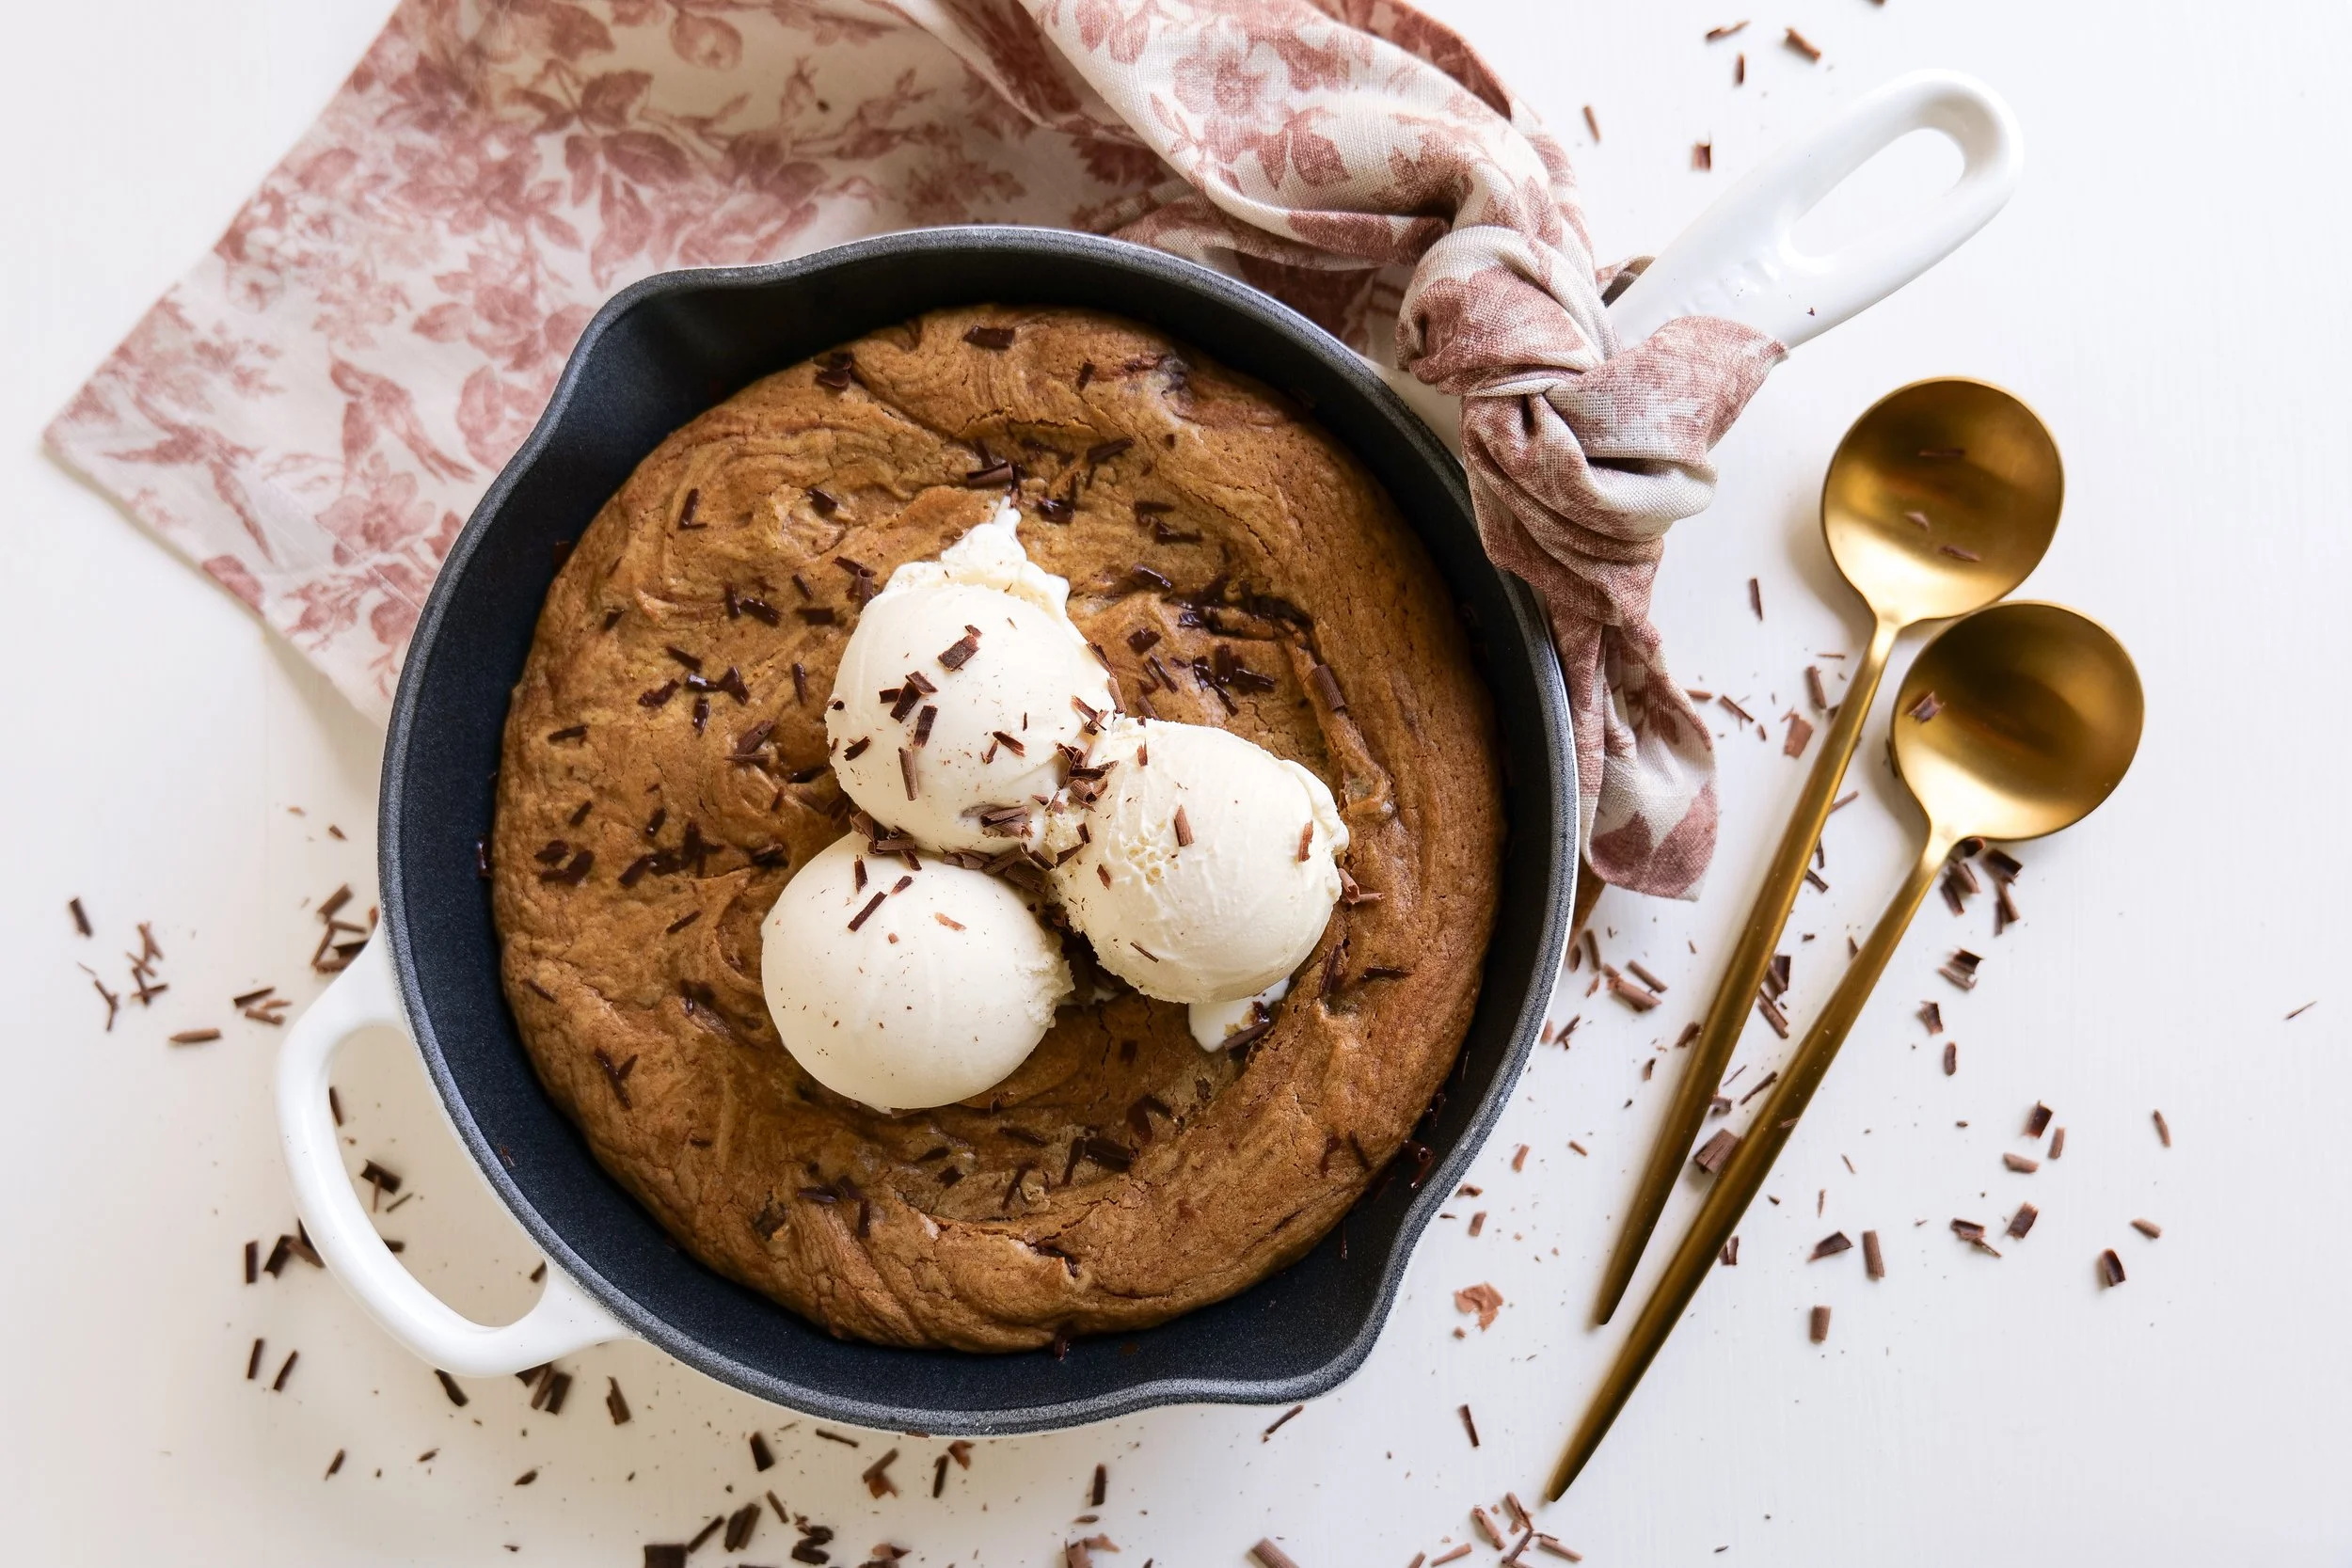
If you’re looking for a dessert that not only sings with autumn flavors but also provides a deeply satisfying, warm experience, then look no further than the brown butter pumpkin chocolate chip oatmeal pazooki. This cookie treat combines the unbeatable flavors of nutty brown butter, pumpkin, hearty oats, and sweet chocolate chips. The pazooki is a what I'd call a hybrid dessert, as it's a yummy cross between a cookie and a pizza, usually baked in a skillet and topped with ice cream. This treat is an indulgent, gooey delight that makes the perfect dessert anytime of the year. Get ready to fall in love with this fall take on a classic comfort dessert.

The combination of brown butter, pumpkin, and chocolate chip oatmeal creates an exceptional flavor profile that hits all the right notes. When you brown butter, which is one of my all-time favorite dessert tastes, you’re essentially caramelizing the milk solids, which lends a rich, nutty aroma and depth that for this recipe pairs perfectly with the earthy sweetness of pumpkin. This combination produces a unique taste experience that’s both indulgent and comforting. Brown butter is a game-changer in baking. By cooking the butter until it's golden brown it elevates any dessert to gourmet status. Incorporating brown butter into our pumpkin chocolate chip oatmeal pazooki ensures that every bite is a little bit of heaven.

Pumpkin puree captures the essence of fall with its warm, familiar flavor. The inclusion of pumpkin in these cookies makes them perfect for fall gatherings or warm cozy nights in. The warm spices and ingredients make this pazooki the ultimate in cozy comfort food.

Adding oatmeal to these cookies isn't just for the texture, but also for their nutritional value. Oatmeal enriches the cookies with a hearty texture while providing a boost of fiber, making each bite not just delightful but somewhat wholesome. Oats bring a chewy texture to the cookies that balance the gooeyness of the chocolate chips and the softness of the pumpkin. They also introduce their own well-balanced flavor that ties everything together. Oatmeal transforms this dessert into a more complex yet balanced treat that feels both indulgent and wholesome.

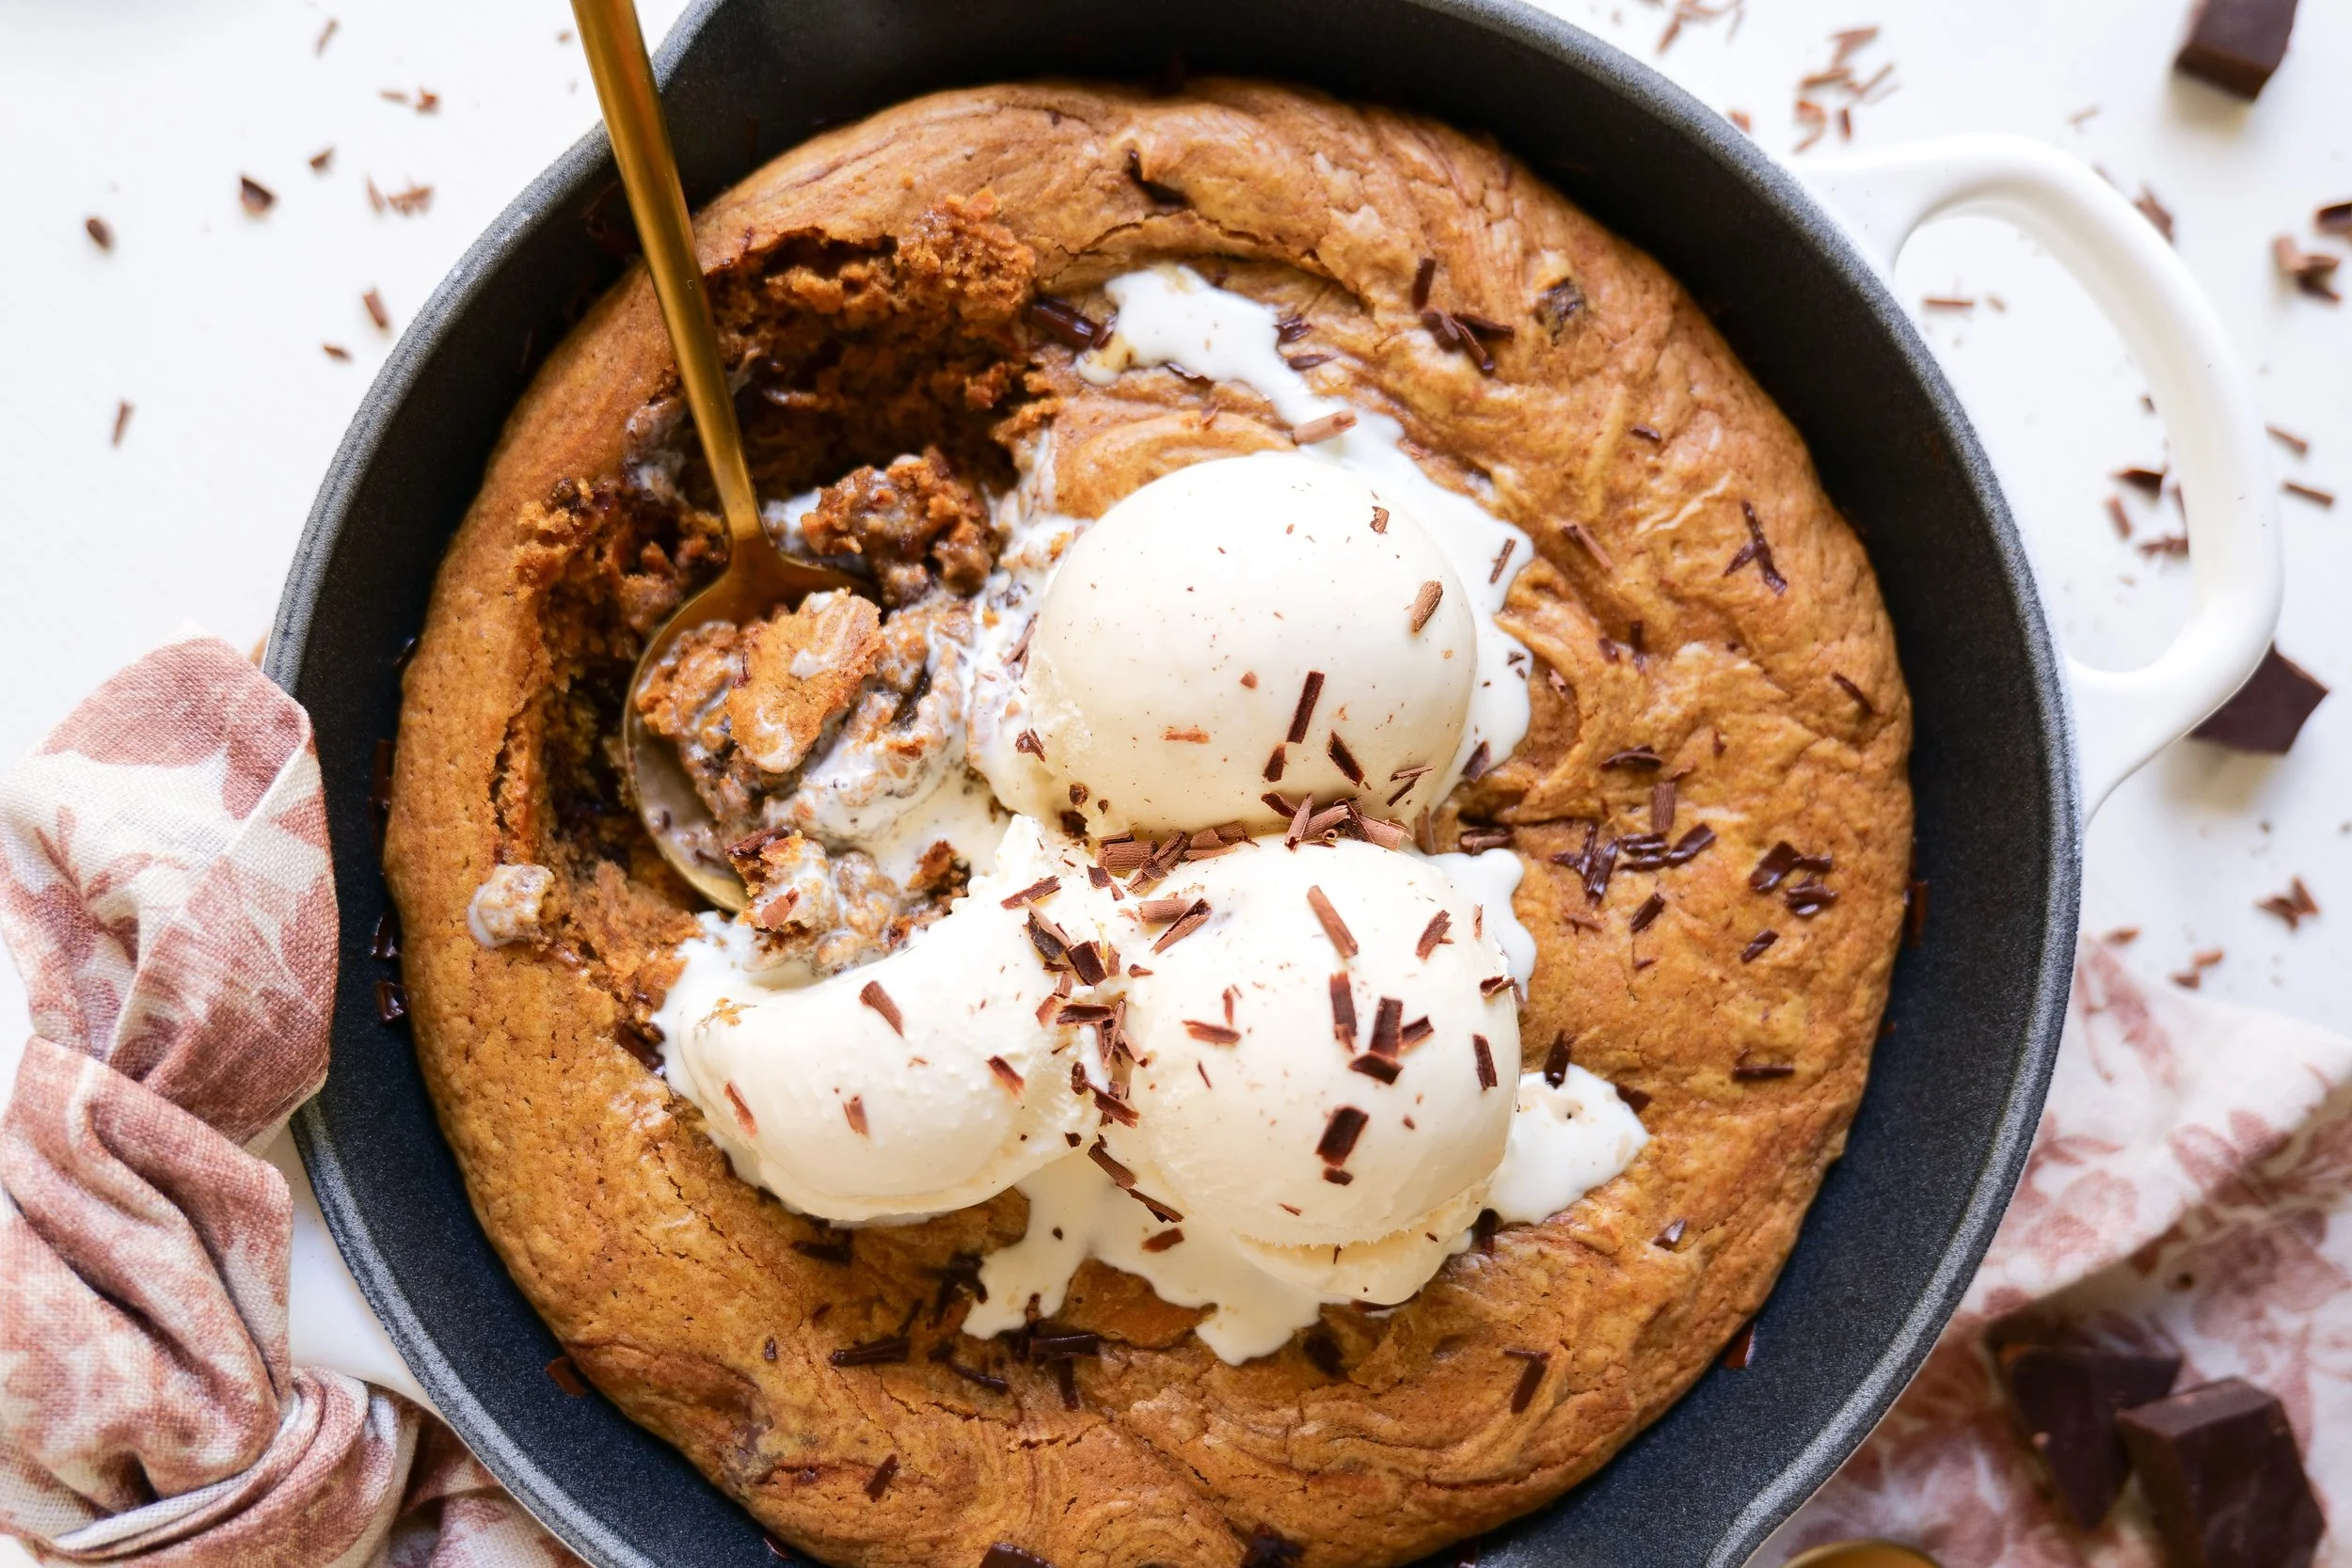
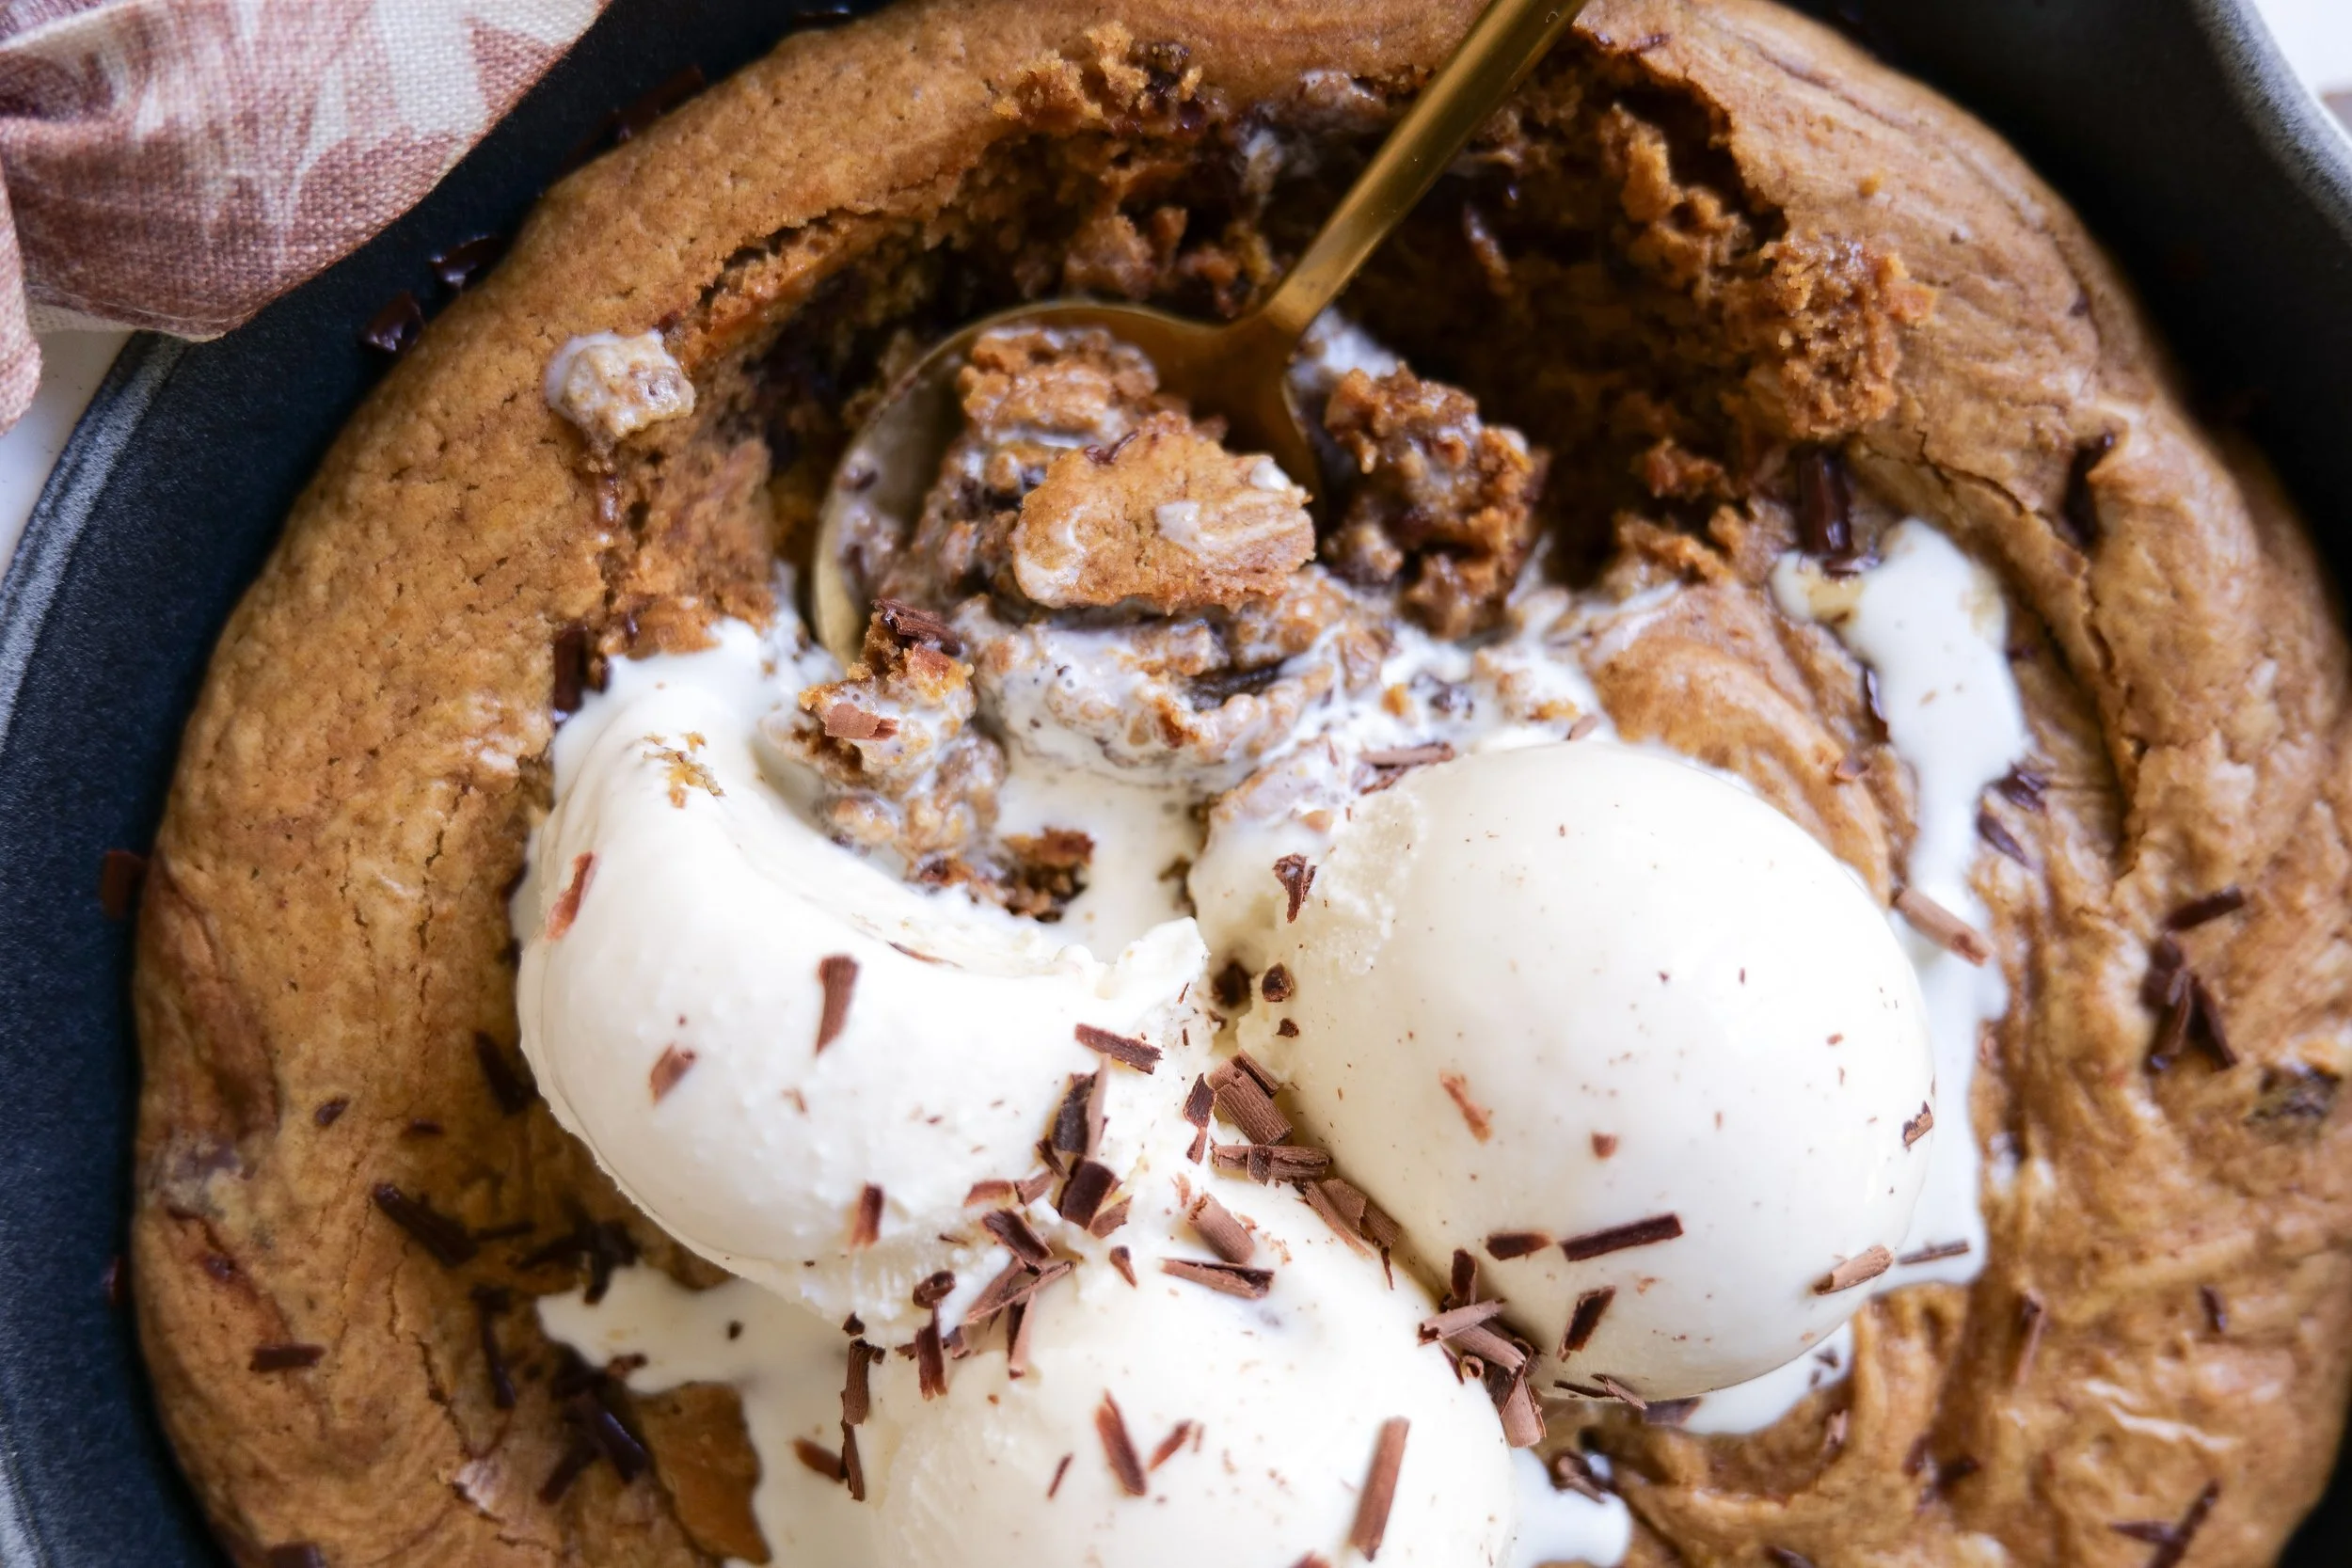
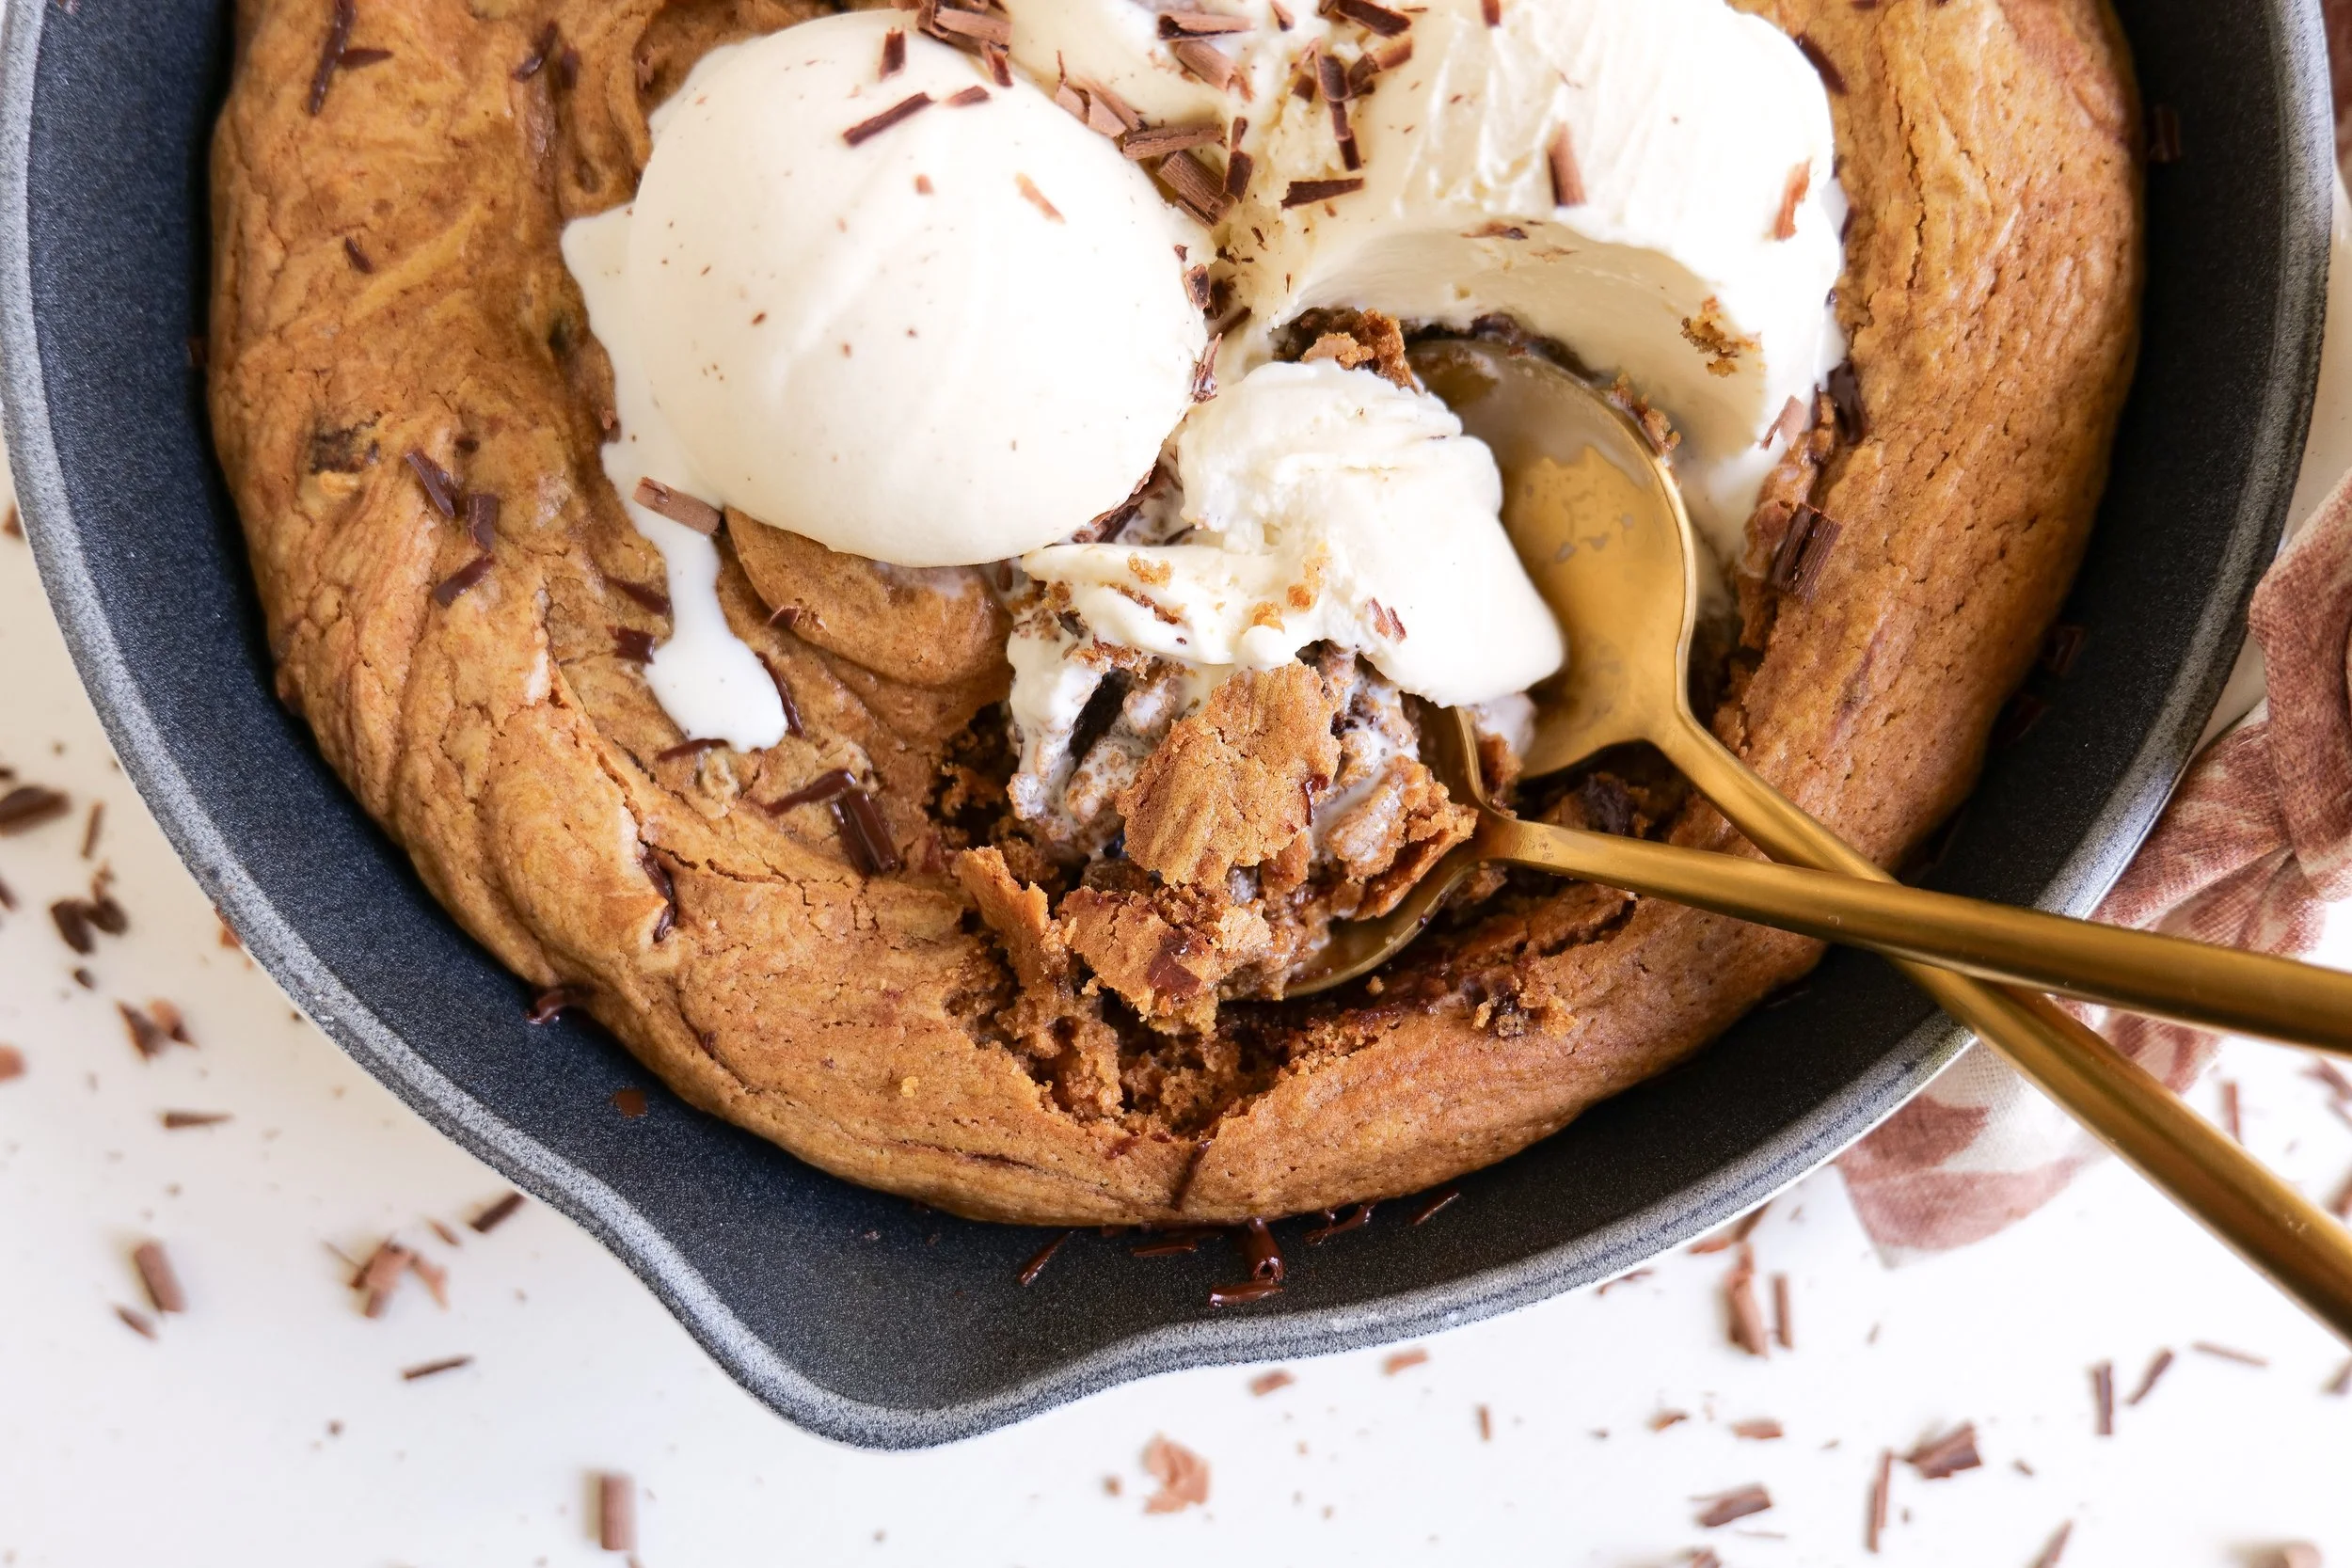
The goal in creating these cookies is to achieve a perfect balance of textures. We want crispy edges and a gooey, melty center. The chocolate chips not only add sweetness but also contribute to the ideal gooey texture that makes this dessert so irresistible. Creating the perfect texture starts with the right ingredients and techniques. Using high-quality chocolate chips ensures they melt beautifully, while proper baking techniques help maintain the gooey core.

Endless Possibilities & Baking Tips

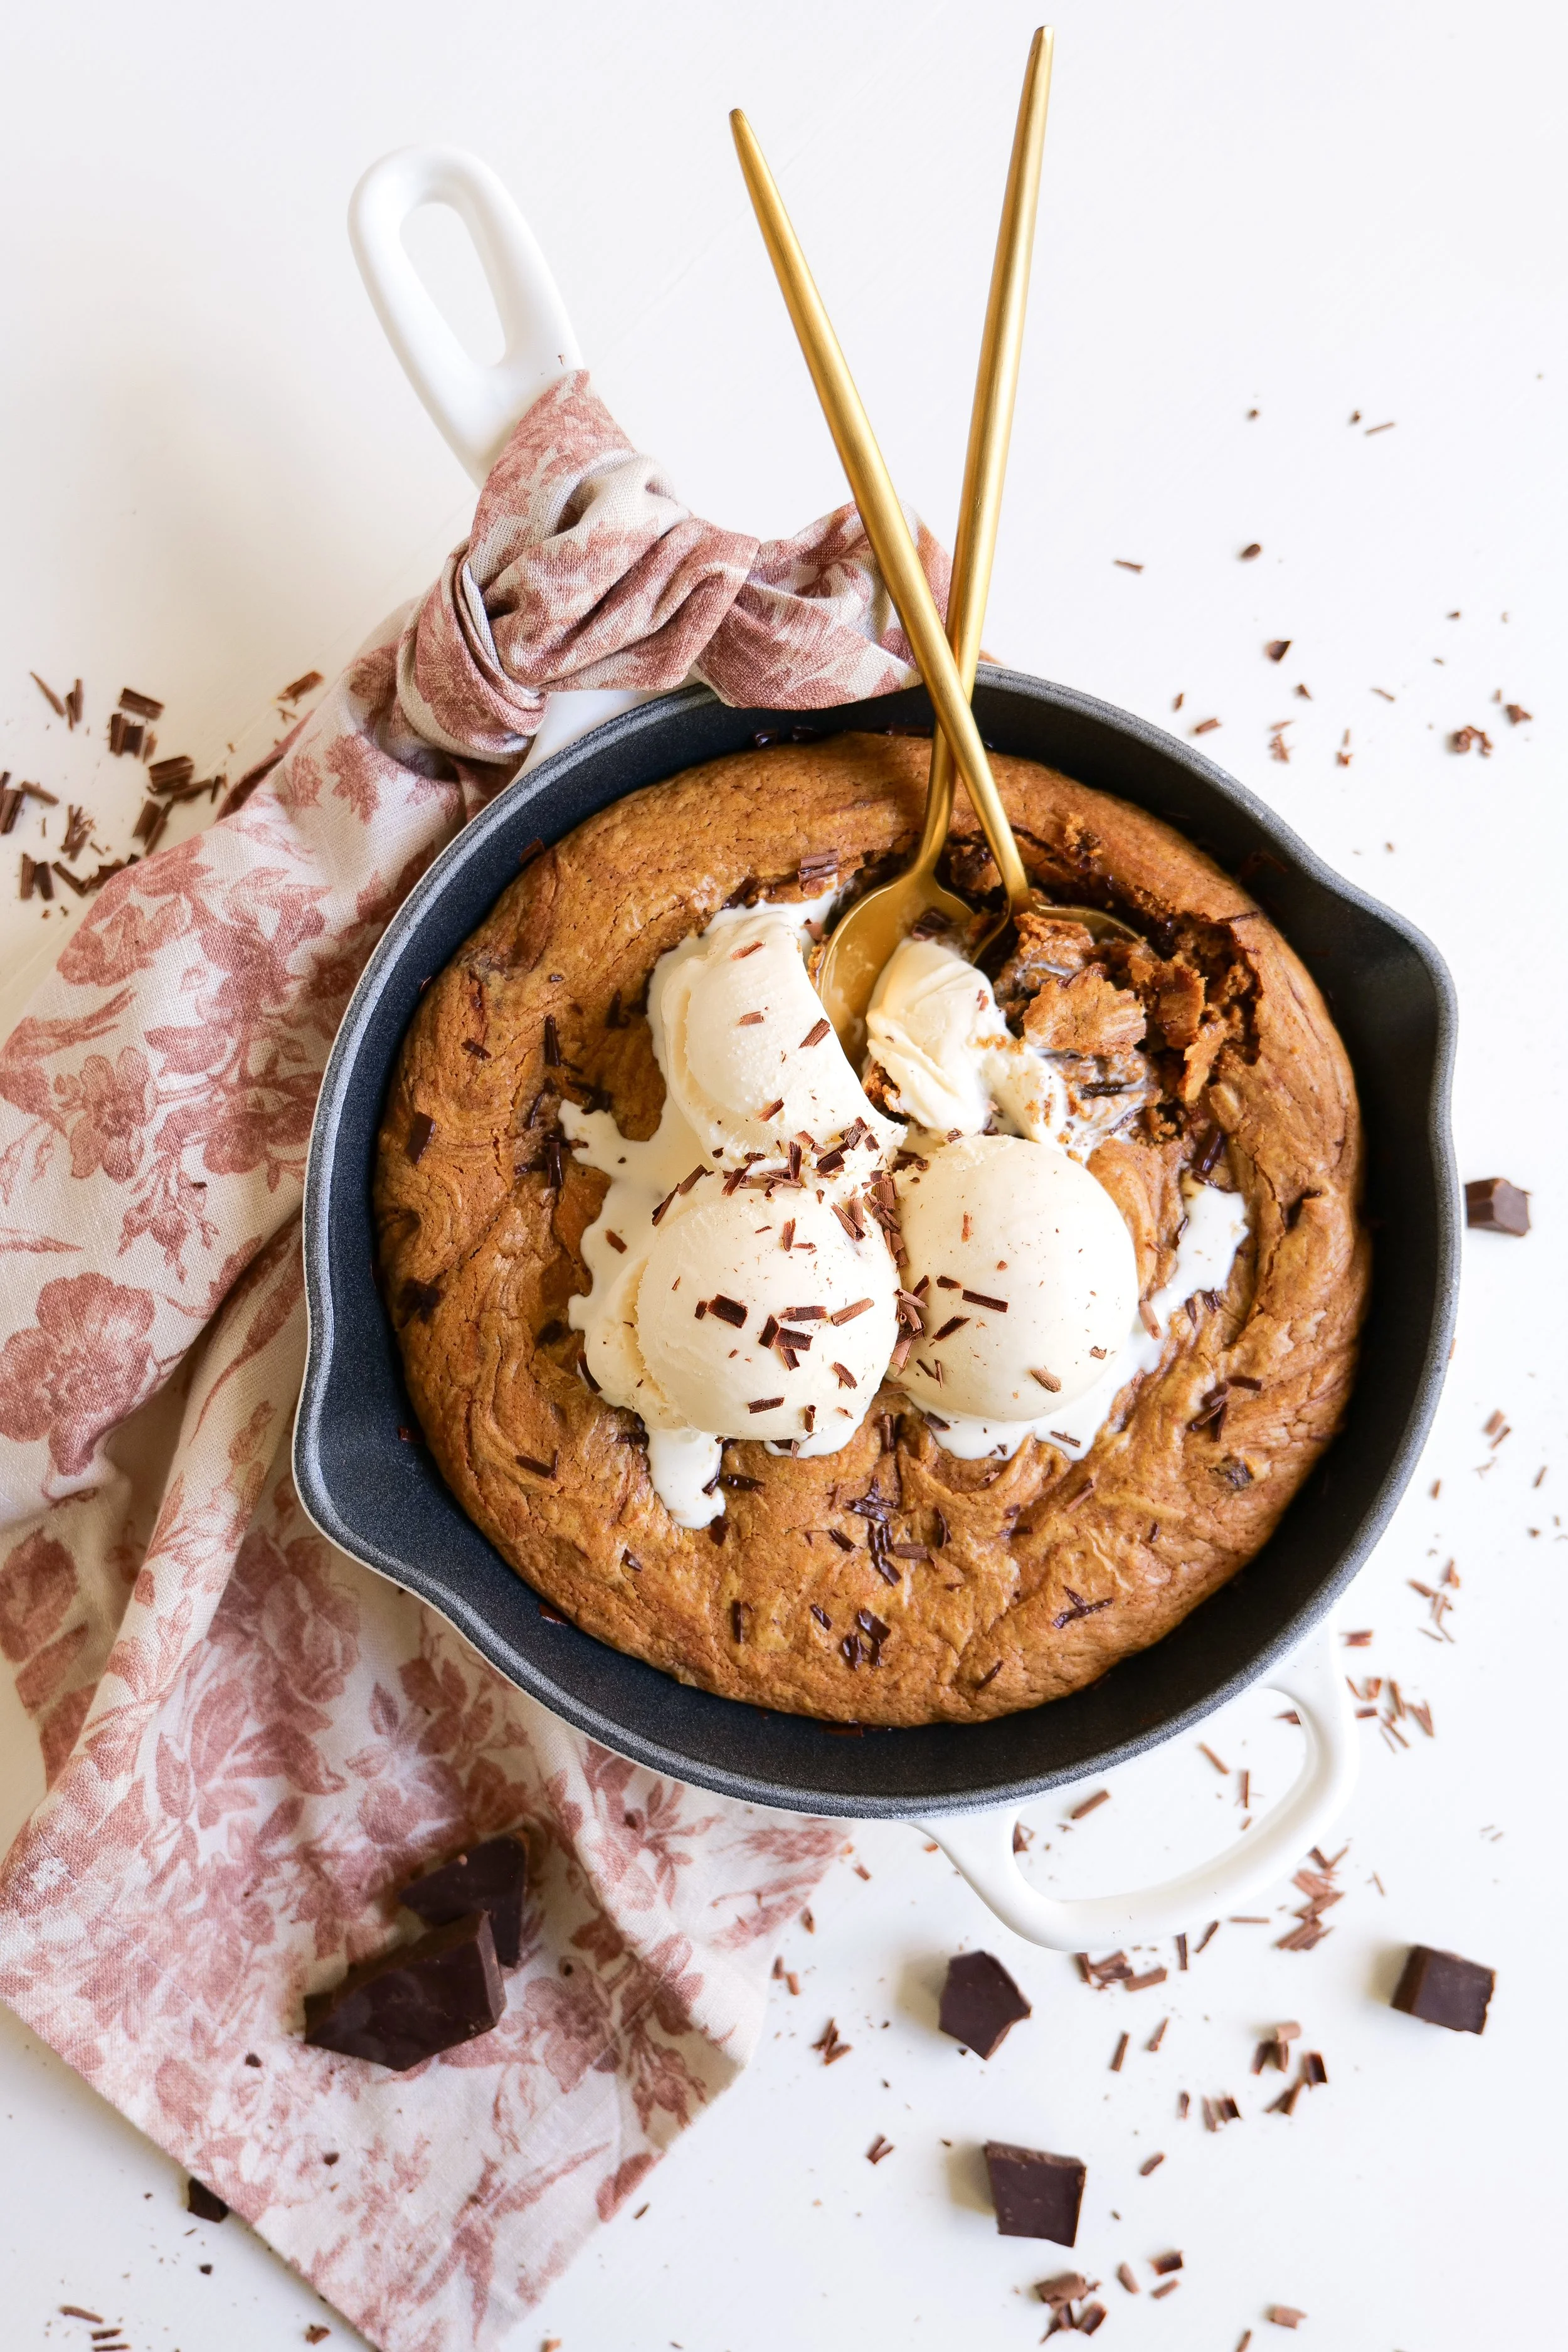
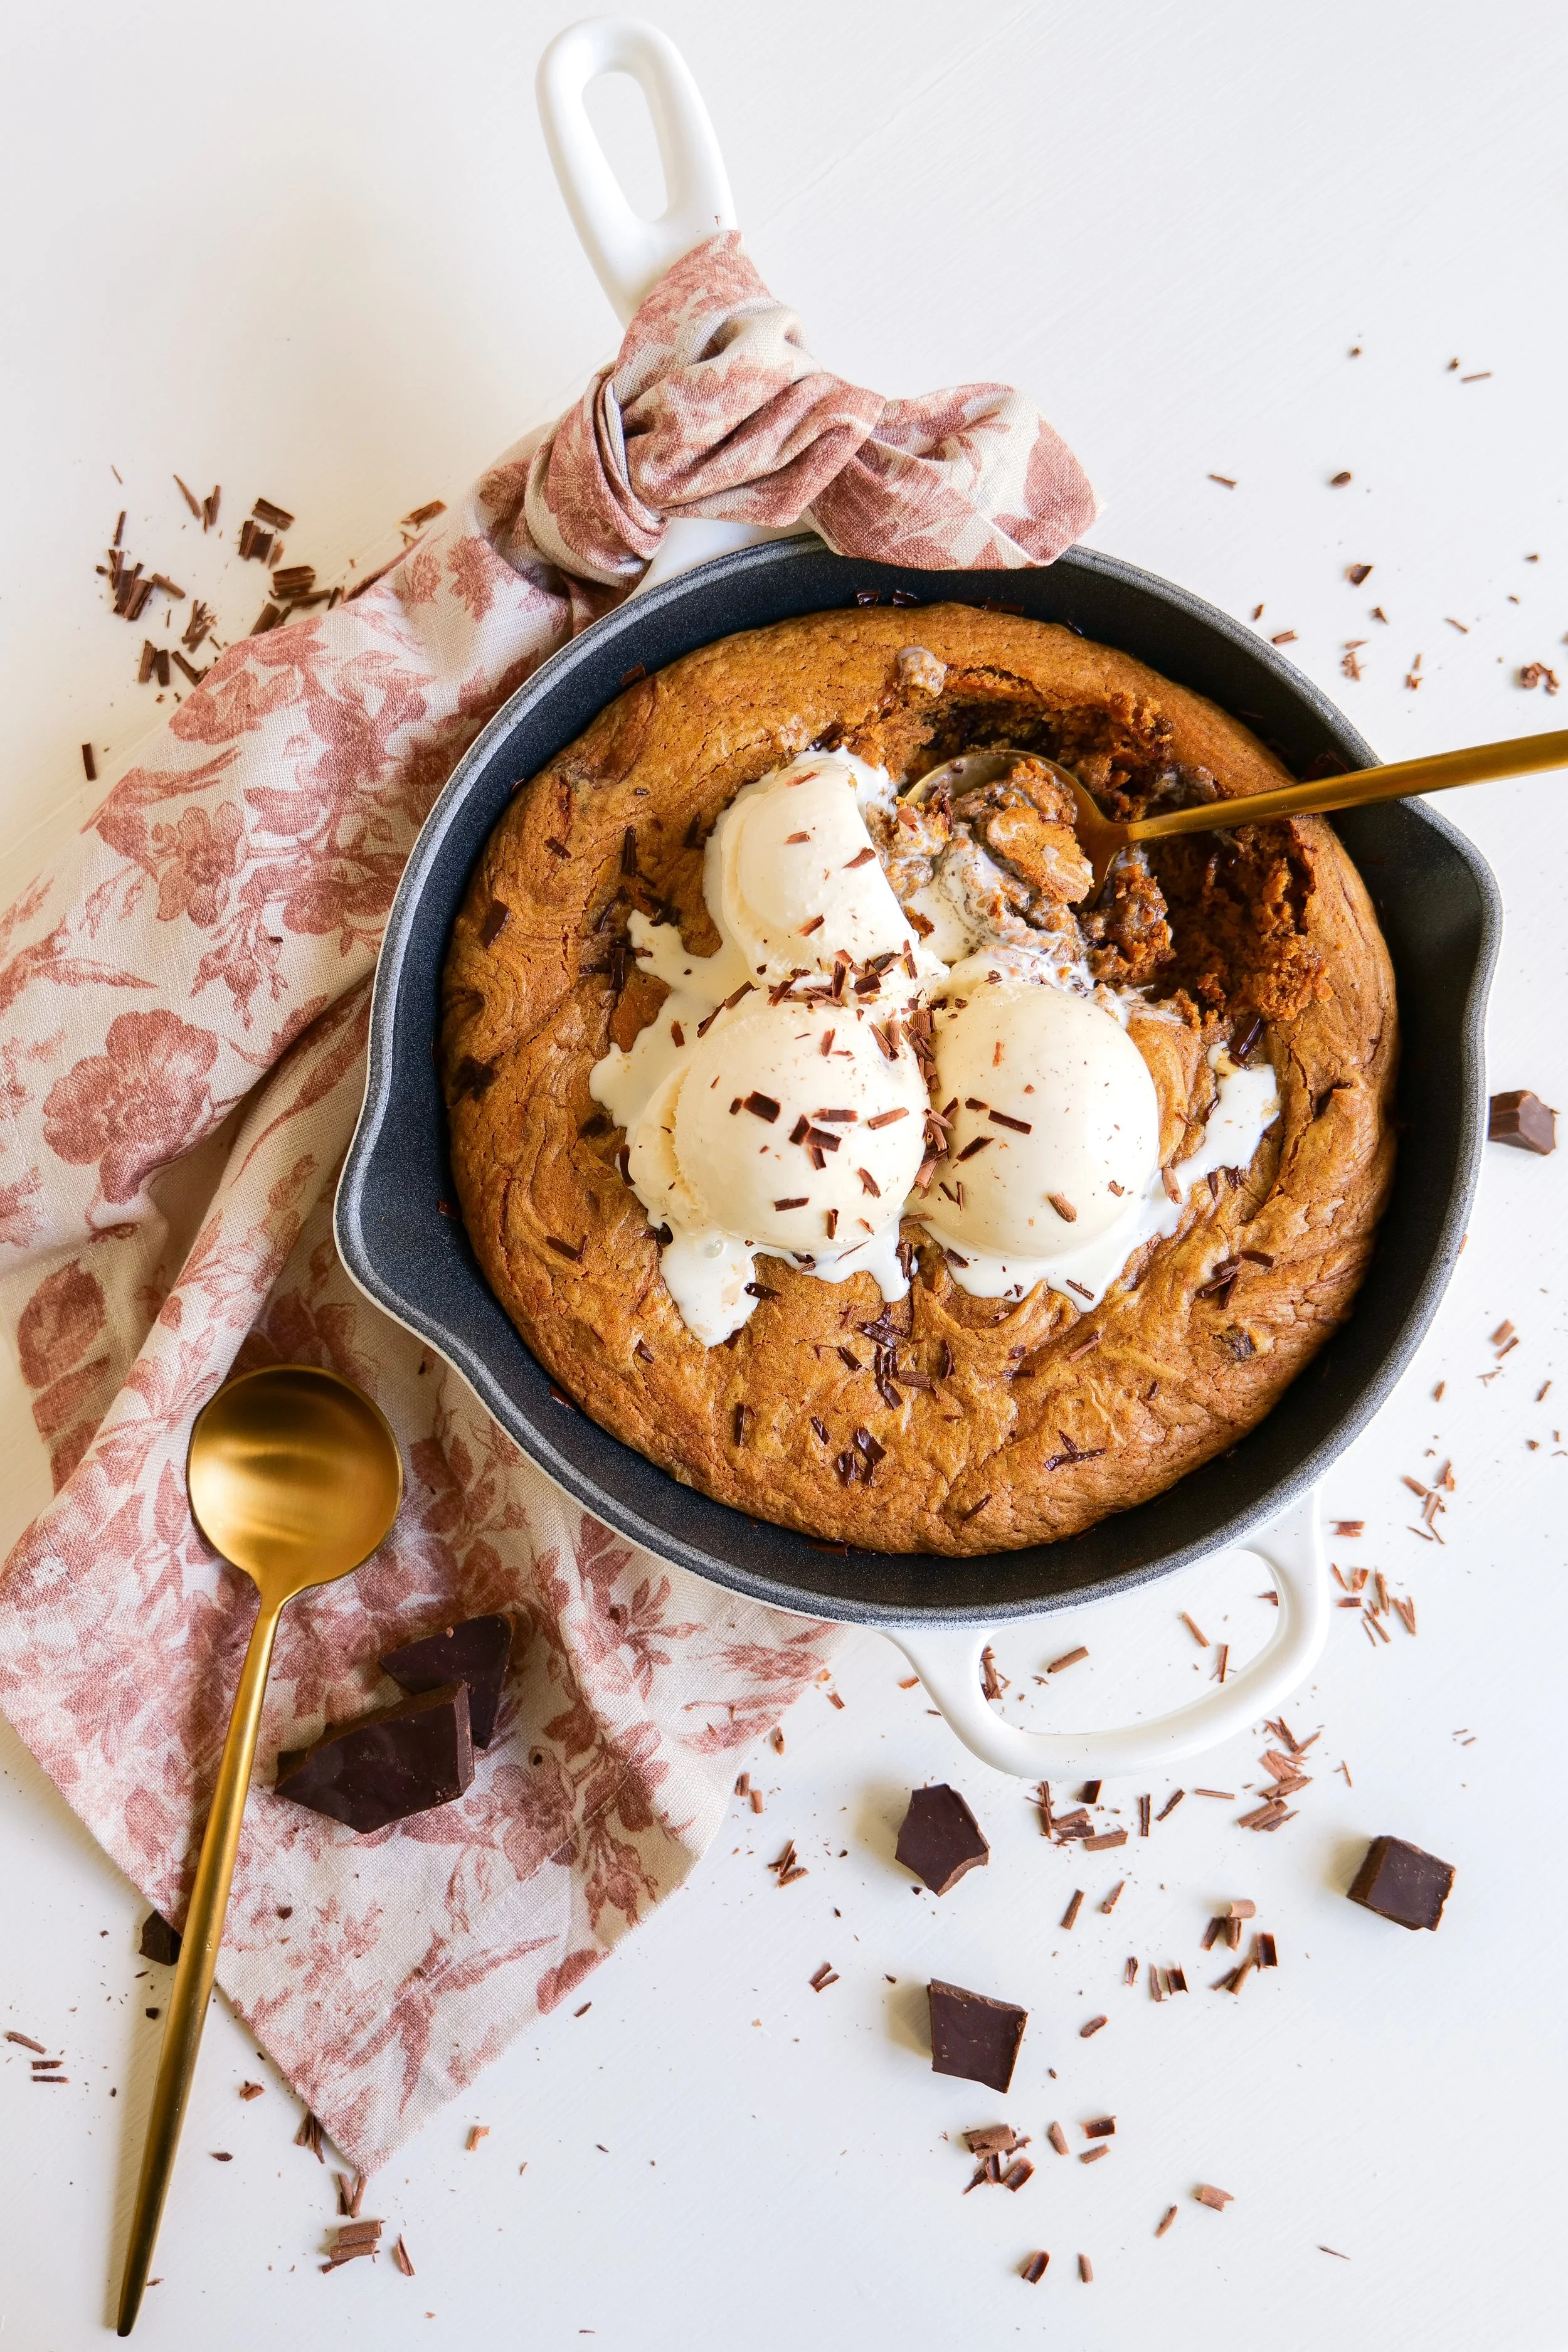
Versatility in a dessert means it can adapt to different occasions and preferences, making it a staple in your baking repertoire. These cookies are perfect for enjoying with a cup of coffee, milk, or tea. Serve warm with a scoop of vanilla ice cream on top for a decadent dessert. This treat is great for date night at home, family gatherings, or holiday parties. These cookies will always be a sure-fire, can't miss hit.

Feel free to experiment with different add-ins to create a unique flavor profile that suits your taste and add in substitution or extras for ingredients below. The base, being rich in flavor and texture, can easily accommodate a variety of additional ingredients. Chopped pecans, walnuts, or almonds add a delightful crunch. Dried cranberries, raisins, or dried cherries provide a tangy contrast. Enhance the autumnal flavor with extra cinnamon, nutmeg, or even pumpkin pie spice. These customization options allow you to tailor your pazooki to your personal taste, ensuring that every bite is just how you like it.

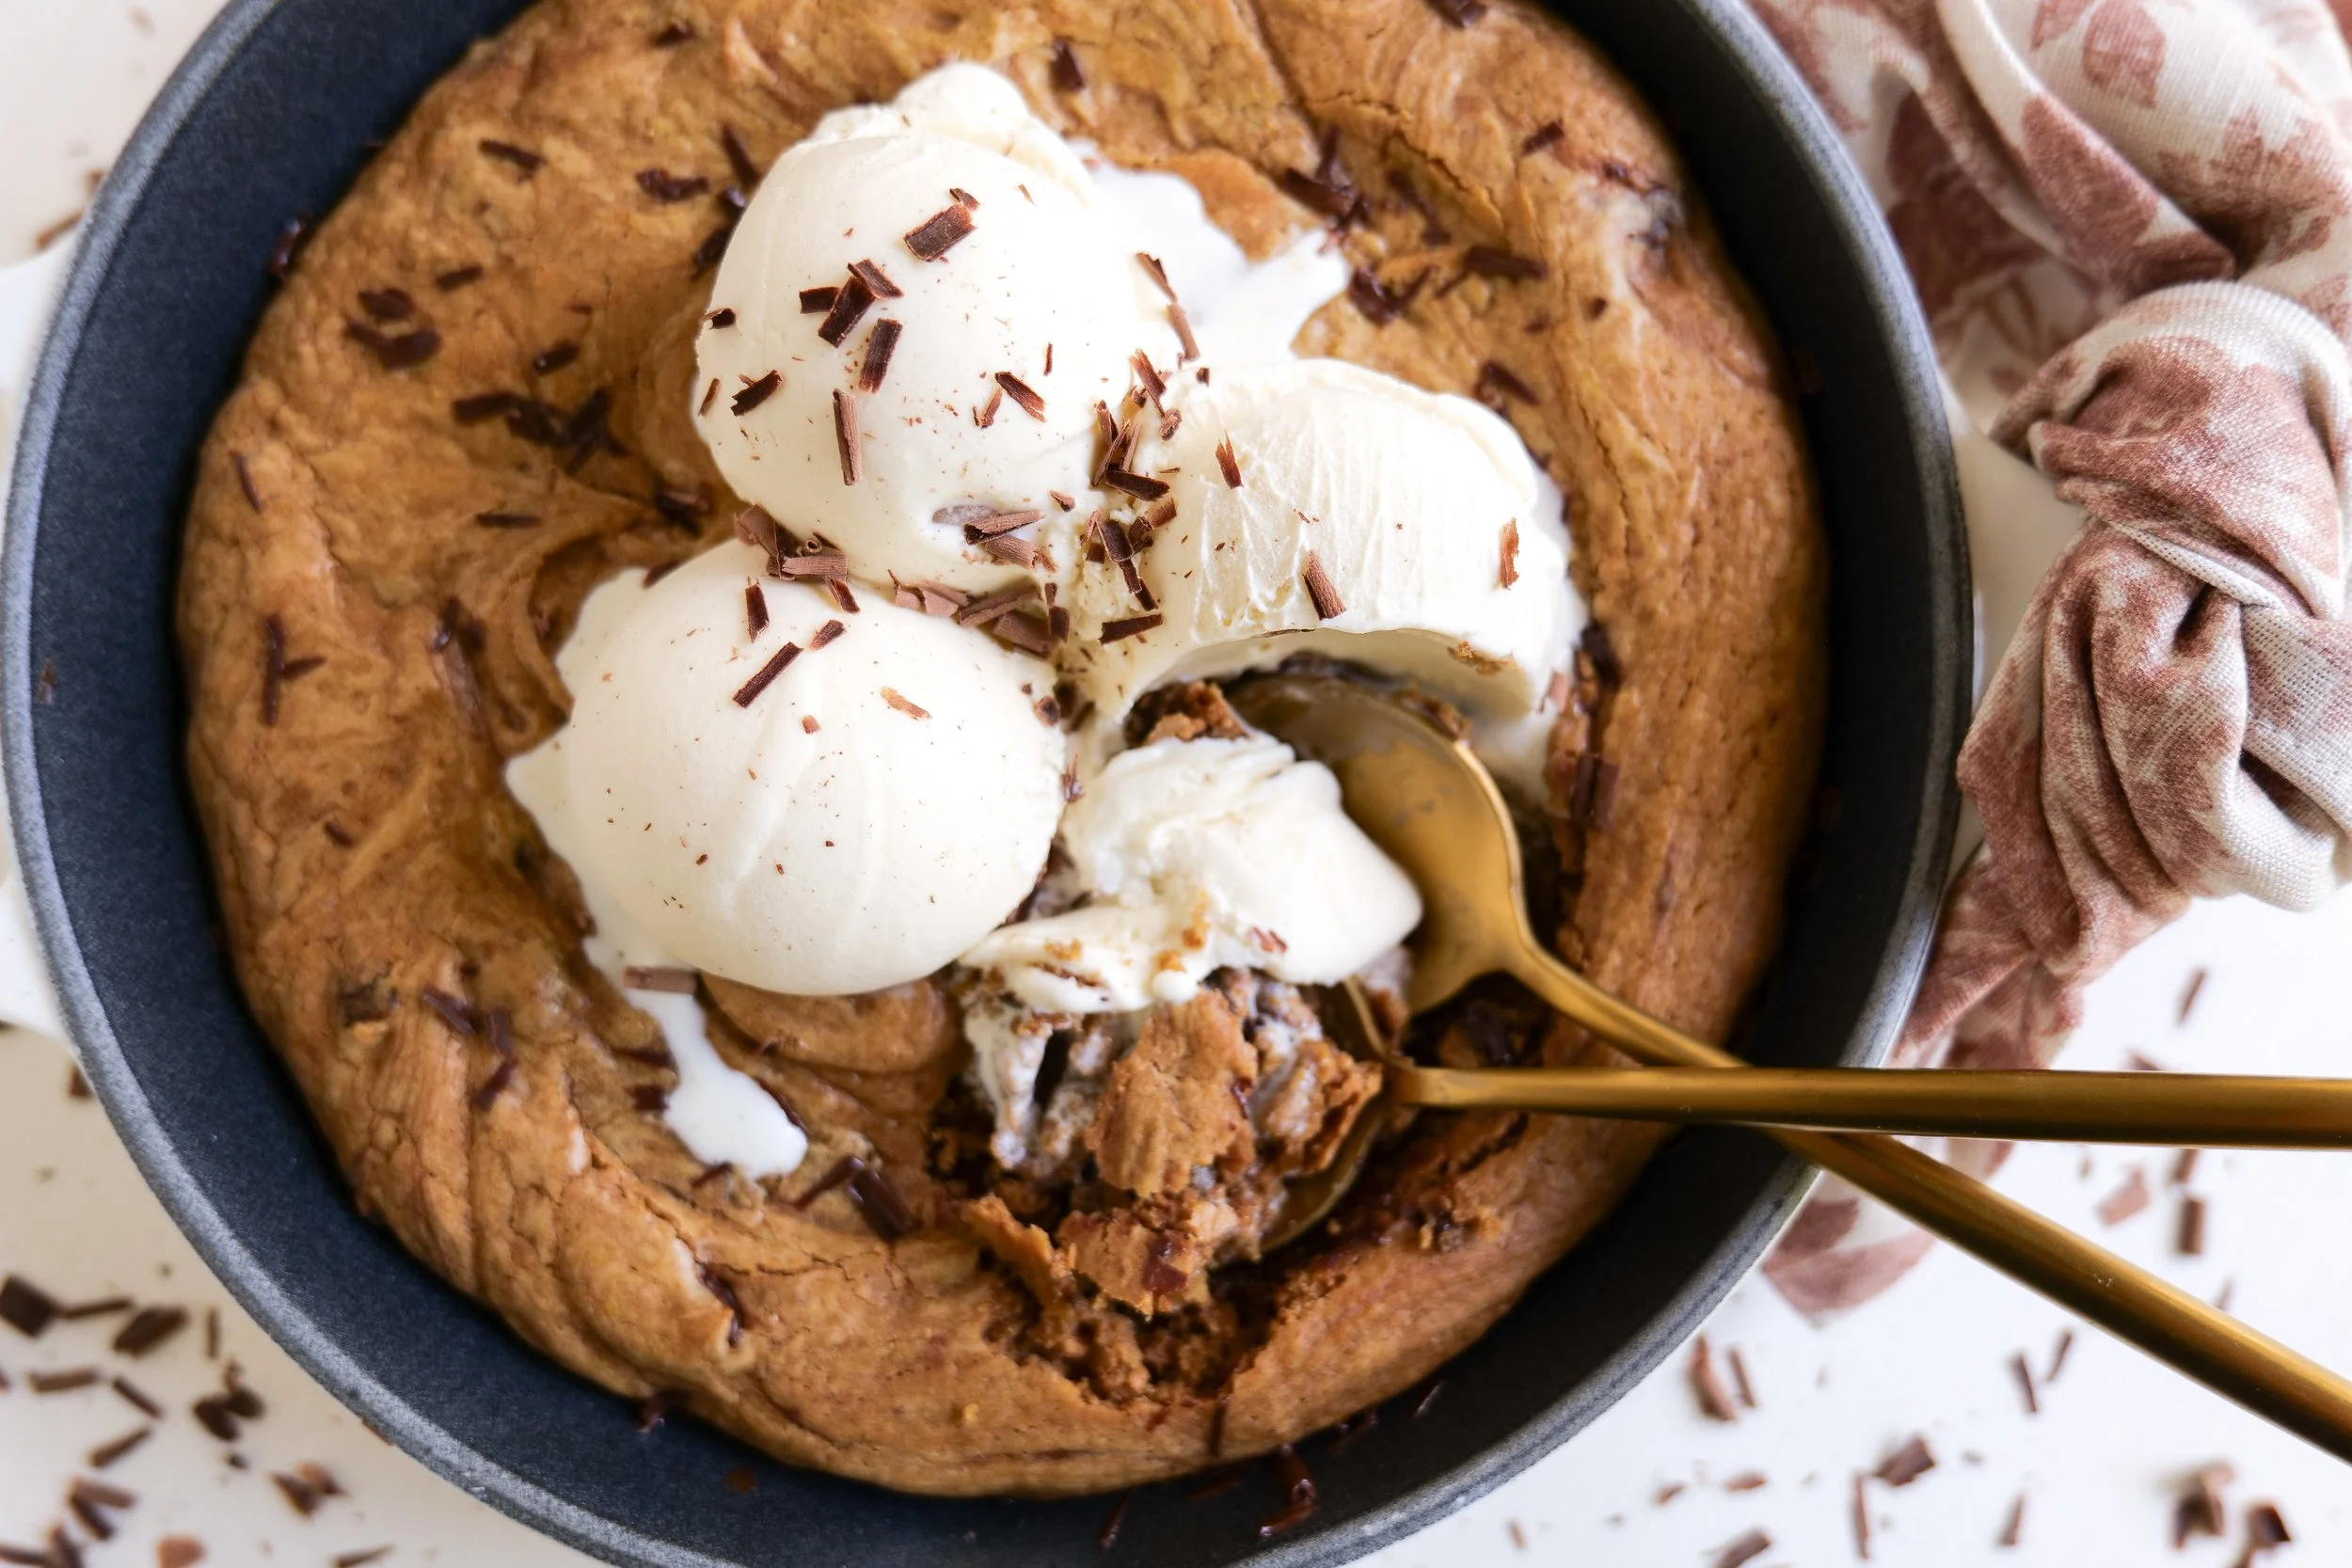
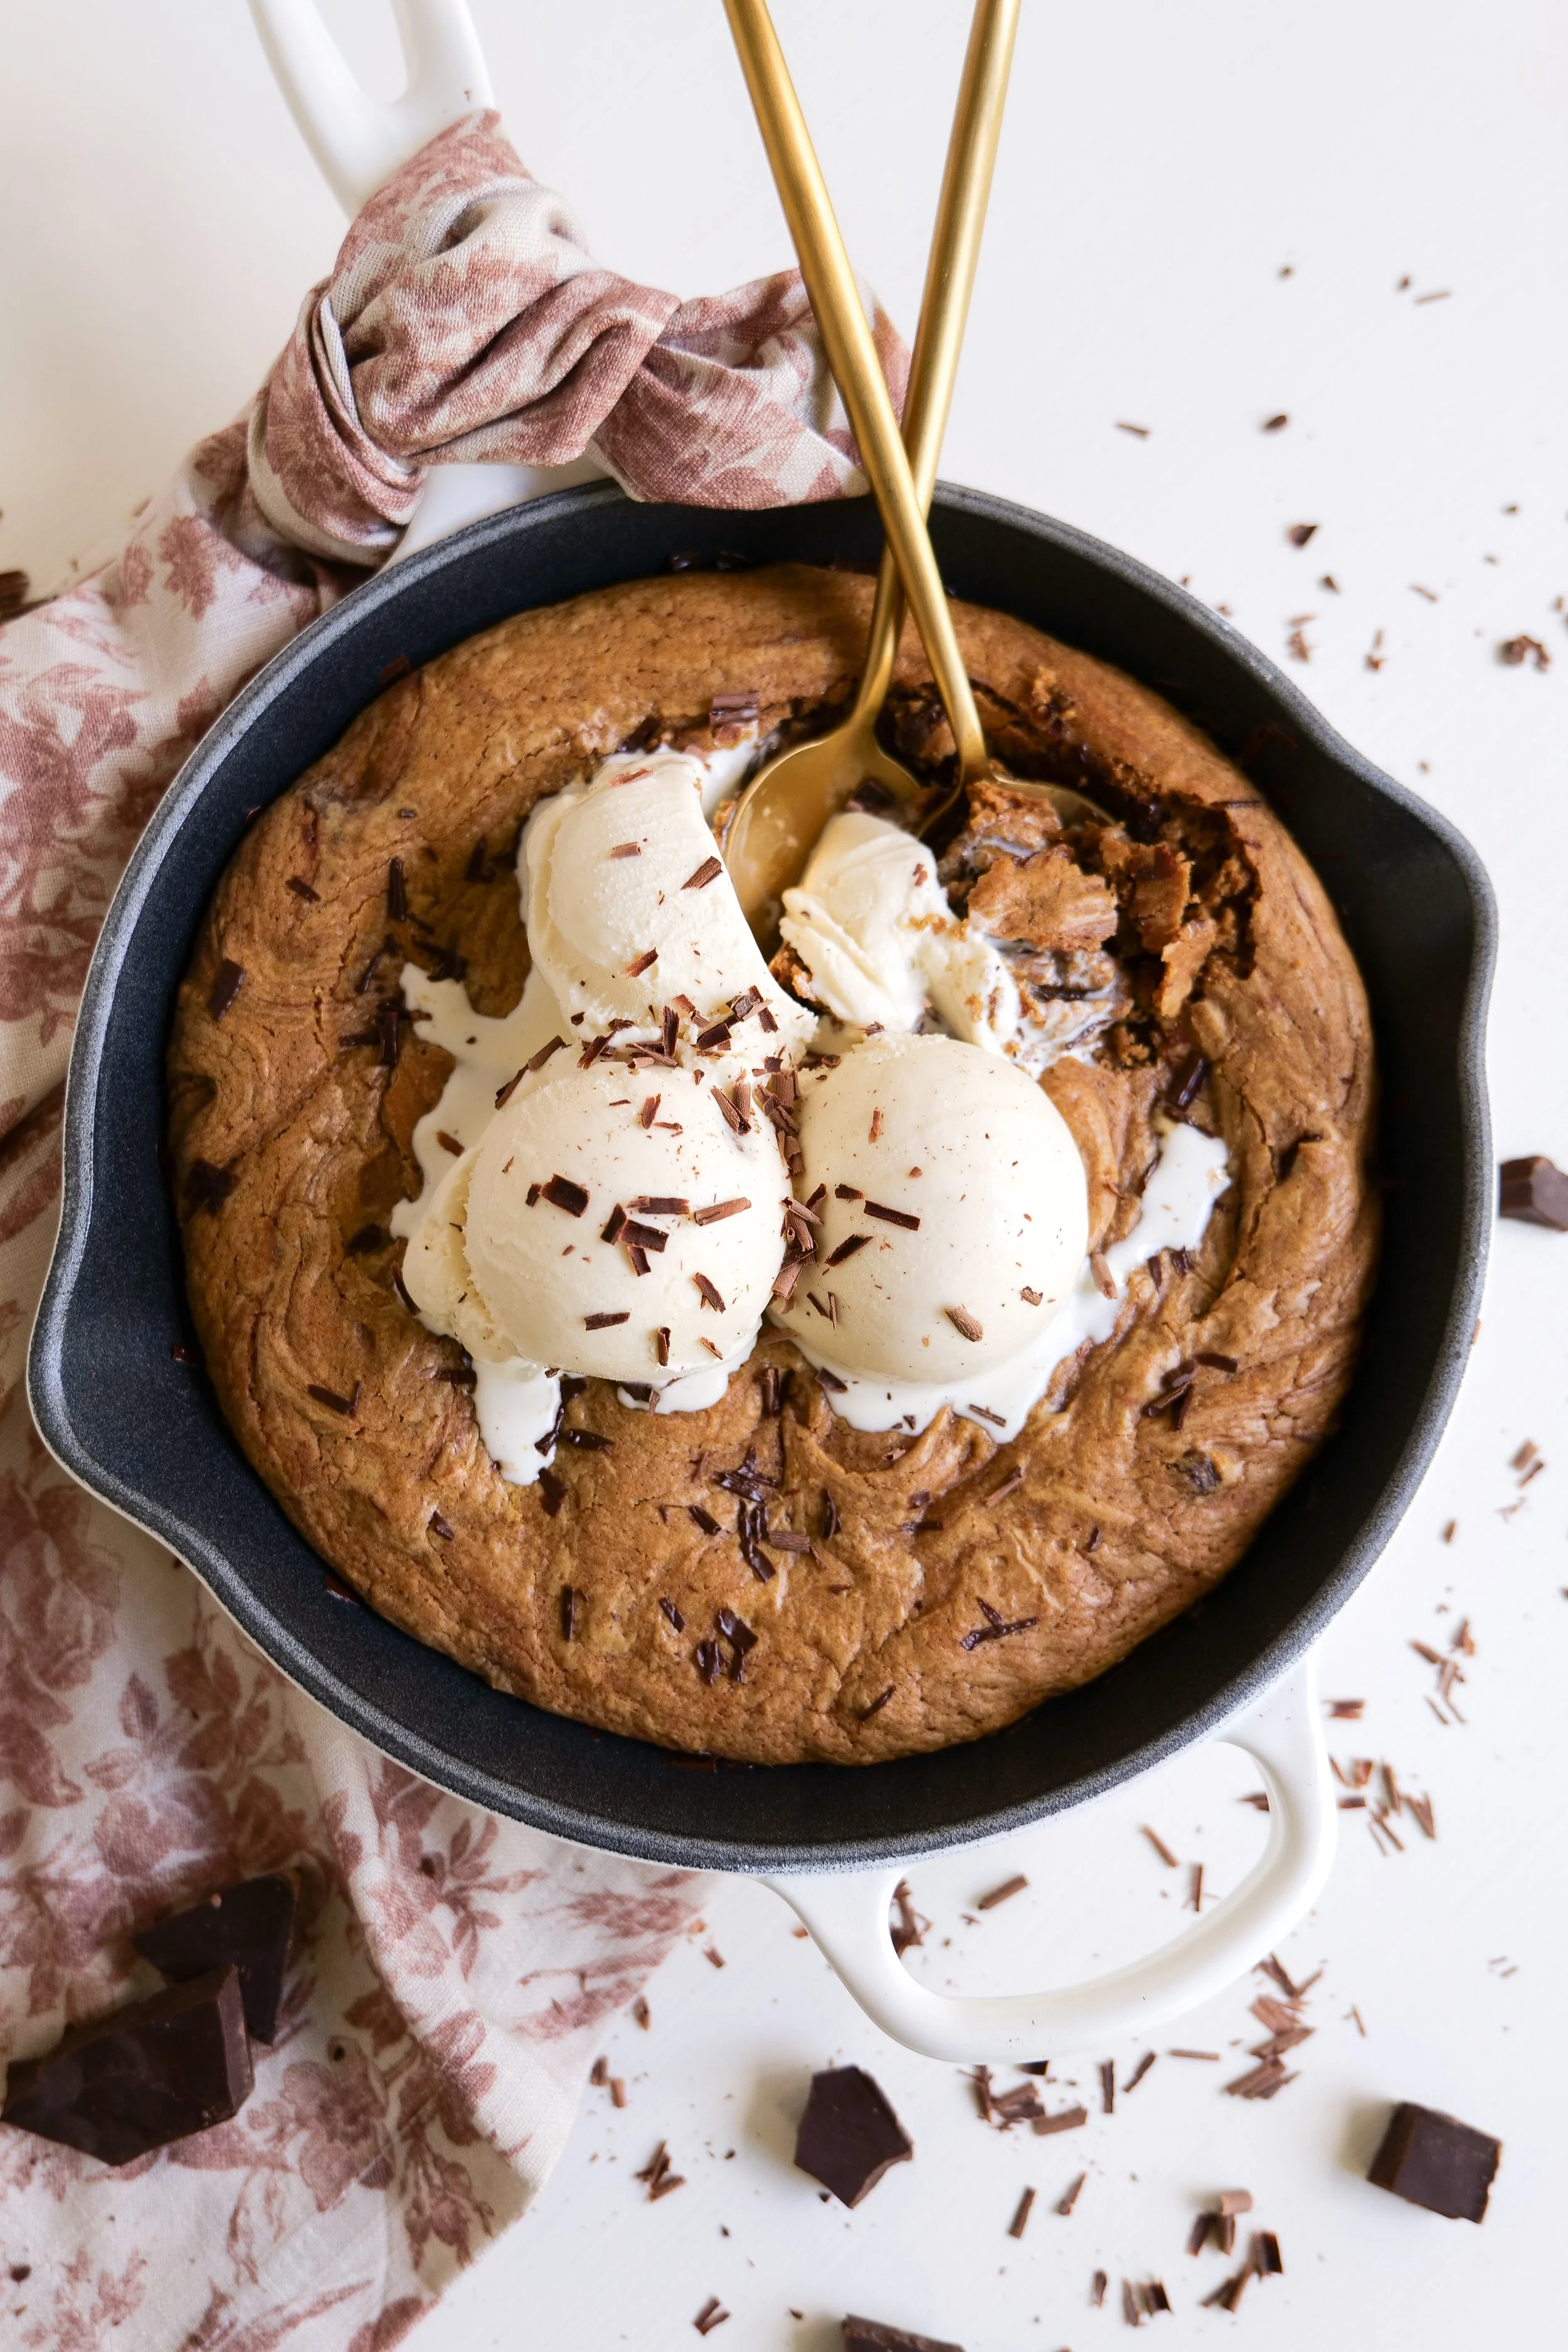
A pazooki combines the elements of a traditional cookie with those of a deep-dish pizza, all baked in a skillet for a uniquely gooey and warm dessert experience. Envision a perfectly baked oatmeal cookie dough infused with brown butter, pumpkin, and chocolate chips, baked in a skillet for that slightly crisp yet gooey consistency.

How Do I Store Leftover Pazooki?

Proper storage is key to maintaining the texture and flavor of your leftover pazooki. Whether you want to enjoy it later or share it, knowing how to store it ensures that it stays delicious and fresh. Allow the pazooki to cool completely before you store it. This helps maintain its texture and flavor, making sure it stays delicious whether you indulge the next day or a few days later. Seal the pan tightly with plastic wrap or transfer to an airtight container. Add to the refrigerator to keep the pazooki fresh for up to 3-4 days. To reheat microwave individual servings for 20-30 seconds or reheat in a 350°F oven for 5-7 minutes. Proper storage ensures that your pazooki remains moist and flavorful, and ready whenever you are.

What’s the Best Way to Serve a Pazooki?

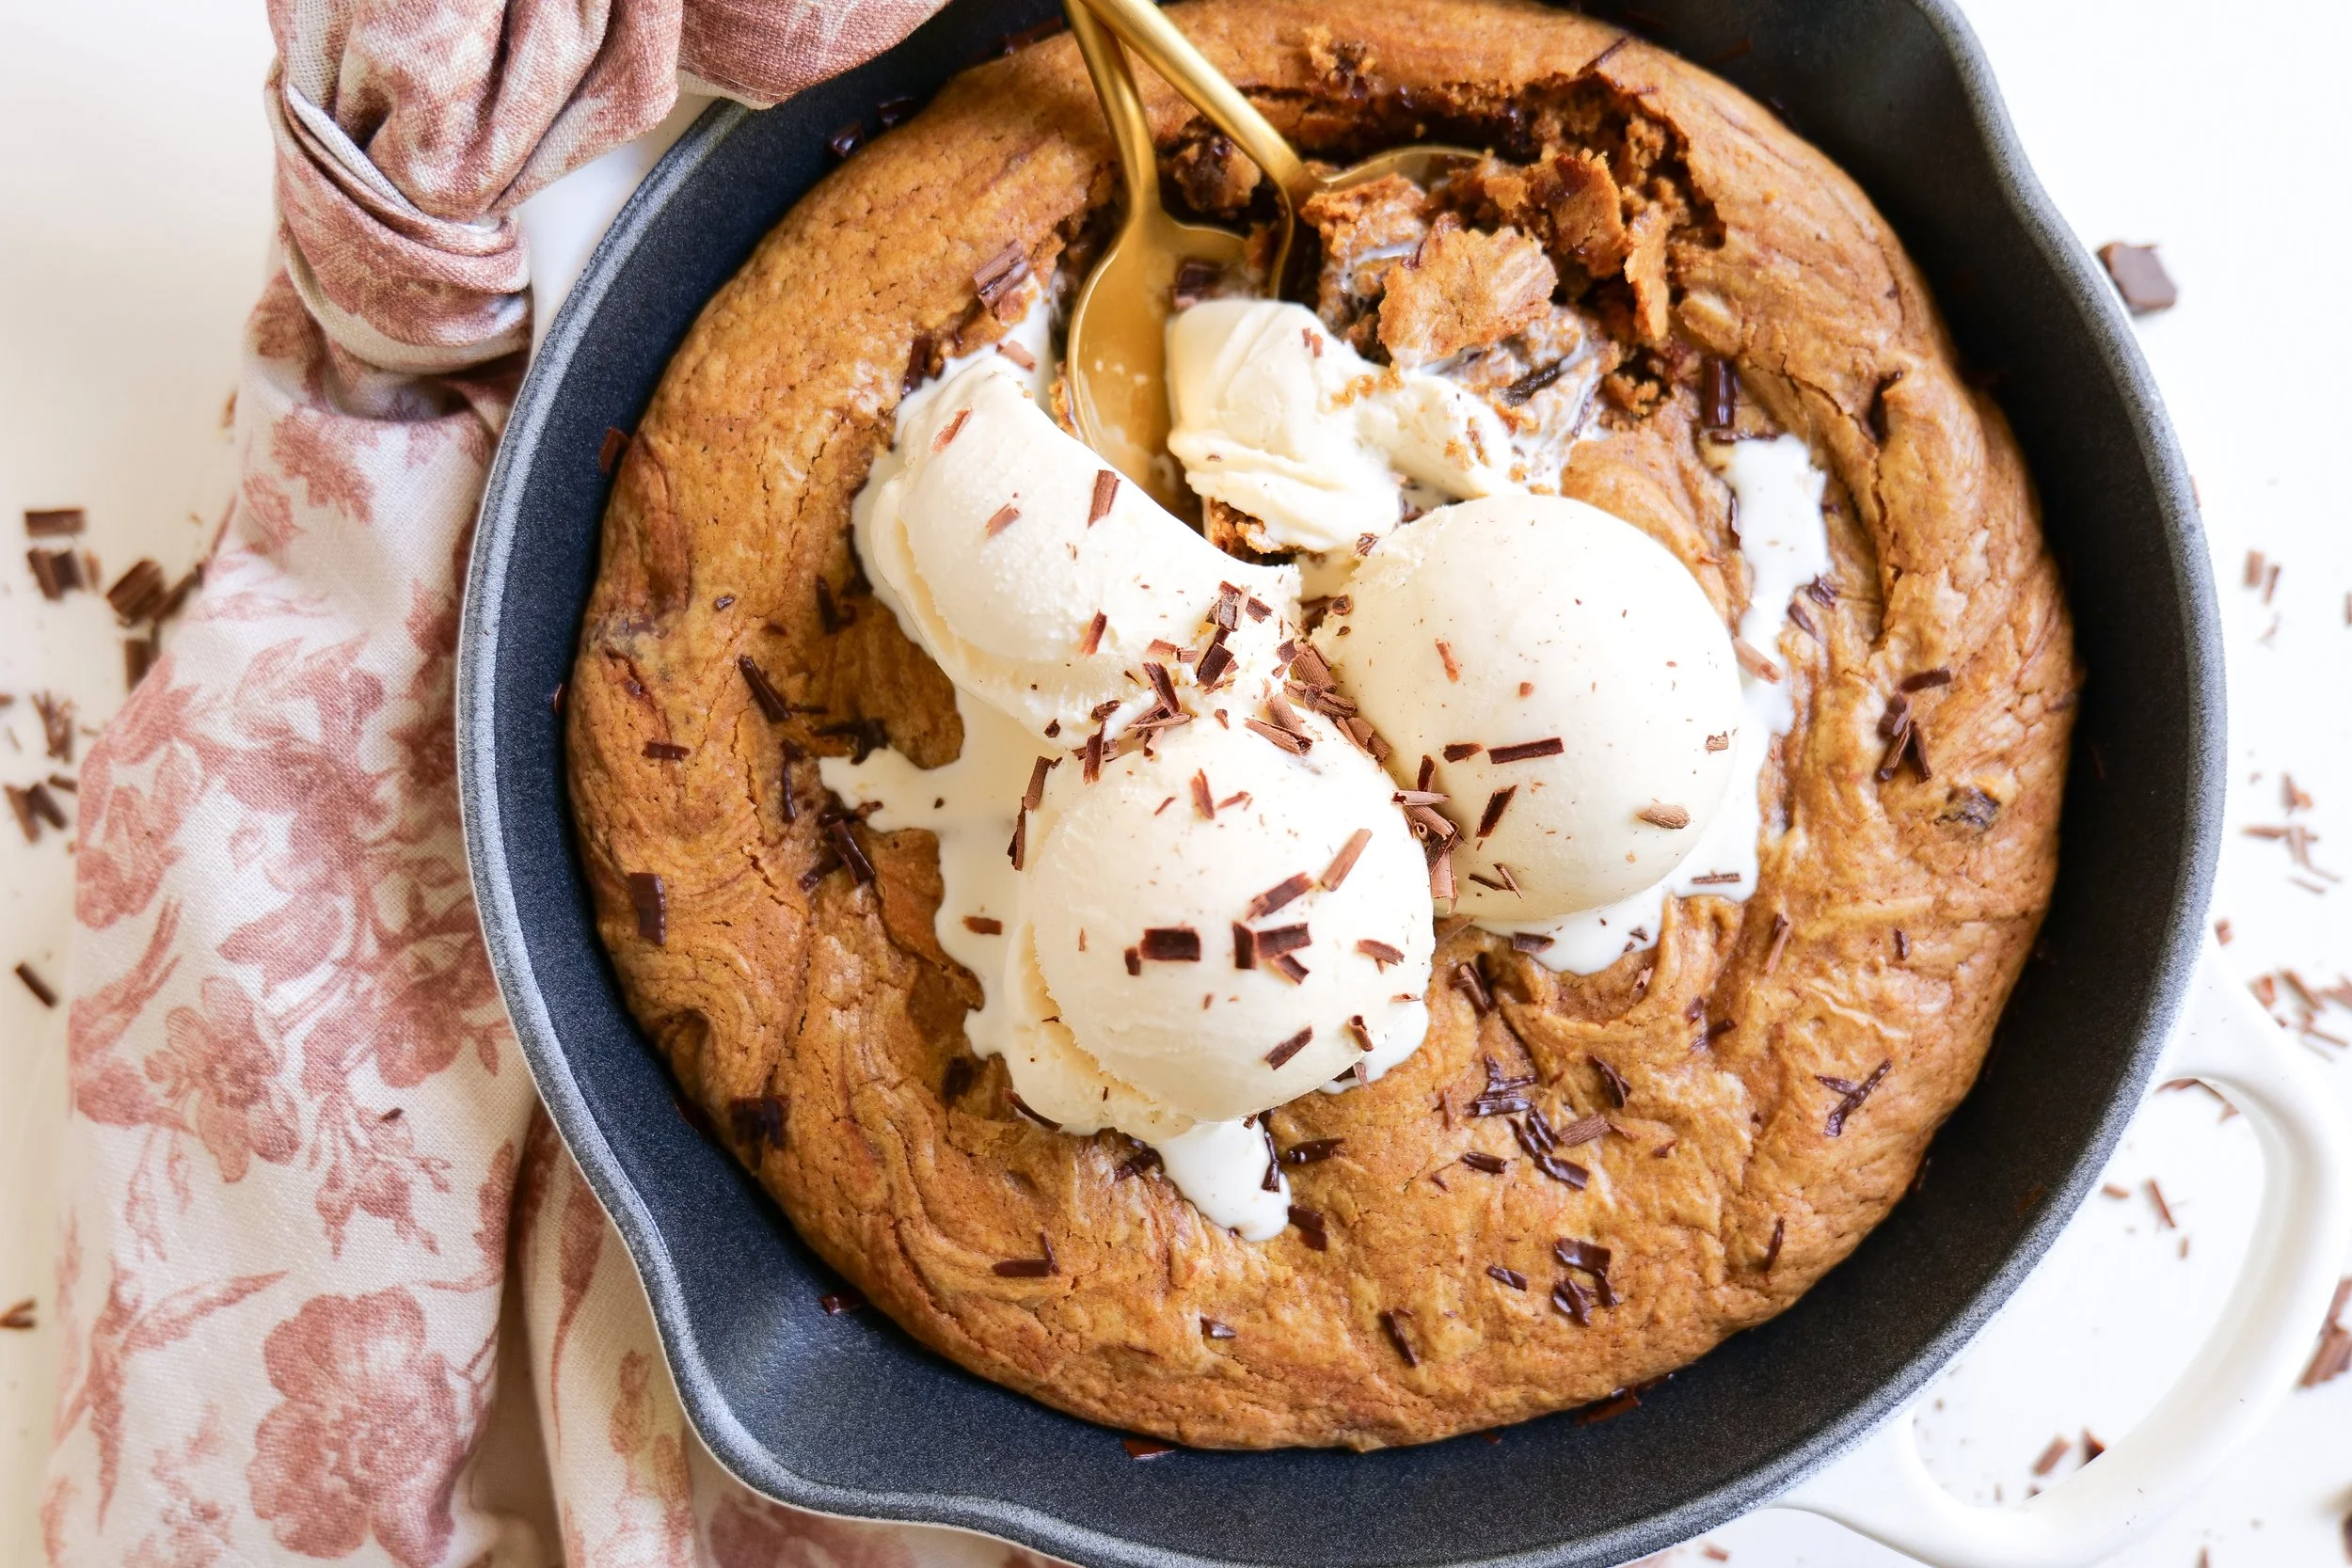
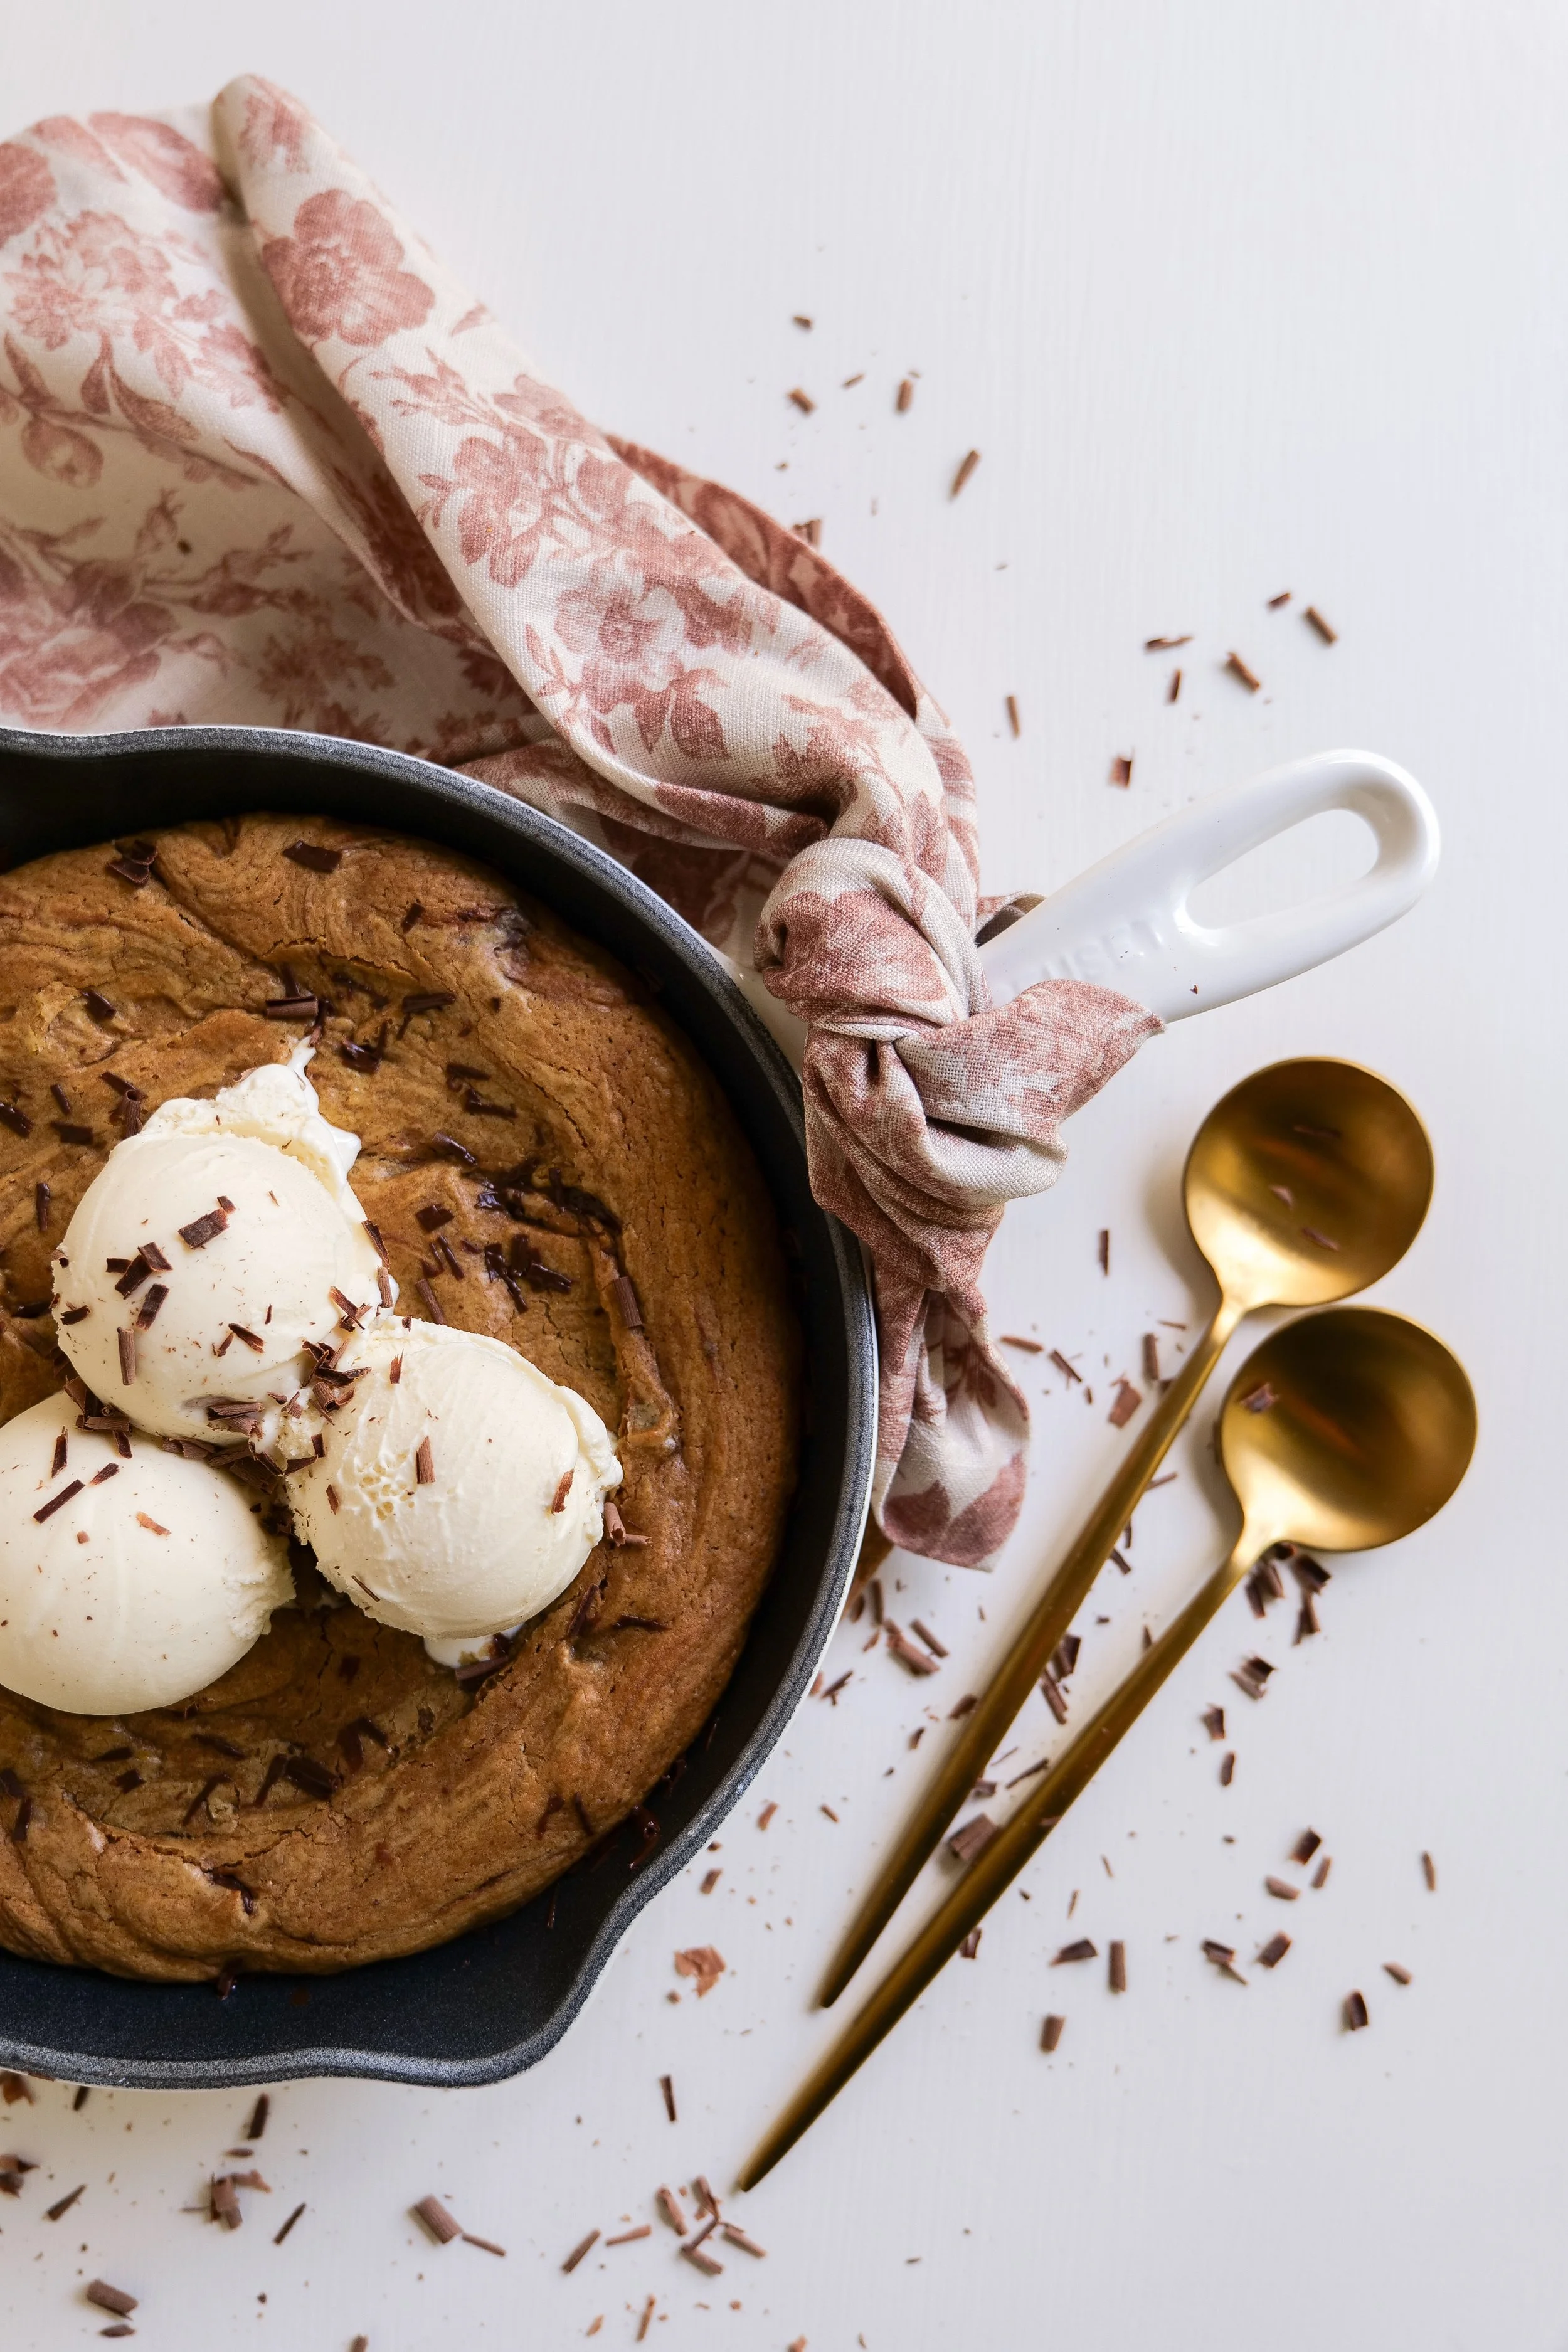
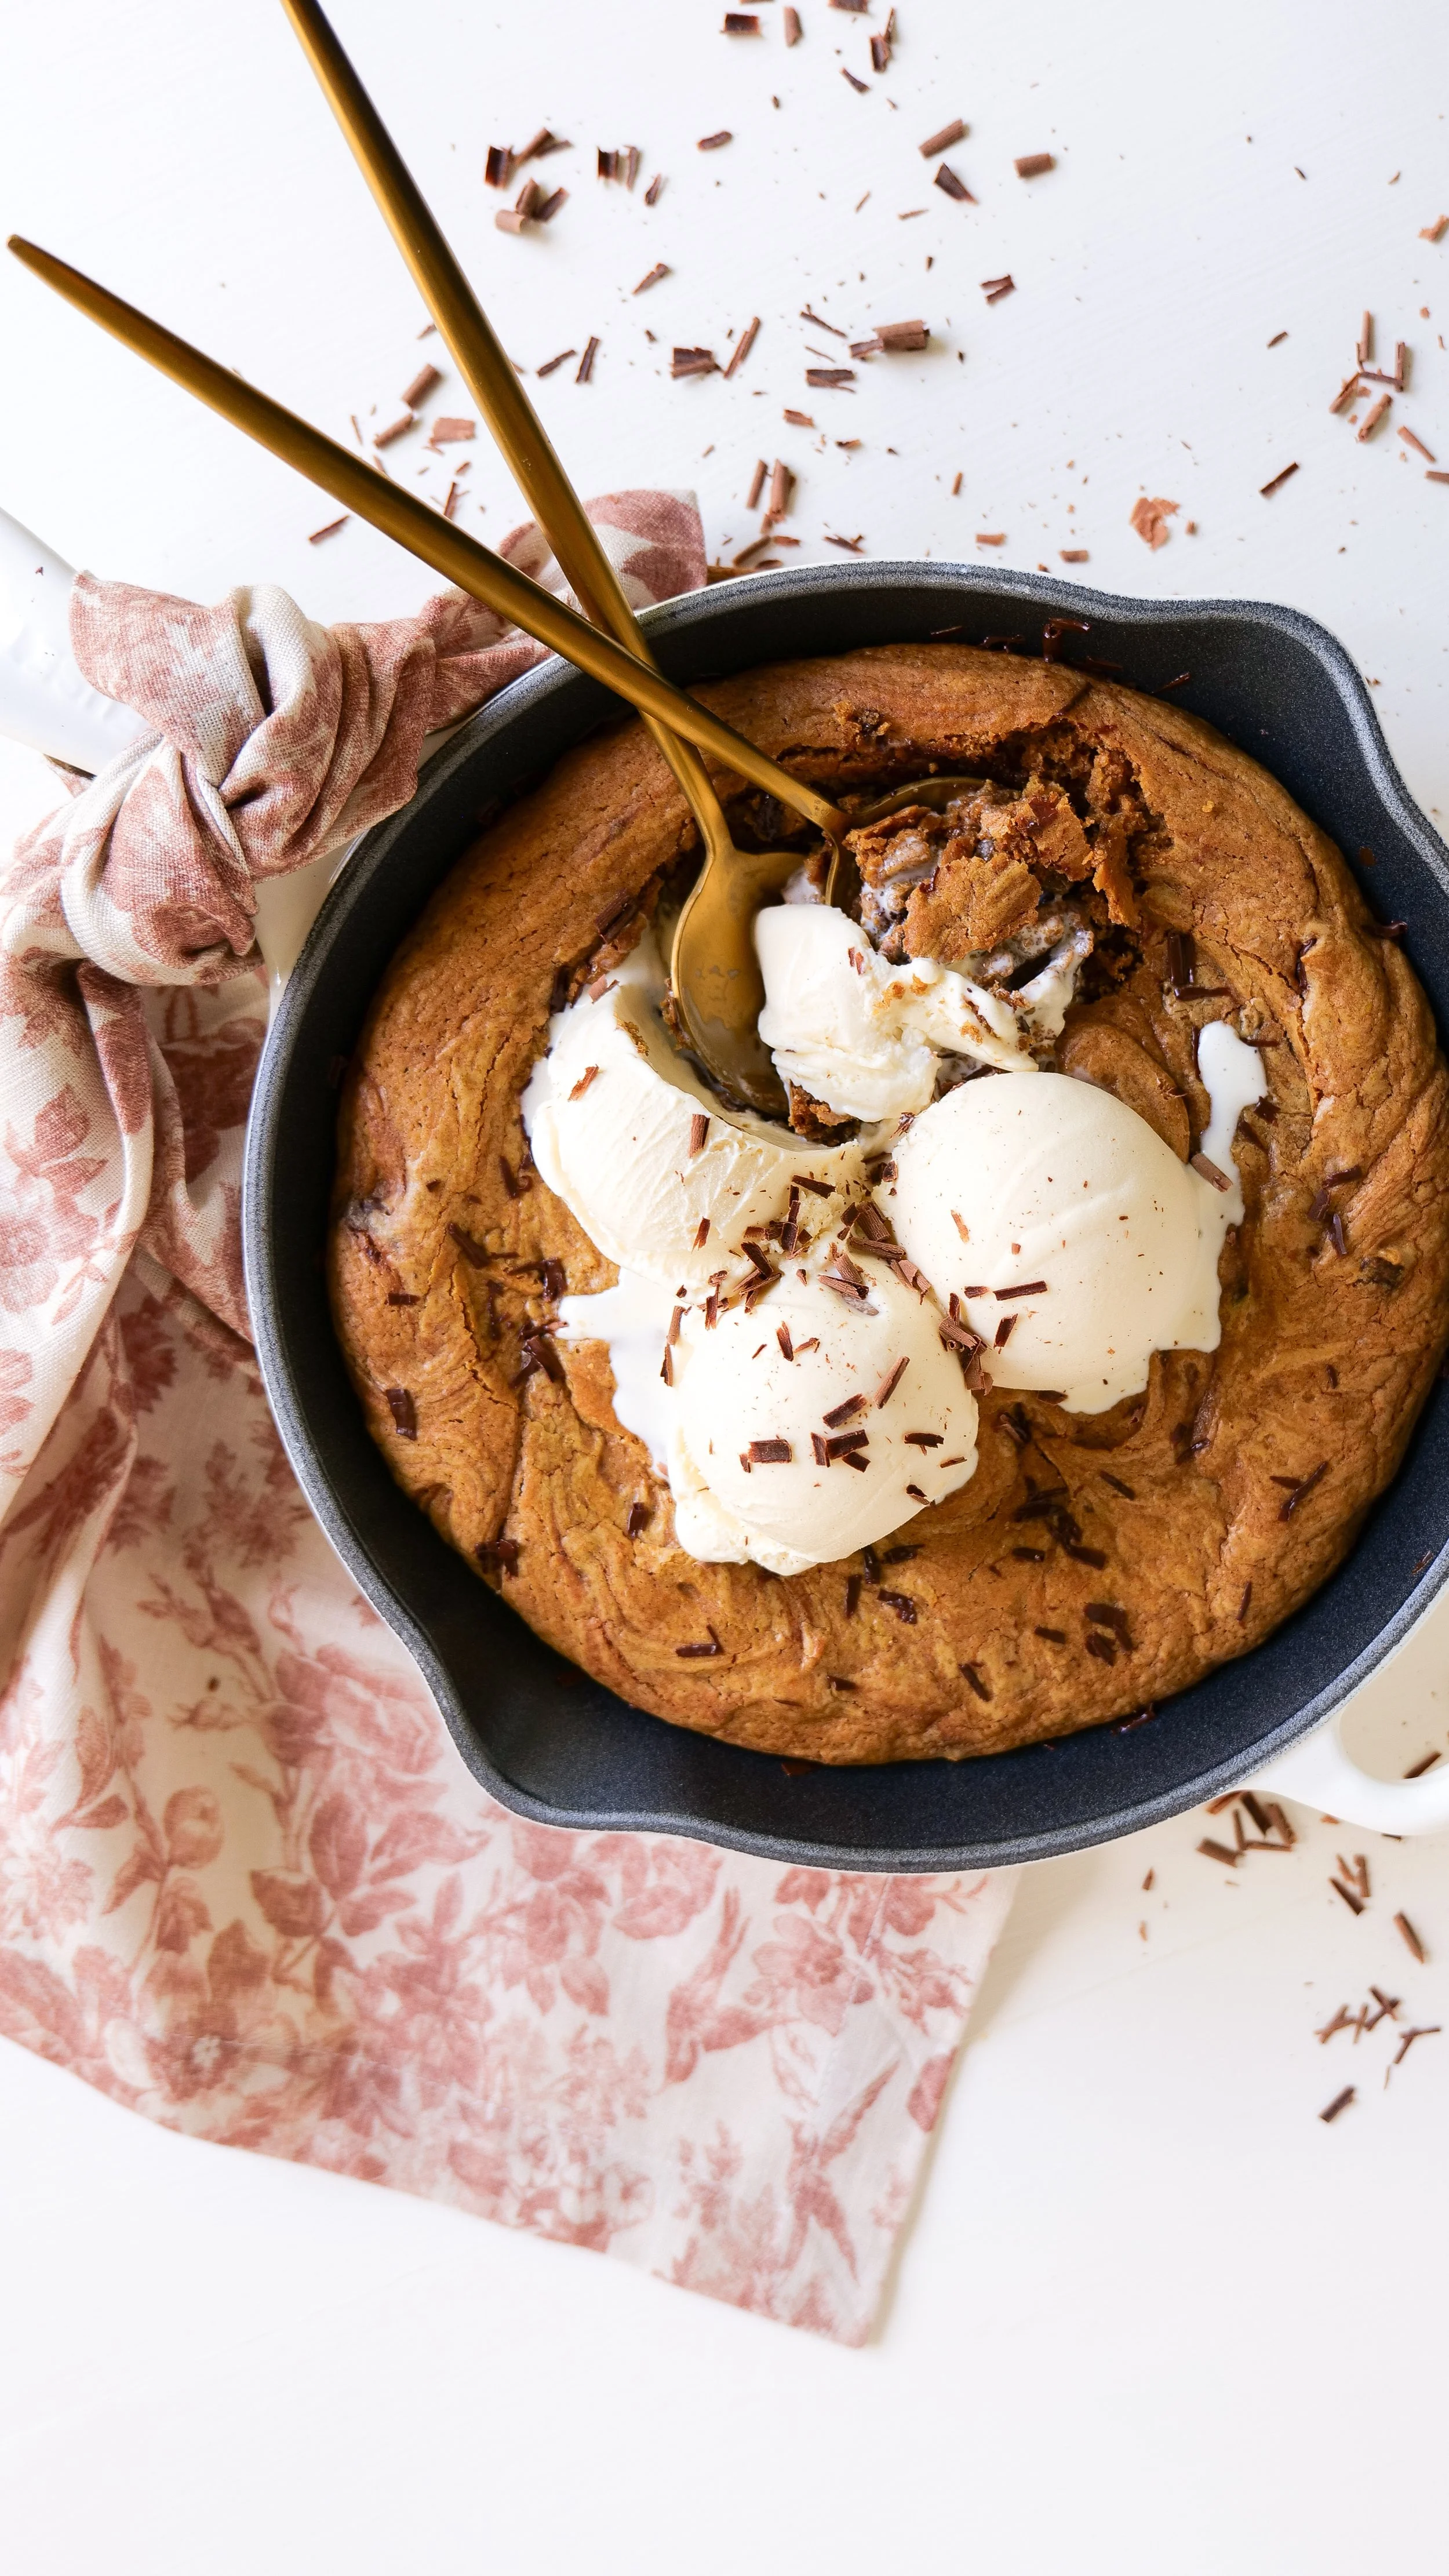
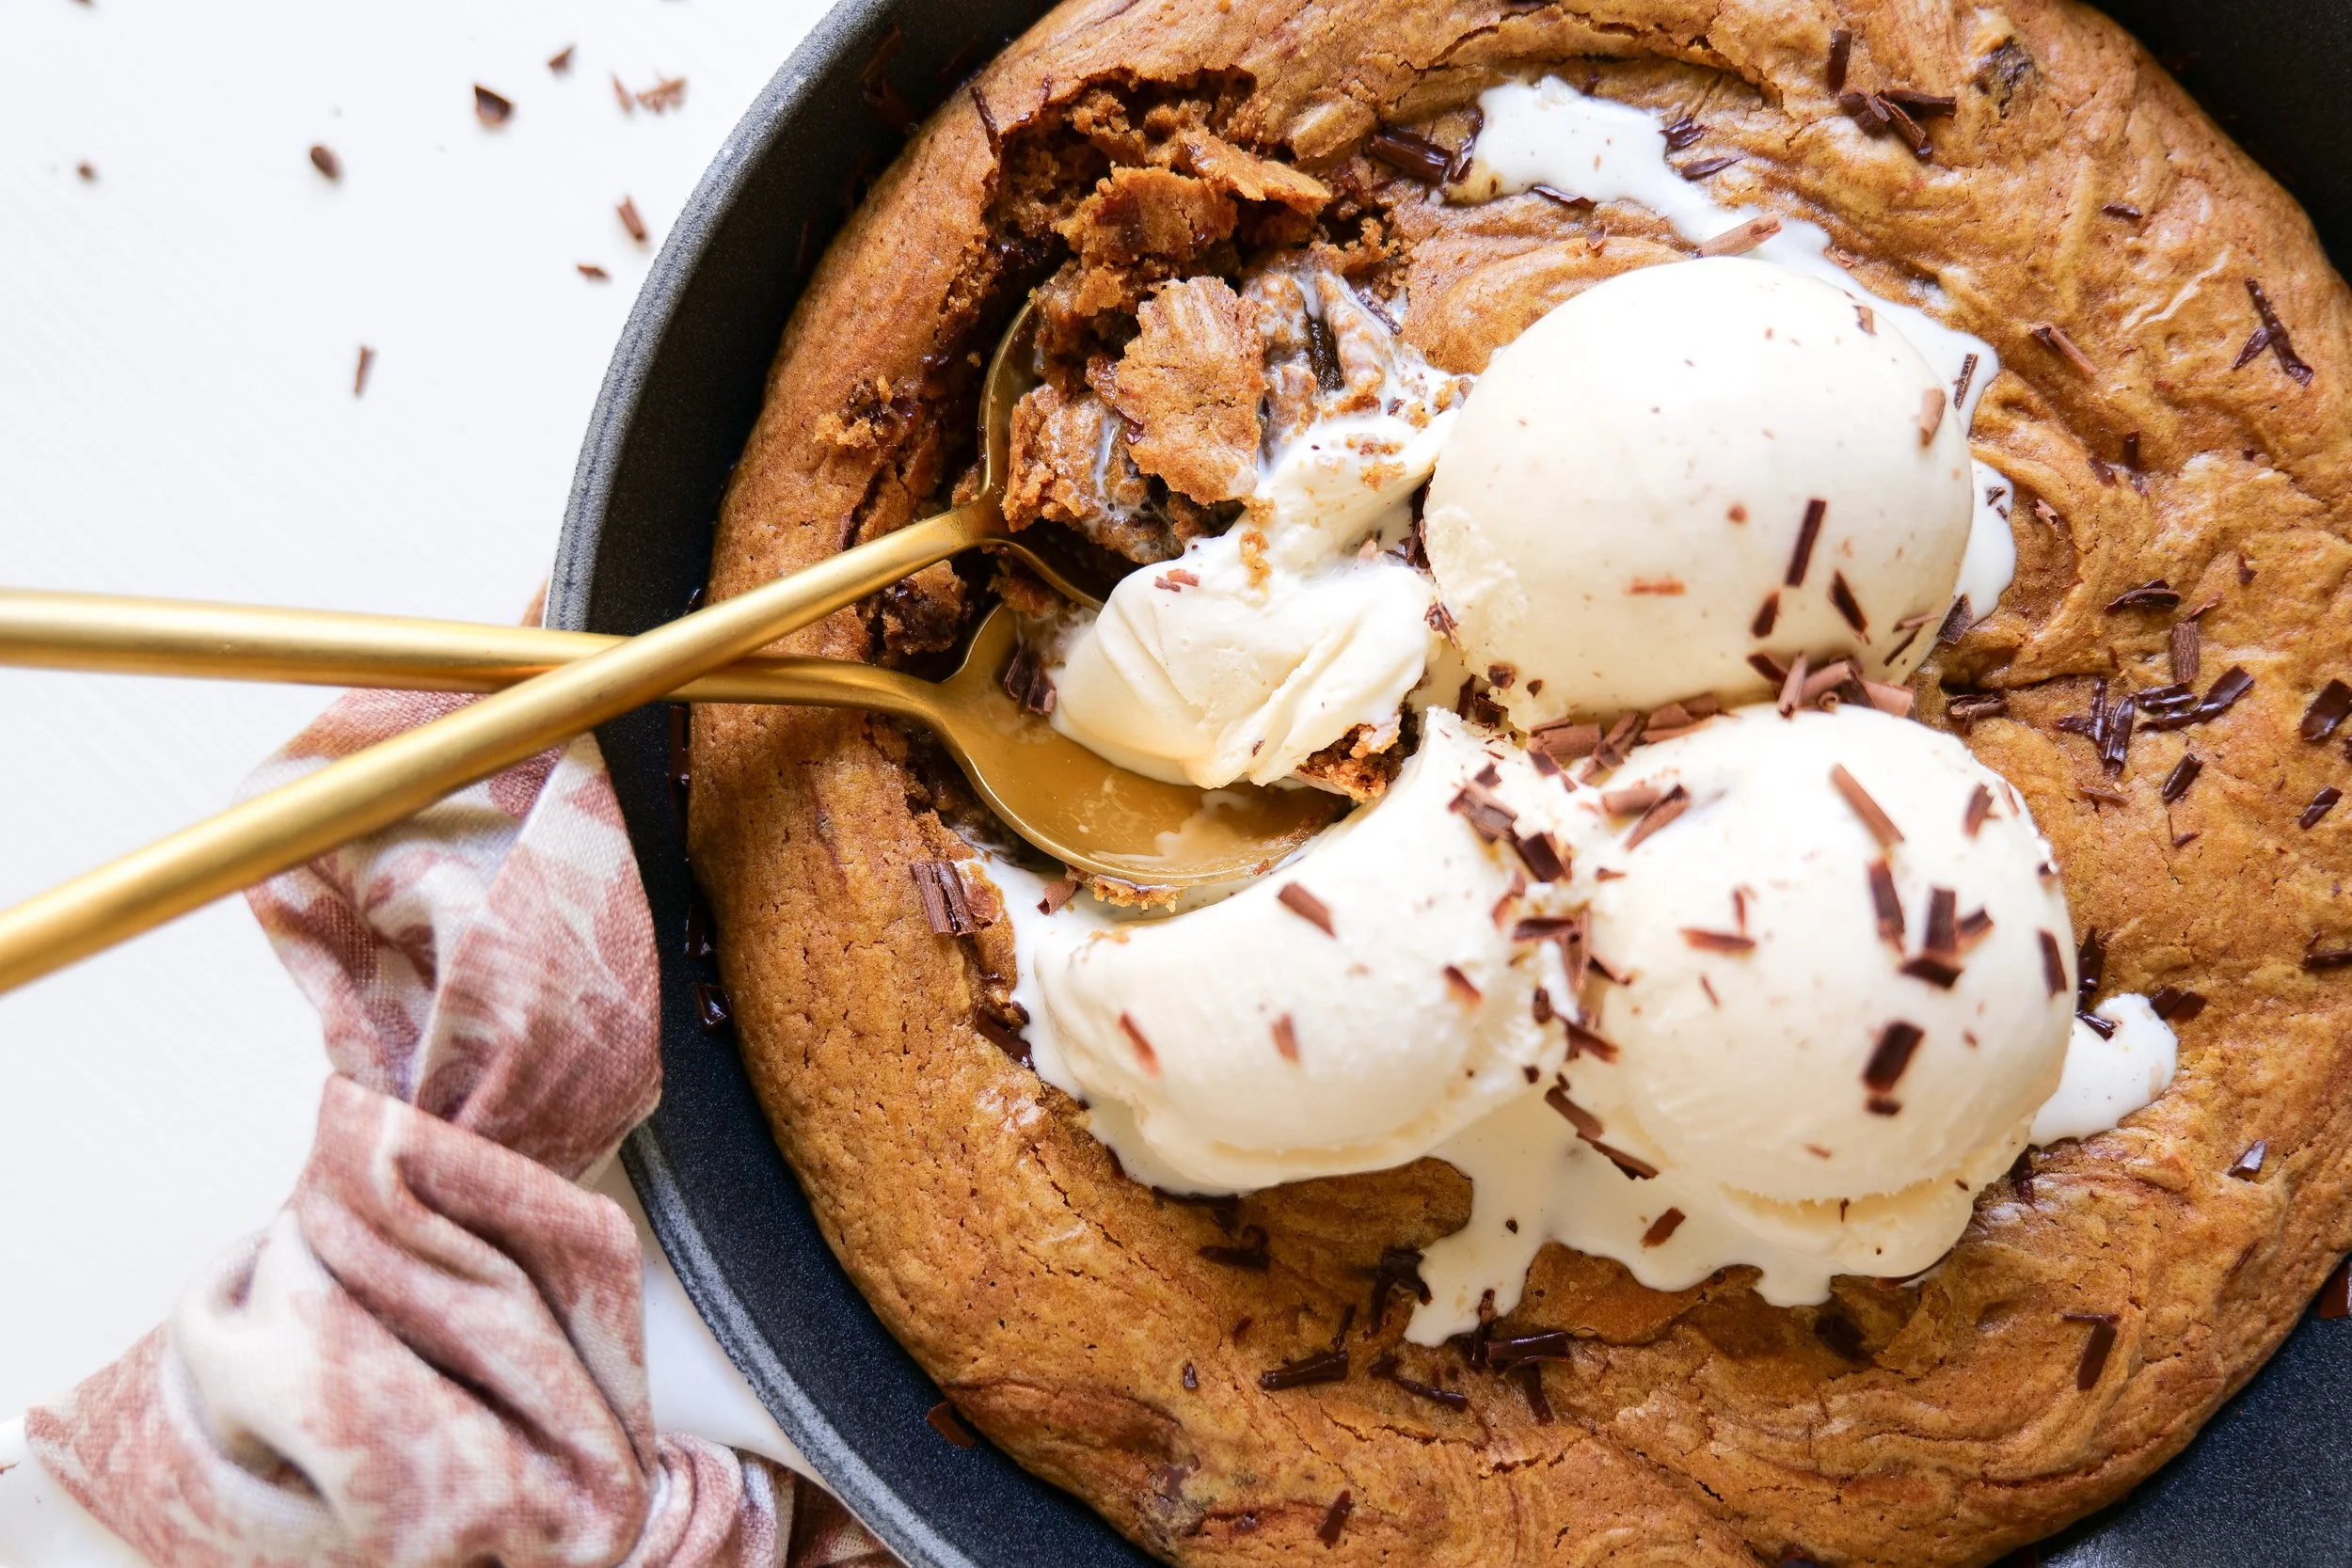
Serving your pazooki warm amplifies its gooey texture and rich flavors and pairing it with a scoop of vanilla ice cream creates the perfect dessert experience. To get the most enjoyment out of your pazooki, serve it immediately after baking, while it’s still fresh and warm from the oven. This enhances the gooey chocolate and the rich flavors of the browned butter and pumpkin. For extra sweetness you can add caramel or chocolate sauce for added sweetness. Or, for salty sprinkle feel free to add sea salt or chopped nuts for an extra layer of flavor. These serving suggestions ensure that every bite of your pazooki is just the way you want it.

This brown butter pumpkin chocolate chip oatmeal pazooki is one of those desserts that virtually everyone will always love. It is rich in flavor, loaded with textures, and offers the ultimate gooeyness, making it perfect for any cozy occasion. Whether you enjoy it on its own, with a dollop of ice cream, or shared among friends, it’s bound to be a crowd-pleaser. So, get baking, and indulge in the flavors of autumn with every warm, decadent bite!

INGREDIENTS

1/2 cup brown butter

1/2 cup sugar

1/4 dark brown sugar

1/2 tsp vanilla

1 large egg

1 1/4 cups flour

2 1/2 tsp baking powder

1/2 tsp sea salt

1/4 cup pumpkin puree

1/2 cup chocolate chips or chunks of chocolate

1/2 cup oatmeal

INSTRUCTIONS

1. Preheat oven to 375 degrees.

2. Brown butter on the stove until a nutty flavor and fragrance begins. Let cool before starting next steps.

3. Add Sugar & Brown Sugar into butter and mix. Scrape sides and mix again immediately after.

4. Mix in Vanilla Extract, Pumpkin and Eggs. Mix again.

5. Gradually add all-purpose Flour, Baking Soda, and salt. Mix well.

6. Now add in chocolate chips or chunks of a milk chocolate bar and old-fashioned oats.

7. Fold cookie dough into a skillet and press in to fill every inch and pack down. Add skillet to preheated oven and bake for 20 minutes or until crispy on the edges and cooked but gooey on the center. Serve with vanilla ice cream on top and enjoy!

Other Cookie Recipes You Will Love:

Birthday Cutout Sugar Cookies

Brown Sugar Toffee Cookies

Brown Butter Caramel Pretzel Cookies

How to Make Delicious Nutter Butter Cookies At Home

The Best Monster Cookie Recipe You'll Ever Try!

Deliciously Sweet: Mastering the Perfect Pumpkin Molasses Cookie Recipe for the Autumn Season

Indulge your Sweet Tooth: The Ultimate Guide to Making Brown Butter Maple Pecan Chocolate Chunk Cookies

Decadent Almond Joy Cookies: A Tribute to the Classic Candy Bar

Indulge Your Sweet Tooth: The Ultimate Guide to Making Gingerbread Whoopie Pies at Home

Decadent Brown Butter Shortbread Cookies with a Chocolate 'Wax' Seal – A Vintage Twist on a Classic Treat!

Yummy Pumpkin Ice Cream Recipe with a Twist: Pumpkin Molasses Cookie Chunks!

Welcome all Autumn enthusiasts to a culinary journey where the earthy richness of pumpkin blends perfectly with the dreamy creaminess of ice cream. From the hearty aromatic spices to the soul-soothing temperatures, the Fall season brings about a comfort that we all eagerly crave. Today, we are taking this comfort to another level by introducing a swoon-worthy pumpkin spice ice cream recipe. This recipe is a twist on the seasonal favorite, laced with delectable chunks of pumpkin molasses cookies. This ice cream has intense flavors, and is incredibly satisfying, making it the ultimate celebration of all things Fall. It is truly a symphony of flavors that caters to the essence of the season. The molasses cookie chunks are also being combined from my last recipe. Following both these fun recipes means you can potentially utilize any leftovers of the chunks and create new variations of lovely Fall desserts!

Can I use store-bought cookies instead of making pumpkin molasses cookie chunks from scratch?

Making homemade ice cream is a great way to show off your culinary skills, and the addition of pumpkin molasses cookie chunks makes this pumpkin ice cream recipe truly special. If you don't have the time to make the cookie chunks from scratch, store-bought cookies are a great time-saver. There is a wide variety of store-bought cookies available, so you can choose one that best suits your taste. Be sure to chop the store-bought cookies into chunks before adding them to the ice cream mixture. Store-bought cookies may not be as fun of a story, or have the same flavor or texture as cookies made from scratch, but they can still add a delicious crunch to your pumpkin ice cream.

How long does this pumpkin ice cream with pumpkin molasses cookie chunks stay fresh?

This recipe is easy to store in your freezer and can last for up to two weeks. However, before serving, it is important to allow the ice cream to thaw for about 10 minutes to make it easier to scoop. This will also help ensure that the ice cream does not dry out and the cookie chunks remain crunchy. It is best to use the ice cream within two weeks of making it, otherwise, the texture and flavor may not be optimal. After two weeks, the pumpkin ice cream may start to dry out and the pumpkin molasses cookie chunks may become soggy.

Do I need an ice cream maker to make this pumpkin ice cream with pumpkin molasses cookie chunks?

You don't have to worry about needing an ice cream maker to make this delicious dessert! This recipe is simple and easy to make without an ice cream maker. All you need is an ice cream container, an electric mixer, and some basic ingredients. The process is quite simple and requires only a few steps for a delicious homemade pumpkin ice cream with pumpkin molasses cookie chunks.

Ingredients

2 Cups Heavy Cream

14 oz Sweetened Condensed Milk (1 Can)

1 Cup Pumpkin Puree

2 teaspoons Vanilla Extract

1 teaspoon Cinnamon

1 teaspoon Pumpkin Pie Spice

1 cup pumpkin molasses cookies

Instructions

  1. In a large bowl whisk together 2 cups heavy cream until stiff peaks form. I use my hand mixer for this but you can use a whisk or electric mixer with a whisk attachment.

  2. In a separate bowl, stir together the sweetened condensed milk, pumpkin puree, vanilla, salt, cinnamon, and pumpkin pie spice.

  3. Take 1 cup of the whipped cream and stir it into the sweetened condensed milk mixture.

  4. Now add the sweetened condensed milk mixture and fold it gently into the remaining whipped cream bowl. Add in molasses cookie chunks. You can add in more, less or any variation of this you like.

  5. Pour ice cream into a freezer-safe container, cover the top and freeze for at least 6 hours, or overnight.

  6. Serve in ice cream cones or bowls and Enjoy!

Your delicious homemade pumpkin ice cream with pumpkin molasses cookie chunks is now ready to enjoy! This delicious dessert is perfect for any occasion. Whether it's a family get-together or a special occasion, this ice cream is sure to please. So gather your ingredients, follow the steps, and enjoy this delicious homemade pumpkin ice cream recipe with pumpkin molasses cookie chunks.

Other Fall Desserts You Will Love:

Deliciously Sweet: Pumpkin Coffee Cake with Pecan Crumbles

Indulge Your Sweet Tooth with This Delicious Brown Butter Spice Cake with Honey & Fig Jam Frosting

A Taste of Heaven: Deliciously Easy Apple Pie!

Guide to Making A Delicious Decadence: The Perfect Caramel Pear Galette

Today we are happily inviting the coziness of the Fall season into your kitchen with our exquisite Caramel Pear Galette recipe. This delightful dessert combines the gentle sweetness of pears, the rich decadence of caramel, and the rustic charm of a free-formed crust in a symphony of flavors that encapsulate the essence of Autumn. Baking a galette may sound and seem complex, but our step-by-step guide will demonstrate just how easy it is to conjure up this impressive treat. This galette is perfect for indulging on a chilly evening or impressing guests at any gathering. So get ready to embark on this delicious journey together.

Combining ripe pears, a flaky pastry crust, and a simple caramel sauce, this classic French dessert is sure to please any crowd. The caramel sauce adds a rich sweetness to the tartness of the pears, for a perfectly balanced flavor. This galette recipe is also incredibly simple to assemble, requiring no special baking skills or equipment. Enjoy the galette on its own or pair it with a sweet scoop of vanilla ice cream or whipped cream for an added indulgence. This simple and delicious dessert is sure to become a favorite in your home. Try this Caramel Pear Galette recipe today for a classic French dessert that is sure to please everyone.

What is a galette?

When it comes to French pastries, a Caramel Pear Galette is a classic dessert that will leave your guests wanting more and more. A galette is an unleavened dough that is folded over the filling and is similar to a tart, though the dough is usually thicker and not as flaky. Galettes are versatile and can be made with a variety of fillings, but the Caramel Pear Galette stands out for its delicious combination of poached pears, caramel, sugar, and spices.

This dessert is surprisingly easy to make and perfect for any celebratory occasion. The crust is made with a simple pastry dough that contains butter, flour, salt, and water. The pears are poached in a mixture of caramel, sugar, and spices such as cinnamon and nutmeg. The pears are then placed onto the pastry dough and the edges are folded up and over the pears. Finally, the Caramel Pear Galette is brushed with melted butter and baked until golden and bubbly.

The Caramel Pear Galette is a delicious and easy-to-make dessert that will leave your guests satisfied and wanting more. Whether you’re looking for something quick and tasty to bring to a party, or you’re in the mood for a classic French dessert, the Caramel Pear Galette is sure to please.

Ingredients

1 store-bought pie crust

2 tablespoons Caramel Sauce

3-4 Pears, cores removed, sliced into 1/8” slices

3 tablespoons White Sugar

2 teaspoon Cinnamon

1/4 tablespoons Nutmeg

4 tablespoons Cold Butter, cut into small cubes

1 teaspoon melted butter for edges

Turbinado or granulated Sugar, for sprinkling on the crust (optional)

Caramel Topping

1 cup granulated sugar

6 tablespoons unsalted butter, cut into pieces

1/2 cup heavy cream

1 teaspoon vanilla

Instructions

1. Preheat oven to 375°F. Remove dough from the freezer and let come to room temperature. In a small bowl, combine sugar, cinnamon, and nutmeg. Set aside.

2. Sprinkle all-purpose flour and roll out the dough, place on parchment paper and cookie sheet. Spread a layer of caramel along with the bottom of the galette dough, leaving a 2-inch border around the edges. Then place the sliced pears in a single, even, and relatively compact layer on top of the apple butter. Sprinkle the pears with the sugar mixture, then top with the cubed cold butter.

3. Gently fold the bare edge of the dough over the filling, overlapping the dough as necessary. Press gently to seal the edges.

4. In a small dish melt the butter and brush across the edges of the galette, then sprinkle with turbinado sugar.

5. Place the Rustic Spiced Pear Galette into the oven, and bake for 35 minutes. Serve warm with vanilla ice cream and extra caramel sauce on top or on the side.

Caramel Sauce

  1. Put 1 cup granulated sugar in a saucepan and heat it over medium heat for about 10-15 minutes, constantly stirring. The sugar will start melting and form clumps, which will turn into amber/brown liquid.

  2. When the sugar is completely melted, add 6 tbsp cubed butter and stir. At this point, the mixture will start to bubble. Stir for a couple of minutes until the butter is melted. First, it will look like the sugar and butter are separated, there is nothing wrong with that.

  3. Gradually add ½ cup heavy cream and stir. It will bubble again.

  4. Stir for another minute, then remove from the heat and add vanilla. You can also add salt at this time if you wish.

Other Fall-Inspired Sweet Treat Recipes:

Satisfy Your Sweet Tooth: A Guide to Making Irresistible Salted Pecan Brownies

Mastering the Ultimate "Kitchen Sink" Rice Krispie Treat Recipe

Indulge your Sweet Tooth: The Ultimate Guide to Making Brown Butter Maple Pecan Chocolate Chunk Cookies

How to Make Fall Chai Low Sugar Scones with Splenda

Savor the Sweetness: A Guide to Making Carrot Sheet Cake with Brown Butter Frosting

Sweet Serenity: Mastering the Art of Pumpkin Cinnamon Rolls with Cream Cheese Icing

Indulge in This Deliciously Sweet Chocolate Espresso Cream Pie Recipe

If you're looking for an indulgent dessert that will satisfy your sweet tooth, look no further than this delicious Chocolate Espresso Cream Pie recipe! This decadent pie is made with a rich chocolate filling and a creamy espresso topping, making it perfect for special occasions, nightcaps, or for just a simple indulgence. Enjoy the perfect balance of the flavors of coffee and creamy chocolate all in one amazing dessert. If you’re looking for an easy and delicious dessert that everyone will love, try this Chocolate Espresso Cream Pie recipe. Your guests are sure to be asking for seconds!

Can I make this with regular whipped cream instead of espresso?

If you are looking for a recipe that doesn't involve espresso, you can easily make this pie with regular whipped cream instead. To begin, you can omit the espresso powder in the whipped topping. For even more flavor, add 1 teaspoon of vanilla extract to the cream filling and omit the coffee liquor. To give the pie a special touch, sprinkle some unsweetened cocoa powder over the top. Now you can enjoy your delicious Chocolate Espresso Cream Pie with regular whipped cream instead of espresso.

Is it possible to make this Chocolate Espresso Cream Pie ahead of time?

This pie has a decadent and delicious flavor, but it’s not too hard to make. If you plan to make the Chocolate Espresso Cream Pie ahead of time, it is possible to make most of the components in advance. You can prepare the crust the day before and store it in the fridge until you are ready to assemble the pie. The espresso cream can also be made a few days in advance and stored in the refrigerator until you are ready to assemble the pie. When you are ready to assemble your pie, all you have to do is assemble the components and you are ready to go! Feel free to also add some melted chocolate or chocolate chips to the top of the pie for an even more indulgent, rich chocolate dessert. Try this delicious Chocolate Espresso Cream Pie recipe today and enjoy a delicious treat you can make ahead of time and serve any time!

Do I need to refrigerate the Chocolate Espresso Cream Pie after baking?

Once you’ve finished baking the Chocolate Espresso Cream Pie, there are several ways you can store it. Refrigeration isn’t necessary, so you can keep it at room temperature for up to three days. It can also be covered in plastic wrap or aluminum foil and refrigerated for up to five days. Refrigerating will make the pie last longer. However, it can also affect the texture of the crust and the creaminess of the filling. If you’d like to keep the Chocolate Espresso Cream Pie even longer, you can freeze it for up to three months after following the directions below.

Ingredients

3/4 cup granulated sugar

1/4 cup cornstarch

1/2 teaspoon sea salt

2 cups whole milk

1/2 cup heavy cream

4 egg yolks

4 tablespoons butter, cut into 4

4 oz semi-sweet chocolate

1 teaspoon vanilla

2 tablespoons coffee liquor

Crust

12 oz chocolate graham cracker

8 tablespoons melted butter

Whipped Topping

1 1/4 teaspoons instant espresso powder

1 1/4 cups cold heavy cream

1 tablespoon powdered sugar

Instructions

1. Preheat oven to 375. Spray pie pan with olive oil spray and make Crust by adding graham cracker to blender and processing until fine. Add in melted butter and blend again. Press the crust mixture into the bottom of the pan until even all the way around. I use a flat-bottom cup or a metal spoon to help. Bake in the oven for 13-15 minutes. Once done remove and let cool before adding filling.

2. Combine sugar, cornstarch and sea salt in a medium saucepan. Whisk in milk and heavy cream and cook over medium heat stir continuously until bubbling and thick.

3. In a large bowl whisk yolks. Pour in the milk mixture slowly while whisking. Once fully incorporated return to saucepan and cook over medium heat until returns to boil.

4. Remove from heat. Add in vanilla, coffee liqueur and butter. Whisky until butter cubes are fully dissolved and incorporated. Pour into pie pan with crust and let cool on the counter for 45 minutes.

5. Press plastic wrap onto the top of the custard filling. Fully covering. Place in the fridge for 4 hours or overnight.

6. Once the pie is ready to serve make espresso whipped topping. In a large bowl whisk add together cream and espresso powder with a hand mixer on medium-high until peaks form. Spread onto pie and sprinkle with additional espresso powder or chocolate shavings.

Delicious and easy to make, this Homemade Chocolate Espresso Cream Pie Recipe is the perfect way to end your meal. Satisfy your sweet tooth with this classic dessert that everyone loves.

Other Delicious Desserts You Will Love:

Tantalizingly Delicious Recipe For Lemon Cheesecake With An Amazing Glaze

Taste the Deliciousness of Pistachio Cake: A Treat for Any Occasion

Indulge in Delicious Personal Pear Tarts

Deliciousness Cherry Chip Cake with chunks of dark chocolate recipe

Indulge Your Sweet Tooth with This Delicious Brown Butter Spice Cake with Honey & Fig Jam Frosting

Welcome to my kitchen! This time, we’re baking a truly decadent cake that is sure to impress any dessert aficionado. Welcome the early fall season with this delicious and flavorful Brown Butter Spice Cake with Honey & Fig Jam Icing recipe. The brown butter and spices give the cake a unique flavor that will make it a favorite in your home. The sweetness of the fig jam icing is sure to be a hit with everyone as well. This recipe is perfect for any occasion, from a family dinner to a special celebration. You can make this cake ahead of time and store it in the refrigerator for up to a week, making it a great make-ahead dish. Serve it as is or dress it up with some fresh figs on top.

What type of honey works best in the icing?

Clover honey is the most popular honey for baking as it has a mild flavor, but you can also experiment with orange blossom honey for a subtle citrus flavor or wildflower honey for a bolder flavor. Acacia honey is a great choice as it is light and delicate in flavor, while Manuka honey is unique and has a distinctive flavor. Whichever honey you choose will go great with this delicious cake and add its own unique twist.

Are there any other variations of this recipe that can be tried?

To make the cake even more unique to you here are a few changes you can make on this cake. You can add walnuts, almonds, or hazelnuts to give it a crunchy texture. For a slightly different flavor, you can also swap the honey for maple syrup. To make the cake even more impressive, you can make this into 2 layers and add icing in between each layer instead of one thick cake. If you're looking for a different flavor, you can try using apricot or raspberry jam instead of fig jam. For a less intense flavor, try substituting dark brown sugar for white sugar. With so many different variations, you can make this Brown Butter Spice Cake with Honey & Fig Jam Icing Recipe your own.

Ingredients:

4 large eggs

1/2 cup buttermilk

1/3 cup brewed espresso

1 cup butter

2. teaspoons almond ext.

1 - 1/2 cup dark brown sugar

2-1/4 cups cake flour

1 tablespoon baking powder

1/2 teaspoon salt

1 teaspoon chai powder

1 teaspoon cinnamon

1/2 teaspoon ground cloves

1/2 teaspoon ginger

Frosting:

1 cup butter

8 oz cream cheese

4 cups powdered sugar

1 teaspoon almond extract

1/4 cup honey

Fig preserves or jam

Instructions:

1. Prep by greasing a 9-inch round cake pan & preheat the oven to 350 degrees.

2. Brown butter in a saucepan and cook until browned and nutty in fragrance. Set aside in a clean bowl freshly brewed espresso and let cool while getting other ingredients ready.

3. Blend eggs, heavy cream, almond extract and the brown butter/espresso mixture, from above, completely in a medium bowl.

4. In a new clean bowl whisk dry ingredients until combined. Add wet ingredients to dry and blend together with an electric hand mixer.

5. Once combined pour into an oiled 9-inch pan and place in the oven. Bake for 45-55 minutes or until a toothpick inserted comes out clean.

7. While the cake is baking blend together all frosting ingredients until well combined. (butter and cream cheese should be at room temperature if not heated in the microwave for 30 sec at a time)

8. Once the cake is done baking let cool in the pan for 15 min and transfer to the cooling rack for another 15.

9. Add Frosting to the top of the cake adding in a large spoon fulls of fig jam and using a knife or rubber spatula to blend to make a stunning and tasty marble effect. Add Fresh figs and drizzled honey on top for an even prettier and tastier cake and Enjoy!

Other Delicious Cake Recipes:

Taste the Deliciousness of Pistachio Cake: A Treat for Any Occasion

My Favorite White Cake Recipe

Indulge in Deliciousness: Cherry Chip Cake with Chunks of Dark Chocolate Recipe