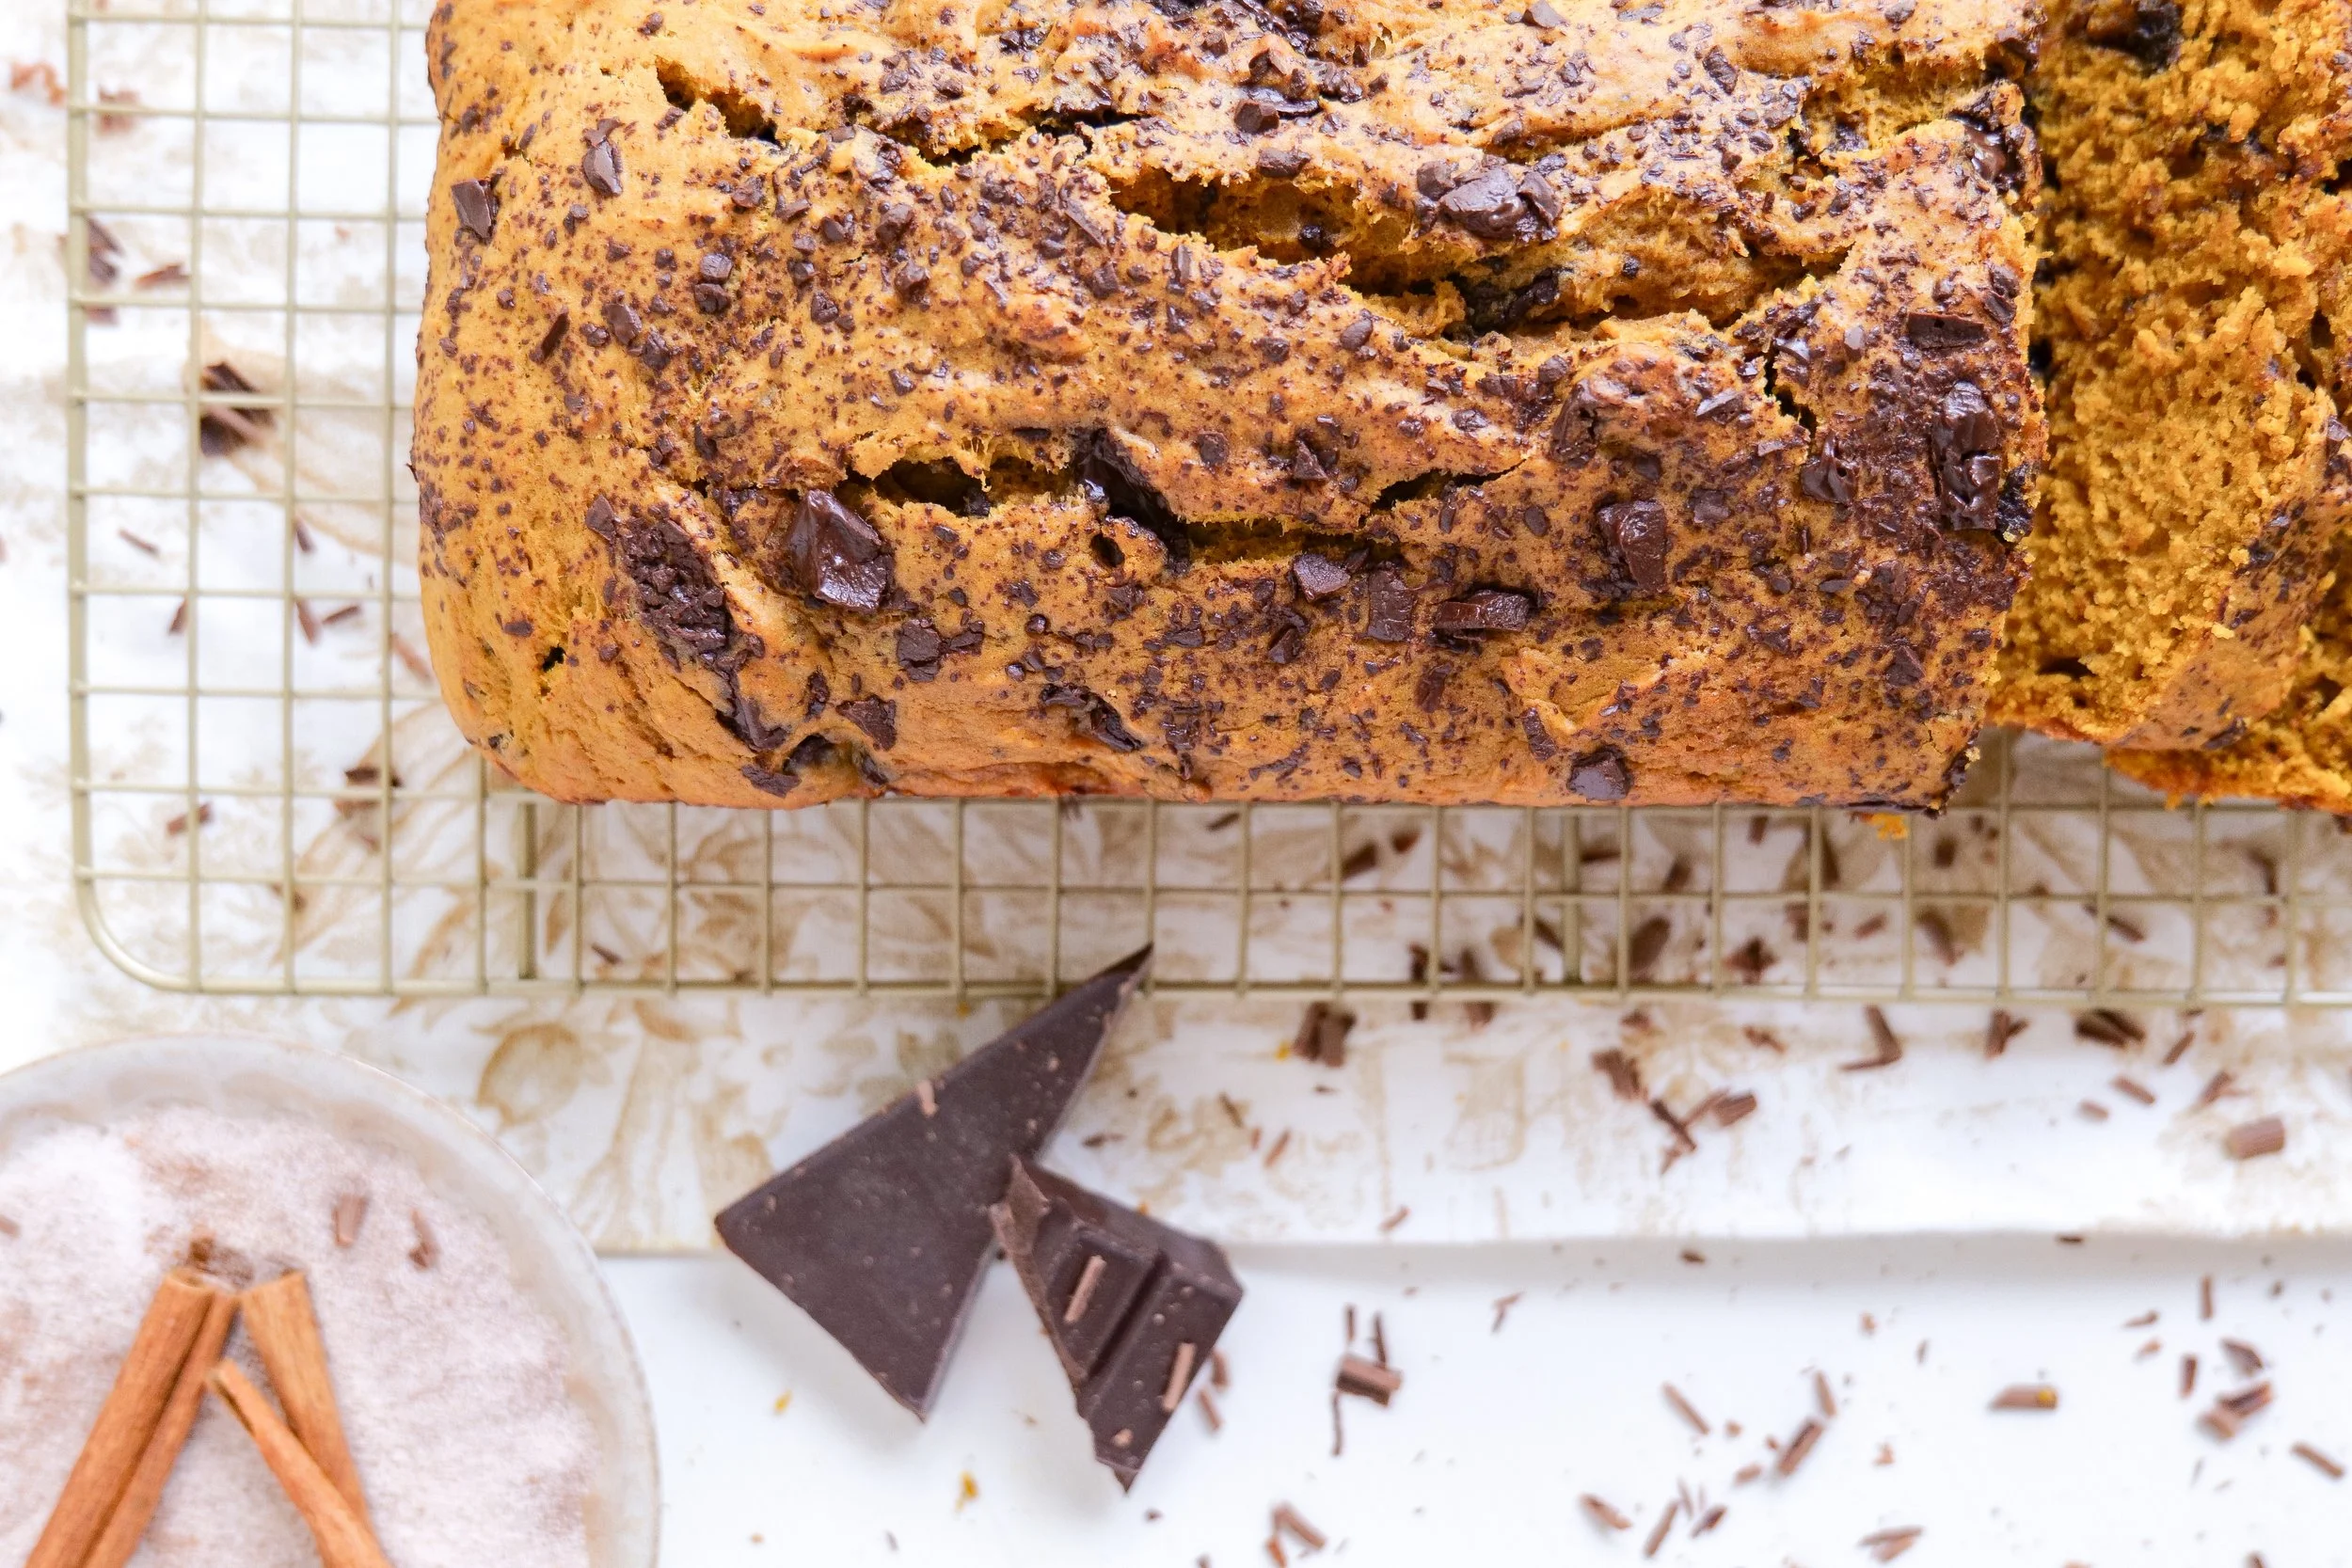
The Irresistible Appeal of Pumpkin Chocolate Chunk Loaf

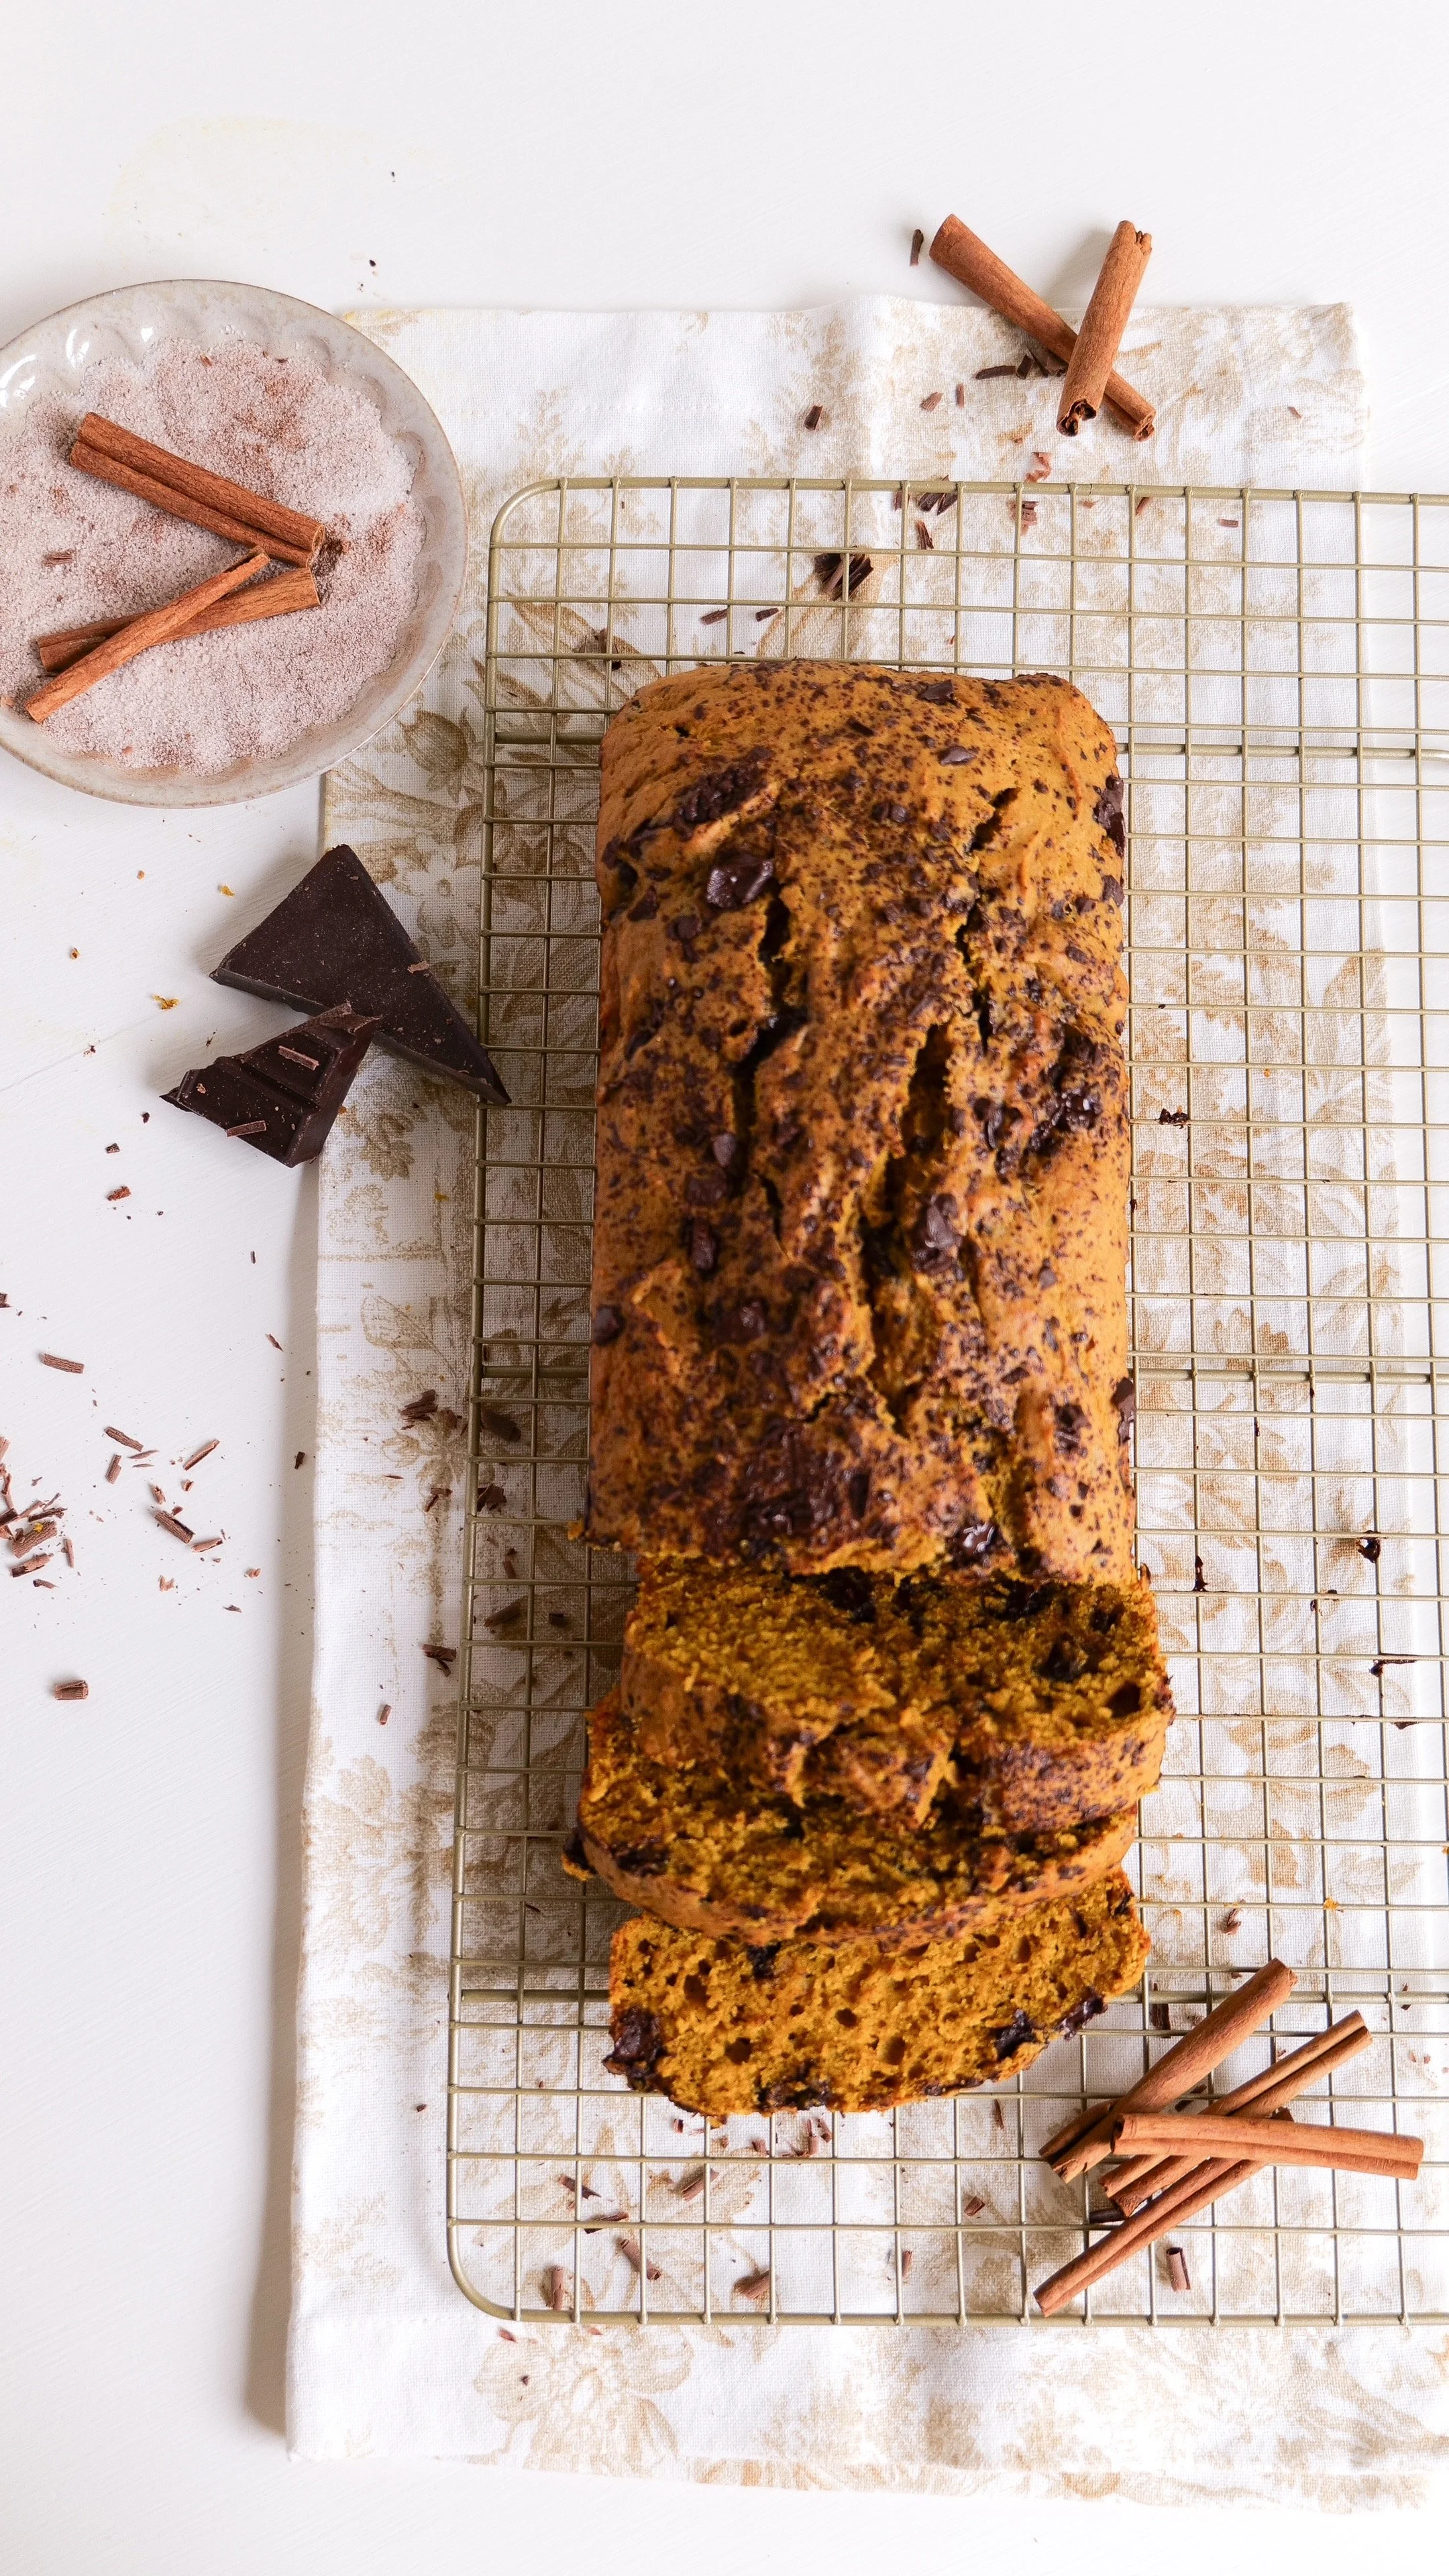
Fall season brings with it a symphony of warm spices, knit sweaters, and the undeniable allure of pumpkin-infused treats. One of those pumpkin-infused treats that perfectly marries spice and sweetness is found in this Pumpkin Chocolate Chunk Loaf recipe. This delightful bread combines the comforting taste of pumpkin with the indulgence of chocolate, making it a perfect culinary combination that gets you in the spirit of the season.

Starting with its unique flavor combination, the Pumpkin Chocolate Chunk Loaf dazzles the palate. It takes the traditional seasonal magic of pumpkin flavors and includes an unexpected partner of decadent chocolate chunks. A key to this bread's success lies in getting it to its perfect texture. The loaf boasts a moist crumb that elevates the soft pumpkin base and blends with the warm chocolate chunks which melt just enough to be gooey but still maintain their tempting form. The seasonal joy this bread brings cannot be understated. There's something about the way it draws on the comforting spices of the season that makes it an ideal choice for gatherings or as a companion to your favorite hot beverage during a beautiful Fall afternoon watching football or cheesy movies.

Whether it's the star of your morning breakfast, the sweet finale to your meals, or the pick-me-up during an afternoon slump, this loaf answers the call for comfort food across the board. It is a vibrant balance of sweet and spice that makes every bite exciting. The delicious contrast of moist pumpkin and rich chocolate offers the most divine texture.

How to Make Pumpkin Chocolate Chunk Loaf:

Creating this autumnal treat begins with a preheated oven and a well-greased loaf pan. You're laying the foundation for the Pumpkin Chocolate Chunk magic to happen. The journey starts by whisking together dry ingredients like flour, baking powder, and a medley of spices, all tied together with a pinch of salt. These form the flavorful canvas onto which your loaf masterpiece will emerge. A separate bowl becomes the mixing ground for the wet ingredients. Here, pumpkin puree meets eggs, oil, and sugar in a blend that promises to be smooth and rich. Then the real stars of the show, chocolate chunks, join this wet mix. Once they're folded in, you gradually welcome the dry elements, ensuring no lumps disrupt the batter's consistency. Once your batter graces the pan, the oven does the rest. When a toothpick inserted comes out clean, your Pumpkin Chocolate Chunk Loaf is ready to take its place as the centerpiece of your fall cuisine. As always, feel free to customize this recipe all on your own as well by adding in additional flavors and substituting options of dried cranberries, chopped pecans or anything your heart desires!

Storage and Freezing Instructions

Keeping your Pumpkin Chocolate Chunk Loaf delicious and fresh is simple with the right techniques. Room temperature storage can see that your bread remains perfect for up to three days if placed in an airtight container, left untouched by the elements.

For longer lasting freshness, wrapping the loaf with plastic wrap or aluminum foil will grant it endurance for up to a week in the cool embrace of your refrigerator. But should you wish to preserve its flavors for a full season, freezing is a winter-worthy choice. Freeze with proper wrapping before cutting to savor the loaf over months.

Whether kept chilled or at room temperature, it's always advisable to label your loaf with a date to avoid staleness.

Pro Tips for the Ultimate Loaf

Every recipe has its secrets, and this Pumpkin Chocolate Chip Loaf recipe is no different. Using high-quality chocolate is a non-negotiable, as it lends an unmatched taste that elevates the entire baking experience.

Watching the consistency of your pumpkin puree is crucial. If the puree is too watery, you'll find yourself with a soggy loaf. If you get the puree just right, you'll strike moistness perfection. To further the loaf's allure, your classic blend of autumn spices is essential.

Ease of extraction is also key when dealing with any bread loaf recipe, thus good old parchment paper is your friend. Not just for its ease, but also for those clean cuts that make every slice a visual treat. Finally, patience is a virtue, allowing the loaf to cool unveils the depth of its flavors, making the wait worthwhile.

In the world of baked goods, this Pumpkin Chocolate Chunk Loaf stands out as the perfect seasonal comfort food. Its heartwarming spices and chocolatey goodness deliver a comforting hug with every slice. Such a treat deserves a place at every fall table, and perhaps deserves its own spot within the pages of our cherished family recipes. Celebrate the cooling days ahead with a slice of this loaf and watch as the simple pleasures of baking become the canvas for lasting autumn memories.

Ingredients

1 1/2 cups all-purpose flour

1/2 tsp salt

2 teaspoons baking powder

2 teaspoons pumpkin pie spice

1 teaspoon cinnamon

1 cup canned pumpkin puree

1/3 cup brown sugar

1/3 cup granulated sugar

1/2 cup butter

2 eggs

2 teaspoons vanilla extract

1 cup chocolate chunks or semi-sweet chocolate chips

Step-by-Step Instructions

1. Preheat oven to 350 degrees and lightly spray and oil loaf pan or line with parchment paper.

2. Mix together pumpkin, both sugars, and butter (fully melted) until well blended. Add in eggs and vanilla, mix again.

3. Add in dry ingredients until well incorporated. Fold in chocolate chunks, leaving a handful behind to sprinkle on top. Pour into loaf pan.

6. Cook for 40-45 min or until a toothpick inserted in the center comes out clean. Let cool for 10 minutes, serve and enjoy your pumpkin bread recipe!

Other Pumpkin Recipes You Will Love:

Deliciously Sweet: Mastering the Perfect Pumpkin Molasses Cookie Recipe for the Autumn Season

The Ultimate Thanksgiving Dessert - My Pumpkin Crisp Recipe

Savor the Fall Season with the Perfect Pumpkin Espresso Martini

Yummy Pumpkin Ice Cream Recipe with a Twist: Pumpkin Molasses Cookie Chunks!

Sweet Serenity: Mastering the Art of Pumpkin Cinnamon Rolls with Cream Cheese Icing

Deliciously Sweet: Pumpkin Coffee Cake with Pecan Crumbles

Baked Burrata Pumpkin Ziti with Pork Sausage Recipe

Delight in Every Bite: Pumpkin Swirl Brownies

The love of the smell of freshly baked brownies is universal, but when autumn arrives, incorporating the essence of the season into the classic treats leads a delightful recipe. These Pumpkin Swirl Brownies are a perfect blend of deep chocolate tones and the comforting spices of a pumpkin pie. This dessert is a symphony of flavors that echoes the spirit of the fall season. Chocolate and pumpkin might just be the unsung heroes of the autumn flavor palette. Not only do Pumpkin Swirl Brownies satisfy that deep, chocolaty craving, but they also embrace the nostalgia of pumpkin pie spices. Crafting these brownies involves preparing a chocolate brownie batter and a pumpkin spice blend separately. Layering and swirling the two batters together creates a beautiful, marbled design. The result is a creation that not only looks impressive but delivers a complexity of flavors that will have everyone rushing to the kitchen.

In this simple yet exquisite dessert, each ingredient plays an important role. To achieve the perfect Pumpkin Swirl Brownie, you'll need brownie ingredients, pumpkin layer and a good swirl technique. Begin by sourcing fresh, quality ingredients, including real pumpkin puree, not just for its taste but for the moistness it lends. For the brownie this includes classics like melted chocolate or cocoa powder, flour, sugar, and butter that provide the dense and chocolatey foundation. For the pumpkin layer it will be made with real pumpkin puree, cinnamon, nutmeg, and cloves, as this mixture infuses the brownies with the season's signature scents and tastes. Lastly, achieving the swirl technique involves adding dollops of pumpkin mixture atop the brownie batter and artfully swirling with a knife.

The Art of Swirling Success:

- Place spoonsful of pumpkin batter about an inch apart on top of the chocolate layer.

- Using the tip of a knife or toothpick, glide through the batters in a swirling motion to create a marbled effect.

- Tap the pan gently on the countertop to settle the batter and enhance the swirls' visibility.

- For a pronounced pattern, use a consistent swirling motion.

- To enhance the effect, alternate the swirl direction between adjacent rows.

- Remember, less is more, and over-swirling can muddy the distinct flavors.

The swirling not only makes for a stunning presentation but also allows every bite to deliver a great fusion of flavors. Visual appeal is half the treat with these brownies. Achieving it is a simple, yet delicate process so be sure to follow these steps on how to swirl brownies.

Pro Tips for Ultimate Brownie Success

Crafting perfection requires more than a just a recipe, it also at times requires a certain finesse. Some expert tips on how to achieve this for the best pumpkin brownies are as follows. First don't skimp on the good stuff, find high-quality chocolate. The type of chocolate you use matters. Opt for a rich, high-quality chocolate for the best flavor. Same goes for your pumpkin so be sure to find a quality pumpkin puree. For the best flavor and texture, use unadulterated pumpkin puree. Next you need to spice it right. Don’t skimp on the fall spices, they are after all the soul of the pumpkin layer. Like we mentioned above, make sure to use smooth swirls. This is so important that I feel like I have to mention it twice. Use a skewer, knife tip or the handle end of a spoon for more control when swirling. Lastly before putting in the oven be sure to do pan tapping. Gently tap the pan before baking to remove any air bubbles. Just like with any recipe consistent oven temperature is key. An overlooked element in brownie baking is oven temperature. Make sure your oven is properly calibrated for the perfect bake. A few careful steps can elevate your brownie experience from delightful to unforgettable. Enjoy these moist and flavor-packed Pumpkin Swirl Brownies and remember that each bite is a perfect celebration of the season.

These brownies represent a comforting fusion of worlds where the timeless appeal of a gooey chocolate brownie meets the warm, spiced caress of pumpkin. It's a match made in heaven, and especially one for the Fall months. This treat is perfect for enjoying with a hot drink as the leaves turn golden. The Pumpkin Swirl Brownie is not just a seasonal delicacy, as you'll find that it's so loved that people will crave it year-round. Appreciate the moist, tender crumb of these brownies, as it is a result of the perfect balance between chocolate and pumpkin. With every swirl, just the right hint of cinnamon, nutmeg, and clove will hit your taste buds amid the backdrop of the decadent chocolate. Take pleasure in creating and savoring these glorious Pumpkin Swirl Brownies. They are sure to become a treasured part of your fall tradition and will have your entire house filled with the best smells of fall.

Ingredients

Brownie Batter

½ cup dark brown sugar packed

1 cup granulated sugar

3 large eggs

2 teaspoons vanilla extract

1/2 cup salted butter

1 cup all-purpose flour 

1/2 cup unsweetened cocoa powder

1/2 tsp baking powder

¼ teaspoon salt

1 cup heavy whipping cream

Pumpkin Batter

1 cup pumpkin puree

1/4 cup granulated sugar

6 oz cream cheese, softened

3/4 teaspoon cinnamon

1/2 teaspoon ground cloves

1/2 teaspoon ground nutmeg

1 large egg

Instructions

  1. Preheat the oven to 350 degrees and oil and line an 9X13 pan with cooking spray and parchment paper (if desired).

  2. In a large mixing bowl, whisk together the melted butter, dark brown sugar, and granulated sugar until light and fluffy. Add in eggs and vanilla and mix again. Set aside.

  3. In another medium bowl, whisk together the all-purpose flour, salt, baking powder and unsweetened cocoa powder. Gradually mix in wet ingredients into dry. Lastly, add in heavy whipping cream.

  4. Pour the batter into the prepared pan and begin mixing pumpkin mixture.

  5. In a medium sized bowl mix together cream cheese and sugar until blended. Add in pumpkin, spices and egg.

  6. Once blended add in large spoonsful of pumpkin batter on top of brownie mix. Using a knife swirl batter and pumpkin mixture, be sure to not over blend the two together but make a swirl. Tap on table to remove air bubbles.

  7. Bake for 45 minutes or until a toothpick inserted comes out clean. Remove from oven and let cool for five minutes. Cut into squares, serve and enjoy!

Other Delicious Pumpkin Recipes You Will Love:

Deliciously Sweet: Mastering the Perfect Pumpkin Molasses Cookie Recipe for the Autumn Season

The Ultimate Thanksgiving Dessert - My Pumpkin Crisp Recipe

Savor the Fall Season with the Perfect Pumpkin Espresso Martini

Yummy Pumpkin Ice Cream Recipe with a Twist: Pumpkin Molasses Cookie Chunks!

Sweet Serenity: Mastering the Art of Pumpkin Cinnamon Rolls with Cream Cheese Icing

Deliciously Sweet: Pumpkin Coffee Cake with Pecan Crumbles

Baked Burrata Pumpkin Ziti with Pork Sausage Recipe

Unforgettable Apple Cider and Donuts Themed Party With Recipes for the Ultimate Fall Party Bash!

We absolutely loved our trip to Vermont, and can't get over the ambiance of having delicious apple cider donuts and coffee in the morning amongst the beautiful mountains. Now, as the air turns crisp and the leaves transition to colors and fall, there's no better way to celebrate the essence of the season than with an Apple Cider and Donuts themed party. Imagine the aroma of freshly fried donuts mingling with the spicy scent of warm apple cider. It is the perfect seasonal delight! In this guide, we'll dive into a captivating presentation for a themed party and accompanying mouthwatering recipes to ensure your gathering is not only Instagram-worthy but is also an event your guests will fondly remember.

Setting up a warm, cozy atmosphere with fall-themed decorations can really elevate your fall party experience. Something about the nostalgia of the fall season just puts everyone into a good mood. Take advantage of the perfect weather and these good feelings and decorate with classic fall staples like apples & apples baskets to create a festive and seasonal ambiance that welcomes your guests. Decorations play a crucial role in setting the mood for any event and these also add to feeding your guests! These elements capture the essence of the season and make guests feel good. These decorations create an artful scene that not only celebrates the season but also provides an entertaining atmosphere for guests to enjoy.

Using baskets filled with apples, pinecones, and fall leaves as centerpieces brings a cozy, rustic vibe to your tables. These simple yet elegant decorations capture the essence of autumn and set a beautiful tone for the event. Rustic centerpieces are easy to create and highly effective. Including these simple elements in your centerpiece arrangements adds charm and ties your entire theme together.

Apple-themed Accessories

Decorating with apple-themed accessories such as apple signage, napkin rings, and tablecloths ties everything together, keeping the apple theme consistent and charming. These small details enhance the party's cohesive look. Apple-themed accessories can seamlessly integrate the apple motif into your decor. From using an apple cider & apple cider donuts sign, to themed napkin rings and baskets filled with edible apples, these elements add consistency and charming touches throughout. You can even add a menu sign if you're having multiple donut choices. This adds a personal touch and guides guests throughout the event. These signs blend well with rustic themes and provide practical information in a stylish way.

An Apple Cider and Donuts party is a perfect way to embrace the spirit of fall. By incorporating creative doughnut recipes and thoughtful decorations, you can craft an unforgettable experience for your guests. From elegant caramel-drizzled doughnuts to cozy, rustic centerpieces, every detail works together to create a magical autumn event. Keep the atmosphere inviting, flavors diverse, and activities engaging to ensure your fall party bash is the highlight of the season.

Sugar-Free Apple Cider Donuts

When it comes to crafting the perfect sugar-free apple cider donuts, the choice of ingredients plays a crucial role in achieving that delightful taste and texture, all while maintaining a health-conscious approach.

A key player in amplifying the apple flavor in your sugar-free donuts is apple cider. This ingredient is boiled down to create a concentrated syrup that intensifies the apple essence, ensuring your donuts are wonderfully aromatic and flavorful. Apple cider not only boosts the flavor profile but also contributes to achieving a tender texture. As it reduces during boiling, it thickens, which helps in binding the ingredients together, giving you a cohesive batter that bakes evenly. Concentrated apple cider syrup packs a punch of apple flavor. The thickness of reduced cider helps in creating a soft and slightly chewy donut. The essence of apple cider brings a welcoming, fragrant quality to the donuts.

Cinnamon and Nutmeg

No apple cider donut recipe is complete without the inclusion of cinnamon and nutmeg. These spices are essential in providing that warm, cozy taste that makes apple cider donuts so special. Cinnamon and nutmeg do more than just enhance flavor; they offer health benefits like anti-inflammatory properties and improved blood sugar regulation. These spices act as natural flavor enhancers and are pivotal in creating that nostalgic fall feeling.

Sugar Substitute

Maintaining sweetness without the added sugar is key to crafting sugar-free apple cider donuts. Options like stevia, monk fruit, or erythritol are excellent choices, as they provide sweetness without affecting blood sugar levels. These substitutes allow you to retain the delightful sweetness that makes donuts so irresistible while ensuring the treat remains fit for those watching their sugar intake.

The trend of sugar-free apple cider donuts offers a healthier alternative, retaining the delicious taste while catering to those reducing sugar intake. This variation allows even those with dietary restrictions to enjoy the fall favorite without feeling deprived.

Flavor Options

Experimenting with different spices elevates your donuts to a new level. Adding a touch of cloves or ginger can transform the flavor profile, providing a unique twist to the classic recipe. For a personalized touch, you can incorporate seasonal spices like allspice or cardamom. This replacement can make a significant difference in the flavor, keeping the recipe fresh and exciting.

Enhancing your donuts with various toppings can add another layer of enjoyment. Consider sugar-free glazes, powdered erythritol, or even a dusting of cocoa powder. These toppings not only make the donuts visually appealing but also add another flavor dimension without compromising on the sugar-free aspect.

Baking your sugar-free apple cider donuts instead of frying them offers a healthier alternative while ensuring a deliciously soft texture. By opting for baking, you're reducing the overall calorie and fat content of your donuts without sacrificing taste. Deliciously baked, these donuts are crafted to be pillowy-soft and moist, offering a delightful texture that melts in your mouth. The infusion of rich, spiced apple cider flavor ensures that every bite is packed with autumnal goodness without the guilt associated with traditional sugar-laden treats.

Apple cider donuts capture the essence of fall with their rich, tangy sweetness derived from apple cider, creating a distinctive flavor profile that is synonymous with the season. The combination of apple essence and warm spices like cinnamon and nutmeg brings out a unique autumnal taste that is both comforting and nostalgic. These donuts are known for their perfectly moist and tender crumb, often with a slightly crisp exterior that contrasts beautifully. The texture is a significant part of what makes apple cider donuts so special, providing a delightful mouthfeel that is both soft and satisfying.

Ideal for breakfasts, snacks, or desserts, apple cider donuts can be enjoyed at any time of the day, making them a versatile treat. Their balanced sweetness and rich flavor mean they pair well with a variety of beverages, from a morning cup of coffee to an evening herbal tea. Enjoying apple cider donuts has become a beloved seasonal tradition, often associated with fall festivals, apple picking, and cozy gatherings. These donuts are more than just a treat; they are a part of autumnal rituals and memories, adding to their special charm.

How to Store Sugar Free Apple Cider Donuts

Store your doughnuts in an airtight container to maintain freshness and prevent drying out. Keep the container at room temperature if you plan to consume the doughnuts within 2-3 days, ensuring they remain soft and tasty. For longer storage, refrigerate the doughnuts. They can last up to a week while retaining their flavor and texture. Freeze doughnuts individually wrapped in plastic wrap and placed in a freezer-safe bag for up to three months. This method ensures you always have a delicious treat on hand. When ready to eat again thaw frozen doughnuts at room temperature or gently warm them in the microwave for a fresh-from-the-oven taste. This step allows you to enjoy your favorite treat anytime.

Ingredients

1/2 cup browned butter

1/4 cup stevia Splenda

2 large eggs

1 teaspoon baking soda

1/2 teaspoon sea salt

2 teaspoons cinnamon

1 teaspoon nutmeg

2 teaspoons vanilla extract

2 1/2 cup all-purpose flour

1/2 cup whole milk

1 cup sugar free apple cider (Recipe minus the punch)

Apple Cider Topping

1/3 cup browned butter

1/4 cup stevia Splenda

1 tablespoon cinnamon

1 tablespoon apple pie spice

Instructions

1. Preheat oven to 350 degrees. Grease your donut pan and set aside.

2. Put cider in a small saucepan over medium heat and bring to a boil. Boil for about 10 minutes, or until reduced to 3/4 cup. Pour the cider into a small bowl and set aside to cool slightly. Then brown butter for donuts and glaze (1/2 cup + 1/3 cup) in the same saucepan until it gets a nutty fragrance and is browned. Pour in another separate bowl and let cool.

3. Once the bowl with browned butter has cooled to room temp add in sugar until well blended. Add in adds and vanilla extract. Add in whole milk and reduced apple cider, mix together and set aside.

4. In a new bowl whisk dry ingredients together; baking soda, sea salt, cinnamon, nutmeg, and flour. Mix into bowl with brown butter apple cider mixture until fully incorporated.

5. Add mixture into a pipping bag and pipe into donut pan.

6. Bake at 350 degrees for 9-10 minutes or until a toothpick inserted comes out clean. Let cool in donut pan for a few minutes then turn over on a cooling rack.

7. In a small bowl mix together stevia Splenda, cinnamon and apple pie spice. In another small bowl add remaining brown butter. Take each donut and dip into brown butter, tap excess off and roll into the cinnamon mixture. Toss well to coat entire donut. Continue until all donuts are done. Serve and enjoy!

Sugar-Free Apple Cider Punch: The Ultimate Fall Beverage

Autumn brings with it a host of delicious flavors, and one of the best flavors that captures the spirit of the season is the delightful taste of apple cider. For those mindful of their sugar intake, a sugar-free apple cider punch provides a guilt-free, flavorful refreshment that fits perfectly into your fall lineup. A sugar-free apple cider punch offers a delightful, guilt-free alternative to traditional sugary drinks. It's particularly suitable for health-conscious individuals who are looking to enjoy seasonal flavors without compromising on their dietary goals. Opting for a sugar-free version doesn't mean you have to sacrifice taste. With natural sweetness easily derived from fresh apples and complemented by the warm, spicy notes of cinnamon and nutmeg, this drink will leave you refreshed and satisfied.

The beauty of any apple cider punch lies in its ability to take you to a place in your mind where you're relaxing in the crisp air of the mountains of Vermont and capturing the essence of fall in every sip. The ingredients like fresh apples, cinnamon sticks, and a hint of nutmeg bring together the quintessential flavors of the season. Not only do these ingredients create a savory blend, but they also infuse the punch with health-boosting properties. Fresh Apple Slices offer natural sweetness and crunch. Cinnamon Sticks bring in warm, earthy tones and flavors. The spices of nutmeg and cloves really deepen the flavor profile. Lastly, the pomegranate seeds we'll use in the recipe introduce a tart contrast.

One of the standout features of a sugar-free apple cider punch is its simplicity. With straightforward steps and everyday ingredients, this punch is a breeze to prepare. Perfect for busy gatherings or casual get-togethers, it can be made in large batches with minimal effort that we are all looking for in our busy schedules. Whether you're looking to cozy up on a chilly evening or need a refreshing drink for a daytime event, this punch is versatile enough to adapt to either scenario. You can serve it warm to enjoy the comforting flavors of apple and spice, or serve it chilled to refresh and invigorate.

This sugar-free beverage is suitable for all ages. Kids will love the naturally sweet flavor, while adults will appreciate its health-conscious profile. Enjoy it as a daily drink or reserve it for special occasions to provide a delicious and healthy beverage option for everyone in the family. Wanting to make it more of an adult version? Feel free to add in champagne instead of ginger ale or you can line up bourbon and whisky near the punch bowl to add a little shot of something for those who want to pack more to their punch. Typically, rum or bourbon are the preferred choices for spiking the apple cider punch. These spirits blend nicely with the punch's flavors, adding complexity and depth.

A well-crafted sugar-free apple cider punch relies on high-quality, fresh ingredients to deliver its signature flavor. Below are the key components that make this punch a perfect seasonal delight:

Fresh Apple Cider: At the heart of the punch, fresh apple cider provides a naturally sweet and tangy base without the need for added sugars. Made from pressed apples, it brings the full-bodied flavor essential for an authentic cider punch.

Sparkling Water: Adding sparkling water to the punch gives it a refreshing fizz that balances out the richness of the apple cider. This fizz elevates the drink, making it light and joyful to sip. (You can also opt for sugar free ginger ale)

Oranges: Orange slices lend a burst of citrus flavor and a visually appealing, decorative touch. They enhance the overall taste with their slightly tangy sweetness, adding another layer to the punch's complex profile.

Cinnamon sticks: These are crucial for infusing the punch with a warm, cozy aroma and taste. They complement the natural sweetness of the apple cider and elevate its flavor with their spicy notes.

Skip the sugar and still enjoy a flavorful drink by opting for a sugar-free spiked or traditional apple cider punch. This recipe keeps the punch's core healthy elements intact while adding a festive kick. Utilize fresh apples and a touch of natural sweeteners like stevia Splenda to achieve the perfect balance of sweetness. These alternatives allow you to enjoy the punch without worrying about blood sugar spikes and added calories. Ideal for any gathering, this punch can be prepared ahead of time and served either hot or cold. Its simplicity and versatility make it a go-to option for holiday parties or intimate get-togethers.

Can You Make This Apple Cider Punch in Advance?

Absolutely! One of the advantages of this sugar-free apple cider punch is that you can make it in advance, which is perfect for parties and gatherings. Prepare the punch up to 24 hours ahead to allow the flavors to meld together for a more robust taste. This not only saves time on the day of your event but also ensures a fuller, more integrated flavor profile. You can store sugar-free apple cider punch in the refrigerator for up to 5-7 days. This timeline ensures the punch remains fresh and flavorful. Store the prepared punch in the refrigerator in a covered container to maintain its freshness. Airtight storage is crucial to prevent any loss of flavor and to keep the punch at its best. Just before serving, add any sparkling elements like soda water or sparkling apple cider to retain their fizzy texture. Garnish with fresh apple slices and cinnamon sticks for an inviting and festive presentation. Proper storage ensures you can enjoy your sugar-free apple cider punch over several days. Stir the punch well before serving to redistribute any settled ingredients. This helps maintain a consistent flavor with each pour. Always check for any signs of spoilage, like an off smell or taste, before consuming the punch after storing. For best results, prepare fresh batches if you need the punch beyond a week.

Bringing together the timeless flavors of fall, this sugar-free apple cider punch recipe stands out as a perfect beverage option. Whether you're preparing for a bustling holiday party or an intimate family gathering, these recipes offer a delightful and simple way to enjoy the season. With this recipe being customizable, easy to make, and suitable for all ages, it truly captures the essence of autumn in each refreshing sip.

Ingredients

Apple Cider

6 cups water

1/4 cup stevia splenda

1/2 teaspoon ginger

1/2 teaspoon apple pie spice

2 granny smith apple

2 honey crisp apple

1 small orange

2 cinnamon sticks

1 teaspoon whole cloves

Punch Ingredients

2 cups of fresh squeezed orange juice

1 quart sugar free ginger ale

4 cinnamon sticks

Garnish with sliced apples, sliced oranges and pomegranates

Instructions

1. In a large stock pot add in all Apple Cider ingredients above: 1 small orange (cut into quarters), 4 apples (cut into quarters), apple pie spice, ginger, stevia splenda and water.

2. Let come to a boil and reduce to a low simmer for 30 minutes to 1 hour.

3. Let cool if you are serving in a glass container is serving hot do this step right away. Strain into a clean bowl and pour into serving dispenser or pitcher.

4. Add in sliced apples, oranges and pomegranates along with additional cinnamon sticks. Serve and Enjoy!

Discover the Magic in Every Bite: Pumpkin Cream Cheese Muffins with Streusel Topping

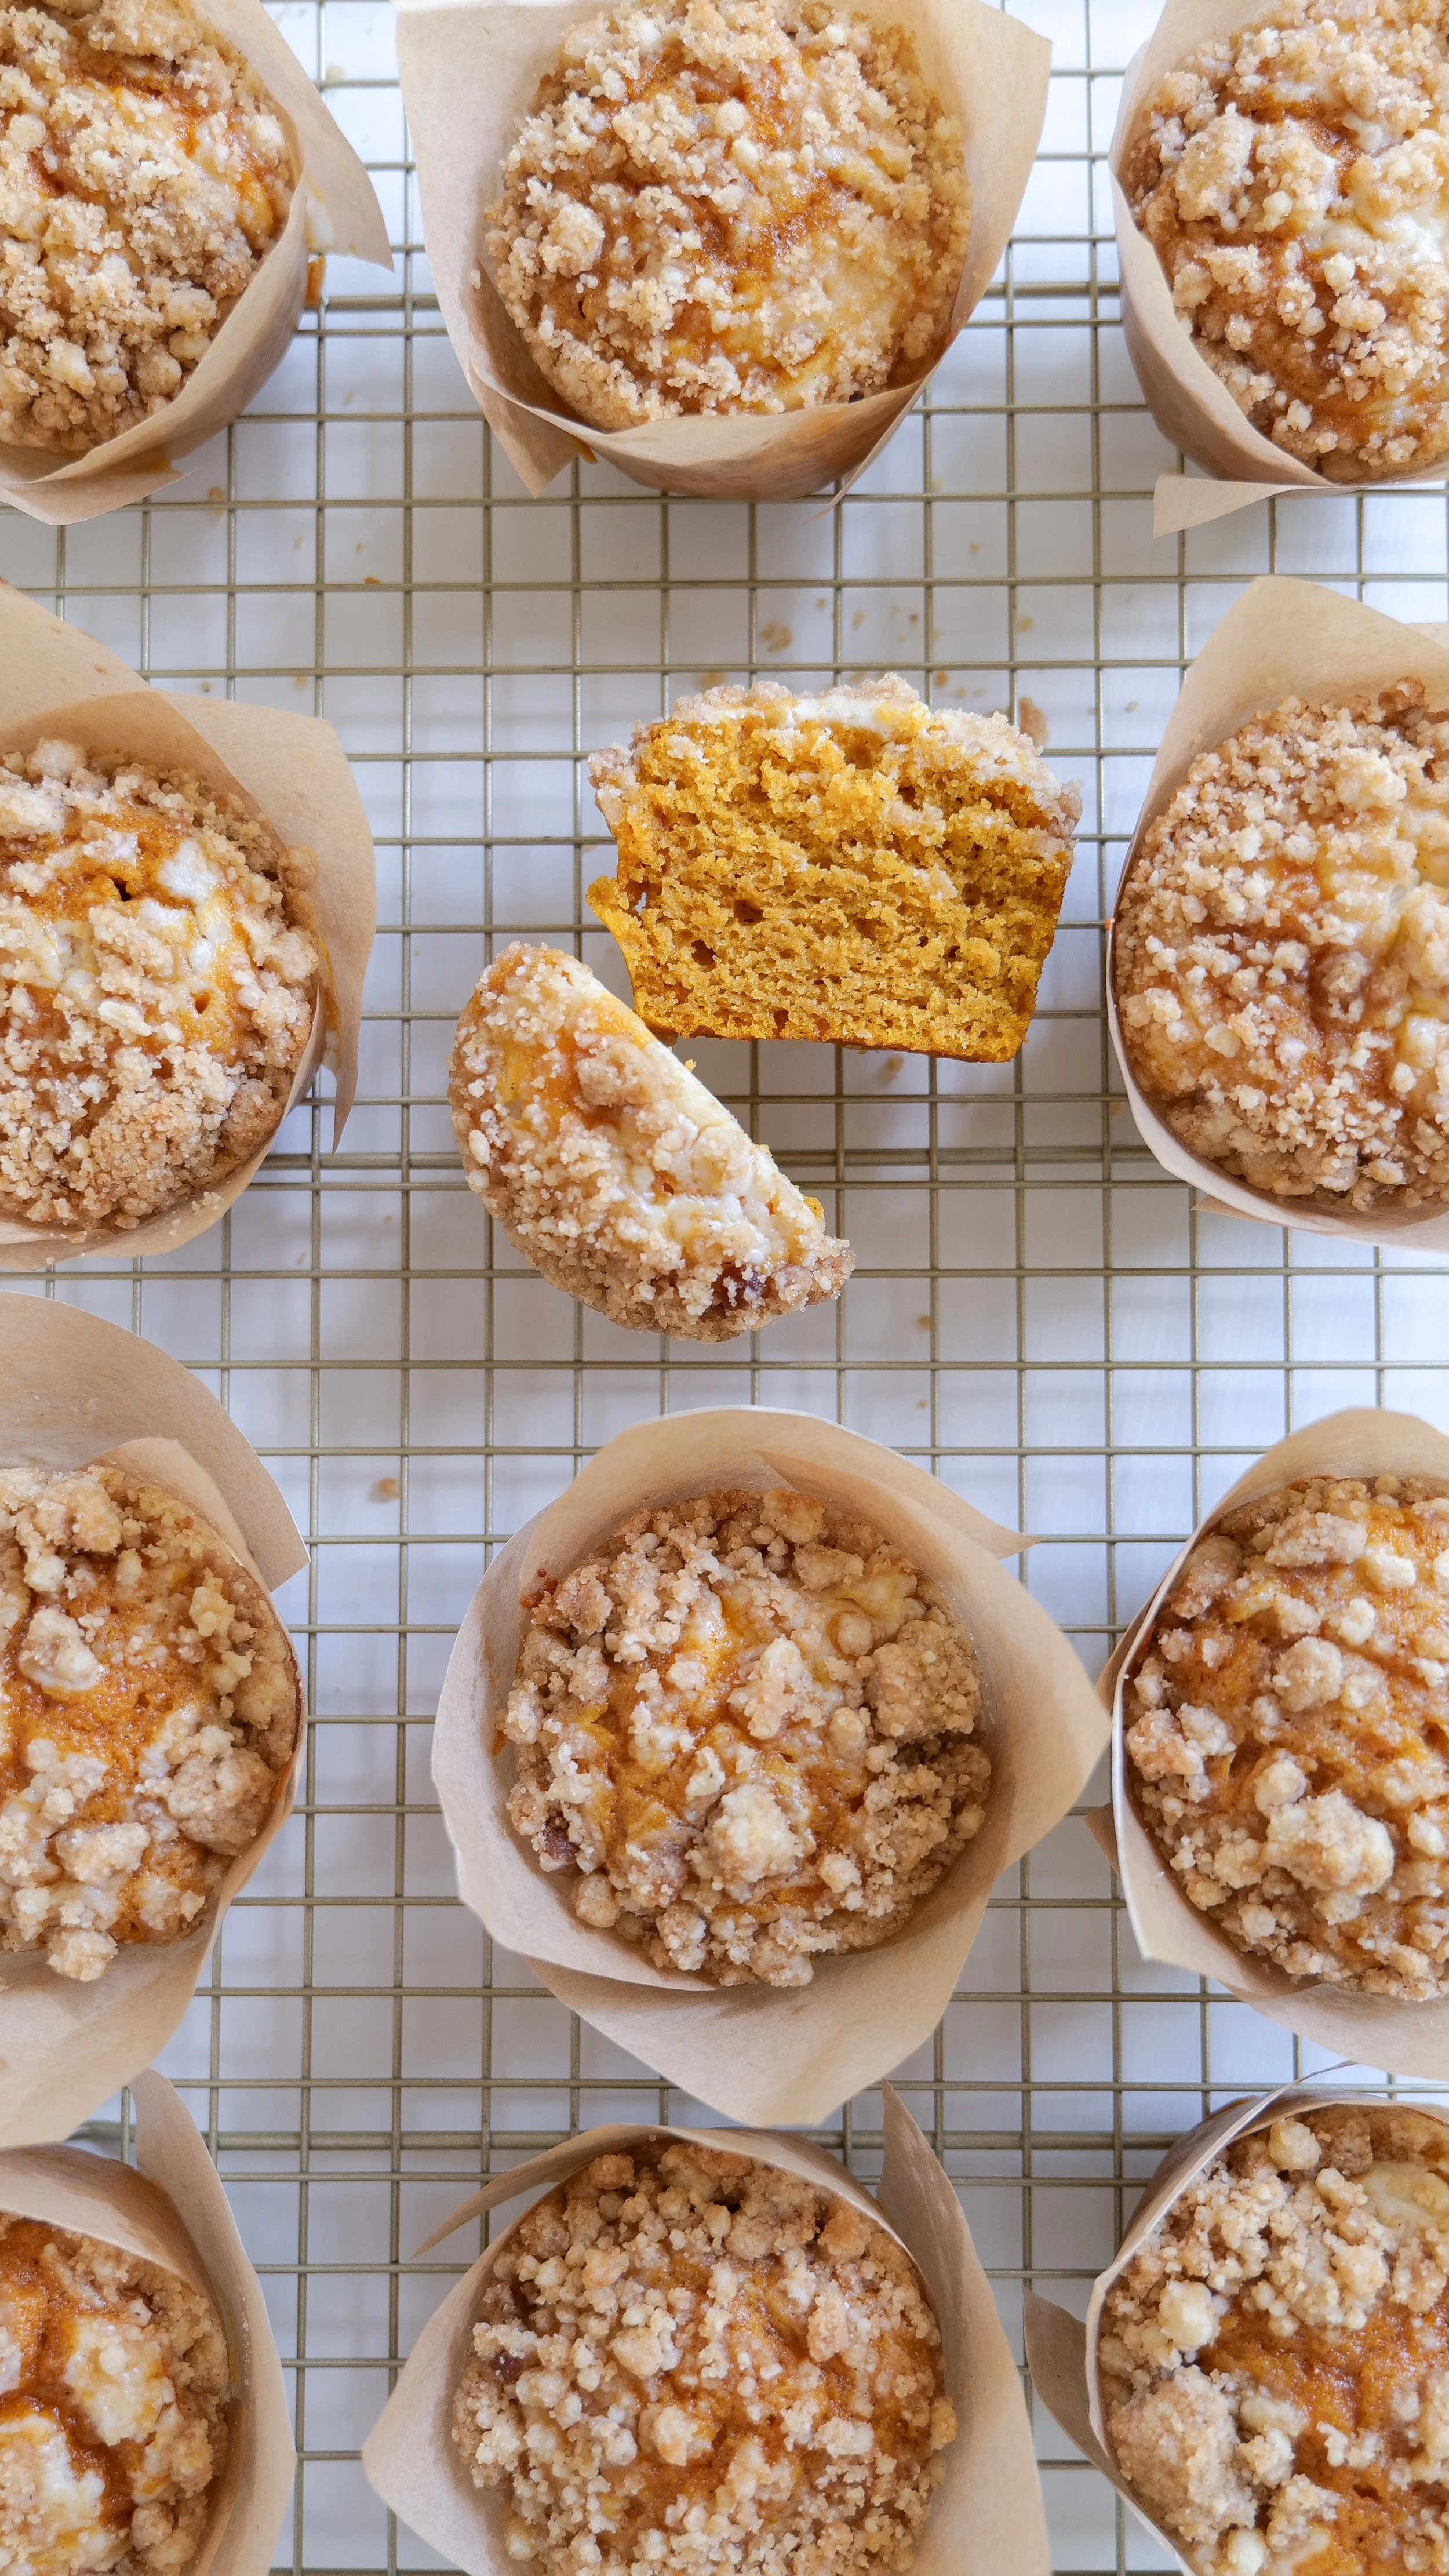
As the leaves begin to swirl in the crisp autumn air and the scent of pumpkin spice fills our homes, it's once again time to embrace the flavors of the season. The delicious combination of pumpkin and cream cheese is a hallmark of fall, bringing comfort and warmth to our palates, and when you top this amazing duo with a crumbly, sugary streusel topping, you create a happy mix of textures and tastes that are delightfully festive. Imagine taking a bite into a muffin that merges the soul-warming flavors of pumpkin pie with the luxuriousness of cheesecake. This isn't just any old ordinary muffin, as it's also a decadent fusion of pumpkin pie and cheesecake flavors in a form that fits perfectly in the palm of your hand. These treats are perfect for any occasion from a cozy breakfast to a grand ending post-dinner, not to mention their status as a beloved festive snack during holiday gatherings. To fully appreciate these confections, imagine savoring them on a brisk morning, wrapped in a soft sweater, with a mug of hot cider close at hand.

3 Components To These Muffins

Every stellar recipe starts with understanding its components. Three key components define these delicious muffins. The creation of pumpkin cream cheese muffins is an artful process, inviting you to blend spices and textures. You begin with a warm spiced pumpkin muffin batter covered with the coziness of cinnamon and nutmeg. This base acts as a canvas, flavored with autumn's signature spices. The spiciness of cinnamon and the subtle warmth of nutmeg coax out the full spectrum of pumpkin's potential.

After the batter is ready, you will prepare a heavenly cream cheese mixture, sweetened to perfection and made more complex with a hint of vanilla. The cream cheese, sweet and tangy, nestles within, creating a creamy contrast that melts in the mouth. A delicious surprise waiting at the heart of the treat.

Next up is the streusel. Crowning it all is the streusel topping where butter meets sugar and flour to form a crumbly texture that breaks up the softness of the muffin with a welcome bite. After careful assembly, the muffins are baked until their tops take on a golden color, and the streusel crisps to perfection. What you're left with is a seasonal treat that's not just a delight to the senses but a comforting embrace for the soul. These perfect treats for autumn encapsulate all of the loved flavors in a single baked good, a are a fusion of delight in every bite.

These muffins are an easy bake for both baking beginners and seasoned pastry chefs to explore a world filled with the lovely scents and flavors of fall. Perfect for snagging on your way out or enjoying during a quiet moment, these muffins are the perfect example of autumn comfort food, delicious down to the last crumb.

Crafting the perfect batch requires a few key tips. Starting with a spiced pumpkin muffin batter with pure pumpkin puree and quintessential autumn spices ensures a base of deep, rich flavor. Begin with a true fall flavor base using pure pumpkin puree spiced just right. This is the perfect recipe to use up all your extra pumpkin puree from those pumpkin pies you are baking this time of year. Next you have a creamy cheese filling that not only adds a sweet, tangy contrast but also a moisture that beckons with every bite. Cream cheese filling should be light and tangy to complement the muffin's richness. This can be added after or before baking and swirled throughout. The choice is yours. Lastly to top it all off, a crunchy streusel of flour, brown sugar, and butter introduces a caramelized sweetness that ties everything together. A well-made streusel crowns the muffin with a caramelized crunch. Carefully layer for even flavors and bake until the golden hue signals readiness.

Properly layering each component within the muffin cups guarantees a uniform distribution of flavors, making every muffin a complete taste experience. Baking until the muffins are golden and the streusel is just crisp allows the diverse elements to meld into an indulgent autumn pastry that is both moist and crunchy. Follow these tips, and you'll have a perfect muffin that no one can resist, especially with a warm drink and watching the leaves fall.

Can I make the streusel topping ahead of time?

In the world of efficient baking, streusel topping is your ally, capable of being prepared in advance. Make your streusel and store it in an airtight container in the fridge for up to a week. The flavor and texture will be delightfully uncompromised. For those who plan even further ahead, streusel can be frozen for up to three months. You will just need to thaw it to room temperature before use. Knowing this in the hustle and bustle of everyday can help to save precious time on baking day, making the muffin-assembly process swift and hassle-free. Remember to let the streusel reach room temperature before use to achieve a consistent bake and the desired crunchy exterior. Advance-prepped streusel equals one less step between you and a fresh tray of pumpkin cream cheese muffins.

Are the pumpkin cream cheese muffins with streusel topping suitable for freezing?

Yes, these delightful muffins freeze well, allowing you to savor the flavors of fall long after the season ends. To freeze, completely cool the muffins post-baking, then wrap them snugly in cling wrap and store them in a freezer-safe bag or container. They retain their quality and taste for 2-3 months, making them an enduring treat. Thawing is as simple as leaving them out at room temperature, or for a quick warm-up, a short stint in the microwave will work. Thanks to the resilience of the streusel topping, your muffins will maintain their texture even after a deep freeze. This allows you to enjoy the convenience of having these muffins on hand whenever the pumpkin craving strikes or company stops by.

The pumpkin cream cheese muffins with streusel topping offer a comforting blend of flavors and textures that define the fall season. They truly embody the warm spices of autumn and are perfectly complimented by the comforting tang of cream cheese all in one little muffin. Let's get started on making these delicious treats!


Instructions

Cake:

2 cups pumpkin puree

1-3/4 cup sugar

1 cup melted butter

4 eggs

1 teaspoon vanilla extract

2 cups all-purpose flour

4 tsp baking powder

1 teaspoon salt

2 teaspoons cinnamon

Cream Cheese Swirl:

8 oz cream cheese

¼ cup granulated sugar

1 large egg yolk

2 teaspoons vanilla extract

Crumble:

2/3 cup brown sugar

1 1/2 cups all-purpose flour

1/2 cup melted butter

1/2 teaspoon pumpkin spice

Instructions

1. Preheat oven to 350 degrees and lightly spray muffin tin or line with parchment paper like I have done.

2. Mix together pumpkin, sugar, and butter (fully melted) until well blended. Ad in eggs and vanilla, mix again.

3. Add in dry ingredients until well incorporated and divide between muffin tins. Fill each tin until about 3/4 full.

4. In another medium clean mixing bowls, beat cream cheese with stand mixer until smooth. Add in sugar, egg yolk and vanilla extract and beat until well combined. Add about 1 tablespoon of mixture to each muffin tin and swirl together. Set aside and make streusel crumble topping.

5. In another bowl melt butter and add all dry ingredients (brown sugar, flour, pumpkin spice) until the mixture is crumbled and well mixed.

6. Evenly put the crumble mixture over each muffin. Cook for 20-25 min or until a toothpick comes out clean. Let cool for 5 minutes, serve and enjoy!

Other Pumpkin Recipes You Will Love:

Deliciously Sweet: Mastering the Perfect Pumpkin Molasses Cookie Recipe for the Autumn Season

The Ultimate Thanksgiving Dessert - My Pumpkin Crisp Recipe

Savor the Fall Season with the Perfect Pumpkin Espresso Martini

Yummy Pumpkin Ice Cream Recipe with a Twist: Pumpkin Molasses Cookie Chunks!

Sweet Serenity: Mastering the Art of Pumpkin Cinnamon Rolls with Cream Cheese Icing

Deliciously Sweet: Pumpkin Coffee Cake with Pecan Crumbles

Baked Burrata Pumpkin Ziti with Pork Sausage Recipe

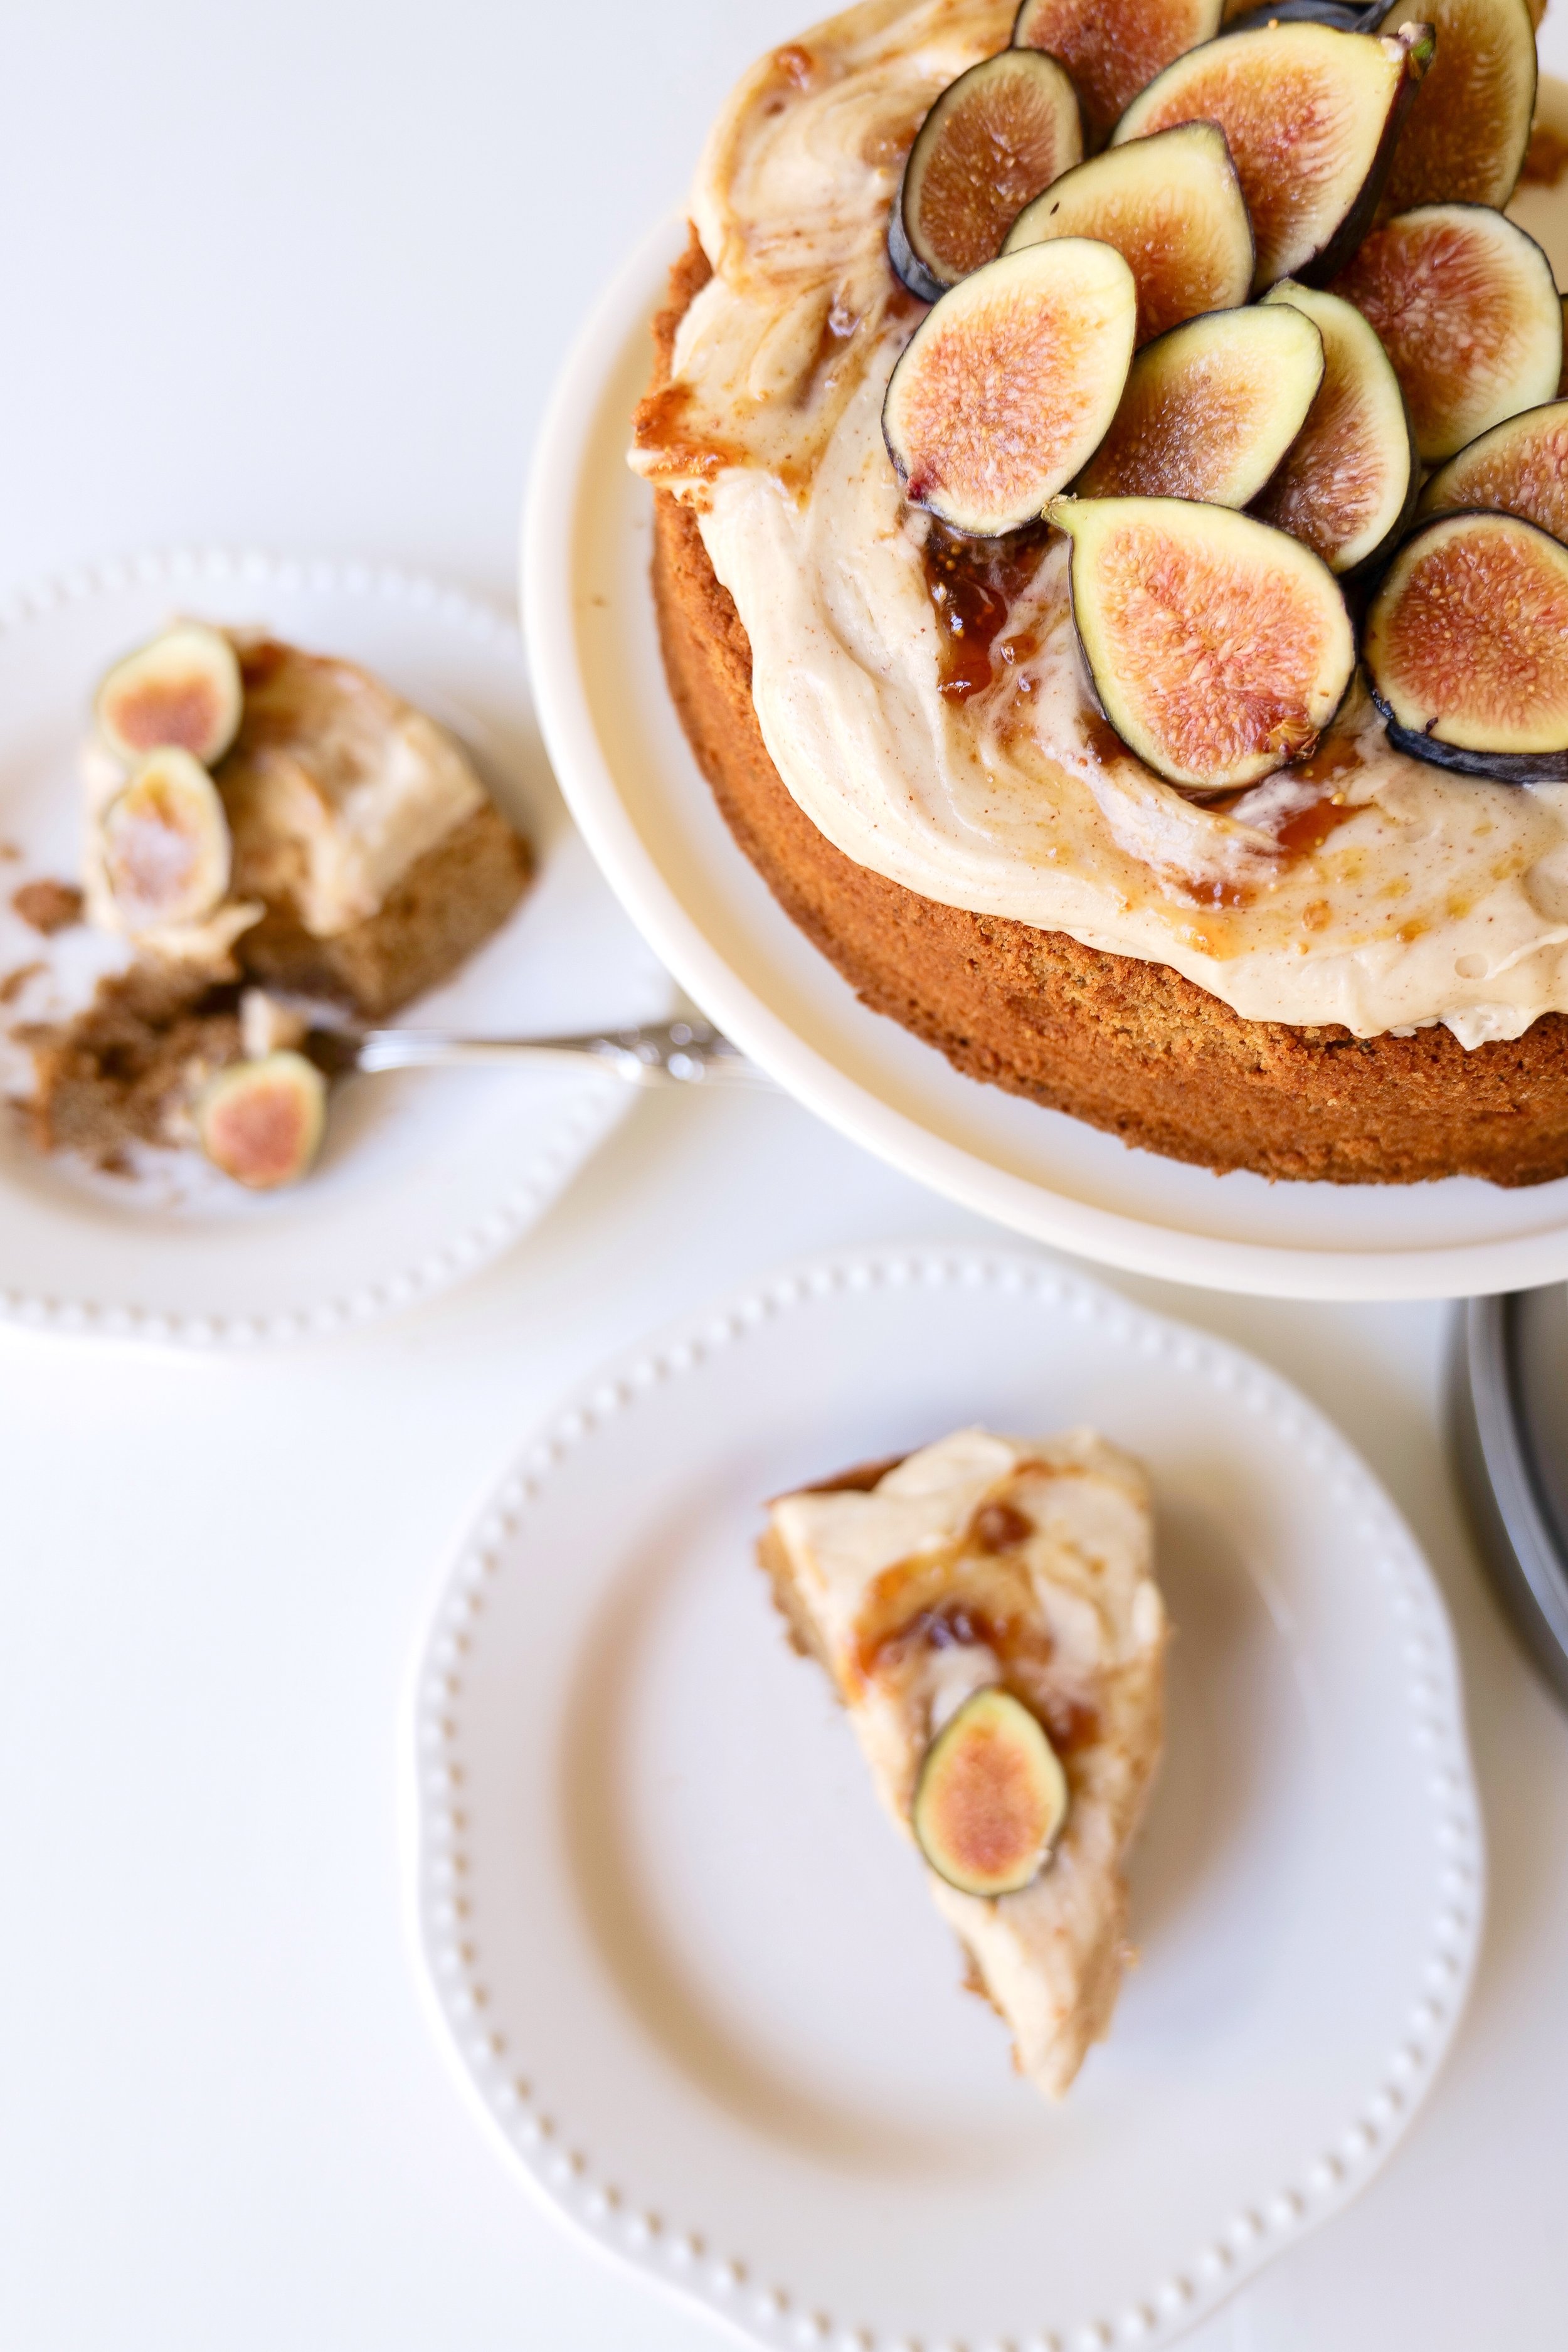
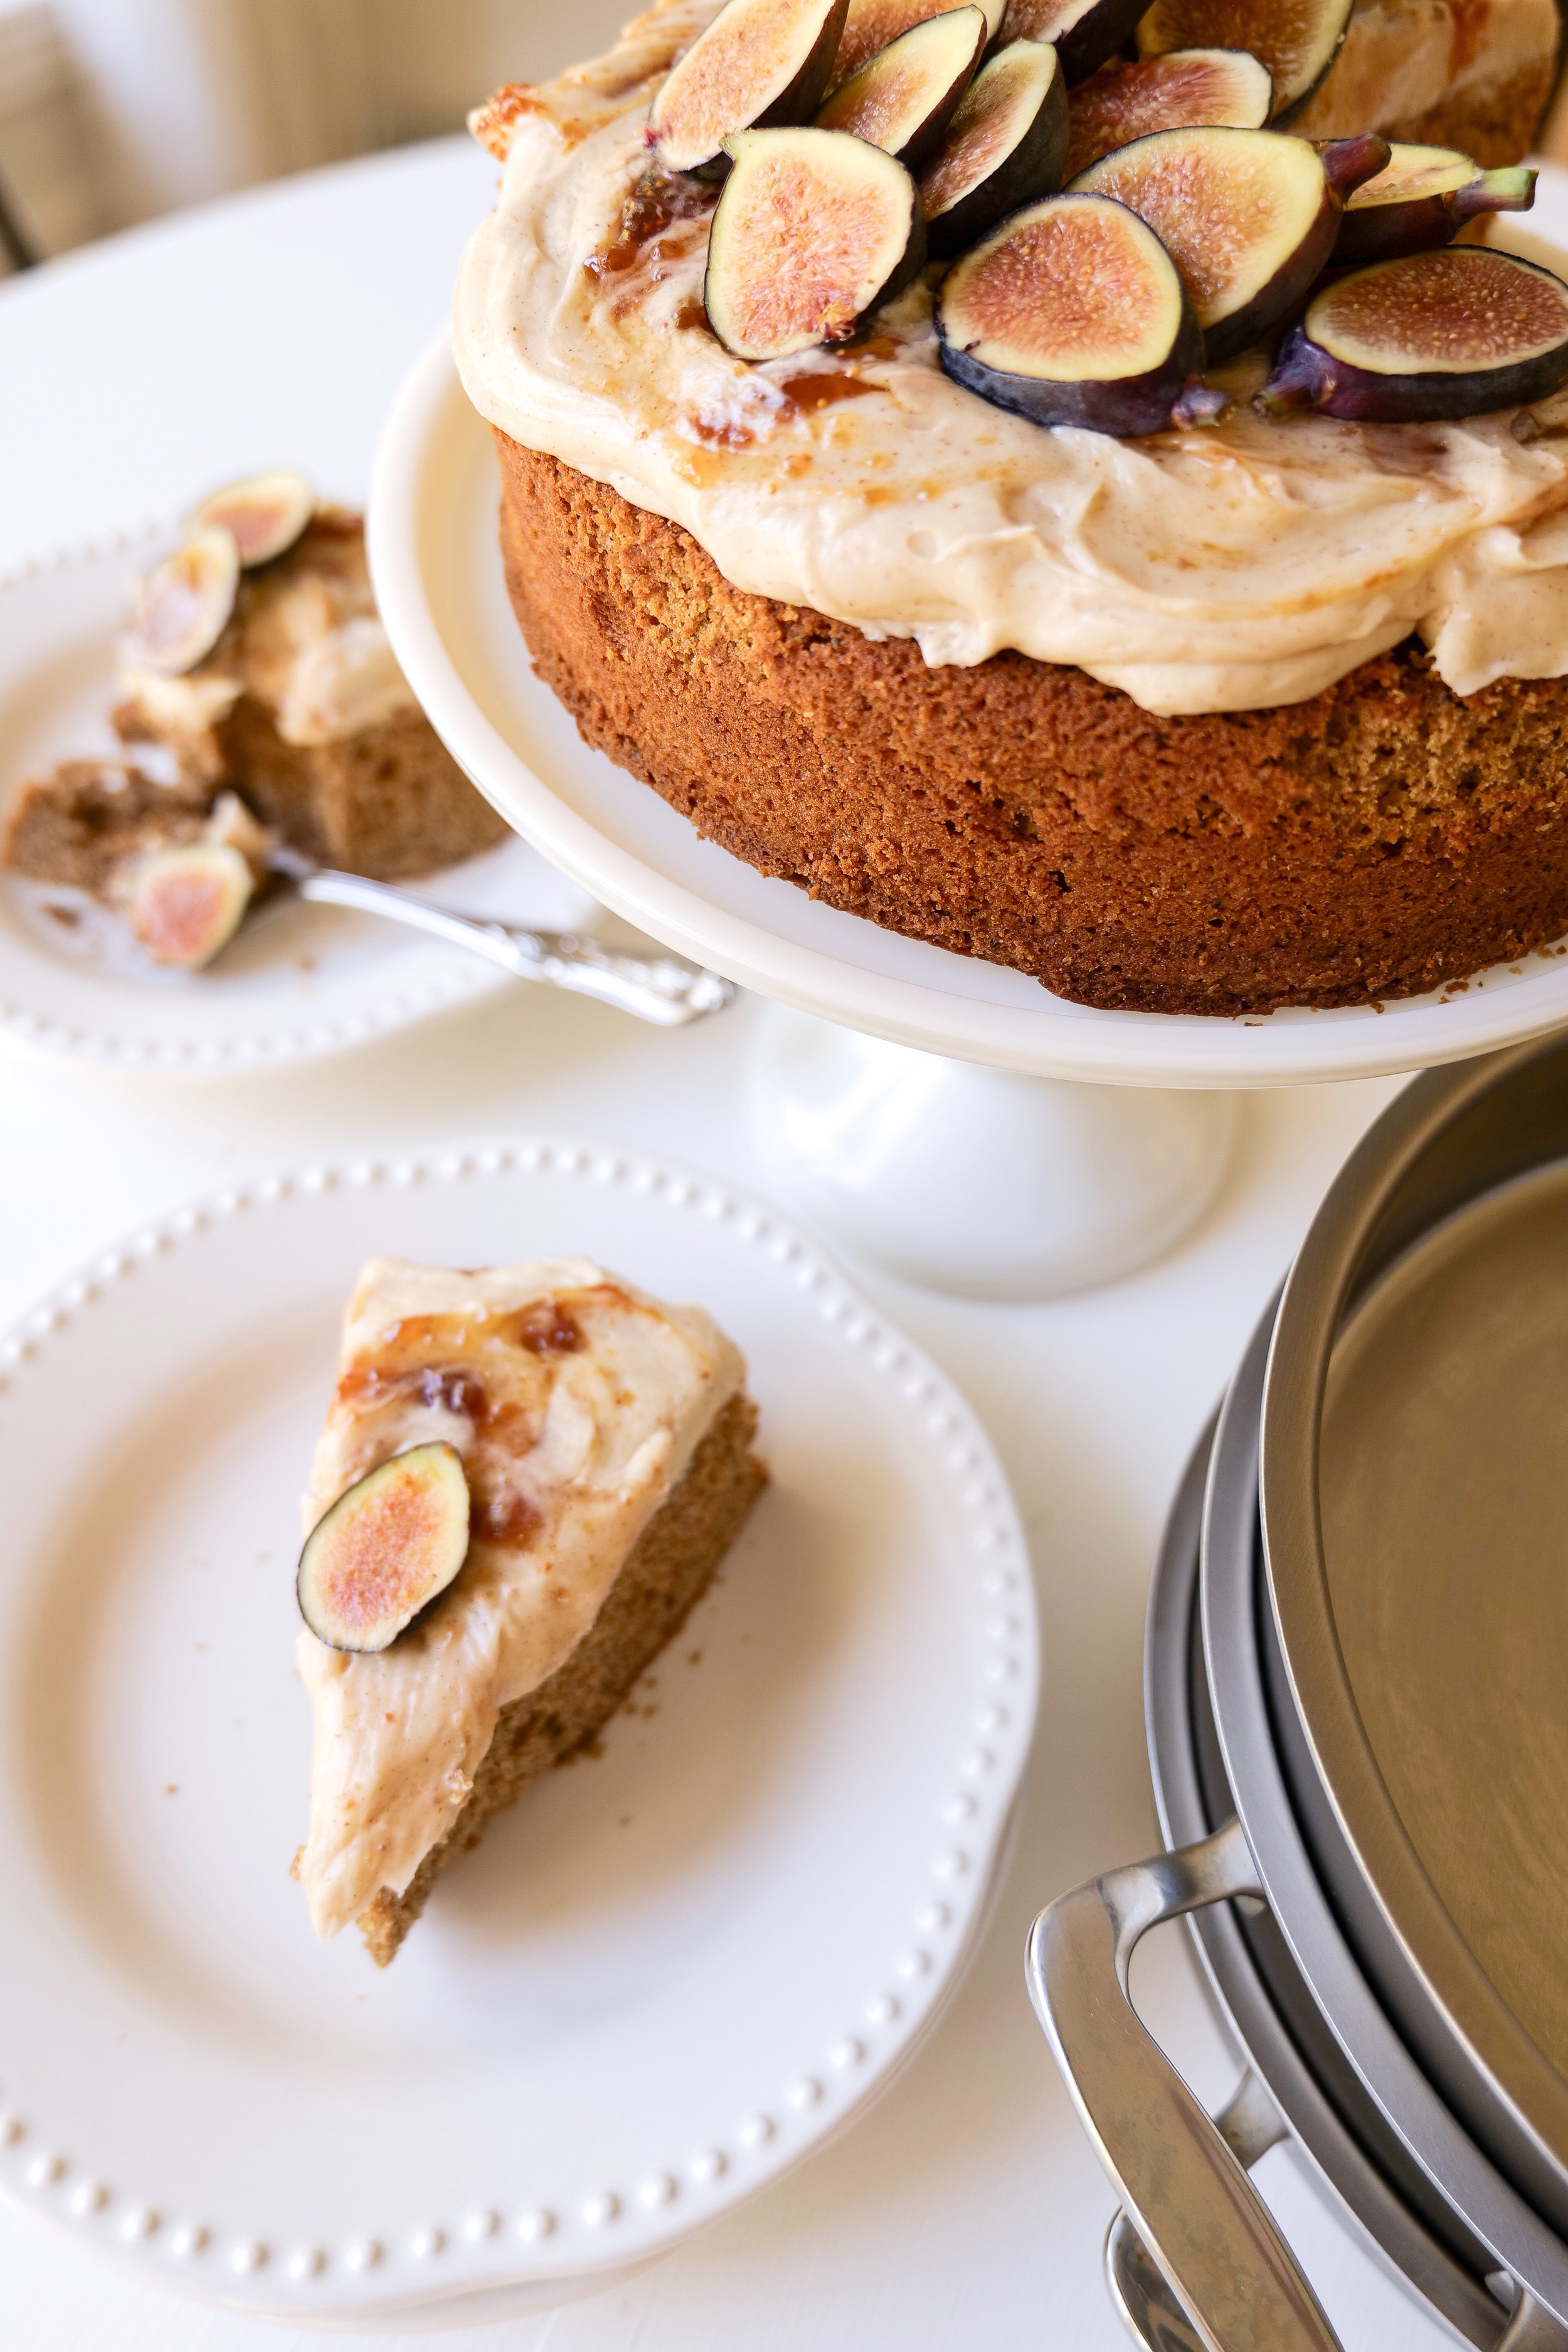
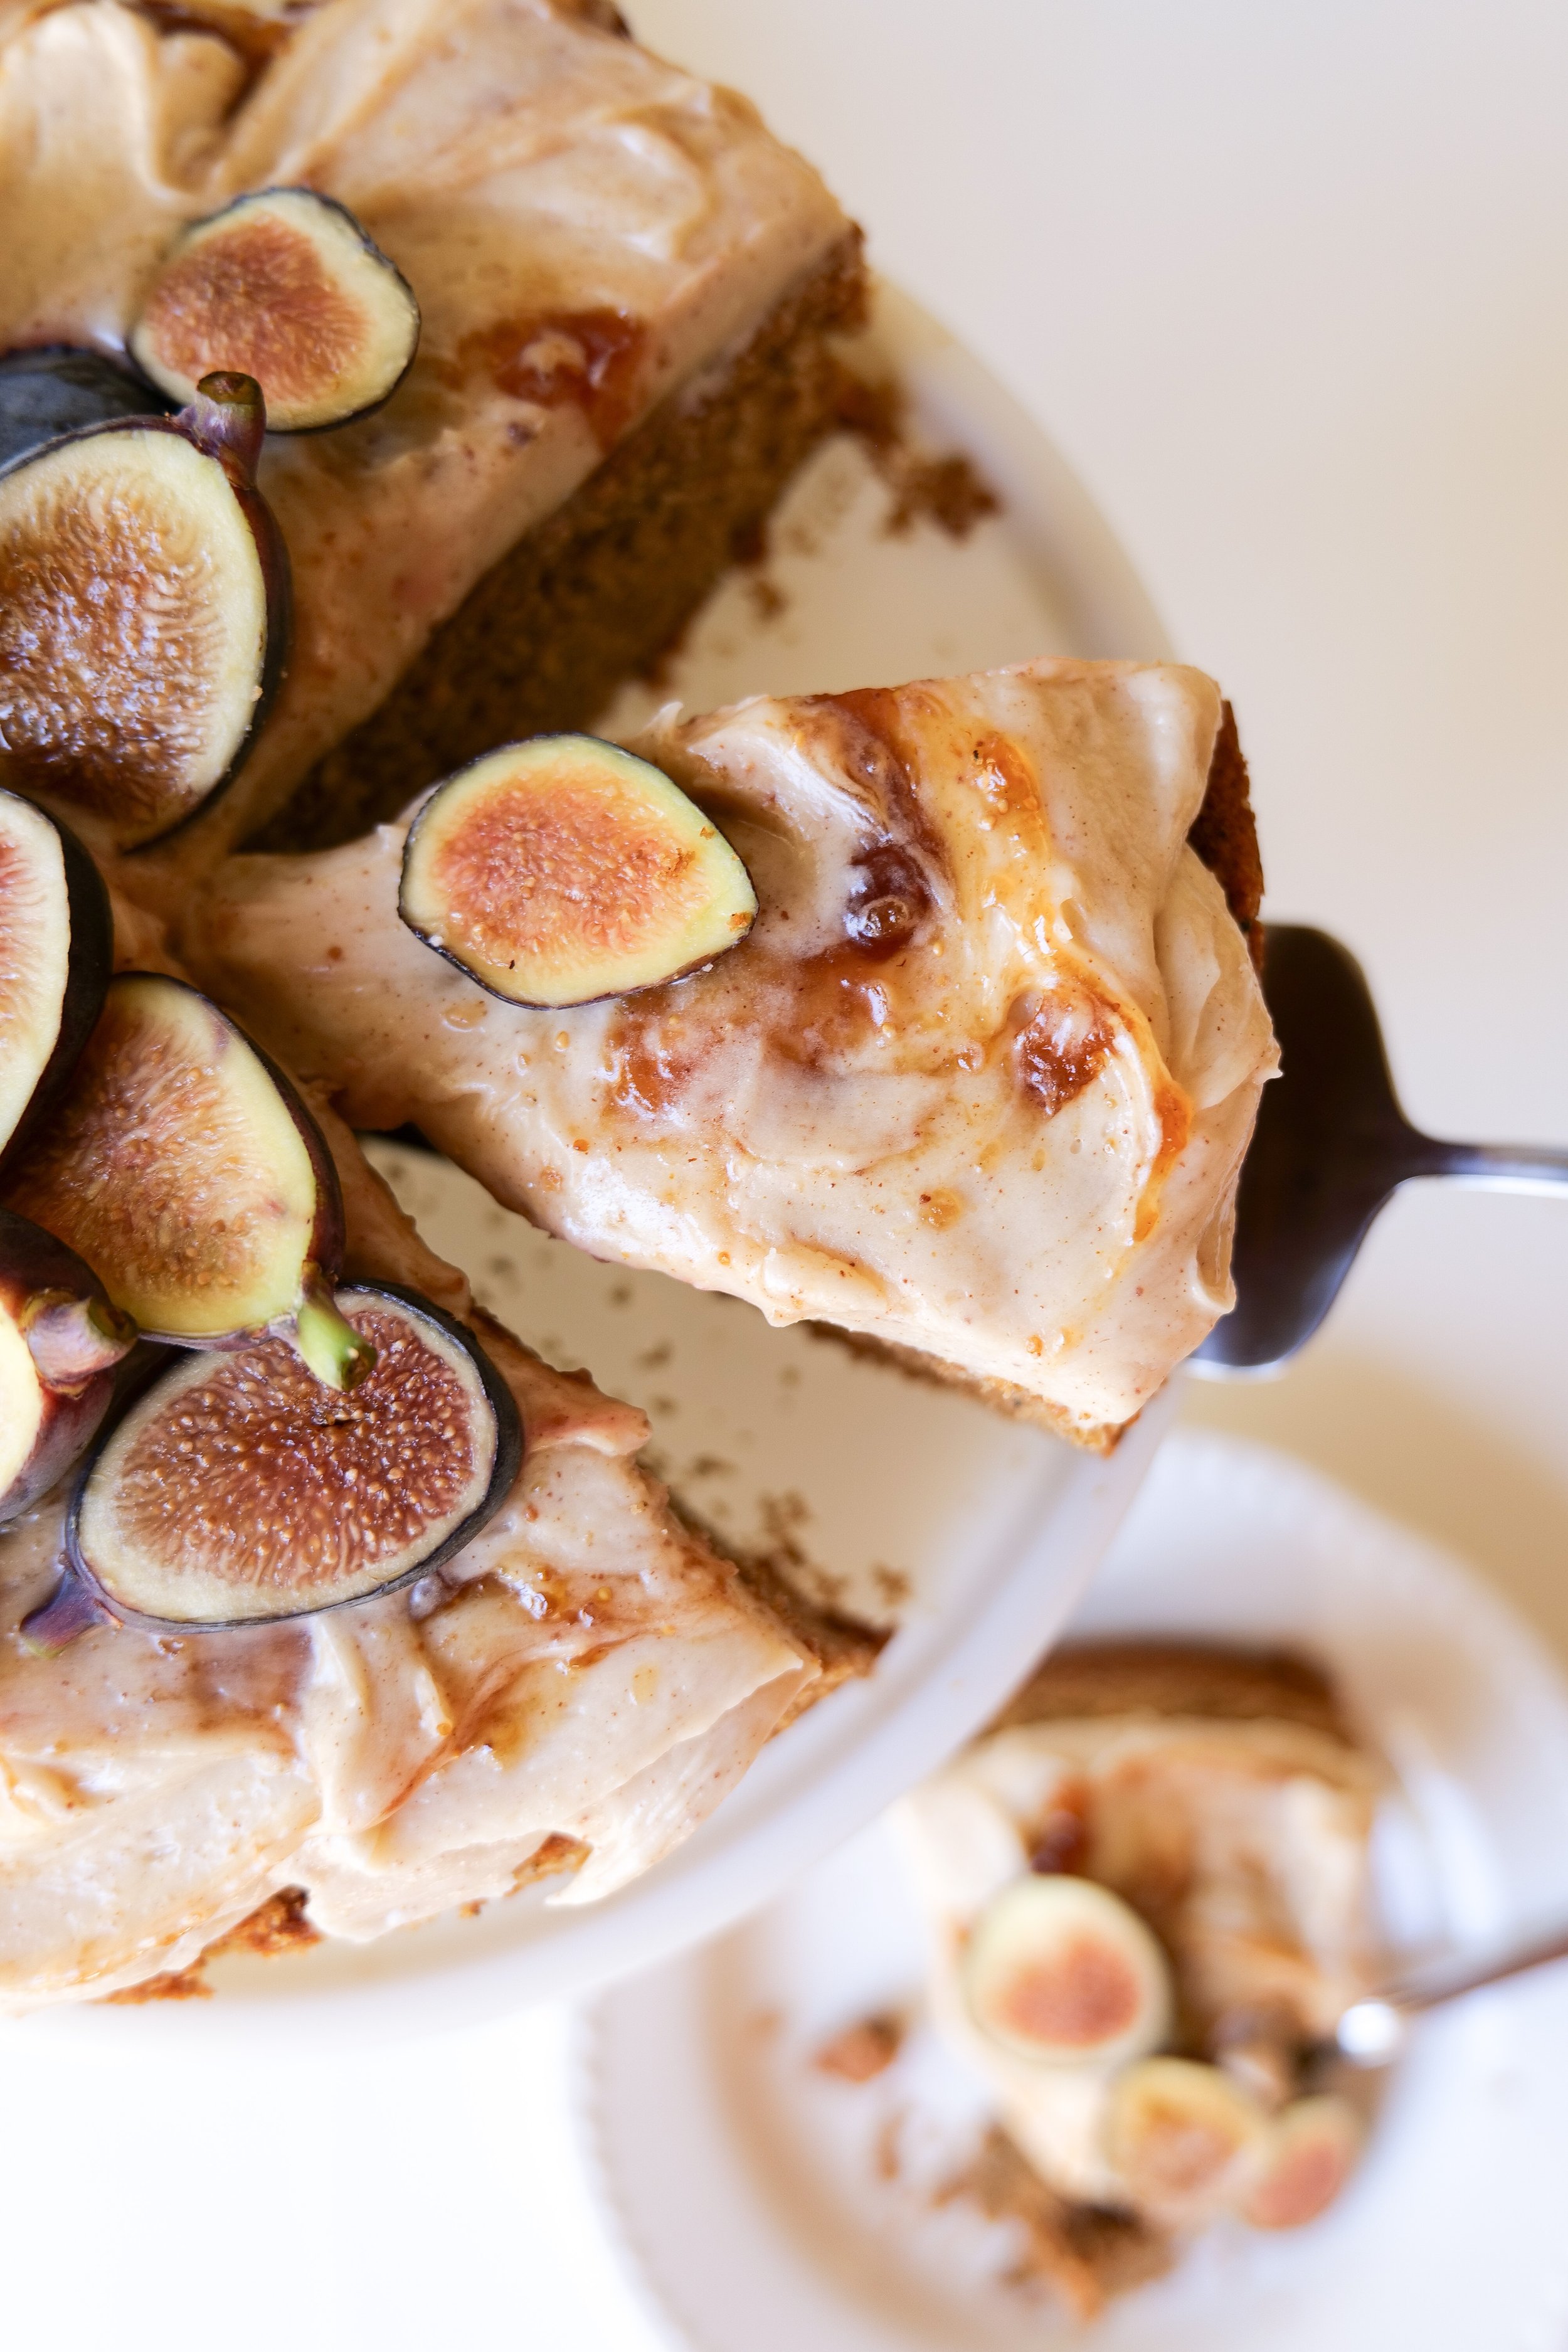
Indulge Your Sweet Tooth with This Delicious Brown Butter Spice Cake with Honey & Fig Jam Frosting

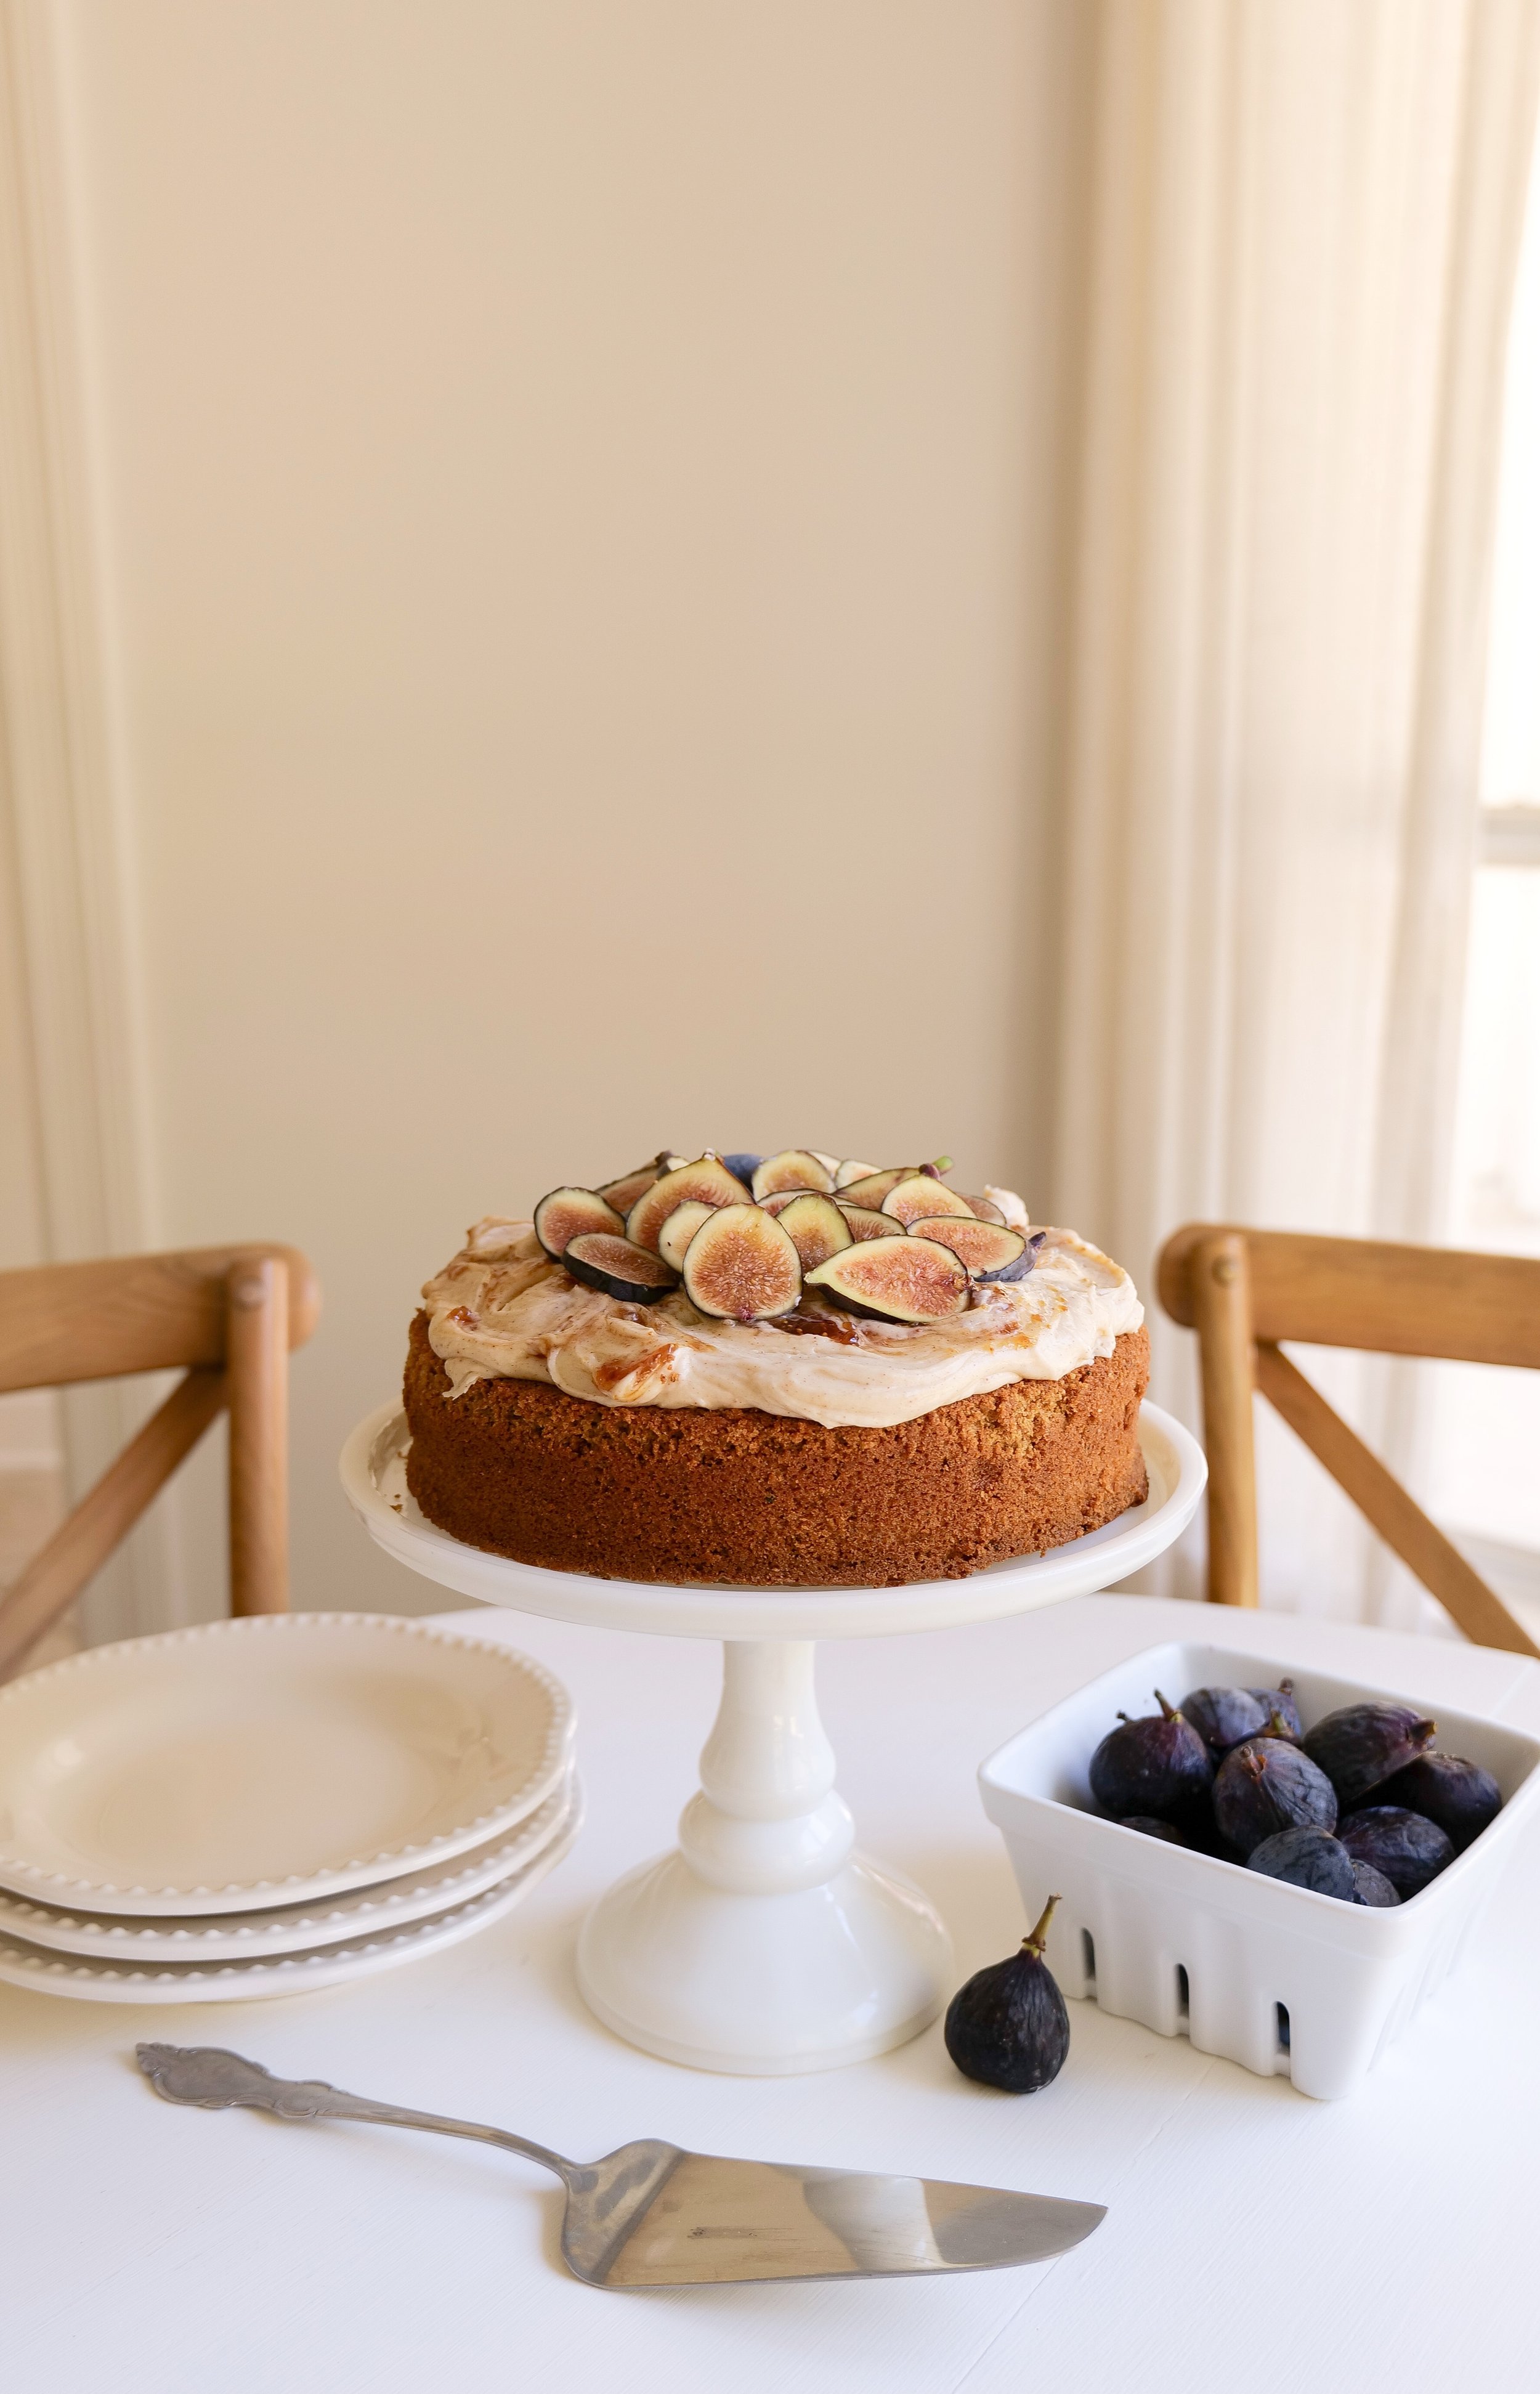
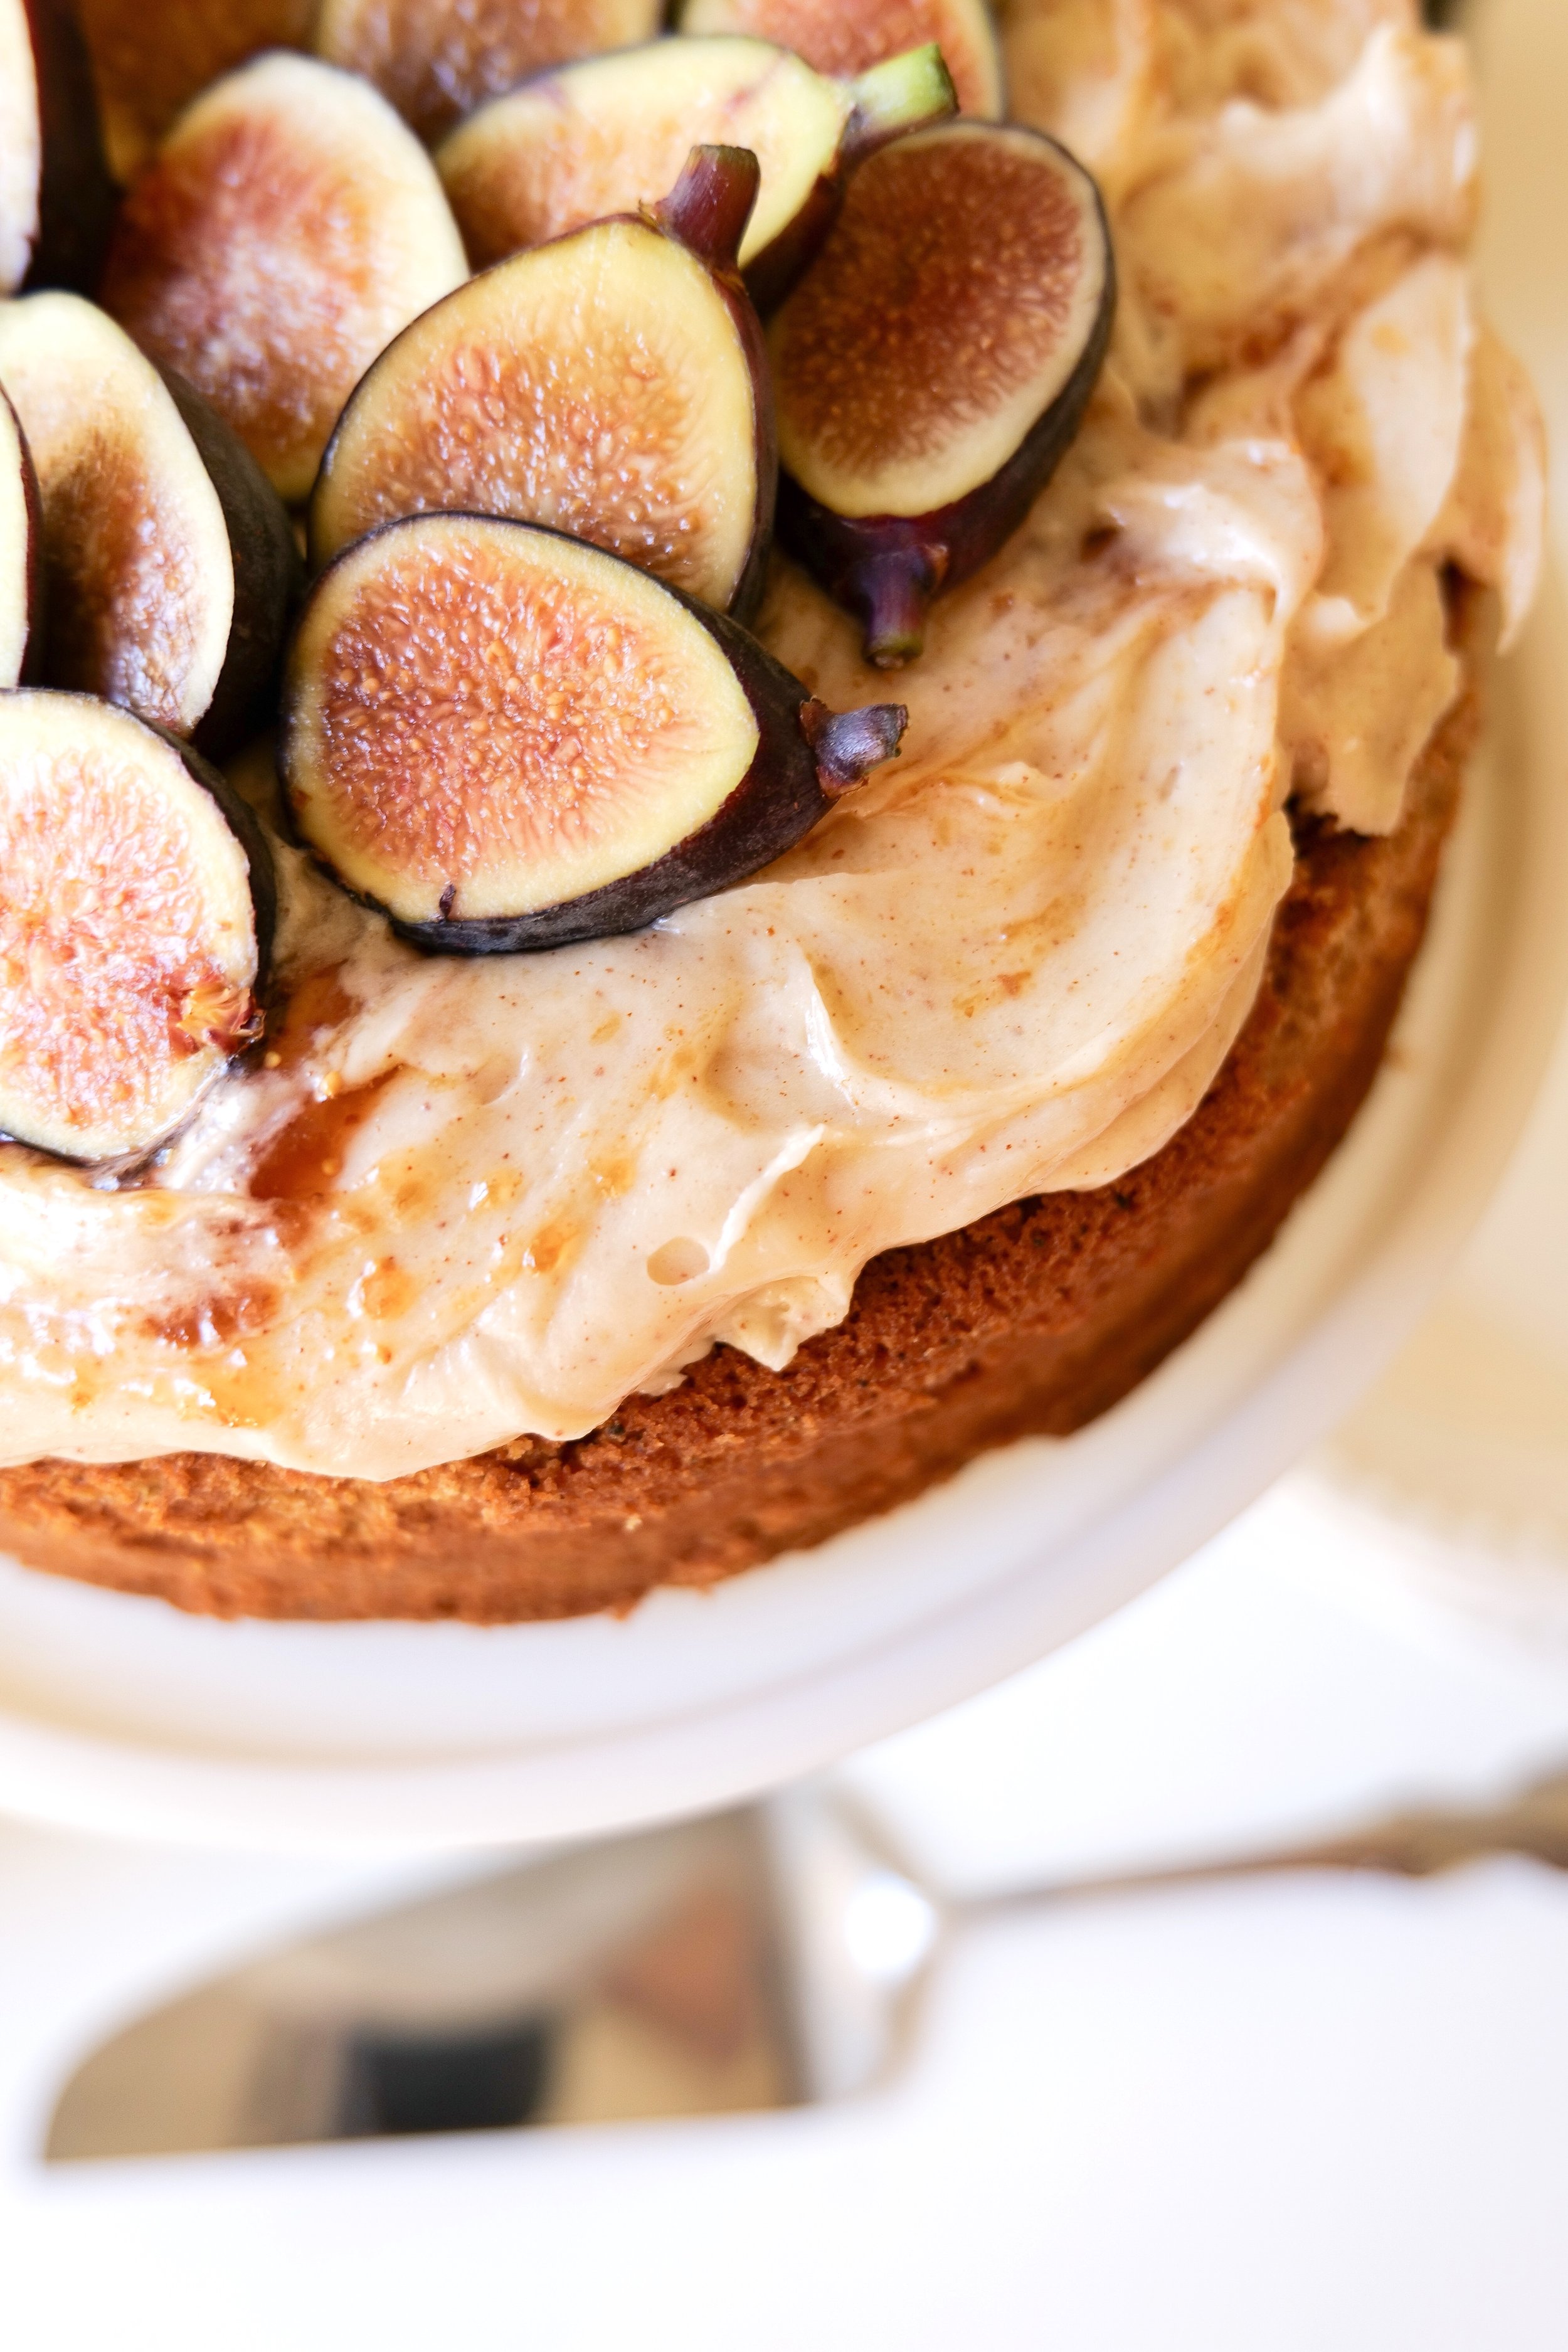
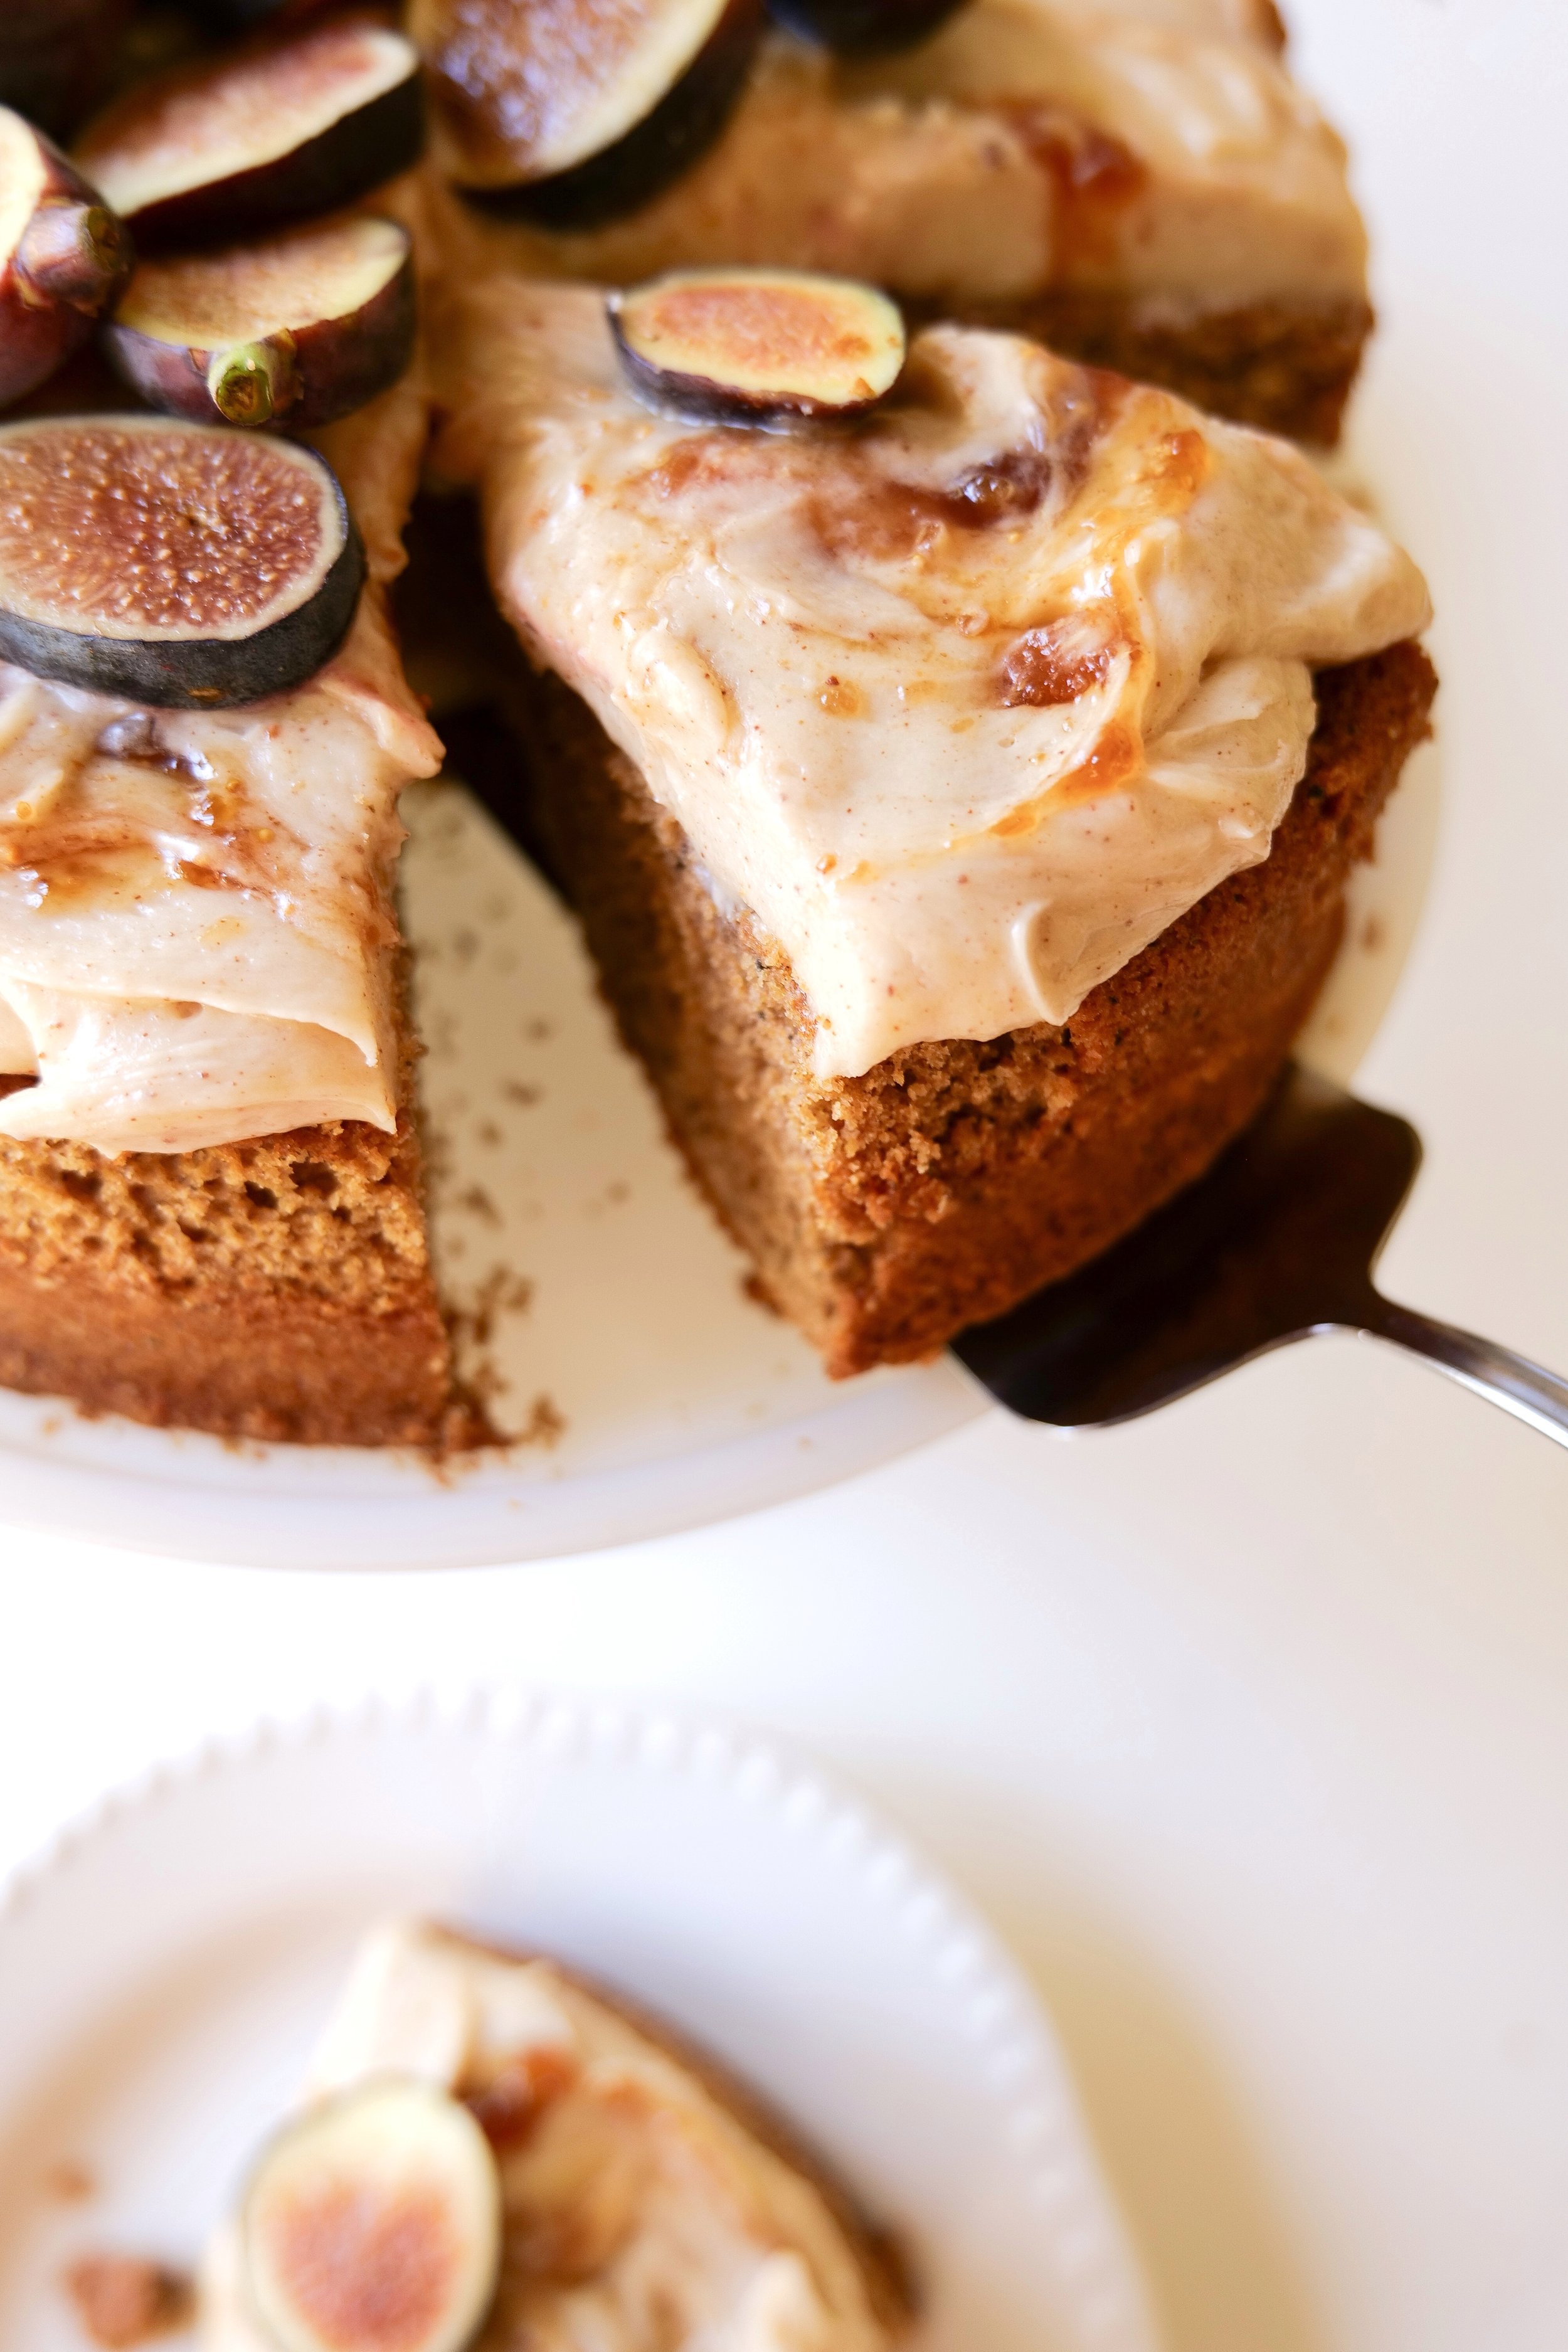
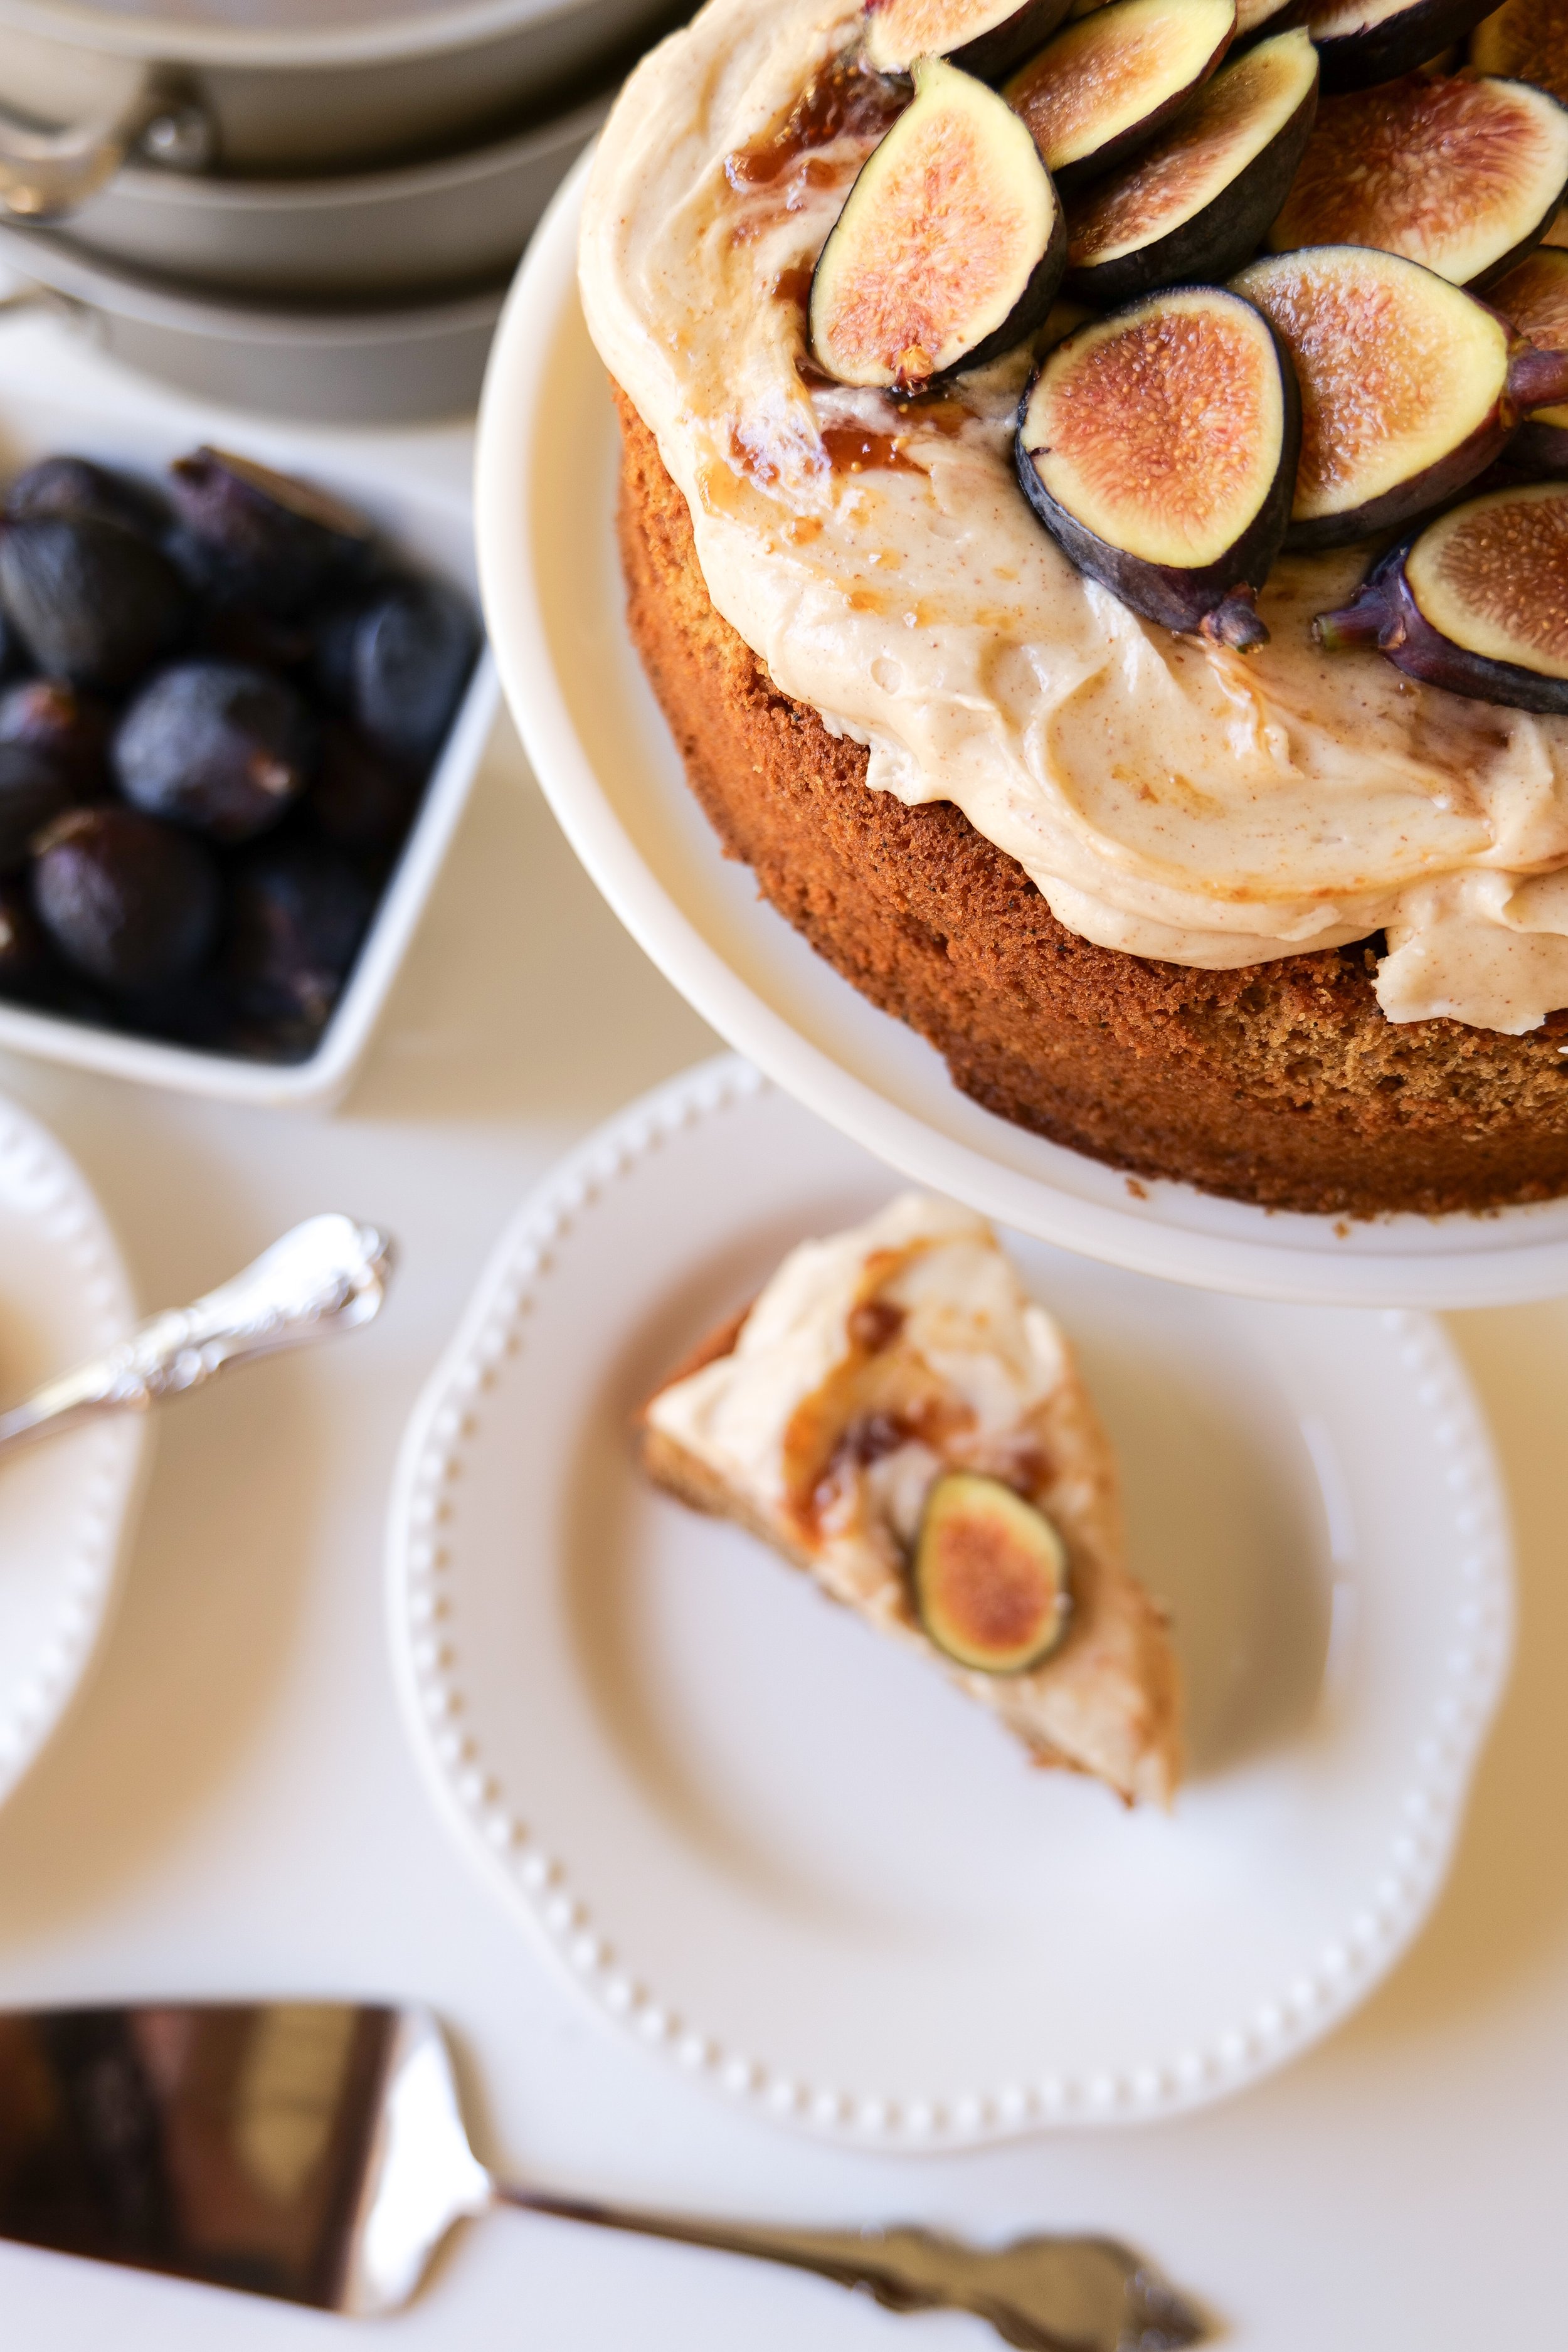
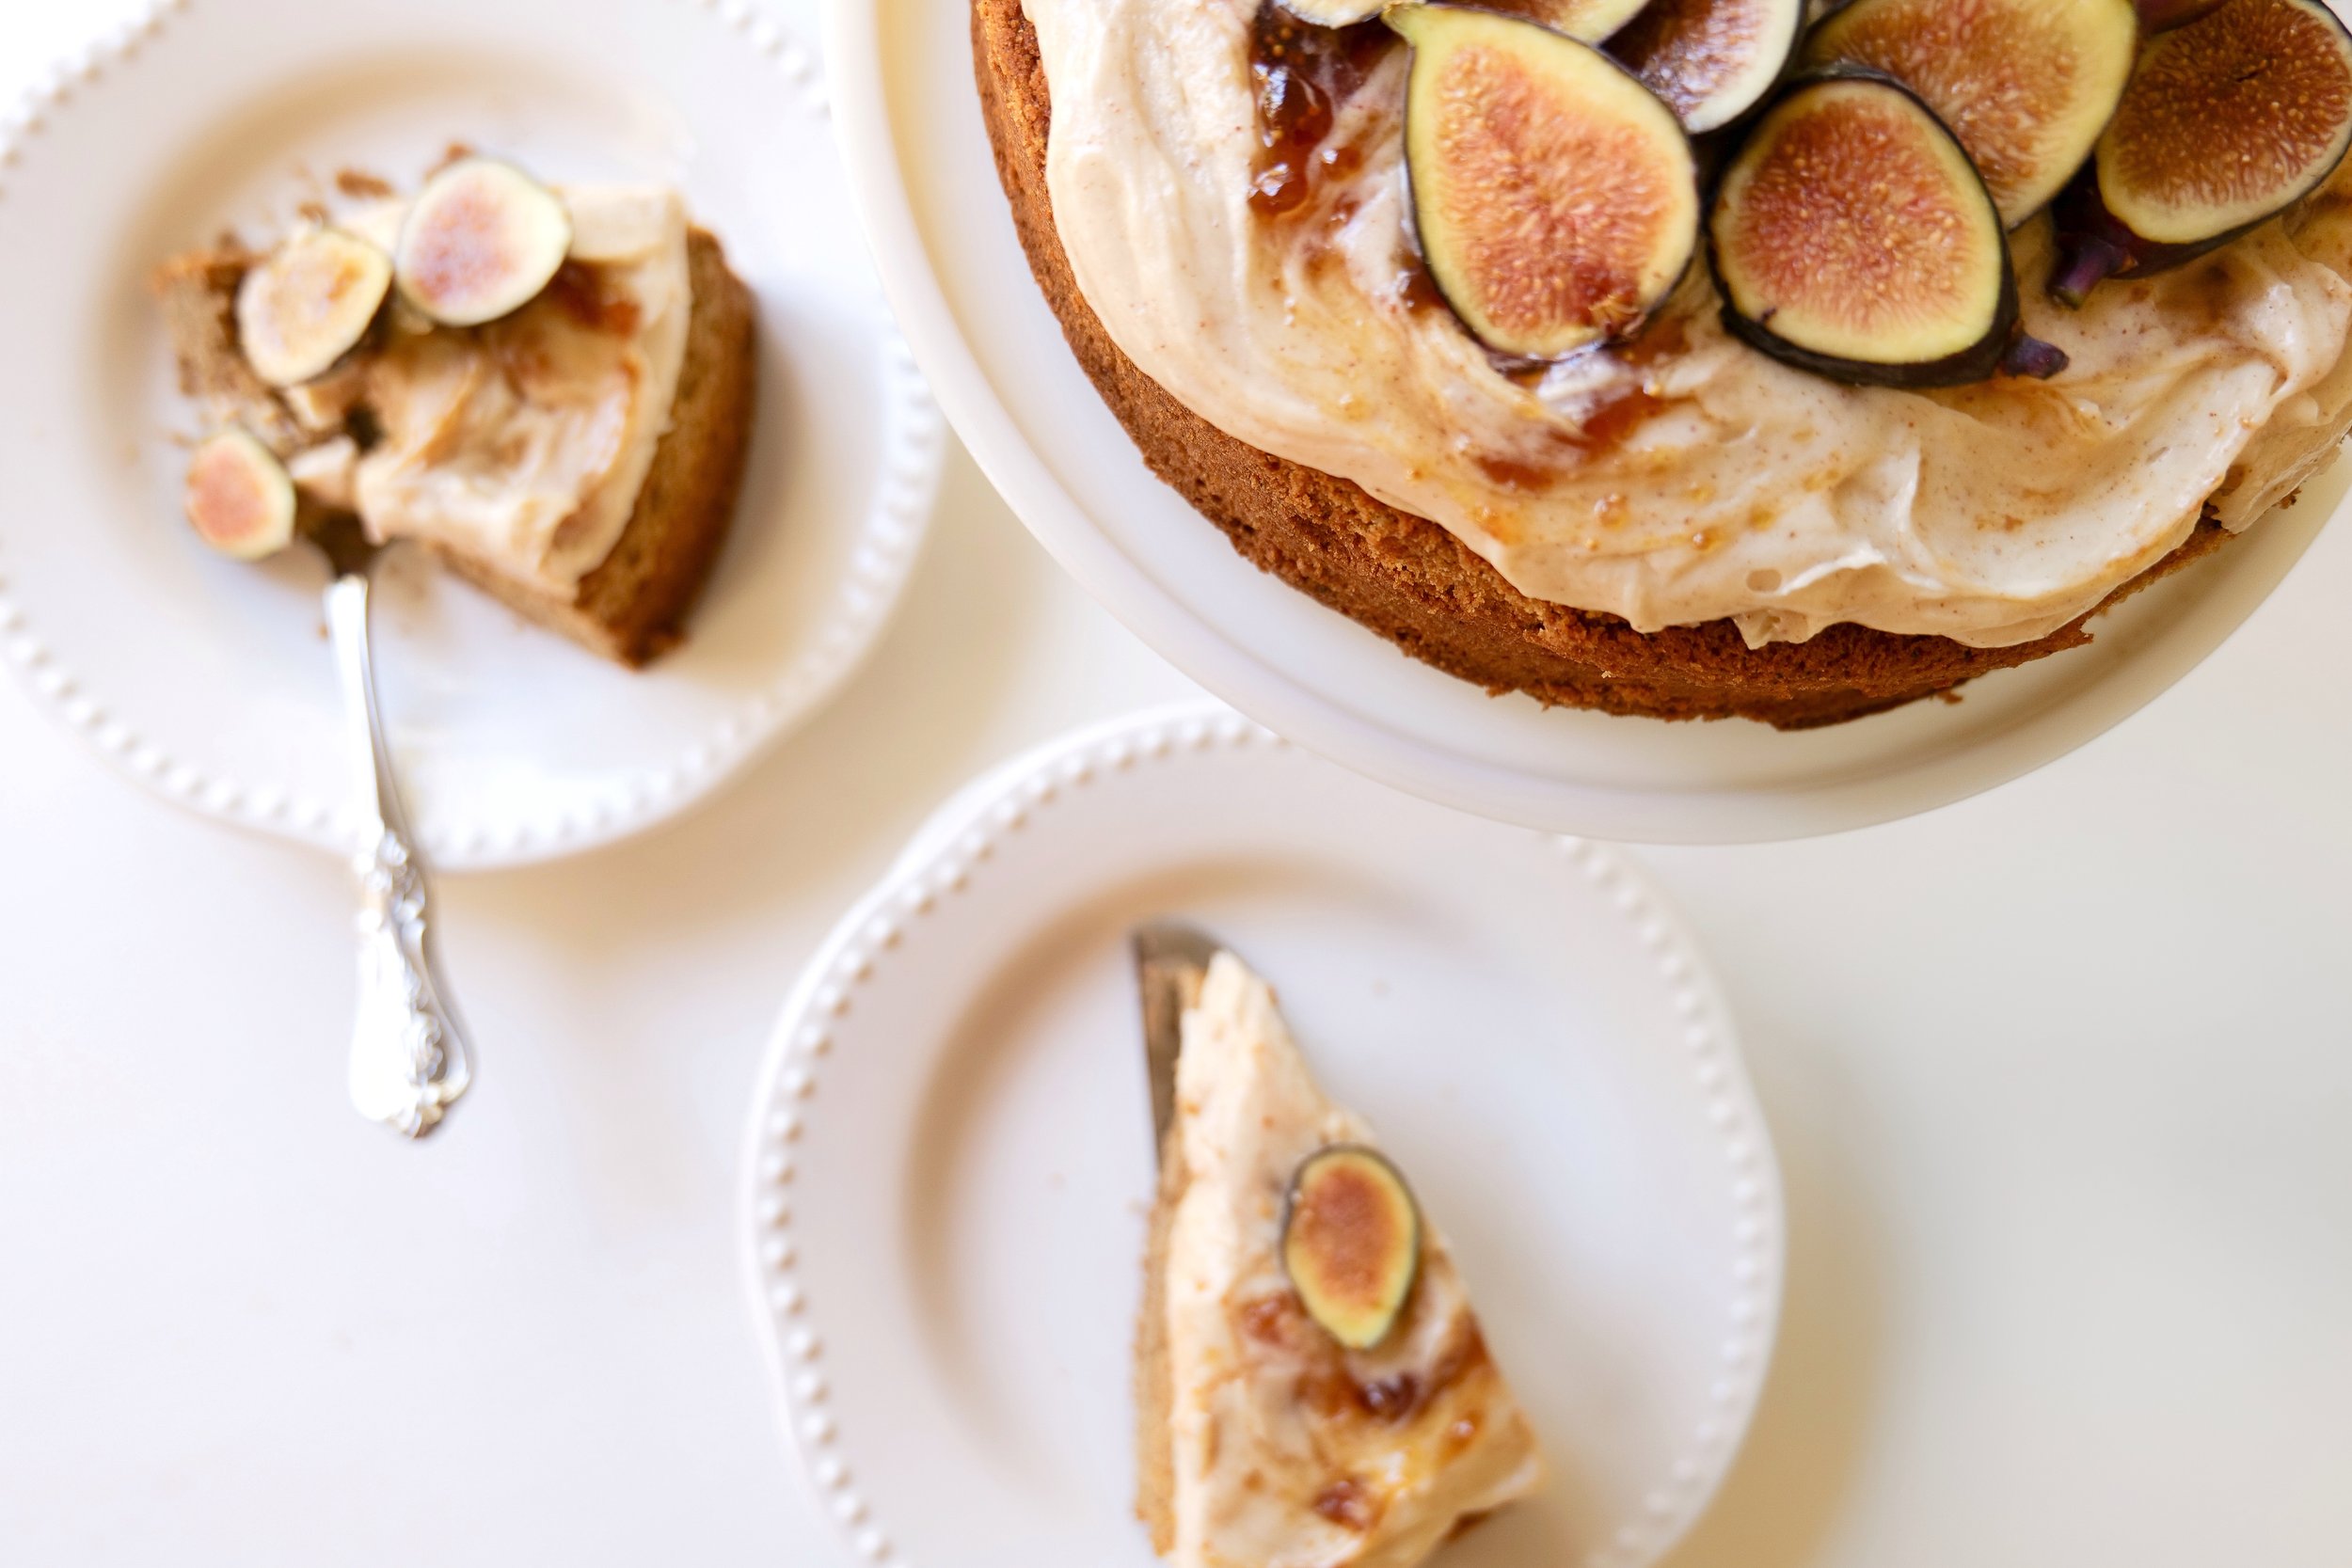
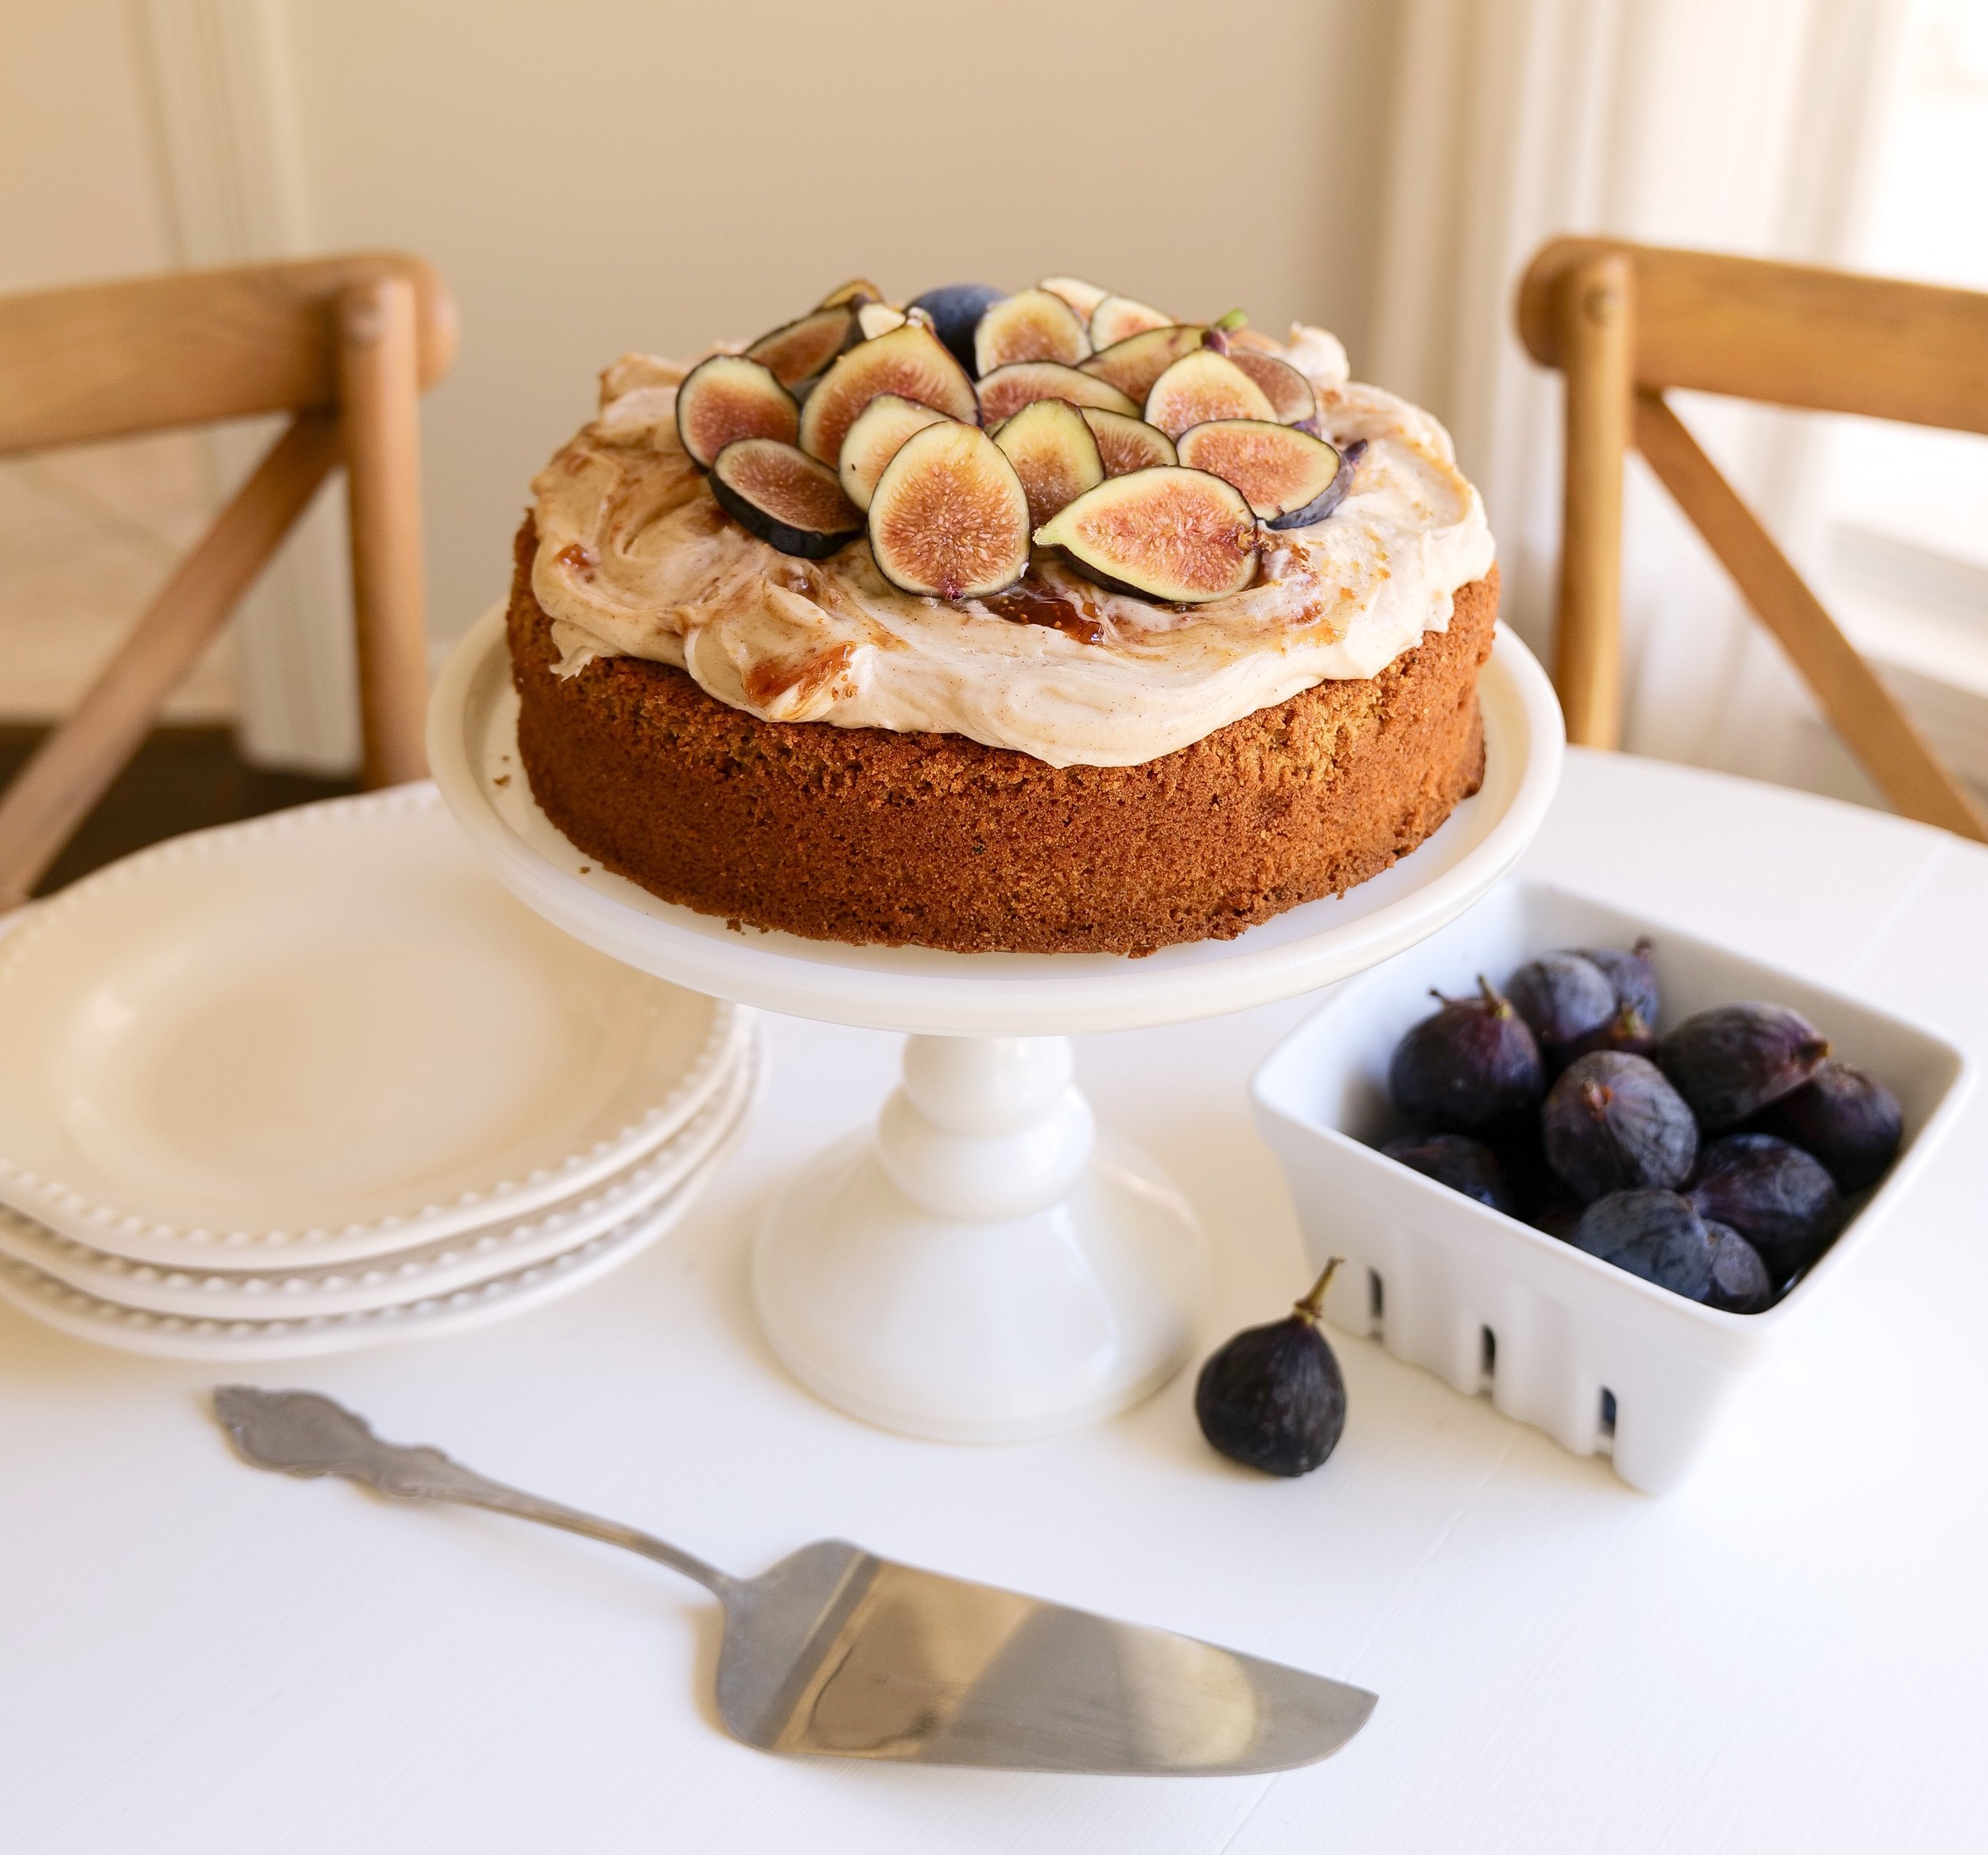
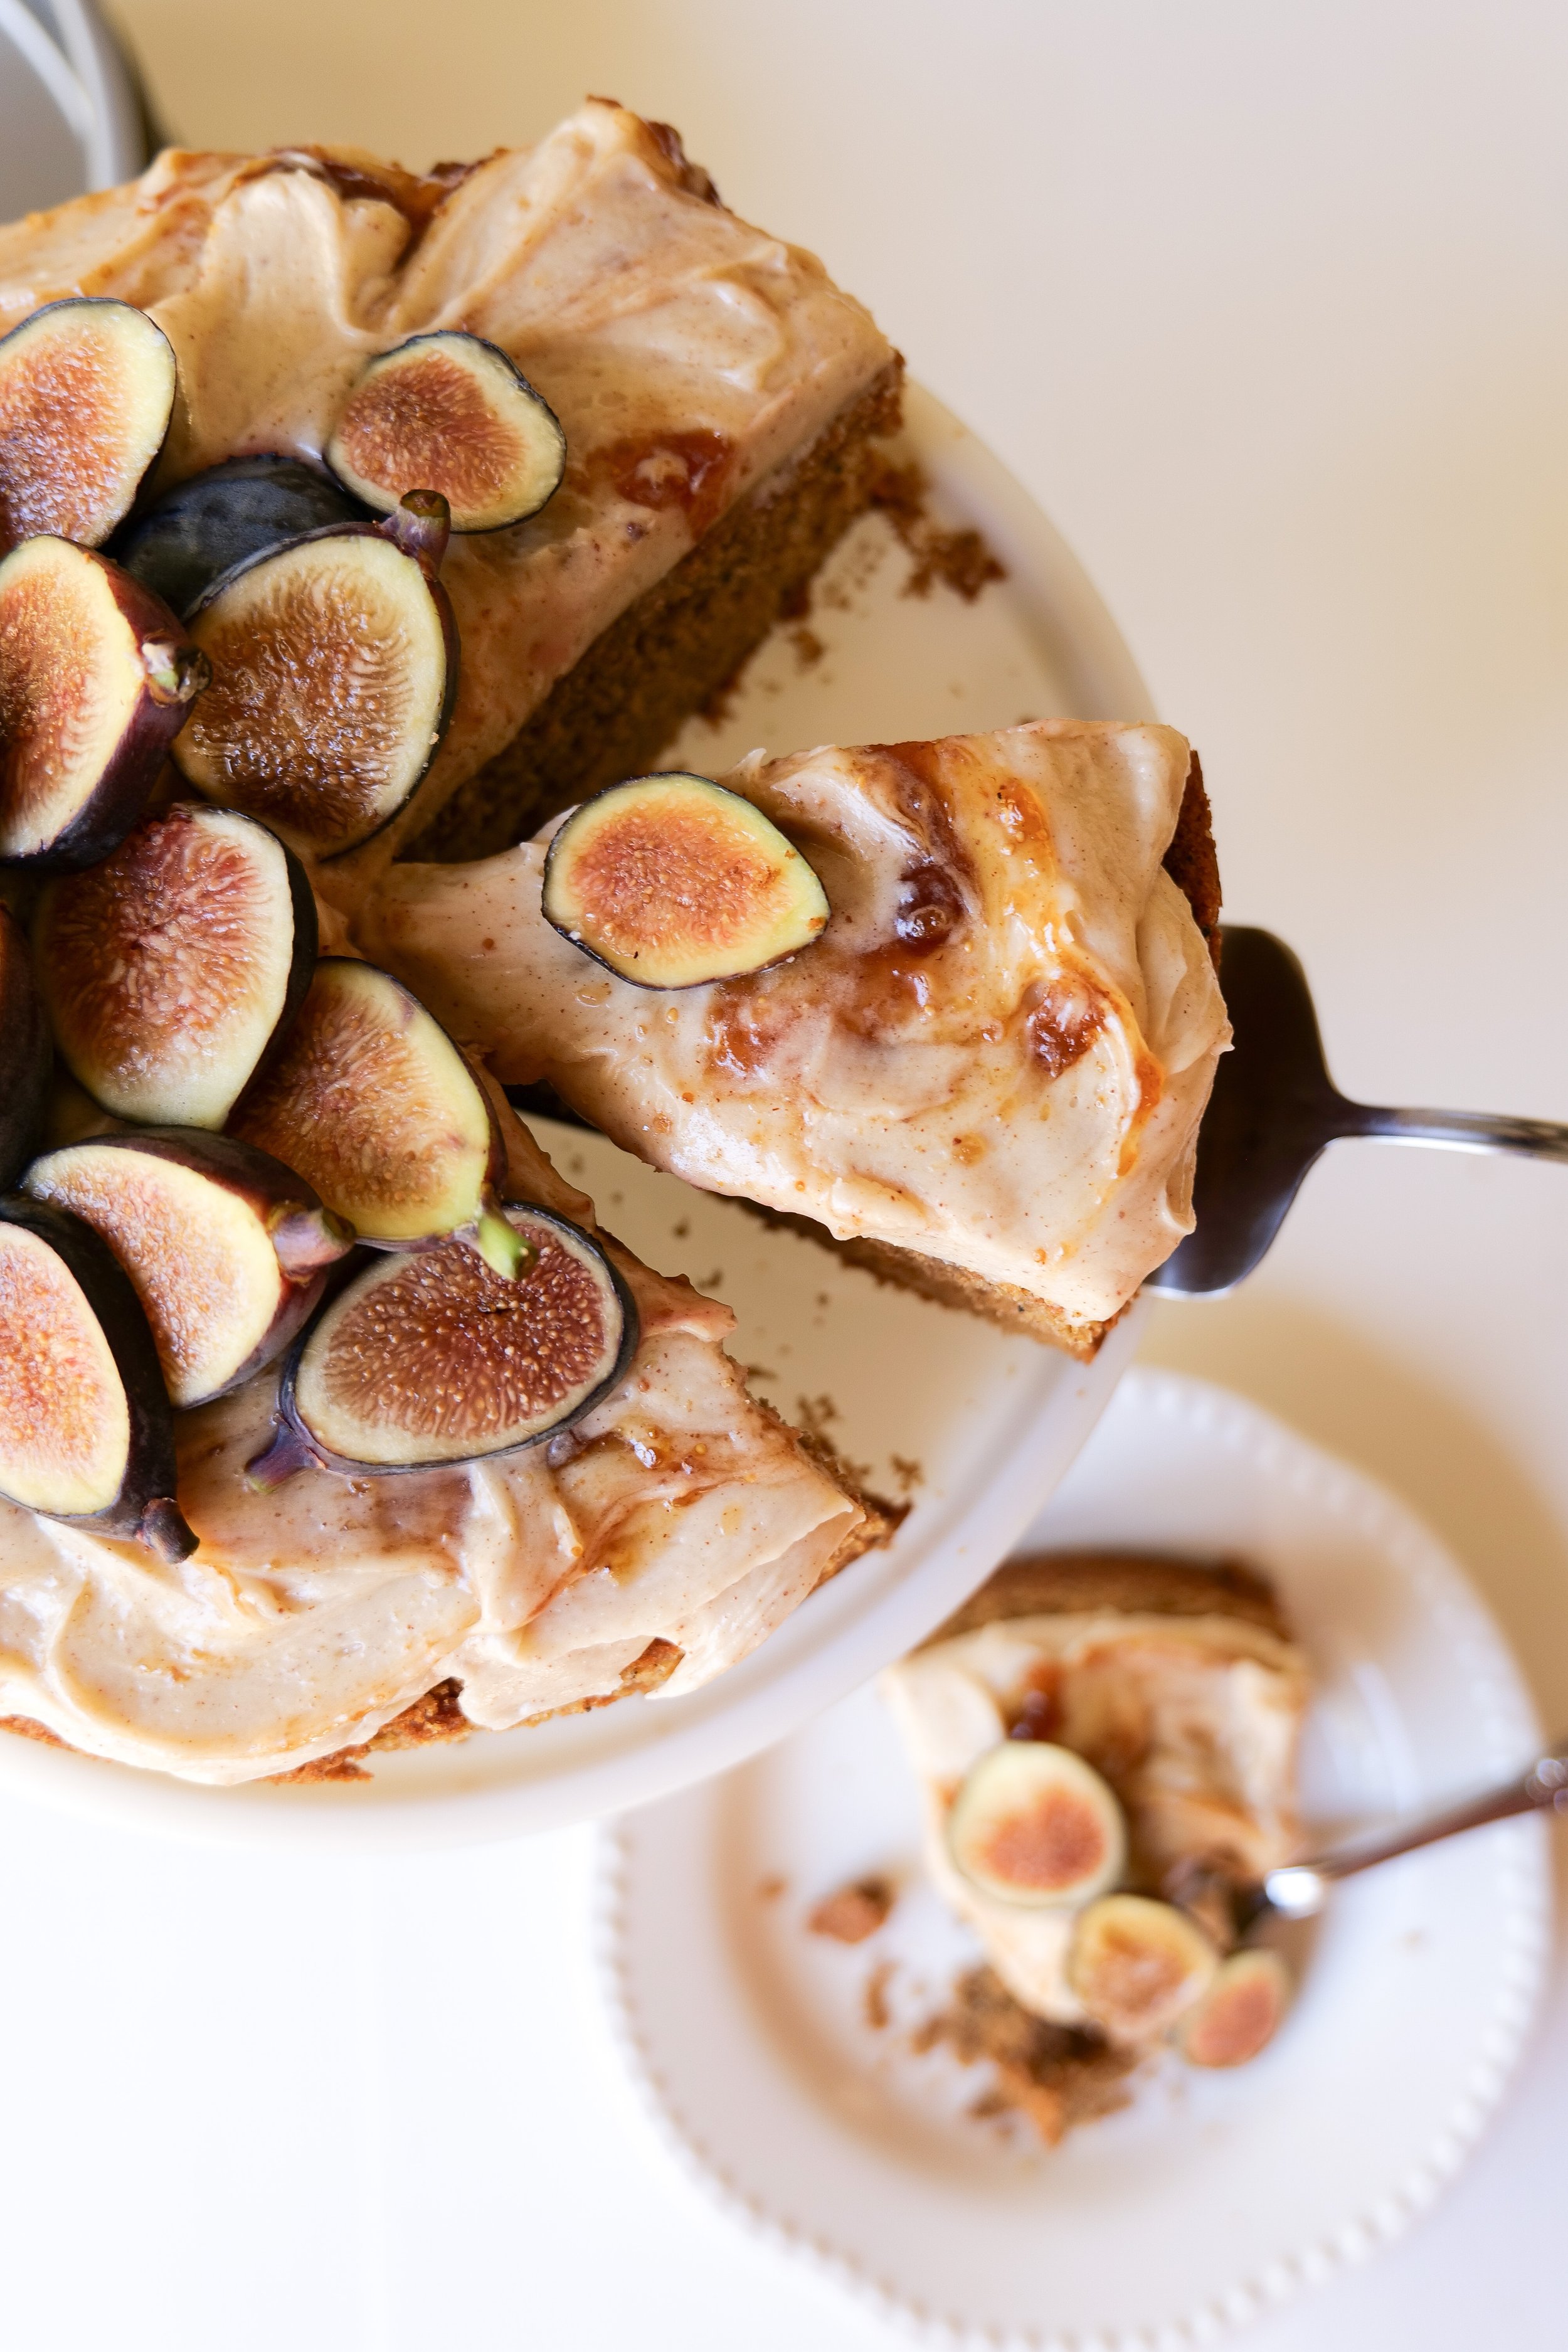
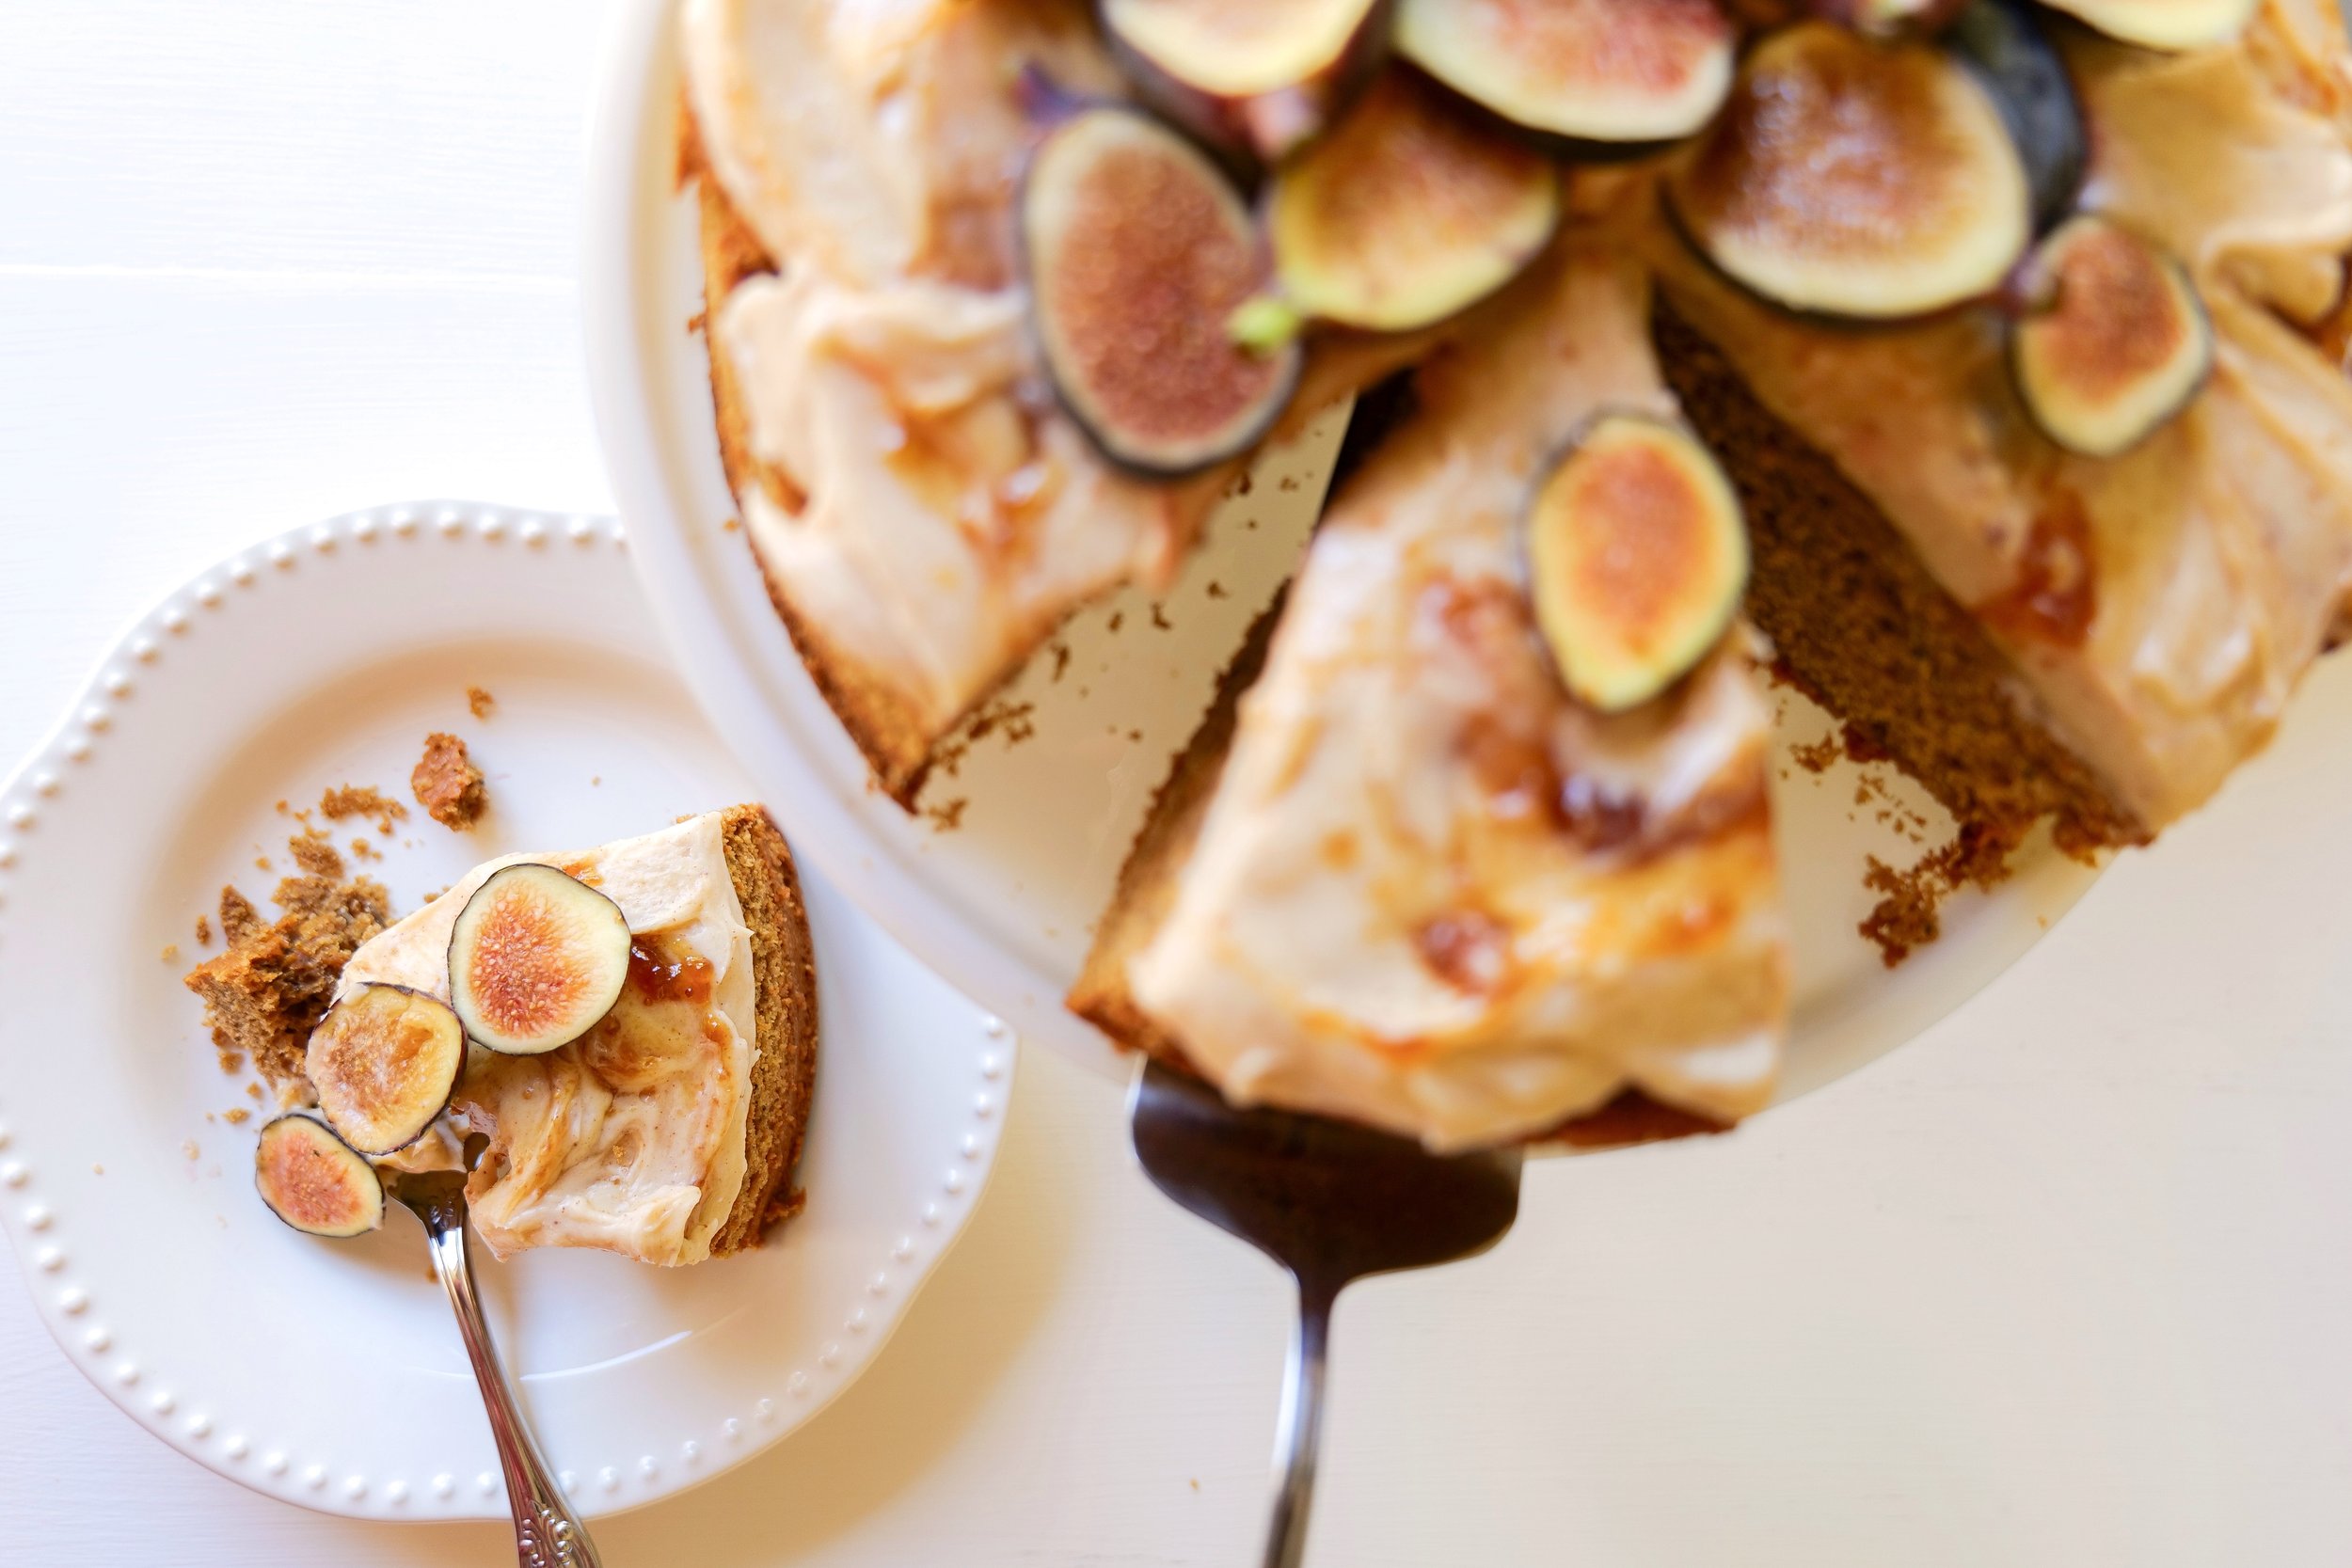
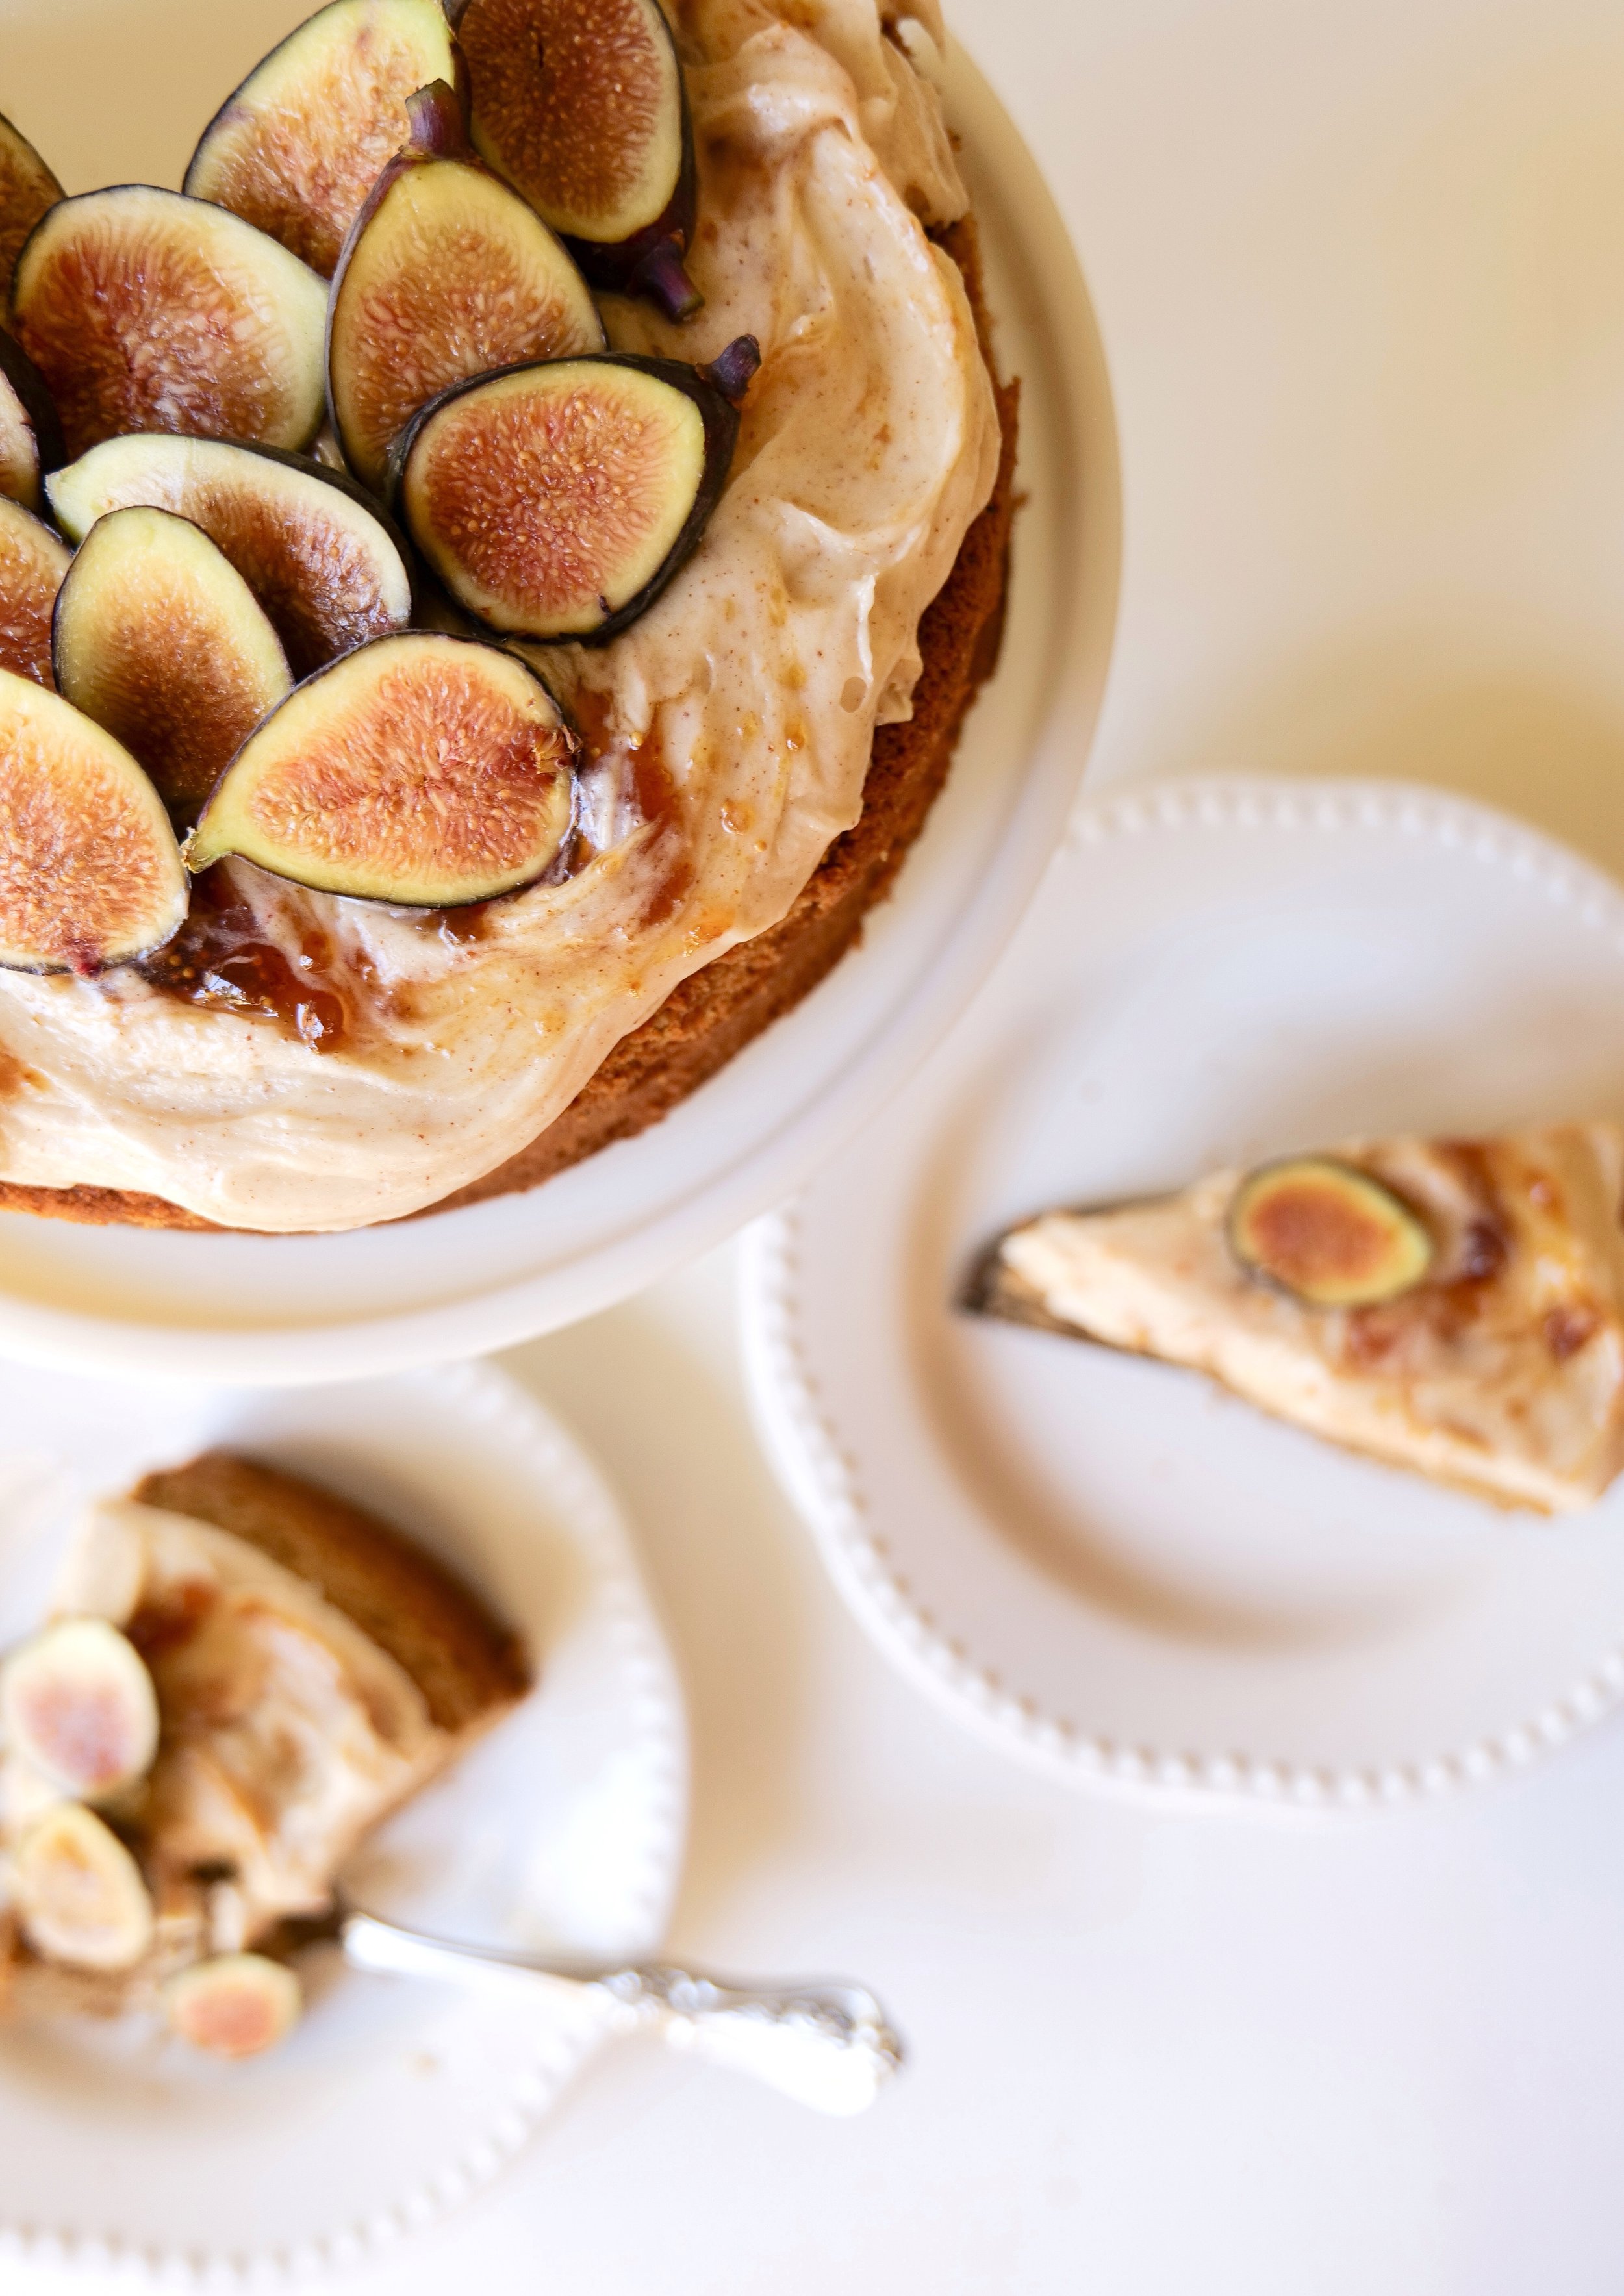
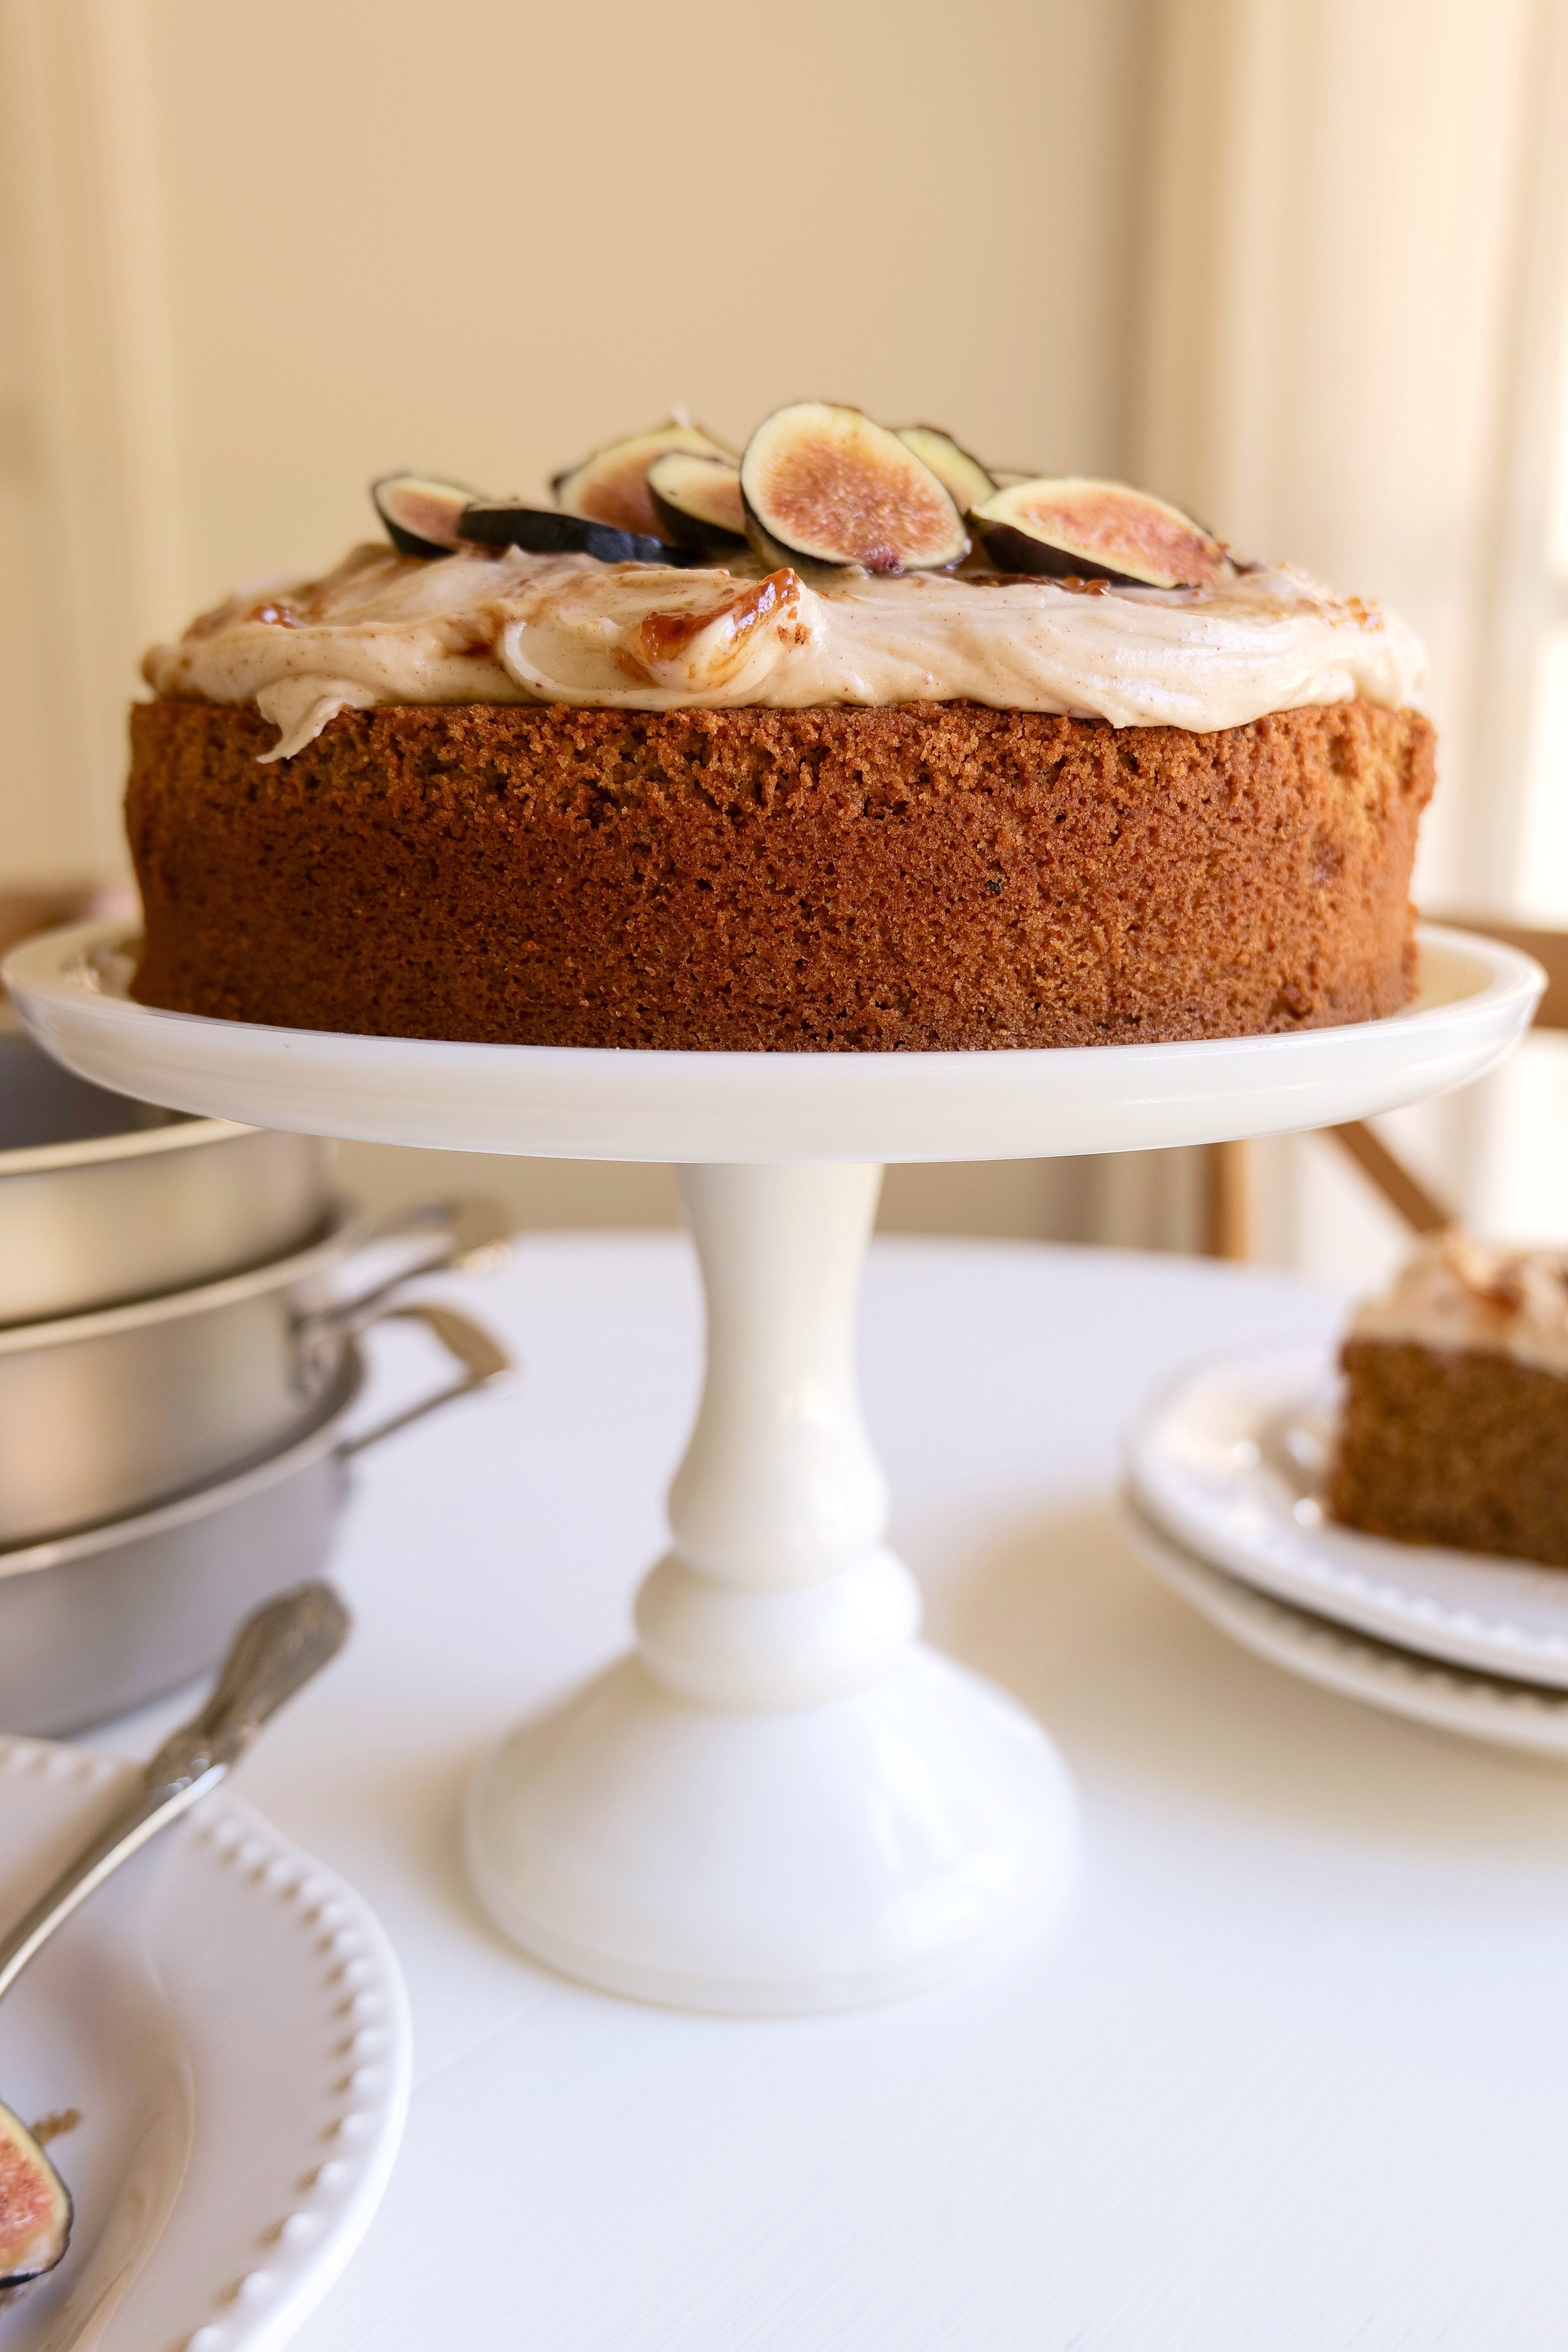
Welcome to my kitchen! This time, we’re baking a truly decadent cake that is sure to impress any dessert aficionado. Welcome the early fall season with this delicious and flavorful Brown Butter Spice Cake with Honey & Fig Jam Icing recipe. The brown butter and spices give the cake a unique flavor that will make it a favorite in your home. The sweetness of the fig jam icing is sure to be a hit with everyone as well. This recipe is perfect for any occasion, from a family dinner to a special celebration. You can make this cake ahead of time and store it in the refrigerator for up to a week, making it a great make-ahead dish. Serve it as is or dress it up with some fresh figs on top.

What type of honey works best in the icing?

Clover honey is the most popular honey for baking as it has a mild flavor, but you can also experiment with orange blossom honey for a subtle citrus flavor or wildflower honey for a bolder flavor. Acacia honey is a great choice as it is light and delicate in flavor, while Manuka honey is unique and has a distinctive flavor. Whichever honey you choose will go great with this delicious cake and add its own unique twist.

Are there any other variations of this recipe that can be tried?

To make the cake even more unique to you here are a few changes you can make on this cake. You can add walnuts, almonds, or hazelnuts to give it a crunchy texture. For a slightly different flavor, you can also swap the honey for maple syrup. To make the cake even more impressive, you can make this into 2 layers and add icing in between each layer instead of one thick cake. If you're looking for a different flavor, you can try using apricot or raspberry jam instead of fig jam. For a less intense flavor, try substituting dark brown sugar for white sugar. With so many different variations, you can make this Brown Butter Spice Cake with Honey & Fig Jam Icing Recipe your own.

Ingredients:

4 large eggs

1/2 cup buttermilk

1/3 cup brewed espresso

1 cup butter

2. teaspoons almond ext.

1 - 1/2 cup dark brown sugar

2-1/4 cups cake flour

1 tablespoon baking powder

1/2 teaspoon salt

1 teaspoon chai powder

1 teaspoon cinnamon

1/2 teaspoon ground cloves

1/2 teaspoon ginger

Frosting:

1 cup butter

8 oz cream cheese

4 cups powdered sugar

1 teaspoon almond extract

1/4 cup honey

Fig preserves or jam

Instructions:

1. Prep by greasing a 9-inch round cake pan & preheat the oven to 350 degrees.

2. Brown butter in a saucepan and cook until browned and nutty in fragrance. Set aside in a clean bowl freshly brewed espresso and let cool while getting other ingredients ready.

3. Blend eggs, heavy cream, almond extract and the brown butter/espresso mixture, from above, completely in a medium bowl.

4. In a new clean bowl whisk dry ingredients until combined. Add wet ingredients to dry and blend together with an electric hand mixer.

5. Once combined pour into an oiled 9-inch pan and place in the oven. Bake for 45-55 minutes or until a toothpick inserted comes out clean.

7. While the cake is baking blend together all frosting ingredients until well combined. (butter and cream cheese should be at room temperature if not heated in the microwave for 30 sec at a time)

8. Once the cake is done baking let cool in the pan for 15 min and transfer to the cooling rack for another 15.

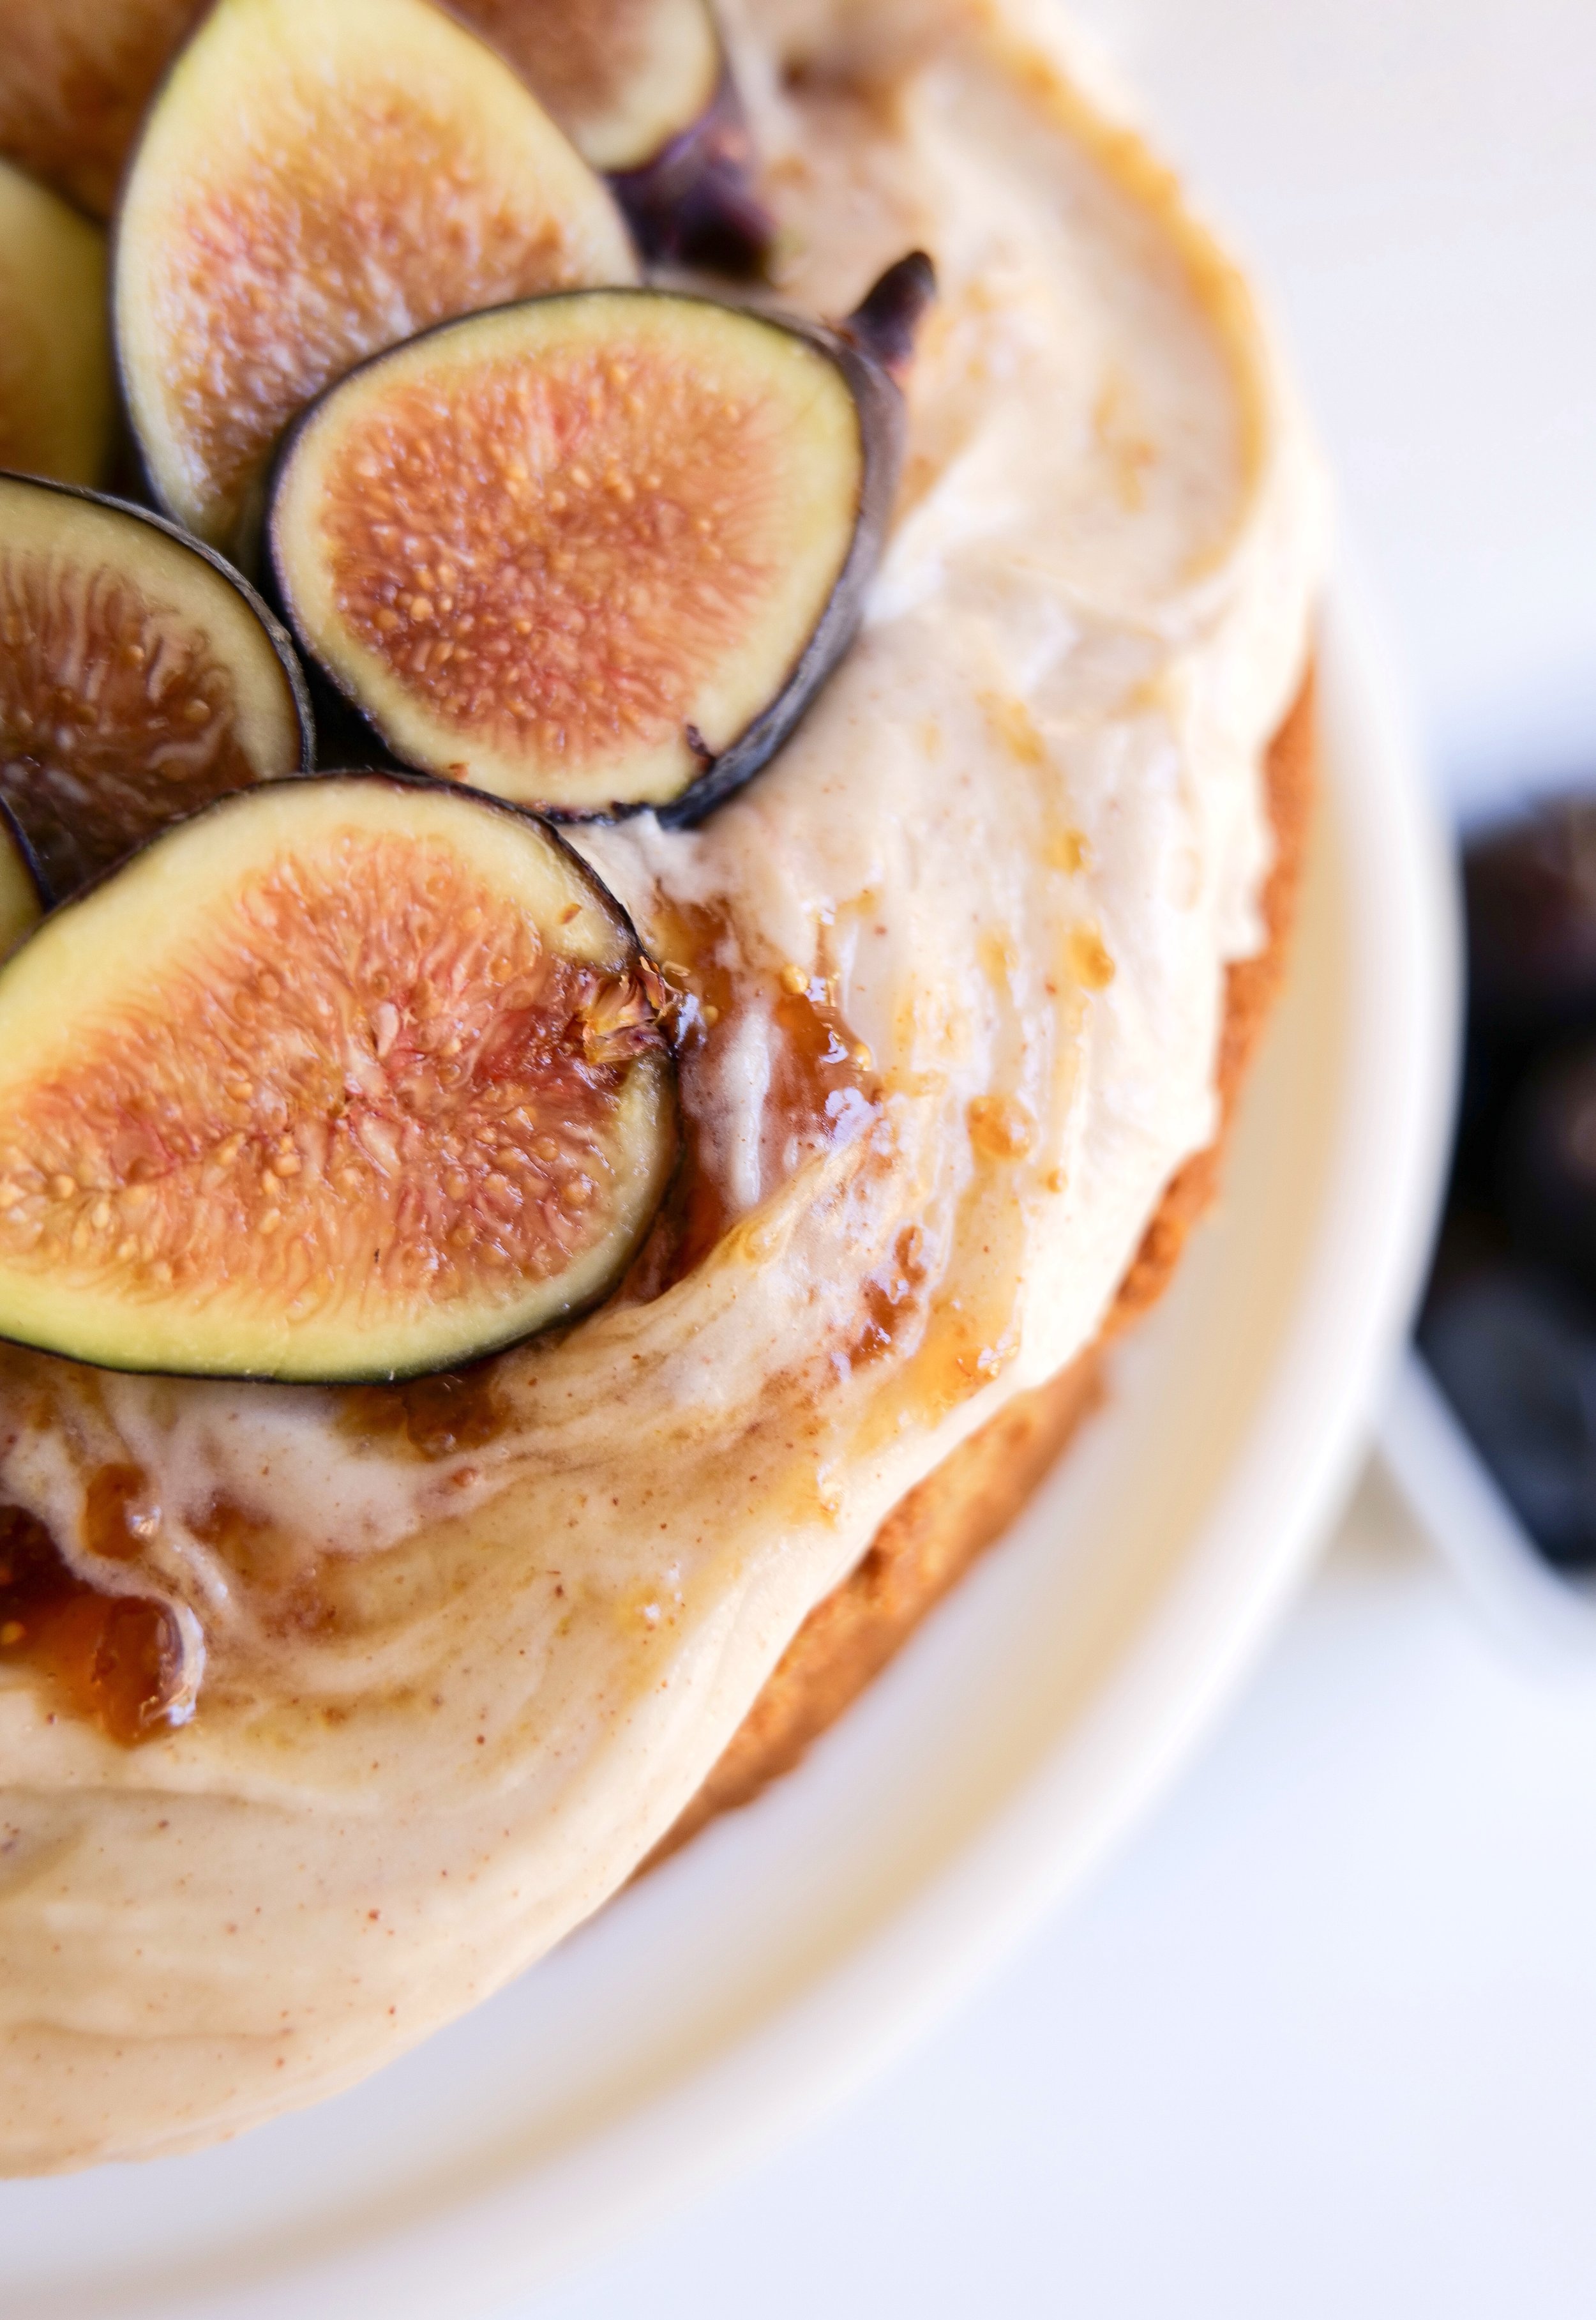
9. Add Frosting to the top of the cake adding in a large spoon fulls of fig jam and using a knife or rubber spatula to blend to make a stunning and tasty marble effect. Add Fresh figs and drizzled honey on top for an even prettier and tastier cake and Enjoy!

Other Delicious Cake Recipes:

Taste the Deliciousness of Pistachio Cake: A Treat for Any Occasion

My Favorite White Cake Recipe

Indulge in Deliciousness: Cherry Chip Cake with Chunks of Dark Chocolate Recipe