Brown Butter Pumpkin Chocolate Chip Oatmeal Pizookie

There are few desserts better than a warm skillet cookie straight from the oven, especially when brown butter, pumpkin, oats, and melty chocolate are involved. This one has crisp edges, a soft and gooey center, and all of those cozy fall flavors in one big cookie made for sharing.
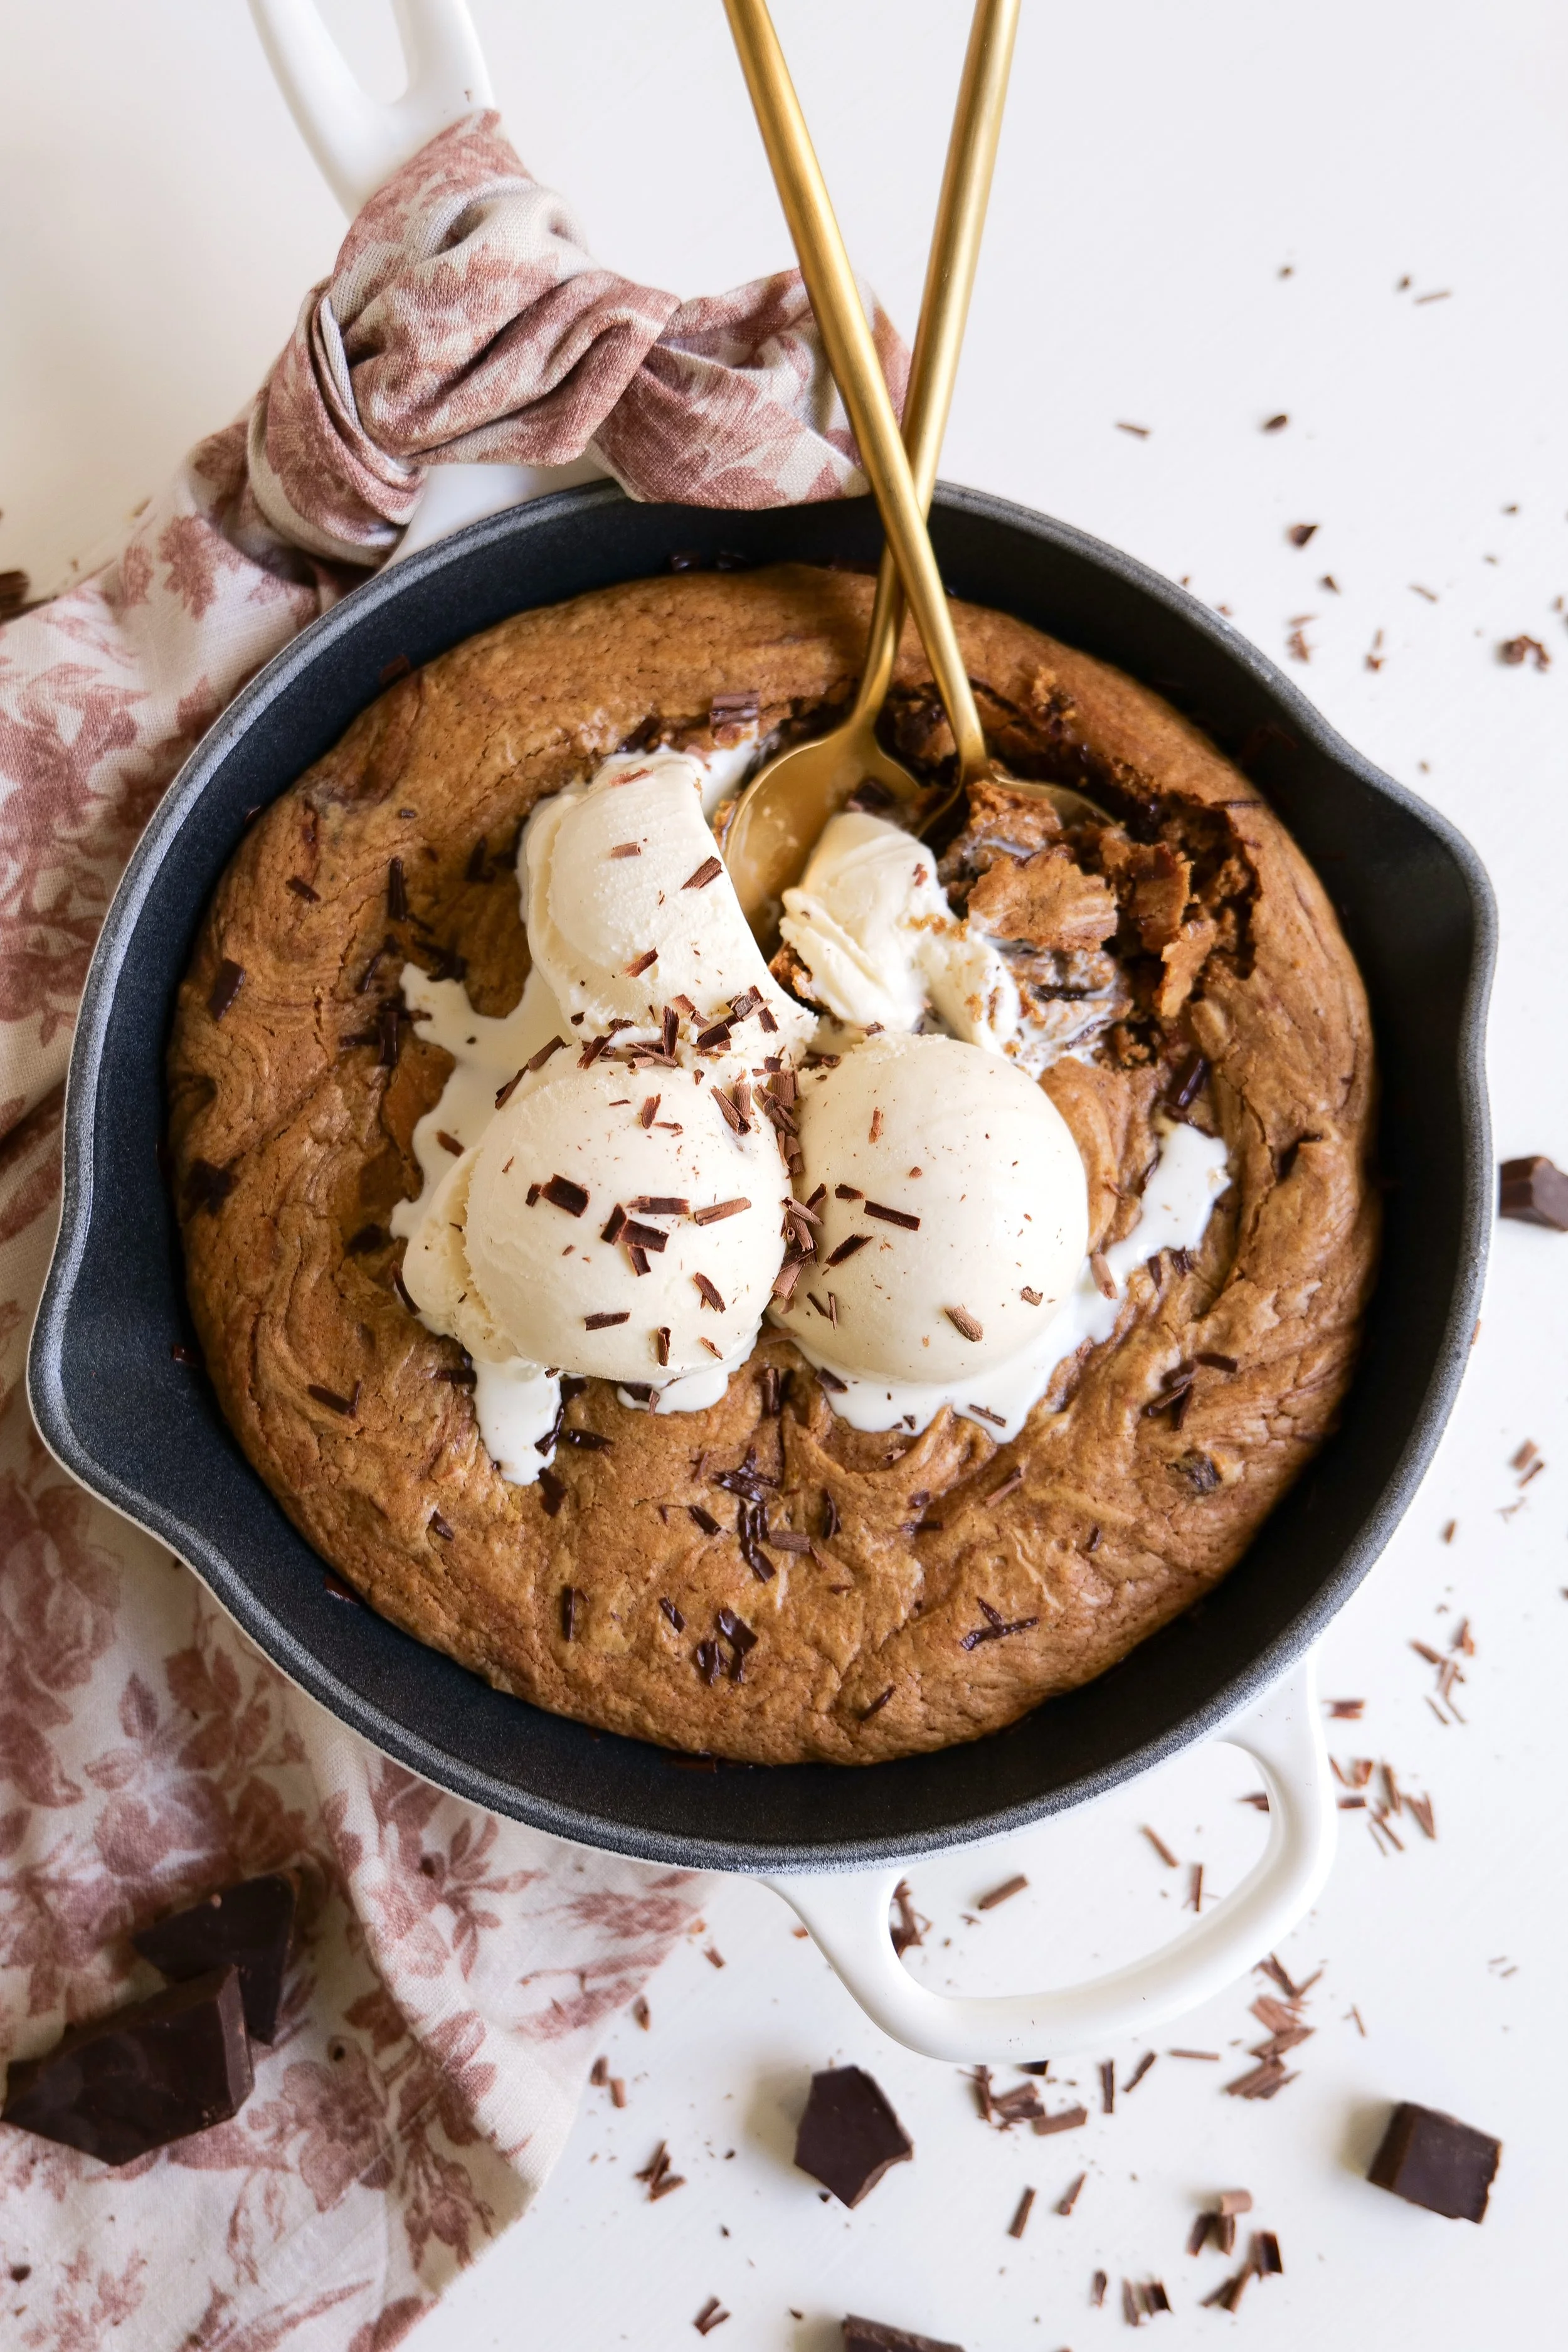
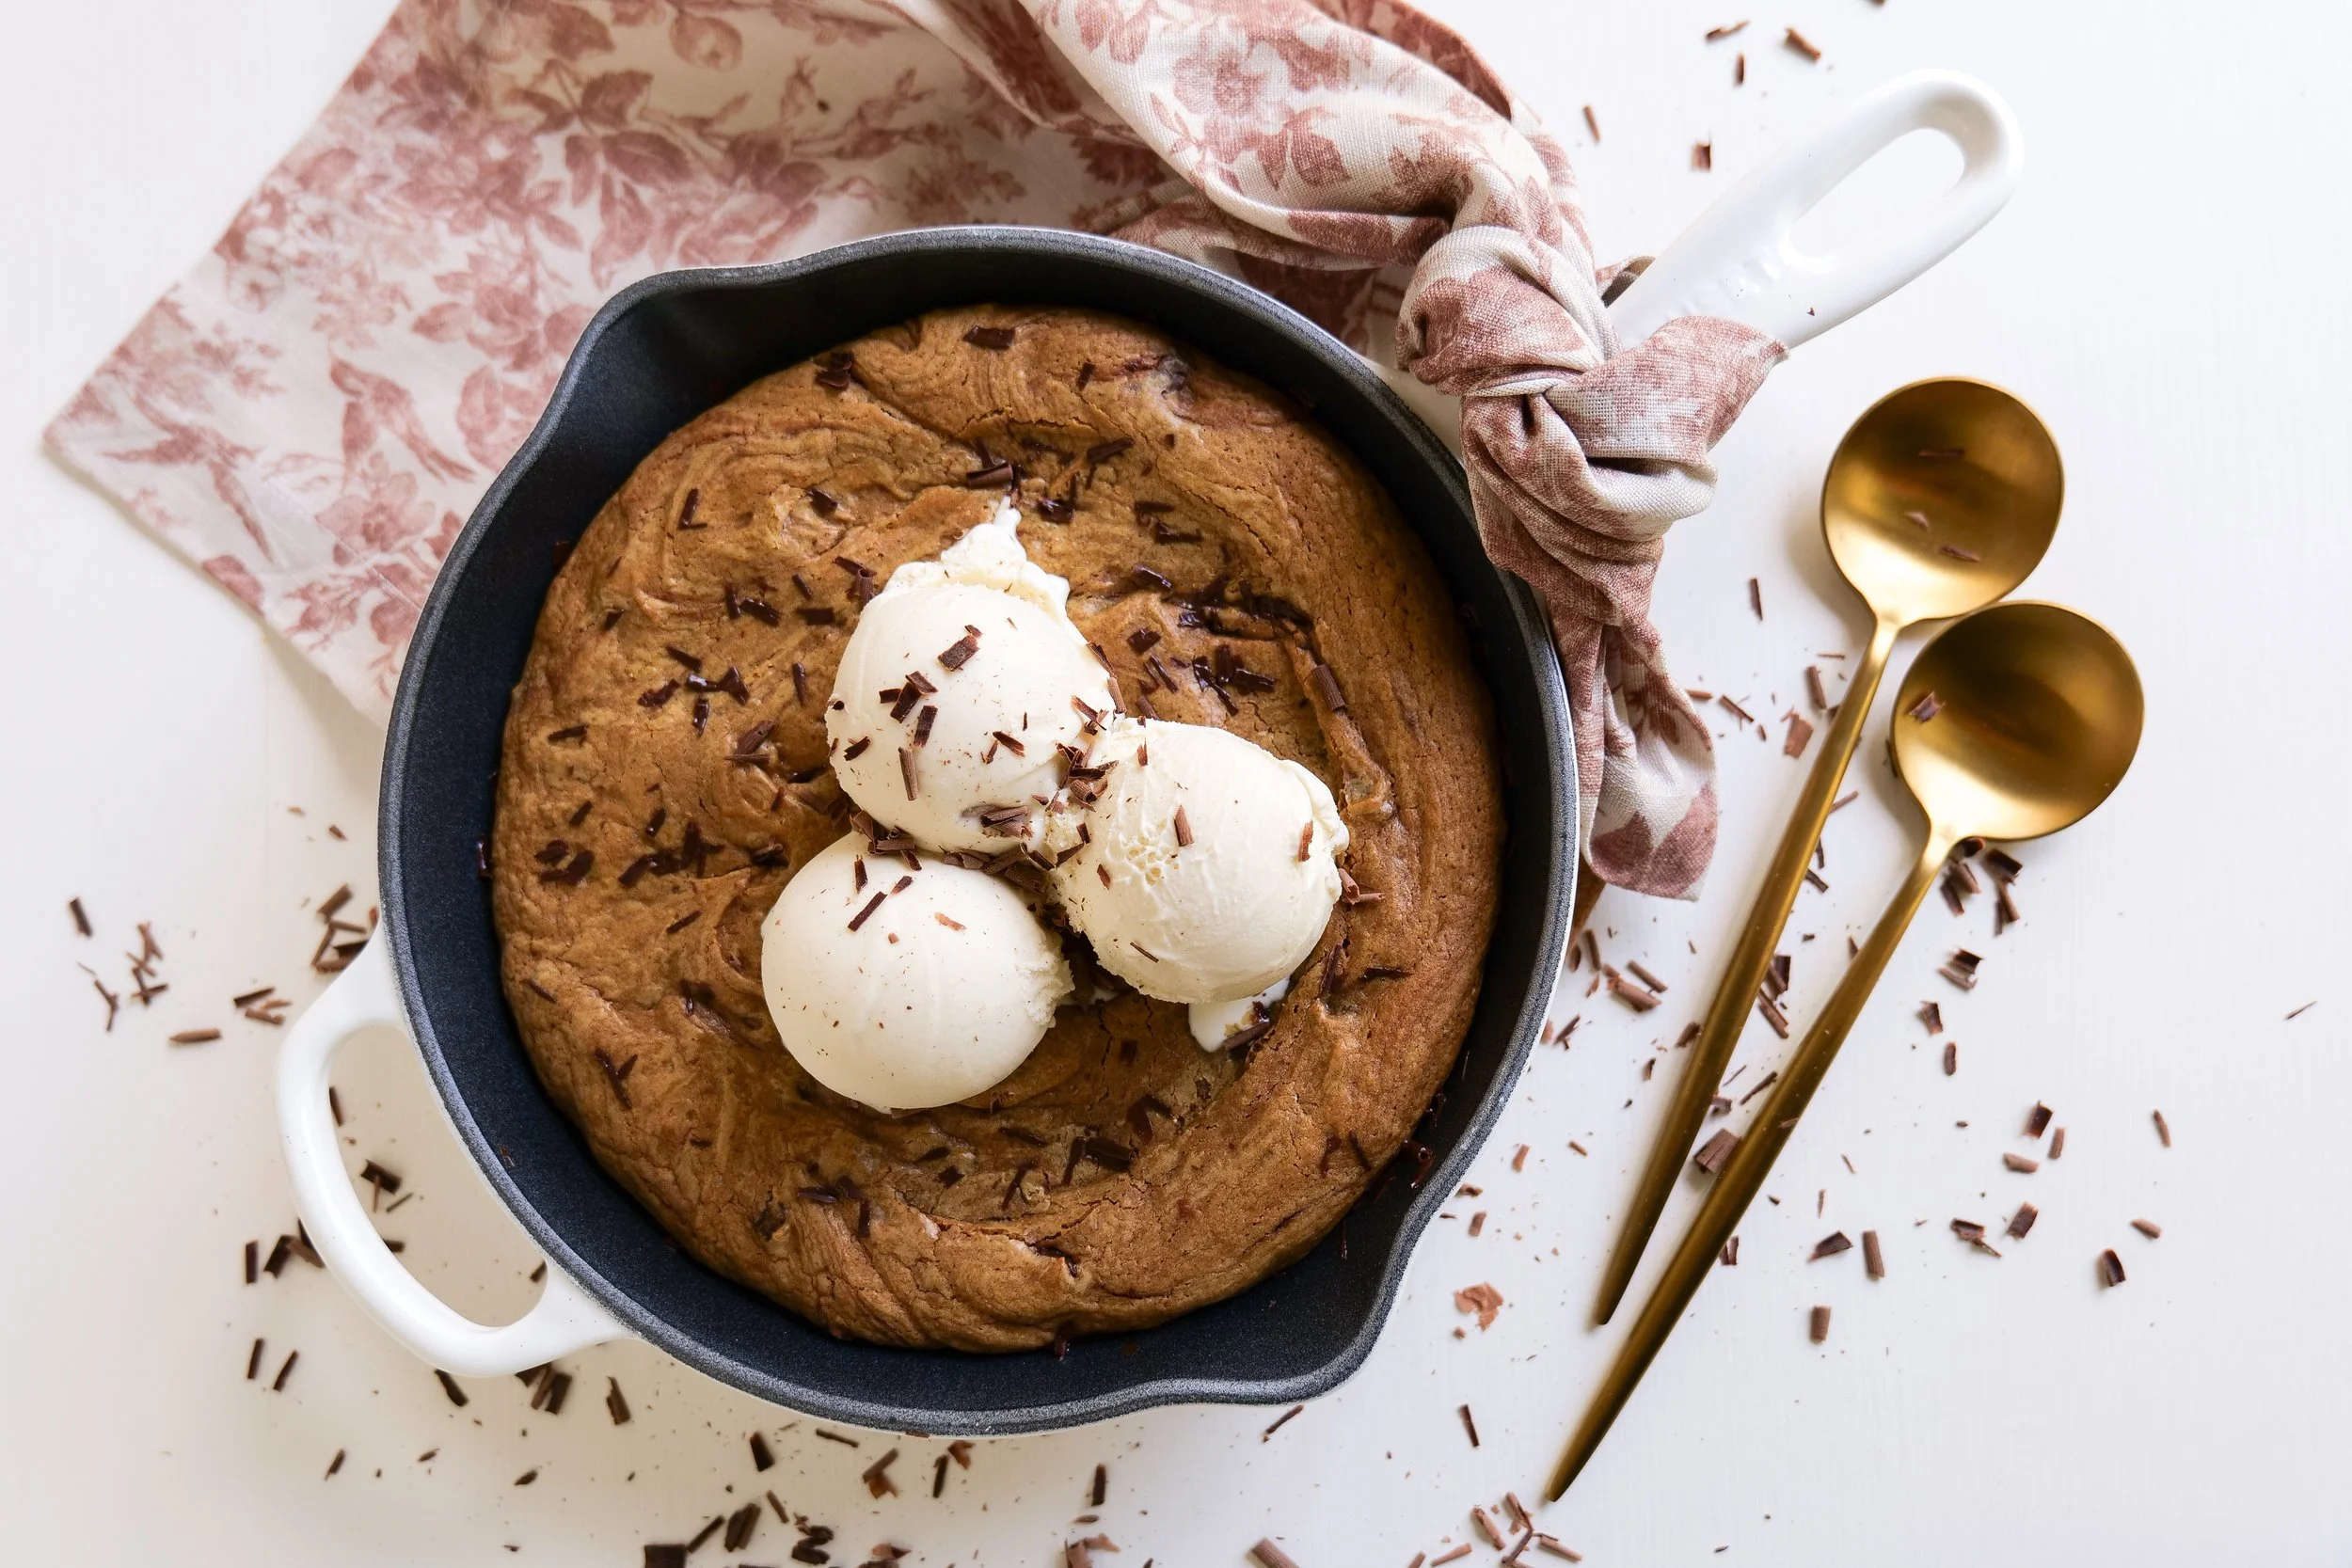
Brown butter pumpkin chocolate chip oatmeal pizookie baked in a skillet and topped with vanilla ice cream

This is one of those desserts I start craving as soon as fall baking begins. Brown butter has always been one of my favorite flavors to bake with, and pairing it with pumpkin and chocolate just makes sense.

The oats give the cookie a little more texture and chew, while the pumpkin keeps the center soft. Then everything is baked together in a cast-iron skillet so you get those golden edges and the warm, gooey middle that makes a skillet cookie so good.

Serve it warm from the oven with vanilla ice cream melting into the center and a little extra chopped chocolate over the top. Everyone can grab a spoon and dig in, or you can slice it into wedges and serve it individually.
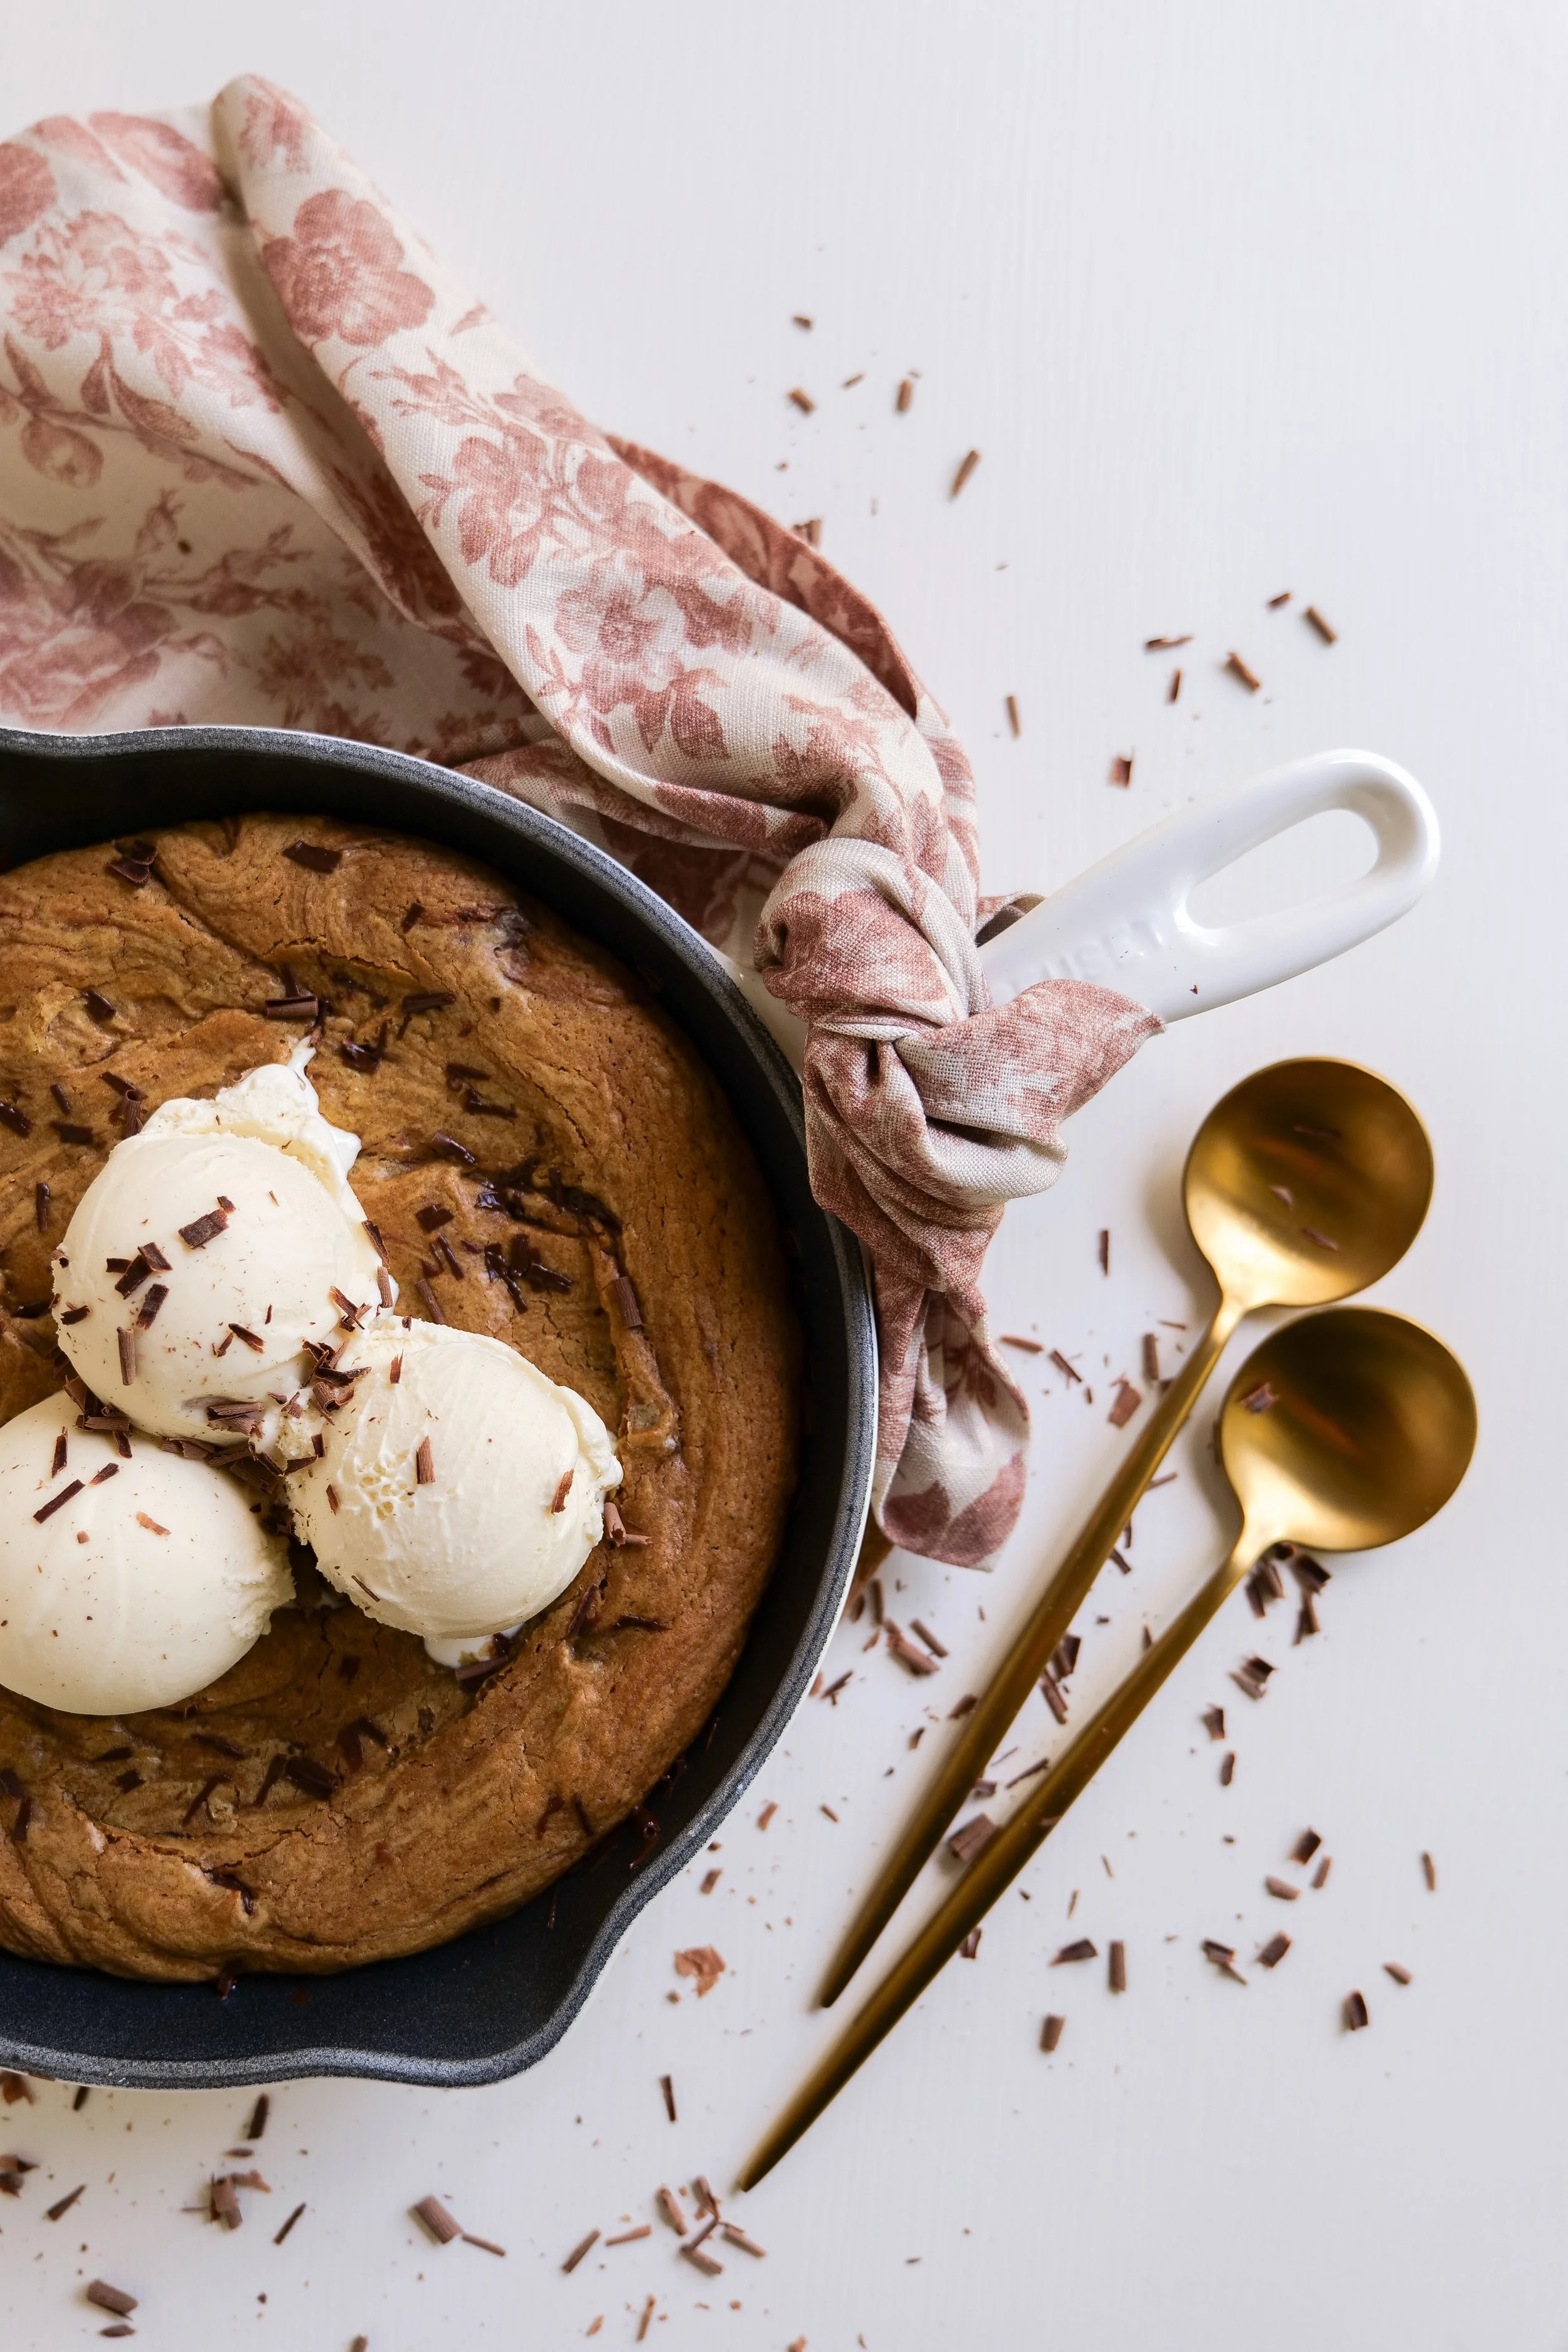
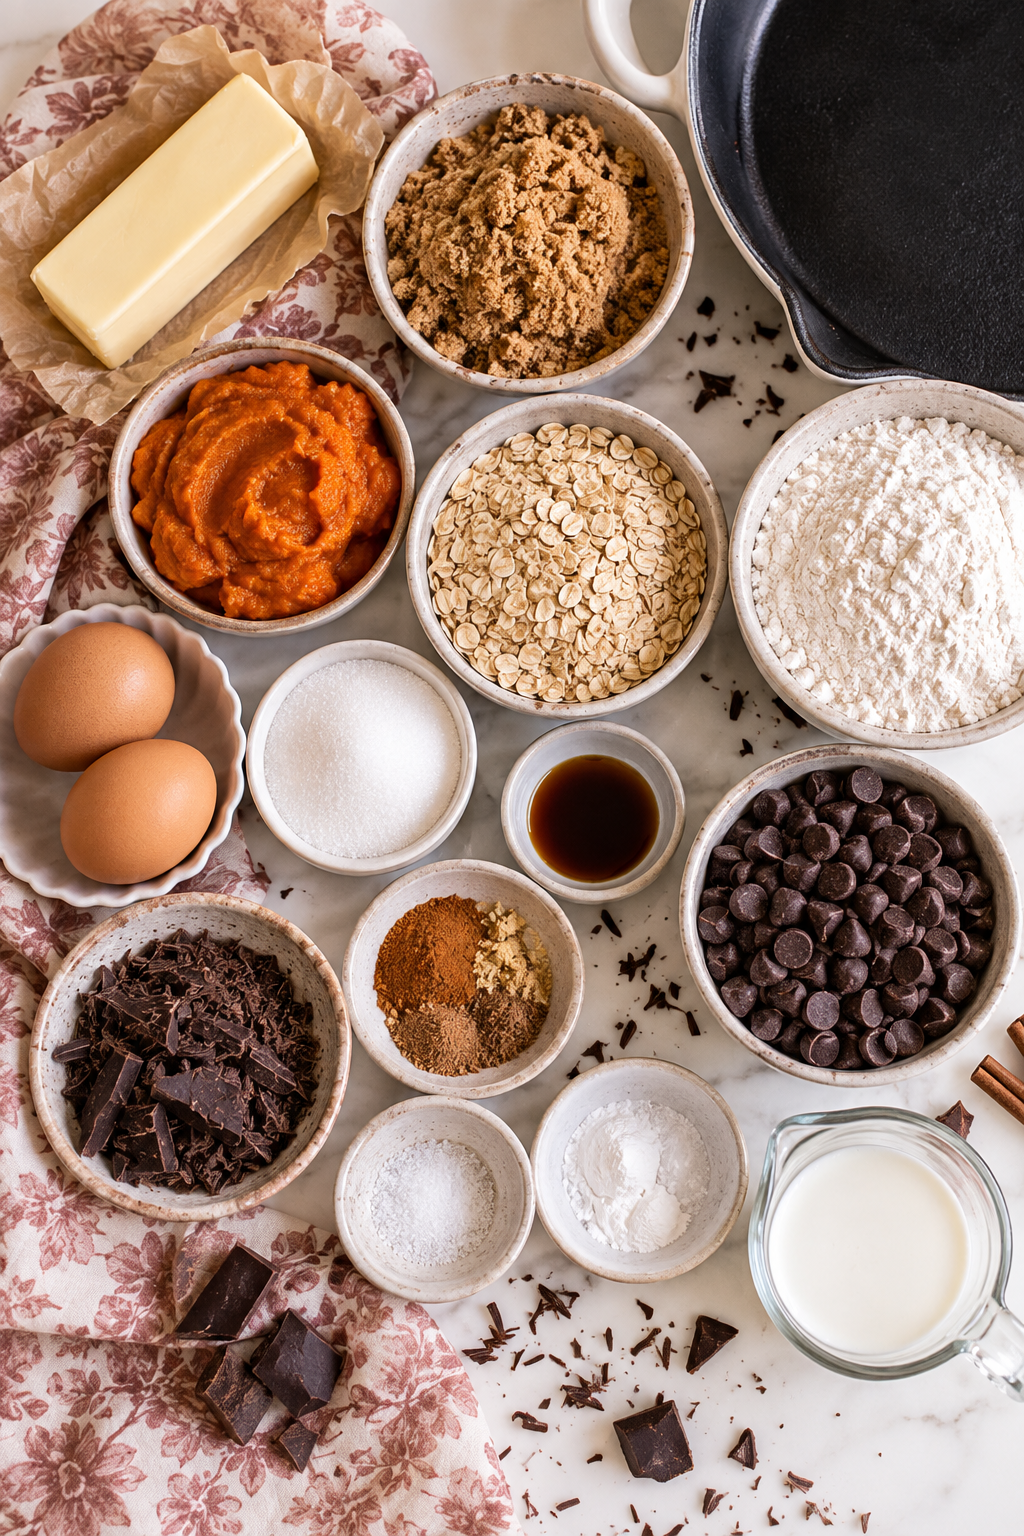
Ingredients for making a brown butter pumpkin chocolate chip oatmeal skillet cookie

Ingredients You'll Need

For the Brown Butter Pumpkin Oatmeal Skillet Cookie

  • 1/2 cup unsalted butter, browned and slightly cooled

  • 1/2 cup granulated sugar

  • 1/4 cup dark brown sugar, packed

  • 1/2 teaspoon pure vanilla extract

  • 1 large egg

  • 1/4 cup pumpkin puree

  • 1 1/4 cups all-purpose flour

  • 2 1/2 teaspoons baking powder

  • 1/2 teaspoon sea salt

  • 1/2 cup old-fashioned rolled oats

  • 1/2 cup chocolate chips or chopped chocolate

For Serving

  • Vanilla ice cream

  • Chopped or shaved chocolate, optional

  • Flaky sea salt, optional

Browned butter in a saucepan for pumpkin chocolate chip oatmeal pizookie

How to Make a Pumpkin Chocolate Chip Skillet Cookie

1. Brown the Butter

Add the butter to a light-colored saucepan or skillet over medium heat.

Let it melt completely, then continue cooking as it begins to foam. Stir or swirl the pan frequently. The milk solids will begin turning golden brown and you'll notice that unmistakable toasted, nutty smell.

As soon as the butter is golden brown, remove it from the heat and transfer it to a mixing bowl so it doesn't continue cooking in the hot pan.

Let the brown butter cool slightly before making the cookie dough.

Brown butter was one of the things I loved most about the original recipe—the nutty flavor works especially well with pumpkin and chocolate.

2. Mix the Wet Ingredients

Preheat your oven to 375°F.

Add the granulated sugar and dark brown sugar to the slightly cooled brown butter and mix until combined.

Add the vanilla, egg, and pumpkin puree and mix again until smooth.

Make sure your butter has had a chance to cool before adding the egg. It can still be warm, but you don't want it piping hot.

3. Add the Dry Ingredients

Add the all-purpose flour, baking powder, and sea salt. Mix just until the flour is incorporated. Once you add the flour, avoid overmixing the dough so the finished skillet cookie stays soft.

4. Fold in the Oats and Chocolate

Fold in the old-fashioned oats and chocolate chips or chopped chocolate.

I love chopped chocolate here because you get a mix of little chocolate flecks and bigger melted pockets throughout the cookie, but chocolate chips work just as well.

The oats are important too. They give this cookie more chew and texture against the soft pumpkin center.
Pumpkin oatmeal cookie dough mixed with chocolate chips for a skillet cookie

5. Bake in the Skillet

Transfer the cookie dough to a cast-iron skillet and gently press it into an even layer.

Bake at 375°F for about 20 minutes, or until the edges are golden and set but the center is still soft.

Don't wait for the center to look completely firm before pulling it from the oven. The skillet stays hot and the cookie will continue setting as it rests.

That slightly underdone-looking center is what gives you the warm, gooey texture you want.

6. Add the Ice Cream

Let the skillet cookie cool for a few minutes—just enough that your ice cream doesn't disappear immediately.

Add scoops of vanilla ice cream right into the center and finish with chopped or shaved chocolate.

Then serve it while everything is still warm.
Pumpkin chocolate chip oatmeal cookie dough pressed into a cast iron skillet before baking

The Secret Is the Brown Butter

If you're tempted to skip browning the butter and just use melted butter, don't.

Brown butter is what gives this dessert so much of its flavor.

As the butter cooks, the milk solids toast and develop that deep, almost caramel-like nuttiness. Pair that with dark brown sugar, pumpkin, and chocolate and you get a skillet cookie that tastes much more interesting than a standard chocolate chip cookie.

The biggest thing to watch is the color. There's a fairly short window between beautifully browned butter and burnt butter.

Once you see those little golden-brown flecks at the bottom and smell that nutty aroma, take it off the heat.
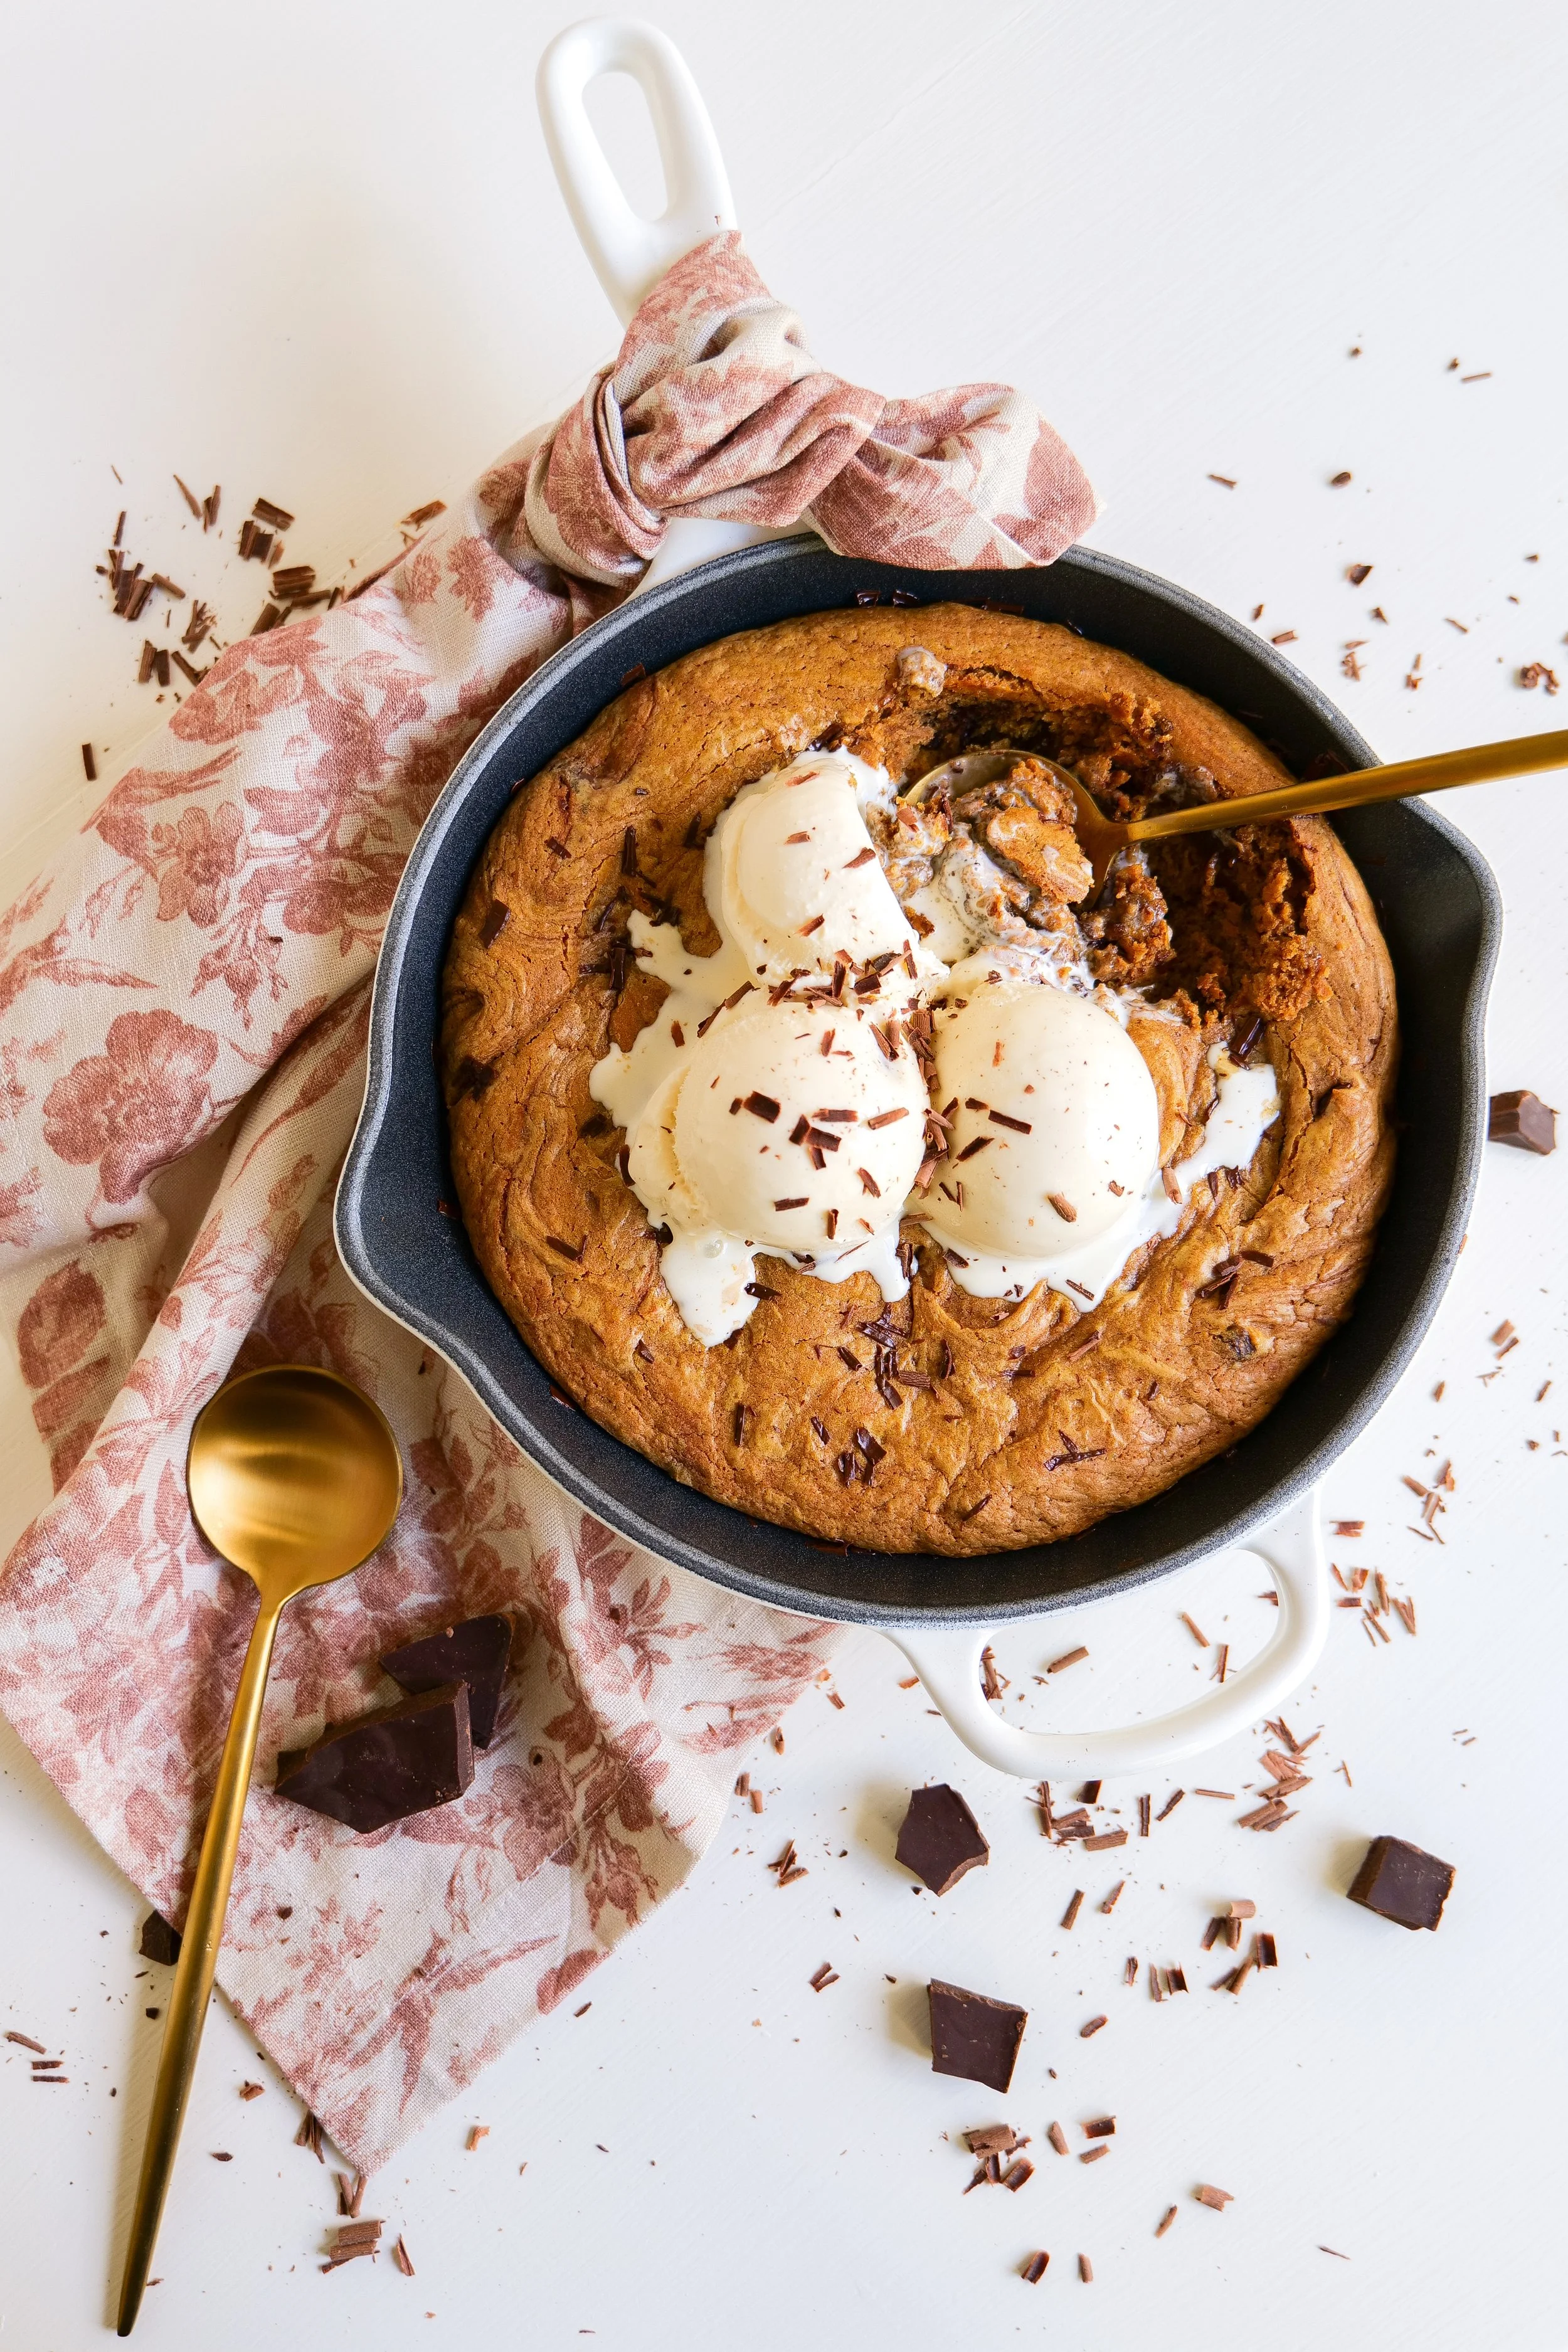
Freshly baked pumpkin chocolate chip oatmeal skillet cookie with golden edges

Why Add Pumpkin to a Skillet Cookie?

Pumpkin does two things here: it gives the cookie that unmistakable fall flavor, but it also adds moisture.

That's part of what makes the center of this skillet cookie so soft.

Make sure you're using pure pumpkin puree, not pumpkin pie filling. Pumpkin pie filling already contains sugar and spices and will change the recipe.

And because we're only using 1/4 cup, you'll have pumpkin left in the can—which sounds like a very good excuse to make another pumpkin recipe.

Why Oatmeal Works So Well Here

I love the contrast that oats give this cookie.

Without them, pumpkin can make cookie dough especially soft. Old-fashioned rolled oats add chew and structure without taking away that gooey skillet-cookie center.

I would stick with old-fashioned rolled oats rather than instant oats. They give you a much better texture in the finished cookie.
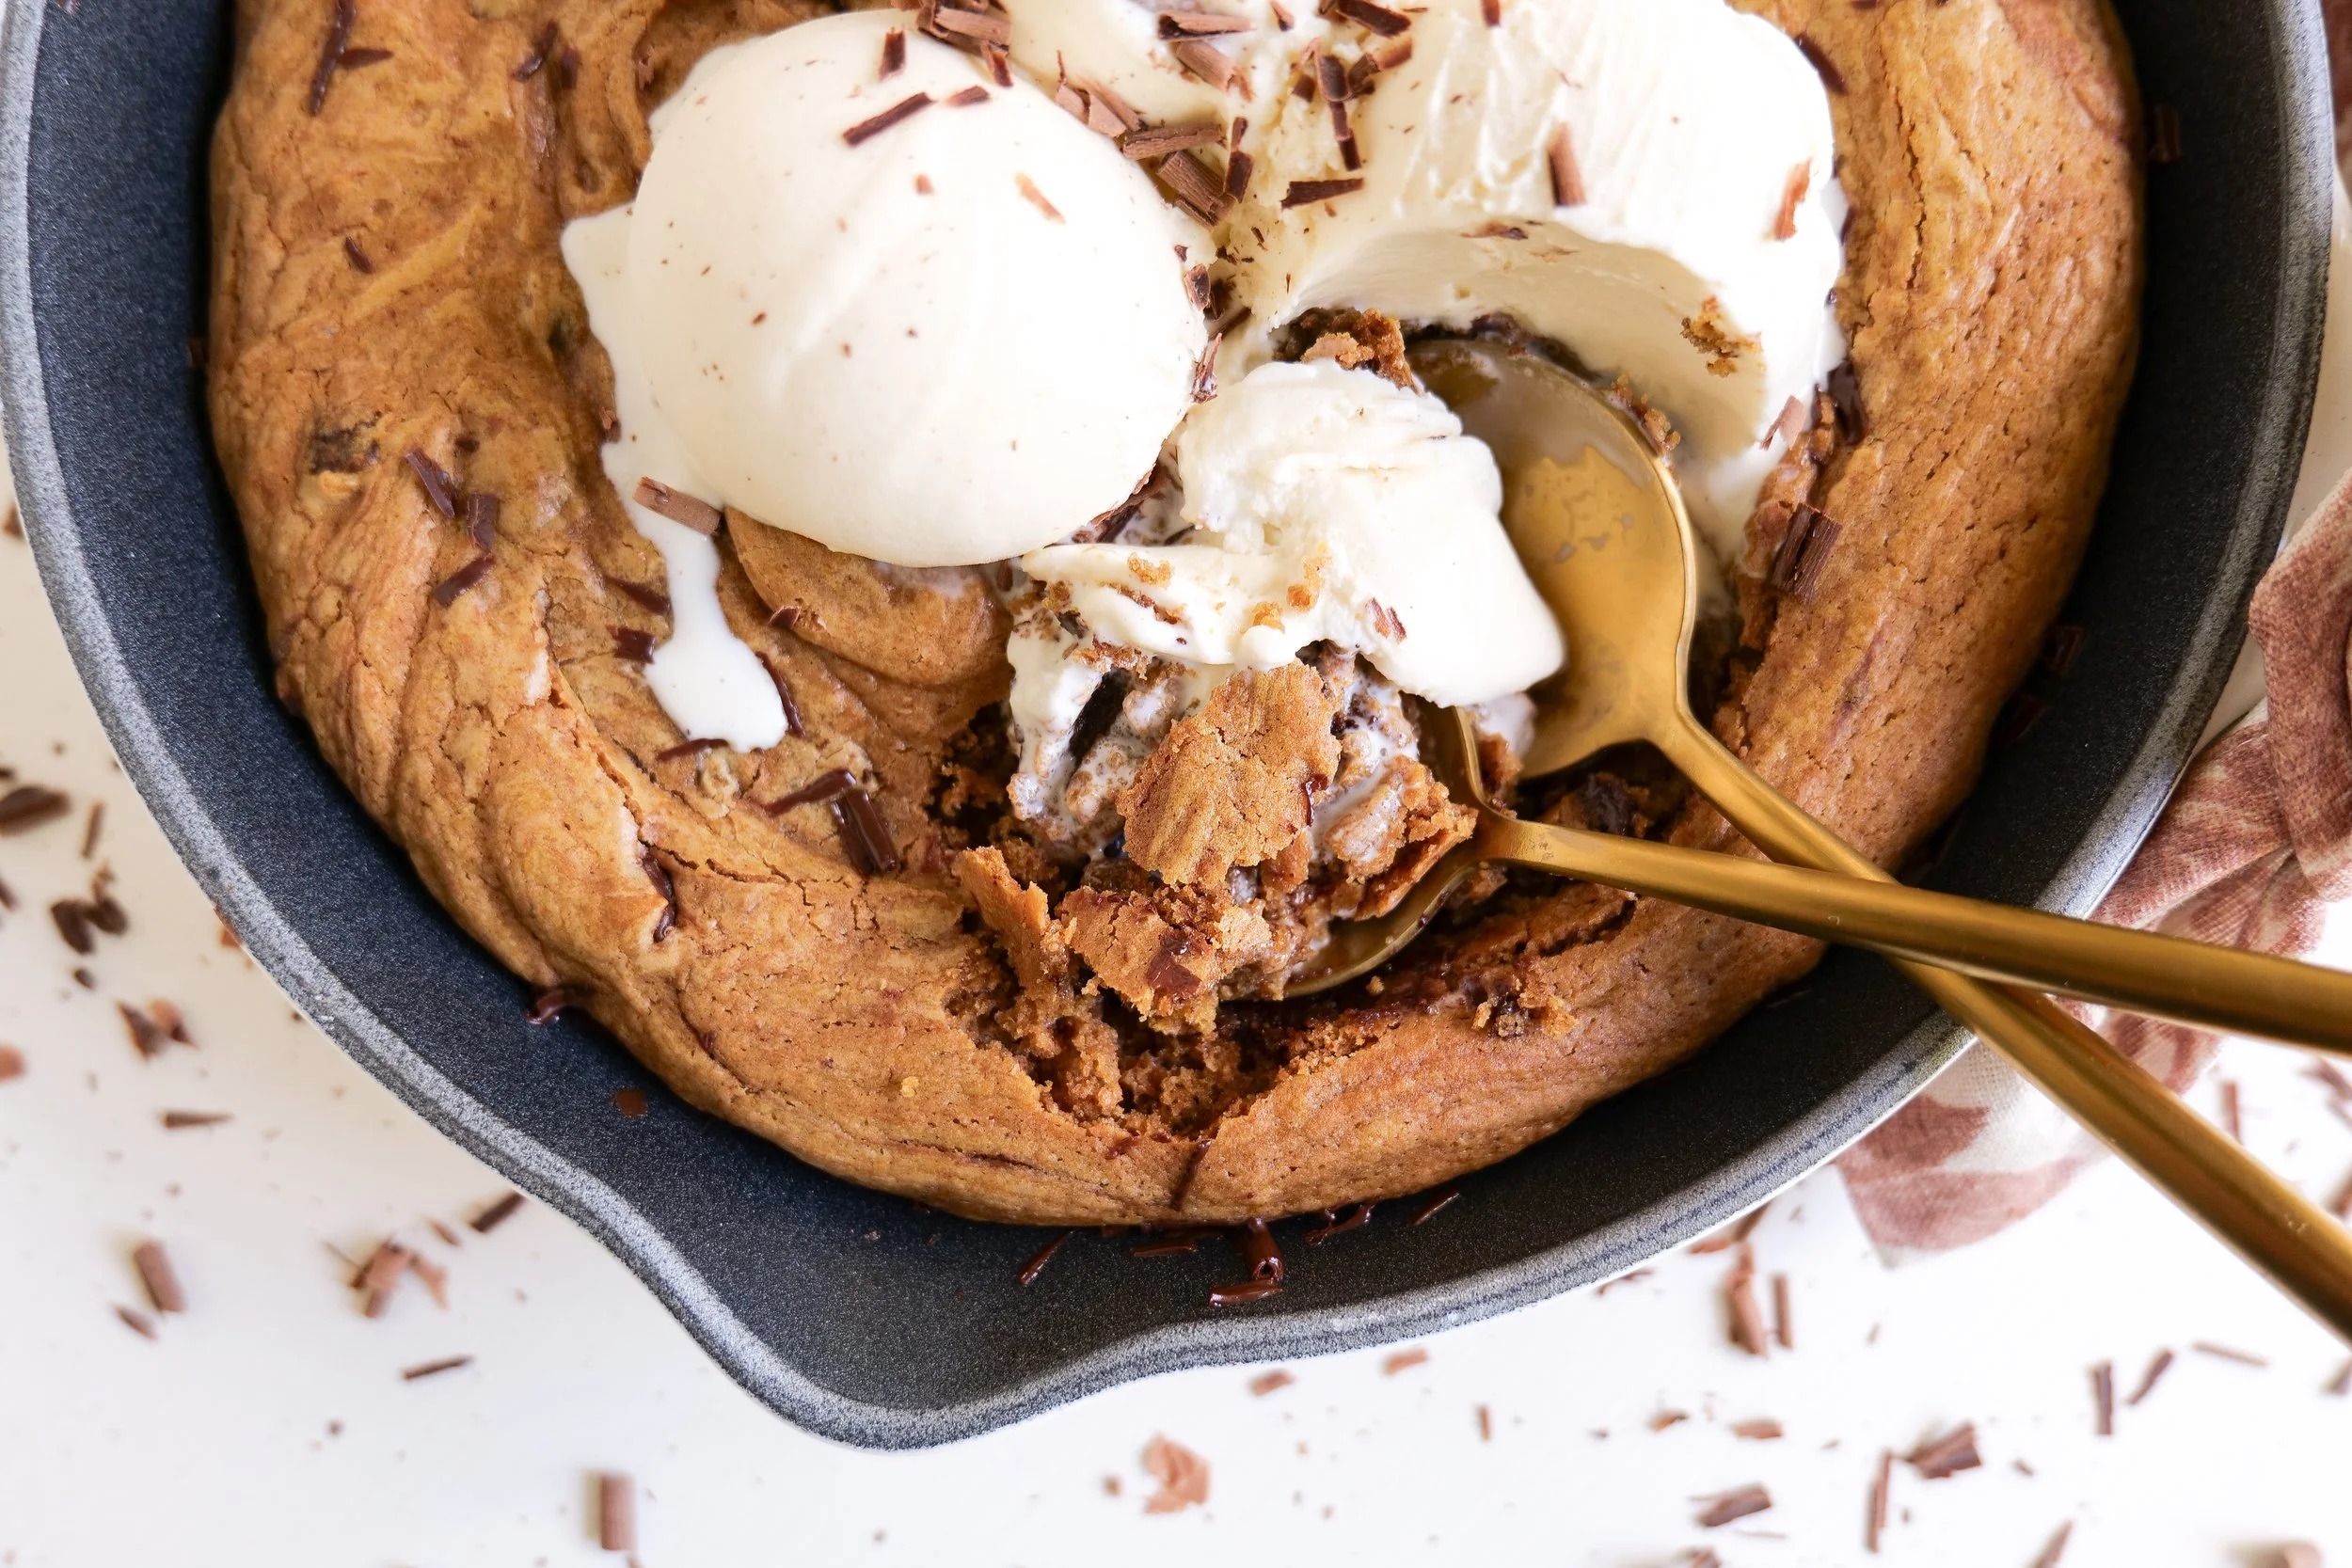
Warm pumpkin chocolate chip pizookie topped with scoops of vanilla ice cream

How Do You Know When a Skillet Cookie Is Done?

This is probably the most important part of the recipe because you don't want to overbake it.

Look at the edges rather than waiting for the center.

The outside should look set and lightly golden, while the center can still look soft when you remove the skillet from the oven.

Remember that cast iron retains a lot of heat. Your cookie doesn't stop cooking the second you take it out of the oven.

If you bake it until the entire center looks completely done, you're much more likely to lose that gooey texture by the time you serve it.

What Size Skillet Should I Use?

For this recipe, I use a 9-inch cast-iron skillet. The size matters because it gives the cookie enough thickness to stay soft and gooey in the center while the edges become golden and crisp.

If you use a larger skillet, the dough will spread into a thinner layer and may bake more quickly. A smaller skillet will create a thicker cookie and may require additional baking time.

For the texture you see in my photos, I recommend sticking with a 9-inch skillet.

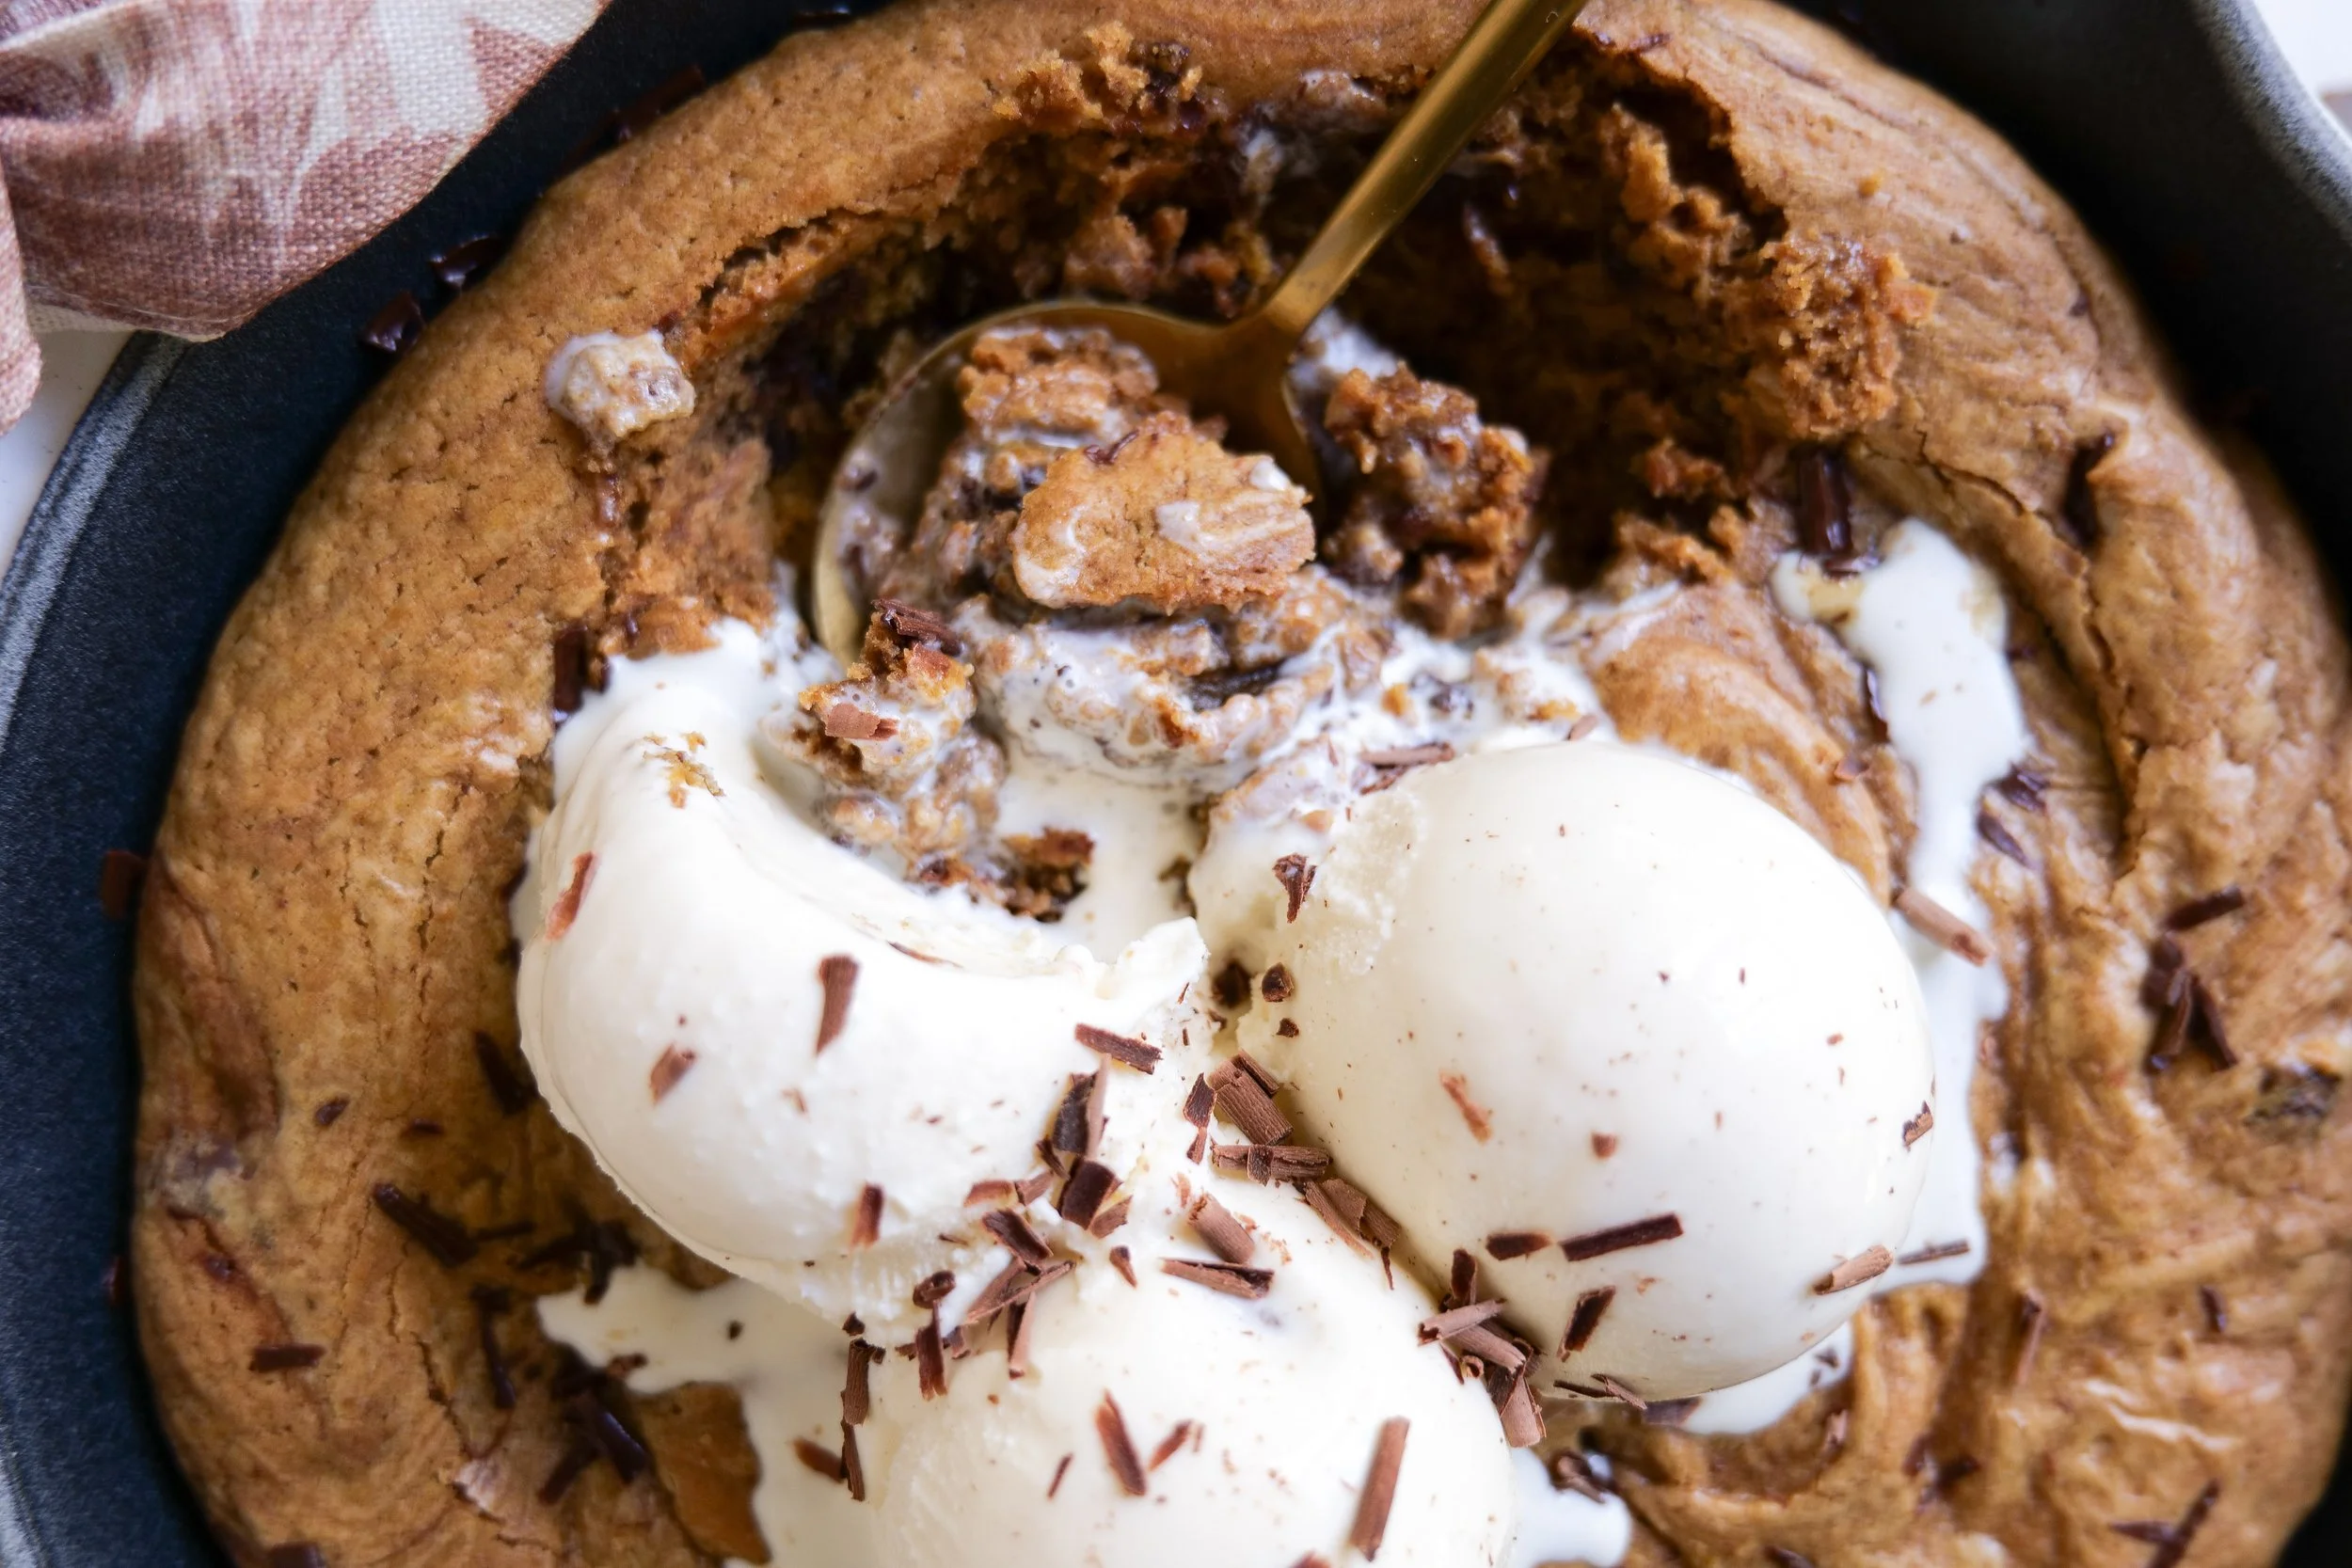
Gooey center of a brown butter pumpkin oatmeal pizookie with melted chocolate

The Best Chocolate for a Pumpkin Skillet Cookie

You can absolutely use regular chocolate chips, but chopped chocolate is my favorite for this one.

Chopping a chocolate bar gives you uneven pieces. Some melt into big pools while all those tiny chocolate shards work their way through the dough.

Milk chocolate will make the dessert sweeter, while semisweet or dark chocolate gives you a little more contrast against the pumpkin and brown sugar.

You could even use a combination.

The original recipe intentionally gave the option of chocolate chips or chunks of chocolate, so I'd keep that flexibility.

What to Serve on Top

Vanilla ice cream. Always.

The contrast between the warm skillet cookie and cold vanilla ice cream is what makes this dessert so much fun.

A few chocolate shavings over the top make it especially pretty, and I love the idea of a tiny pinch of flaky sea salt if you're someone who likes that salty-sweet combination.

You could also drizzle a little caramel sauce over the top, but I don't think this cookie needs much. There are already so many good flavors happening between the brown butter, pumpkin, oats, and chocolate.
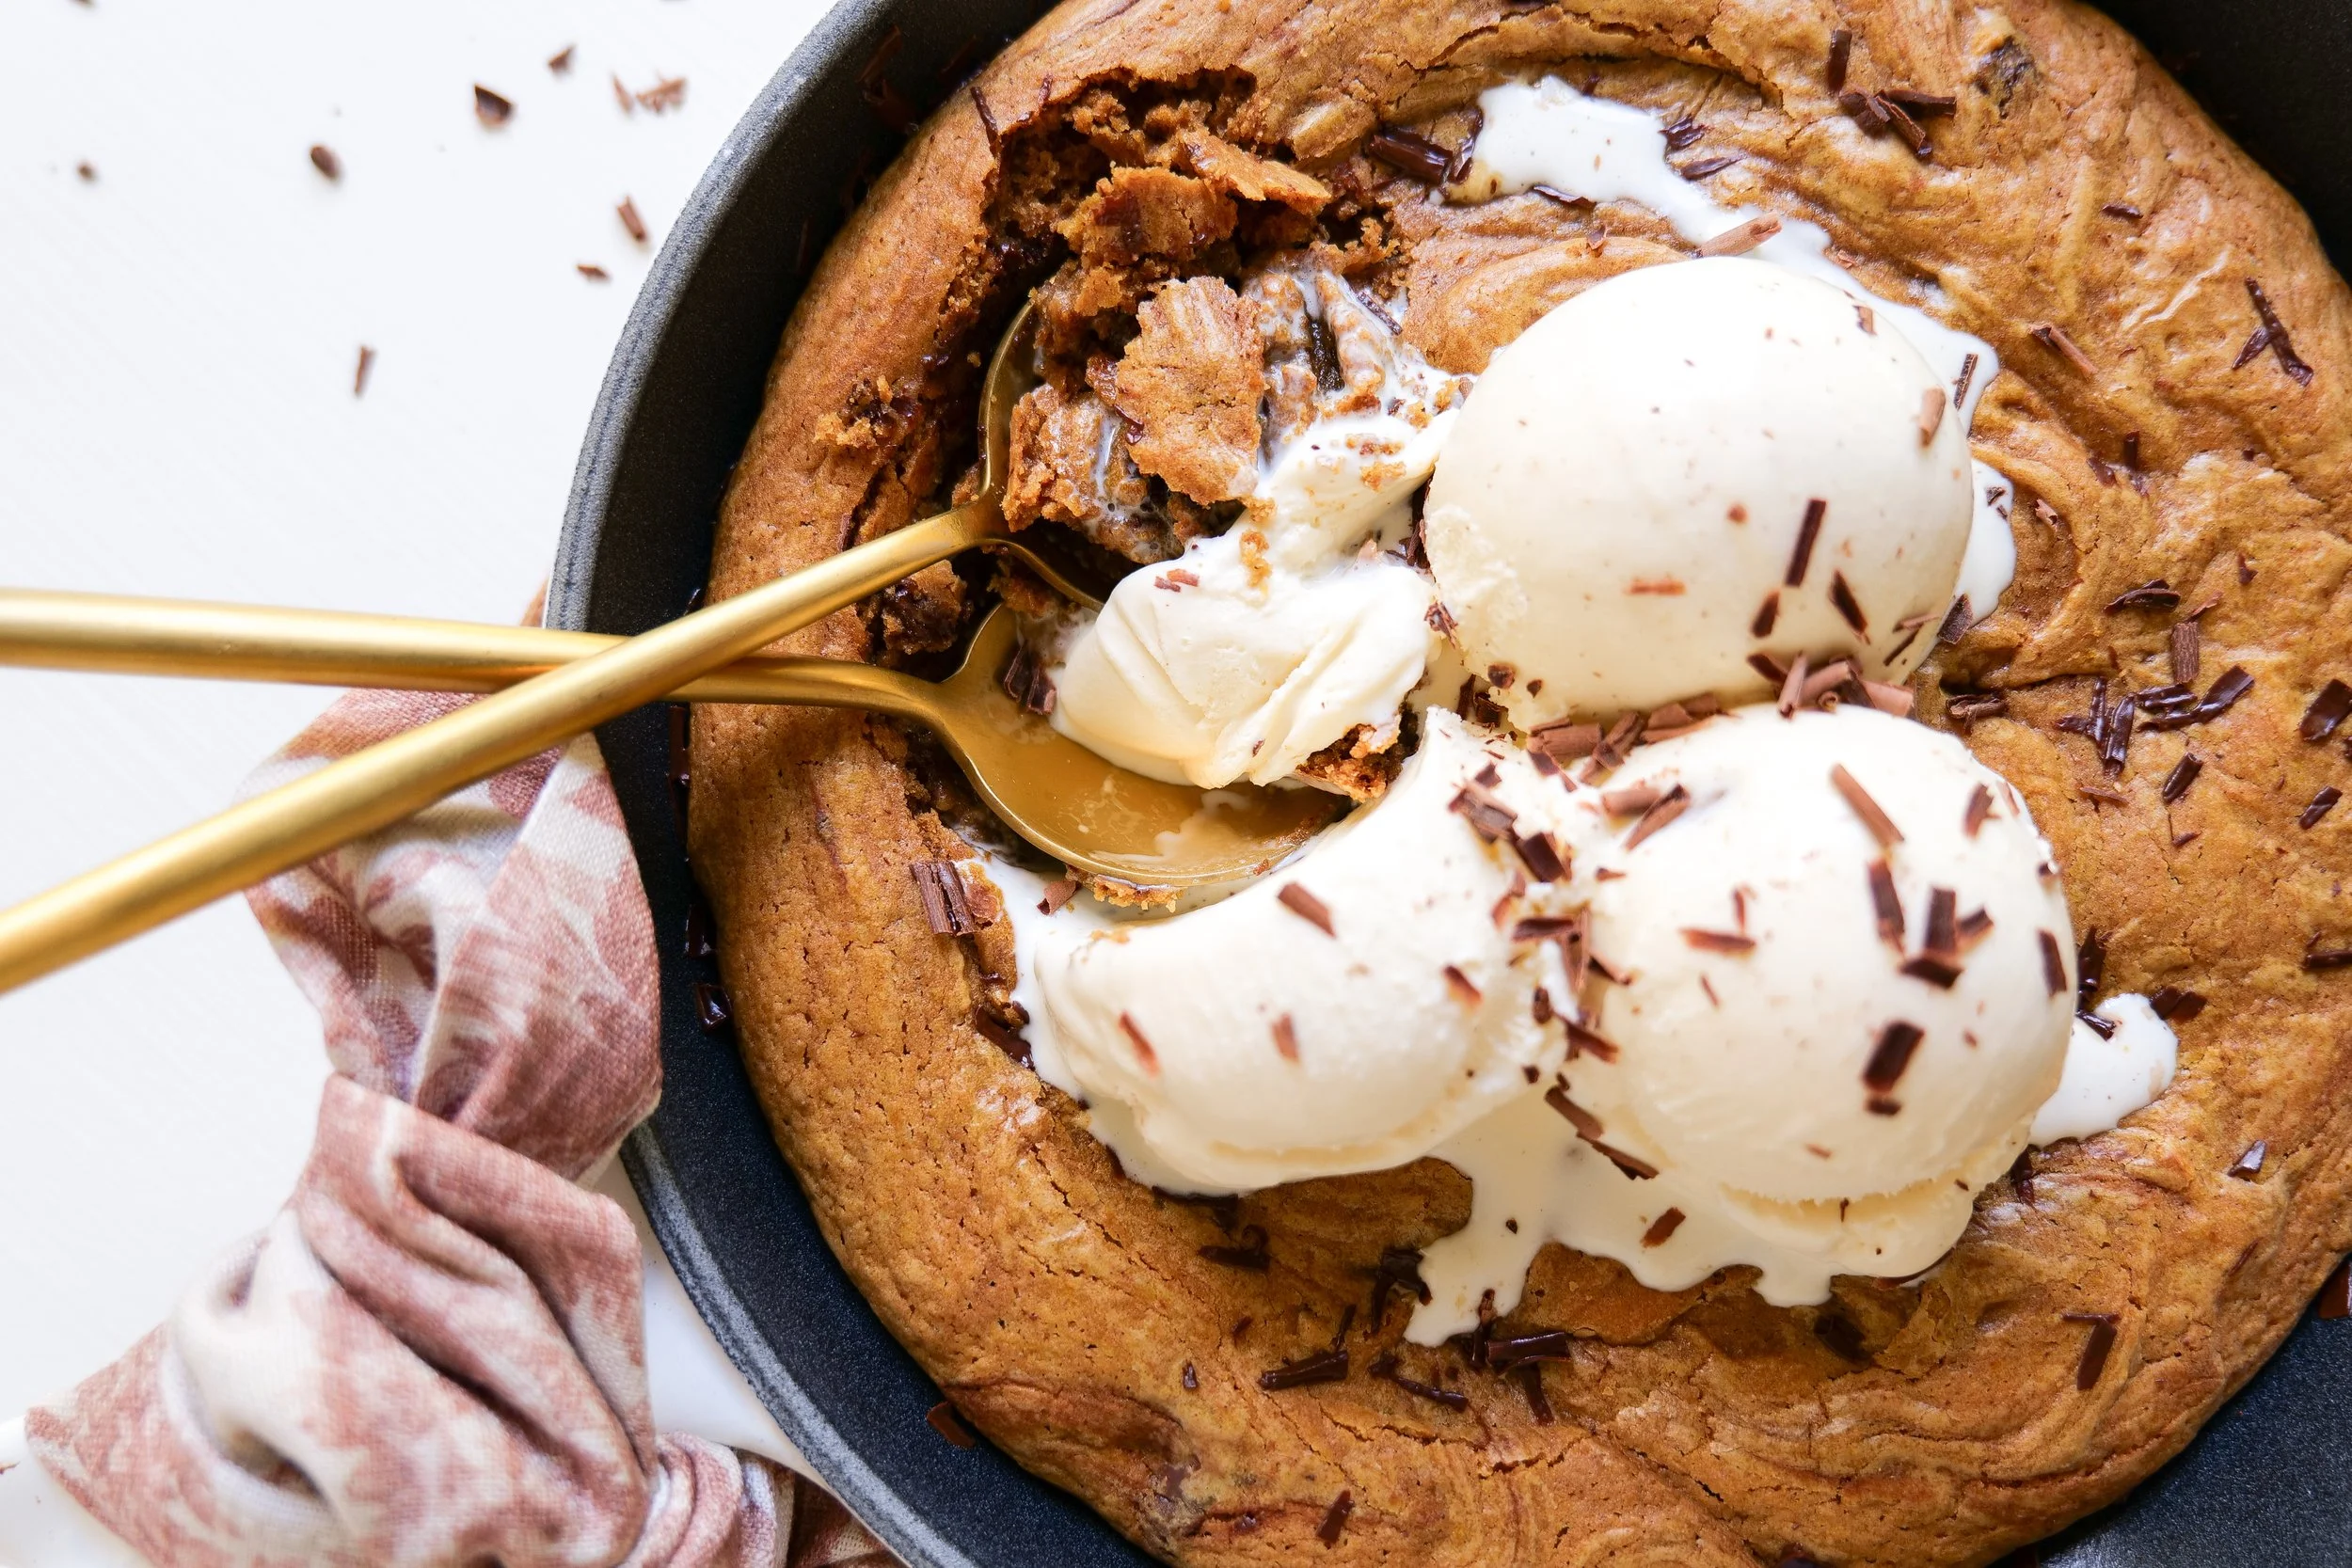
Warm pumpkin skillet cookie served with vanilla ice cream for an easy fall dessert

Can I Make This Ahead?

This is one recipe I really love fresh from the oven.

You can prepare some of the components ahead—brown the butter earlier in the day, measure your dry ingredients, and chop the chocolate—but I would bake the cookie shortly before you plan to serve it.

That way everyone gets the crisp edges, soft center, melted chocolate, and cold ice cream together.

How to Store Leftover Skillet Cookie

If you somehow have leftovers, let the cookie cool completely before storing it.

Cover the skillet tightly or transfer individual pieces to an airtight container and refrigerate for up to 3–4 days, which is also how the original recipe was stored.

To reheat an individual serving, microwave it for about 20–30 seconds, just until warm.

You can also warm leftovers in a 350°F oven for about 5–7 minutes.

Add fresh vanilla ice cream after reheating rather than storing the cookie with the ice cream on top.
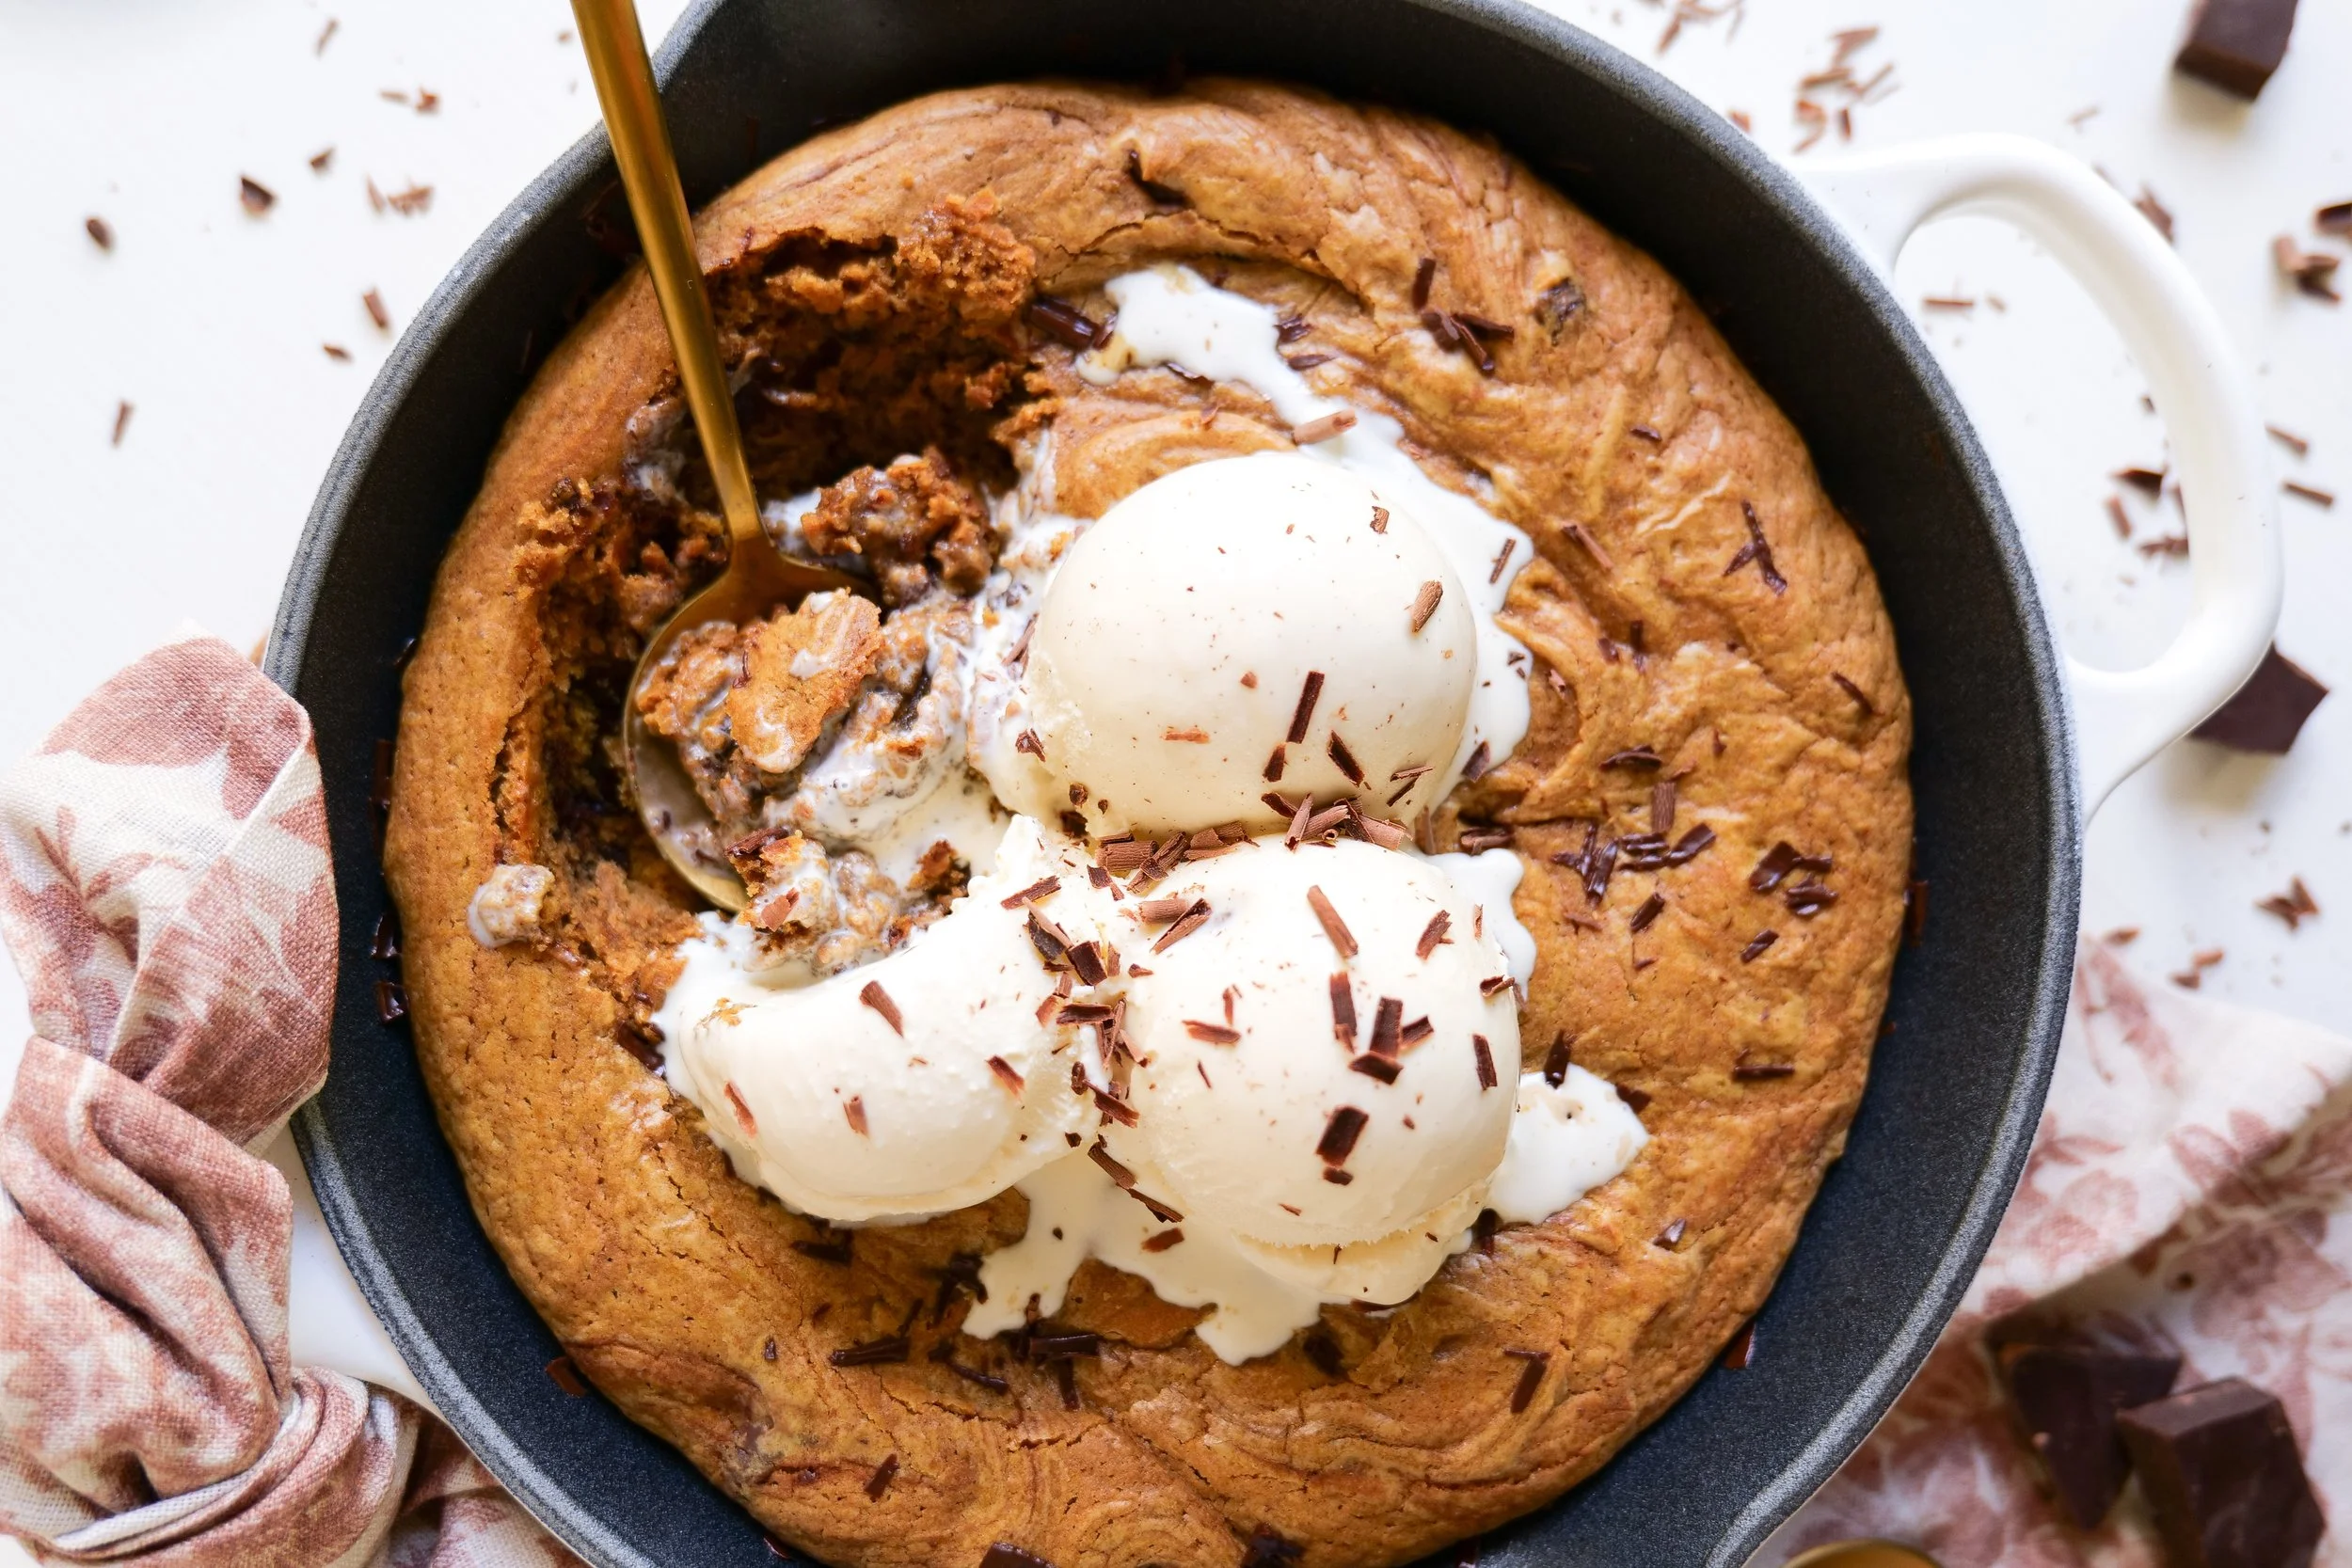
Pumpkin chocolate chip pizookie with a soft gooey center and vanilla ice cream

Can I Add Nuts?

Absolutely.

Chopped pecans or walnuts would be especially good with the brown butter and pumpkin.

I'd fold them into the dough along with the chocolate and oats. Just keep in mind that adding too many extras can change the texture of the cookie, so I'd keep it to a small handful.

For me, though, the original chocolate-and-oat version is exactly what I want when I'm making this.

A Fall Dessert Made for Sharing

There is something about putting one warm skillet in the middle of the table that feels so much more fun than serving individual cookies.

It's casual. Everyone can grab a spoon. The ice cream starts melting into all of those little pockets of chocolate, and suddenly no one is particularly worried about making perfect slices.

That's exactly the kind of dessert I love for a cozy night at home, but it's also such an easy one to bring out after dinner when you have friends or family over.
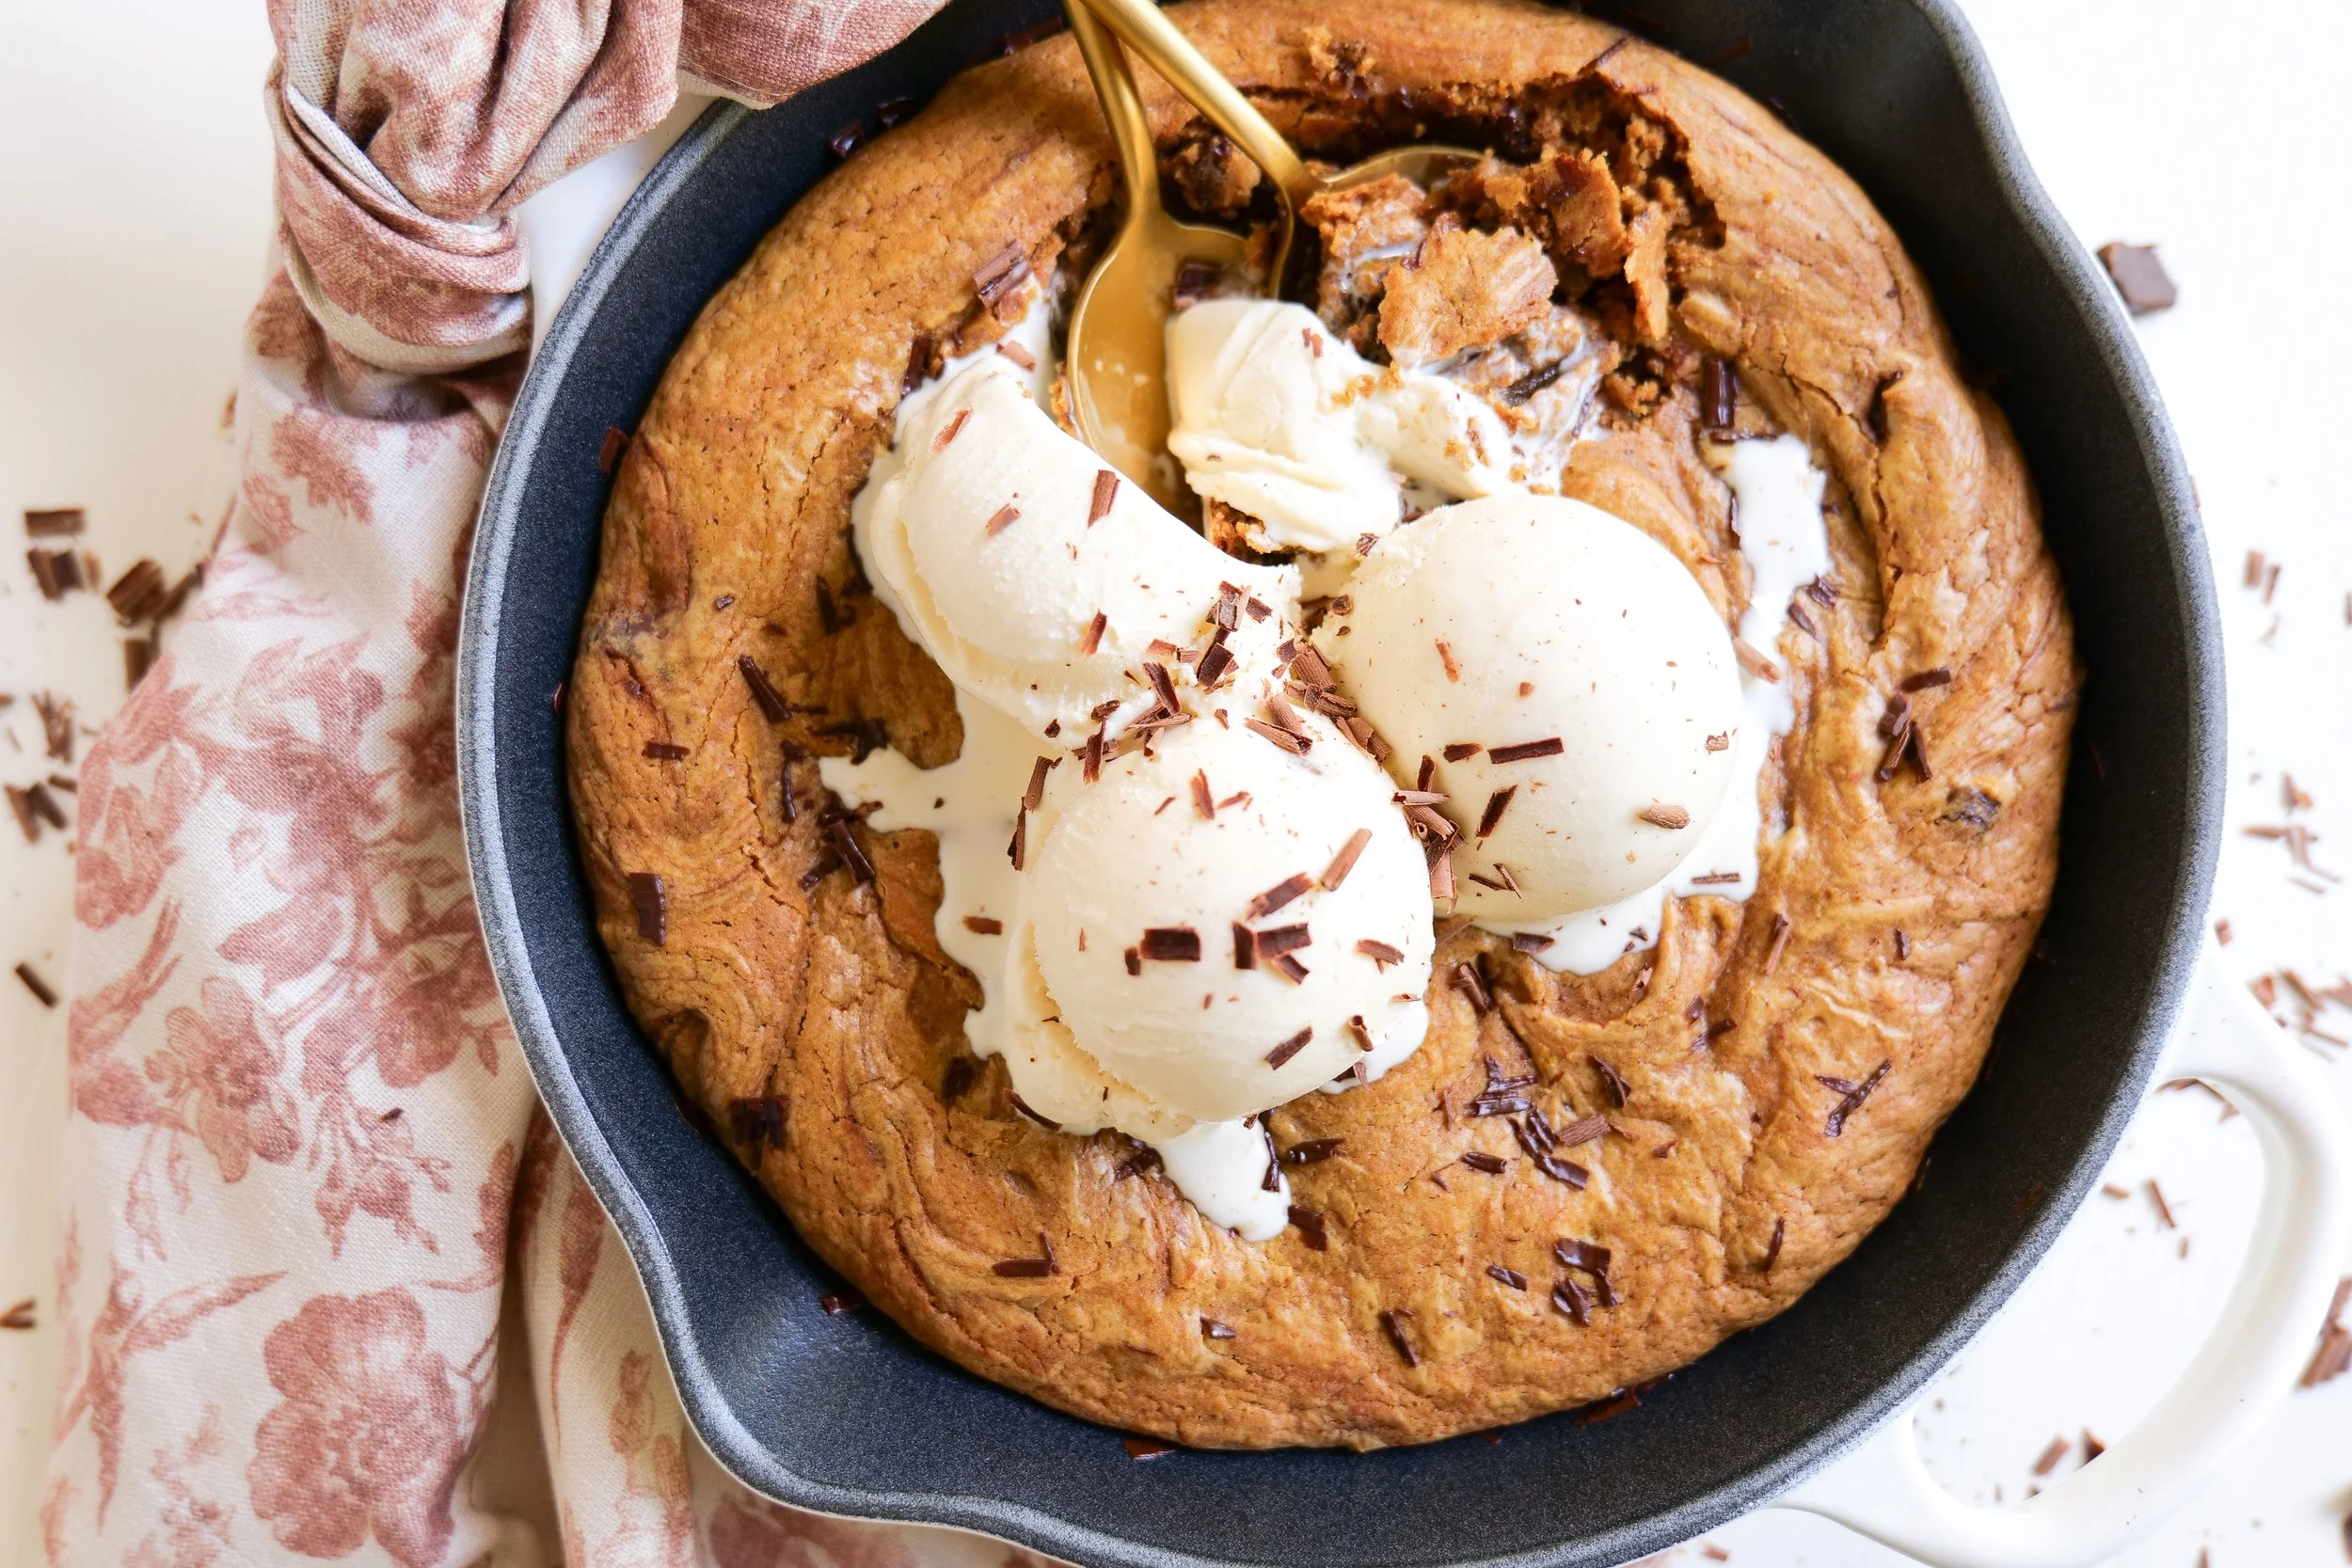
Brown butter pumpkin oatmeal skillet cookie with melted chocolate and vanilla ice cream

Shop My Baking Favorites

These are the kitchen pieces I reach for again and again when I'm baking—from a good cast-iron skillet and mixing bowls to the tools that make brown butter and cookie dough easier.

More Fall Baking Recipes to Make Next

Pumpkin Molasses Cookies

Soft, warmly spiced pumpkin cookies that belong on the fall baking list every year.

Brown Butter Maple Pecan Chocolate Chunk Cookies

If the brown butter is your favorite part of this skillet cookie, make these next.

Brown Butter Caramel Pretzel Cookies

Another brown butter cookie, this time with that salty-sweet combination of caramel and pretzels.

Ready to Make It?

This Brown Butter Pumpkin Chocolate Chip Oatmeal Skillet Cookie is everything I want in a fall dessert: warm brown butter, pumpkin, chewy oats, plenty of chocolate, crisp edges, and a soft center.

And the vanilla ice cream melting into the top might just be the best part.

Make it for a cozy night at home, bring the skillet straight to the table, and serve it while it's still warm.

Brown butter pumpkin chocolate chip oatmeal pizookie recipe card with ingredients and instructions

A Note From Amanda

Fall baking is one of those little things that makes home feel especially good to me.

It's the smell of brown butter on the stove, pumpkin waiting in the fridge for whatever we're making next, and something warm coming out of the oven when everyone is home.

This skillet cookie isn't meant to be perfect or fancy. It's meant to go right in the middle of the table with a few scoops of ice cream and enough spoons for everyone.

And I think those are usually the desserts we remember most anyway.

“Taste and see that the Lord is good.”
Psalm 34:8

Made with love for the people you love.

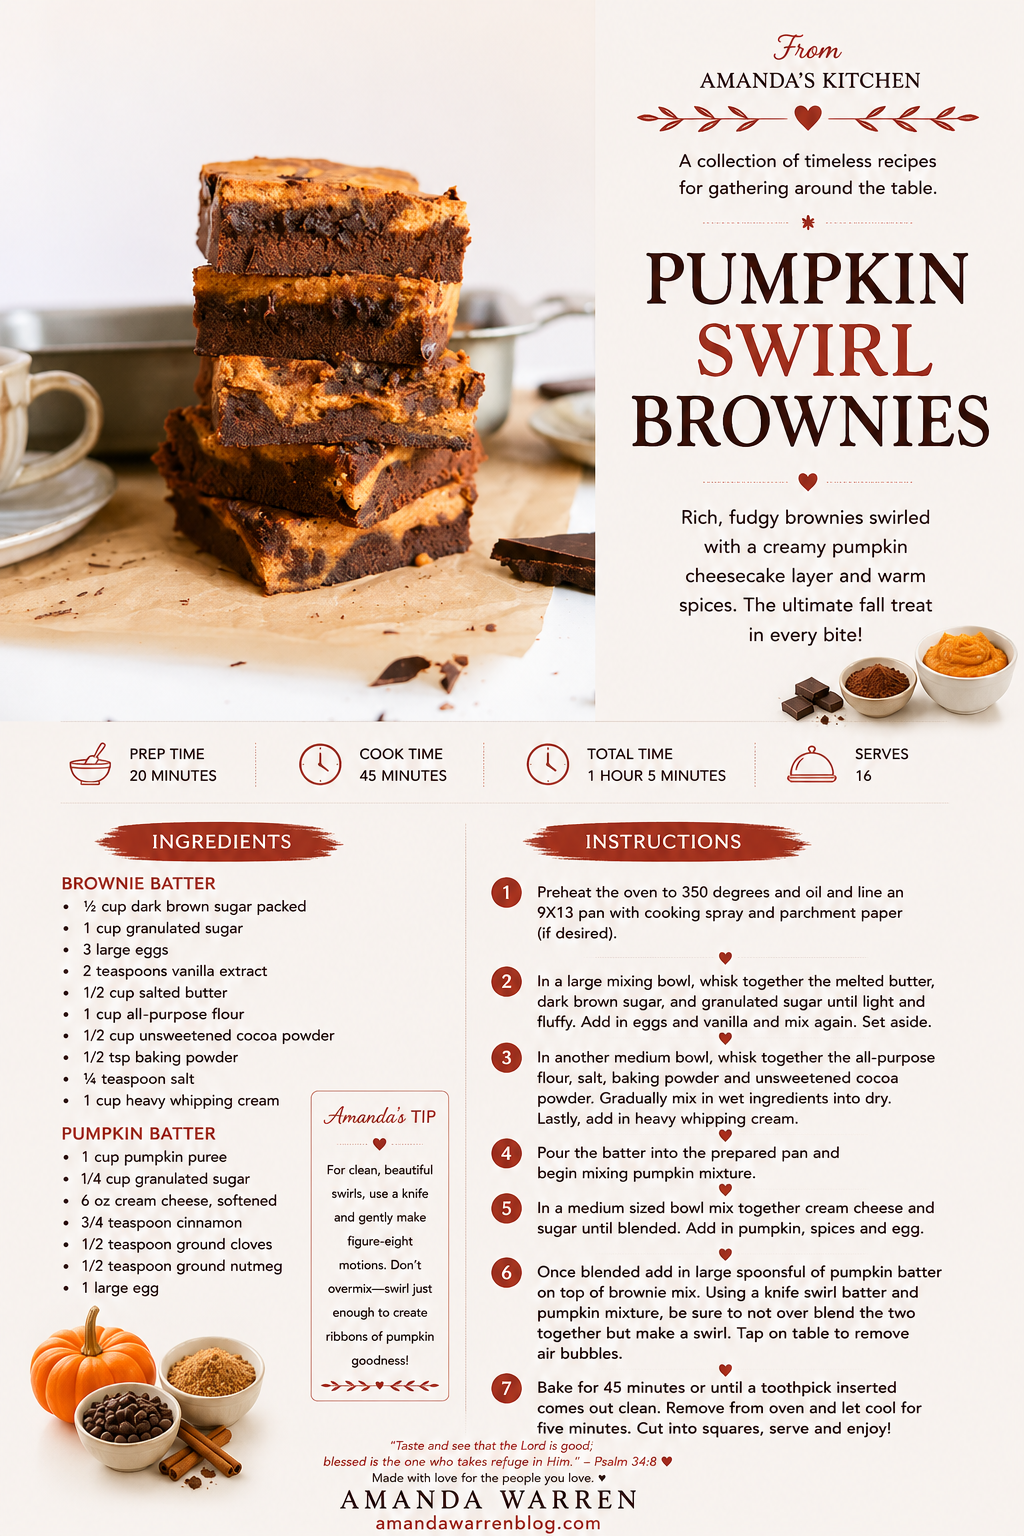
Delight in Every Bite: Pumpkin Swirl Brownies

The love of the smell of freshly baked brownies is universal, but when autumn arrives, incorporating the essence of the season into the classic treats leads a delightful recipe. These Pumpkin Swirl Brownies are a perfect blend of deep chocolate tones and the comforting spices of a pumpkin pie. This dessert is a symphony of flavors that echoes the spirit of the fall season. Chocolate and pumpkin might just be the unsung heroes of the autumn flavor palette. Not only do Pumpkin Swirl Brownies satisfy that deep, chocolaty craving, but they also embrace the nostalgia of pumpkin pie spices. Crafting these brownies involves preparing a chocolate brownie batter and a pumpkin spice blend separately. Layering and swirling the two batters together creates a beautiful, marbled design. The result is a creation that not only looks impressive but delivers a complexity of flavors that will have everyone rushing to the kitchen.

In this simple yet exquisite dessert, each ingredient plays an important role. To achieve the perfect Pumpkin Swirl Brownie, you'll need brownie ingredients, pumpkin layer and a good swirl technique. Begin by sourcing fresh, quality ingredients, including real pumpkin puree, not just for its taste but for the moistness it lends. For the brownie this includes classics like melted chocolate or cocoa powder, flour, sugar, and butter that provide the dense and chocolatey foundation. For the pumpkin layer it will be made with real pumpkin puree, cinnamon, nutmeg, and cloves, as this mixture infuses the brownies with the season's signature scents and tastes. Lastly, achieving the swirl technique involves adding dollops of pumpkin mixture atop the brownie batter and artfully swirling with a knife.

The Art of Swirling Success:

- Place spoonsful of pumpkin batter about an inch apart on top of the chocolate layer.

- Using the tip of a knife or toothpick, glide through the batters in a swirling motion to create a marbled effect.

- Tap the pan gently on the countertop to settle the batter and enhance the swirls' visibility.

- For a pronounced pattern, use a consistent swirling motion.

- To enhance the effect, alternate the swirl direction between adjacent rows.

- Remember, less is more, and over-swirling can muddy the distinct flavors.

The swirling not only makes for a stunning presentation but also allows every bite to deliver a great fusion of flavors. Visual appeal is half the treat with these brownies. Achieving it is a simple, yet delicate process so be sure to follow these steps on how to swirl brownies.

Pro Tips for Ultimate Brownie Success

Crafting perfection requires more than a just a recipe, it also at times requires a certain finesse. Some expert tips on how to achieve this for the best pumpkin brownies are as follows. First don't skimp on the good stuff, find high-quality chocolate. The type of chocolate you use matters. Opt for a rich, high-quality chocolate for the best flavor. Same goes for your pumpkin so be sure to find a quality pumpkin puree. For the best flavor and texture, use unadulterated pumpkin puree. Next you need to spice it right. Don’t skimp on the fall spices, they are after all the soul of the pumpkin layer. Like we mentioned above, make sure to use smooth swirls. This is so important that I feel like I have to mention it twice. Use a skewer, knife tip or the handle end of a spoon for more control when swirling. Lastly before putting in the oven be sure to do pan tapping. Gently tap the pan before baking to remove any air bubbles. Just like with any recipe consistent oven temperature is key. An overlooked element in brownie baking is oven temperature. Make sure your oven is properly calibrated for the perfect bake. A few careful steps can elevate your brownie experience from delightful to unforgettable. Enjoy these moist and flavor-packed Pumpkin Swirl Brownies and remember that each bite is a perfect celebration of the season.

These brownies represent a comforting fusion of worlds where the timeless appeal of a gooey chocolate brownie meets the warm, spiced caress of pumpkin. It's a match made in heaven, and especially one for the Fall months. This treat is perfect for enjoying with a hot drink as the leaves turn golden. The Pumpkin Swirl Brownie is not just a seasonal delicacy, as you'll find that it's so loved that people will crave it year-round. Appreciate the moist, tender crumb of these brownies, as it is a result of the perfect balance between chocolate and pumpkin. With every swirl, just the right hint of cinnamon, nutmeg, and clove will hit your taste buds amid the backdrop of the decadent chocolate. Take pleasure in creating and savoring these glorious Pumpkin Swirl Brownies. They are sure to become a treasured part of your fall tradition and will have your entire house filled with the best smells of fall.

Ingredients

Brownie Batter

½ cup dark brown sugar packed

1 cup granulated sugar

3 large eggs

2 teaspoons vanilla extract

1/2 cup salted butter

1 cup all-purpose flour 

1/2 cup unsweetened cocoa powder

1/2 tsp baking powder

¼ teaspoon salt

1 cup heavy whipping cream

Pumpkin Batter

1 cup pumpkin puree

1/4 cup granulated sugar

6 oz cream cheese, softened

3/4 teaspoon cinnamon

1/2 teaspoon ground cloves

1/2 teaspoon ground nutmeg

1 large egg

Instructions

  1. Preheat the oven to 350 degrees and oil and line an 9X13 pan with cooking spray and parchment paper (if desired).

  2. In a large mixing bowl, whisk together the melted butter, dark brown sugar, and granulated sugar until light and fluffy. Add in eggs and vanilla and mix again. Set aside.

  3. In another medium bowl, whisk together the all-purpose flour, salt, baking powder and unsweetened cocoa powder. Gradually mix in wet ingredients into dry. Lastly, add in heavy whipping cream.

  4. Pour the batter into the prepared pan and begin mixing pumpkin mixture.

  5. In a medium sized bowl mix together cream cheese and sugar until blended. Add in pumpkin, spices and egg.

  6. Once blended add in large spoonsful of pumpkin batter on top of brownie mix. Using a knife swirl batter and pumpkin mixture, be sure to not over blend the two together but make a swirl. Tap on table to remove air bubbles.

  7. Bake for 45 minutes or until a toothpick inserted comes out clean. Remove from oven and let cool for five minutes. Cut into squares, serve and enjoy!

Other Delicious Pumpkin Recipes You Will Love:

Deliciously Sweet: Mastering the Perfect Pumpkin Molasses Cookie Recipe for the Autumn Season

The Ultimate Thanksgiving Dessert - My Pumpkin Crisp Recipe

Savor the Fall Season with the Perfect Pumpkin Espresso Martini

Yummy Pumpkin Ice Cream Recipe with a Twist: Pumpkin Molasses Cookie Chunks!

Sweet Serenity: Mastering the Art of Pumpkin Cinnamon Rolls with Cream Cheese Icing

Deliciously Sweet: Pumpkin Coffee Cake with Pecan Crumbles

Baked Burrata Pumpkin Ziti with Pork Sausage Recipe

Save This Recipe

Whether you're planning ahead for a special occasion or adding a new favorite to your recipe collection, I've included a printable recipe card below so it's easy to save, print, and share with the people you love.
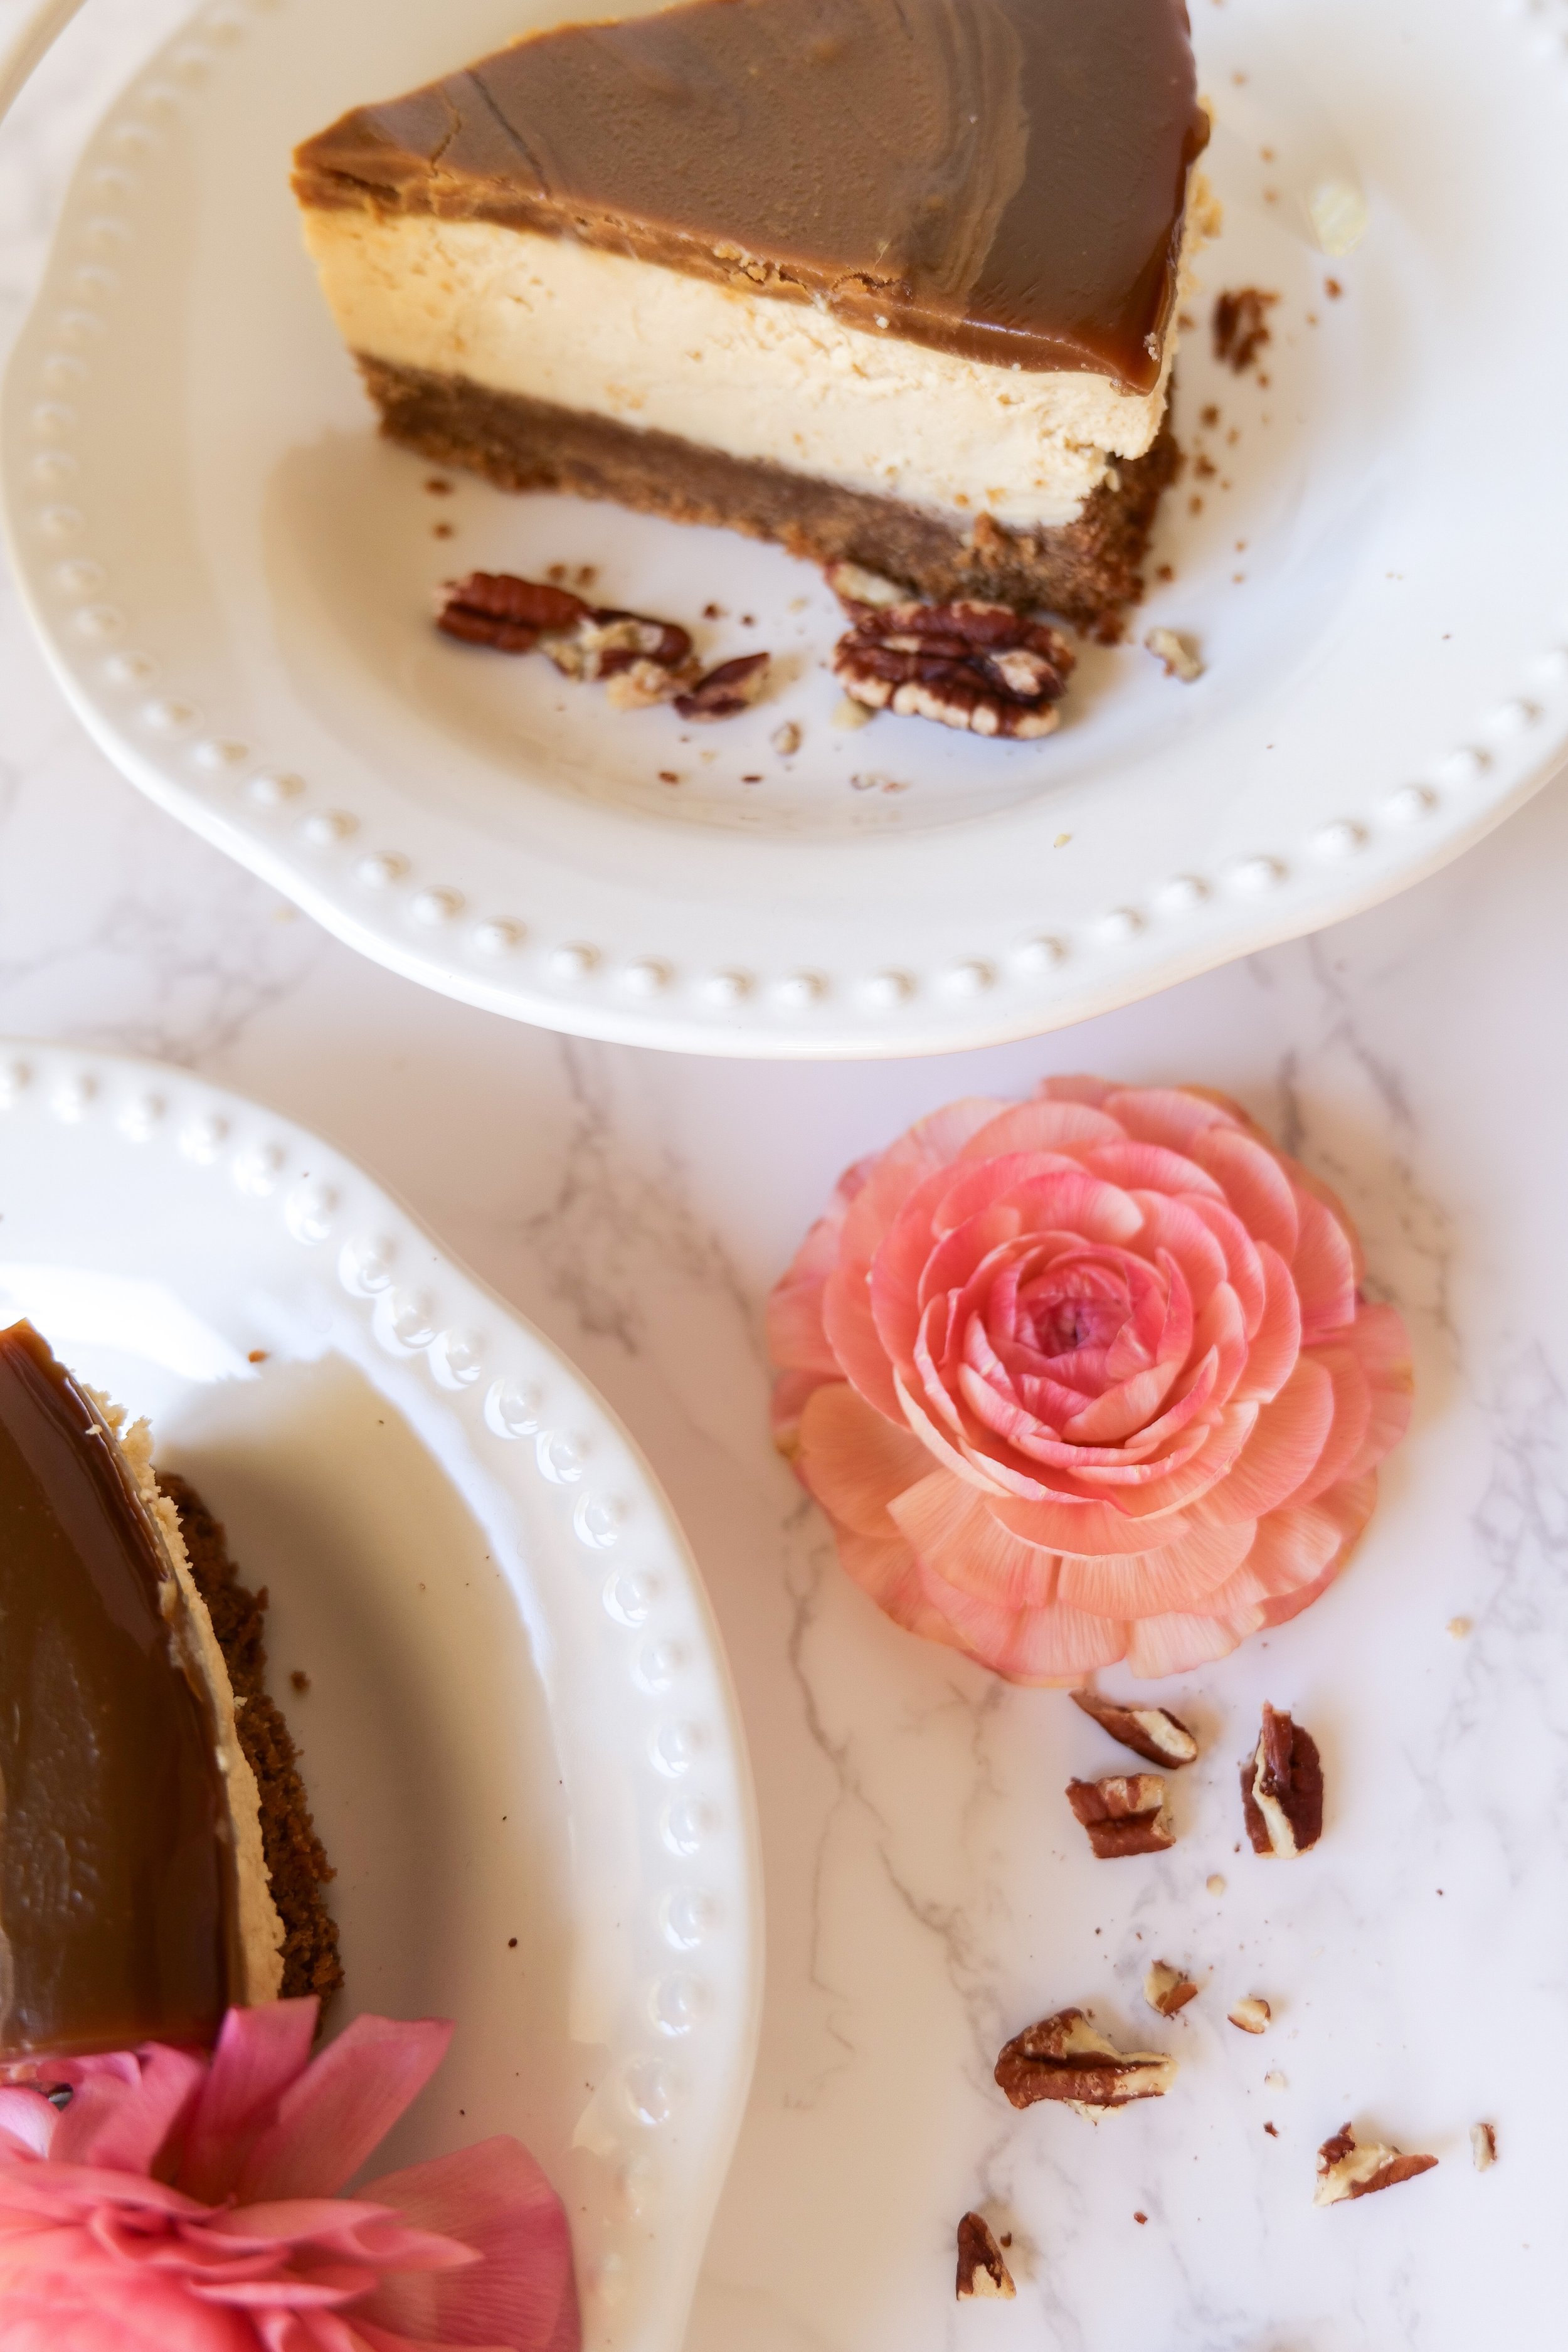
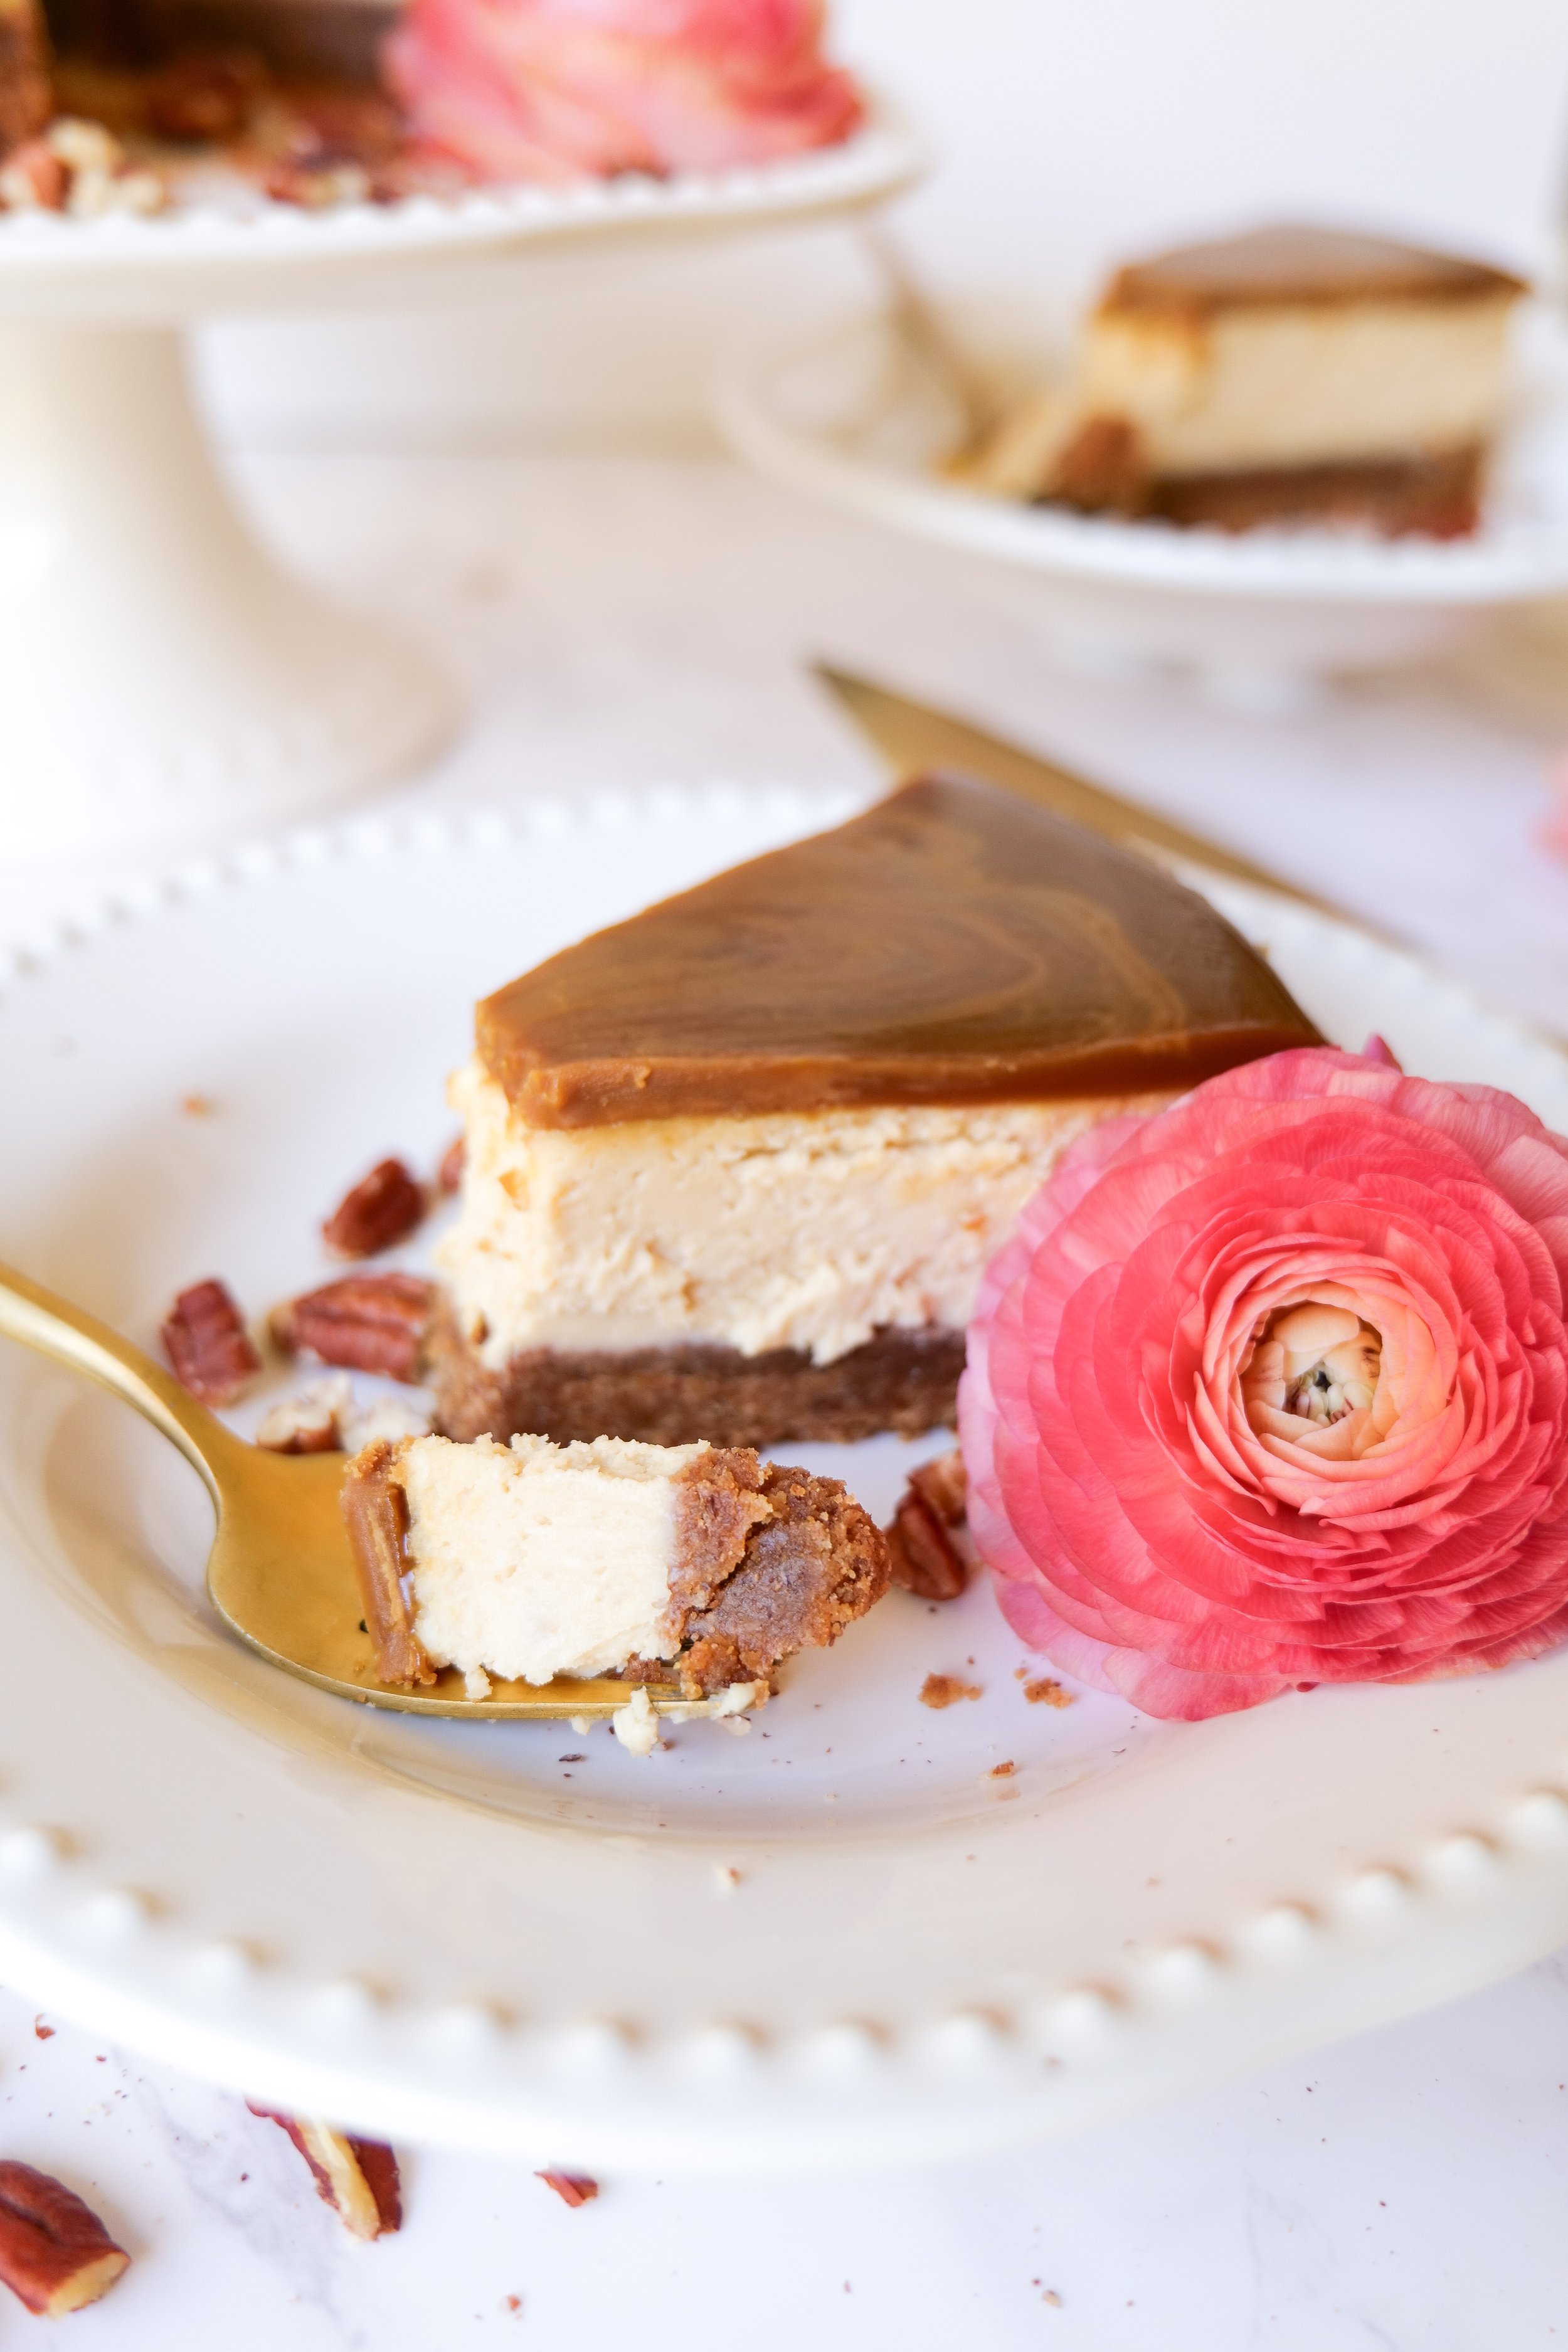
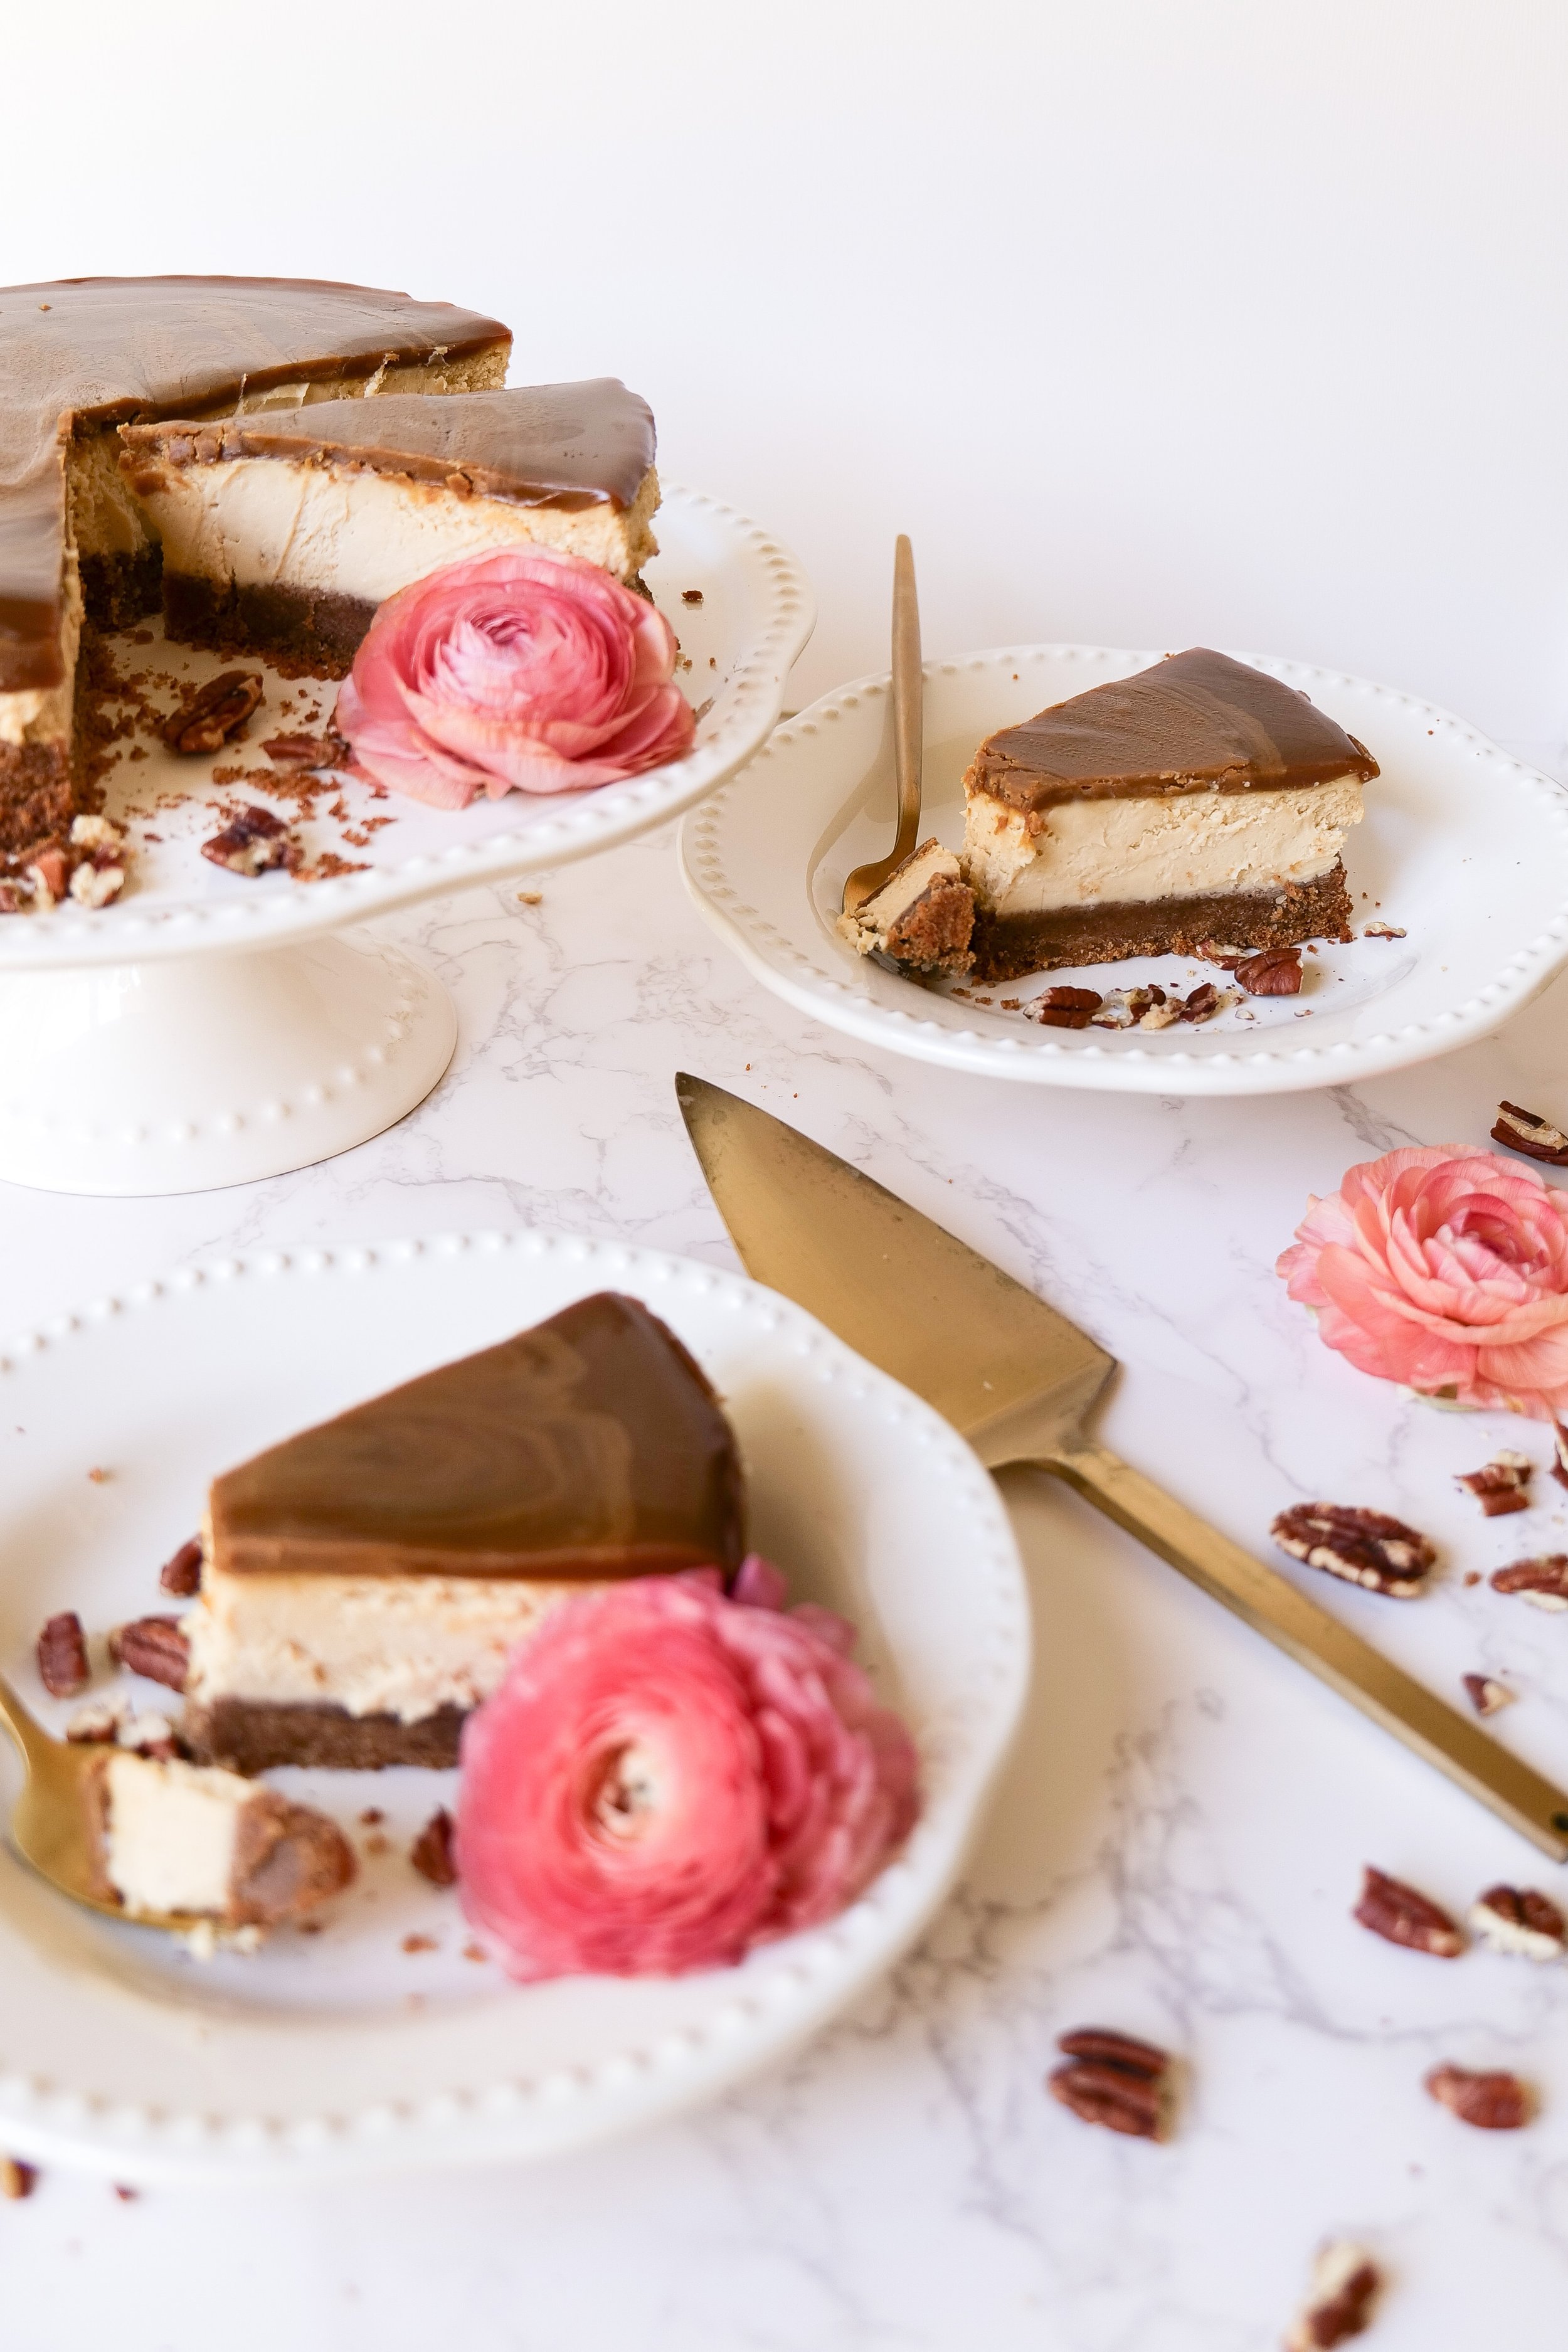
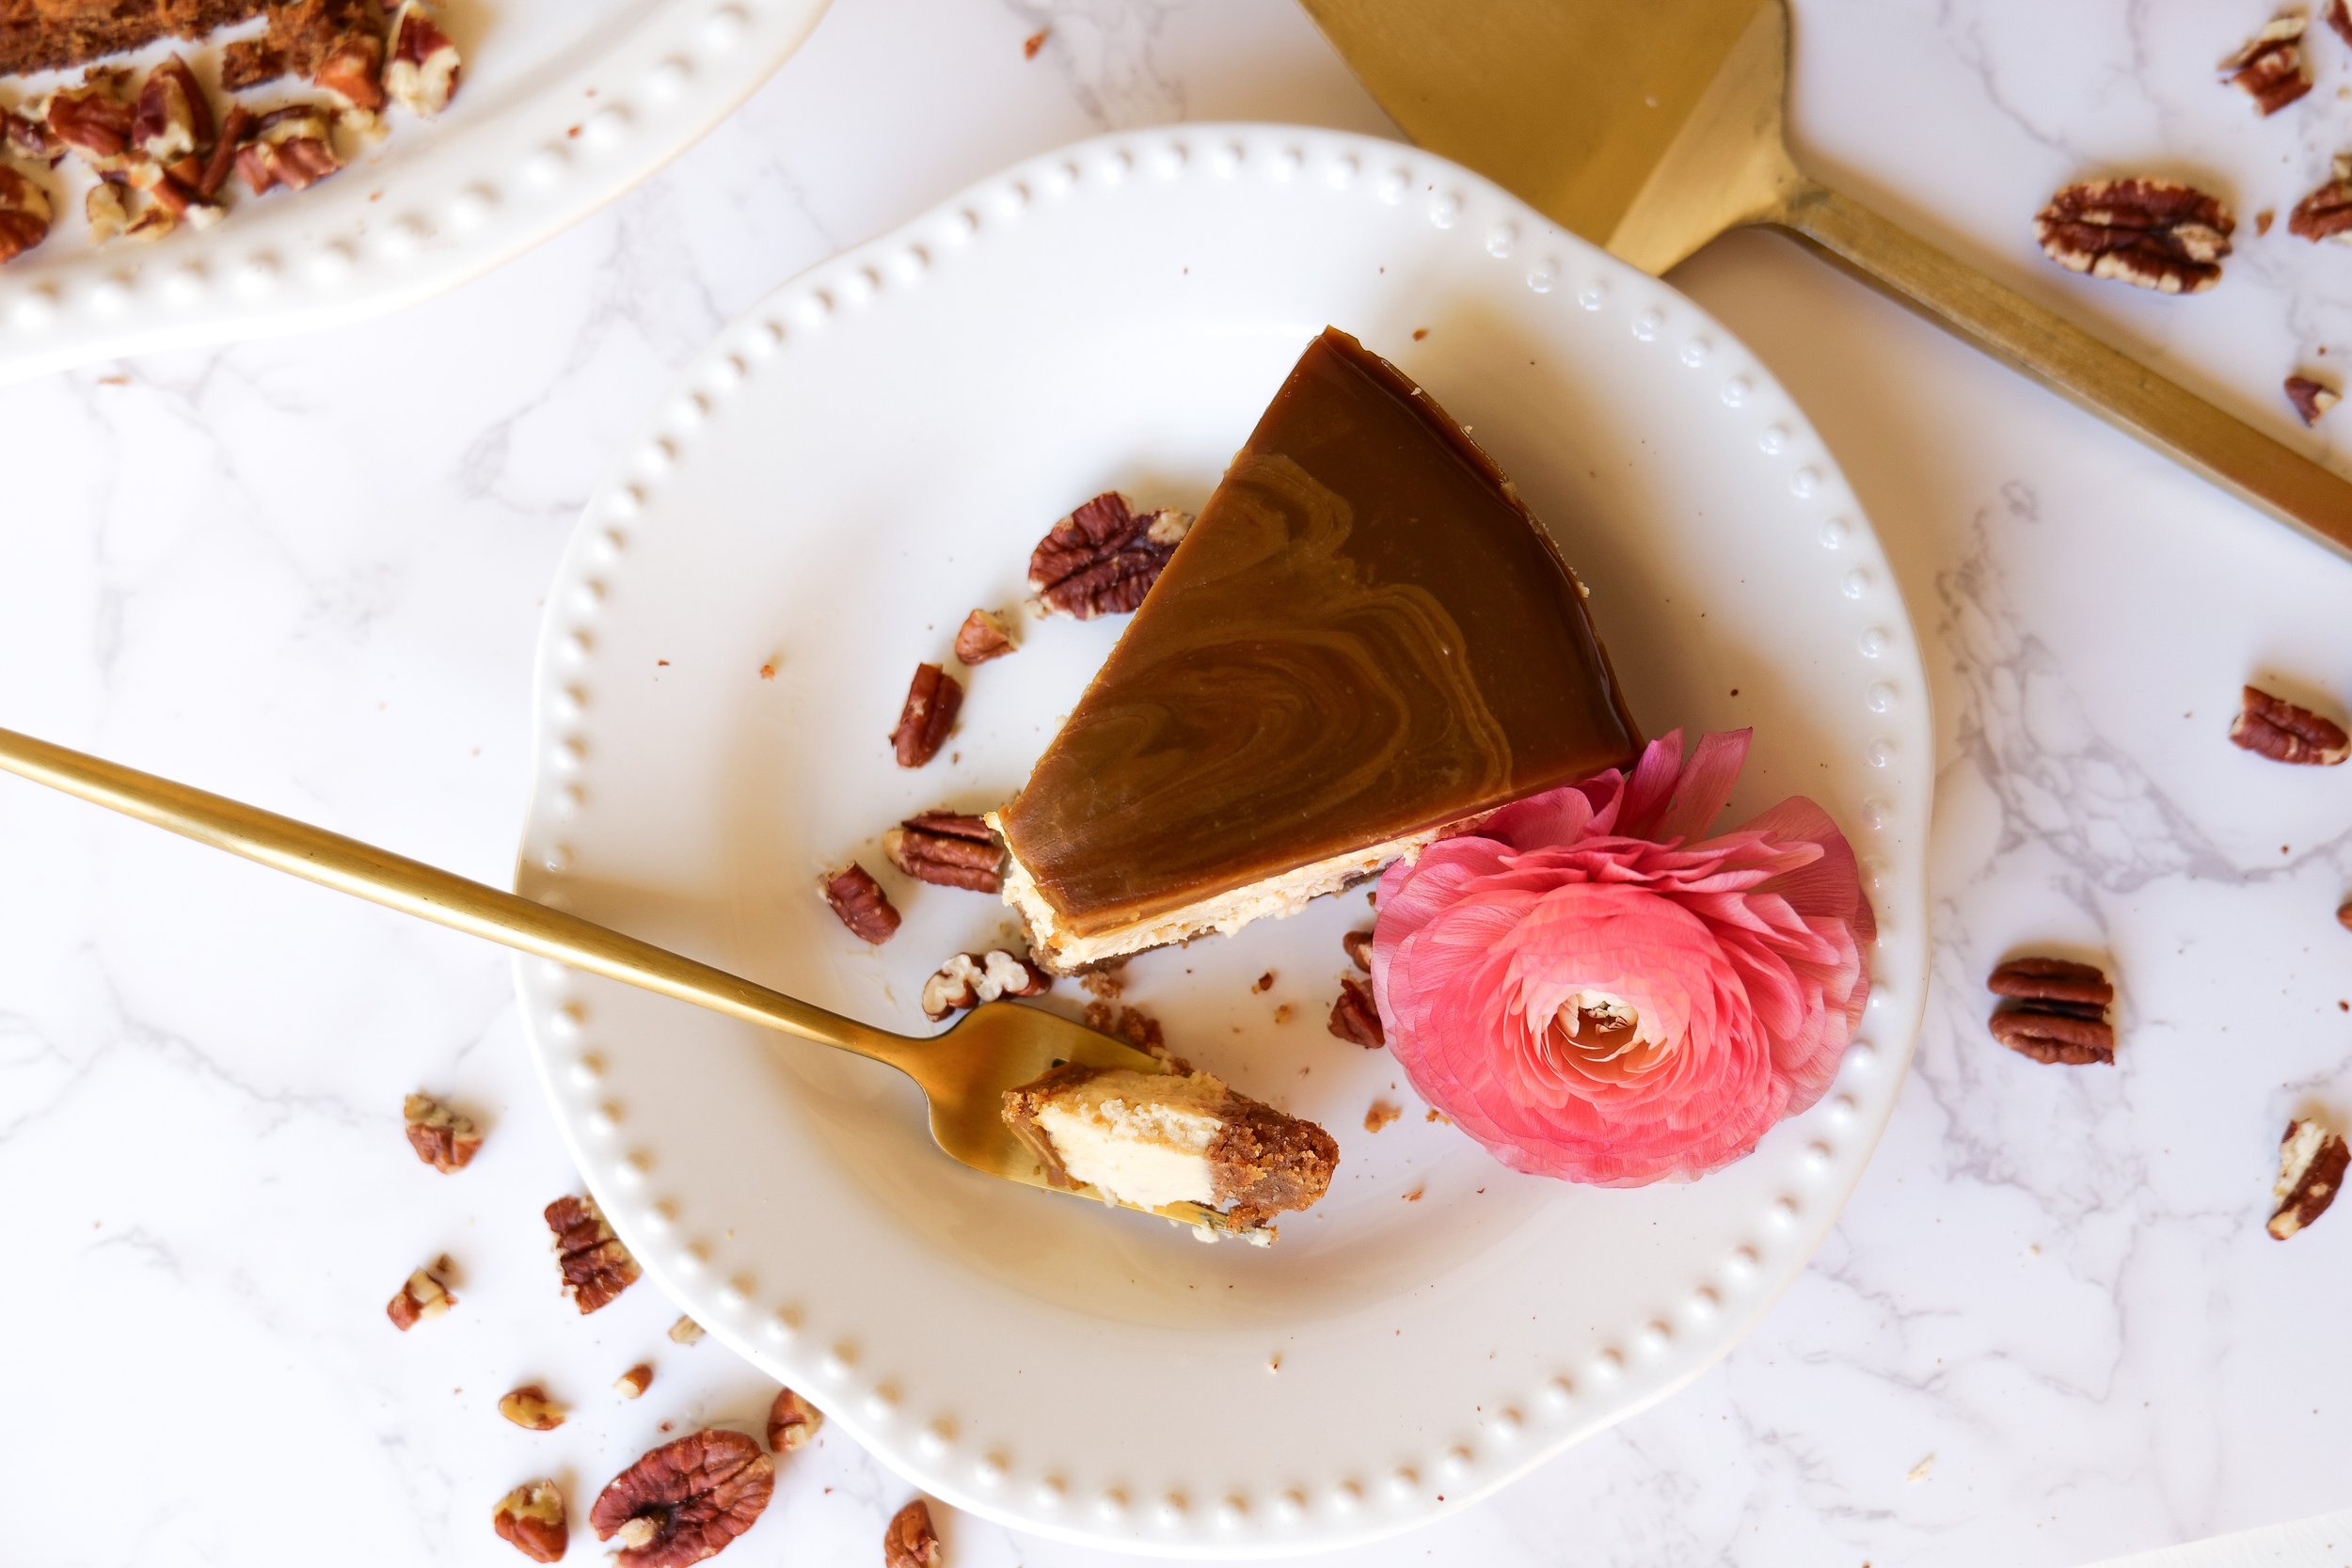
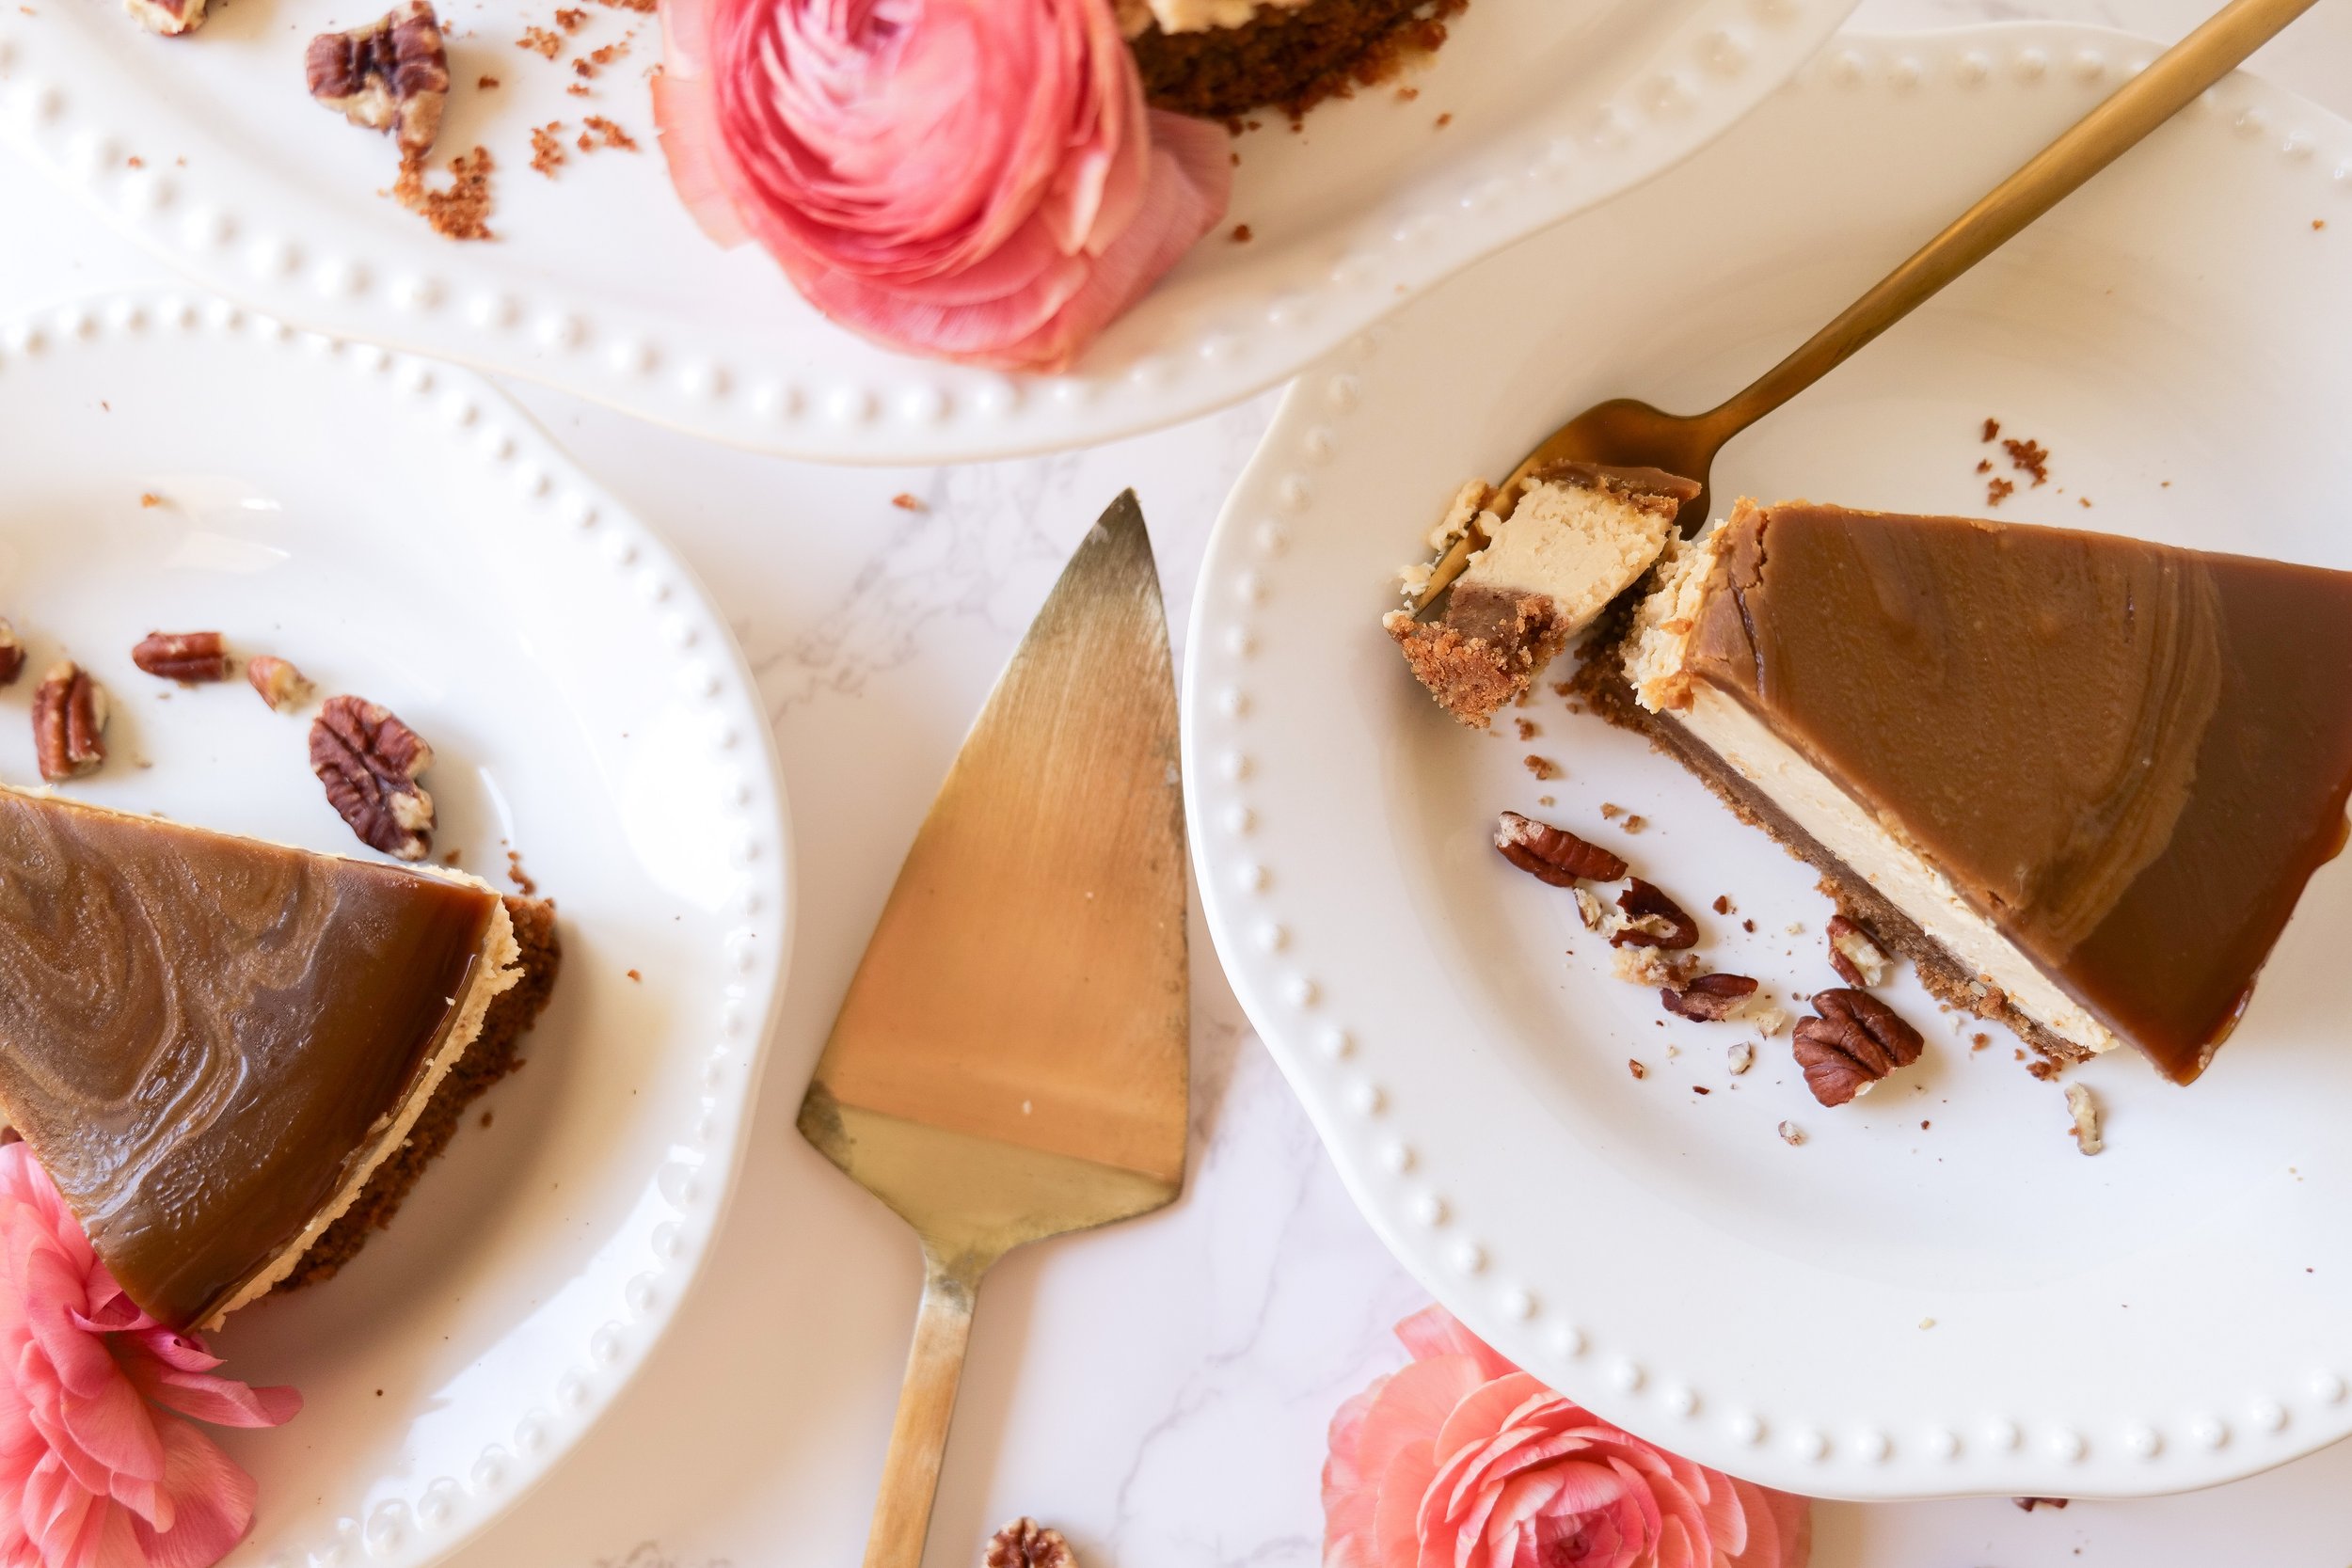
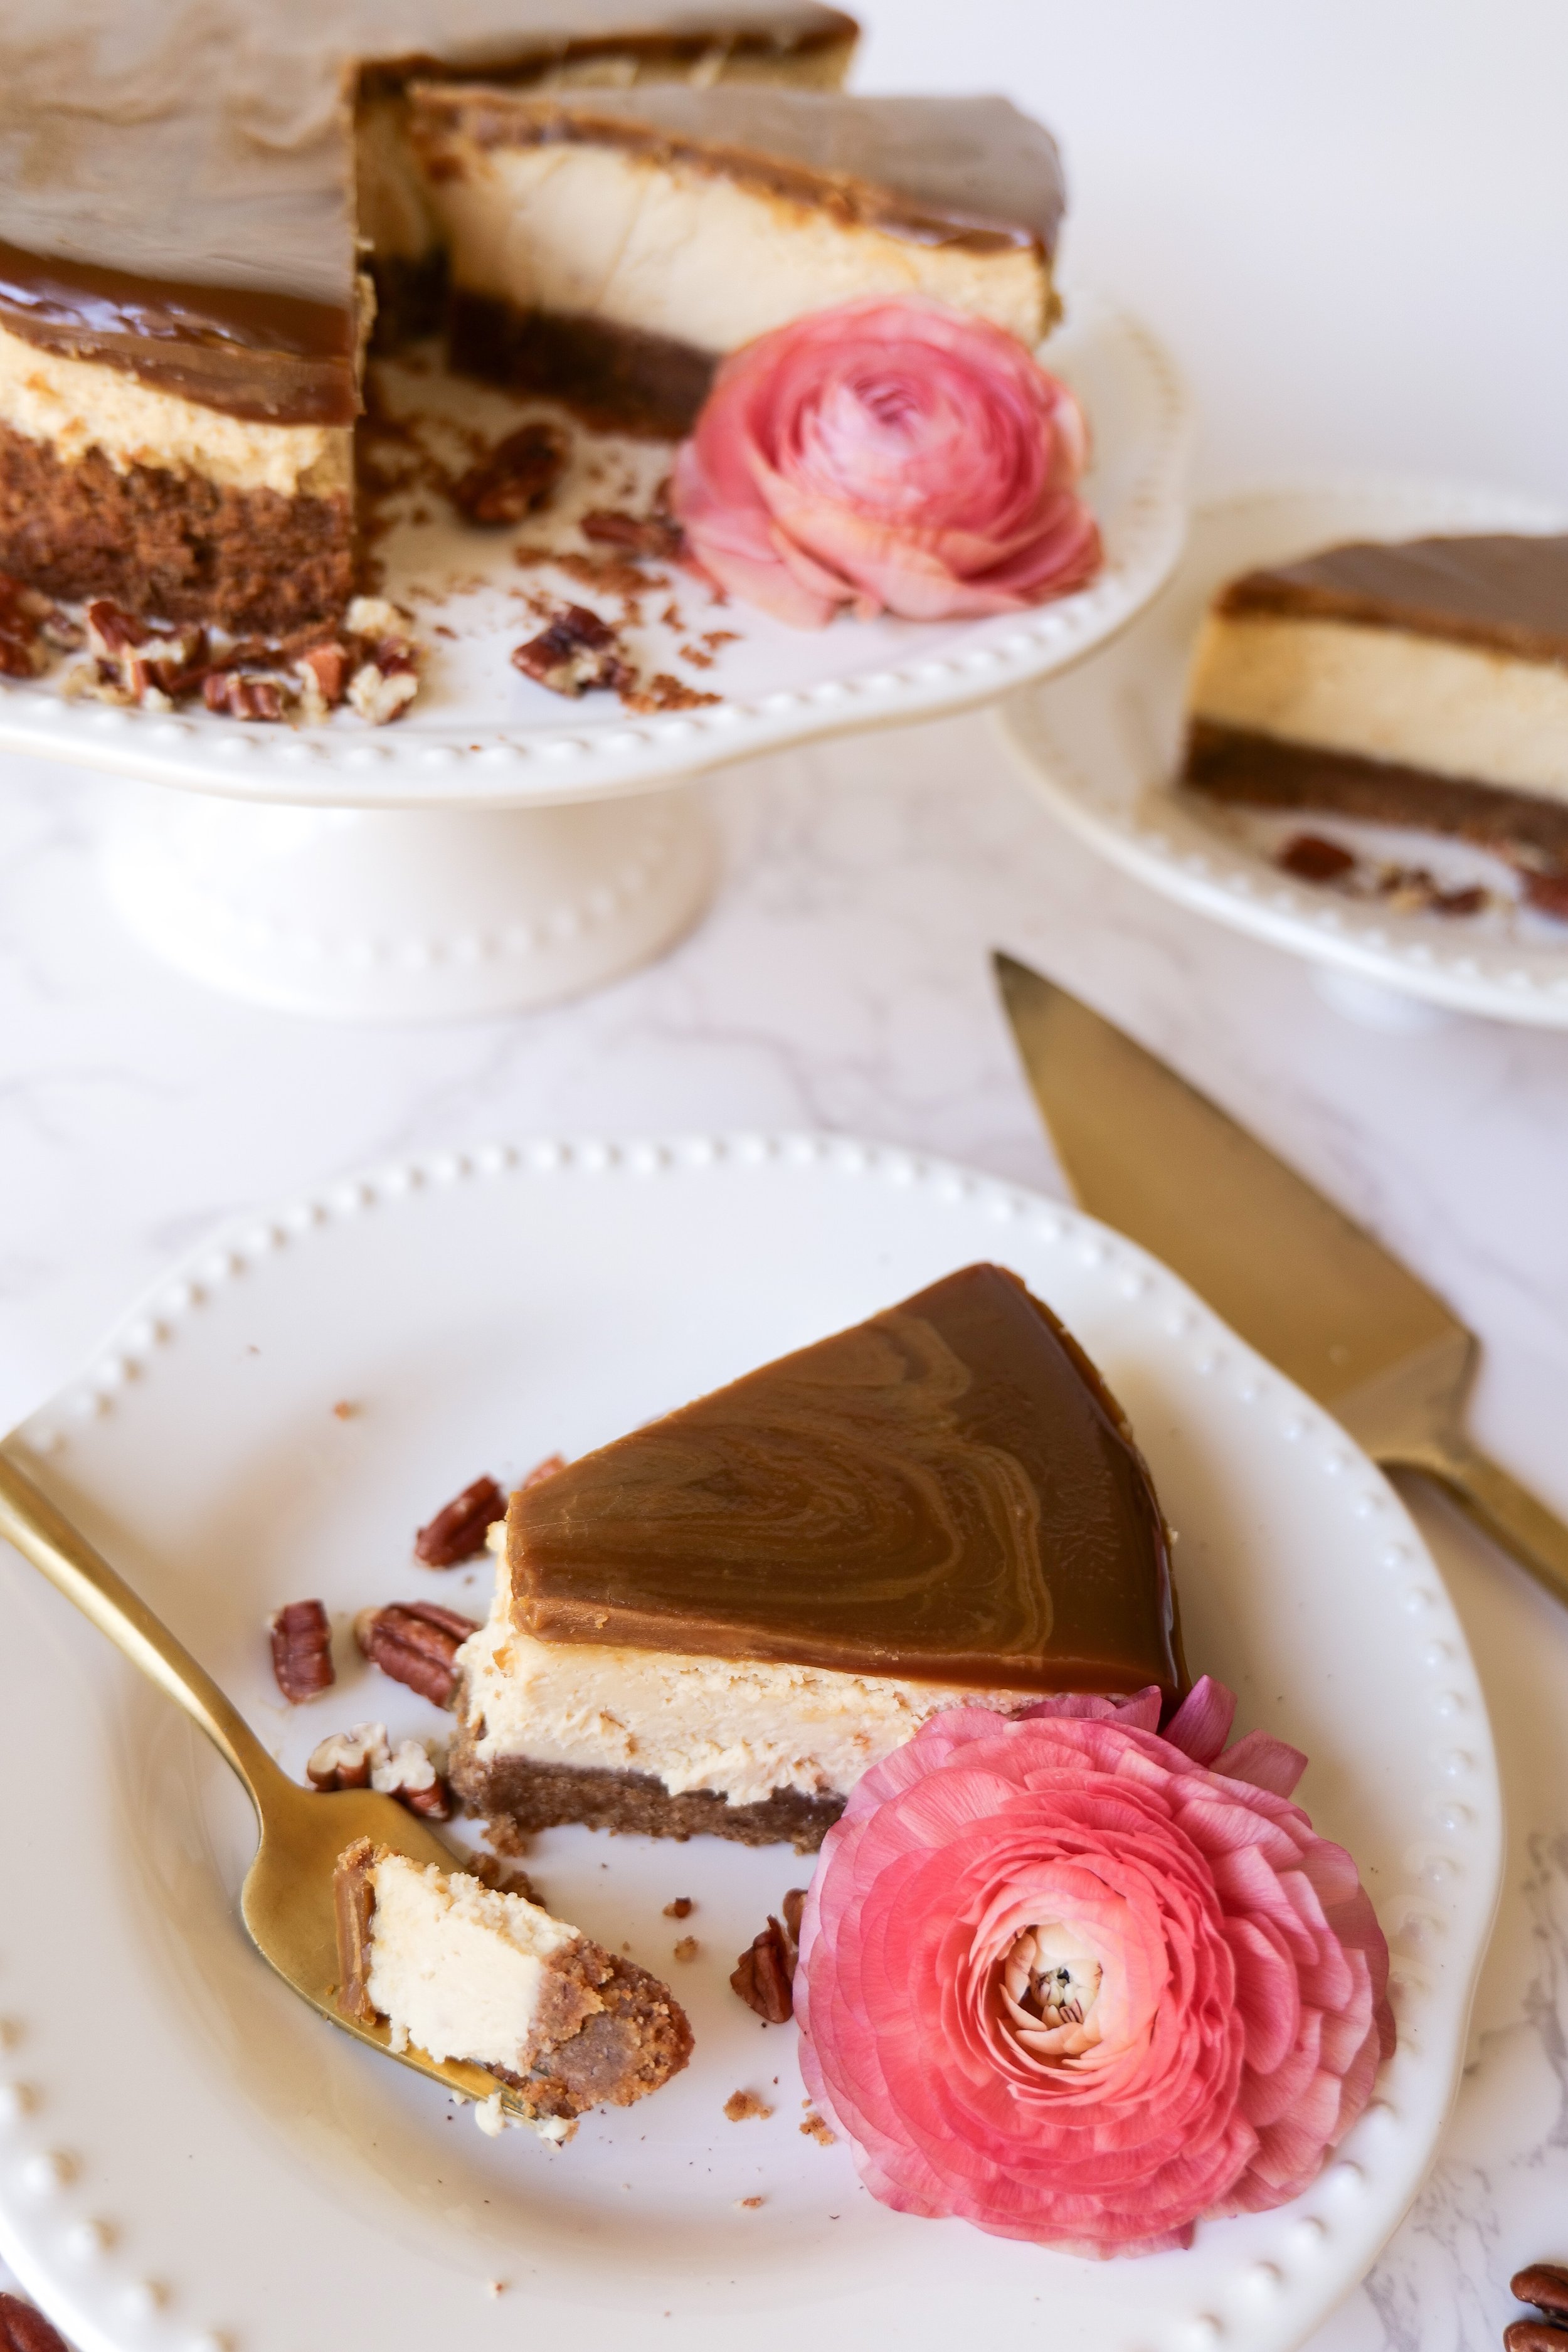
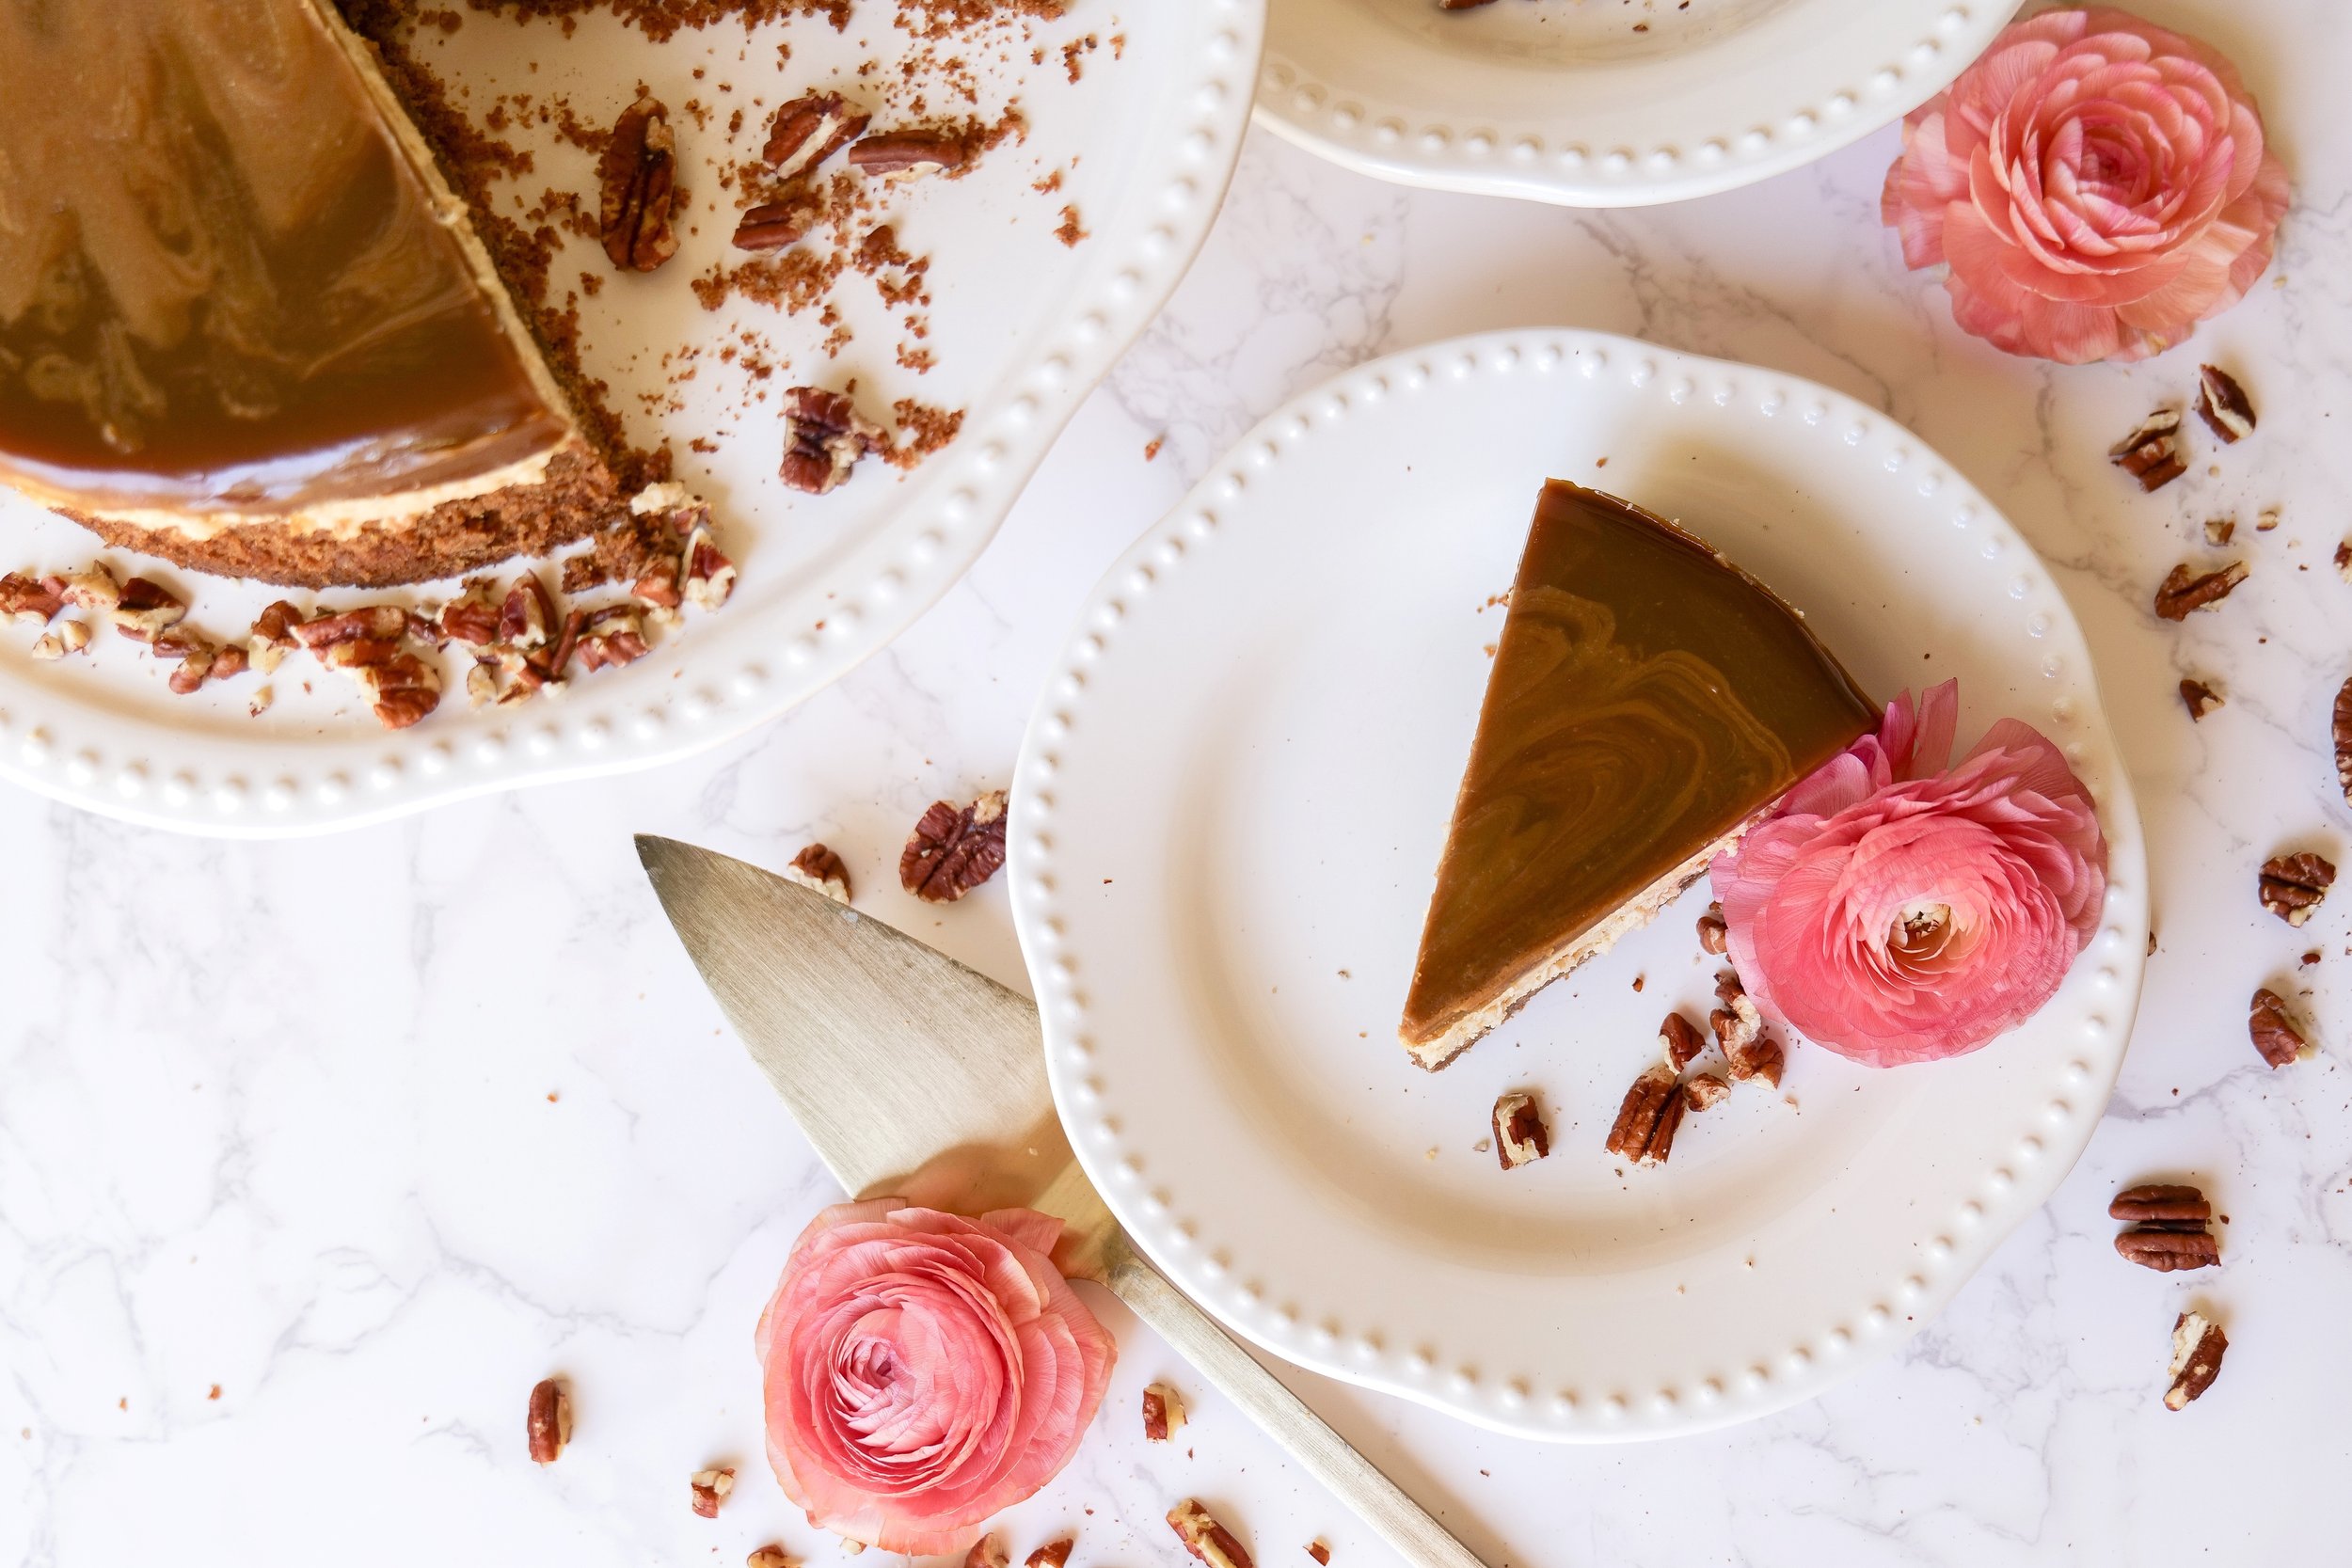
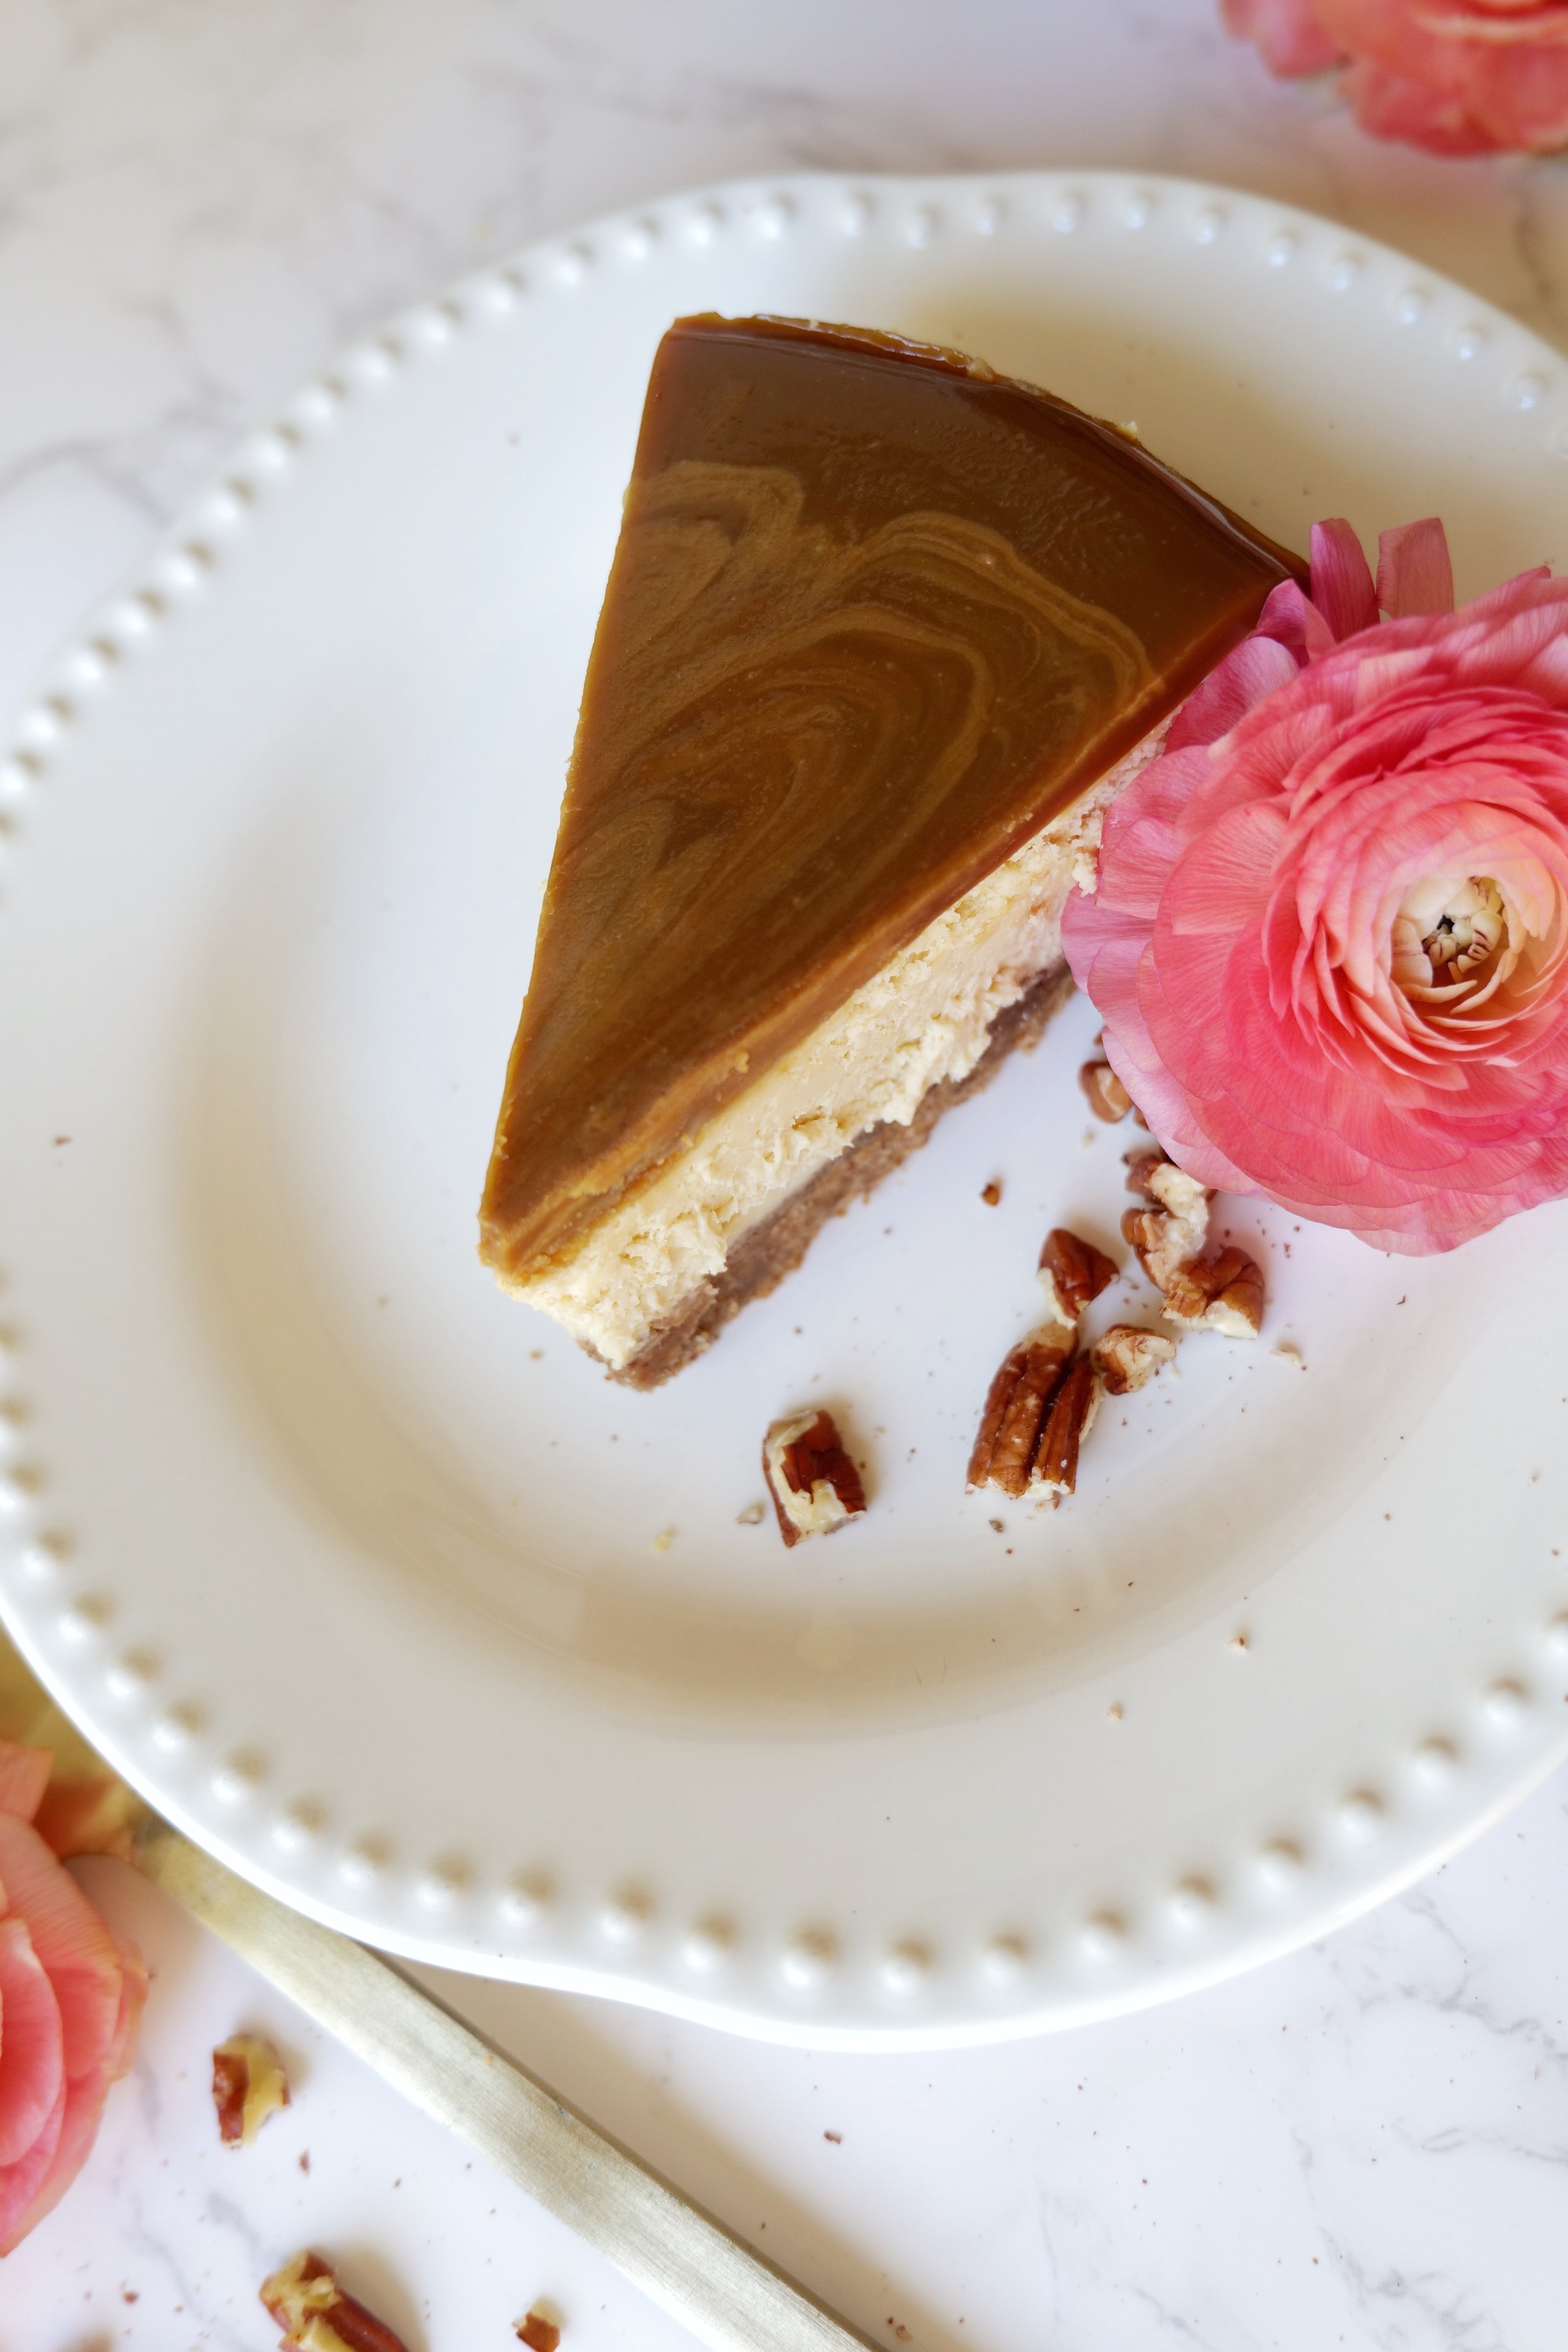
A Divine Caramel Cheesecake with a Graham Cracker Pecan Crust

Welcome to our latest dessert delight - Caramel Cheesecake with a Graham Cracker Pecan Crust! If your mouth isn't watering yet, prepare for it to start. This exquisite treat promises a perfect fusion of a luscious, creamy caramel cheesecake layer beautifully married with an incredibly flavorful, buttery graham cracker and pecan crust that adds a beautiful taste of crunchiness and nuttiness. Whether you are a cheesecake aficionado and it is your go-to dessert, or simply someone who appreciates any well-prepared desserts, this recipe offers a glorious culinary adventure you’ll surely enjoy. Buckle up, fellow sweet tooths, we're about to embark on the ultimate cheesecake journey.

How to Store Cheesecake

Proper Care for Your Caramel Cheesecake Masterpiece – Once you have indulged in your homemade Caramel Cheesecake with a Graham Cracker Pecan Crust, remember to store any leftovers appropriately to maintain its freshness and deliciousness. Firstly, let your cheesecake cool entirely at room temperature before thinking about storing it. Then, place it preferably in an airtight container, or a cake box if you must, and store it in the refrigerator. Avoid slicing it into portions until you are ready to serve, to prevent drying and hardening. The best temperature to store your cheesecake is below 40°F, optimum for preserving its texture and taste. With proper care, your succulent caramel cheesecake will last for up to five days in the fridge. If you wish to store it for a longer duration, consider freezing your cheesecake. Wrapped tightly in foil or plastic wrap, your cheesecake can last up to six months in the freezer without losing its delightful caramel and pecan charm.

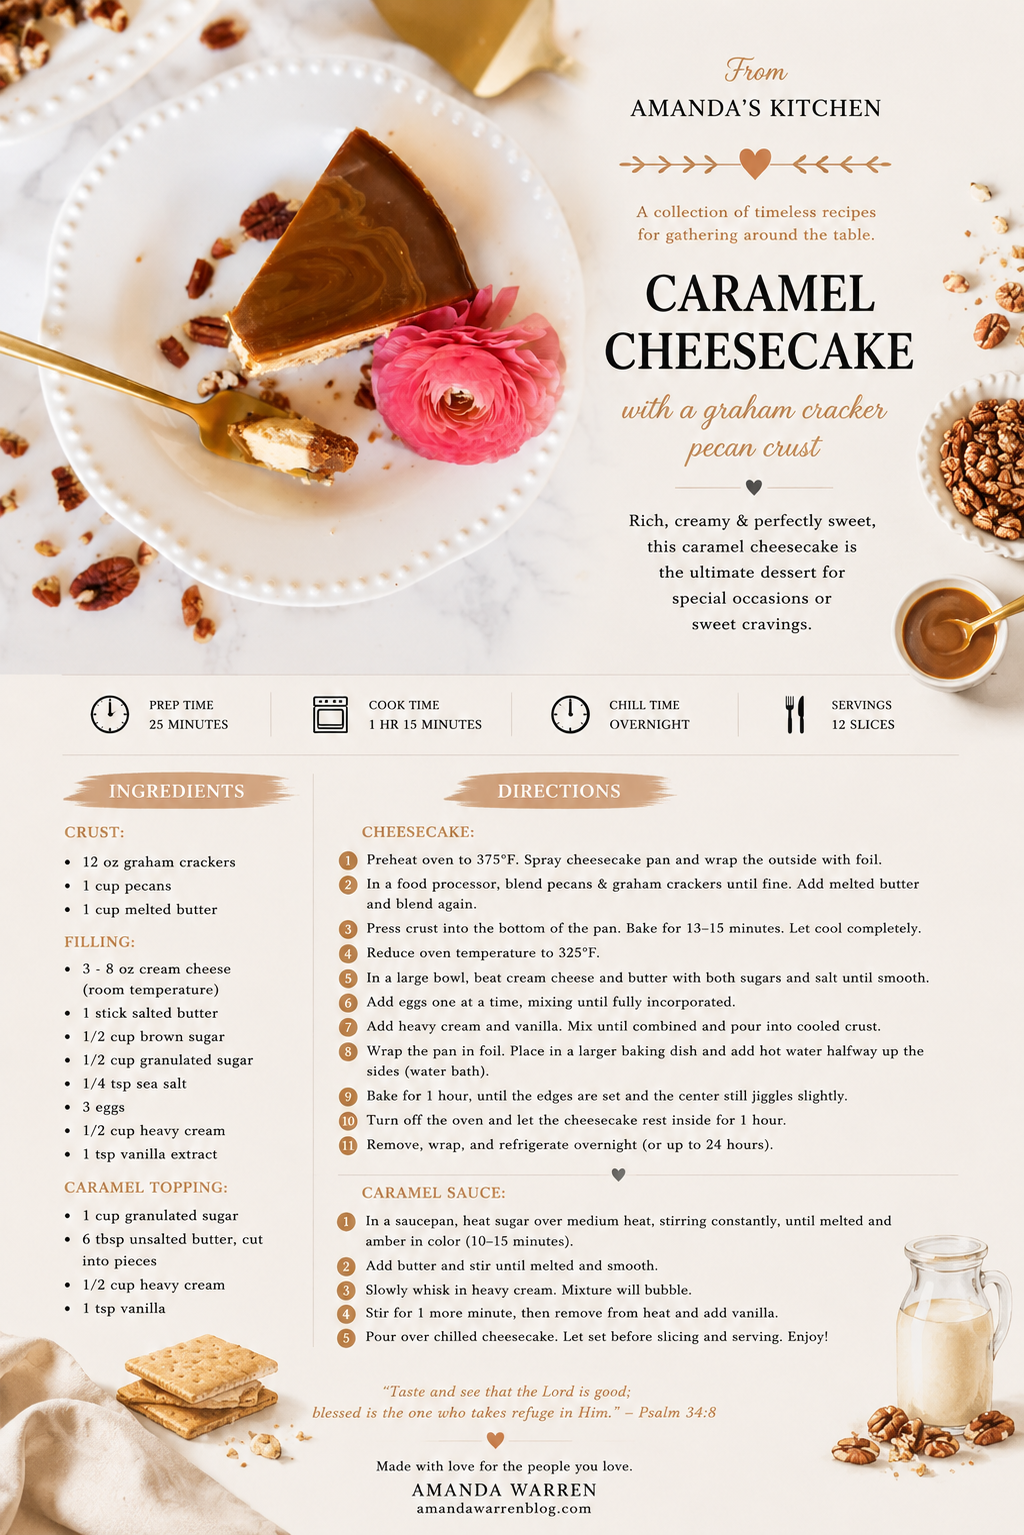
INGREDIENTS

Crust:

12 oz graham crackers

1 cup pecans

1 cup melted butter

Filling:

3 - 8 oz cream cheese ( room temperature )

1 stick salted butter

1/2 cup brown sugar or light brown sugar

1/2 cup granulated sugar

1/4 teaspoon sea salt

3 eggs

1/2 cup heavy cream

1 tsp vanilla extract

Caramel Topping -

1 cup granulated sugar

6 tablespoons unsalted butter, cut into pieces

1/2 cup heavy cream

1 teaspoon vanilla

INSTRUCTIONS

  1. Preheat oven to 375. Spray the cheesecake pan with olive oil spray and wrap around the outside with foil.

  2. Make Crust by adding pecans & graham crackers to a blender and processing until fine. Add in melted butter and blend again.

  3. Press the crust mixture into the bottom of the pan until even all the way around. I use a flat-bottom cup or a metal spoon to help.

  4. Bake in the oven for 13-15 minutes. Once done remove and let cool completely on cooling rack before adding filling.

  5. Reduce oven temperature to 325 degrees.

  6. Make filling. Mix softened cream cheese and butter with both sugars and salt until well combined with stand mixer or hand mixer.

  7. Add in eggs. One at a time. Making sure they are fully incorporated each time.

  8. Next add heavy cream, vanilla and lemon zest! Once well-mixed pour into cooled cheesecake pan. Also, add aluminum foil around the edges of the cheesecake pan.

  9. You will then add this onto a tray with a lip. Place on oven rack and add in warm water until halfway full. Push back rack and start timer.

  10. Cook the cheesecake for 1 hour. The center will still be a little jiggly, but the side will be set. After baking for 1 hour you will turn oven off the oven and leave the cheesecake in the oven for an additional hour.

  11. Once baked for an hour and let sit for an hour in the oven, you can remove it from the oven. Wrap the cheesecake and let sit in your refrigerator overnight. Up to 24 hours before serving or adding caramel topping.

Caramel Sauce

  1. Put 1 cup granulated sugar in a saucepan and heat it over medium heat for about 10-15 minutes, constantly stirring. The sugar will start melting and form clumps, which will turn into amber/brown liquid.

  2. When the sugar is completely melted, add 6 tbsp cubed butter and stir. At this point, the mixture will start to bubble. Stir for a couple of minutes until the butter is melted. First, it will look like the sugar and butter are separated, there is nothing wrong with that.

  3. Gradually add ½ cup heavy cream and stir. It will bubble again.

  4. Stir for another minute, then remove from the heat and add vanilla. You can also add salt at this time if you wish.

  5. Remove the refrigerated cheesecake from the fridge at this time. Do not take the round edge off of the pan but pour caramel sauce over the top, making sure to smooth quickly because it will hardenly fast. Remove the edge and place the cheesecake on a new plate, cut, serve and enjoy!

Save This Recipe

Whether you're planning ahead for a special occasion or adding a new favorite to your recipe collection, I've included a printable recipe card below so it's easy to save, print, and share with the people you love.

For those of us who are looking for inspiration to get creative in the kitchen, this recipe is the perfect choice. You can make this traditional family favorite recipe uniquely your own by adding different flavors and ingredients. Plus, you can even top it off with a customizable glaze. For those wanting a sweeter crust, try adding in honey. Switch out the caramel topping for fresh berries and make a blueberry drizzle that is also amazing on this cheesecake! For those wanting a keto option, change the graham cracker crust to add additional nuts, either more pecans or almonds will do great. No matter what you do to make this your own, this caramel cheesecake with a graham cracker pecan crust is sure to be a hit!

Other Delicious Desserts You Will Love:

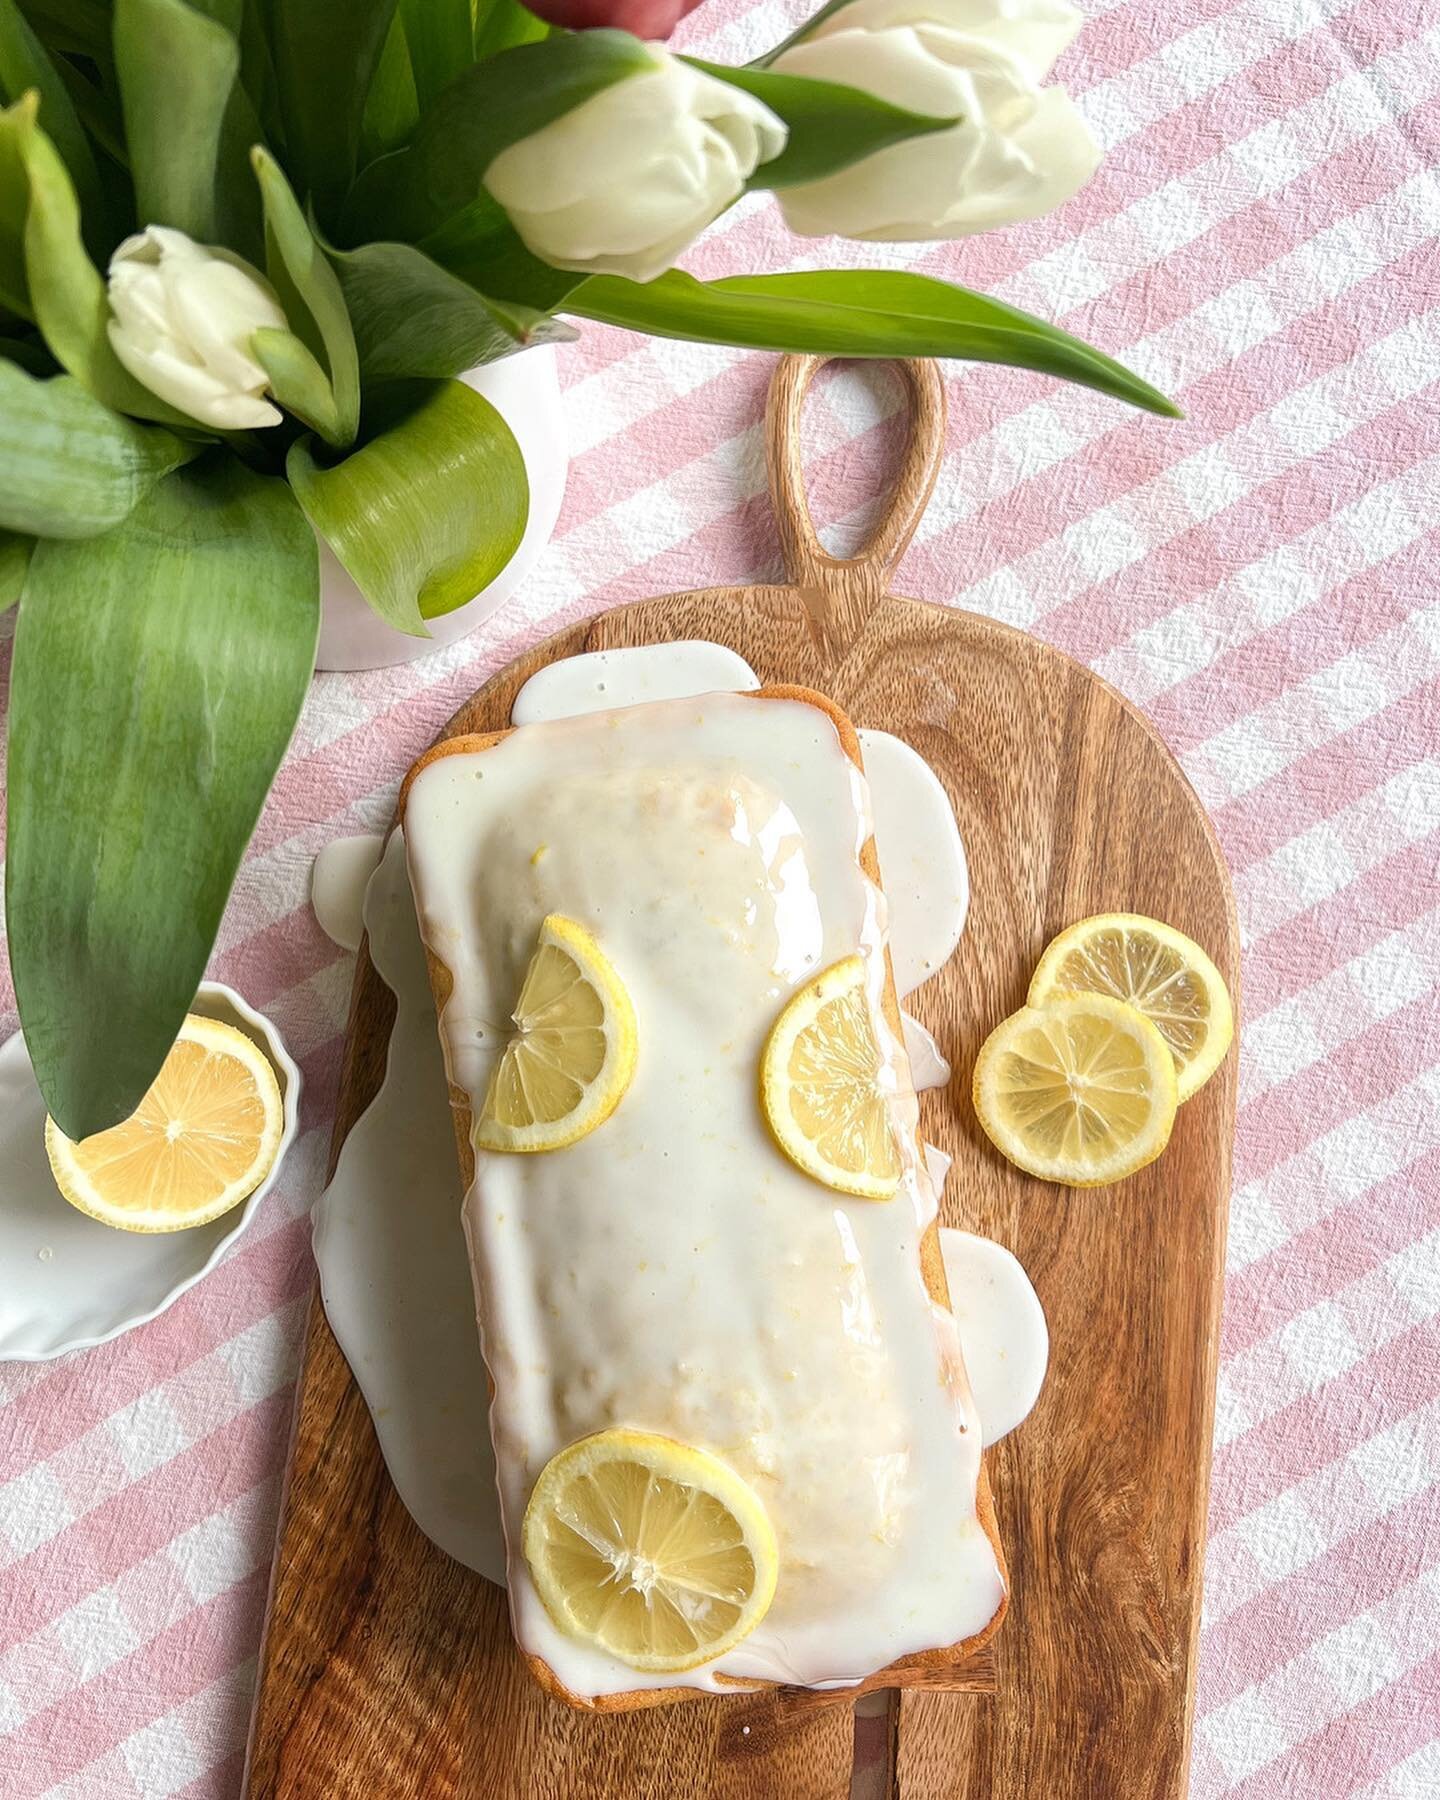
Tantalizingly Delicious Recipe For Lemon Cheesecake With An Amazing Glaze

Indulge in Deliciousness: Cherry Chip Cake with Chunks of Dark Chocolate Recipe

Chocolate Peanut Butter Brownies

Brown Butter Caramel Pretzel Cookies

Delicious & Easy Apple Pie

A Deliciously Sweet Treat: Mini Key Lime Pies with Splenda

Indulge Your Sweet Tooth with This Delicious Brown Butter Spice Cake with Honey & Fig Jam Frosting