Sugar Free Angel Food Cake & 3 Creative Ways to Serve It

In the realm of desserts, angel food cake has always stood out for its light, airy texture and subtle sweetness. Unfortunately, not everyone can indulge in the traditional version due to dietary restrictions on sugar. Enter the Sugar Free Angel Food Cake, a fantastic alternative that maintains the delightful essence of the classic treat without the added sugars. This blog will guide you through how to make angel food cake, the benefits and intricacies of making it sugar-free, its storage tips, and creative ways to serve it.

How to Make Angel Food Cake

Making angel food cake might seem daunting at first, but with the right steps and ingredients, anyone can achieve a bakery-quality result. Here’s a step-by-step guide to ensure your cake comes out perfectly every time.

The backbone of any angel food cake is the whipped egg whites. Start by separating the egg whites from the yolks and placing the whites in a large, clean mixing bowl. Beat them using an electric mixer until they form soft peaks. This stage is crucial as it provides the cake with its proper light and airy texture. Soft peaks refer to the stage in beating egg whites where the whites are fluffy and hold their shape but still droop over slightly when the beaters are lifted. They form a peak that softly curls down, indicating that the egg whites are not overly stiff or dry.

Achieving soft peaks is vital for recipes like sugar-free angel food cake. It ensures the cake’s light and airy texture, making every bite a delight. Two things to look for are beating egg whites at a moderate speed and checking frequently to avoid overbeating. The perfect soft peak will look like a soft serve ice cream tip, gently folding over rather than standing upright. This visual cue is your green light to proceed with the rest of the recipe. When whipping egg whites for a sugar-free angel food cake, aiming for soft peaks rather than stiff peaks is essential. Soft peaks have a glossy appearance and gently fold over when the beaters are lifted. This ensures that your cake will be tender and airy. Using sugar substitutes can affect the whipping process, so it's important to monitor closely for the right consistency. Perfectly whipped soft peaks are crucial for the success of sugar-free angel food cake recipes. Achieving soft peaks ensures your cake isn't dense and chewy but light and fluffy. This step sets the foundation for a delightful baking experience and an even more delightful eating experience.

Once you have your stiff egg whites, the next step is to incorporate the dry ingredients carefully. Slowly fold in the sugar substitute you'll be using, flour, and other essential components like cream of tartar and vanilla extract. Gentle folding is key to maintaining the airiness of the batter. Overmixing can deflate the egg whites, resulting in a denser cake. Pour the batter into an ungreased tube pan. The ungreased surface allows the batter to cling to the sides as it bakes, enabling the cake to rise properly without collapsing. The design of the tube pan also ensures even baking. Place the cake in a preheated oven and bake until it turns a beautiful golden brown color. Typically, this takes about 45-60 minutes. You’ll know the cake is done when it springs back upon lightly touching the surface.

Creative Ways To Serve

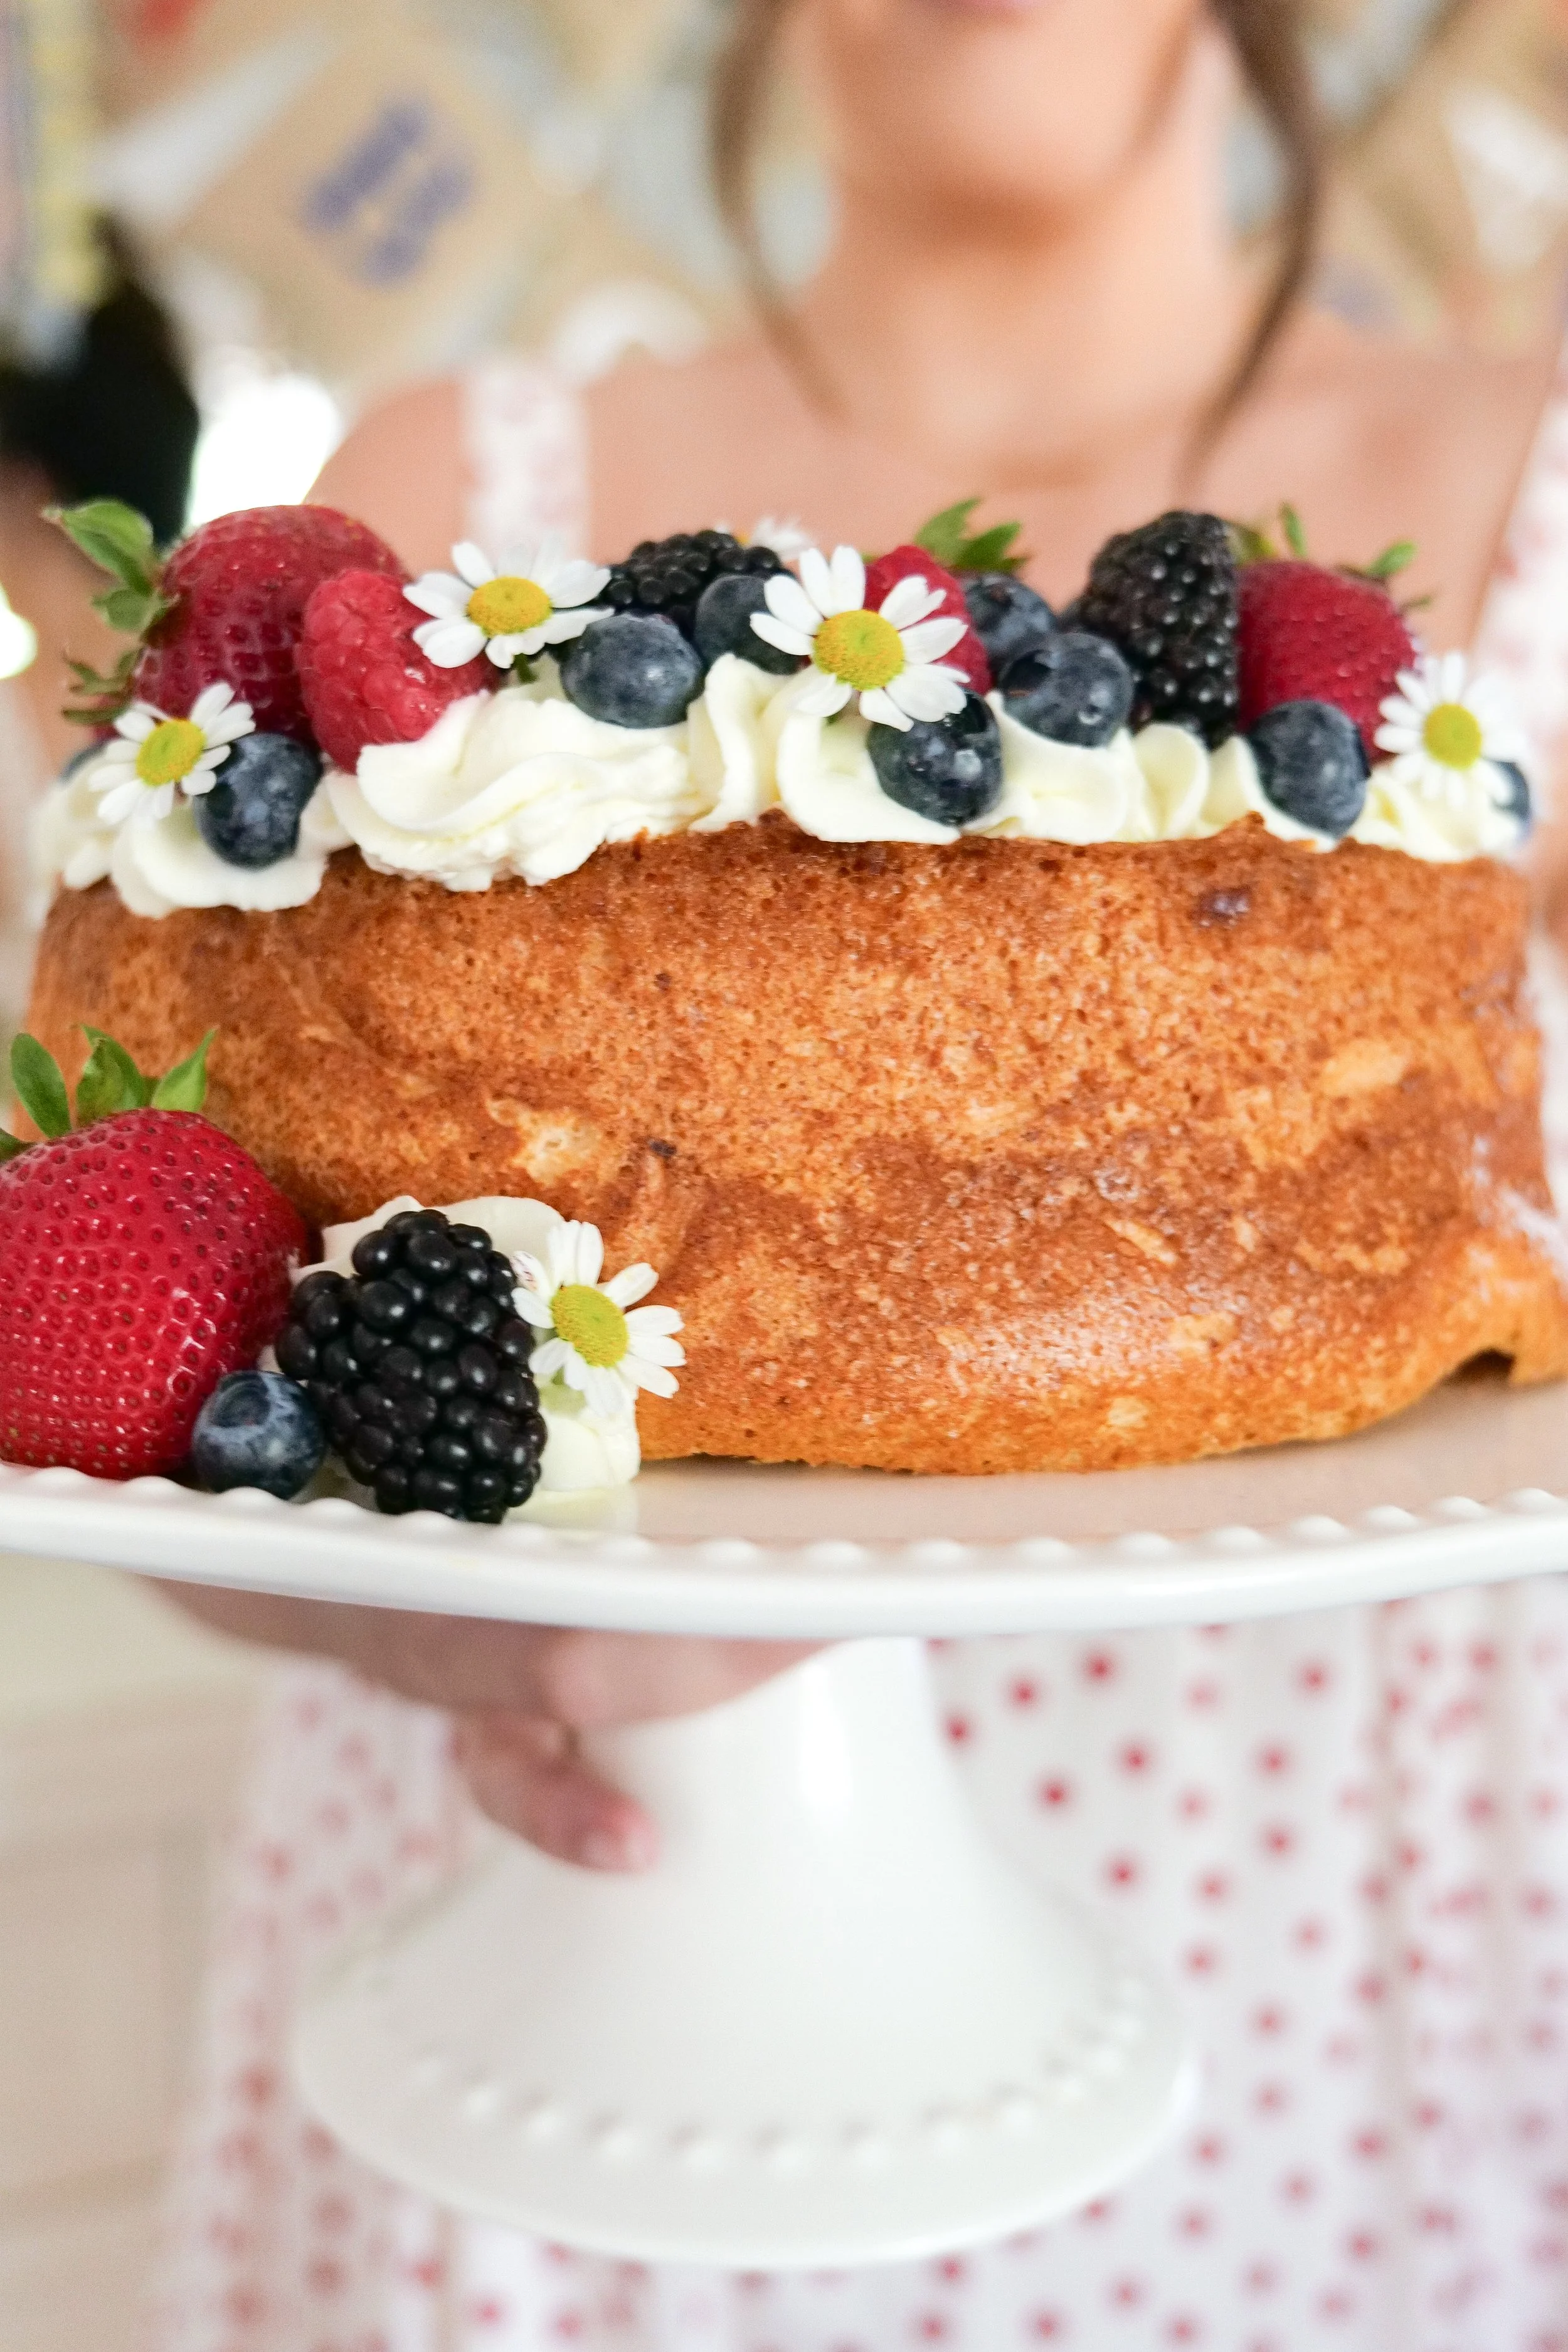
The versatility of sugar-free angel food cake makes it suitable for any event. It can be dressed up for festive celebrations or kept simple for a cozy family dinner. The possibilities of how to serve this delicious cake are endless but 3 ways I love to serve are: In its original form with fresh whipped cream, strawberries, blackberries, blueberries and raspberries. Cut into squares inside of a coupe (or other glass serving bowl) topped with fresh whipped cream and berries. My personal favorite for a large group with differing taste buds is a mixed tray for guests to put together their own toppings of their choice. Angel food cake cut into slices with whipped cream and berries separately so they can add it as they wish. A few other ways can be create a trifle by layering with sugar-free whipped cream and fresh fruits. Top with a sugar-free chocolate drizzle for an indulgent touch. Lastly, serve with a scoop of sugar-free ice cream.

One of the best things about sugar-free angel food cake is its versatility. It can serve as a base for an array of flavorful dessert combinations, making it a staple for various culinary experiments. Top with fresh strawberries for a nutritional sweetness. A medley of berries adds a burst of flavor, vitamins, and antioxidants. Add a dollop of sugar-free whipped cream is always a delicious treat. Drizzle with a sugar-free lemon glaze, this adds a tangy zesty twist. These ideas are simple yet sophisticated, ensuring you can enjoy this dessert in multiple exciting ways.

Storage Tips

Proper storage is key to maintaining the freshness and texture of your sugar-free angel food cake. After the cake has cooled completely, store it in an airtight container at room temperature if you plan to consume it within two days. This prevents the cake from drying out and keeps it tasting fresh. If you need to store the cake longer, consider refrigerating it. Ensure its well-wrapped to avoid drying out. The cool environment of the fridge keeps the cake fresh for up to a week.

Freezing is another great option for longer storage. Wrap the cake tightly in plastic wrap followed by a layer of aluminum foil. This double wrapping prevents freezer burn and ensures the cake retains its texture and flavor. Thaw frozen slices at room temperature or in the refrigerator before serving.

Substitutions

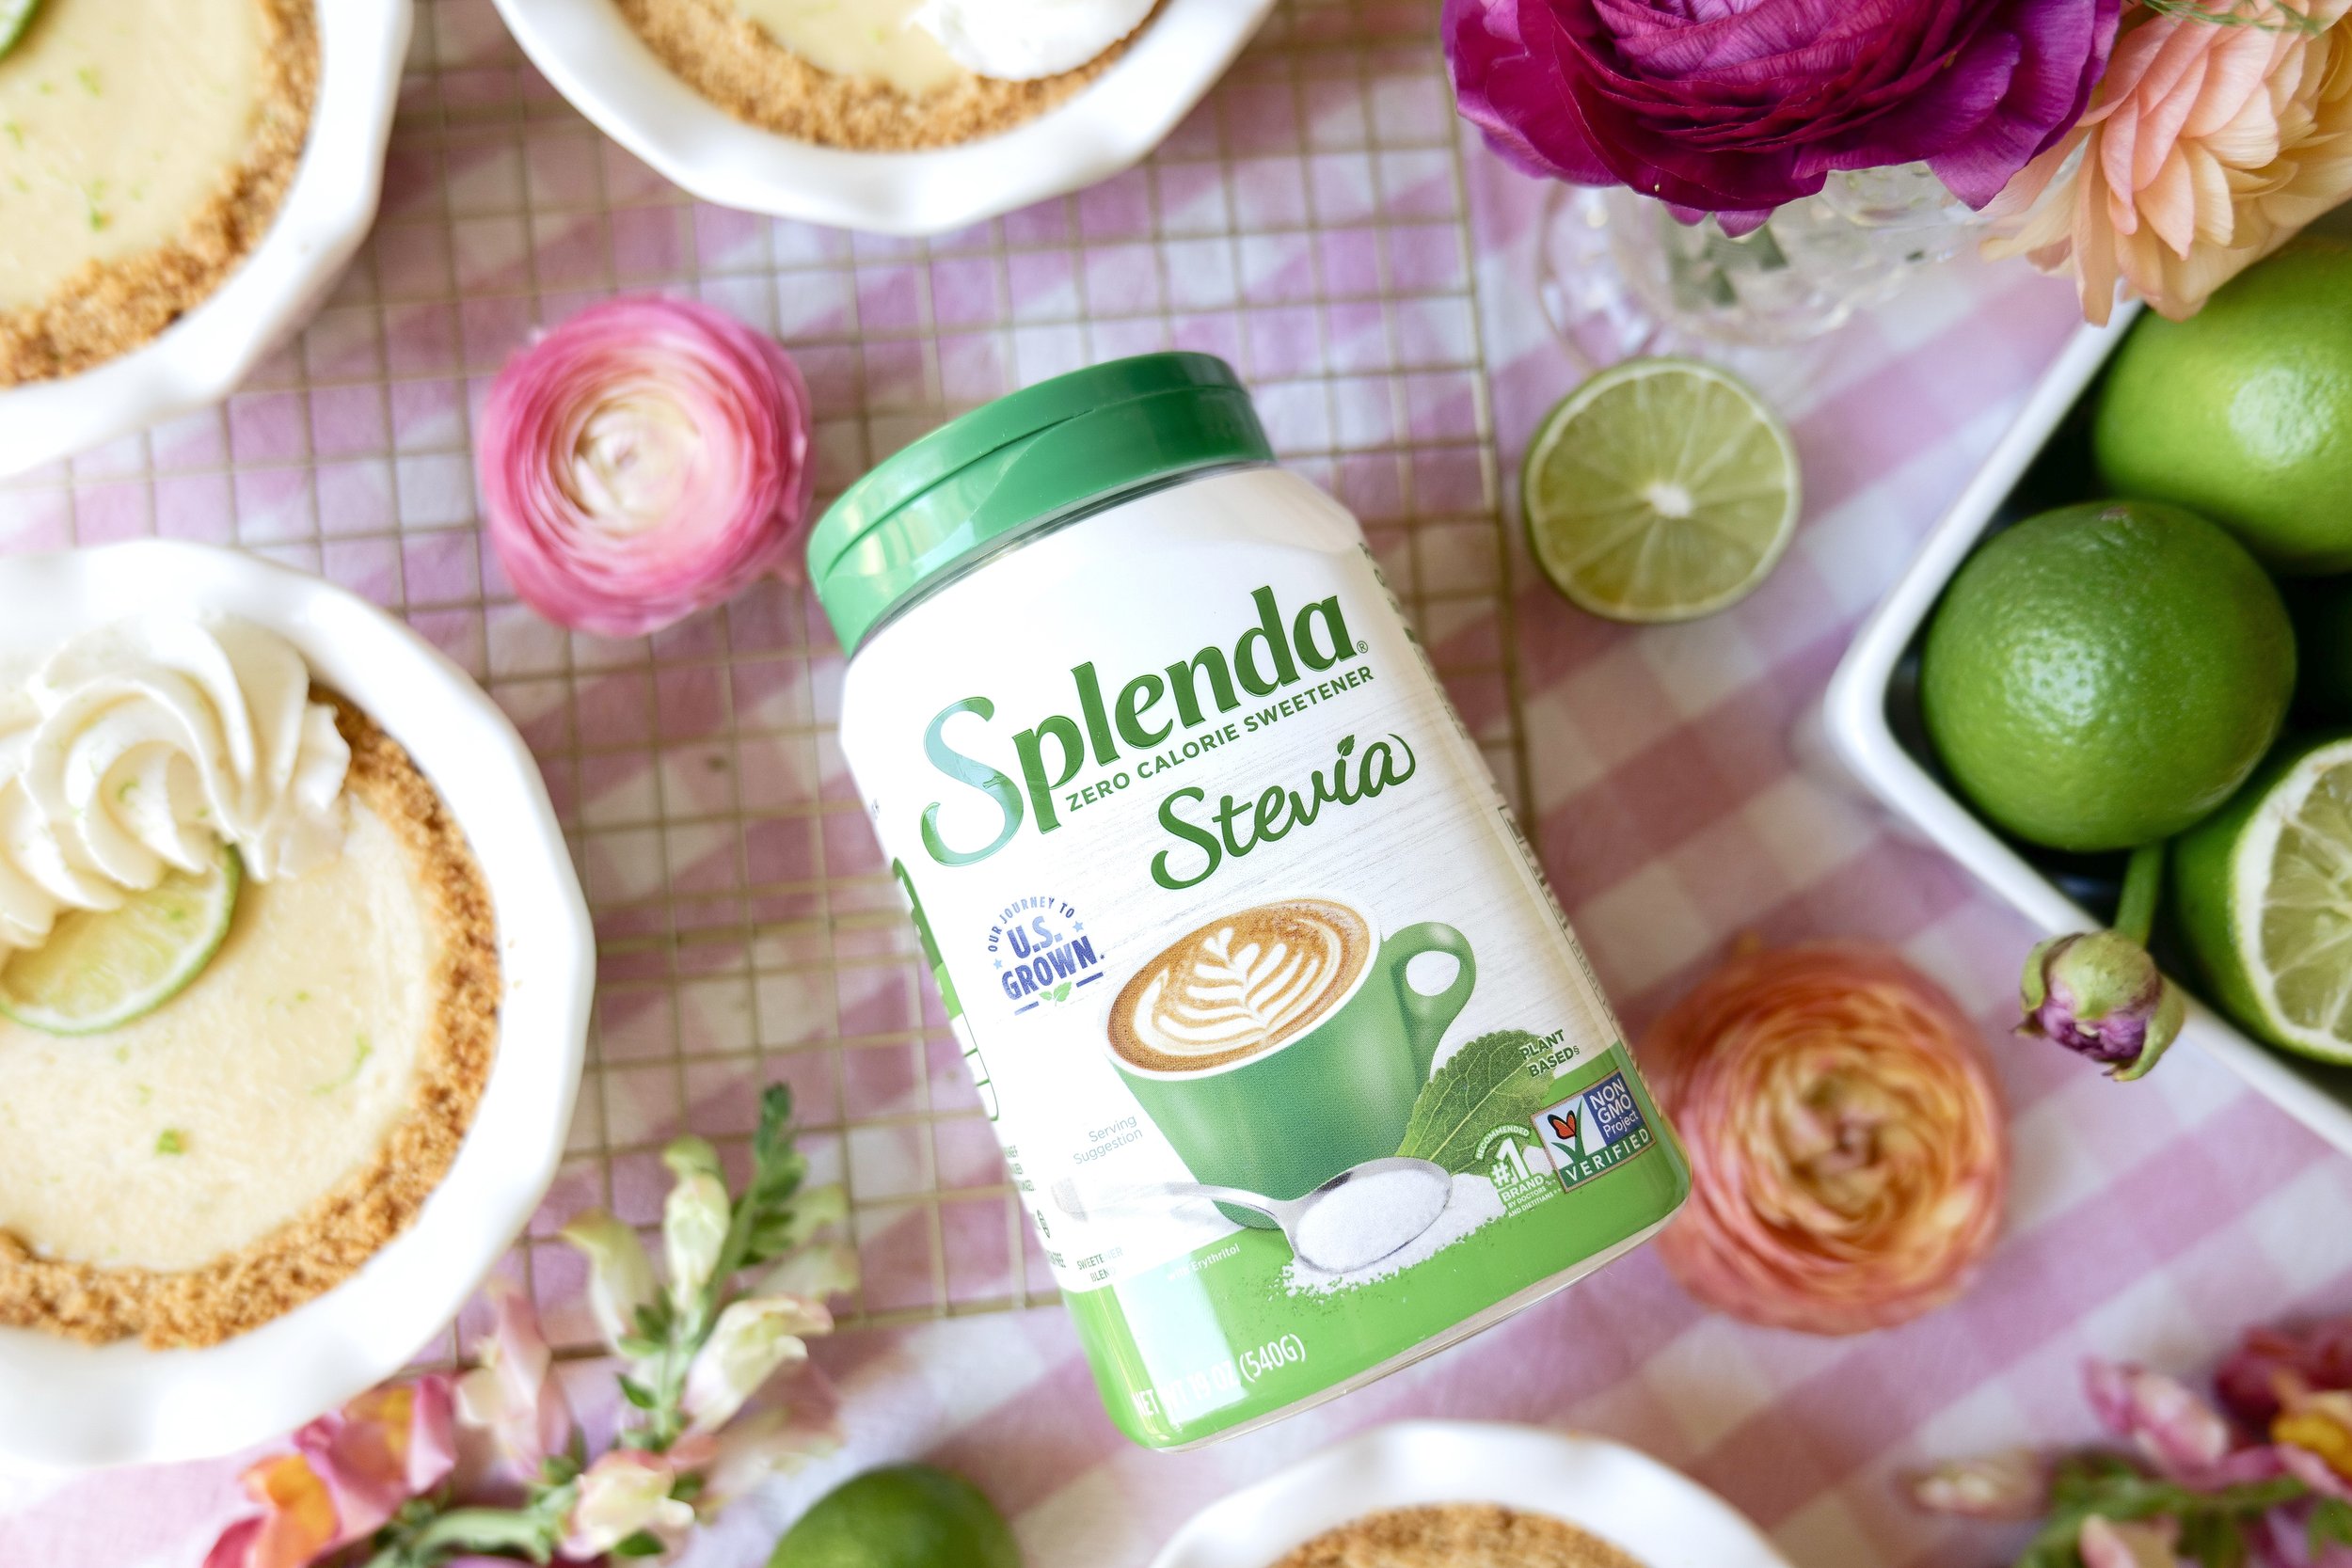
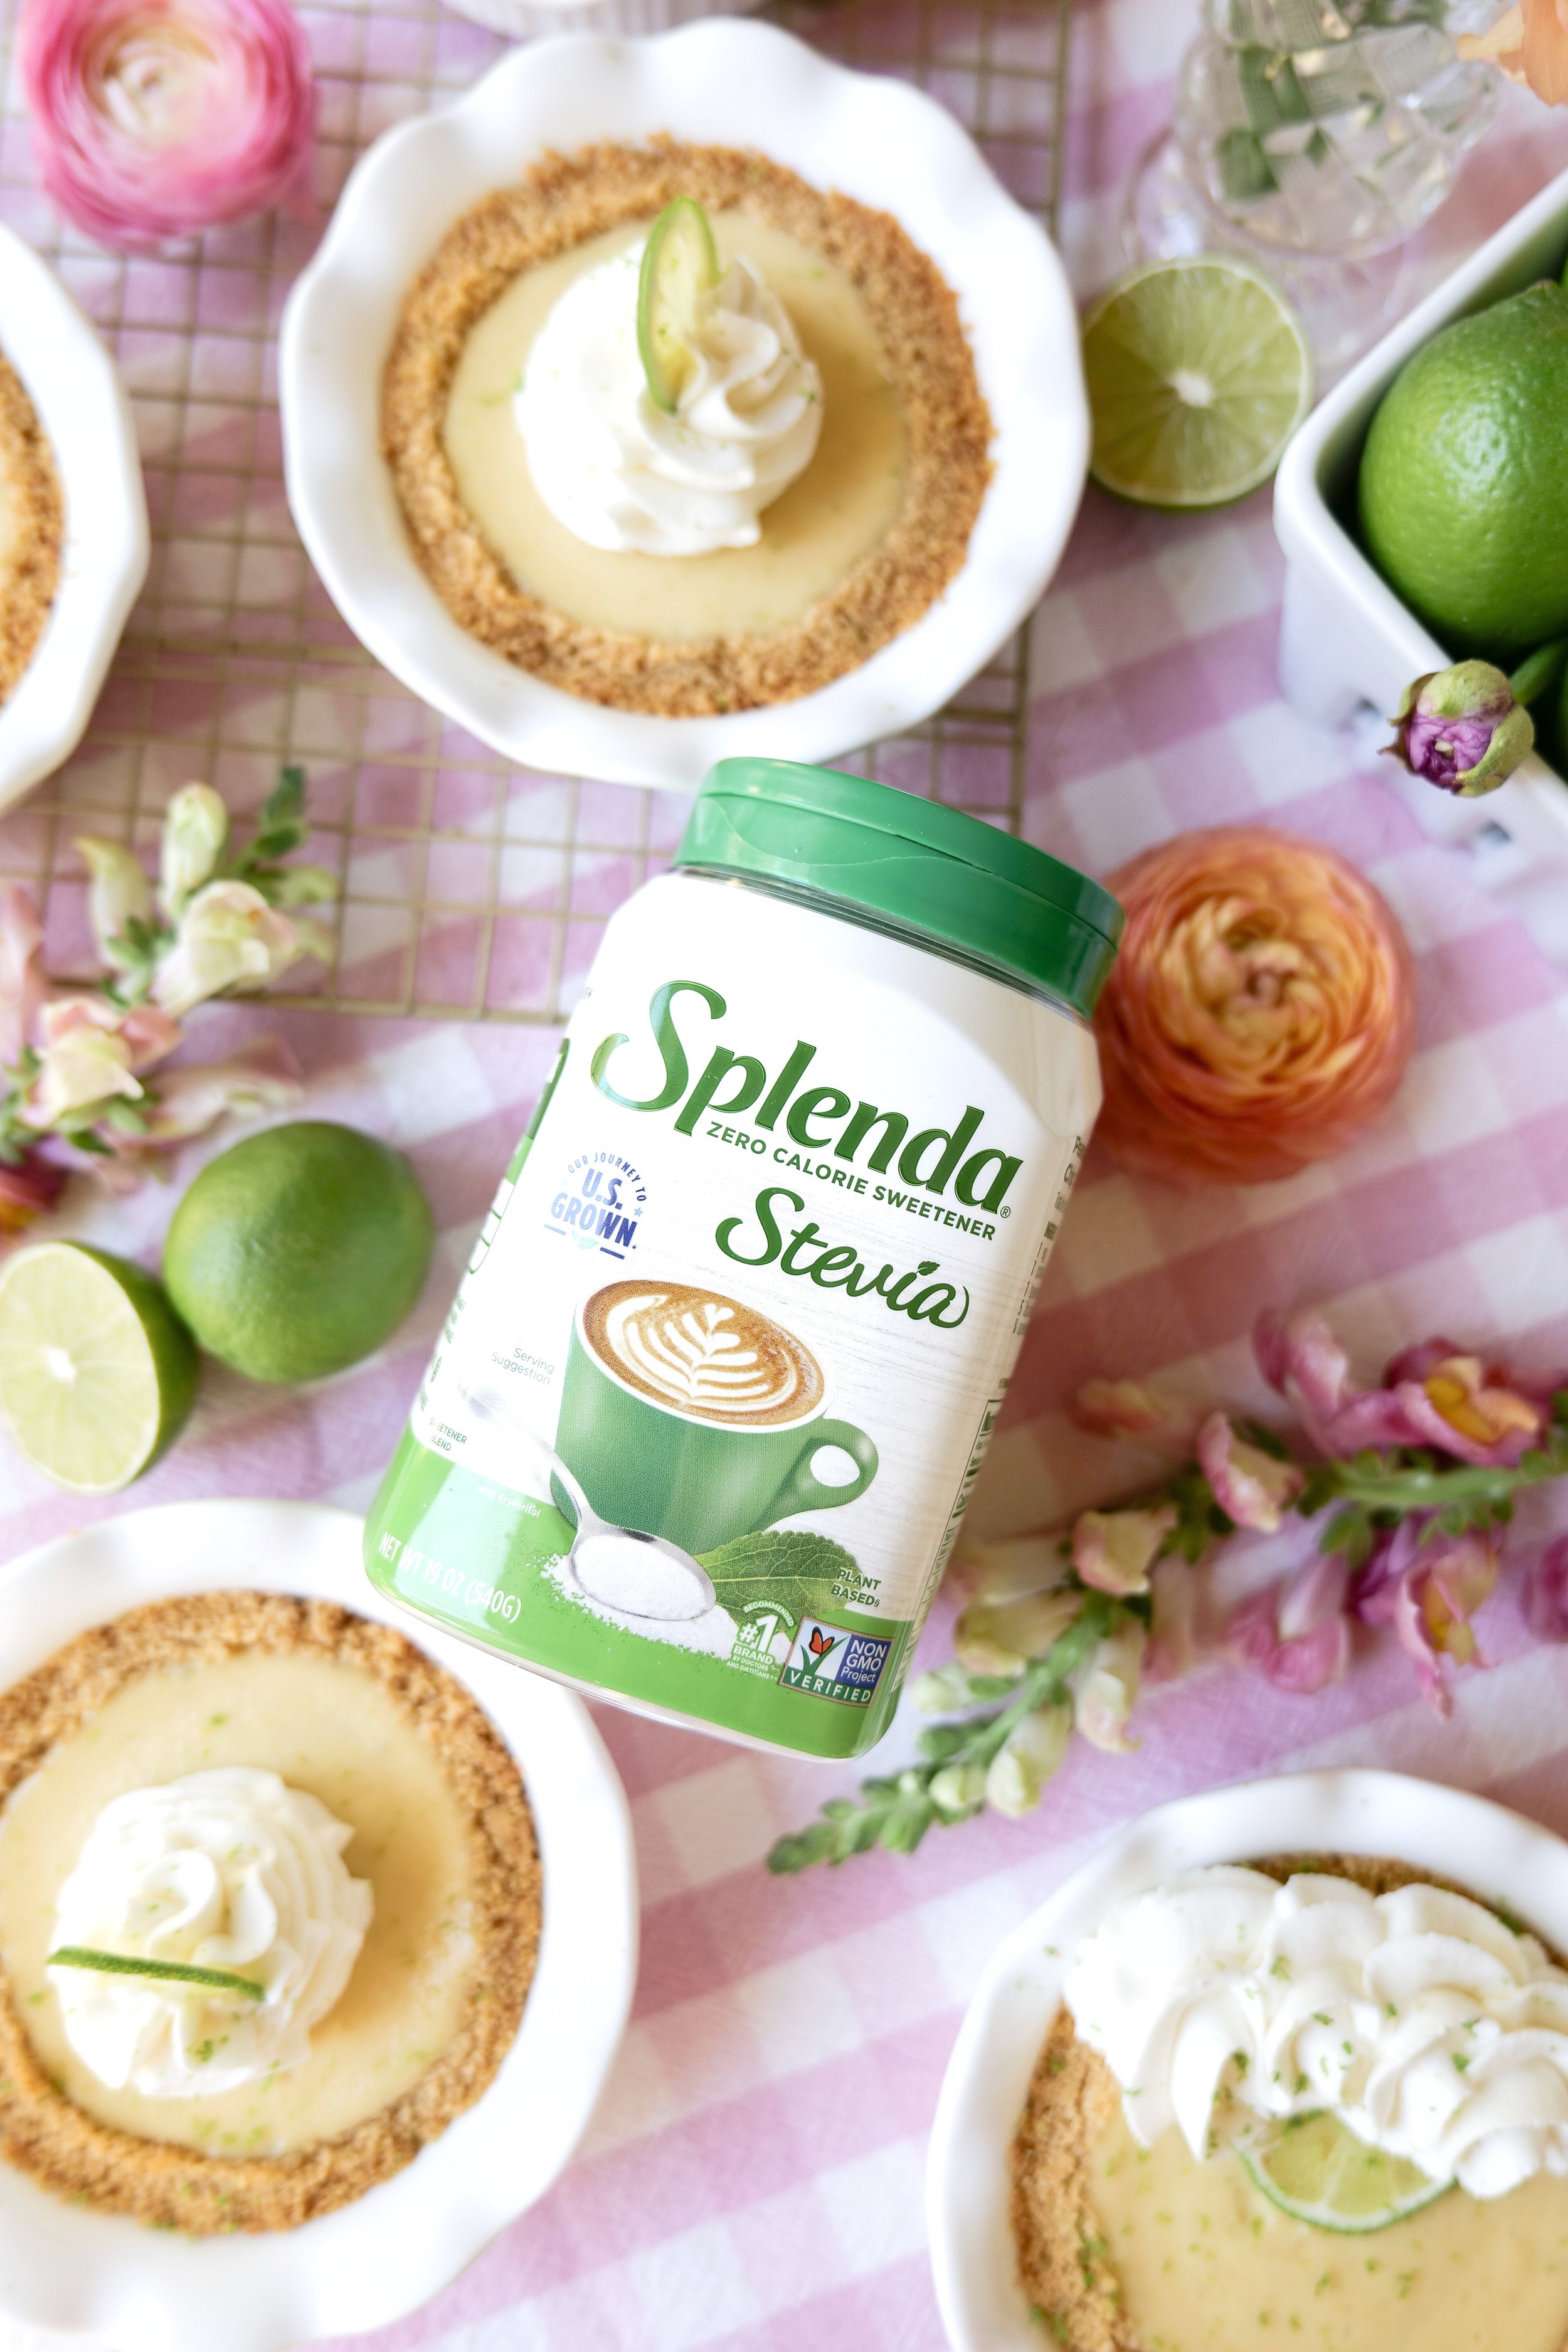
Making a sugar-free angel food cake involves some key substitutions to ensure it remains a healthier alternative without compromising on taste or texture. The sugar-free angel food cake offers a healthier alternative to traditional cakes, allowing those with dietary restrictions to still indulge guilt-free. Instead of sugar, natural low-calorie sweeteners like Splenda stevia is used in this recipe. These maintain the cake's light and fluffy texture while keeping it sweet. Stevia is a plant-based sweetener with no calories. Whether it’s a casual family meal or a festive celebration, the sugar-free angel food cake can be dressed up or down. Its adaptable nature makes it a perfect dessert choice for any event.

Understanding the differences between sugar-free angel food cake and its traditional counterpart can help you appreciate this healthier version. Sugar-free angel food cake, unlike the traditional version that relies on granulated sugar, is substituted with sweeteners like stevia or erythritol to achieve its sweetness. The absence of sugar obviously results in a lower calorie count for the sugar-free version, making it a healthier option for those watching their calorie intake. While both cakes are light and airy, the texture of the sugar-free variety may be slightly different due to the properties of sugar alternatives.

Creating a sugar-free angel food cake can seem like a detailed process, but the result is a dessert that is light, fluffy, and deliciously guilt-free. From mixing the batter to storing the cake and finally serving it in creative ways, each step is integral in achieving the perfect dessert. Whether you’re watching your sugar intake or just looking for a healthier alternative to traditional cakes, this lovely sugar-free angel food cake will meet your needs and delight your taste buds. You won't be disappointed. Experiment with the methods and tips provided, and enjoy this versatile, sweet treat at any time, for any occasion.

Ingredients

12 large egg whites, at room temperature

1 ½ teaspoons cream of tartar

1 teaspoon vanilla extract

1 cup Splenda Stevia

1 cup sifted cake flour

Instructions

  1. In a bowl using an electric mixer, beat egg whites, cream of tartar, and vanilla extract on high speed until soft peaks form.

  2. Gradually add ¼ cup Splenda Stevia and cake flour with spatula, being sure not to over mix and loose the soft peaks.

  3. Pour batter into an ungreased 10” tube pan and spread evenly. Run a knife through the batter to remove air bubbles or tap on table.

  4. Bake on lowest rack in oven for 40–45 minutes, or until cake springs back when lightly touched.

  5. Set pan upside down on a cooling rack; cool cake in pan for 30–40 minutes. Run a narrow knife around sides to loosen cake; remove from pan and cool completely on the wire rack. Serve with whipped cream, fresh berries and enjoy!

Other Delicious Desserts You Will Love:

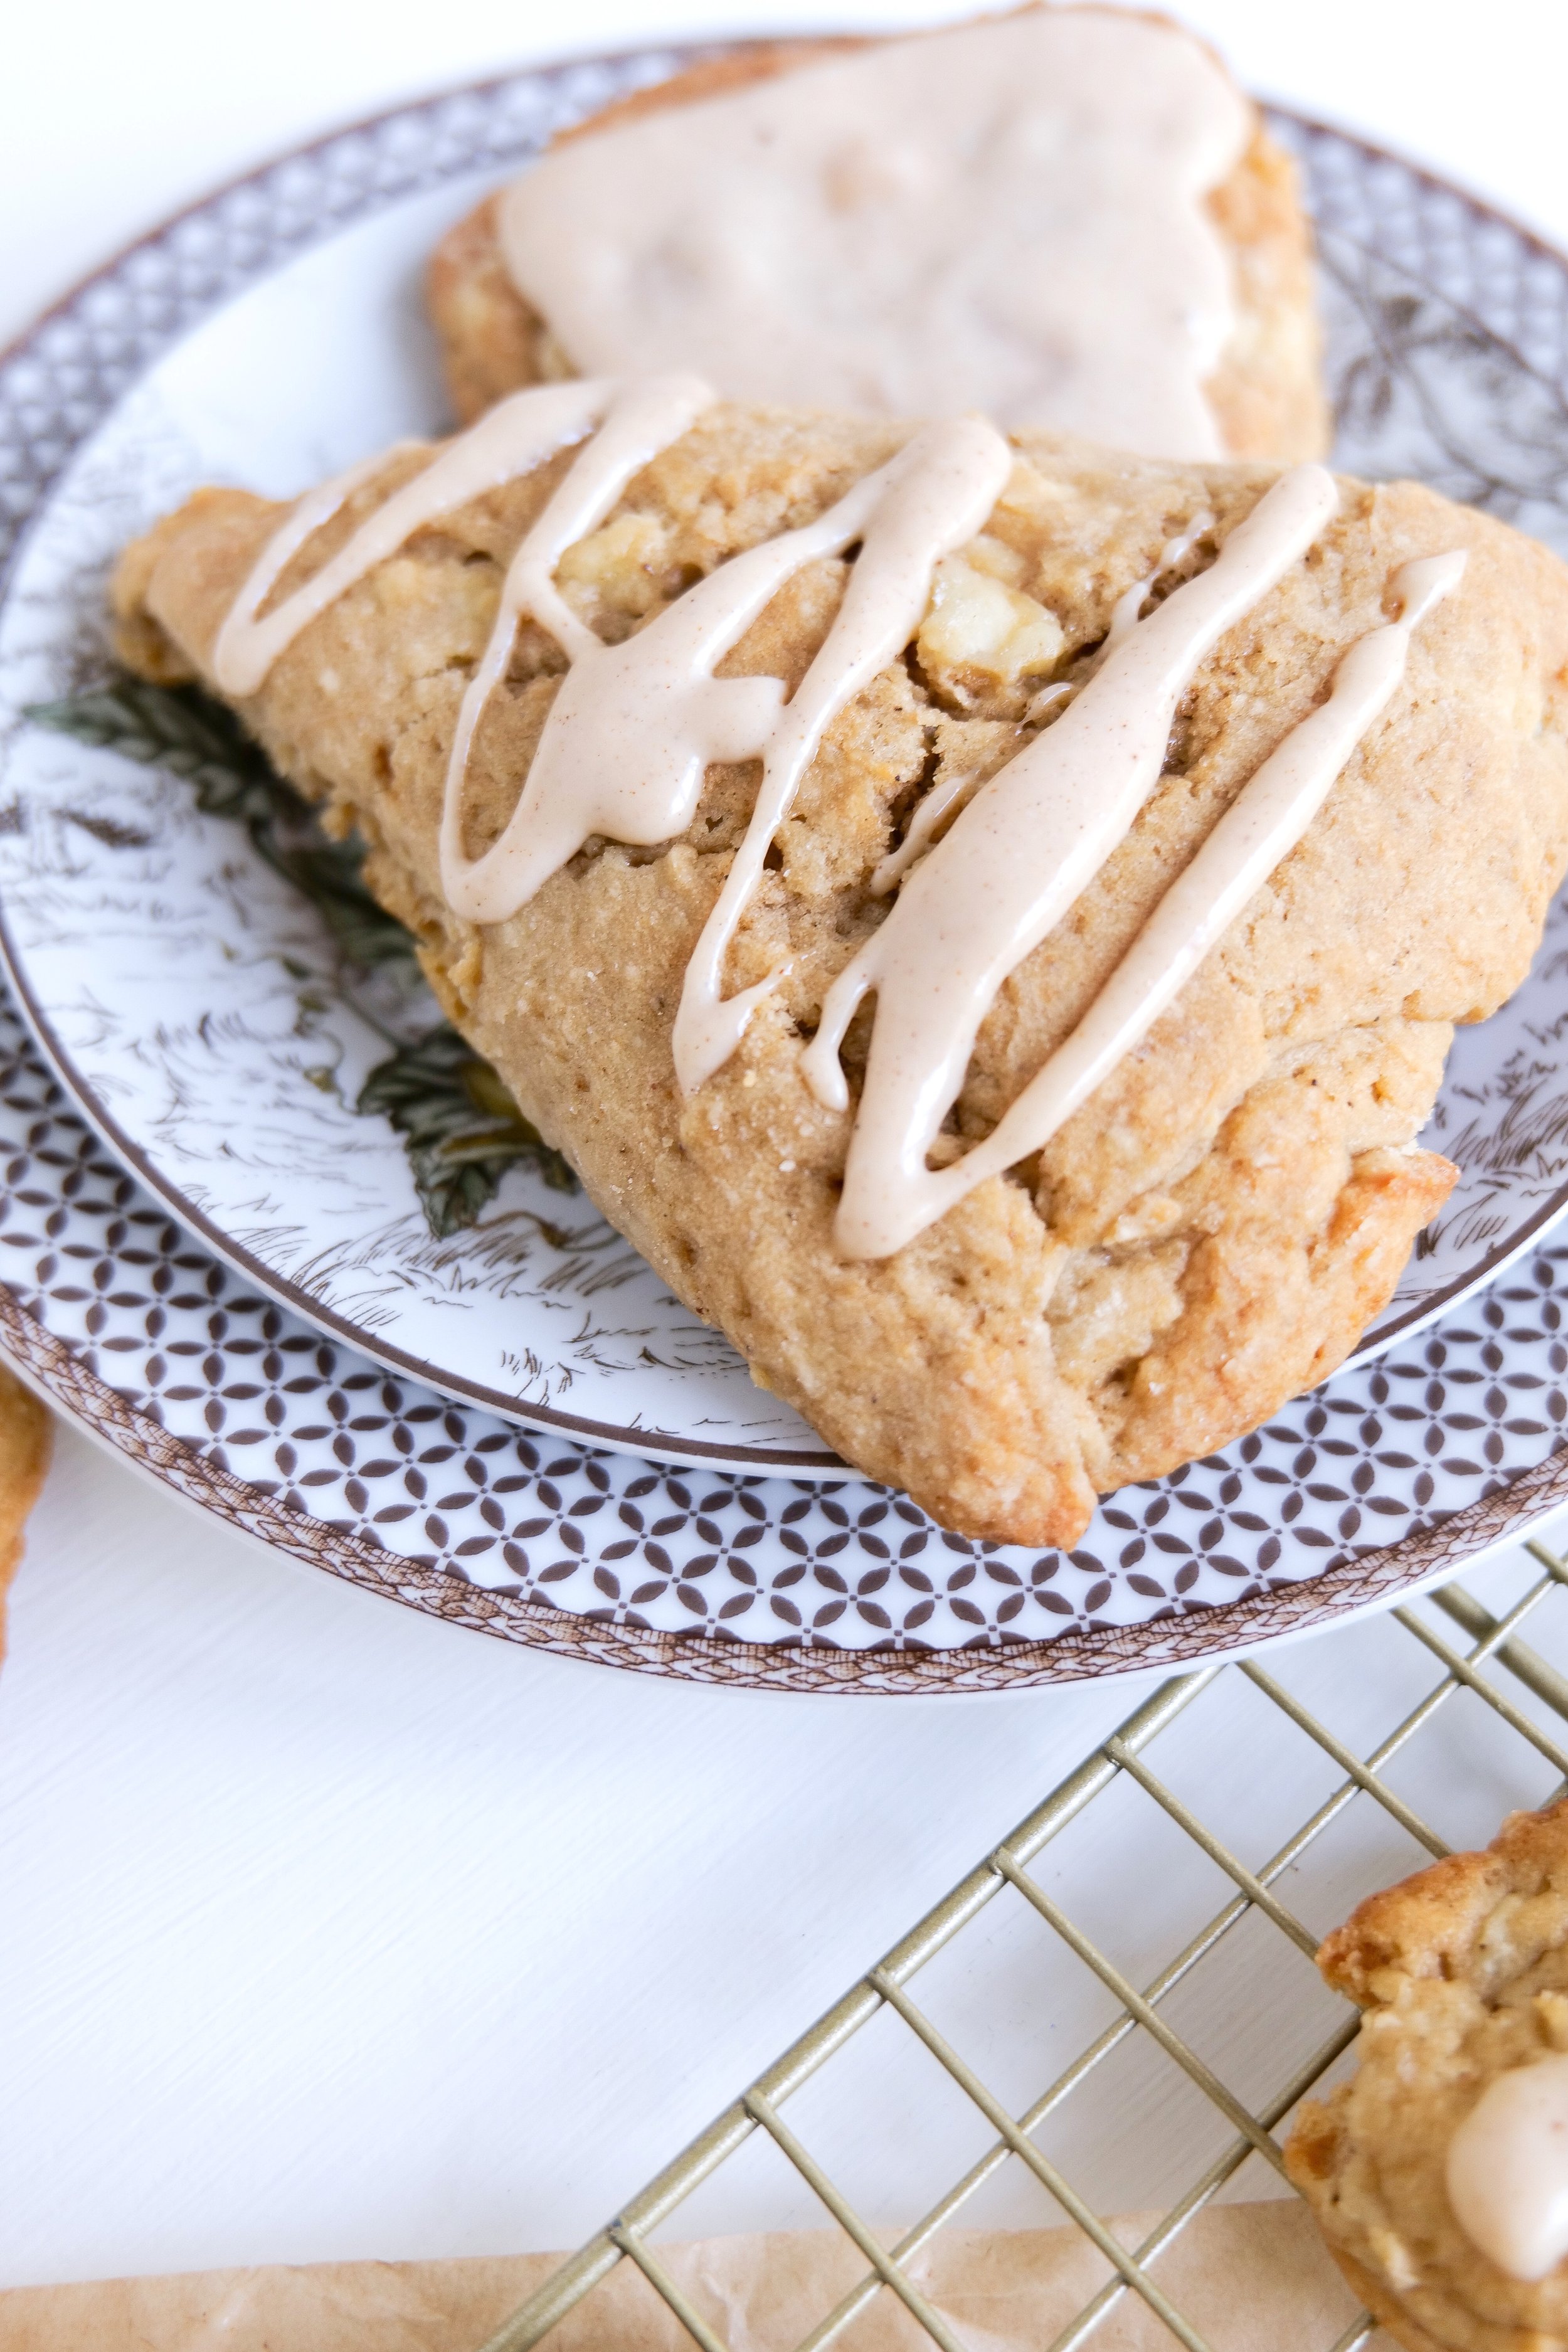
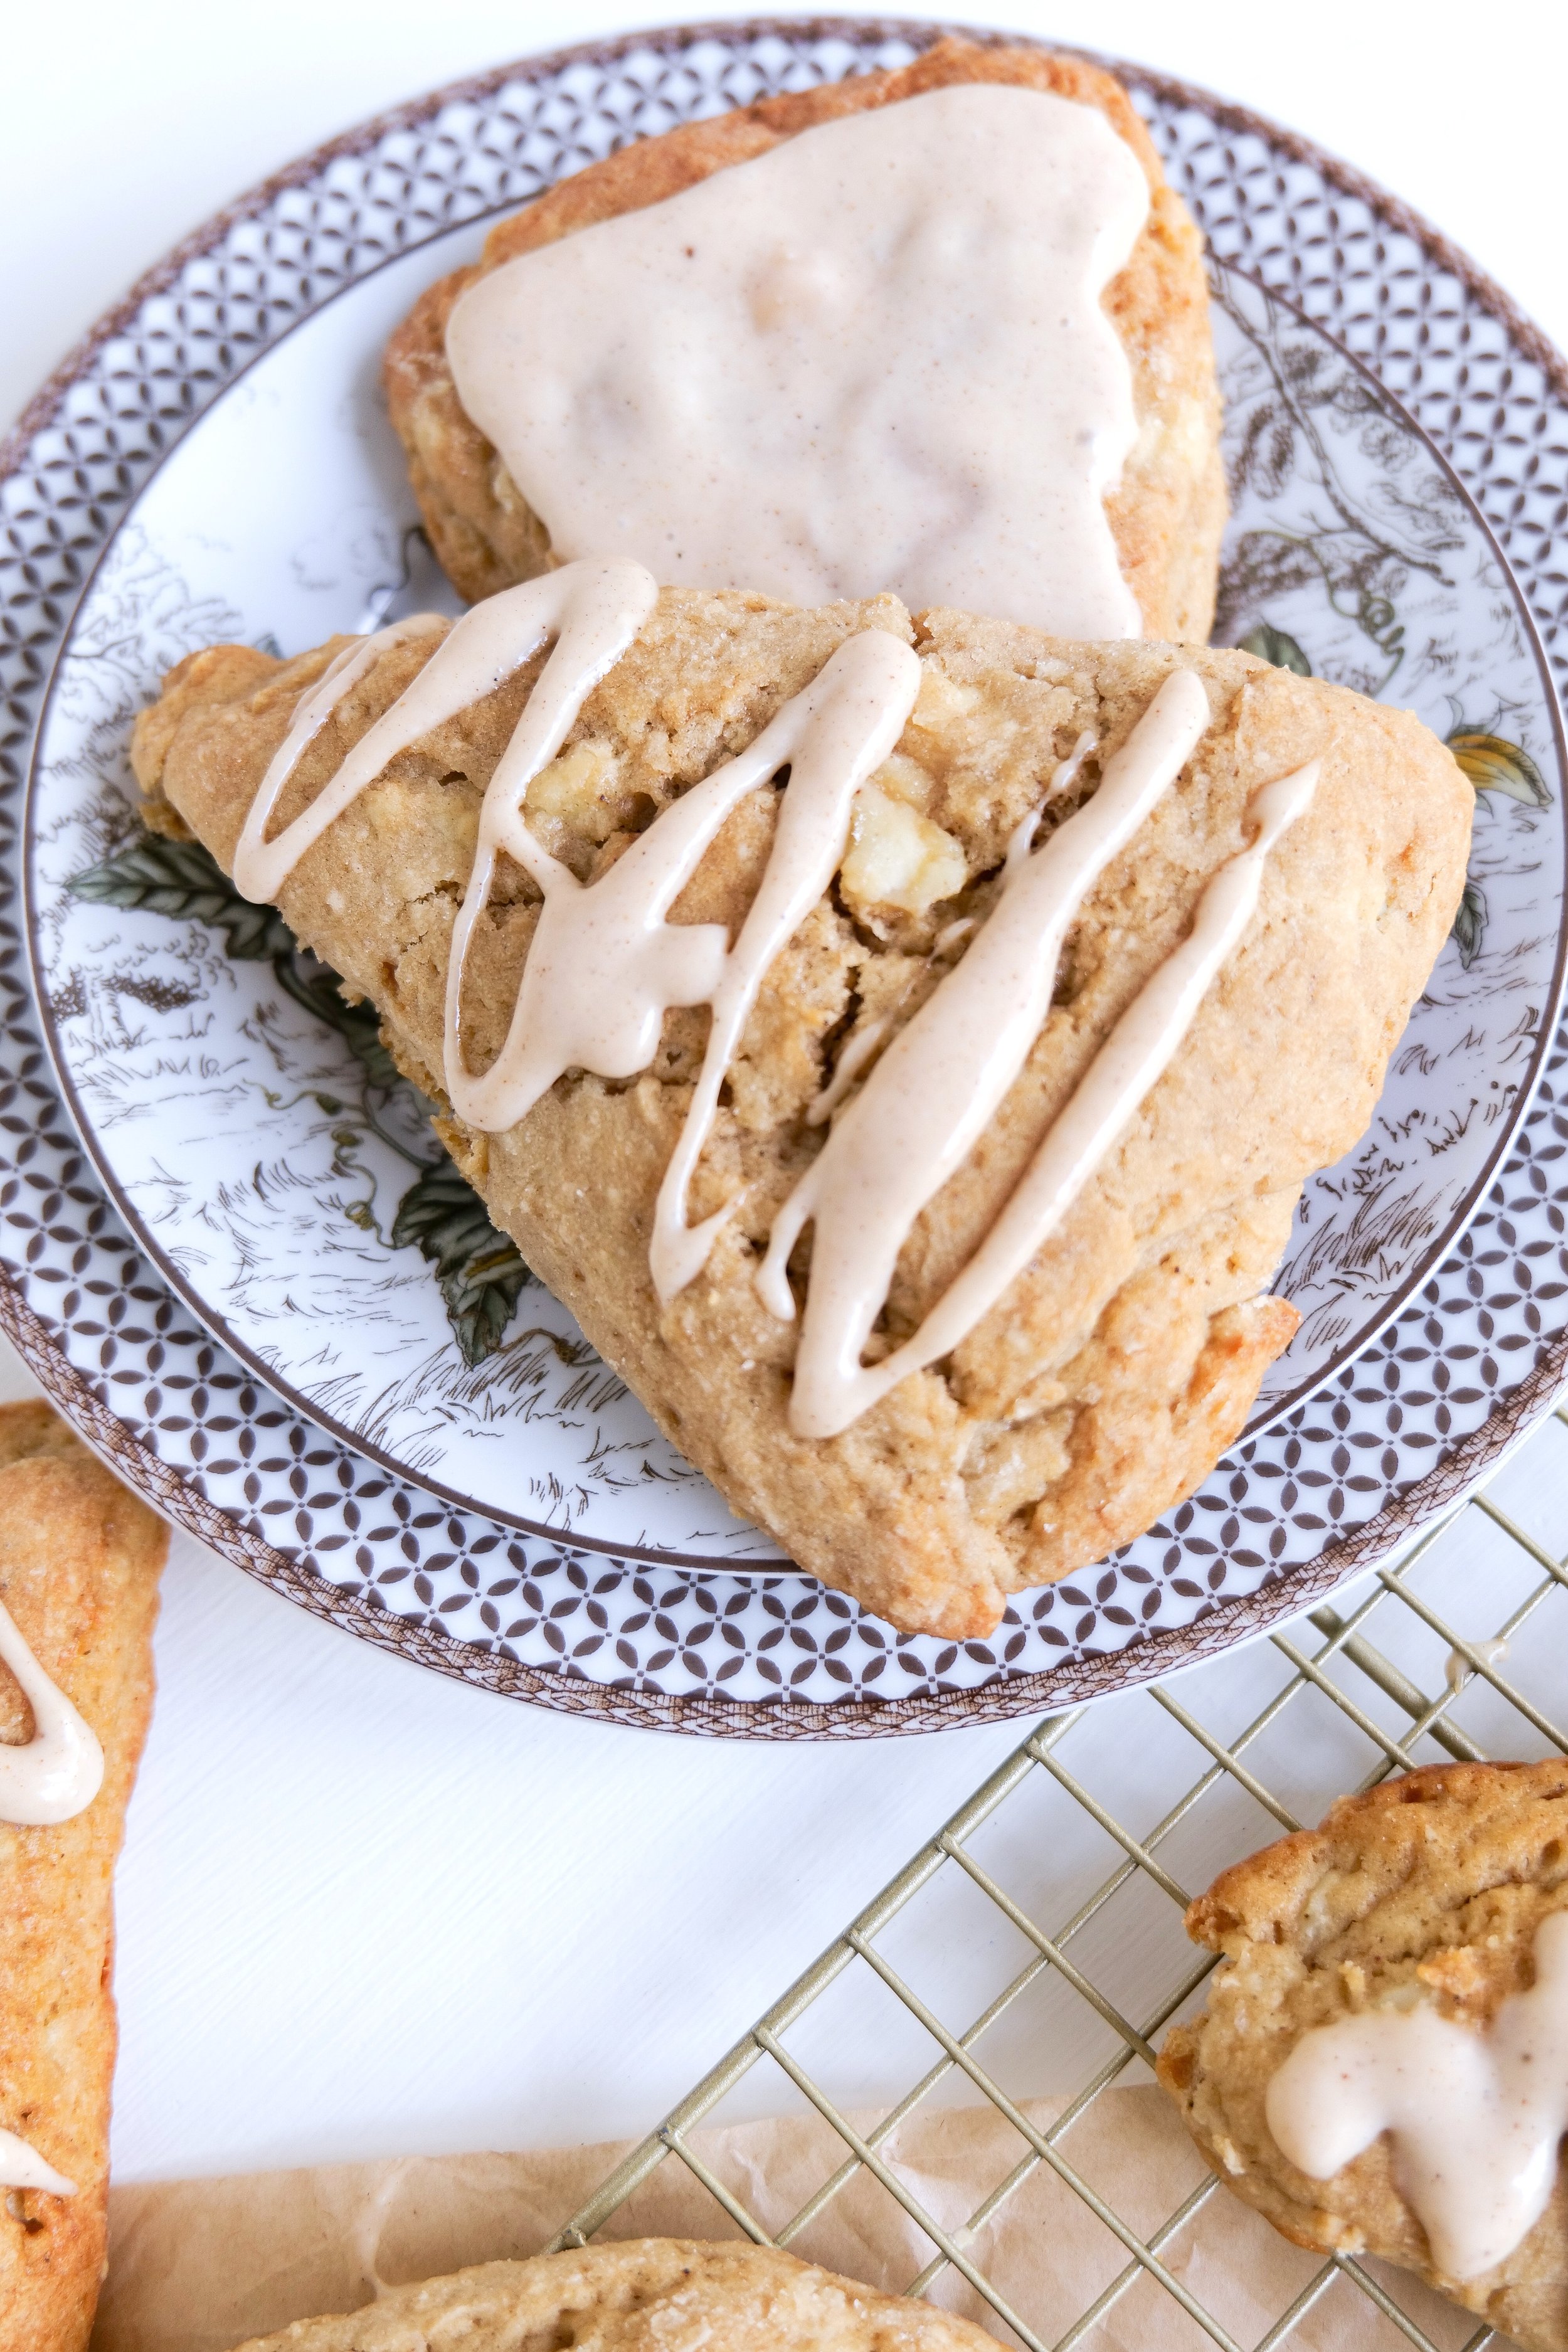
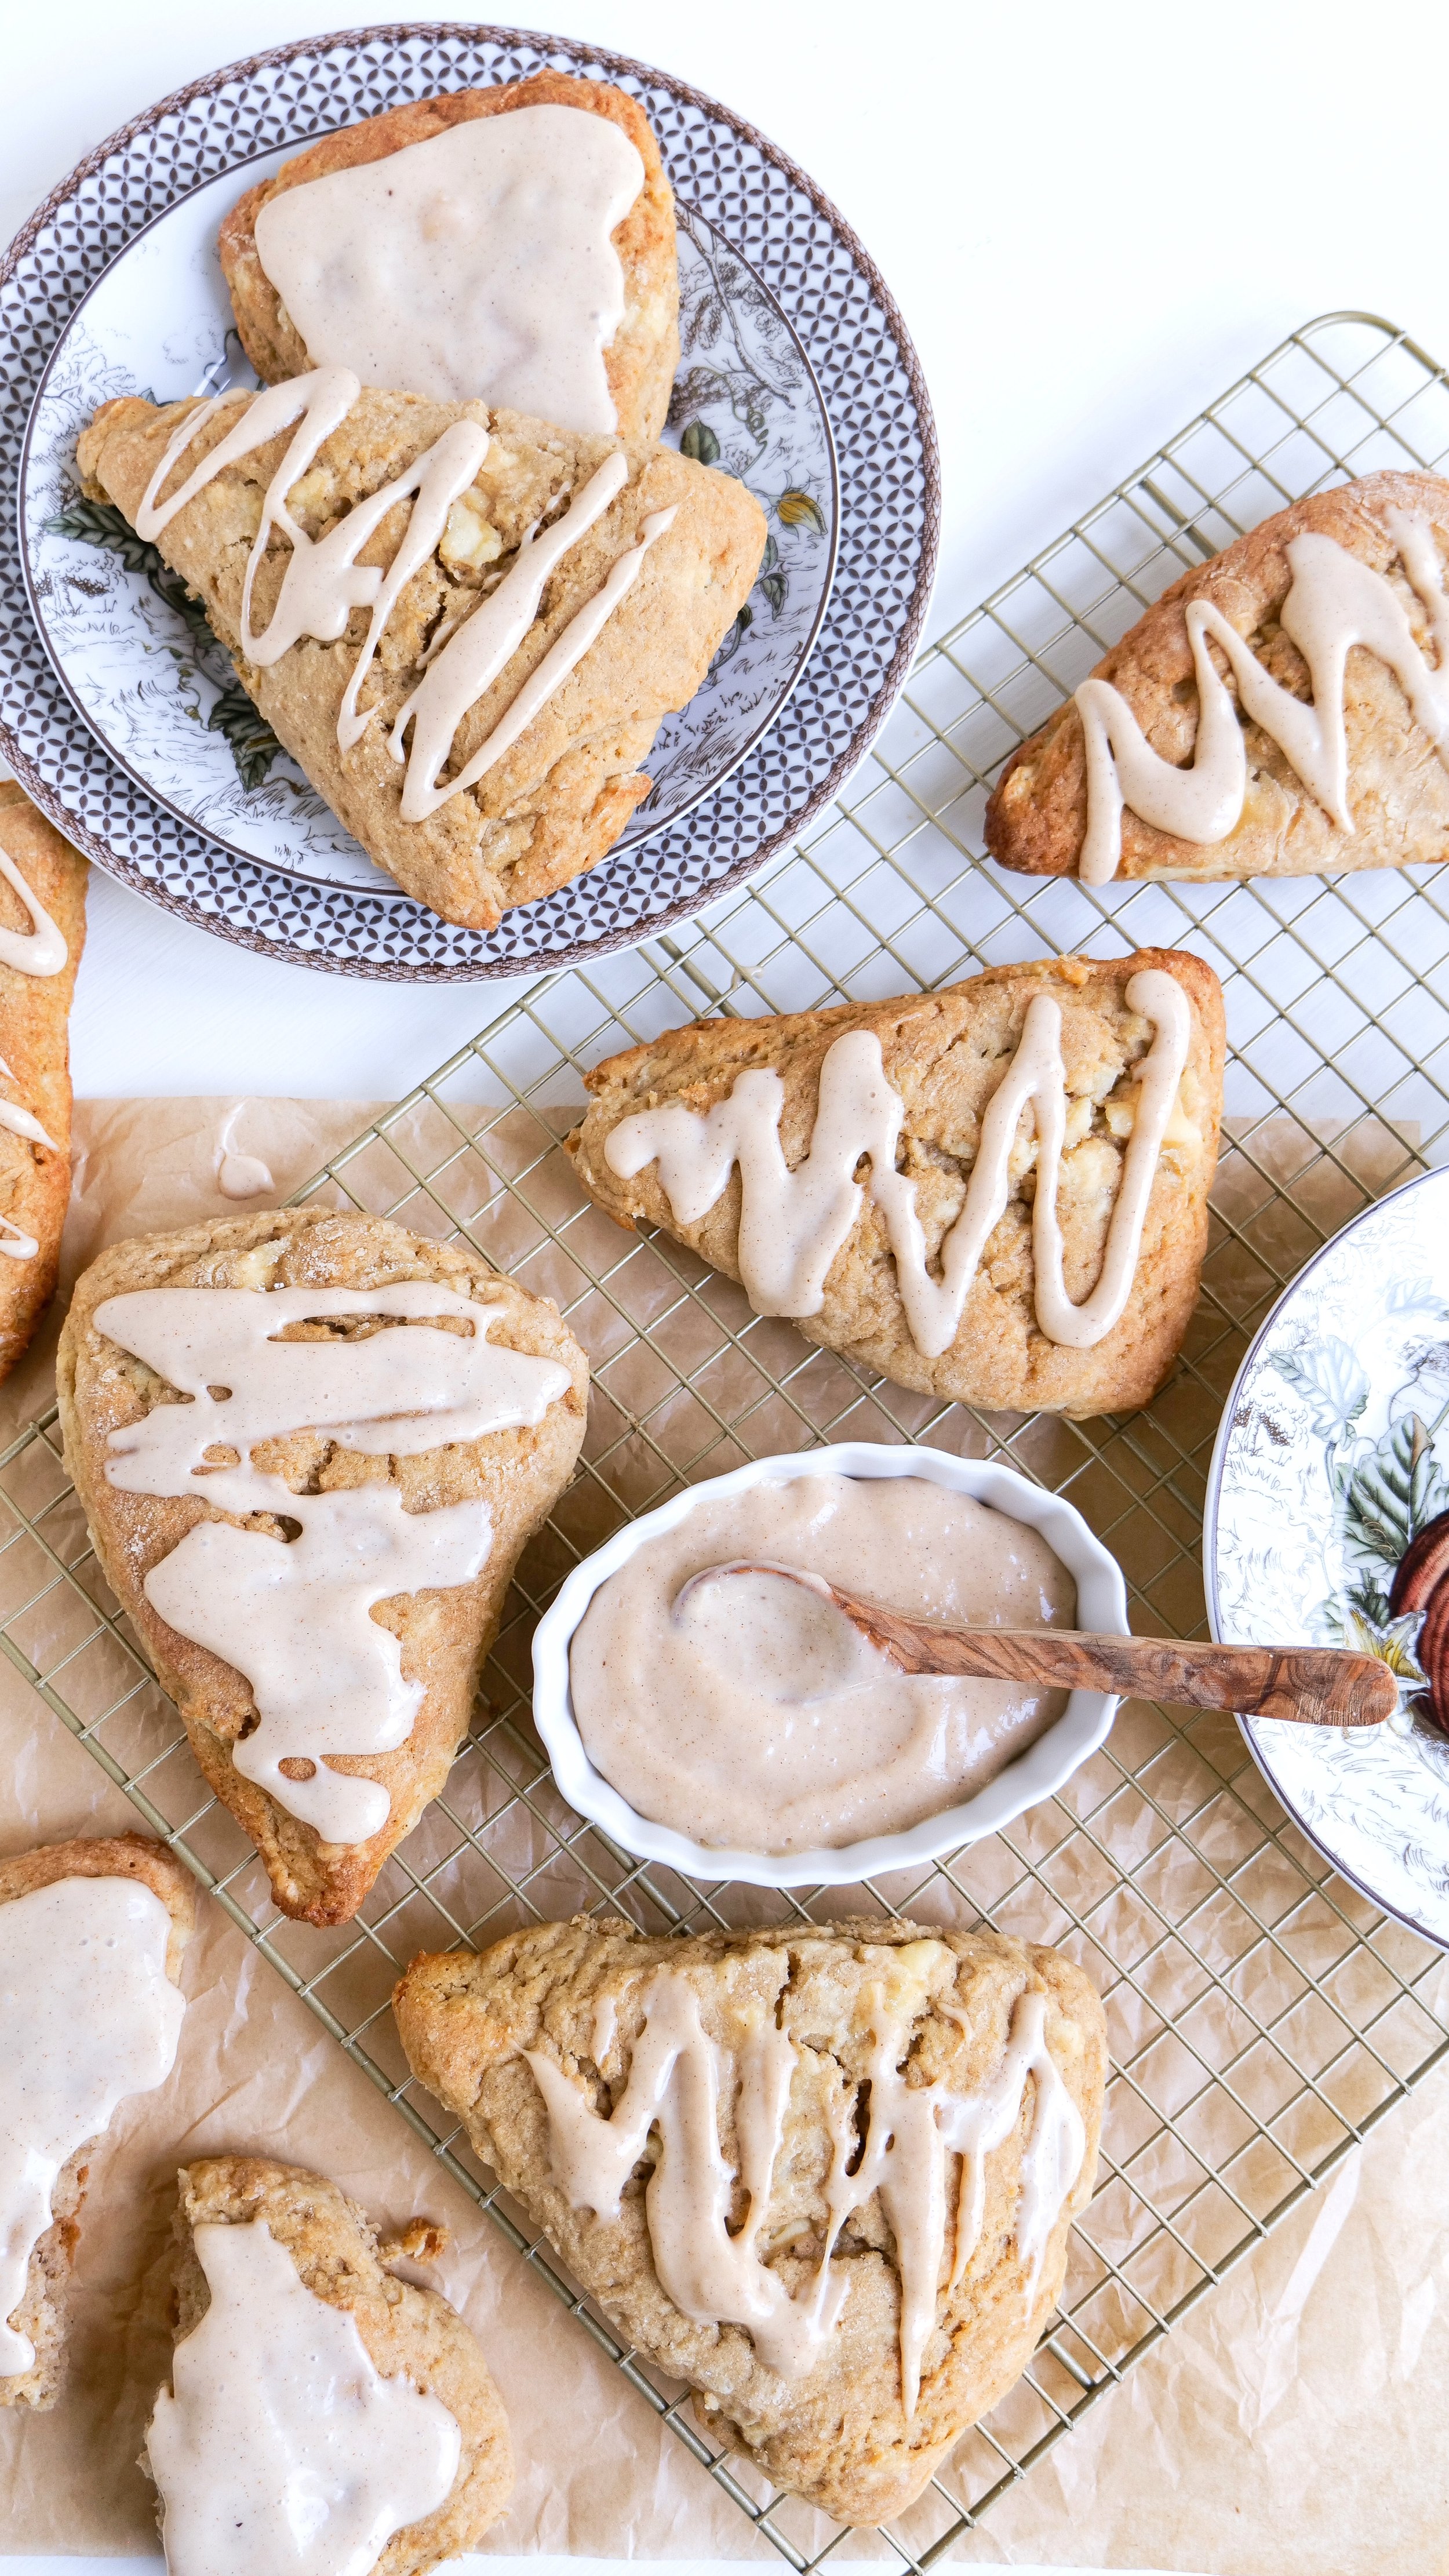
How to Make Fall Chai Low Sugar Scones with Splenda

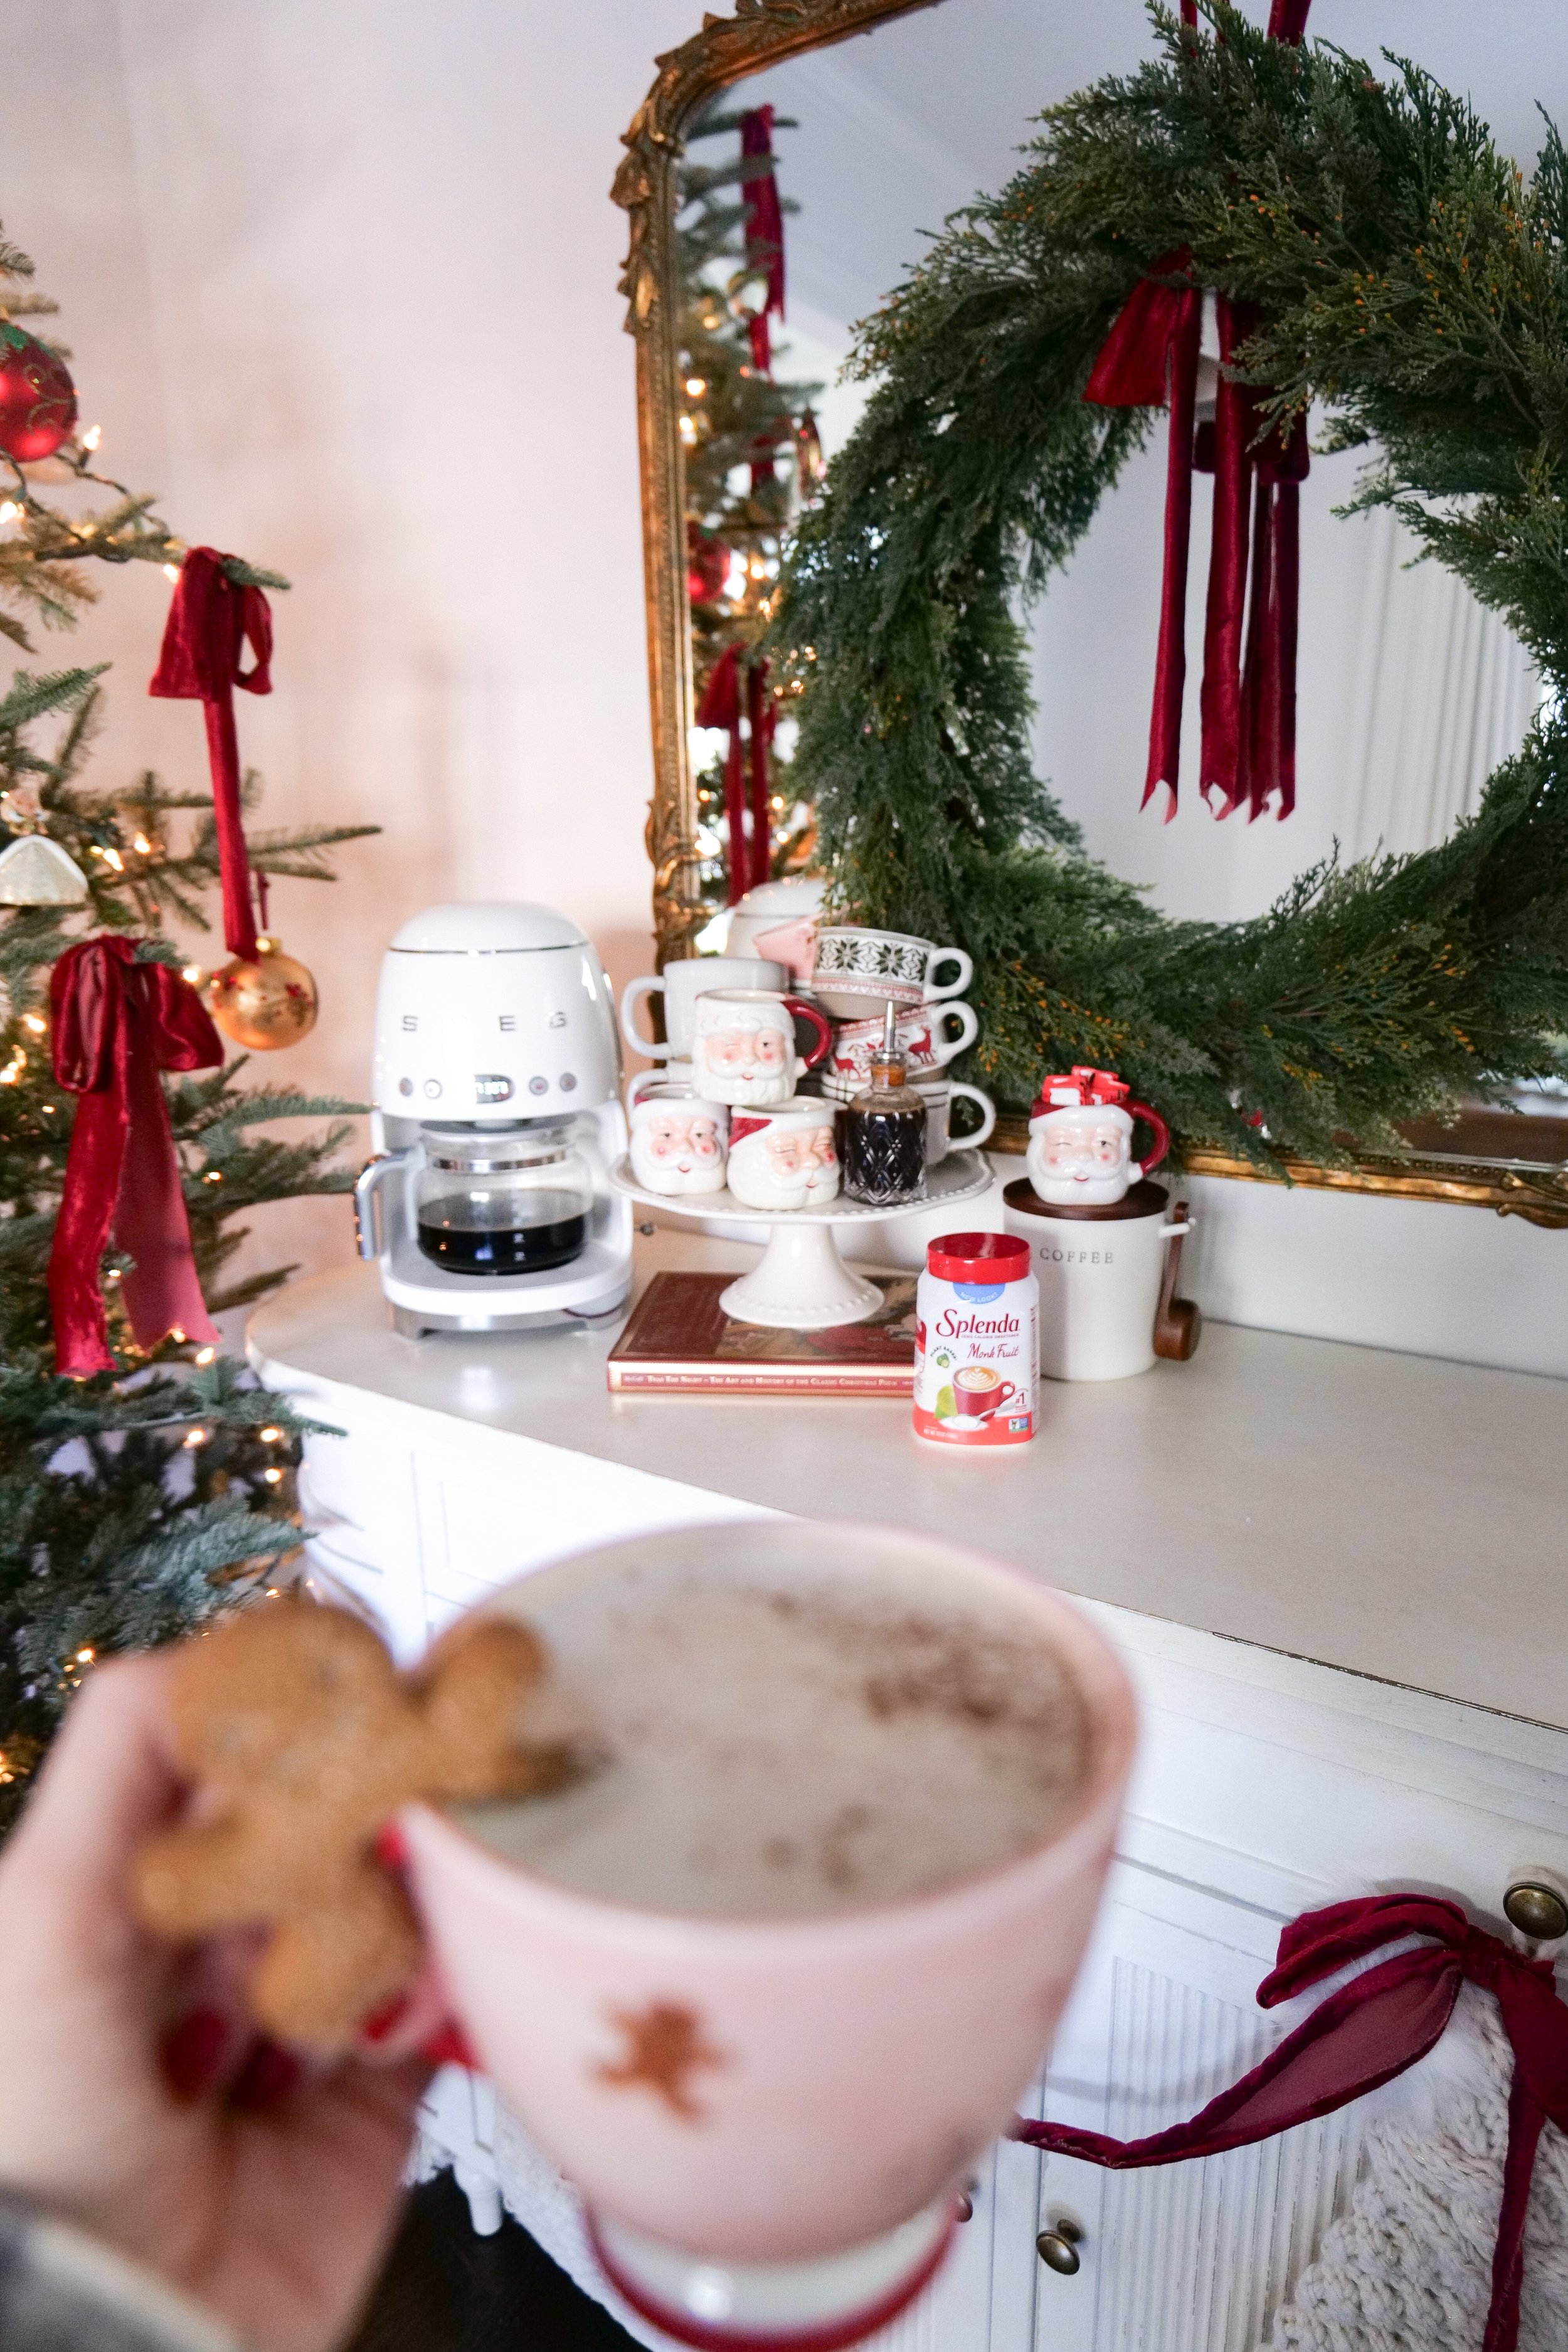
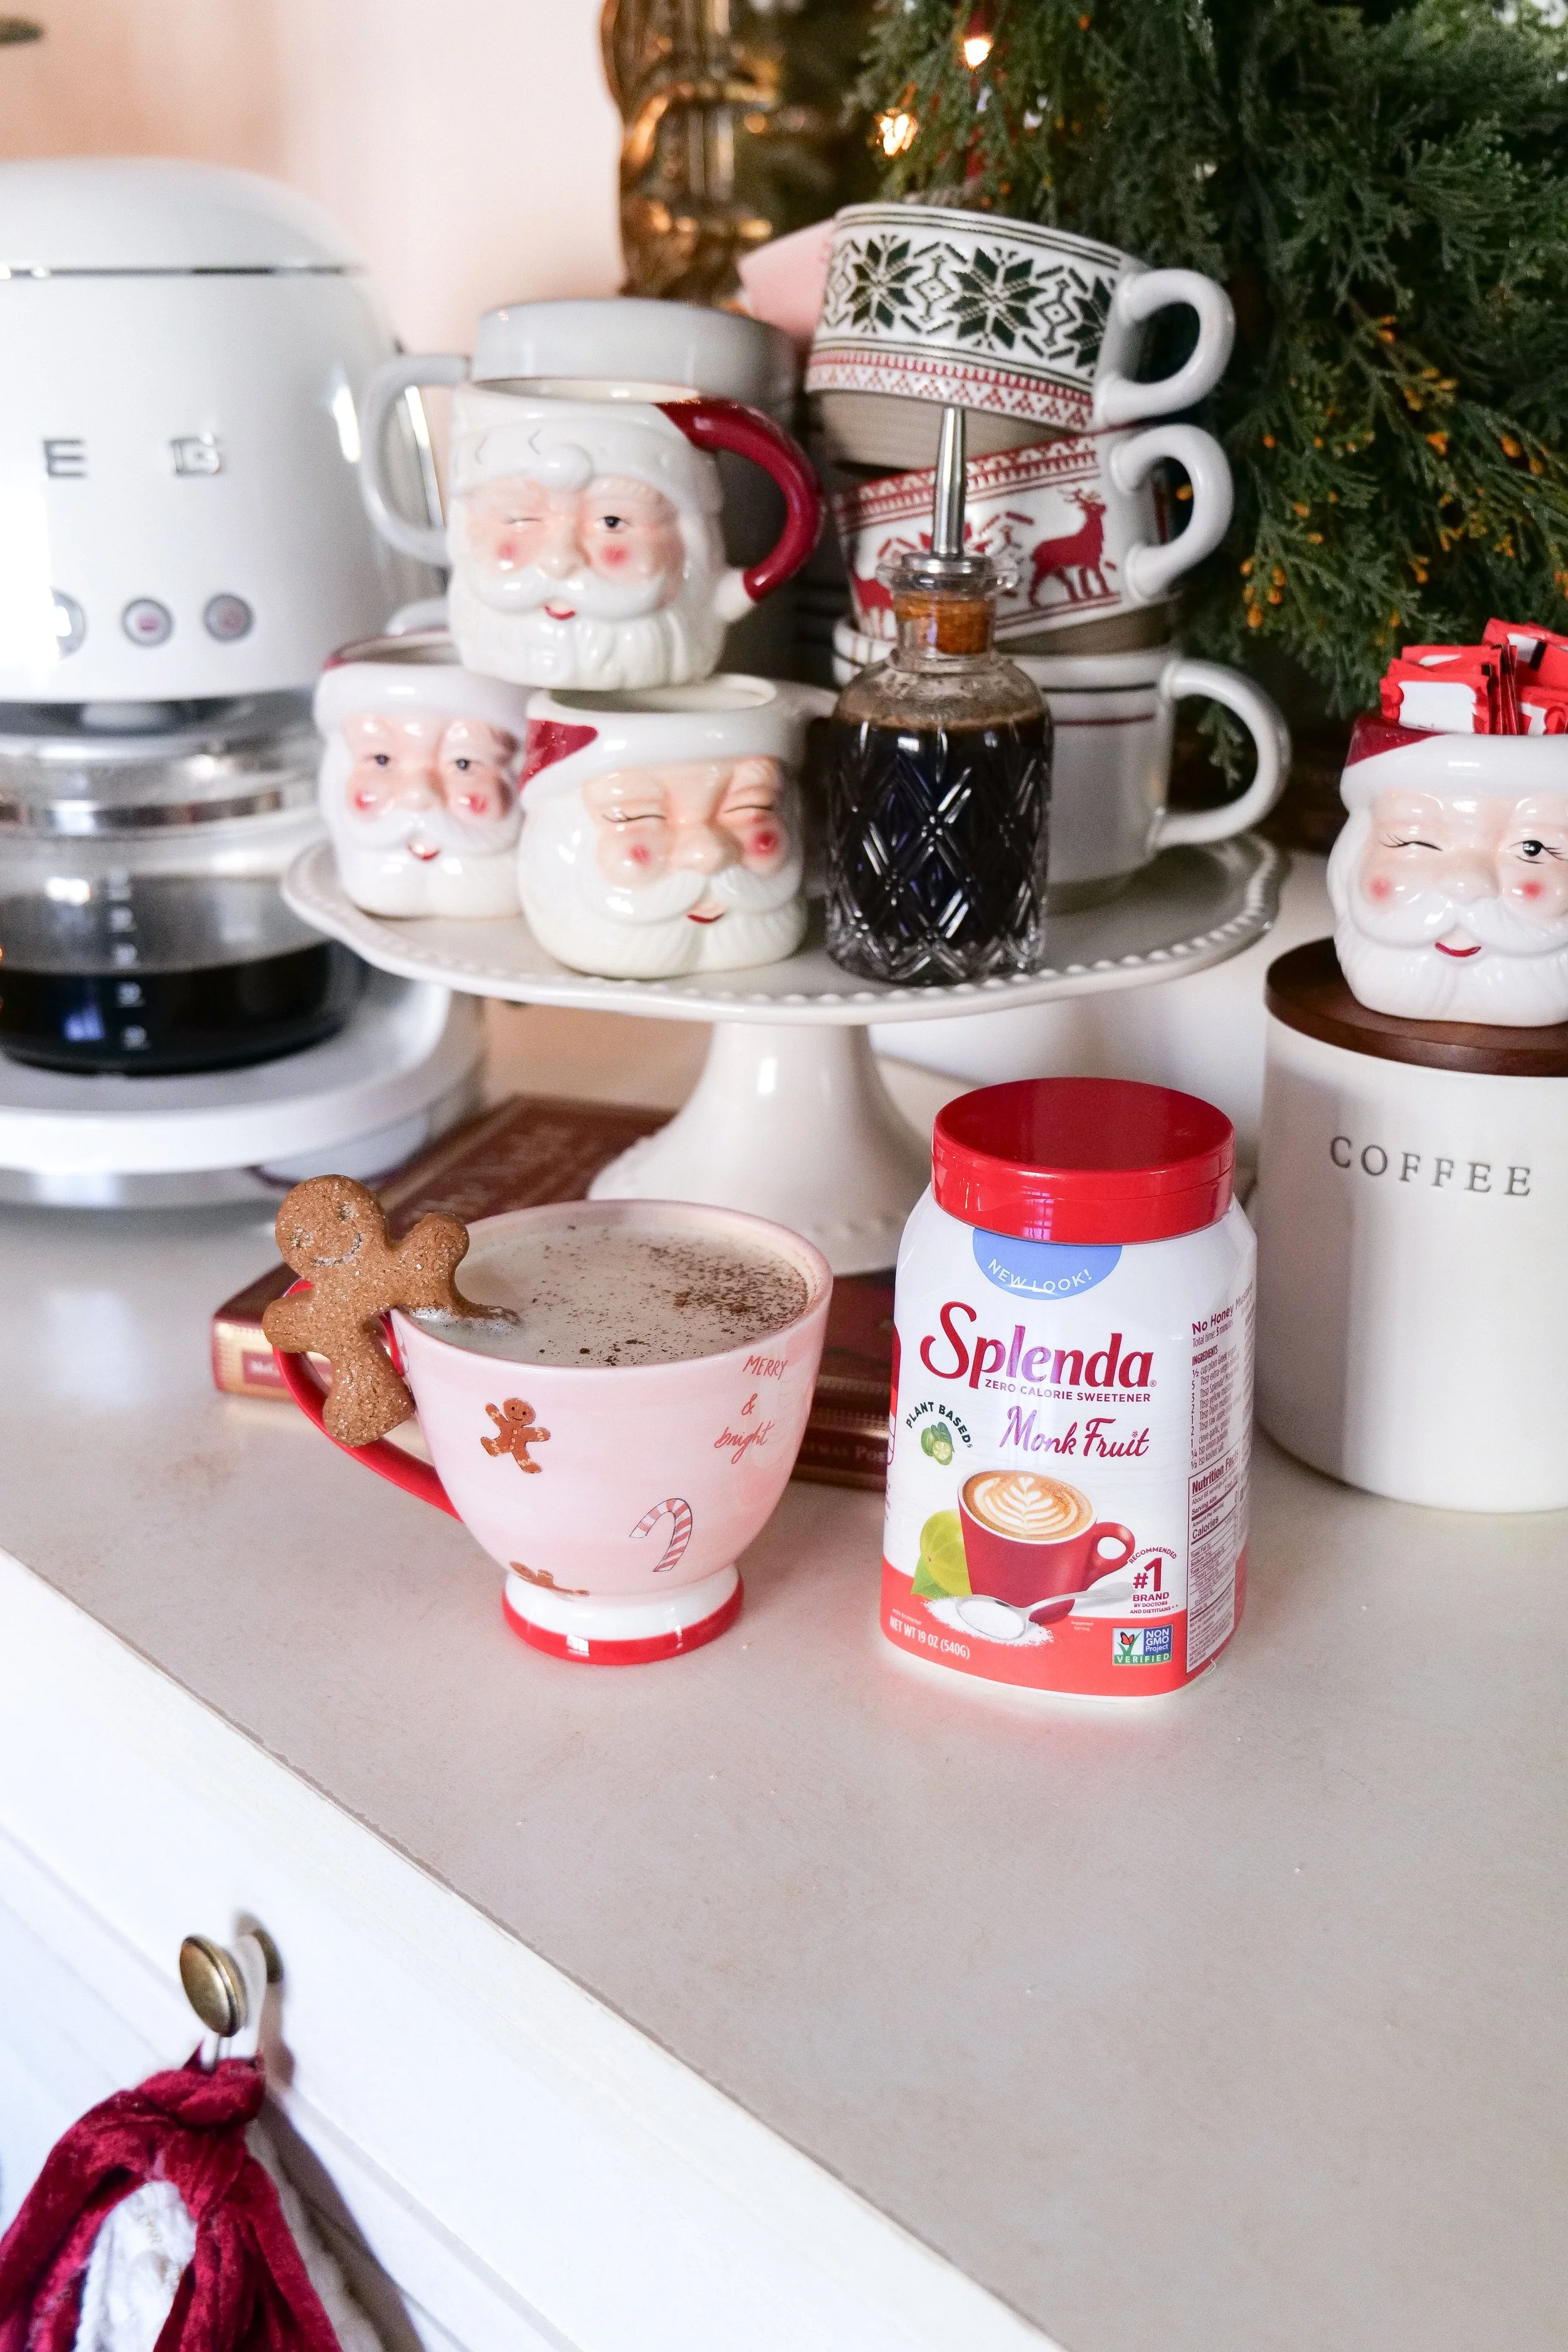
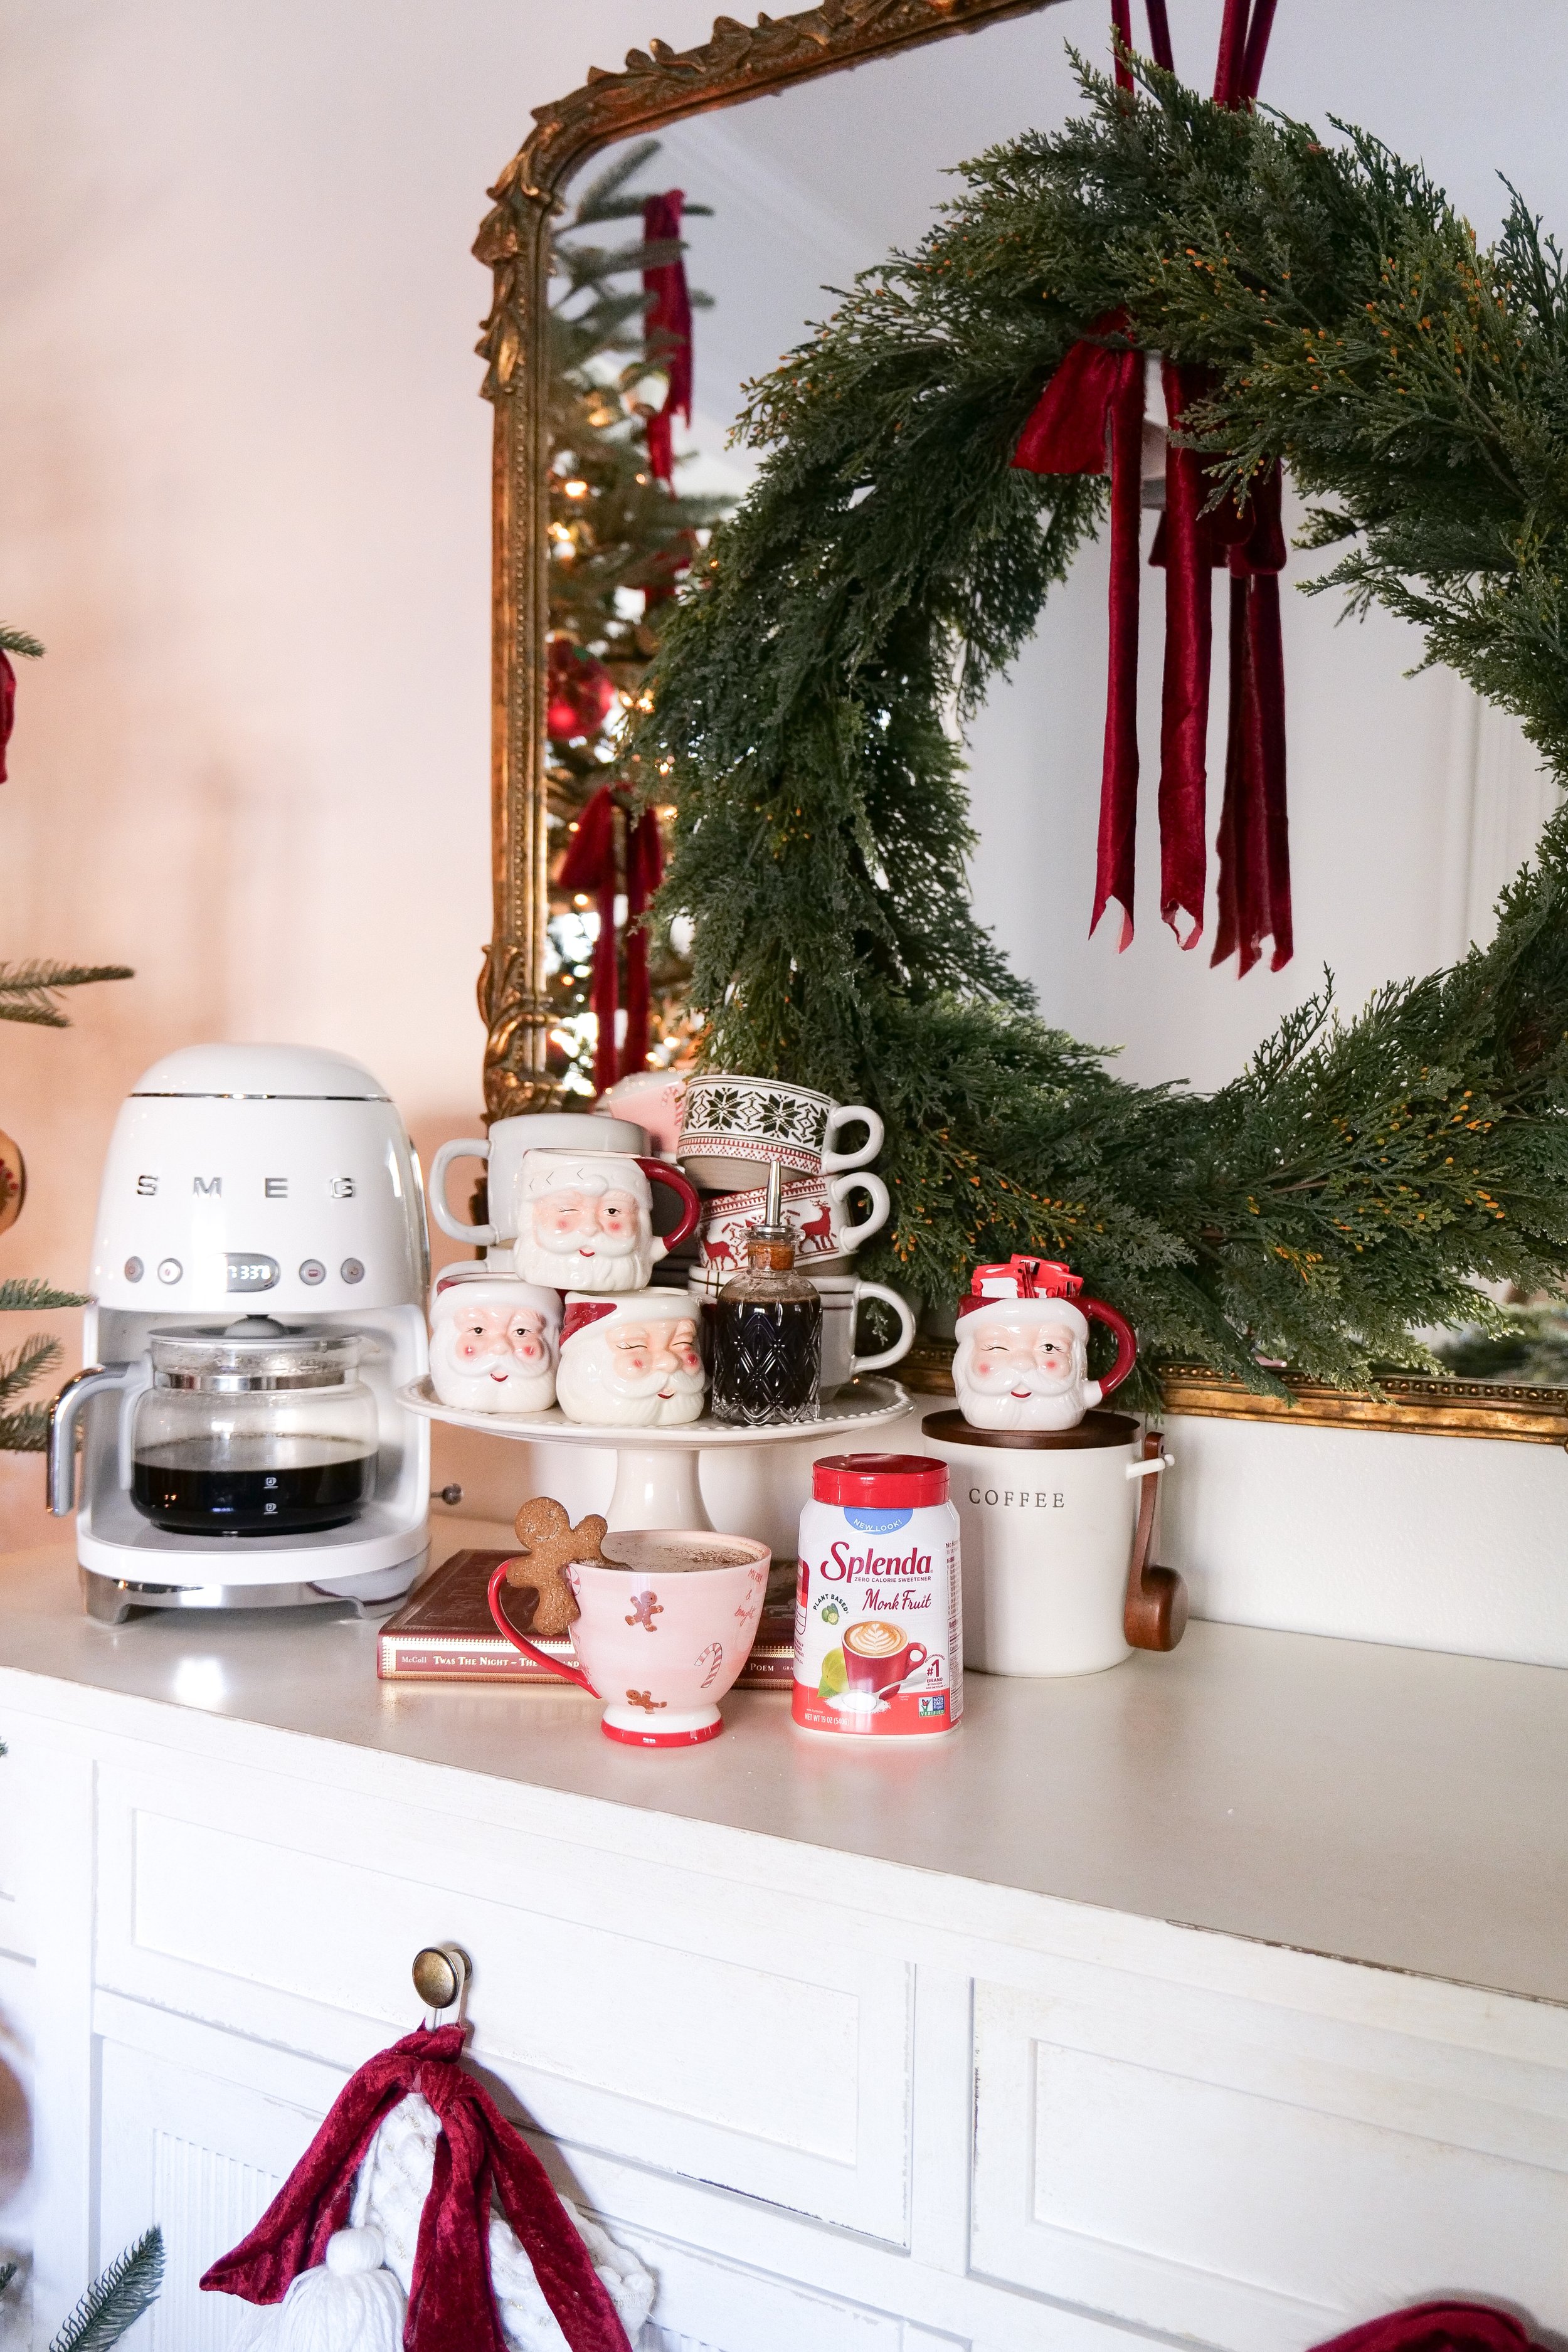
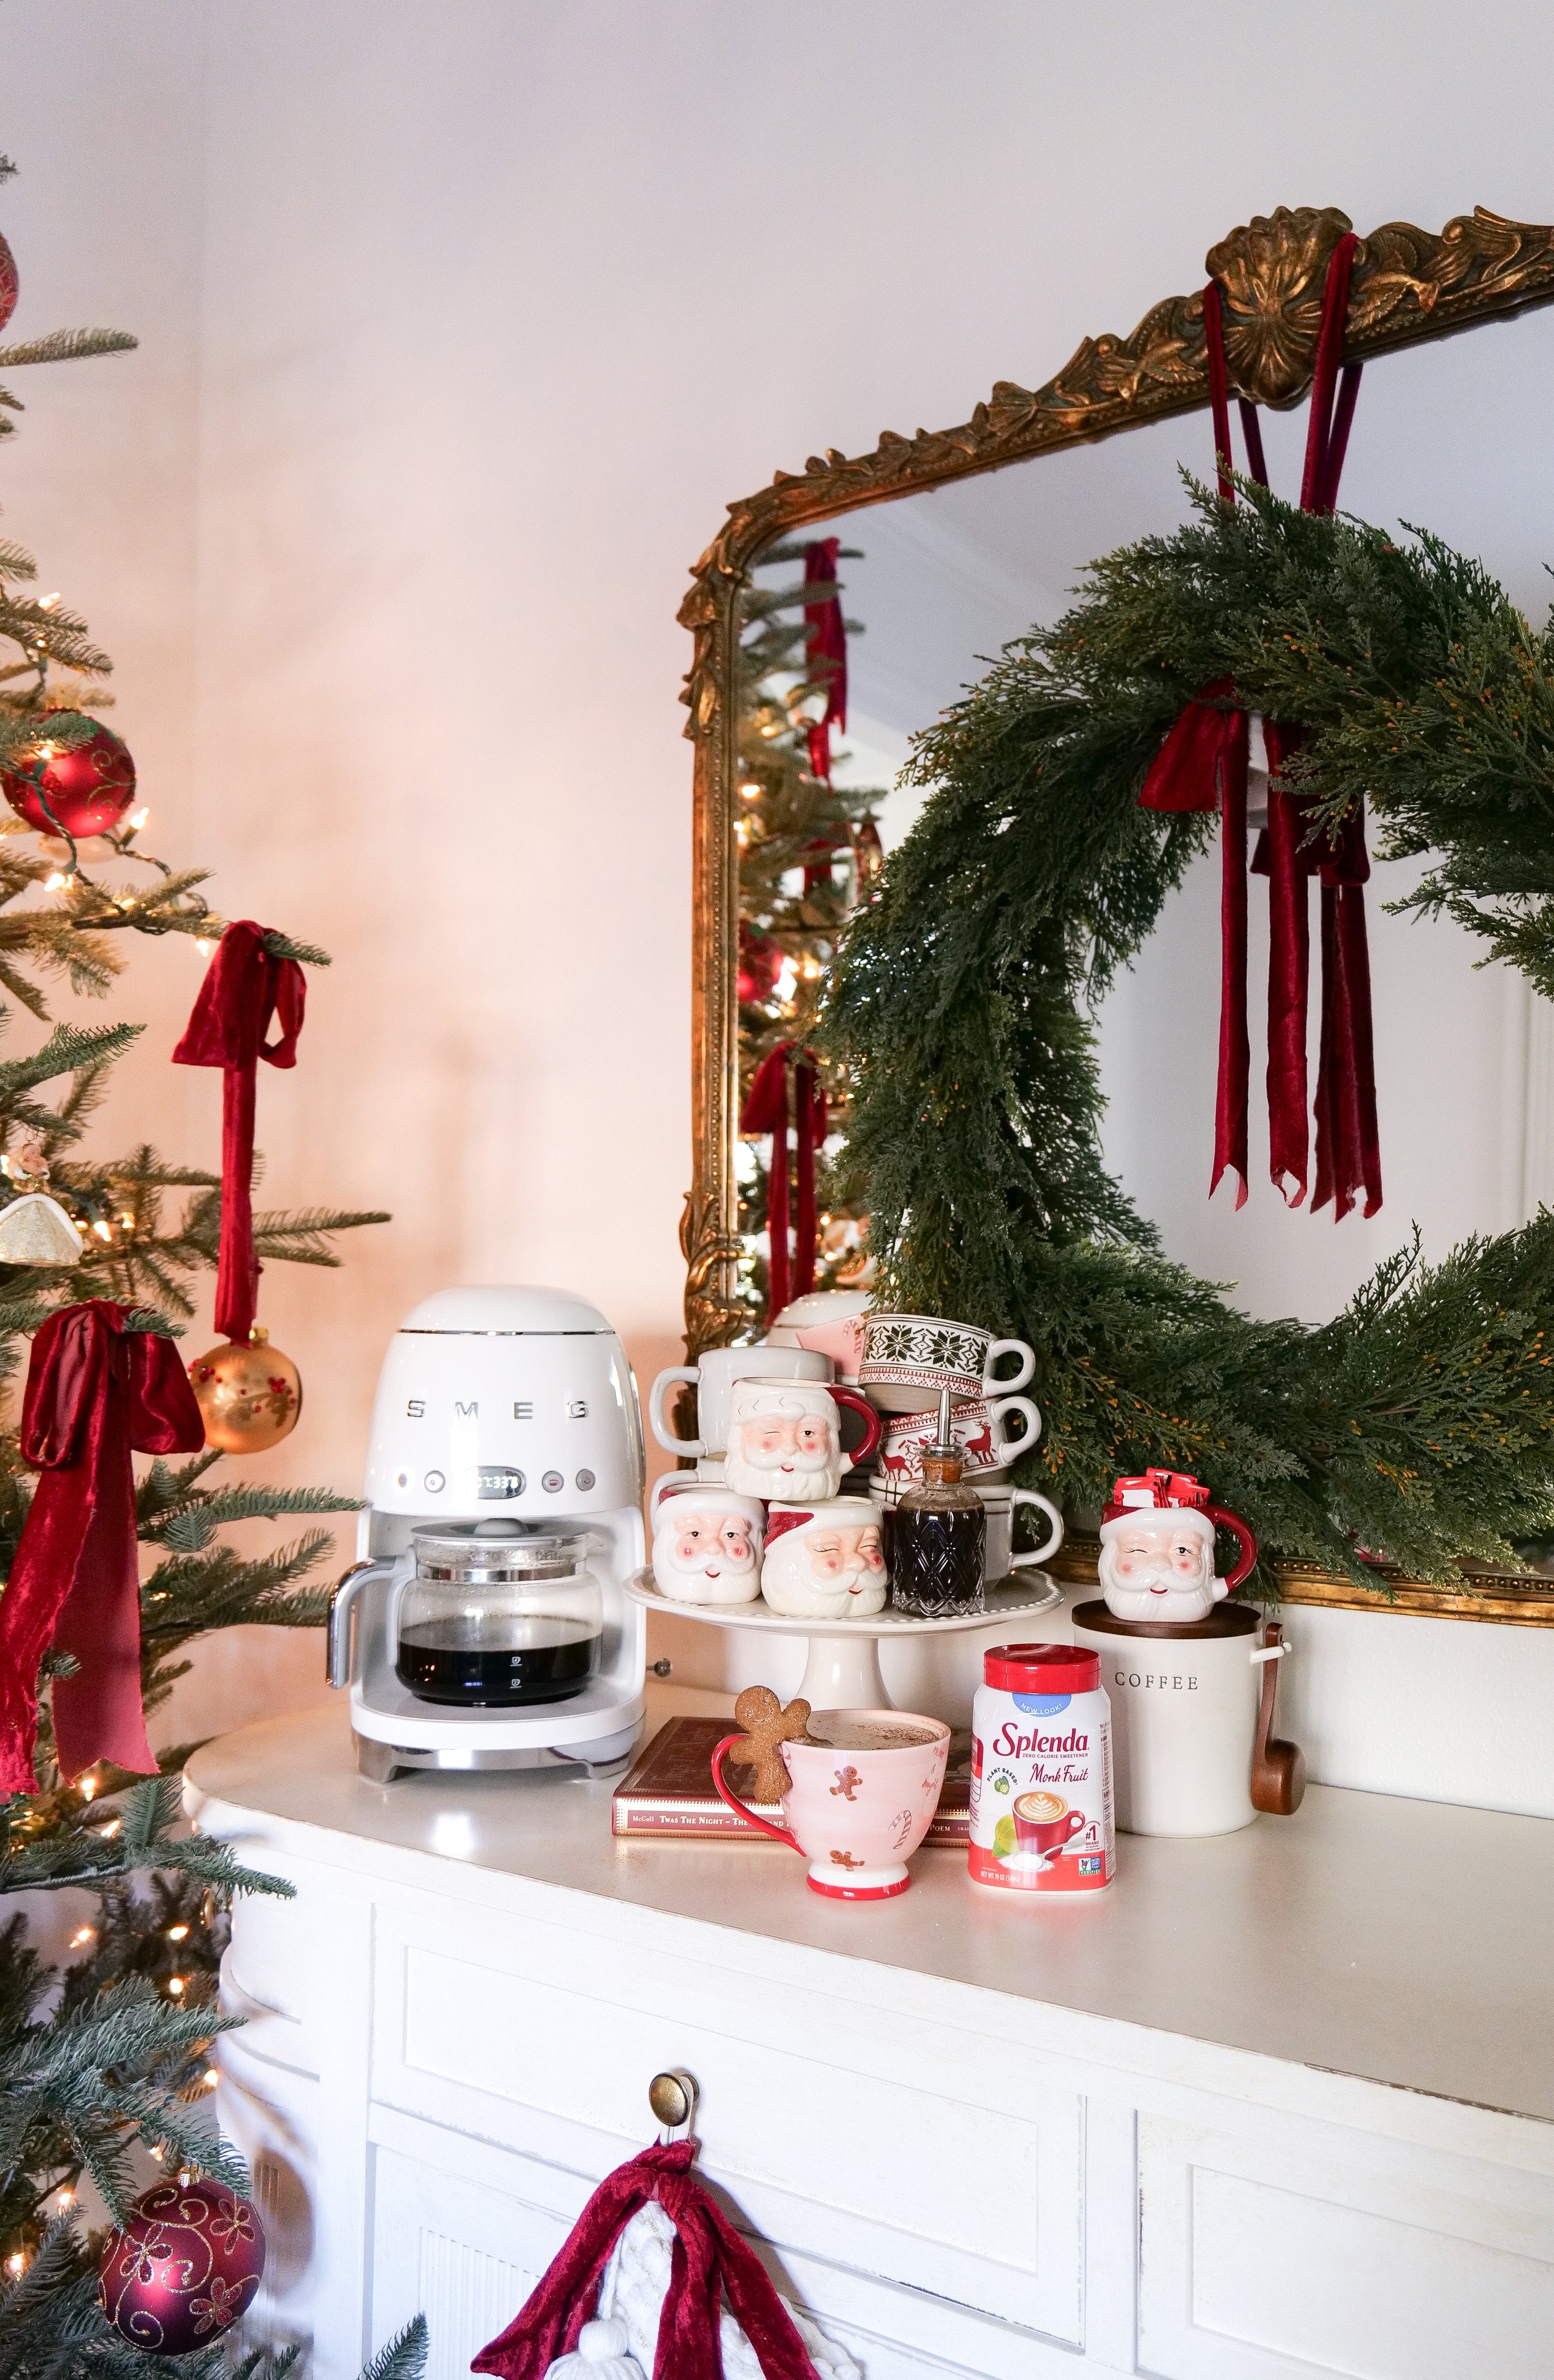
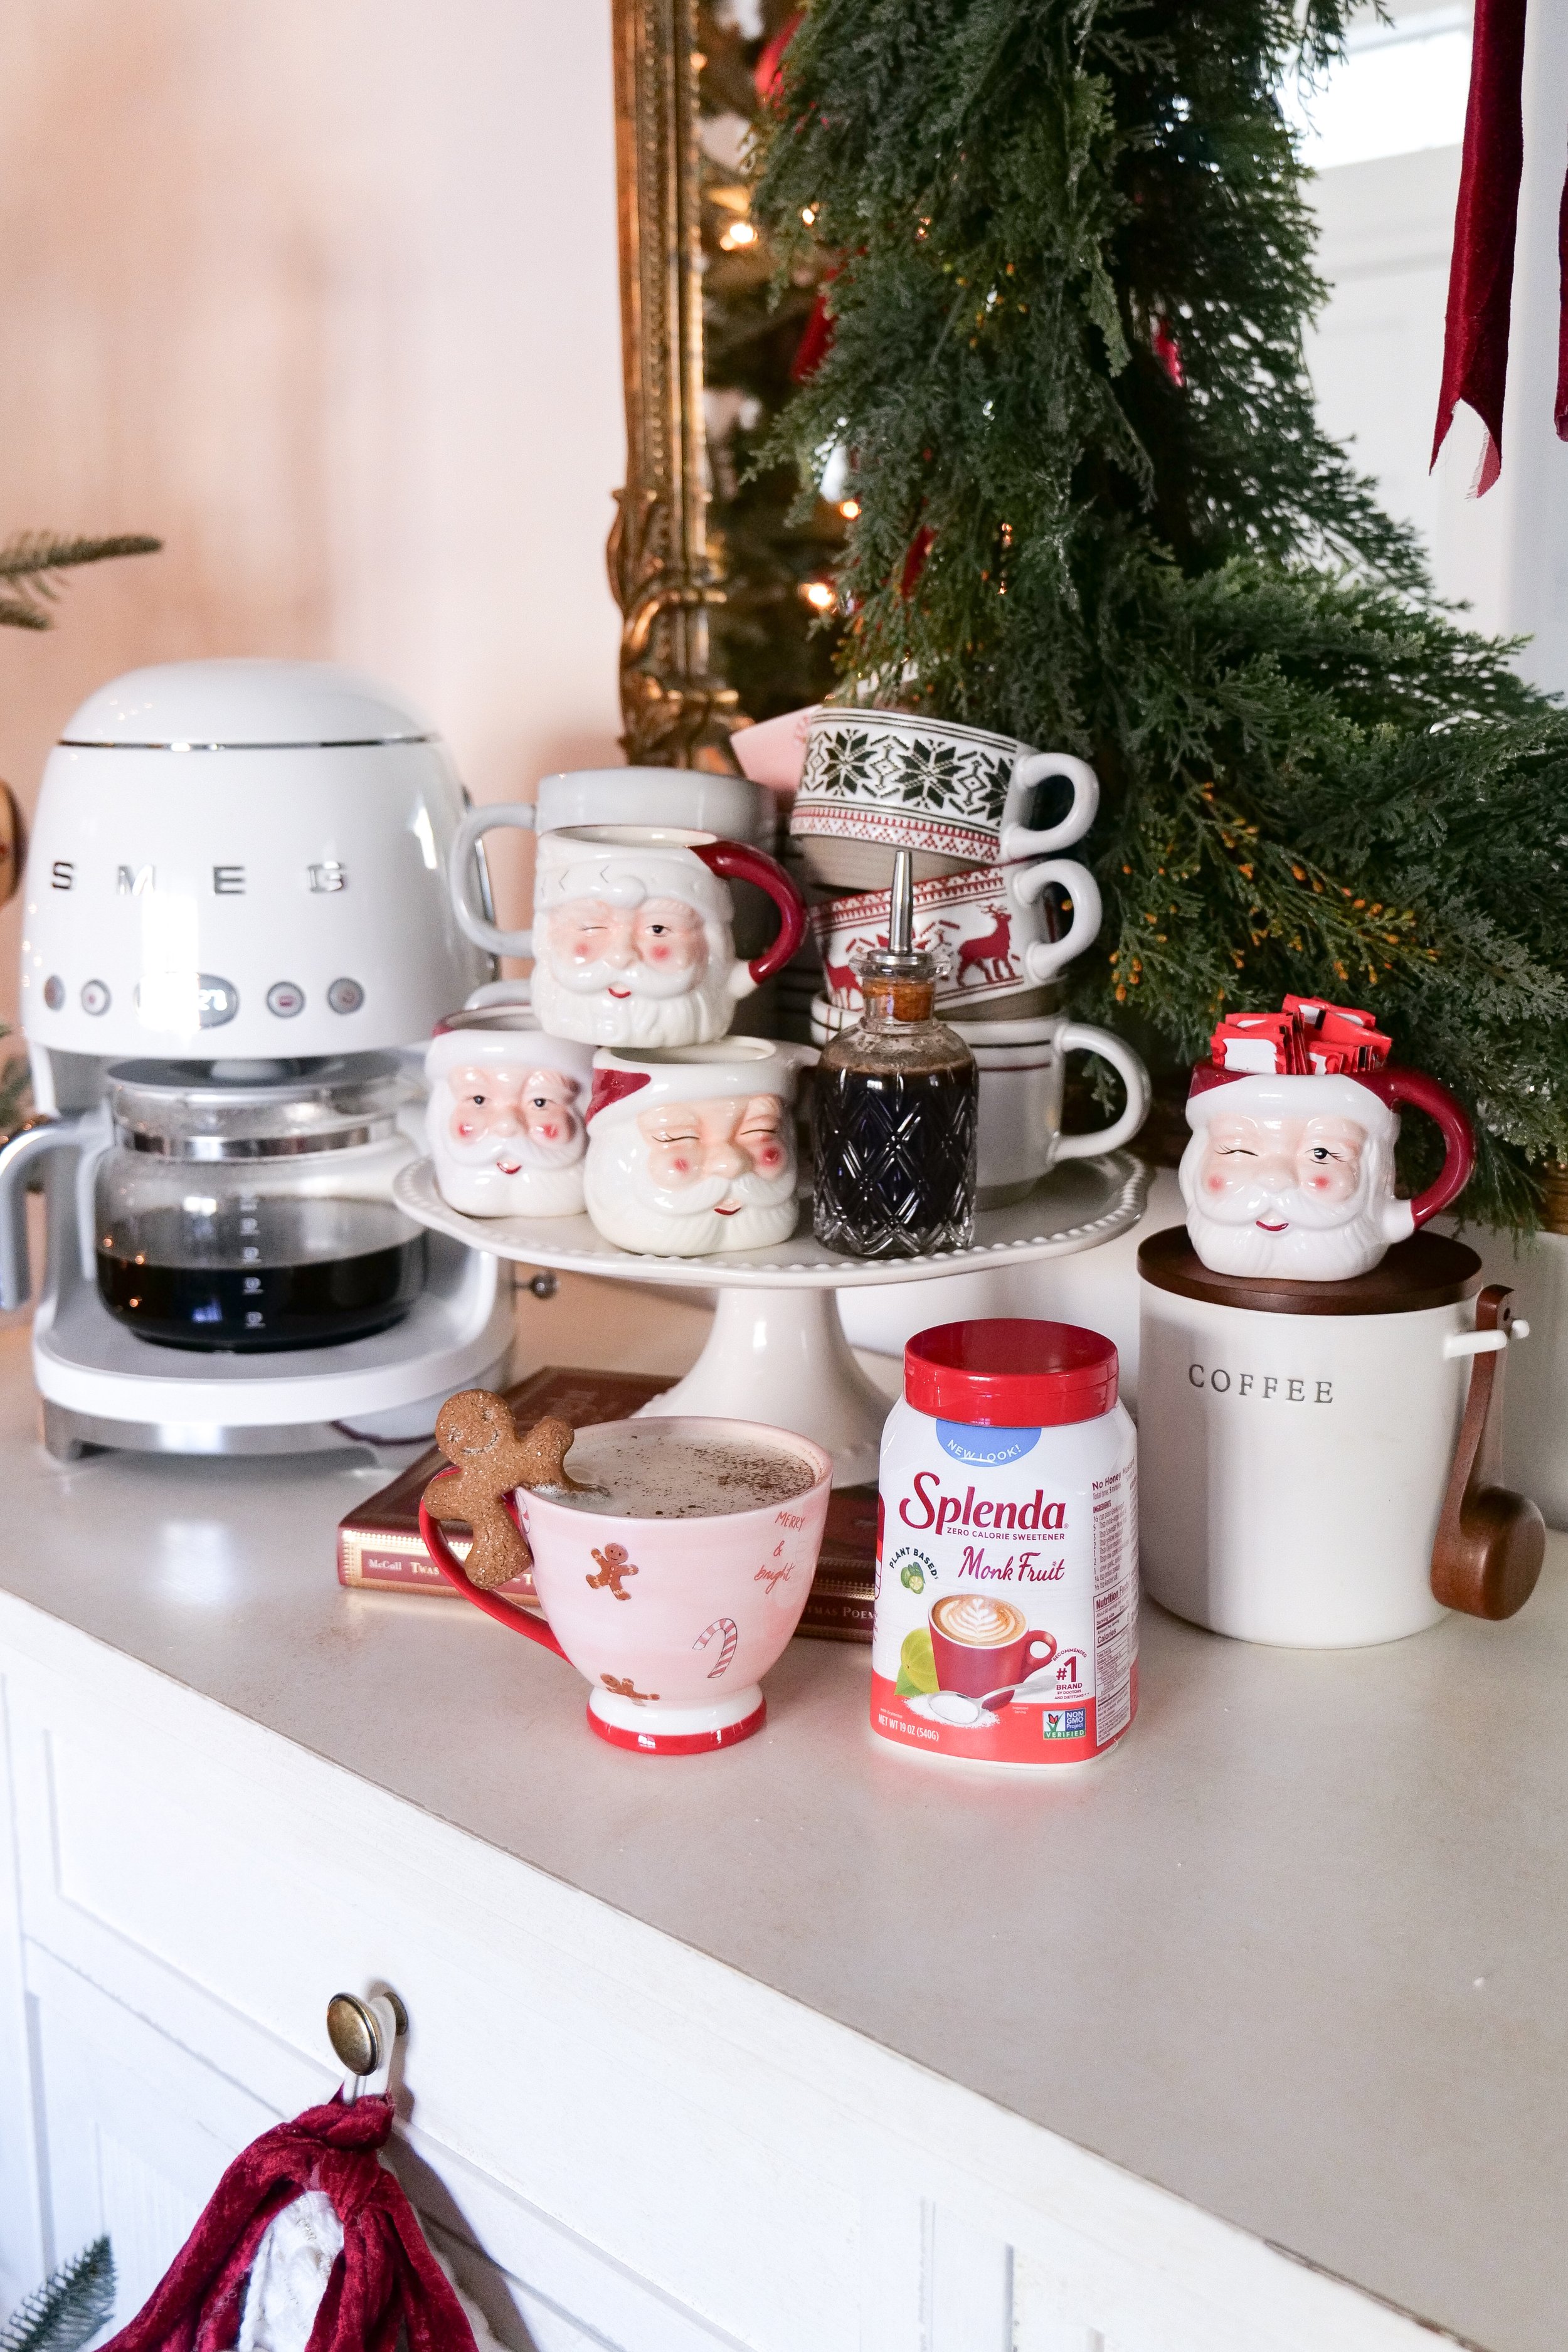
Indulge in Coziness: The Ultimate Homemade Gingerbread Latte Recipe with Splenda

A Deliciously Sweet Treat: Mini Key Lime Pies with Splenda

Banana Cake made with Brown Butter Frosting

Raspberry Low Sugar Scones made with Splenda

Indulge in Coziness: The Ultimate Homemade Gingerbread Latte Recipe with Splenda

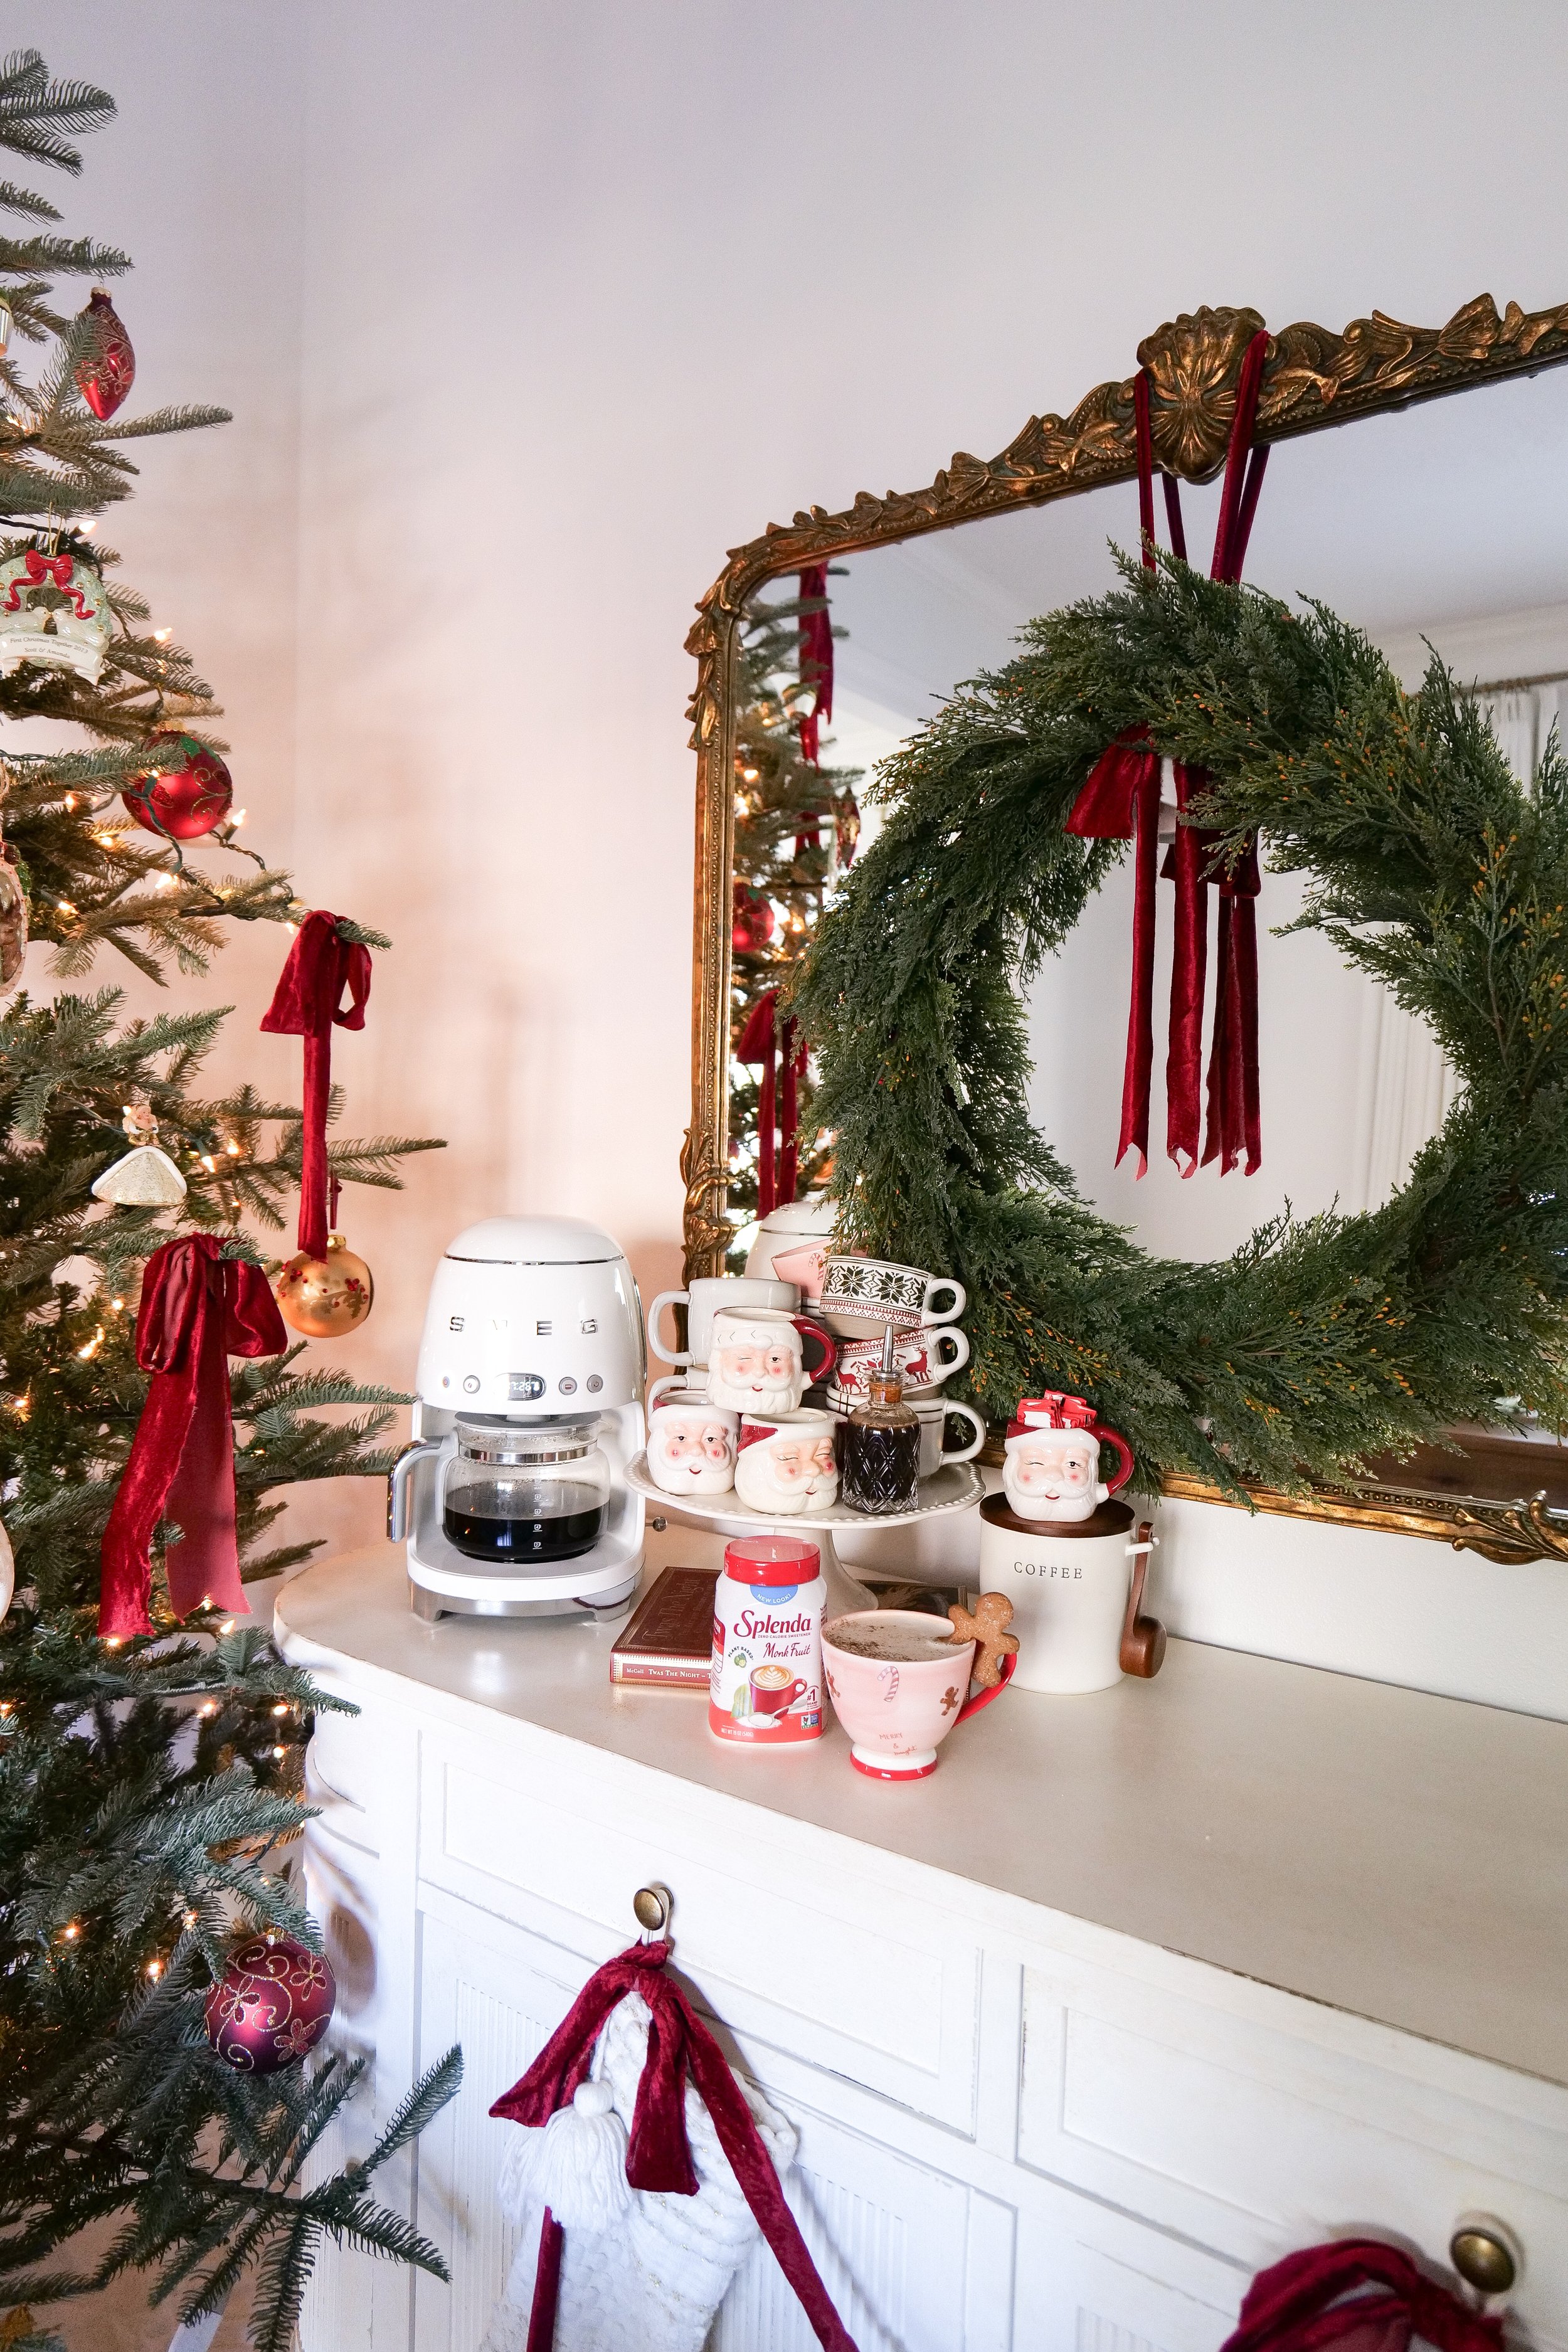
Step into the warmth of your kitchen and embrace the festive cheer as we delve into the world of spiced beverages with our homemade Gingerbread Latte recipe. As winter wraps its chilly fingers around us, what better way to fend off the cold than with a cup of this heartwarming drink that combines the richness of coffee with the nostalgic flavors of gingerbread? In this blog post, we'll guide you through the simple steps to crafting the perfect Gingerbread Latte, complete with the sweet and spicy notes of ginger, cinnamon, and nutmeg, topped with a luxurious swirl of heavy cream. So, pull out your favorite mug and get ready to fill your home with the enchanting aroma of a holiday classic, transformed into a soul-soothing concoction that's sure to become your go-to for cozy nights staying in.

Gingerbread Latte is a delicious and easy-to-make holiday beverage that is perfect for this time of year. With just a few simple ingredients, you can make a delicious gingerbread latte right in the comfort of your own home. This recipe is sure to become a family favorite and is a great way to get into the holiday spirit.

The ingredients for this recipe are simple and easy to find. All you need is espresso or strong-brewed coffee, milk, gingerbread syrup, and whipped cream. Once you have the ingredients, the recipe is incredibly simple to follow. Start by brewing your espresso or coffee. Then, add the gingerbread syrup and milk to the espresso or coffee and stir until combined.

Why You Need to Make This Recipe

Are you looking for a delicious and festive holiday beverage to enjoy throughout the winter season? Look no further than the Gingerbread Latte! This easy-to-make recipe requires minimal ingredients and can be customized to suit individual preferences. The combination of coffee, spices, and molasses creates a unique flavor that will leave you wanting more. The warm, comforting aroma of the gingerbread spices will fill the air and get you in the holiday spirit. The rich and creamy texture of the latte is sure to provide a cozy, indulgent experience. The presentation of this beverage is sure to be a hit and make a great addition to any holiday party. Try this easy-to-make Gingerbread Latte recipe today and enjoy a comforting and festive drink this winter season!
Ingredients

Coffee or Espresso

Heavy Cream or Milk

Gingerbread Syrup Recipe

1 Cup Water

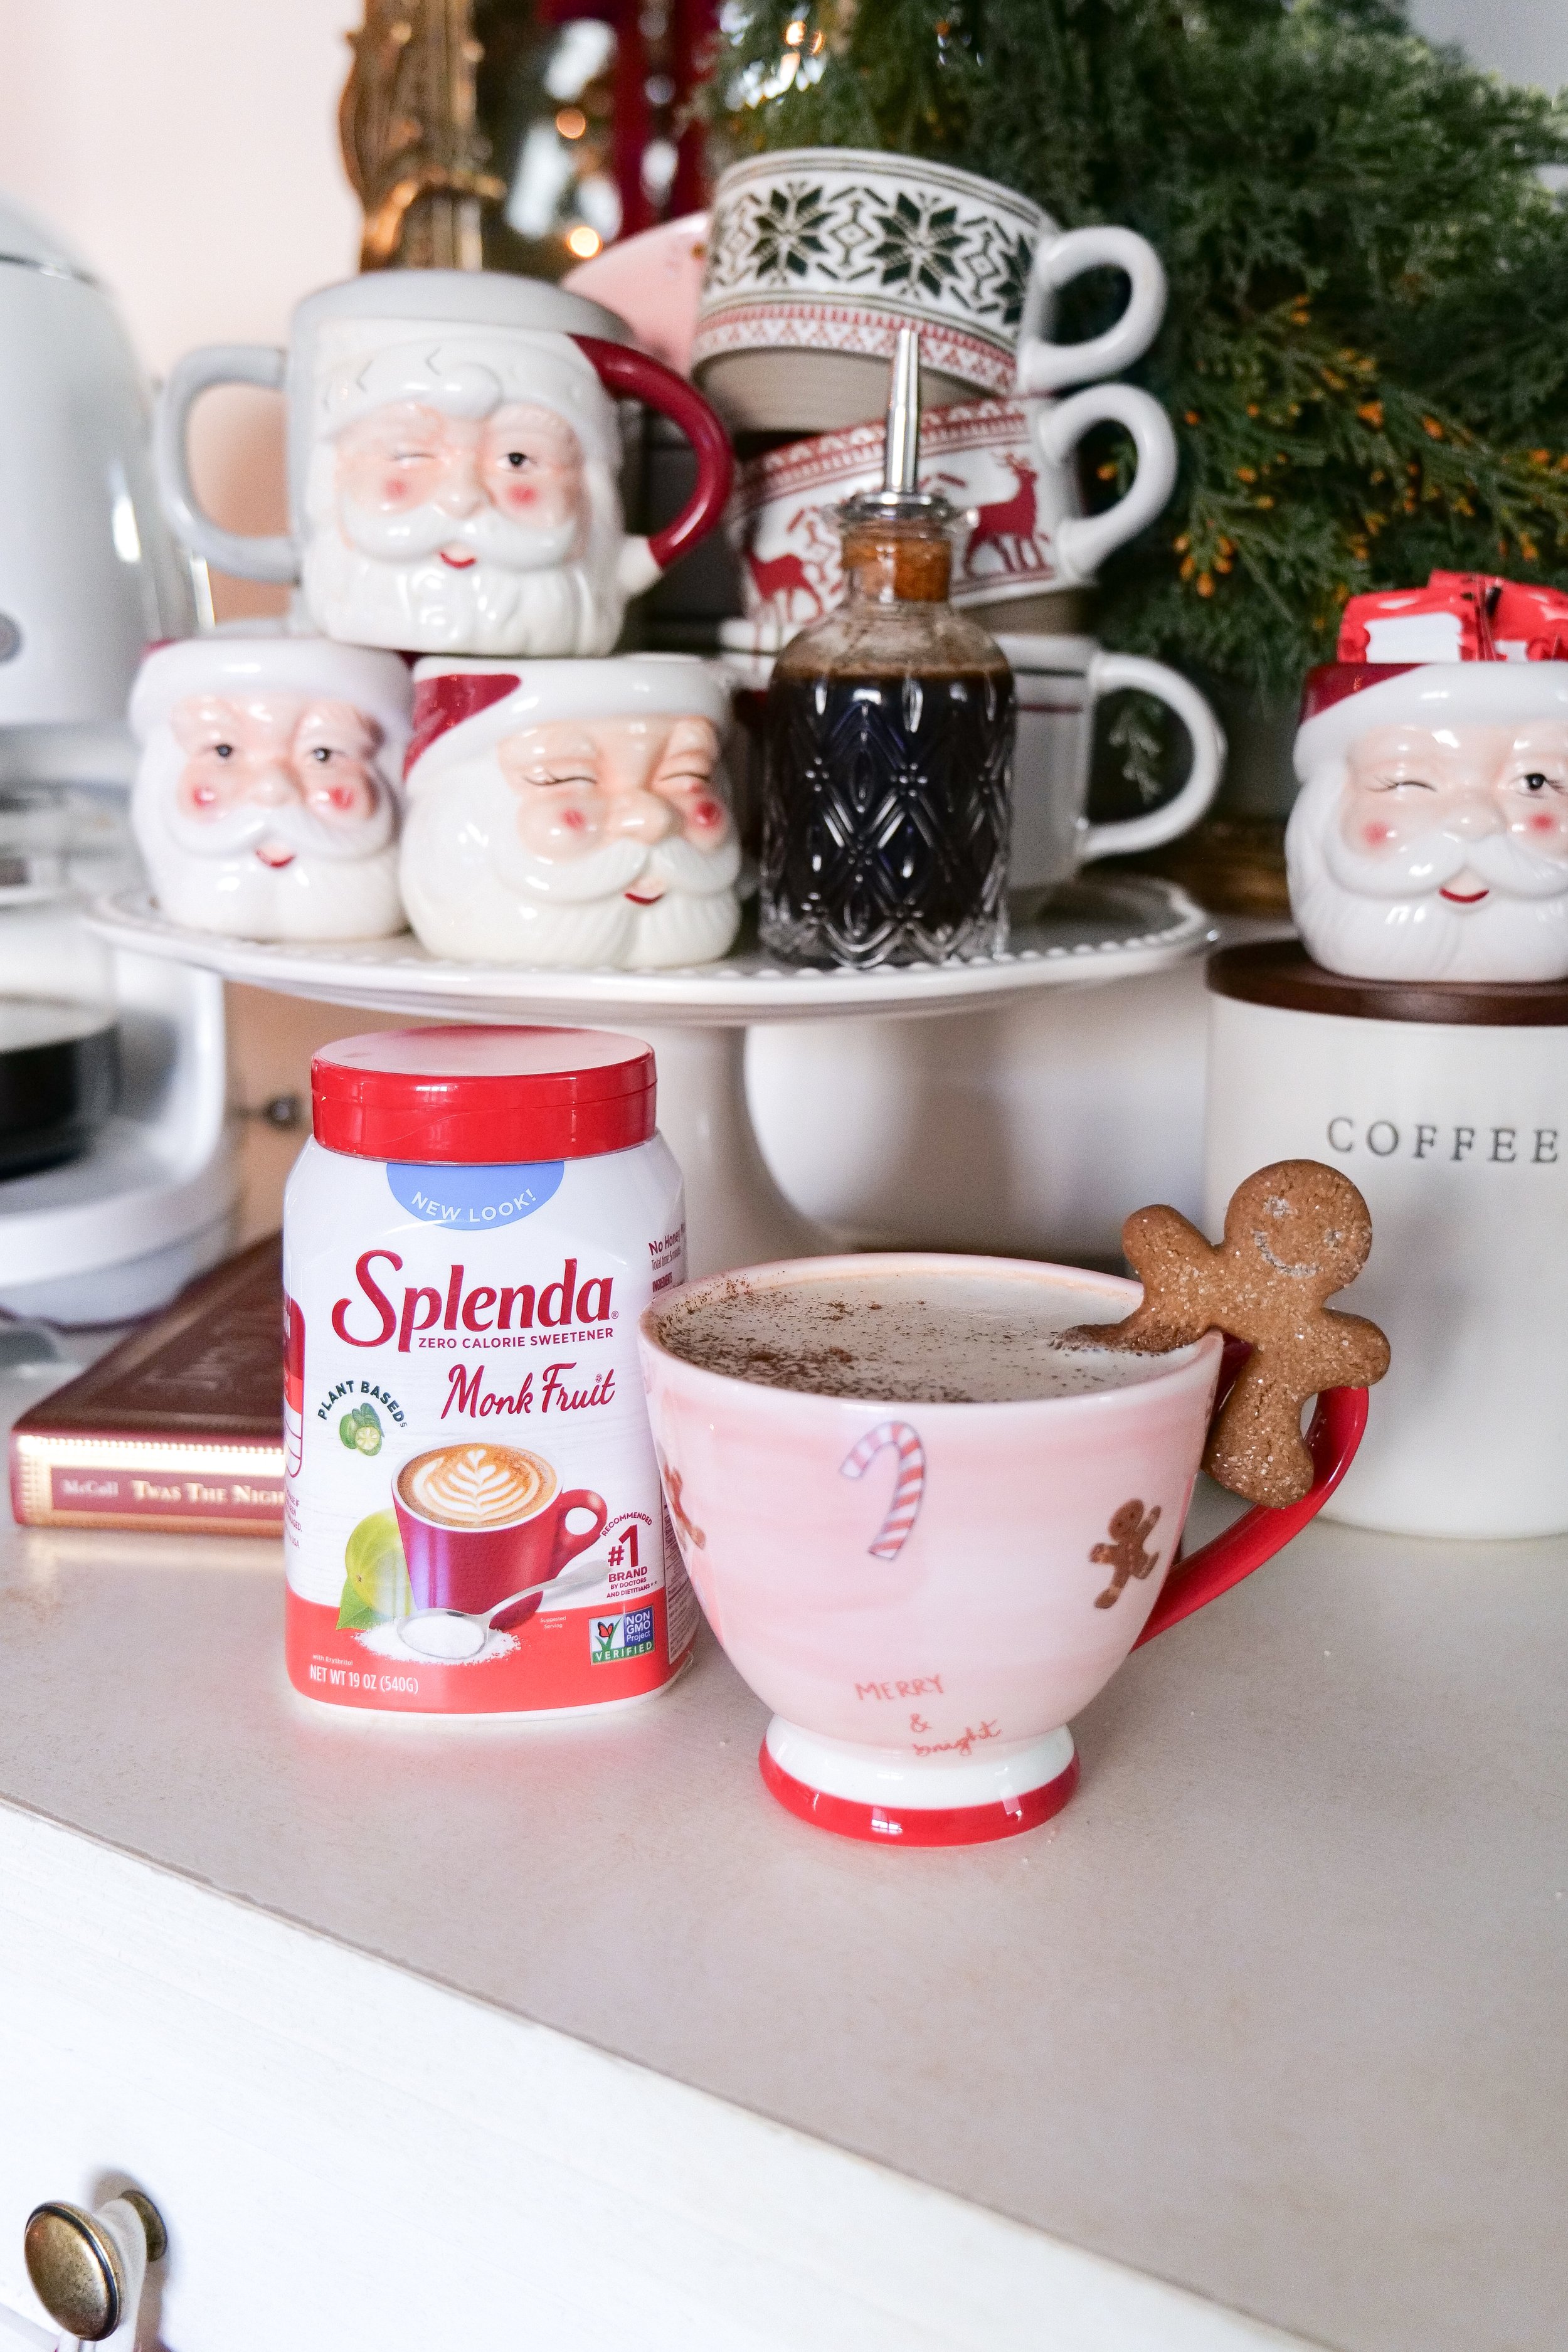
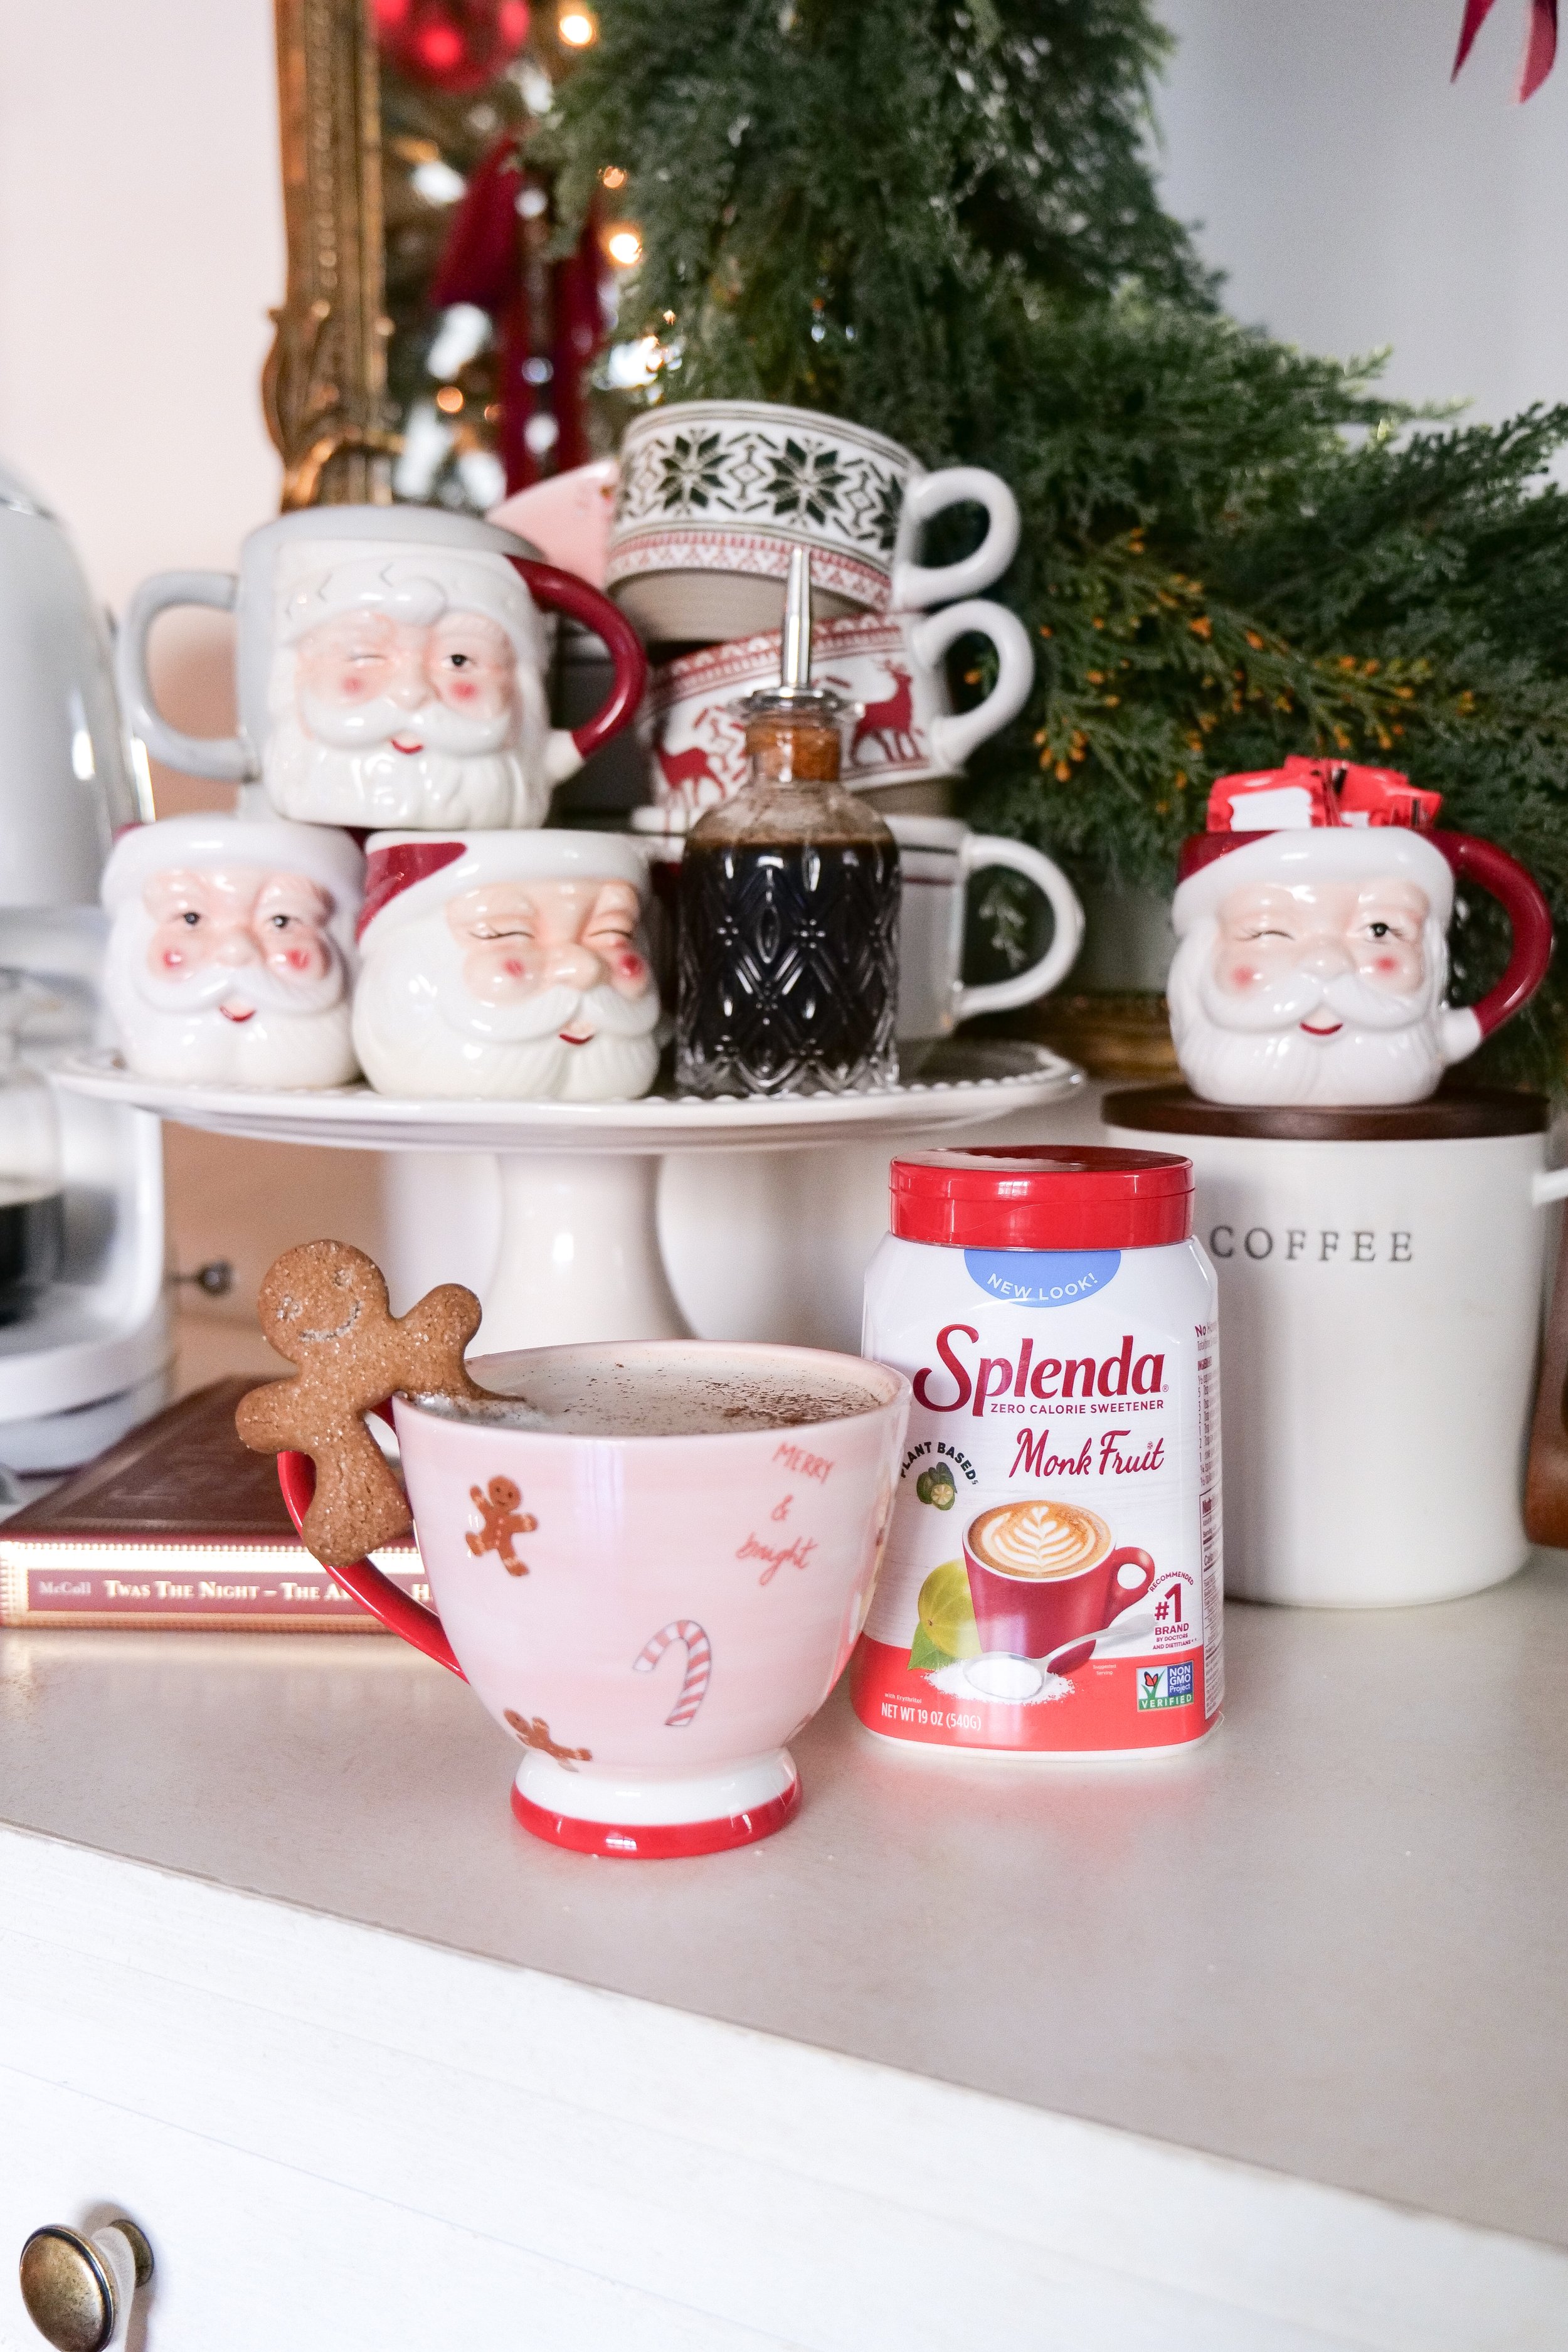
3/4 Cup Splenda Monk Fruit

1 tsp vanilla extract

1 tsp cinnamon

1/2 tsp ginger

1/2 tsp nutmeg

3 tablespoons molasses

Instructions

1. Mix together all gingerbread syrup recipe ingredients in a saucepan over medium heat until it reaches a slow simmer. Let cool and put into a glass container. If you are looking for a non-sugar-free version you can substitute monk fruit for granulated sugar.

2. Add gingerbread syrup into coffee or espresso and top with frothy milk or heavy cream. I like to add additional gingerbread syrup to my heavy cream before I froth.

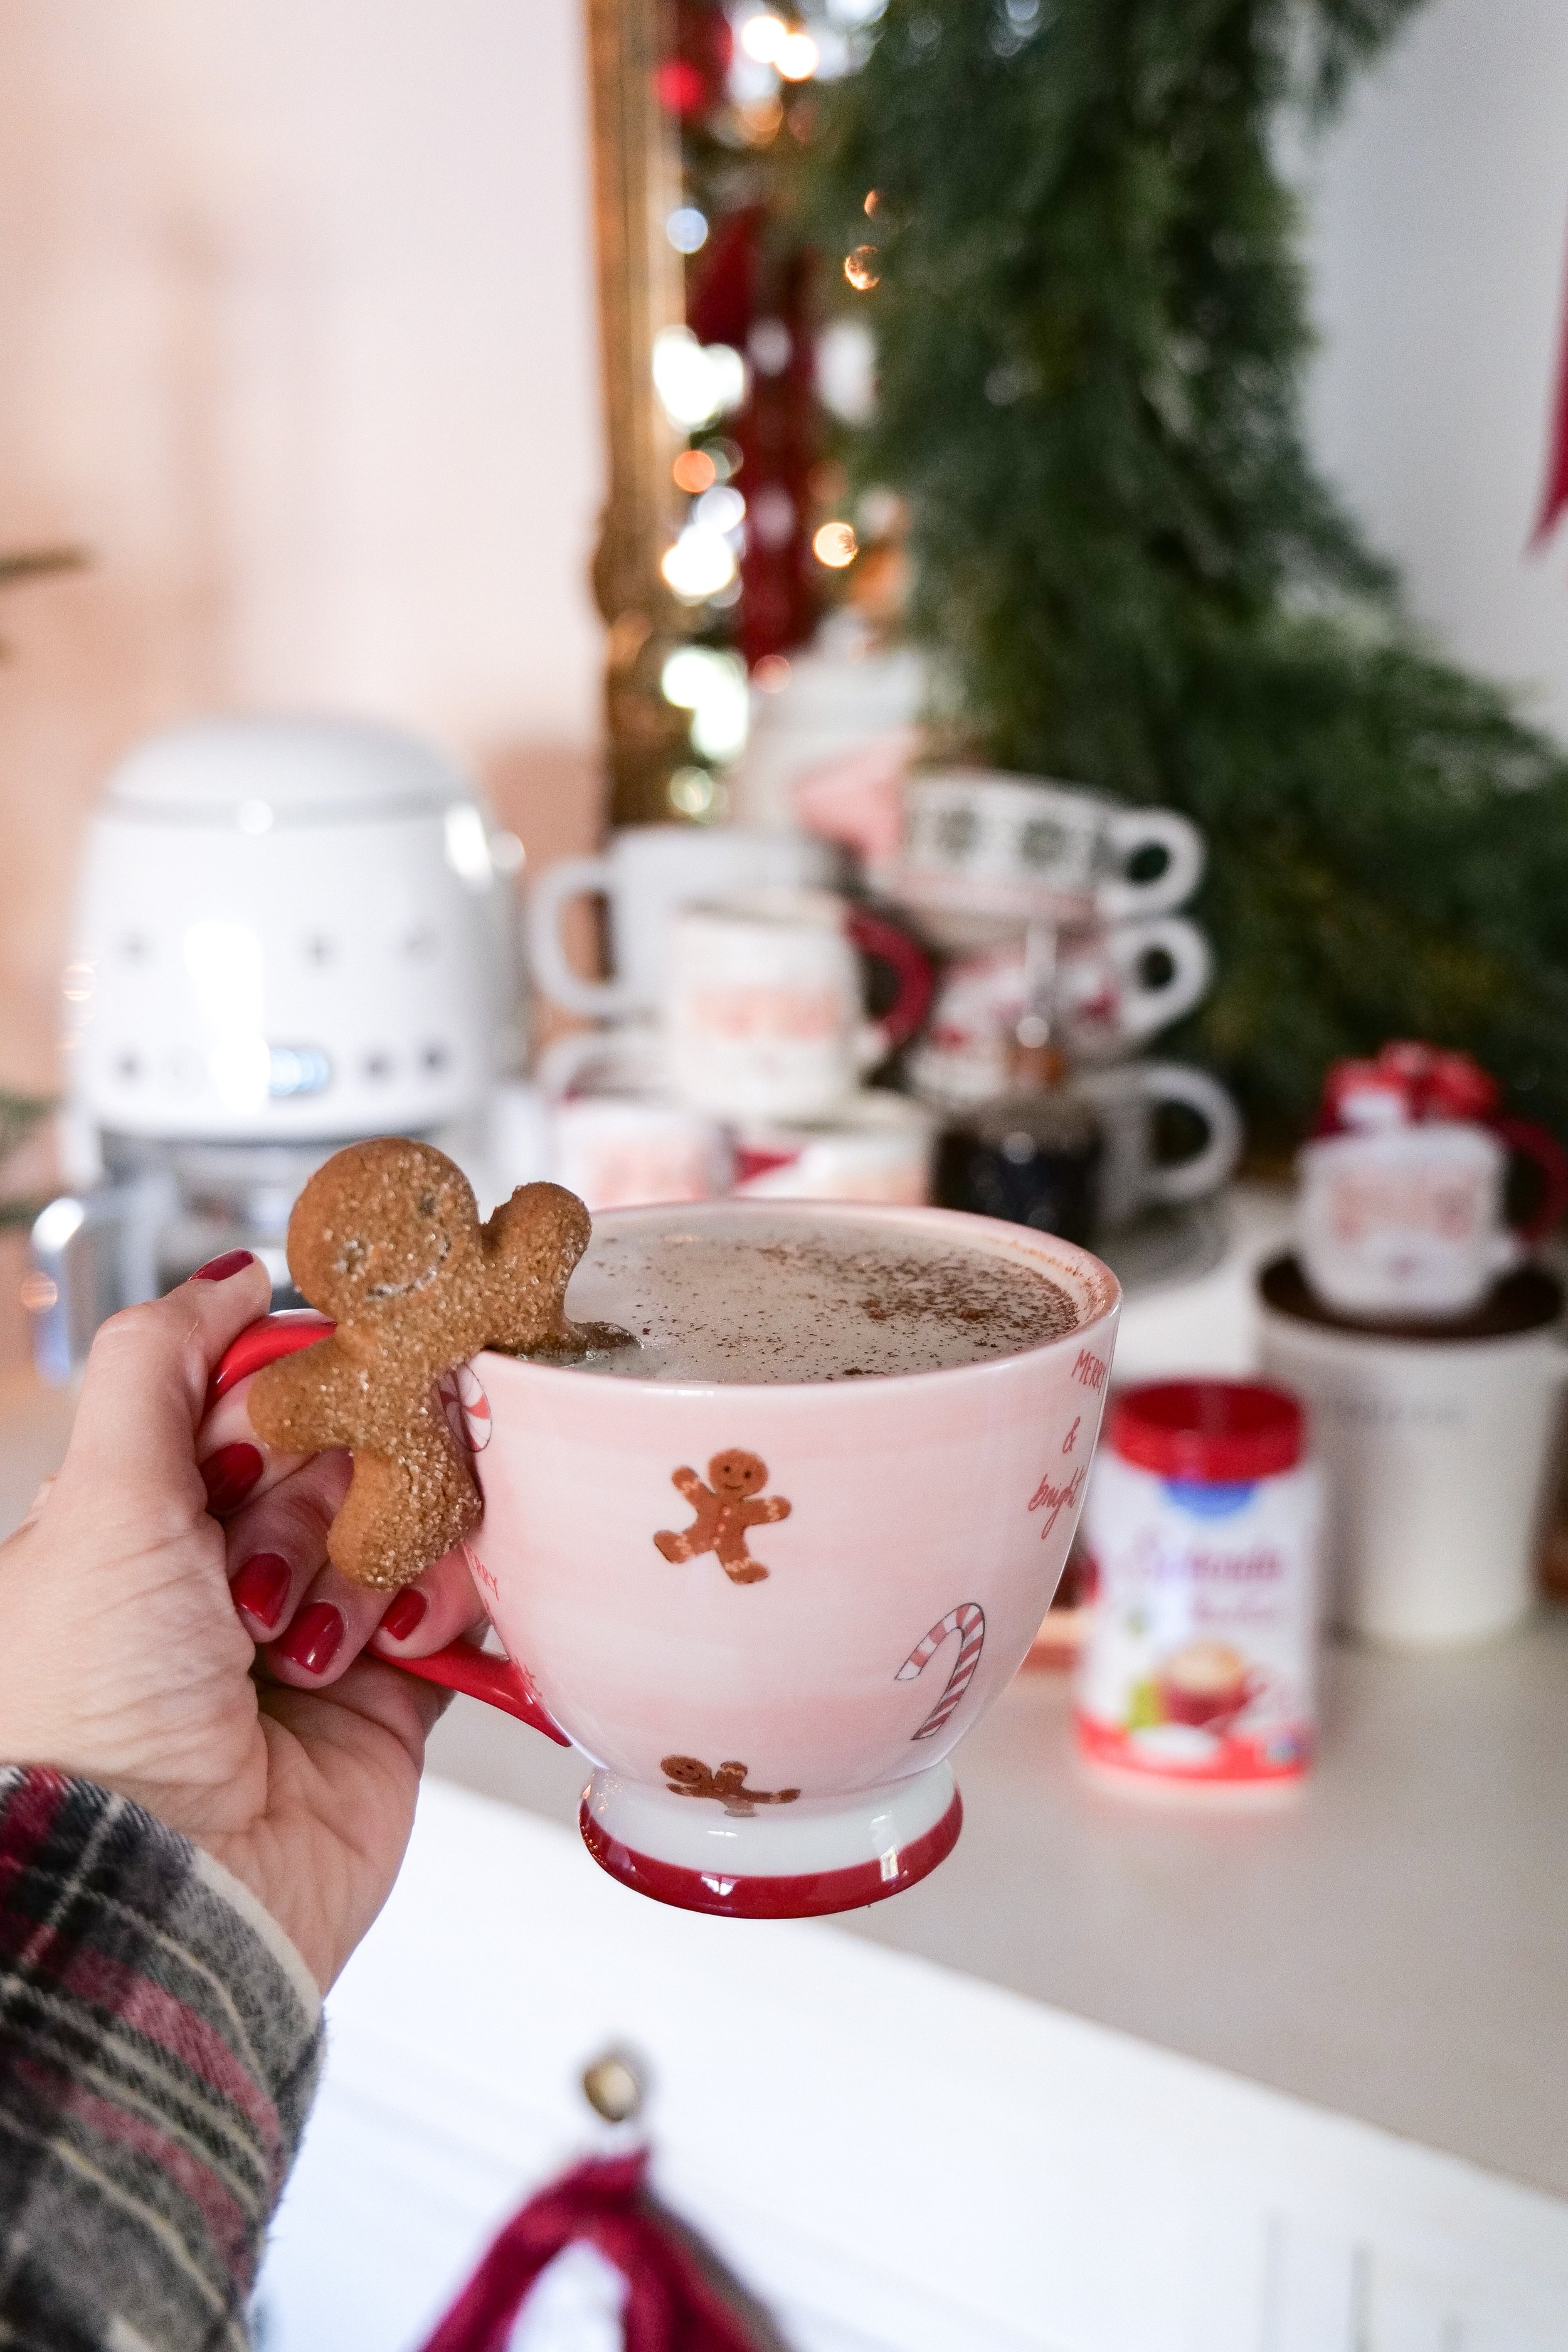
3. Top with a sprinkle of cinnamon or nutmeg and a gingerbread cookie for a delicious treat.


Other Holiday Blog Posts You Will Love:

My Dining Room Decor For Christmas: How I Made My Dining Room Festive

How to Make the Perfect Pear and Pomegranate Arugula Salad

A Festive Taste of Tradition: Sparkling Cider Punch for Christmas!

Slow Cooker Hot Cocoa Bar Station

How to Make Fall Chai Low Sugar Scones with Splenda

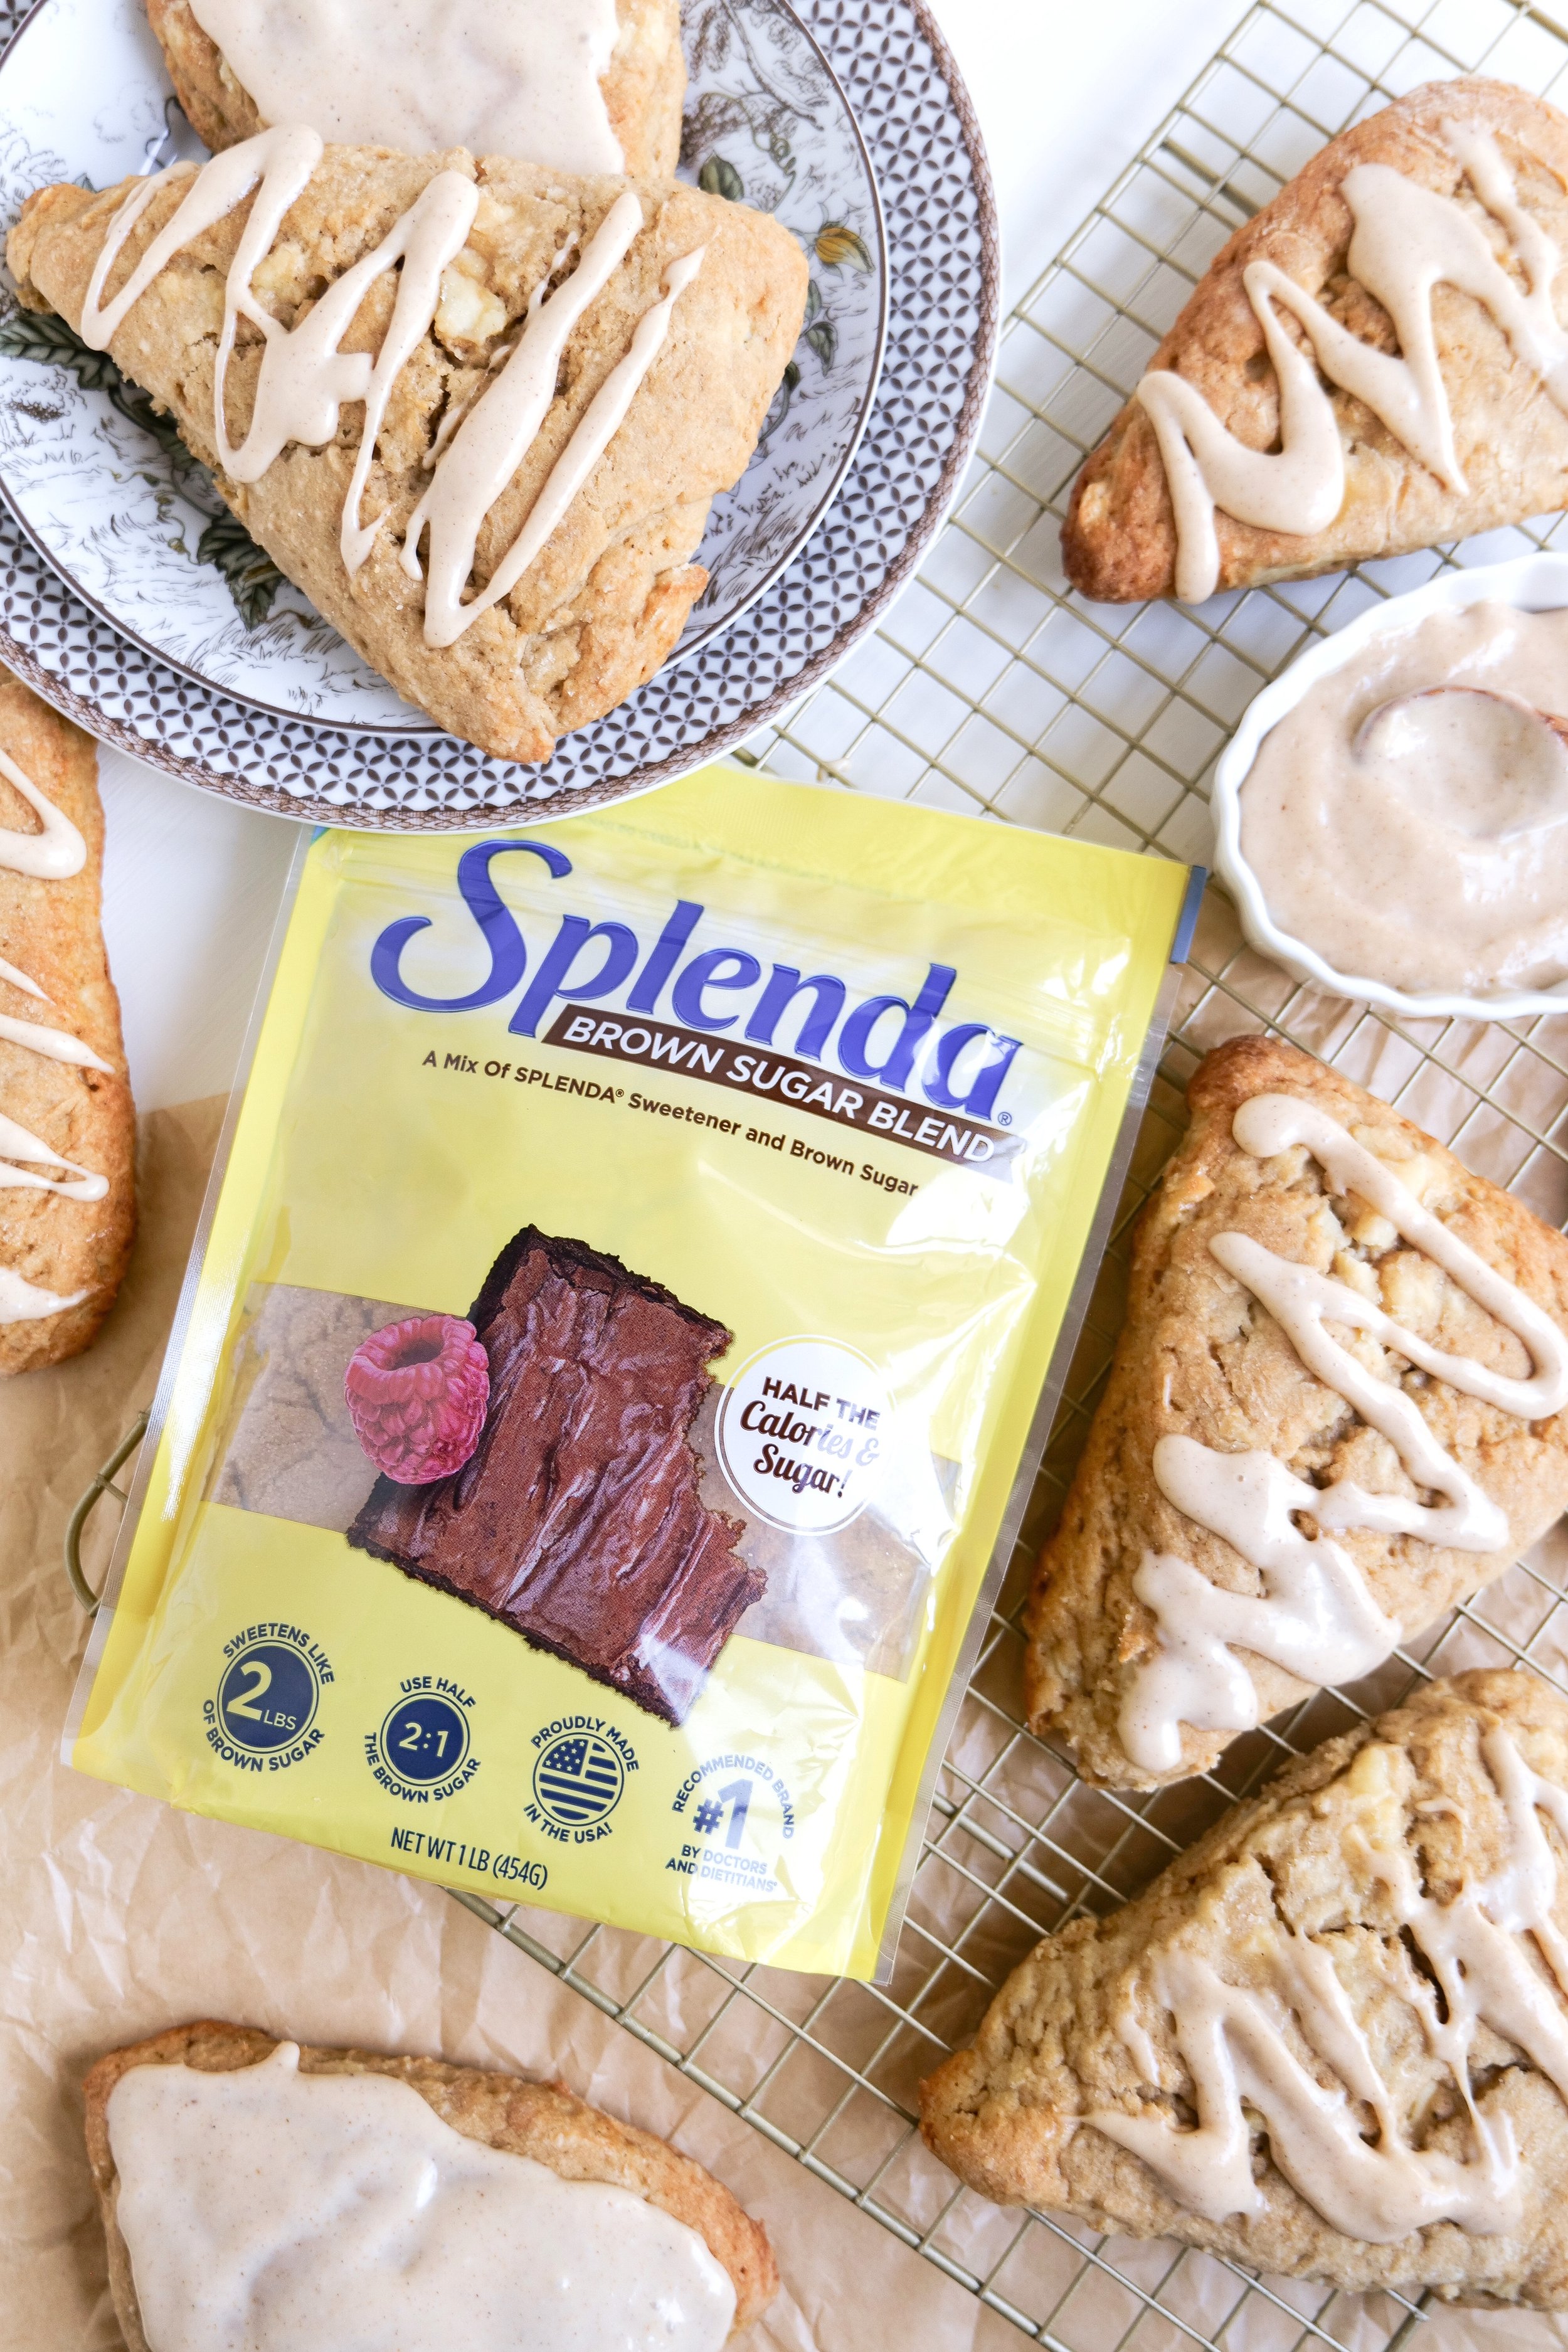
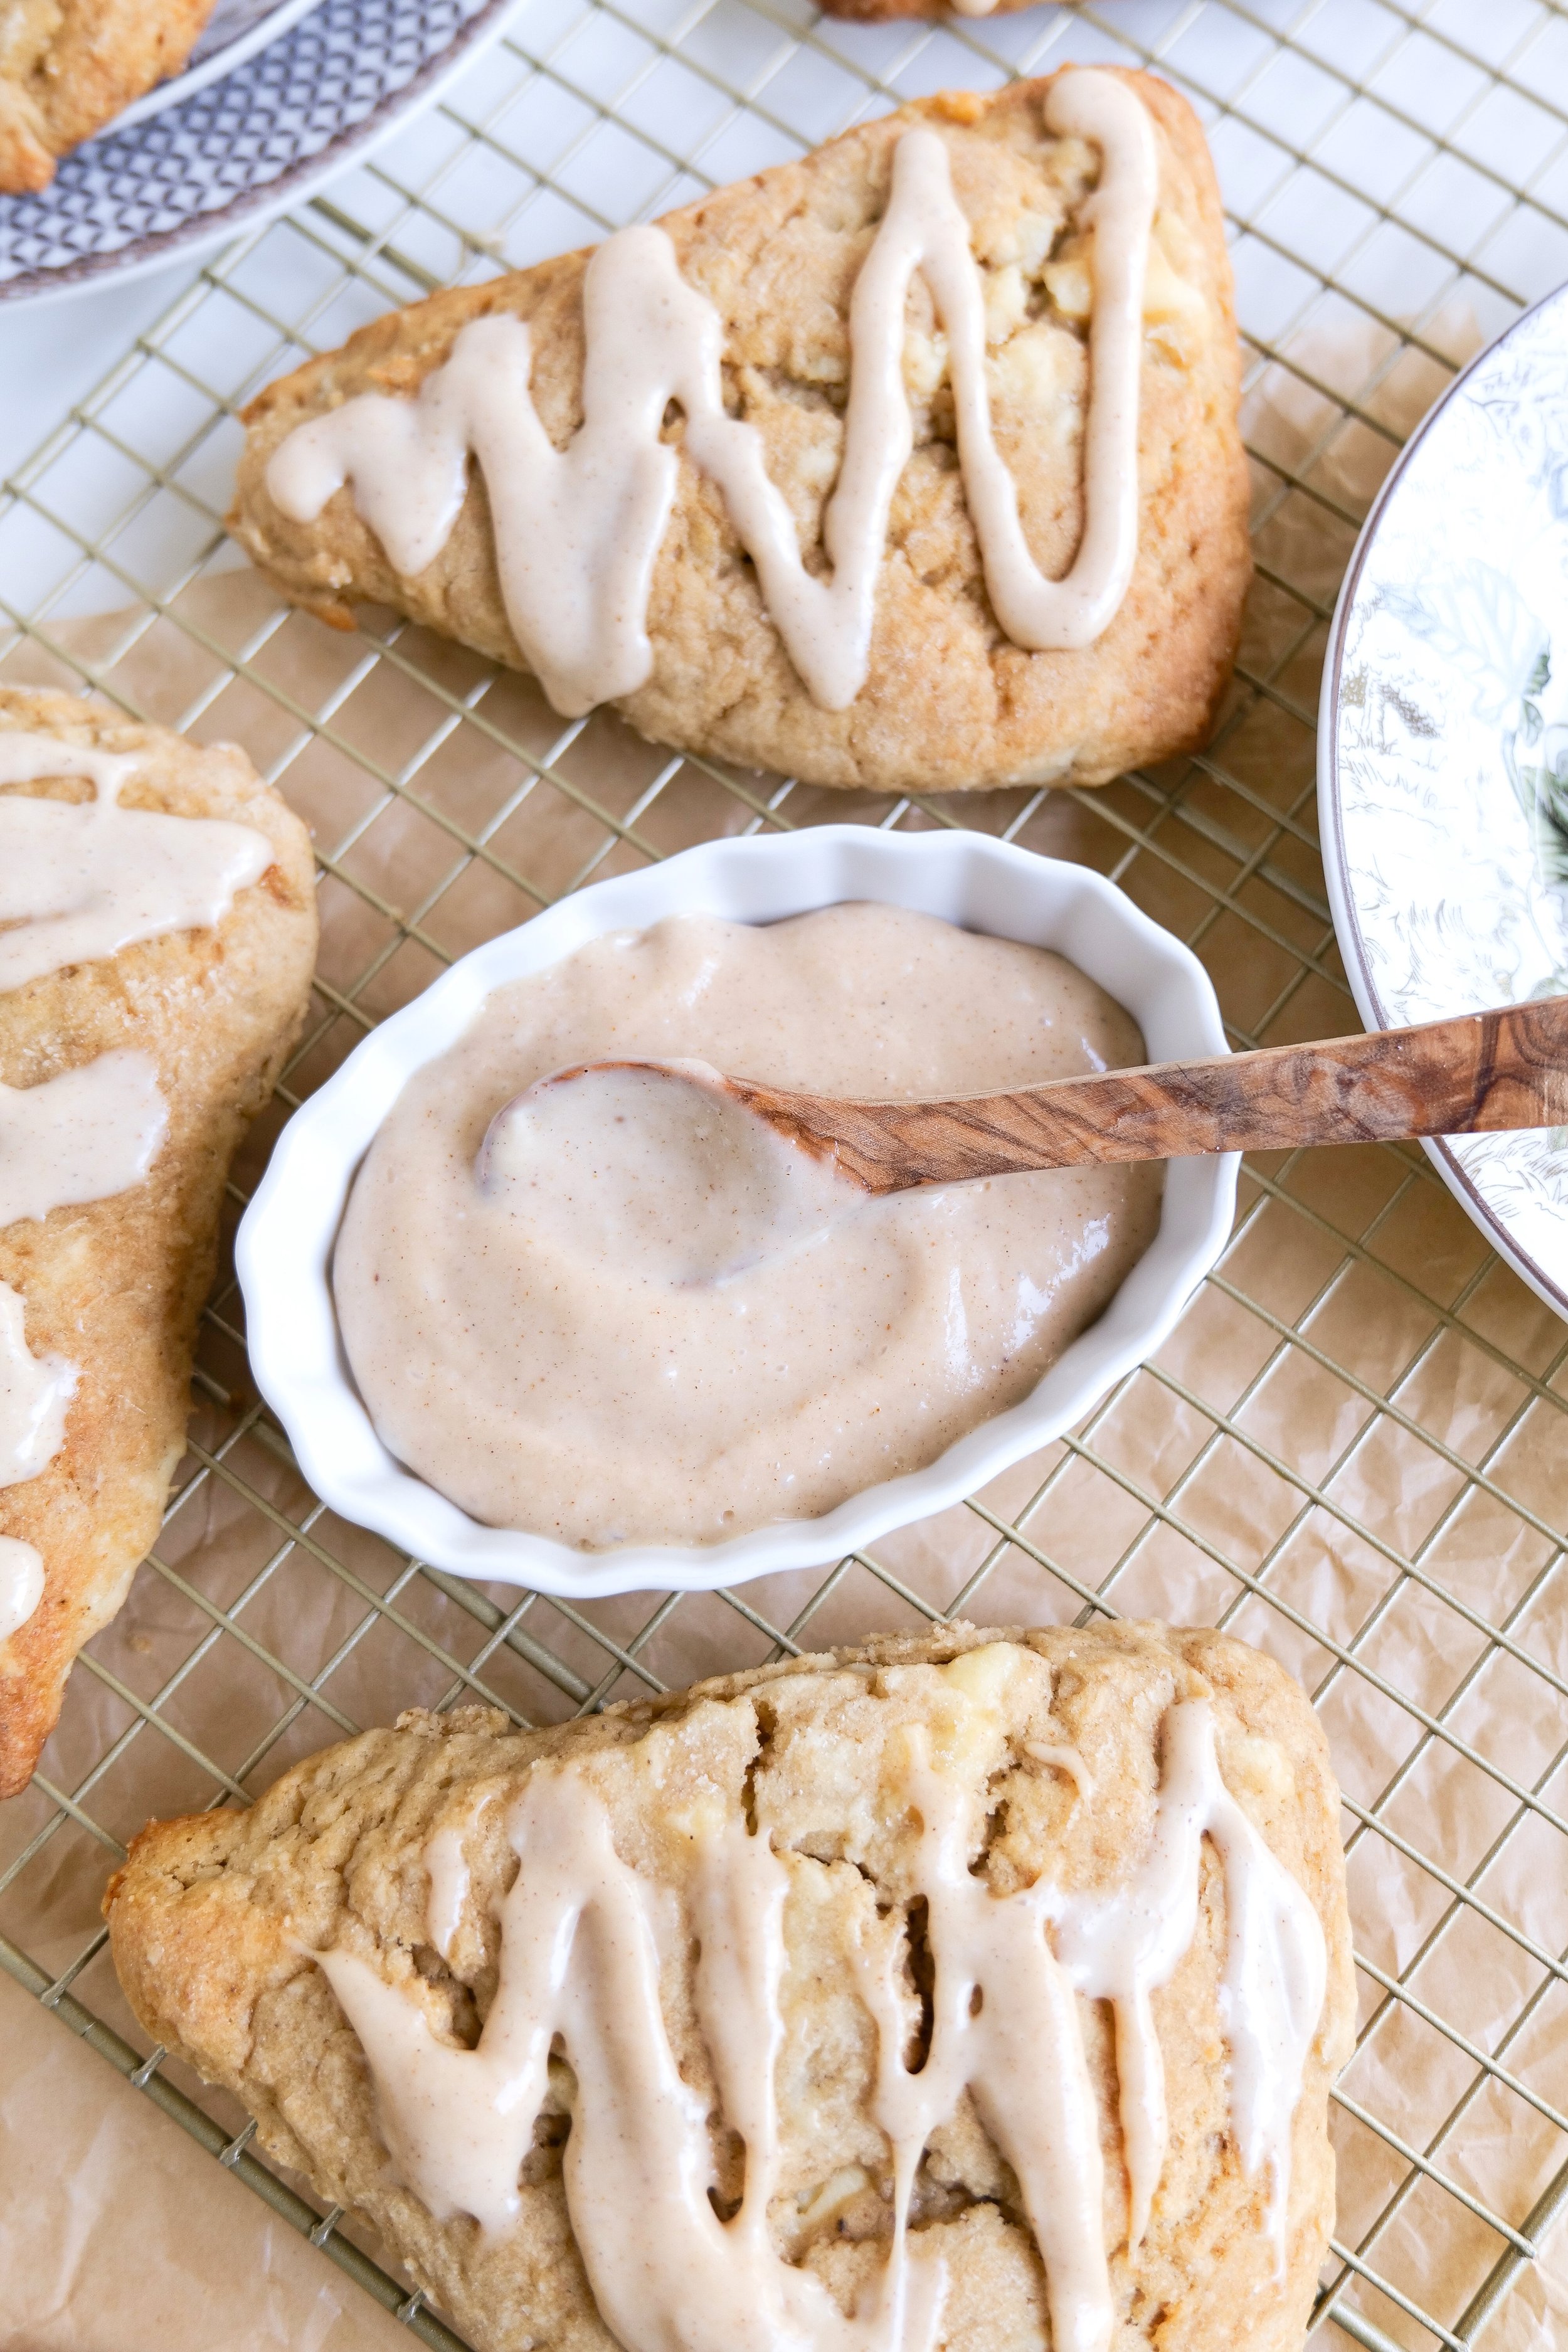
Delight your palate and satisfy your sweet tooth with a healthier twist on a classic treat. Introducing Chai Scones, crafted especially for those who yearn for sweet and spicy flavors married together, but minus the guilt. What is the secret ingredient in these scones making them a healthier choice? Splenda! Through our wonderful recipe, you can enjoy these warm, spicy scones that are beautifully balanced with the mild sweetness of frosting, without worrying about your sugar content. Get ready to embark on an unforgettable culinary journey as we dive into the world of guilt-free baking with this indulgent Splenda-infused creation that brings in Fall flavors. Let's learn how to turn this traditional teatime delight into a health-friendly delicacy that is just as delicious!

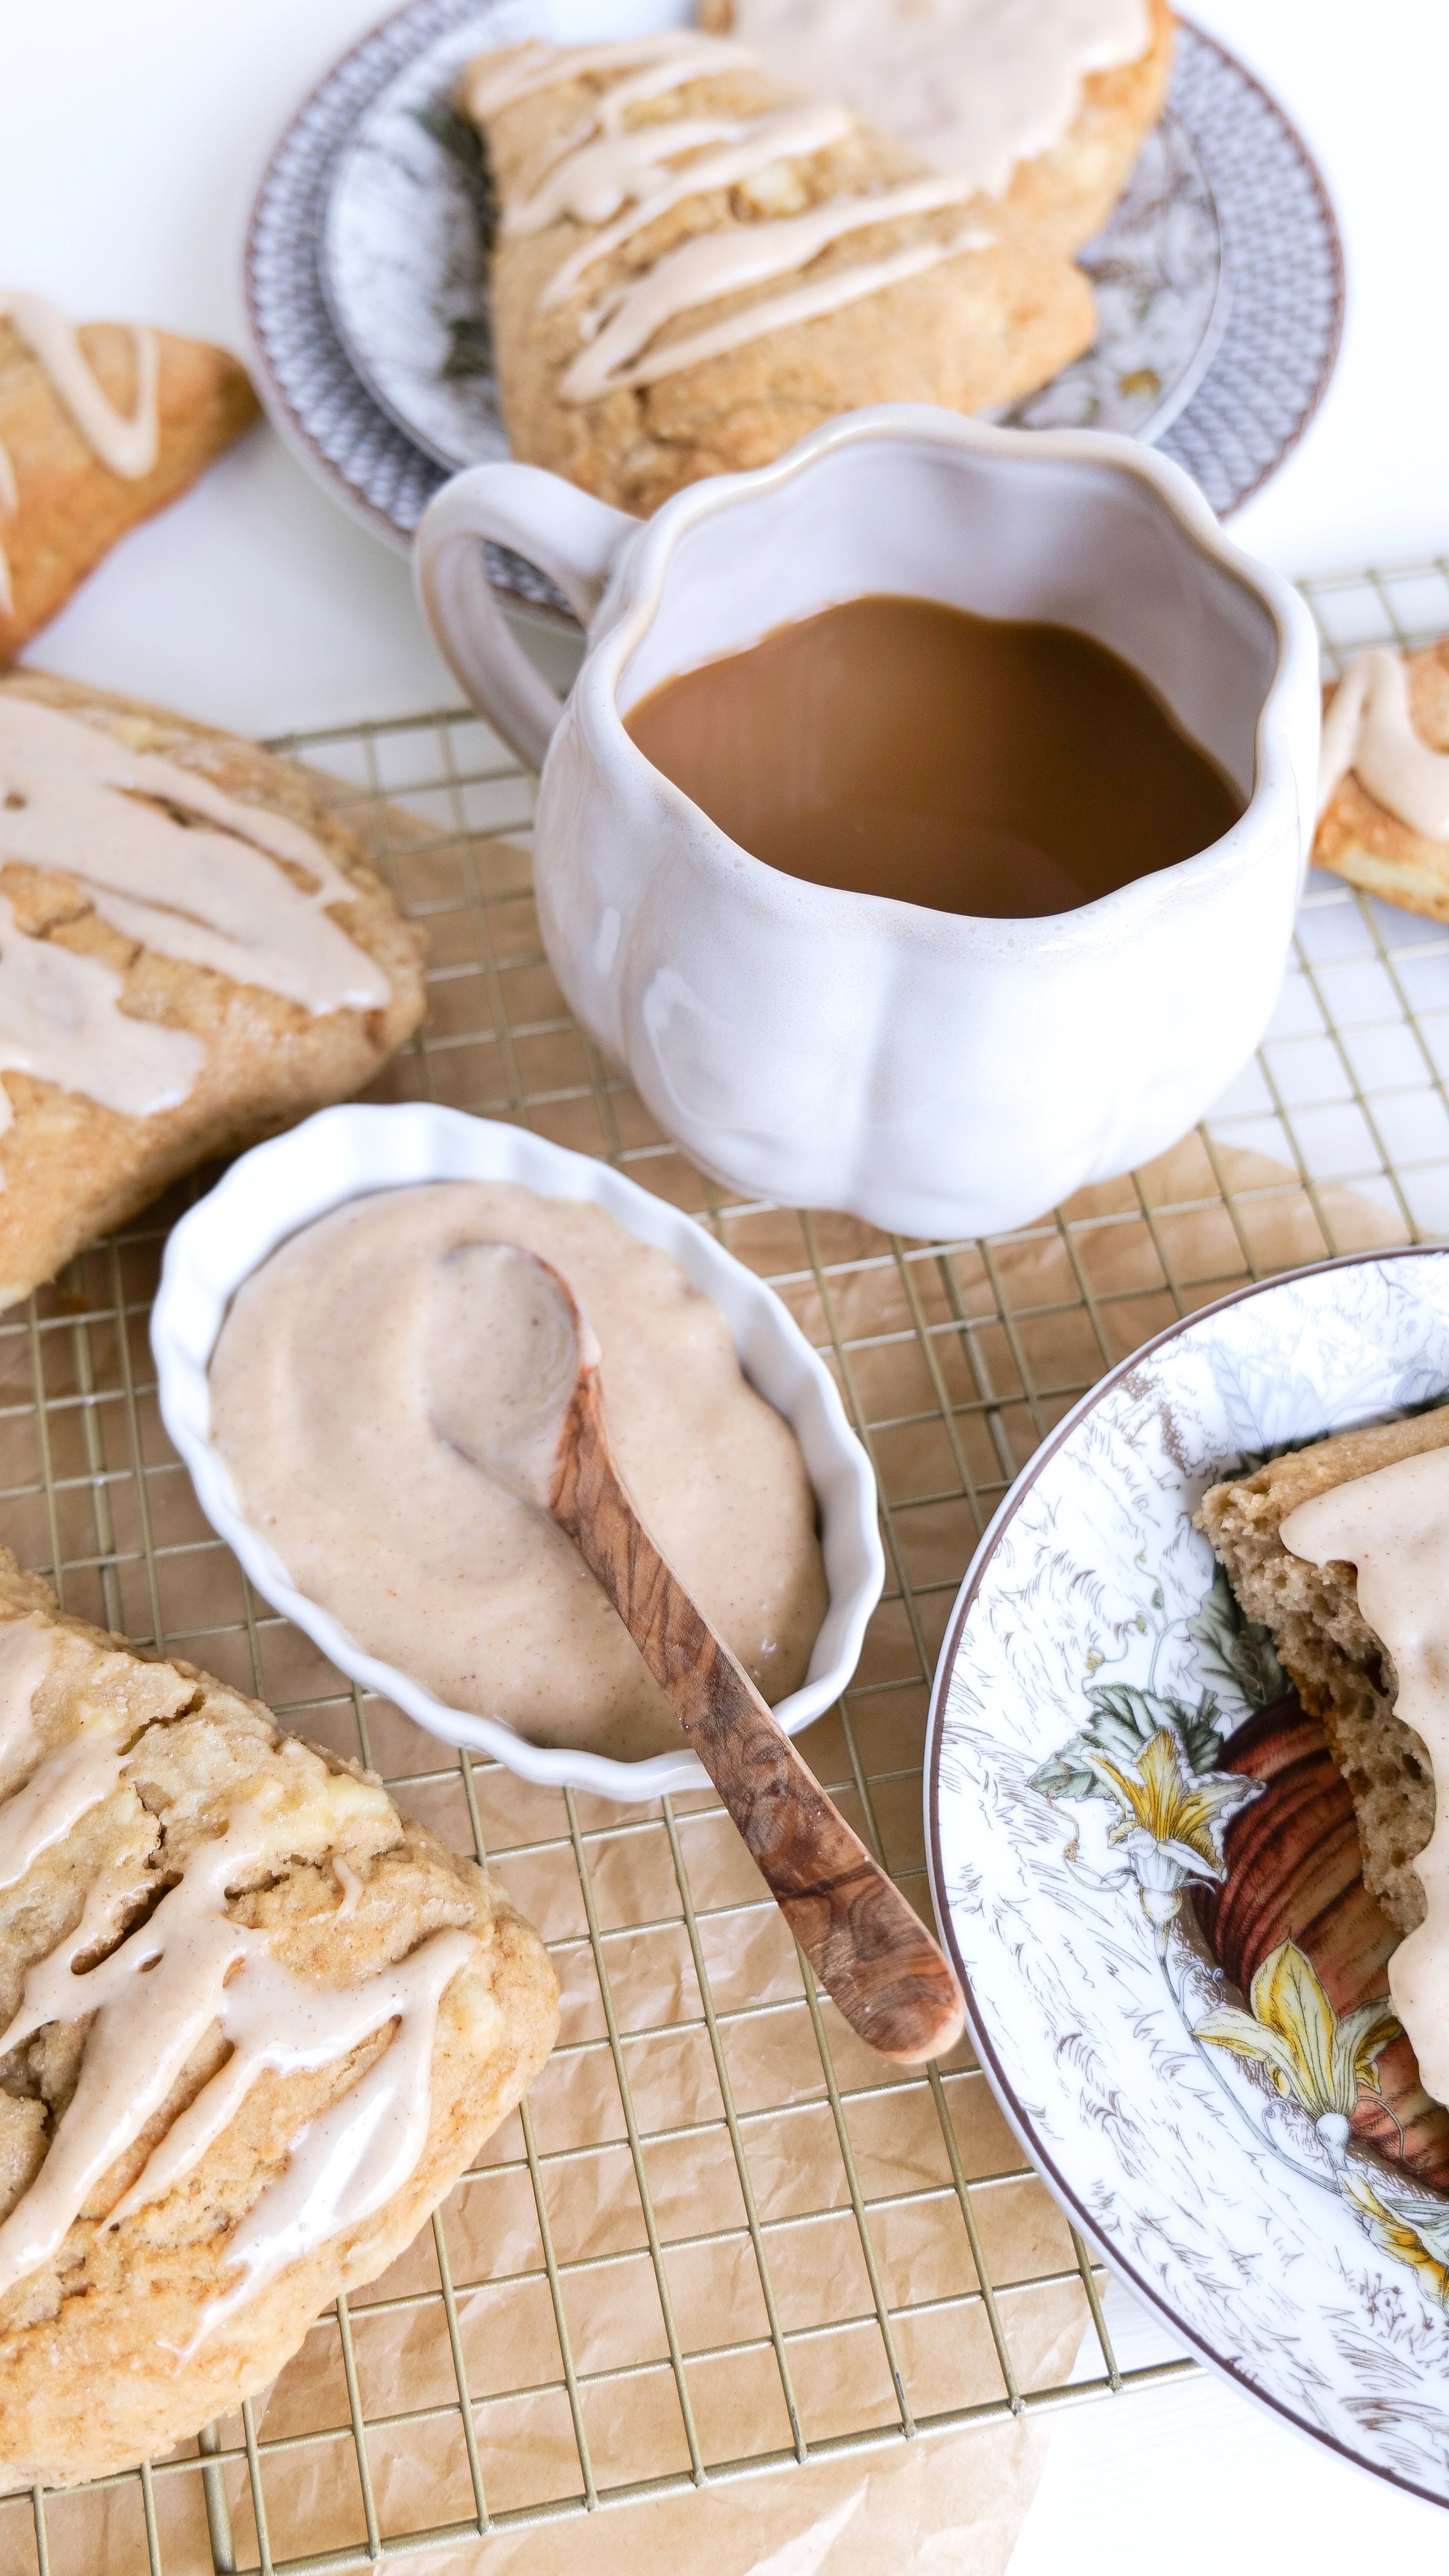
Enjoy a cozy afternoon with a cup of hot tea and a chai scone for a delicious treat. Make a decadent dessert plate by adding a few of these sweet treats, and top it off with a dollop of fresh whipped cream or the delicious frosting recipe below. For a lighter snack, serve the chai scones with a glass of cold almond milk. If you’re feeling creative, make “tea sandwiches” by cutting the scones in half, spreading a thin layer of frosting, and adding a layer of fresh fruit. Enjoy a chai scone as a morning treat with a cup of coffee or espresso for a delicious combination to start your day. With Splenda, you can indulge without the guilt. Try chai scones with maple frosting made with Splenda and enjoy a sweet treat without all the calories!

INGREDIENTS:

21/2 cups flour

1/4 cup splenda

1/2 tsp salt

1 tbsp baking powder

1/2 cup cold butter

2 eggs

1 tsp vanilla extract

1 cup heavy cream

8 ounce package of light cream cheese

1/4 cup splenda (to cover cream cheese with)

1 tablespoon chai spice blend

1/2 teaspoon ground cloves

Frosting:

3 tbsp splenda

4 oz light cream cheese

1 tsp vanilla

1 tablespoon splenda multi-use syrup

2 teaspoons chai spice blend

INSTRUCTIONS:

1. Mix together dry ingredients in a large bowl

Grate butter into bowl and blend with dry mixture. I use my hands to make sure that the butter doesn’t stick together any larger then a pea size amount.

2. After well mixed make a hole in the center of the mix and put all wet ingredients; egg, vanilla and heavy cream. Mix together.

3. Cube cream cheese into cube size chunks. Coat in a small bowl with Splenda and add into the dough. Don’t over mix just enough that its well spread out in the dough.

4. After all is mixed together, flour your work station and make dough into a pie looking round shape. Once in a circle cut like a pizza into slices. I do about 8. Place on a cookie sheet and put in the fridge for 45 min to an hour.

5. The last 10 min preheat oven to 400 degrees

Bake at 400 degrees for 15 min. Turn the temp down to 350 and bake for 10 min.

6. While baking make glaze! Melt cream cheese completely in a bowl and add in the other ingredients. Mix with a fork until you have your desired consistency. You can add heavy cream to make runnier if needed.

7. Transfer scones to cookie sheet and drizzle glaze on top. Let cool and enjoy!!

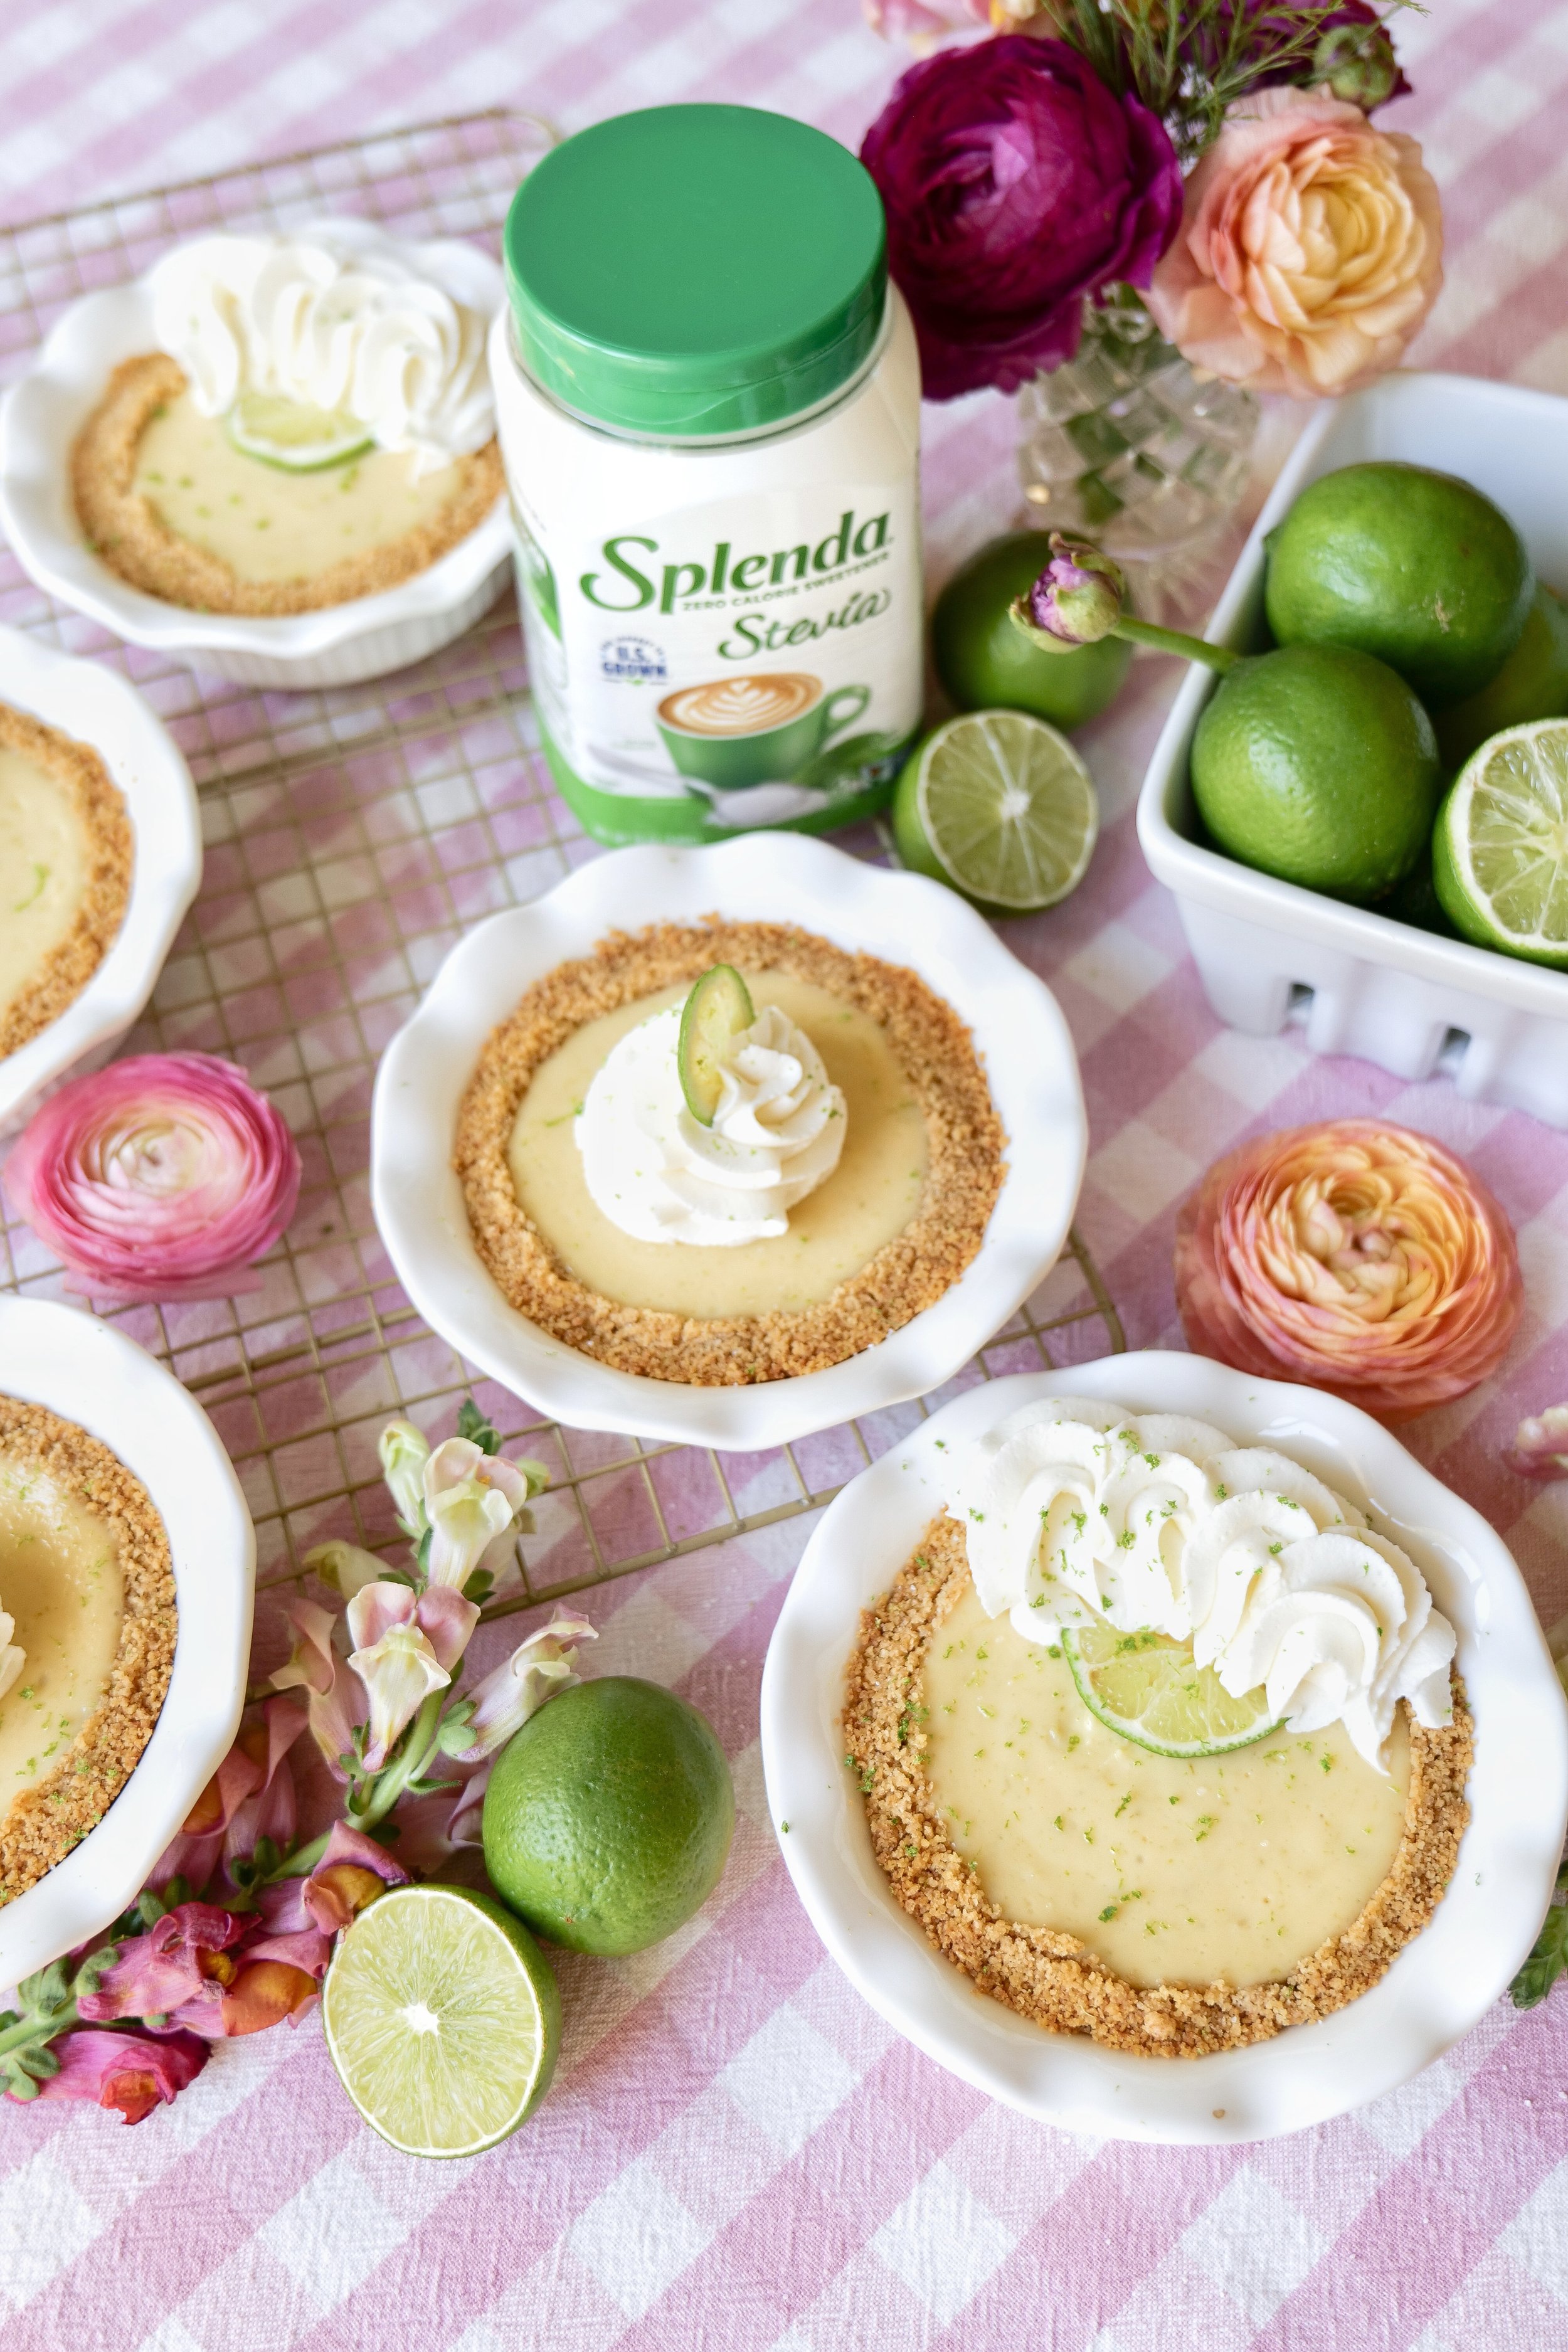
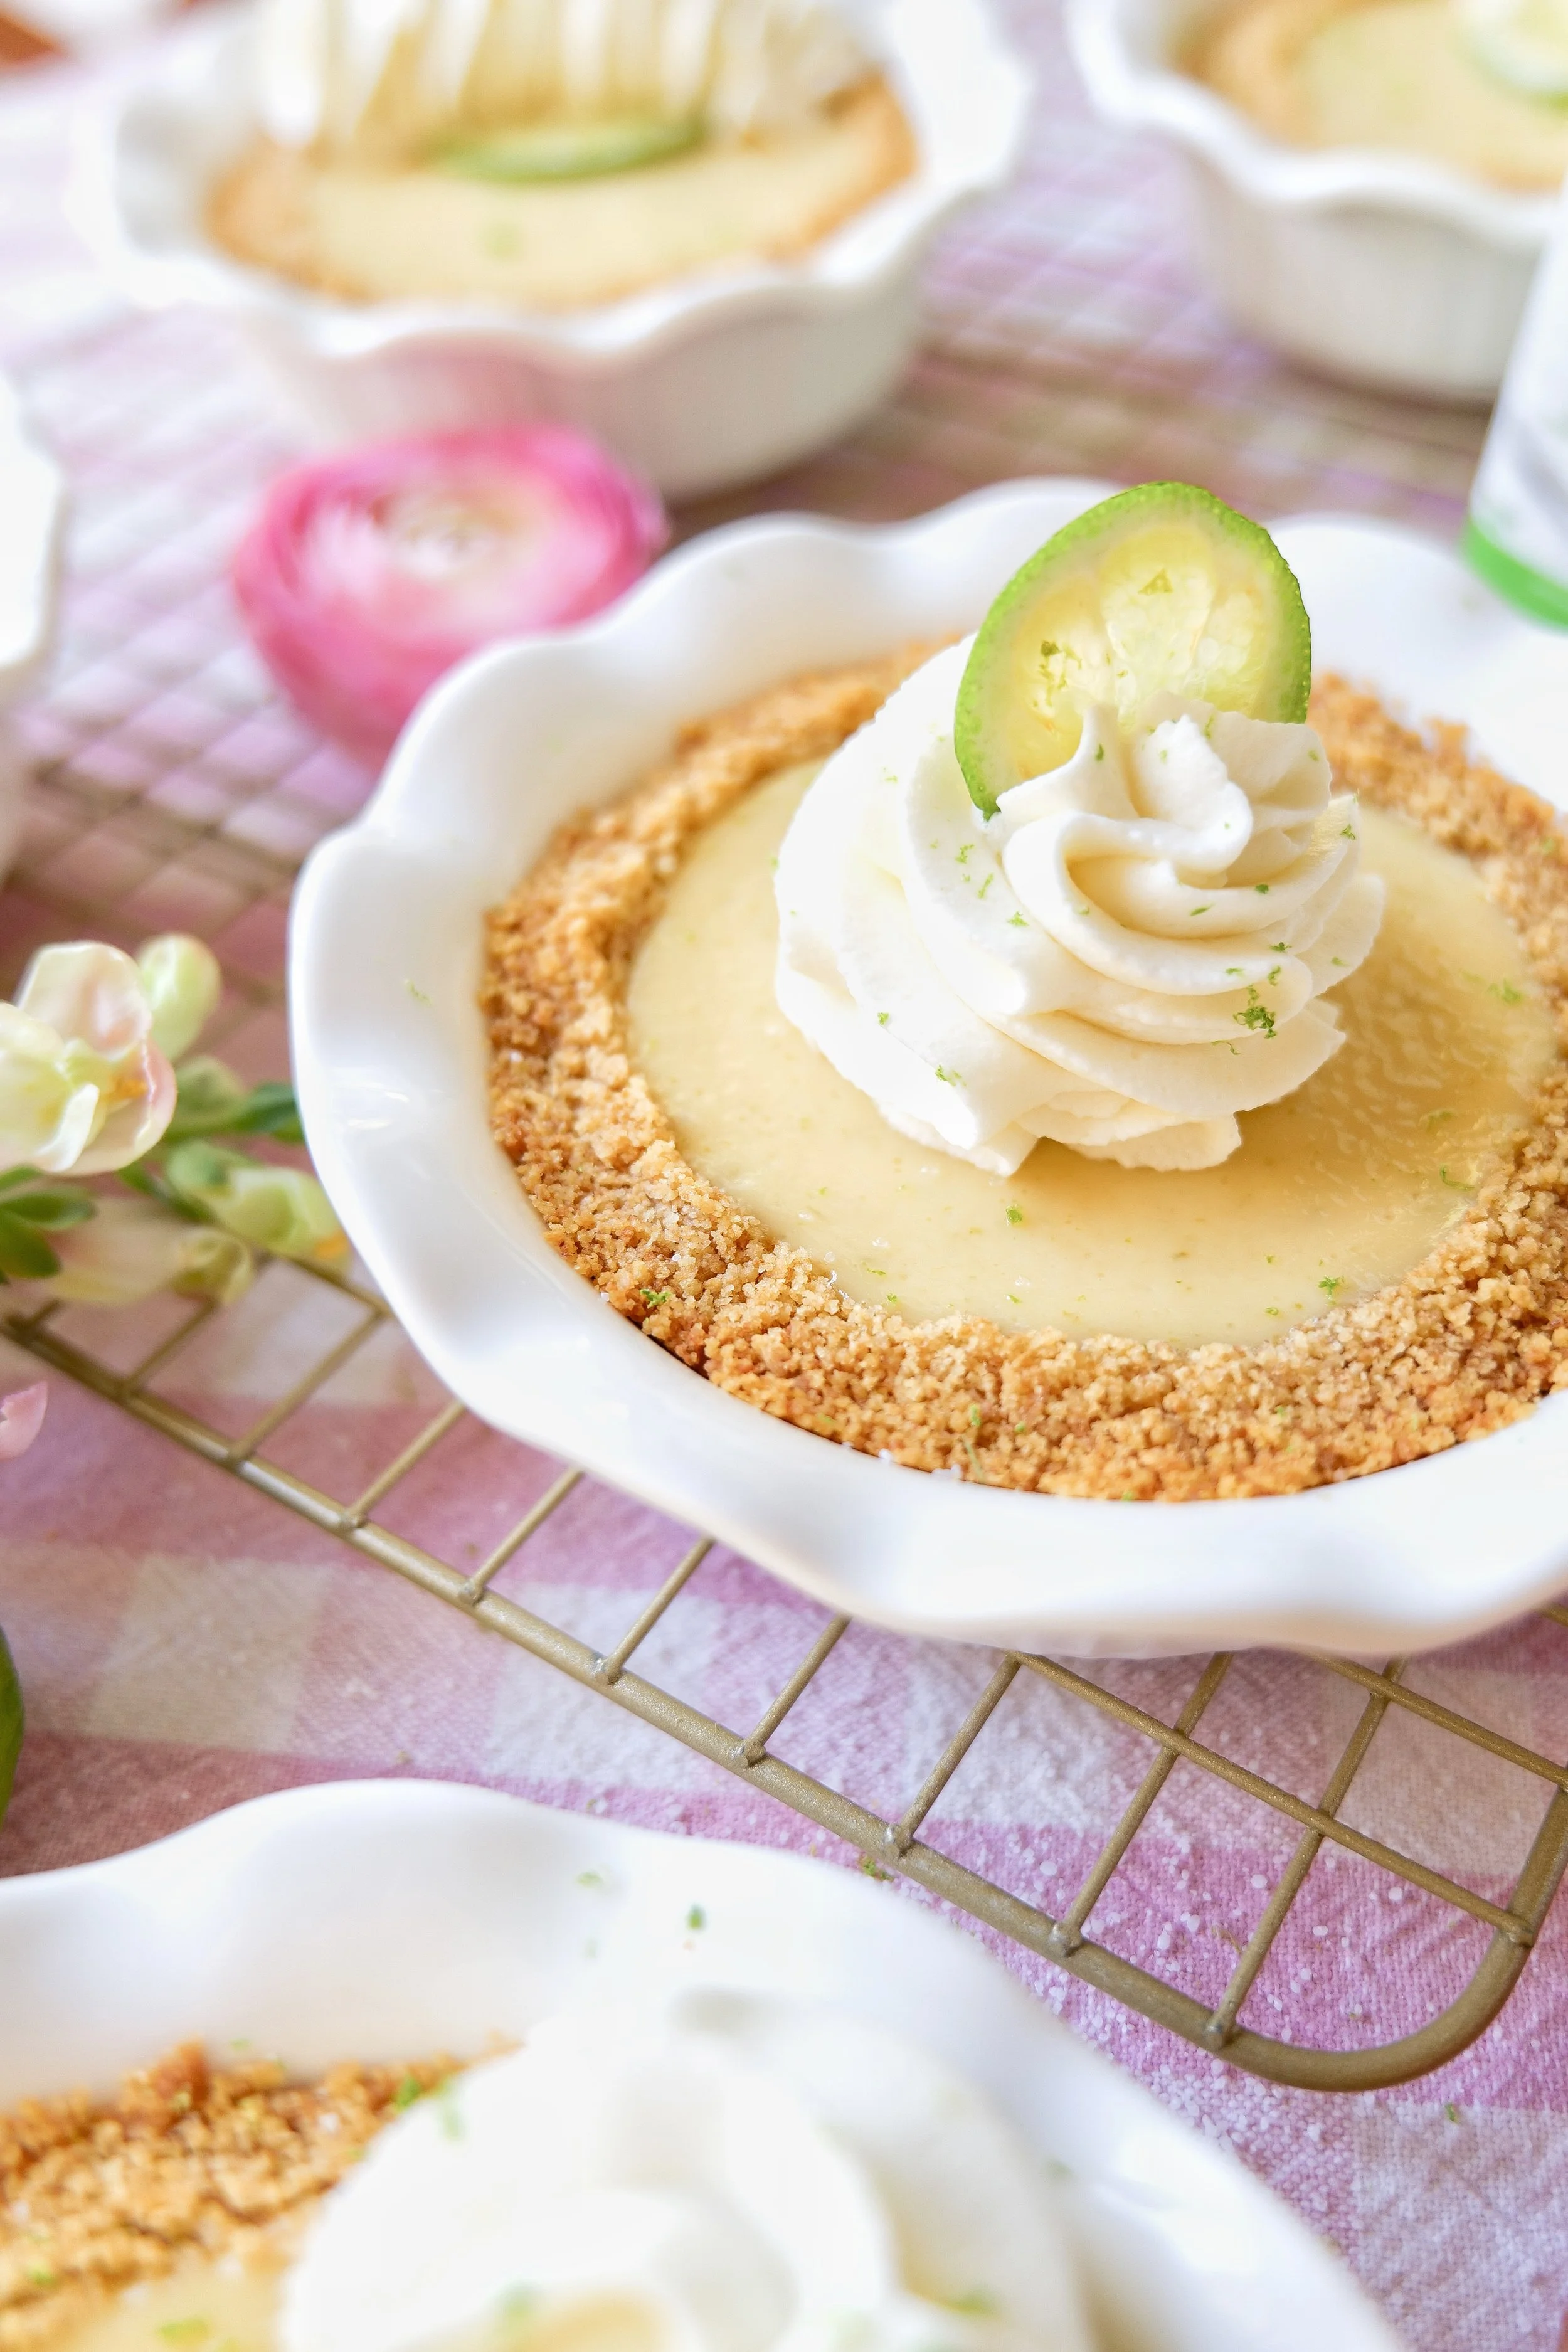
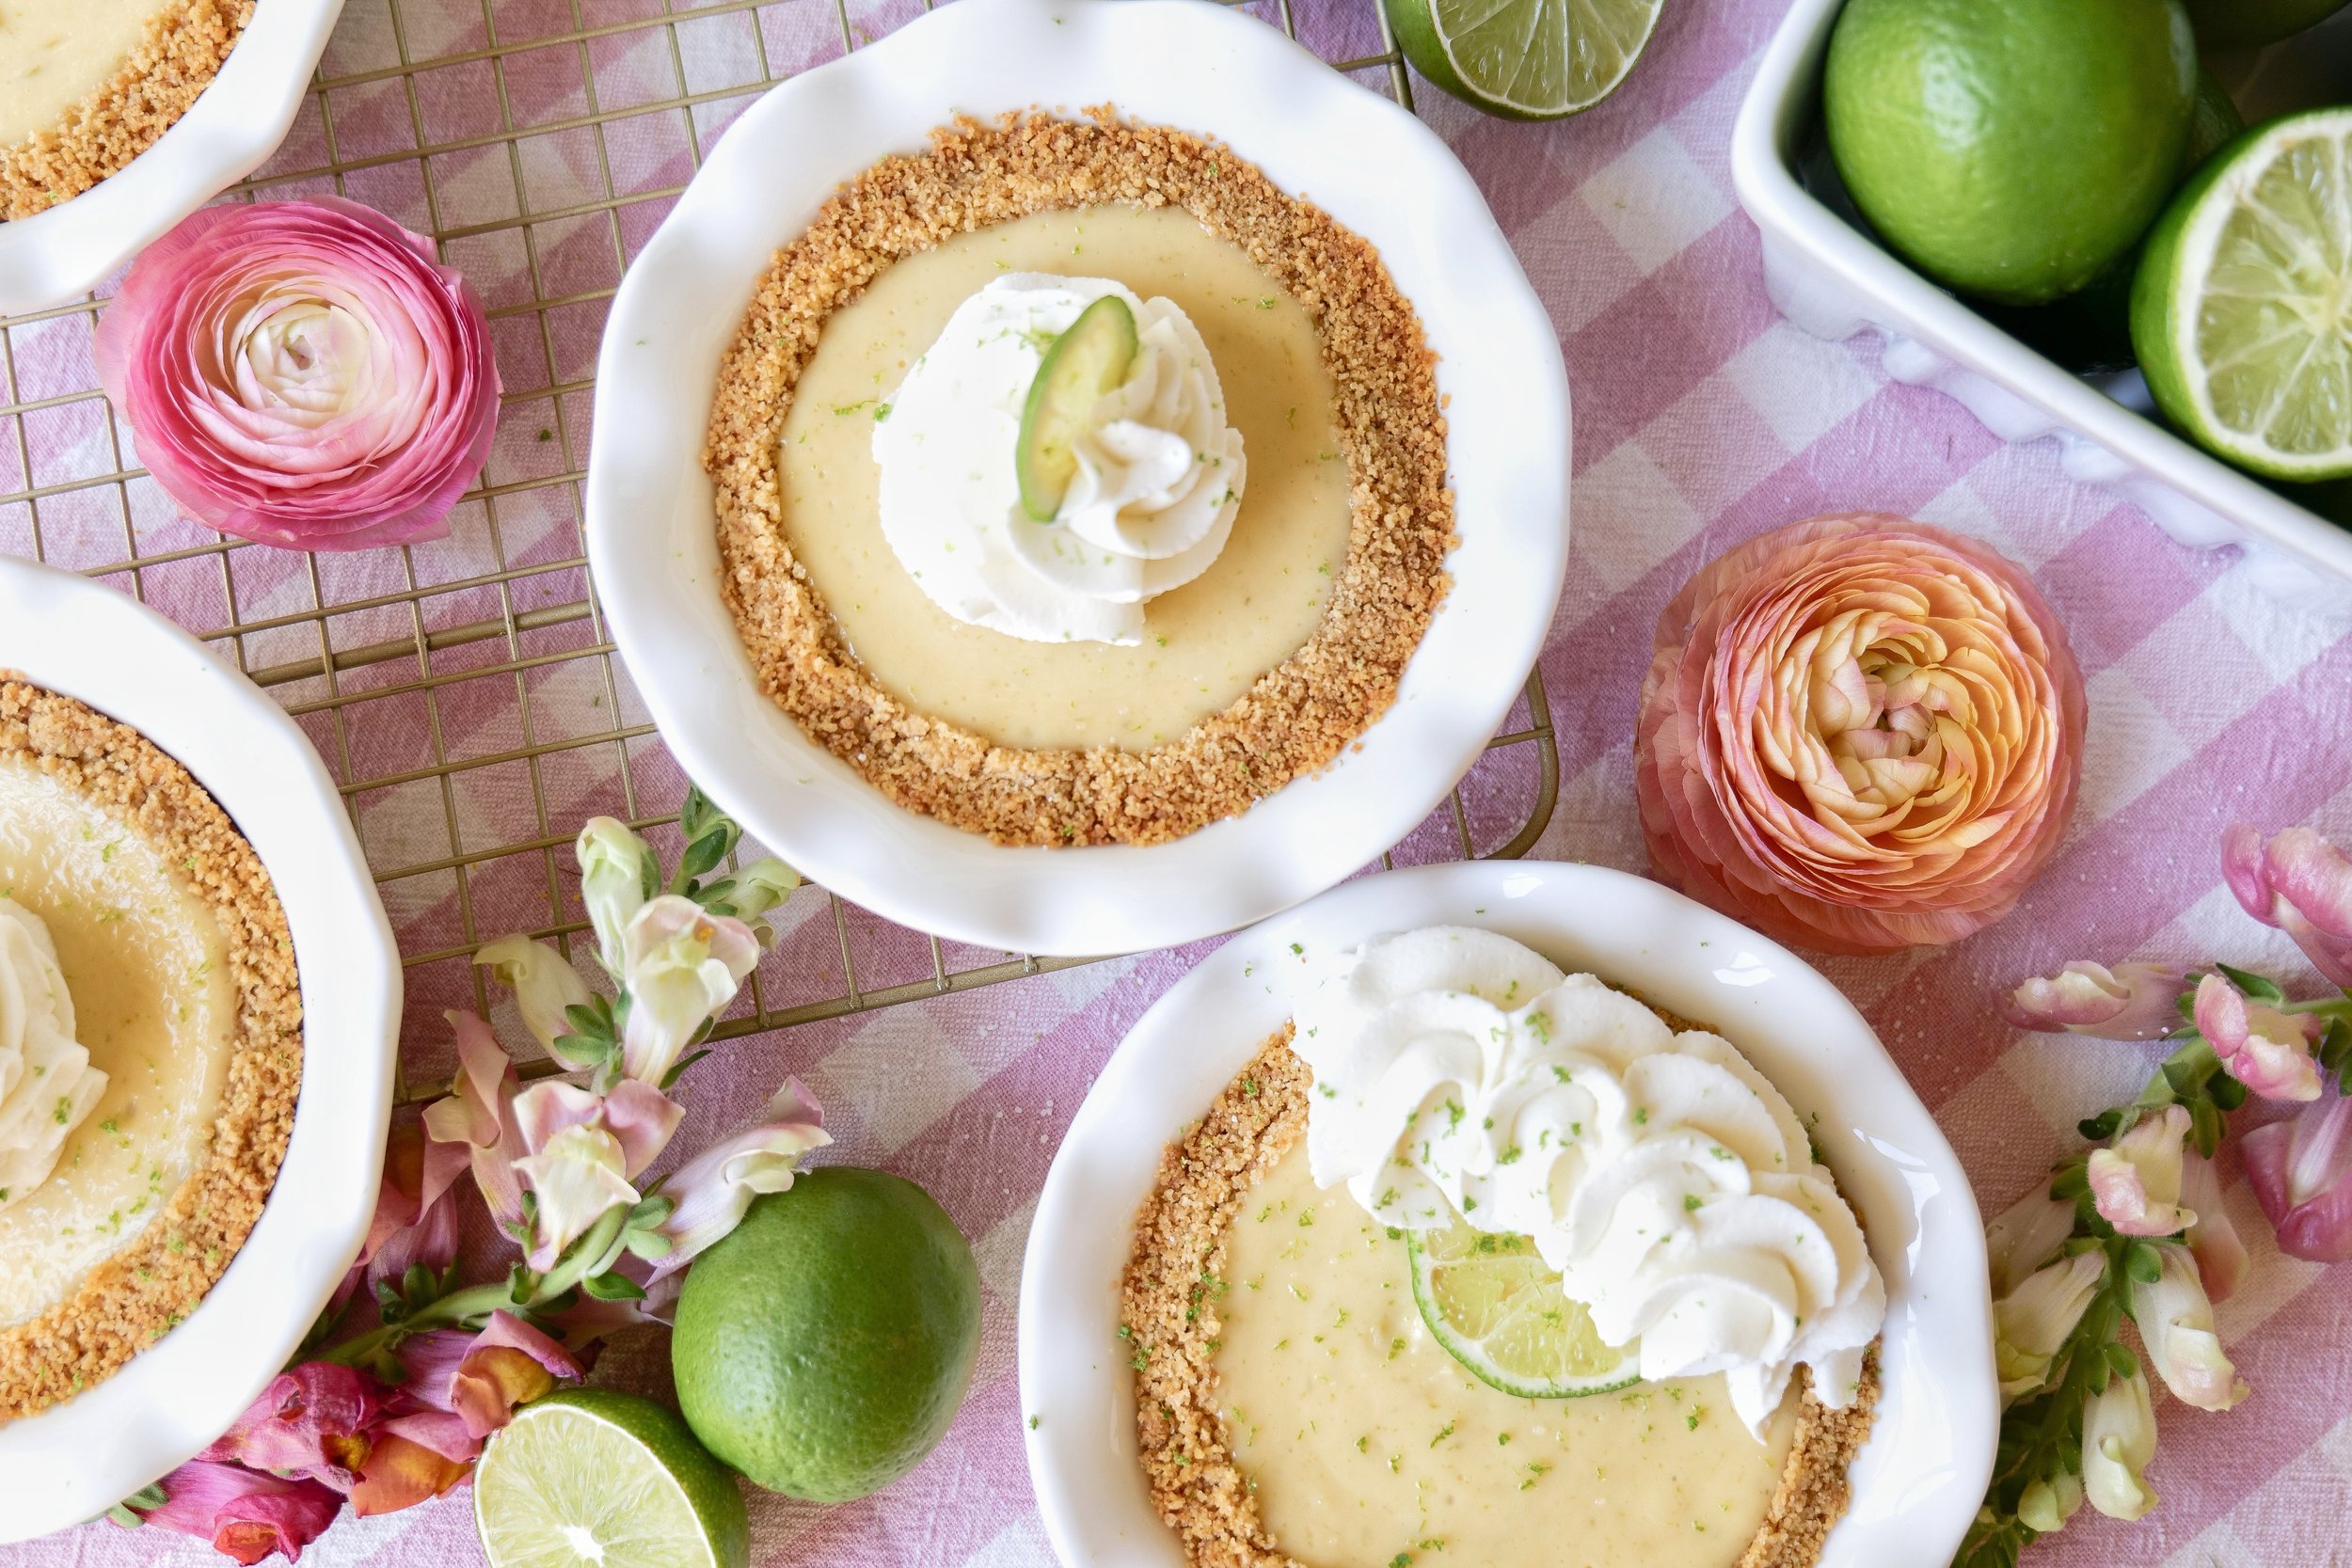
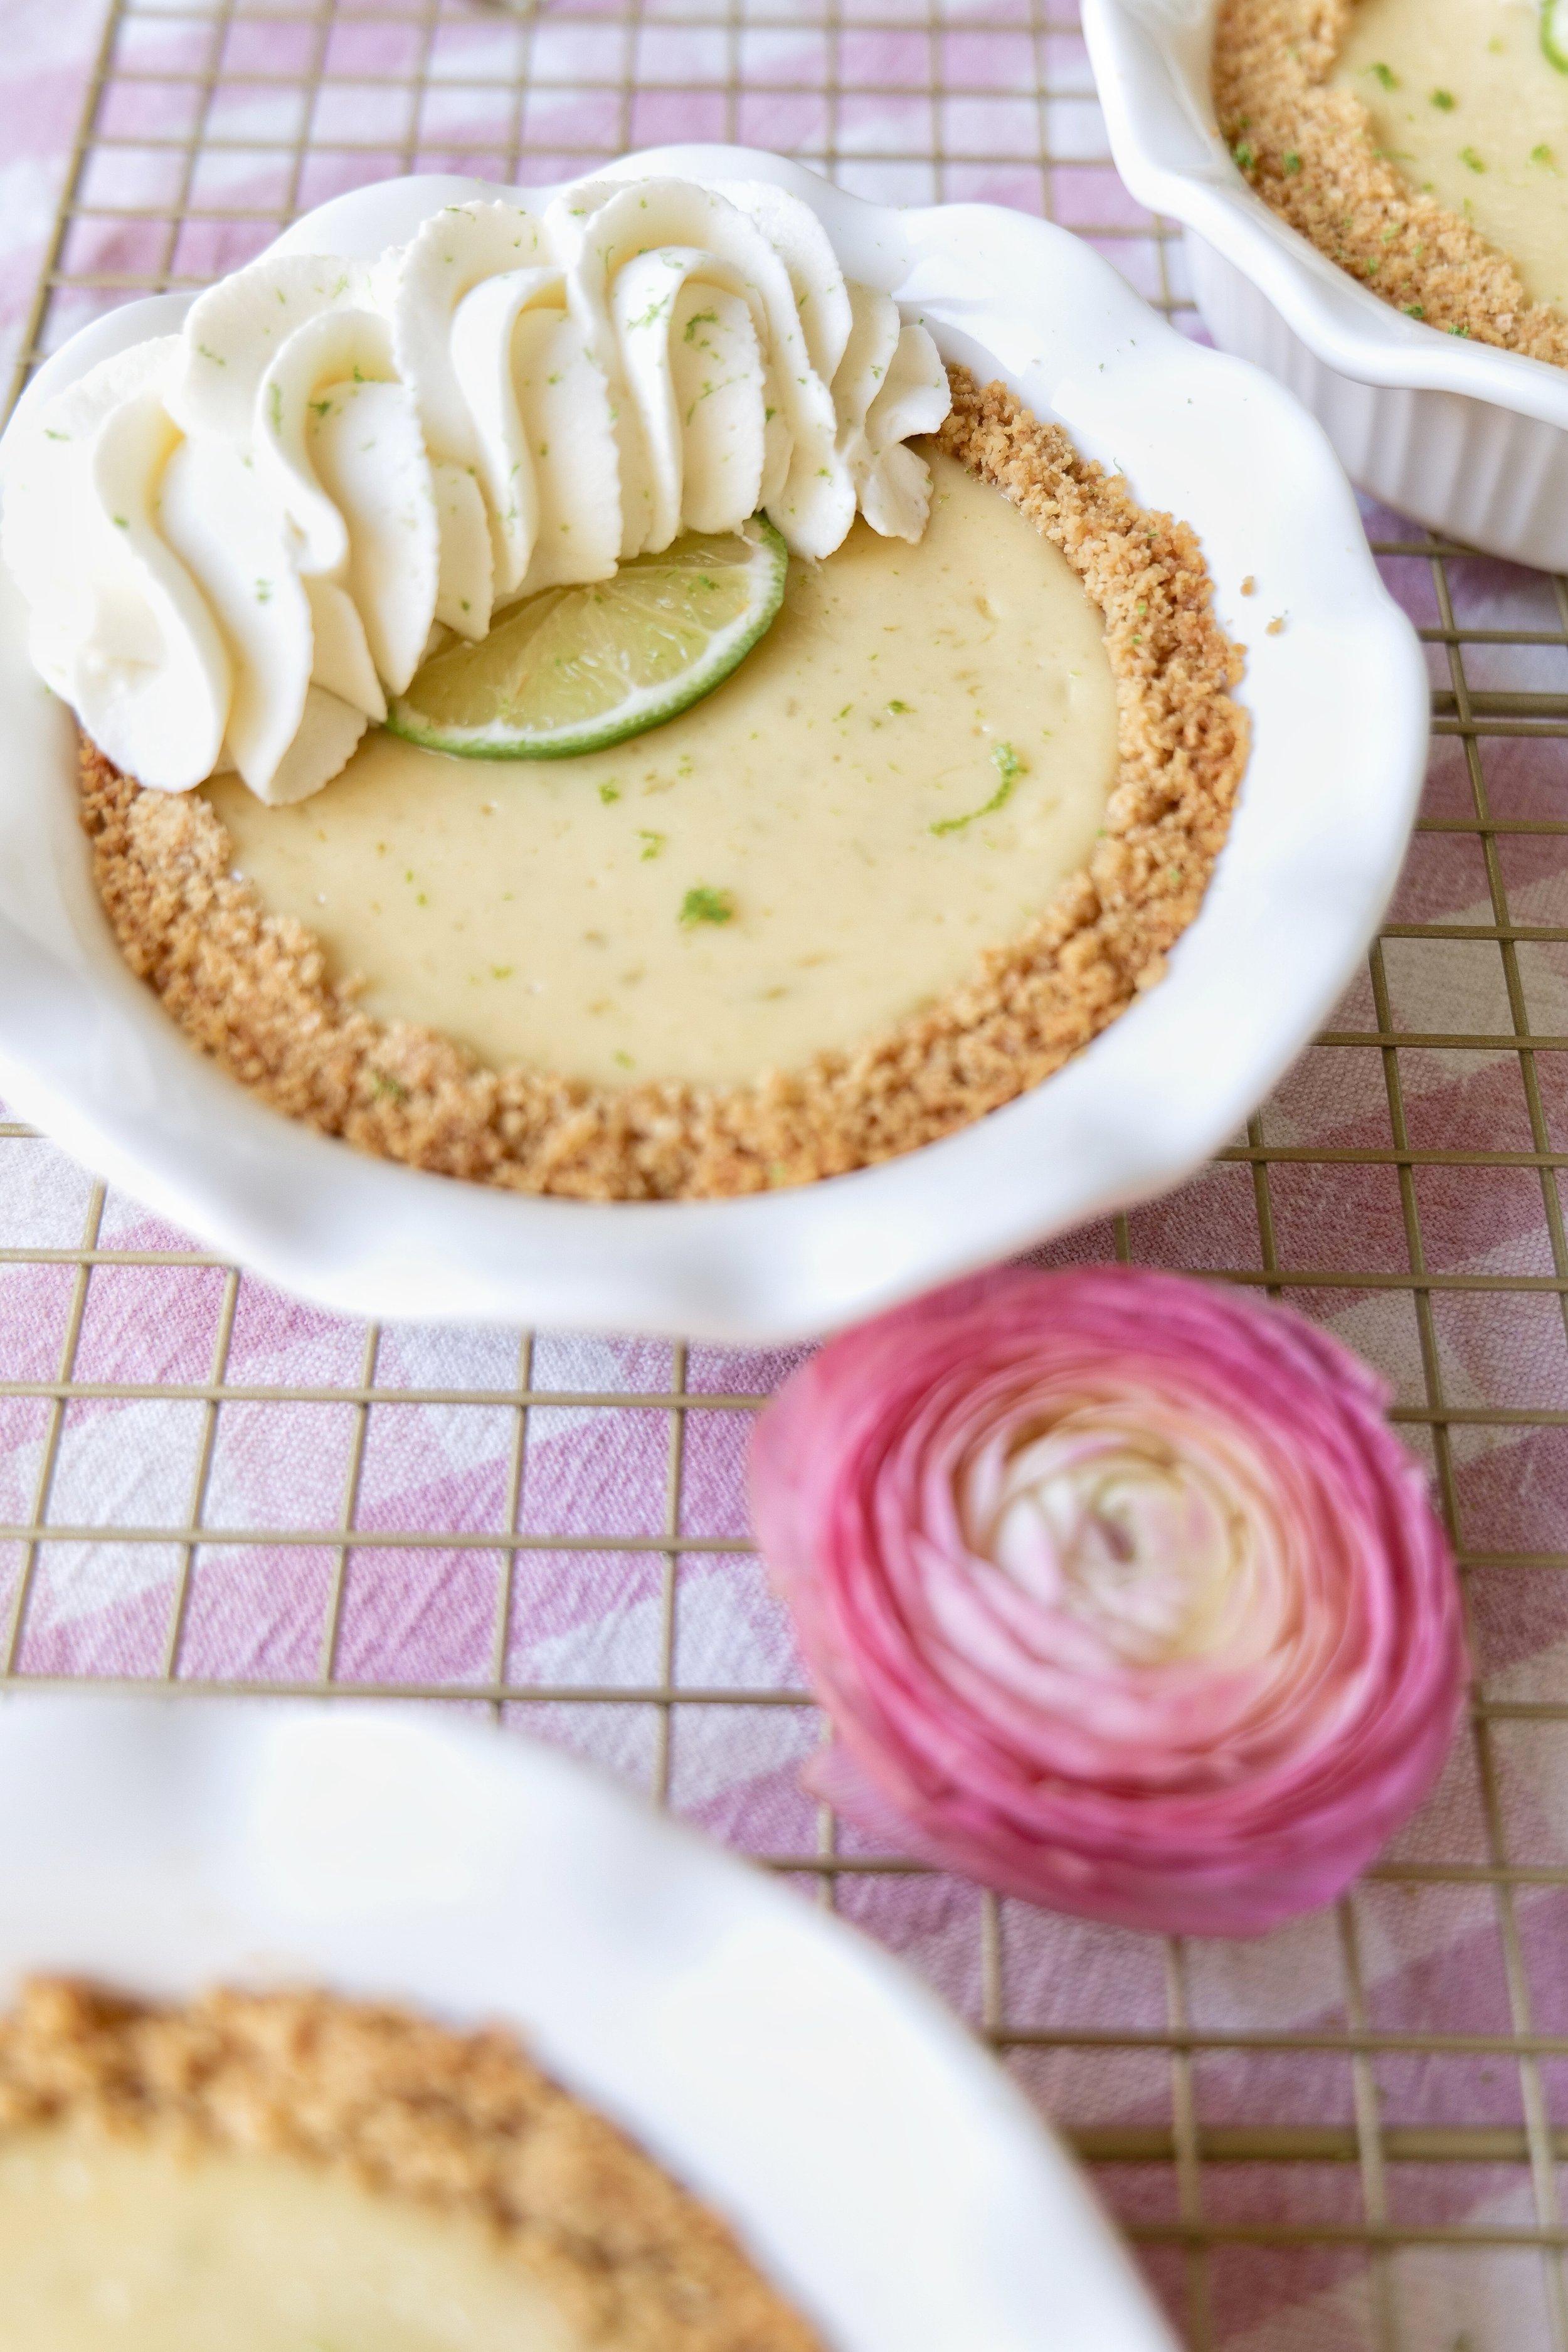
A Deliciously Sweet Treat: Mini Key Lime Pies with Splenda

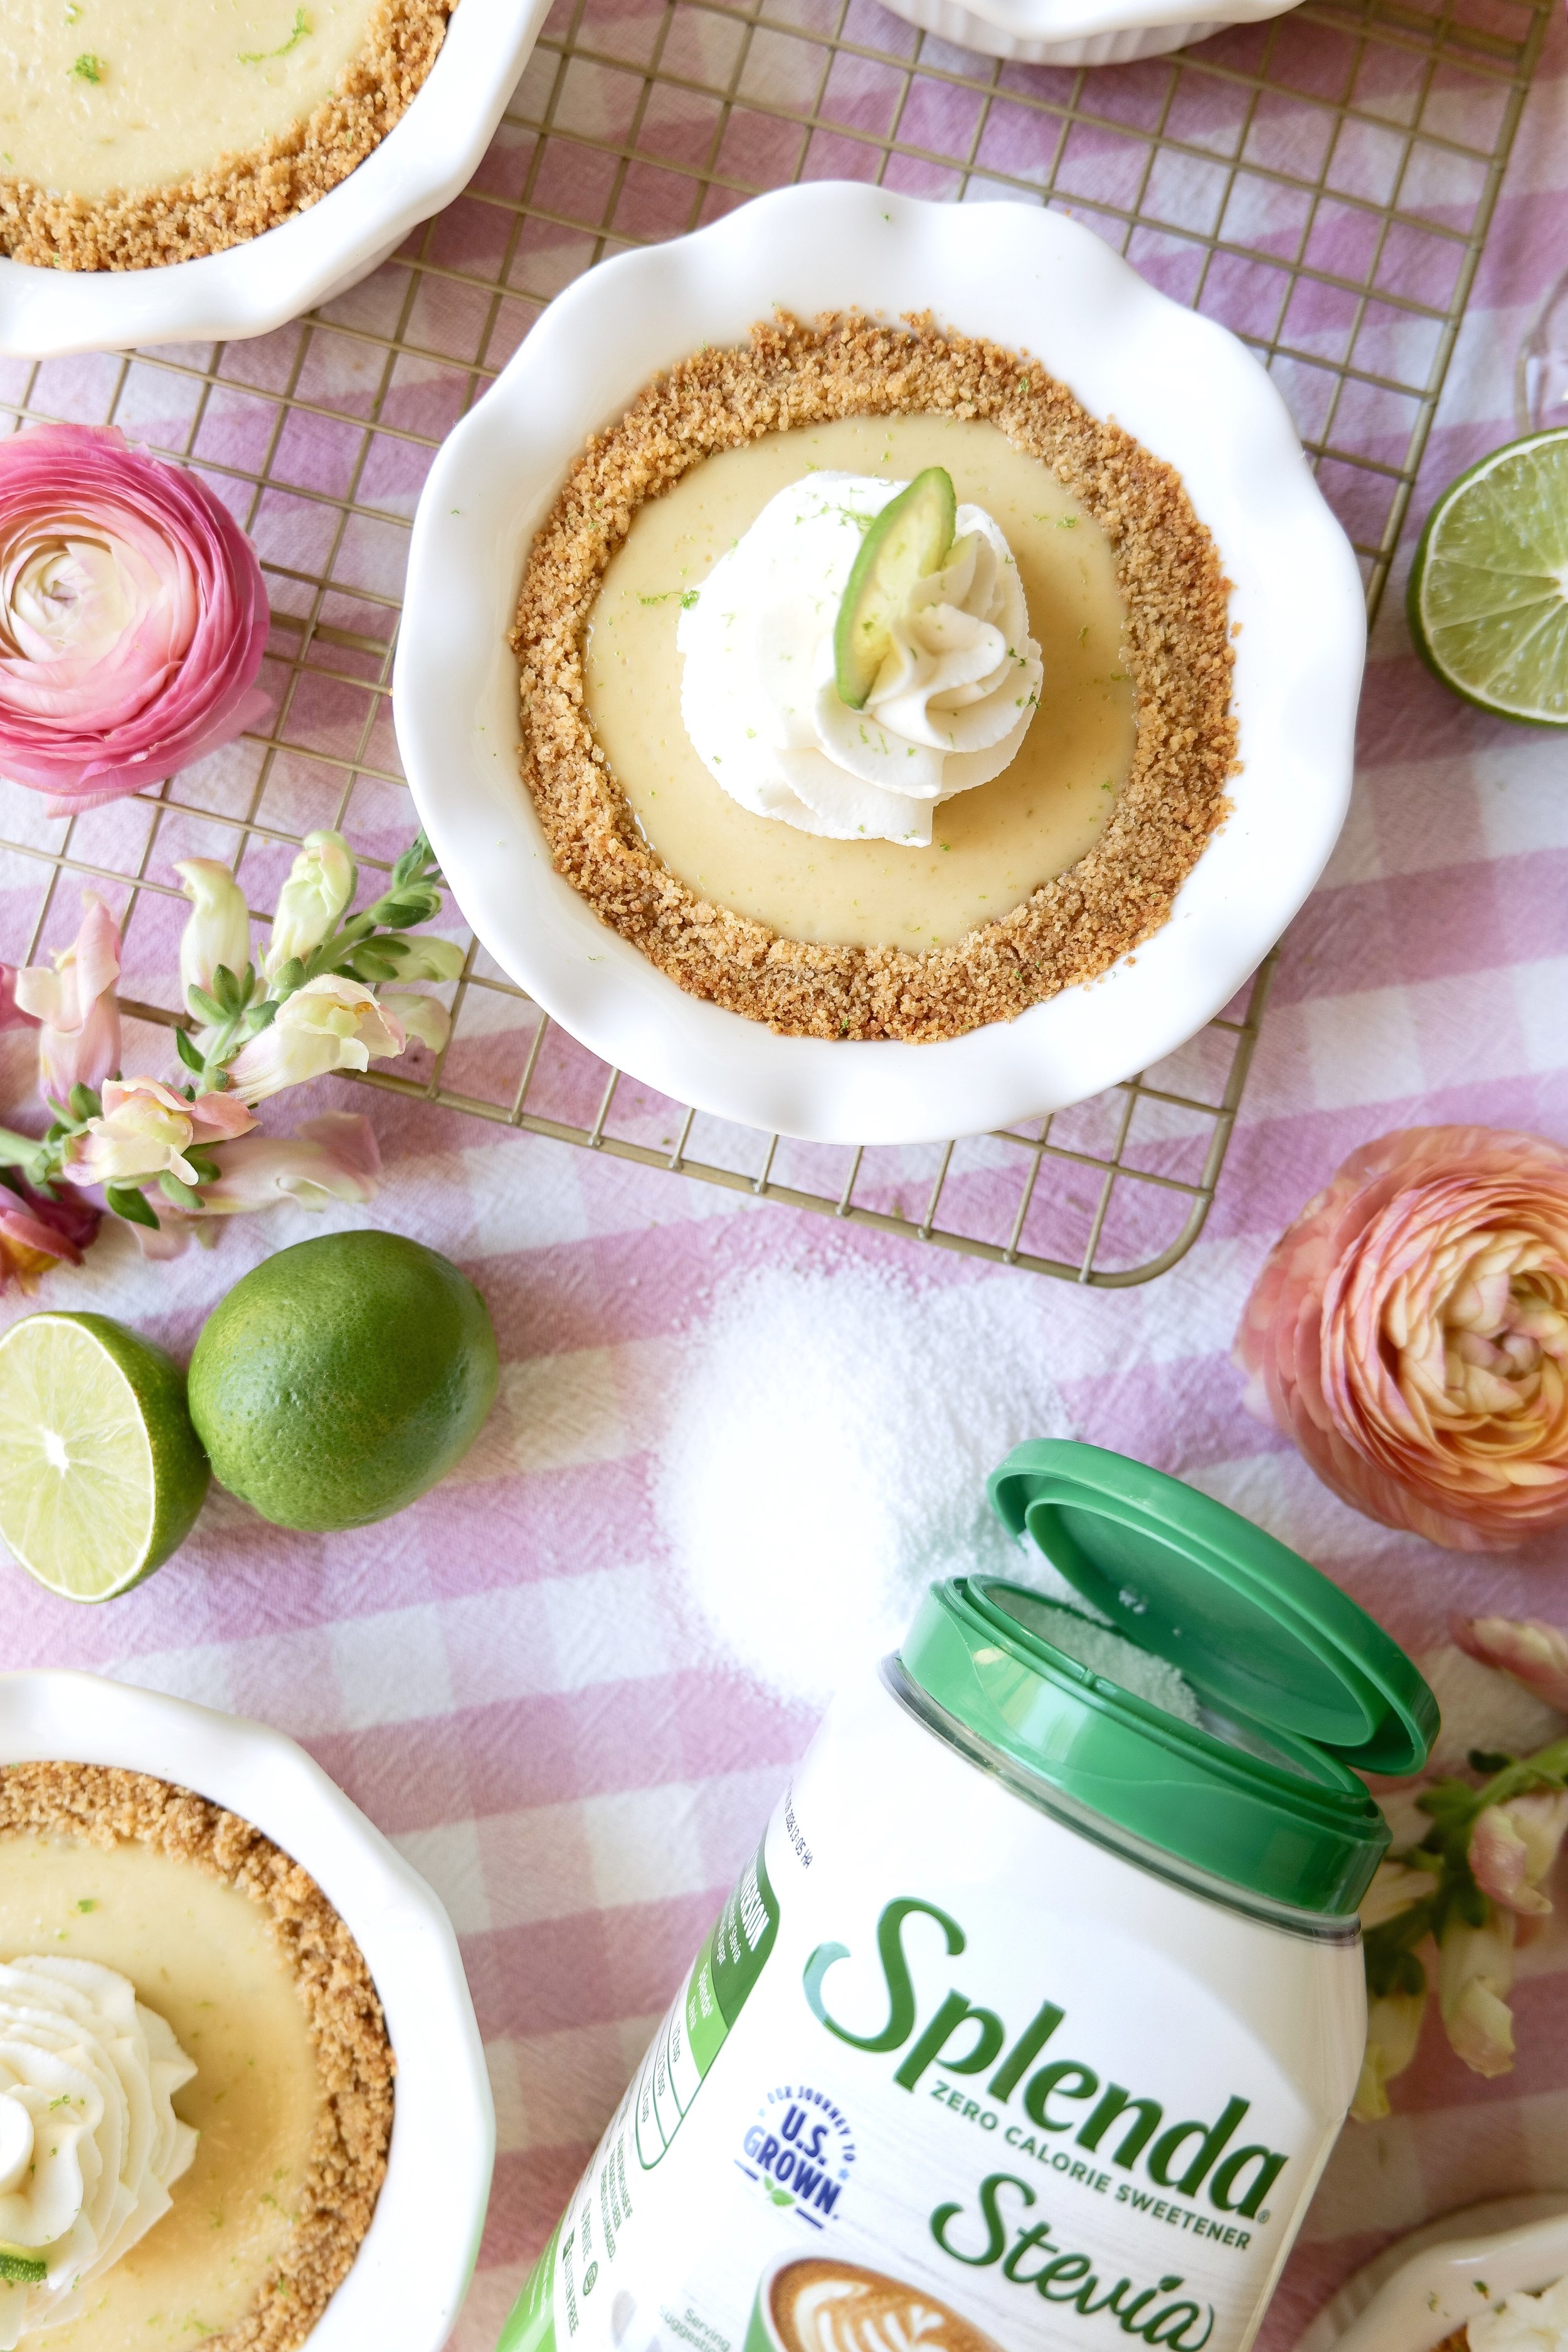
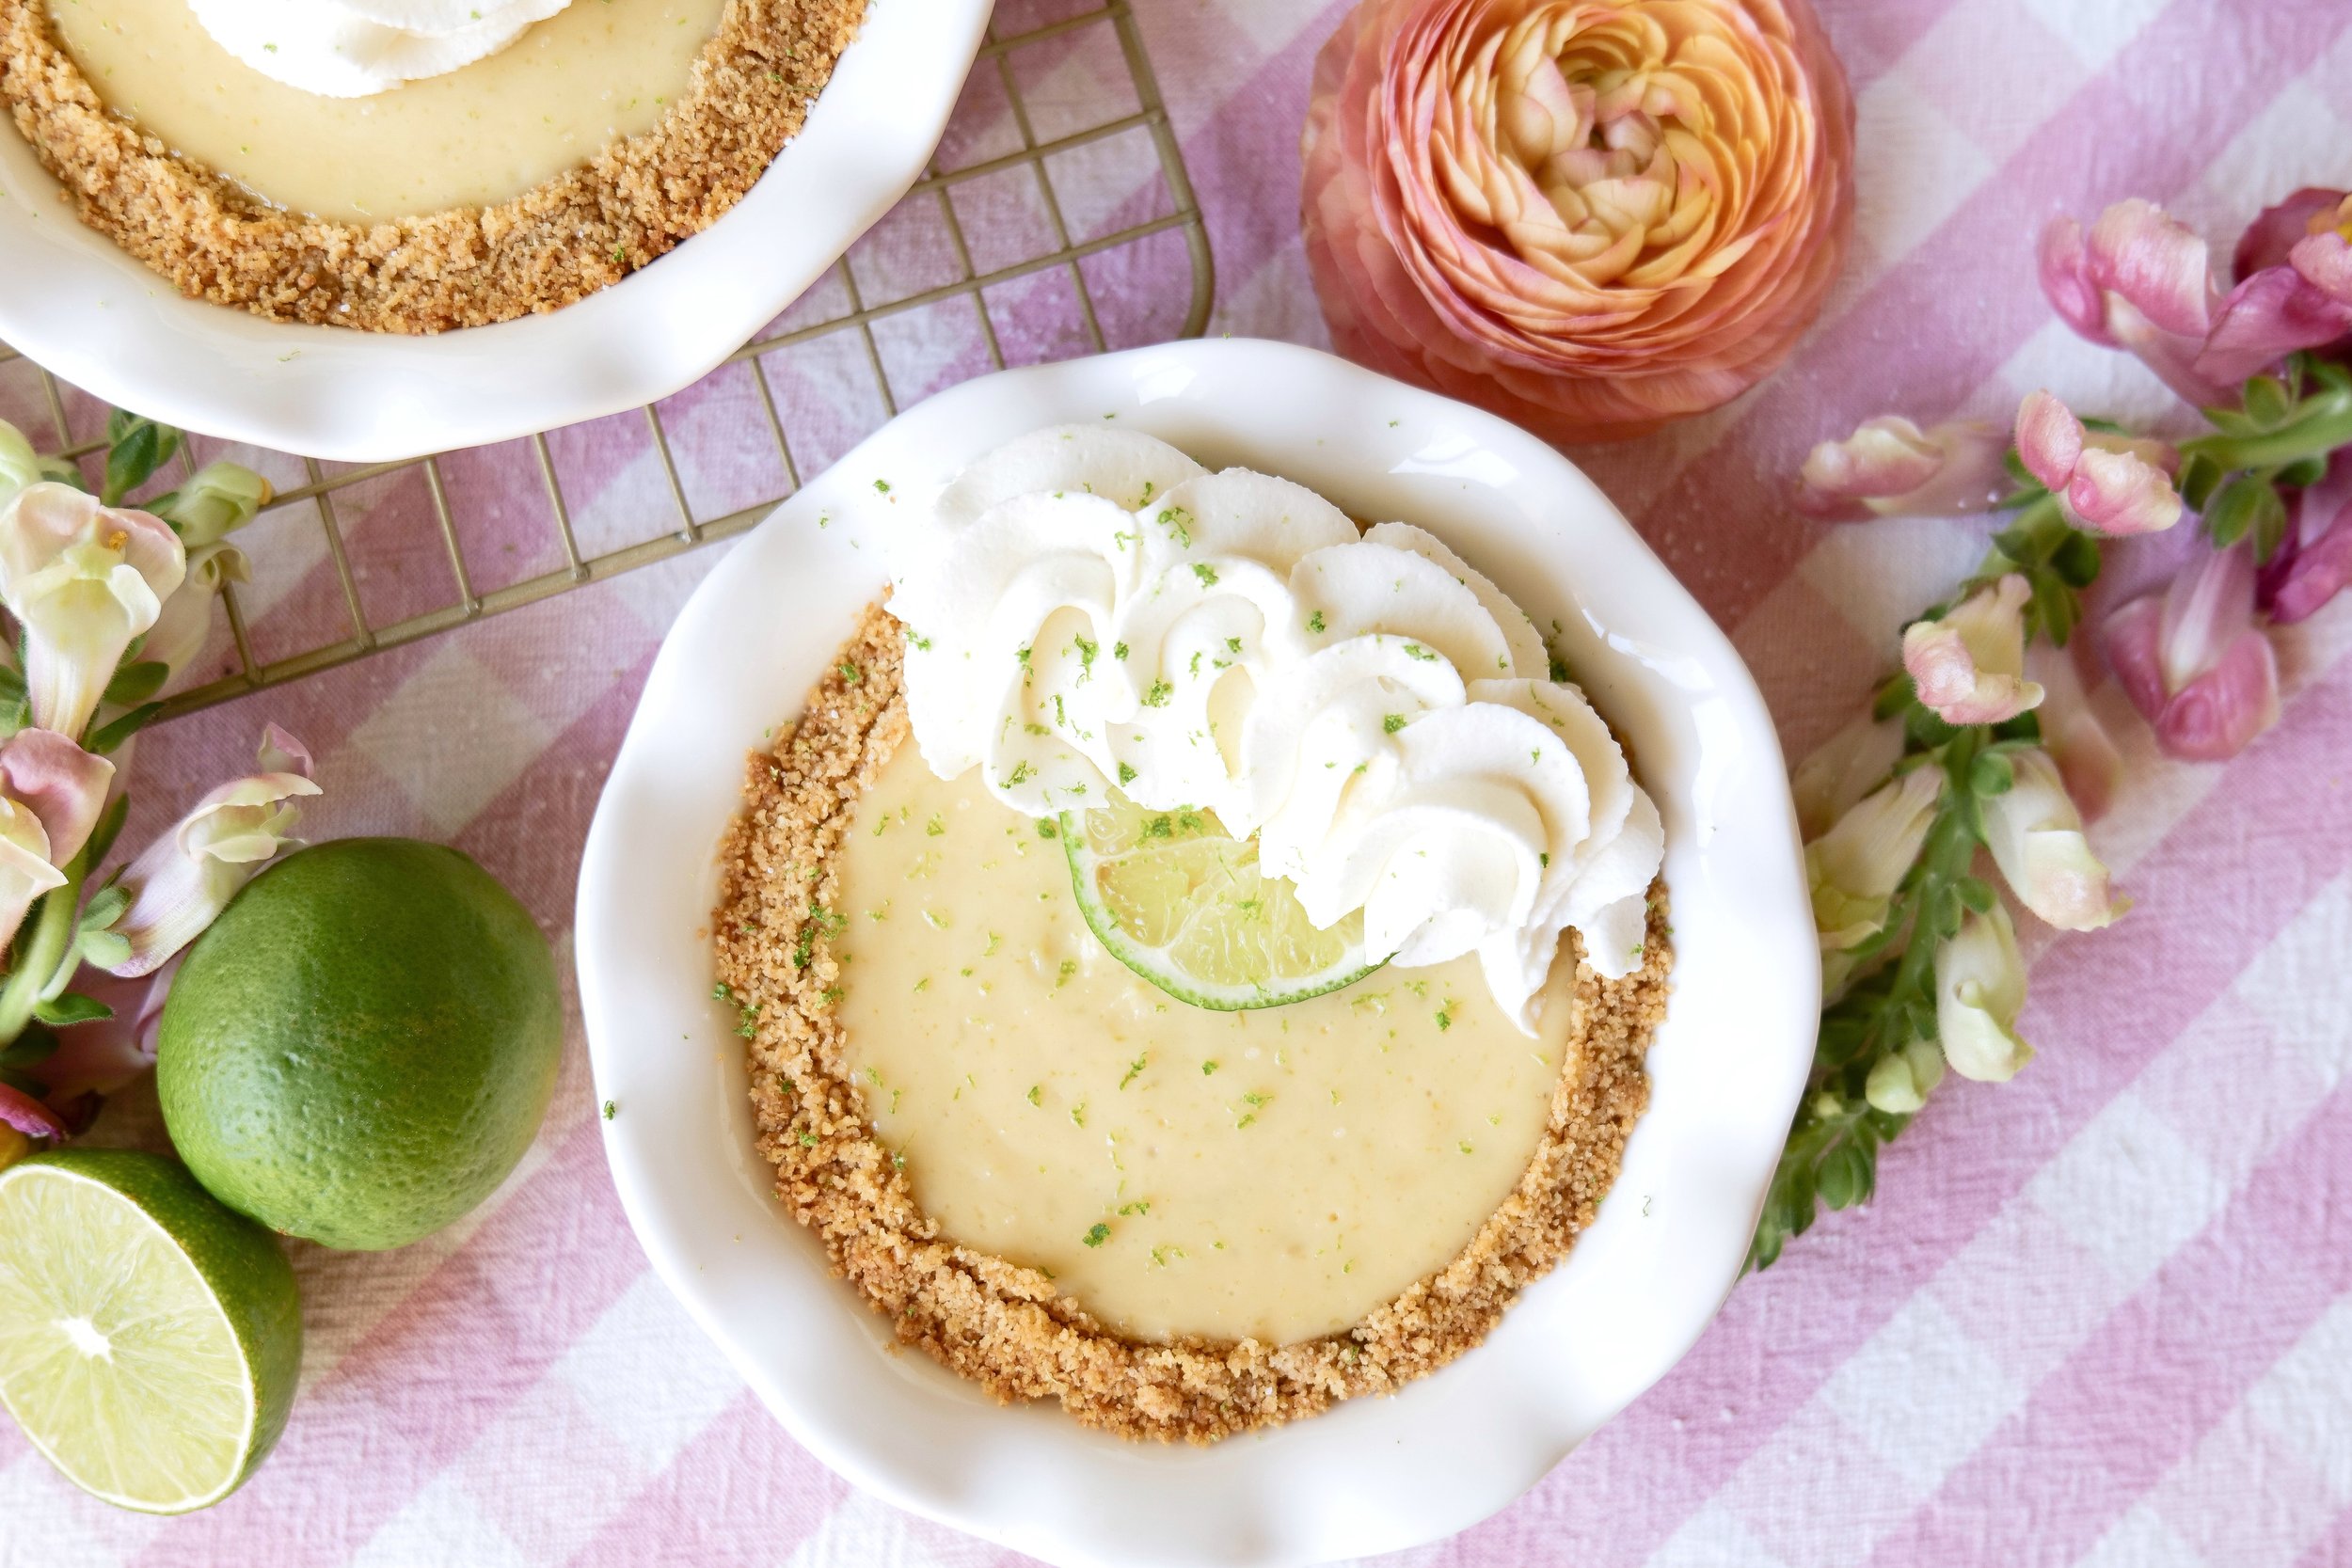
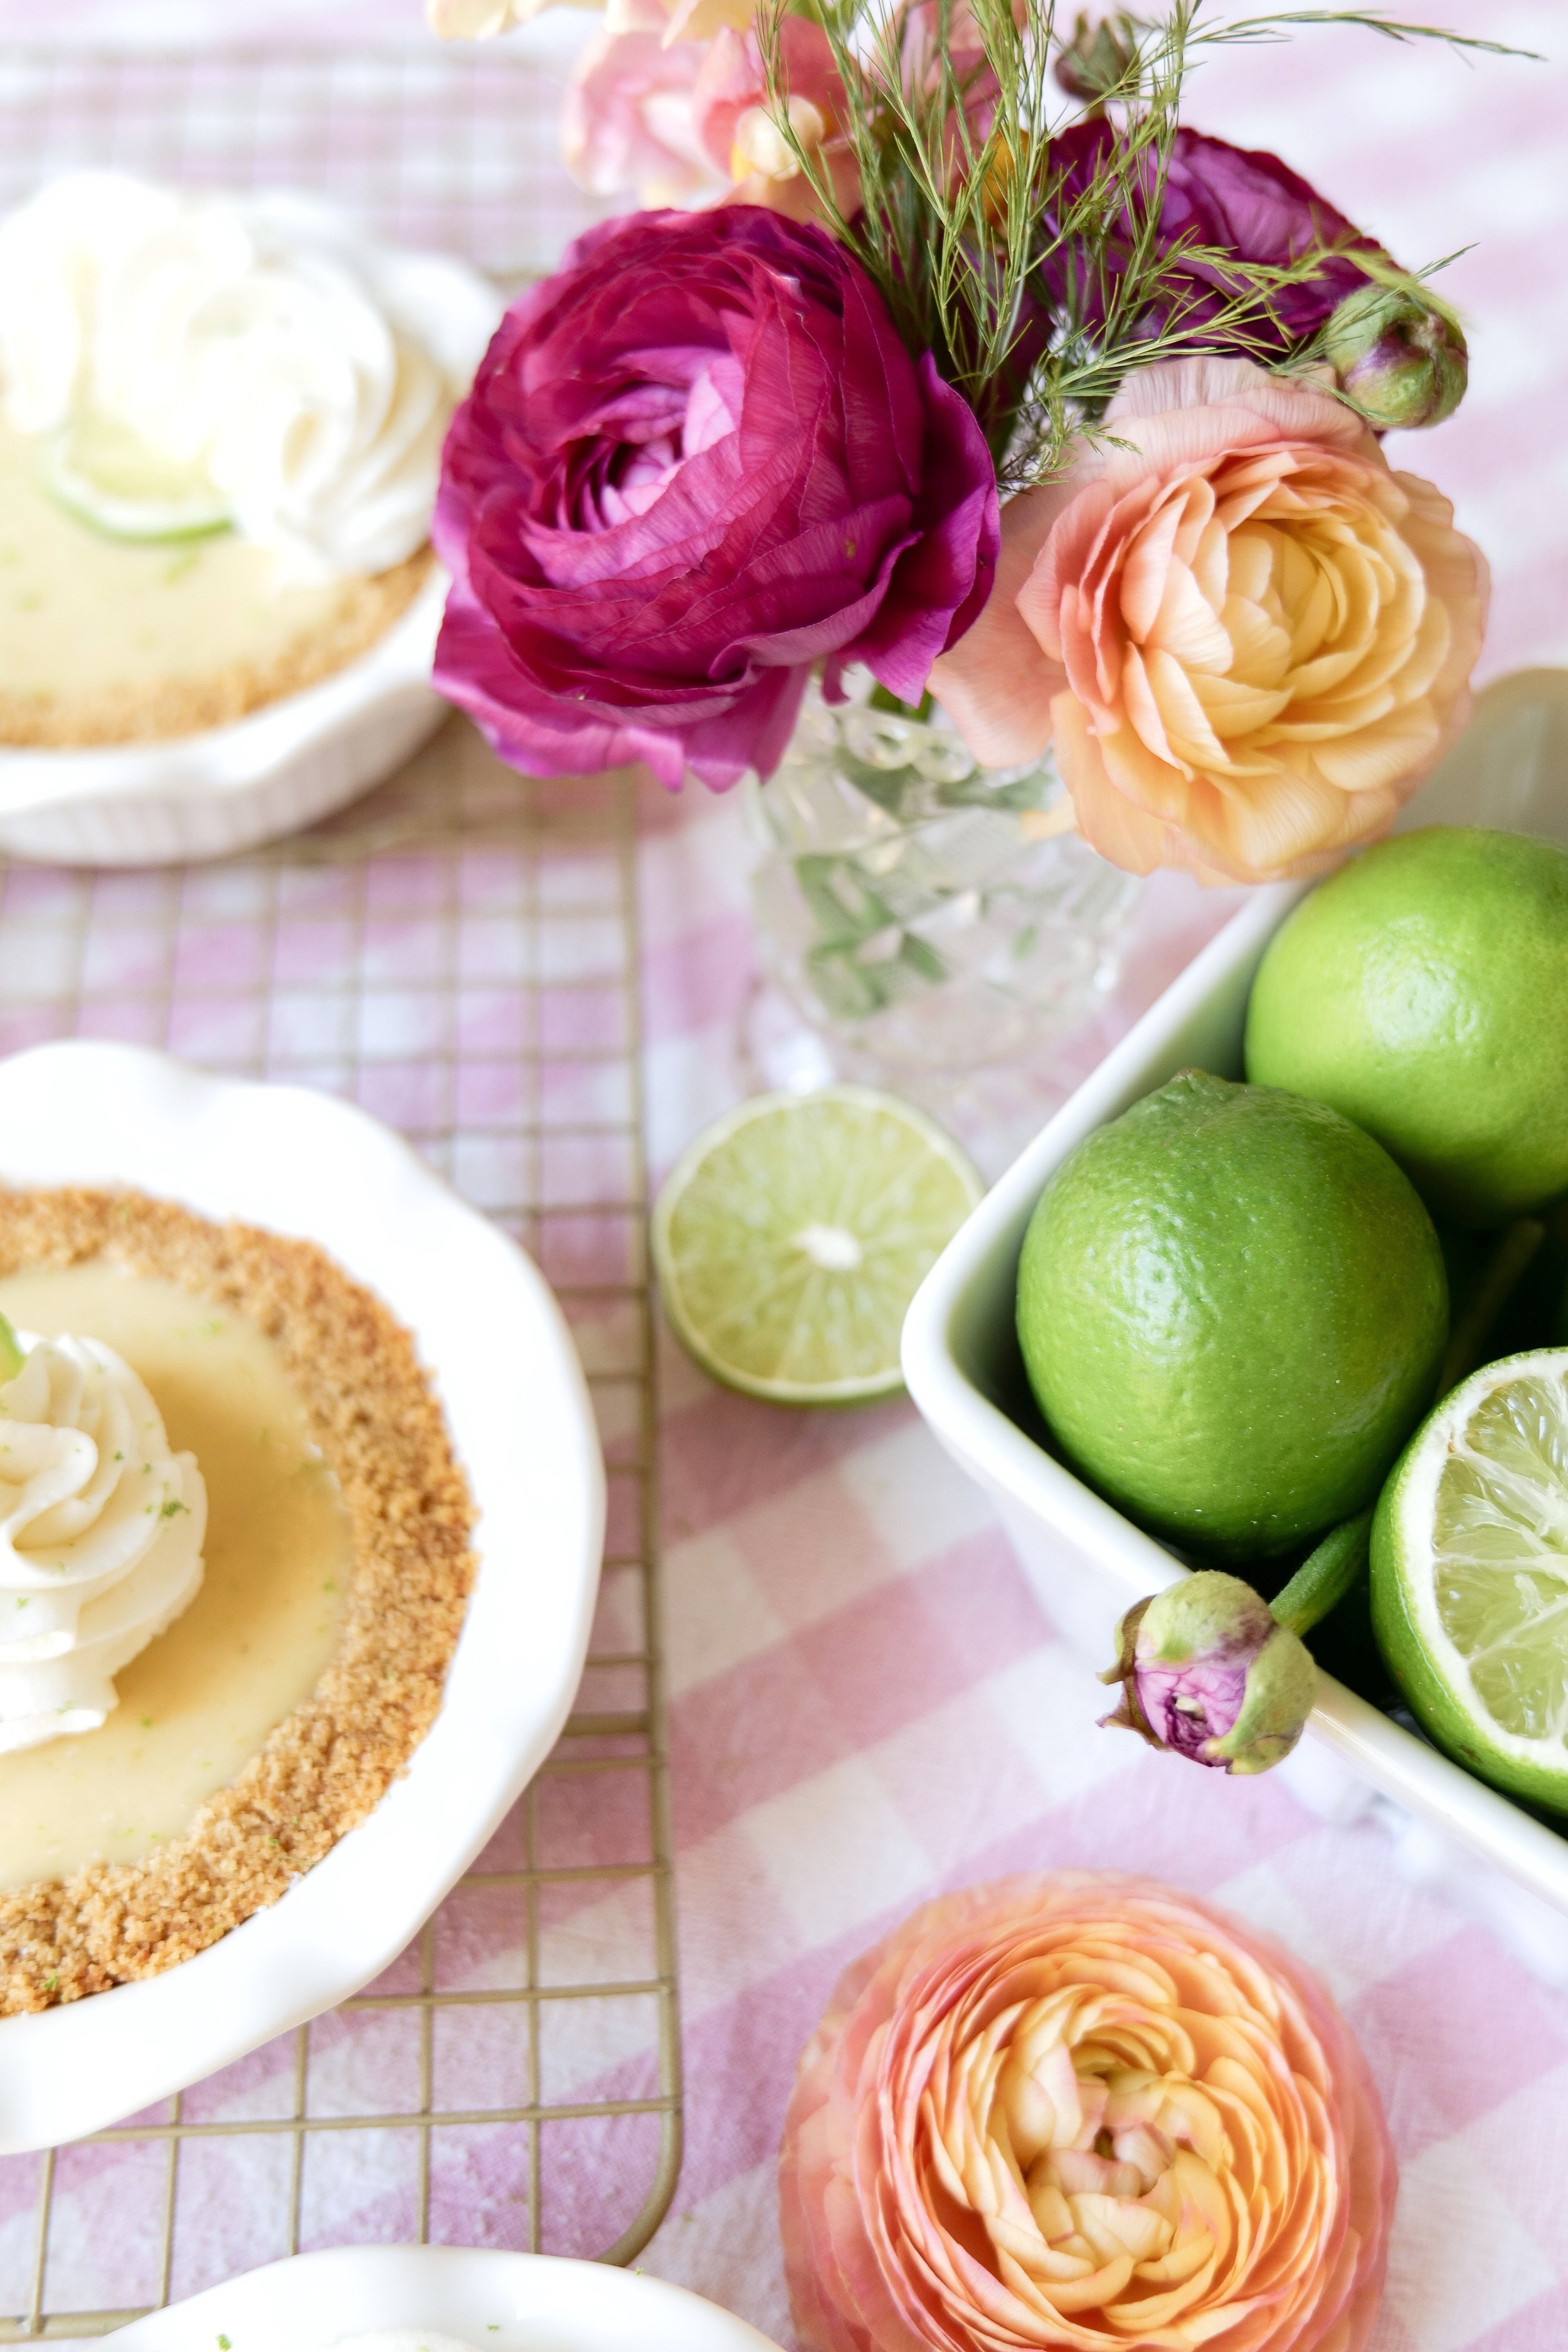
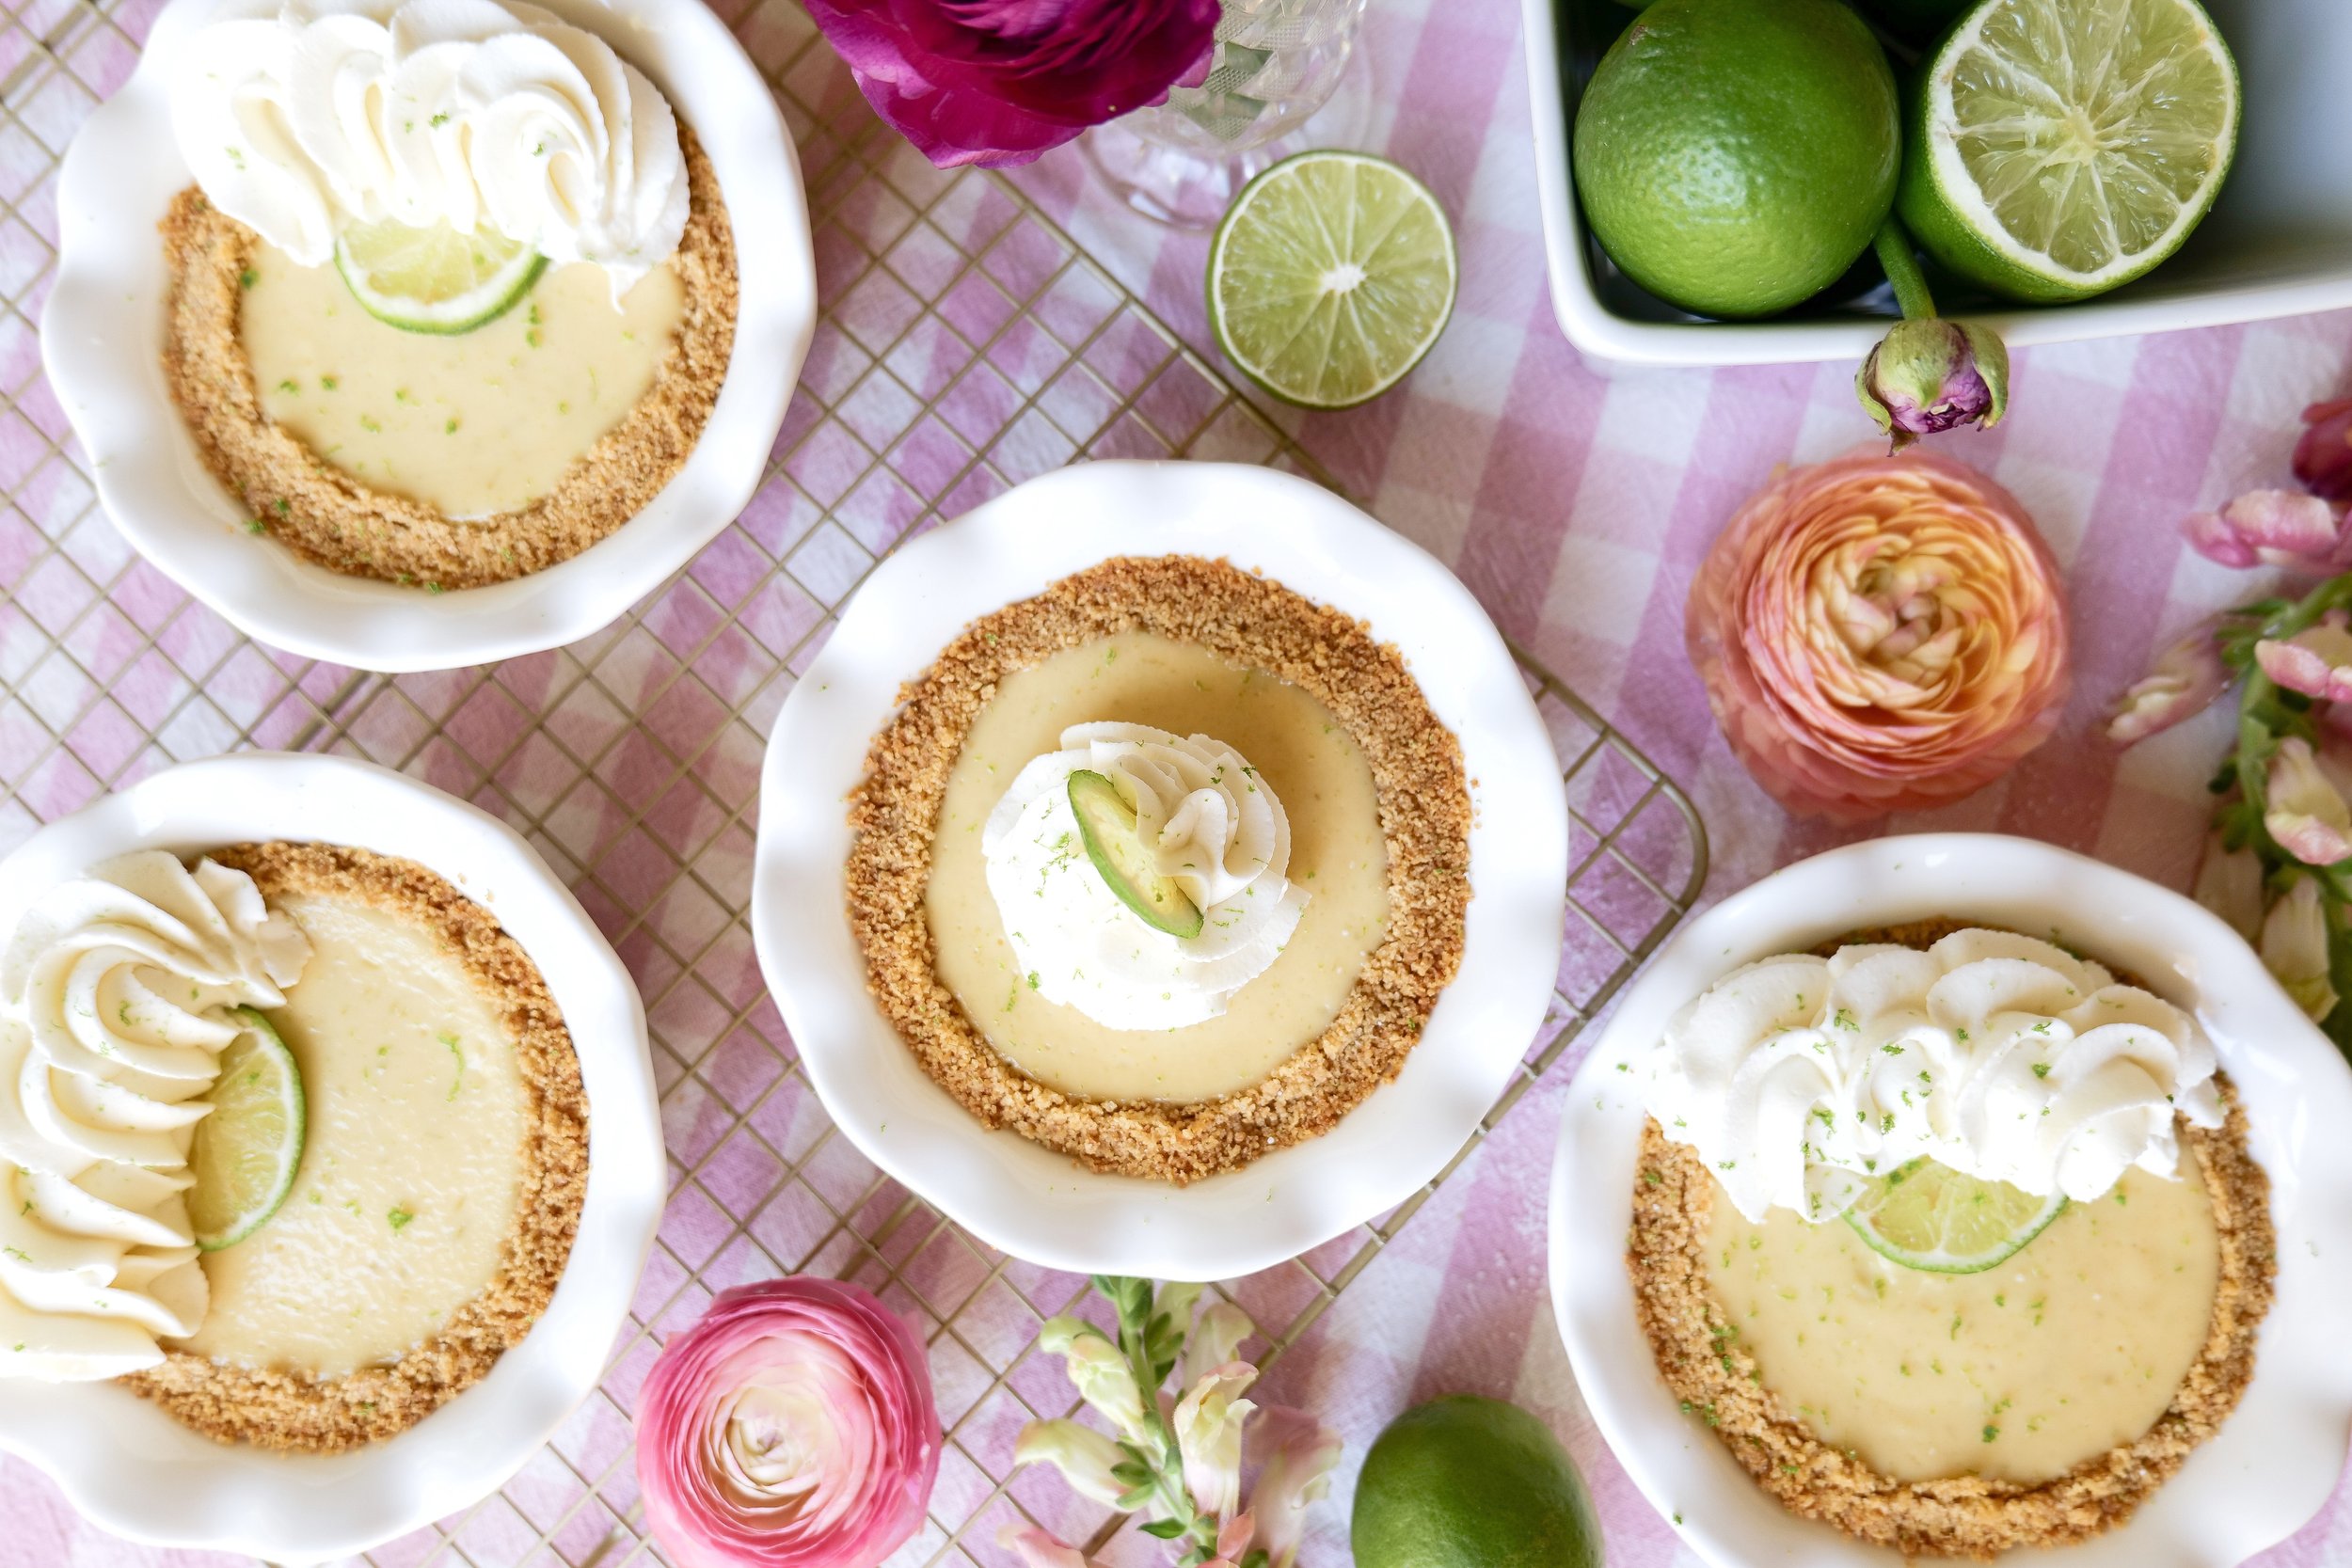
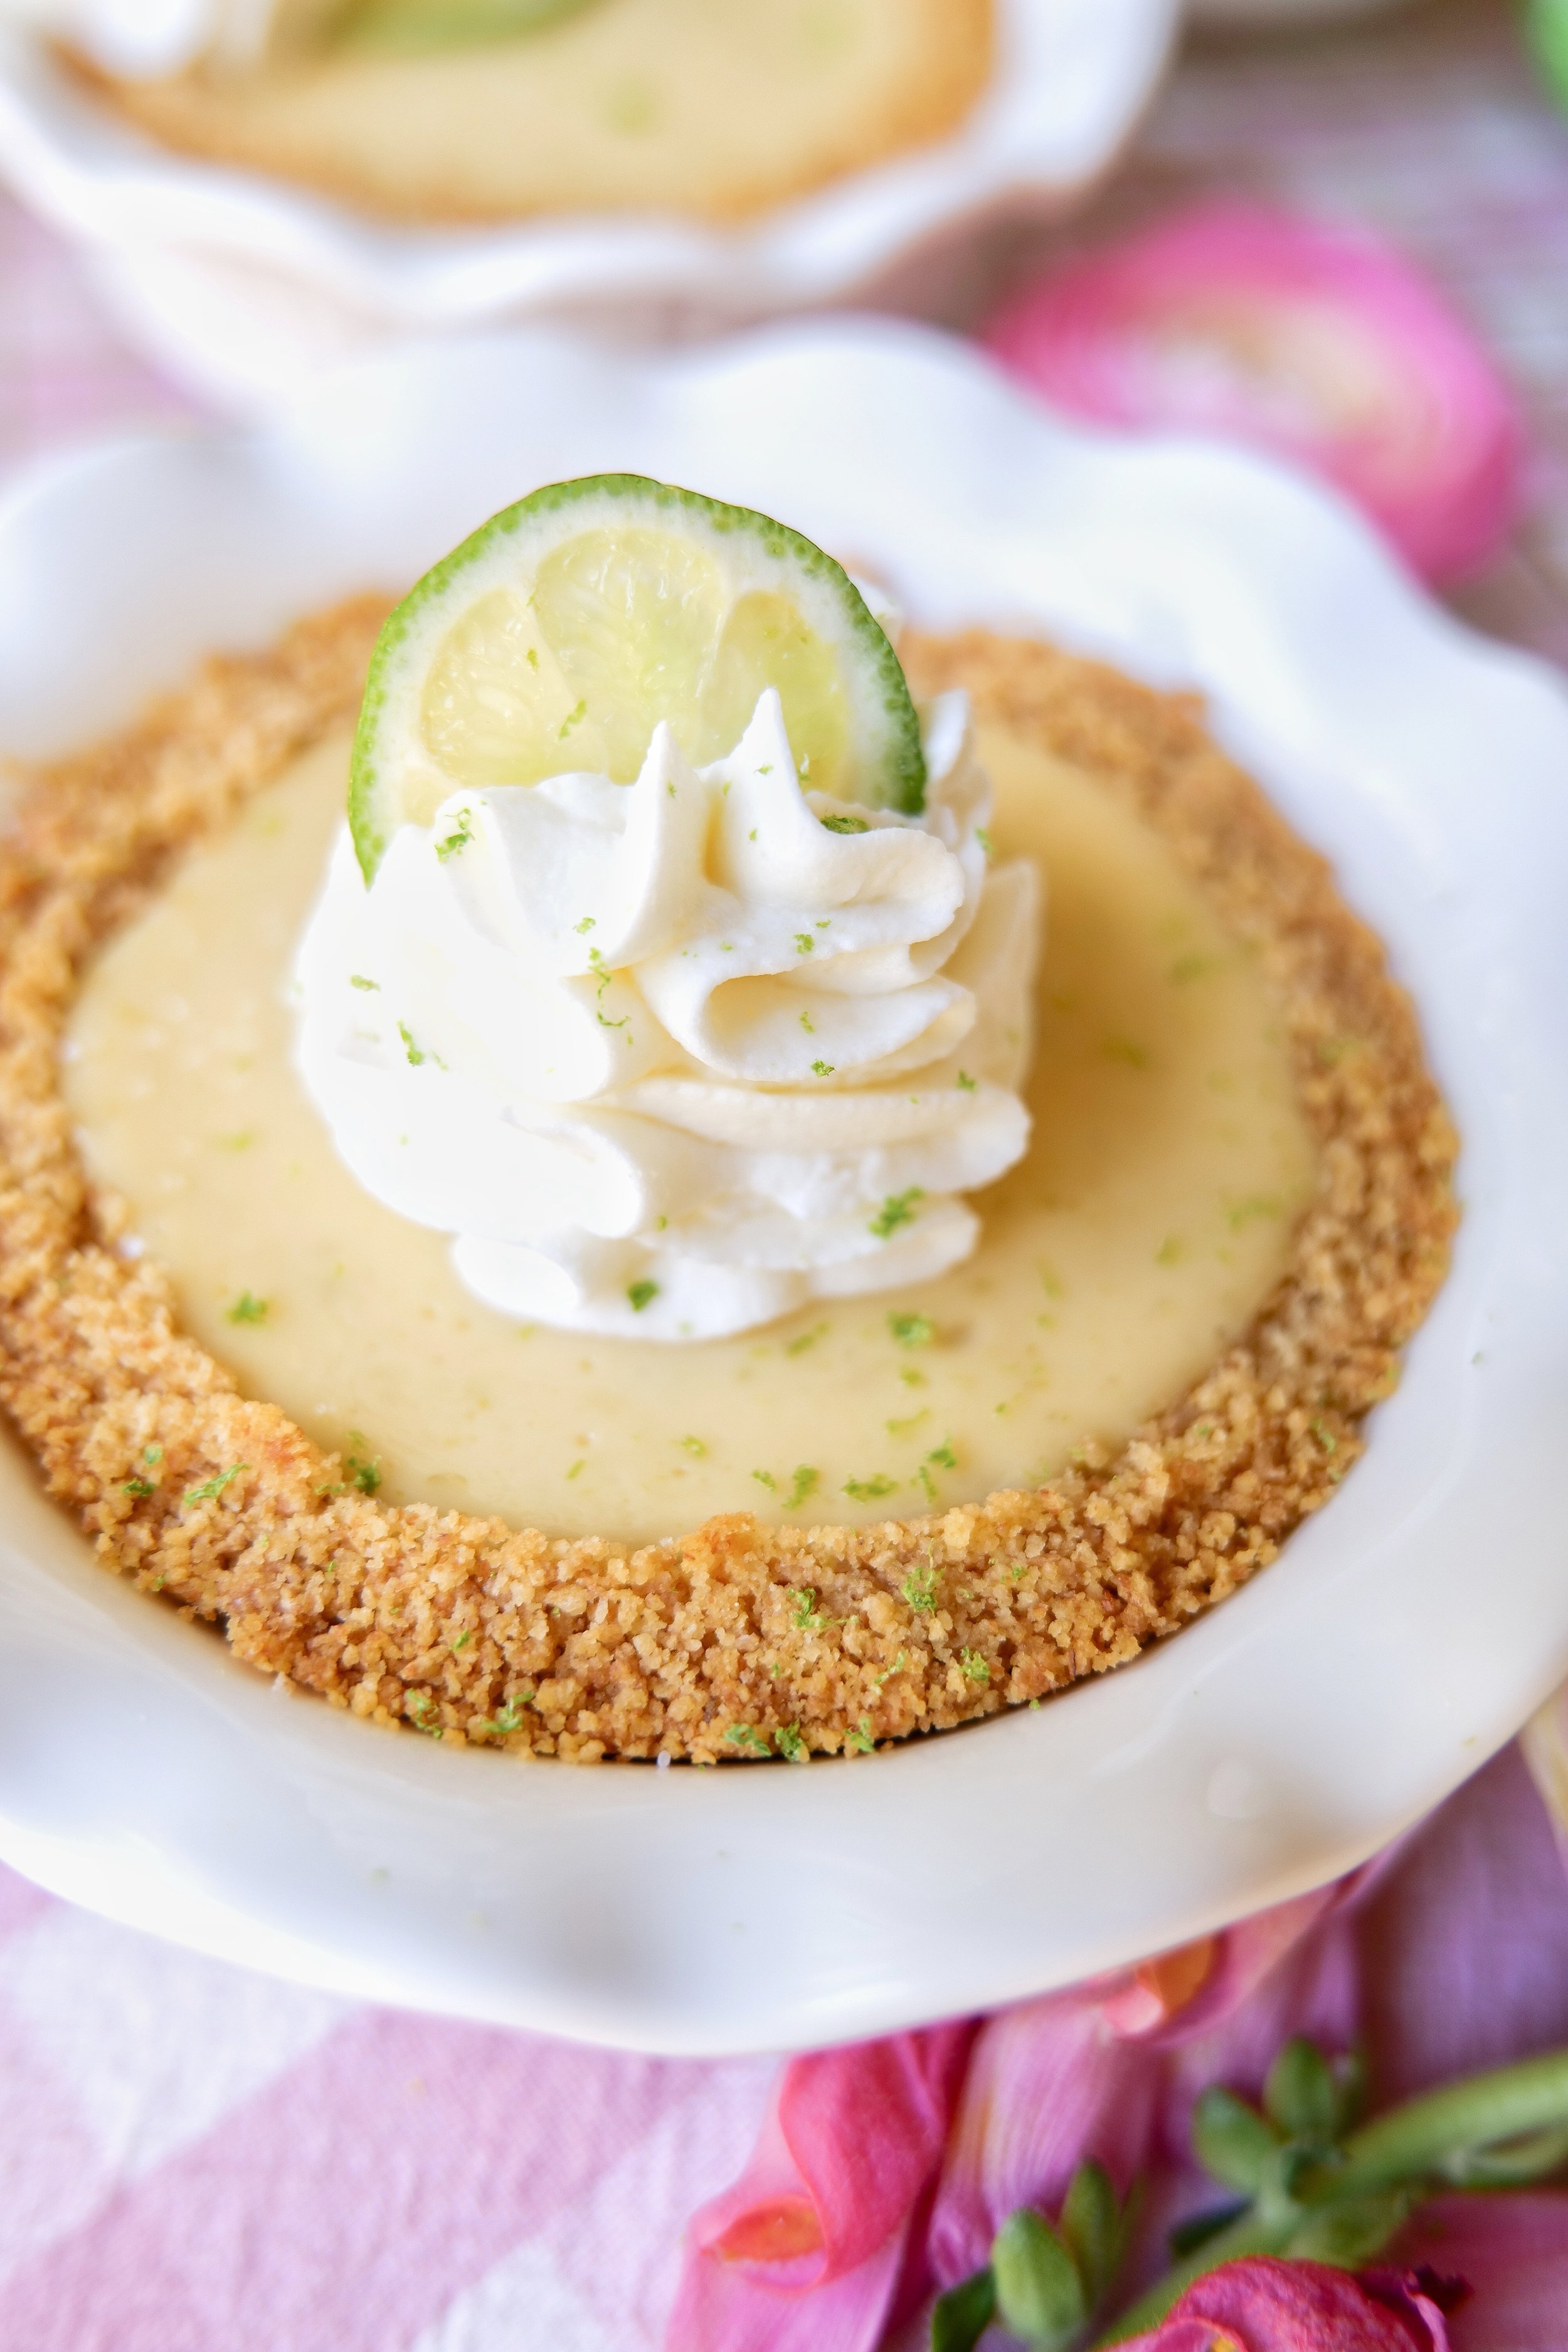
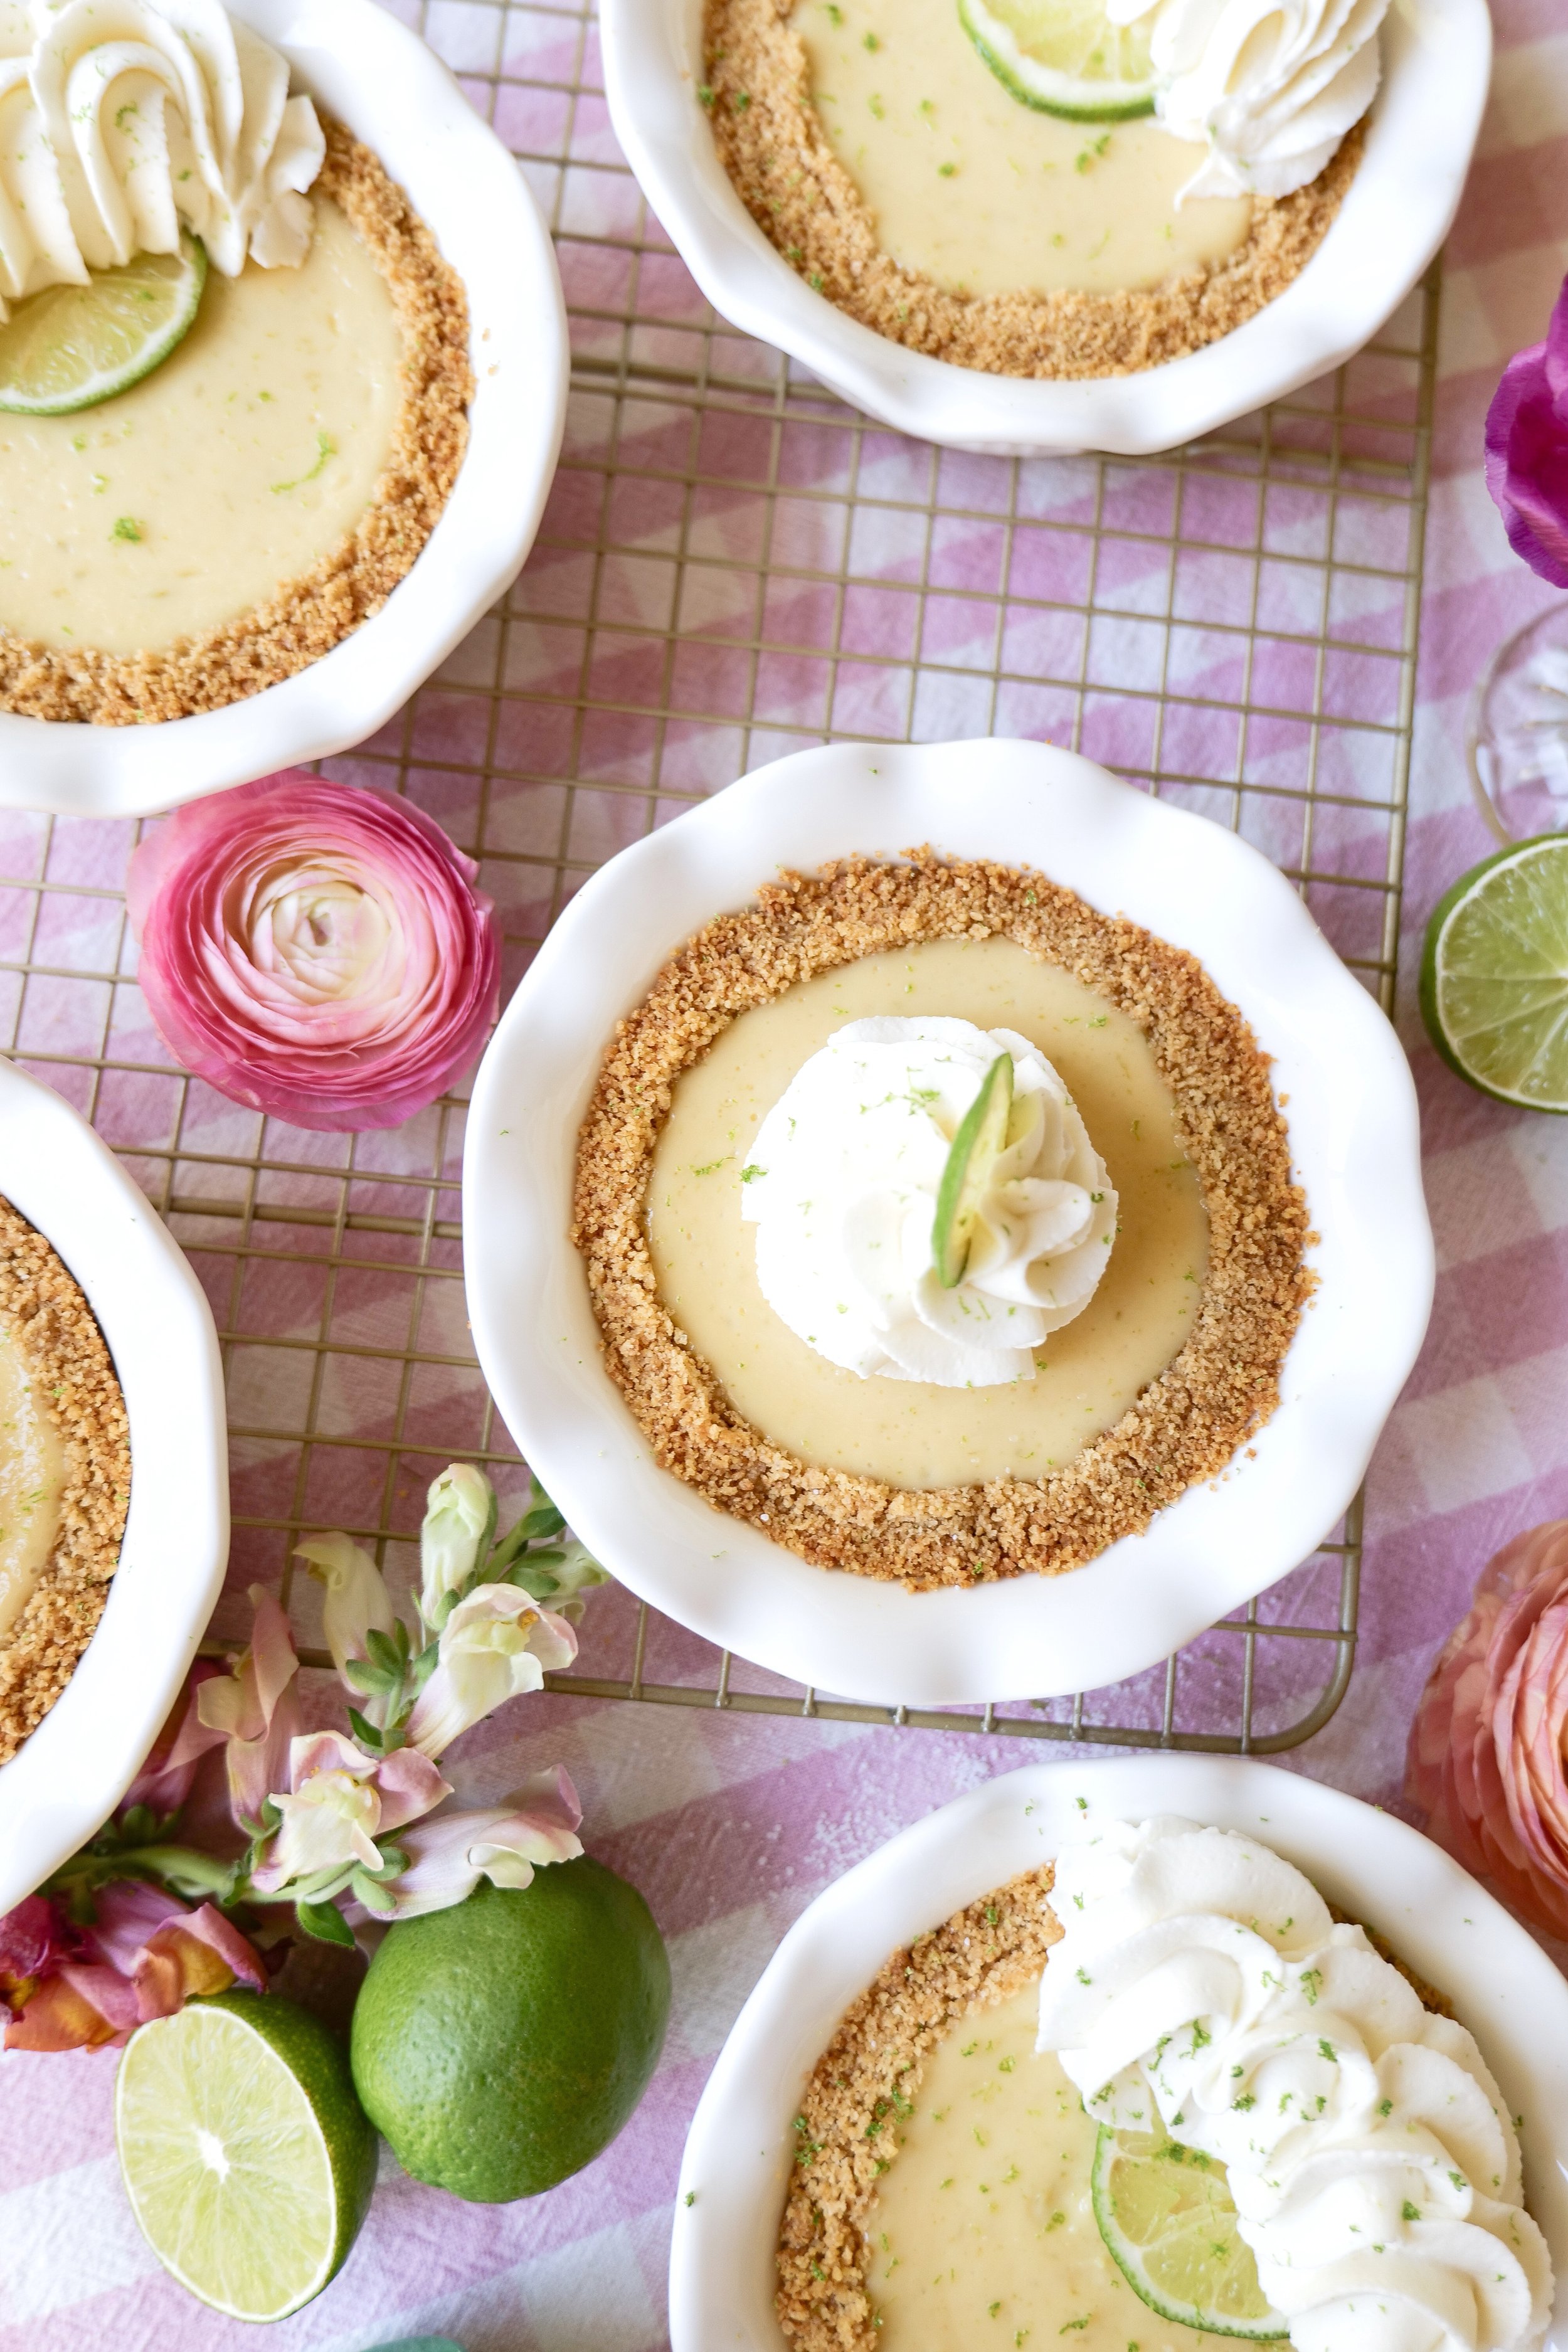
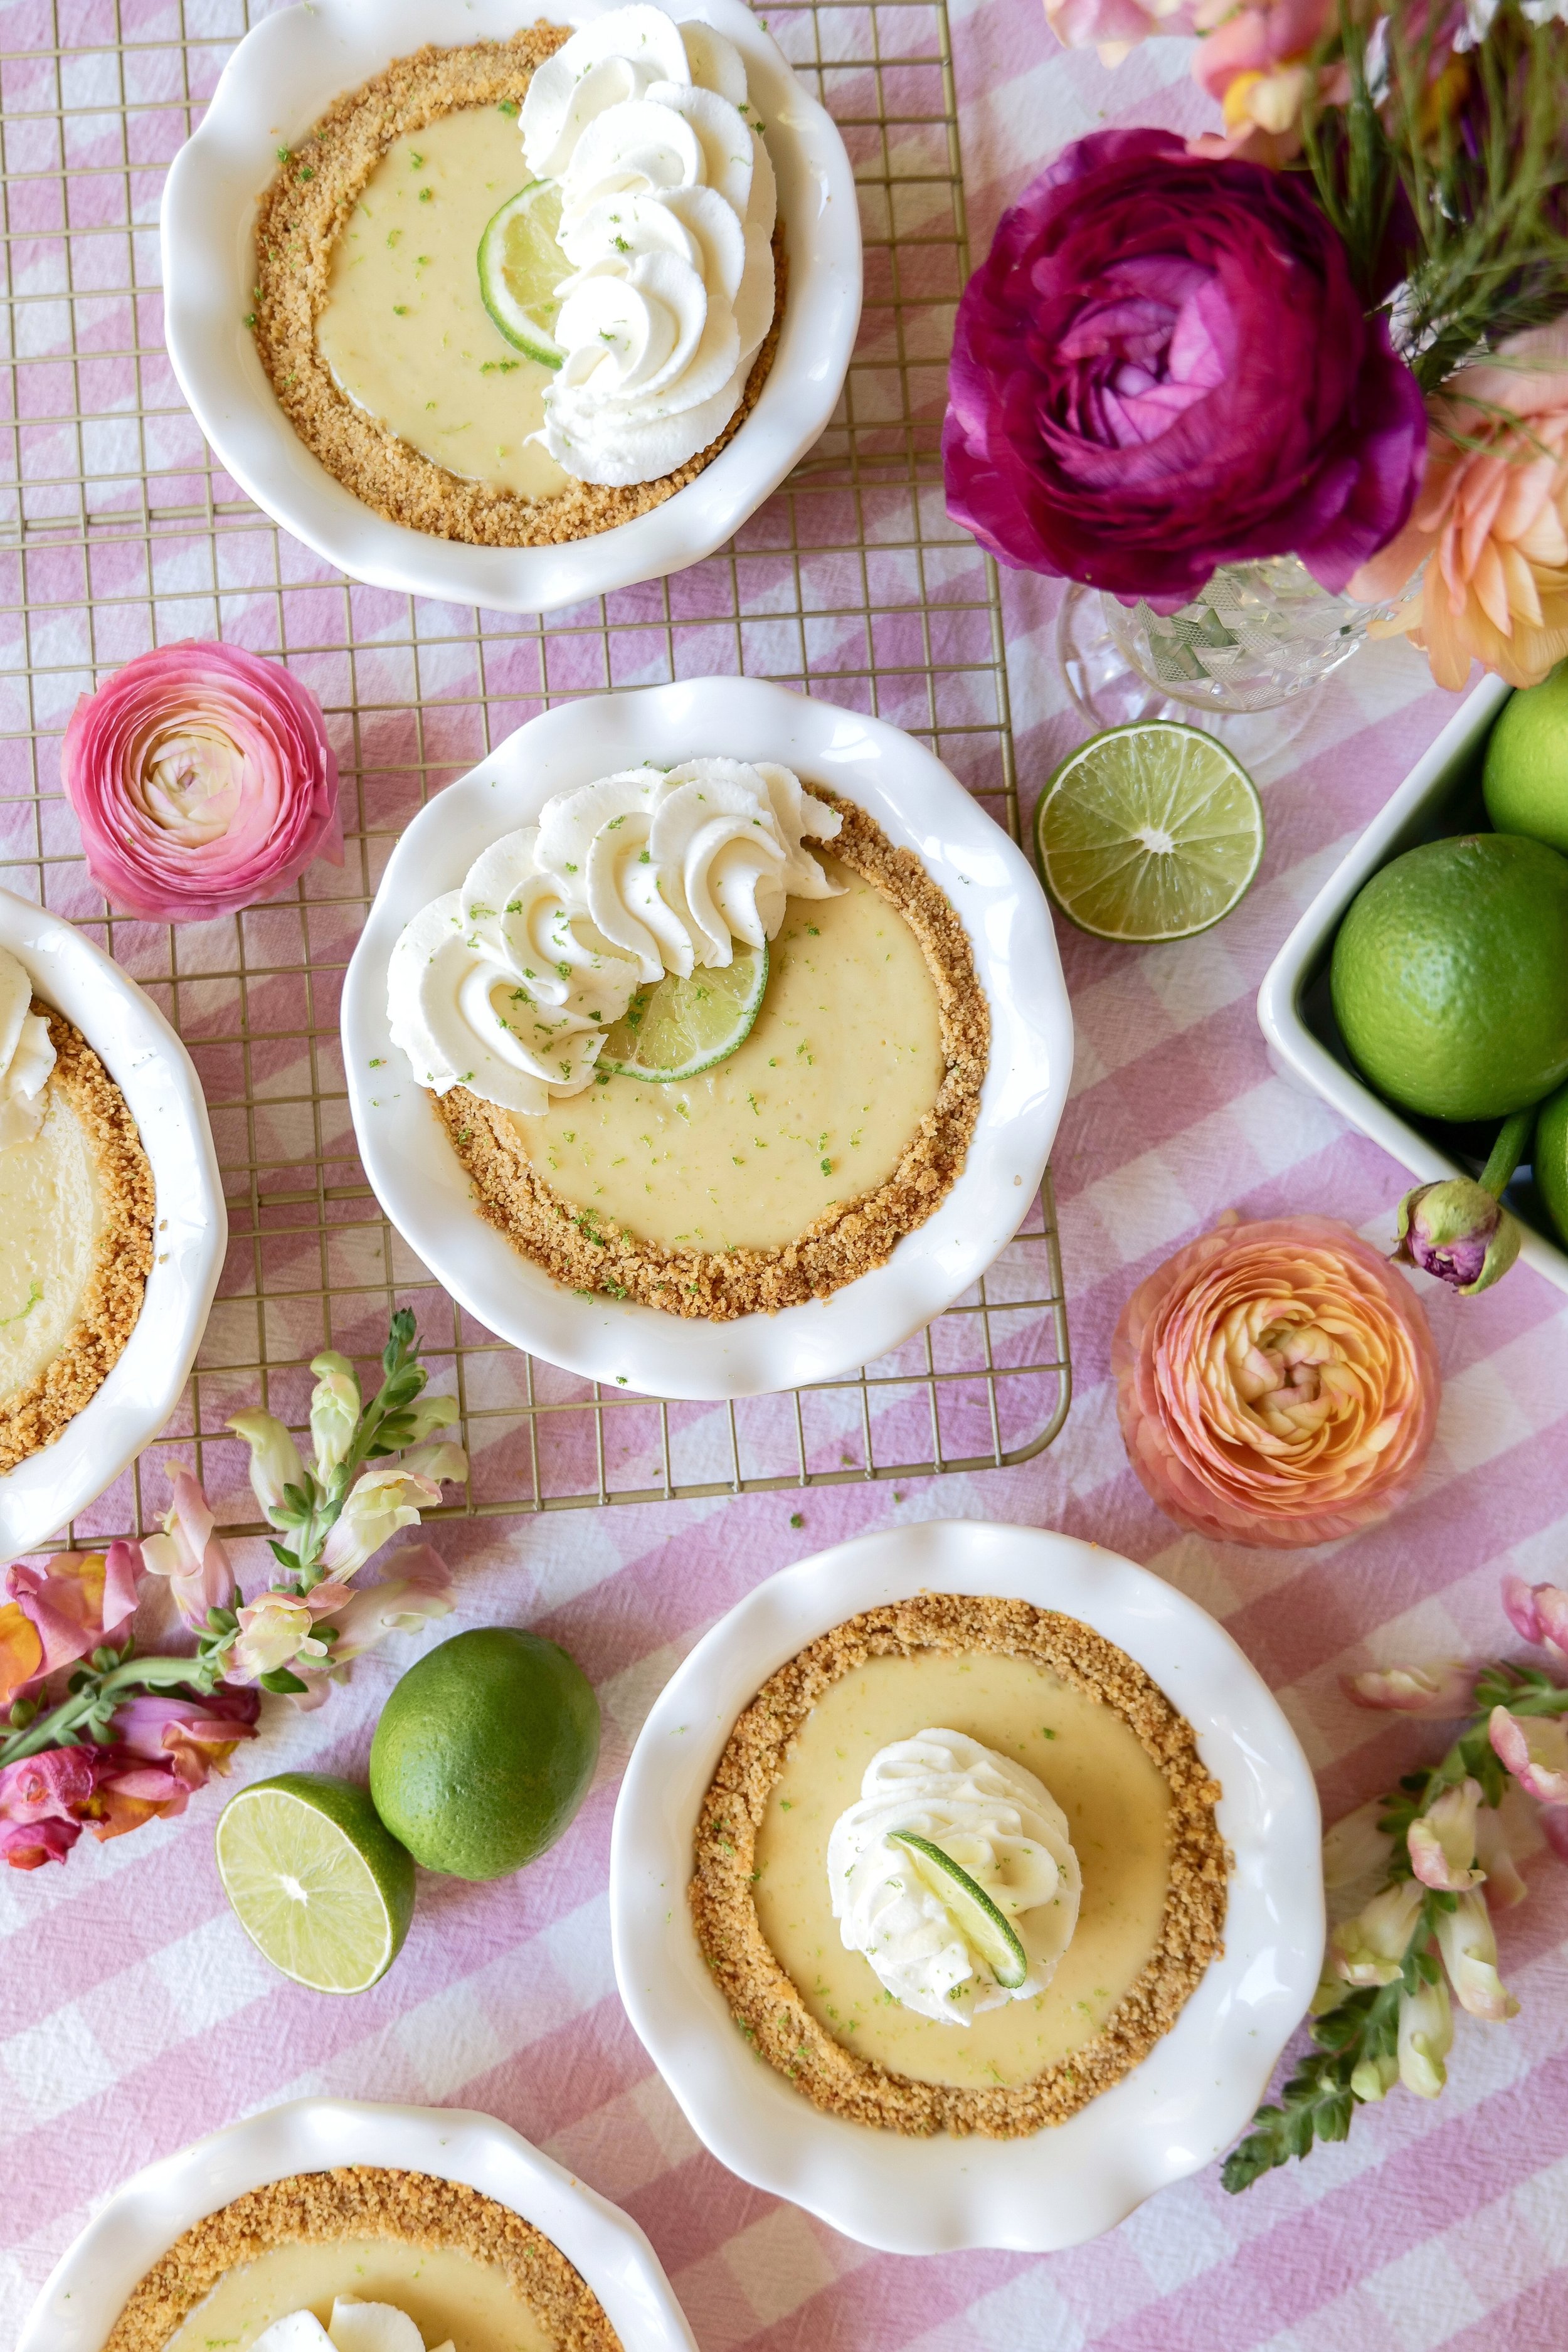
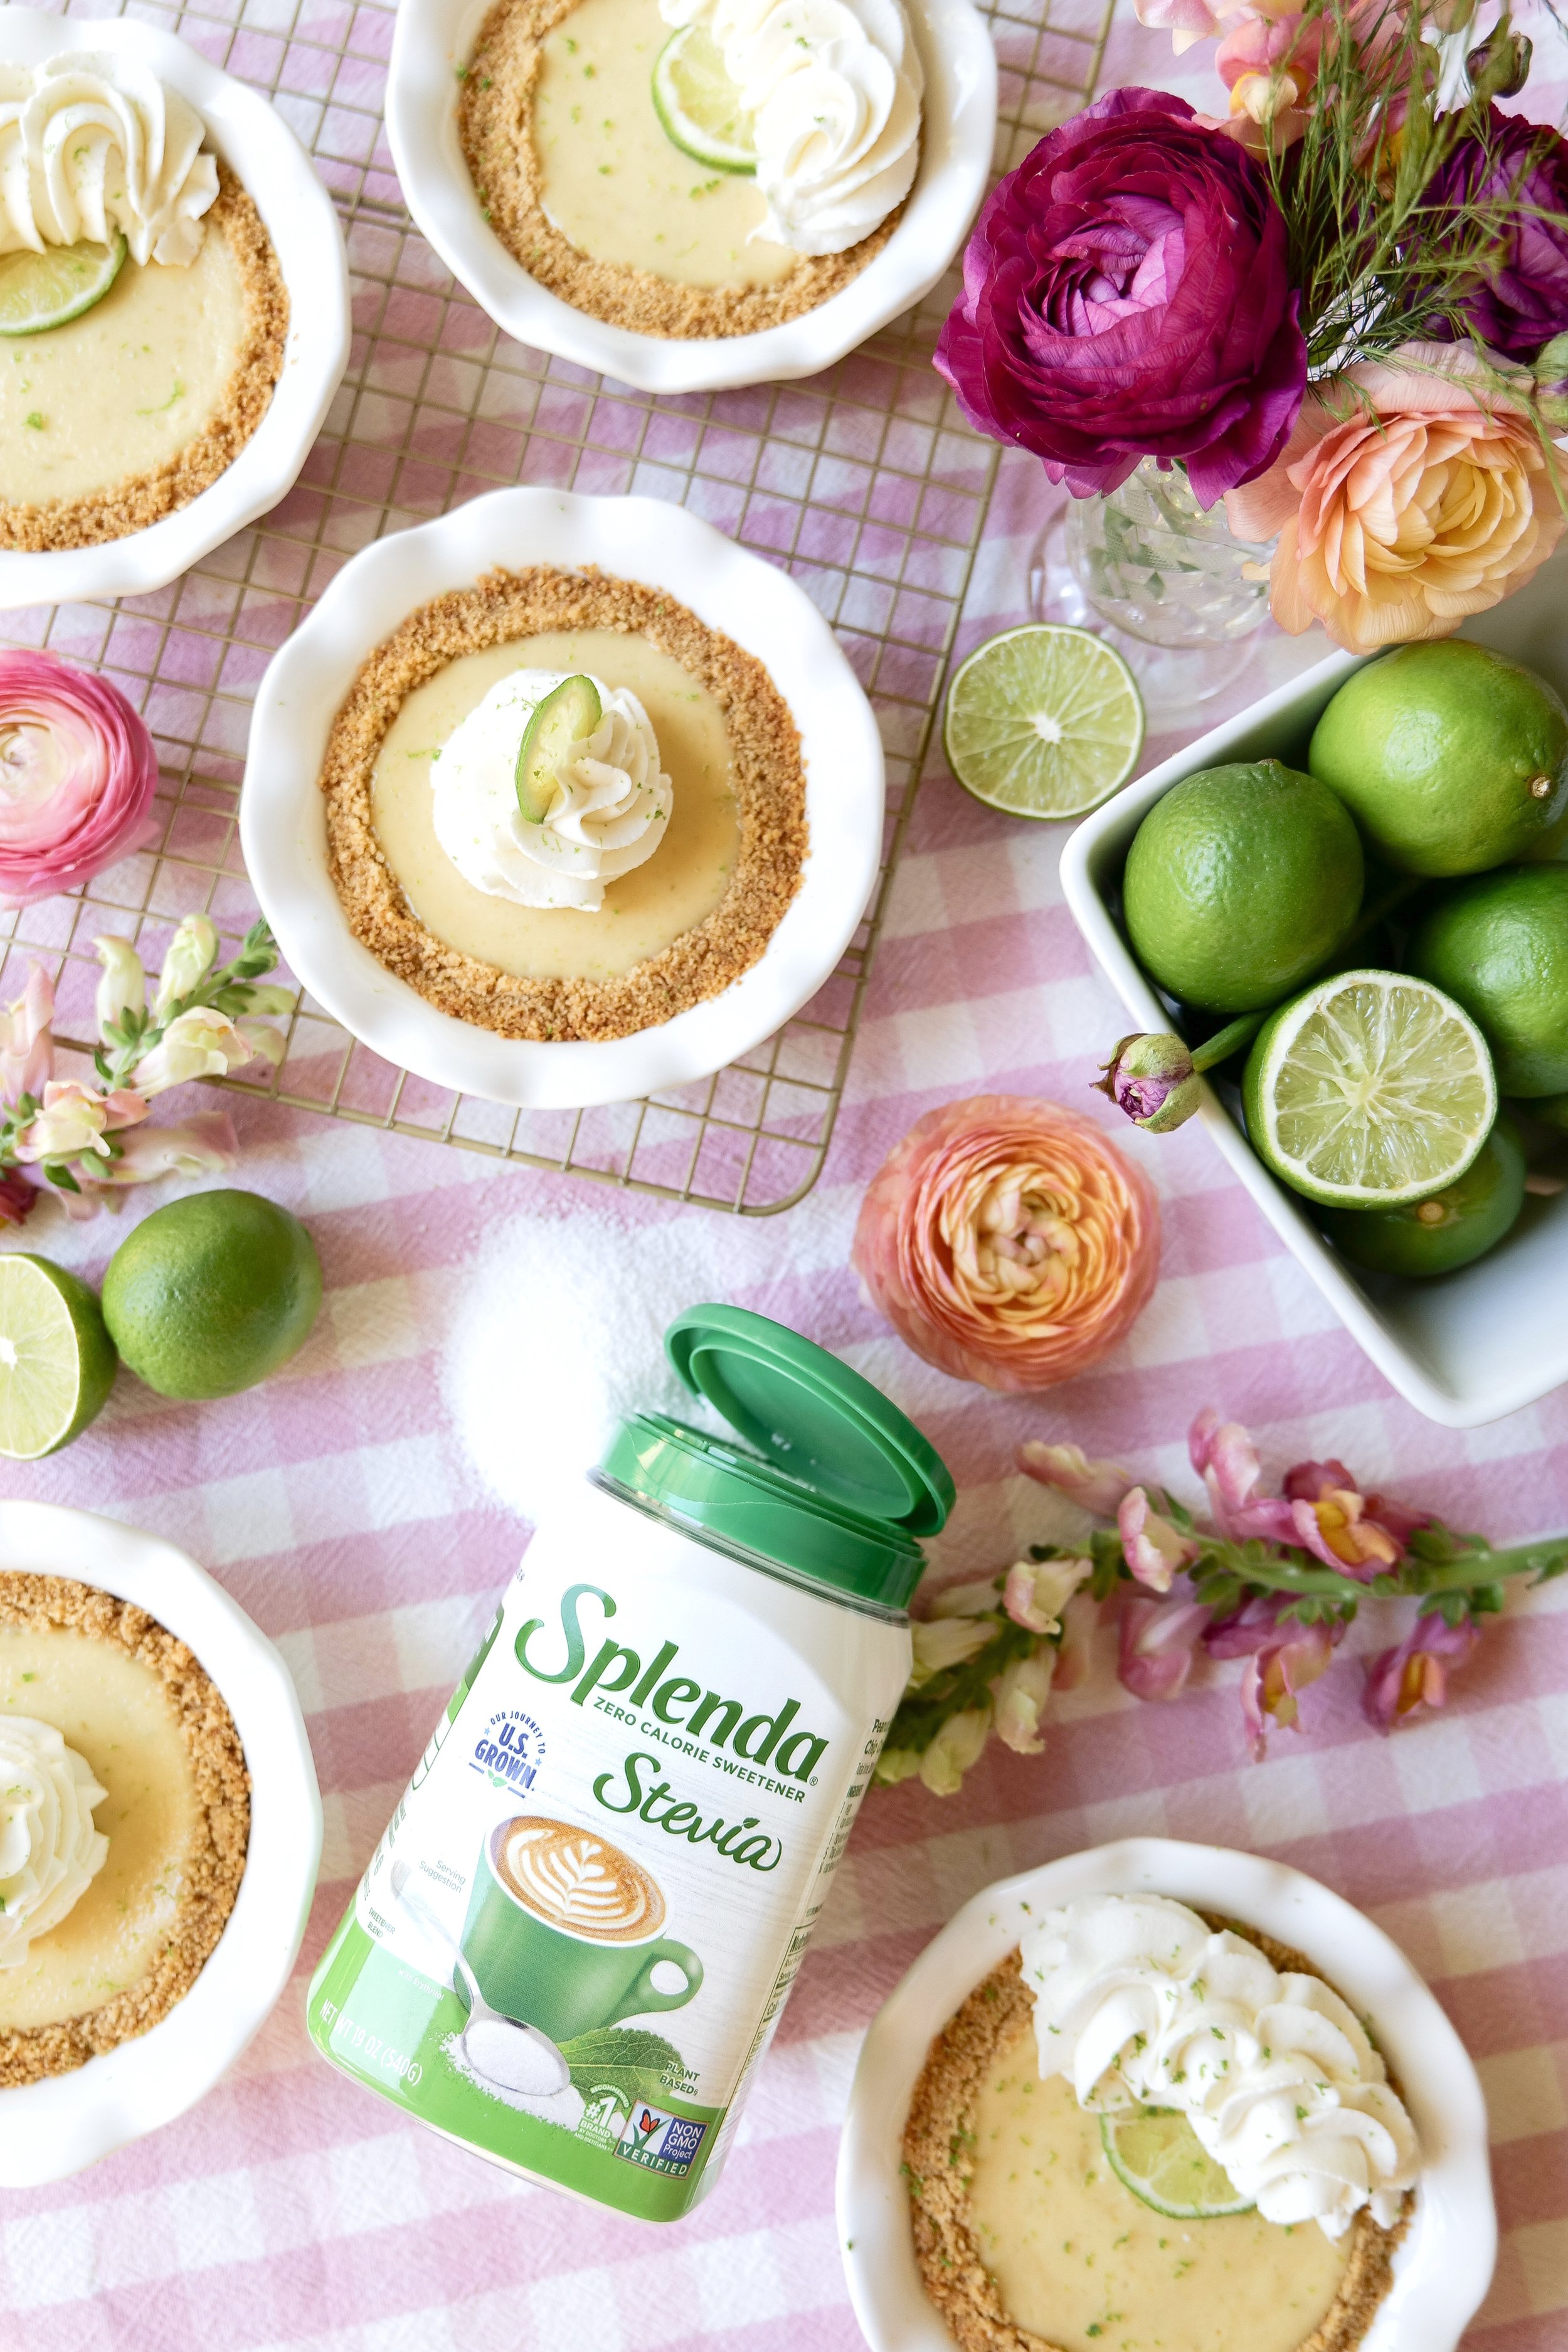
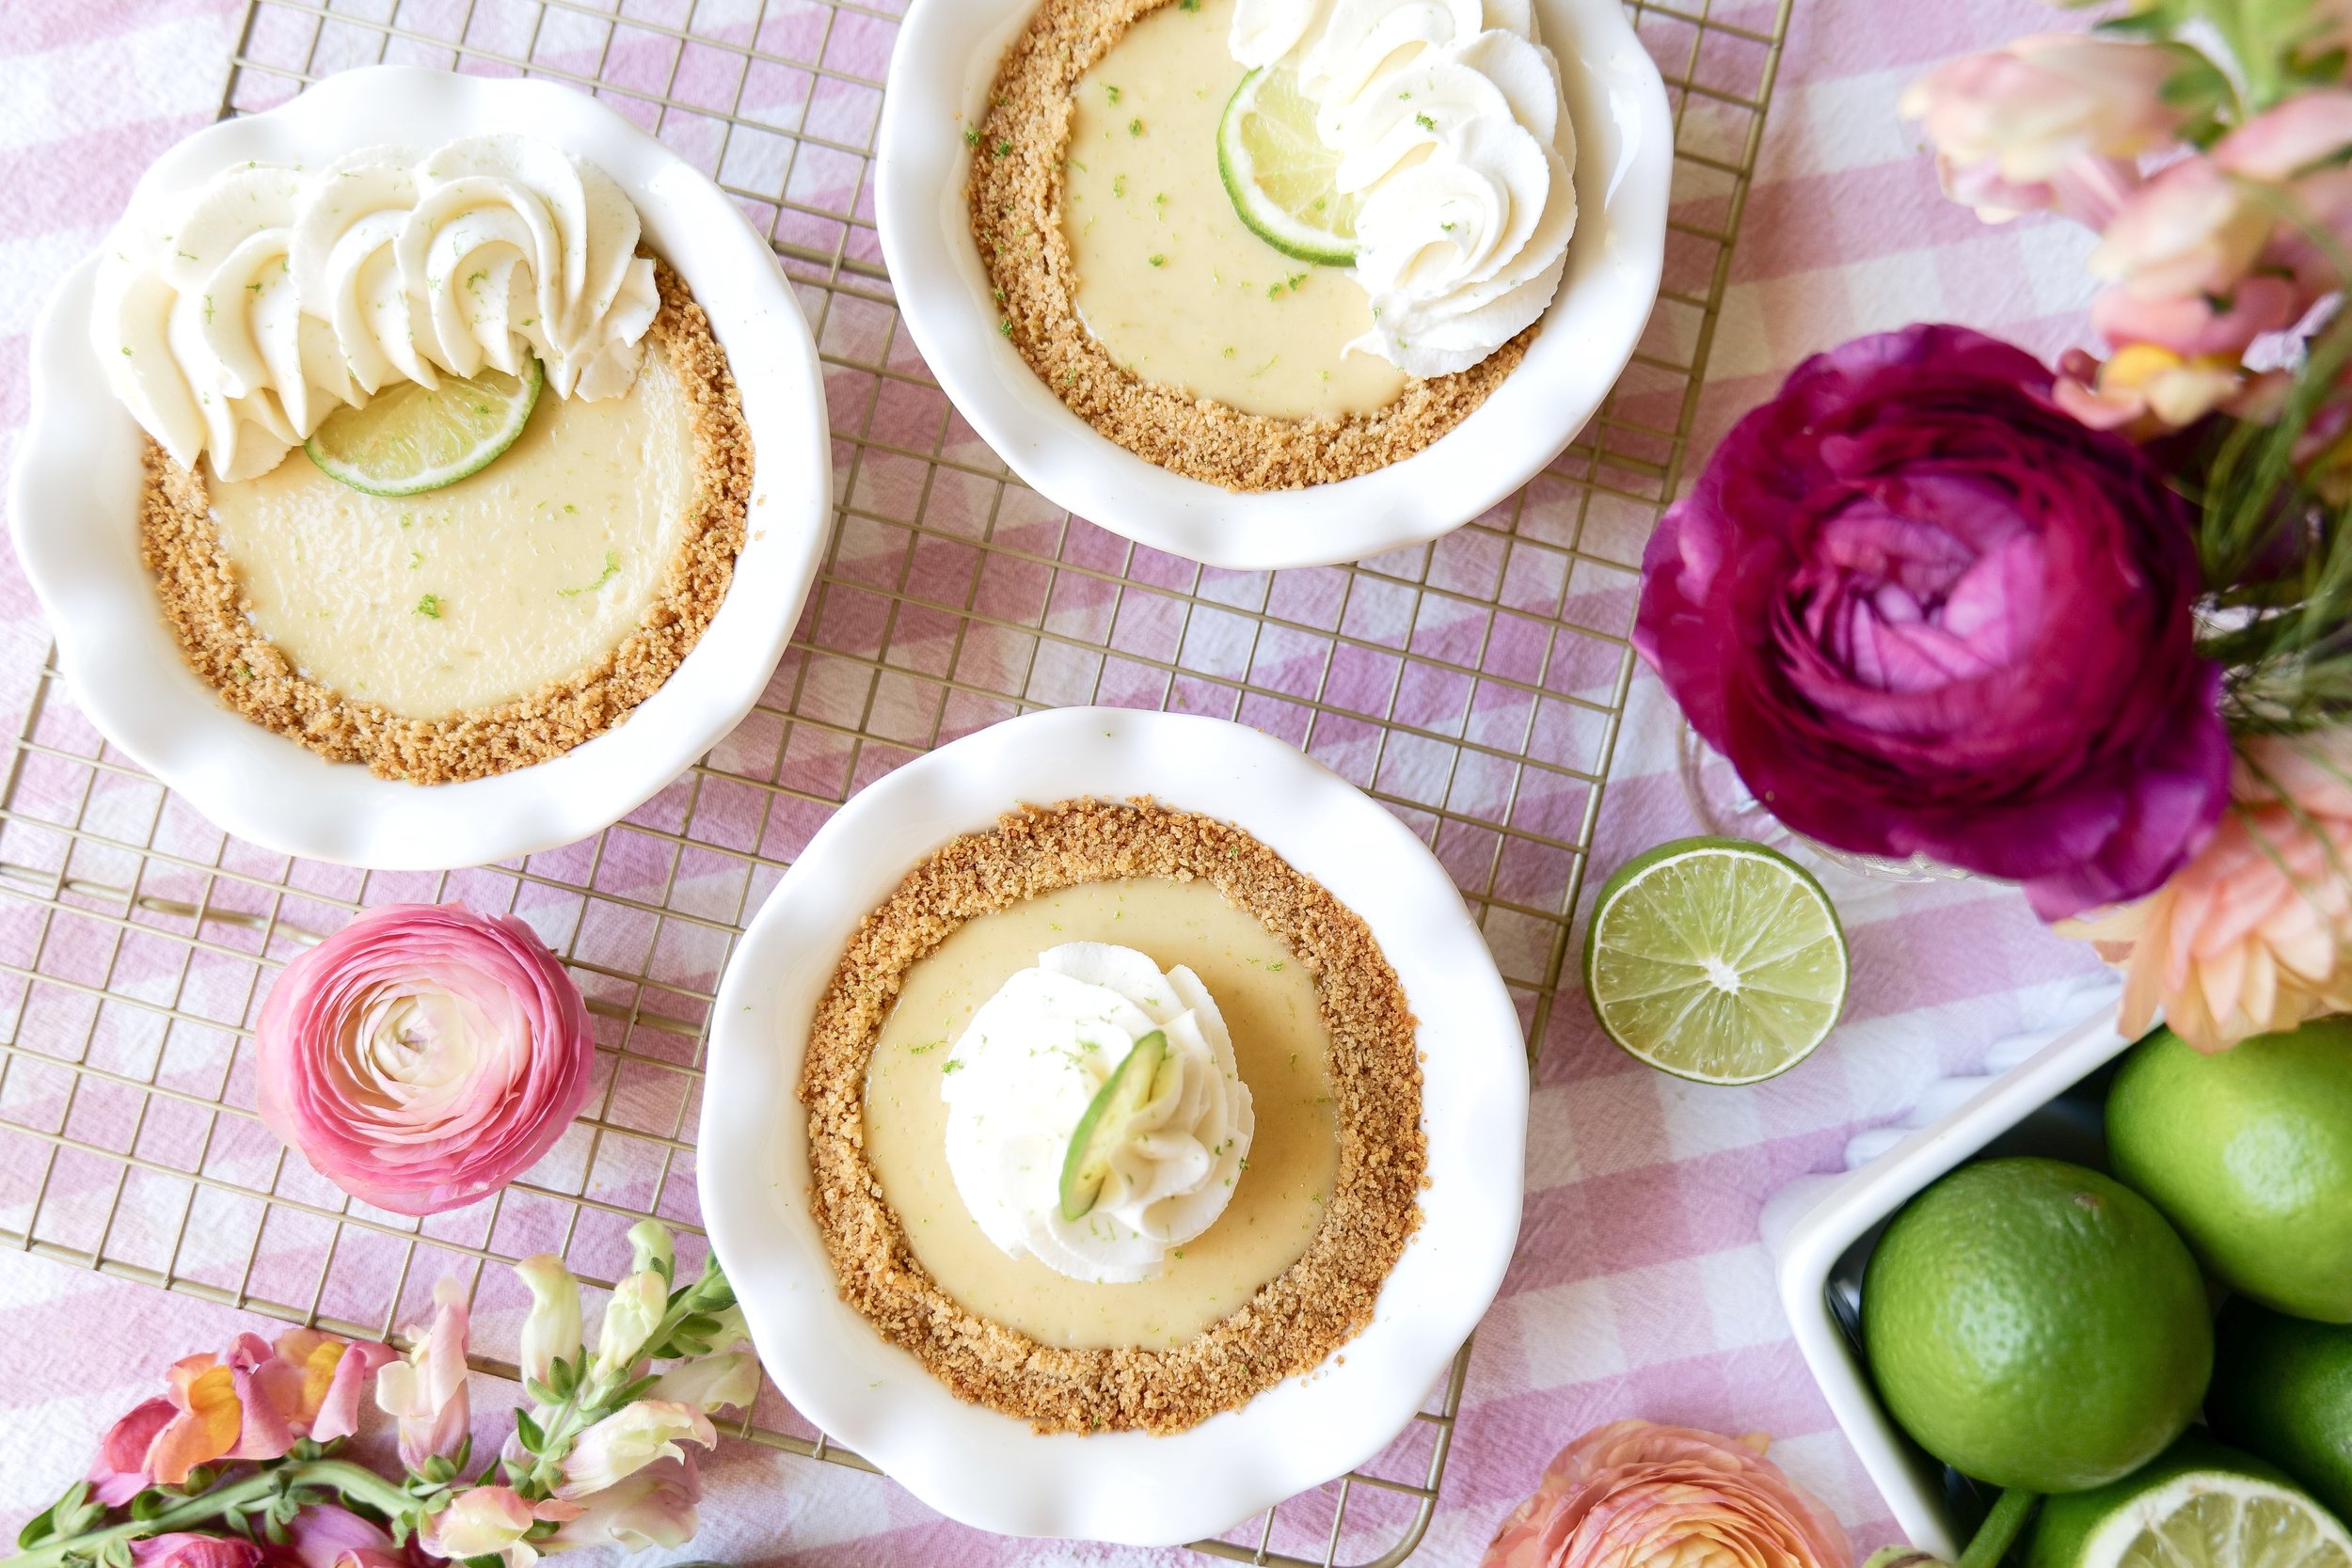
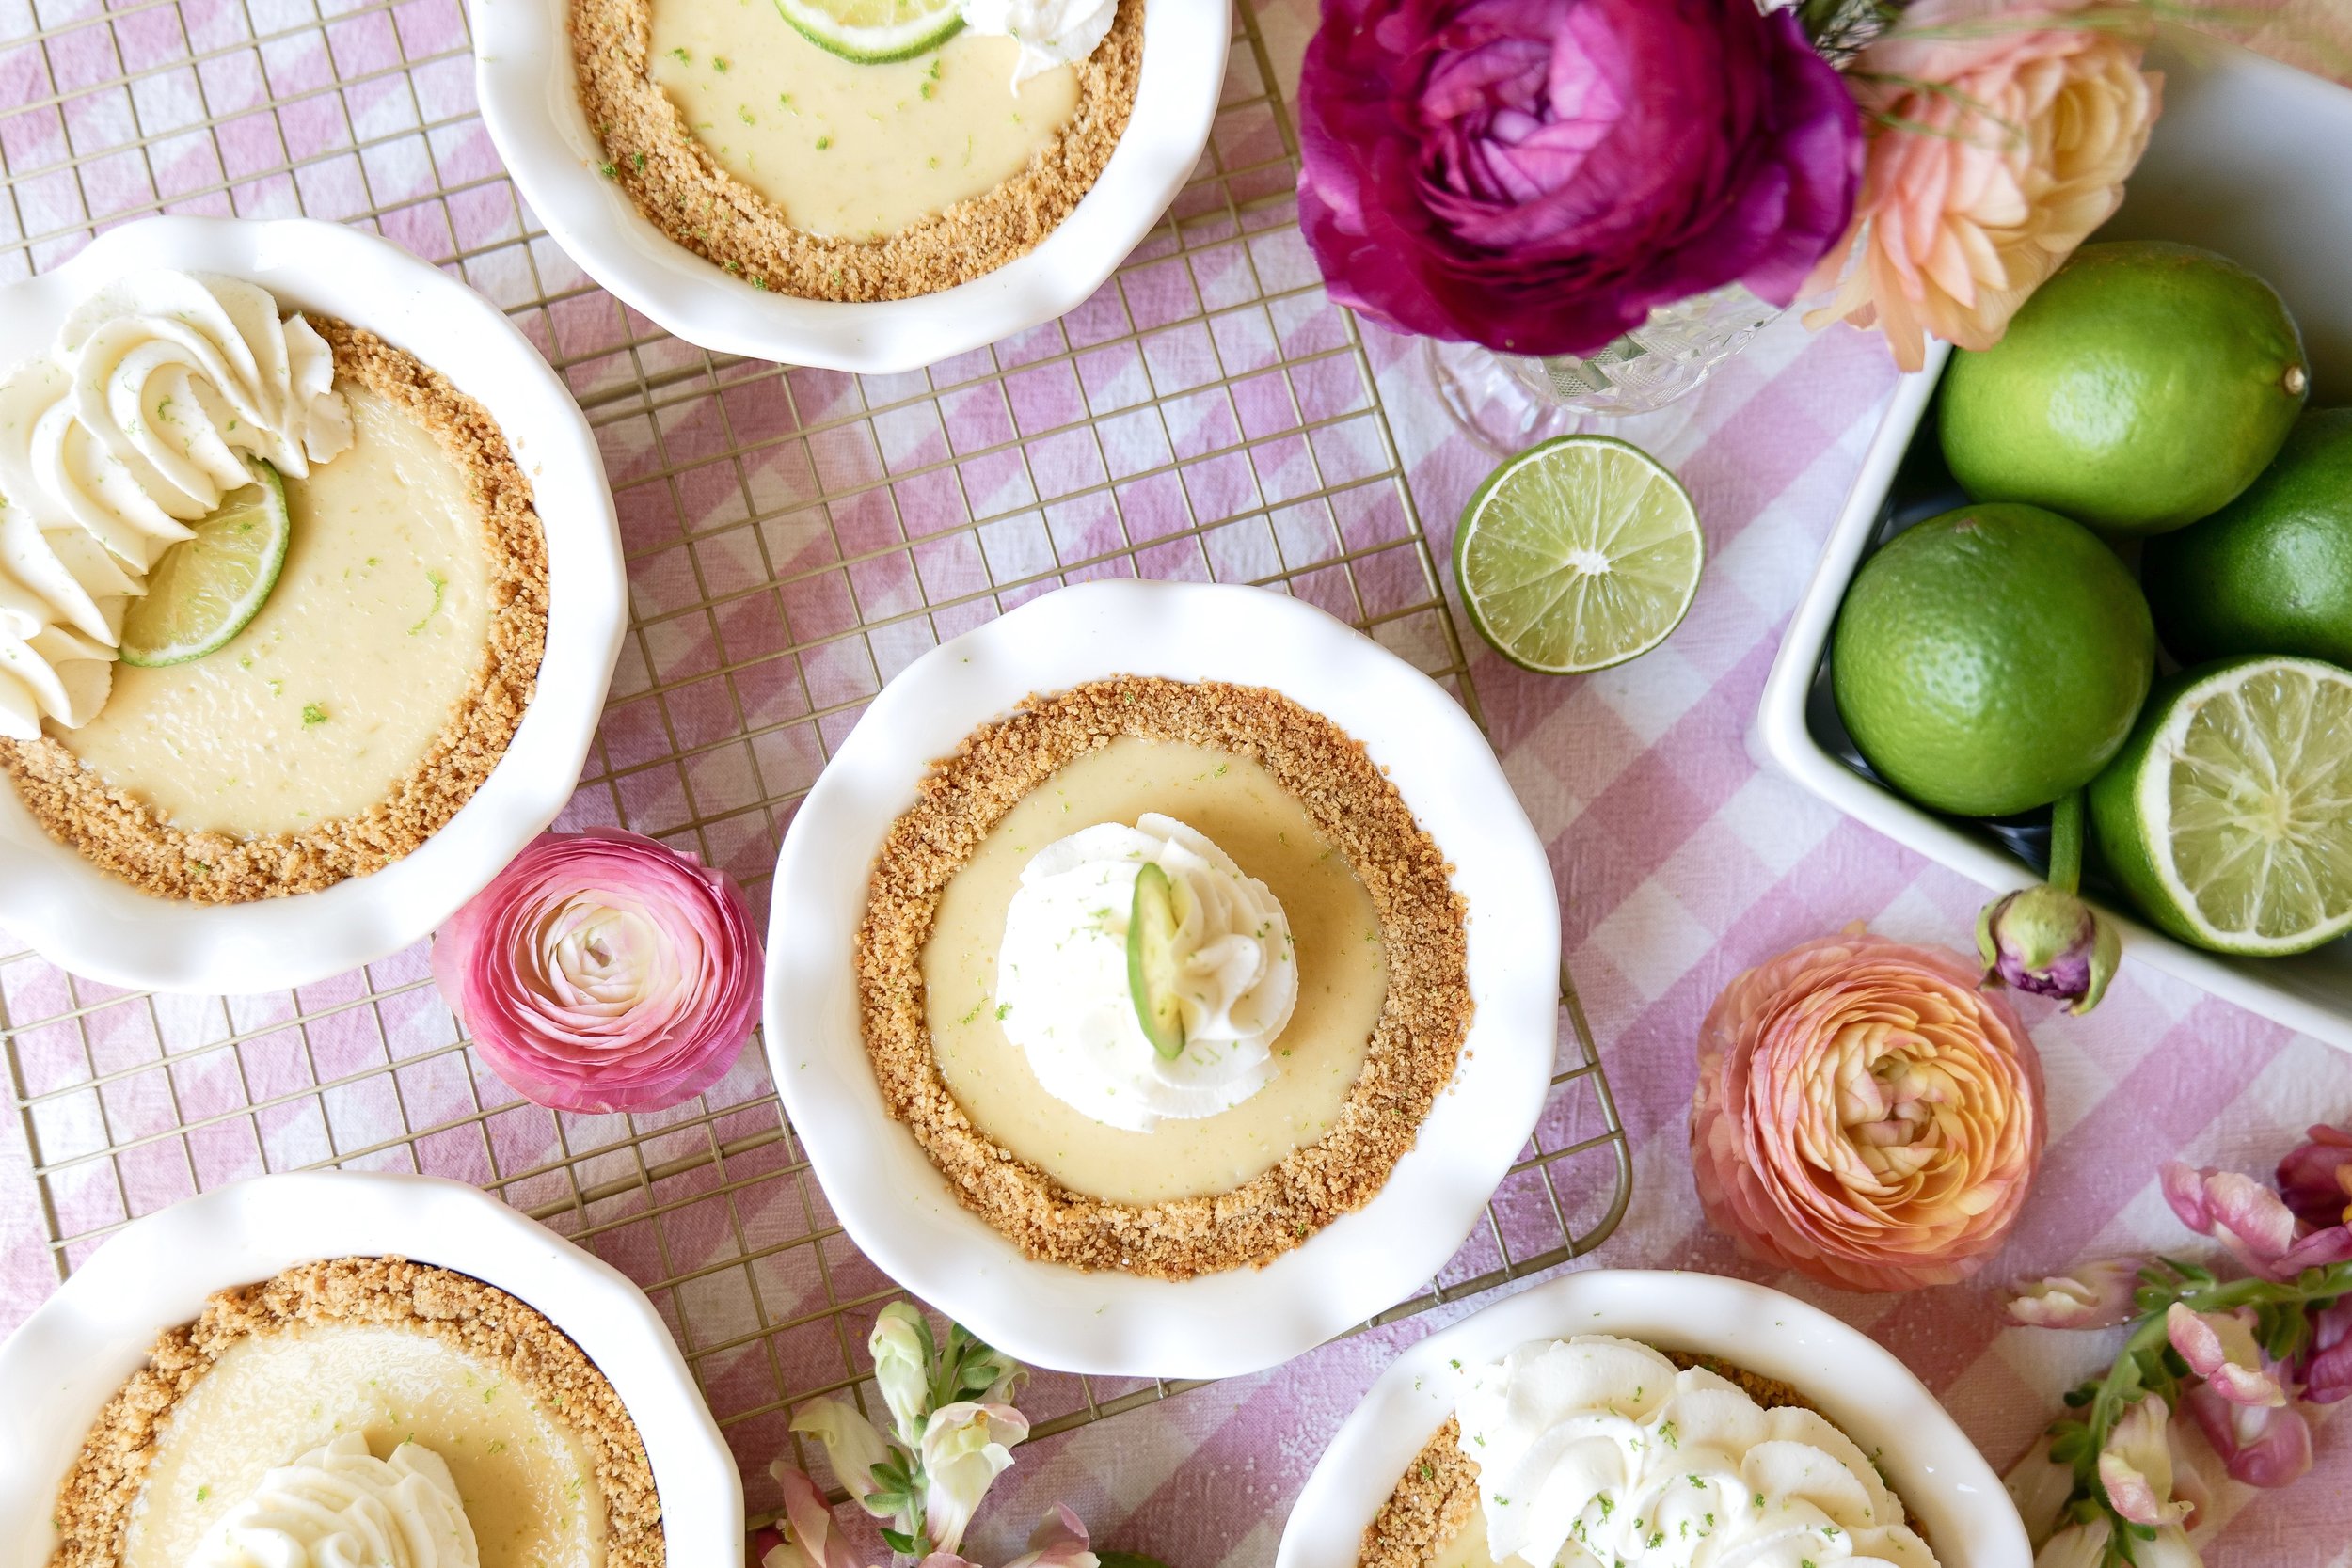
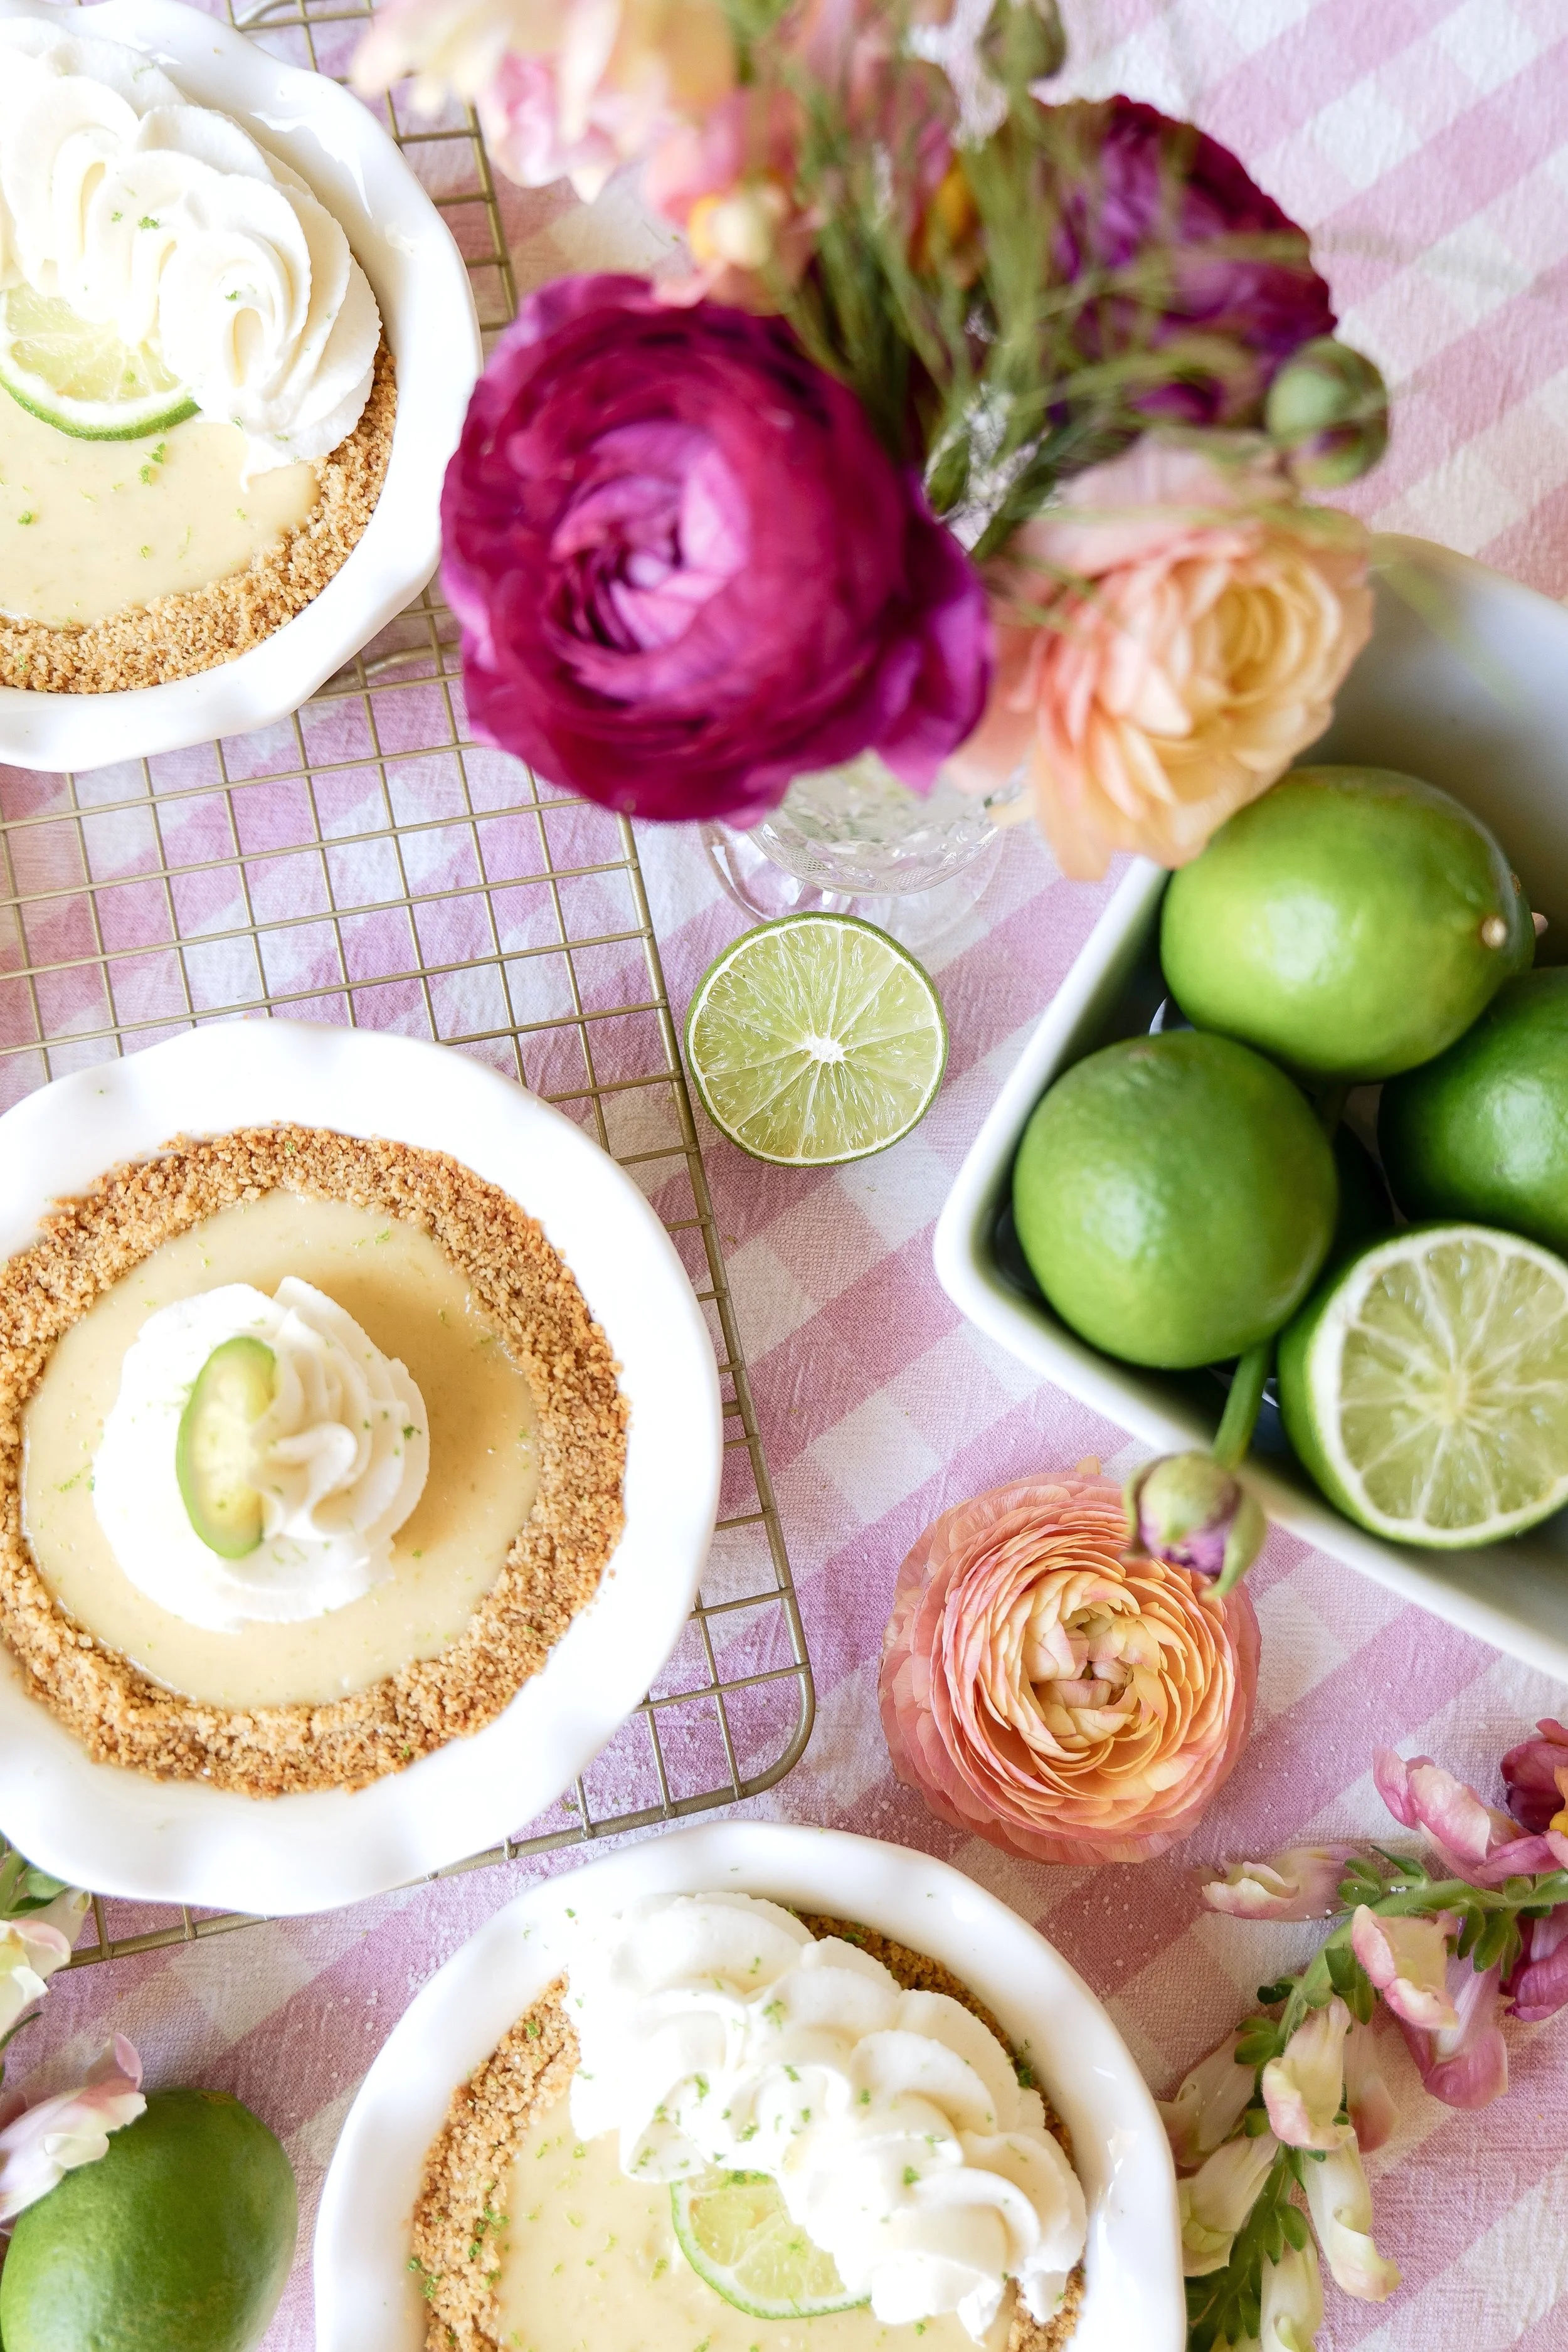
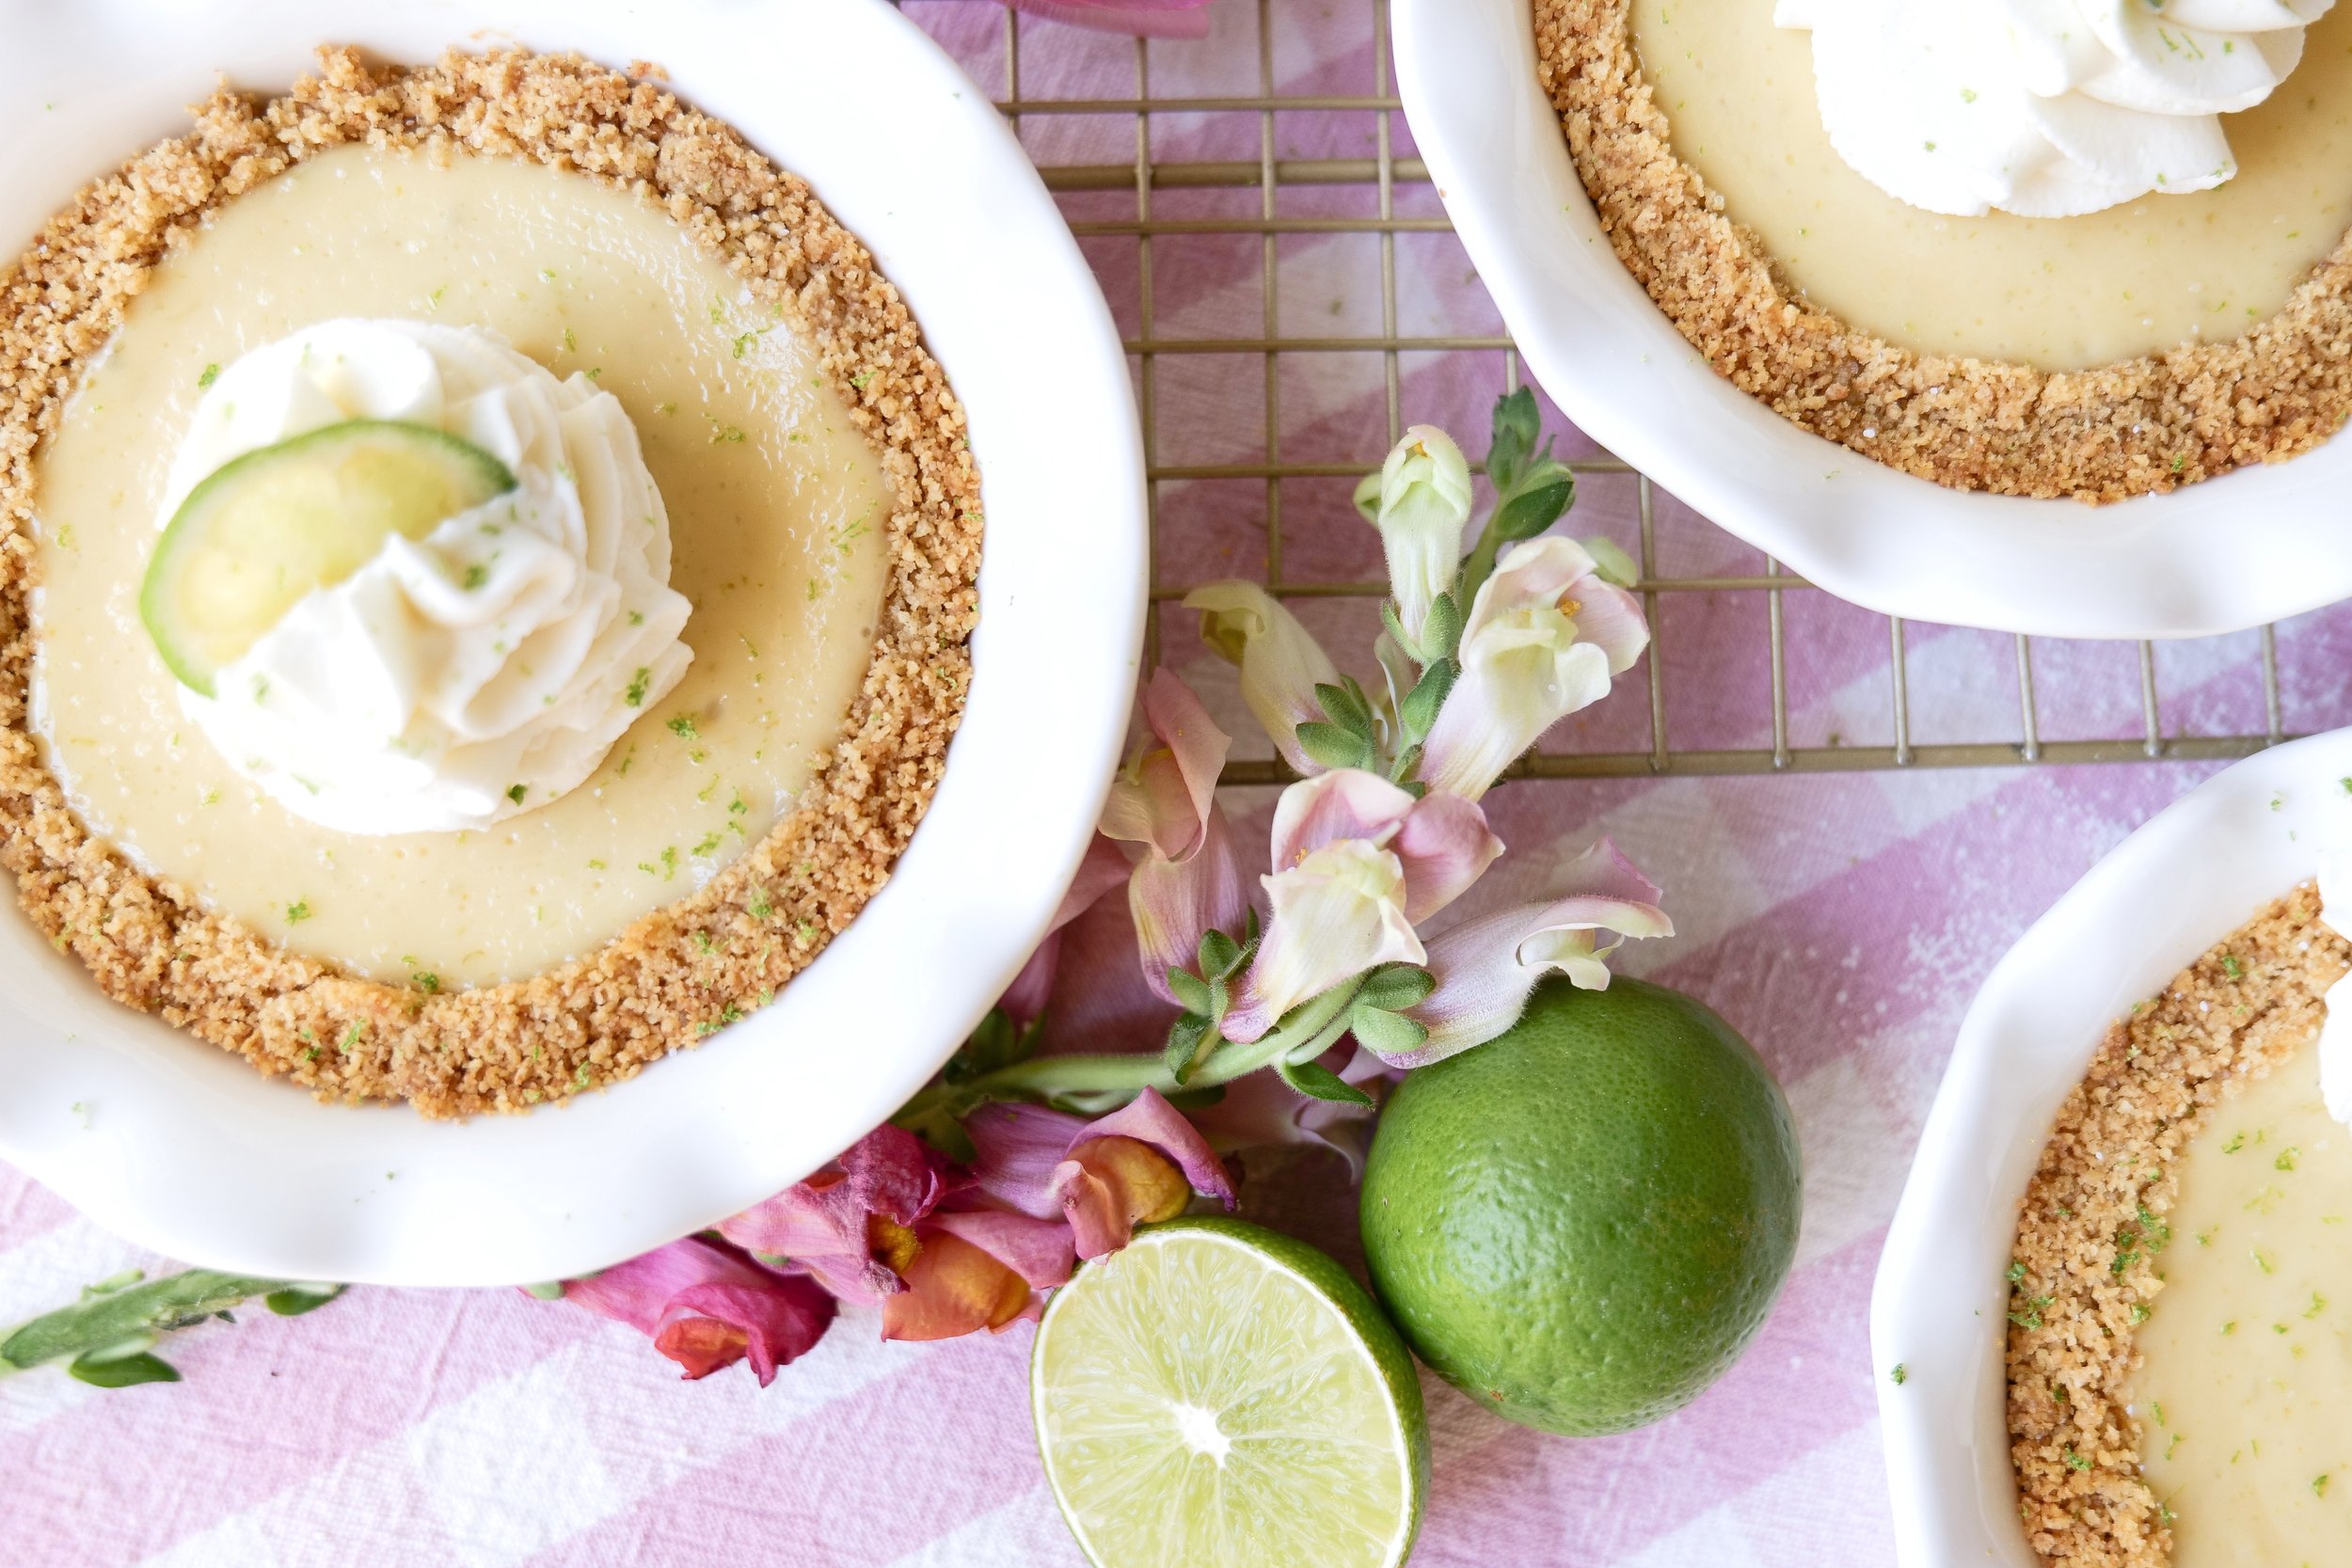
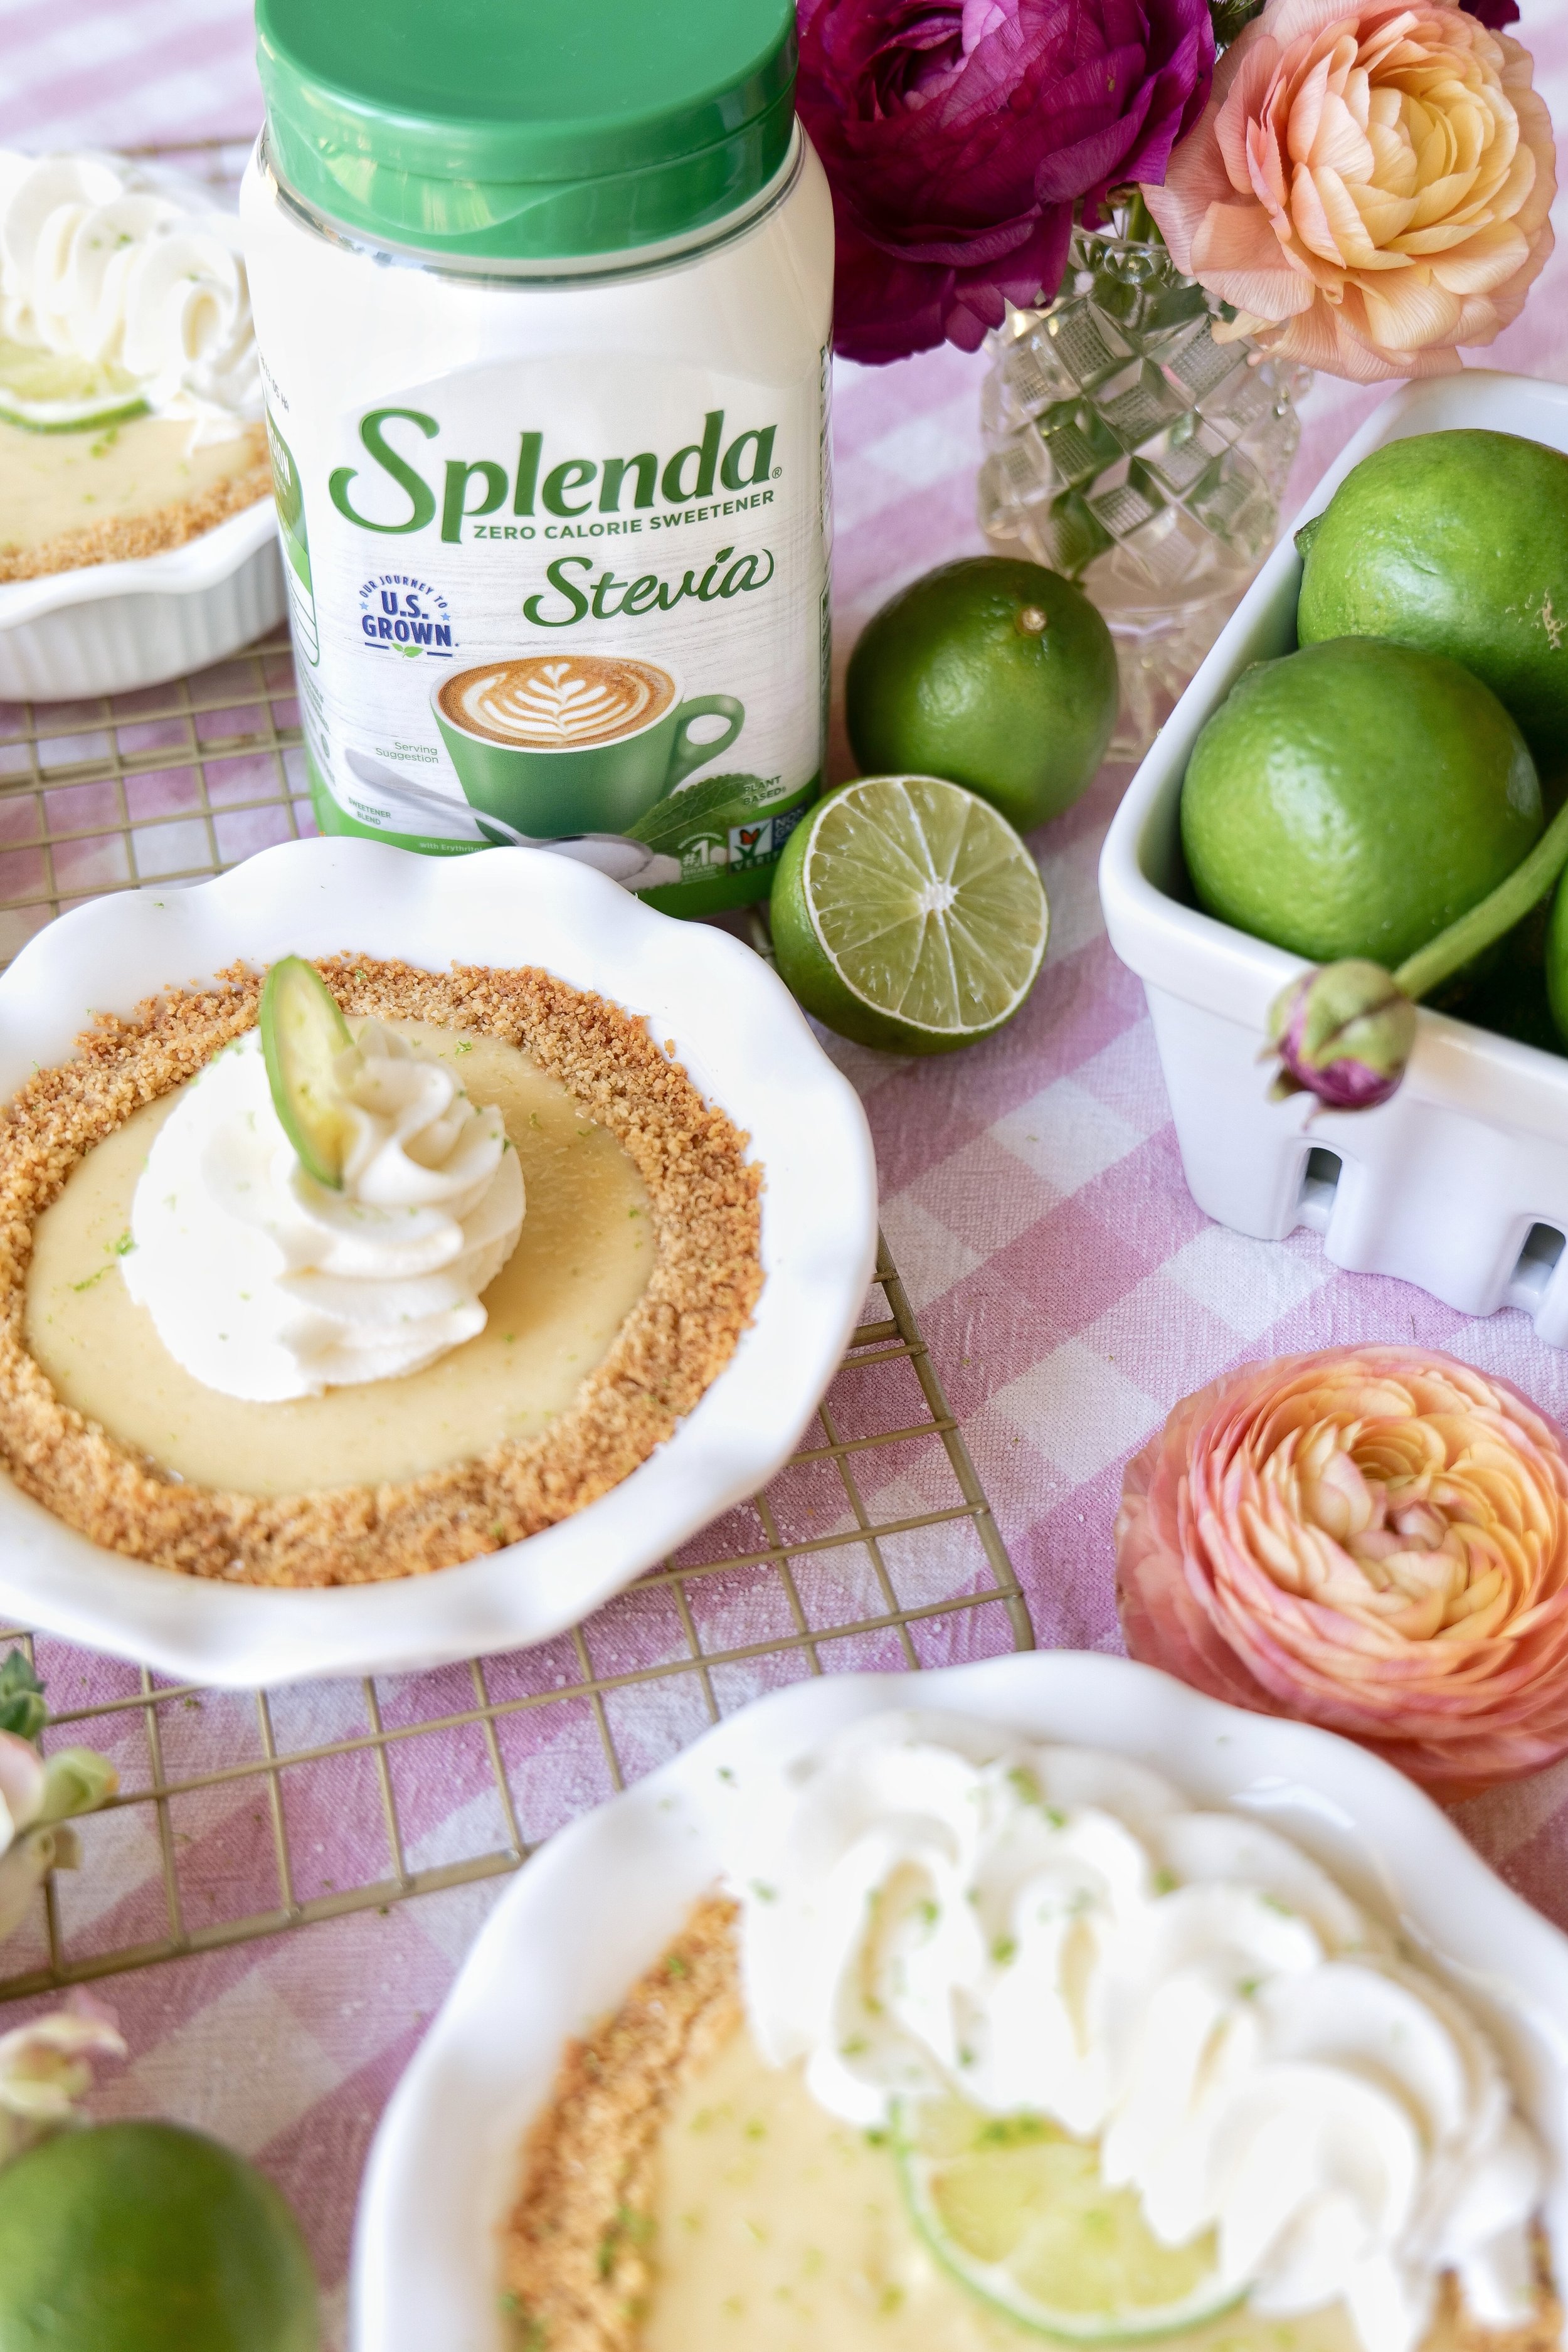
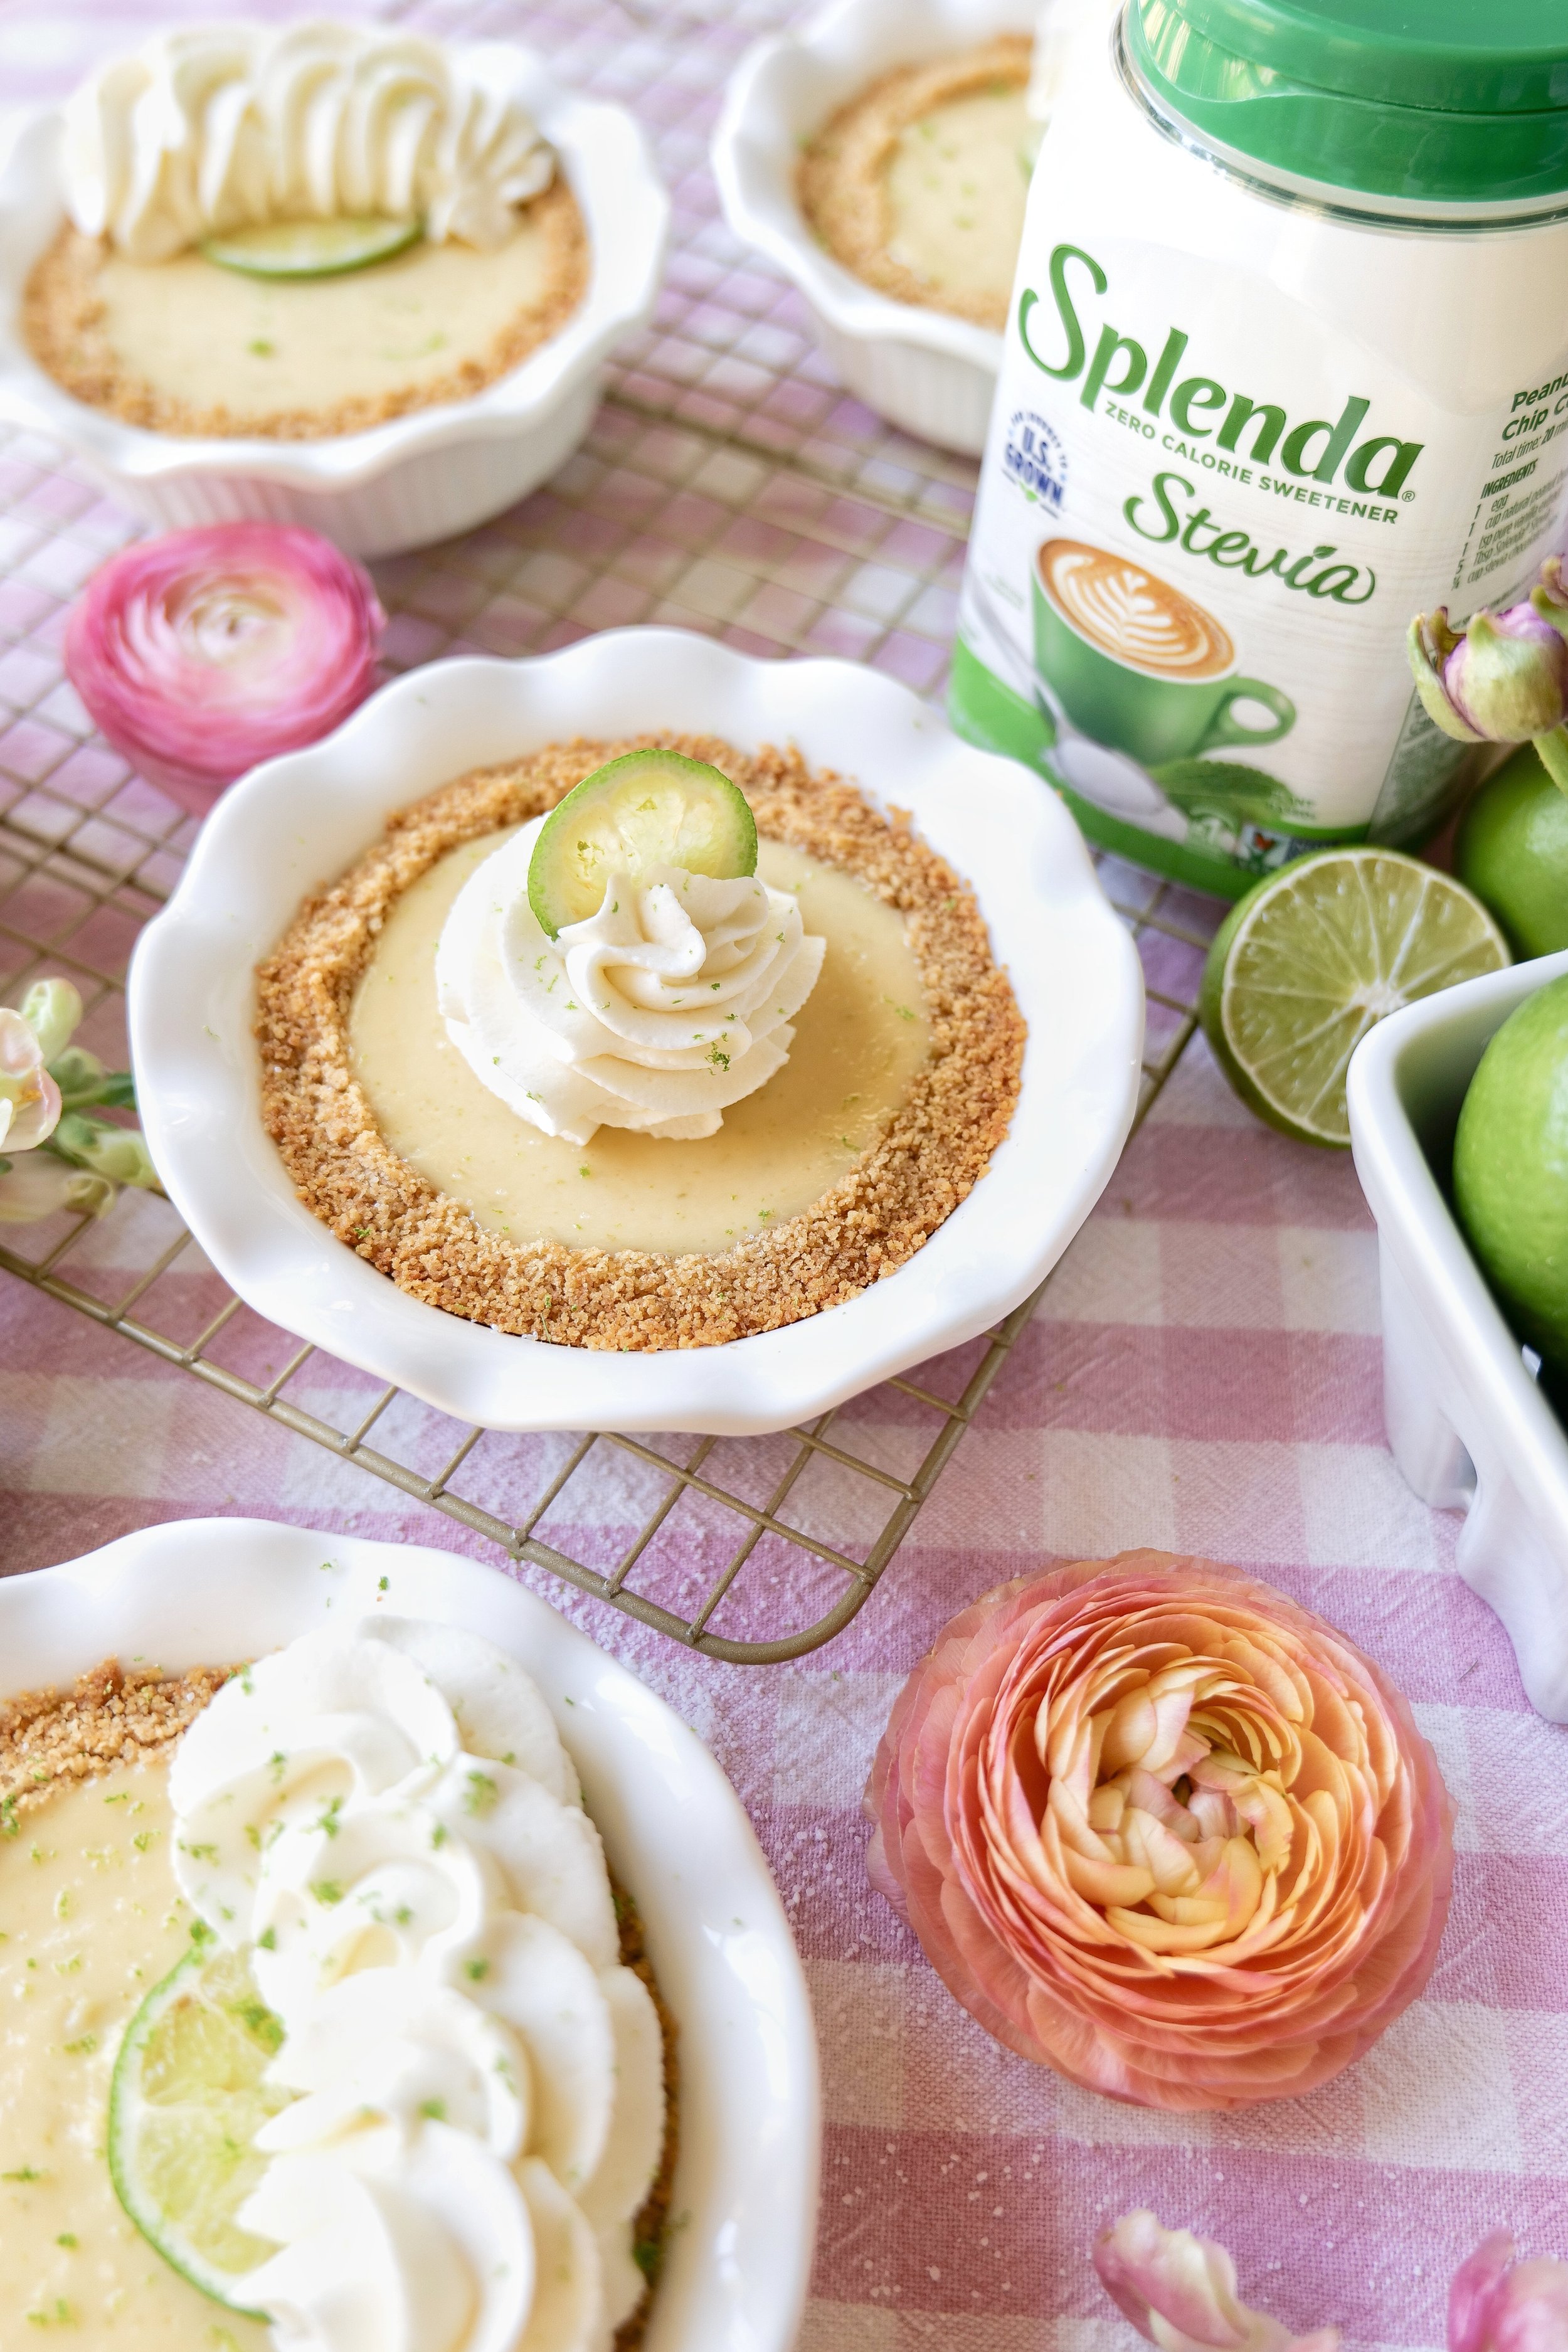
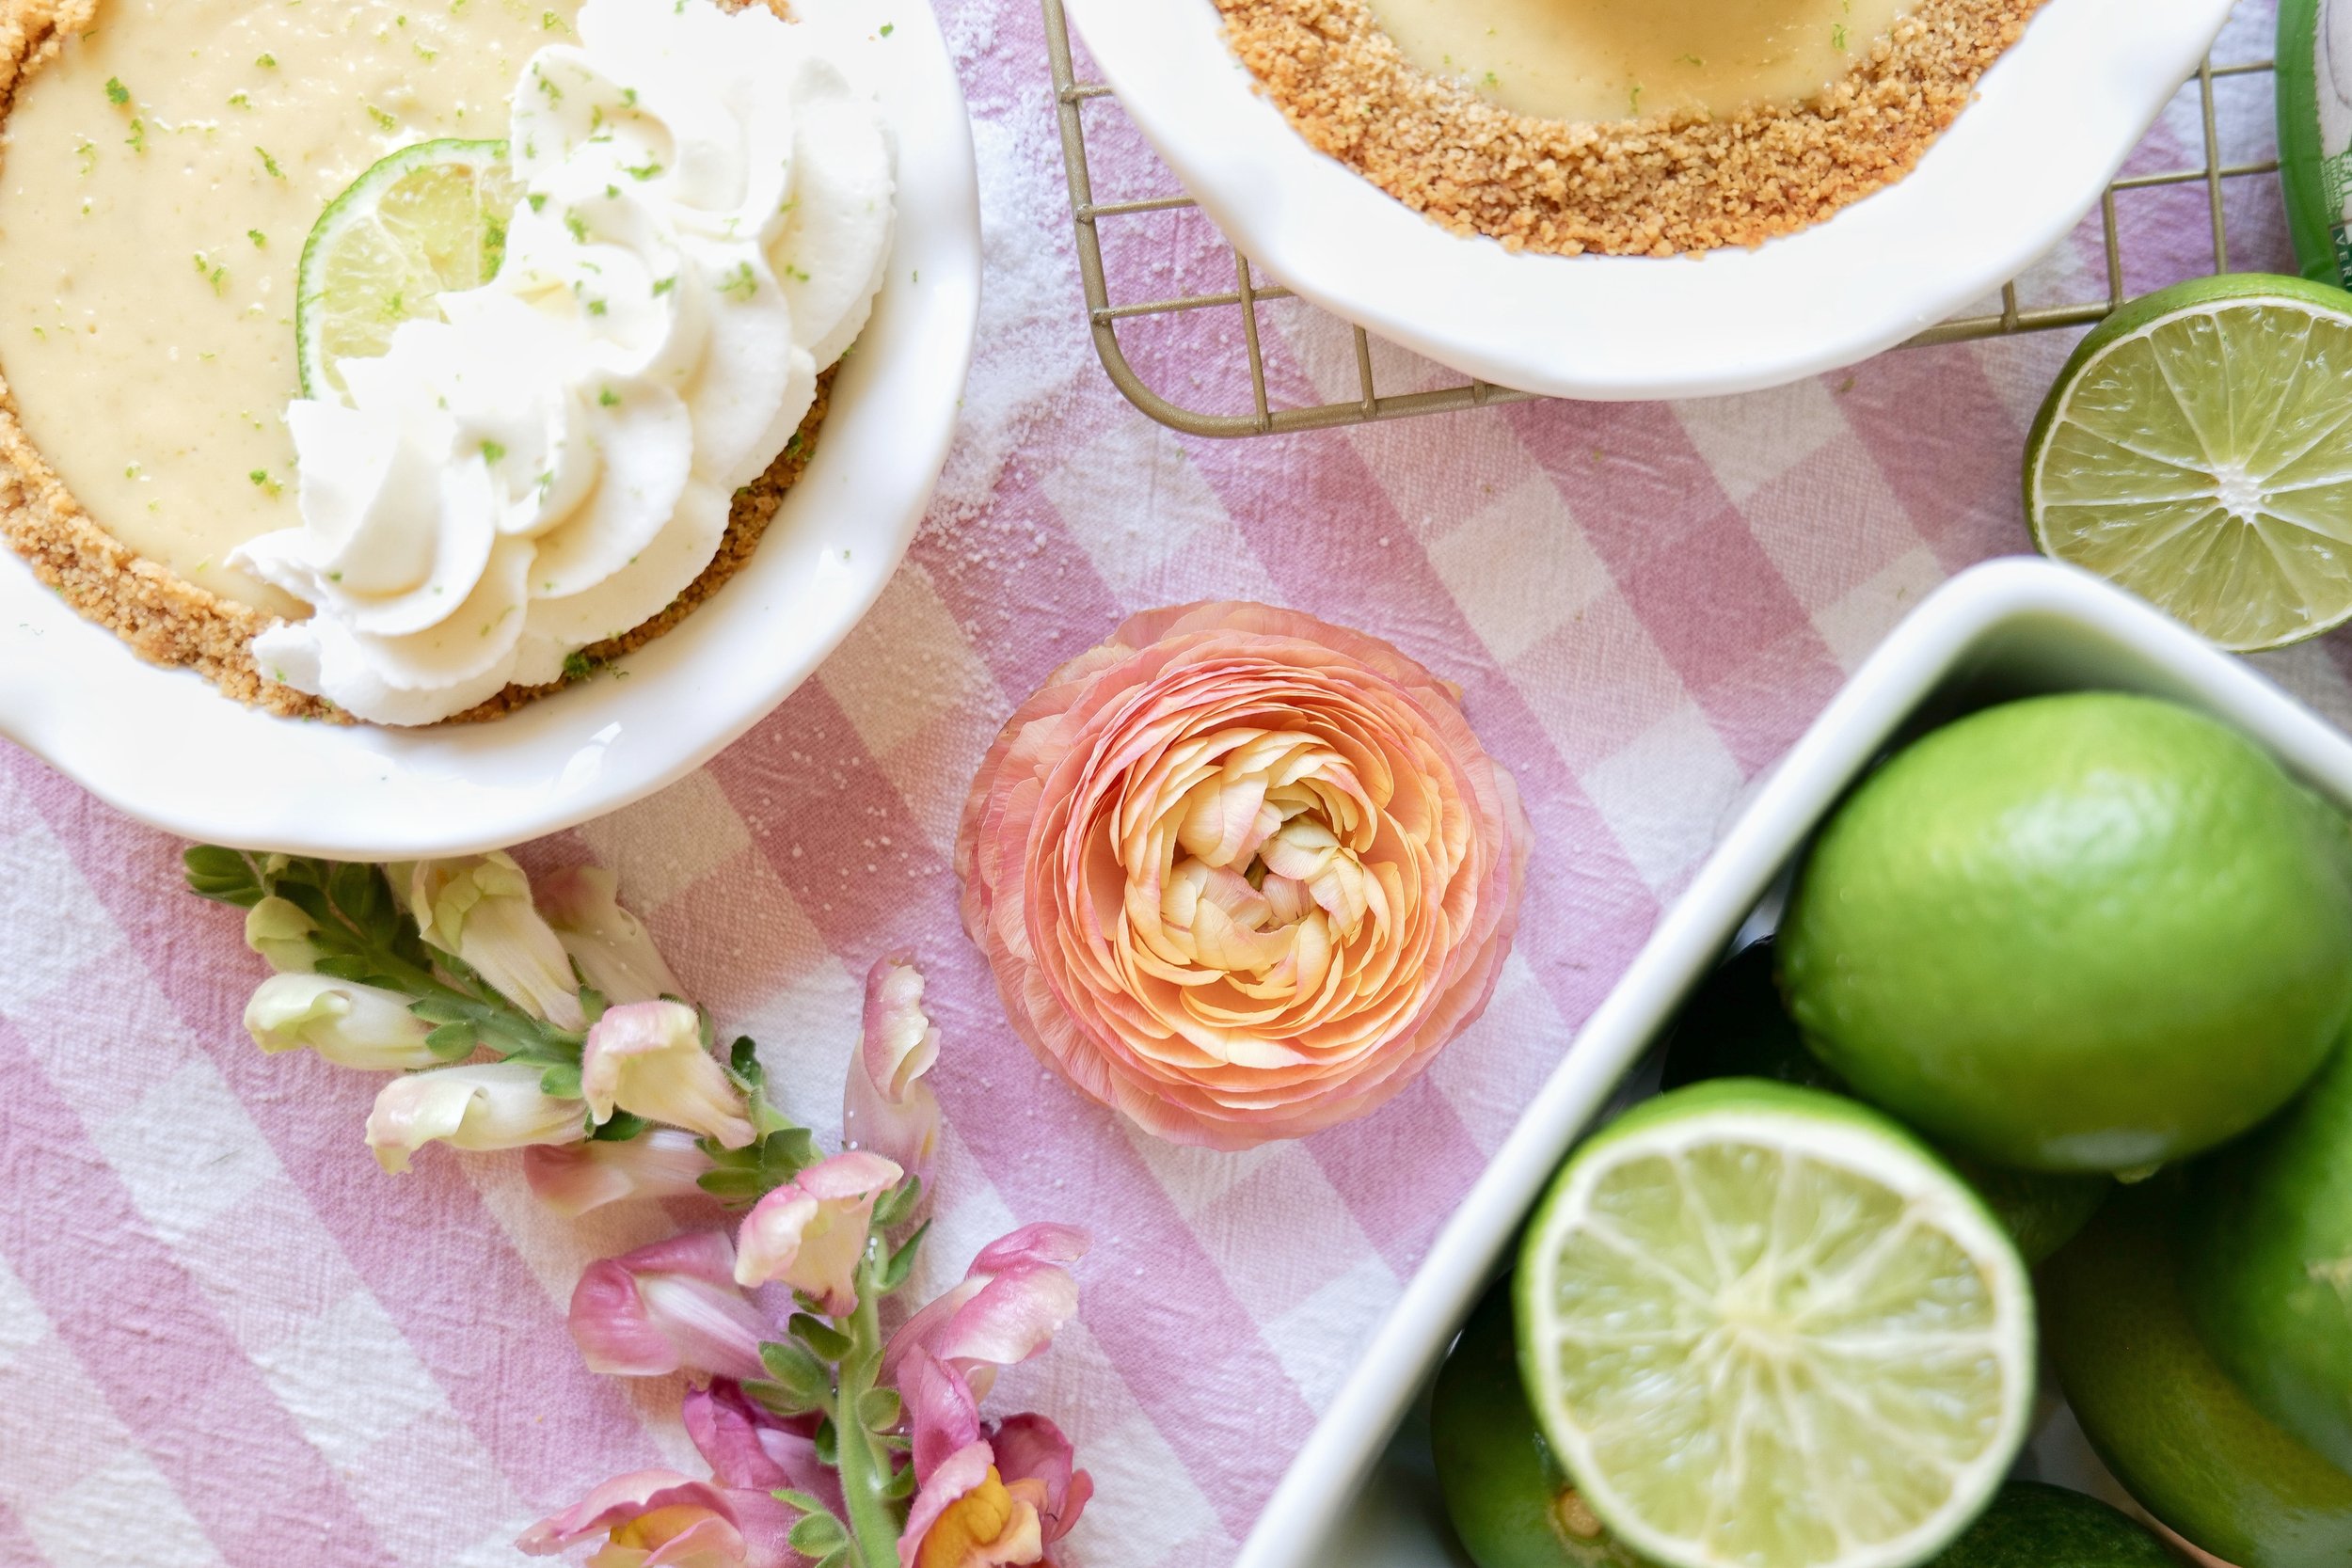
When it comes to finding a deliciously light, fun, and colorful dessert, mini key lime pies made with Splenda are the perfect treat. Mini Key Lime Pies with Splenda are a delicious and sugar-free way to enjoy a classic dessert. Made with fresh lime juice and a generous helping of Splenda, these mini pies provide a guilt-free way to satisfy your sweet tooth without compromising on flavor. The tart lime flavor combines perfectly with the sweetness of Splenda, creating a flavor that won’t disappoint.

These mini pies are the perfect treat for diabetics and health-conscious individuals, as they are low in sugar but still packed with flavor. So, if you’re looking for a guilt-free dessert without compromising on flavor, then look no further than these Mini Key Lime Pies with Splenda. With a delicious taste and low sugar content, they’re sure to become a favorite in your household.

How do I store Mini Key Lime Pies with Splenda?

When it comes to storing Mini key lime pies with Splenda, there are a few key rules to follow. The pies can be refrigerated for up to one week. For longer storage, the pies can be frozen for up to one month. Be sure to label the pies with the date when they were placed in the freezer, so you can keep track of when the pies need to be eaten before going bad. Following these simple steps will ensure that your mini key lime pies with Splenda remain fresh and delicious.

Ingredients

Crust:

1.5 cups or 12 sheets of crumbled gram crackers

6 tbsp melted butter

2 tablespoons Splenda

Filling:

8oz cream cheese

1 can condensed milk, sweetened

2 large egg yolks

3/4 cup lime juice

1 tbsp lime zest

1/2 tsp Splenda

1 tsp vanilla

Whipped Topping:

2 cups cold heavy whipping cream

1 cup Splenda

1 teaspoon vanilla extract

Directions

1. Preheat oven to 350 degrees and oil pie pans.

2. Mix together crust ingredients, graham crackers, melted butter and Splenda. Portion out into 6 individual pies pans and press down on the bottom and around sides to form into pans. Bake in the oven for 5-7 minutes or until golden brown.

3. While crust bakes make filling. Blend cream cheese with a hand mixer until smooth. Add in egg yolks and blend again until fully incorporated. Add in remaining ingredients; condensed milk, lime juice, Splenda and vanilla until all mixed and fully blended.

4. Once the crust is done baking remove from the oven and let come to room temp. Then add in filling to each pan. Place back in the oven to bake for another 15-17 minutes or until the filling is set. Remove from oven and let come to room temperature. Place in refrigerator for at least 4 hours or overnight.

5. Before serving top the pie with homemade whipped cream. With an electric hand mixer set on high blend the whipping cream, Splenda monk fruit, and vanilla extract. (to make Splenda into powdered sugar consistency you will mix in blender on high until powdered sugar consistency forms). Whip until peaks form and add to key lime pies. Top with a lime wedge and/or lime zest and serve.

Using Splenda instead of sugar in Mini Key Lime Pie recipes will ensure that the dish maintains its sweet, tangy flavor without sacrificing flavor or texture. Splenda is a versatile sweetener that can be used in a variety of recipes and is a great way to reduce the sugar content of a Mini Key Lime Pie. The best part about Splenda is that it can help you enjoy all the flavor of a Mini Key Lime Pie without the guilt of consuming too much sugar.

Other Delicious Desserts Made with Splenda:

Banana Cake made with Brown Butter Frosting

Raspberry Low Sugar Scones made with Splenda