Sugar Free Angel Food Cake & 3 Creative Ways to Serve It

In the realm of desserts, angel food cake has always stood out for its light, airy texture and subtle sweetness. Unfortunately, not everyone can indulge in the traditional version due to dietary restrictions on sugar. Enter the Sugar Free Angel Food Cake, a fantastic alternative that maintains the delightful essence of the classic treat without the added sugars. This blog will guide you through how to make angel food cake, the benefits and intricacies of making it sugar-free, its storage tips, and creative ways to serve it.

How to Make Angel Food Cake

Making angel food cake might seem daunting at first, but with the right steps and ingredients, anyone can achieve a bakery-quality result. Here’s a step-by-step guide to ensure your cake comes out perfectly every time.

The backbone of any angel food cake is the whipped egg whites. Start by separating the egg whites from the yolks and placing the whites in a large, clean mixing bowl. Beat them using an electric mixer until they form soft peaks. This stage is crucial as it provides the cake with its proper light and airy texture. Soft peaks refer to the stage in beating egg whites where the whites are fluffy and hold their shape but still droop over slightly when the beaters are lifted. They form a peak that softly curls down, indicating that the egg whites are not overly stiff or dry.

Achieving soft peaks is vital for recipes like sugar-free angel food cake. It ensures the cake’s light and airy texture, making every bite a delight. Two things to look for are beating egg whites at a moderate speed and checking frequently to avoid overbeating. The perfect soft peak will look like a soft serve ice cream tip, gently folding over rather than standing upright. This visual cue is your green light to proceed with the rest of the recipe. When whipping egg whites for a sugar-free angel food cake, aiming for soft peaks rather than stiff peaks is essential. Soft peaks have a glossy appearance and gently fold over when the beaters are lifted. This ensures that your cake will be tender and airy. Using sugar substitutes can affect the whipping process, so it's important to monitor closely for the right consistency. Perfectly whipped soft peaks are crucial for the success of sugar-free angel food cake recipes. Achieving soft peaks ensures your cake isn't dense and chewy but light and fluffy. This step sets the foundation for a delightful baking experience and an even more delightful eating experience.

Once you have your stiff egg whites, the next step is to incorporate the dry ingredients carefully. Slowly fold in the sugar substitute you'll be using, flour, and other essential components like cream of tartar and vanilla extract. Gentle folding is key to maintaining the airiness of the batter. Overmixing can deflate the egg whites, resulting in a denser cake. Pour the batter into an ungreased tube pan. The ungreased surface allows the batter to cling to the sides as it bakes, enabling the cake to rise properly without collapsing. The design of the tube pan also ensures even baking. Place the cake in a preheated oven and bake until it turns a beautiful golden brown color. Typically, this takes about 45-60 minutes. You’ll know the cake is done when it springs back upon lightly touching the surface.

Creative Ways To Serve

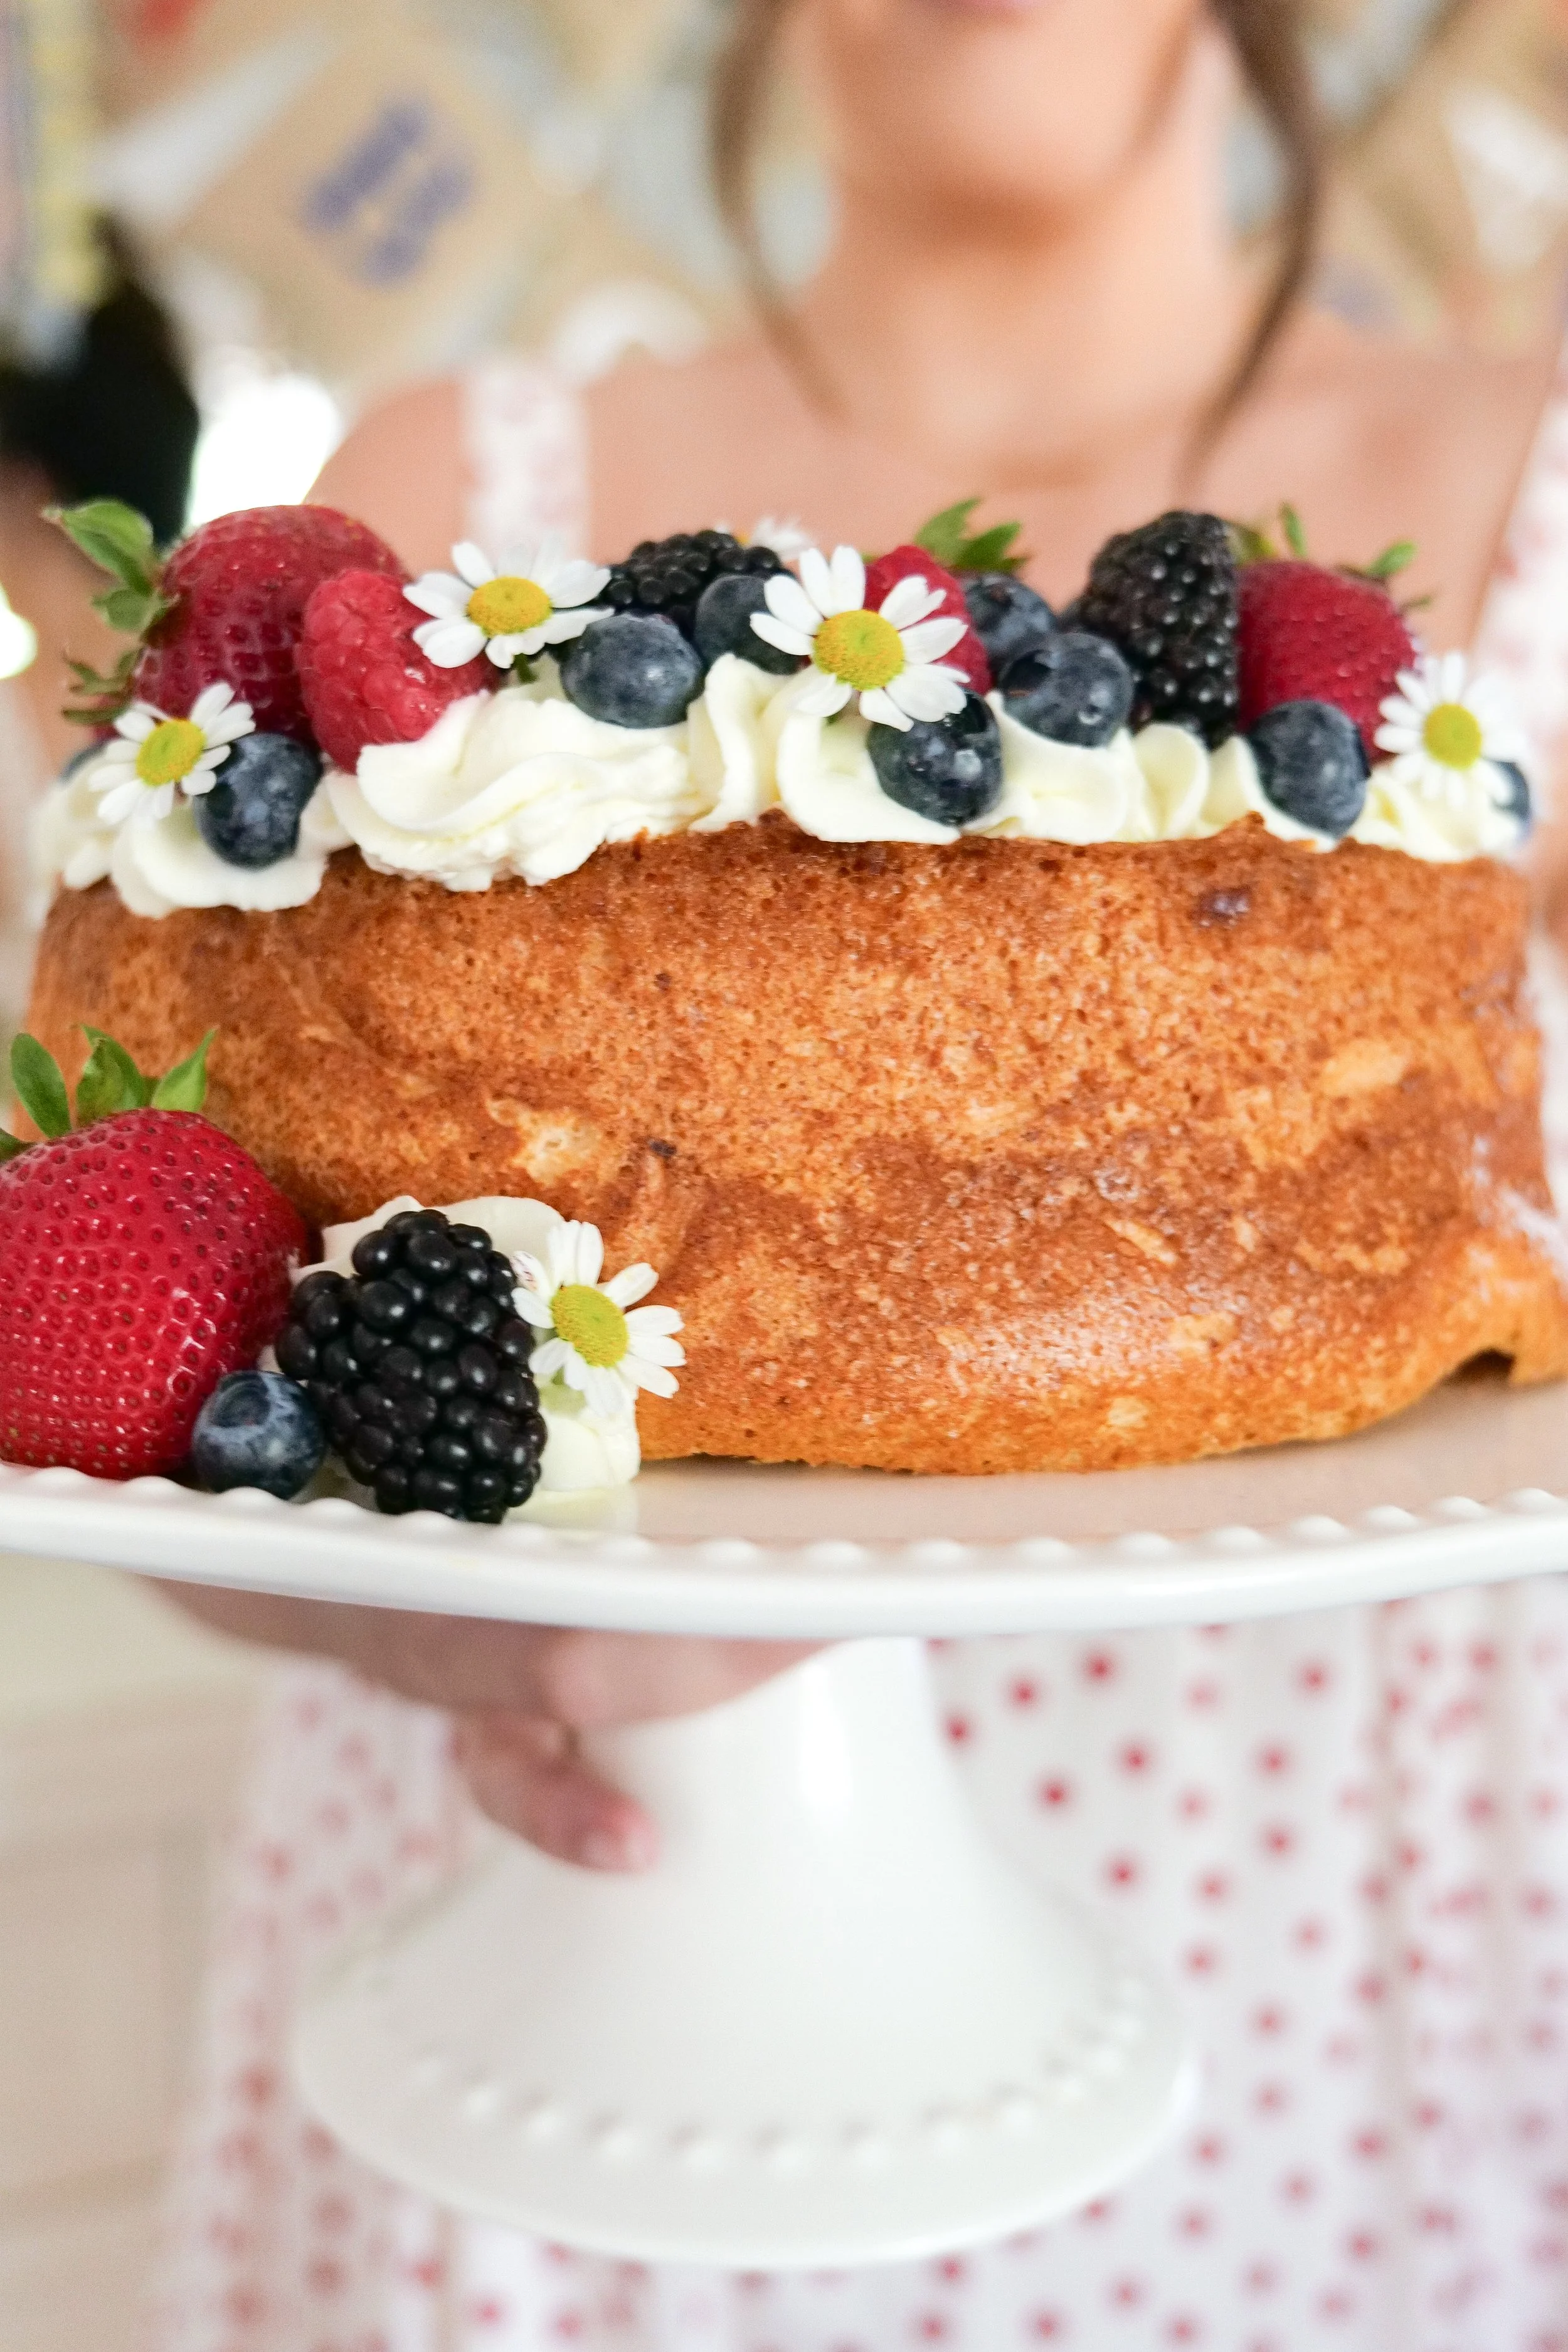
The versatility of sugar-free angel food cake makes it suitable for any event. It can be dressed up for festive celebrations or kept simple for a cozy family dinner. The possibilities of how to serve this delicious cake are endless but 3 ways I love to serve are: In its original form with fresh whipped cream, strawberries, blackberries, blueberries and raspberries. Cut into squares inside of a coupe (or other glass serving bowl) topped with fresh whipped cream and berries. My personal favorite for a large group with differing taste buds is a mixed tray for guests to put together their own toppings of their choice. Angel food cake cut into slices with whipped cream and berries separately so they can add it as they wish. A few other ways can be create a trifle by layering with sugar-free whipped cream and fresh fruits. Top with a sugar-free chocolate drizzle for an indulgent touch. Lastly, serve with a scoop of sugar-free ice cream.

One of the best things about sugar-free angel food cake is its versatility. It can serve as a base for an array of flavorful dessert combinations, making it a staple for various culinary experiments. Top with fresh strawberries for a nutritional sweetness. A medley of berries adds a burst of flavor, vitamins, and antioxidants. Add a dollop of sugar-free whipped cream is always a delicious treat. Drizzle with a sugar-free lemon glaze, this adds a tangy zesty twist. These ideas are simple yet sophisticated, ensuring you can enjoy this dessert in multiple exciting ways.

Storage Tips

Proper storage is key to maintaining the freshness and texture of your sugar-free angel food cake. After the cake has cooled completely, store it in an airtight container at room temperature if you plan to consume it within two days. This prevents the cake from drying out and keeps it tasting fresh. If you need to store the cake longer, consider refrigerating it. Ensure its well-wrapped to avoid drying out. The cool environment of the fridge keeps the cake fresh for up to a week.

Freezing is another great option for longer storage. Wrap the cake tightly in plastic wrap followed by a layer of aluminum foil. This double wrapping prevents freezer burn and ensures the cake retains its texture and flavor. Thaw frozen slices at room temperature or in the refrigerator before serving.

Substitutions

Making a sugar-free angel food cake involves some key substitutions to ensure it remains a healthier alternative without compromising on taste or texture. The sugar-free angel food cake offers a healthier alternative to traditional cakes, allowing those with dietary restrictions to still indulge guilt-free. Instead of sugar, natural low-calorie sweeteners like Splenda stevia is used in this recipe. These maintain the cake's light and fluffy texture while keeping it sweet. Stevia is a plant-based sweetener with no calories. Whether it’s a casual family meal or a festive celebration, the sugar-free angel food cake can be dressed up or down. Its adaptable nature makes it a perfect dessert choice for any event.

Understanding the differences between sugar-free angel food cake and its traditional counterpart can help you appreciate this healthier version. Sugar-free angel food cake, unlike the traditional version that relies on granulated sugar, is substituted with sweeteners like stevia or erythritol to achieve its sweetness. The absence of sugar obviously results in a lower calorie count for the sugar-free version, making it a healthier option for those watching their calorie intake. While both cakes are light and airy, the texture of the sugar-free variety may be slightly different due to the properties of sugar alternatives.

Creating a sugar-free angel food cake can seem like a detailed process, but the result is a dessert that is light, fluffy, and deliciously guilt-free. From mixing the batter to storing the cake and finally serving it in creative ways, each step is integral in achieving the perfect dessert. Whether you’re watching your sugar intake or just looking for a healthier alternative to traditional cakes, this lovely sugar-free angel food cake will meet your needs and delight your taste buds. You won't be disappointed. Experiment with the methods and tips provided, and enjoy this versatile, sweet treat at any time, for any occasion.
Ingredients

12 large egg whites, at room temperature

1 ½ teaspoons cream of tartar

1 teaspoon vanilla extract

1 cup Splenda Stevia

1 cup sifted cake flour

Instructions

  1. In a bowl using an electric mixer, beat egg whites, cream of tartar, and vanilla extract on high speed until soft peaks form.

  2. Gradually add ¼ cup Splenda Stevia and cake flour with spatula, being sure not to over mix and loose the soft peaks.

  3. Pour batter into an ungreased 10” tube pan and spread evenly. Run a knife through the batter to remove air bubbles or tap on table.

  4. Bake on lowest rack in oven for 40–45 minutes, or until cake springs back when lightly touched.

  5. Set pan upside down on a cooling rack; cool cake in pan for 30–40 minutes. Run a narrow knife around sides to loosen cake; remove from pan and cool completely on the wire rack. Serve with whipped cream, fresh berries and enjoy!

Other Delicious Desserts You Will Love:

How to Make Fall Chai Low Sugar Scones with Splenda

Indulge in Coziness: The Ultimate Homemade Gingerbread Latte Recipe with Splenda

A Deliciously Sweet Treat: Mini Key Lime Pies with Splenda

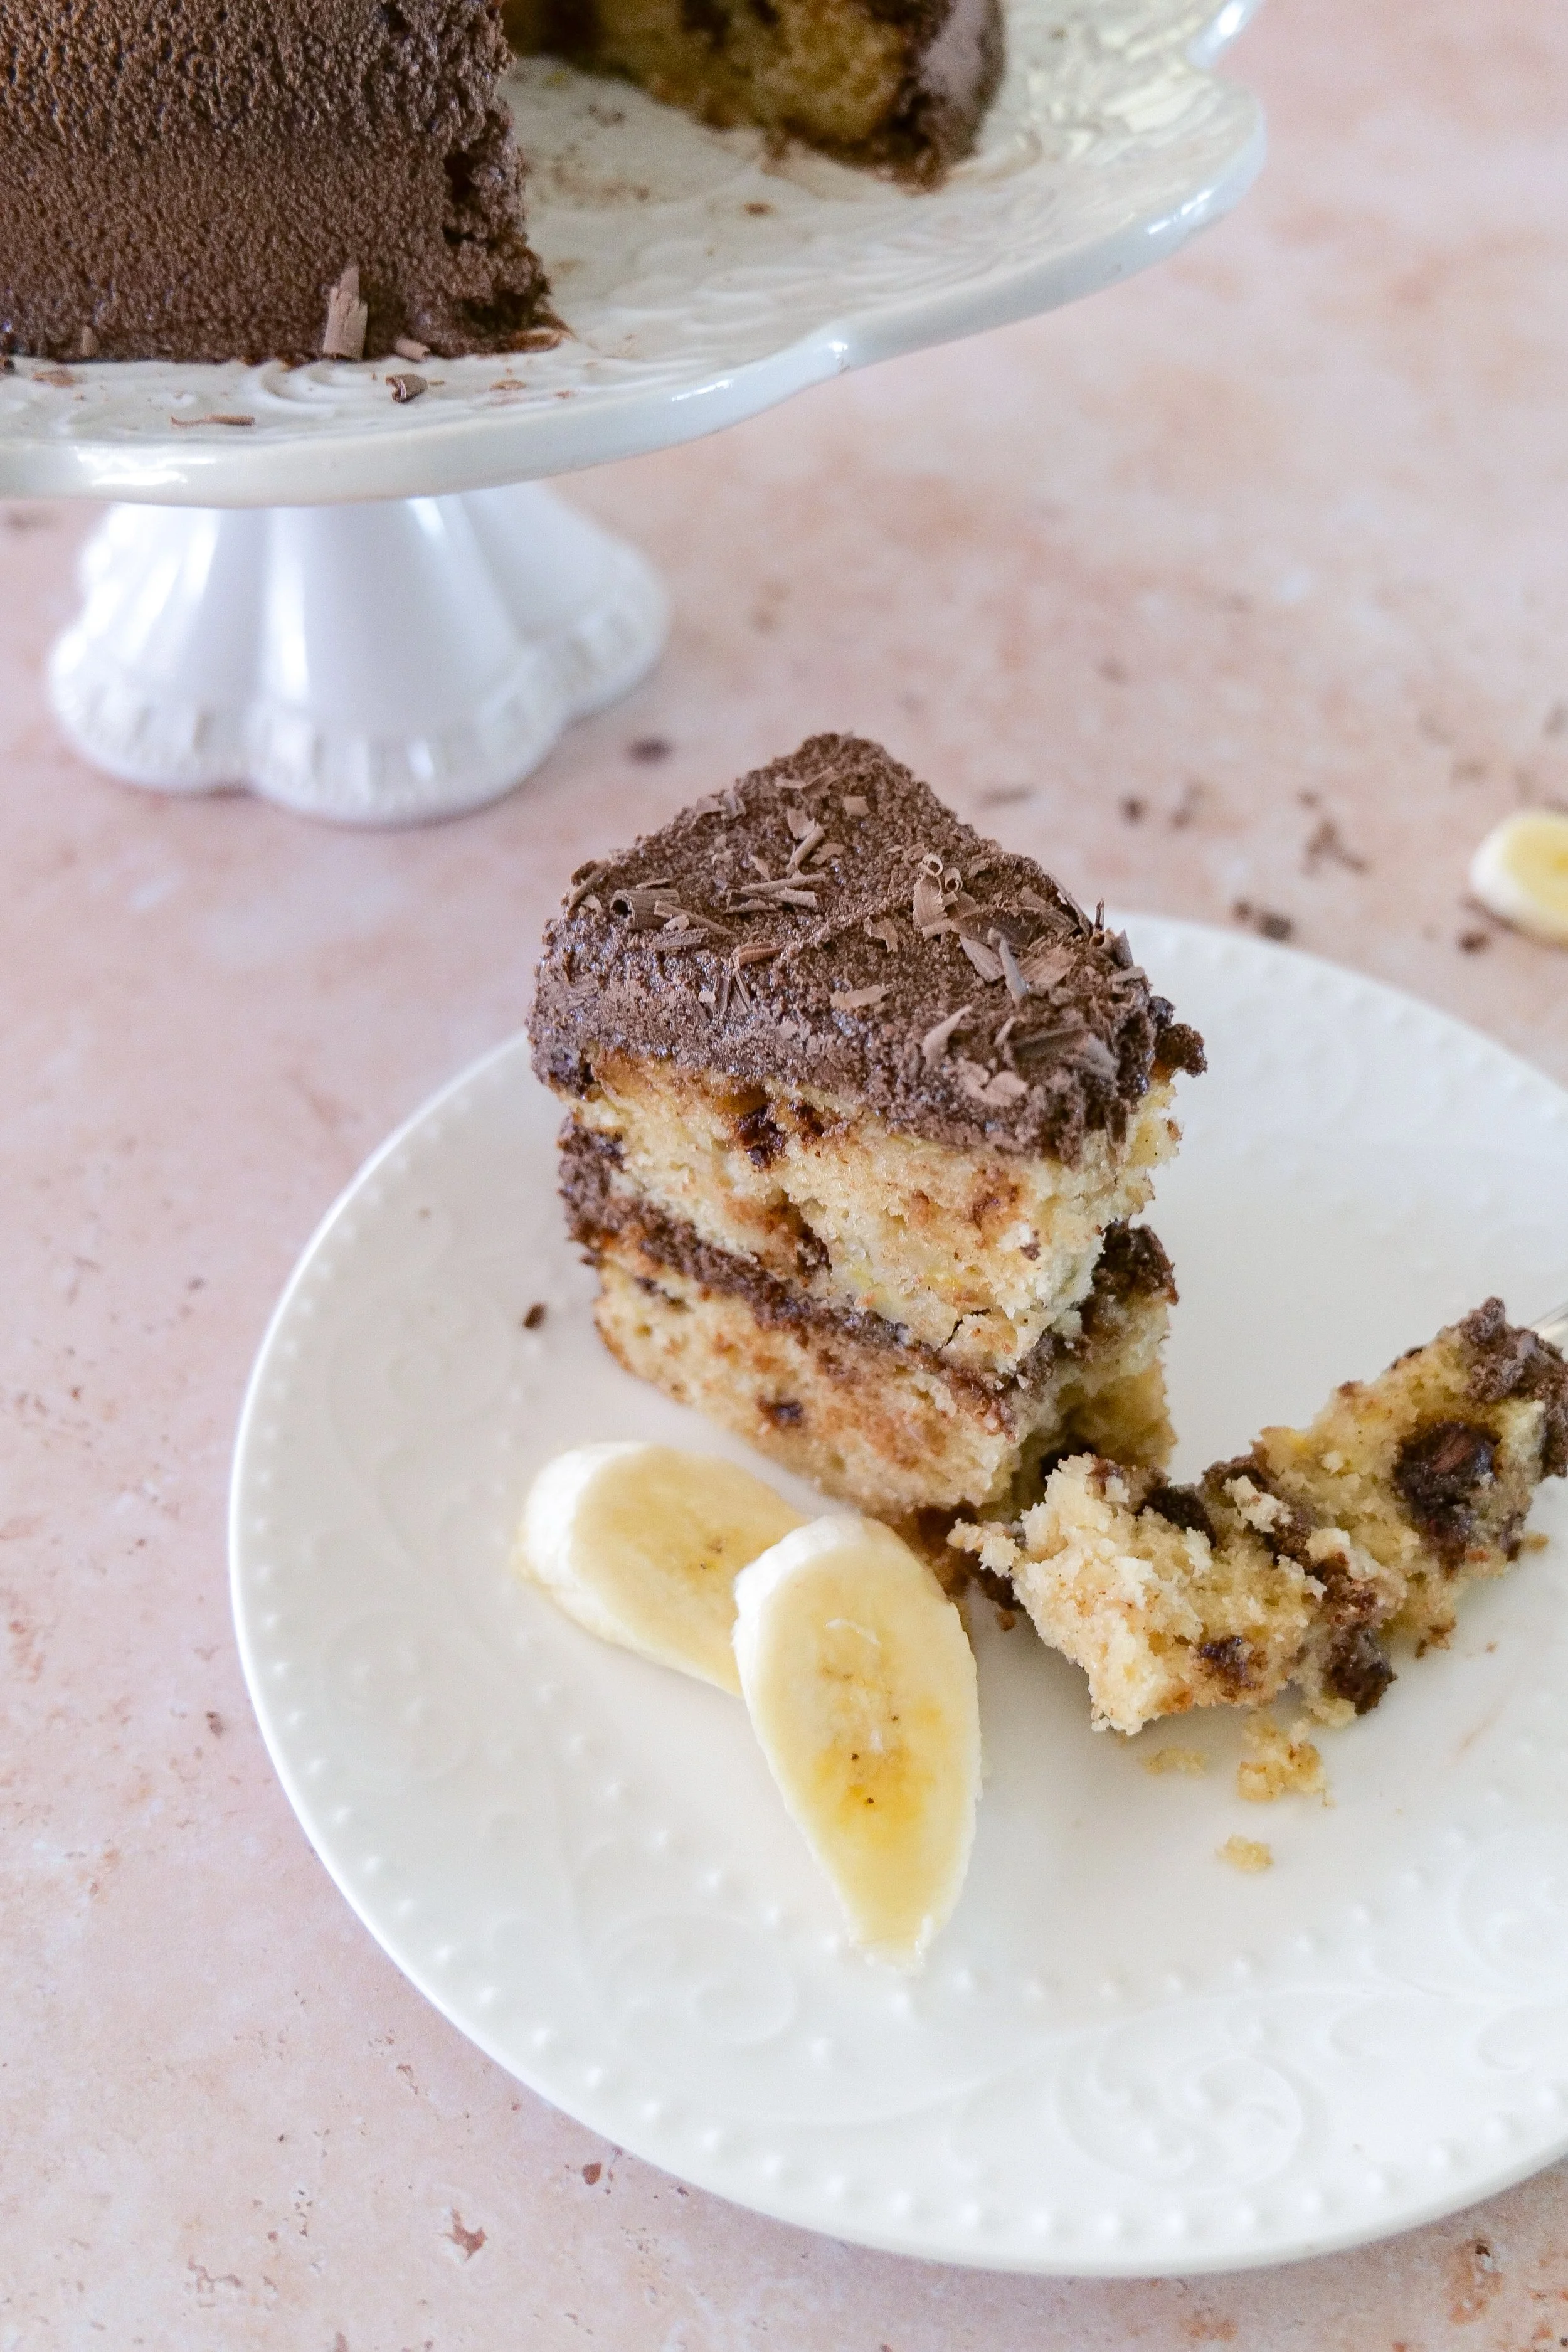
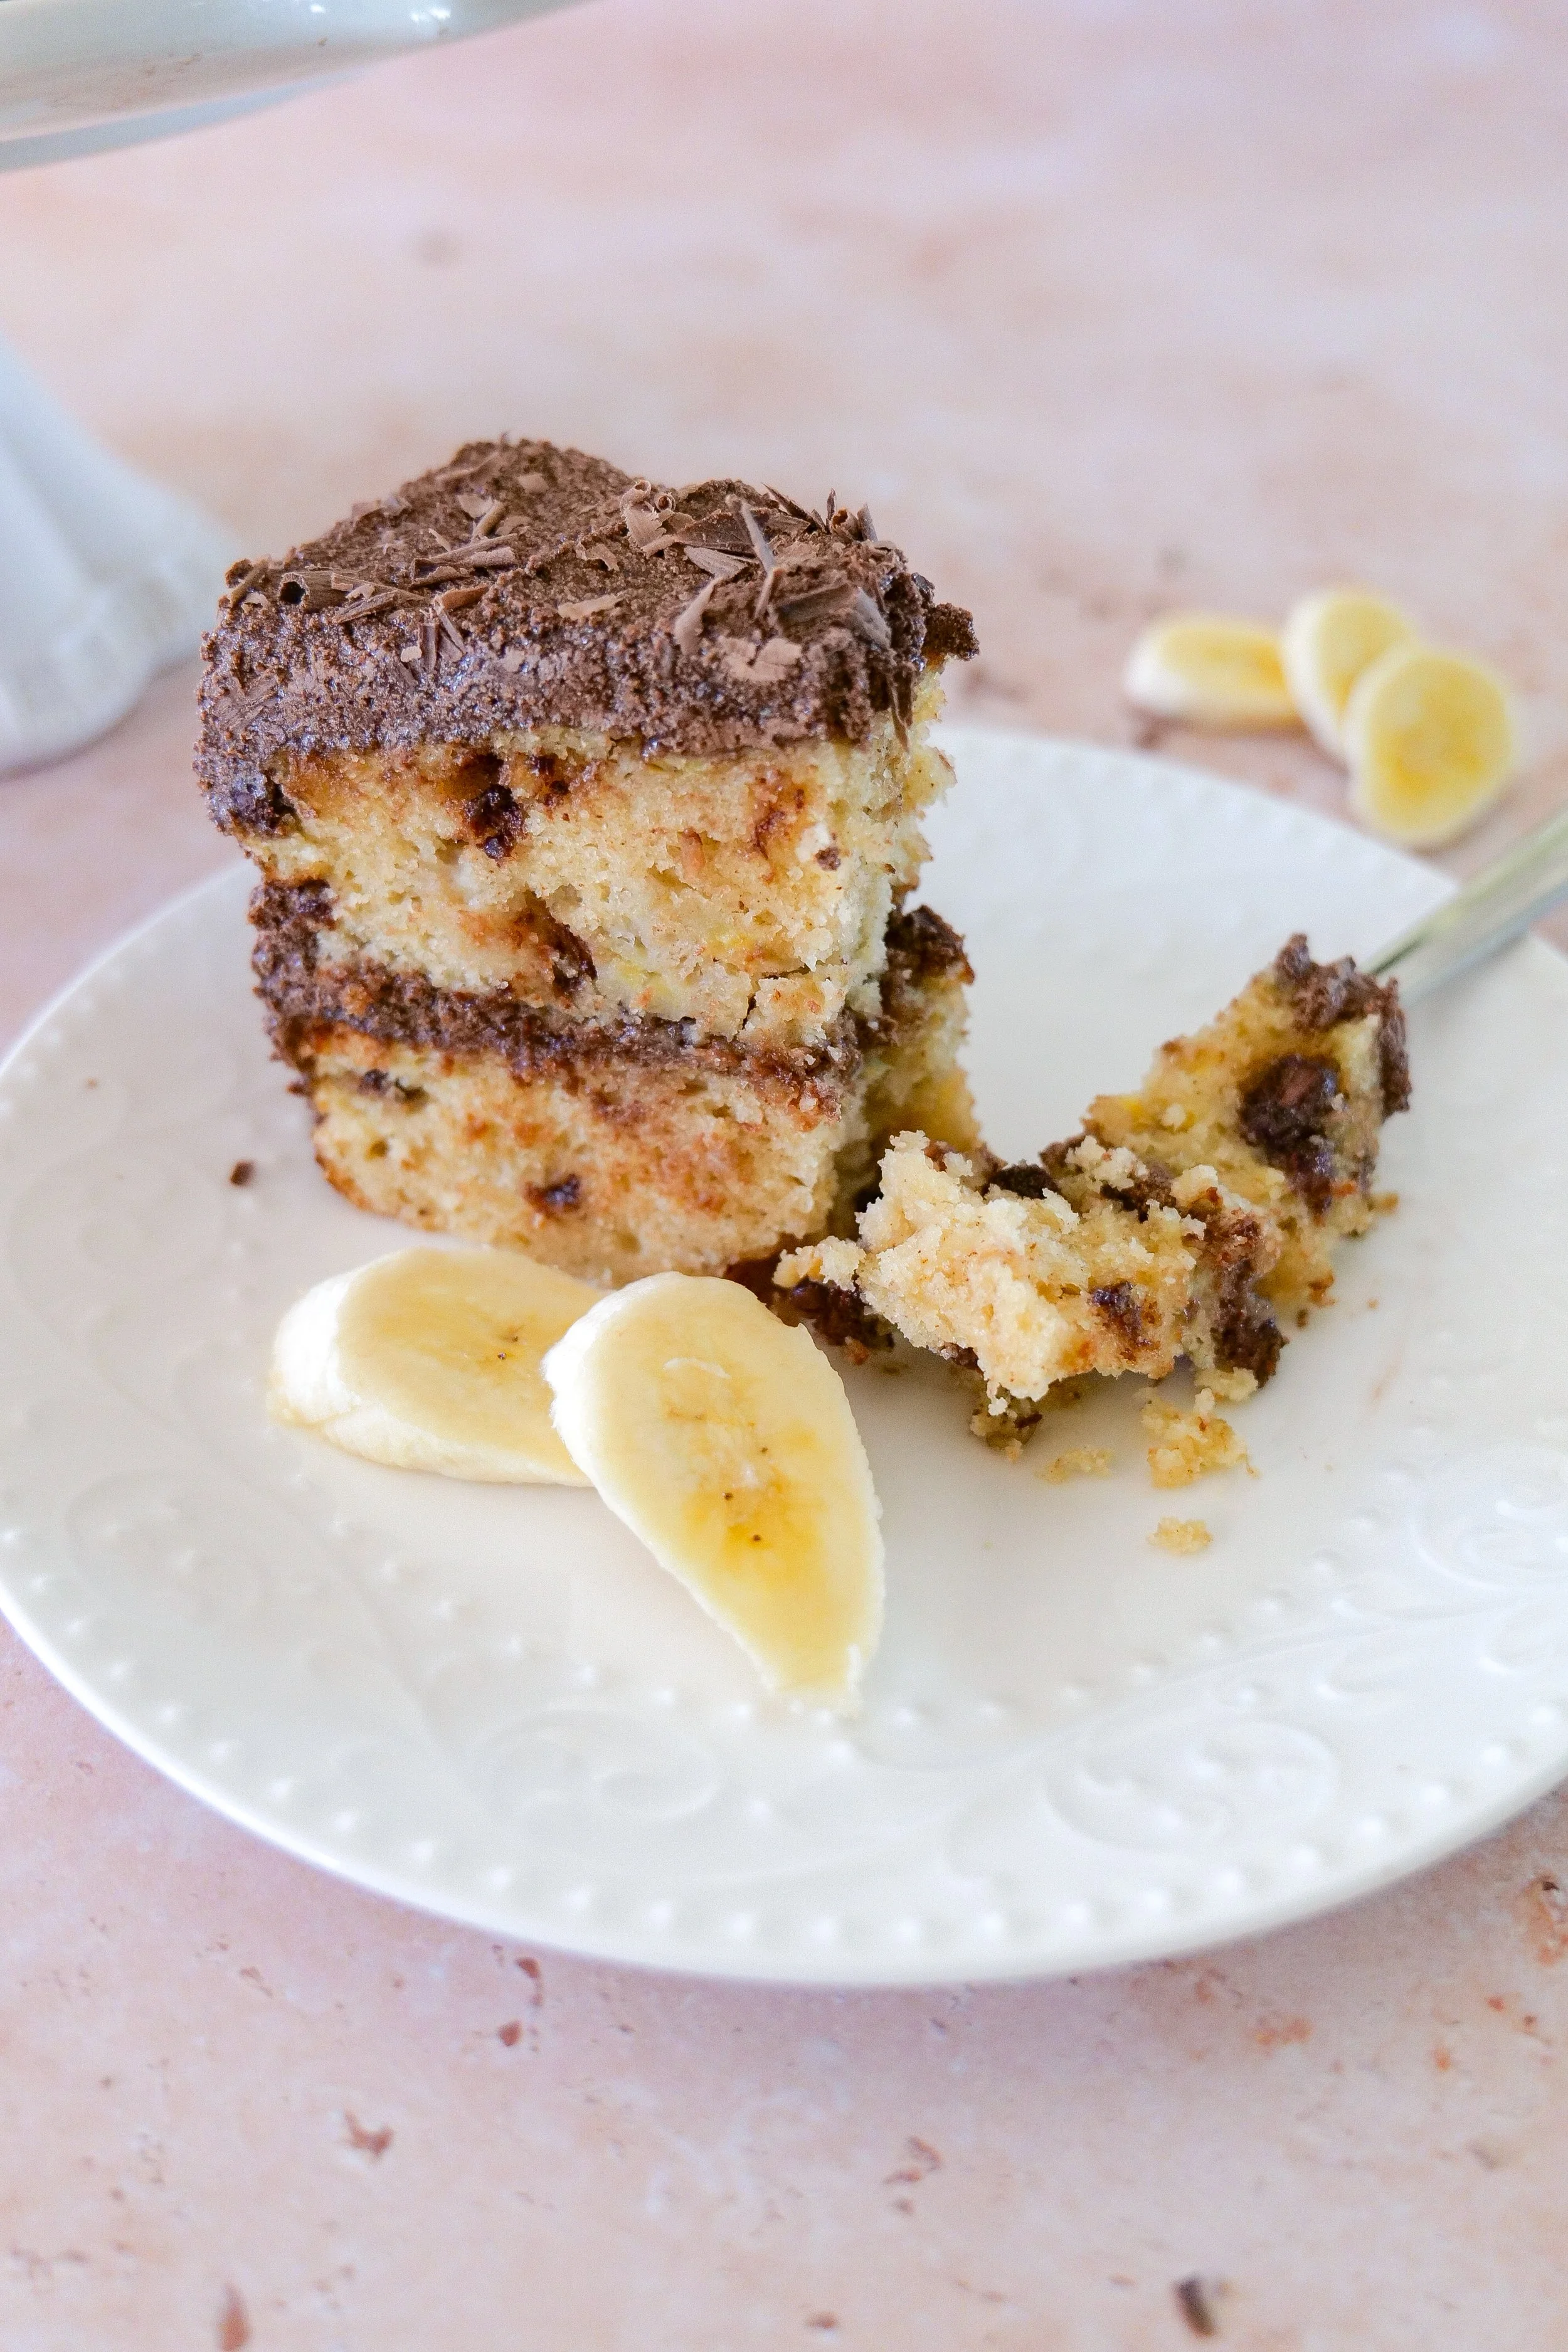
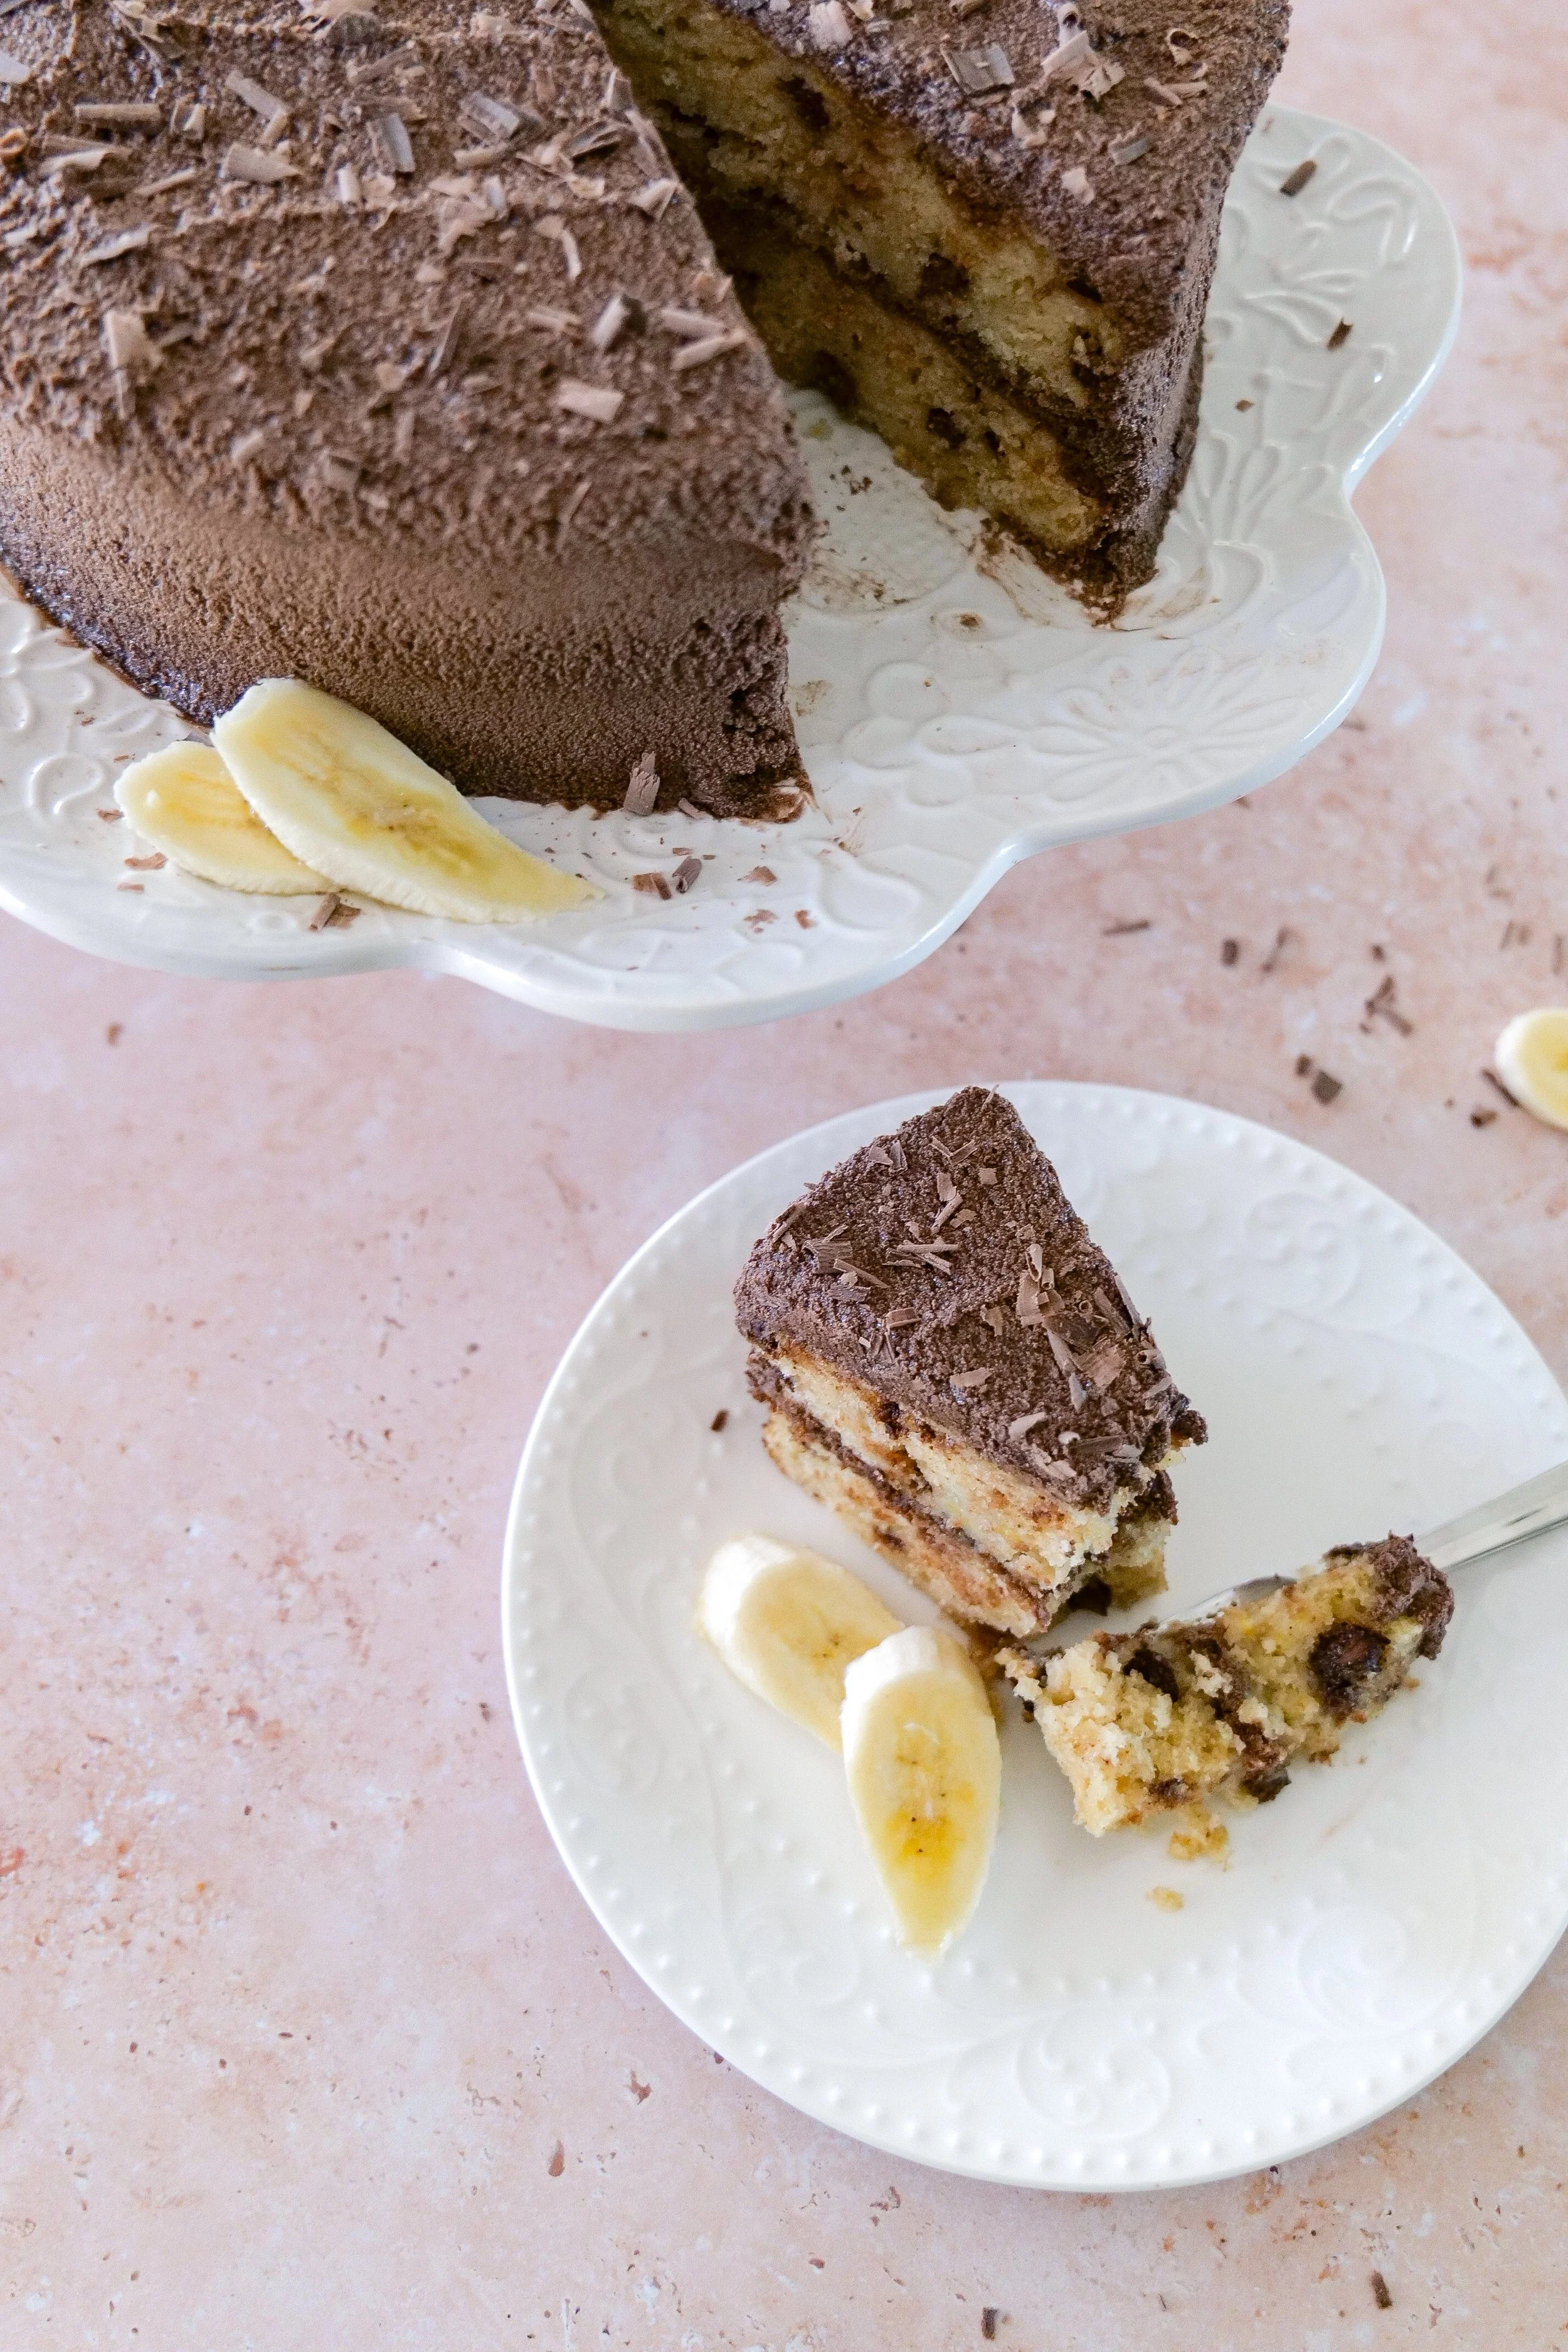
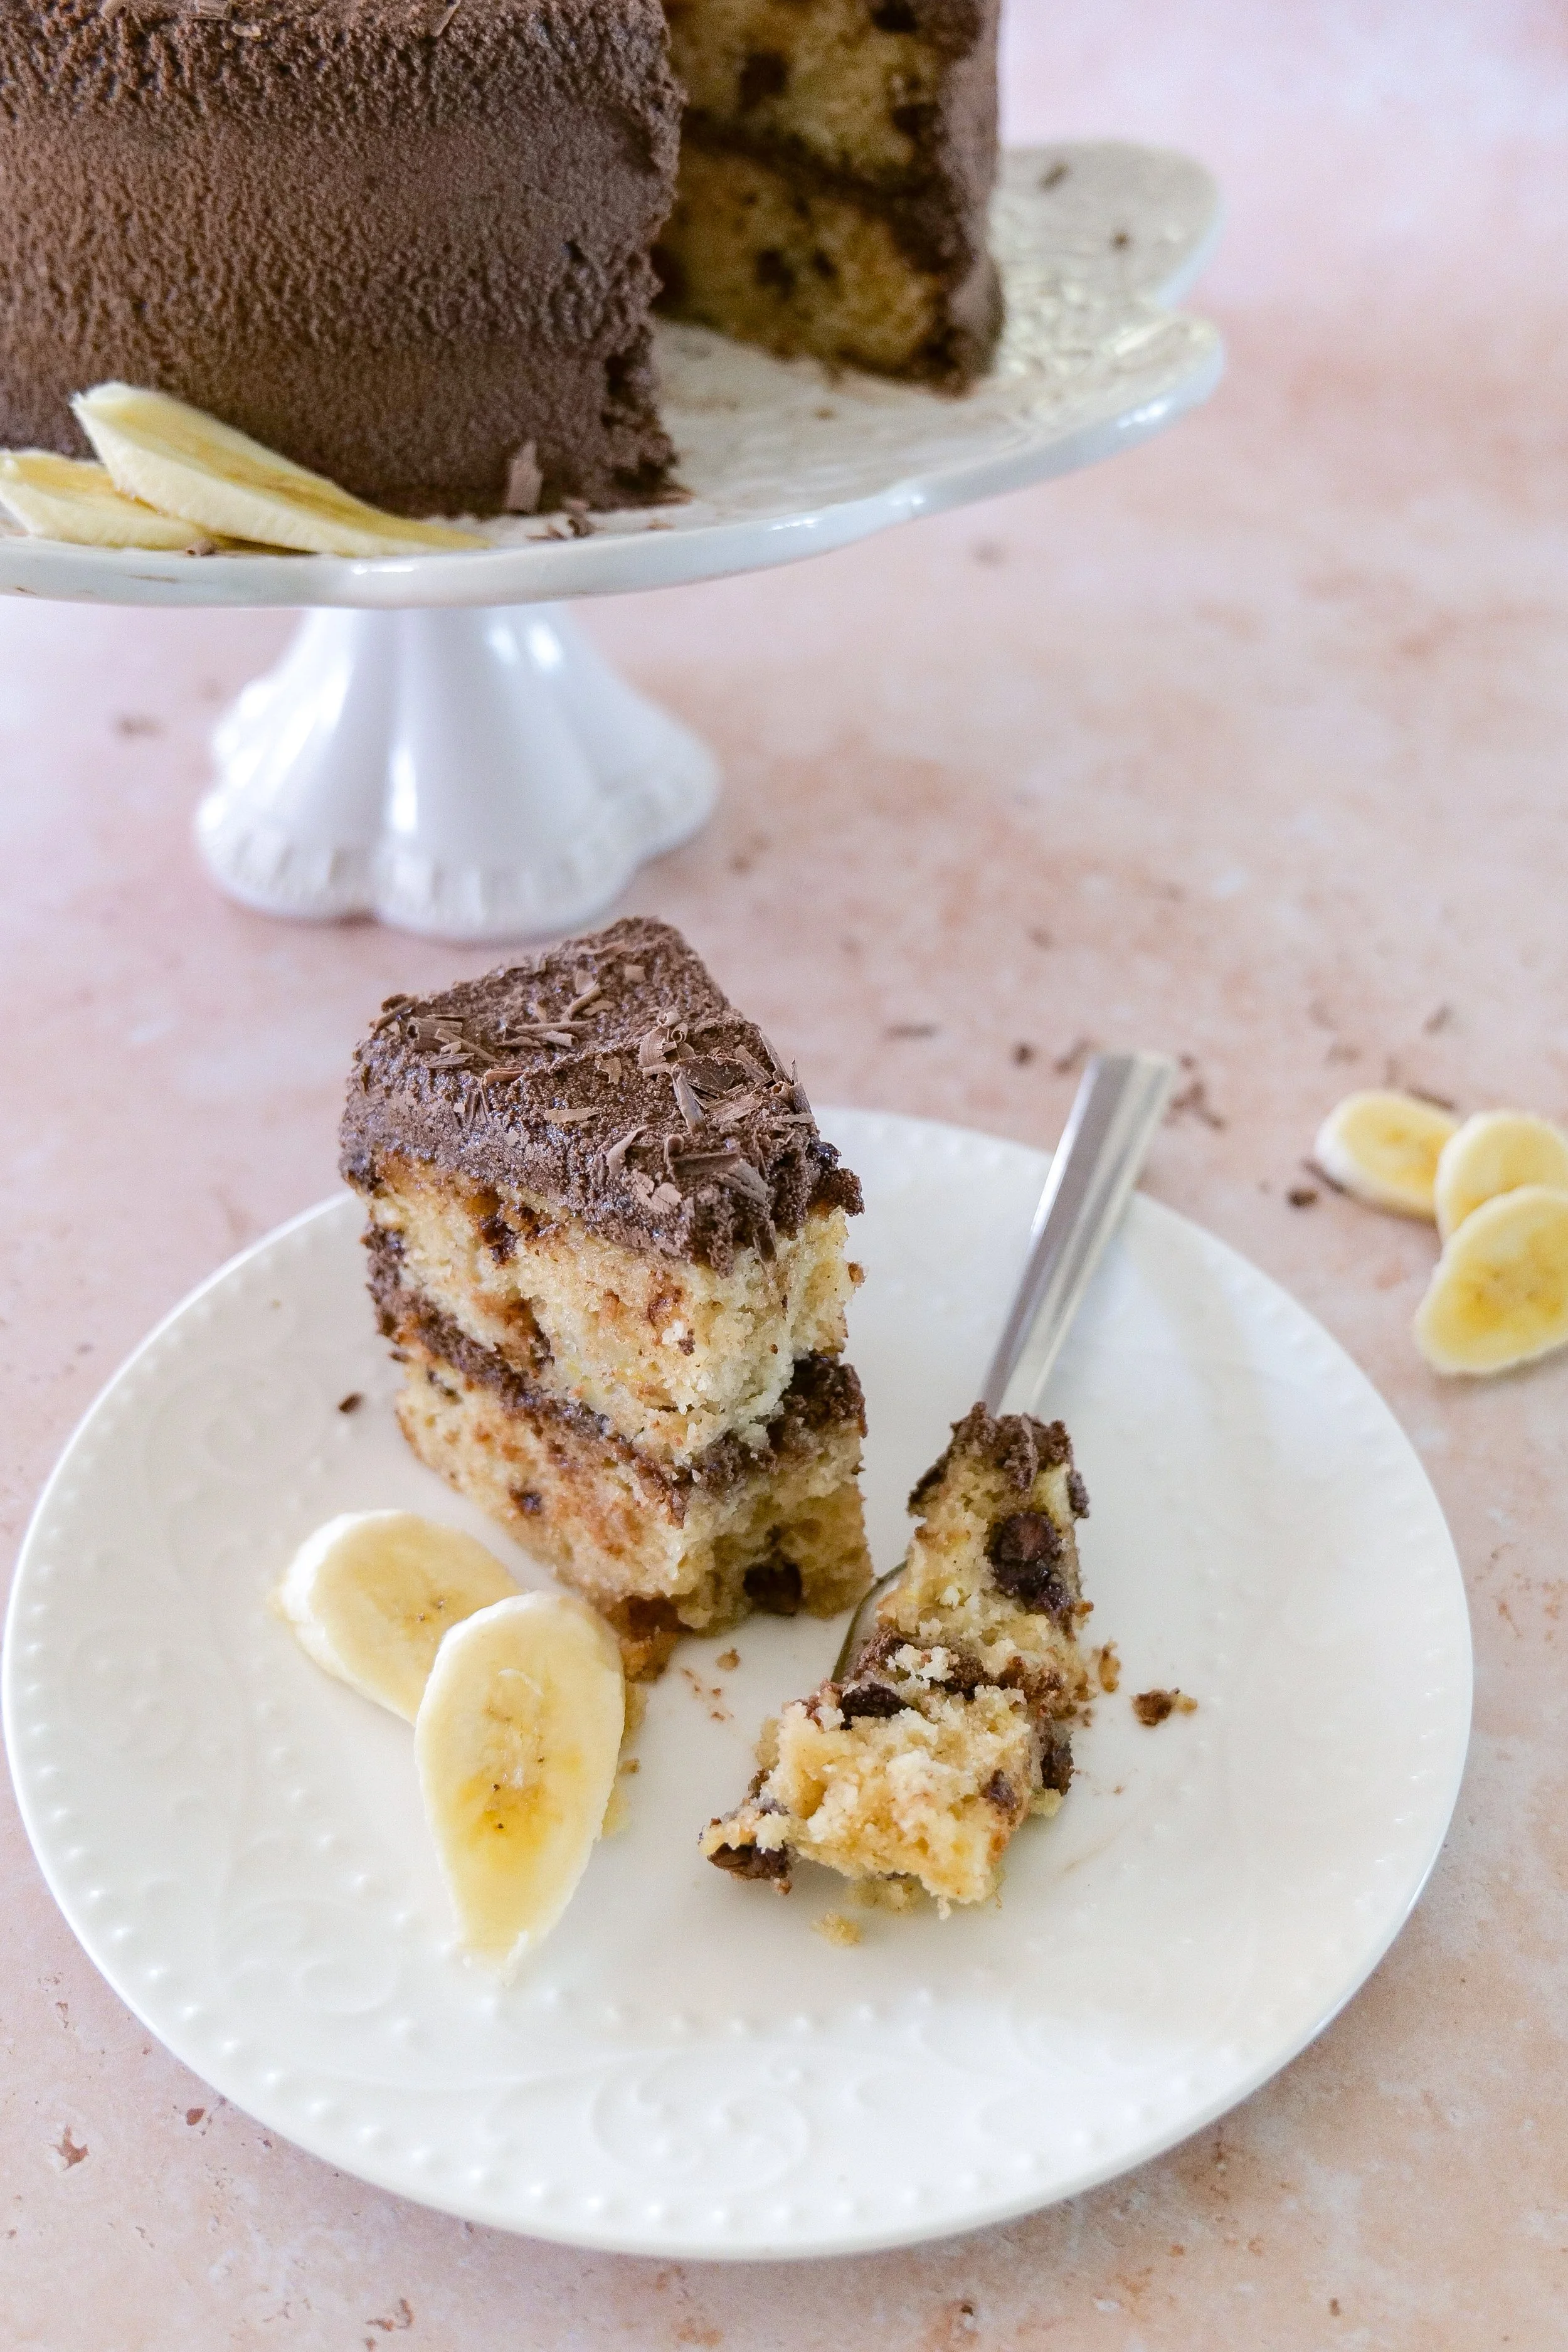
Banana Cake made with Brown Butter Frosting

Raspberry Low Sugar Scones made with Splenda

Delight in Every Slice: Delicious Blueberry Cake with Mascarpone Frosting

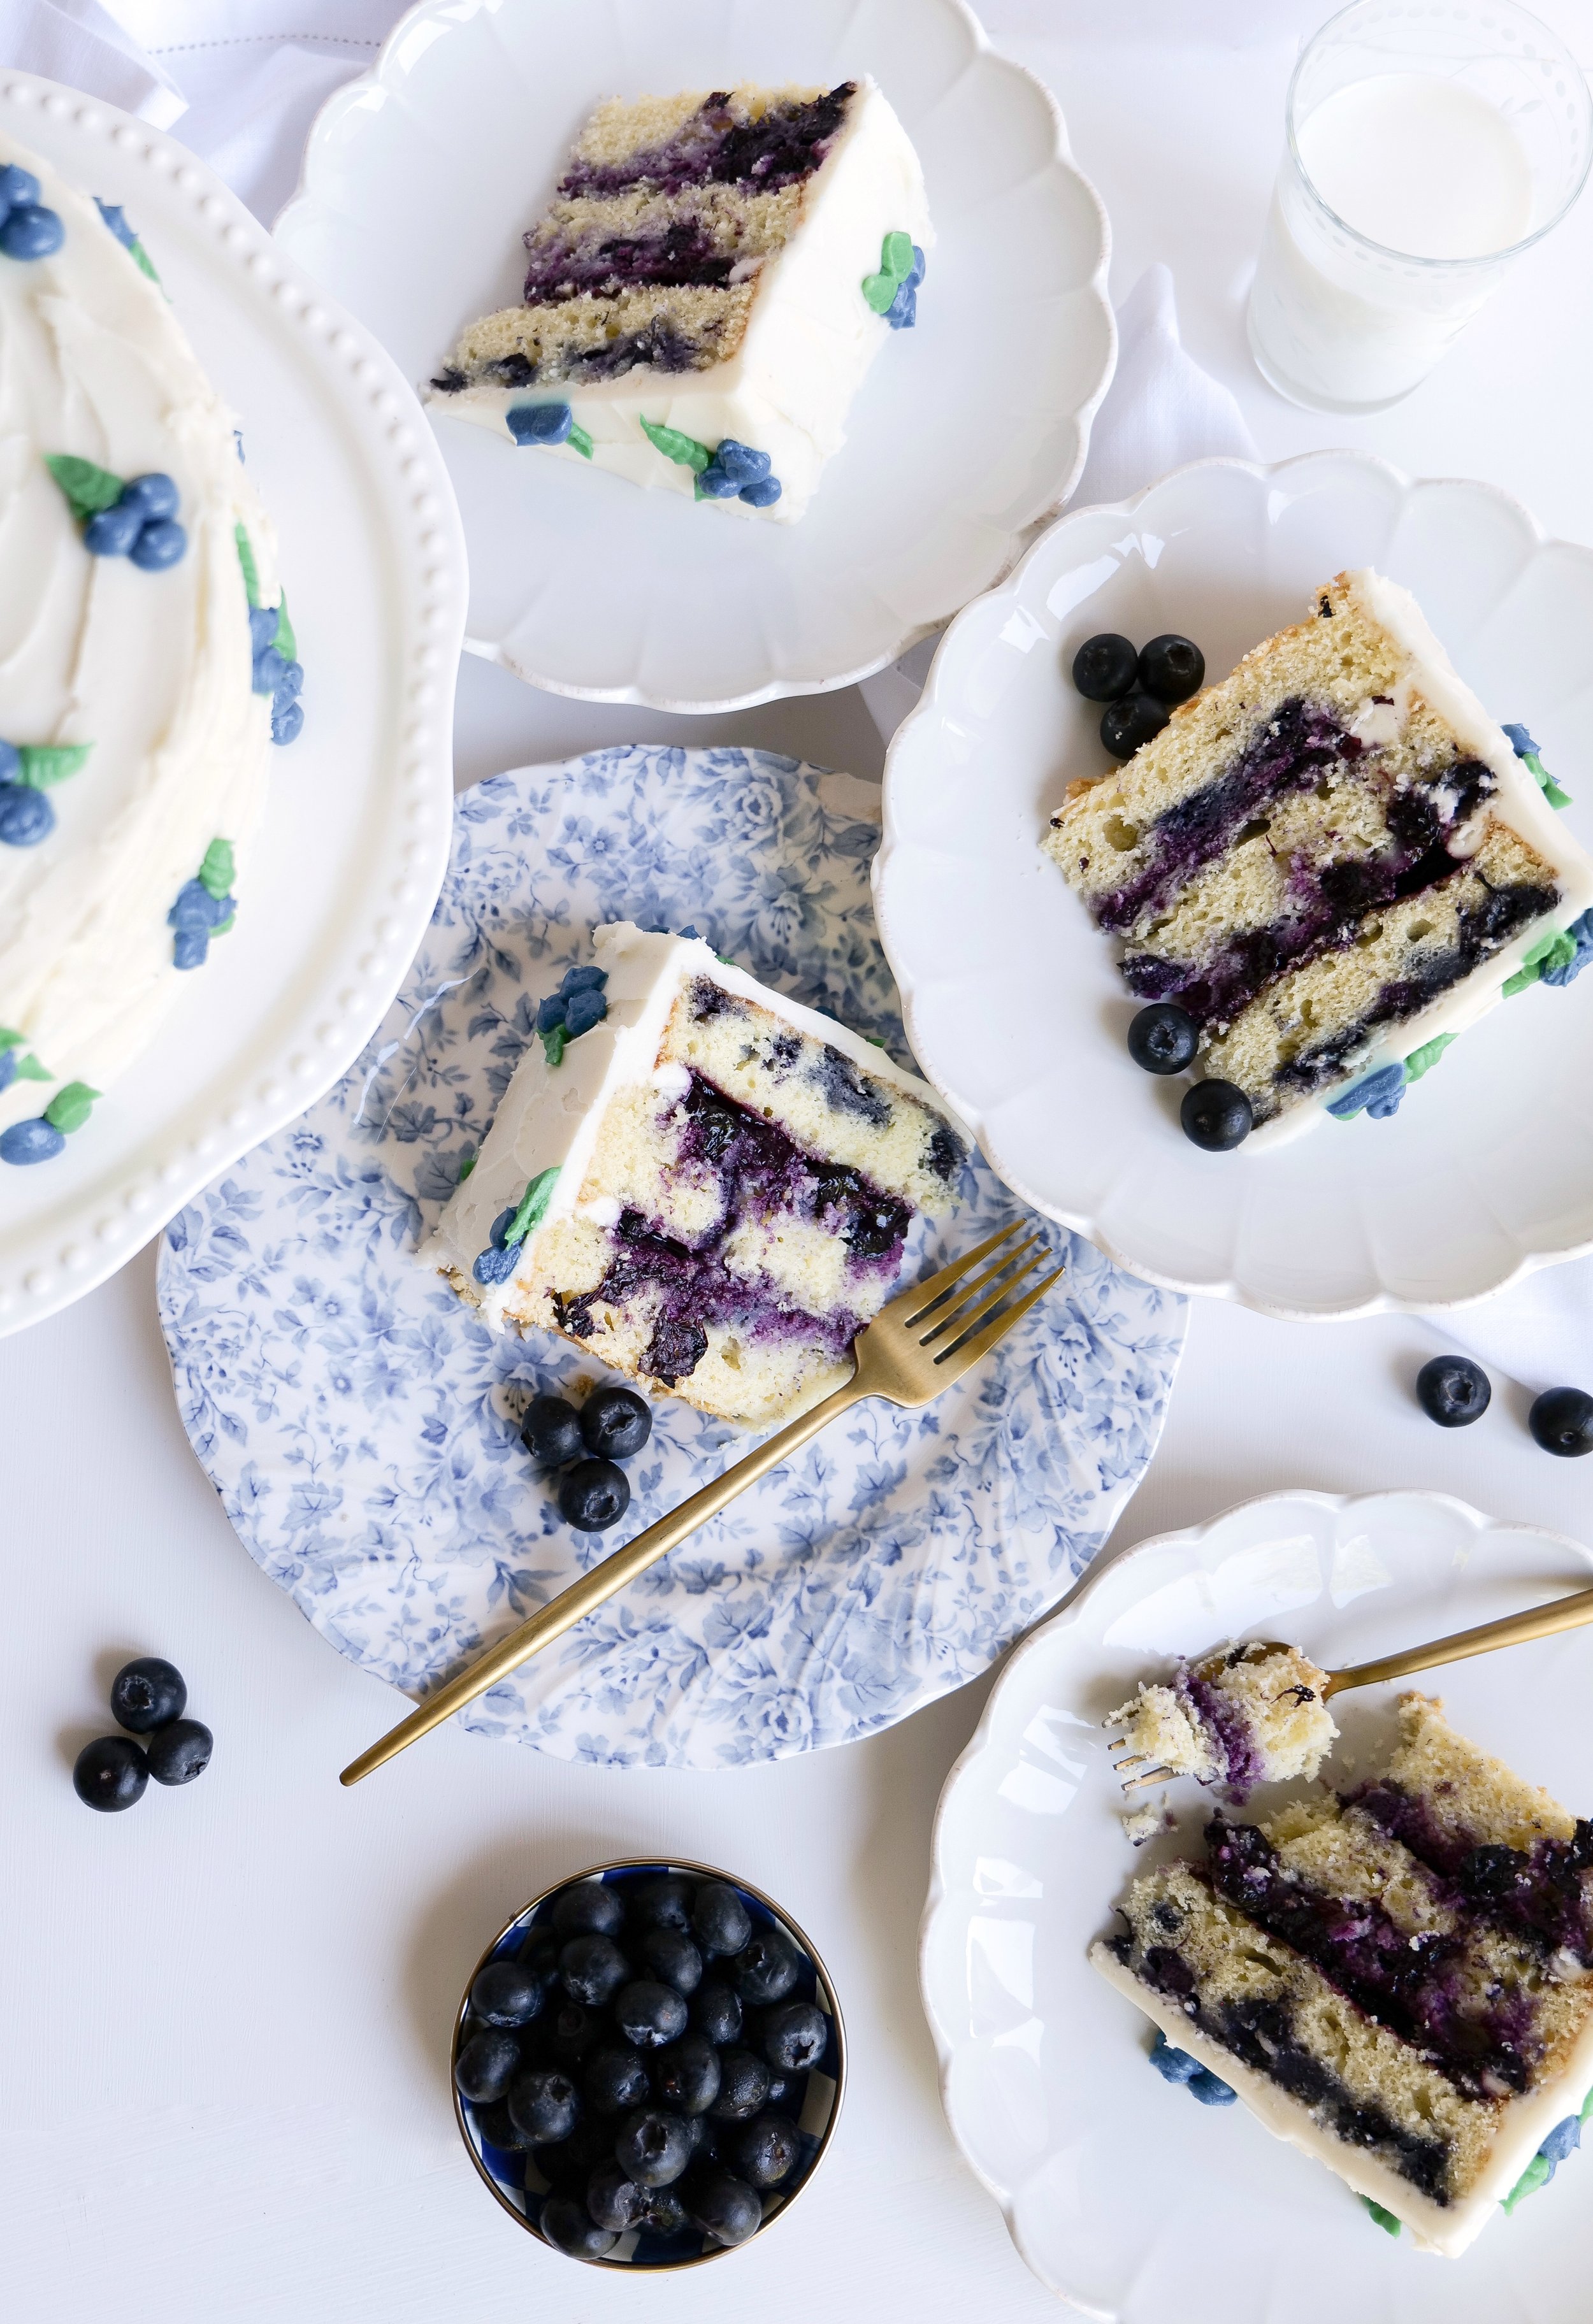
Indulge your sweet tooth in the symphony of flavors that is the Delicious Blueberry Cake with Mascarpone Frosting. This classic dessert is a harmonious blend of sweet and tart, thanks to the fresh, plump blueberries and the deliciously rich mascarpone cream. As the name suggests, it's not just about the taste, its also about the frosting of creamy mascarpone cheese that adds a luxurious touch and sets this cake apart. Whether you're planning a sophisticated afternoon tea or looking for a summertime dessert that impresses at picnics and garden parties, this cake promises a visual feast and a party in your mouth.

Imagine fresh blueberries folded into a sumptuous batter, providing a juicy burst of flavor that perfectly offsets the sweetness of the cake. However, the real magic happens when this moist, berry-studded sponge meets its match in the form of a creamy, decadent Mascarpone frosting. Far from ordinary, mascarpone frosting steps up as a sophisticated alternative to common buttercream and is a statement maker in both texture and taste. This cake isn't just a treat for the palate; it's a feast for the eyes, especially when adorned with piped blueberries for a fun and adorable element.

Fresh blueberries are the star of the show, with their bright burst of flavor complementing the sweet cake. Luxurious Mascarpone frosting offers a silkier, more refined texture than traditional buttercream. This makes the cake ideal for a range of occasions, and the cake can be dressed up or down according to the event. Elevate the cake's presentation with garnishes like fresh fruit and citrus zest for an added pop of color and taste.

When one thinks of frosting, Mascarpone often doesn't come to mind, but it should. This creamy Italian cheese, usually reserved for tiramisu, makes for a frosting that's rich but not overpowering, subtle in sweetness, which is exactly what our Delicious Blueberry Cake requires. Transforming the sweet blueberry into an elegant dessert, the Mascarpone frosting coats each layer with velvety luxury, while the hint of lemon zest cuts through the richness, balancing each bite. Unlike its denser counterpart, buttercream, Mascarpone creates a frosting that's light and spreadable, perfectly accentuating the cake, both in flavor and aesthetic. This isn't just frosting, it's an upgrade that adds finesse and elevates the cake to a premium dessert tier that will stand out at any gathering. Mascarpone elevates the cake, adding creaminess and subtle sweetness. The frosting's lightness complements the tart blueberries in a symphony of flavor. It spreads smoothly for a flawless finish.

Not just reserved for frosting, Mascarpone incorporates beautifully into the baking process, contributing to the Delicious Blueberry Cake's moist crumb and rich, nuanced flavor profile. Its creamy texture and slight sweetness melds with the brightness of blueberries to create an unforgettable celebratory dish that's as fitting for a casual Sunday brunch as it is for an elegant evening soiree. To ensure success when integrating Mascarpone in baking, bring the cheese to room temperature. This is crucial for smooth frosting and even mixing into batter. It is a simple step, but one that makes all the difference.

Berry Swap: Fresh vs. Frozen Blueberries in Your Cake

Seasonality need not limit the enjoyment of a Delicious Blueberry Cake with Mascarpone Frosting. Frozen blueberries stand as a viable substitute for fresh ones, ensuring this cake's year-round appeal. Opt for frozen blueberries when fresh aren't available but remember to thaw and drain them first. Lightly coat them in flour to avoid them sinking through the batter during the bake. The vibrant taste remains unaffected, though the varying moisture levels may slightly alter the cake's hue. Frozen blueberries afford convenience and consistency, ensuring this cake's status as a perennial favorite regardless of the season.

Lasting Sweetness: Storing Your Blueberry Mascarpone Masterpiece

Leftovers, if they happen, require care to preserve the cake's fresh, tantalizing qualities. Refrigerate in a sealed container, where the cake will remain fresh for 3-5 days. A plastic wrap against cut surfaces staves off dryness. Store the cake away from foods with strong odors to avoid taste transfer. For extended storage, wrap cake slices and freeze, then defrost before serving for an almost-as-good-as-fresh experience. Maintaining leftovers properly means this cake can continue to delight for days, each slice a testament to the time and love invested in its creation.

As the final crumbs settle, the Delicious Blueberry Cake with Mascarpone Frosting exits not just as a recipe but as an experience that is a delight to both the eye and the palate. The dance of the velvet caress of Mascarpone and the pop of blueberries combines into a confection that's far more than the sum of its parts. For those days that call for something special or moments when only a slice of perfection will do, this cake stands ready to answer the call.

Ingredients:

3 large eggs

3 large egg whites

1 cup heavy whipping cream

2 tablespoons melted butter

3 teaspoon vanilla

1 - 1/2 cup sugar

2-1/4 cups cake flour

1 tablespoon baking powder

3/4 tsp salt

1 cup grated butter

2 cups jumbo blueberries, from Family Tree Farms

1 tablespoon of flour

Filling:

4 cups blueberries, from Family Tree Farms

1 cup granulated white sugar

juice of 2 lemons

Frosting:

1 cup salted butter

2 teaspoon vanilla extract

5 cups powdered sugar

8 oz mascarpone

Instructions:

1. Prep by oiling 3 circle pans (8 or 9 inch) and preheat oven to 350 degrees.

2. Blend together eggs, heavy cream, melted butter, and vanilla completely.

3. Gently fold dry ingredients in a different bowl until combined.

4. Grate 1 cup of butter on top of dry ingredients. Combined by hand until butter is no larger then pea sizes.

5. Next up add in wet ingredients and blend together with hand mixer on medium-high.

6. Once combined put into 3 pans that are oiled and put into oven. 22-27 min or until a toothpick inserted comes out clean. While cake is cooking in the oven take a pot on the stove and add in filling ingredients; blueberries, sugar & lemon juice. Cook, stirring often until blueberries burst and make a beautiful jam.

7. Blend together all frosting ingredients until well combined. (butter and mascarpone should be room temp if not heat in microwave for 30 sec at a time) You can add more heavy cream or powdered sugar depending on desired consistency. I sometimes also double the recipe to a thick layer on the outside.

8. Once cake is done baking let cool in pan for 15 min and transfer to cooling rack to cool completely.

9. Ice layers of cake and do a thin later around for a “crumb layer” that will catch all the crumbs and make a base for the final layer. Place in fridge for 30 min and then do another final layer. Smooth, textured, piped blueberries or fresh, whatever you desire!

10. Enjoy!

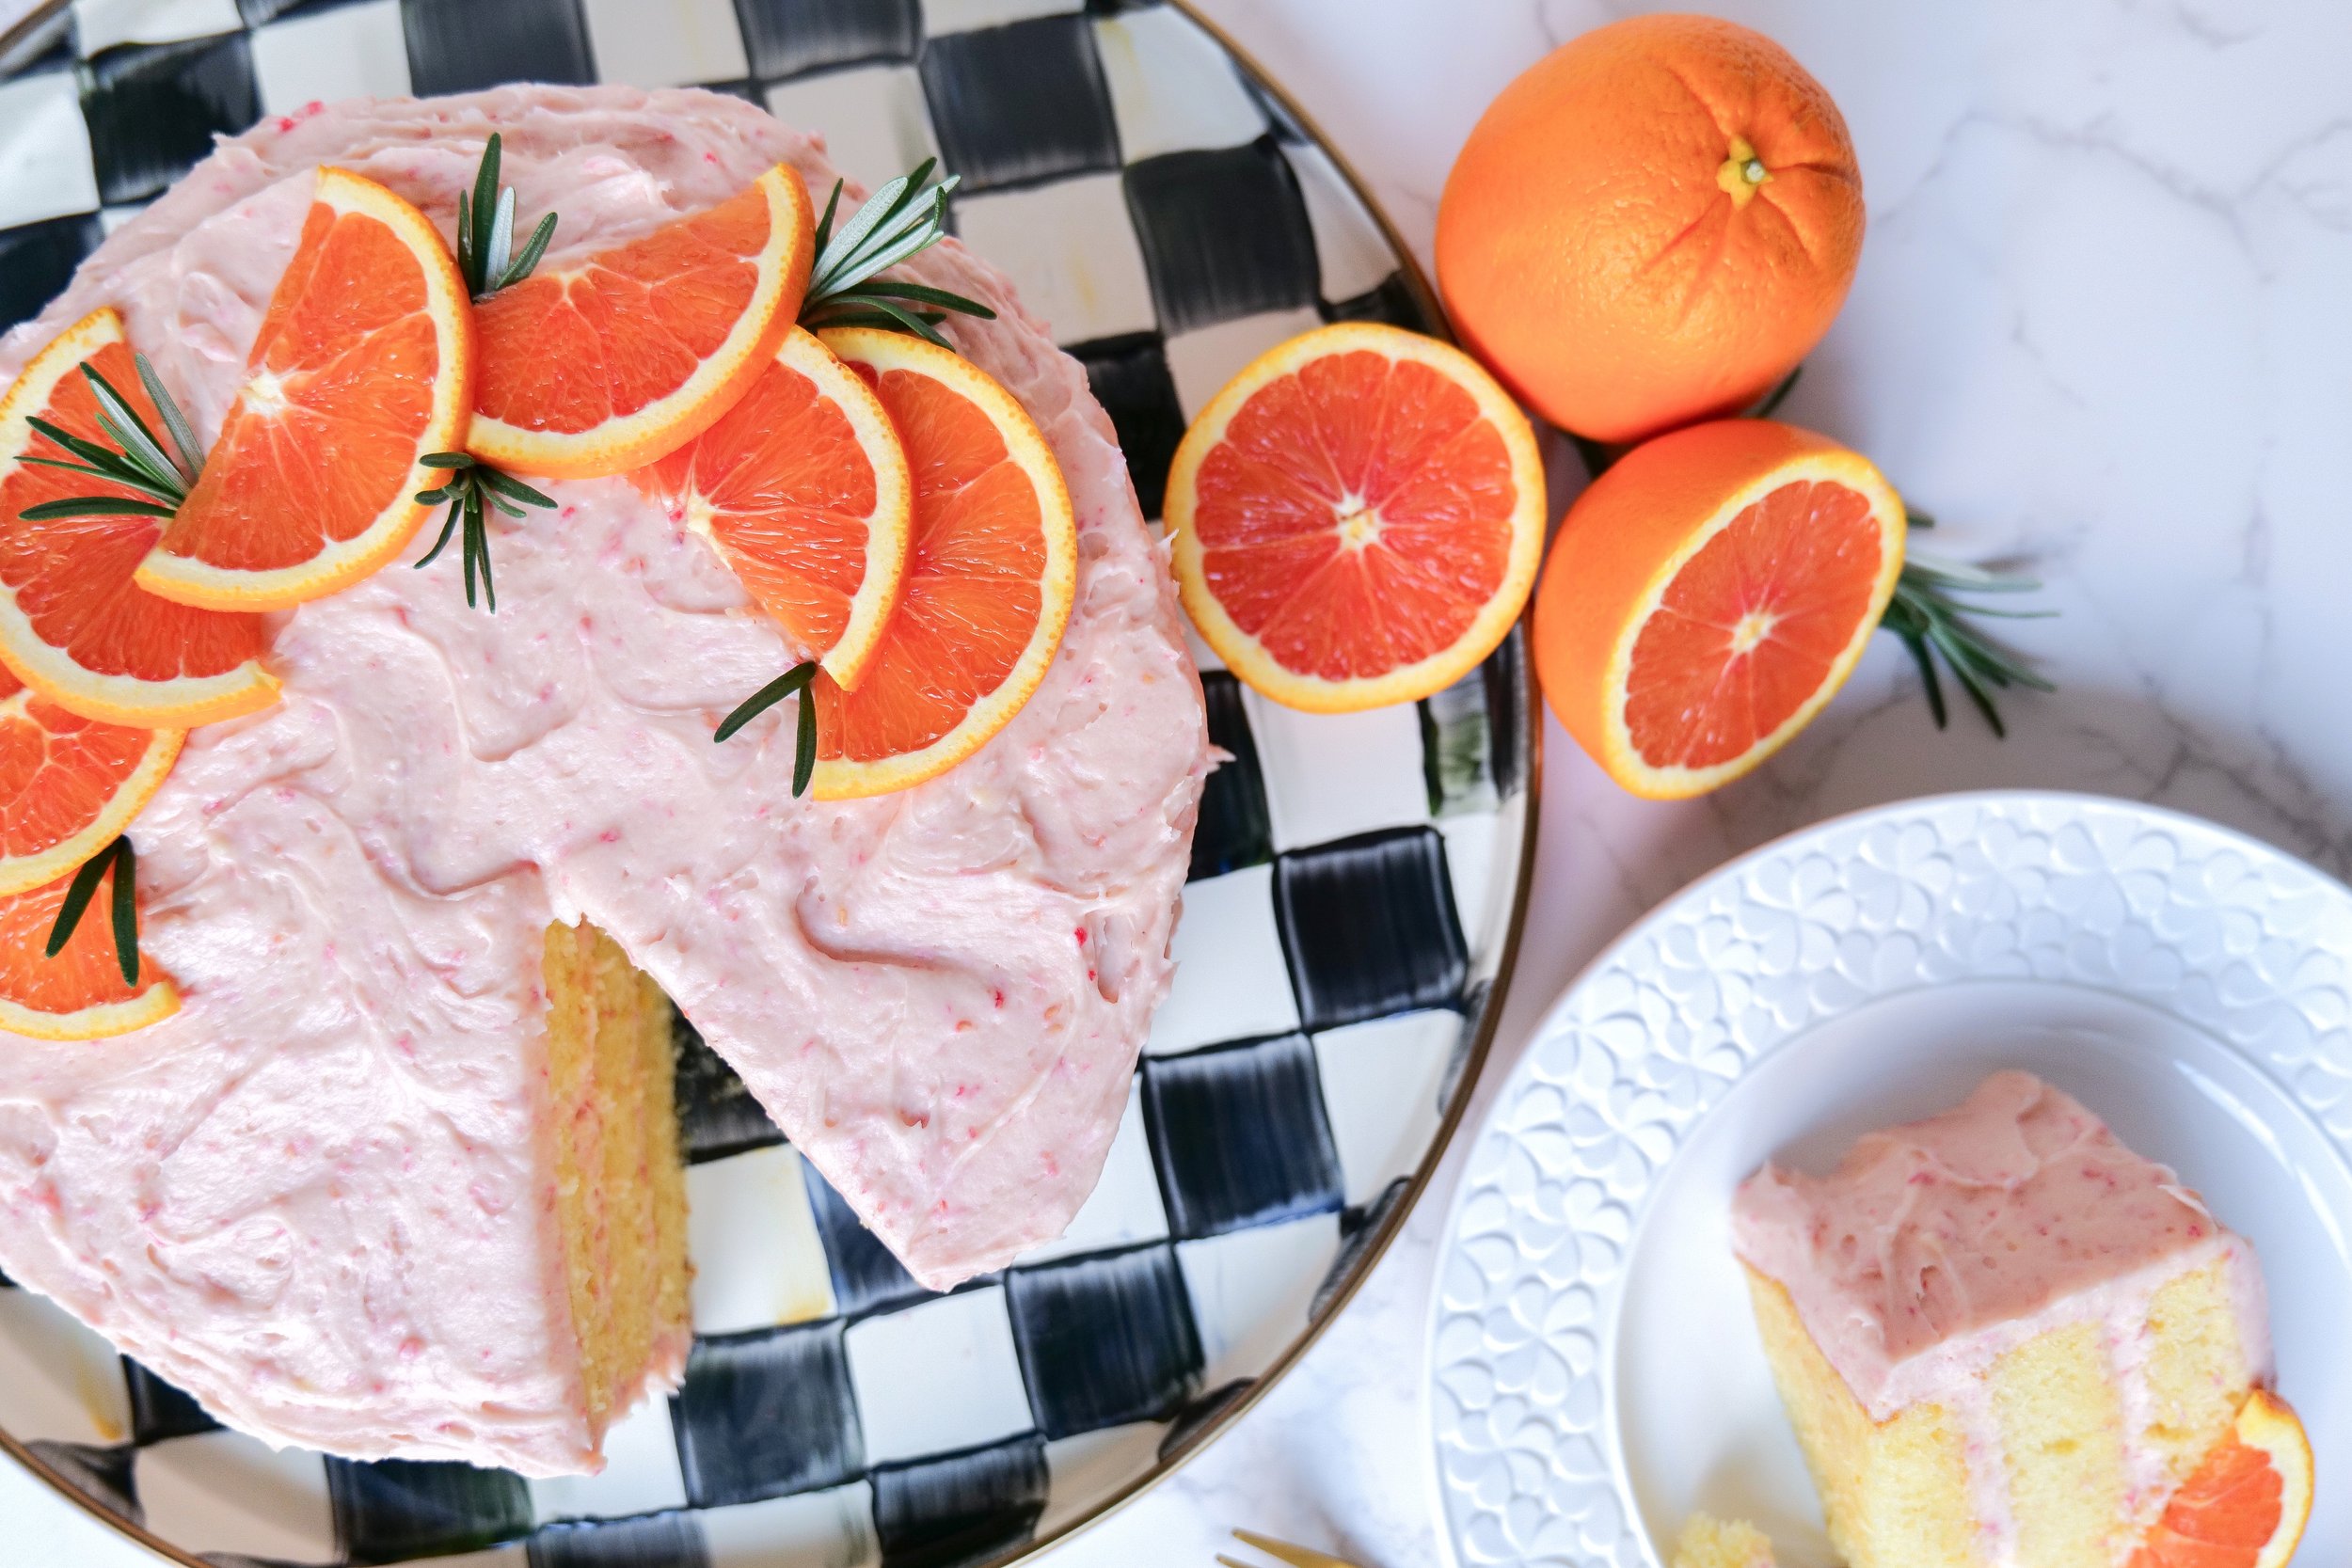
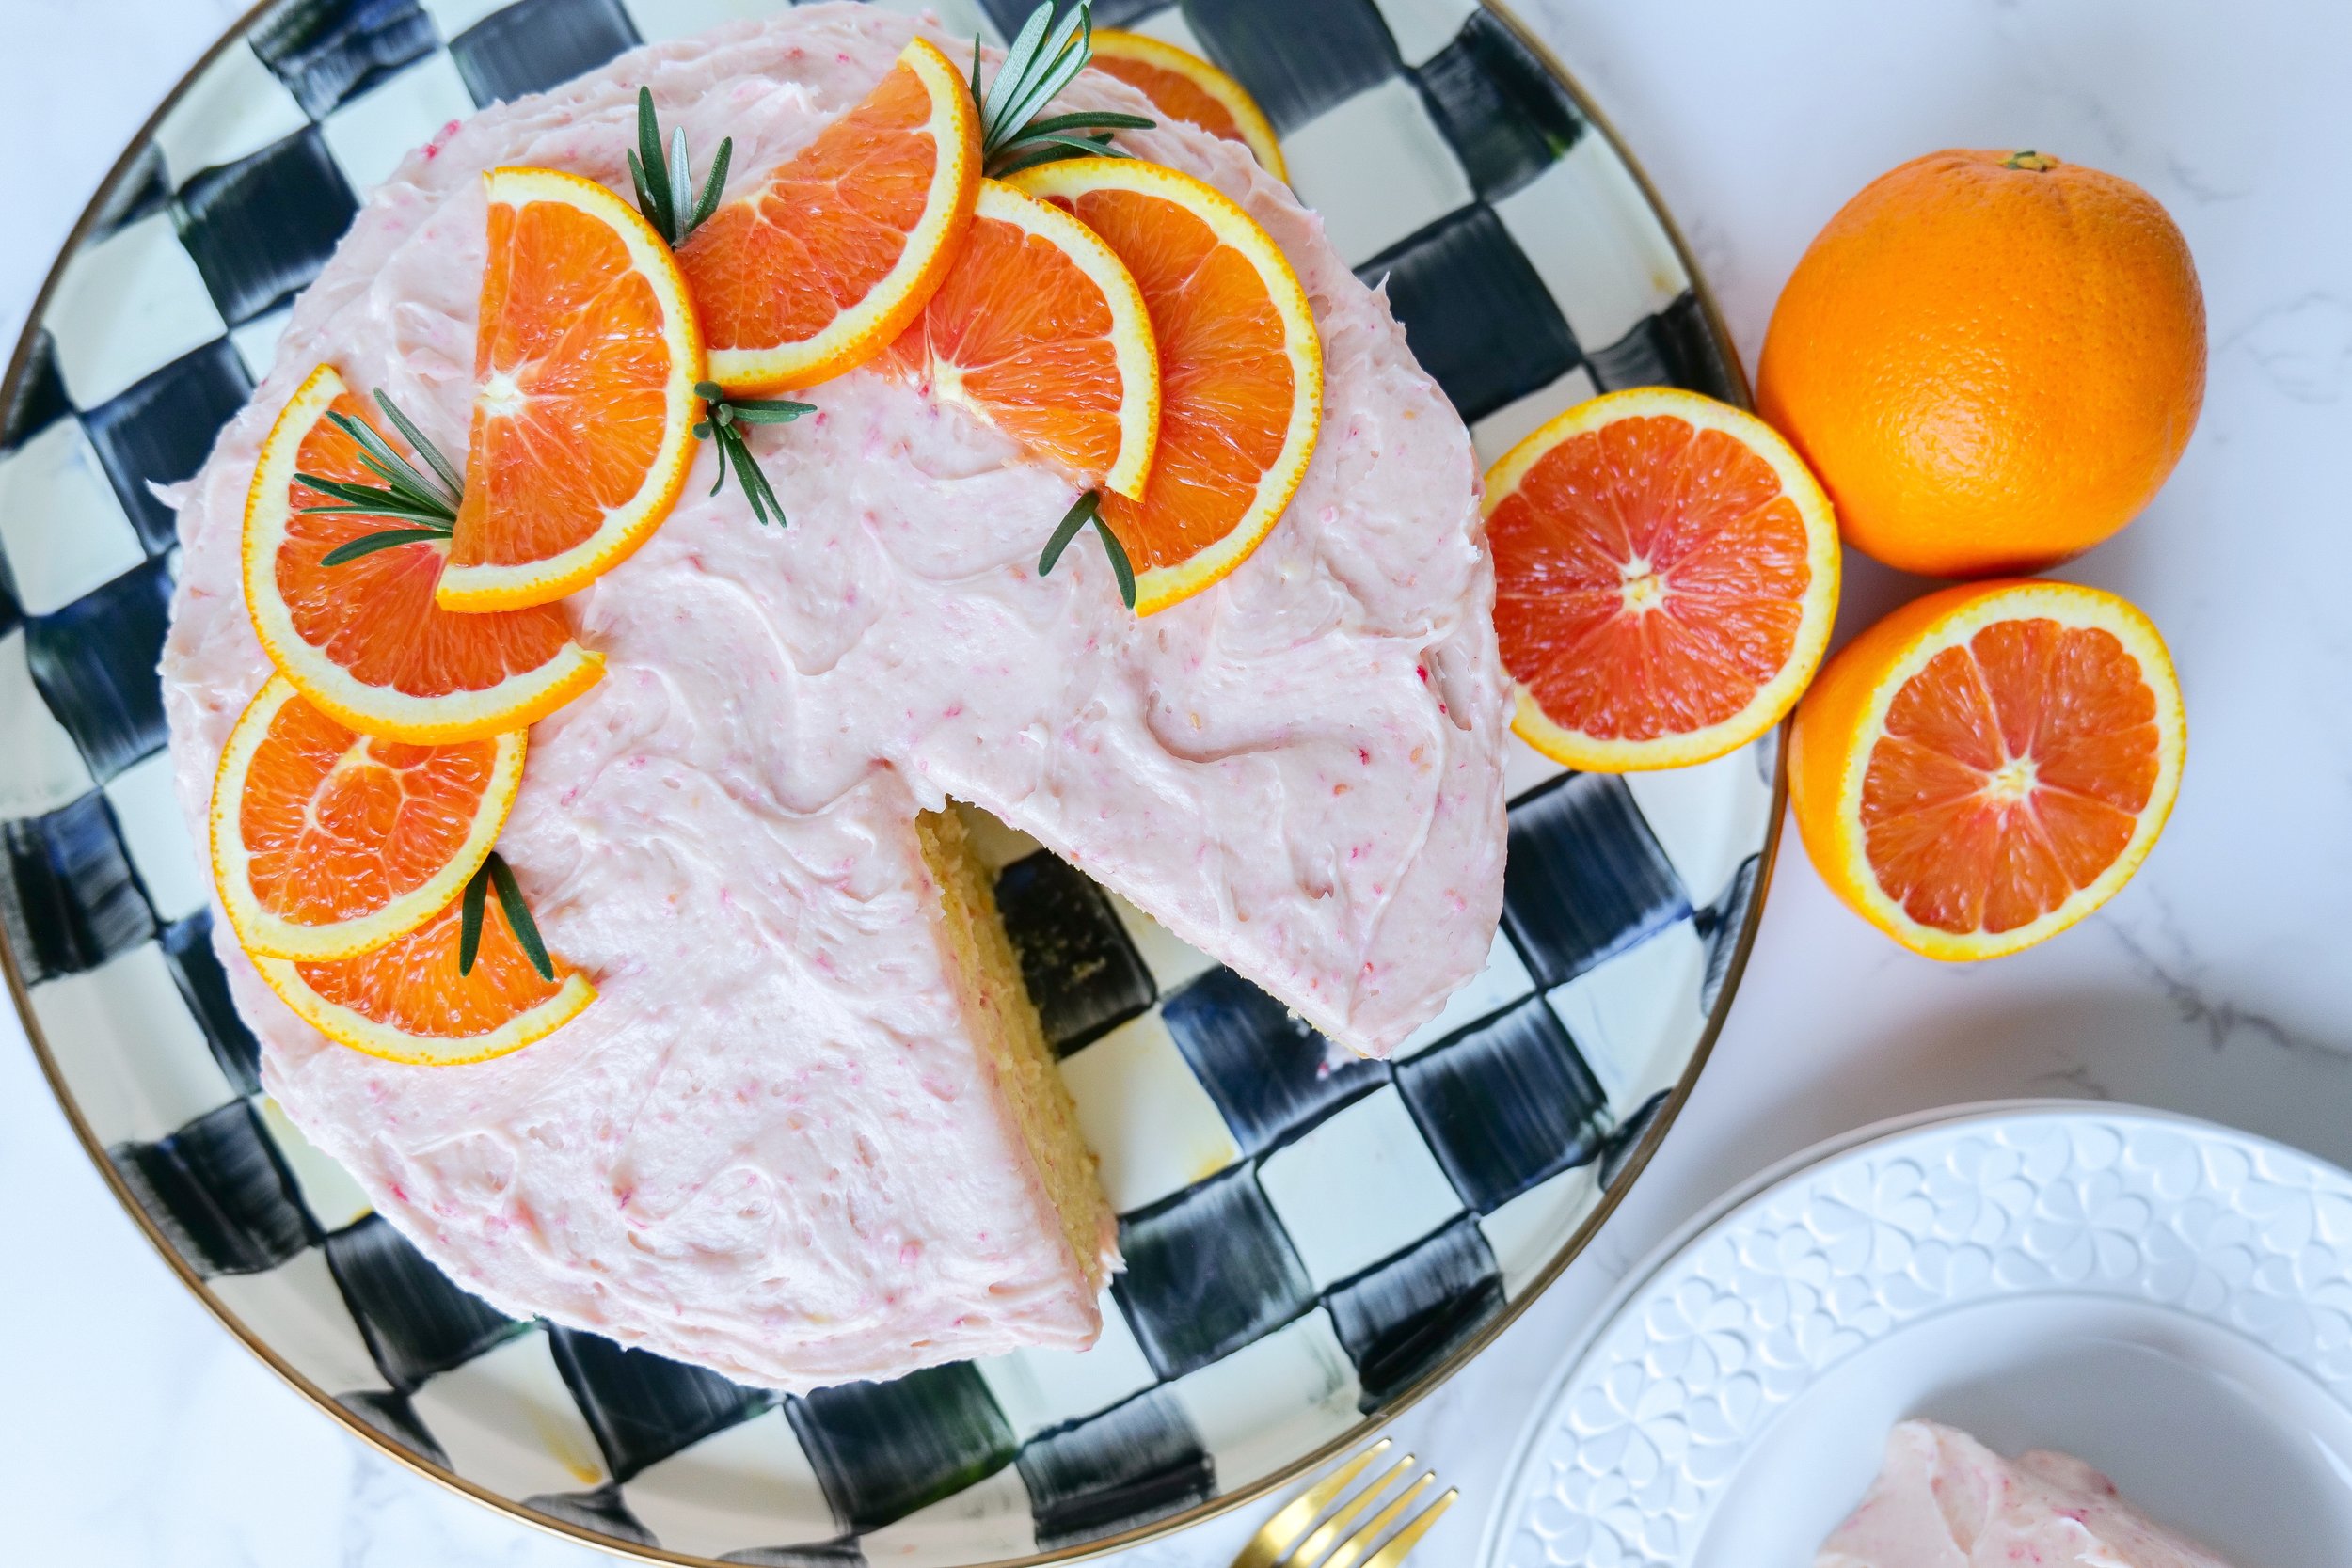
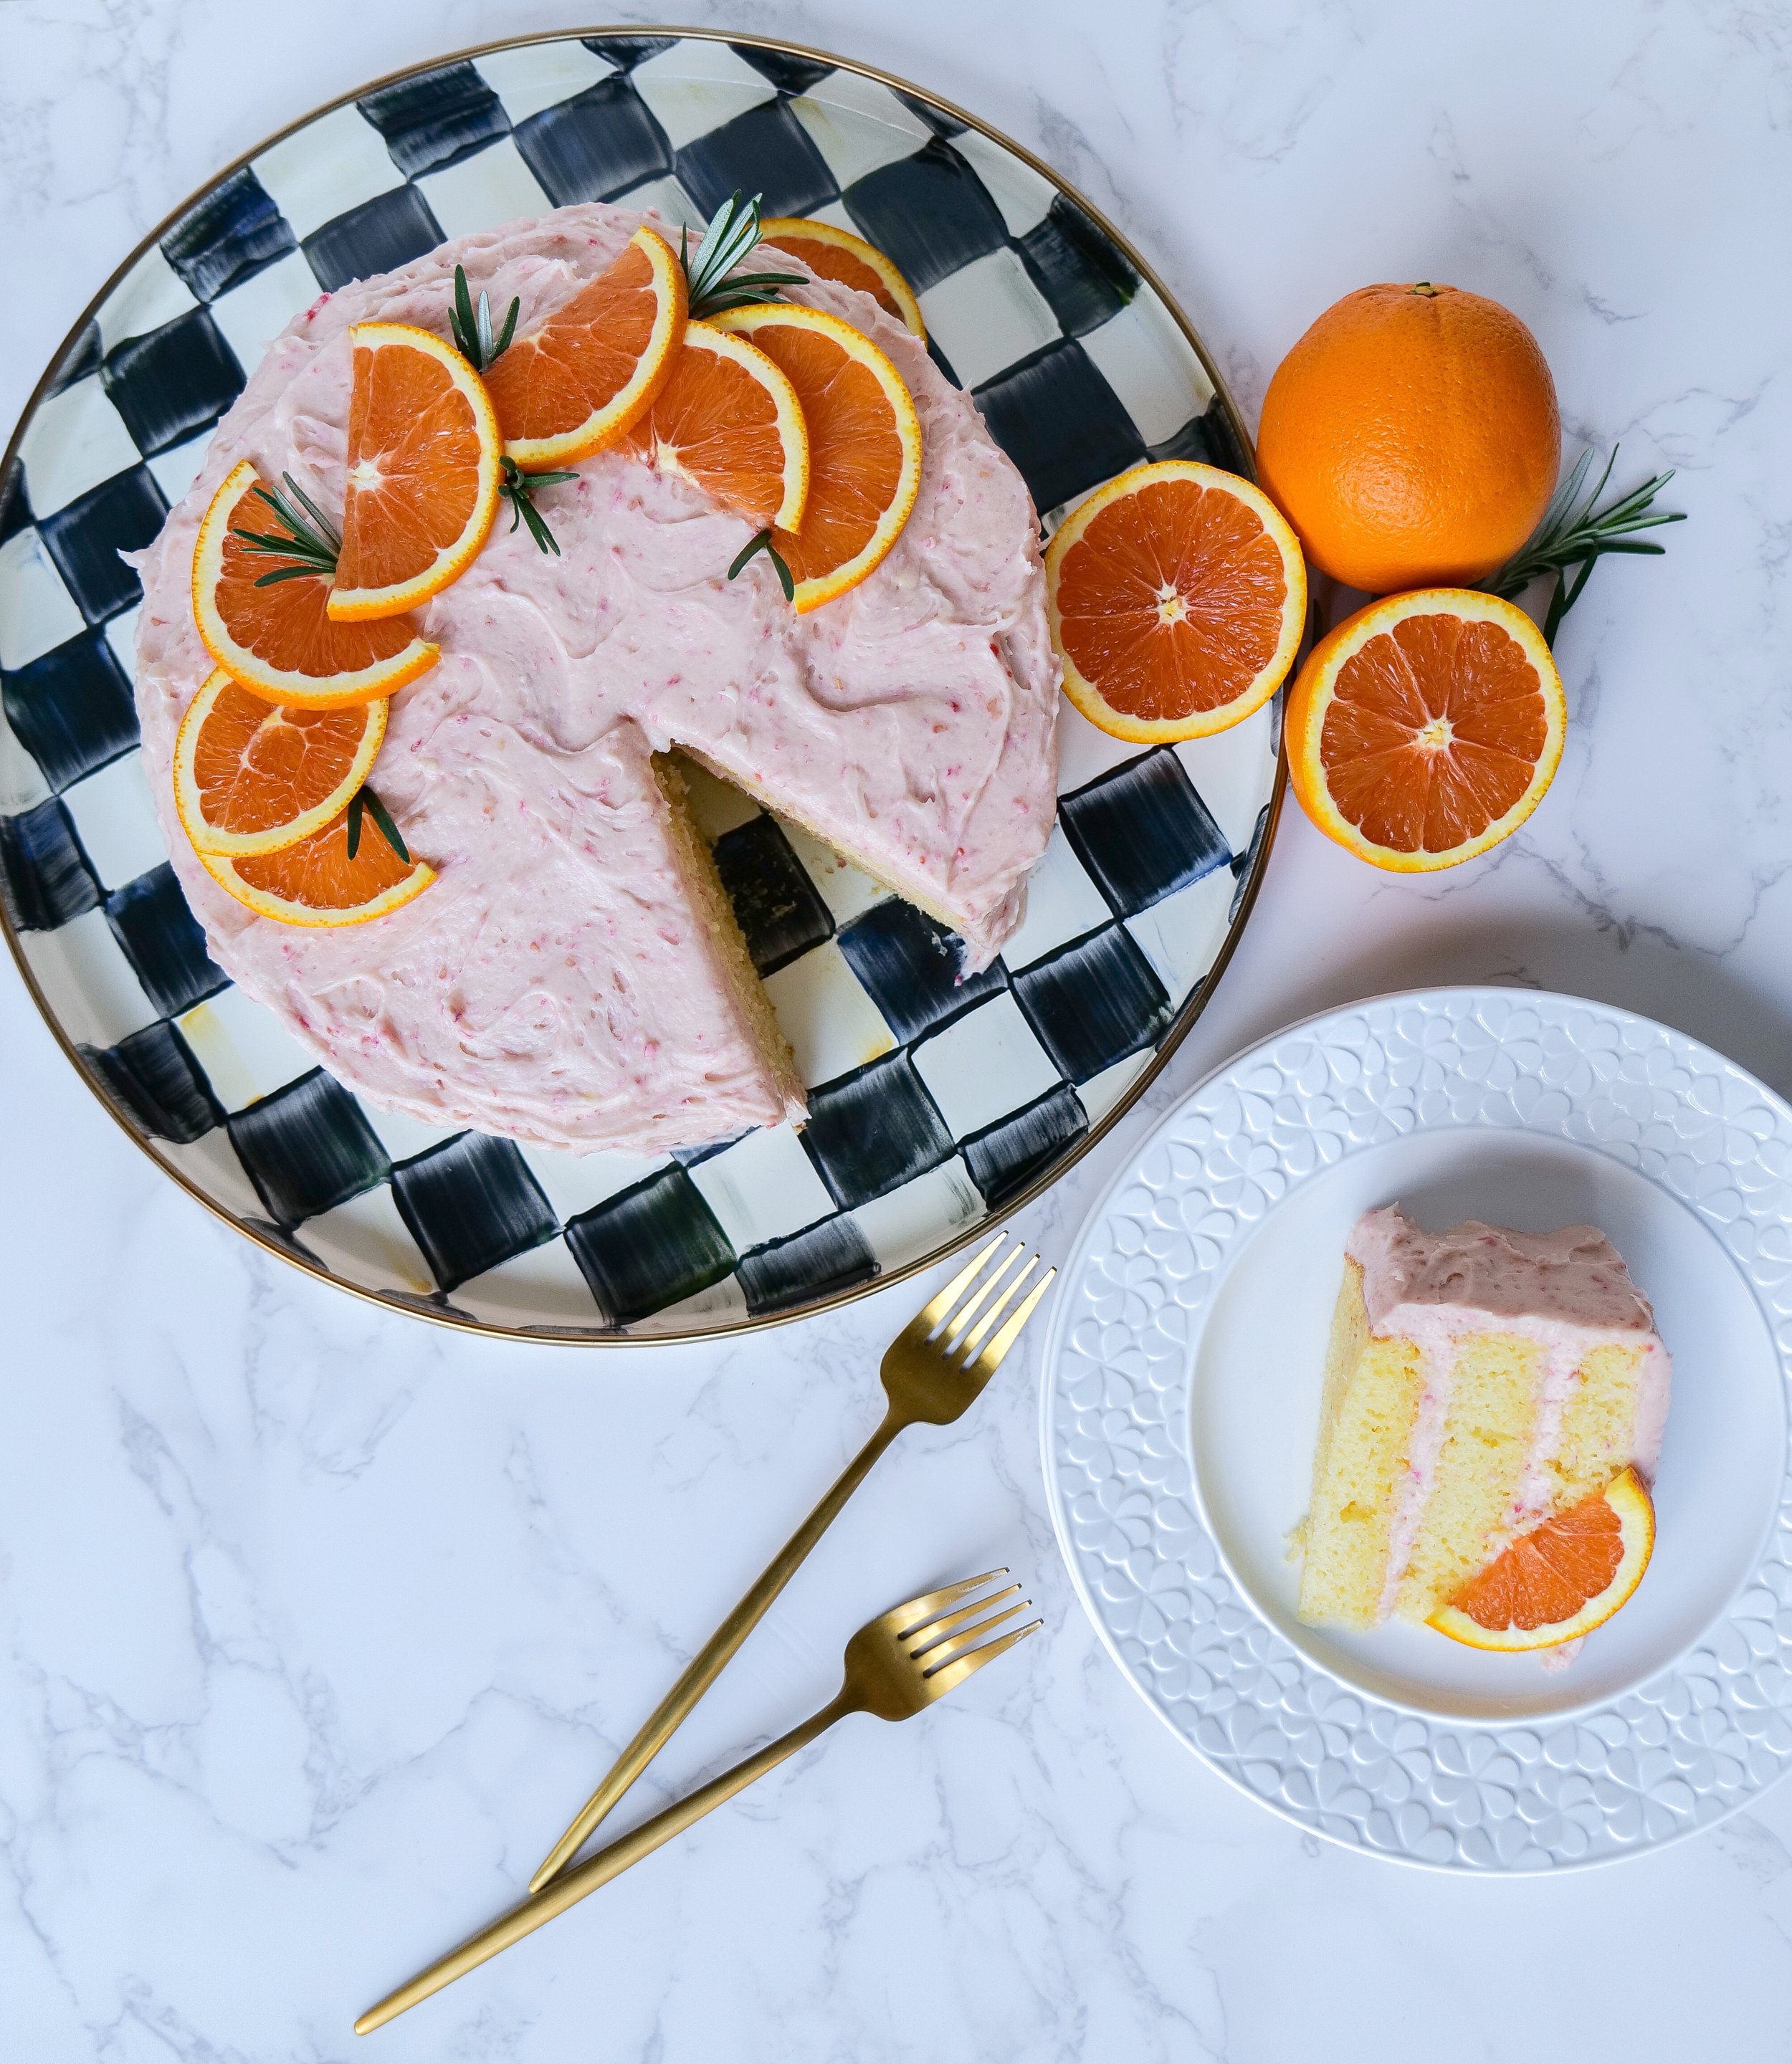
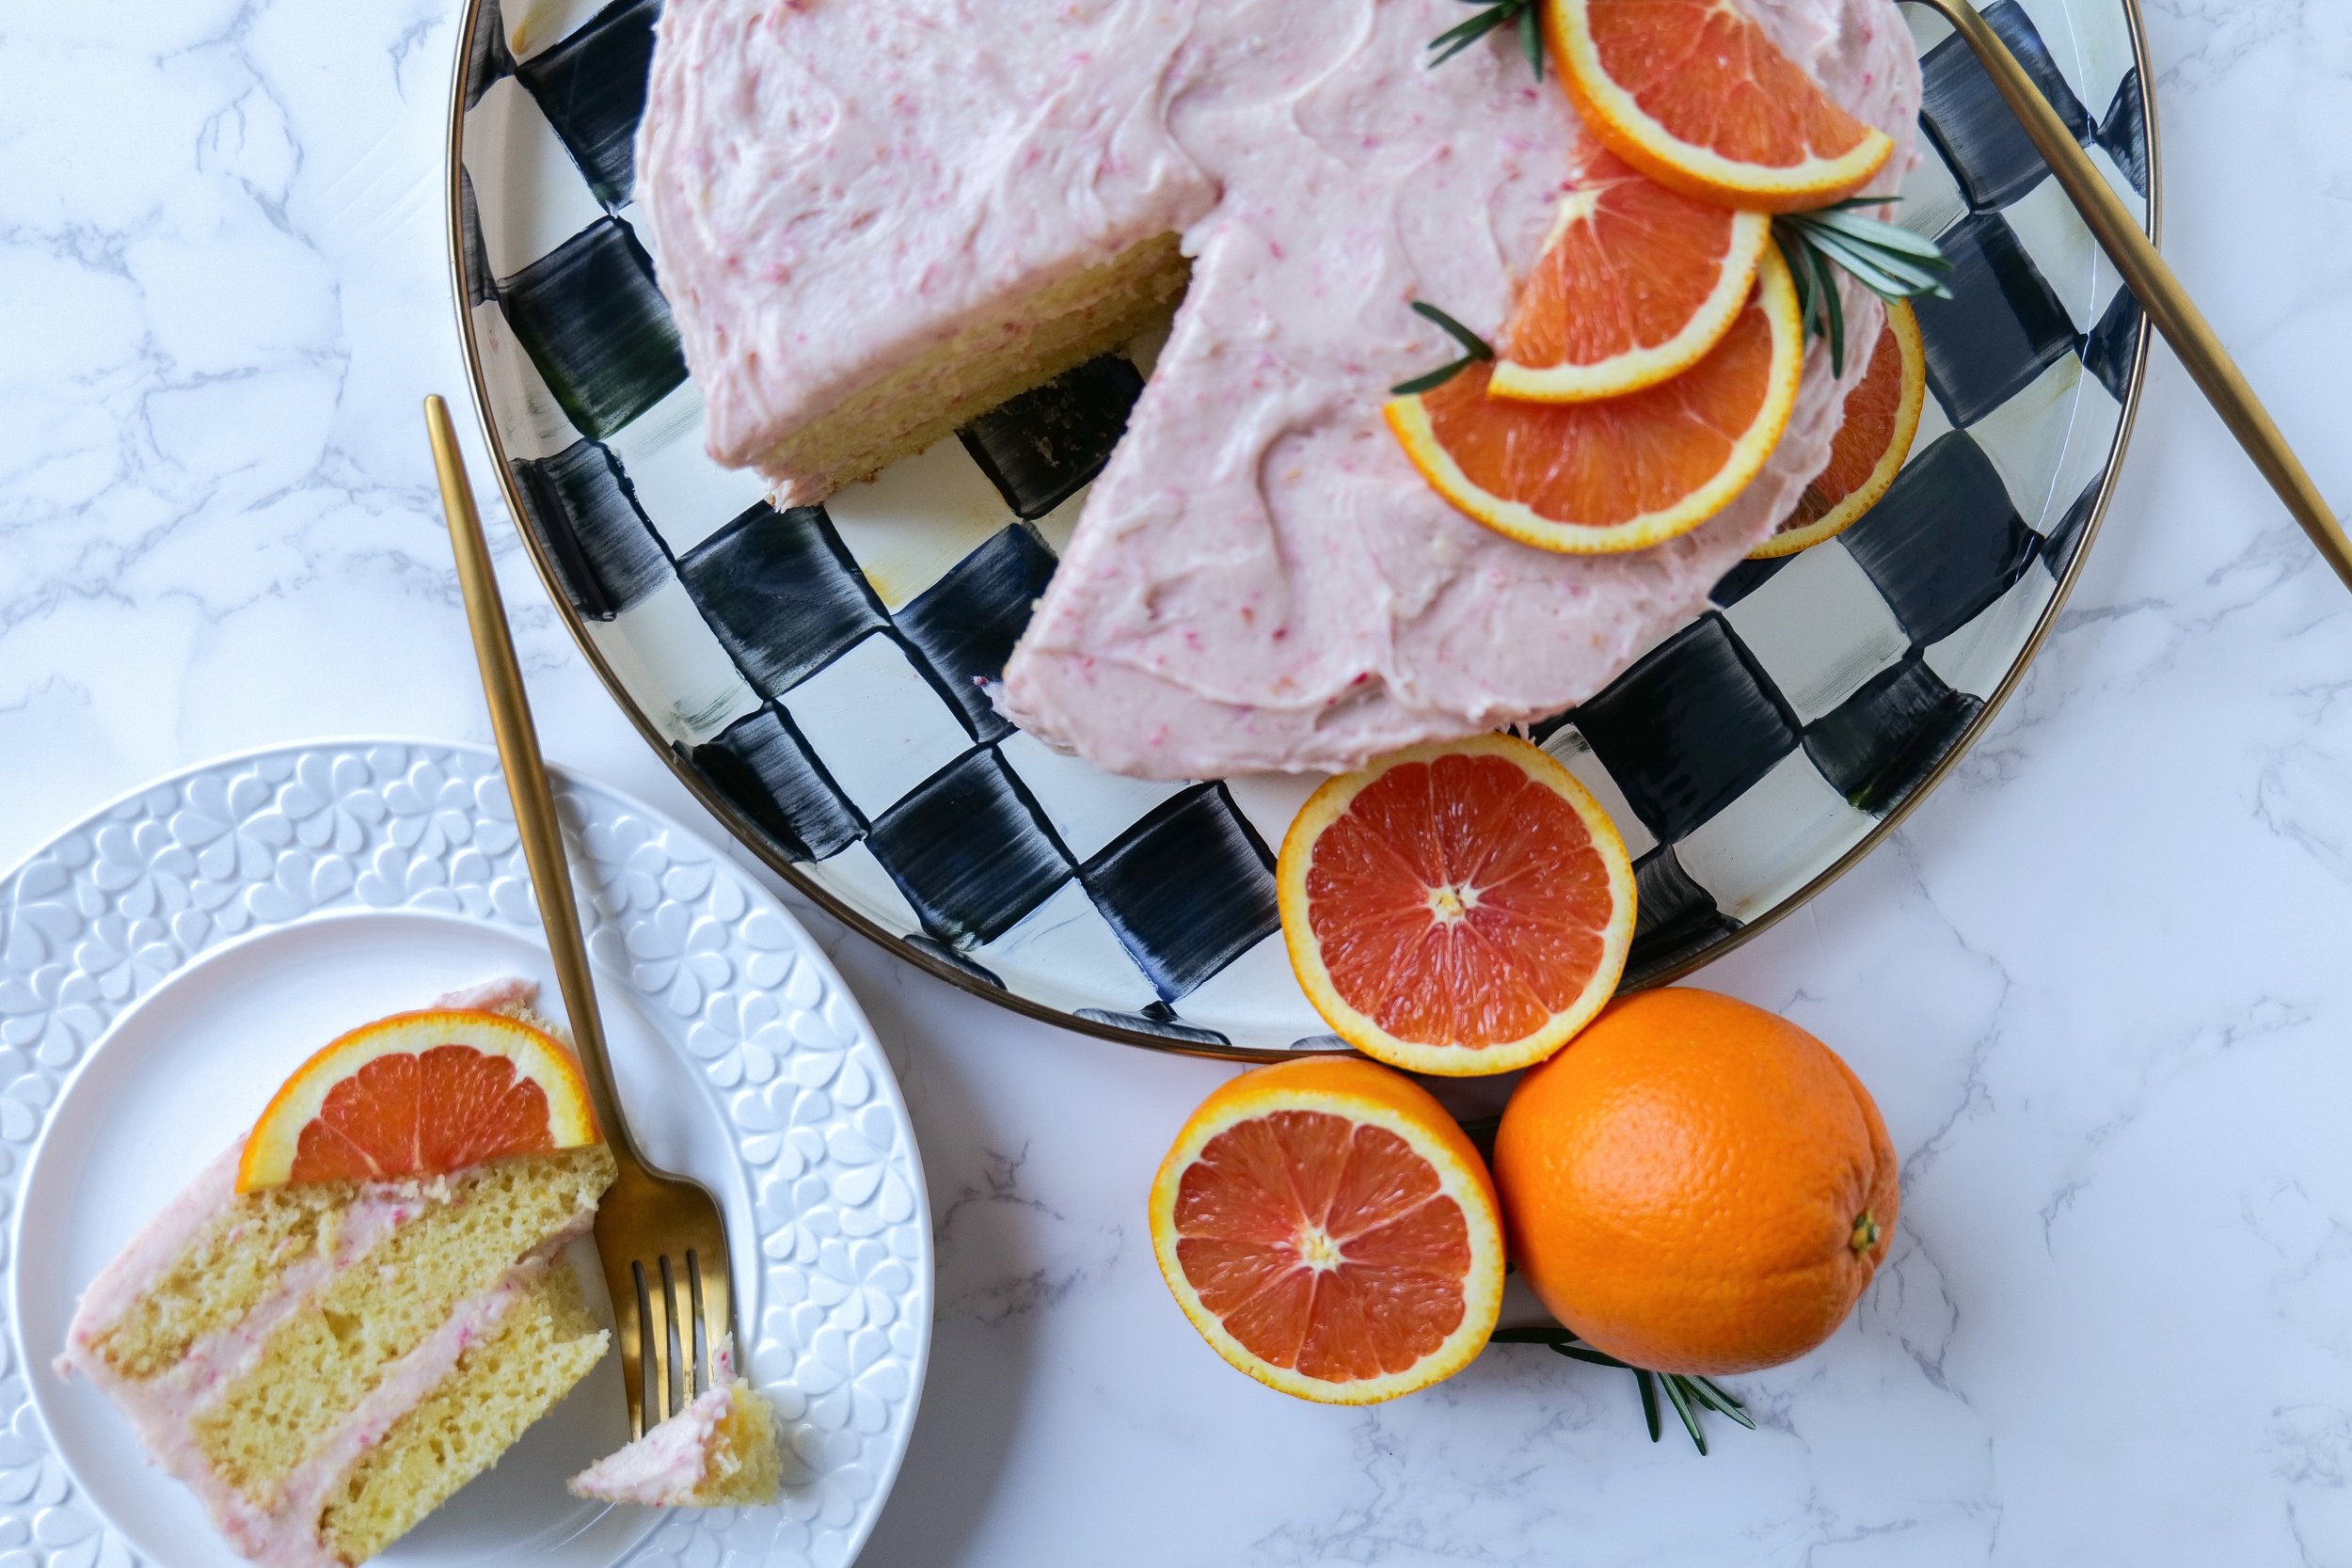
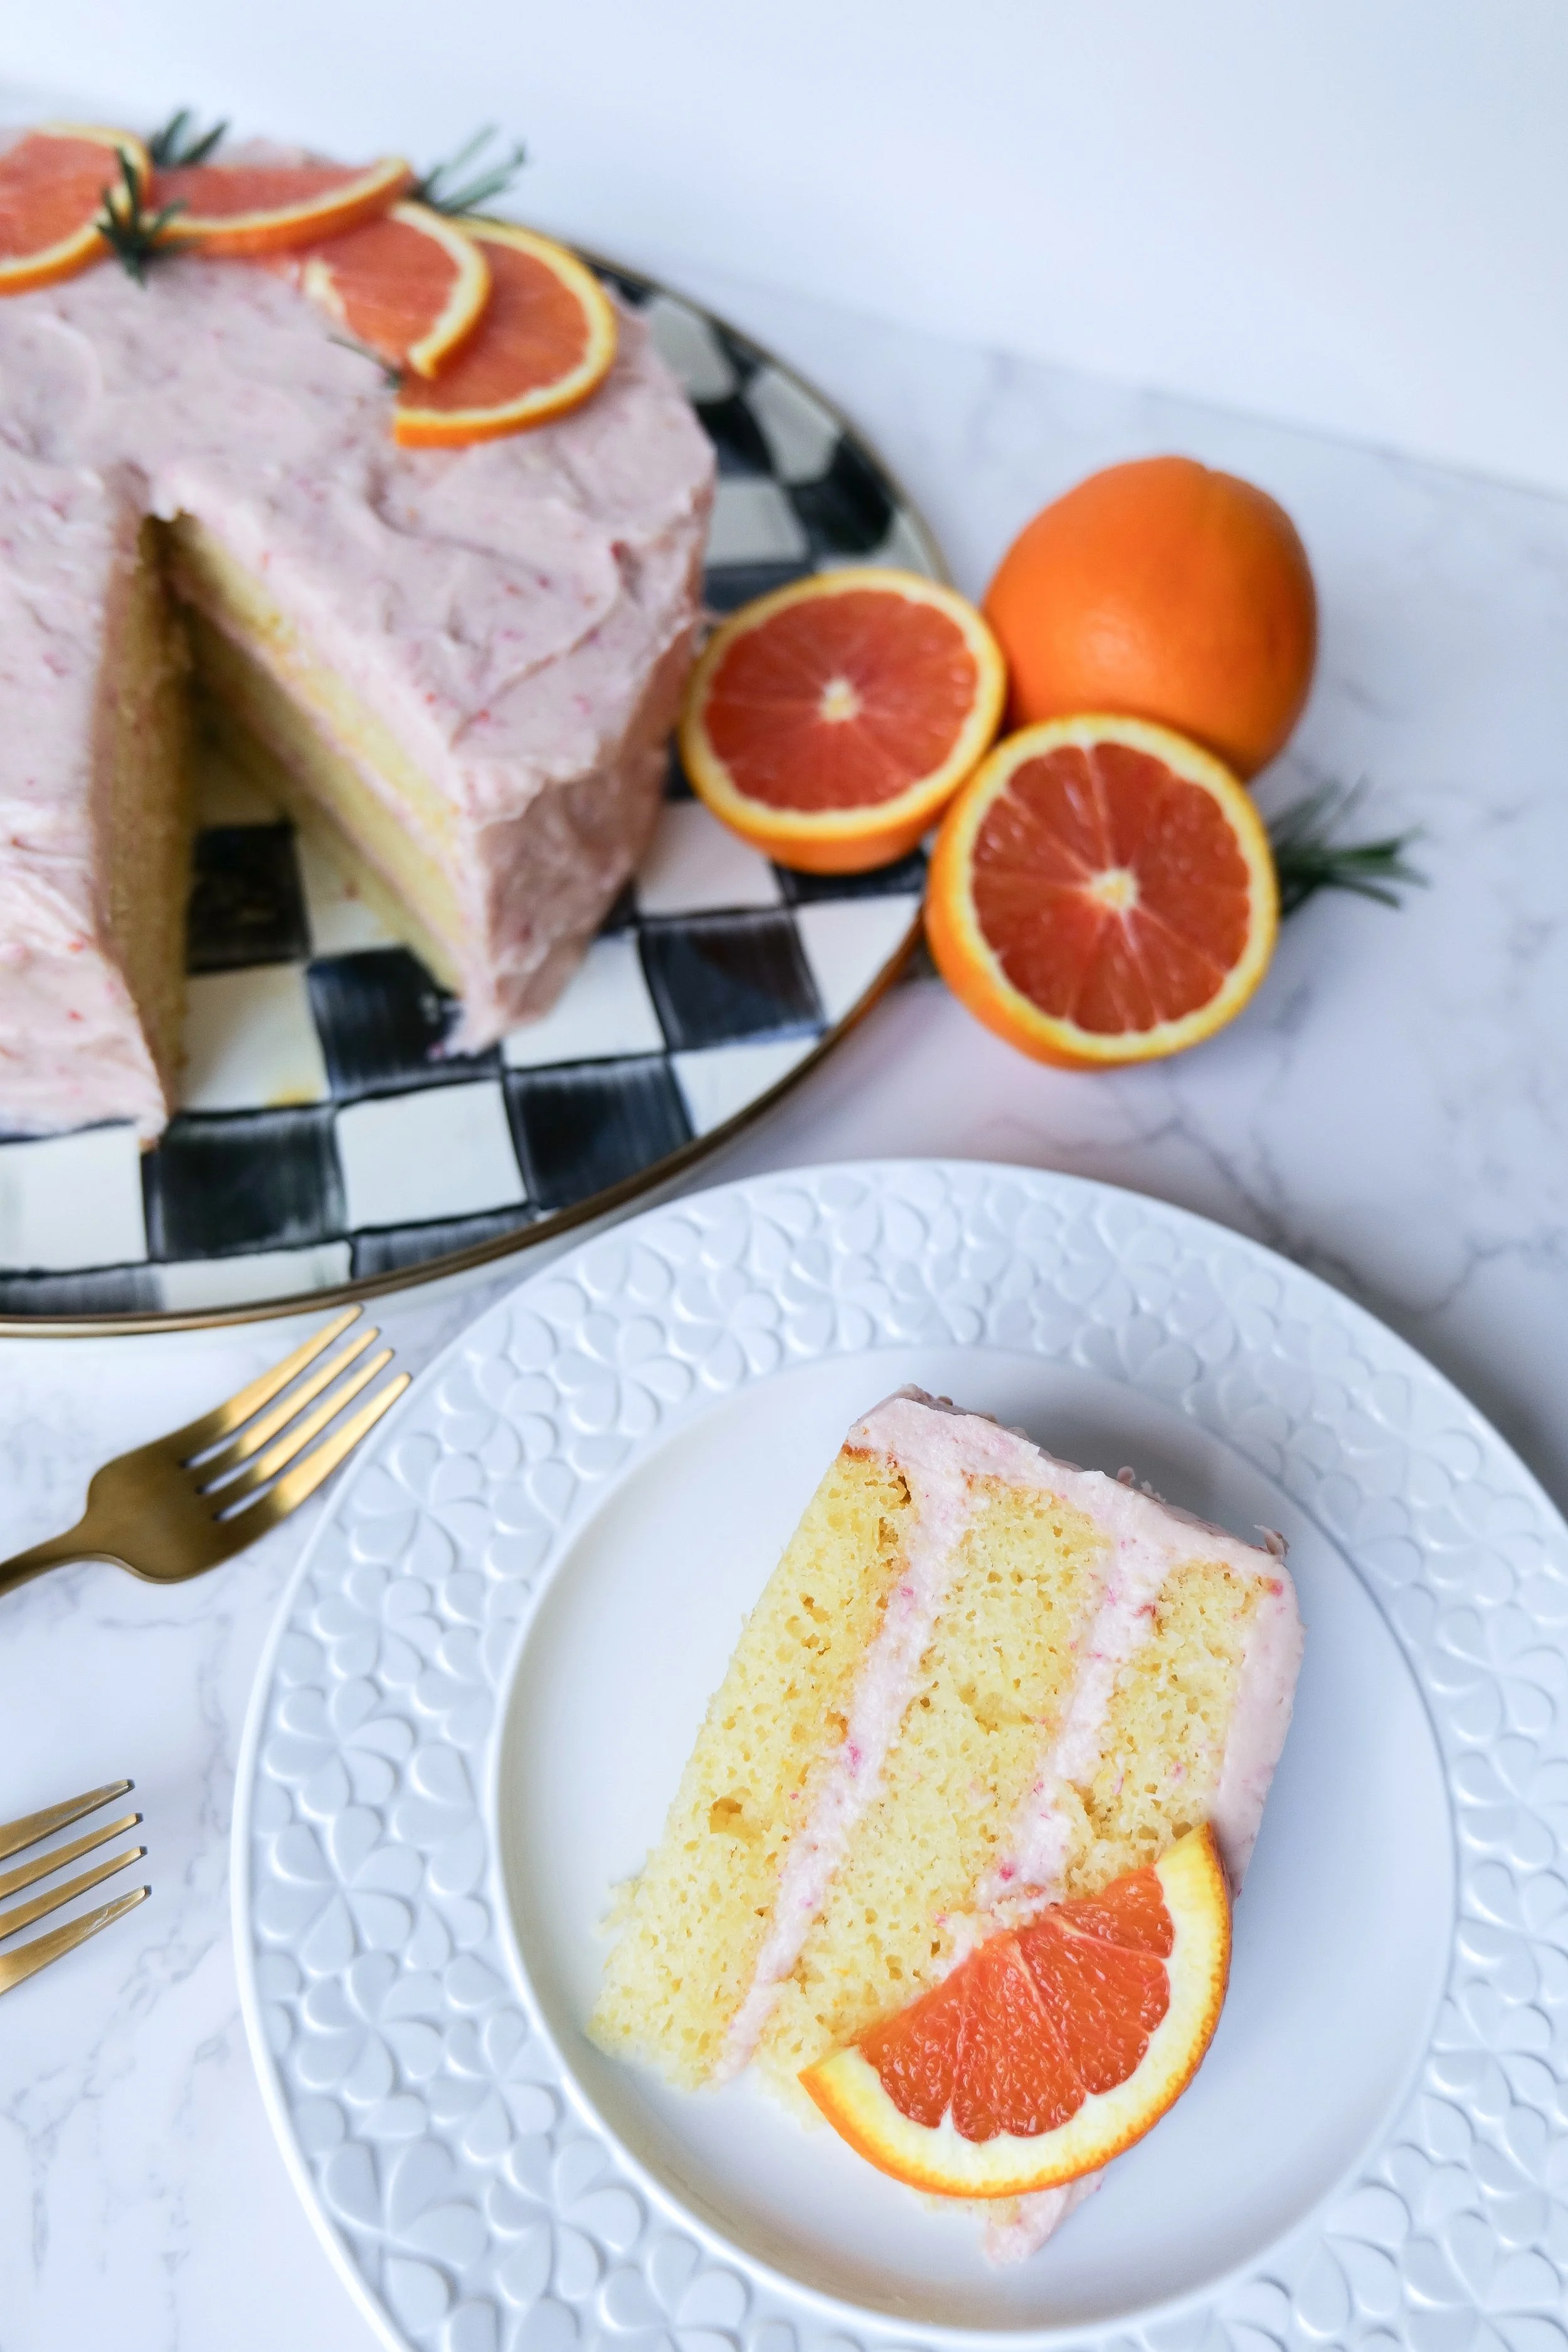
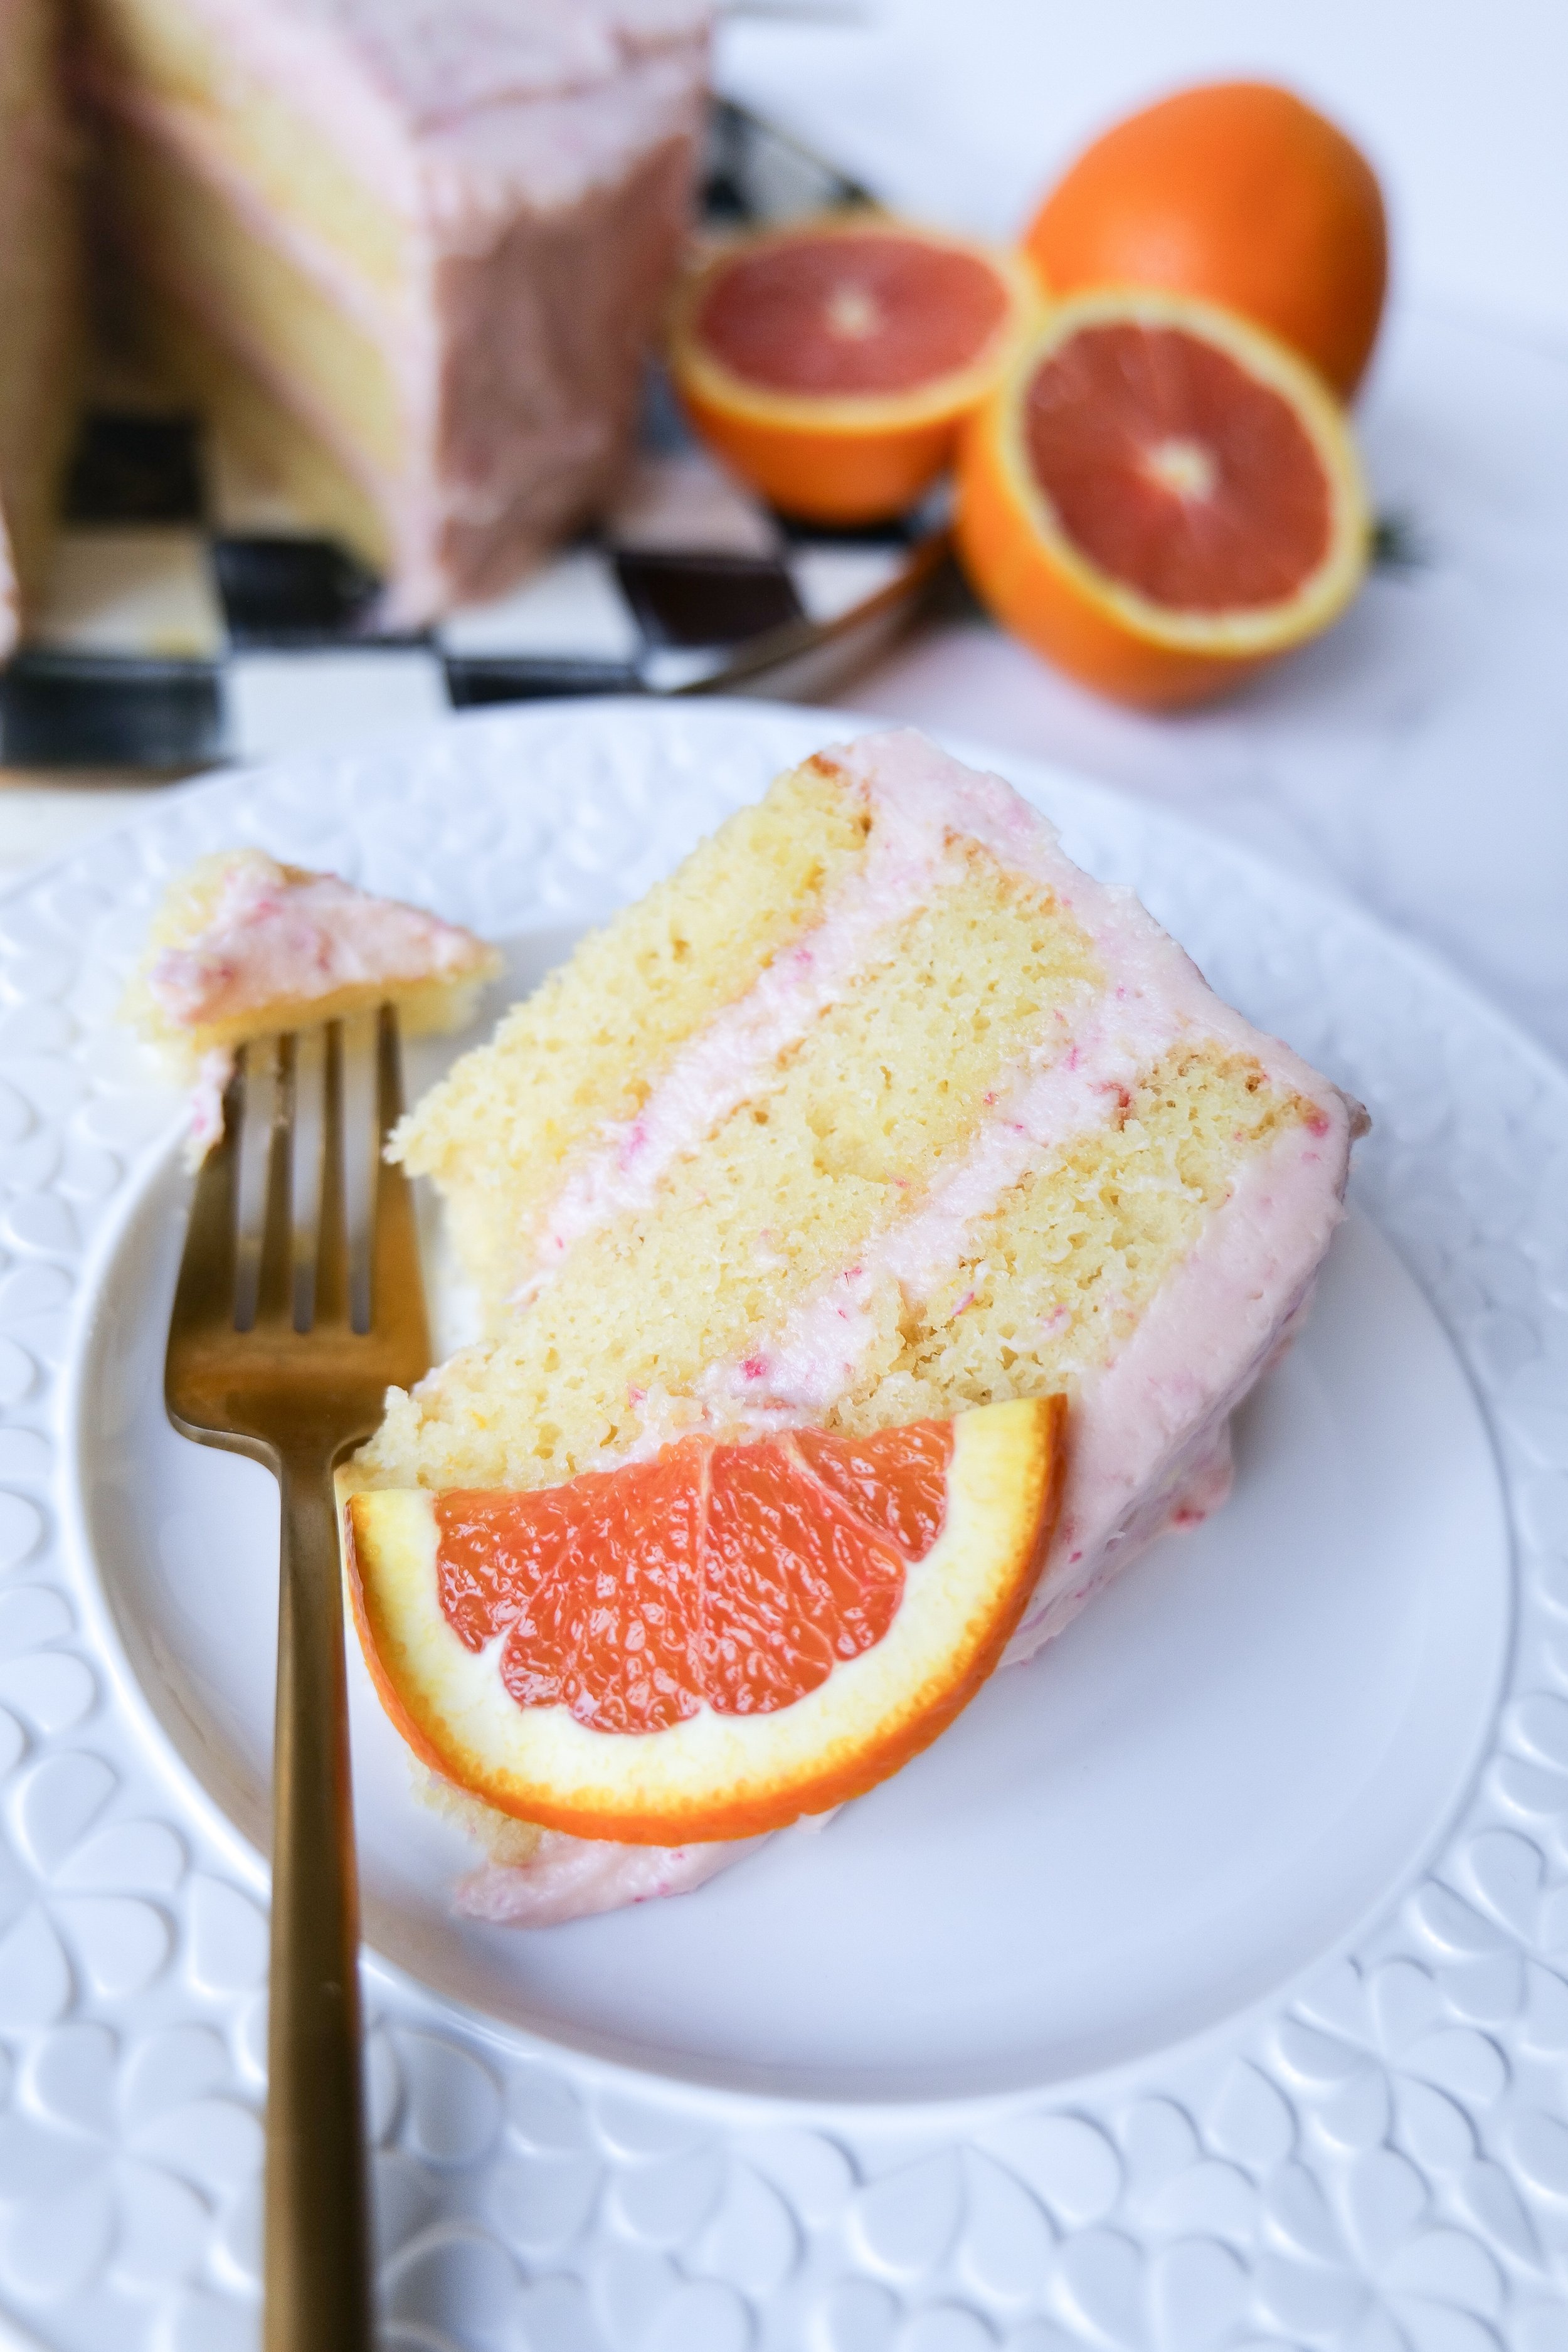
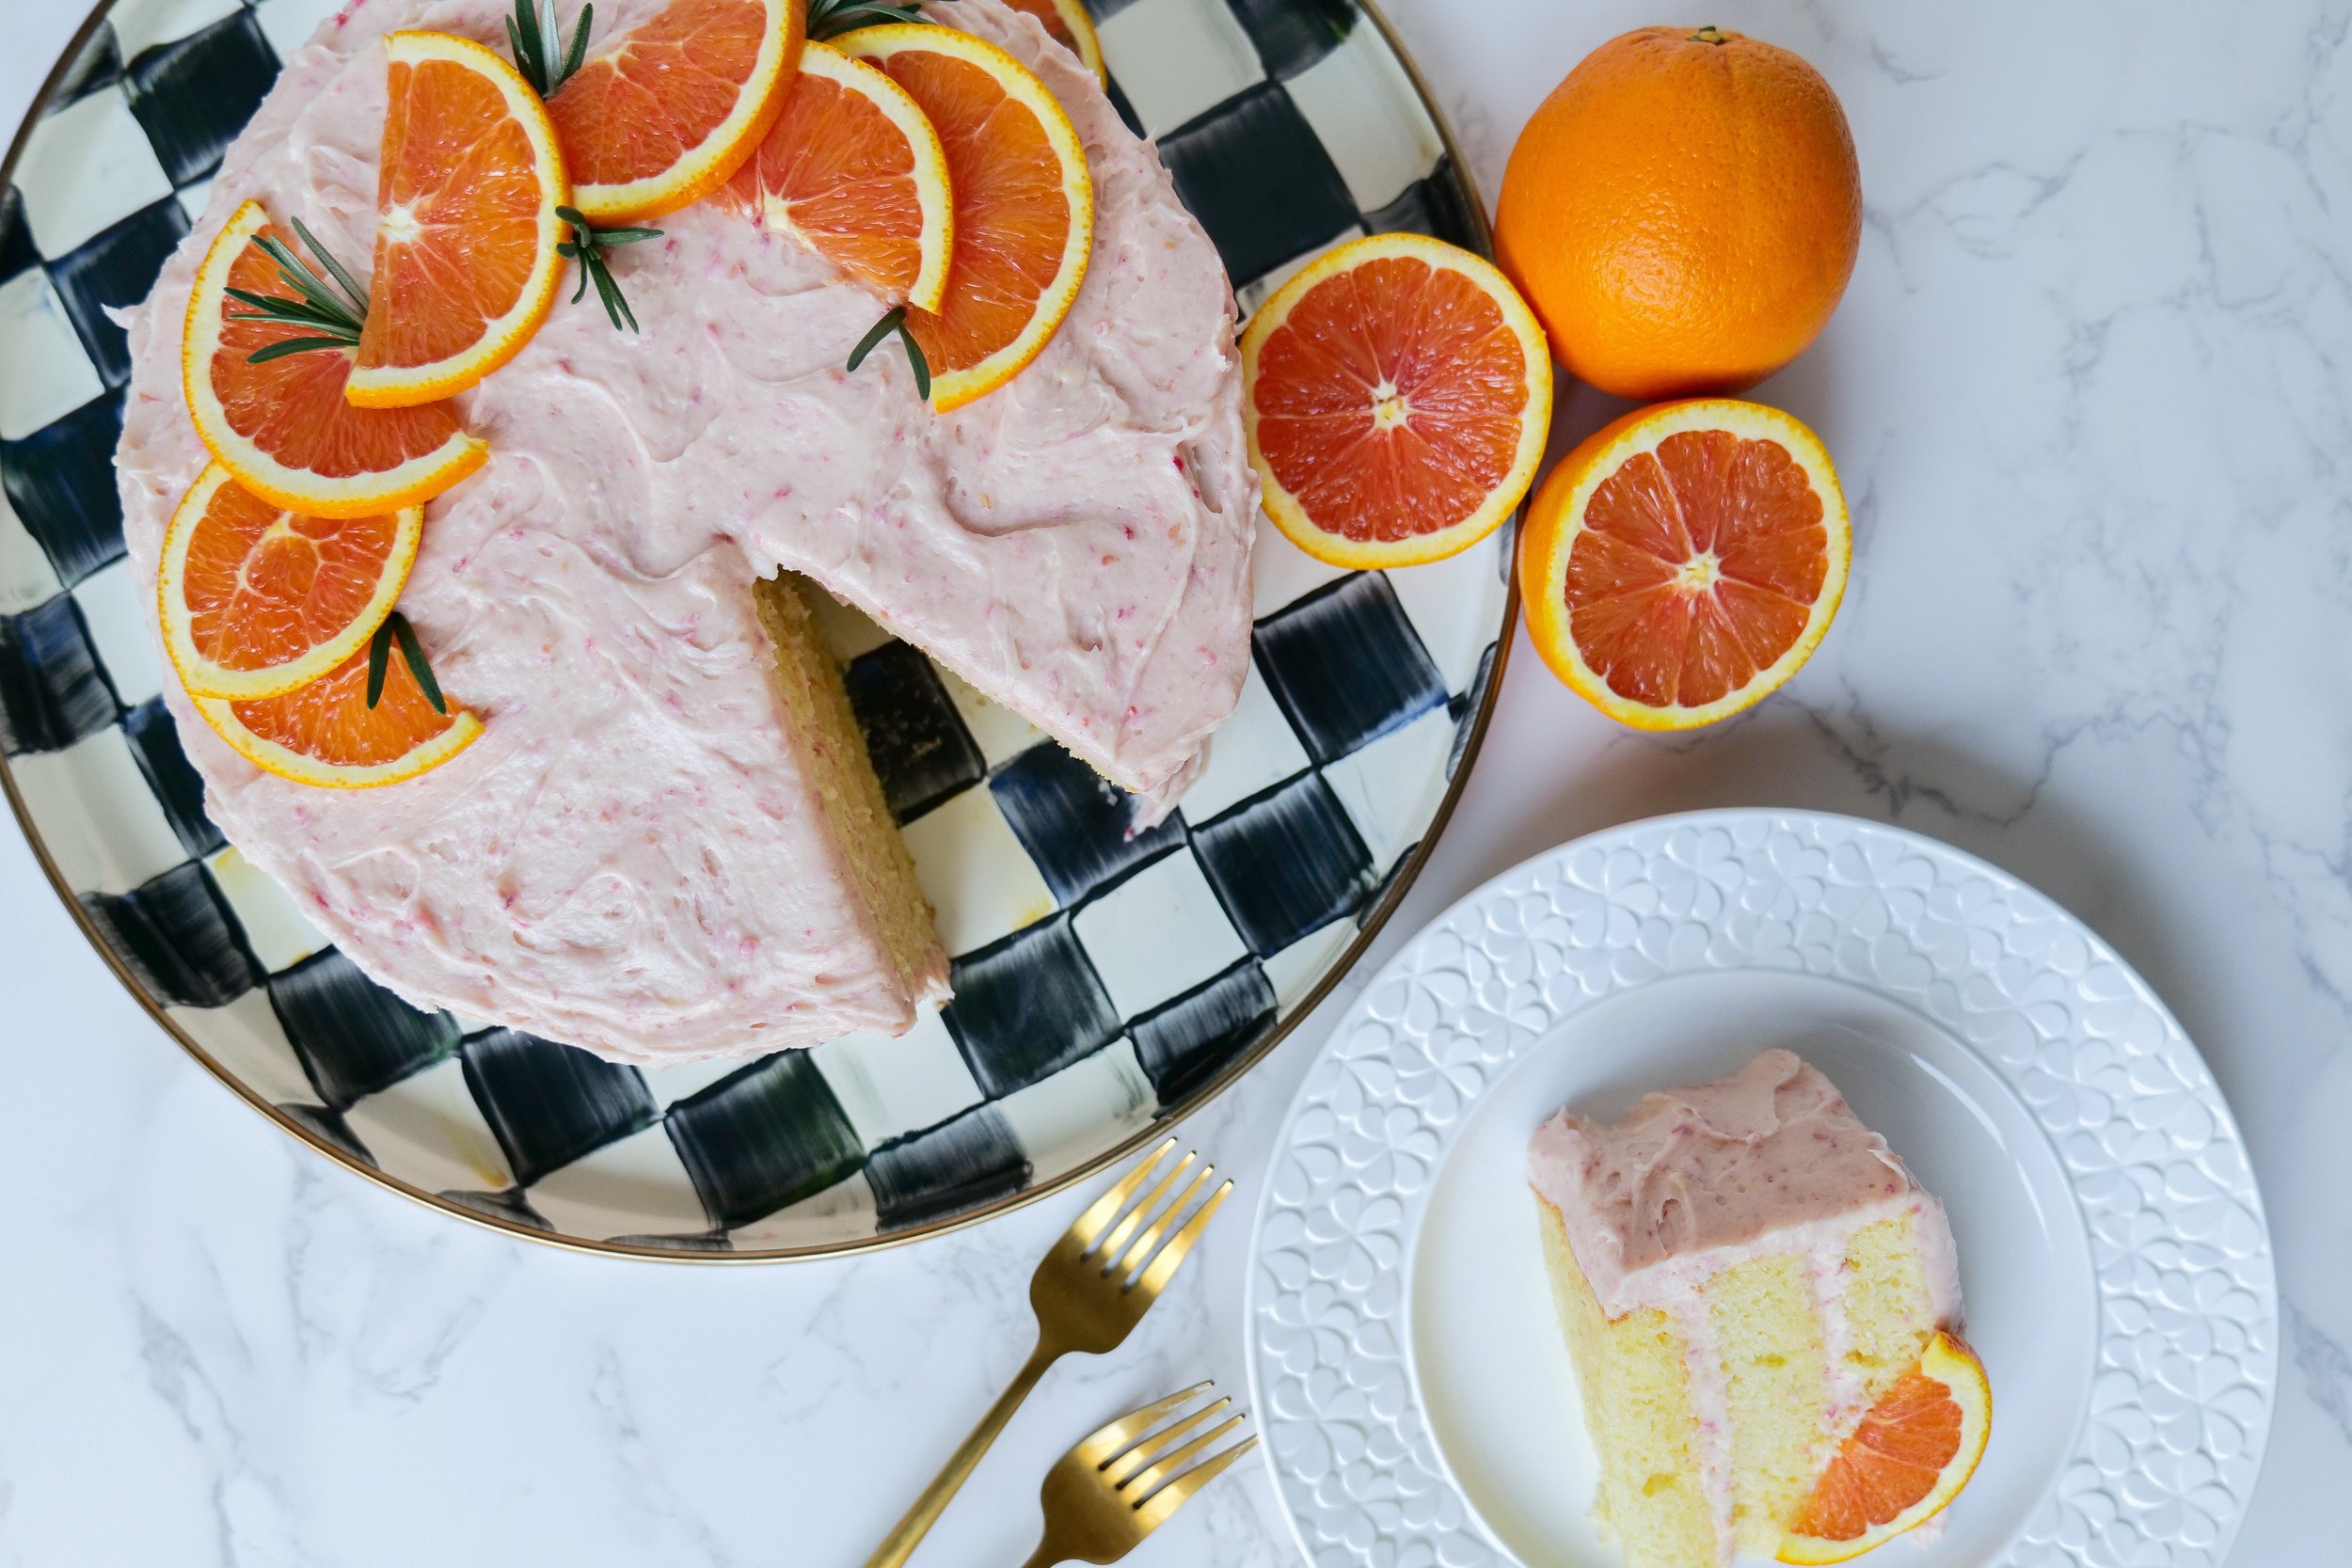
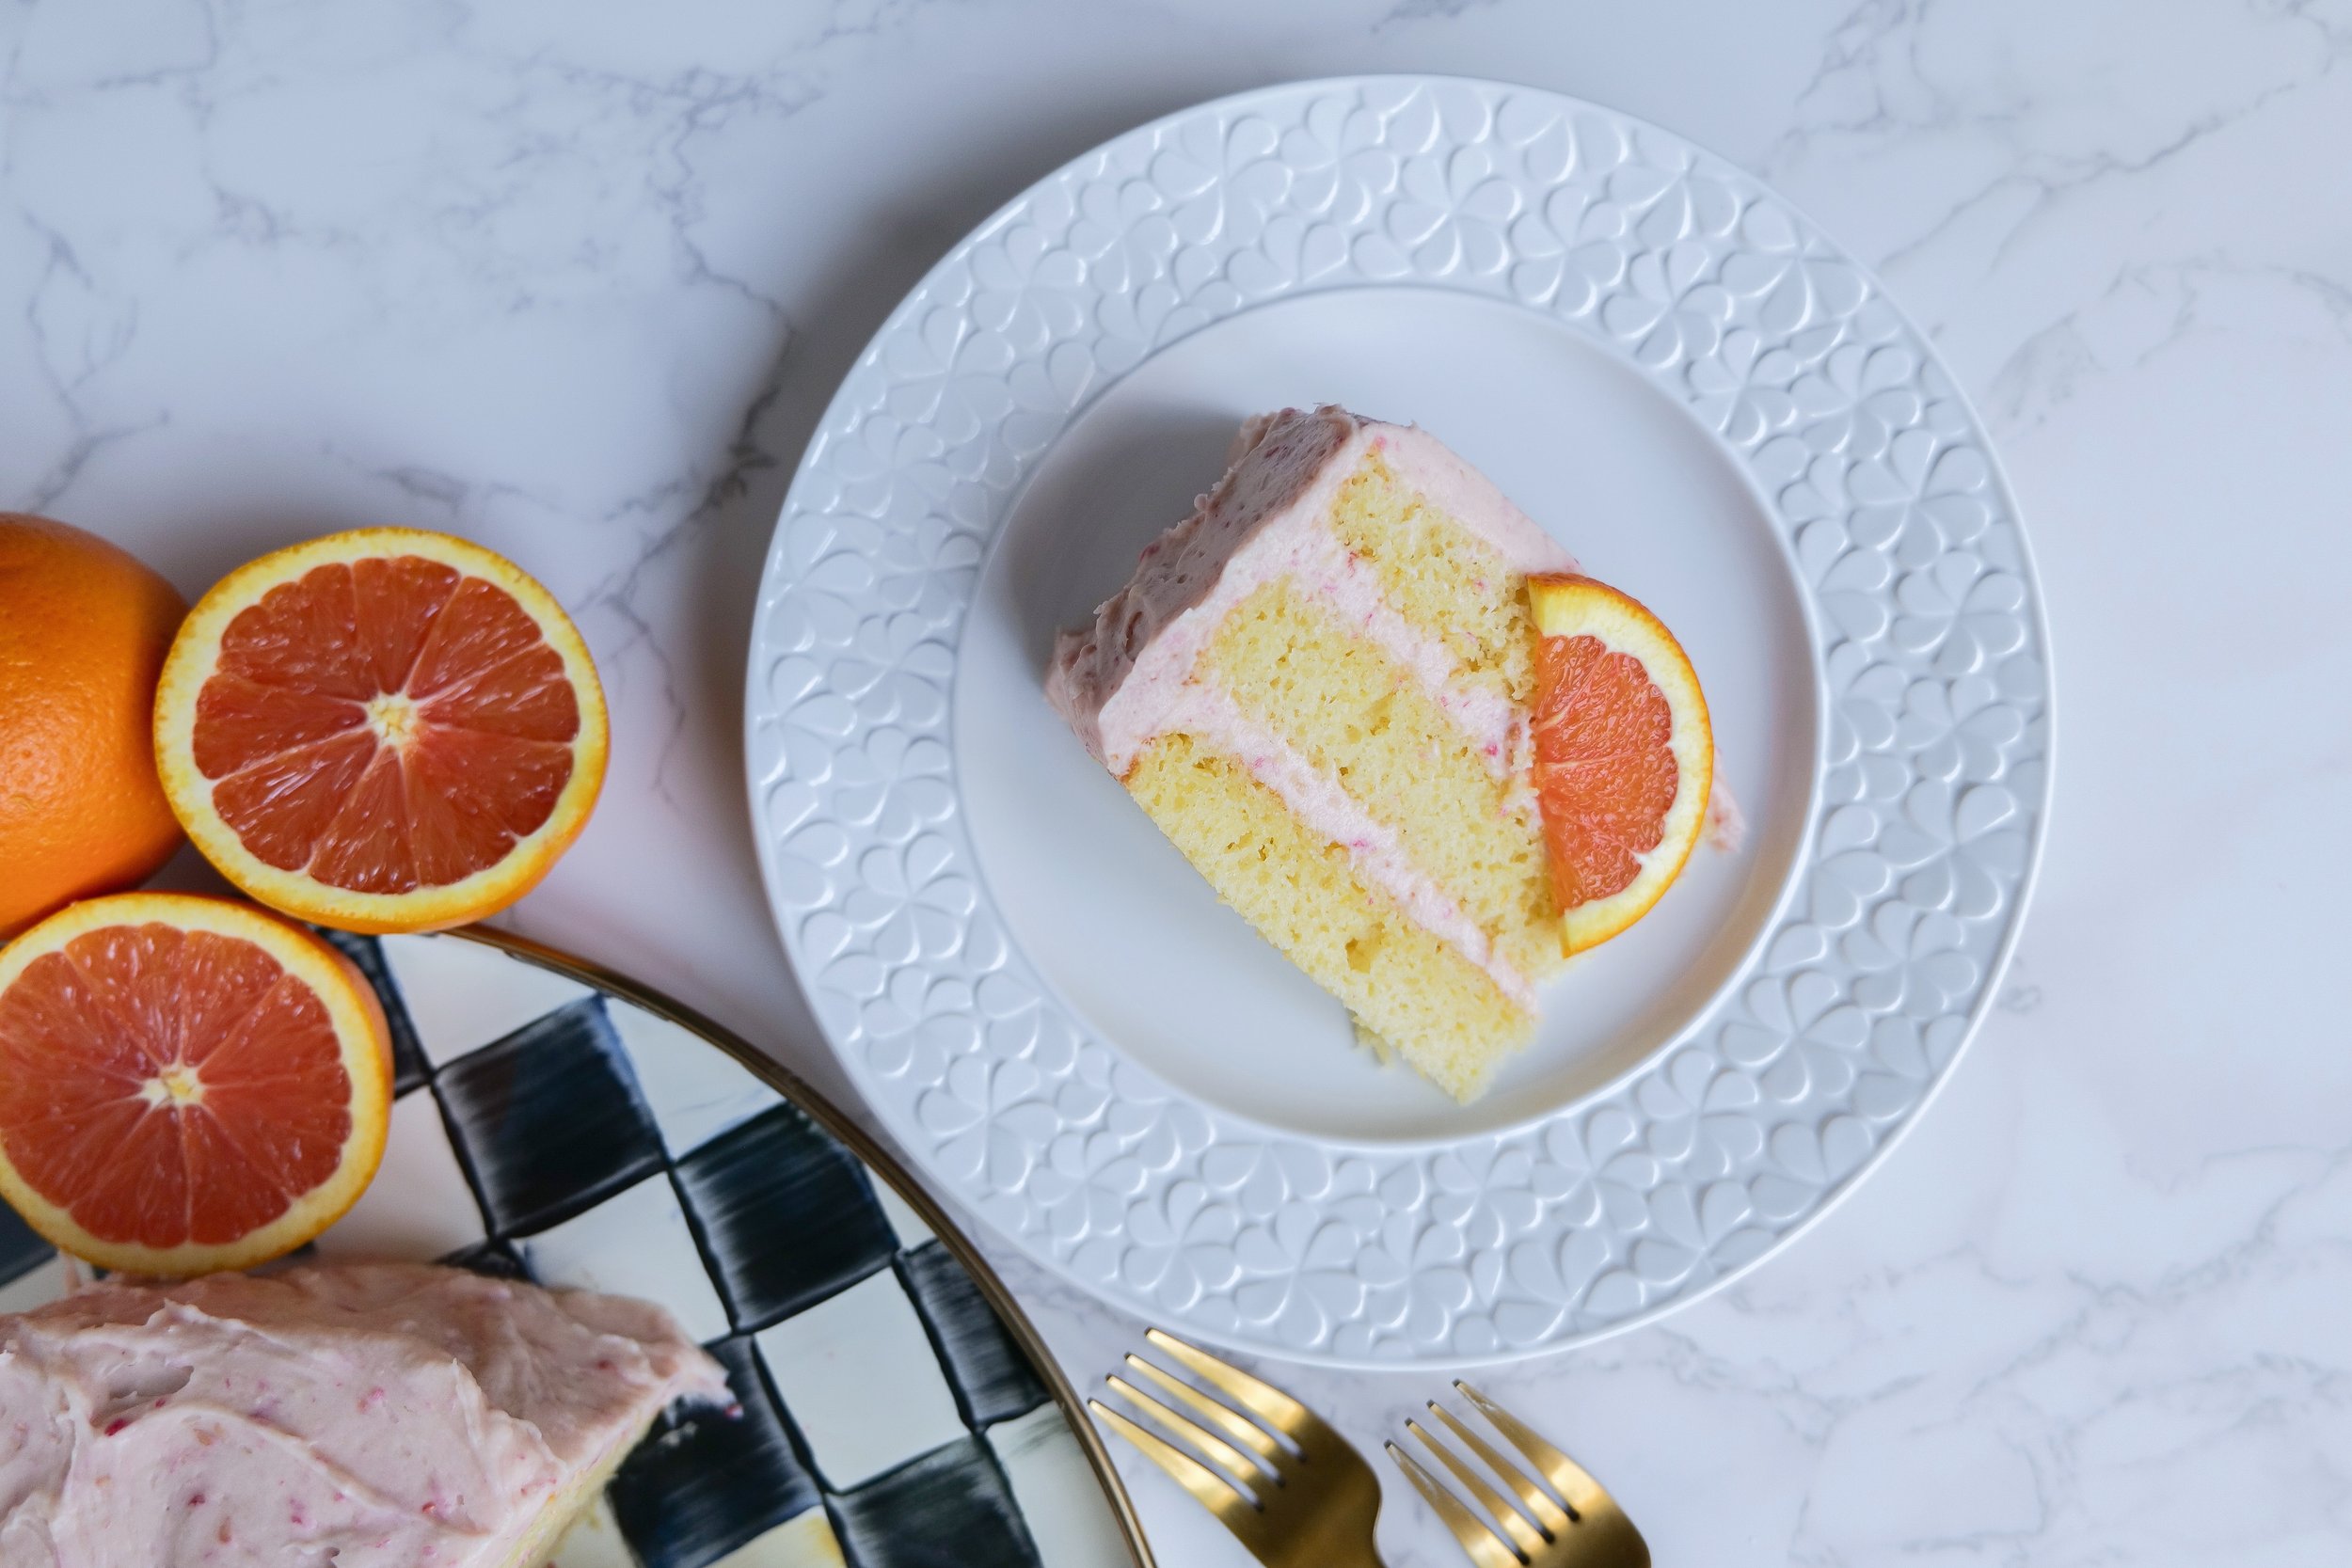
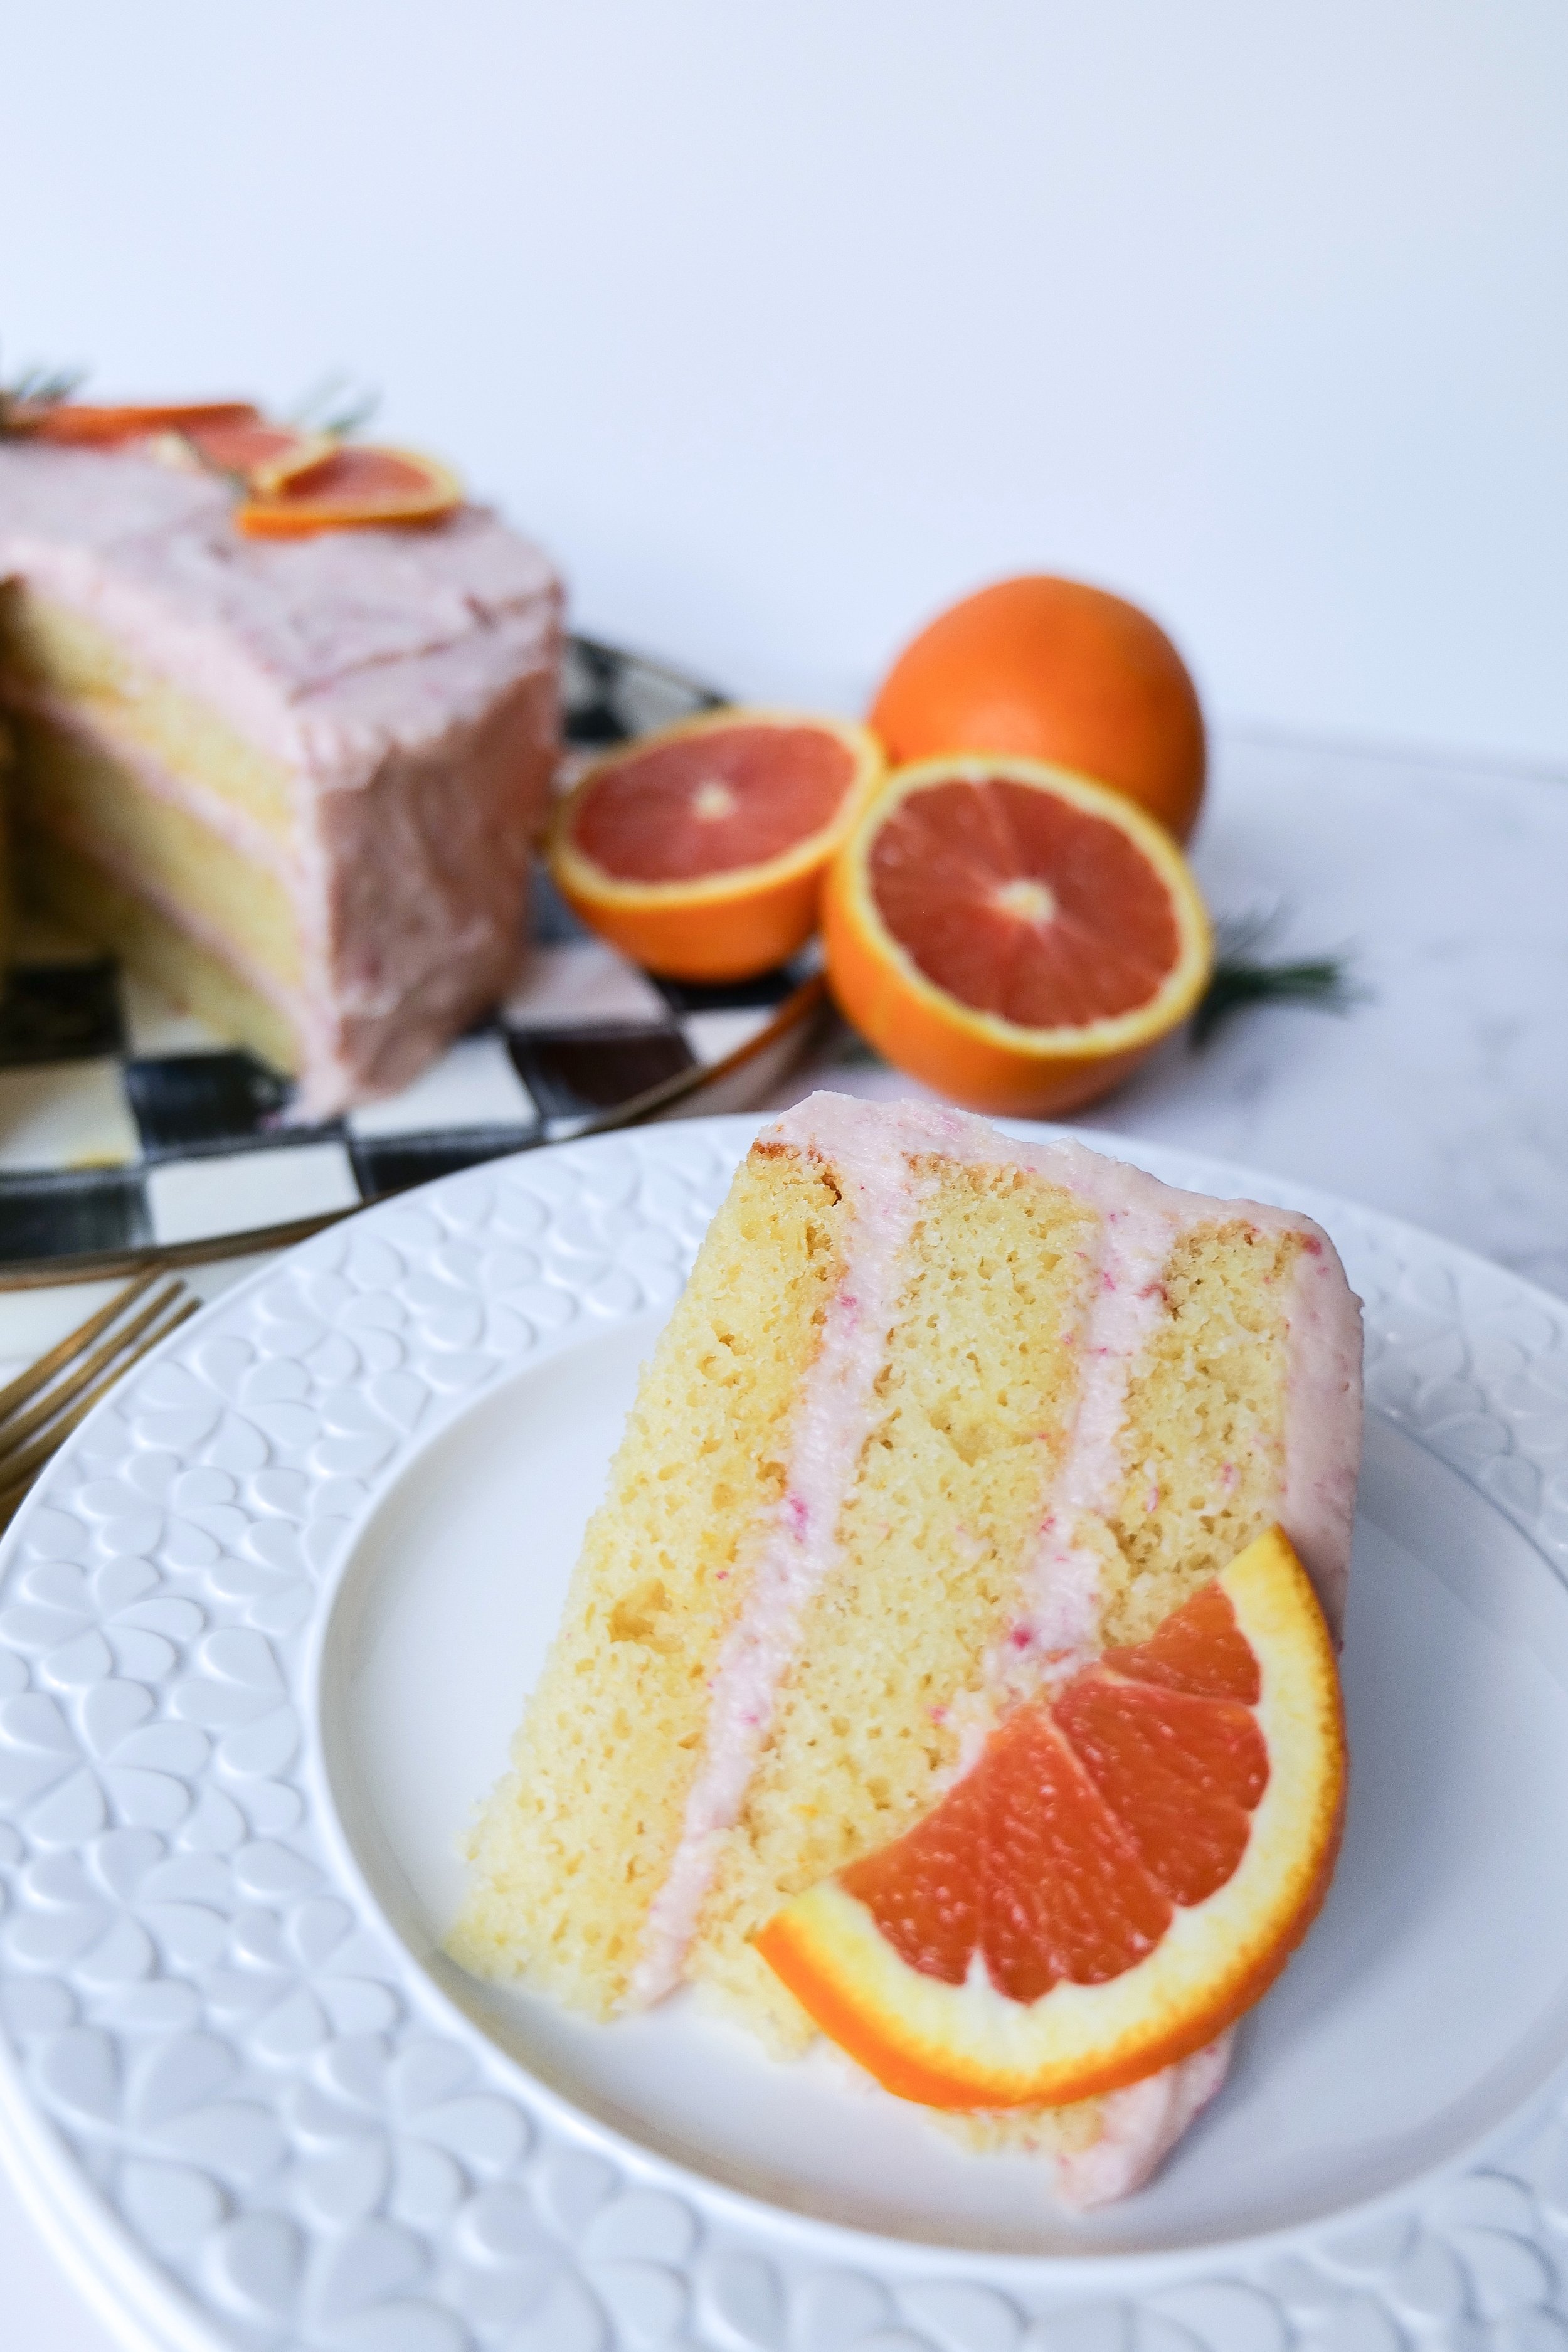
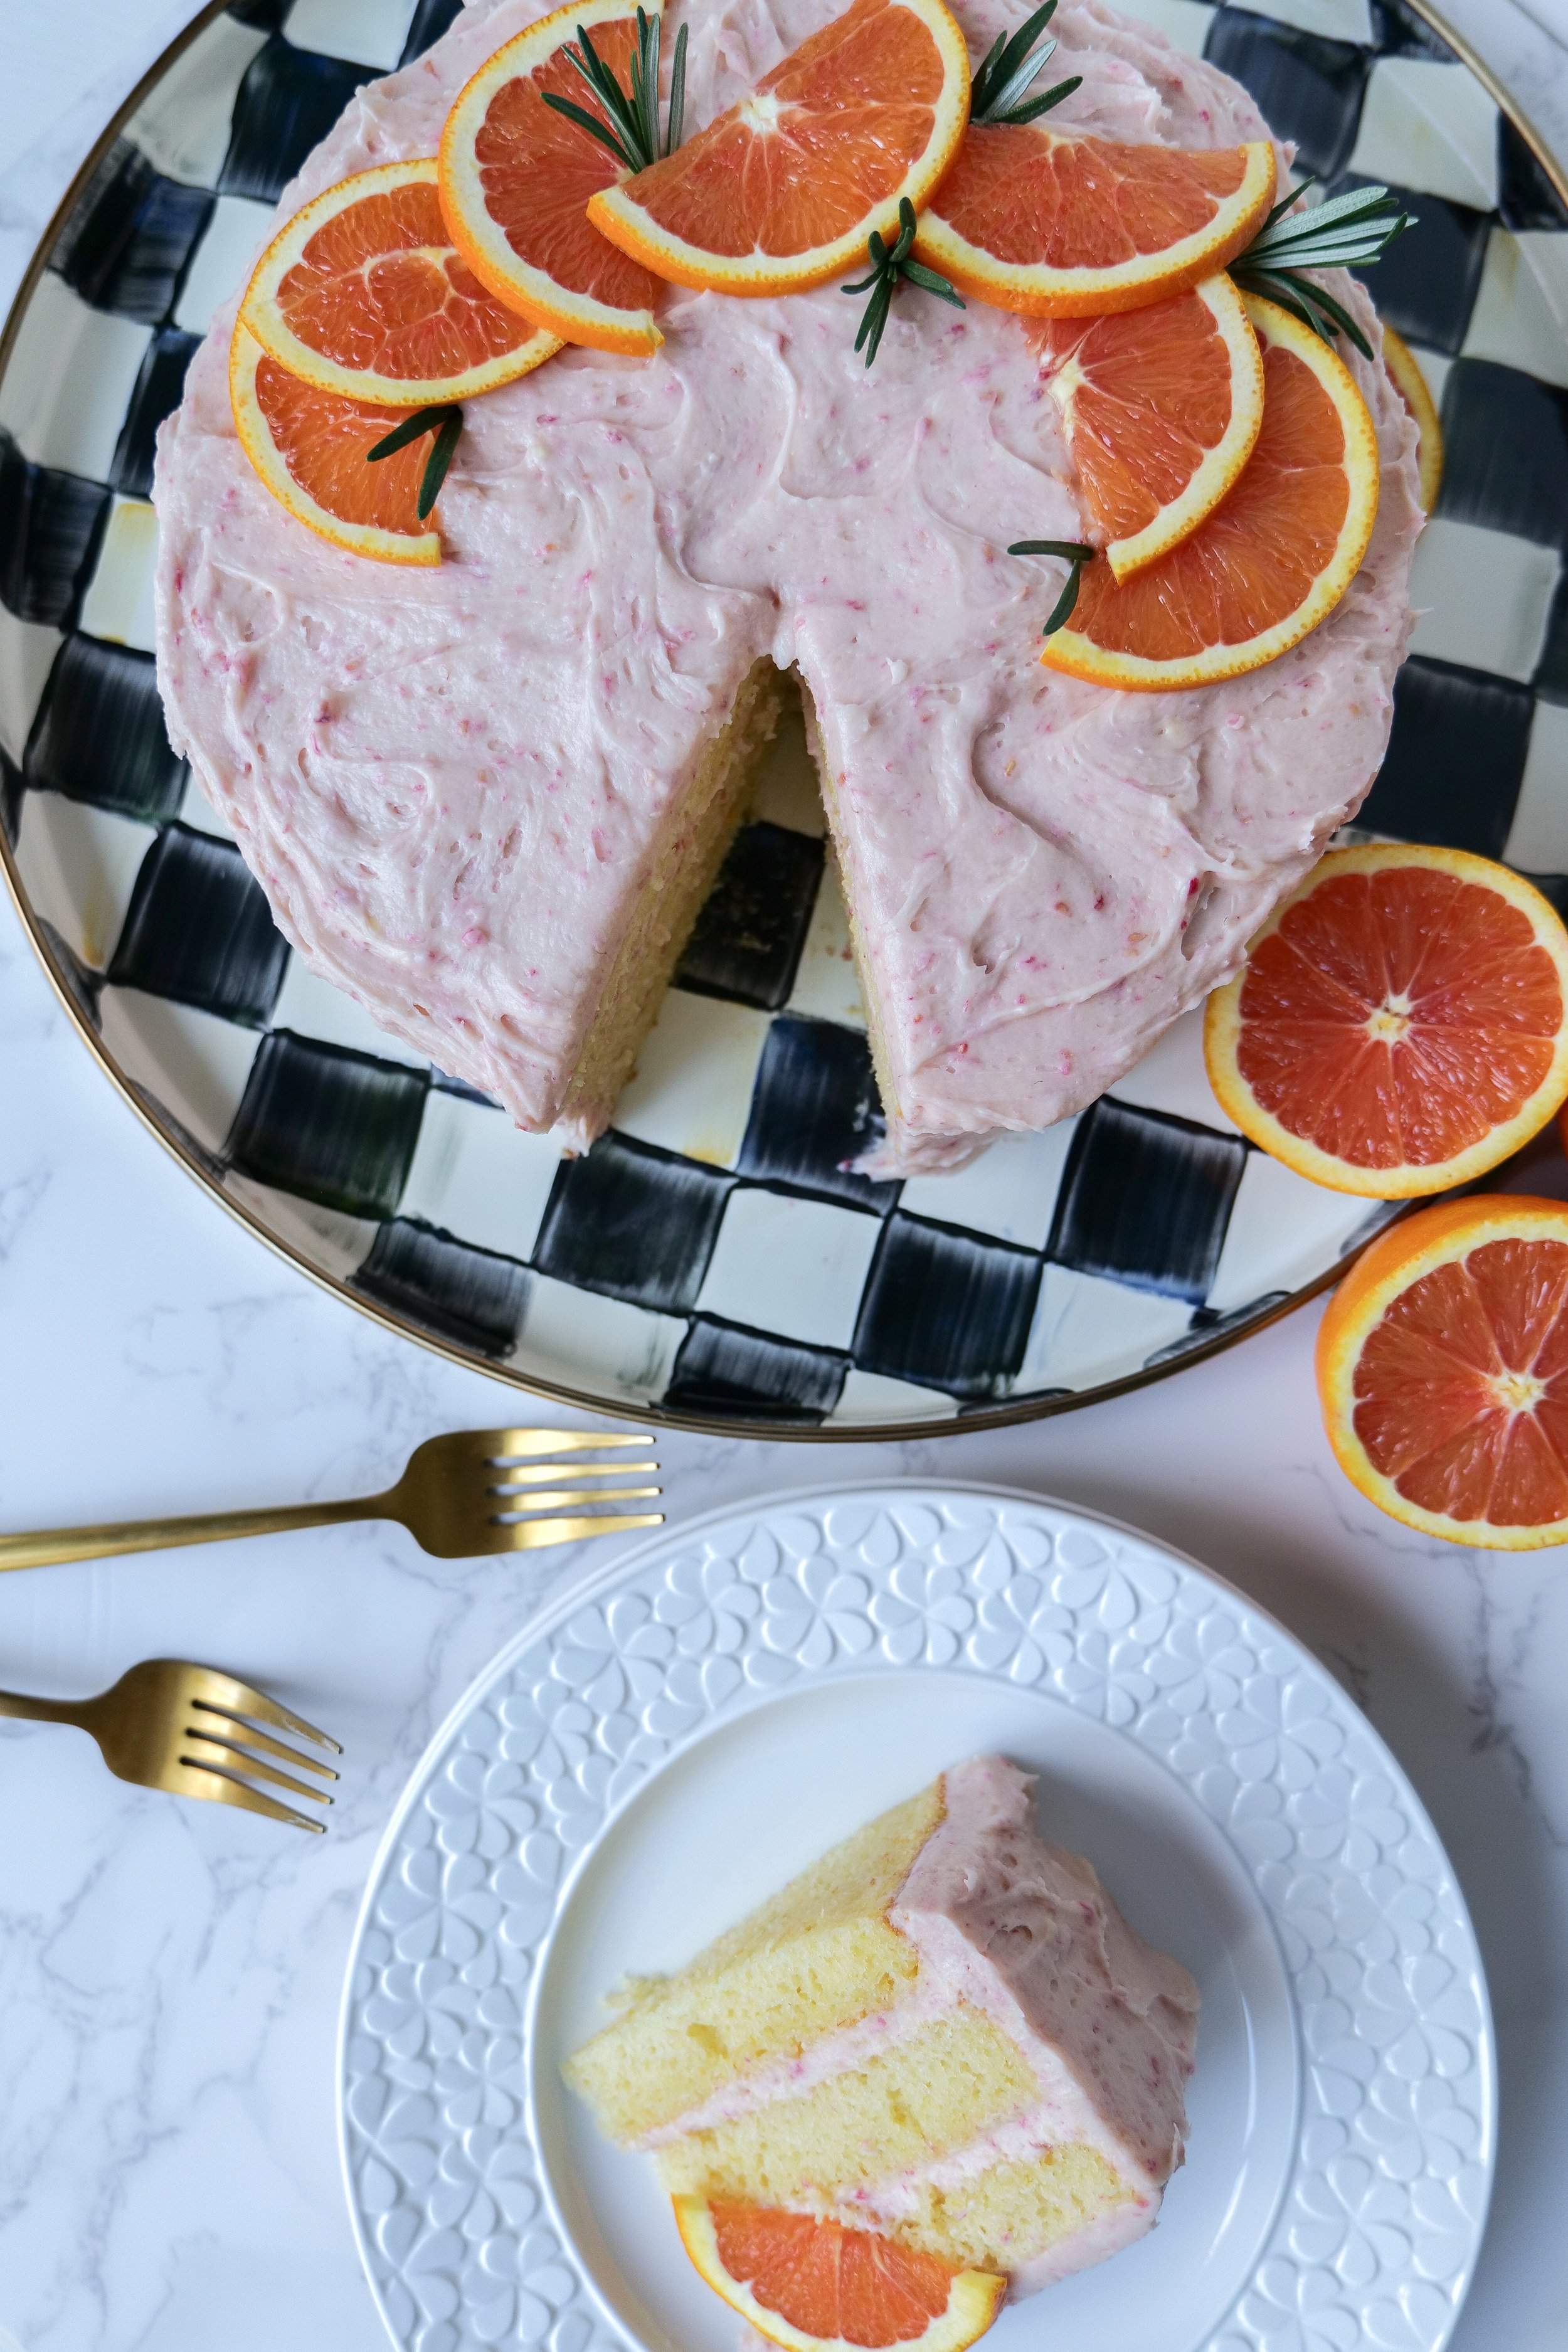
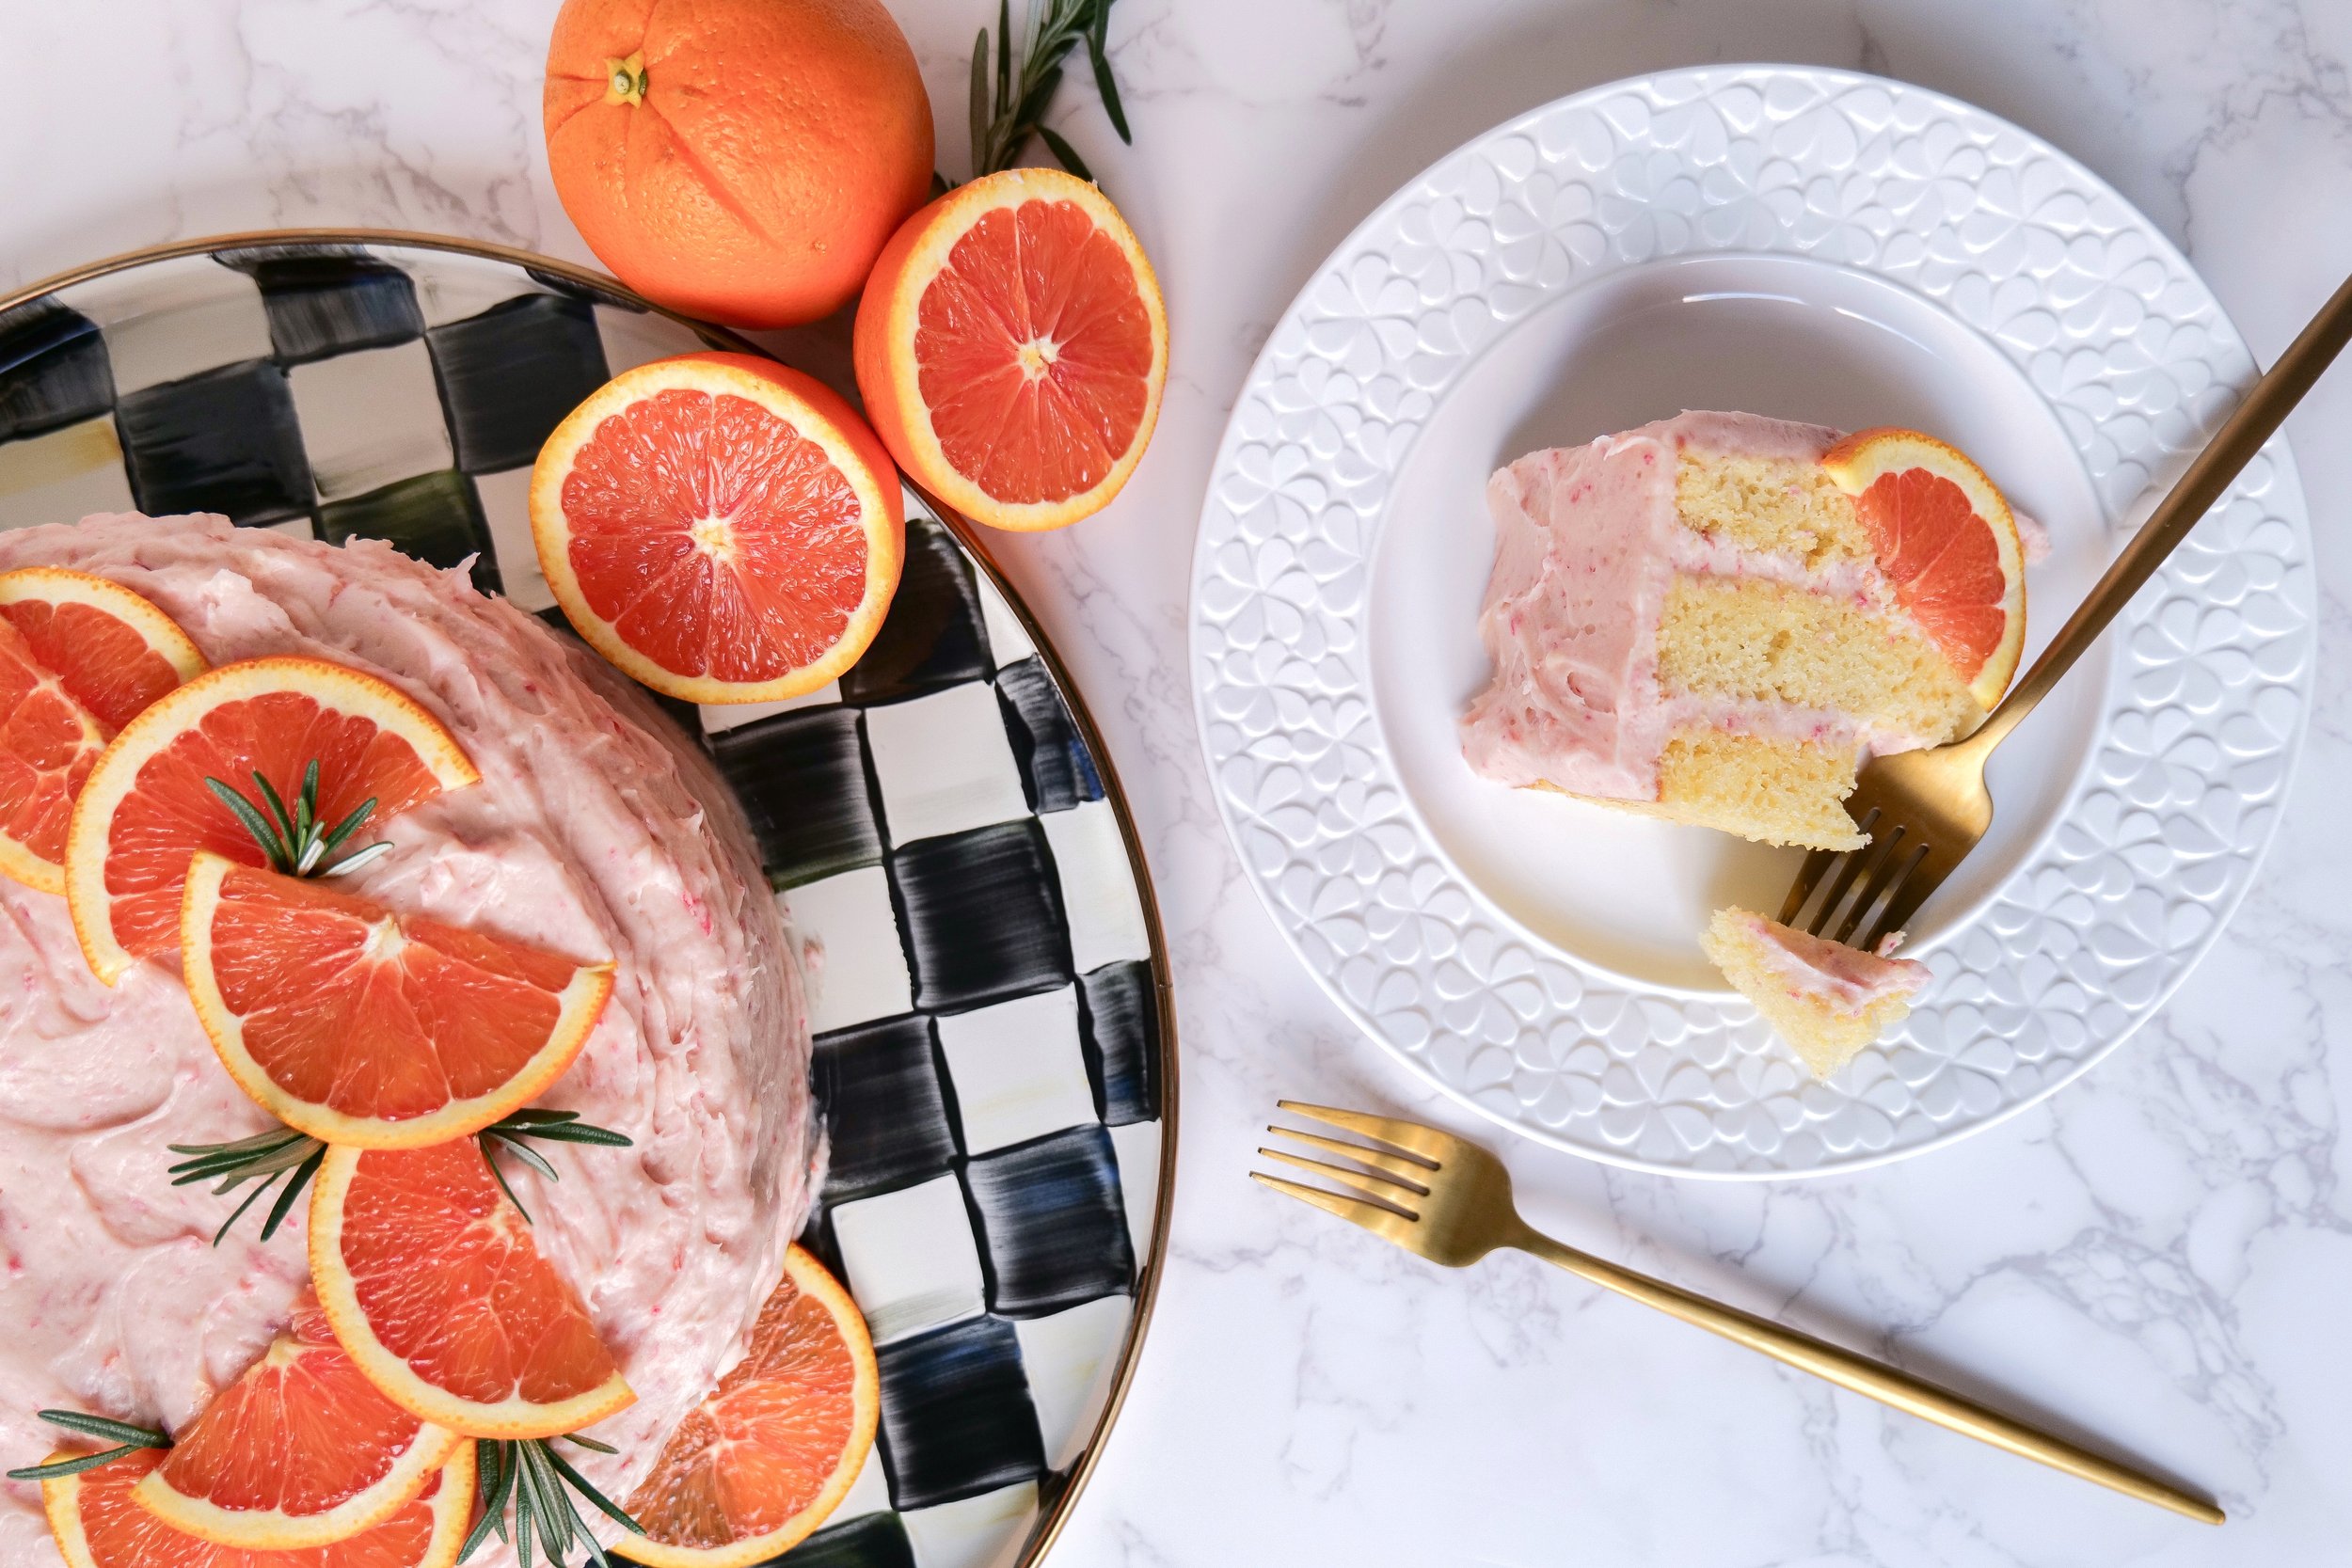
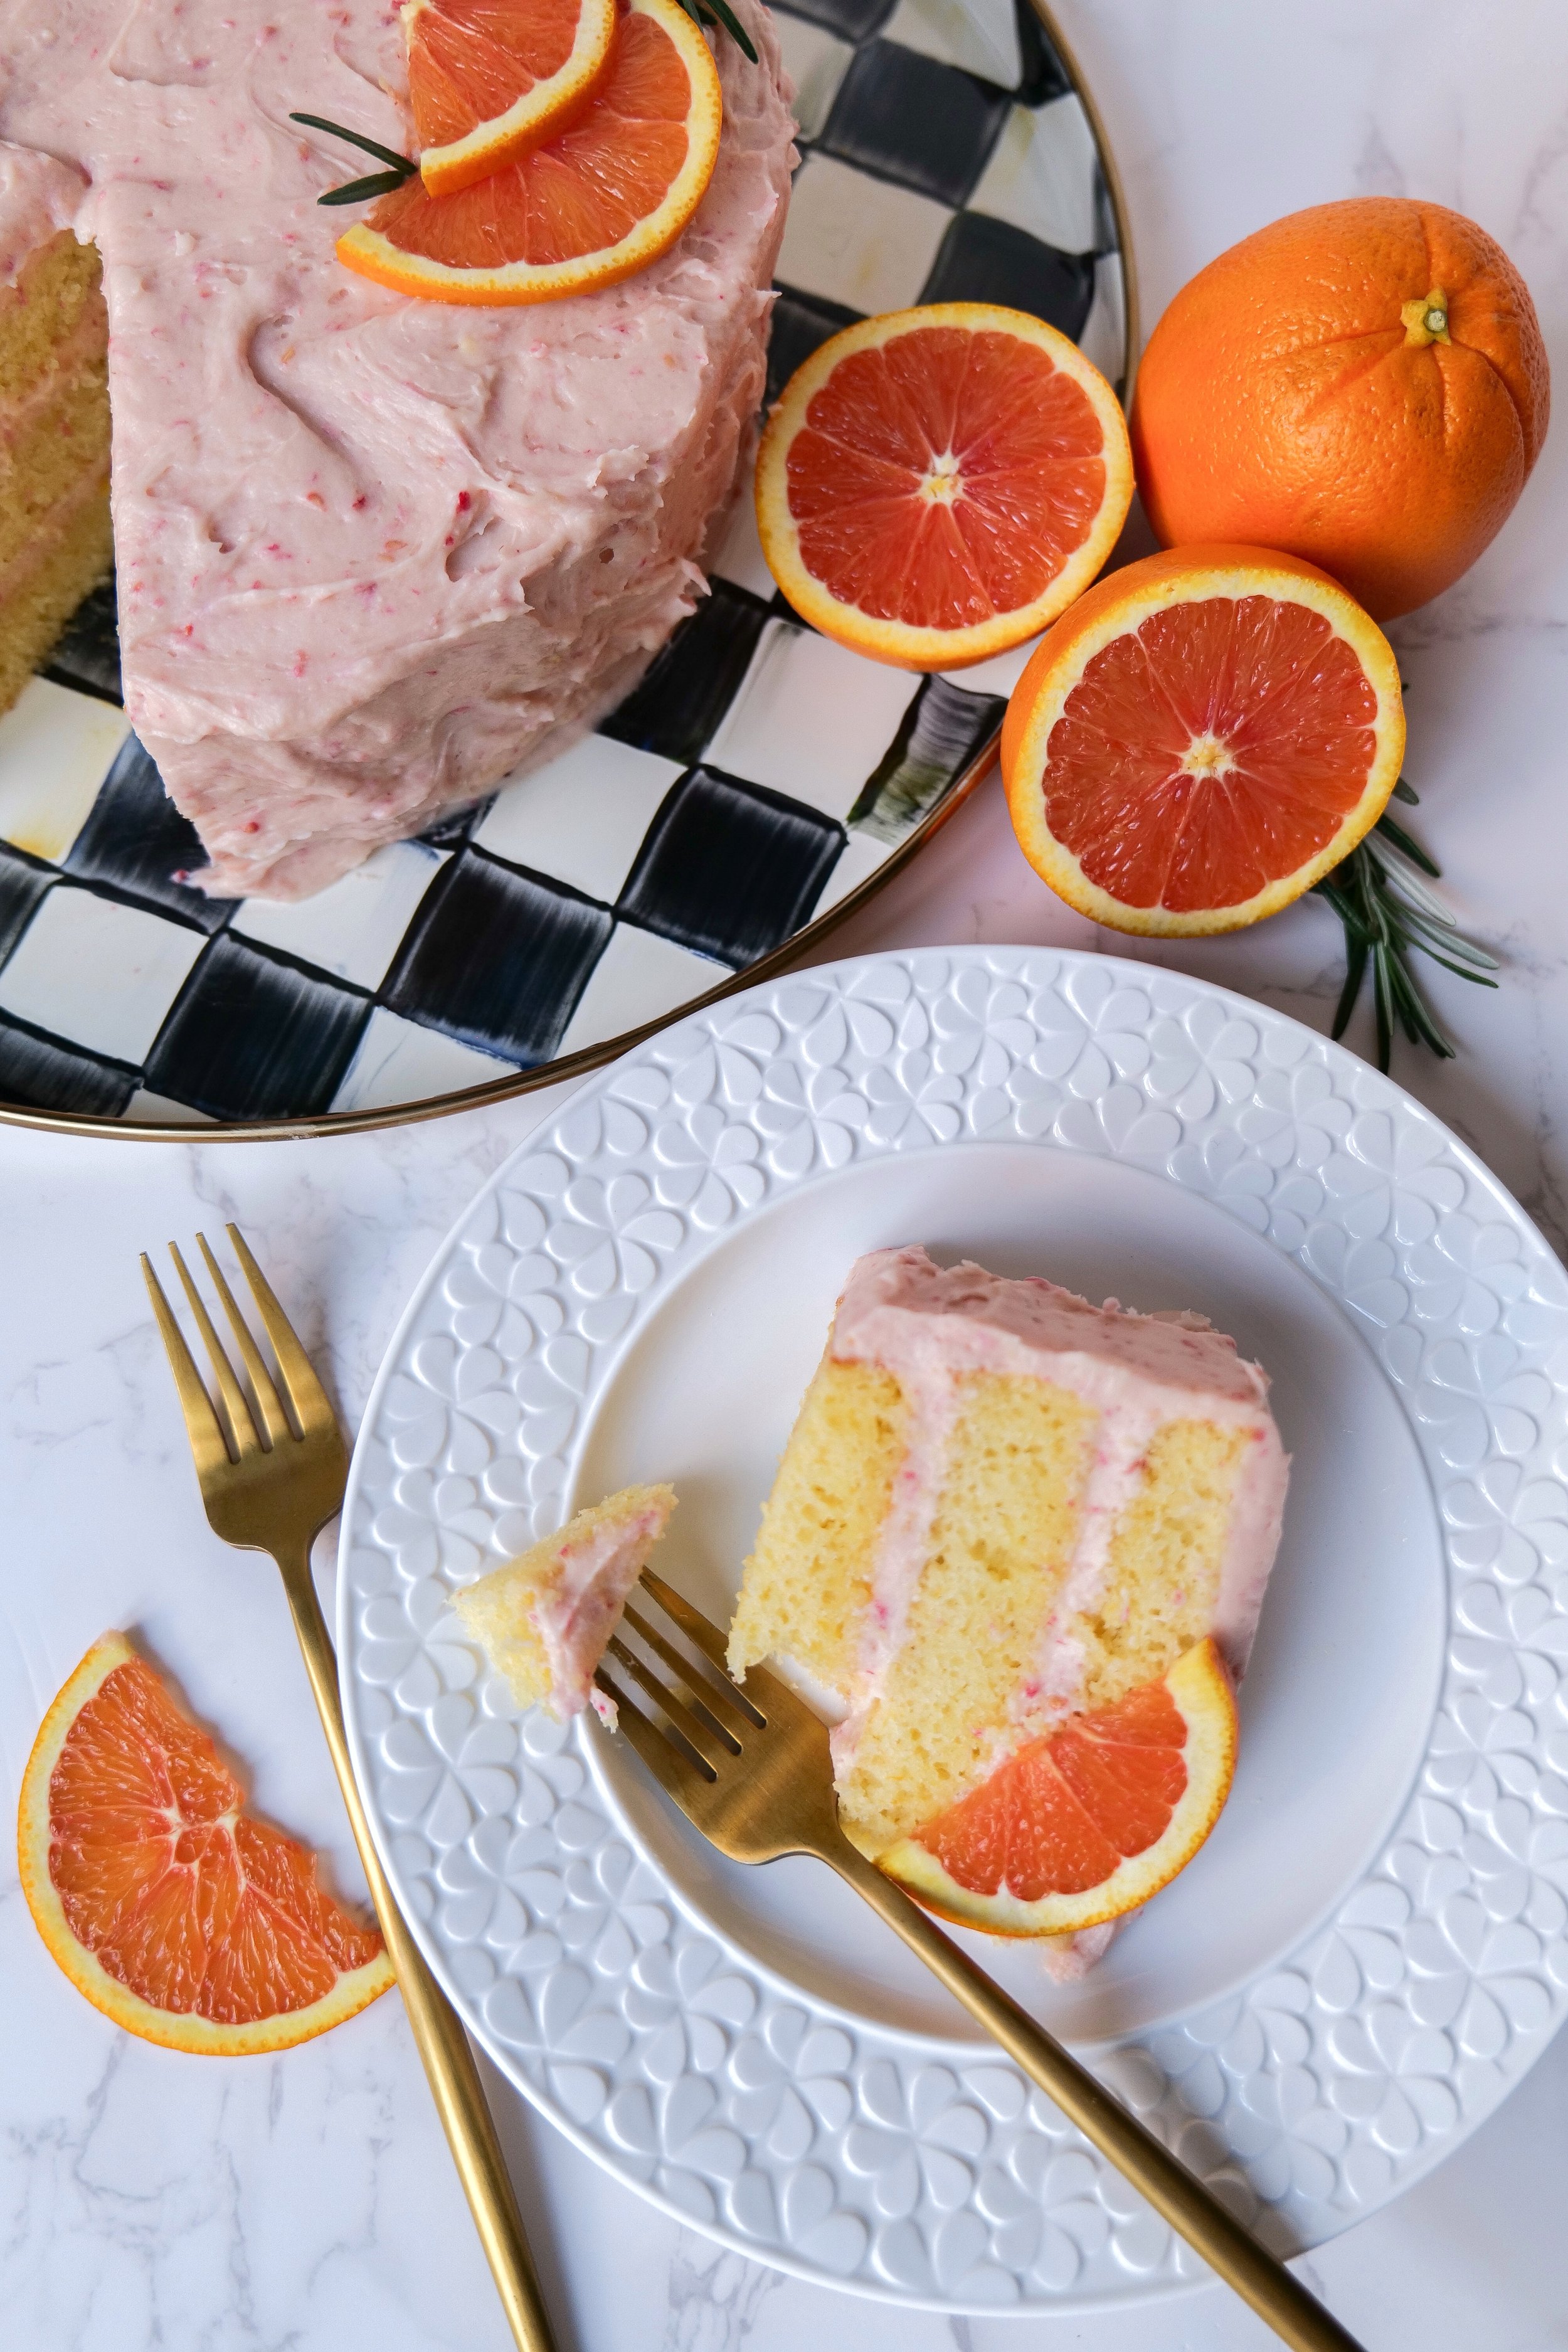
Zesty Indulgence: Crafting the Perfect Layered Orange Cake with Raspberry Mascarpone Frosting

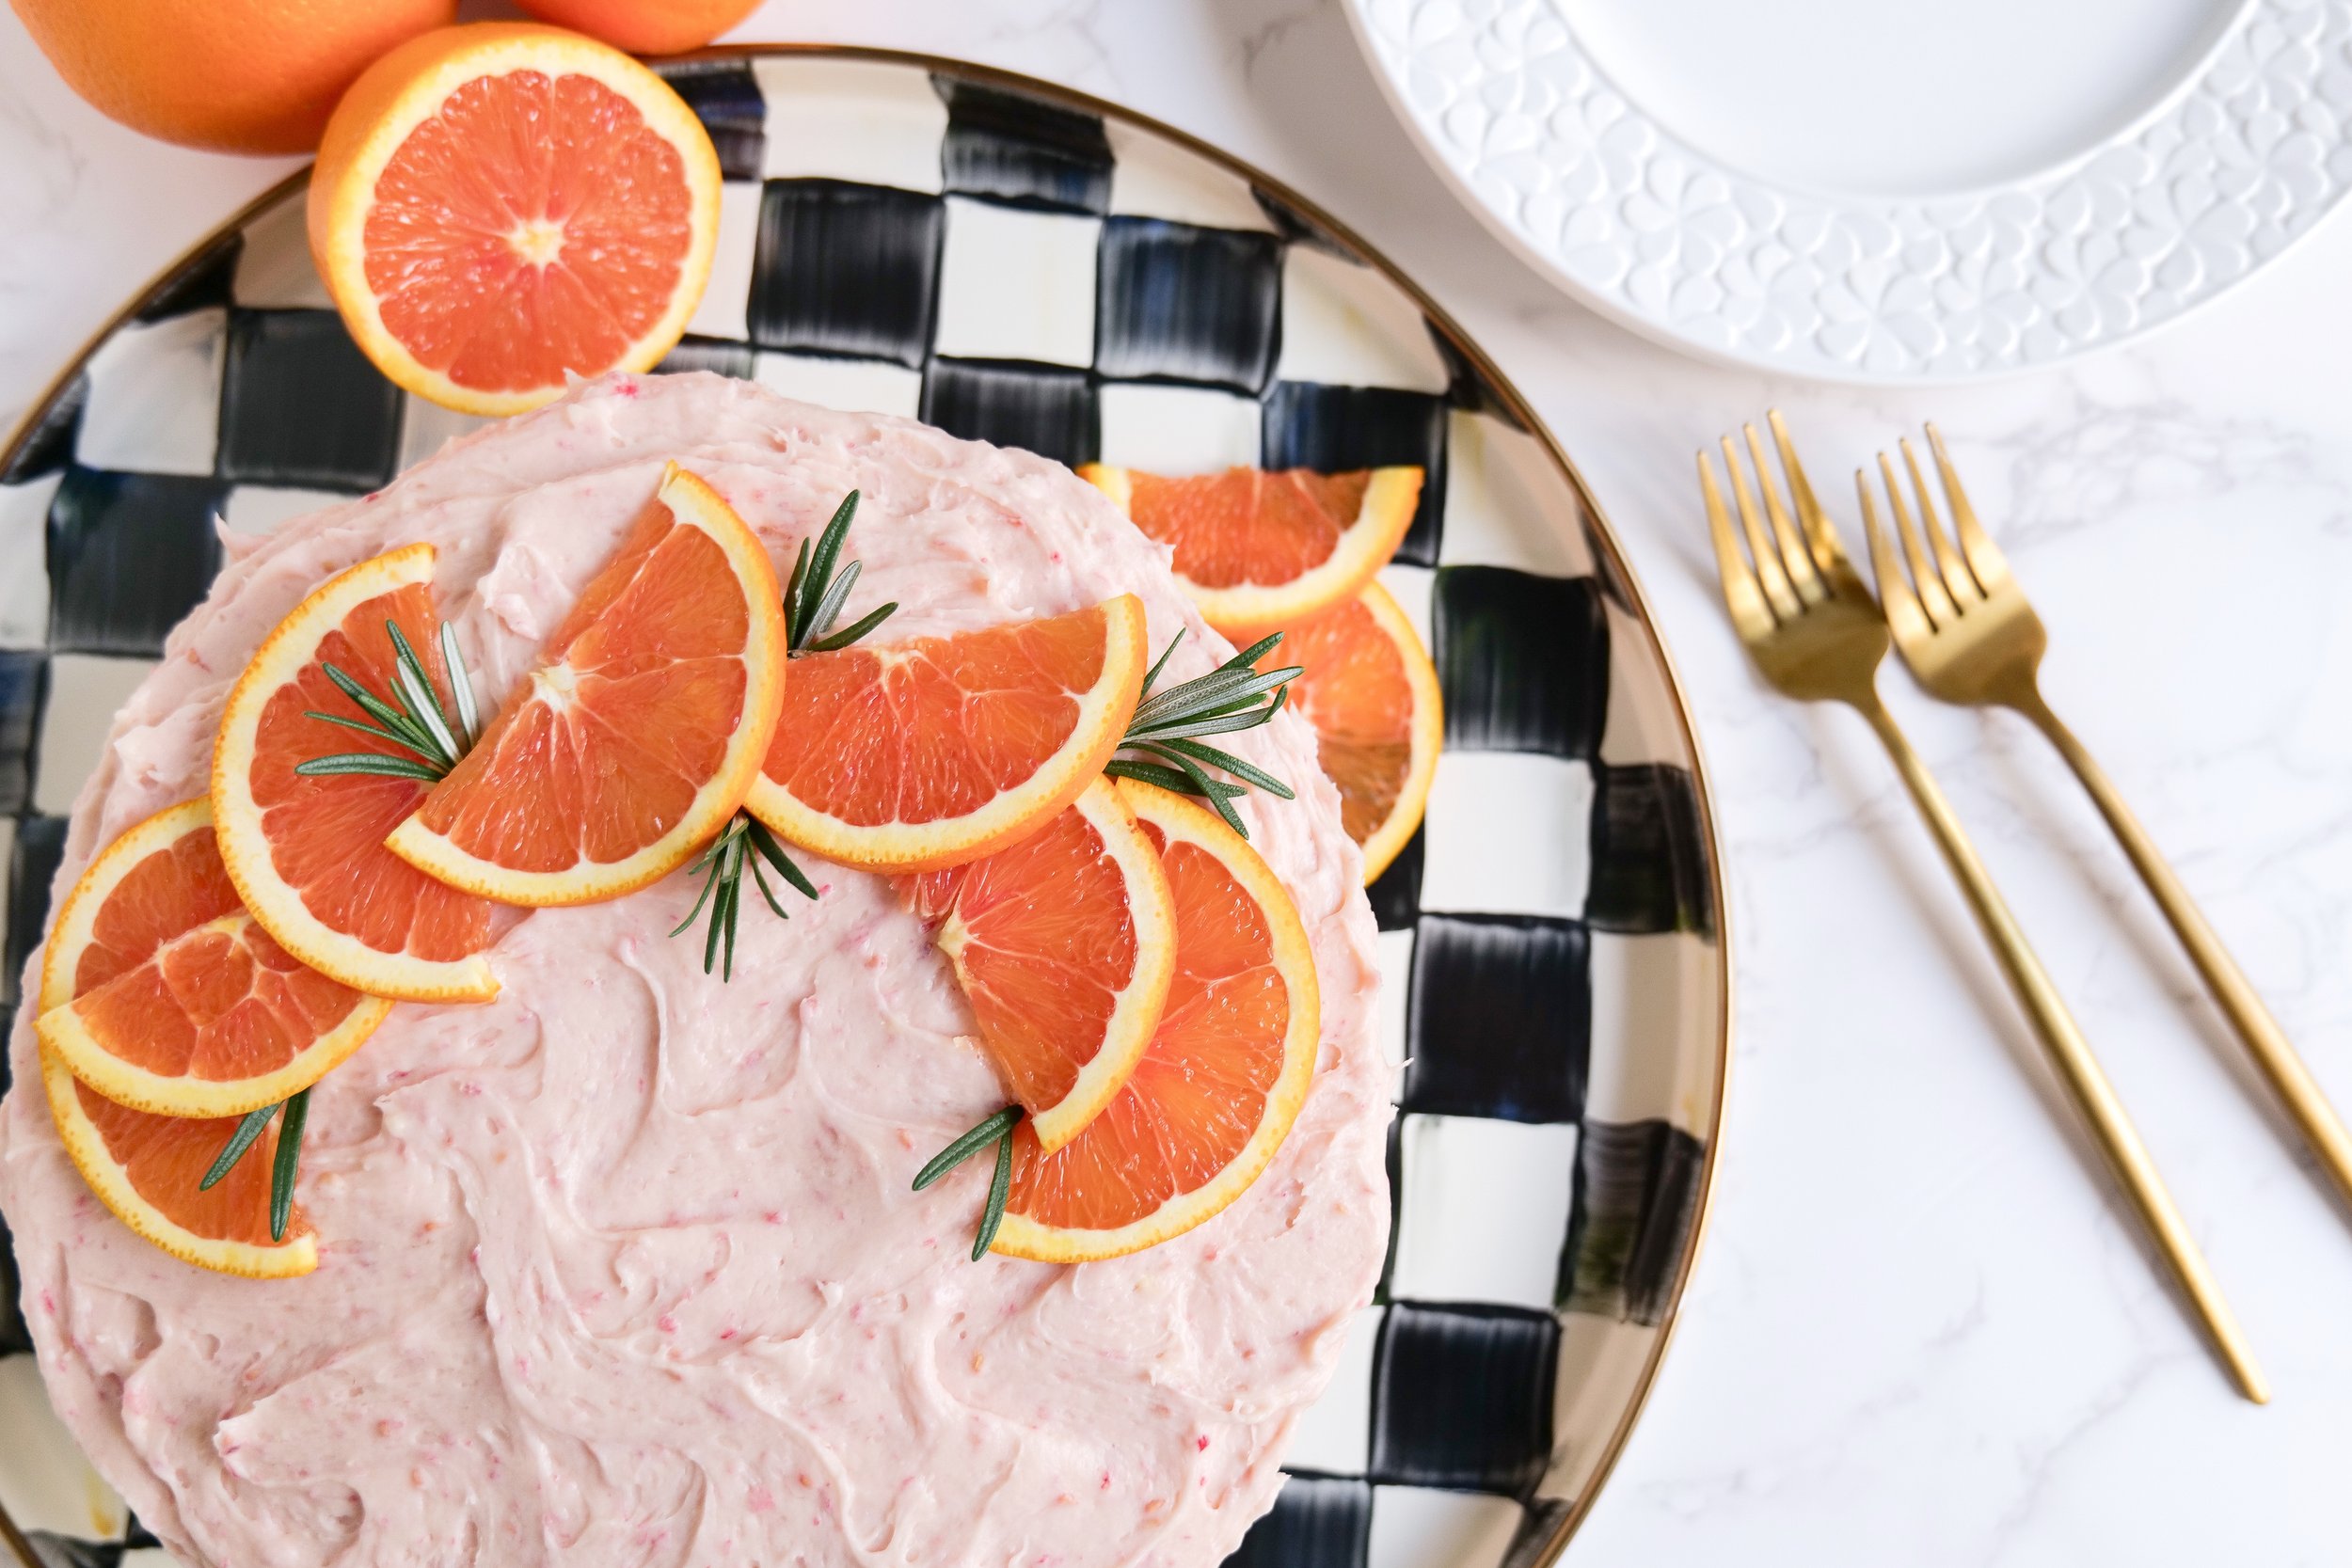
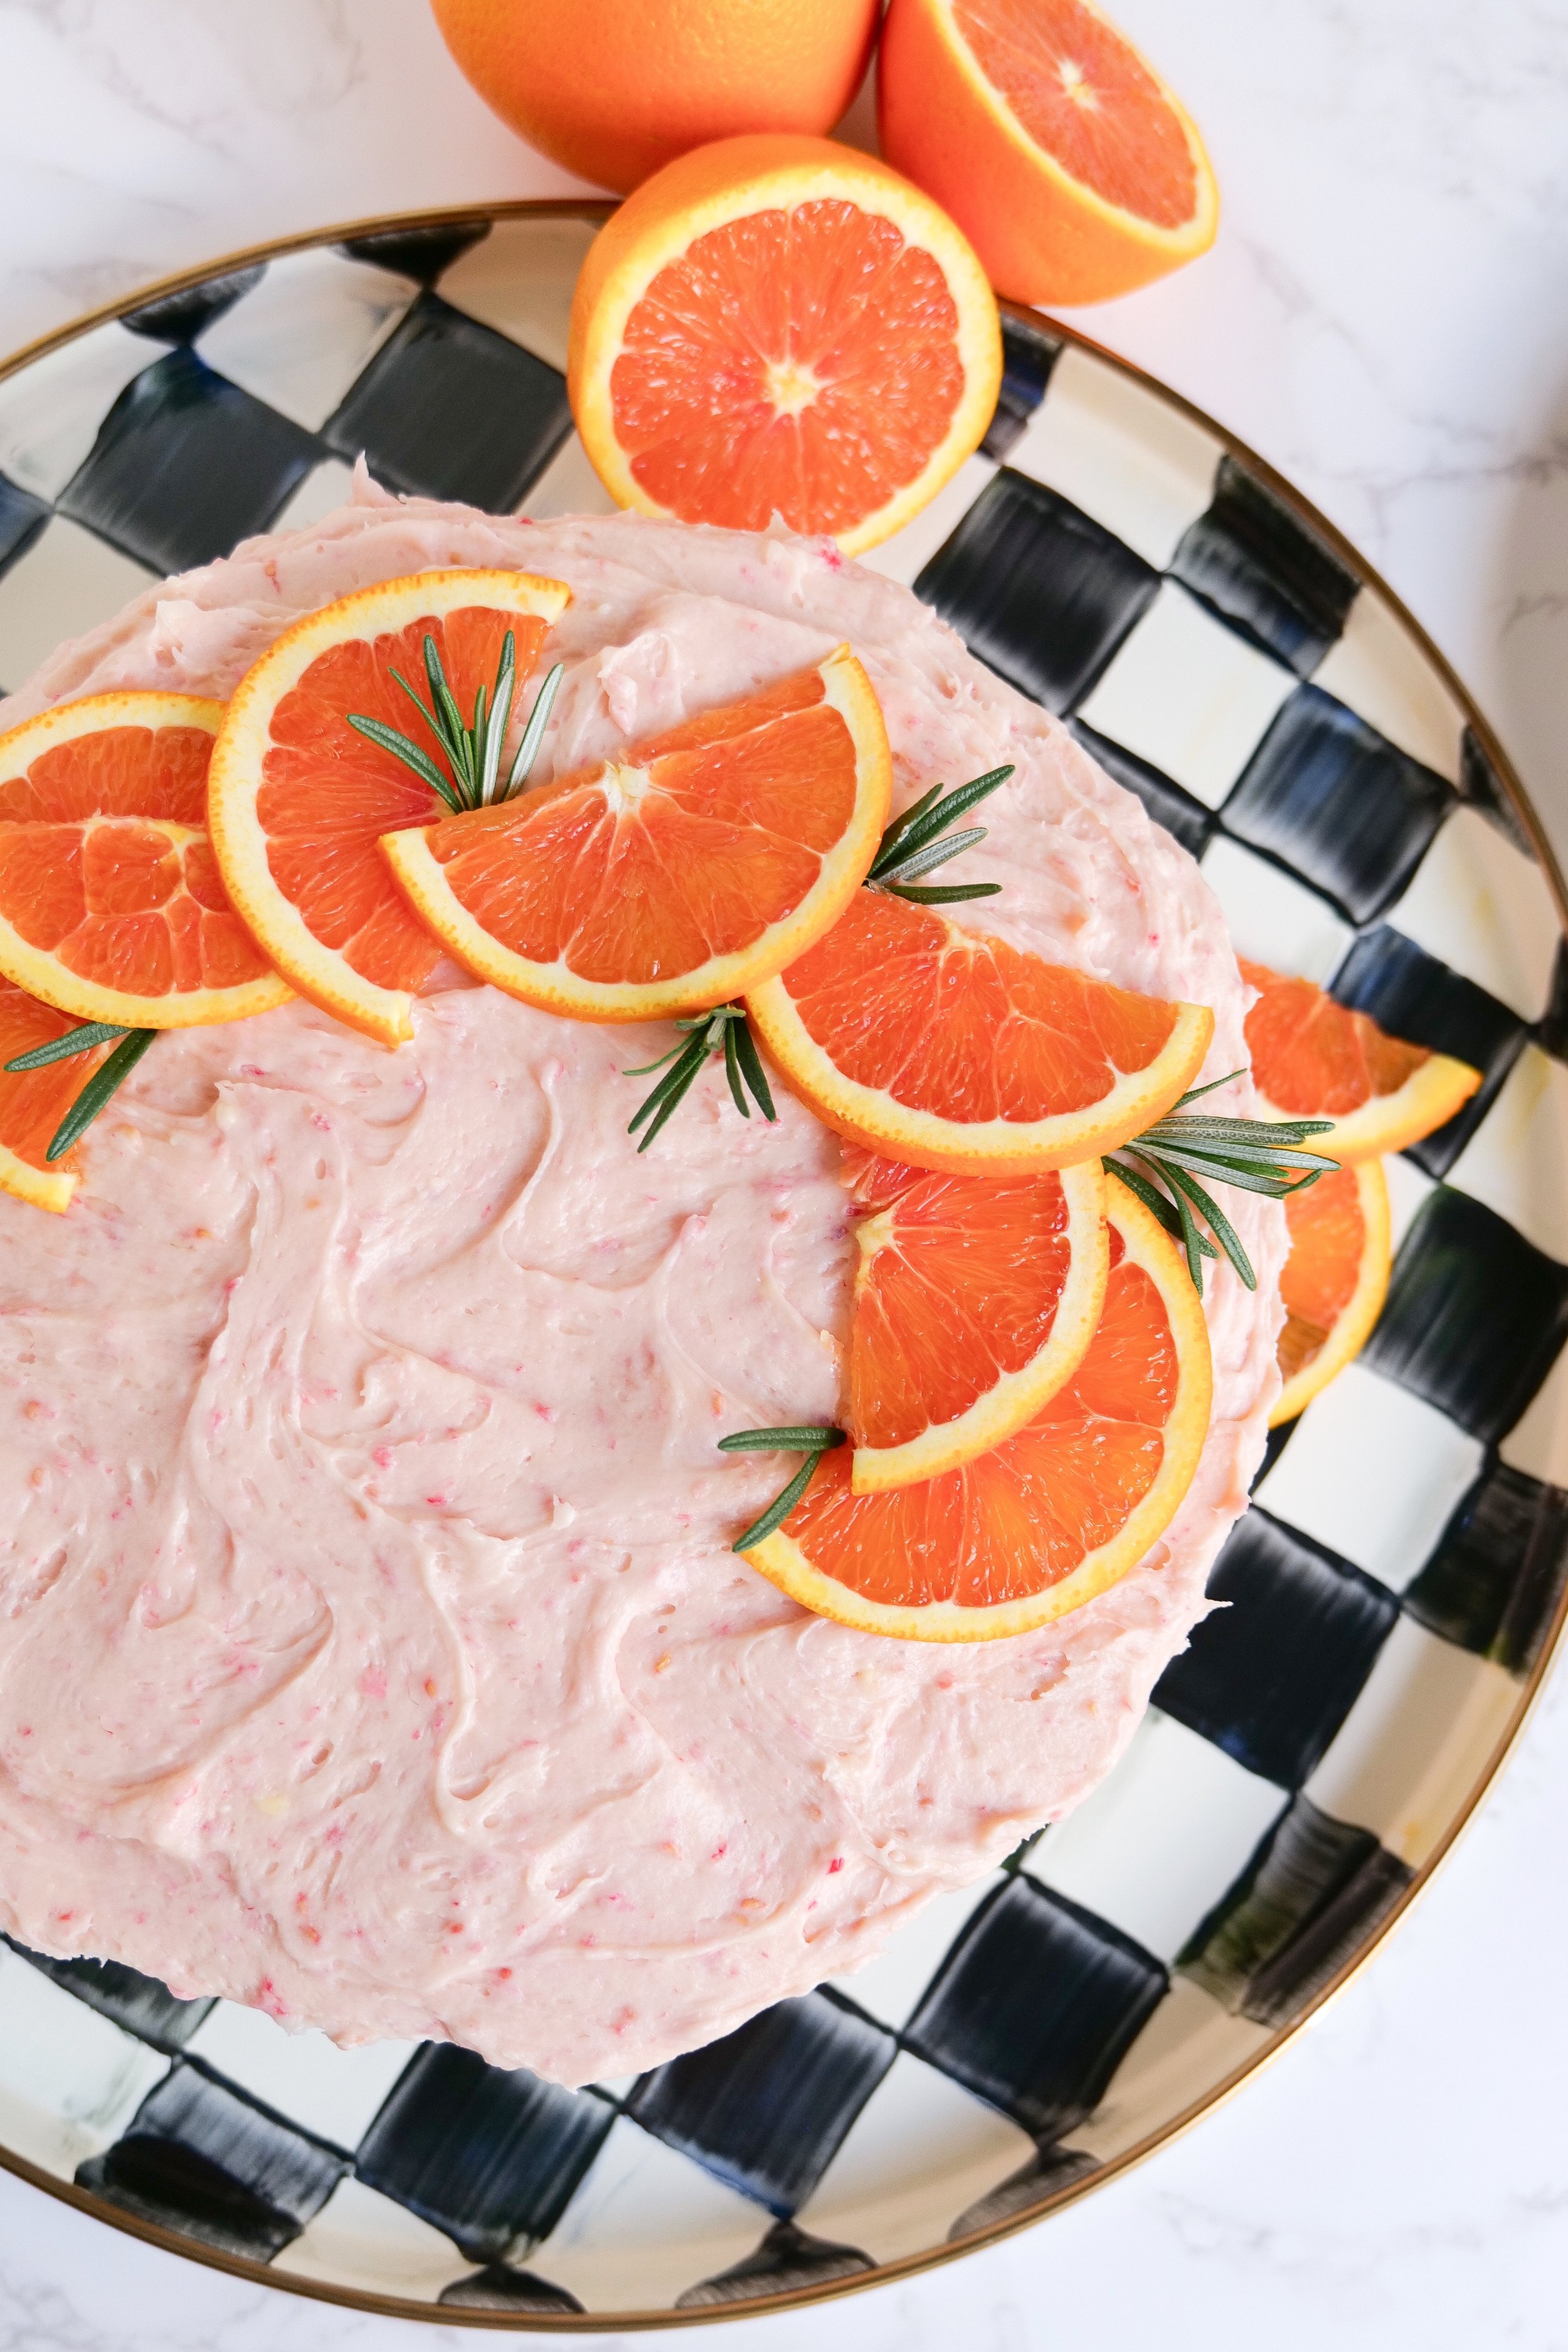
Indulge your senses with a delightful symphony of flavors as we explore the making of a heavenly Layered Orange Cake, perfectly paired with a luscious Raspberry Mascarpone Frosting. This culinary masterpiece is more than just a dessert—it's an elegant centerpiece, a conversation starter, and a testament to the magic that happens when bright citrus notes marry the creamy, tangy richness of mascarpone and the sweet, subtle tartness of raspberries. Whether you're a seasoned baker looking for a new challenge or a dessert lover on the hunt for your next favorite treat, this recipe promises to deliver a stunning and sumptuous experience, layer by delicious layer. Join us on this zesty adventure as we dive into the art of creating a cake that's as visually impressive as it is tantalizing to the taste buds.

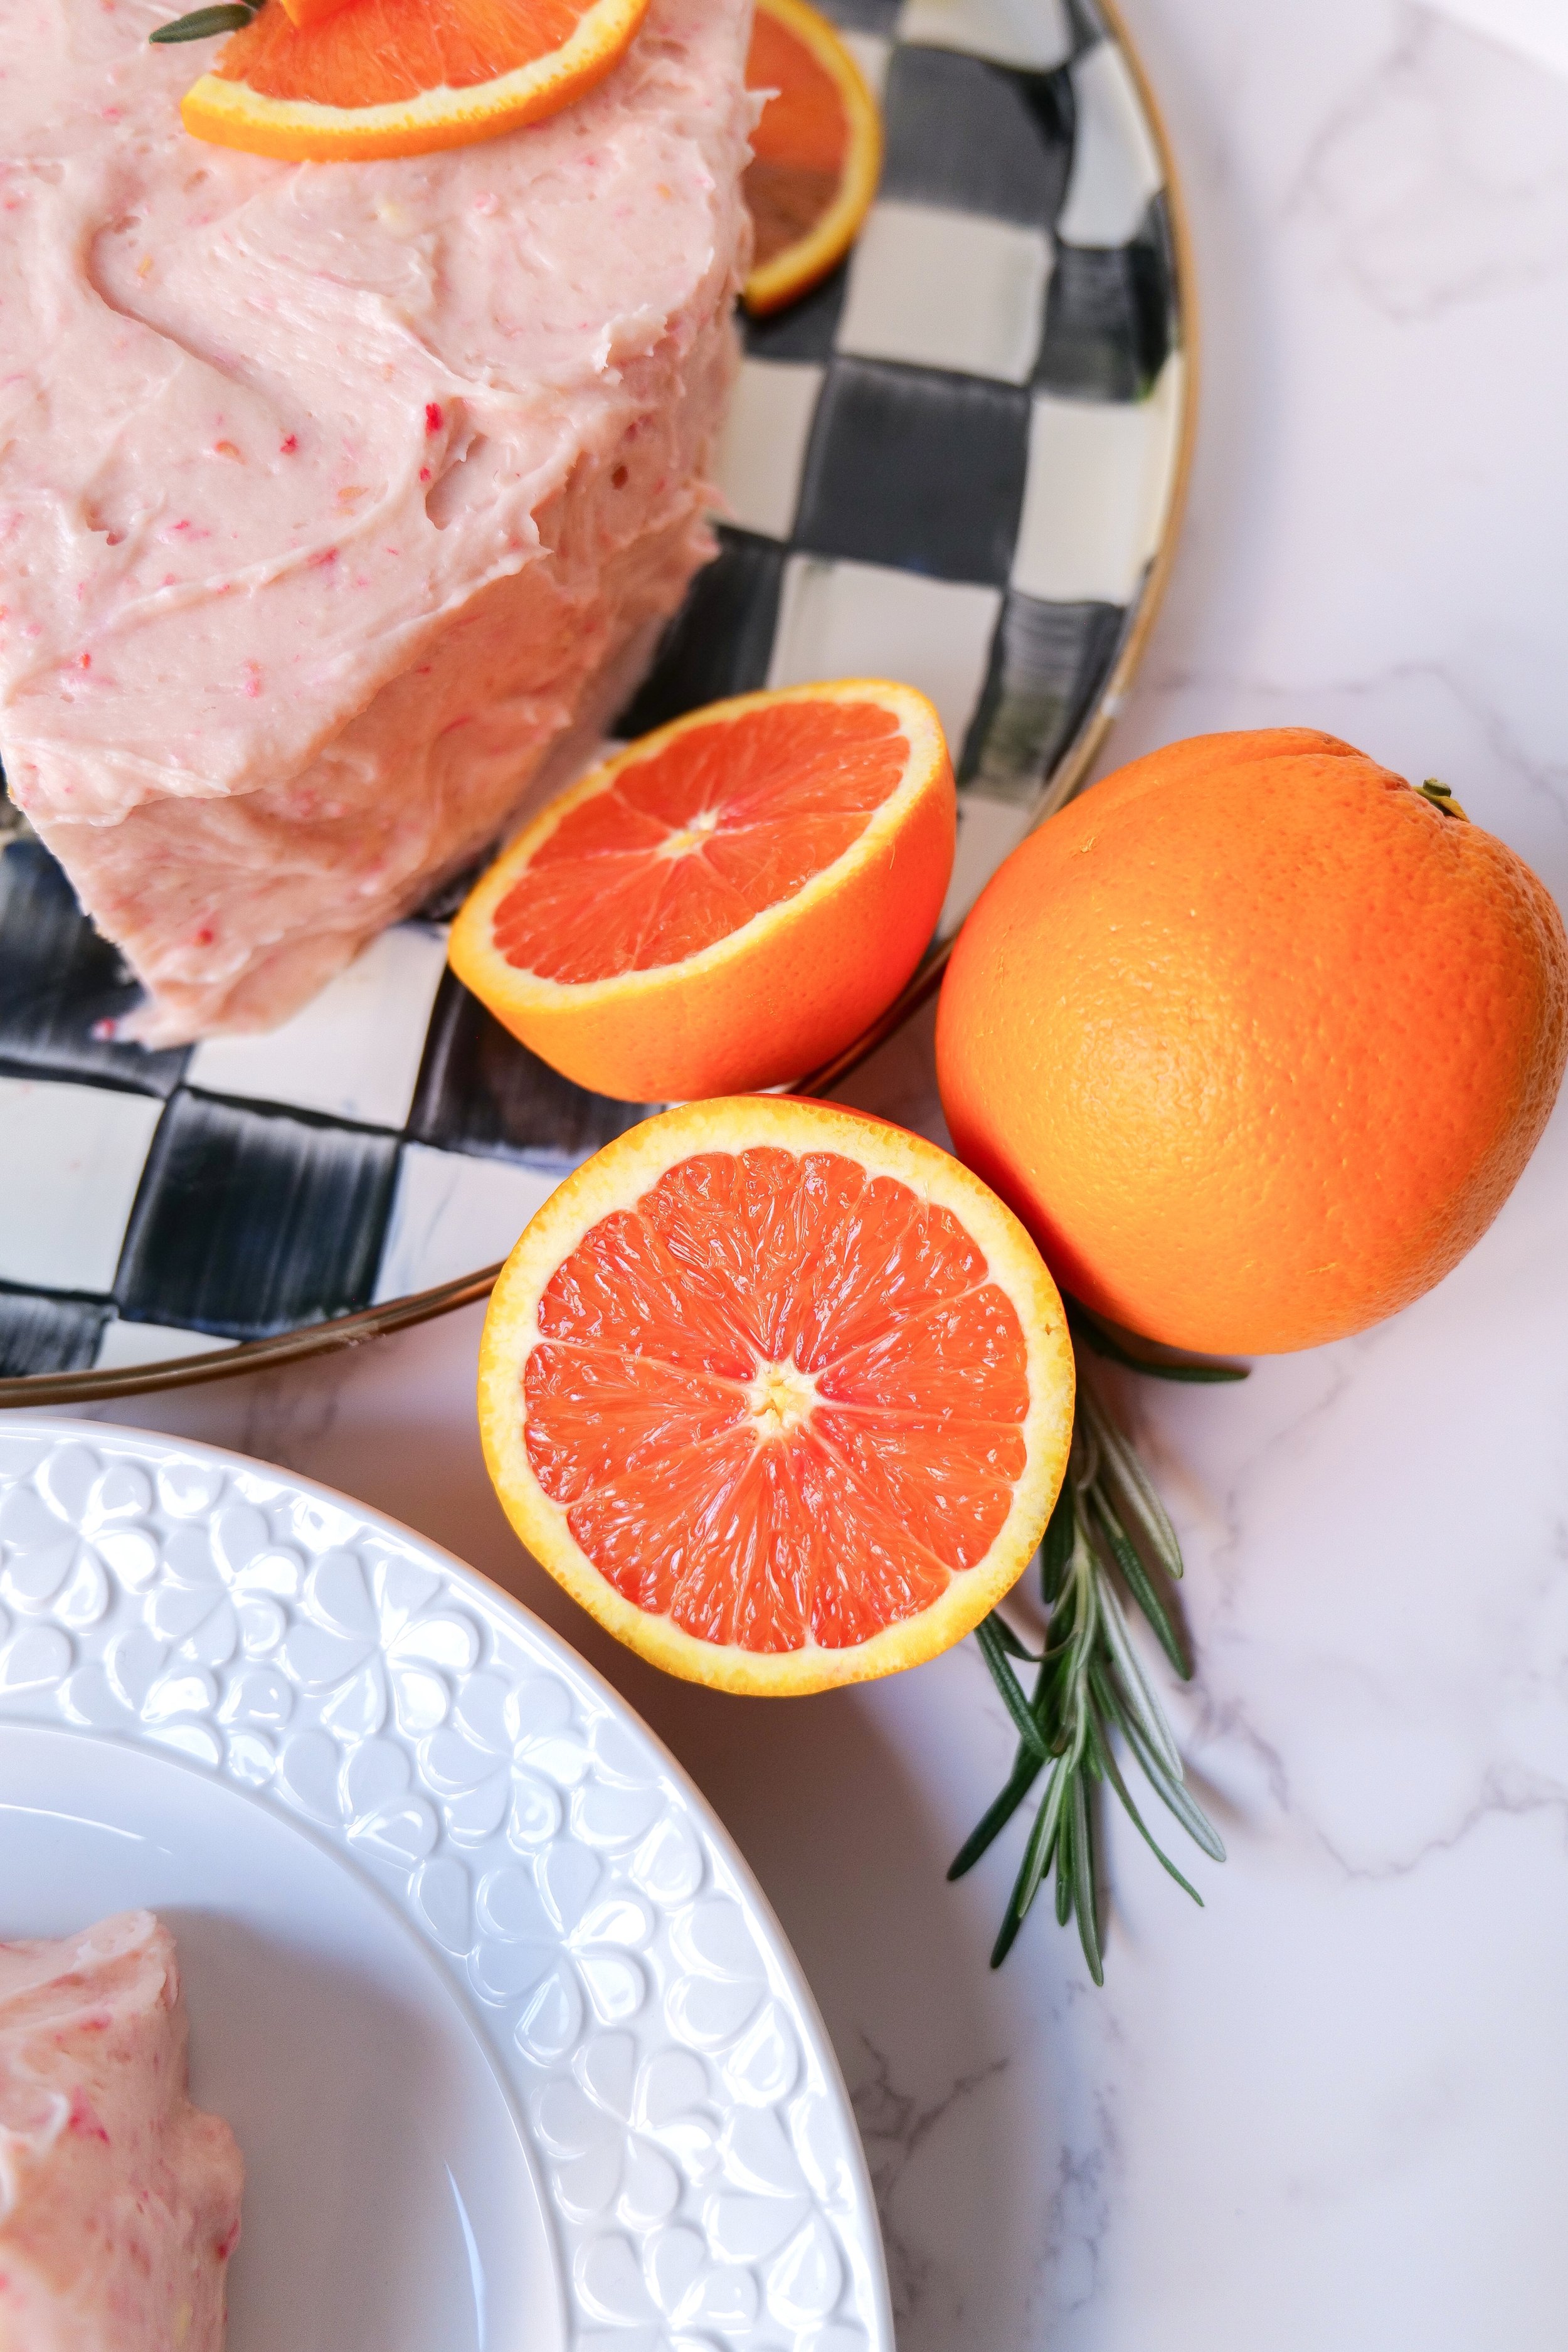
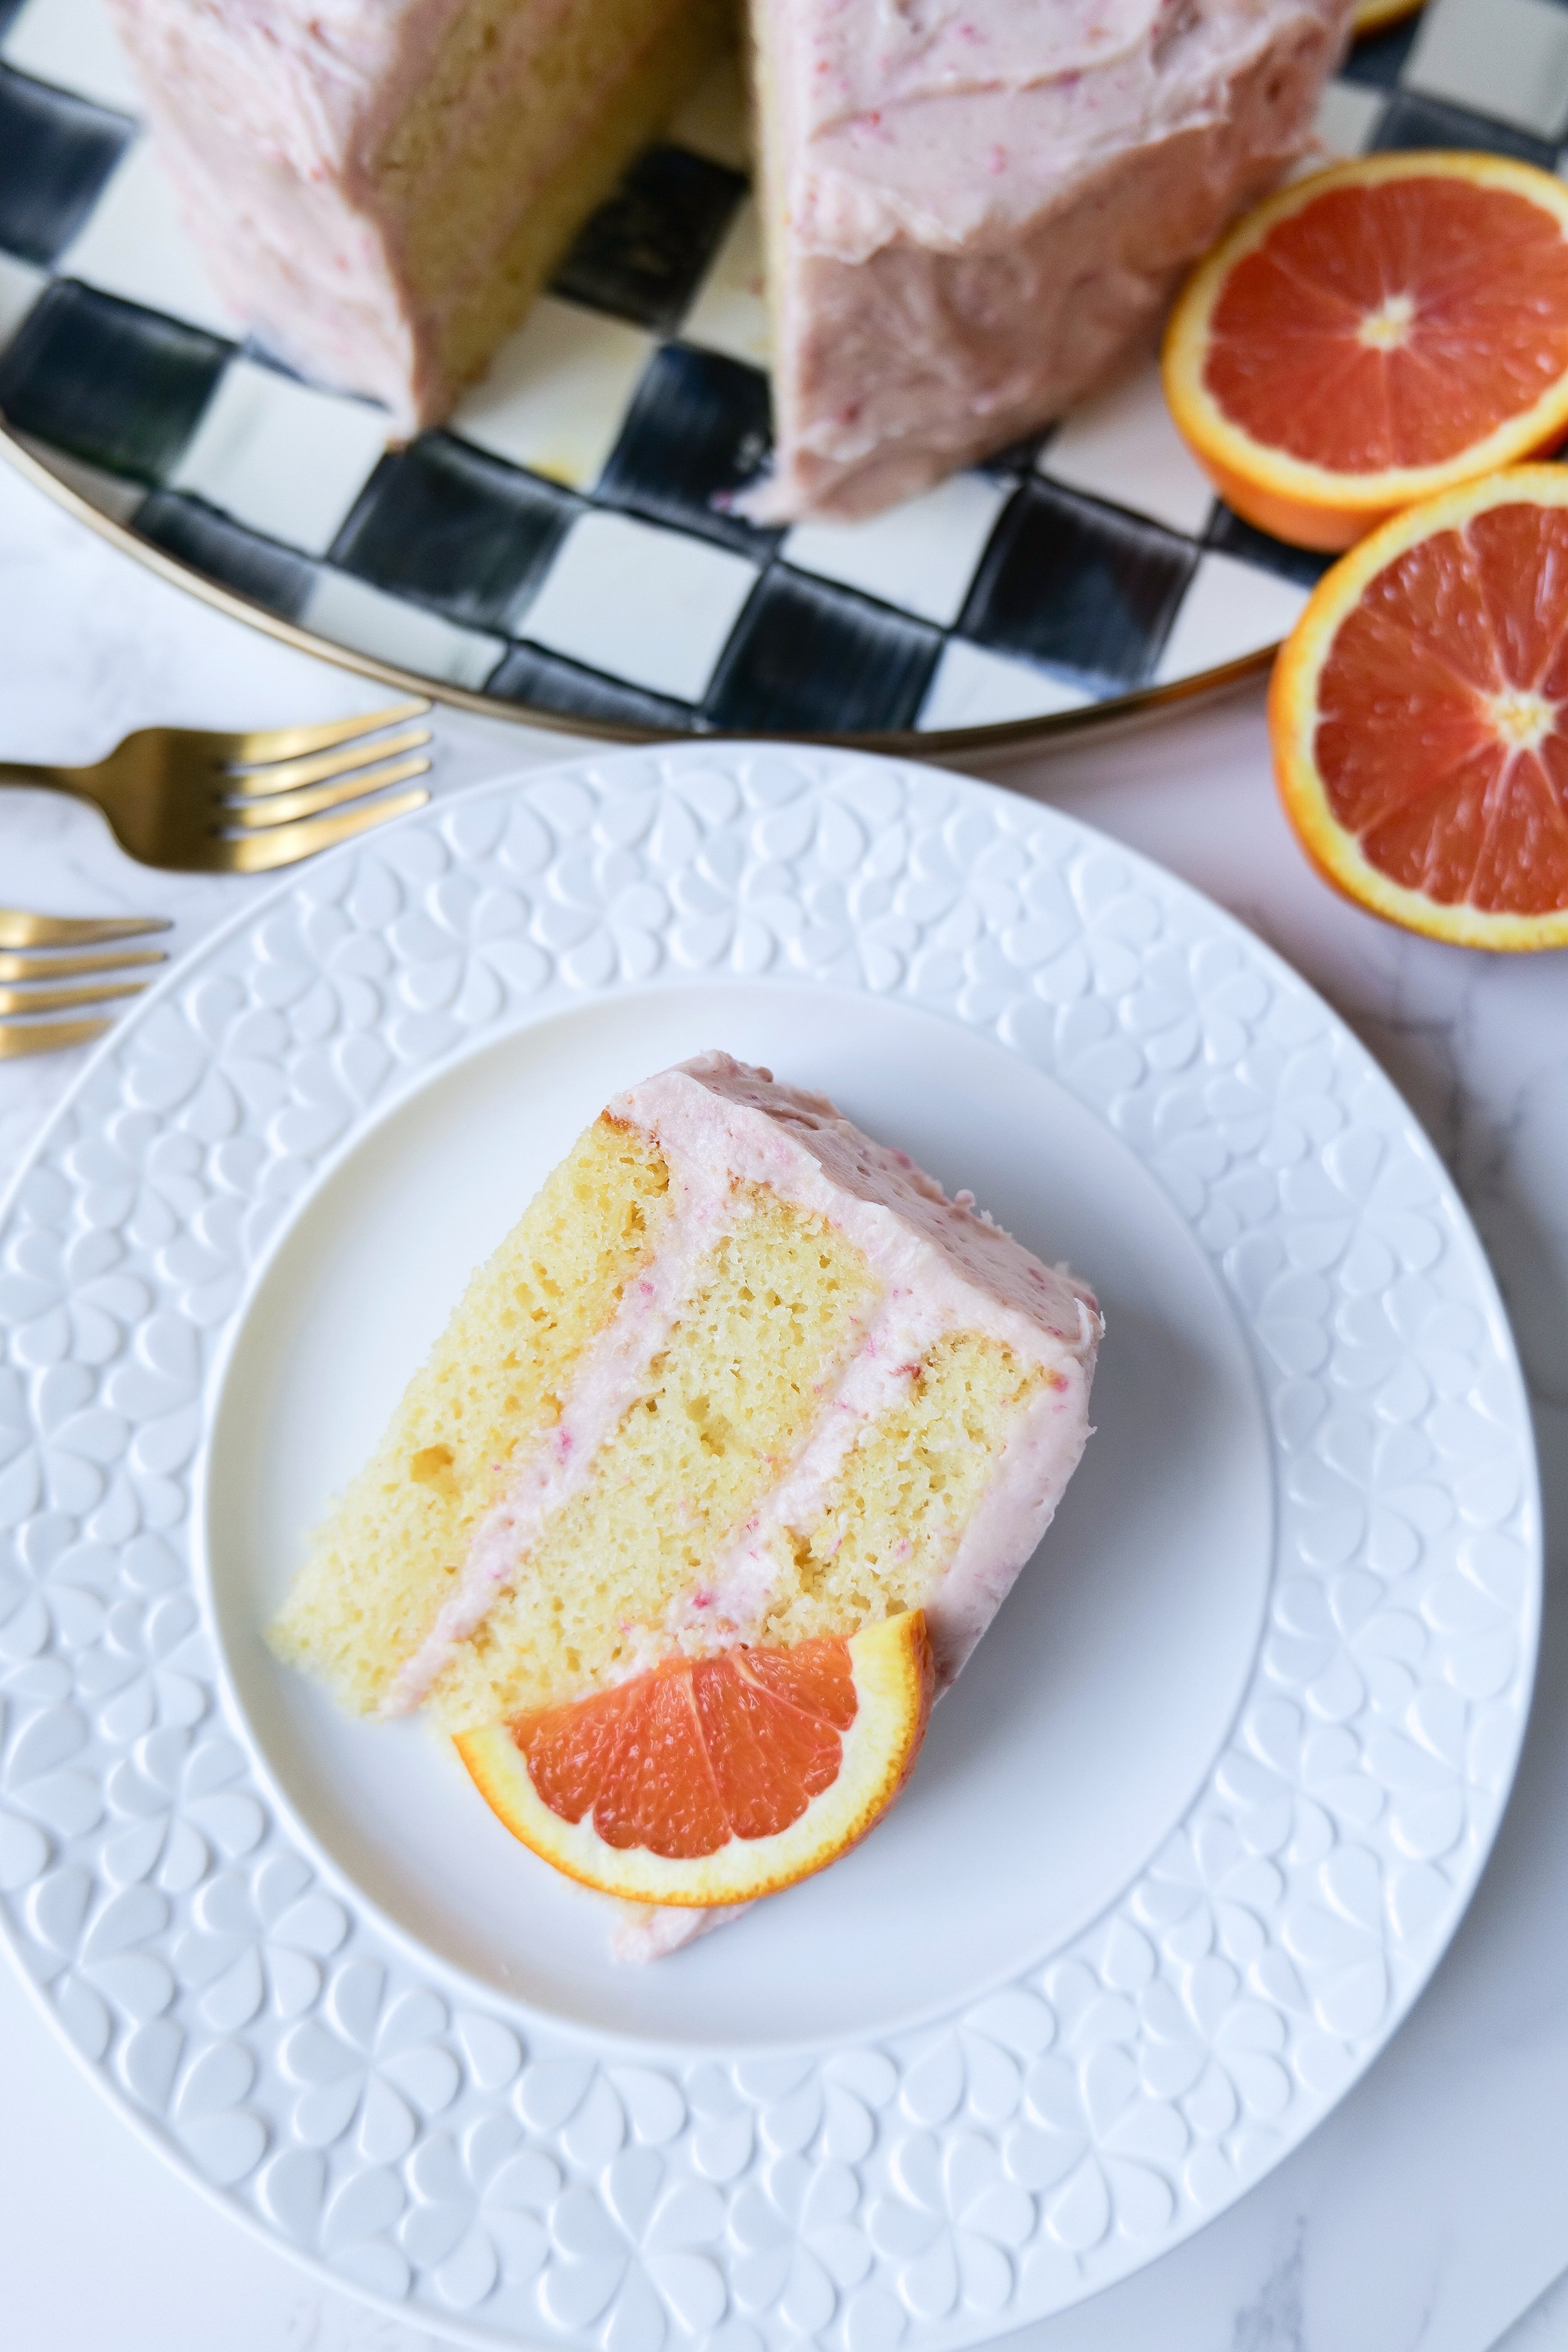
This cake is an excellent dessert to serve at special occasions such as birthdays or anniversaries, or just to enjoy in the comfort of your own home. The combination of oranges, raspberries, and mascarpone creates a flavor that is both unique and delicious. The moist and tender oranges add a subtle sweetness that is balanced by the tartness of the raspberries. The raspberry mascarpone frosting adds even more sweetness and creates a creamy texture that is simply divine.

Can I make the Layered Orange Cake ahead of time before adding the Raspberry Mascarpone Frosting?

Making a delicious Layered Orange Cake with Raspberry Mascarpone Frosting is a great way to impress your guests. With its unique flavor combination of tart raspberry, creamy mascarpone, and sweet orange, this cake will be sure to make a lasting impression.

For those looking to save time and prepare ahead of time, the Layered Orange Cake portion of this recipe can be made up to 3 days ahead of time. To ensure freshness, the cake should be stored in an airtight container or loosely wrapped in plastic wrap at room temperature until ready to serve. The Raspberry Mascarpone Frosting, however, should be prepared shortly before assembling and serving the cake for optimal freshness. If desired, the components of the cake can be made ahead of time and stored separately. The cake can be stored in an airtight container or loosely wrapped in plastic wrap at room temperature, and the Raspberry Mascarpone Frosting can be stored in an airtight container in the refrigerator. This Layered Orange Cake with Raspberry Mascarpone Frosting is sure to be a hit at any gathering. With its unique flavor profile and ability to be prepared ahead of time, this cake is a great choice for any occasion.

How do I store the Layered Orange Cake with Raspberry Mascarpone Frosting if I have leftovers?

To make this cake, simply mix together the cake ingredients, layer the cake in a pan, and bake until golden. Once cooled, frost the cake with the raspberry mascarpone frosting. To store any leftovers, make sure to separate the cake and frosting layers and place them in an airtight container in the refrigerator. If you are not planning to eat the leftovers within a few days, freeze the cake in an airtight container. When ready to serve, thaw the cake in the refrigerator overnight, and if desired, microwave for a few seconds to re-crisp the cake before serving. Treat yourself to an unforgettable experience with this delicious Layered Orange Cake with Raspberry Mascarpone Frosting.

Is there a substitute for mascarpone cheese in the Raspberry Mascarpone Frosting if I can't find it at my local grocery store?

Layered orange cake with raspberry mascarpone frosting is an indulgent dessert that is sure to please. To make it even more delectable, the raspberry mascarpone frosting is the perfect finishing touch. For those who don’t have mascarpone cheese on hand, there are several substitutes that can be used. Cream cheese is a great substitute for mascarpone cheese in the raspberry mascarpone frosting and will make a delicious cream cheese frosting for the orange cake. Ricotta cheese can also be used instead of mascarpone cheese to create the raspberry mascarpone frosting. Neufchâtel cheese can be used as a substitute for mascarpone cheese in the raspberry mascarpone frosting. The best part of this layered orange cake with raspberry mascarpone frosting is that it can be tailored to each person’s tastes. If you like your desserts sweeter, you can add more sugar to the raspberry mascarpone frosting. If you prefer a lighter frosting, you can use cream cheese in the raspberry mascarpone frosting. No matter what type of sweet tooth you have, you can make this layered orange cake with raspberry mascarpone frosting to suit your taste buds. Whether you’re using mascarpone cheese or one of its substitutes, this layered orange cake with raspberry mascarpone frosting is sure to be a hit.

Are there any tips for achieving even layers in the Layered Orange Cake?

When baking a delicious layered orange cake with raspberry mascarpone frosting, preparation is key. Before beginning, make sure to pre-measure all ingredients to ensure accuracy. Once all ingredients are measured, preheat the oven to the correct temperature before adding the cake batter to the pans. It is important to grease the pans thoroughly so that the cake layers won’t stick. After adding the cake batter to the pans, make sure to evenly spread the batter and tap each pan on the countertop to remove any air bubbles. Finally, bake the cake layers for the same amount of time and allow them to cool before adding the raspberry mascarpone frosting. Following these steps will ensure a delicious cake that everyone will love!

Ingredients

Serving Size 10 people

3 large eggs

3 large egg whites

1/2 cup heavy cream

1/2 cup juice orange

2 teaspoons orange zest

2 tablespoons melted butter

3 teaspoons vanilla

1 - 1/2 cup sugar

2-1/4 cups cake flour

1 tablespoon baking powder

3/4 tsp salt

1 cup grated butter

Icing

1 cup salted butter

2 teaspoons vanilla extract

5 cups powdered sugar

8 oz mascarpone

1/2 cup mashed raspberries

Instructions

1. Prep by oiling 2 circle pans (8 or 9 inches) and preheat oven to 350 degrees.

2. Blend eggs, heavy cream, melted butter, and vanilla completely.

3. Add dry ingredients in a different bowl until combined. Grate 1 cup of butter on top of dry ingredients. Combined by hand until butter is no larger than pea sizes.

5. Next up add wet ingredients and blend with a hand mixer until you achieve a smooth consistency. Once combined batter into 2 pans that are oiled and put into the oven. 22-27 min, if you want a 4-layer cake do 4 pans for 10-12 min only or until a toothpick inserted comes out clean.

7. Blend all frosting ingredients until incorporated. (butter should be at room temp if not heated in the microwave for 30 sec at a time). If doubling the cake recipe for a taller cake be sure to double the frosting recipe.

8. Once cake is done baking let cool in pan for 15 mins and transfer to wire rack for another 15 minutes.

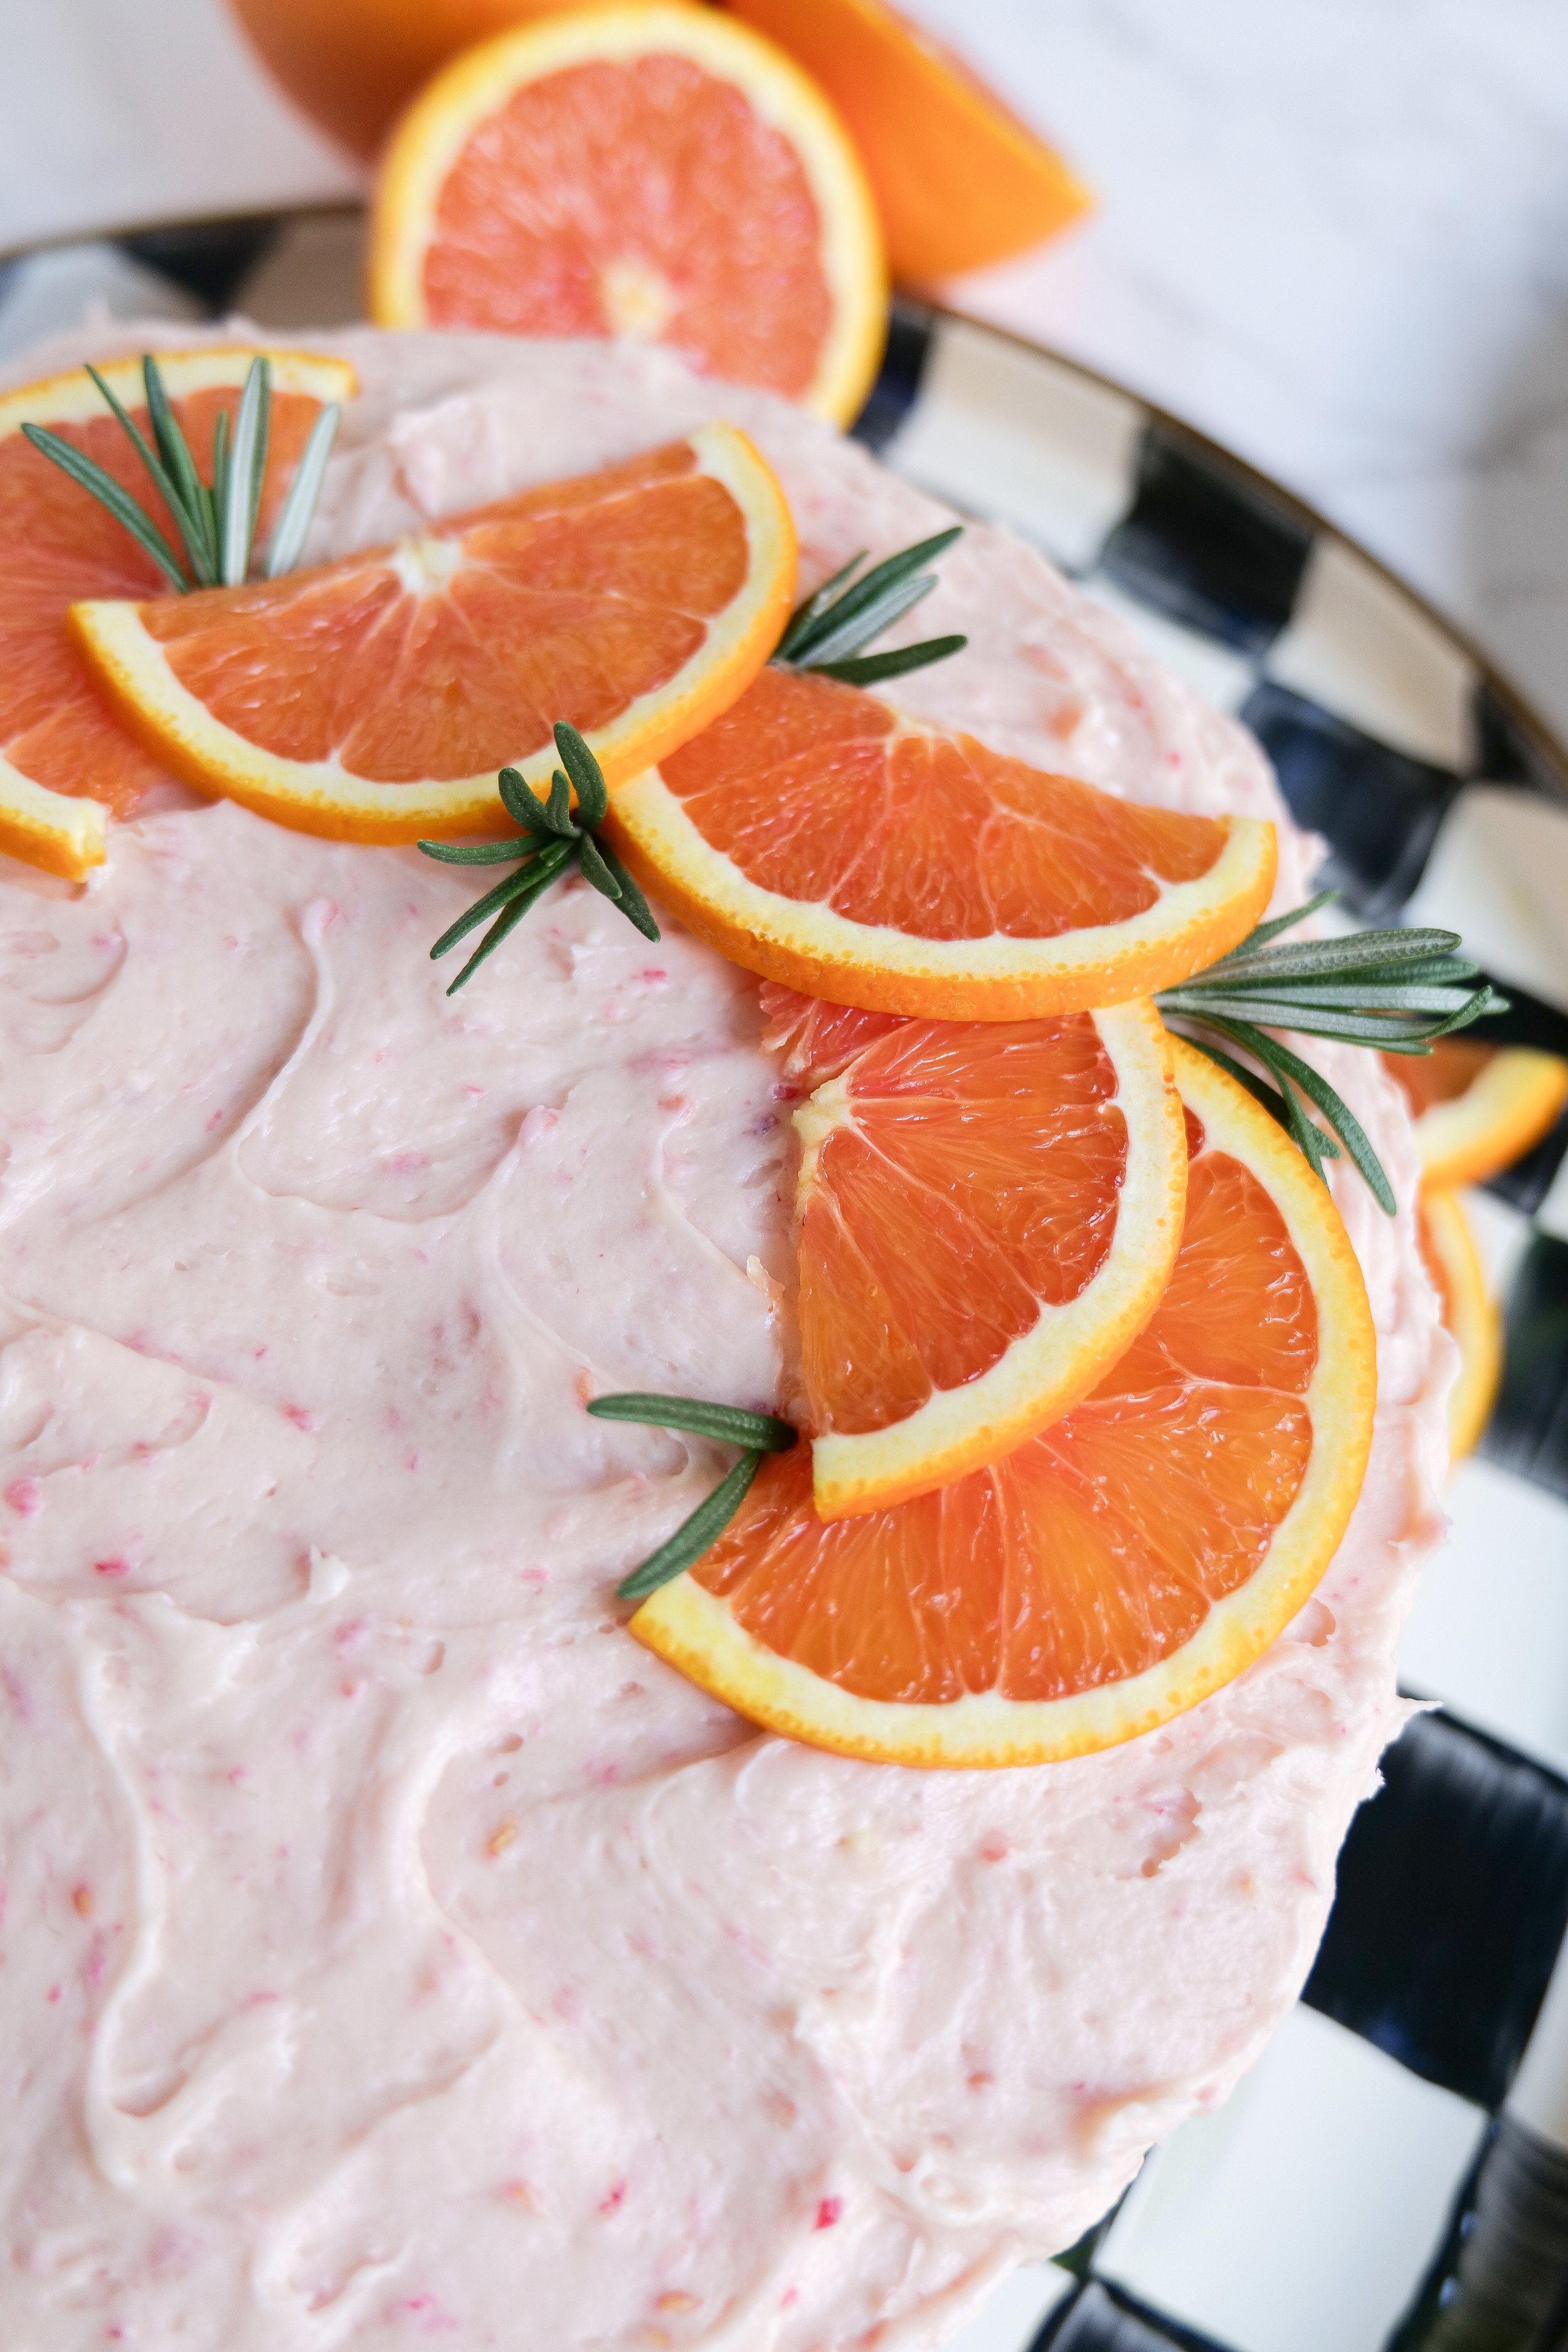
9. Ice layers of cake and do a thin layer around for a “crumb layer” that will catch all the crumbs and make a base for the final layer. Place in fridge for 30 mins and then do another final layer. Smooth, textured, whatever you desire! Add the raspberries and orange peels to decorate and Enjoy!

Other Delicious Cake Recipes:

Taste the Deliciousness of Pistachio Cake: A Treat for Any Occasion

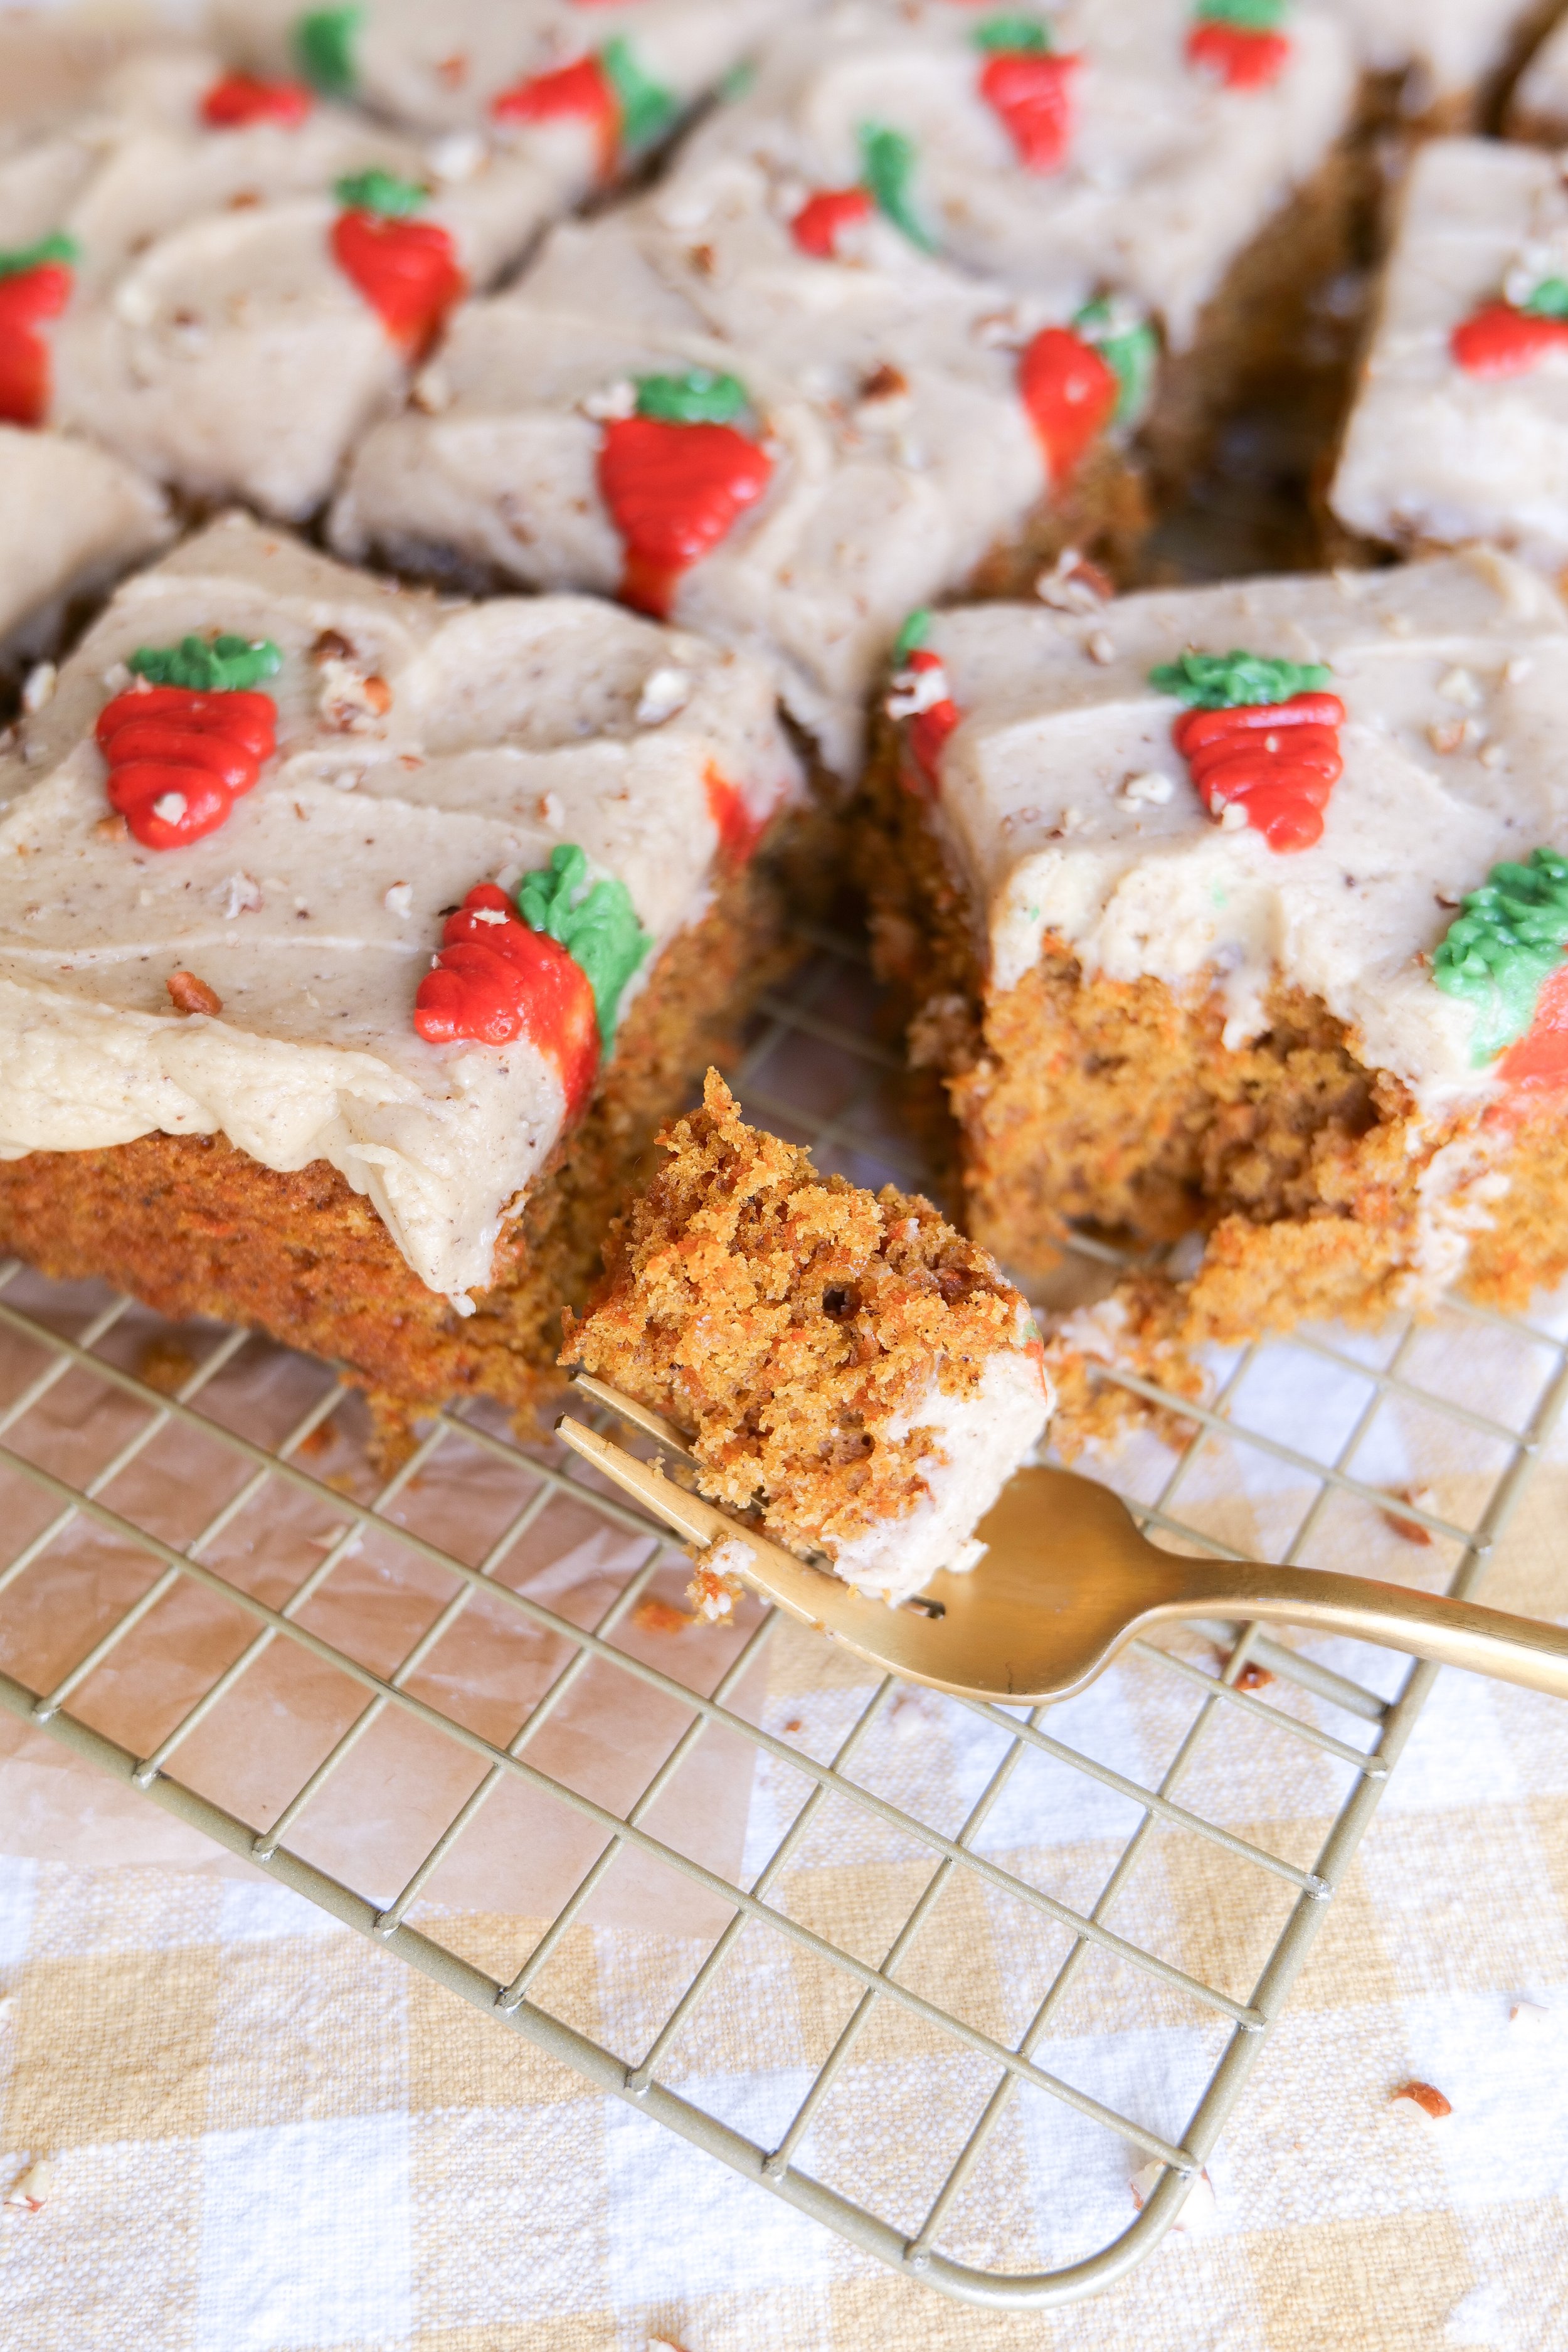
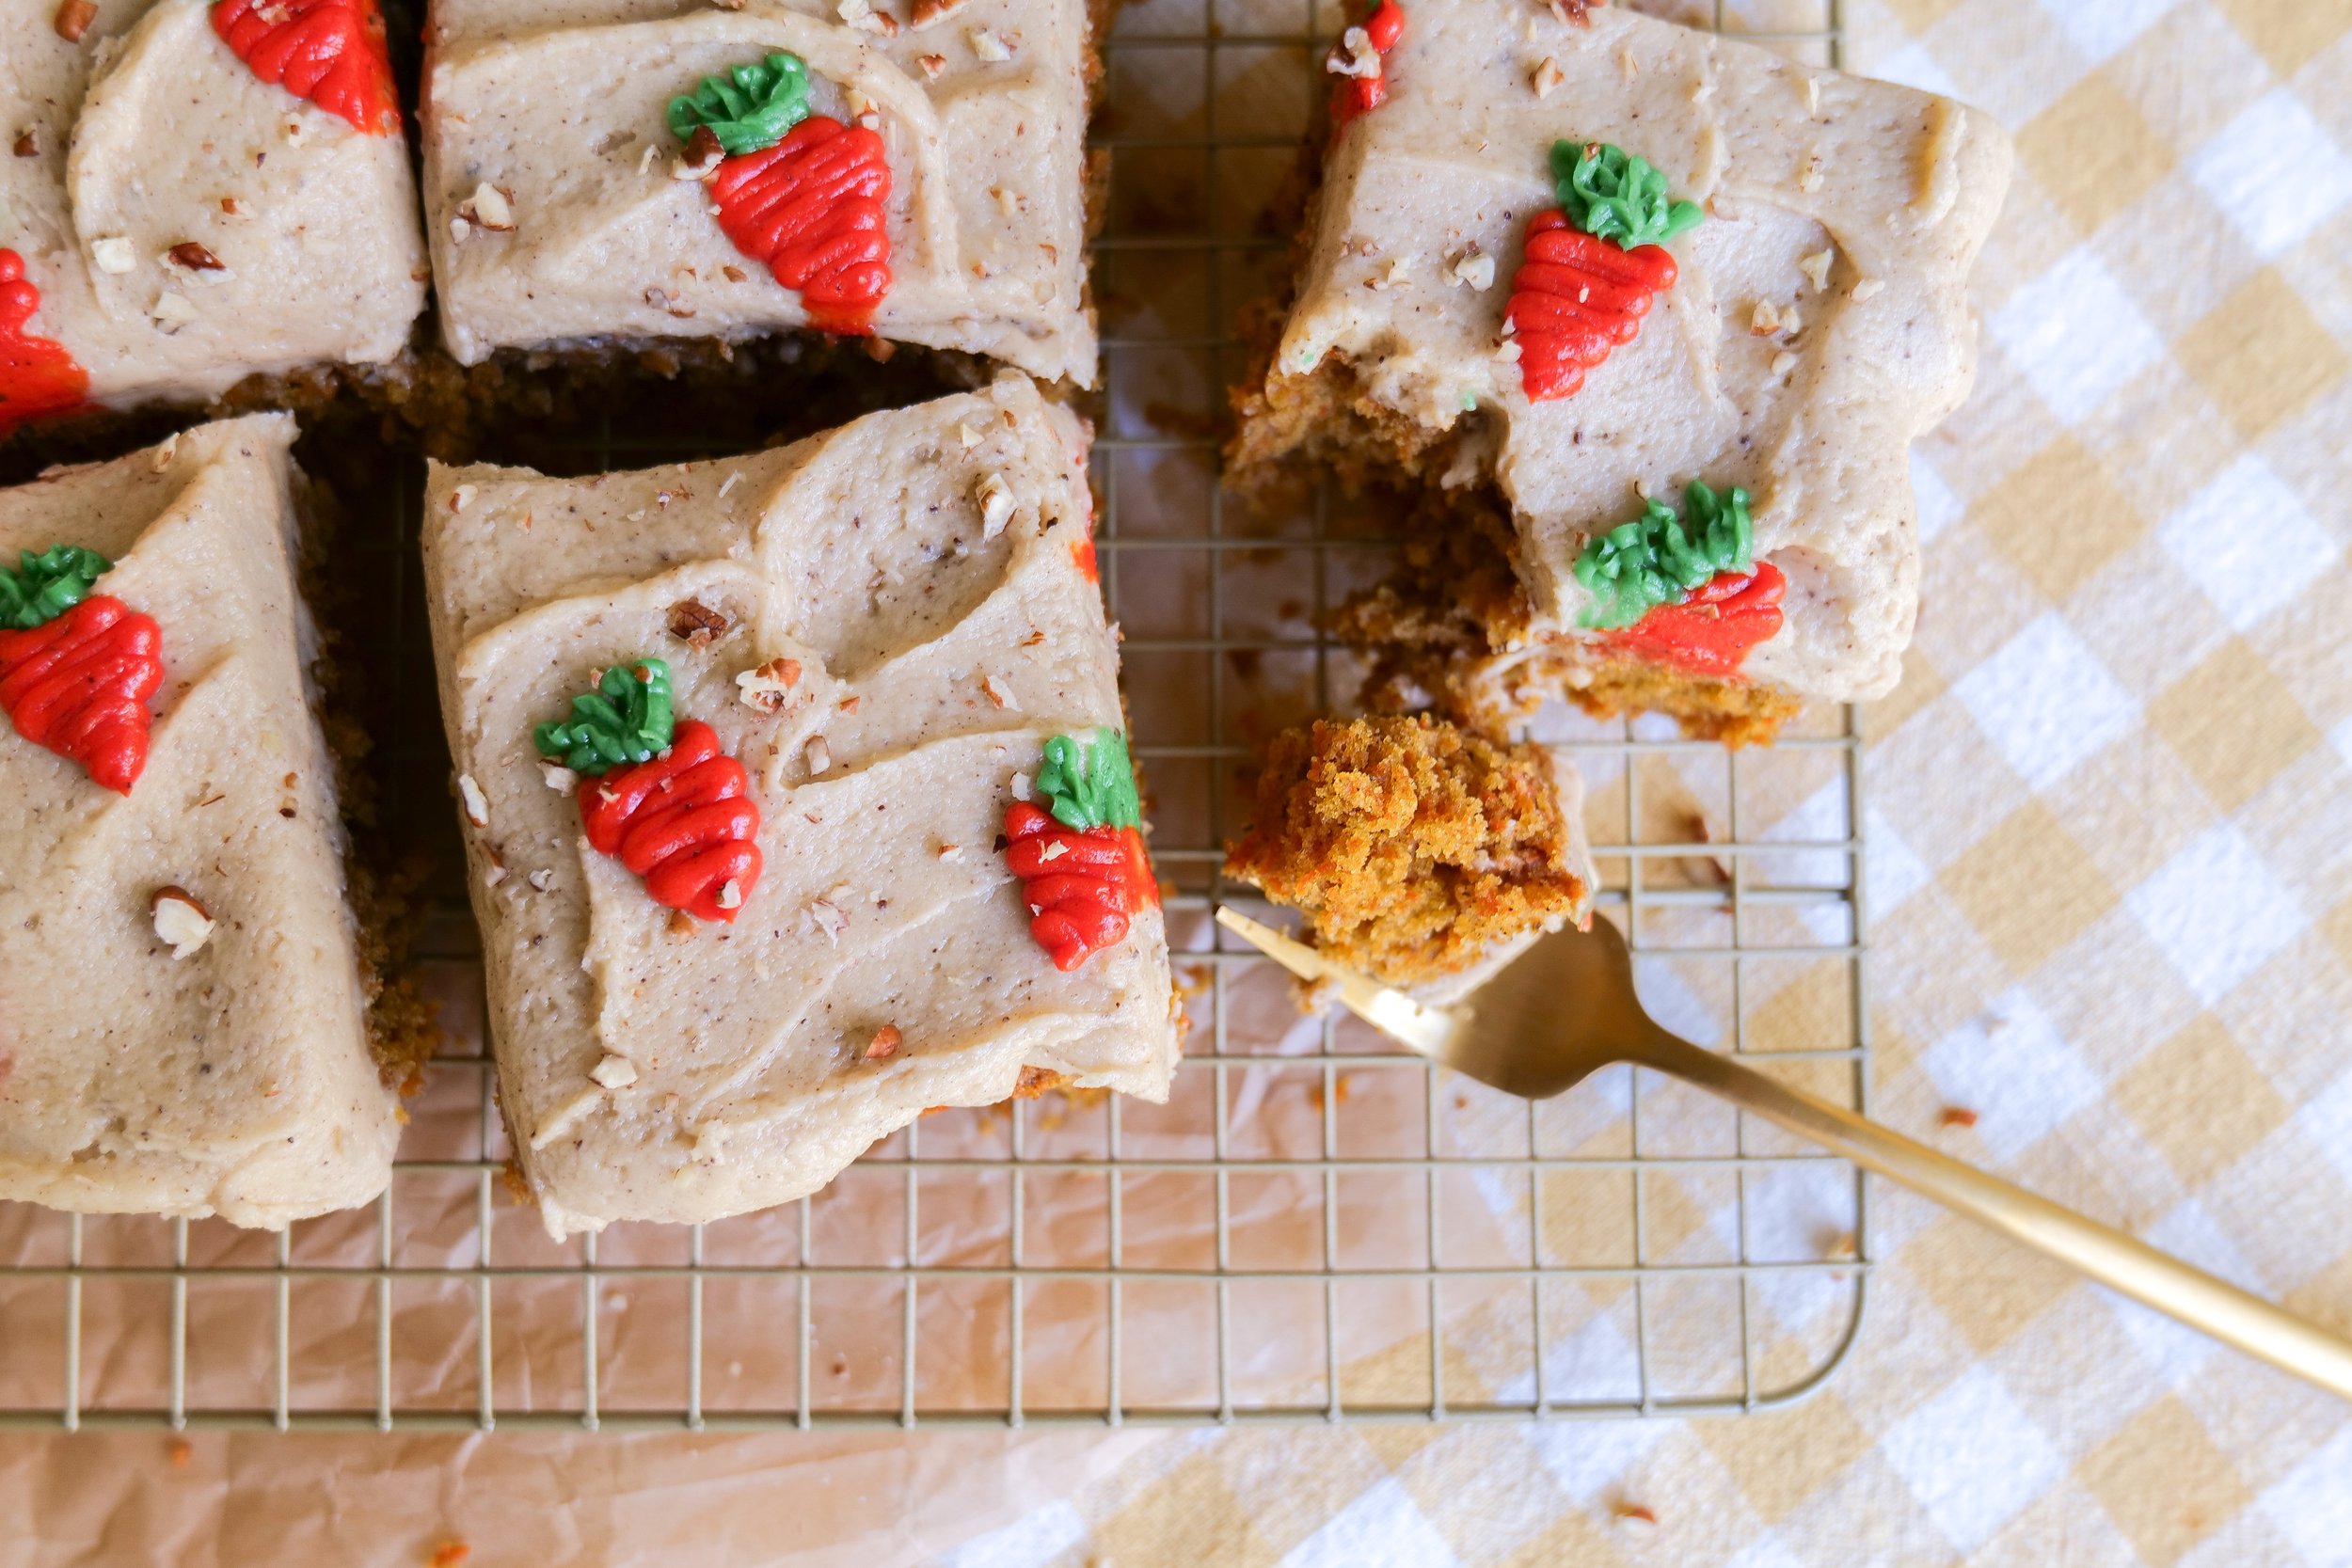
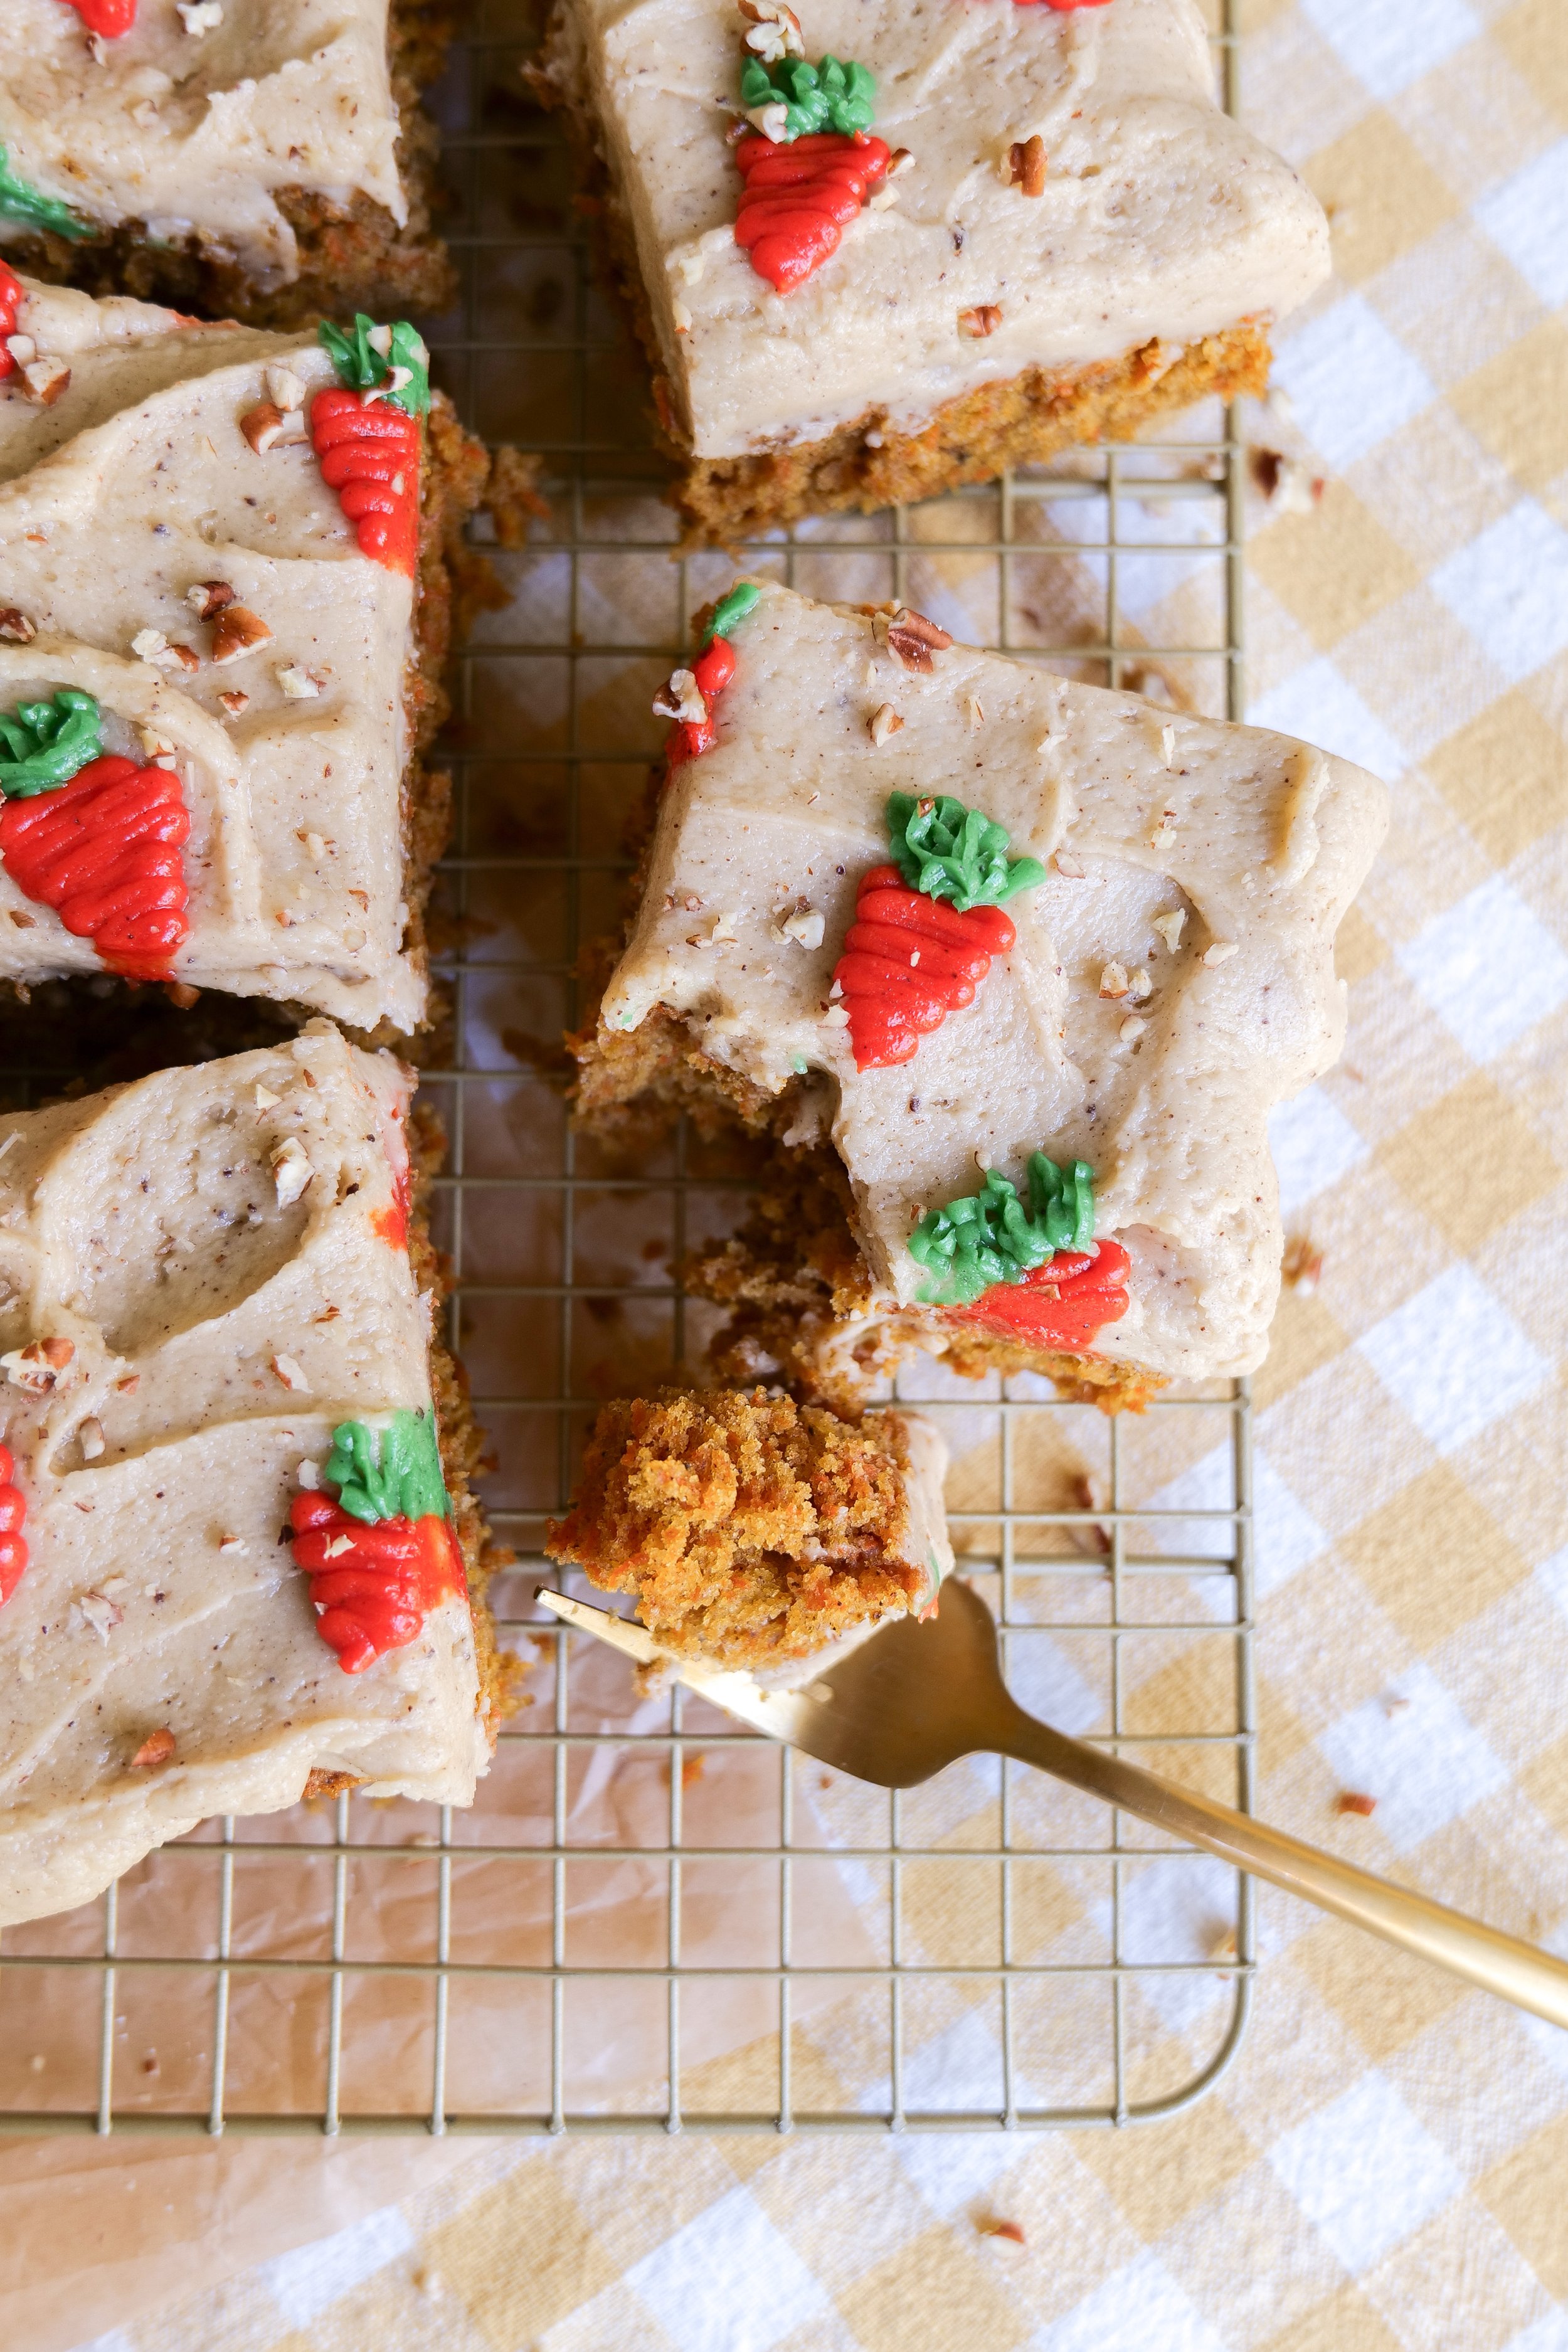
Savor the Sweetness: A Guide to Making Carrot Sheet Cake with Brown Butter Frosting

My Favorite White Cake Recipe

Indulge in Deliciousness: Cherry Chip Cake with Chunks of Dark Chocolate Recipe

Indulge Your Sweet Tooth with This Delicious Brown Butter Spice Cake with Honey & Fig Jam Frosting

Savor the Sweetness: A Guide to Making Carrot Sheet Cake with Brown Butter Frosting

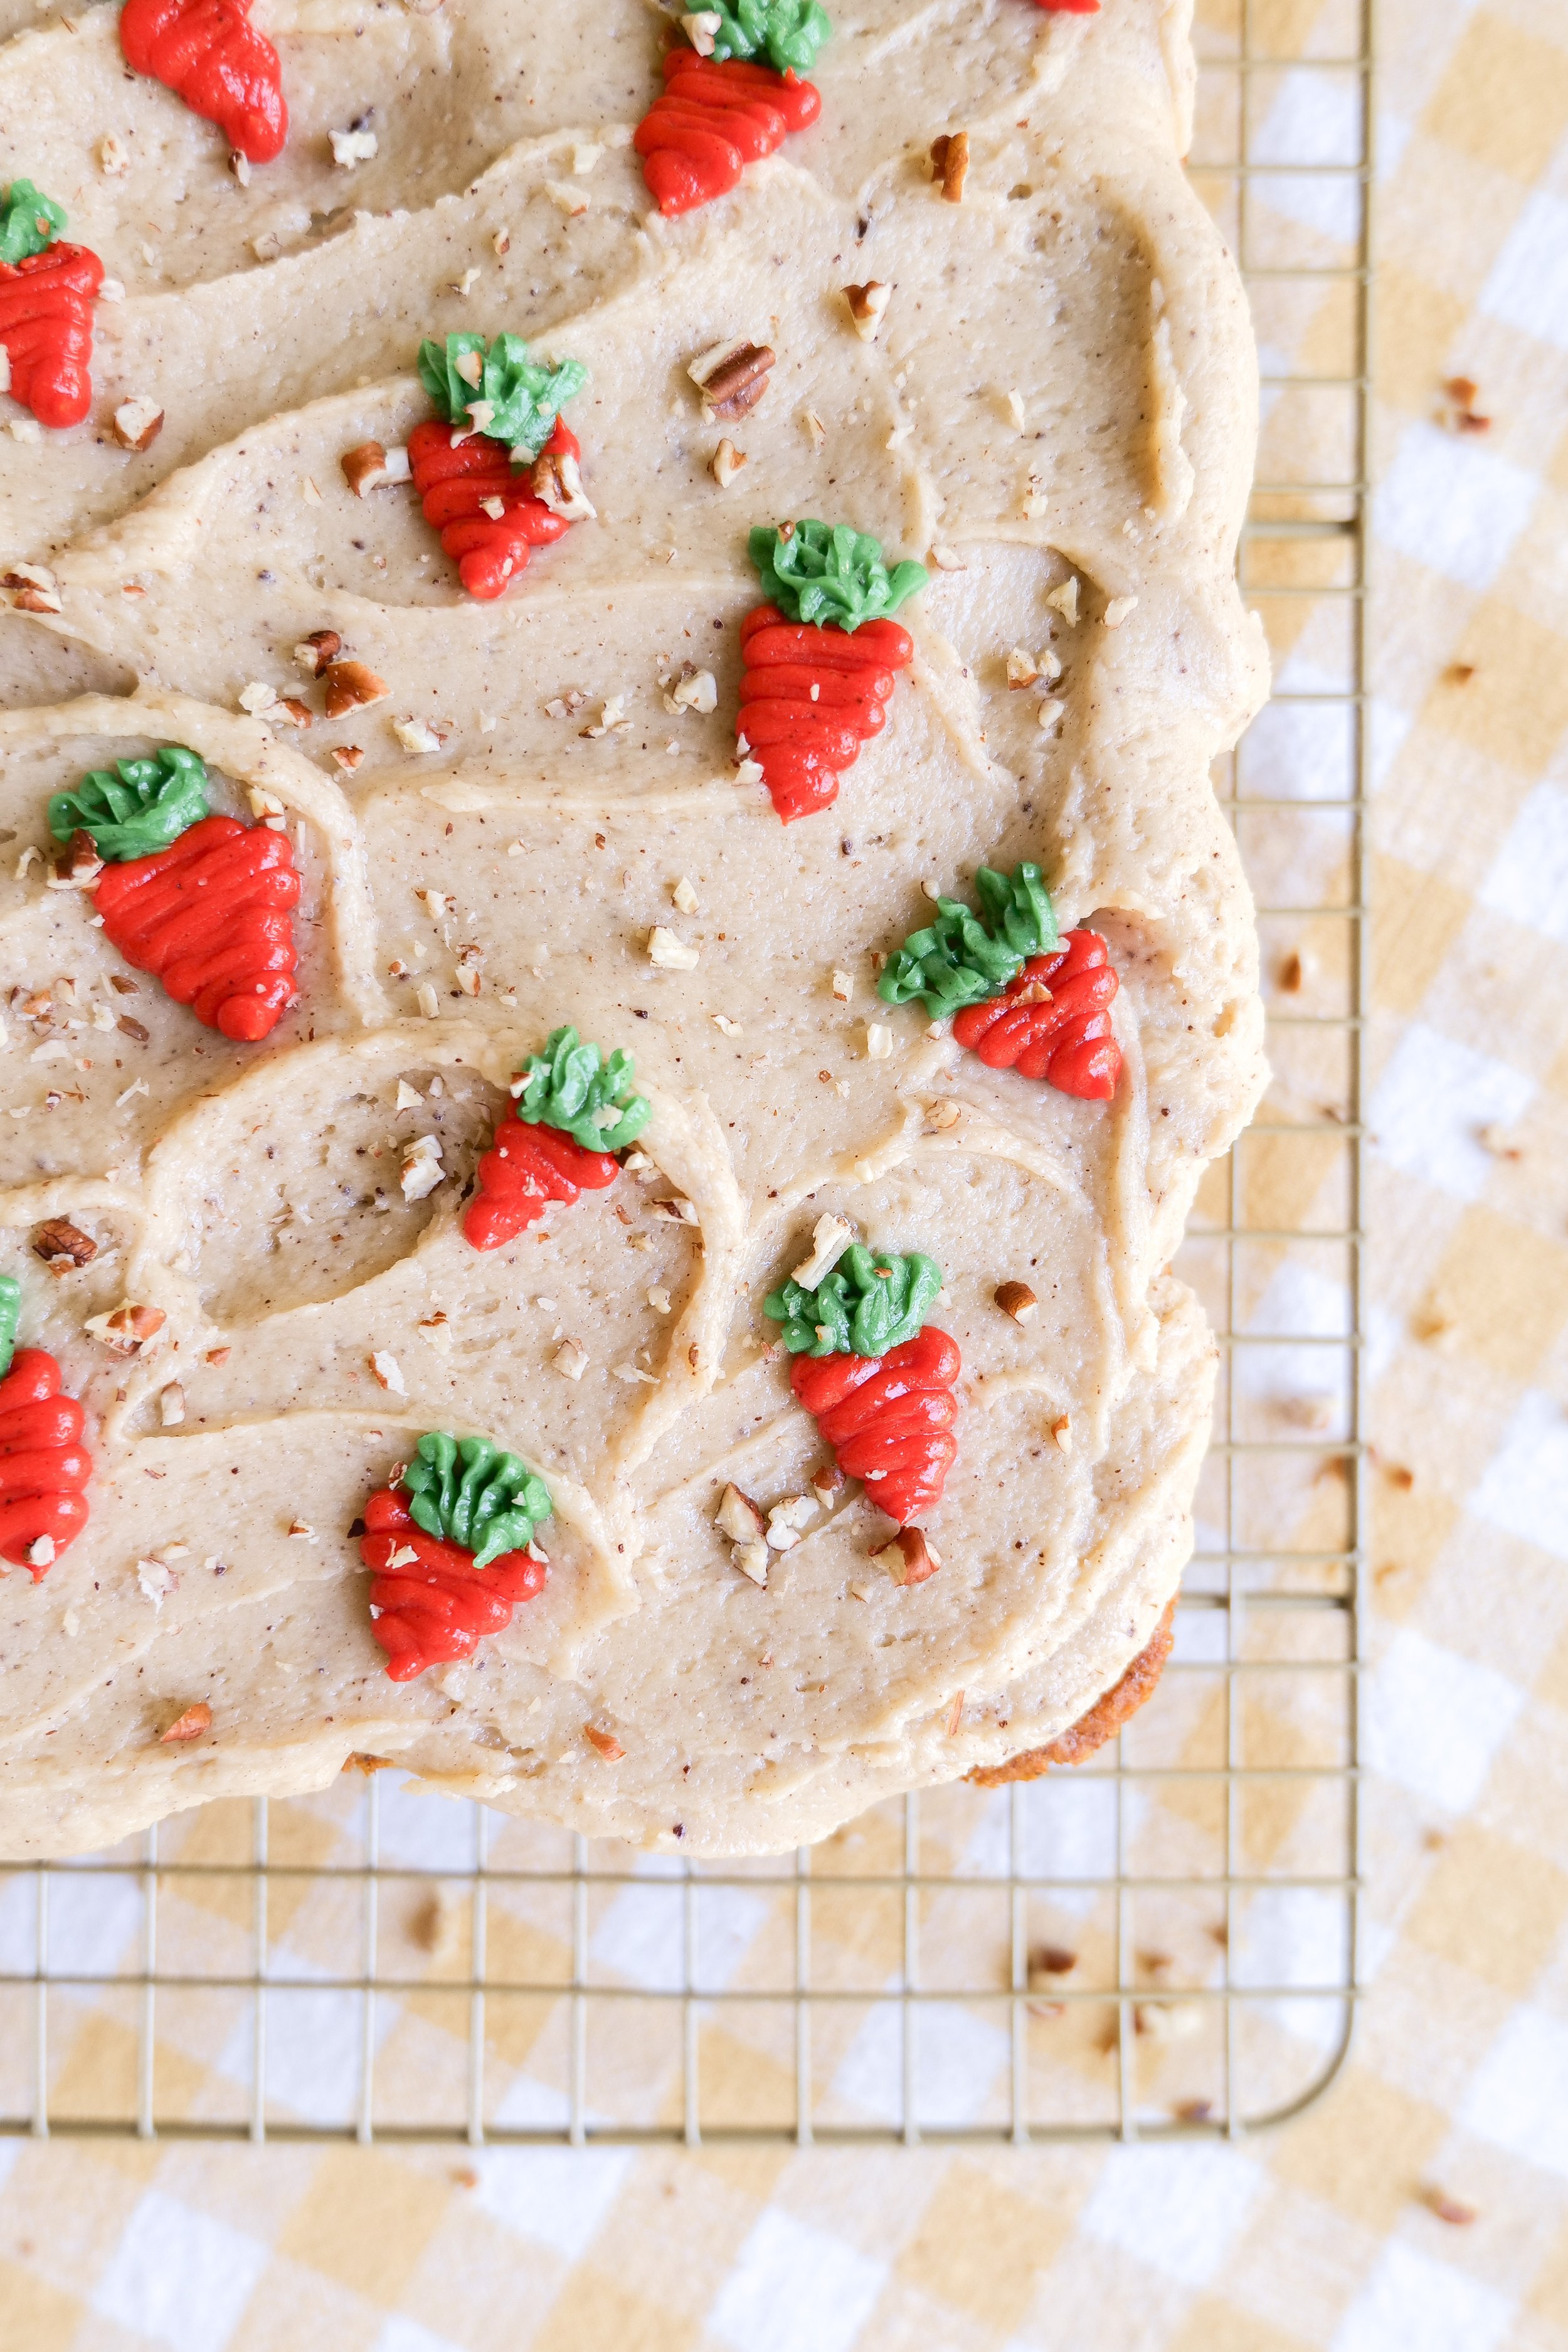
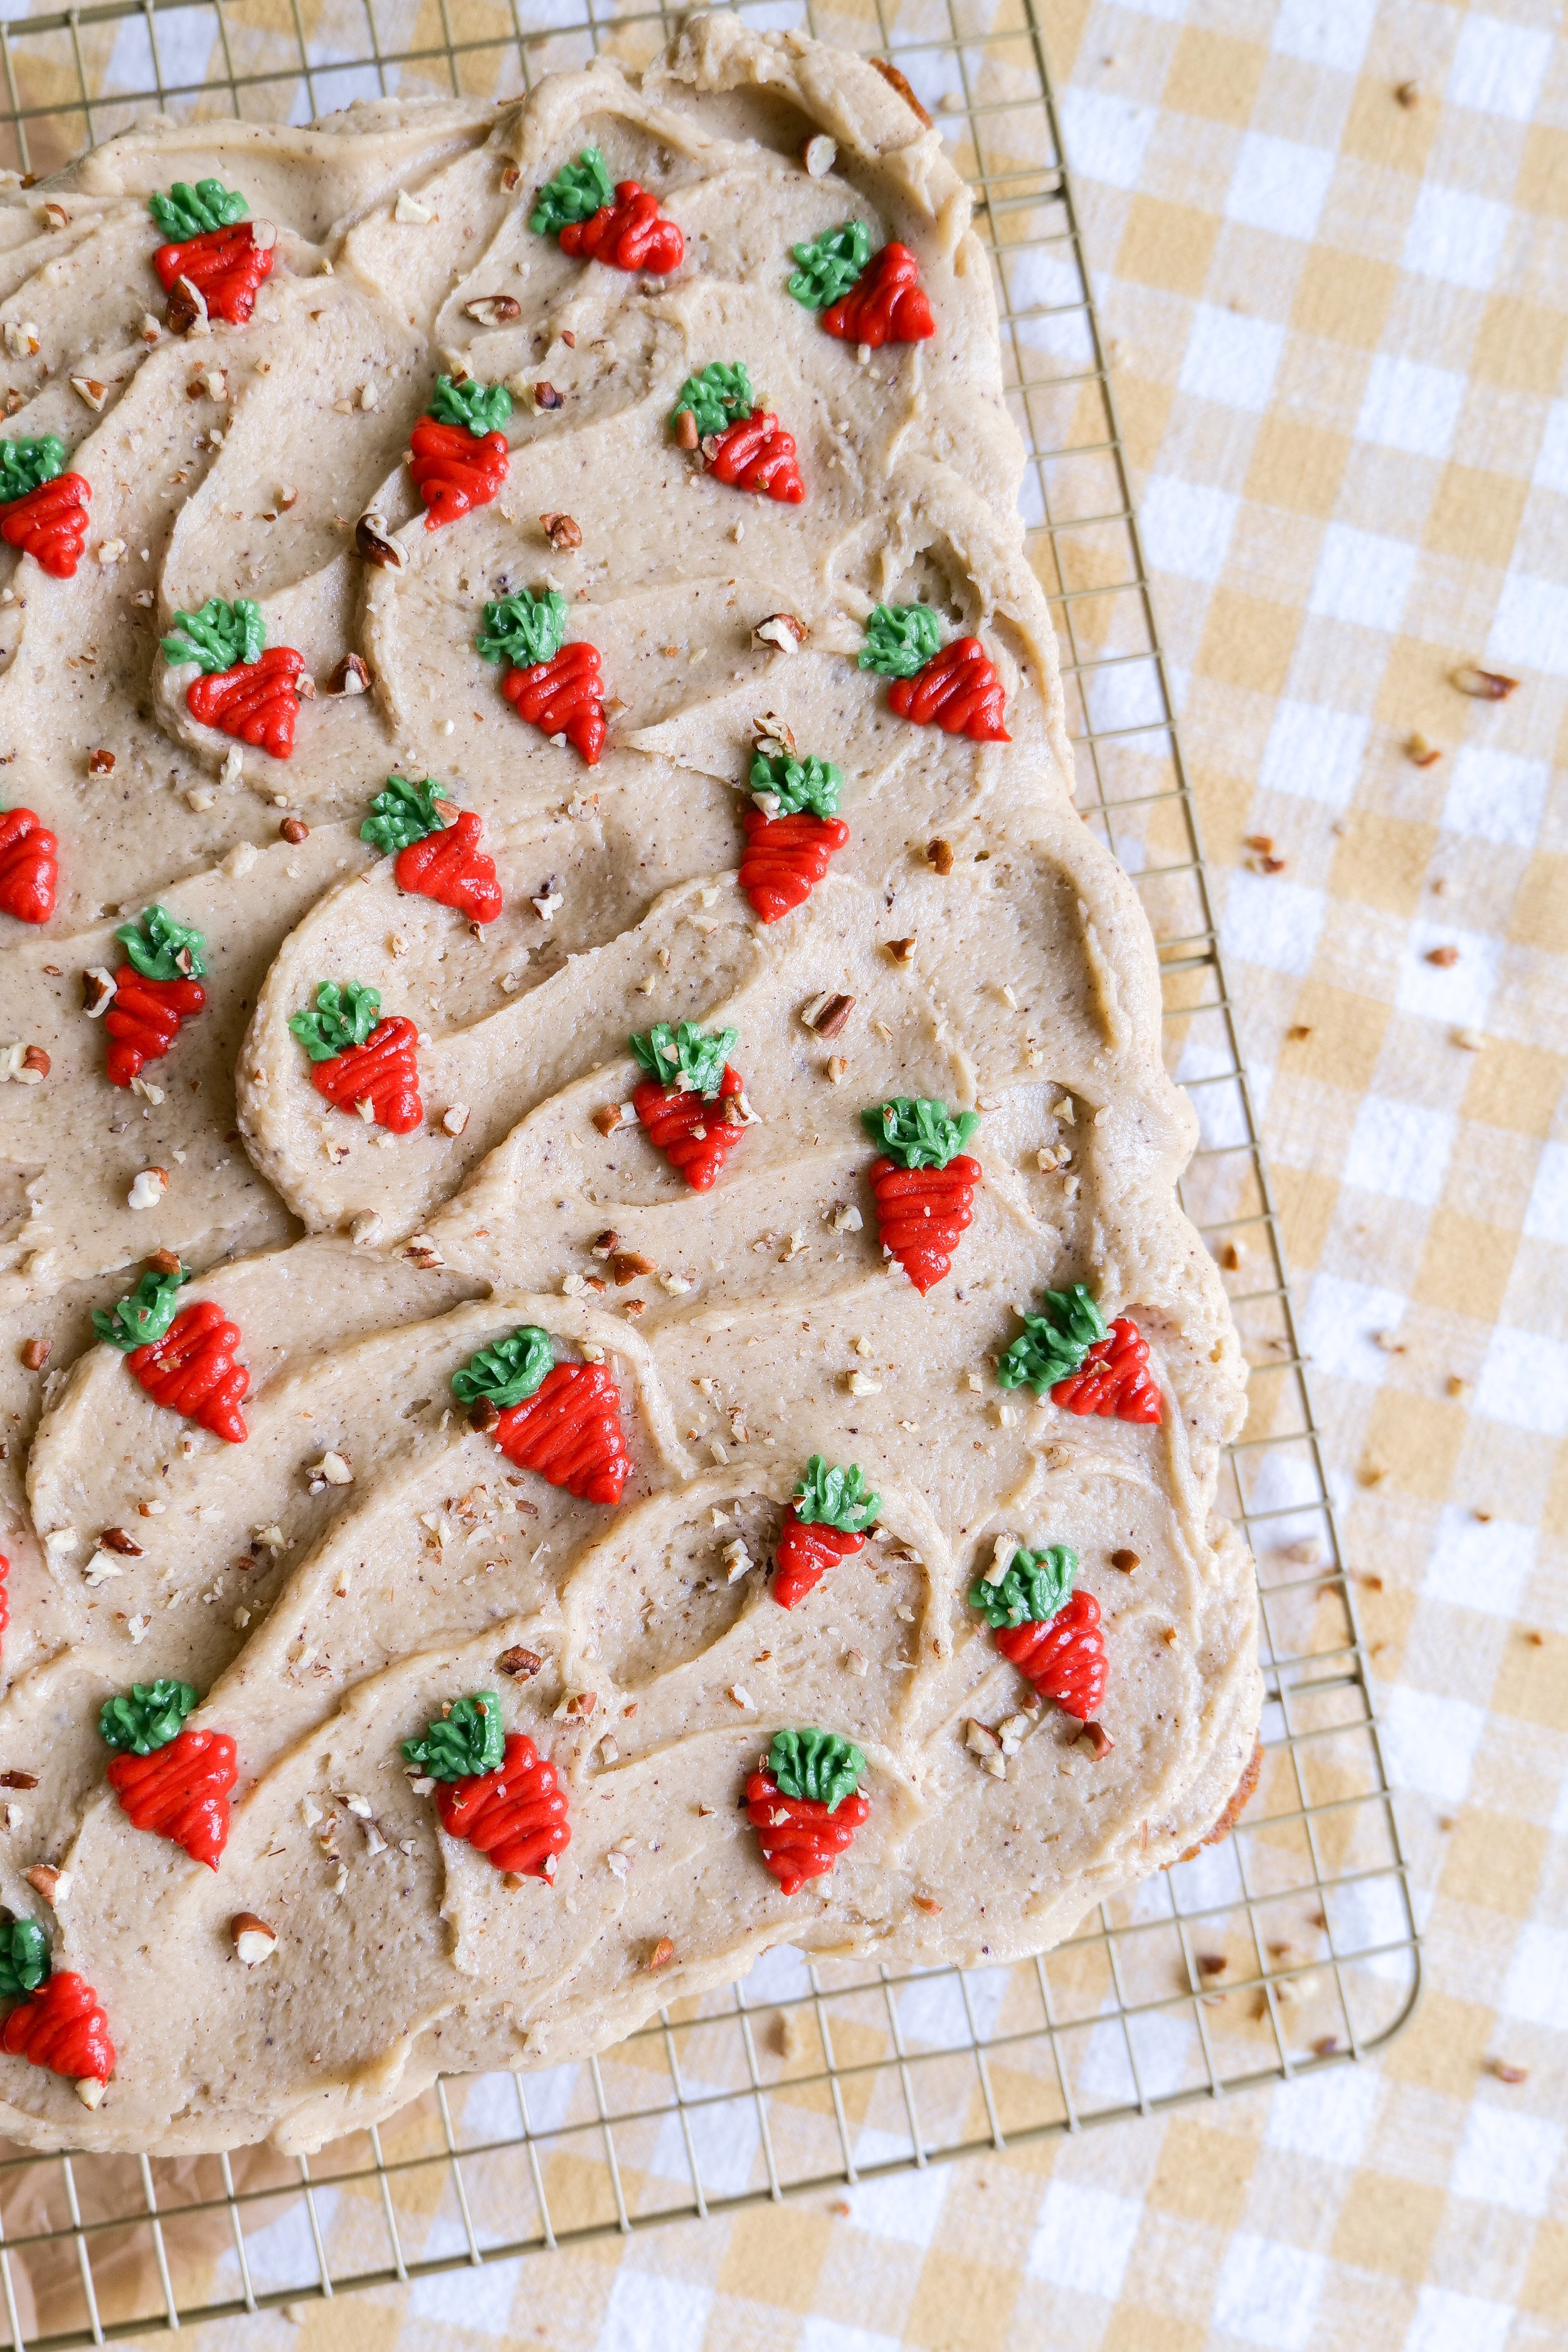
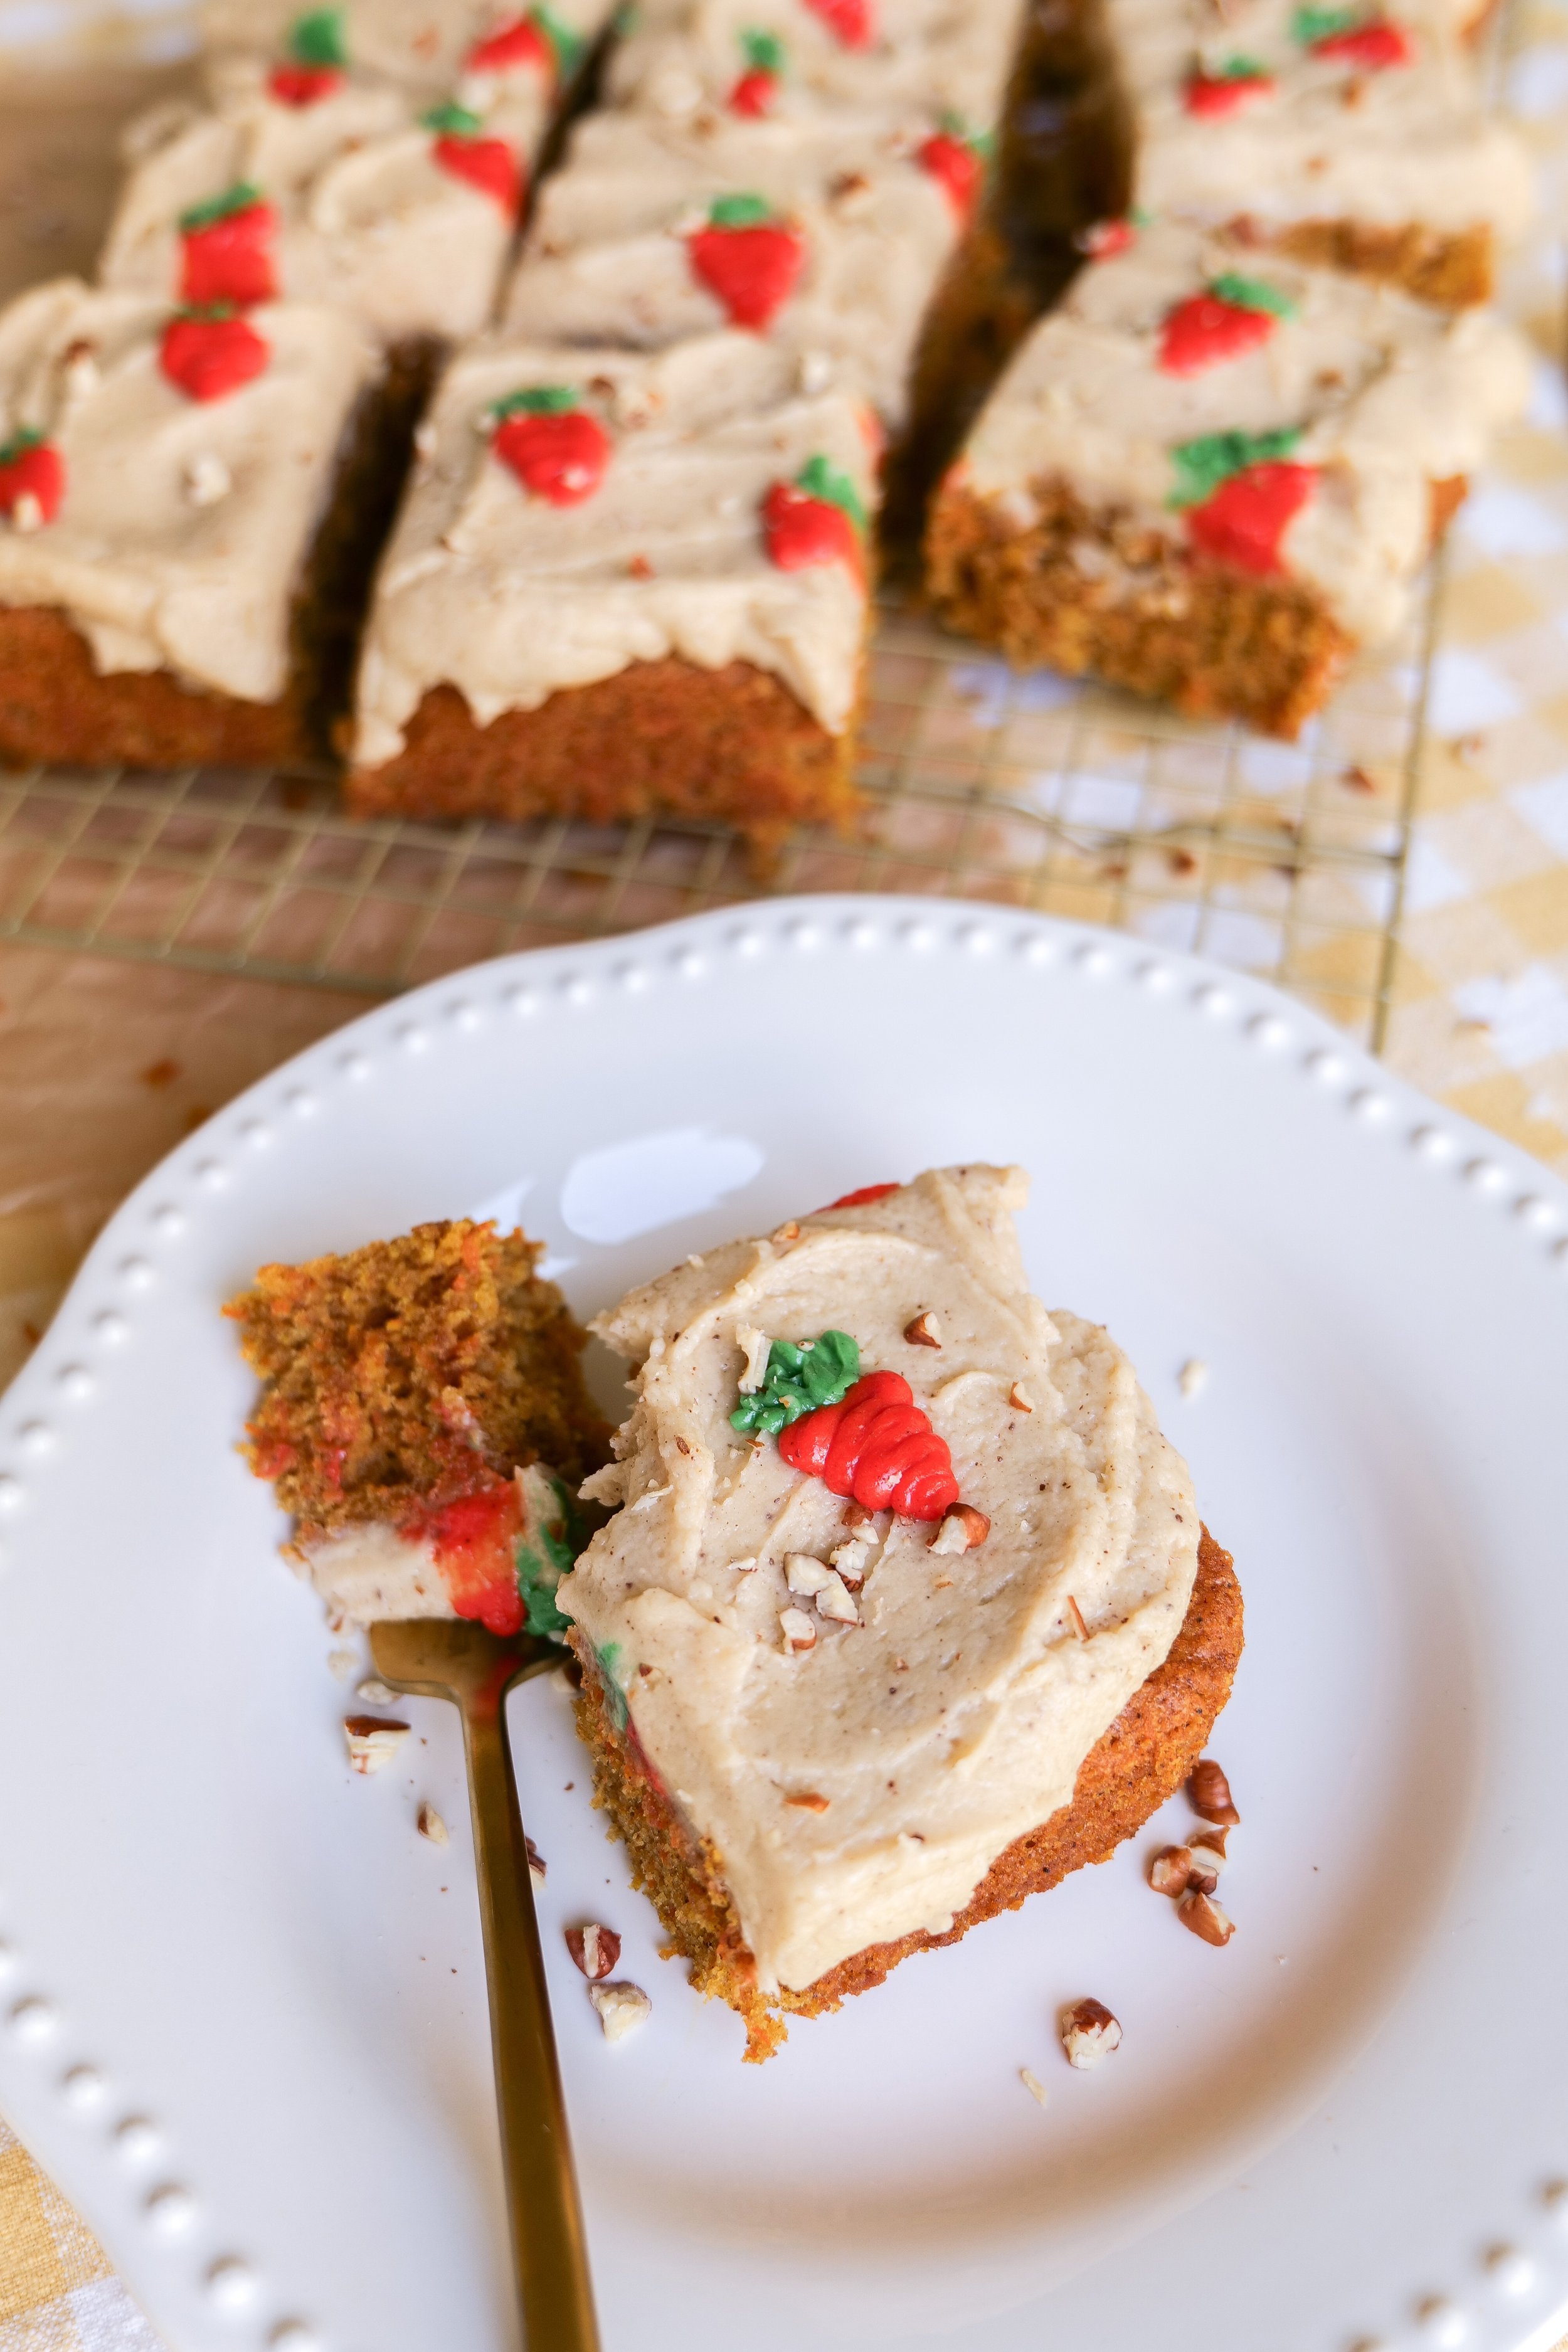
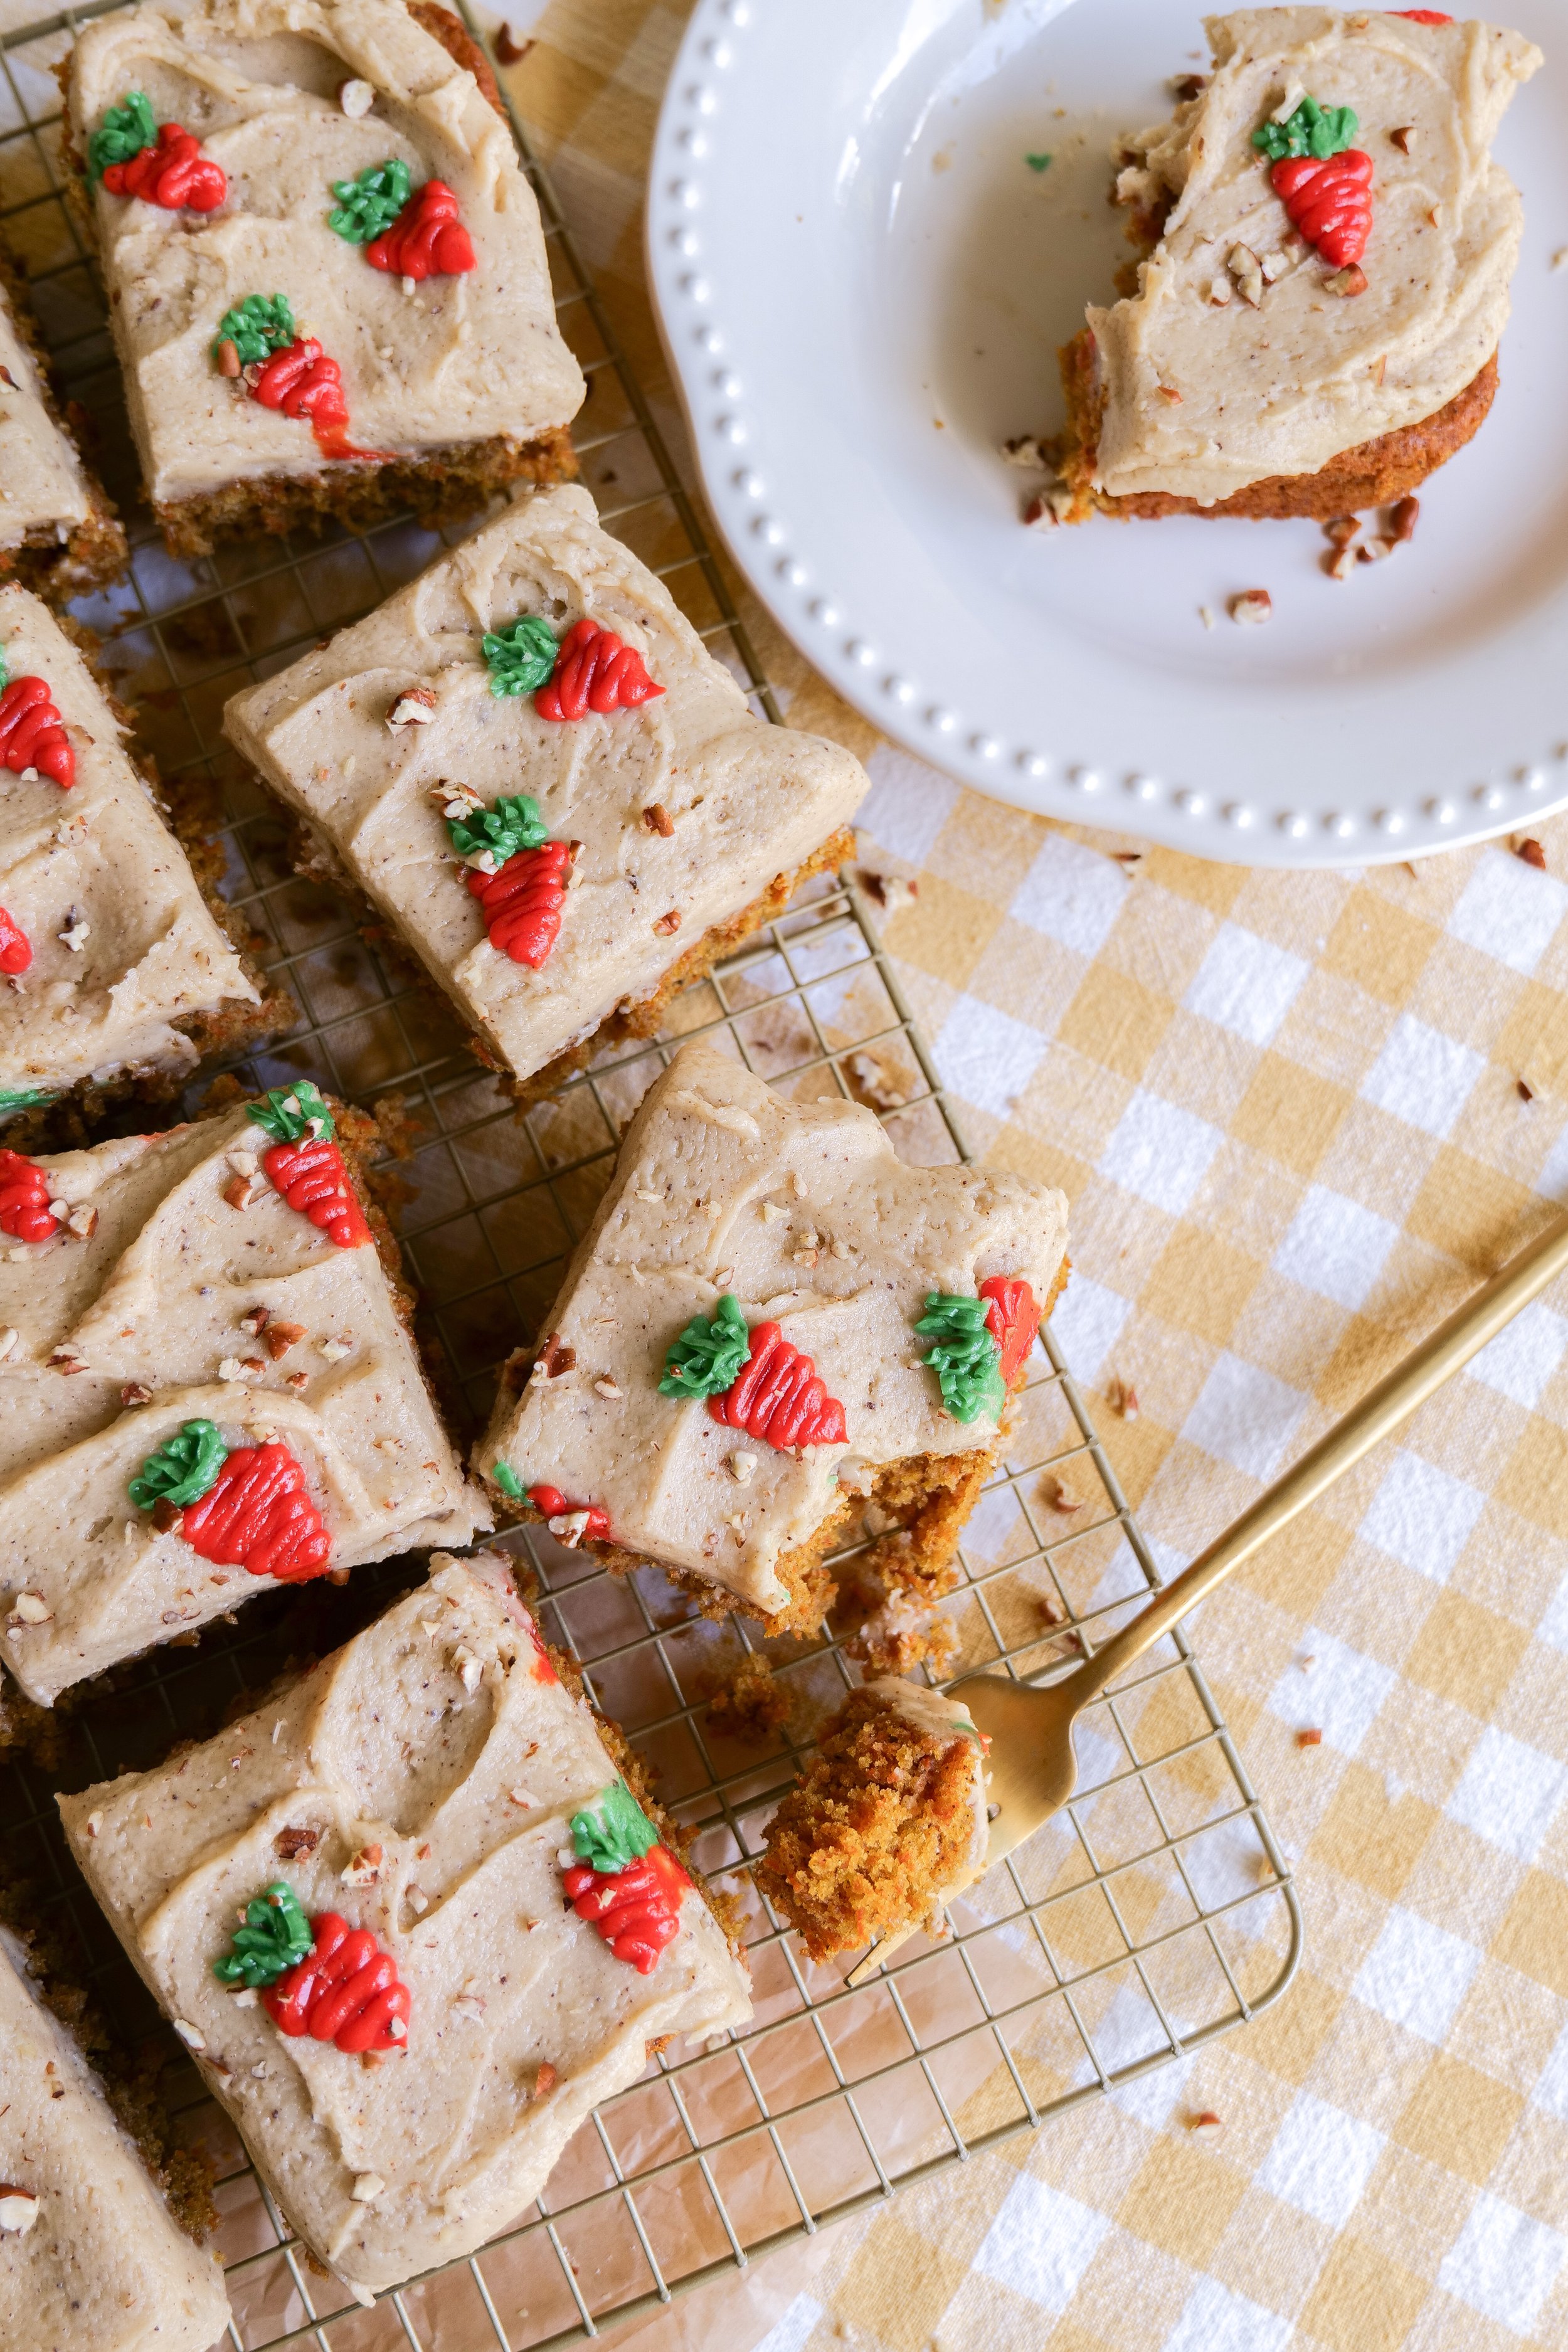
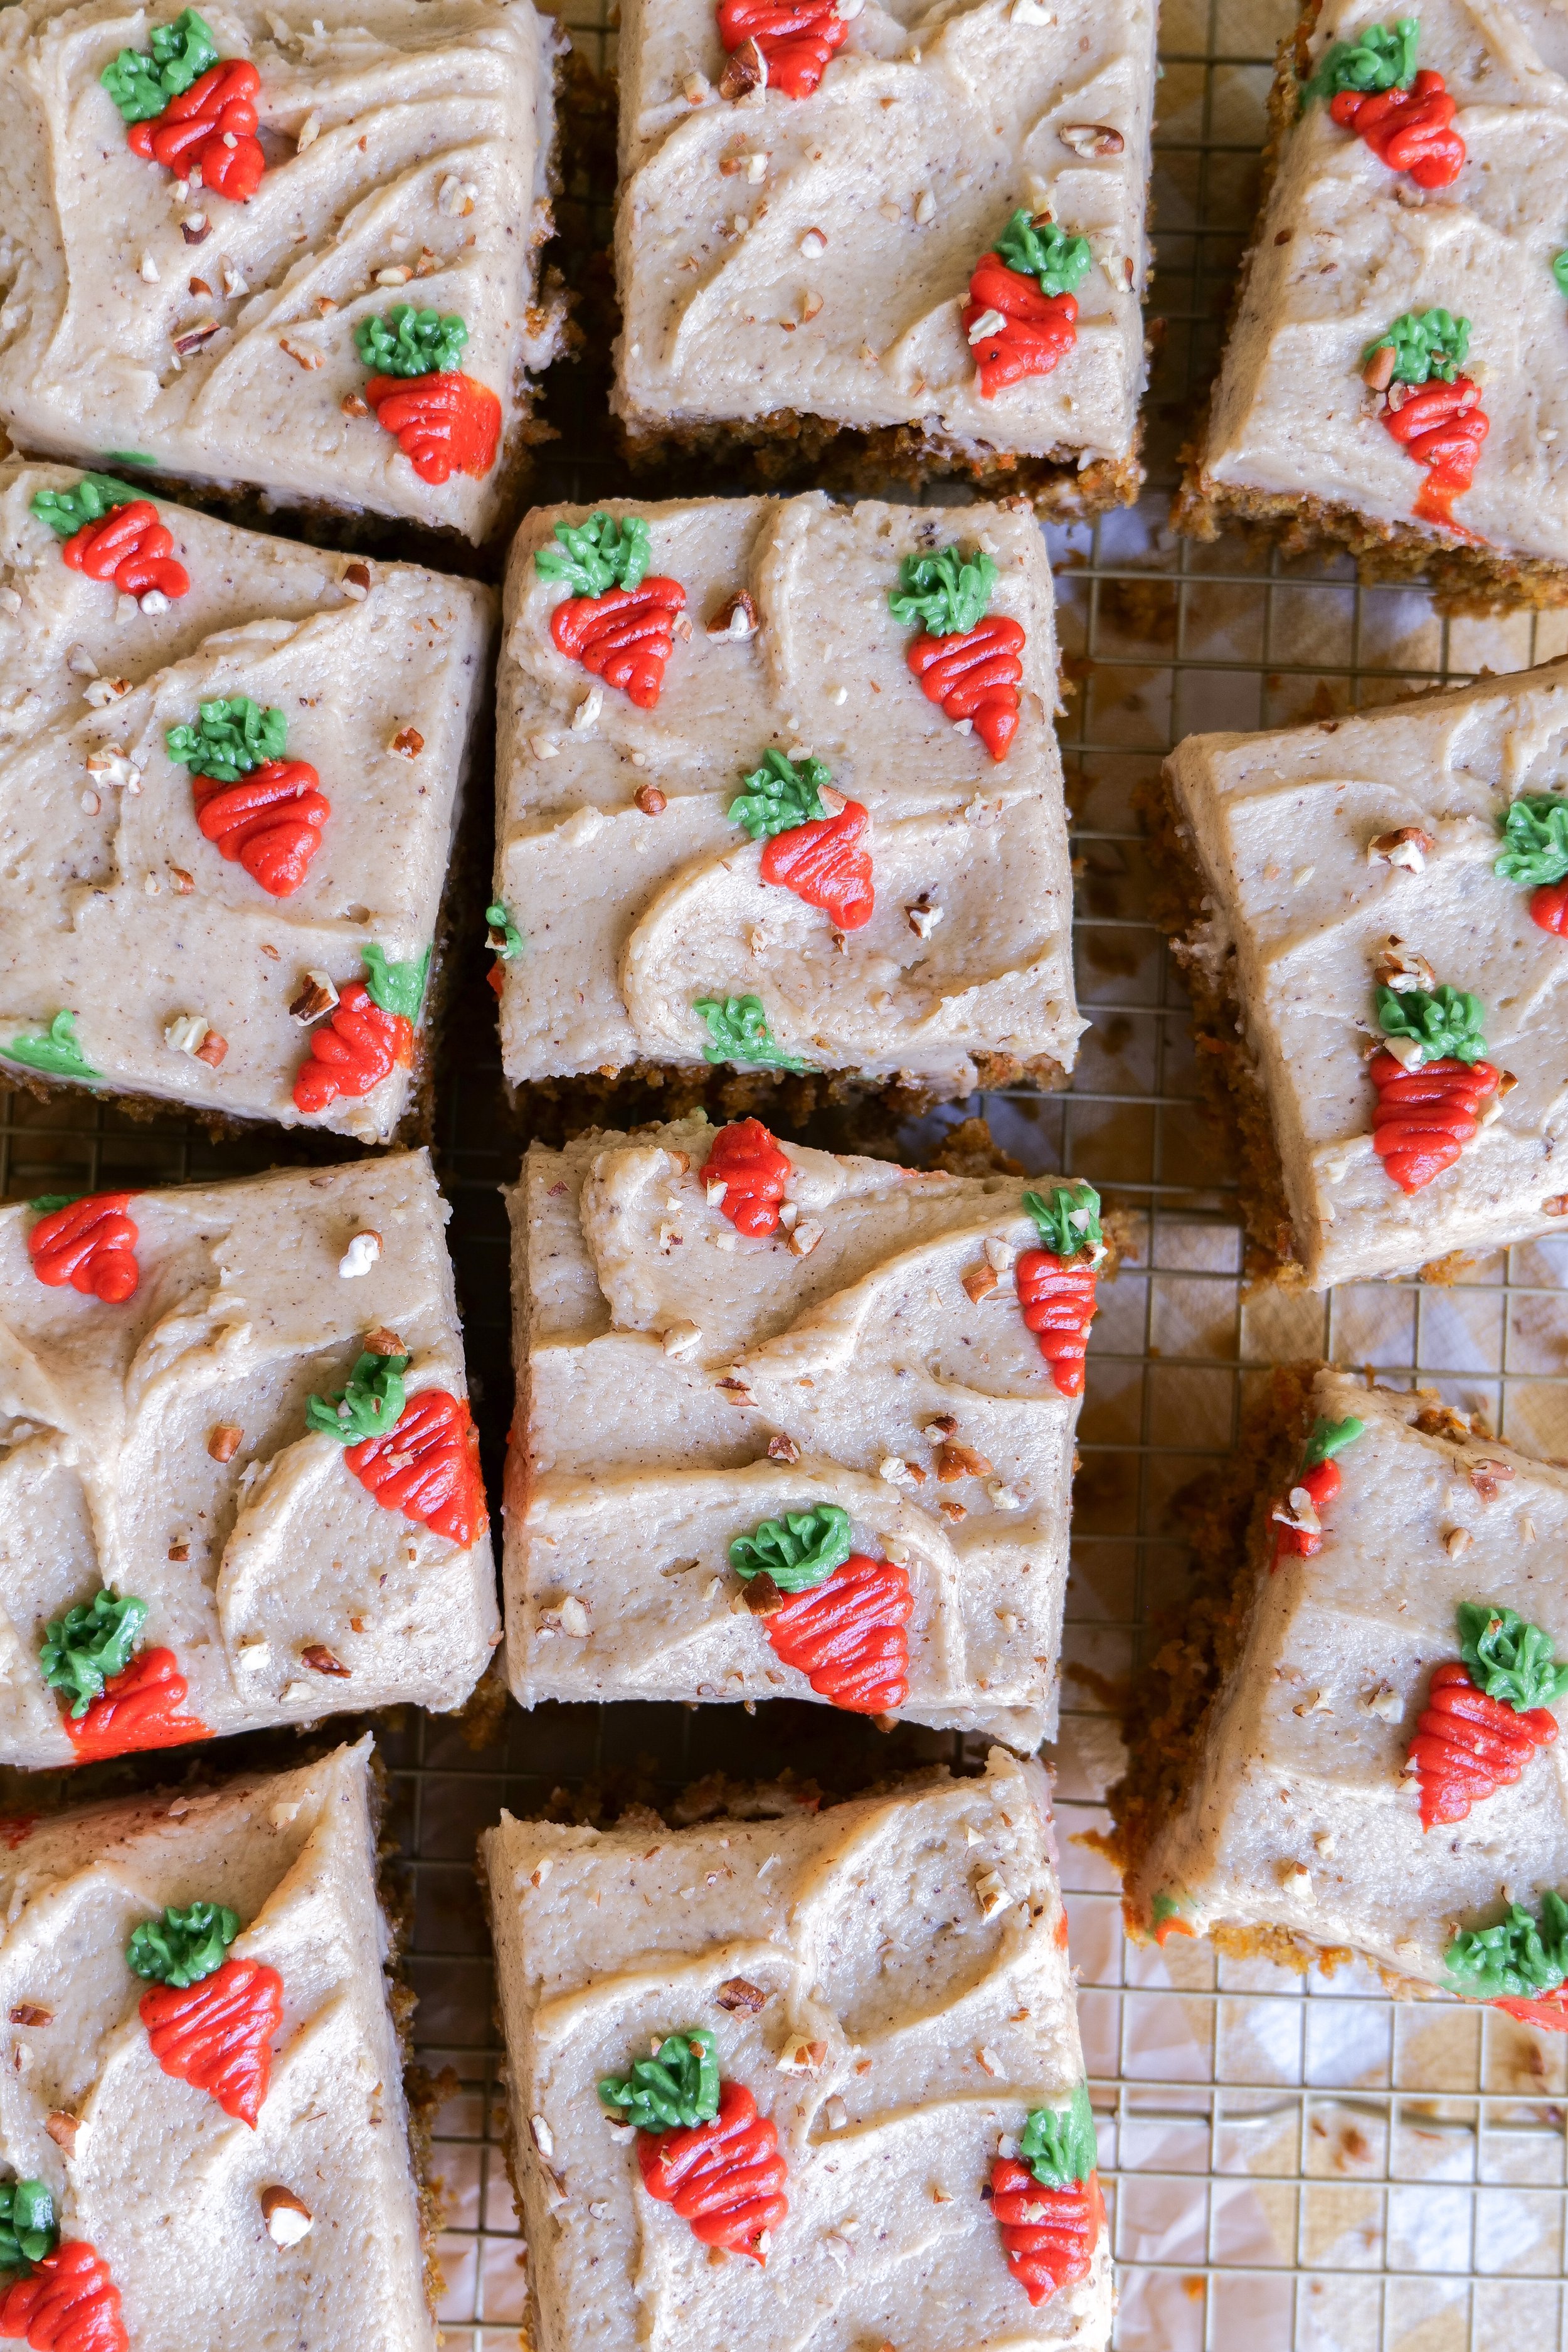
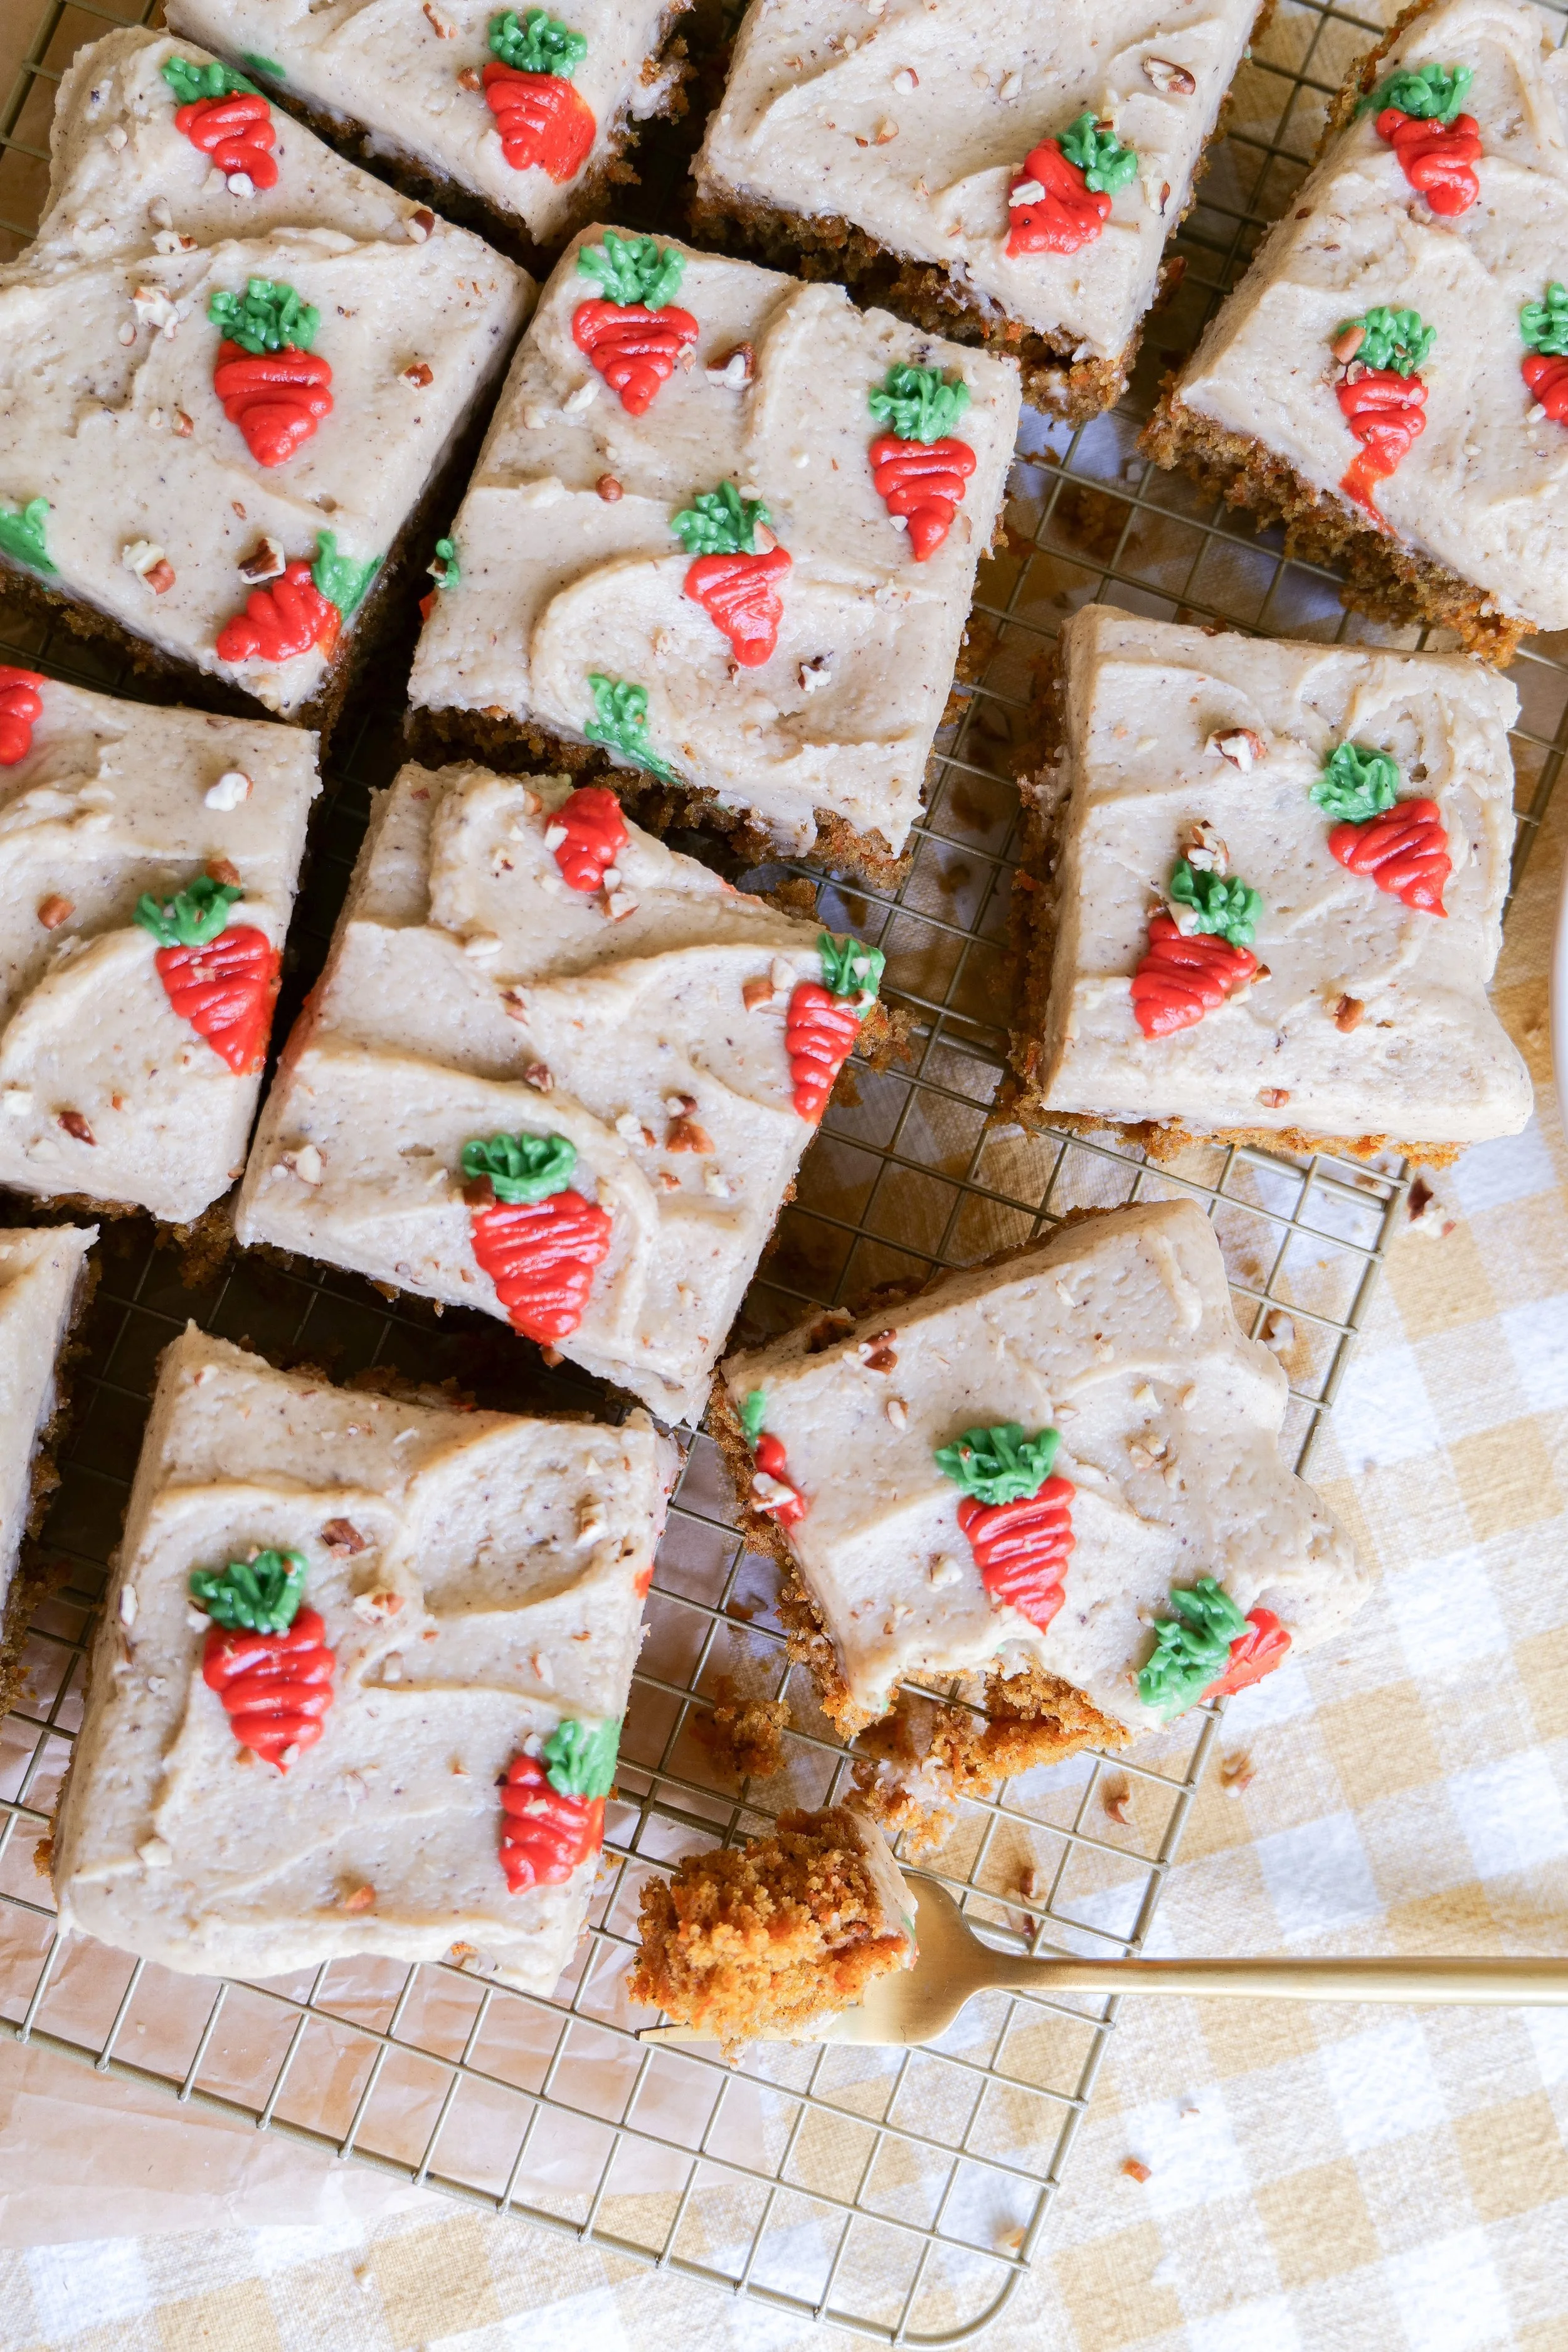
Delight your taste buds with the incredible flavor fusion of our Carrot Sheet Cake with a Brown Butter Frosting. Carrot Cake happens to be one of my personal all-time favorite desserts!! This delectable dessert breaks away from the traditional carrot cake recipes with its light and fluffy sheet cake-like texture combined with the rich indulgence of the creamy brown butter frosting. This cake is perfect for any special occasion or just a mid-week treat, and it offers an irresistible blend of sweet carrots, fragrant spices, and that heavenly frosting that will have you coming back for more. We can't wait to guide you through all the delicious details!

Carrot Sheet Cake with Browned Butter Frosting is a classic dessert that is perfect for any special occasion. From birthday parties to family reunions, this moist cake is sure to be a crowd-pleaser. The cake is made with freshly grated carrots and cinnamon, giving it a delicious traditional flavor. To top it off, a Browned Butter Frosting adds a rich and creamy sweetness to the cake, making it even more scrumptious. The best part about this cake is that it is easy to make and can be prepared in advance. This makes it a great option for busy home cooks who need to get a dessert on the table quickly. The combination of flavors in this cake are sure to be a hit, so be sure to make it a double batch for your next get-together!

How to store carrot cake

To ensure that the cake retains its freshness, wrap it in plastic wrap or place it in an airtight container. If you choose to store it in the refrigerator, add a layer of wax paper or parchment paper to the top of the cake to prevent it from drying out.

If you want to save some for later, you can also freeze the cake. Wrap it tightly in plastic wrap and then place it in a freezer-safe container. It will stay fairly fresh in the freezer for up to 3 months. When you are ready to enjoy it, allow the cake to thaw in the refrigerator overnight before serving.

Can I substitute any of the ingredients in the recipe?

To make the recipe even easier to prepare, you can substitute fresh grated carrots with canned carrots for convenience. For the glaze, you can substitute regular butter instead of brown butter for a less intense flavor. If you are looking for a healthier version, you can use whole wheat flour or almond flour in place of the all-purpose flour. You can also use honey, maple syrup, or agave syrup in lieu of the granulated sugar. To make the recipe vegan, you can use a flax egg in place of the eggs. For a hint of sweetness, add dried fruits like raisins or cranberries to the cake. For an extra crunchy topping, top the cake with toasted nuts or coconut flakes.

For those looking to switch up the flavor profile, substitute the carrots in the cake with a different root vegetable such as sweet potatoes or parsnips. The possibilities are endless with this recipe, so have some fun and get creative in the kitchen!

Brown butter

Brown butter is butter that has been cooked longer than regular butter, resulting in a nutty, rich flavor that can be used to enhance the flavor of a variety of dishes, such as pastas, sauces, and cakes. The nutty flavor of brown butter pairs perfectly with the earthy sweetness of carrots in this Carrot Sheet Cake with Brown Butter Frosting. The brown butter glaze is made by melting the butter over the stove until browning. The butter will give off a perfect nutty aroma when it is ready and will add so much flavor to this delicious cake and frosting.

Ingredients

Cake

2 cups all-purpose flour

3 teaspoons baking powder

1/2 teaspoon salt

2 teaspoons ground cinnamon

1/2 teaspoon ground cloves

1/2 teaspoon ginger

1 cup brown butter

1 cup dark brown sugar

1 cup granulated sugar

4 eggs

2 teaspoons vanilla

1/2 cup greek yogurt

2 1/2 cups finely grated carrots

Brown Butter Cream Cheese Frosting

8 oz cream cheese, softened

1/2 cup brown butter

2 tsp vanilla extract

5 cups powdered sugar

Instructions

1. First prepare carrots by washing and peeling them. Grate with the small holes on a grater. The carrots will resemble grated cheese. Set aside.

2. Preheat oven to 350 degrees and prep cake pan by oiling and adding parchment paper if you prefer.

2. Prepare the cake by adding all dry ingredients; all-purpose flour, baking powder, salt, cinnamon, cloves, and ginger into a bowl and whisking together, set aside.

3. In a large bowl mix together brown butter and both dark brown sugar and granulated sugar together. Add in eggs, vanilla and Greek yogurt.

4. Slowly add in dry ingredient mixture to bowl until well blended. Add in grated carrots and if you wish to have pecans or walnuts you can add them in now as well.

5. Pour batter into prepared pan and bake in the oven for 40-45 minutes or until a toothpick inserted comes out clean.

6. Once fully baked let cool in a pan for 20 minutes and transfer to a cooling rack for another 30 minutes to fully cool to room temperature while you make the delicious frosting.

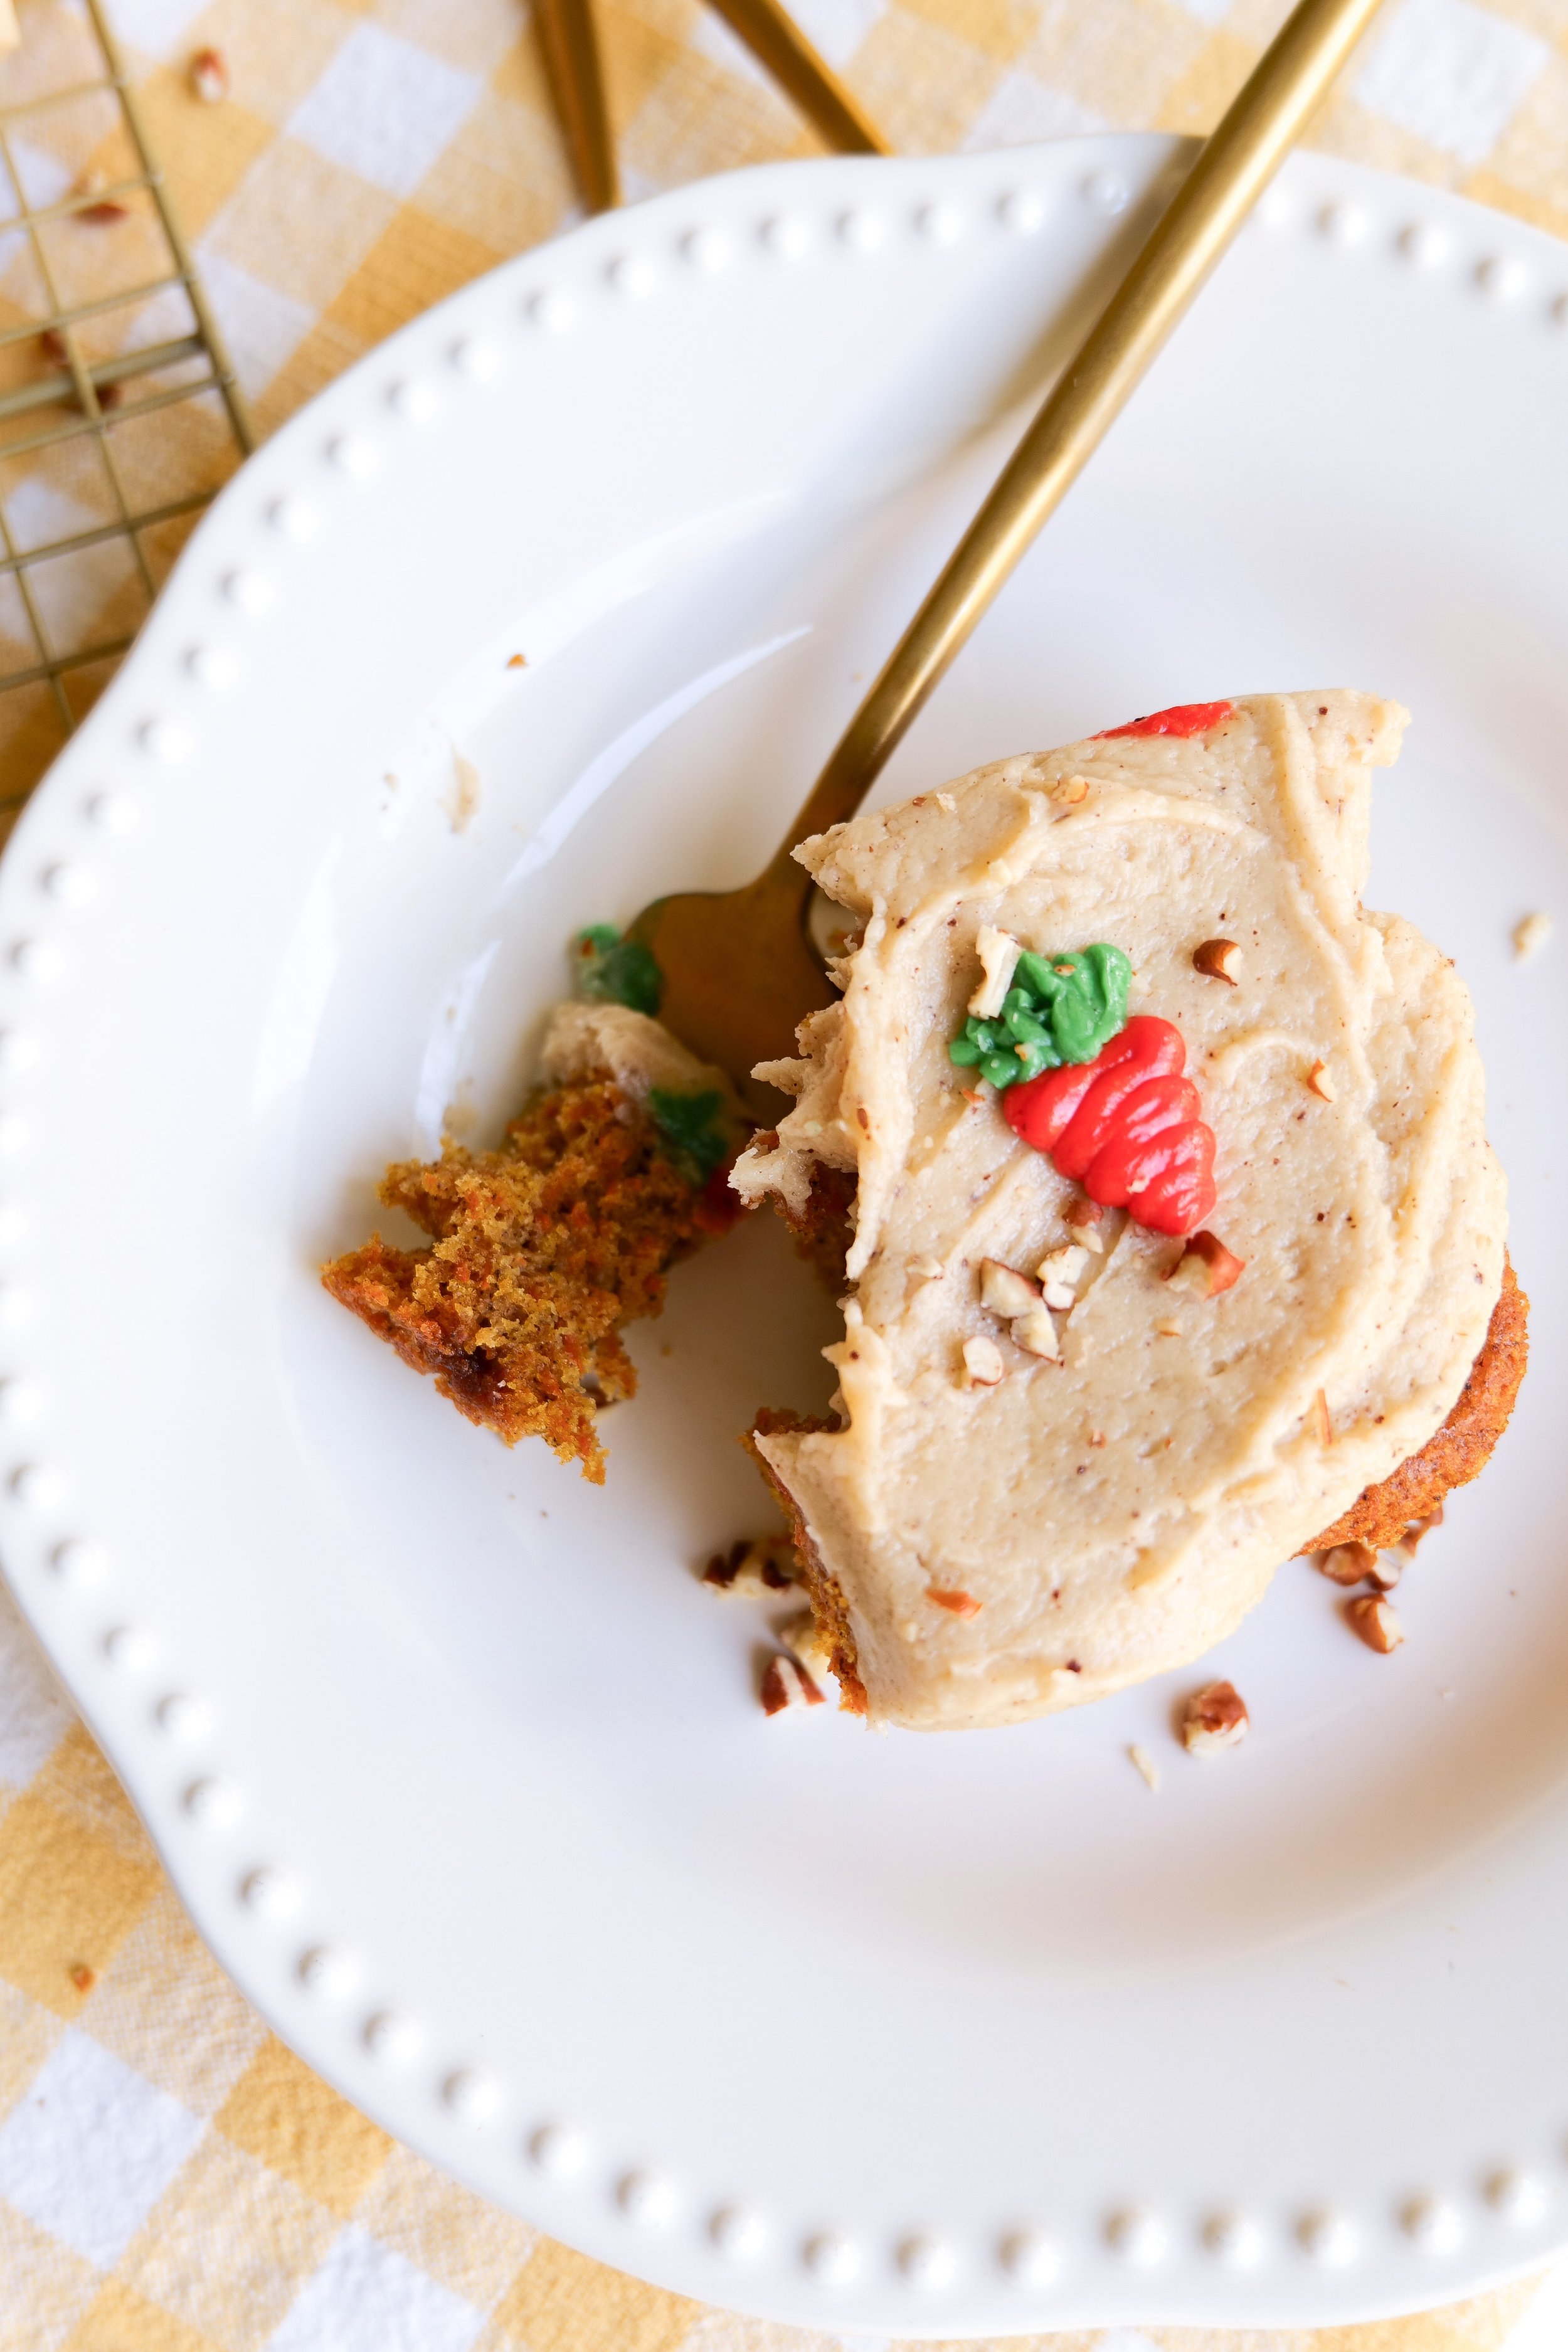
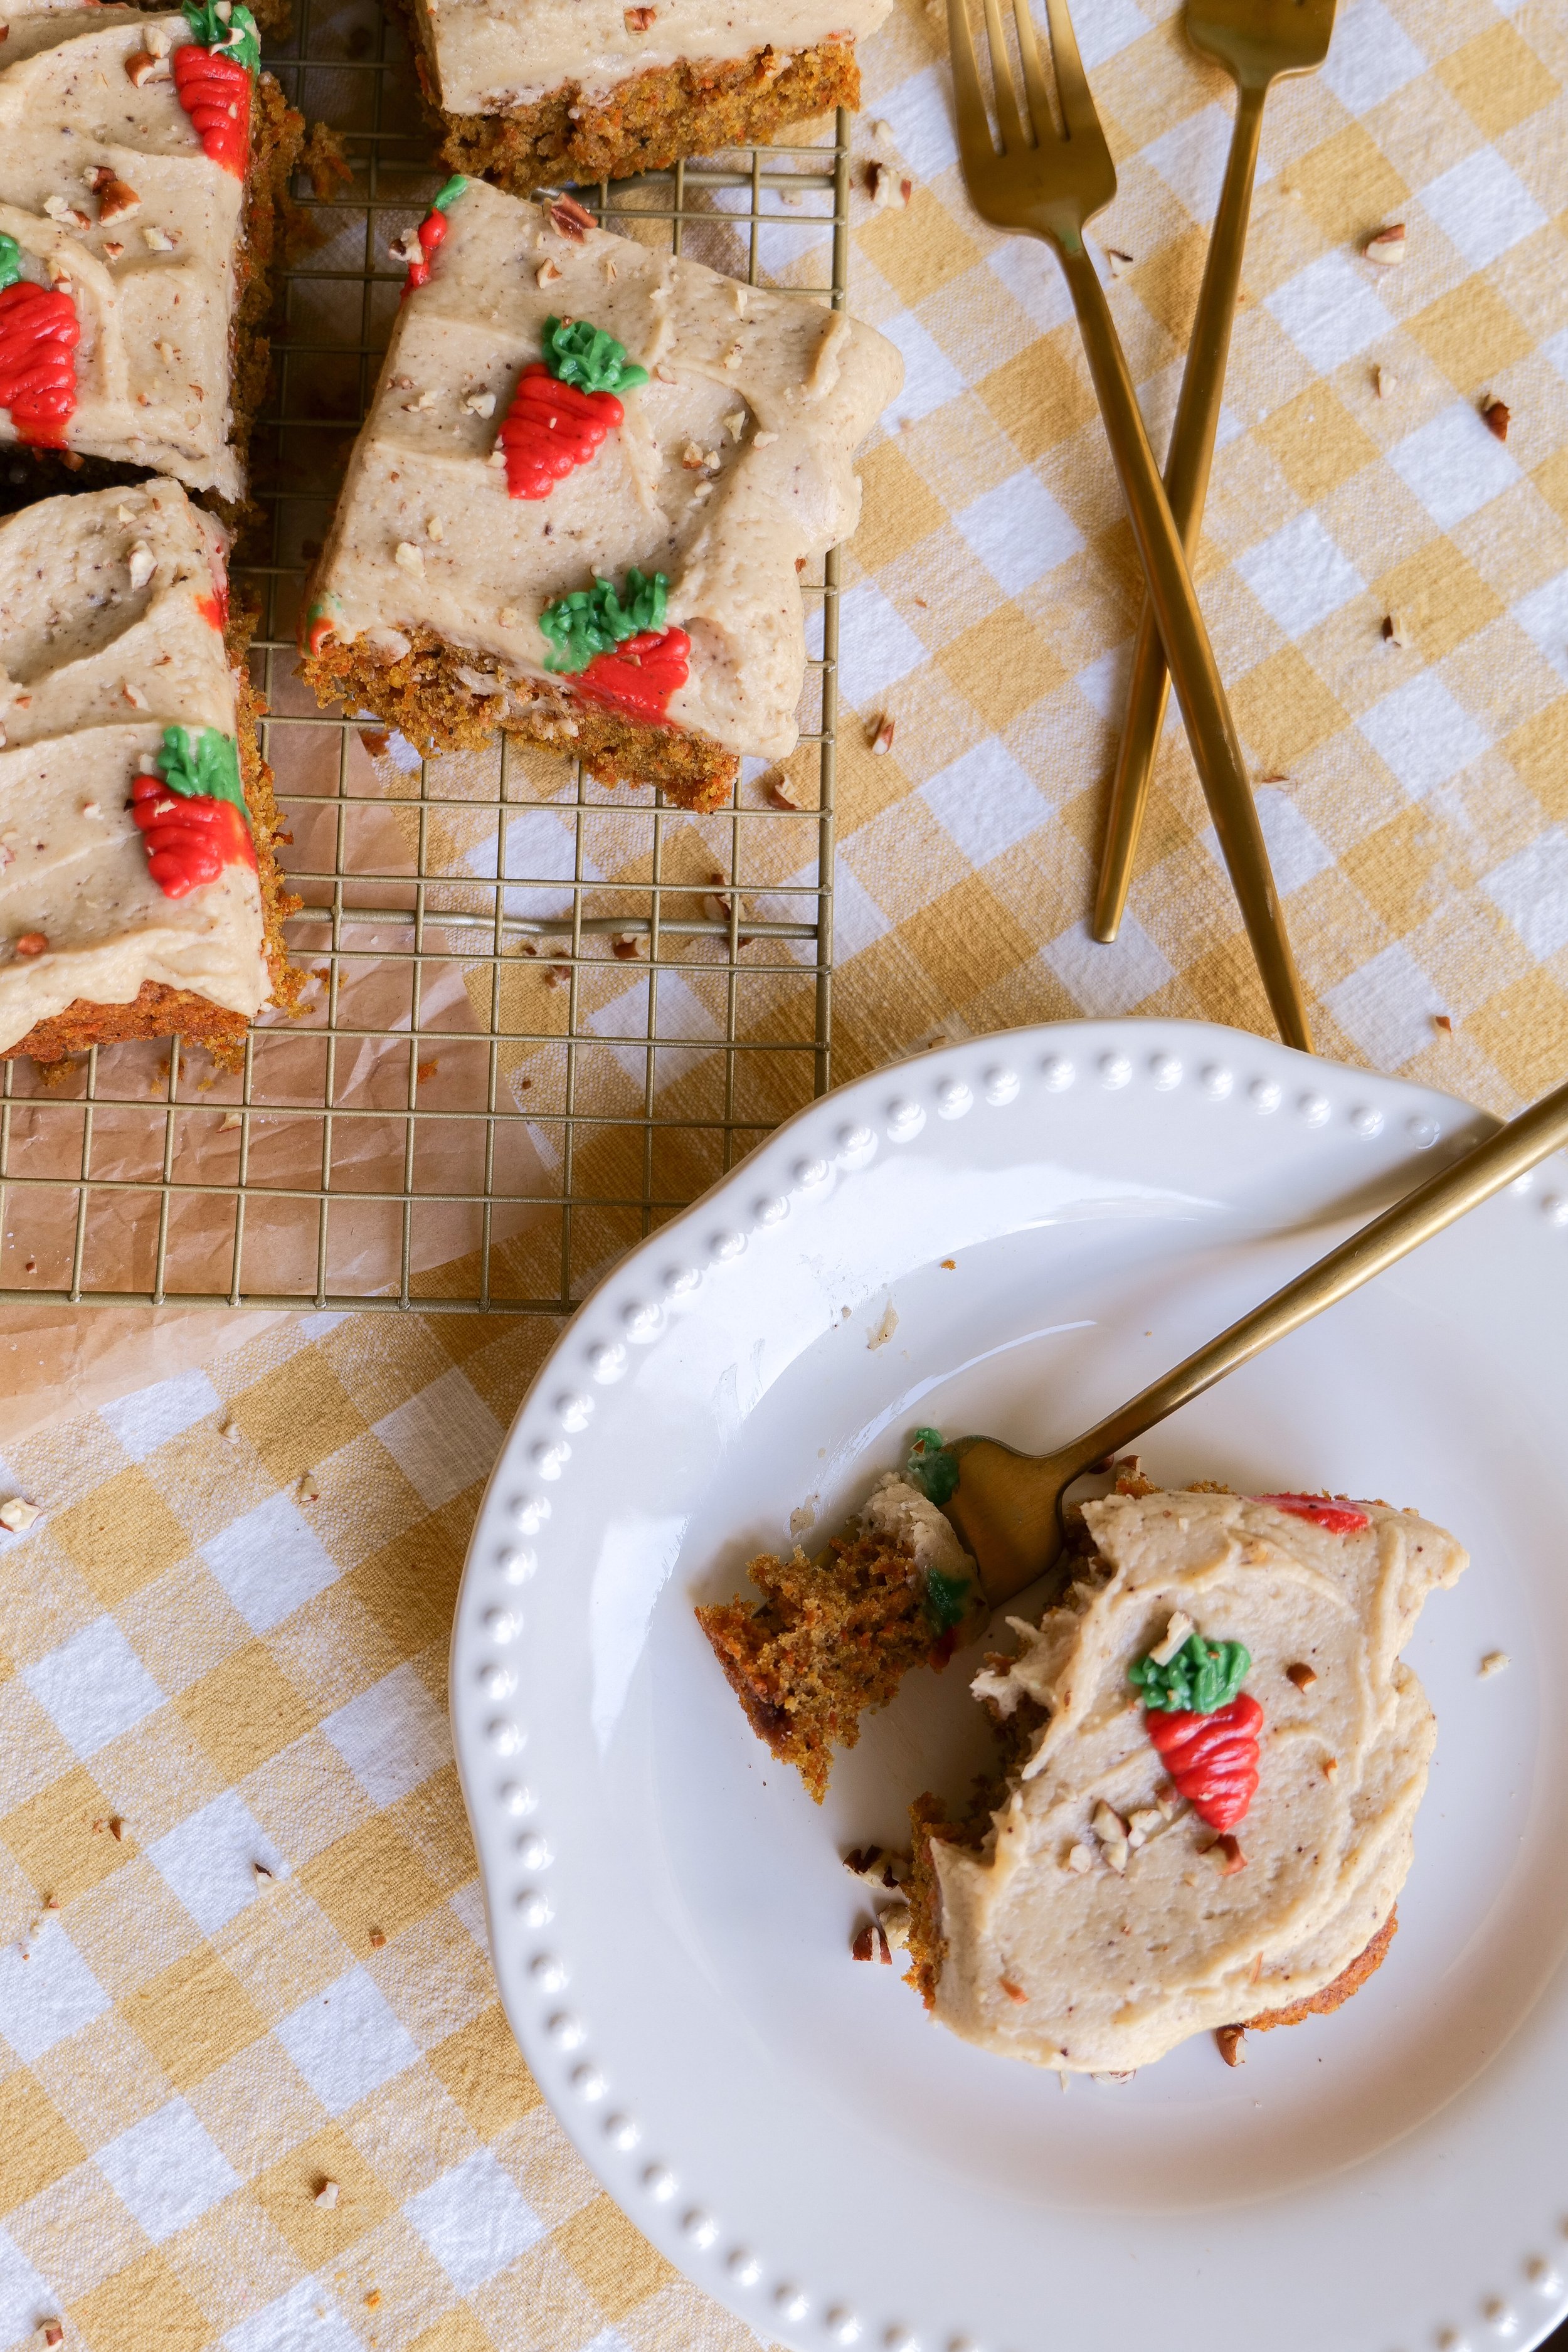
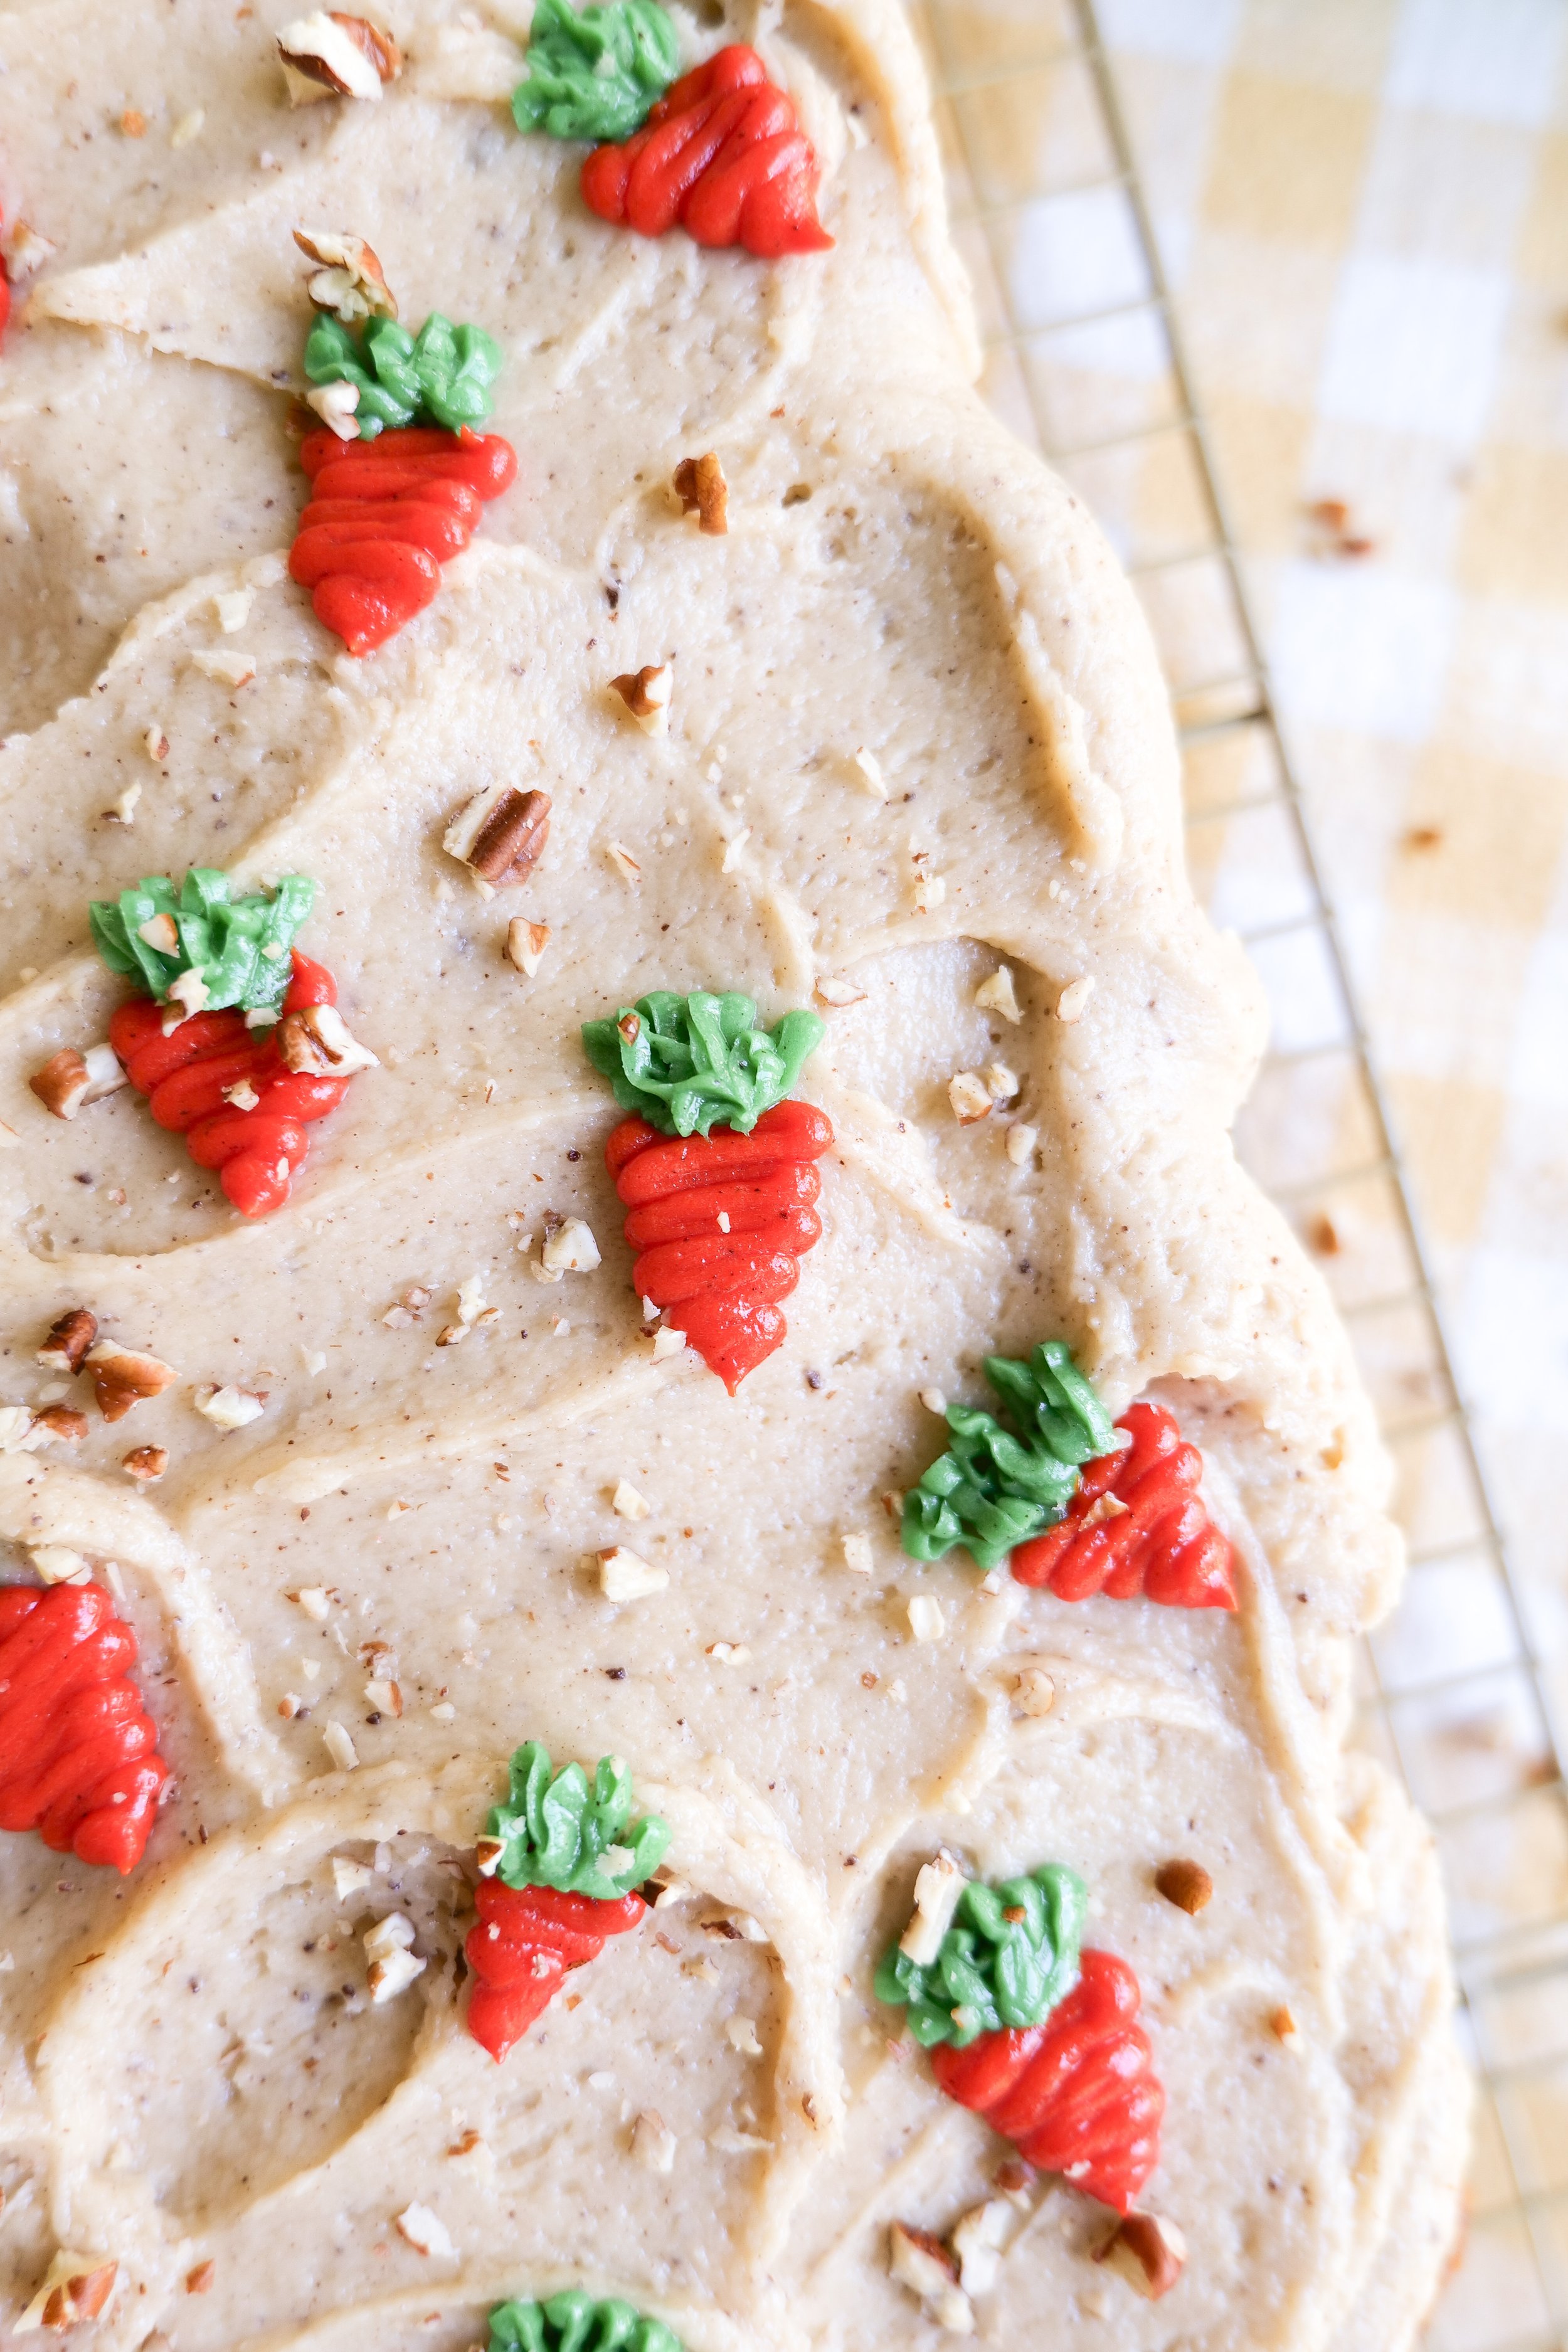
7. Make frosting by blending all ingredients together until fully incorporated. Ice cake and add walnuts or fun carrots like I did here. If adding decorative carrots you will just take a small portion of frosting and dye half green and half orange. Place in a piping bag and pipe carrots on top of the frosting of the frosted cake. Enjoy!

This simple and delicious Carrot Sheet Cake with Brown Butter Frosting will quickly become a go-to dessert. With its wonderfully moist and flavorful cake and rich and creamy brown butter glaze, it’s sure to be a hit with family and friends.

My Favorite White Cake Recipe

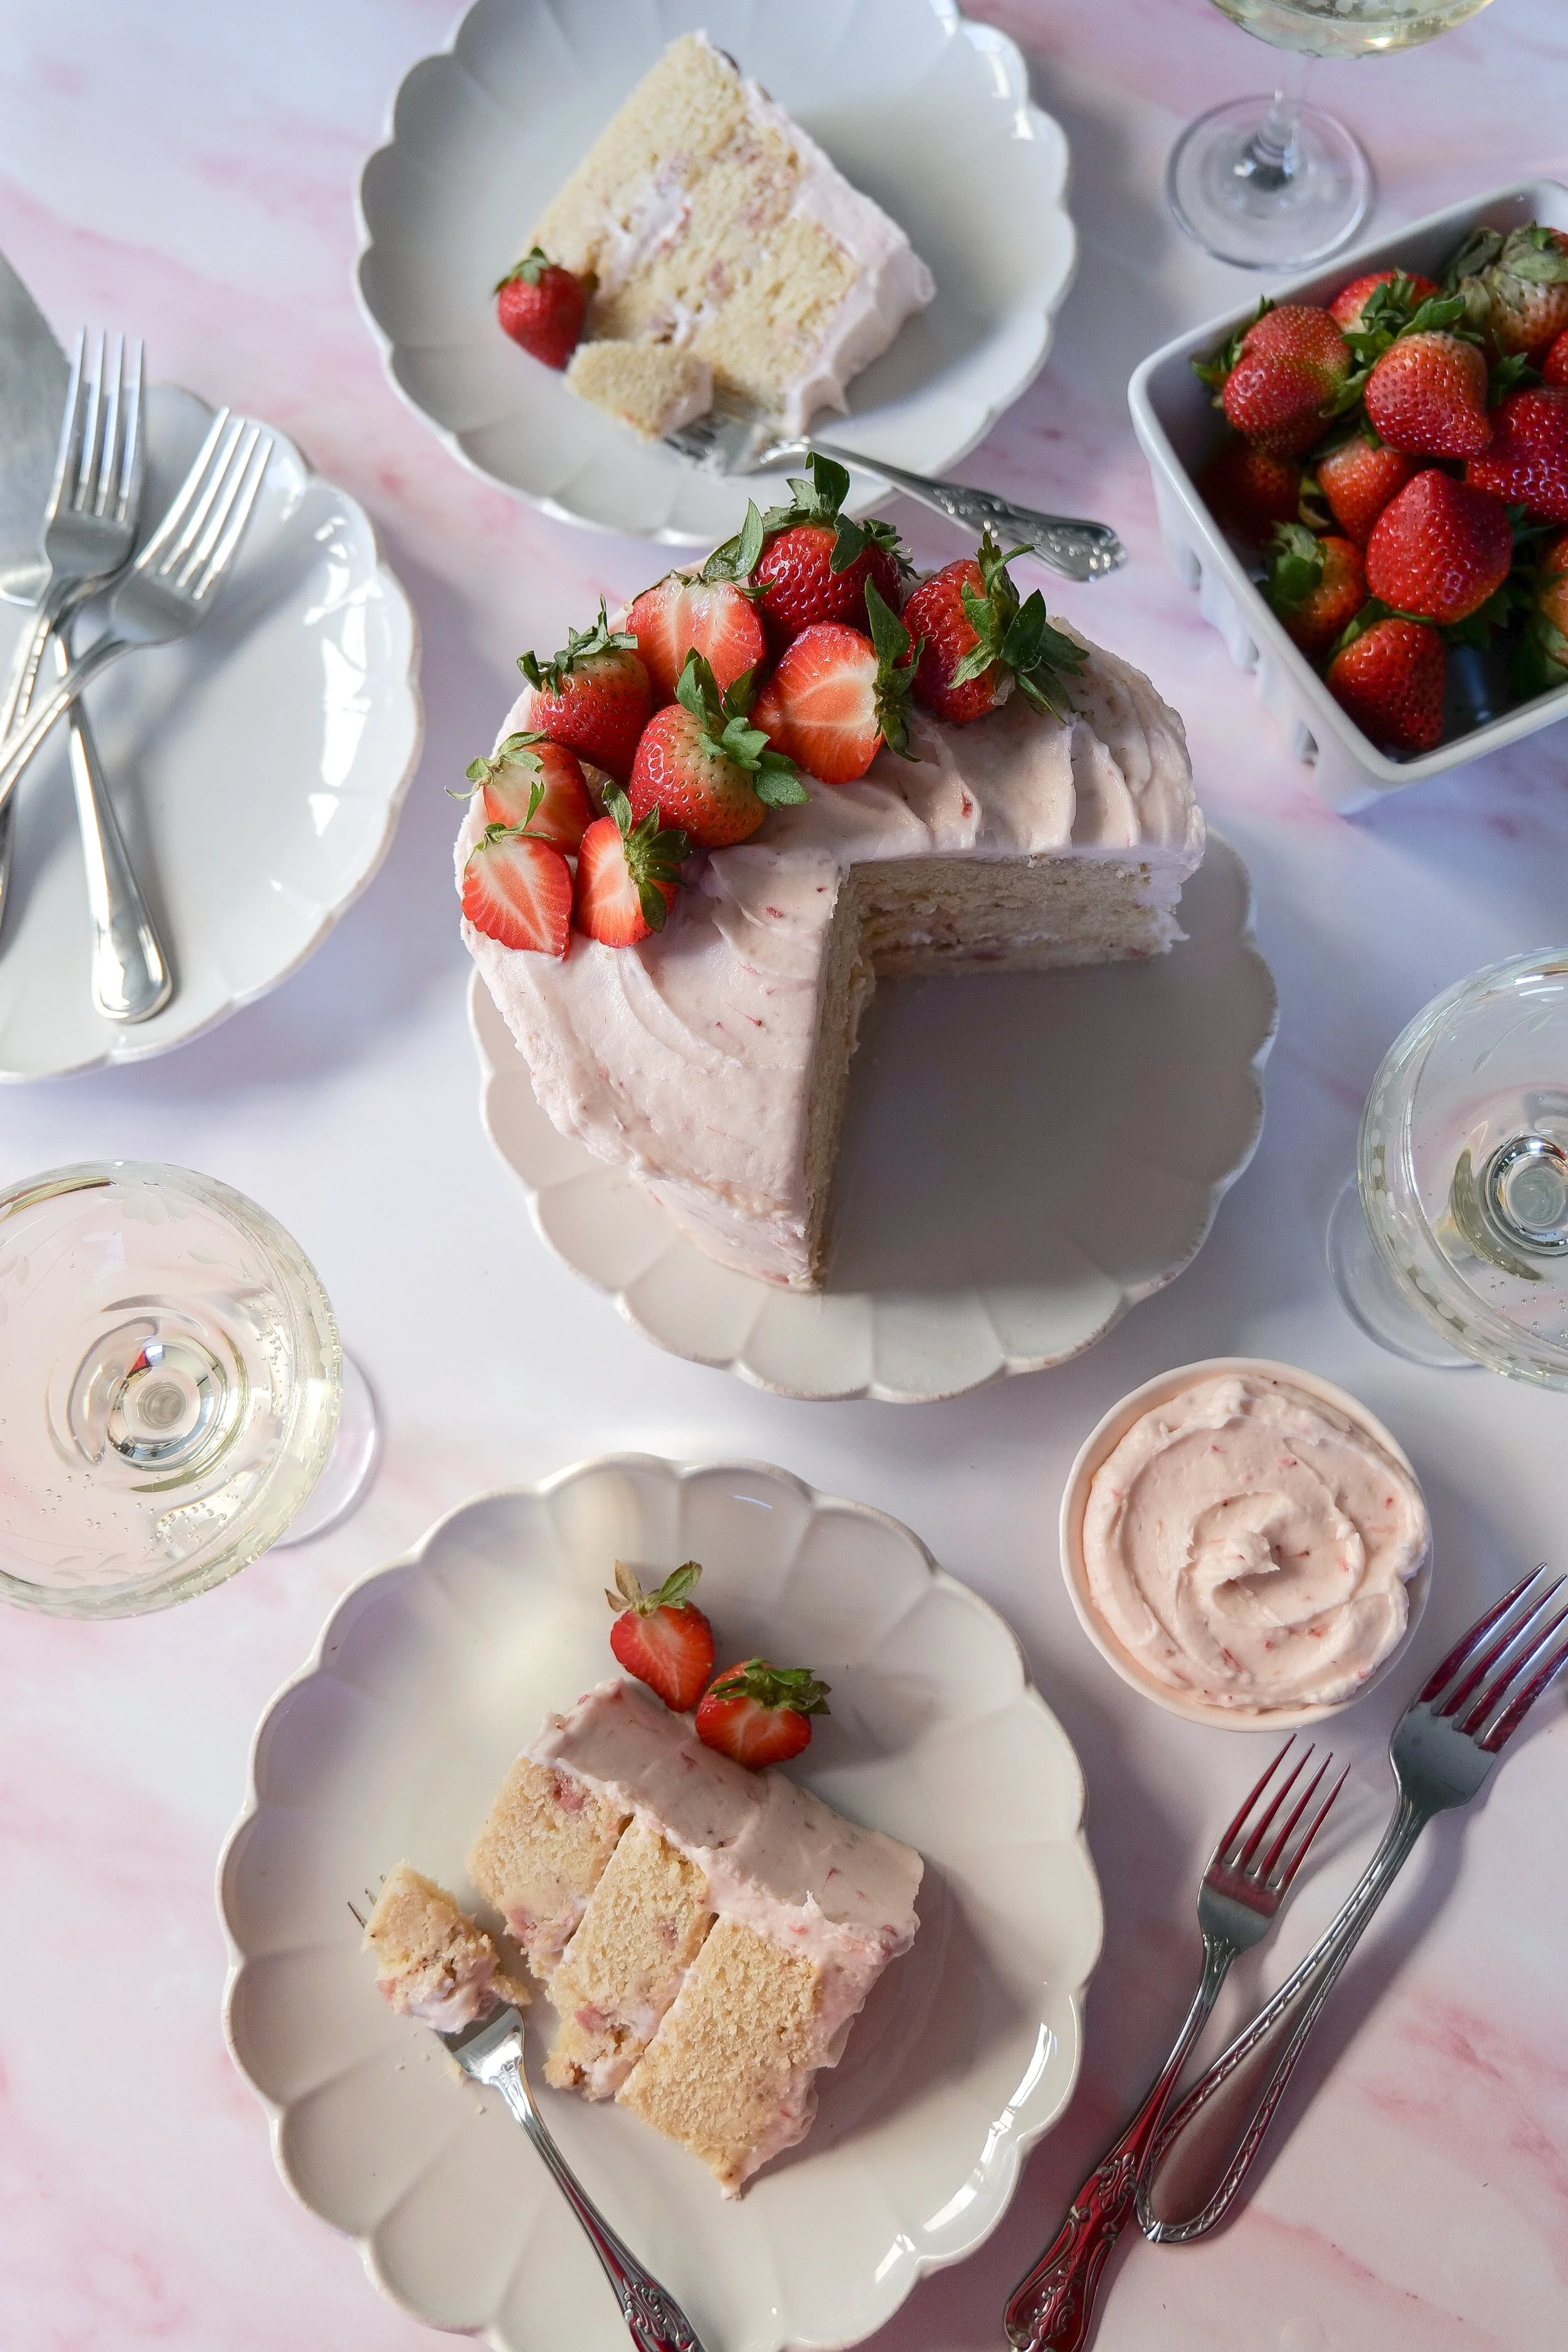
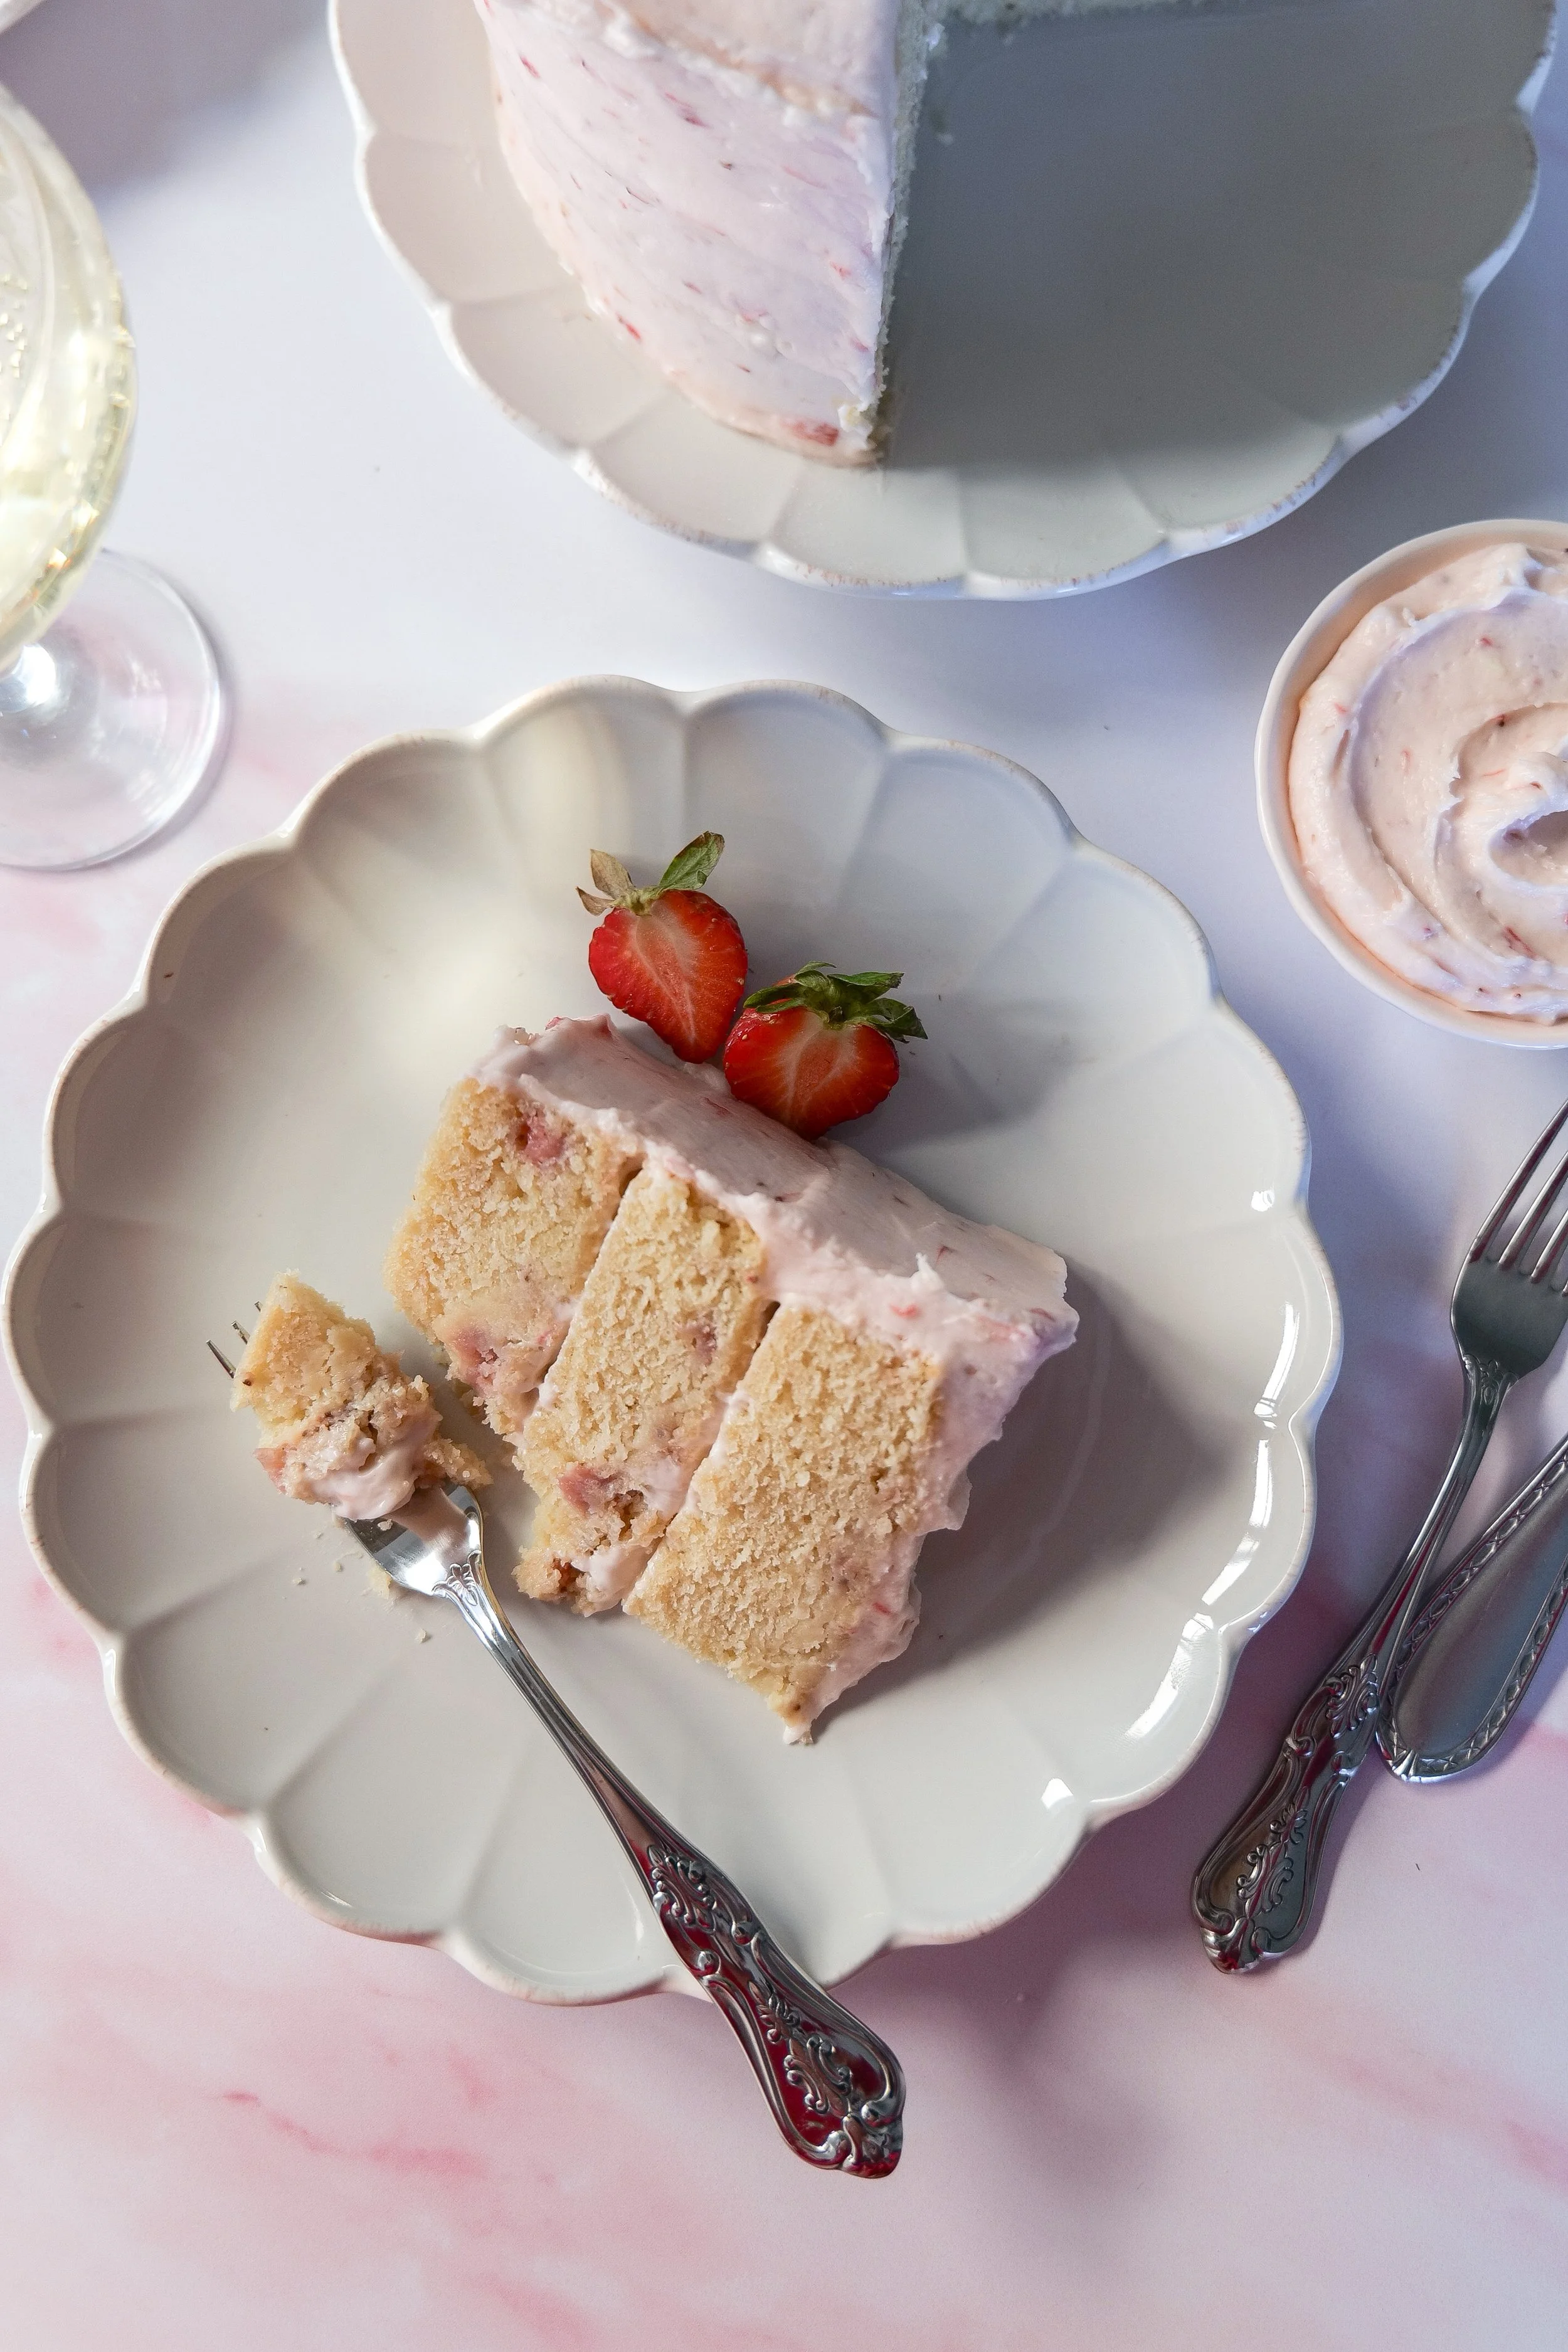
So deliciously moist, soft and full of creamy flavor! My favorite white cake to make for everyone’s birthdays!! Super easy to make it your own by also changing the filling to any jam, peanut butter, nutella, cream or anything else to add a different flavor for your party! Another way to add flavor is change the vanilla extract to lemon, orange, or almond. Just a few ways to mix it up BUT its so good just the way it is! Sure to be a crowd pleaser at your next celebration!

9678.jpg

Ingredients:

3 large eggs

3 large egg whites

1 cup heavy cream

2 tbsp. melted butter

3 tsp. vanilla

1 - 1/2 cup sugar

2-1/4 cups cake flour

1 tbsp. baking powder

3/4 tsp salt

1 cup grated butter

Frosting:

1 cup butter

8 oz cream cheese

4 cups powdered sugar

1 tbsp. heavy cream

1 tsp. vanilla

Instructions:

1. Prep by oiling 2 circle pans (8 or 9 inch) and preheat oven to 350 degrees.

2. Blend together eggs, heavy cream, melted butter, and vanilla completely.

3. Add dry ingredients in a different bowl until combined.

4. Grate 1 cup of butter on top of dry ingredients. Combined by hand until butter is no larger then pea sizes.

5. Next up add in wet ingredients and blend together with hand mixer.

6. Once combined put into 2 pans that are oiled and put into oven. 22-27 min, if you want a 4 layer cake do 4 pans t 10-12 min only.

7. Blend together all frosting ingredients until well combined. (butter and cream cheese should be room temp if not heat in microwave for 30 sec at a time) You can add more heavy cream or powdered sugar depending on desired consistency. I sometimes also double the recipe to a thick layer on the outside.

8. Once cake is done baking let cool in pan for 15 min and transfer to cooling rack for another 15.

9. Ice layers of cake and do a thin later around for a “crumb layer” that will catch all the crumbs and make a base for the final layer. Place in fridge for 30 min and then do another final layer. Smooth, textured, whatever you desire!

10. Enjoy!

9679.jpg