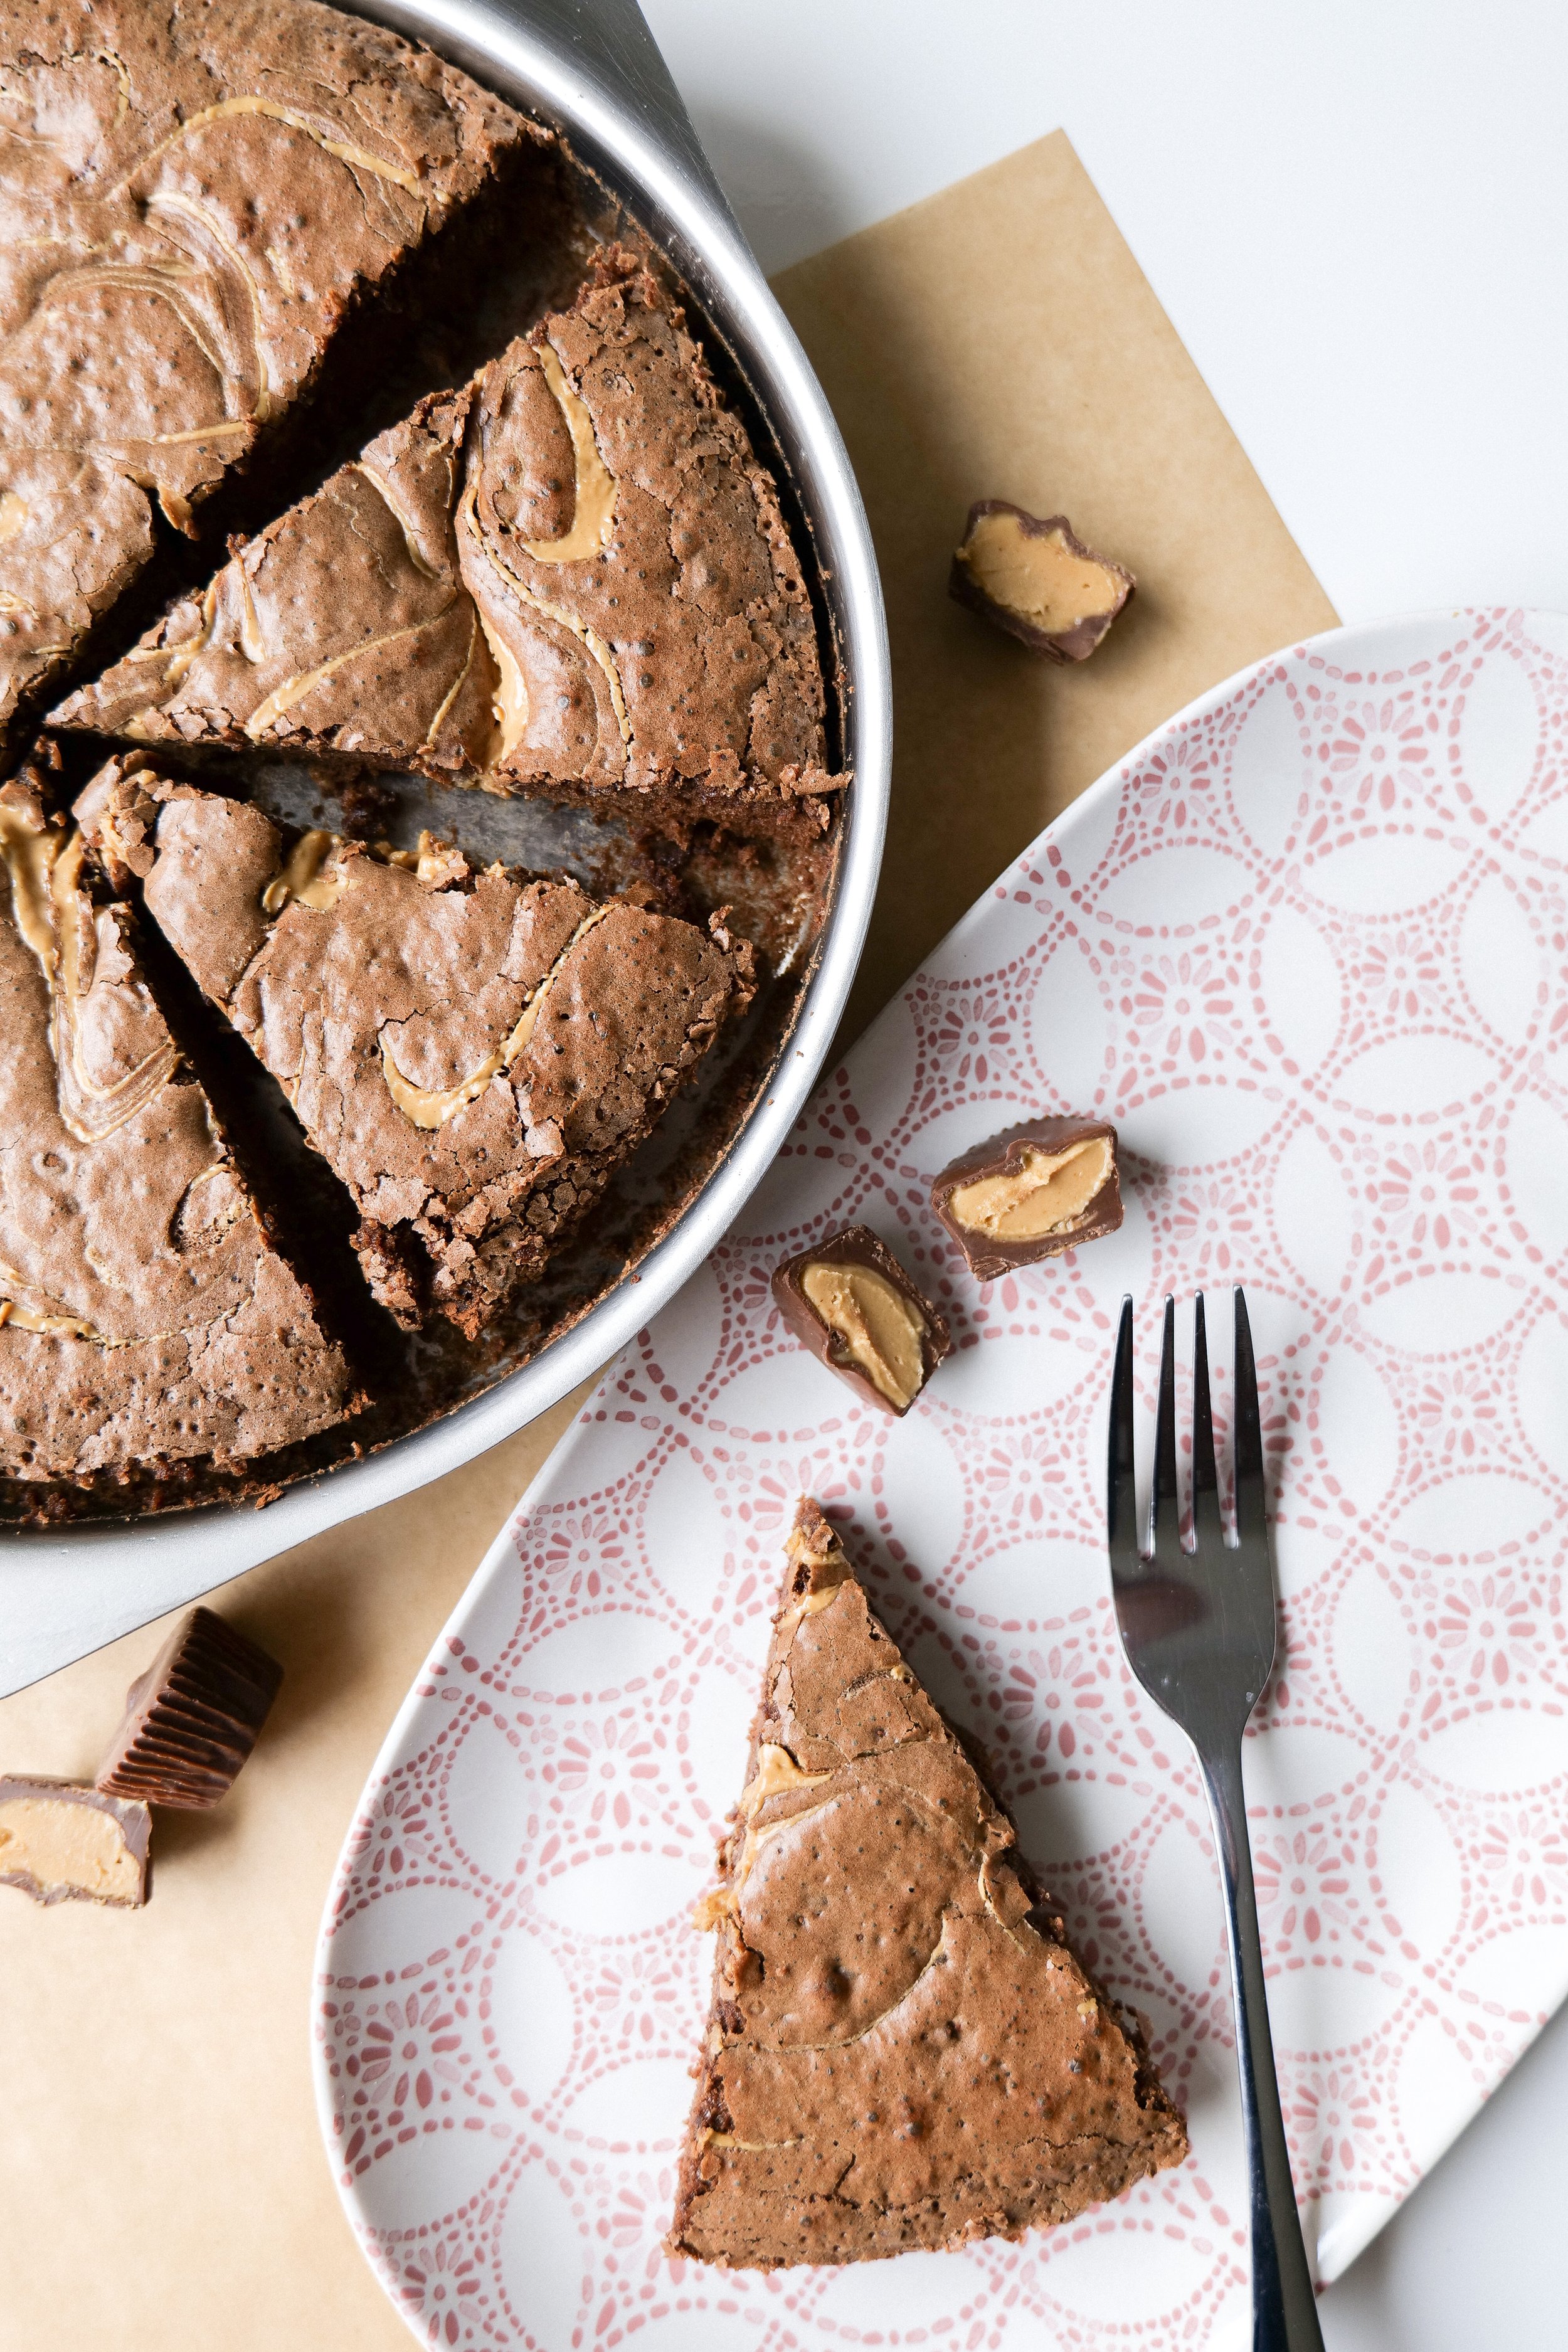
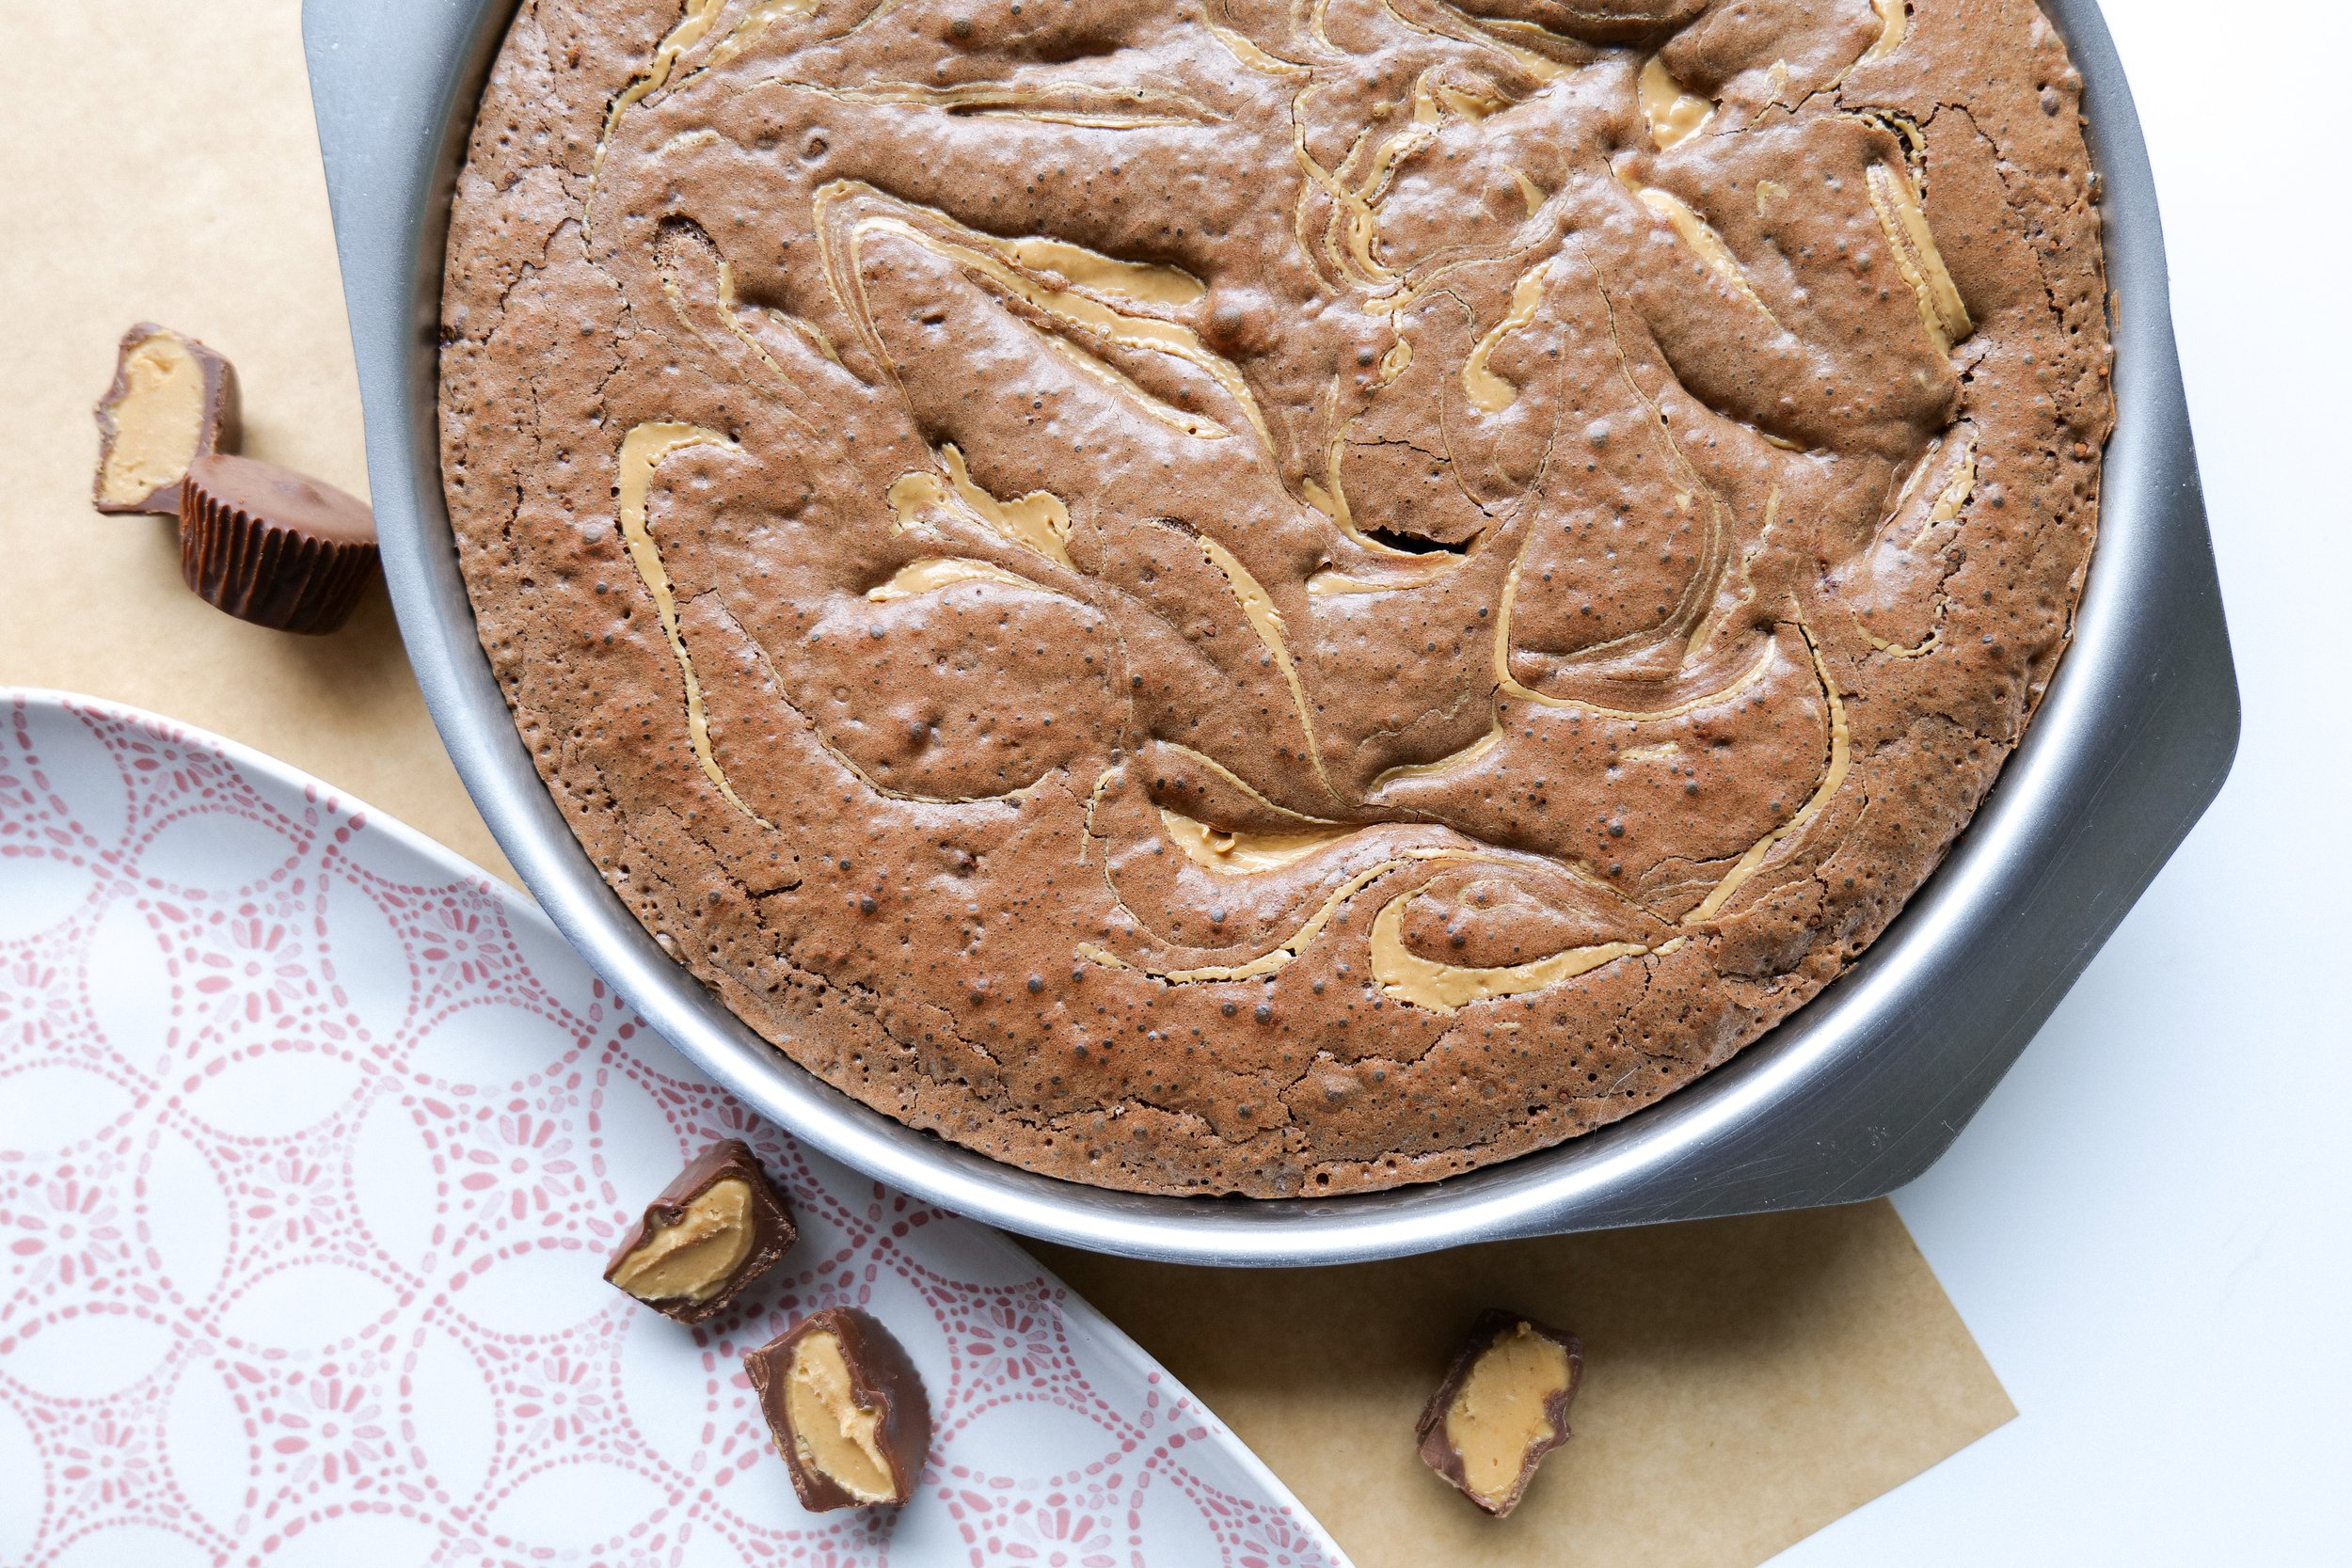
Chocolate Peanut Butter Brownies
/I love both chocolate and peanut butter so much, so naturally when mixed together and its doubly delicious. They both just melt in your mouth, and my sweet tooth just can't get enough. That's why I made these brownies for my friends and family. You won't be able to stop with just one, and I promise you wont be disappointed!
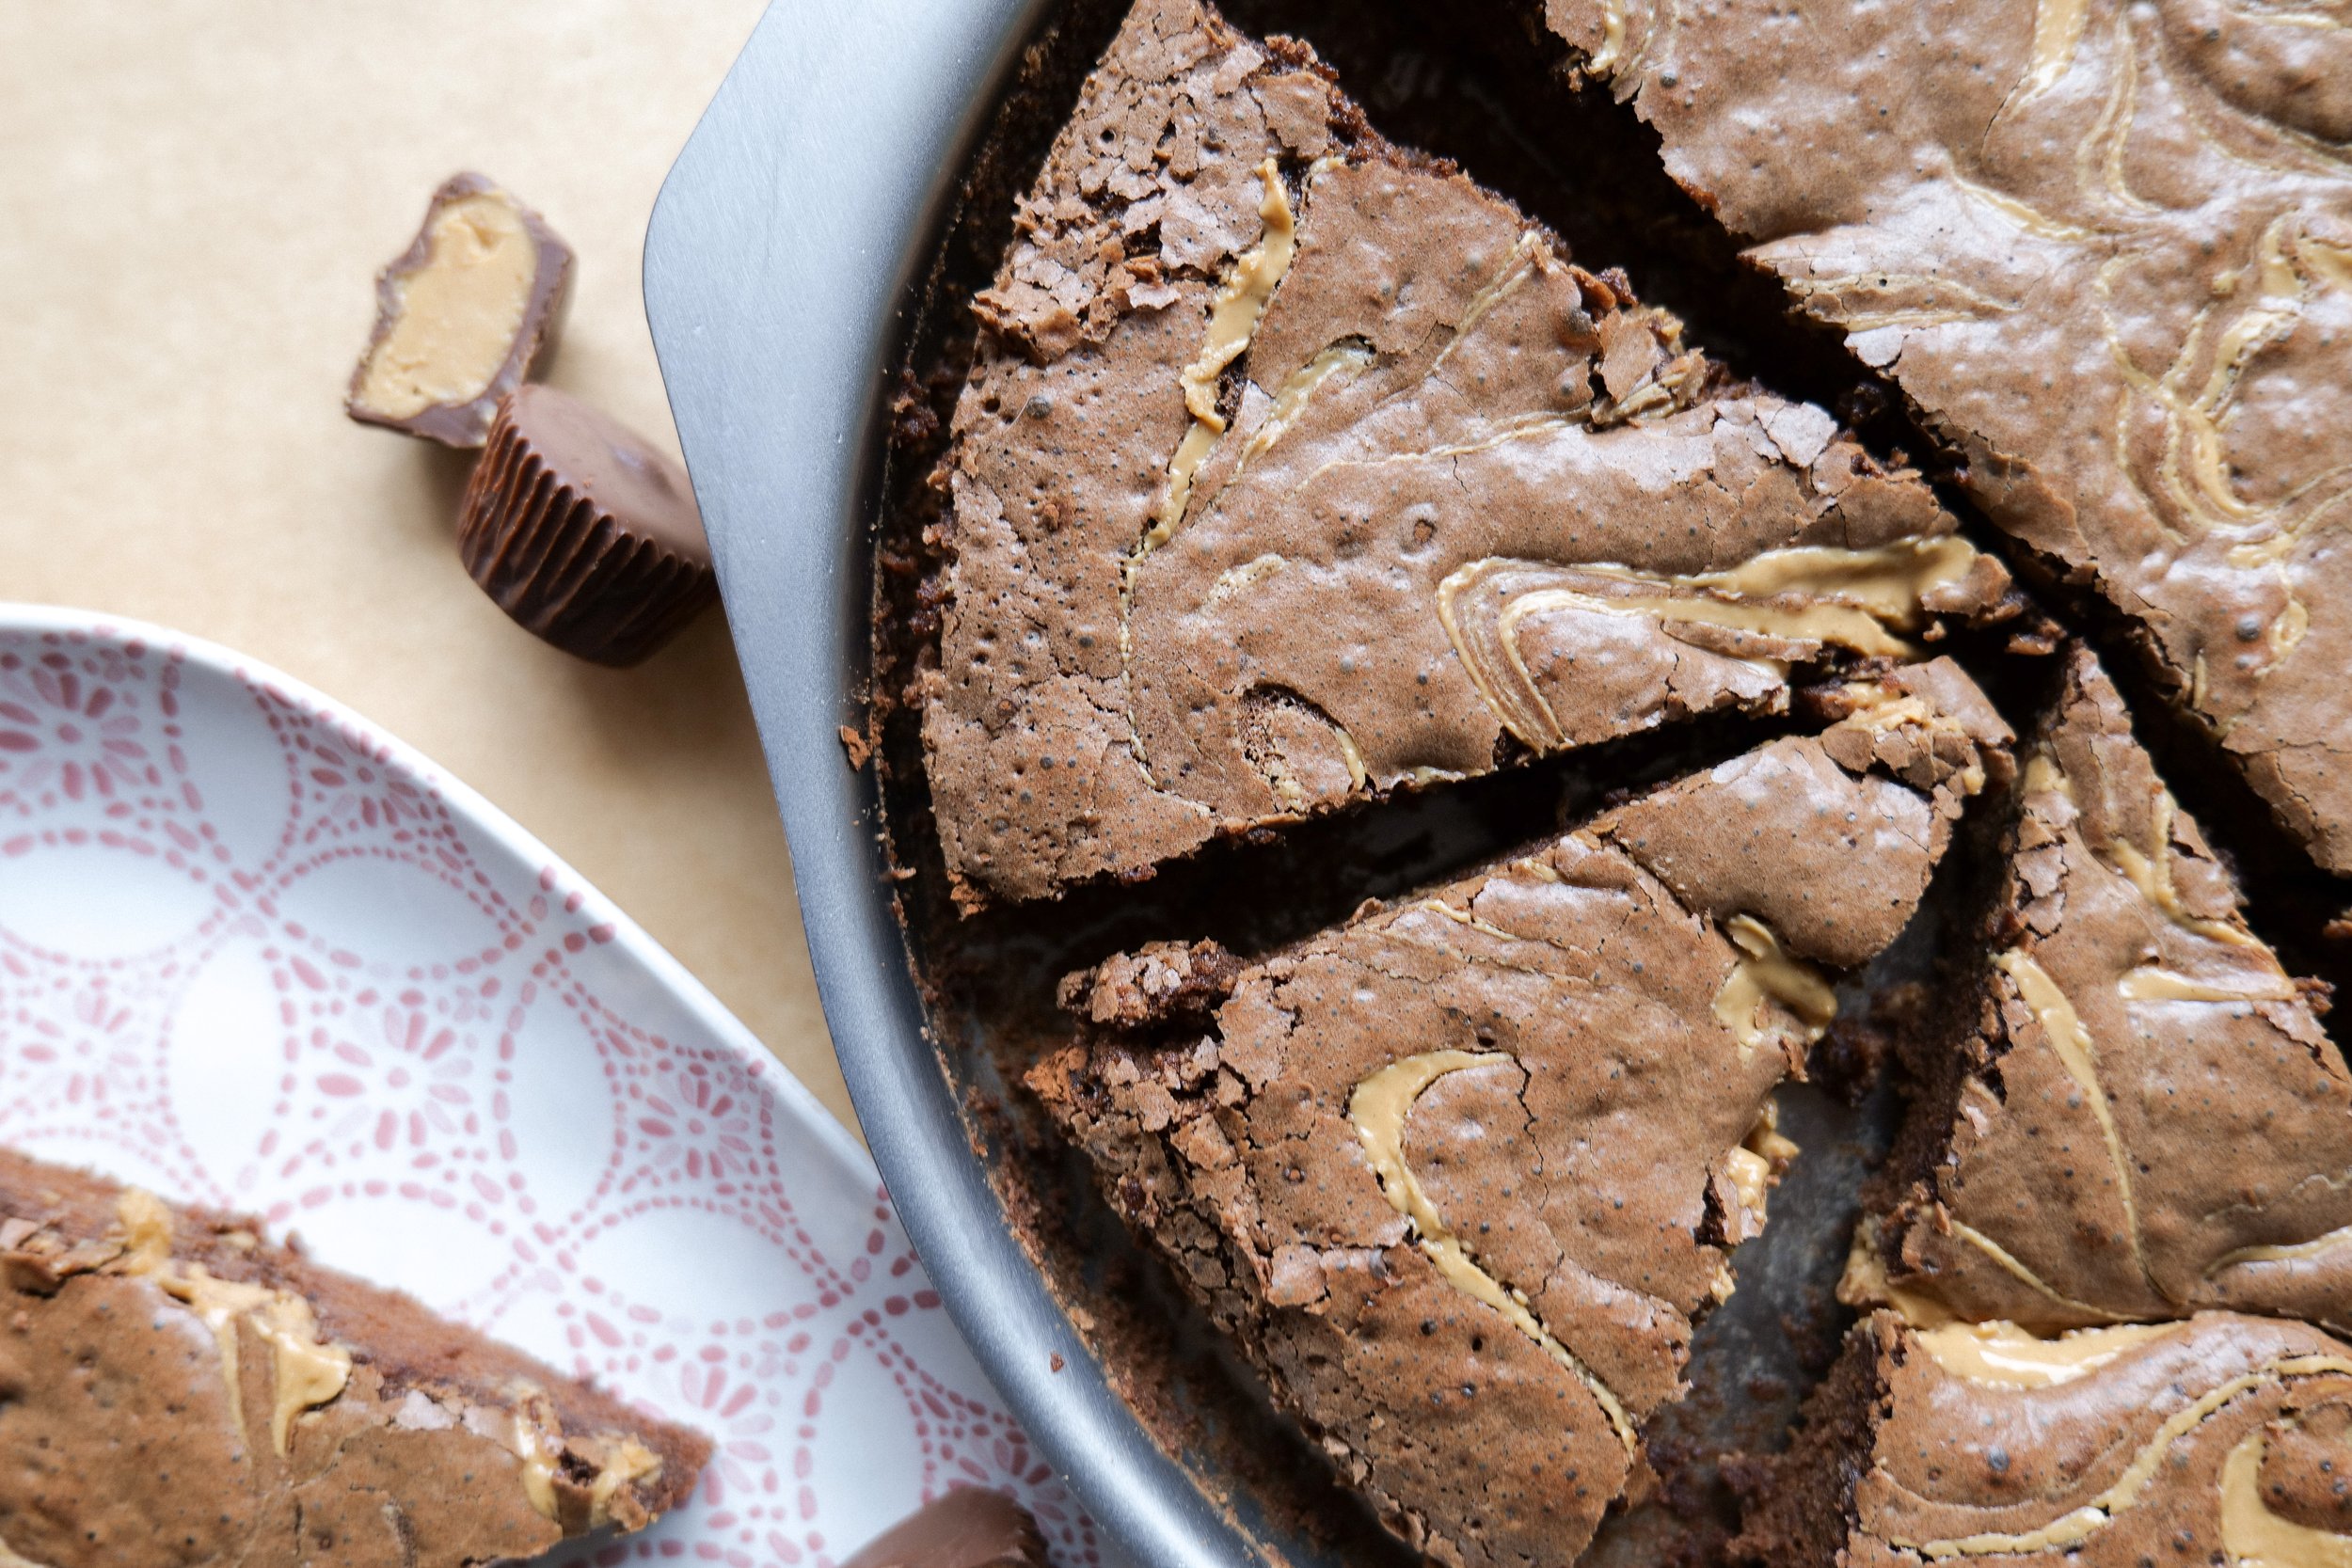
You can serve these up fresh out of the oven, or let come to room temperature and add-on a delicious peanut butter buttercream frosting topping making for a delicious cake brownie!

What Pan is Best for Baking Brownies?
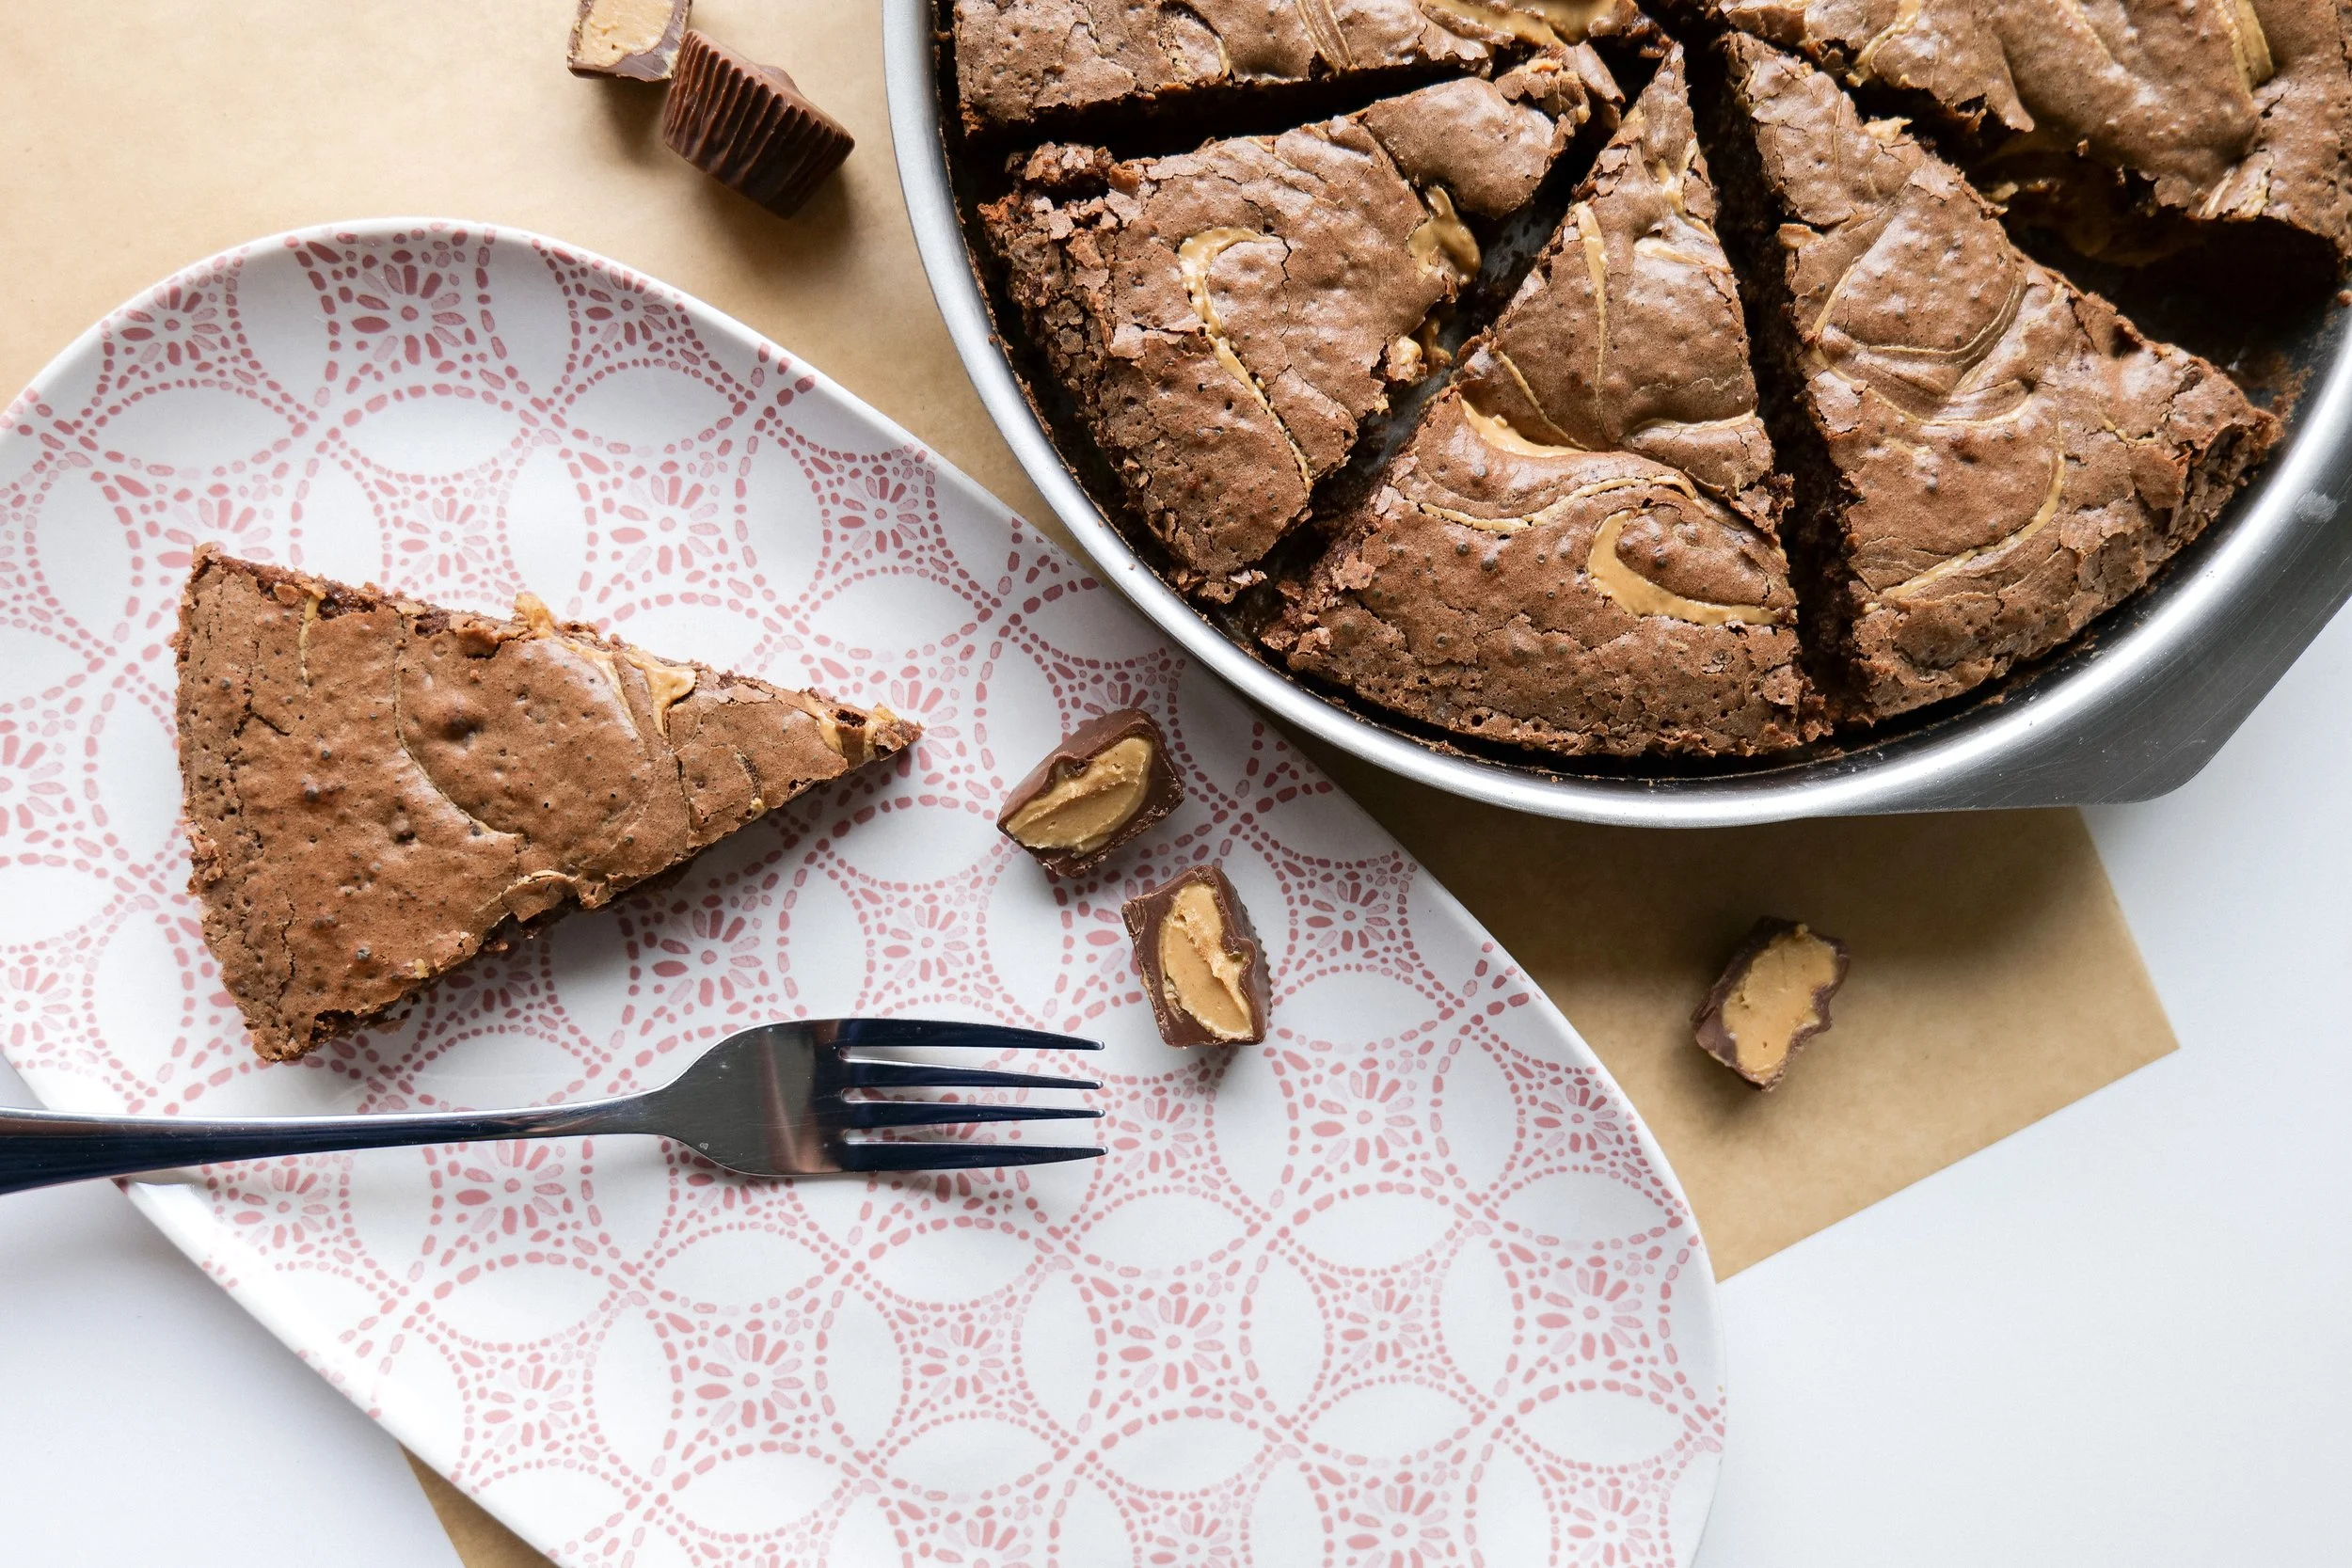
I am using the newest 360 cookware brownie pan and its the absolute best pan for baking brownies to ensure even baking. I always use their stainless steel pans for the best non-toxic baking. All of their pots and pans are also made homegrown here in America which I love, and from my dealings with them they are the nicest company!! This recipe works perfect for this pan size only, but if you are wanting to make it in one of their other pans like the jelly roll -here- or bake and roast pan -here- you will need to double everything in the recipe. I would start the baking time the same and just check in adding 5 min increments until cooked to your liking.
Ingredients :
1/4 cup melted butter
2 oz melted chocolate
2 tablespoons unsweetened cocoa powder
1/2 cup granulated sugar
1/4 brown sugar
2 eggs
2 teaspoons pure vanilla extract
1/4 cup all-purpose flour
1/4 cup melted peanut butter
Instructions & Directions :
1. Add hot melted butter to chocolate and mix until chocolate melts. If it doesn't melt quick enough I put my mixing bowl -here- on top of my 2 quart sauce pot -here- on my stove. Stirring the entire time to prevent from burning.
2. After melted, mix into bowl eggs & vanilla ingredients.
Next add in unsweetened cocoa powder, granulated sugar, brown sugar, and flour ingredients until well blended.
3. Take your brownie pan of choice and pour 1 tbsp olive oil or melted butter and using a paper towel coat the entire pan evenly. Pour in brownie batter
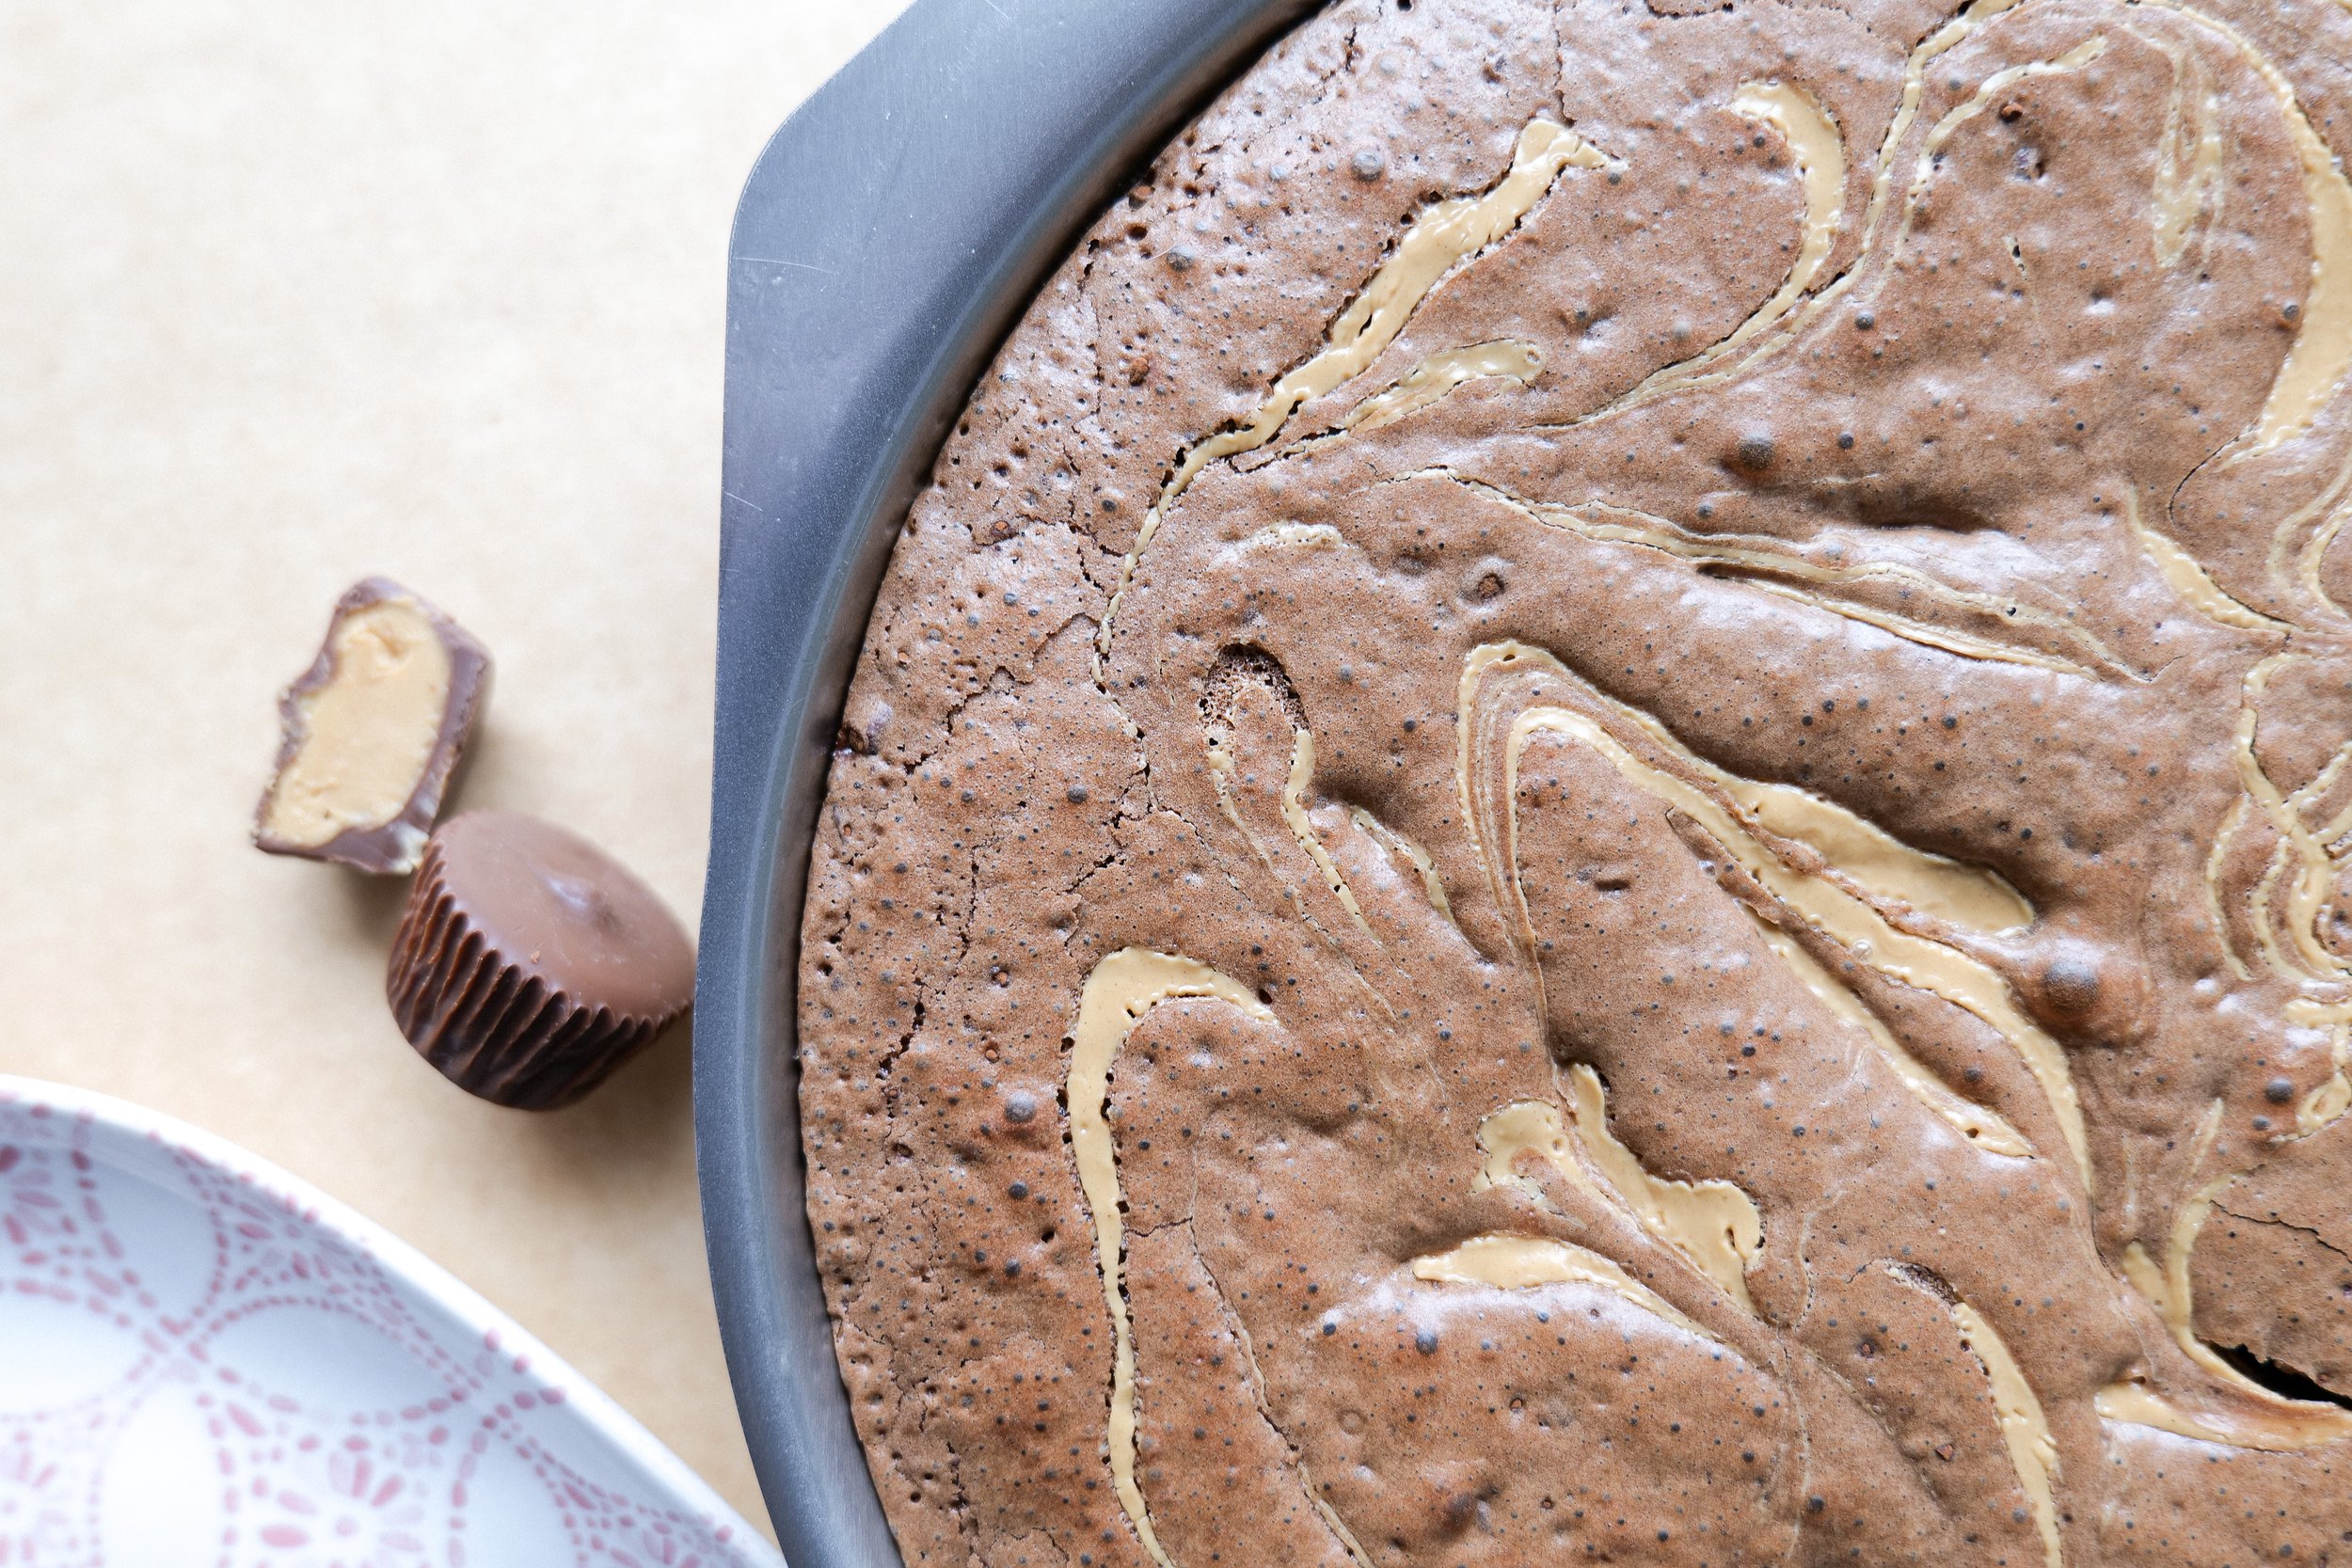
4. In a new bowl melt peanut butter and add tablespoons of peanut butter into brownie mix. Taking a sharp knife swirl around peanut butter. Be sure not to over swirl or the peanut butter brown will start to blend with brownie batter. You want them to have a fun design and the peanut butter to be equally spread throughout, while still being separate from brownie batter.
5. Bake for 25 minutes at 350.
6. Remove from oven and let cool before cutting and ENJOY!
Substitute:
A few substitutions you can make are:
Regular brown sugar to dark brown sugar - this will give a more rich taste for this substitute.
Adding 1/4 cup chocolate chips into brownie batter - this will give you a richer and gooier brownie! This combination is amazing if you love a rich chocolate dessert!
Trading our butter for olive oil - I am always a fan of butter however if you cannot have butter switching to olive oil is the best switch to make in the directions.
I really hope you guys enjoy my Chocolate Peanut Butter Brownies recipe! This is one of my favorite baked goods to enjoy at home or to take to a party! If you are precutting to take to an event I suggest placing on parchment paper in an airtight container for the best presentation and taste!
For more recipes head -here- and come back soon for a delicious lemon cheesecake recipe!
Have a blessed day, Amanda