Irresistibly Delicious Raspberry Scone Recipe: Transform Your Breakfast with This Simple and Delectable Delight!
/Scones have always held a special place in breakfast delights, offering a tasty balance of sweetness and texture. This Raspberry Scone Recipe delivers a truly indulgent experience, perfect for elevating your morning routine. With a bit of zest and a hint of sweetness, these scones prove that a great breakfast doesn't have to be time-consuming or complex. This recipe is not only easy to make but also guarantees a delicious taste that competes with any bakery purchase, featuring the taste of raspberries and the sweetness of lemon-vanilla icing. These scones turn your average morning meal into a gourmet experience. This recipe is simple enough that any skill level of baker can easily whip up these flavorful treats. Fresh raspberries fill the scones with delightful tartness and a beautiful color, while the icing brings out a sweet and tangy finish that complements every bite. These scones are destined to become a cherished staple in your recipe collection.

Creating an unforgettable breakfast begins with the perfect balance of ingredients, and this homemade Raspberry Scone Recipe promises just that. Experience the mix of tart raspberries wrapped in a sweet, buttery dough that makes each scone mouth-wateringly delicious. The recipe provides step-by-step instructions that guide bakers of all levels to achieve perfect scones every time. Details about achieving the ideal texture of flaky on the outside and tender on the inside are included to ensure your success.
Tips for Making Homemade Scones
For perfect scones, the secret lies in preparation. Incorporating cold ingredients, especially butter, is crucial in attaining that flaky texture for the best scones. Proper handling of dough, ensuring minimal mixing, can significantly affect the final outcome. Fresh or frozen raspberries bring in delicious flavors, while chilling shaped scones before baking can help them hold their form. Using these practices will enable you to make scones that not only look great, but are also an amazing mix of flavors and textures.


Storage and Freezing
Keeping your Raspberry Scones fresh allows you to enjoy these delicious treats on multiple occasions. When stored at room temperature in airtight containers, these scones retain their delightful taste and texture for up to two days. For longer periods, refrigeration is recommended, with methods to prevent drying out. Freezing is also an option for those seeking to extend their enjoyment of fresh scones. For long-term storage, freezing is encouraged by wrapping each scone and placing them in a freezer-safe bag. By following these storage and freezing suggestions, you can ensure that your scones will always be fresh and ready to serve when you need them.
What Ingredients are Needed to Make Raspberry Scones?
The ingredients play an important role in making the ideal Raspberry Scone Recipe. Essential elements such as fresh raspberries add a fresh burst of fruity flavor to each bite. All-purpose flour forms the foundation of the scone mixture, while granulated sugar adds sweetness. Baking powder acts as a leavening agent, bringing about the light and fluffy texture admired in scones. Lastly, cold unsalted butter is key for achieving a tender, flaky consistency.
- Raspberries: Fresh raspberries are preferred for their vibrant taste.
- Flour: Acts as the structural base for the scones.
- Sugar: Balances the tartness of the raspberries.
- Baking powder: Essential for airy, fluffy scones.
- Cold Butter: Integral to flaky scones, crucial to keeping the dough tender.
These combined components are the keys to producing truly great raspberry scones.

Can I Use Frozen Raspberries Instead of Fresh Ones in the Recipe?
Convenience is sometimes necessary, and yes, frozen raspberries make an excellent substitute for fresh ones in the raspberry scone recipe. However, there are considerations to keep in mind for best results. Adding frozen raspberries directly from the freezer helps maintain their shape during baking. Slight adjustments in baking time may be necessary, as frozen berries can affect the scone's moisture content. Gentle mixing of the berries with the dough is recommended to minimize breaking and prevent them from becoming mushy. Even when choosing frozen raspberries, the scones will retain their delicious flavor and visual appeal, creating a treat that is well worth it. Other substitutions you can make are swapping out raspberries for other fruits like blueberries, strawberries or blackberries.
Can I Make Raspberry Scones Ahead of Time and Freeze Them for Later?
Yes, raspberry scones can be prepared in advance and frozen to allow you to enjoy them at your convenience. By preparing the scones as directed, you can stop prior to baking them and freeze the unbaked scones. Once frozen solid, transfer them to an airtight container or freezer bag, preserving the authentic raspberry flavor. When you’re ready to dine, bake the scones directly from the freezer, simply cooking as much as necessary. This approach not only ensures the fresh raspberry taste remains throughout the dough but also means you always have a delightful breakfast option ready at a moment’s notice.

What Are Some Tips to Prevent Scones from Turning Out Too Dry?
Achieving the perfect moisture level in scones is a common concern among bakers, but there are simple strategies to prevent them from drying out. The use of cold ingredients like butter and cream is important to maintaining tenderness and moisture. Avoid overmixing the dough, which leads to tough and dry scones and instead mix only until just combined. If the dough appears excessively dry before baking, consider adding slight extra liquid, like milk or cream. Be gentle when rolling out your dough and avoid pressing it too thinly. Know your oven's temperature to ensure even baking. By using these techniques, your scones will be perfectly hydrated, maintaining their texture and flavor from the first bite to the last.
Making the perfect raspberry scone not only takes your breakfast to the next level but expands your options for your next holiday pr family brunch. Dive in and experience the balance of raspberries and a buttery, flaky texture that makes every morning a little brighter. Enjoy these delightful raspberry scones, and enjoy not having to drive to the bakery.


Ingredients:
21/2 cups flour
1/2 cup sugar
1/2 tsp salt
1 tbsp baking powder
1/2 cup cold butter
1 egg
1 tsp vanilla extract
2/3 cup heavy cream
8 ounce package of cream cheese
1/2 cup sugar (to cover cream cheese with)
1 pint raspberries
Glaze:
1 tsp vanilla extract
1 cup powdered sugar
2 tbsp melted butter
2 tbsp lemon juice
Instructions:
1. Mix together dry ingredients in a large bowl
2. Grate butter into bowl and blend with dry mixture. I use my hands to make sure that the butter doesn’t stick together any larger than a pea size amount.
3. After well mixed make a hole in the center of the mix and put all wet ingredients; egg, vanilla and heavy cream. Mix together. Be sure to not over mix or it will get too tough.
4. Cube cream cheese into dime size chunks. Coat in a small bowl with sugar and add into the dough. Don’t over mix just enough that its well spread out in the dough. Next incorporate in raspberries, be sure not to over mix or smash them.
5. After all is mixed together, flour your workstation and make dough into a pie looking around shape. I keep mine a little thicker, so it stays soft. If you like your scones harder and flakier then you can make it thinner. Mine is usually around an inch to an inch and a half thick. Once in a circle cut with a bench scraper like a pizza into slices. I do about 8. Again, if you prefer it to be smaller and not as soft you can do more.
6. Place on a parchment paper lined cookie sheet and put in the fridge for 45 min to an hour. The last 10 min preheat oven to 400 degrees
7. Bake at 400 degrees for 15 min. Turn the temp down to 350 and bake for 10 min or until golden brown on the top.
8. While baking make glaze! Melt butter completely in a bowl and add in the other ingredients. Mix with a fork until you have your desired consistency. Add more powdered sugar or water to achieve thickness. I like mine a little thicker so it will stick to the top of scones.
9. Transfer scones to cookie sheet and drizzle glaze on top. Let cool and enjoy!!
Other Raspberry Recipes:
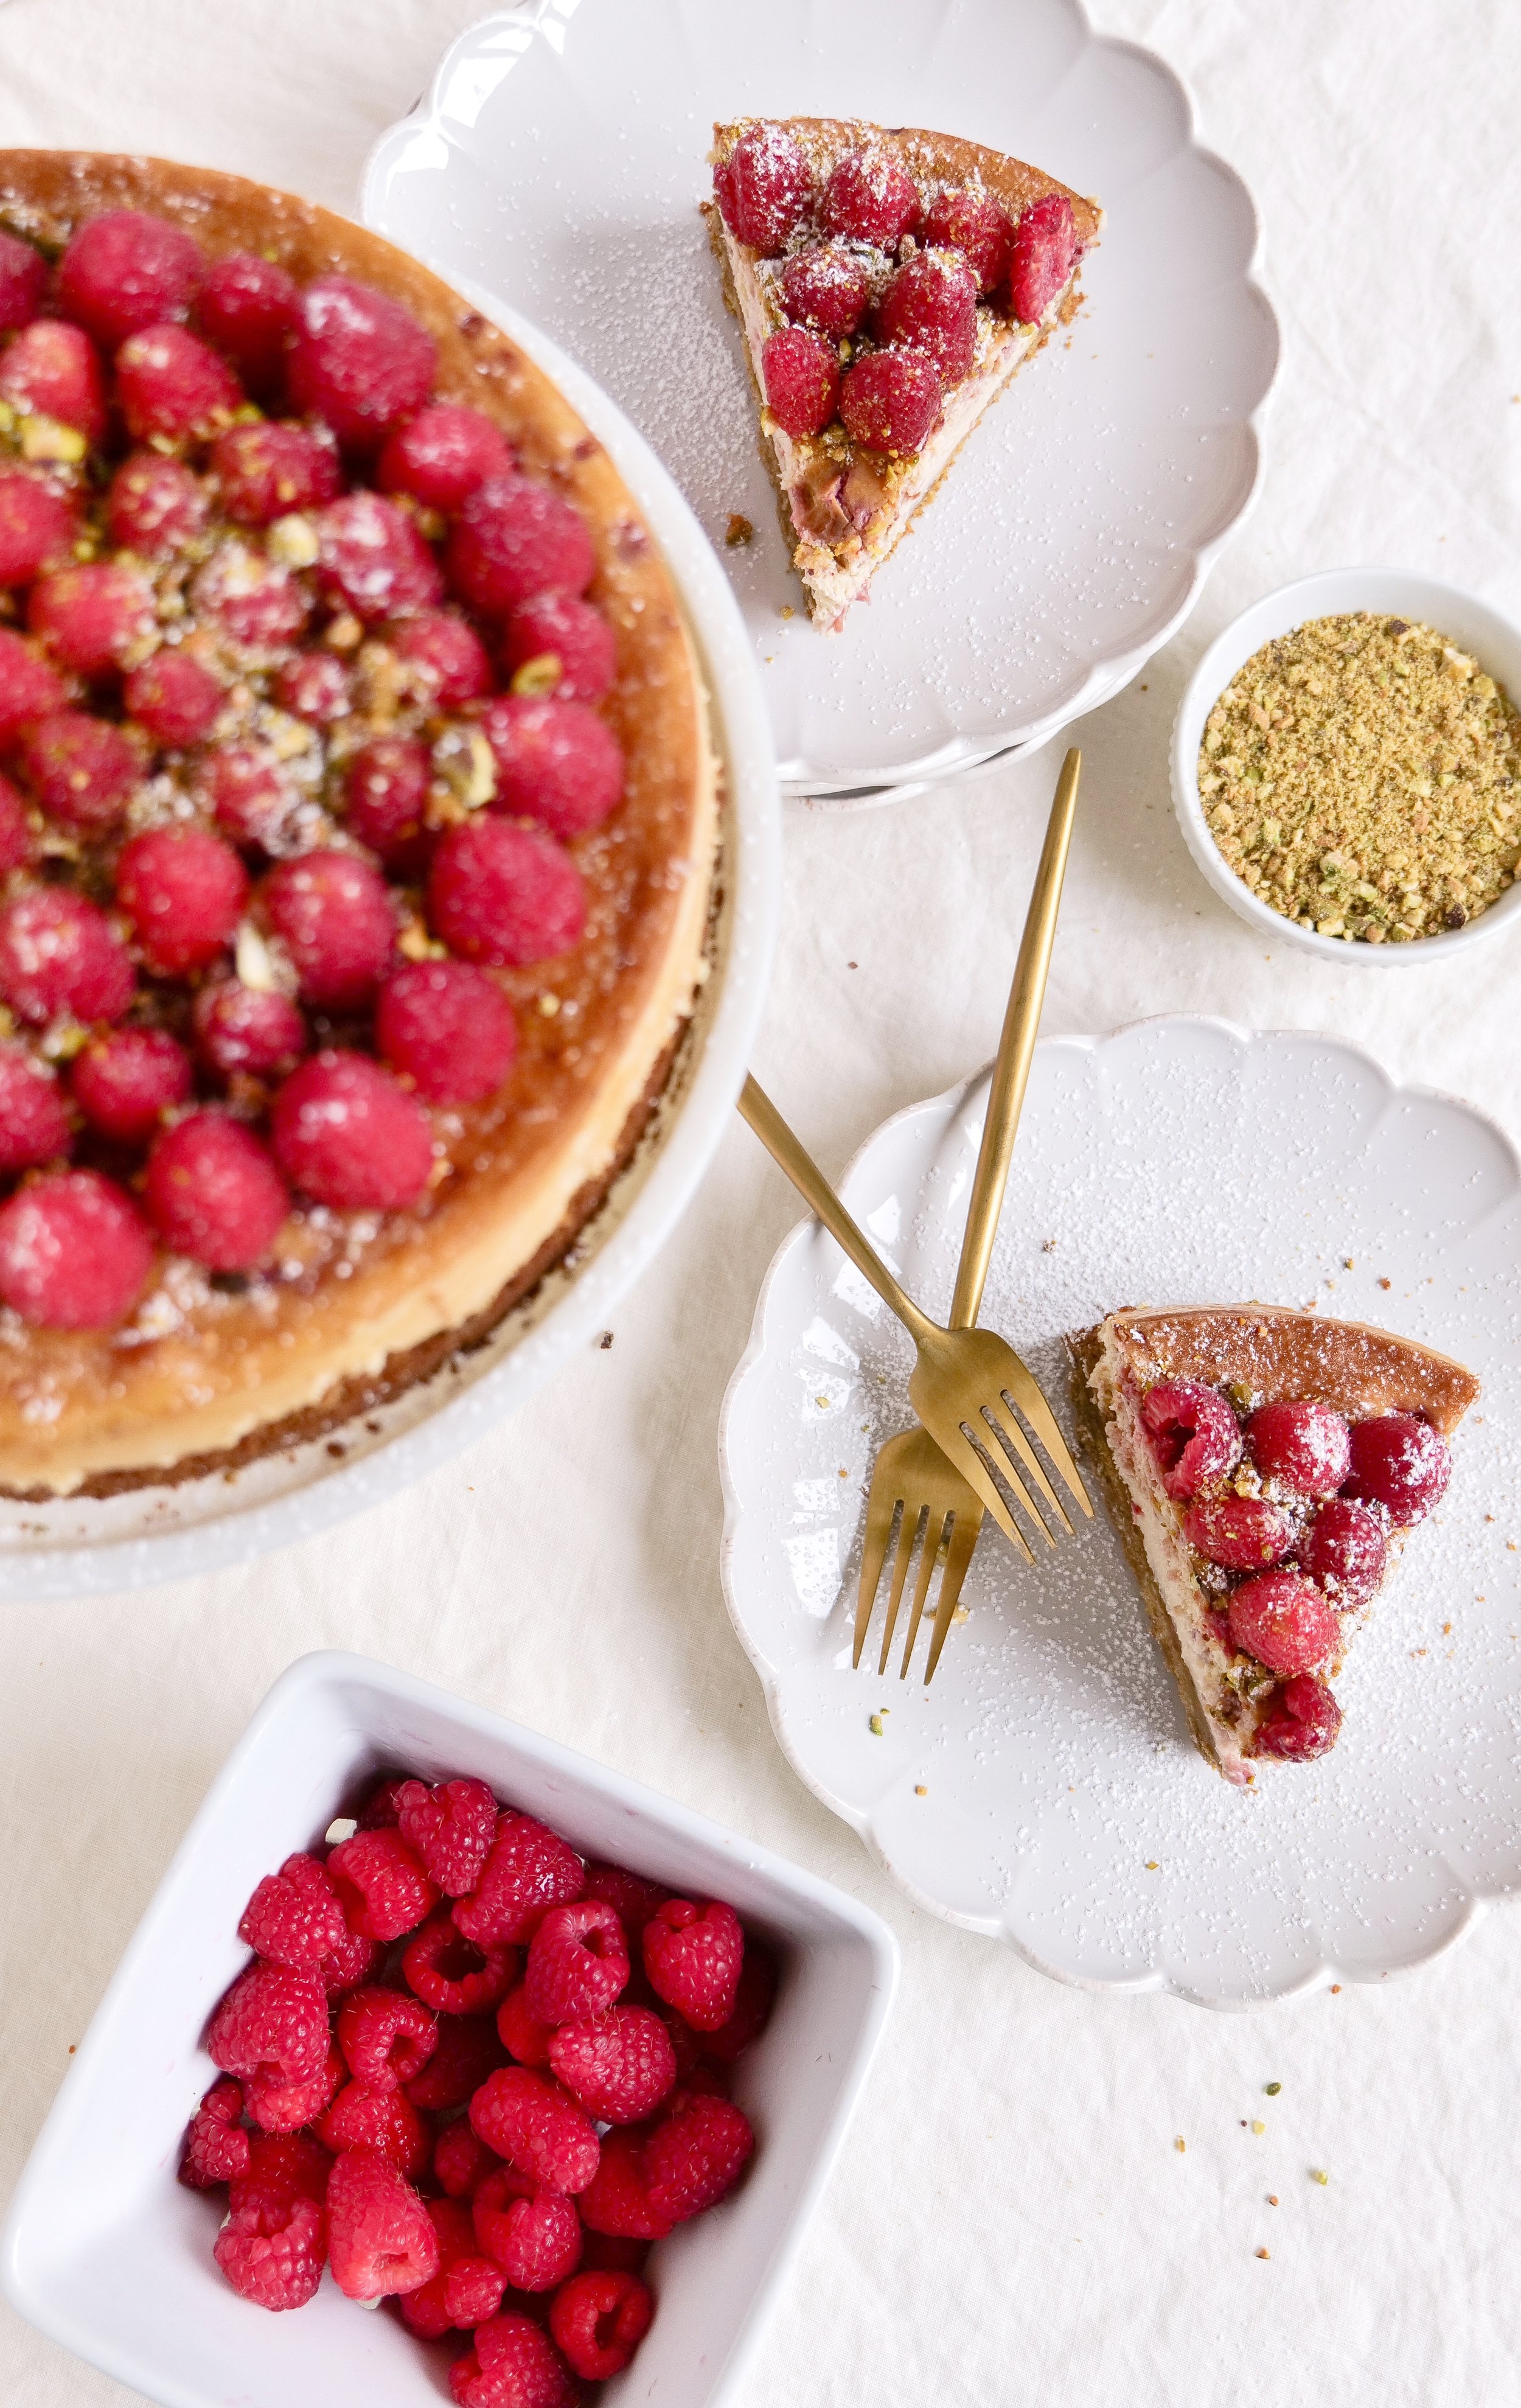
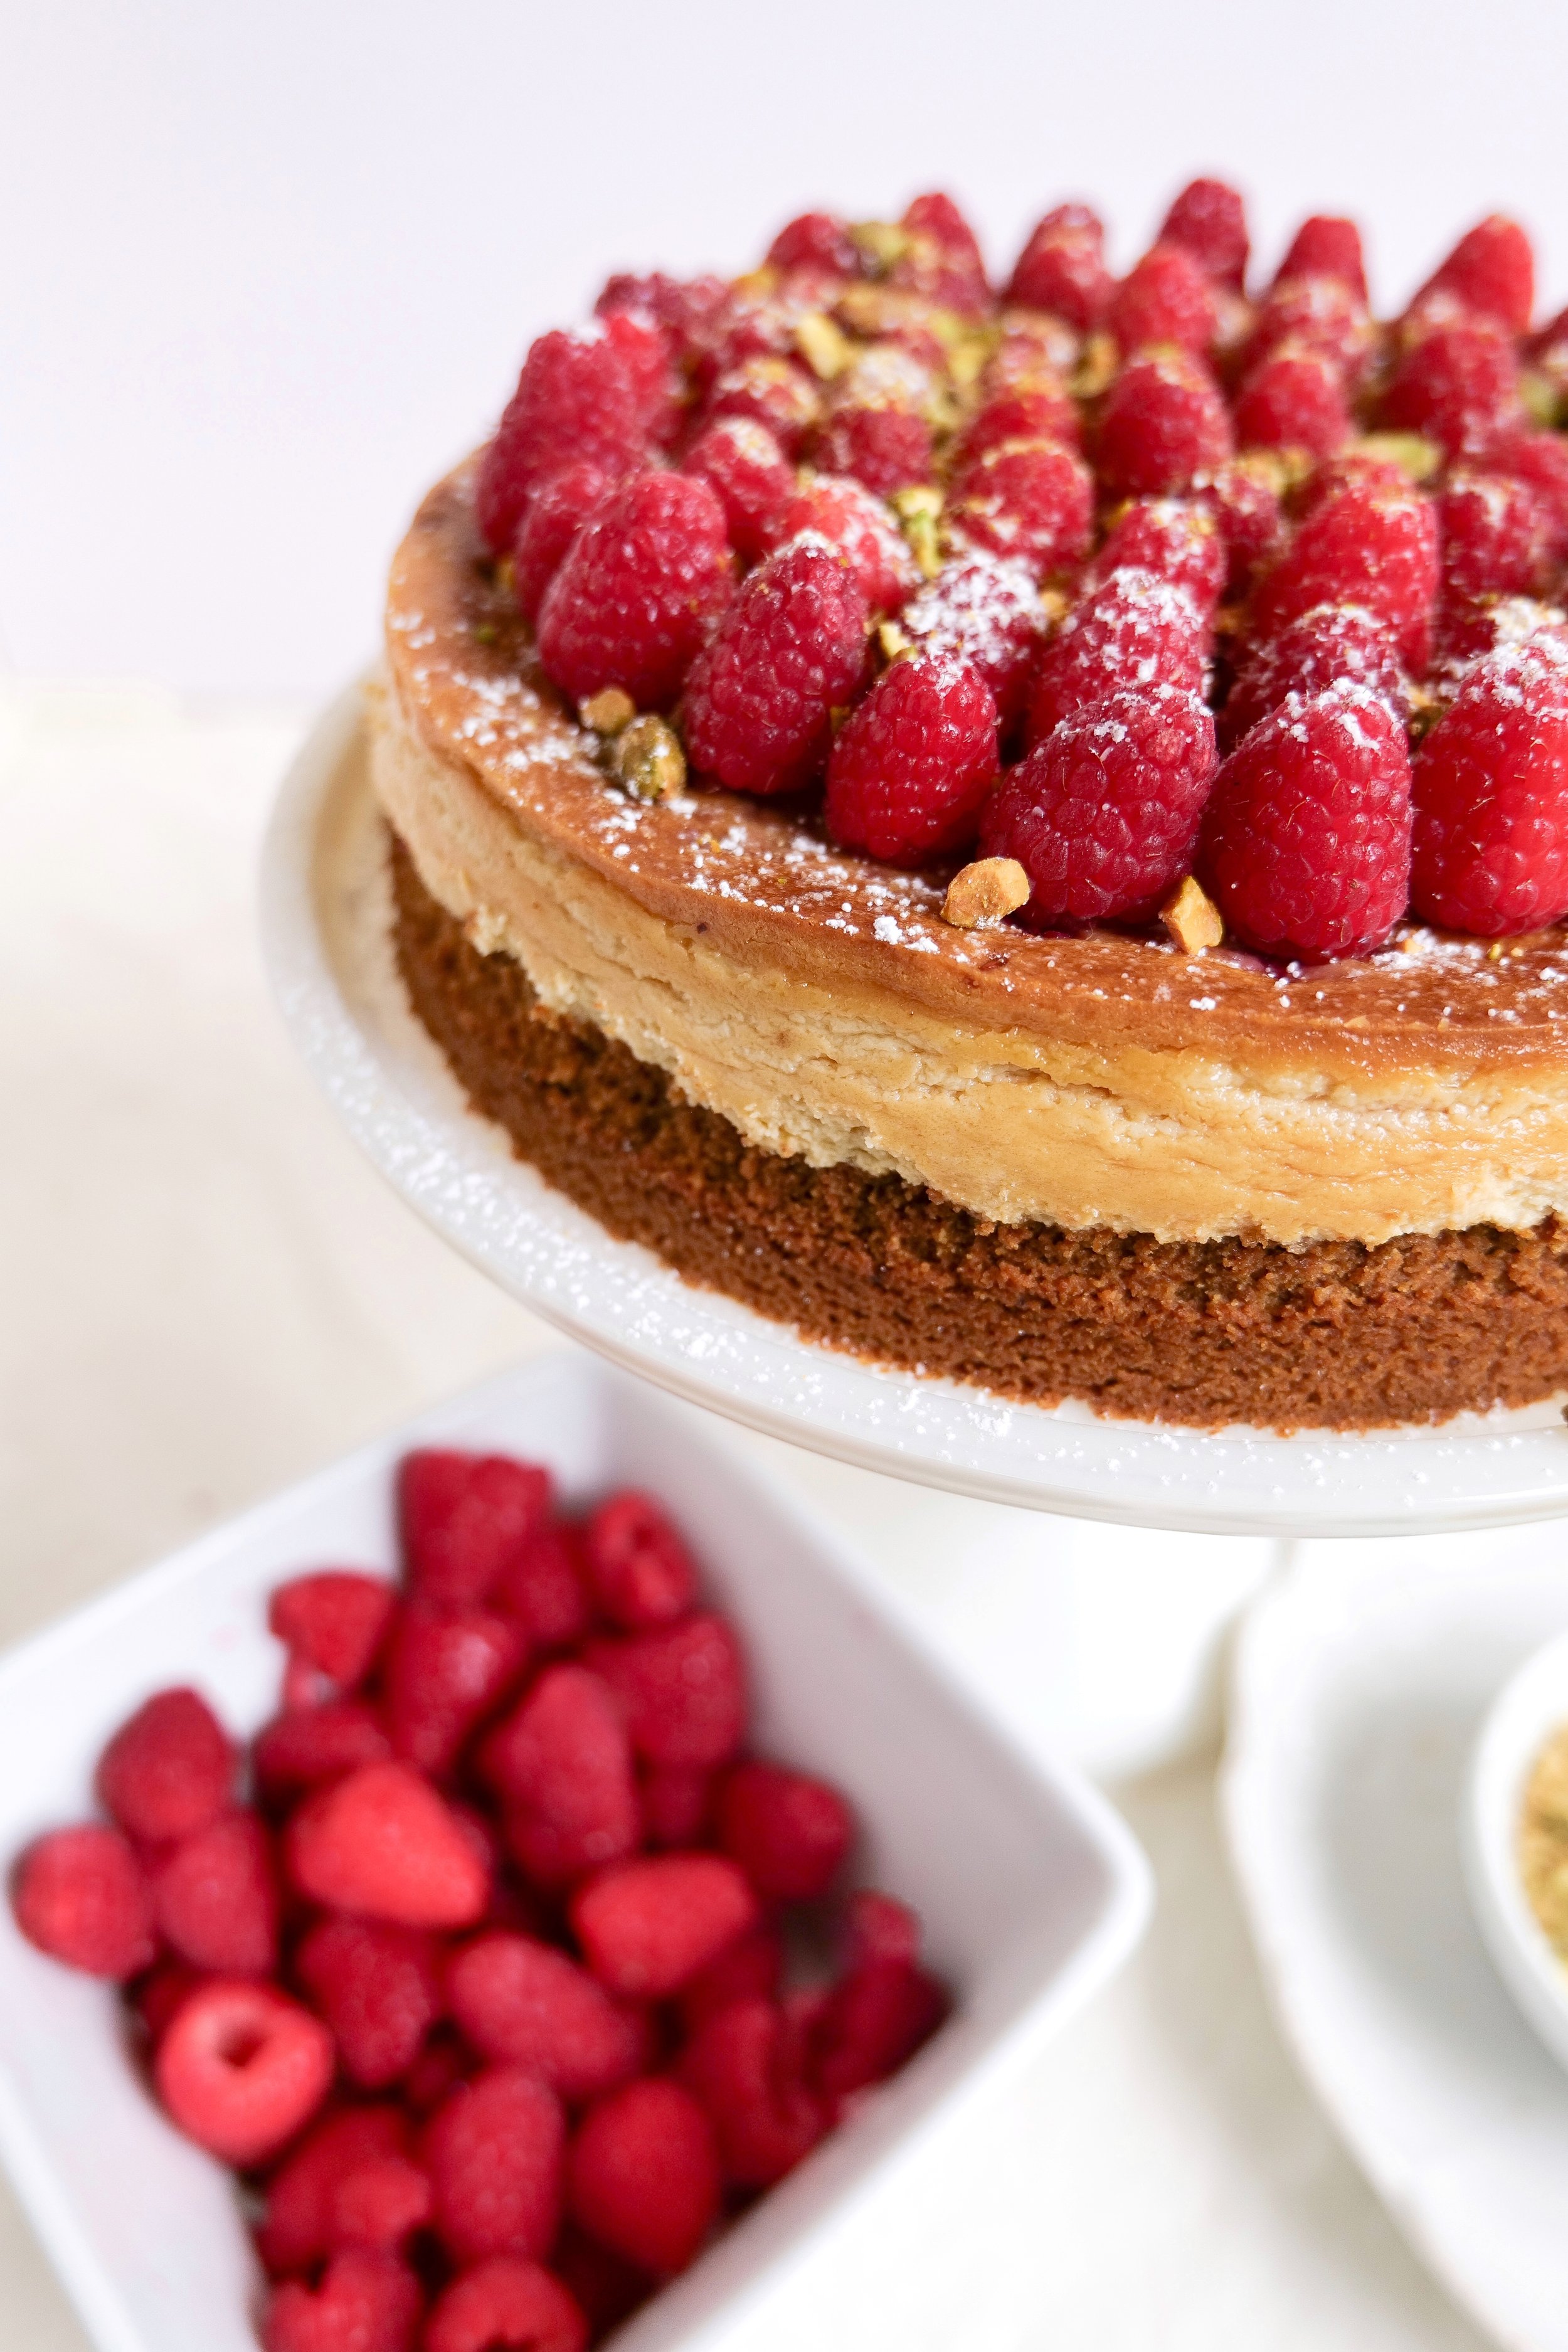
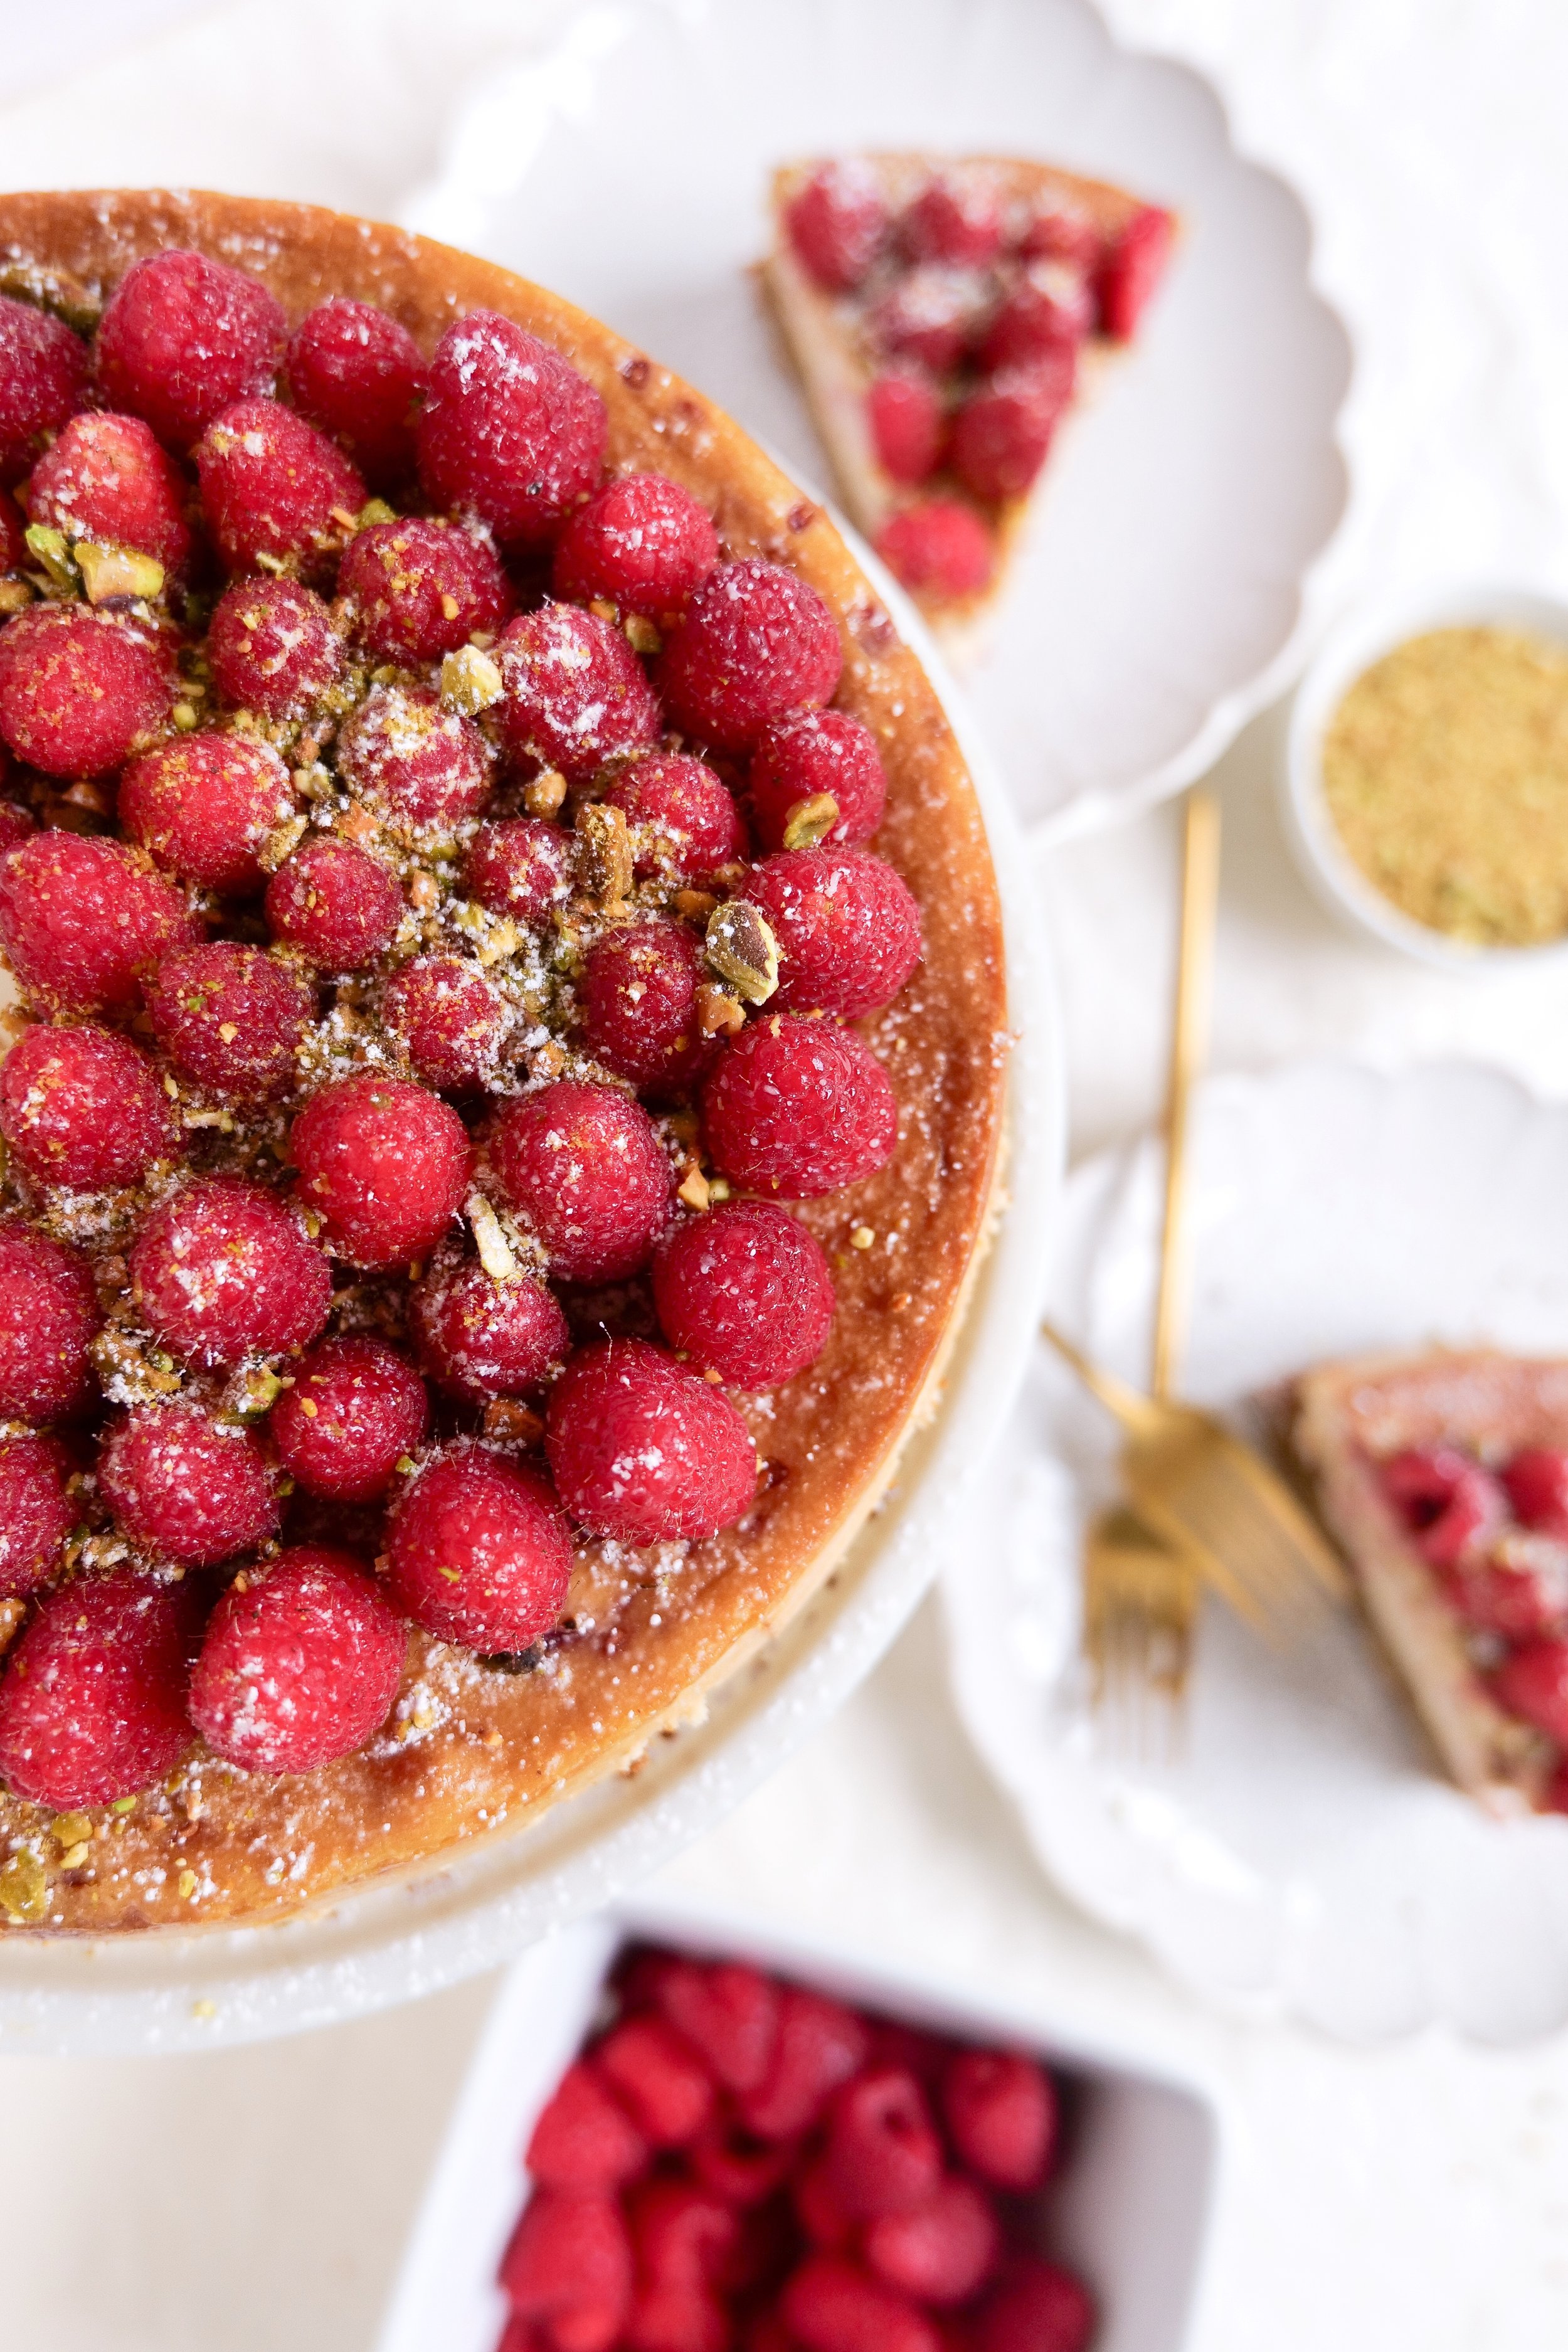
Indulge Your Taste Buds with The Ultimate Raspberry Pistachio Cheesecake Recipe
Zesty Indulgence: Crafting the Perfect Layered Orange Cake with Raspberry Mascarpone Frosting
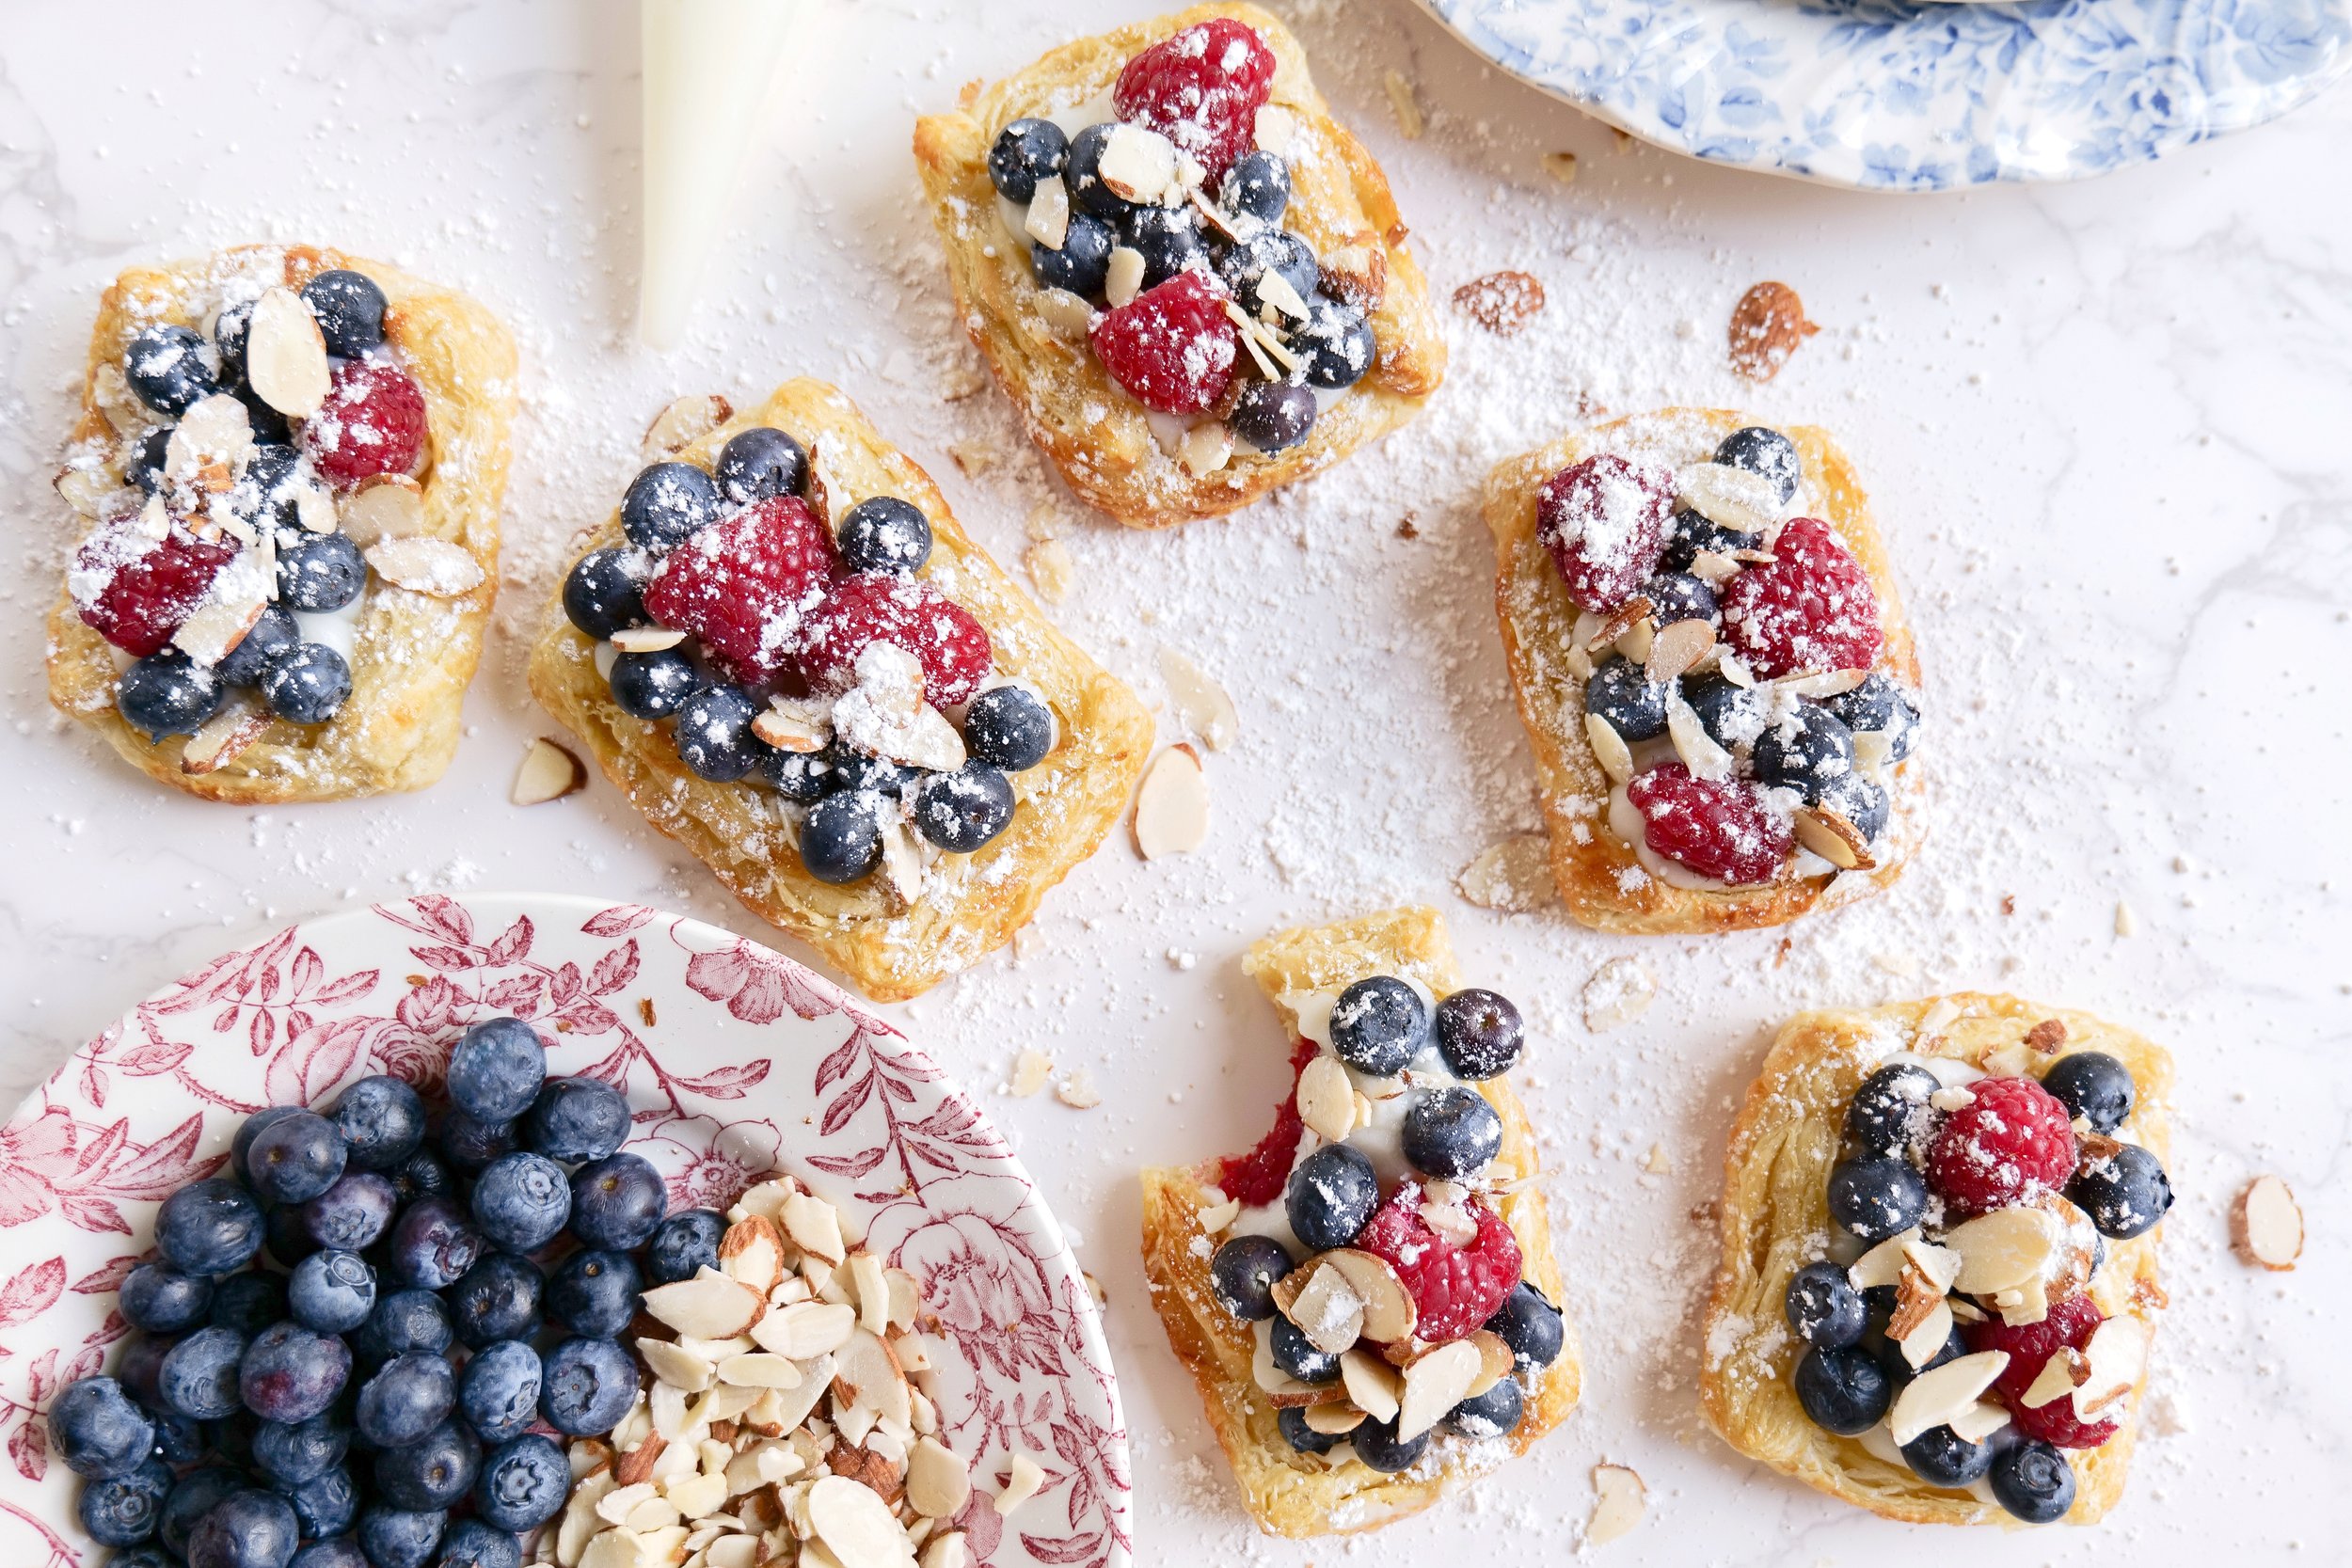
An Irresistible Treat: The Delicious Berry Custard Puff Pastry Tart
Step-by-Step Guide to Making a Refreshingly Delicious Frozen Raspberry Margarita
Other Scone Recipes:
Soft Cream Cheese Lemon Blueberry Scones
How to Make Fall Chai Low Sugar Scones with Splenda
Other Breakfast Staples:
Sweet Serenity: Mastering the Art of Pumpkin Cinnamon Rolls with Cream Cheese Icing
Blackberry Cinnamon Rolls with Mascarpone Frosting
Sweet Perfection: Baking the Ultimate Cinnamon Roll Loaf with Espresso Glaze
Deliciously Sweet: Pumpkin Coffee Cake with Pecan Crumbles
An Irresistible Treat: The Delicious Berry Custard Puff Pastry Tart