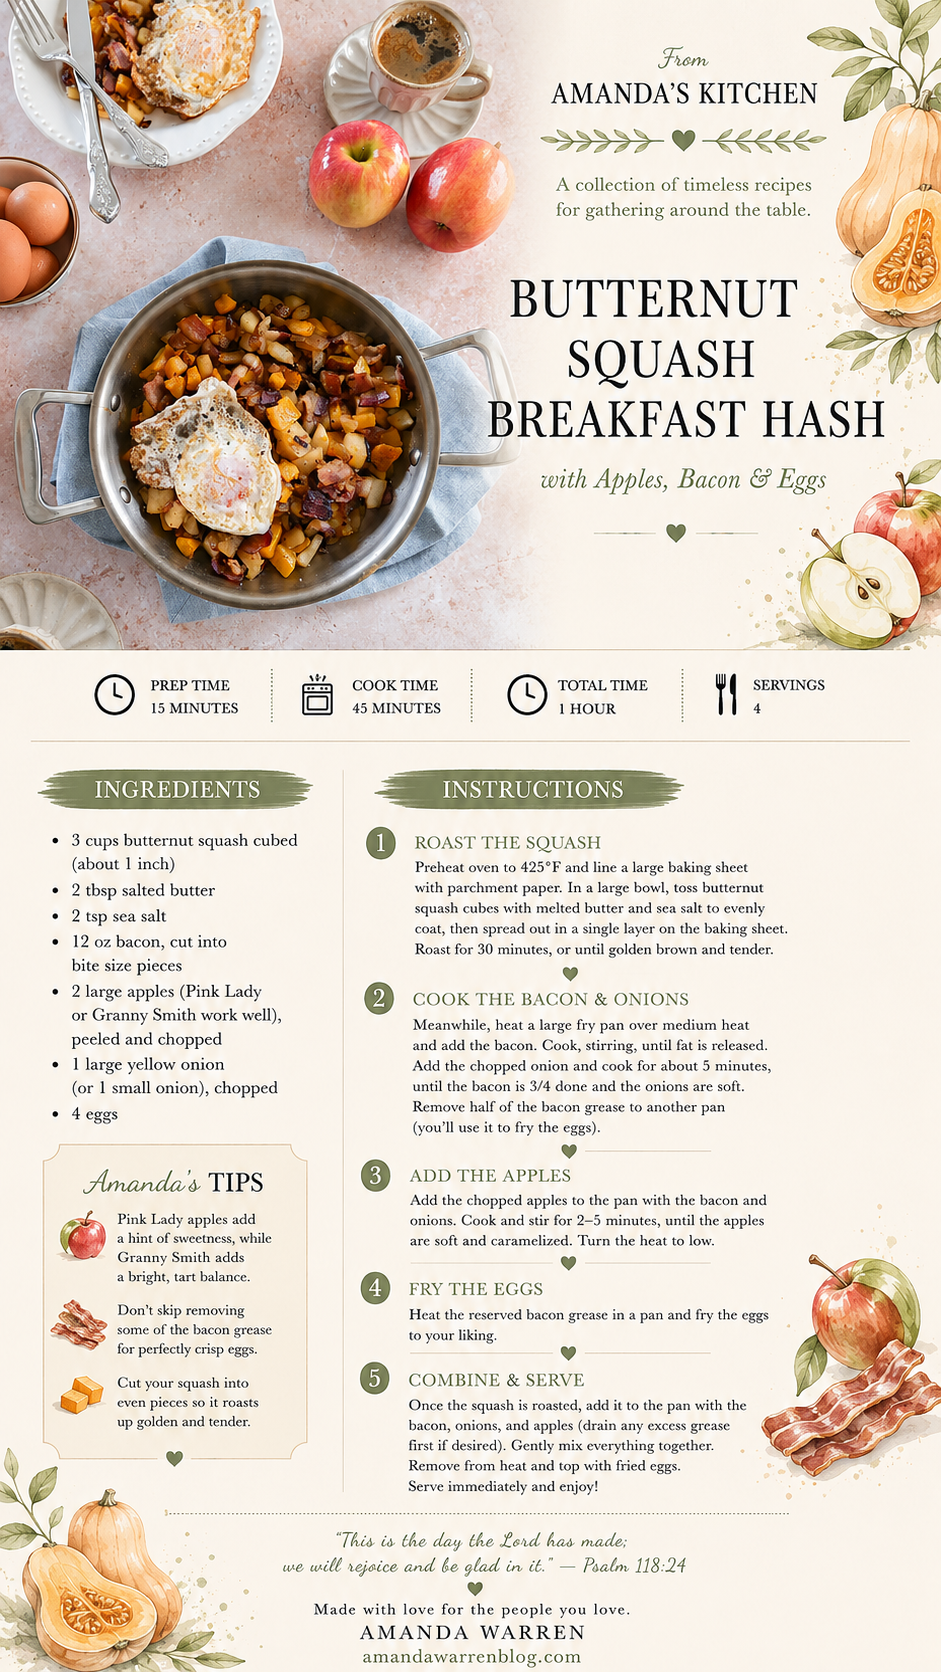
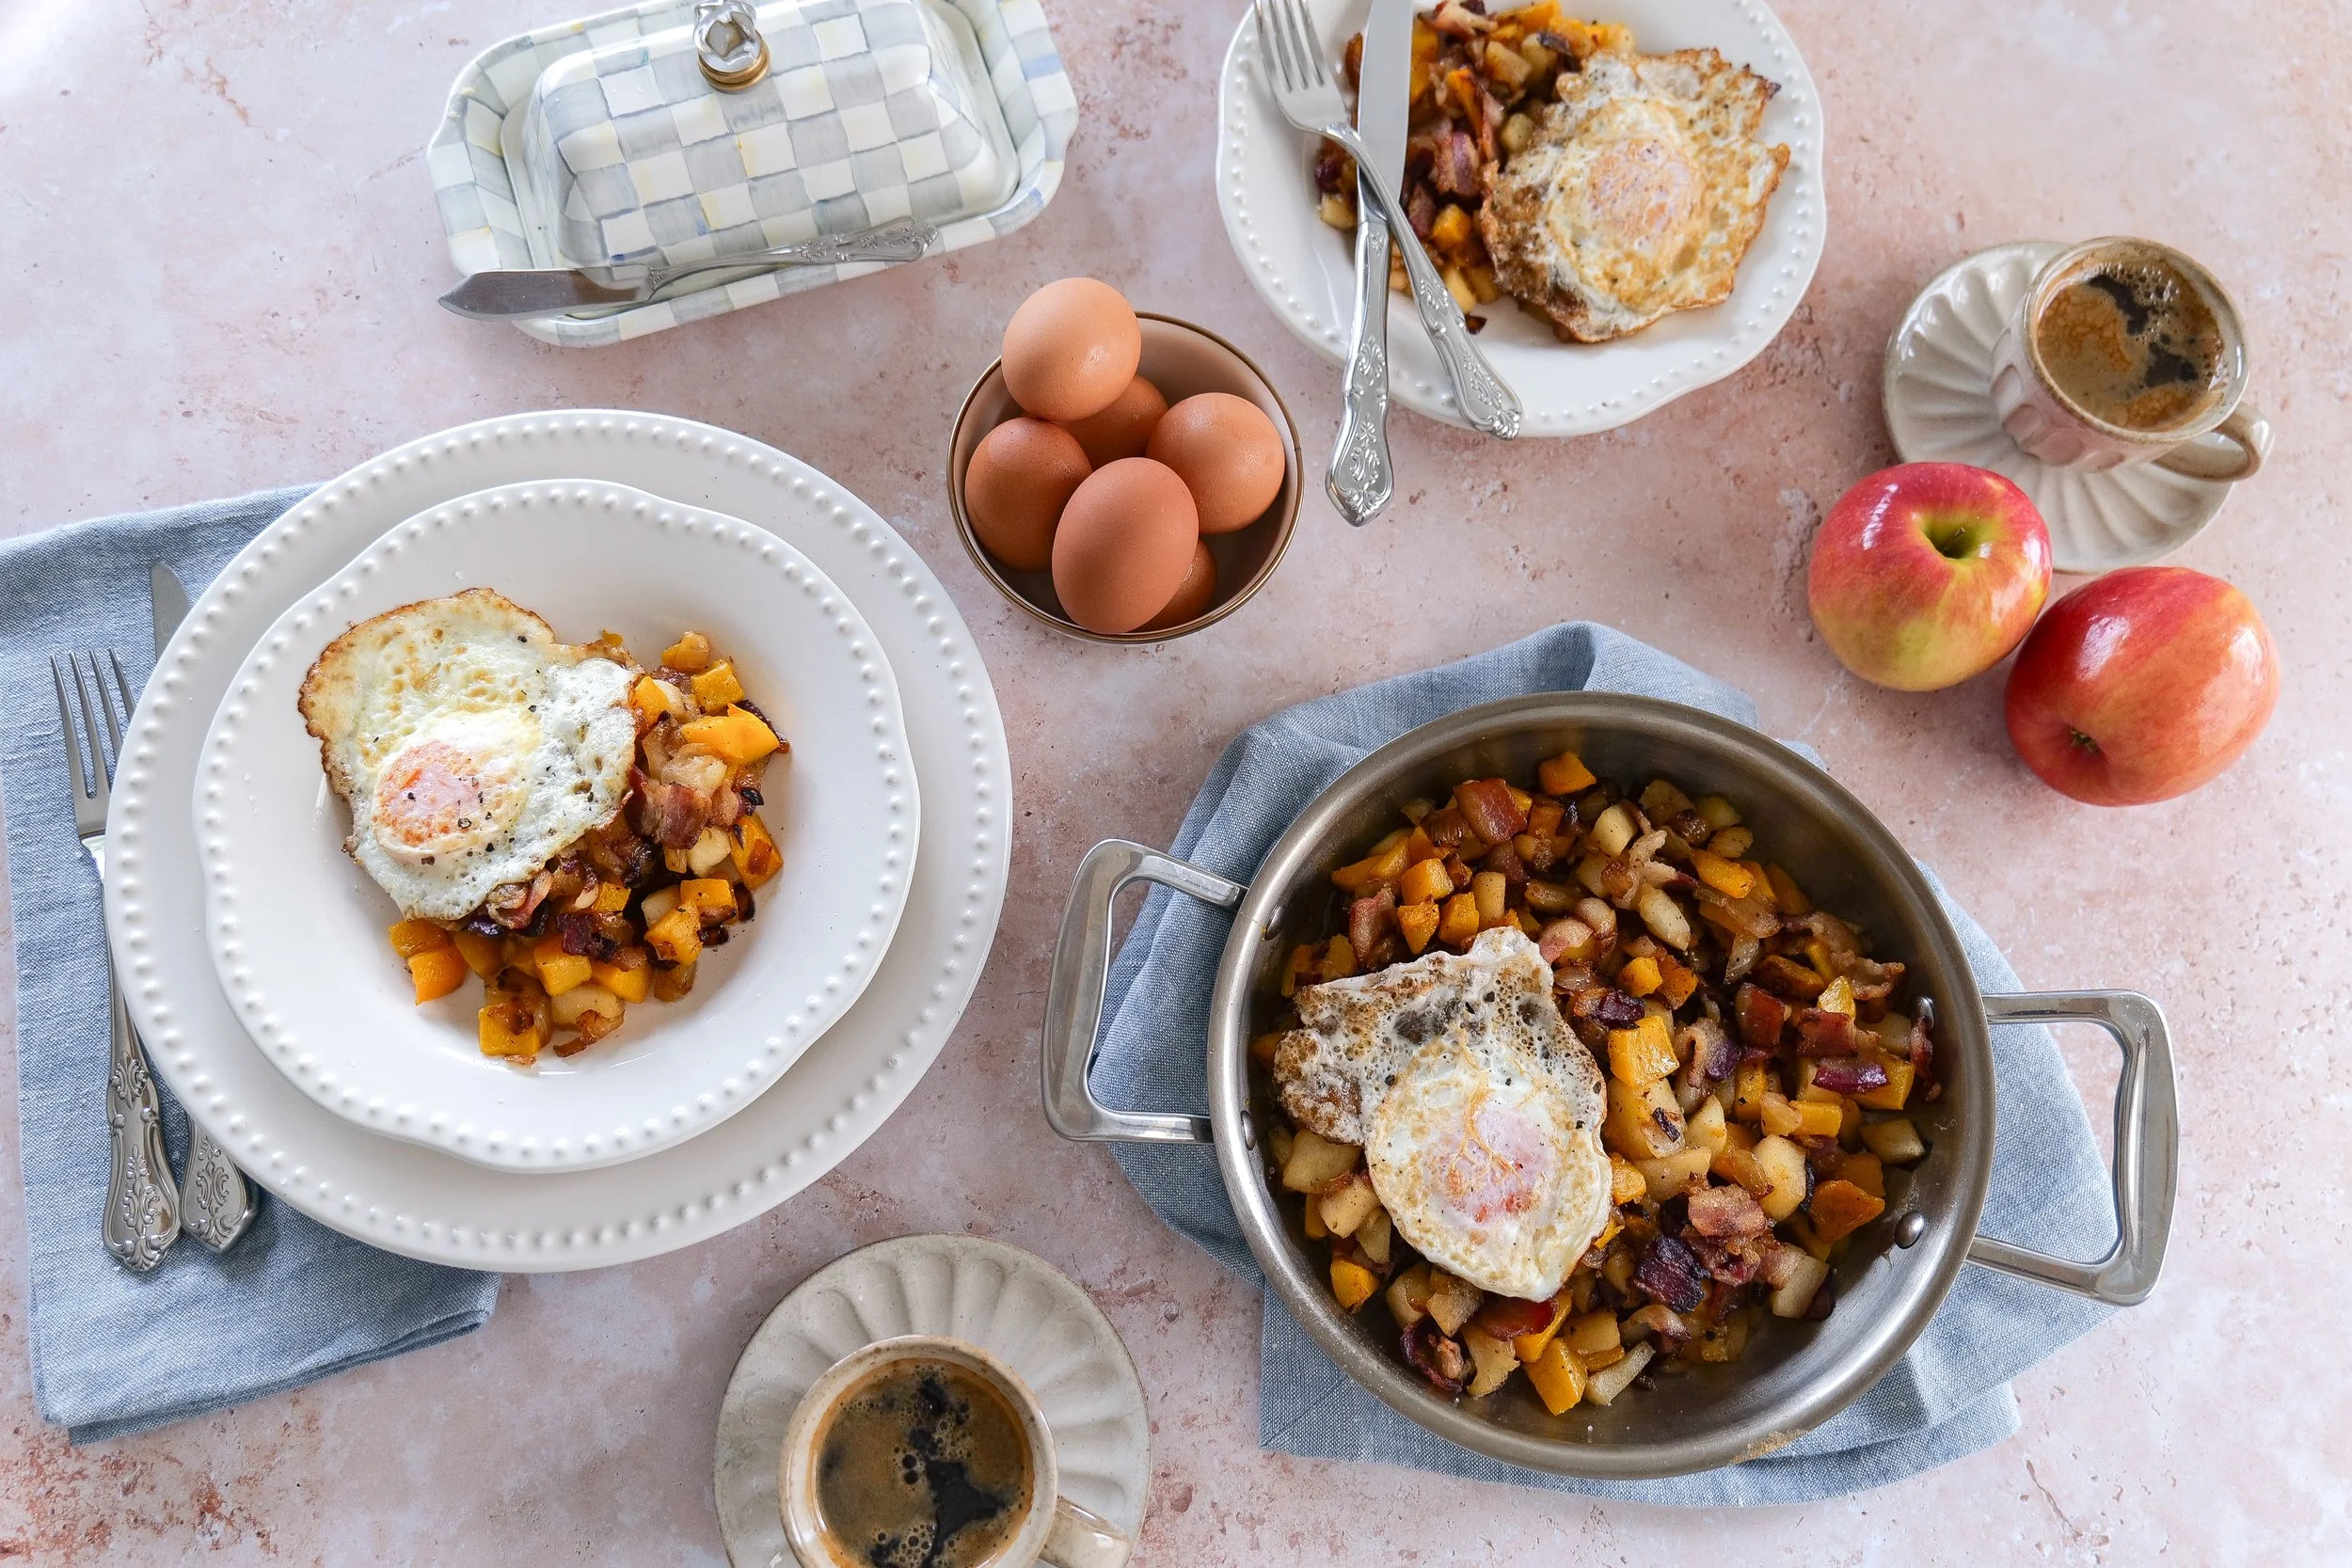
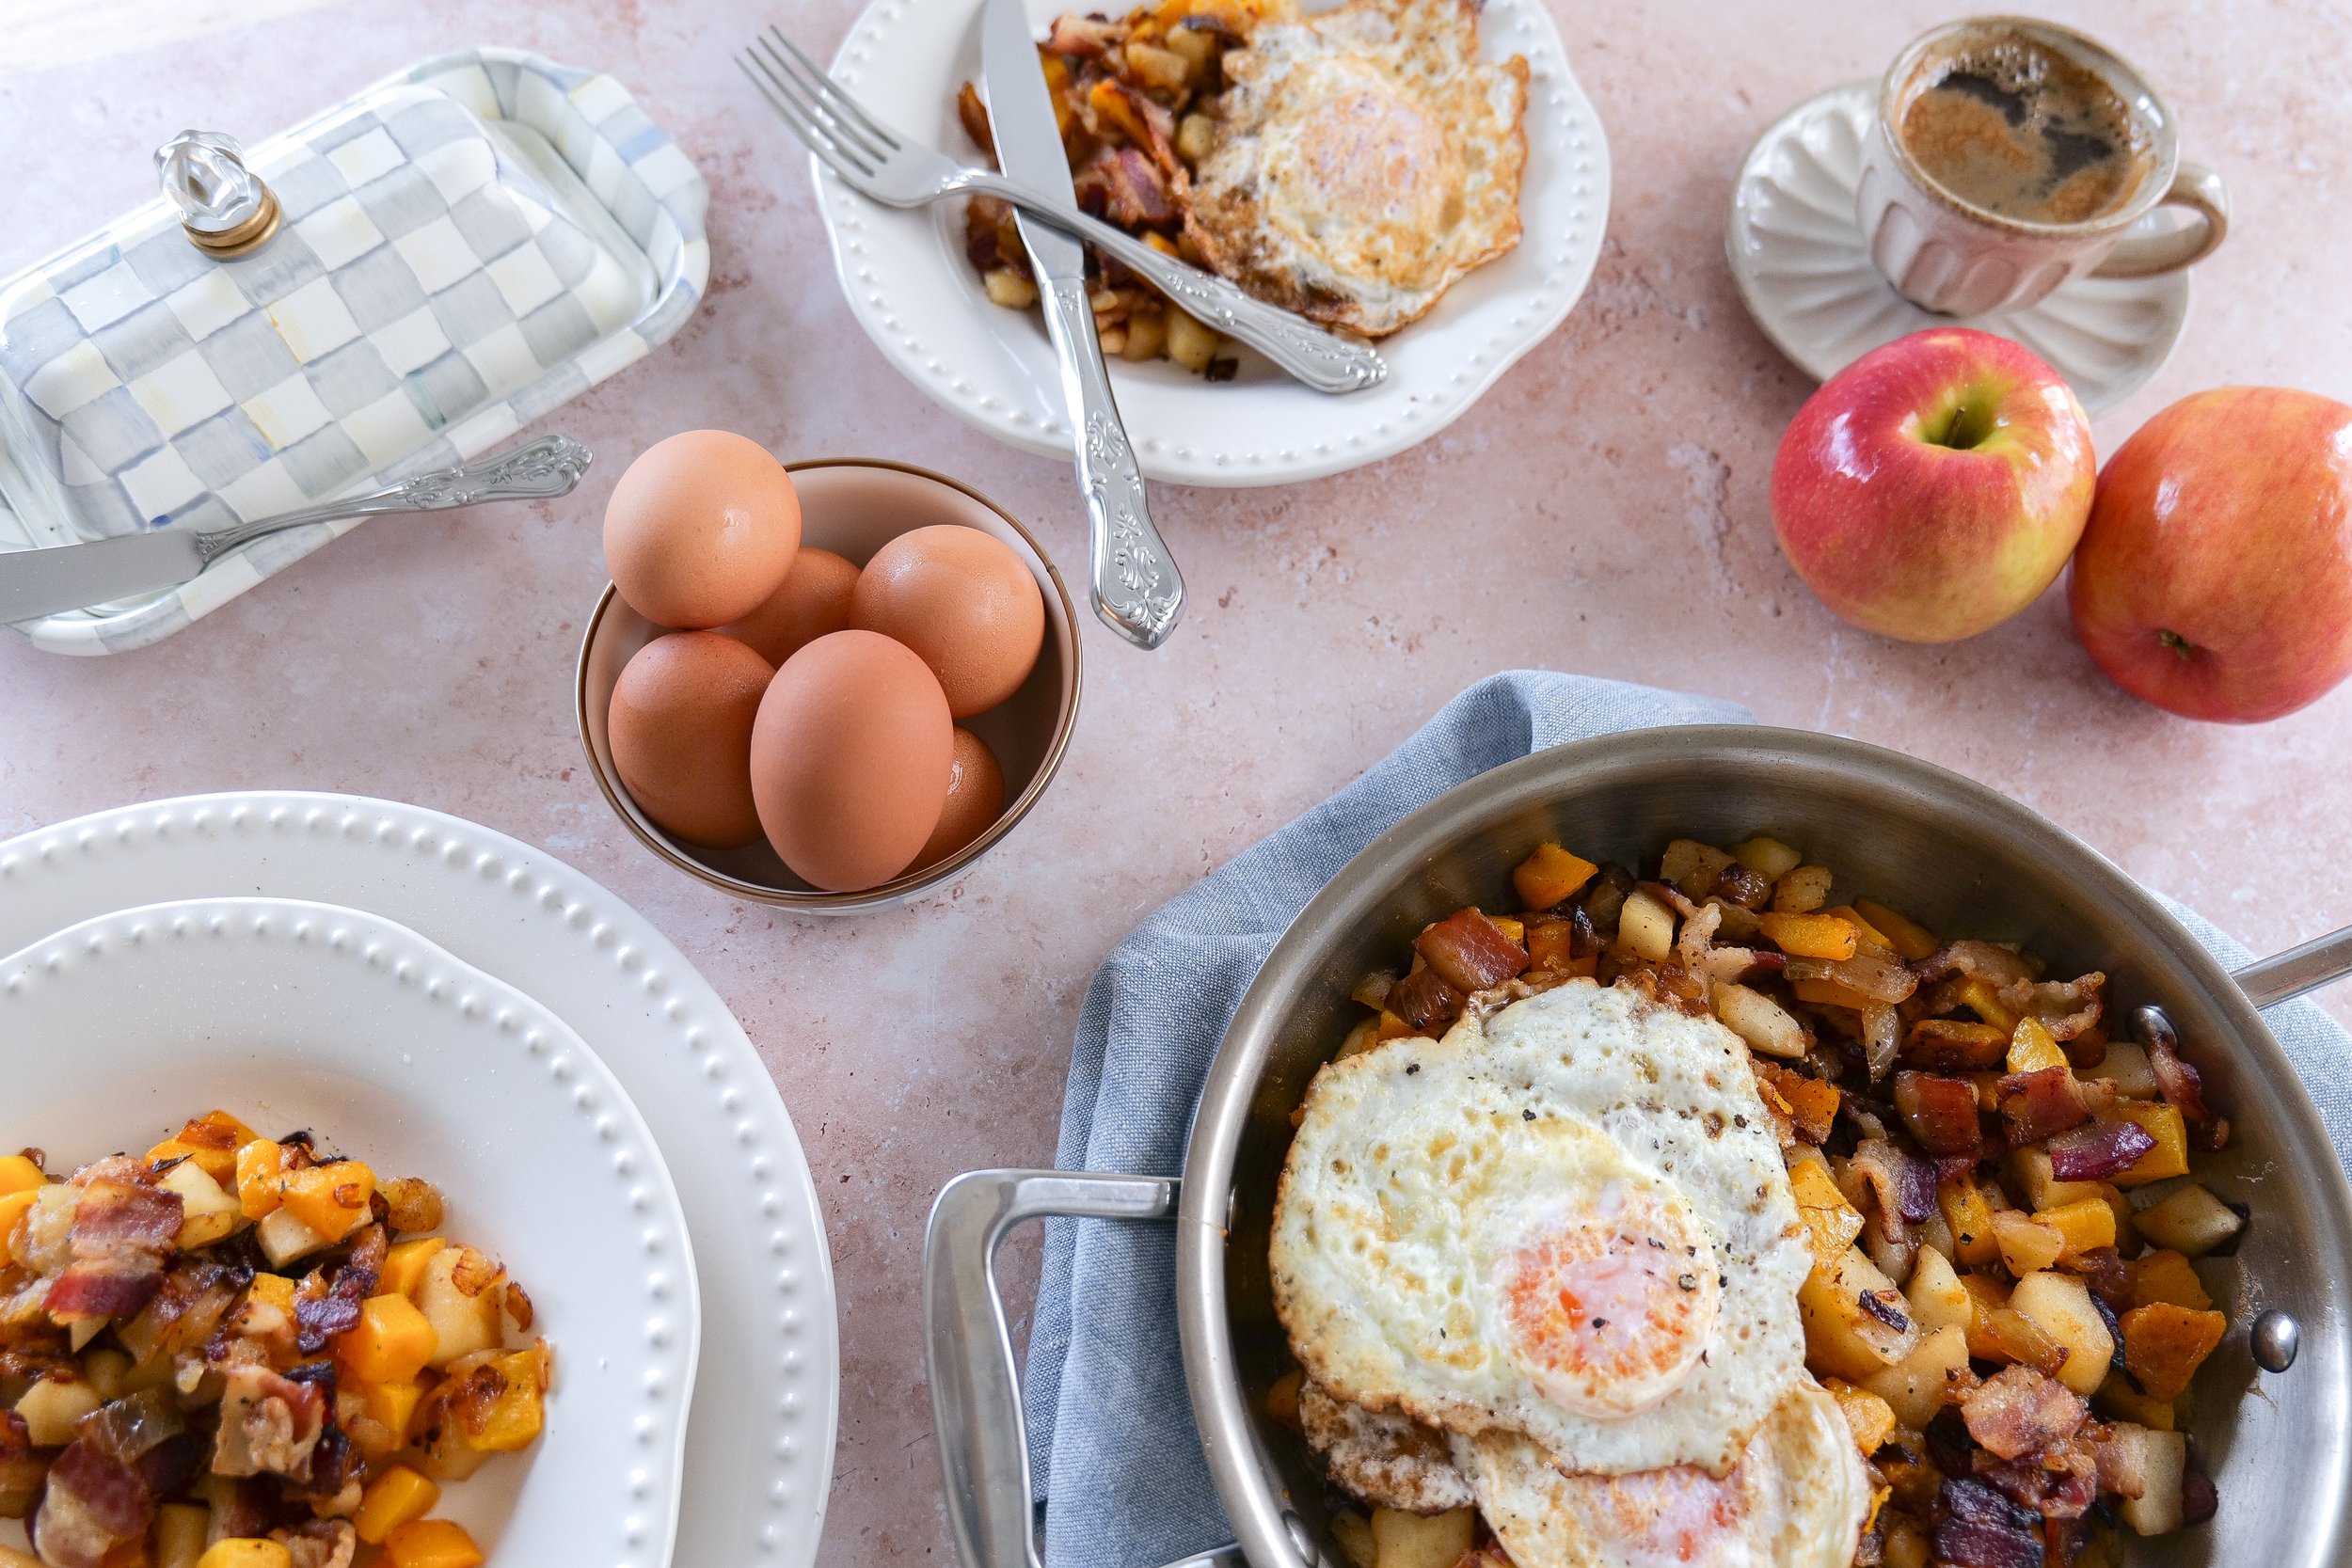
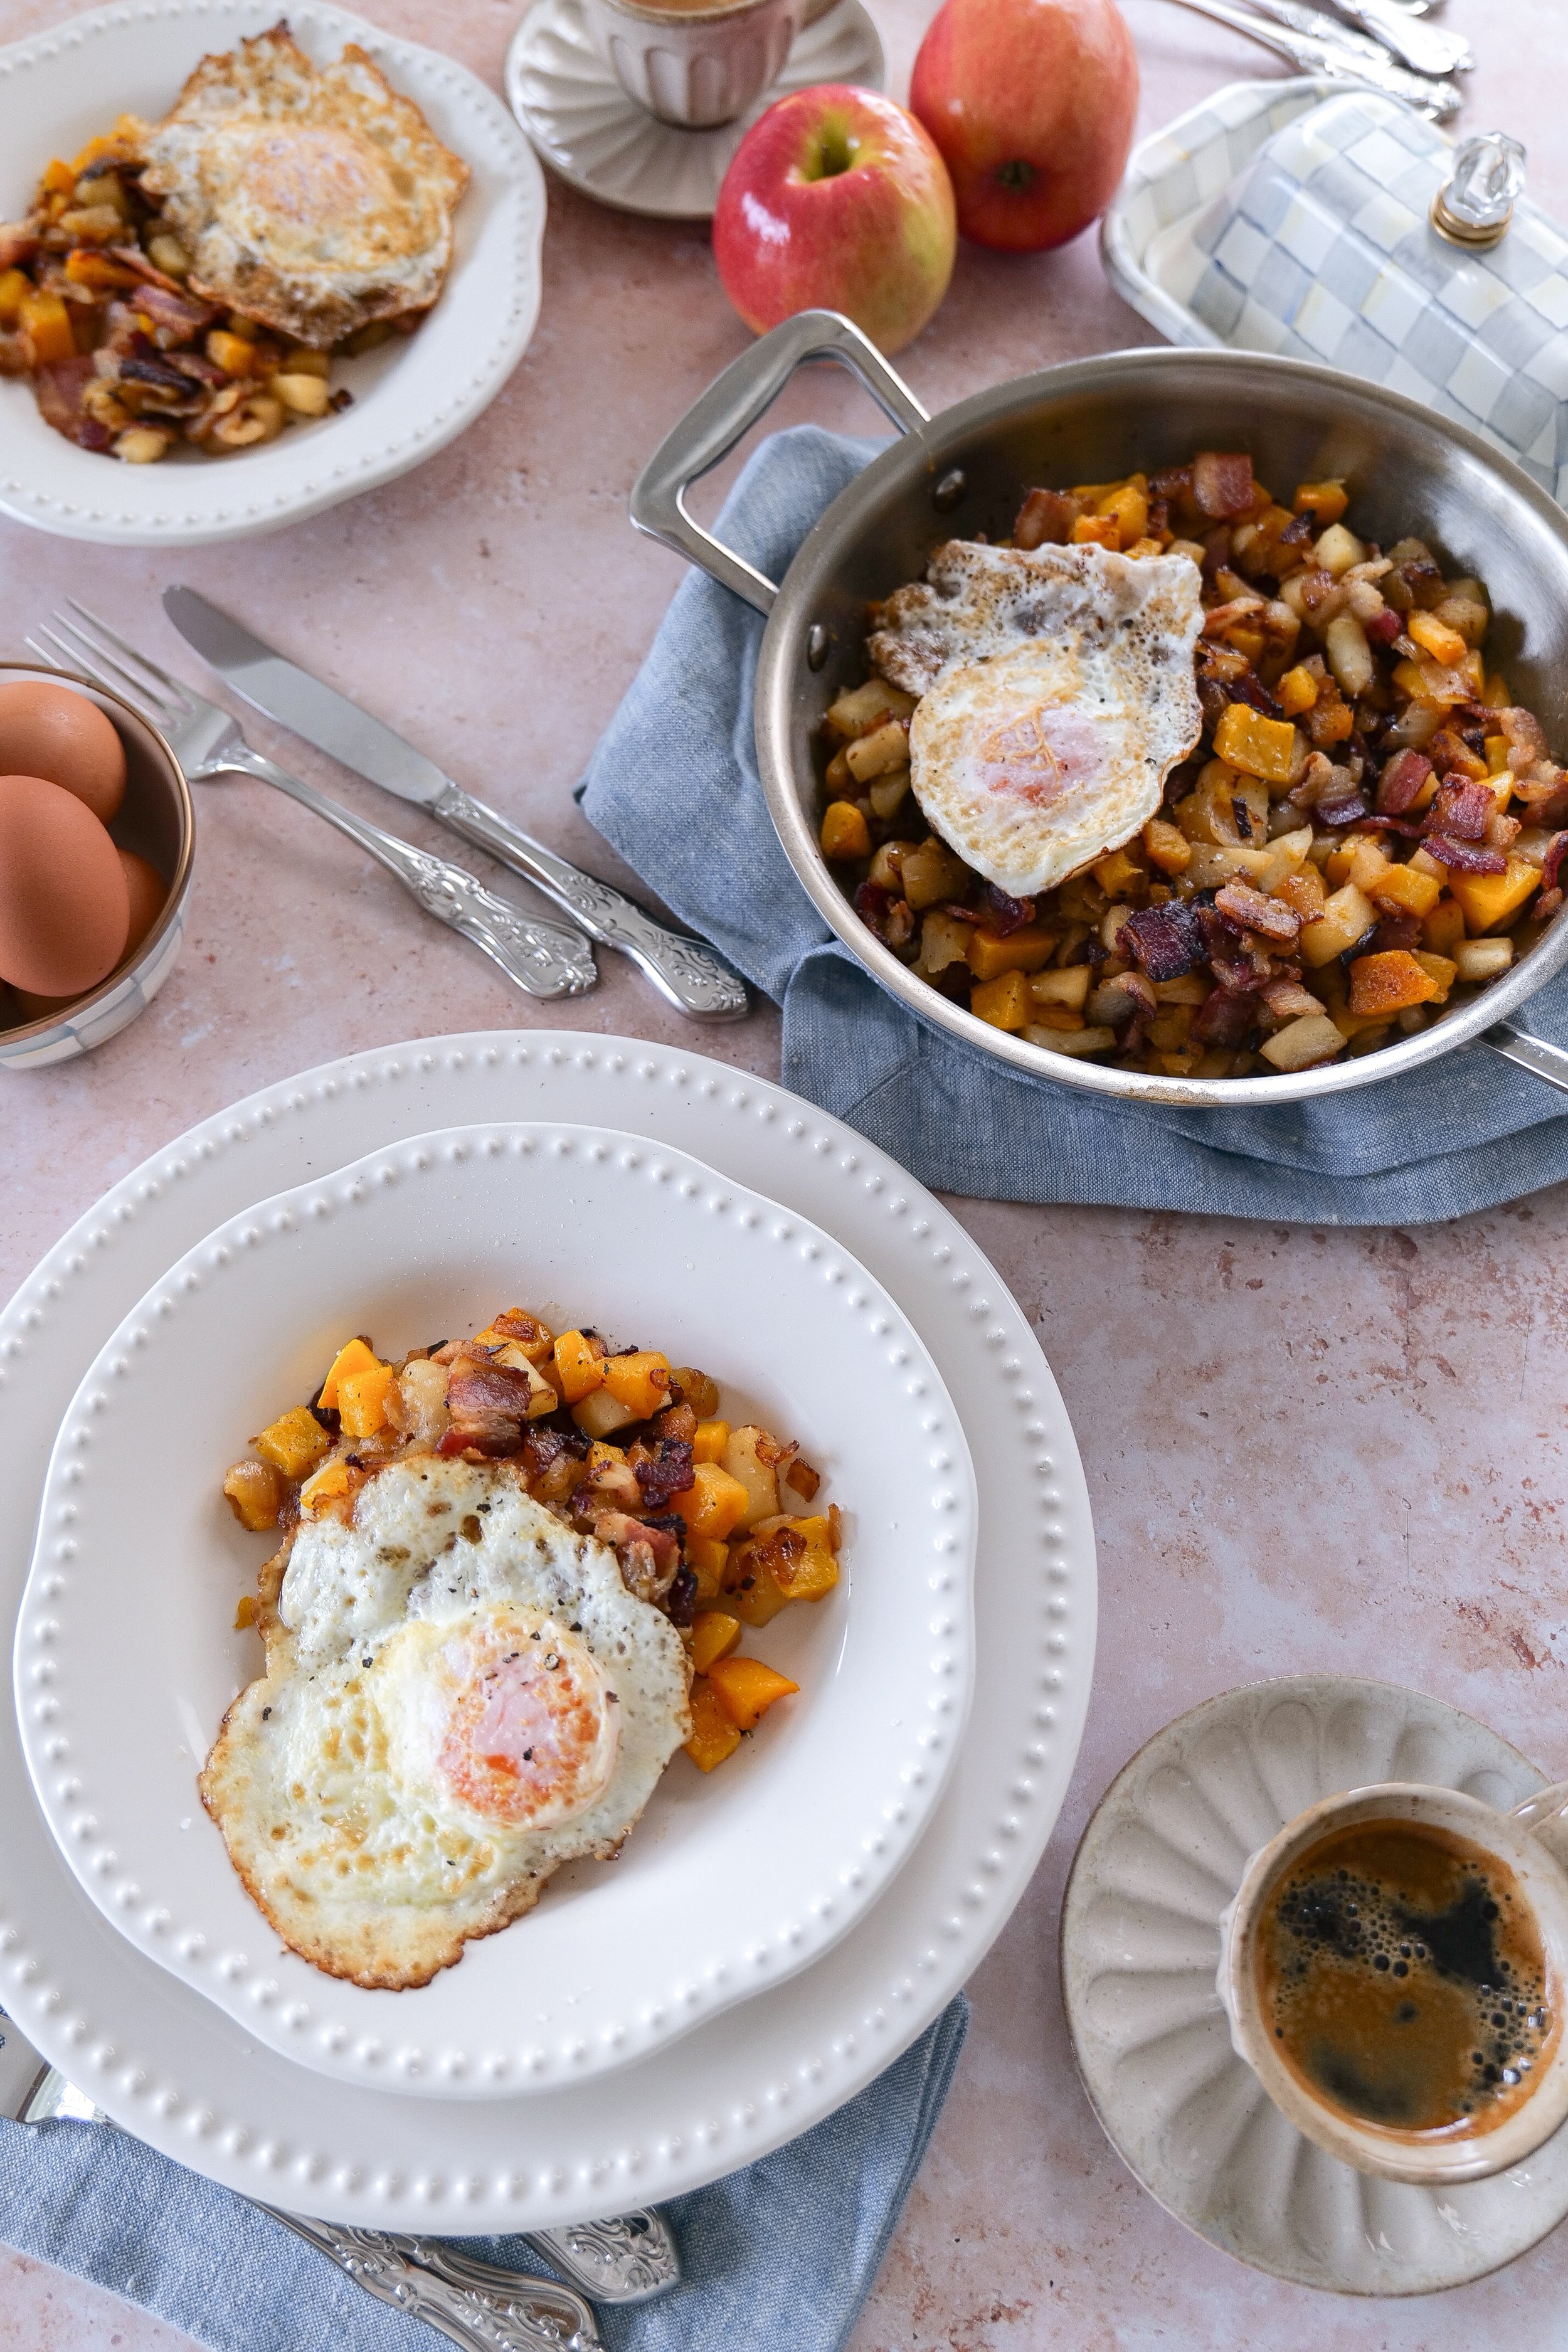
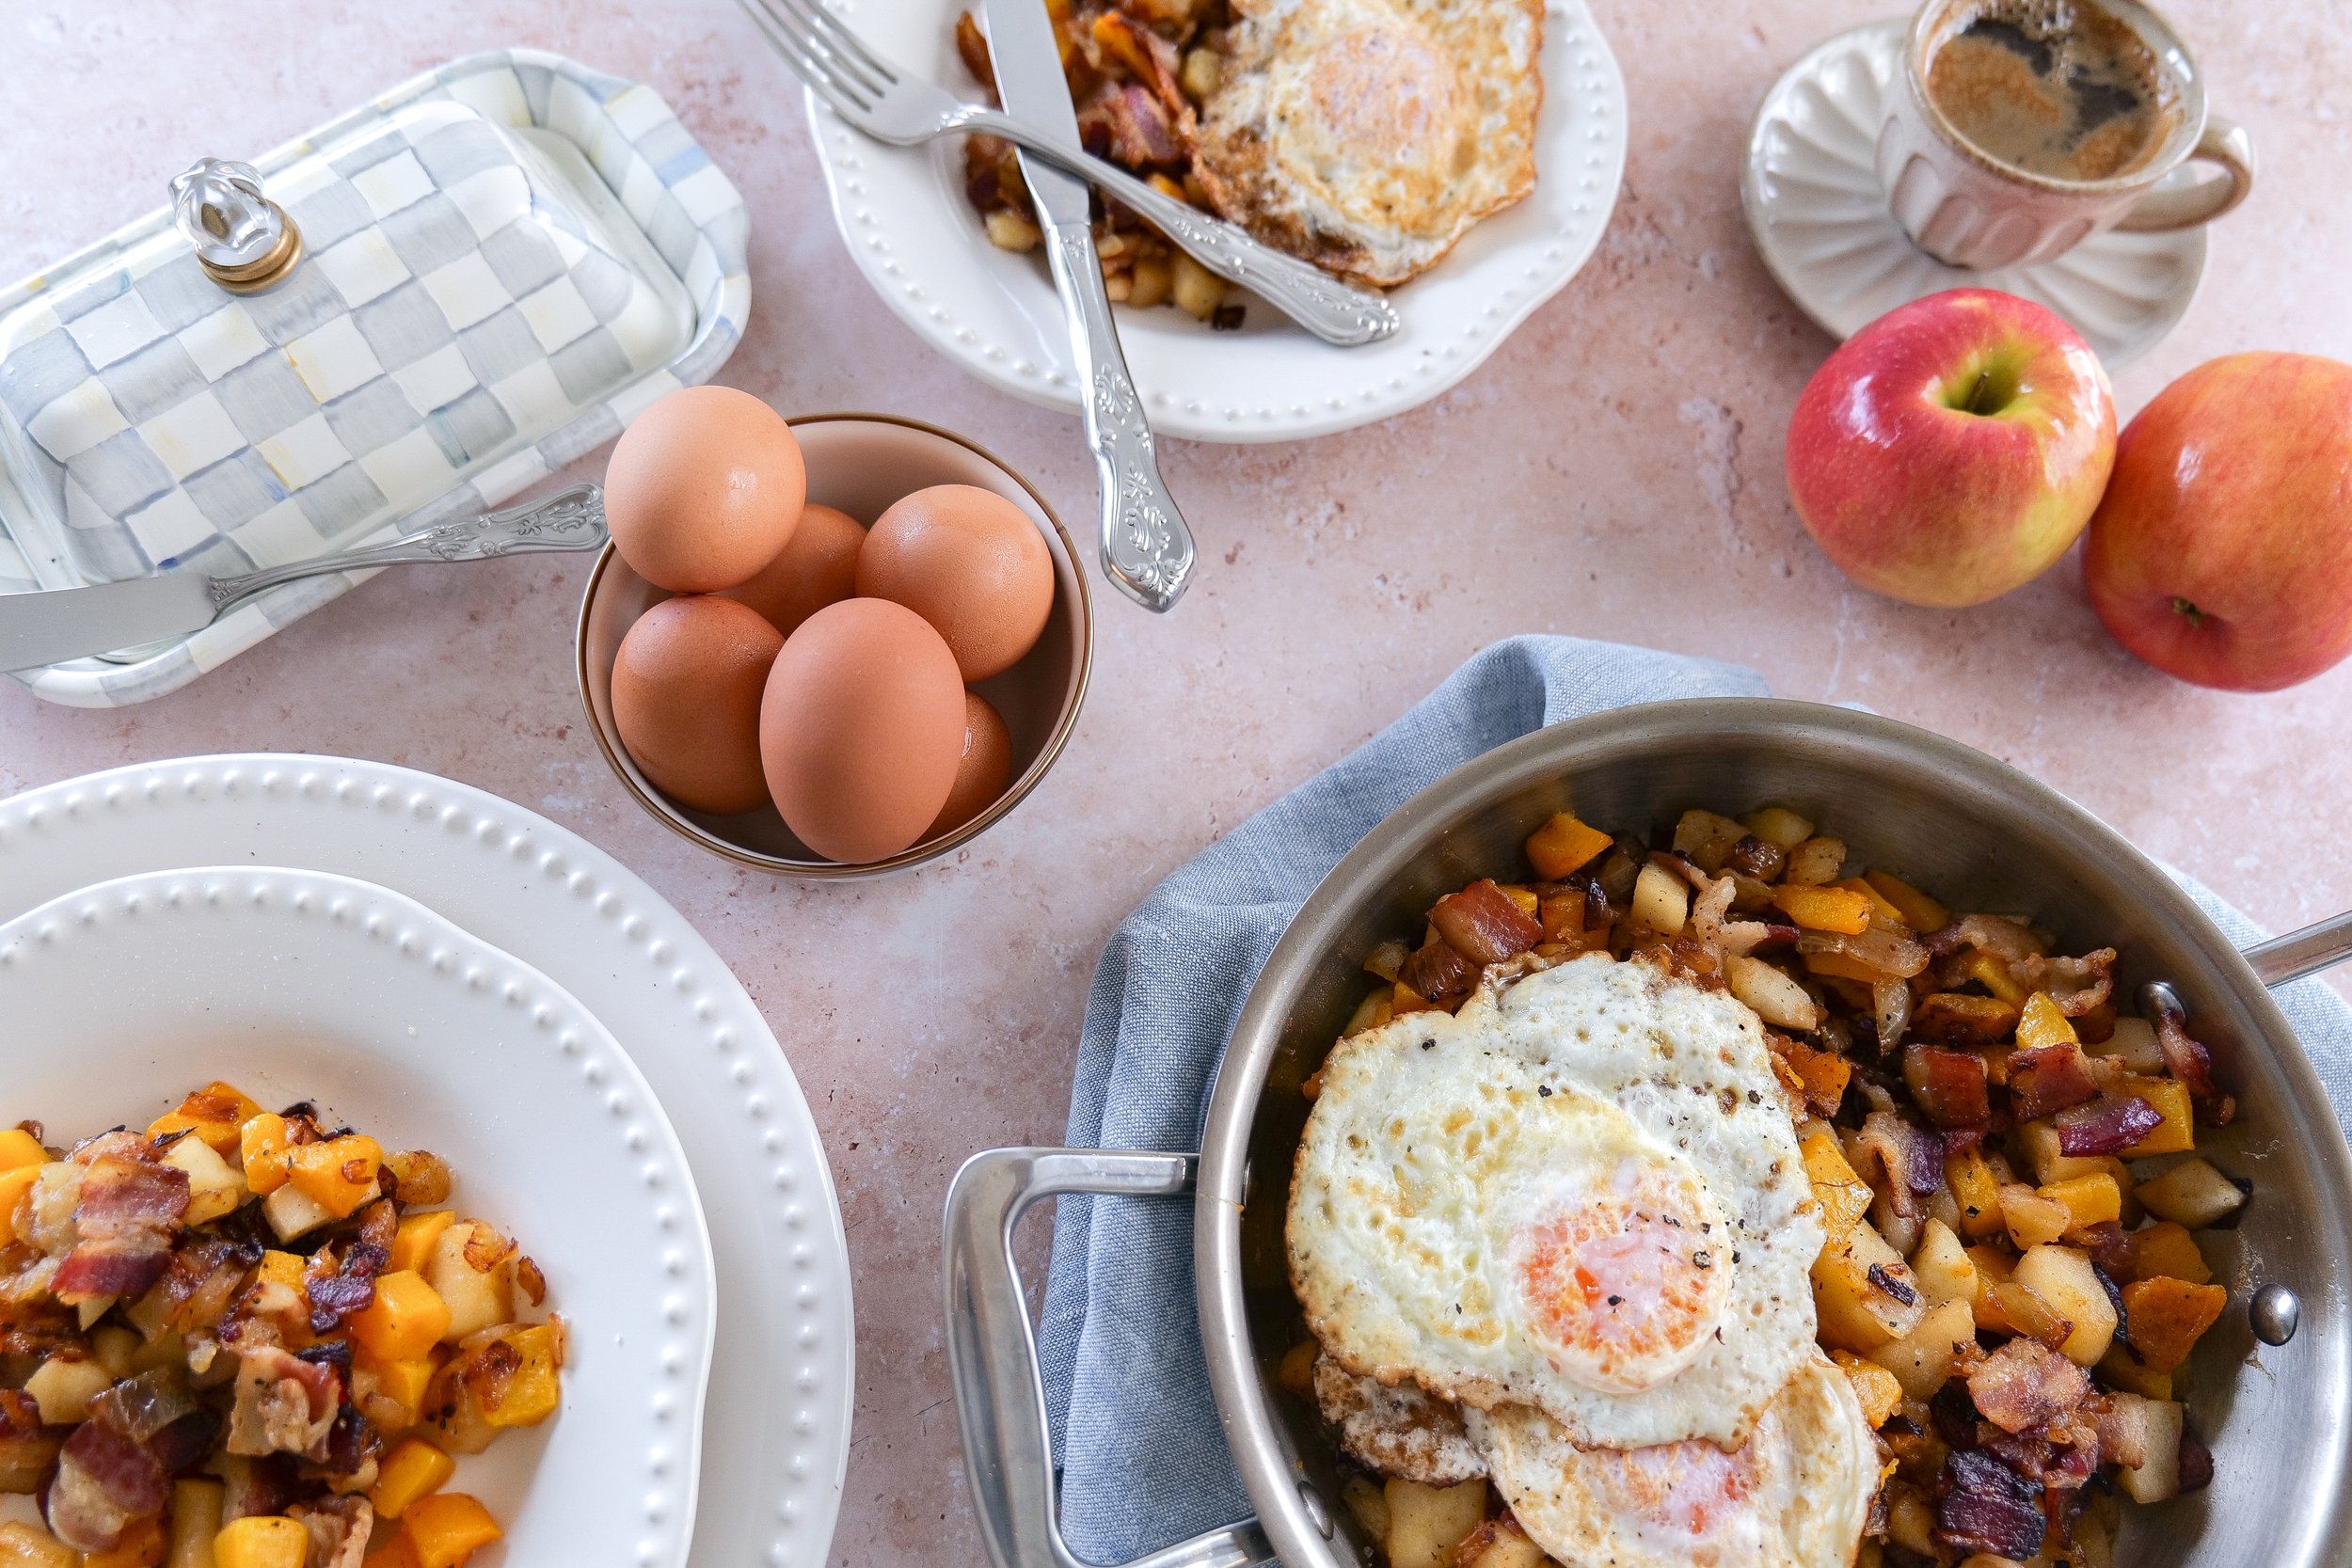
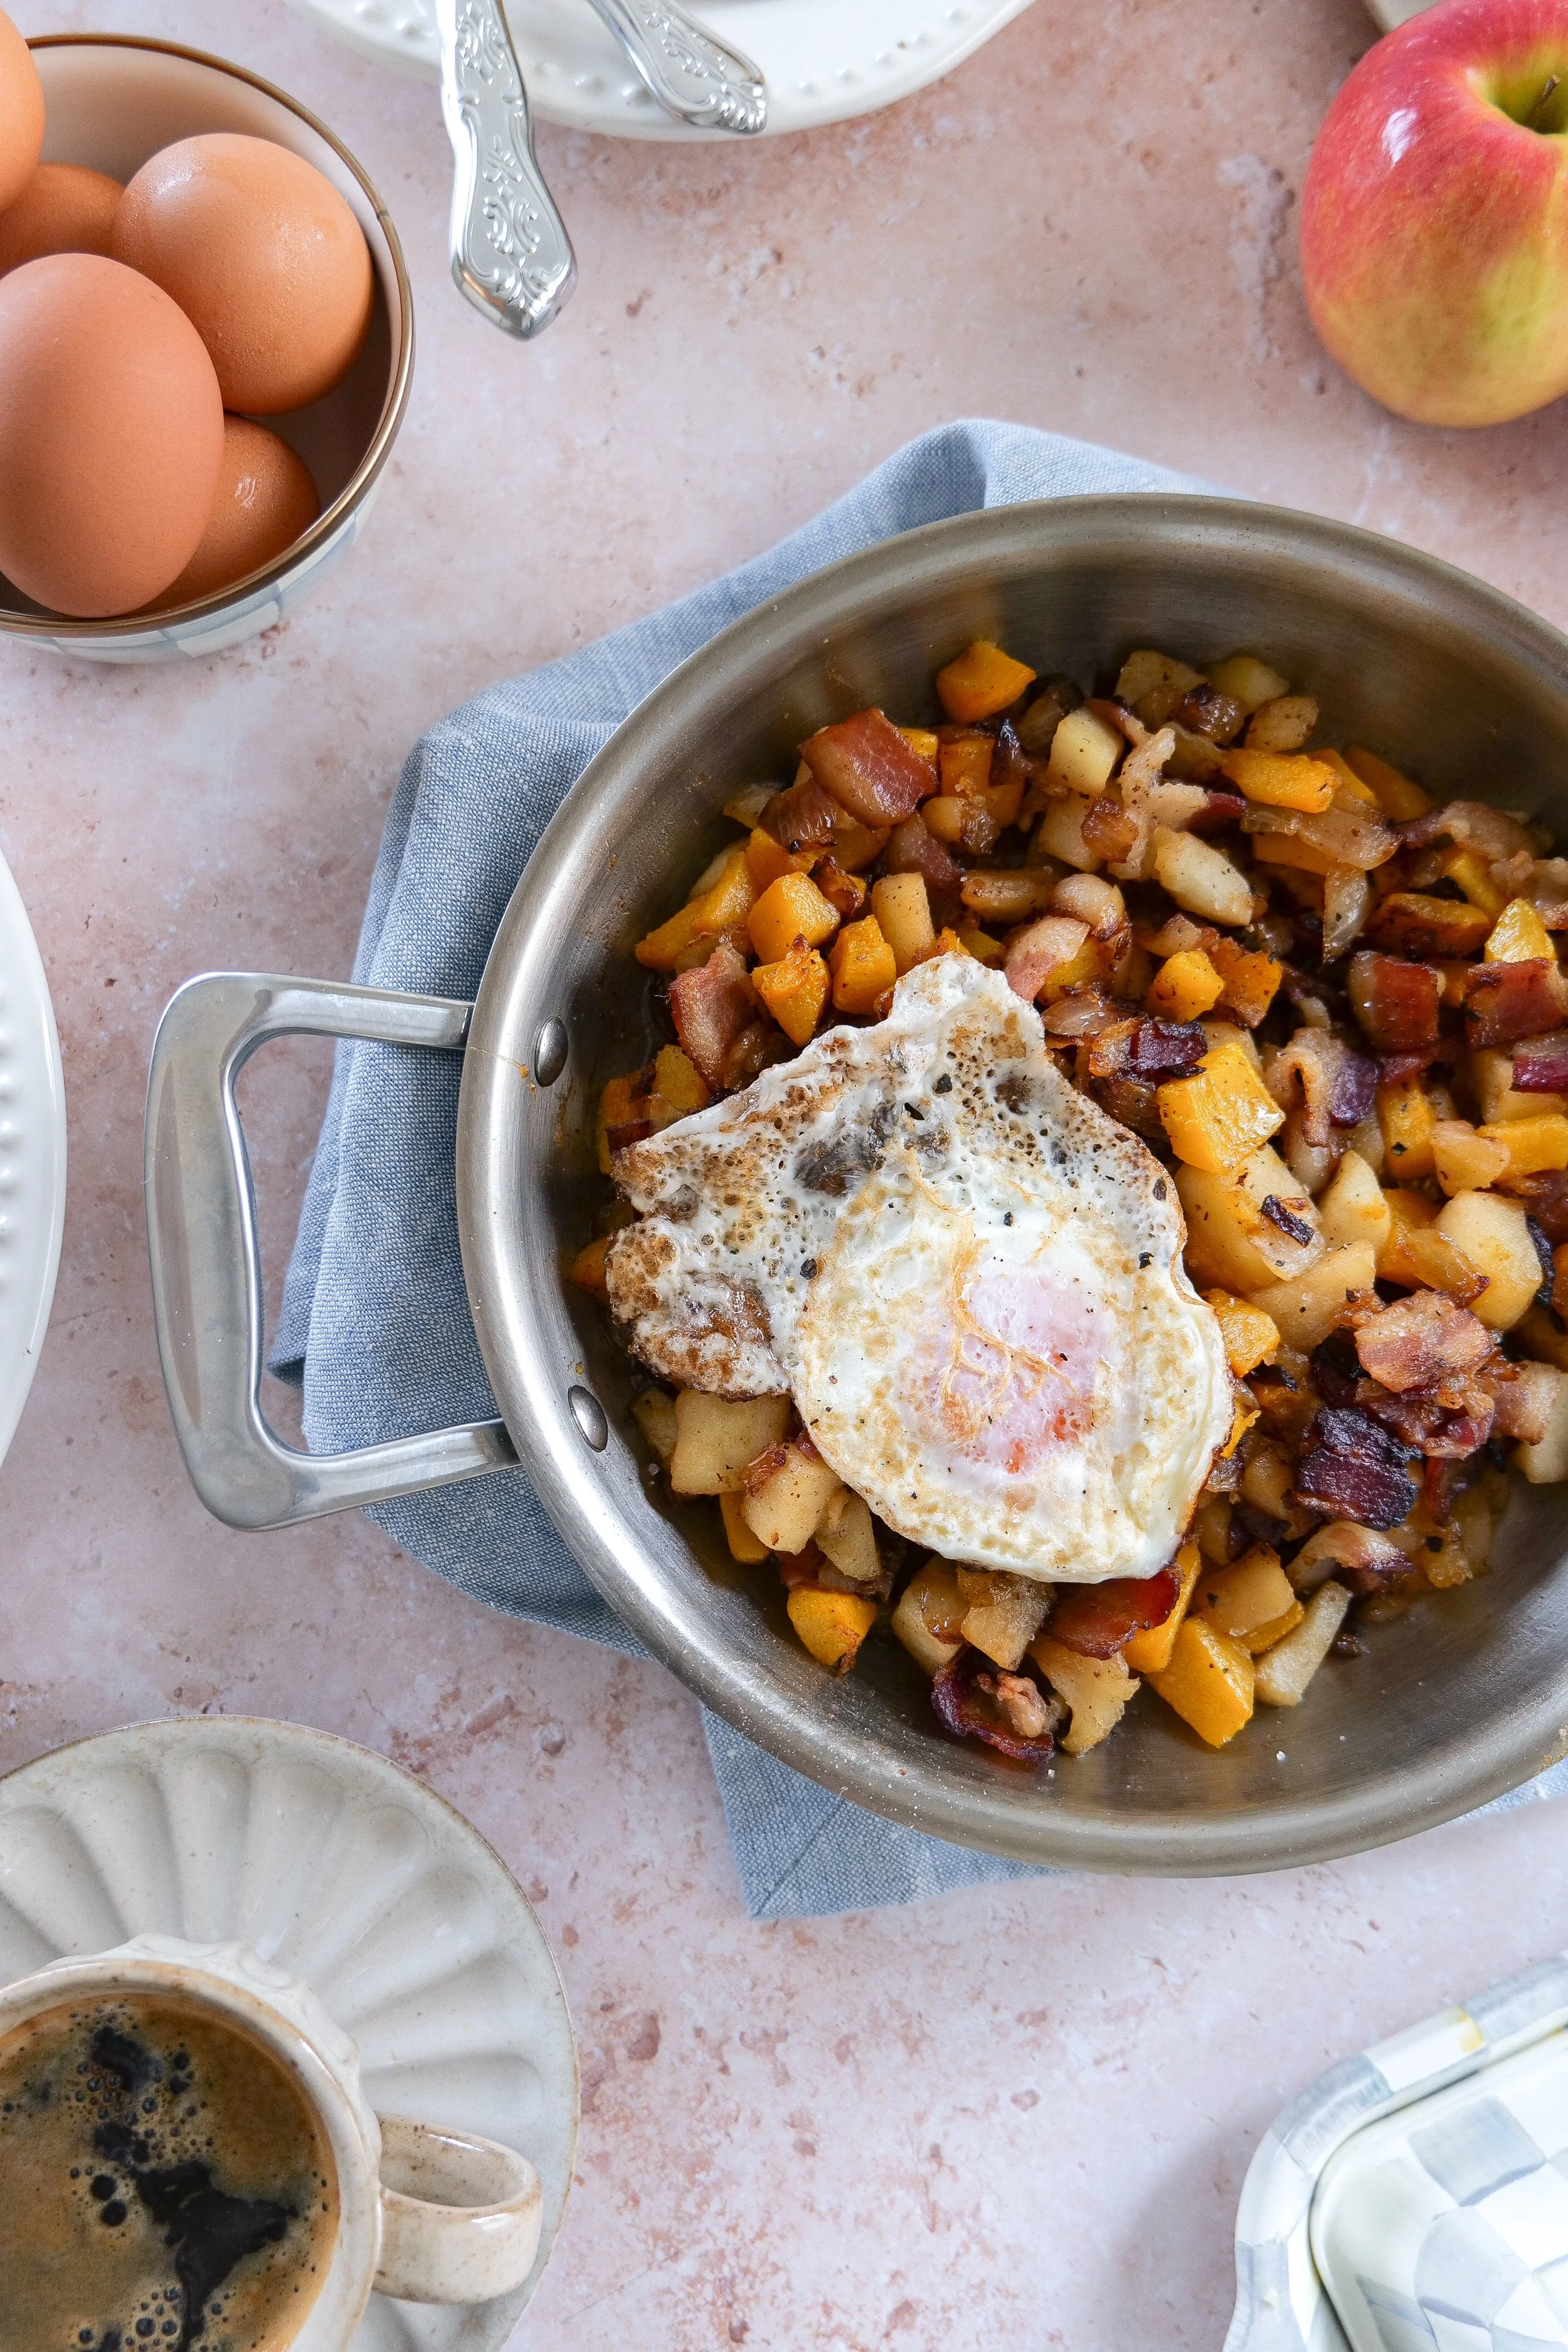
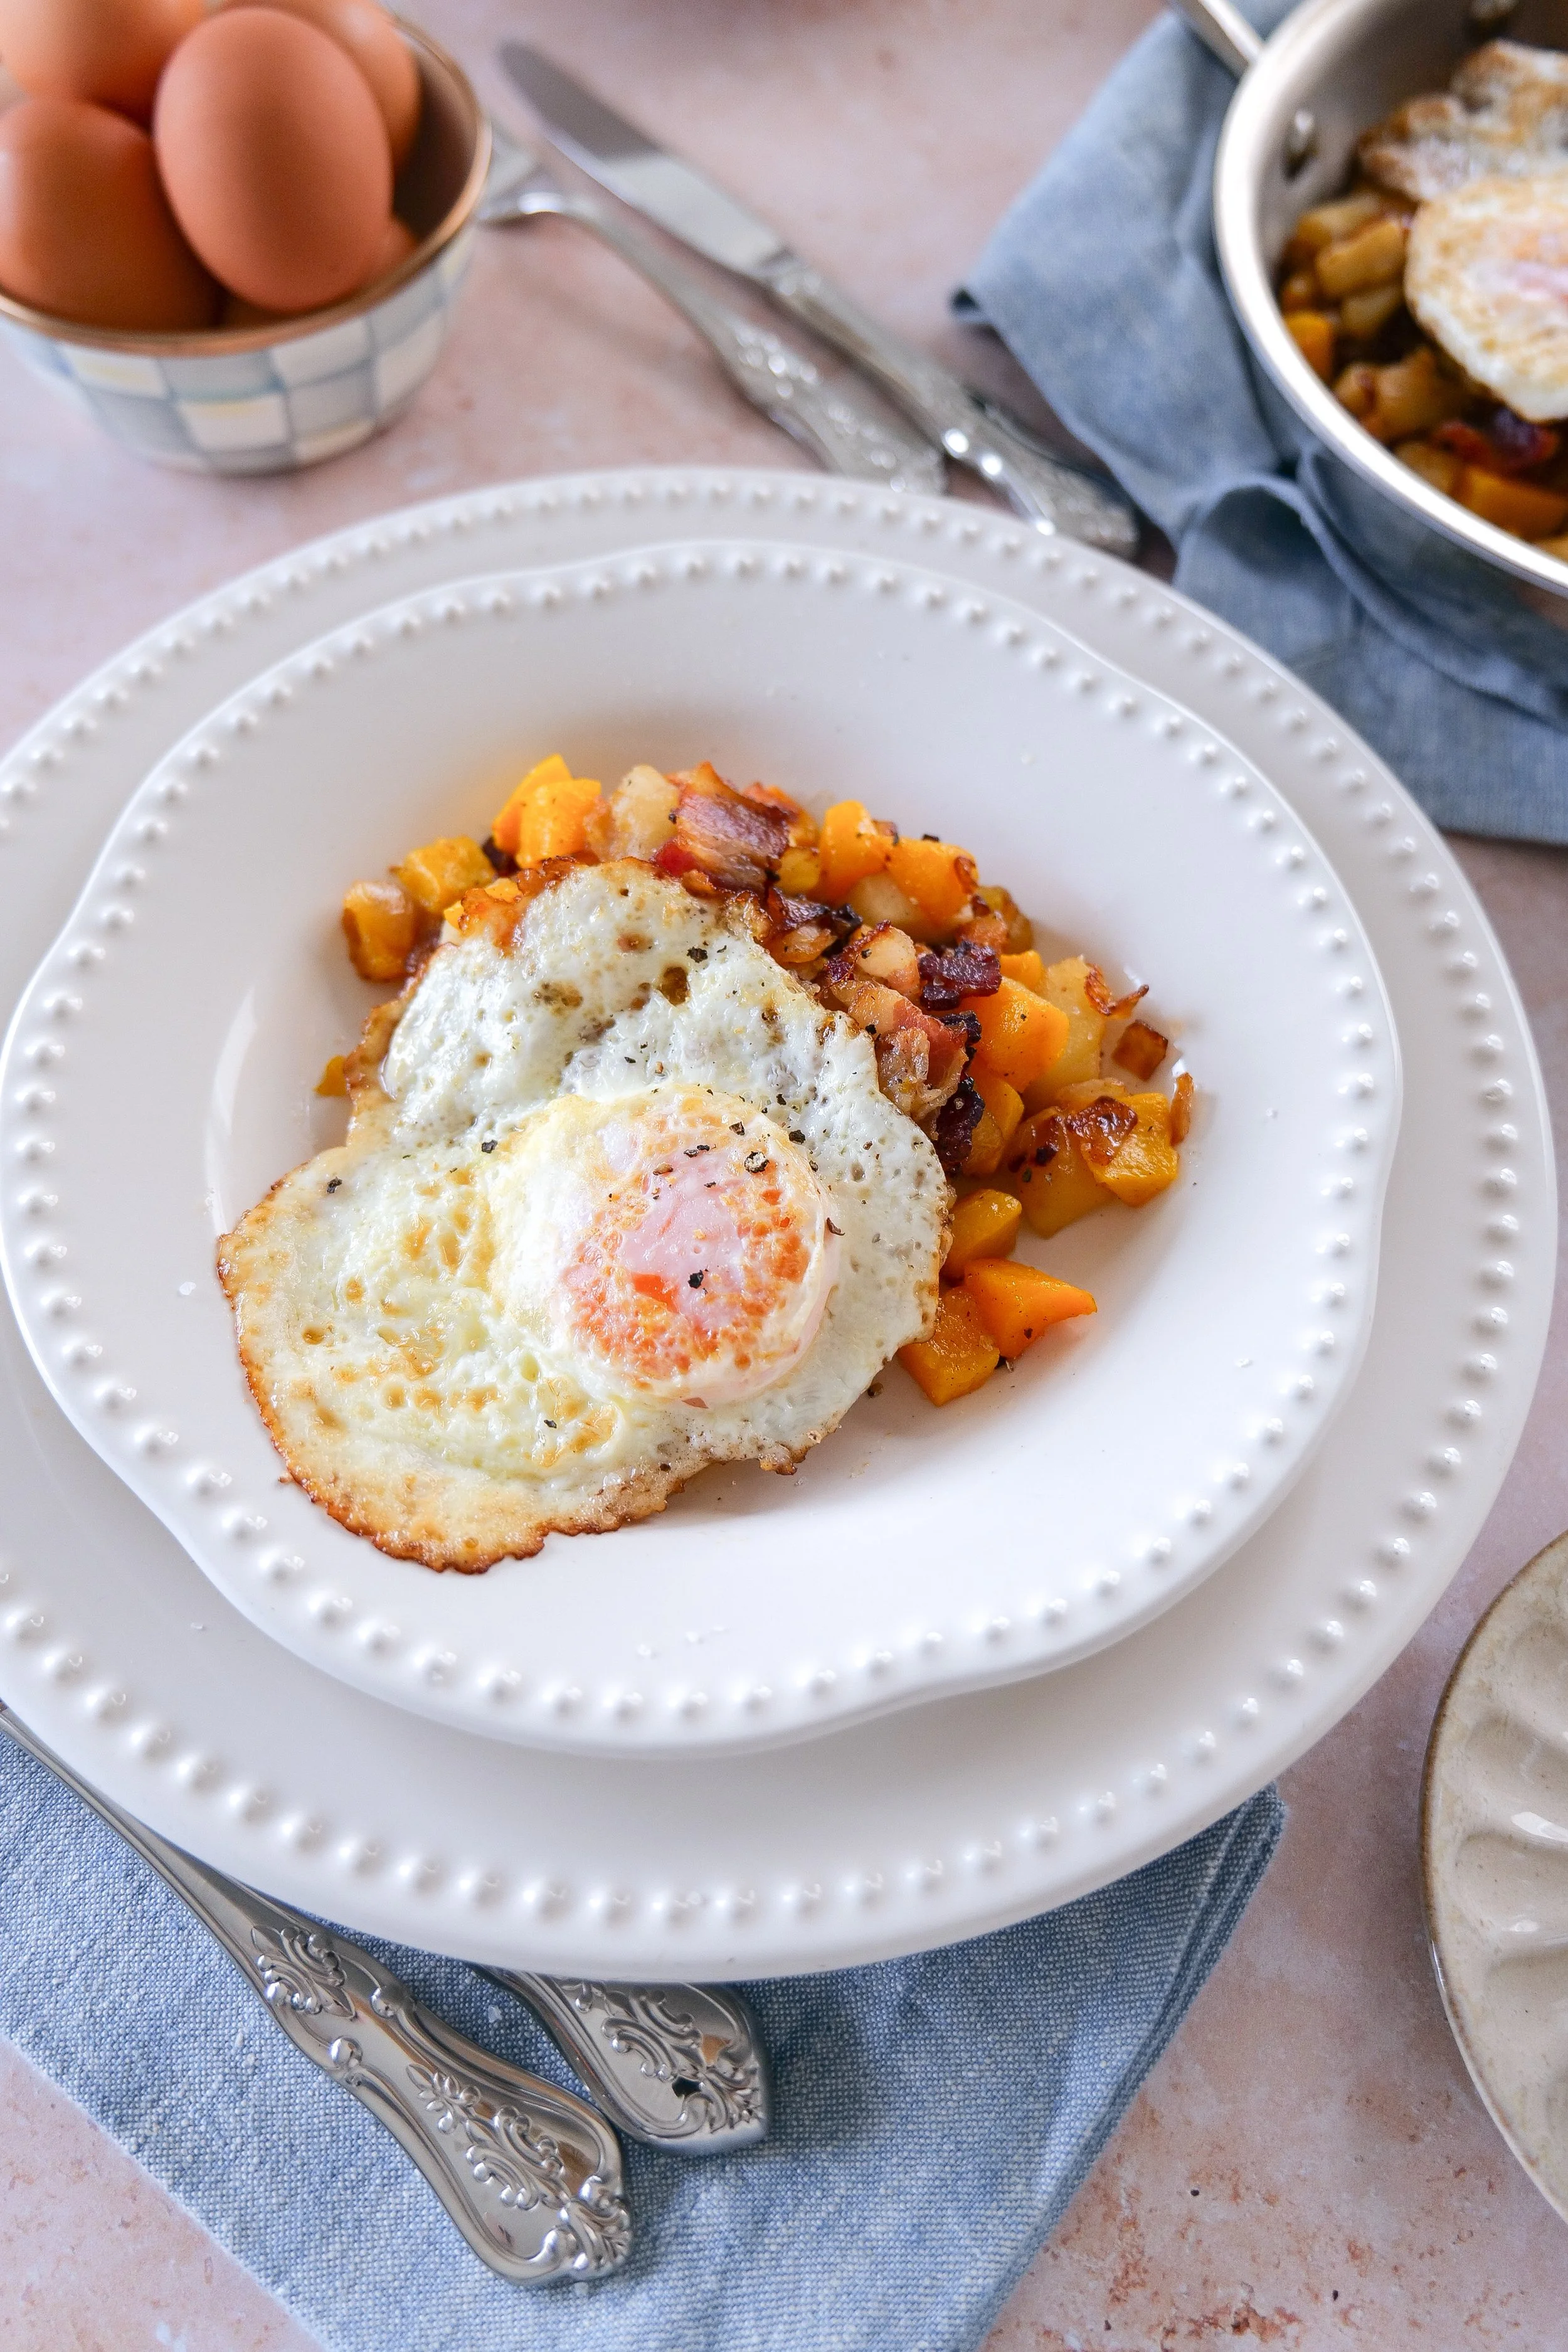
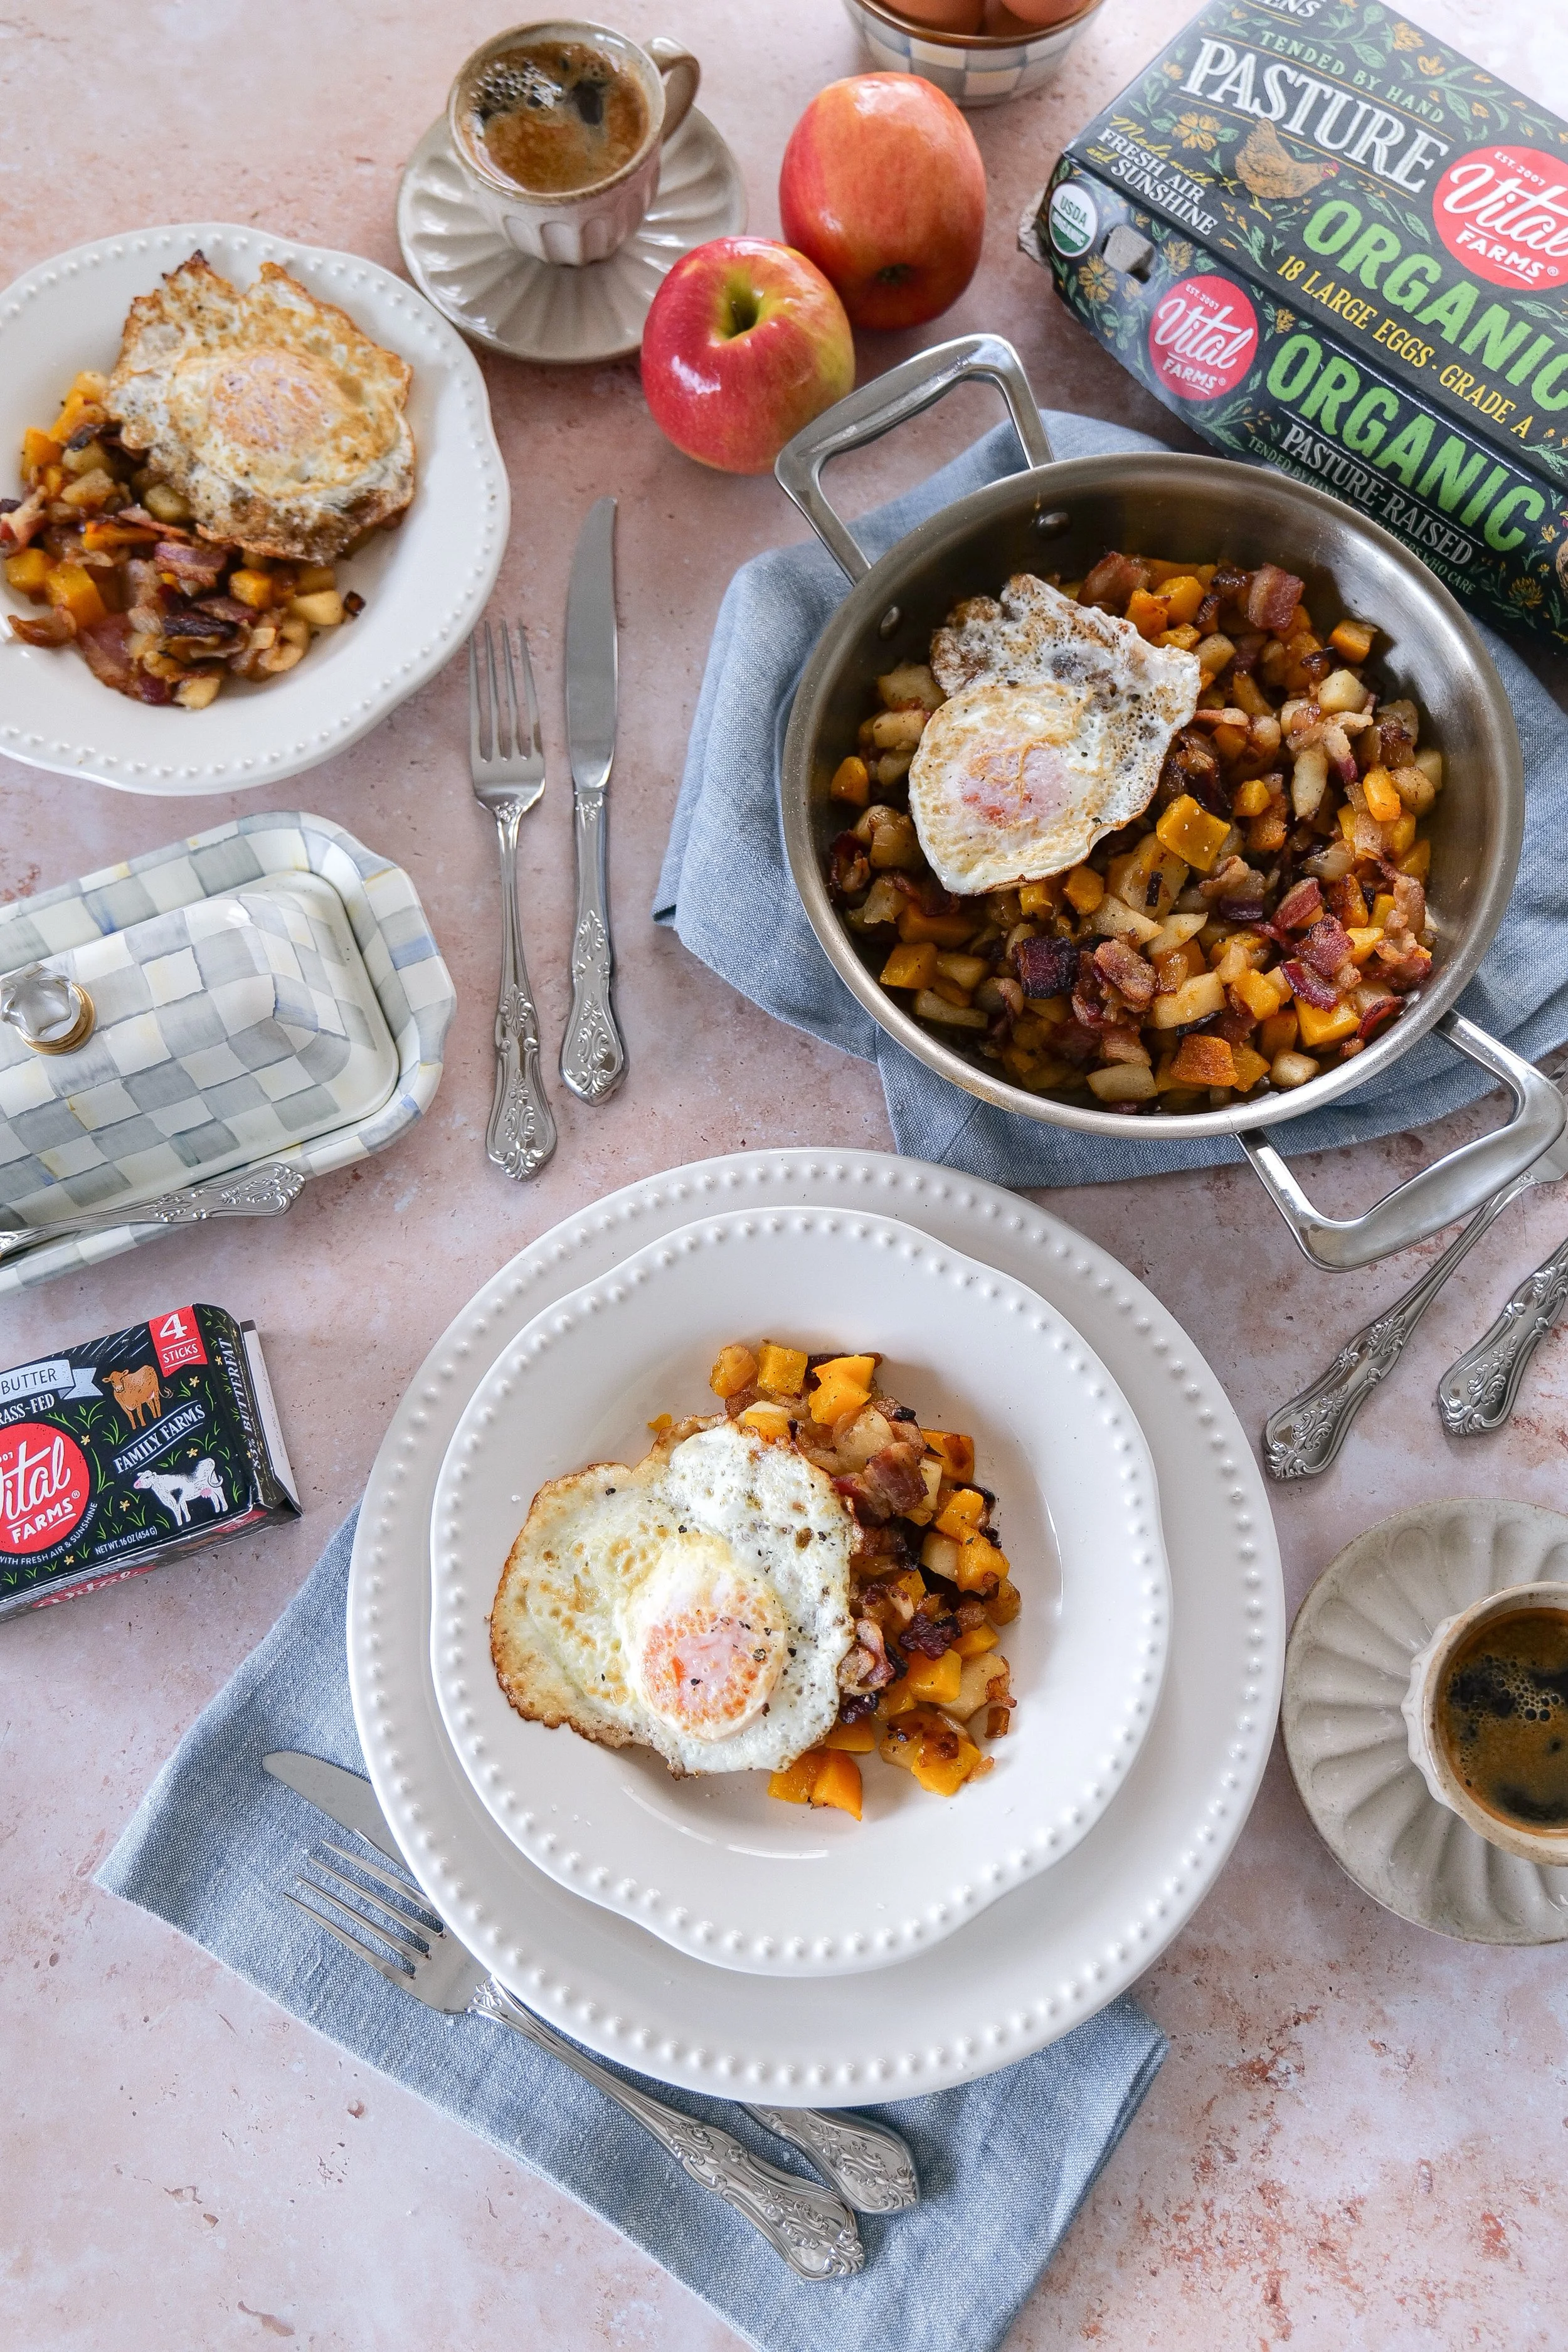
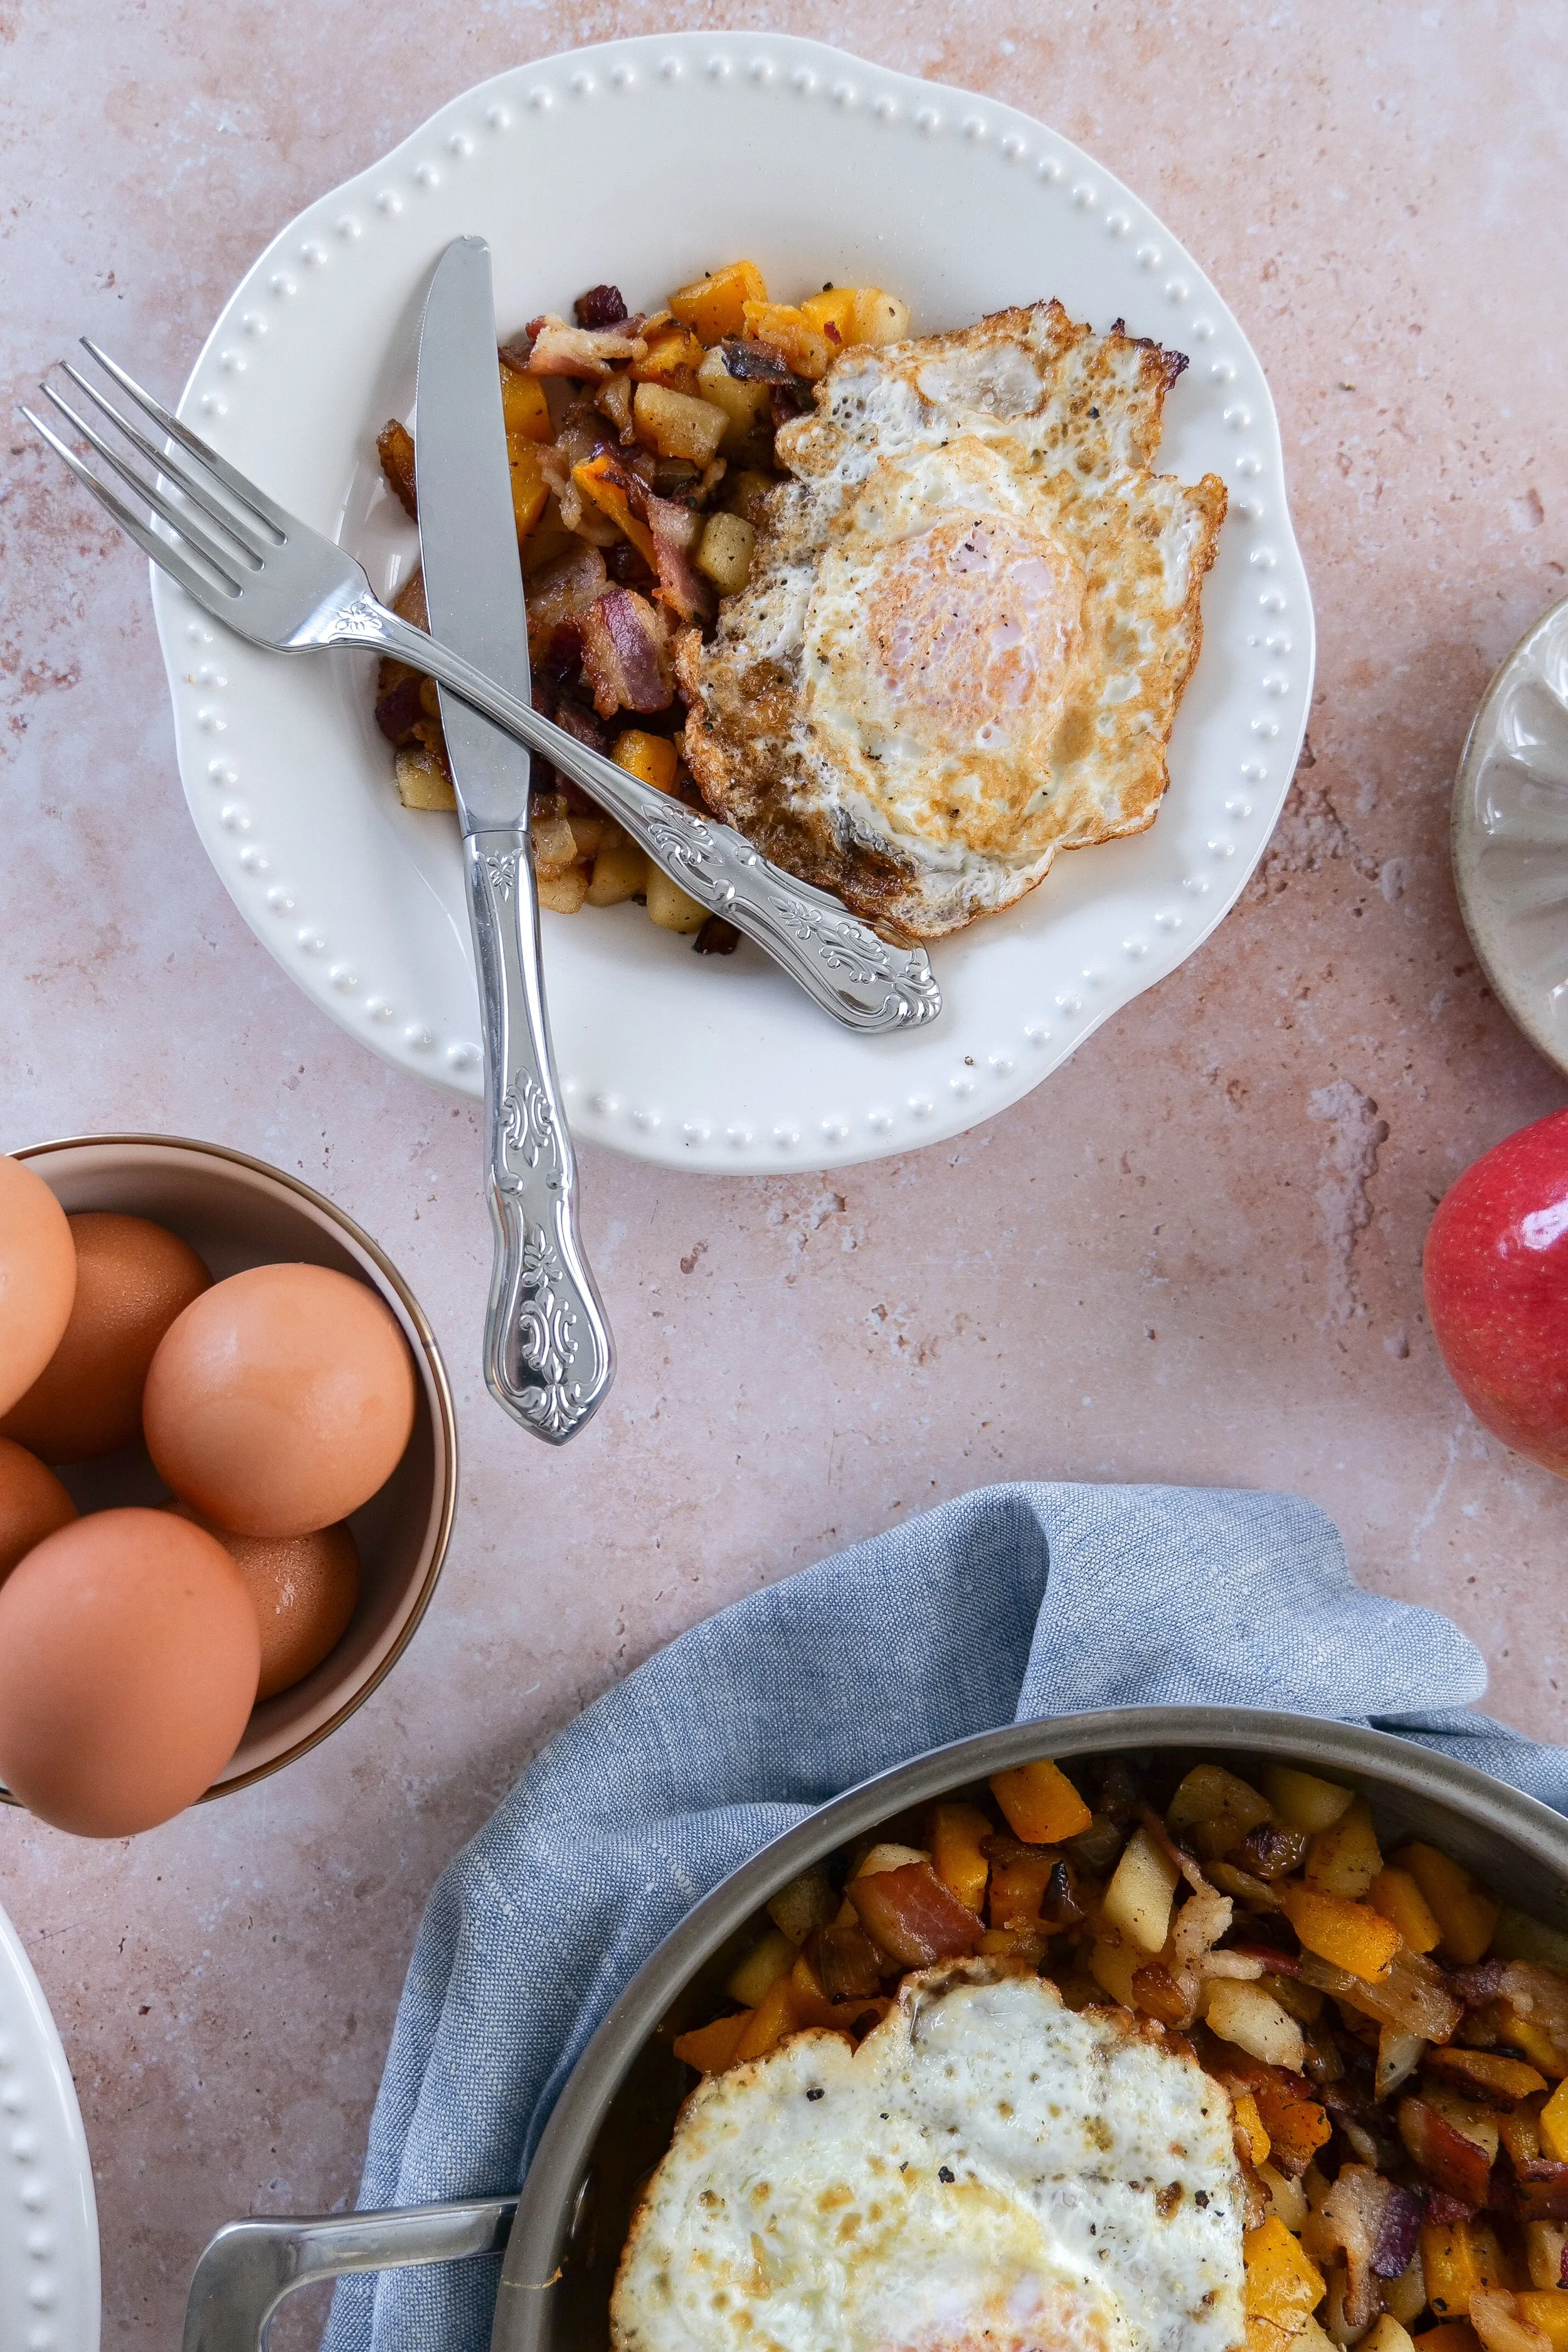
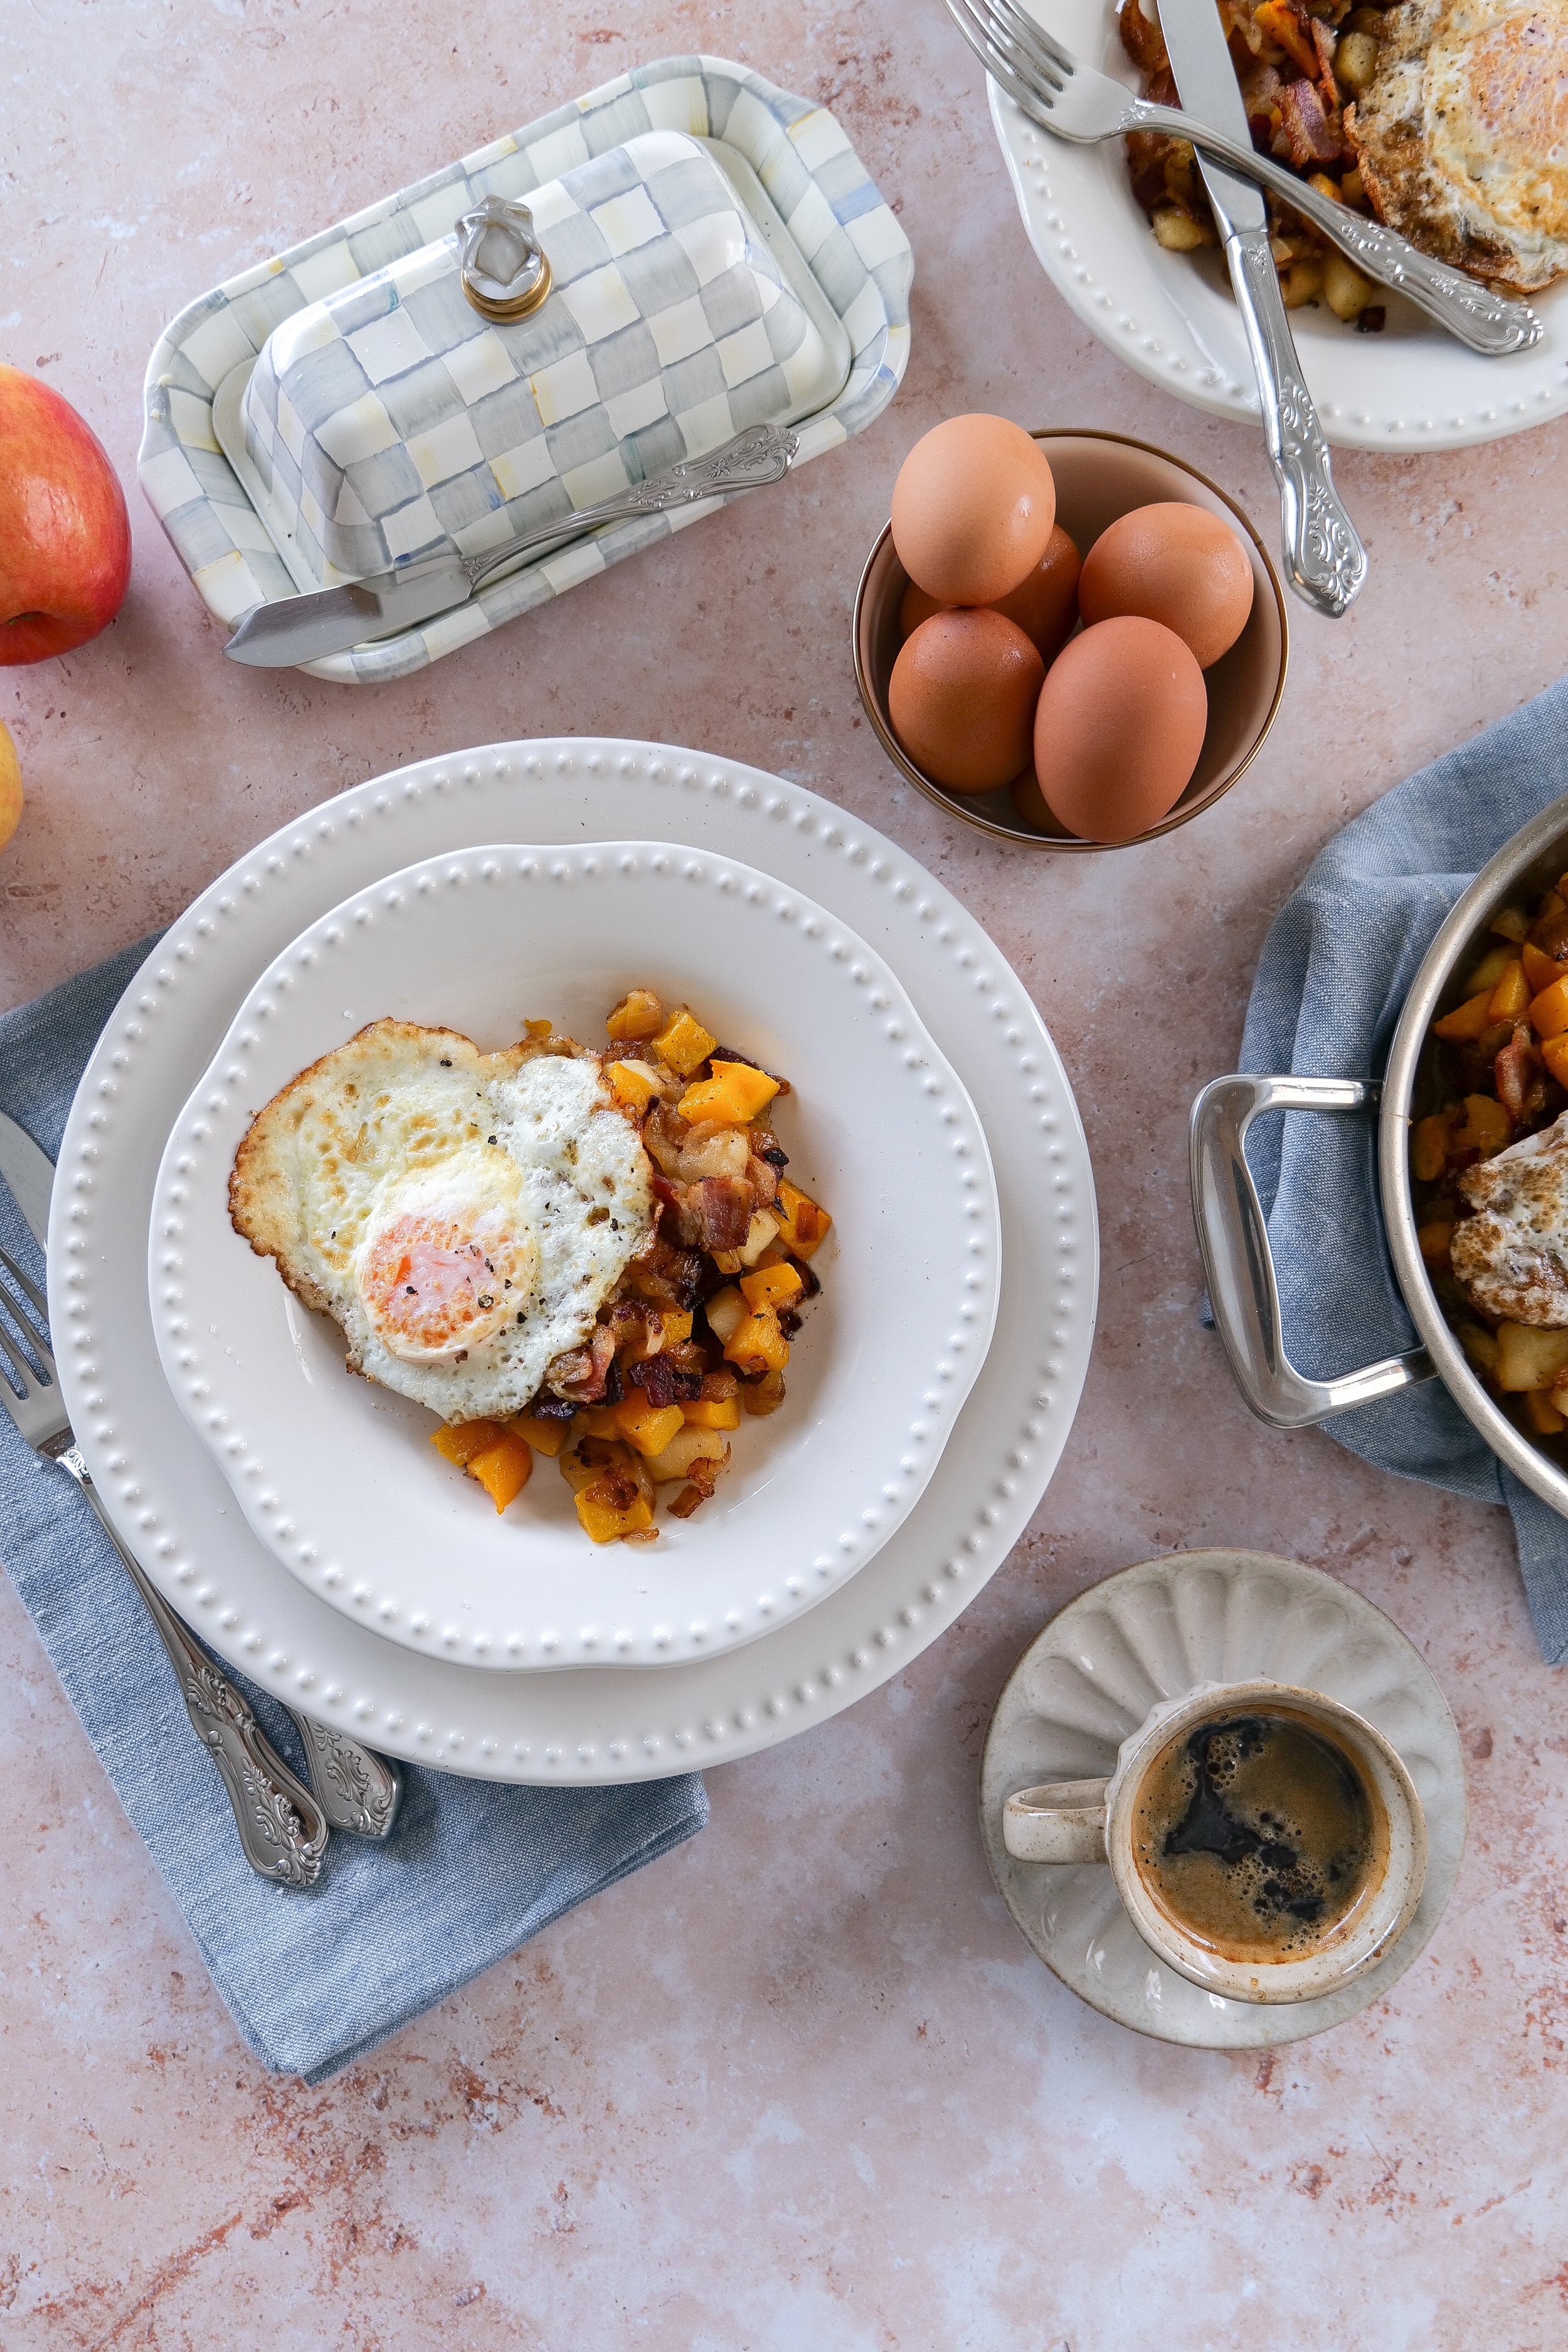
Savor the Morning with a Butternut Squash Breakfast Hash with Apples, Bacon, and Eggs
/Embrace the essence of a perfect morning with a delightful Butternut Squash Breakfast Hash, a culinary creation that masterfully unites sweet and savory flavors into a single harmonious dish. This breakfast hash, featuring caramelized butternut squash, crispy bacon, juicy apples, and perfectly cooked eggs, transforms the traditional breakfast experience into an taste unlike any other. For those looking for a balanced breakfast that can be easily customized to accommodate diverse dietary preferences, this dish offers warmth, comfort, and plenty of nutritional benefits in each and every bite.
Why You’ll Love This Butternut Squash Breakfast Hash
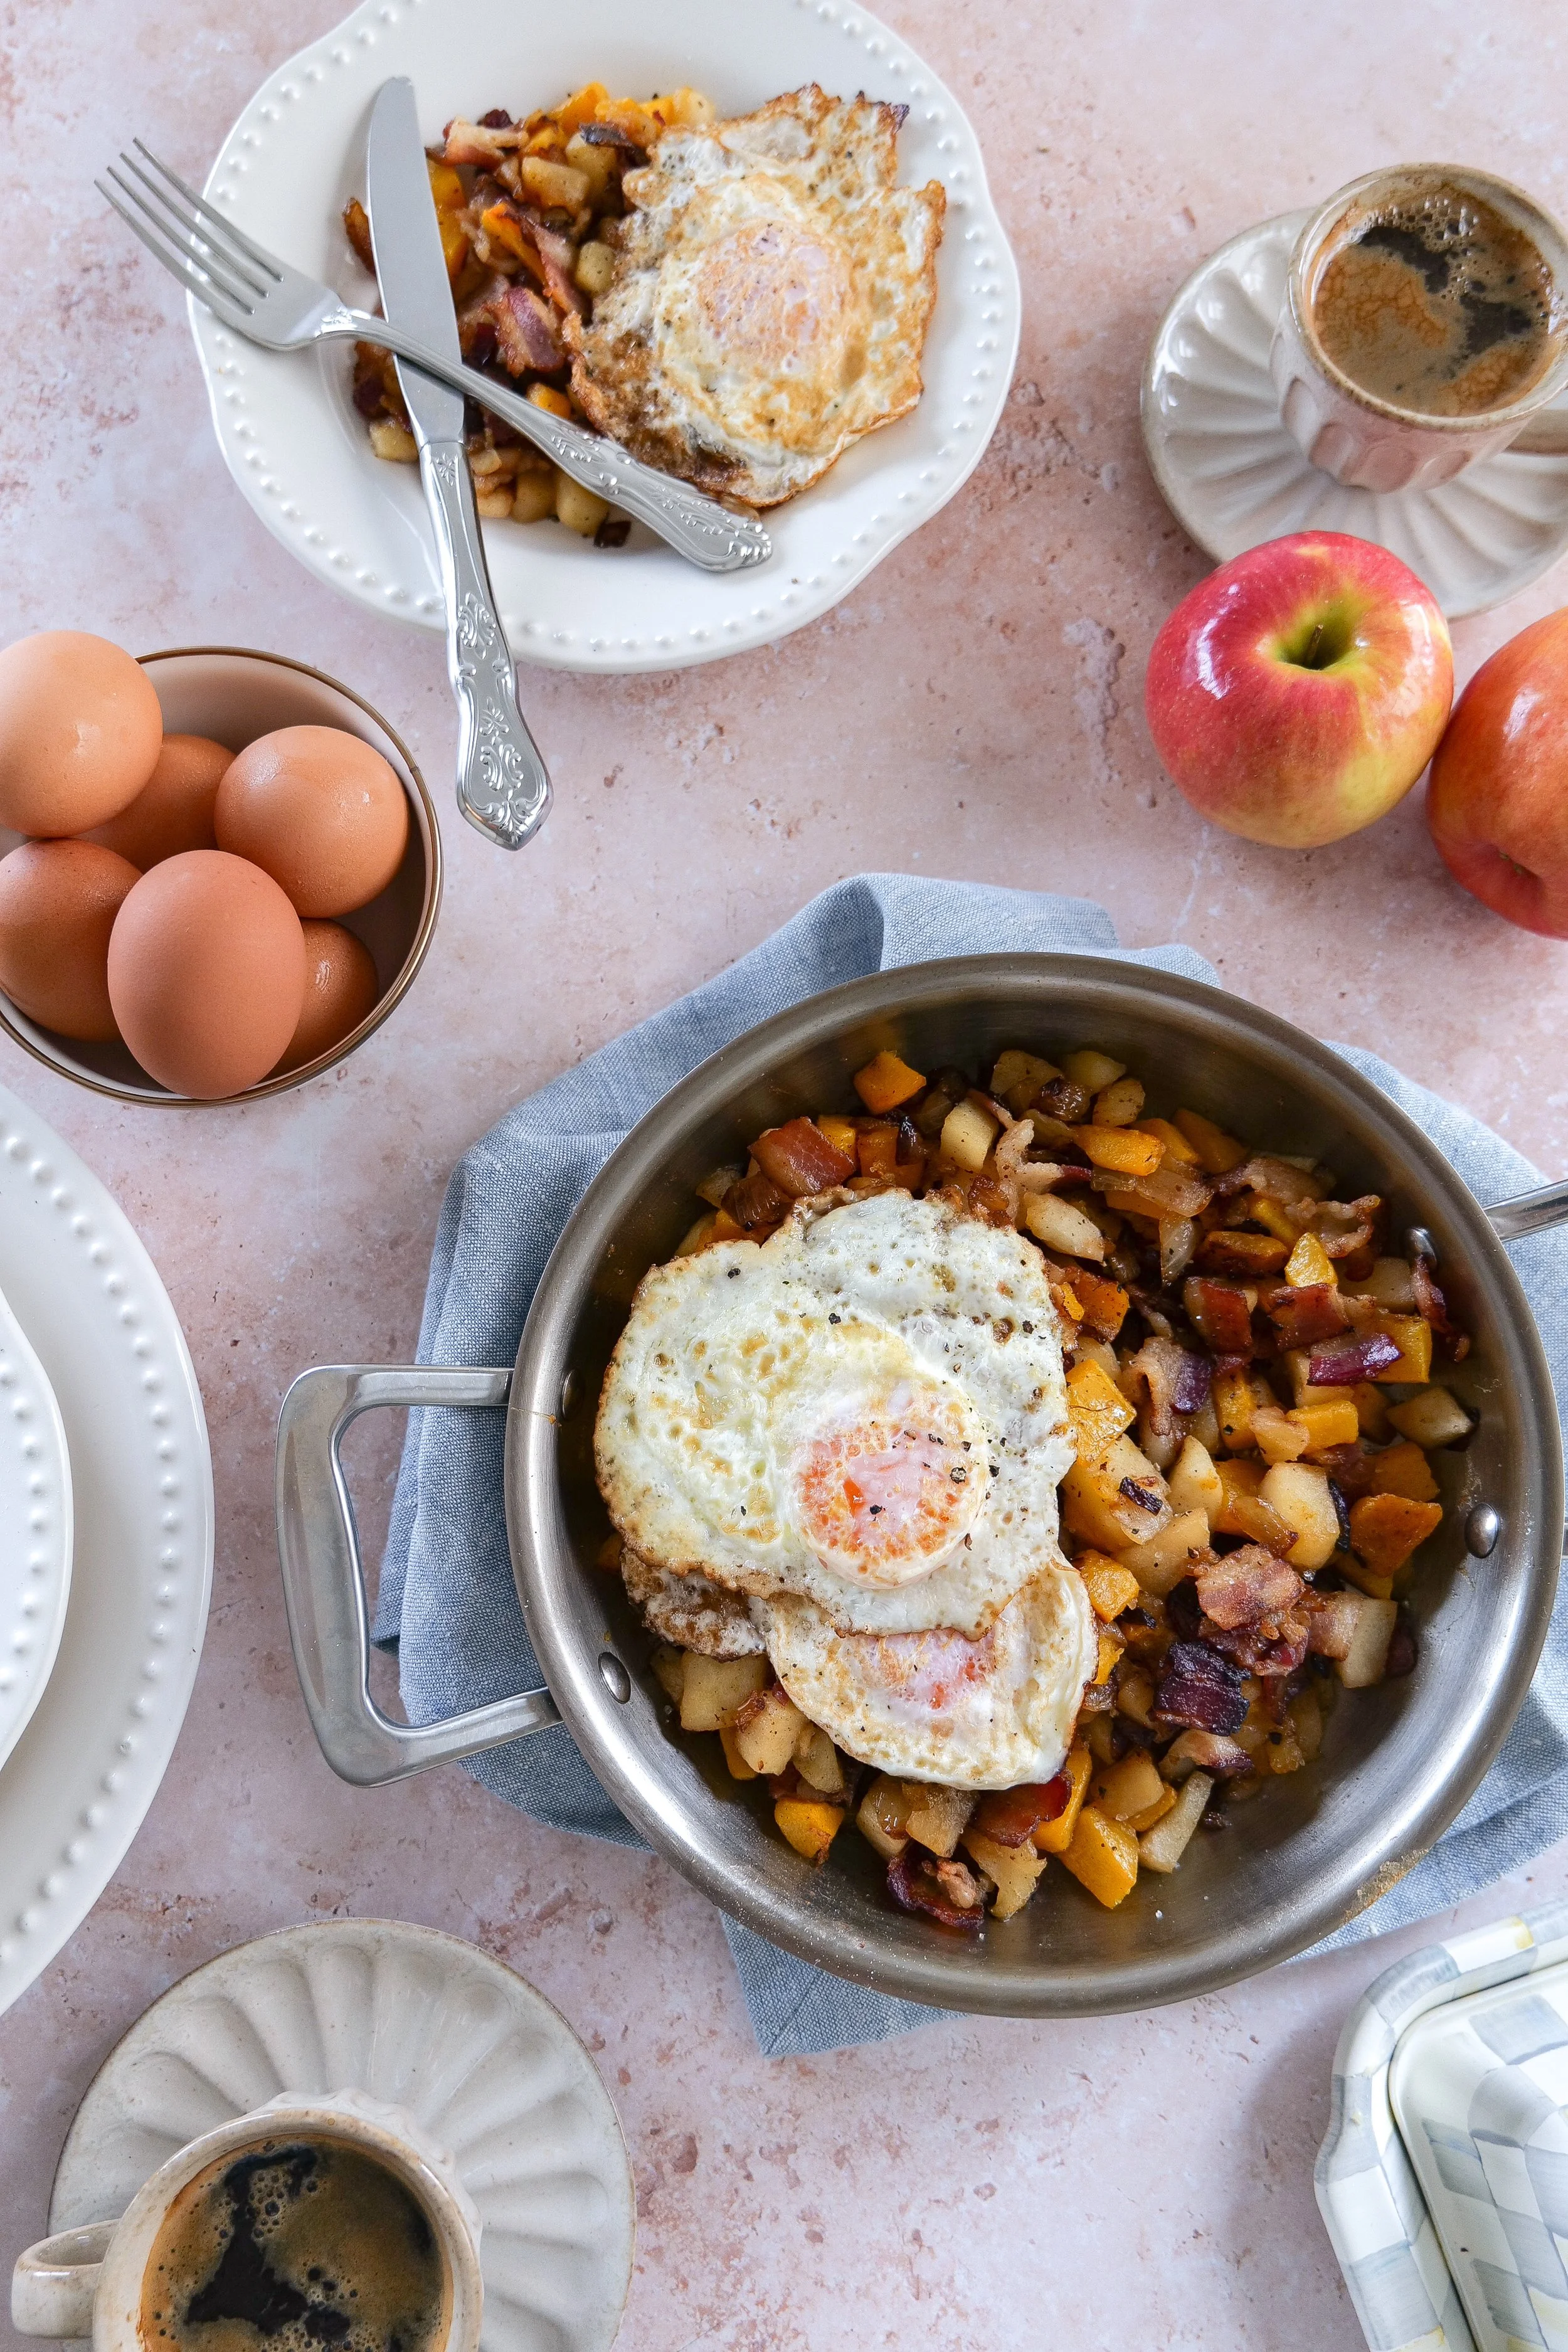
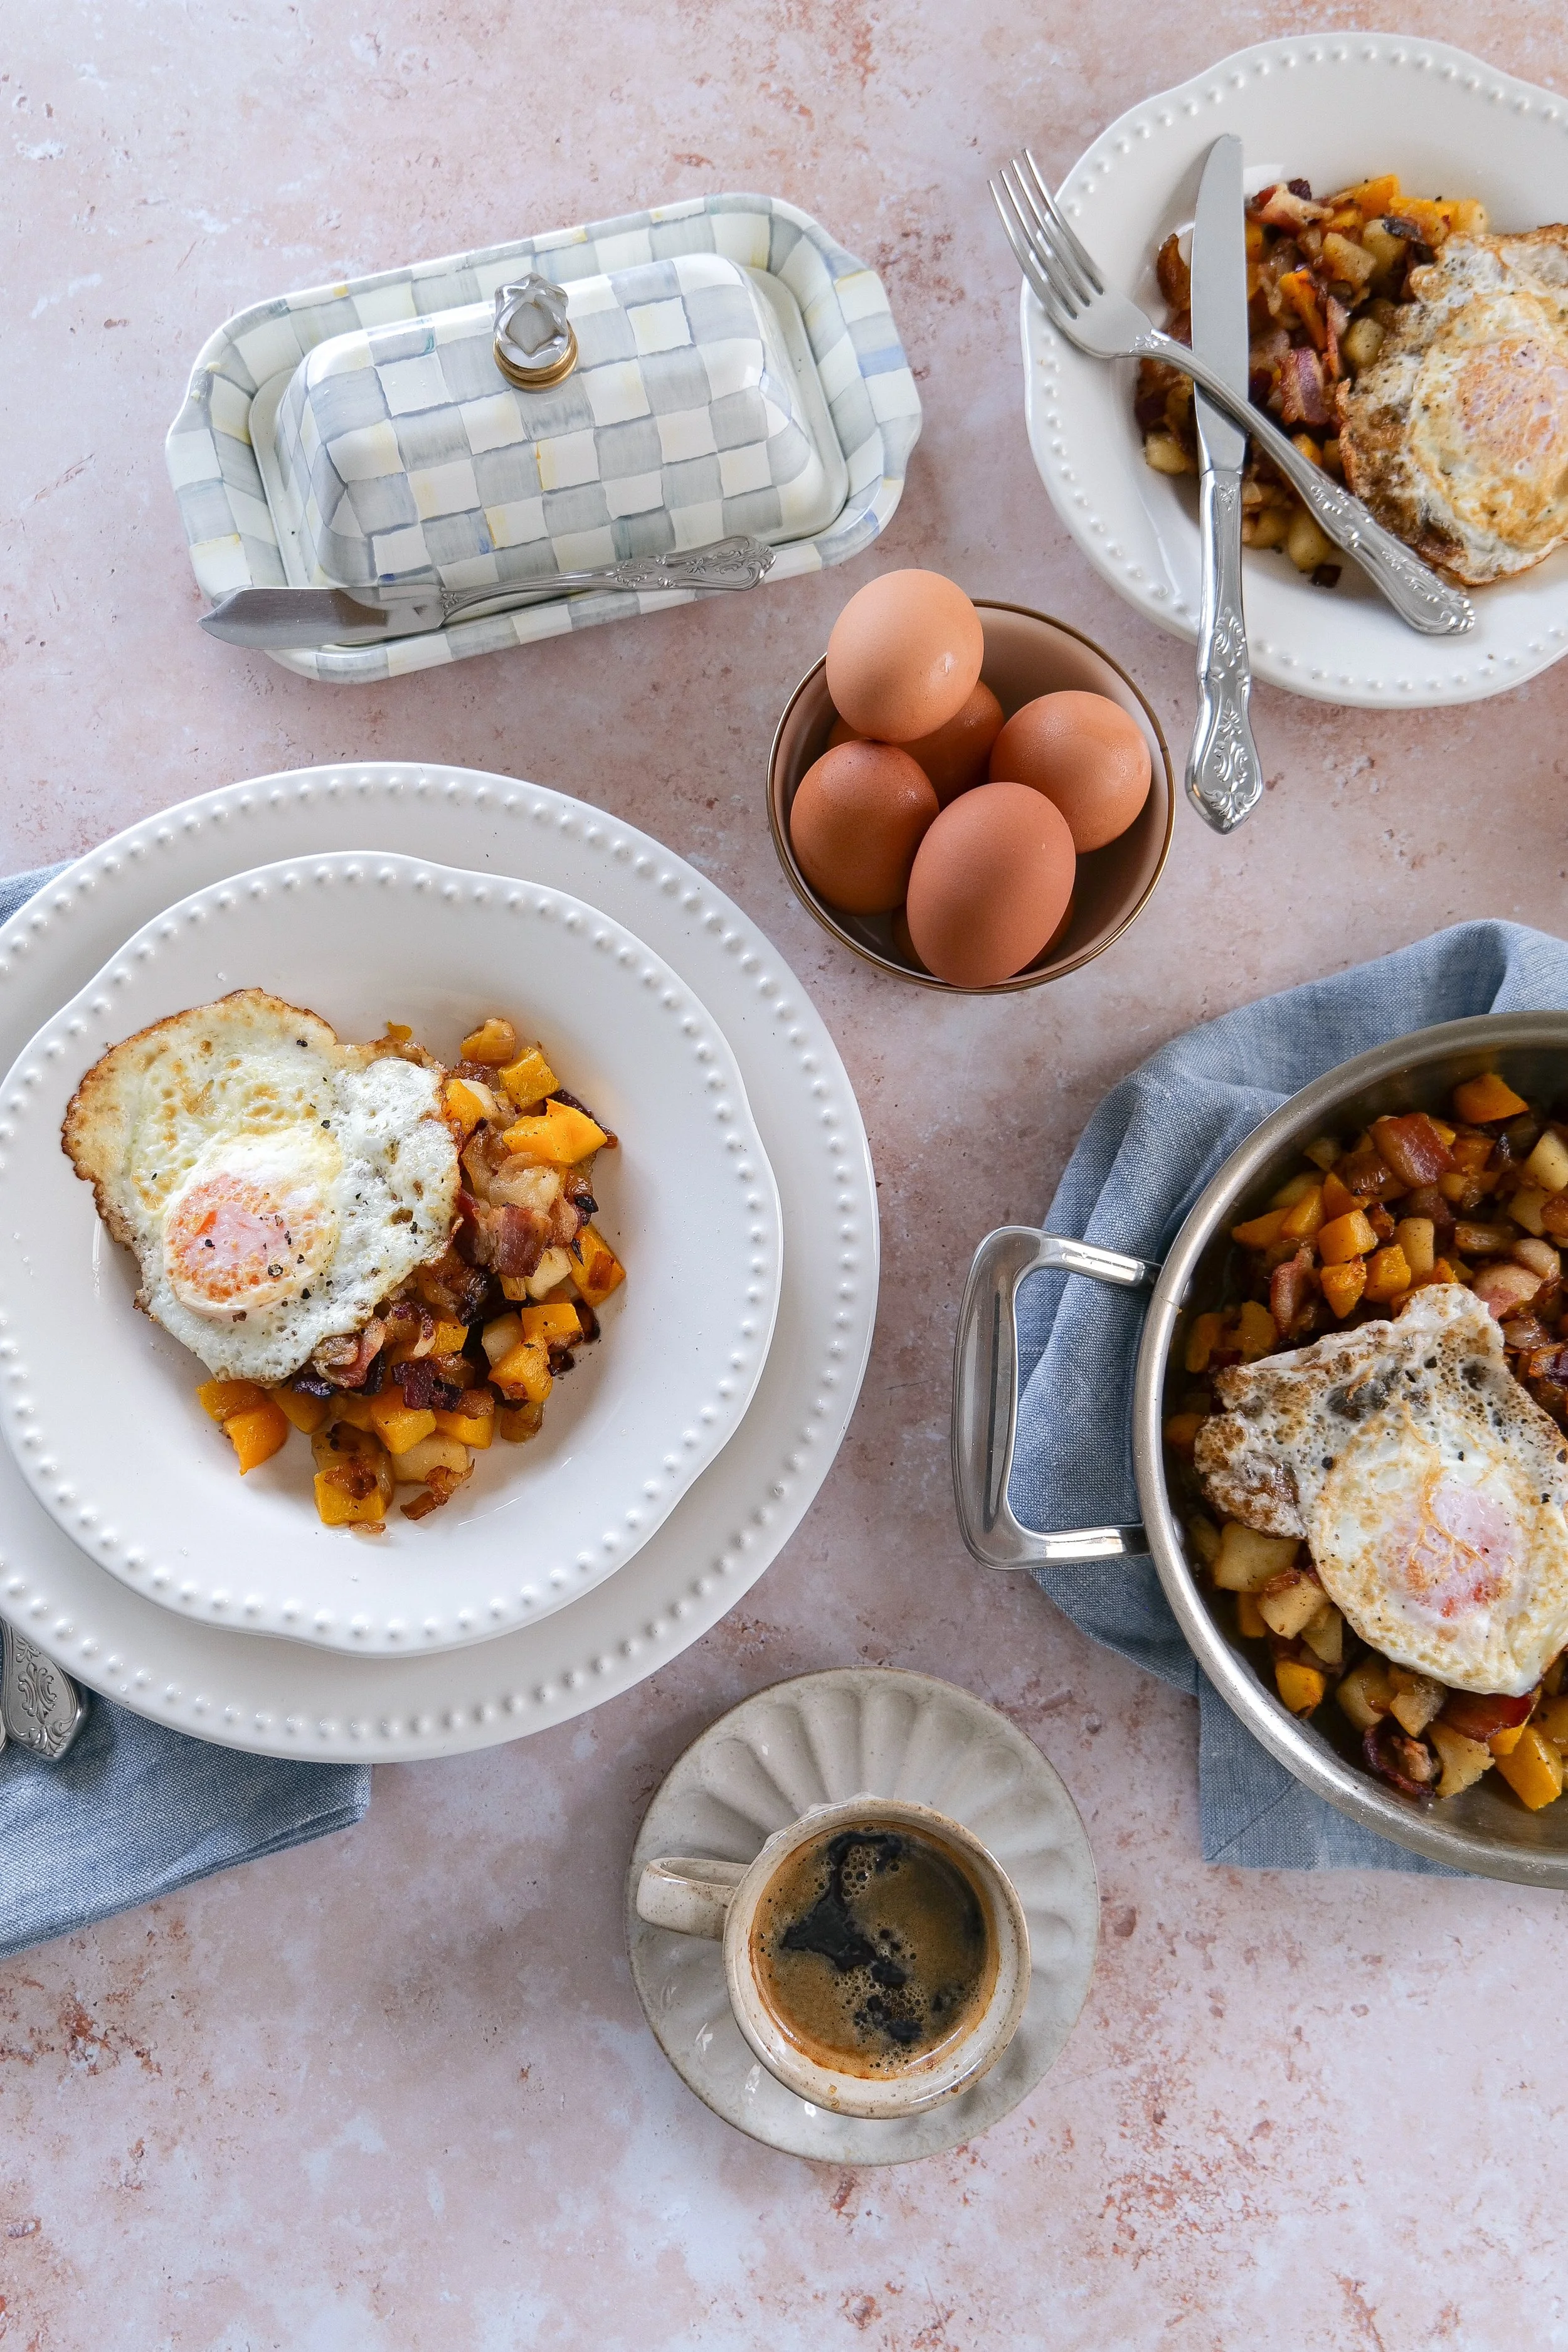
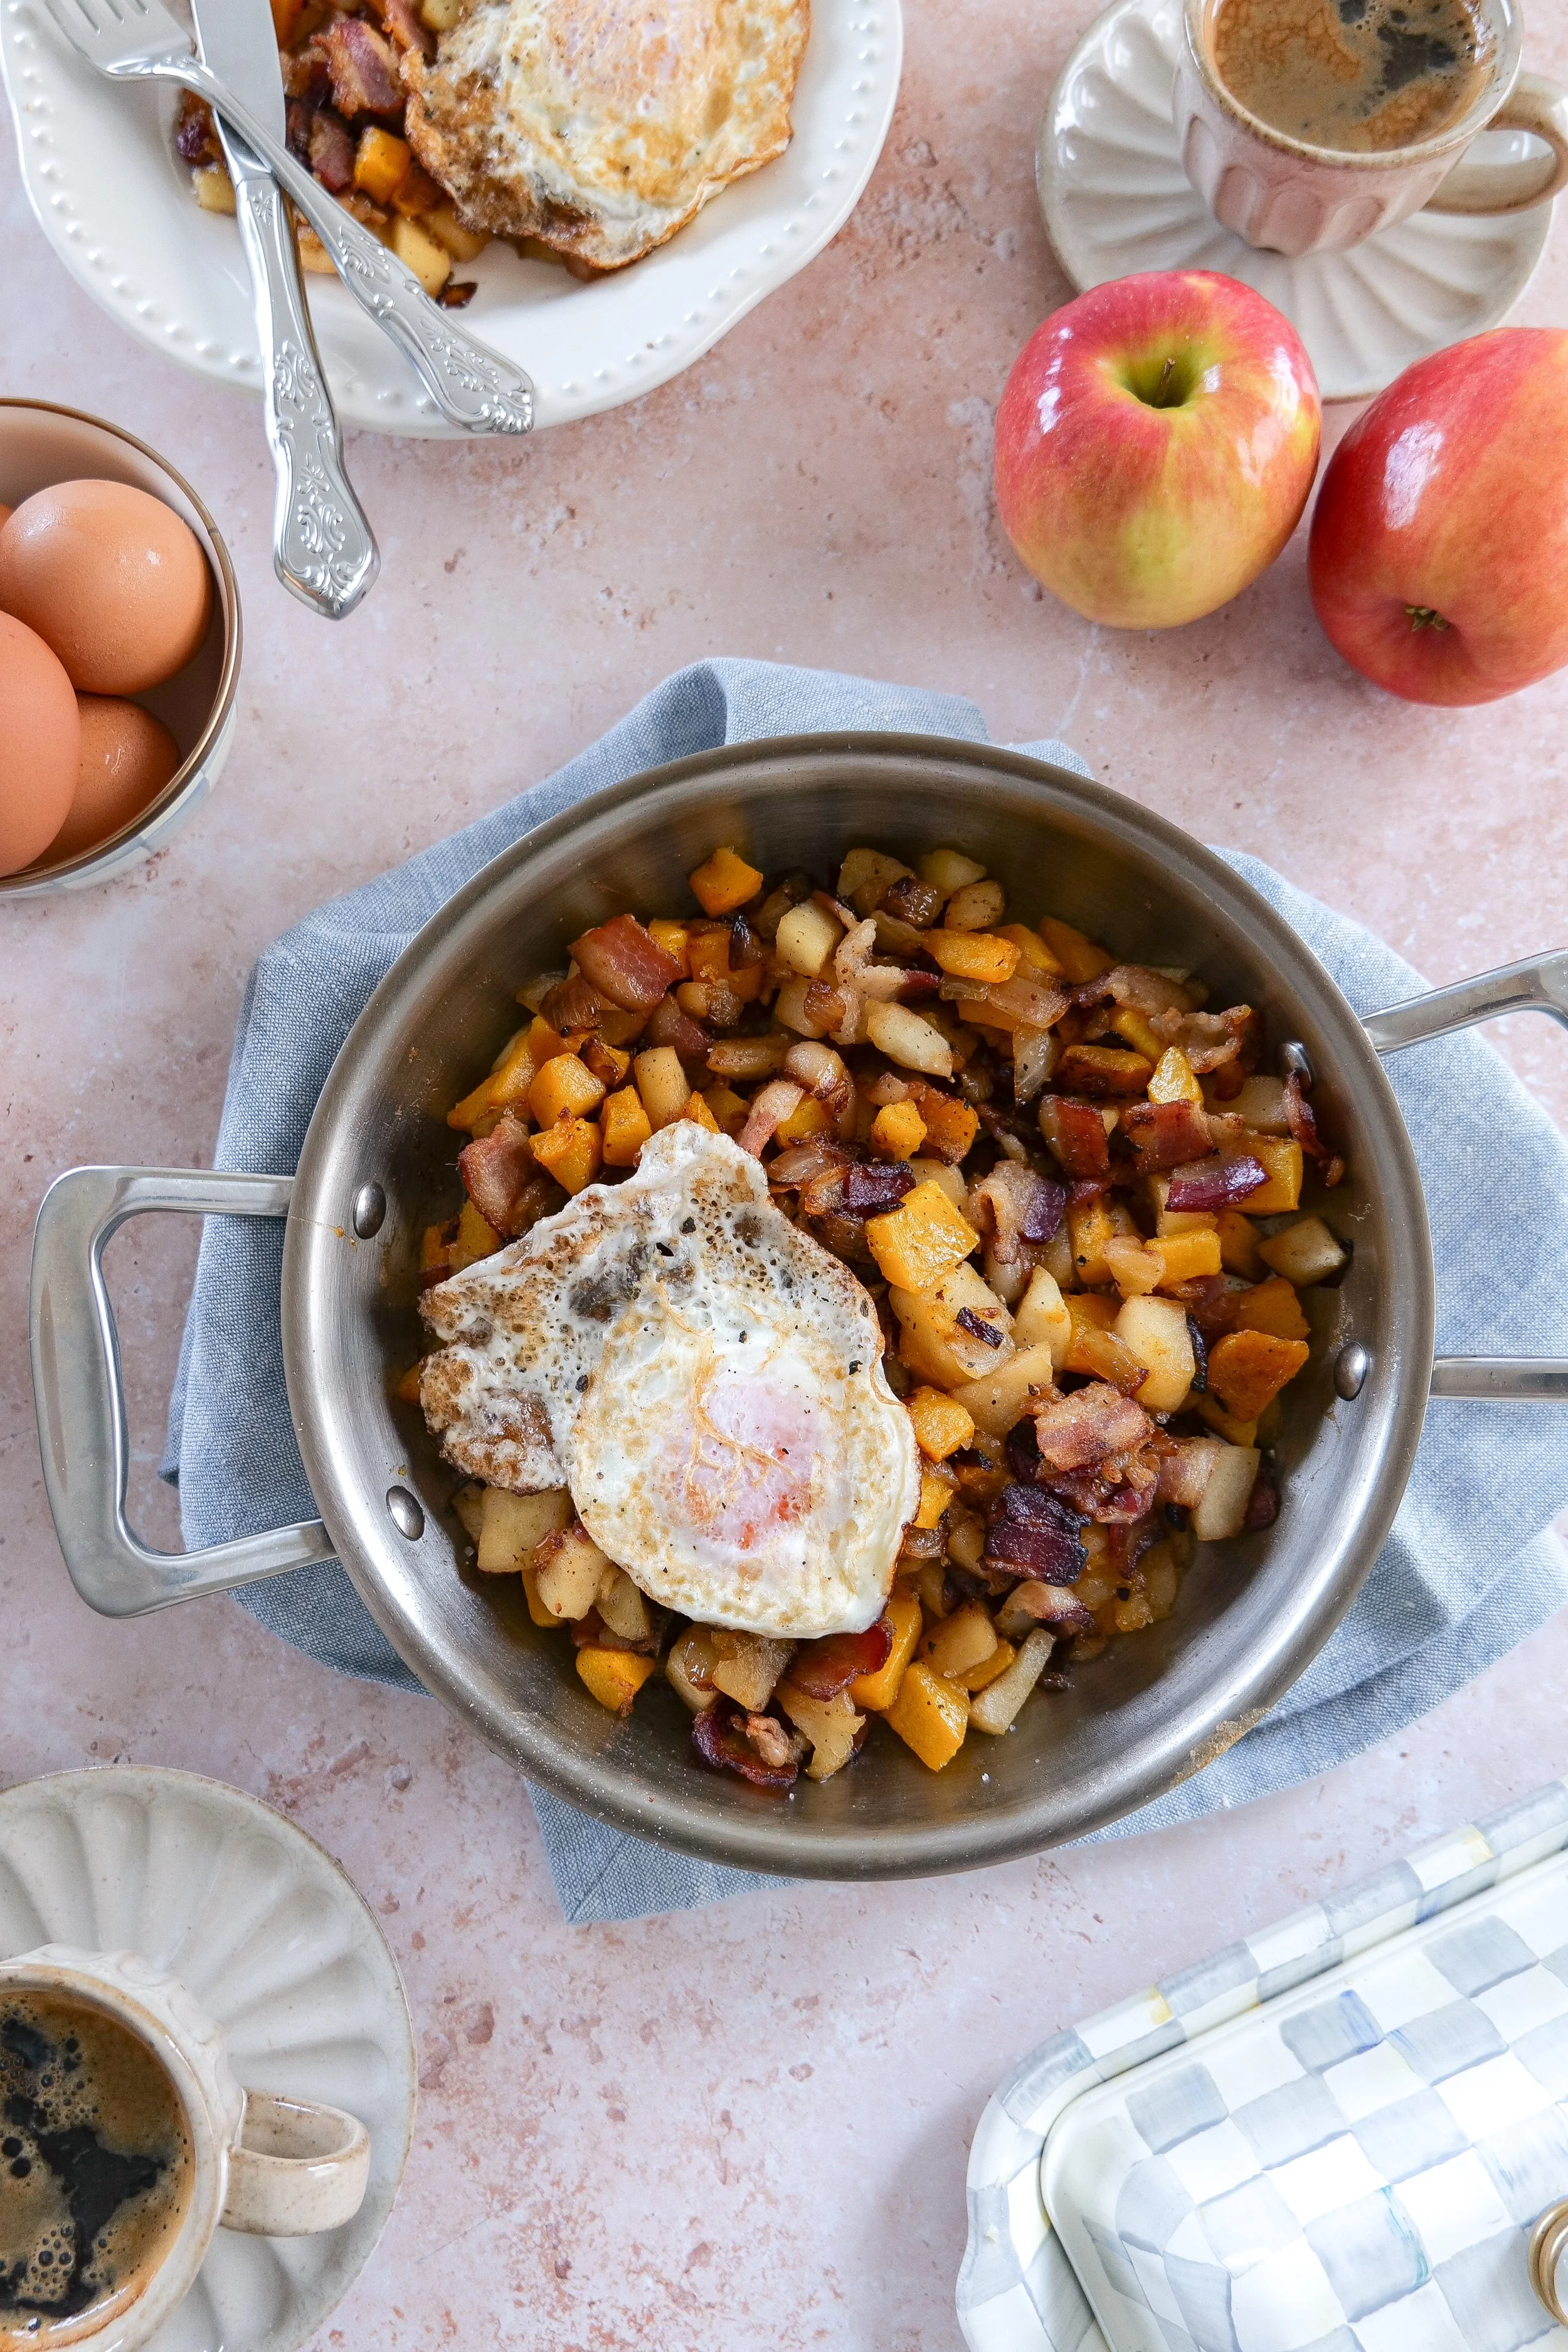
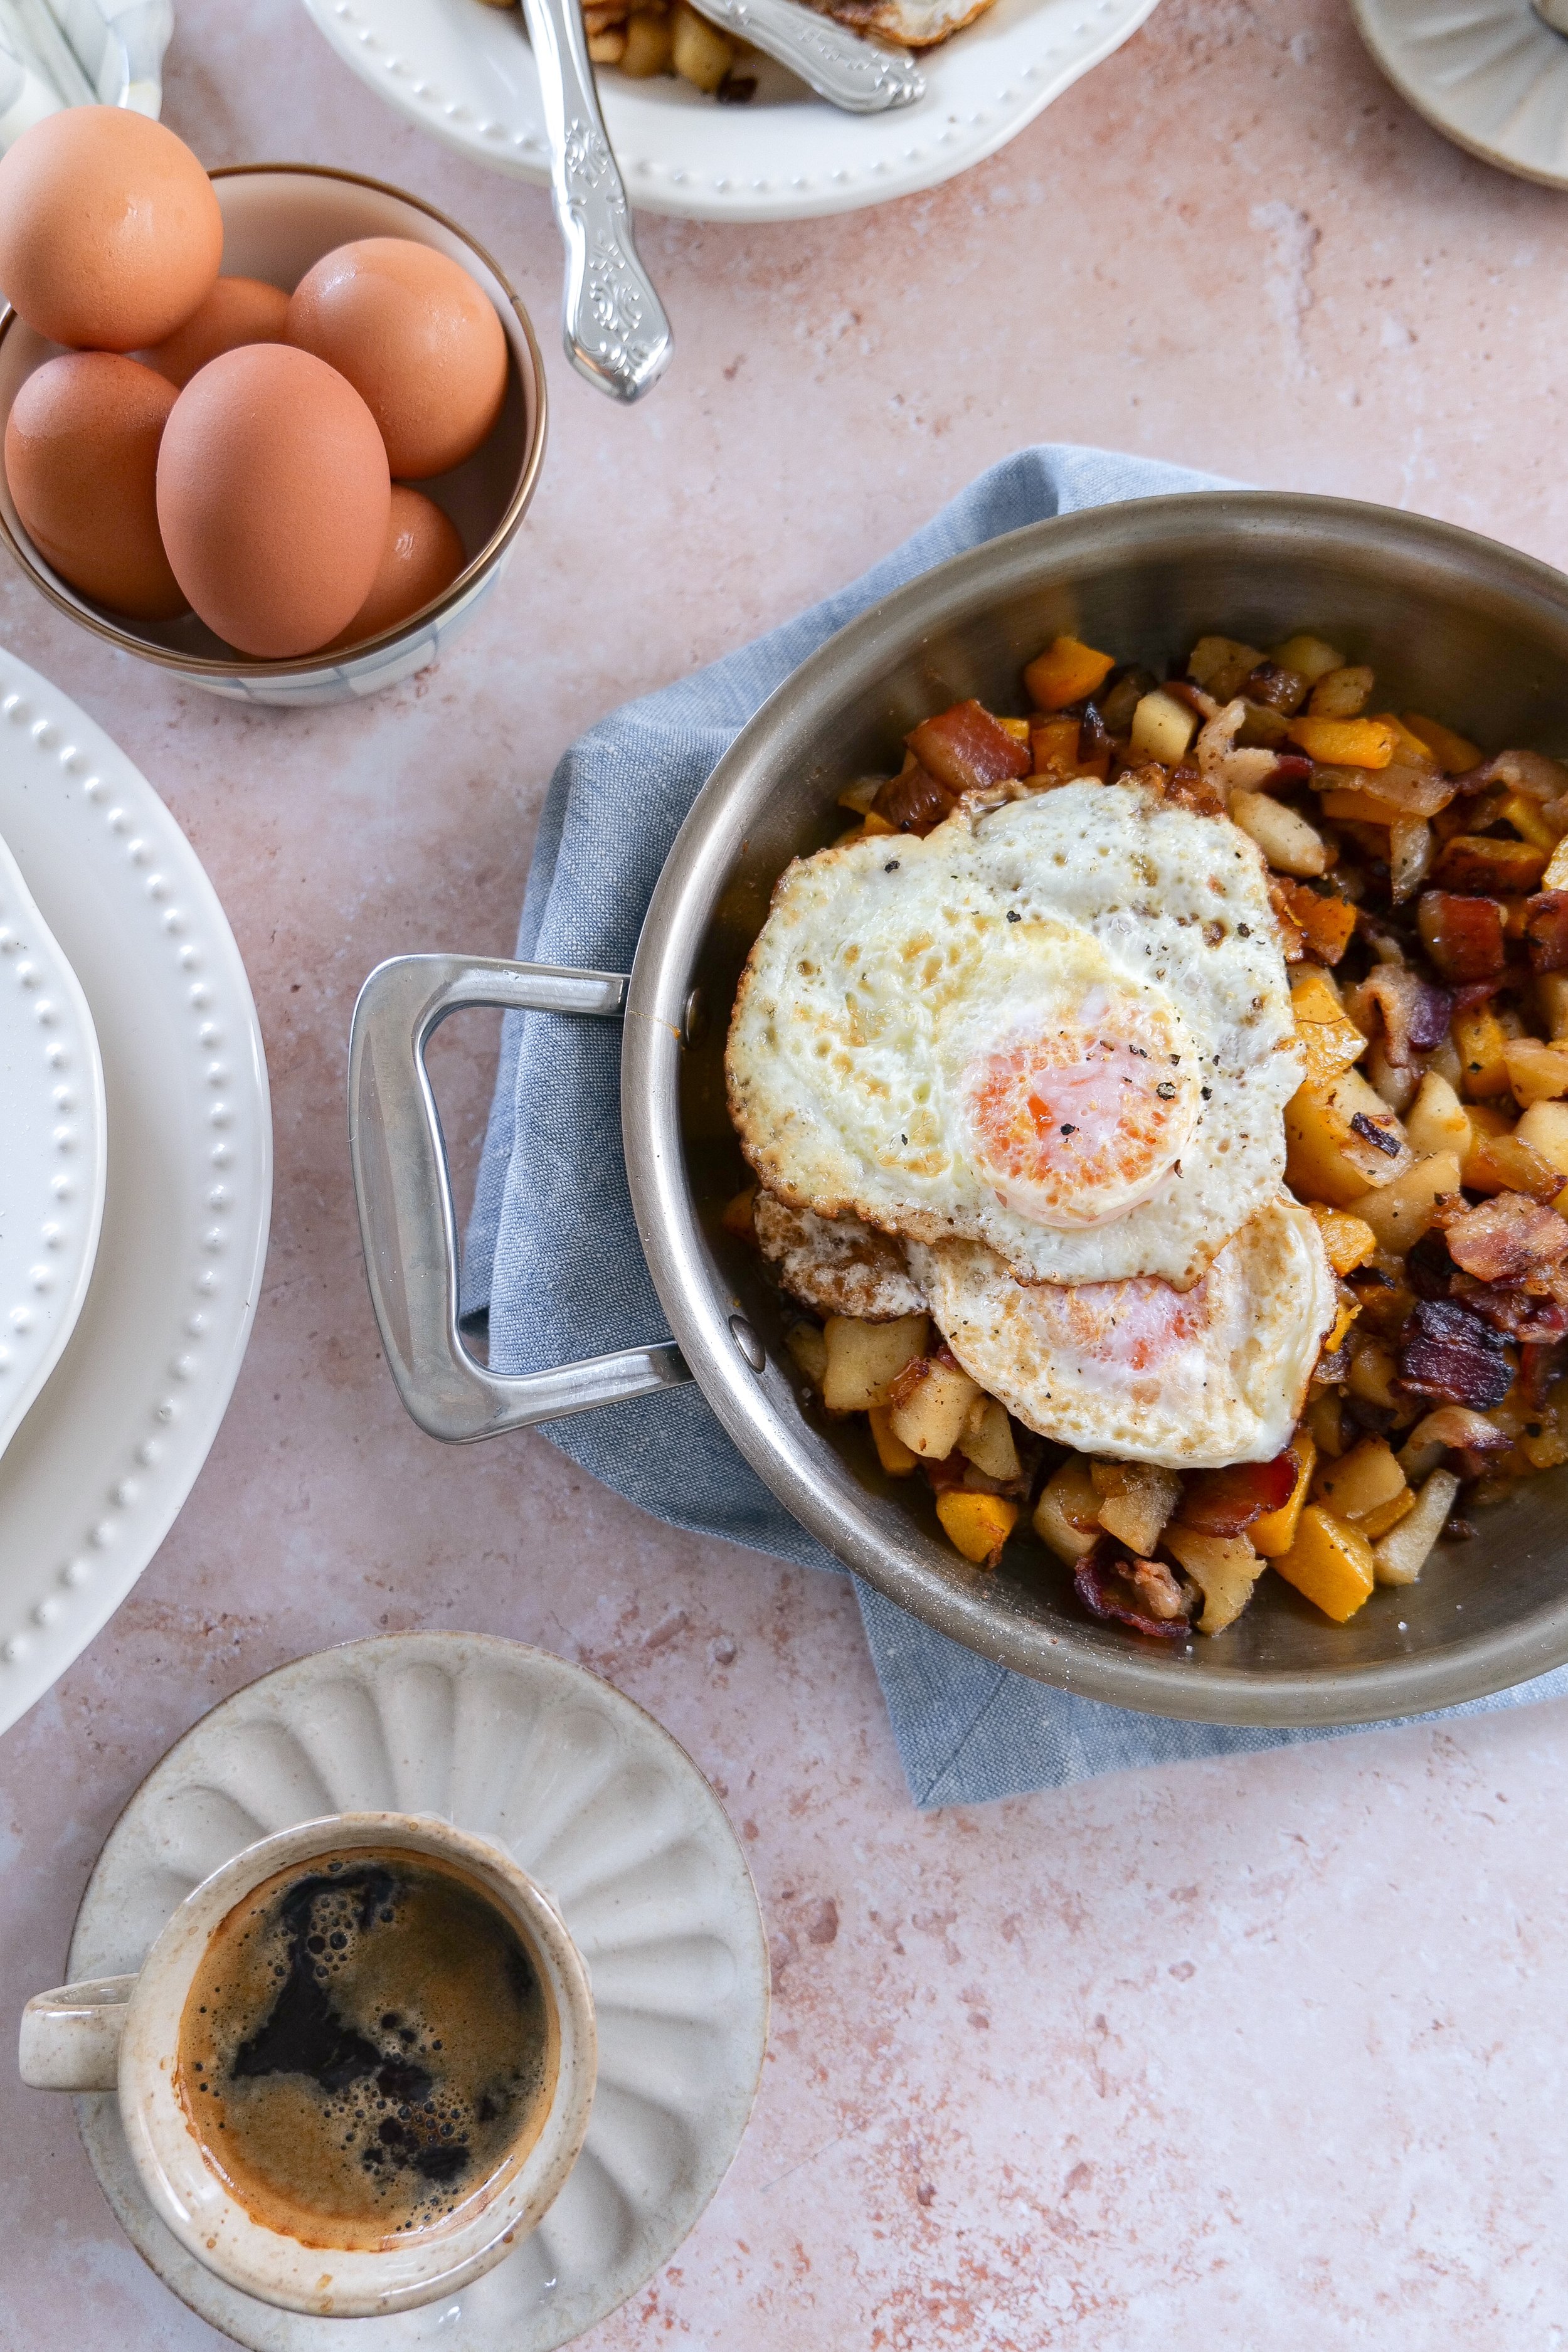
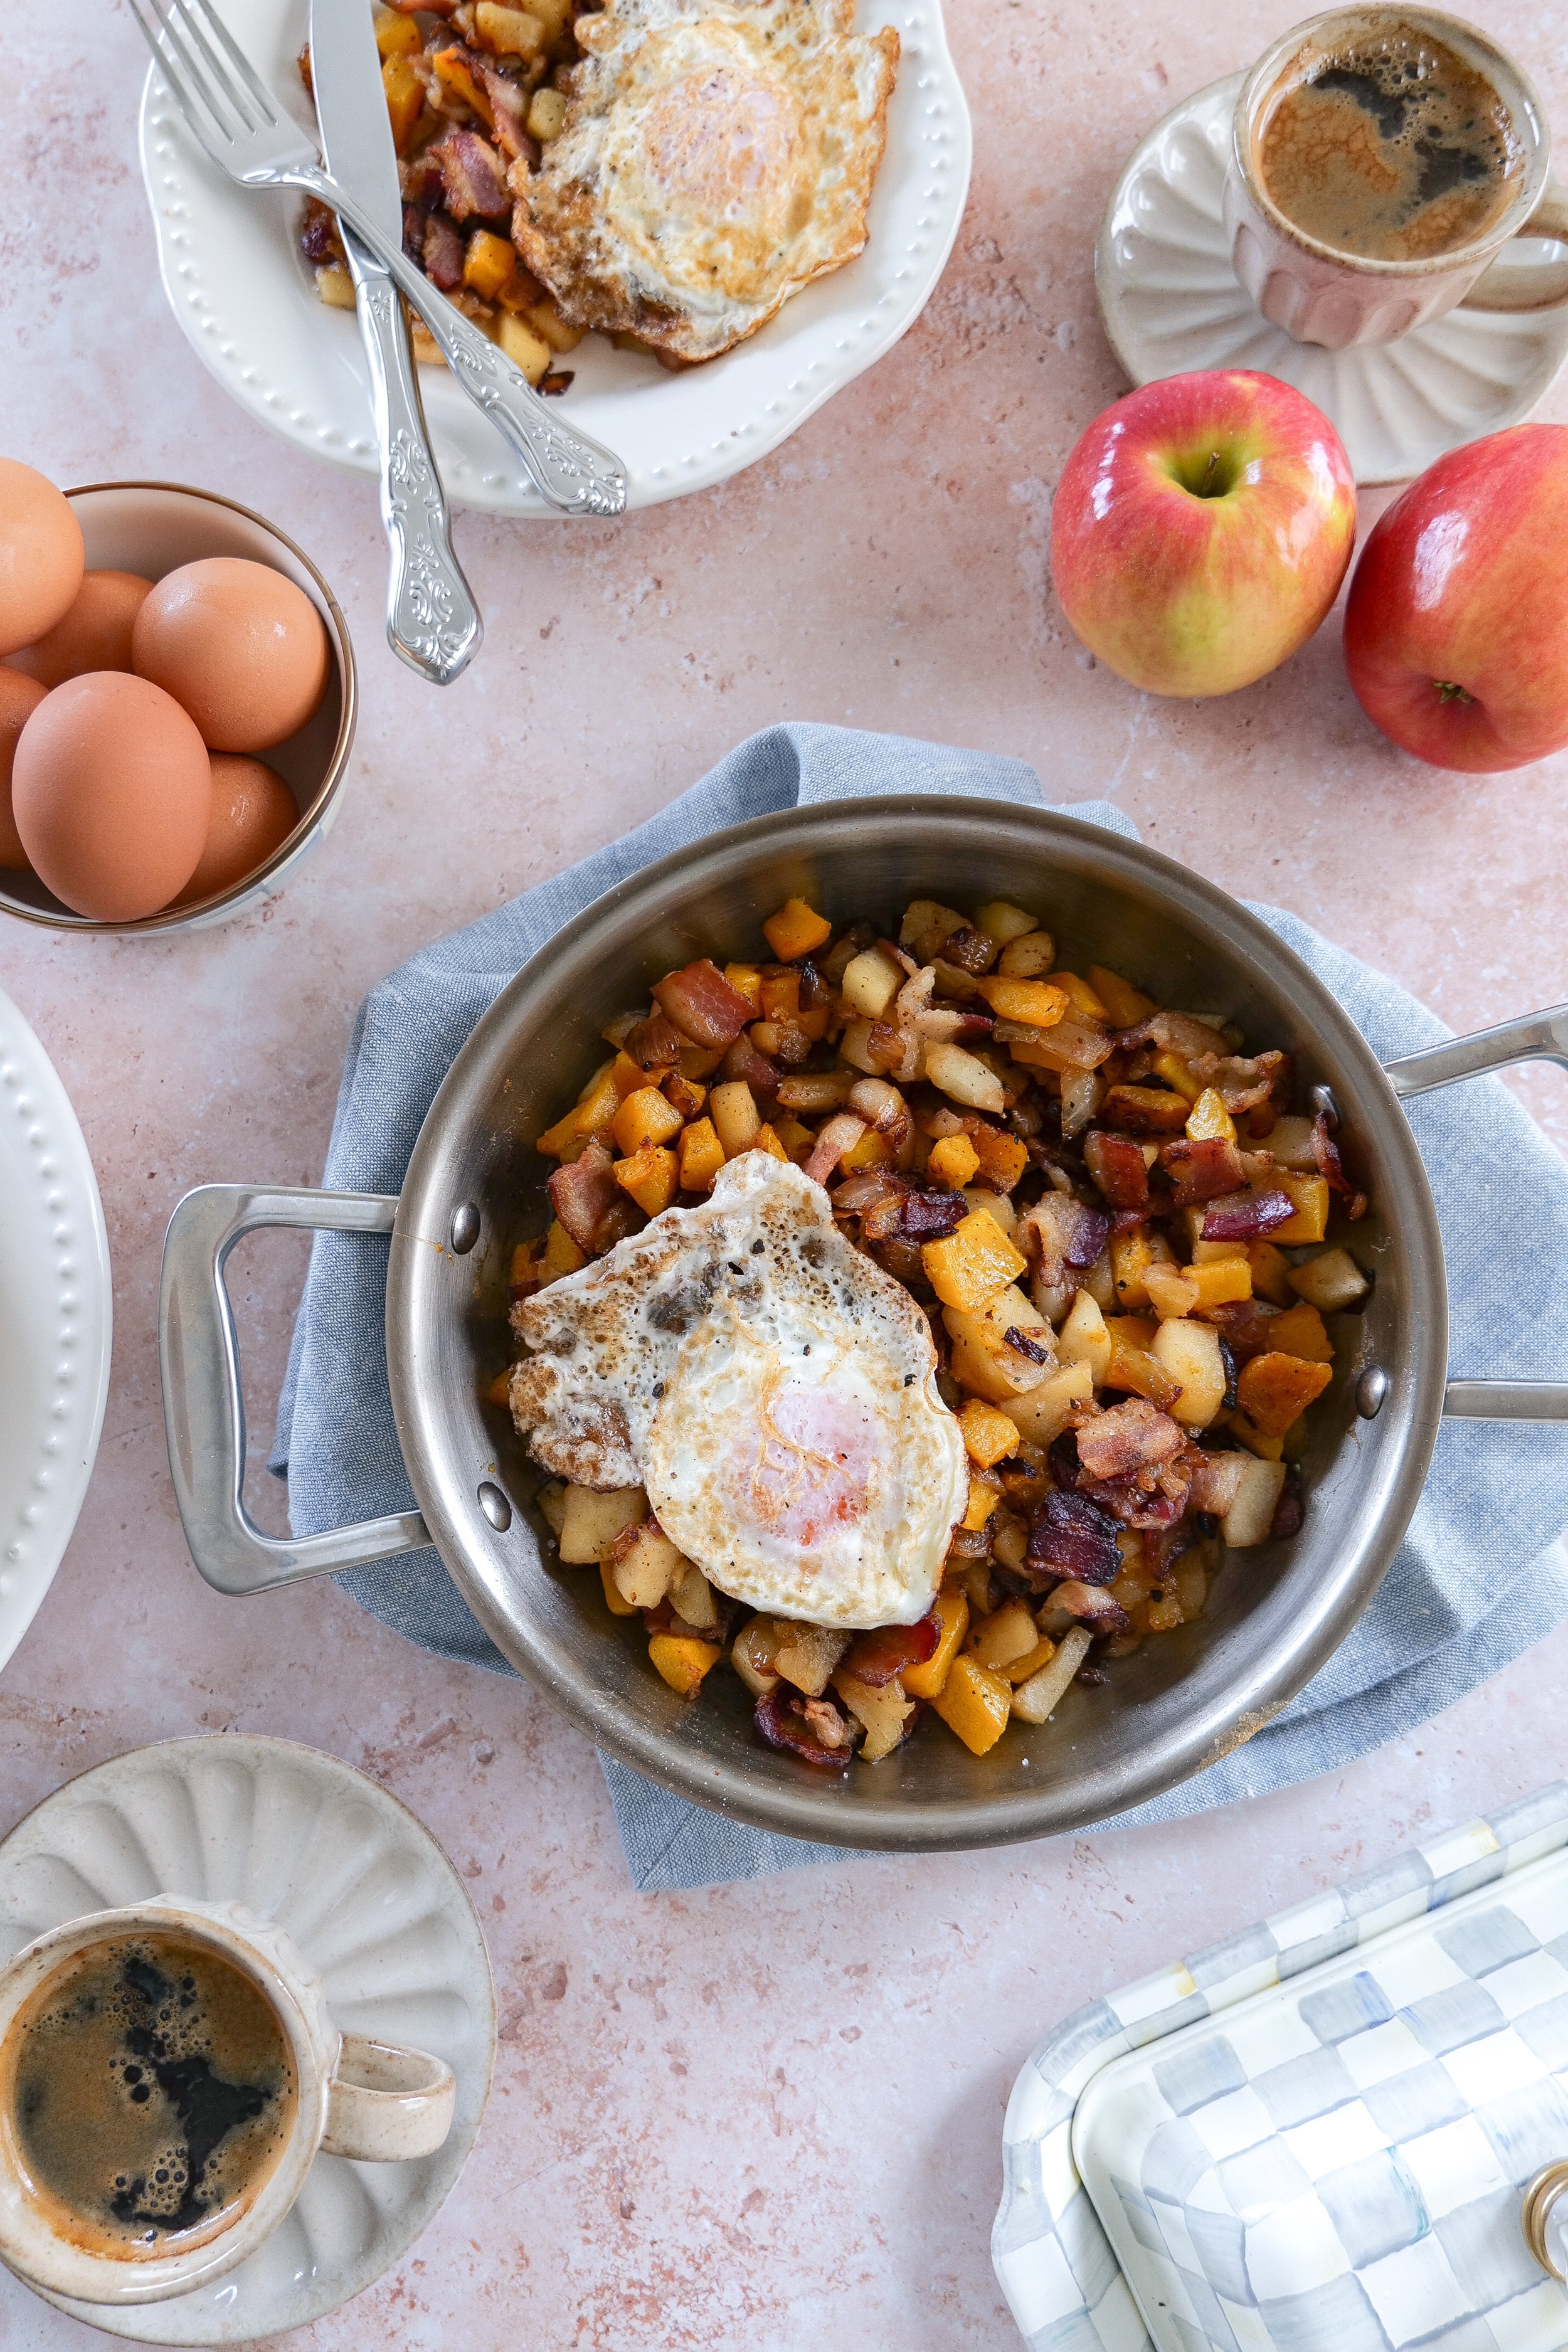
Delight your taste buds with a hearty butternut squash breakfast hash that combines sweet and savory flavors in every forkful. The dish centers around perfectly roasted butternut squash, with its inherently sweet flavor highlighted by the caramelization process. Crispy bacon adds a smoky, savory element to the hash, while diced apples bring freshness and a touch of fruity sweetness that elevates the entire dish. Topped with runny eggs, this hash delivers a satisfying mix of textures and flavors that assures a well-rounded, protein-rich breakfast. Easily adaptable, this recipe invites you to tweak ingredients, allowing for personalization in terms of taste preferences or dietary needs.
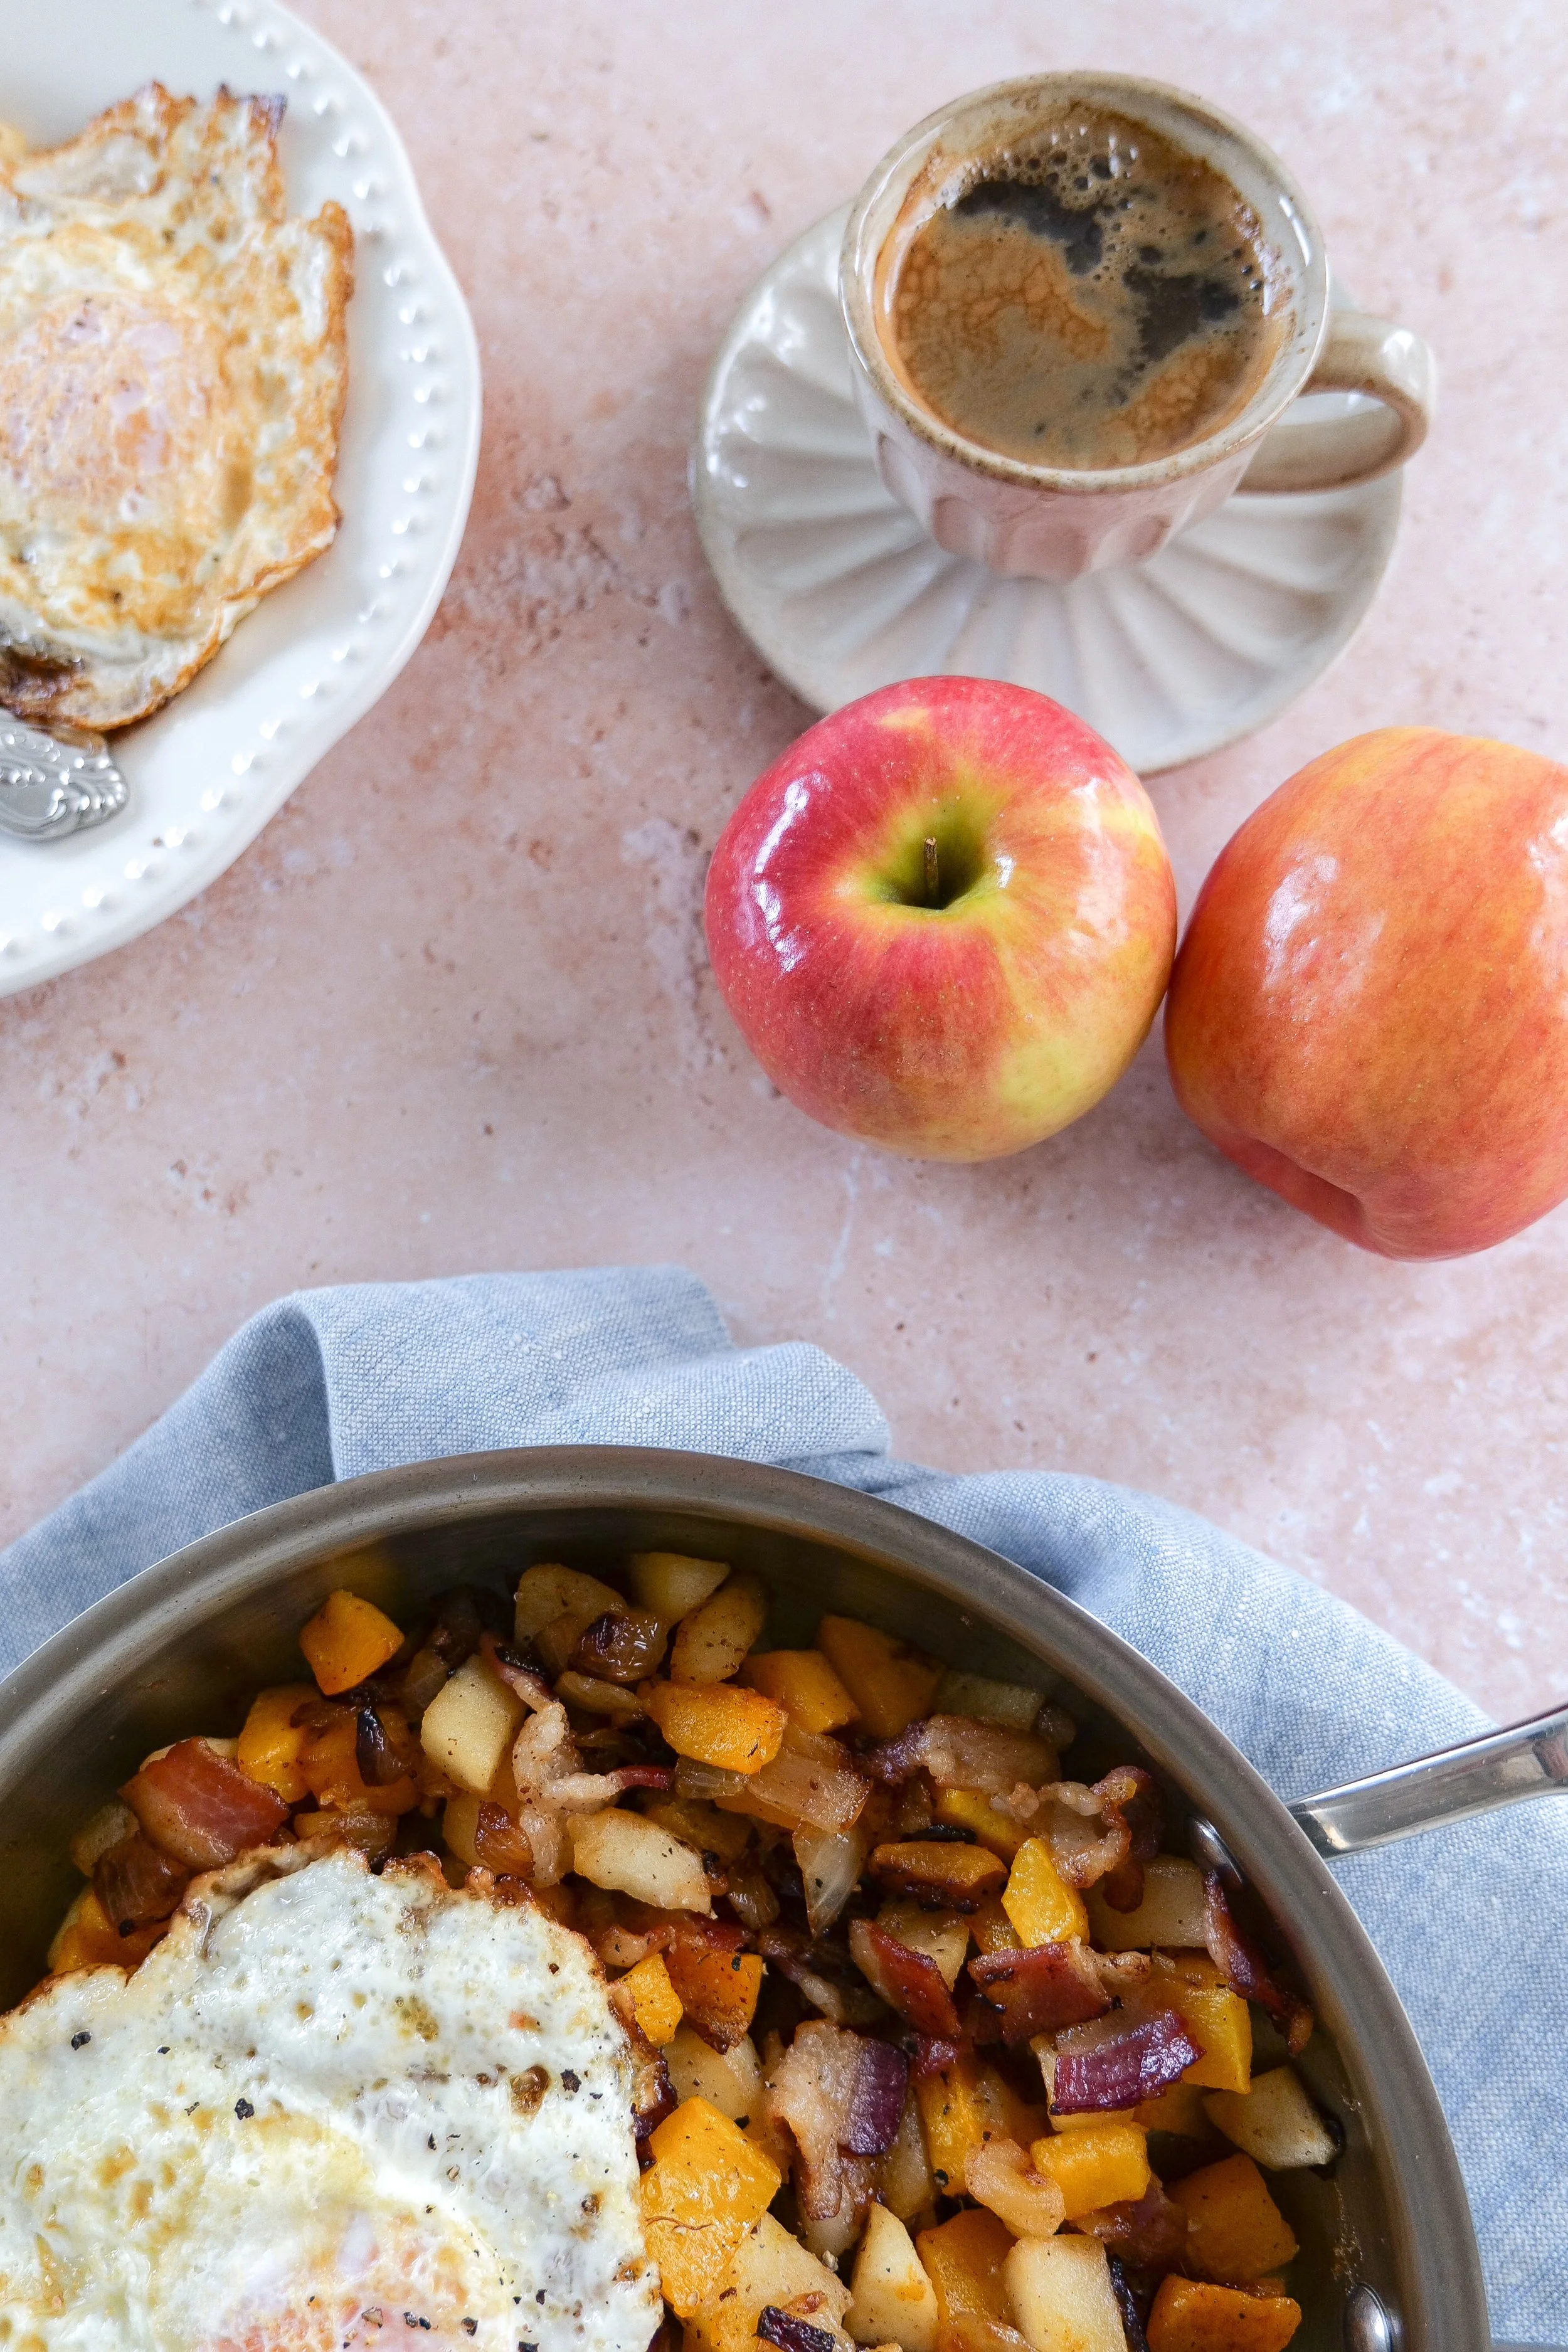
This recipe blends the hearty nature of butternut squash with the sweetness of apples, crafting a balanced flavor profile that is both welcoming and refreshing. Adding crispy bacon enriches the dish with a savory, smoky undertone that enhances the overall taste, while perfectly cooked eggs contribute a satisfying start to the day with their protein-laden richness. Visually, the vibrant colors of the squash, apples, onion and bacon create a dish that is as appealing to the eyes as it is to the palate, making this hash a nutritious morning gem.
Variations
We live in an era where dietary nutrition preferences and flavor profiles can dazzlingly transform even a well-known dish. The Butternut Squash Breakfast Hash offers a nutritious start to the day by balancing fiber, protein, and healthy fats. Experiment with spices like rosemary and thyme to infuse an extra layer of flavor. For a vegetarian substitute, removing bacon and incorporating plant-based proteins like chickpeas or tofu can offer a satisfying meat-free option. Sweet potatoes or regular potatoes may replace butternut squash, offering a distinct flavor profile that still achieves that savory-sweet balance. The choice of apple varieties and additional seasonal vegetables like cauliflower or mushrooms can diversify this autumnal dish, making each breakfast a unique savoring moment that everyone can enjoy and call one of their favorites. One of the recipe's key advantages is its flexibility, inviting you to tailor the dish according to personal taste or dietary requirements and still keeping it flavorful.
How to Properly store leftovers
For optimal flavor and freshness, it's crucial to know how to properly store leftovers of your delicious Butternut Squash Breakfast Hash with apples, bacon, and eggs. Begin by allowing the dish to cool to room temperature before transferring it to an airtight container to maintain its vibrant flavors and prevent any moisture loss. Place the container in the refrigerator and ensure that it's consumed within three to four days for the best taste experience. If you plan to enjoy the leftovers beyond this timeframe, consider freezing individual portions in freezer-safe bags or containers, labeled with the date to keep track of freshness. When reheating, use a skillet over medium heat to revive the hash's crispy texture, or opt for an oven set at 350°F for about 10-15 minutes to evenly warm it through. By following these storage guidelines, you can savor the comforting blend of butternut squash, apples, crispy bacon, and perfectly cooked eggs even on the busiest mornings.
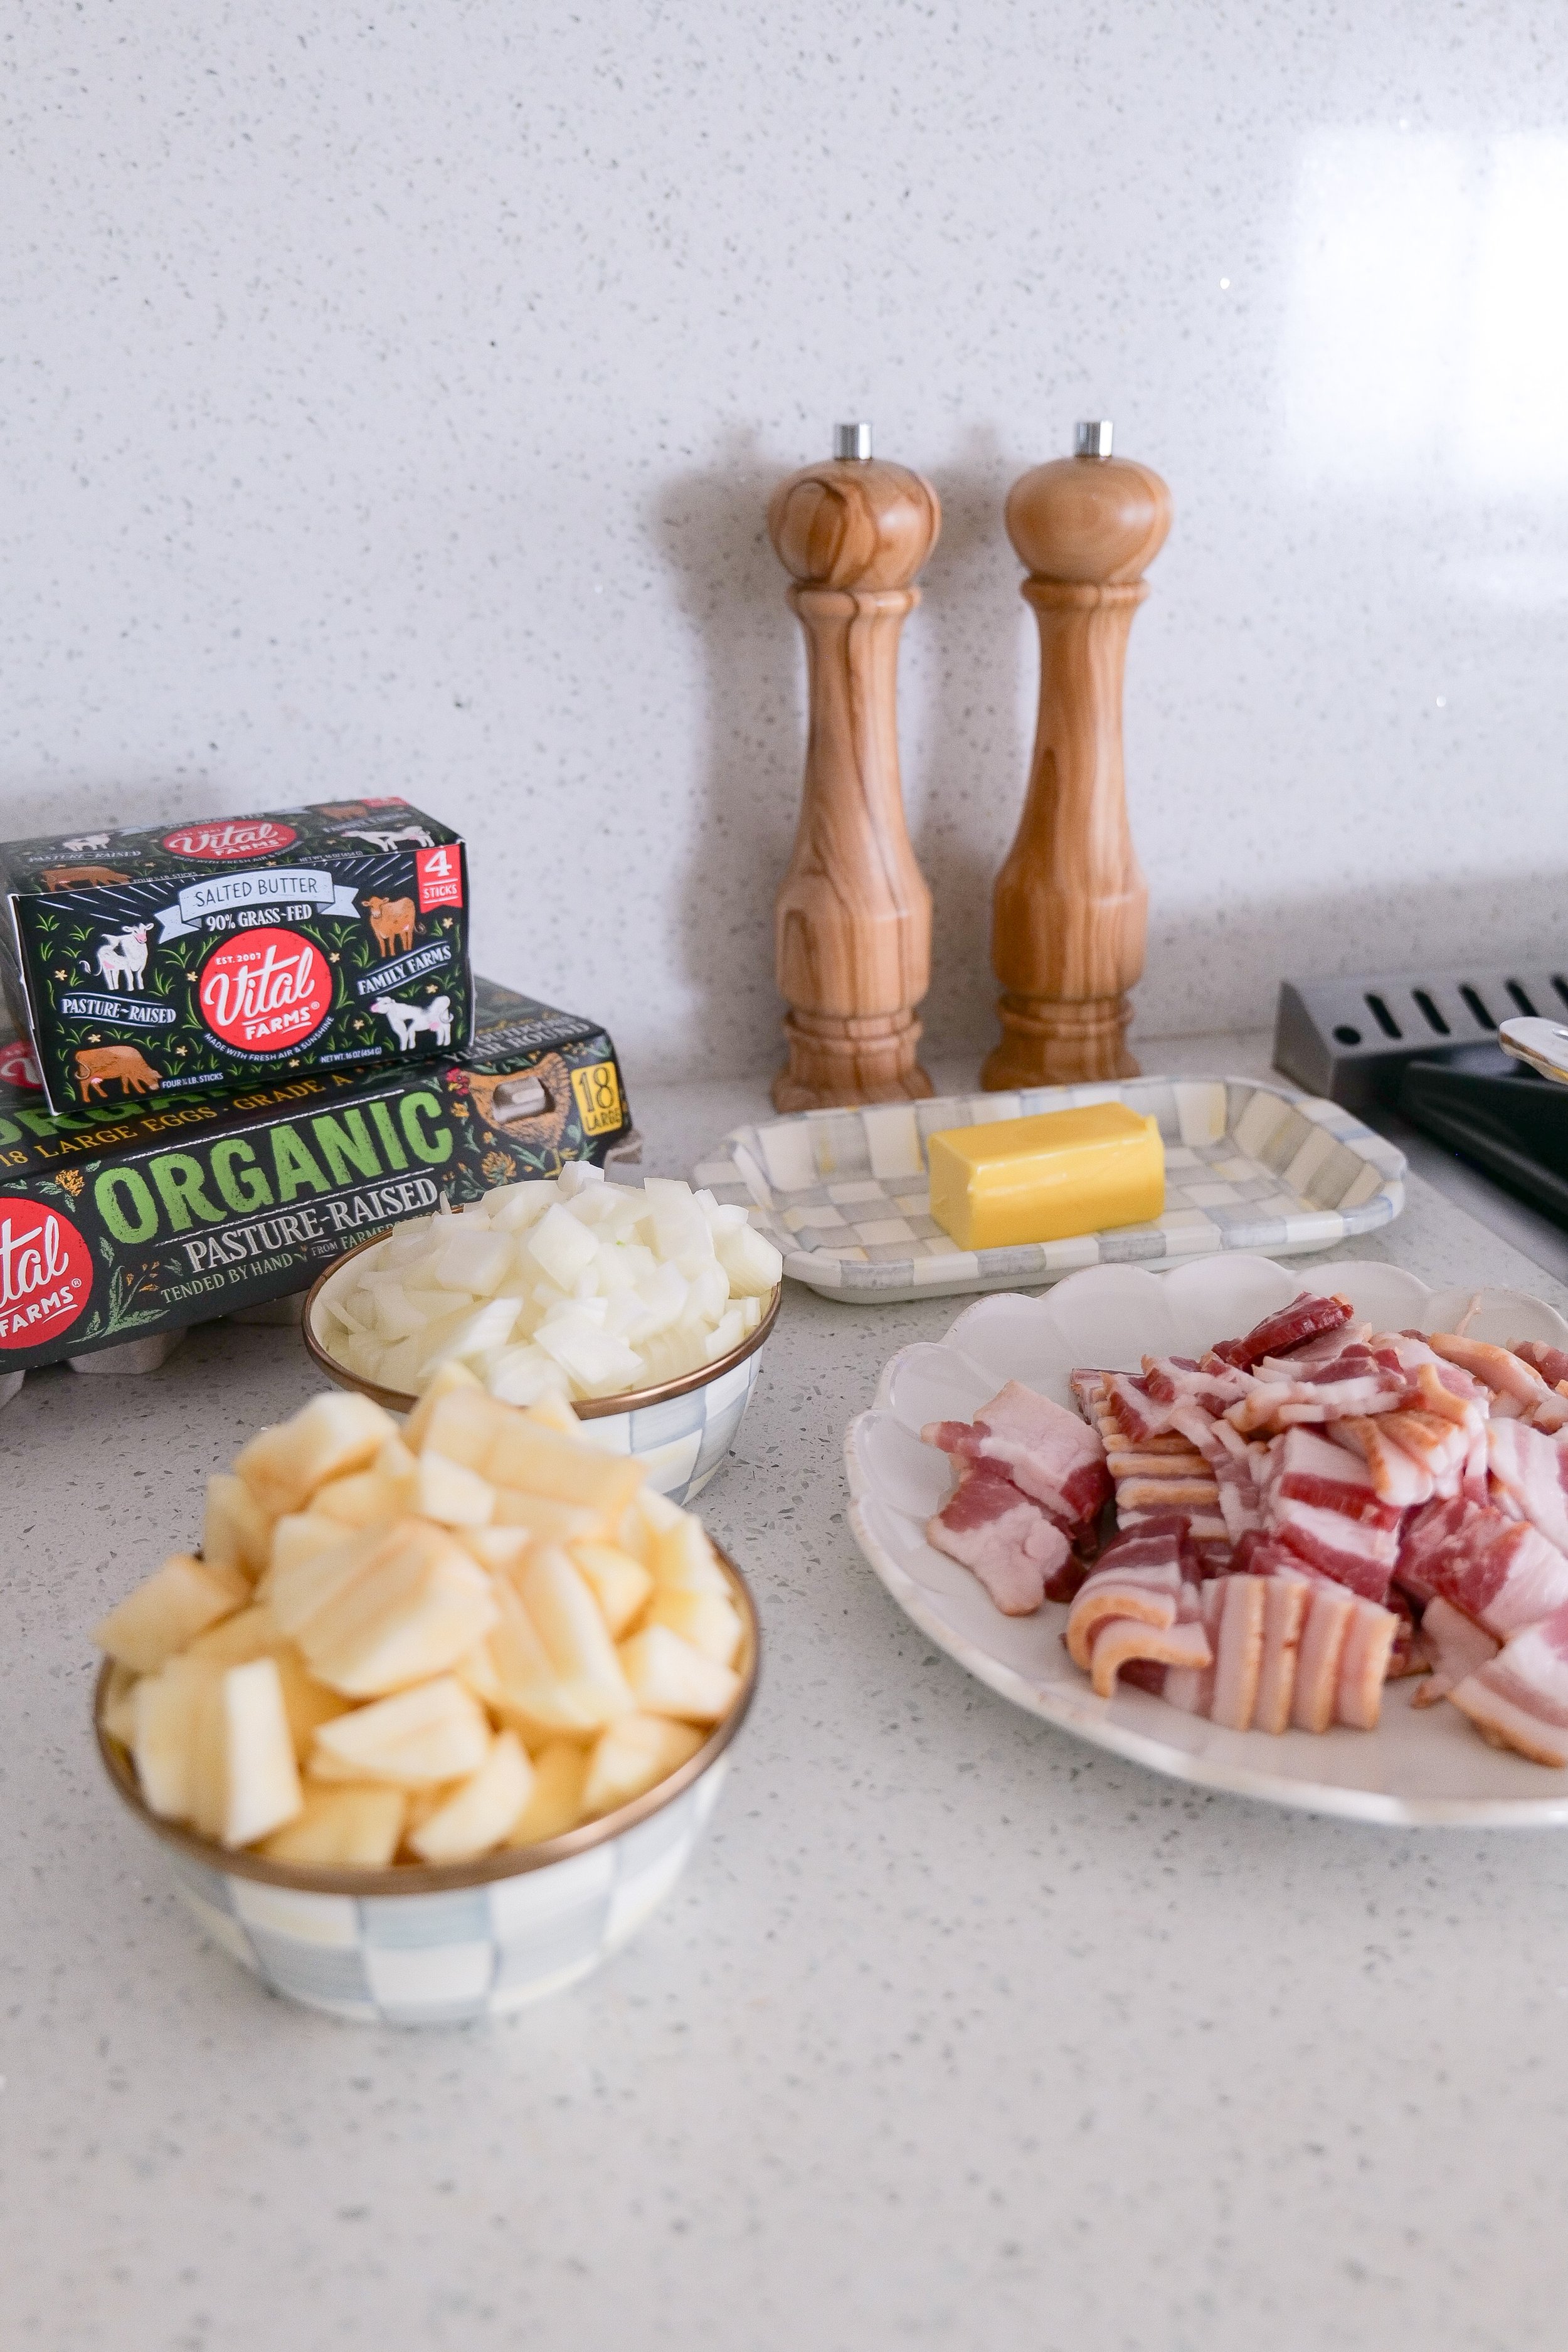
Ingredients
3 cups butternut squash cubed (about 1 inch)
2 tbsp salted butter
2 tsp sea salt
12 oz bacon in bite size pieces
2 large apple pink lady or granny smith work well peeled and chopped
1 large yellow onion or one small onion, chopped
4 Eggs
Instructions
Preheat oven to 425 degrees and line with a large baking sheet with parchment paper. In a large bowl, toss butternut squash cubes with melted butter and sea salt to evenly coat, then spread out in a single layer on the baking sheet.
Roast in the preheated oven for 30 minutes or until golden brown and soft.
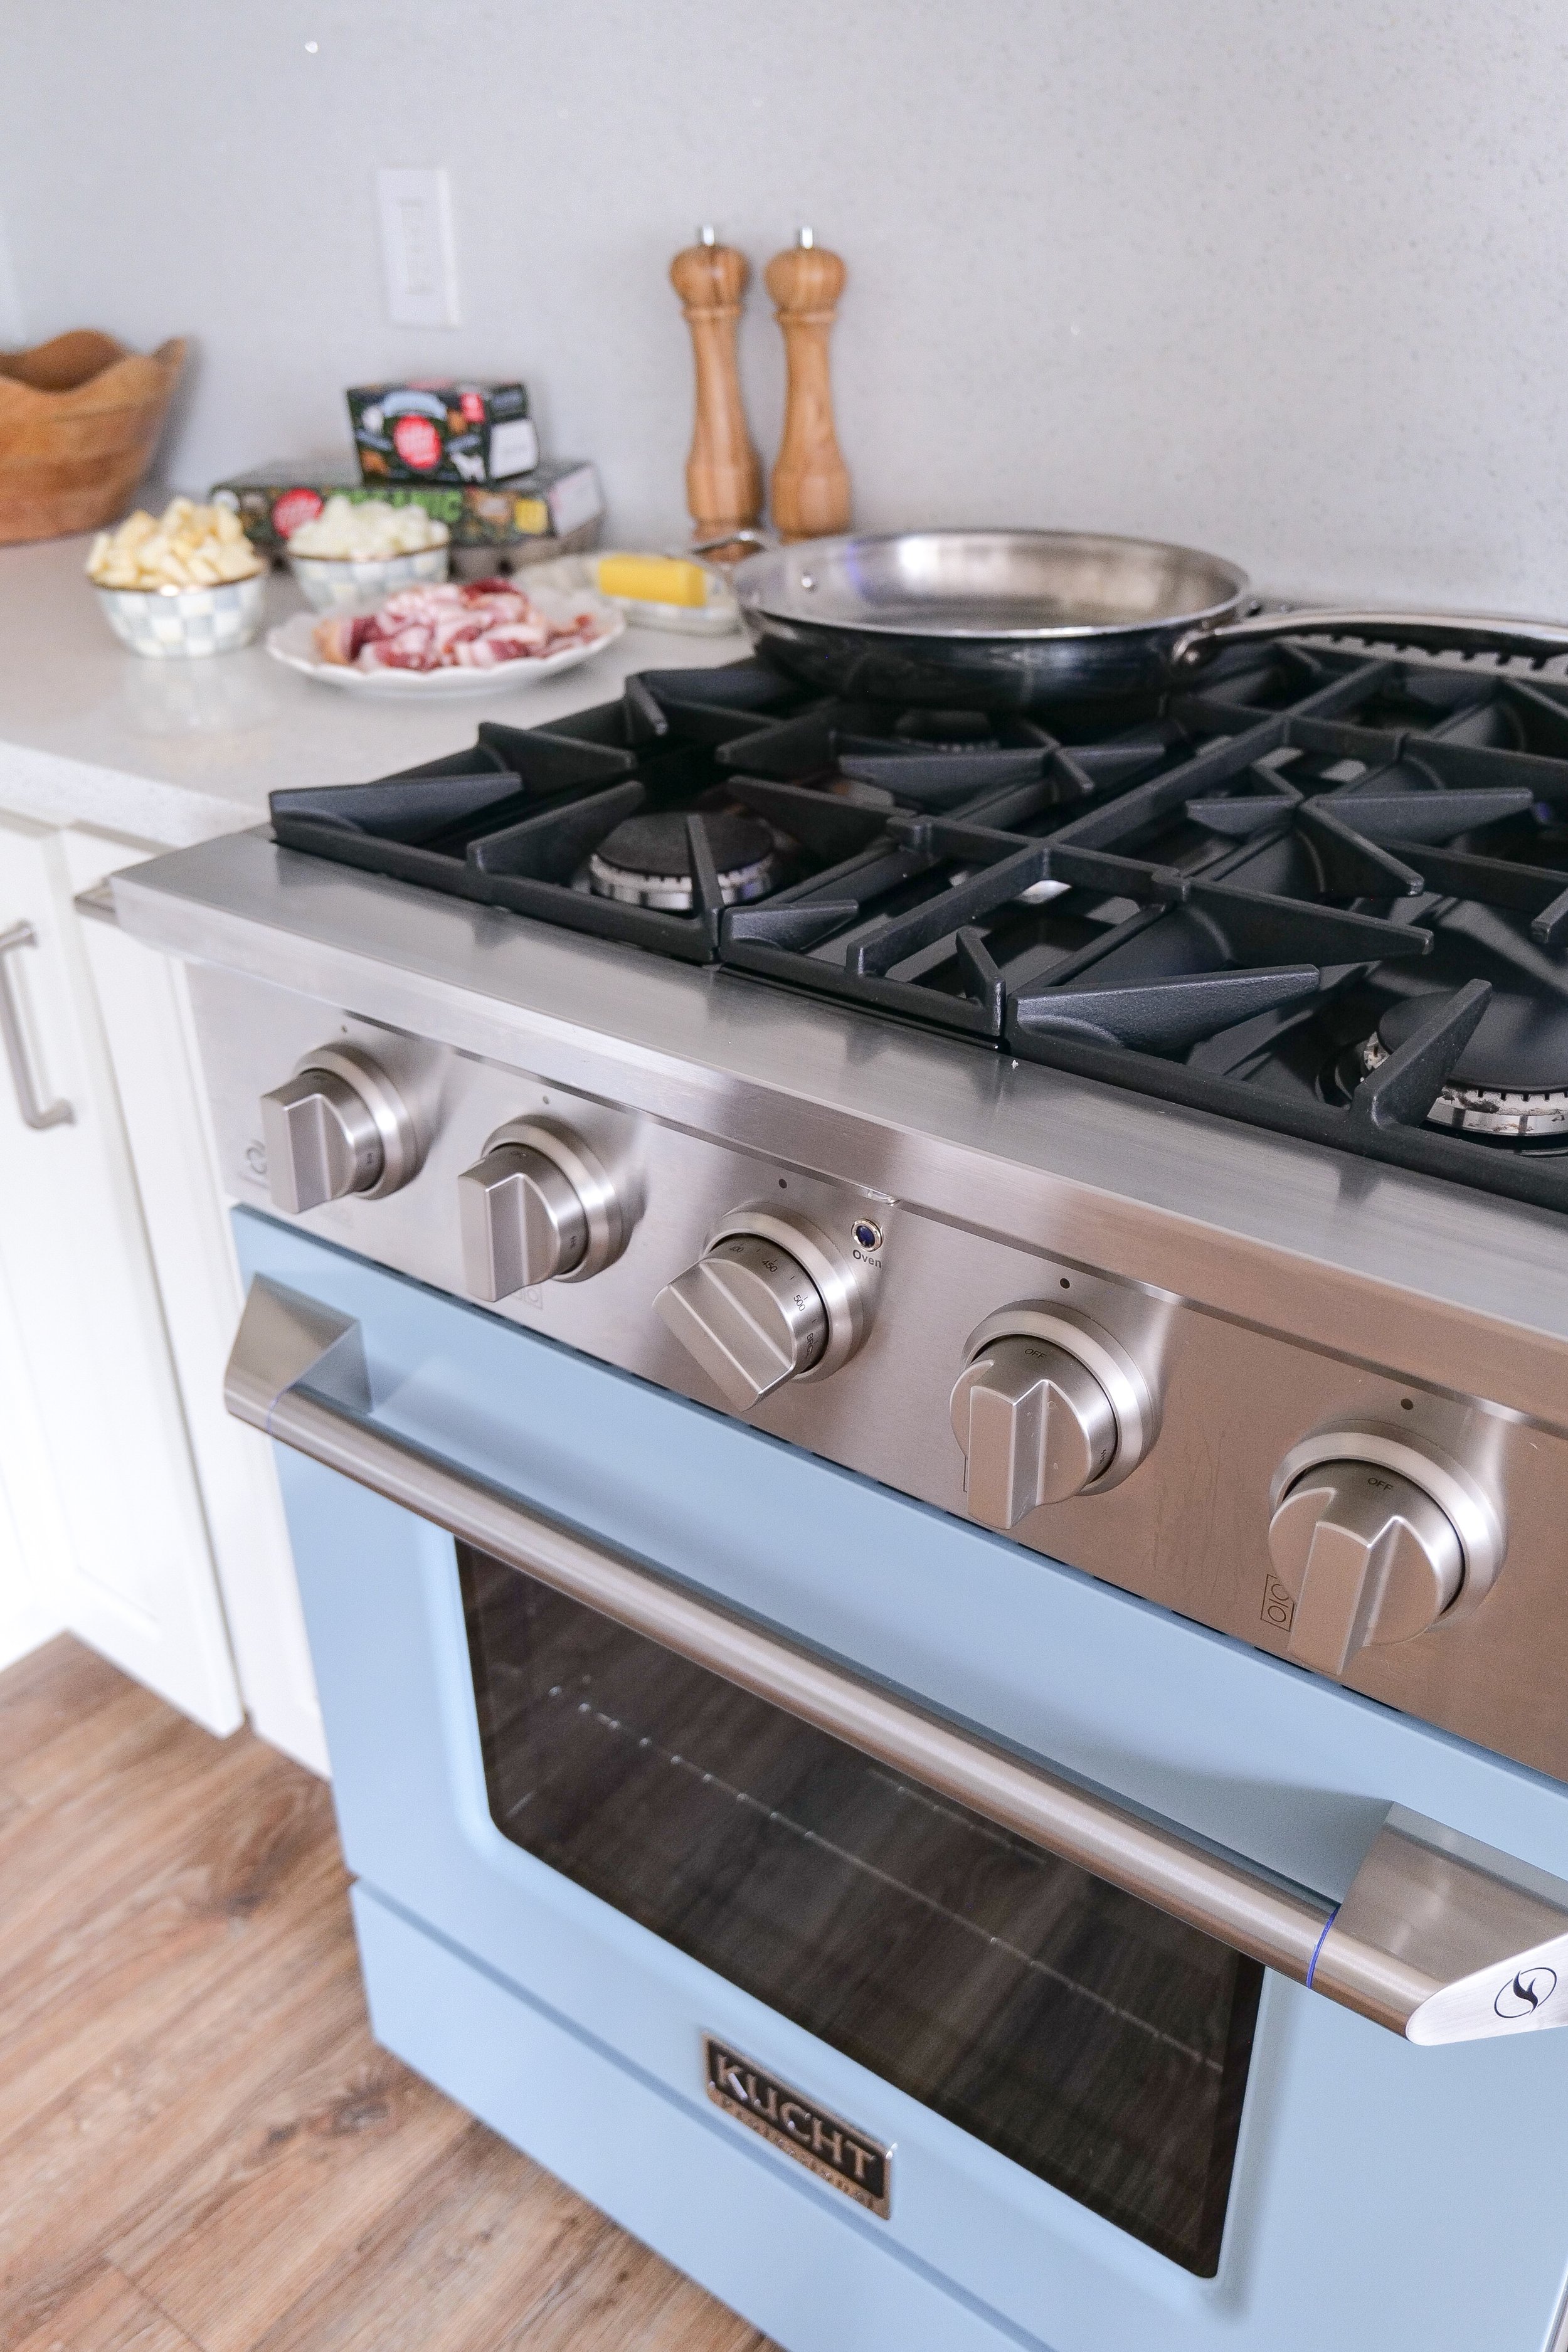
Meanwhile, heat a large fry pan over medium heat and add the bacon, stirring to evenly cook.
Once you see fat has released from the bacon add in the diced onion. Cook about 5 minutes until bacon is 3/4 done and onions are soft. Remove half of the bacon grease into another pan to fry eggs.
Then add the apples to the pan. Cook and stir the apples until soft, about 2-5 minutes and turn heat to low.
While apples cook heat the pan with the bacon grease and fry eggs to your liking.
Once butternut is roasted, add to the pan (you can drain any grease first if you want) and gently mix. Remove from heat and add eggs on top. Serve immediately and enjoy!
Other Delicious Breakfast Recipes:
Irresistible Chorizo, Egg, and Potato Breakfast Bowls for The Perfect Start to Your Day
Deliciously Sweet and Tangy: Blueberry Orange Glazed Muffins
An Irresistible Treat: The Delicious Berry Custard Puff Pastry Tart
Soft Cream Cheese Lemon Blueberry Scones
Sweet Perfection: Baking the Ultimate Cinnamon Roll Loaf with Espresso Glaze
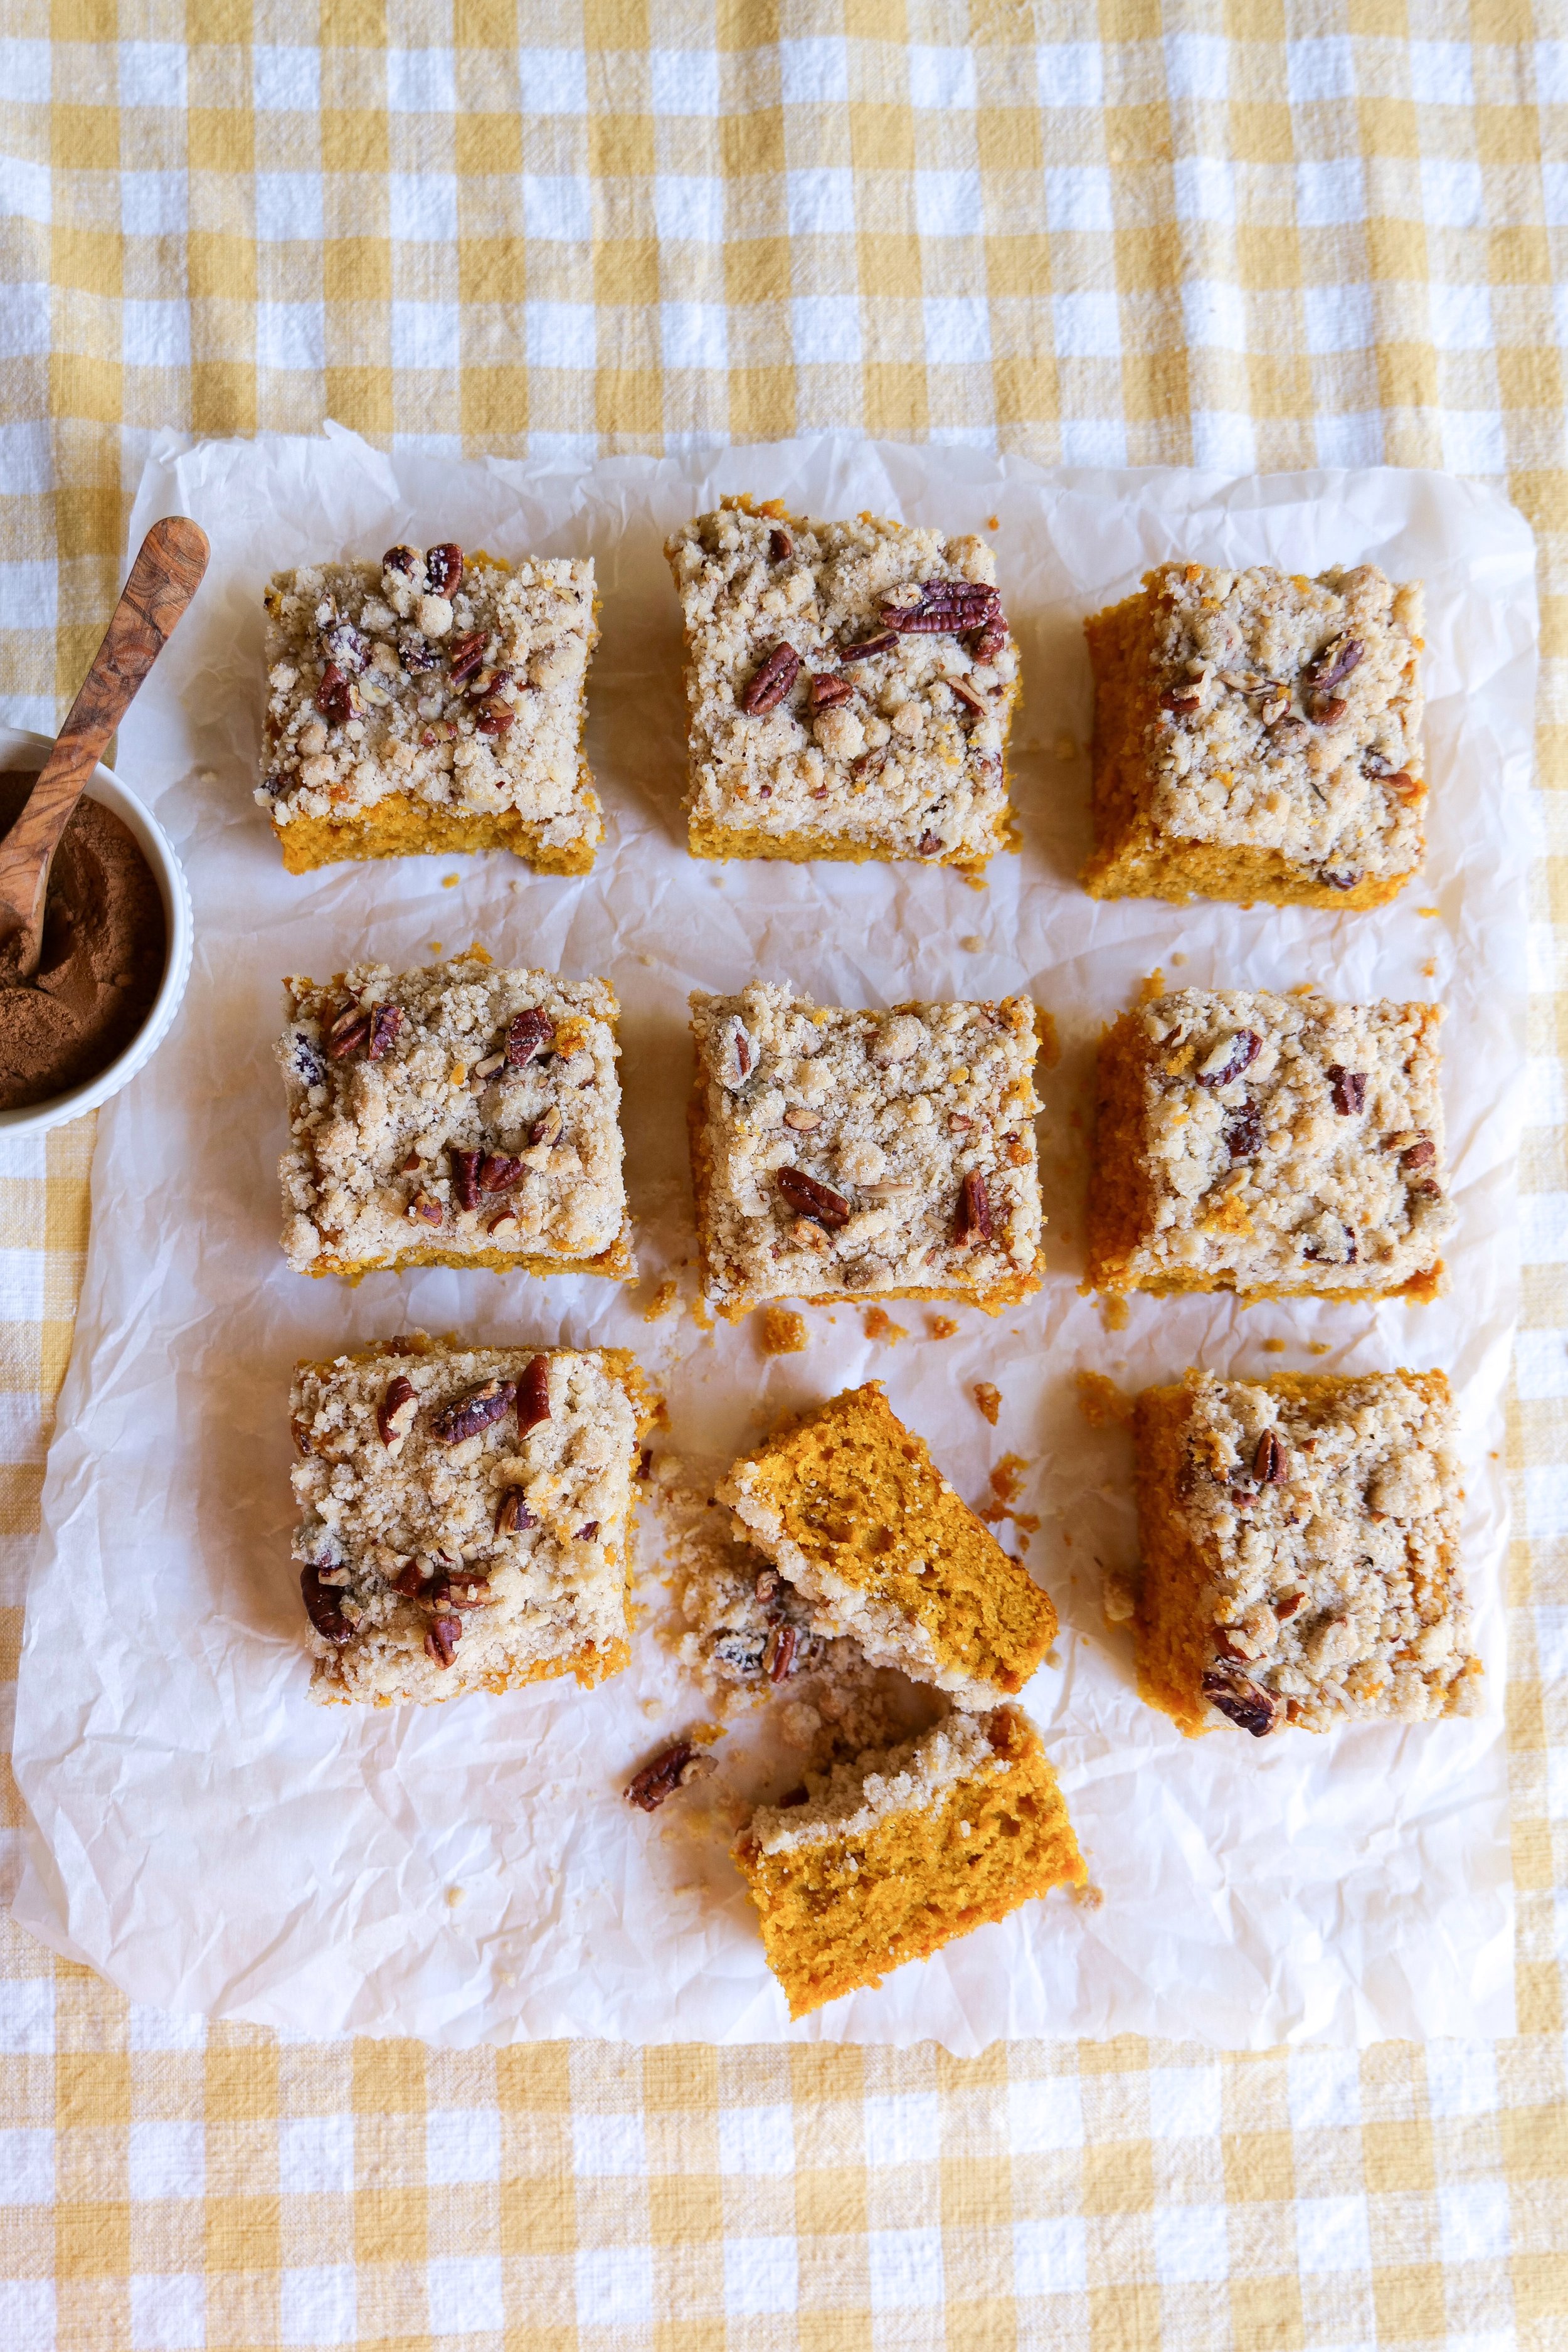
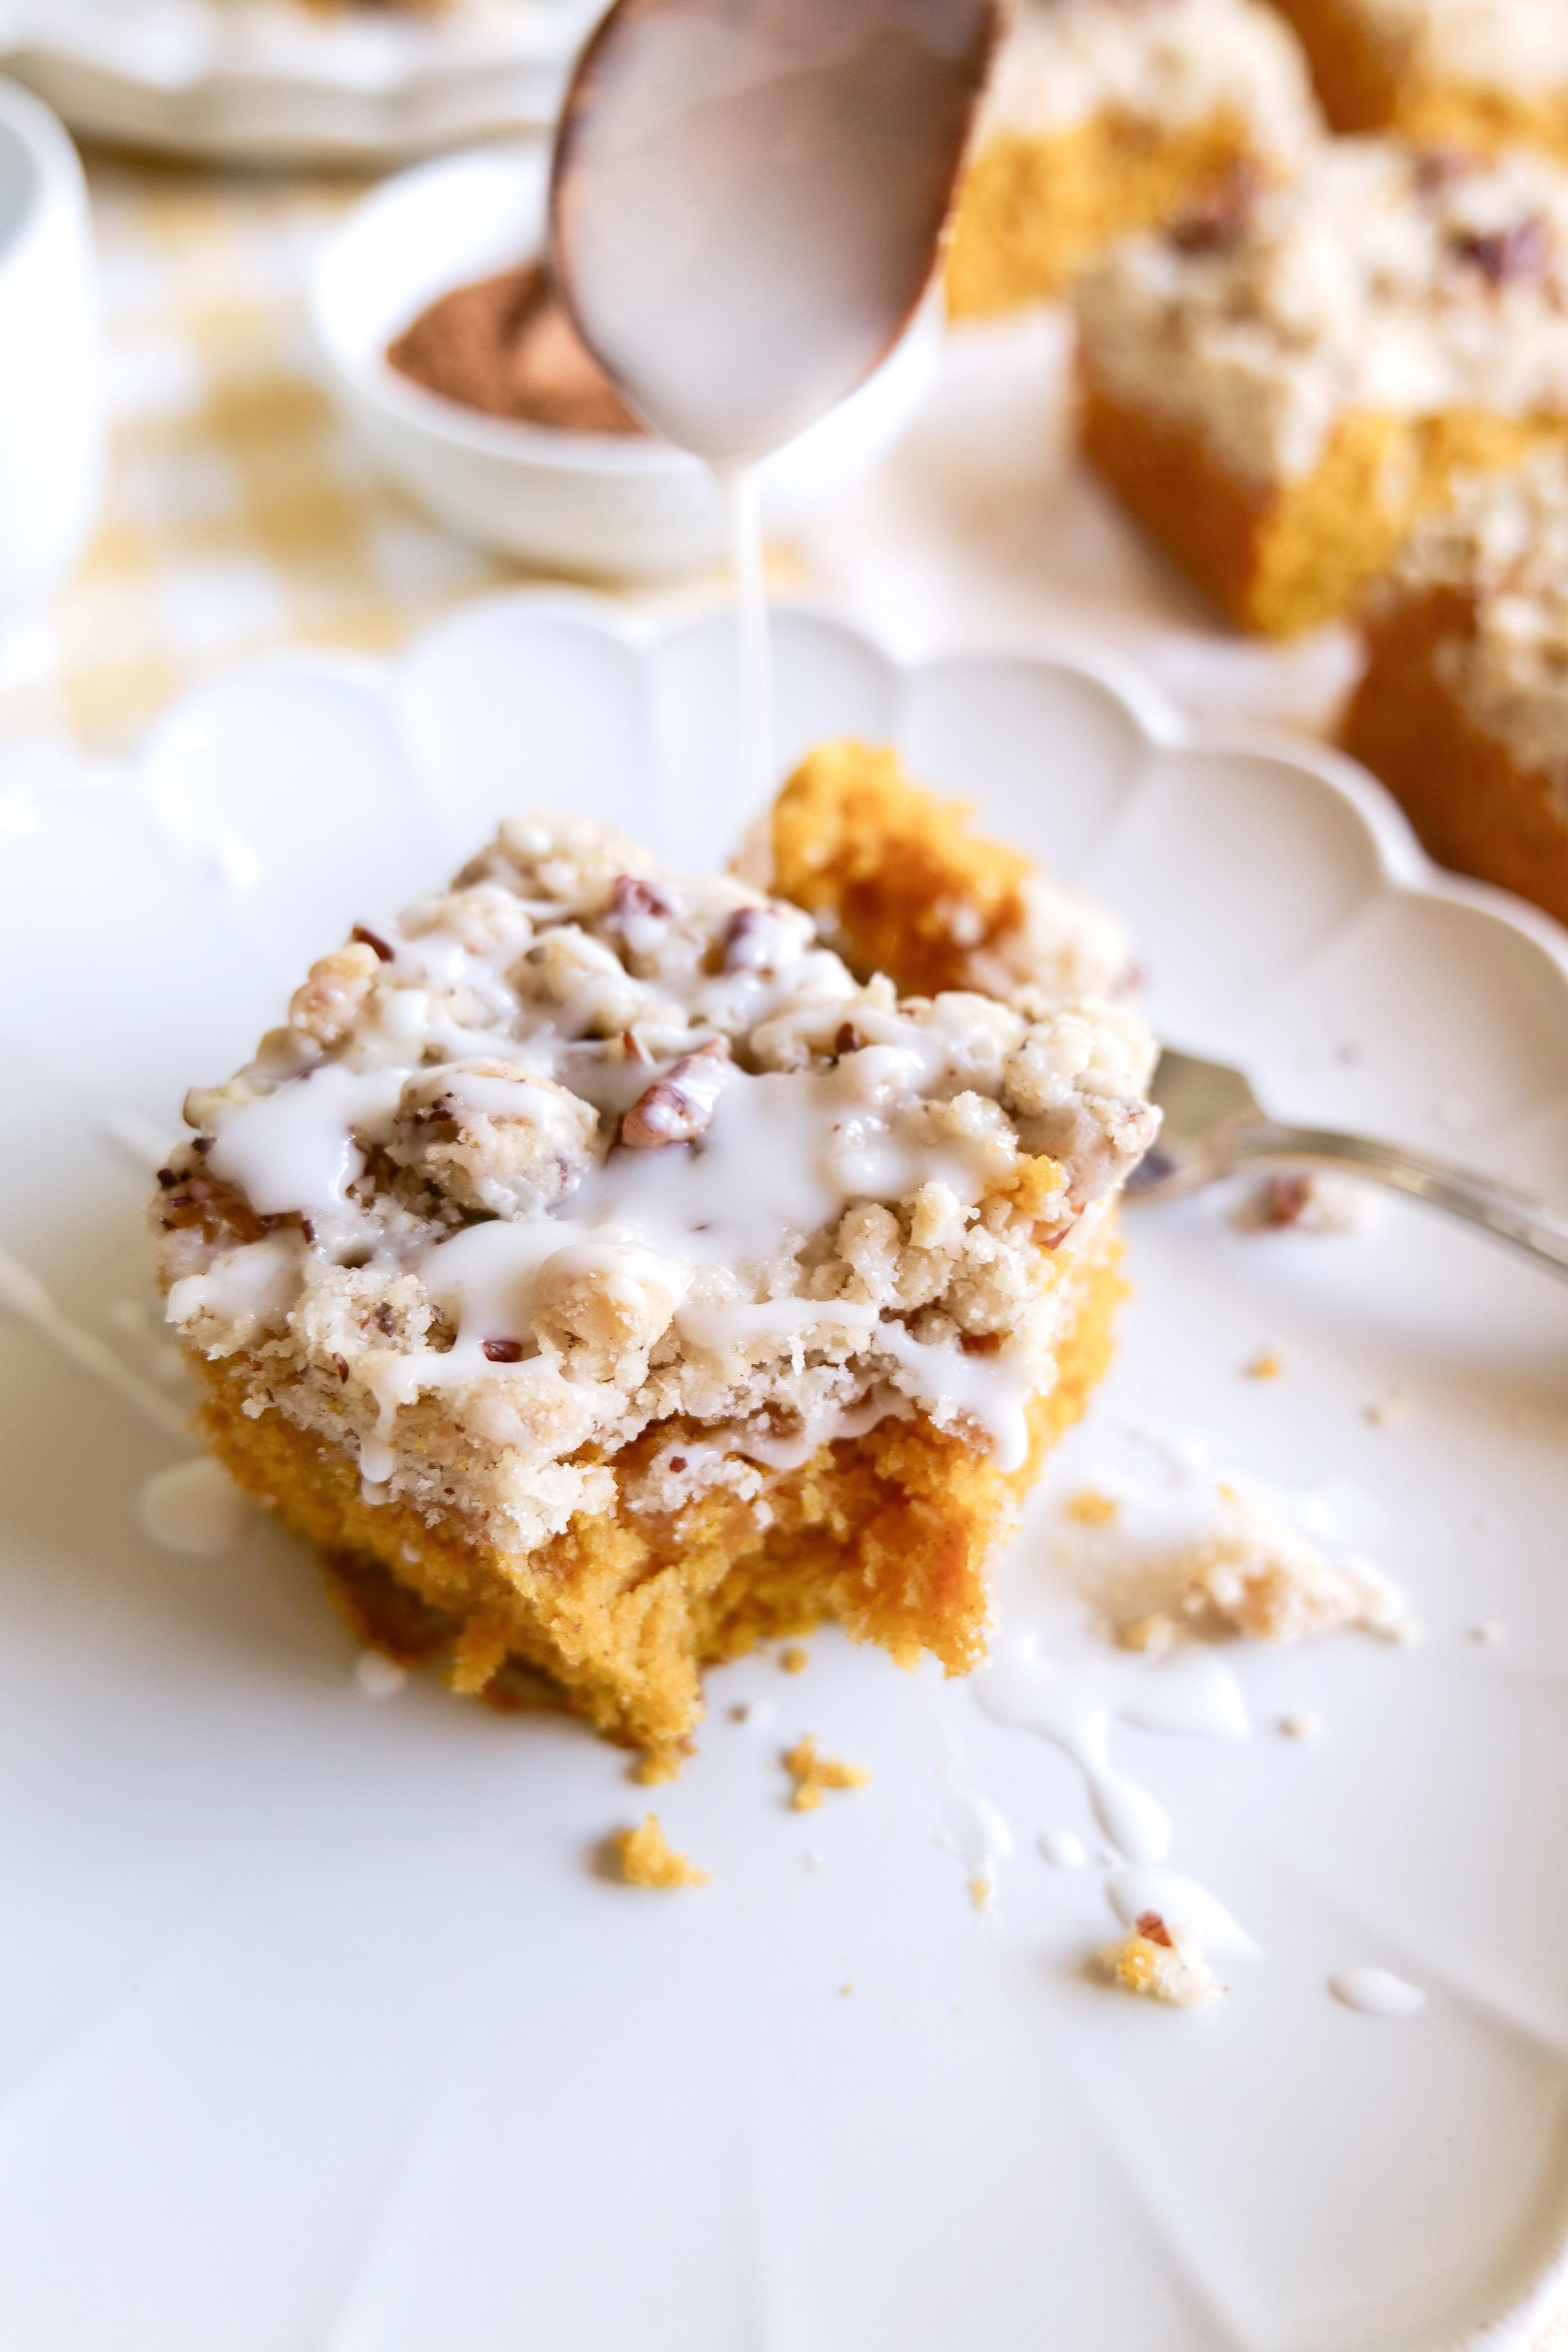
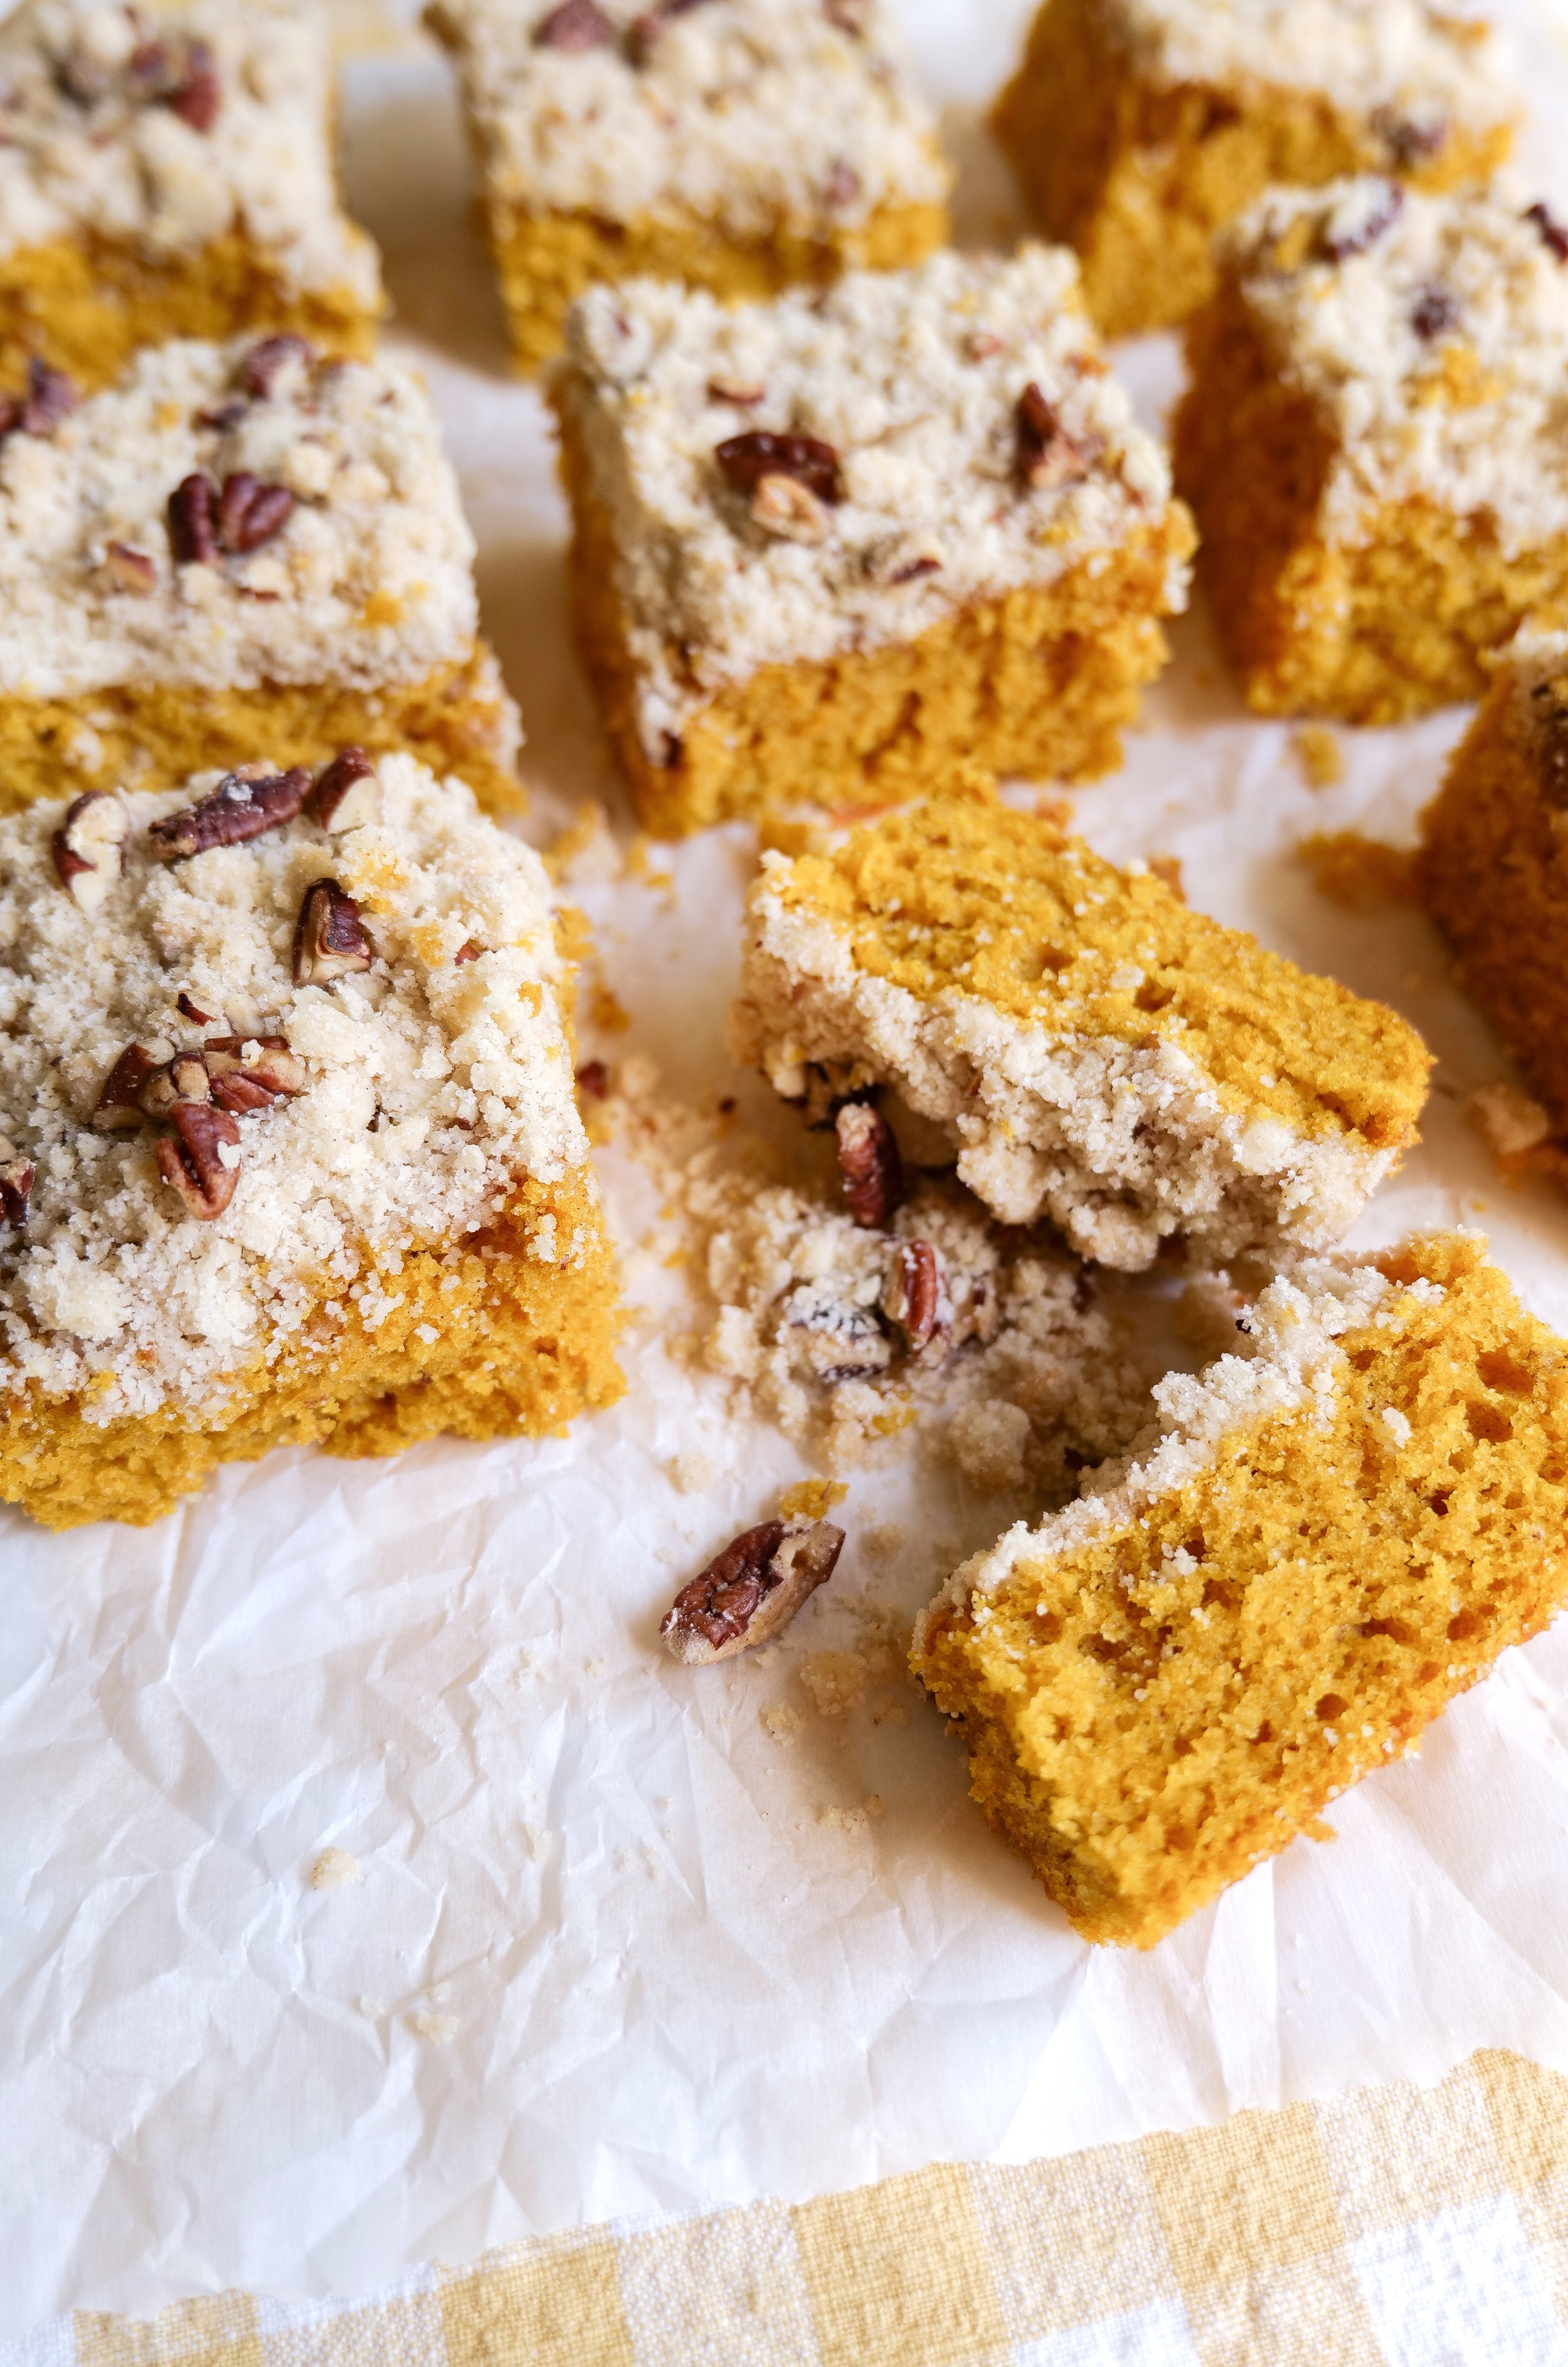
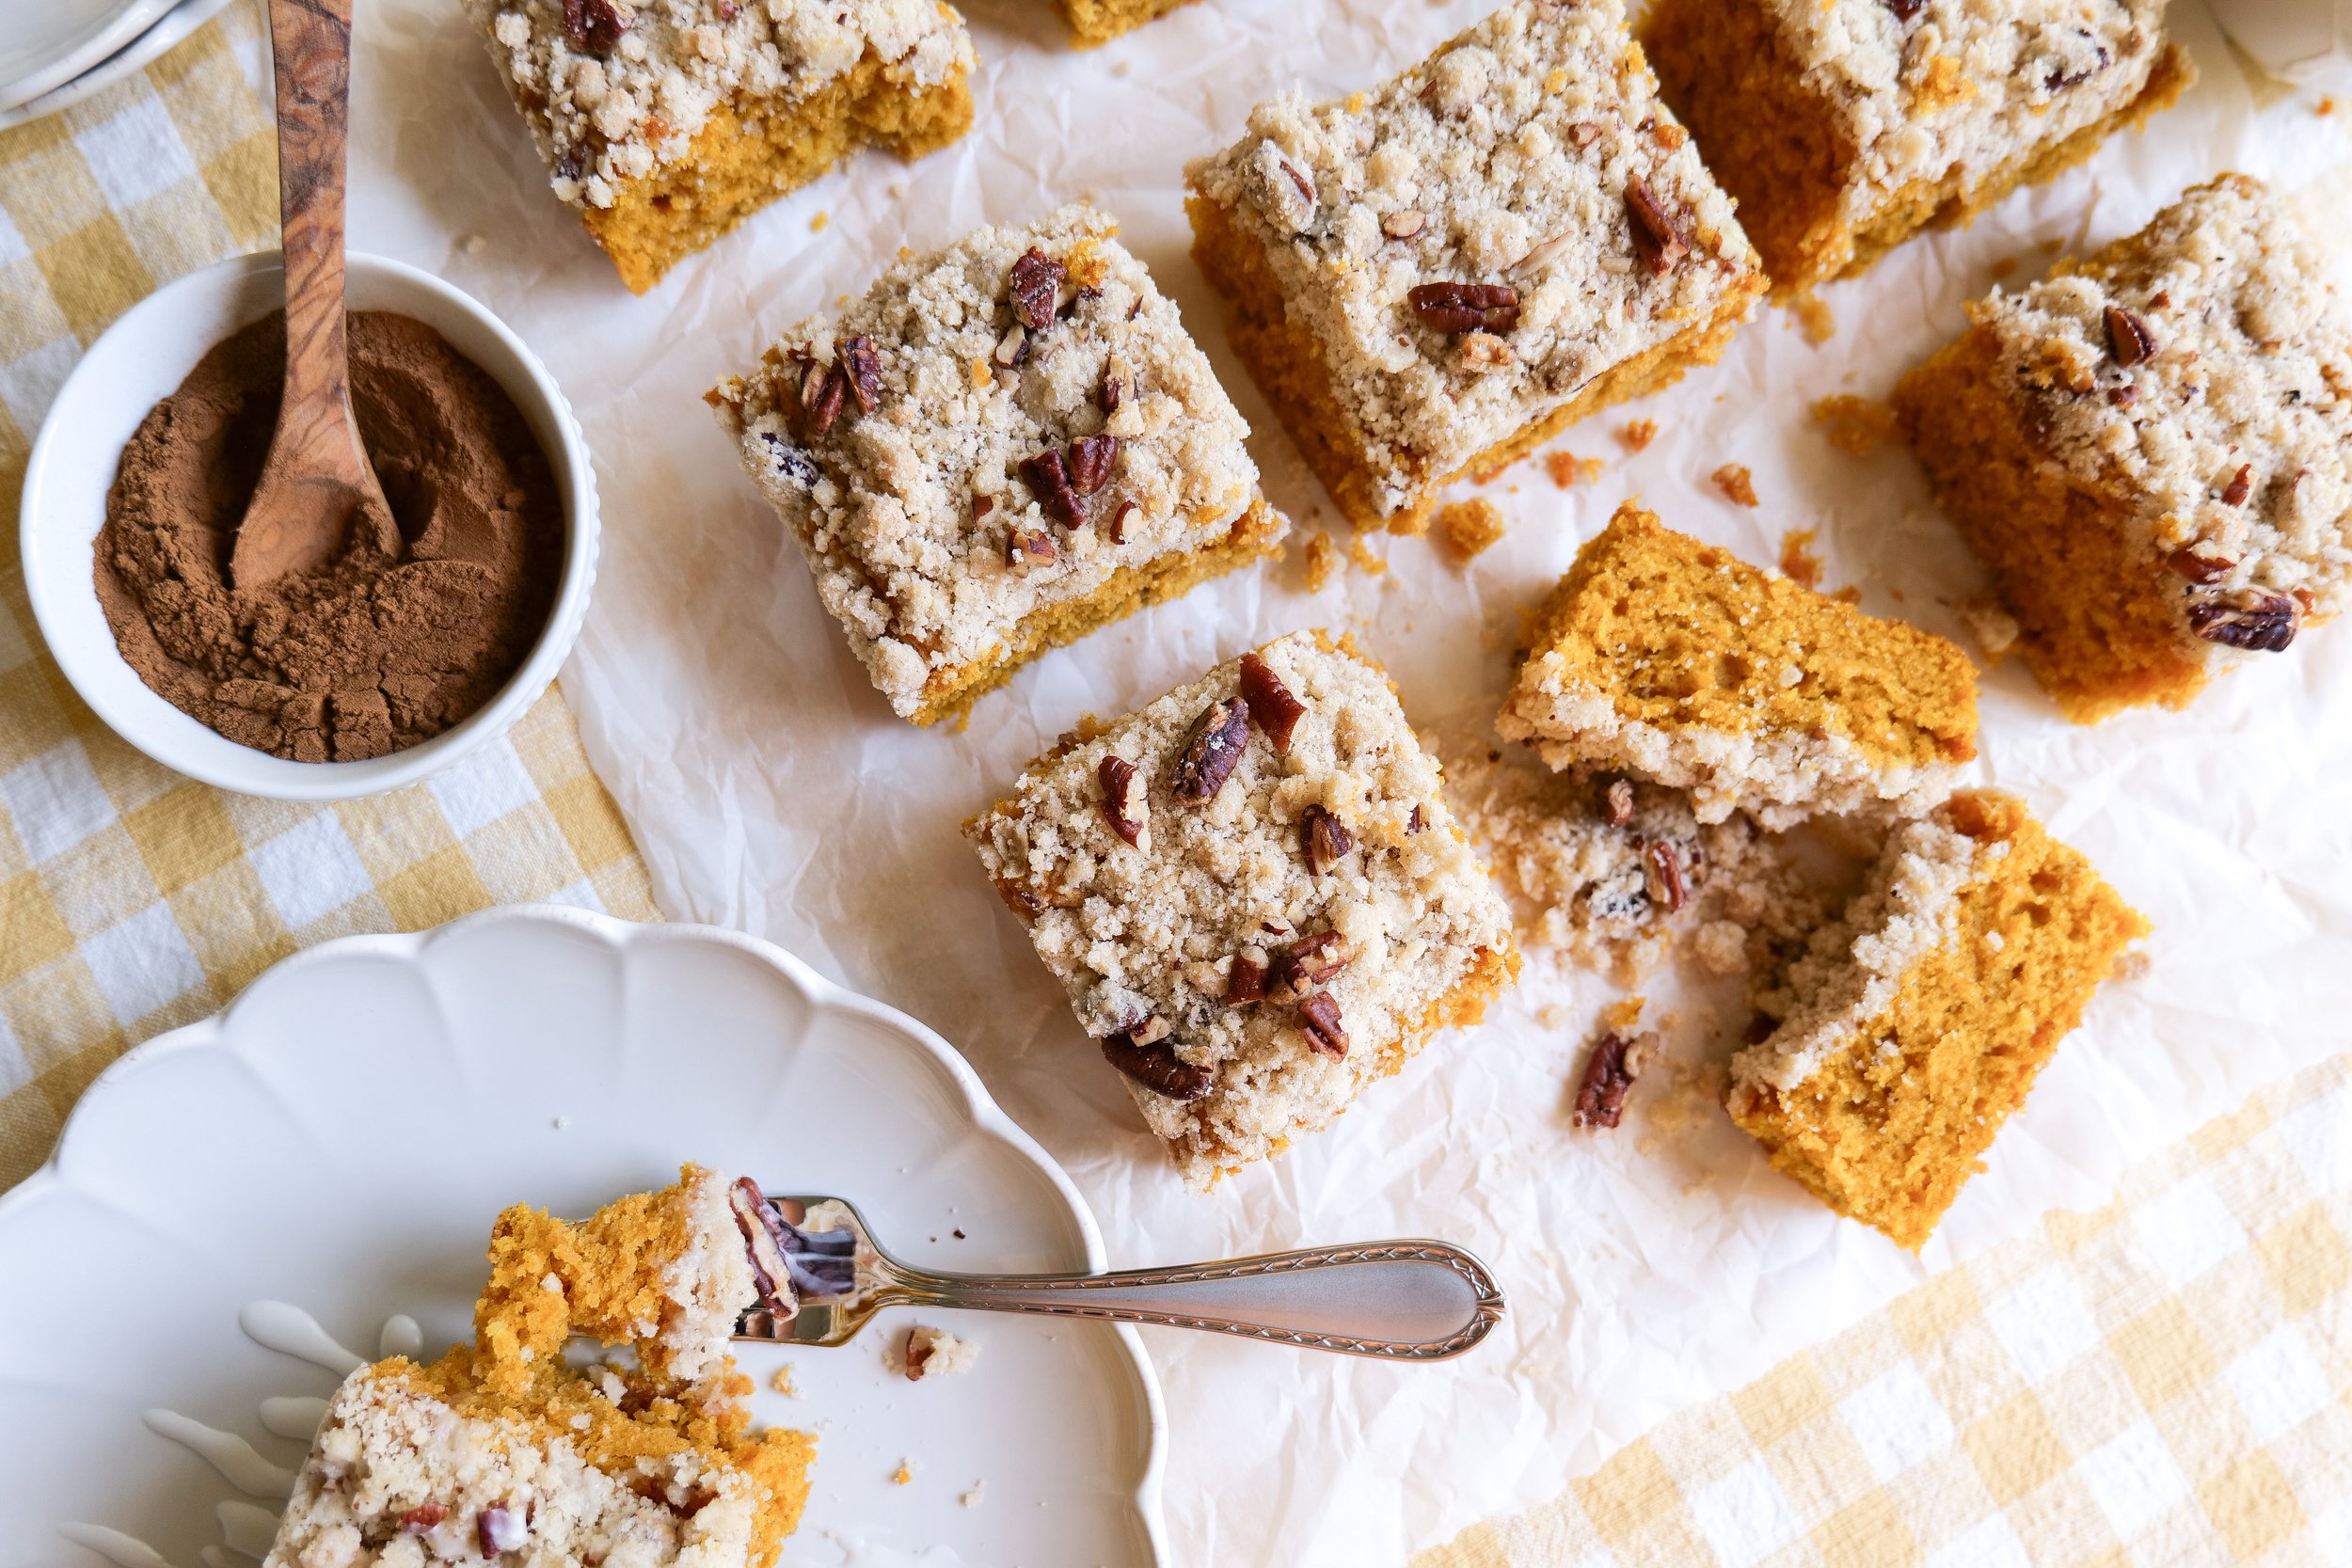
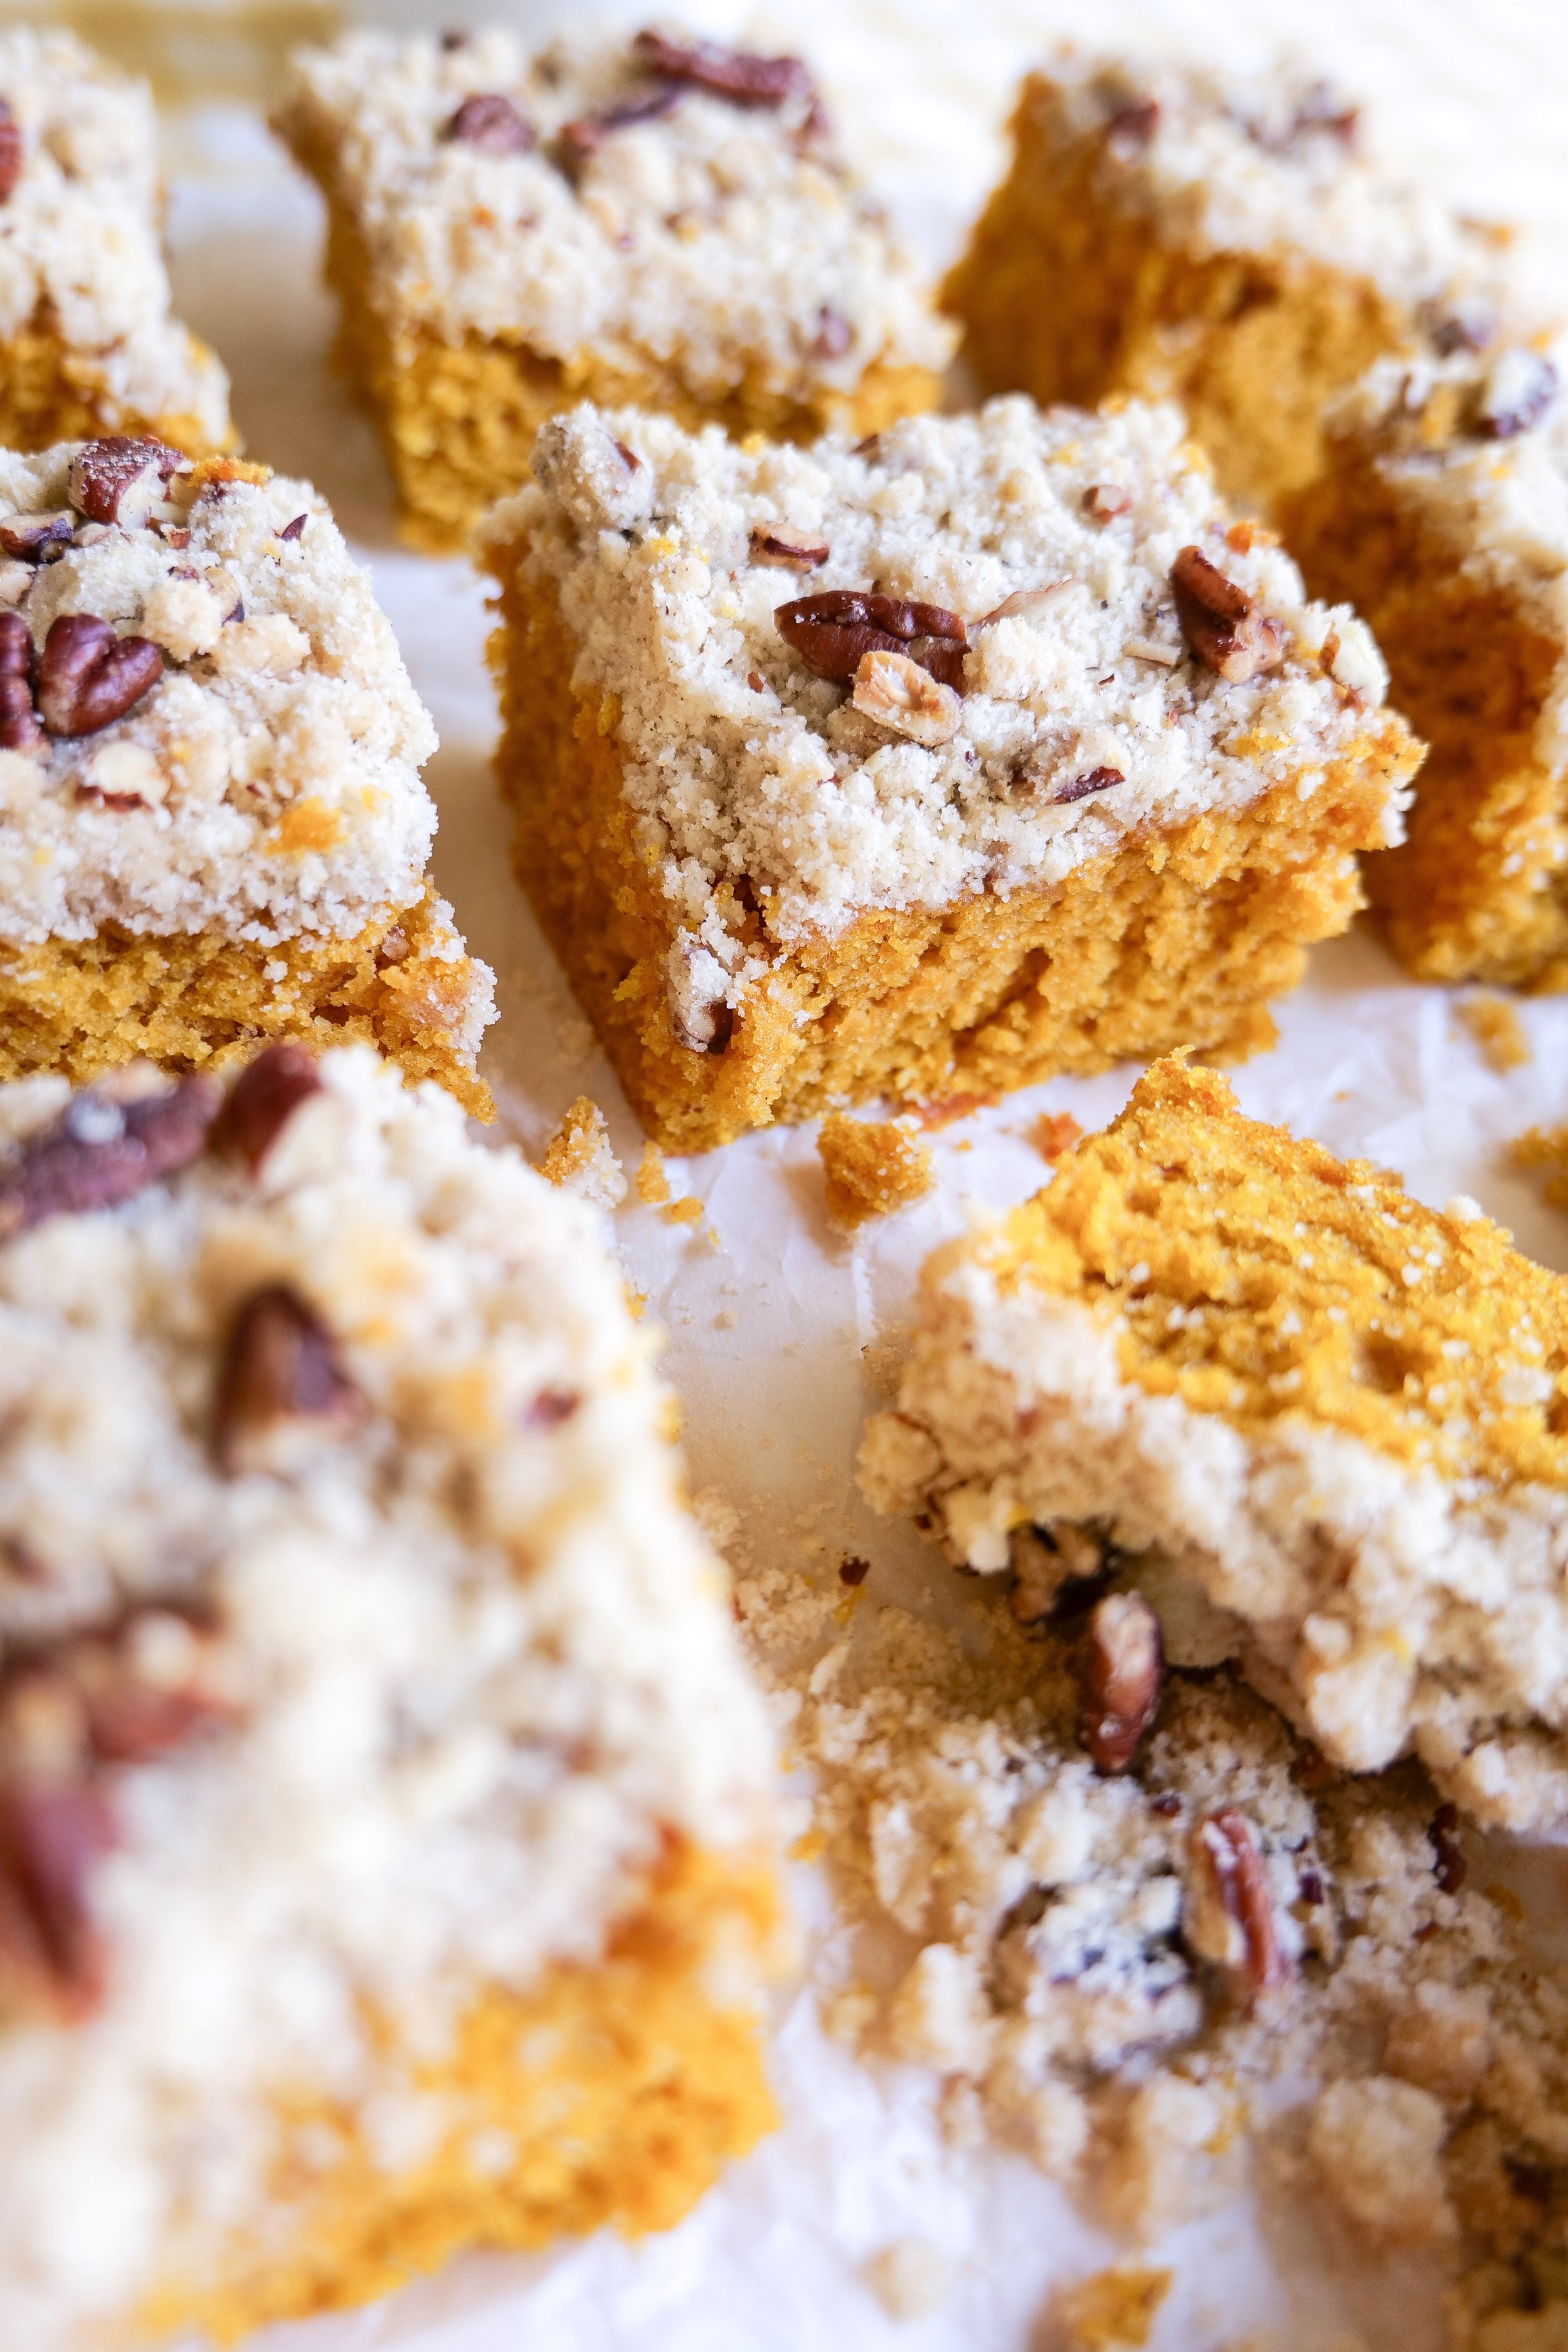
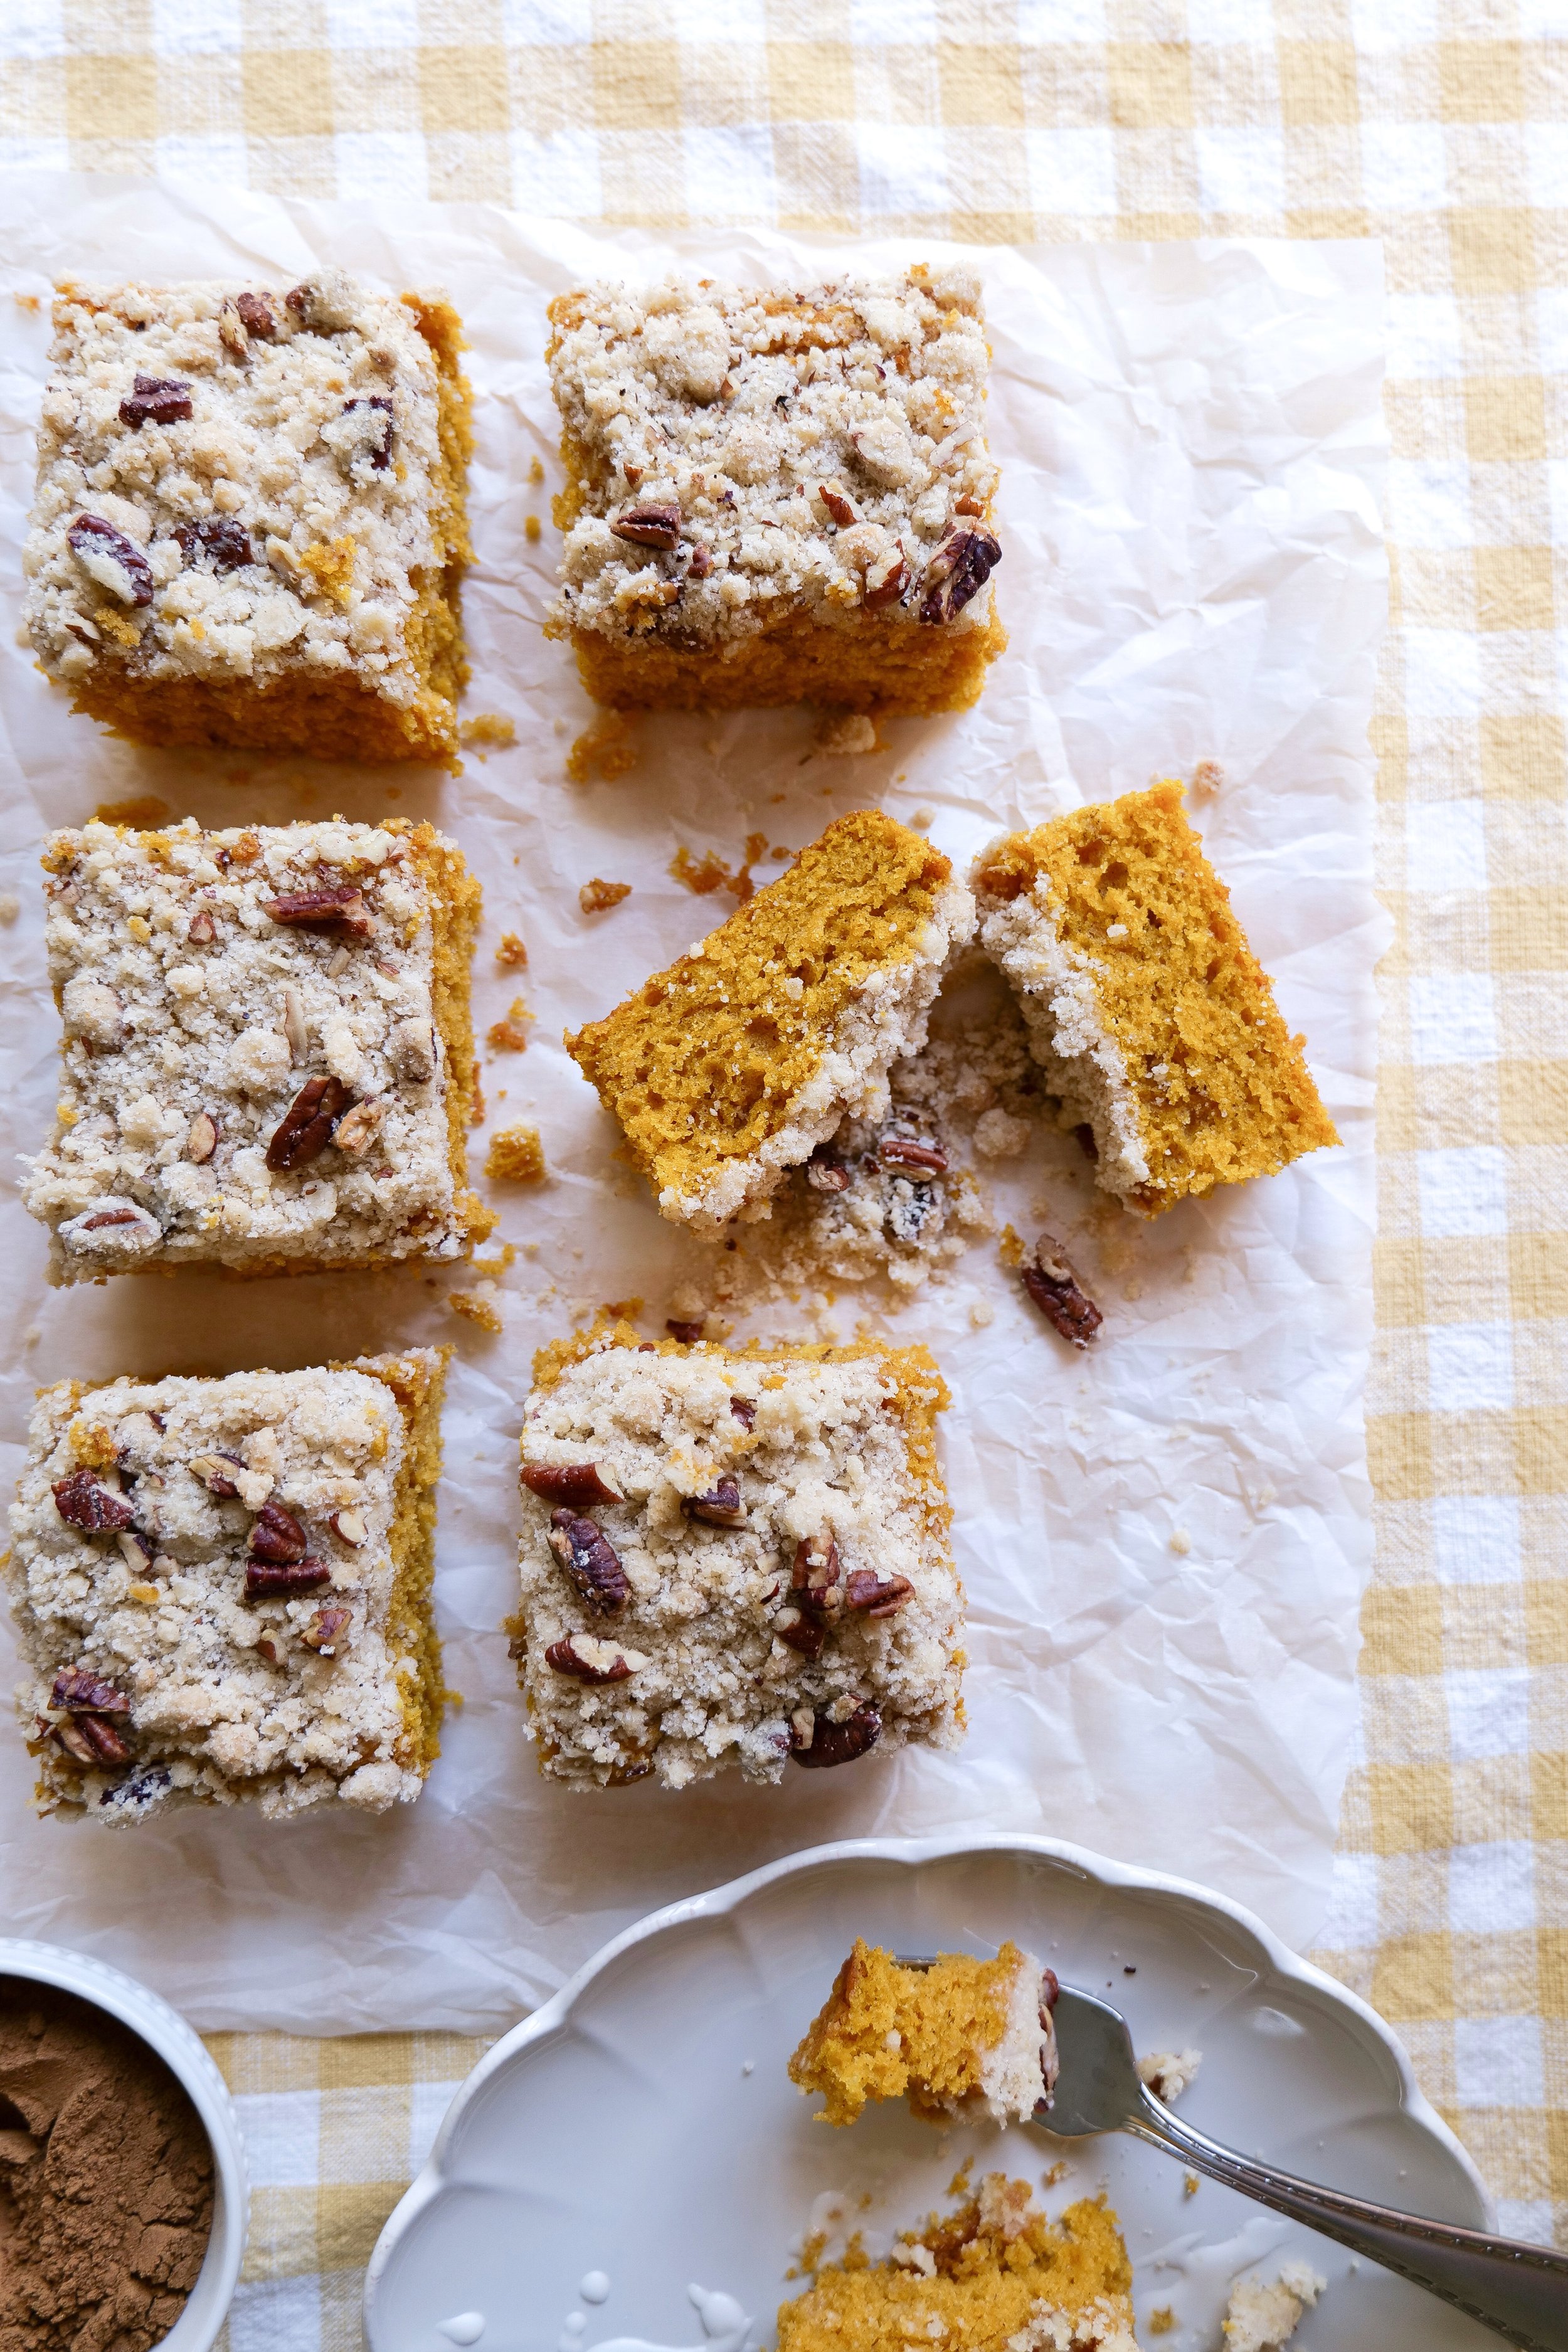
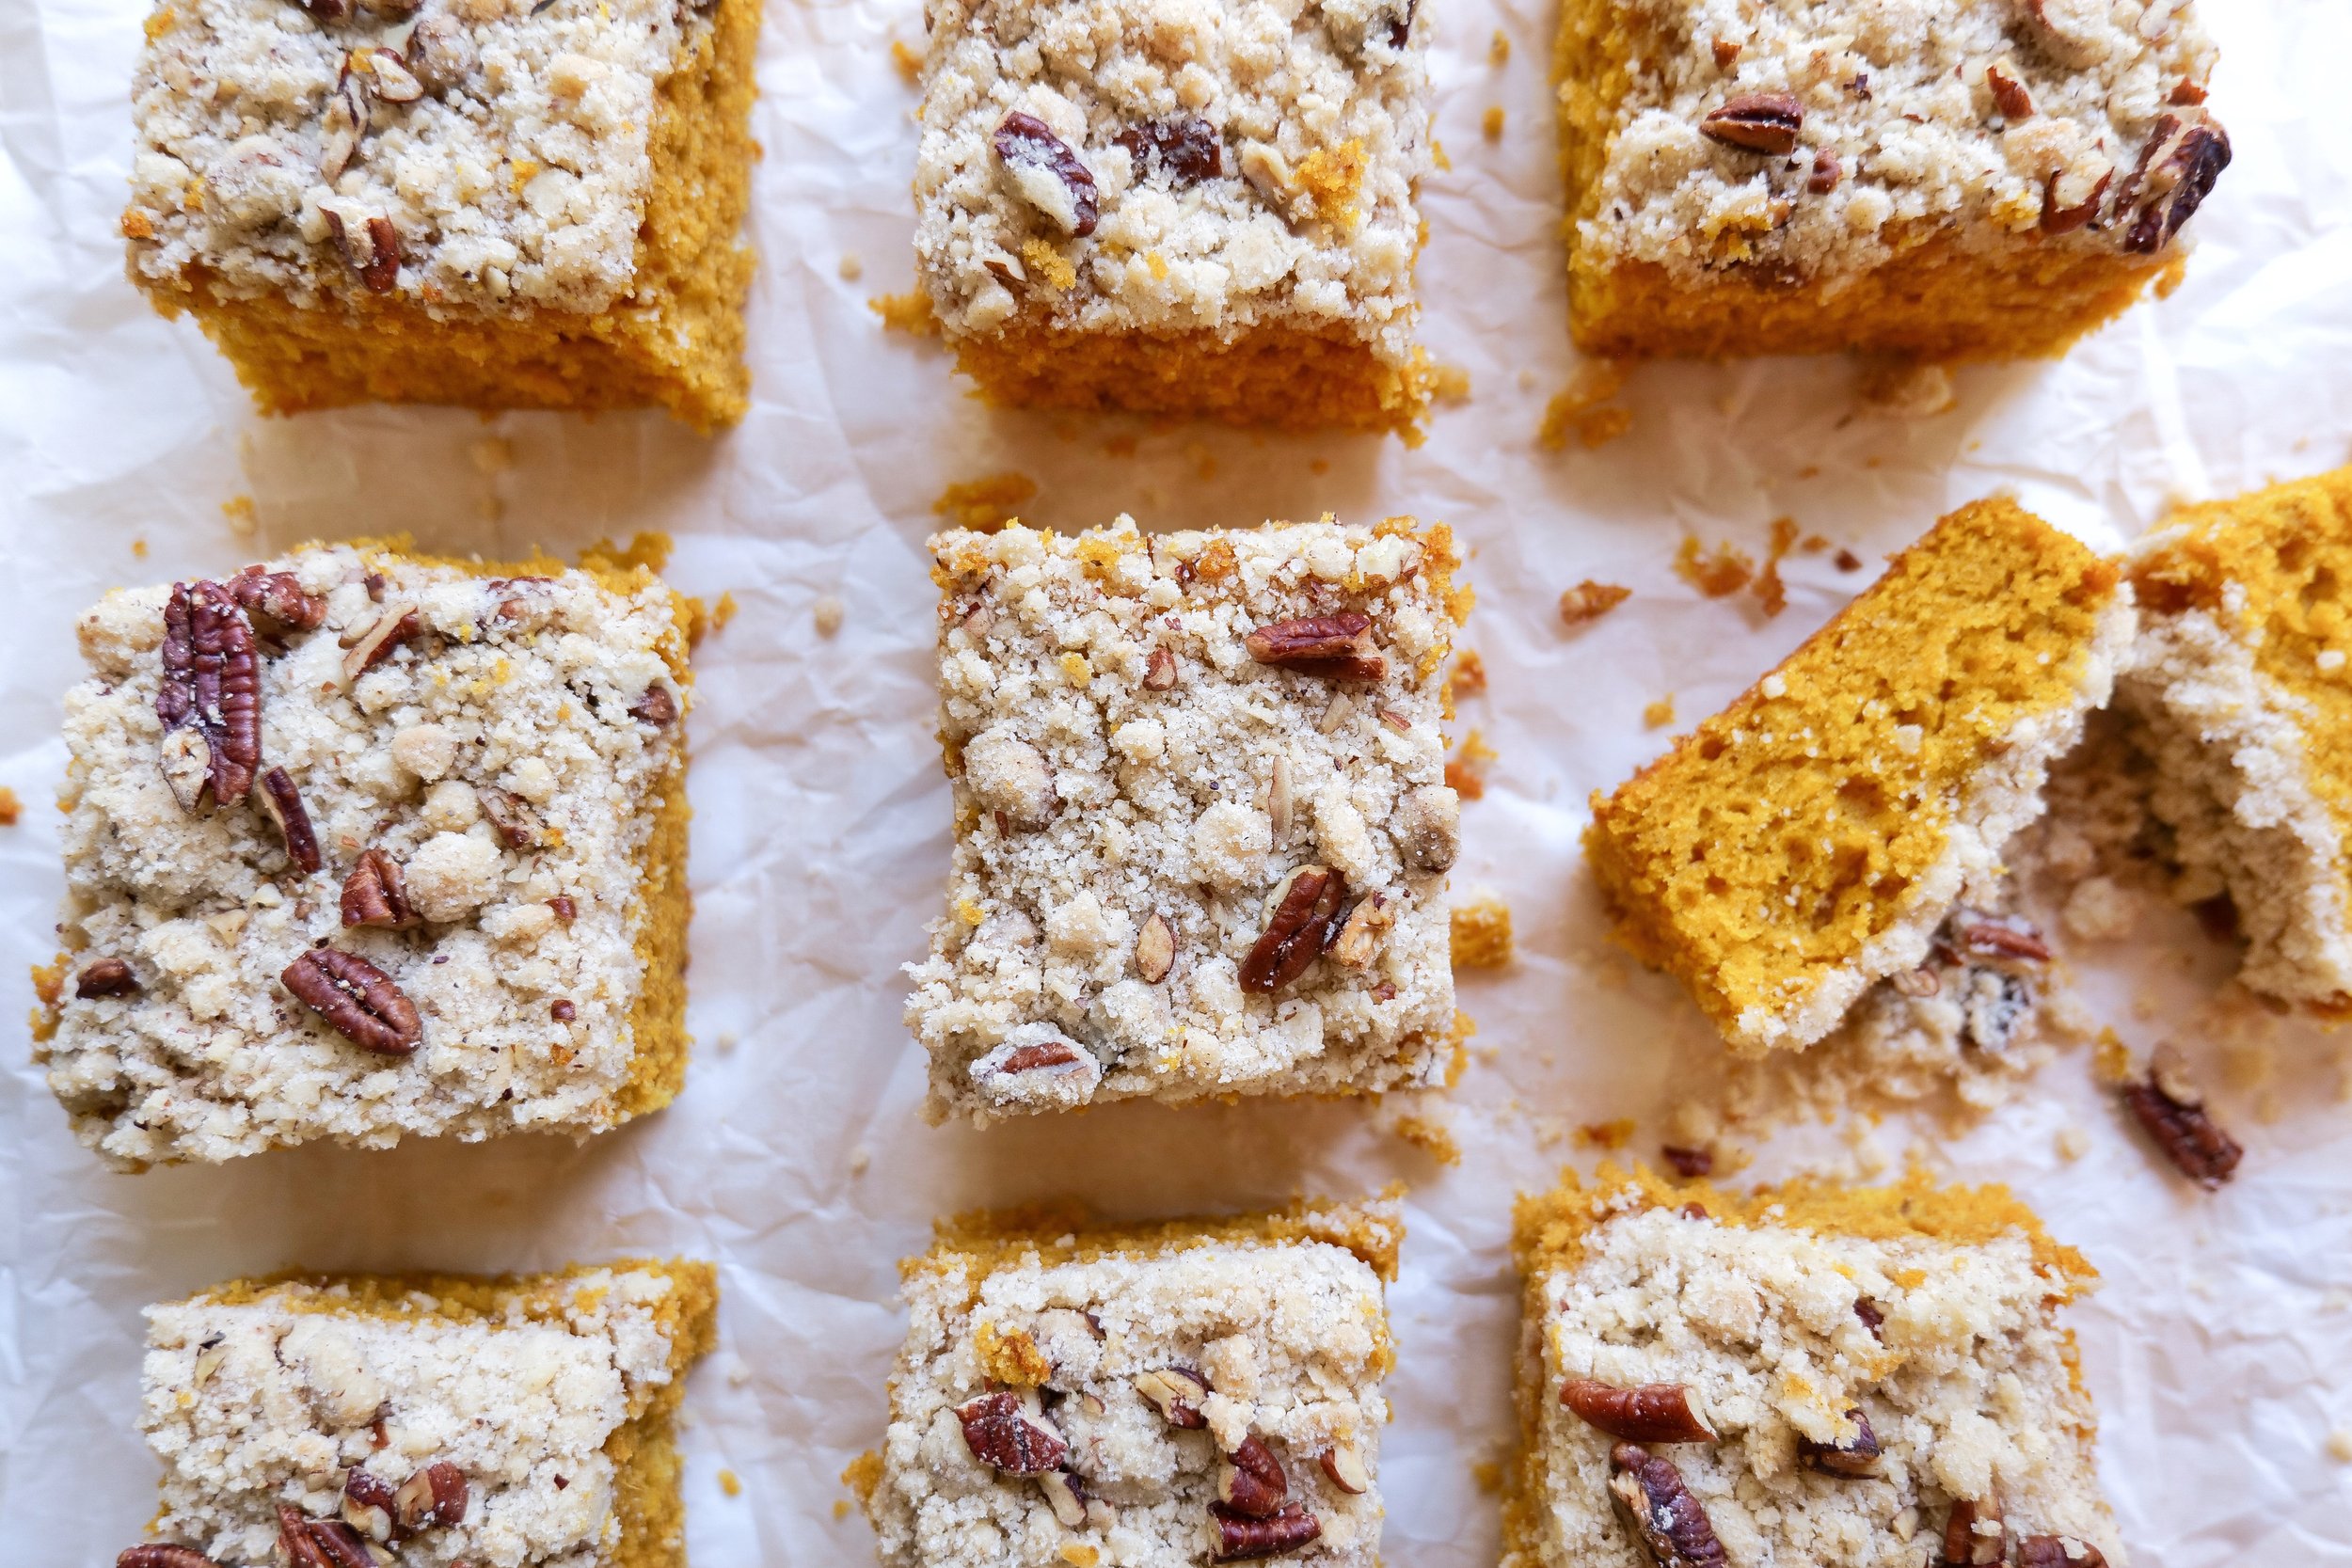
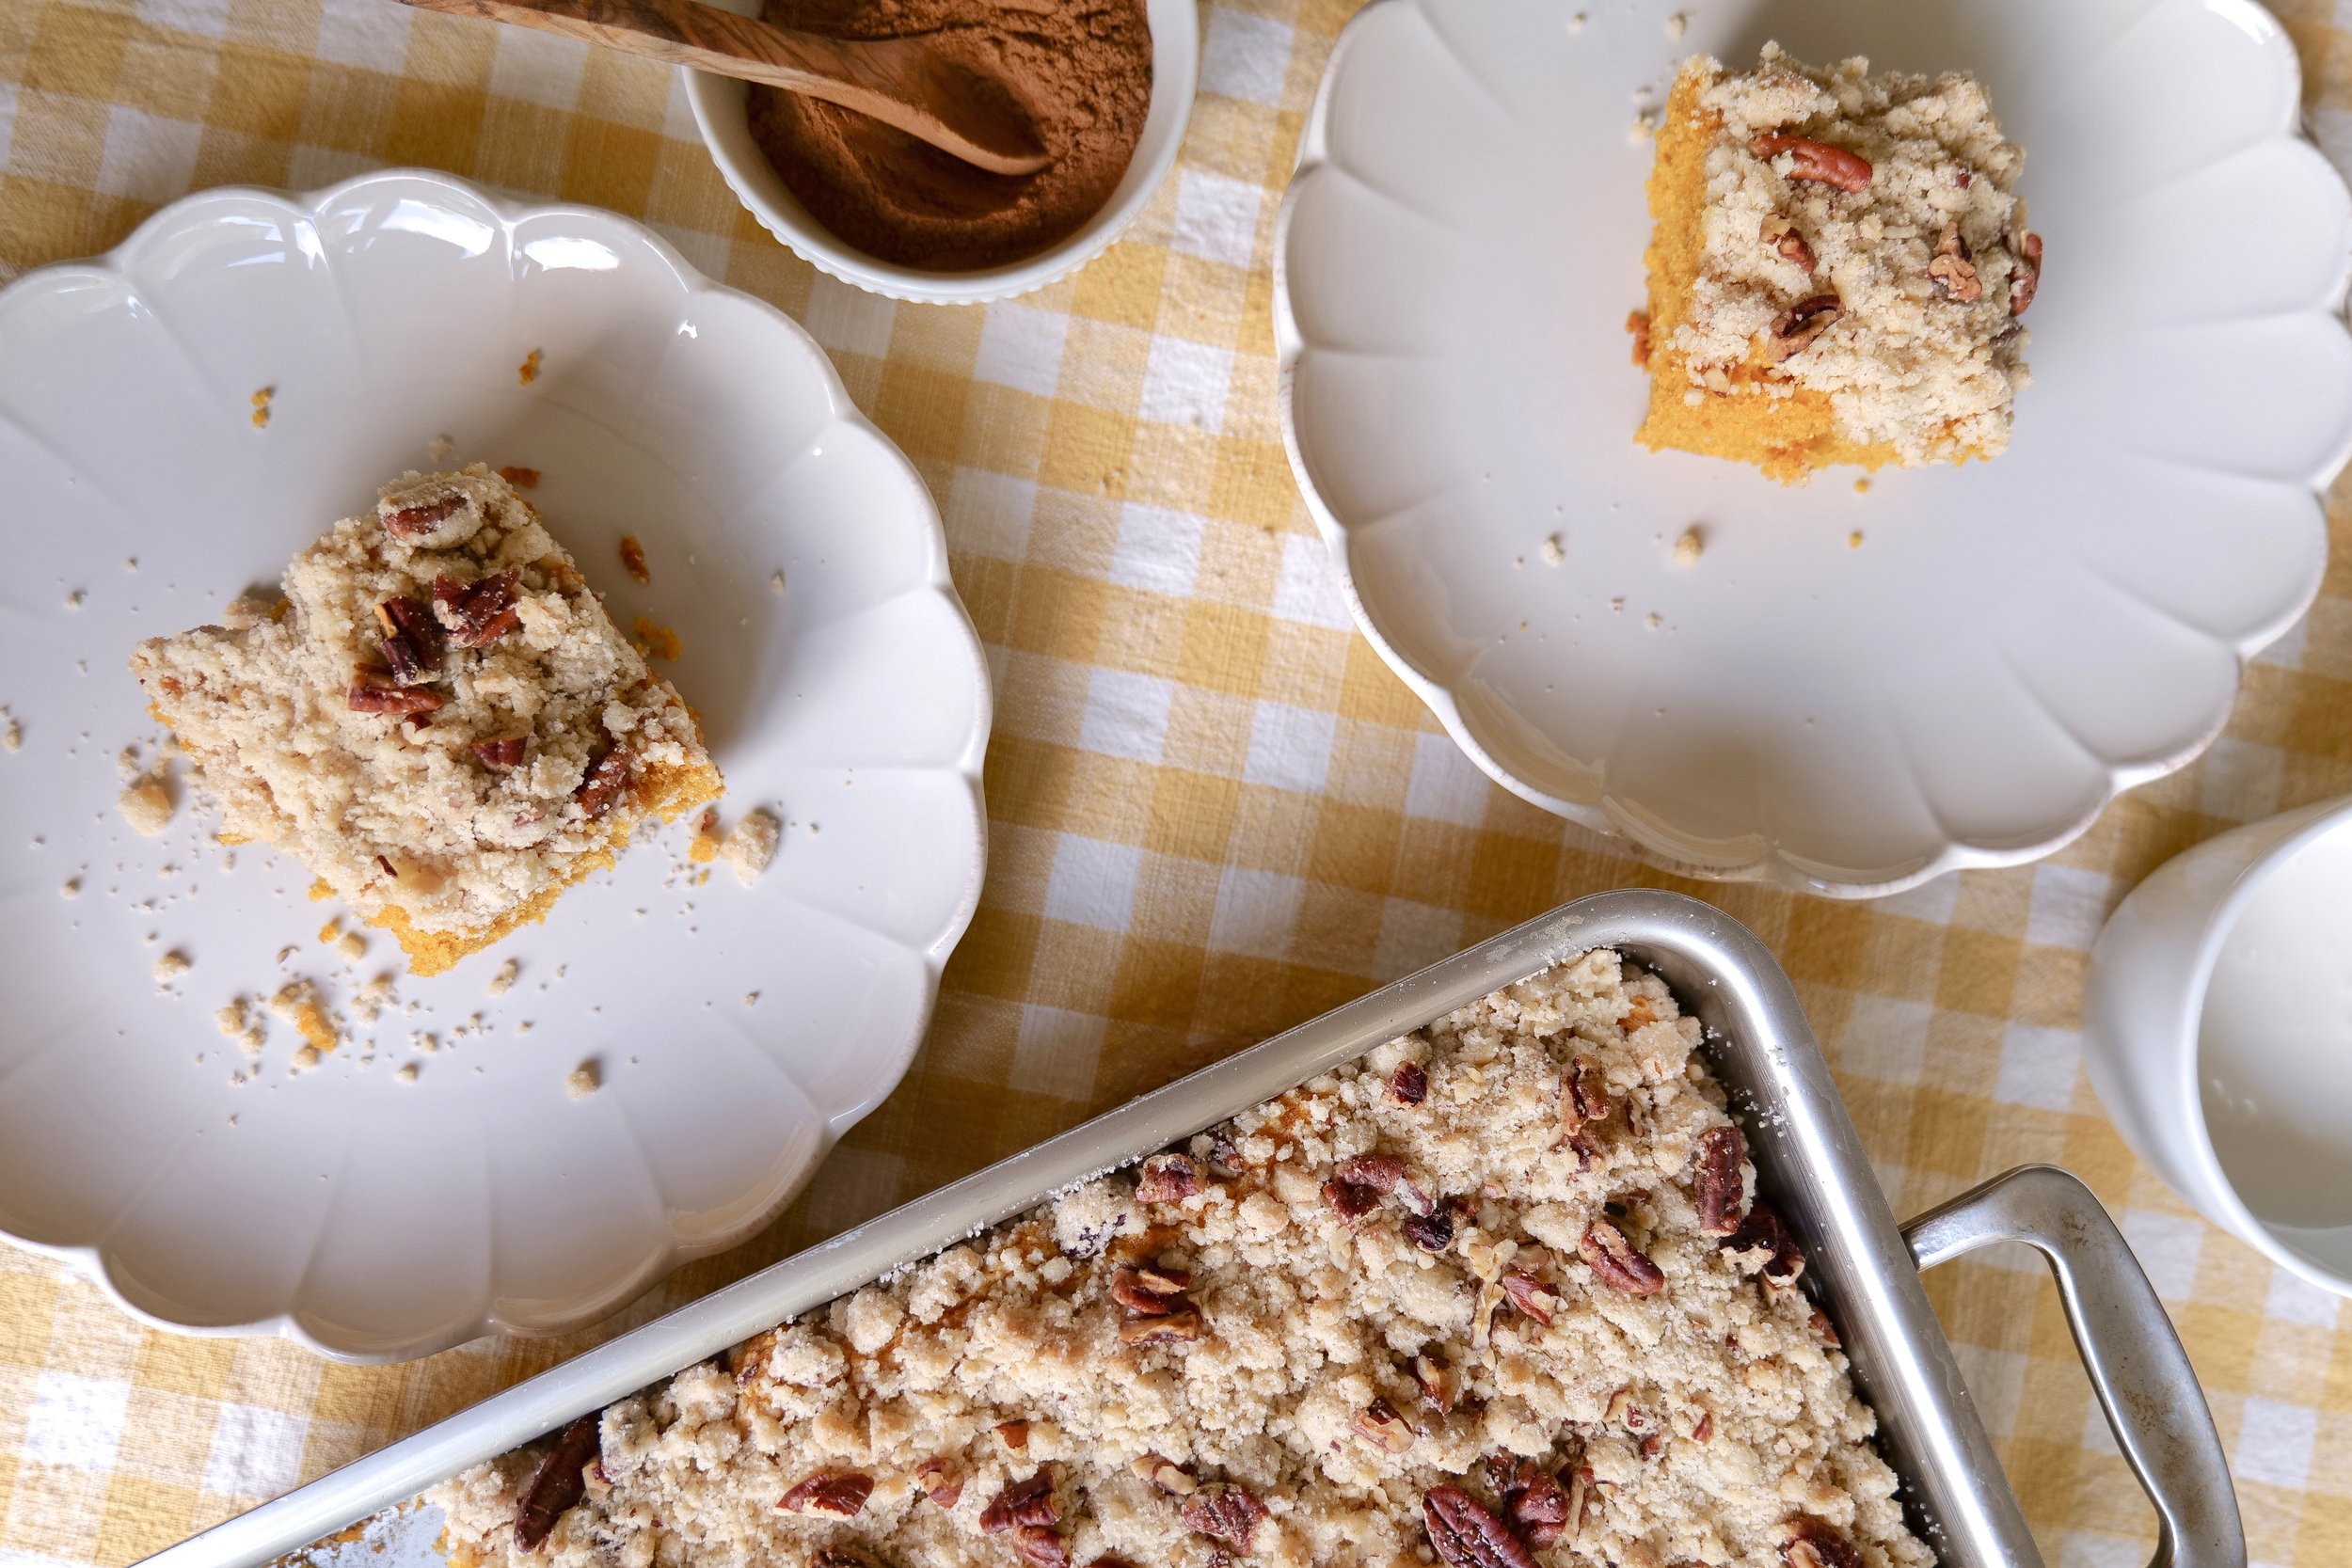
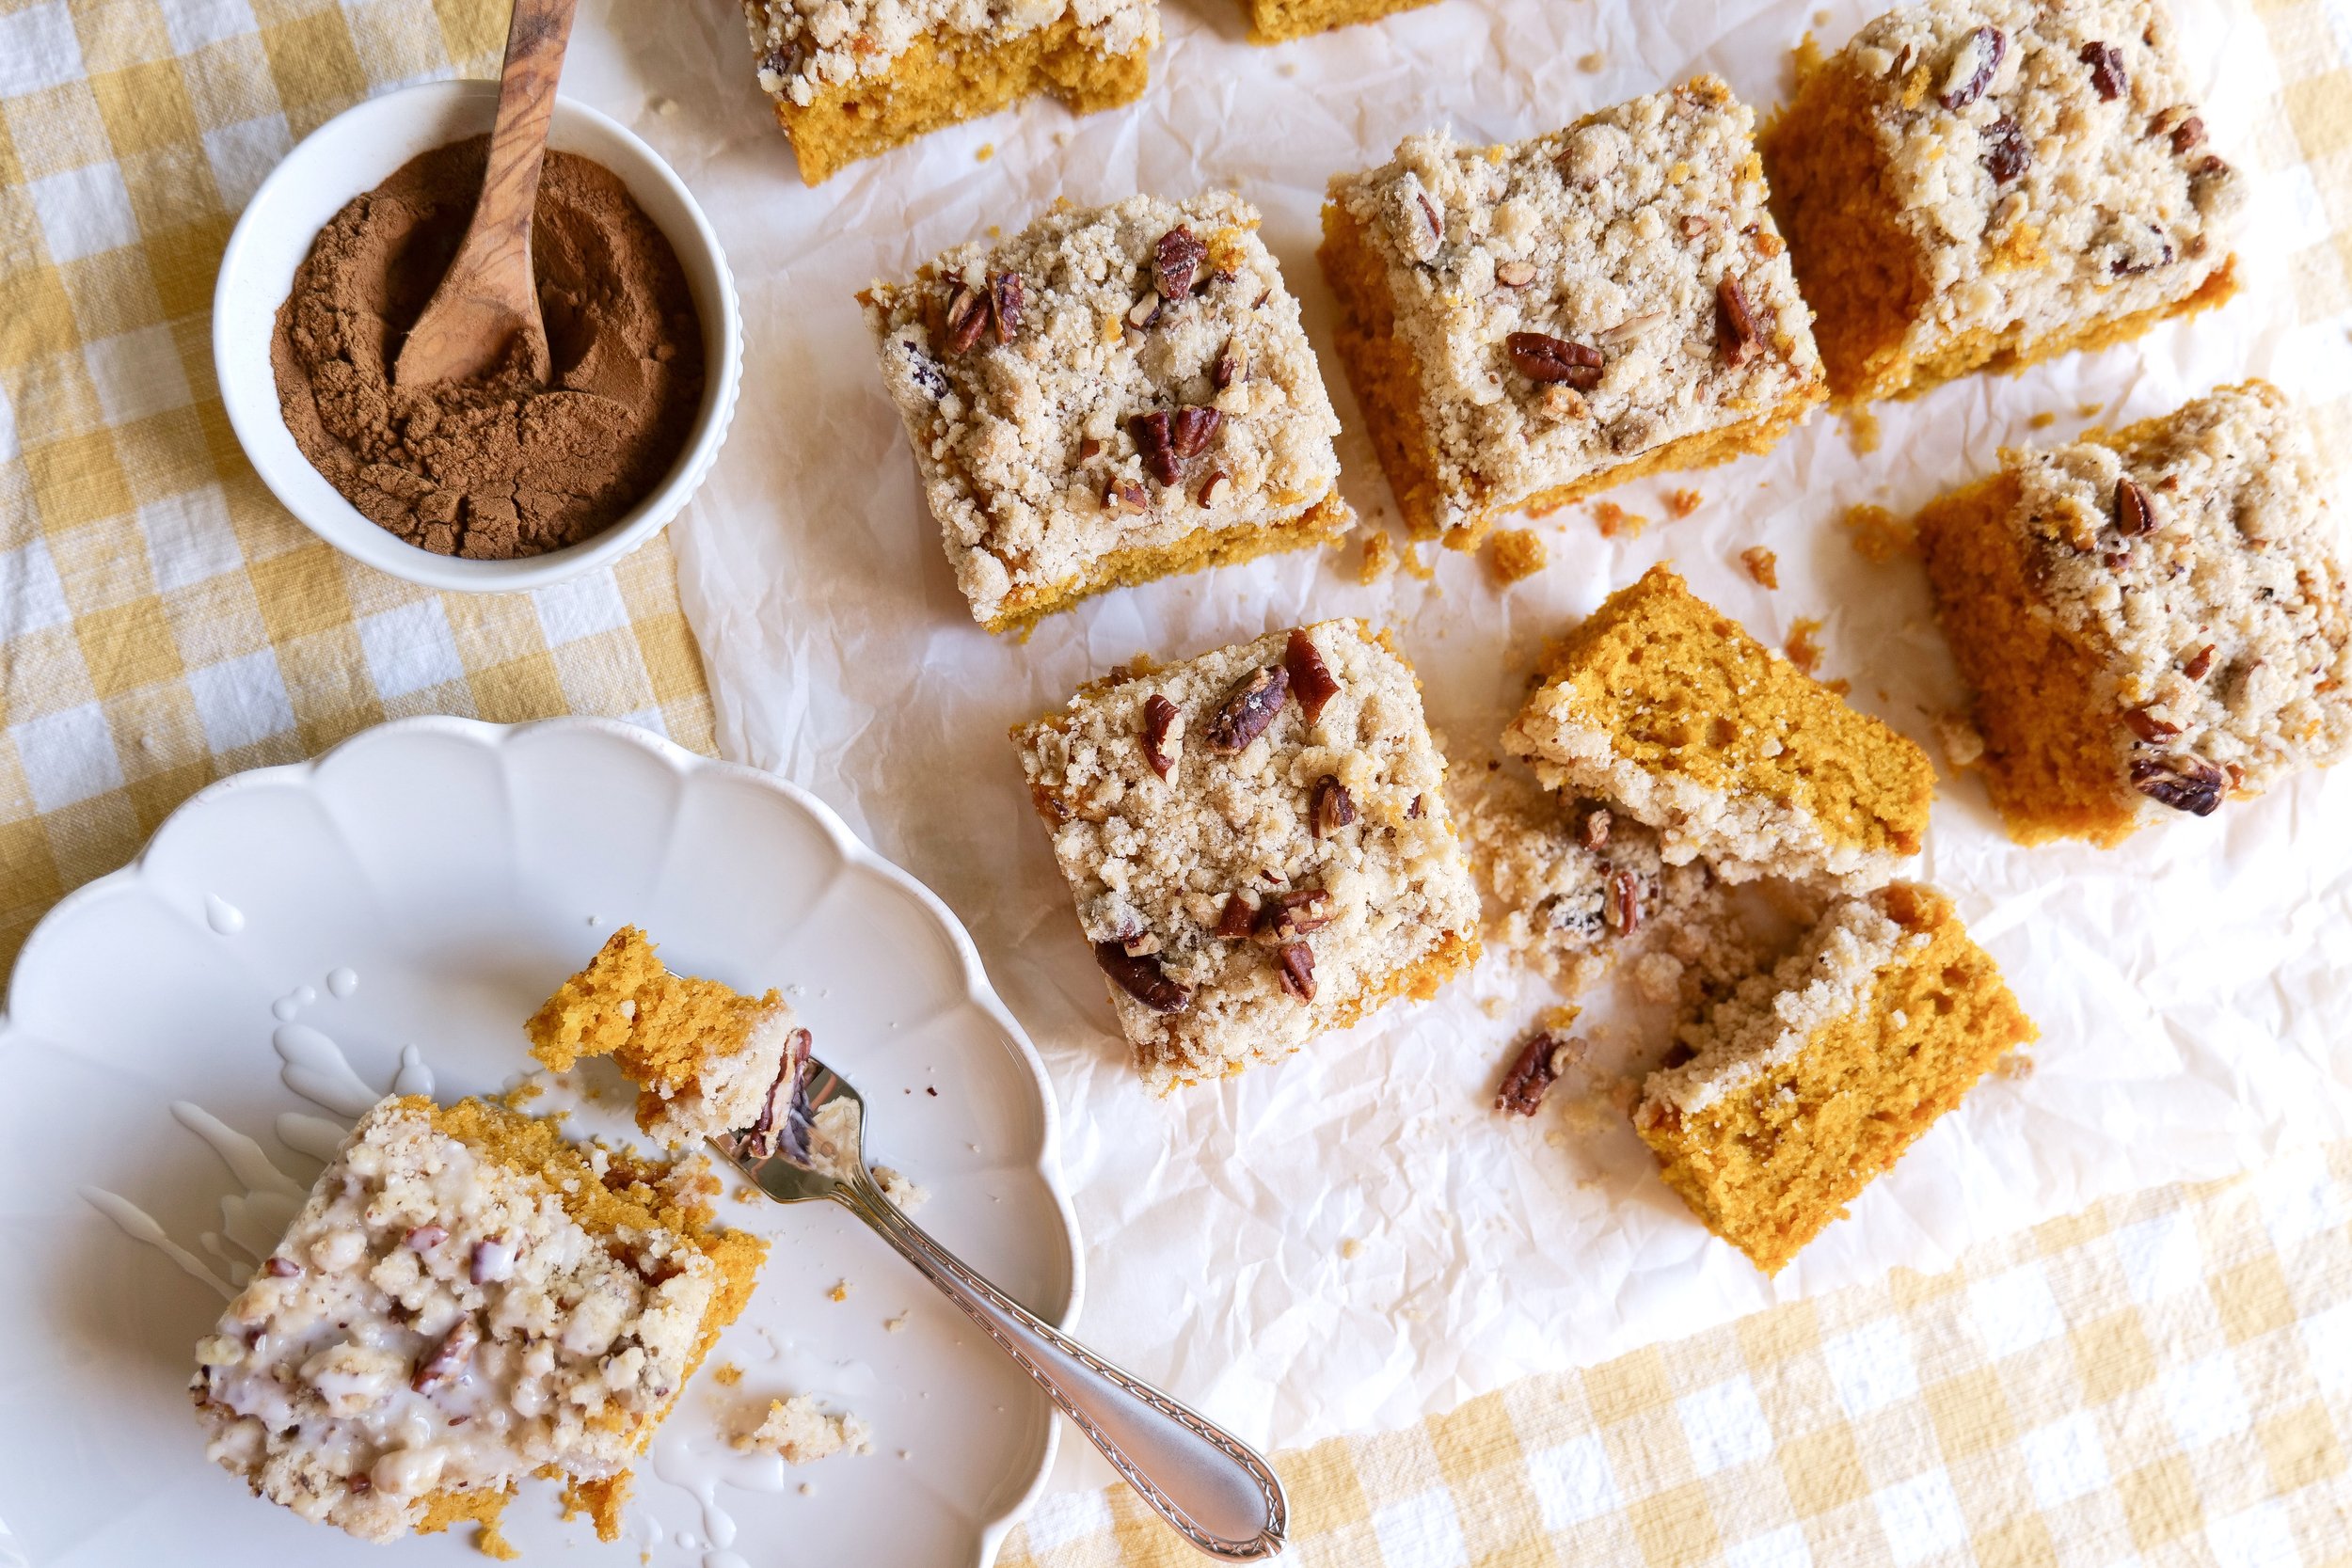
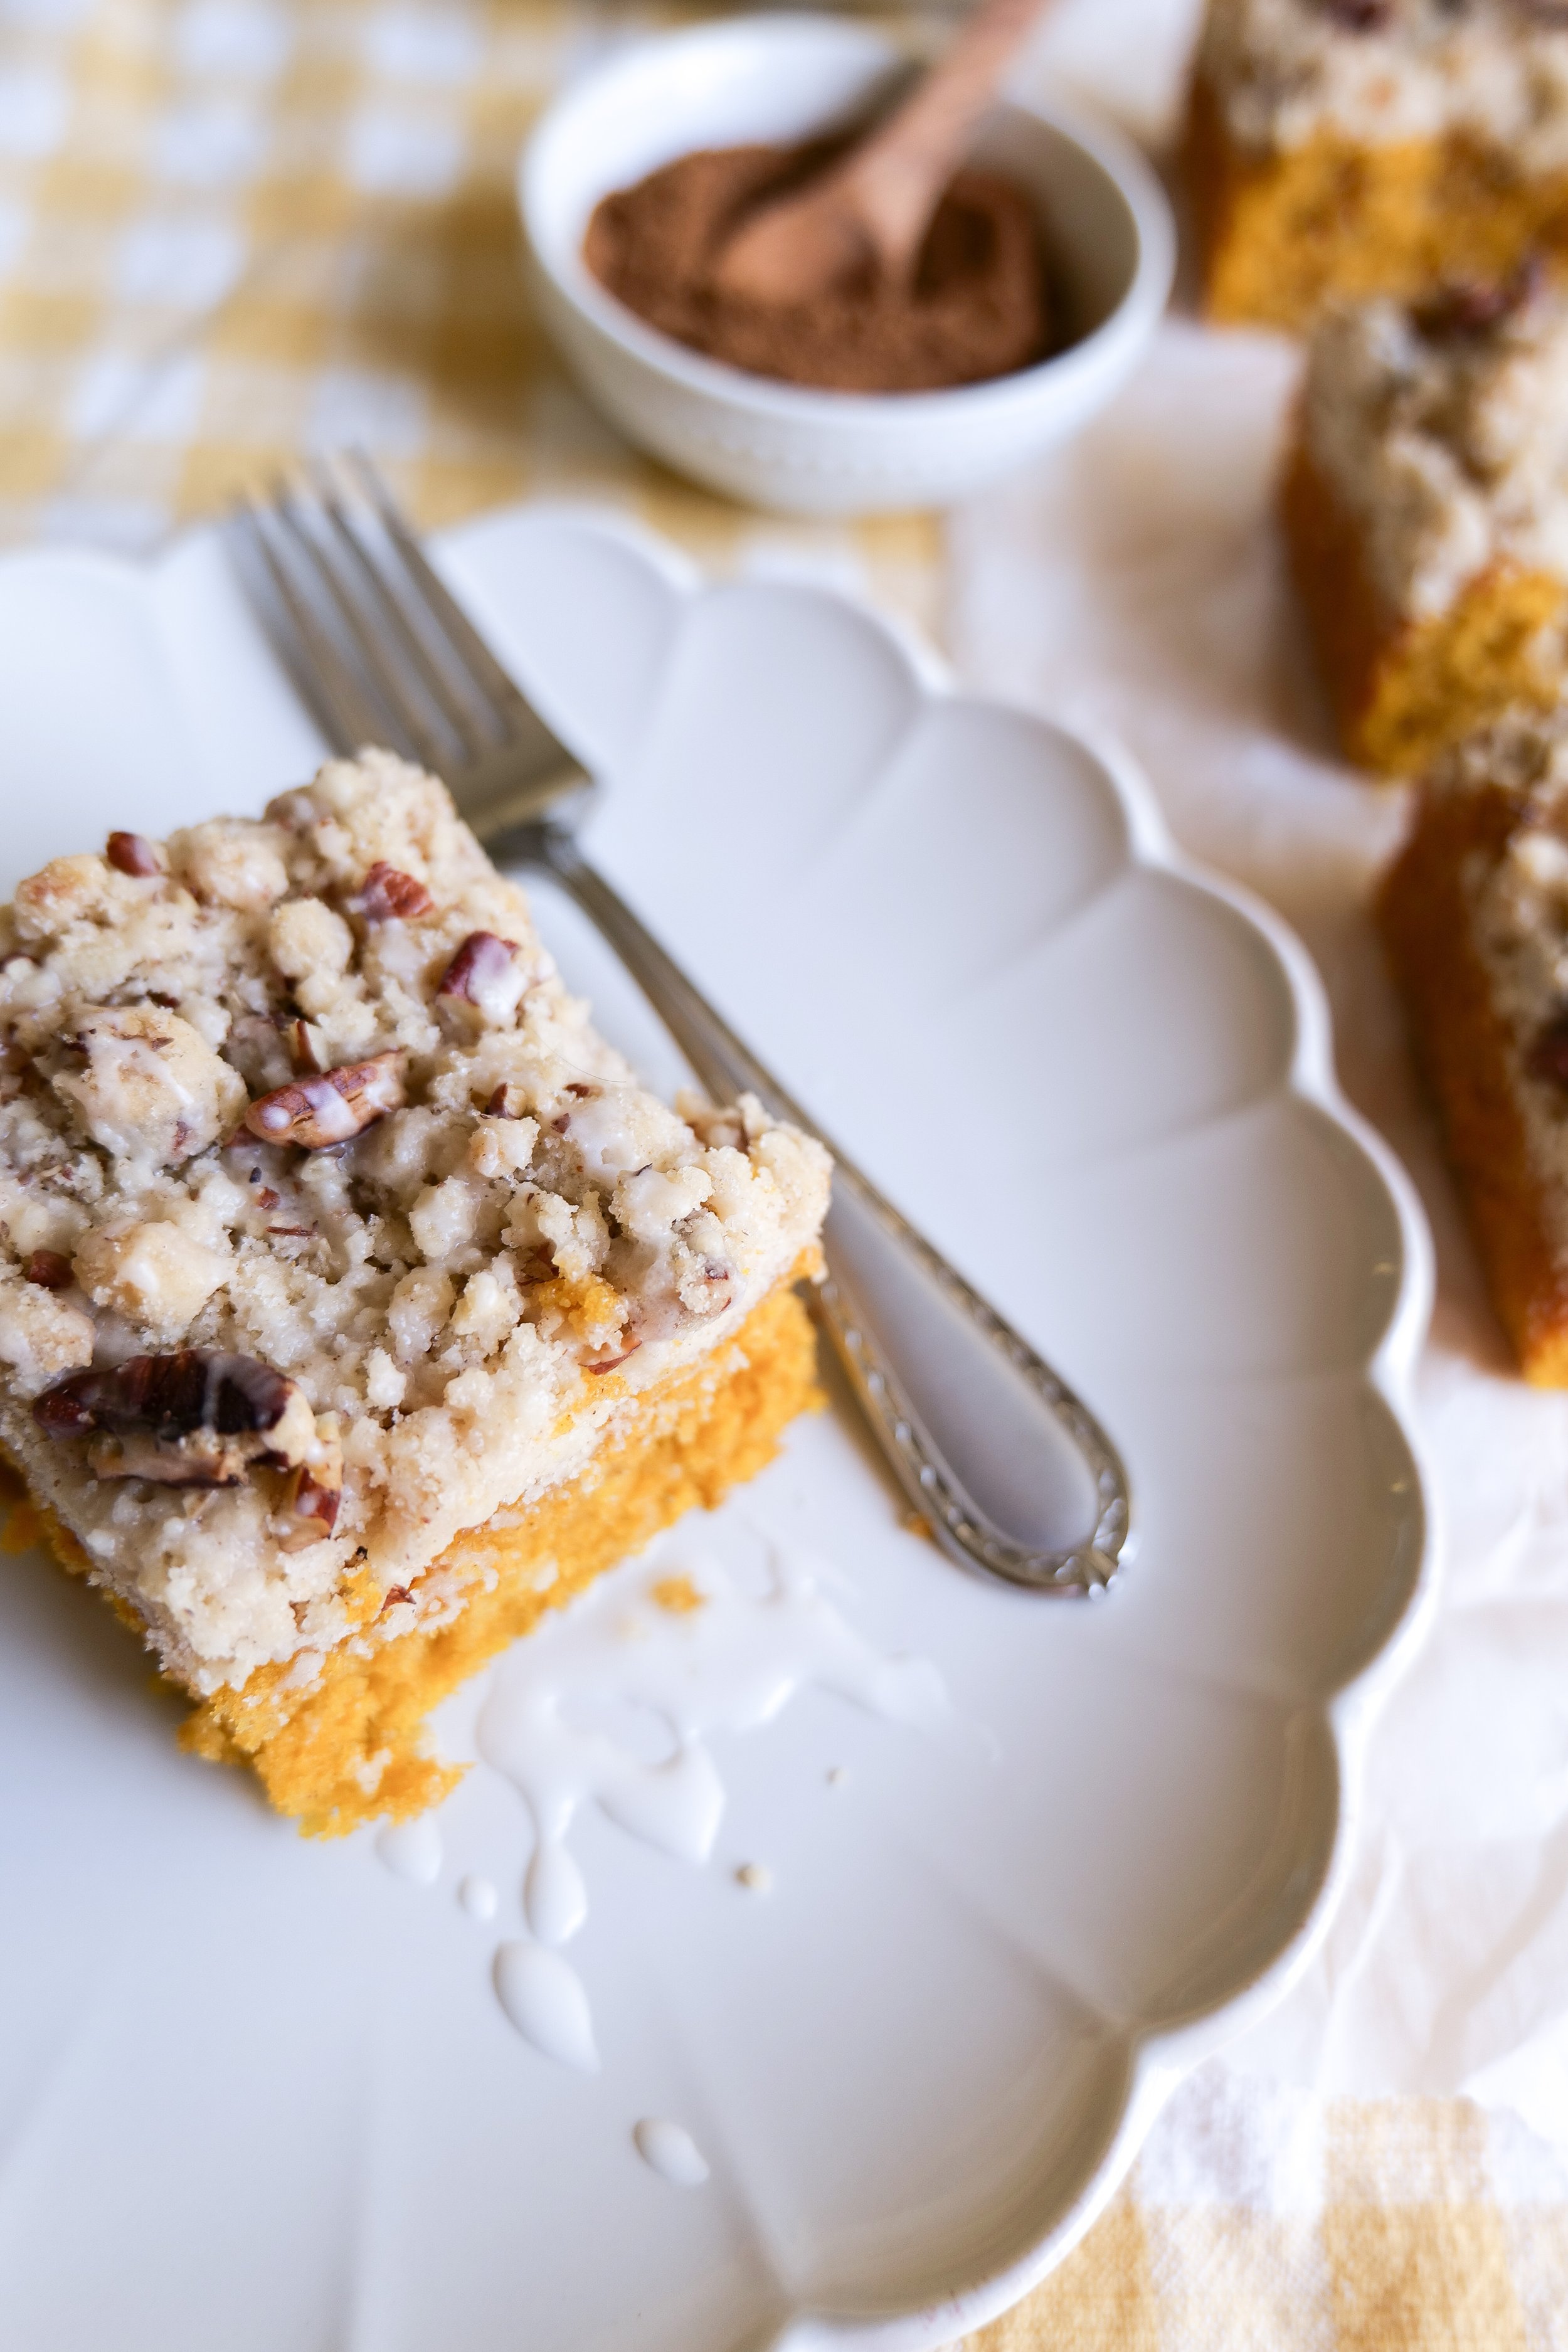
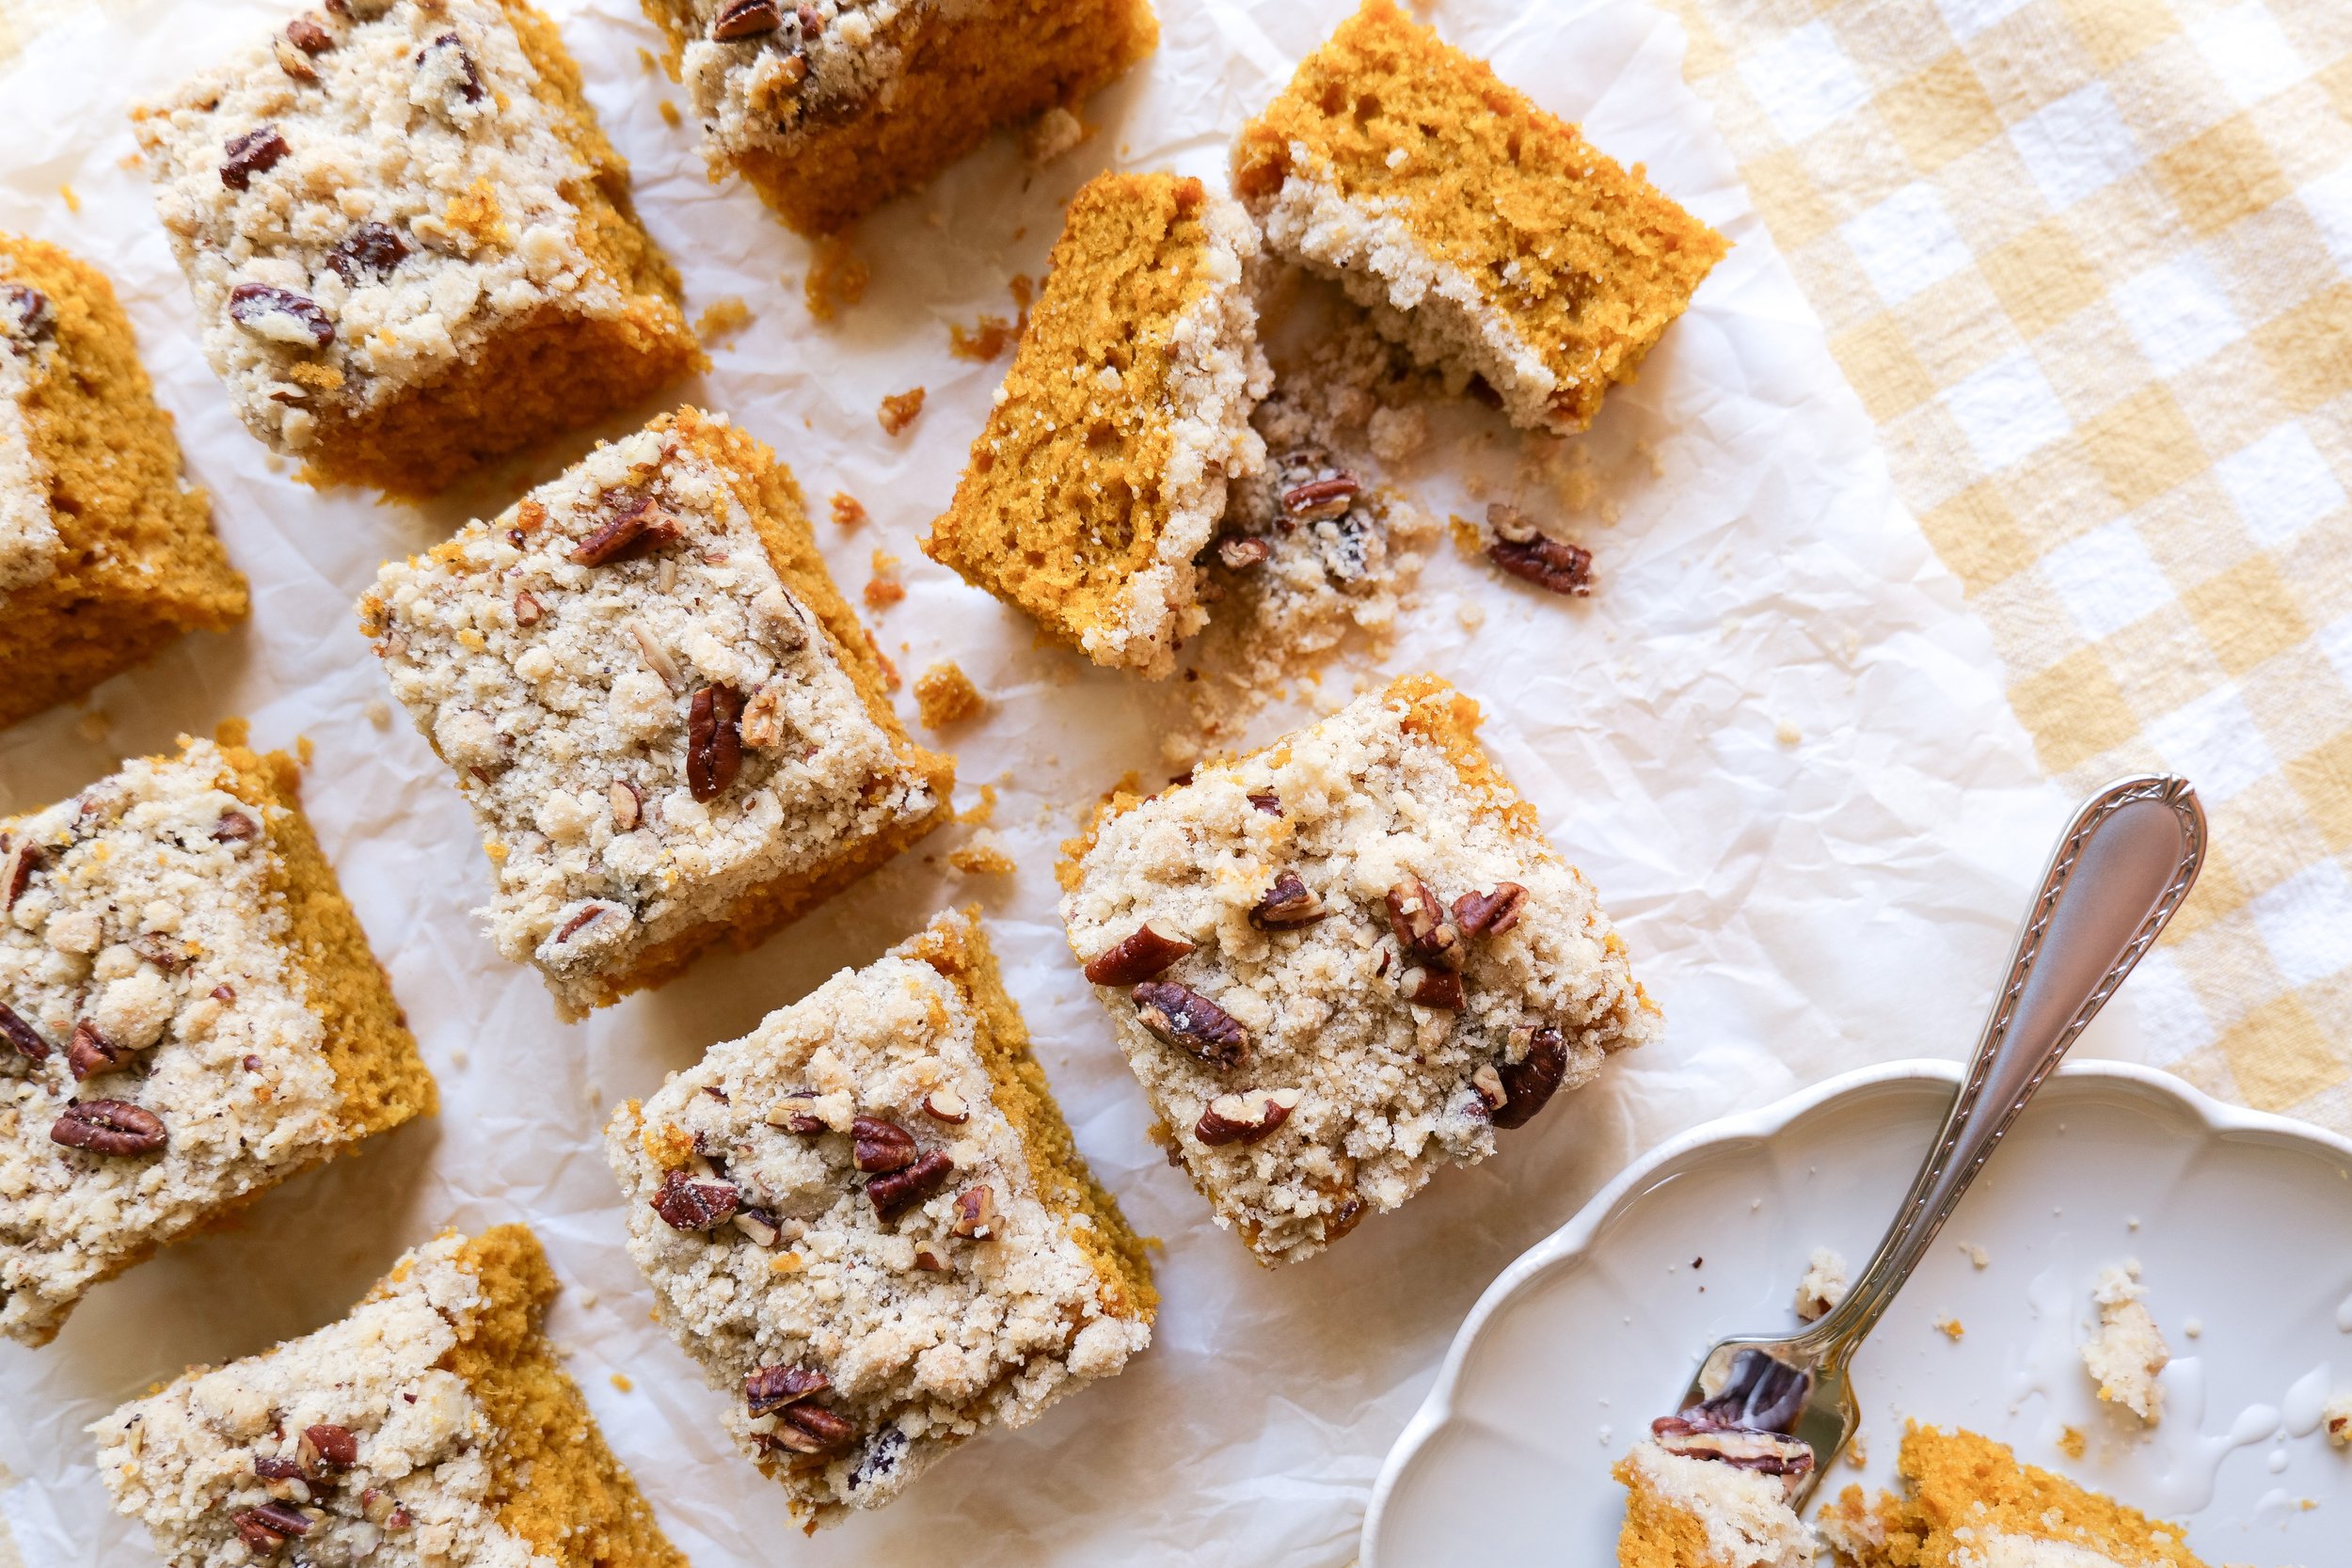
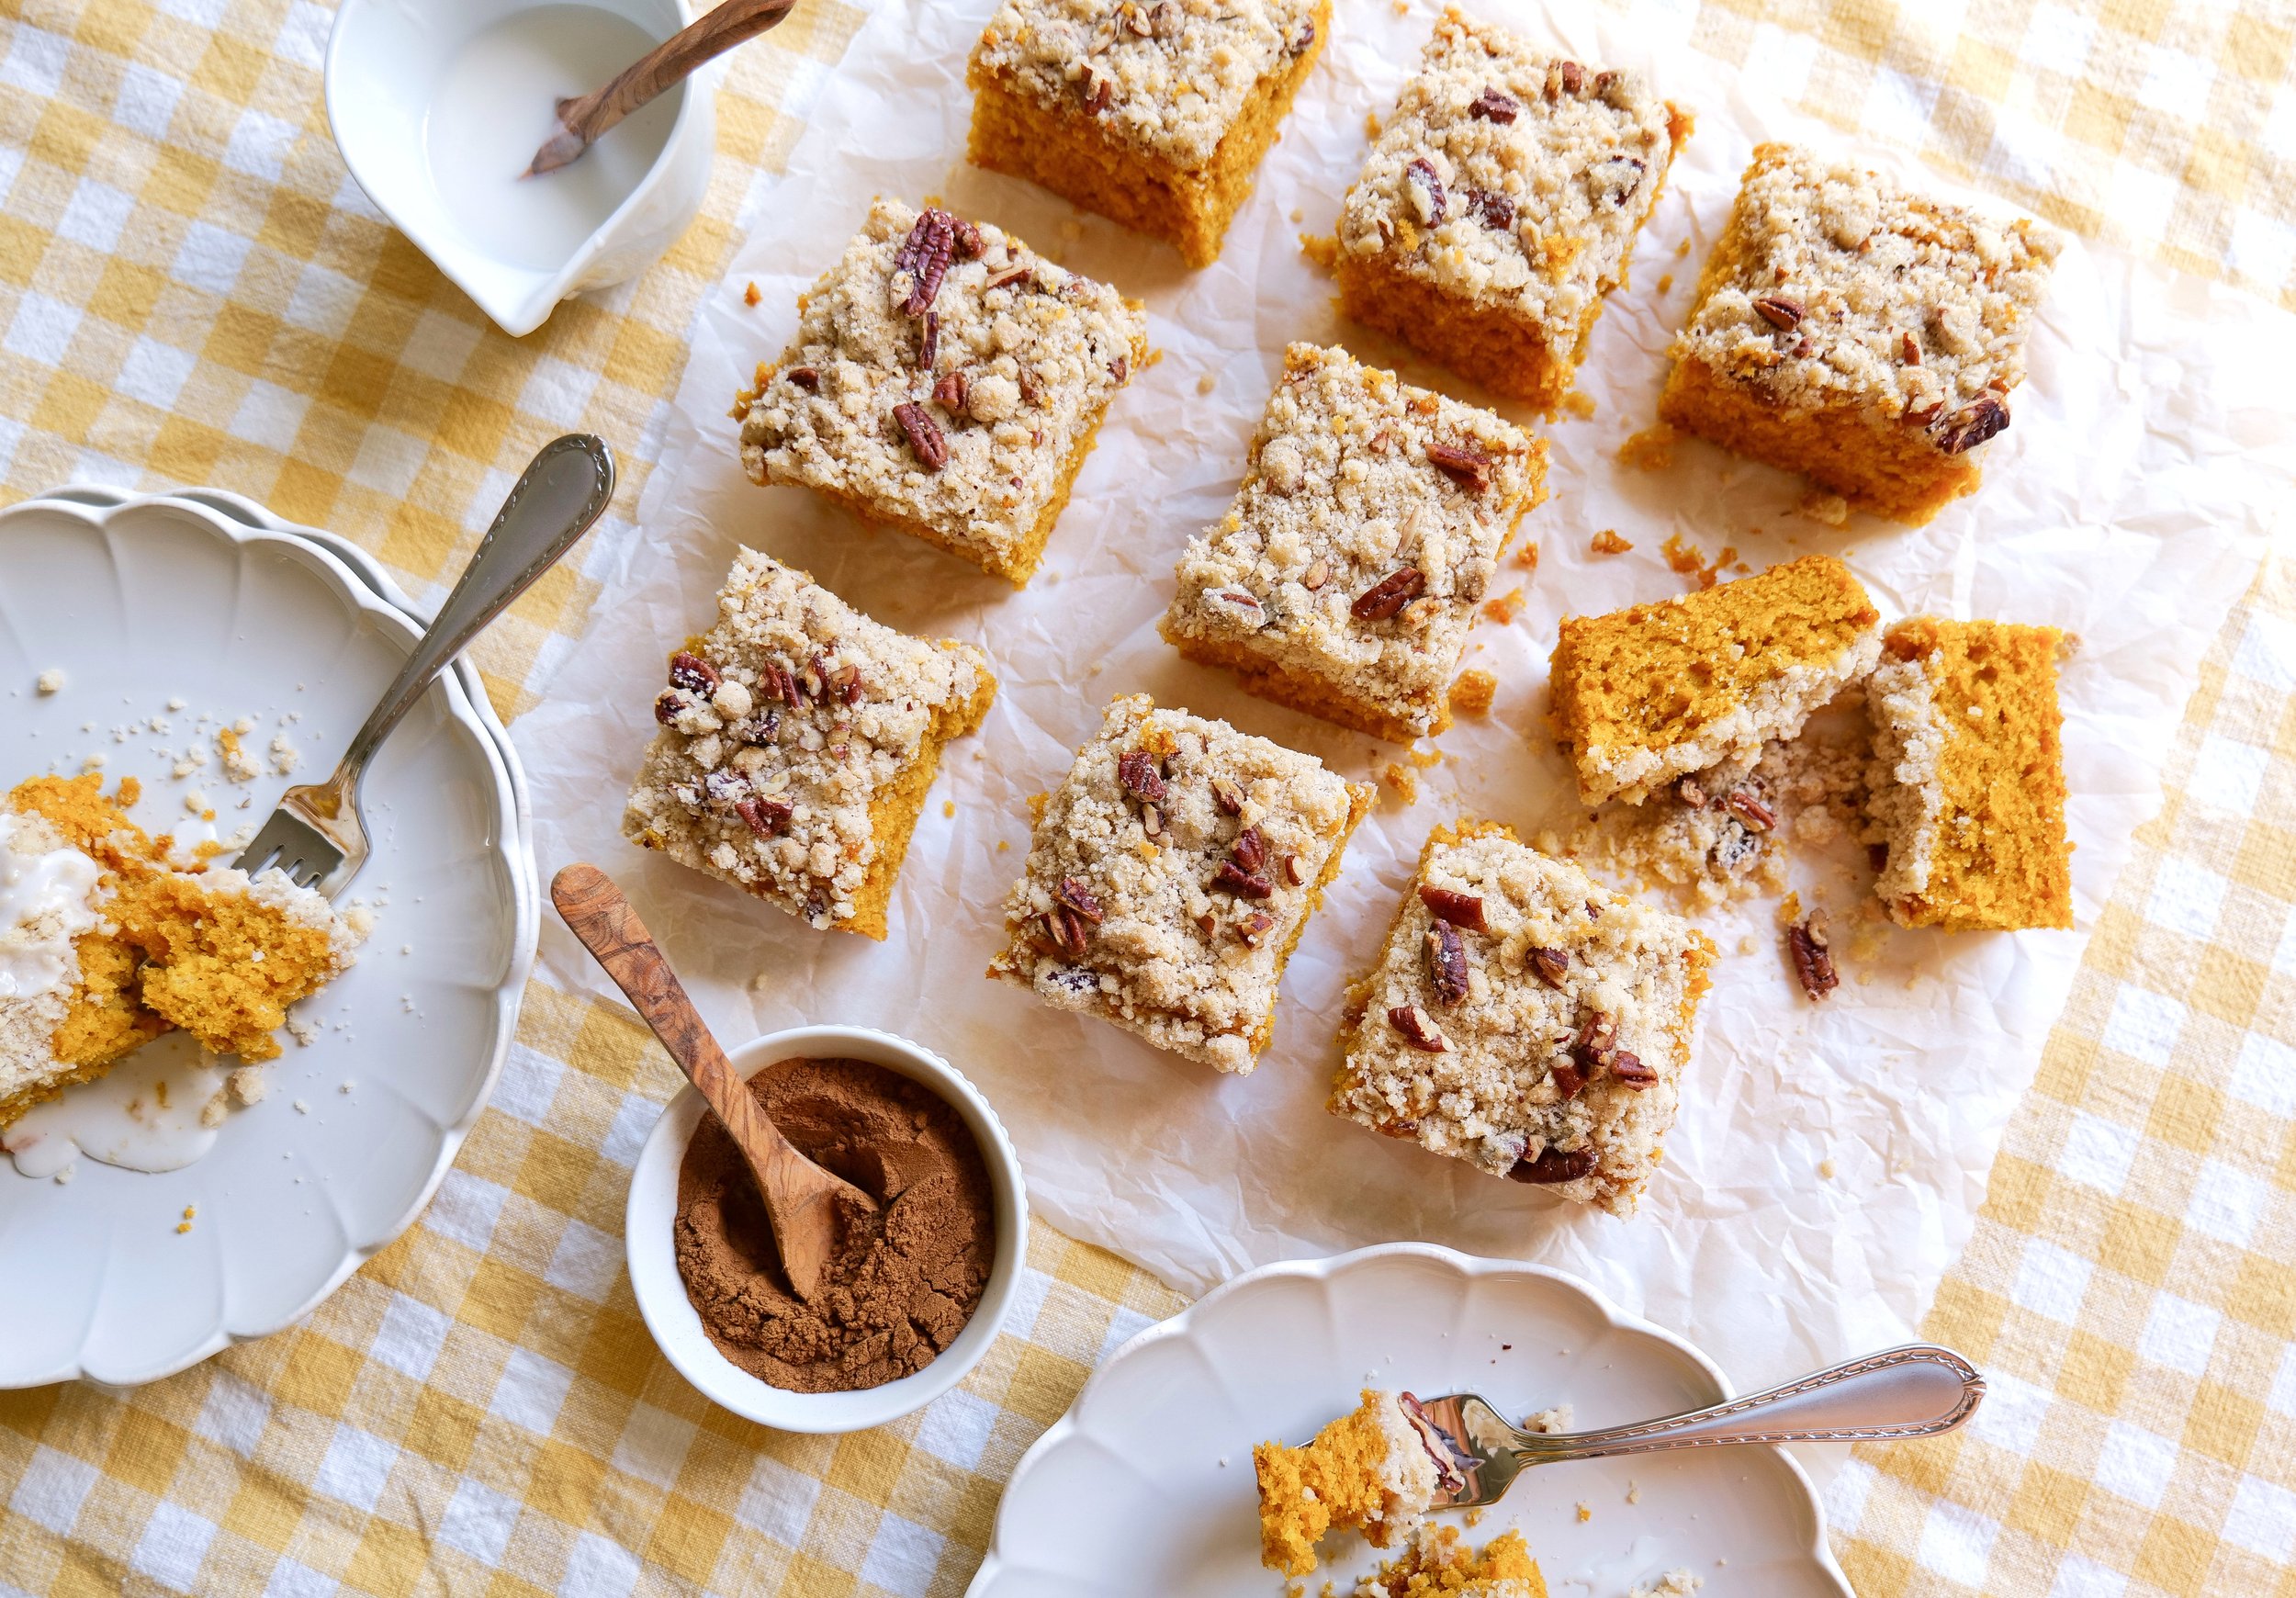
Deliciously Sweet: Pumpkin Coffee Cake with Pecan Crumbles
Crafting the Perfect Gingerbread Waffle Board: Delicious Recipes and Styling Tips!
Discover the Irresistibly Delicious Slow Cooker Cinnamon Roll Casserole Recipe Today!
Save This Recipe
Whether you're planning ahead for a special occasion or adding a new favorite to your recipe collection, I've included a printable recipe card below so it's easy to save, print, and share with the people you love.