Discover the Irresistibly Delicious Slow Cooker Cinnamon Roll Casserole Recipe Today!
/

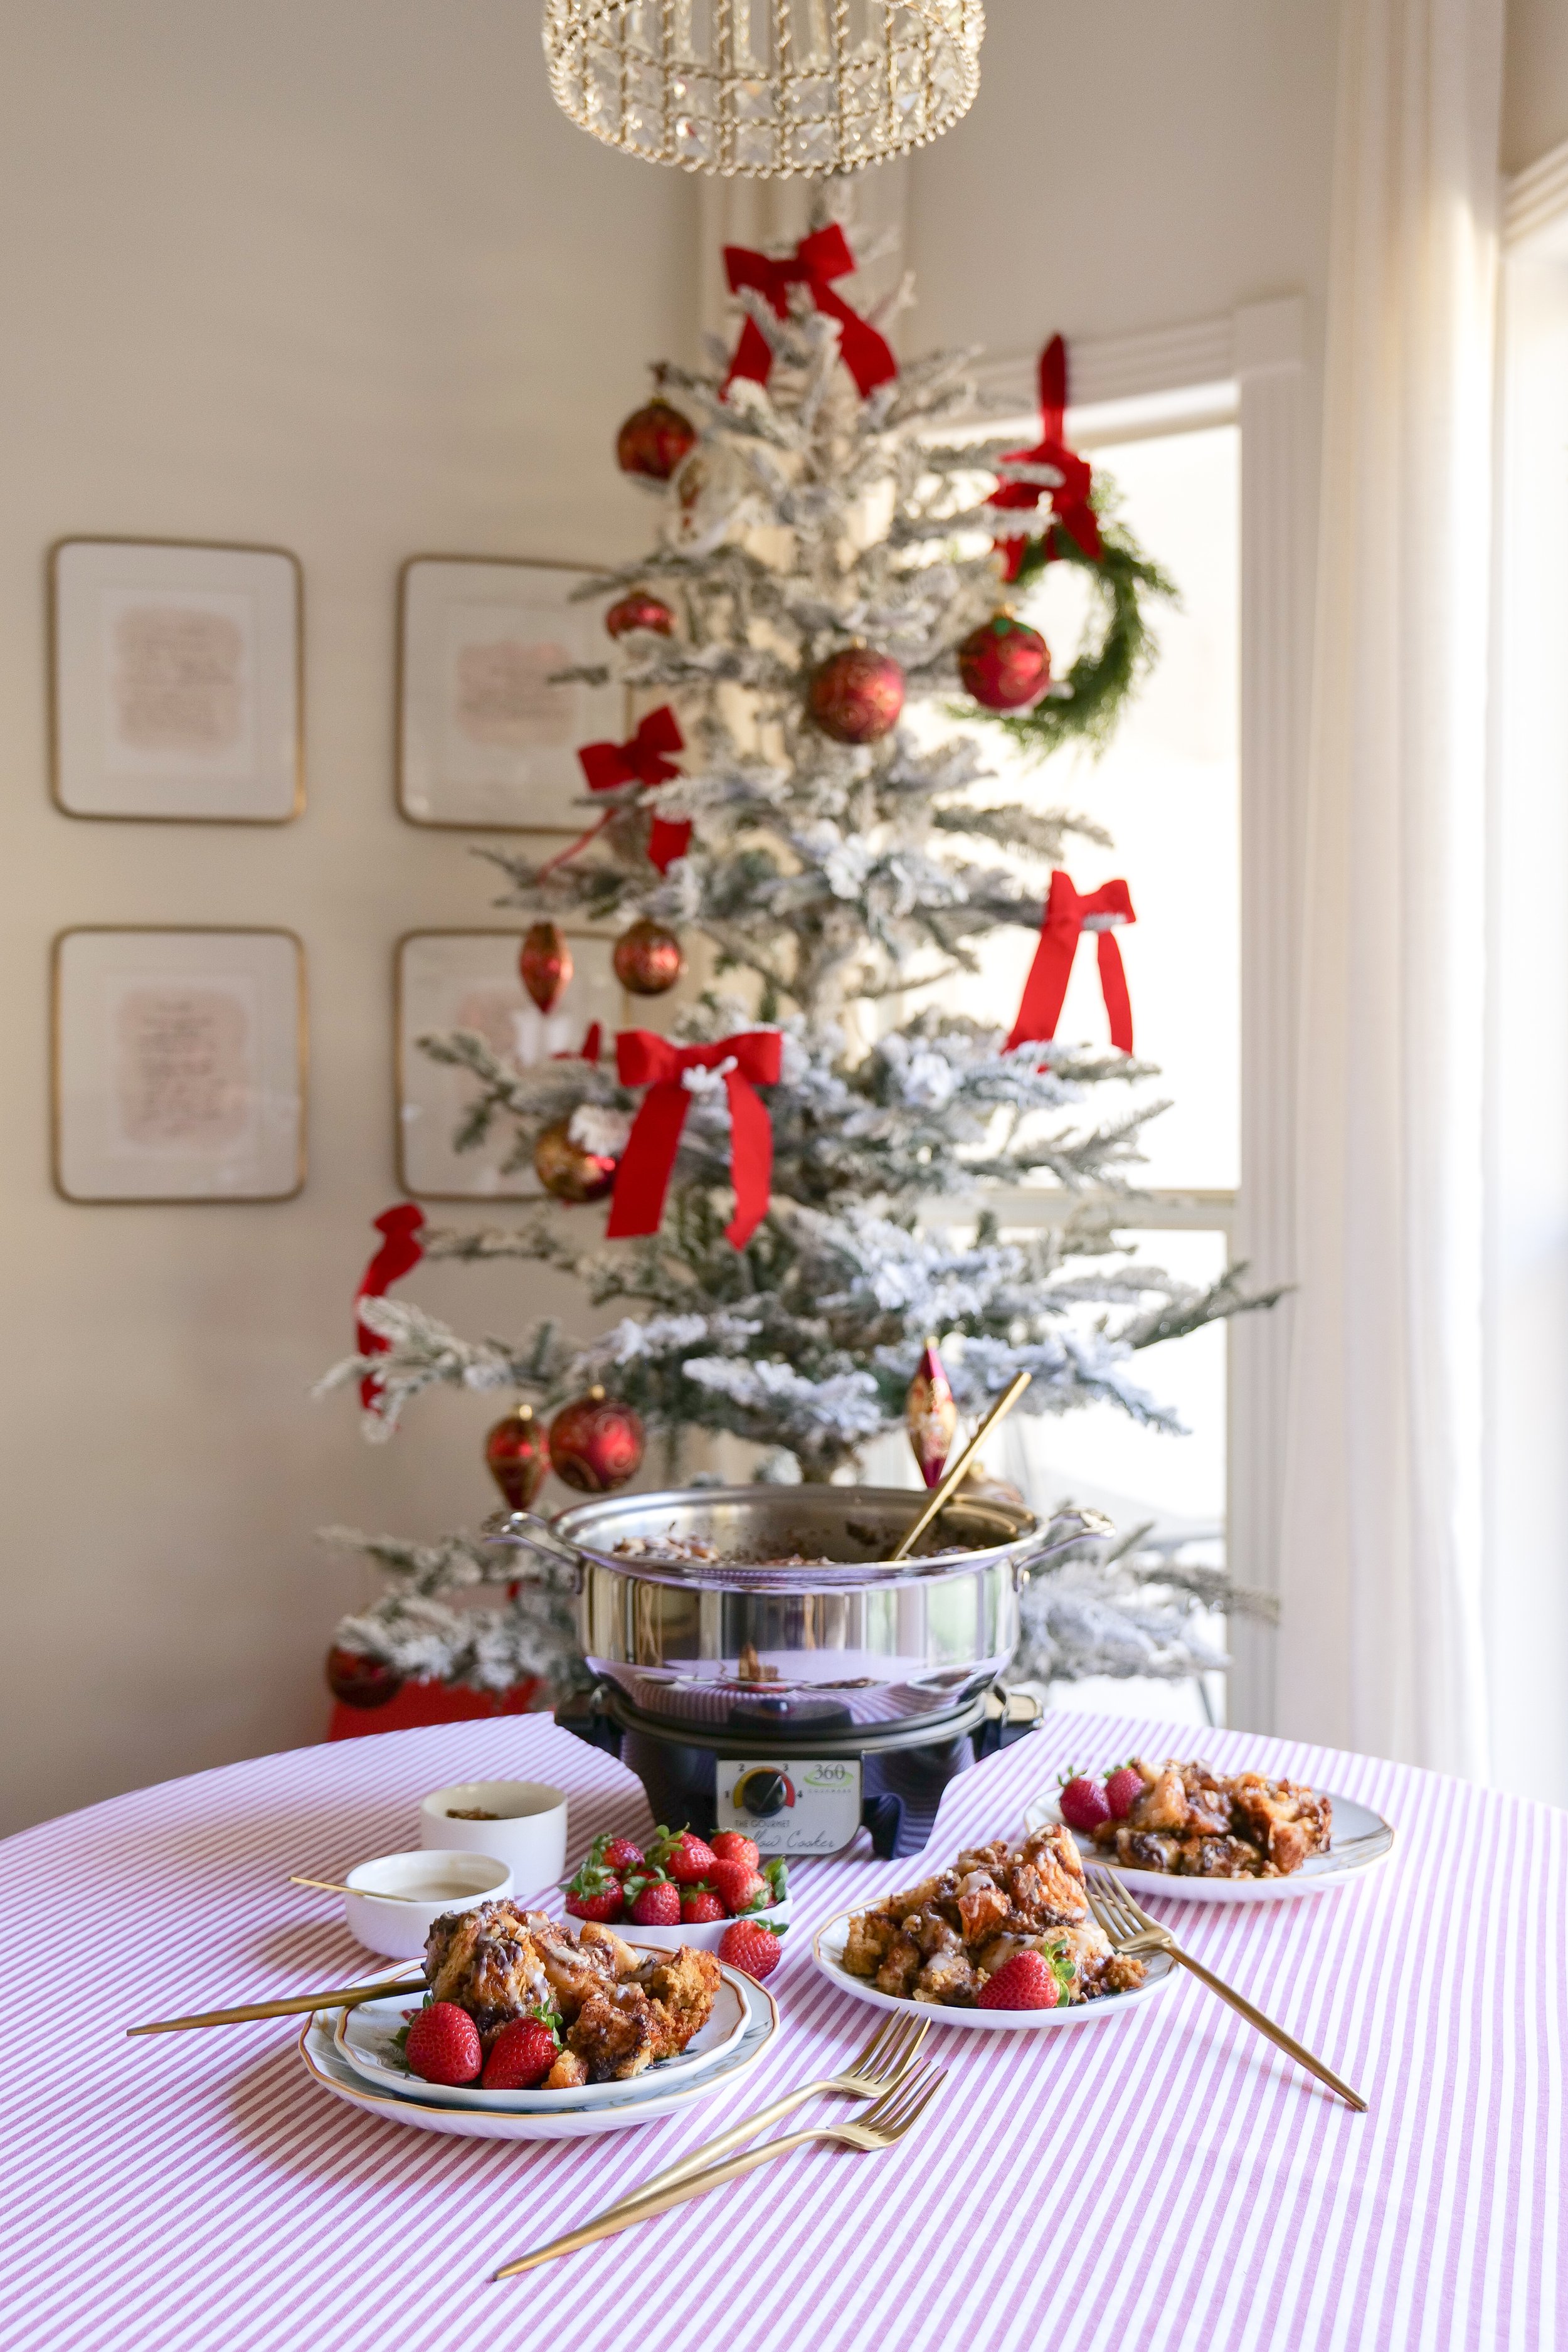
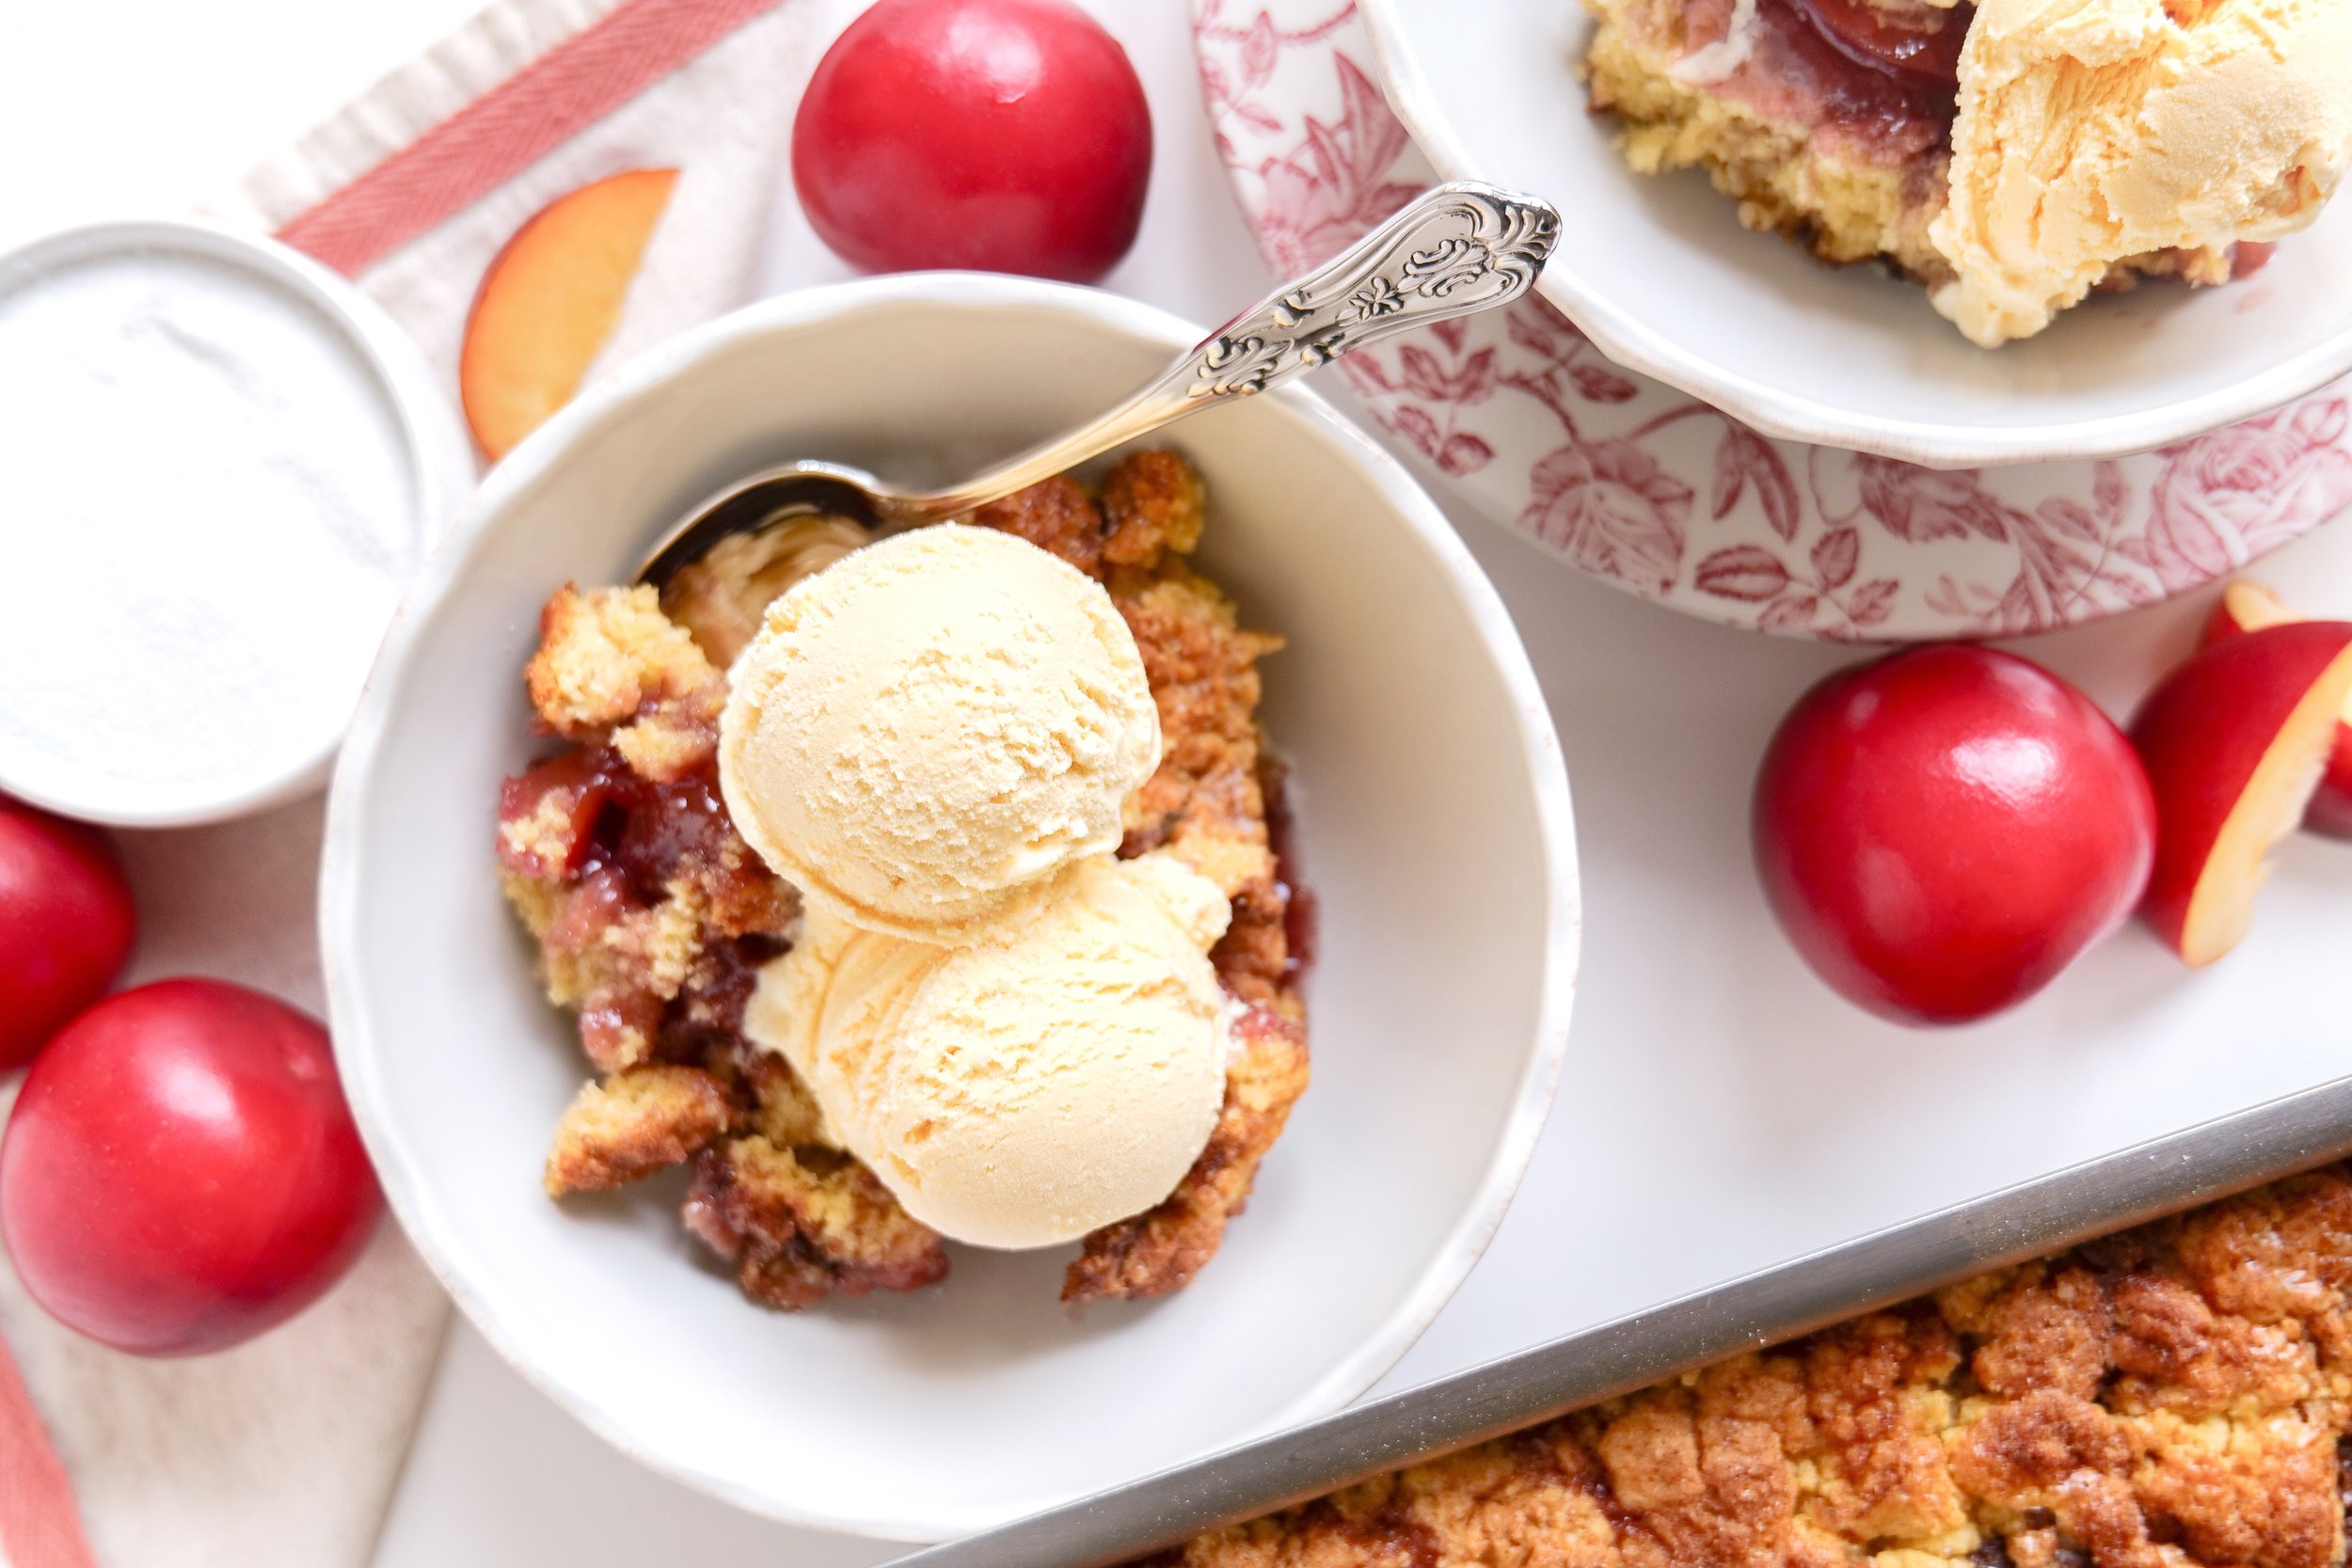
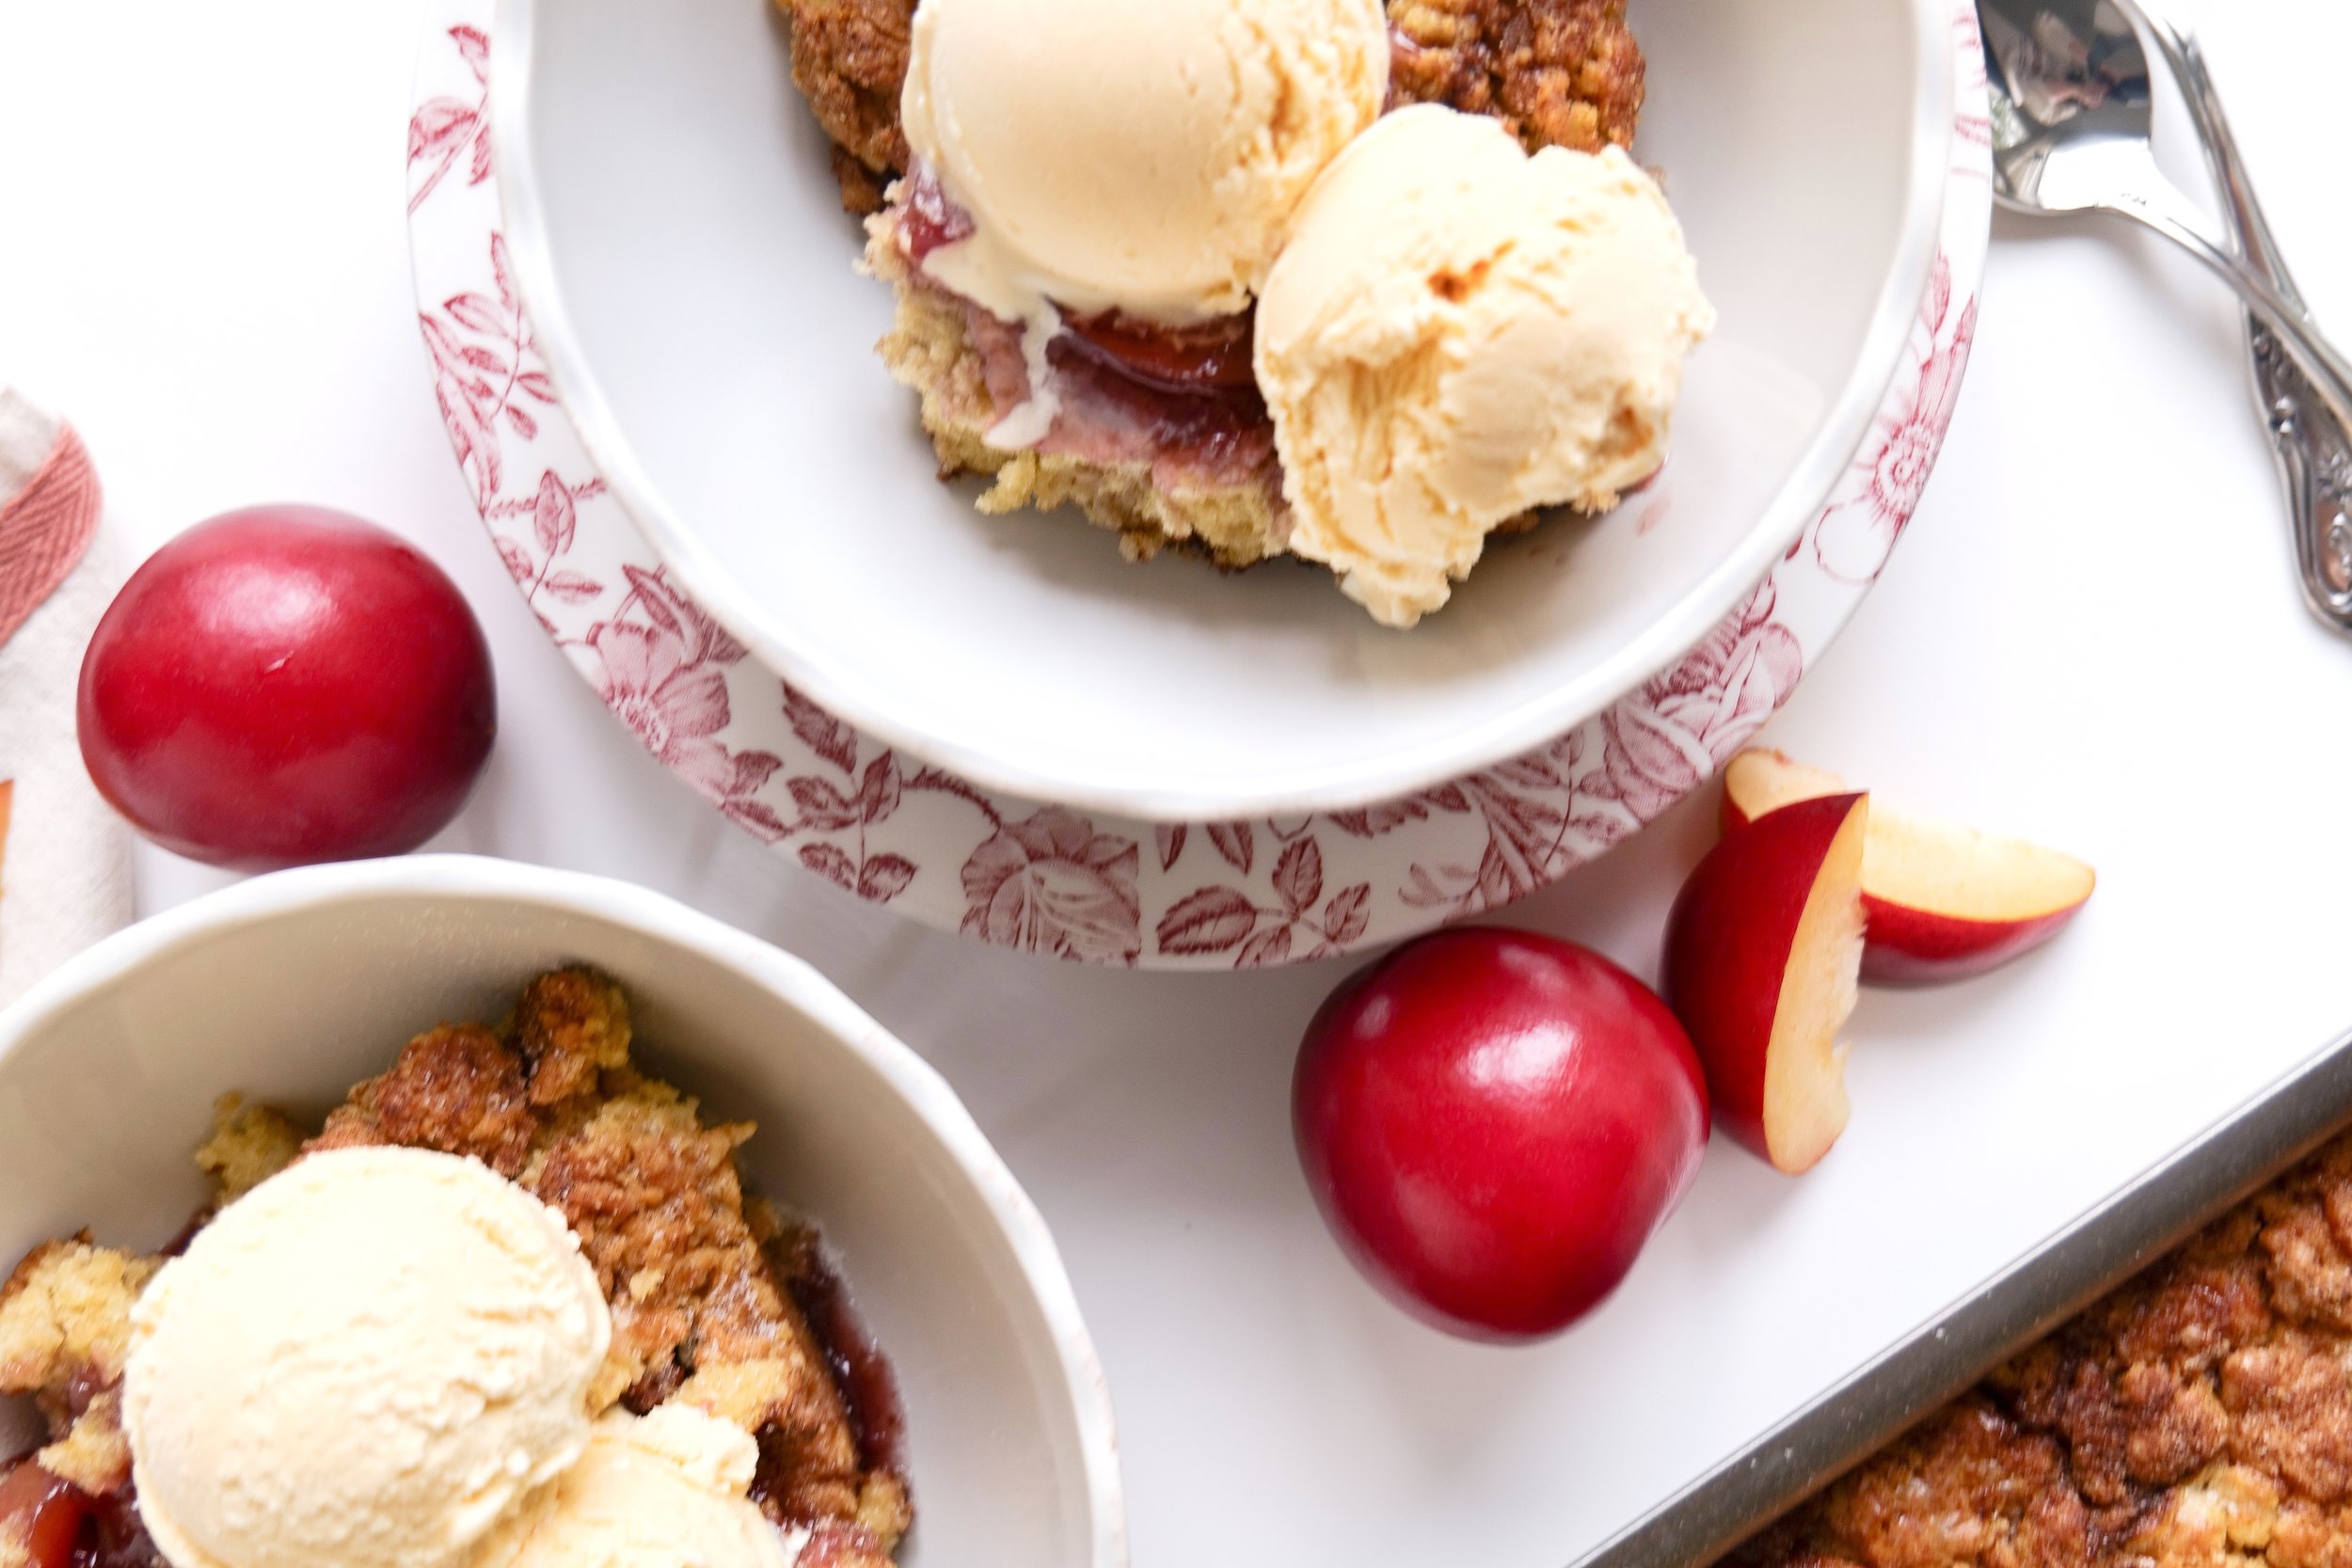
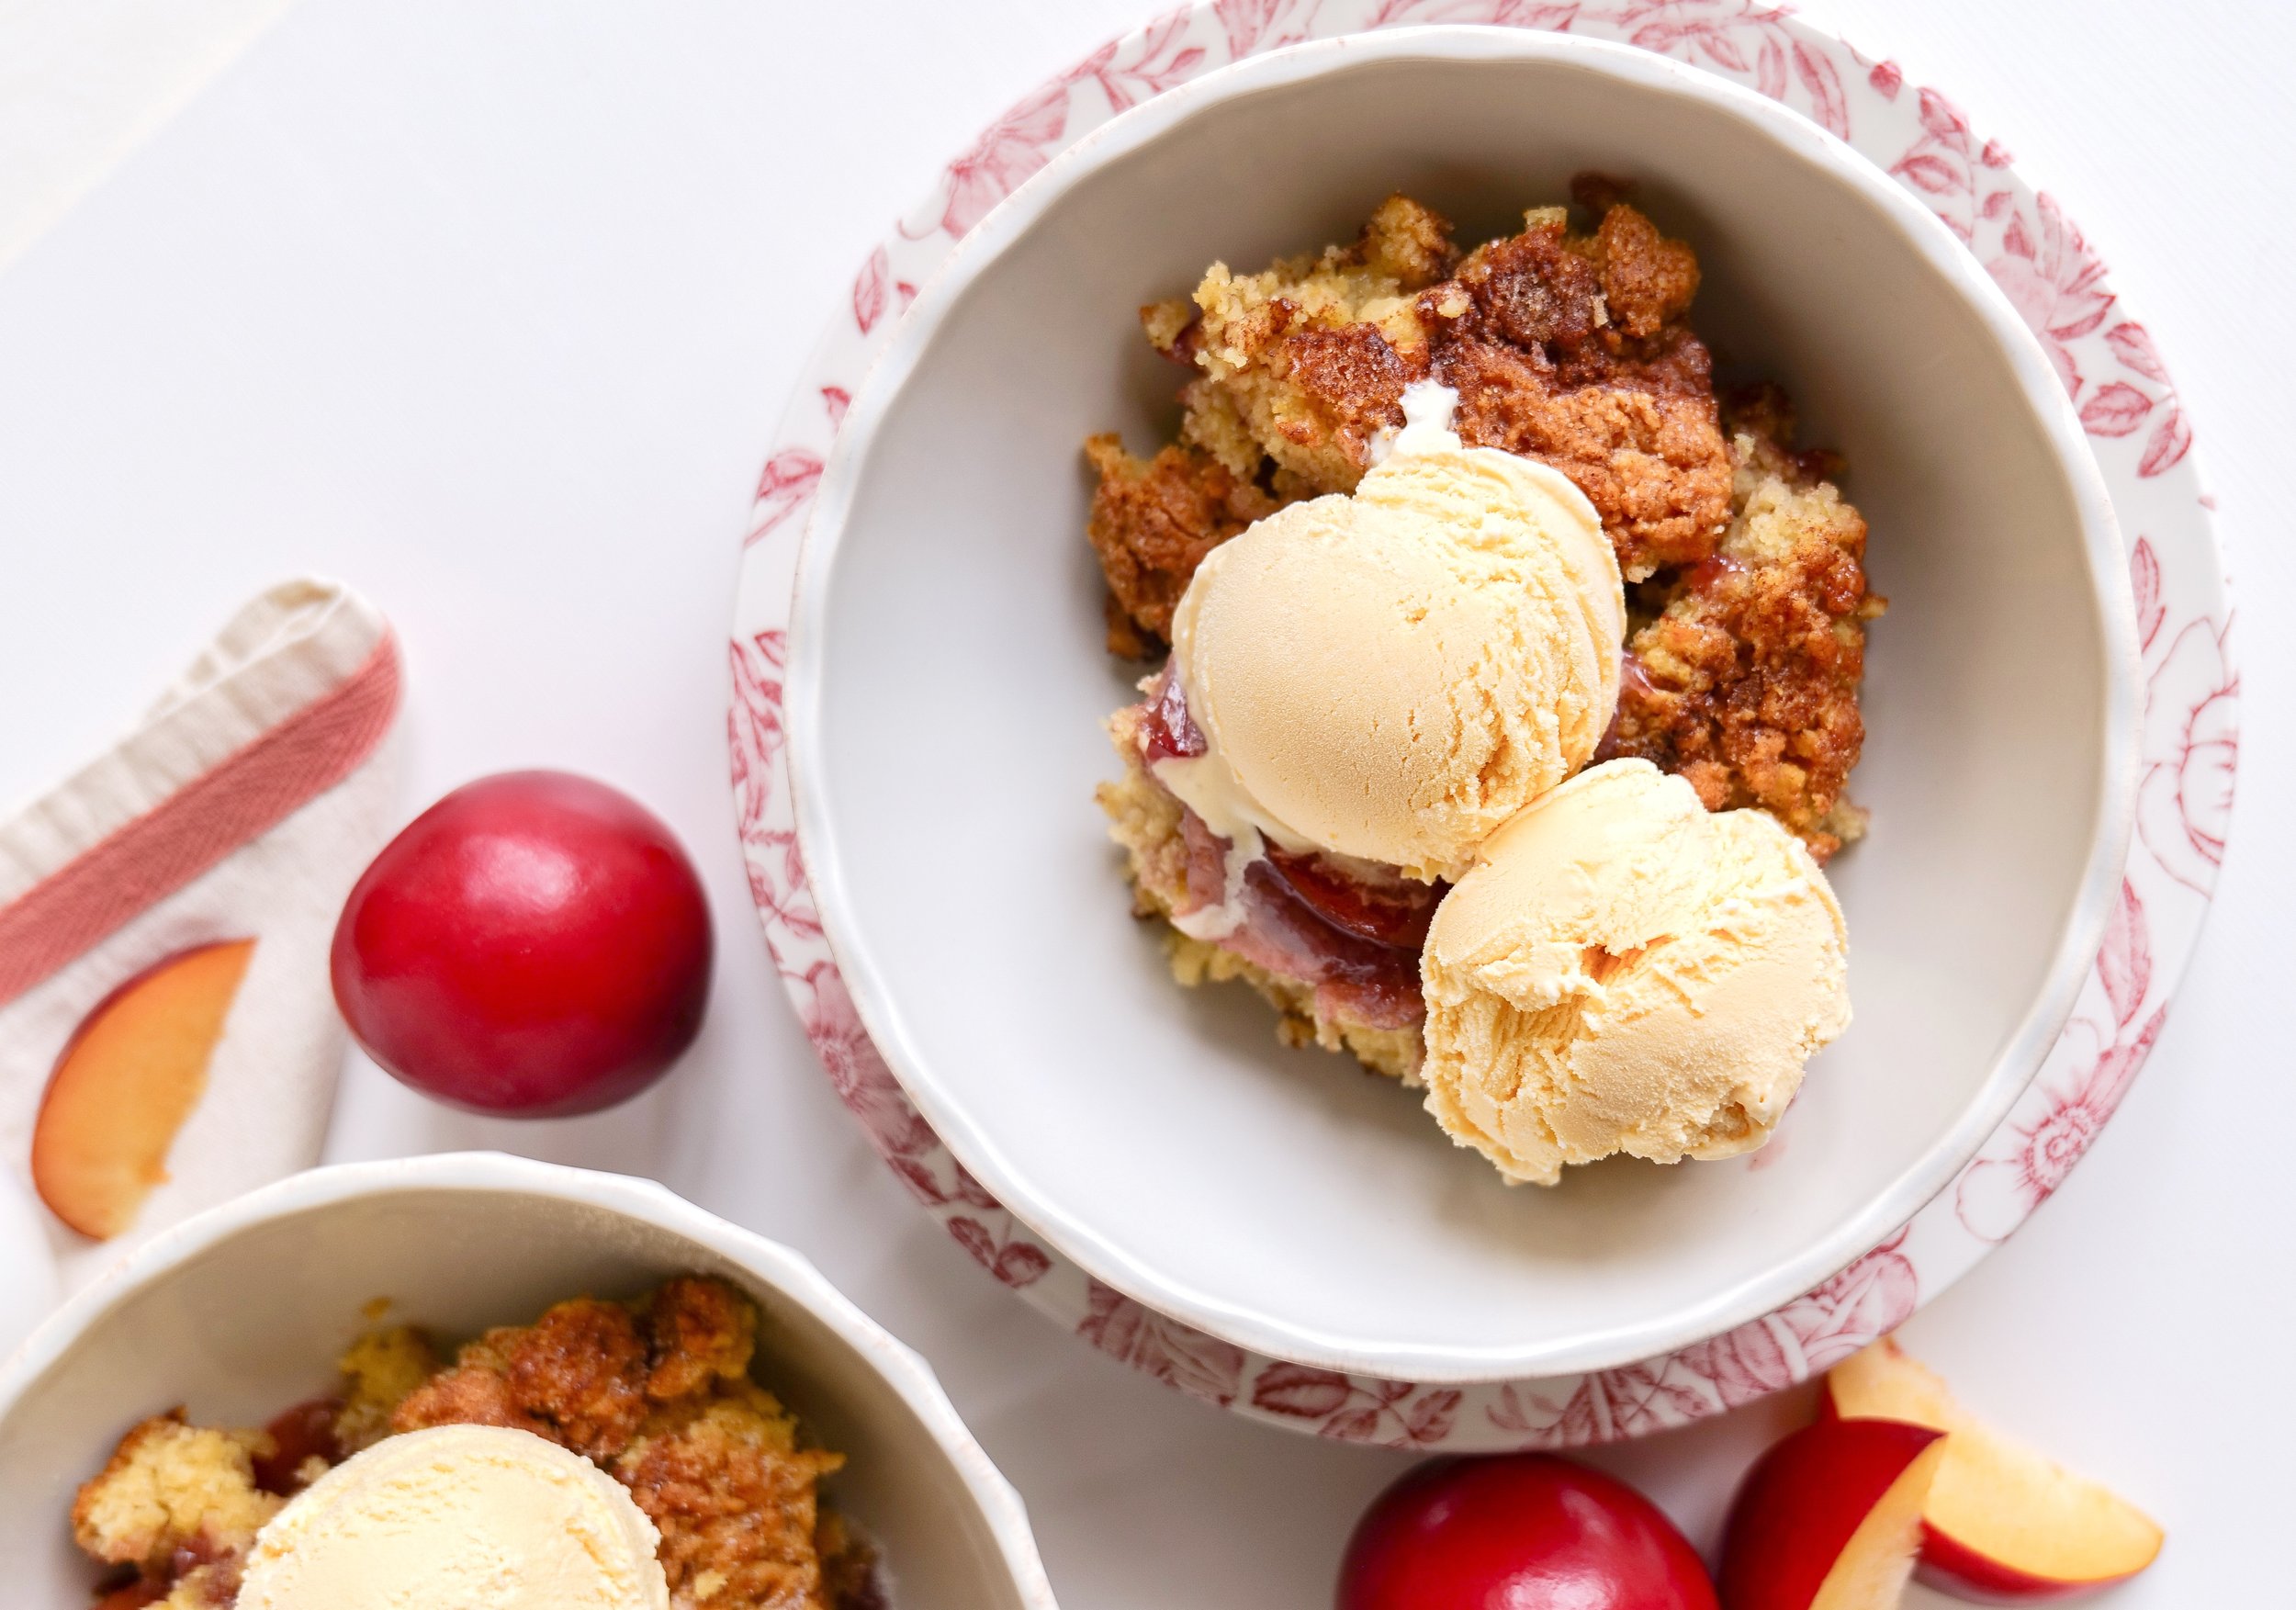
Indulging in a warm, gooey cinnamon roll casserole has become even more delightful with the convenience of using a slow cooker. The Slow Cooker Cinnamon Roll Casserole brings together the rich flavors of cinnamon, sugar, and a sweet, decadent icing that makes each bite pure bliss. Whether it's served for breakfast, brunch, or as an anytime treat, this dish lets you enjoy the simplicity of a classic favorite with minimal effort. With its ease of preparation, this casserole is perfect for gatherings or a cozy family morning, offering a rich taste that is bound to become a beloved staple in your home.

How to Make Cinnamon Roll Casseroles in a Slow Cooker
Creating a mouthwatering Cinnamon Roll Casserole is a straightforward process when using a slow cooker. Begin by gathering your essential ingredients: pre-made cinnamon rolls, eggs, milk, vanilla extract, cinnamon, nutmeg, and optional toppings such as nuts or icing. Start by cutting the cinnamon rolls into quarters and placing them in the slow cooker, ensuring they spread evenly. This step lays the foundation for a perfectly layered casserole. Next, whisk together the eggs, milk, vanilla, cinnamon, and nutmeg in a bowl, creating a luscious custard mix that adds richness to the dish. Pour this mixture evenly over the cinnamon roll pieces, immersing them in flavor. By using a slow cooker, you allow the ingredients to meld beautifully, resulting in a dish that is both aromatic and delicious.
Tips on upgrading this delight with optional add-ins like nuts, raisins, or a drizzle of caramel sauce encourages creativity and personalization. By experimenting with different additions, you unveil the versatility of the casserole, ensuring it meets the tastes of any crowd and becomes a cherished option for any table.


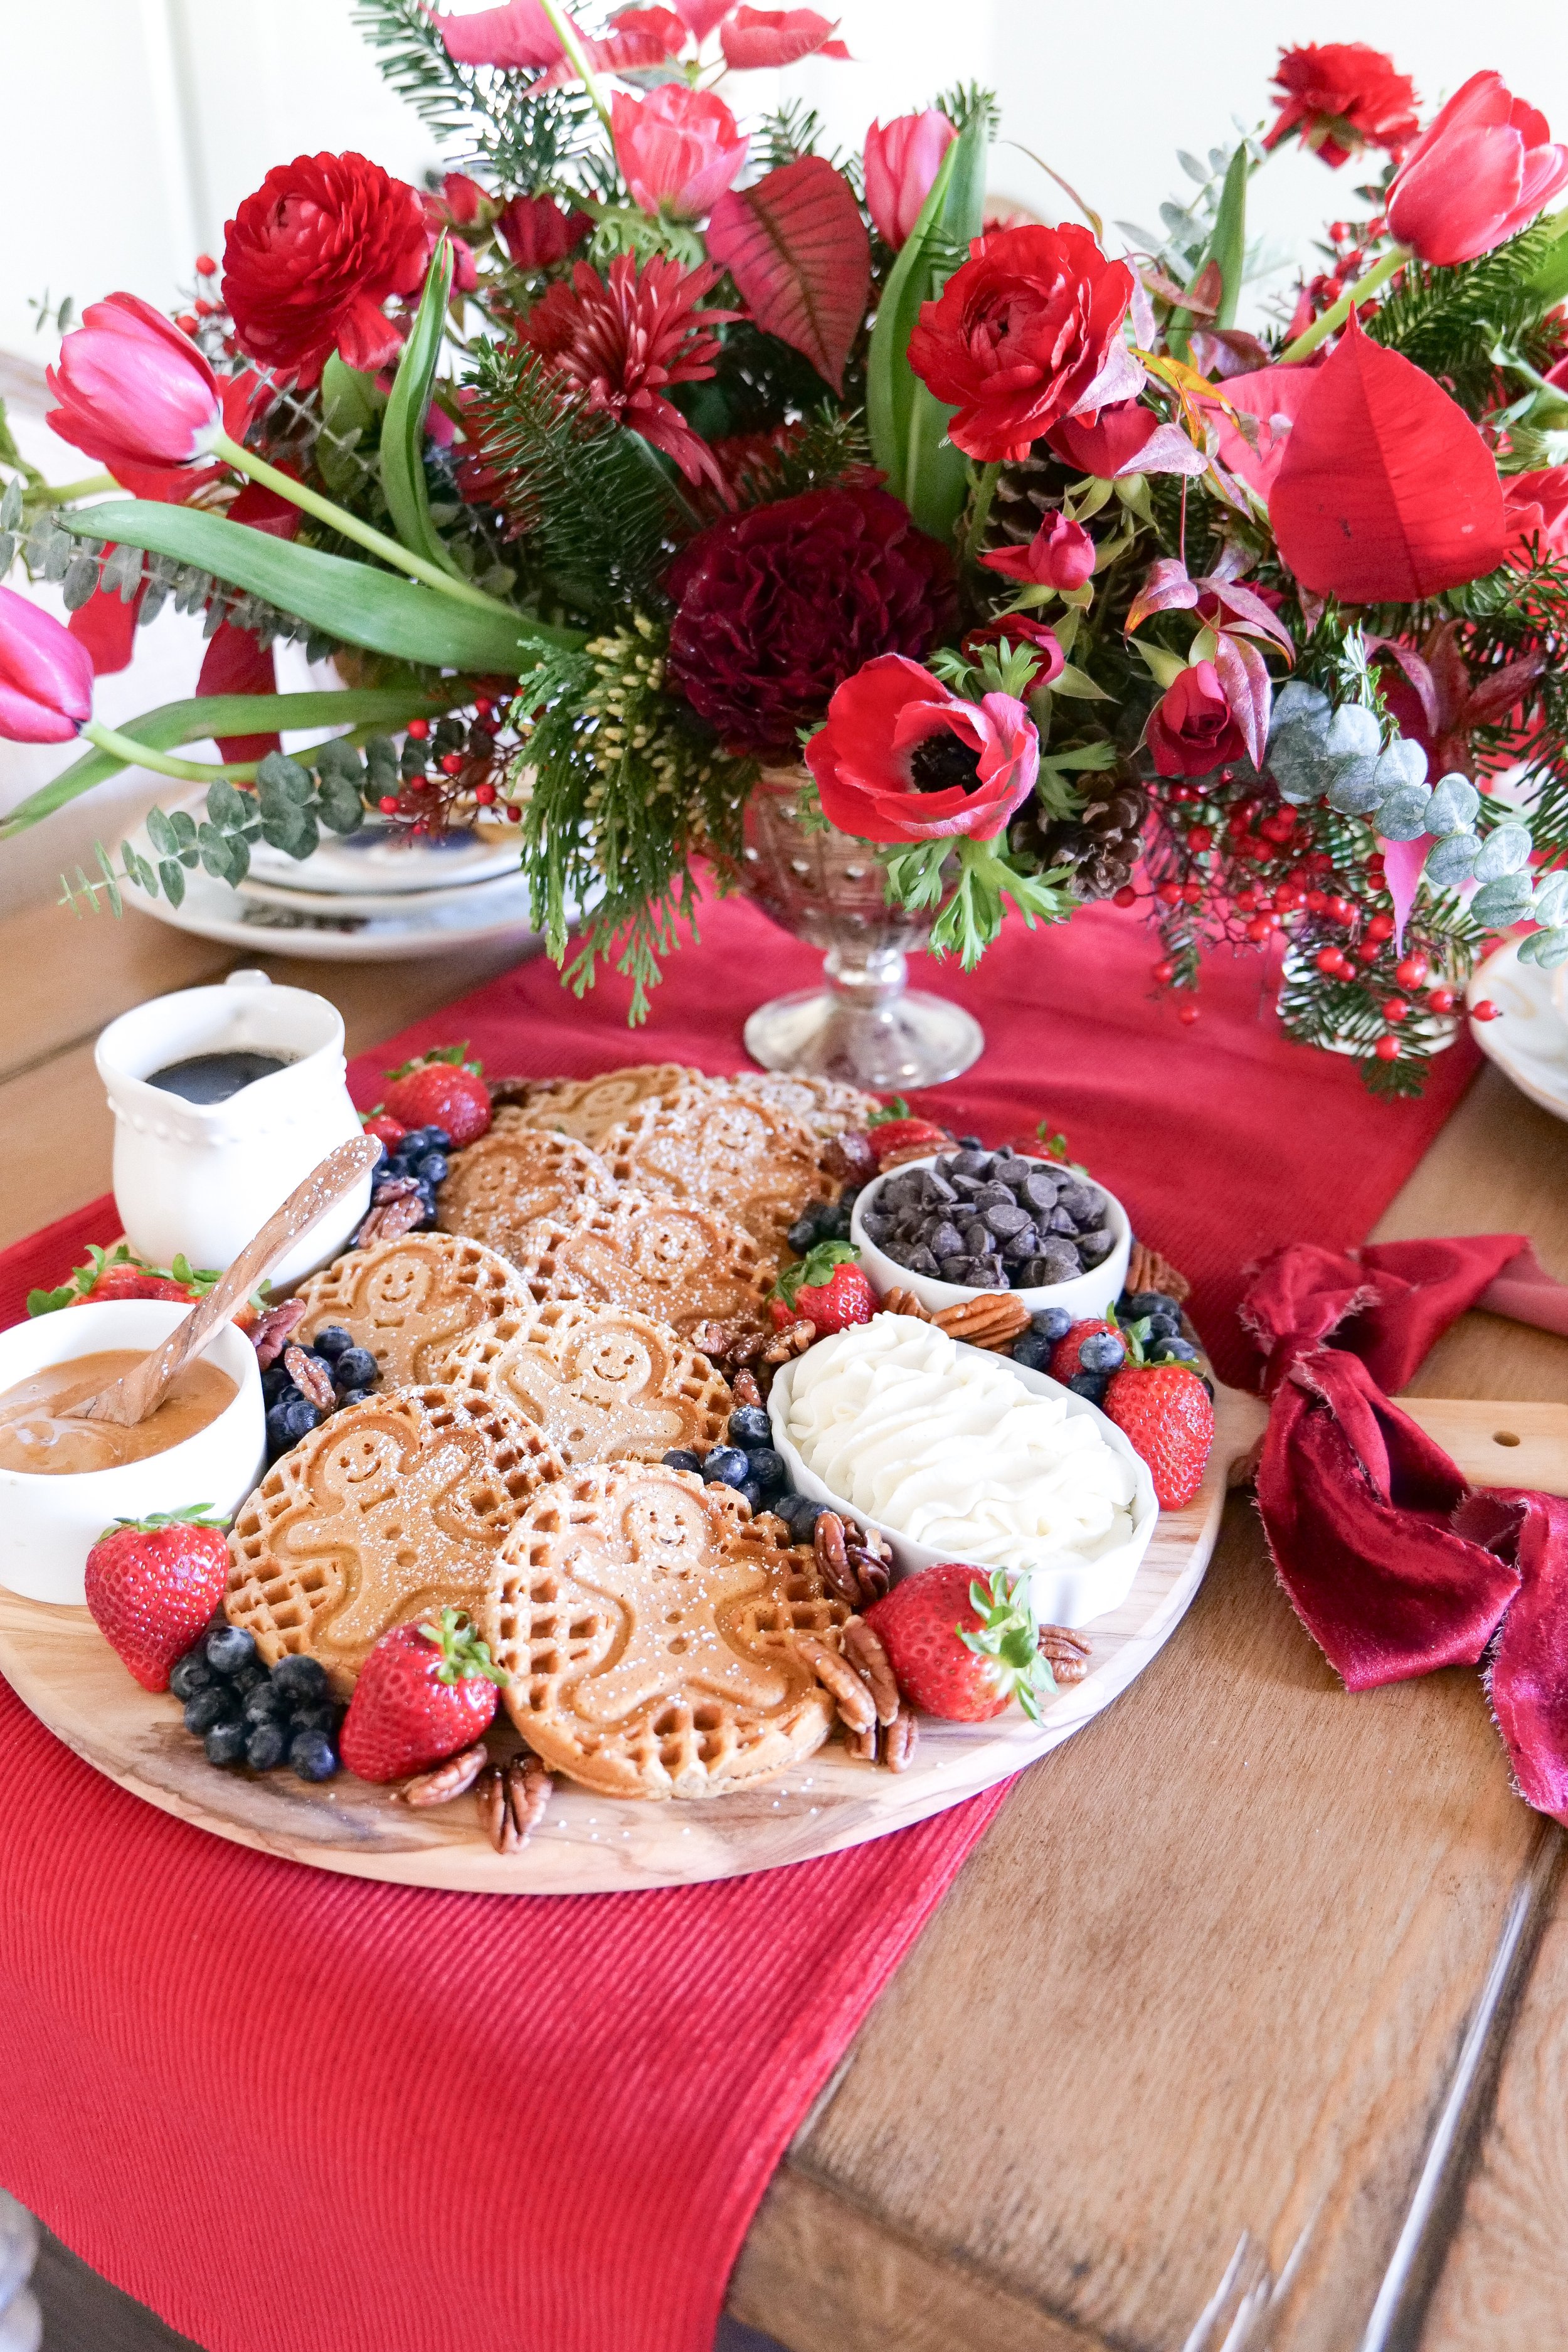
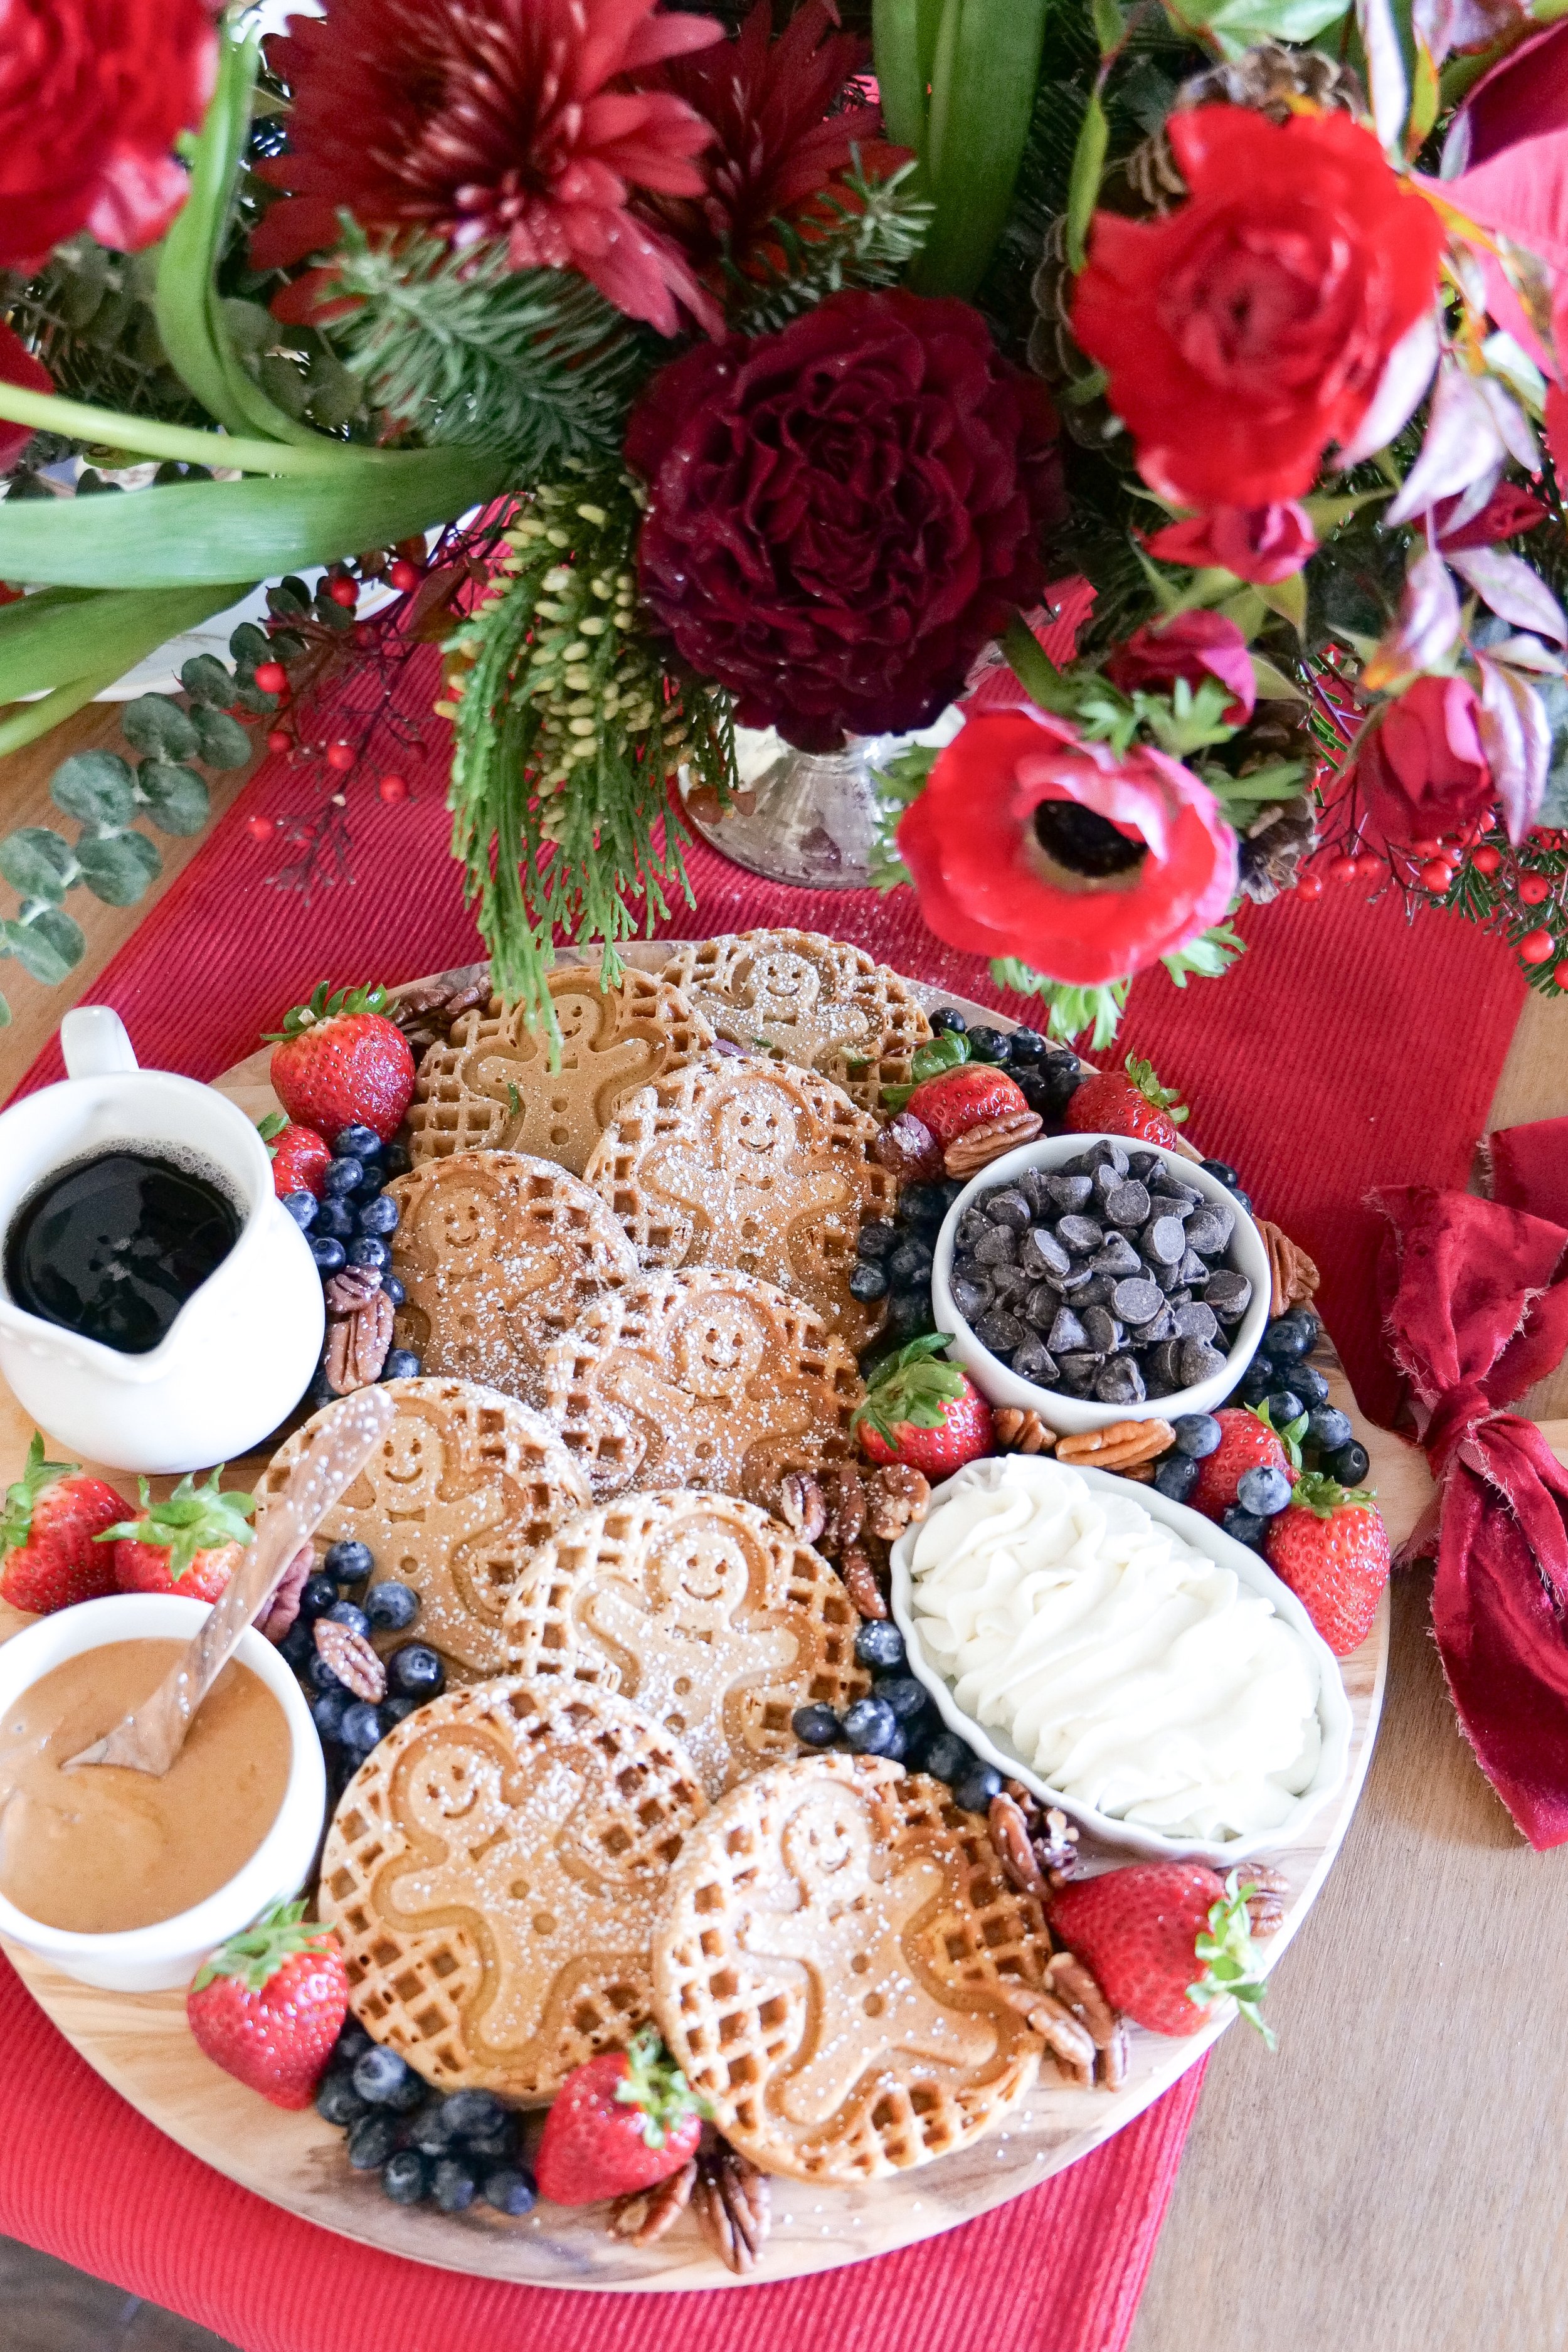
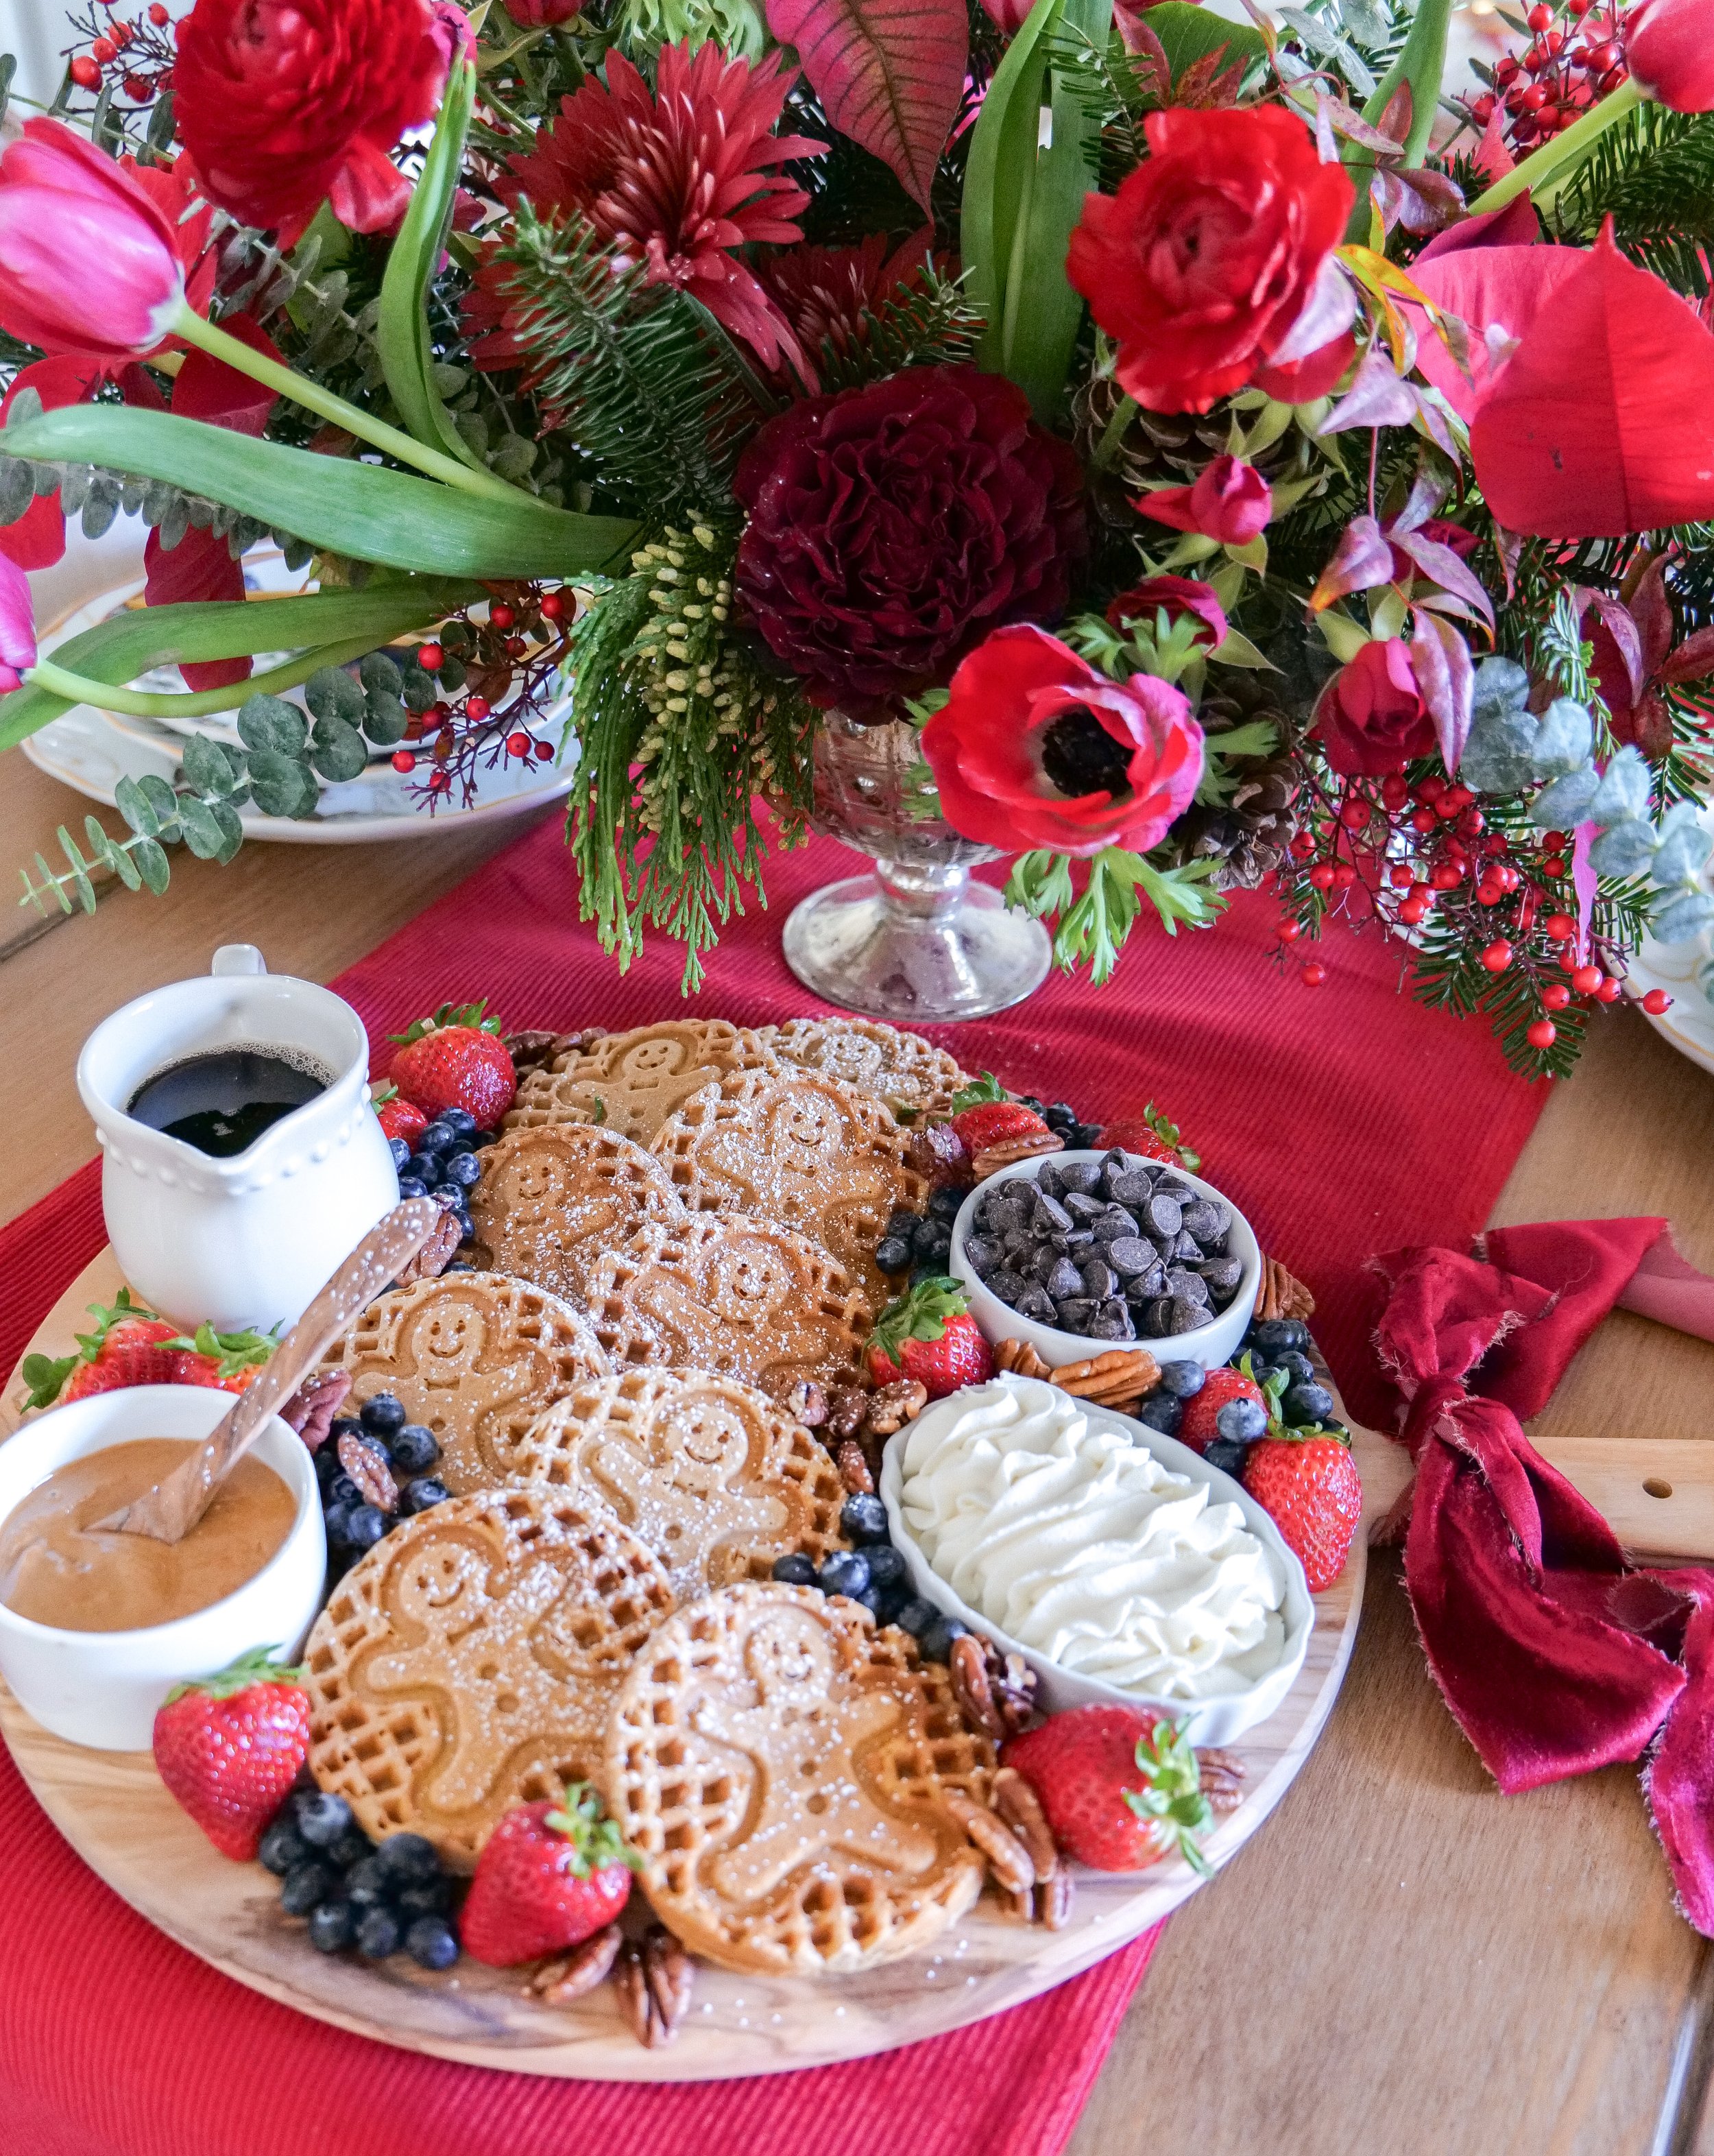
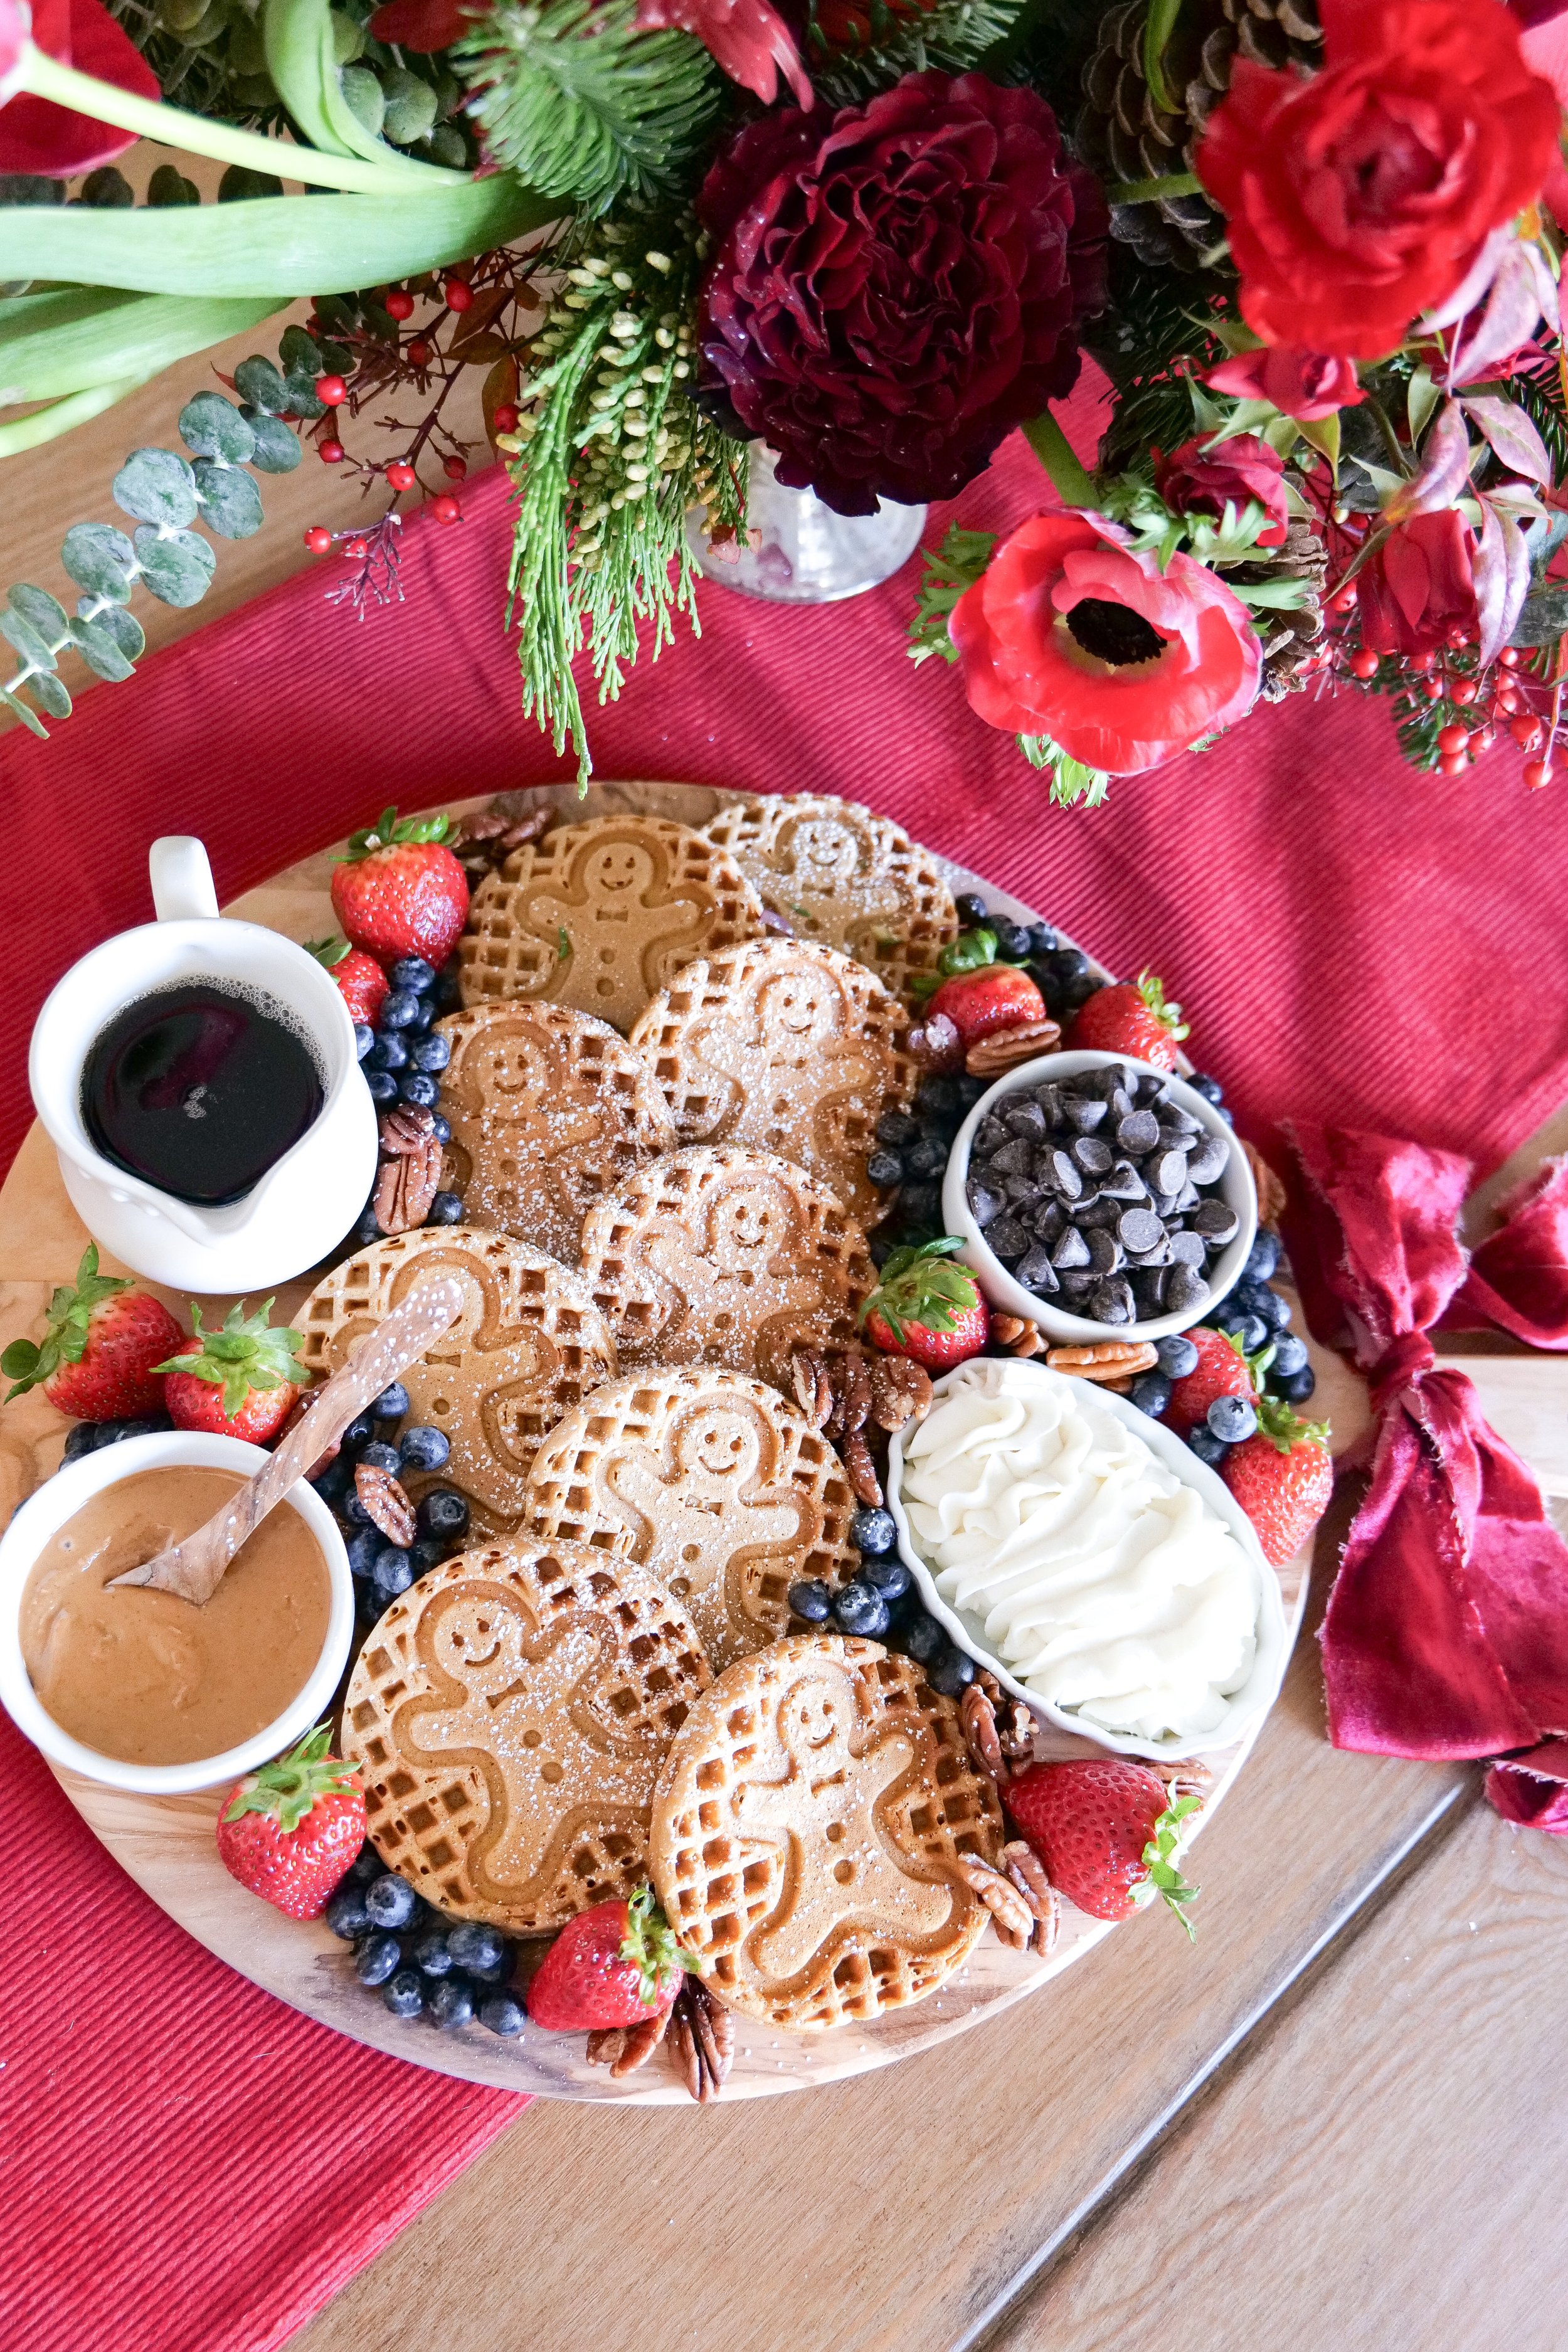
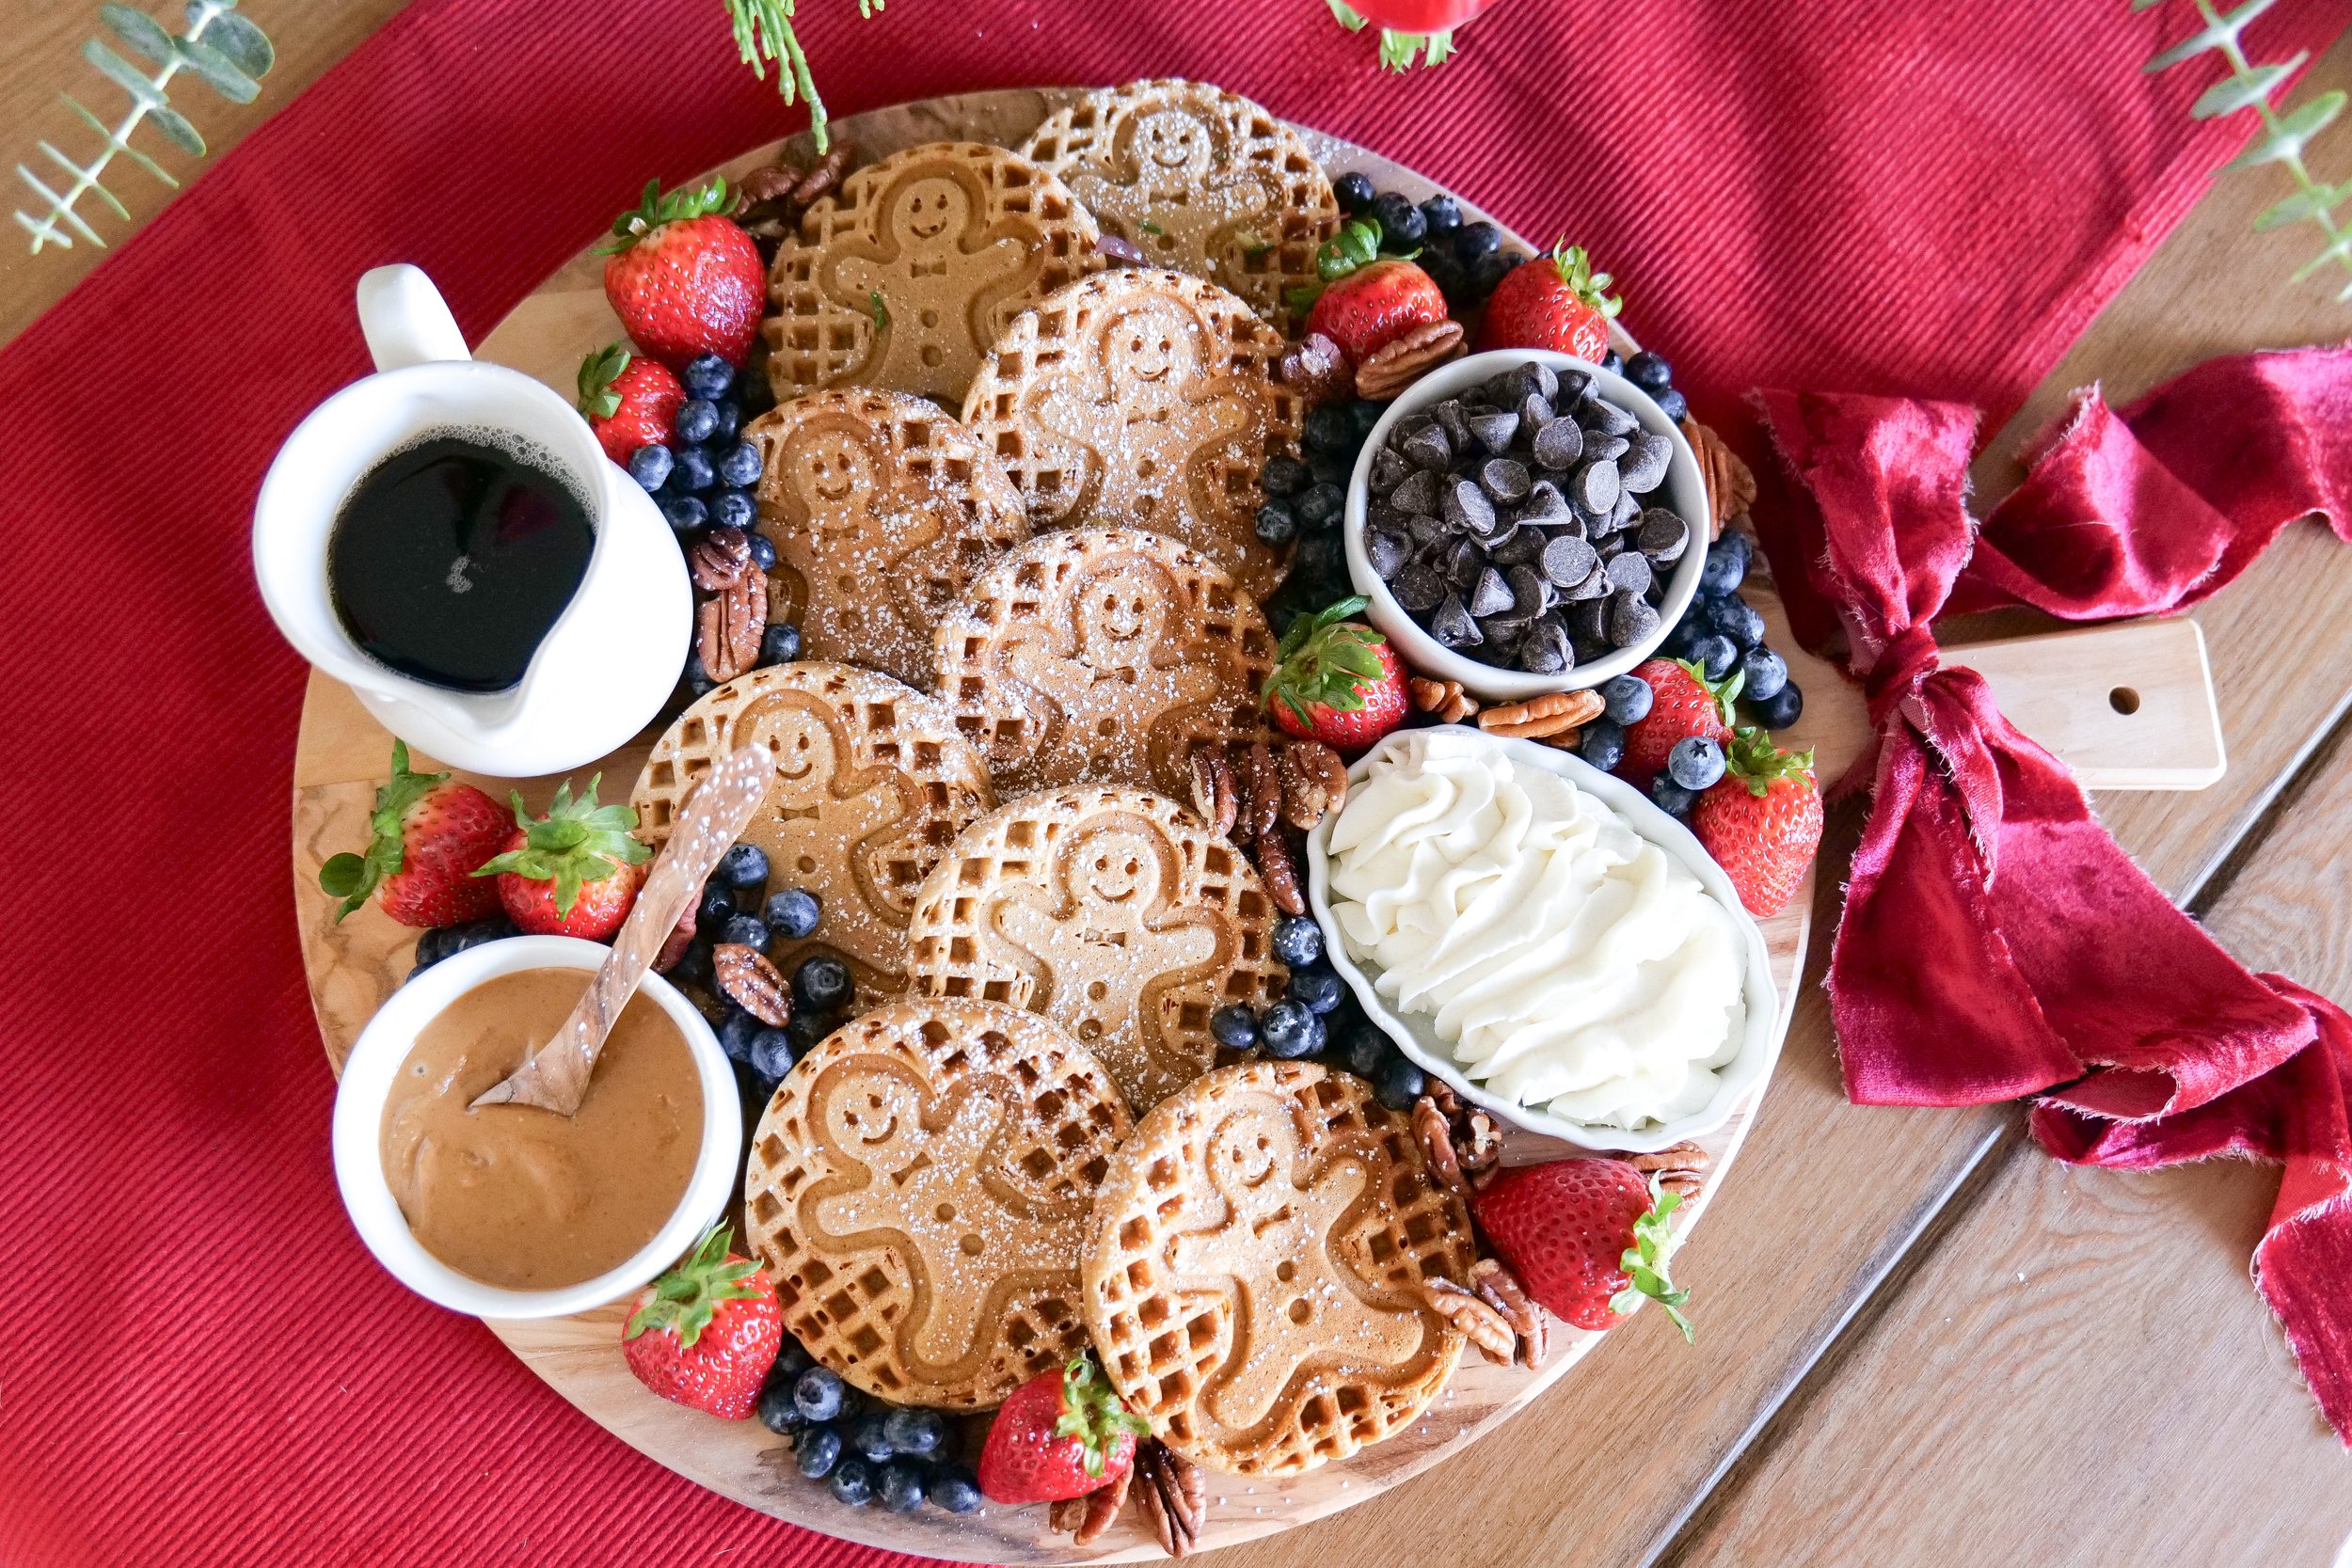
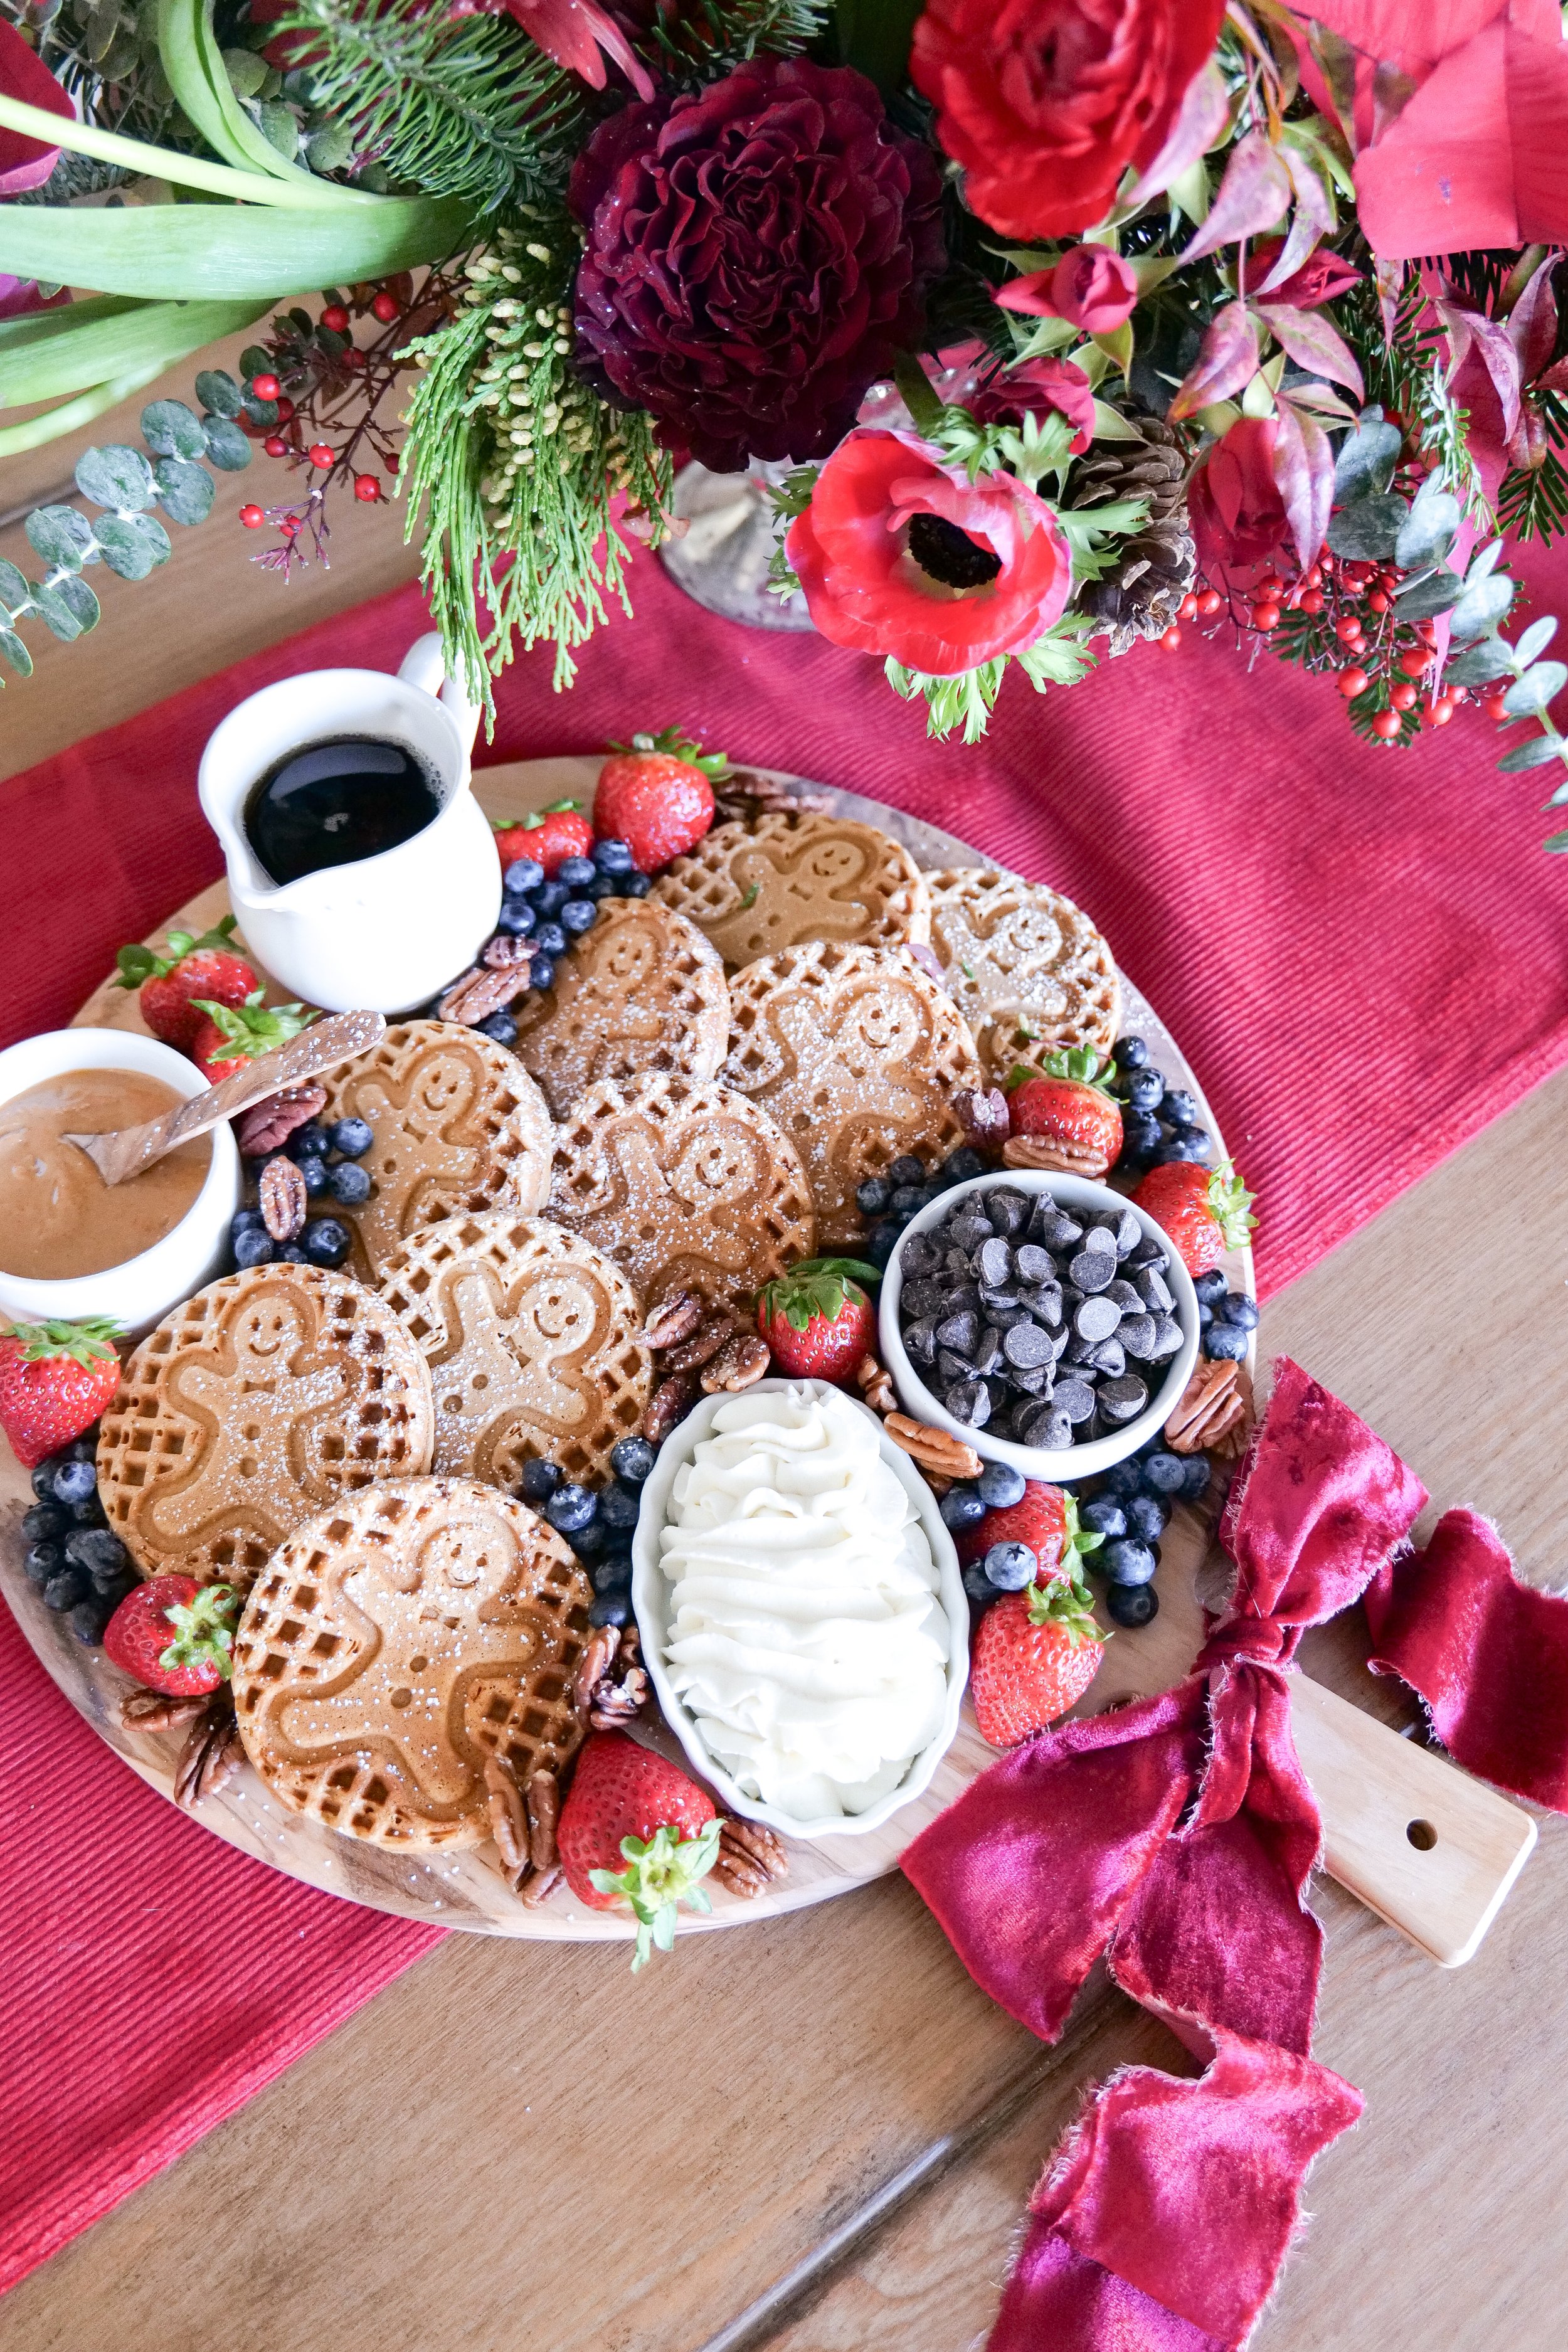
What to Serve with Cinnamon Rolls?
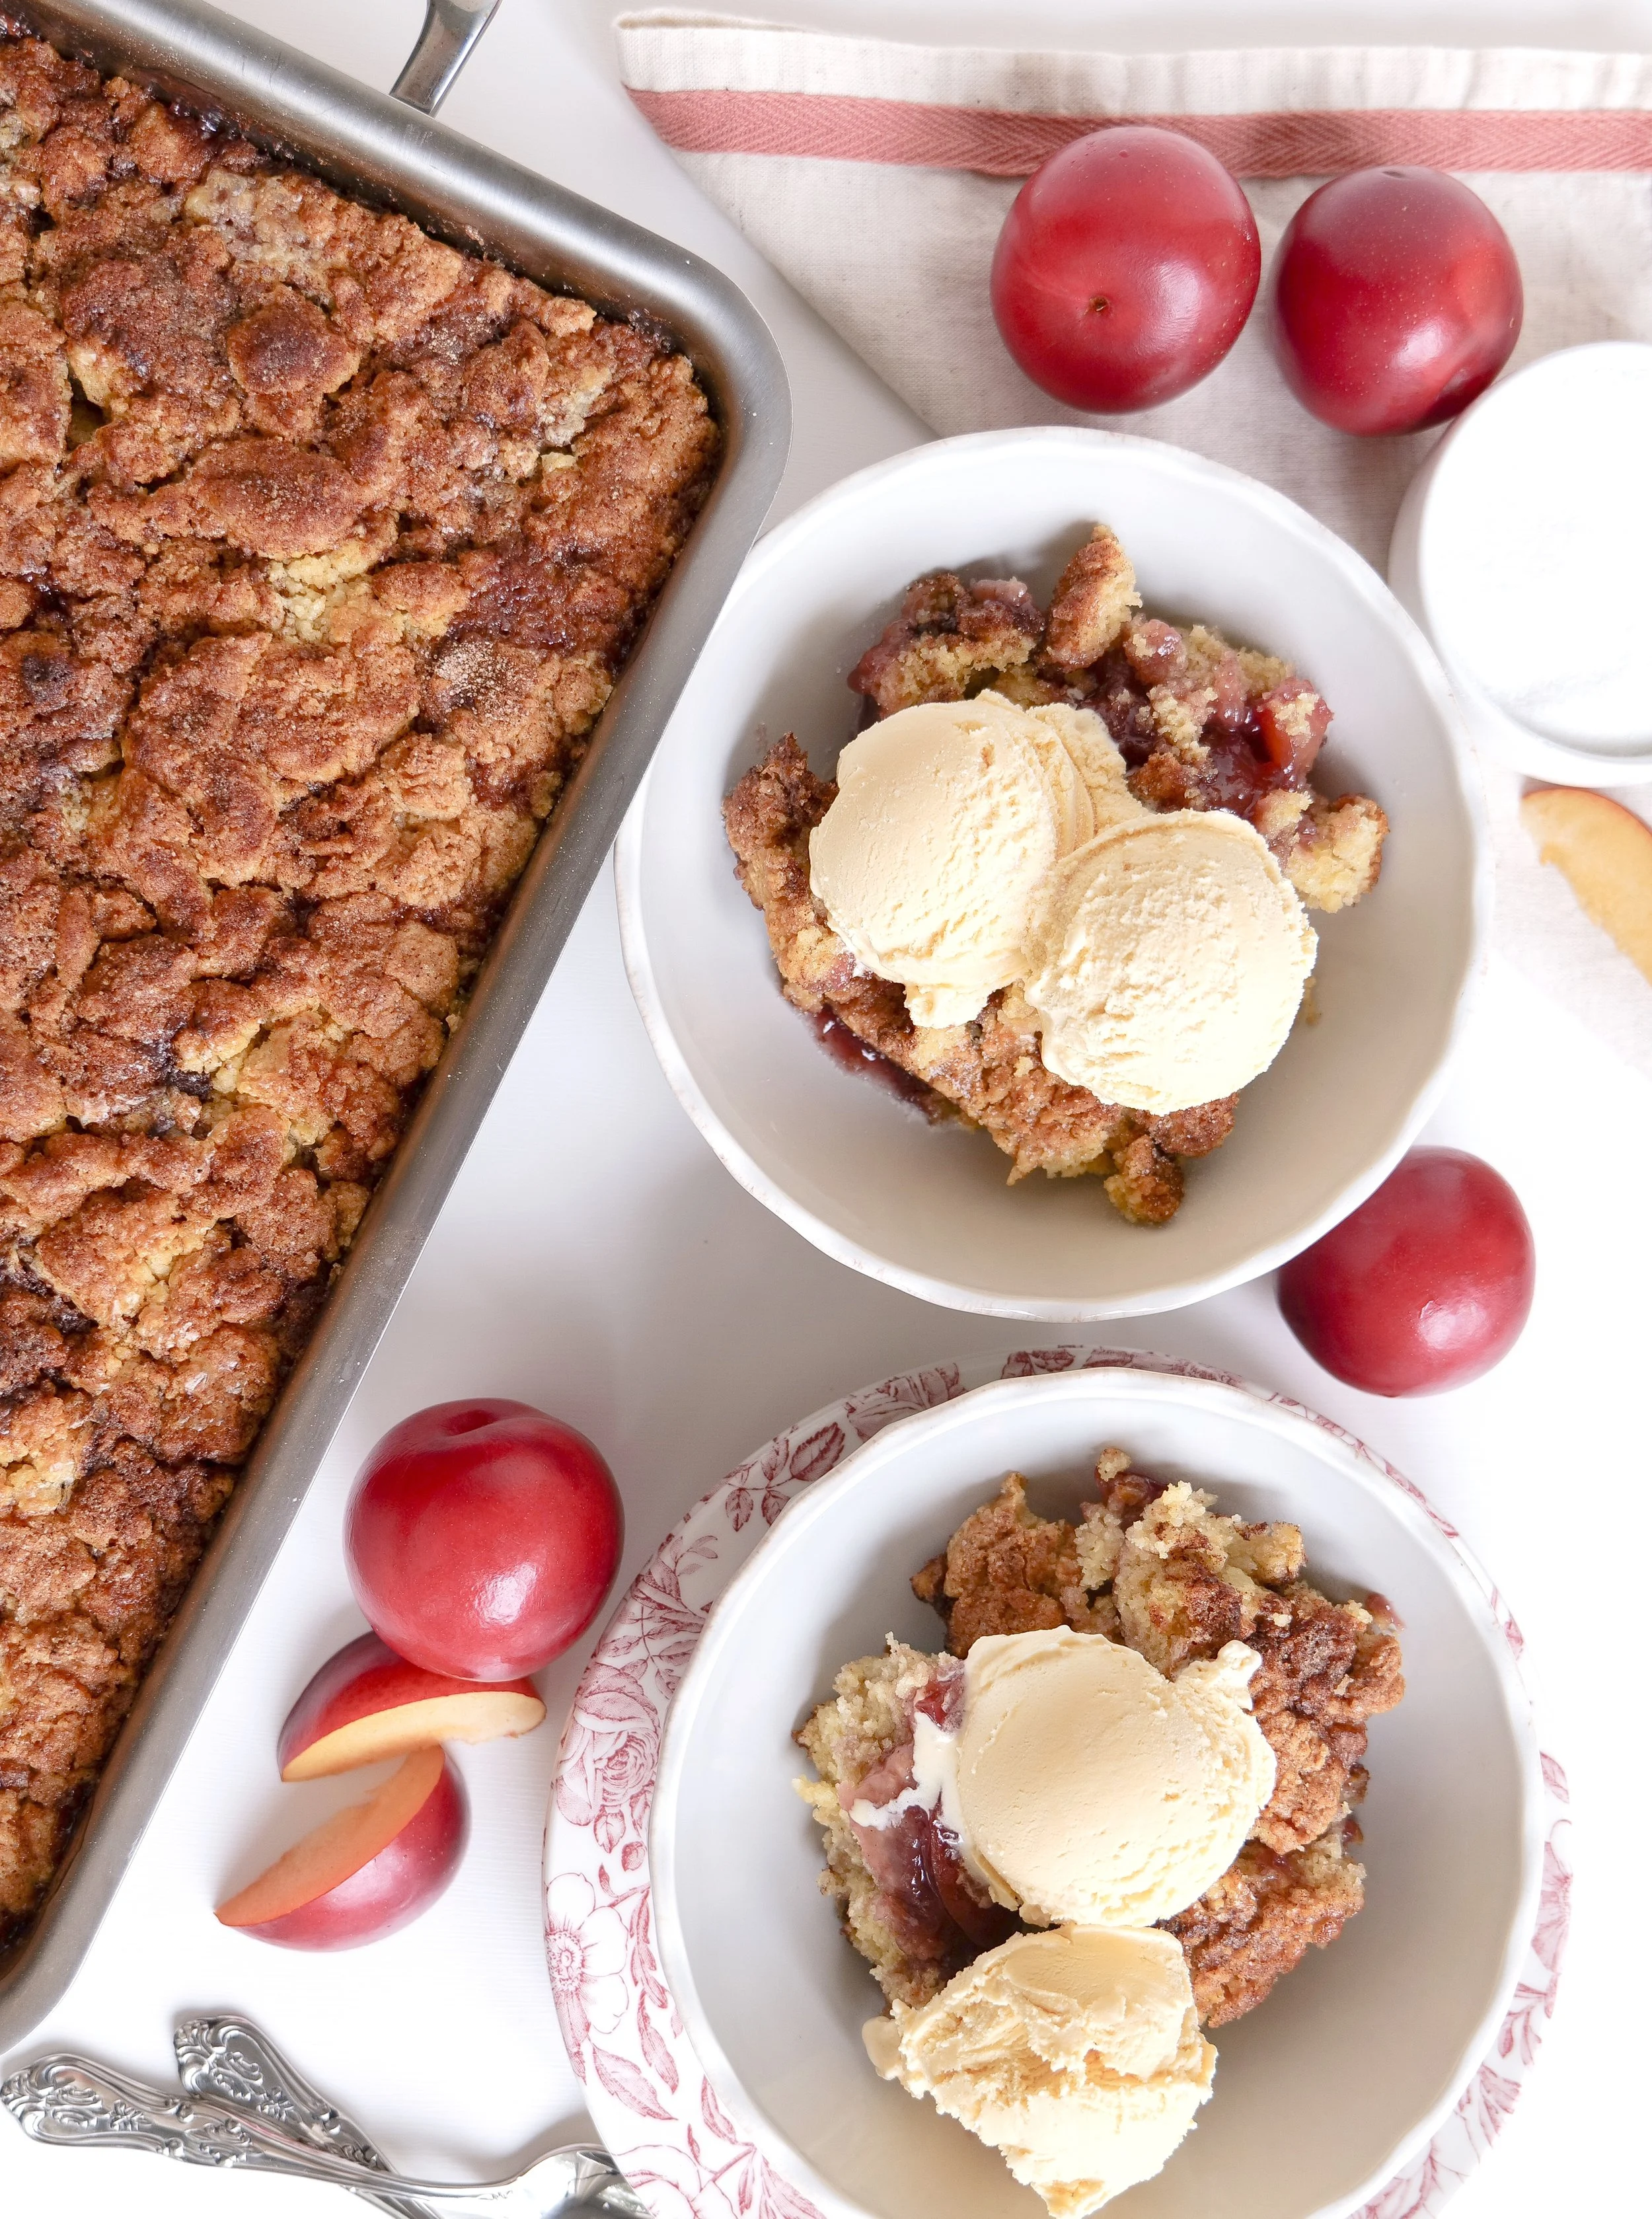
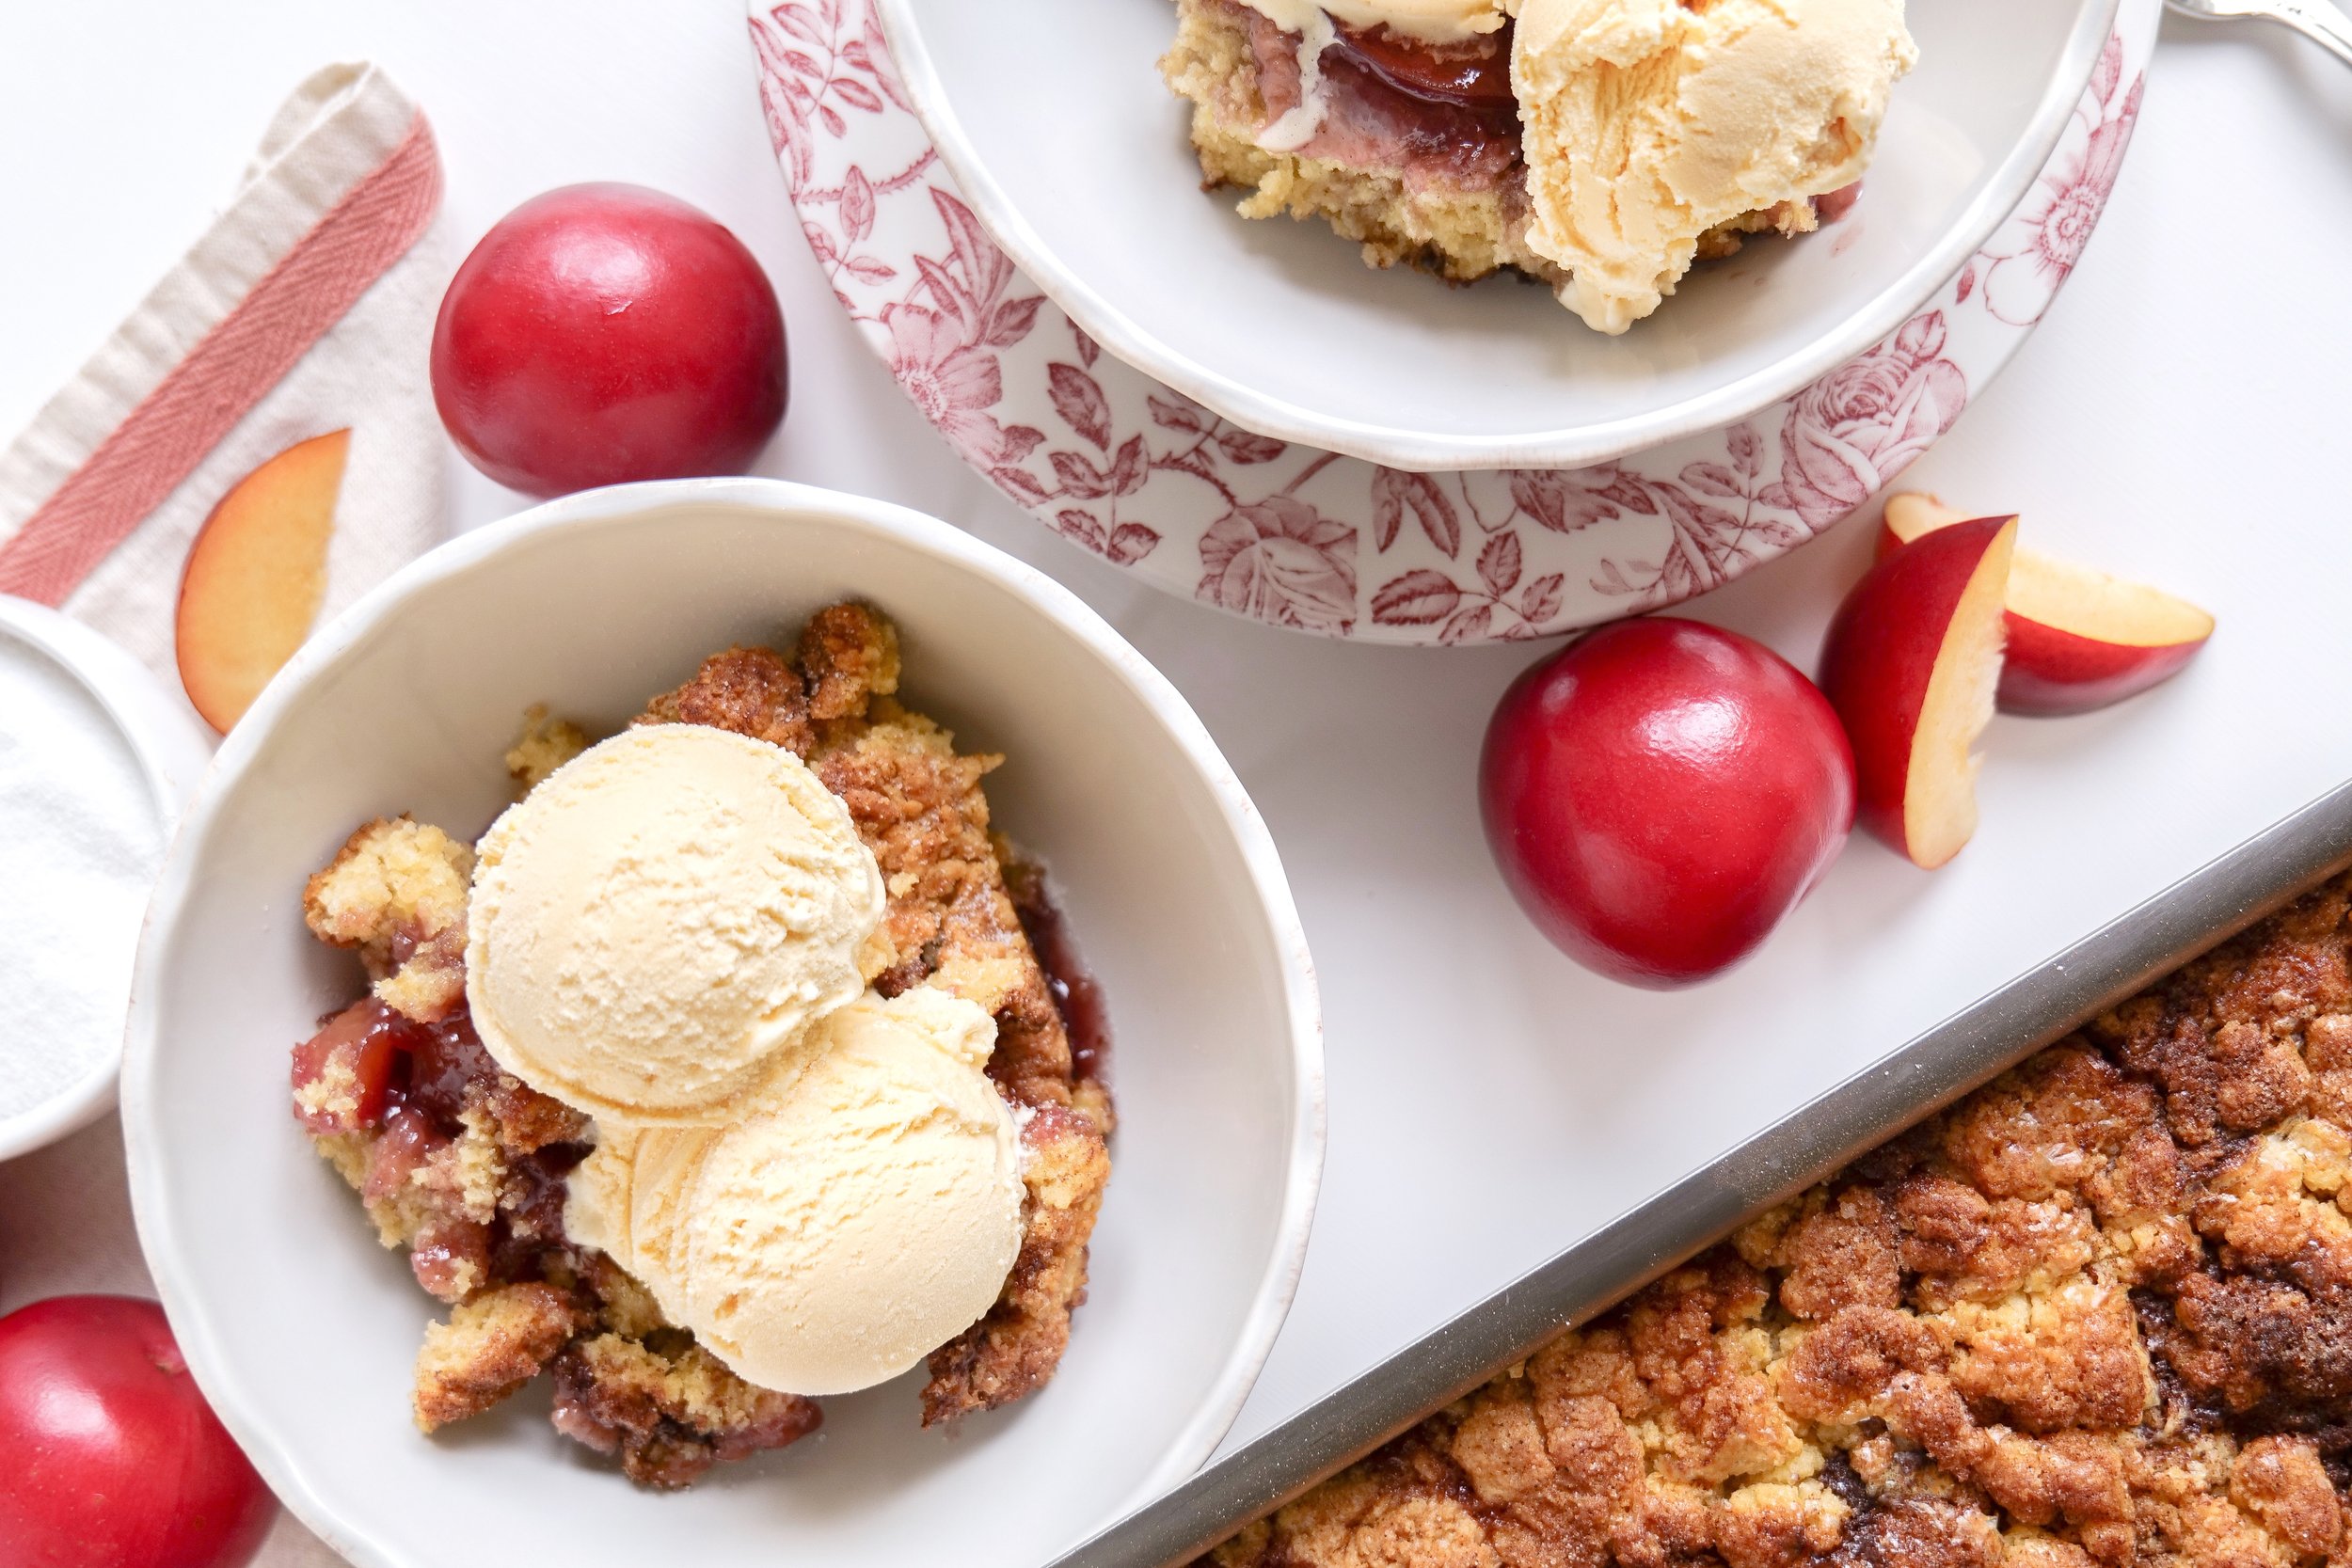
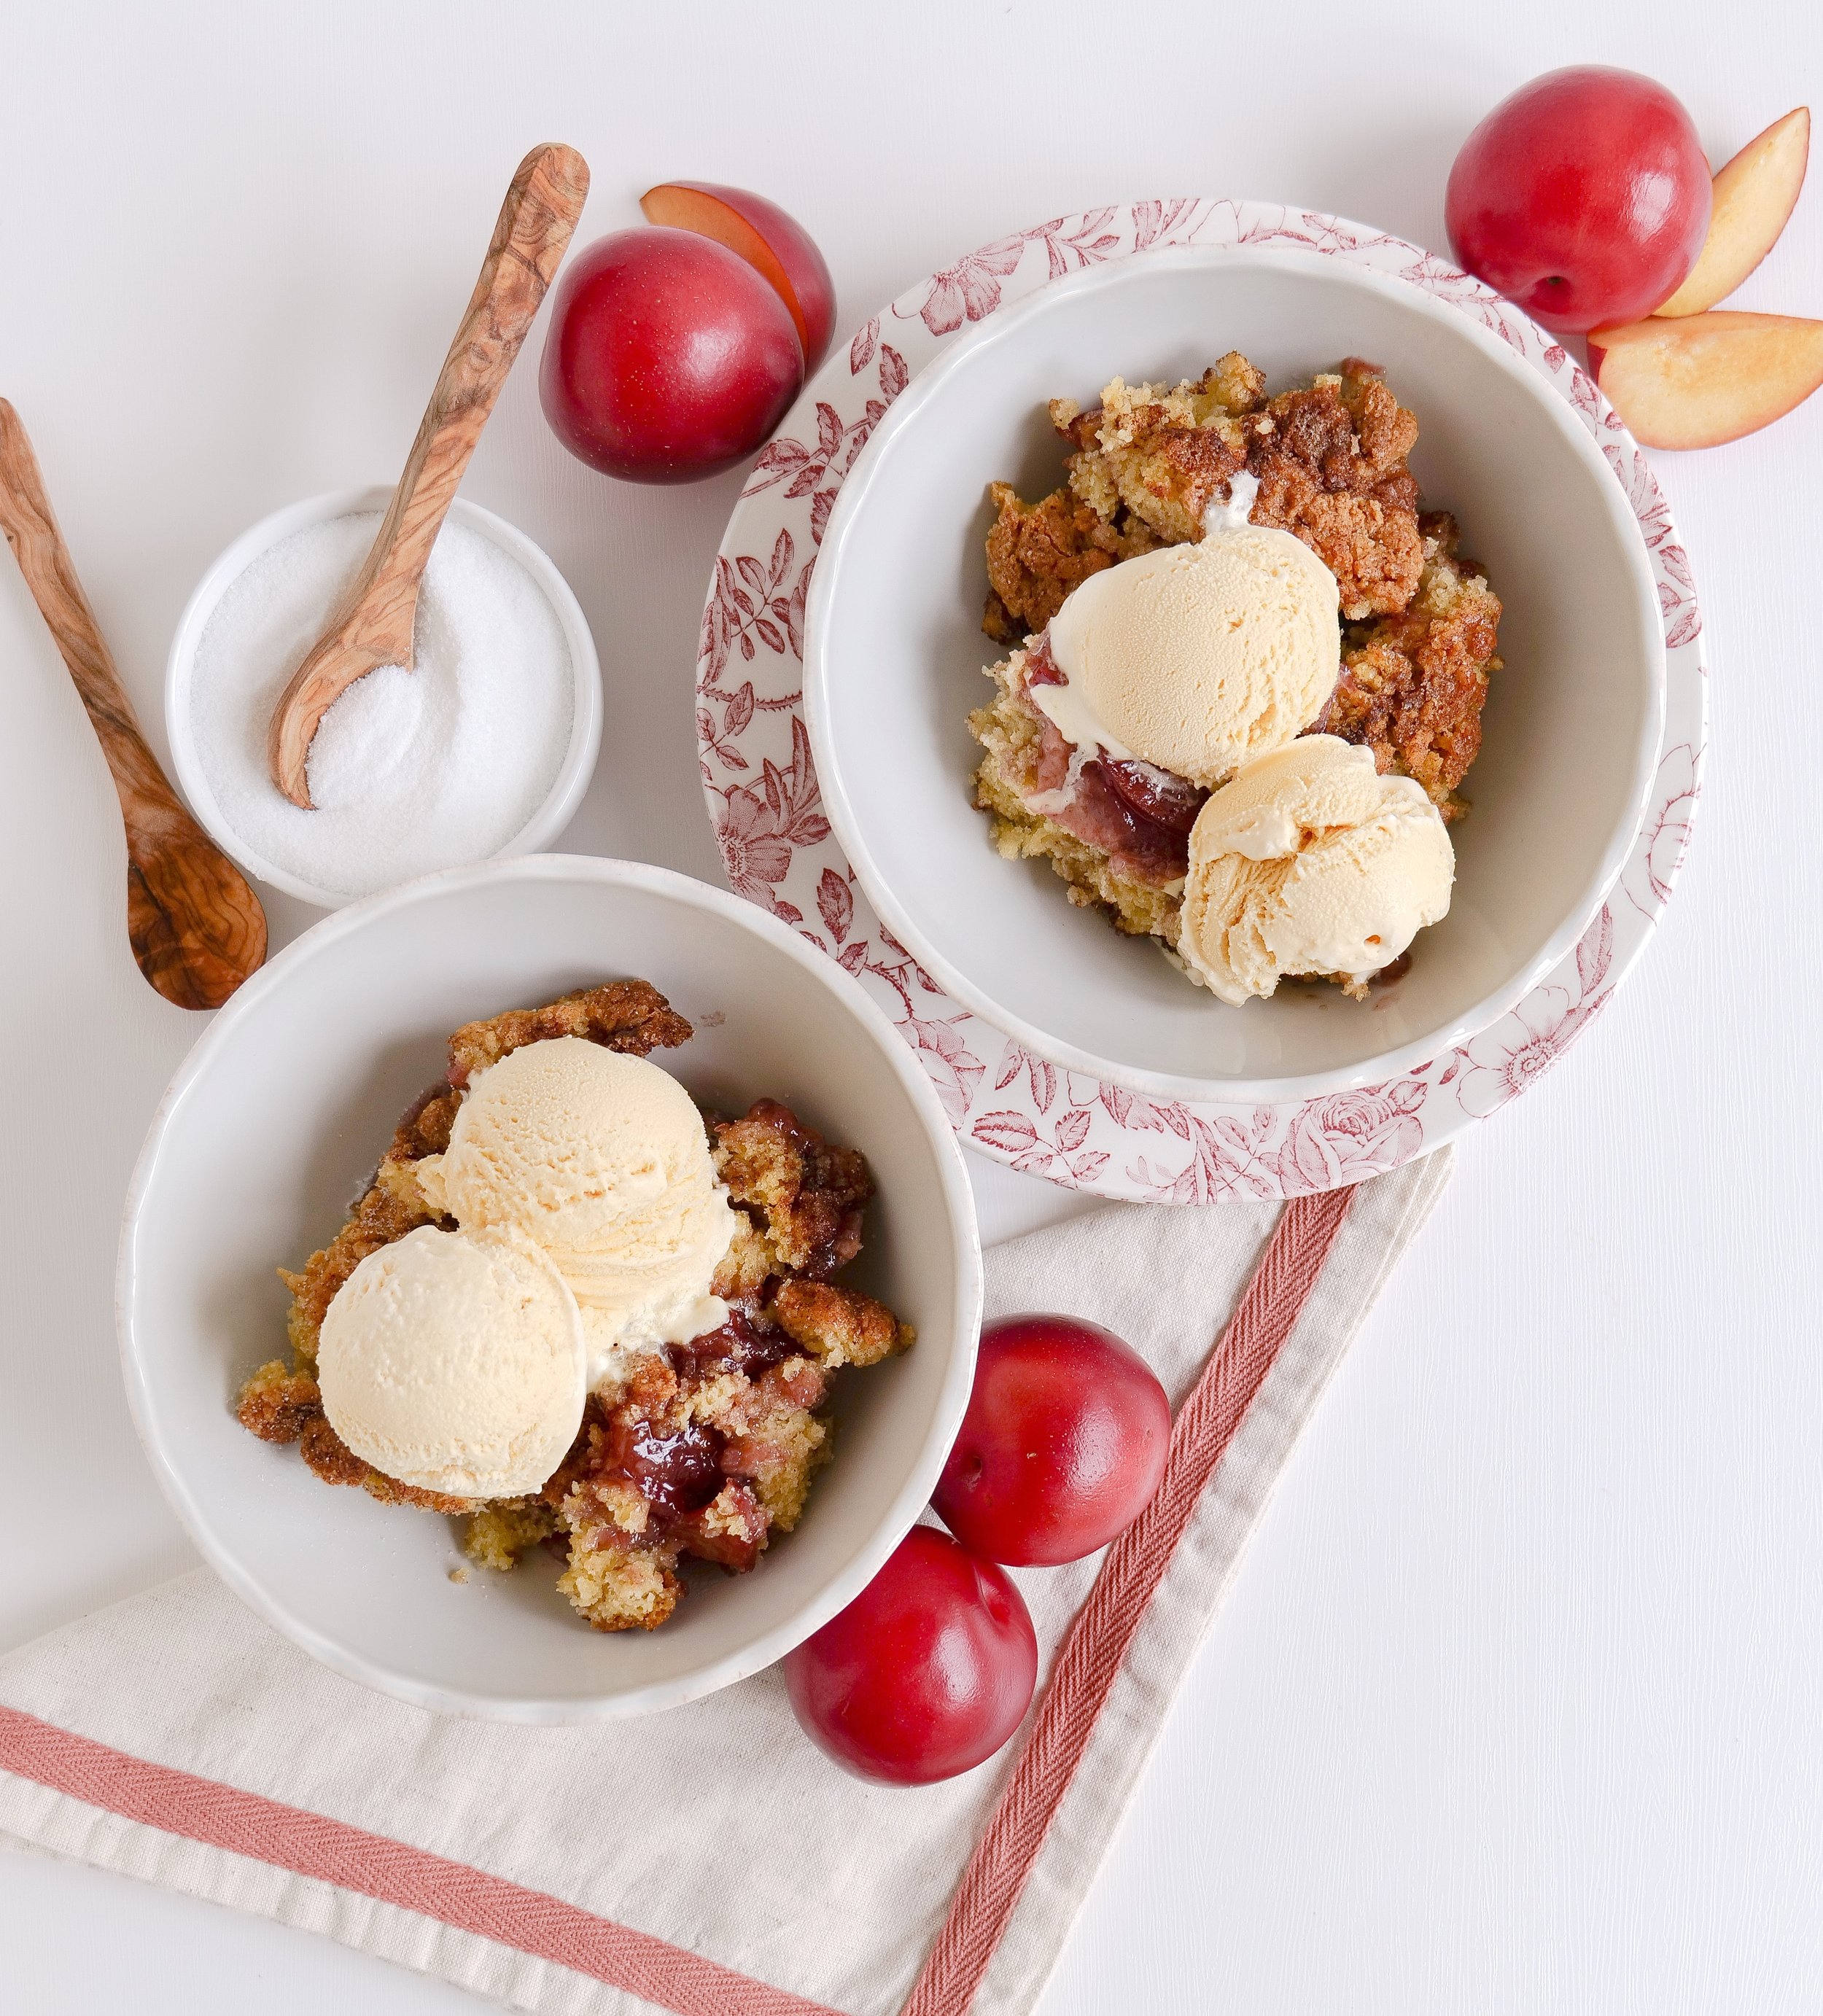
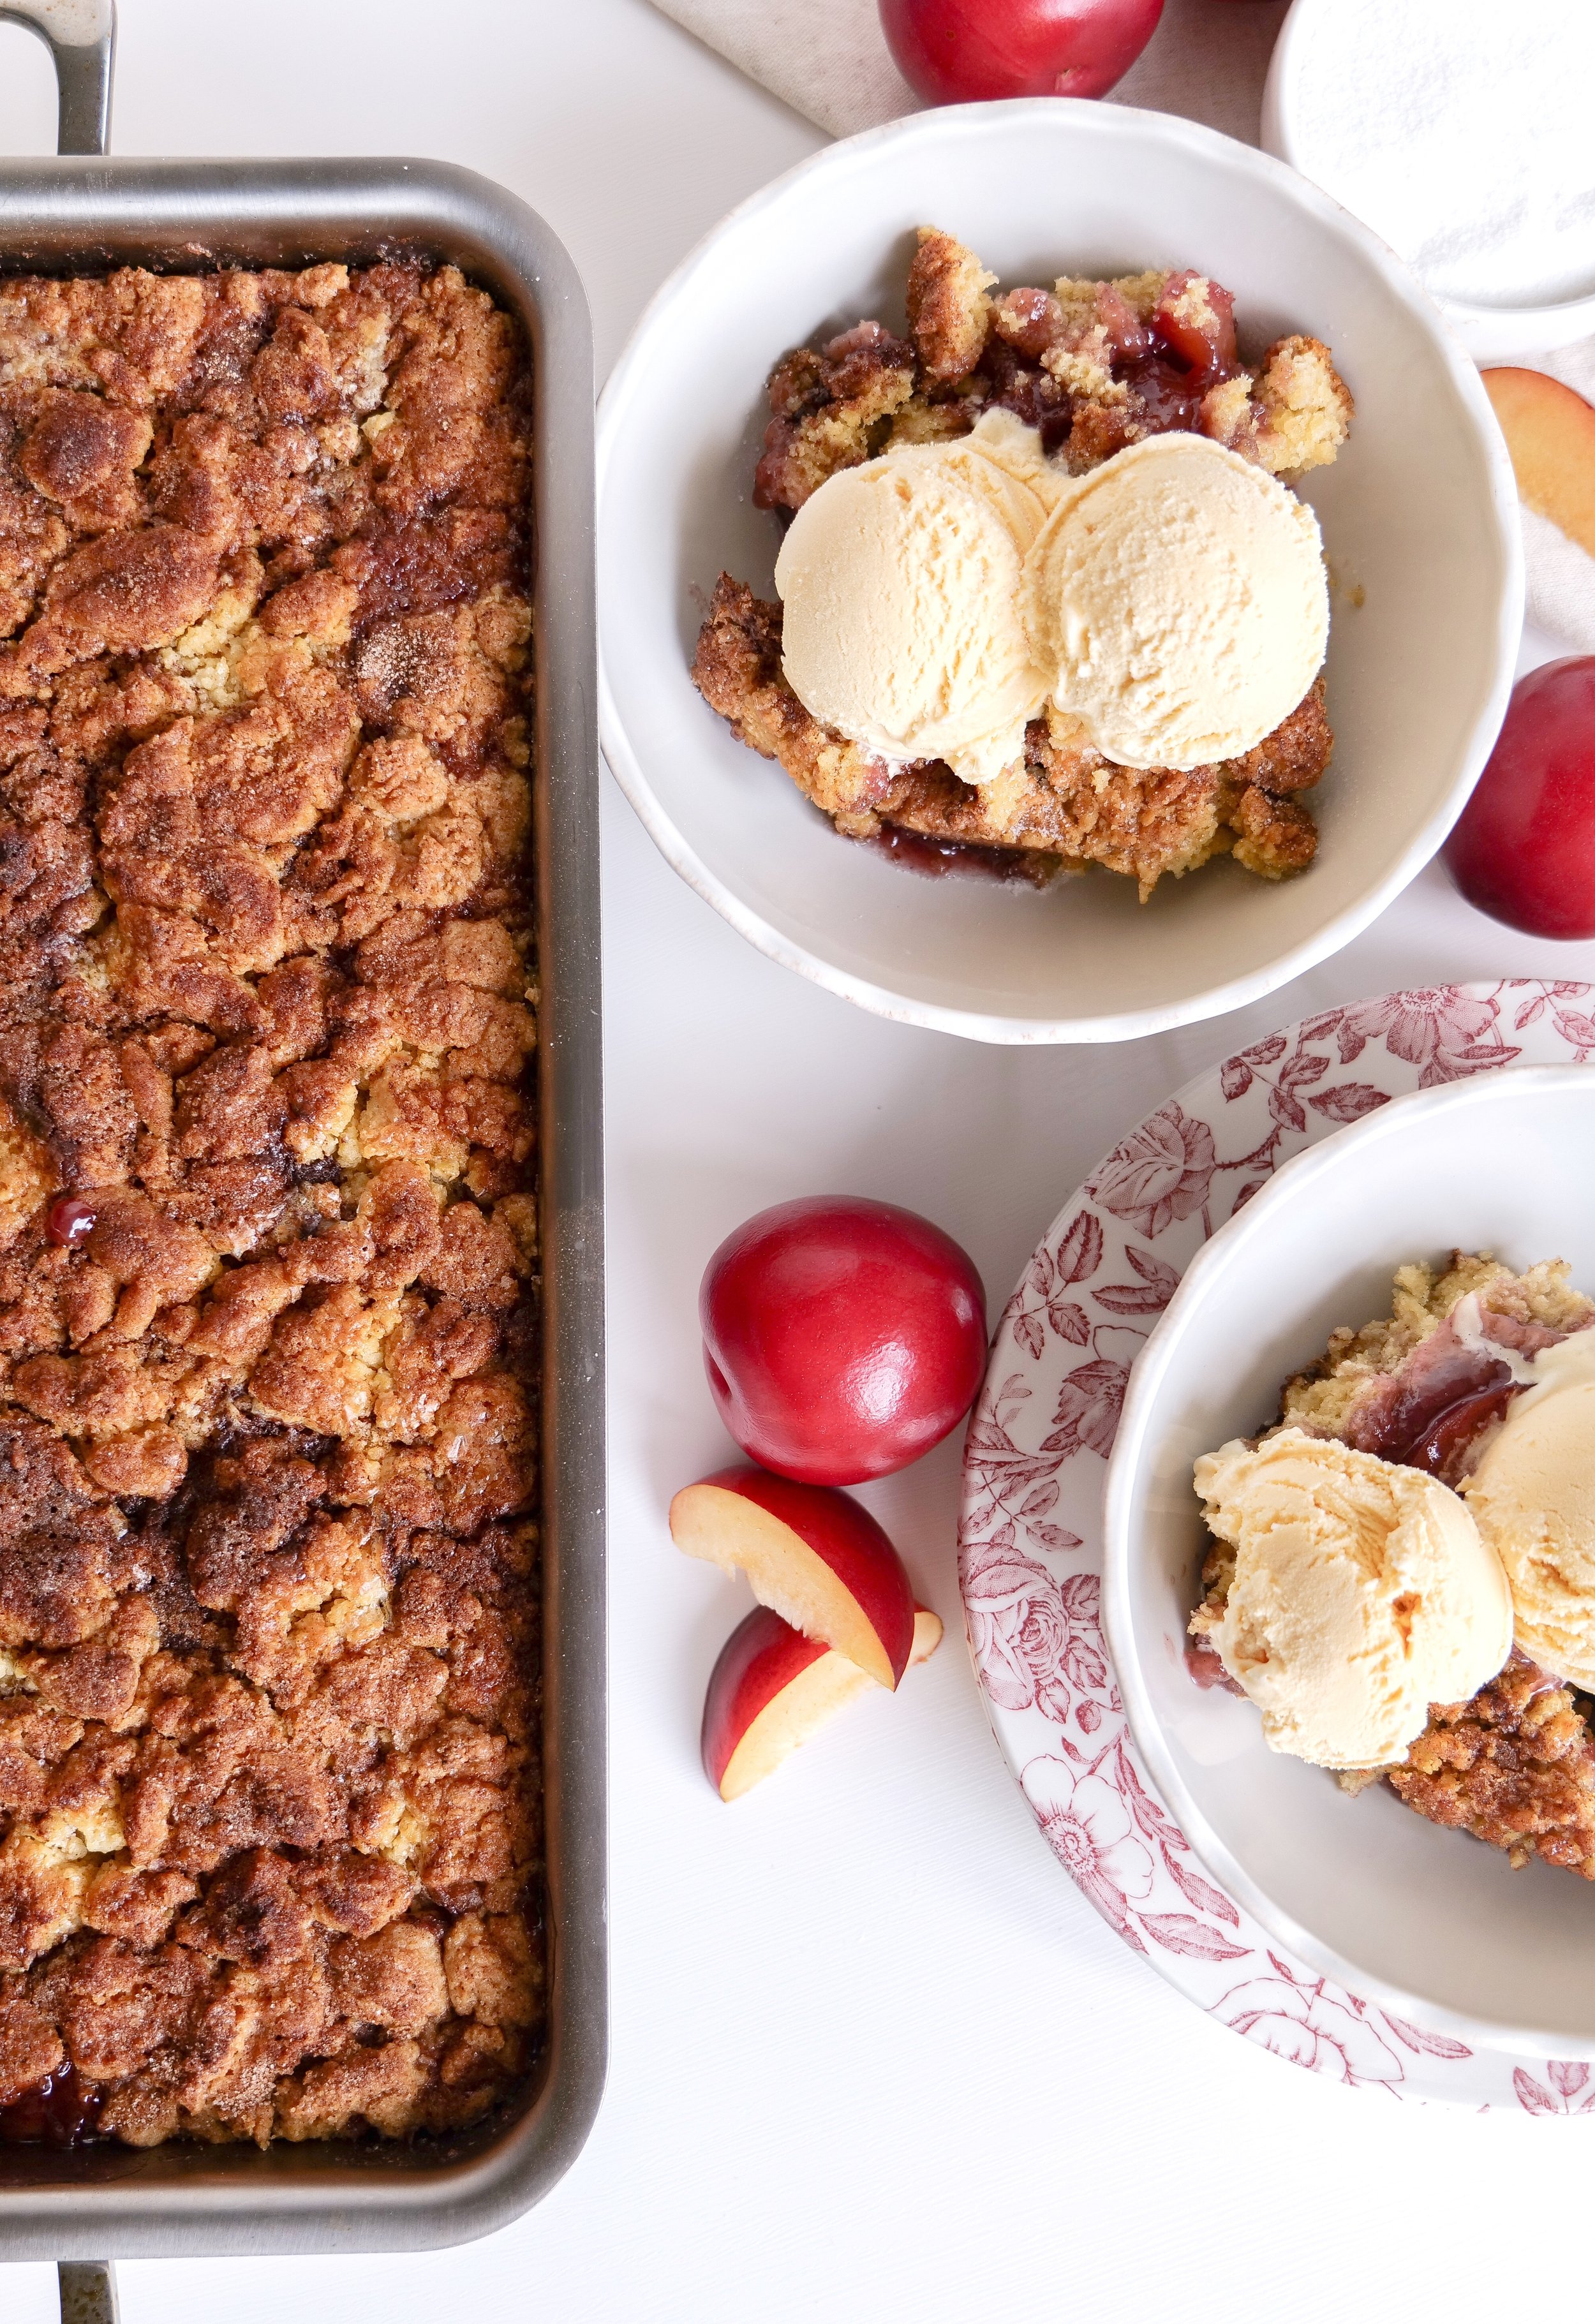
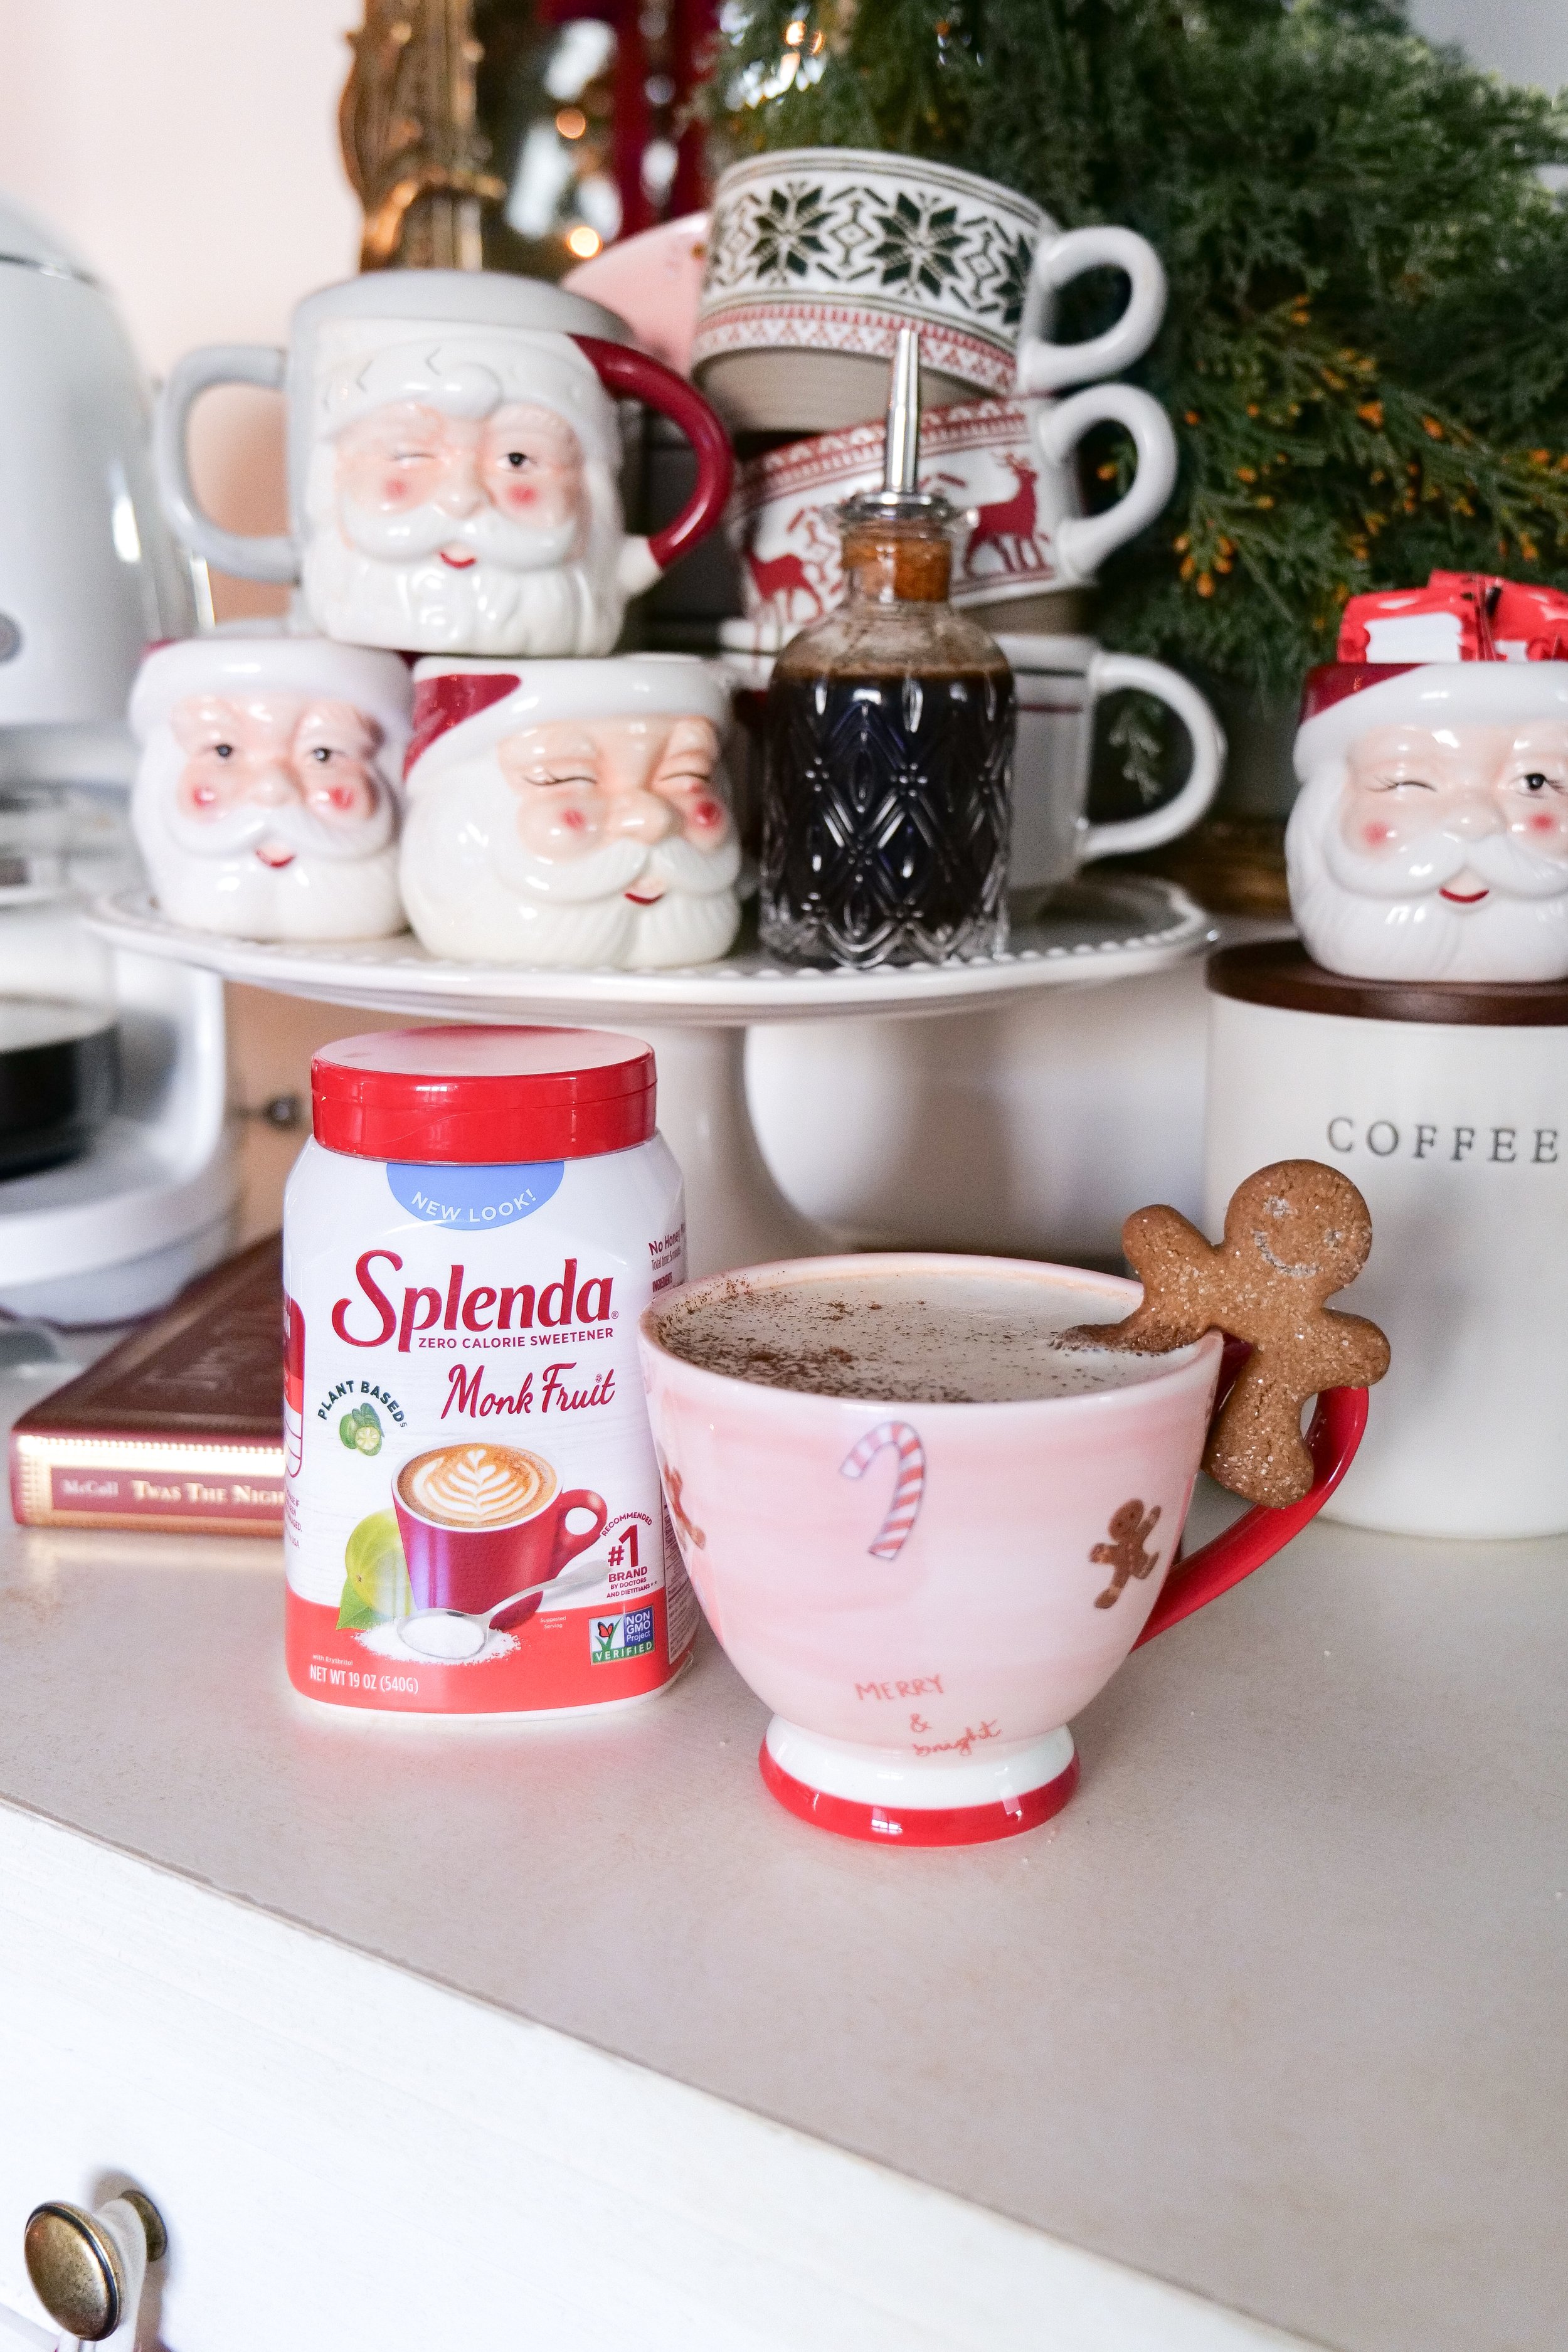
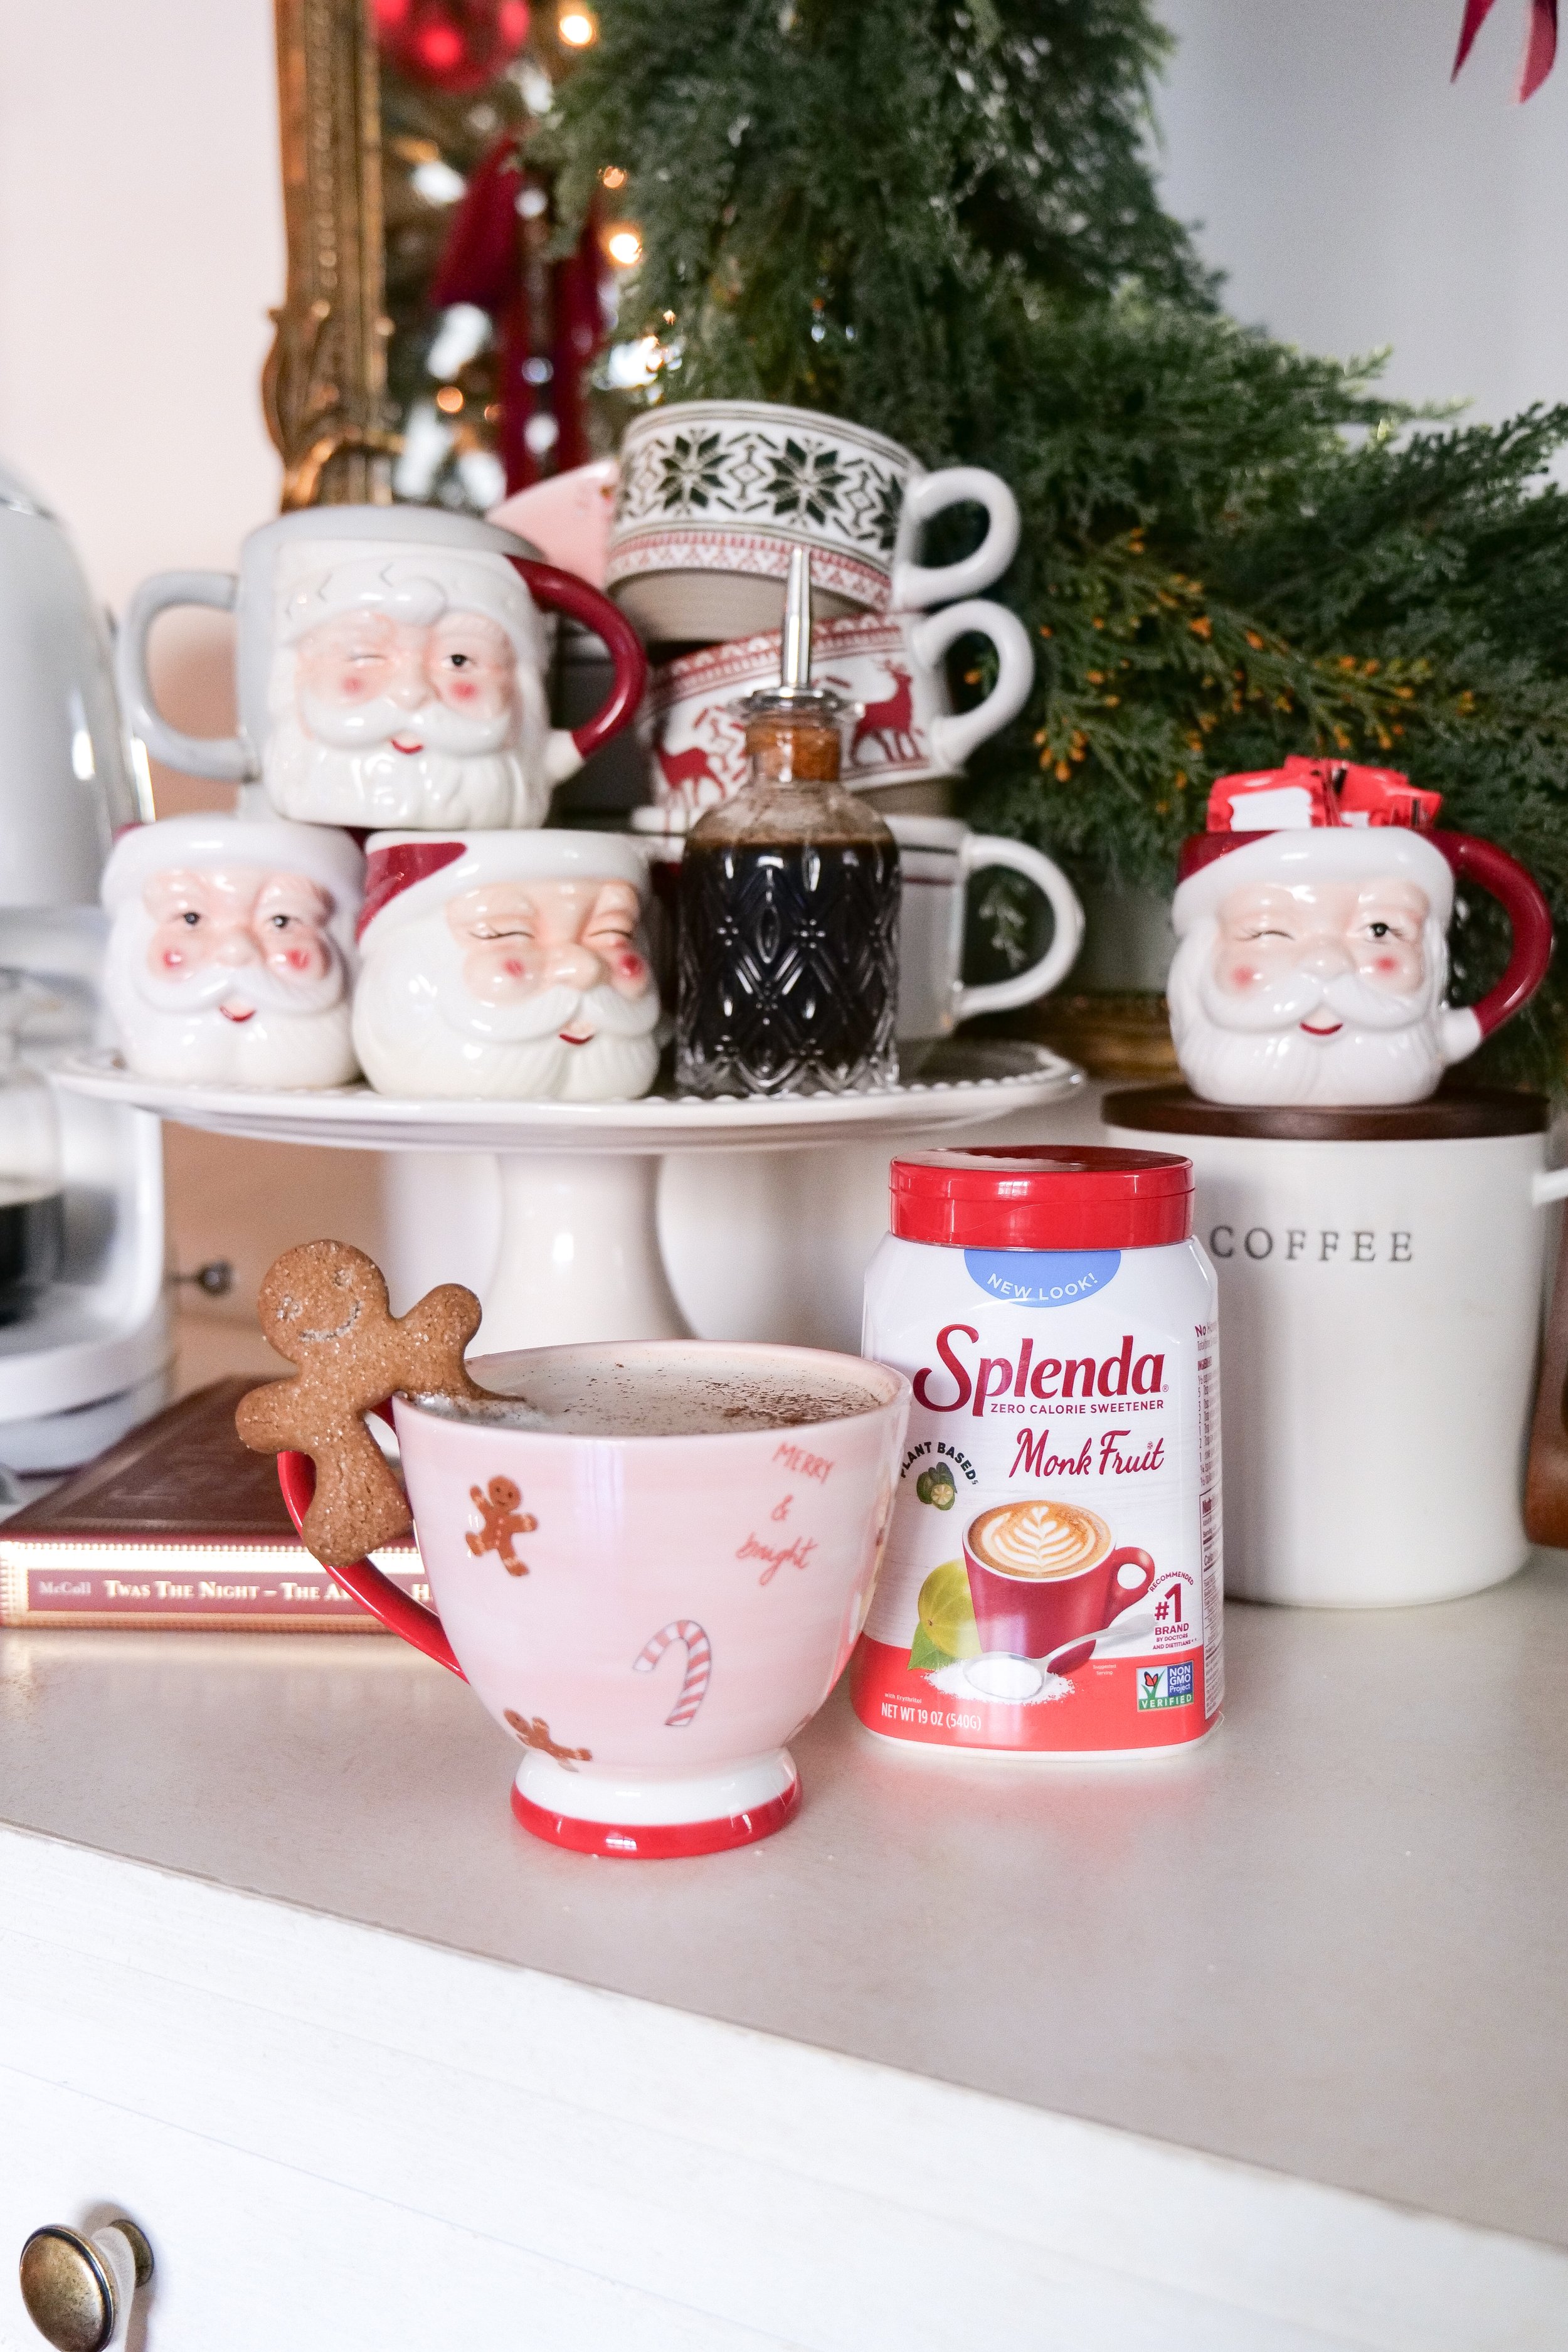
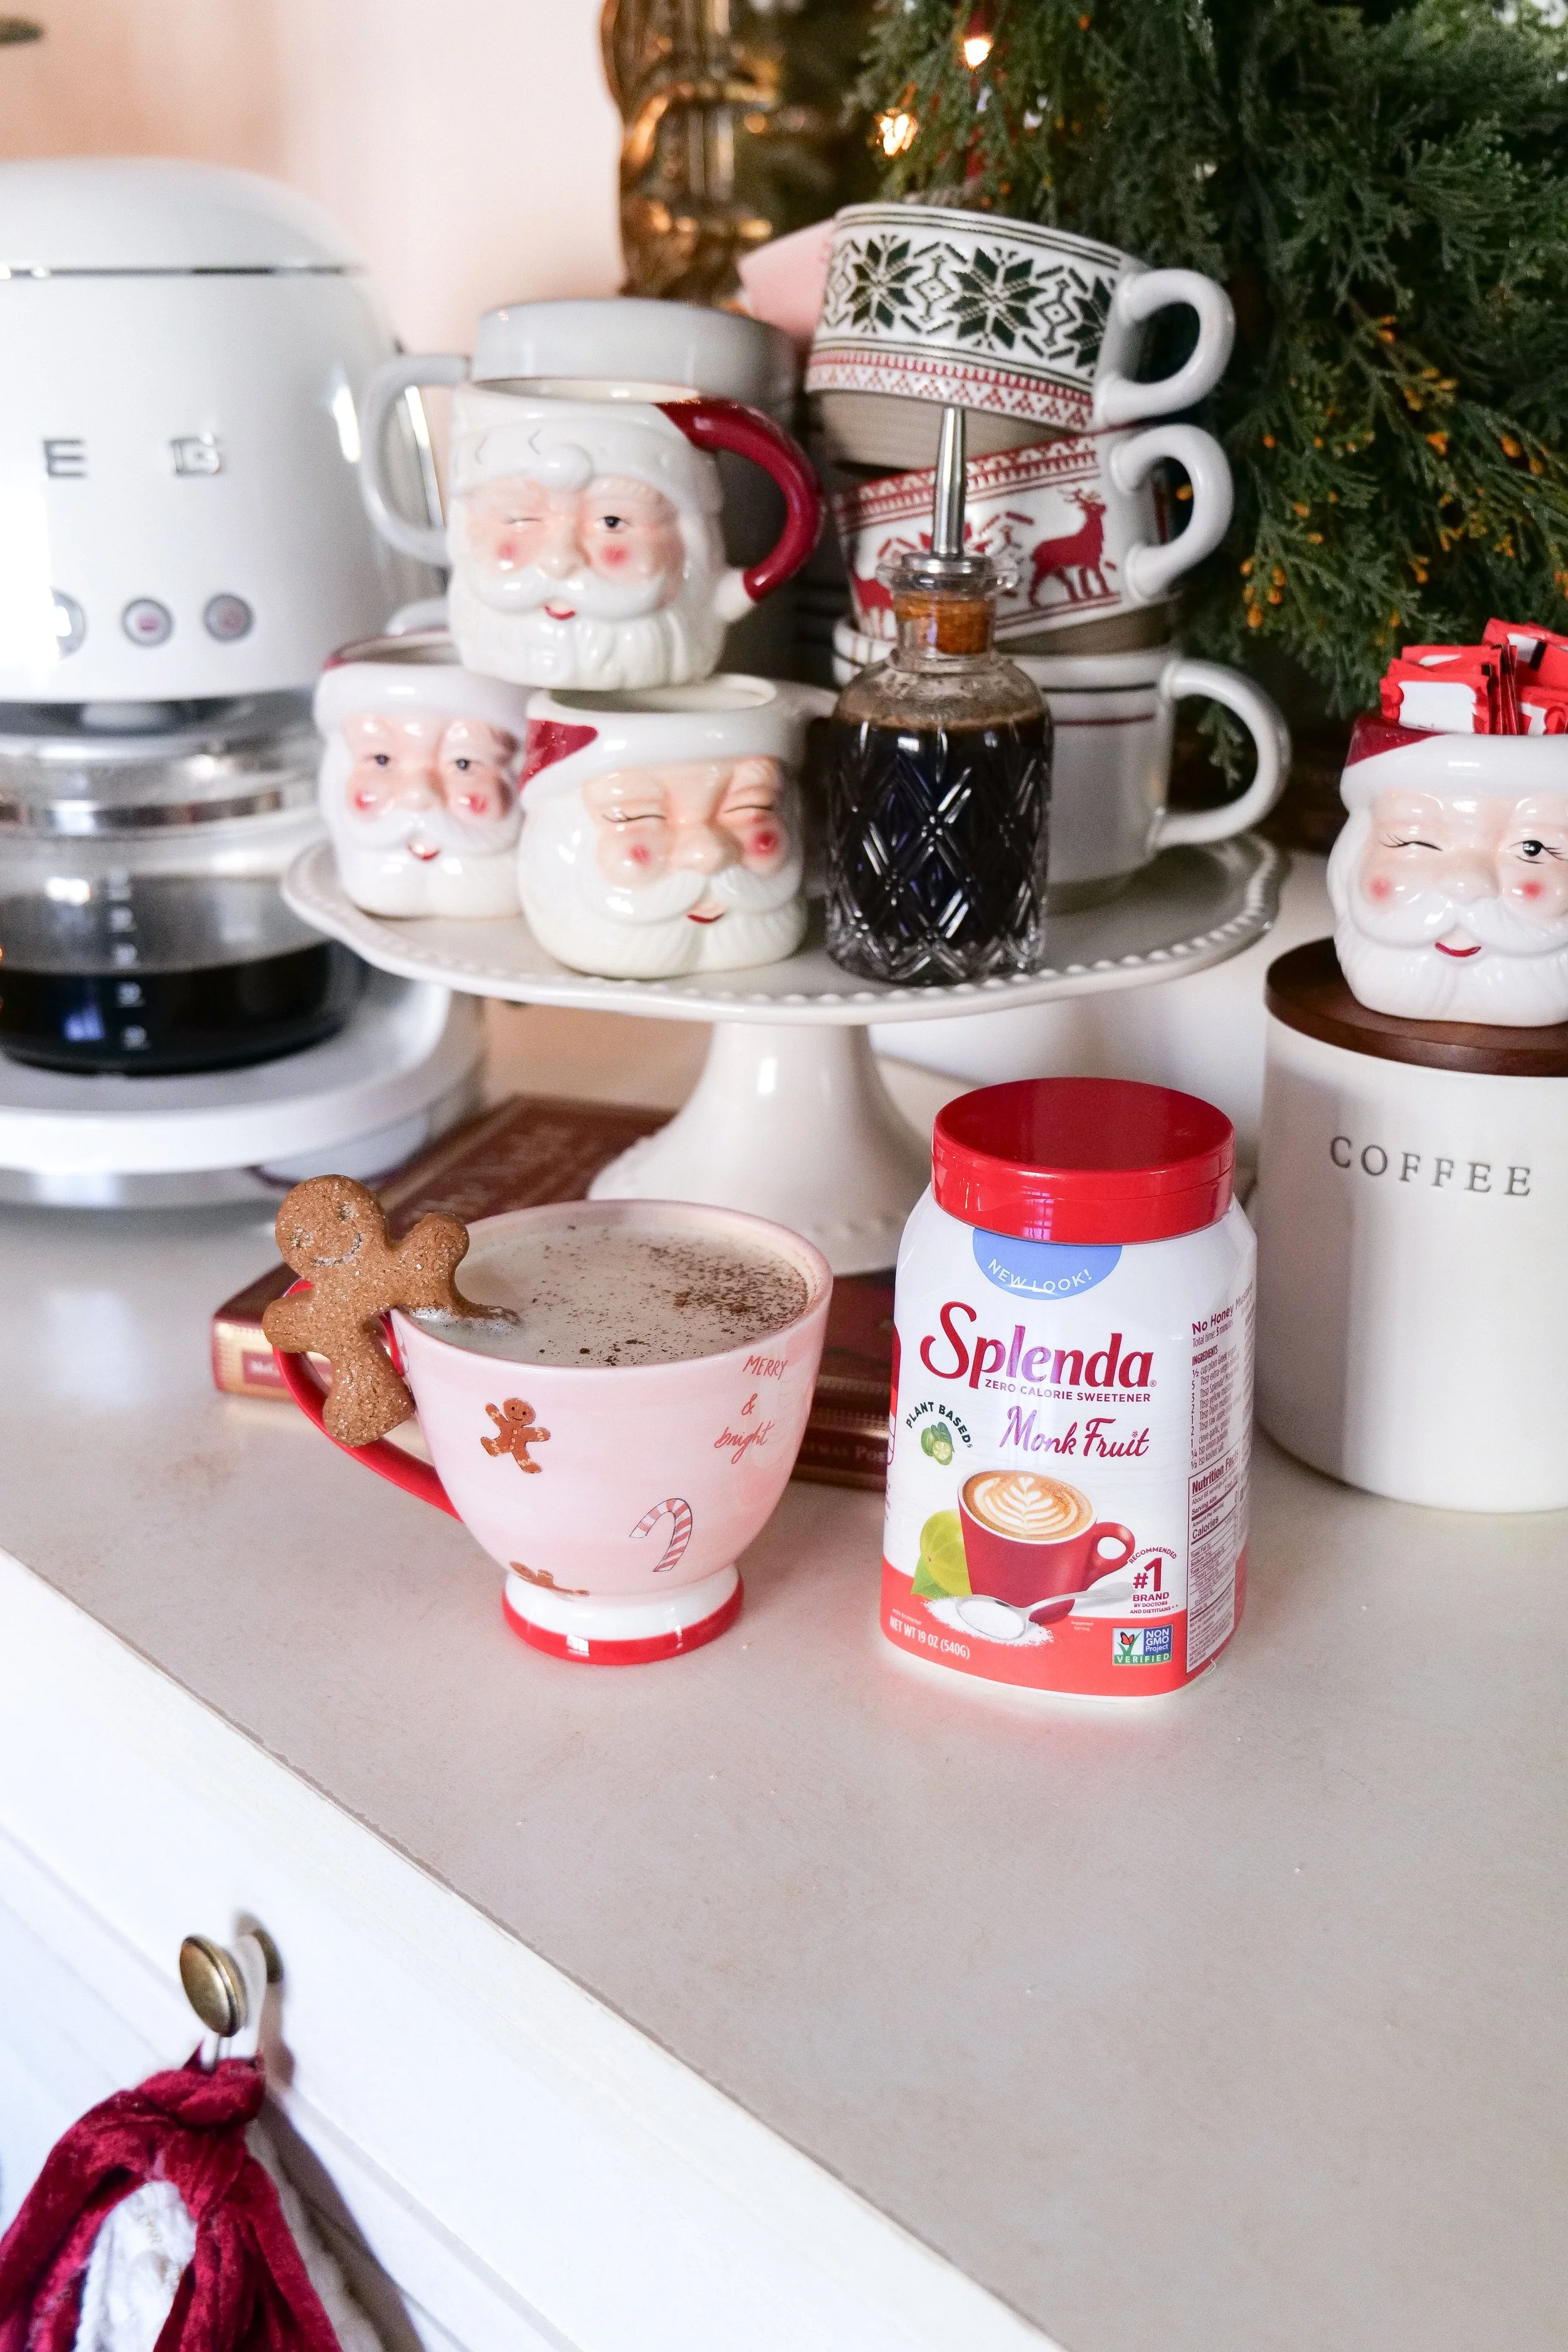
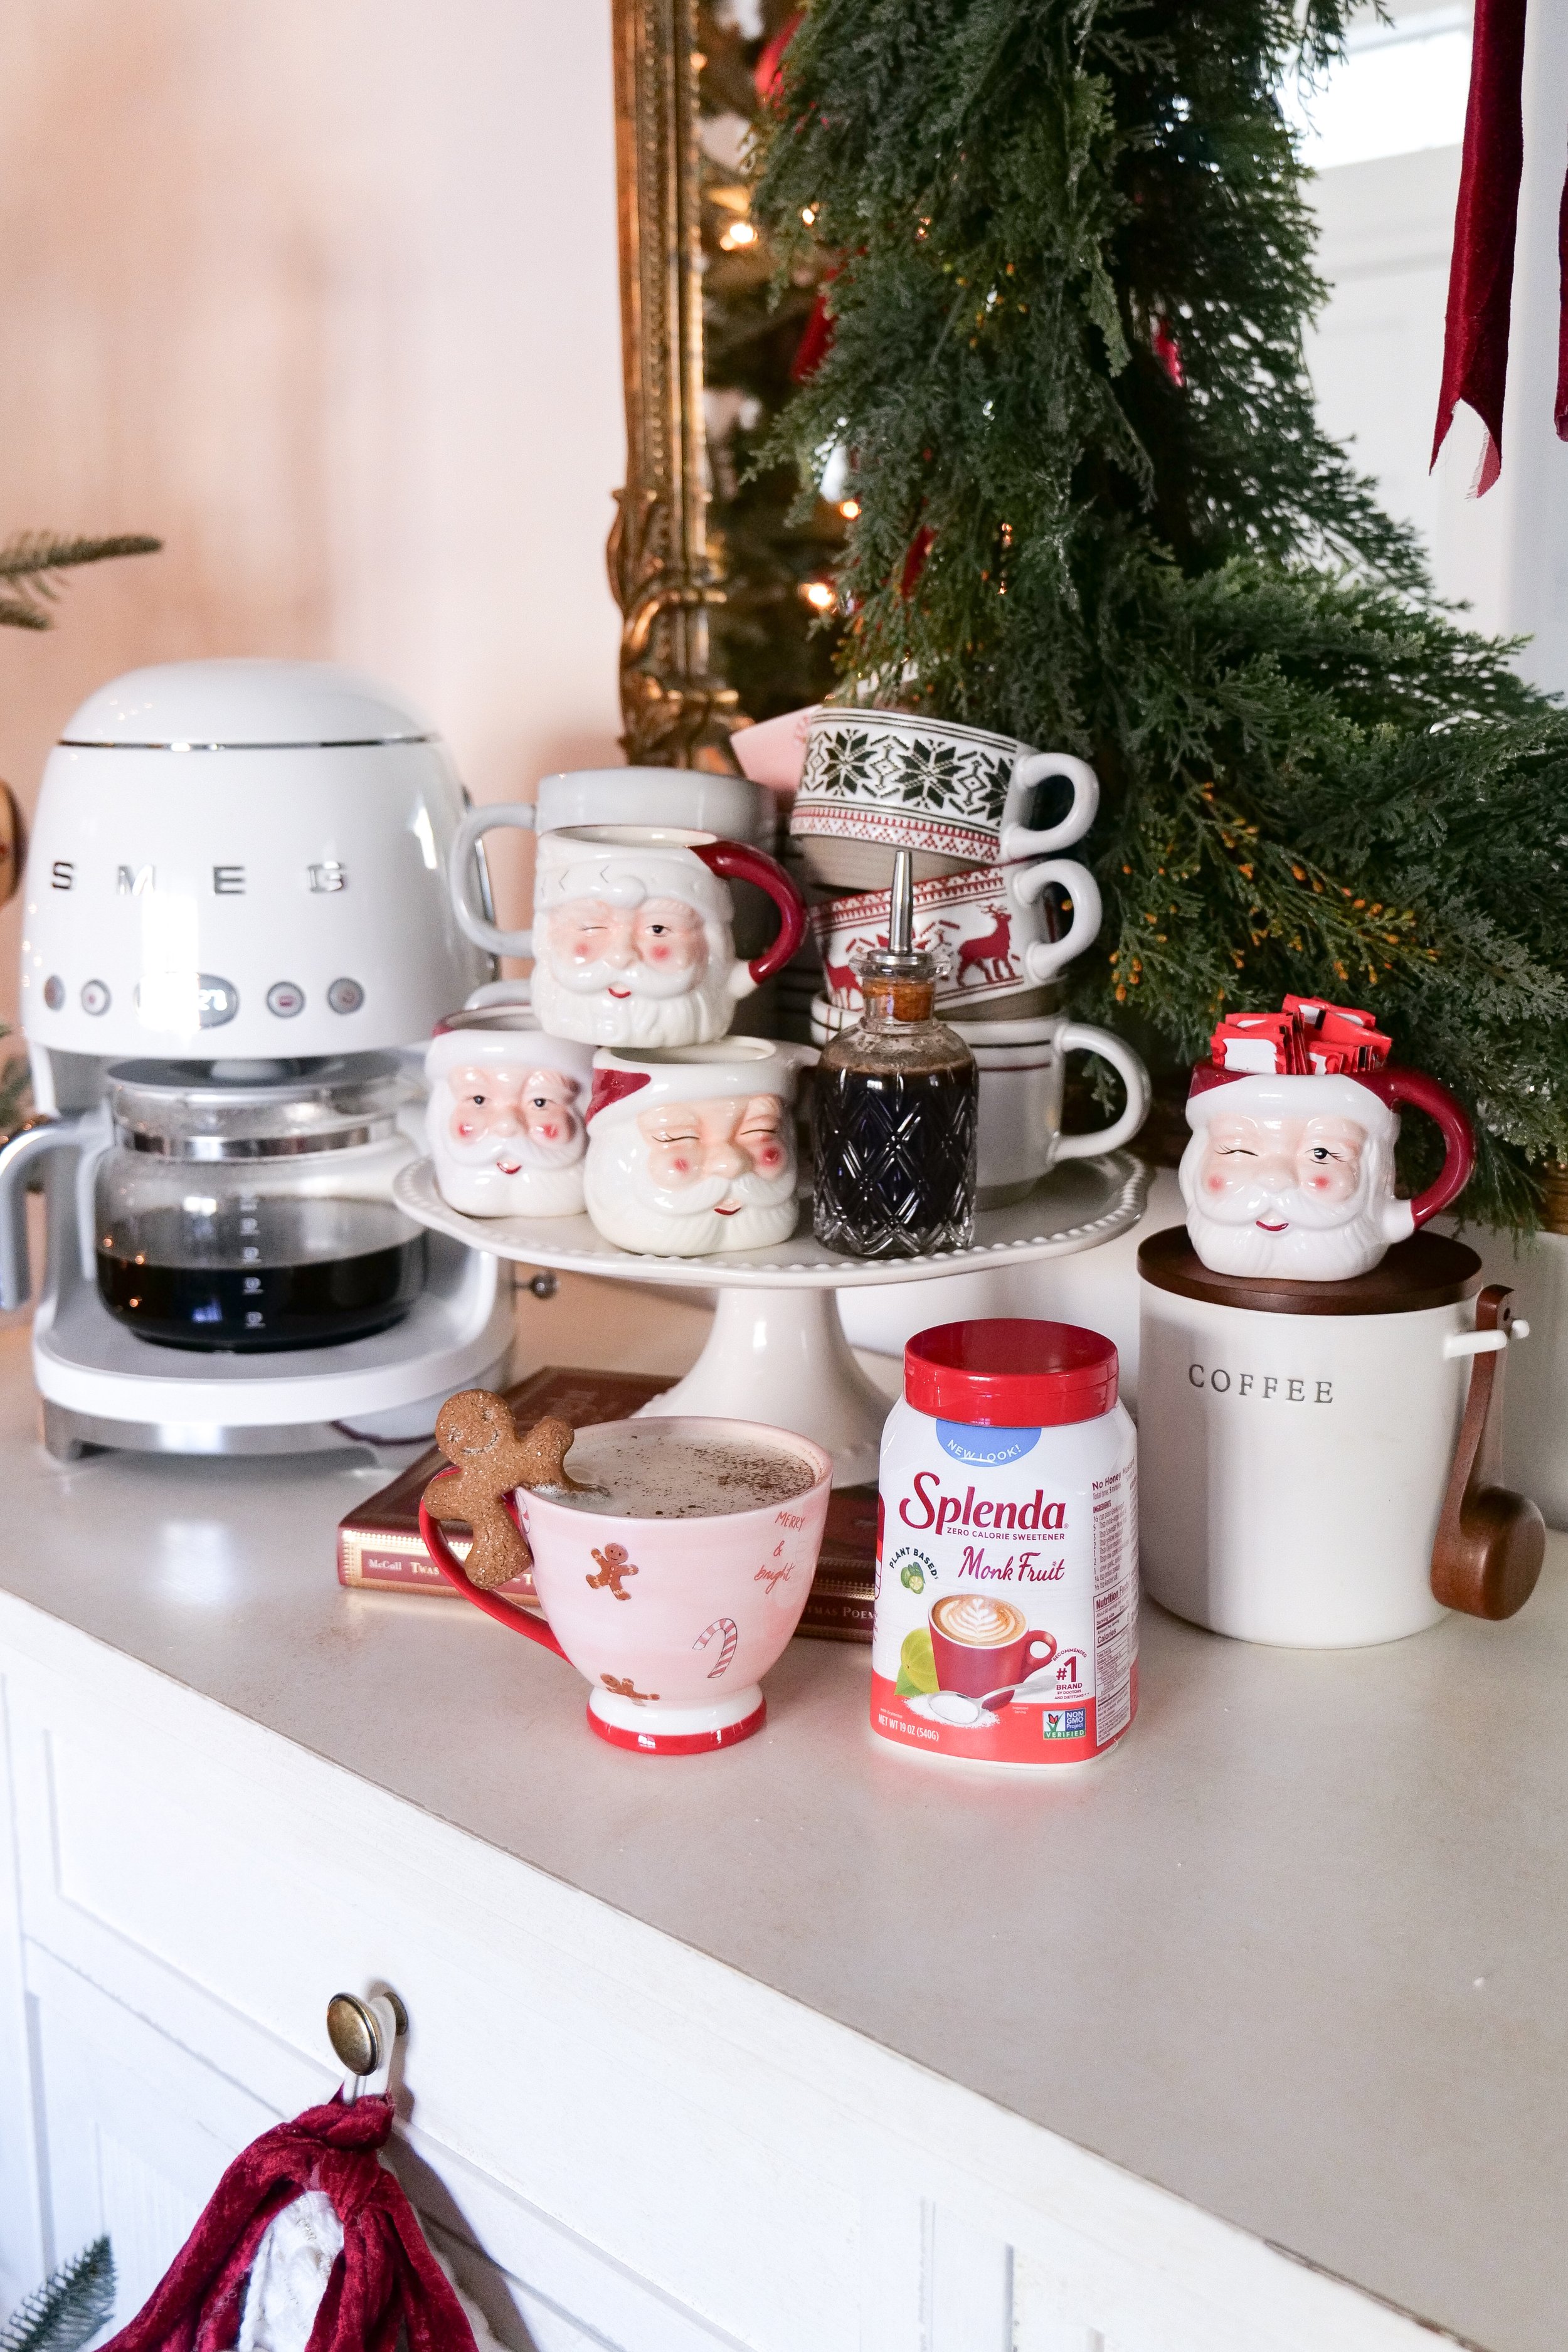
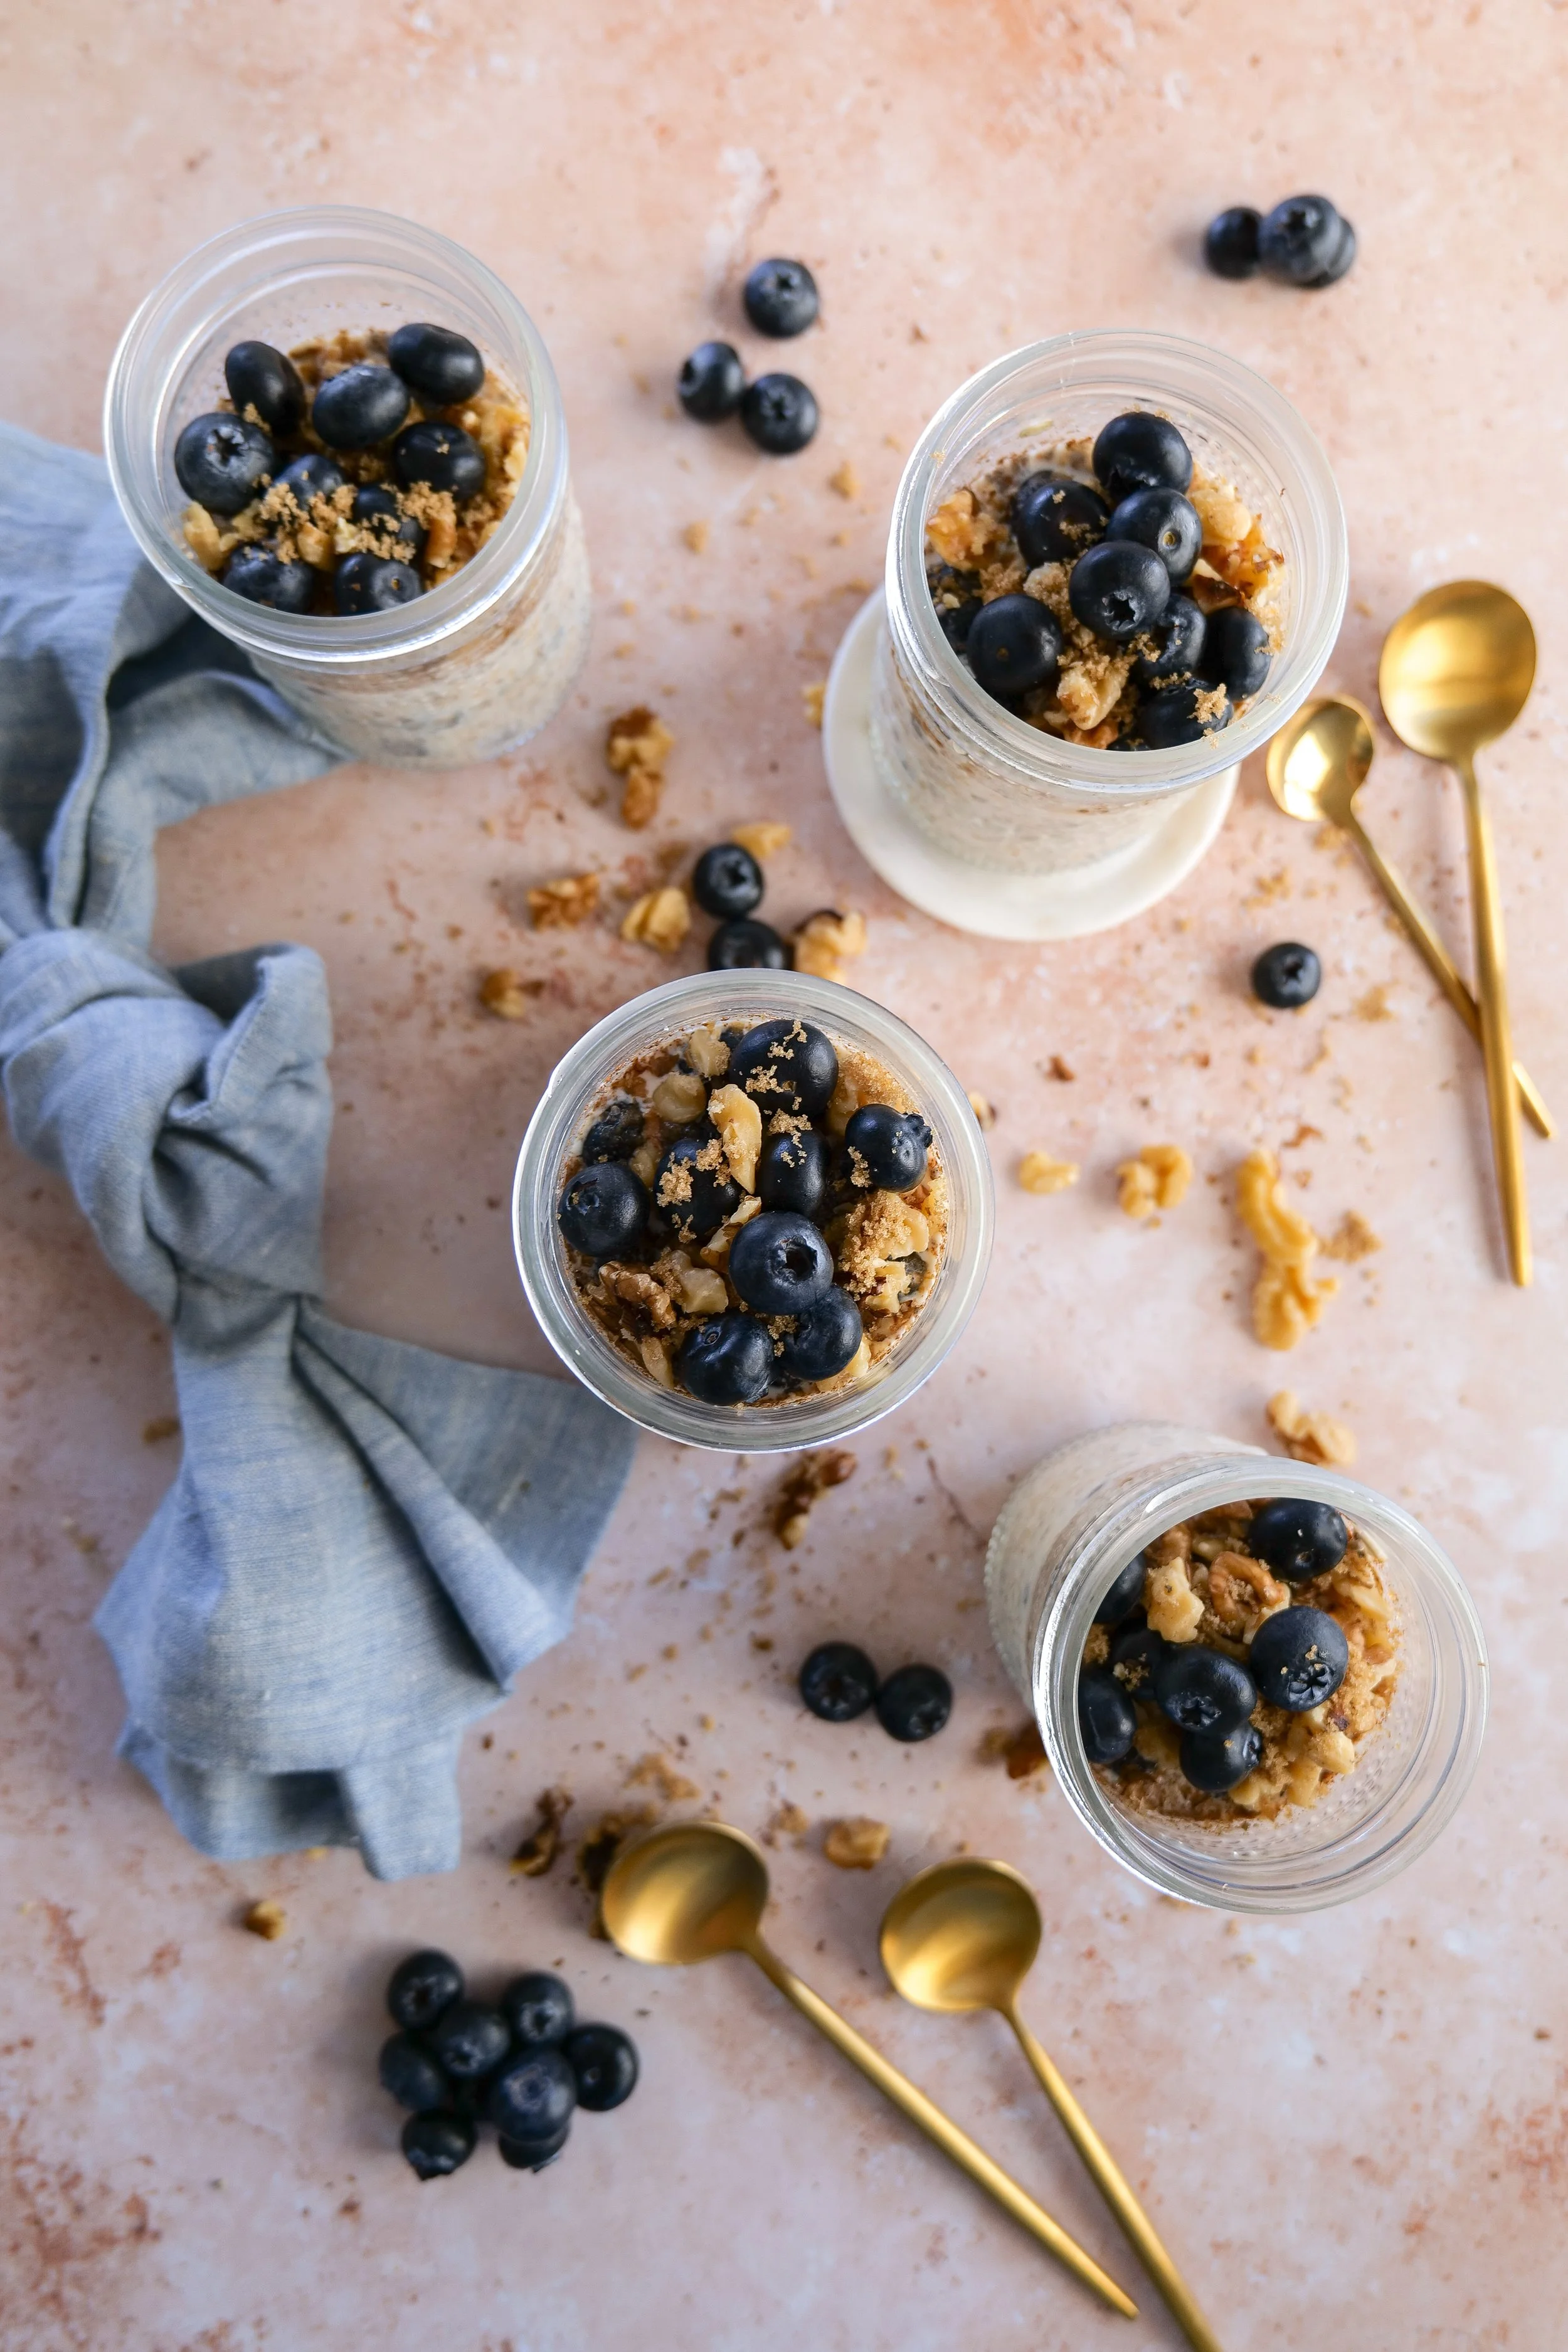
Elevate your slow cooker cinnamon roll casserole by pairing it with complementary sides. Begin with fresh fruits like berries or sliced apples, lending a refreshing contrast to the sweetness of the casserole. These naturally sweet accompaniments create a balance of flavors, perfect for a well-rounded breakfast experience. A warm cup of coffee or tea heightens the cozy ambiance, while savory sides such as bacon or sausage provide a pleasing contrast to the sugary delight. Topping the casserole with a dollop of whipped cream or a scoop of vanilla ice cream transforms it into a decadent dessert. The combination of these options ensures that every bite of your cinnamon roll casserole is a culinary delight.
Ensuring Longevity: How Long Does Crock Pot Cinnamon Roll Casserole Last in the Fridge?
After enjoying your delicious crock pot cinnamon roll casserole, you might find yourself with leftovers. Proper storage ensures it remains just as delectable in the coming days. The casserole can be preserved in the refrigerator for up to 3-4 days. To maintain its freshness, keep it in an airtight container, preventing unwanted moisture or smells from impacting its taste. Allow the casserole to cool completely before refrigerating, as this prevents condensation which could lead to sogginess. This way, you can enjoy the delightful flavors of your cinnamon roll casserole over several days or even reserve it for a future craving.


Can I Make These in the Oven?
Yes, this scrumptious cinnamon roll casserole can be made in the oven for those who might not have a slow cooker at hand. Preheat your oven to 350°F (175°C) to get the best baking results. Assemble the ingredients similarly to how you would for the slow cooker version: cut cinnamon rolls into pieces, mix the custard separately, and layer everything in an oven-safe dish. Bake for about 25-30 minutes or until the top turns golden and the contents are bubbly. This oven method ensures quicker preparation while retaining the delicious flavors we all love. By baking in the oven, you enjoy a quicker version of the same beloved dish without sacrificing any of the sweetness or texture.
Embrace the joy and aroma of this Cinnamon Roll Casserole made effortlessly in a slow cooker or baked in an oven. With its enticing flavors and simple preparation, this dish provides a wonderful start to any day or a delightful addition to brunch gatherings. Whether enjoyed immediately or stored for later indulgence, it offers a comforting reminder of homemade warmth and joy with every bite. Experiment, savor, and discover why this slow cooker cinnamon roll casserole is a recipe you'll return to time and again and will soon become on of your Christmas favorites like at our house.


Ingredients
4 tubes of refrigerated premade cinnamon rolls
1/2 cup salted butter, melted
1 cup heavy whipping cream
1 cup maple syrup
8 eggs, beaten
1 tablespoon cinnamon
1 tablespoon vanilla extract
1/4 cup chopped pecans, optional
Instructions
1. Add melted butter to bottom of slow cooker and evenly coat around the edges. Cut up your cinnamon rolls into 4. Add to bottom of slow cooker.
2. In a separate bowl whisk eggs until well beaten. Add in heavy cream, maple syrup, cinnamon, and vanilla extract. Pour over top of cinnamon rolls. Set slow cooker to medium heat, if using a 360 cookware slow cooker set to 2. let cook for 2 to 2 1/2 hours.
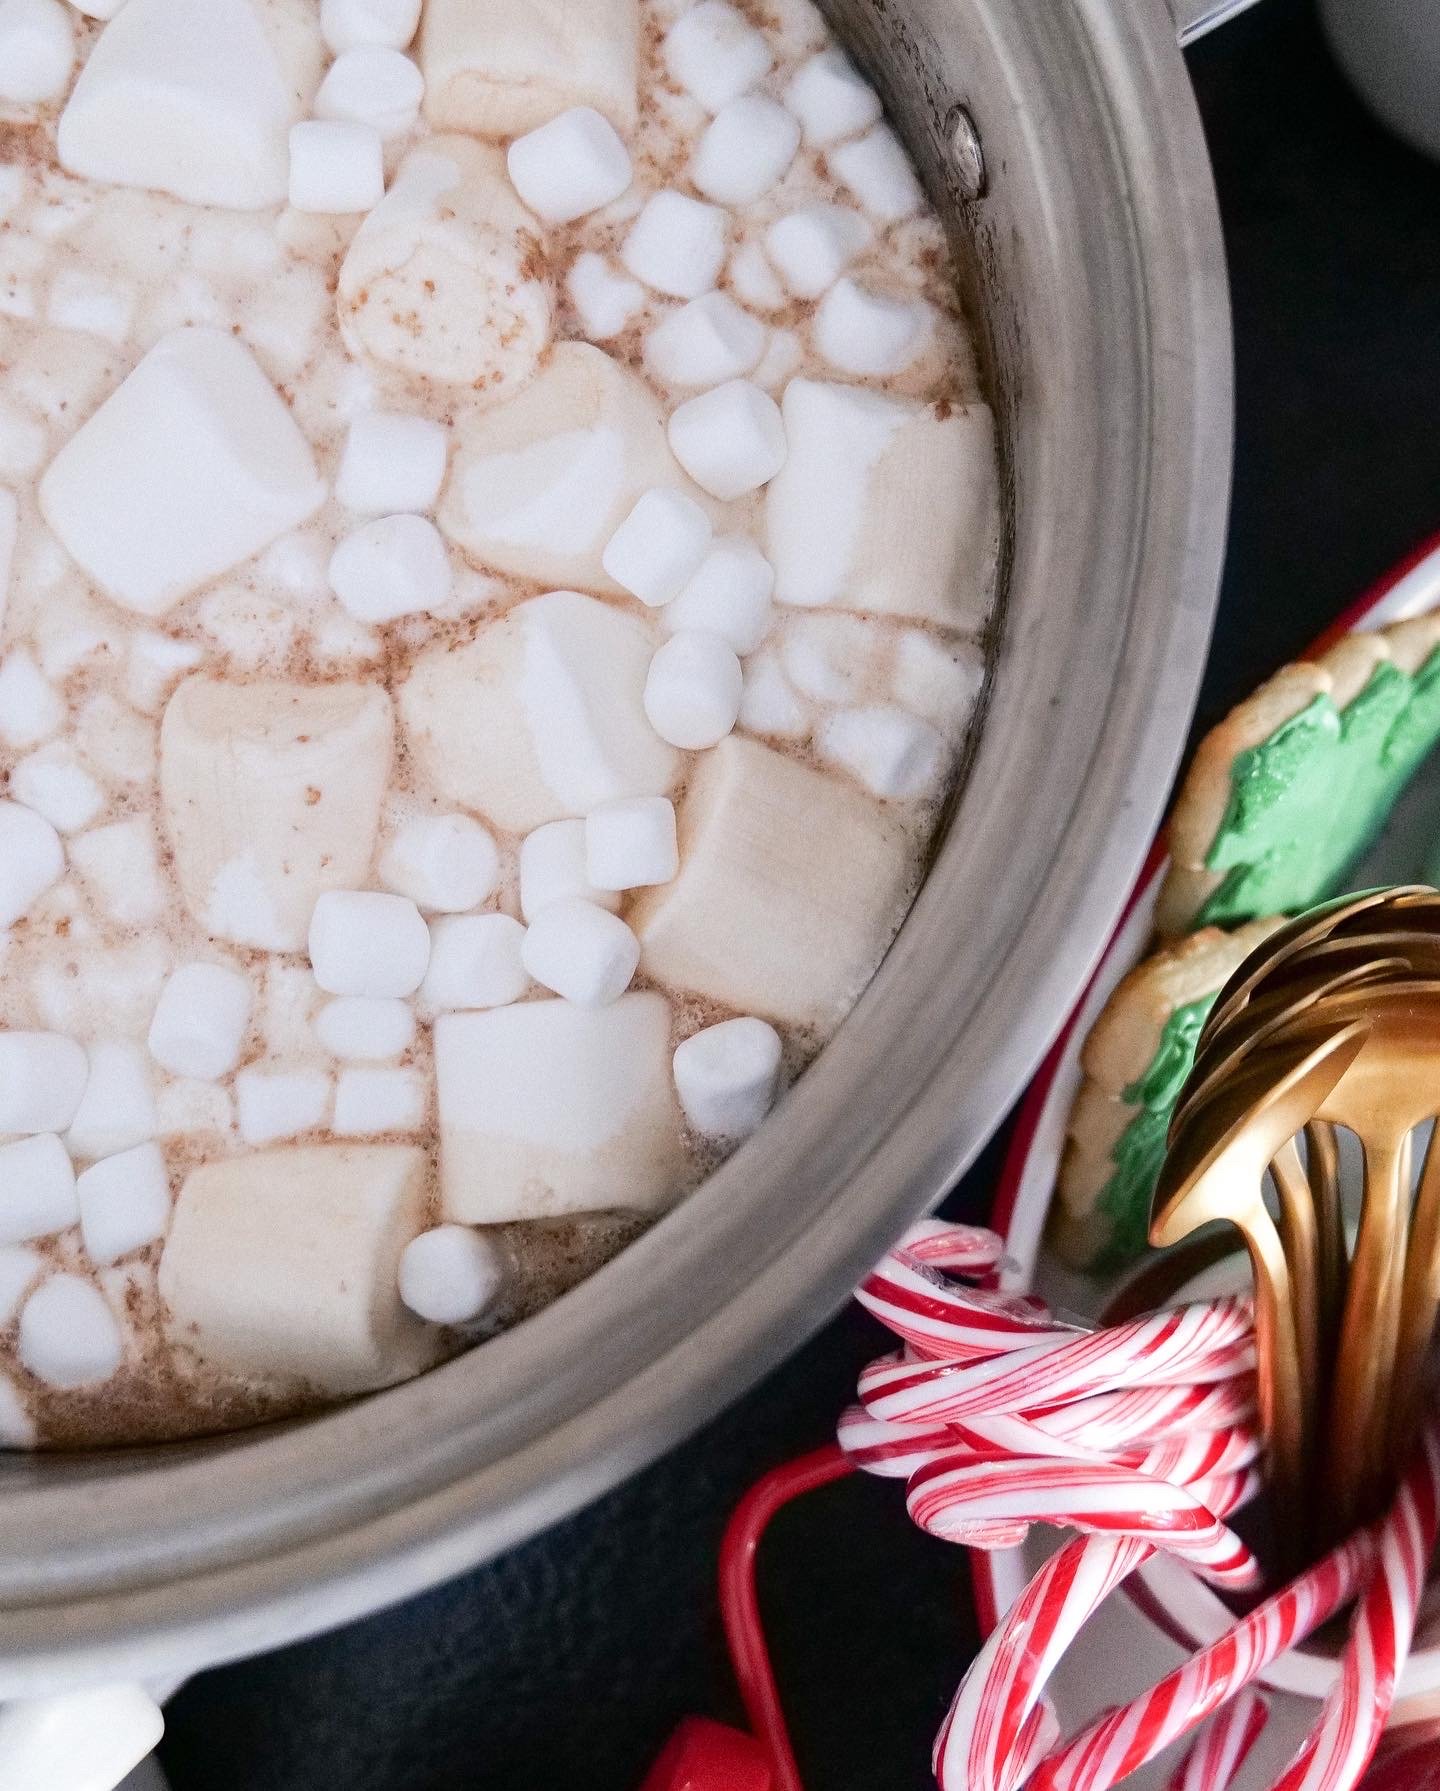
3. Once finished you will see a slightly golden brown top and center will not be giggly. Use icing from the cinnamon roll packaging and pour over top. Serve and Enjoy!

Other Cinnamon Roll & Breakfast Recipe Ideas:
Sweet Perfection: Baking the Ultimate Cinnamon Roll Loaf with Espresso Glaze
Sweet Serenity: Mastering the Art of Pumpkin Cinnamon Rolls with Cream Cheese Icing
Blackberry Cinnamon Rolls with Mascarpone Frosting
An Irresistible Treat: The Delicious Berry Custard Puff Pastry Tart
Soft Cream Cheese Lemon Blueberry Scones
A Sweet and Delicious Recipe for Lemon Poppyseed Bread
Indulge in Delicious Personal Pear Tarts
Delight in the Fusion: Carrot Cake Cinnamon Rolls made with Sourdough Starter