Indulge in Irresistible Delight: Mouthwatering Chicken & Biscuits Appetizer Paired with Sweet Honey Butter Dipping Sauce!
/If you're looking for an appetizer that combines comfort foods with a gourmet flair, look no further than the Chicken & Biscuits Appetizer with Honey Butter Dipping Sauce. This delightful dish captures the perfect blend of savory and sweet, offering a dining experience that is finger licking good. Whether you're hosting a fun super bowl party, or simply indulging in a weekend treat, this appetizer promises to treat your taste buds and give the most deliciously cute appetizer with its irresistible charm.
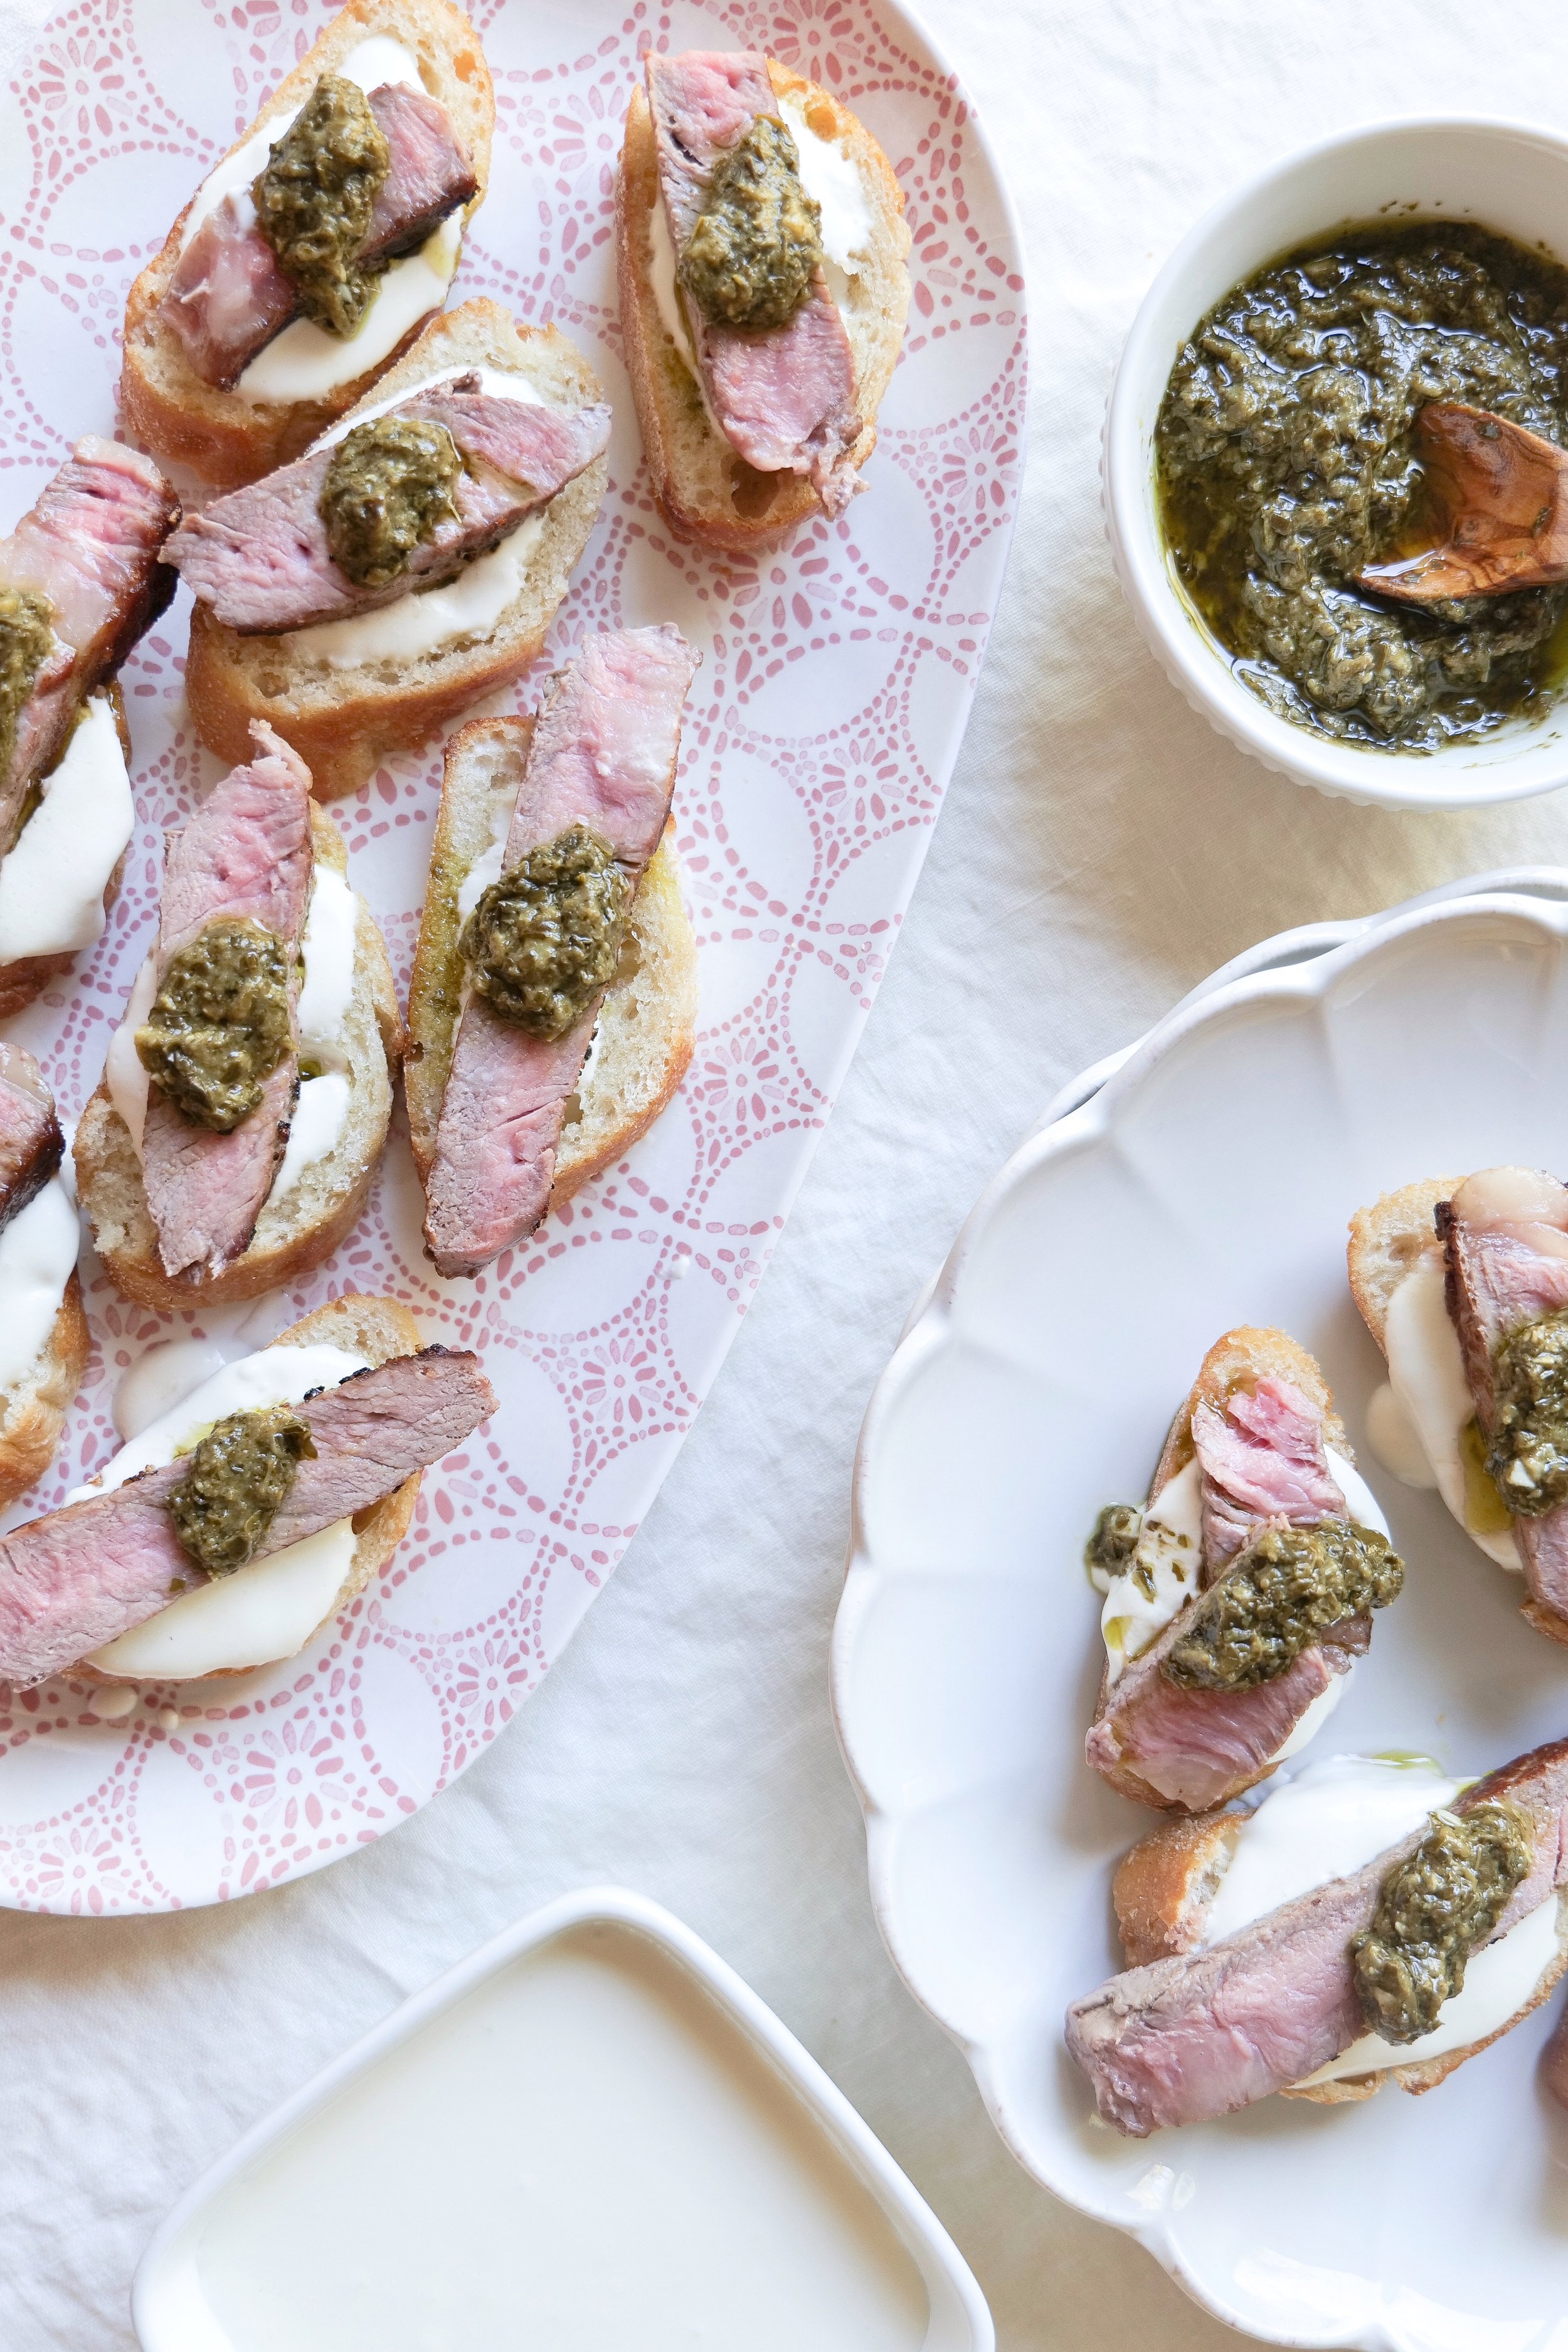
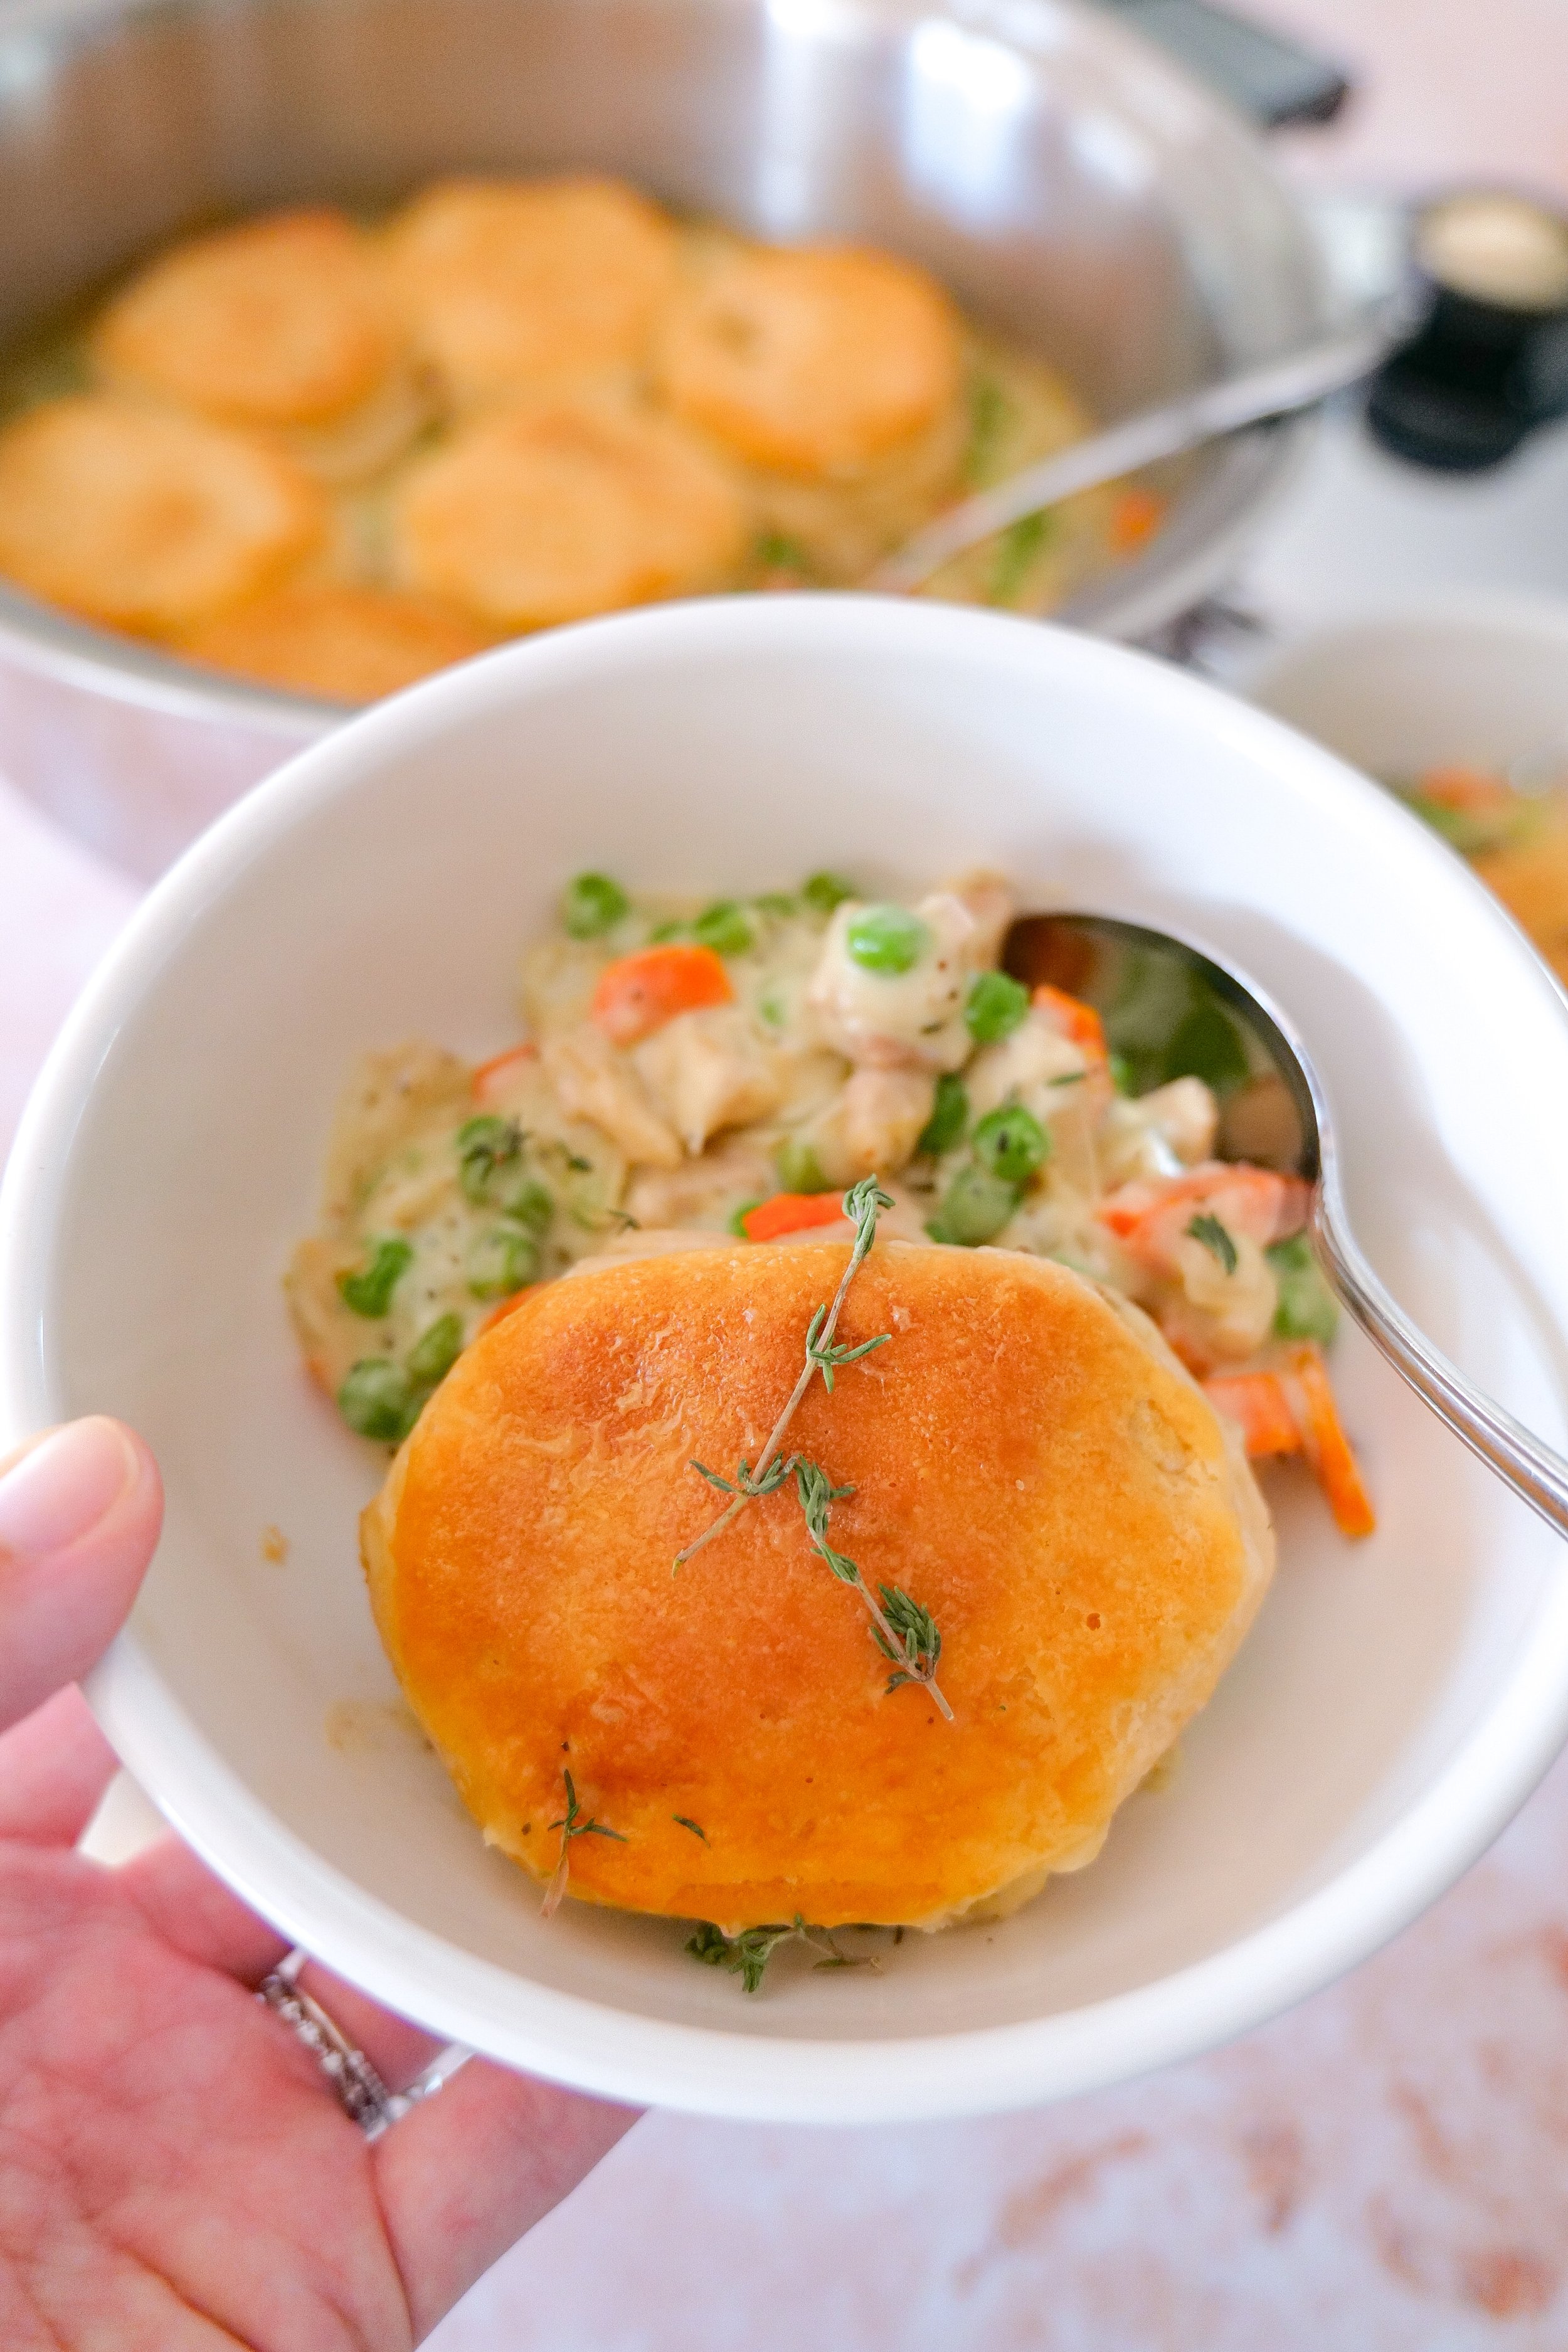
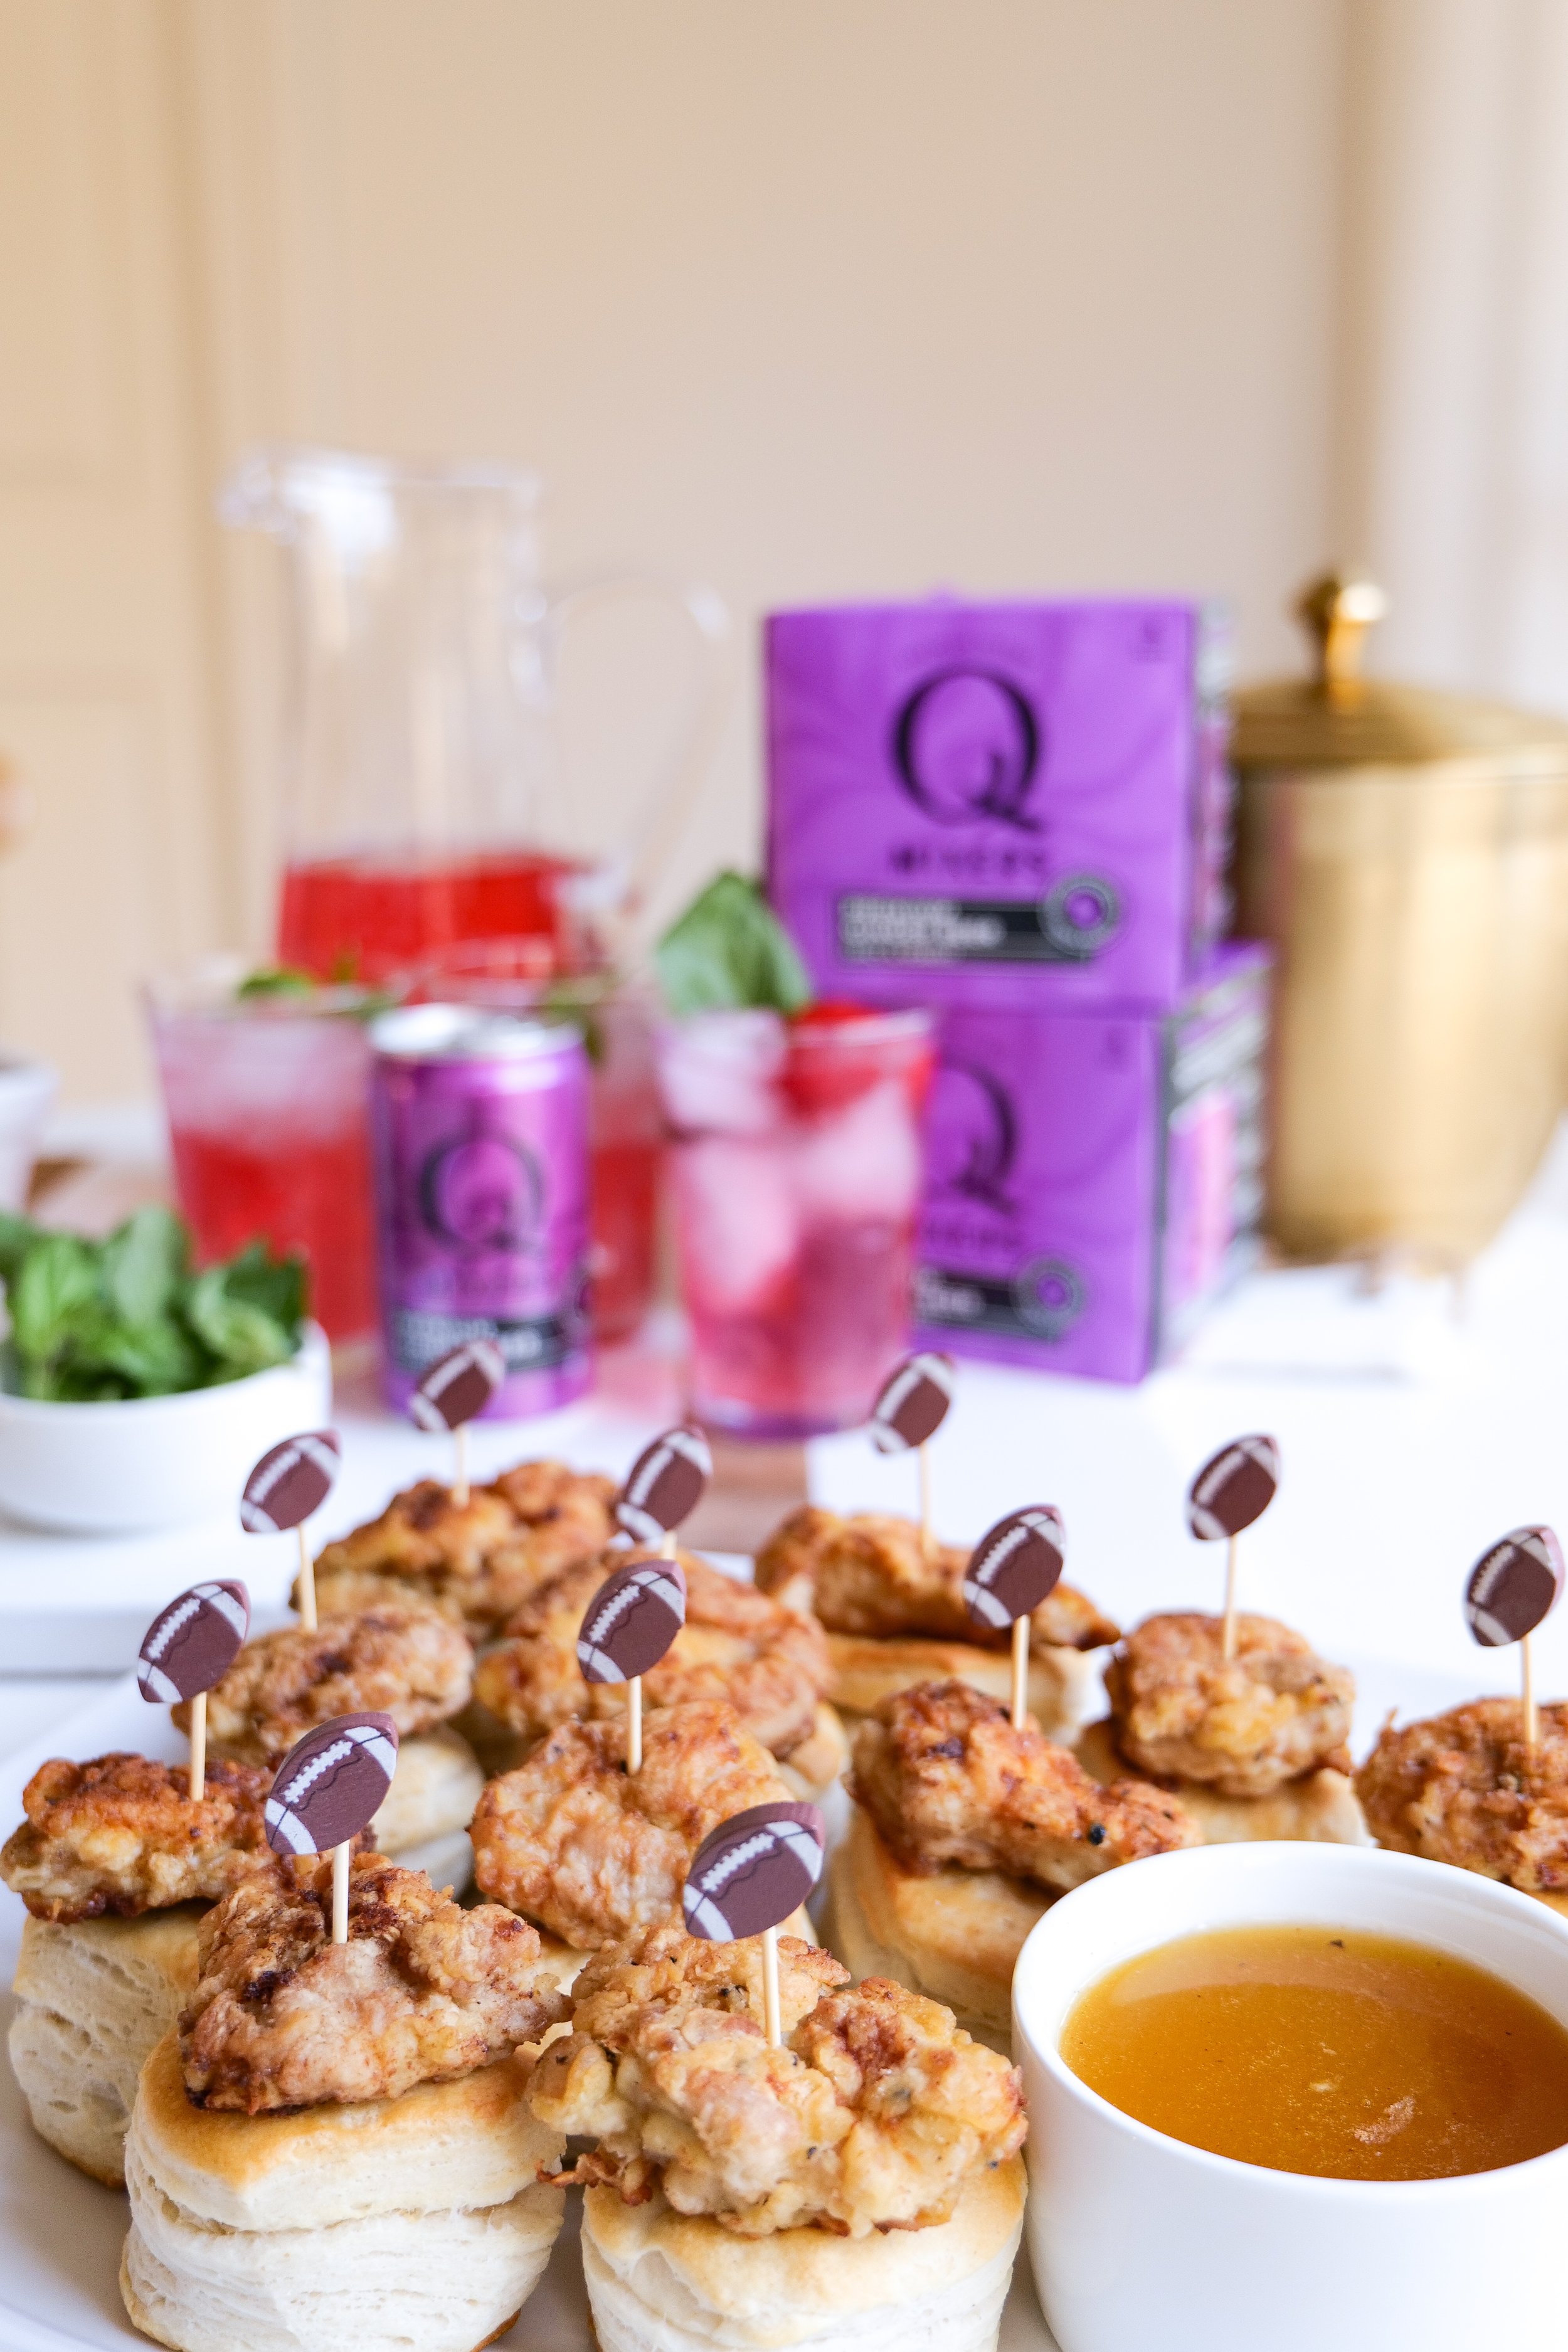
There is nothing quite like sinking your teeth into tender pieces of chicken wrapped in the fluffy embrace of golden biscuits, all made even better by a delicious honey butter dipping sauce. This delightful appetizer perfectly combines the juicy, seasoned chicken with the buttery, flaky biscuits that are a joy to savor. The contrast between the crispy chicken skin and the soft, warm biscuits creates a perfect blend of textures and flavors that is hard to resist. The real showstopper of this appetizer is the Honey Butter Dipping Sauce, which introduces a sweet and salty balance to the savory dish. Made with rich honey and salty butter, this dipping sauce provides a sweet finish to every bite.


A Different Type of Fried Chicken Sandwich
This Chicken & Biscuits Appetizer offers a fresh take on the beloved classic fried chicken sandwich, bringing a unique twist to a dish. Instead of the usual bread bun, this version features soft, buttery biscuits that perfectly complement the crispy fried chicken. This pairing creates a delicious contrast between the warm, fluffy biscuits and the juicy, seasoned chicken. What truly sets this combination apart is the addition of the honey butter dipping sauce. Its sweetness and rich flavors enrich the savory foundation, adding to the dish. Below are key points that highlight this appetizer's uniqueness:
- Texture Harmony: The contrast of soft biscuits and crisp chicken is a sensory delight.
- Flavor Fusion: The honey butter sauce enriches the burger-like experience with its sweetness.
- Innovative Approach: A refreshing alternative to the typical fried chicken sandwich.
- Enticing for Adventurers: Perfect for those seeking new flavors and culinary excitement.
- Guaranteed Satisfaction: Ensures a fulfilling and memorable meal experience.
When it comes to making a delightful Honey Butter Chicken Biscuit, balance is key. This recipe achieves the perfect harmony of sweet and savory, making it a versatile appetizer option suitable for any occasion. The richness of honey butter paired with the succulent flavors of the chicken creates a match made in heaven. This recipe doesn’t just satisfy your taste buds, it also offers a convenient and quick preparation process. By using flavorful, high-quality ingredients, each piece of this dish shines to create a comforting taste with every bite. This makes it the perfect go to for any Football themed party or for any fun gathering where people can quickly grab this bite sized pair.
By combining simple ingredients, these biscuits achieve a balance of buttery flakiness and a hint of honey sweetness. The key to this recipe is achieving that perfect texture and flavor, making it a great companion for savory chicken and a sweet dipping sauce.
To ensure you're baking the biscuits to golden perfection, consider these important tips:
- Ingredient Quality: Choose top-notch butter and honey for the best flavor.
- Snap the Texture: Mix the dough until just combined for flaky layers.
- Golden Bake Time: Monitor closely to achieve a light, golden brown finish.
- Serving Freshness: Serve warm for melt-in-your-mouth delight.
- Flavor Match: Complements savory chicken and rich dipping sauces beautifully.
for cocktail idea to pair with this -here-


What are the main ingredients in the Chicken & Biscuits Appetizer with Honey Butter Dipping Sauce?
To master this Chicken & Biscuits Appetizer, understanding the symphony of its main ingredients is essential. These components come together nicely to create a dish that is both comforting and always a crowd pleaser. Here’s what you’ll need:
- Chicken: Juicy, seasoned pieces form the heart of this appetizer.
- Biscuits: Fluffy, buttery biscuits provide a tempting, soft texture.
- Butter: Offers a buttery base for the sauce, complementing savory notes.
- Honey: Enhances the sauce with added sweetness and smoothness.
- Spices: A balanced blend of herbs and spices to elevate the flavor profile.
With these ingredients, you're set to recreate a dish that everyone loves and brings joy to any occasion.
How can I make the Maple Honey Dipping Sauce at home?
Making the delicious Honey Butter Dipping Sauce at home is a simple yet rewarding task. This sauce not only enhances the Chicken & Biscuits Appetizer but also is excellent on many other various dishes you may make. Begin with the basics, which are equal parts of raw, high-quality maple syrup and honey.
To bring this sauce to life, follow these easy steps:
- Combine Ingredients: Mix equal parts honey (or maple syrup) and butter in a saucepan.
- Heat Gently: Stir over low to medium heat until smooth and fully blended.
- Season with Spice: Add a pinch of cinnamon and a dash of salt for depth.
- Cool for Consistency: Allow the sauce to slightly thicken as it cools.
- Store Smart: Keep leftovers in an airtight container in the fridge.
With this sauce, you bring a sweet, velvety companion to your savory dish, allowing the flavors to unfold nicely with every dip.
Can the Chicken & Biscuits Appetizer be prepared in advance?
One advantage of making the Chicken & Biscuits Appetizer is its ability to be prepared in advance, making it a convenient choice for hosting stress-free gatherings. With some simple prep work ahead of time, you can ensure that your appetizers are fresh, delicious, and hassle-free when it’s time to serve.
Here are a few tips for advanced preparation:
Bake the Biscuits: Cook a day ahead and store them in an airtight container at room temperature.
Fry the Chicken: Keep it refrigerated, reheating in the oven to maintain crispiness.
Sauce Prep: Create the Maple Honey Dipping Sauce ahead, letting flavors combine beautifully in the fridge.
Reheat Wisely: Timing your reheating just before serving ensures optimal texture and flavor.
Serve with Ease: Gather it all together on the day for a quick service.
With proper prep, you’ll find yourself ready to impress your guests without sacrificing taste or texture if needing to make this dish in advance. The final step to serving this delicious Chicken & Biscuits Appetizer is all about its presentation. Start by assembling each element with care, ensuring that all of its parts are ready for the best culinary experience. The freshly baked biscuits, when paired with perfectly cooked chicken and a generous serving of maple dipping sauce, create a flavor that we all know and love, and could eat every day of the week. With thoughtful preparation and presentation, this chicken and biscuits appetizer stands as a crowd favorite each and every time.
With the perfect balance of savory chicken, buttery biscuits, and sweet maple honey dipping sauce, this Chicken & Biscuits Appetizer redefines comfort food. It's a versatile dish that caters to a range of tastes and occasions, offering a delightful indulgence for all. By following this guide, you can create an appetizer that satisfies and leaves a lasting impression on anyone who enjoys it. Don't forget to have fun with the process of making this delicious treat and, most importantly, savor every bite!


Ingredients
1 package of biscuits
1 lb chicken
3/4 cup Unbleached flour
1 teaspoon sea salt
1 teaspoon garlic powder
1 tsp onion powder
1 egg
2 tbsp heavy cream
Olive oil, for frying
honey
3/4 cup salted butter
1/4 cup honey
Instructions
Cut biscuits in half and prepare according to the instructions on package.
Cut chicken into 1 inch cubes, place in bowl and set aside.
In a shallow bowl mix together flour and seasoning. In another shallow bowl it’s whisk egg and cream.
Taking each piece of chicken dip into flour, then egg picture and then back into the flour. Coating all sides. When done set them all aside on a sheet pan while you get oil in pan hot.
In a large stainless steel pan each olive oil, around 1” high or 2” if you don’t want to flip. Let heat.
Add chicken into the pan not over crowding so they don’t stick. Letting cook fully on one side and flip doing the same on the other. 2-3 minutes per side. You will need to probably do 2-3 batches in pan until all done.
Once finished with chicken add to a towel lined plate.
Melt butter in bowl, add in honey. You can serve this way or you can put in the refrigerator and serve it a little bit harder to be more of a spread. I personally like it where you can dip the chicken and biscuits into it and it’s nice and melted.
Assemble chicken on top of biscuits, you can put in a toothpick and place on a plate with honey butter and serve! Enjoy!
Other Delicious Crowd Pleasing Appetizers:
5 Ingredient Bacon Ranch Football Shaped Cheese Ball
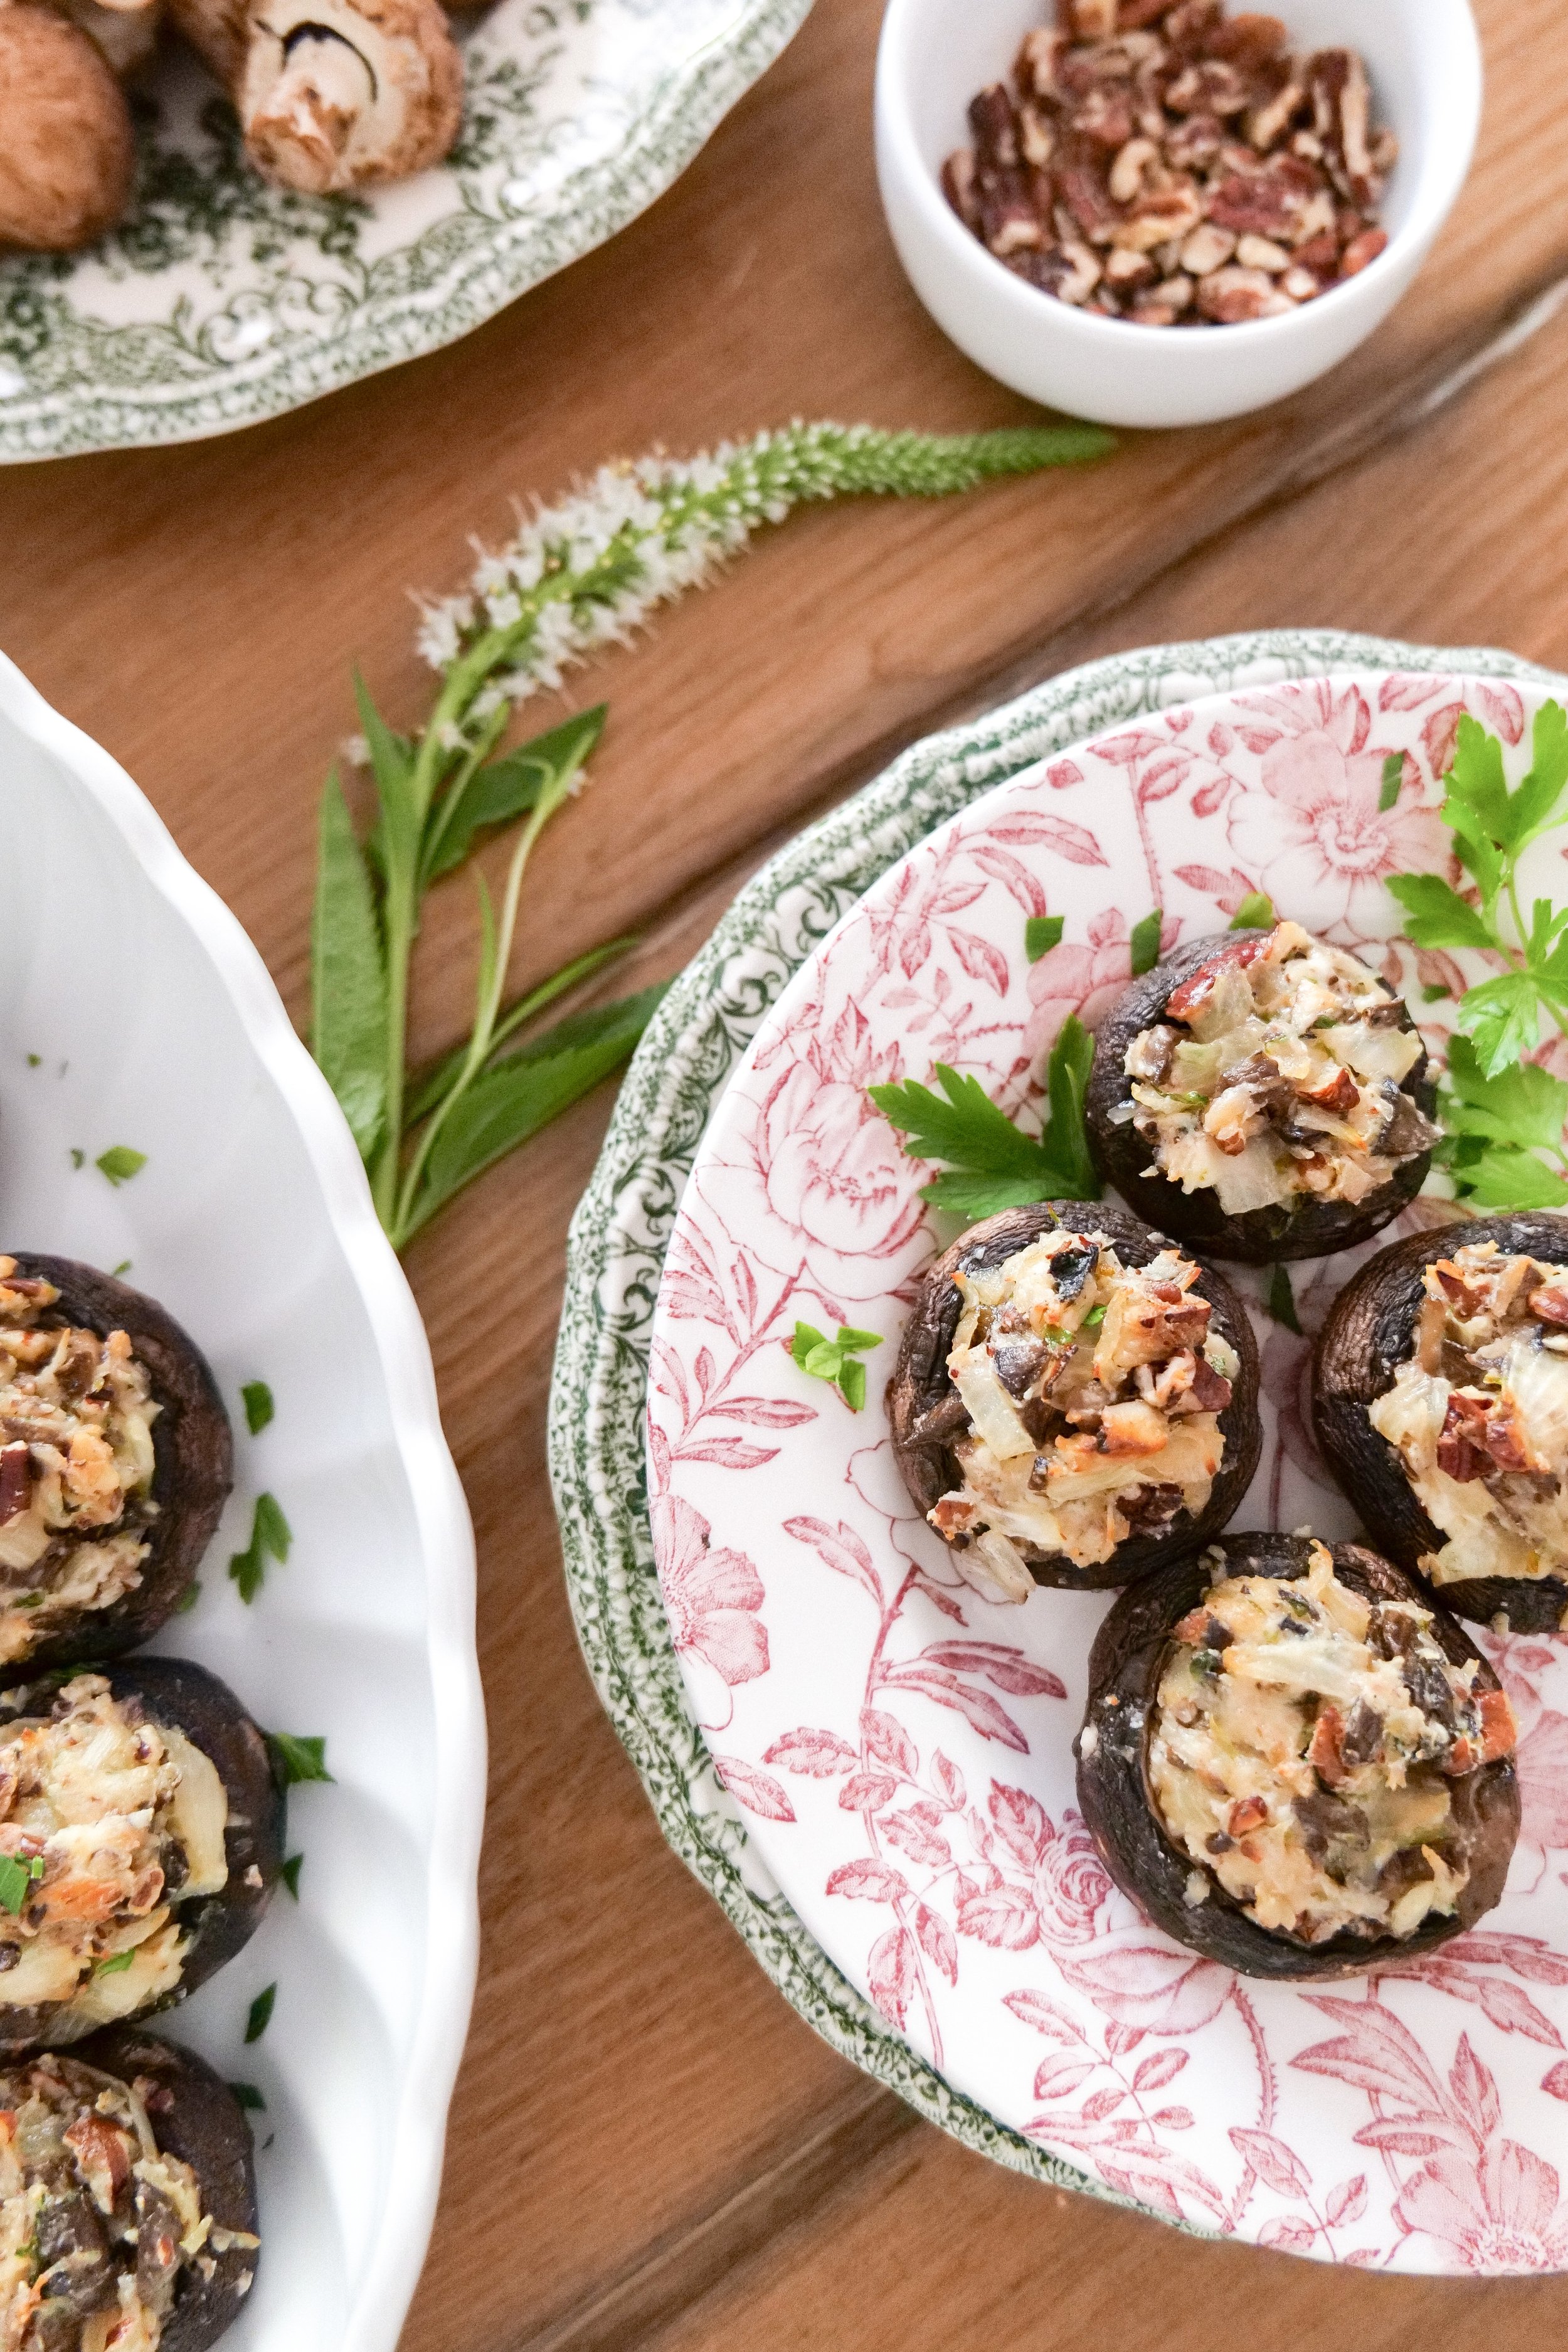
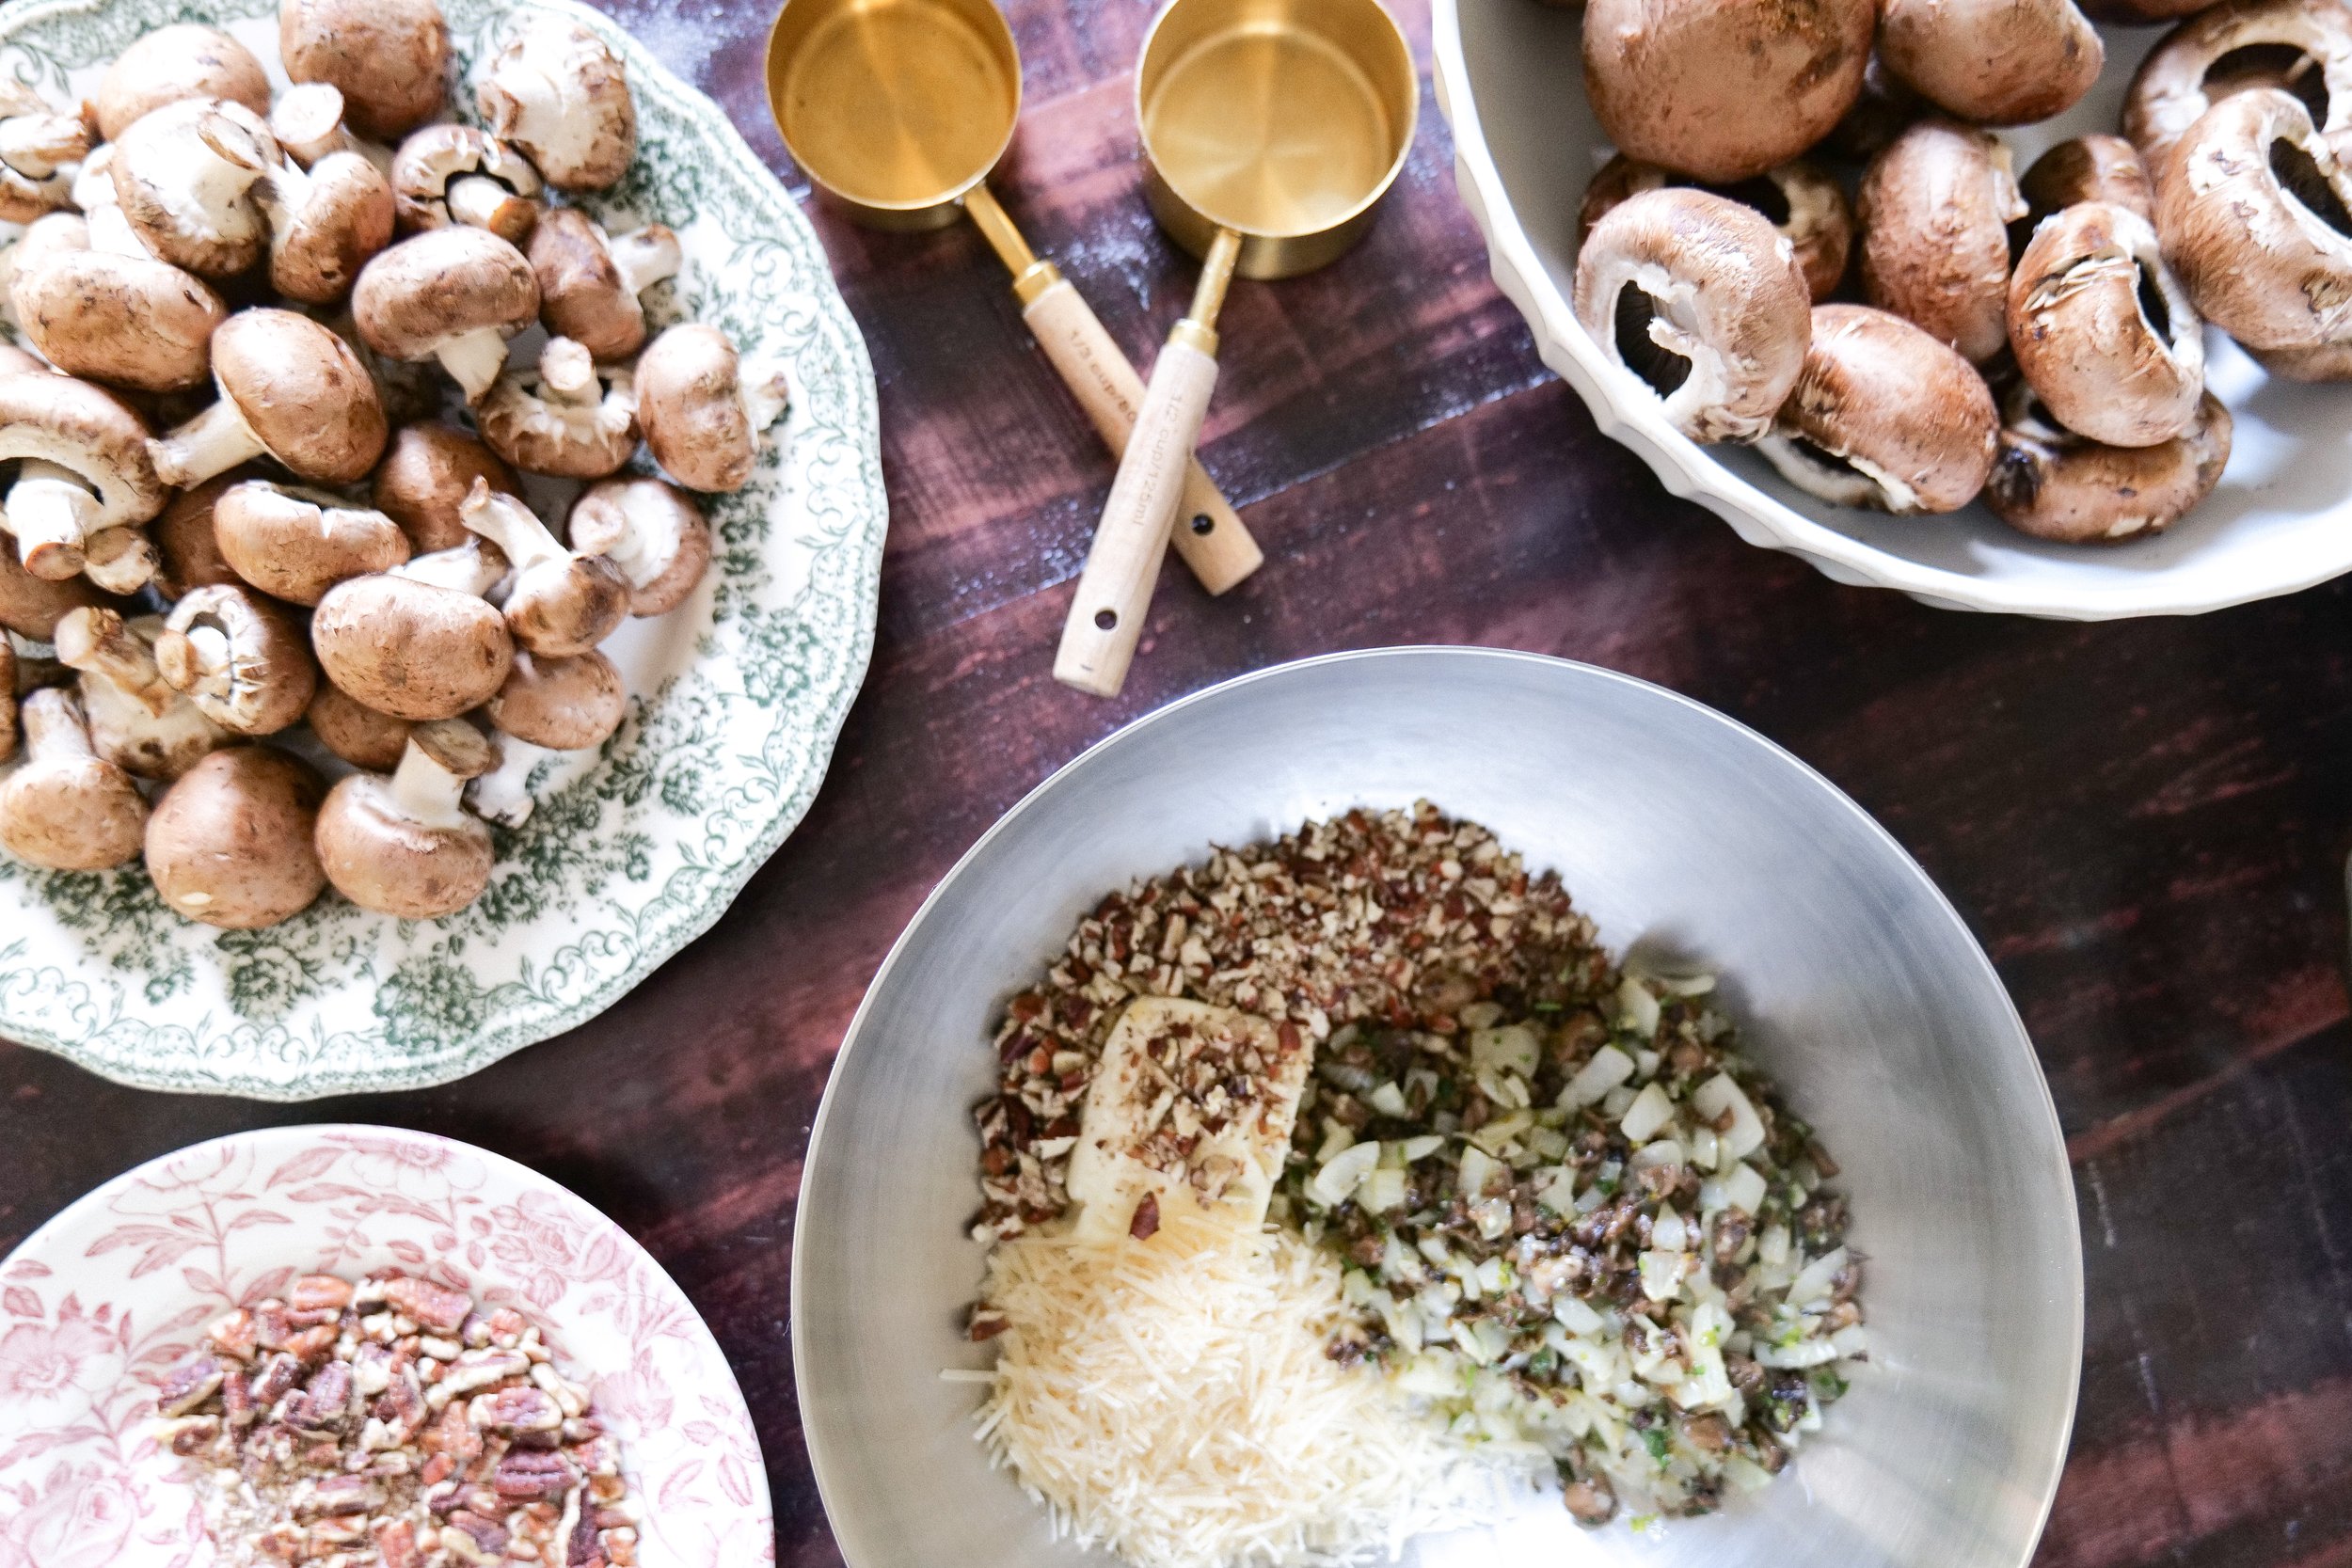
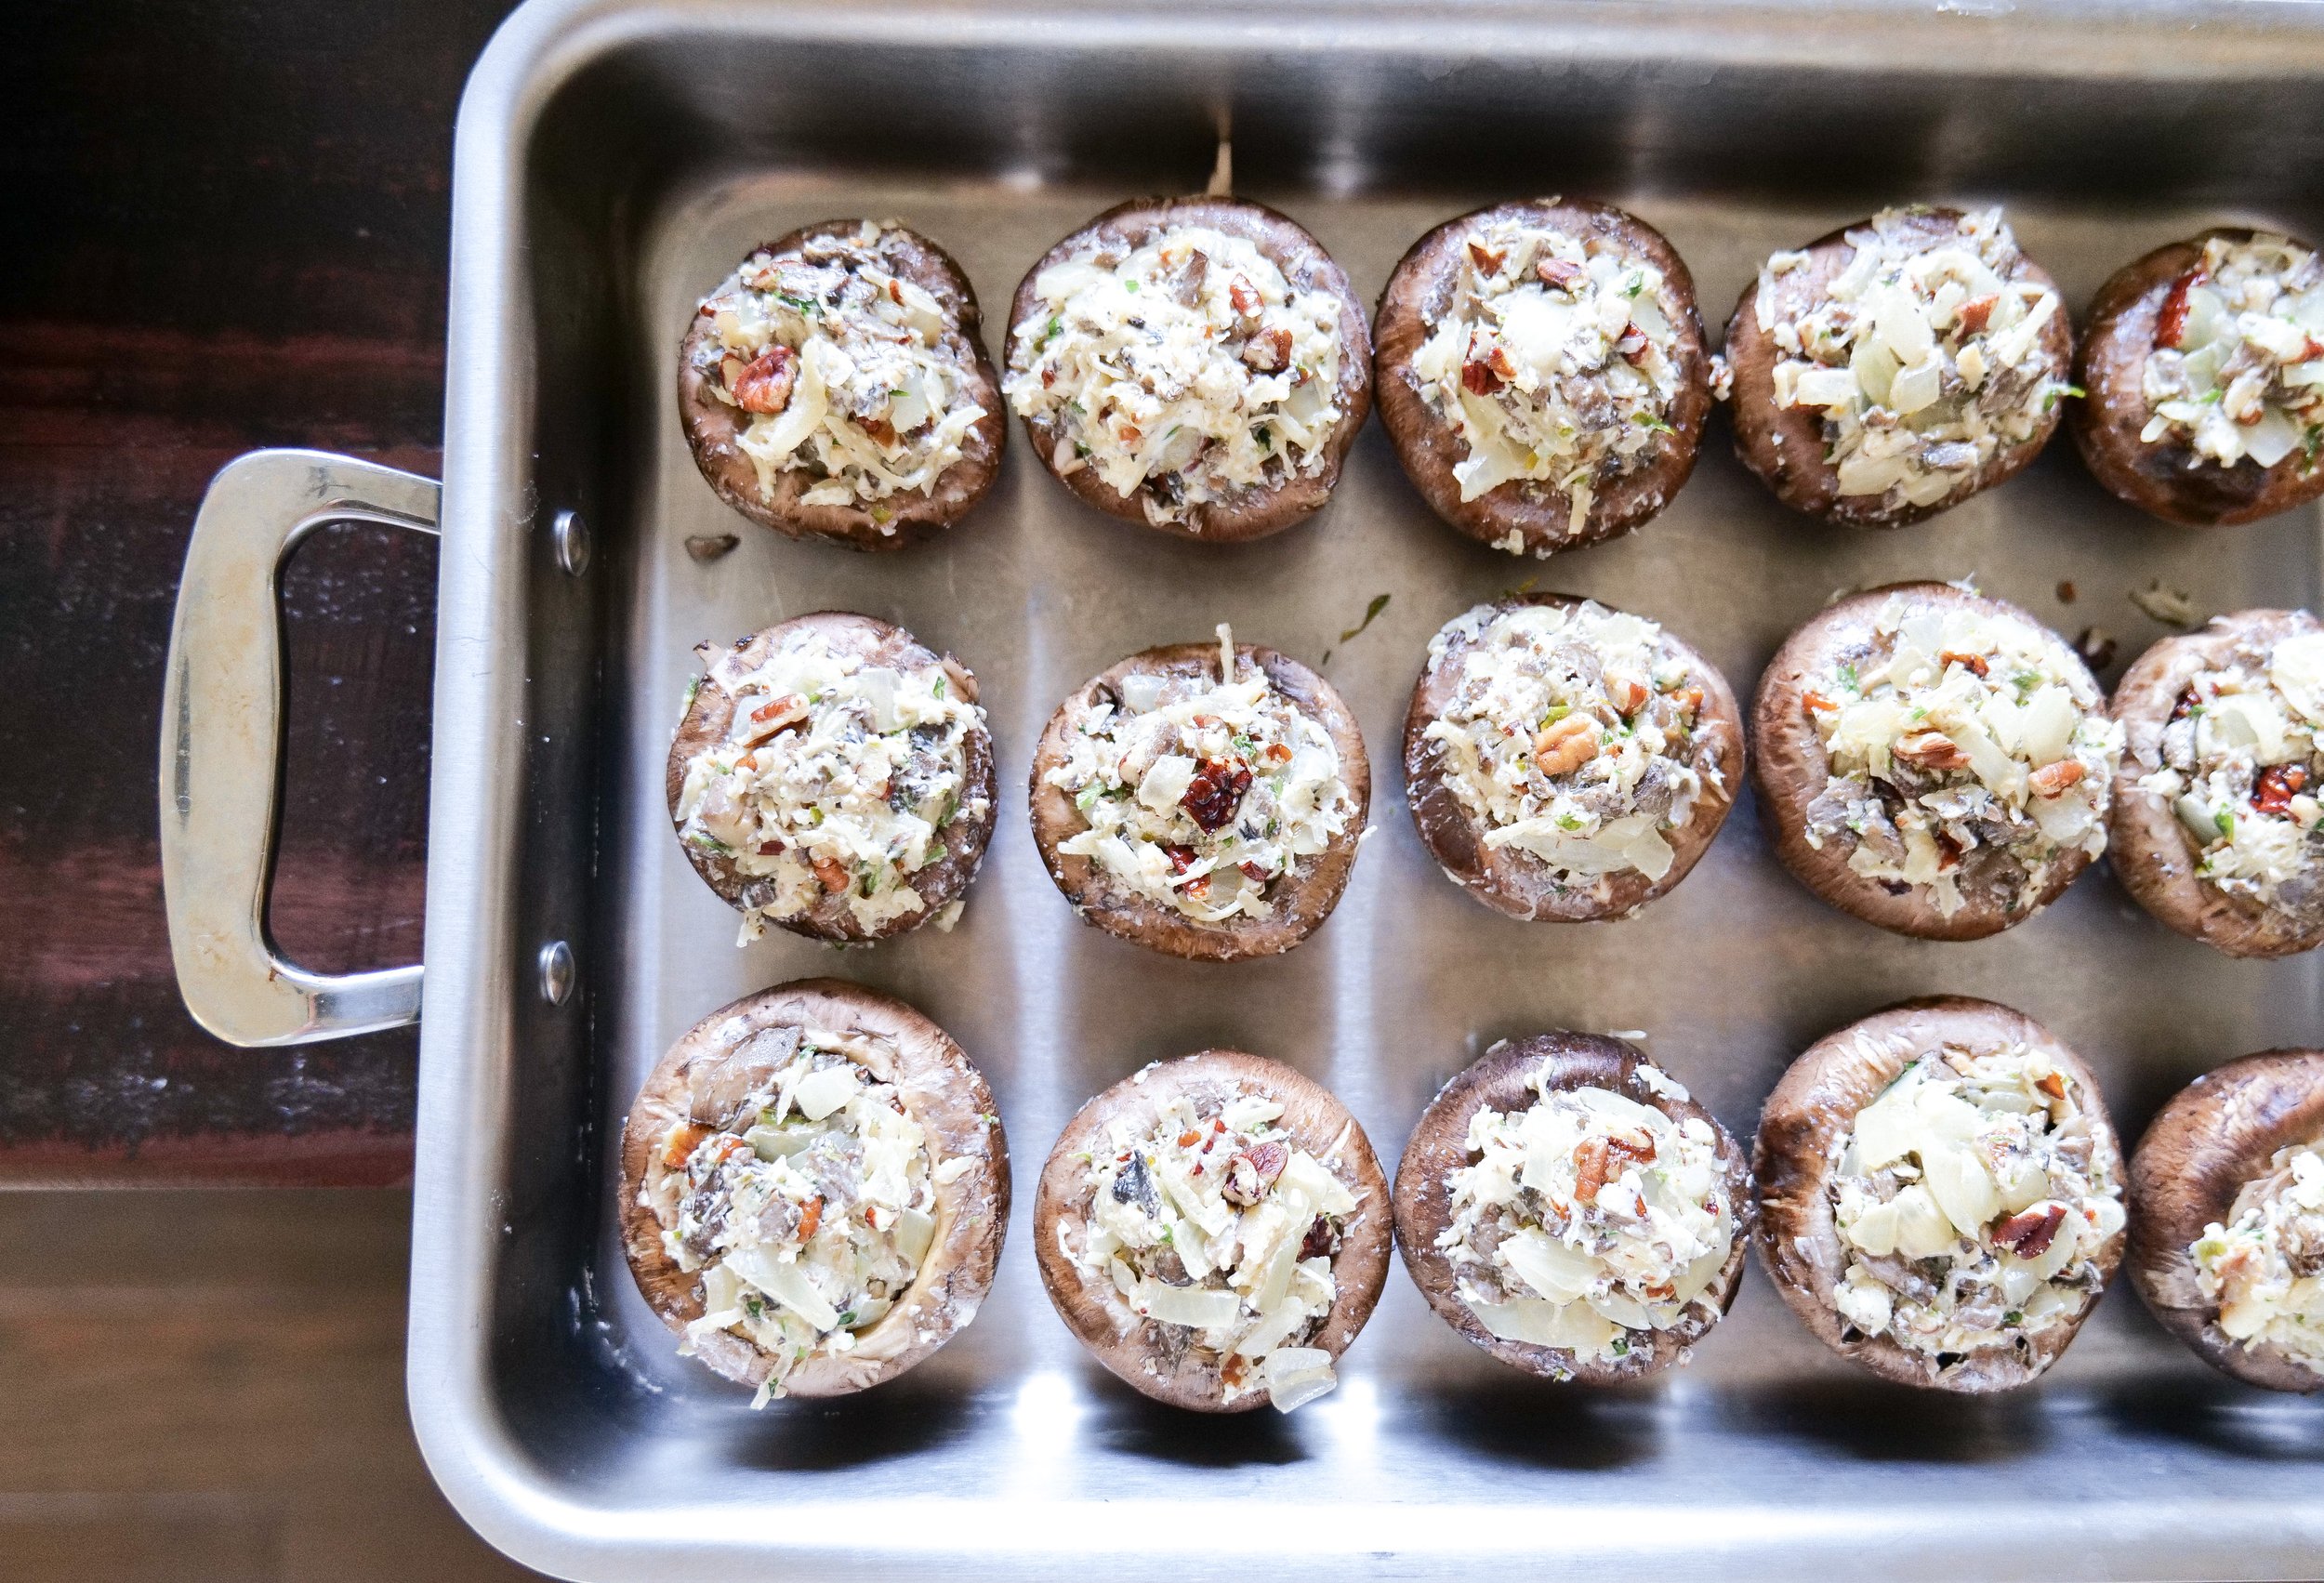
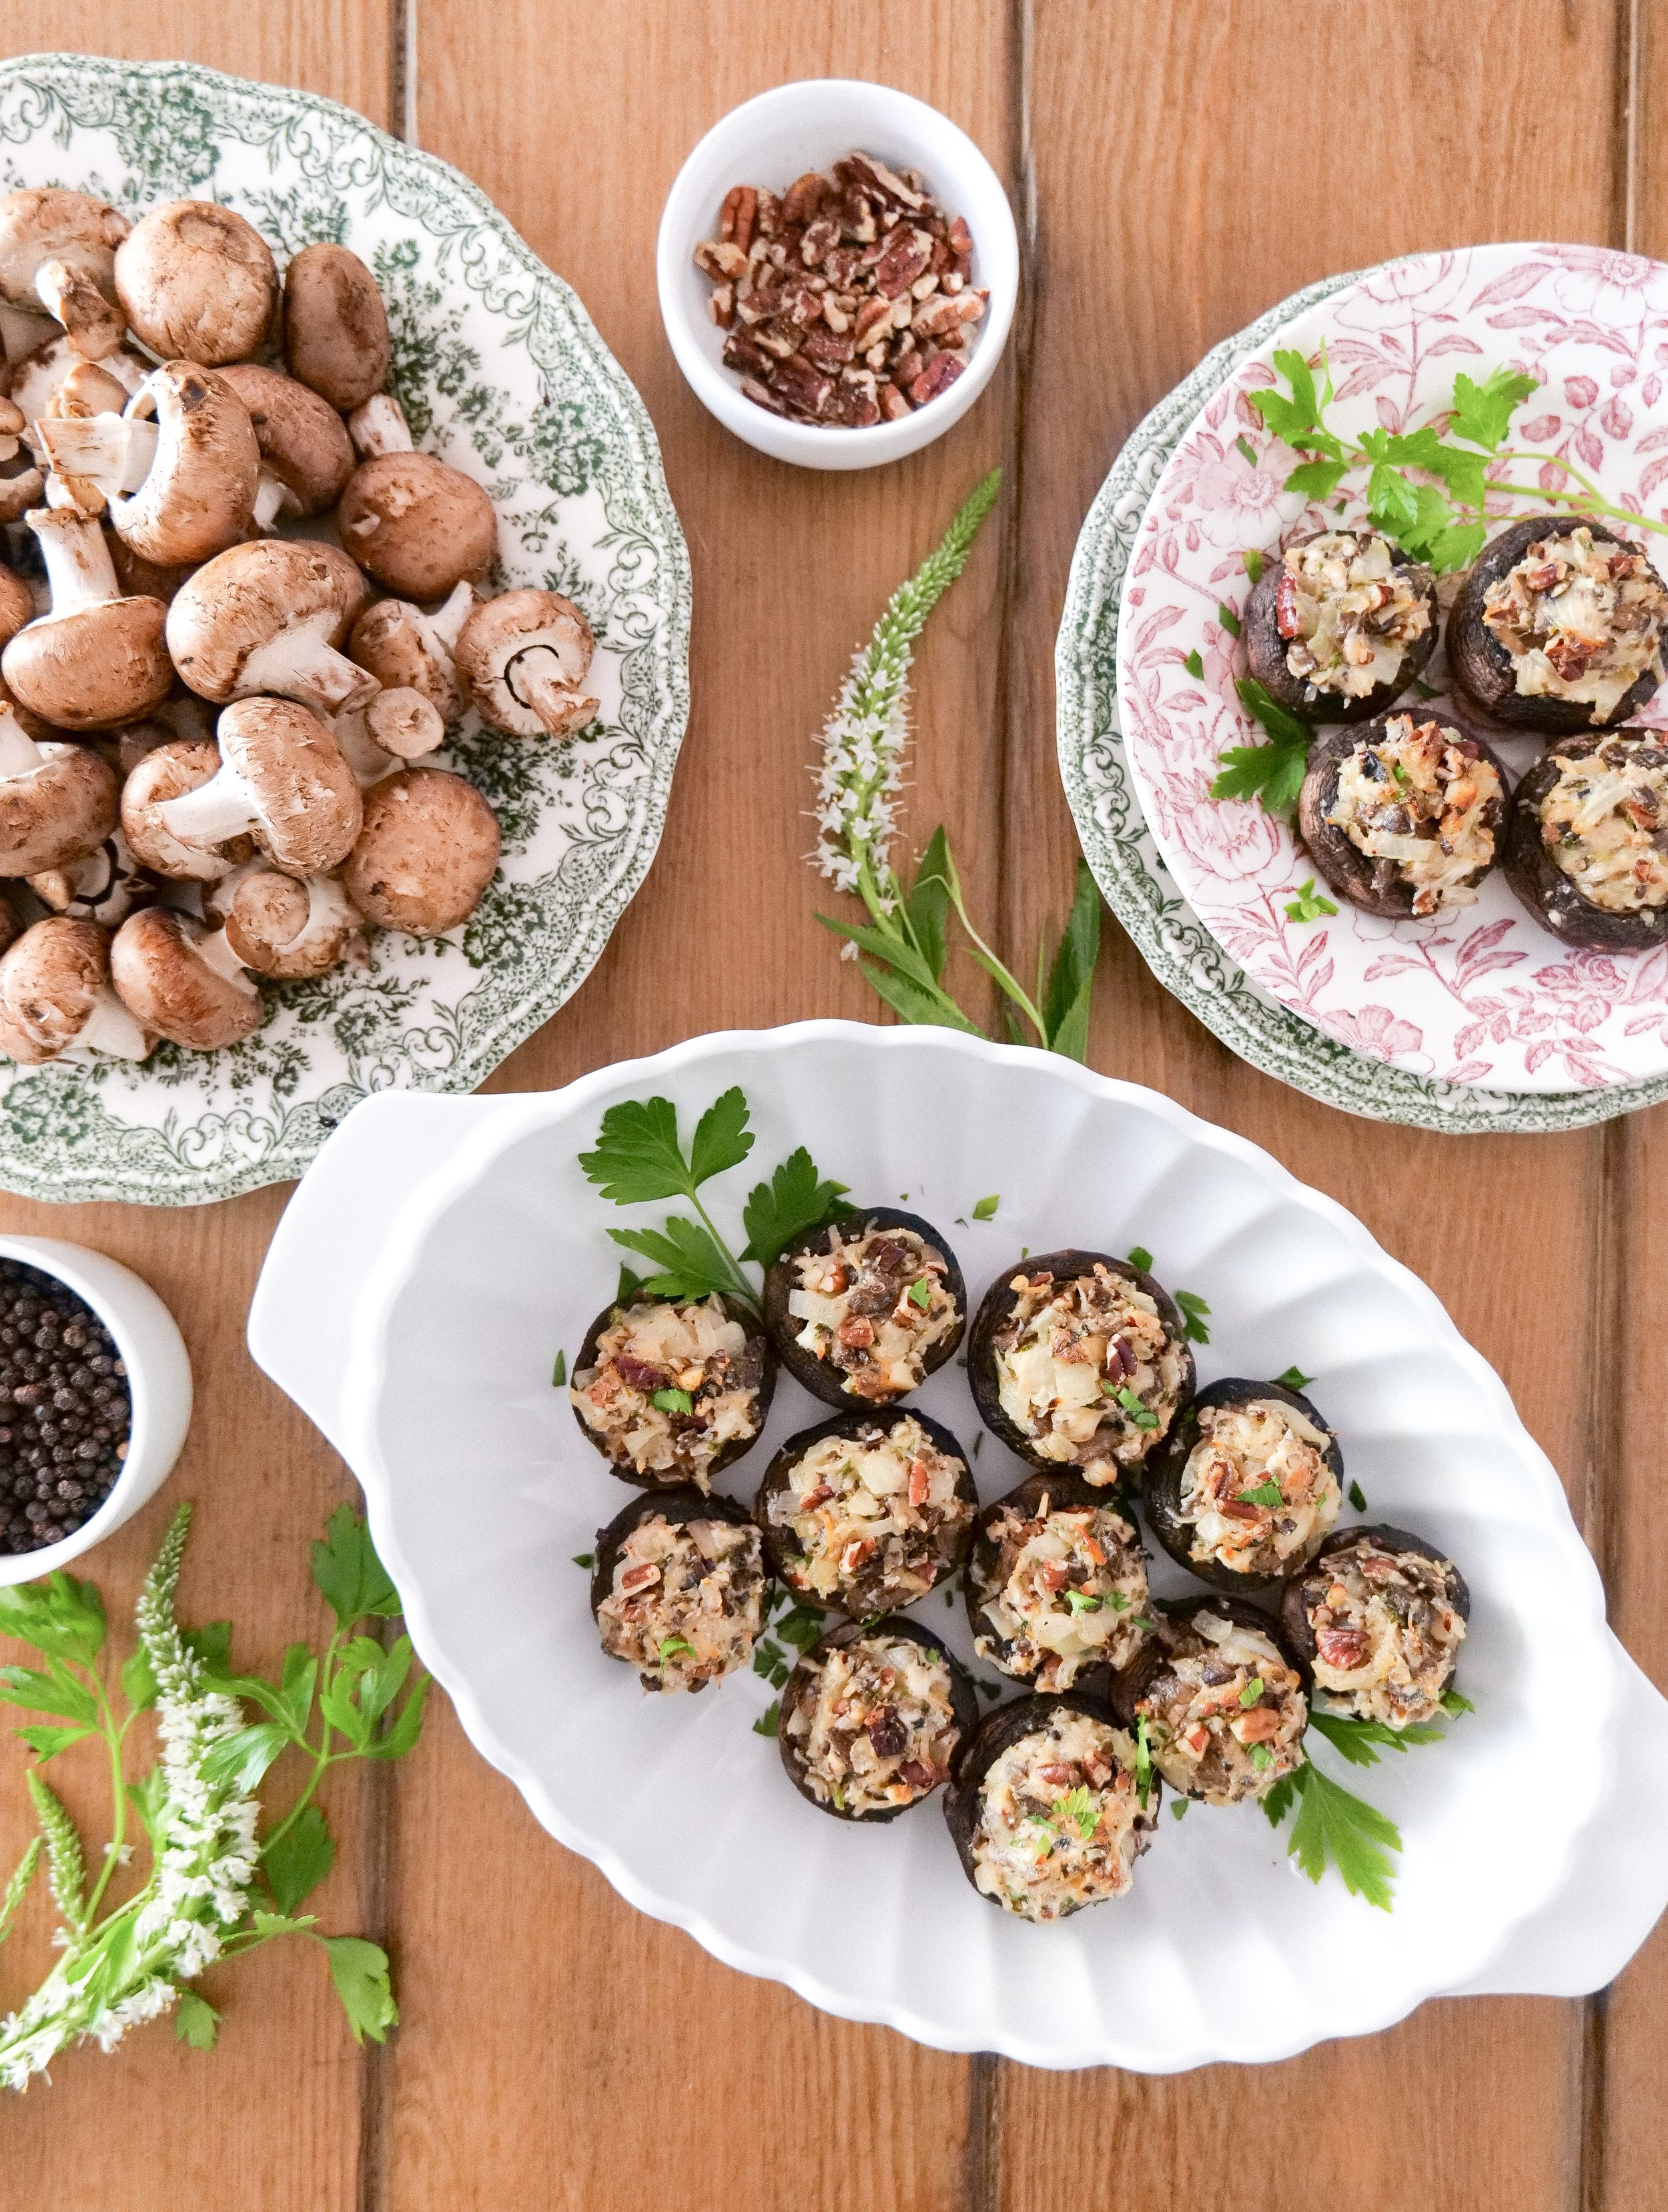
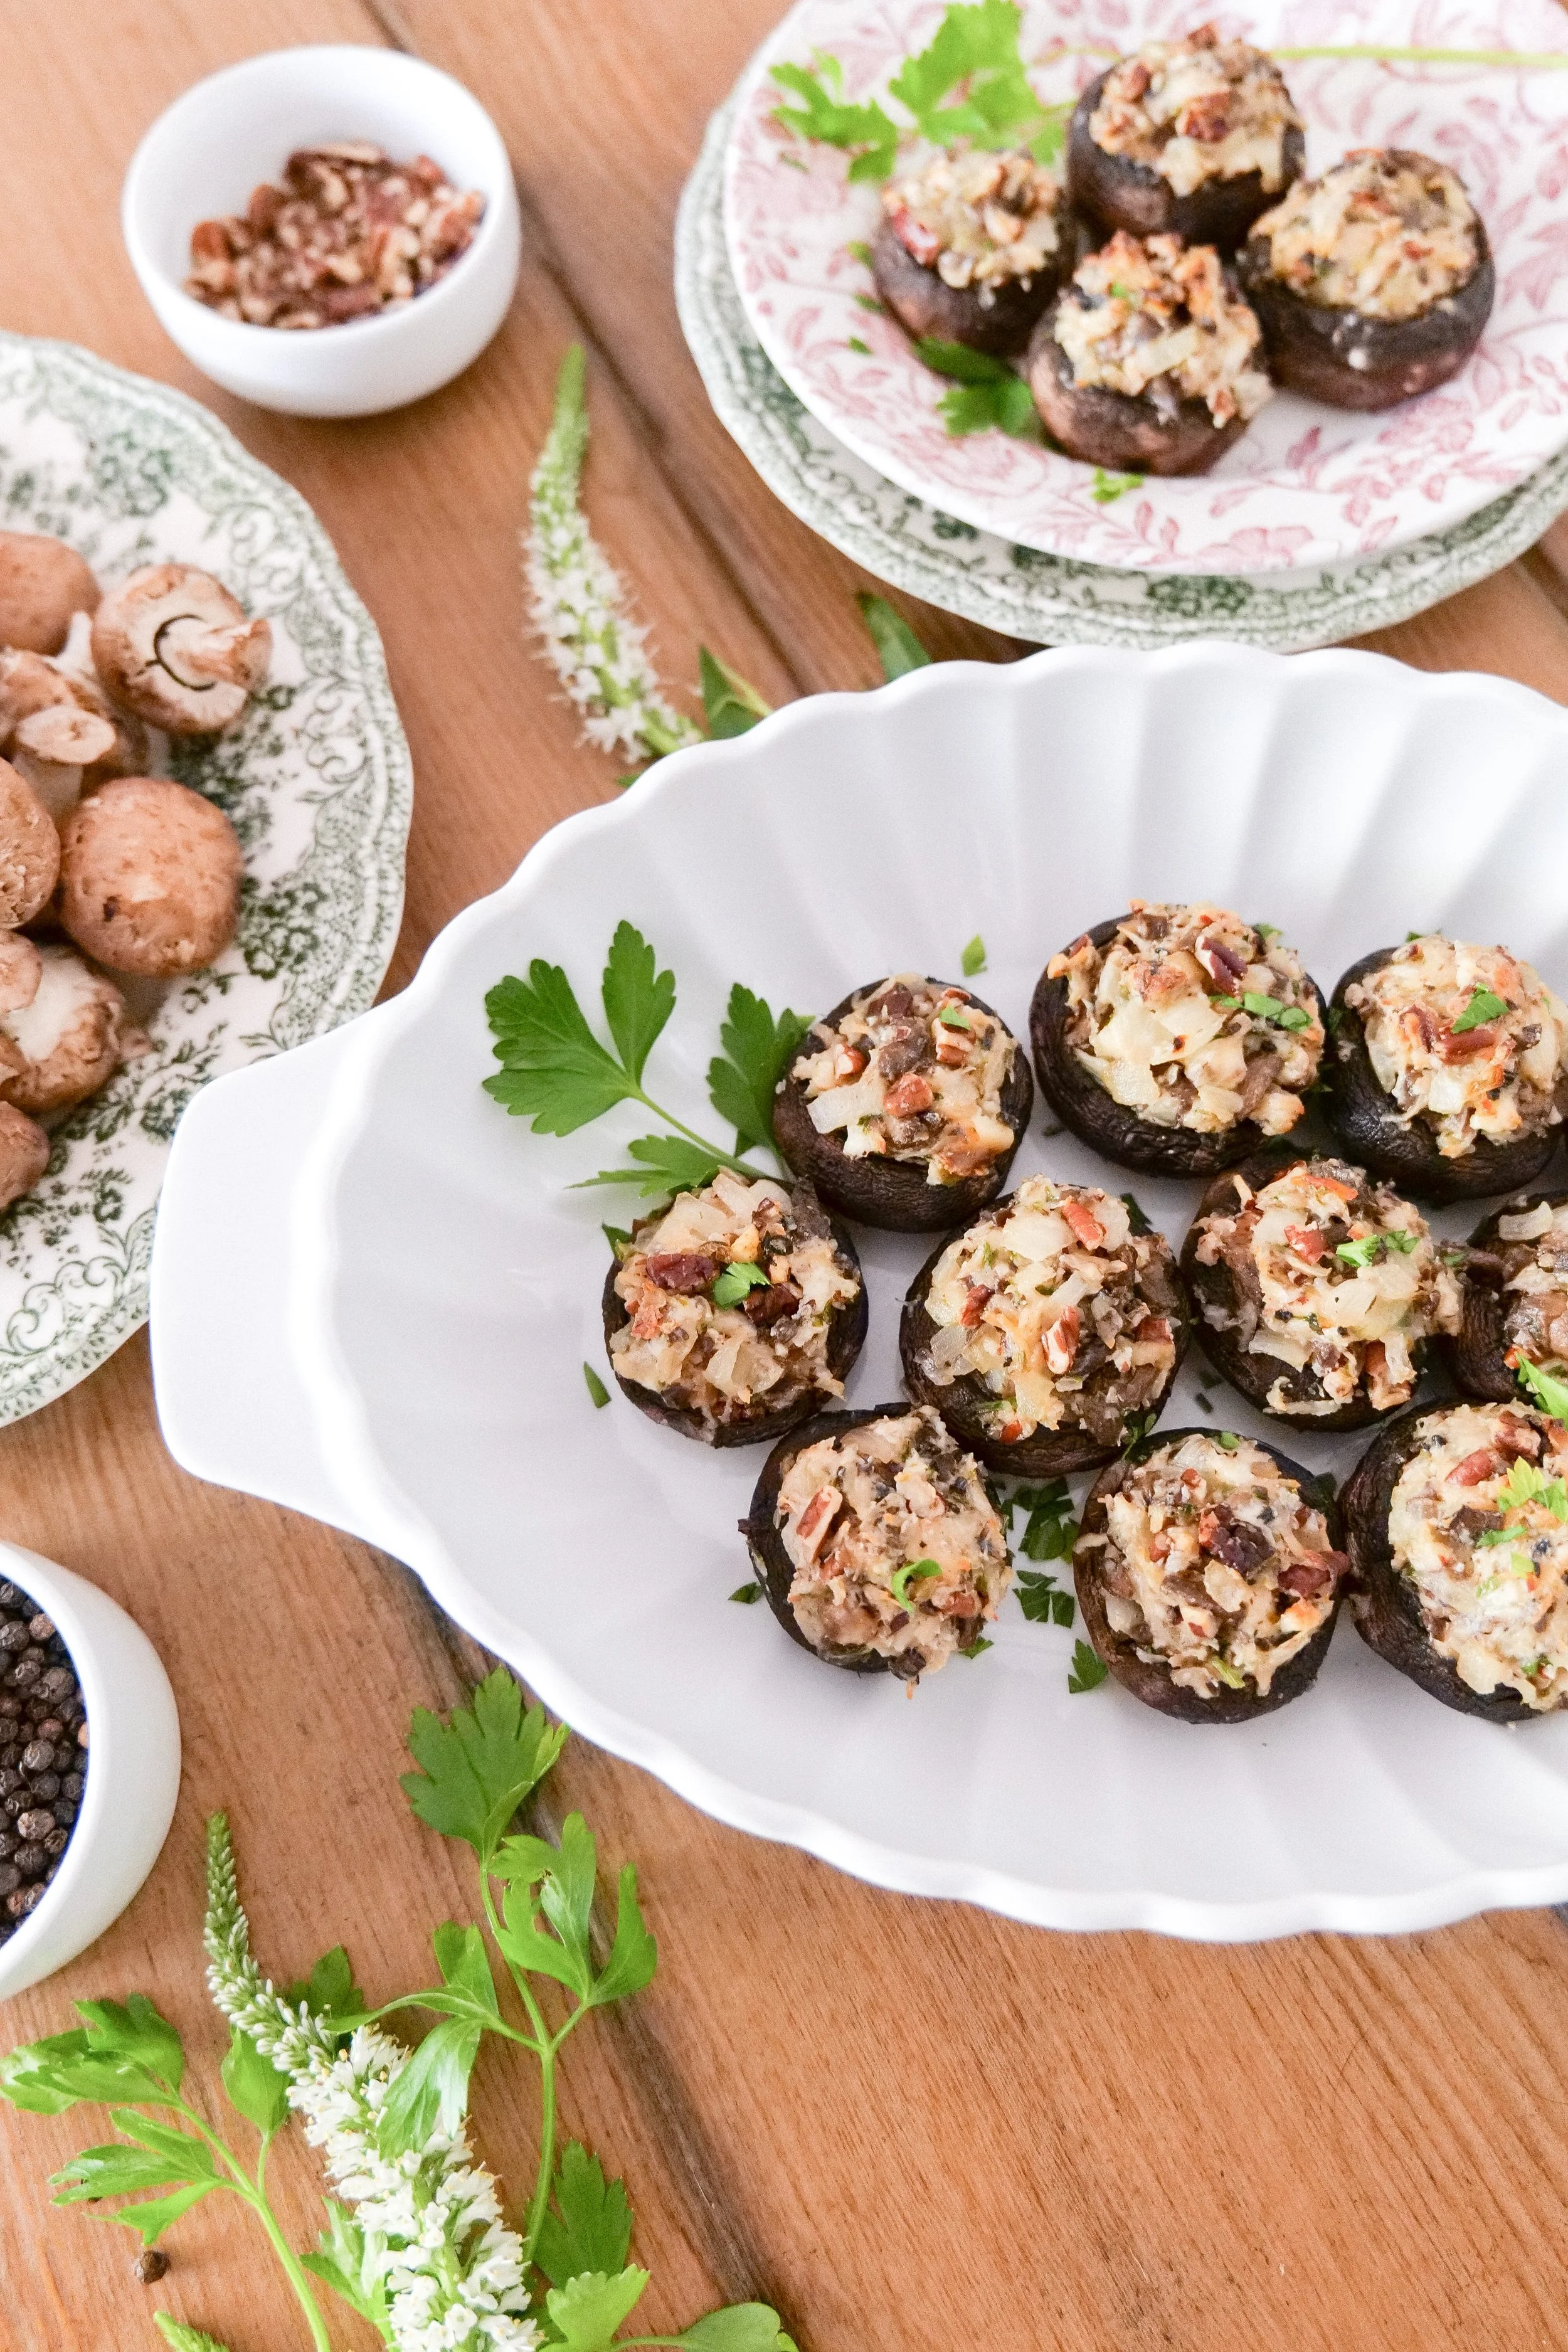
A Crowd-Pleasing Stuffed Mushroom Recipe