Bacon Wrapped California Hot Dog Recipe
/There’s just something about summertime and hot dogs that feels nostalgic in the best way. From beach days and backyard BBQs to fireworks and late summer evenings, hot dogs are one of those classic American foods that instantly bring people together. After how much you all loved my Chicago hot dog recipe, I knew I had to continue the All American Series with a coastal-inspired twist — this bacon wrapped California hot dog recipe.
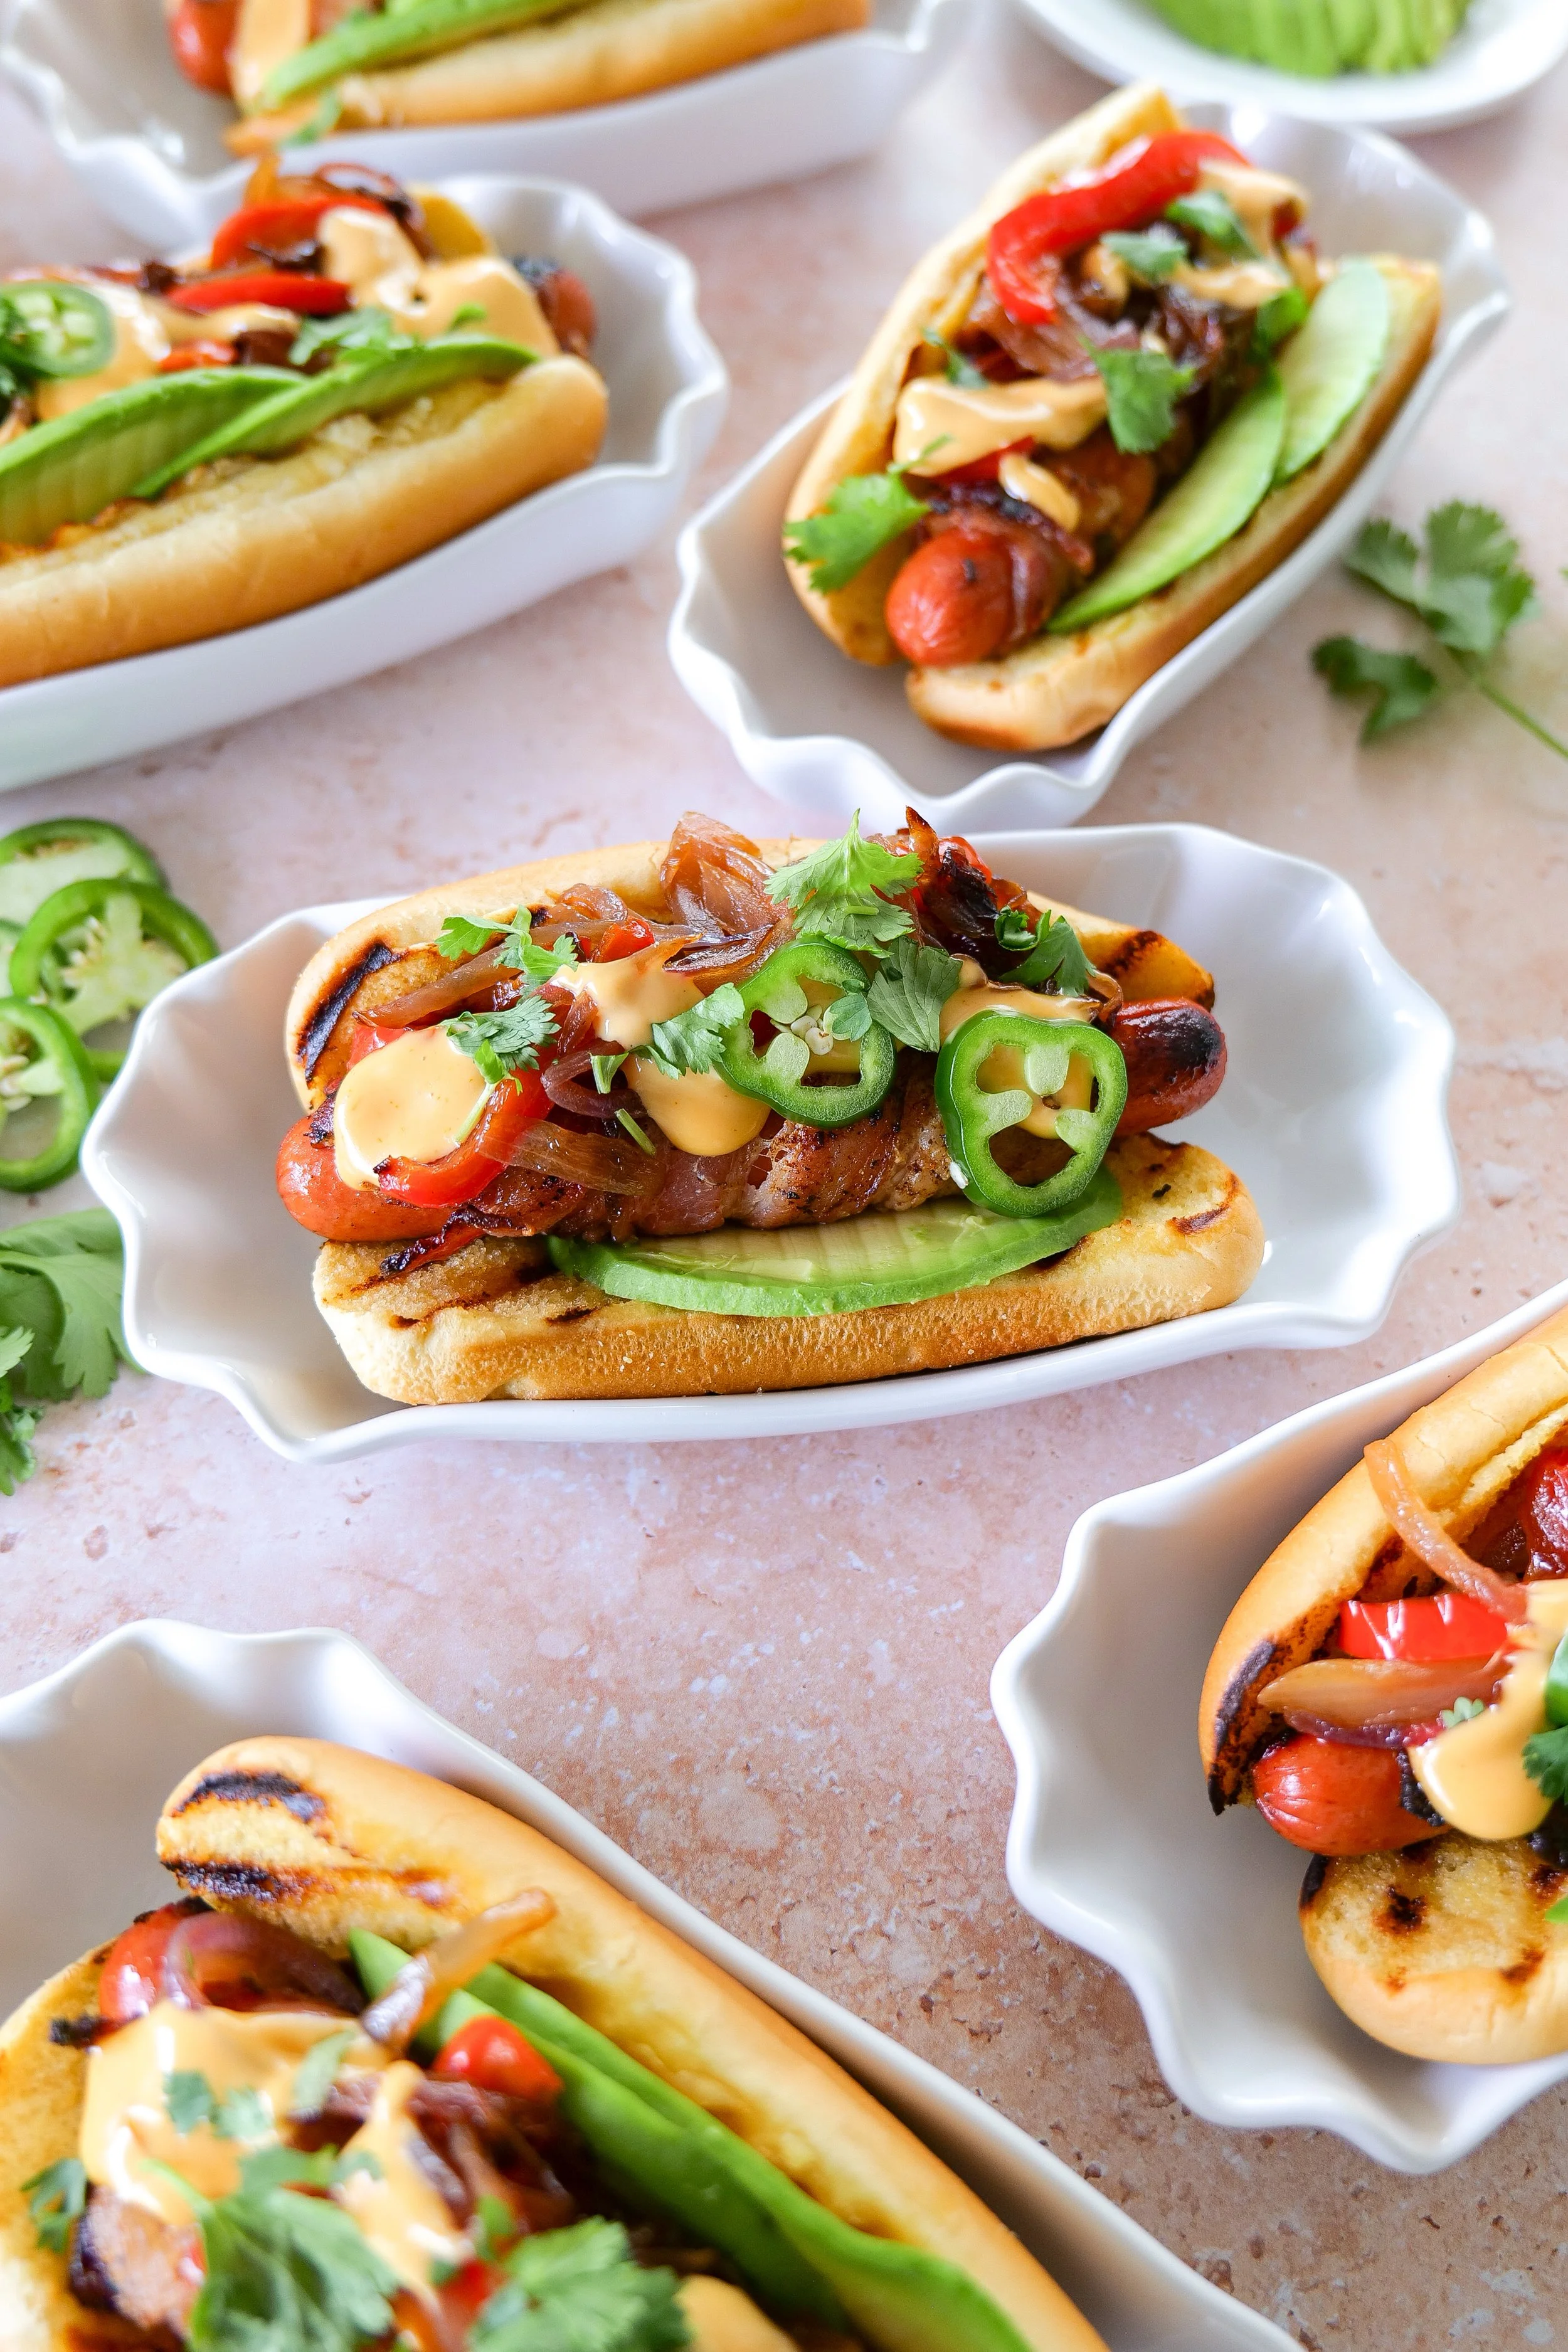
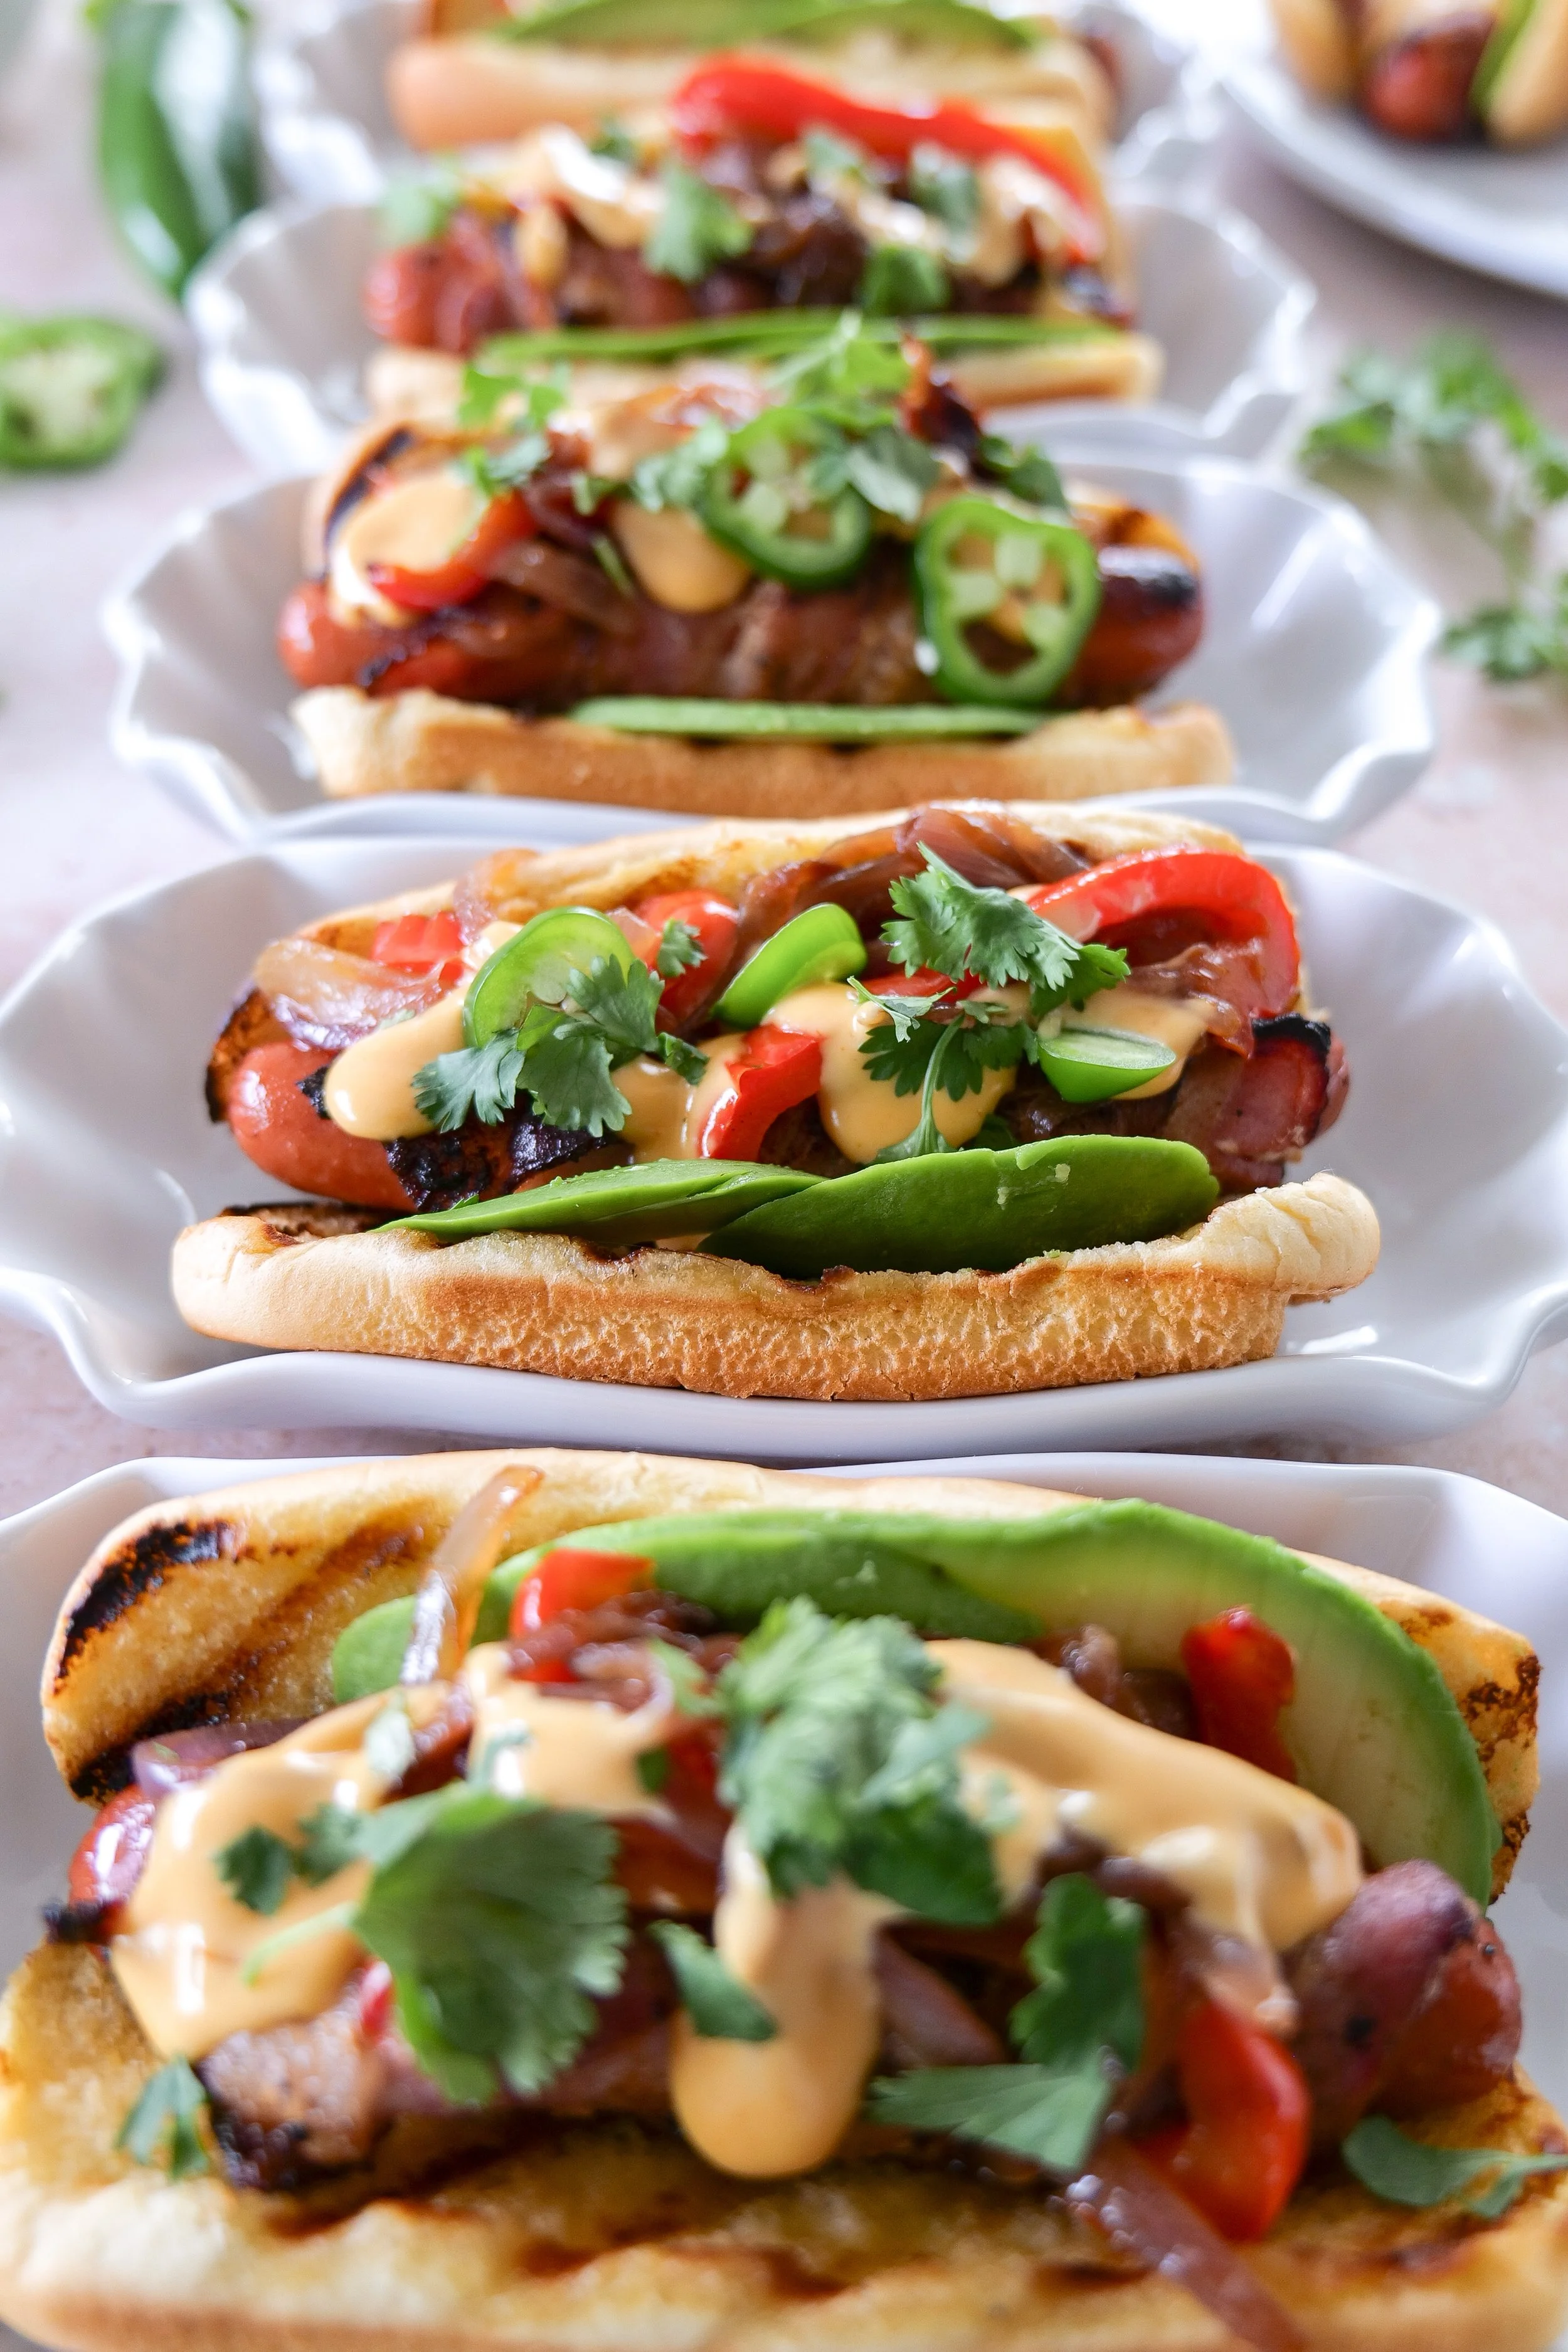
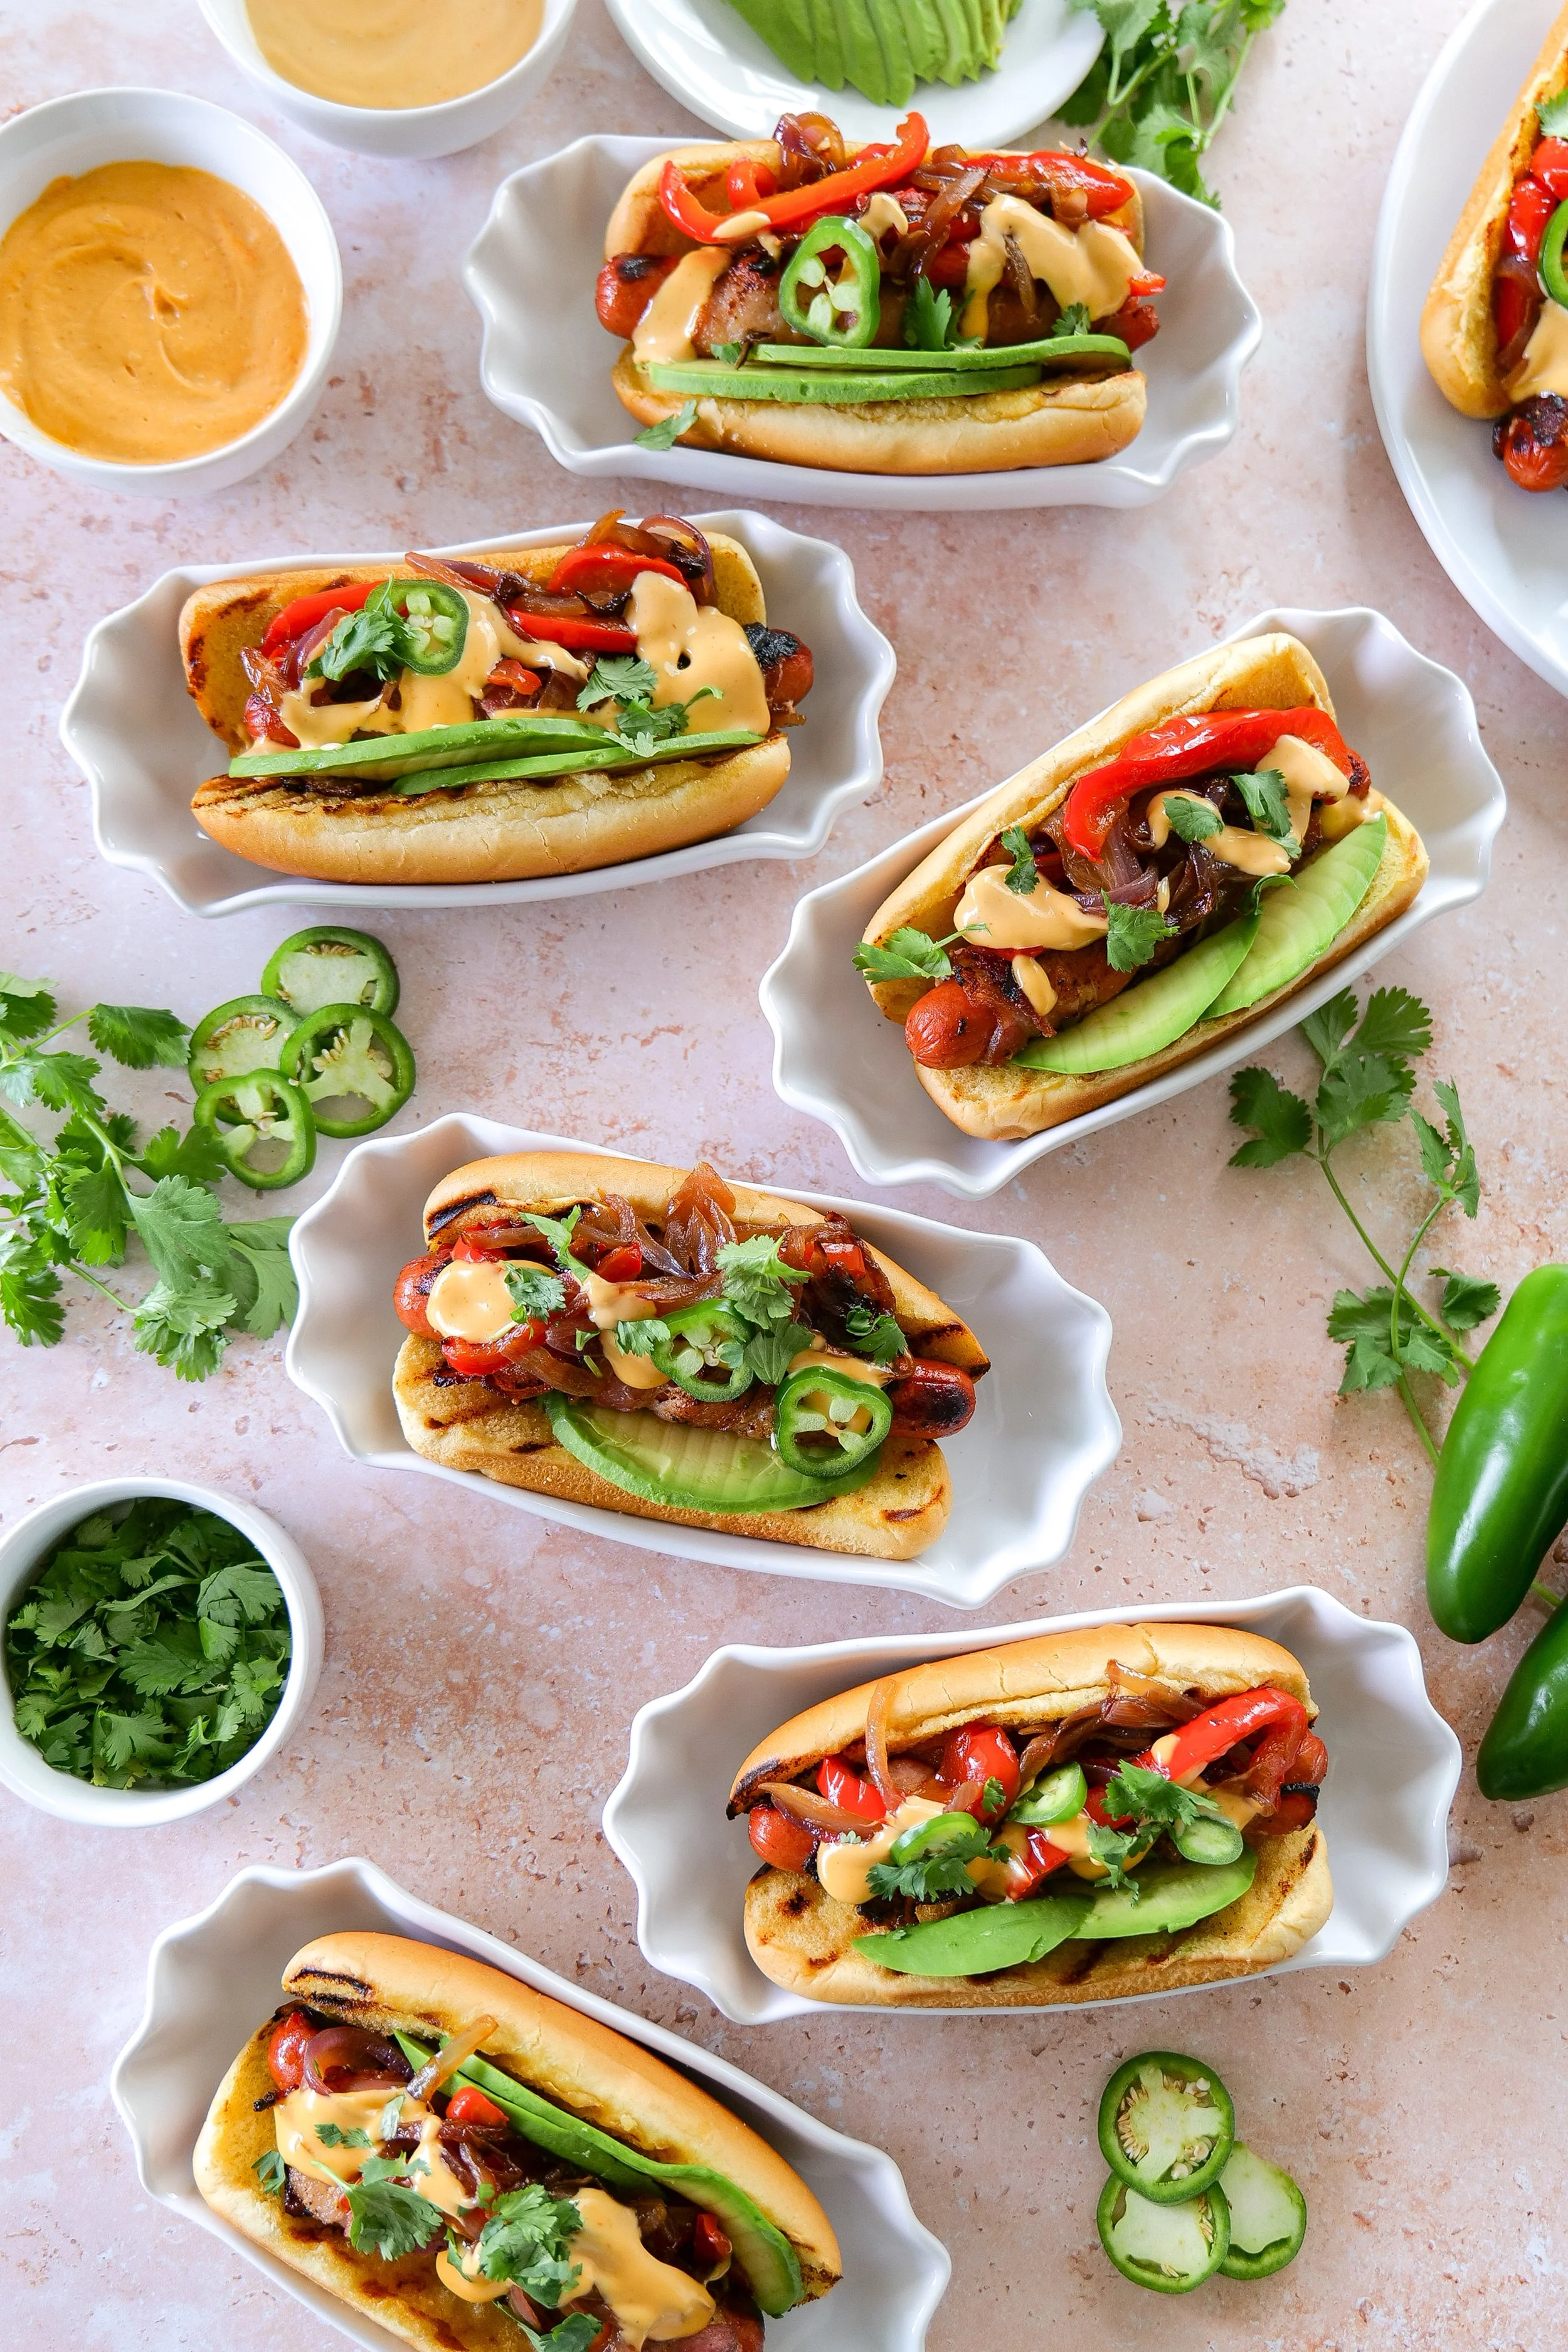
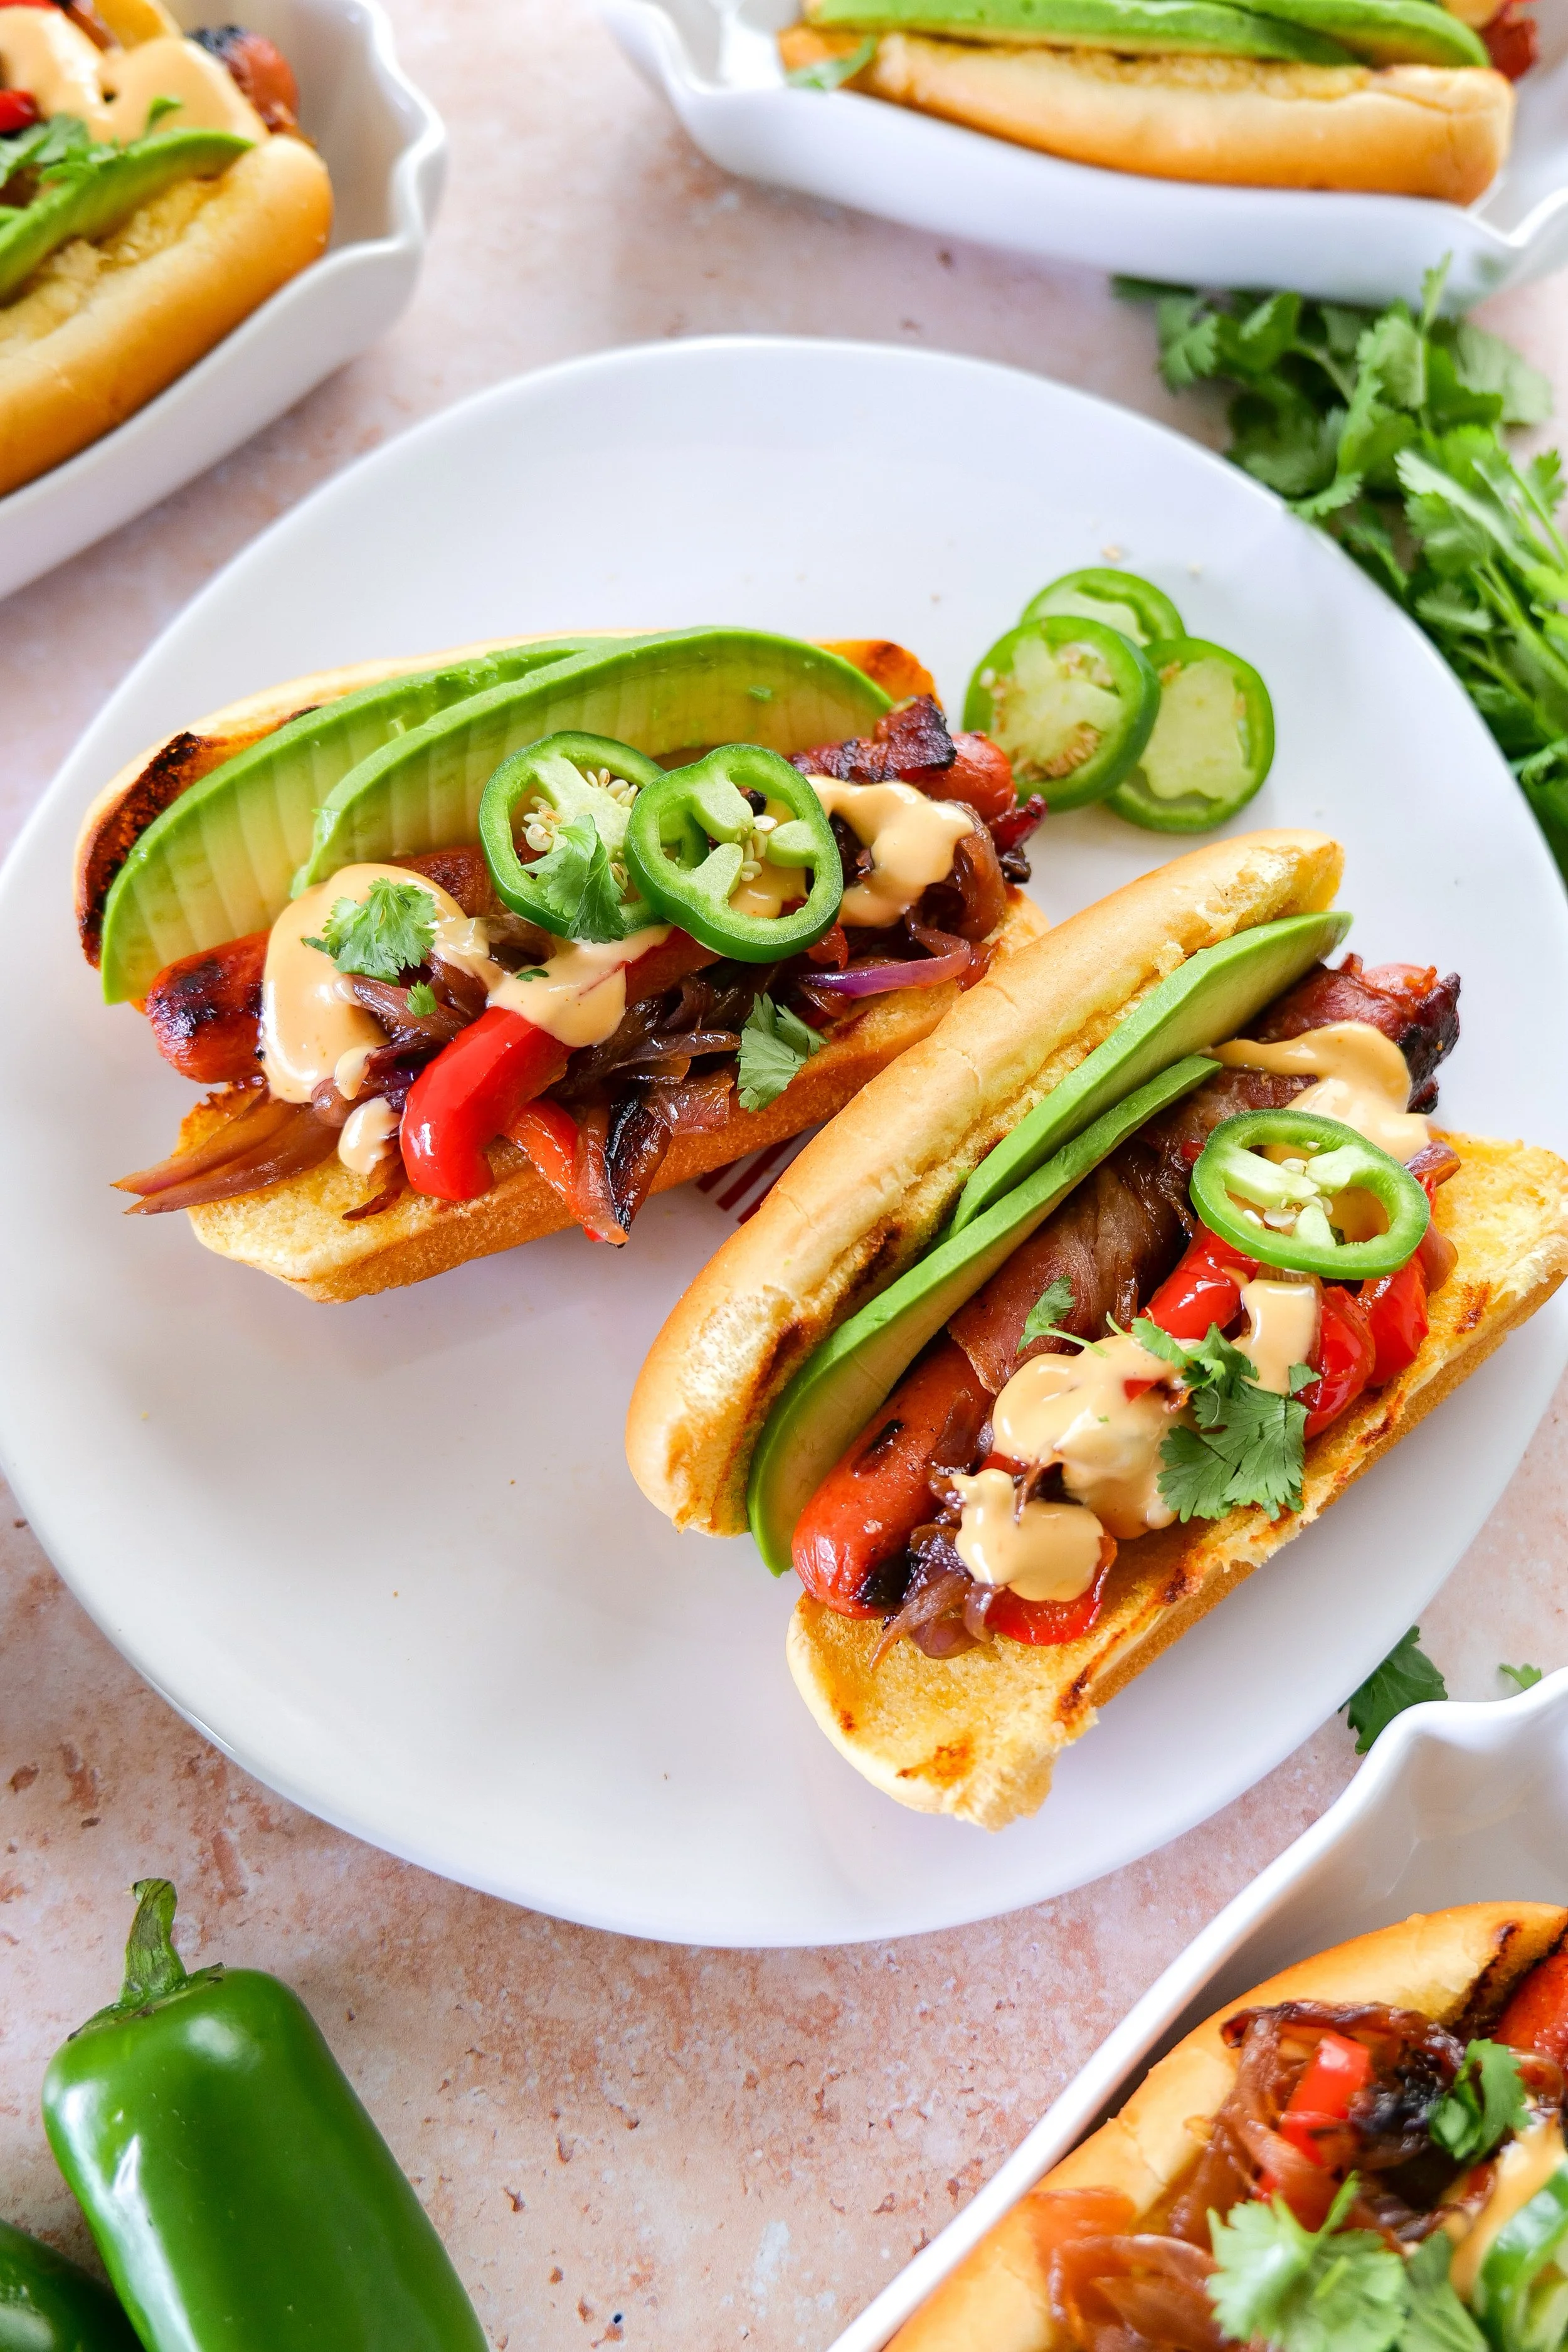
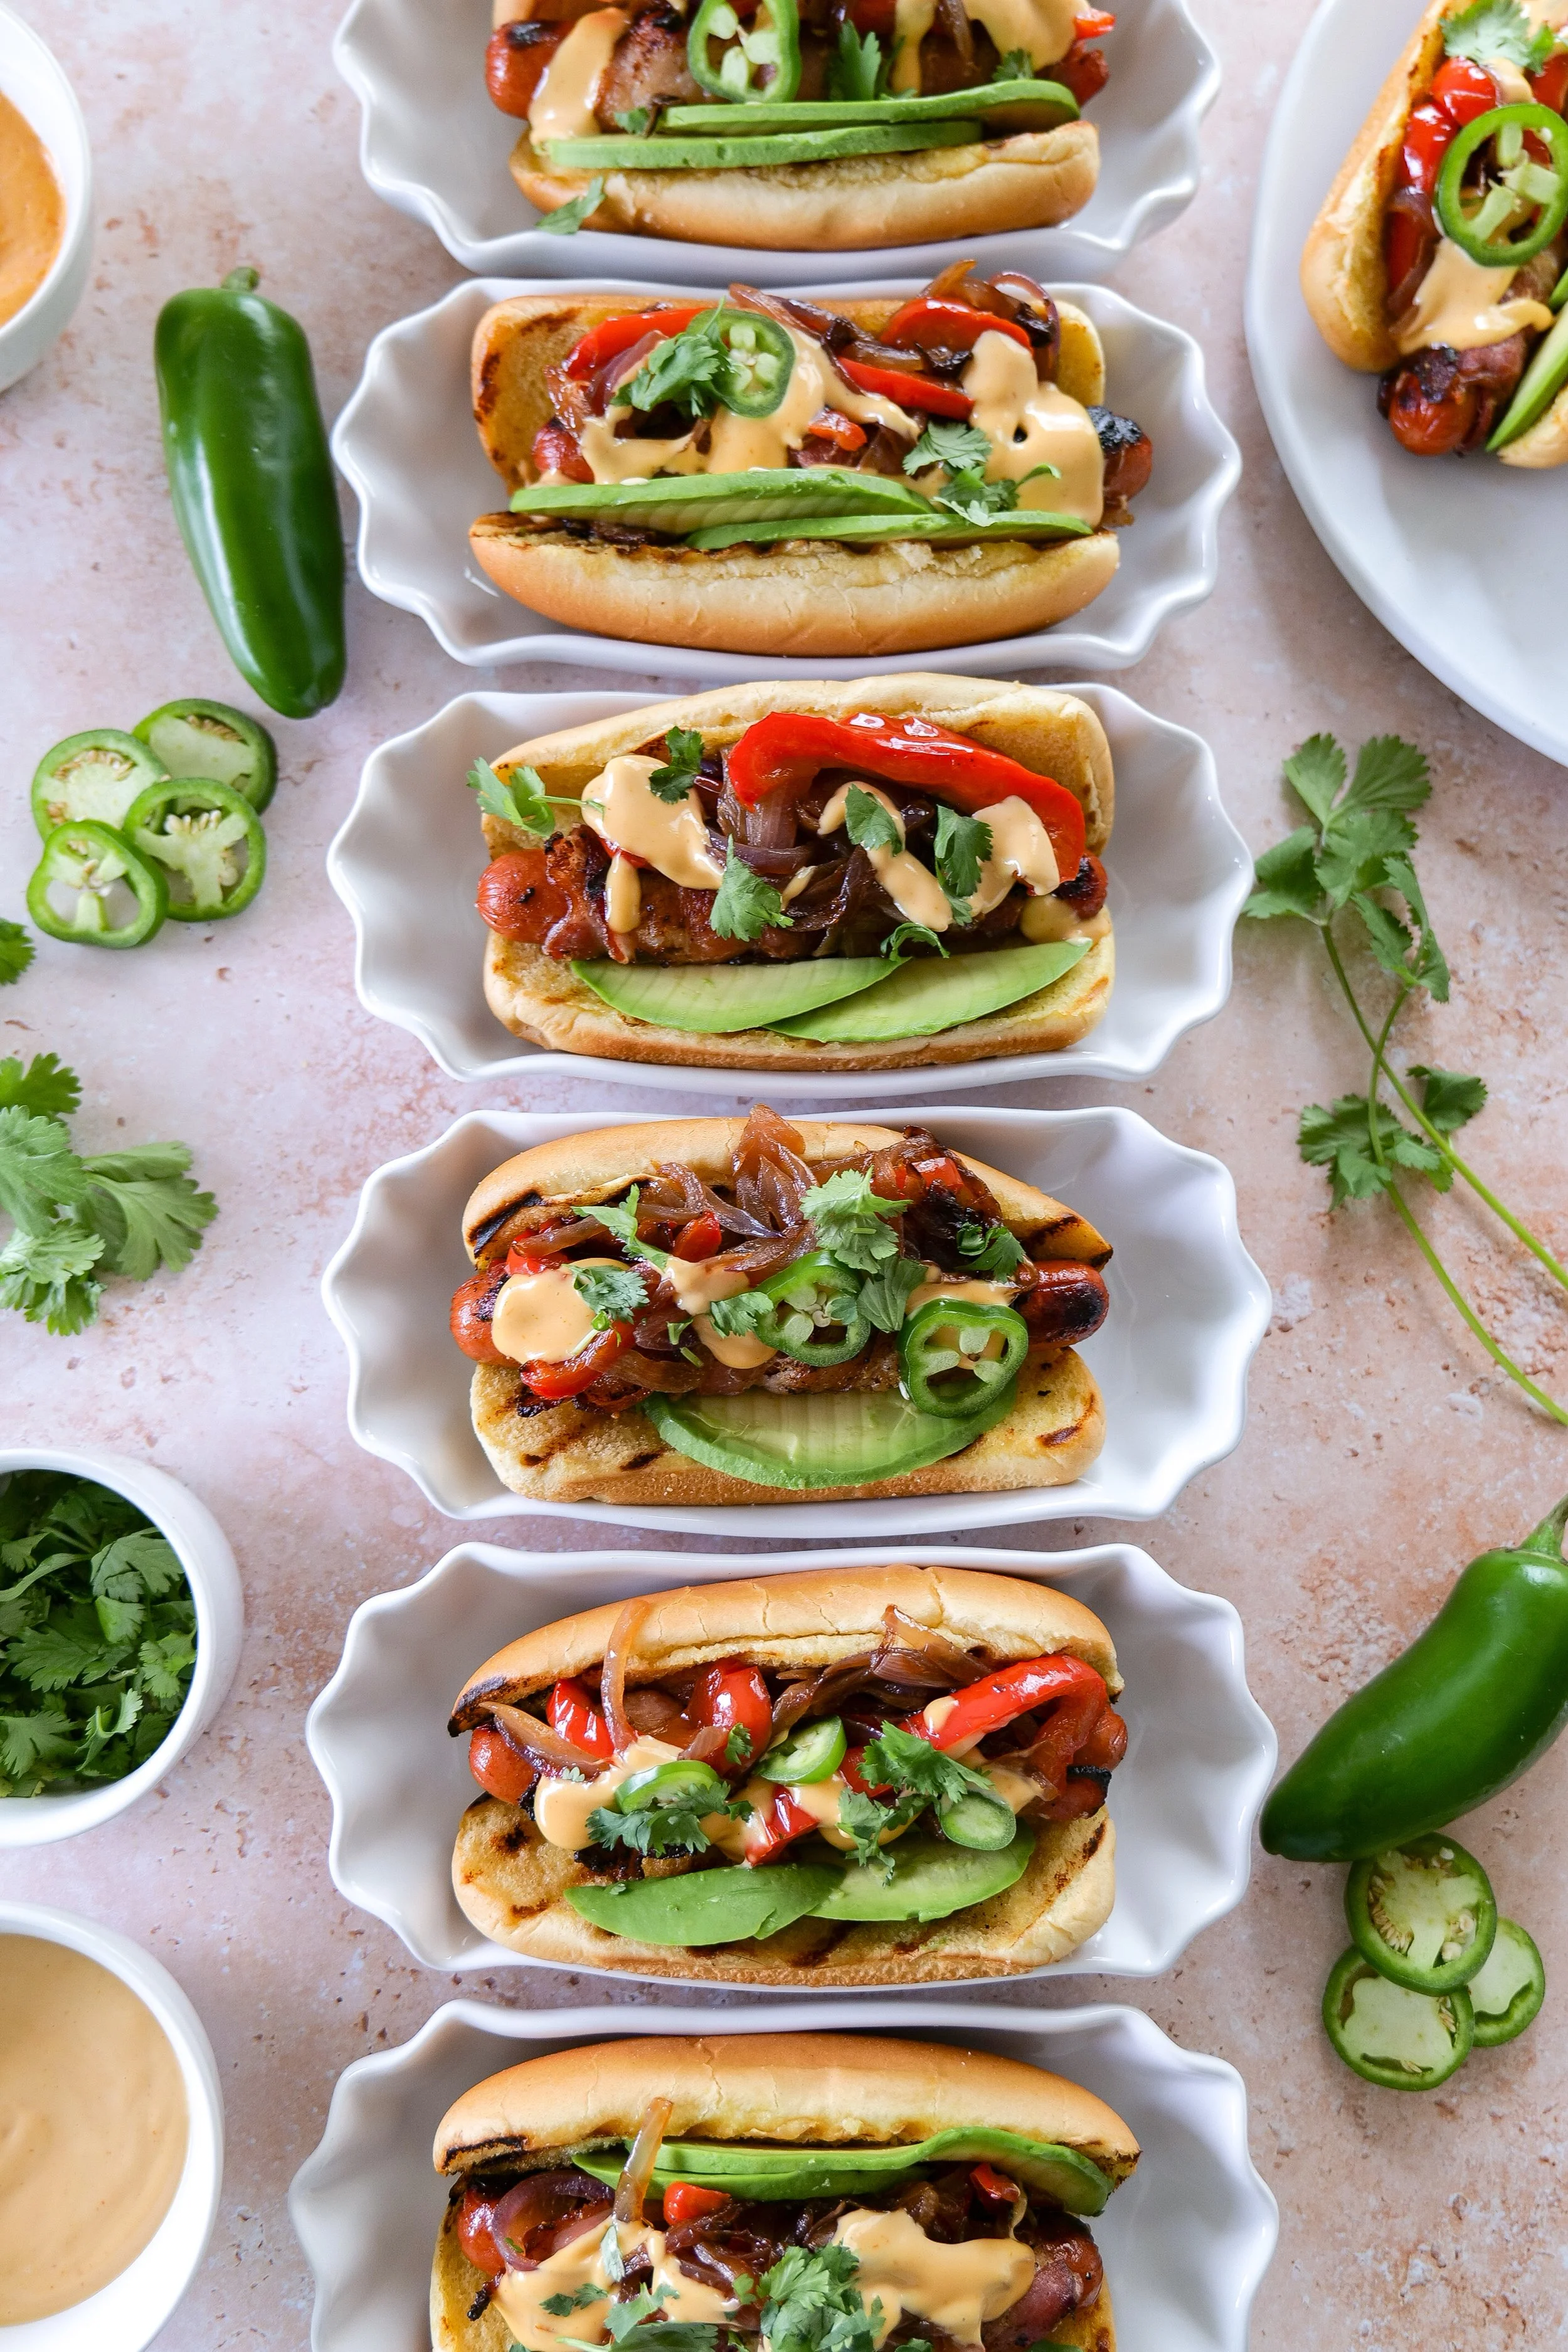
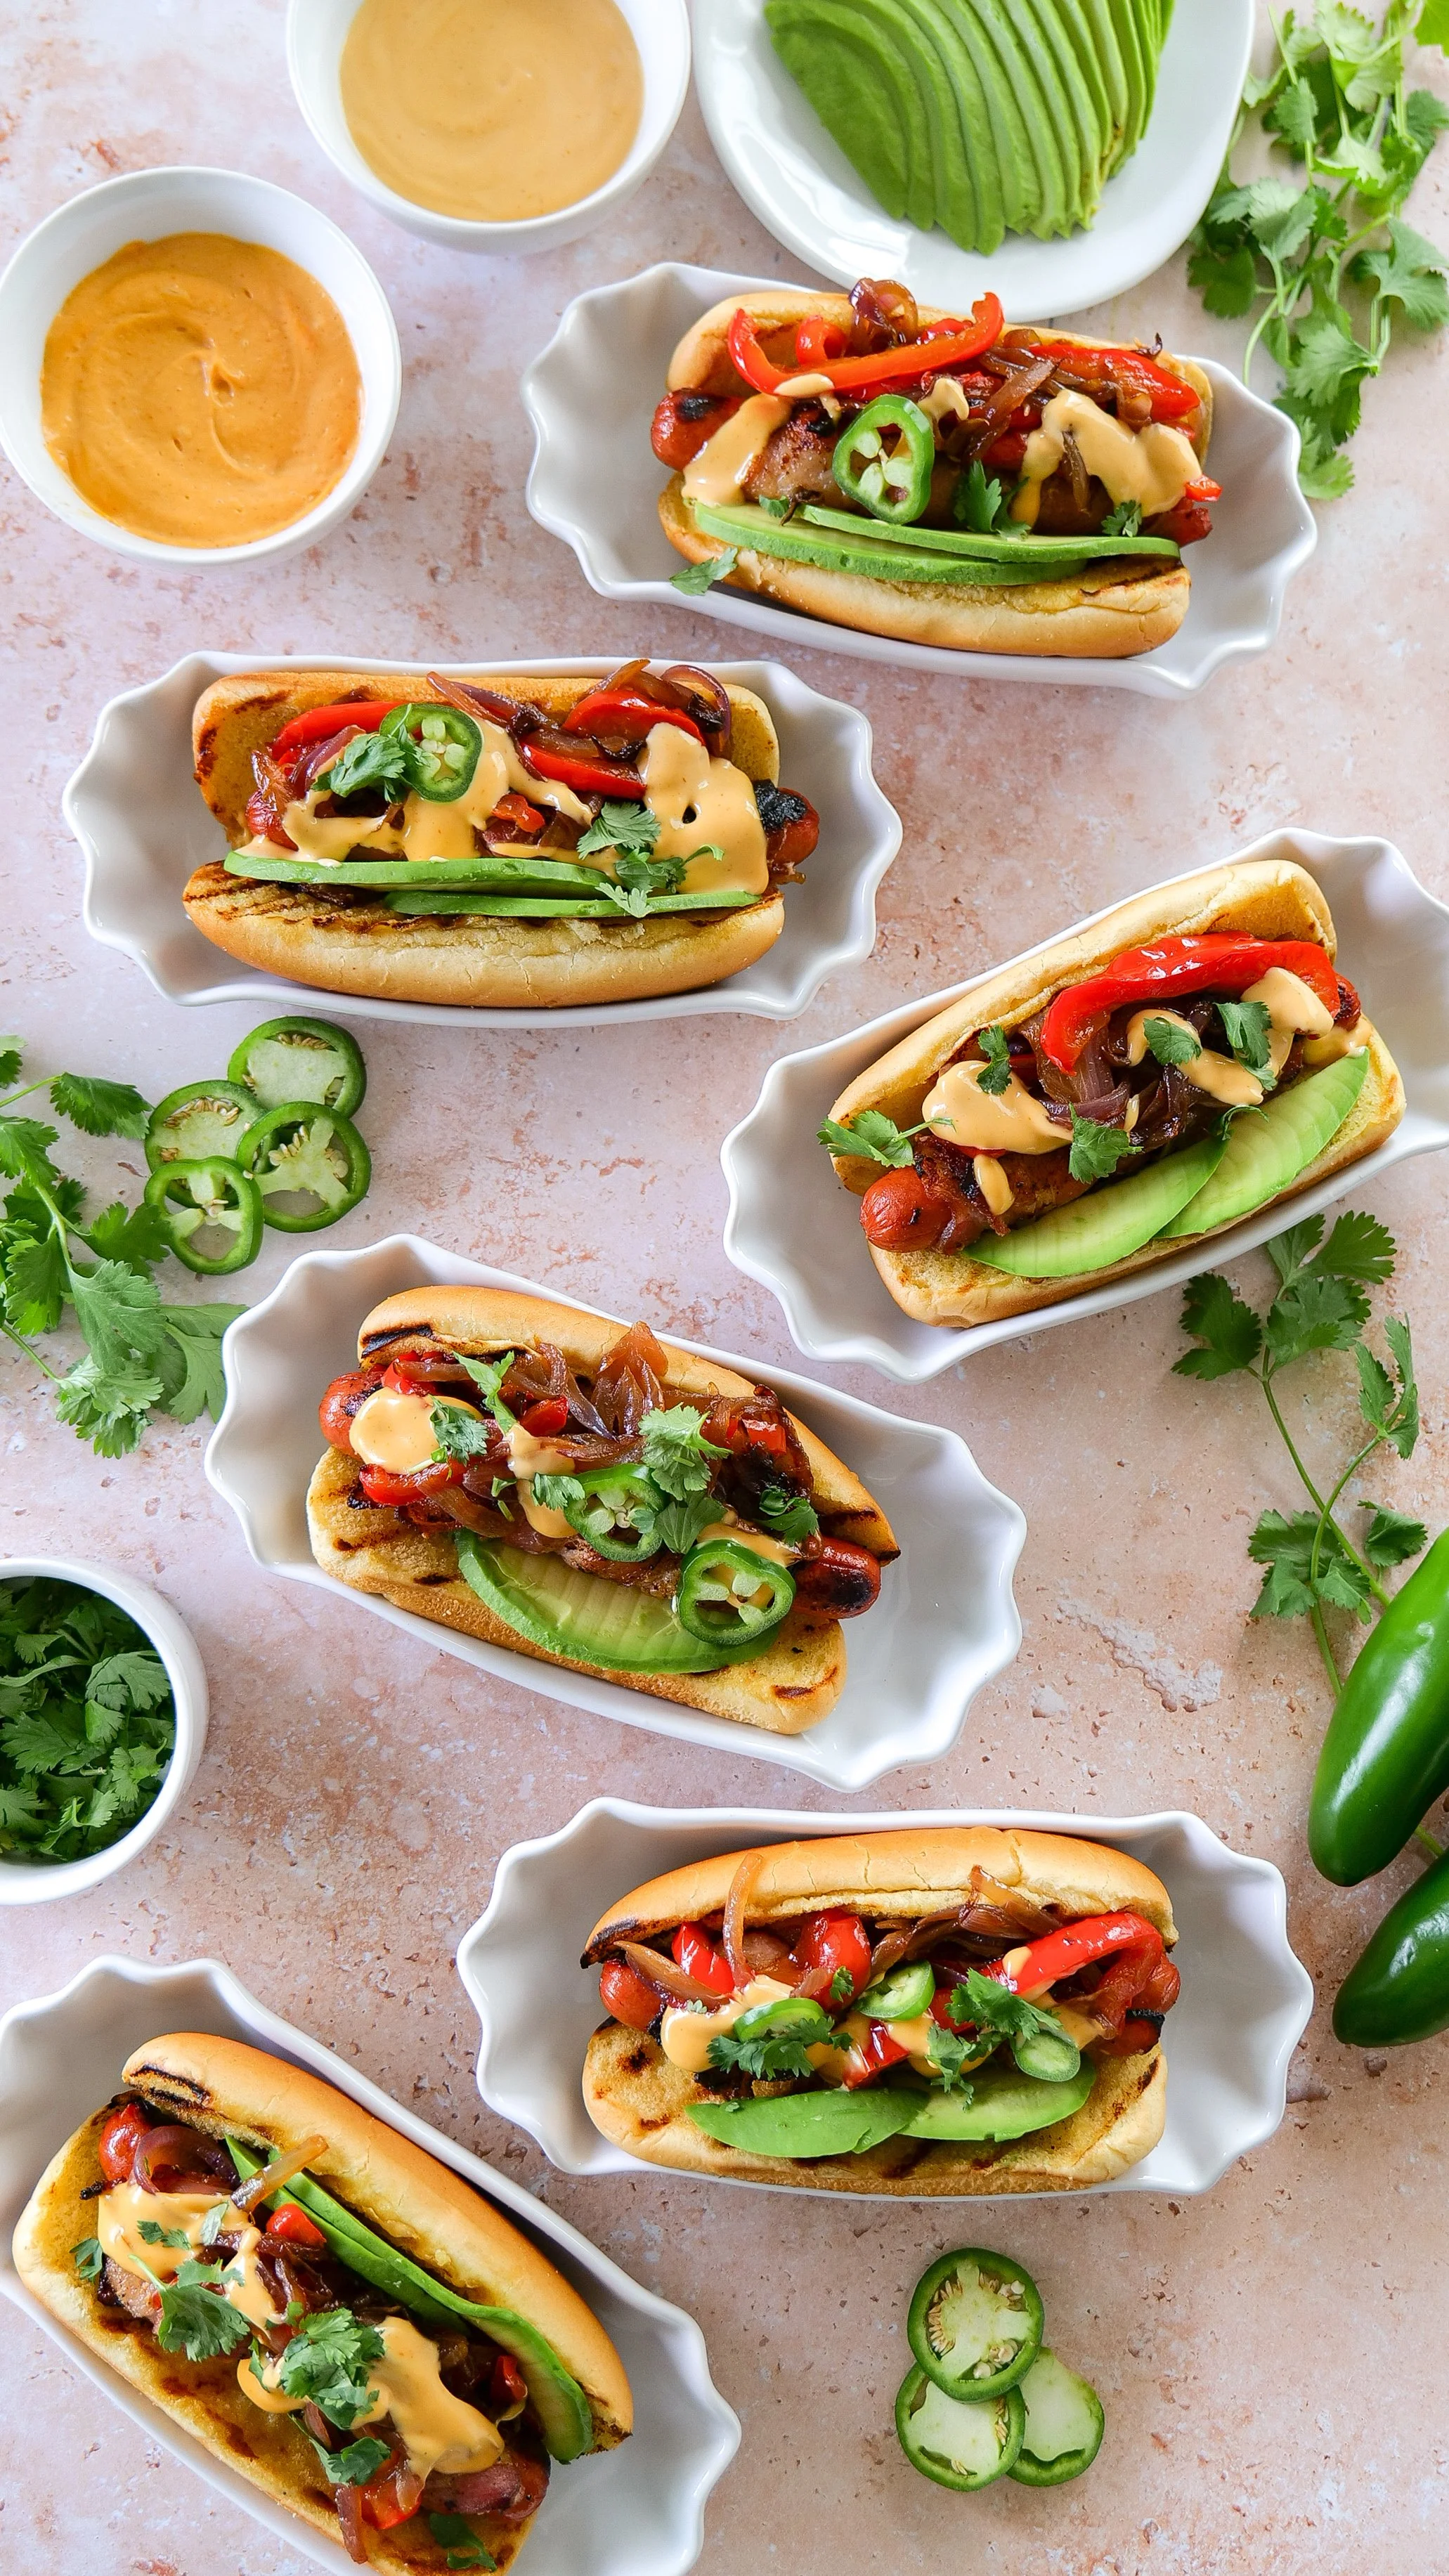
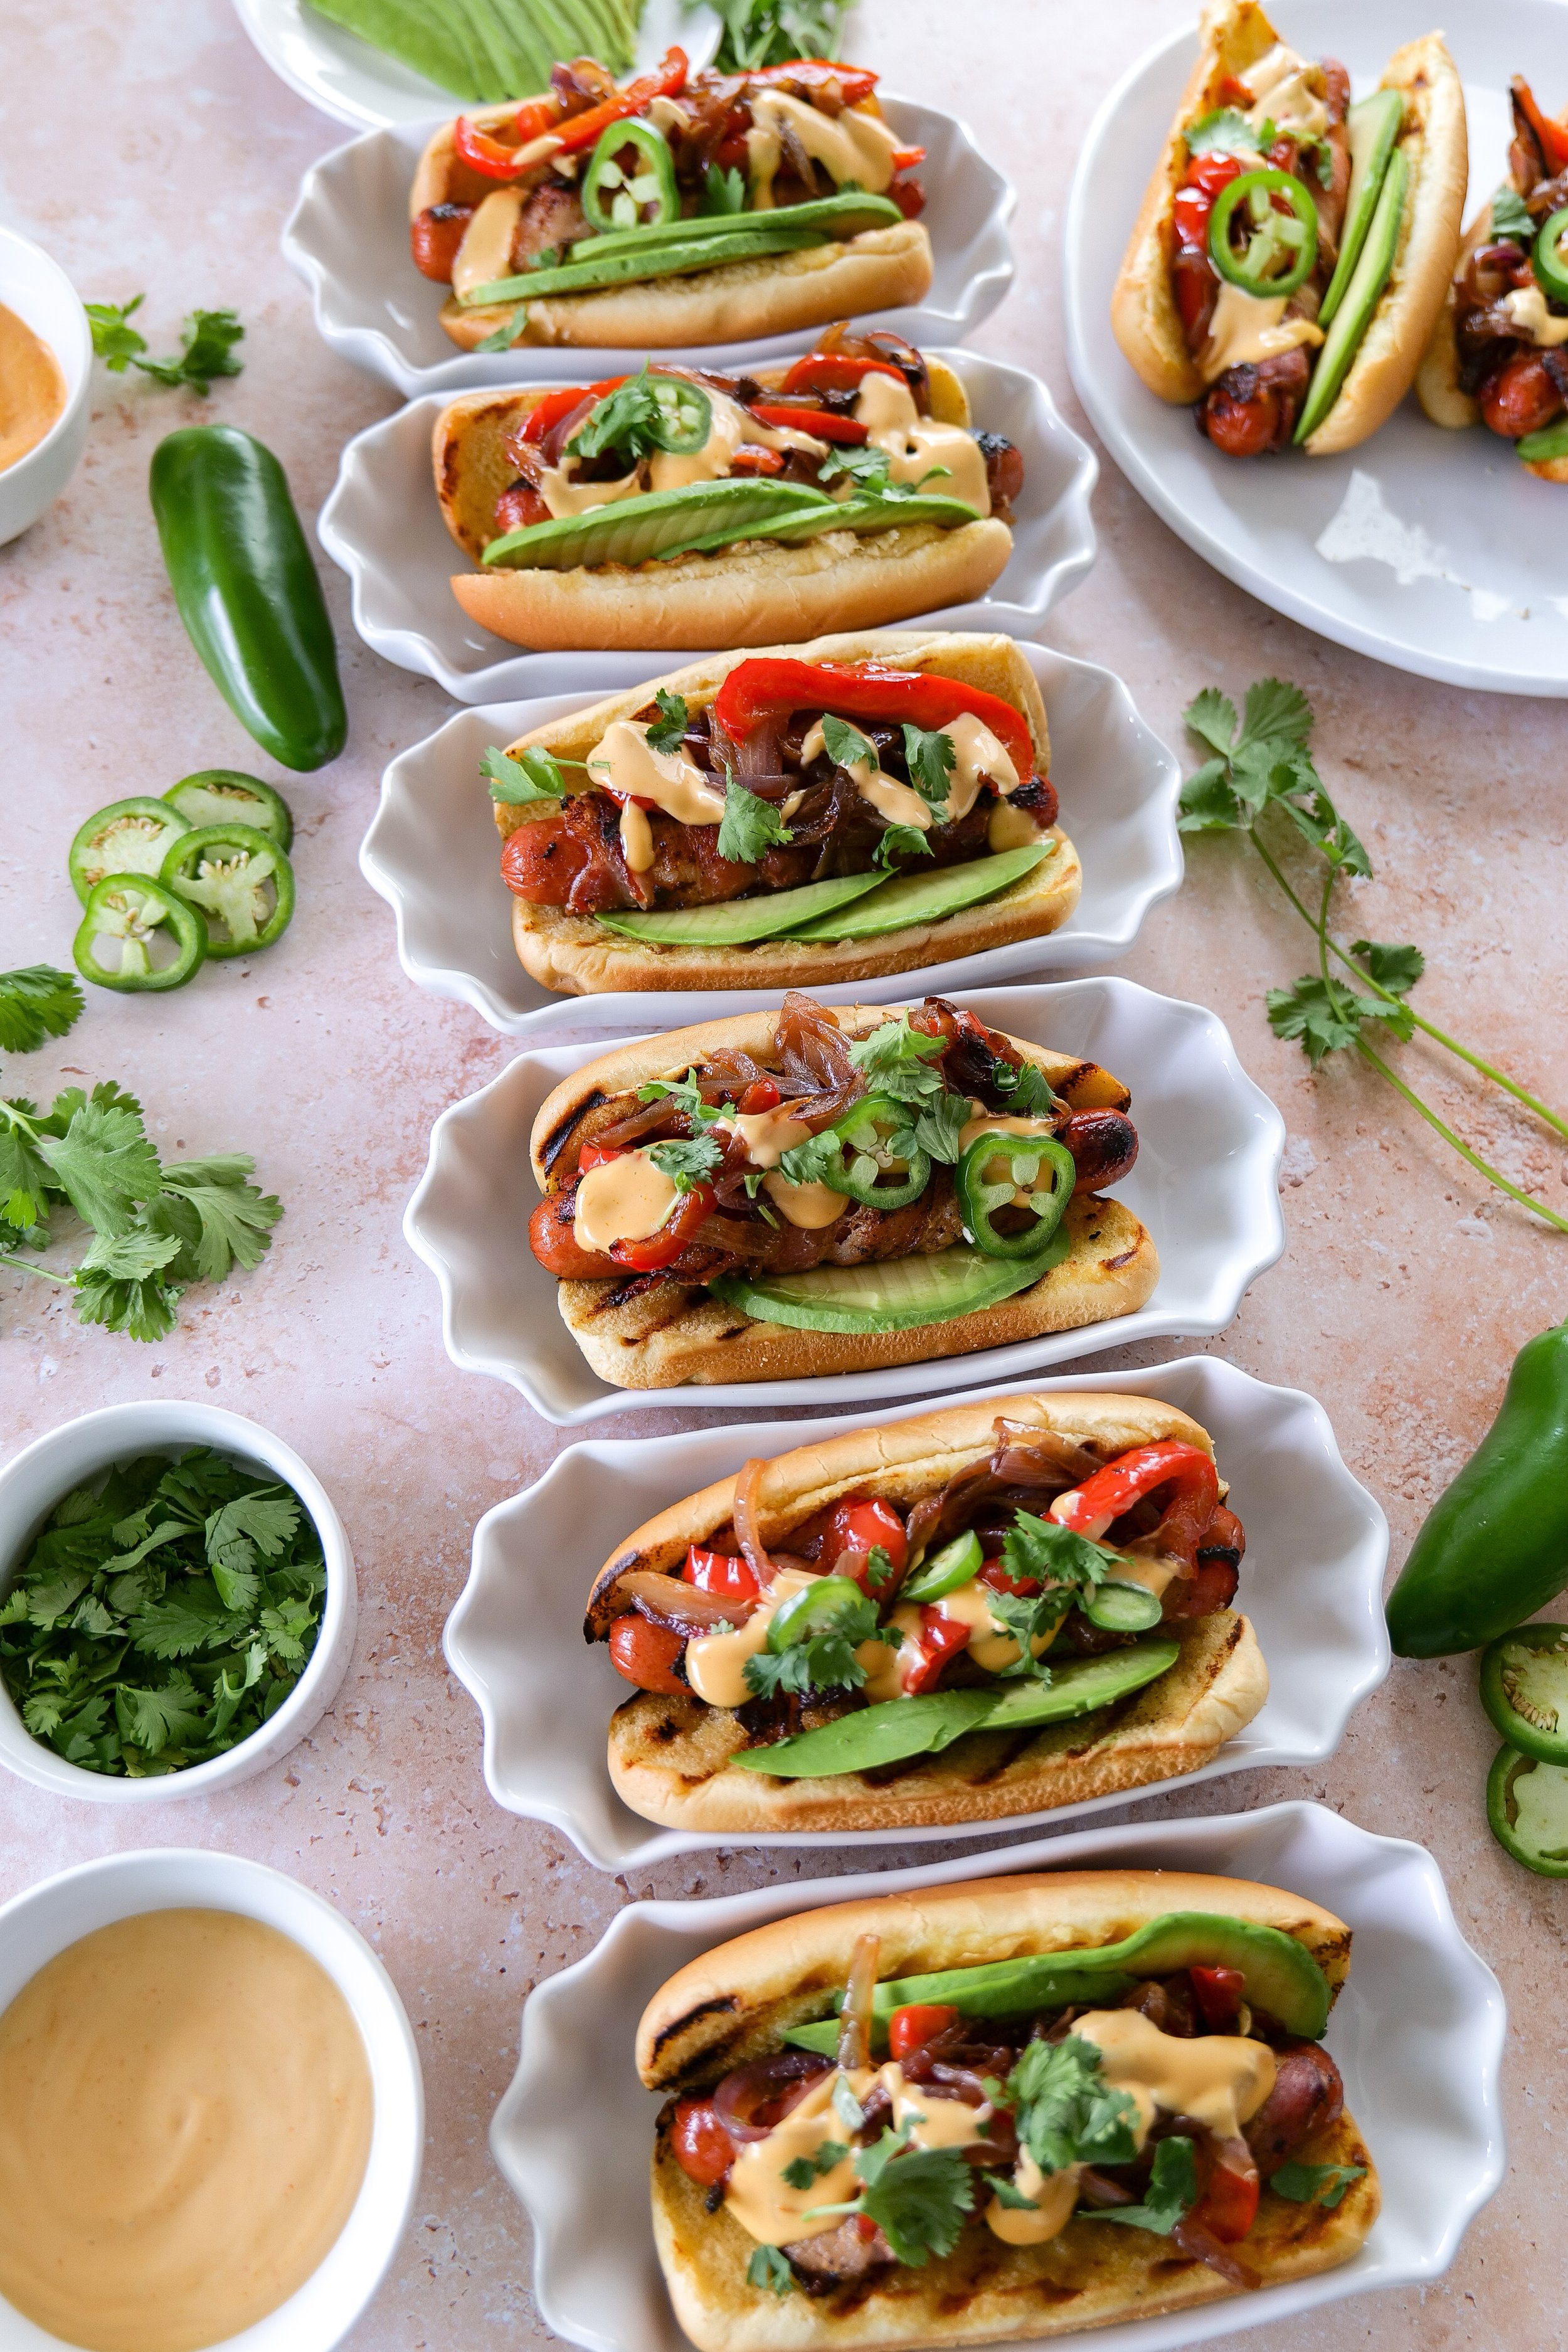
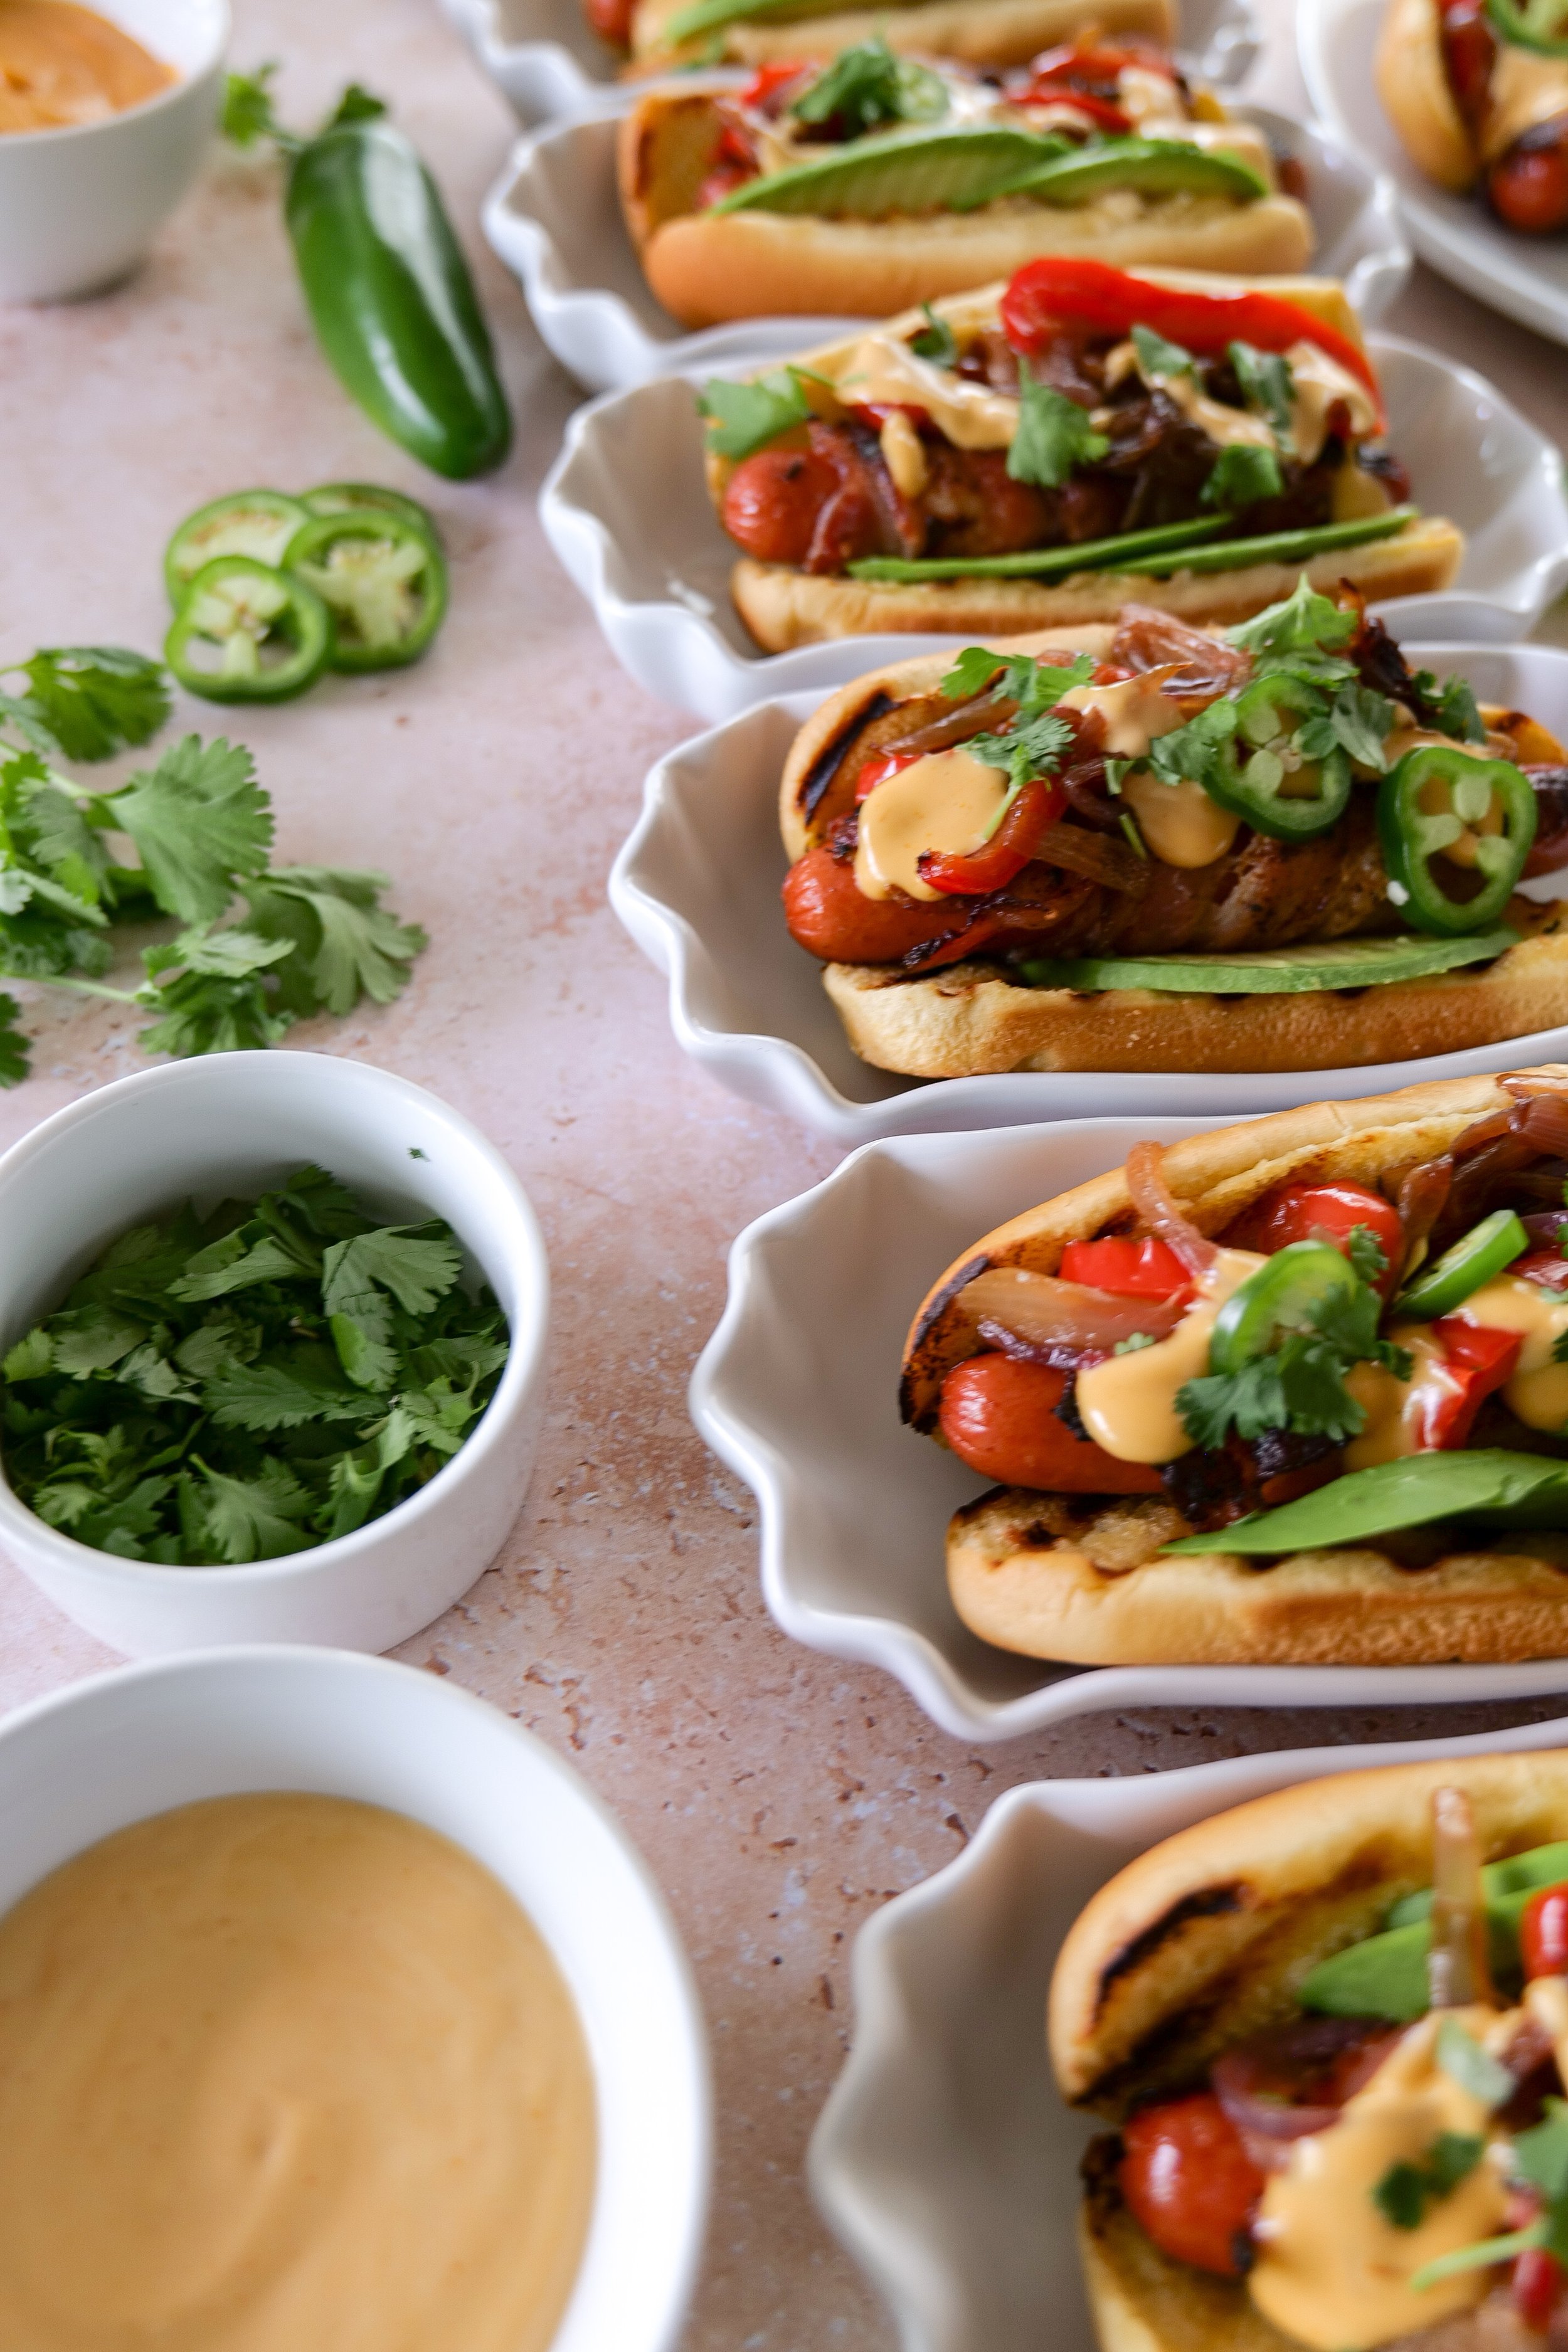
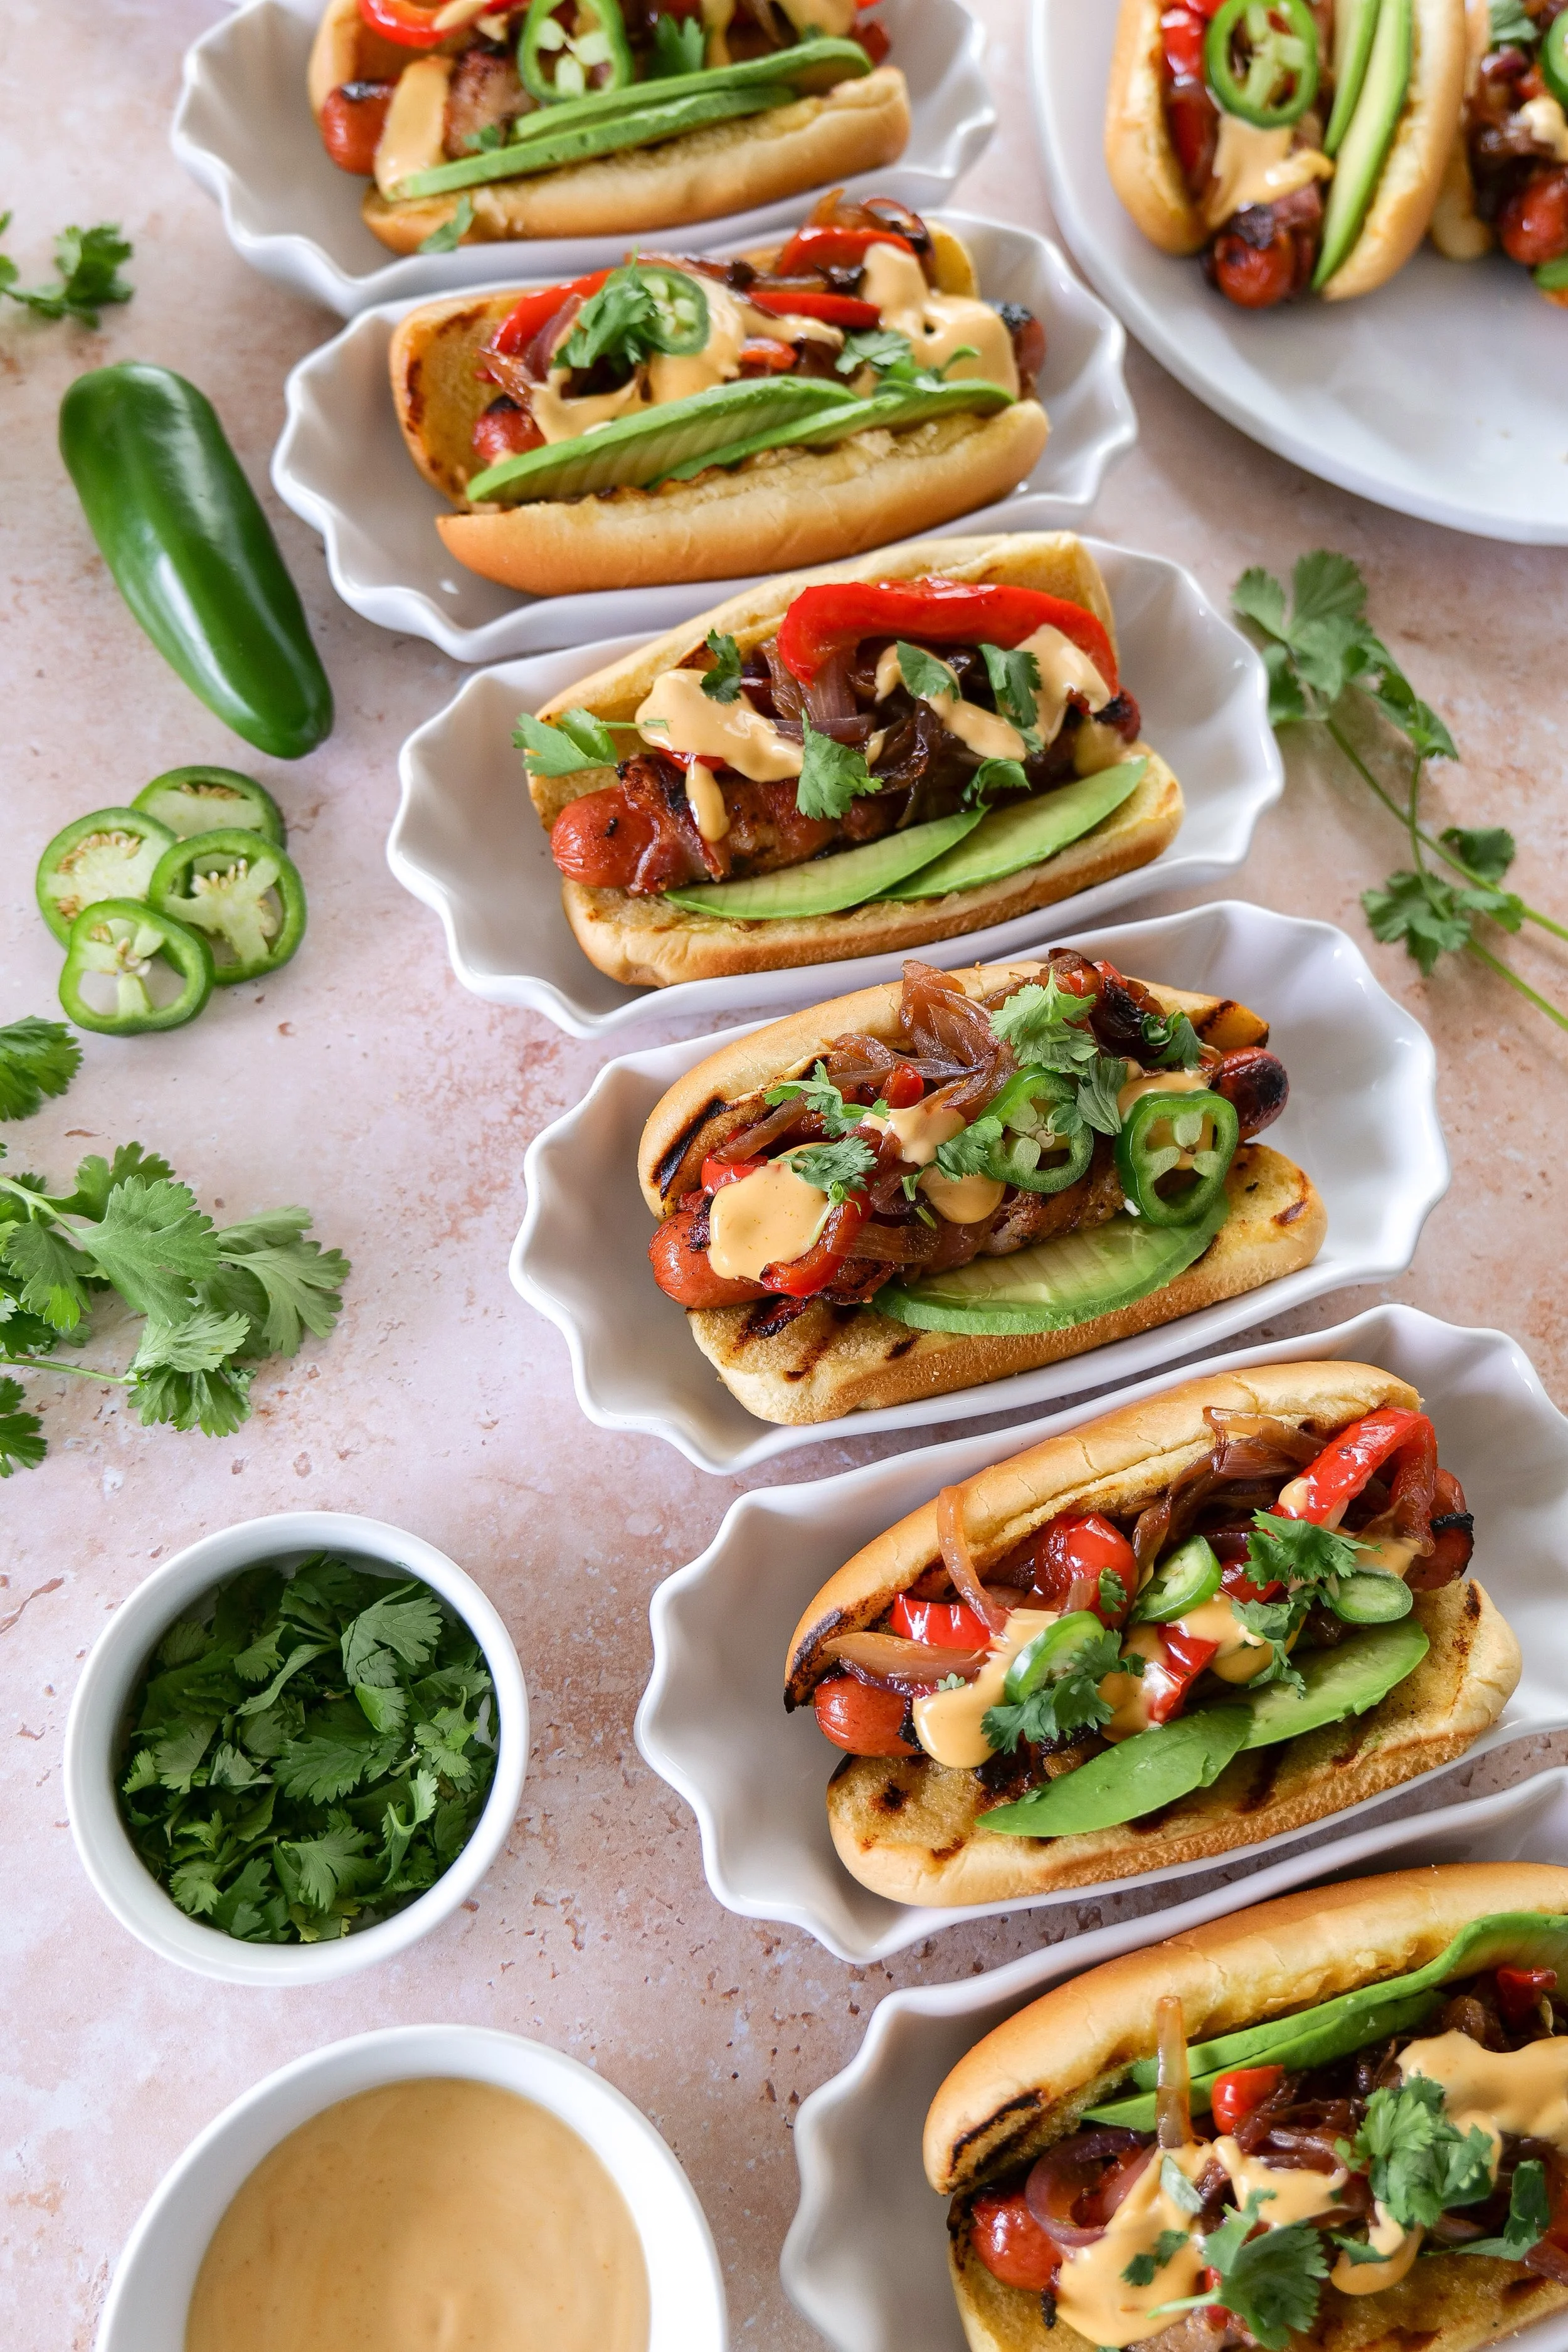
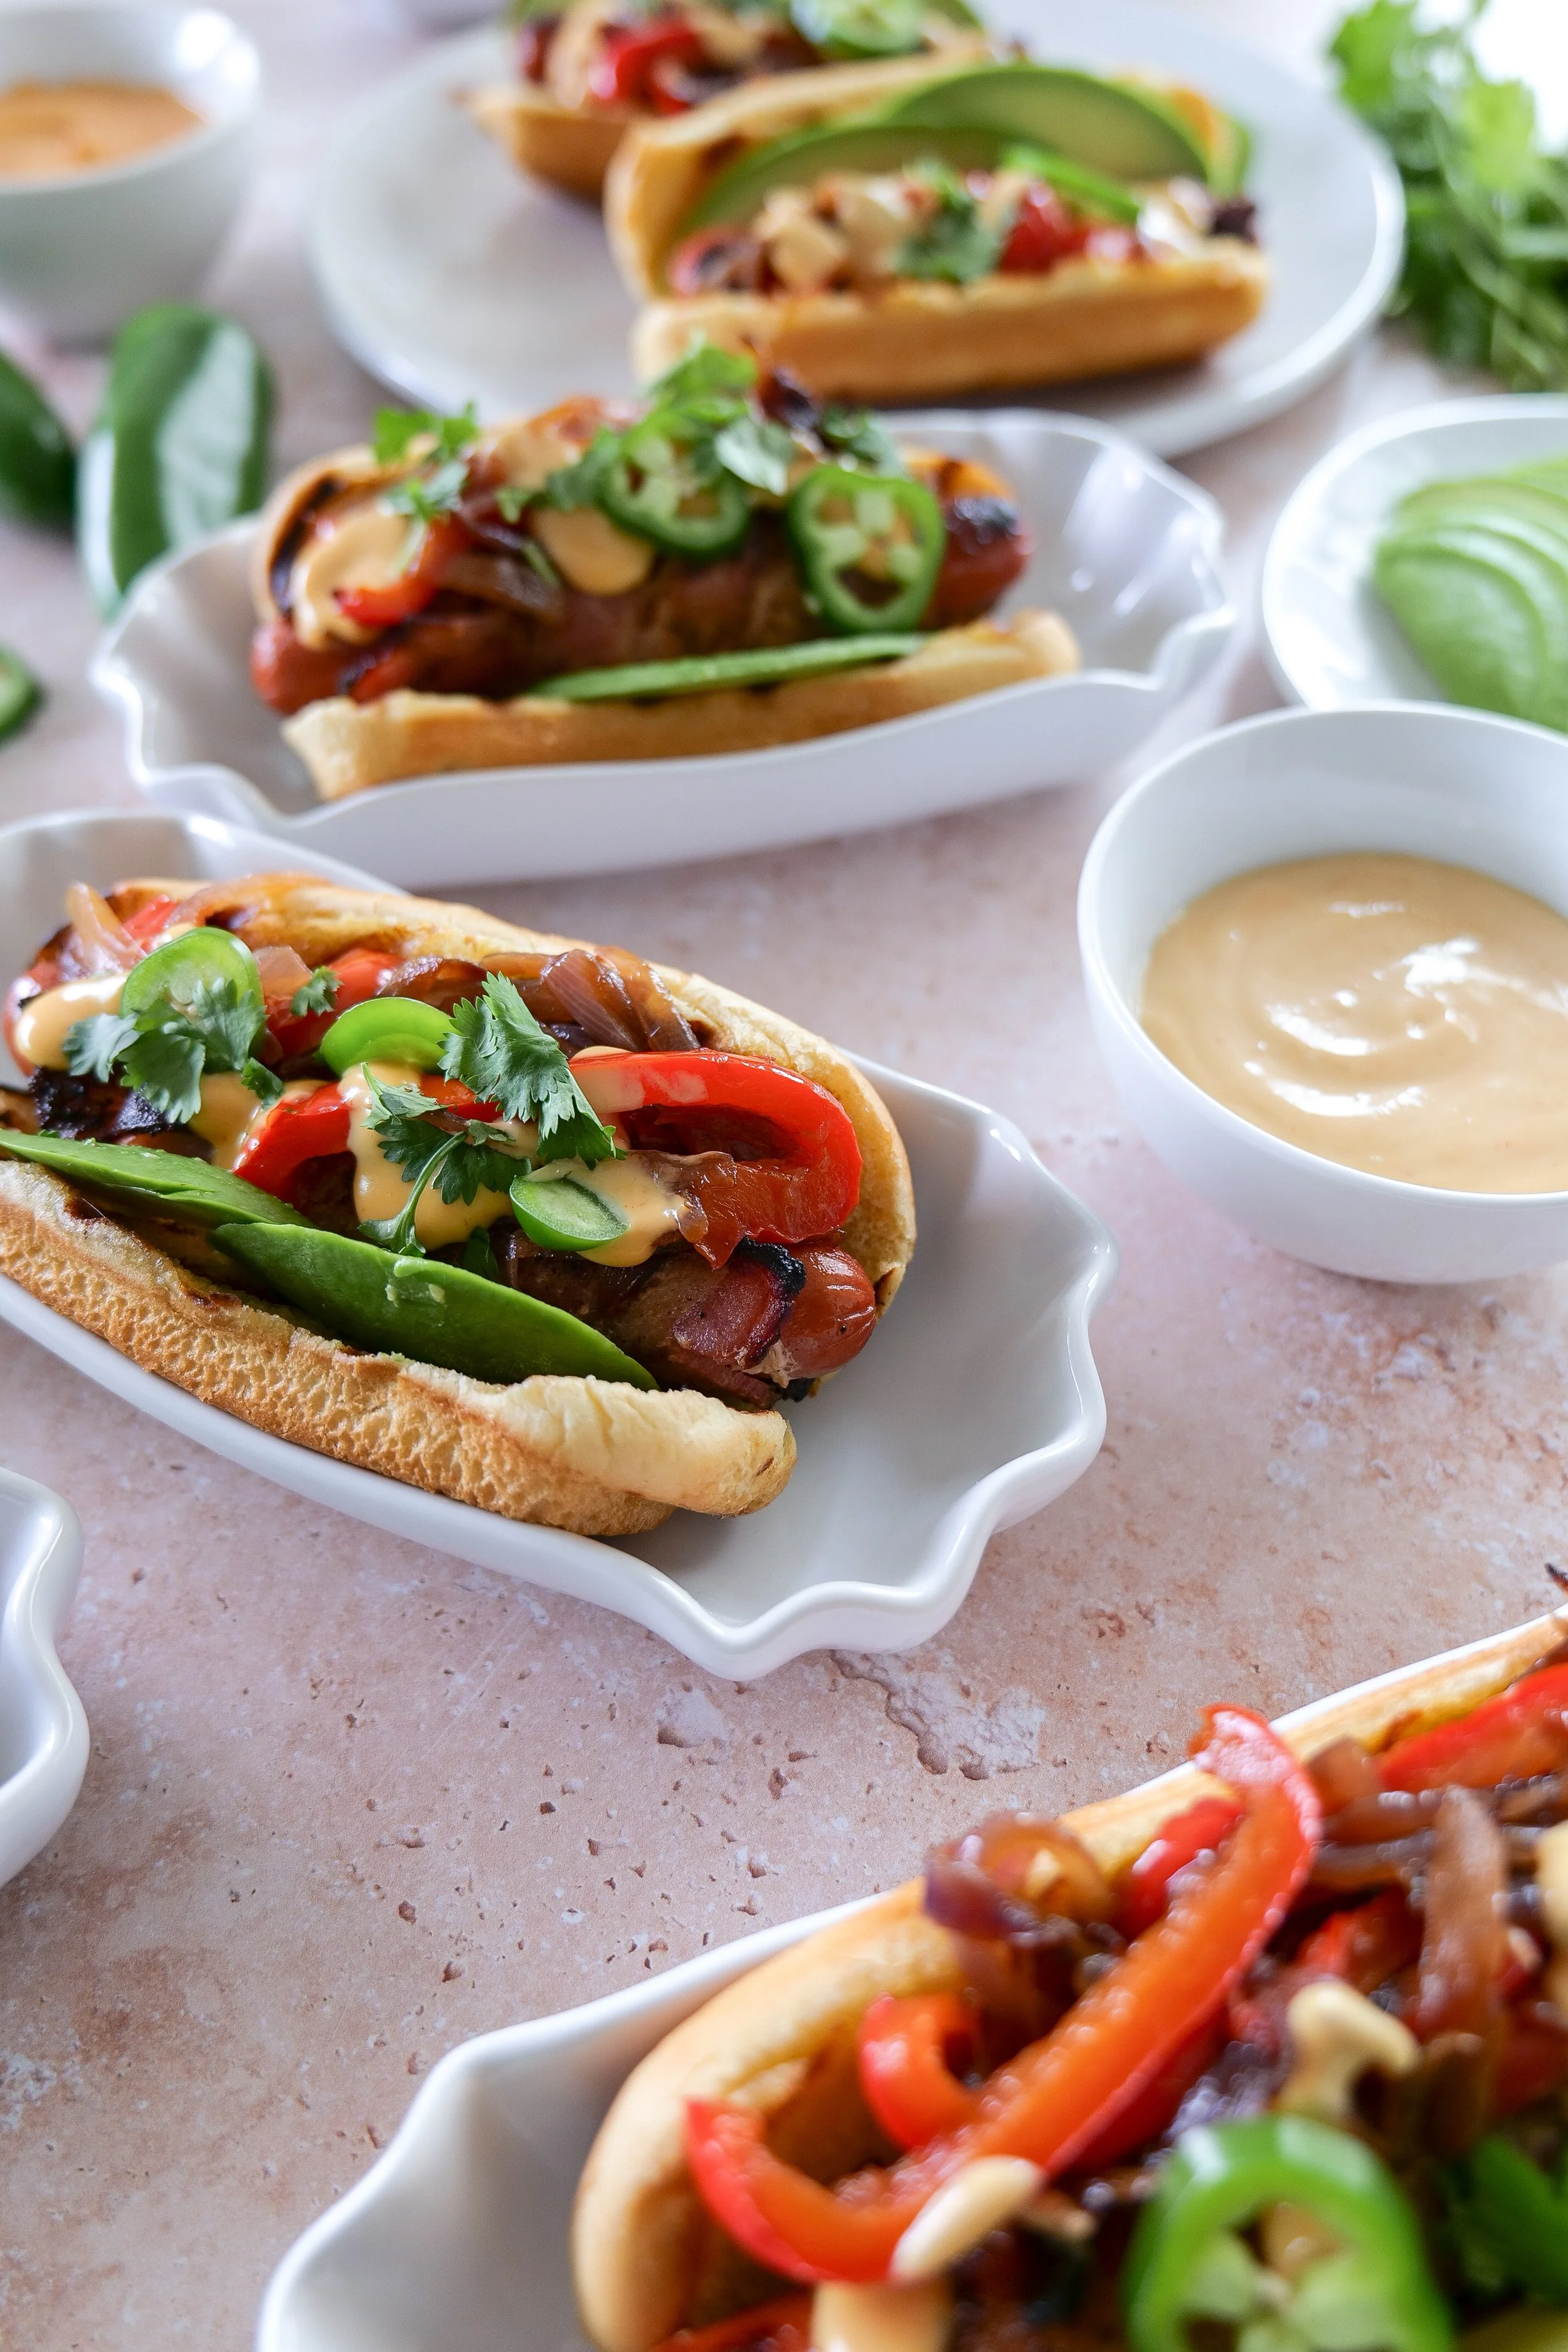
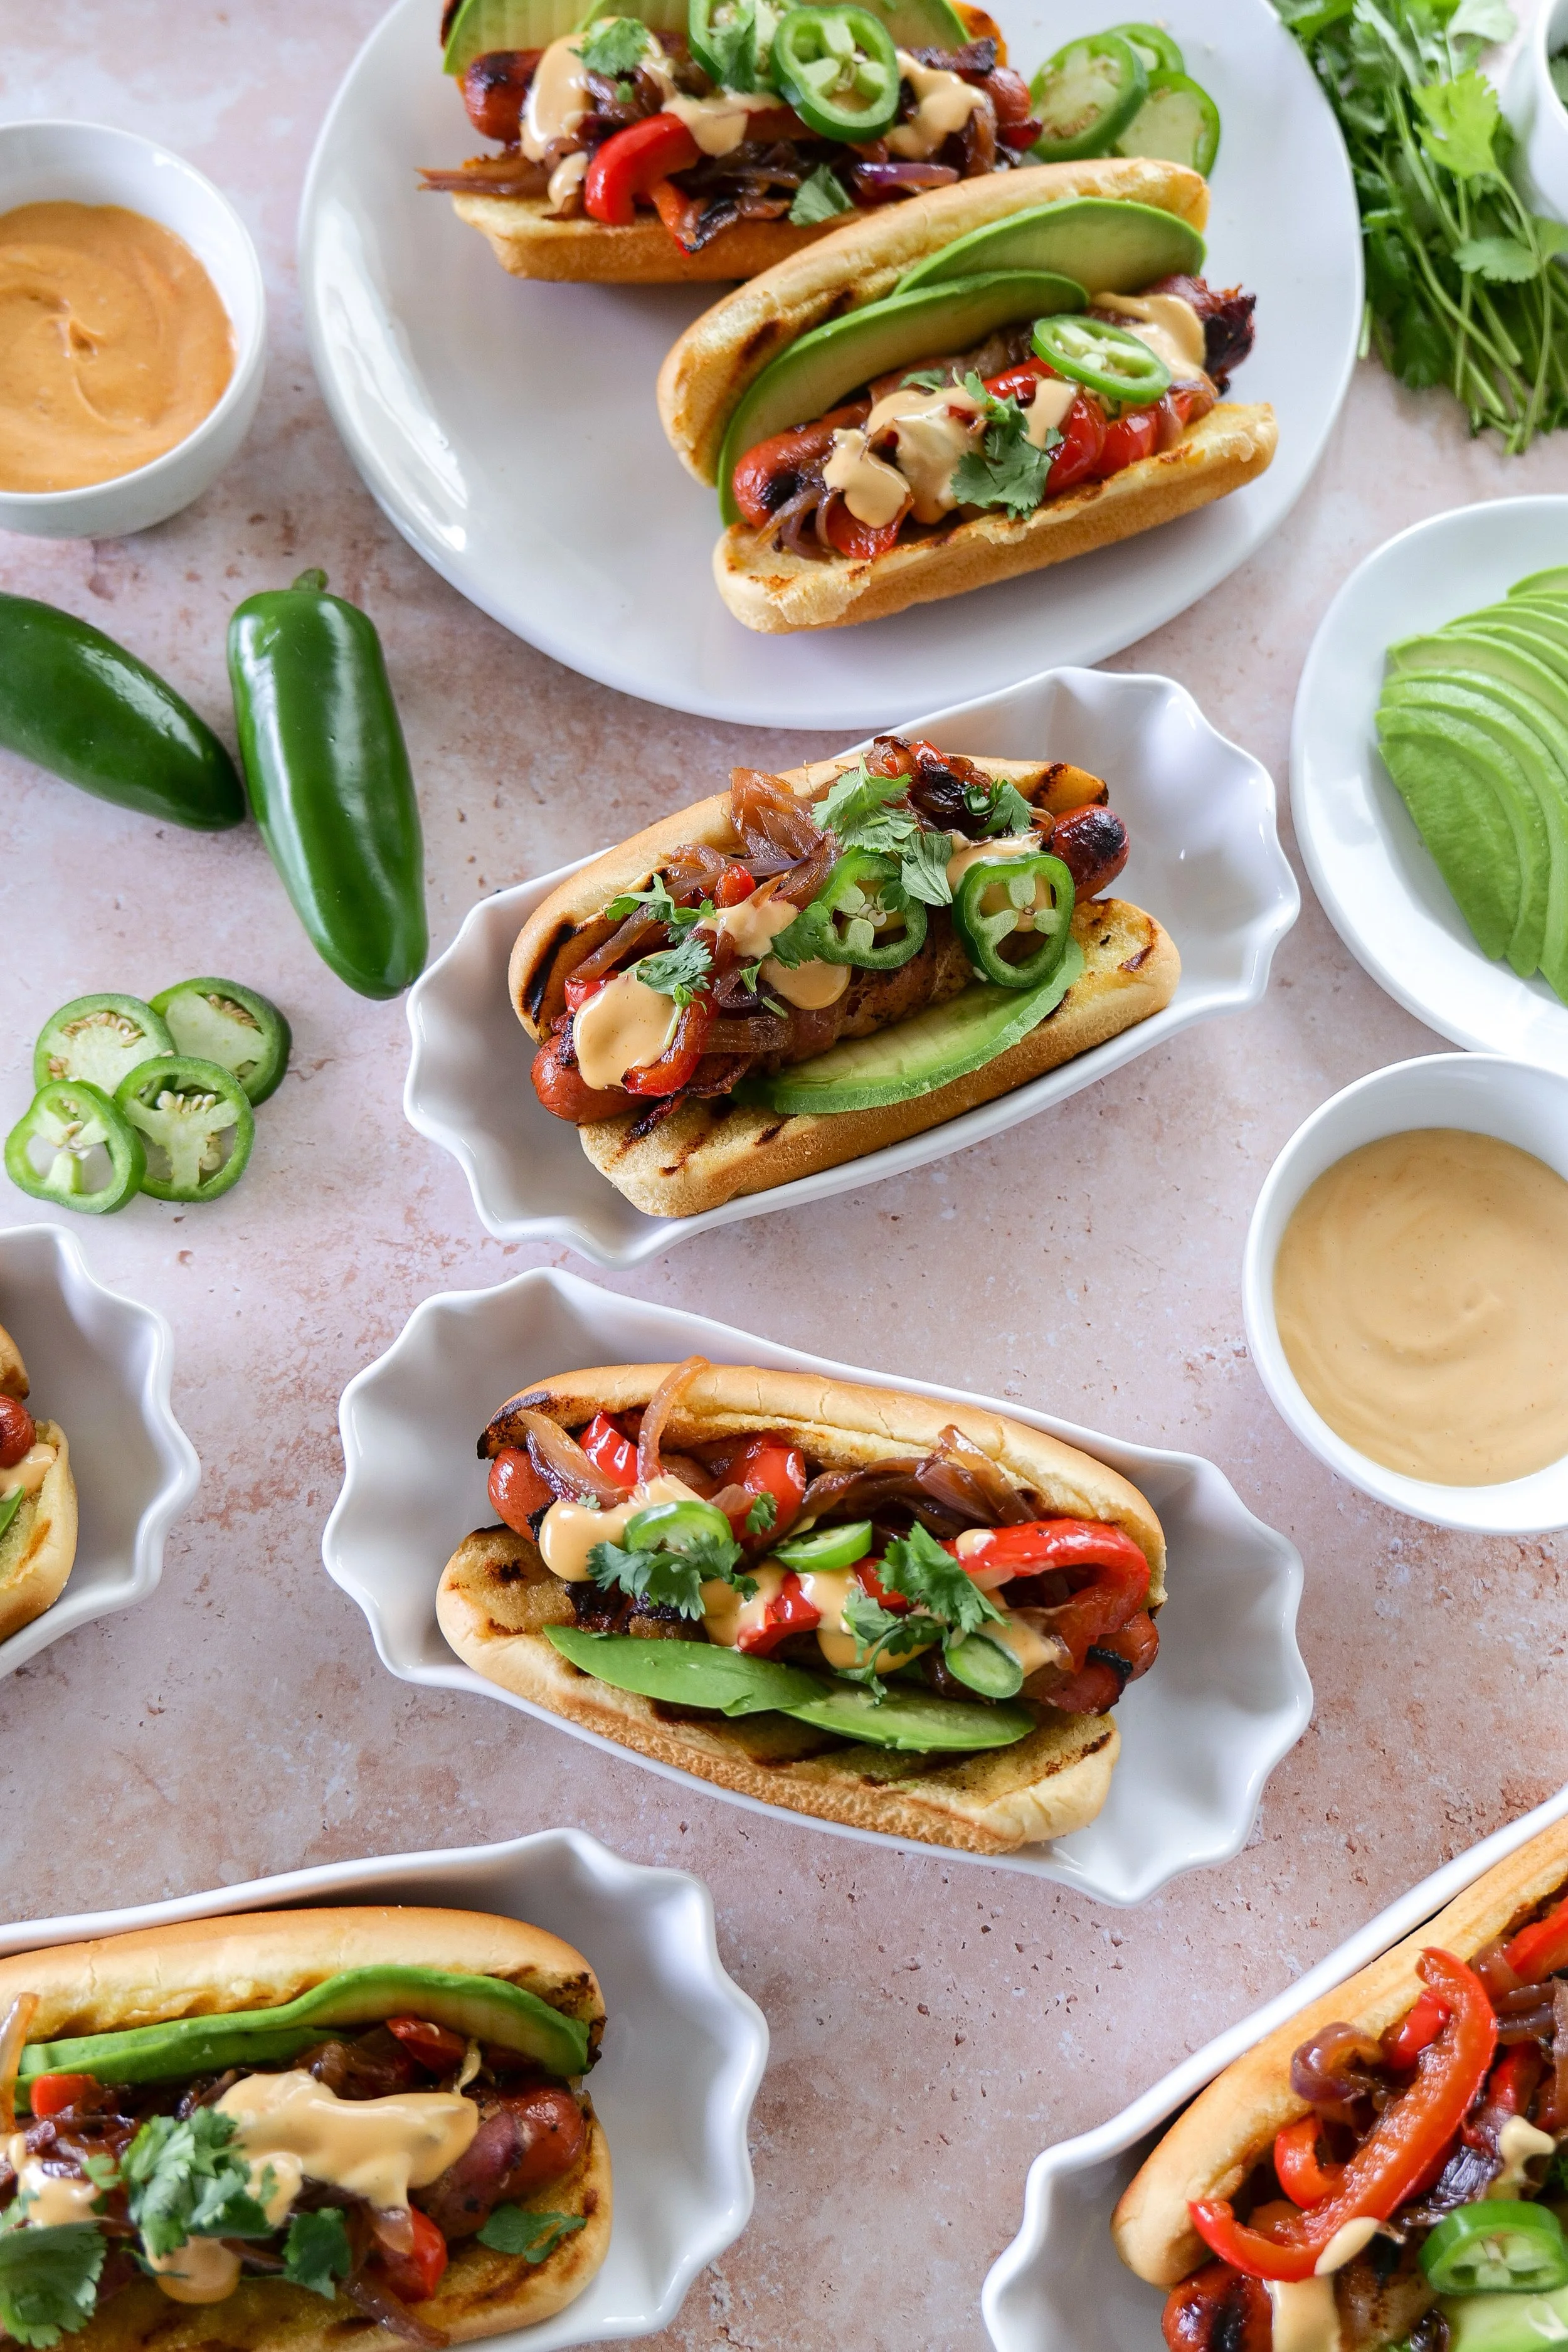
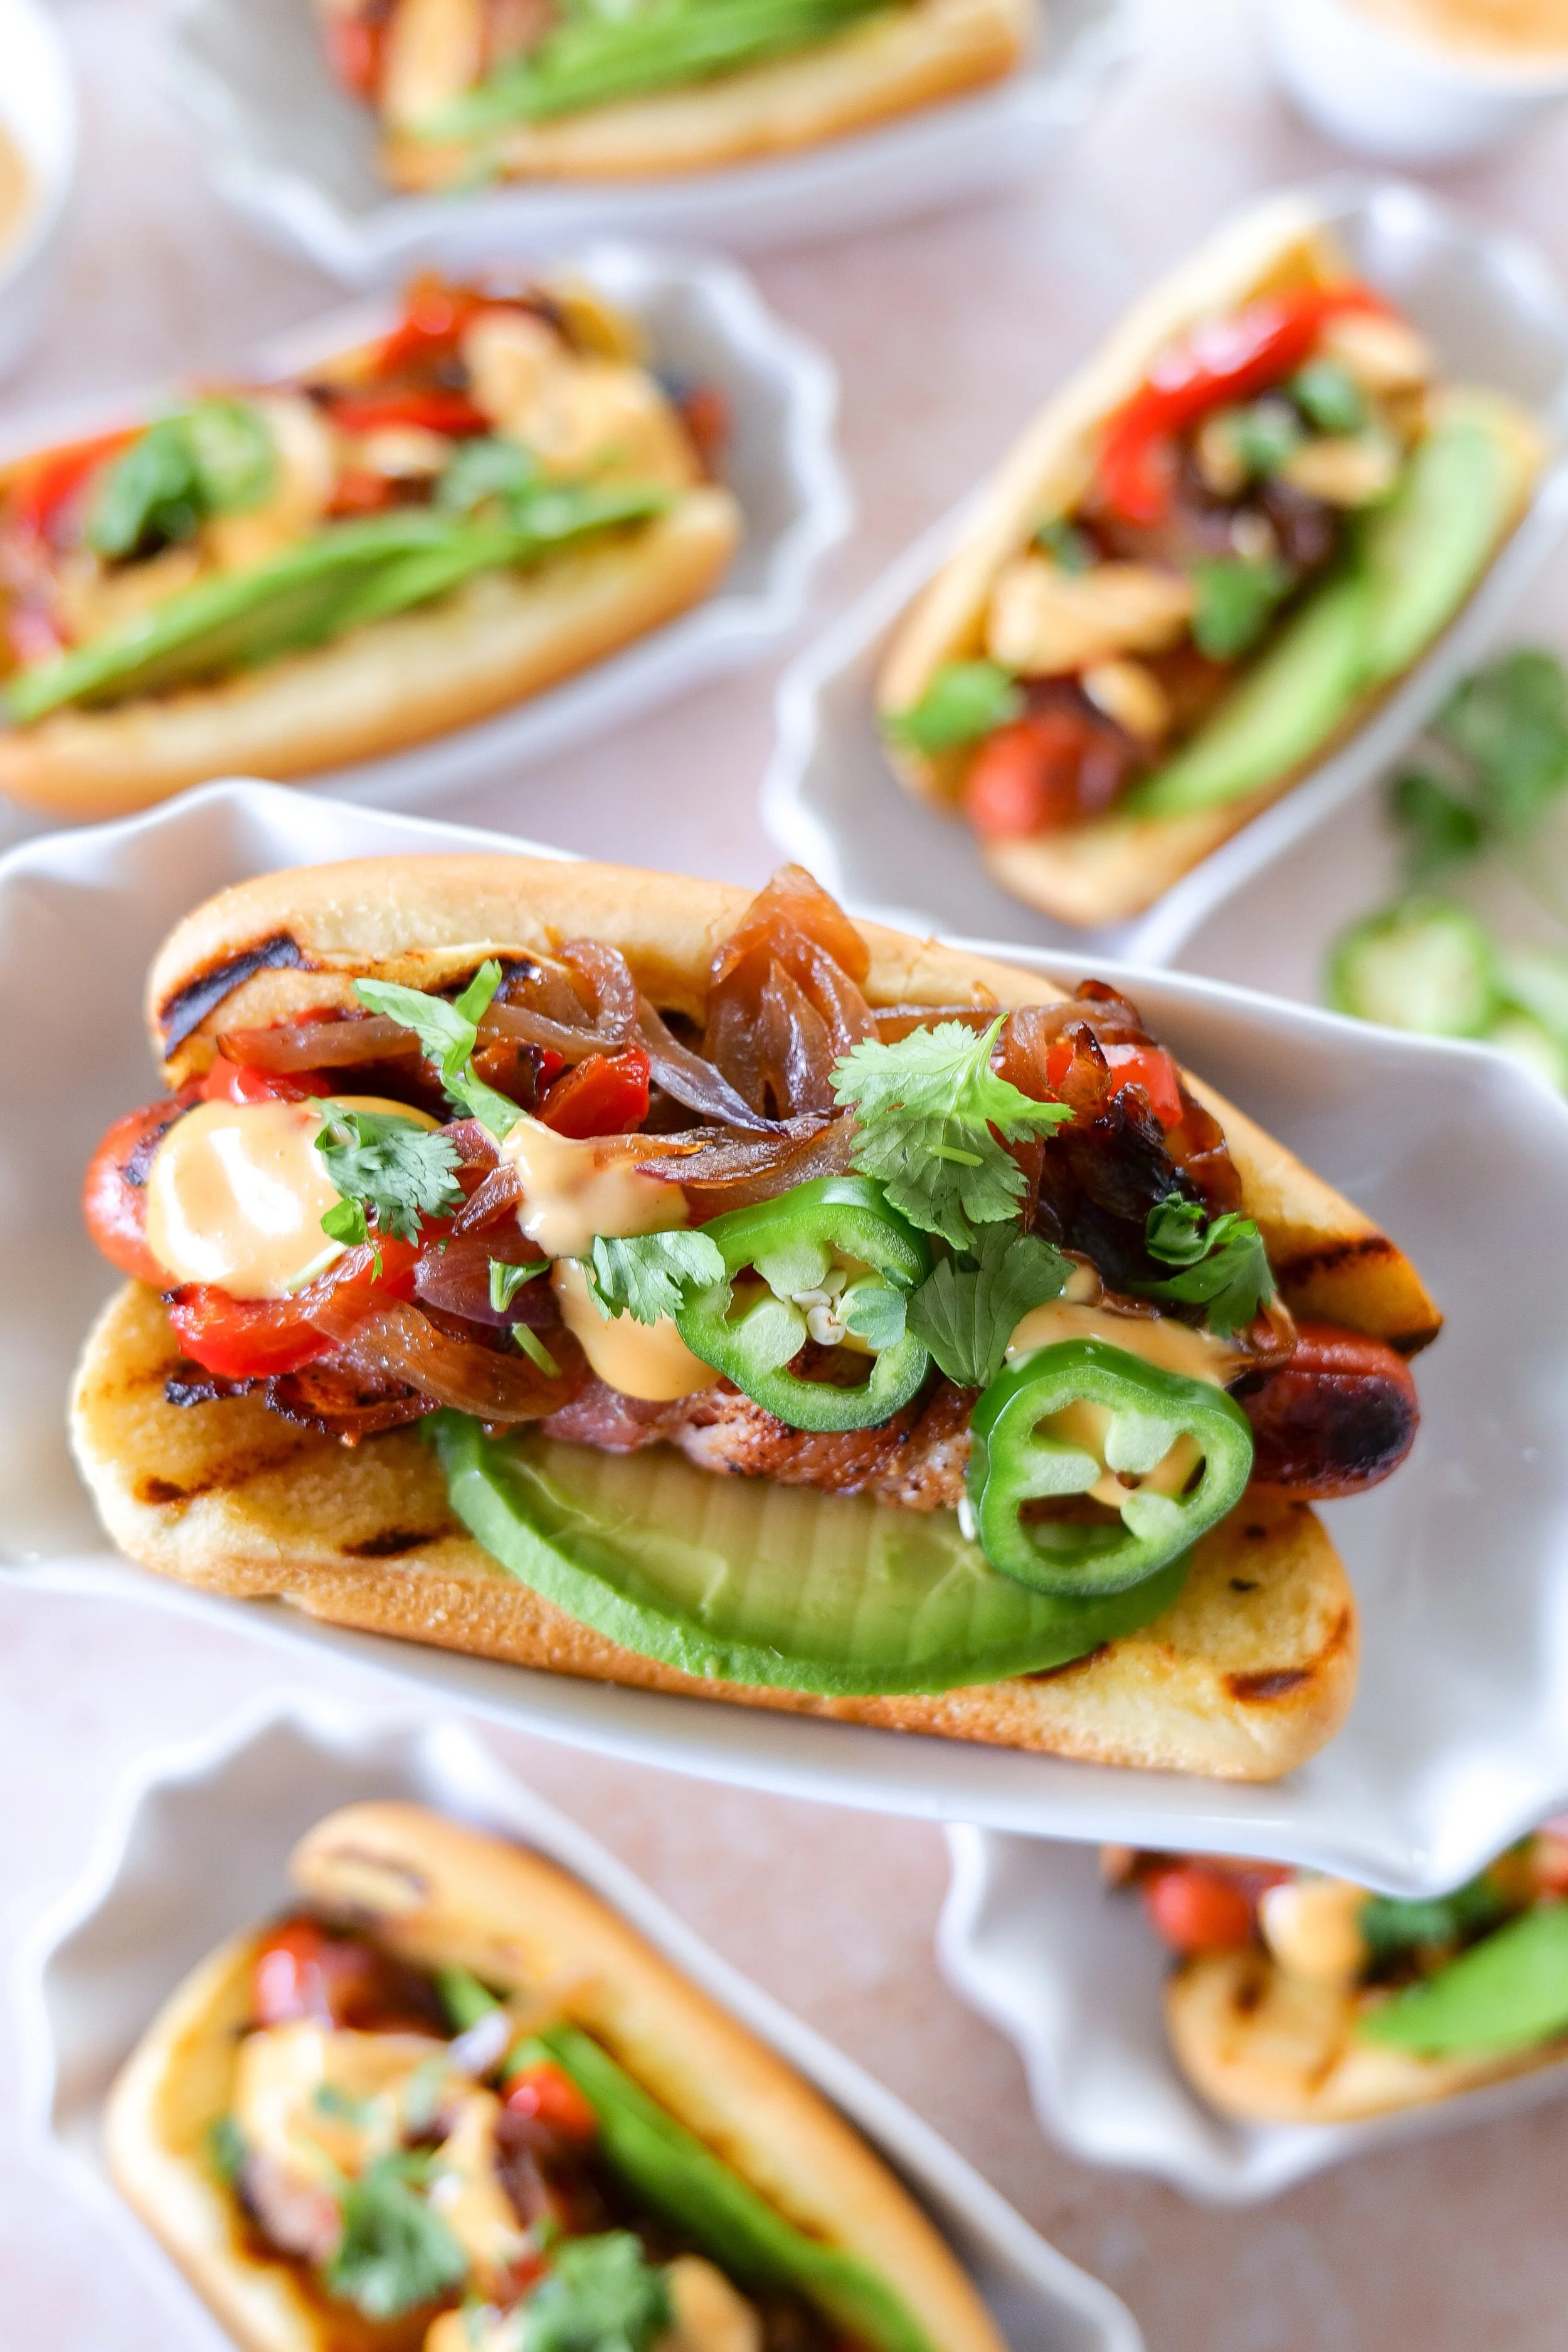
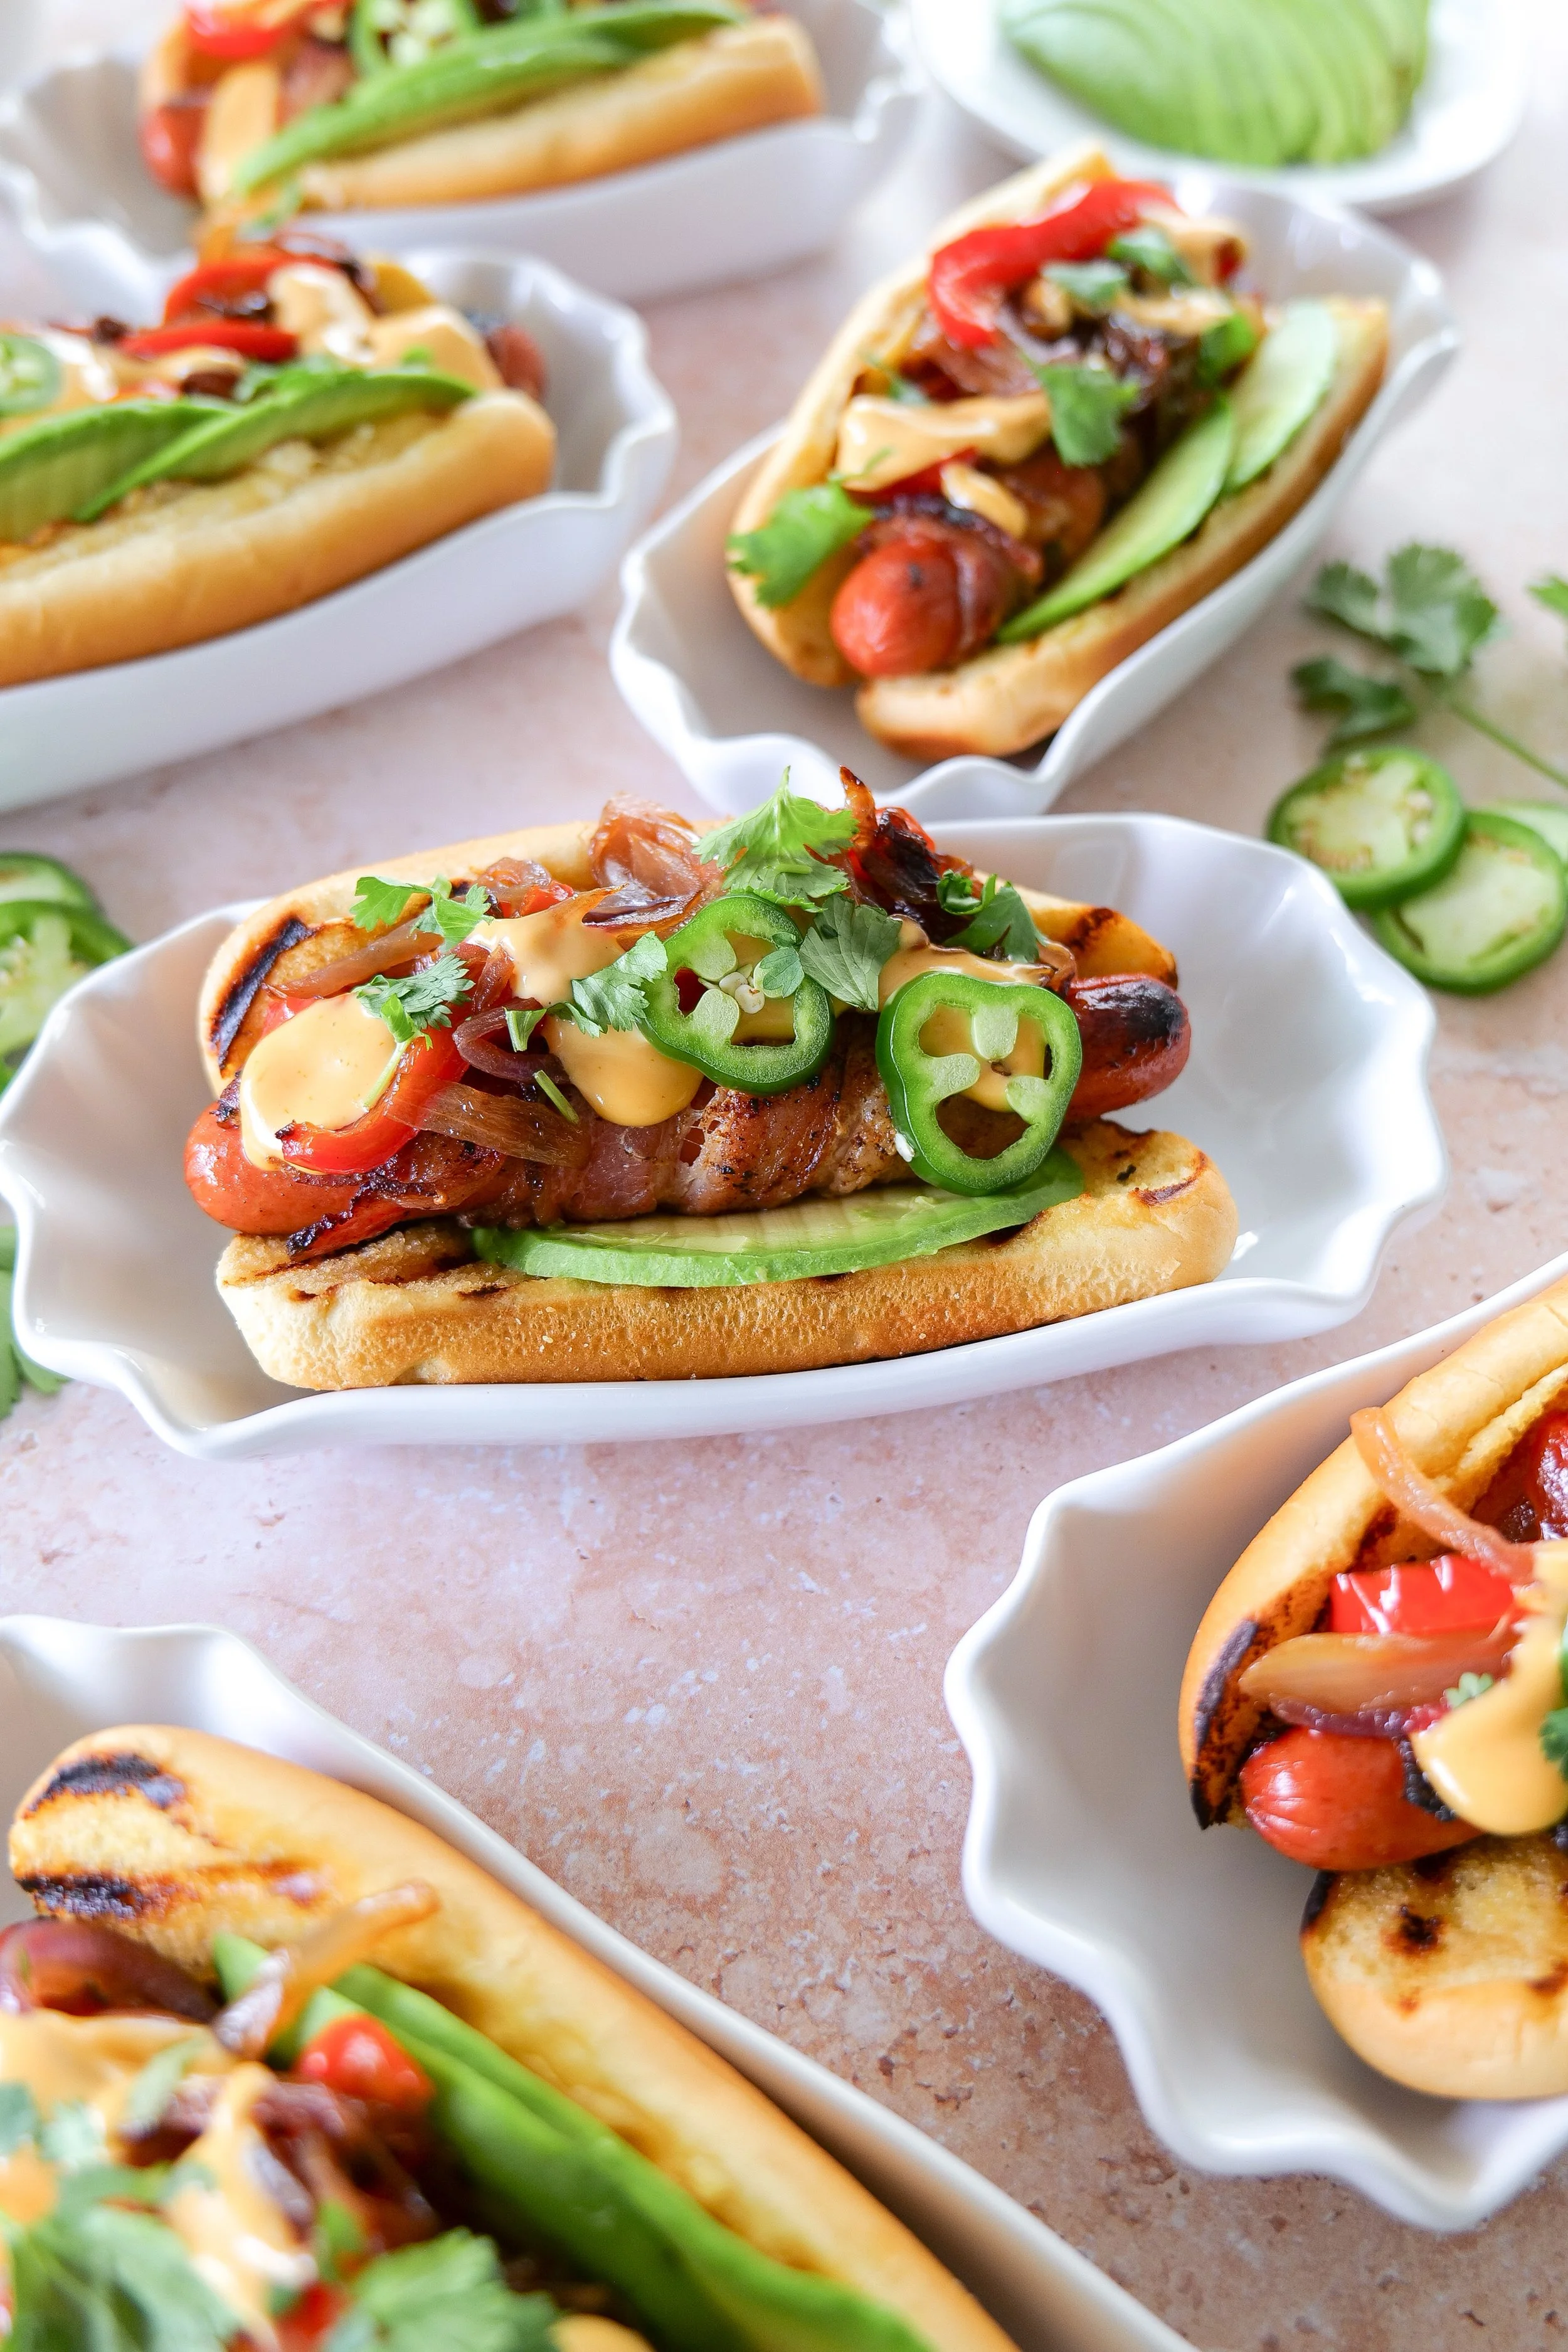
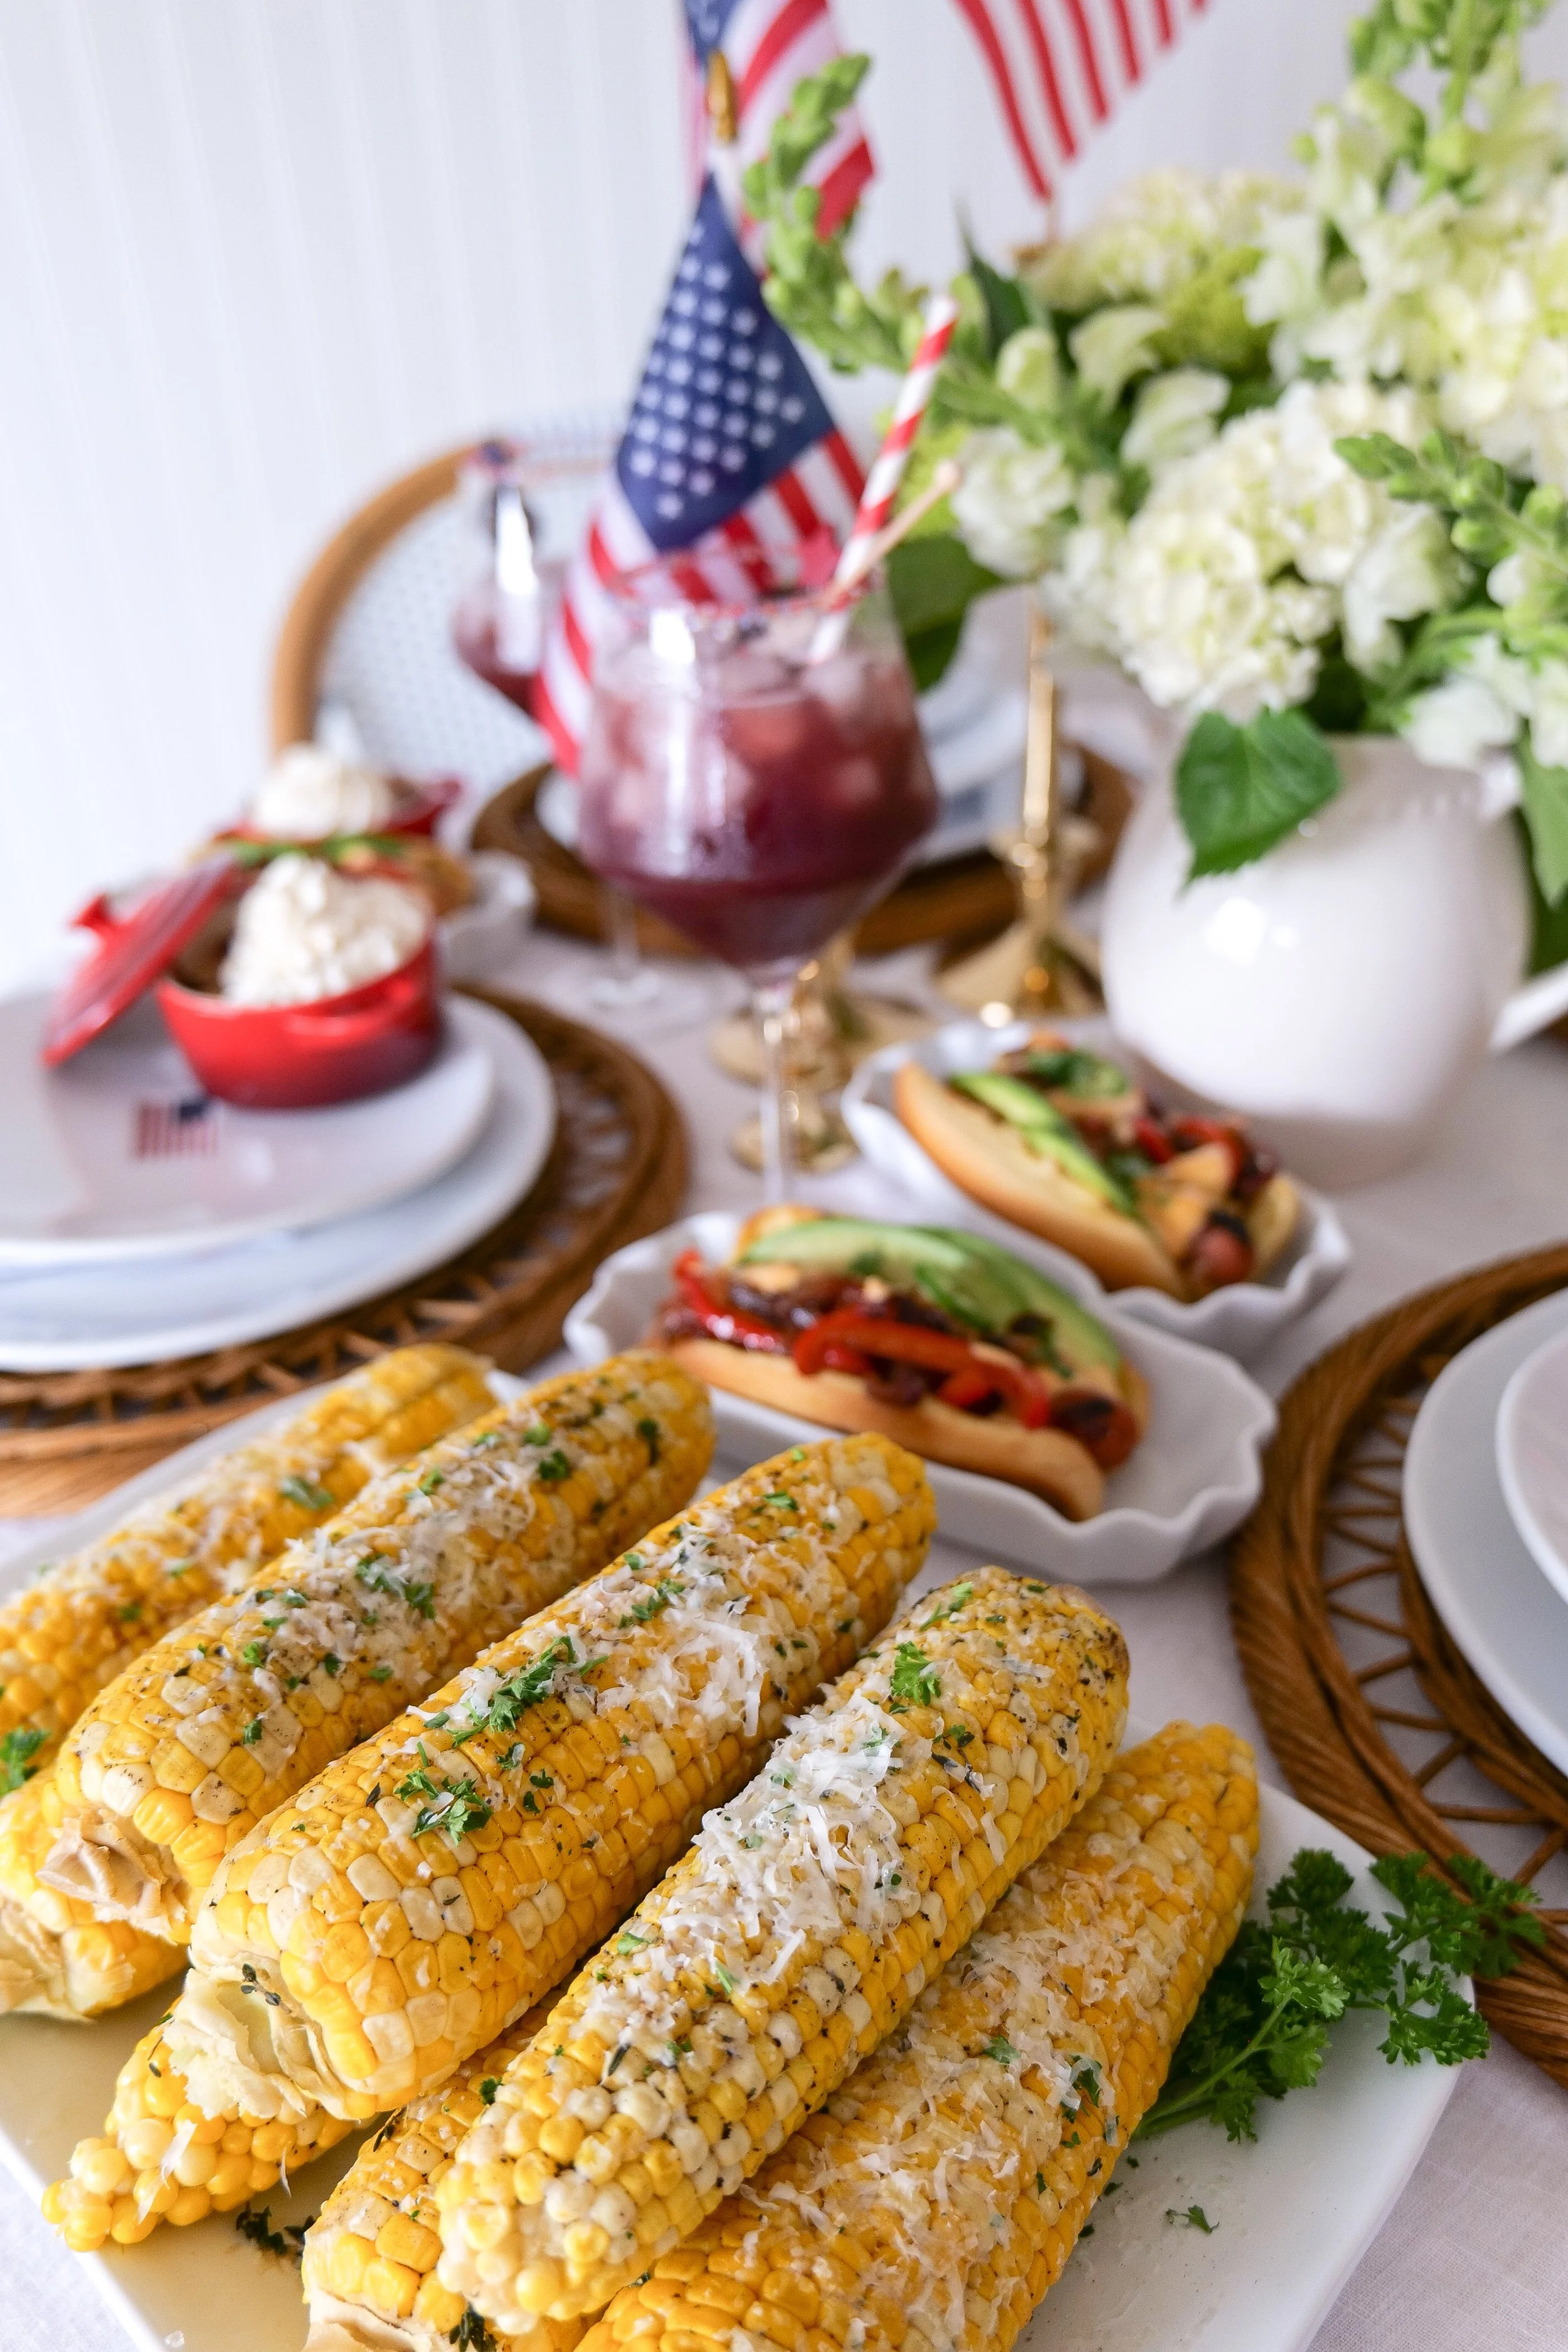
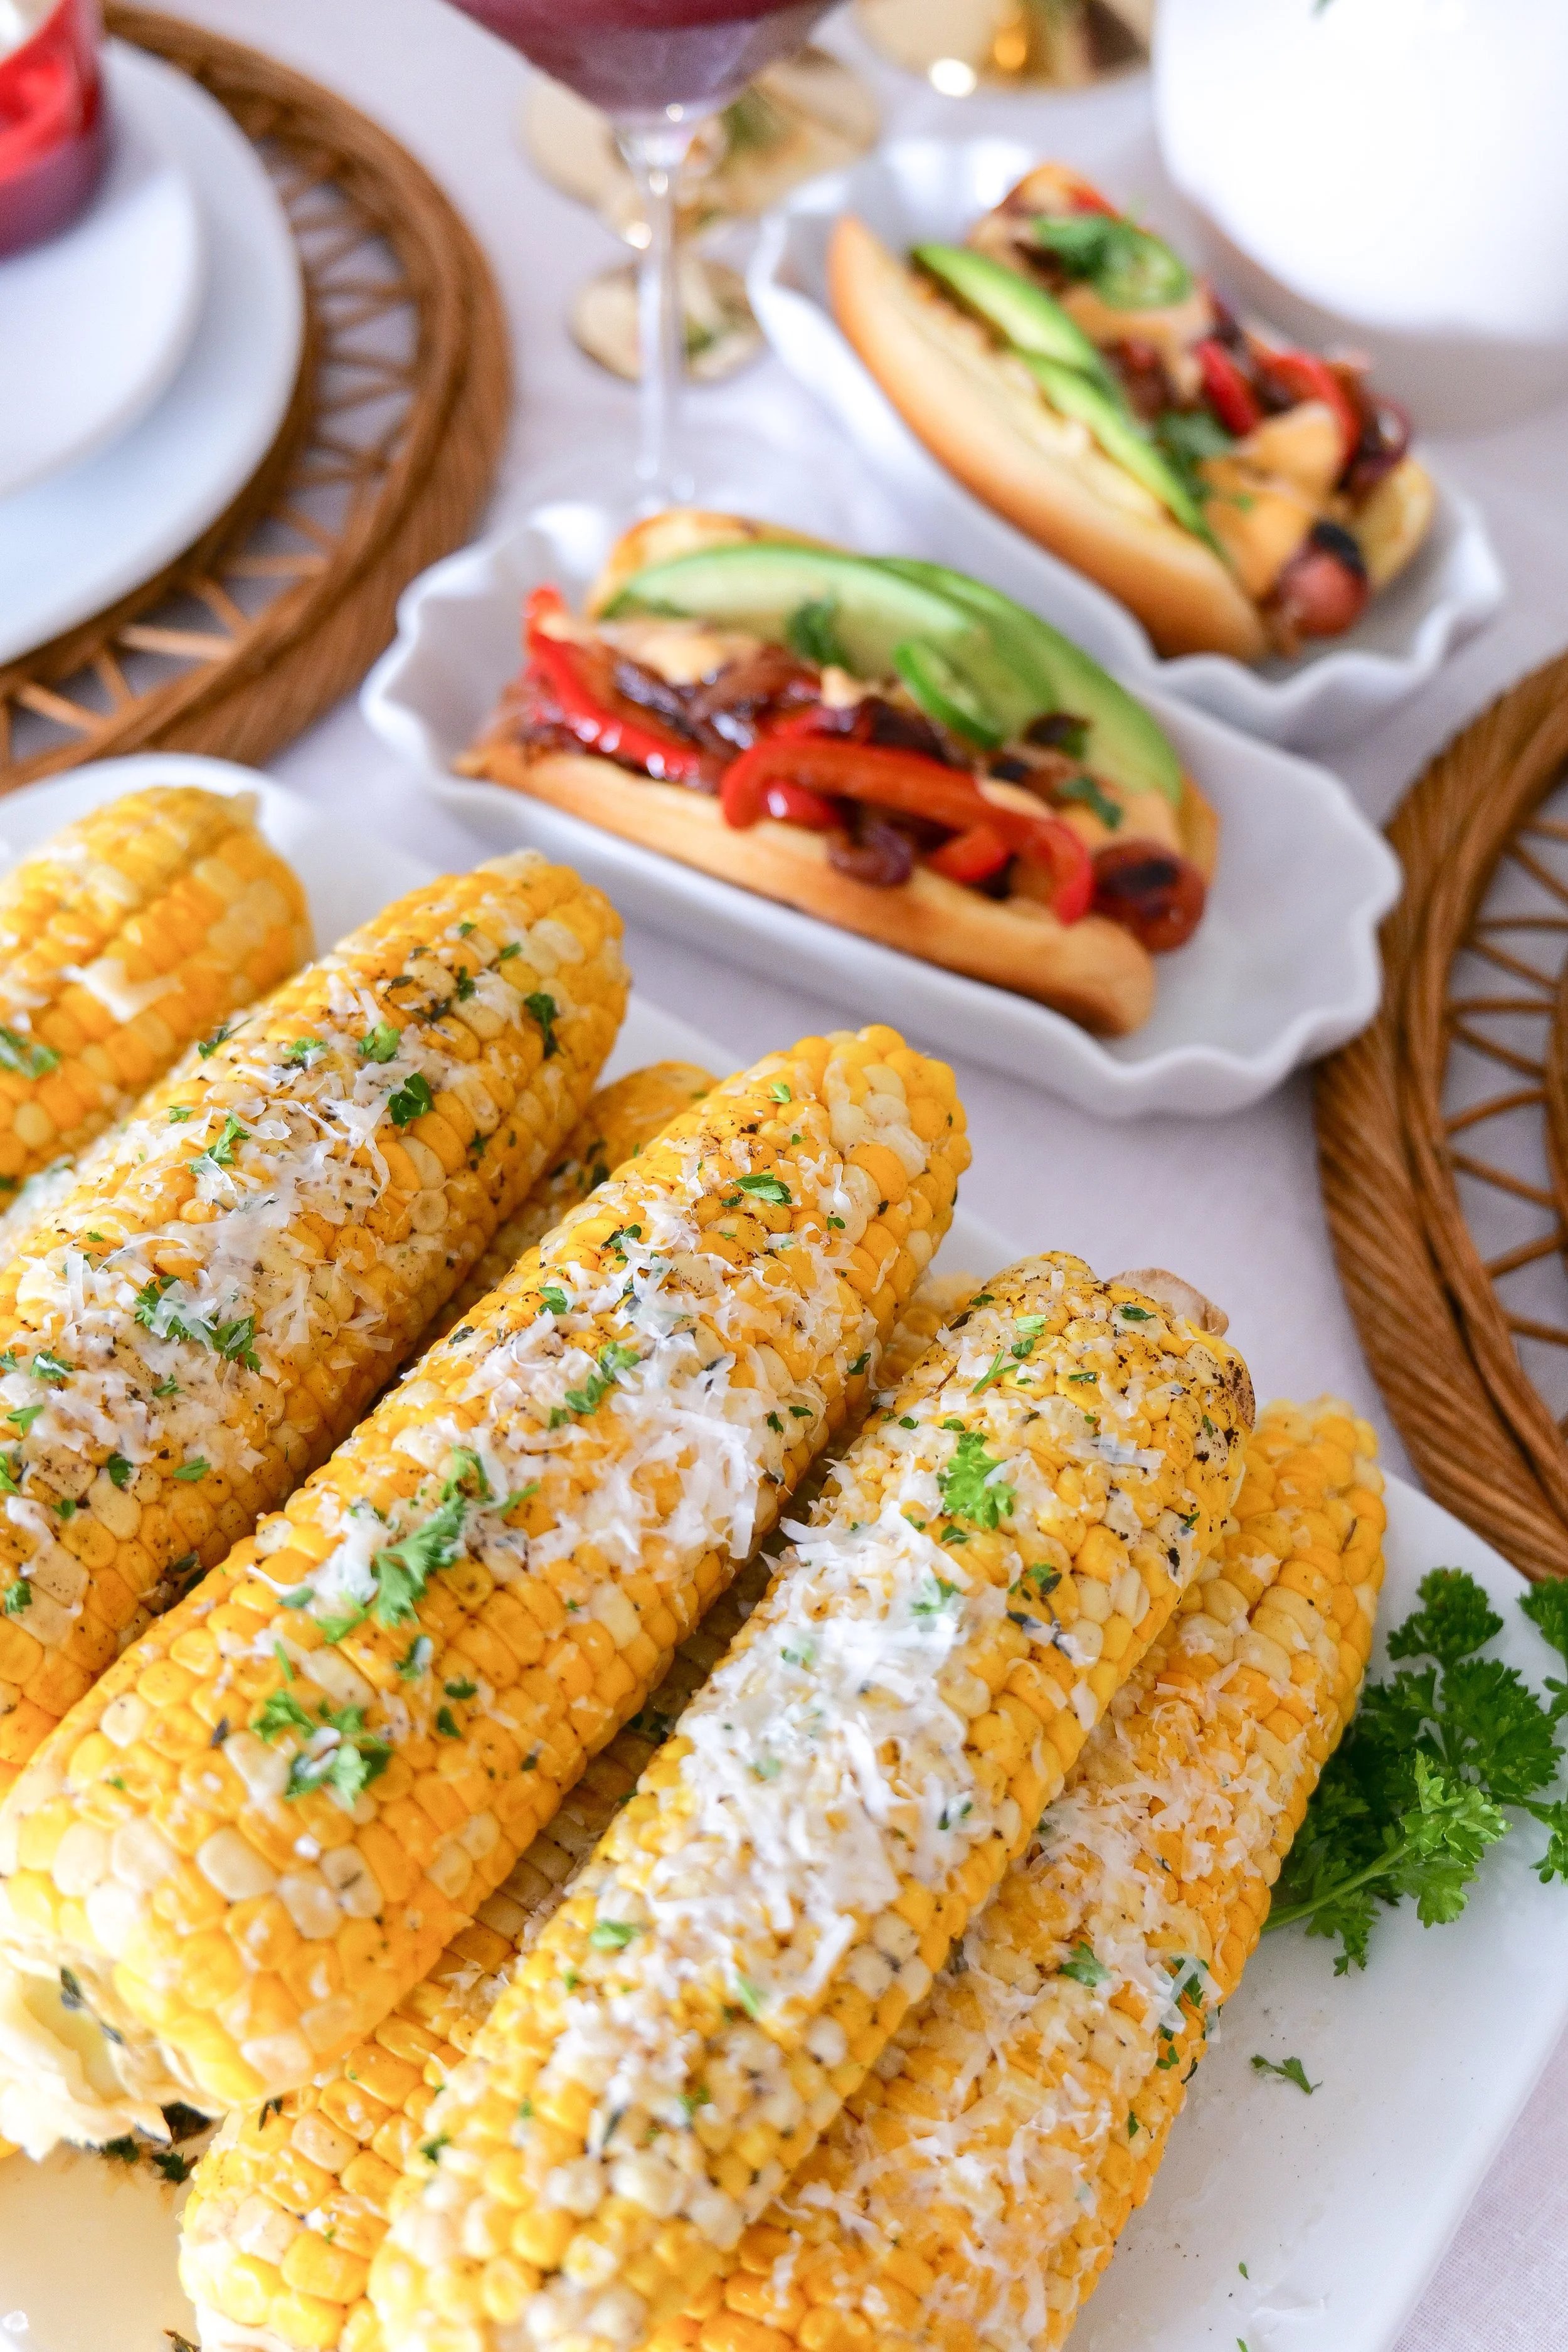
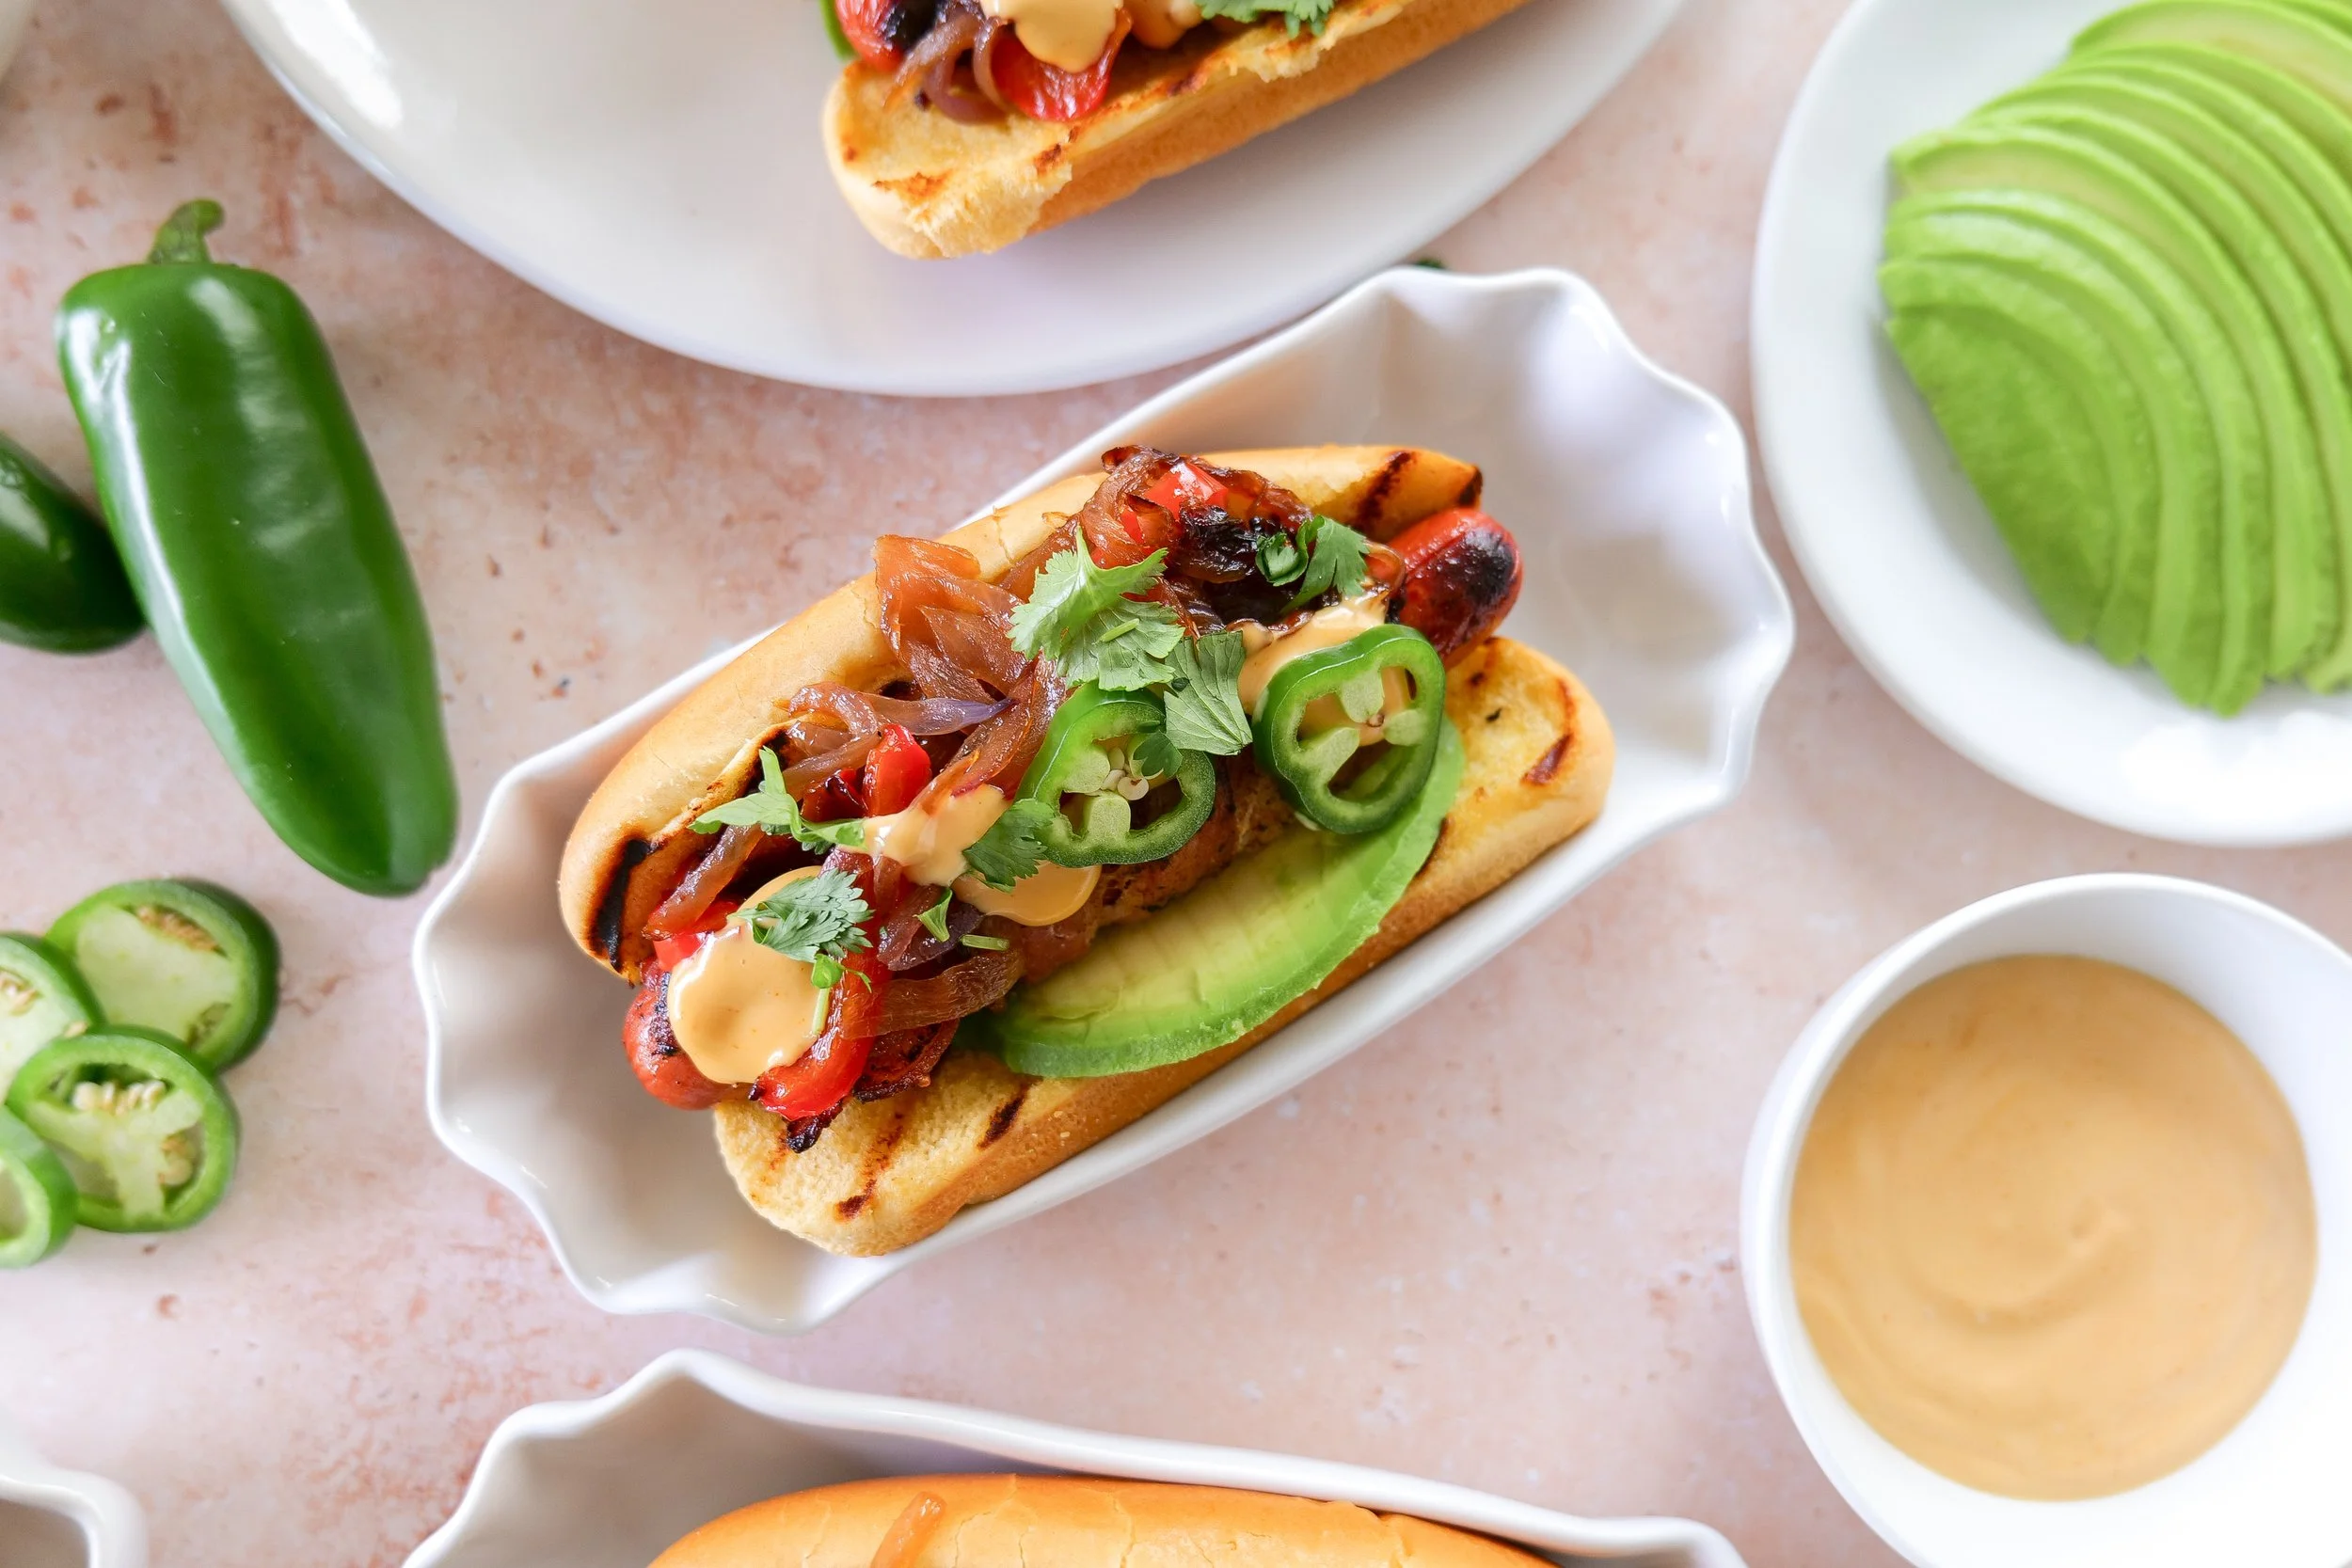
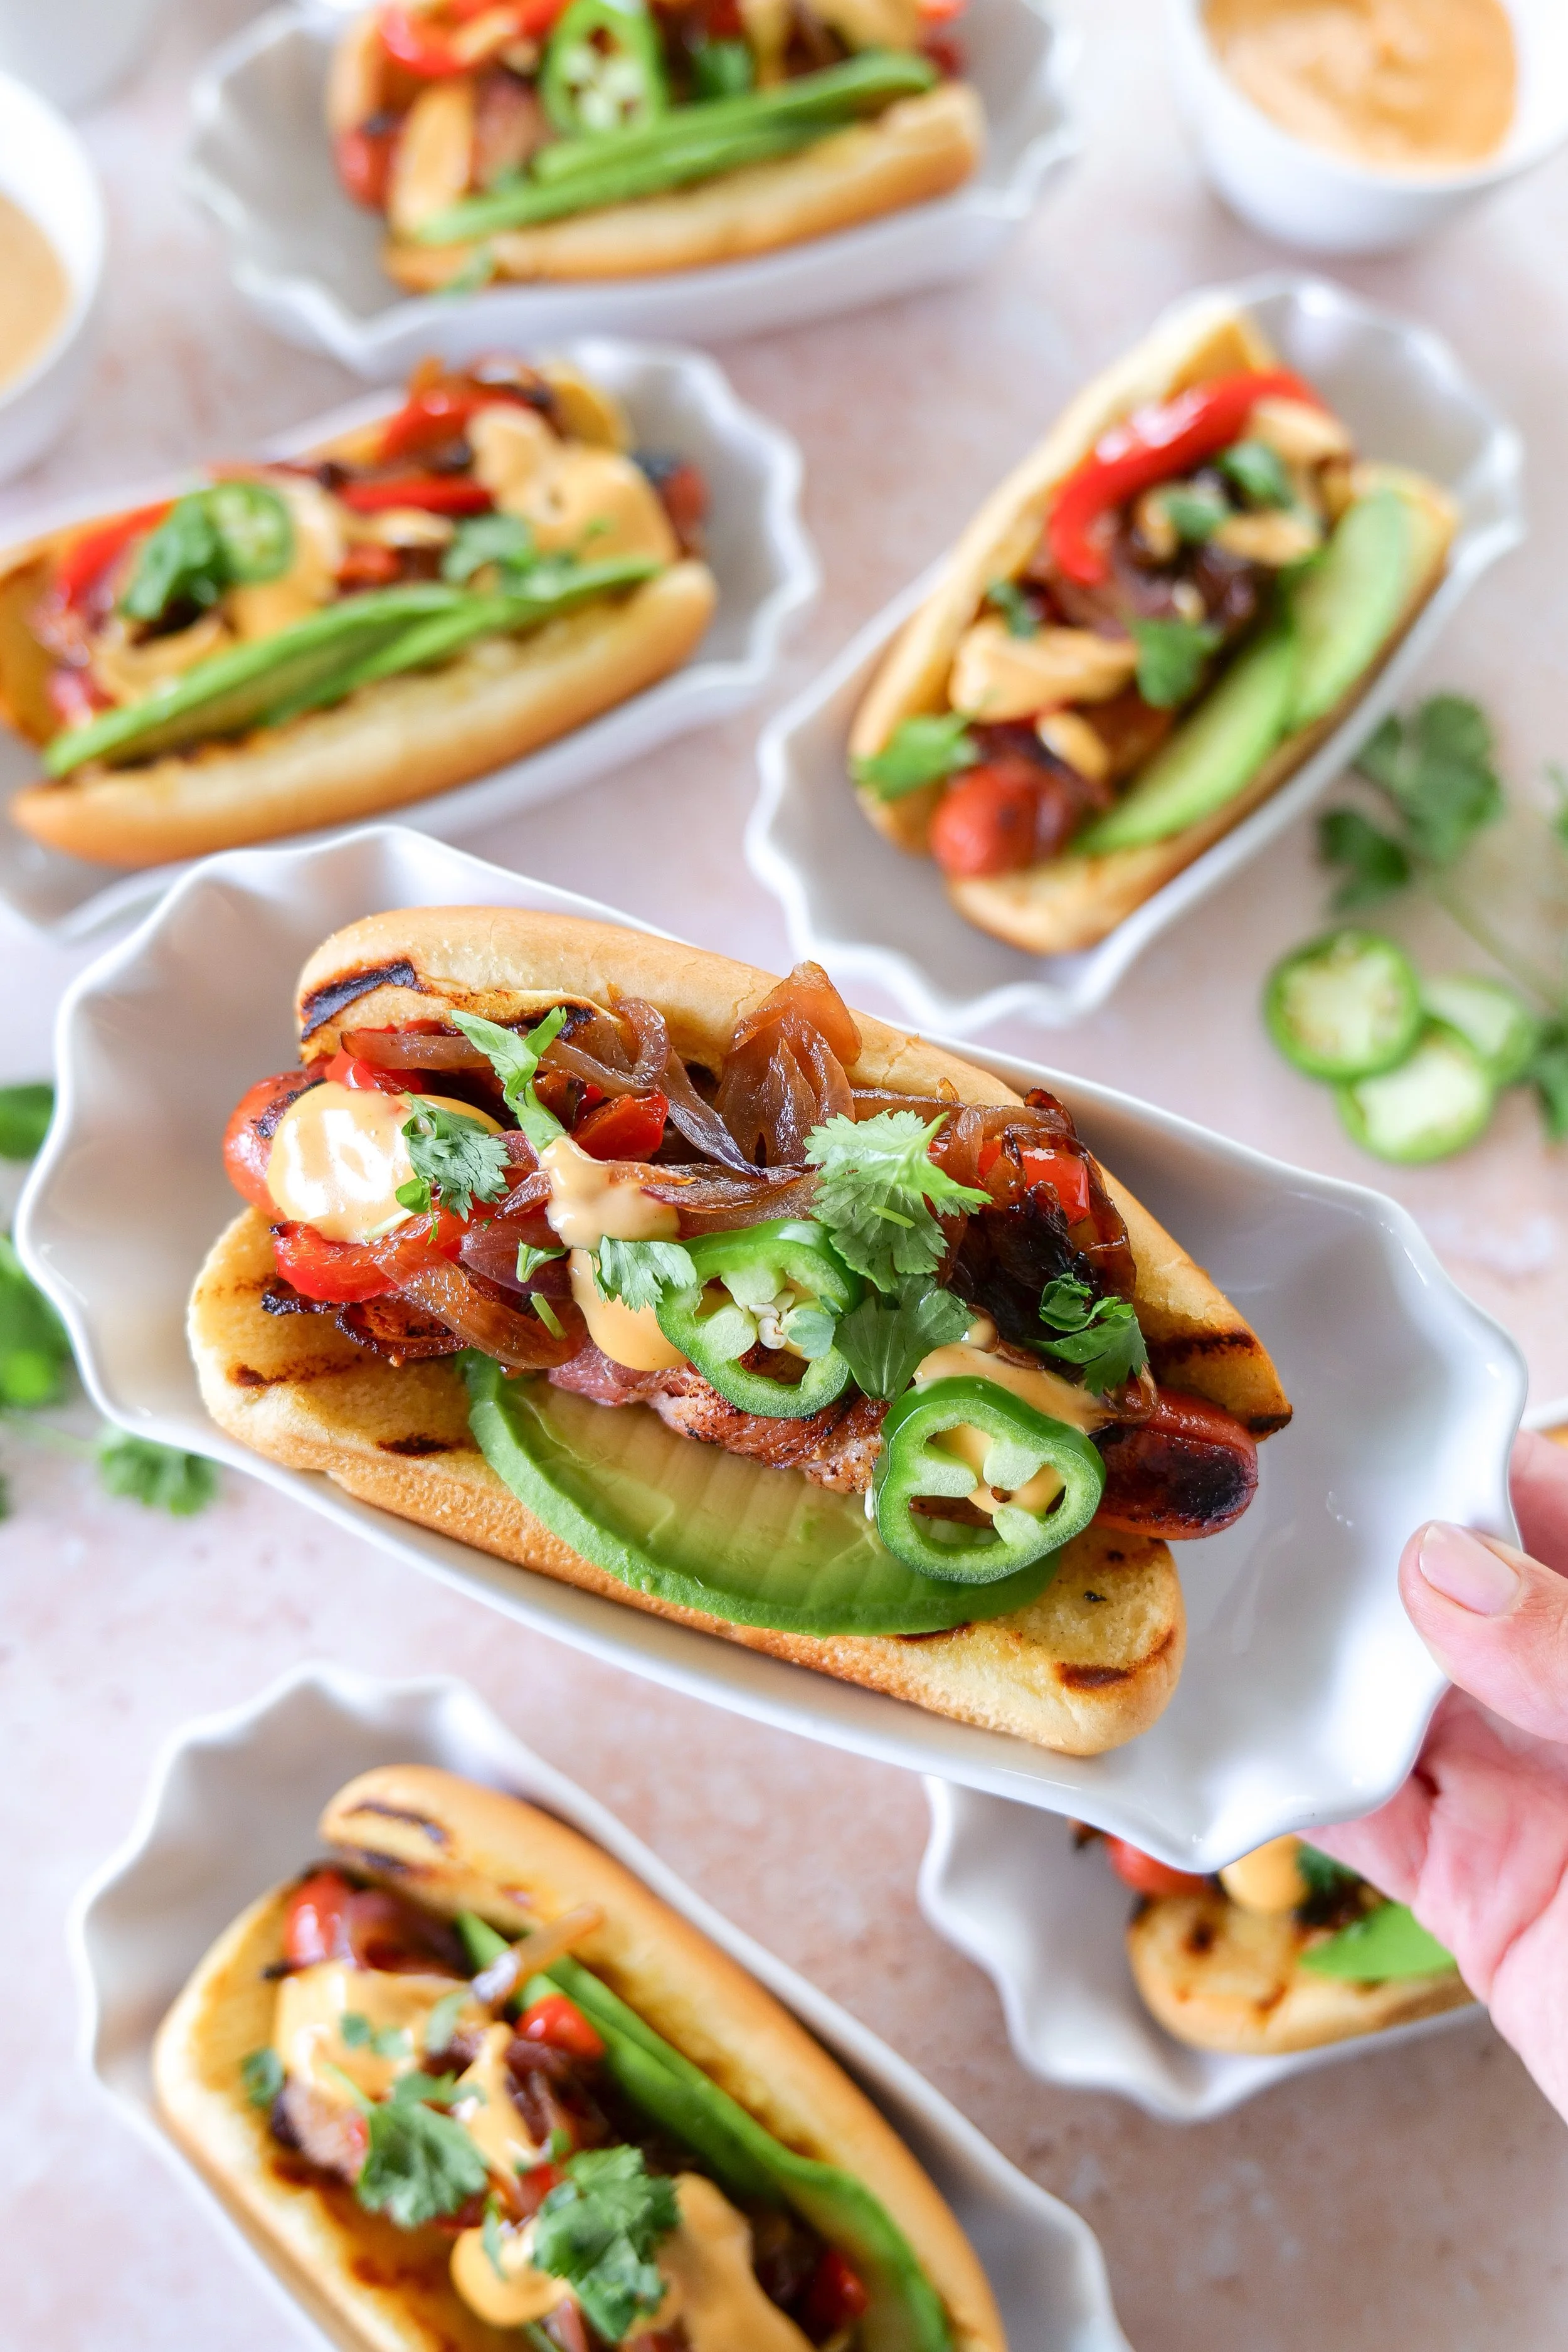
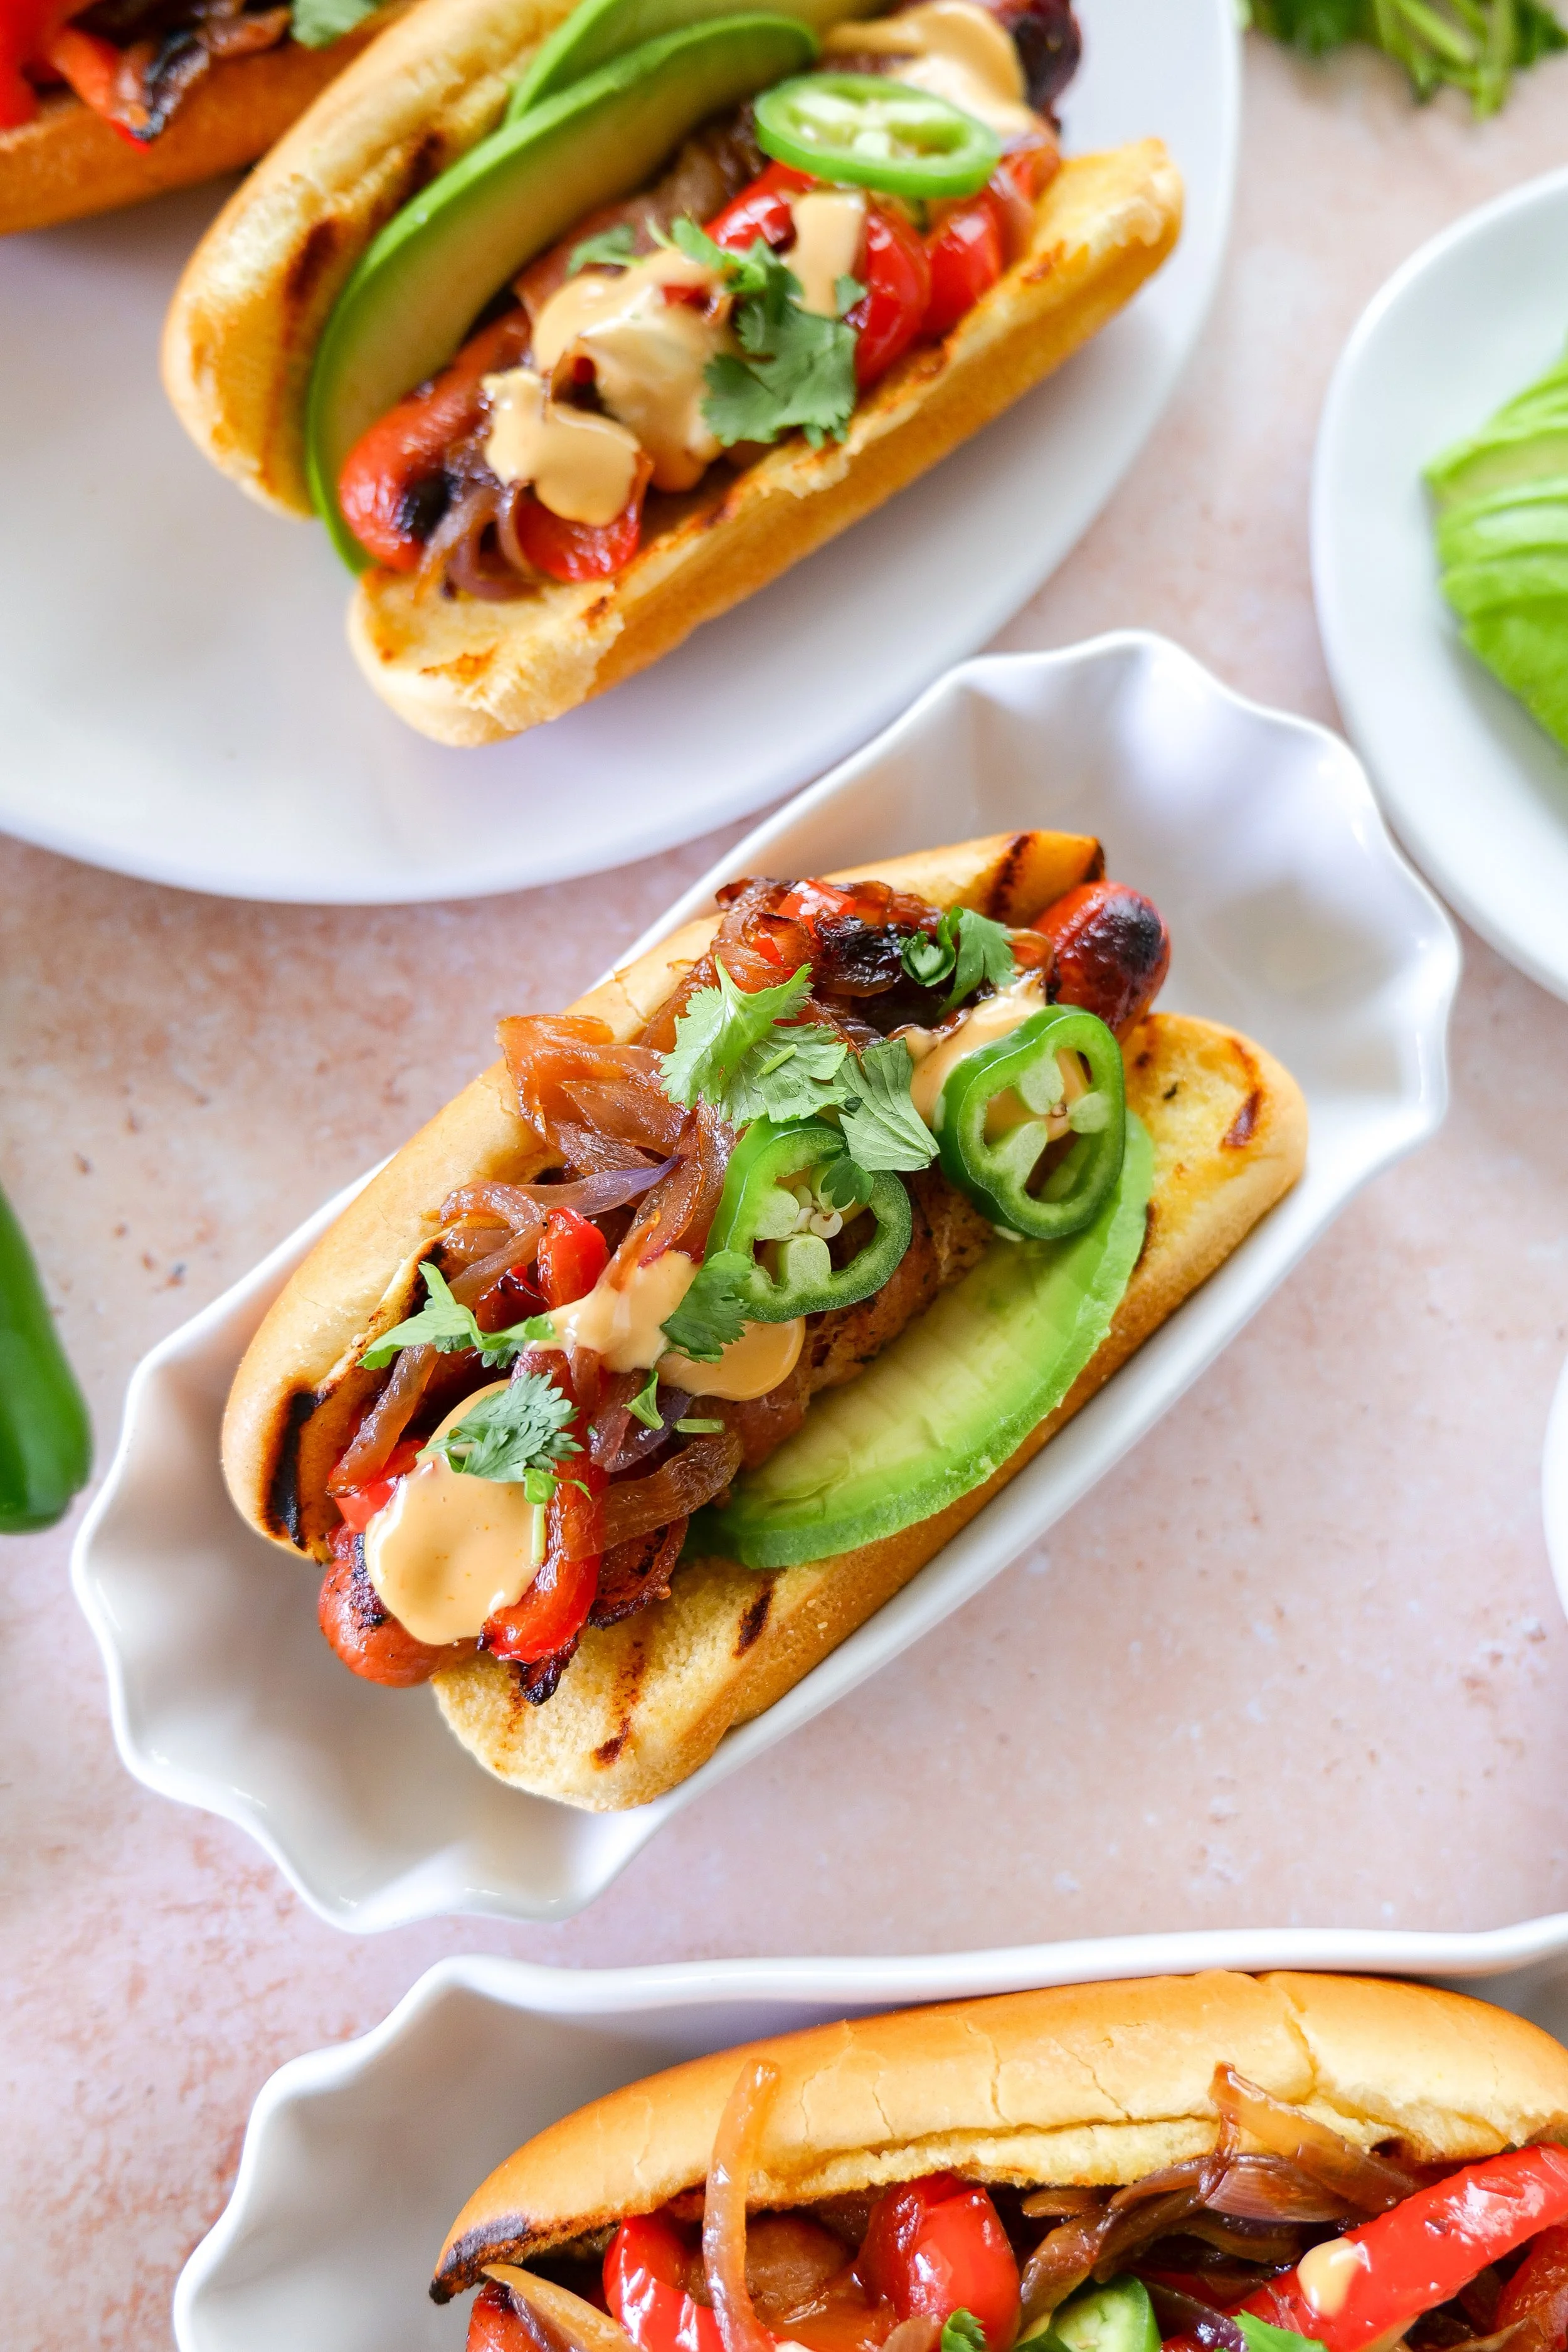
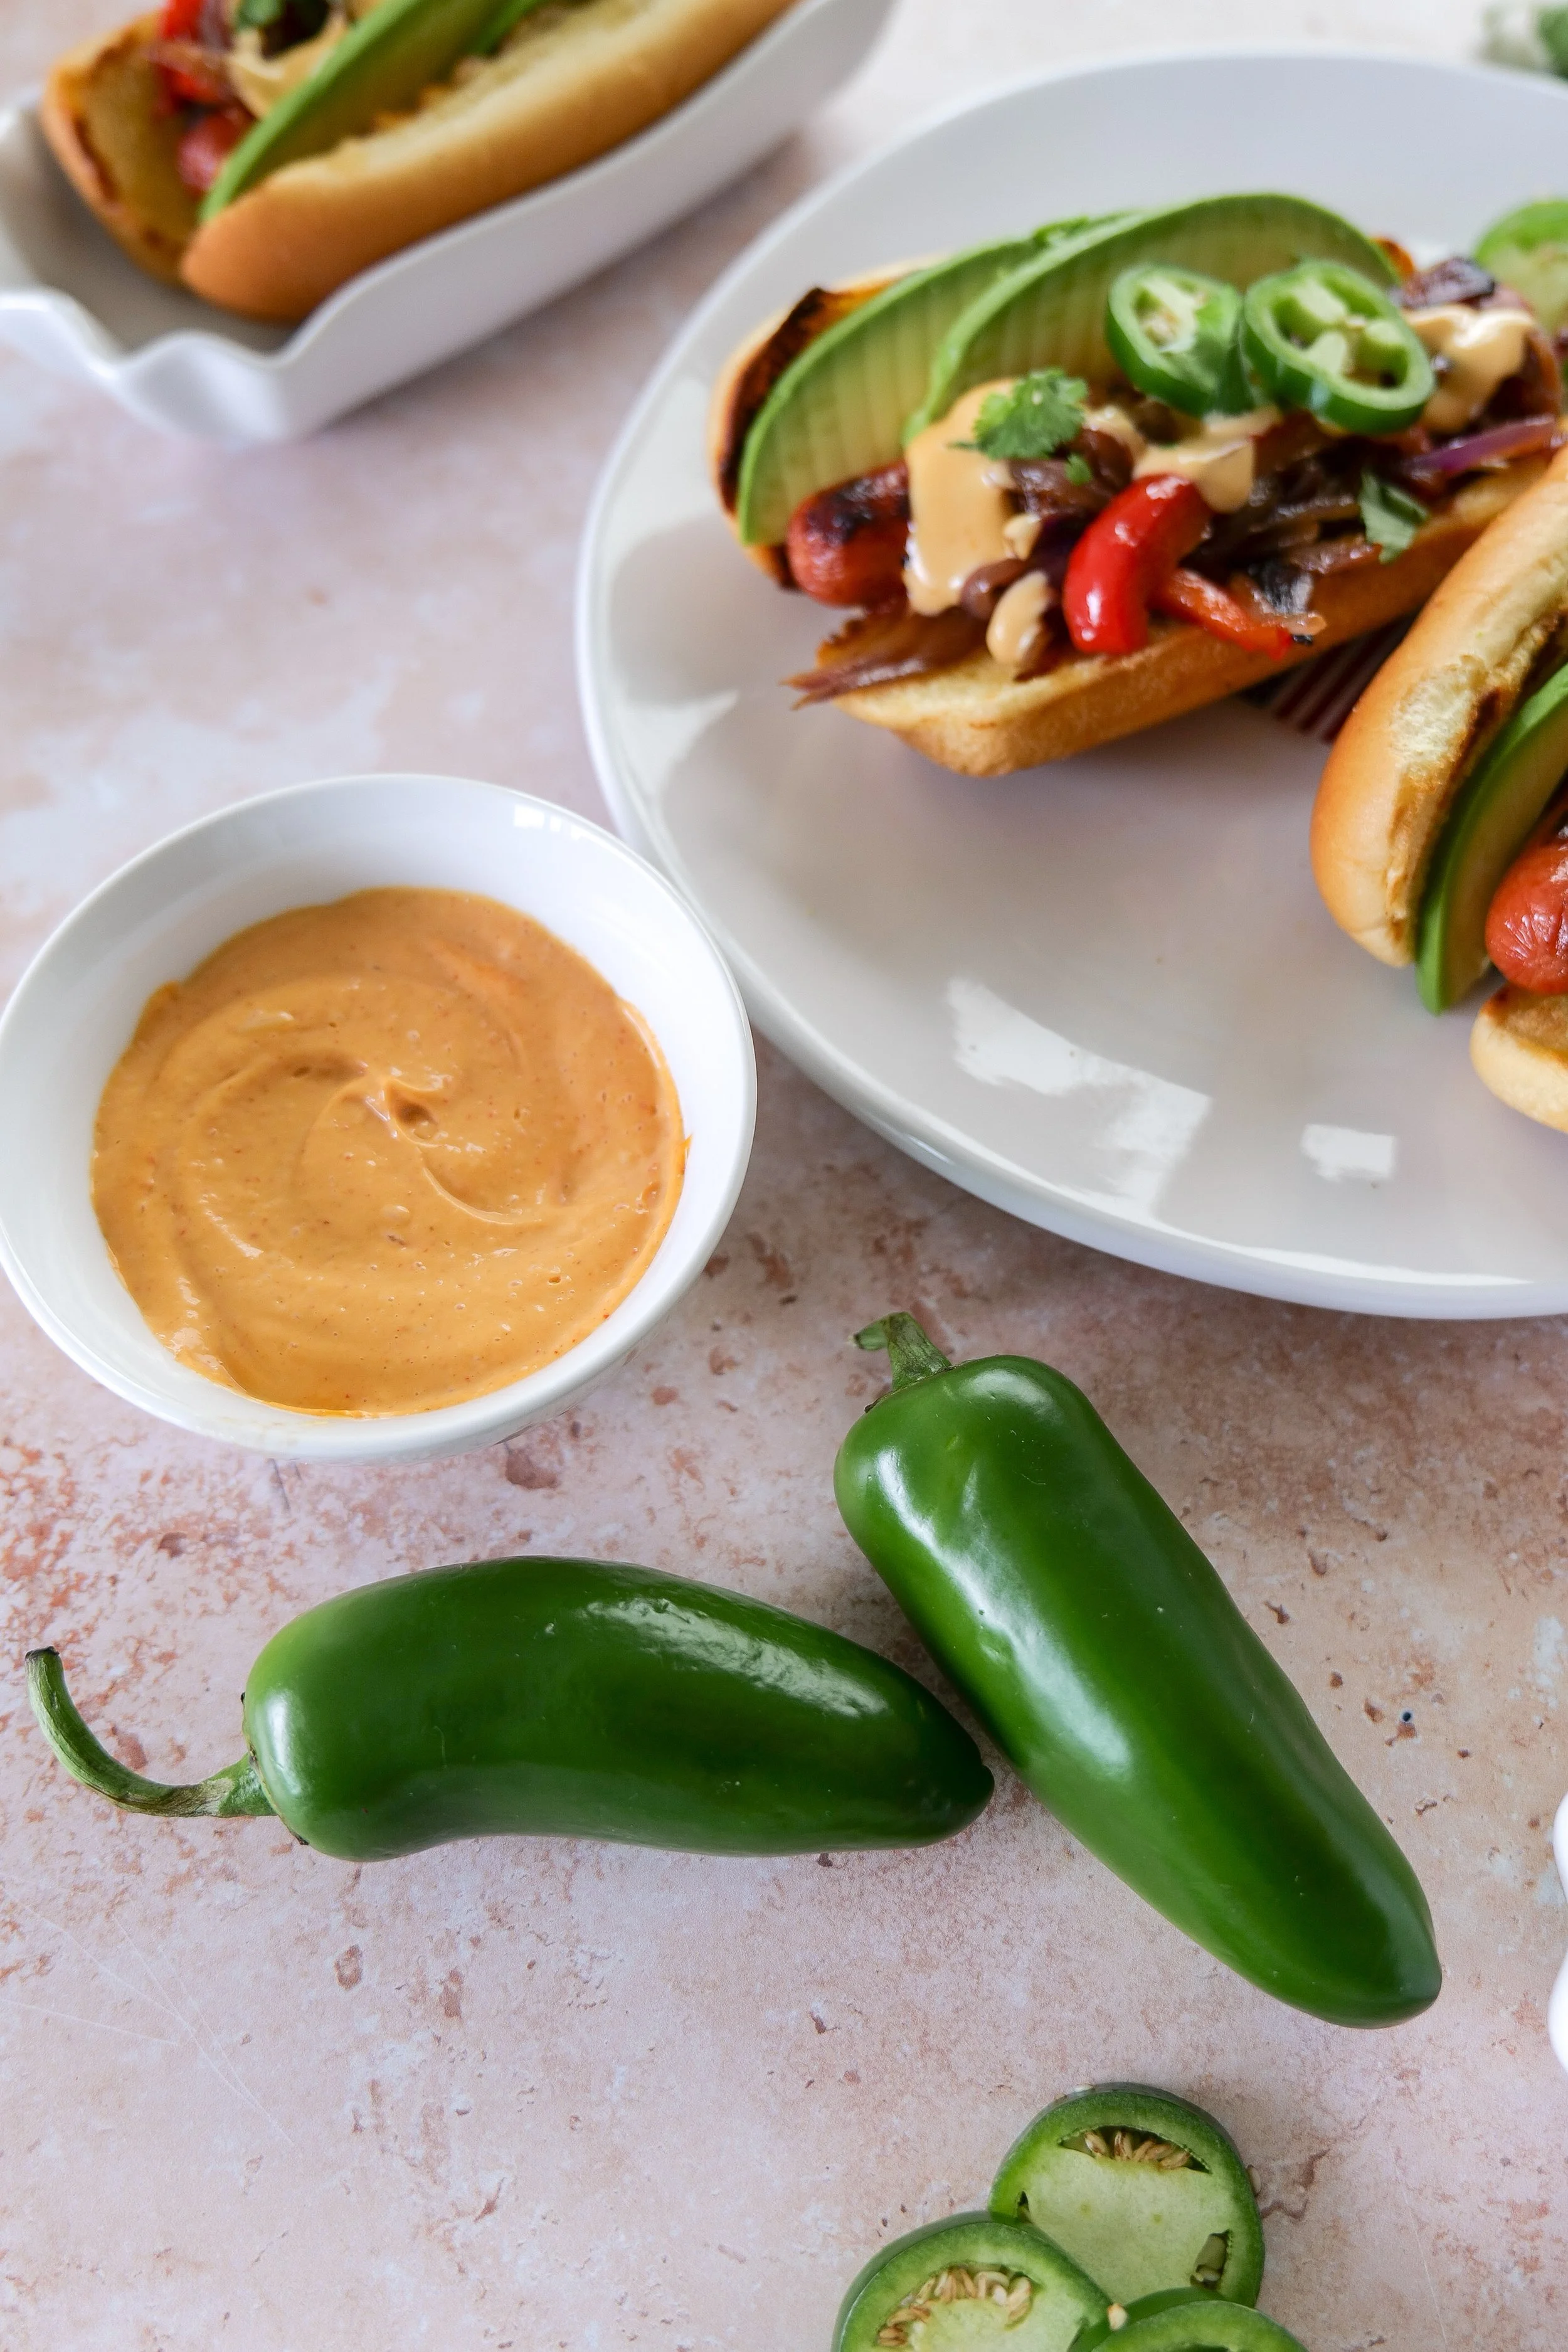
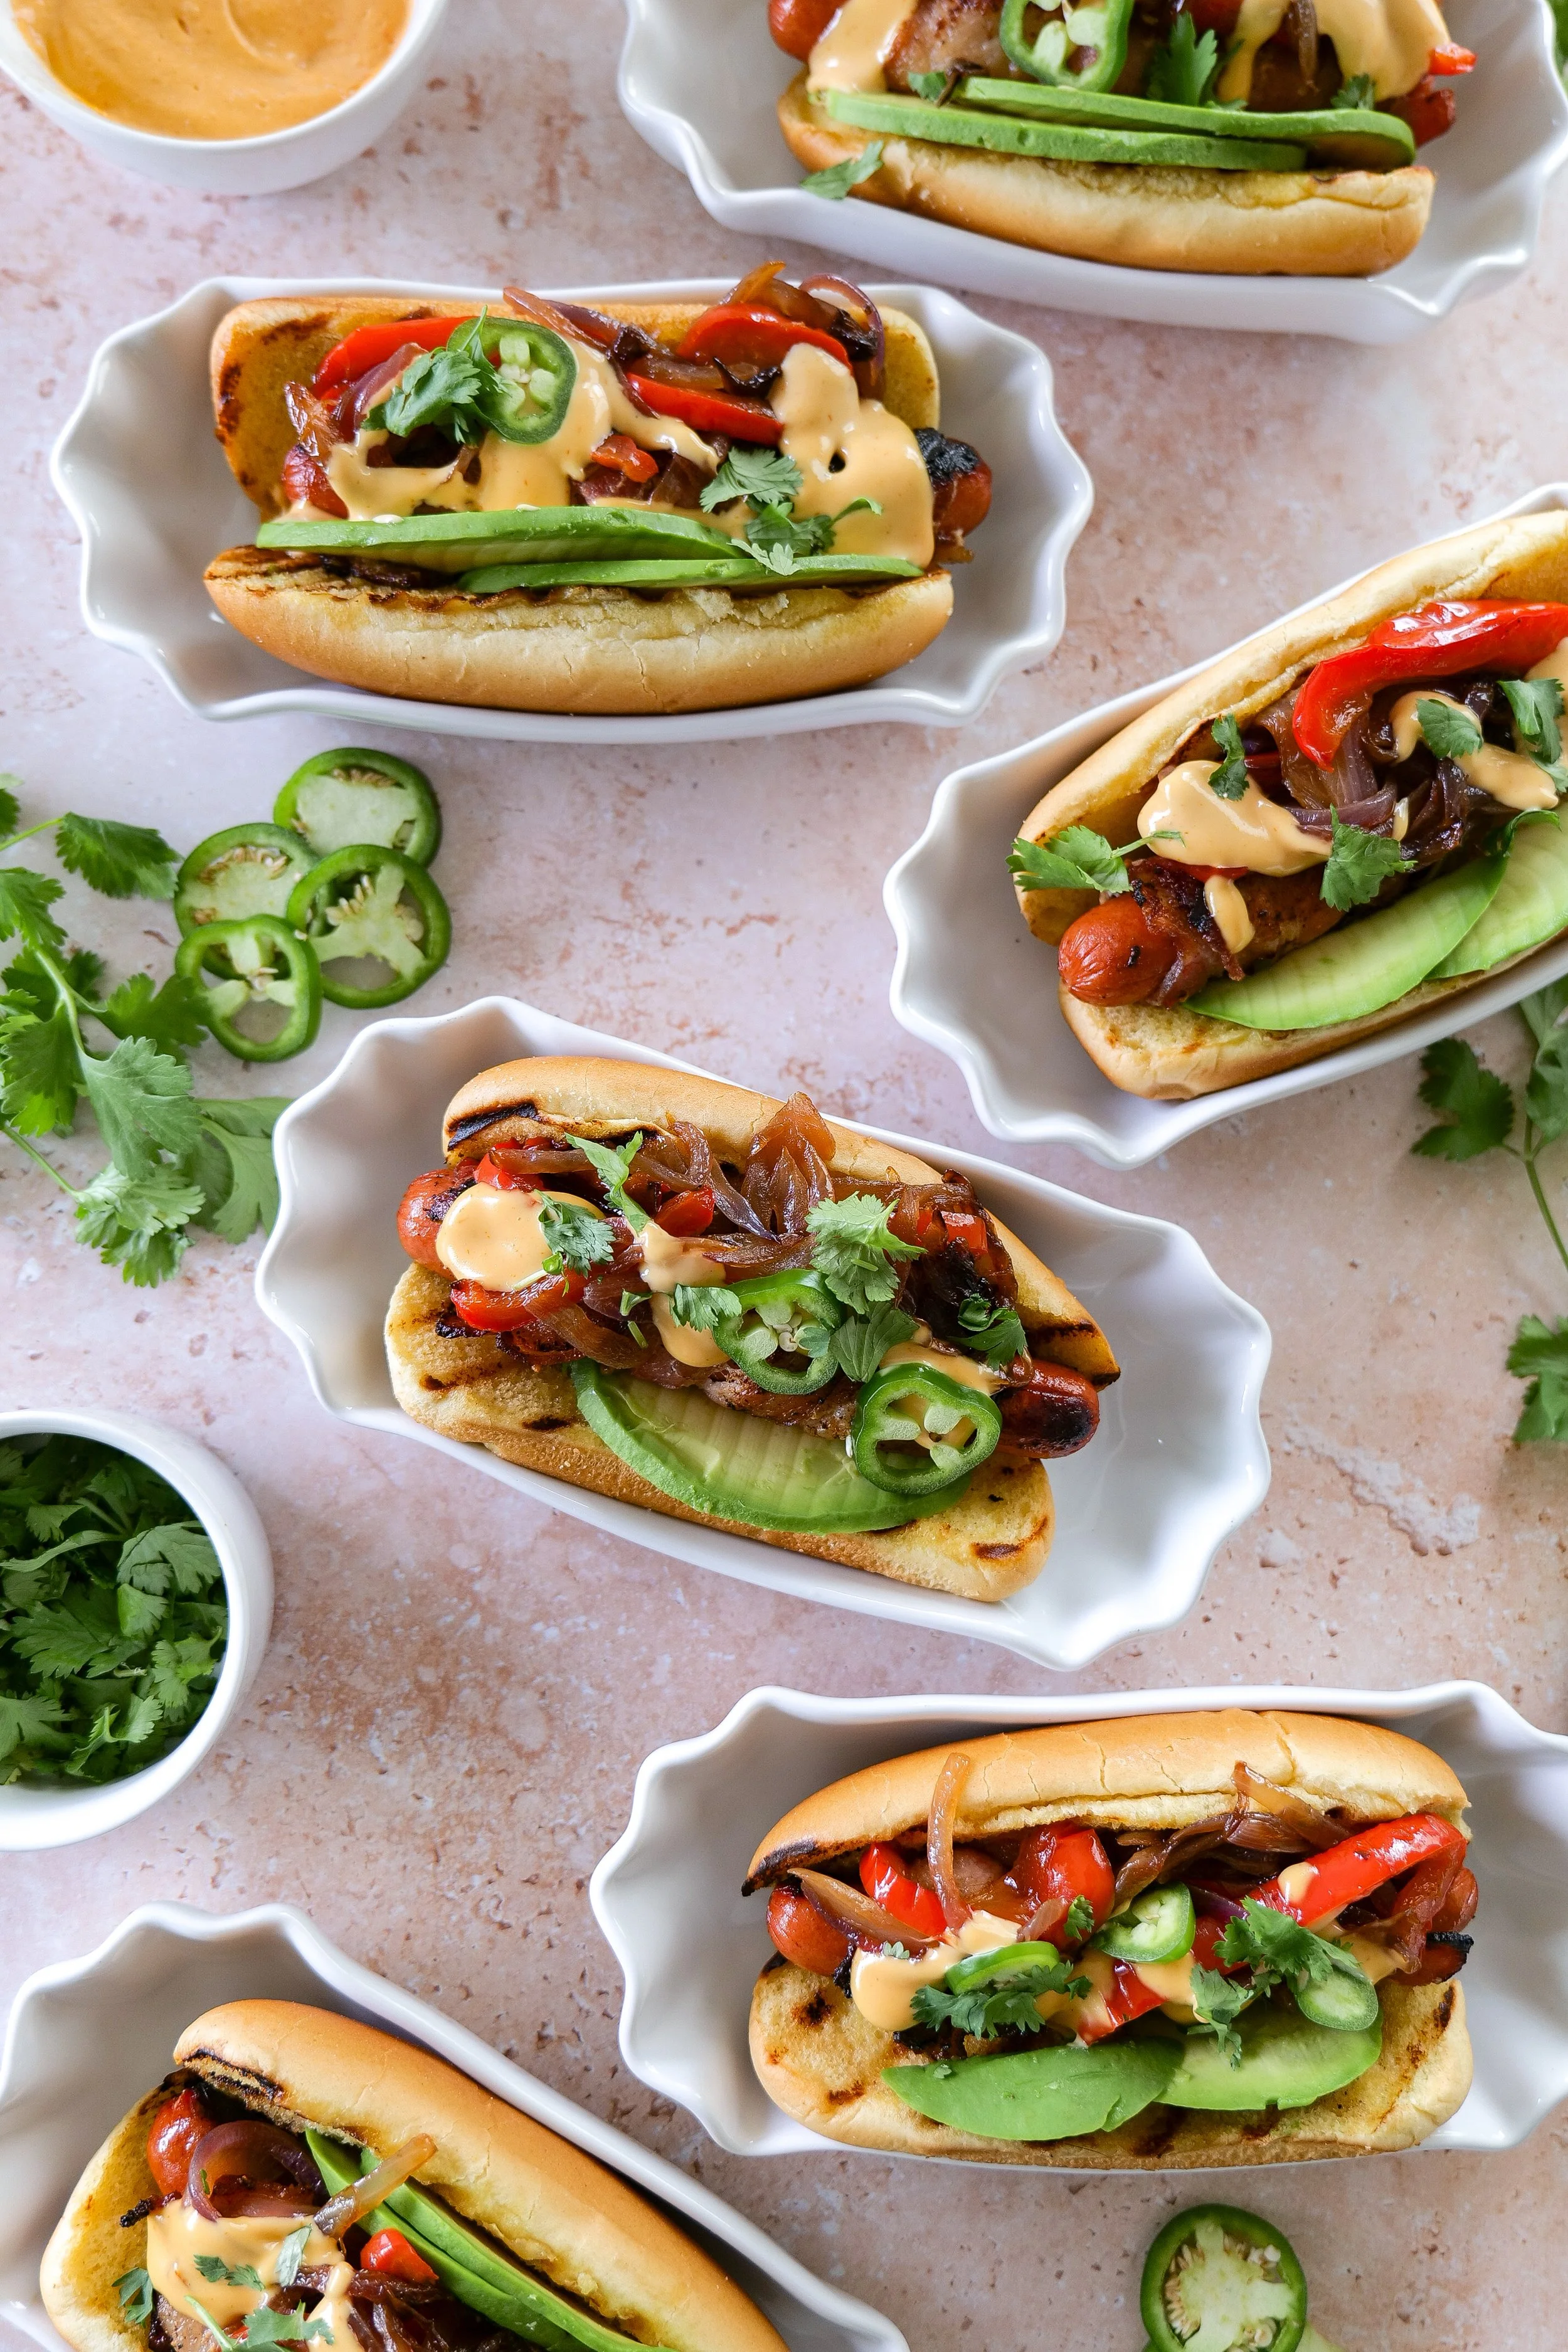
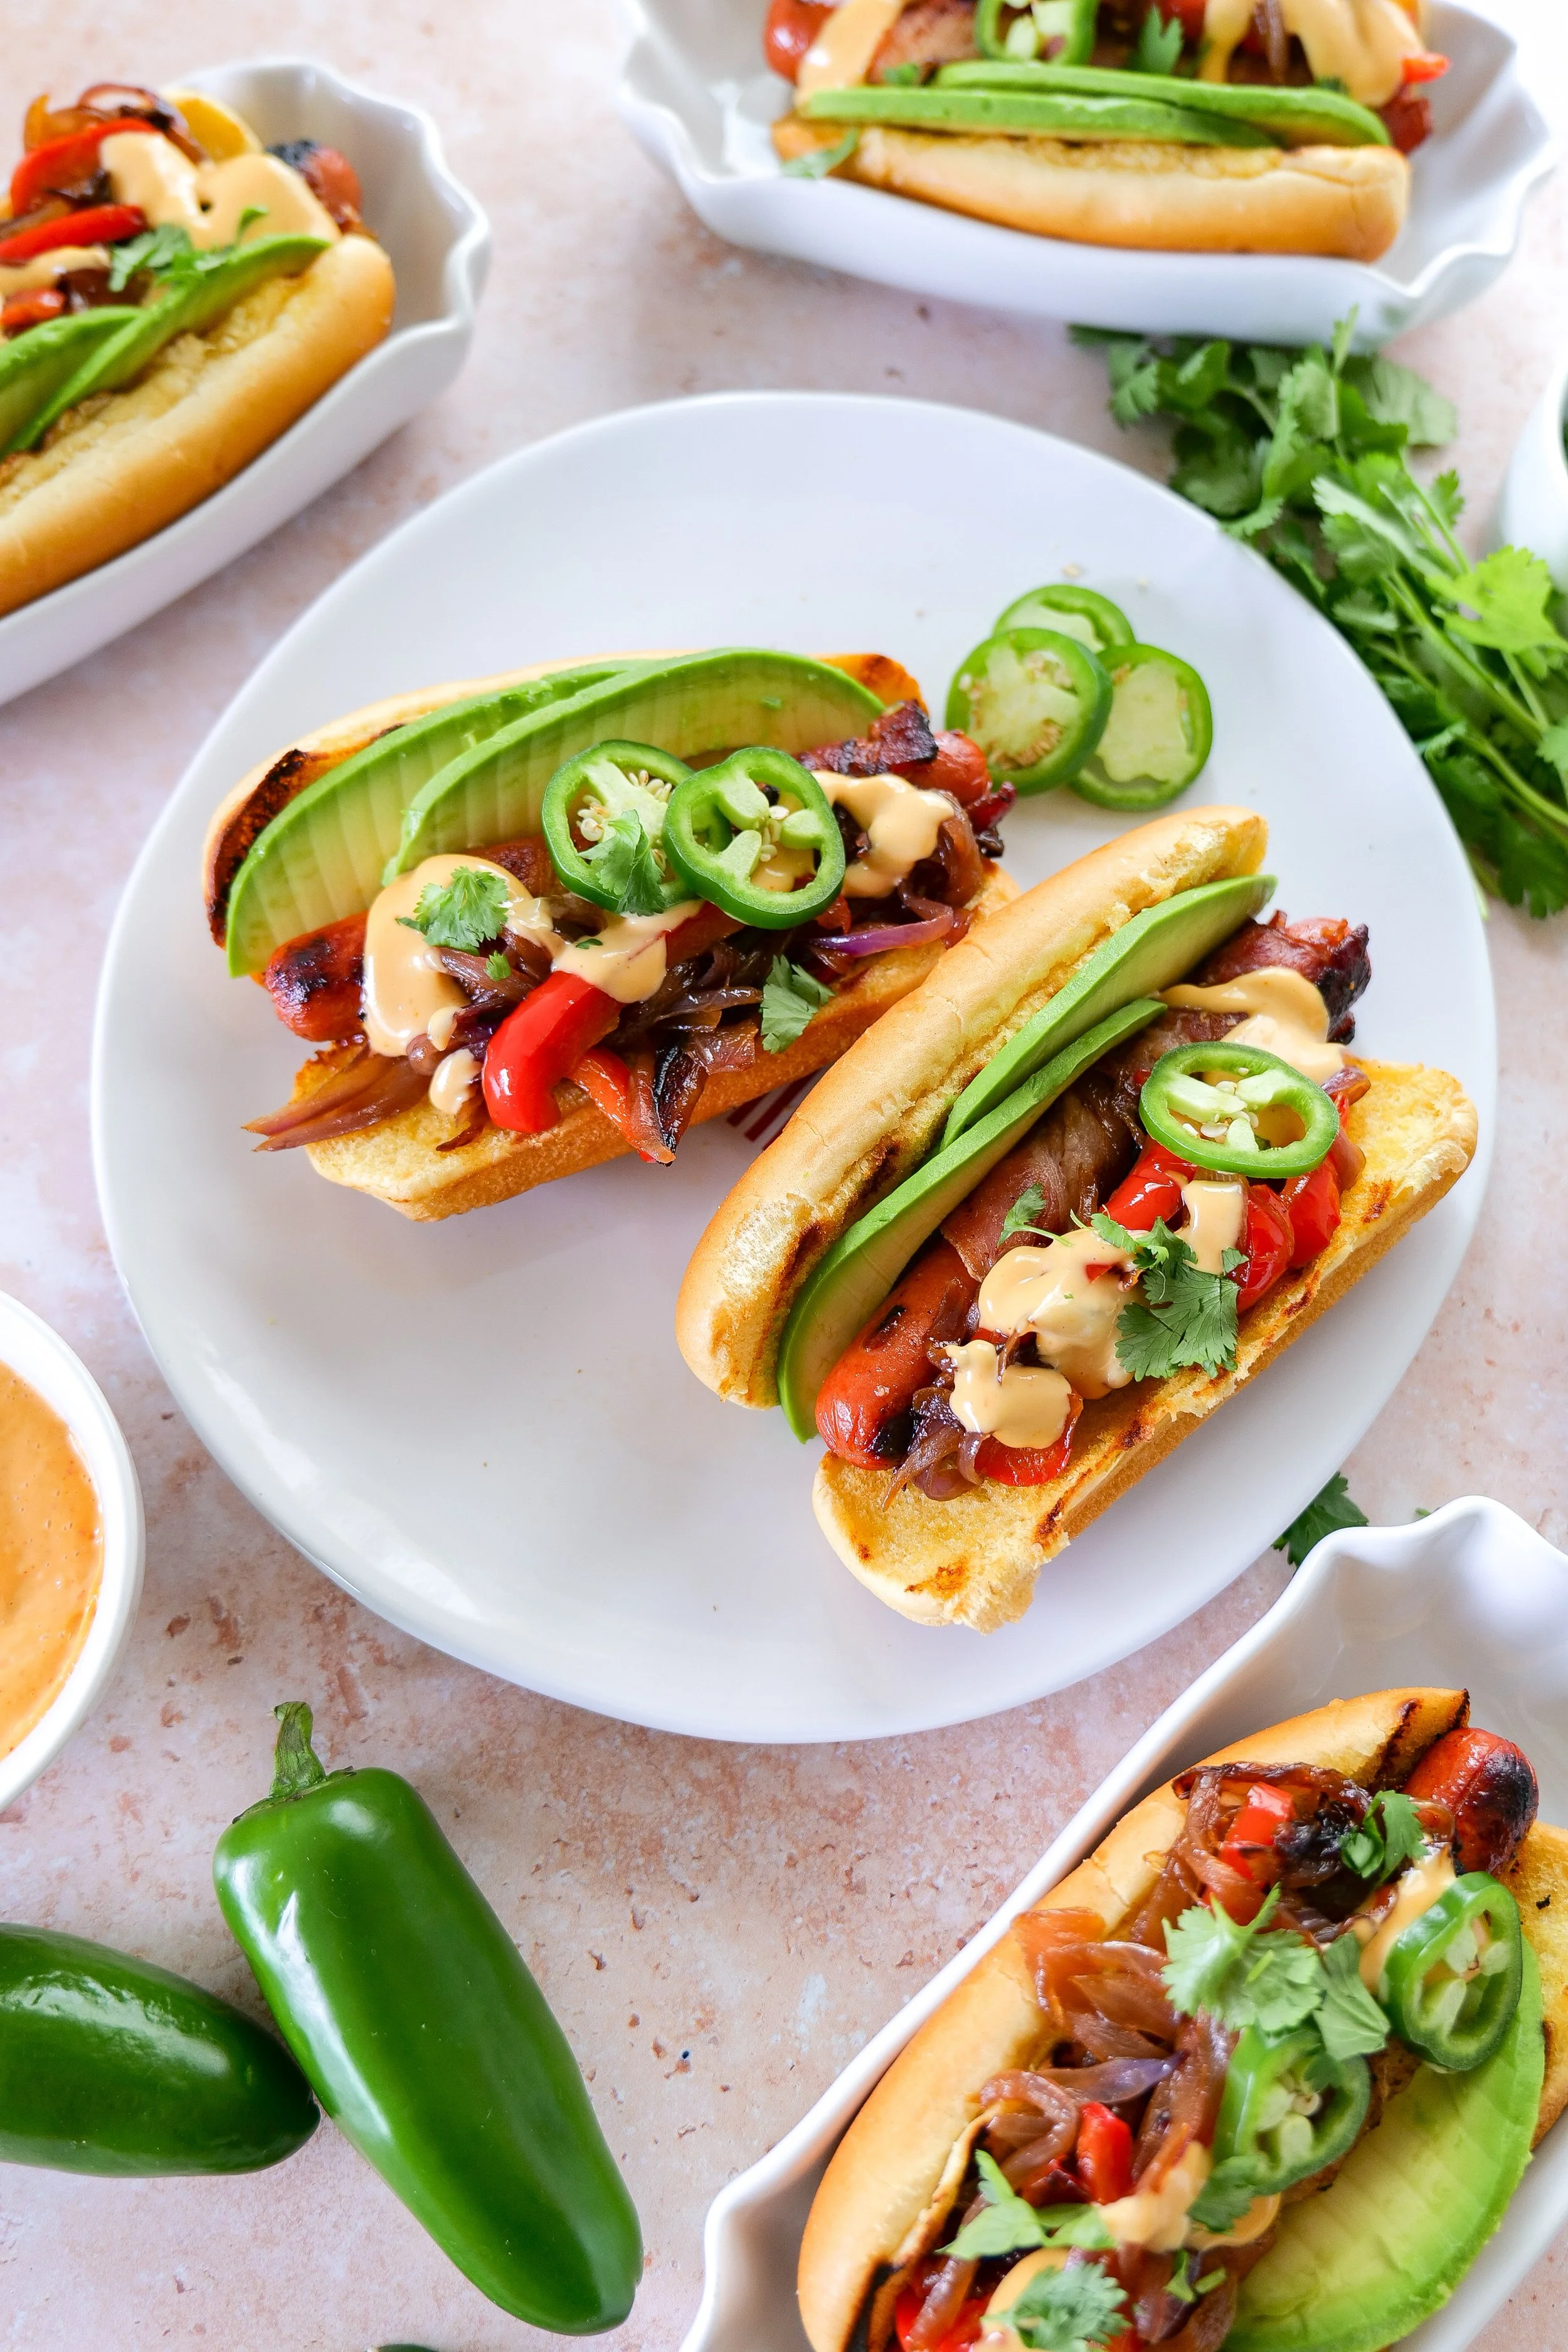
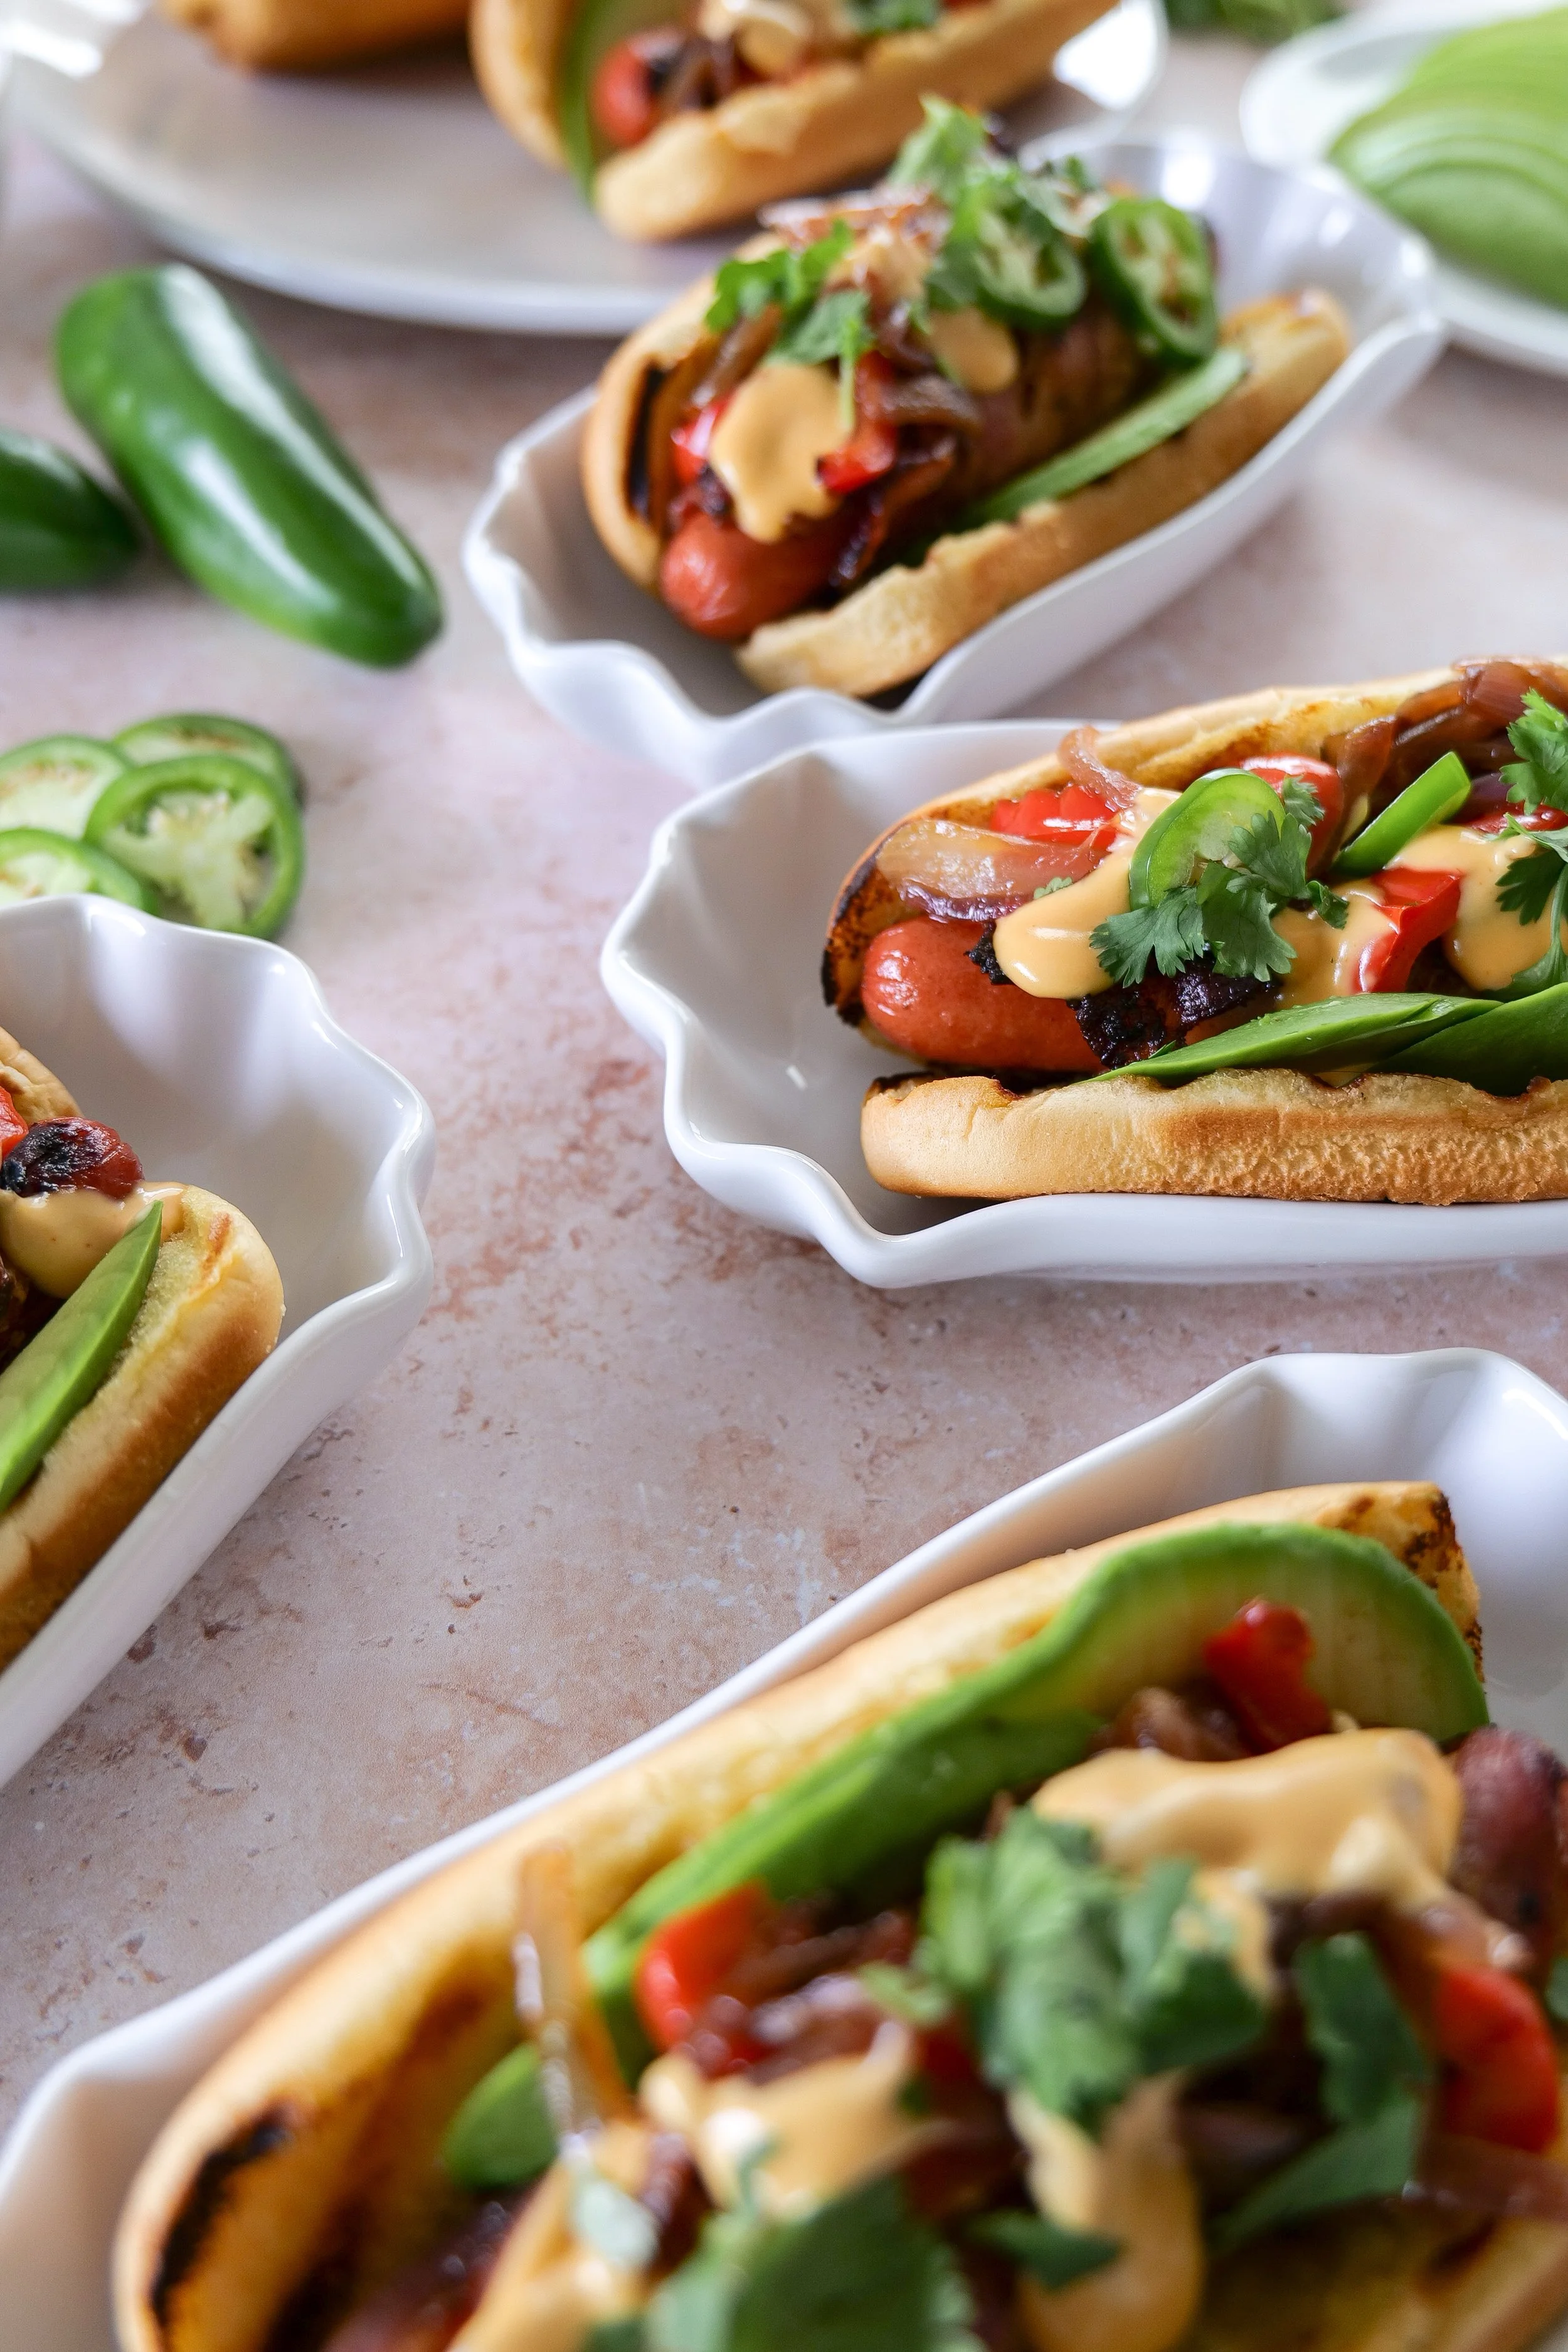
My husband spent his college years in Southern California grabbing bacon wrapped hot dogs from late-night street vendors in Long Beach and San Diego, and to this day he swears this is the only way to make the perfect hot dog. Crispy bacon wrapped around grilled all-beef hot dogs, topped with creamy avocado, grilled onions and peppers, and served on buttery toasted buns — they’re smoky, savory, and packed with fresh California-inspired flavor.
These easy California hot dogs are perfect for summer cookouts, beach-inspired dinners, backyard BBQs, and casual summer entertaining. They feel nostalgic and elevated all at once, which makes them such a fun addition to this All American Summer series.
If you love summer grilling season as much as we do, you can browse my Summer Grilling Essentials collection for all of my favorite hot dog toppings trays, grilling tools, serving pieces, and backyard BBQ favorites used throughout our All American Summer series.
If you love Americana-inspired entertaining and cozy summer hosting, be sure to browse my American Summer Hosting collection filled with backyard BBQ ideas, patriotic hosting inspiration, and summer entertaining favorites. You can also shop my All American Mama collection for timeless summer style, hosting finds, and classic Americana-inspired favorites.


Why You’ll Love These Bacon Wrapped California Hot Dog
This California hot dog recipe is one of those easy summer dinners you’ll find yourself making all season long.
Crispy bacon wrapped around juicy hot dogs
Loaded with fresh California-inspired toppings
Perfect for summer BBQs and cookouts
Easy to customize for guests and gatherings
Packed with nostalgic coastal summer flavor
Great for casual entertaining
The ultimate All American summer dinner idea
Whether you’re grilling for family, hosting friends by the pool, or planning a laid-back summer dinner, these bacon wrapped hot dogs always disappear fast.
Ingredients
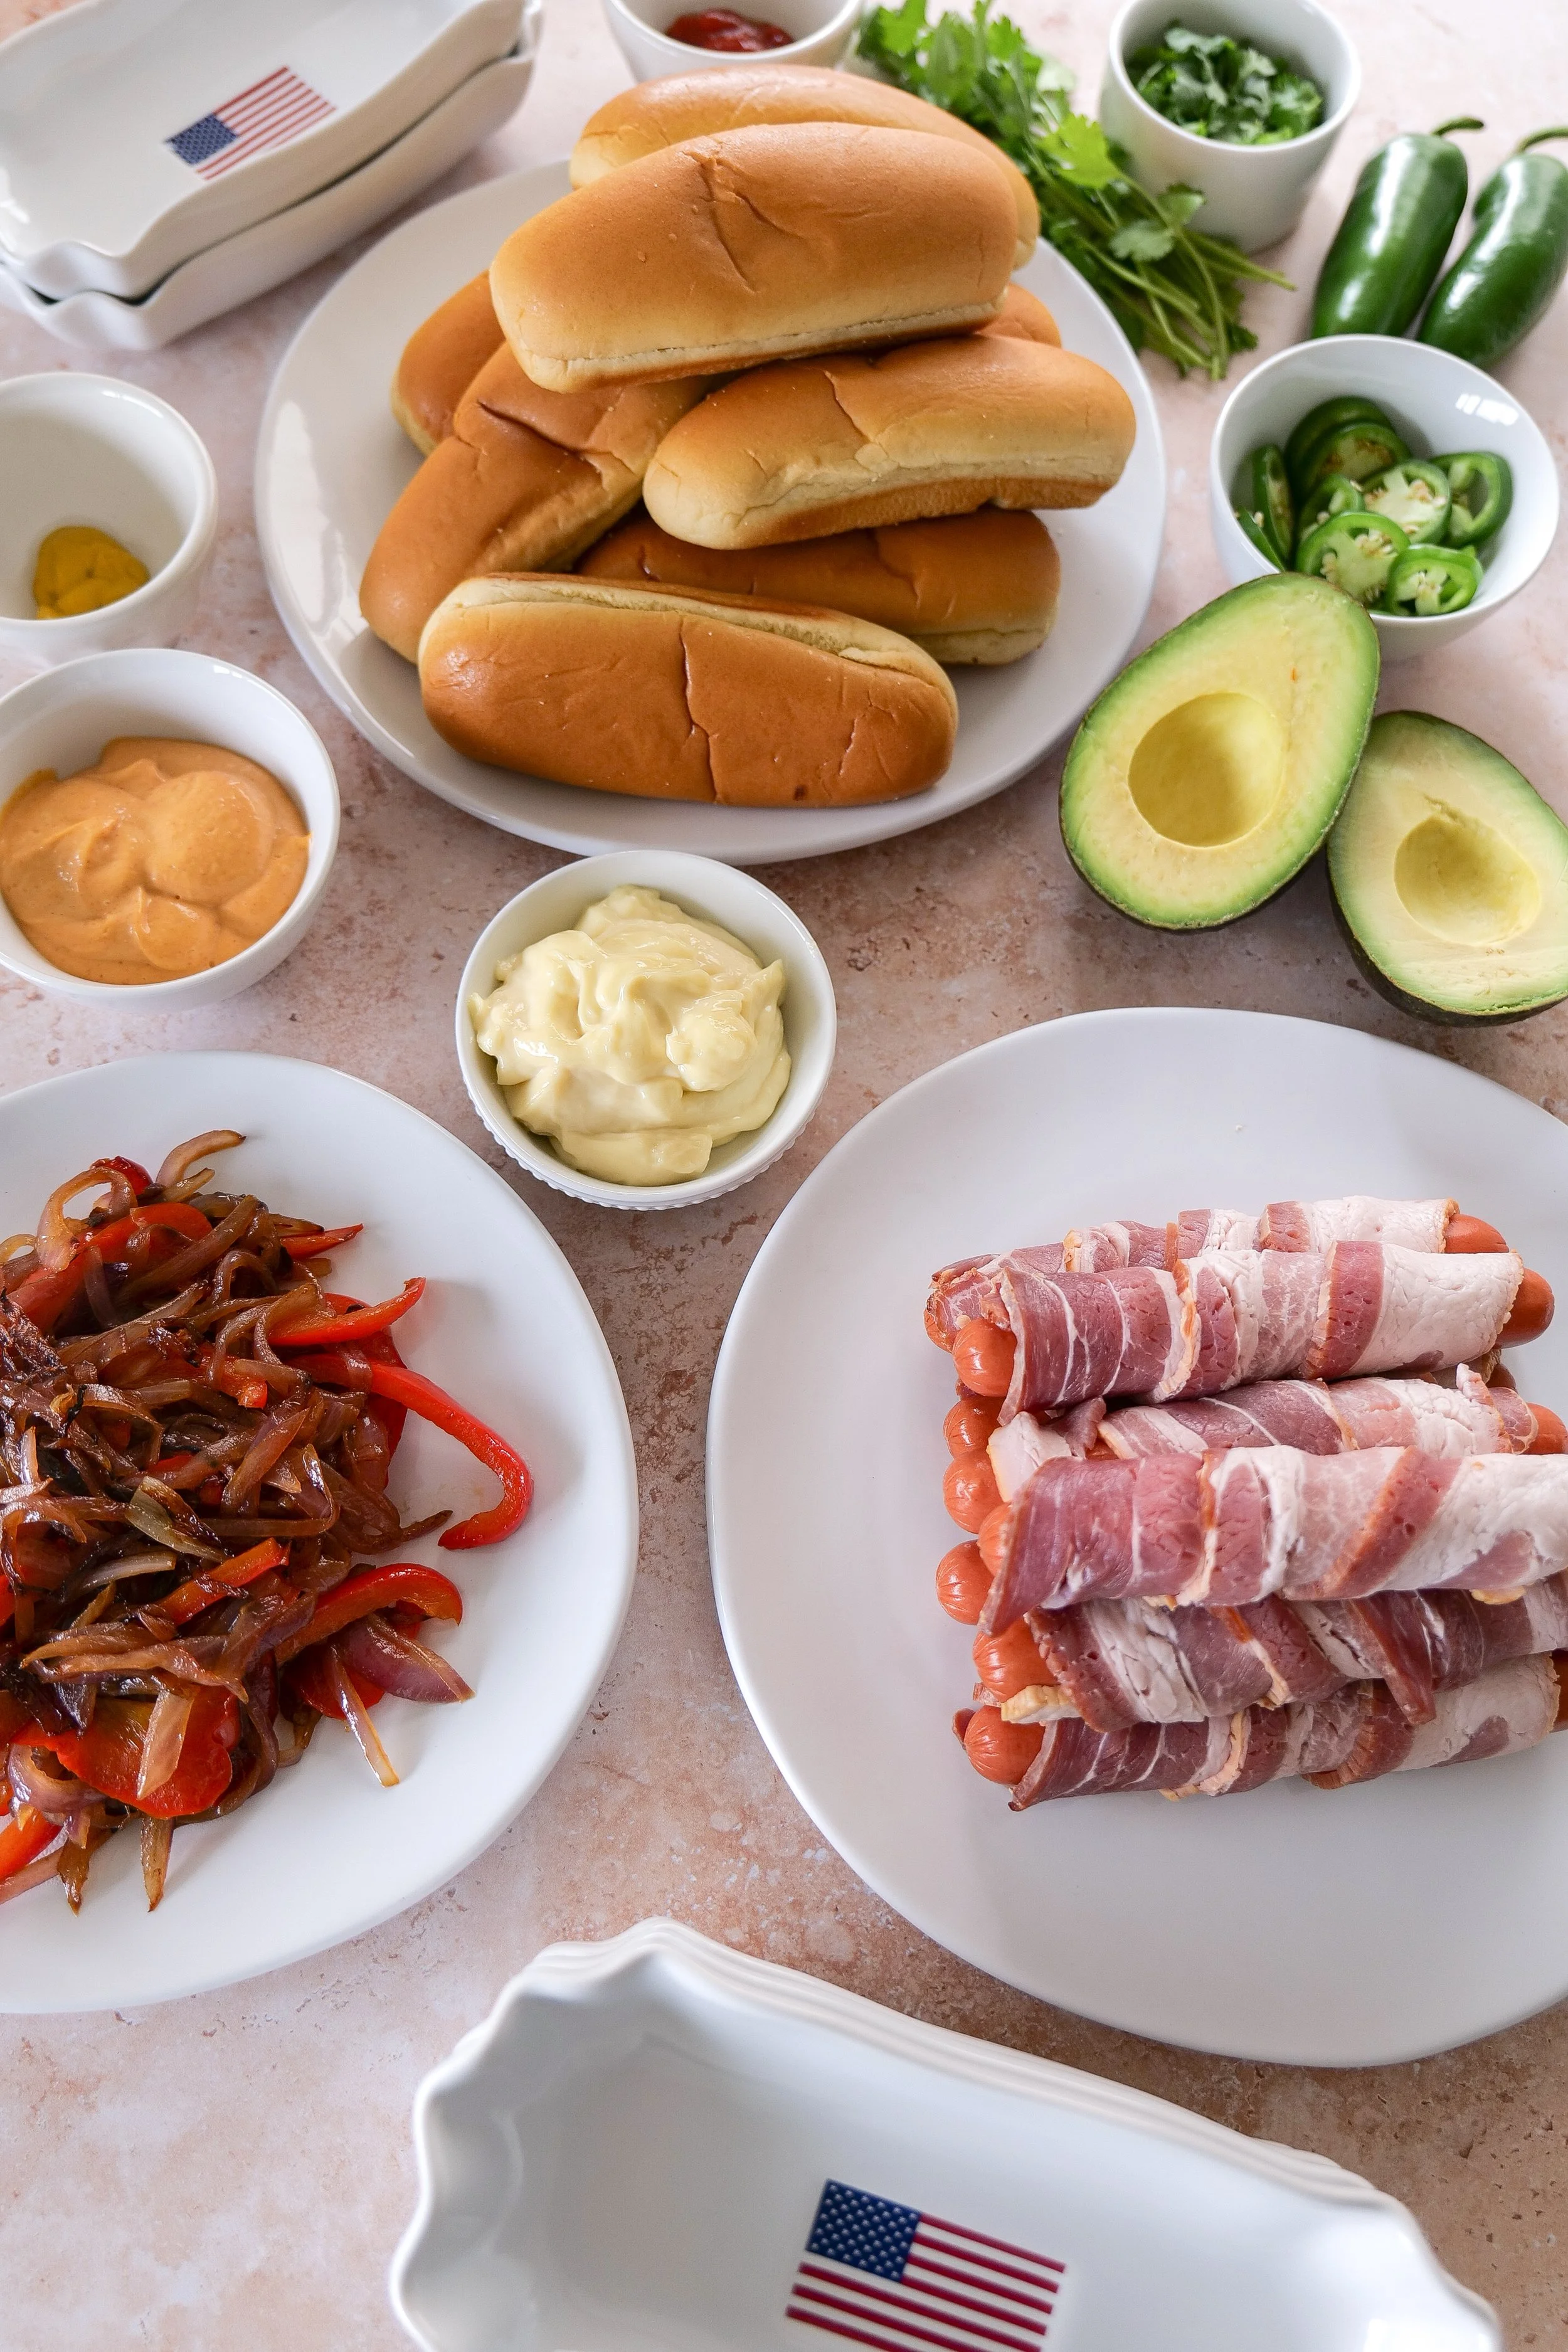
6 all-beef hot dogs
6 slices bacon
6 brioche hot dog buns
1 avocado, sliced
1 small red onion, thinly sliced
1 bell pepper, thinly sliced
1 tablespoon olive oil
1/4 cup mayonnaise
1 tablespoon ketchup
1 teaspoon mustard
Optional: sliced jalapeños, cilantro, or chipotle aioli
Salt and pepper to taste
Instructions
1. Wrap the Hot Dogs
Wrap each hot dog tightly with one slice of bacon, slightly overlapping as you go.
2. Cook the Bacon Wrapped Hot Dogs
Heat a grill, grill pan, or skillet over medium heat. Cook the bacon wrapped hot dogs for 10–12 minutes, turning frequently until the bacon is crispy and the hot dogs are heated through.
3. Sauté the Vegetables
In a skillet, heat olive oil over medium heat. Add the sliced onions and peppers and cook for 5–7 minutes until softened and lightly caramelized.
4. Toast the Buns
Lightly toast the brioche buns until warm and golden.
5. Make the Sauce
In a small bowl, whisk together the mayonnaise, ketchup, and mustard until smooth.
6. Assemble the California Hot Dogs
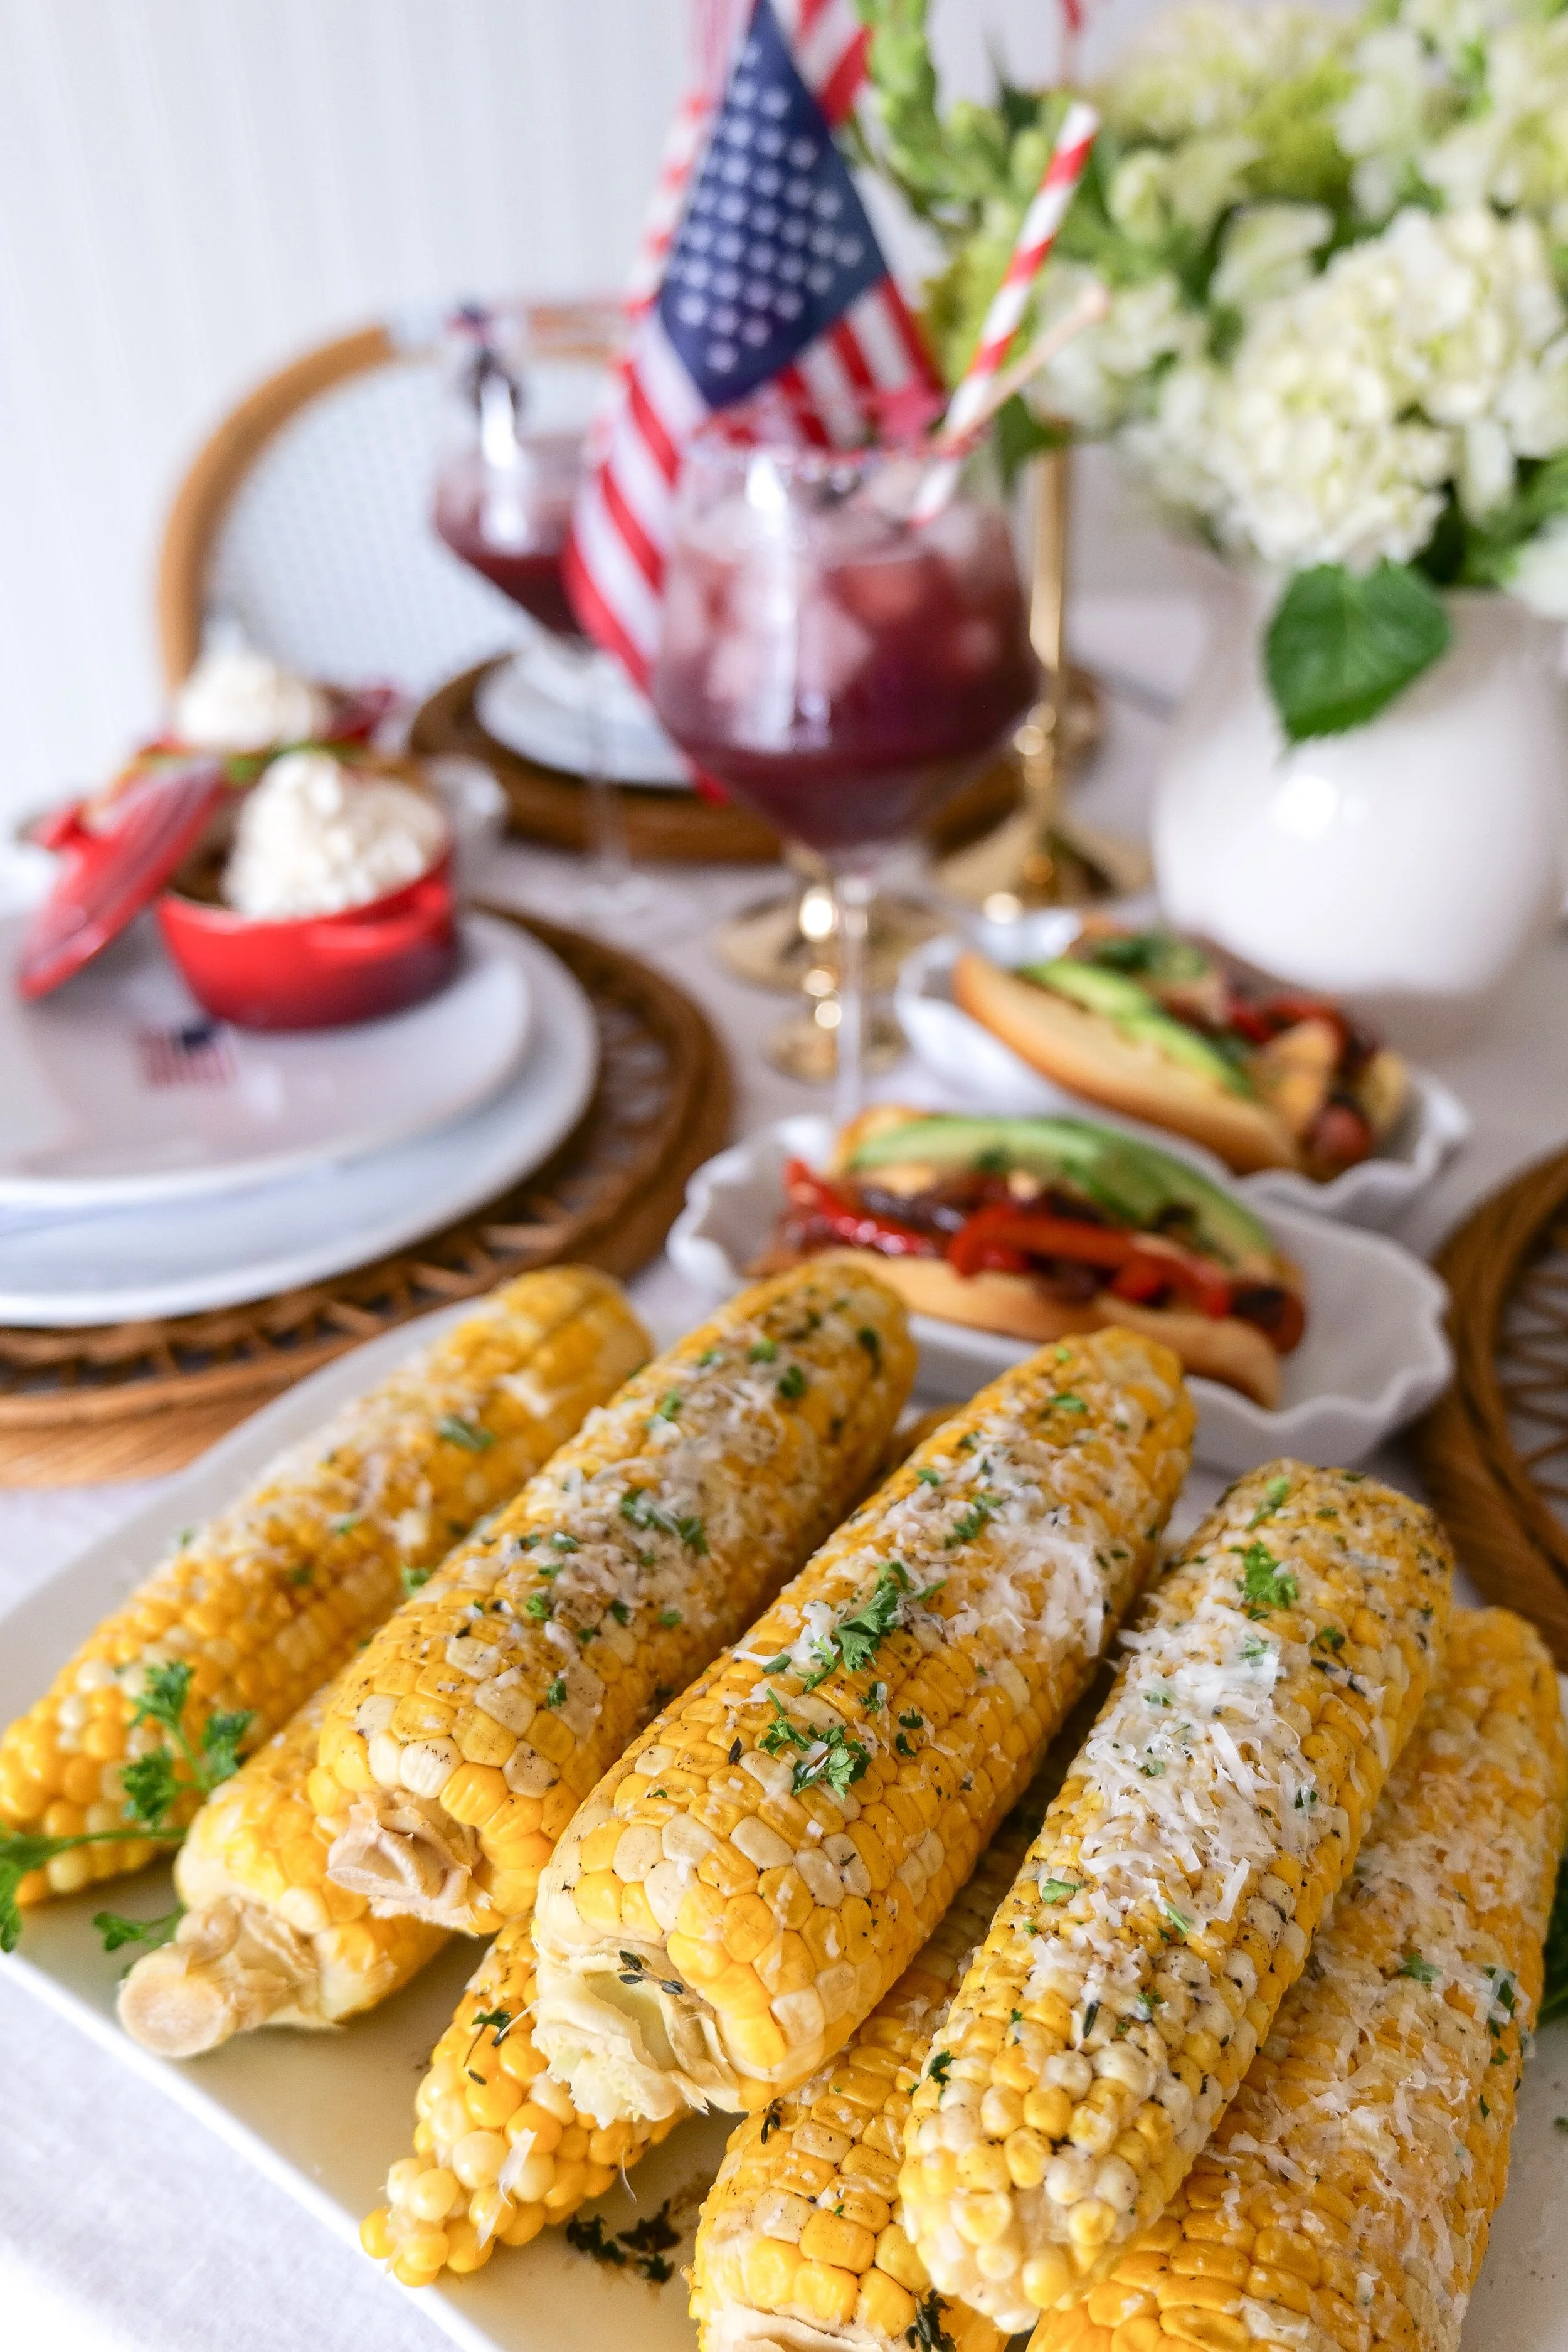
Place each bacon wrapped hot dog into a toasted bun and top with avocado slices, grilled onions and peppers, and a drizzle of sauce. Add jalapeños or chipotle aioli if desired.
I linked our favorite grilling accessories, serving boards, hot dog trays, and summer BBQ essentials in my Summer Grilling Essentials collection to make summer hosting feel easy and elevated.
7. Serve Warm
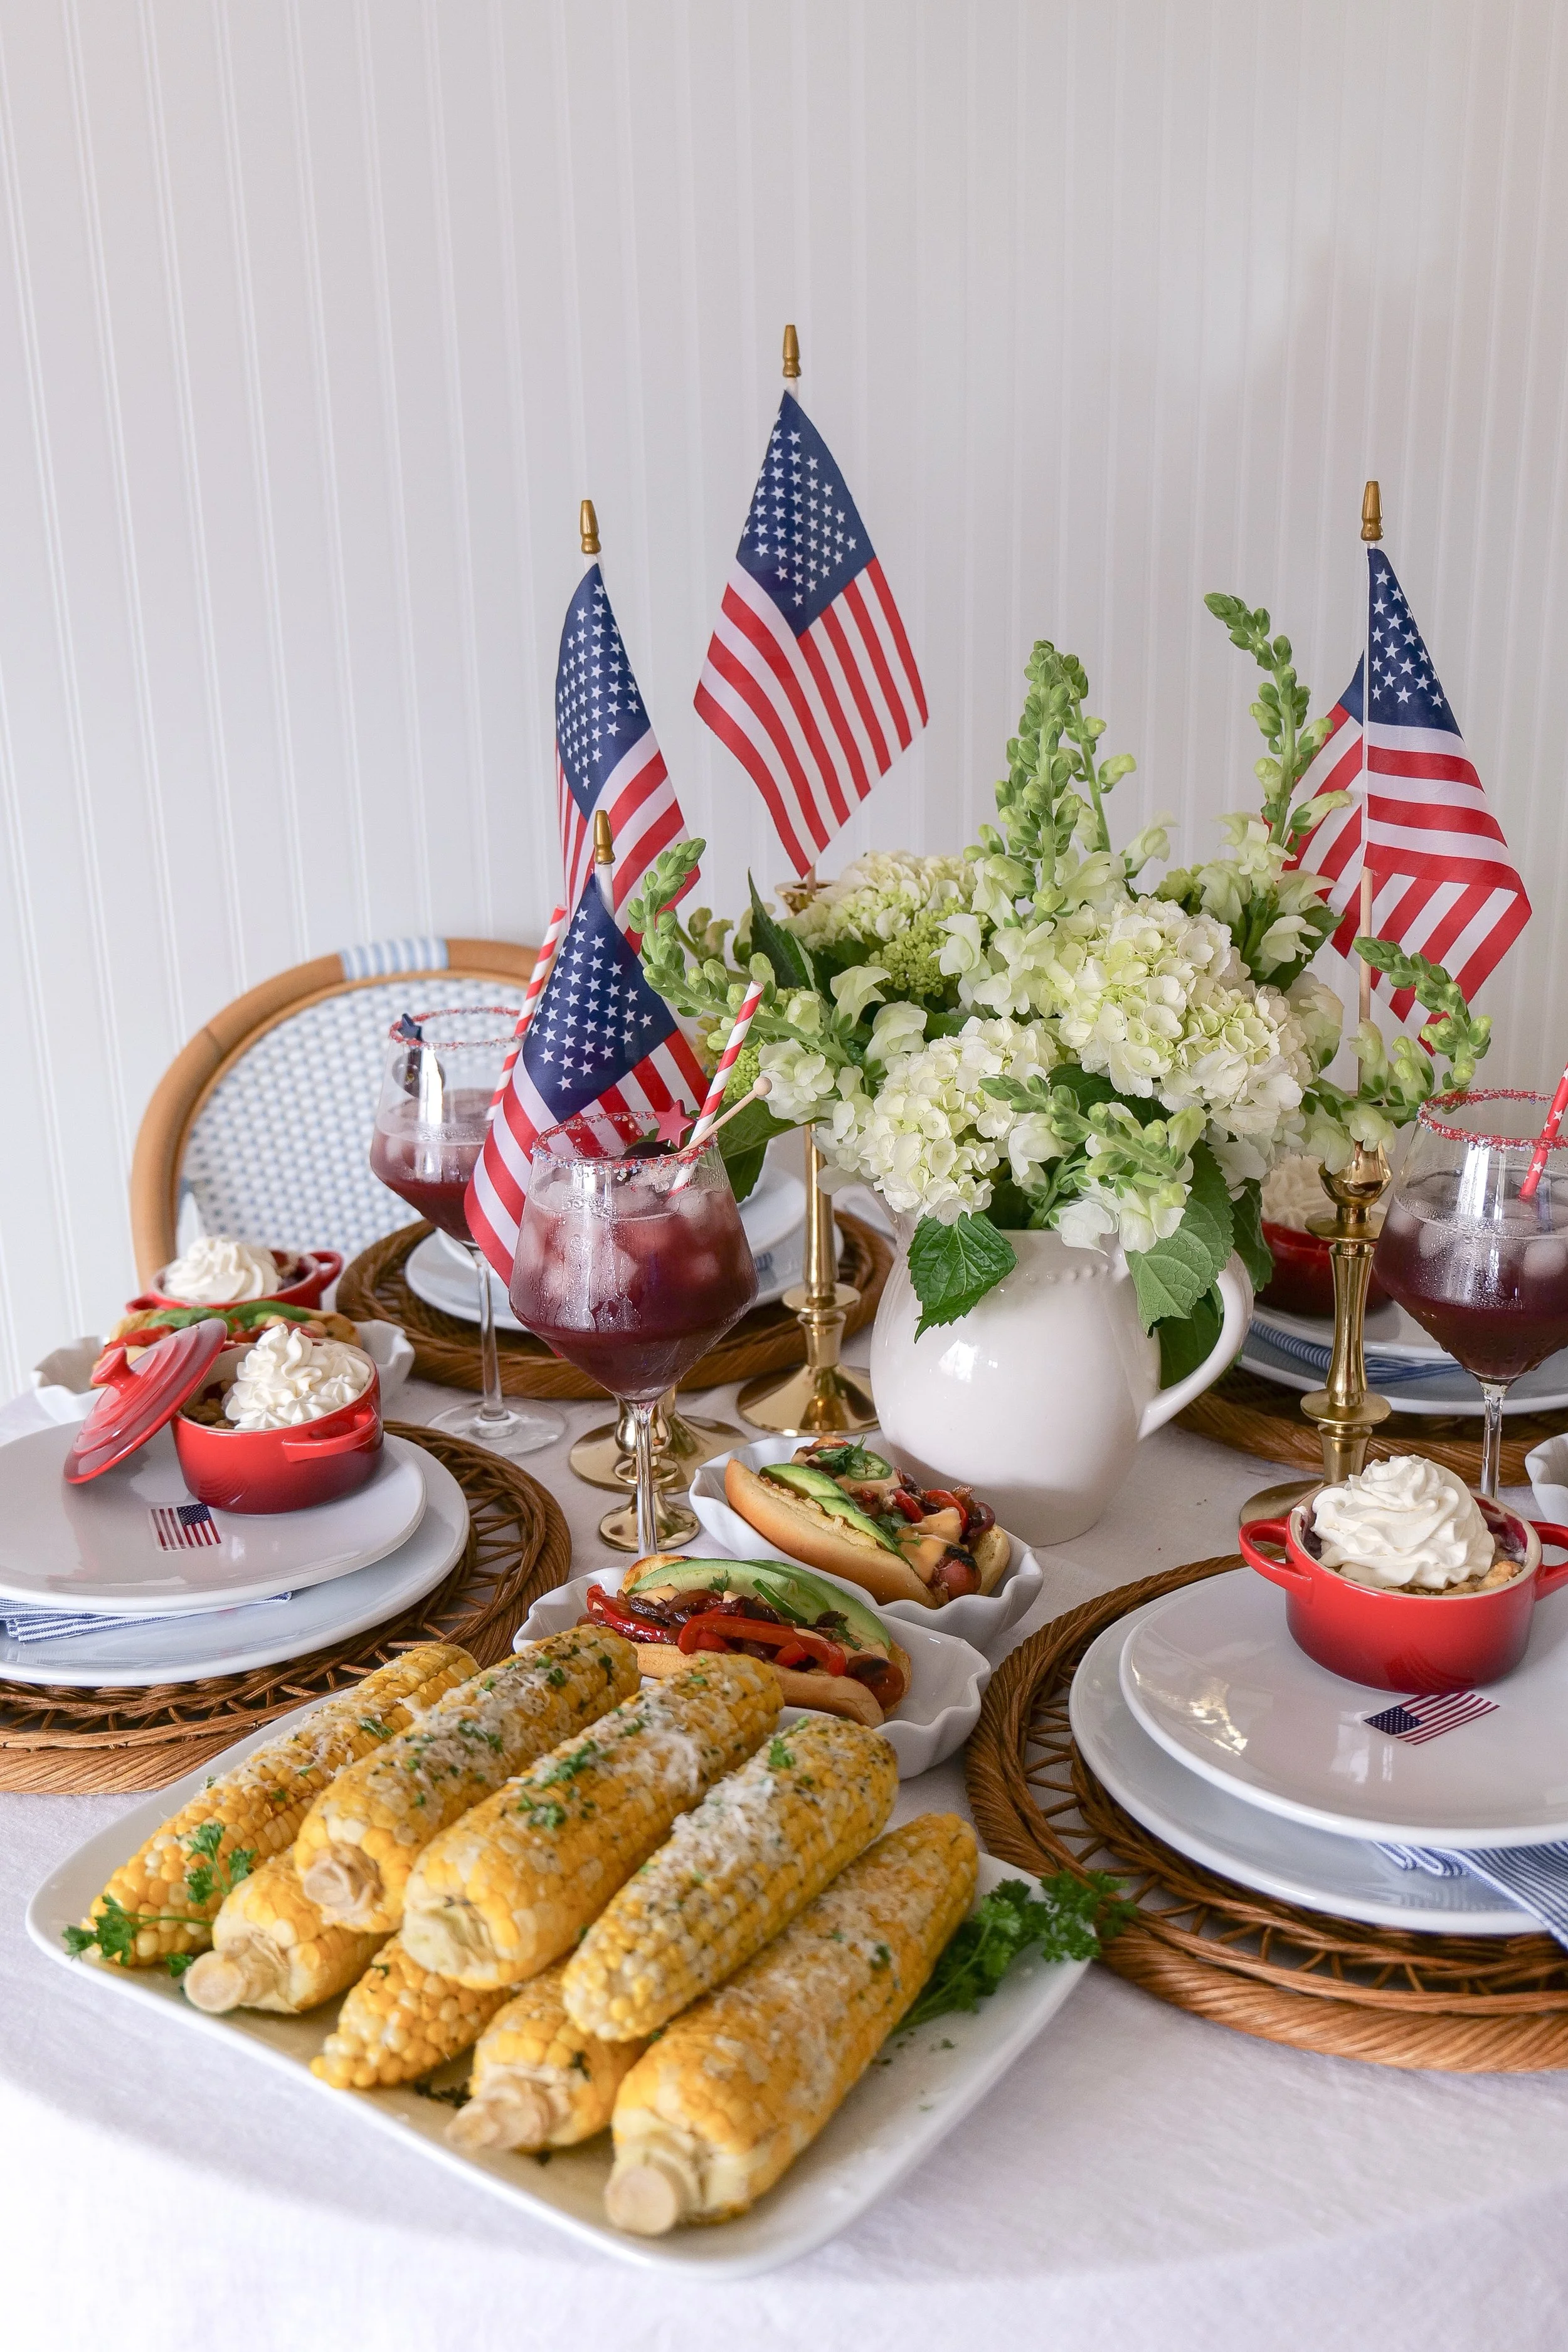
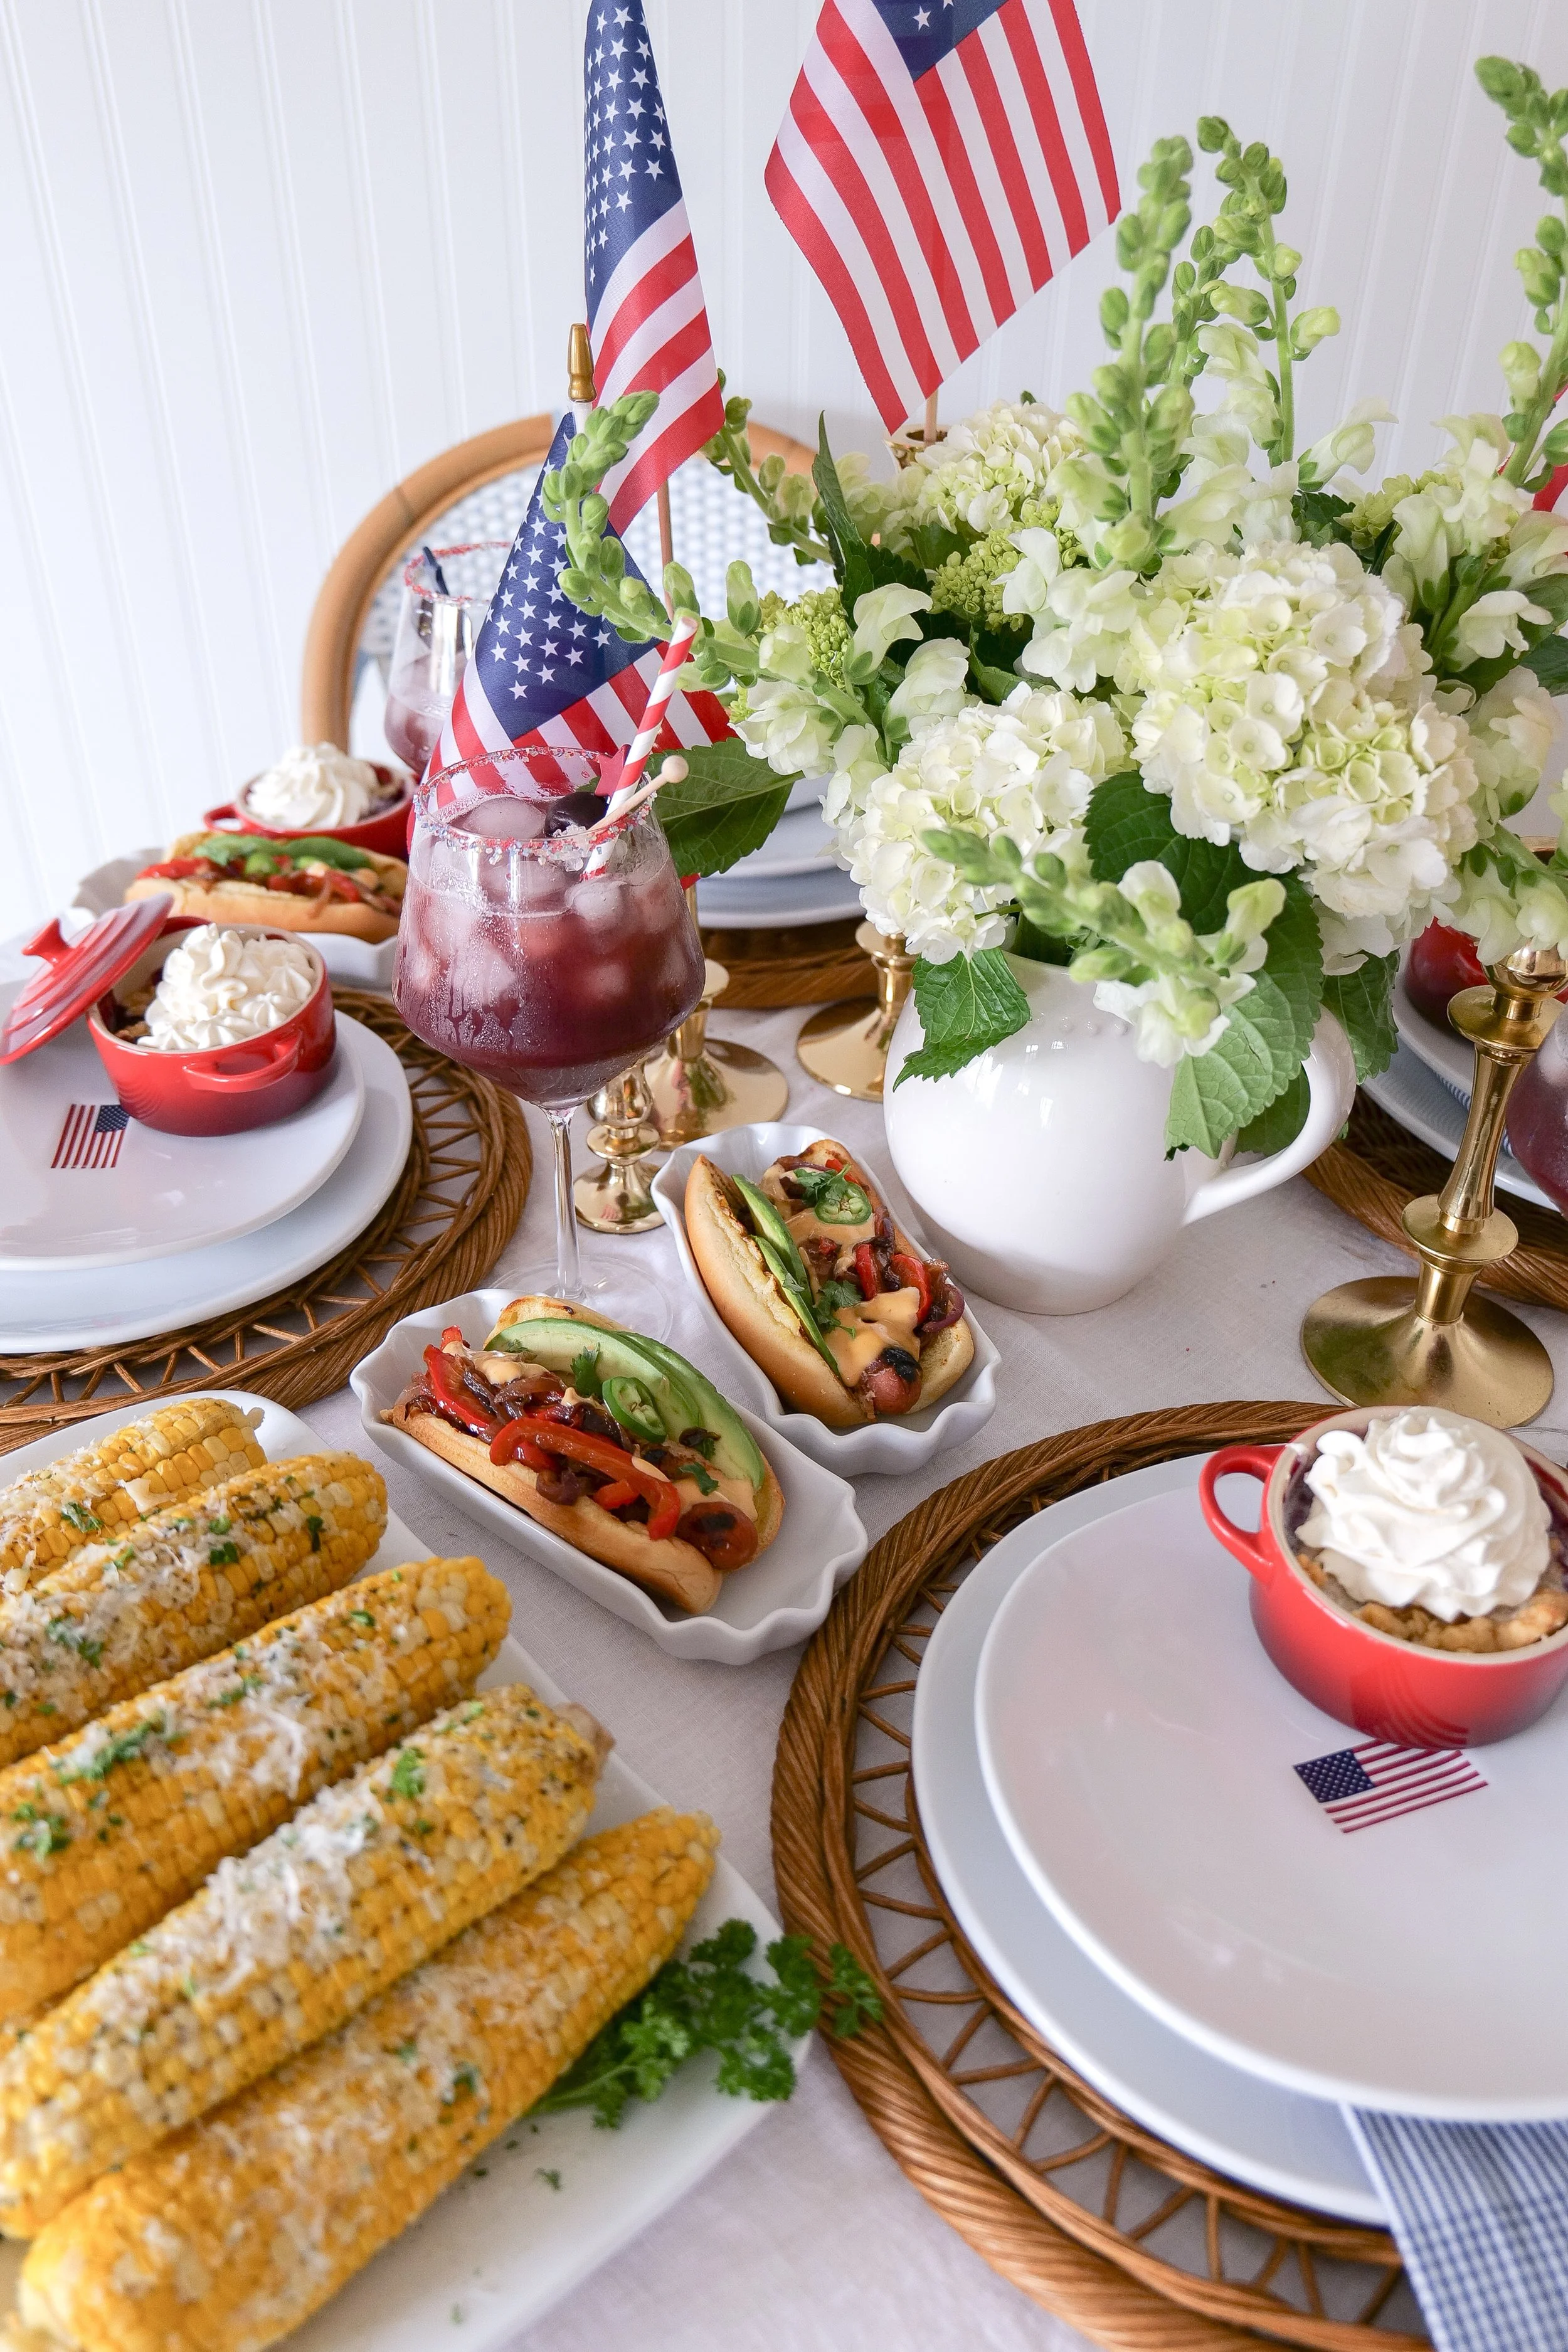
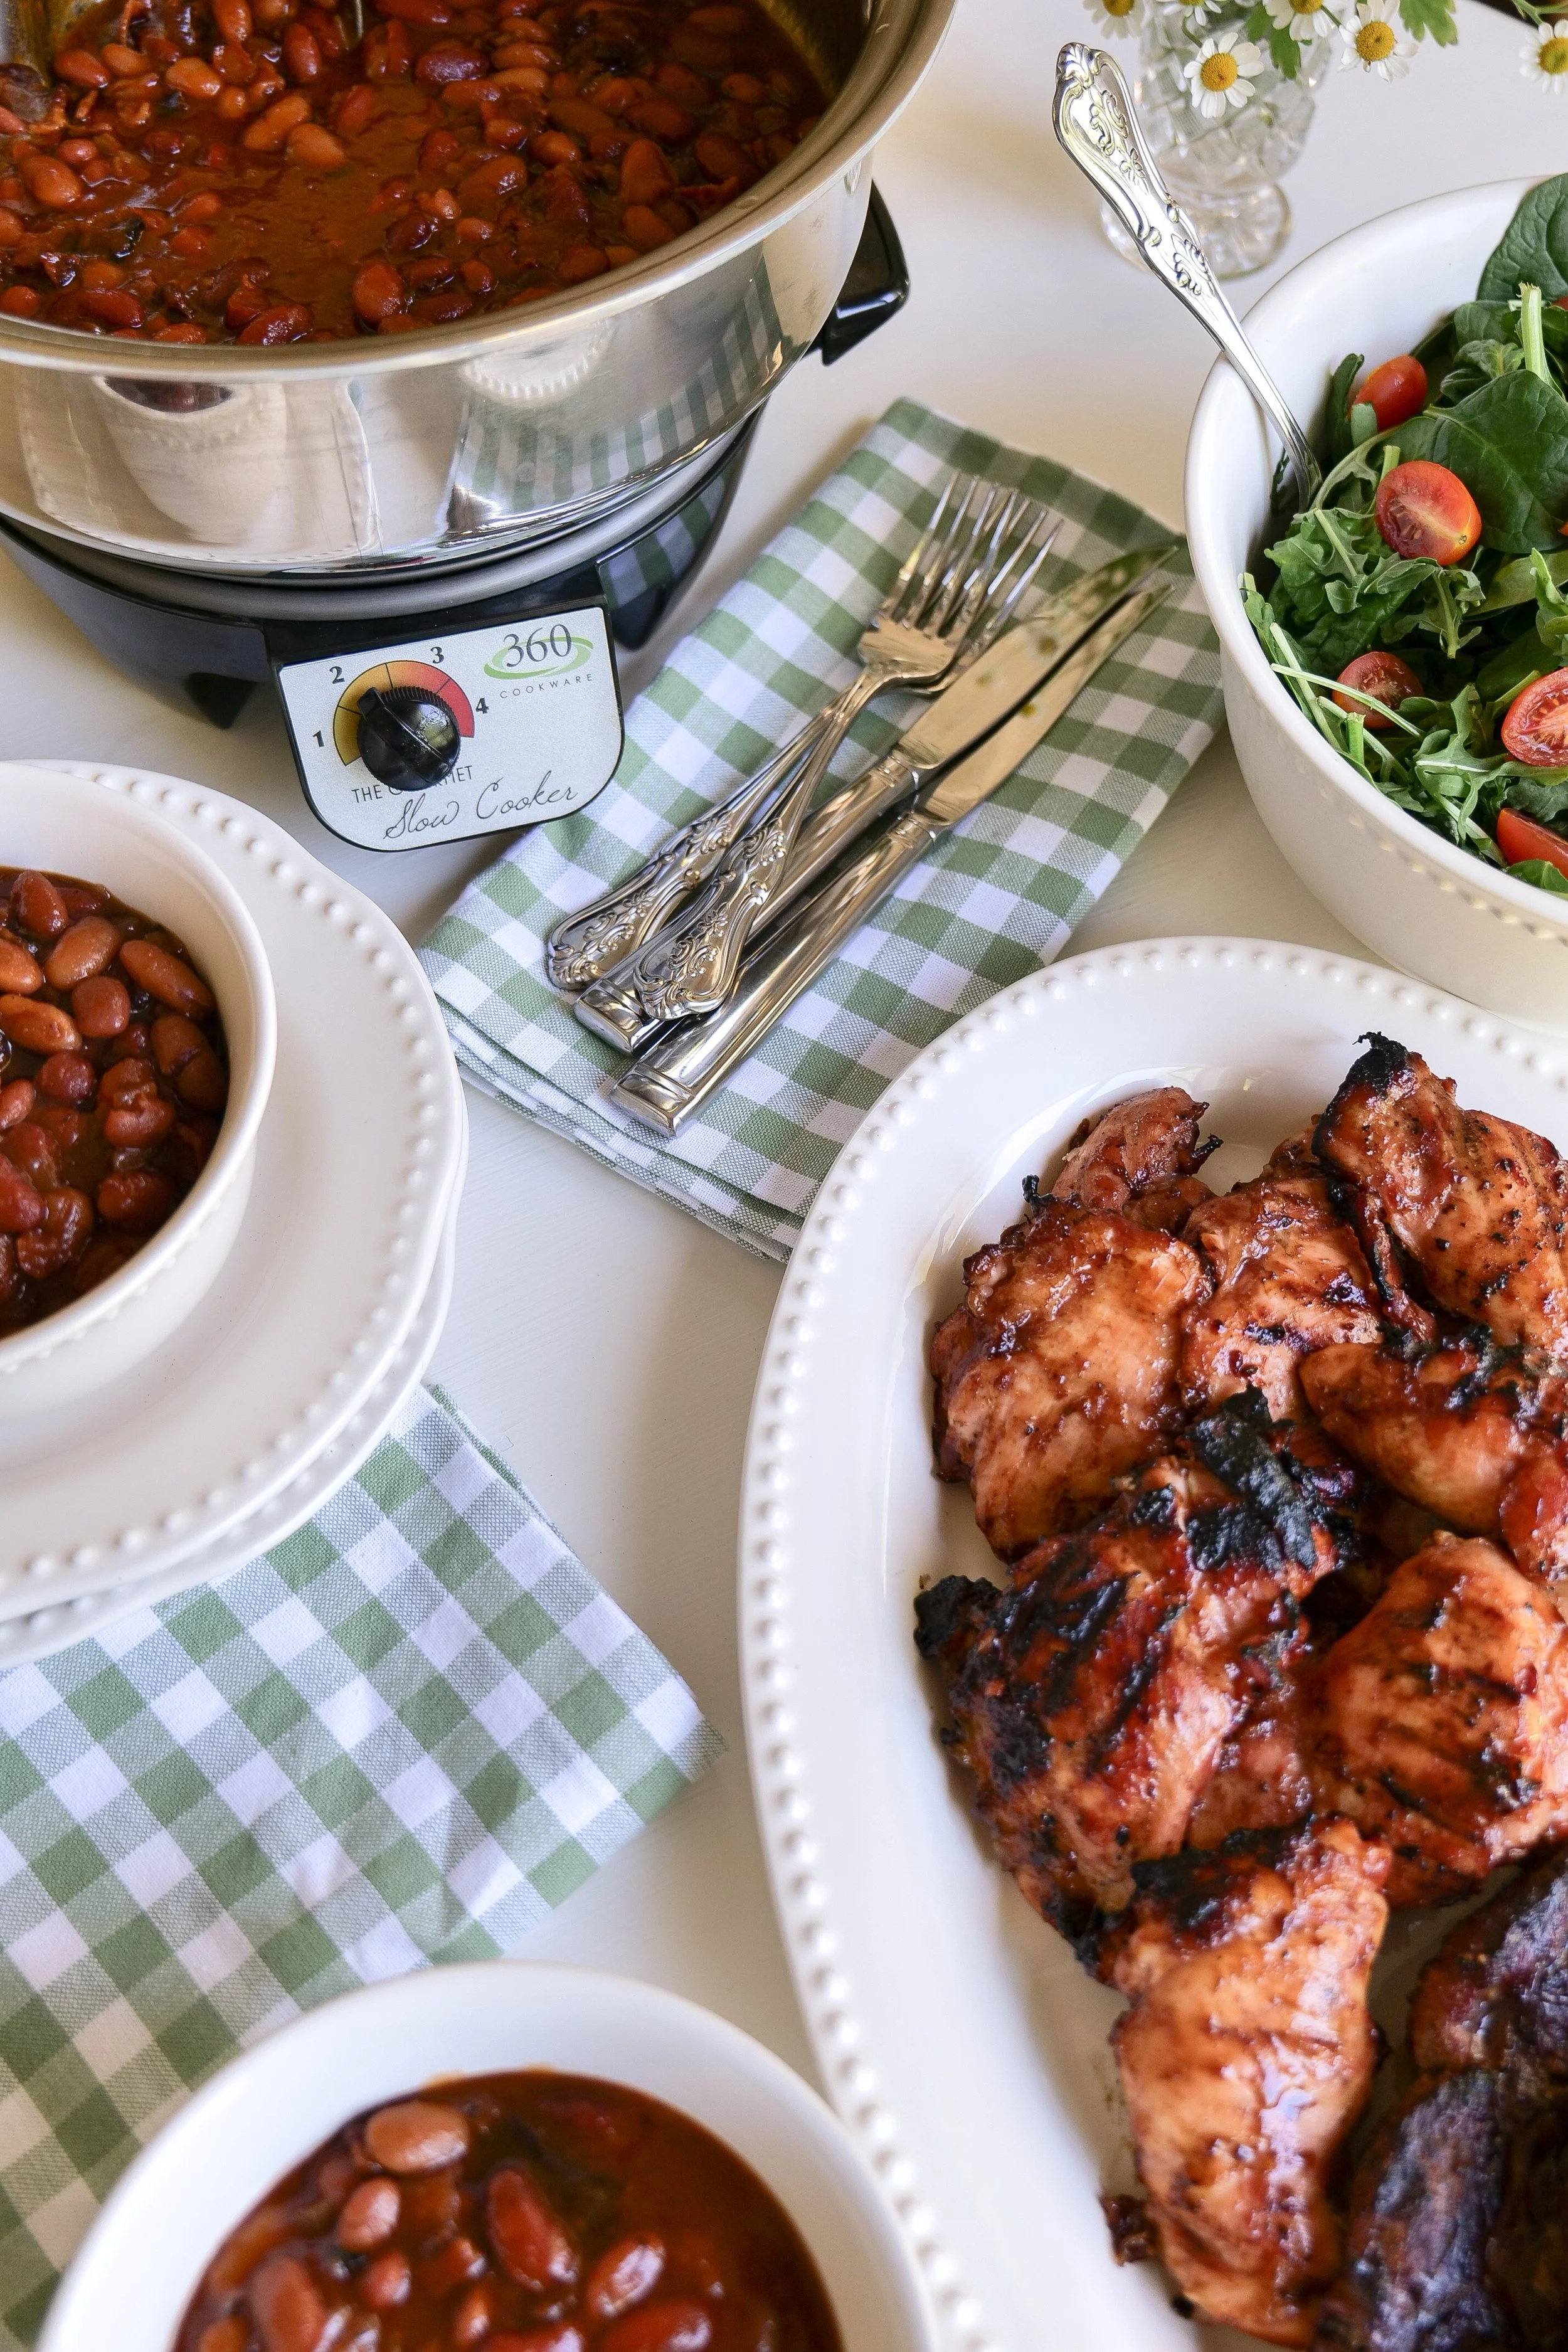
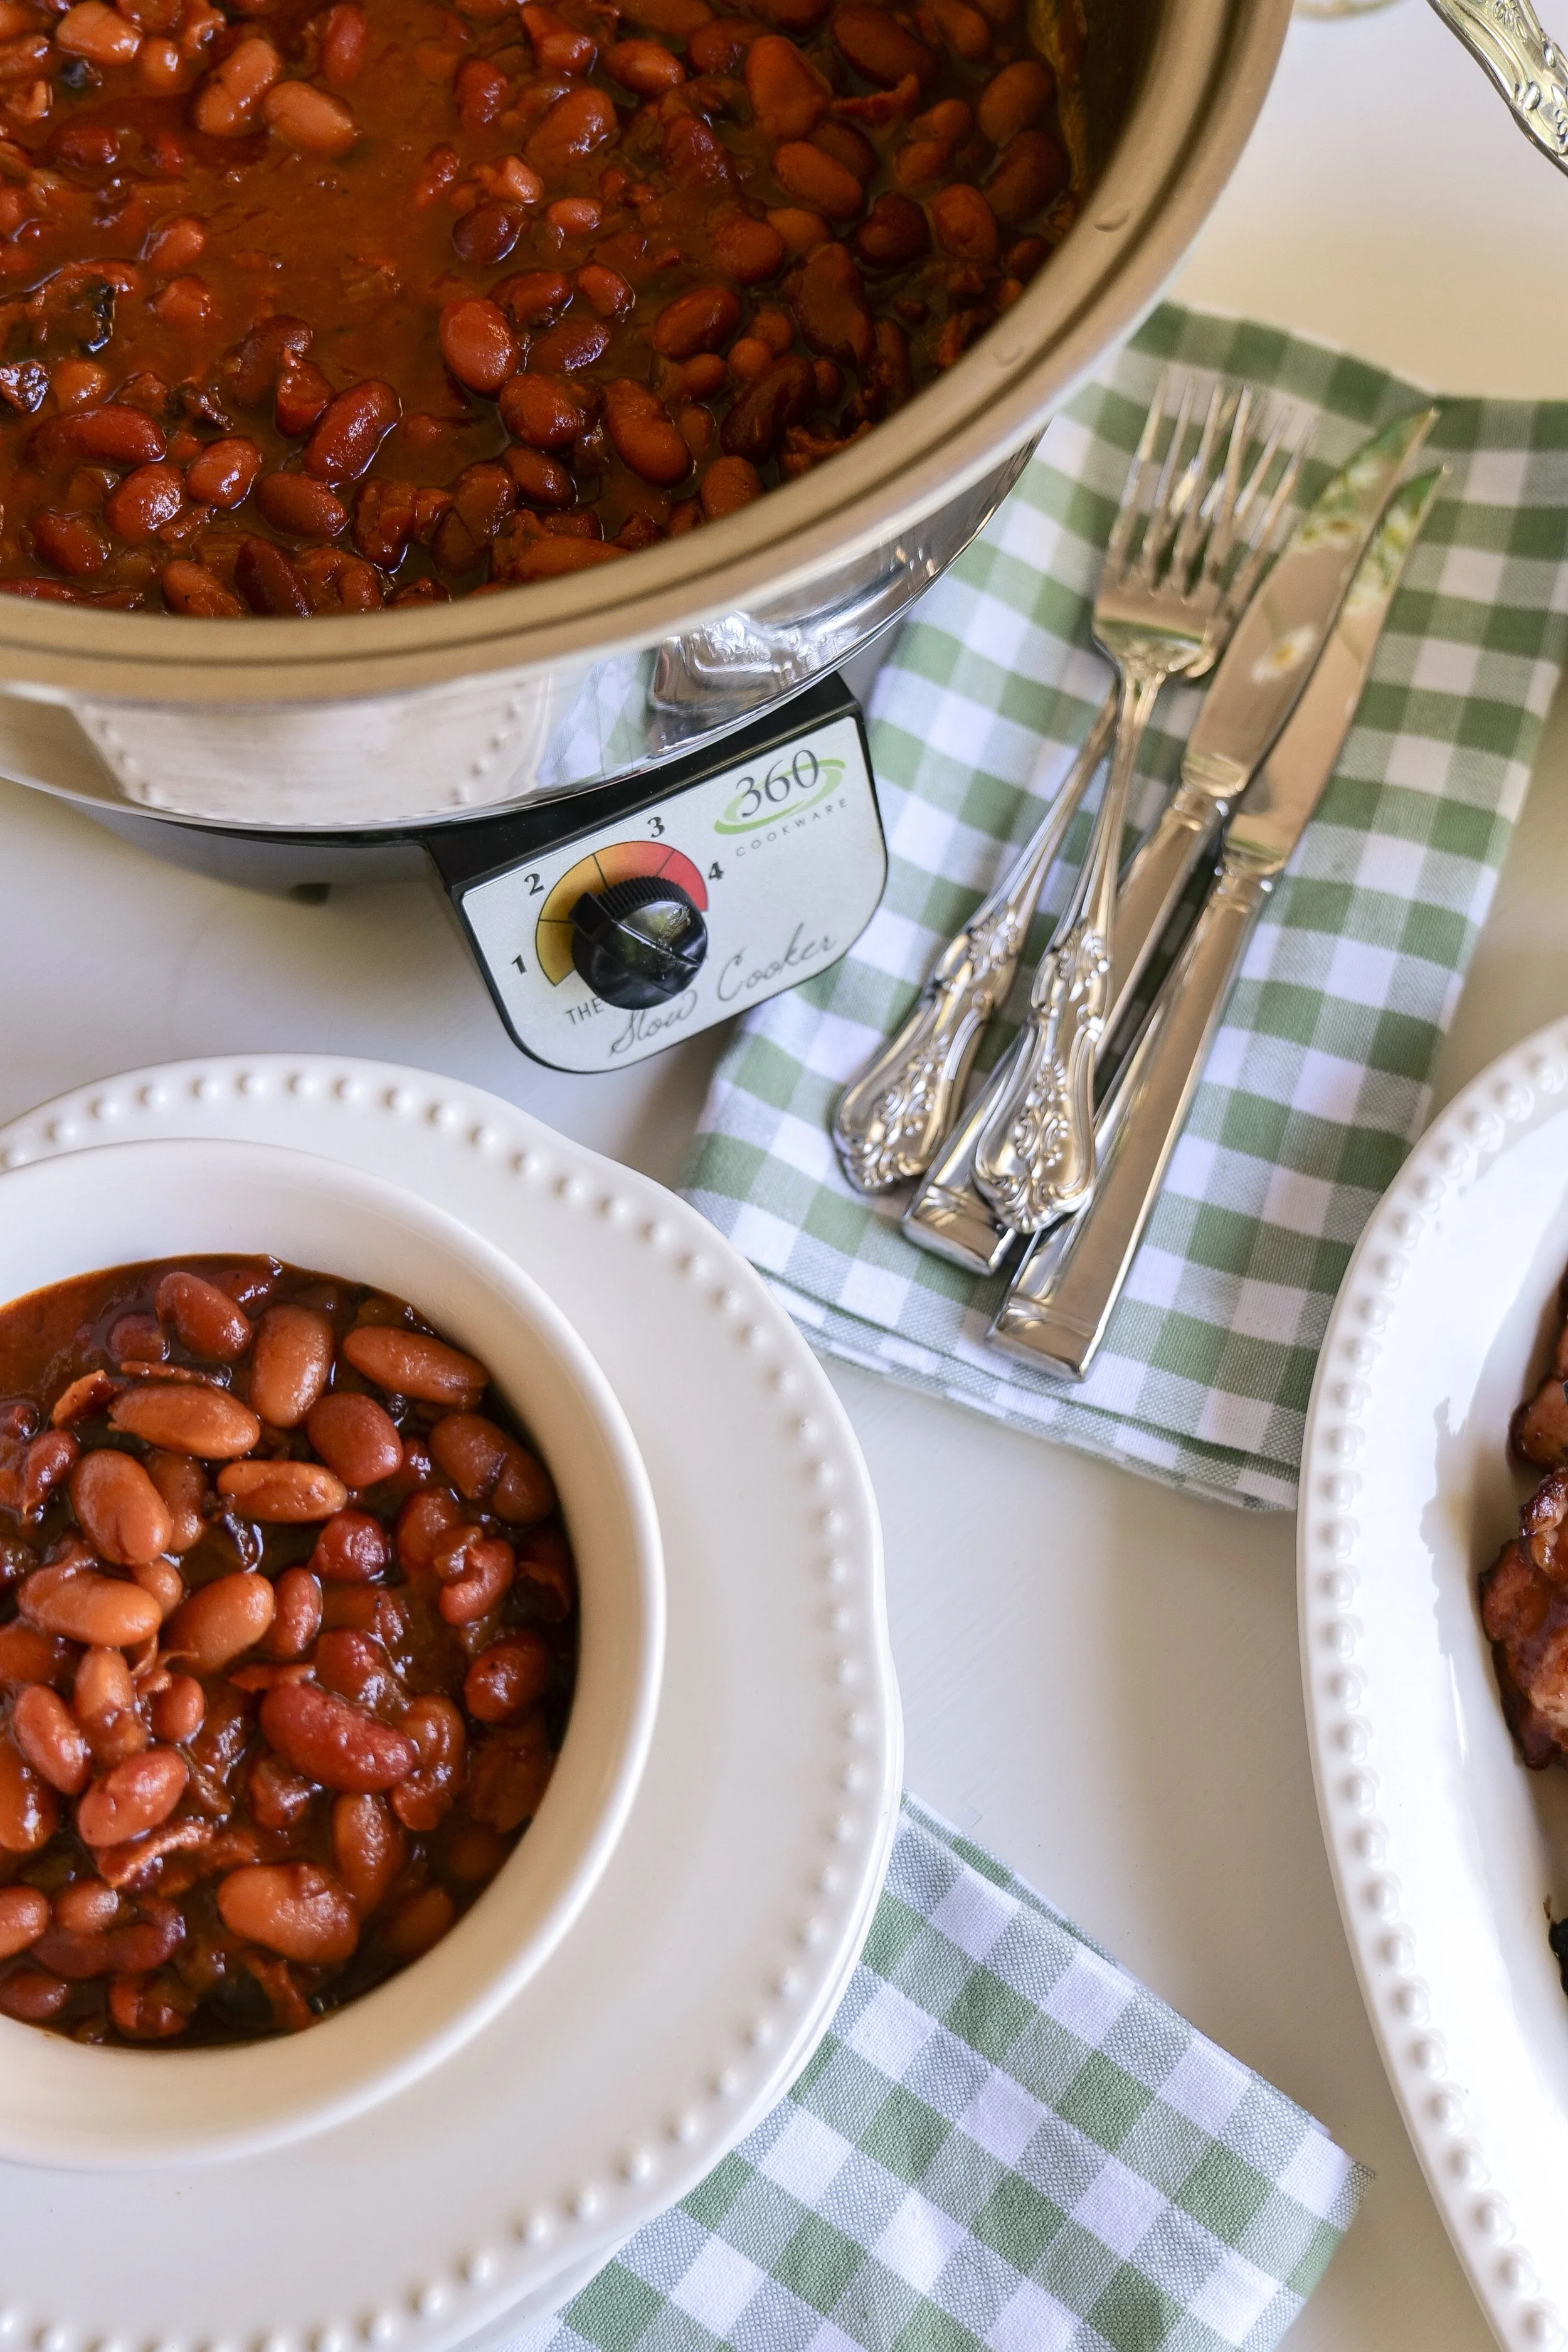
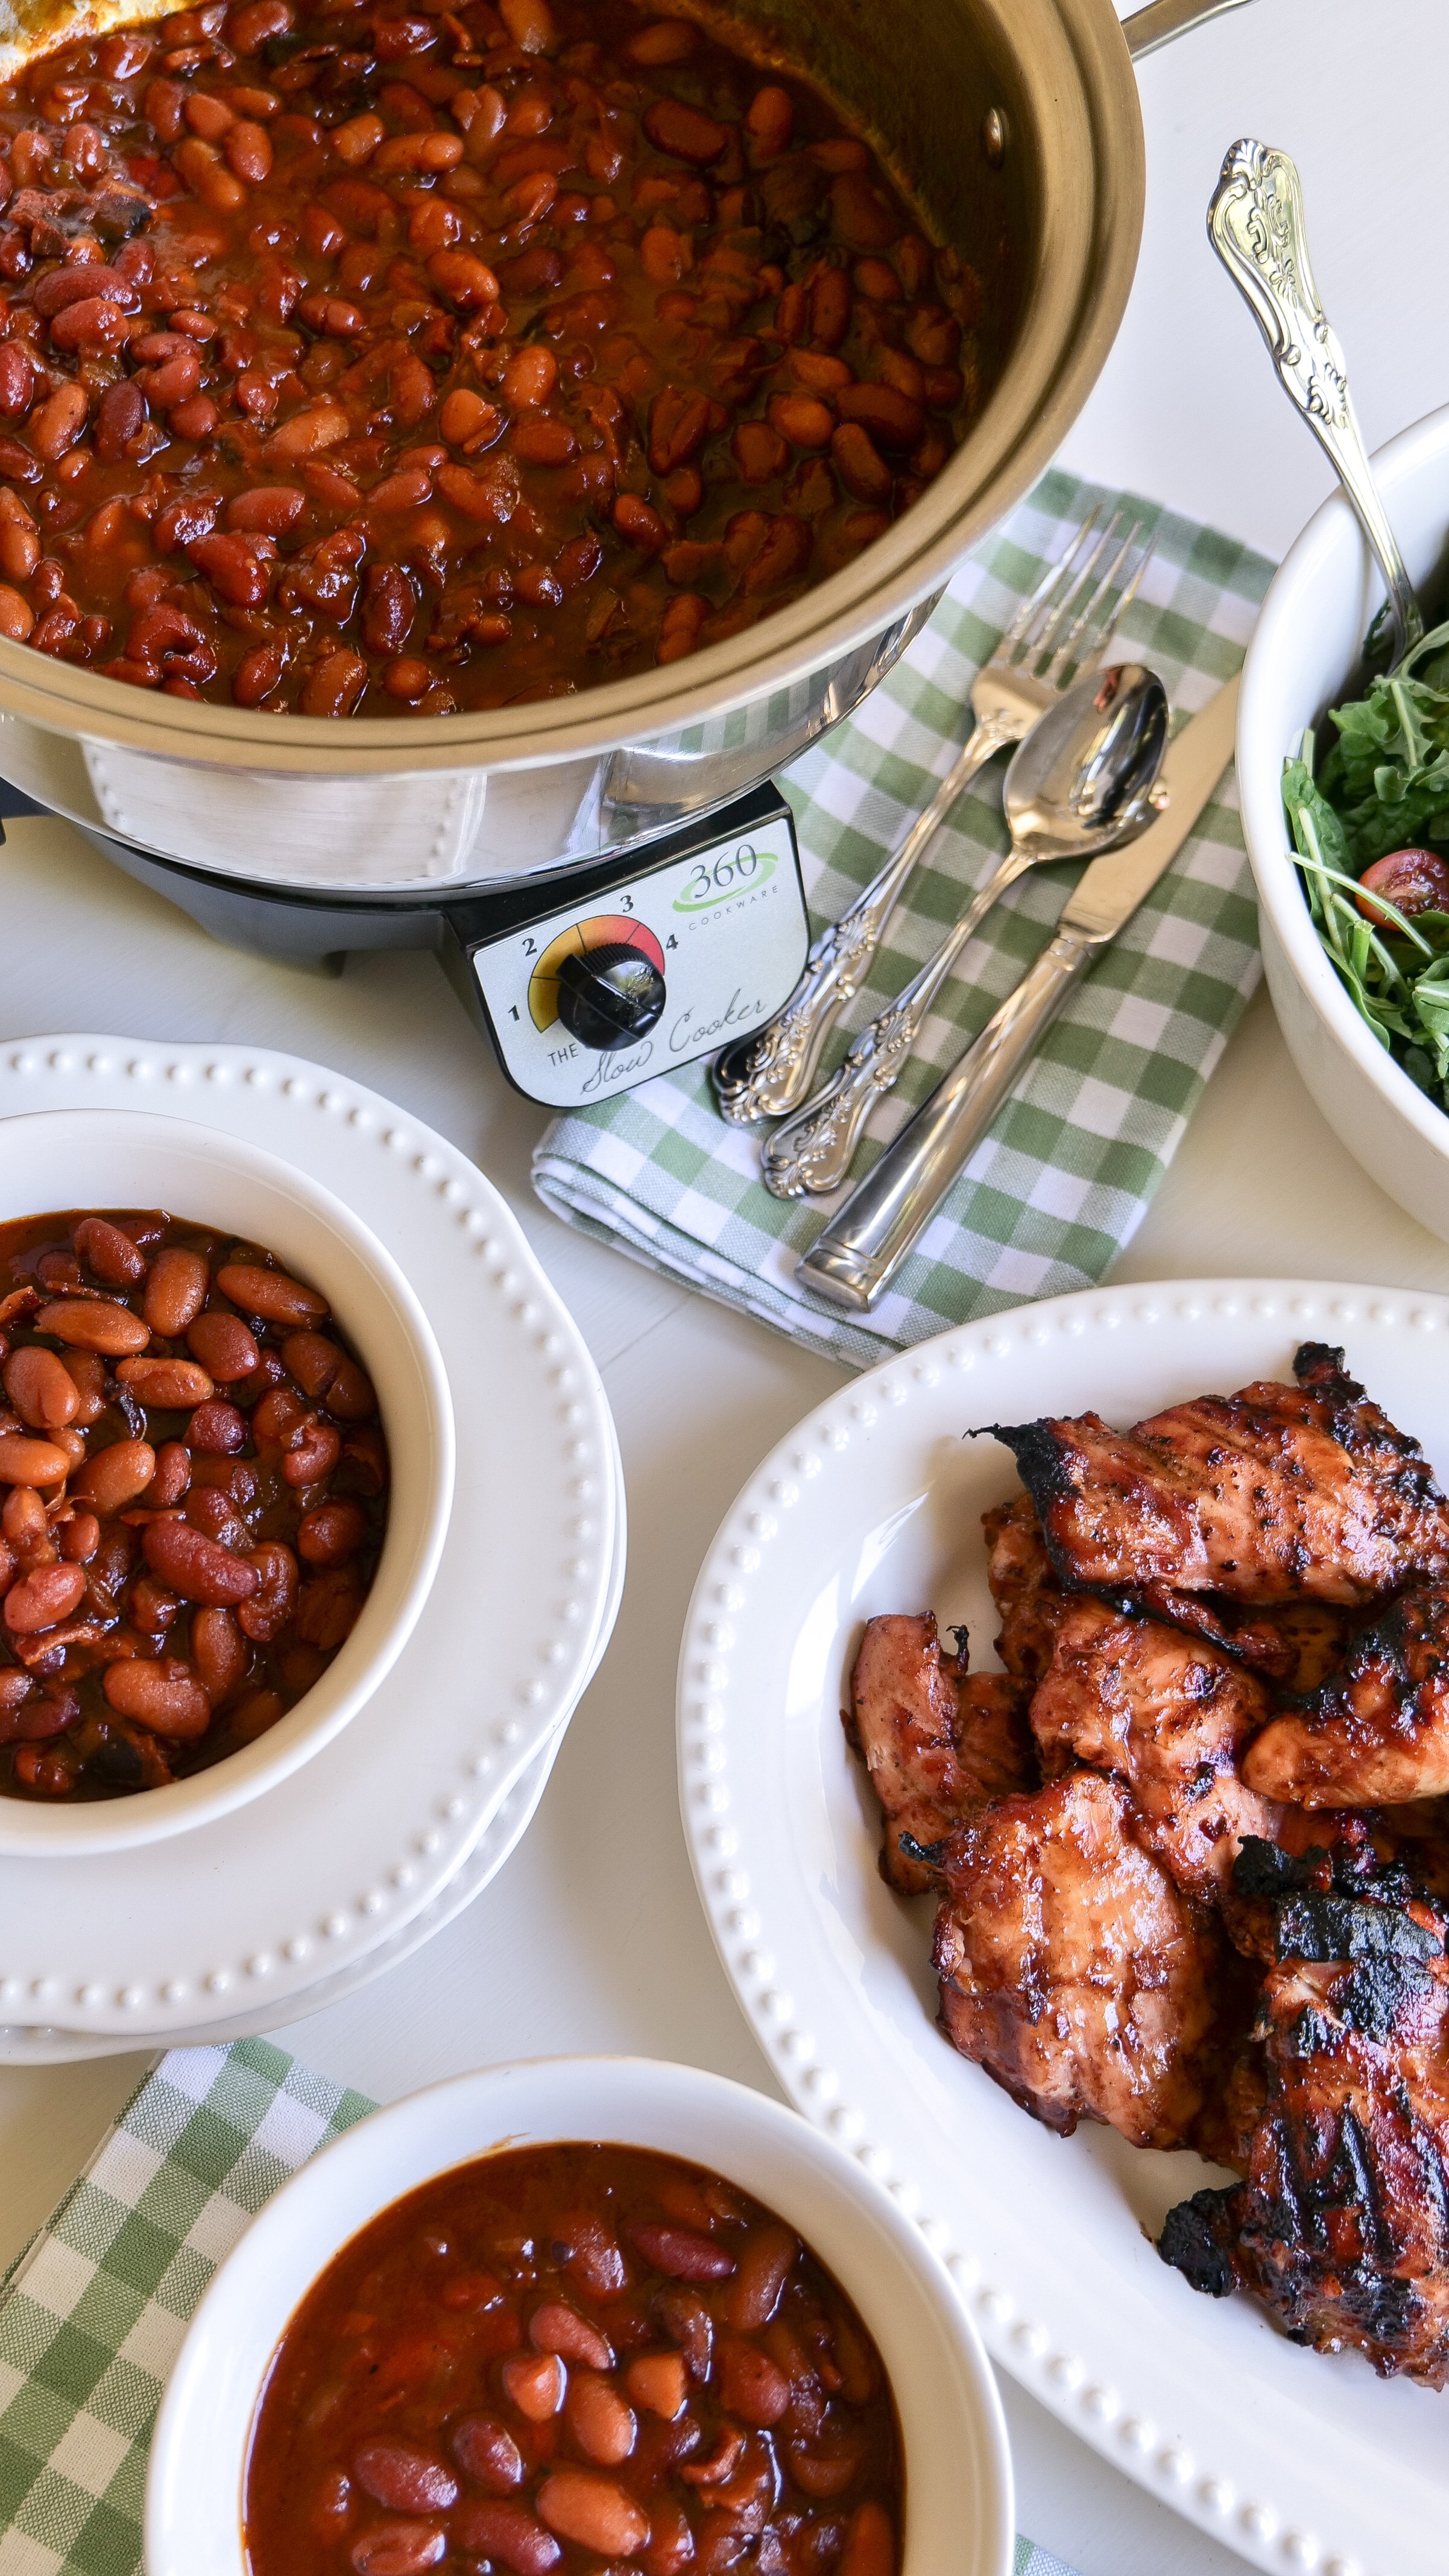
Serve immediately while warm with chips, fruit, pasta salad, or your favorite summer BBQ sides.
What to Serve with California Hot Dogs
These bacon wrapped hot dogs pair perfectly with all your favorite summer sides.
Serve them with:
Pasta salad
Watermelon slices
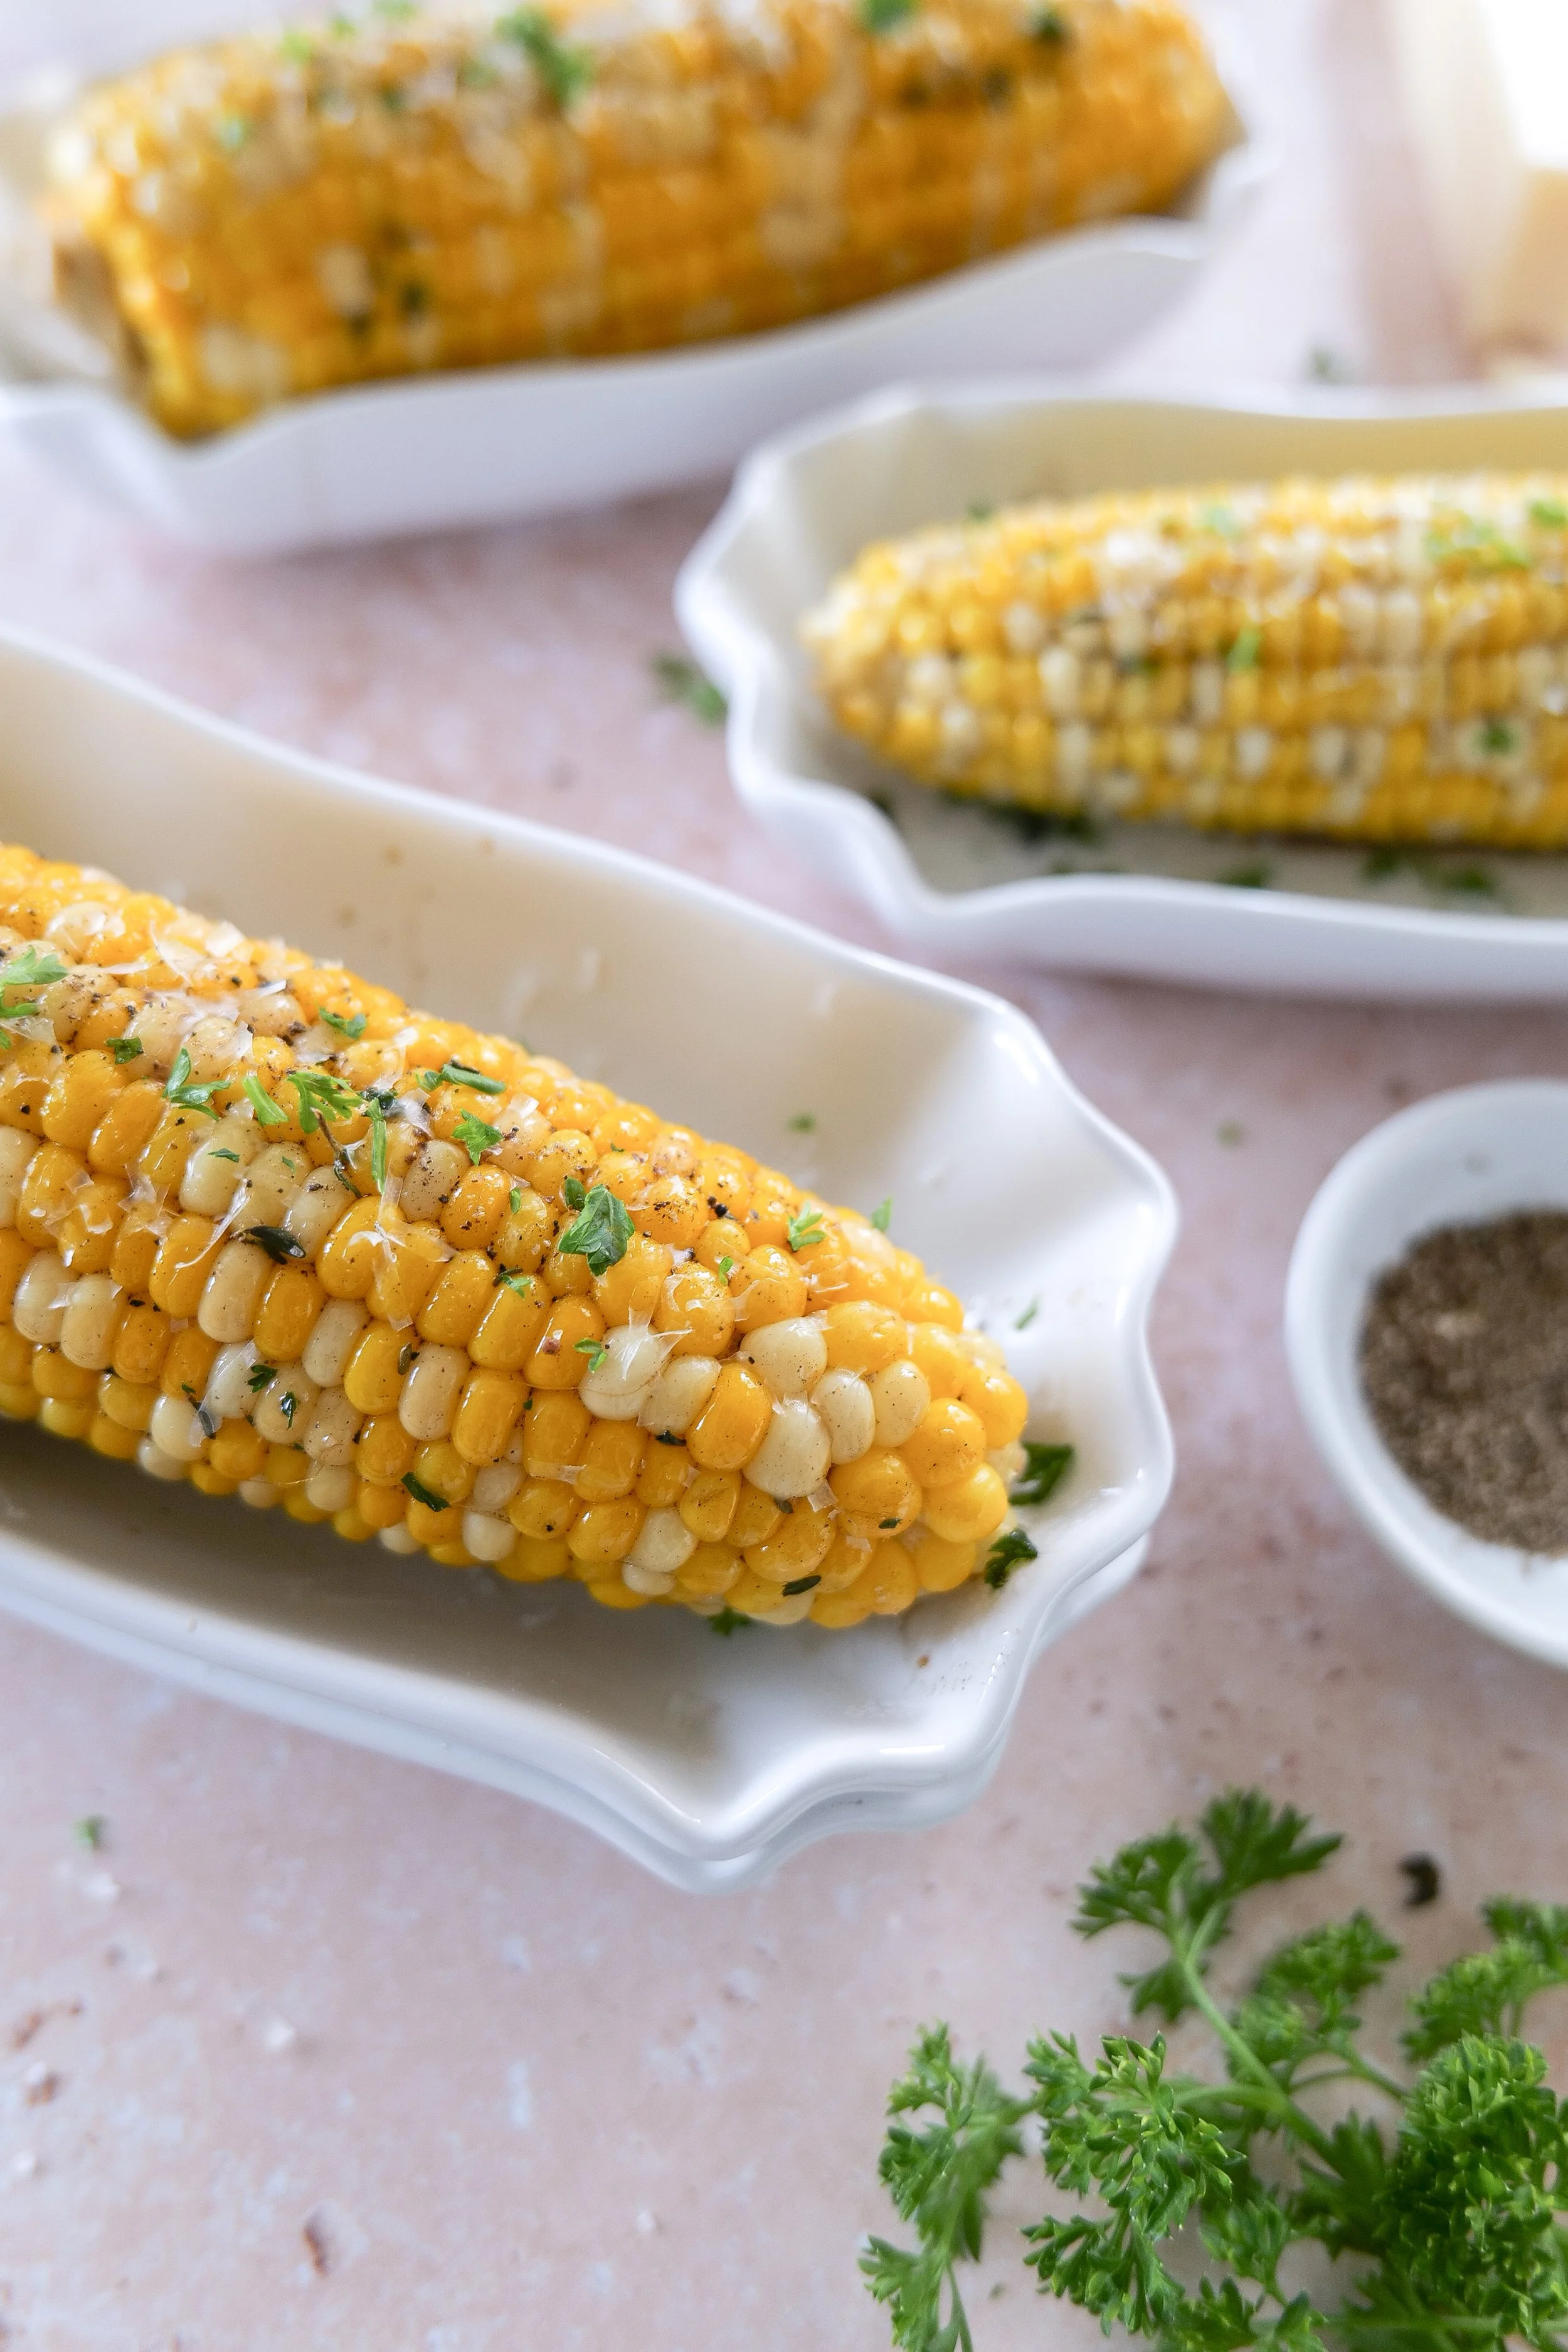
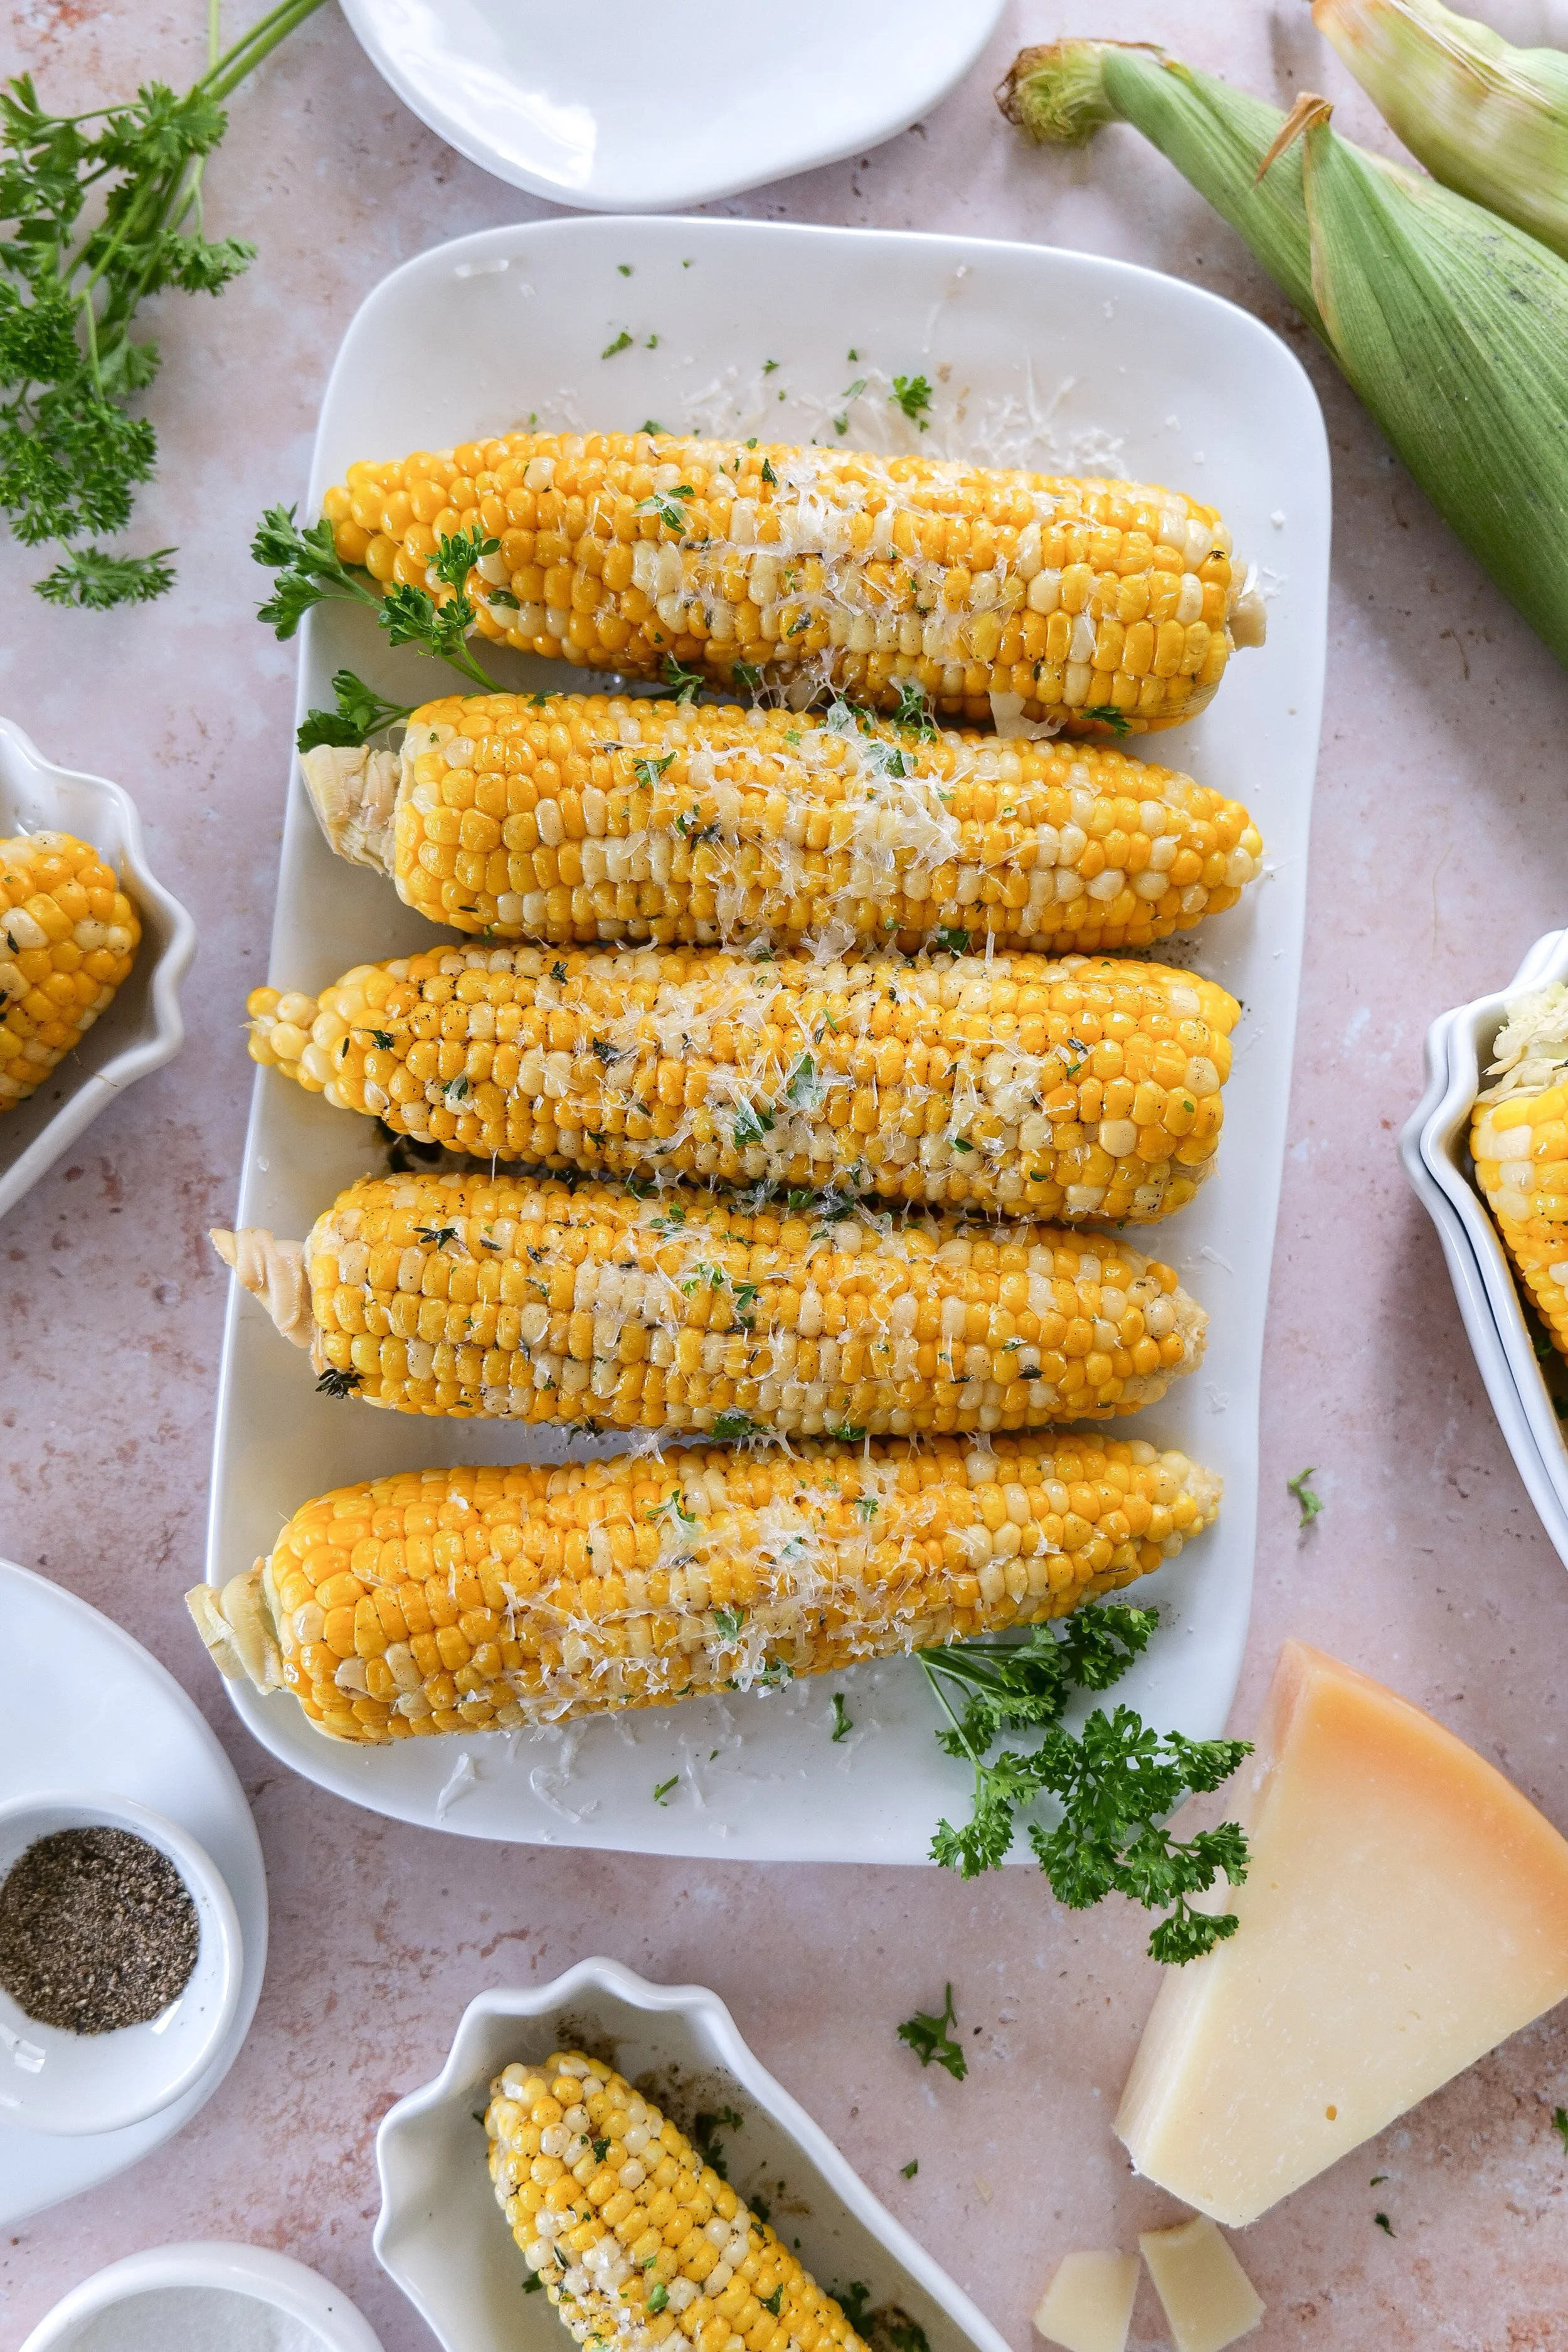
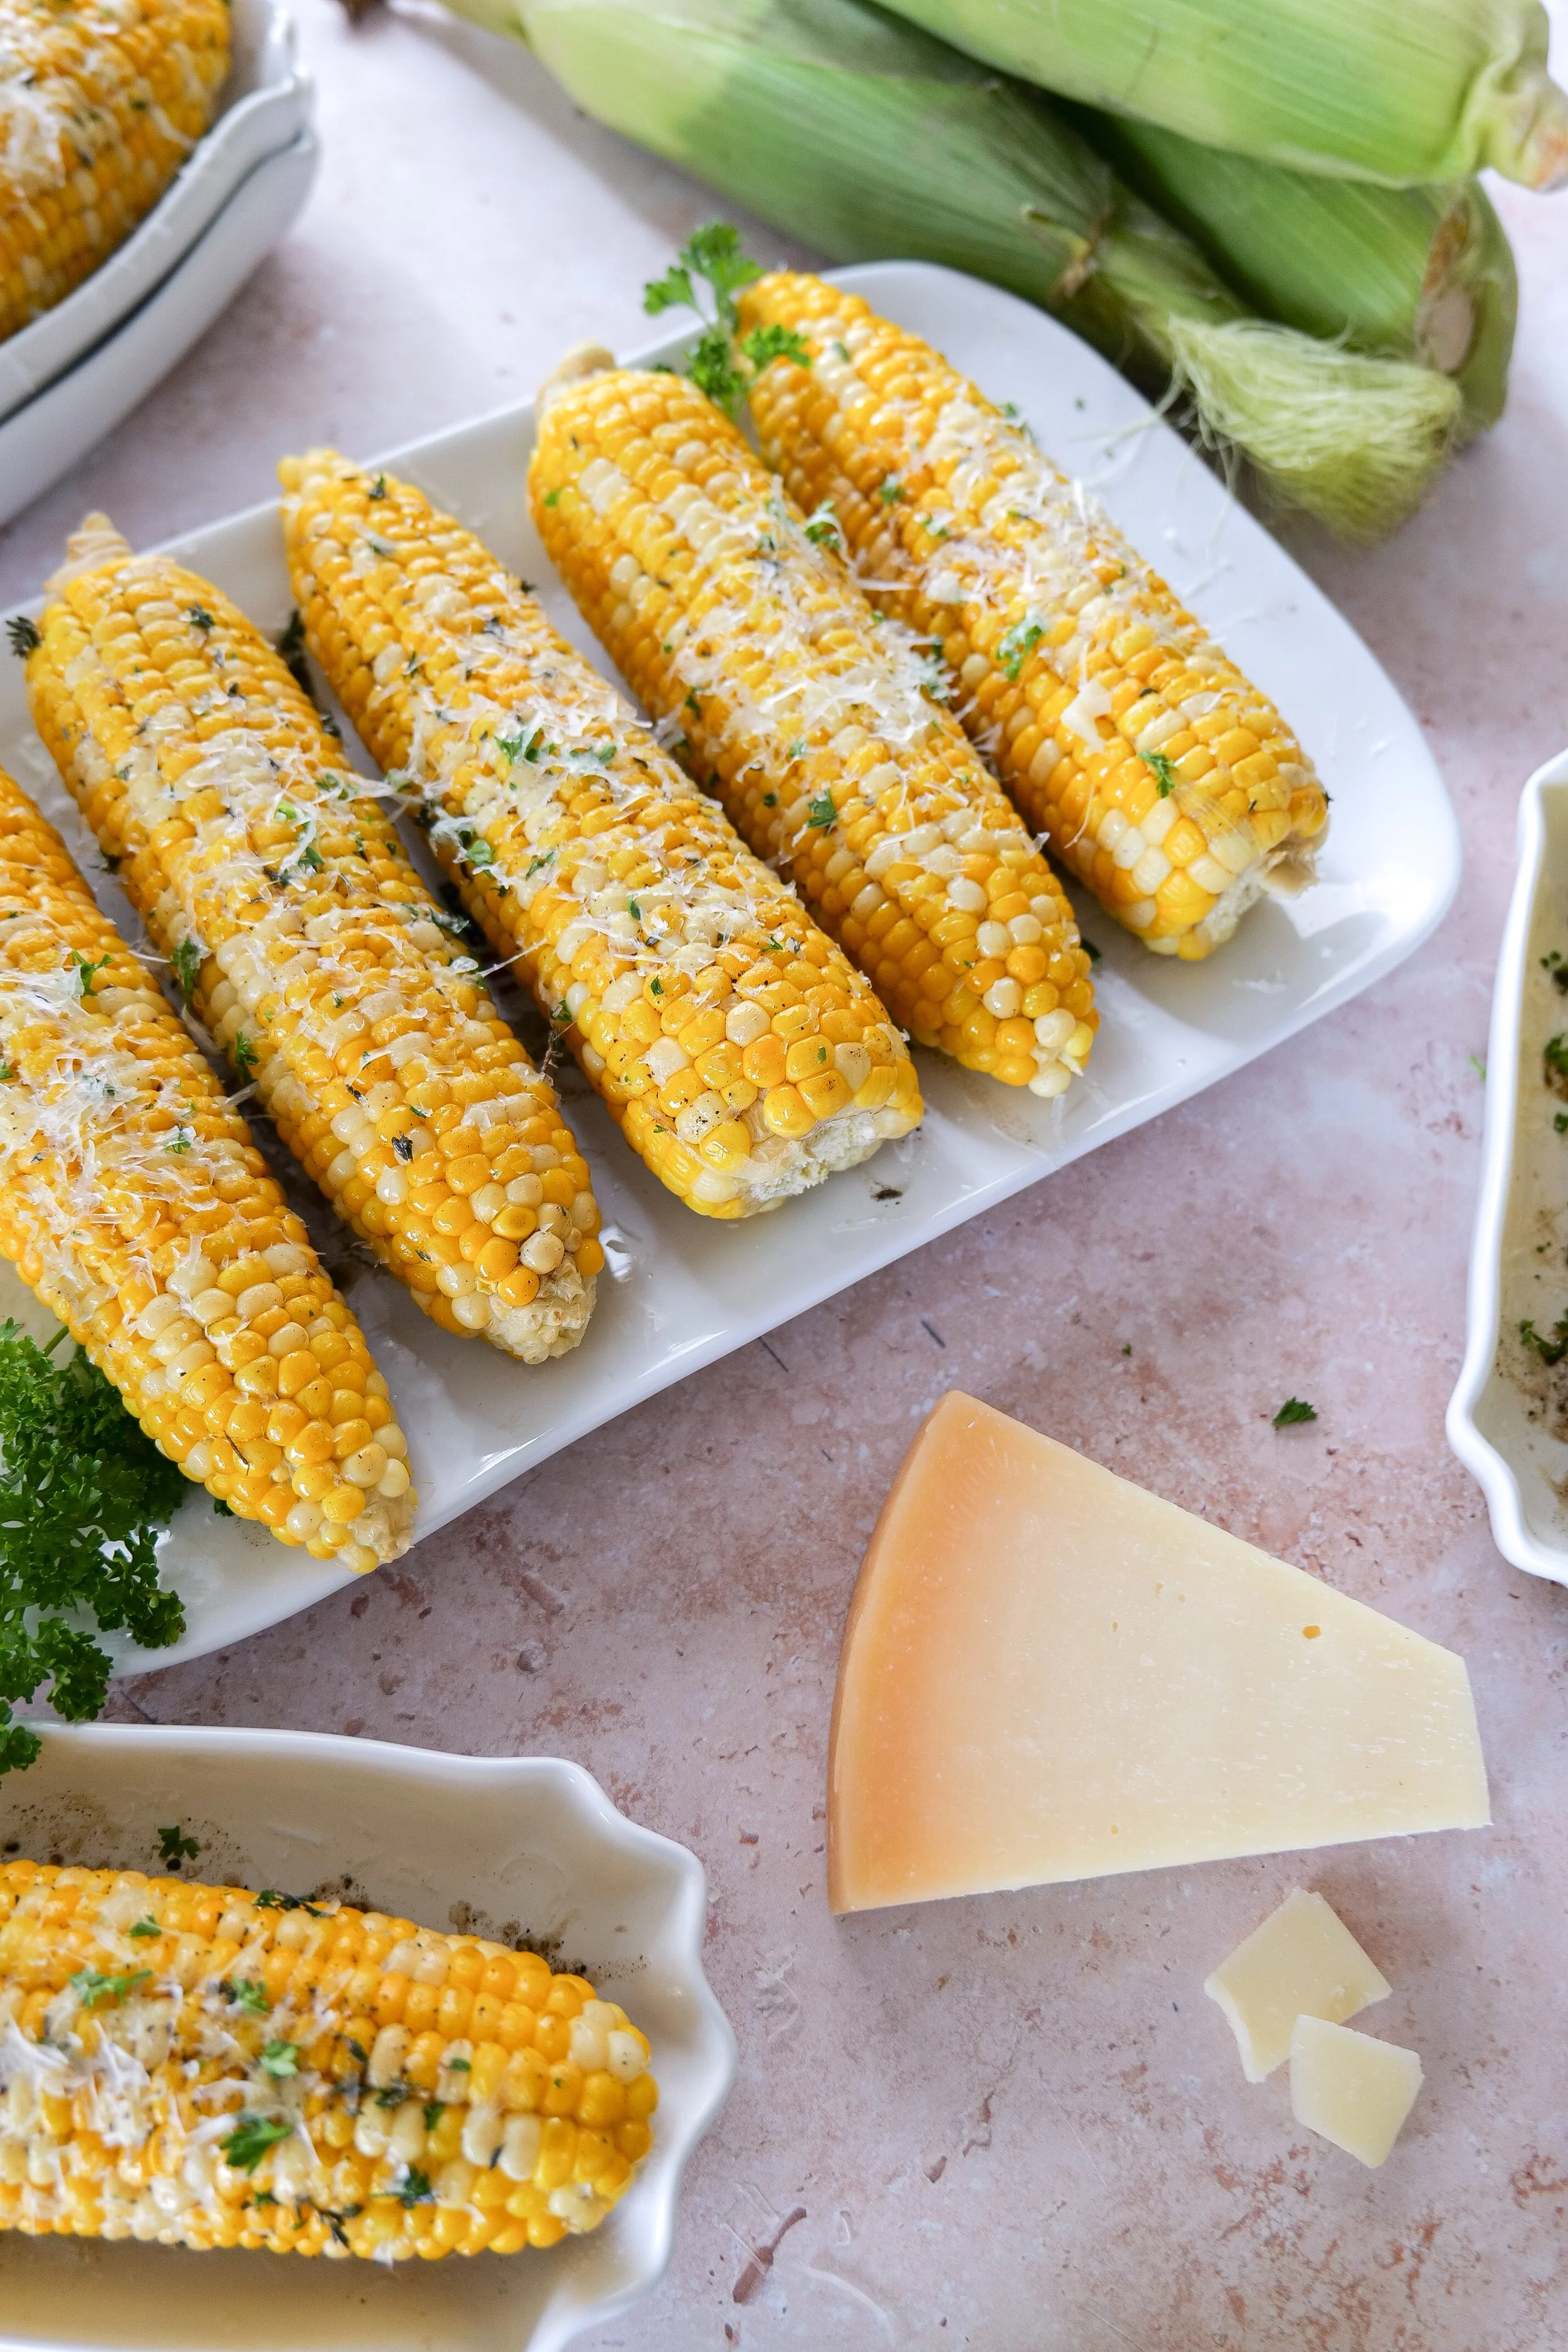
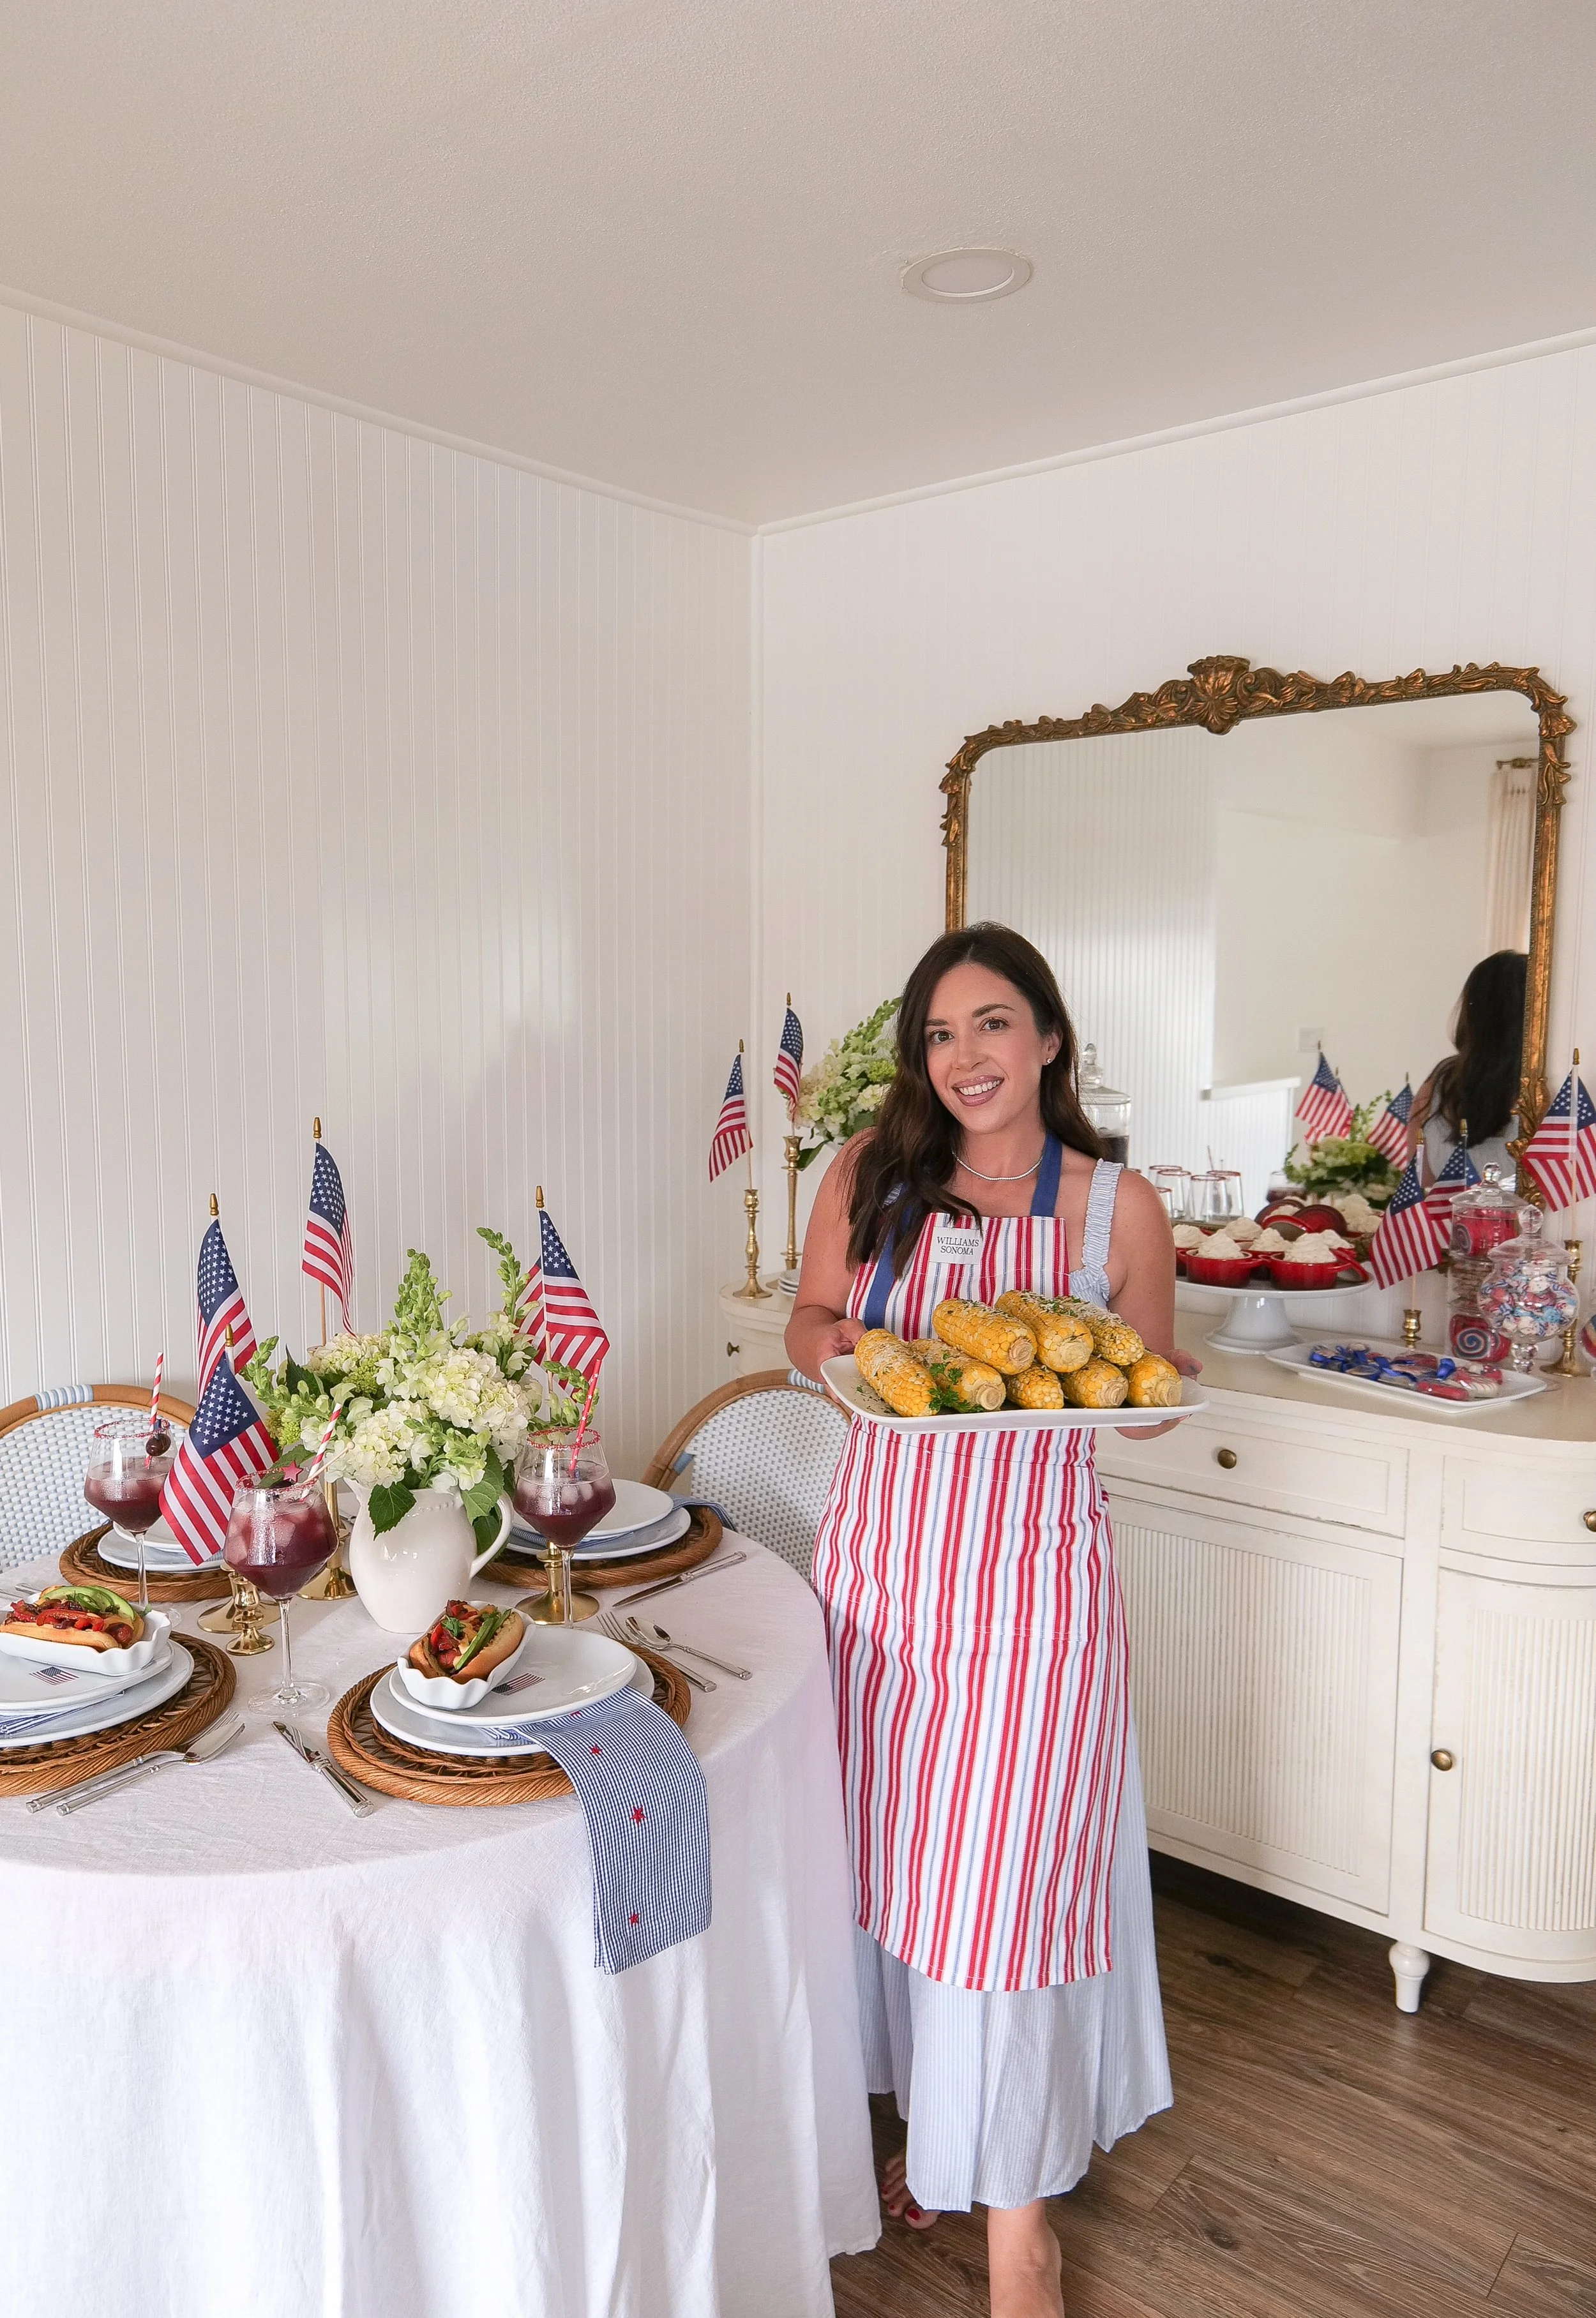
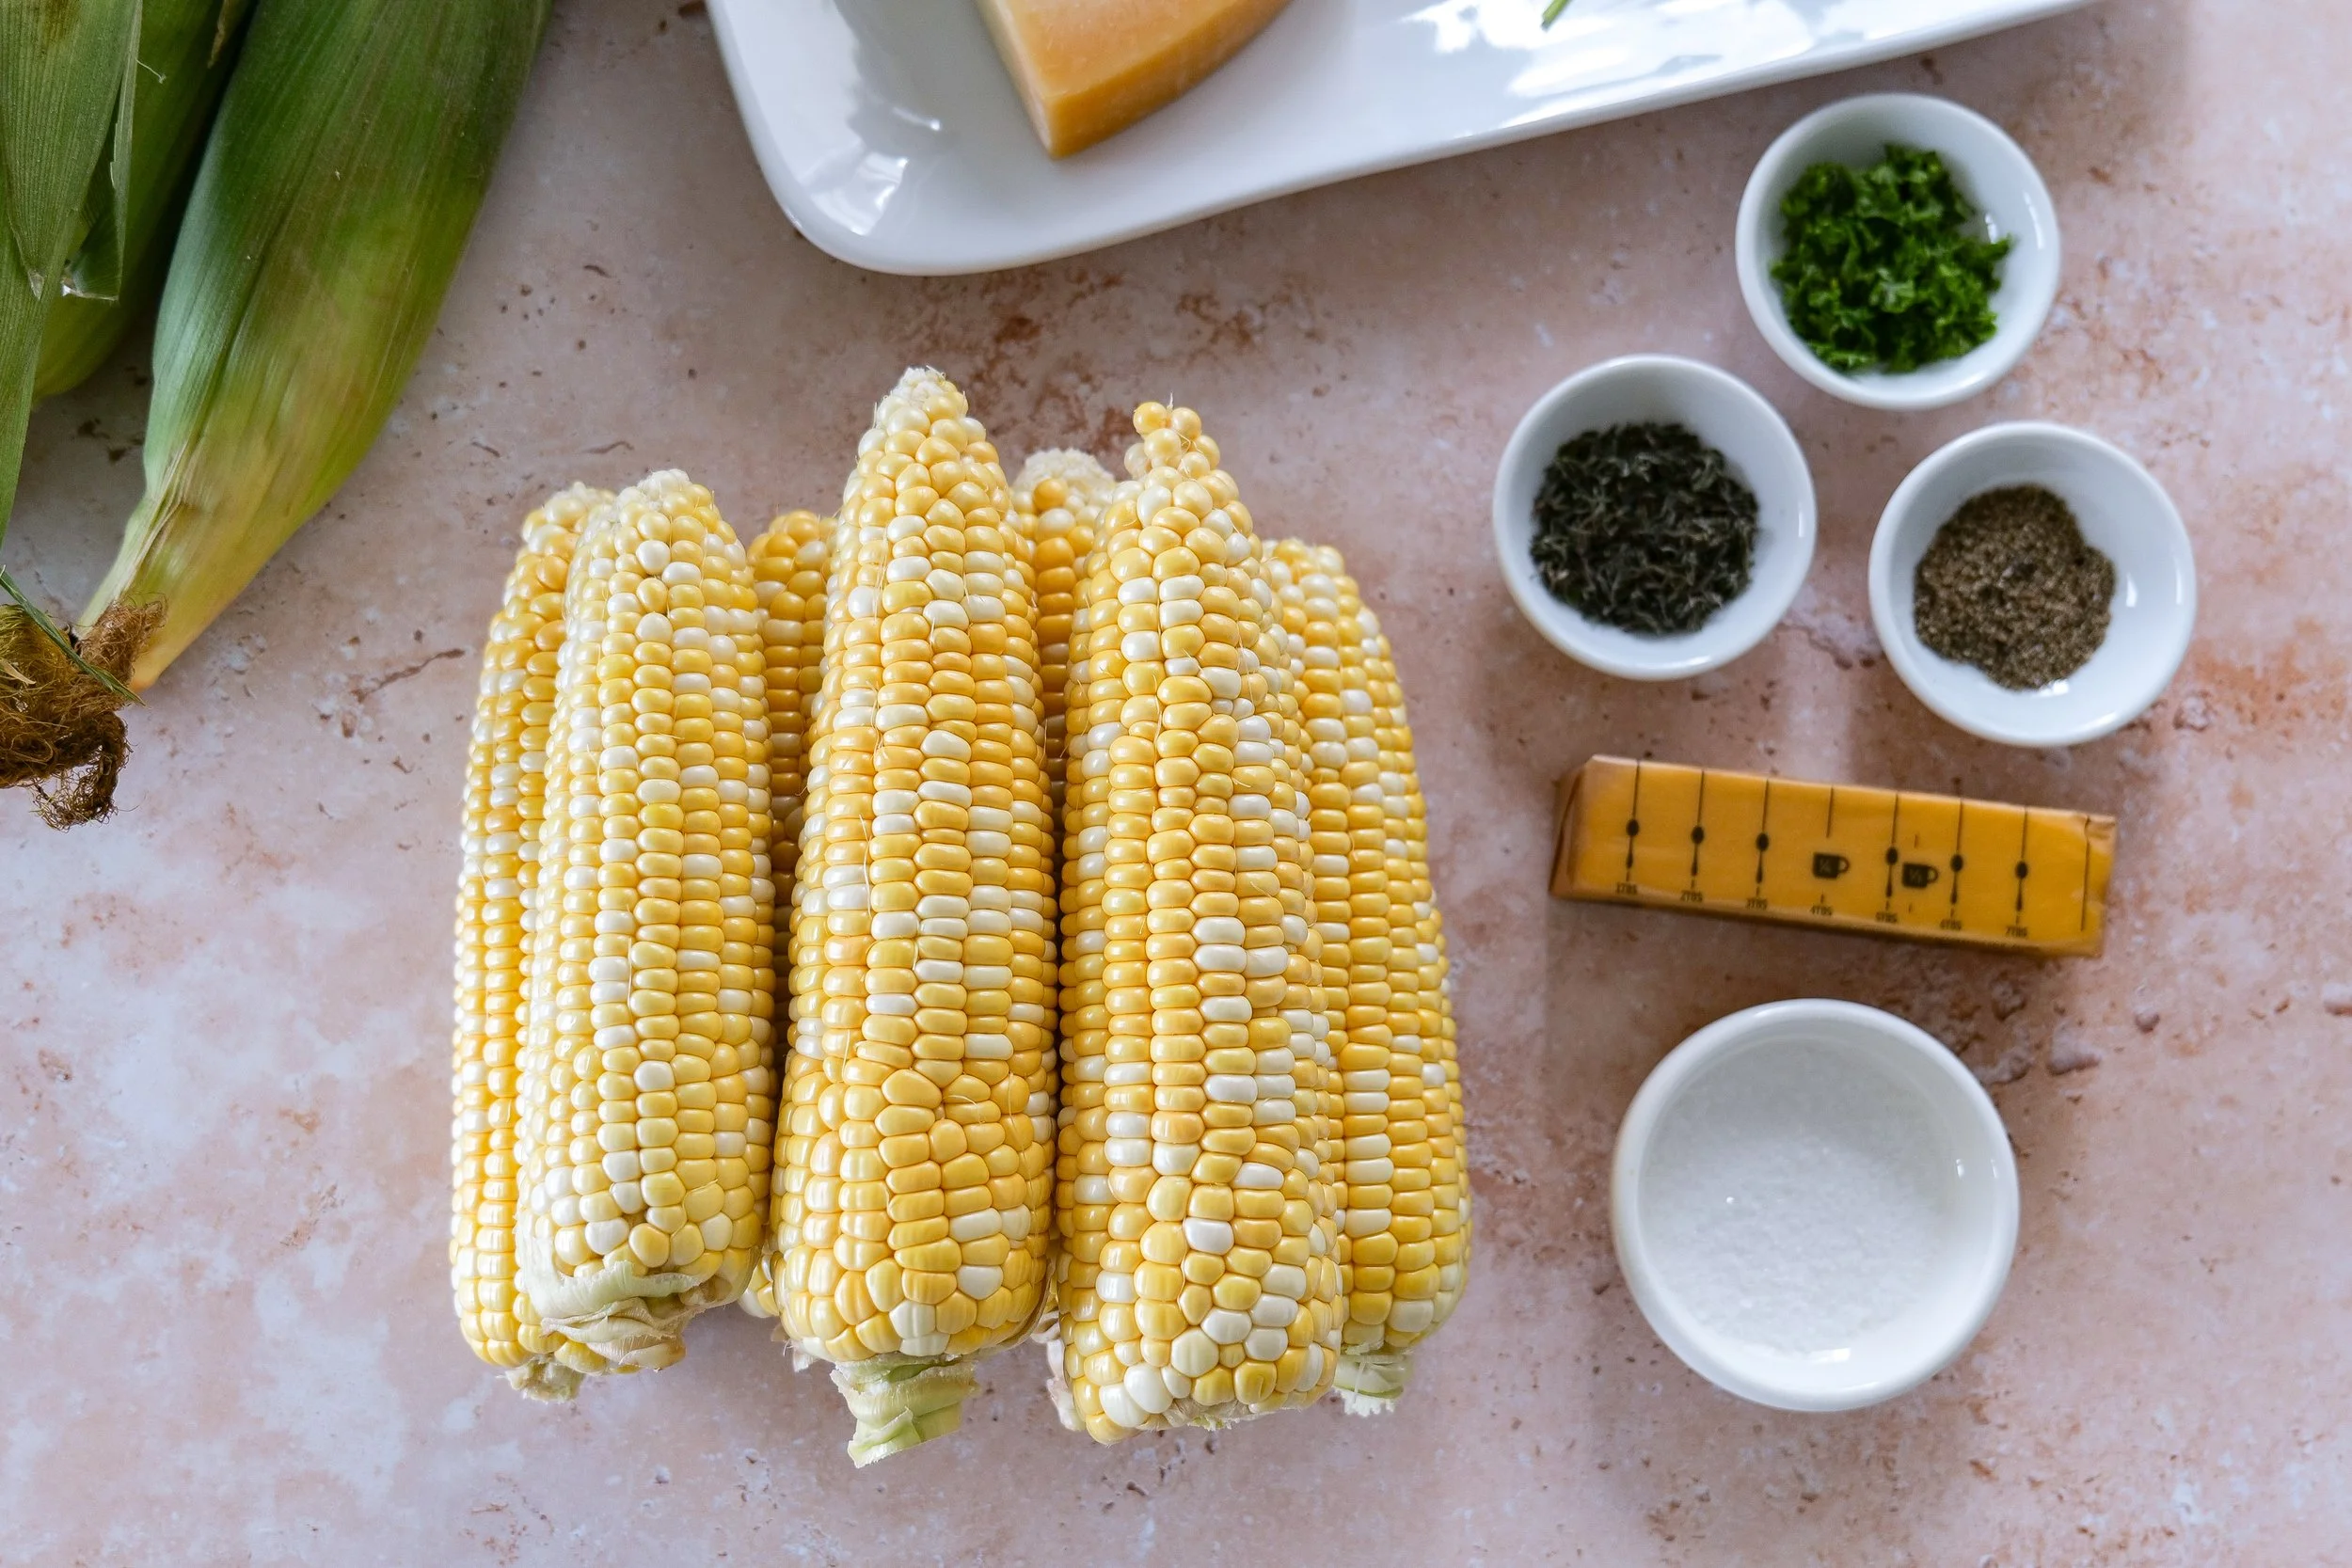
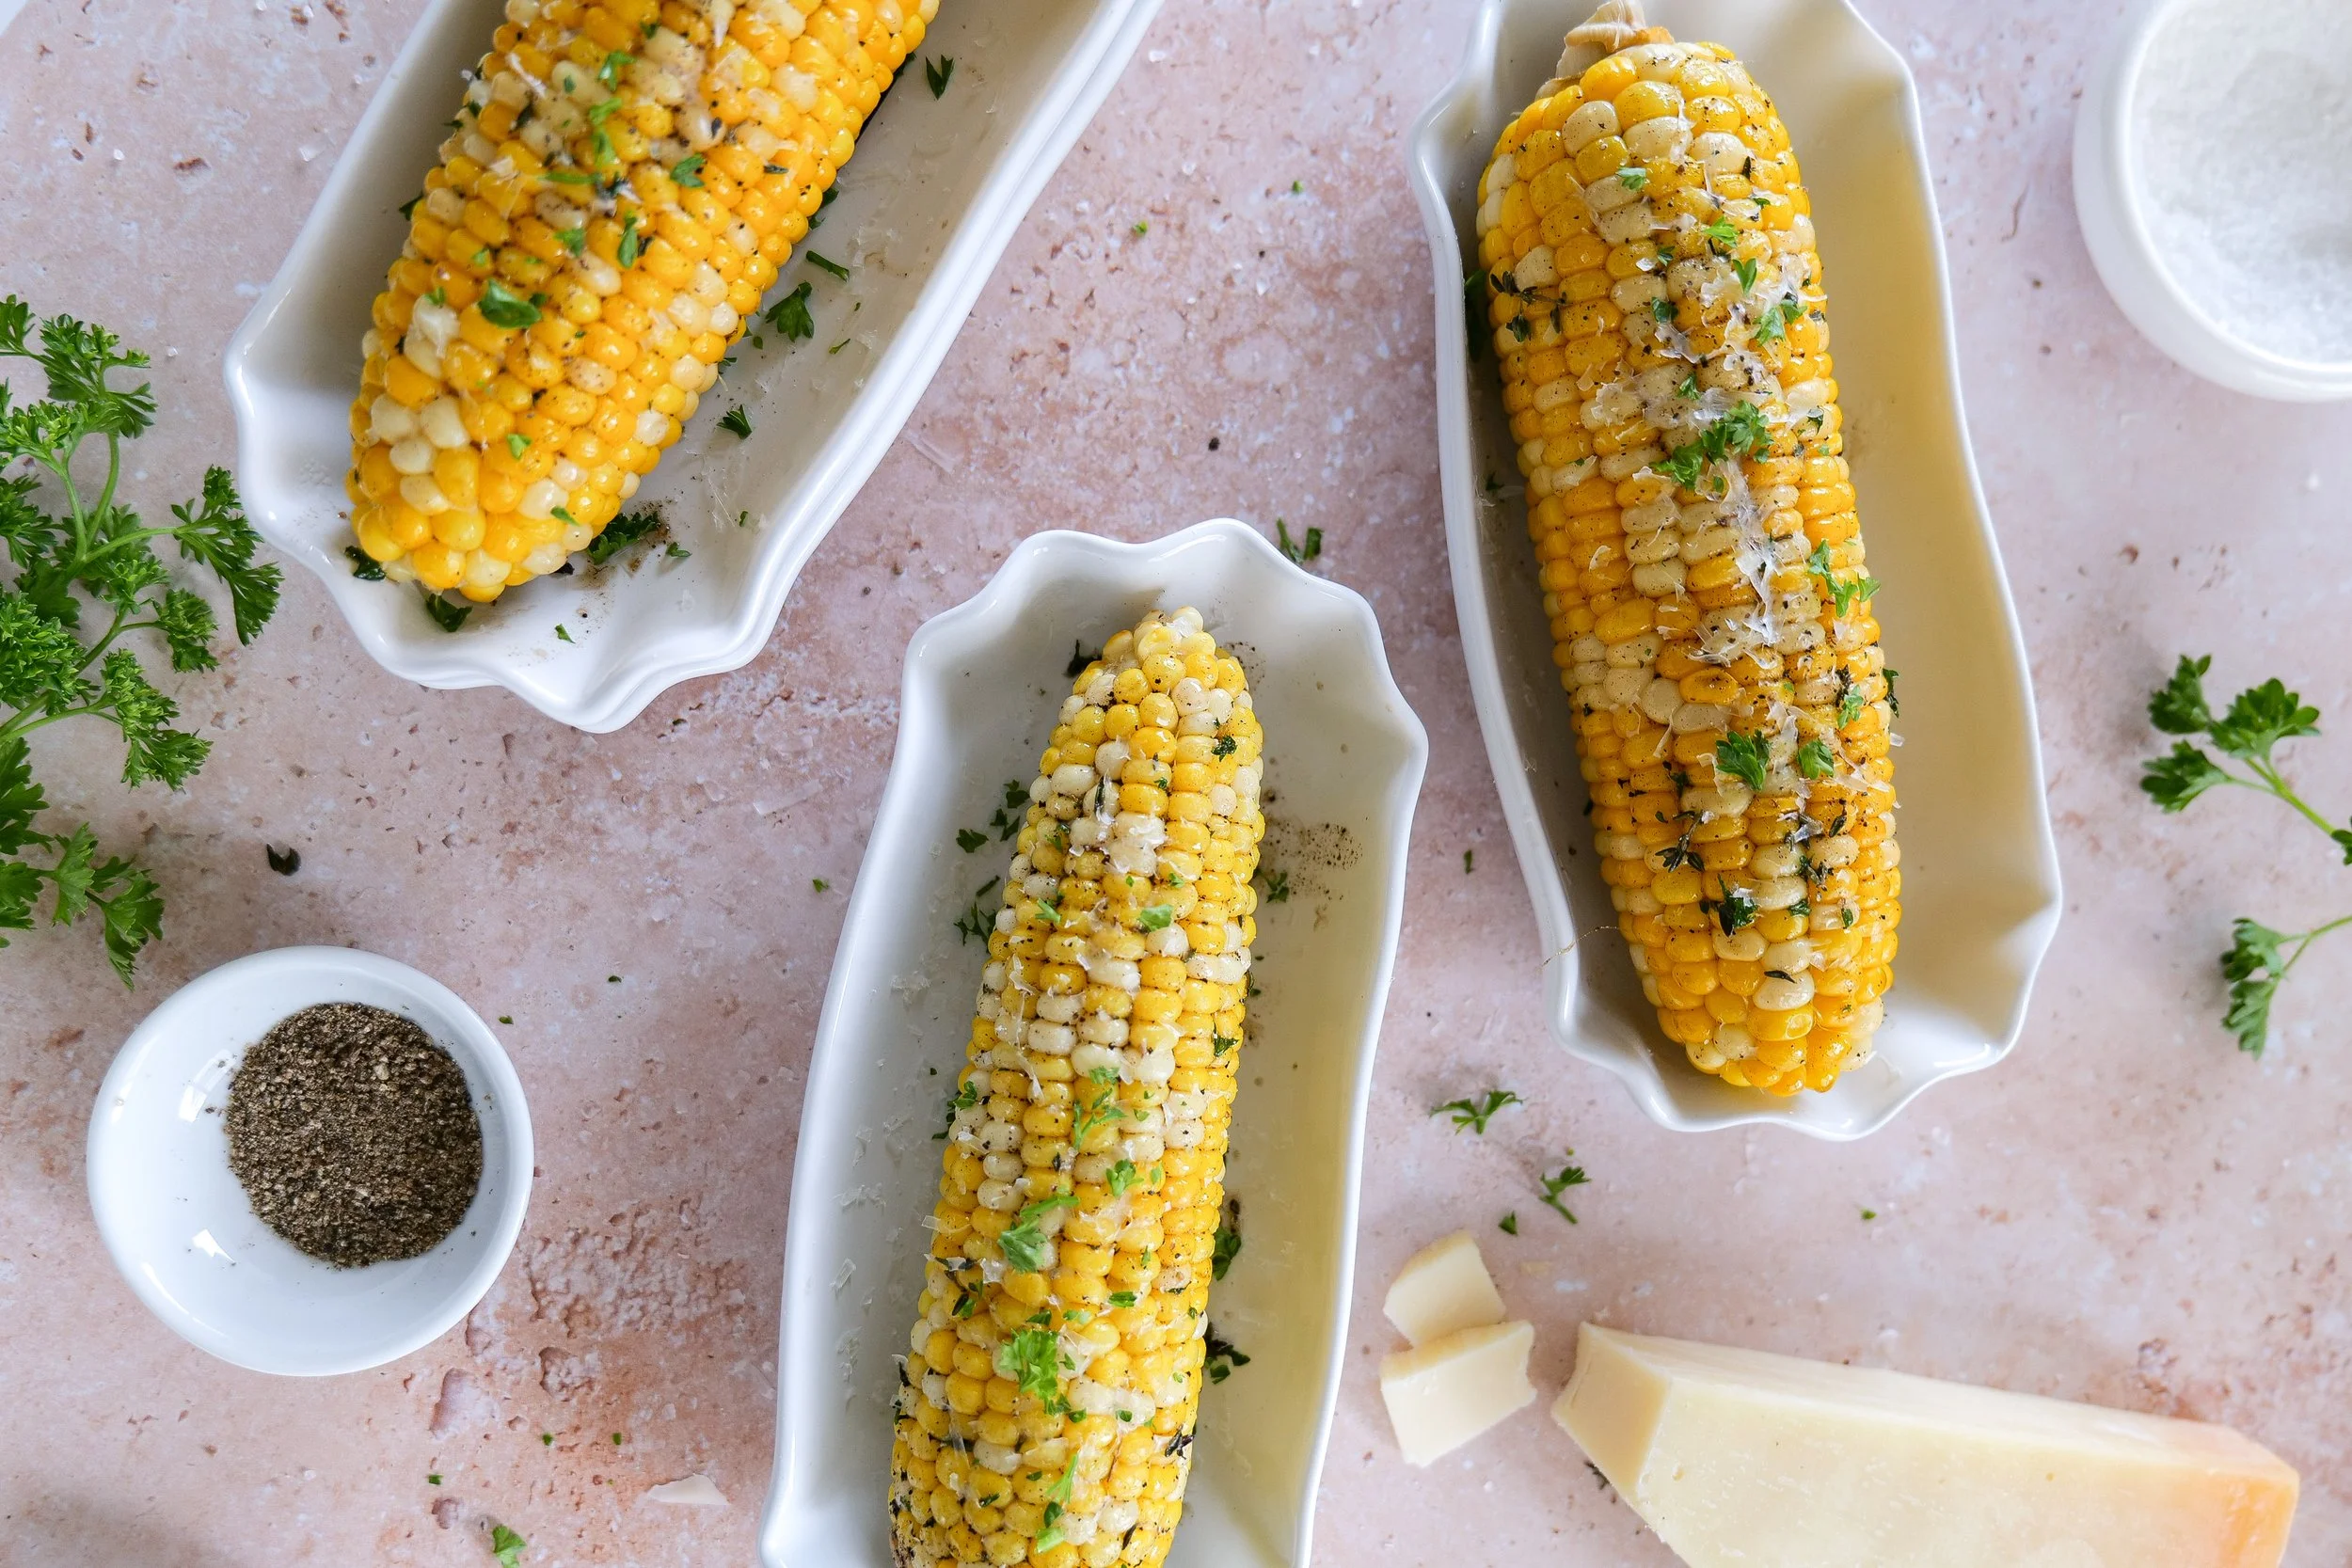
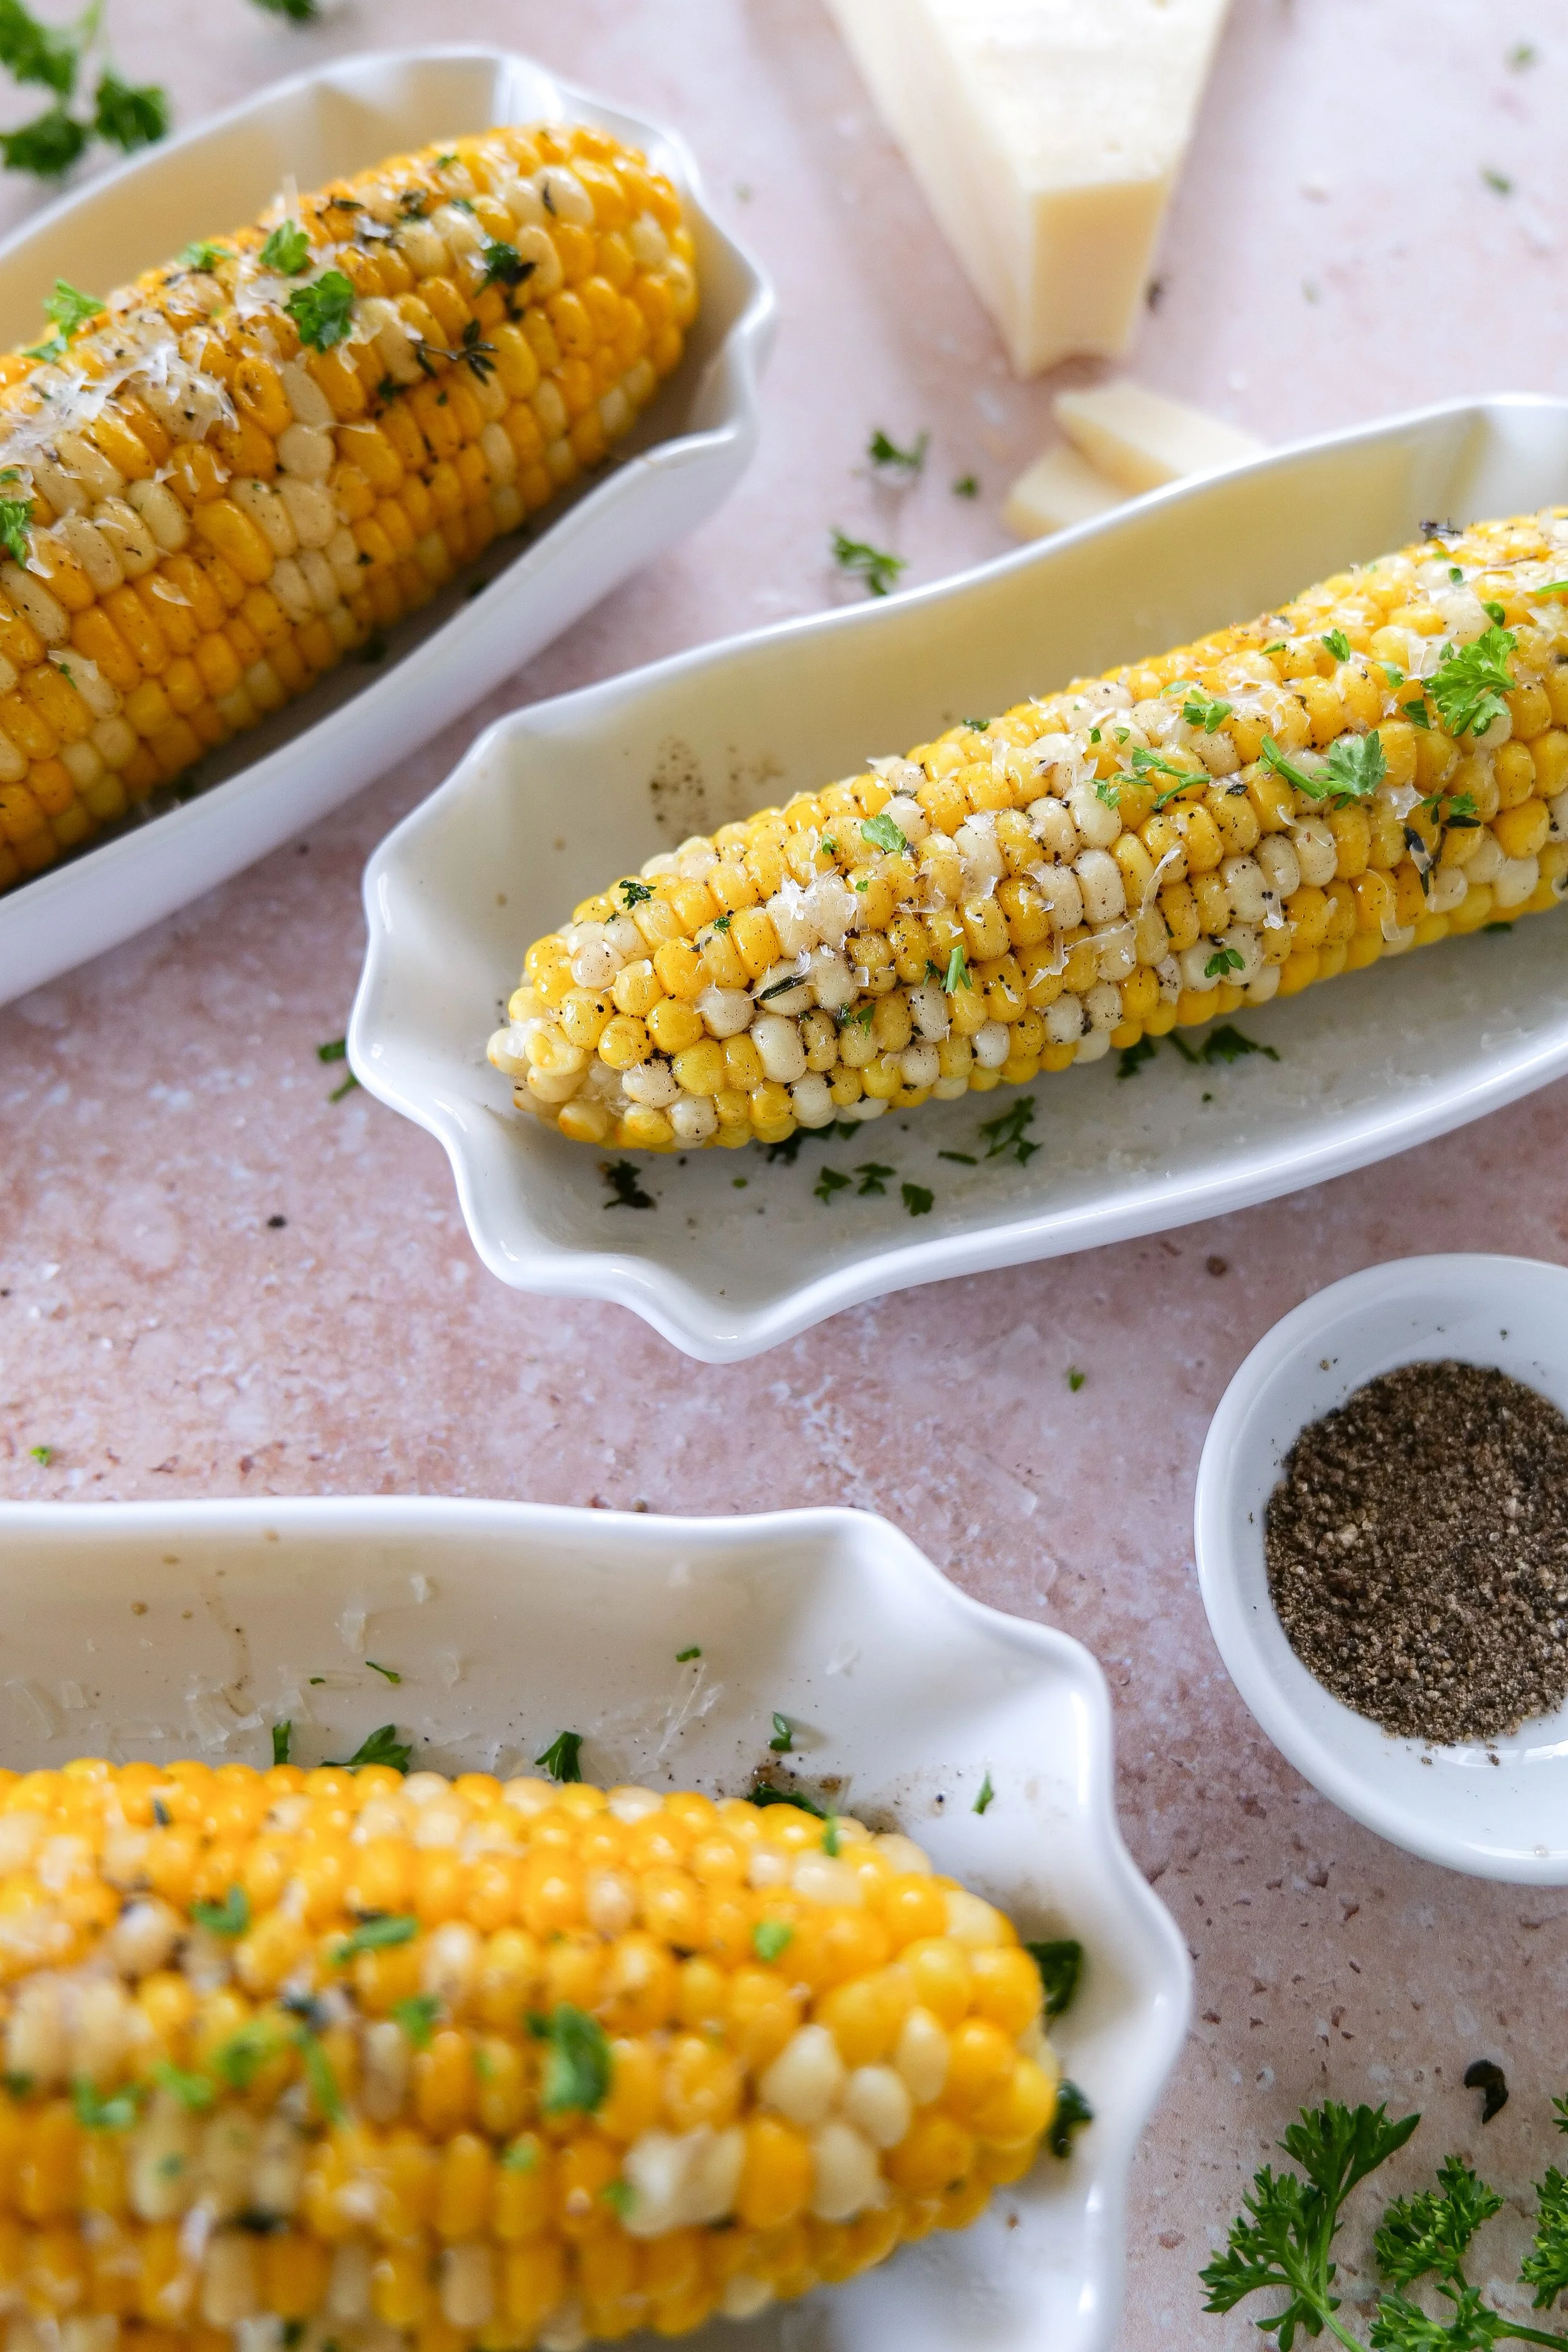
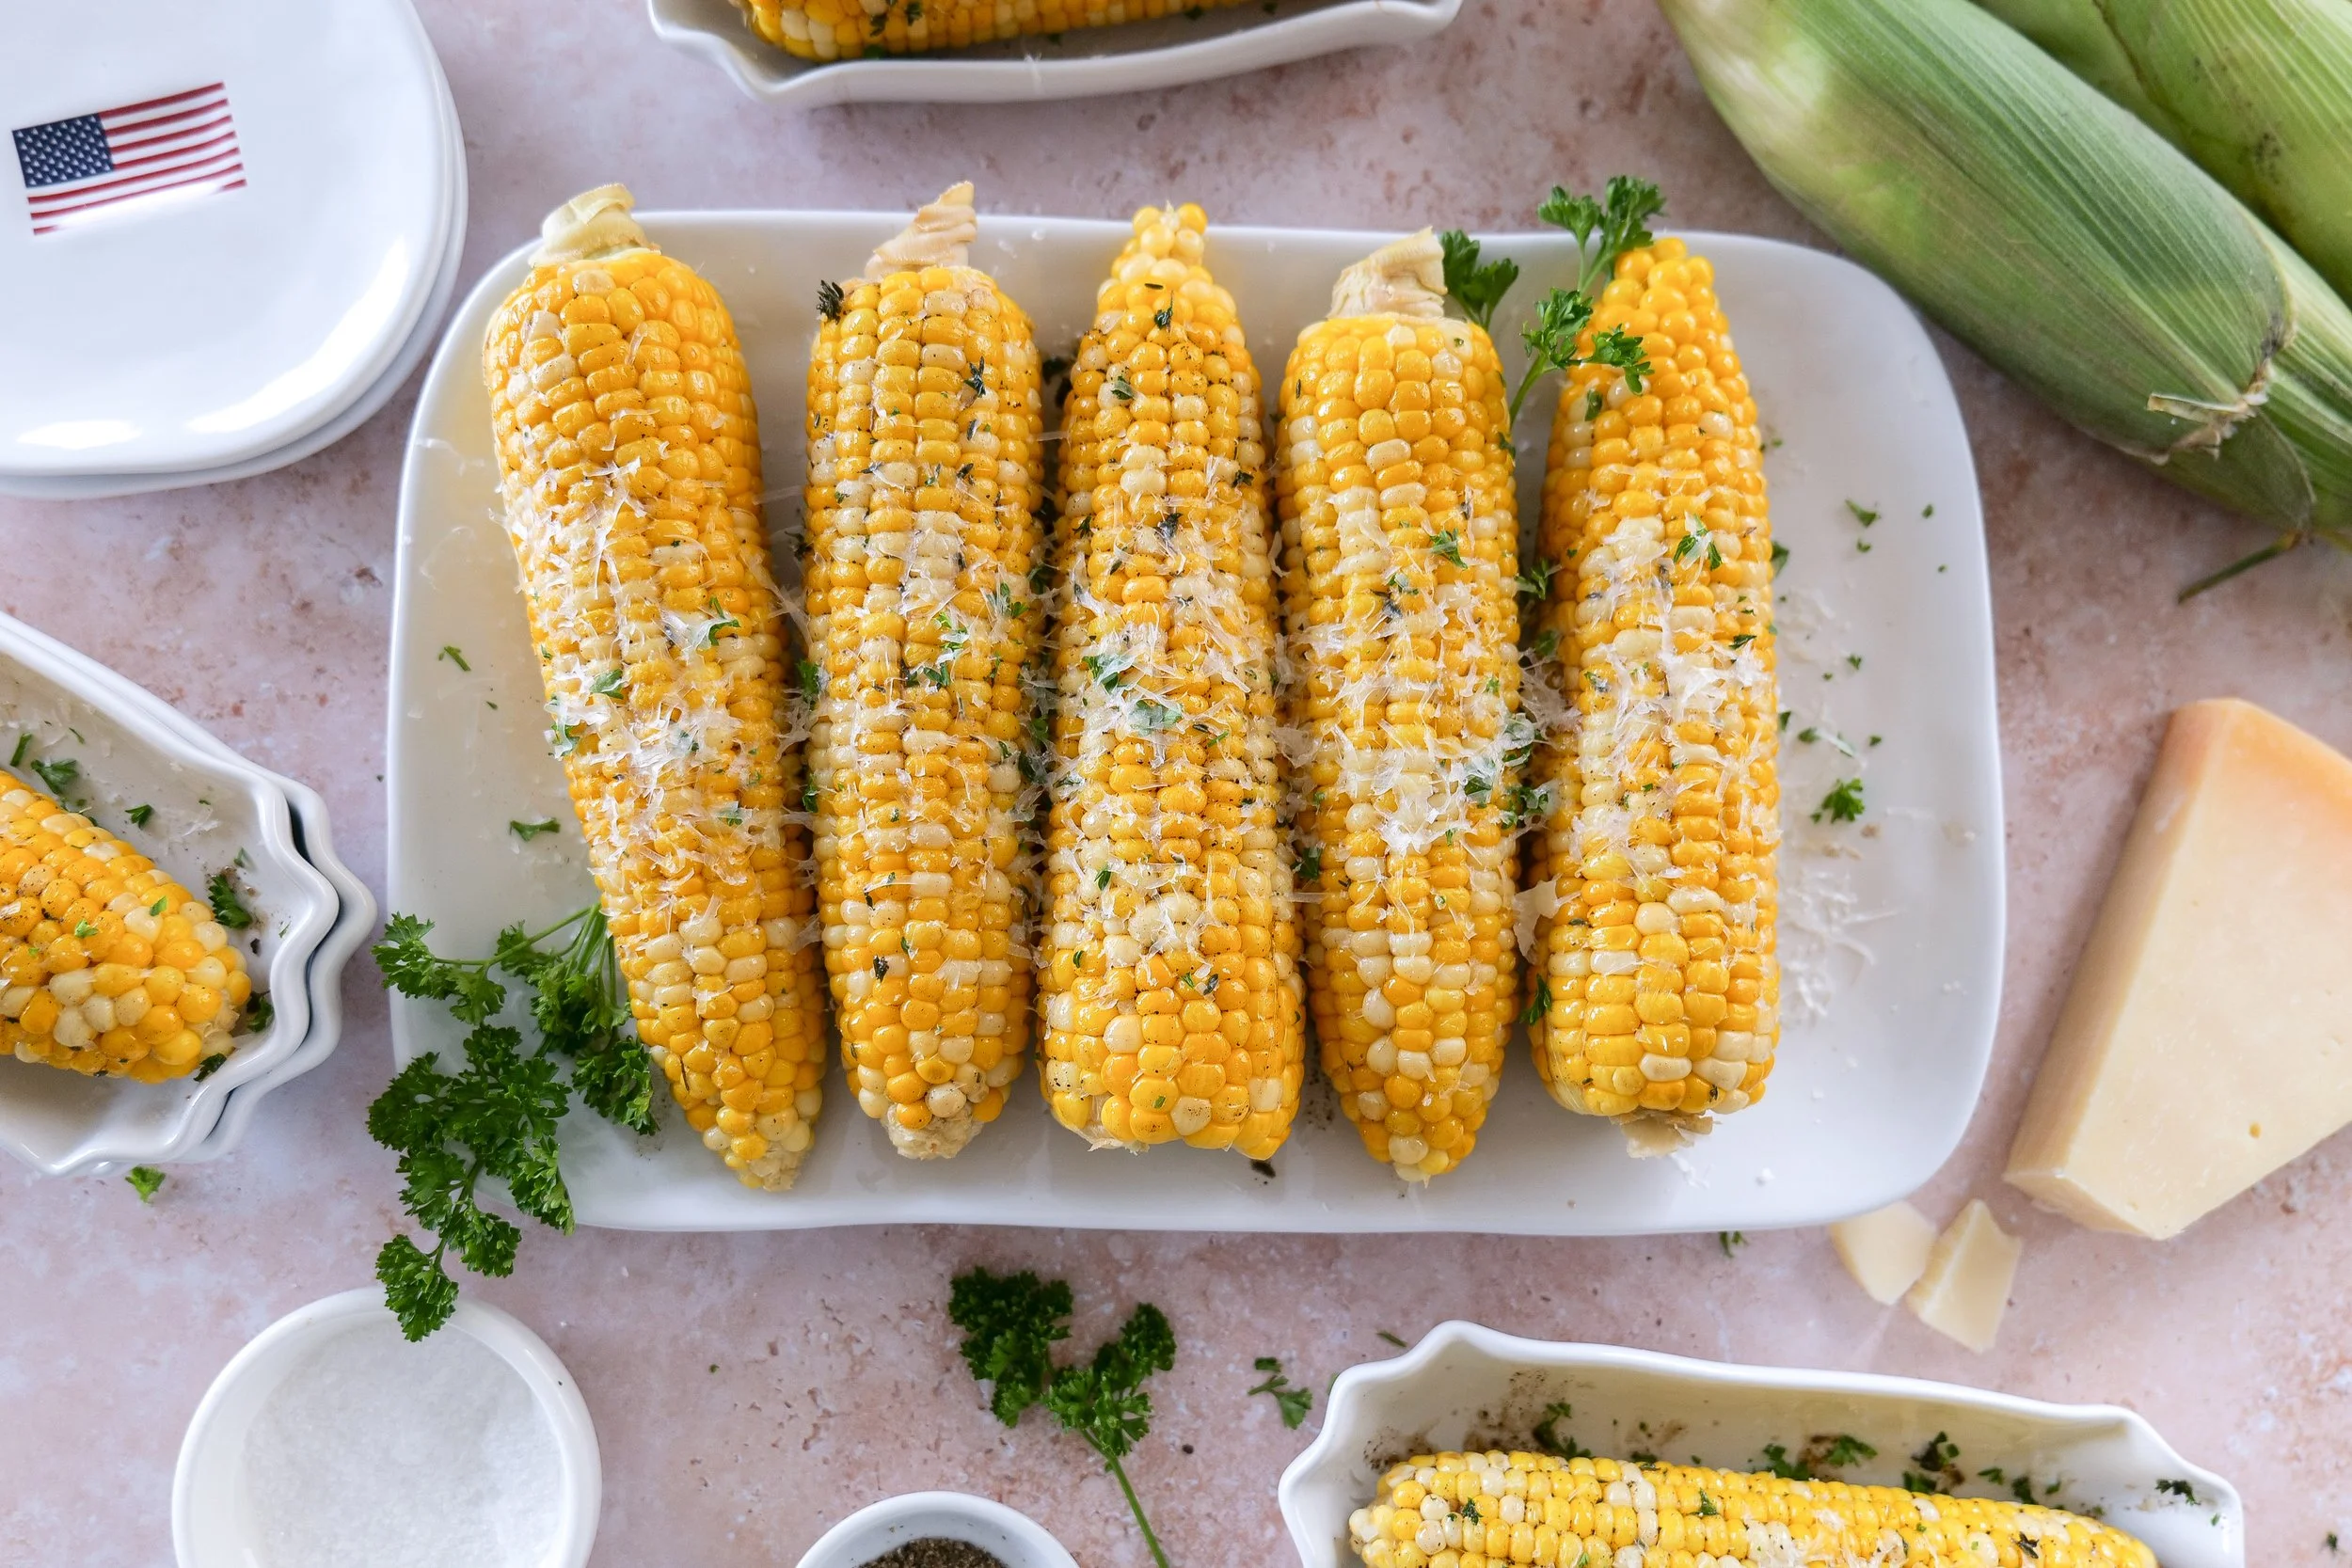
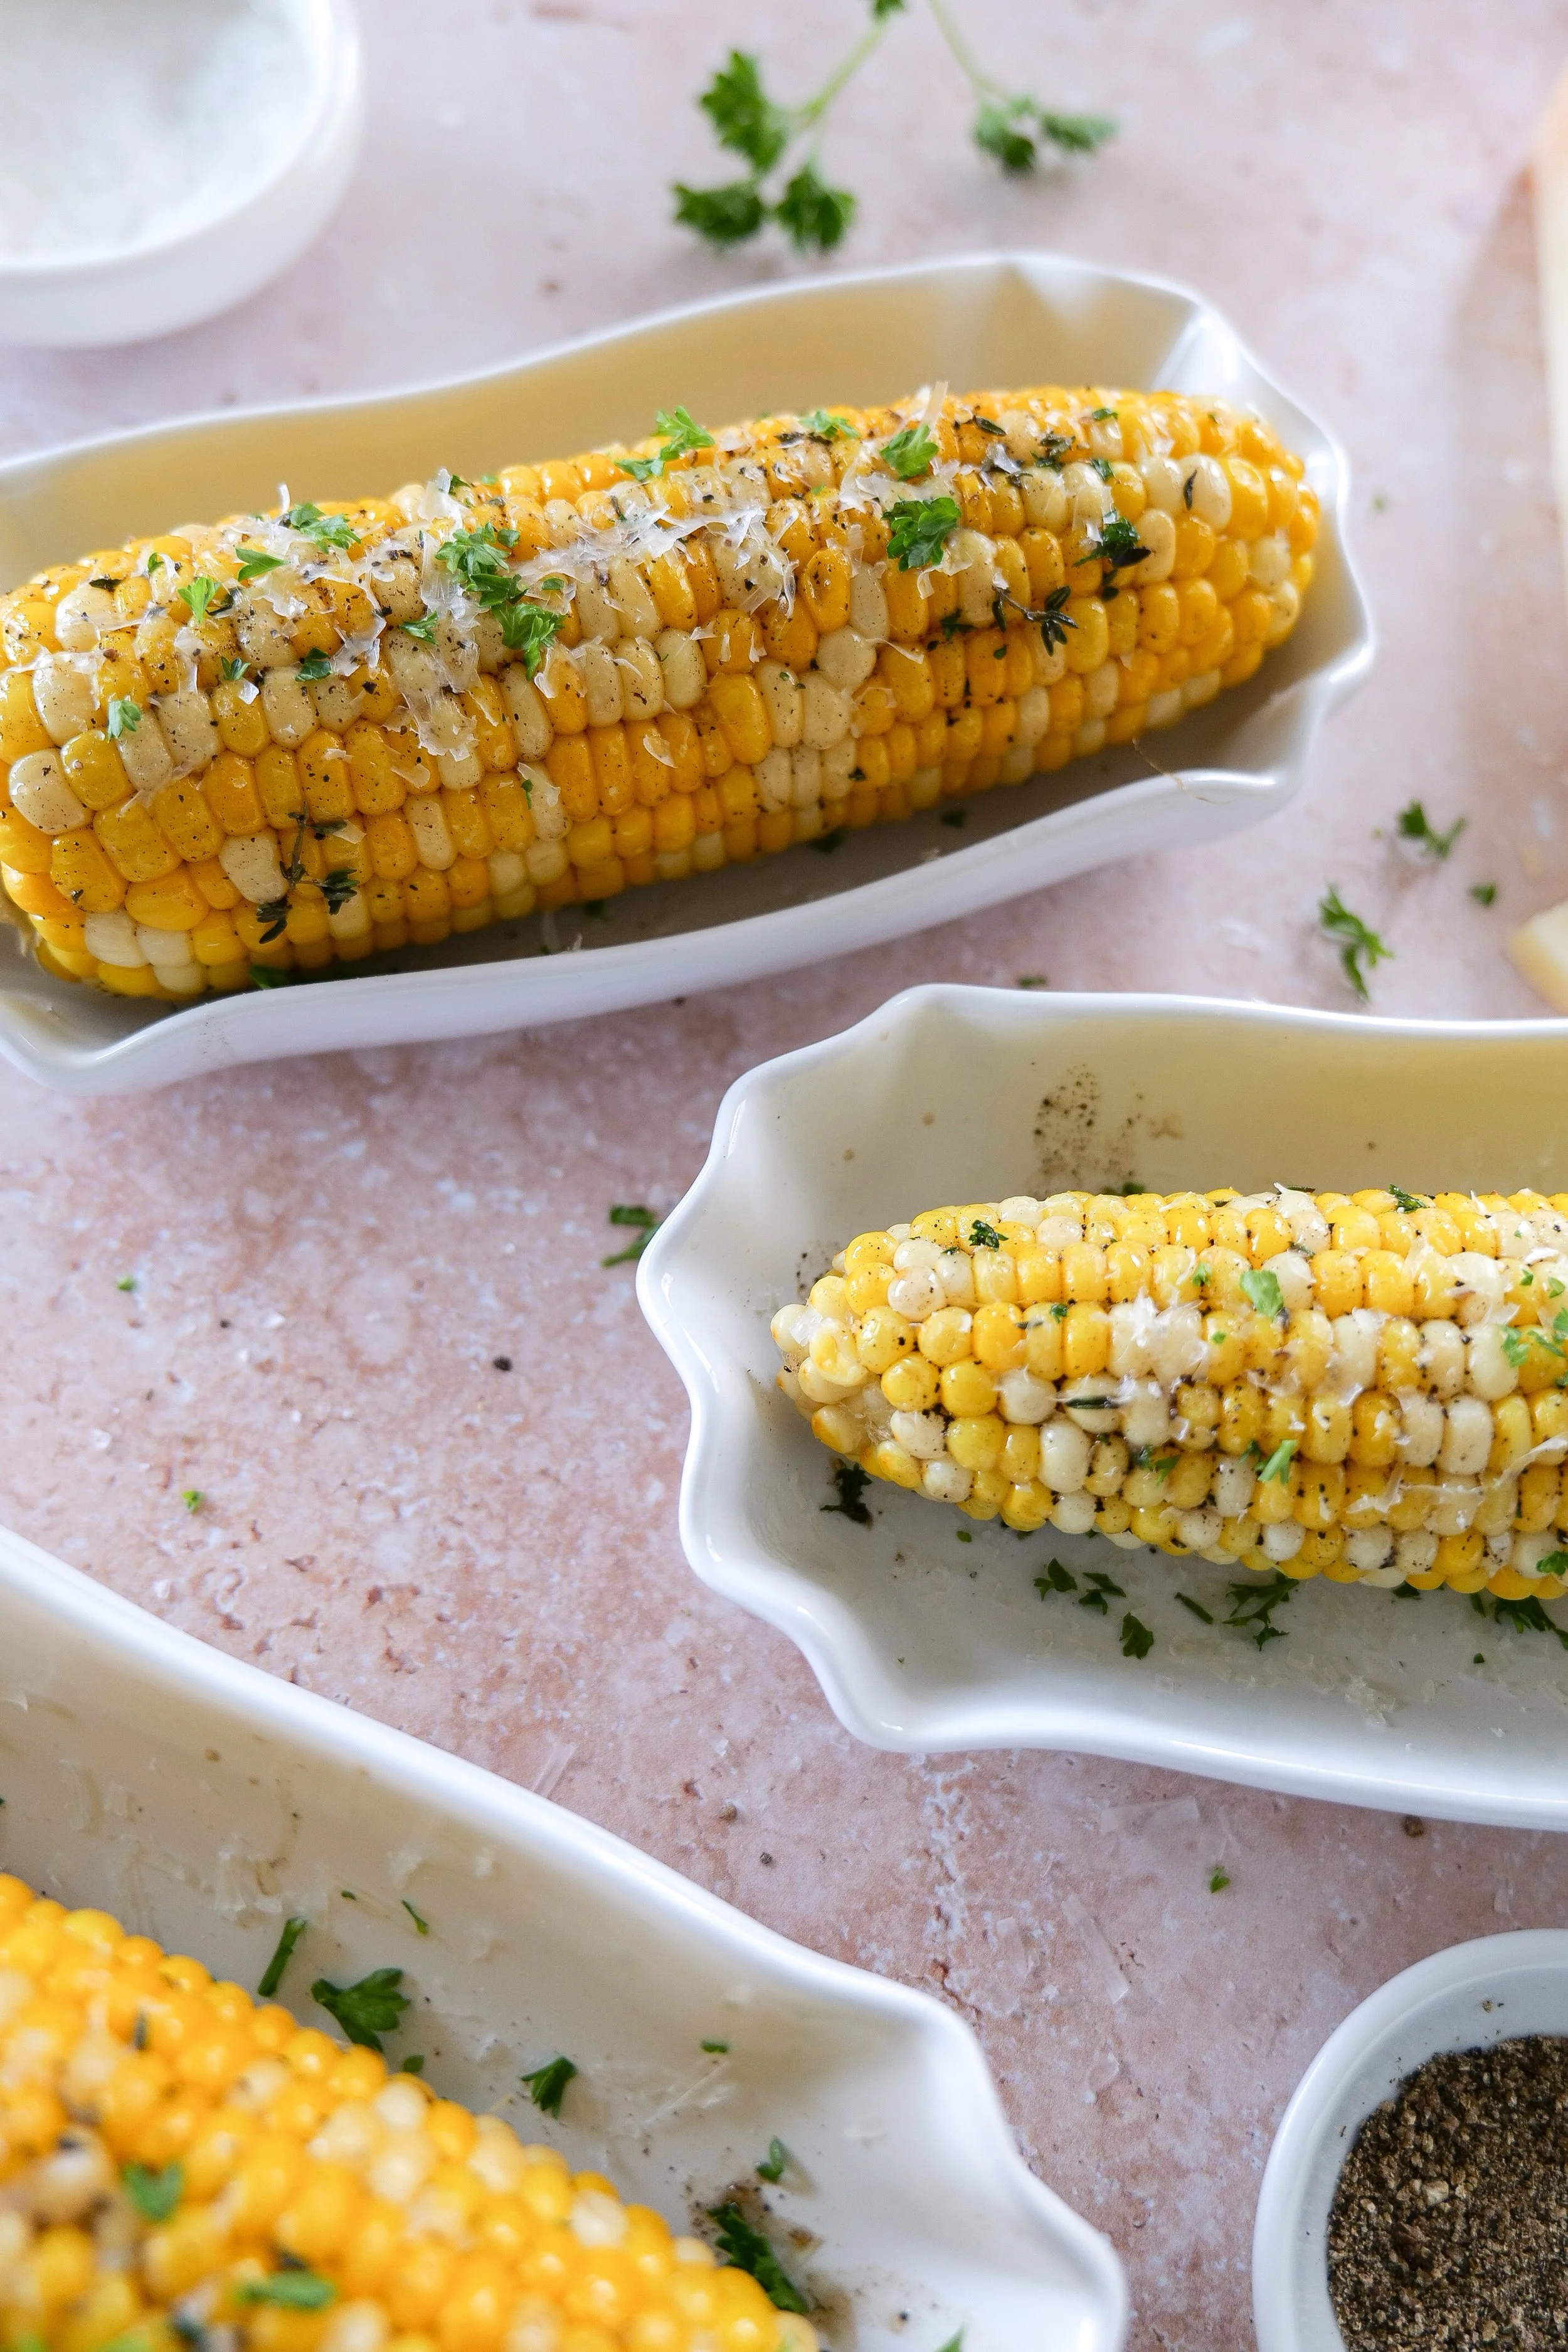
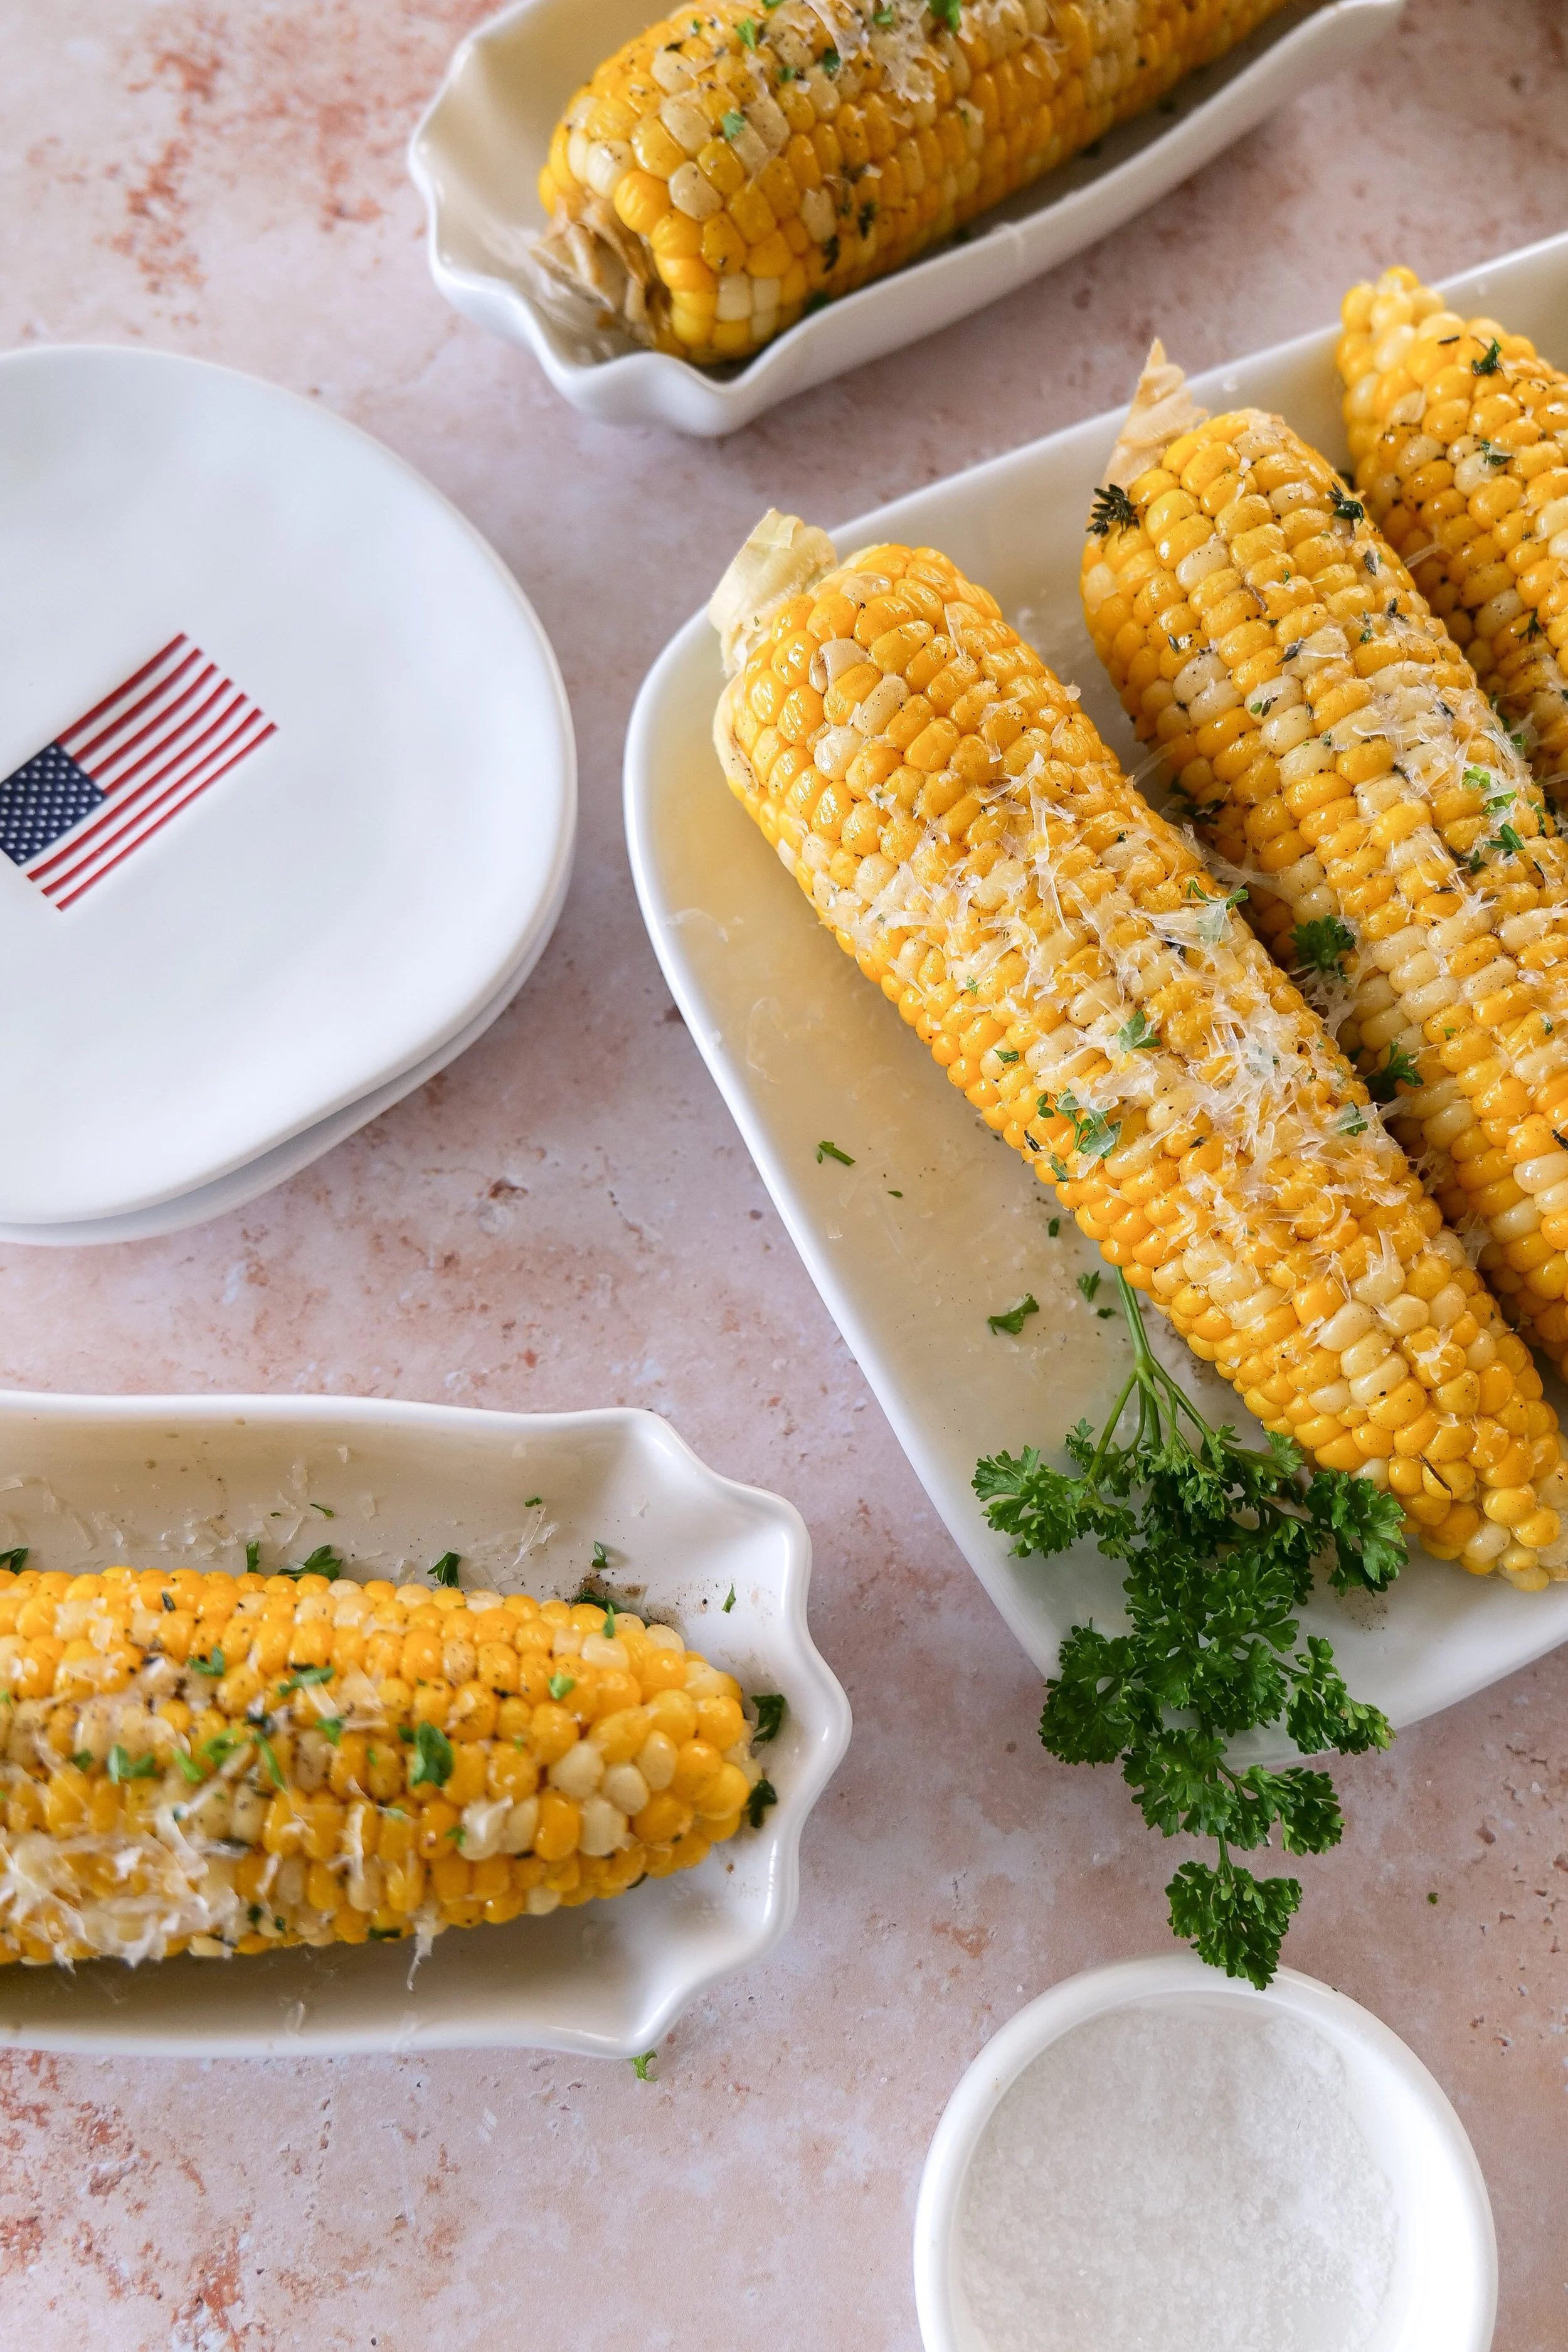
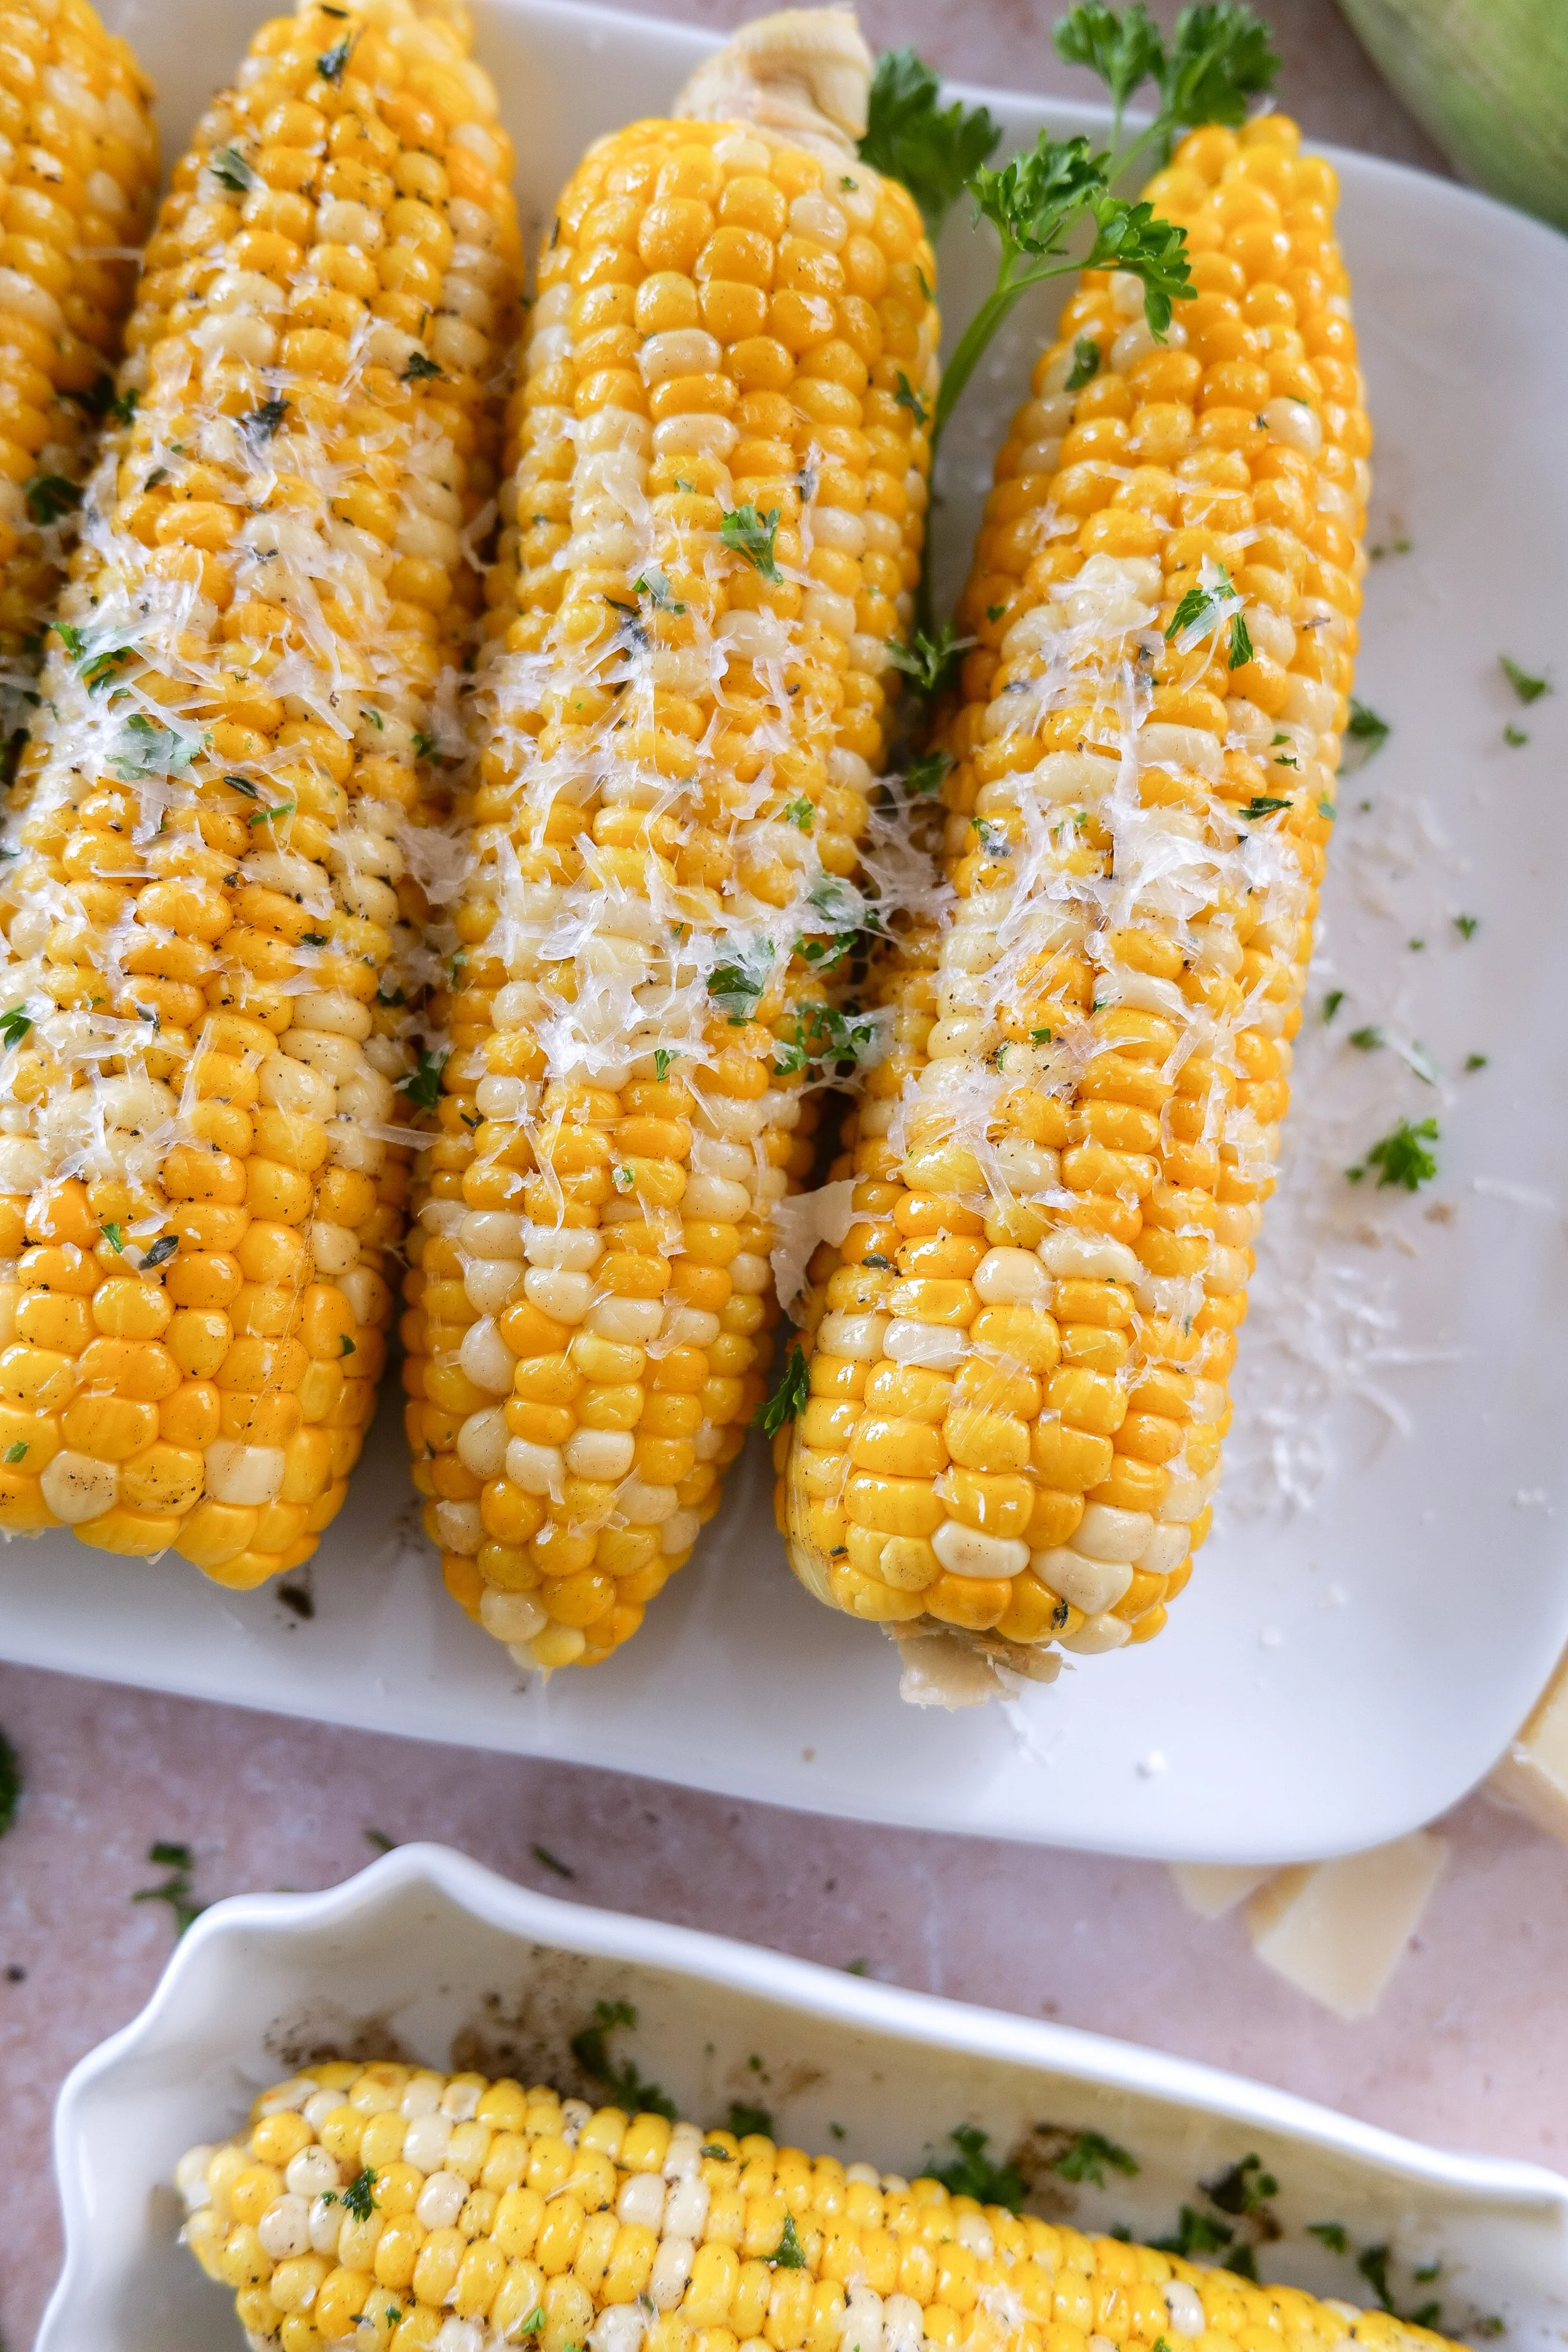
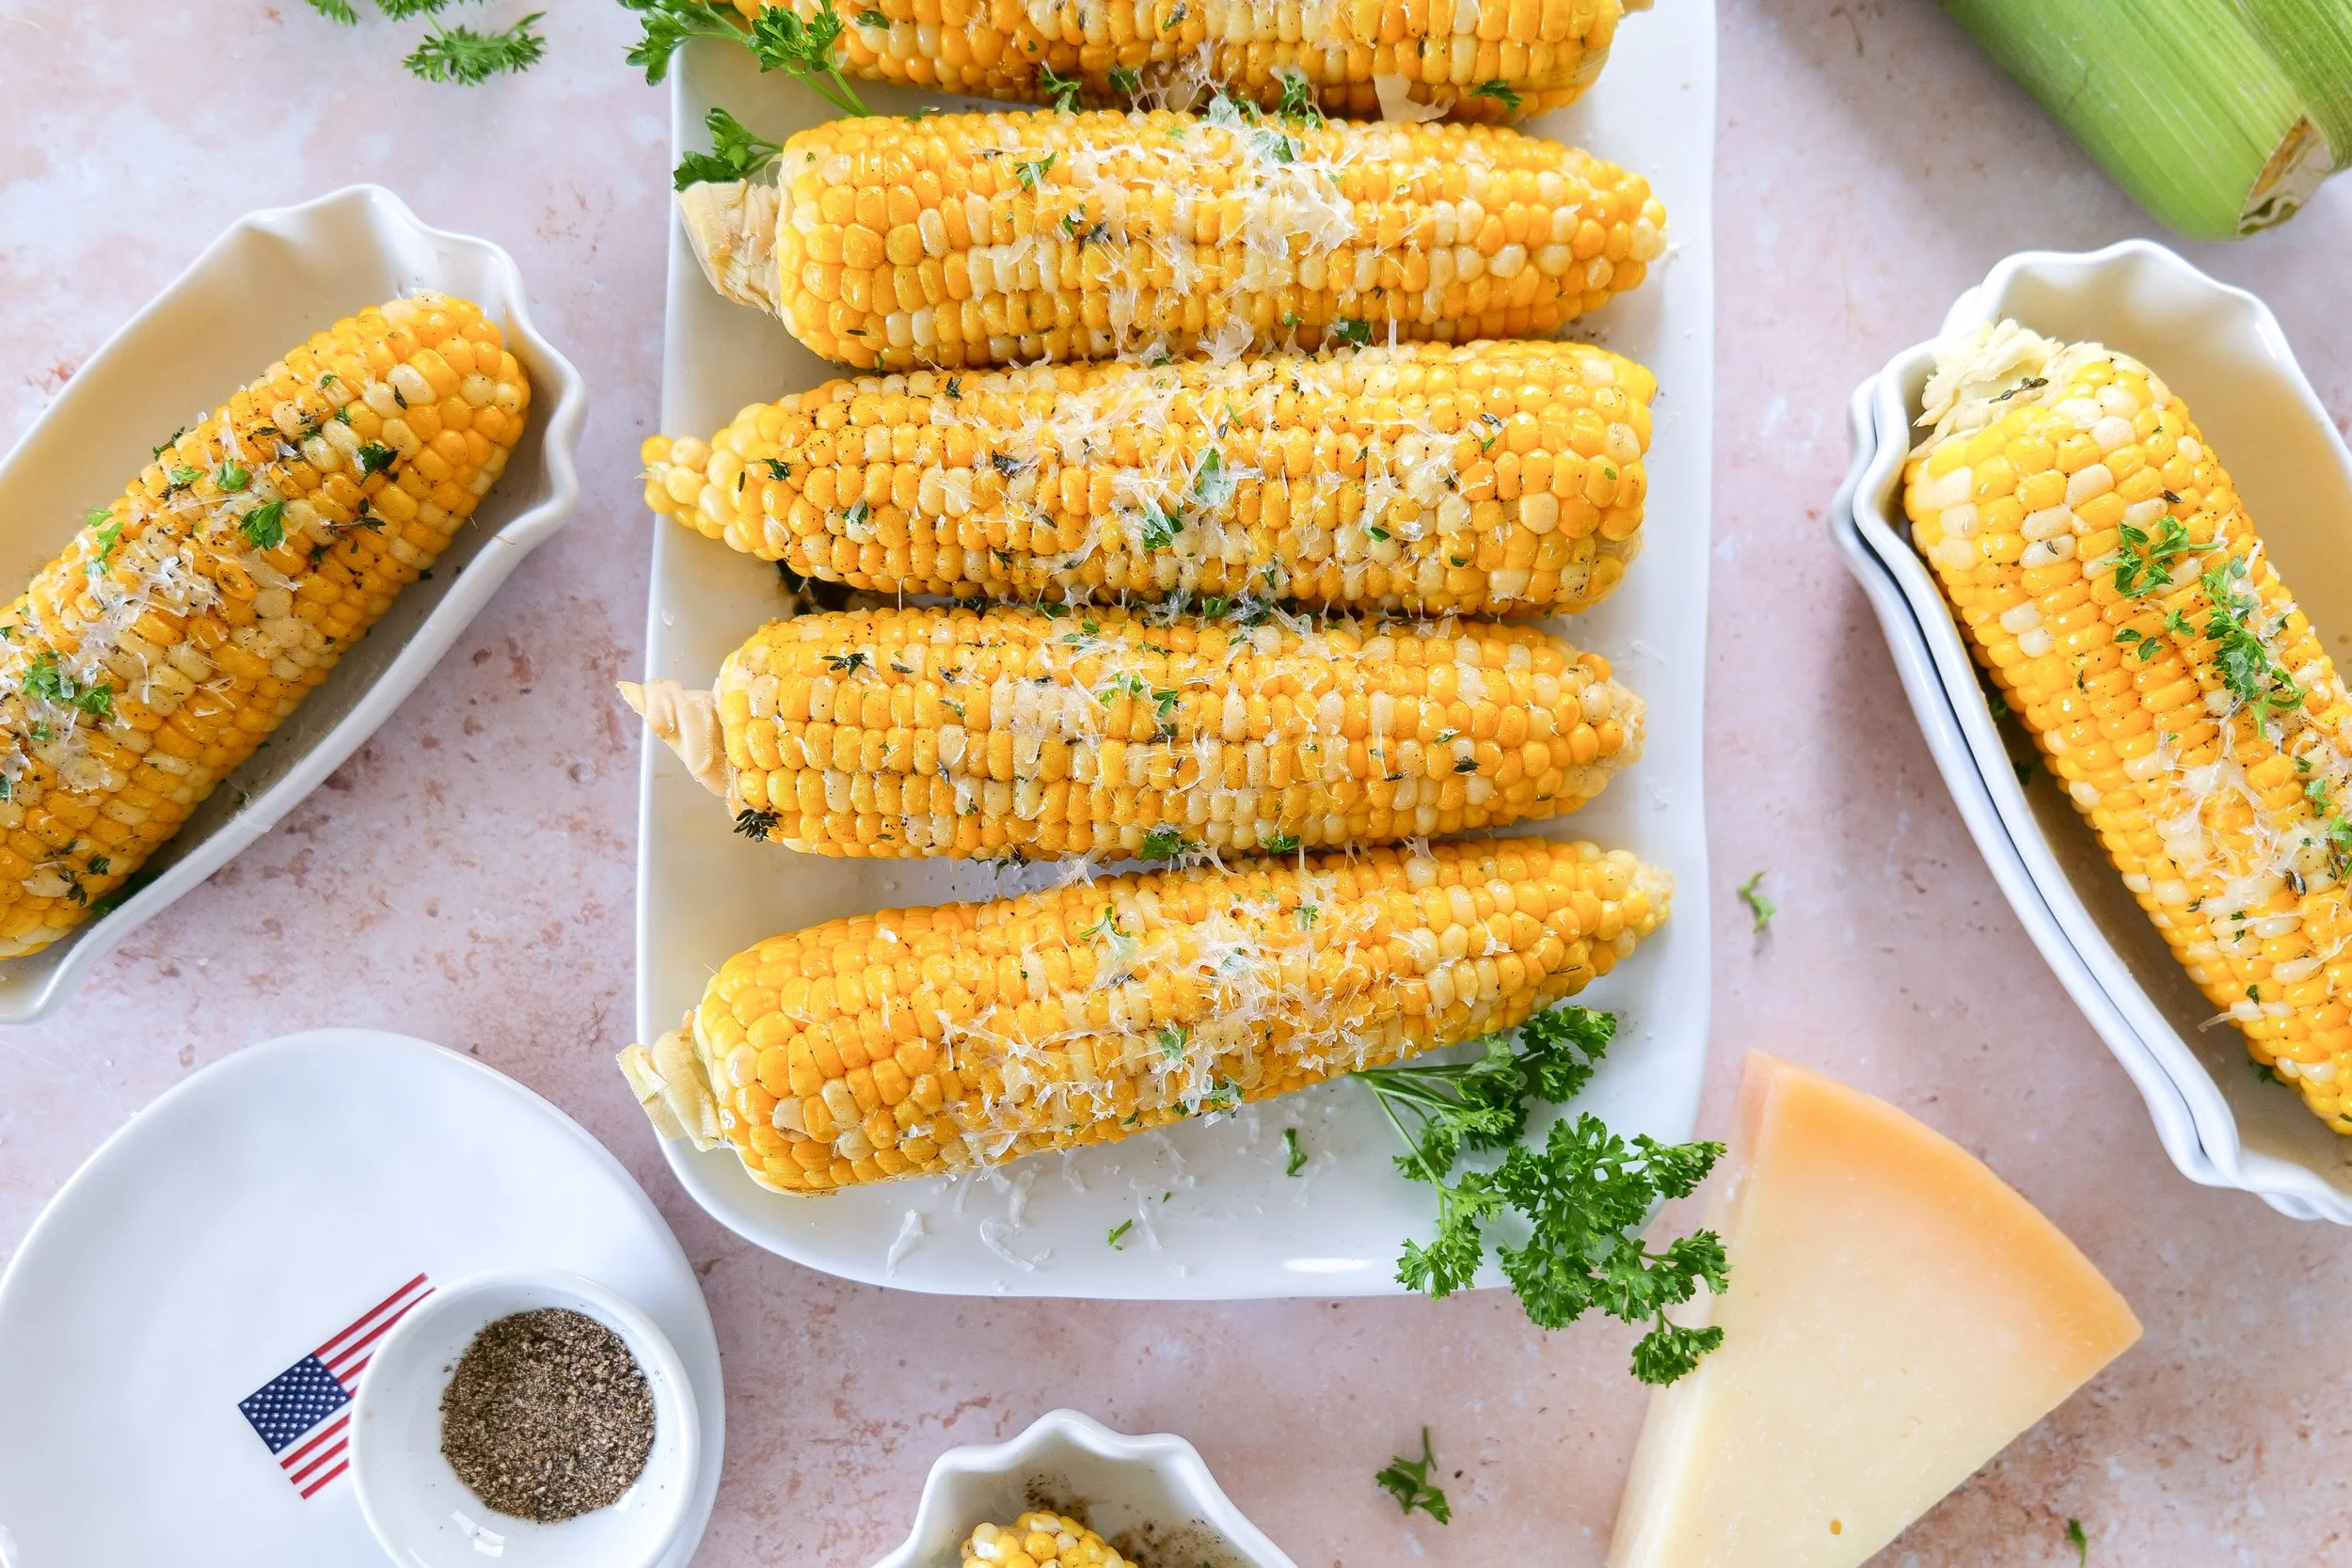
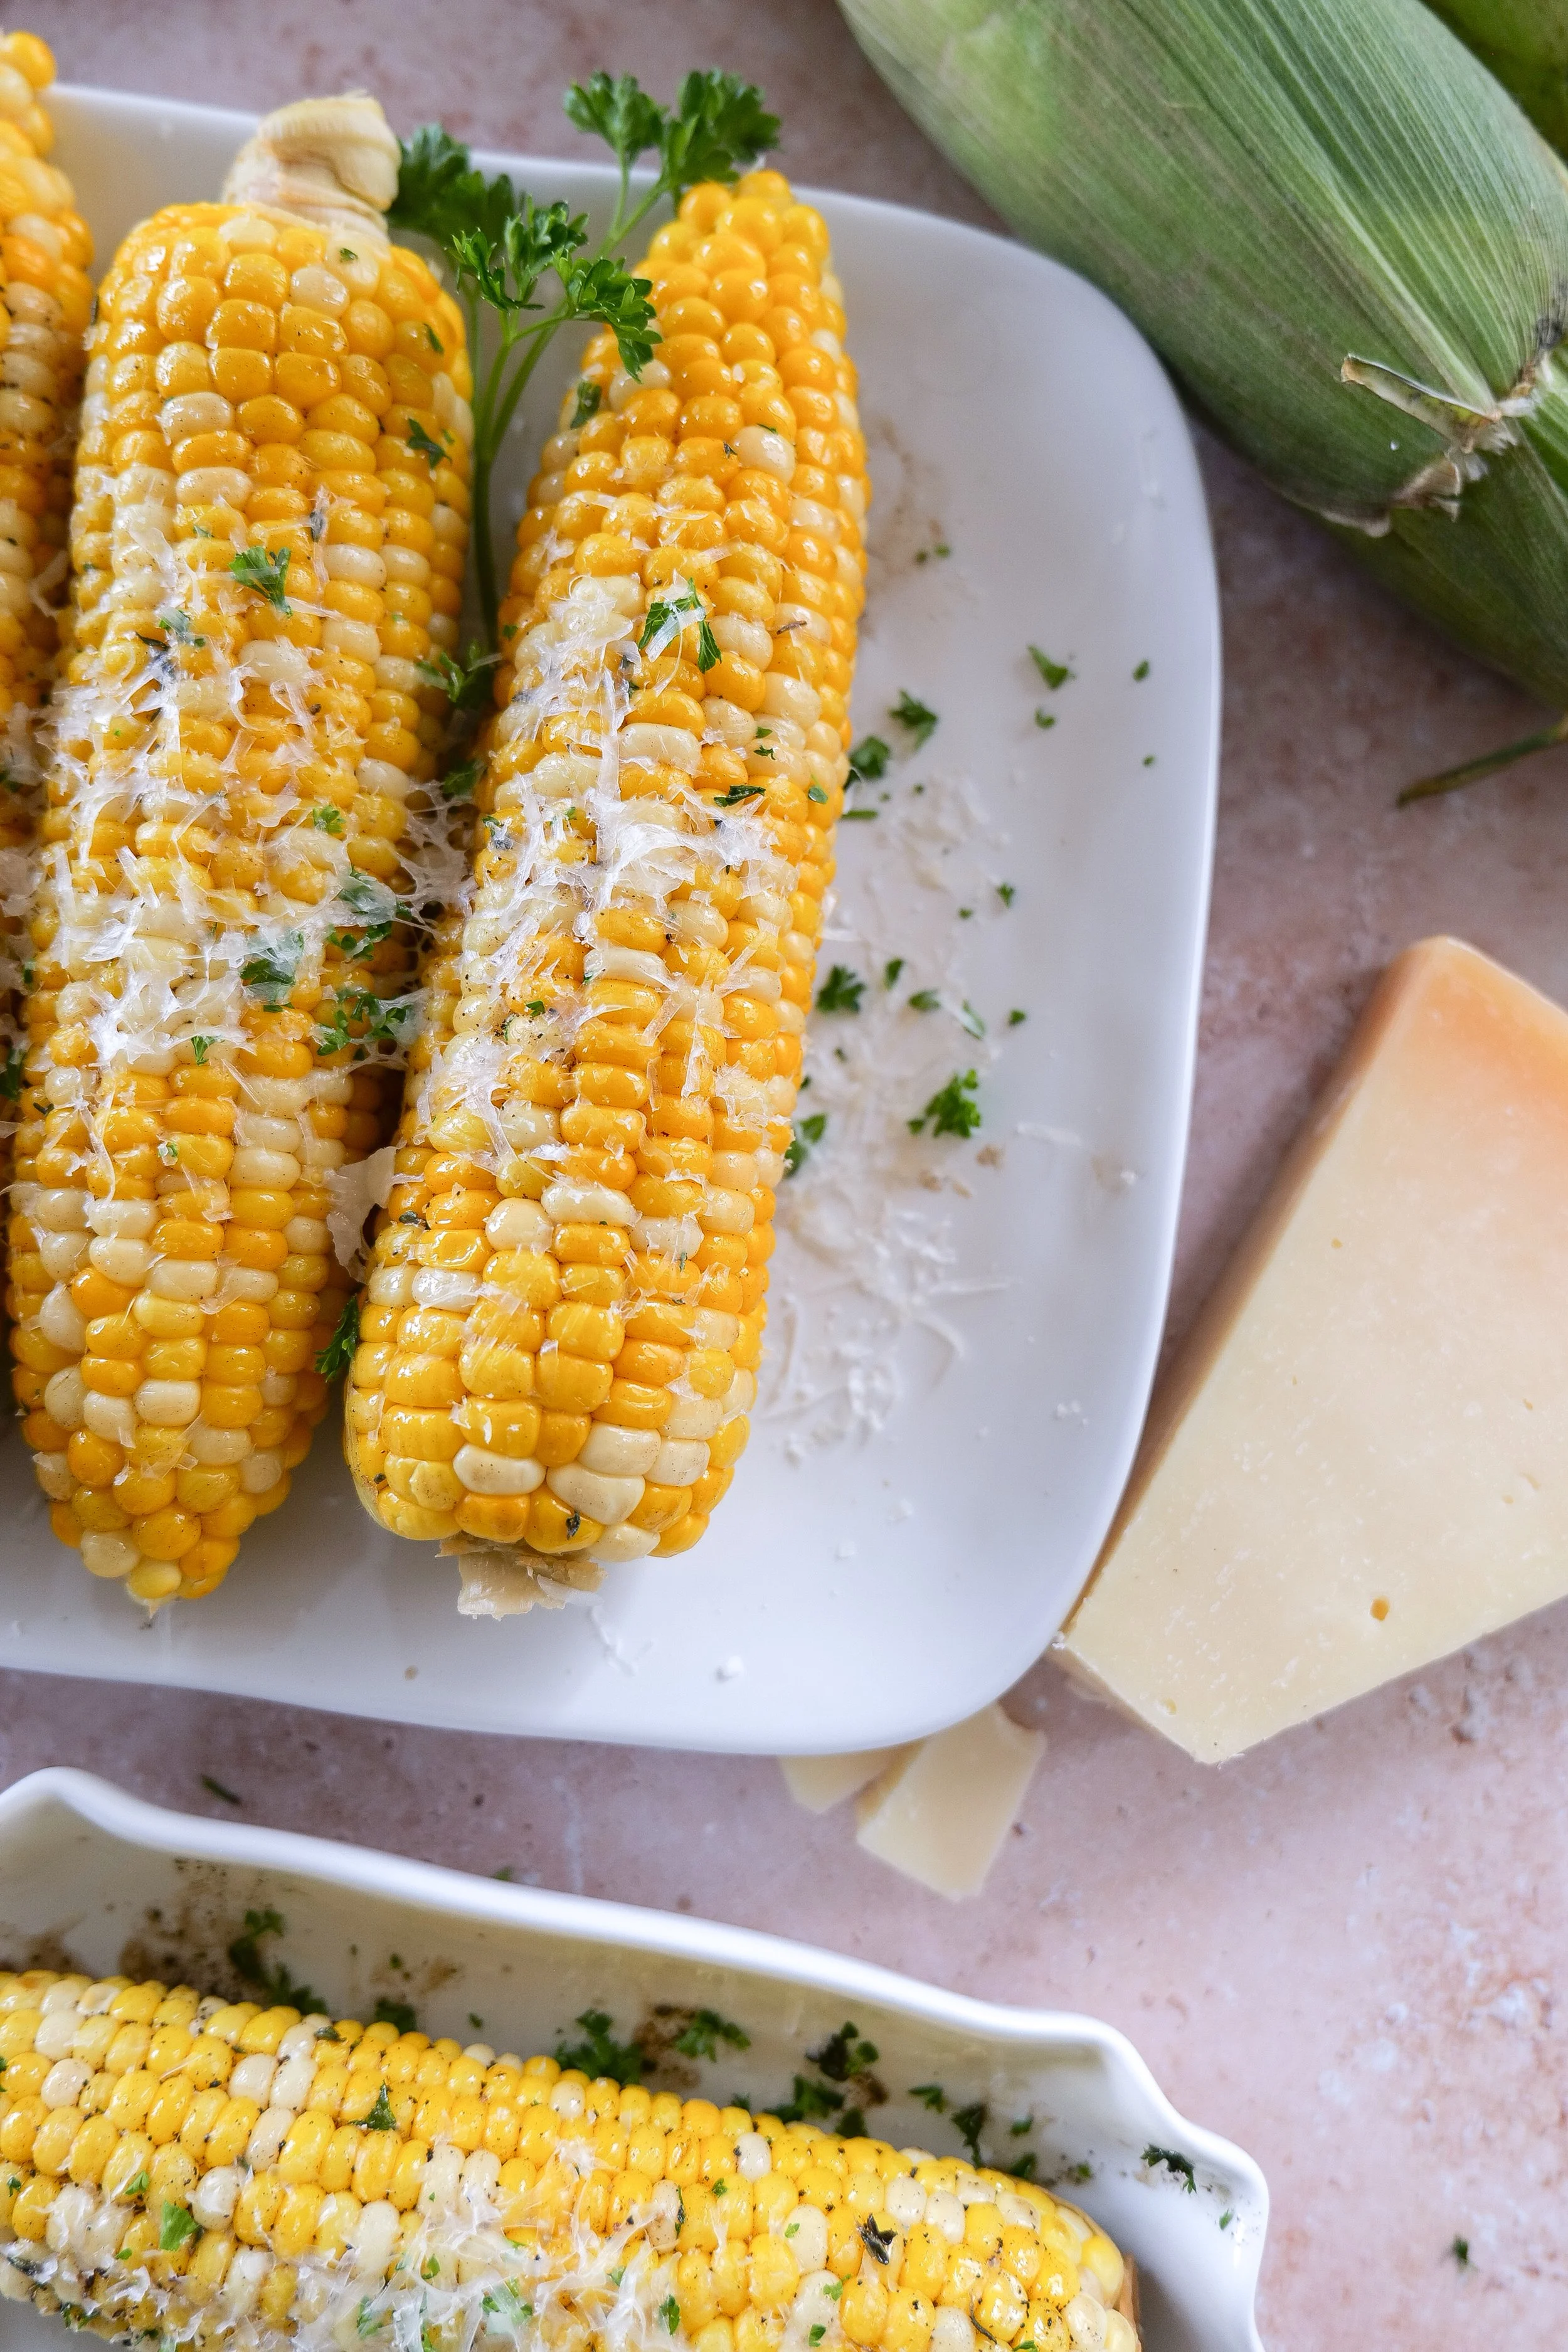
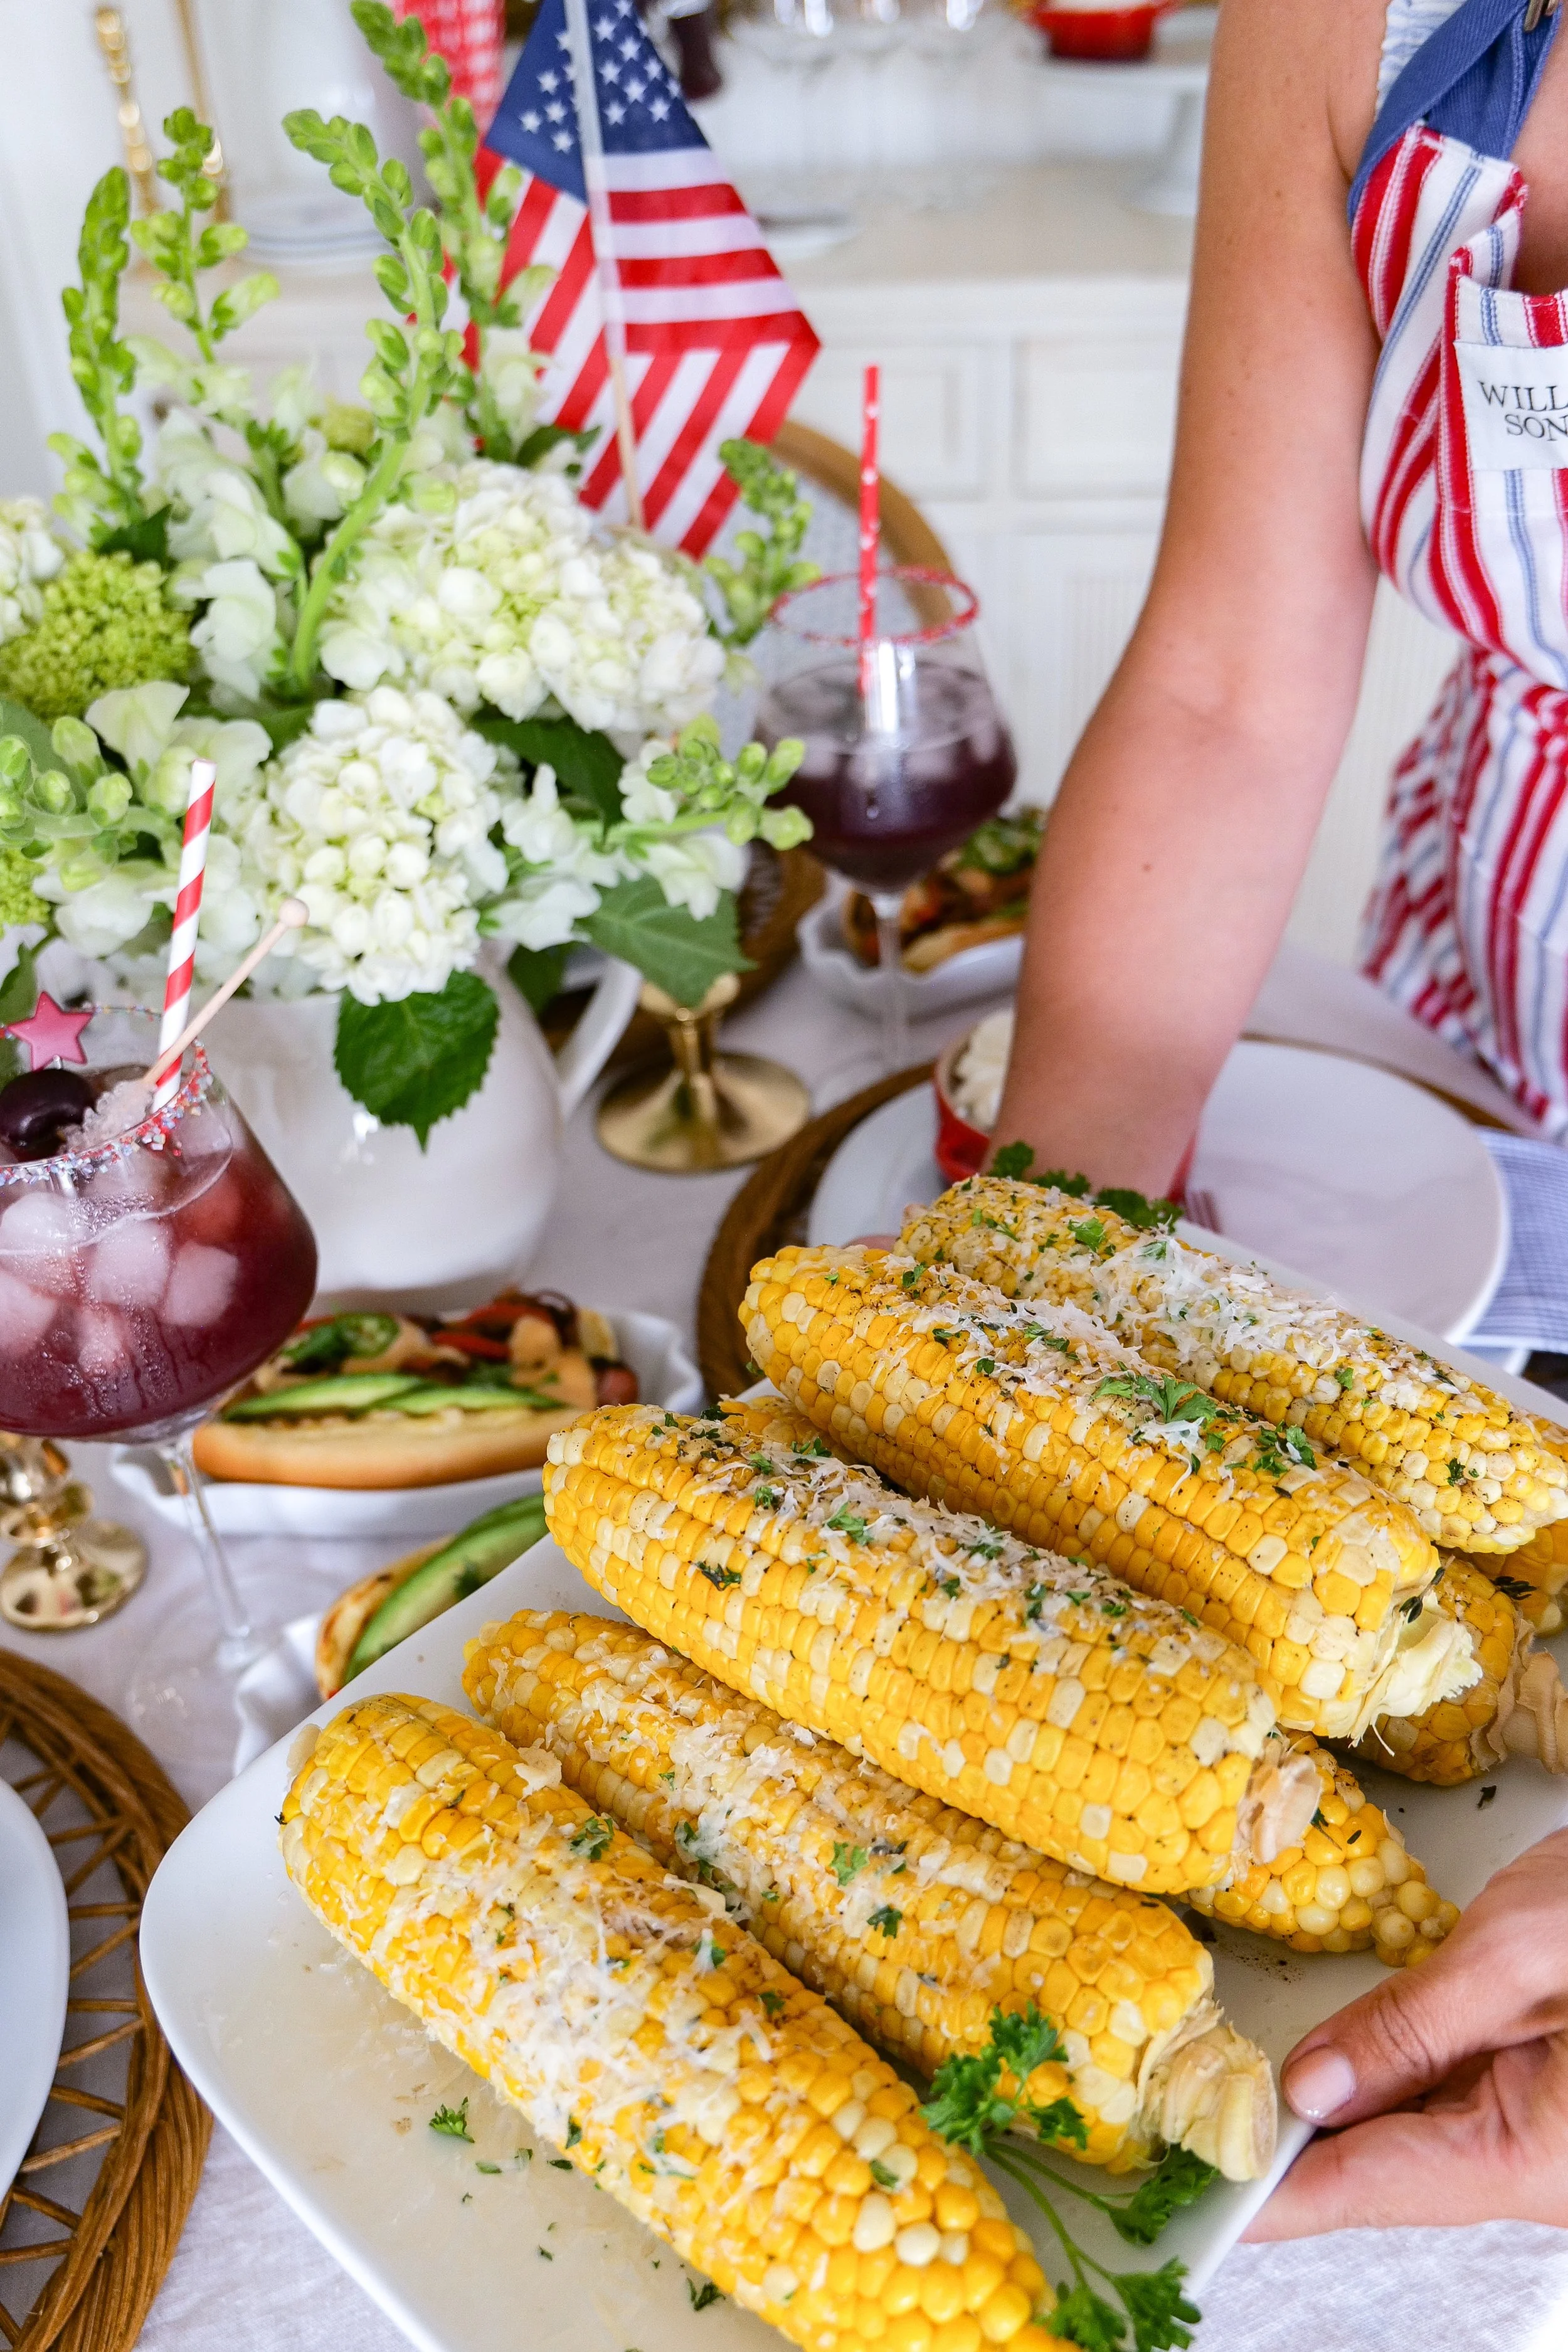
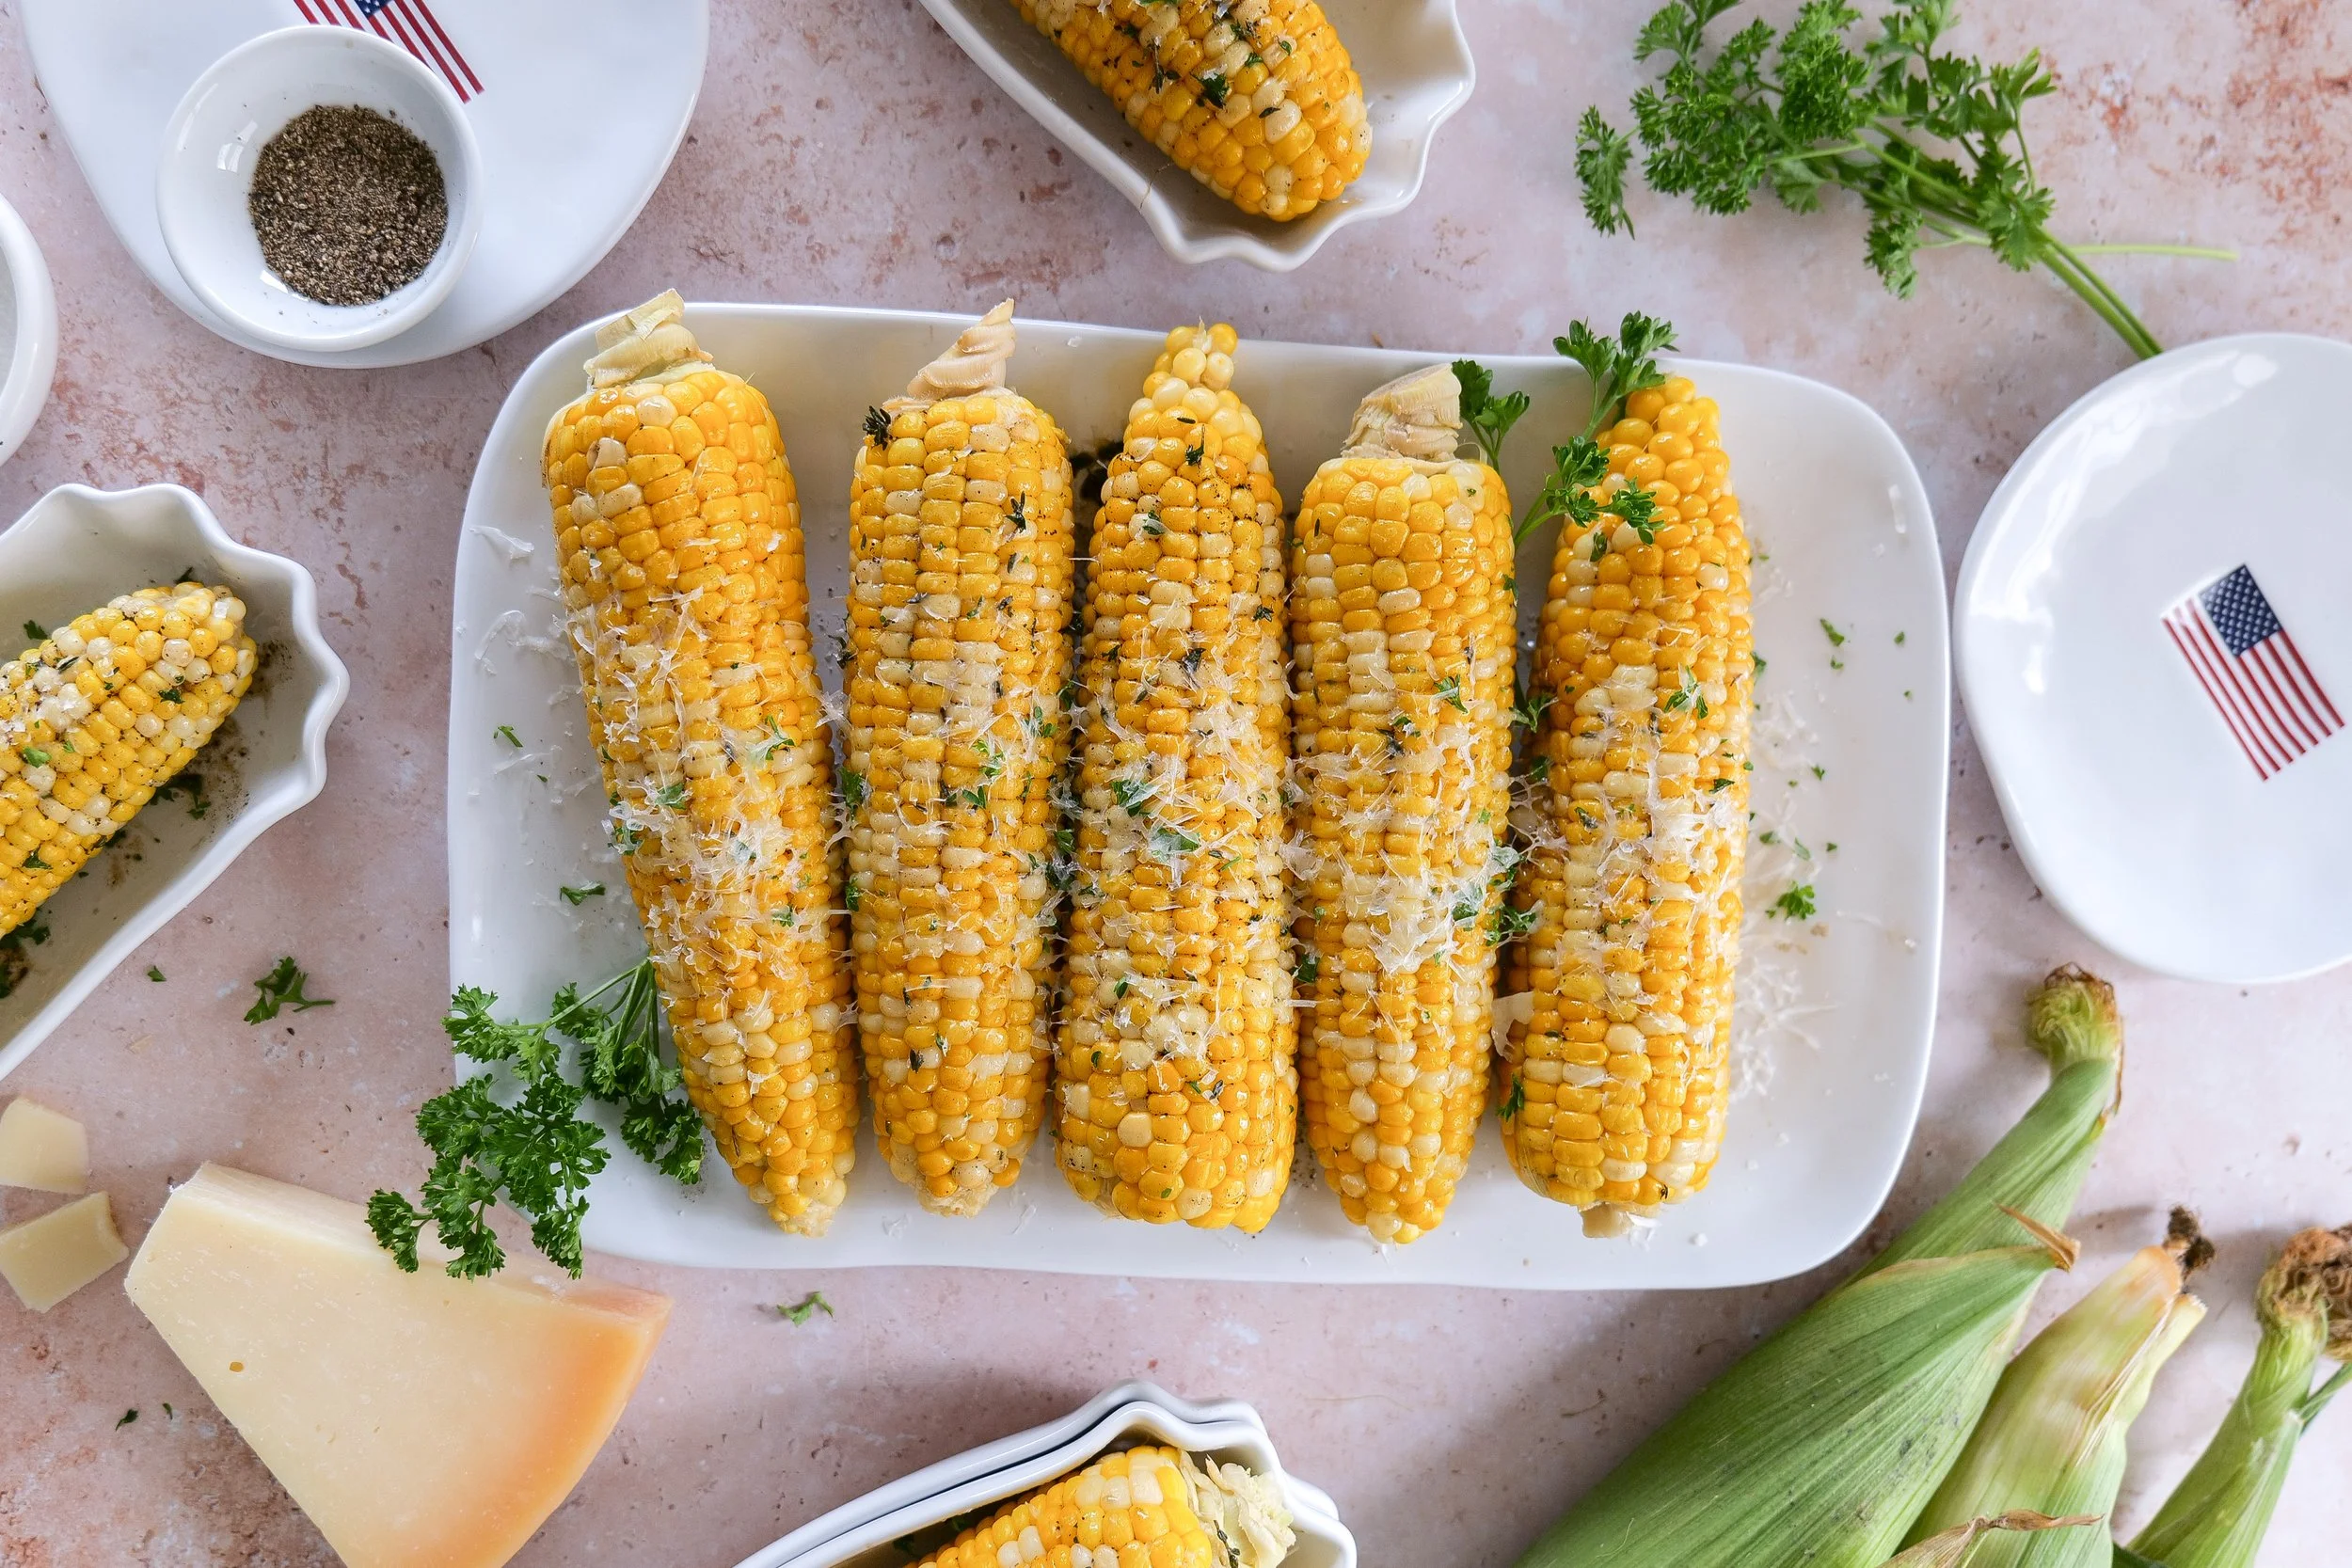
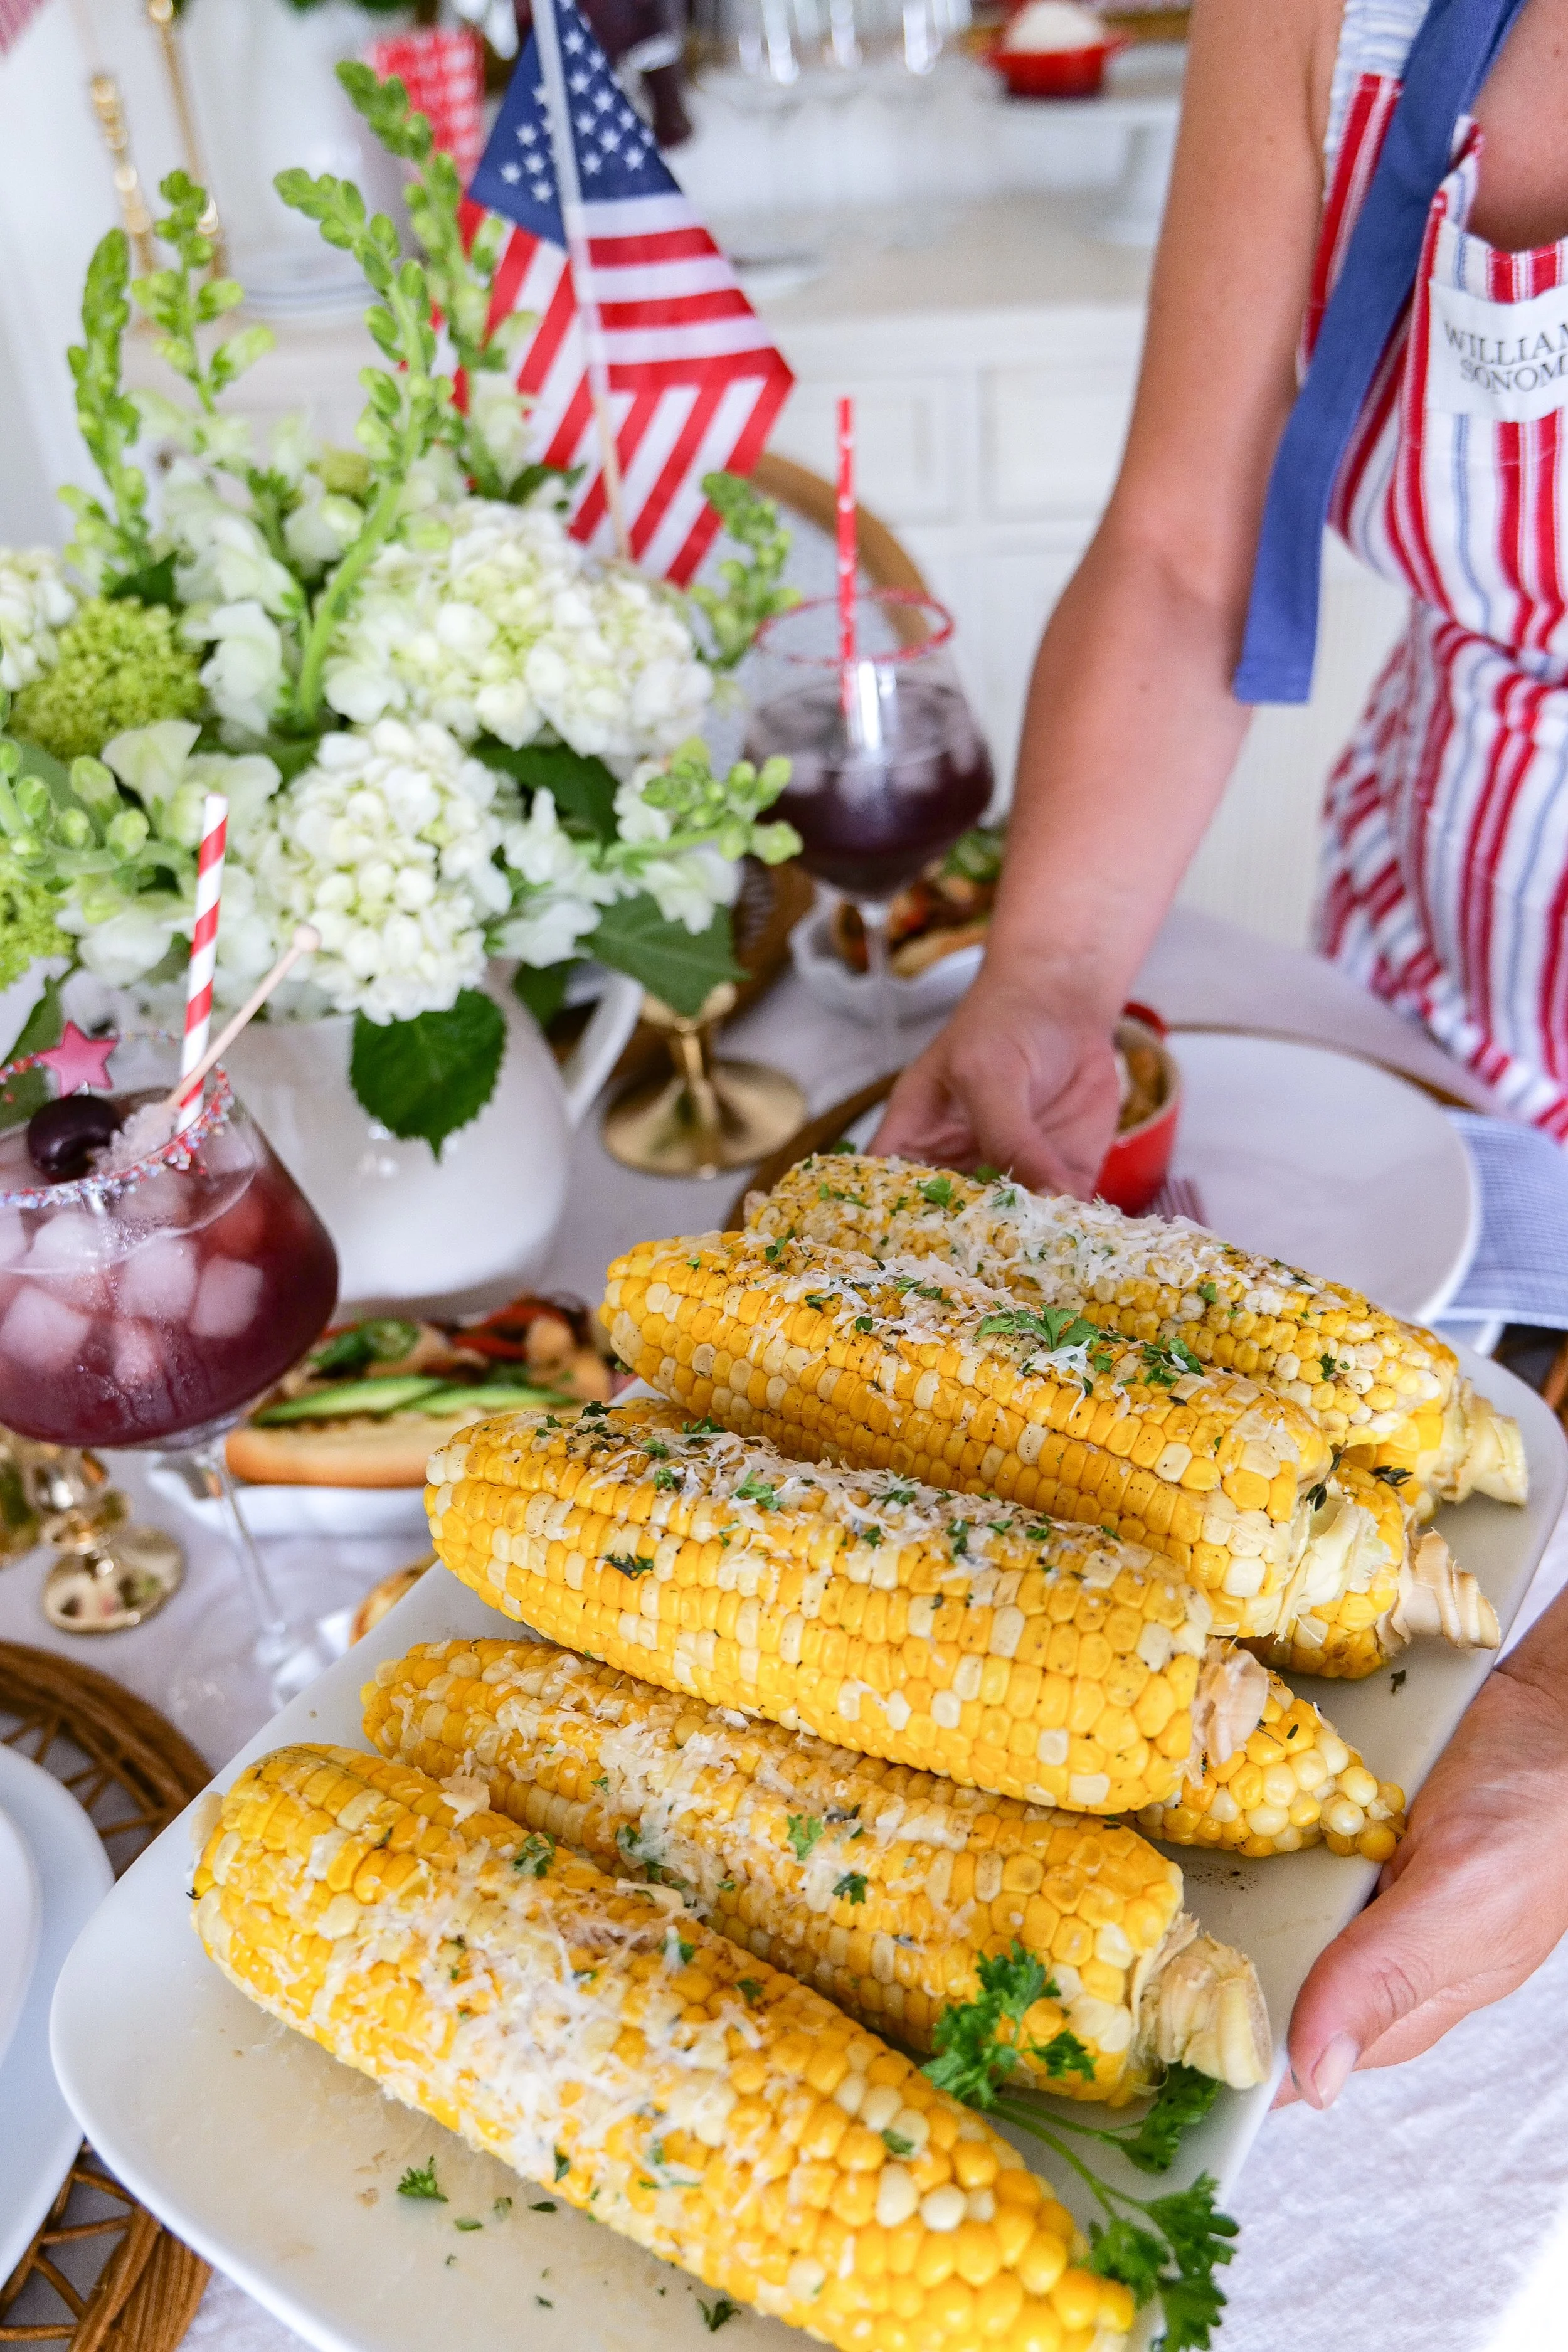
Corn on the cob
French fries
Fresh fruit salad
Lemonade or iced tea
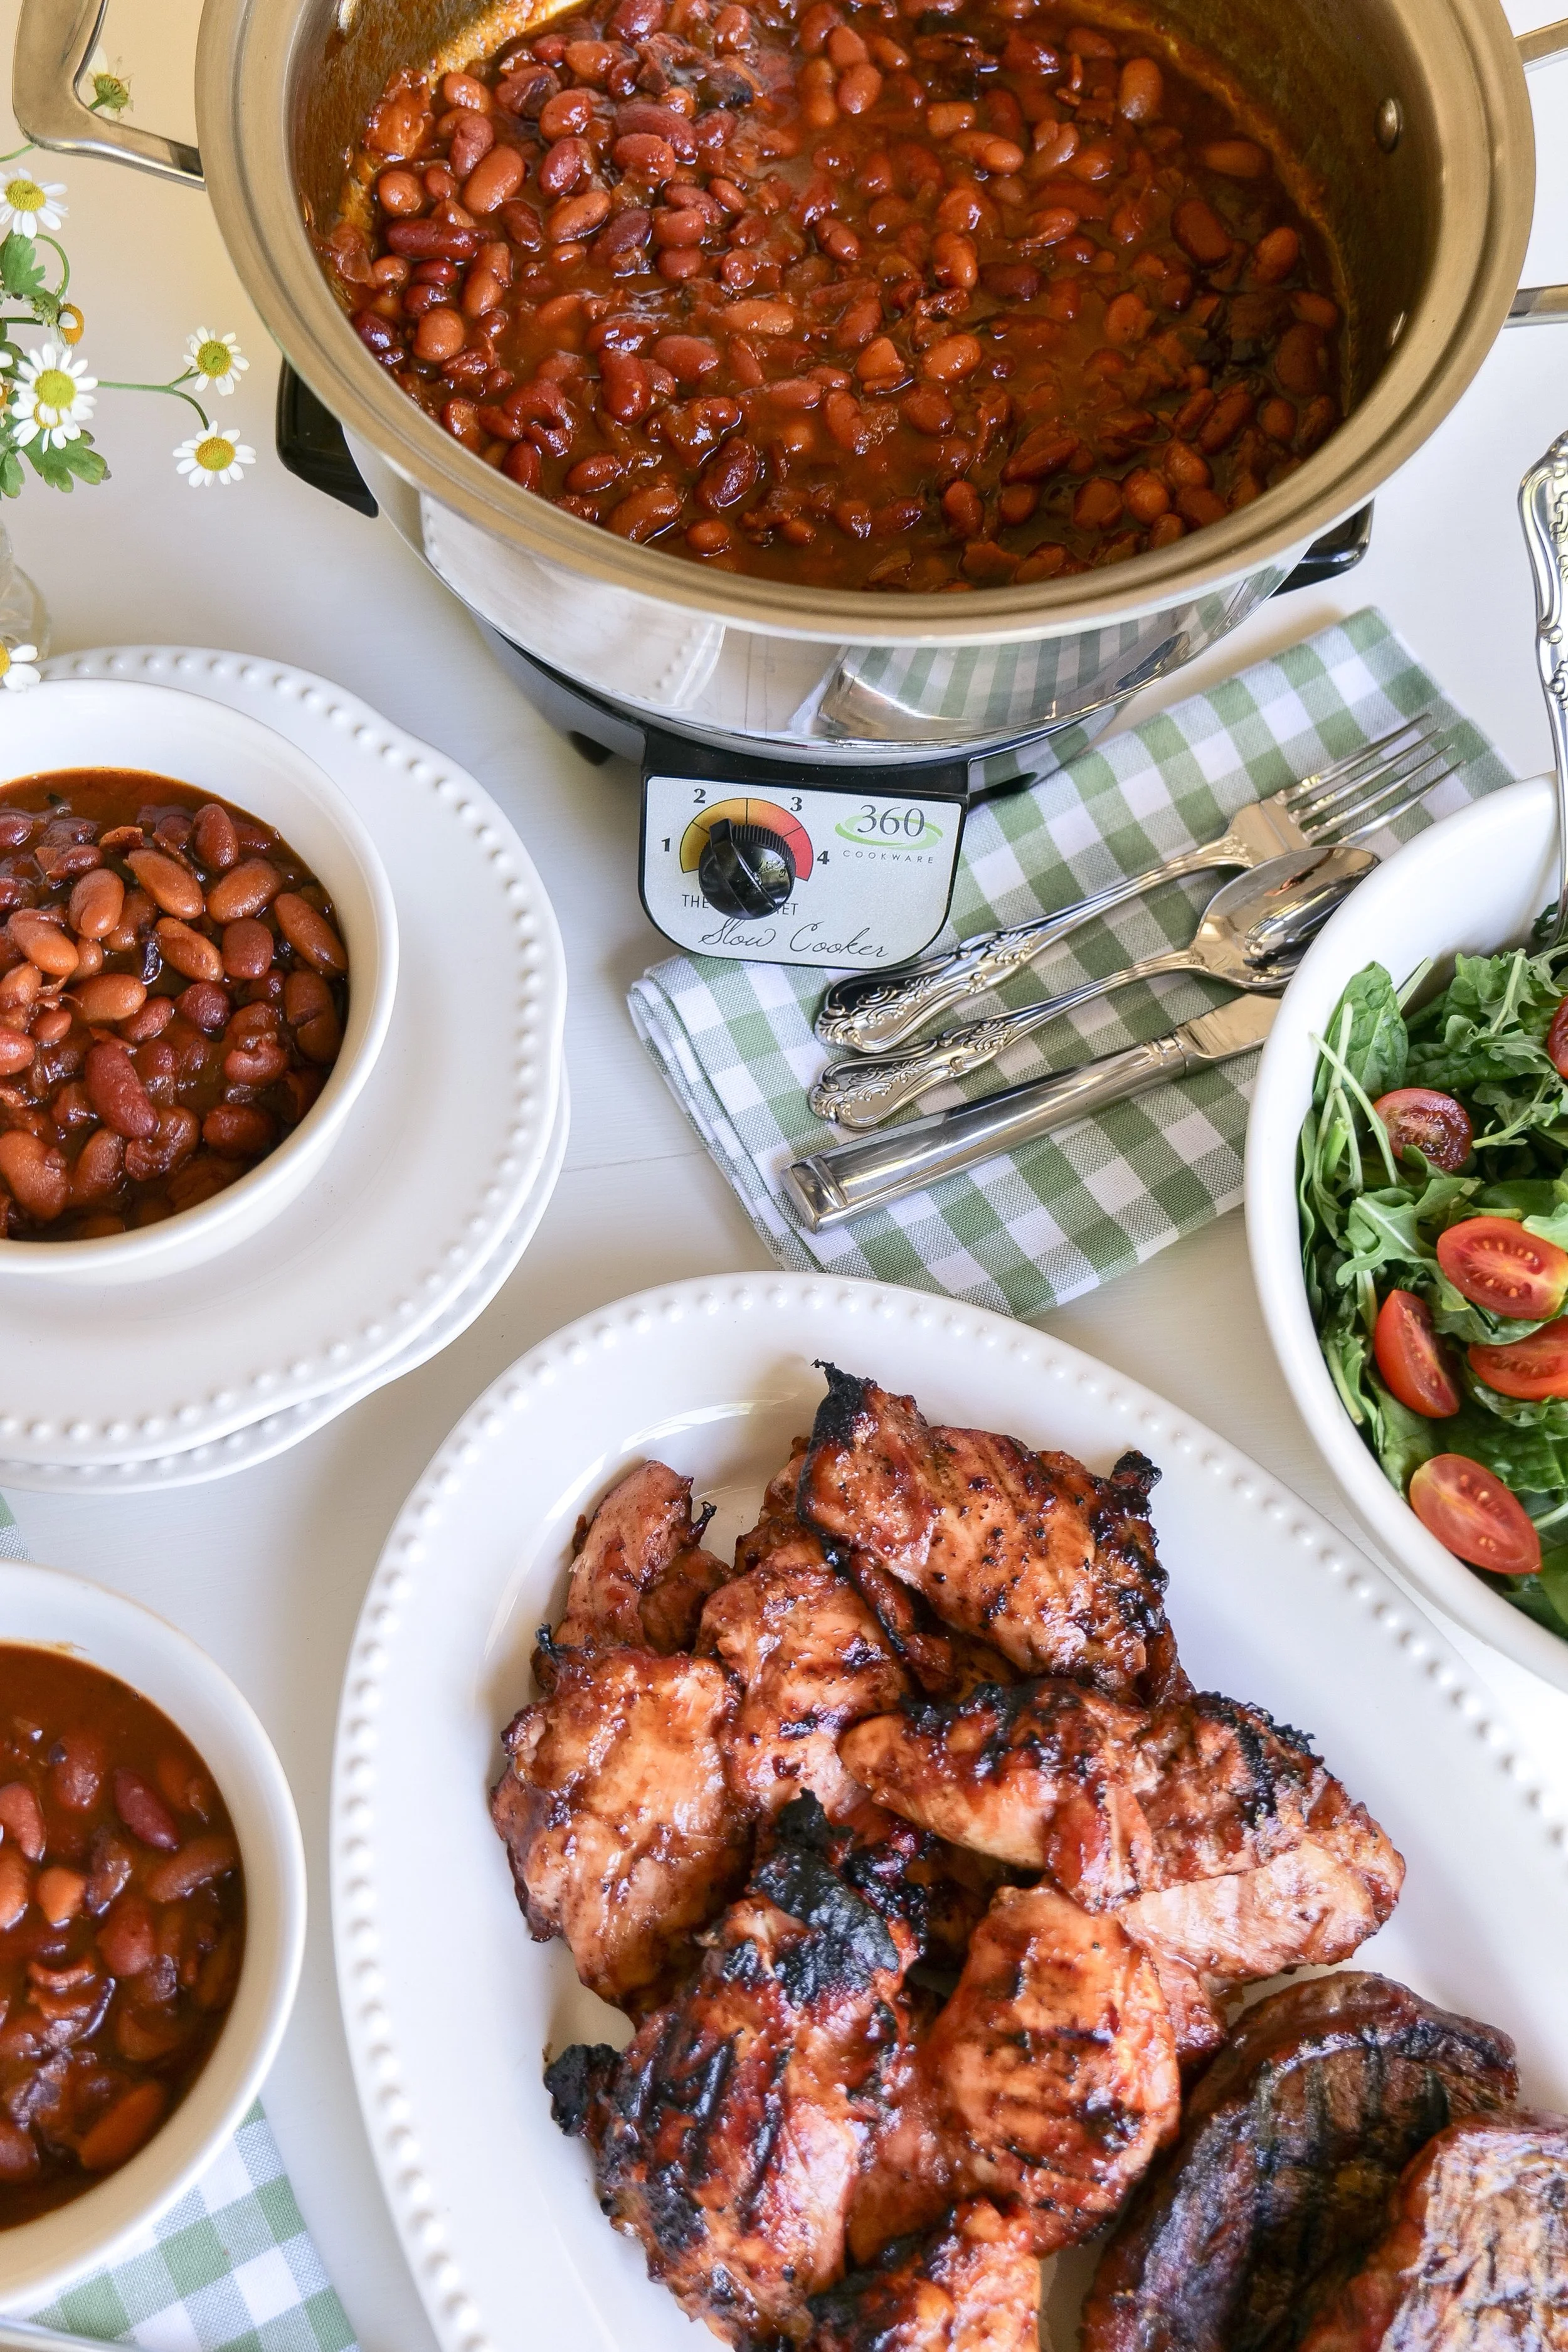
Potato salad
If you’re building a full All American summer menu, these pair perfectly with my Mini Cherry Cobblers for Summer Parties & 4th of July, Apricot Burrata Arugula Salad with Prosciutto & Honey Balsamic Dressing, and 4th of July Fruit Pizza Recipe.

Tips for the Best Bacon Wrapped Hot Dogs
Use thin-cut bacon so it crisps evenly
Turn the hot dogs often while cooking
Toast the buns for the best texture
Use ripe avocado for creamy flavor
Serve immediately while hot and crispy
Easy Variations to Try
Spicy California Dog
Add jalapeños and chipotle aioli for extra heat.
Beachside BBQ Dog
Top with barbecue sauce and crispy onions.
Guacamole California Dog
Swap sliced avocado for fresh homemade guacamole.
Turkey Dog Version
Use turkey hot dogs for a lighter option.
Frequently Asked Questions
What makes a California hot dog different?
California hot dogs are known for fresh toppings like avocado, grilled vegetables, flavorful sauces, and often bacon-wrapped hot dogs inspired by Southern California street food.
Can I make these ahead of time?
You can prep the toppings and sauce ahead of time, then cook the hot dogs fresh before serving.
What are the best buns for California hot dogs?
Brioche buns work beautifully because they’re soft, buttery, and perfect for elevated summer entertaining.
Can I cook bacon wrapped hot dogs indoors?
Yes! A grill pan or skillet works perfectly.
Are these good for summer parties?
Absolutely. They’re easy to customize and perfect for backyard BBQs, pool parties, and summer entertaining.
Looking for More All American Summer Recipes?
If you’re loving this Americana-inspired summer series, be sure to check out:
And don’t forget to browse my Summer Grilling Essentials, American Summer Hosting, All American Mama, and Cozy Baking Essentials collections for even more summer inspiration, hosting favorites, and cozy Americana finds.
From Amanda's Kitchen
Some recipes become staples because they're easy. Others become favorites because they're tied to the people and memories we cherish most.
That's exactly why I created these From Amanda's Kitchen printable recipe cards. Whether you're planning a backyard barbecue, celebrating a summer holiday, or simply gathering around the grill with family, my hope is that these recipes become part of your own traditions.
Because the best recipes aren't just made—they're shared, celebrated, and passed down from one kitchen to another.
Save or print the recipe card below so it's ready for your next summer cookout.