Easy Watermelon Fruit Cake for Summer Celebrations

Easy Watermelon Fruit Cake for Summer Celebrations

There is something especially sweet about finding a new way to continue a family tradition.

Each month, I make a milestone cake to celebrate another month with our baby girl. For her eight-month milestone, I wanted to create something a little different. She had the sweetest outfit covered in colorful fruit, so instead of baking a traditional cake, I made a watermelon fruit cake to match.

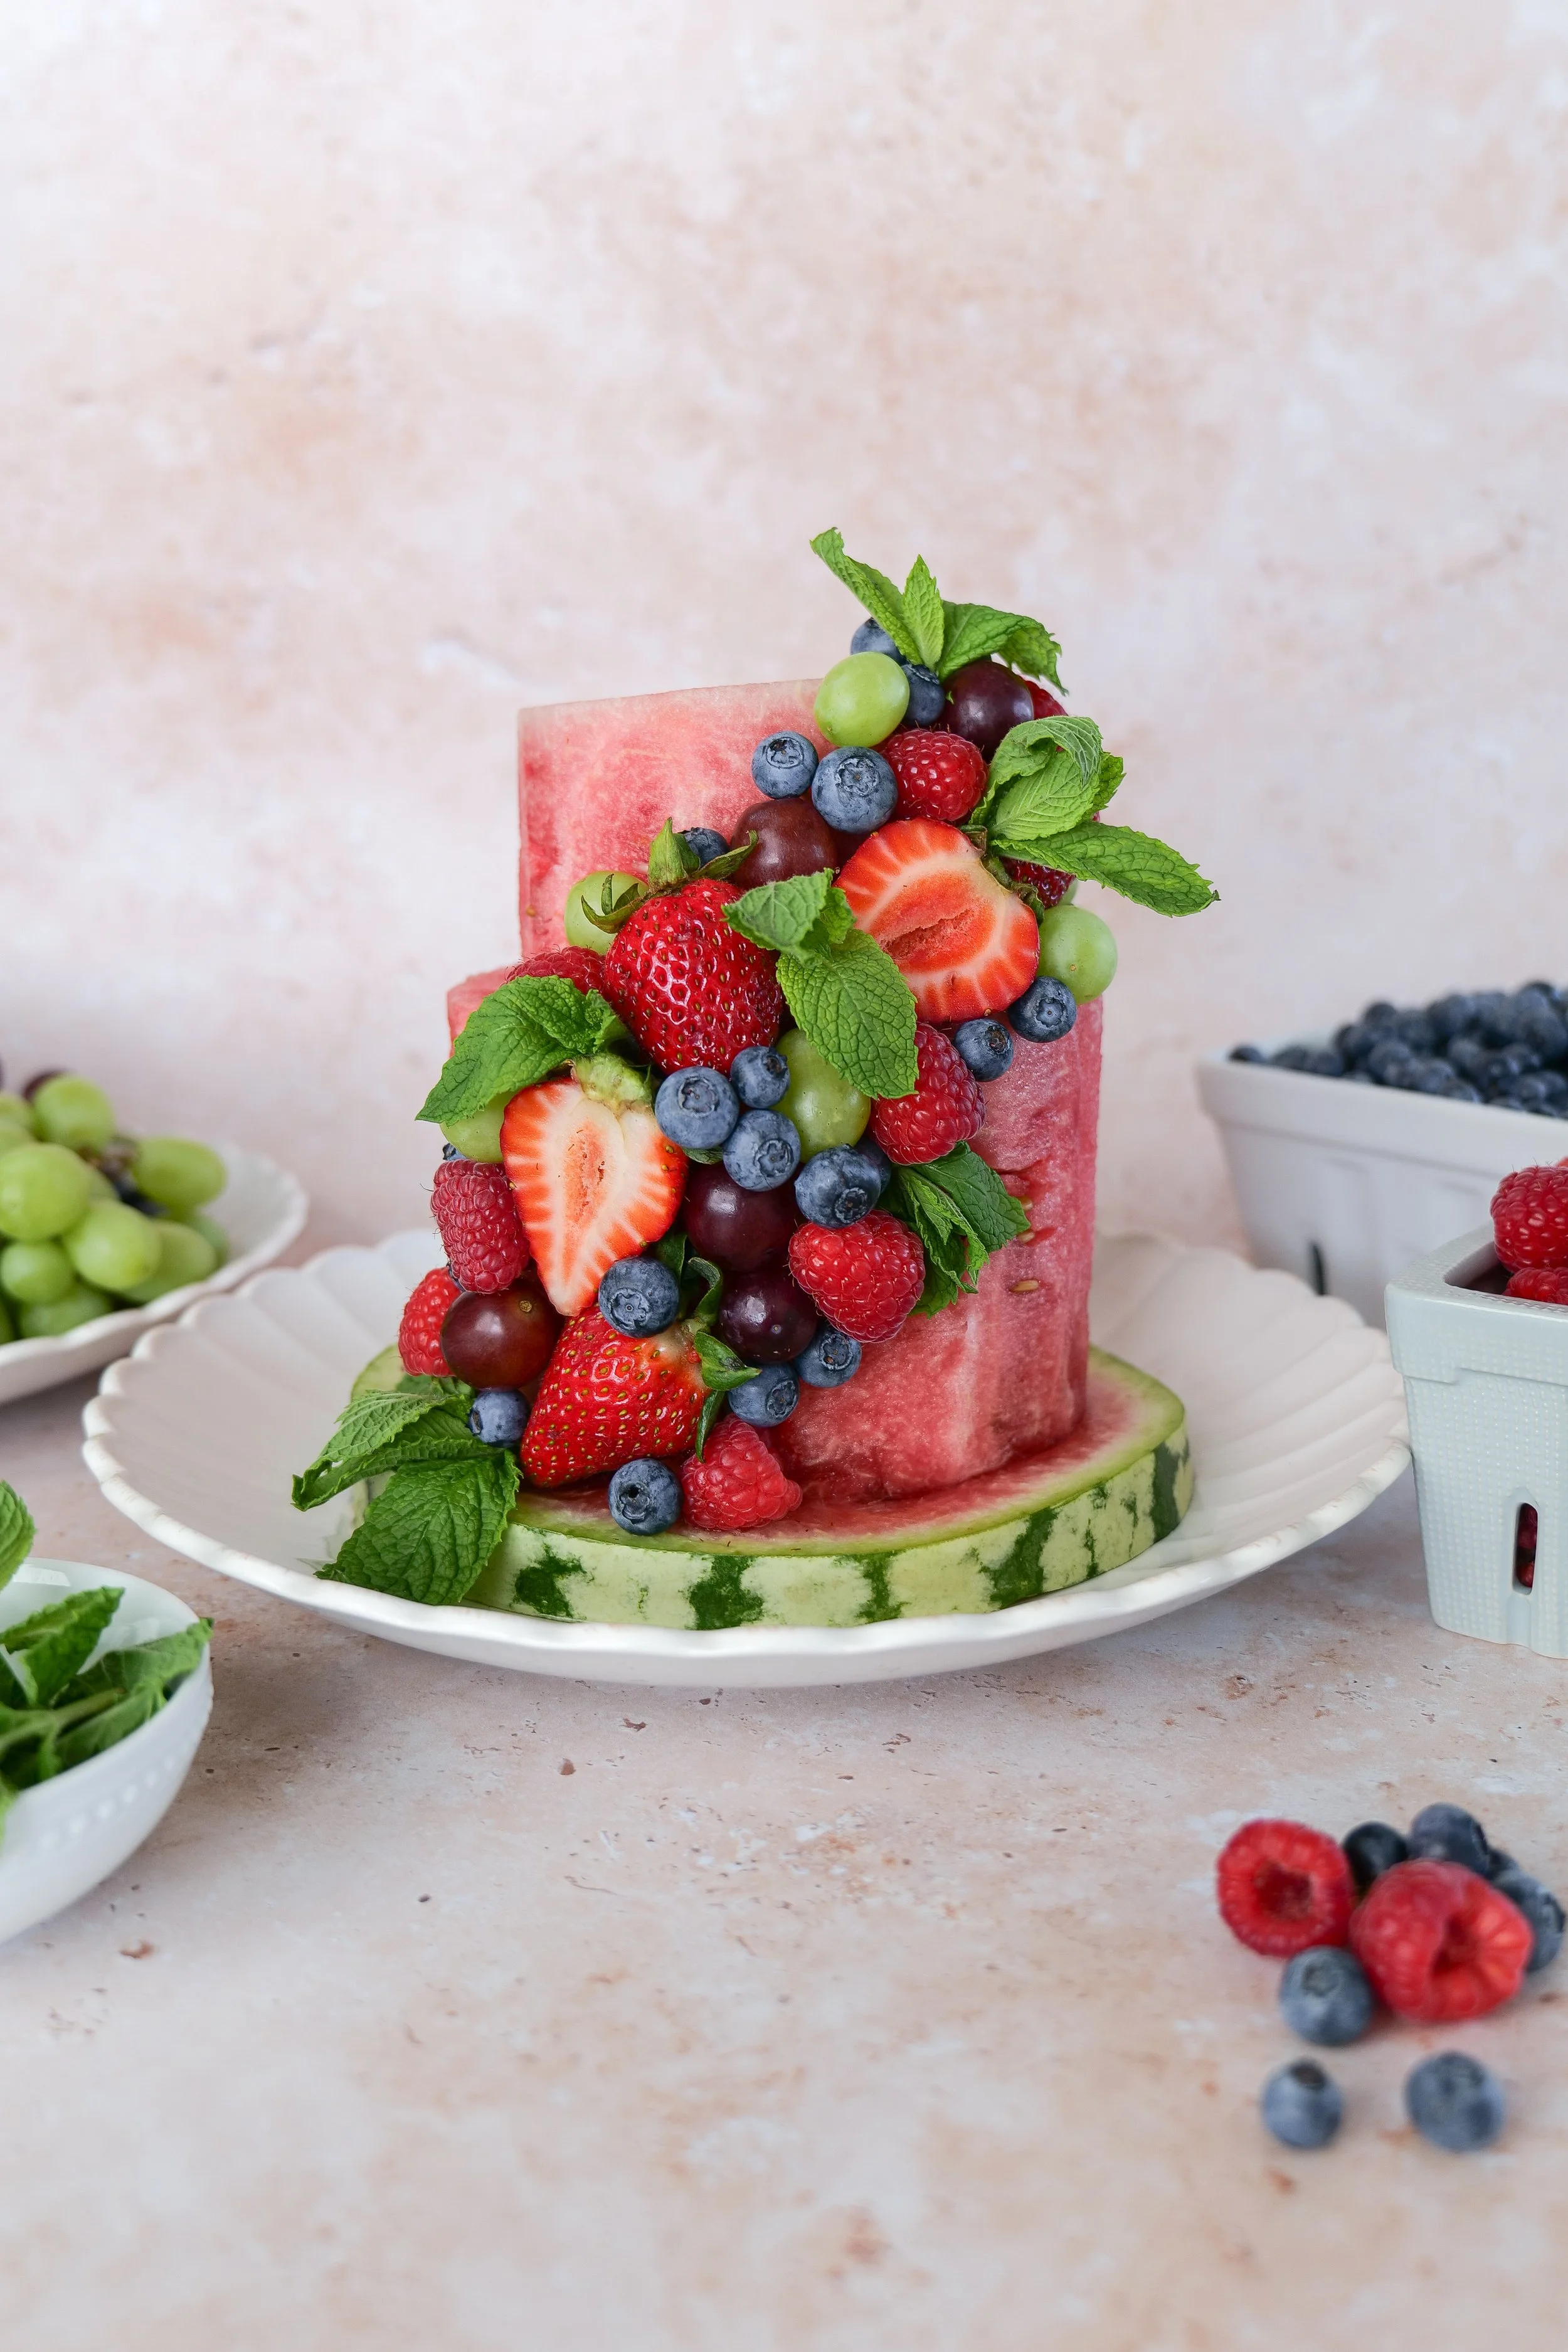
This no-bake watermelon cake is made entirely from fresh fruit. Two watermelons are trimmed into tiers and decorated with raspberries, blueberries, strawberries, colorful grapes, and fresh mint. I served homemade whipped cream on the side for everyone who wanted a little something extra.

It was bright, playful, and perfect for an August celebration. It also turned out to be much easier to assemble than it looks.

Although I made this one for a baby milestone, it would also be beautiful for a summer birthday, brunch, baby shower, pool party, Fourth of July gathering, or backyard dinner. It is a refreshing alternative to a traditional cake and a simple way to make seasonal fruit feel celebration-worthy.
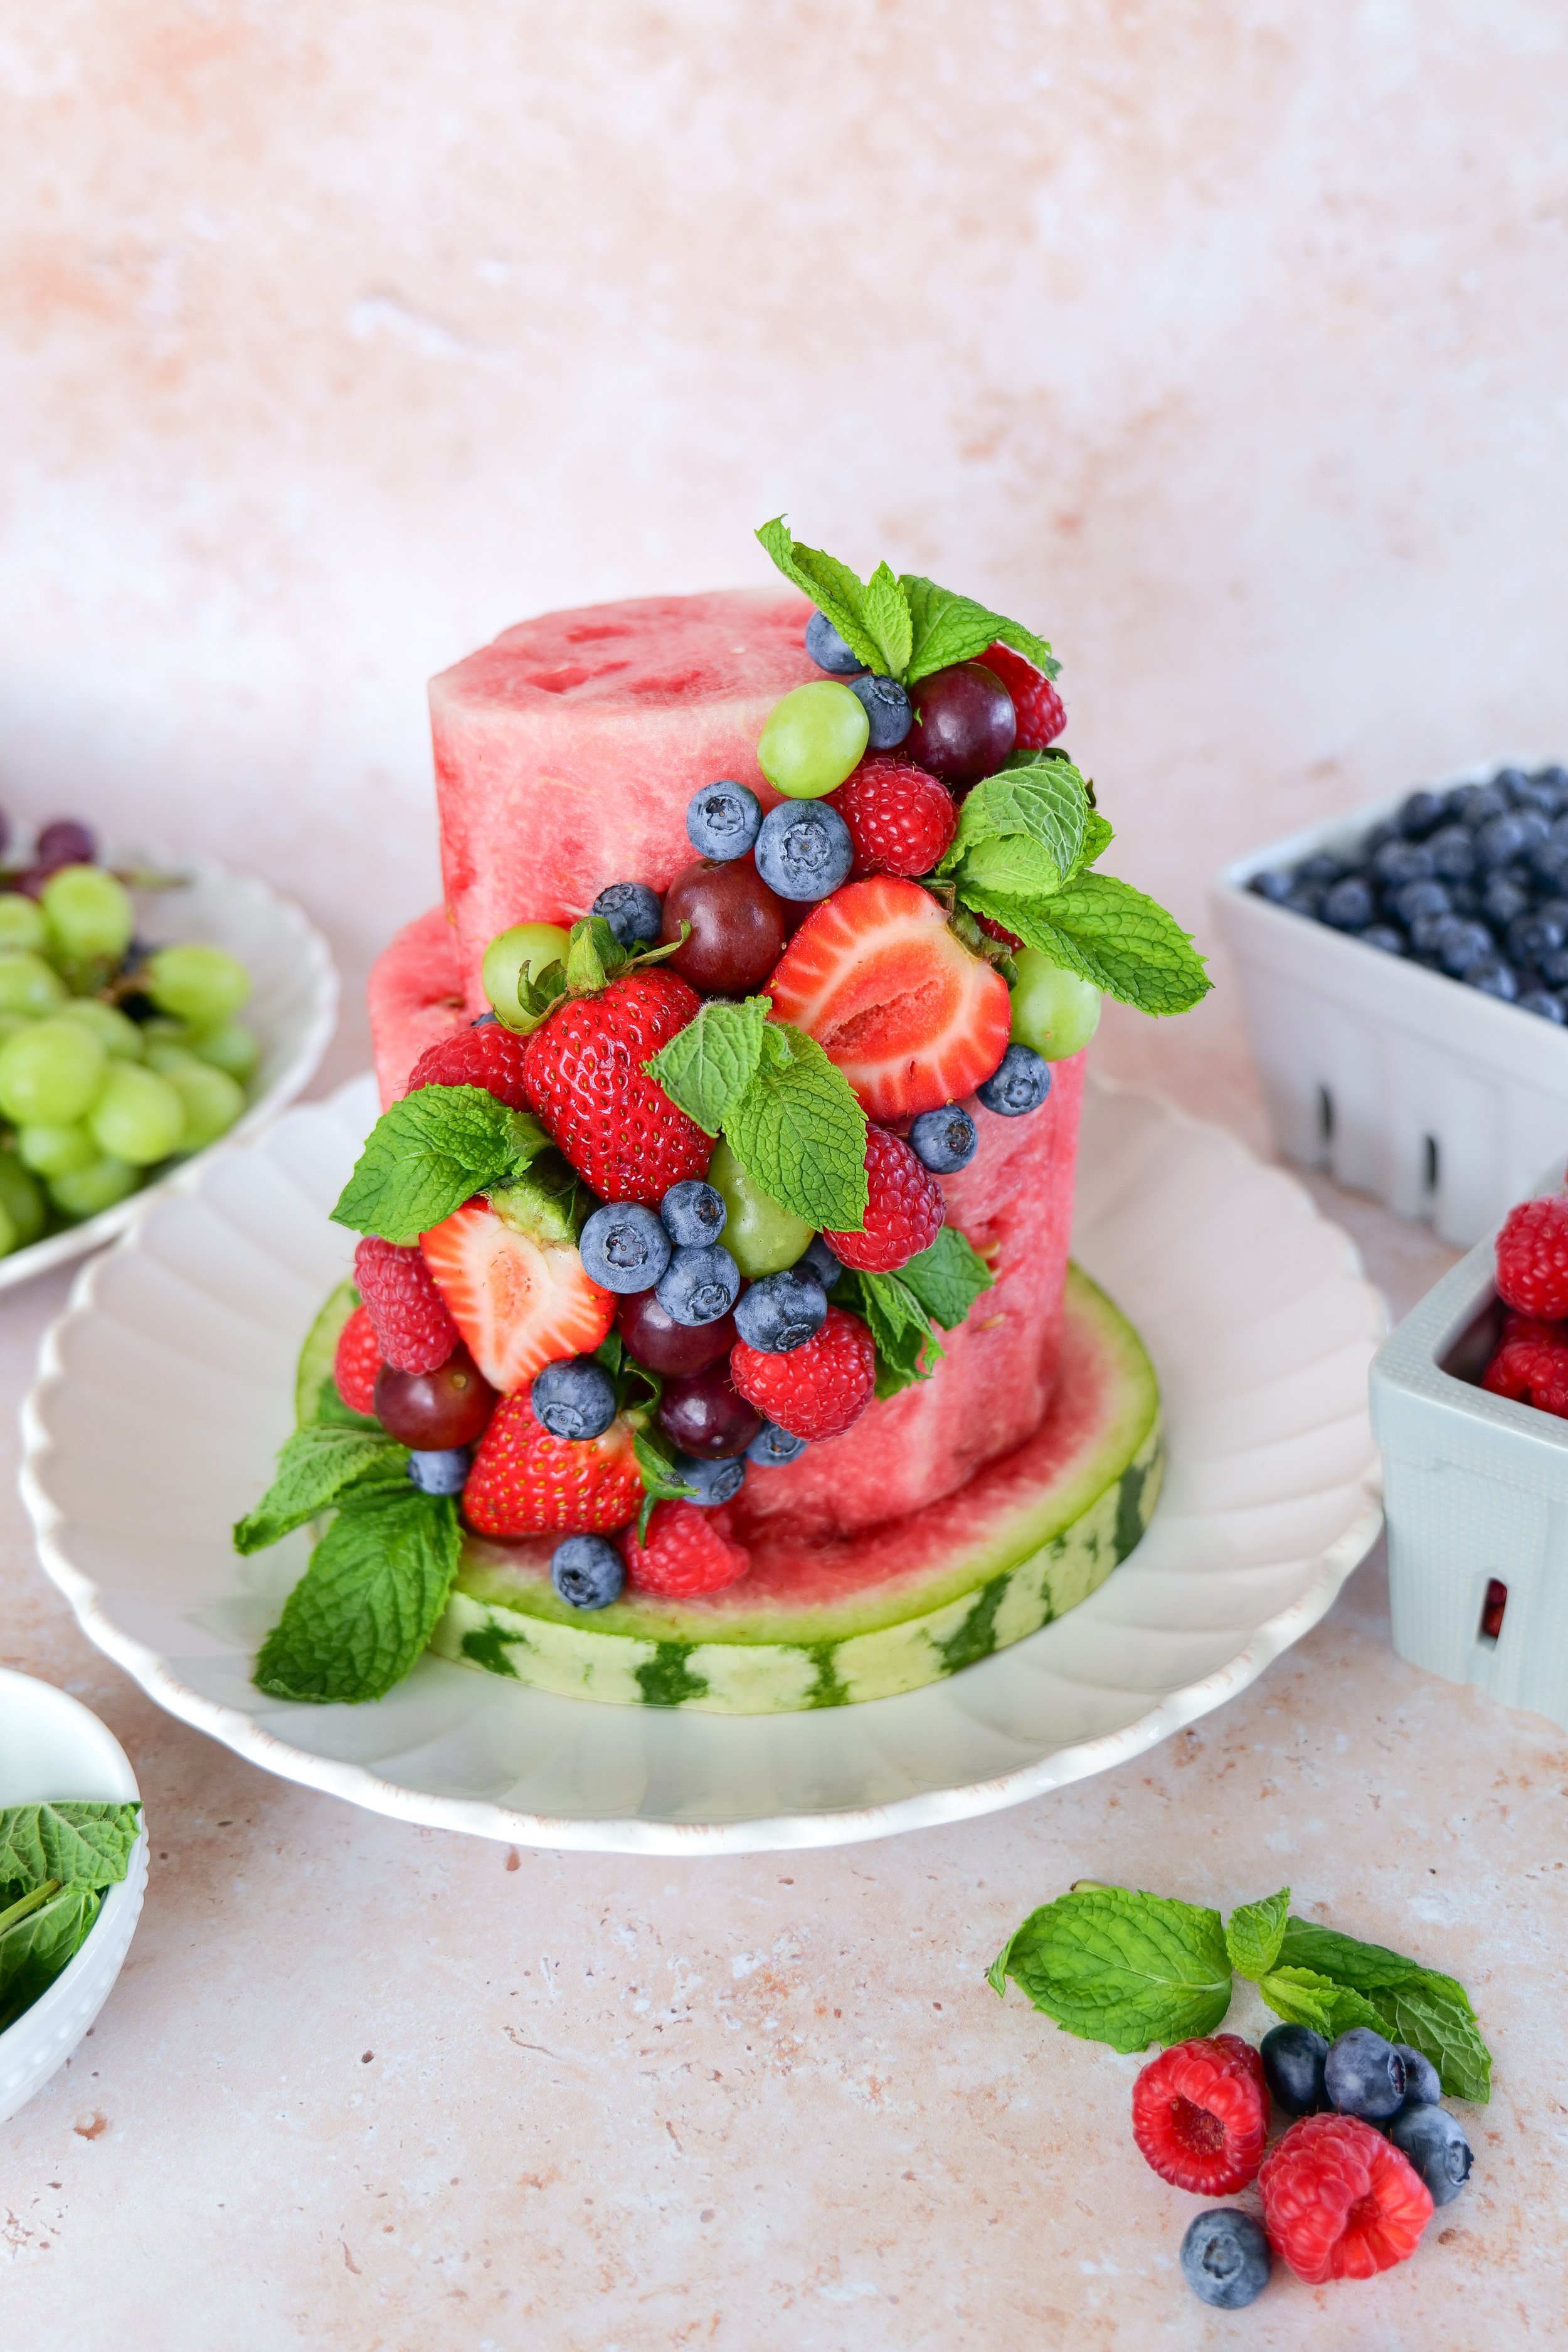
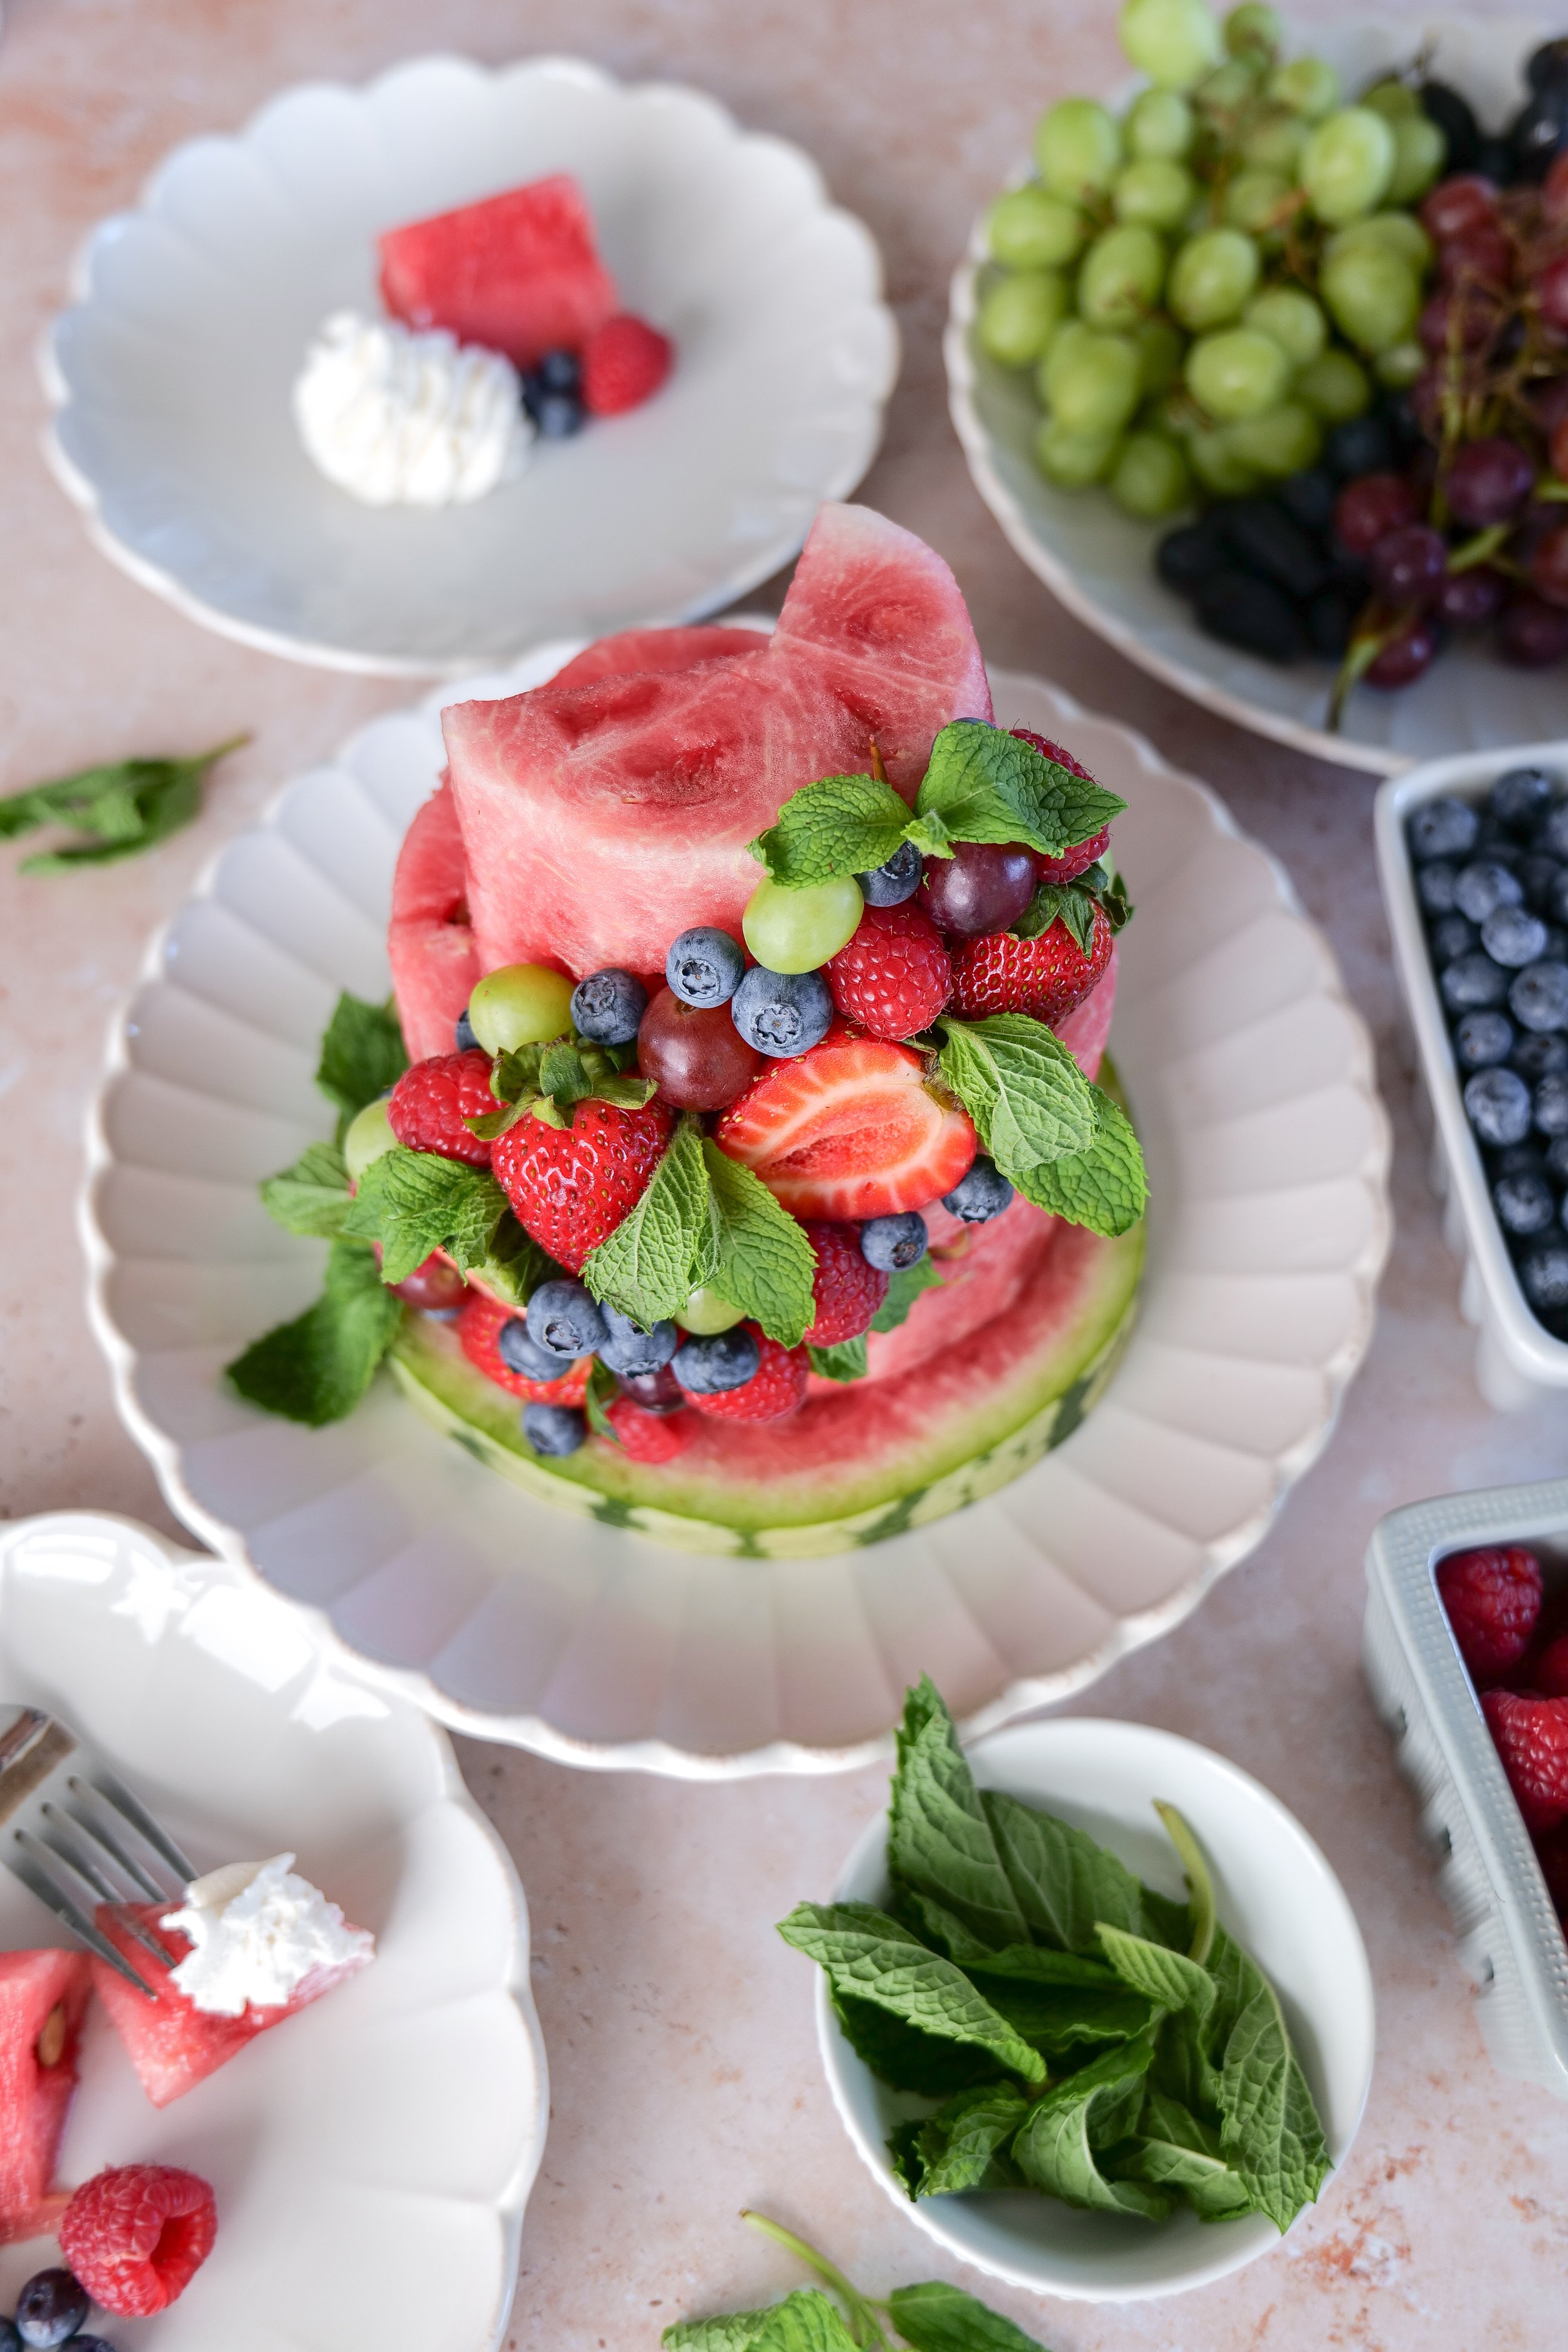
Two-tier watermelon fruit cake decorated with strawberries, raspberries, blueberries, colorful grapes, and fresh mint.

Why You Will Love This Watermelon Fruit Cake

This is one of those ideas that looks impressive on the table without requiring complicated decorating skills.

You will love it because it is:

  • Completely no-bake

  • Made with fresh seasonal fruit

  • Easy to customize for different celebrations

  • Naturally colorful and beautiful

  • Refreshing for warm summer days

  • Simple to prepare ahead

  • A fun alternative to a traditional birthday or milestone cake

  • Easy to serve with whipped cream on the side

It is also a wonderful way to use a variety of summer fruit in one centerpiece instead of preparing a separate fruit tray.
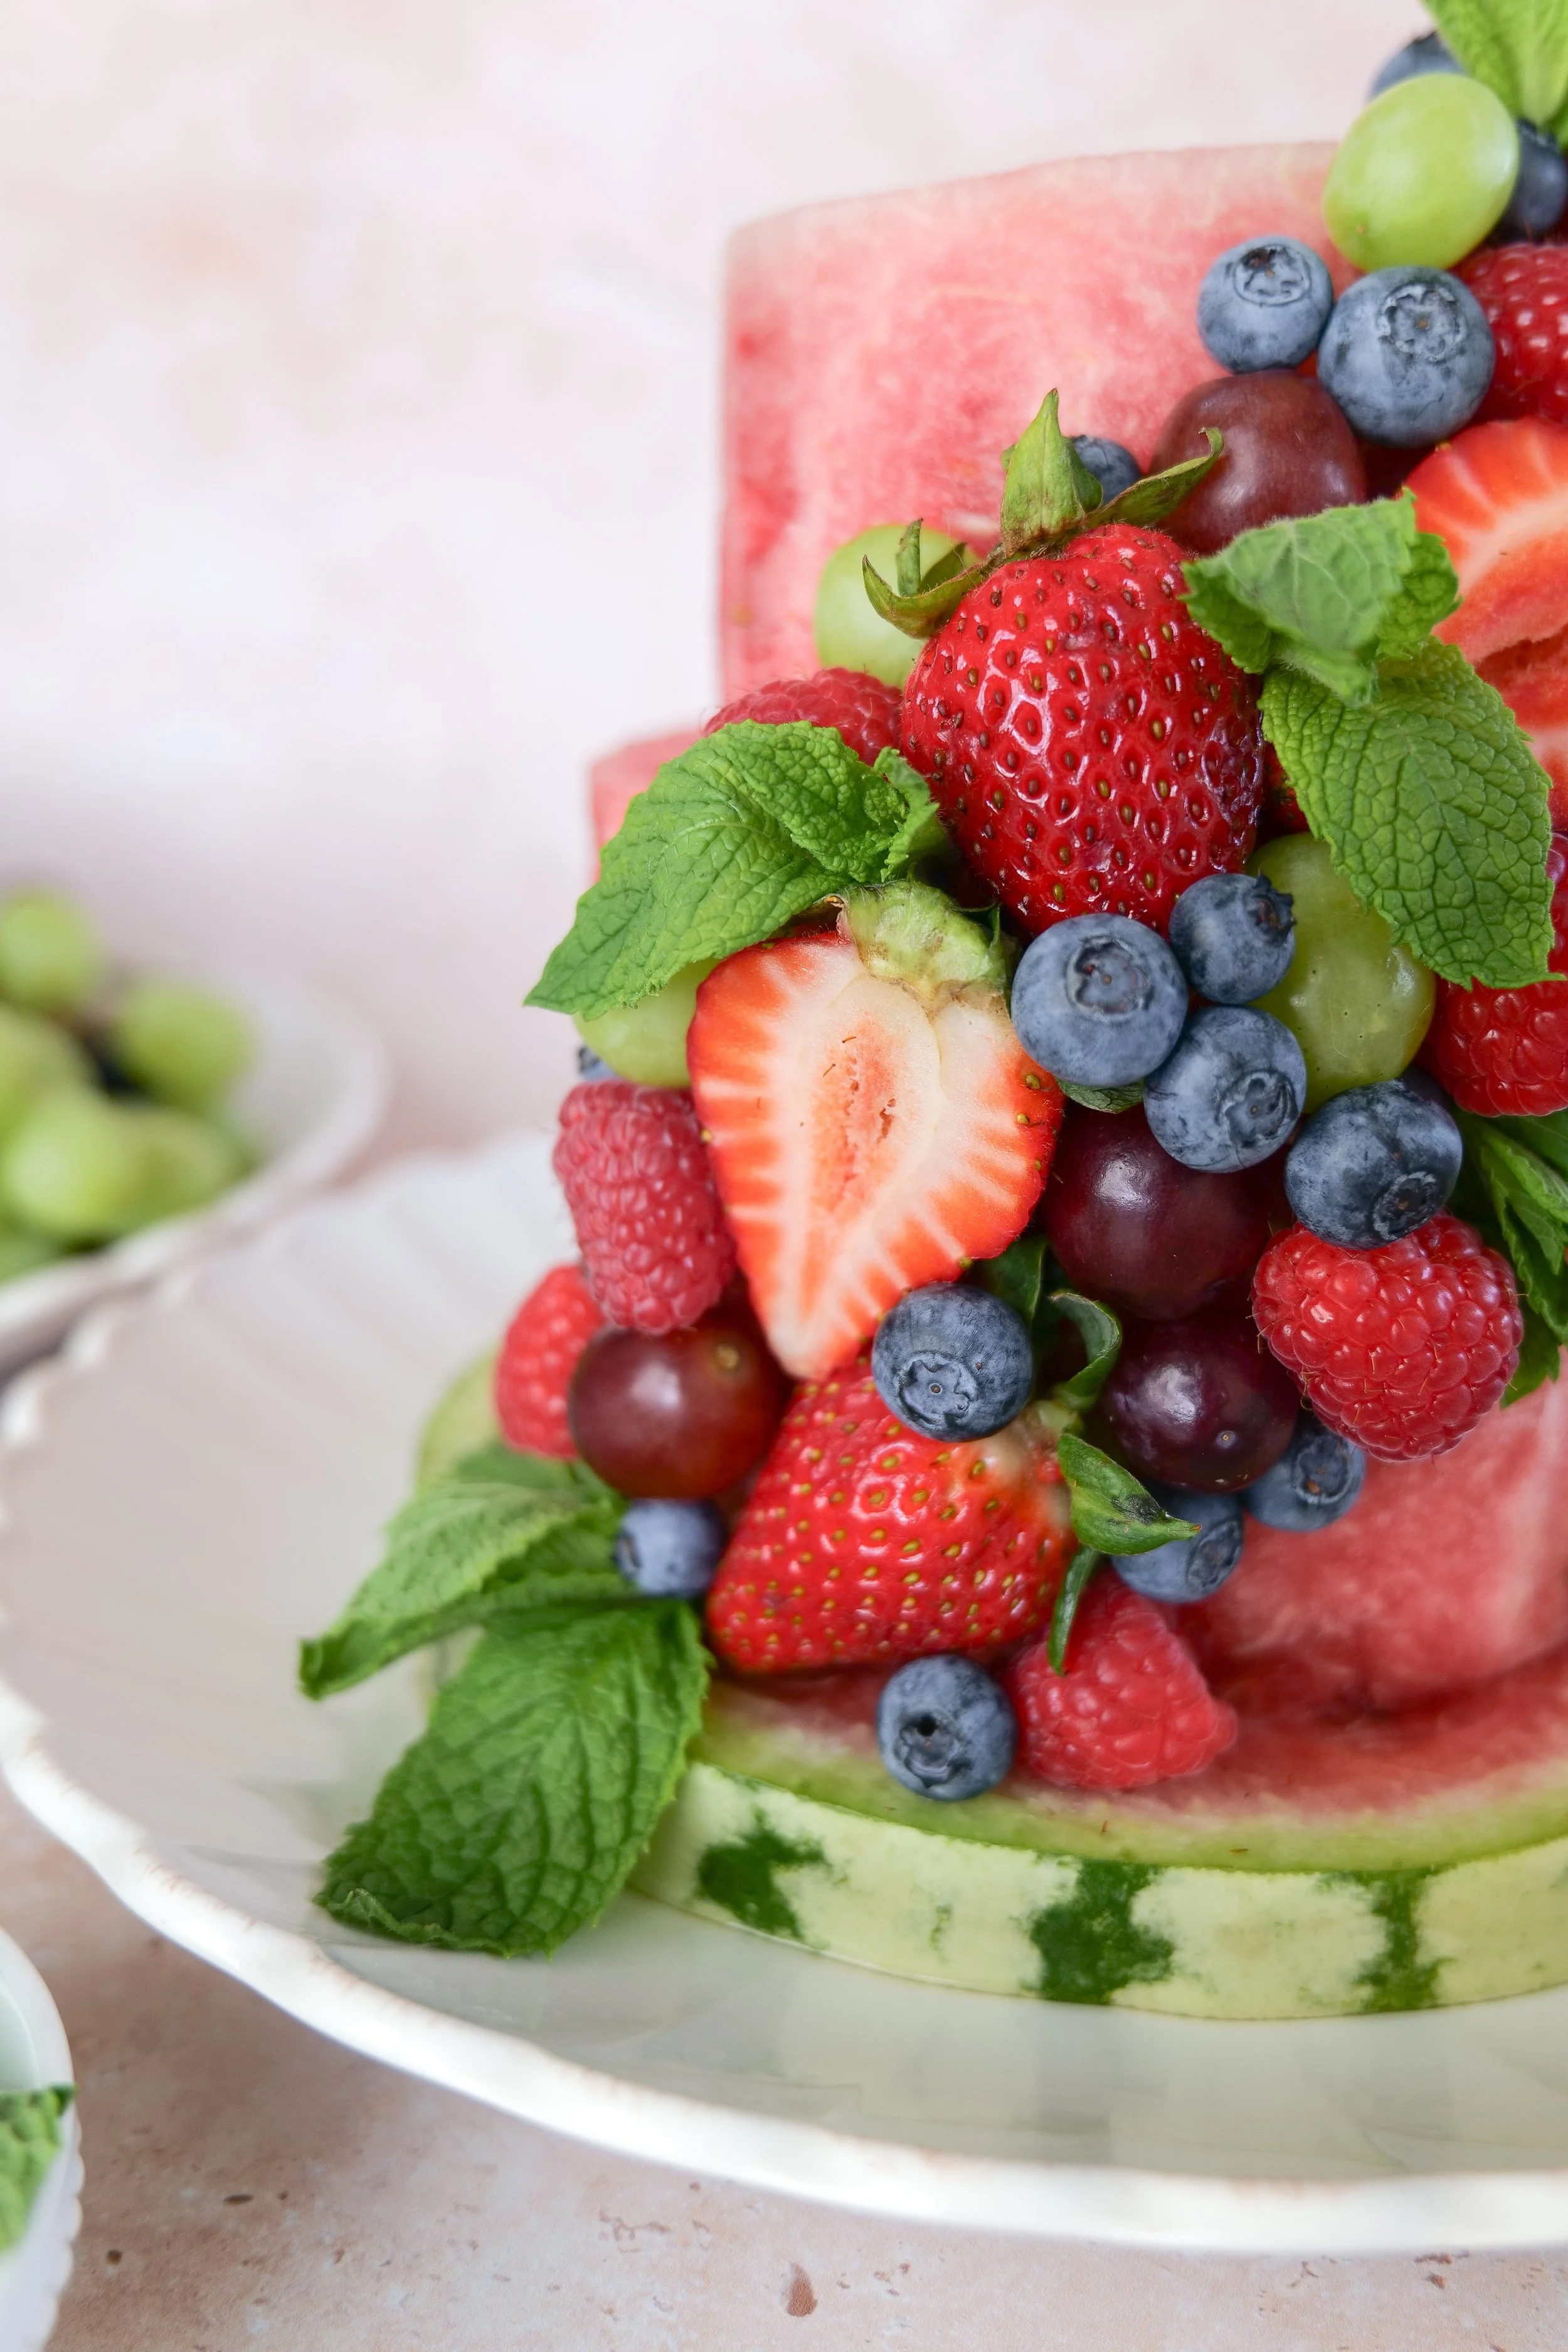
Fresh watermelon cake covered with colorful summer fruit for a birthday, baby milestone, or warm-weather celebration.

Is Watermelon Fruit Cake Actually Cake?

Watermelon fruit cake is not a baked cake. Instead, trimmed rounds of watermelon are stacked to create the shape of a tiered cake and then decorated with fresh fruit.

The watermelon acts as both the structure and the dessert. Toothpicks help secure some of the berries and grapes, while fresh mint adds color and makes the finished cake feel extra special.

Because I wanted the watermelon and fruit to remain the focus, I did not frost the cake. I prepared whipped cream separately and served it alongside each slice.

What You Will Need

For the Watermelon Cake

  • 2 seedless watermelons in different sizes

  • 1 cup raspberries

  • 1 cup blueberries

  • 1 cup grapes in various colors

  • 1 cup strawberries

  • Fresh mint, for garnish

  • Toothpicks, as needed to secure the fruit

For Serving

  • Homemade whipped cream, optional

The fruit amounts are flexible. You may use a little more or less depending on the size of your watermelons and how full you would like the cake to look.
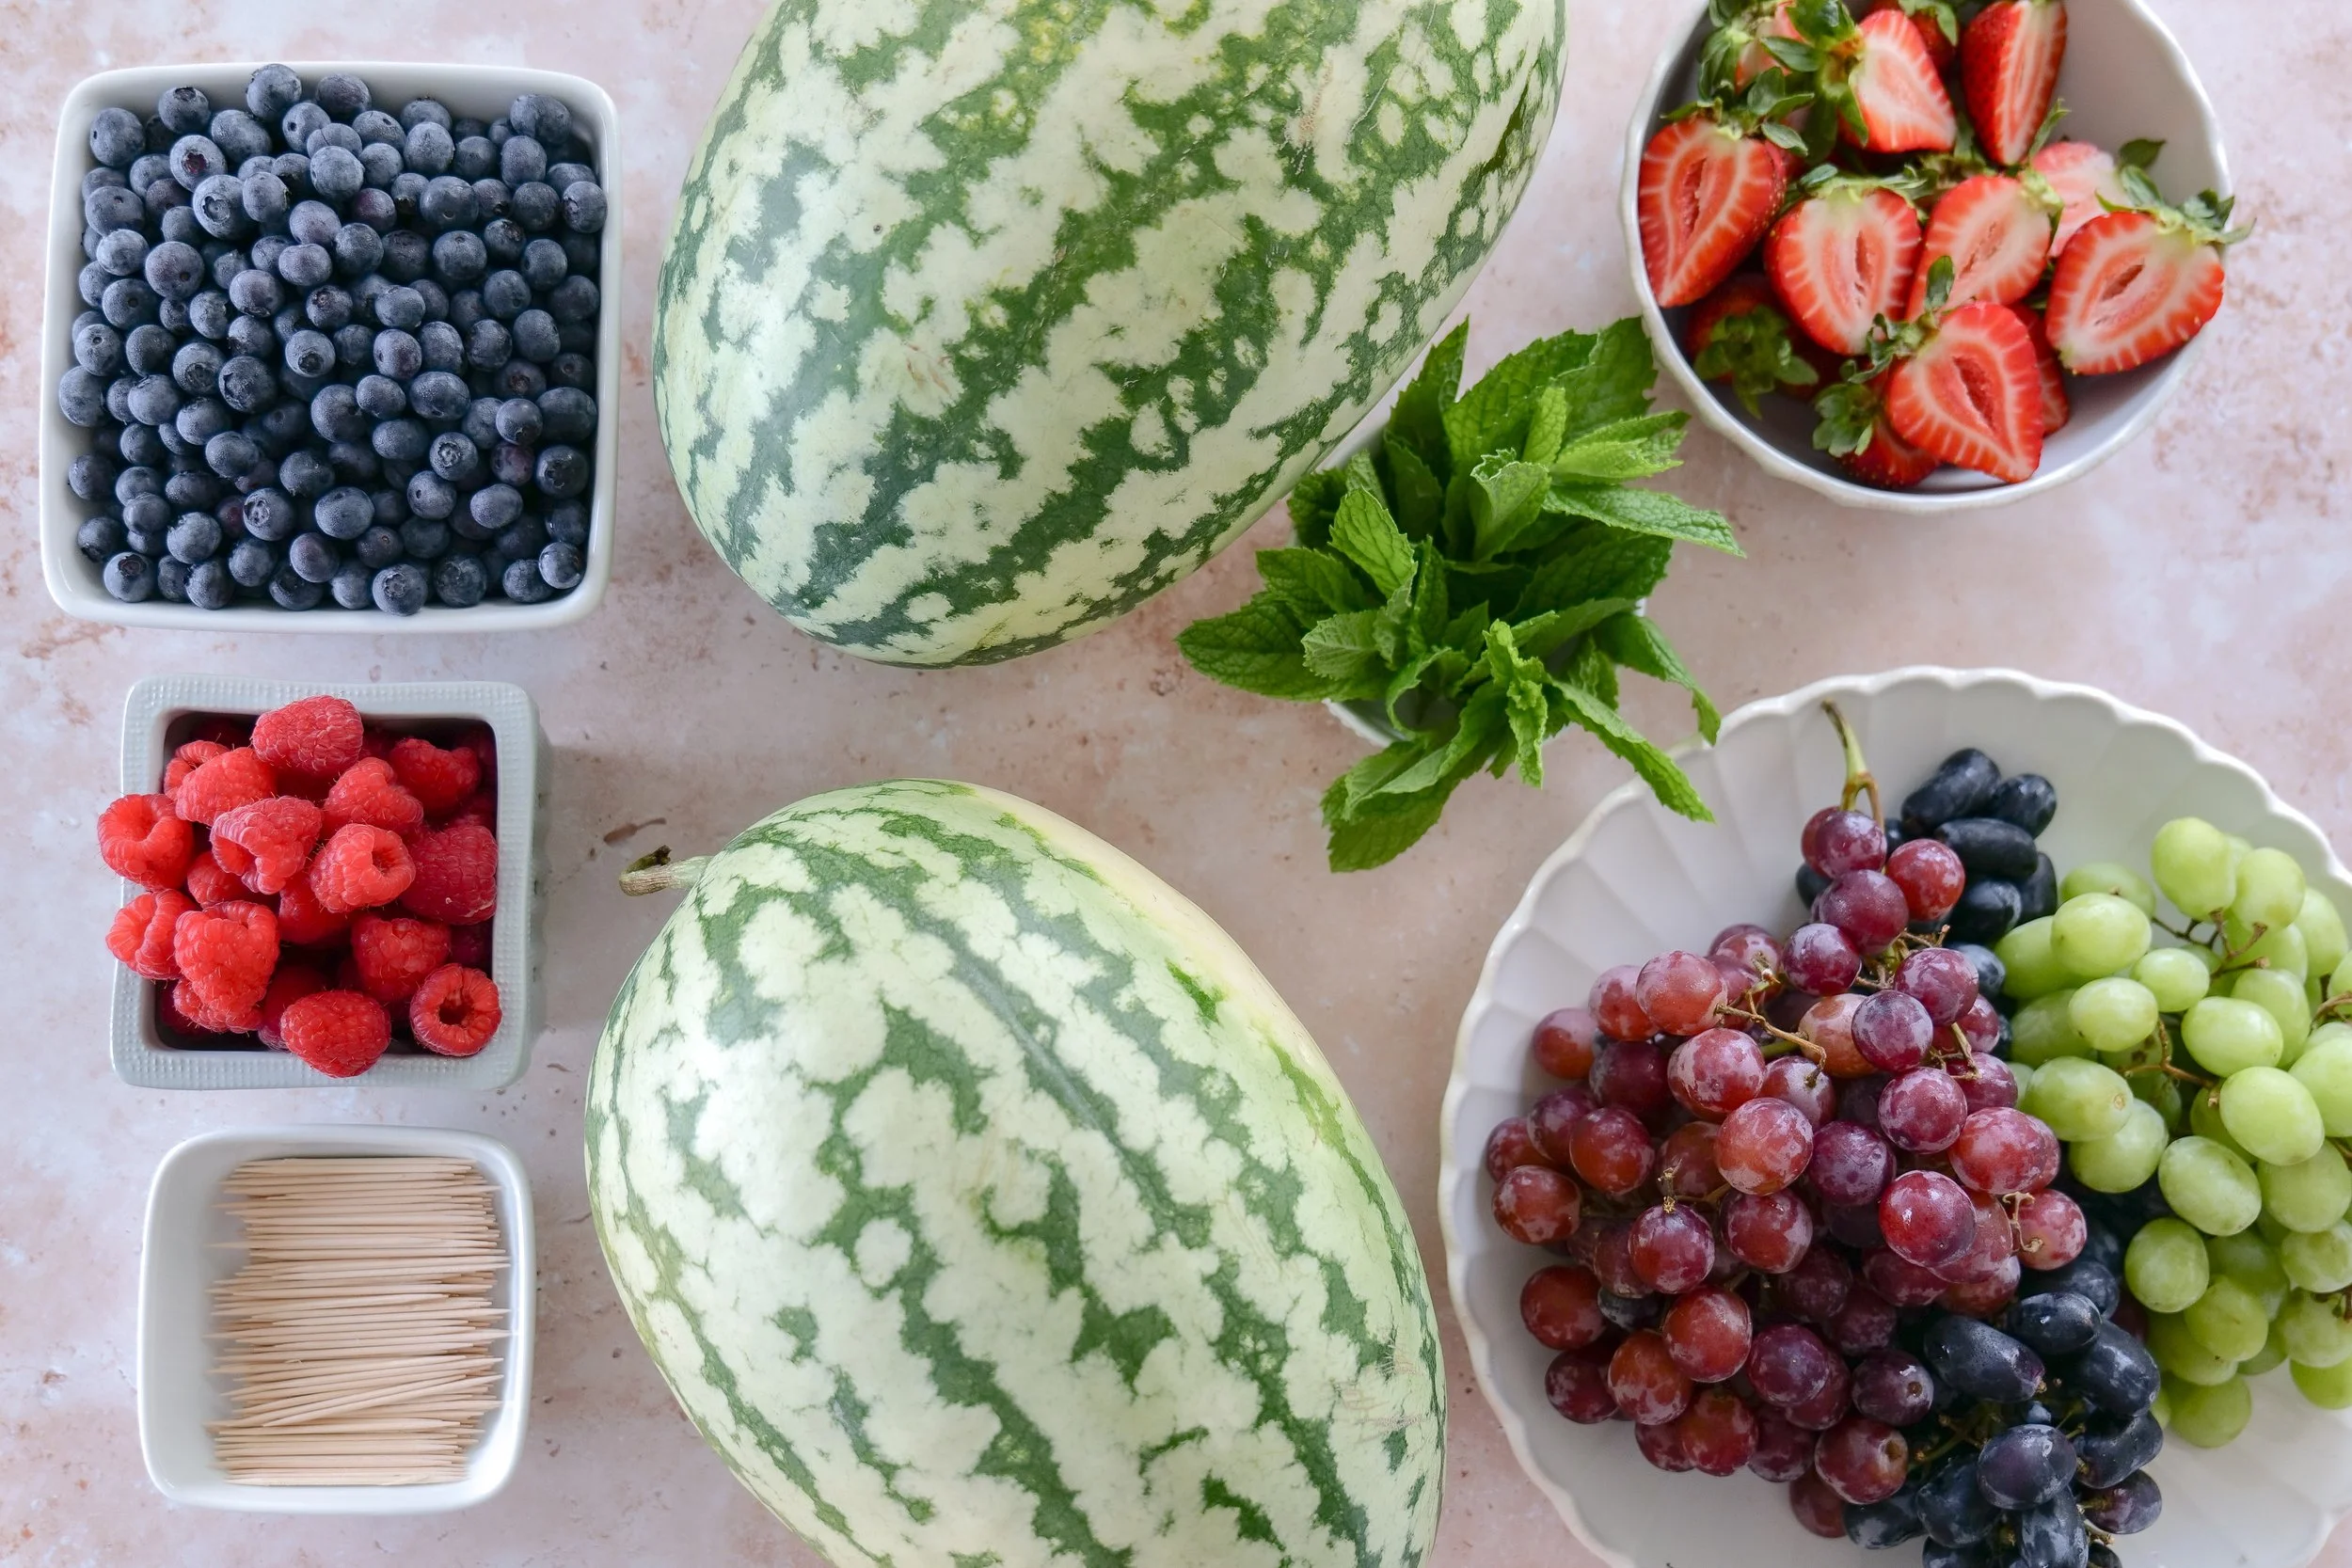
Fresh strawberries, raspberries, blueberries, and colorful grapes prepared for decorating a watermelon fruit cake.

Kitchen Tools

  • Large cutting board

  • Sharp chef’s knife

  • Small paring knife

  • Paper towels

  • Cake stand or large serving platter

  • Toothpicks

  • Small bowls for organizing the fruit

I have linked the knives, cutting boards, cake stands, serving pieces, and other kitchen tools I use most often in my Kitchen Essentials and Summer Entertaining shelves.

How to Choose the Best Watermelons

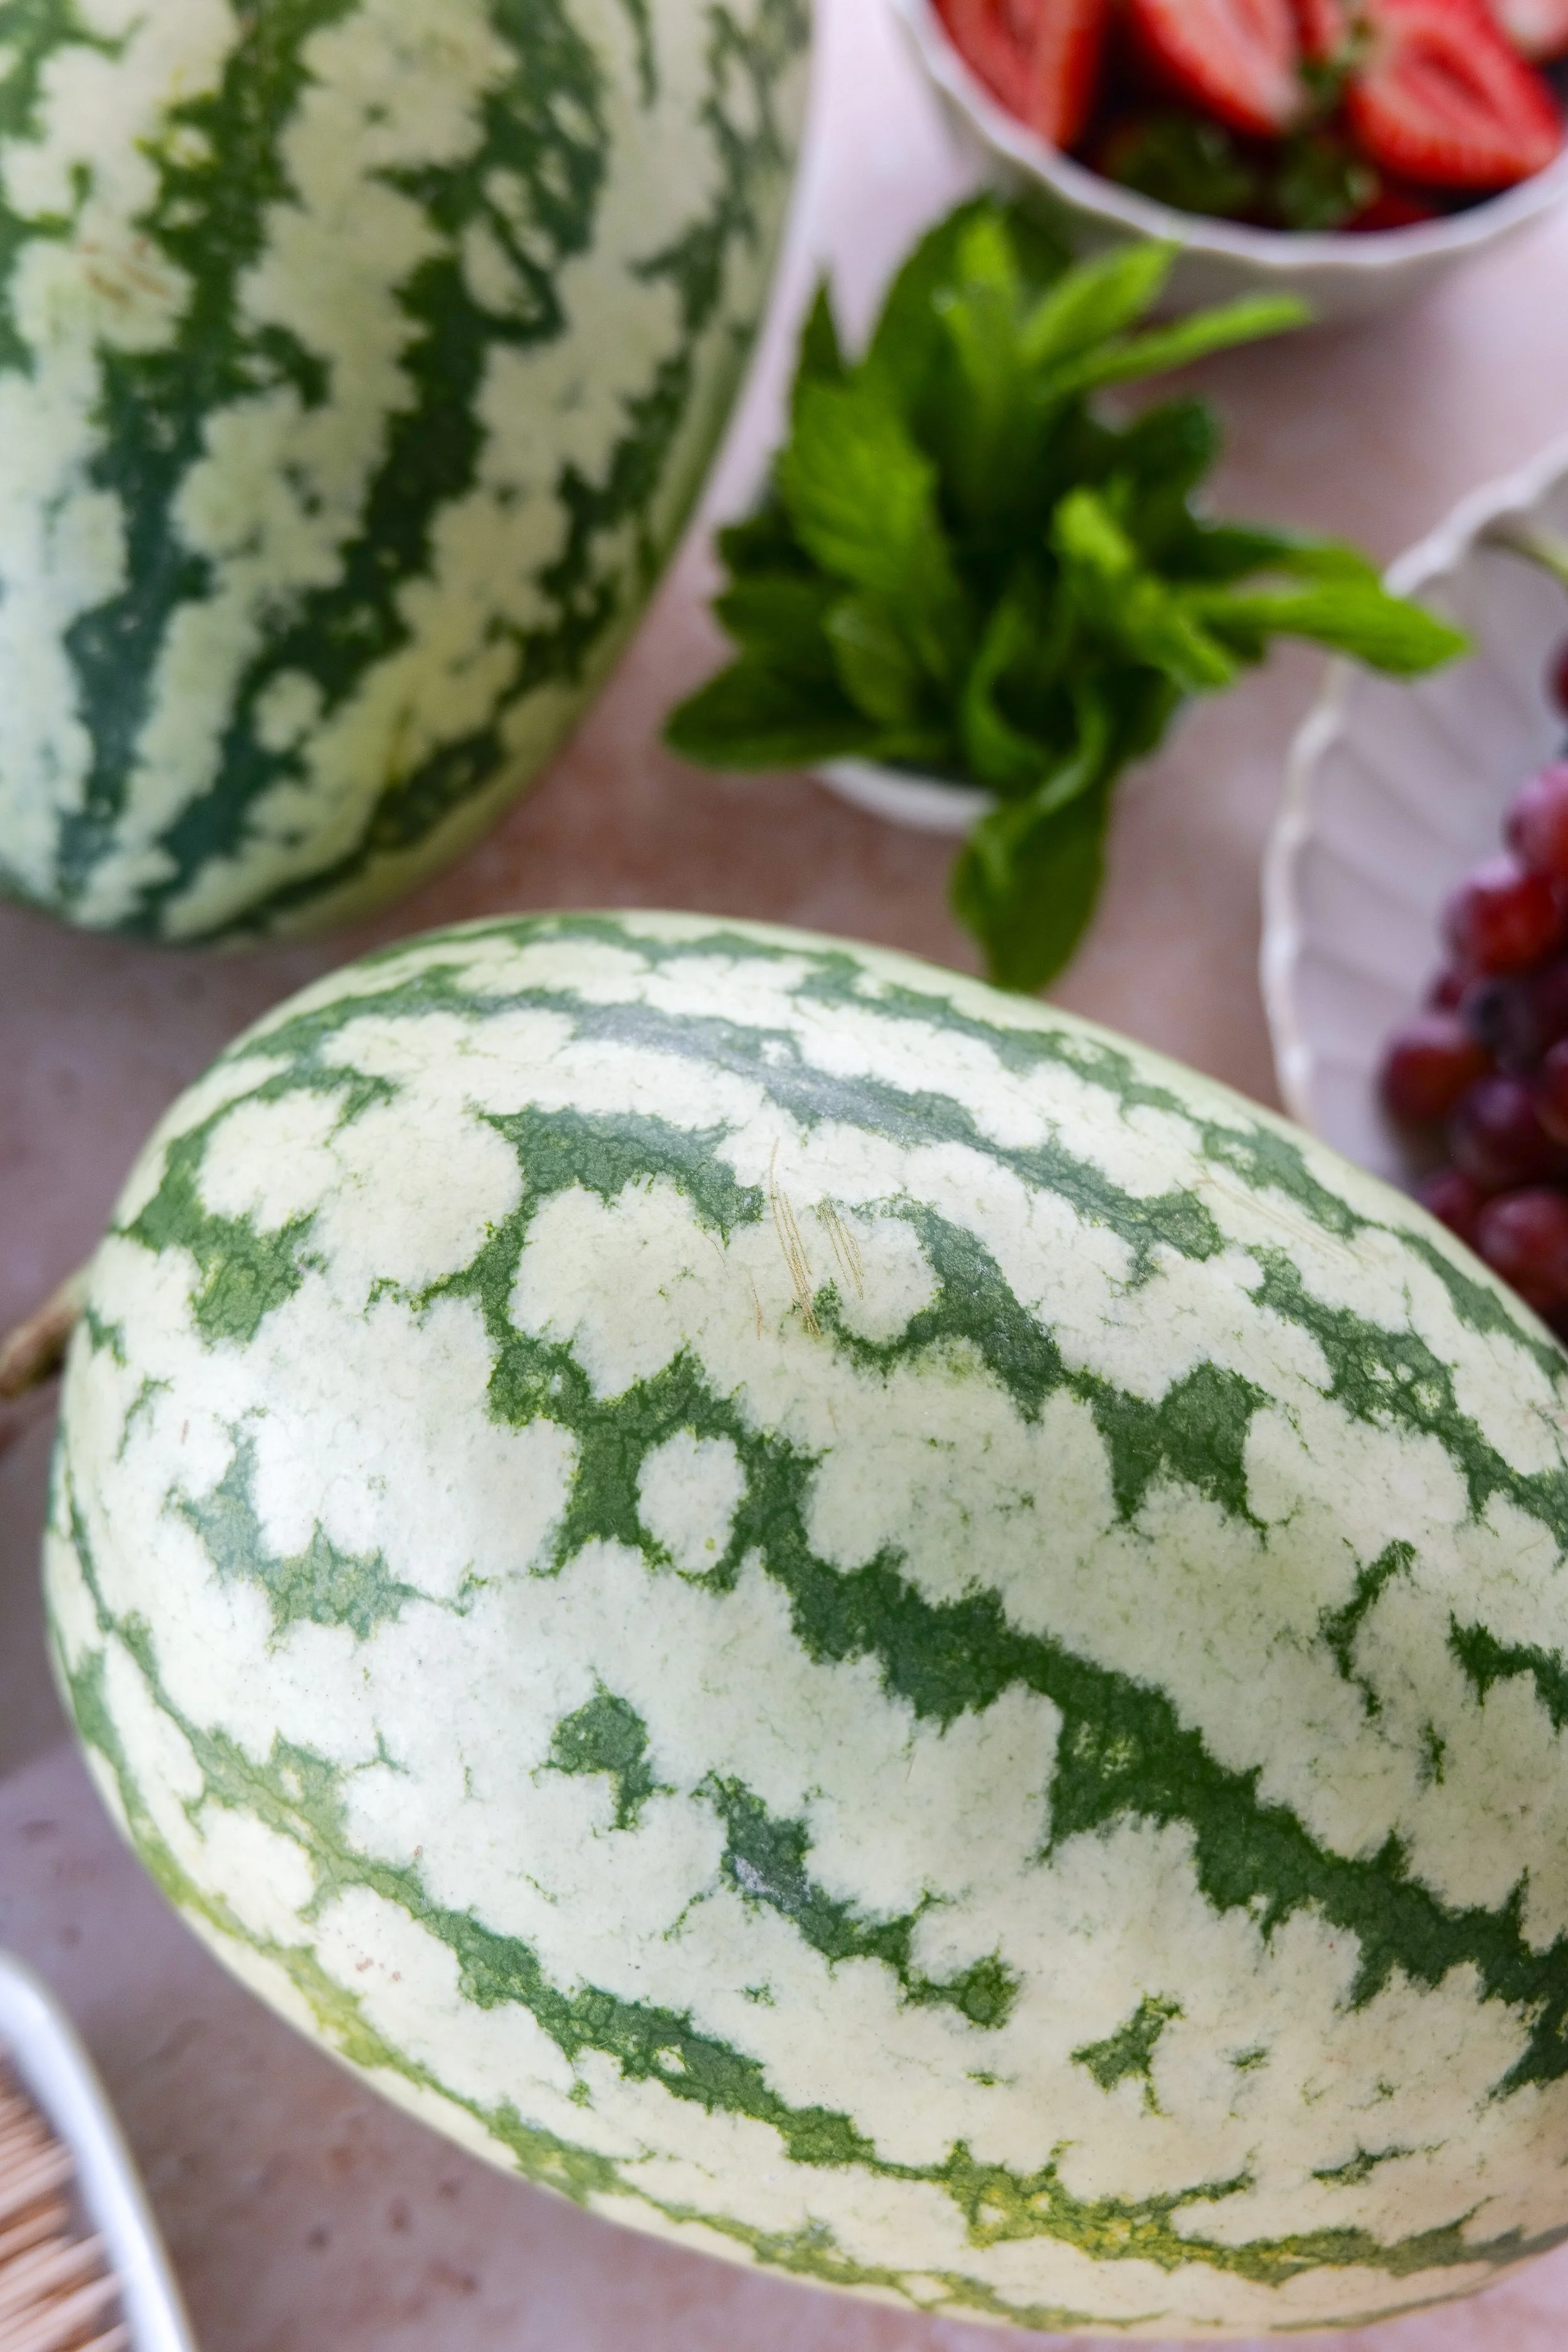
For a two-tier watermelon cake, choose two seedless watermelons in noticeably different sizes. The larger one will become the bottom tier, and the smaller one will sit on top.

Look for watermelons that:

  • Feel heavy for their size

  • Have a creamy yellow field spot

  • Have a firm rind without soft areas

  • Are relatively round and evenly shaped

  • Sound deep and hollow when tapped

A round watermelon is generally easier to trim into a cake shape than a long oval watermelon.

How to Prepare the Fruit

Wash and dry all of the berries, grapes, strawberries, and mint before beginning.

The fruit needs to be completely dry before it is added to the watermelon. Excess water can make the surface slippery and prevent the fruit from staying in place.

Remove the green tops from the strawberries. You may leave smaller strawberries whole and halve or quarter larger ones.

Leave the raspberries and blueberries whole. Grapes can remain whole for decorating, but they should be cut into age-appropriate pieces before serving to babies or young children.
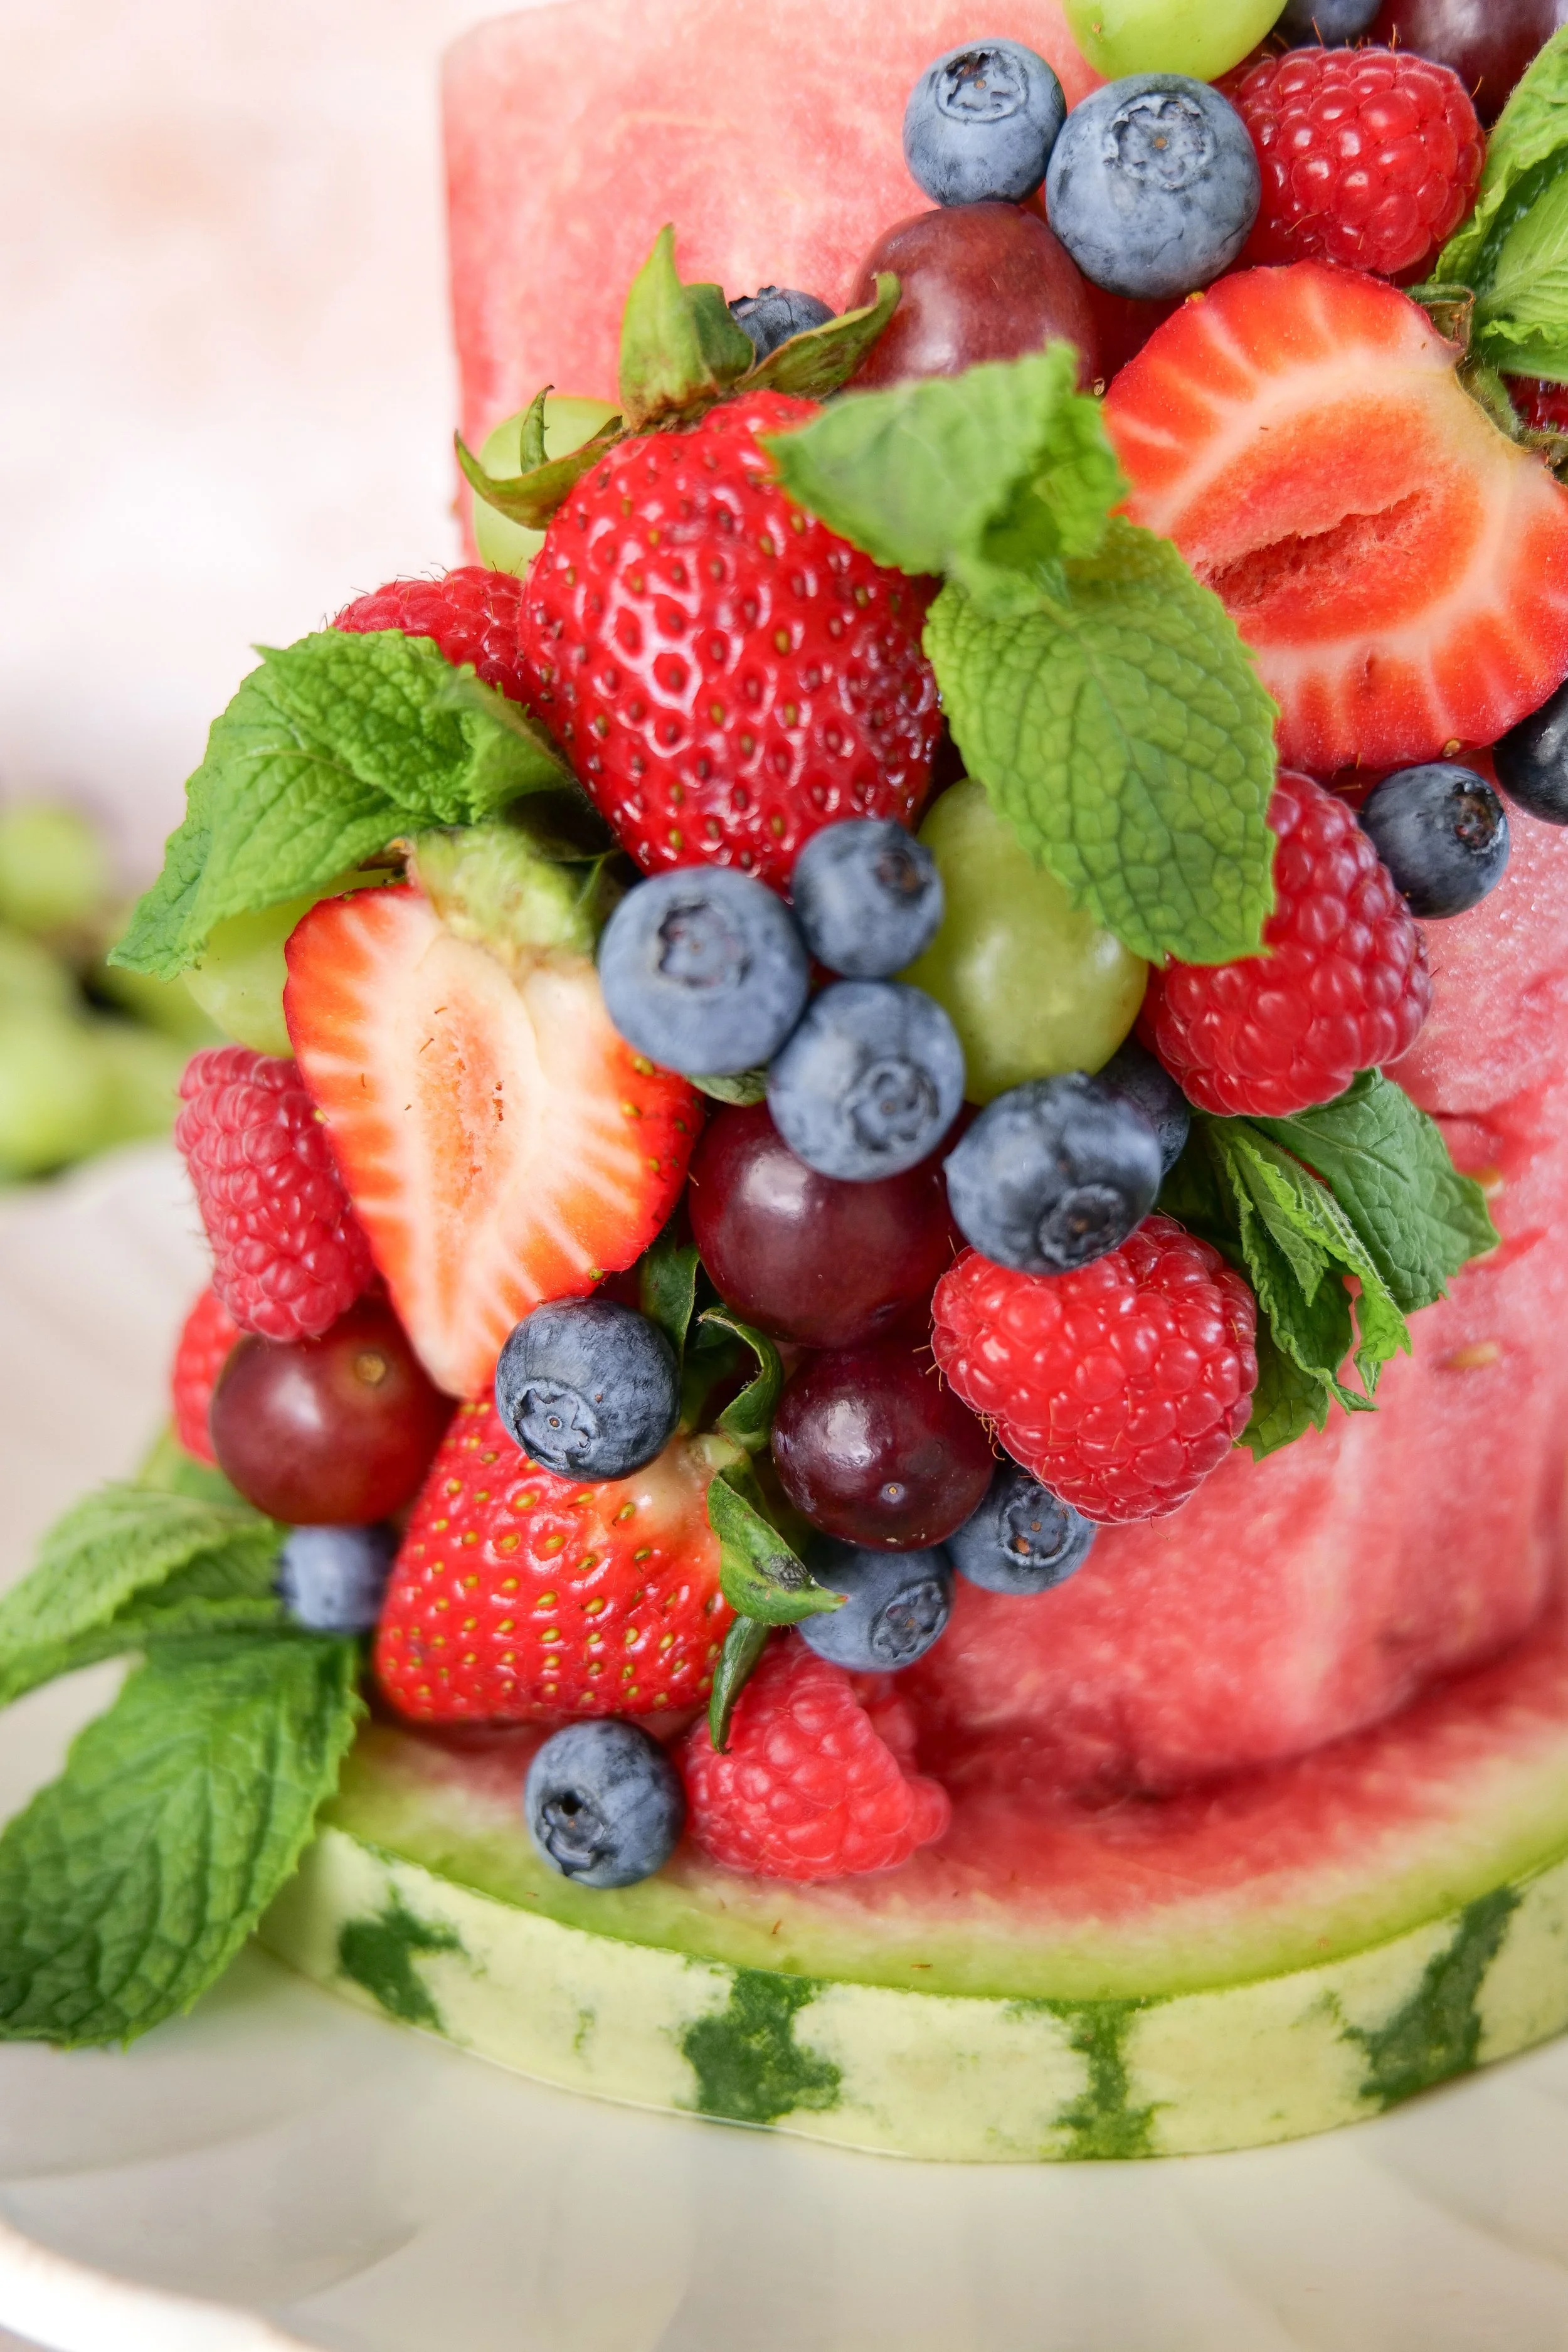
No-bake watermelon cake decorated with fresh raspberries, blueberries, grapes, strawberries, and mint leaves.

How to Make a Watermelon Fruit Cake

Step 1: Trim the Larger Watermelon

Place the larger watermelon on a sturdy cutting board.

Cut a thin slice from the top and bottom to create two flat surfaces. Stand the watermelon upright and carefully cut away the rind and white portion, following the curve of the fruit.

Continue trimming until you have an even cylinder approximately 4 to 5 inches tall.

Pat the entire watermelon tier dry with paper towels.
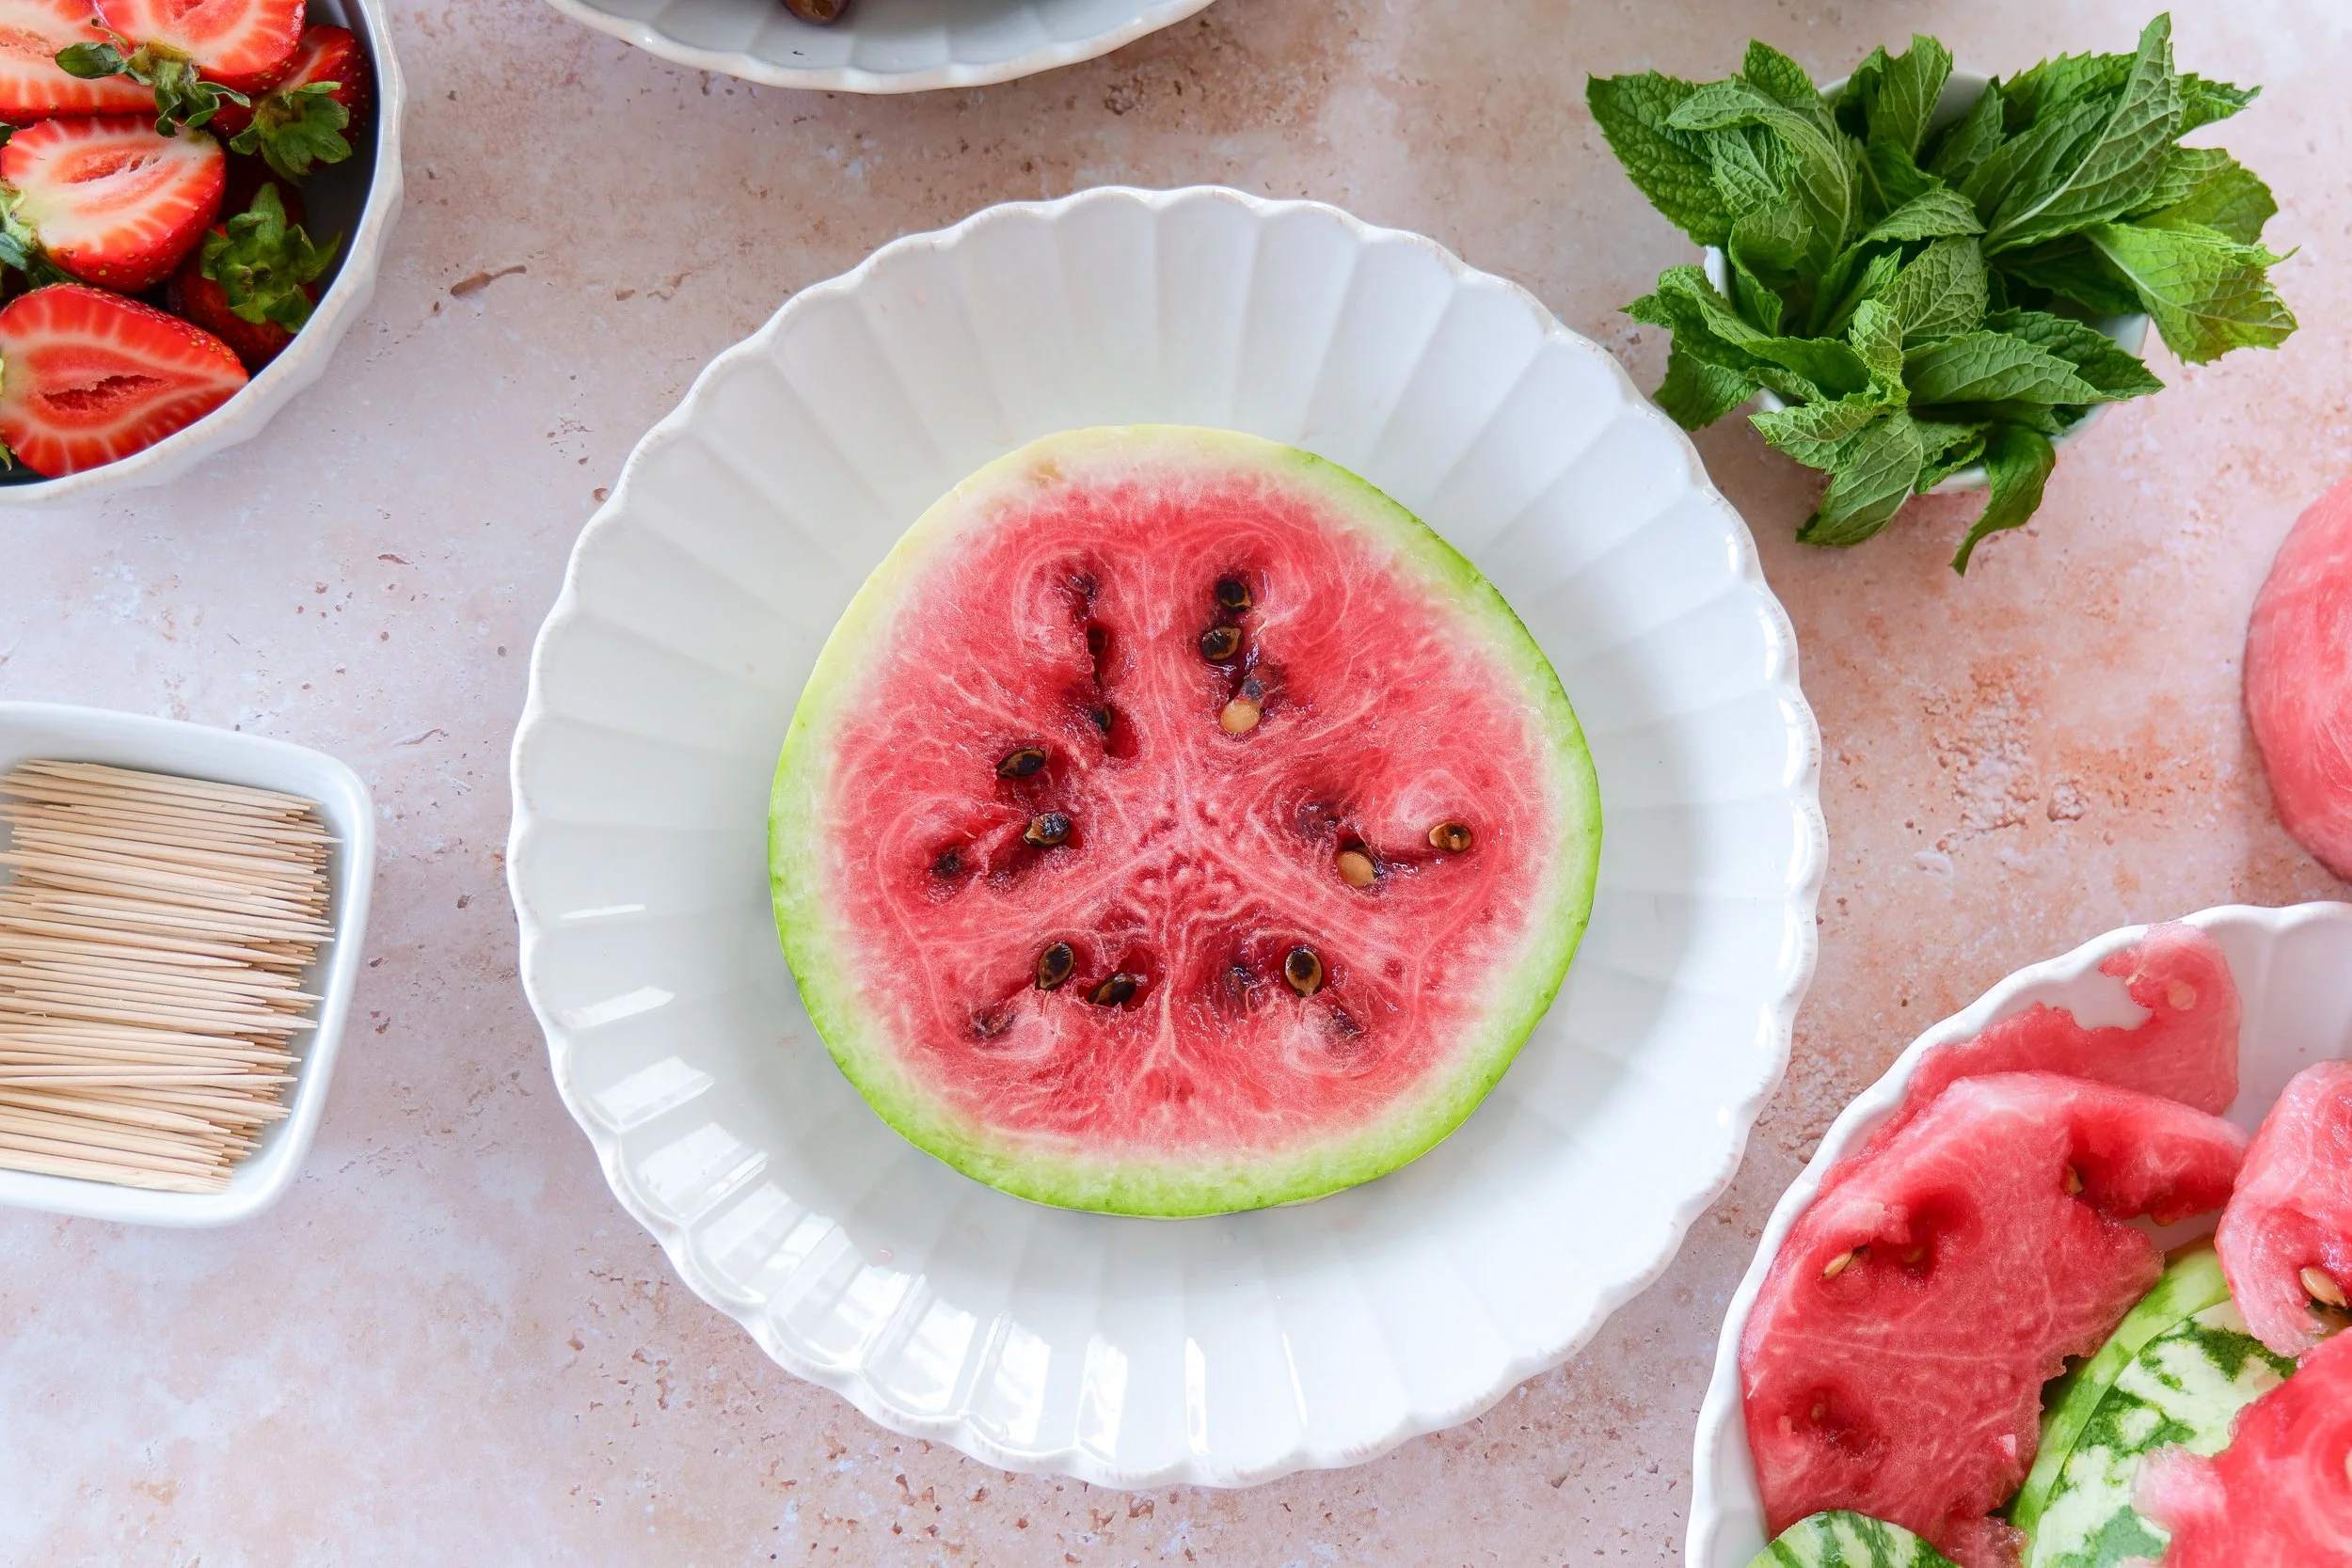
Seedless watermelon being trimmed into a round cake-shaped tier for an easy no-bake fruit cake.

Step 2: Create the Top Tier

Repeat the same process with the smaller watermelon.

Trim the second watermelon into a shorter and narrower cylinder that will sit securely on top of the first tier.

Pat it thoroughly dry with paper towels.

Step 3: Stack the Watermelon Tiers

Transfer the larger watermelon tier to a cake stand or serving platter.

Center the smaller tier on top. The natural weight of the watermelon should keep it in place, but you may insert a few long wooden skewers vertically through both tiers for additional stability.
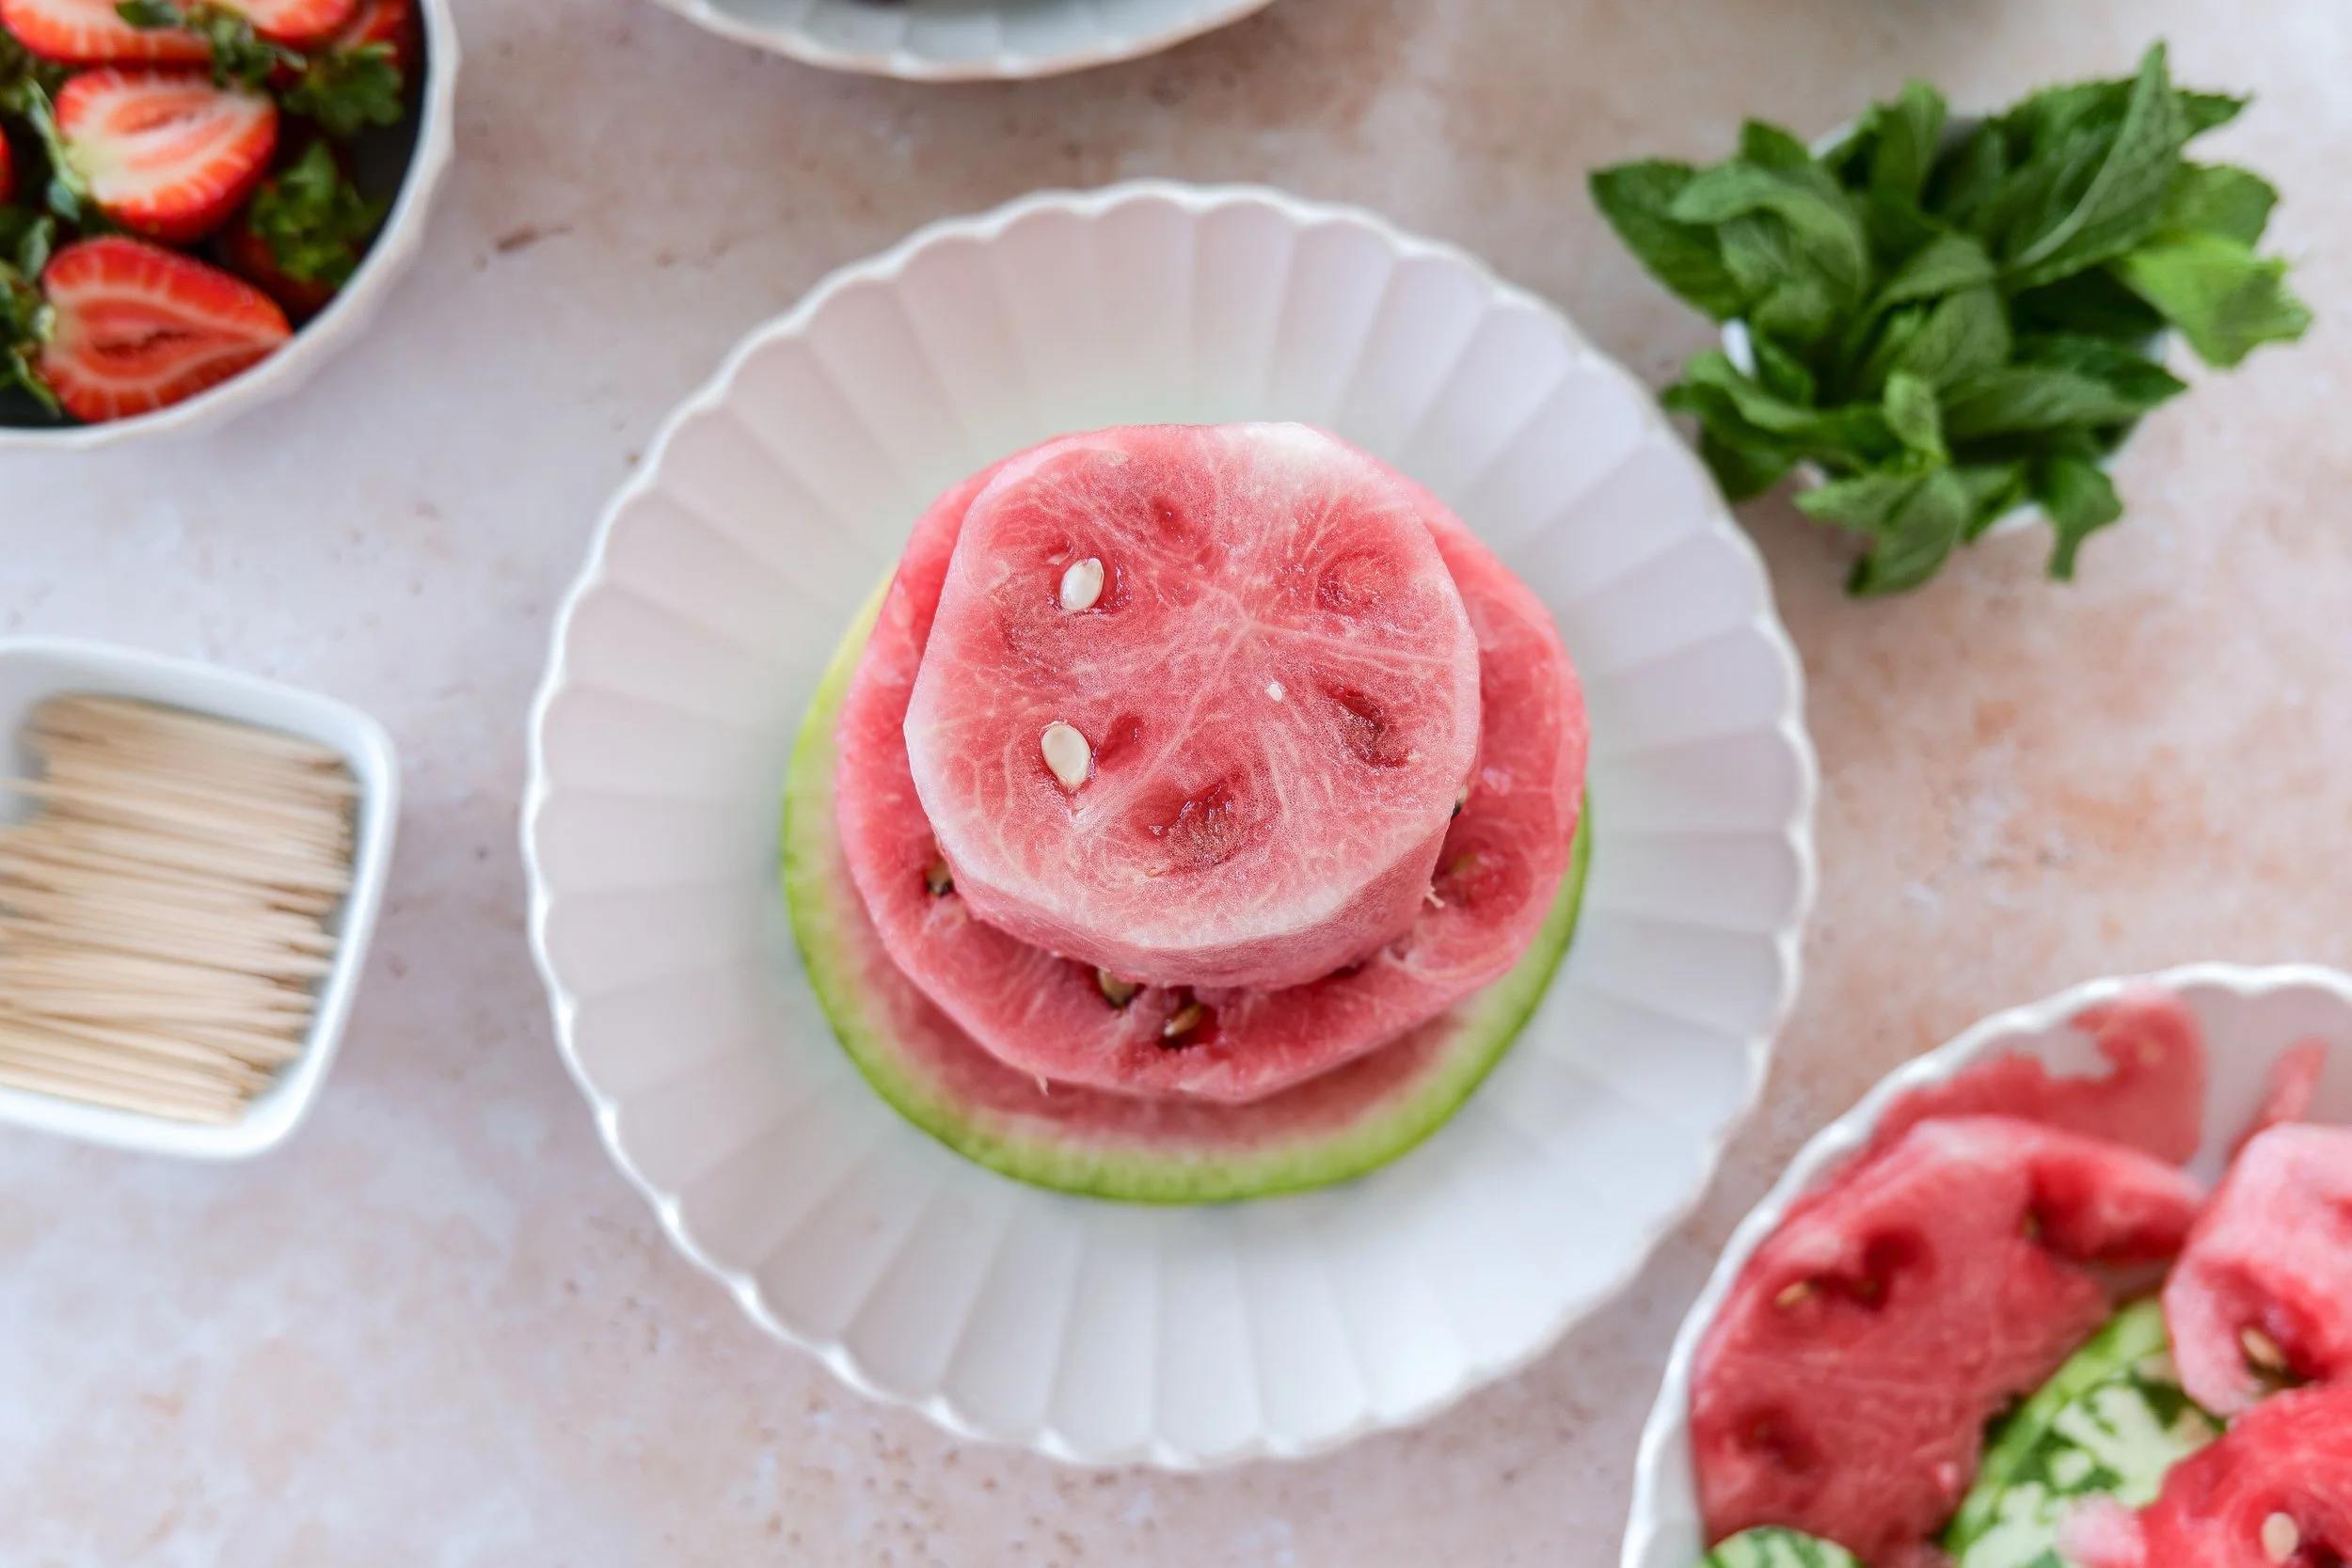
Fresh watermelon trimmed into an even round tier before assembling a two-tier watermelon cake.

Step 4: Decorate with Fresh Fruit

Begin decorating the cake with strawberries, grapes, raspberries, and blueberries.

Use toothpicks to secure individual pieces of fruit around the sides of the watermelon. Press each toothpick partly into the fruit first and then carefully insert it into the watermelon.

Arrange additional fruit around the top tier and the base of the cake. Alternate colors, shapes, and sizes to create a full, natural appearance.
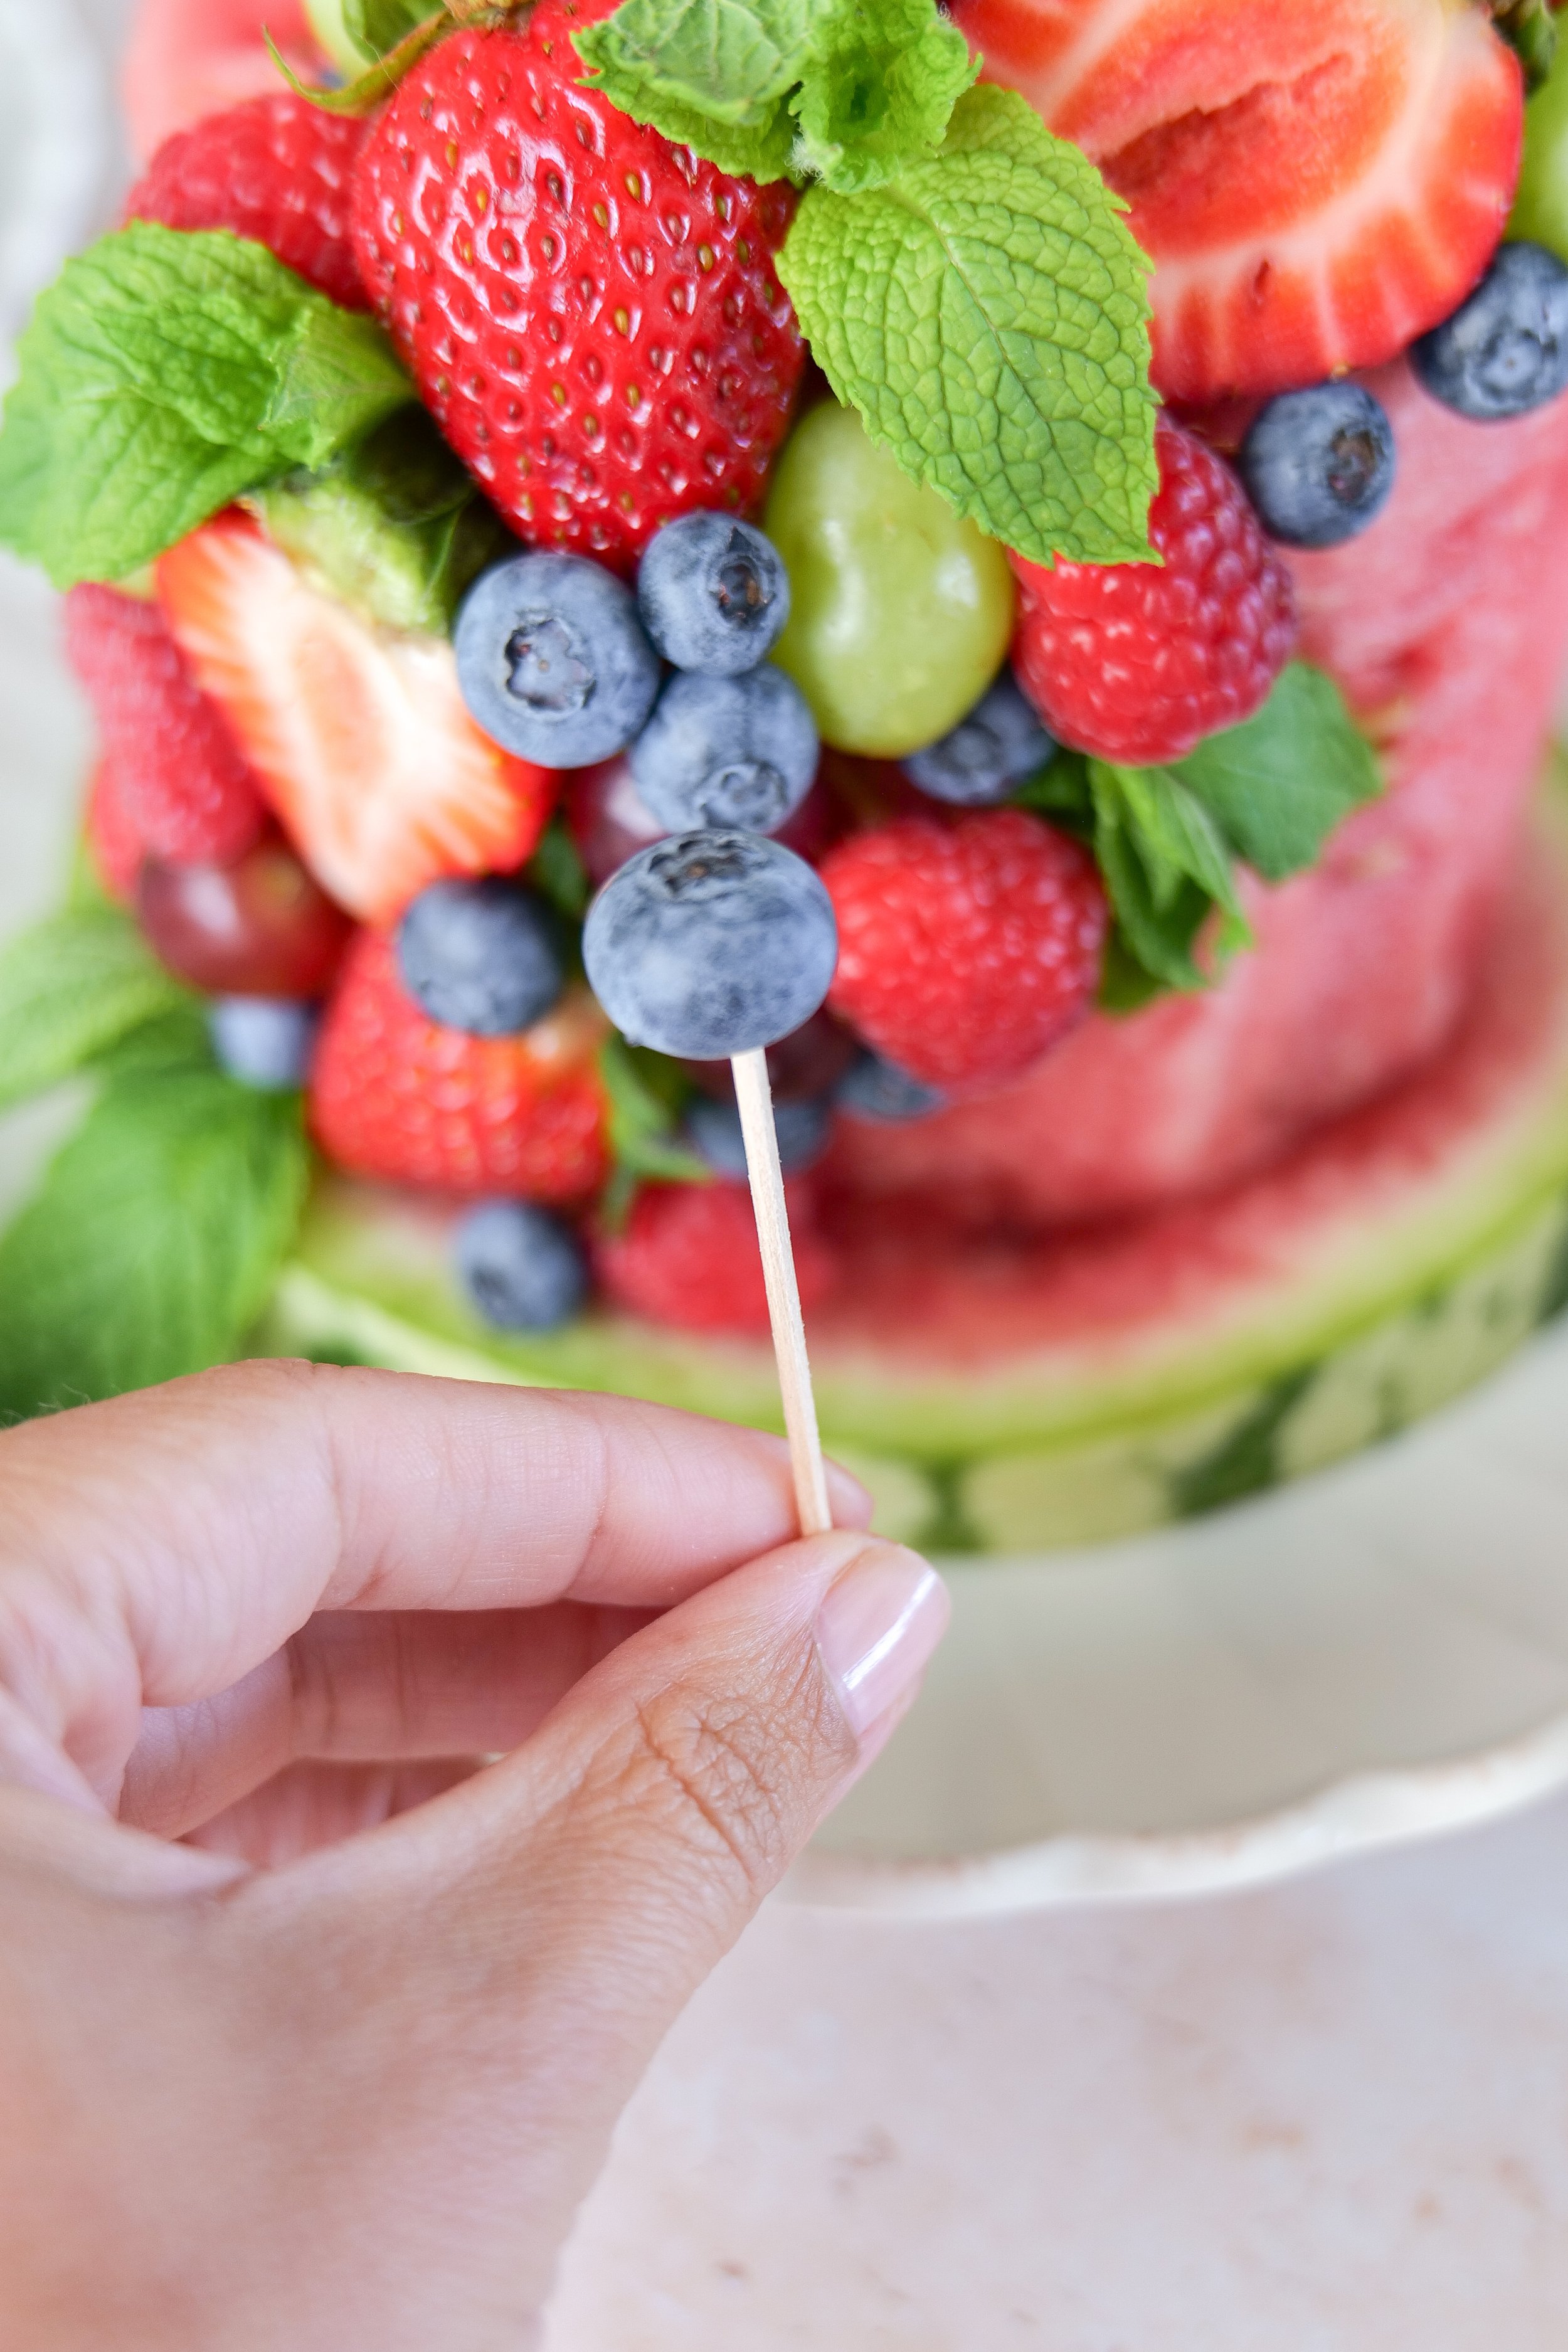
Fresh berries and grapes being attached to a watermelon cake with toothpicks for a colorful summer dessert.

Step 5: Add Fresh Mint

Tuck small mint leaves between the fruit and around the base of the cake.

Use mint sparingly so it adds a fresh green accent without overwhelming the fruit.

Step 6: Chill Until Serving

Refrigerate the finished cake until you are ready to serve it.

For the freshest appearance, assemble the cake within a few hours of your celebration.

Serve chilled with homemade whipped cream on the side.
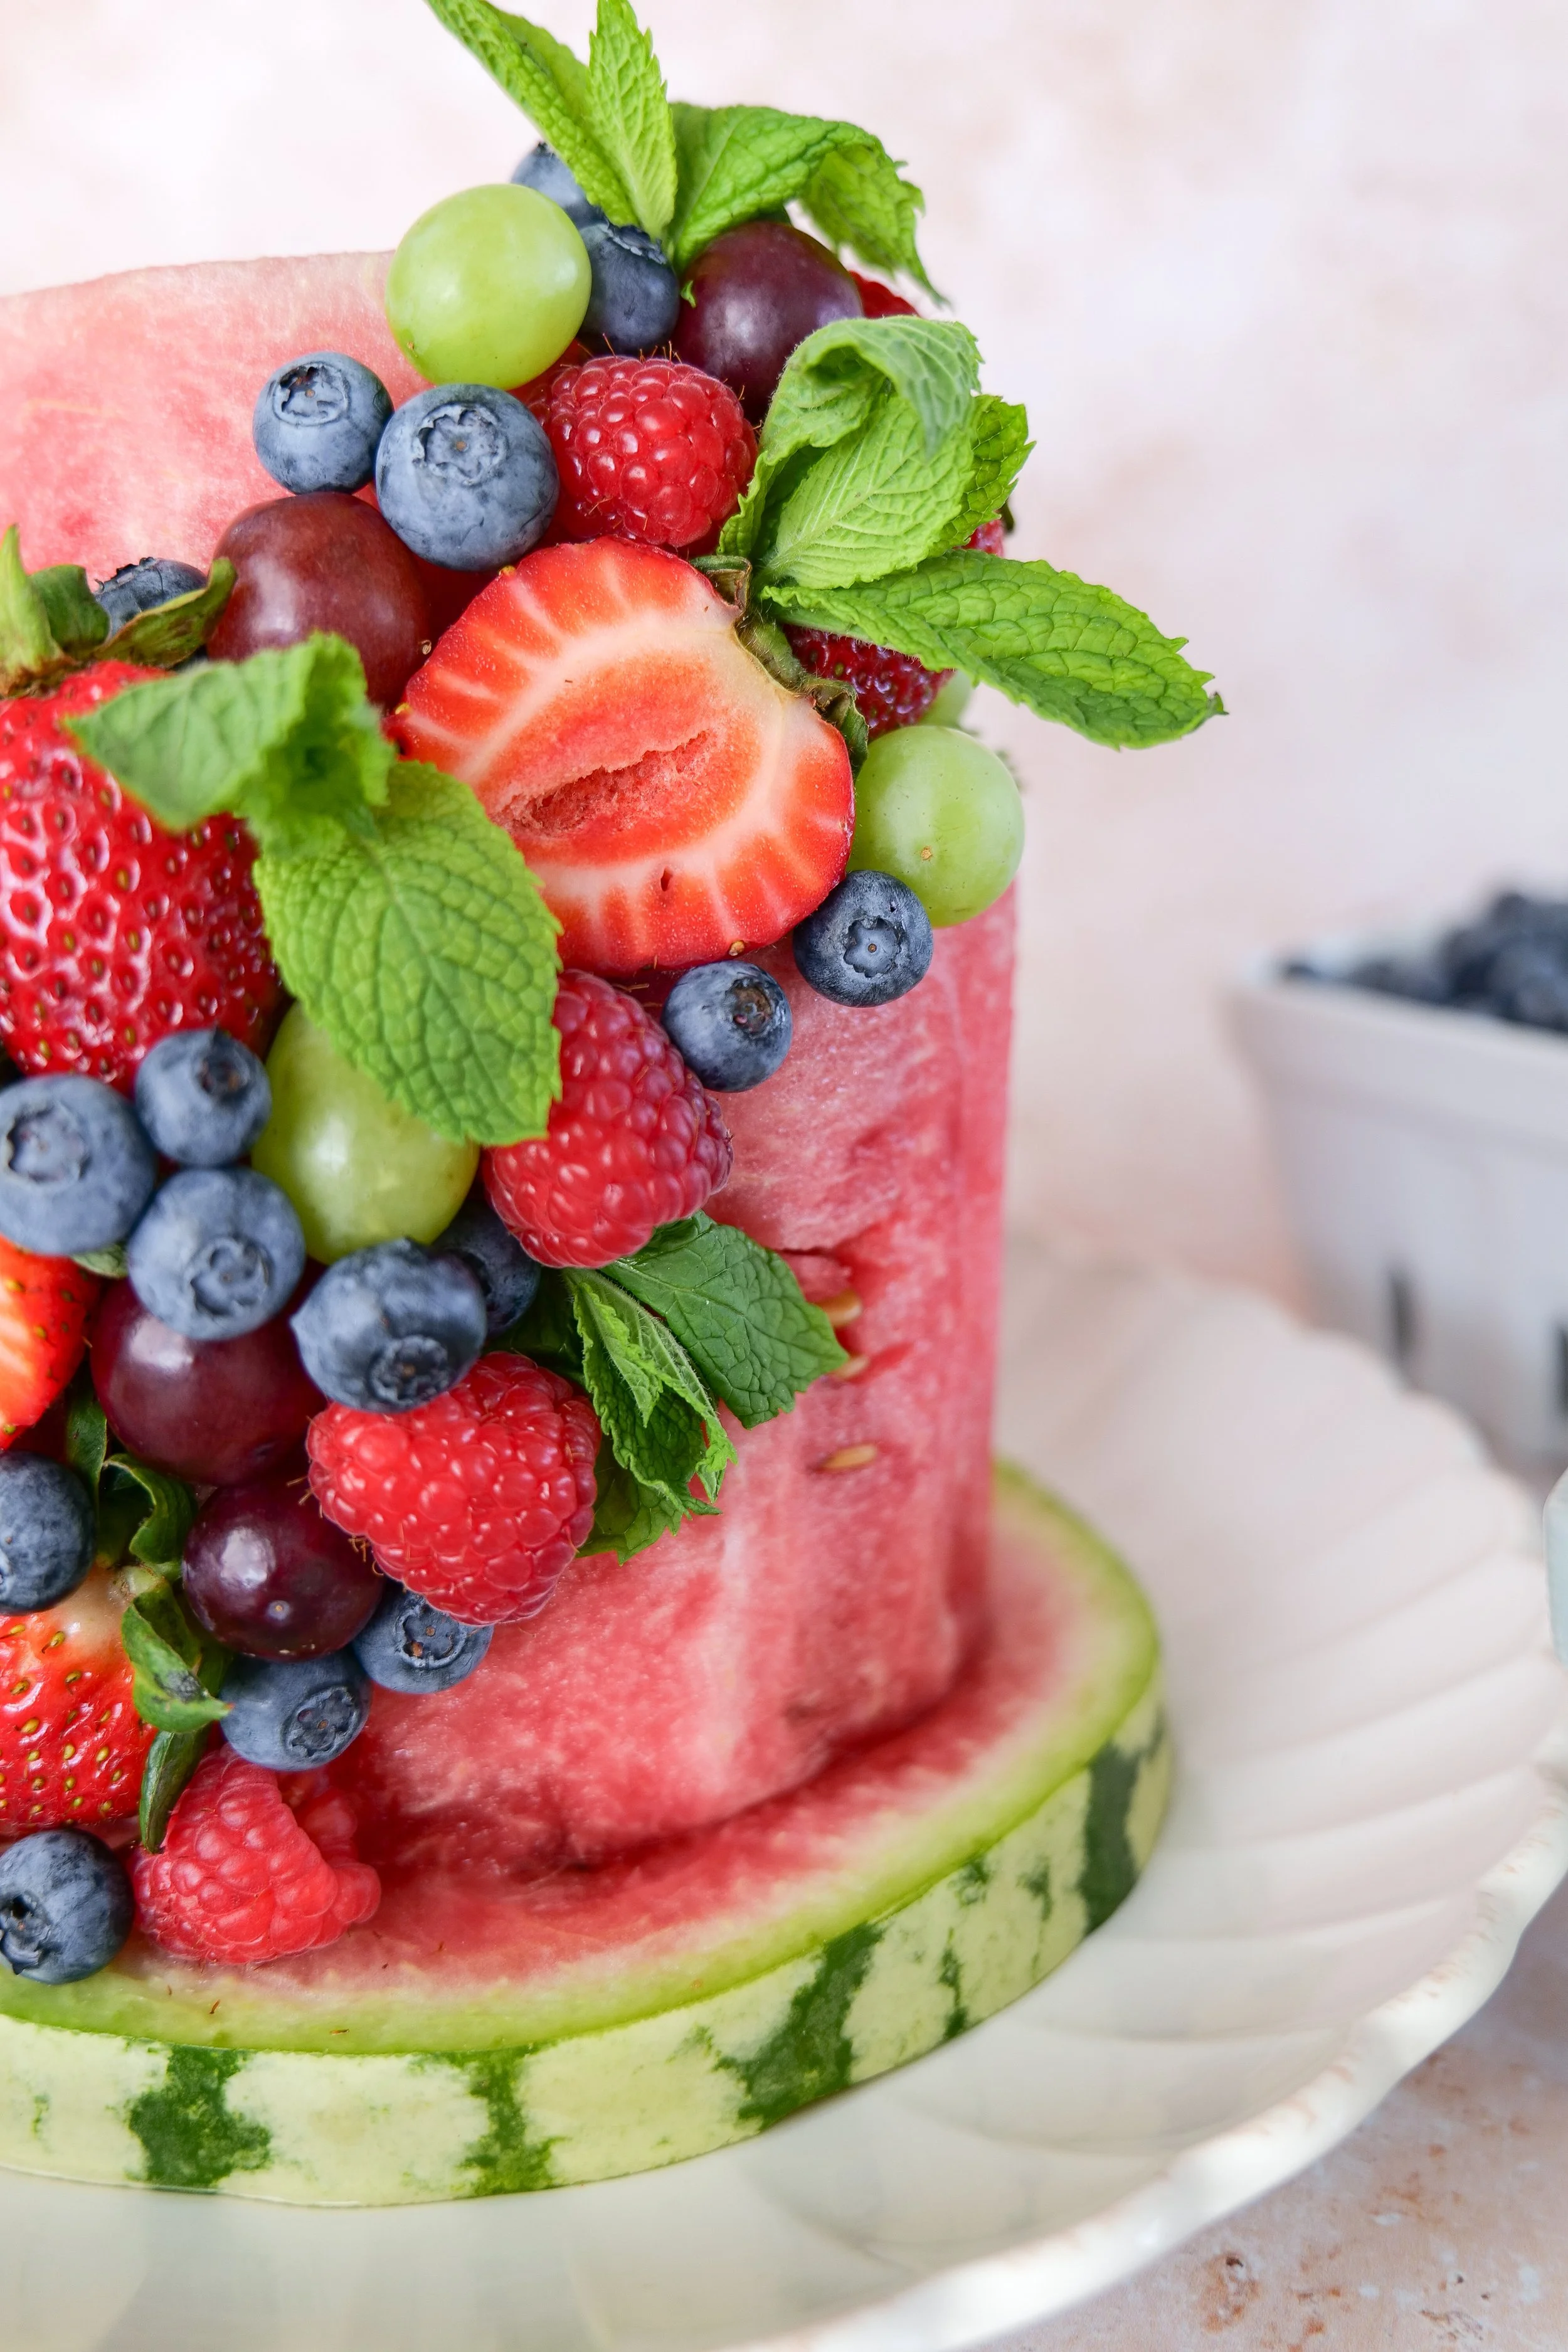
Finished watermelon cake garnished with fresh mint and colorful summer berries and grapes.
Watermelon fruit cake decorated with raspberries, blueberries, strawberries, and grapes in several colors.
Fresh fruit watermelon cake served as a refreshing no-bake alternative to a traditional summer birthday cake.

Homemade Whipped Cream for Serving

I kept the watermelon cake completely unfrosted and served whipped cream separately. This allowed the fruit to remain bright and fresh while giving everyone the option to add a spoonful of cream to their slice.

To make a simple homemade whipped cream, beat the following ingredients together until soft or medium peaks form:

  • 1 cup cold heavy whipping cream

  • 1/4 cup powdered sugar

  • 1 teaspoon vanilla extract

Keep the whipped cream refrigerated until serving.

Amanda’s Tips

Dry Everything Thoroughly

The watermelon and decorative fruit must be dry. Moisture makes it more difficult for the tiers and decorations to remain secure.

Use Watermelons in Different Sizes

Choosing one large watermelon and one smaller watermelon will make the finished cake look naturally tiered and balanced.

Trim Slowly

It is easier to remove more watermelon than it is to repair a tier that has been trimmed too narrowly. Cut away the rind gradually and rotate the watermelon as you work.

Assemble It on the Serving Stand

Once the watermelon is decorated, it becomes heavy and difficult to move. Stack and decorate the tiers directly on the cake stand or platter you plan to use.

Keep It Chilled

Watermelon tastes best cold and will hold its shape more reliably when chilled.

Remove Every Toothpick Before Serving

Keep track of where the toothpicks are inserted and remove all of them before slicing or serving the fruit.

Prepare Fruit Safely for Children

Whole grapes and some berries can be choking hazards for babies and young children. Remove all toothpicks and skewers, then cut the fruit into developmentally appropriate pieces before serving. Always supervise young children while they eat.

How Far Ahead Can You Make a Watermelon Cake?

The watermelon tiers can be trimmed several hours before decorating.

After trimming, pat them dry, wrap them gently, and refrigerate them separately. Prepare and dry the decorative fruit at the same time.

For the best presentation, stack and decorate the cake two to four hours before serving. Watermelon naturally releases moisture, so I would not fully assemble it the night before.

How to Store Leftovers

Remove all toothpicks and skewers before storing leftovers.

Cut the remaining watermelon into slices or cubes and transfer it to an airtight container. Store it in the refrigerator for up to three days.

Store the whipped cream separately in a covered container in the refrigerator.

The cake will not retain its original tiered appearance after it has been sliced, but the leftover fruit is perfect for snacks, smoothies, fruit salad, or breakfast.

Watermelon Cake Decorating Variations

Red, White, and Blue Watermelon Cake

Decorate with strawberries, raspberries, blueberries, and whipped cream on the side for a Fourth of July celebration.

Pastel Baby Shower Cake

Use pale green grapes, strawberries, raspberries, and small mint leaves for a soft garden-inspired presentation.

Tropical Watermelon Cake

Decorate with mango, kiwi, pineapple, grapes, and toasted coconut.

Farmers Market Watermelon Cake

Use whatever berries, stone fruit, grapes, and herbs look best at your local farmers market that week.

One-Tier Watermelon Cake

For a smaller gathering, use one watermelon and create a single short cake tier. Decorate the top and sides using the same method.

What to Serve with Watermelon Cake

This fresh fruit cake works especially well as part of a summer brunch or outdoor gathering. Serve it alongside:

  • Homemade whipped cream

  • Yogurt parfaits

  • Pastries or muffins

  • Lemonade

  • Iced tea

  • Iced coffee

  • A brunch board

  • Tea sandwiches

  • A summer charcuterie board

For more seasonal inspiration, you may also enjoy my Blueberry Peach Streusel Bread, Blueberry Pie Overnight Oats, Peach Cobbler Overnight Oats, and Iced Cherry Cobbler Latte.

Frequently Asked Questions

Can I make a watermelon cake the night before?

You can trim the watermelon and prepare the fruit the night before, but I recommend stacking and decorating it on the day you plan to serve it.

How do I keep the watermelon tiers from sliding?

Dry both tiers thoroughly and keep them chilled. Long wooden skewers may be inserted through the center for additional support, but they must be removed before slicing.

Do I need to frost a watermelon cake?

No. This version is intentionally left unfrosted. Whipped cream is served on the side so guests can add it to individual portions.

Can I use other fruit?

Yes. Blackberries, kiwi, peaches, pineapple, mango, and cherries can all be used. Choose fruit that is firm enough to hold its shape.

How long can watermelon cake sit outside?

On a warm day, keep it outdoors only while serving. Return any leftovers to the refrigerator as soon as possible.

Can I make this as a smash cake?

A small watermelon tier can be used as a fresh-fruit celebration cake, but all toothpicks and skewers must be removed first. Fruit should be prepared appropriately for the child’s age and eating abilities.

Can I transport a watermelon cake?

It is safest to transport the trimmed tiers and decorative fruit separately, then assemble the cake at your destination. A completed two-tier watermelon cake is heavy and can shift during transportation.

How do I slice a watermelon cake?

First remove all decorative toothpicks and support skewers. Lift off the top tier and slice each tier separately into wedges or smaller pieces.

A Note From Amanda

I love finding small ways to make ordinary moments feel worth celebrating.

This watermelon cake was created for our daughter’s eight-month milestone and inspired by the colorful fruit outfit she wore for her monthly photos. It was a little different from the cakes I usually make for her, but that is part of what made it so memorable.

The finished cake was simple, seasonal, and filled with everything that feels like August. It reminded me that traditions do not need to look exactly the same each time to remain meaningful.

Sometimes the sweetest memories begin with two watermelons, a table covered in fruit, and another reason to gather the people you love.

Printable Watermelon Fruit Cake Recipe

Whether you are making this for a summer birthday, baby milestone, shower, backyard gathering, or family brunch, I have included the complete printable recipe below.

It includes the exact fruit I used, simple step-by-step instructions, and my best tips for building and decorating a two-tier watermelon cake.

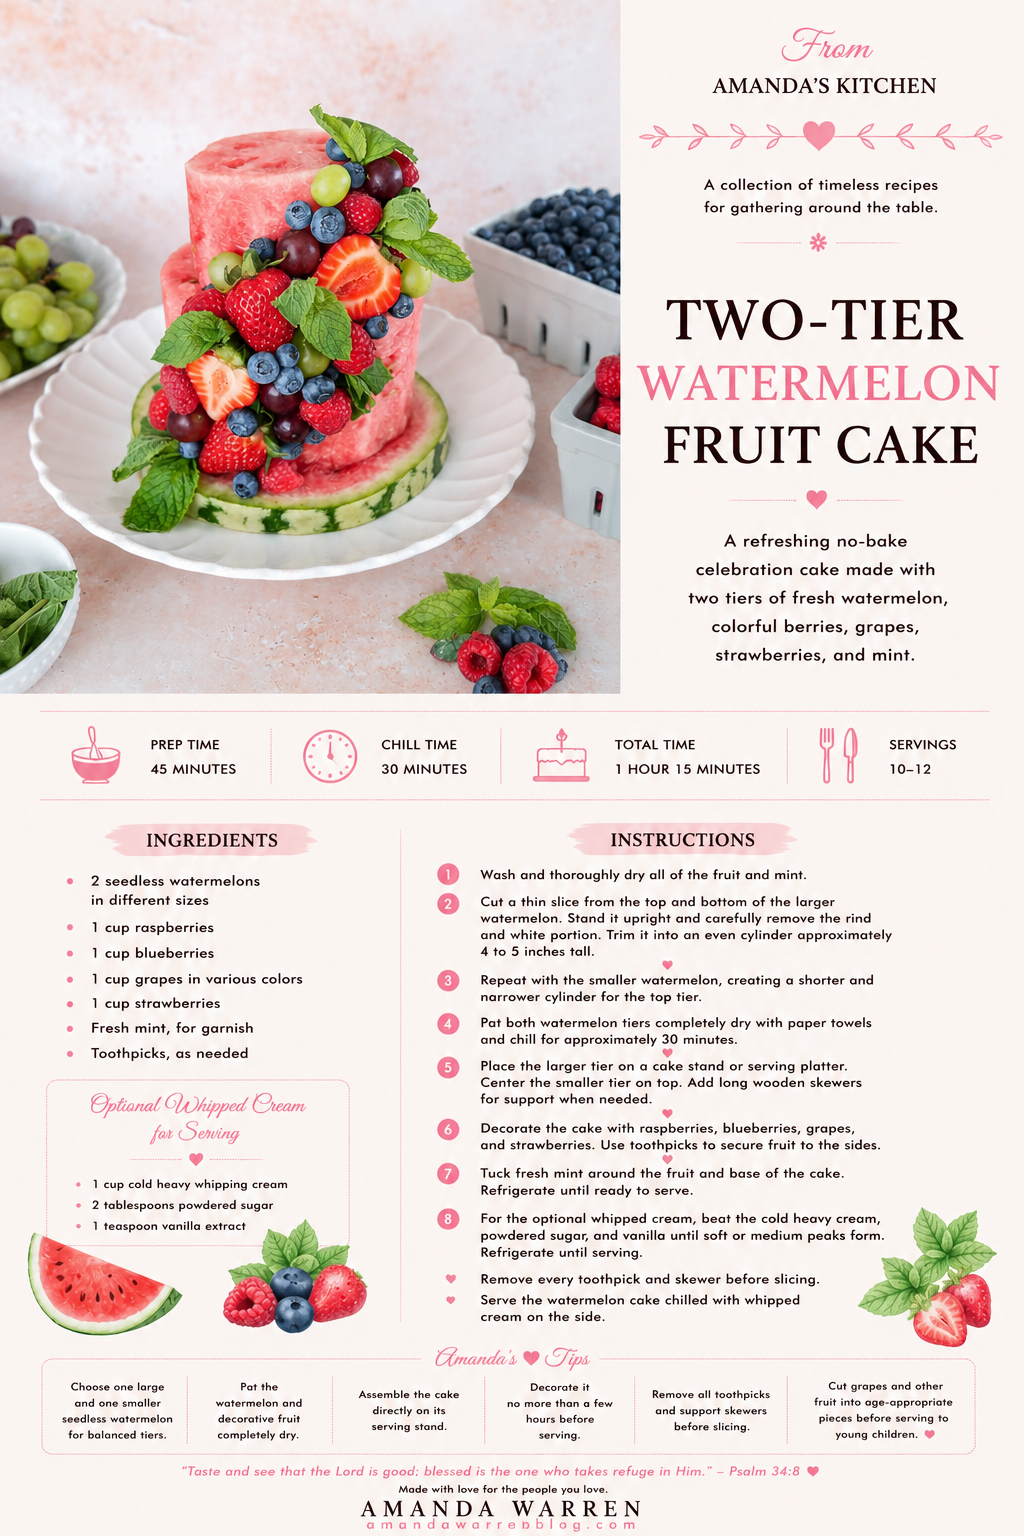
Printable recipe for an easy two-tier watermelon fruit cake made with berries, grapes, strawberries, and fresh mint.

Recipe Card Copy

Two-Tier Watermelon Fruit Cake

A refreshing no-bake celebration cake made with two tiers of fresh watermelon, colorful berries, grapes, strawberries, and mint.

Prep Time: 45 minutes
Chill Time: 30 minutes
Total Time: 1 hour 15 minutes
Servings: 10–12

Ingredients

  • 2 seedless watermelons in different sizes

  • 1 cup raspberries

  • 1 cup blueberries

  • 1 cup grapes in various colors

  • 1 cup strawberries

  • Fresh mint, for garnish

  • Toothpicks, as needed

Optional Whipped Cream for Serving

  • 1 cup cold heavy whipping cream

  • 2 tablespoons powdered sugar

  • 1 teaspoon vanilla extract

Instructions

  1. Wash and thoroughly dry all of the fruit and mint.

  2. Cut a thin slice from the top and bottom of the larger watermelon. Stand it upright and carefully remove the rind and white portion. Trim it into an even cylinder approximately 4 to 5 inches tall.

  3. Repeat with the smaller watermelon, creating a shorter and narrower cylinder for the top tier.

  4. Pat both watermelon tiers completely dry with paper towels and chill for approximately 30 minutes.

  5. Place the larger tier on a cake stand or serving platter. Center the smaller tier on top. Add long wooden skewers for support when needed.

  6. Decorate the cake with raspberries, blueberries, grapes, and strawberries. Use toothpicks to secure fruit to the sides.

  7. Tuck fresh mint around the fruit and base of the cake.

  8. Refrigerate until ready to serve.

  9. For the optional whipped cream, beat the cold heavy cream, powdered sugar, and vanilla until soft or medium peaks form. Refrigerate until serving.

  10. Remove every toothpick and skewer before slicing. Serve the watermelon cake chilled with whipped cream on the side.

Amanda’s Tips

  • Choose one large and one smaller seedless watermelon for balanced tiers.

  • Pat the watermelon and decorative fruit completely dry.

  • Assemble the cake directly on its serving stand.

  • Decorate it no more than a few hours before serving.

  • Remove all toothpicks and support skewers before slicing.

  • Cut grapes and other fruit into age-appropriate pieces before serving to young children.

Made with love for the people you love.

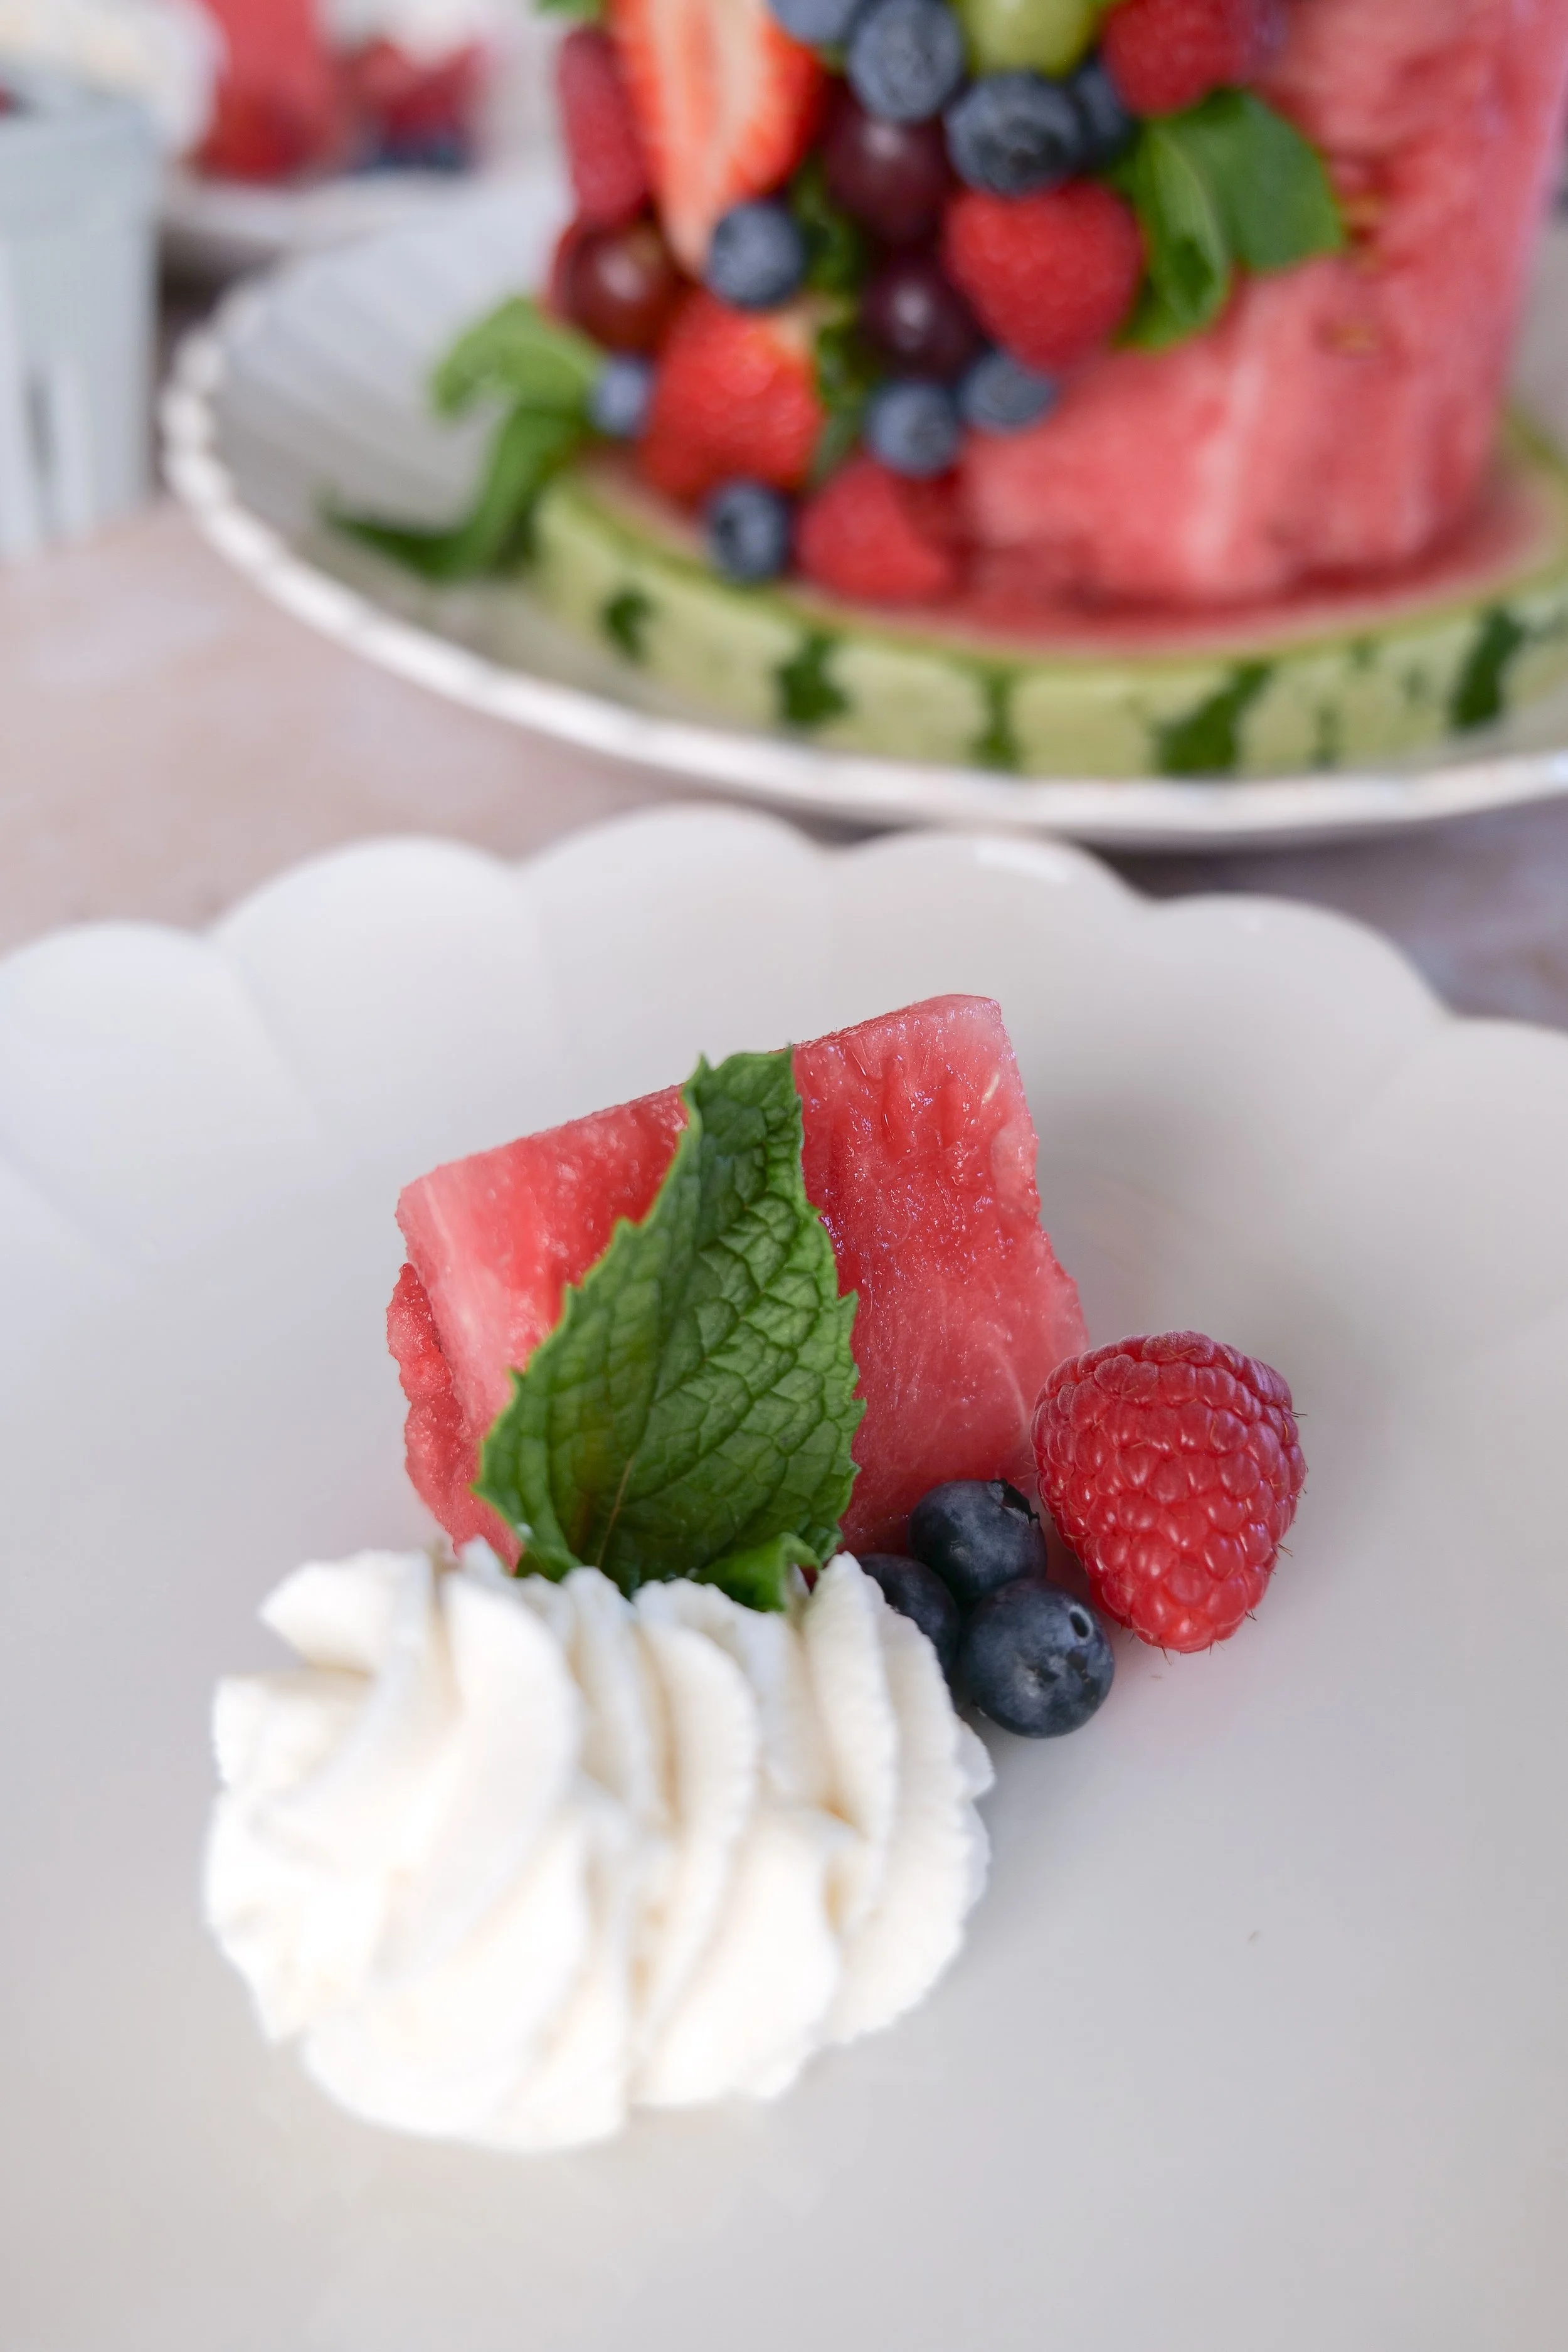
Sliced watermelon fruit cake served chilled with homemade whipped cream on the side.
A slice of two-tier watermelon fruit cake served with homemade whipped cream on the side, fresh berries, grapes, strawberries, and mint for a refreshing summer dessert.

4th of July Sugar Cookie Flag Fruit Pizza

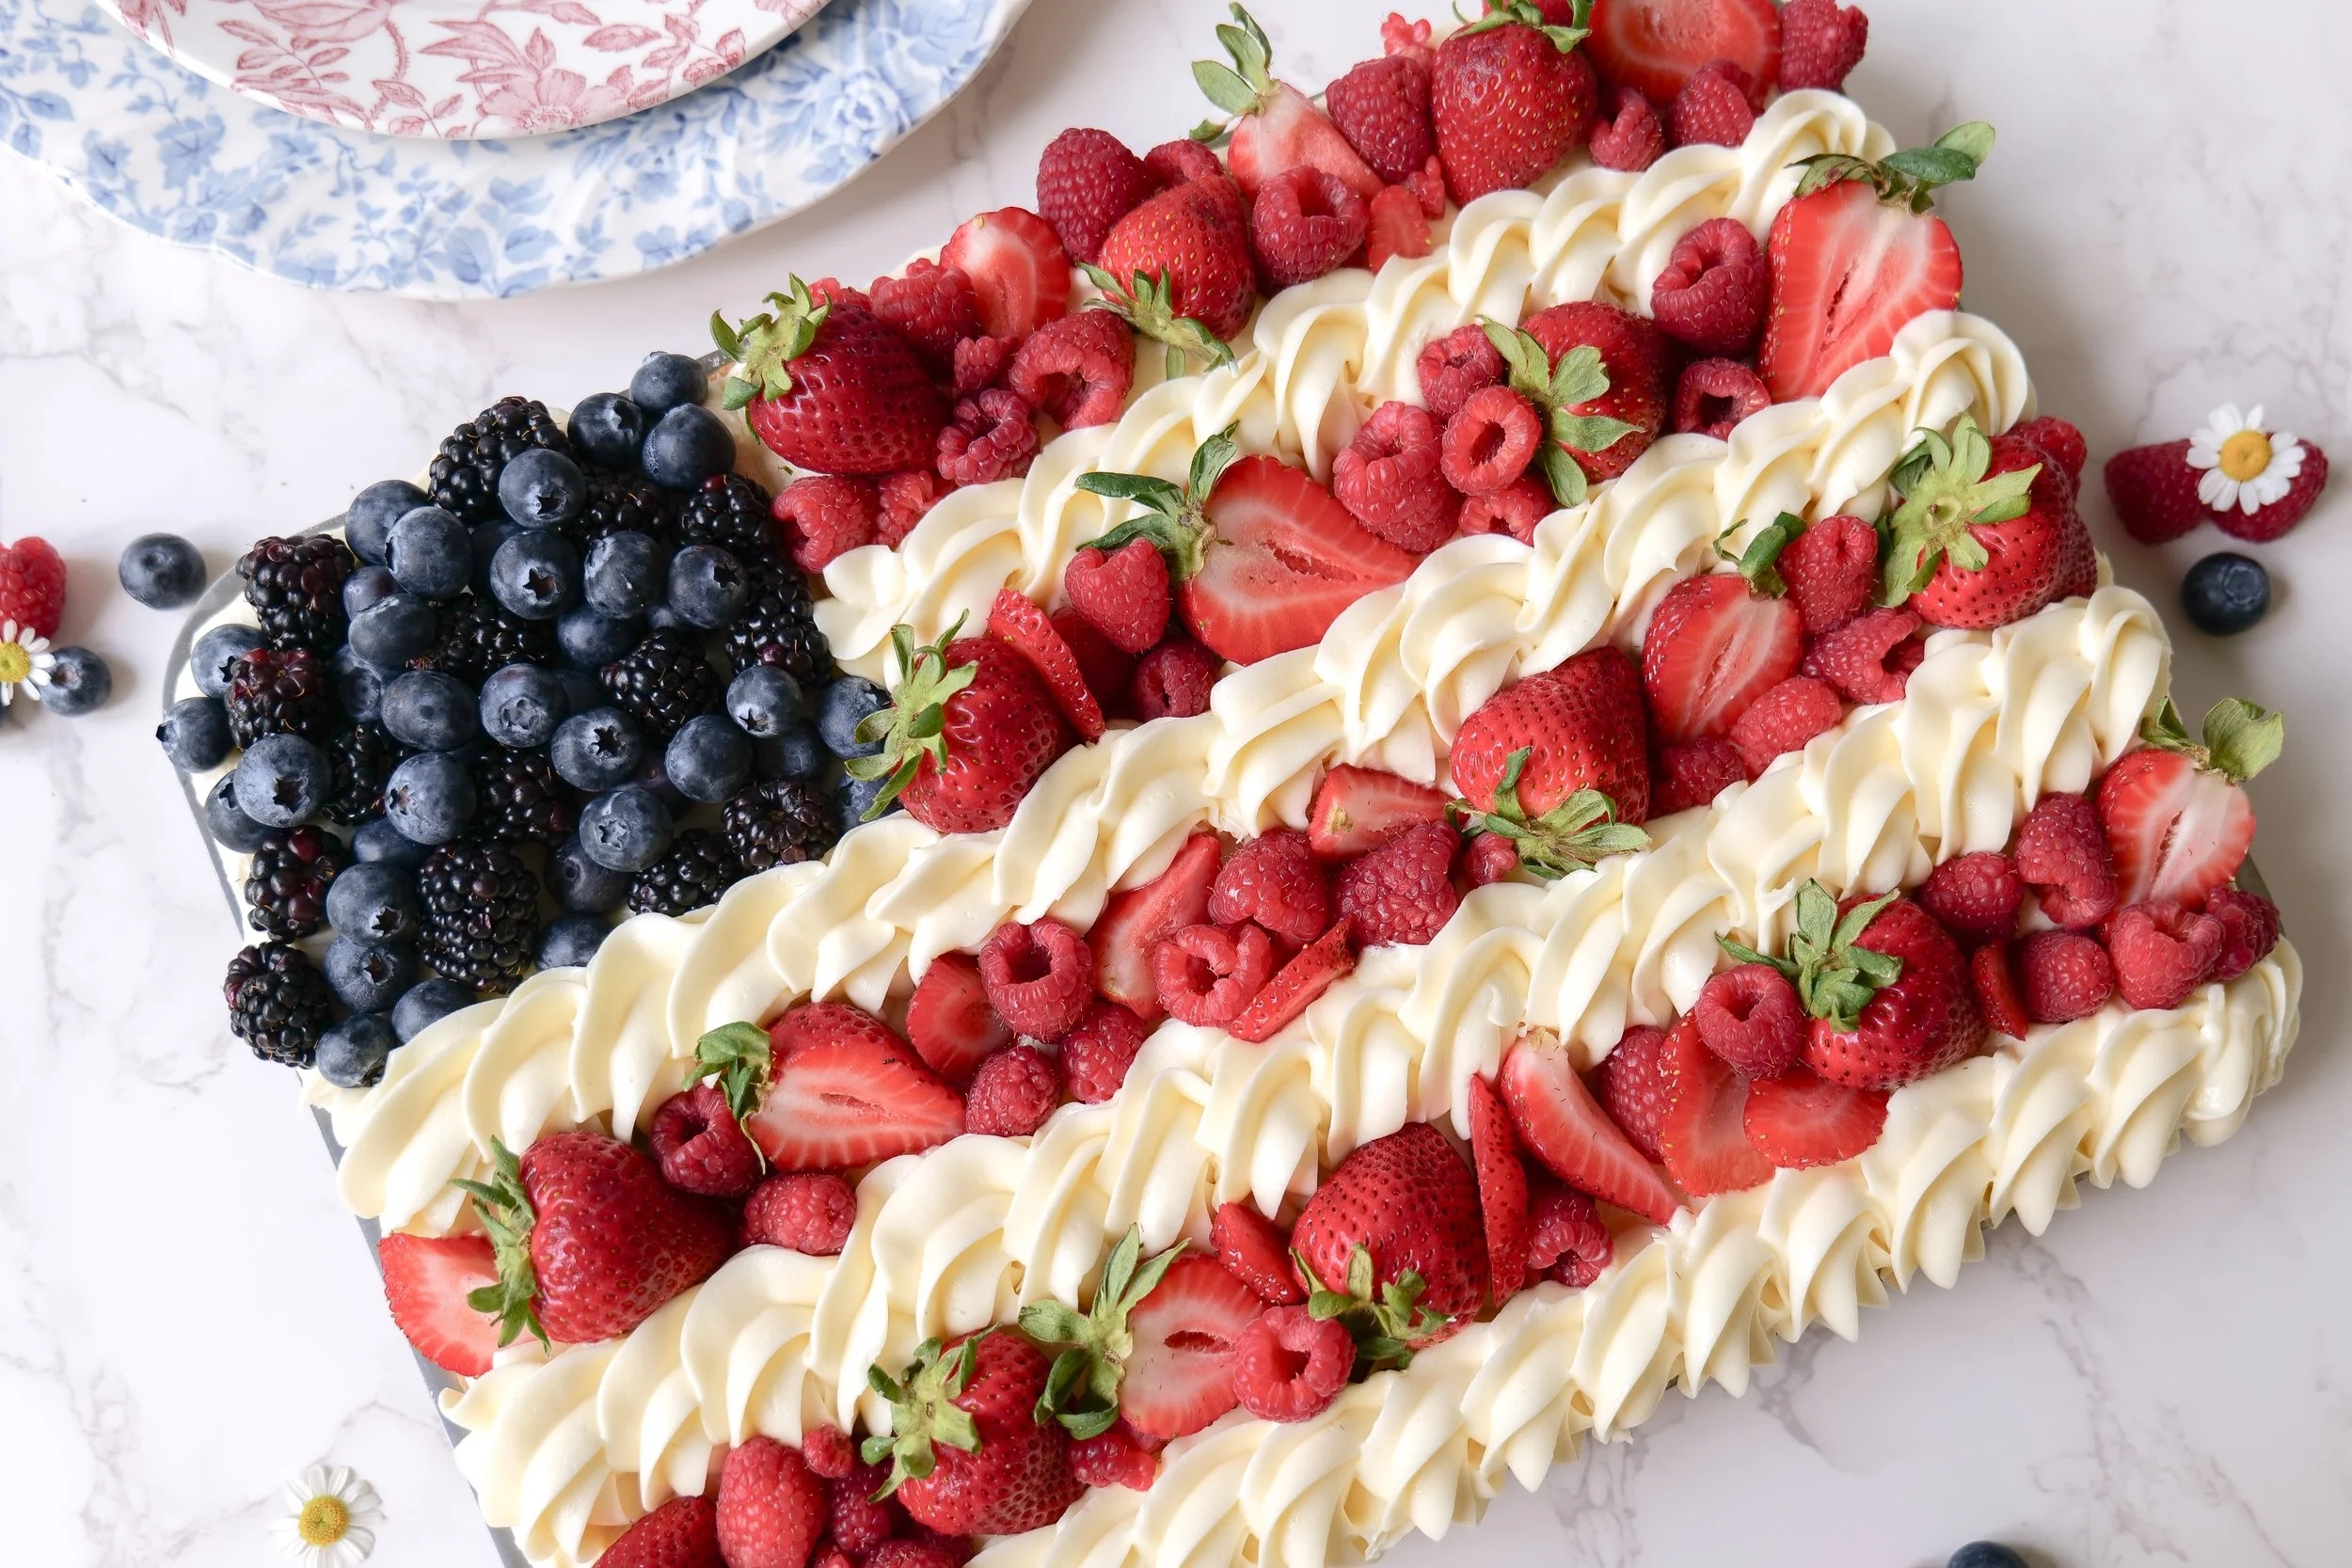
There’s something so nostalgic and magical about celebrating the Fourth of July with classic American desserts, backyard cookouts, and festive red, white, and blue treats. This easy 4th of July Sugar Cookie Flag Fruit Pizza is one of my favorite patriotic desserts to make during the summer because it’s simple, beautiful, and always a crowd favorite. This easy 4th of July fruit pizza recipe is made with a soft sugar cookie crust, cream cheese frosting, and fresh berries for the perfect patriotic summer dessert.

Made with a soft sugar cookie crust, creamy frosting, and fresh fruit arranged into an American flag design, this patriotic fruit pizza is perfect for Fourth of July parties, Memorial Day gatherings, summer BBQs, pool parties, and all-American summer celebrations. Pair this patriotic dessert with my favorite 4th of July tablescape ideas for the ultimate summer gathering.

If you love easy summer desserts and festive entertaining recipes, this one is always a hit!

↓ Skip to Recipe
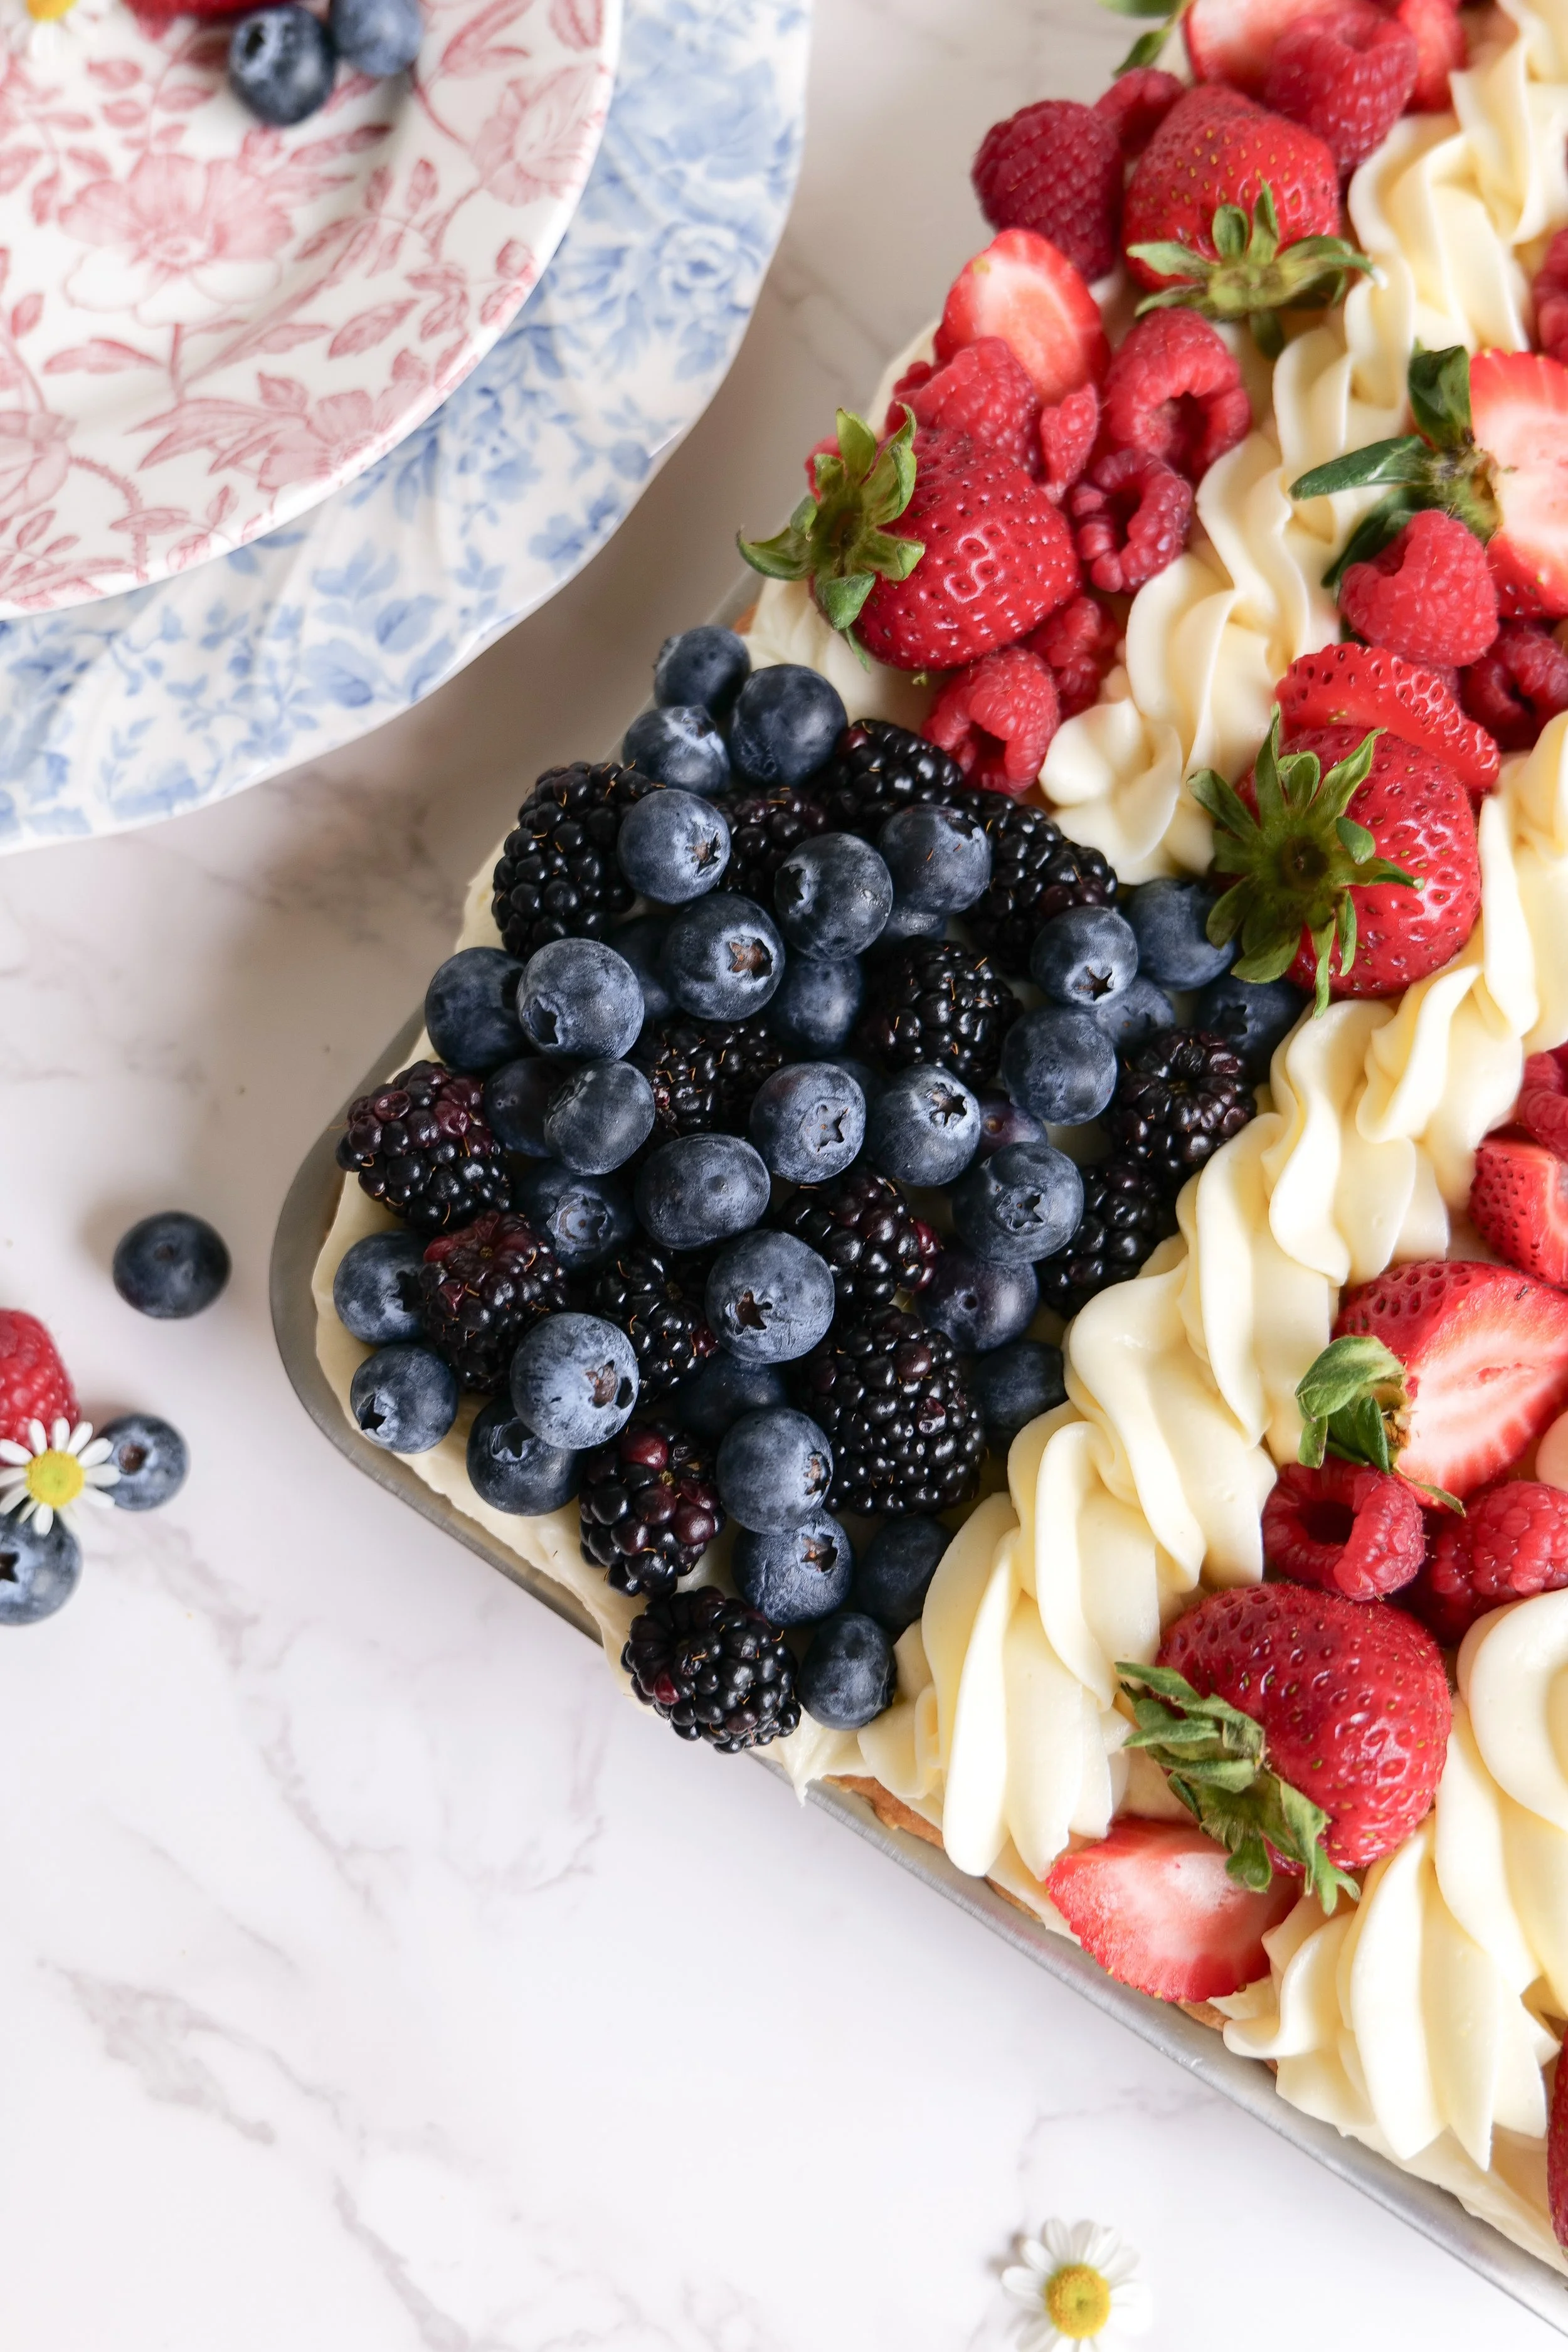
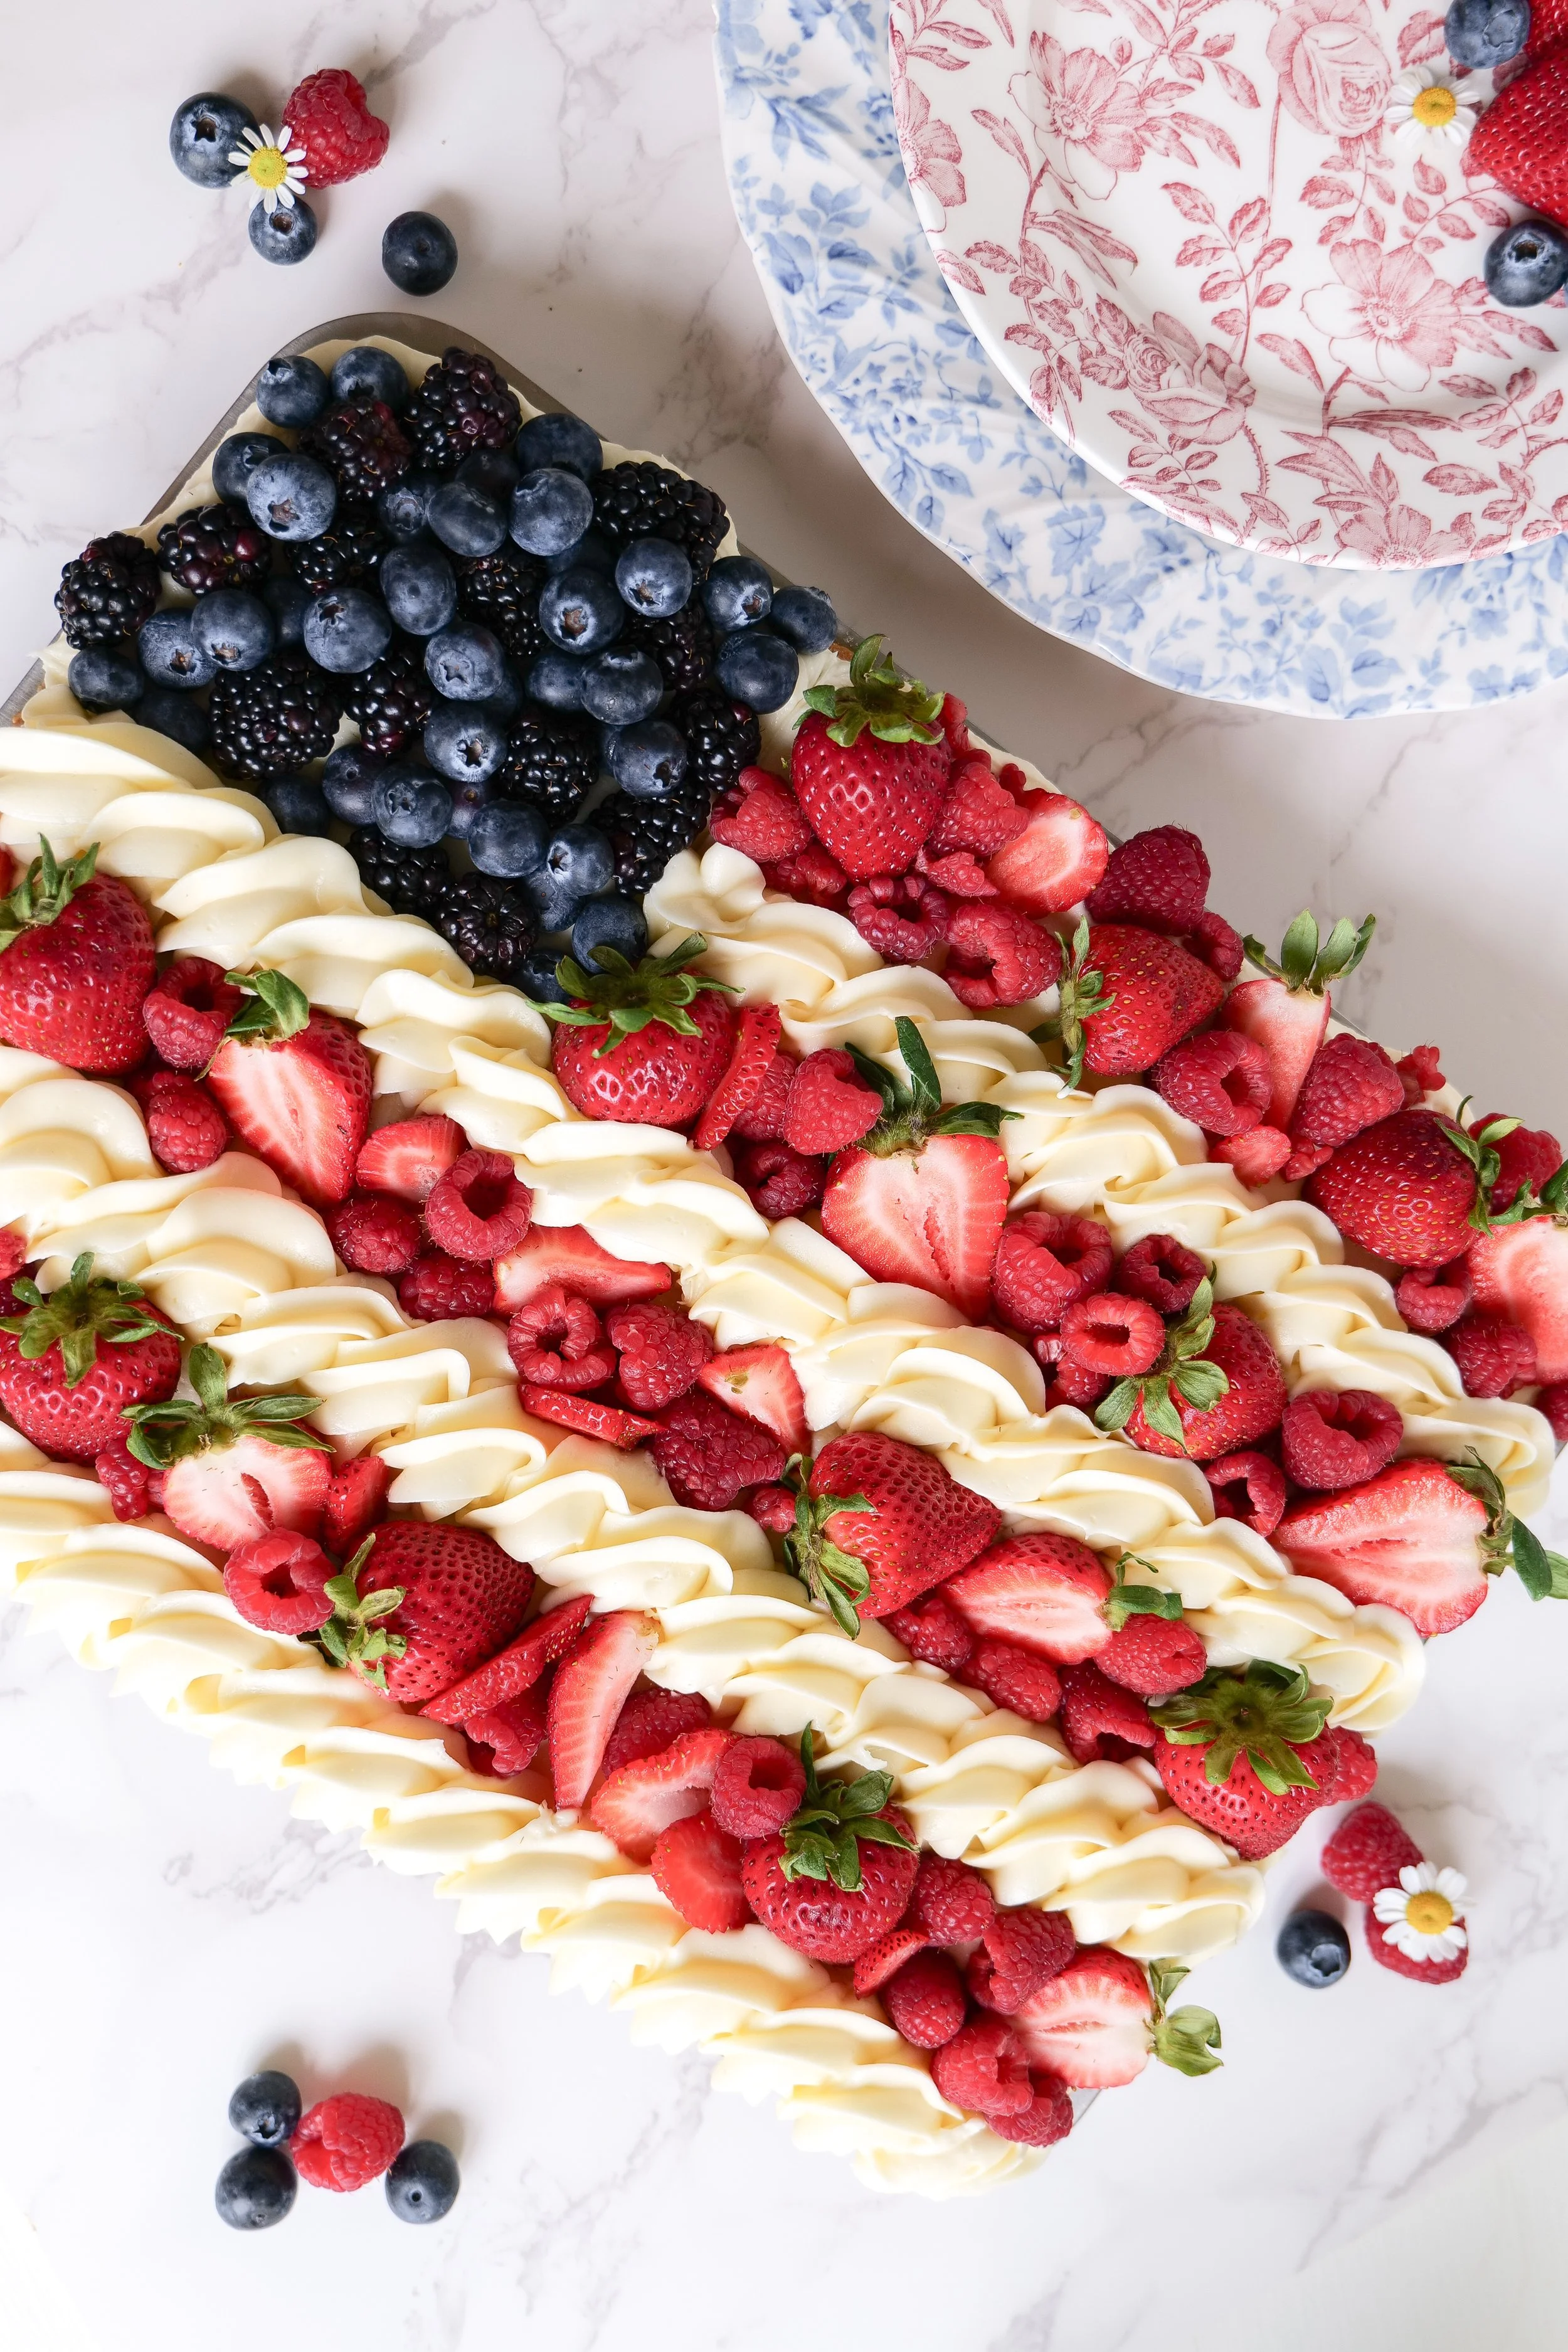
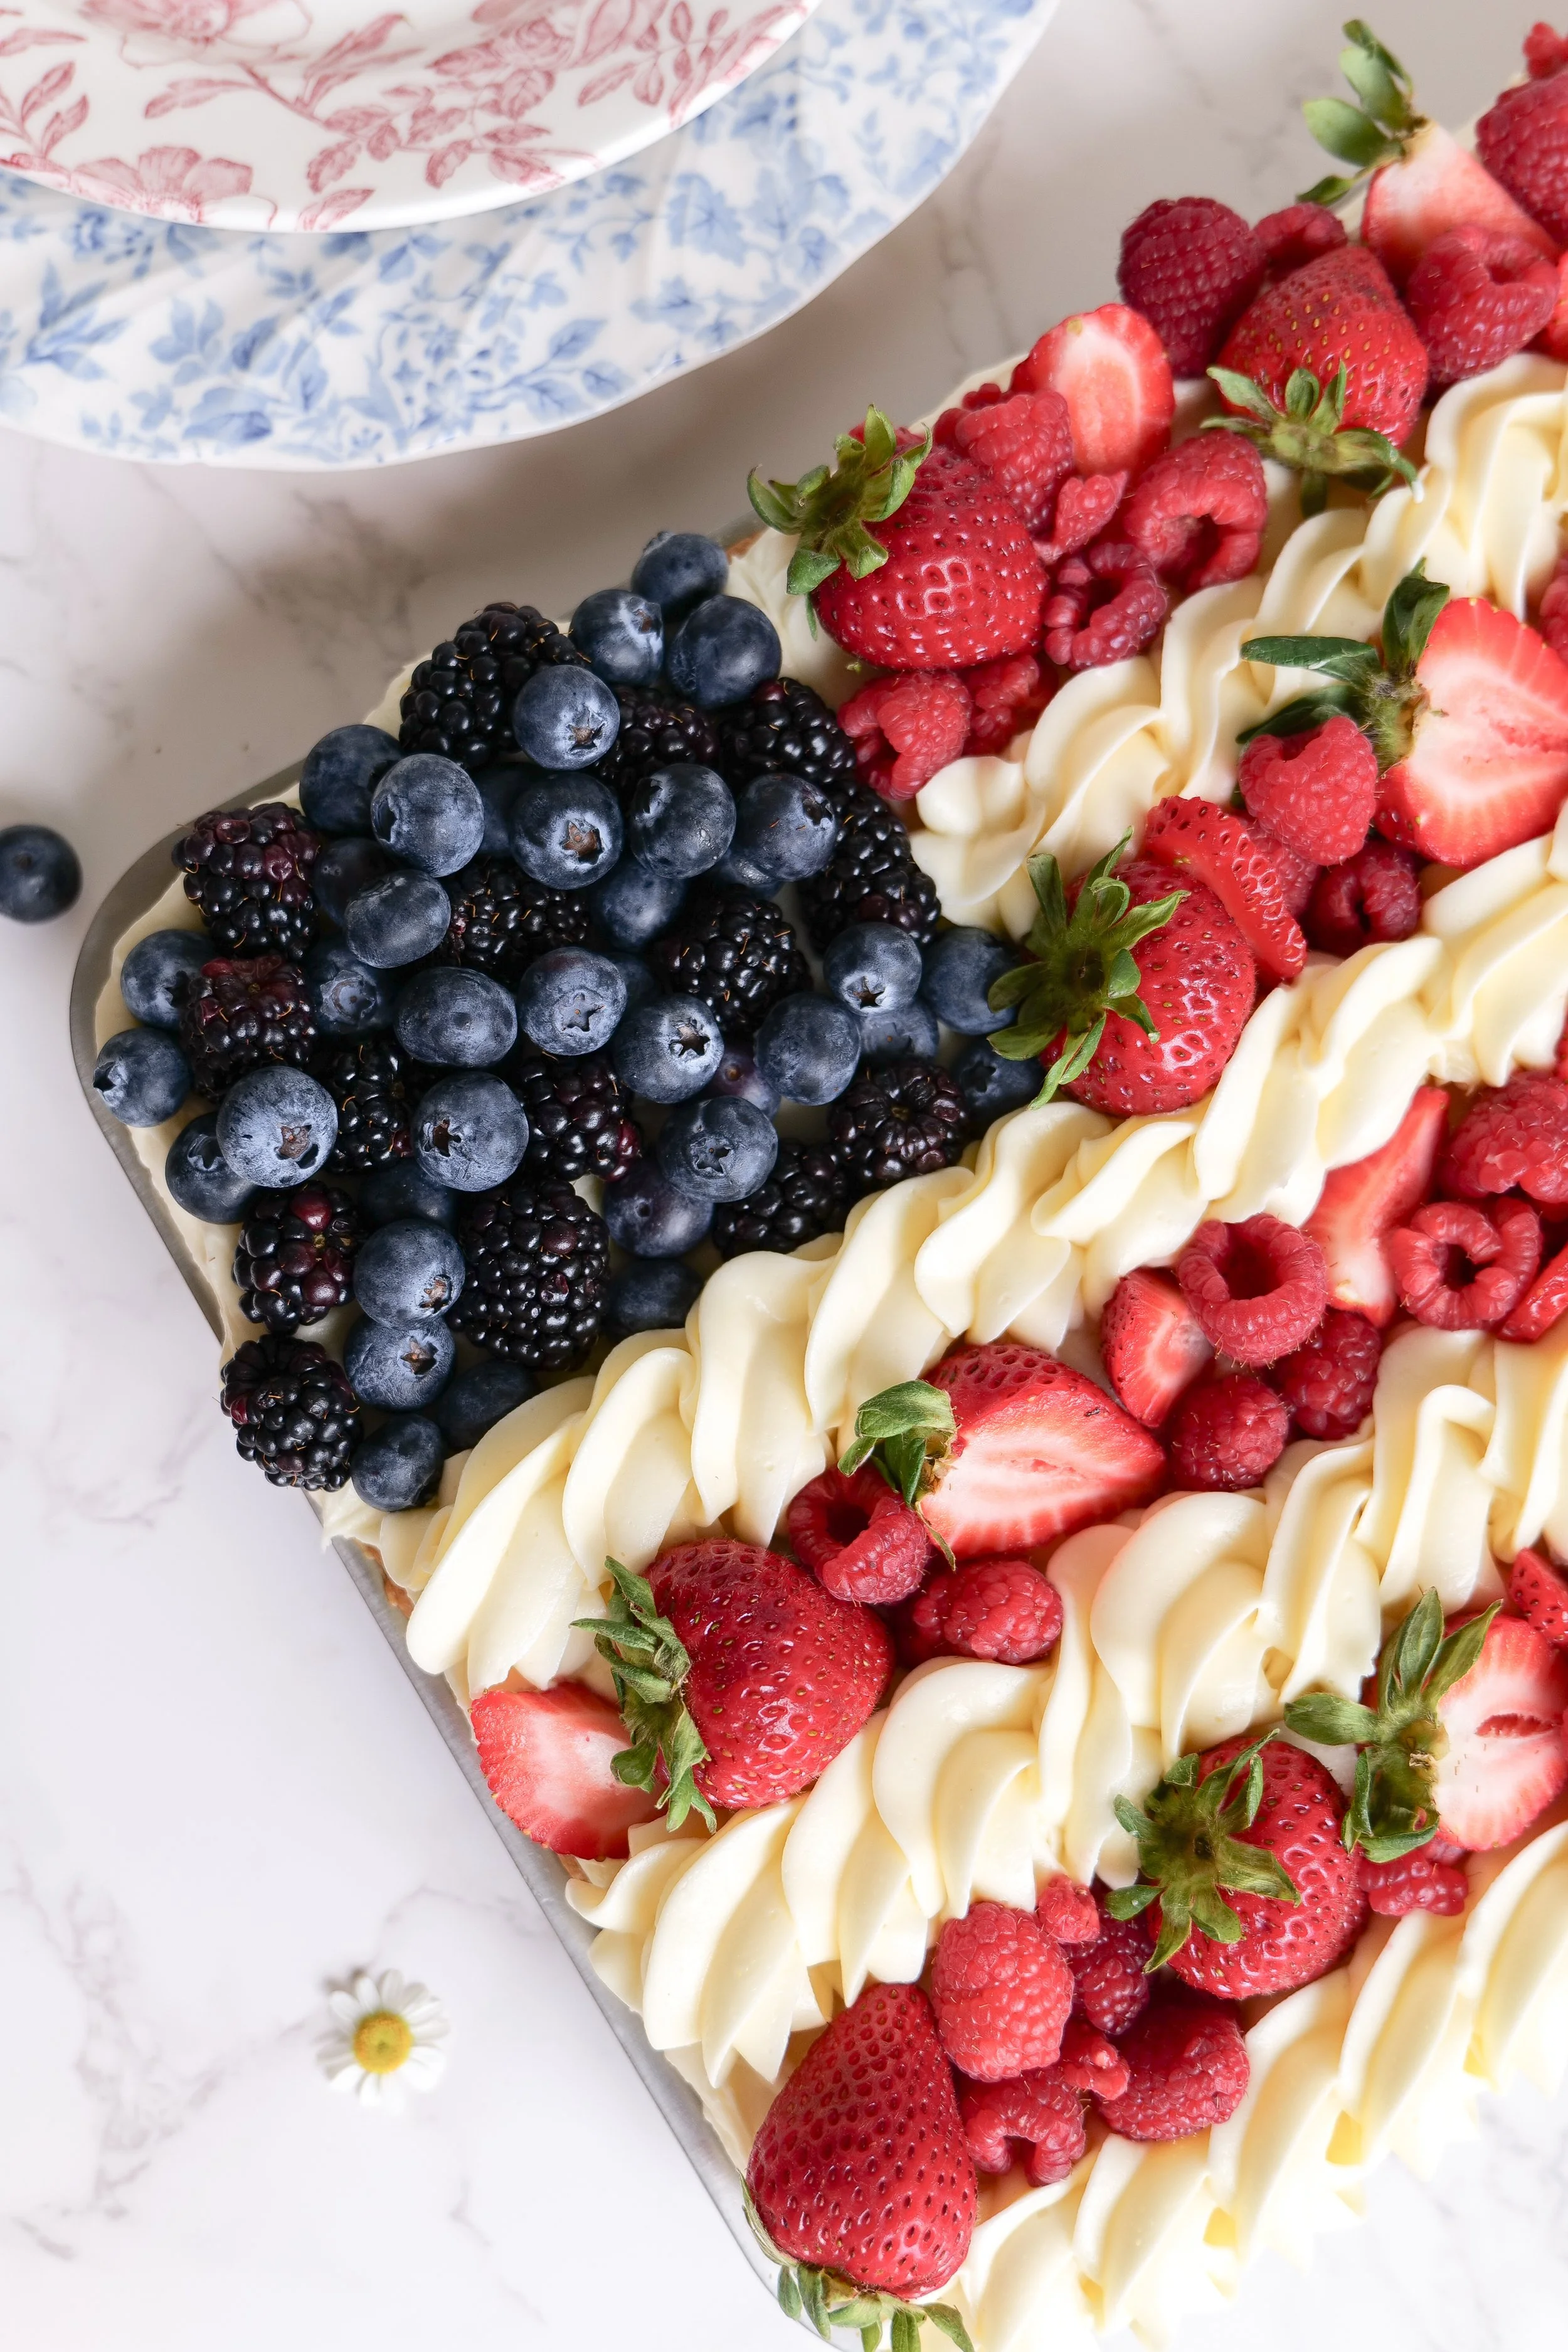
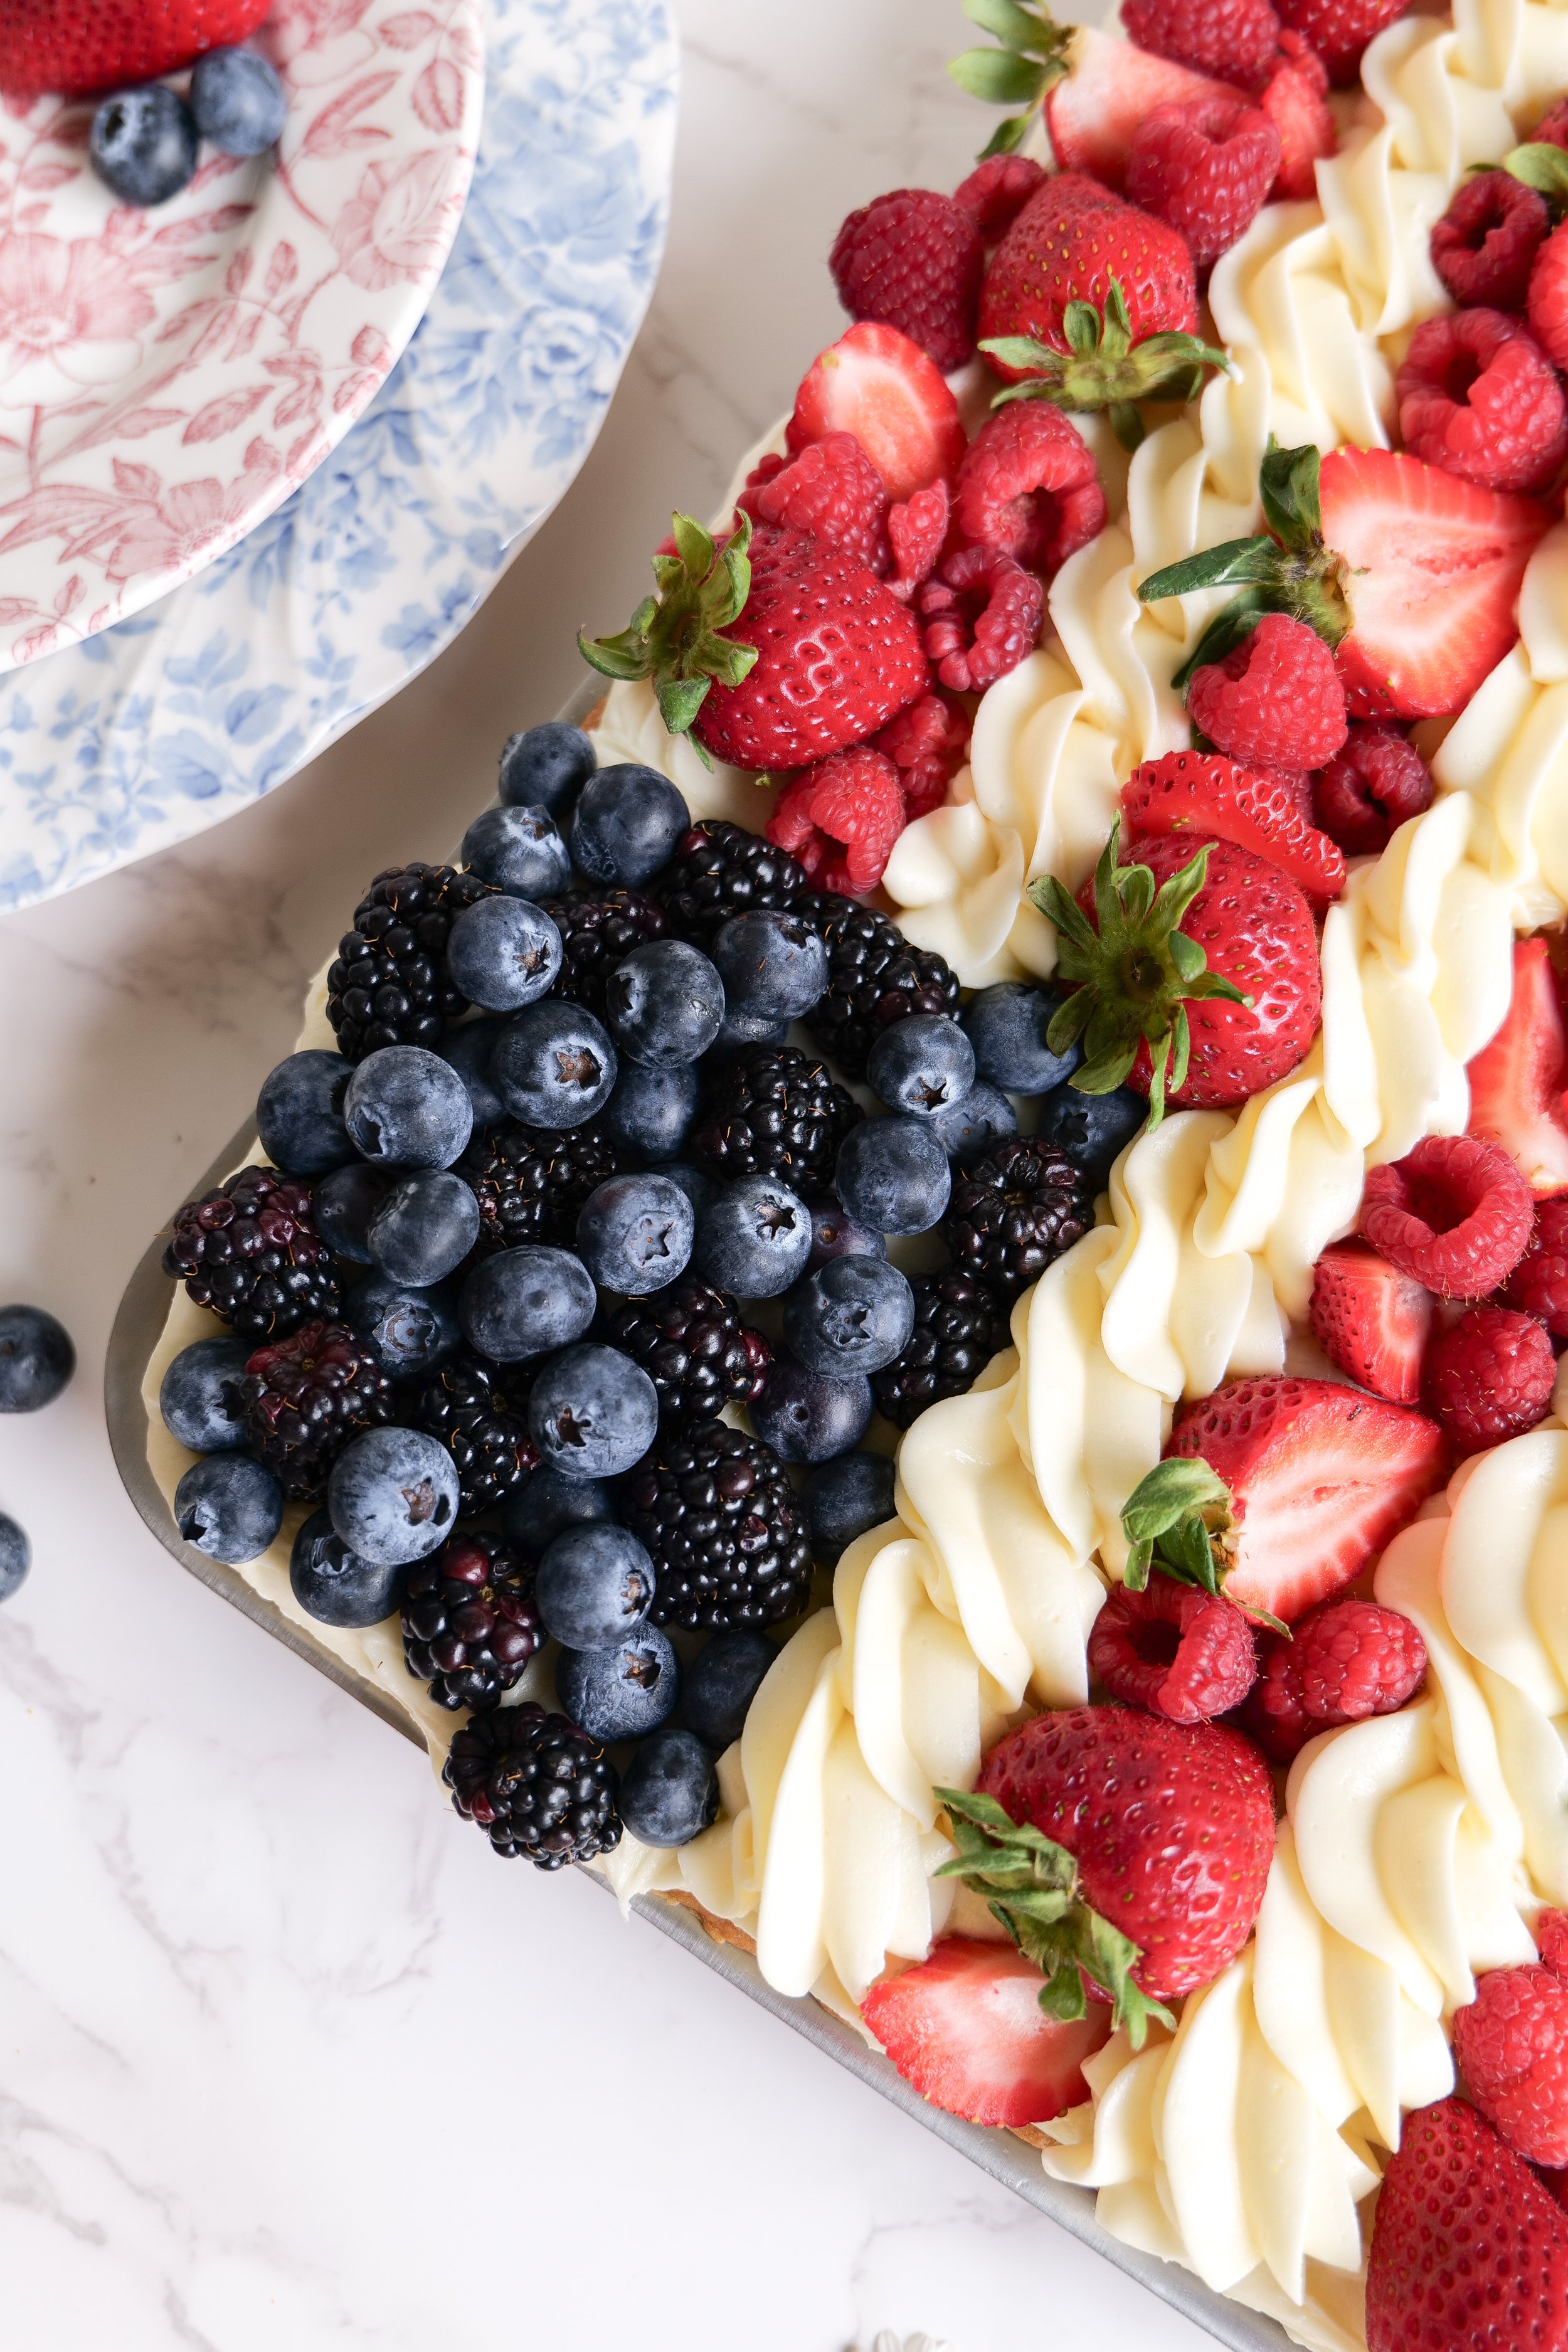
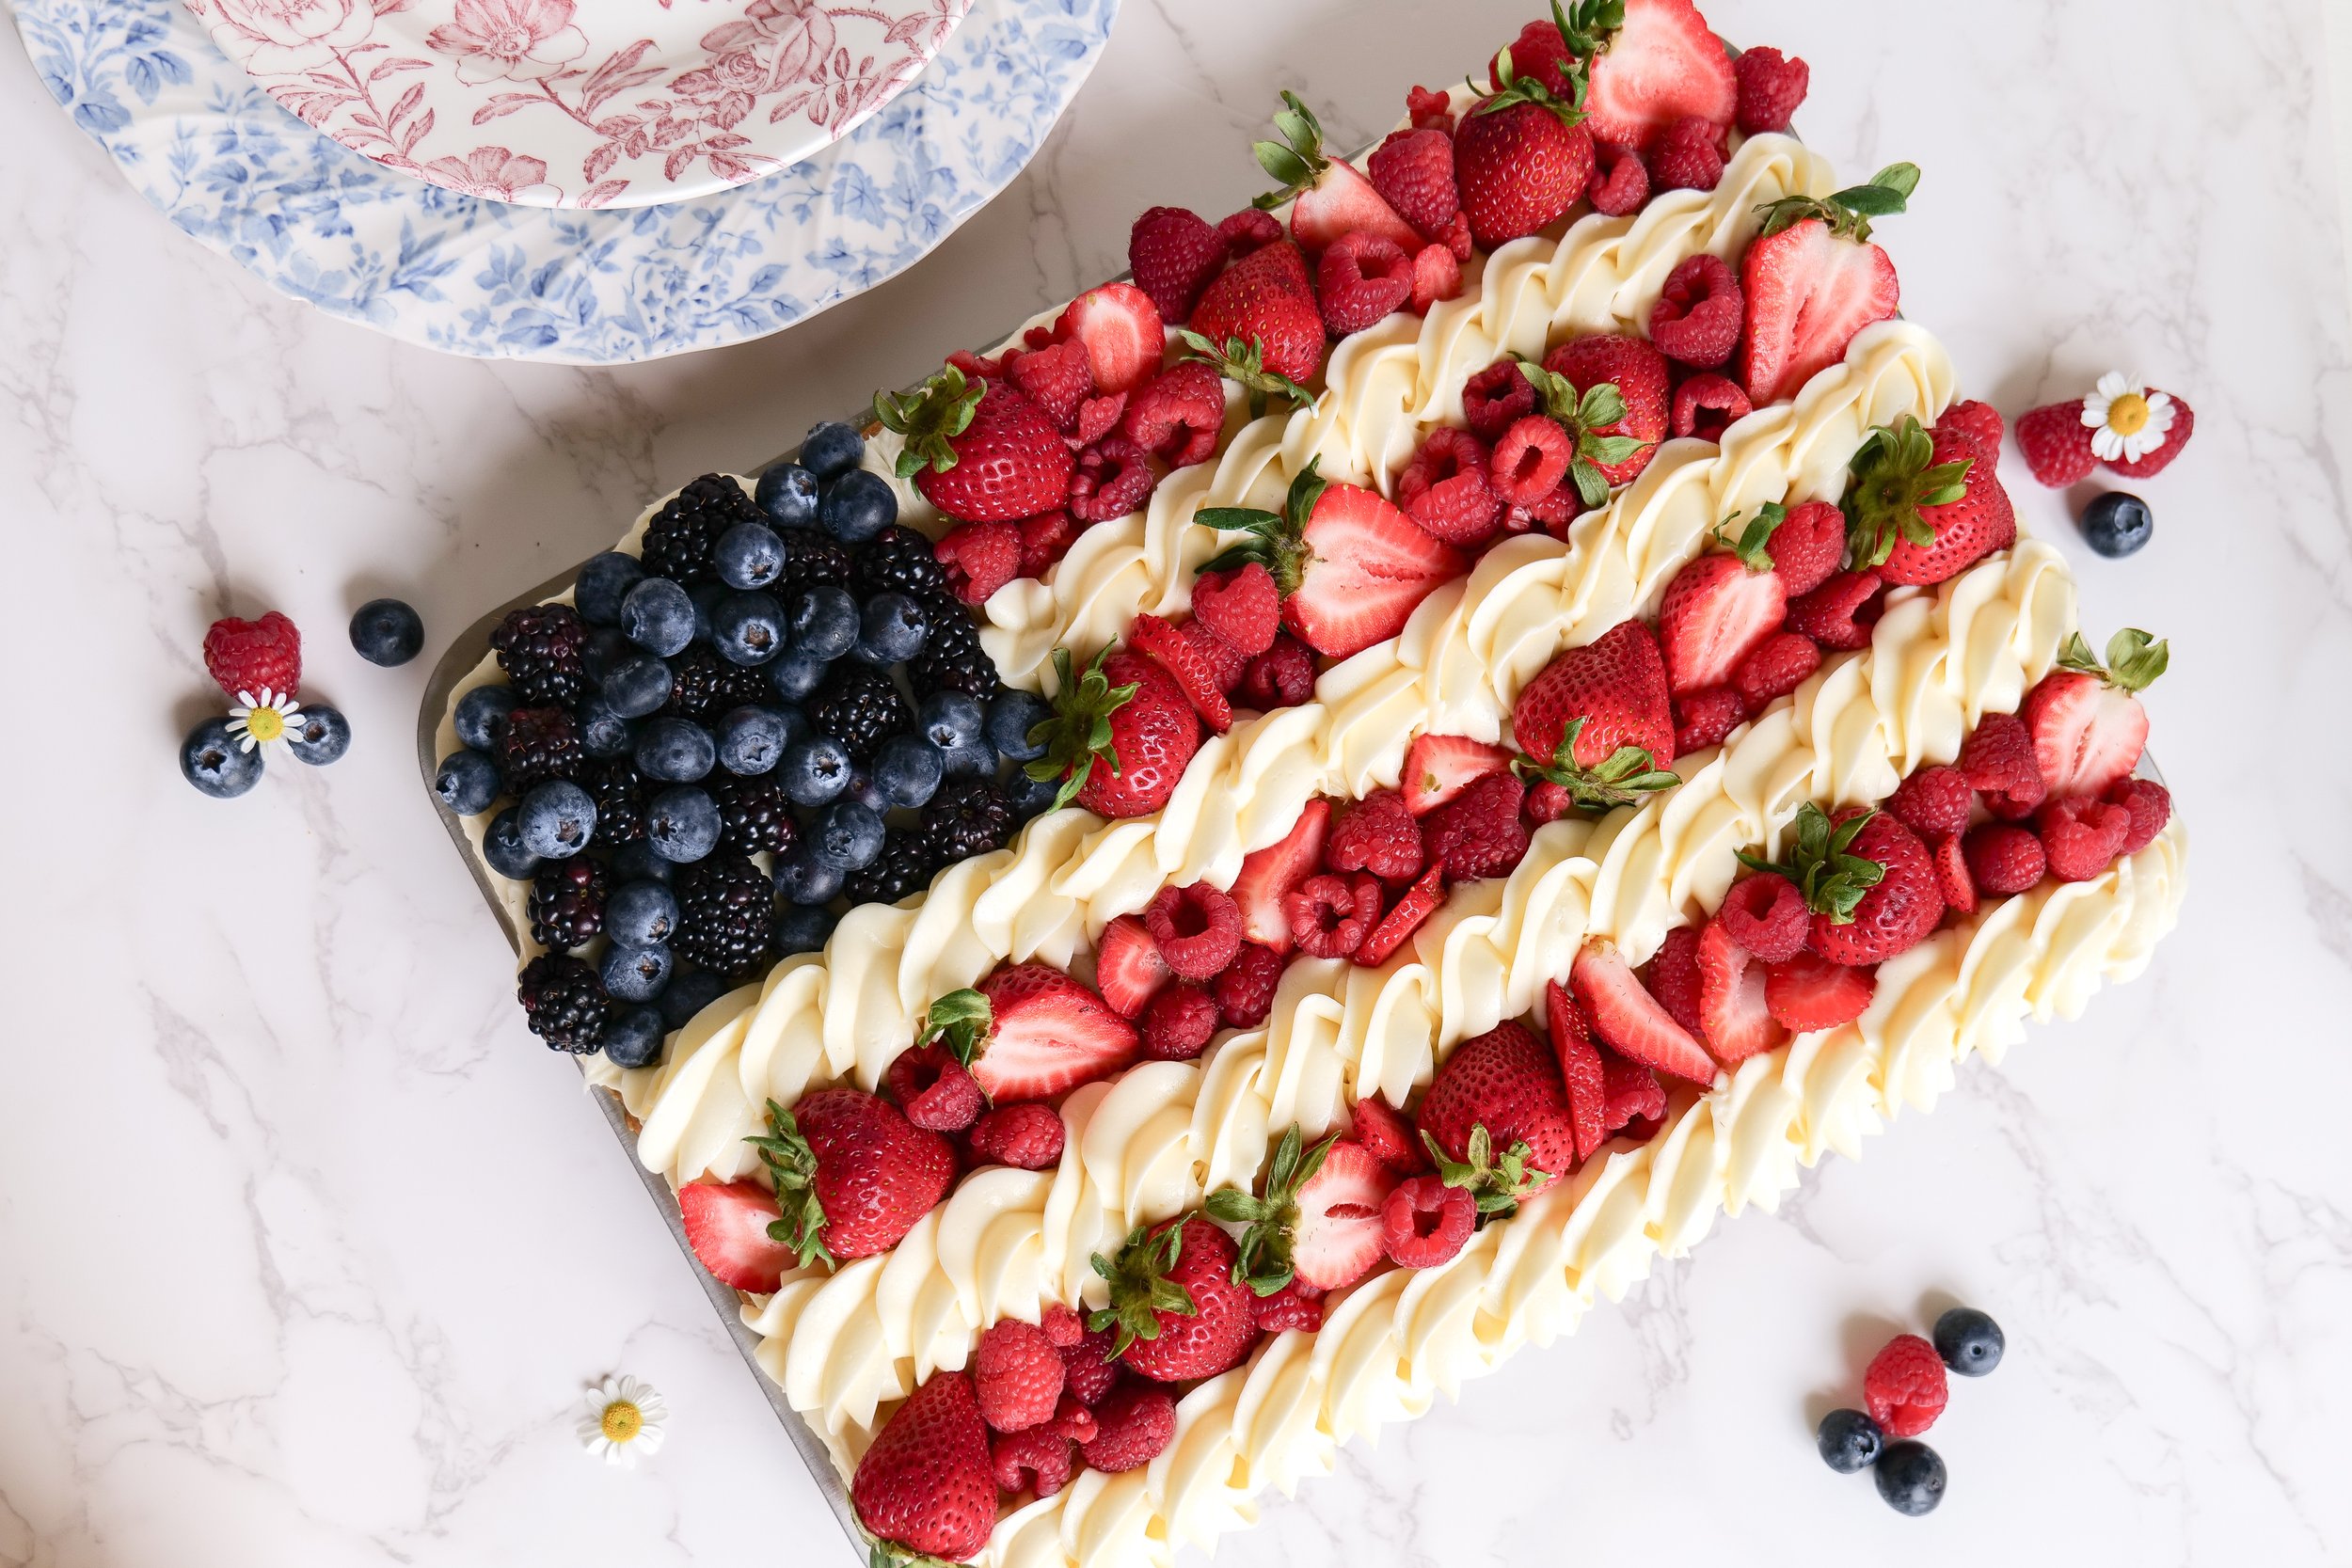
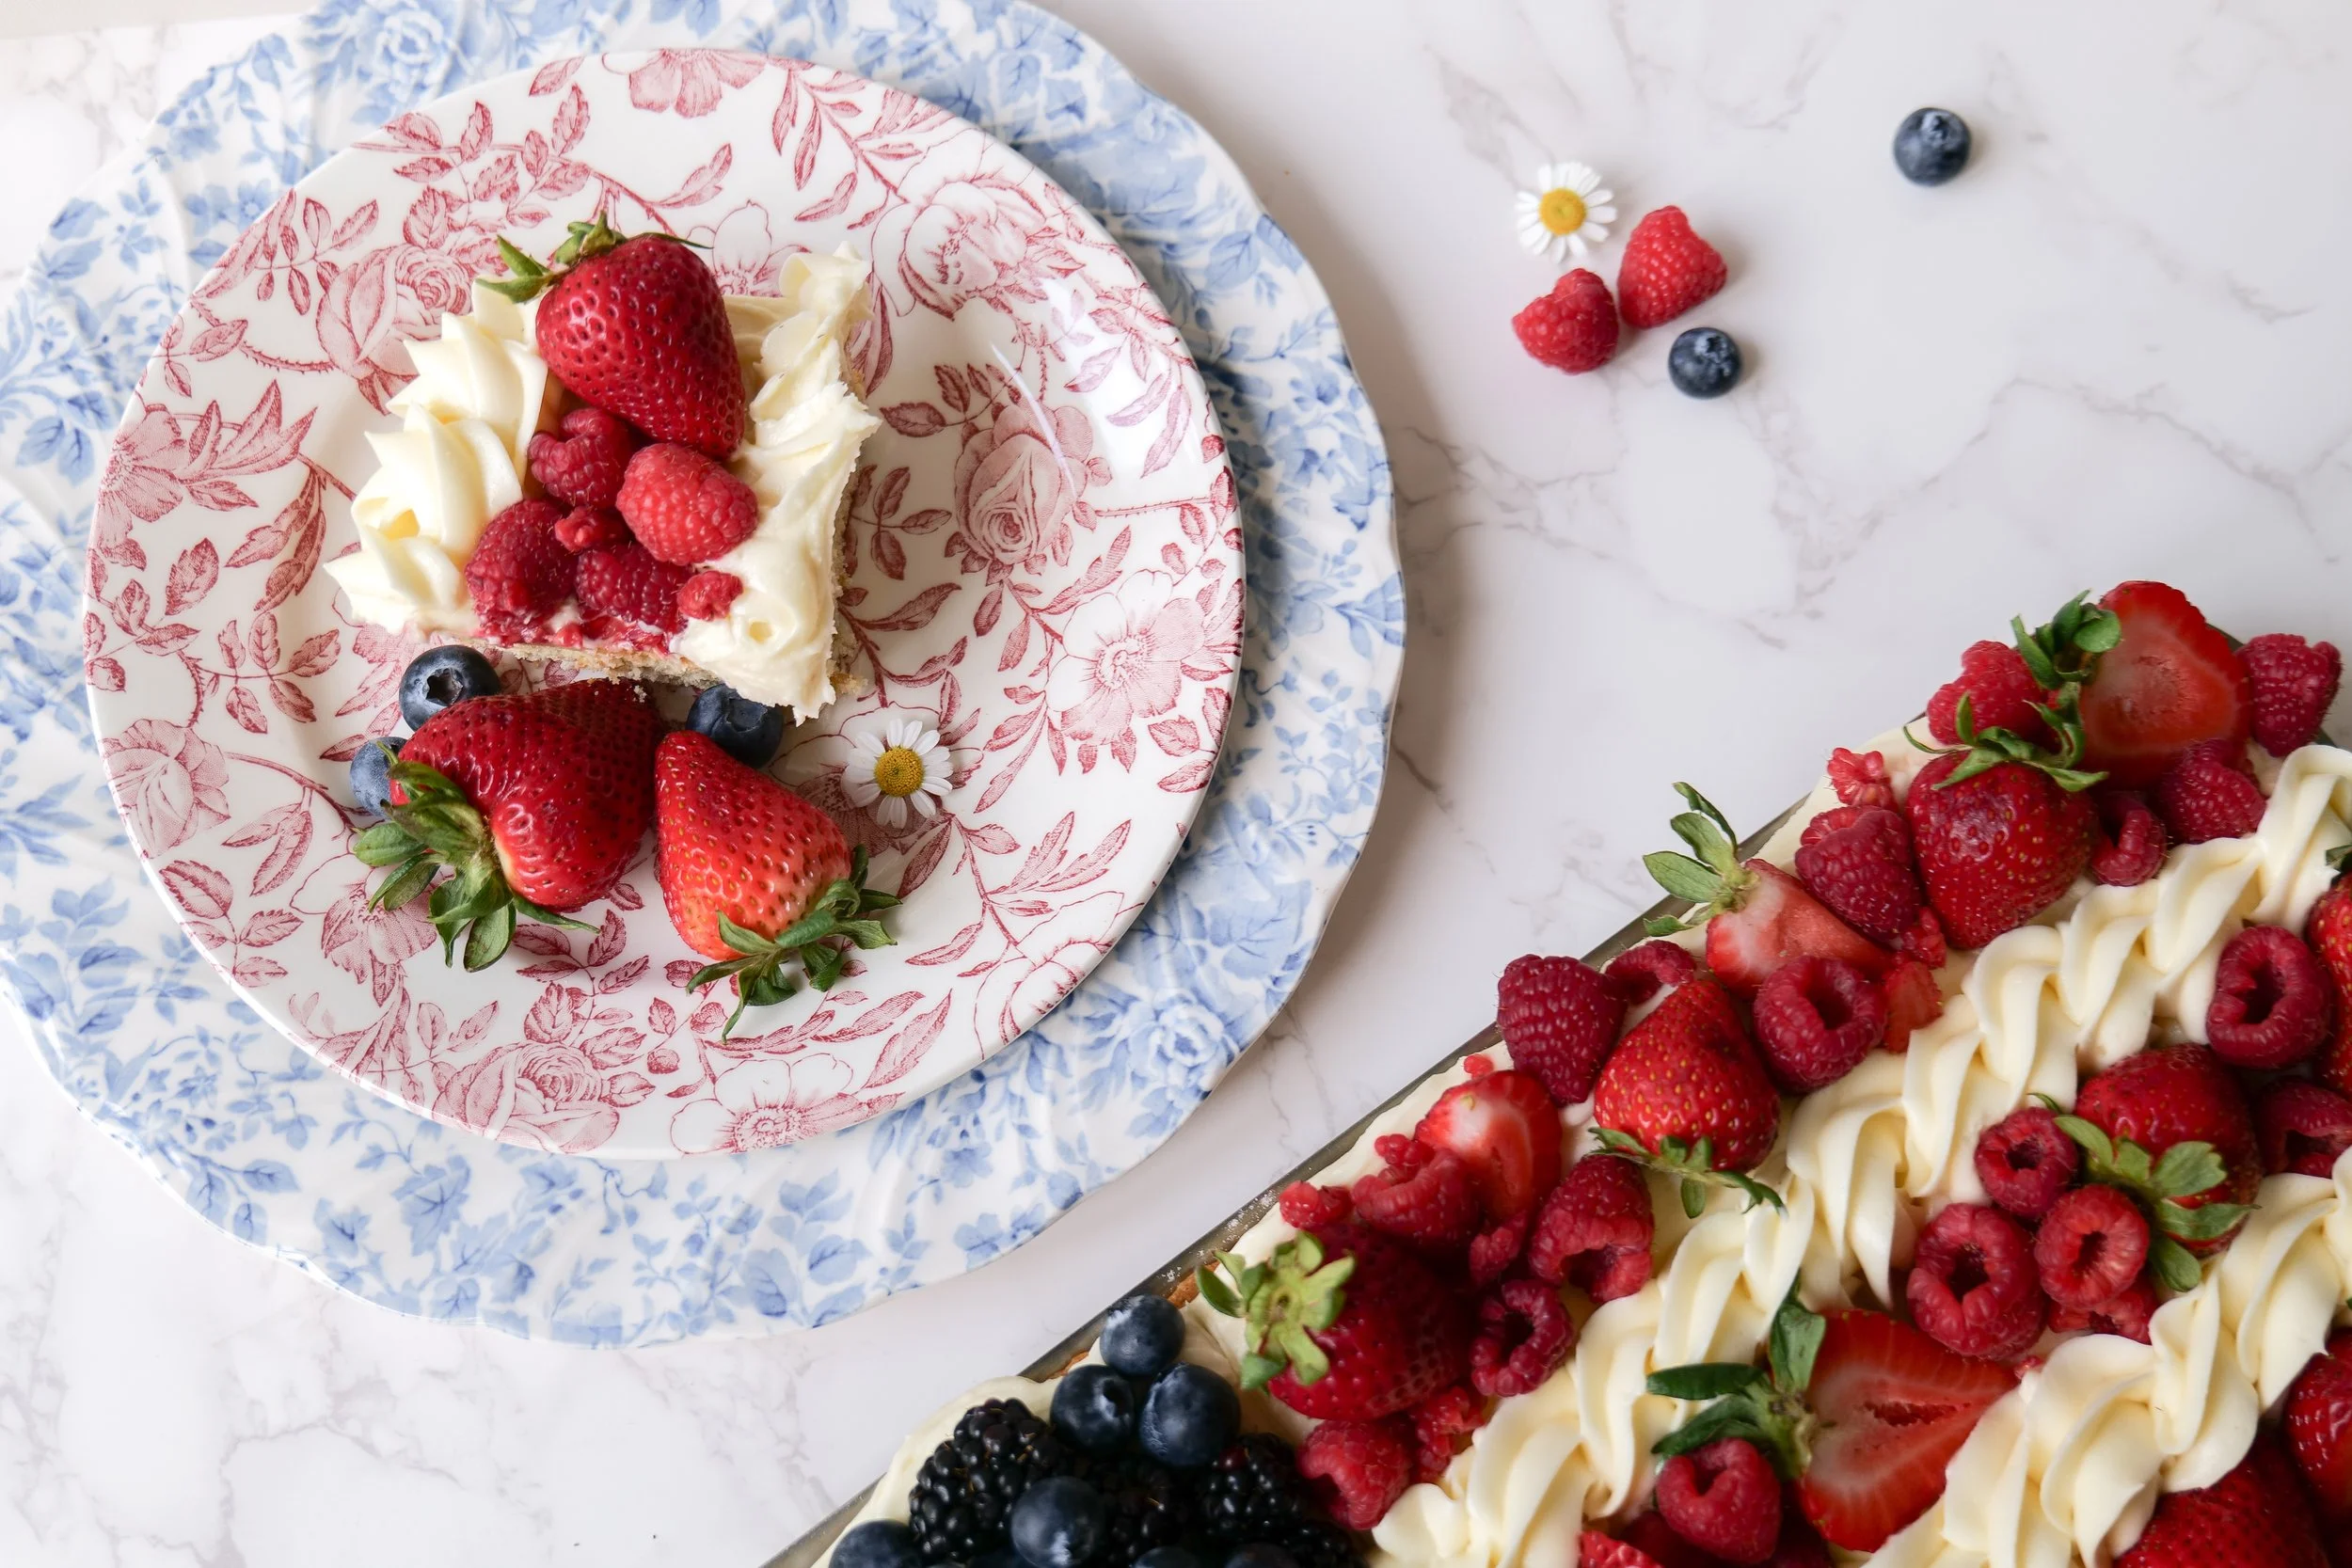
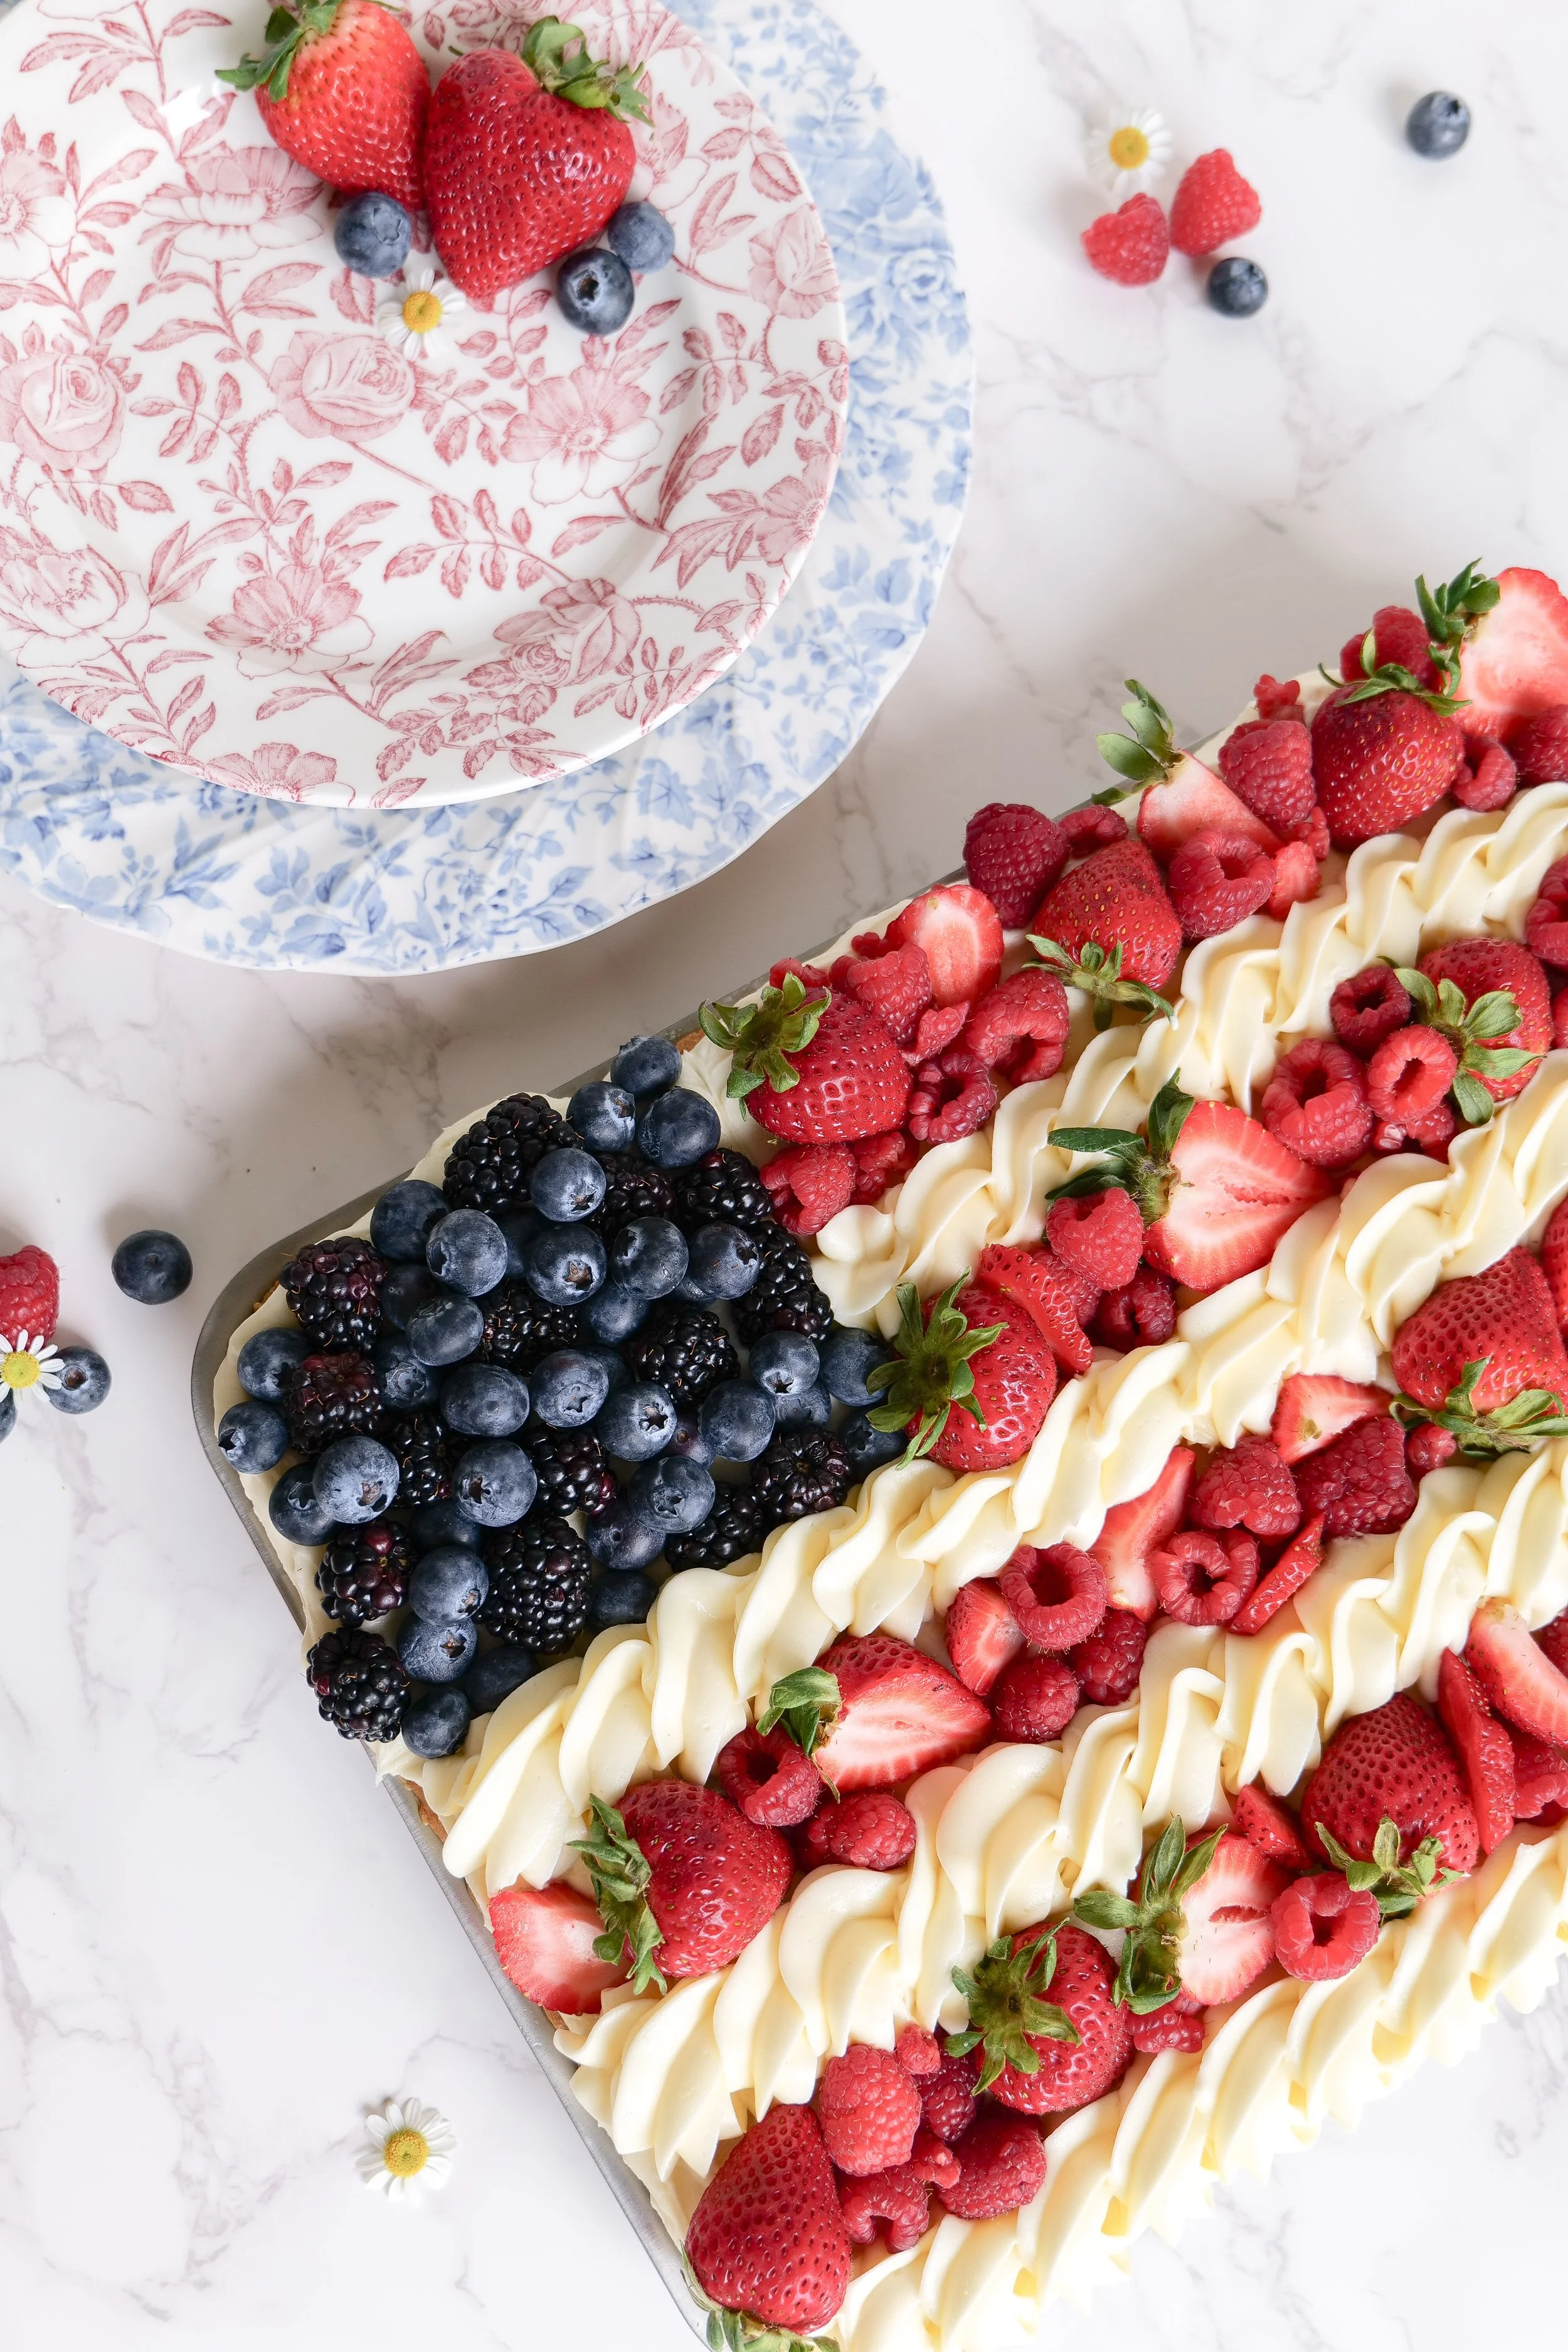
Patriotic 4th of July fruit pizza decorated like an American flag with strawberries and blueberries
Easy sugar cookie fruit pizza recipe topped with cream cheese frosting and fresh berries
Red white and blue patriotic fruit pizza dessert for Independence Day celebrations

Why You’ll Love This 4th of July Flag Fruit Pizza

  • Easy patriotic dessert for summer entertaining

  • Perfect for Memorial Day and Fourth of July parties

  • Made with simple ingredients

  • Beautiful red, white, and blue presentation

  • Great make-ahead dessert option

  • Fun recipe for kids to help decorate

  • Soft sugar cookie crust with fresh fruit and creamy frosting

Summer Hosting Favorites

I linked some of my favorite Americana-inspired serving pieces, summer entertaining finds, and festive hosting essentials I love using for gatherings like this in my Americana Summer Hosting collection.

This fruit pizza also pairs beautifully with a patriotic charcuterie board for easy summer entertaining.

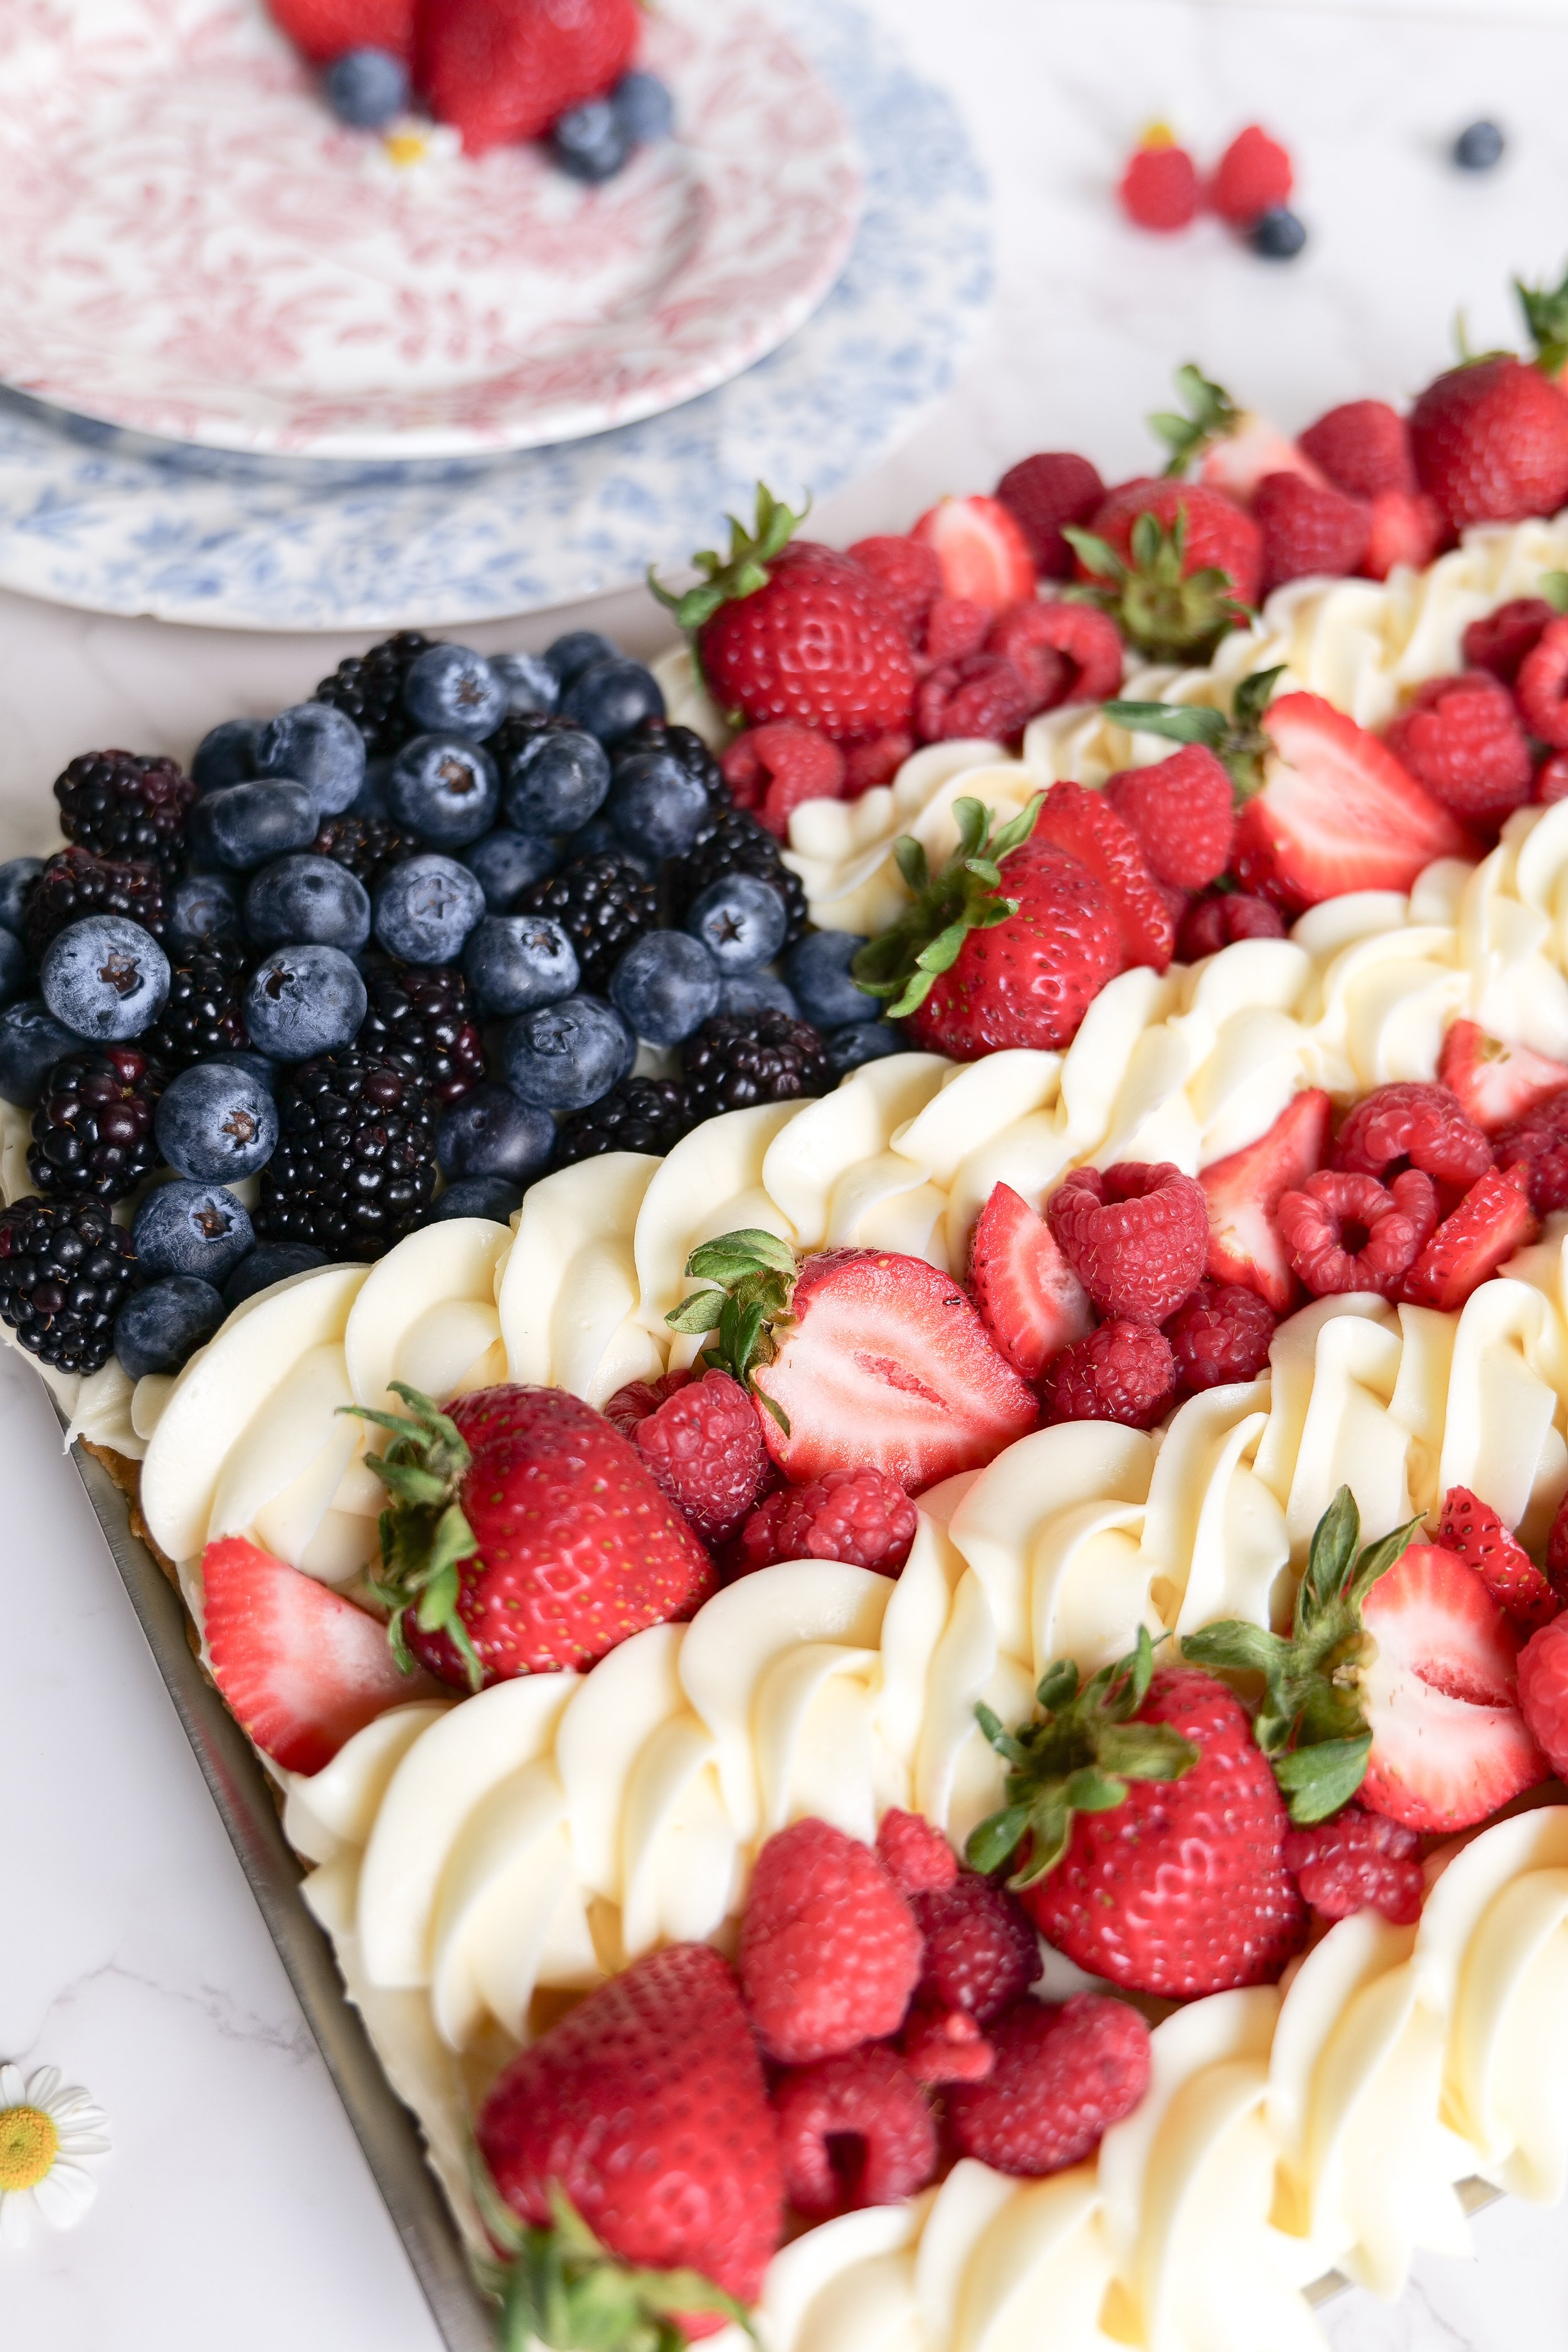
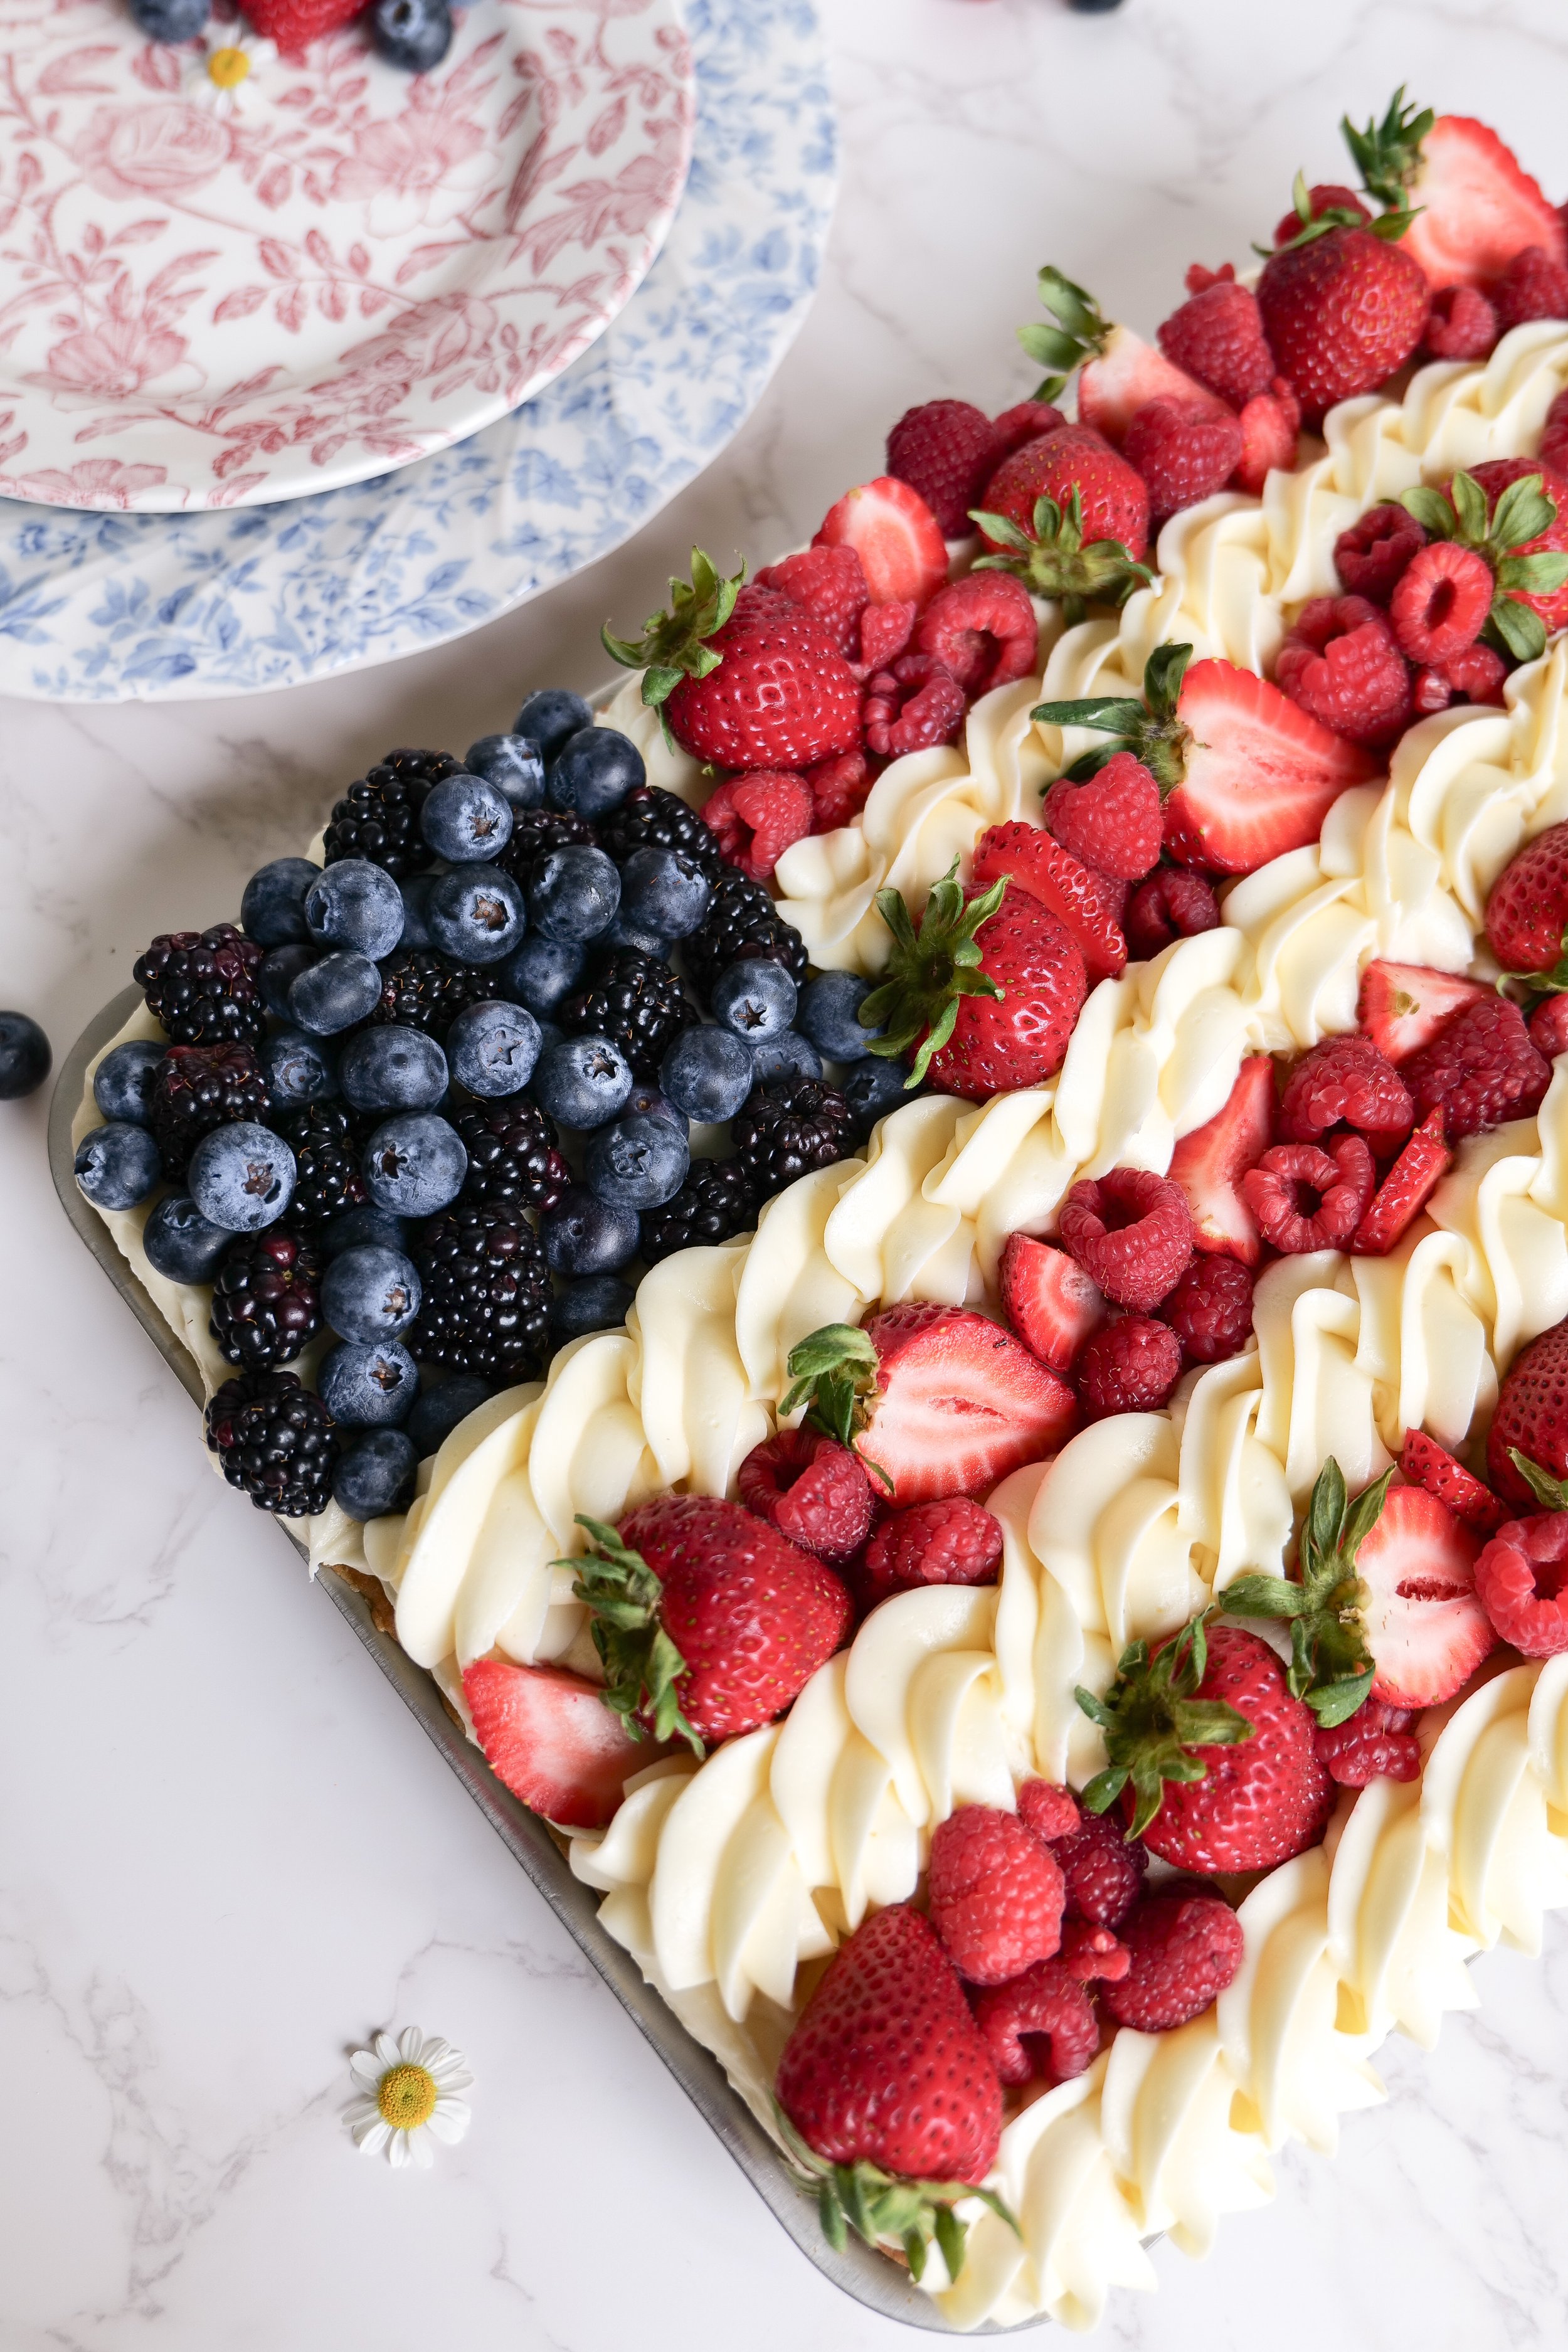
American flag fruit pizza with blueberries and strawberries on a sugar cookie crust
Festive 4th of July dessert idea perfect for summer BBQs and family gatherings
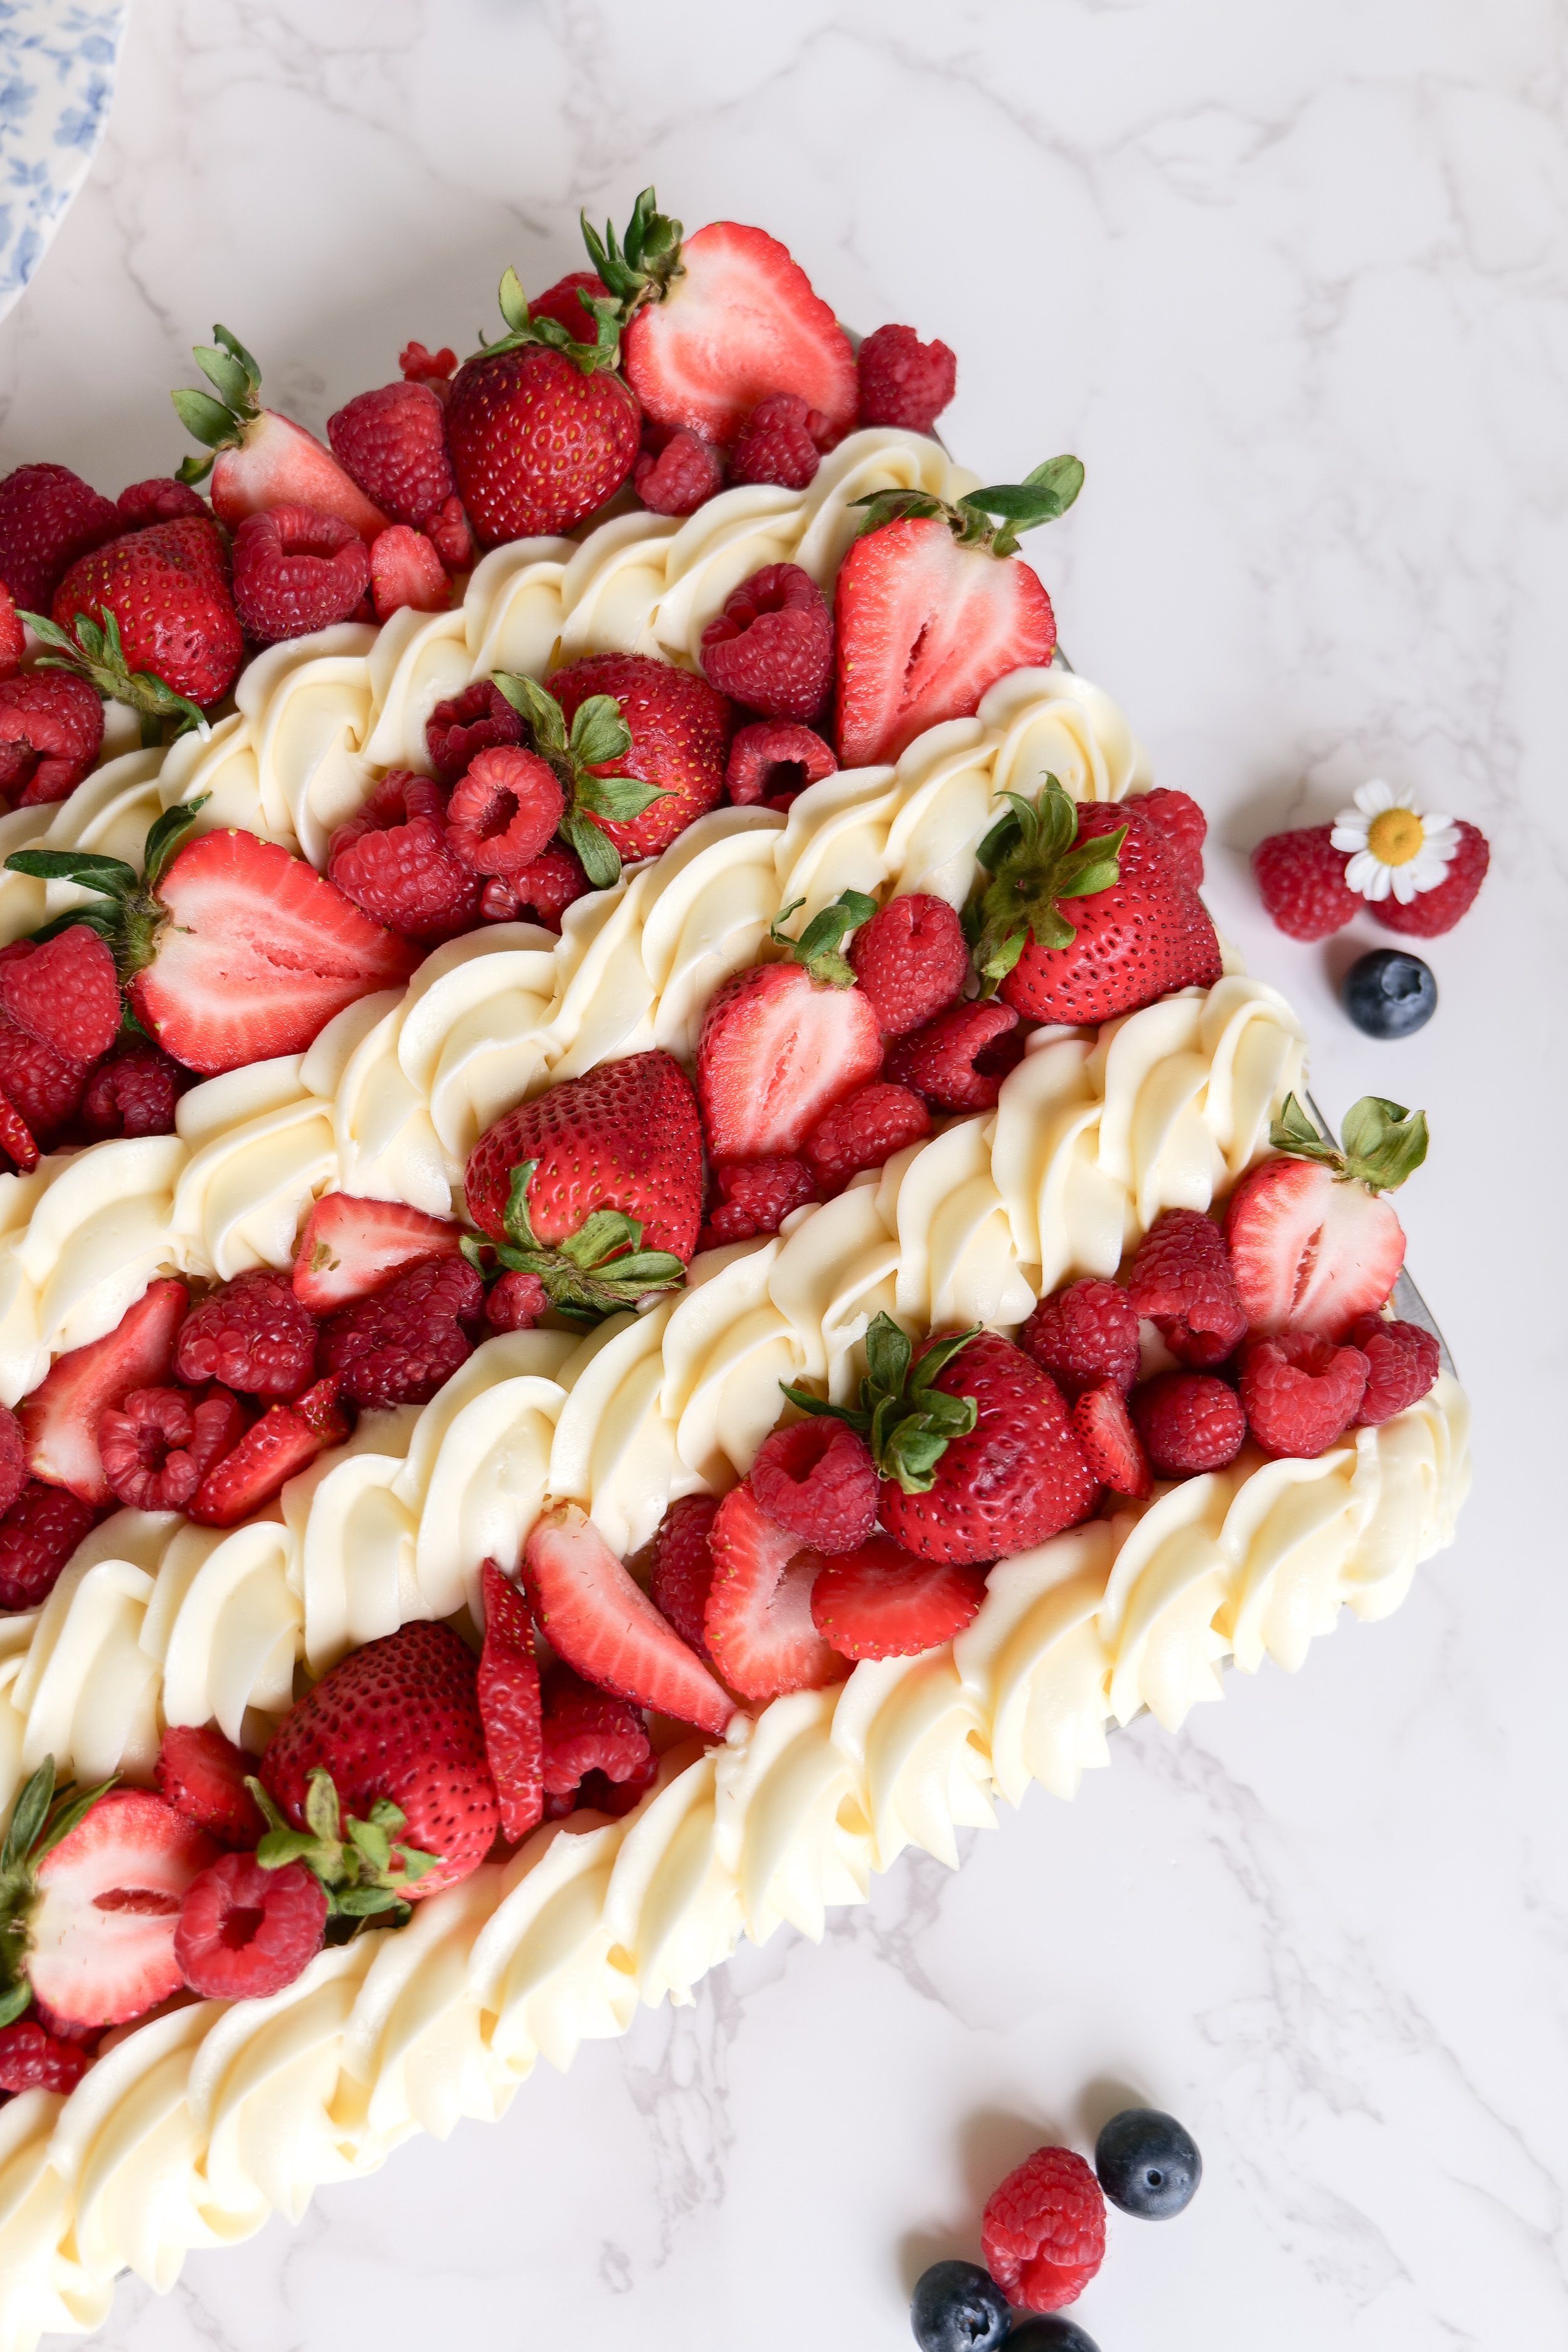
Fresh berry fruit pizza styled for a patriotic Fourth of July party
Easy patriotic dessert recipe with fruit and cream cheese frosting

What Is a Fruit Pizza?

Fruit pizza is a classic summer dessert made with a soft cookie crust, creamy frosting, and fresh fruit toppings. This patriotic version uses blueberries, strawberries, and bananas to create a festive American flag design that’s perfect for Fourth of July celebrations and summer cookouts.

The sugar cookie crust stays soft and buttery while the cream cheese frosting adds the perfect creamy layer beneath the fresh fruit.

If you love berry-filled summer desserts, you’ll also love my berry custard puff pastry tart recipe.

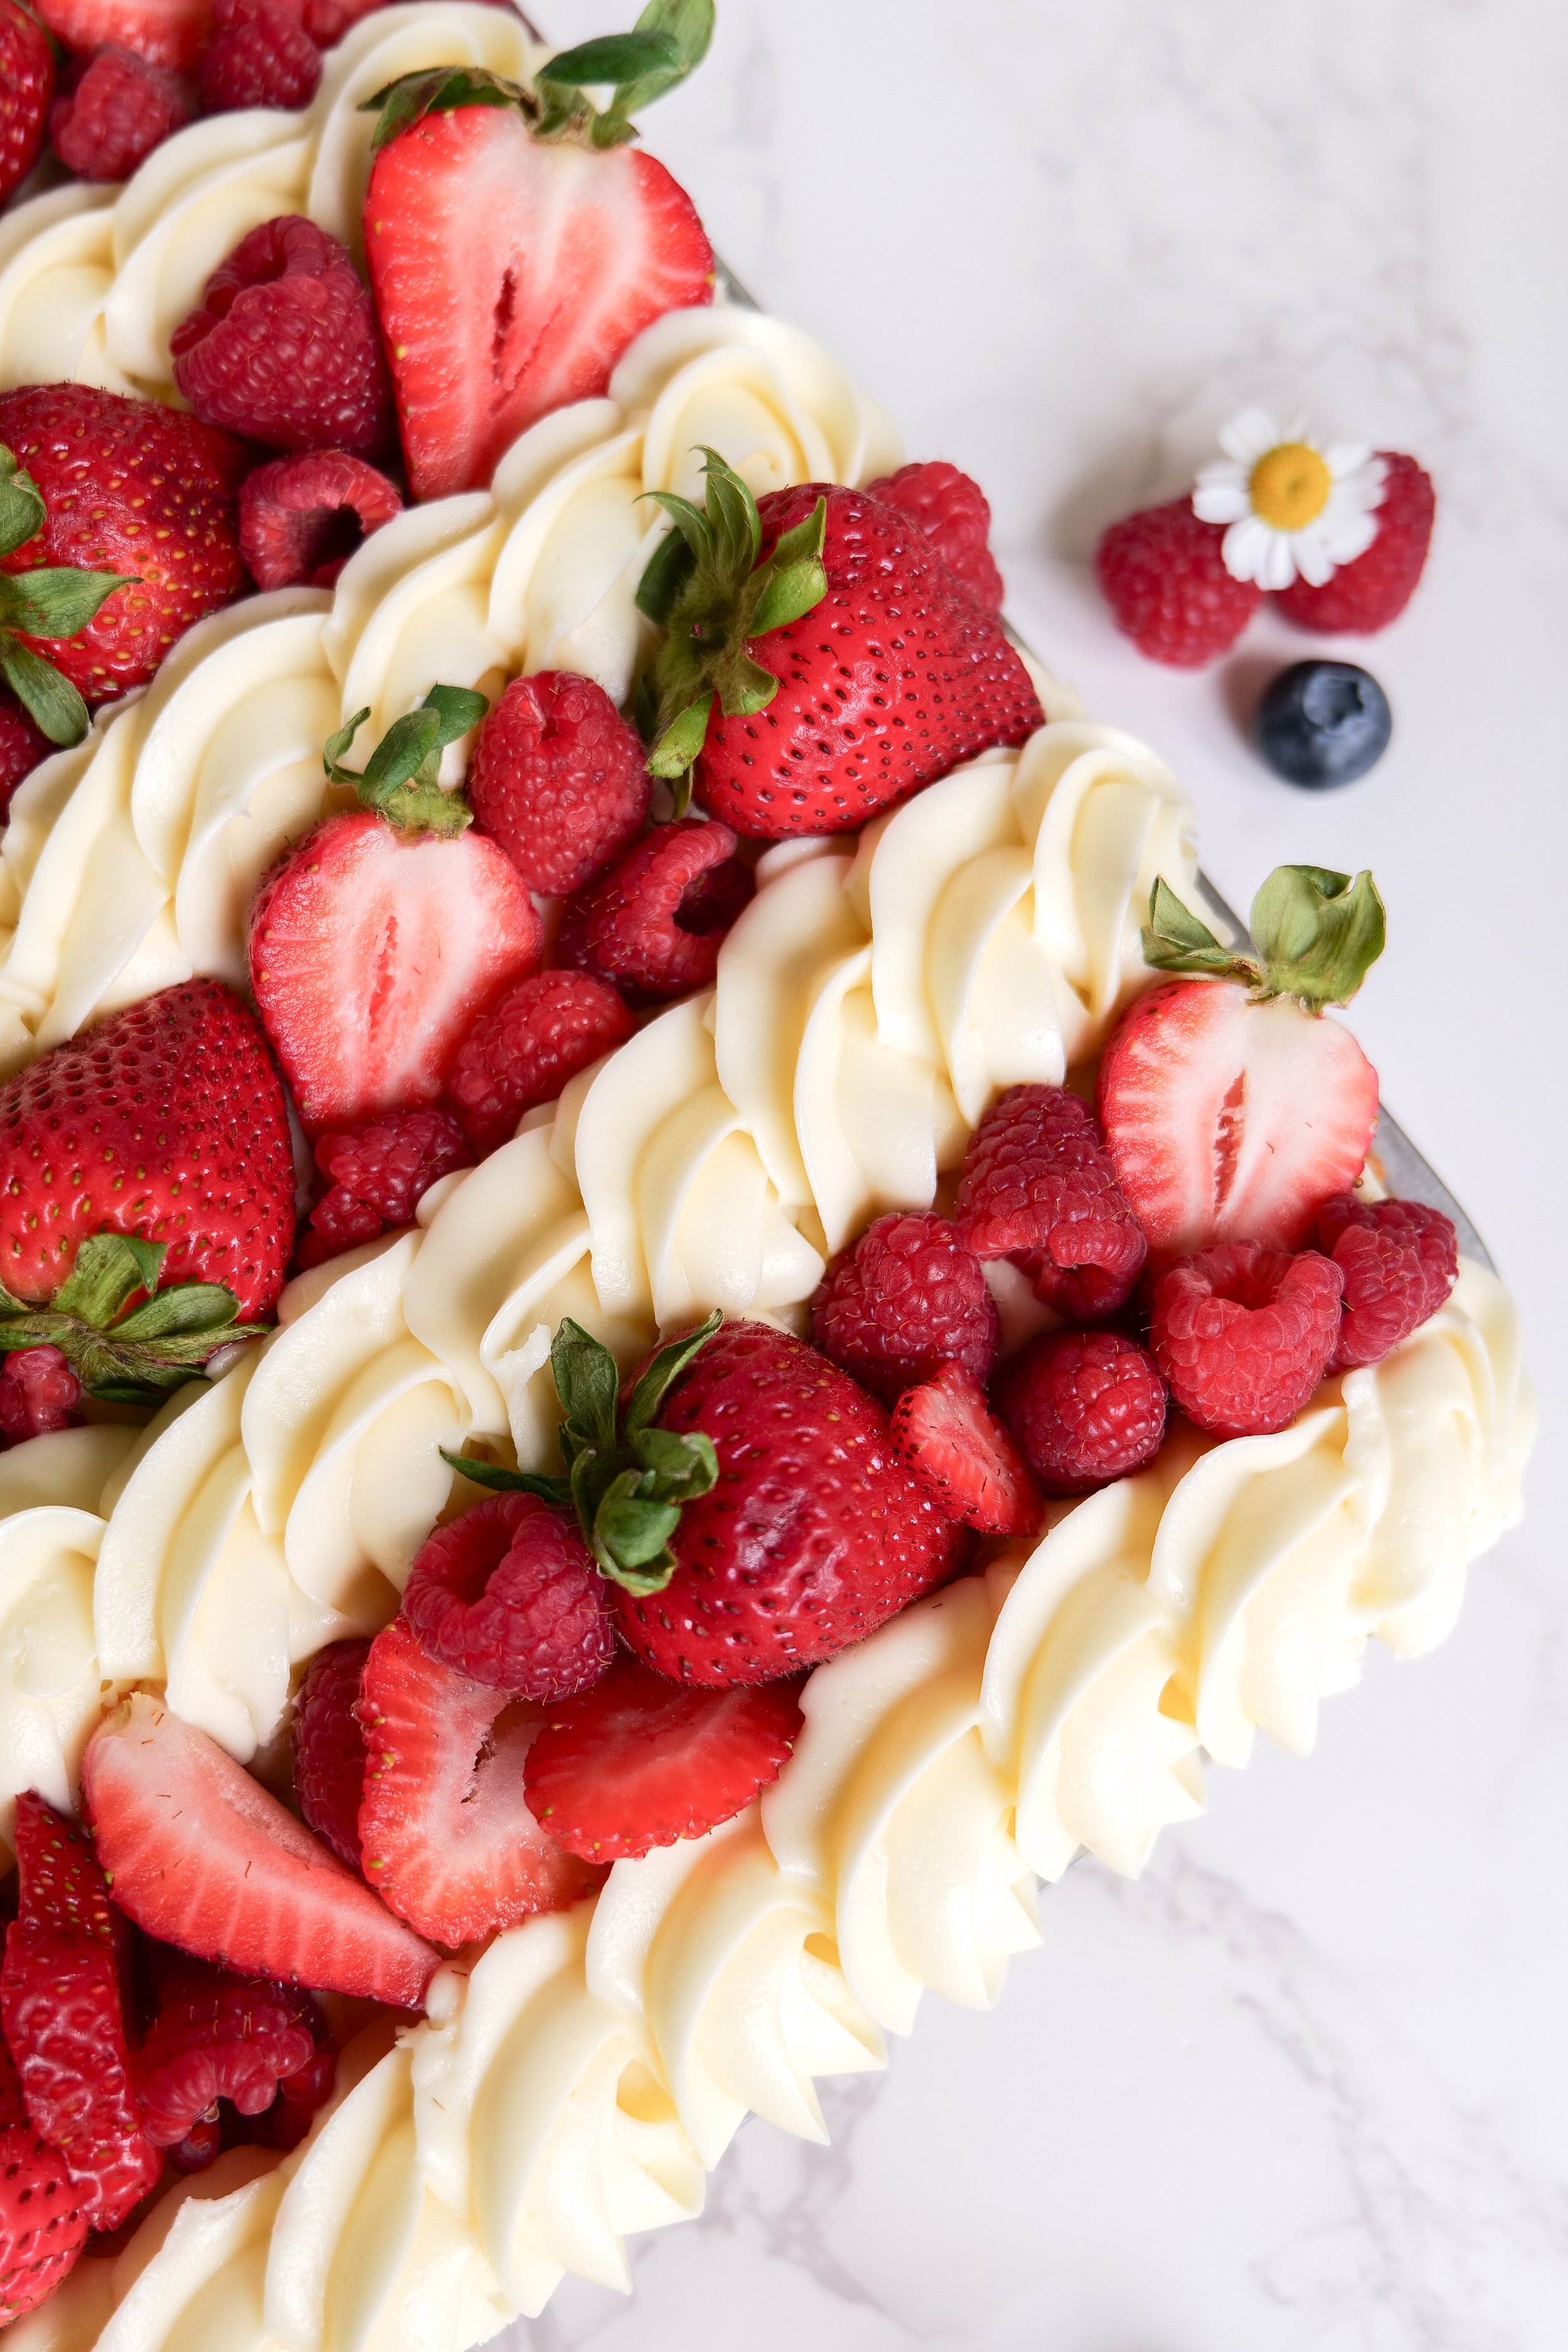
Red white and blue fruit pizza made with strawberries blueberries and sugar cookie dough
Independence Day fruit dessert arranged into an American flag design

Ingredients

1 cup room temperature butter

2 cups vanilla sugar

2 eggs

2 teaspoons vanilla extract

41/2 cups flour

1 teaspoon sea salt

1 teaspoon baking soda

1/2 cup whole milk

1 cup butter

8 oz cream cheese

4 cups powdered sugar

1 tbsp. heavy cream

1 tsp. vanilla

1 cup strawberries

1 cup raspberries

1/2 cup blackberries

1/2 cup blueberries

Instructions

1. Begin by mixing together butter and sugar together with electric mixer. Add in eggs and vanilla extra and mix again.

2. In another box mix together all-purpose flour, sea salt, and baking powder. Alternate between adding in dry ingredients and milk until all is added and well mixed.

3. Wrap in plastic wrap and refrigerate for at least 4 hour and up to keeping in fridge overnight.

4. Preheat oven to 375. Remove from fridge and add to lightly greased baking sheet. Smoothing out and filling all sides and corners of baking sheet. Bake in oven for 20-25 minutes or until fully cooked in the middle but not overly cooked. Let cool completely before adding toppings.

5. While baking make the whip together butter, cream cheese, powdered sugar, vanilla and heavy cream. Add the whipped topping to the completely cooled cookie. Add fresh berries to assemble the flag onto cookie. Make sure you are leaving space between strawberries & raspberry lines to pipe in more frosting and make look full and beautiful. Keep refrigerated until ready to serve. Enjoy!

Tips for the Best Patriotic Fruit Pizza

  • Allow the cookie crust to cool completely before frosting

  • Pat fruit dry before decorating to prevent excess moisture

  • Chill before serving for cleaner slices

  • Use fresh ripe berries for the best flavor and presentation

  • Assemble the fruit shortly before serving for the freshest look

Cozy Baking Essentials

I linked some of my favorite bakeware, kitchen tools, and cozy baking pieces I love using for homemade desserts and festive summer baking in my Cozy Baking Essentials collection.

How to Store Fruit Pizza

Store leftover fruit pizza covered in the refrigerator for up to 3 days. For best results, enjoy within the first 24 hours while the fruit is freshest.

Easy 4th of July Dessert Ideas

If you love patriotic summer desserts, you may also enjoy:

FAQ

Can I make fruit pizza ahead of time?

Yes! You can bake the sugar cookie crust and make the frosting ahead of time. For best results, decorate with fruit shortly before serving.

What fruit works best for patriotic fruit pizza?

Blueberries, strawberries, raspberries, and bananas work beautifully for red, white, and blue fruit pizzas.

Can I use store-bought sugar cookie dough?

Absolutely. Store-bought sugar cookie dough makes this recipe quick and easy for summer entertaining.

How do you keep fruit pizza from getting soggy?

Pat the fruit dry before decorating and refrigerate the fruit pizza until serving. This helps keep the crust and frosting fresh.

Final Thoughts

This easy 4th of July Sugar Cookie Flag Fruit Pizza is one of my favorite patriotic desserts for summer entertaining. Between the soft sugar cookie crust, creamy frosting, and fresh fruit topping, it’s the perfect festive dessert for Fourth of July parties, Memorial Day cookouts, and all your summer celebrations.

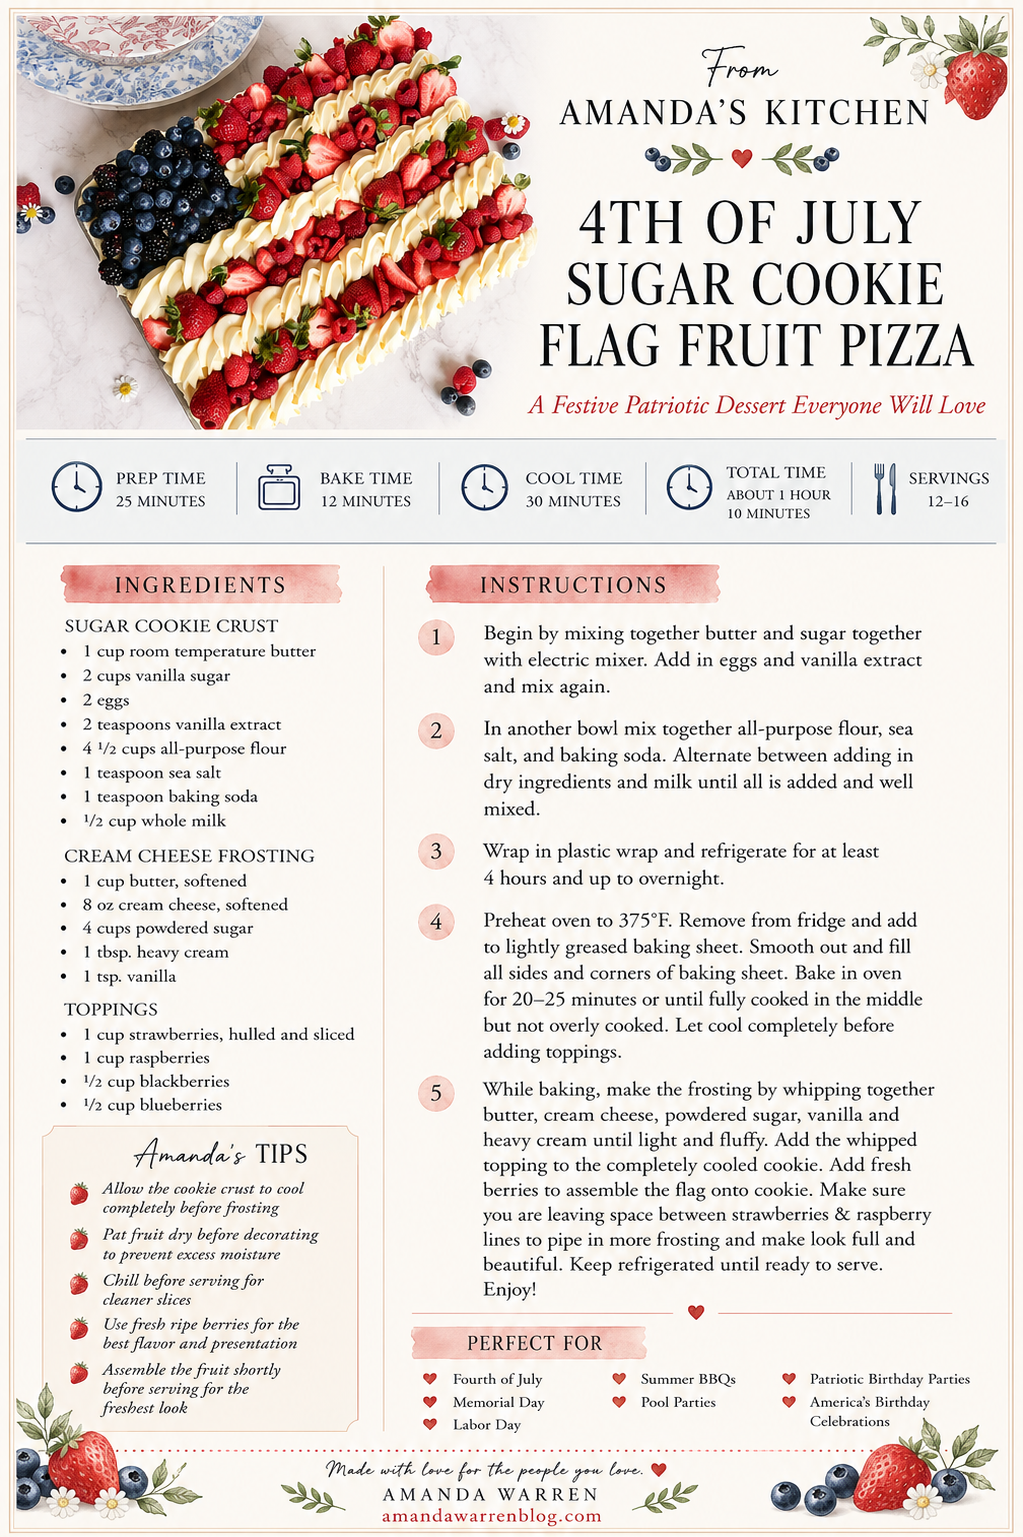
From Amanda's Kitchen

One of my favorite things about cooking is sharing recipes that become part of someone else's family traditions.

That's exactly why I started creating these From Amanda's Kitchen printable recipe cards.

Whether you're adding this recipe to your holiday menu, tucking it into your favorite recipe binder, or passing it along to a friend, my hope is that it becomes one you'll reach for year after year.

Because the best recipes aren't just made...
they're shared around tables, celebrated with the people we love, and passed down from one kitchen to another.

Save or print the recipe card below so it's always ready for your next celebration.

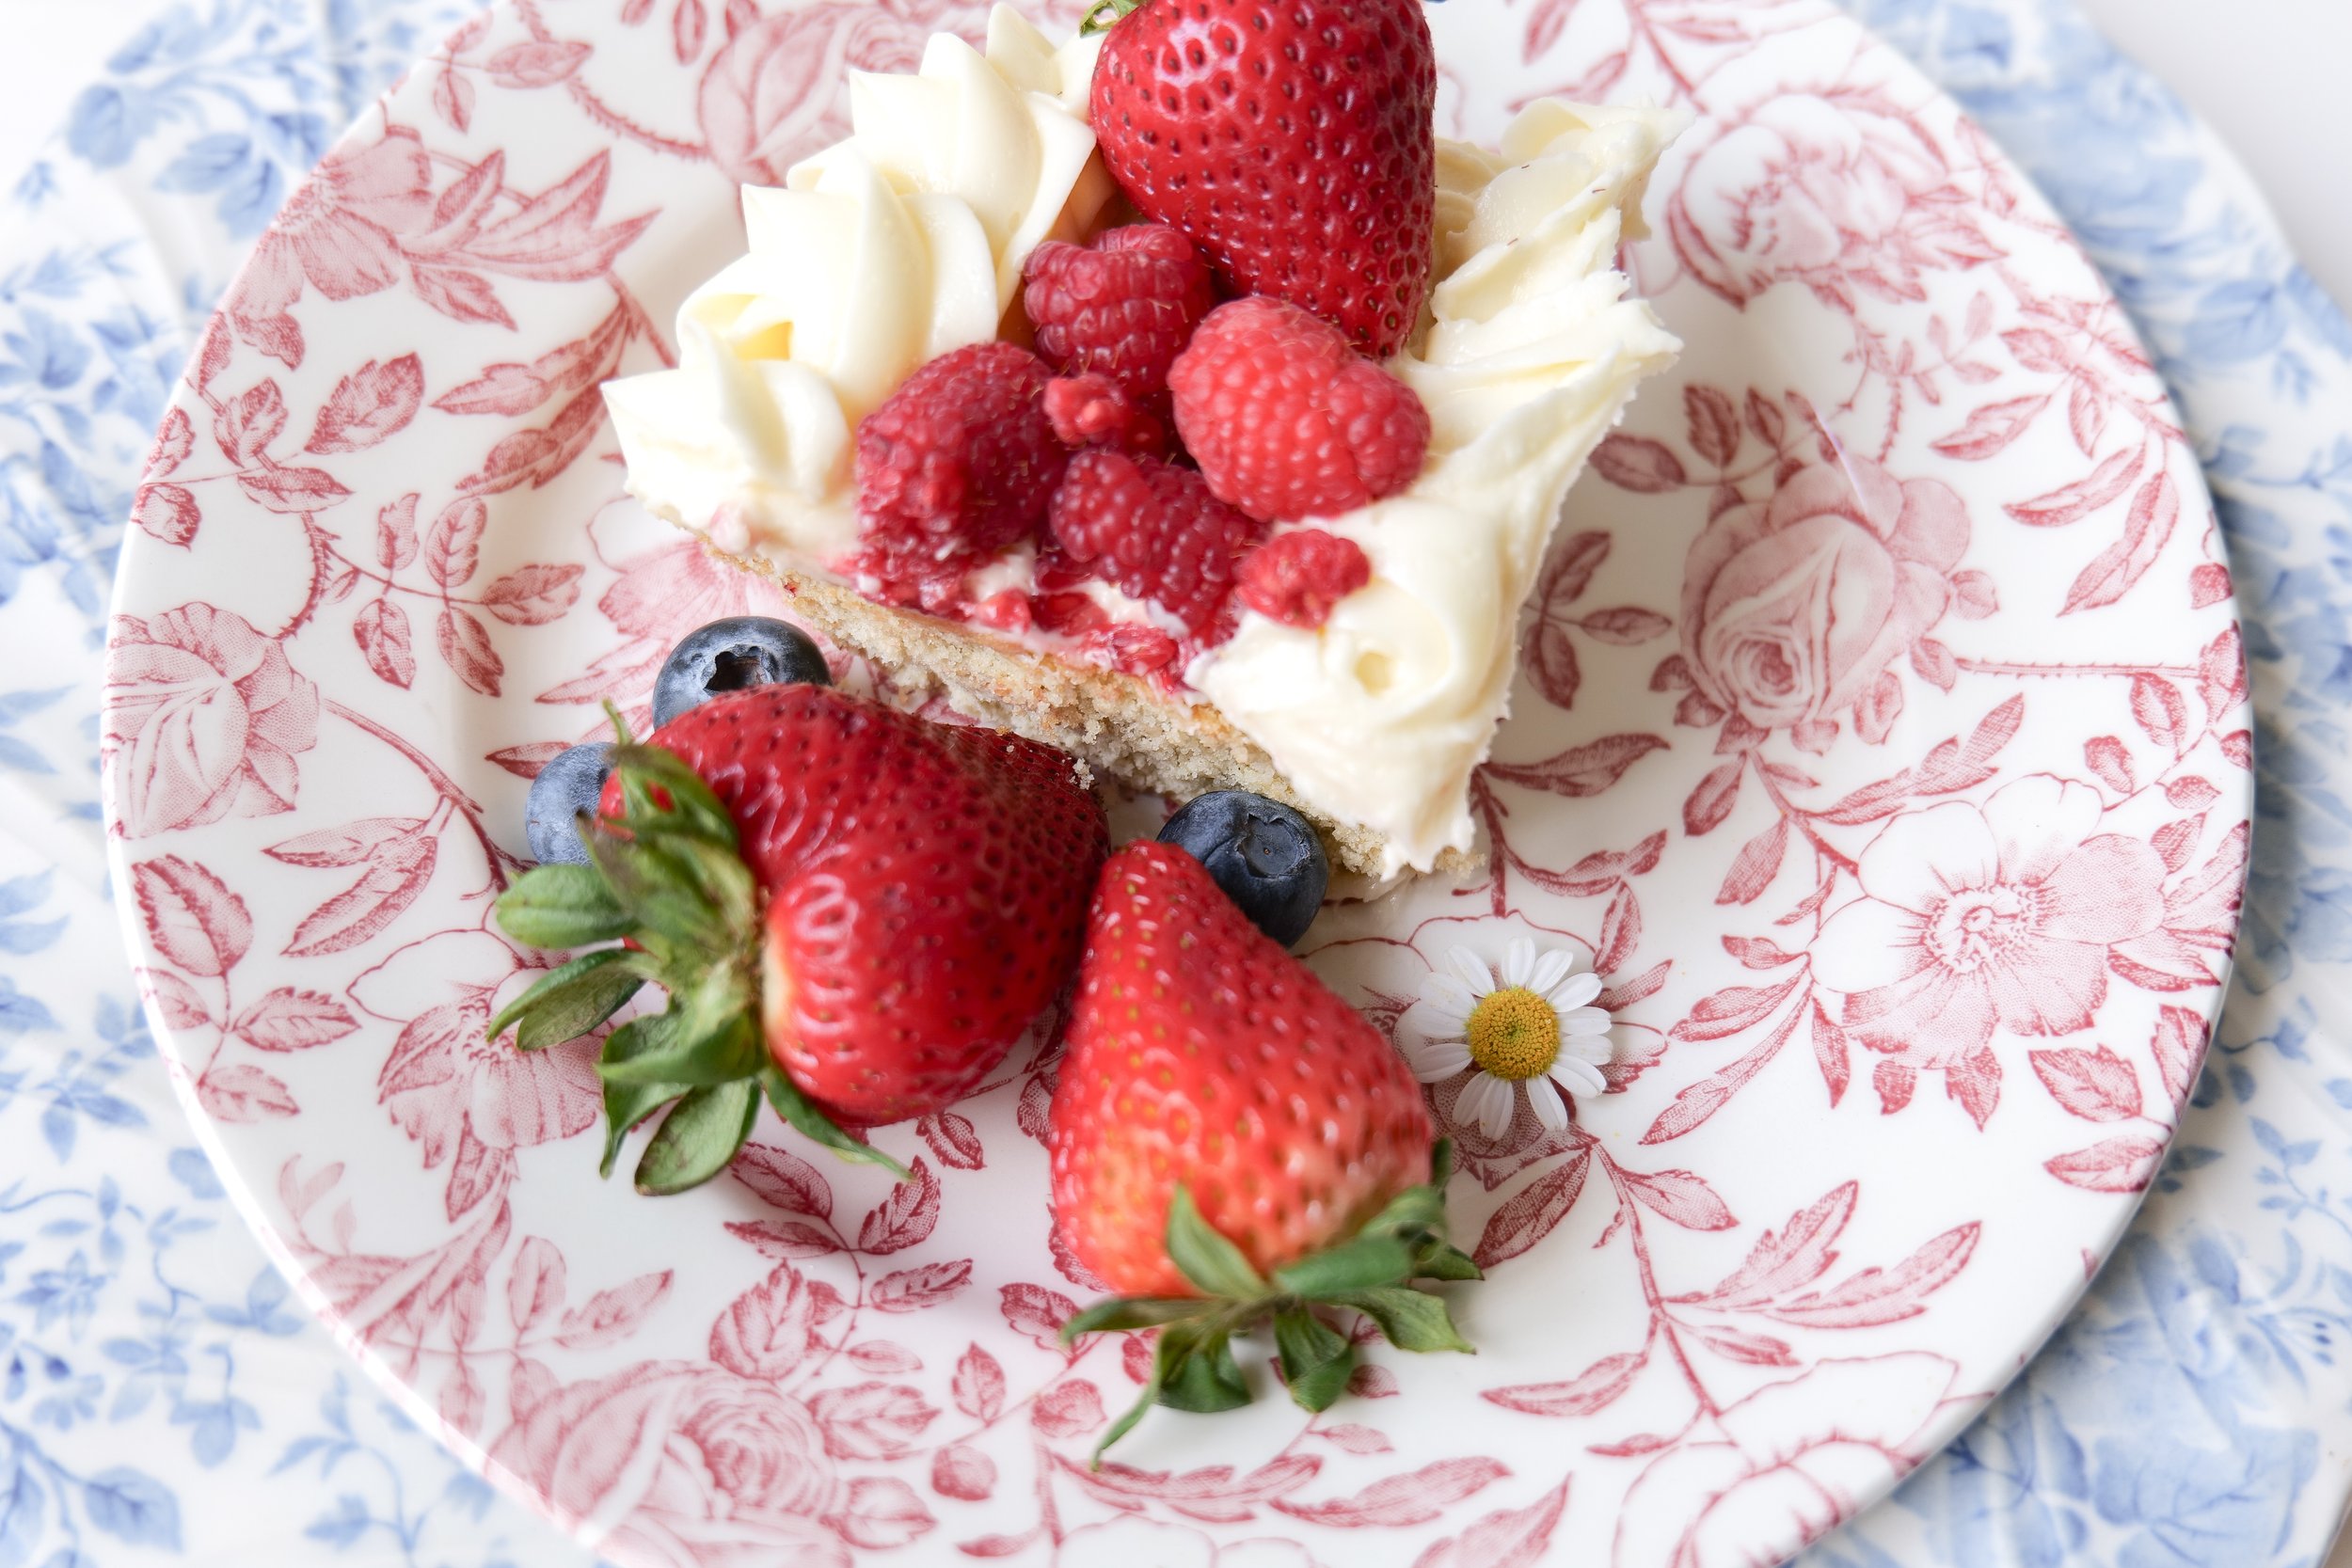
Summer fruit pizza recipe with fresh berries and soft sugar cookie crust
Patriotic cookie fruit pizza for Fourth of July entertaining and hosting
July Fourth party dessert featuring a fruit pizza with patriotic colors
Homemade fruit pizza shaped and decorated like the American flag for 4th of July celebrations

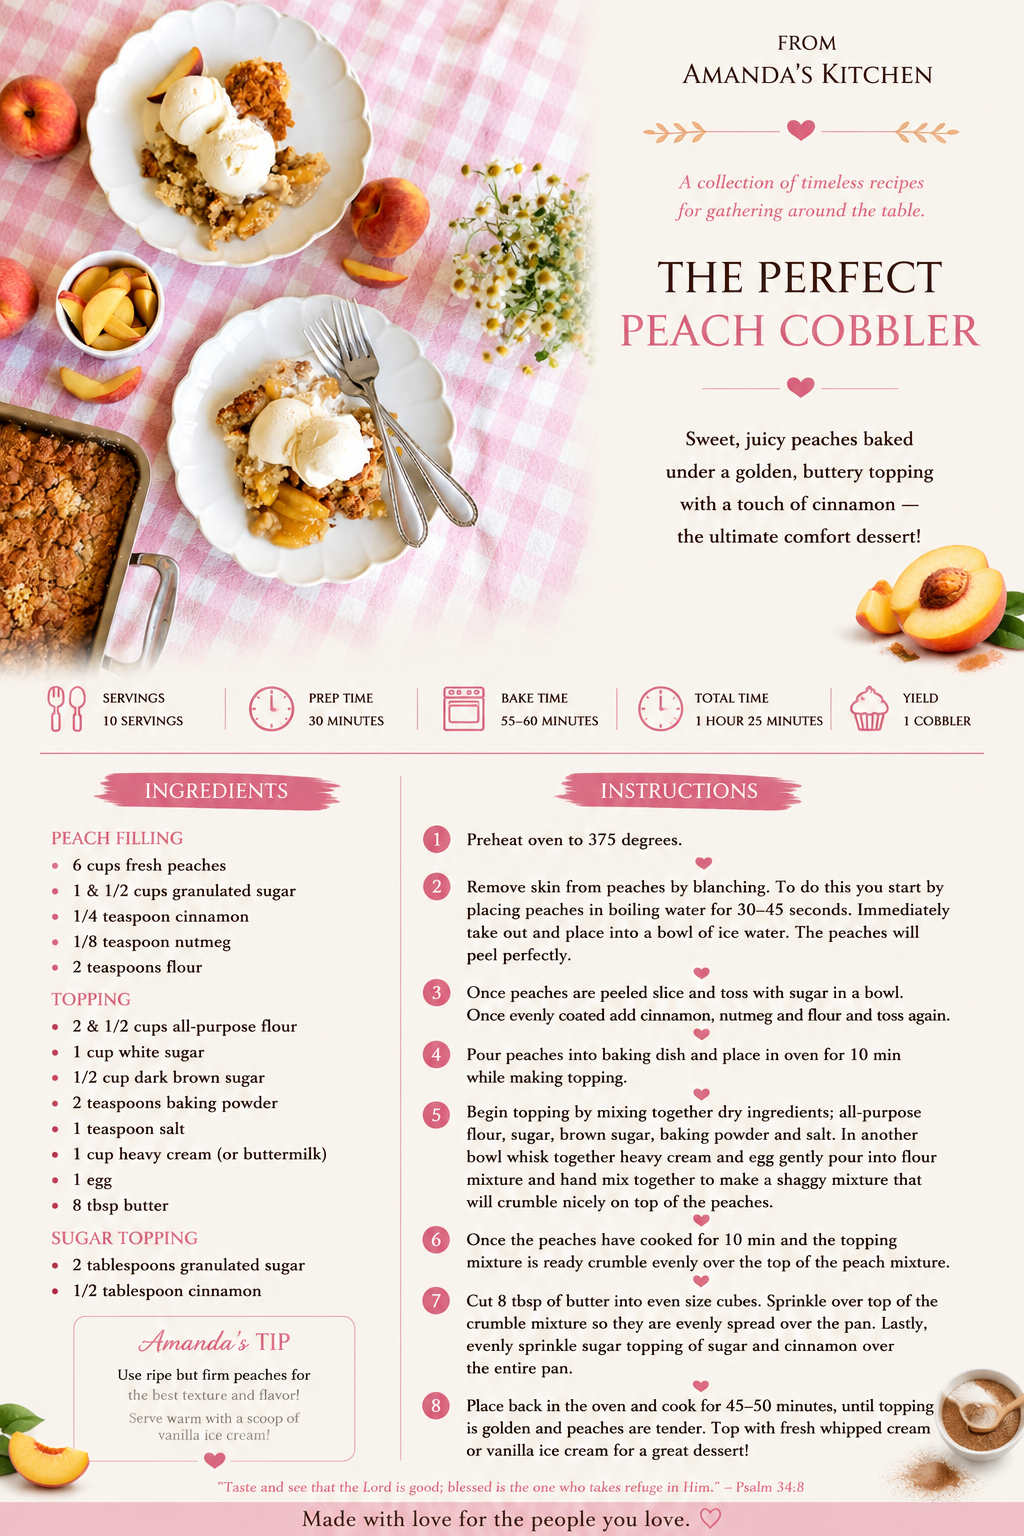
The Perfect Peach Cobbler Recipe

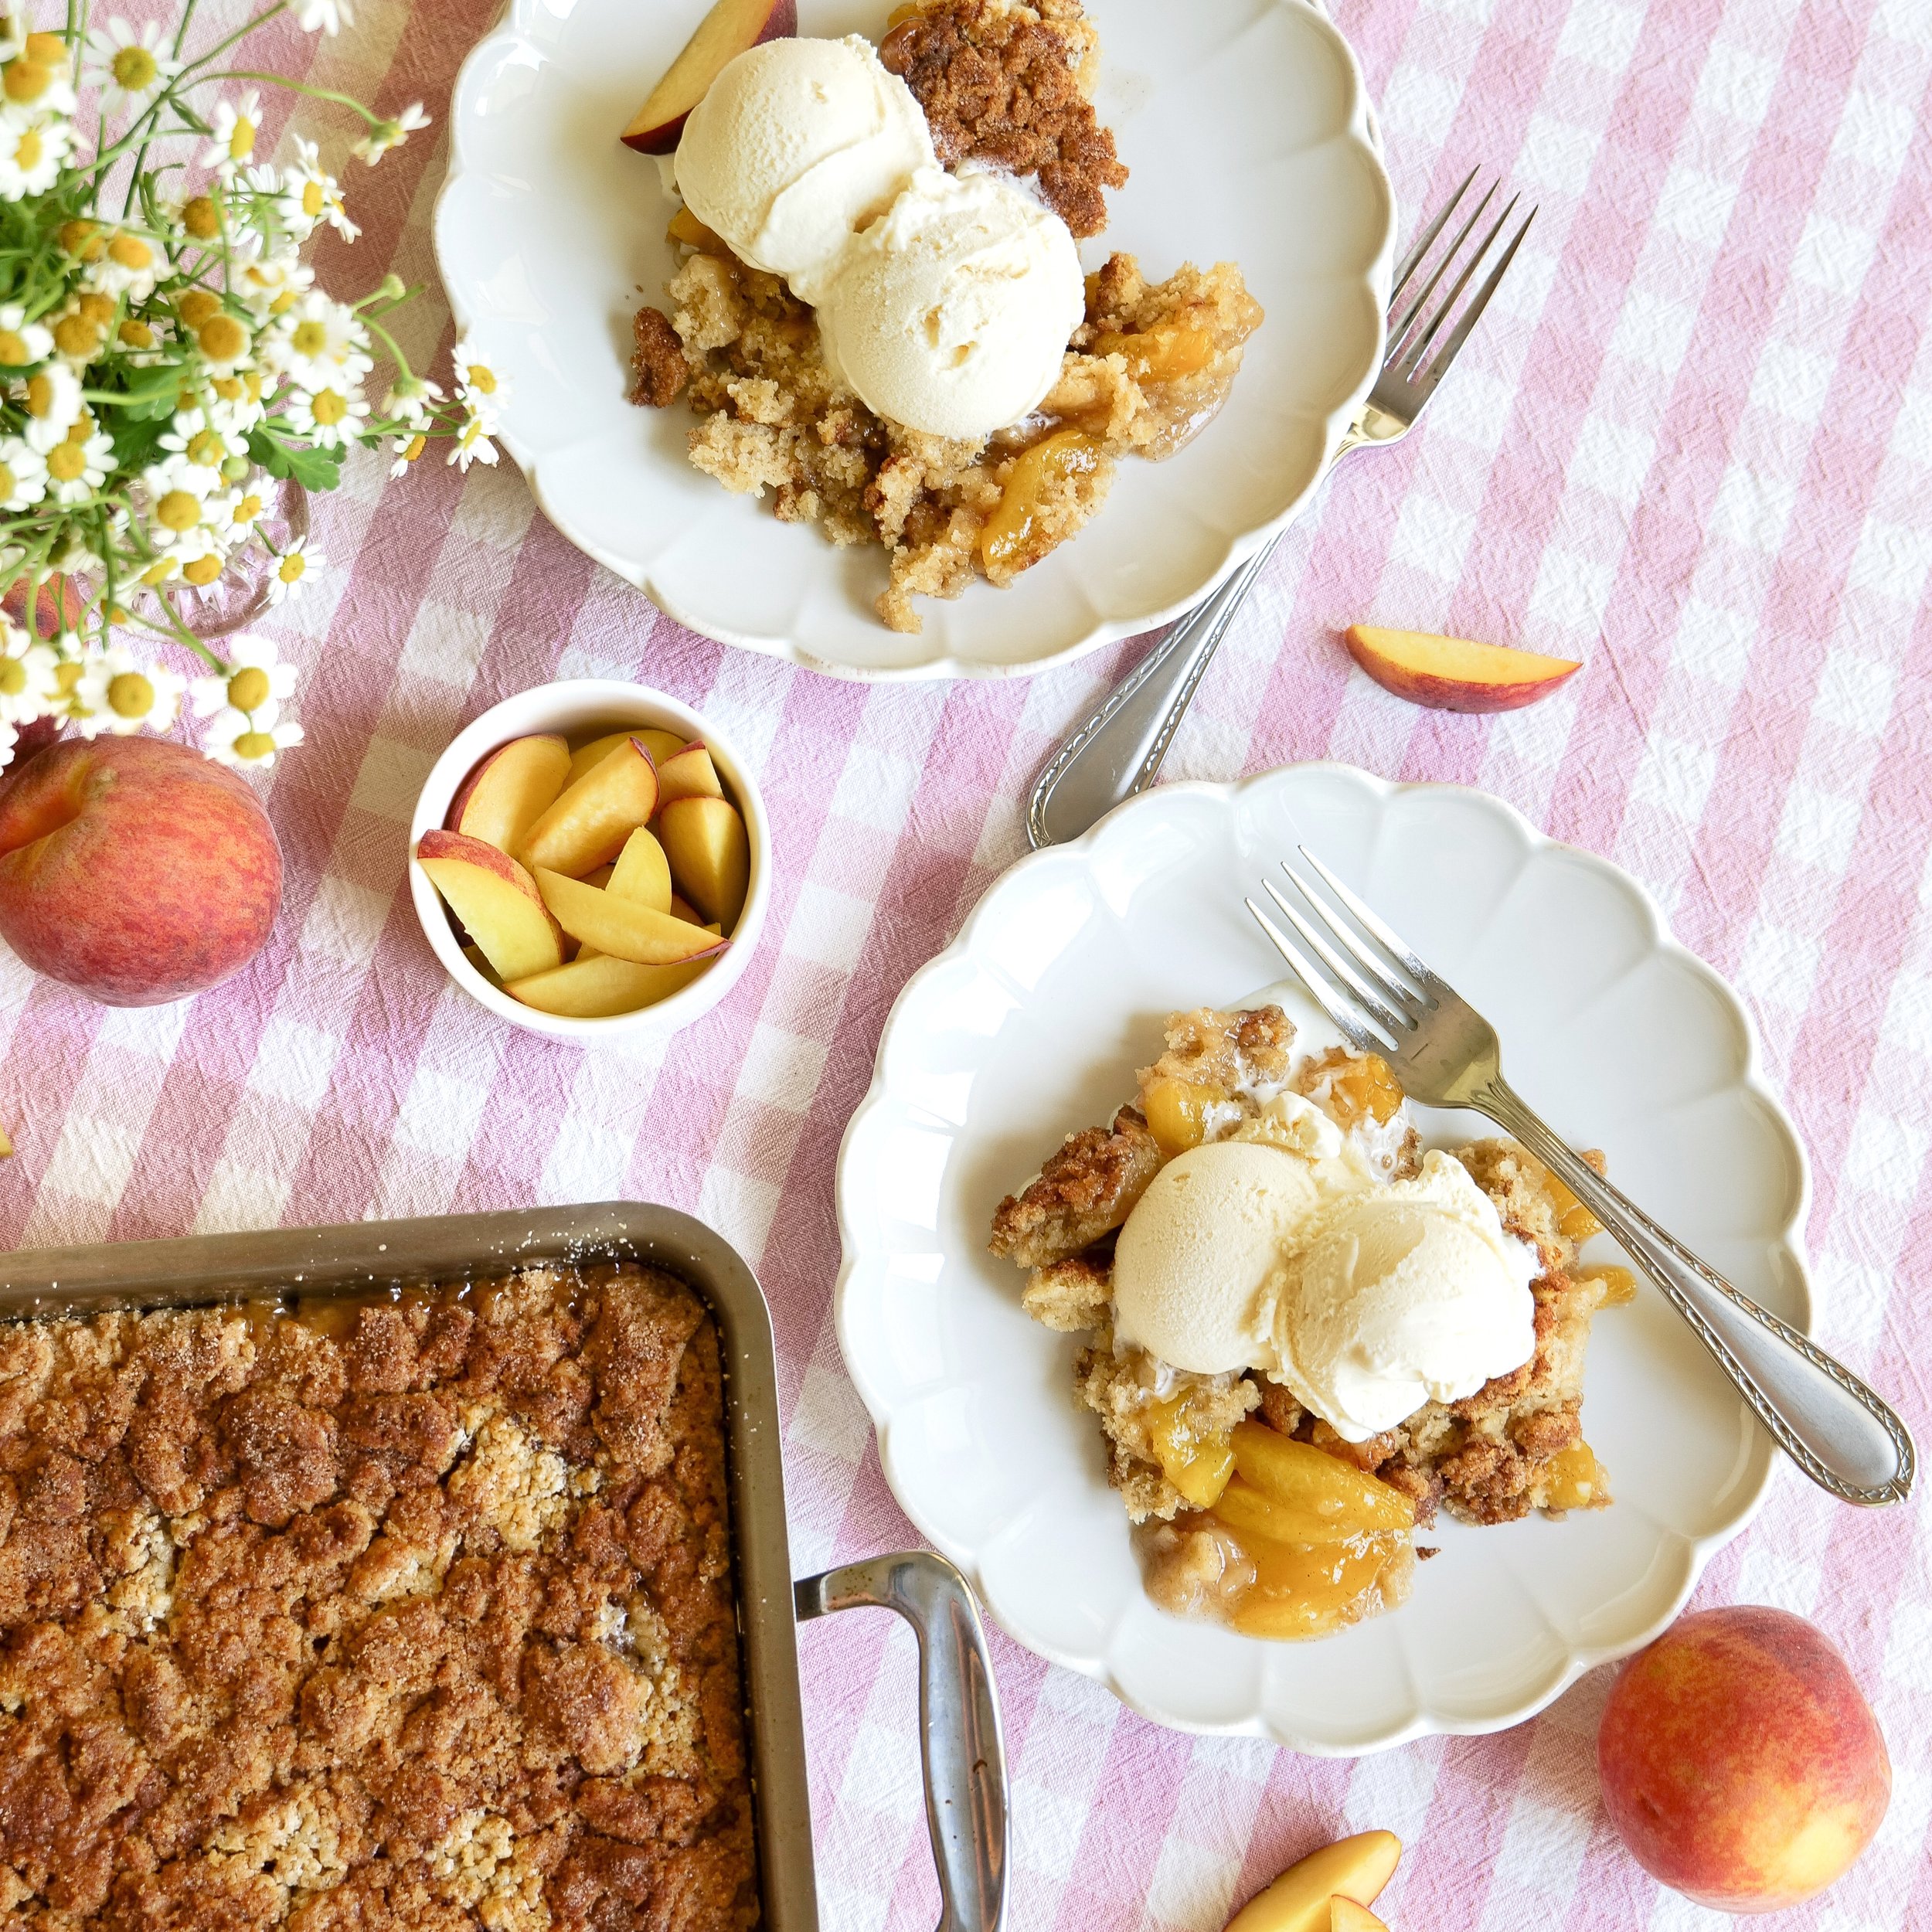
Who doesn't love a good peach cobbler? It really is the quintessential Summer dessert. A good peach cobbler is so perfectly sweet and deliciously crunchy and is sure to be a hit with your family and friends. Whether you’re using fresh or canned peaches, this recipe is sure to be a winner. Follow this simple step-by-step guide to make a delicious and easy peach cobbler that will have everyone begging for seconds.

Peach cobbler is a classic Southern dessert that is fairly easy to make and sure to please. This comforting dessert is a real fan favorite and is perfect for any occasion. The combination of fresh sweet peaches, a buttery biscuit-like topping, and a hint of cinnamon makes this cobbler truly irresistible.

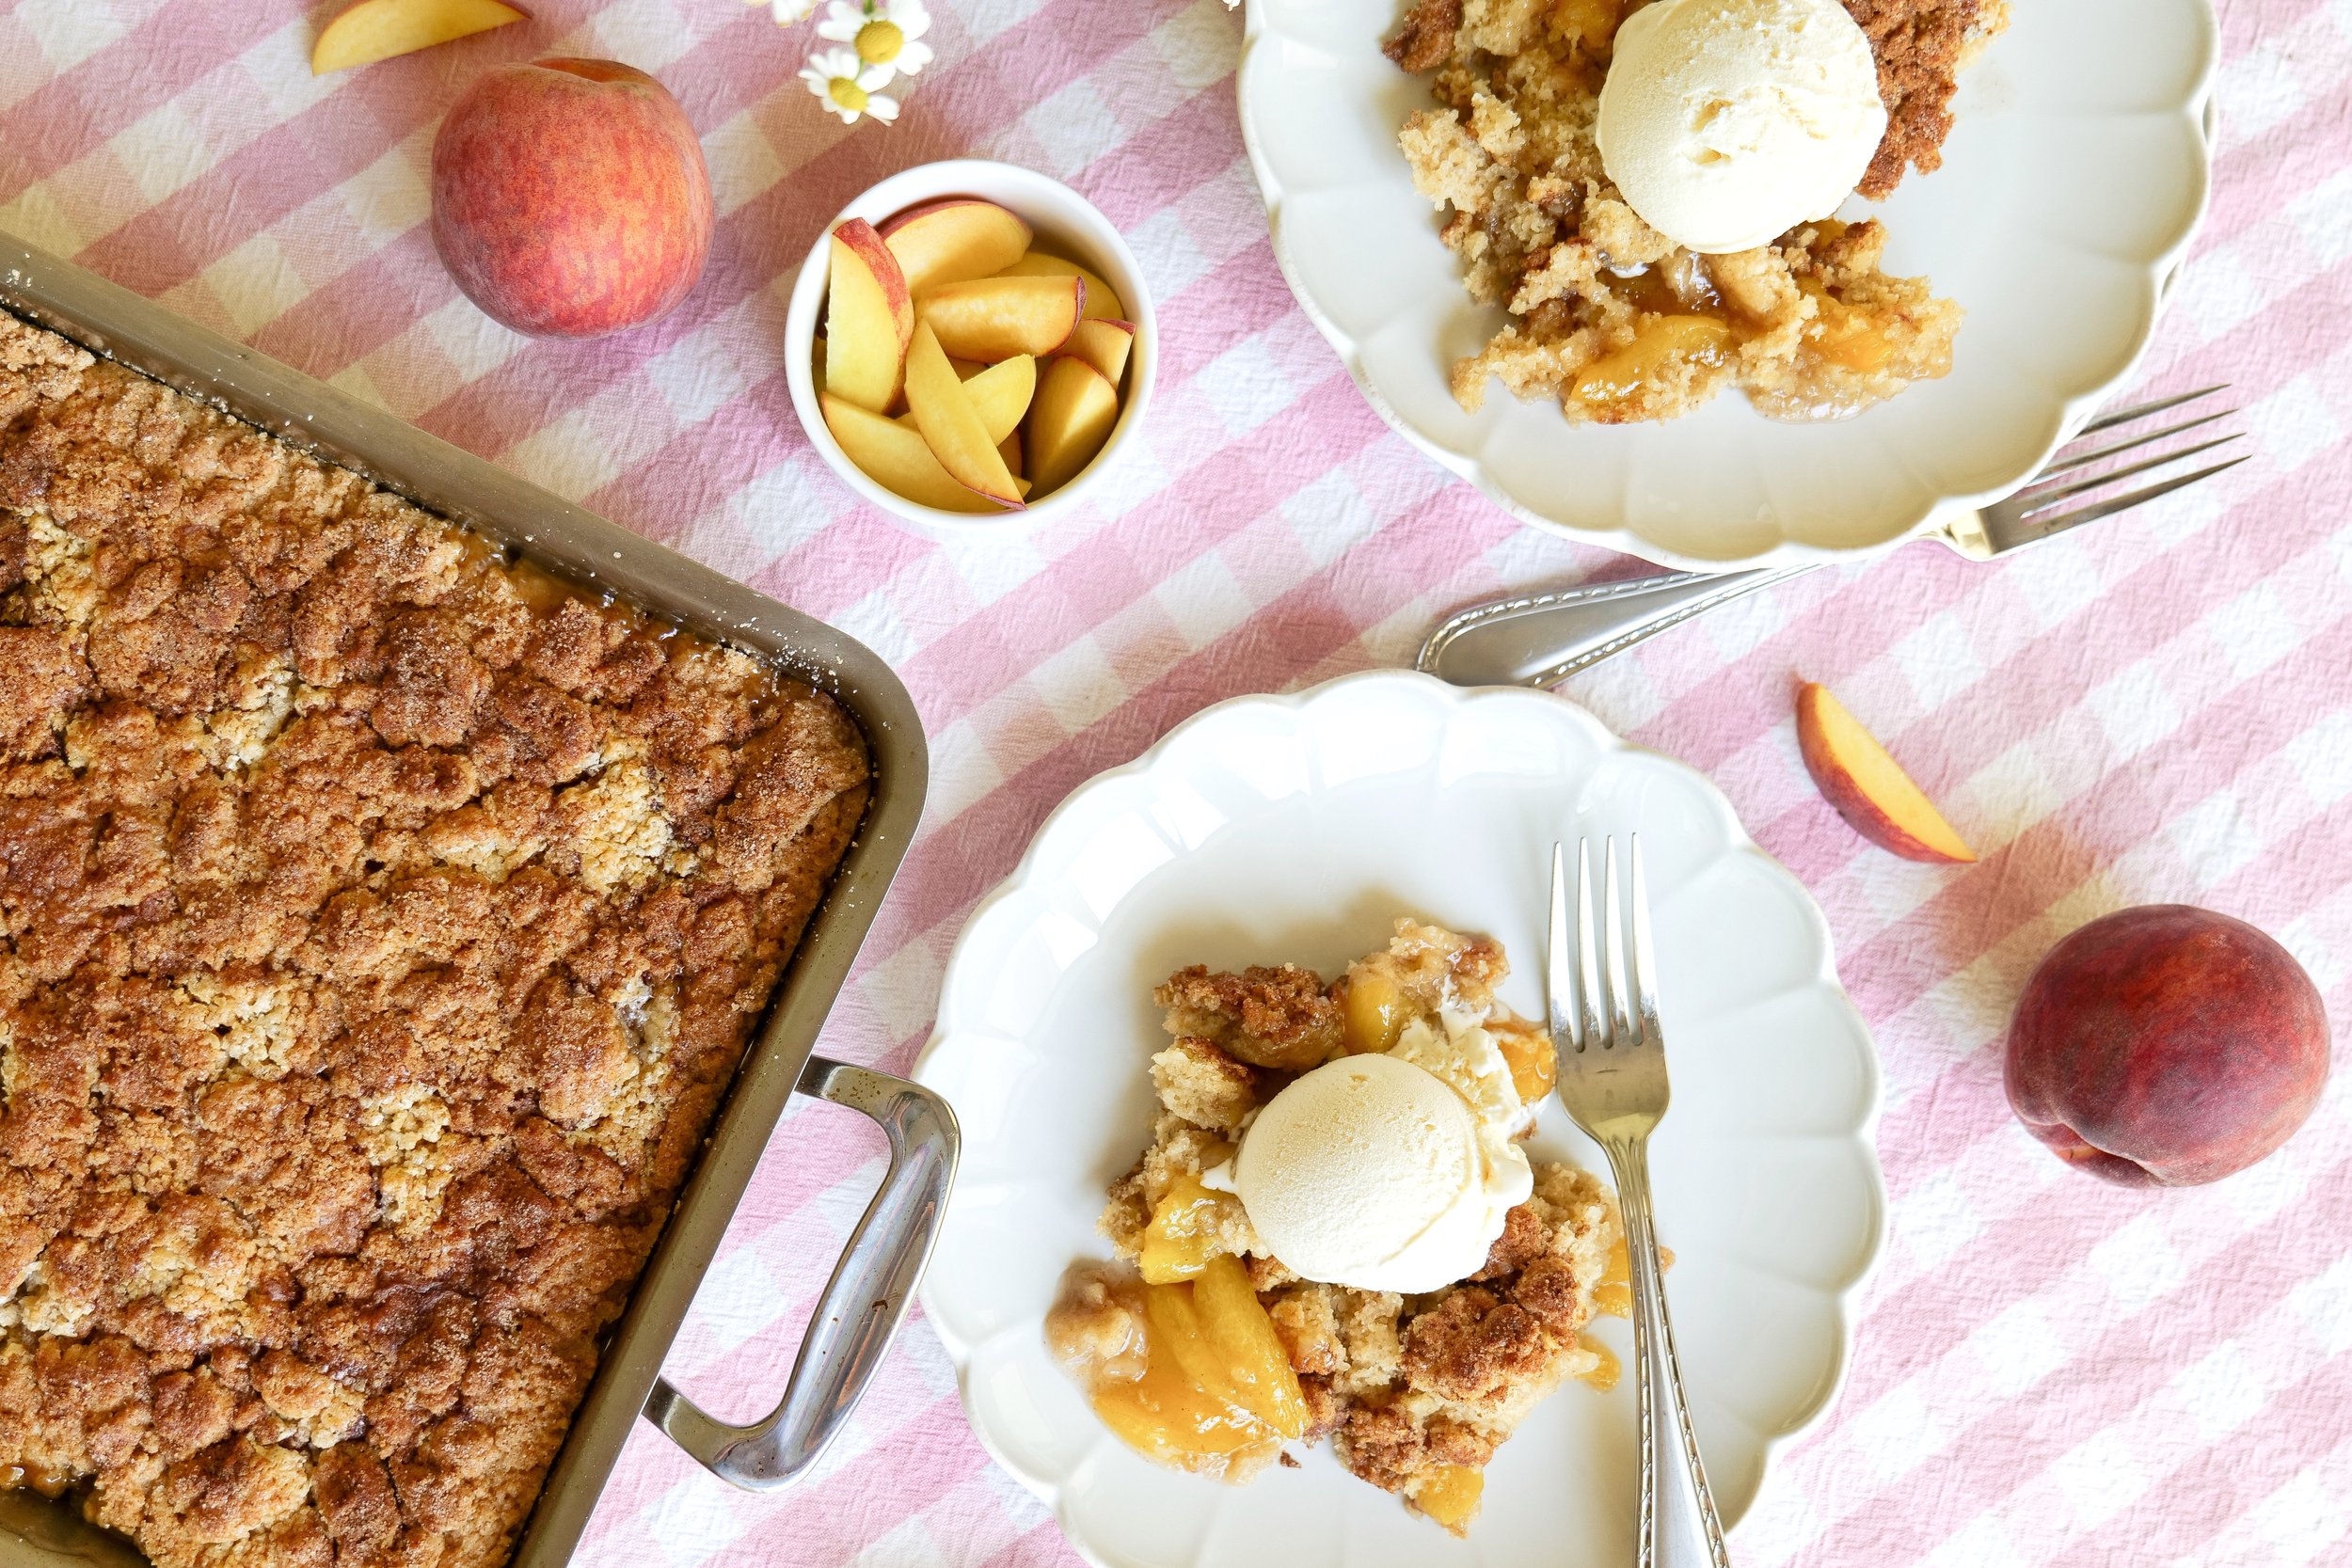
To make this delicious cobbler, you will need fresh peaches, butter, sugar, and a biscuit-like topping. The peaches are the star of the show here, so be sure to use the freshest peaches you can find. Combine the peaches, butter, and sugar in a baking dish and spread the biscuit-like topping over the top. Bake in a preheated oven until the topping is golden and the peaches are bubbly and tender.

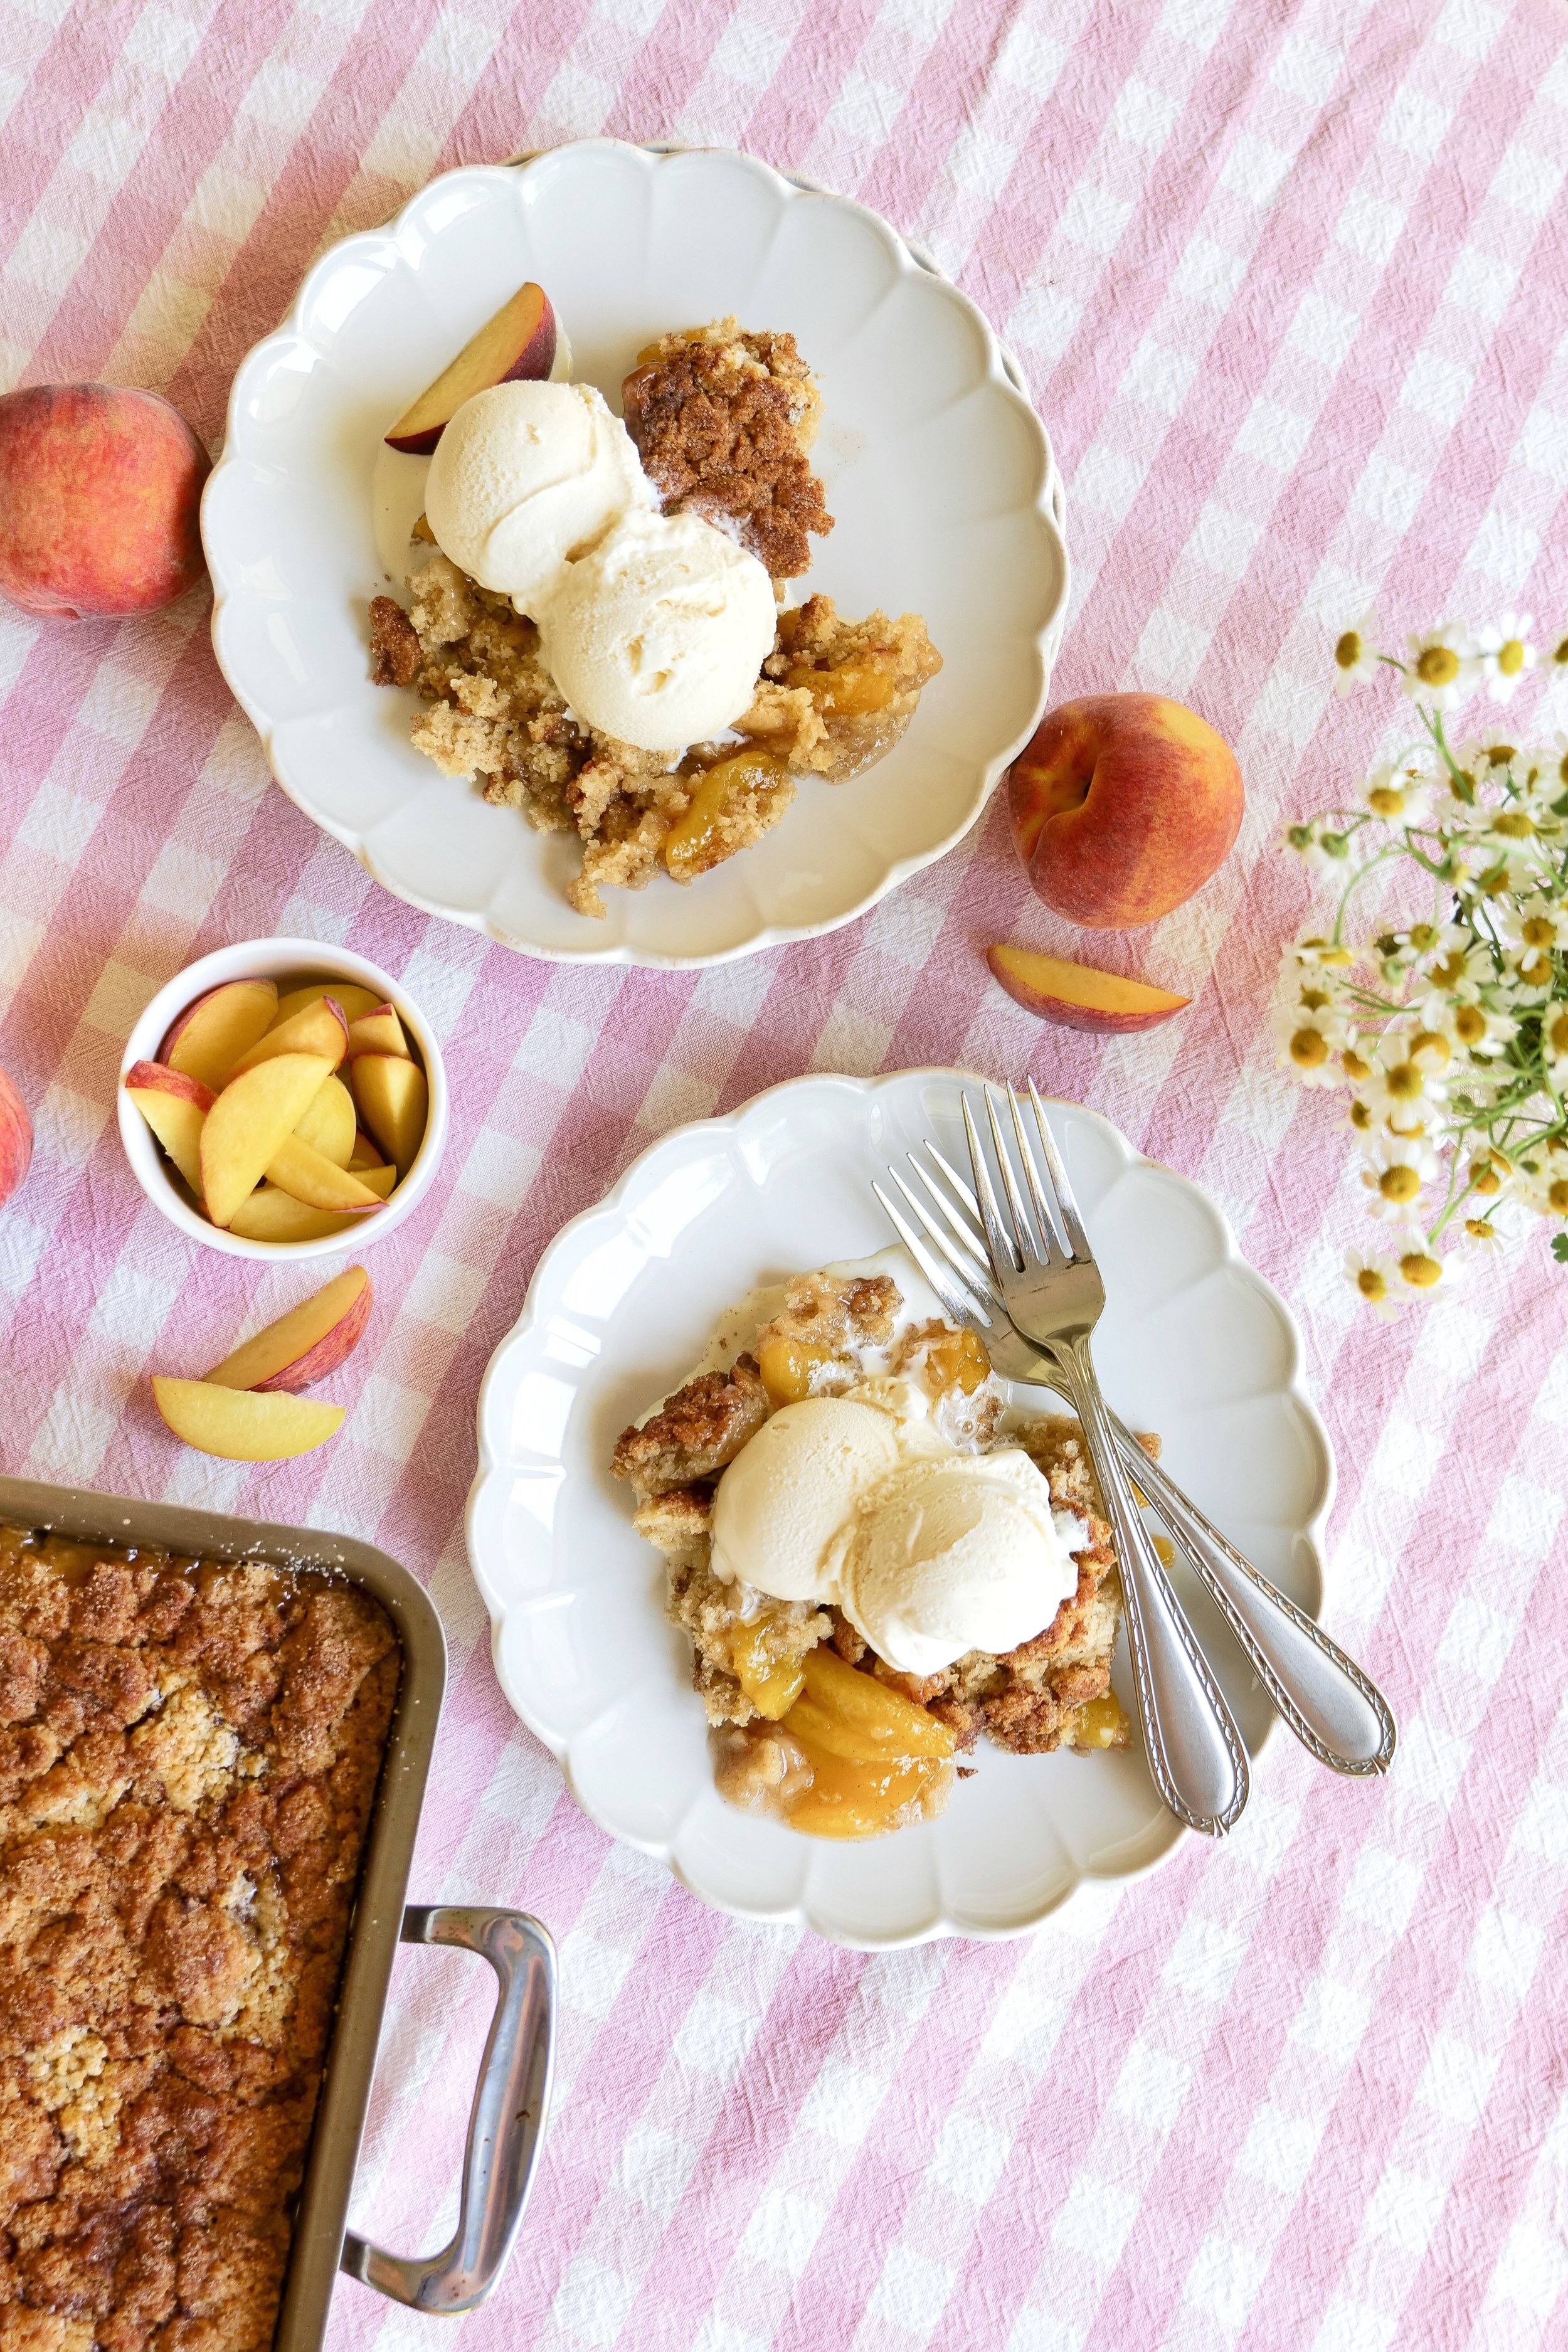
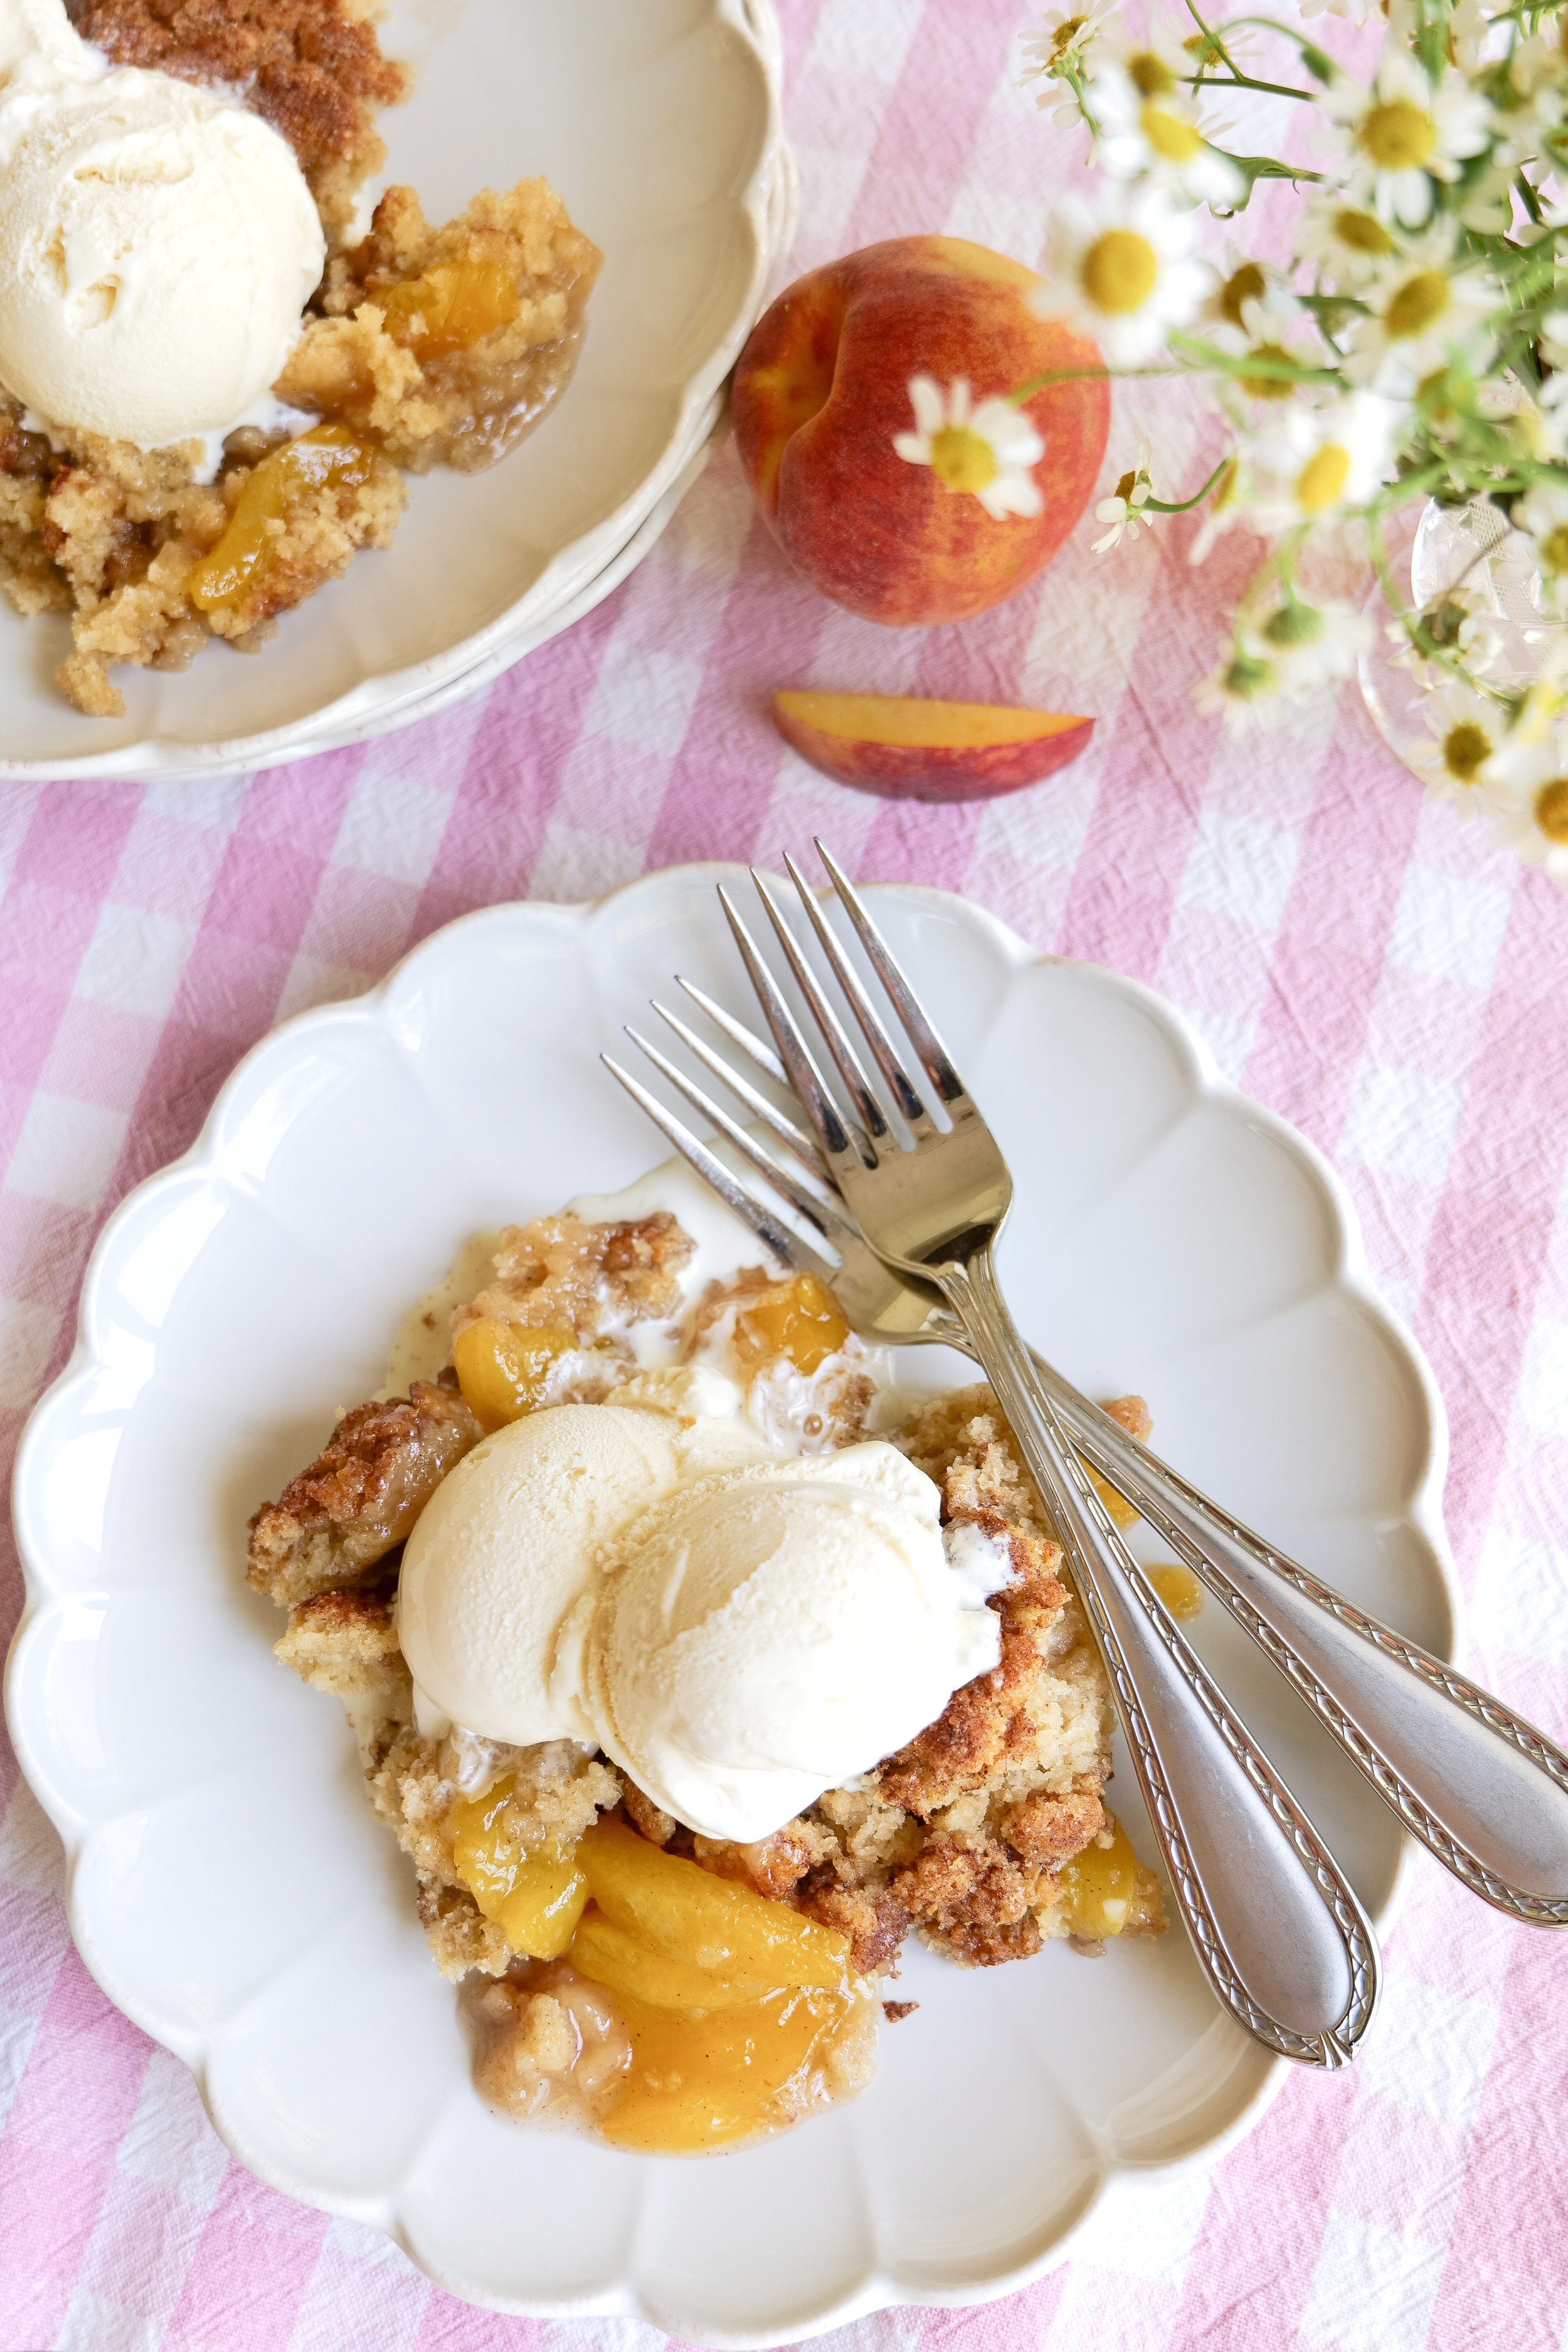
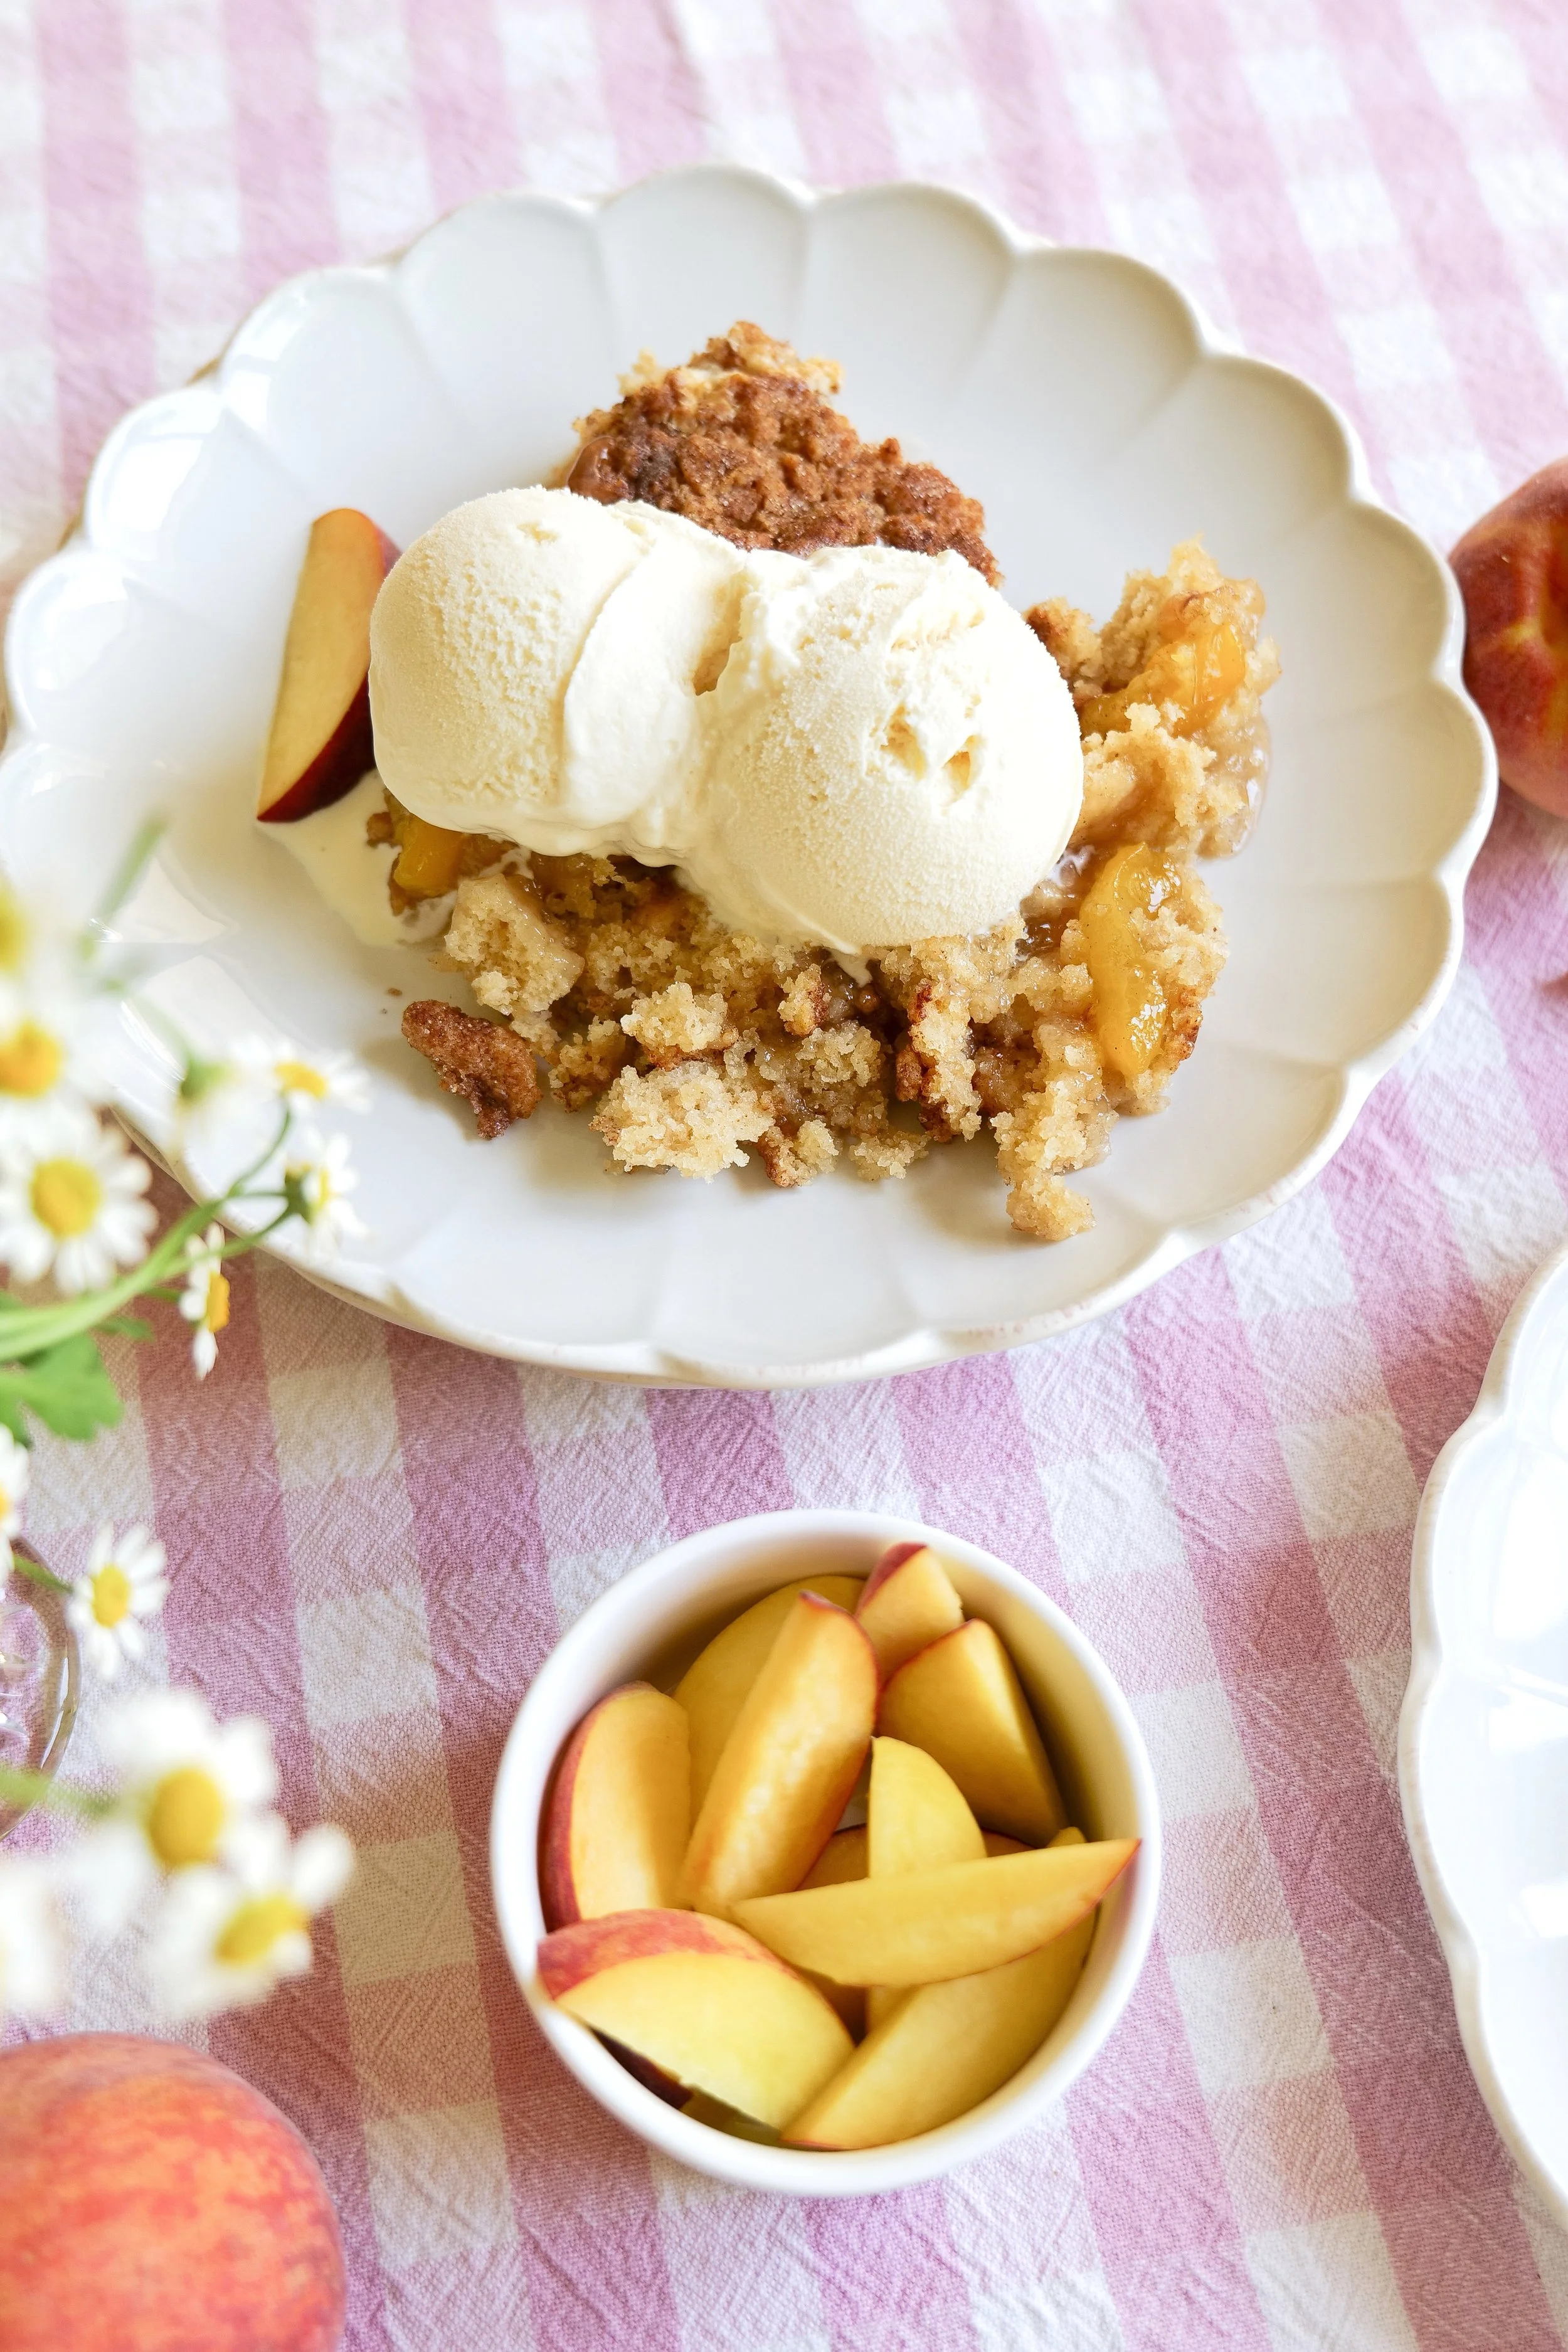
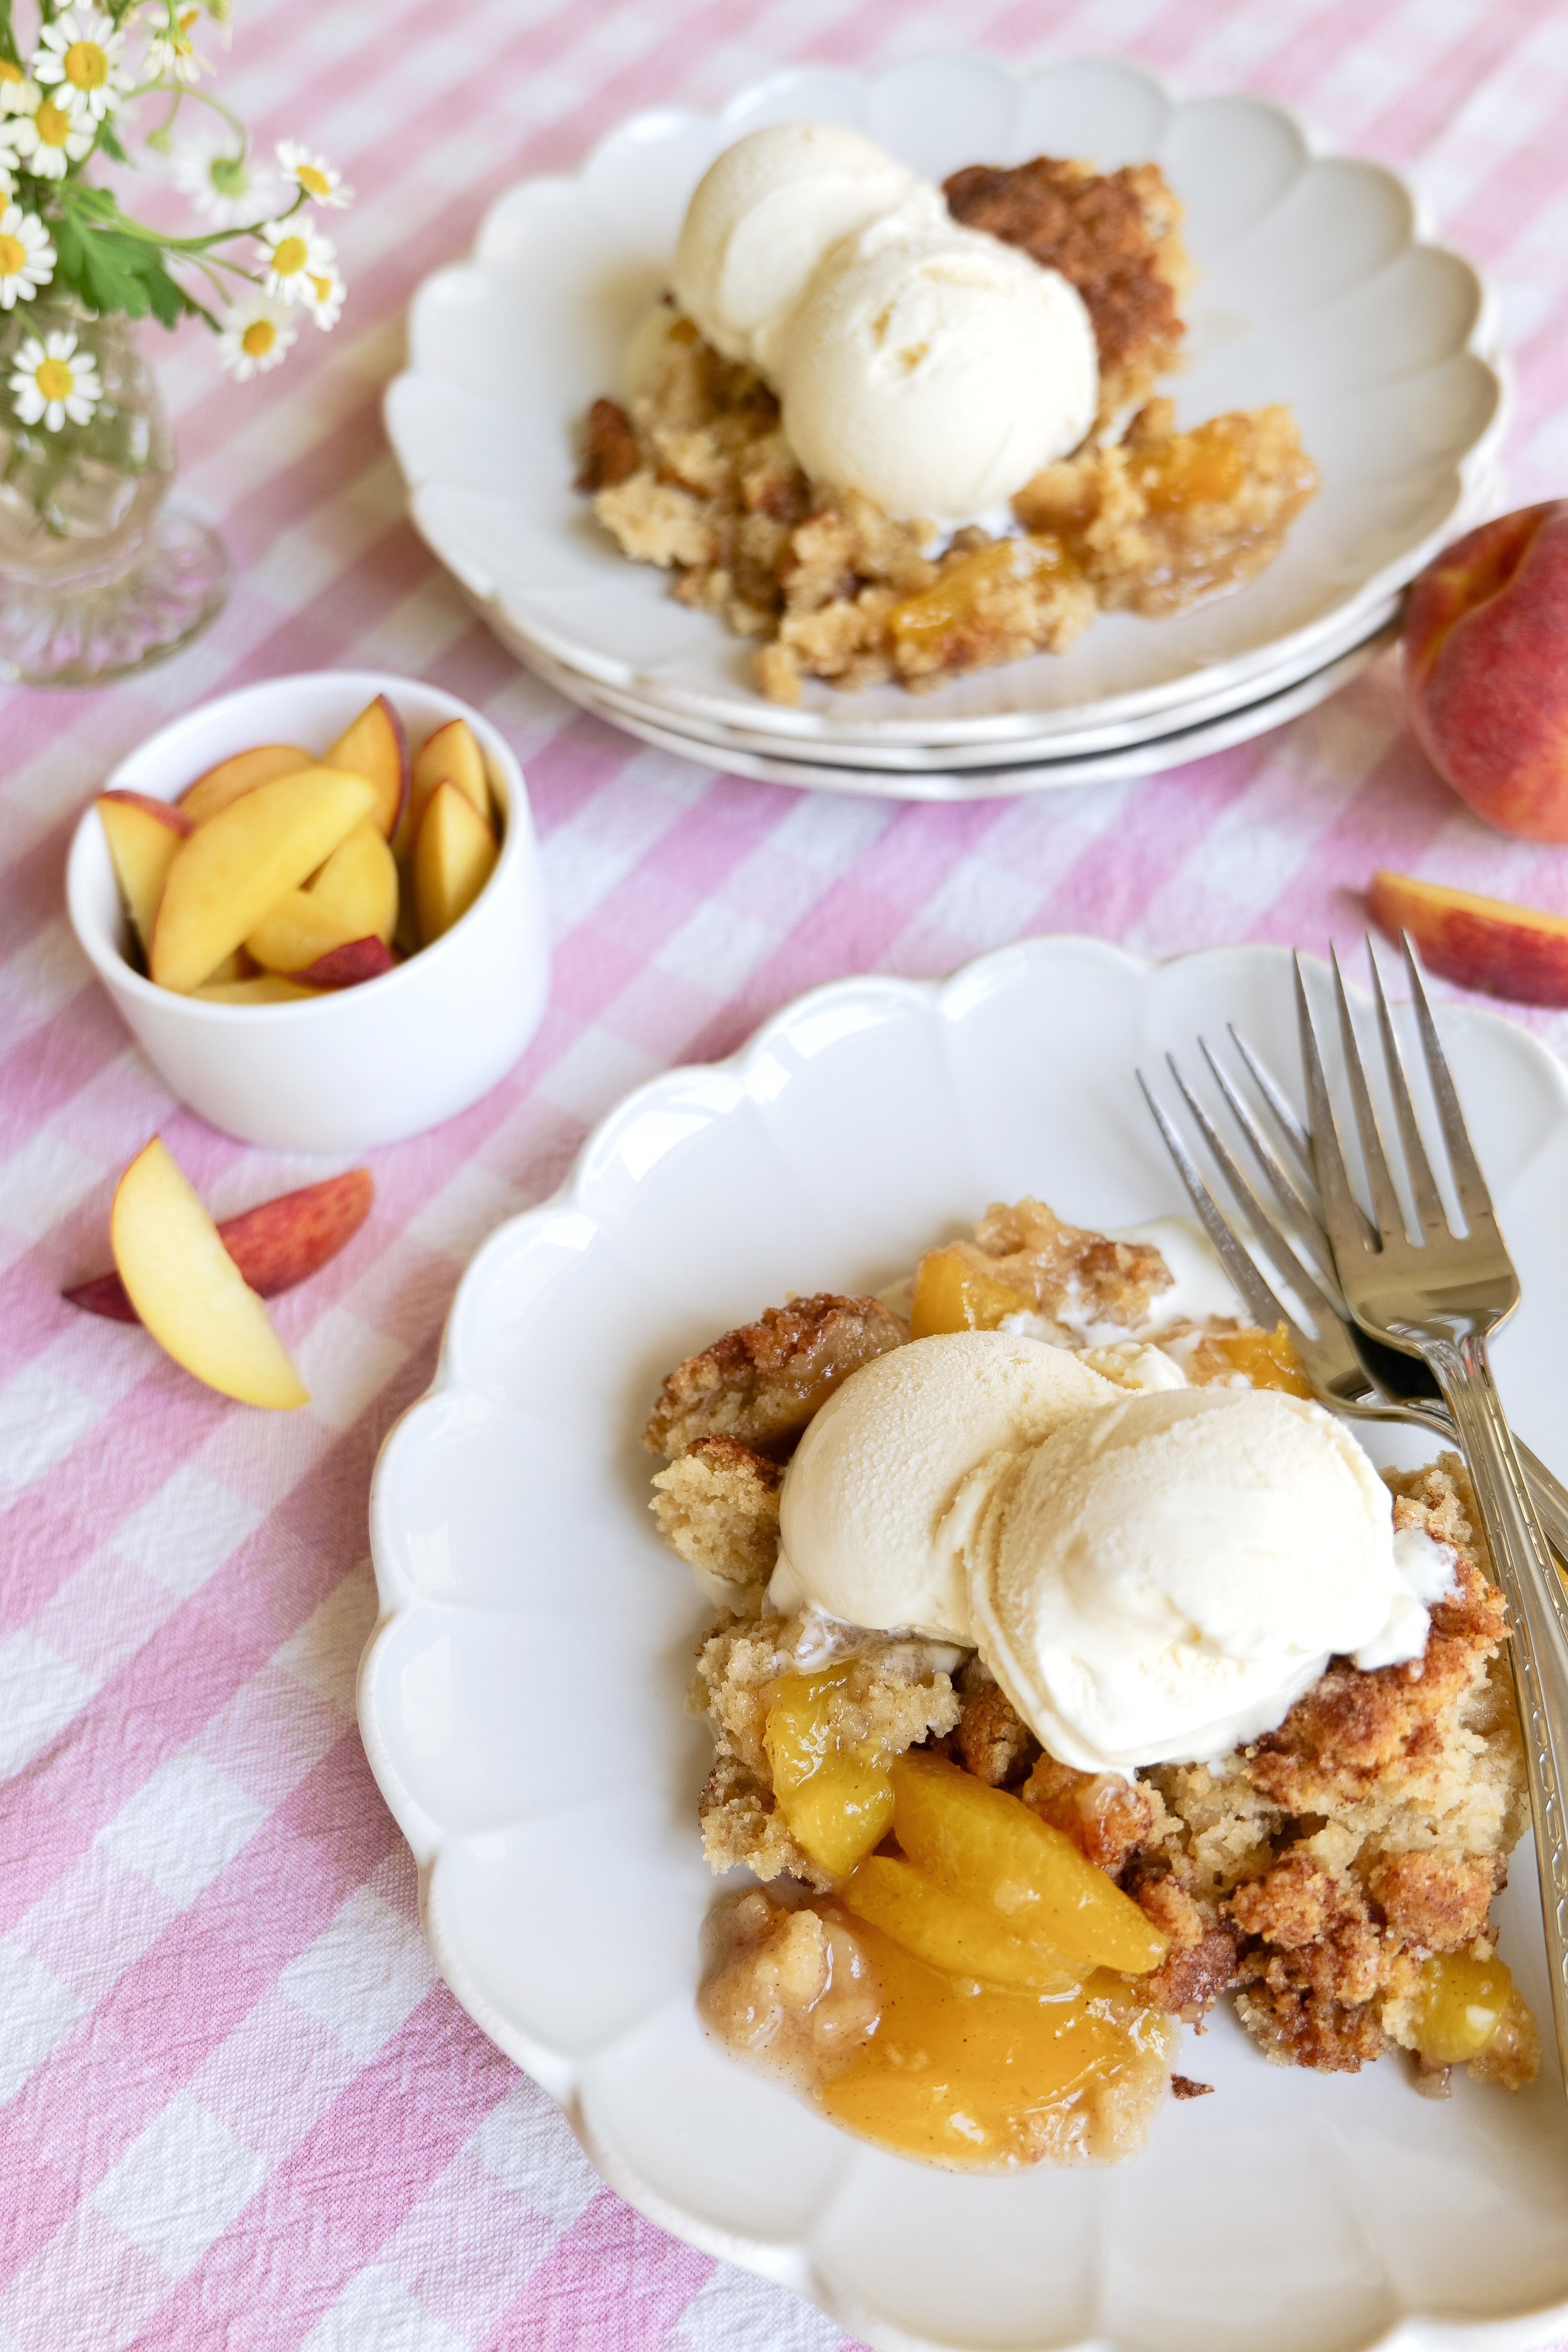
Once the cobbler is ready, it's best served warm with a scoop of vanilla ice cream. Enjoy the combination of sweet and buttery flavors and the hint of cinnamon. This cobbler is one of my most used recipes for guests. Every time I make it the crowd is so happy and it finishes off the meal perfectly. So, why not make this classic Southern dessert today?

Ingredients

10 Servings

6 cups fresh peaches

1 & 1/2 cups granulated sugar

1/4 teaspoon cinnamon

1/8 teaspoon nutmeg

2 teaspoons flour

Topping:

2 & 1/2 cups all-purpose flour

1 cup white sugar

1/2 cup dark brown sugar

2 teaspoons baking powder

1 teaspoon salt

1 cup heavy cream (can substitute for buttermilk)

1 egg

8 tbsp butter

Sugar Topping:

2 tablespoons granulated sugar

1/2 tablespoon cinnamon


Instructions

  1. Preheat oven to 375 degrees

  2. Remove skin from peaches by blanching. To do this you start by placing peaches in boiling water for 30-45 seconds. Immediately take out and place into a bowl of ice water. The peaches will peel perfectly.

  3. Once peaches are peeled slice and toss with sugar in a bowl. Once evenly coated add cinnamon, nutmeg and flour and toss again.

  4. Pour peaches into baking dish and place in oven for 10 min while making topping

  5. Begin Topping by mixing together dry ingredients; all-purpose flour, sugar, brown sugar, baking powder and salt. In another bowl whisk together heavy cream and egg gently pour into flour mixture and hand mix together to make a shaggy mixture that will crumble nicely on top of the peaches.

  6. Once the peaches have cooked for 10 min and the topping mixture is ready crumble evenly over the top of the peach mixture.

  7. Cut 8 tbsp of butter into even size cubes. Sprinkle over top of the crumble mixture so they are evenly spread over the pan. Lastly, Evenly sprinkle sugar topping of sugar and cinnamon over the entire pan.

  8. Place back in the oven and cook for 45-50 minutes, until topping is golden and peaches are tender. Top with fresh whipped cream or vanilla ice cream for a great dessert!

Save This Recipe

Whether you're planning ahead for a special occasion or adding a new favorite to your recipe collection, I've included a printable recipe card below so it's easy to save, print, and share with the people you love.

Canned Peaches Vs Fresh

When it comes to making a delicious peach cobbler, you have two main choices when deciding which type of peaches to use: fresh or canned. Canned peaches provide a pre-sweetened, convenient base for your cobbler that requires little to no additional preparation. However, fresh peaches provide a more vibrant flavor and texture that will really shine in your cobbler.

When it's not peach season and you may be forced to use canned peaches, don't worry! You can still enjoy this classic recipe year-round with the help of canned peaches. Canned peaches are a great way to make a delicious peach cobbler any time of year. Their soft texture makes them ideal for baking into a cobbler, and they can save you time and energy since they are already peeled and chopped. If you choose to use canned peaches for your cobbler, you have the option of using light or heavy syrup, while fresh peaches should be sweetened to taste. Canned peaches are usually slightly more firm than fresh peaches, so if you want a softer texture you’ll need to simmer the canned peaches a bit before adding them to the cobbler. Plus, you can even add a bit of extra sweetness to your cobbler by using canned peaches in syrup. Just be sure to drain the syrup from the canned peaches before adding them to your cobbler. So don't wait for peach season – you can make a delicious peach cobbler with canned peaches any time of year!

When using fresh peaches for your cobbler, you will need to do some extra preparation in the form of peeling, slicing, and sweetening. Canned peaches are a good option if you’re in a hurry, while fresh peaches require more time and effort to prepare. However, the taste and texture of fresh peaches will be worth the extra effort.

Is It Difficult to Make a Peach Cobbler?

No matter the season, nothing quite captures the flavors of Summer like a delicious homemade peach cobbler. Making a peach cobbler is surprisingly easy and requires only a few ingredients, so you don't need to be a professional chef to make a great-tasting cobbler. All you need is some fresh peaches, butter, sugar, flour, and spices. With just a few steps, you can whip up a delicious homemade peach cobbler in no time.

The combination of sweet peaches, buttery crust, and spices makes for a truly delicious dessert. The sweet and juicy peaches combined with the crunchy and buttery crust, create a flavor combination that is sure to please. The spices add a unique touch that complements the flavor of the peaches and gives the cobbler an extra layer of flavor.

Making a peach cobbler is a great way to enjoy the flavors of Summer all year round. Plus, it's such a simple recipe that even novice bakers can make a delicious cobbler with minimal effort. So, if you're looking for a delicious and easy dessert that captures the flavors of Summer, then why not try making a peach cobbler? With just a few ingredients and a few simple steps, you can have a delicious homemade cobbler ready to enjoy in no time.

Can I Freeze Leftover Peach Cobbler?

Freezing leftover peach cobbler is an easy way to enjoy this delicious dessert later on. To freeze the cobbler, simply place it in an airtight container or wrap it tightly in plastic wrap and aluminum foil. Be sure to label the container with the date it was frozen so you know how long it has been in the freezer. To reheat the cobbler, thaw it in the refrigerator overnight and then bake at 350°F (176°C) until it is heated through. You don’t have to wait until you warm up the cobbler to enjoy it. You can also enjoy it cold straight from the fridge or quickly microwave it to warm up. For extra indulgence, top your frozen cobbler with a scoop of creamy vanilla ice cream. Enjoy your frozen peach cobbler, even months later!

Other Summer Desserts You Will Love:

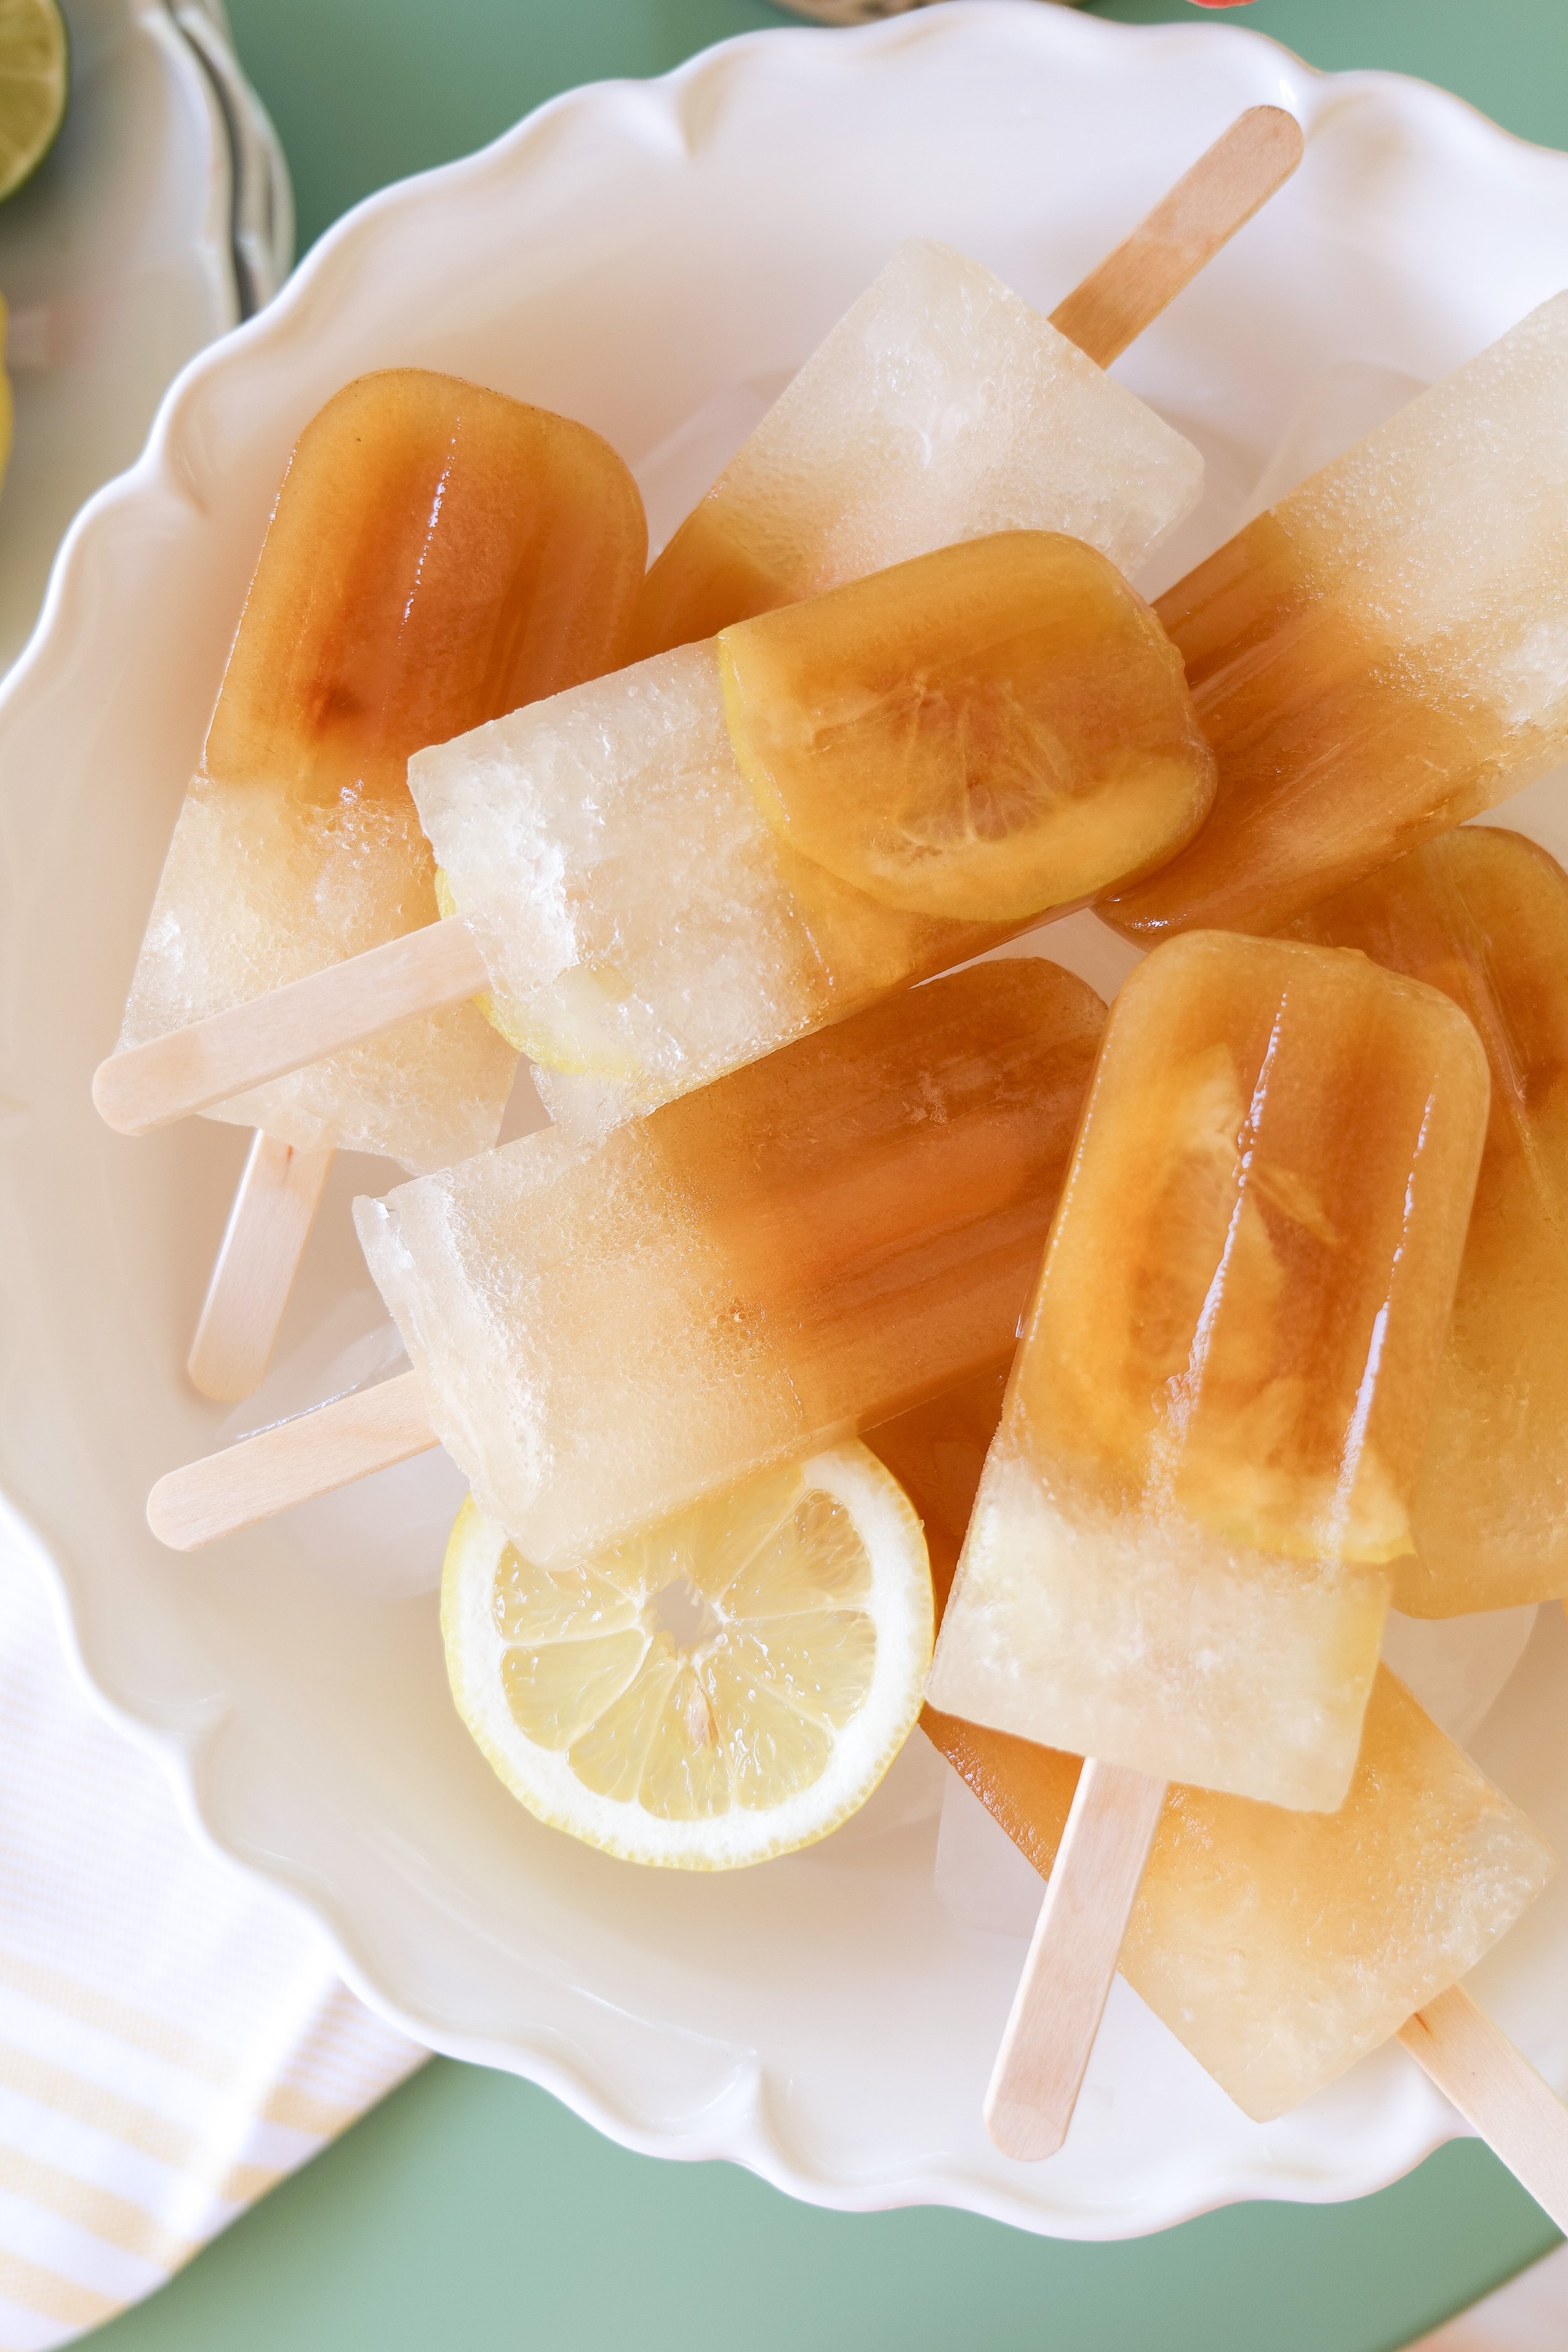
How to Make the Perfect Arnold Palmer Popsicle: A Delicious Summer Recipe

Indulge in Deliciousness: Cherry Chip Cake with Chunks of Dark Chocolate Recipe

Monster Cookie Recipe

Chocolate Peanut Butter Brownies

How to Make the Perfect Arnold Palmer Popsicle: A Delicious Summer Recipe

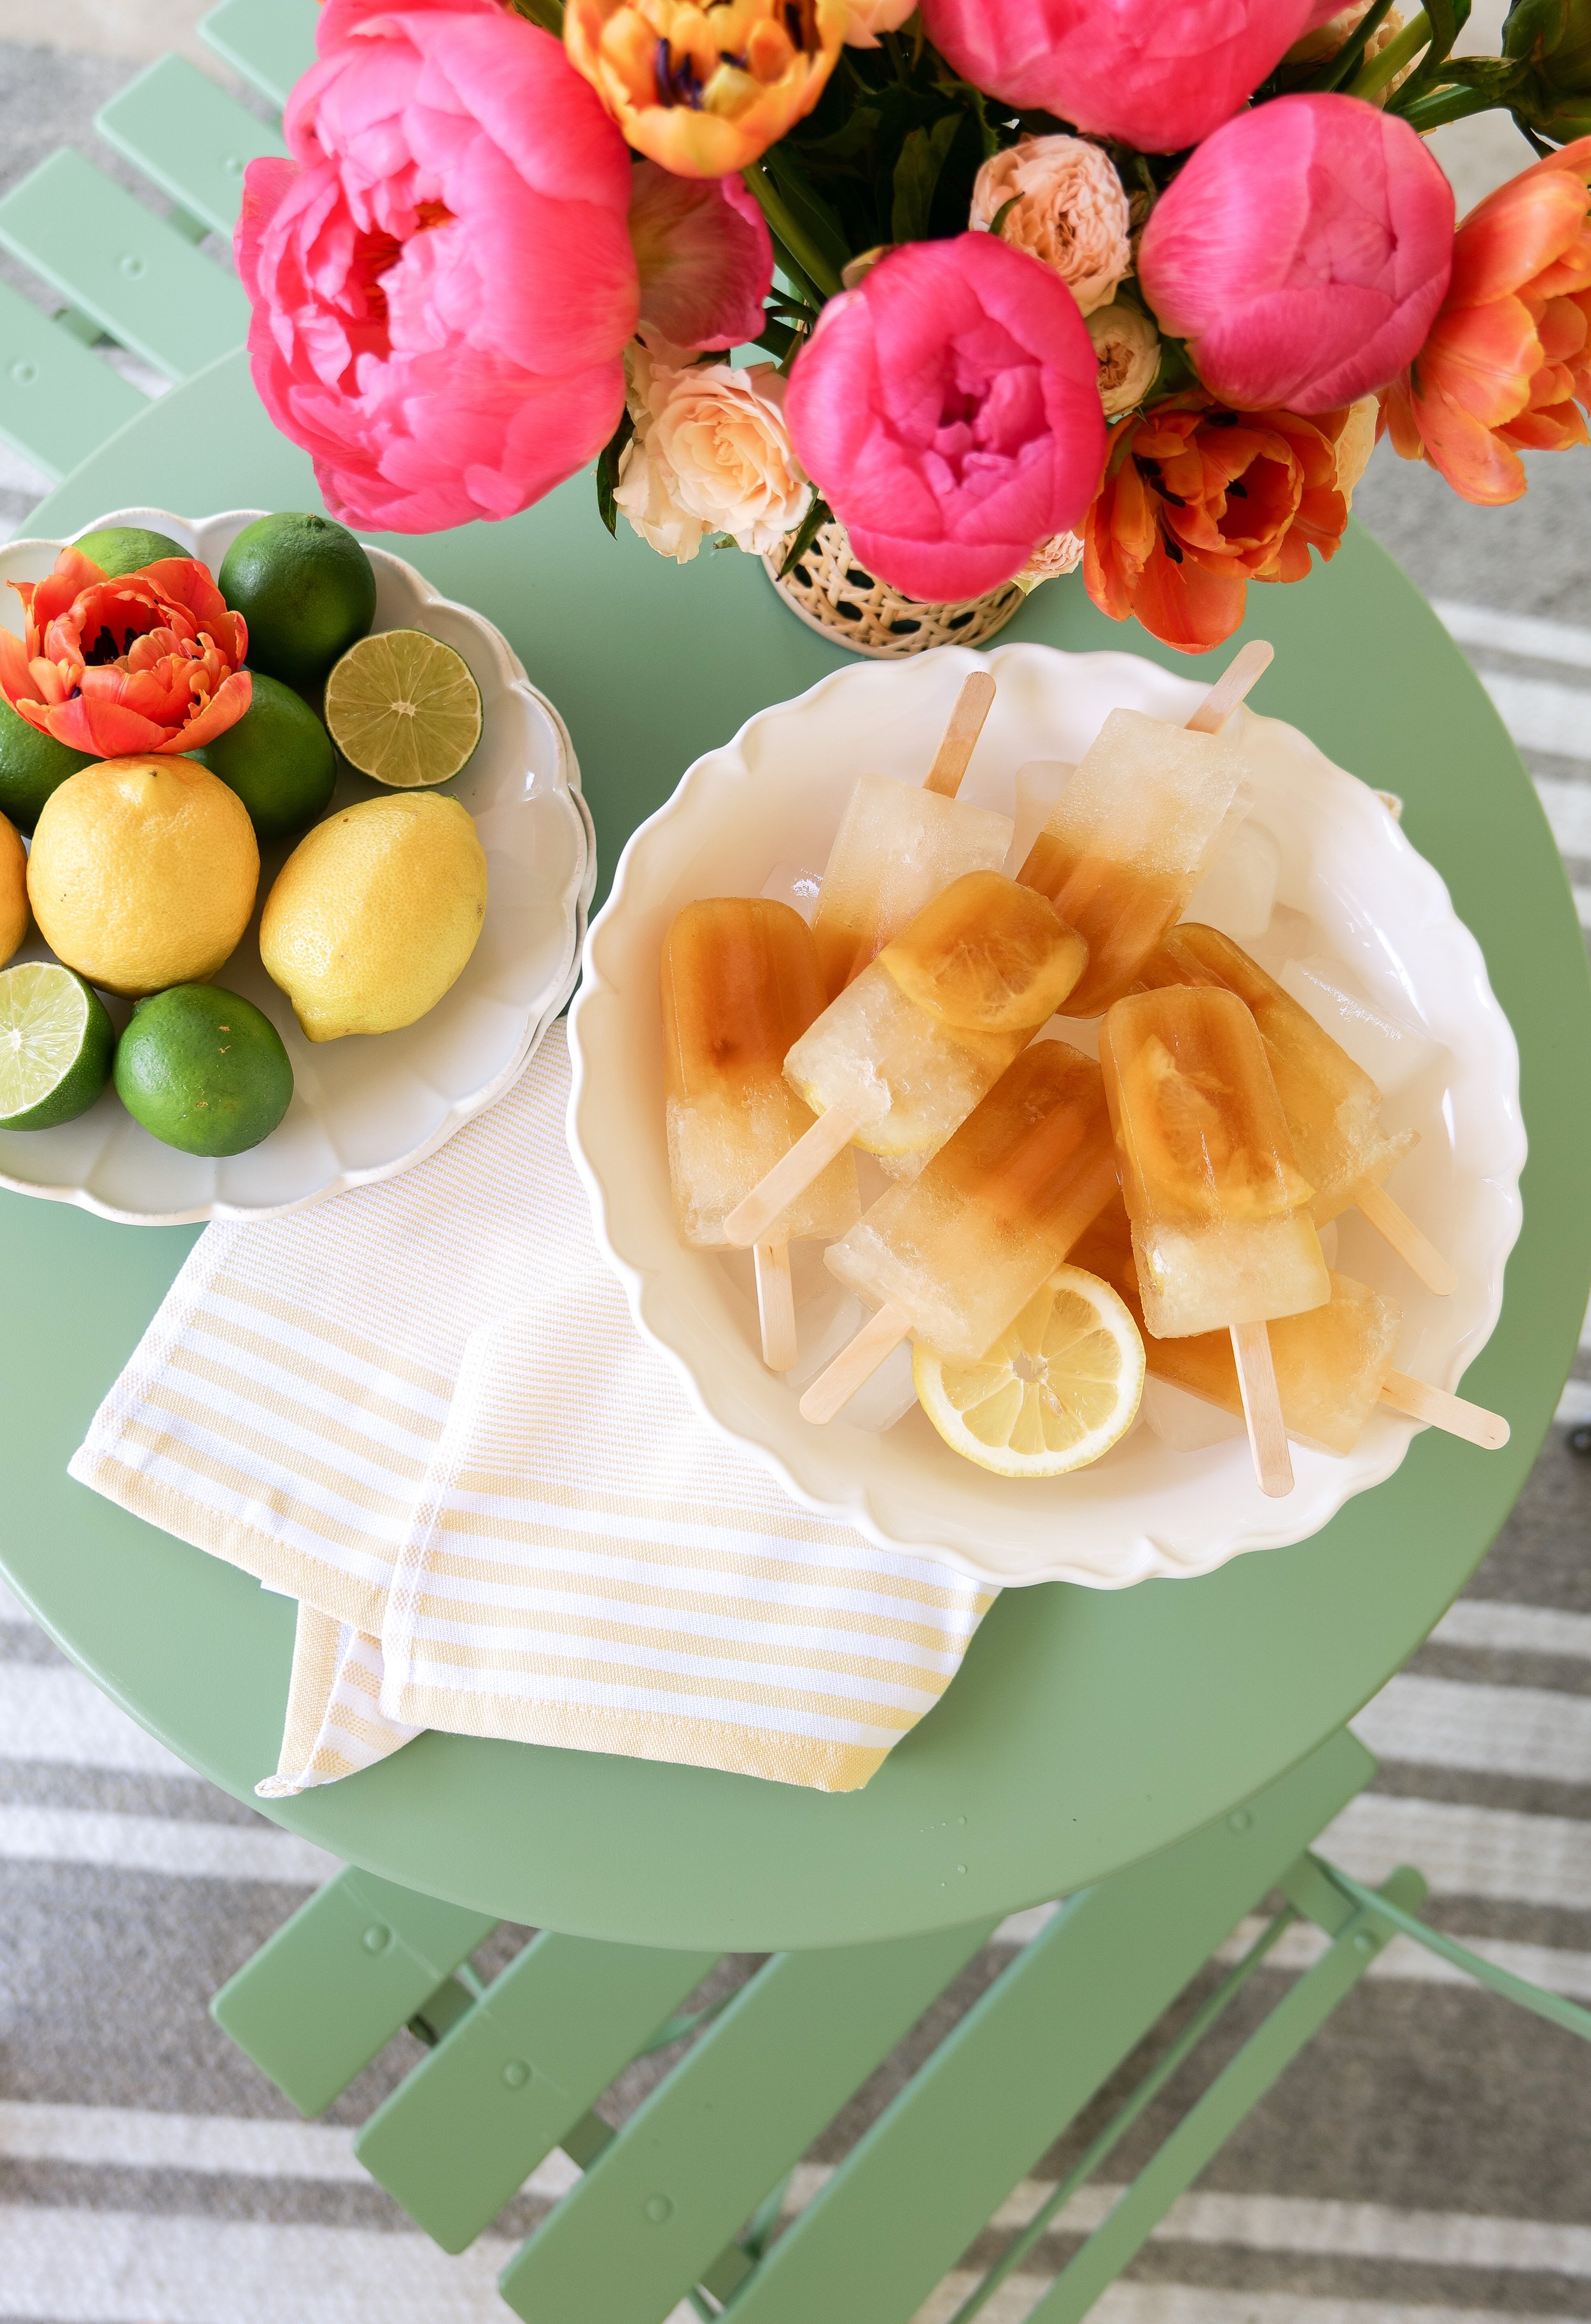
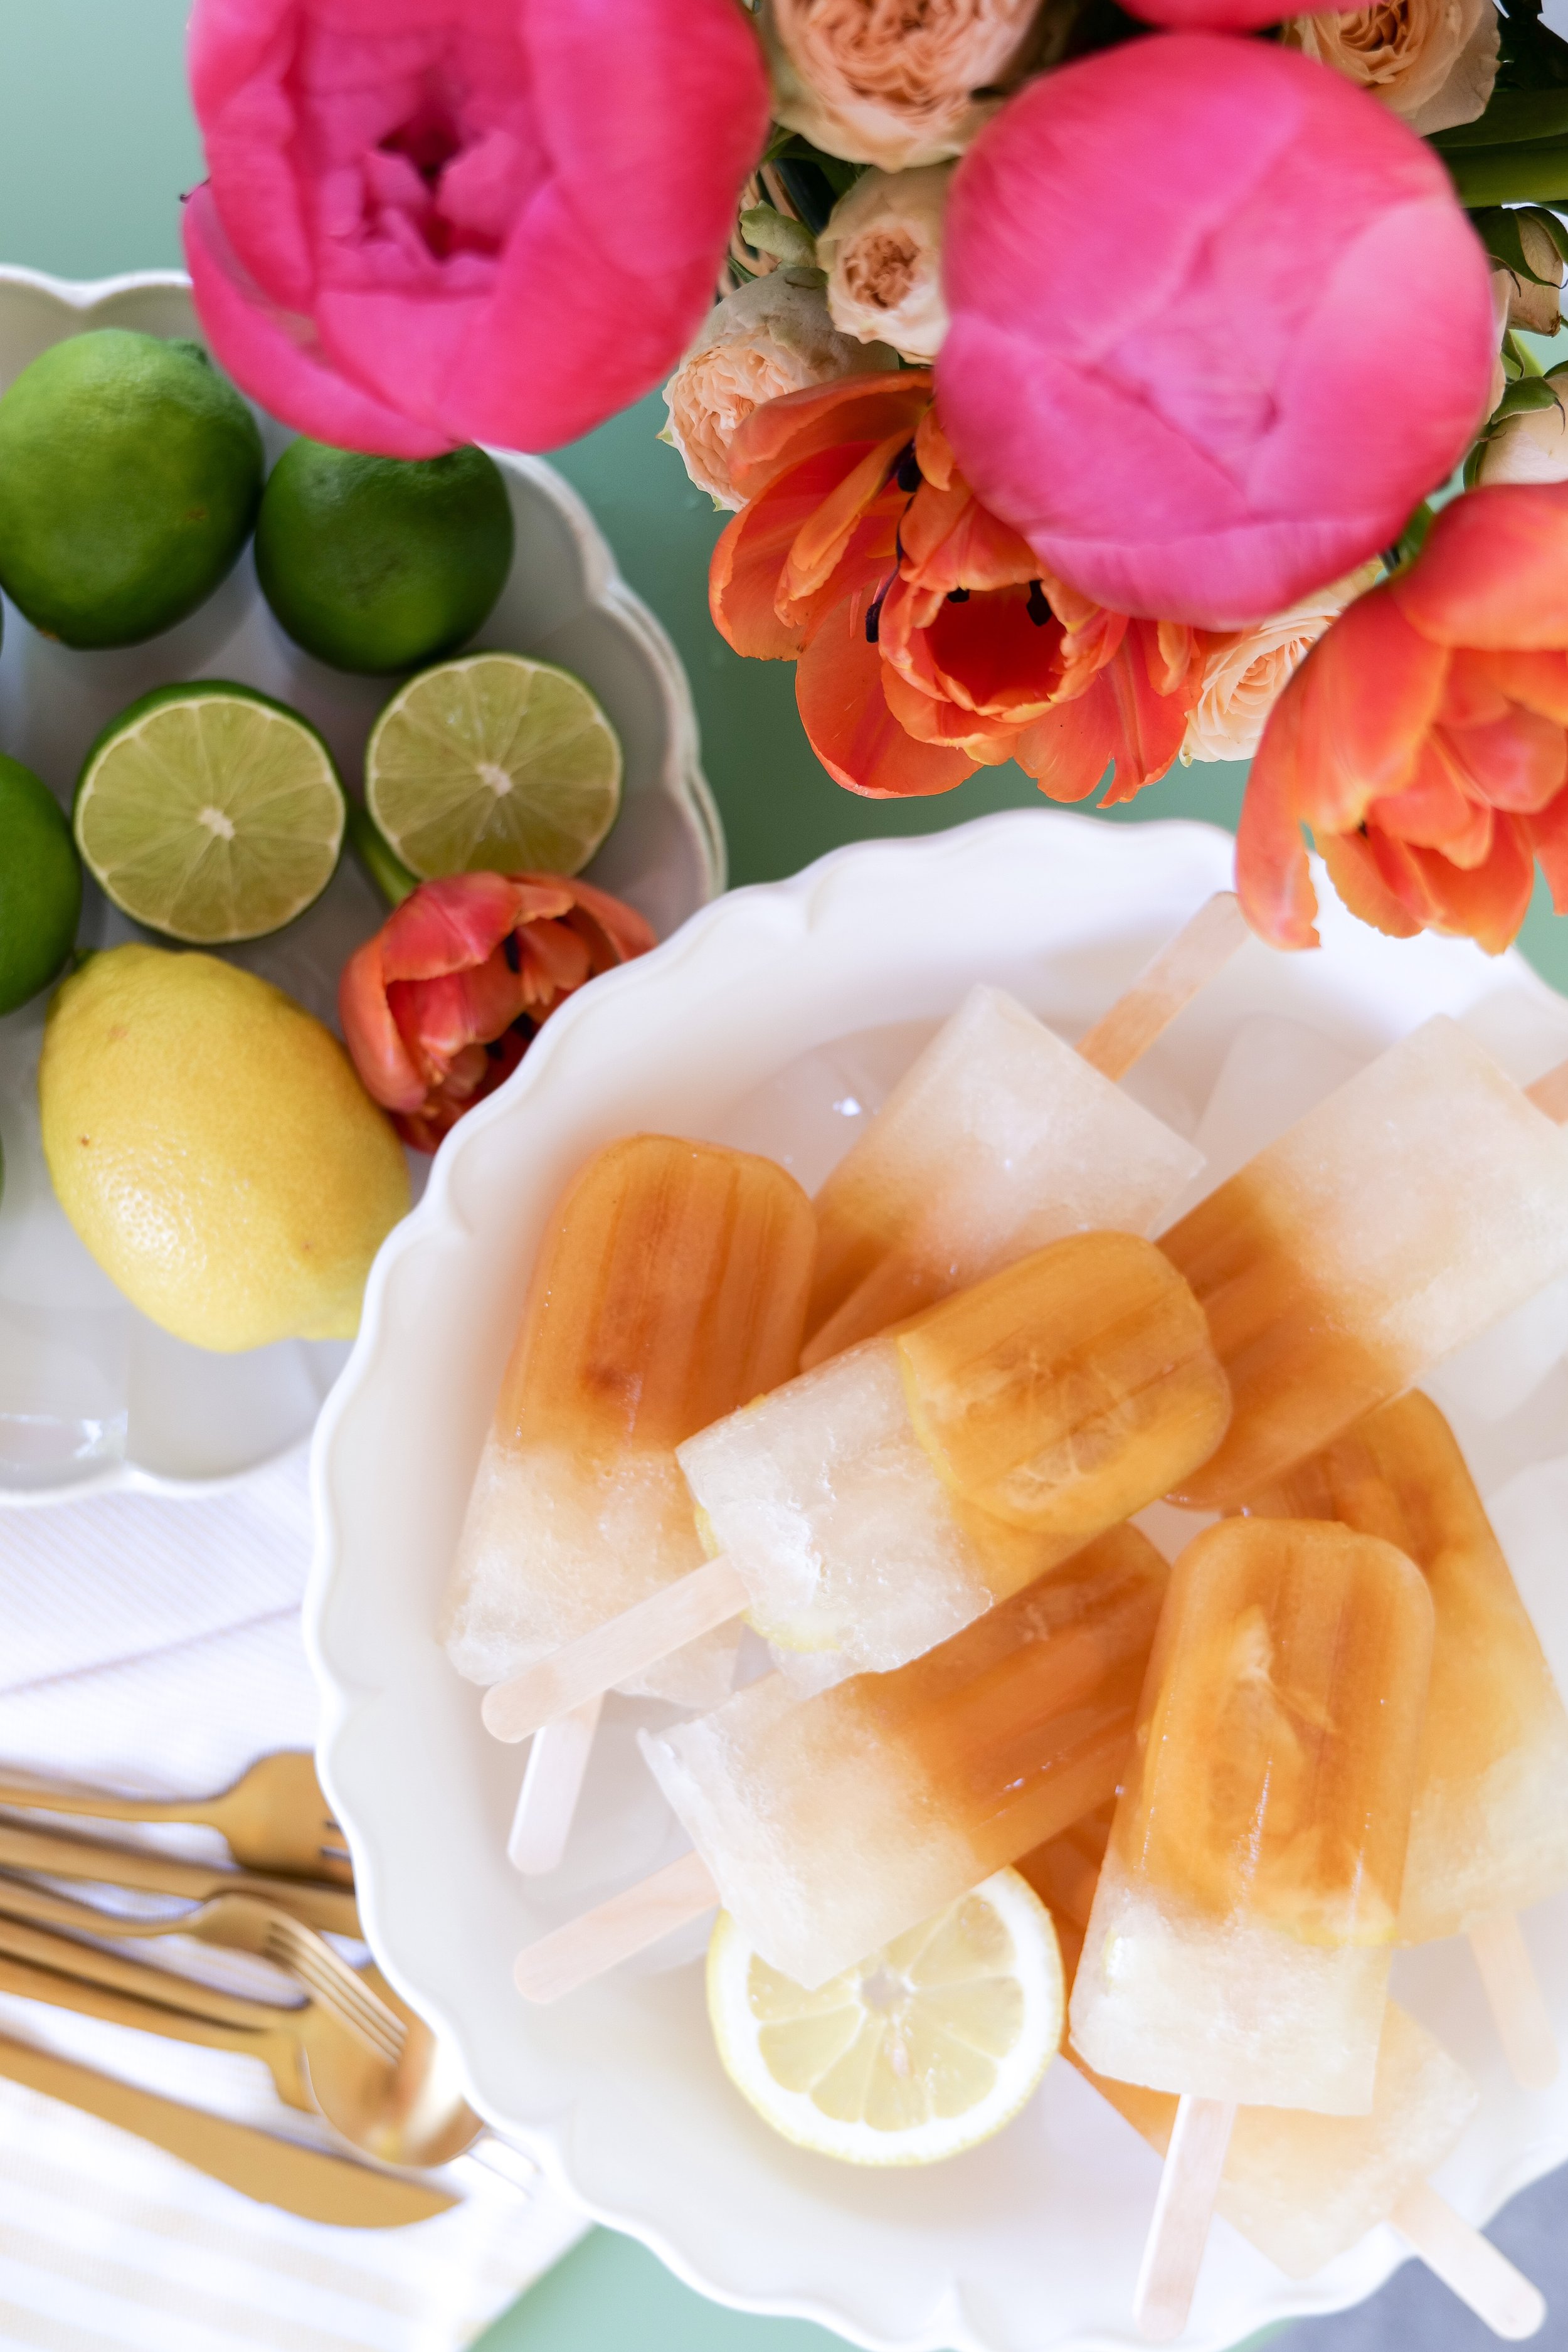
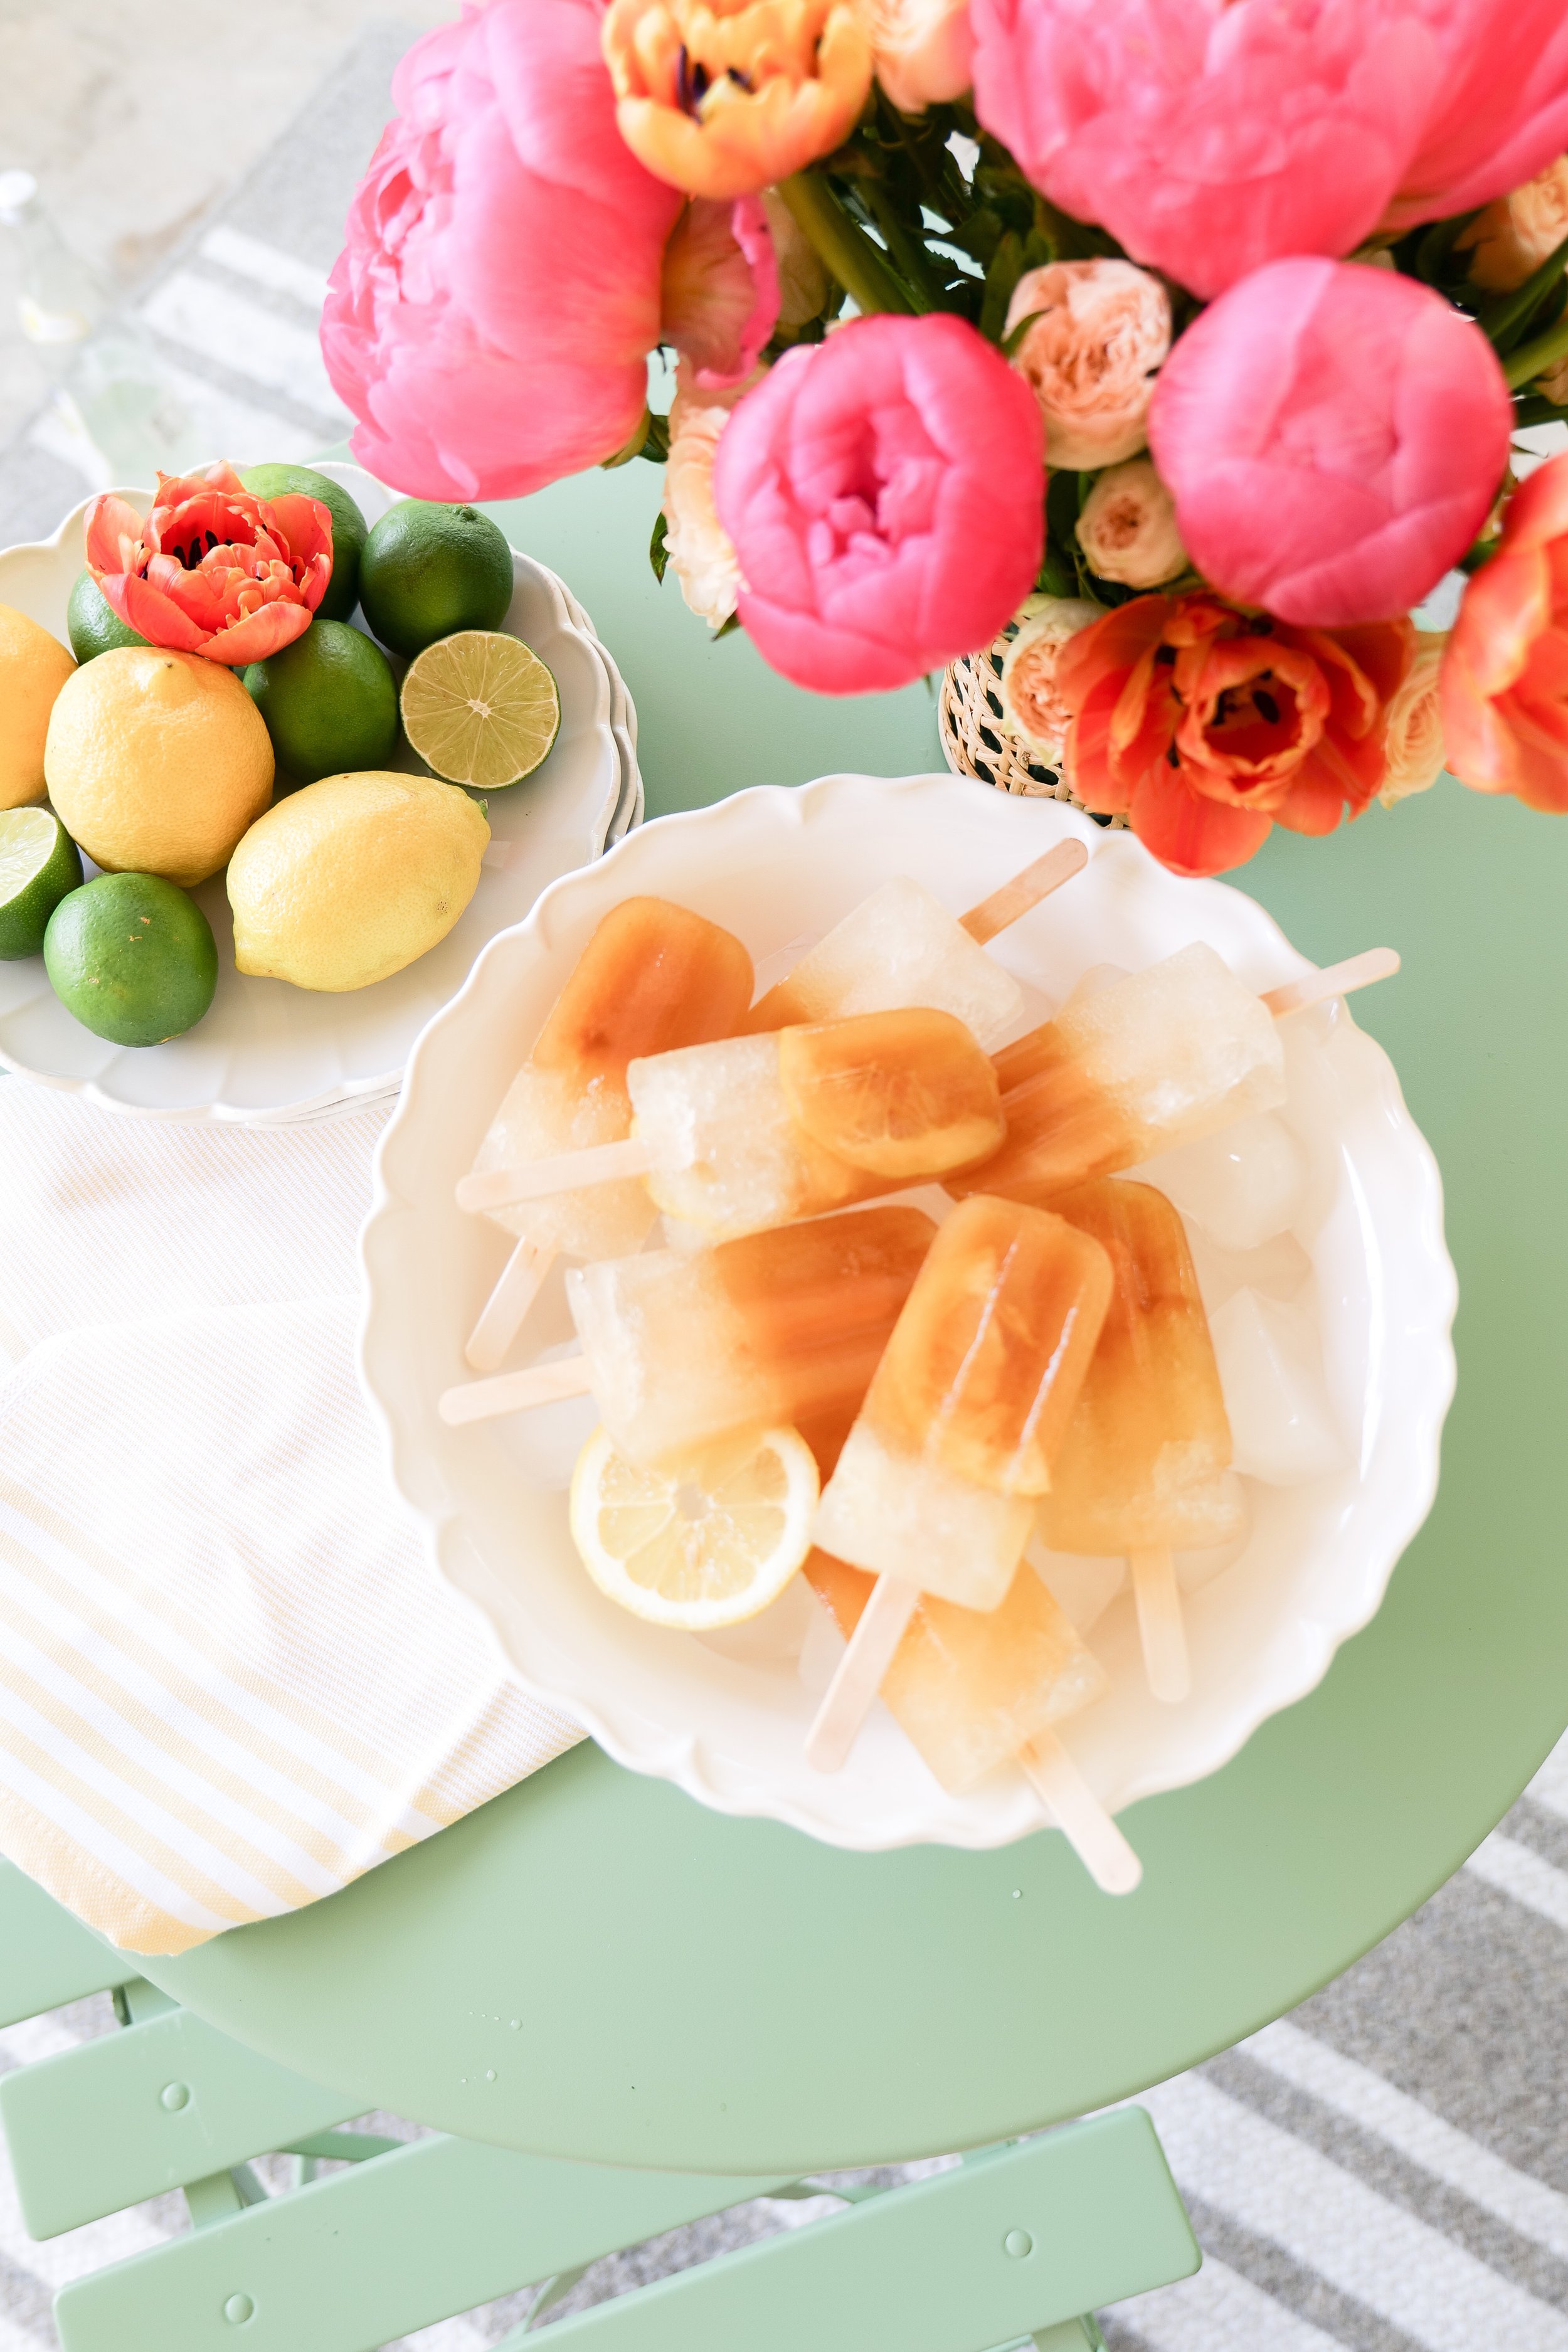
Are you looking for a fun and delicious way to cool off during the hot summer months? Look no further than this Arnold Palmer Popsicle recipe! This classic combination of iced tea and lemonade is a refreshing and delicious treat for adults and kids alike. With just a few simple ingredients, you can substitute the classic drink and instead make these tasty popsicles in no time. Whether using them for a Summer BBQ or just a fun way to beat the heat, this easy recipe is sure to be a hit. Keep reading for all the details on how to make the perfect Arnold Palmer Popsicle.

Arnold Palmer Popsicle Tips and Tricks

Cool off this Summer with a classic Arnold Palmer popsicle recipe! It’s the perfect blend of lemonade and iced tea, and it’s sure to be a hit with the whole family. To make the popsicles, start with equal parts iced tea and lemonade. You can also add a splash of vodka for an "adult popsicle" or flavored syrup for extra sweetness to the flavor. For a more creamy popsicle, add a scoop of vanilla ice cream or Greek yogurt.

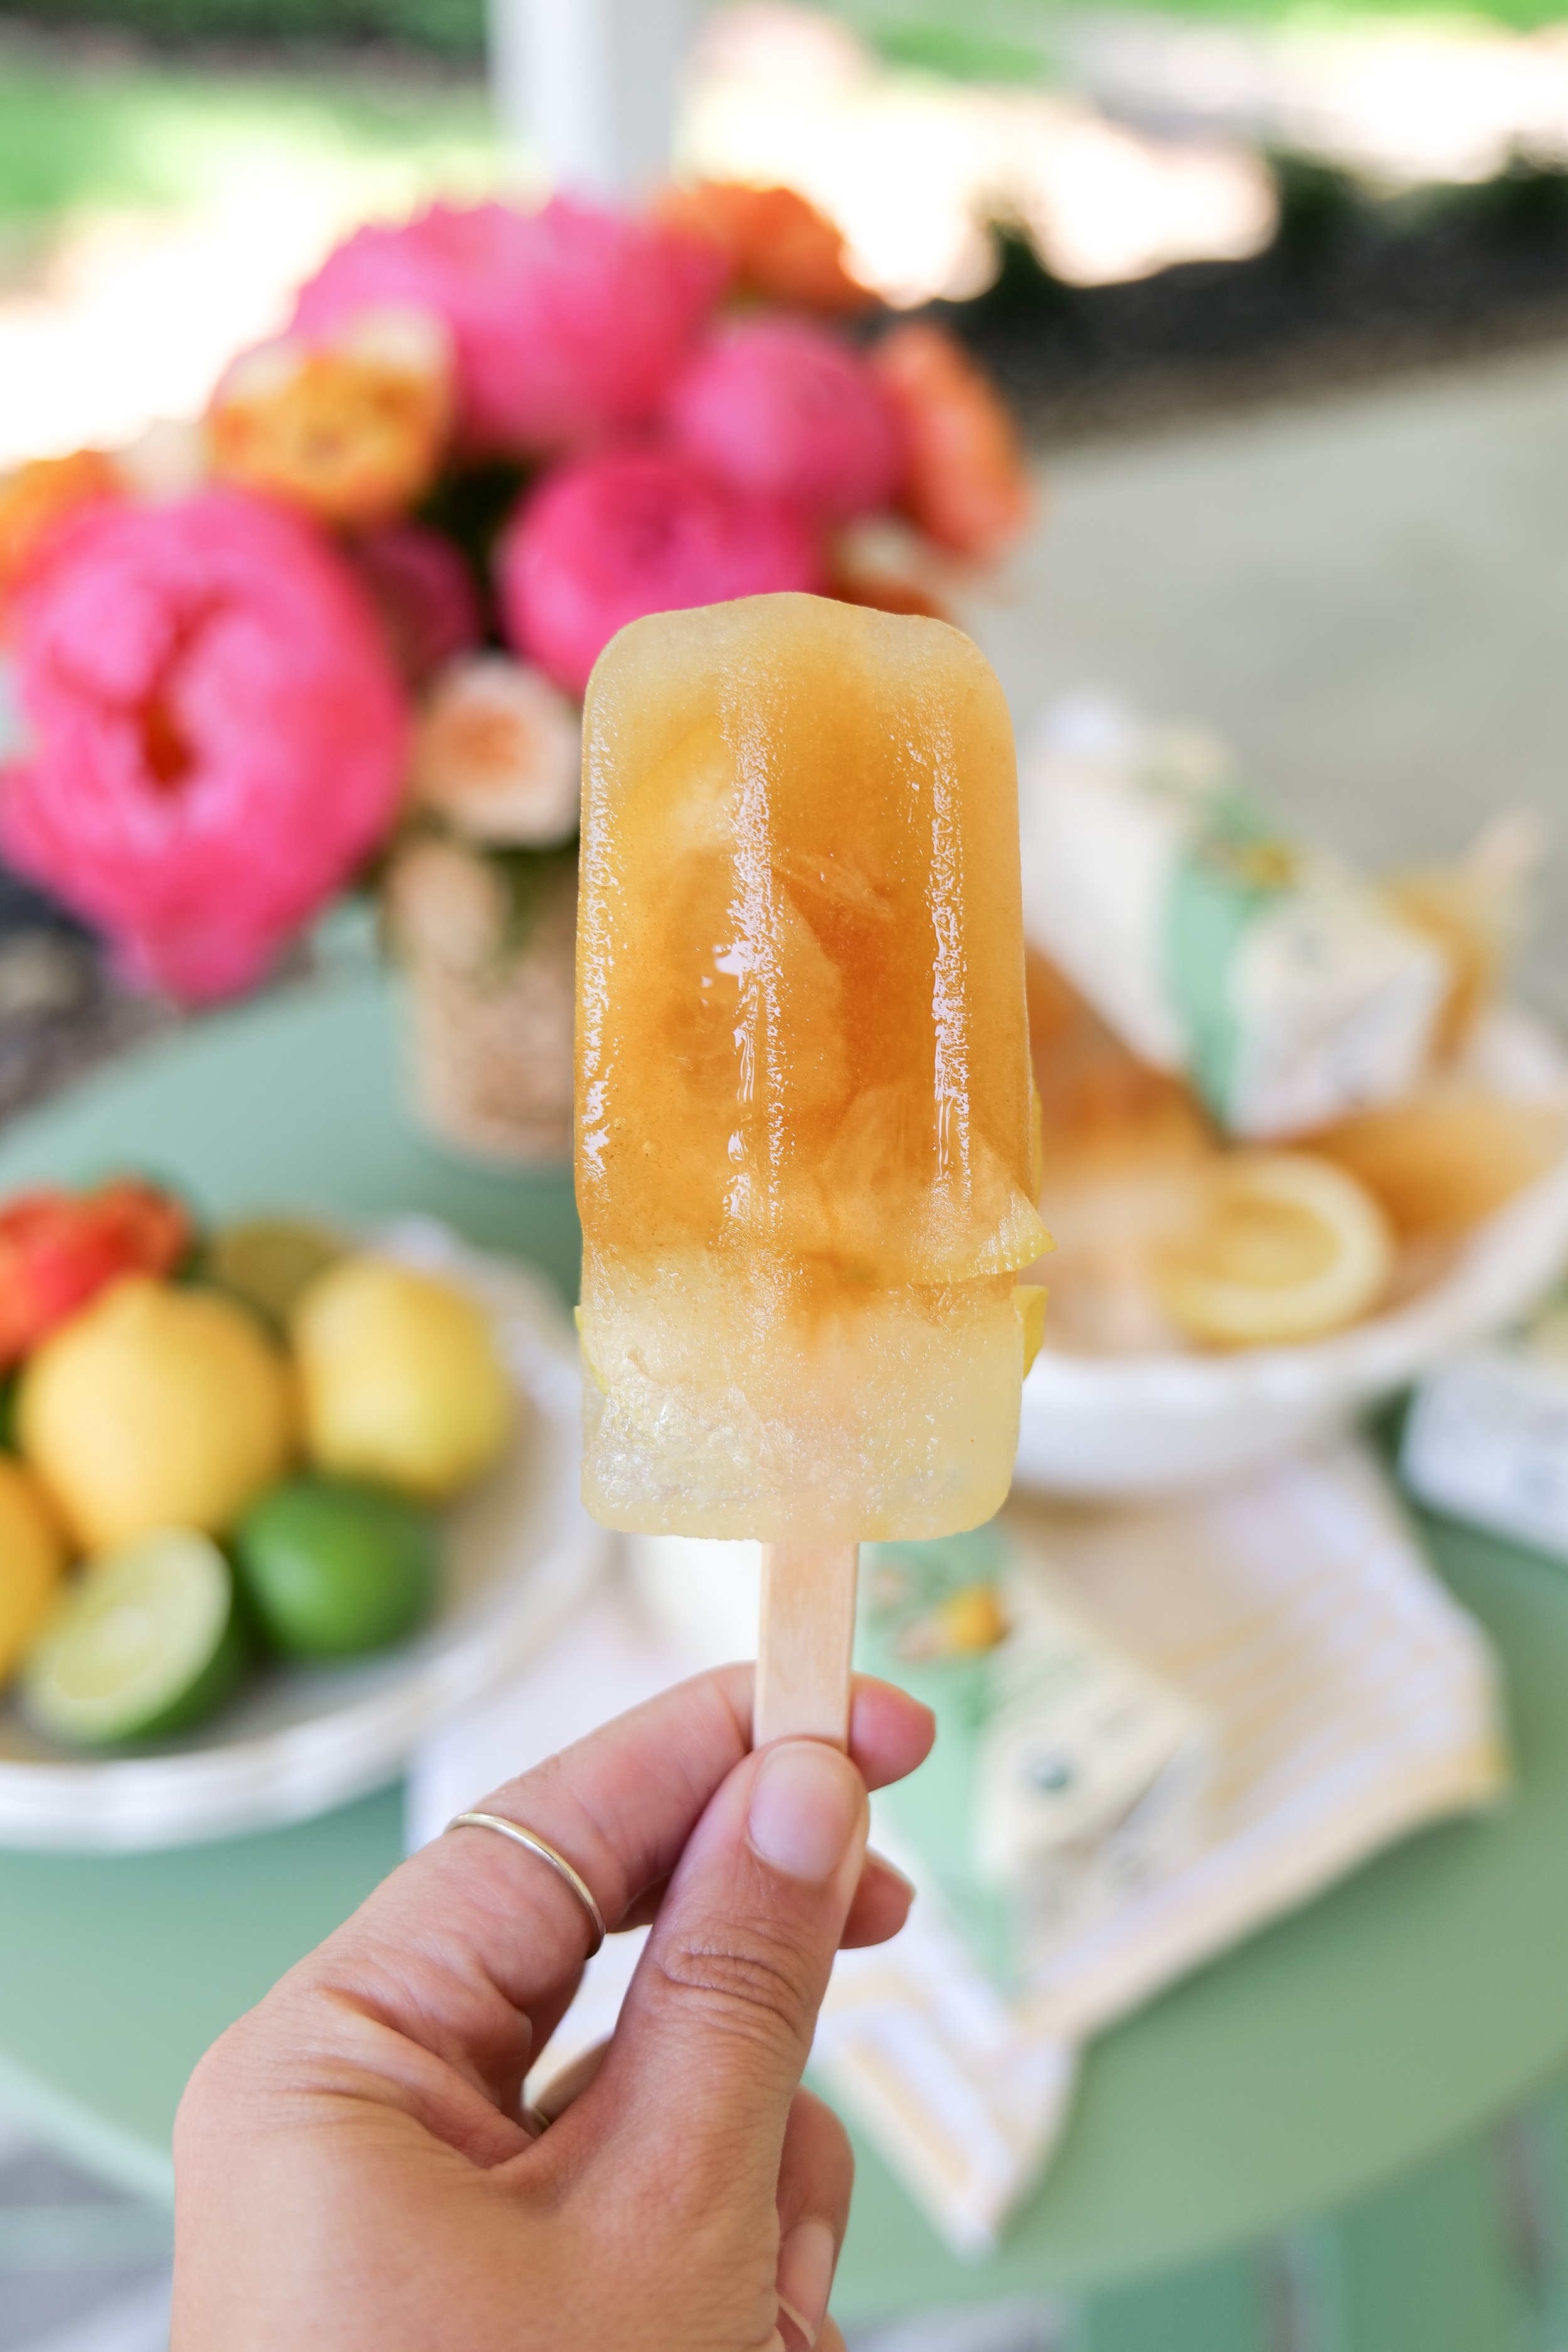
To make your own custom Arnold Palmer popsicles, try adding different fruits like chunks of strawberry, raspberries, or blueberries. For an extra tart flavor you can add in a splash of lime juice or sliced lemons ( I did this on a few of mine). If you’re looking for a sweeter treat, swap out the iced tea for a sweeter variety such as peach tea. The Saint James teas come in so many delicious flavors like passionfruit & peach, pineapple & mango, blueberry & raspberry, and blood orange & hibiscus!

Making homemade popsicles is a fun and easy activity that the whole family can enjoy. With this delicious Arnold Palmer popsicle recipe, you can find a unique way to cool off in the Summer heat while still enjoying a classic summertime treat. So, get creative and make your own custom Arnold Palmer popsicles today!

Can the Recipe be Made in Large Batches?

Making a delicious Arnold Palmer popsicle recipe is easy, and you can even make a larger batch for a special occasion. All you need to do is increase the amount of ingredients accordingly. You can make up to a double batch of this recipe without making any additional adjustments.

When making a larger batch of popsicles, it is important to store them properly. You can easily store the popsicles in a large airtight container. If you plan on making a larger batch of popsicles, you may also want to invest in a quality popsicle maker to help speed up the process. With a larger batch, you can also use different molds to create unique fun shapes and sizes of popsicles.

The Arnold Palmer popsicle recipe is a great treat for any occasion, and making them in larger batches is a great way to share them with friends and family. With the right ingredients and equipment, you can easily make these thirst-quenching popsicles at home.

Other Variations for the Arnold Palmer Popsicle Recipe?

You can also try spicing up the recipe by using flavored iced teas. For a unique flavor, add fresh fruit or citrus slices to the popsicles. For a refreshing twist, herbs like mint or basil can be added to the popsicles.

If you want to switch things up, try substituting the lemonade with limeade or other citrus juices. To make a gourmet popsicle, infuse simple syrups with herbs or fruits. For a frozen Arnold Palmer that is more like a slushie, use crushed ice instead of regular ice cubes. With these variations, you can suit everyone's taste buds.

Note on Popsicle Molds

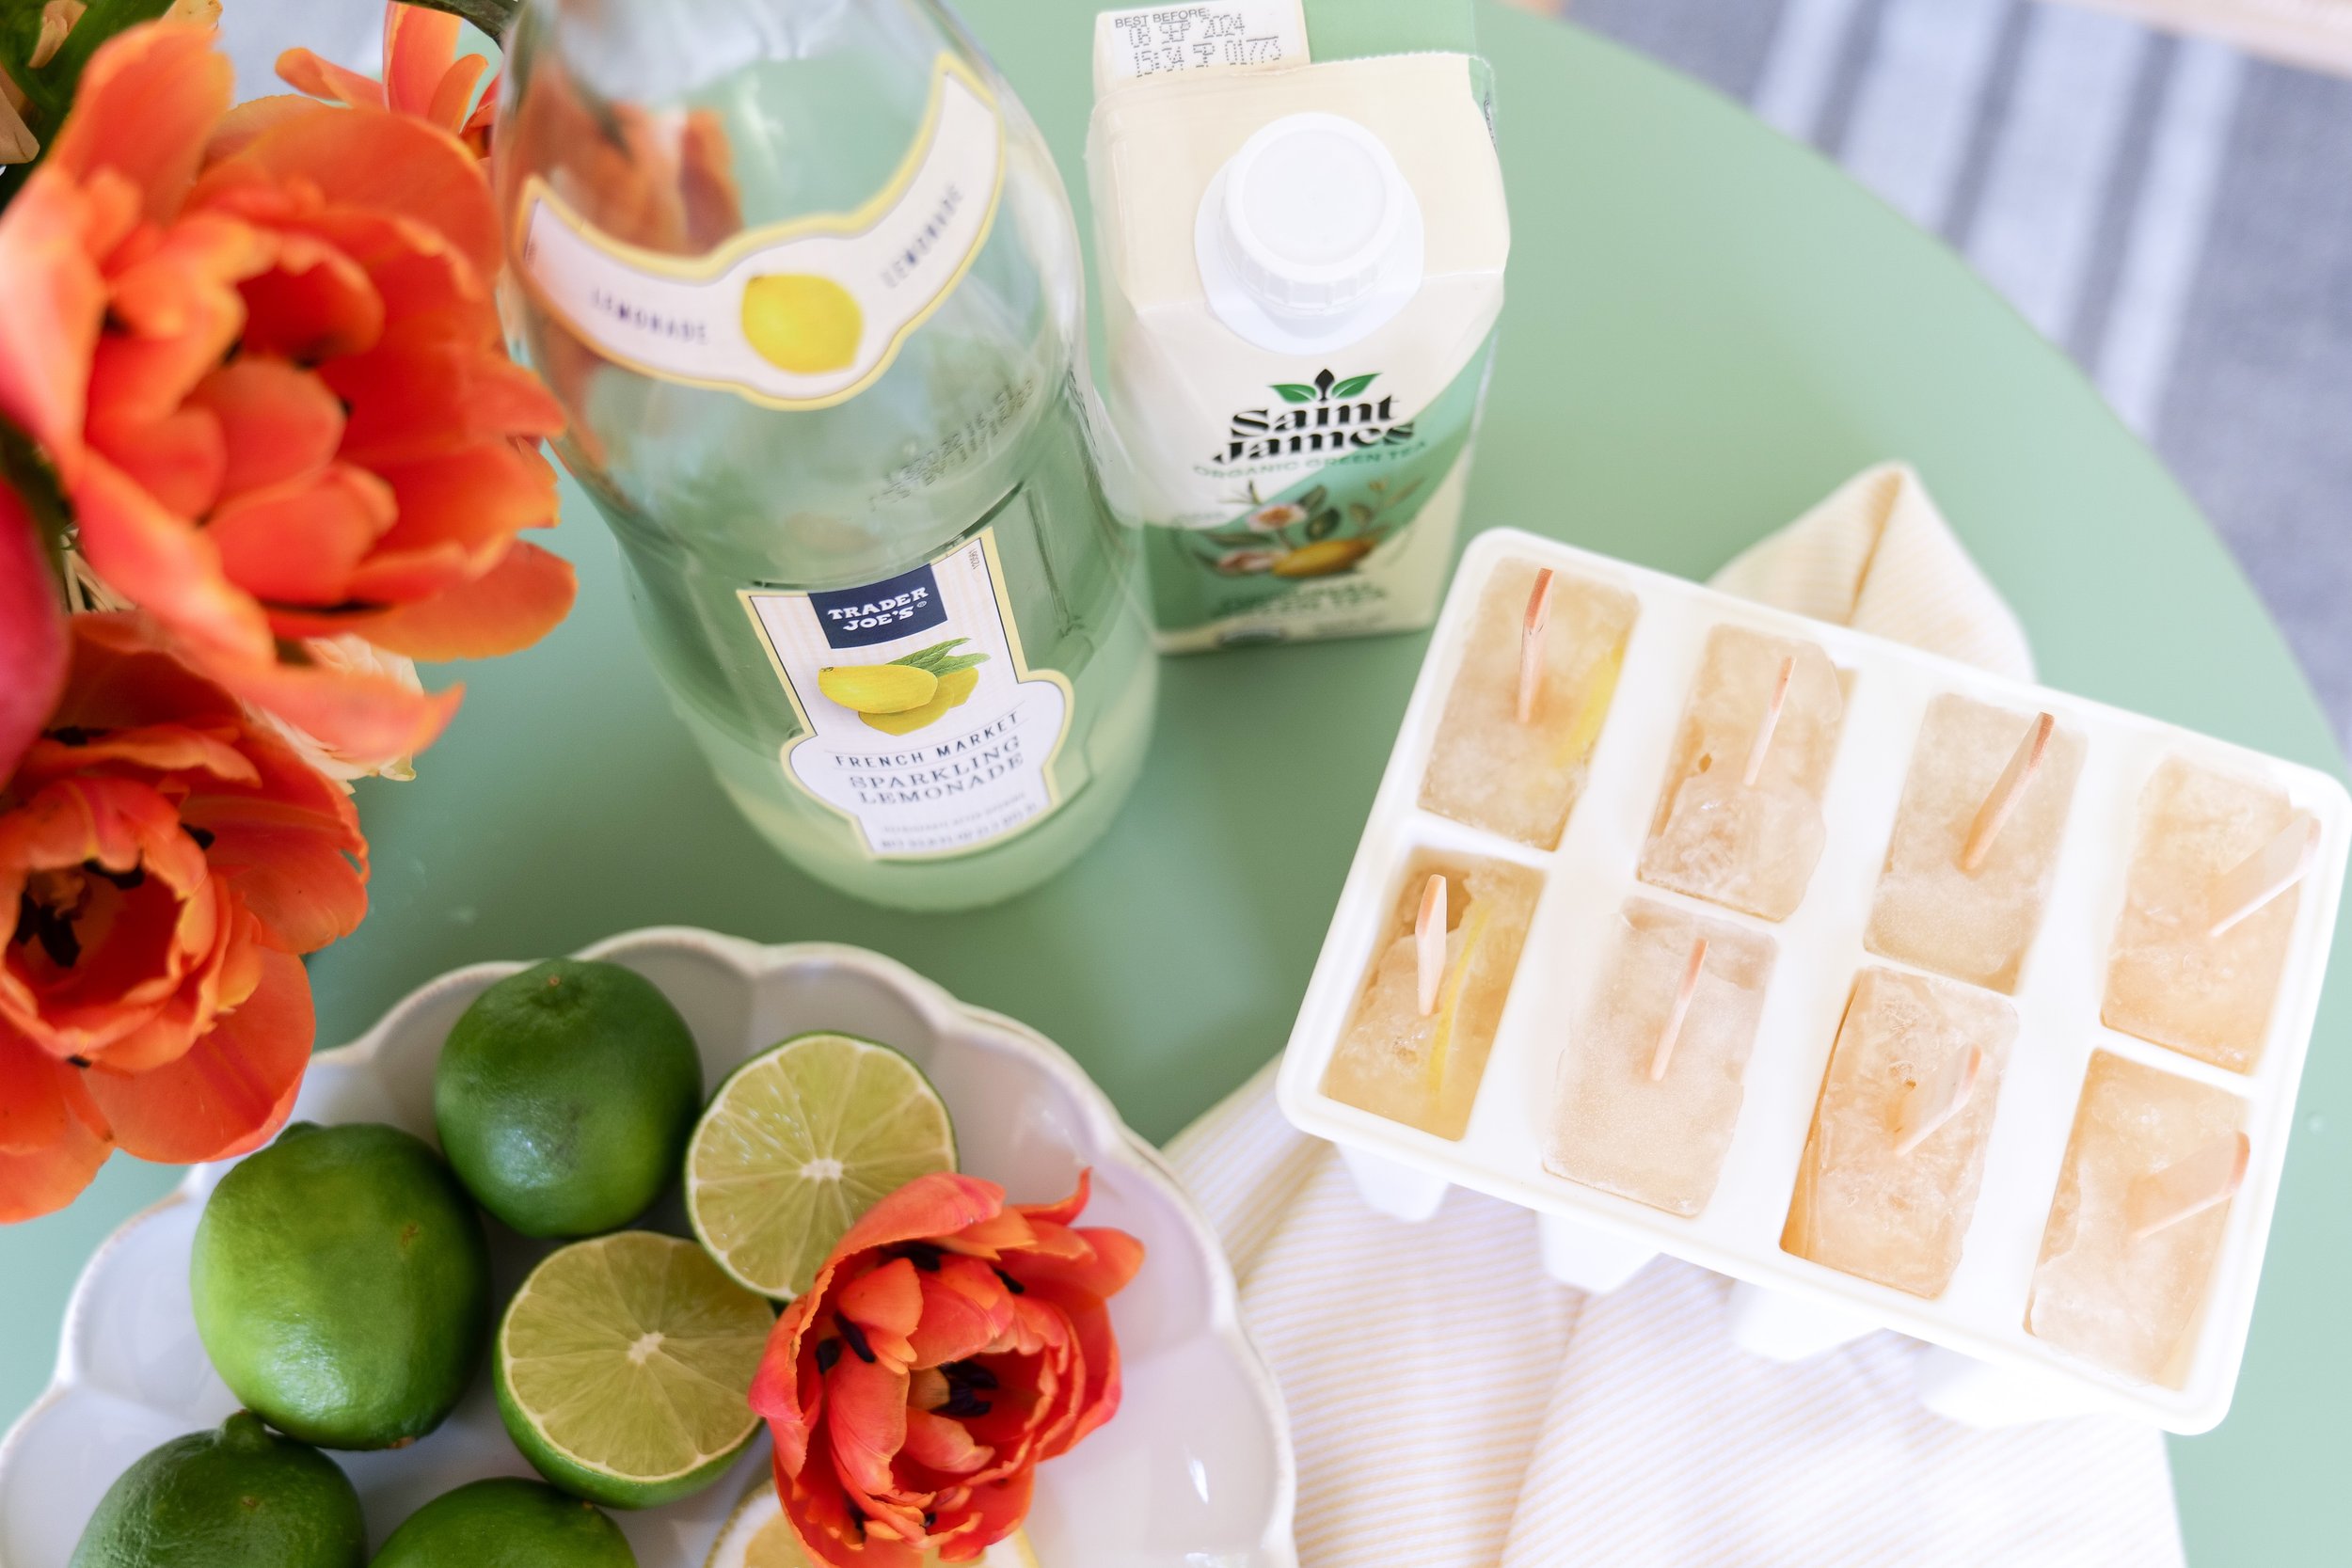
There are a few important steps to follow to ensure that your popsicles come out perfectly. It's important to freeze the popsicles for at least four hours before serving to ensure that they are frozen all the way through. If you're using wooden popsicle sticks, be sure to soak them in water for about 10 minutes before adding them to the molds. This will help the popsicles to stay together and make it easier to remove them from the molds. When removing the popsicles from the molds, run the molds under warm water for a few seconds before taking them out. This will help to loosen the popsicles, making them easier to remove. Once they're out of the molds, you can enjoy your Arnold Palmer Popsicles immediately or store them in the freezer for a cool treat anytime.
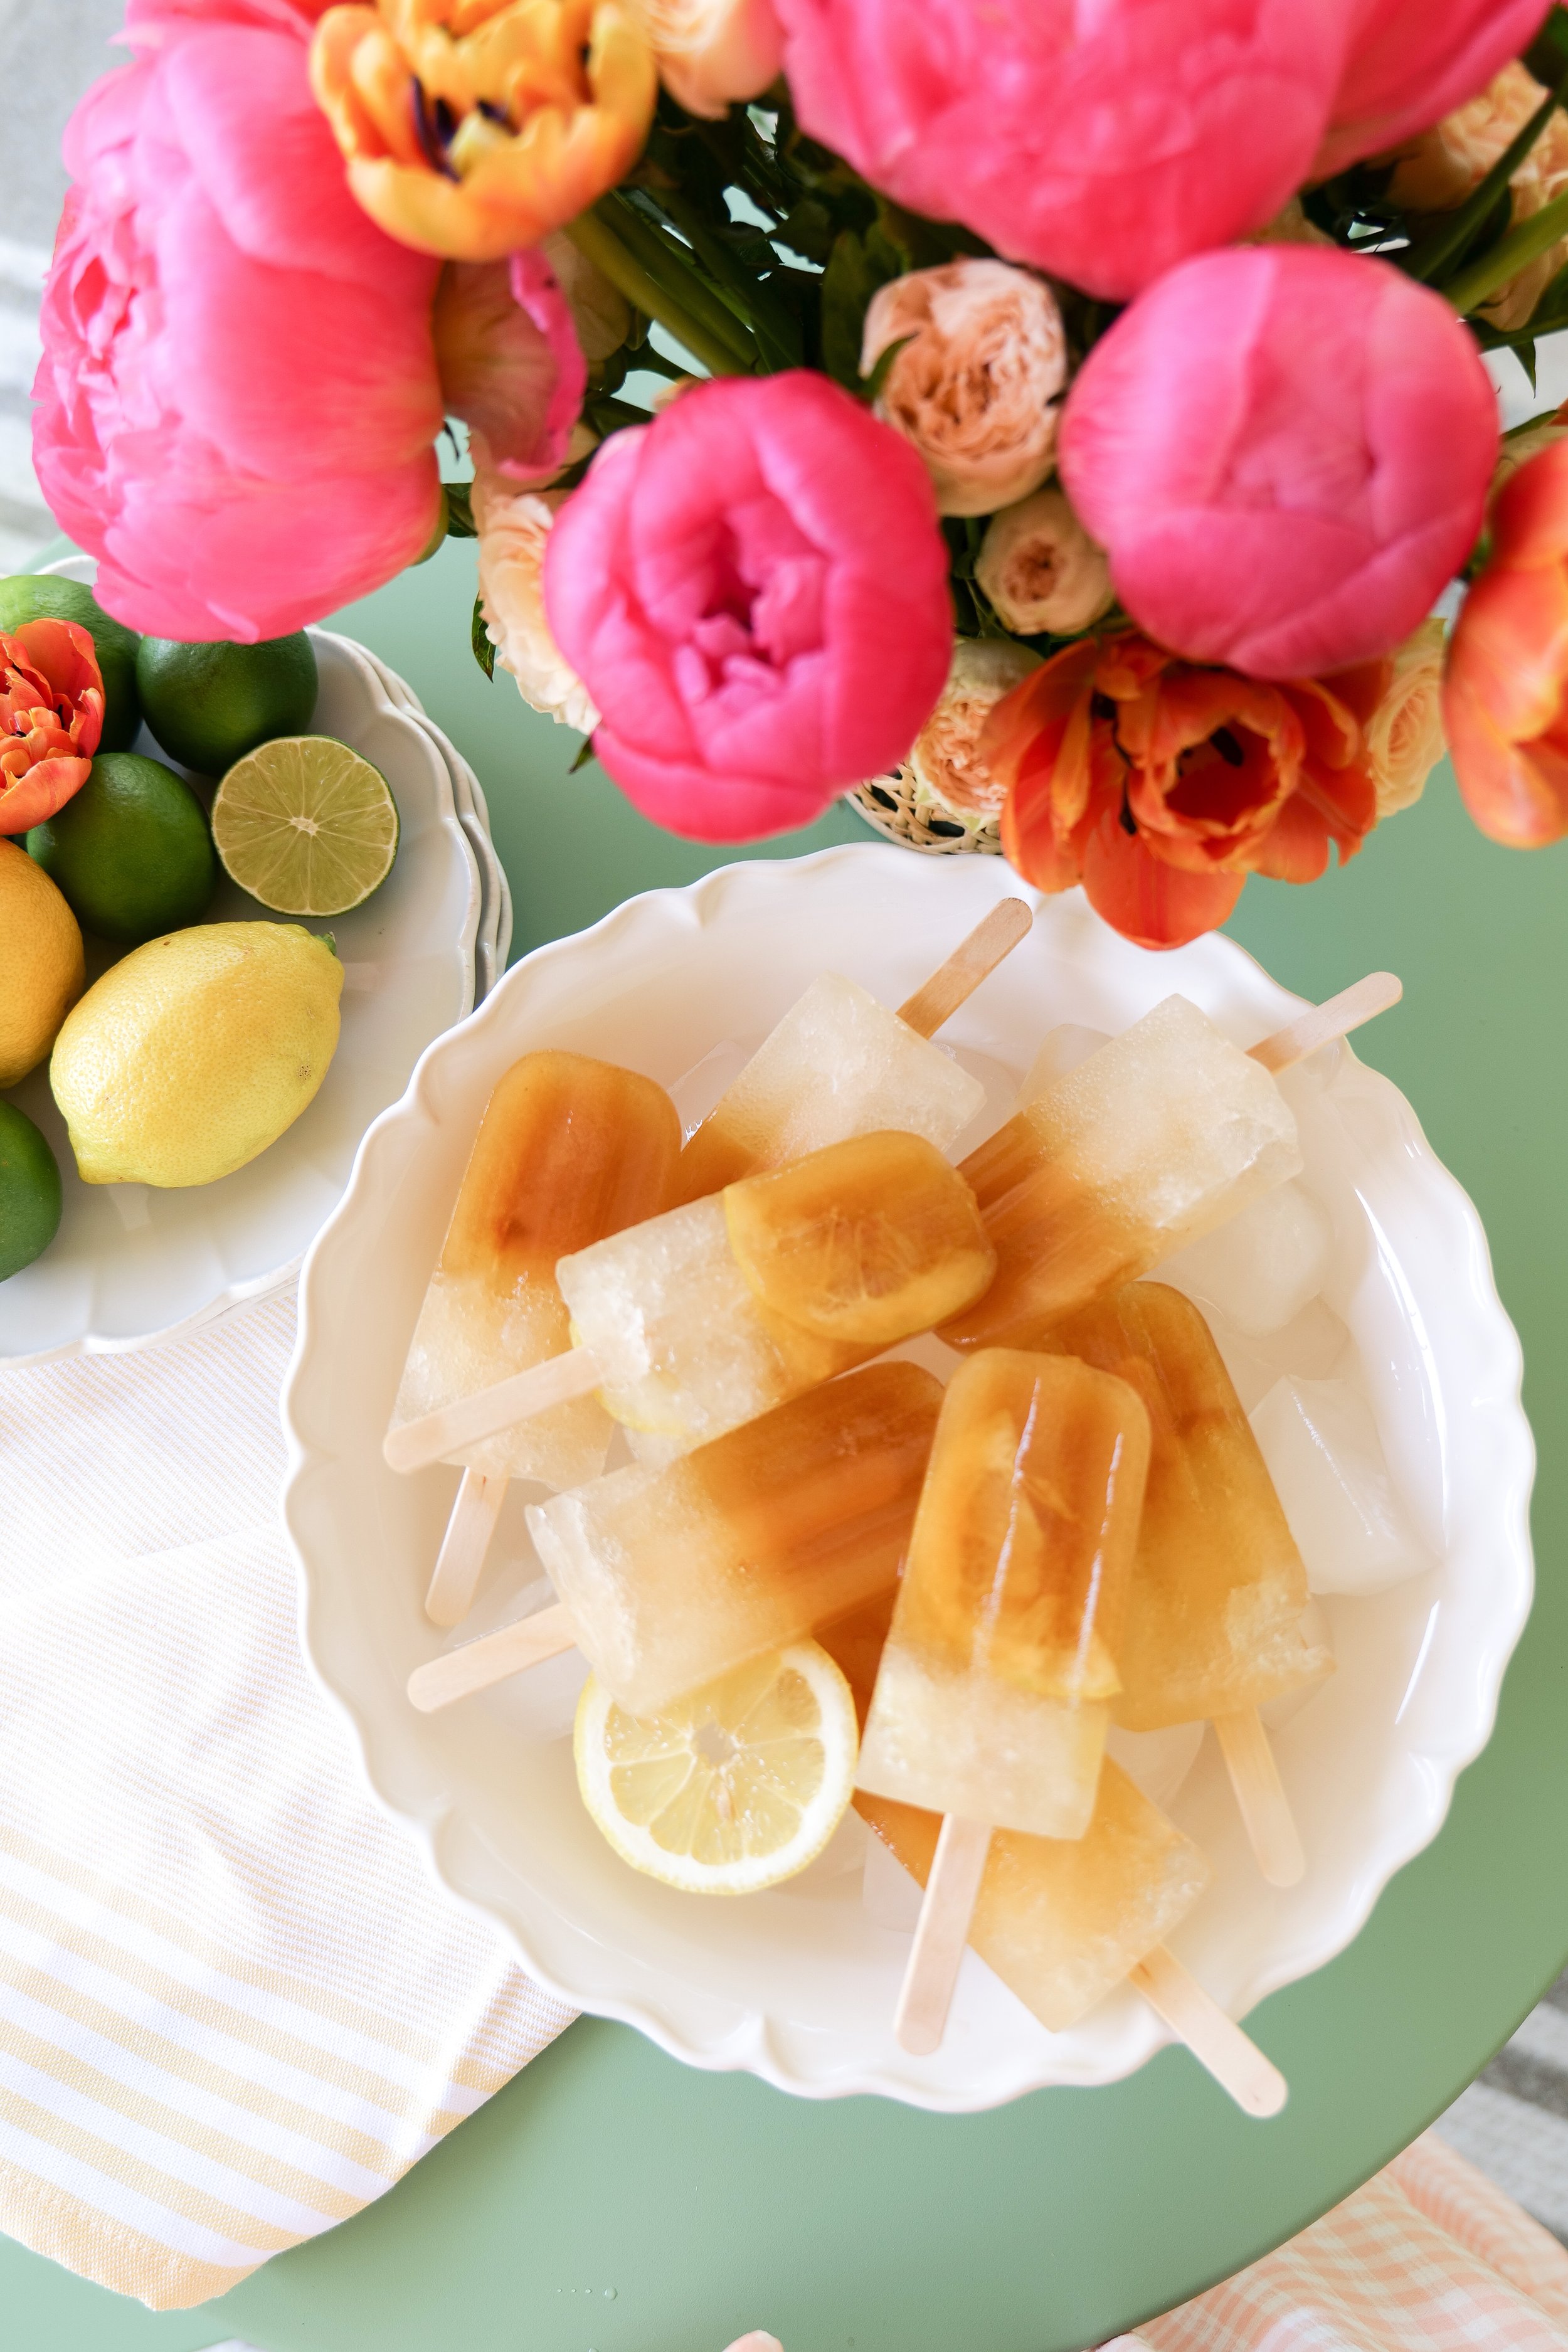
Ingredients

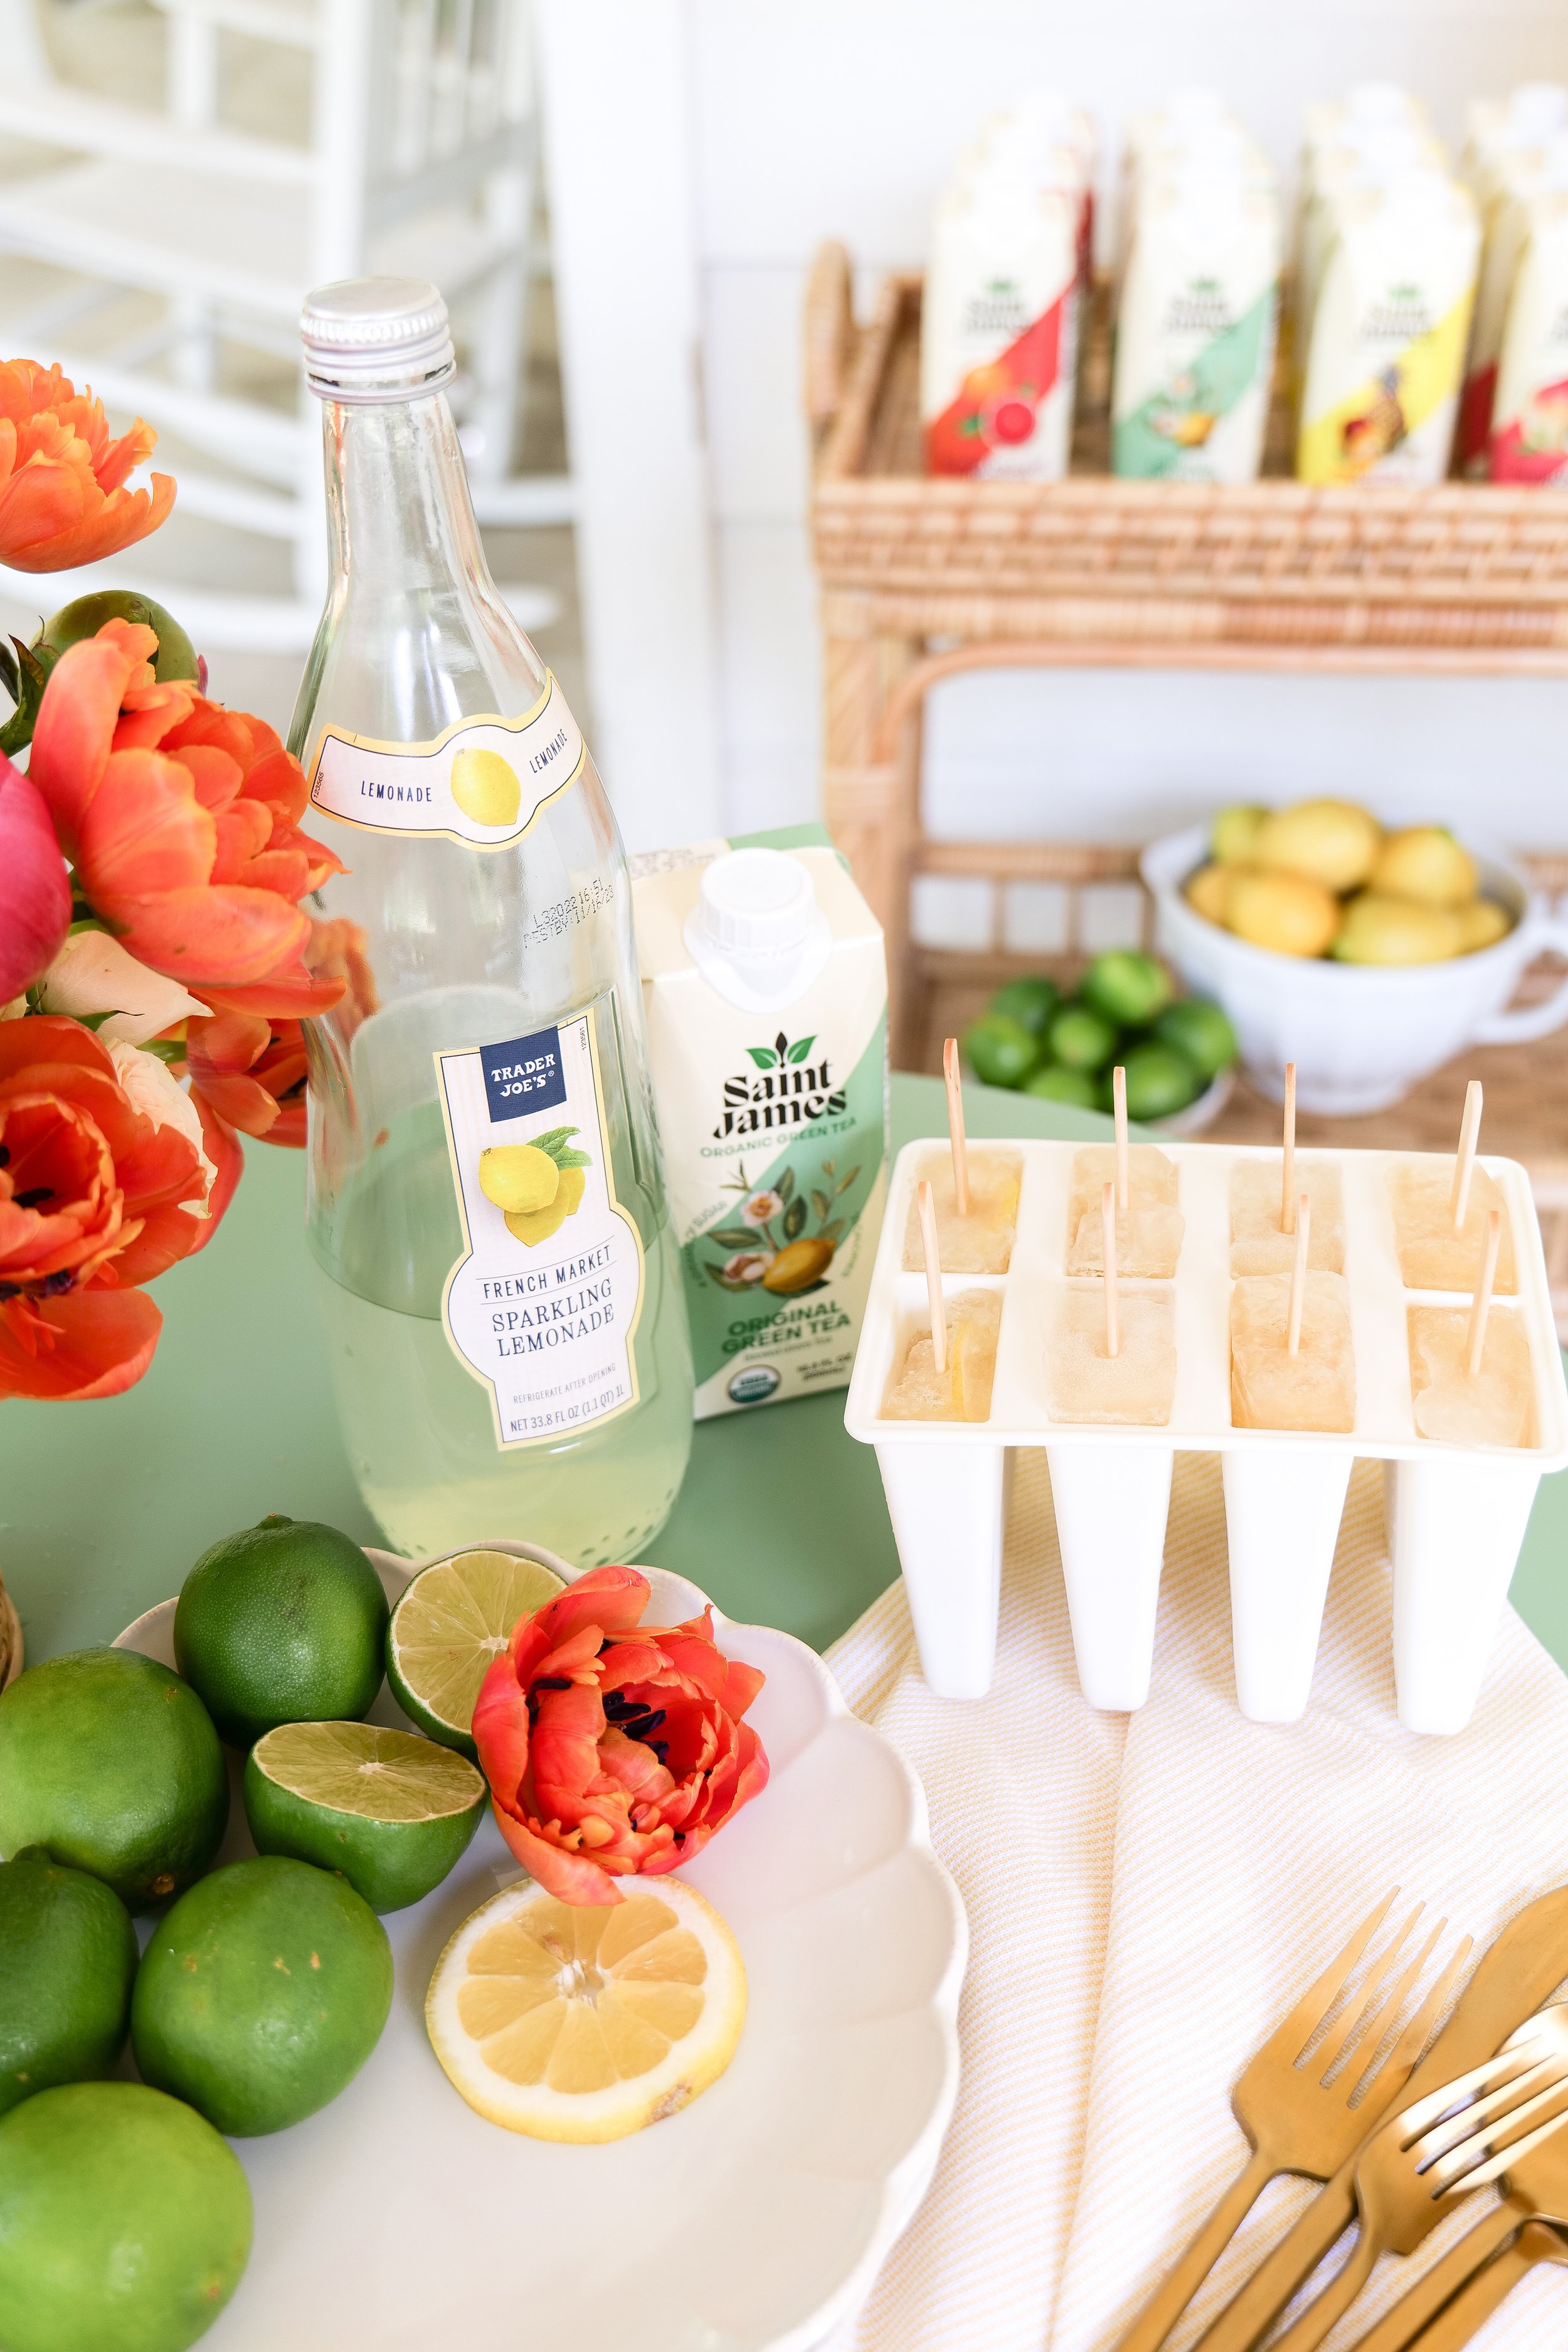
Popsicle Mold (linked one just like mine and more options below)

1 16.9 oz Saint James Green Tea (if using regular tea you will need to sweeten)

Trader Joe's Sparkling Lemonade

Sliced Lemons (optional)

Instructions

1. Add sliced Lemon into the popsicle mold (optional but adds detail to the popsicle and a little sourness) and pour Green Tea into the popsicle molds. Add stick and lid to molds. Freeze for 1 hour. If you aren't using a sweetened tea I would add sugar to tea so you have sweetness throughout the popsicle or you can mix the tea & lemonade. I just love the layered look.
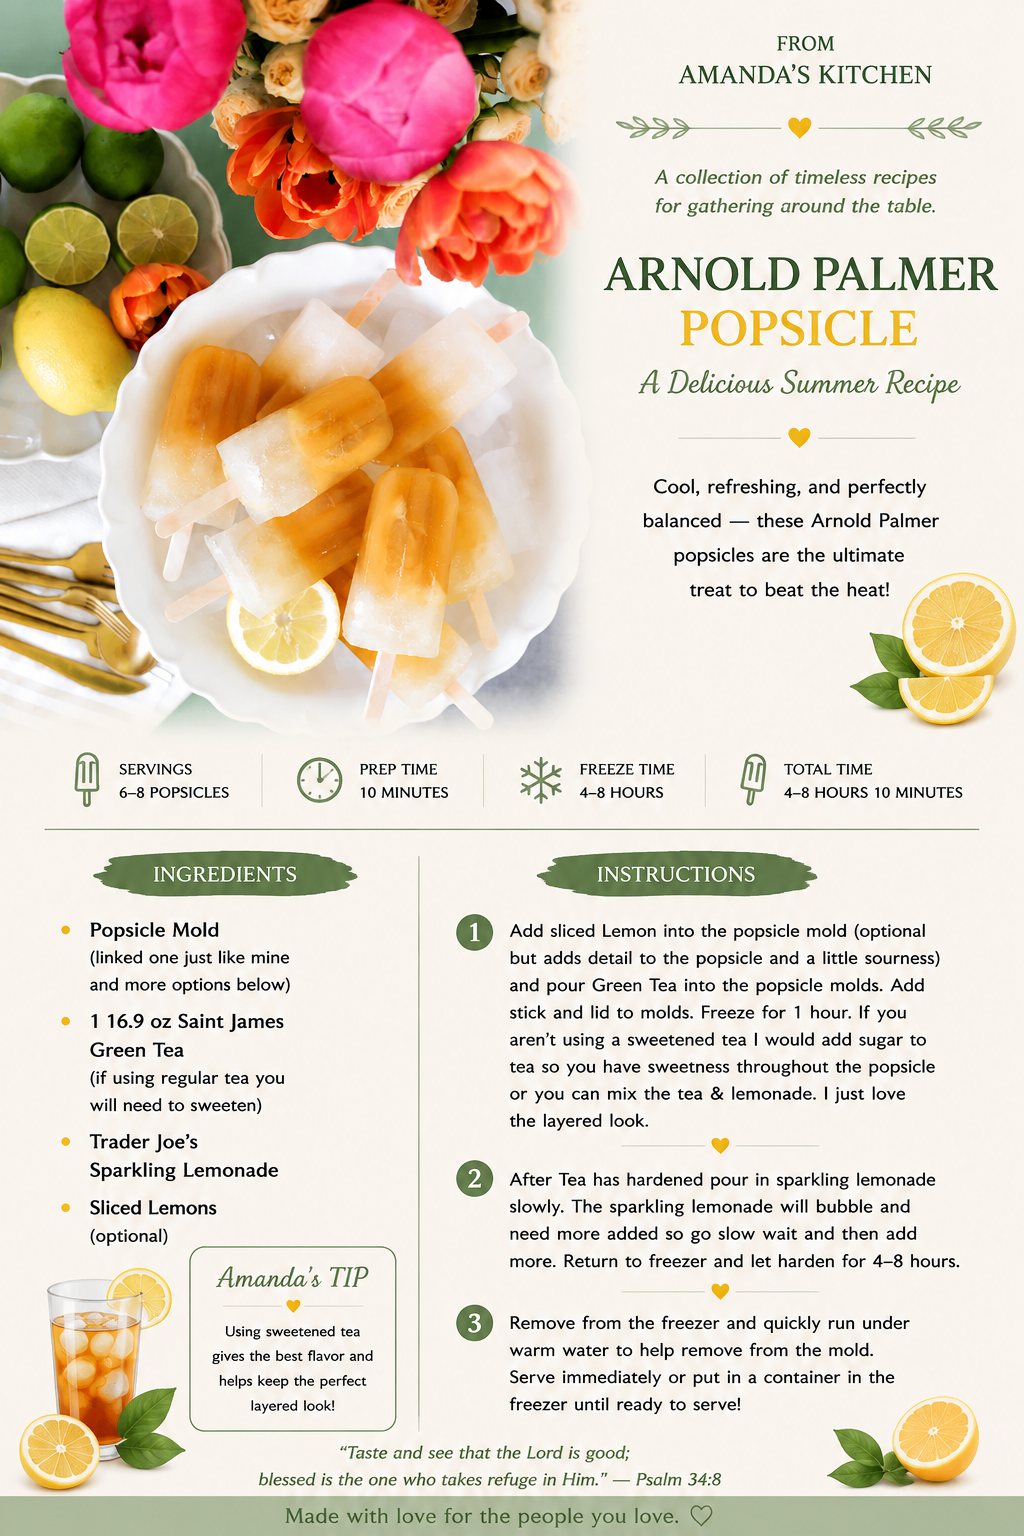
2. After Tea has hardened pour in sparkling lemonade slowly. The sparkling lemonade will bubble and need more added so go slow wait and then add more. Return to freezer and let harden for 4-8 hours.

3. Remove from the freezer and quickly run under warm water to help remove from the mold. Serve immediately or put in a container in the freezer until ready to serve!


Now your delicious Arnold Palmer Popsicles are ready to enjoy! This recipe is sure to be a hit with family and friends alike. So don't wait any longer, try this simple recipe and enjoy!

Creating the Perfect Summer Tablescape For more photos of this table set up and links to everything!

Other Summer Treats You Will Love:

Creamy Root Beer Popsicle

Sparkling Ice Mint Mango Mock-tail

Shaved Brussel Sprout Salad with Apples, Goat Cheese & Candied Pecans

Fruit & Goat Cheese Bruschetta

The Perfect Lemon Drop Martini Recipe for a Refreshing and Delicious Cocktail

Save This Recipe

Whether you're planning ahead for a special occasion or adding a new favorite to your recipe collection, I've included a printable recipe card below so it's easy to save, print, and share with the people you love.