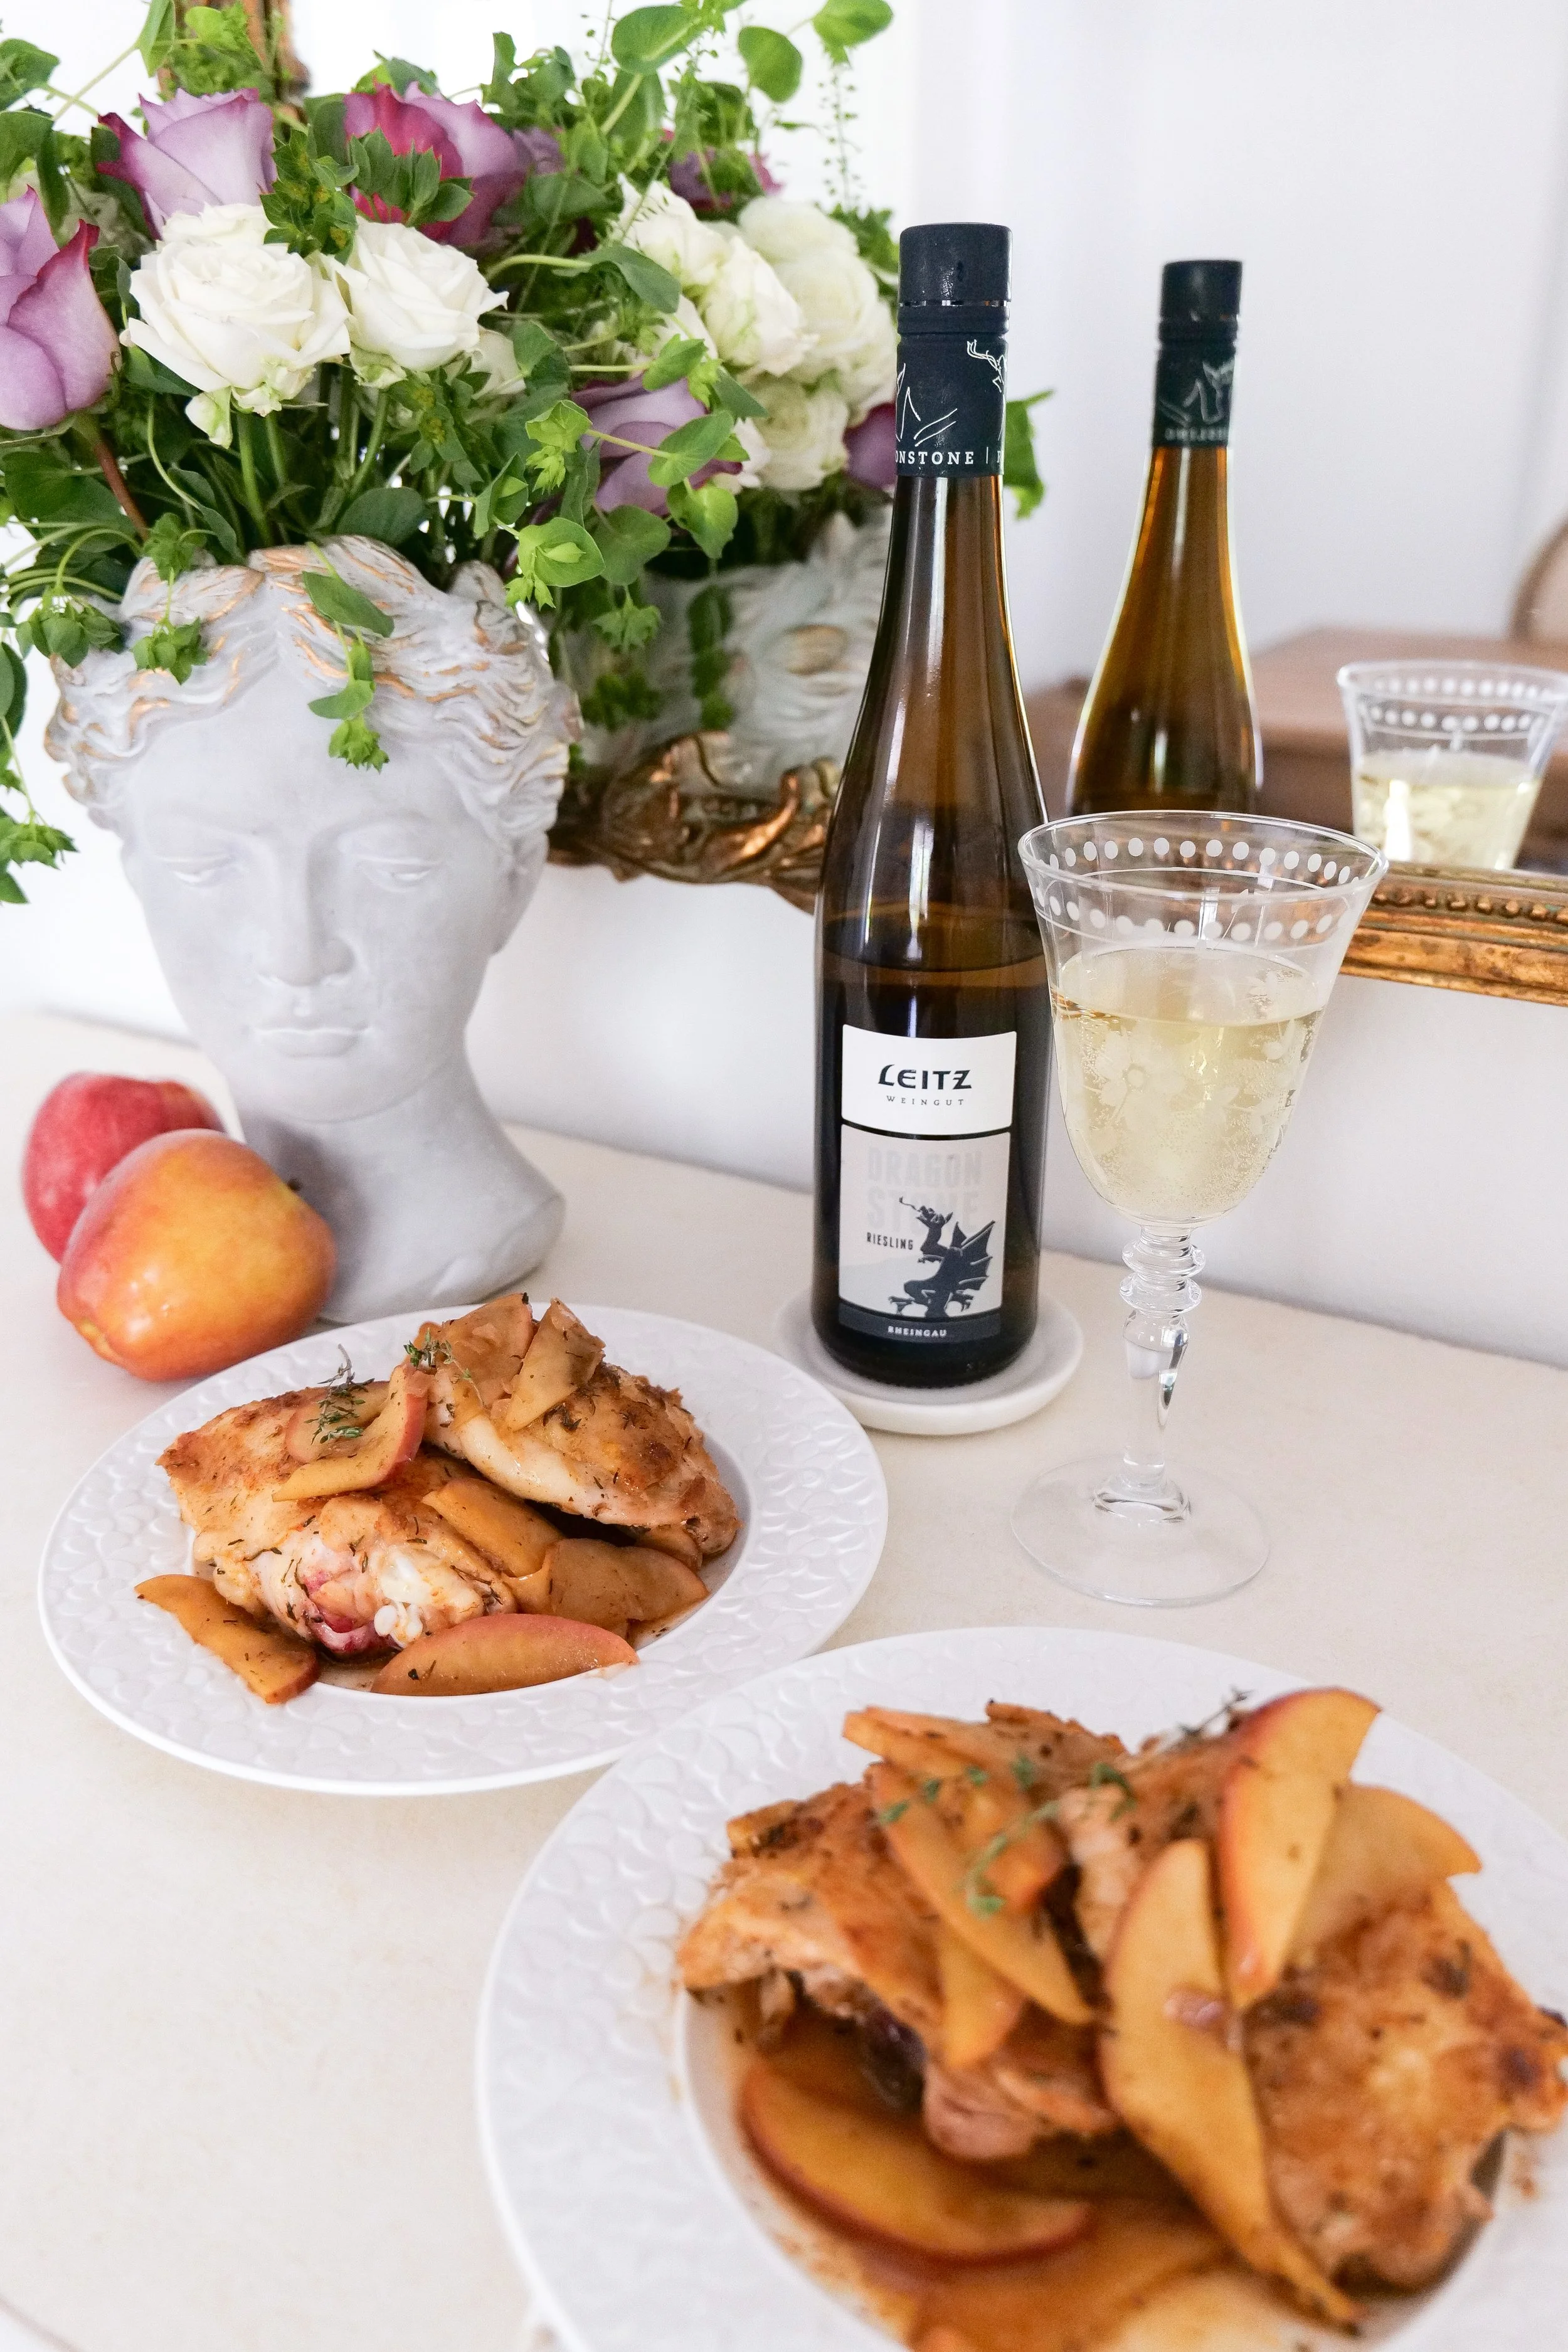
Apple-Glazed Chicken Thighs : A Fall Dinner Everyone Will Love

Apple Glazed Chicken Thighs are a delicious and unique spin on the traditional chicken meal. This savory dish features tender chicken thighs coated in a sweet and tangy apple glaze. Combining traditional, simple ingredients such as chicken thighs, apple cider or juice, fresh herbs, and spices, this dish brings a balanced mix of sweet and savory flavors to your dinner table. Whether you're preparing a weeknight dinner or a weekend feast, this versatile recipe can be paired nicely with the usual good side dishes like roasted vegetables or rice for a complete, satisfying meal.

One Pan Apple Glazed Chicken Thighs offer an easy and convenient way to prepare a delicious dinner without the hassle of multiple dishes. This straightforward recipe combines the juiciness of chicken thighs with a delectable apple glaze for an explosion of flavors. The appeal of a one-pan meal lies in its simplicity, making it perfect for busy weeknight dinners where time and cleanup time are extra important. The combination of tangy sweetness from the apples and the richness of well-cooked chicken creates a delightful dish that is sure to please. Once again, you can serve this dish with various sides such as mashed potatoes, rice, or seasonal vegetables to create a satisfying meal.

Can I Make This Recipe with Chicken Breasts?

Of course, you can make this Apple Glazed Chicken Thighs recipe with chicken breasts or other cuts if you prefer. Using chicken breasts results in a leaner dish, providing a healthier option without compromising the delicious apple glaze. To adapt the recipe, you must adjust the cooking time, as chicken breasts cook faster than thighs. This helps to avoid drying them out. Ensure that the apple glaze is evenly distributed over the chicken breasts for consistent flavor throughout the dish. The internal temperature should reach 165°F for safe consumption.

Chicken pairs remarkably well with fruit-based glazes like the apple one. The blend of natural sweetness from apples combined with the savory profile of chicken creates an elevated flavor that can turn an ordinary meal into a feast. It's an excellent option for anyone looking to elevate their everyday chicken meals with a unique recipe.

What Ingredients Do I Need to Make Apple-Glazed Chicken Thighs?

To make Apple Glazed Chicken Thighs, gather a few essential ingredients to create this flavorful dish. You'll need bone-in, skin-on chicken thighs for optimal juiciness and flavor. The glaze requires apple cider and apple cider vinegar as the base, while honey or brown sugar adds the necessary sweetness. Spices such as garlic, thyme, and paprika elevate the taste profile. Finally, salt, pepper, and butter are essential for marinating the chicken, ensuring it absorbs maximum flavor before cooking.

What Type of Apples Work Best for the Glaze?

Choosing the right type of apples is critical to creating a balanced and the right flavorful glaze for this type of meal. Tart apple varieties, such as Granny Smith, are recommended for their balanced sweetness and sharpness. Firm apples hold their shape during cooking, adding texture to the glaze. Avoid overly sweet apples like Red Delicious, as they may overpower the other flavors of the dish. Honeycrisp apples are a good choice due to their crisp texture and balanced flavor profile. You can even combine different types of apples to create a more complex and layered glaze flavor. My personal favorite for this meal is to use gala apples, but you can feel free to substitute for any apples you choose.

Can I Use Boneless Skinless Chicken Thighs Instead of Bone-In?

Yes, you can use boneless skinless chicken thighs instead of bone-in for the Apple Glazed Chicken Thighs recipe. Boneless thighs cook faster, so you will need to adjust the cooking times to avoid overcooking them. They are also easier to serve and eat, making them a convenient option. However, it's worth noting that the flavor and moisture retention might be slightly different from bone-in thighs. Ensure the boneless thighs are evenly coated with the apple glaze to maintain a consistent taste throughout the dish.

What Side Dishes Pair Well with Apple Glazed Chicken Thighs?

Pairing the Apple Chicken Thighs with the right-side dish can enhance your dining experience. Some recommendations are roasted vegetables like carrots, brussels sprouts, and sweet potatoes will complement the sweet and savory glaze. Something creamy like mashed potatoes balance the tangy apple glaze with their smooth texture. A fragrant rice pilaf adds an aromatic component that harmonizes well with the chicken's flavors. However, you can never go wrong with a fresh green salad with a light vinaigrette provides a refreshing, crisp contrast. Looking for something nutty and protein-rich quinoa serves as a healthy, versatile side that pairs deliciously. All of this complement well and you can't go wrong with serving any of them alongside this chicken apple glaze recipe.

Apple Chicken Thighs offer a delightful way to elevate your chicken dinner with minimal effort. By choosing high-quality ingredients, marinating correctly, and pairing with the right side dishes, you can ensure a meal that's both flavorful and satisfying. Whether you opt for a one-pan method or grill for added flavor, this recipe will undoubtedly become a family favorite. Incorporate the unique flavors of apples and perfectly cooked chicken thighs into your next meal, and watch as it transforms an ordinary dinner into a gourmet experience. From busy weeknights to special occasions, Apple Glazed Chicken Thighs are the perfect way to impress and satisfy. Happy cooking!

Apple Glazed Chicken Thighs

Ingredients

6 Servings

6 bone-in, skin-on chicken thighs

1 tsp sea salt

1/2 tsp black pepper

1 tsp onion powder

1 tsp garlic powder

1/4 tsp paprika

2 Tbsp salted butter

1 cup apple juice (100% juice)

1 teaspoon dried thyme

2 medium gala apples

1 chopped shallot

2 tablespoon dark brown sugar

Instructions

1. Heat a large skillet over medium-high heat, I use my 360 cookware stainless steel pan.

2. While pan is heating rinse and pat dry chicken thighs. Make sure to remove any excess moisture to get a crisp edge on the chicken.

3. Mix together sea salt, black pepper, onion powder, garlic powder and paprika in a small bowl. Sprinkle the seasoning over chicken on both sides until evenly seasoned.

4. Add butter to hot pan and let melt. Add chicken, be sure not to touch for 5-7 minutes until it is crispy on the side and easily comes up from the pan. If it is sticking it is not ready to flip. Flip over on the other side and do the same. Once cooked for at least 5-7 minutes on both side remove and add to a plate, loosely cover and set aside.

5. Add an additional 2 tablespoons of butter to same pan and work up any browned bits that formed on pan. Add in chopped shallots and let cook until lightened in color.

6. Add in brown sugar and apples. Cooking until apples have softened. Pour in apple juice and let simmer. Stirring for around 5-10 minutes until the liquid begins to thicken. Add chicken back in and coat with a large spoon.

7. Remove from heat and serve chicken, spooning apples and sauce over top. Garnish with fresh thyme is desired.

Other Delicious Dinner Recipes

Salsa Verde Chicken Enchiladas

Slow Cooker Orange Chicken

Delicious and Easy Oven Baked Drumsticks Recipe

The Perfect Pair: Chicken Picatta and J. Lohr Wine

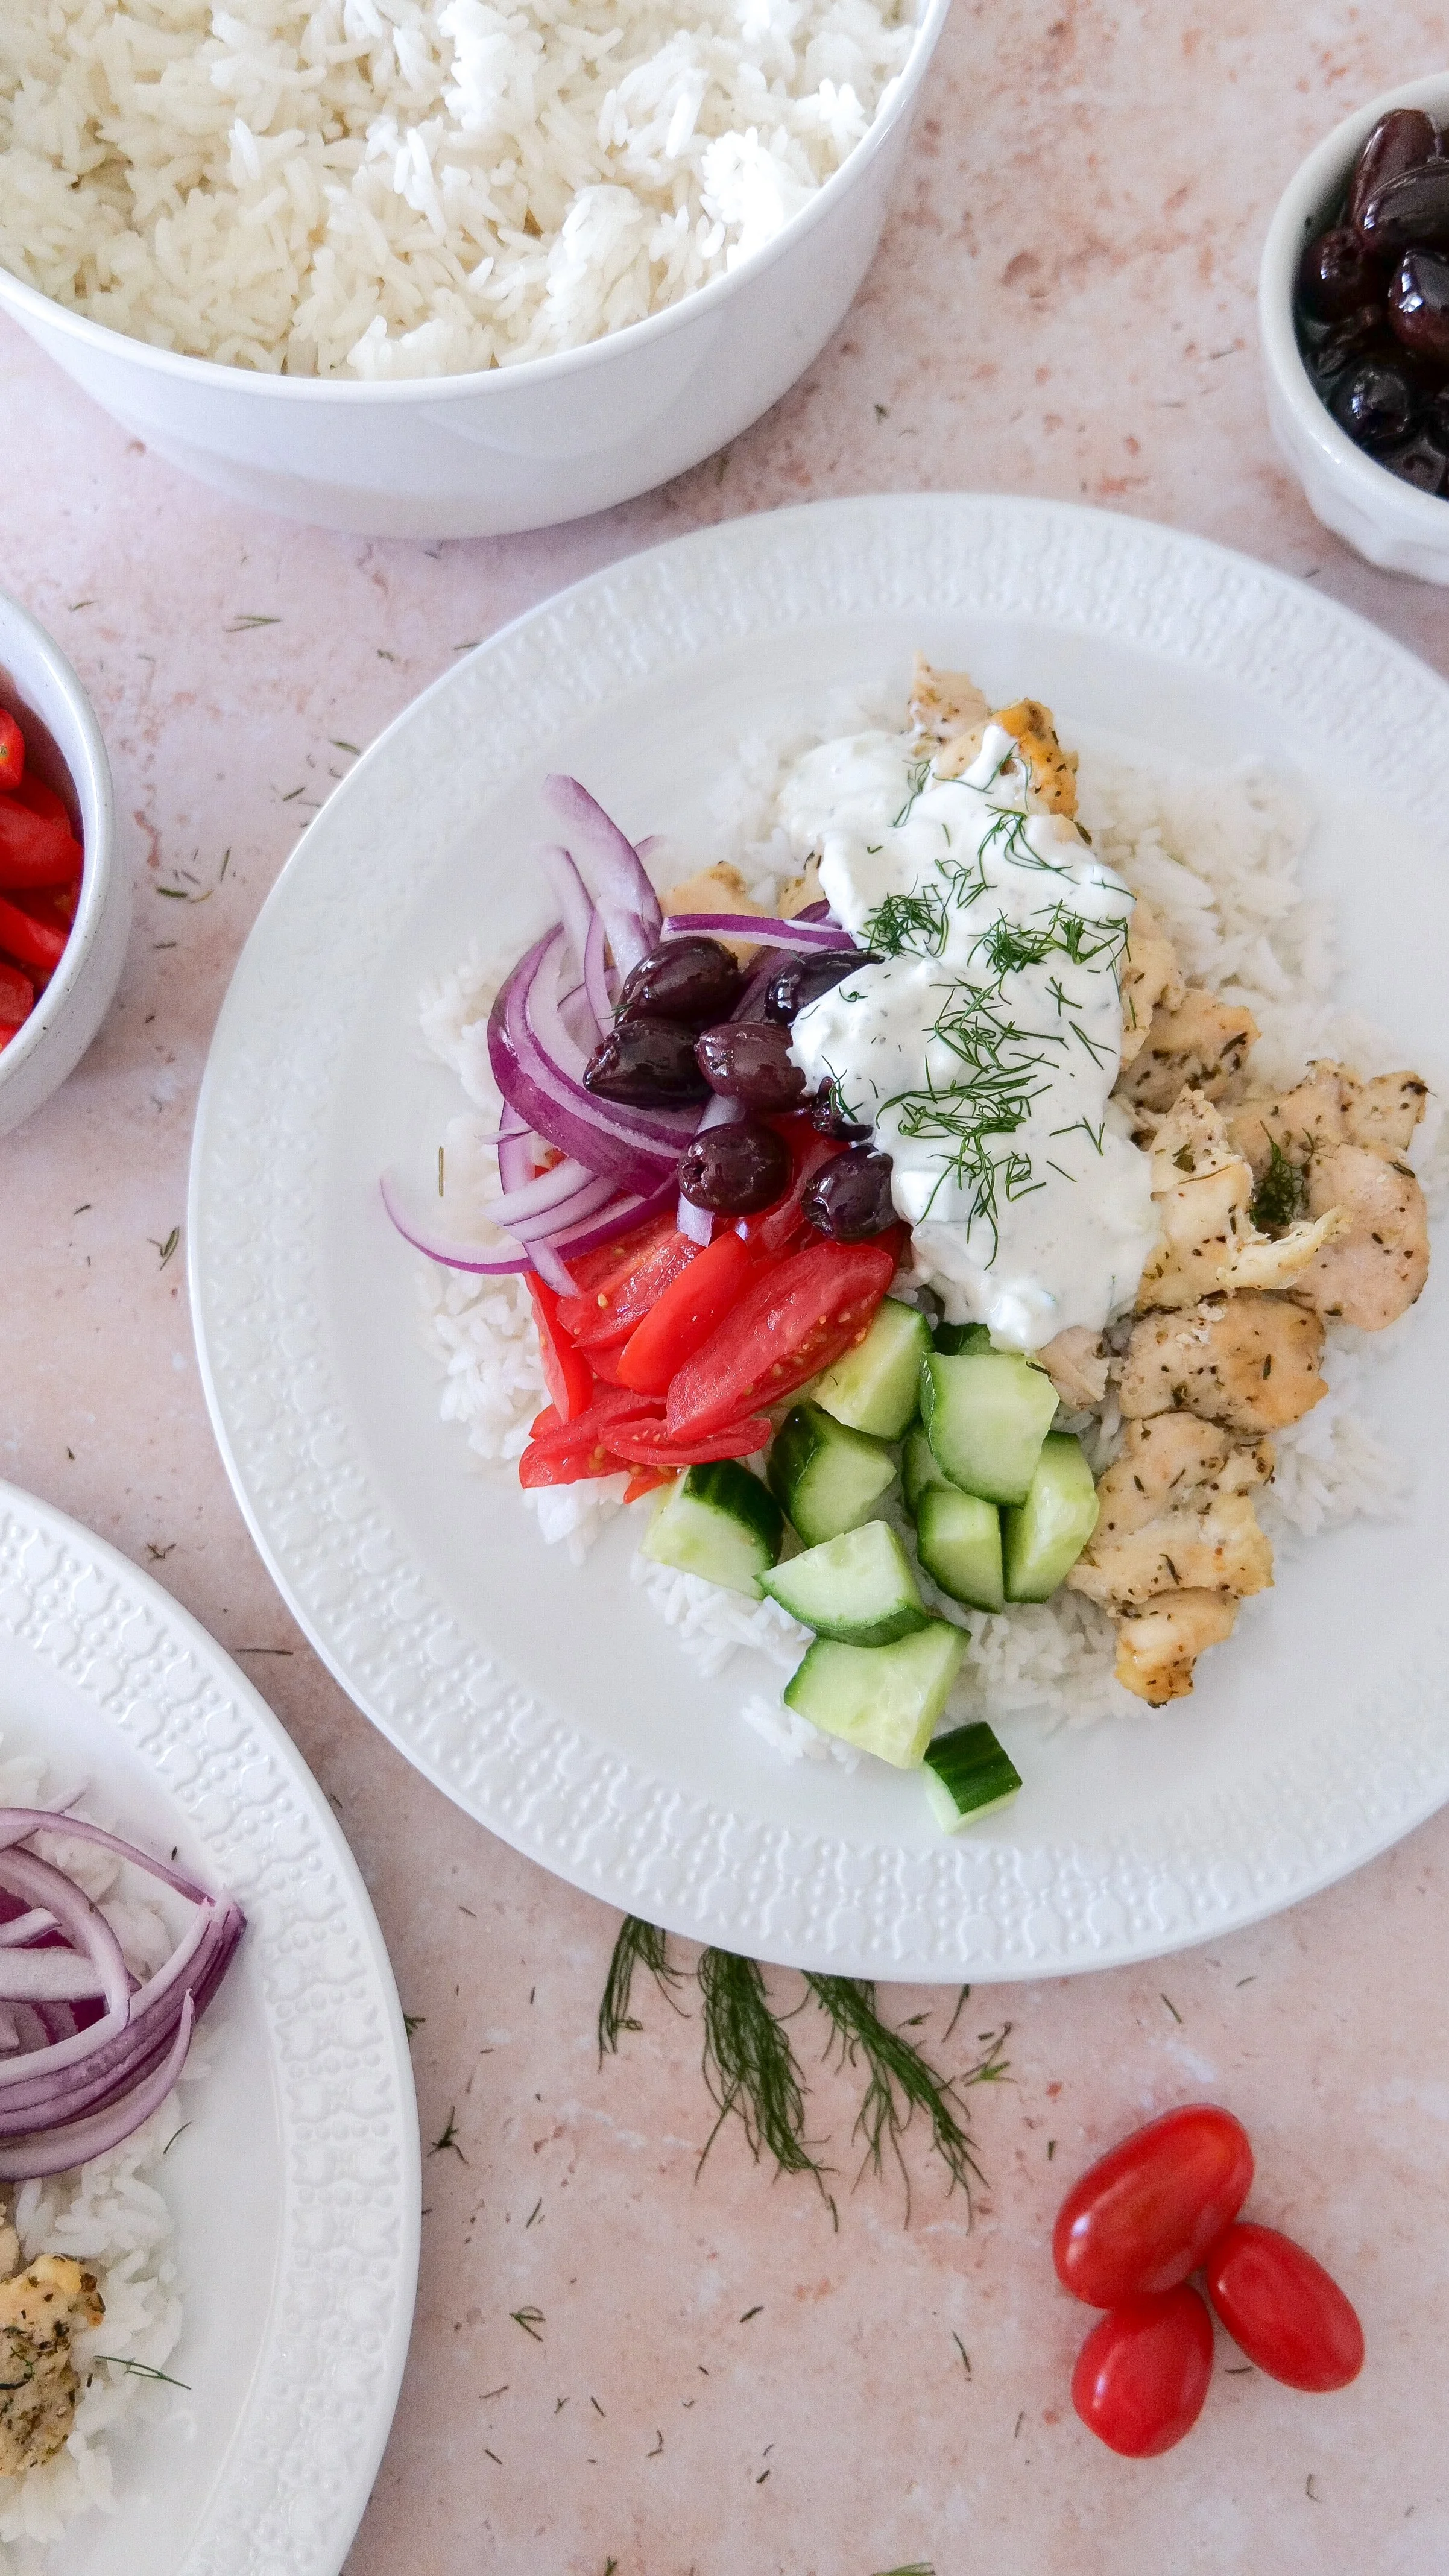
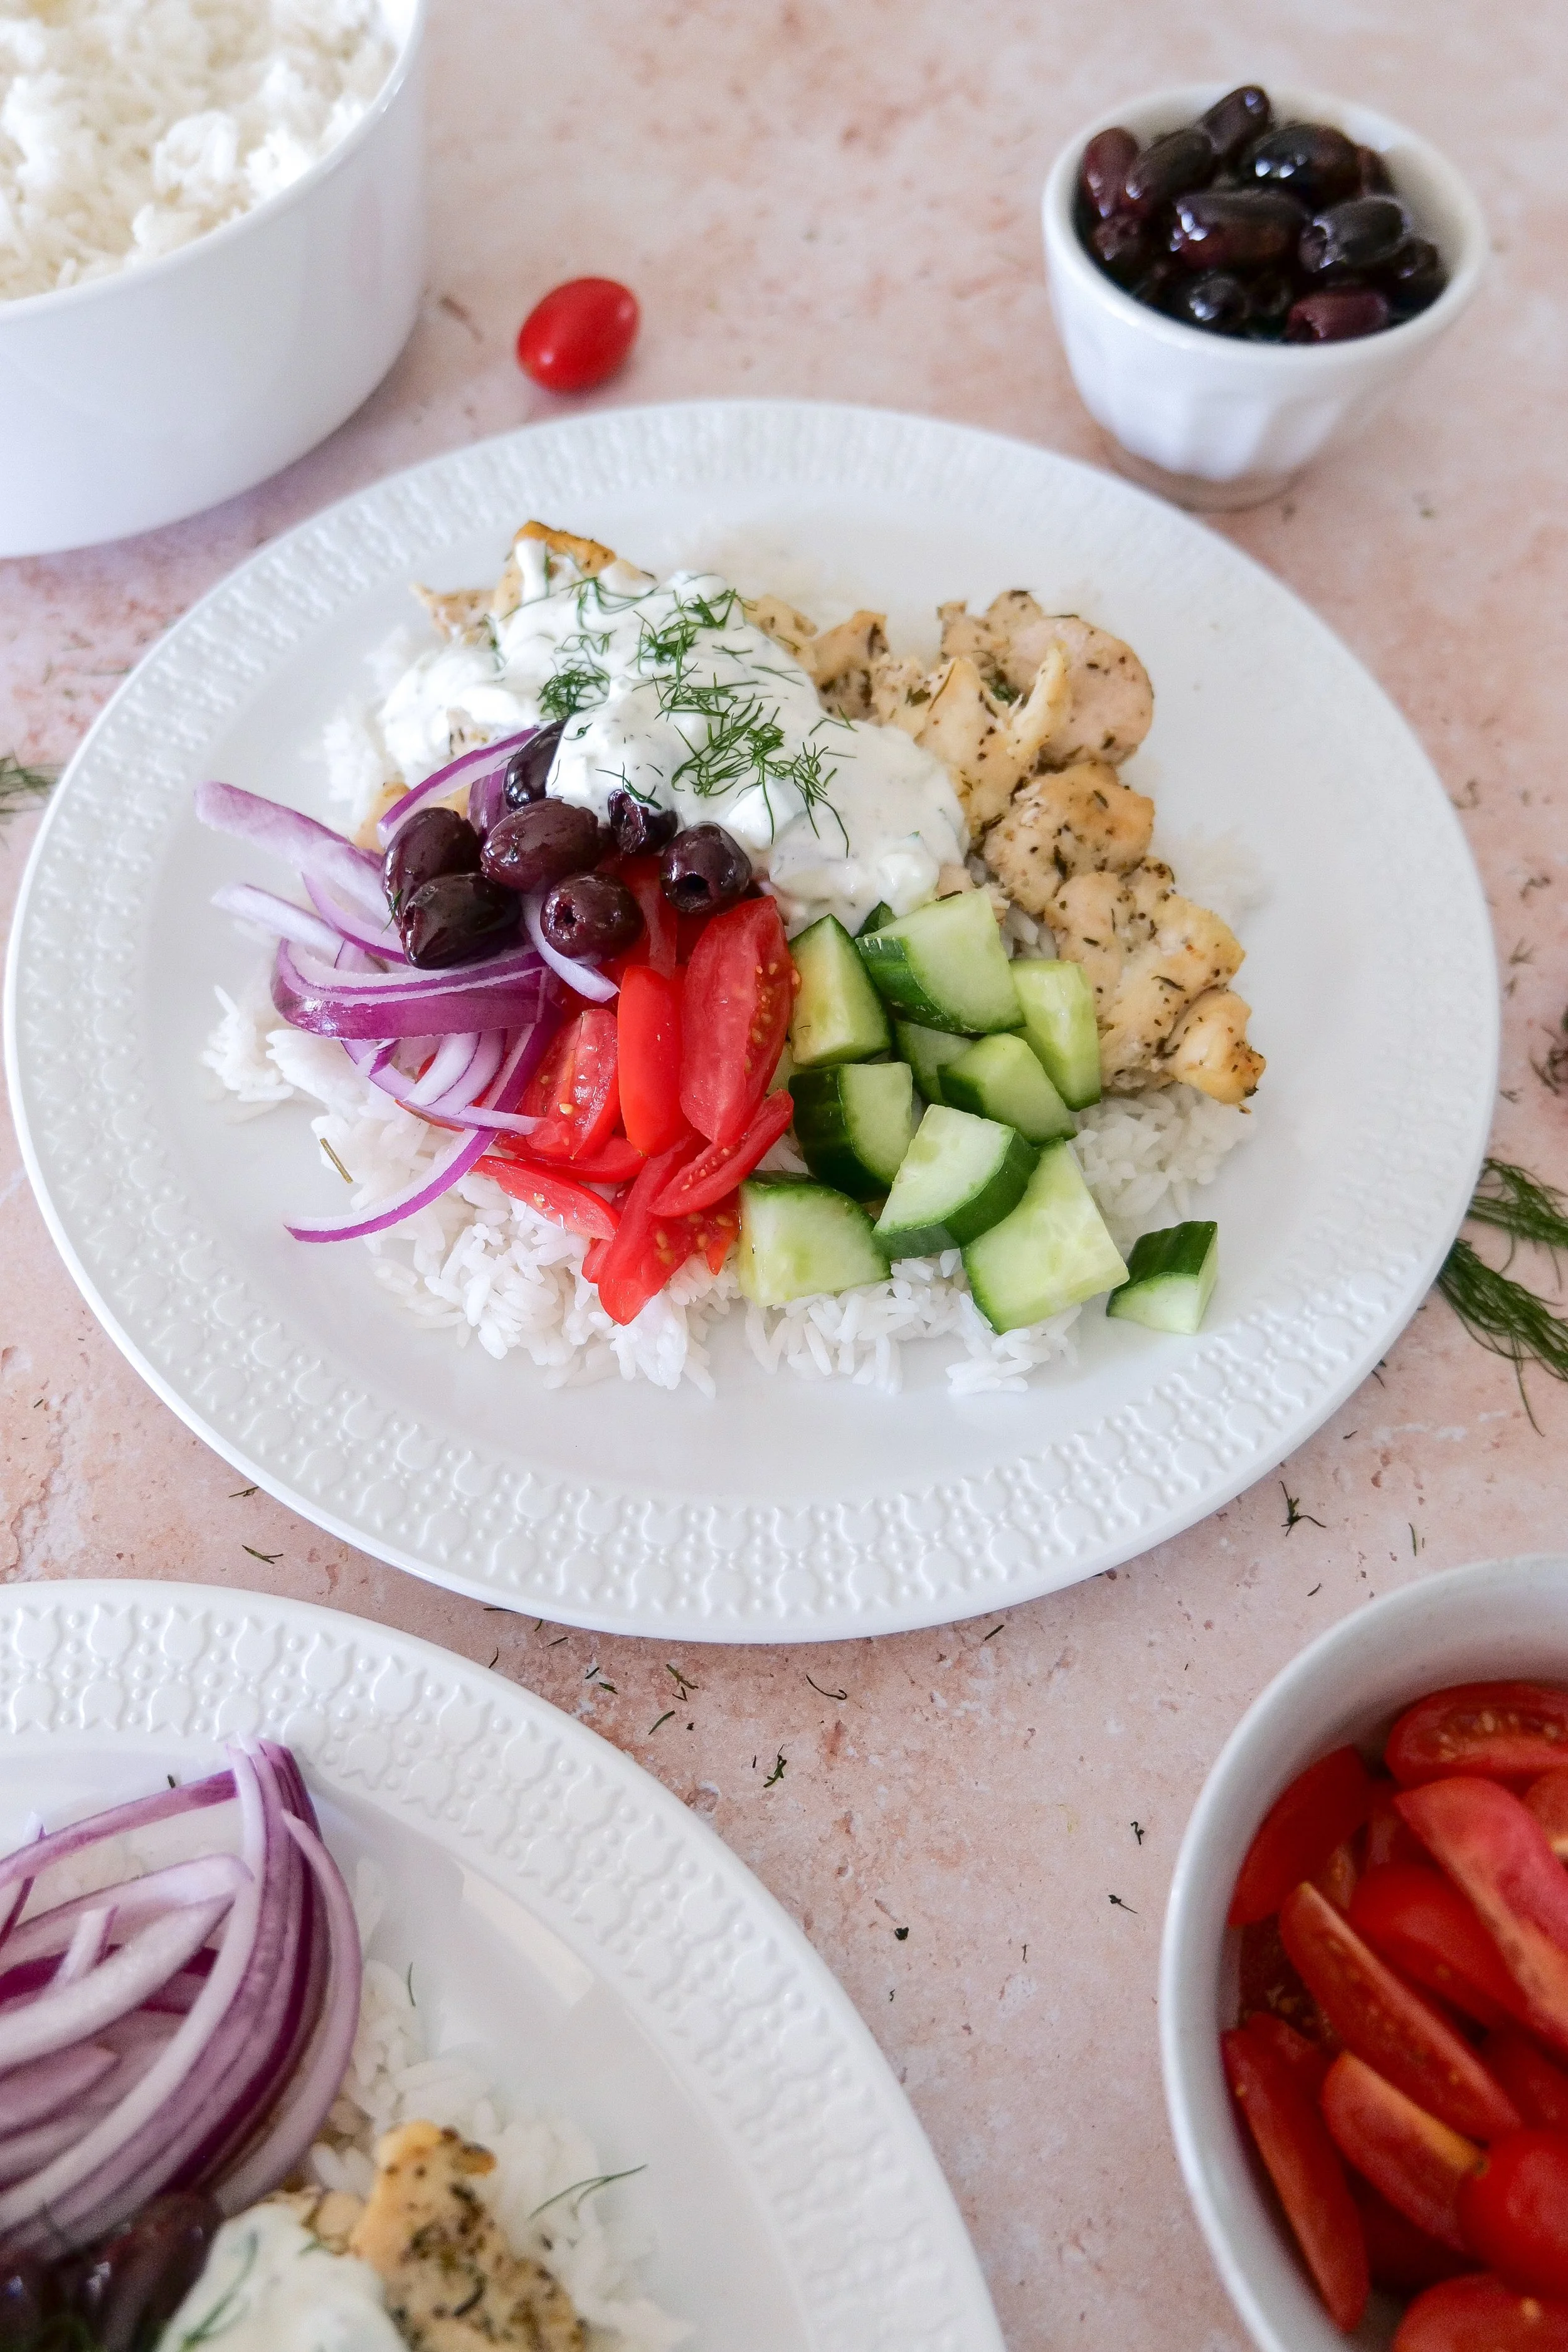
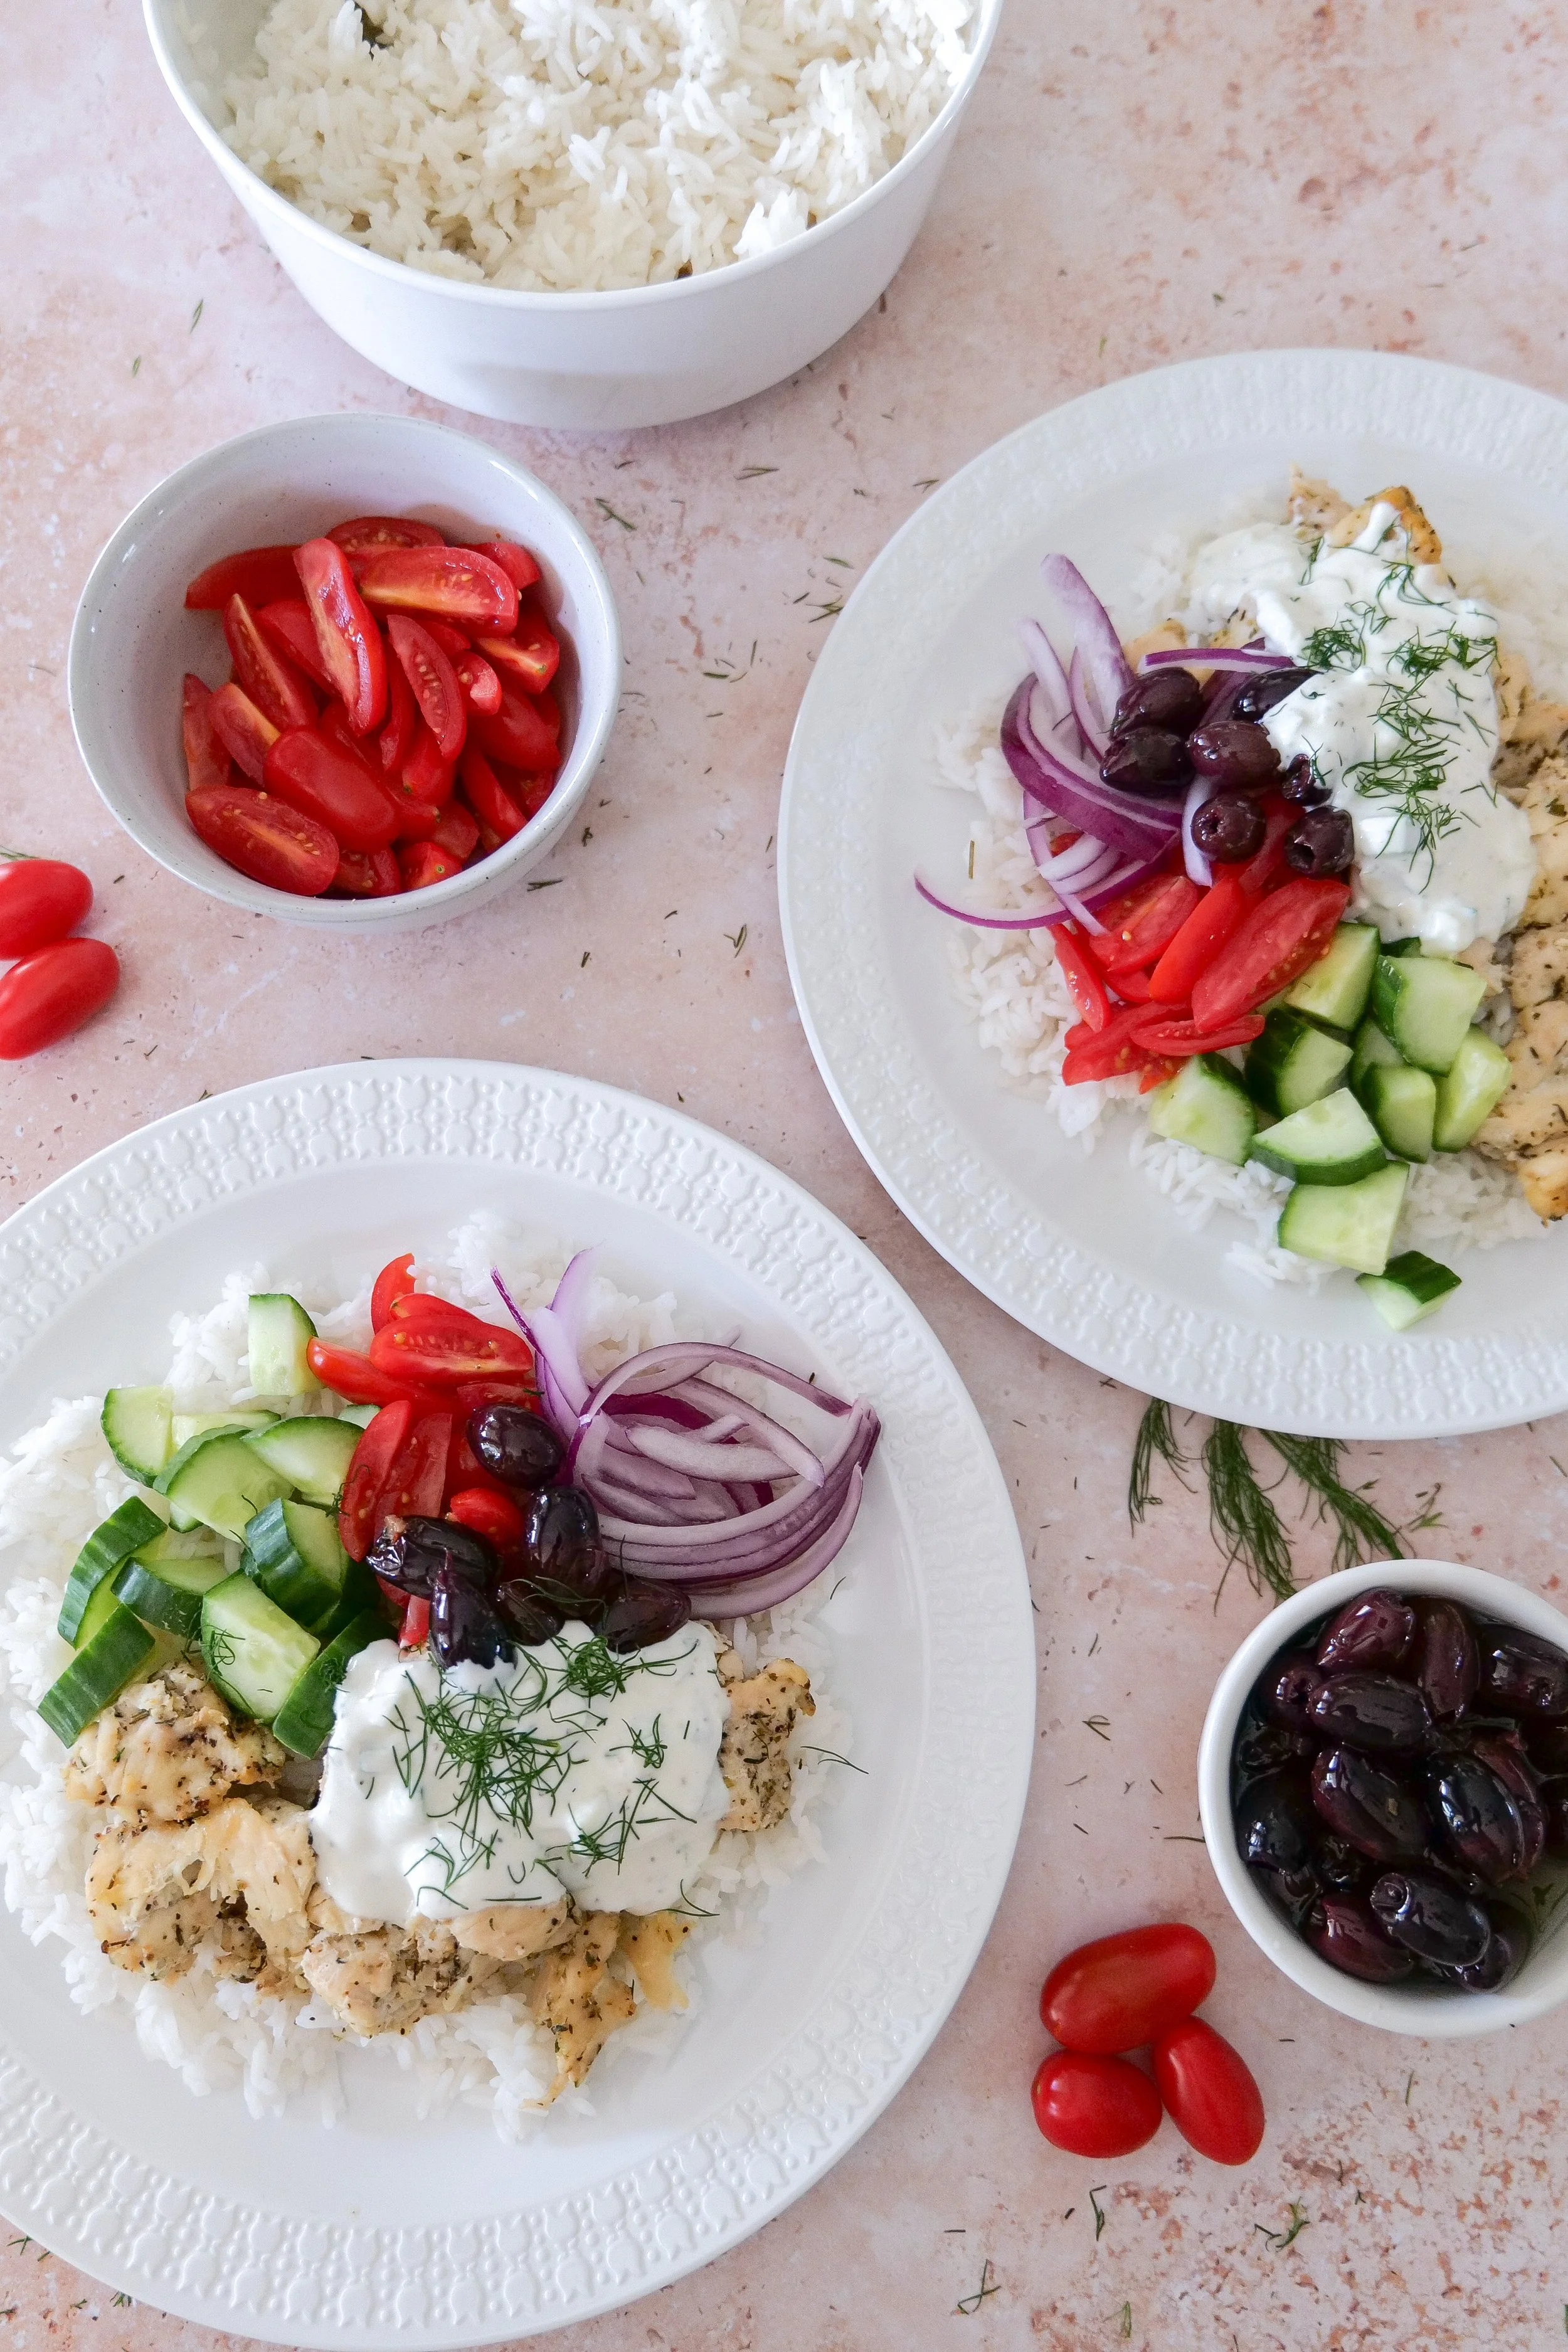
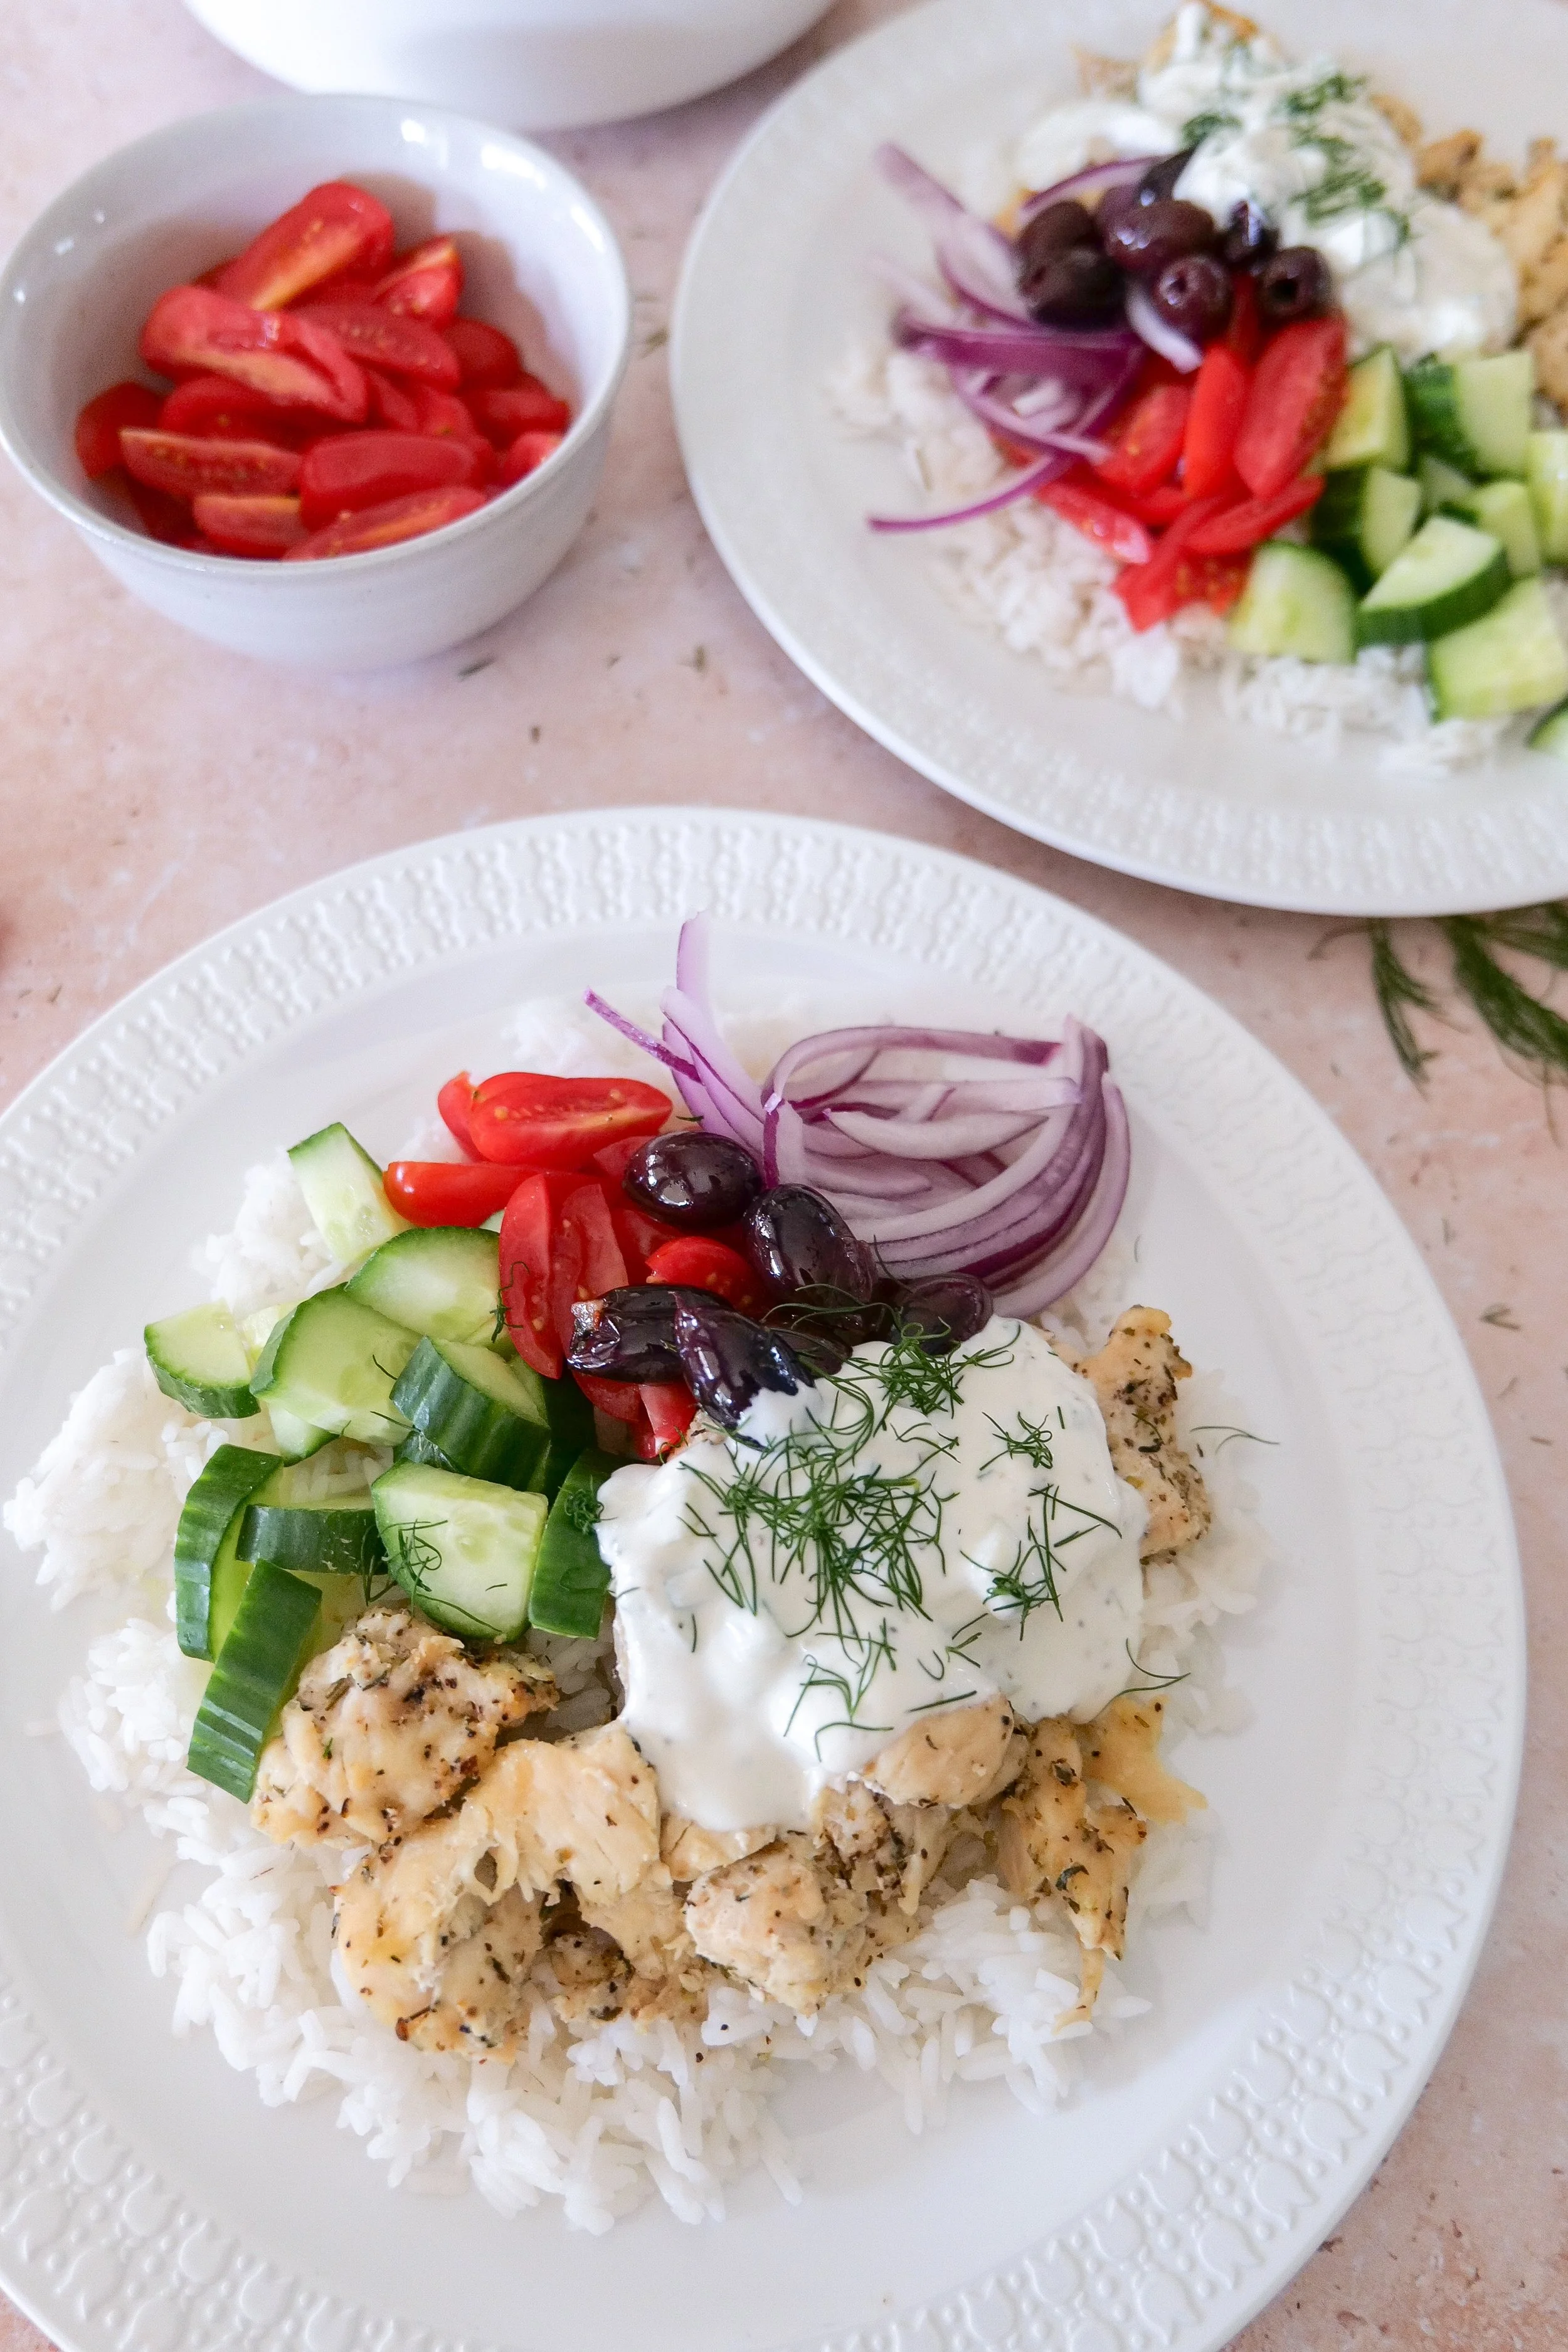
Mediterranean Chicken & Rice Bowls made with Minute Rice

The Perfect Summer Meal: Grilled Chicken, Mexican Street Corn & Cucumber Salad

Easy & Flavorful Fiesta in a Bowl: Ultimate Slow Cooker Chicken Tortilla Soup Recipe!

Dive into this Delicious Chicken & Rice Enchilada Casserole

Imagine perfectly combining the zesty flavors of enchiladas and the hearty gratification of a rice casserole into one irresistible dish. This Chicken & Rice Enchilada Casserole is a meal that's both easy to prepare and extremely delicious. This casserole is of course a blend of traditional enchilada components along with comforting rice. This recipe offers a delicious mix of tender chicken, enchilada sauce, and aromatic spices. It's a heartwarming one-pan meal that simplifies your cooking experience, which makes it perfect for those busy weeknights. Finishing with a golden-brown cheesy top really elevates the dish, and your guests will be begging for it to be served alongside your favorite sides or all on its own. This dish is not only delicious and filling, but also a practical choice for anyone looking to minimize clean-up without compromising on flavor.

In your baking dish, tender pieces of chicken will nicely nestle into the creamy rice. Each spoonful will be rich with the tastes of the enchilada sauce and the bold taste of spices. One of the joys of making this casserole lies in its effortless approach that requires minimal prep and utilizes the convenience of cooking everything together. Versatile add-ins like beans or corn allow you to tailor the casserole to your tastes or dietary preferences. Adding additional toppings like a dollop of sour cream, fresh tomato chunks, or a scoop of guacamole can also serve as the perfect complements. Serve alongside a fresh green salad and tortilla chips and you're ready to serve this as an entire meal for a party. Every bite offers the taste of carefully prepared ingredients, coming together to create a dish that's both comforting and impressive.

This Chicken & Rice Enchilada Casserole is a testament to good old-fashioned heartwarming food, the kind that always finds its way onto your table during family gatherings. With the option to prepare ahead for future meals, this casserole guarantees that comfort food is never far out of reach. Indulge in the textural contrasts of gooey cheese against the softness of rice. This casserole promises satisfaction in every spoonful and is a perfect blend of flavors and textures that's sure to become a family favorite.

How To Make This Chicken Enchilada Rice Casserole

Begin with a bed of Minute Instant White Rice, laying the foundation with well-seasoned grains for a nod to Mexican culinary heritage. Shred tenderly cooked and shredded chicken, creating a protein-rich layer that nicely blends into the rice. Drench the dish with a generous coat of your enchilada sauce, ensuring each grain and chicken piece is covered. Then add in your favorite veggies & beans. We opted for whole beans, corn and lots of gooey cheese. The casserole comes to life in the warmth of the oven and is topped with the sharp tang of onions, the herbal freshness of cilantro, and the juicy sweetness of diced tomatoes. This mix is so colorful and will start to draw your guests into the kitchen with its delicious smells.

Can I Substitute Chicken Breast?

Adaptable to your heart's desires, the Chicken & Rice Enchilada Casserole works with a wide range of proteins. Feel free to substitute chicken with turkey, pork, or beef, keeping the dish familiar yet also allowing for personal twists. For a plant-based variant, tofu, tempeh, or leaving just beans can replace the chicken, providing a meatless rendition still rich in flavors and textures. Seafood lovers can enjoy shrimp or airy flakes of white fish to make delightful seafood tasty enchiladas. Regardless of your choice, the transformation of proteins should be well prepared, and you should still adhere to proper cooking times to maintain the essence and safety of the dish.

For a Chicken & Rice Enchilada Casserole that screams authenticity, be sure to select quality ingredients. Other substitutions you can make are with the cheese. Here we did a Mexican medley to add lots of flavors, however if you don't have it on hand add in mozzarella, cheddar or your personal favorite. The flavor attraction, which greatly comes from the enchilada sauce, will seep into every corner and bite, with its signature taste. You can opt for green or red sauce here to achieve your desired flavor. Lastly adding in personal touches like black beans, corn, diced green chilies, green bell pepper, onions, jalapeños and cilantro can help to give this casserole that extra oomph. Whatever you enjoy in your enchiladas is totally up to you. Every component comes together so well to achieve the success of this Chicken & Rice Enchilada Casserole.

How To Serve & Store

Presentation is an art, especially with a dish as visually appealing as this Chicken & Rice Enchilada Casserole. Warm it well to allow the flavors to stretch out, reaching their optimum strength and character. Make sure when serving to cut the casserole into clean-cut portions, making it as much a delight to the eyes as it is to the mouth. Sprinkle some cilantro for some freshness, or a smooth slice of avocado or scoop of sour cream. Accompany this casserole with light, crispy tortilla chips or with fresh greens. These two things are the perfect pairing with the delicious casserole.

Can the Chicken & Rice Enchilada Casserole be made ahead of time and frozen?

Indeed, this delicious meal is a friend to those who plan ahead. Freeze it post-preparation for a taste of perfection on demand. Wrap it well and protect in an airtight container to fight against the chill until it's time to bring it back to life in the warmth of an oven. Flexibility is key with this dish, freeing you to enjoy it whenever the craving strikes. Once you are ready to reheat leftovers lies in preserving its quality. Warm your oven to 350°F to awaken the flavors gently. Cover the dish to trap moisture, keeping the casserole as succulent as when it was first baked. A final touch of cheese or adding a bit of additional enchilada sauce before reheating can also help the freshness of the original meal. Rediscovering the Chicken & Rice Enchilada Casserole the day after is welcomed experience, and ensures that not a bite of this meal goes to waste.

With its layers of tender chicken, creamy sauce, delicious rice, and crowned with a golden cheesy crust, the casserole pleases with every bite. It's a classic blend of preferred flavors, a convenient meal that should easily provide leftovers, and a powerhouse of a home-cooked meal. So, gather your ingredients, preheat your oven, and get ready to create a dish that's sure to become a staple in your weekday routine.

Ingredients

3 cups Minute Instant White Rice, prepared according to the directions on packaging

3 cups shredded chicken

20-ounce enchilada sauce

16 oz refried beans

2 cups shredded Mexican cheese blend

2 cans of frozen corn

2 tablespoons taco seasoning

Optional Toppings: Avocado, Sour Cream, Diced Tomatoes, Diced Red Onion

Instructions

1. Preheat the oven to 375. Prepare Minute Instant Rice according to the instructions on the box.

2. In a large mixing bowl mix together cooked rice, shredded chicken, enchilada sauce, refried beans, half of the shredded cheese, corn and taco seasoning.

3. Spread the mixture into an oiled casserole dish. Sprinkle the second half of cheese over top.

4. Bake for 25-30 minutes or until cheese on top is browned and bubbling. Serve and enjoy!

Other Minute Rice Recipes:

Quinoa Fried Rice: A Twist on the Classic with Minute Rice & Quinoa

Mediterranean Chicken & Rice Bowls made with Minute Rice

Other Delicious Mexican Recipes You Will Love:

Easy & Flavorful Fiesta in a Bowl: Ultimate Slow Cooker Chicken Tortilla Soup Recipe!

The Perfect Summer Meal: Grilled Chicken, Mexican Street Corn & Cucumber Salad

Salsa Verde Chicken Enchiladas

A Taste of the Southwest: Southwestern Chop Salad Recipe

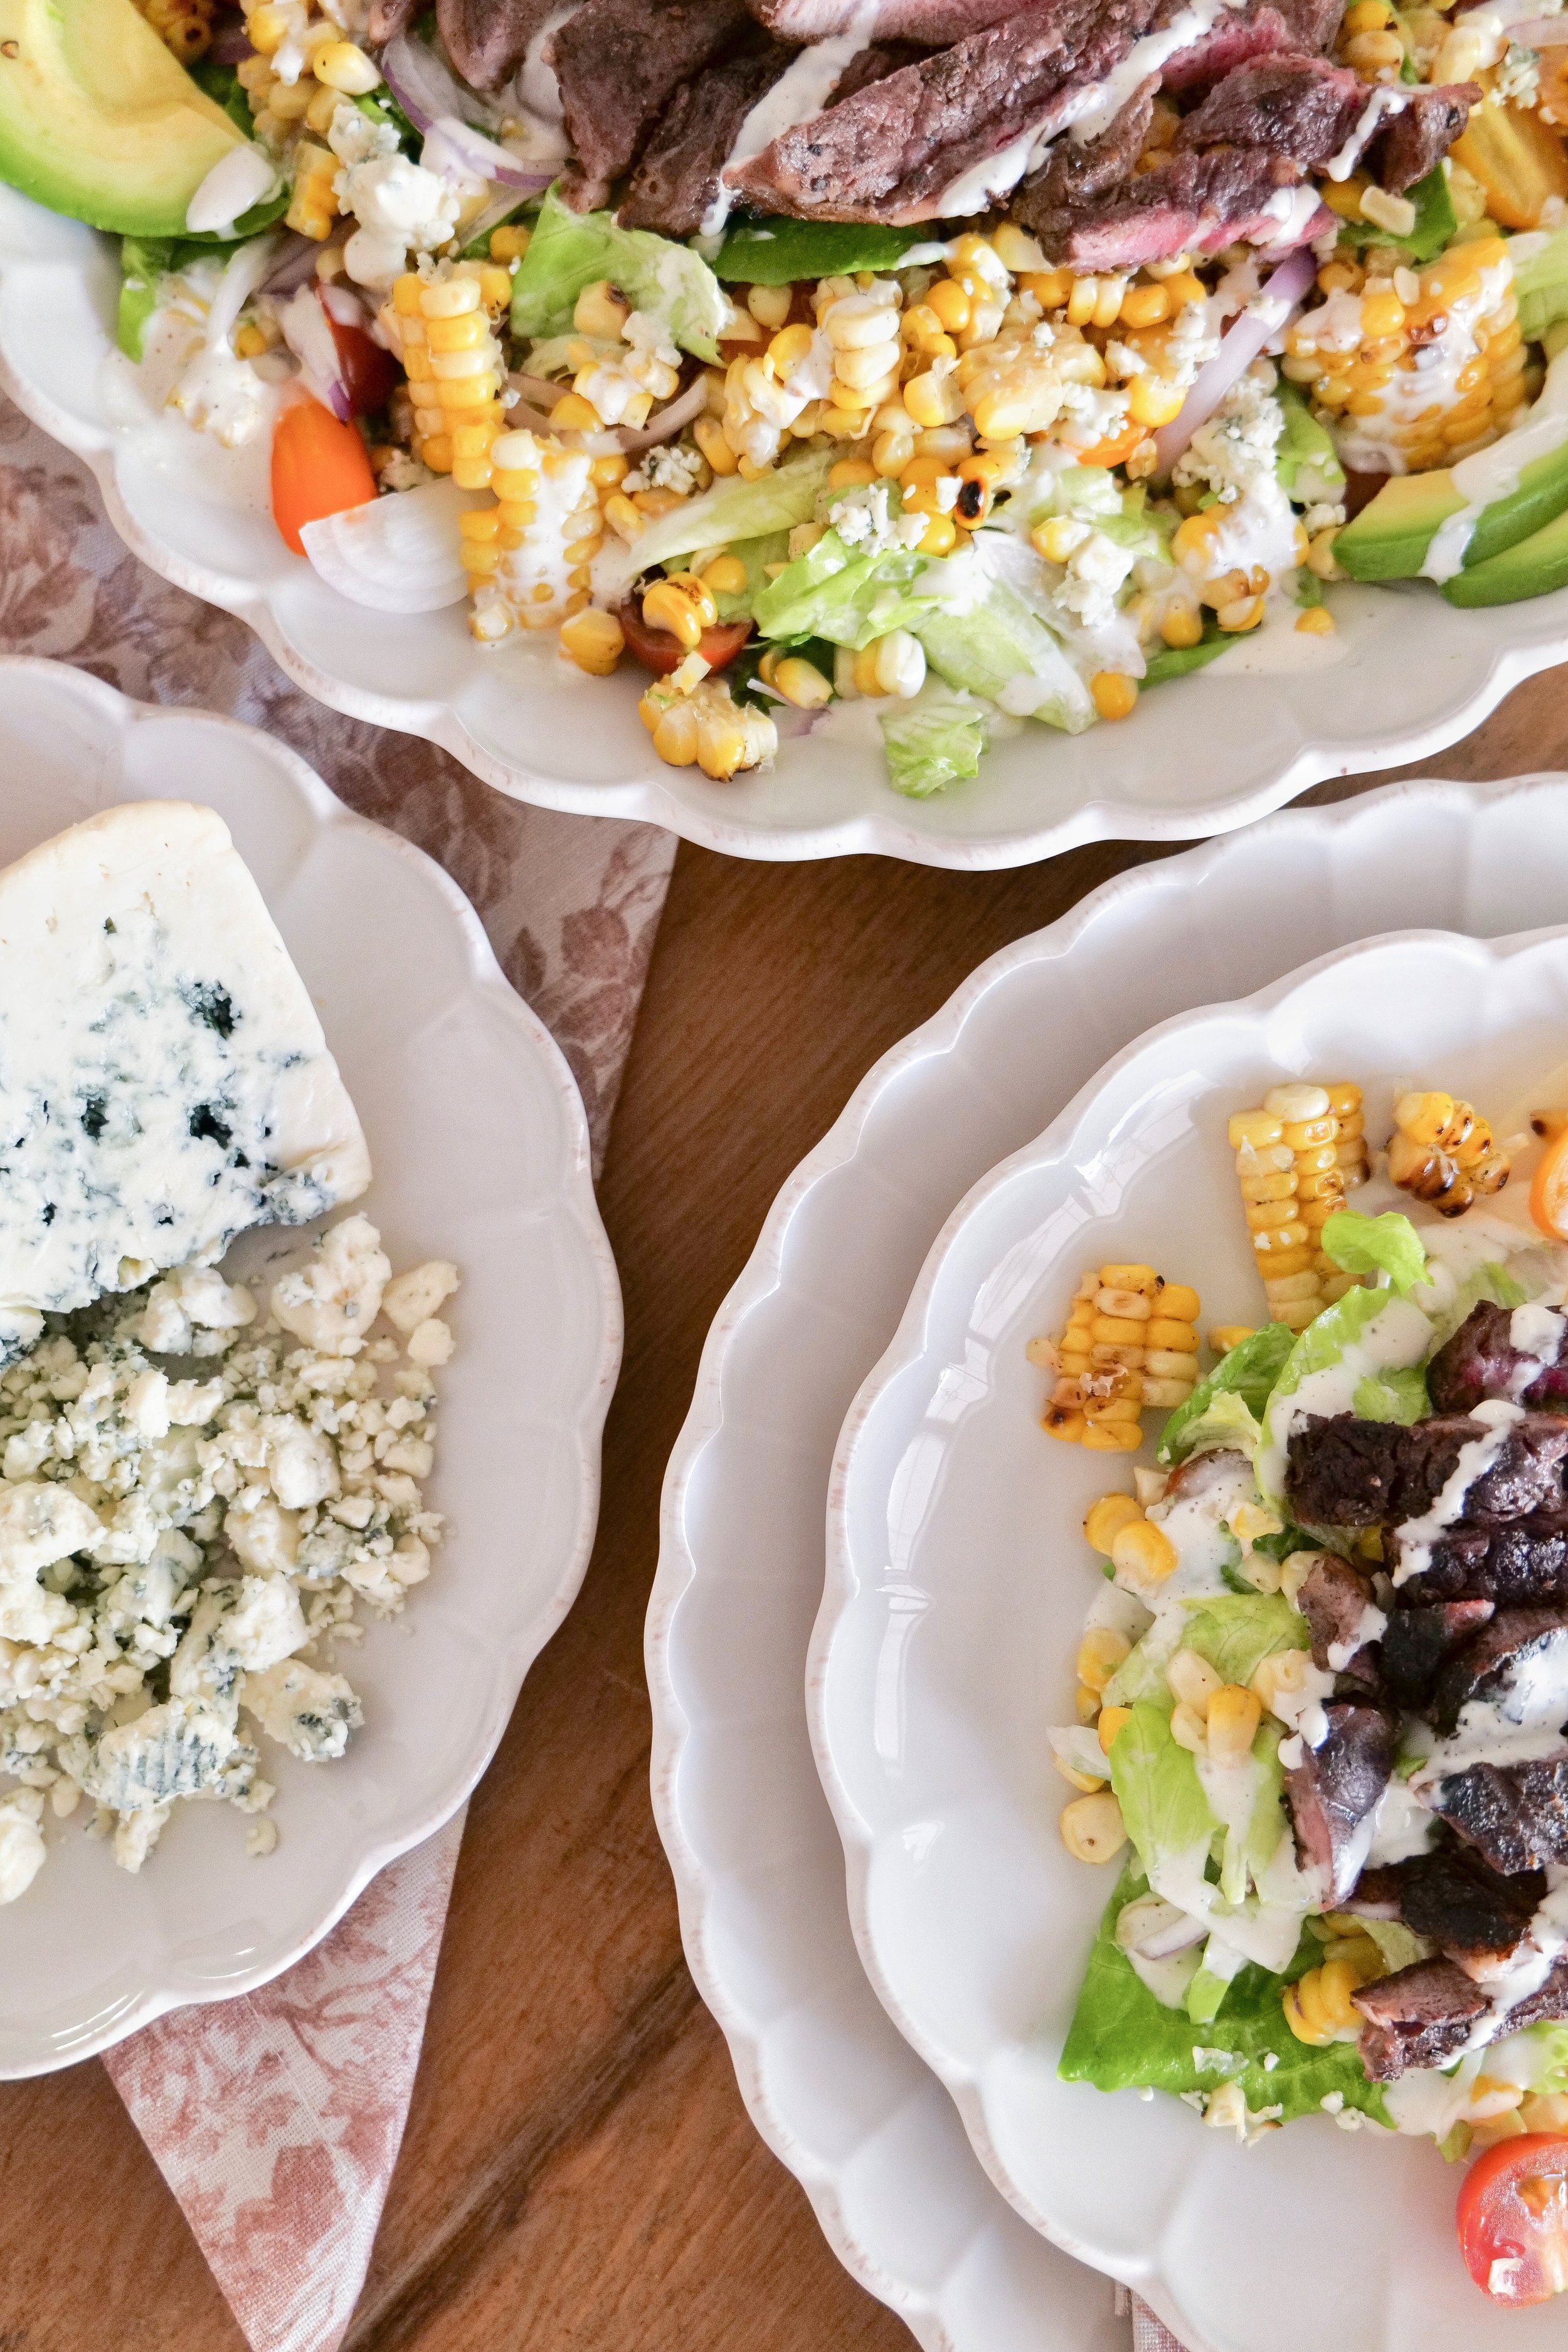
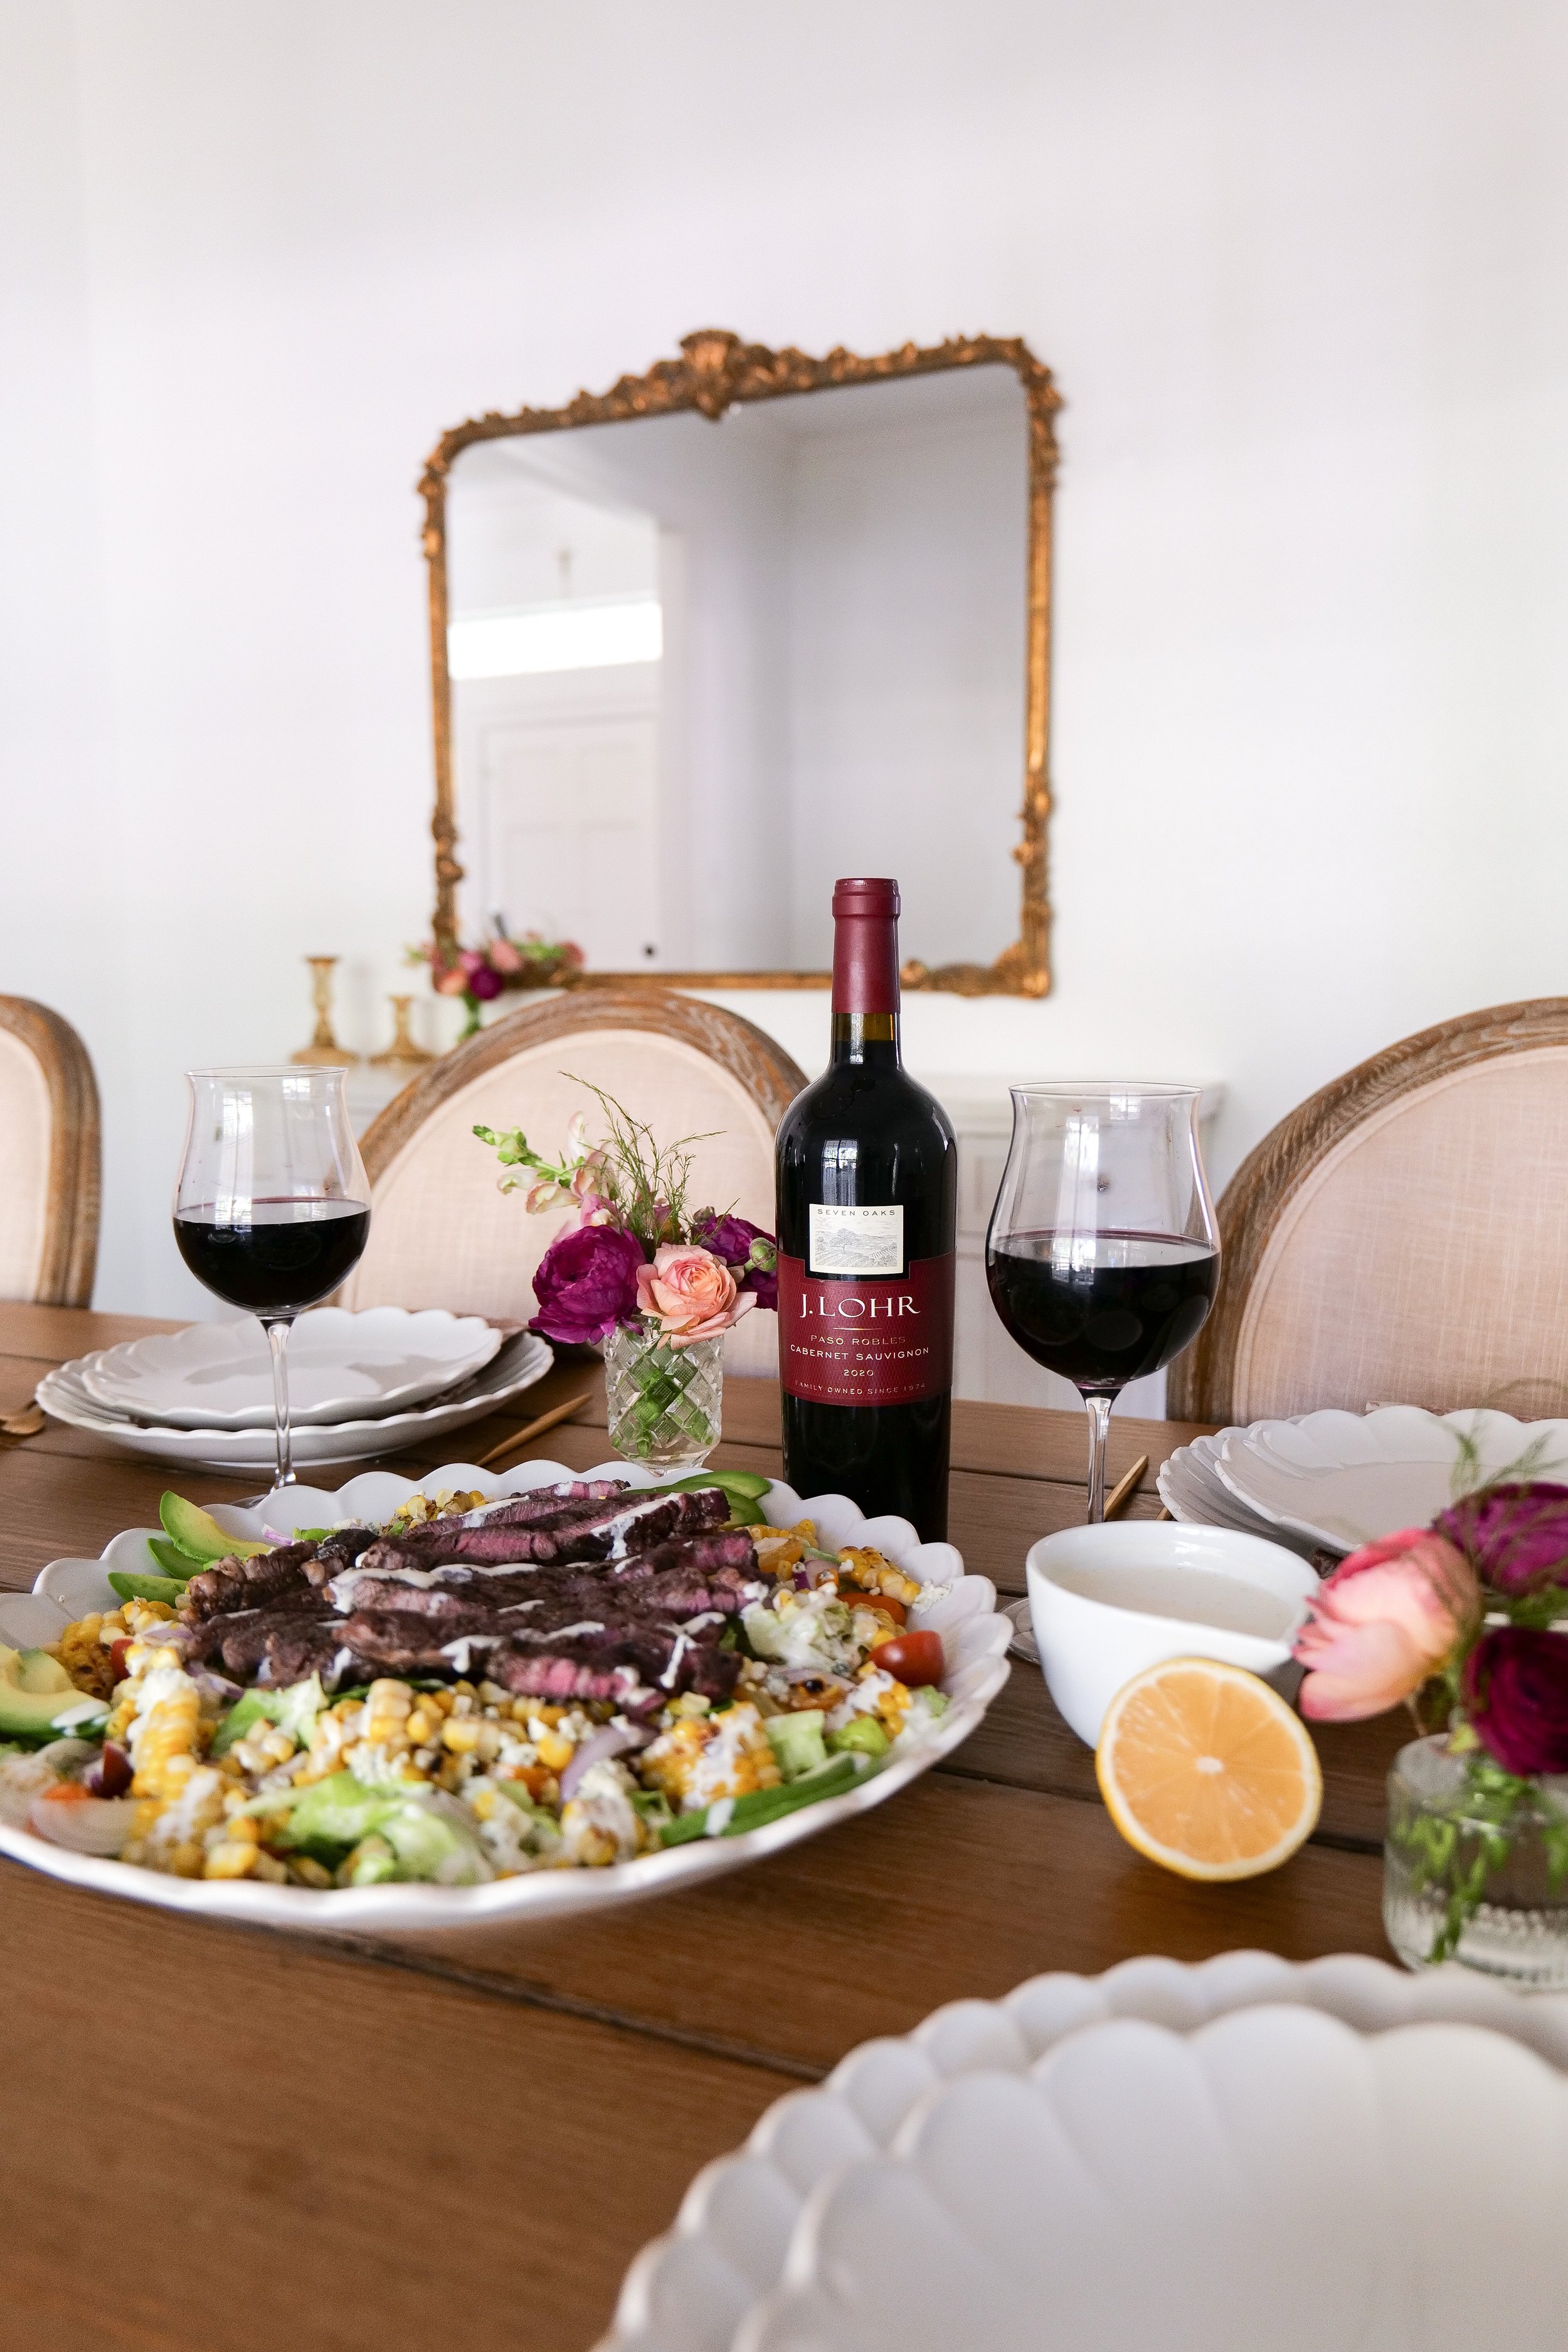
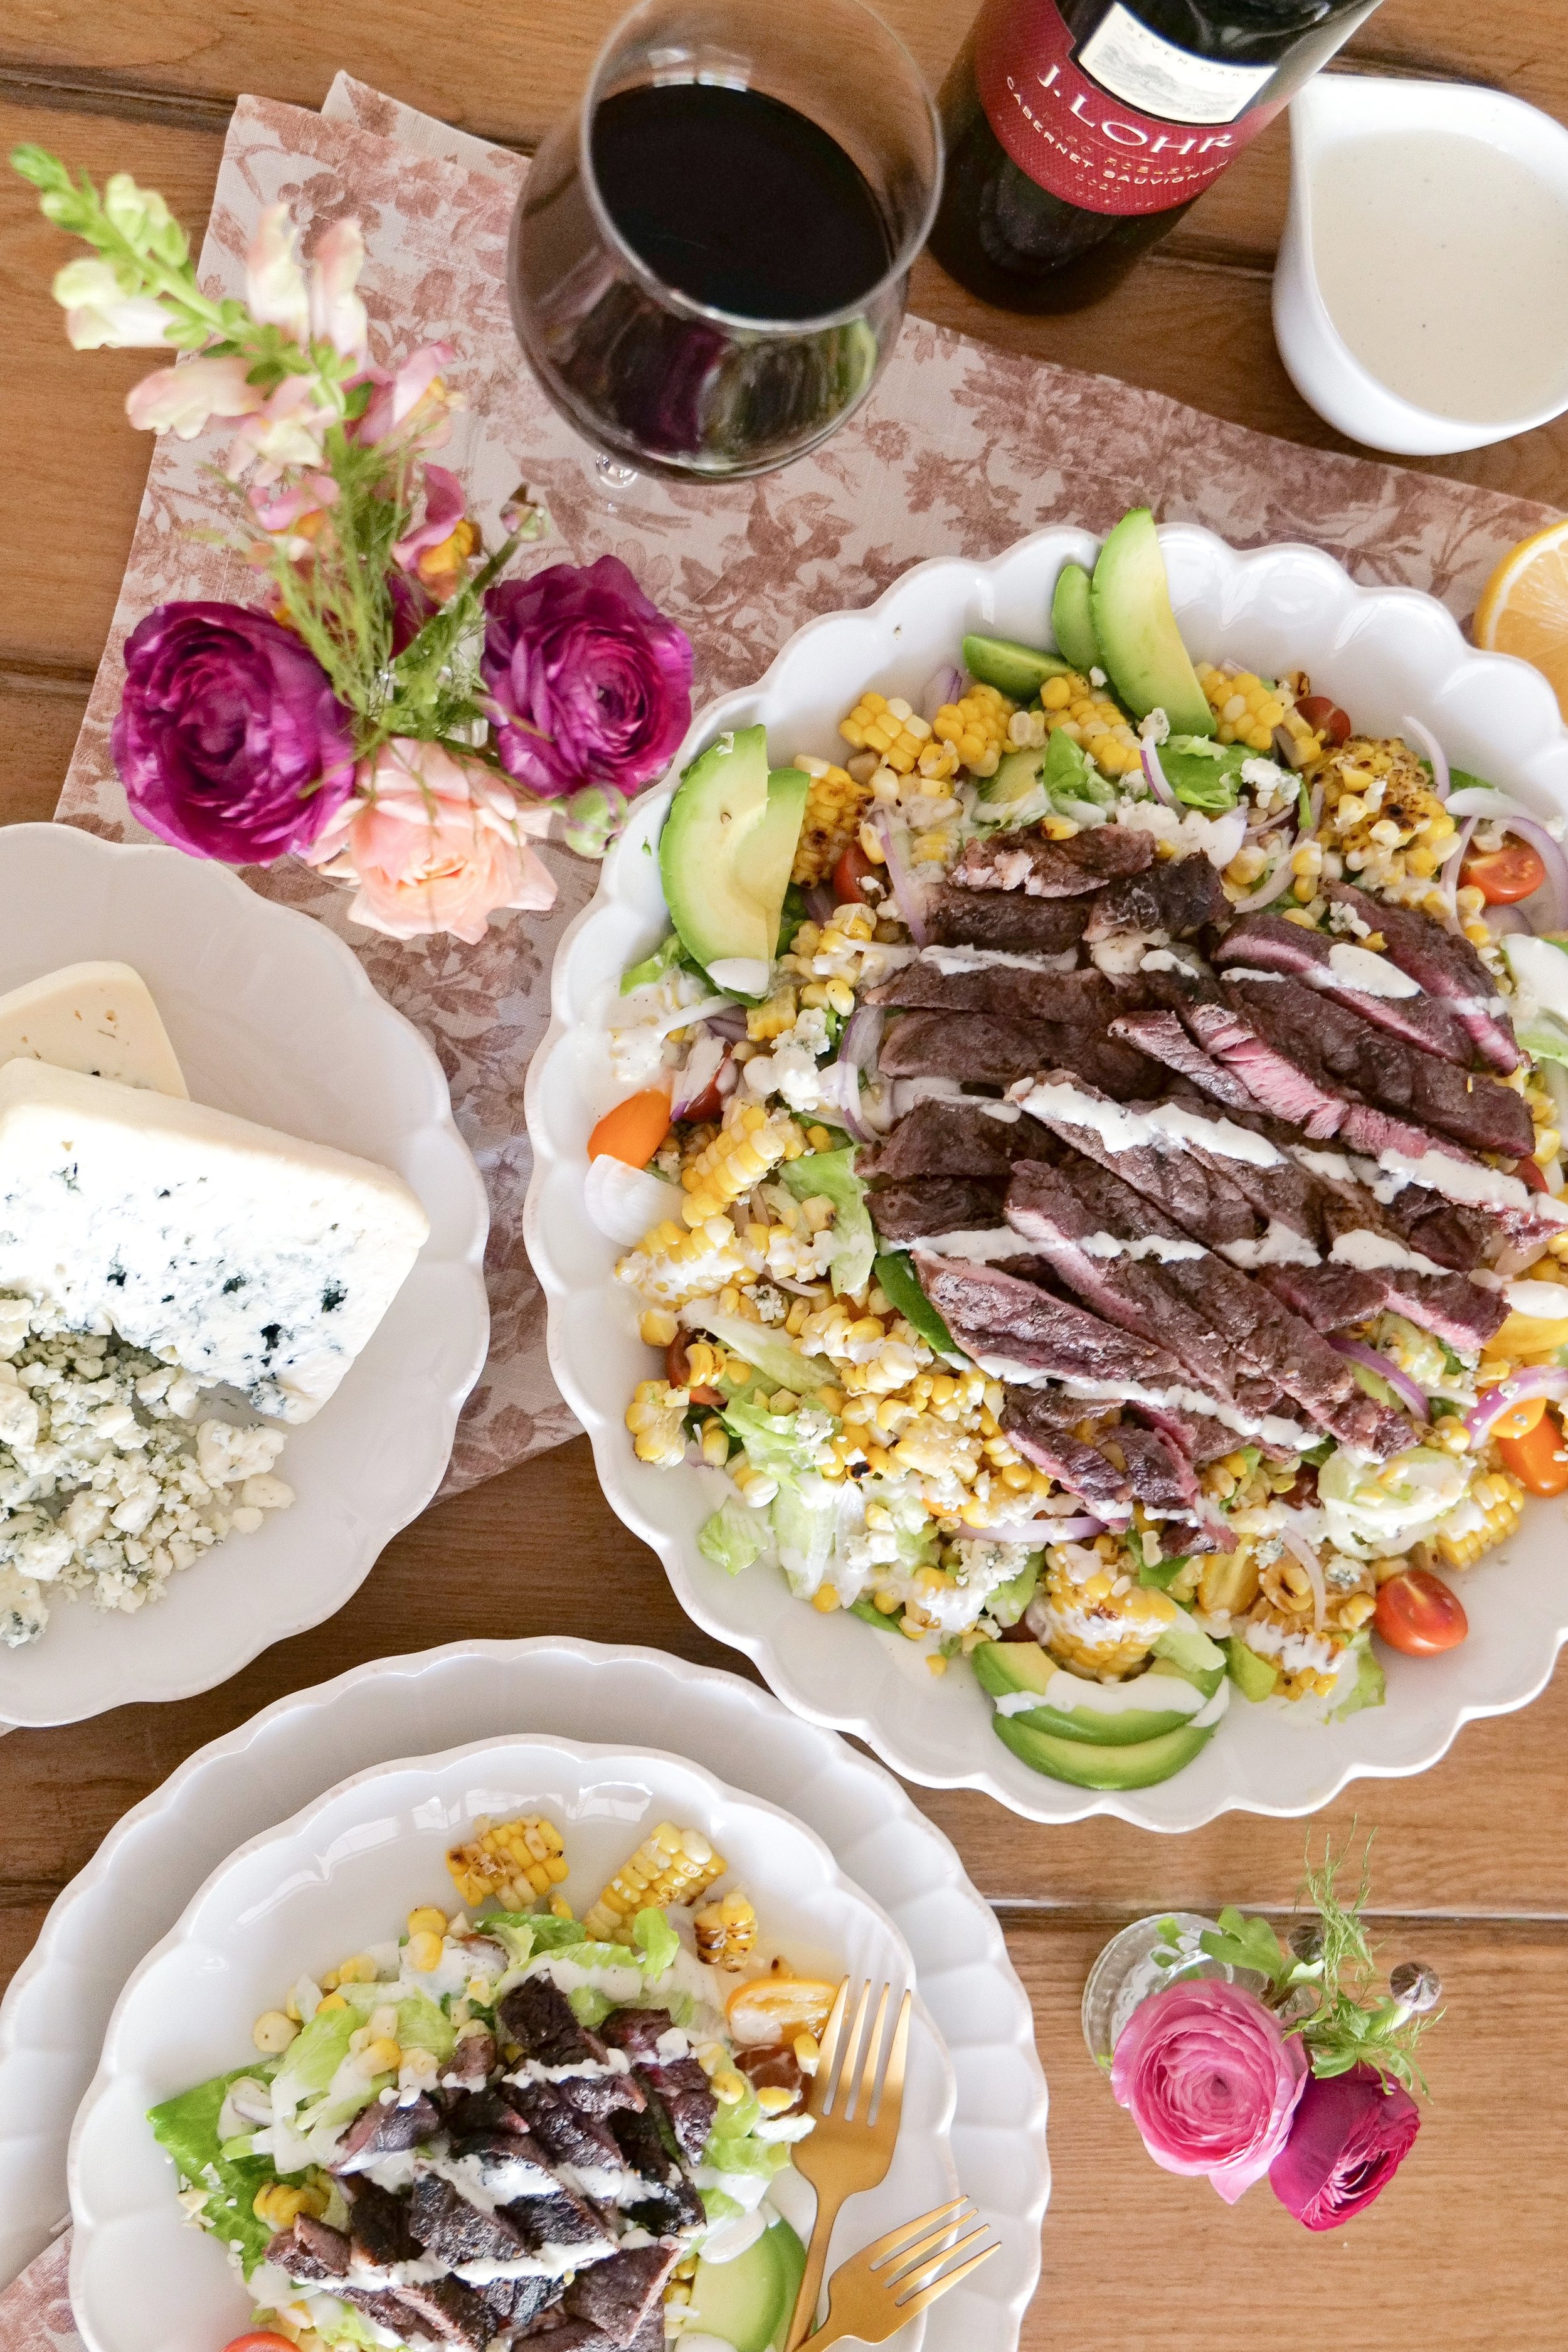
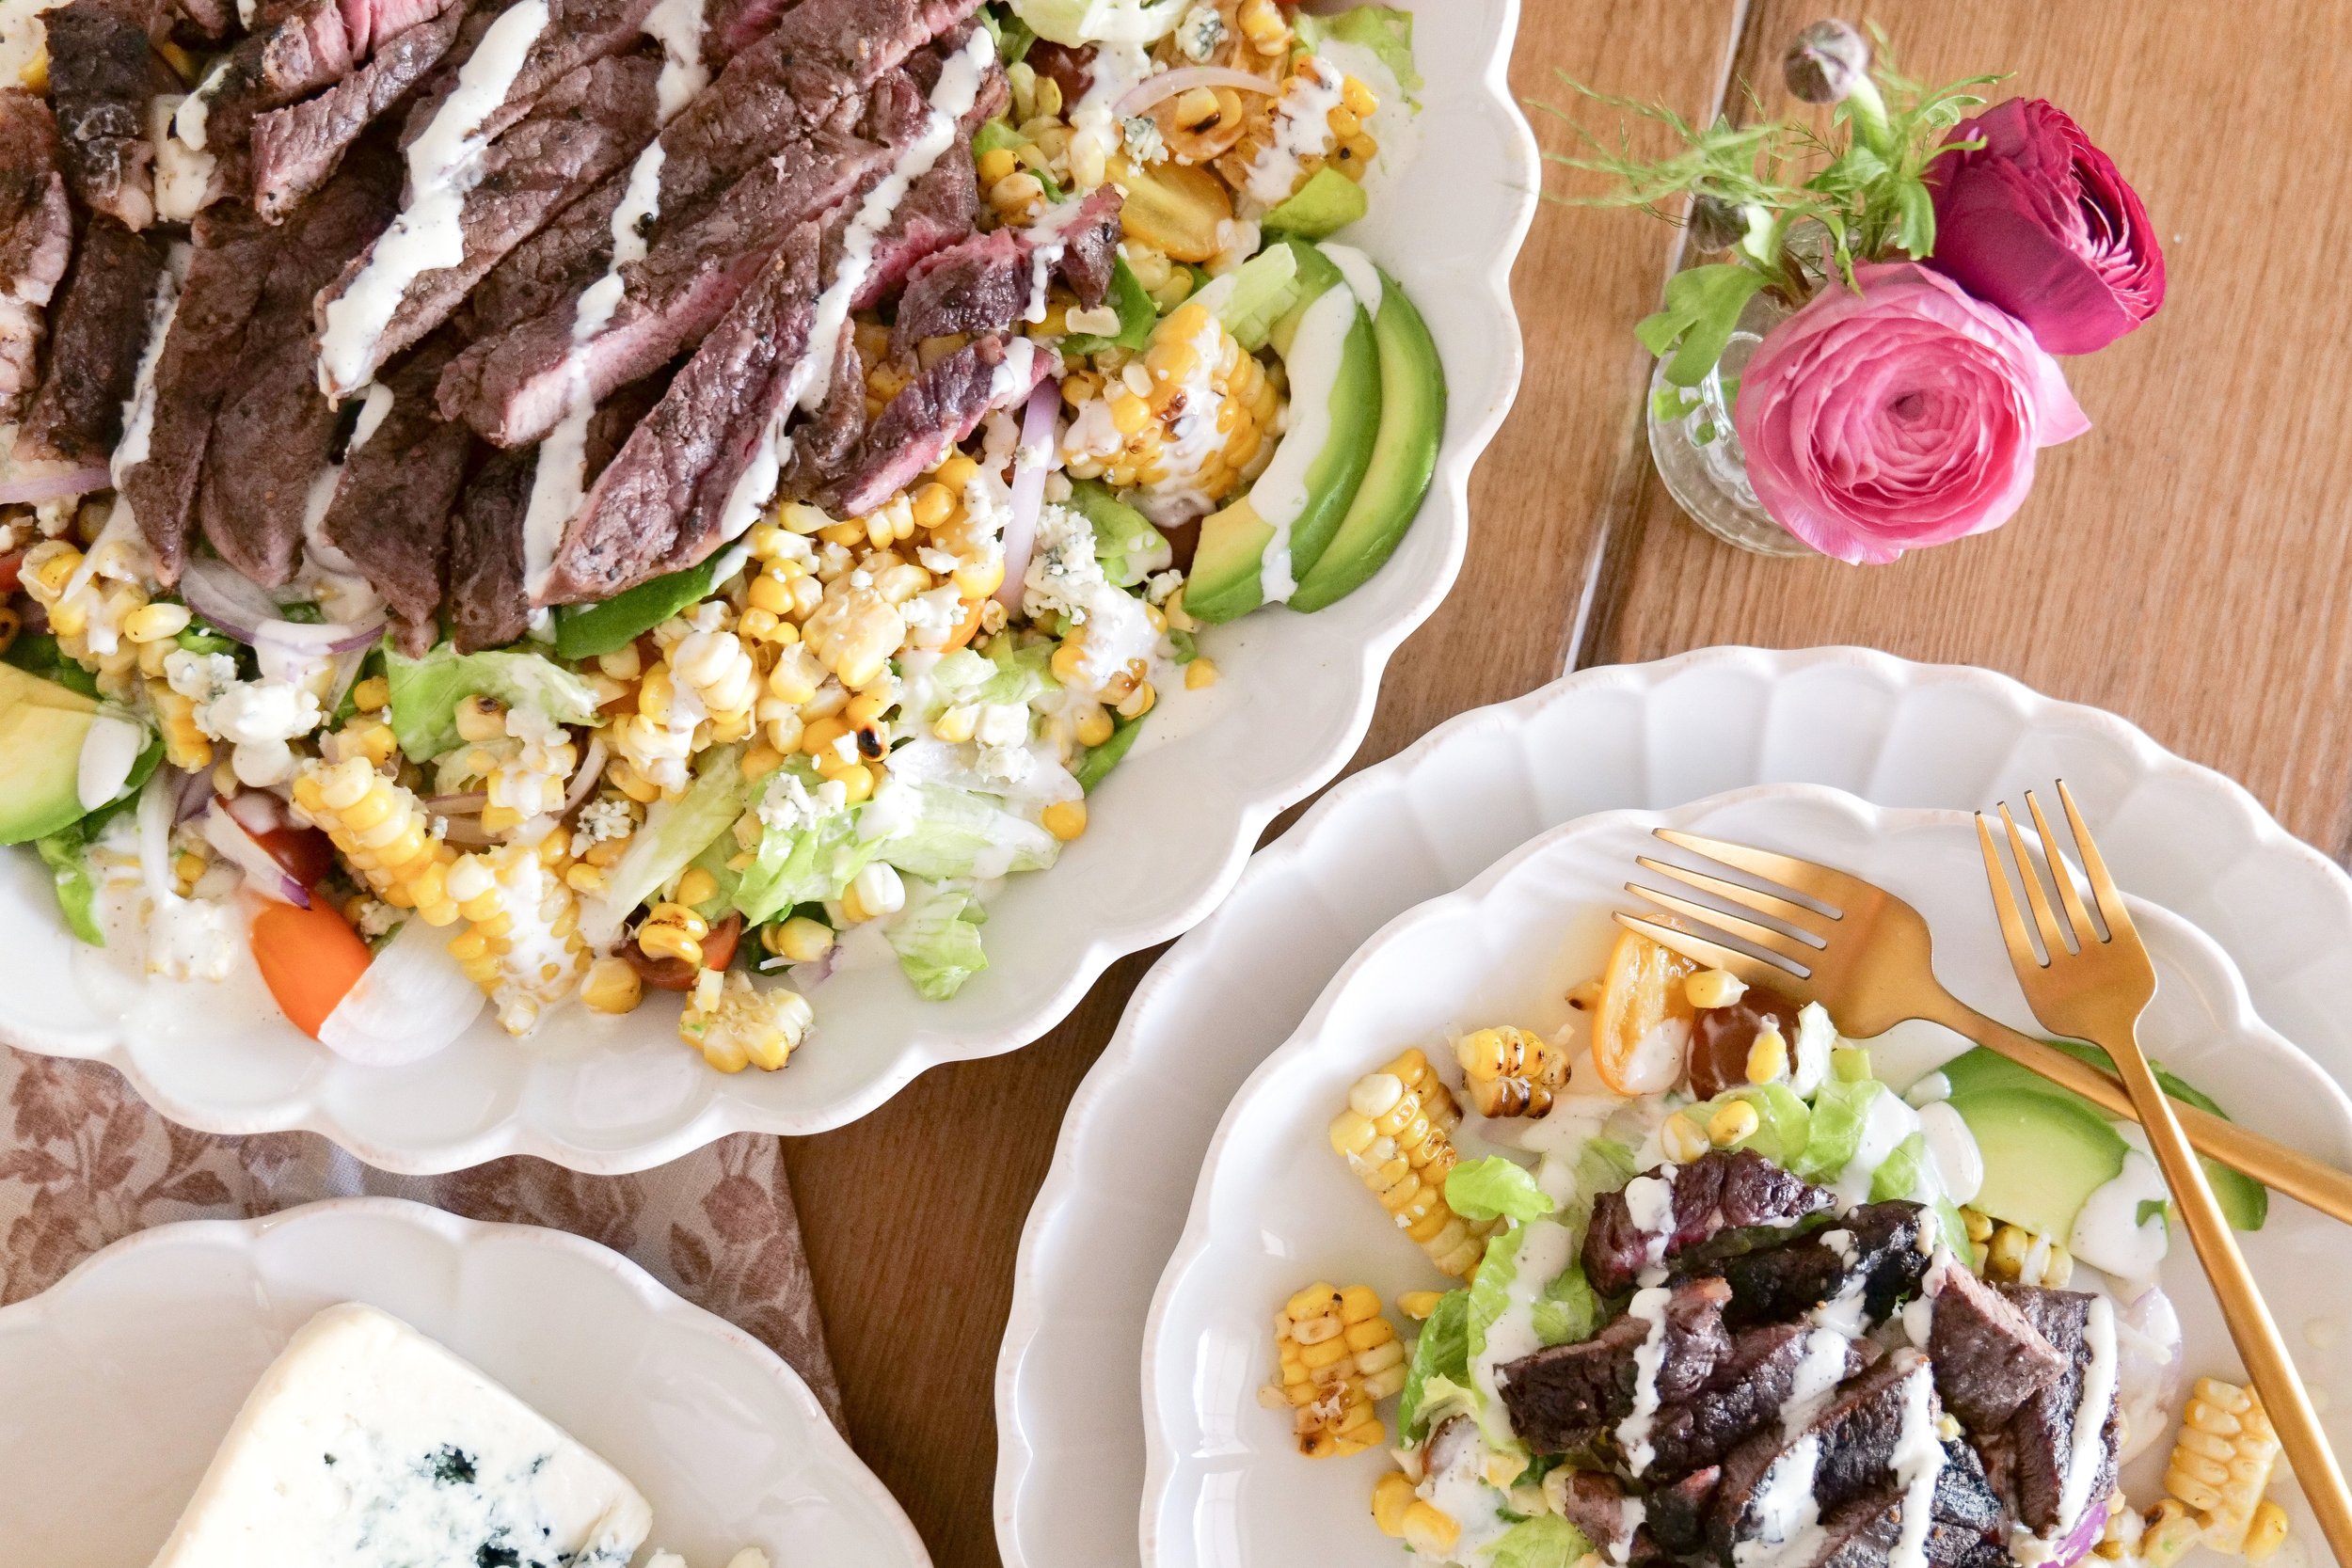
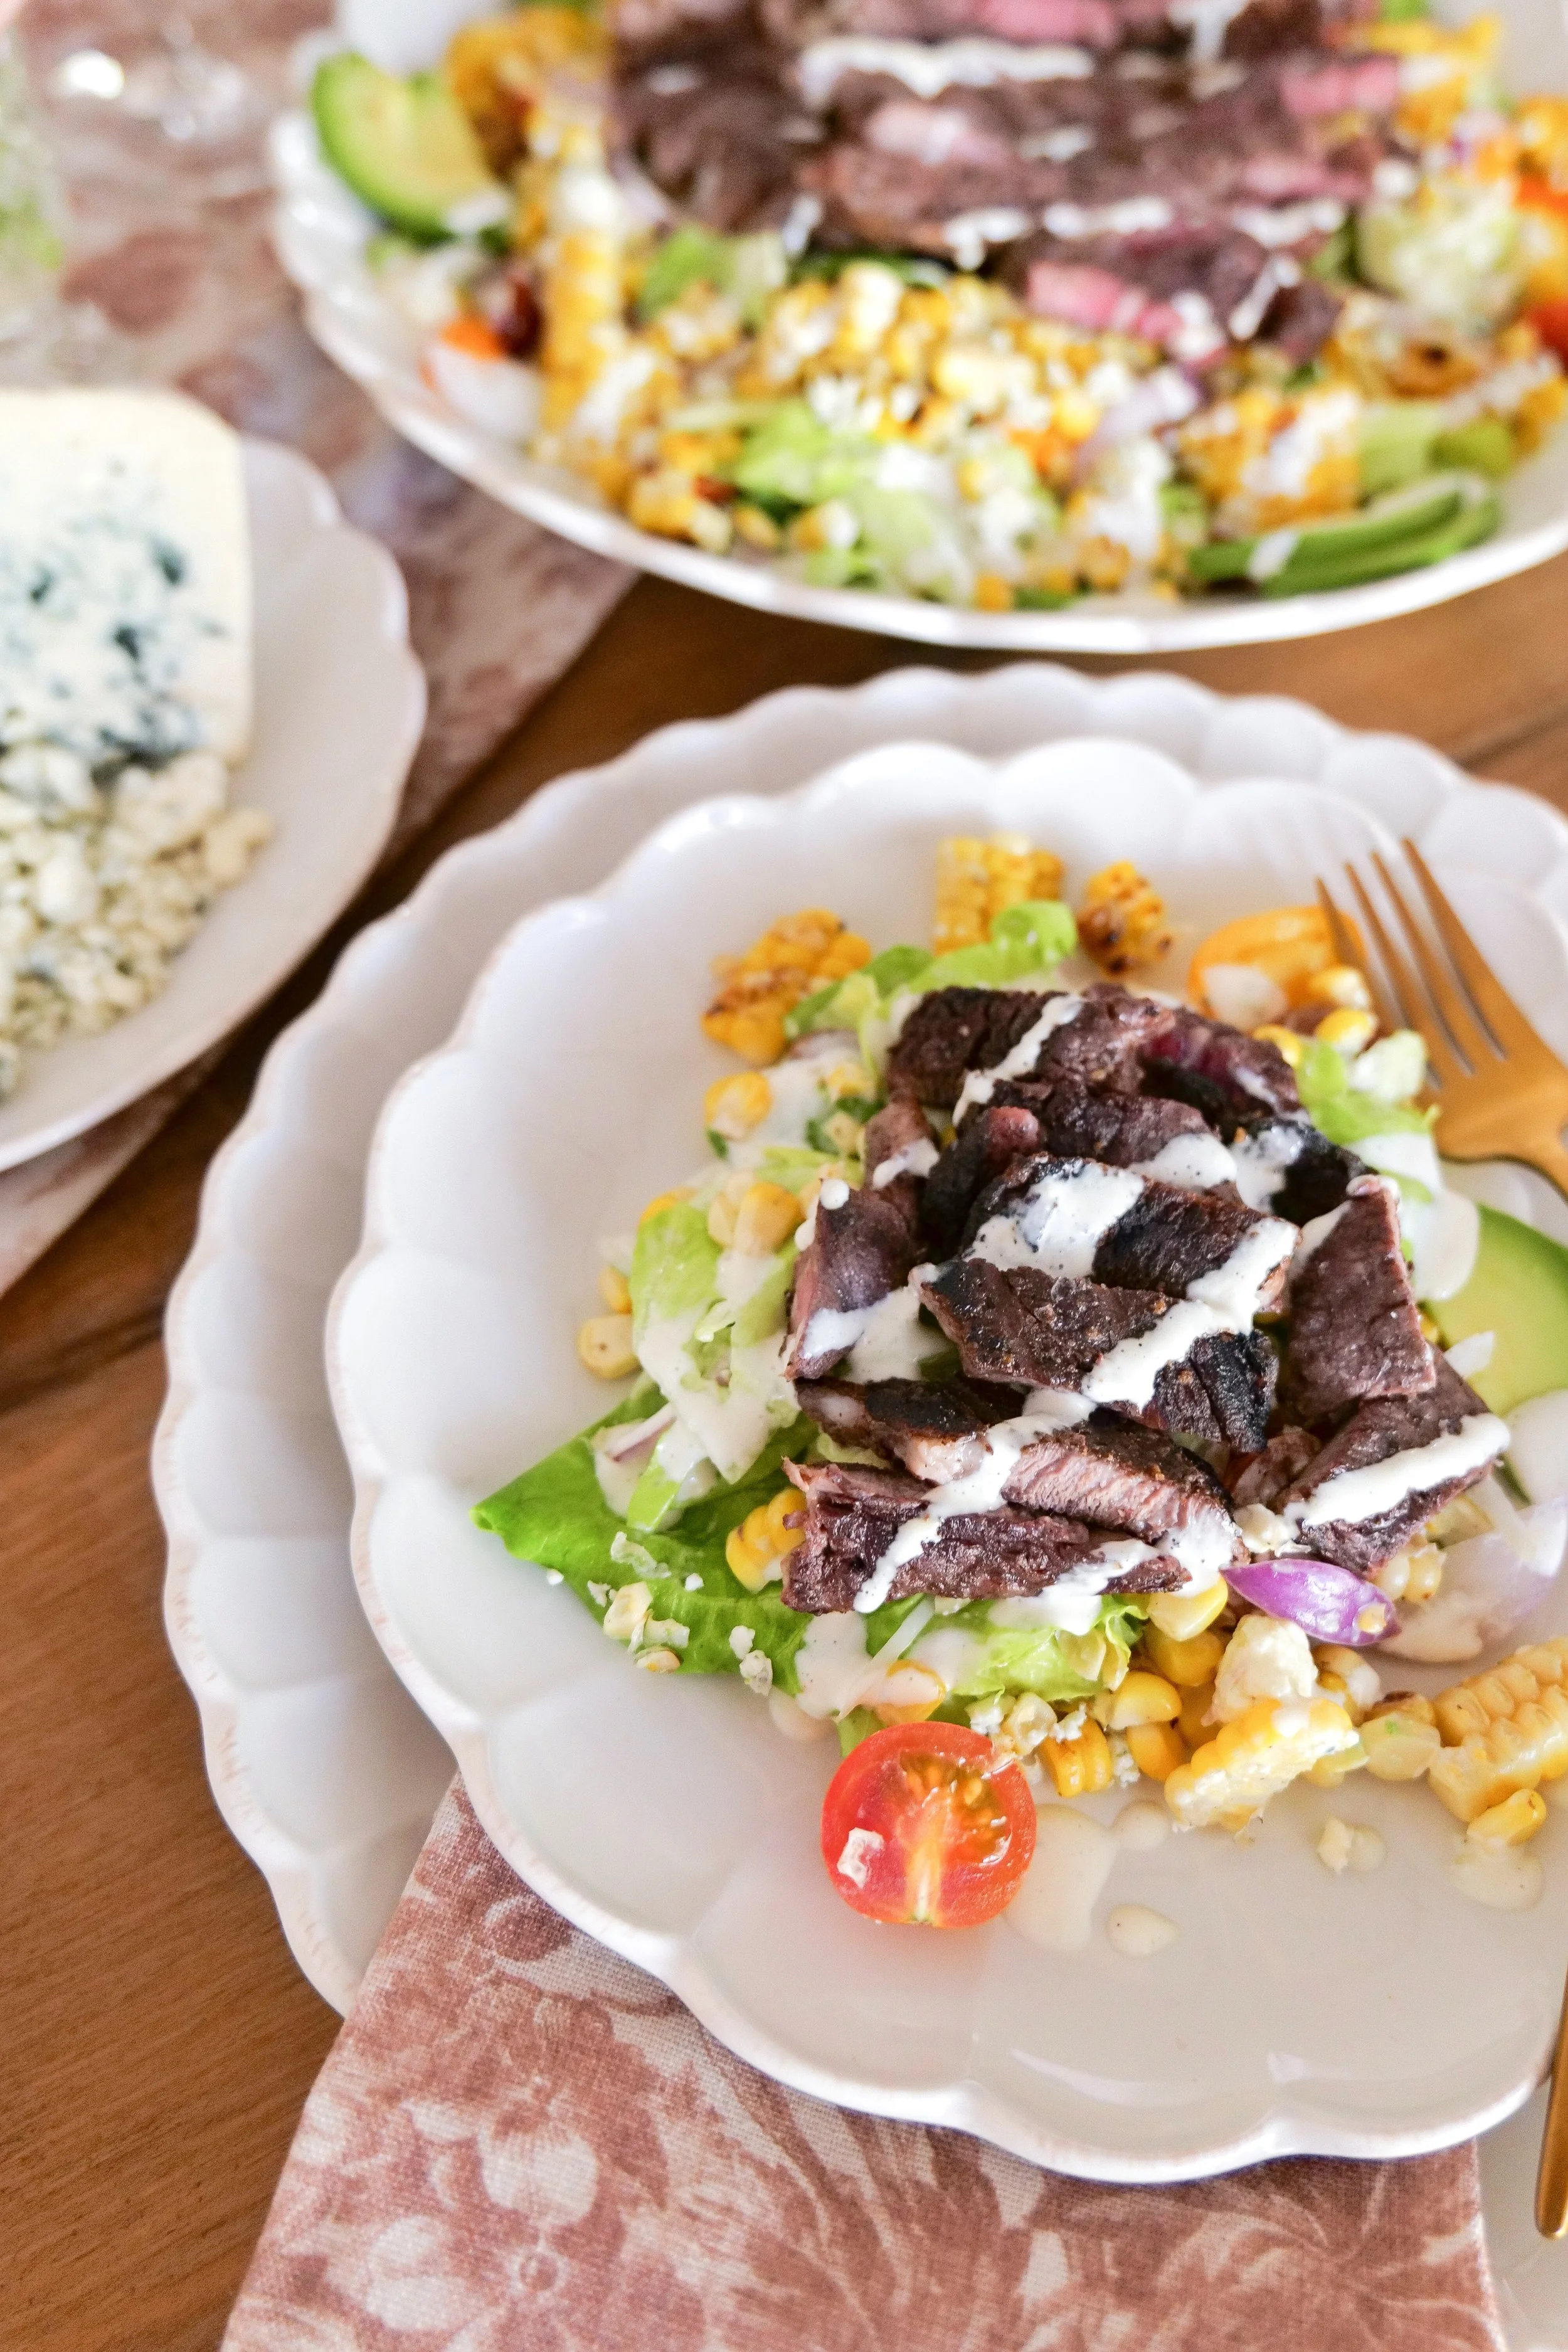
The Perfect Match: Grilled Steak & Blue Cheese Salad with Grilled Corn paired with J. Lohr Estates Seven Oaks Cabernet Sauvignon

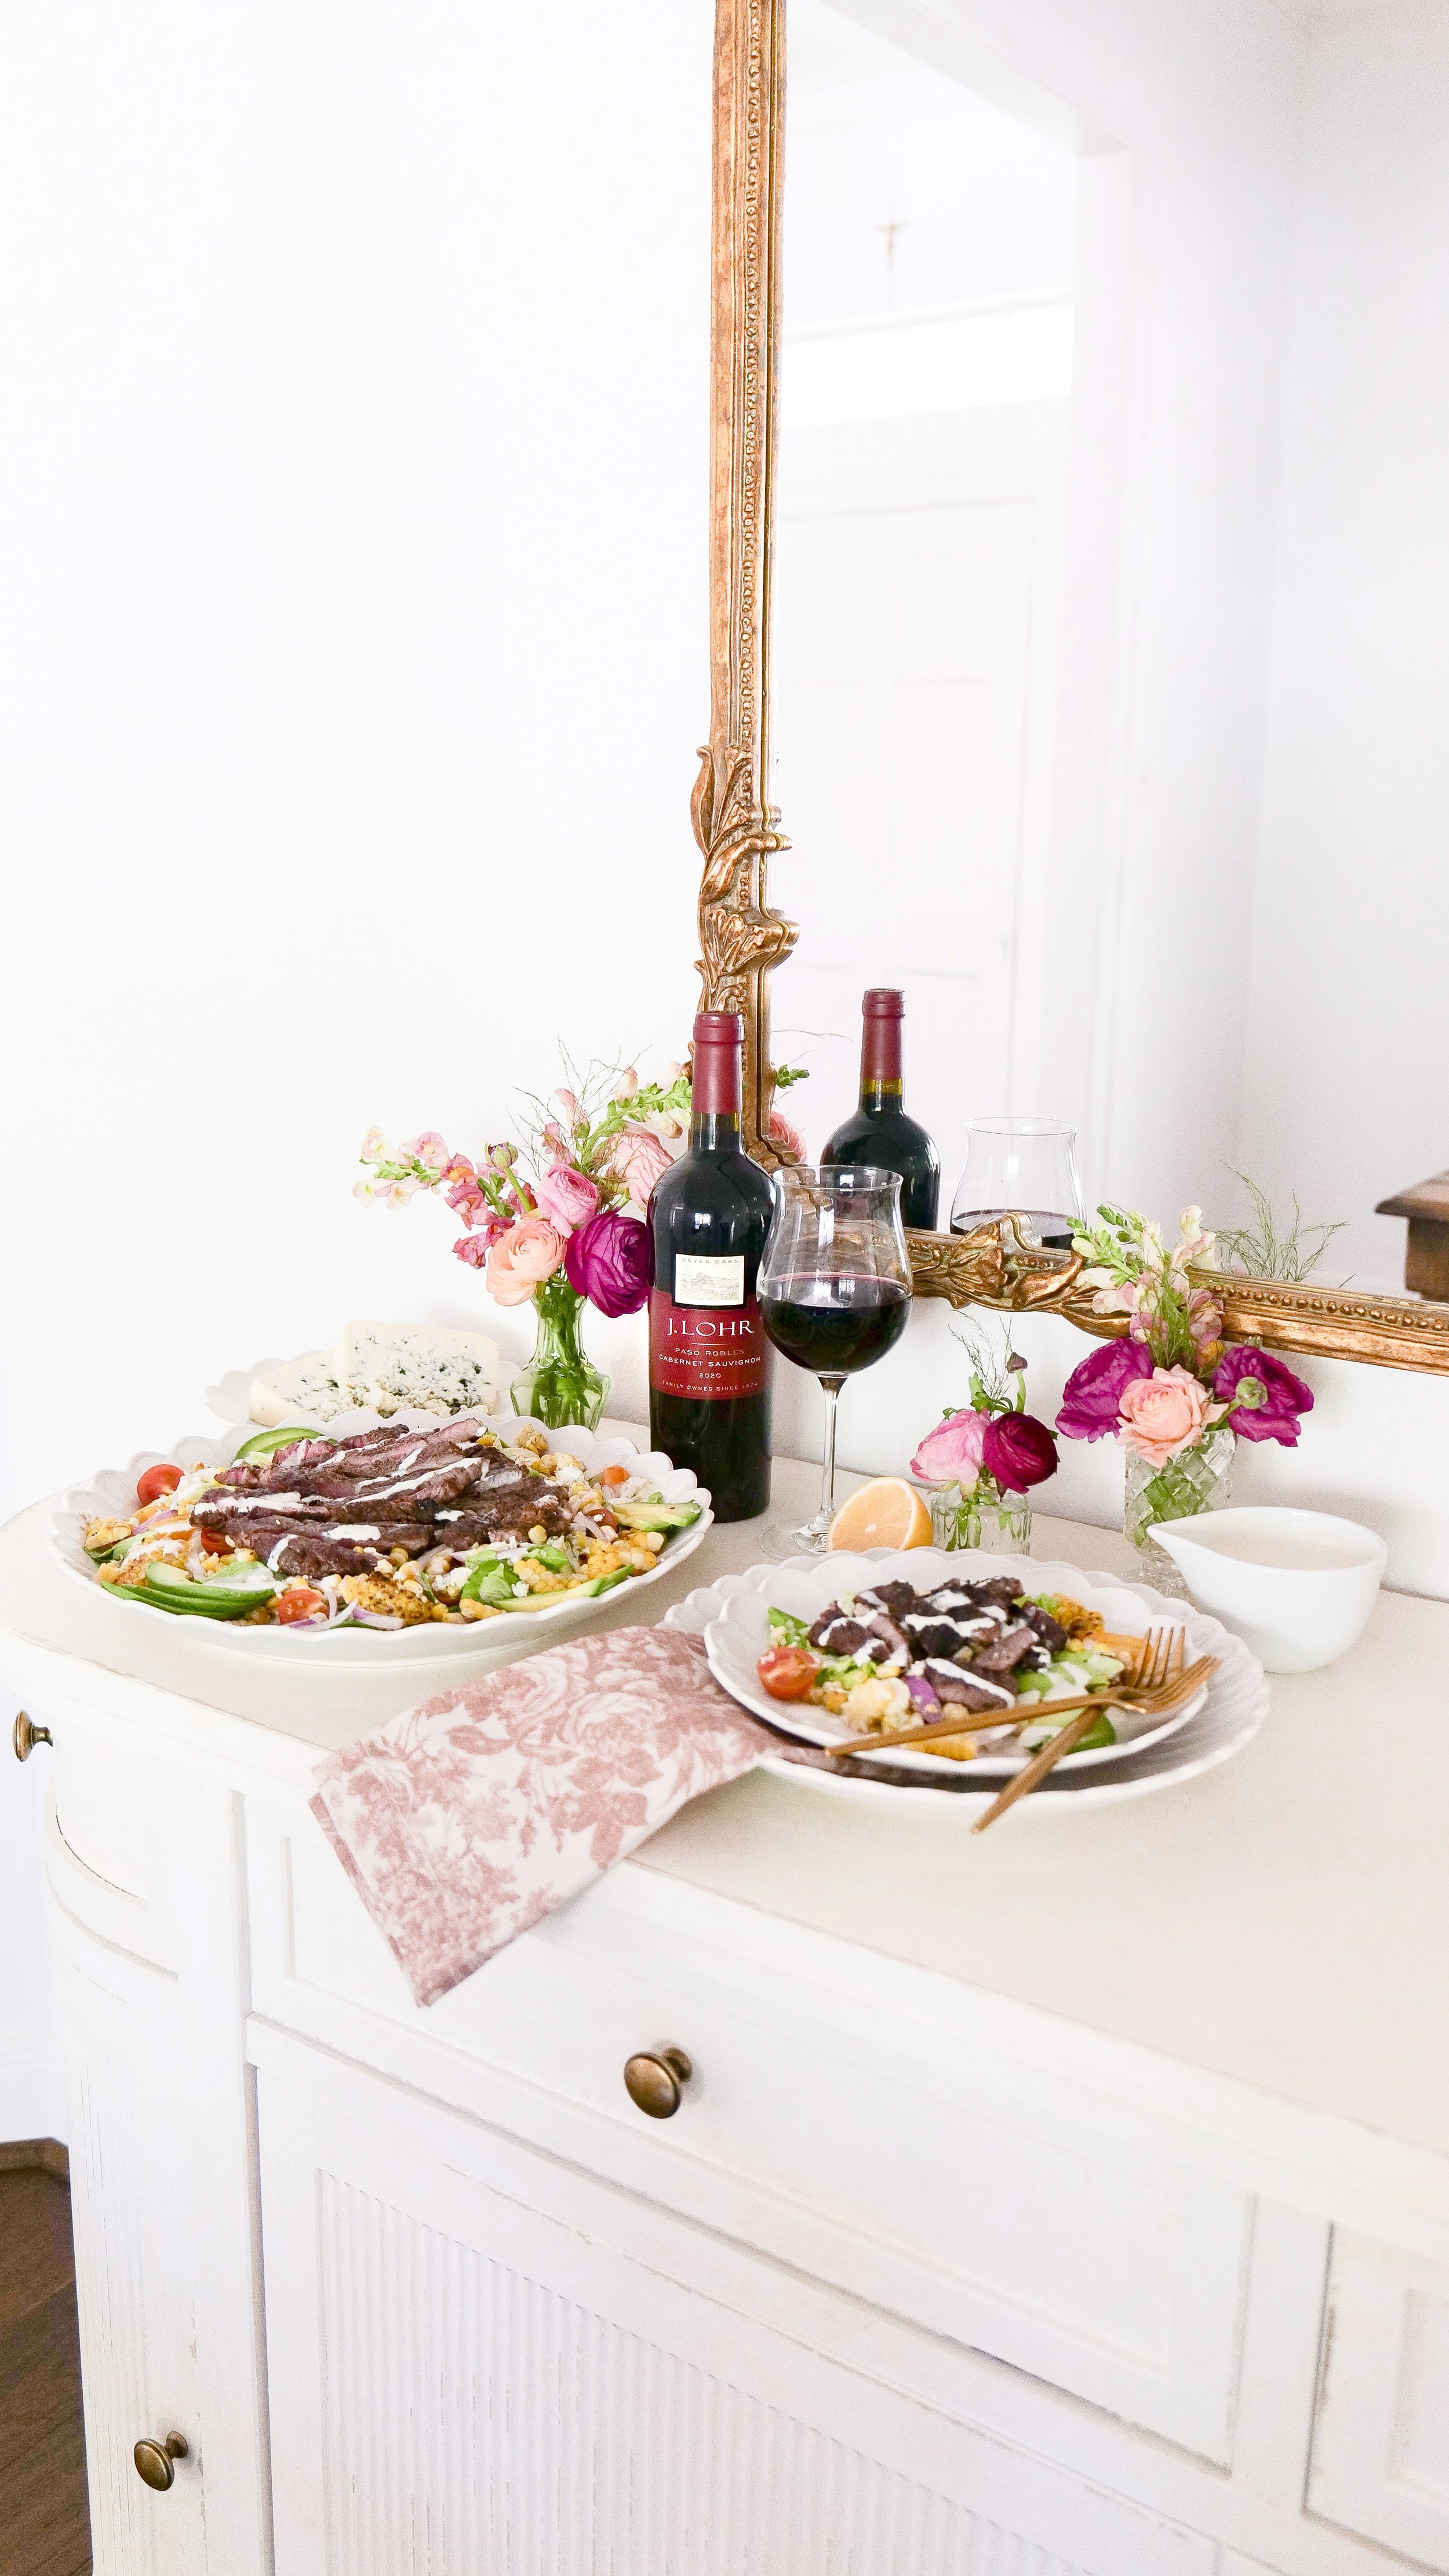
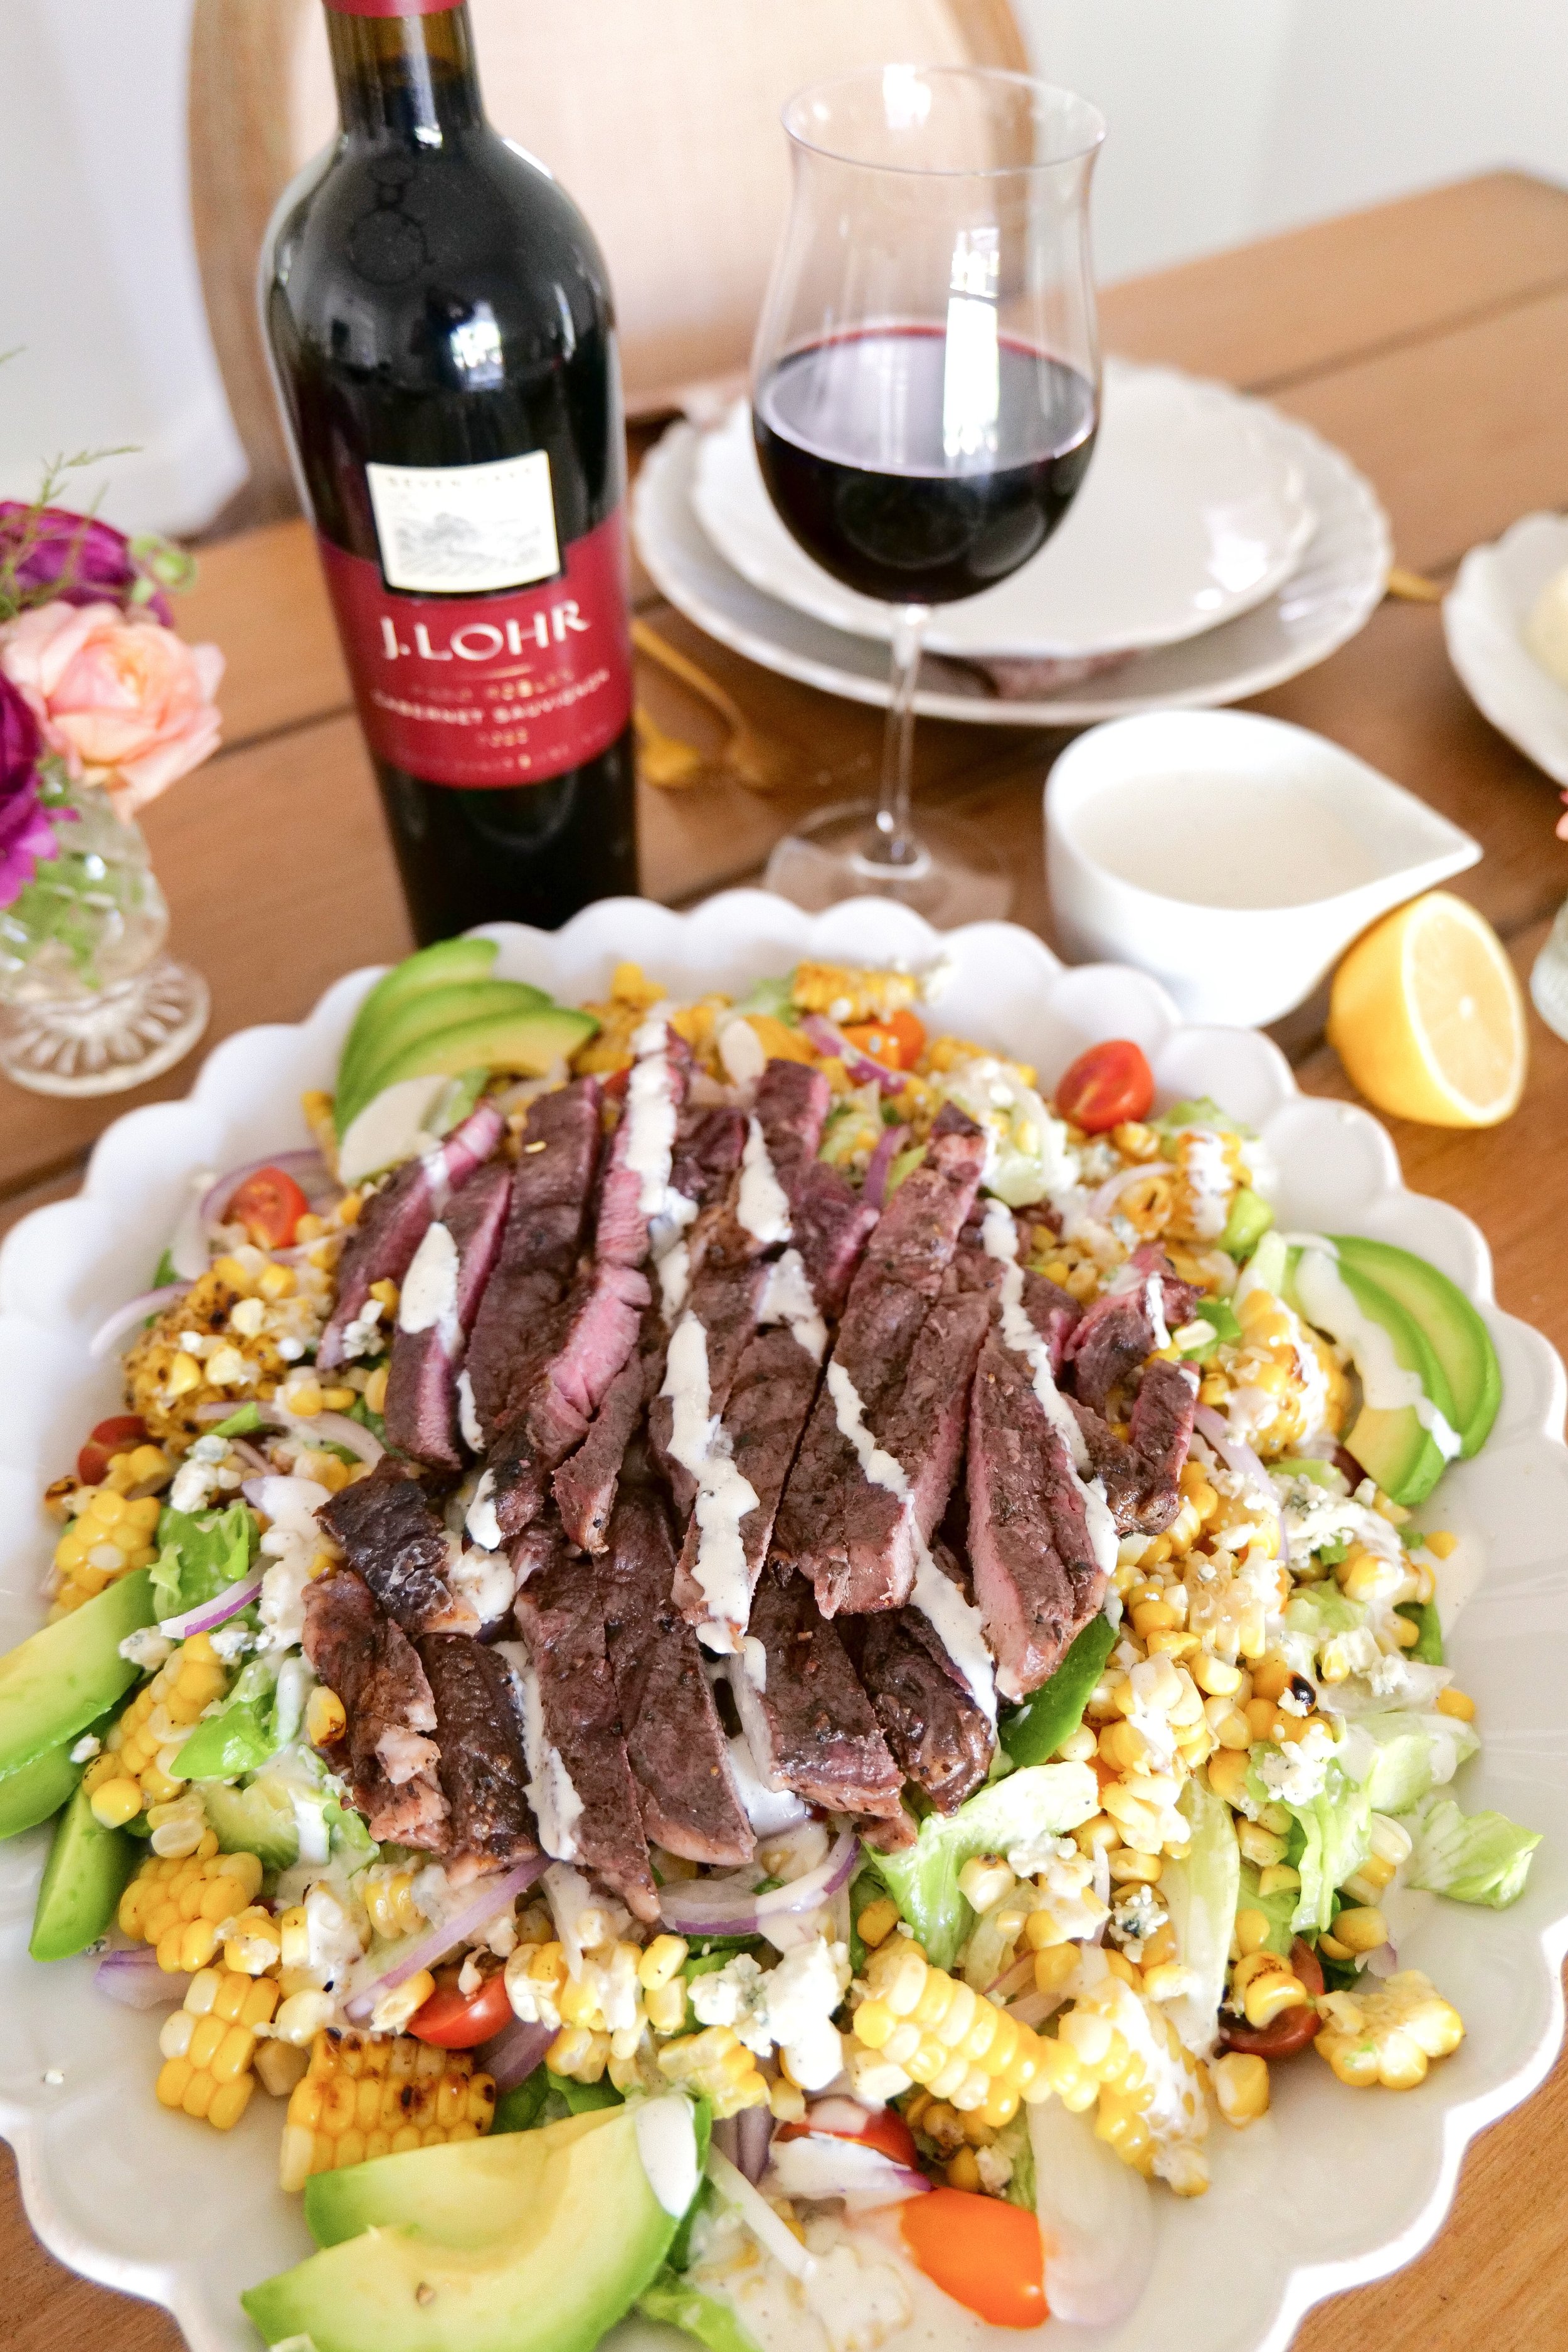
If you're looking for a new recipe that's delicious, hearty, and healthy, look no further than this grilled steak and blue cheese salad with grilled corn! This savory dish is made with flavorful steak, creamy blue cheese, and sweet grilled corn. Pair with a glass of the J. Lohr Estates Seven Oaks Cabernet Sauvignon to create a world-class meal that's sure to please. Not only is this dish tasty, but it's also easy to make, giving you a delectable dinner on the table in no time! One of my favorite go to salad meals and I am especially enjoying it on National Cabernet Day today!

Let me just say, that this unique combination of flavors will surely impress your dinner guests and make even the pickiest eater happy. A juicy steak is the perfect complement to the tangy blue cheese and smoky grilled corn for a flavor combination that is out of this world. Let's not forget that when accompanied by a glass of J. Lohr Estates Seven Oaks Cabernet, the dining adventure of this meal becomes truly epic! The bold, full-bodied flavor of the Cabernet adds the perfect touch of elegance to this dish, making it an ideal pairing for a casual dinner at home to an elegant dinner party.

A little background on the wine is that it is produced and bottled by J. Lohr Vineyards & Wines in Paso Robles, CA. In the glass you’lll see a deep, bright, red-purple hue and on the nose an abundance of dark cherry and black currant fruit enhanced by accent notes of toasted pastry, hazelnut, and vanilla. This comes from their extensive barrel aging program. I find that you can pair this Cabernet with a variety of dishes, from pulled pork sandwiches and coleslaw to your favorite lasagna. Hard cheeses and beef are the best pairing of them all which is why I think this steak and blue cheese salad is the ultimate dish.

Steak Choices

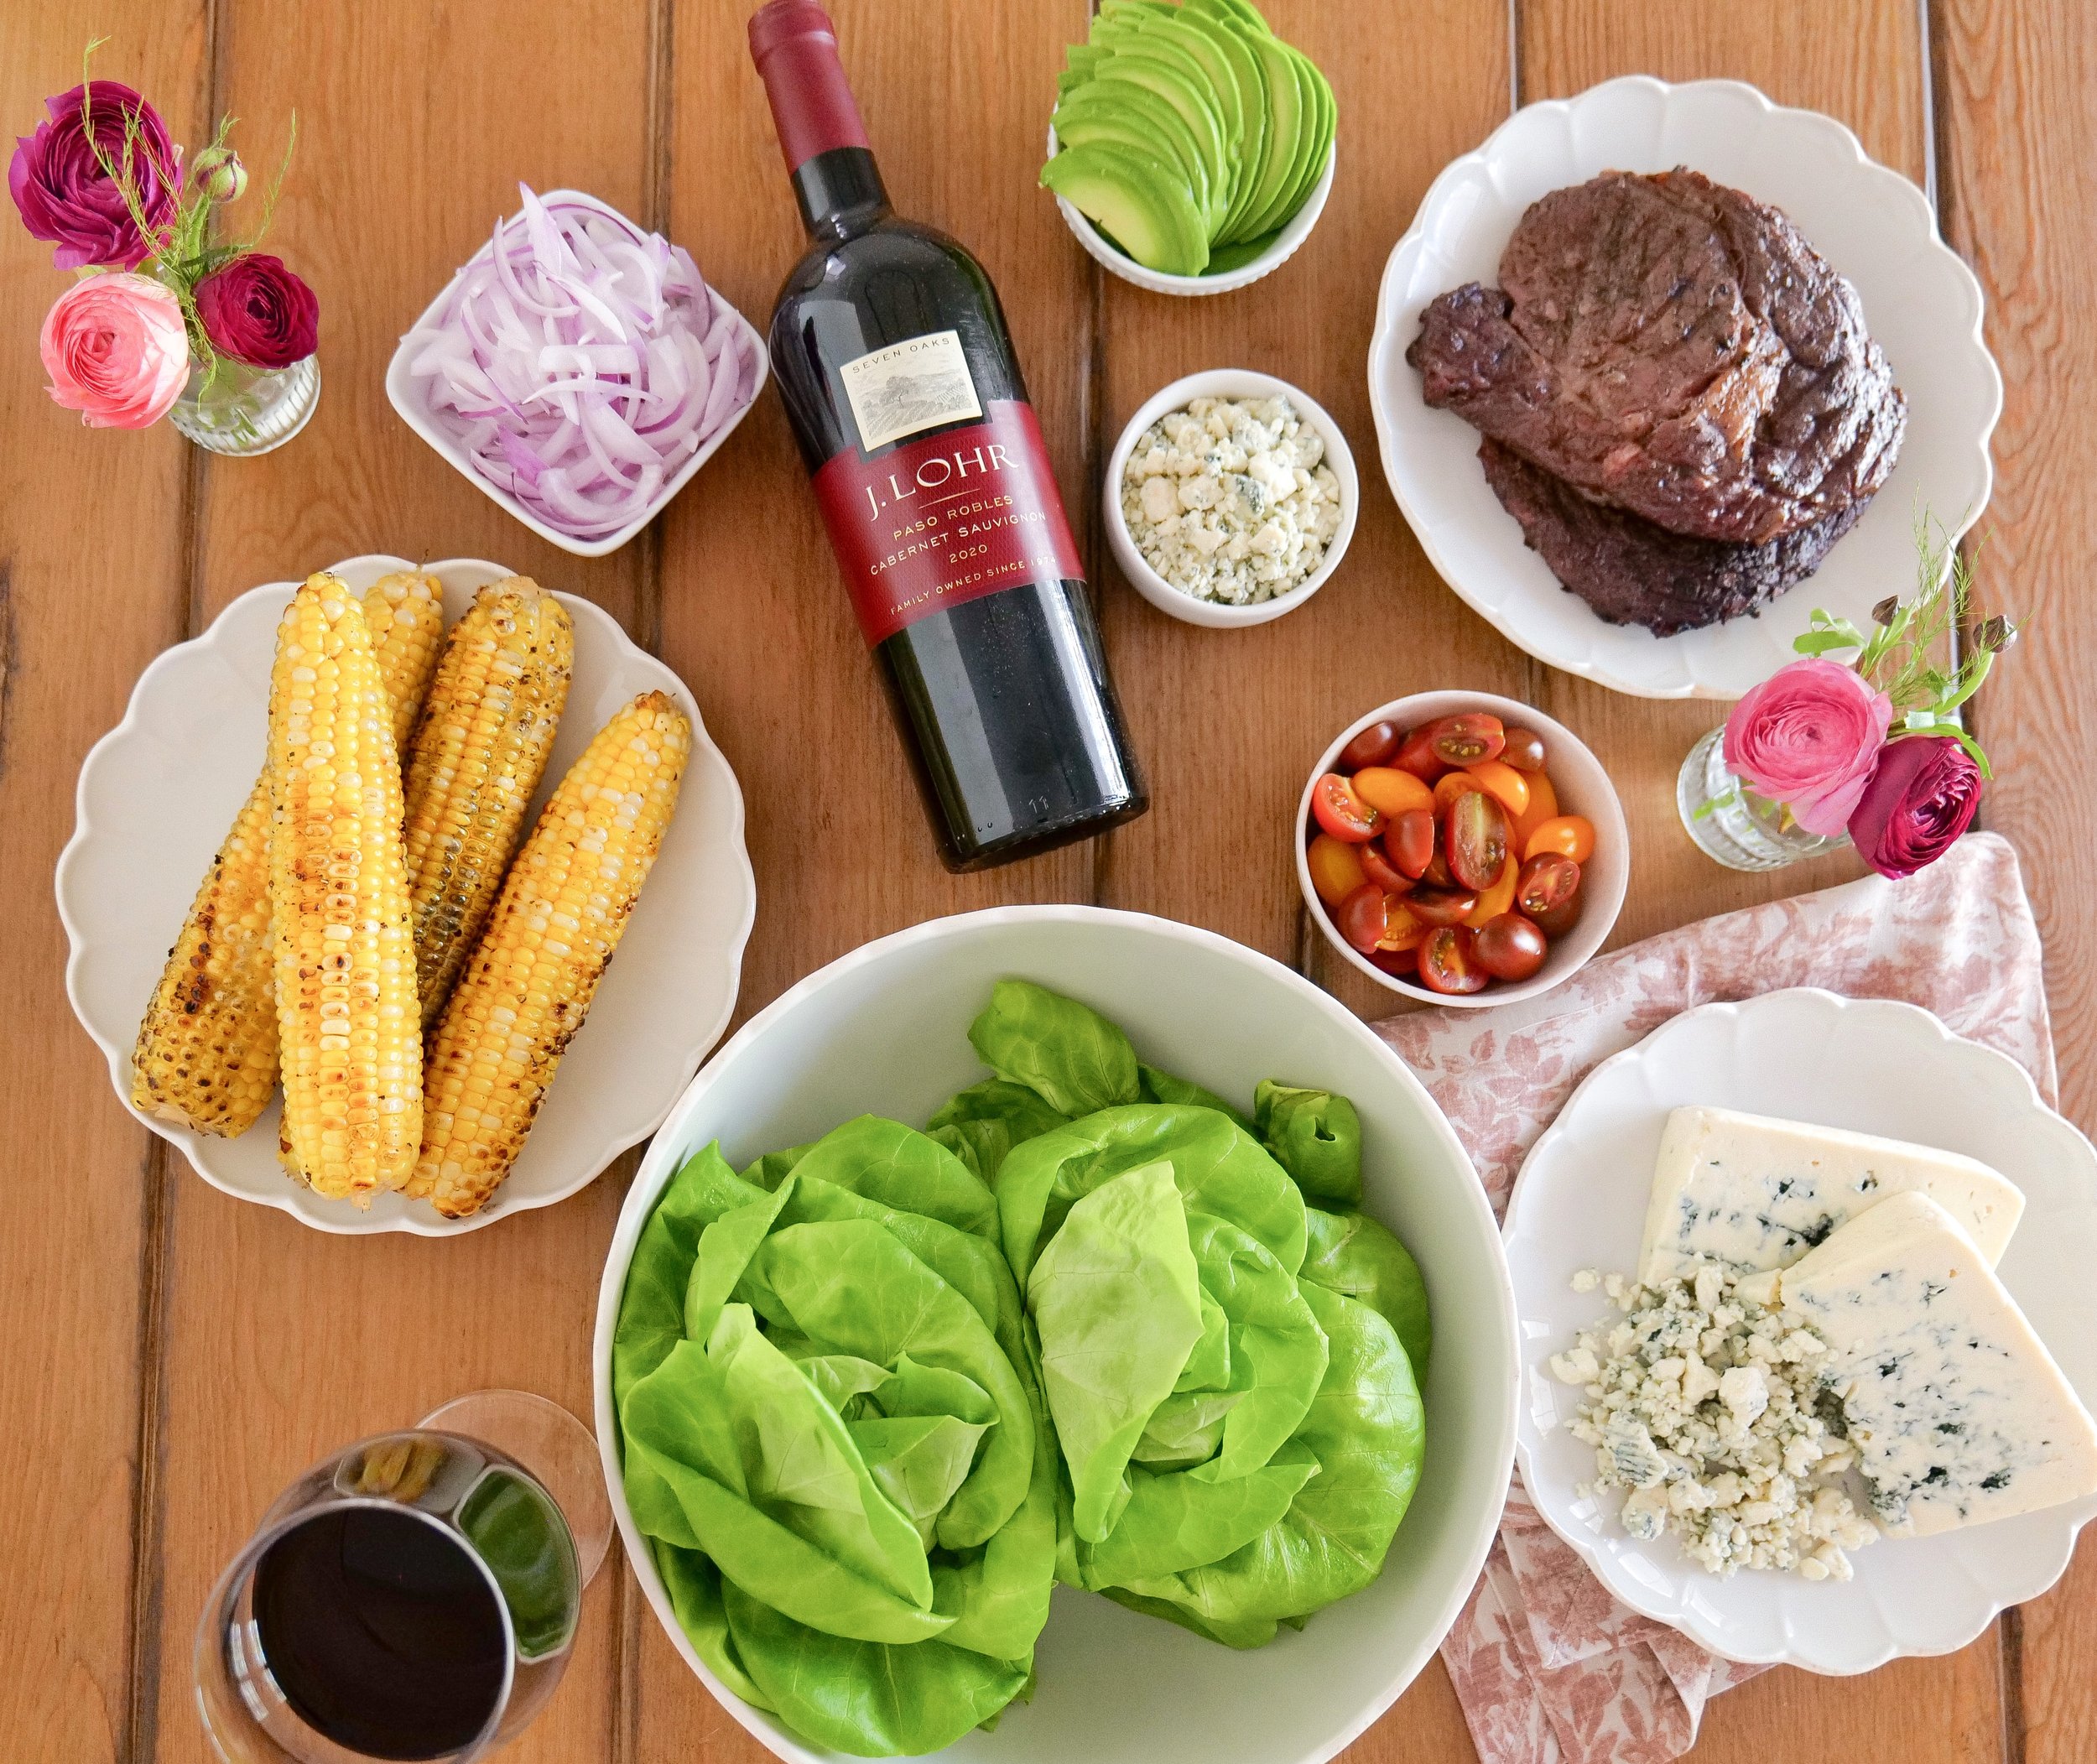
The key to making this salad is to choose the right cut of steak. In my opinion, a grilled ribeye works best as the ribeye has a bold, beefy flavor that will stand up to the intense flavors of the blue cheese. For a juicy, flavorful steak, look for a steak with plenty of marbling. To get that perfect medium-rare steak, grill each side for 3-4 minutes at high heat. Make sure to rest the steak for 5-10 minutes after cooking, as this will allow the juices to redistribute and ensure it’s perfectly juicy. Add grilled corn, blue cheese crumbles, and a drizzle of the blue cheese dressing to complete the salad.

Grilling Corn

Start lightly brushing the corn with extra virgin olive oil or melted butter before grilling. This will ensure even cooking and maximum flavor when it's time to add it to the salad. Grill the corn over medium-high heat, turning frequently, for approximately 8-10 minutes until it is lightly charred and tender. Add a sprinkle of sea salt and freshly ground black pepper to the corn for optimal flavor before grilling. Once the corn is finished grilling, let it cool slightly before adding it to the salad.

Salad Ingredients

Serving 4

10 ounces of butter lettuce or mixed spring greens

2 - 10 oz ribeye steaks

1/2 cup blue cheese crumbles

4 corn on the cob

1/2 a large red onion, sliced

6 oz cherry tomatoes, halved

1 avocado thinly sliced

Dressing Ingredients

1 cup mayonnaise

3/4 cup low-fat buttermilk

1/2 cup sour cream

4 oz blue cheese crumbled

3 garlic cloves minced

1 tablespoon fresh lemon juice

1/2 teaspoon ground pepper

1/4-1/2 teaspoon coarse salt

Directions

1. Rinse and pat dry all fruit and vegetables.

2. Add all dressing ingredients into a blender and blend until smooth. If you liked your blue cheese dressing more chunky, you can add crumbles into the dressing now. For a thinner consistency, leave alone after blending. This dressing can be premade in an airtight container in the refrigerator up to 2 days ahead.

3. Grill steaks and corn. Start your grill, butter corn on the cob, and add salt and pepper to corn and steaks. Place steaks and corn on the grill. Grill corn for 8-10 minutes, turning every 2-3 minutes. Grill Steaks for 3-4 minutes on each side or until cooked to your liking. Remove all from the grill and let sit for 5-10 minutes. Slice steaks into strips and cut corn off of the cob.

4. Now, it's time to assemble the grilled steak blue cheese salad with grilled corn salad. Add butter lettuce roughly chopped into a large bowl with half the red onion, corn, blue cheese, and cherry tomatoes. Pour dressing over the top and stir together! Then, layer the remainder of the red onion, corn, cherry tomatoes, sliced steak, and avocado. Liberally sprinkle blue cheese on top and serve!

My husband and I always enjoy a great steak dinner with a chopped salad, the perfect way to enjoy it as a lighter fare. Nothing compares to the smoky, charred flavor of grilled steak and the blue cheese's nutty richness. Enjoy the flavors of this delicious steak salad paired with the J. Lohr Estates Seven Oaks Cabernet Sauvignon for a truly memorable experience. I love how this Cabernet brings out the charred flavors of the steak and the nutty flavors of the blue cheese. The sweetness of the grilled corn is a perfect balance for the bold cabernet, creating an unparalleled flavor combination.

For Other Recipes & Pairings with J.Lohr wines:

The Perfect Pair: Chicken Picatta and J. Lohr Wine

Planning the Perfect Romantic Picnic with J. Lohr Wines

The Bloggers Guide to Merlot

The Perfect Pair: Chicken Picatta and J. Lohr Wine

If you're looking for a delicious dinner option that pairs perfectly with a great bottle of wine, look no further than this Chicken Piccata recipe paired with the J. Lohr Estates Riverstone Chardonnay. This traditional Italian dish includes chicken breasts, butter, garlic, and white wine. It is served with a smooth, light lemon, caper, and butter sauce. The accompaniment of a glass of Riverstone Chardonnay makes for the perfect pairing, offering a unique flavor and aroma that will enhance the flavors of the dish. Whether you're hosting a dinner party or just looking to create a delicious dinner for two, this Chicken Piccata paired with the J. Lohr Wines Riverstone Chardonnay is sure to please!


Tips for Pairing Wine with Chicken Piccata

Chicken Piccata is a favorite dish of mine that combines butter, capers, and very subtle hints of lemon that creates a flavorful and acidic sauce, which pairs perfectly with a creamy white wine such as Chardonnay. For a classic pairing, I recommend enjoying a glass of the J. Lohr Estates Riverstone Chardonnay with this meal. With its light acidity and hints of lemon, you'll find that this wine perfectly complements the acidic and buttery sauce of the Chicken Piccata. As you will see in the recipe below, I don't add extra lemon juice or zest like many other traditional Chicken Piccata dishes because of the selected wine pairing. With this wine having a hint of ripe Meyer lemon in its flavor profile, I didn't want an overly lemony sauce to pair with it. If opting to exclude the extra lemon juice, you can substitute with some vegetable broth. This recipe, just like the wine, can be very versatile to suit your taste buds.

J. Lohr Vineyards & Wines produces some of the world's most popular and well-regarded Chardonnays, which they call REAL Chardonnay. What is REAL Chardonnay? It’s when the wine comes from perfectly sited, cool-climate, and sustainably farmed vineyards in Monterey's Arroyo Seco AVA. It's also using 10 different Chardonnay clones and aging using only the finest oak barrels. The range of flavors, from light and crisp to full-bodied and complex, makes each of J. Lohr's three Chardonnays the perfect accompaniment to this classic Italian dish.

The J. Lohr Estates Riverstone Chardonnay has aromas of orange, white peach, a little pear, and sweet oak with baking spices on the long finish, giving it a delicious flavor. The wine is medium-bodied, with a smooth and creamy finish. These flavors work perfectly with the lemon and caper sauce in Chicken Piccata, as the richness of the wine helps to balance the acidic nature of the sauce. The fruit flavors of the wine help to enhance the delicate flavors of the chicken. The medium body of the wine also helps to bring out the subtle flavors of the dish without overpowering it.

So, if you're looking for a delicious and easy-to-prepare meal to pair with a bottle of J. Lohr wine, Chicken Piccata is a perfect choice. The combination of the wine's rich and fruity flavors and the dish's tangy and delicate flavors will create a unique culinary experience that your guests are sure to love. Other pairings for the J. Lohr Estates Riverstone Chardonnay are seafood risotto, mussels in white wine sauce, roast chicken with apples, and holiday ham and turkey.

My Chicken Piccata Recipe

Serves 6

Ingredients

3 large chicken breasts, cut in half and pounded

Salt & Pepper to taste

1/2 teaspoon garlic powder

Flour (for dredging)

6 tablespoons butter, divided

2 tablespoons olive oil

1 shallot, diced

1/4 cup chicken broth 

Splash of white wine

1 lemon, thinly sliced

1 tablespoon brined capers, drained

1/2 cup heavy whipping cream

Freshly grated parmesan cheese


Instructions

1. Slice chicken breasts in half to make 6 smaller chicken pieces. Pound until thin. Season chicken generously with salt

and pepper. Place flour on a plate, add garlic powder and mix. Coat the chicken in your flour mixture.

2. Add 2 tablespoons of butter and olive oil to a skillet over medium-high heat.

3. Once the pan is hot, cook the chicken pieces for about 7-8 minutes per side or until golden.

4. Remove the chicken from the skillet and set aside on a plate layered with paper towels.

5. Take the pan and add a splash of white wine to help pick up the brown bits and add flavor. Once brown bits come up, add 2 tablespoons of butter and the shallots. Let shallots cook until they are transparent.

6. Add the chicken broth, the last 2 tablespoons of butter, and capers to the skillet. Stir until the butter is melted and turn off the heat. Stir in the cream. (If you want to make this recipe without cream, increase the chicken broth to 3/4 cup.) Mix and add lemon slices. 

7. Add the chicken to the pan and garnish with parmesan cheese. 

 To learn more about J. Lohr: REAL Chardonnay click -here-

Looking for other articles on wine?

The Bloggers Guide to Merlot for more on this wine & other J. Lohr wines click -here-

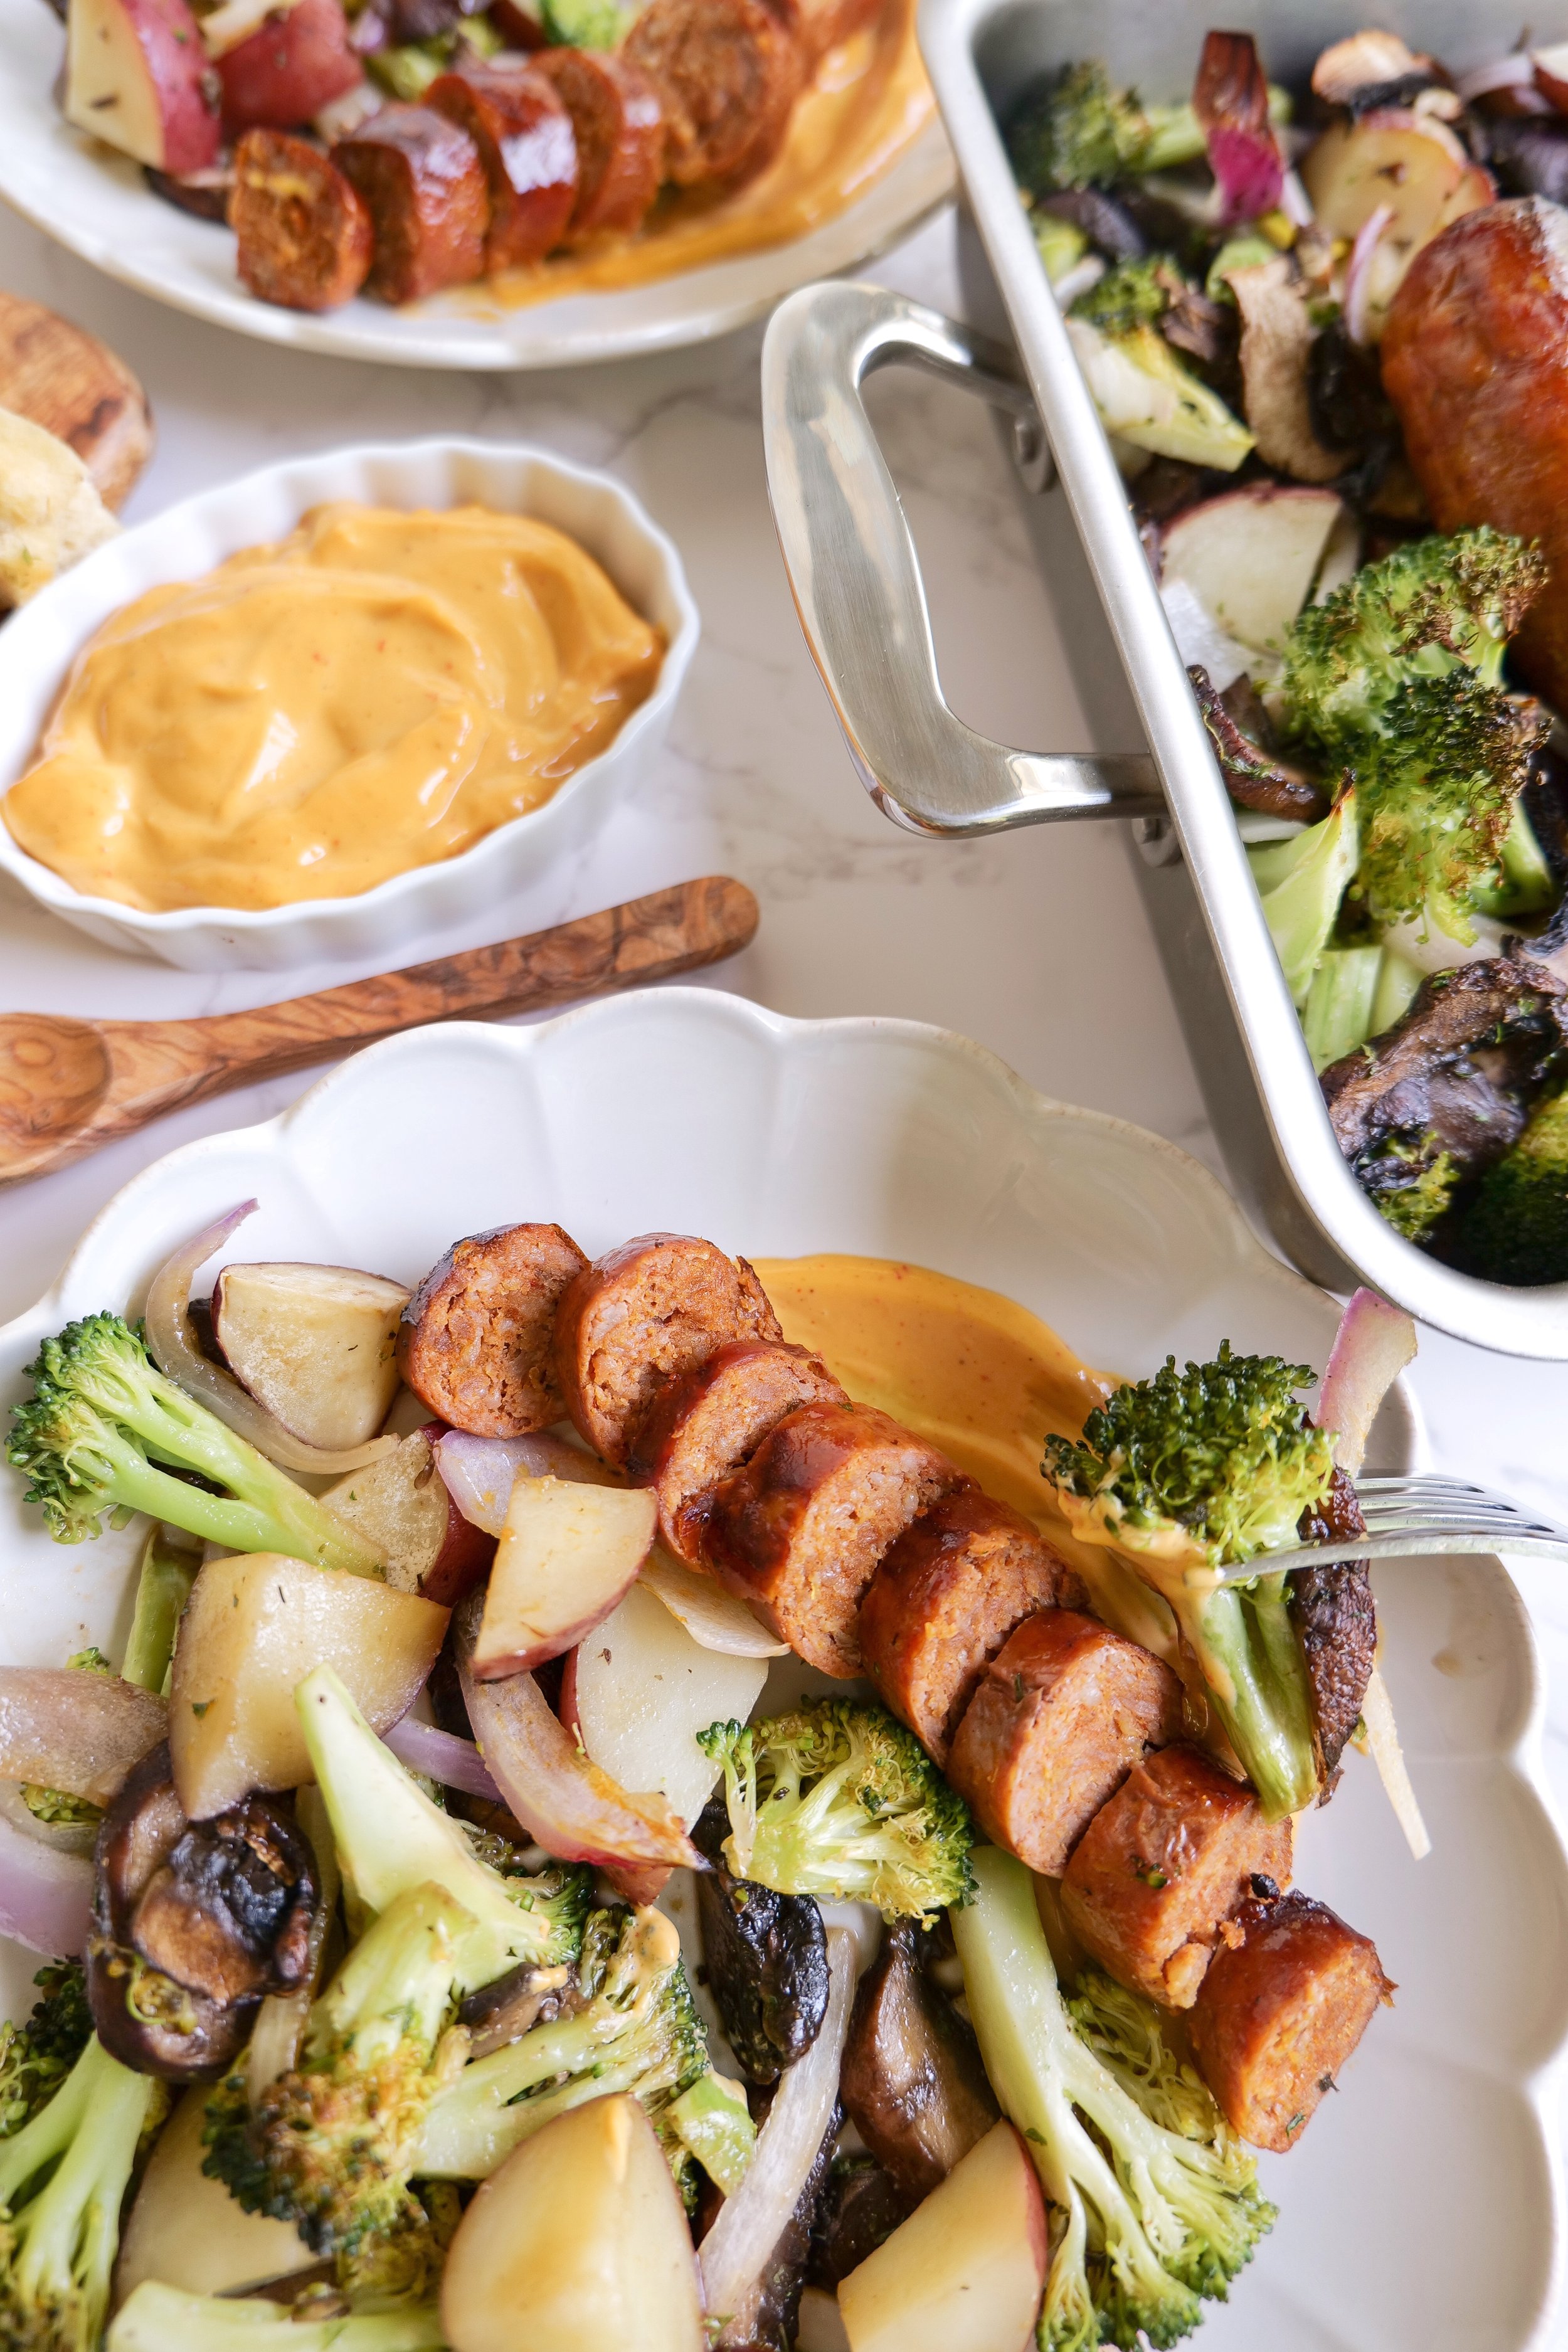
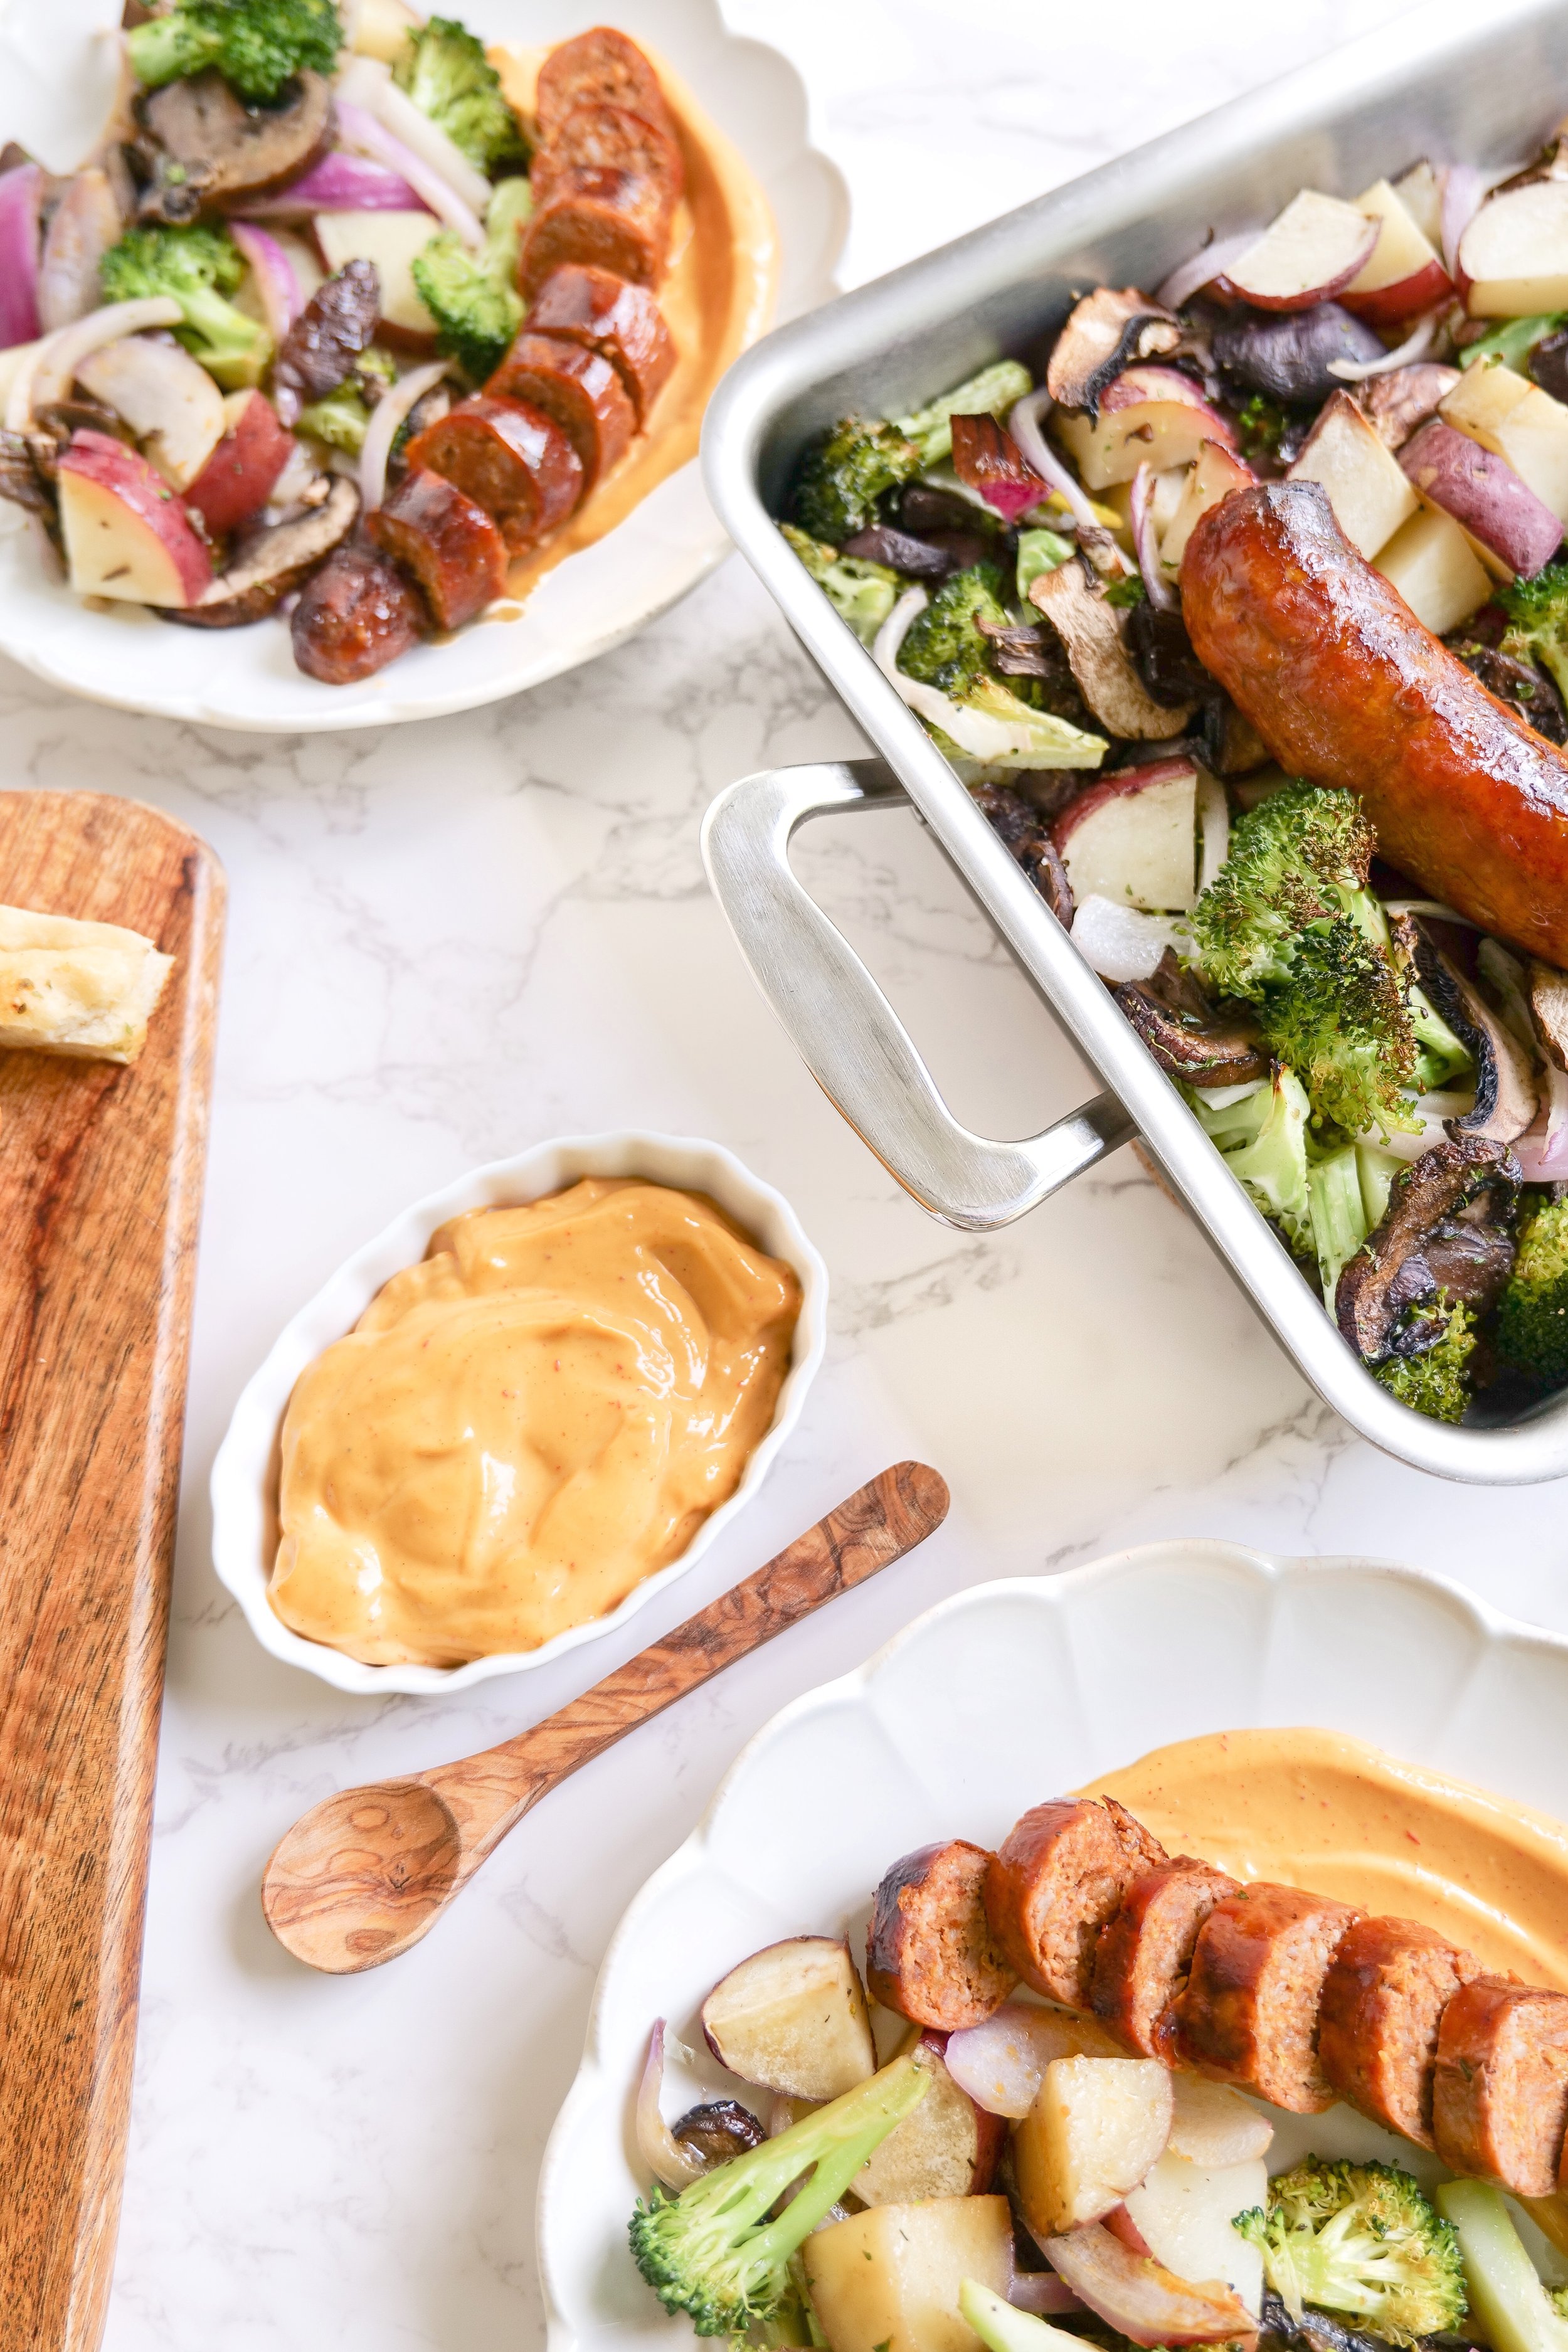
Delicious and Easy Chorizo One Pan Dinner

This easy and delicious chorizo one-pan dinner is a great way to get a hearty meal on the table in no time. With just a few simple ingredients, you can create a flavorful meal that the whole family will love. The combination of chorizo, potatoes, and veggies gives this dish a wonderful balance of flavors, and the one-pan preparation makes it a breeze to clean up after. So if you're looking for a quick and tasty dinner that won't break the bank, this chorizo one-pan dinner is a perfect choice.

Are you looking for a quick and easy meal to make on a busy night? Look no further than a chorizo one-pan dinner! This delicious meal only requires one pan, so you won't have to worry about cleaning multiple dishes afterward. The chorizo adds a smoky flavor to the meal that your whole family will love. You won't even have to worry about leftovers - all of the ingredients are cooked in the same pan!

Chorizo one-pan dinners is the perfect meal for busy days. They are quick, easy and delicious meals that the whole family will love. With only one pan needed, you can make a delicious dinner without having to clean multiple dishes. The chorizo adds a delicious smoky flavor to the meal that will make your taste buds happy! Plus, you don't have to worry about leftovers when making chorizo one-pan dinner - all of the ingredients are cooked in the same pan!

If you're looking for a quick and easy meal that the whole family will love, chorizo one-pan dinner is a perfect choice. Not only is it delicious, but it also only requires one pan - so you can spend less time cleaning and more time enjoying a delicious meal. Give it a try and you won't be disappointed!

What Ingredients Do I Need to Make a Chorizo One Pan Dinner?

To make this one-pan dinner for 4 people, you'll need: 4 links of chorizo sausage, 4 red potatoes, 1 red onion, 4 cups broccoli, 16 oz mushrooms, 1/3 cup olive oil, 2 tbsp Homemade Ranch Seasoning, and Spicy Mayo.

Your Chorizo One Pan Dinner is now ready to enjoy with your favorite group of people, but can be made for as many or as few people as desired! Serve it up "as is", or with a great sauce such as a yummy spicy mayo or creamy sauce. This one-pan dinner is a great way to get a healthy and delicious meal on the table in no time! Another way to make it your own is changing out the veggies to your family's favorites!

Ingredients

4 chorizo links

4 red potatoes

1 red onion

4 cups broccoli

16 oz mushrooms

1/3 cup olive oil

2 tablespoons Homemade Ranch Seasoning

Spicy Mayo

Directions

1. Preheat oven to 375

2. Lay chorizo links in 360 cookware bake & roast pan. Place in oven while you prep veggies, about 15 minutes.

3. Prep veggies by cutting them into bite sizes and placing them in a bowl to combine. Once it's all cut and ready add olive oil and seasoning and toss to fully coat.

4. Take out the pan with the chorizo and remove the chorizo to a clean plate. Layer veggie mixture into pan and place chorizo on top.

5. Return to oven and continue to bake for another 30-45 minutes or until a fork easily pokes into potatoes

6. Slice chorizo and plate with veggies and spicy mayo (you can omit if you don't prefer sauce)

Other Dinner Recipes:

Easy and Delicious Mushroom & Pea Risotto Recipe

Garlic Mushroom & Shrimp Pasta

Pork Banh Mi Bowl : Deliciously Satisfying

Baked Burrata Pumpkin Ziti with Pork Sausage Recipe

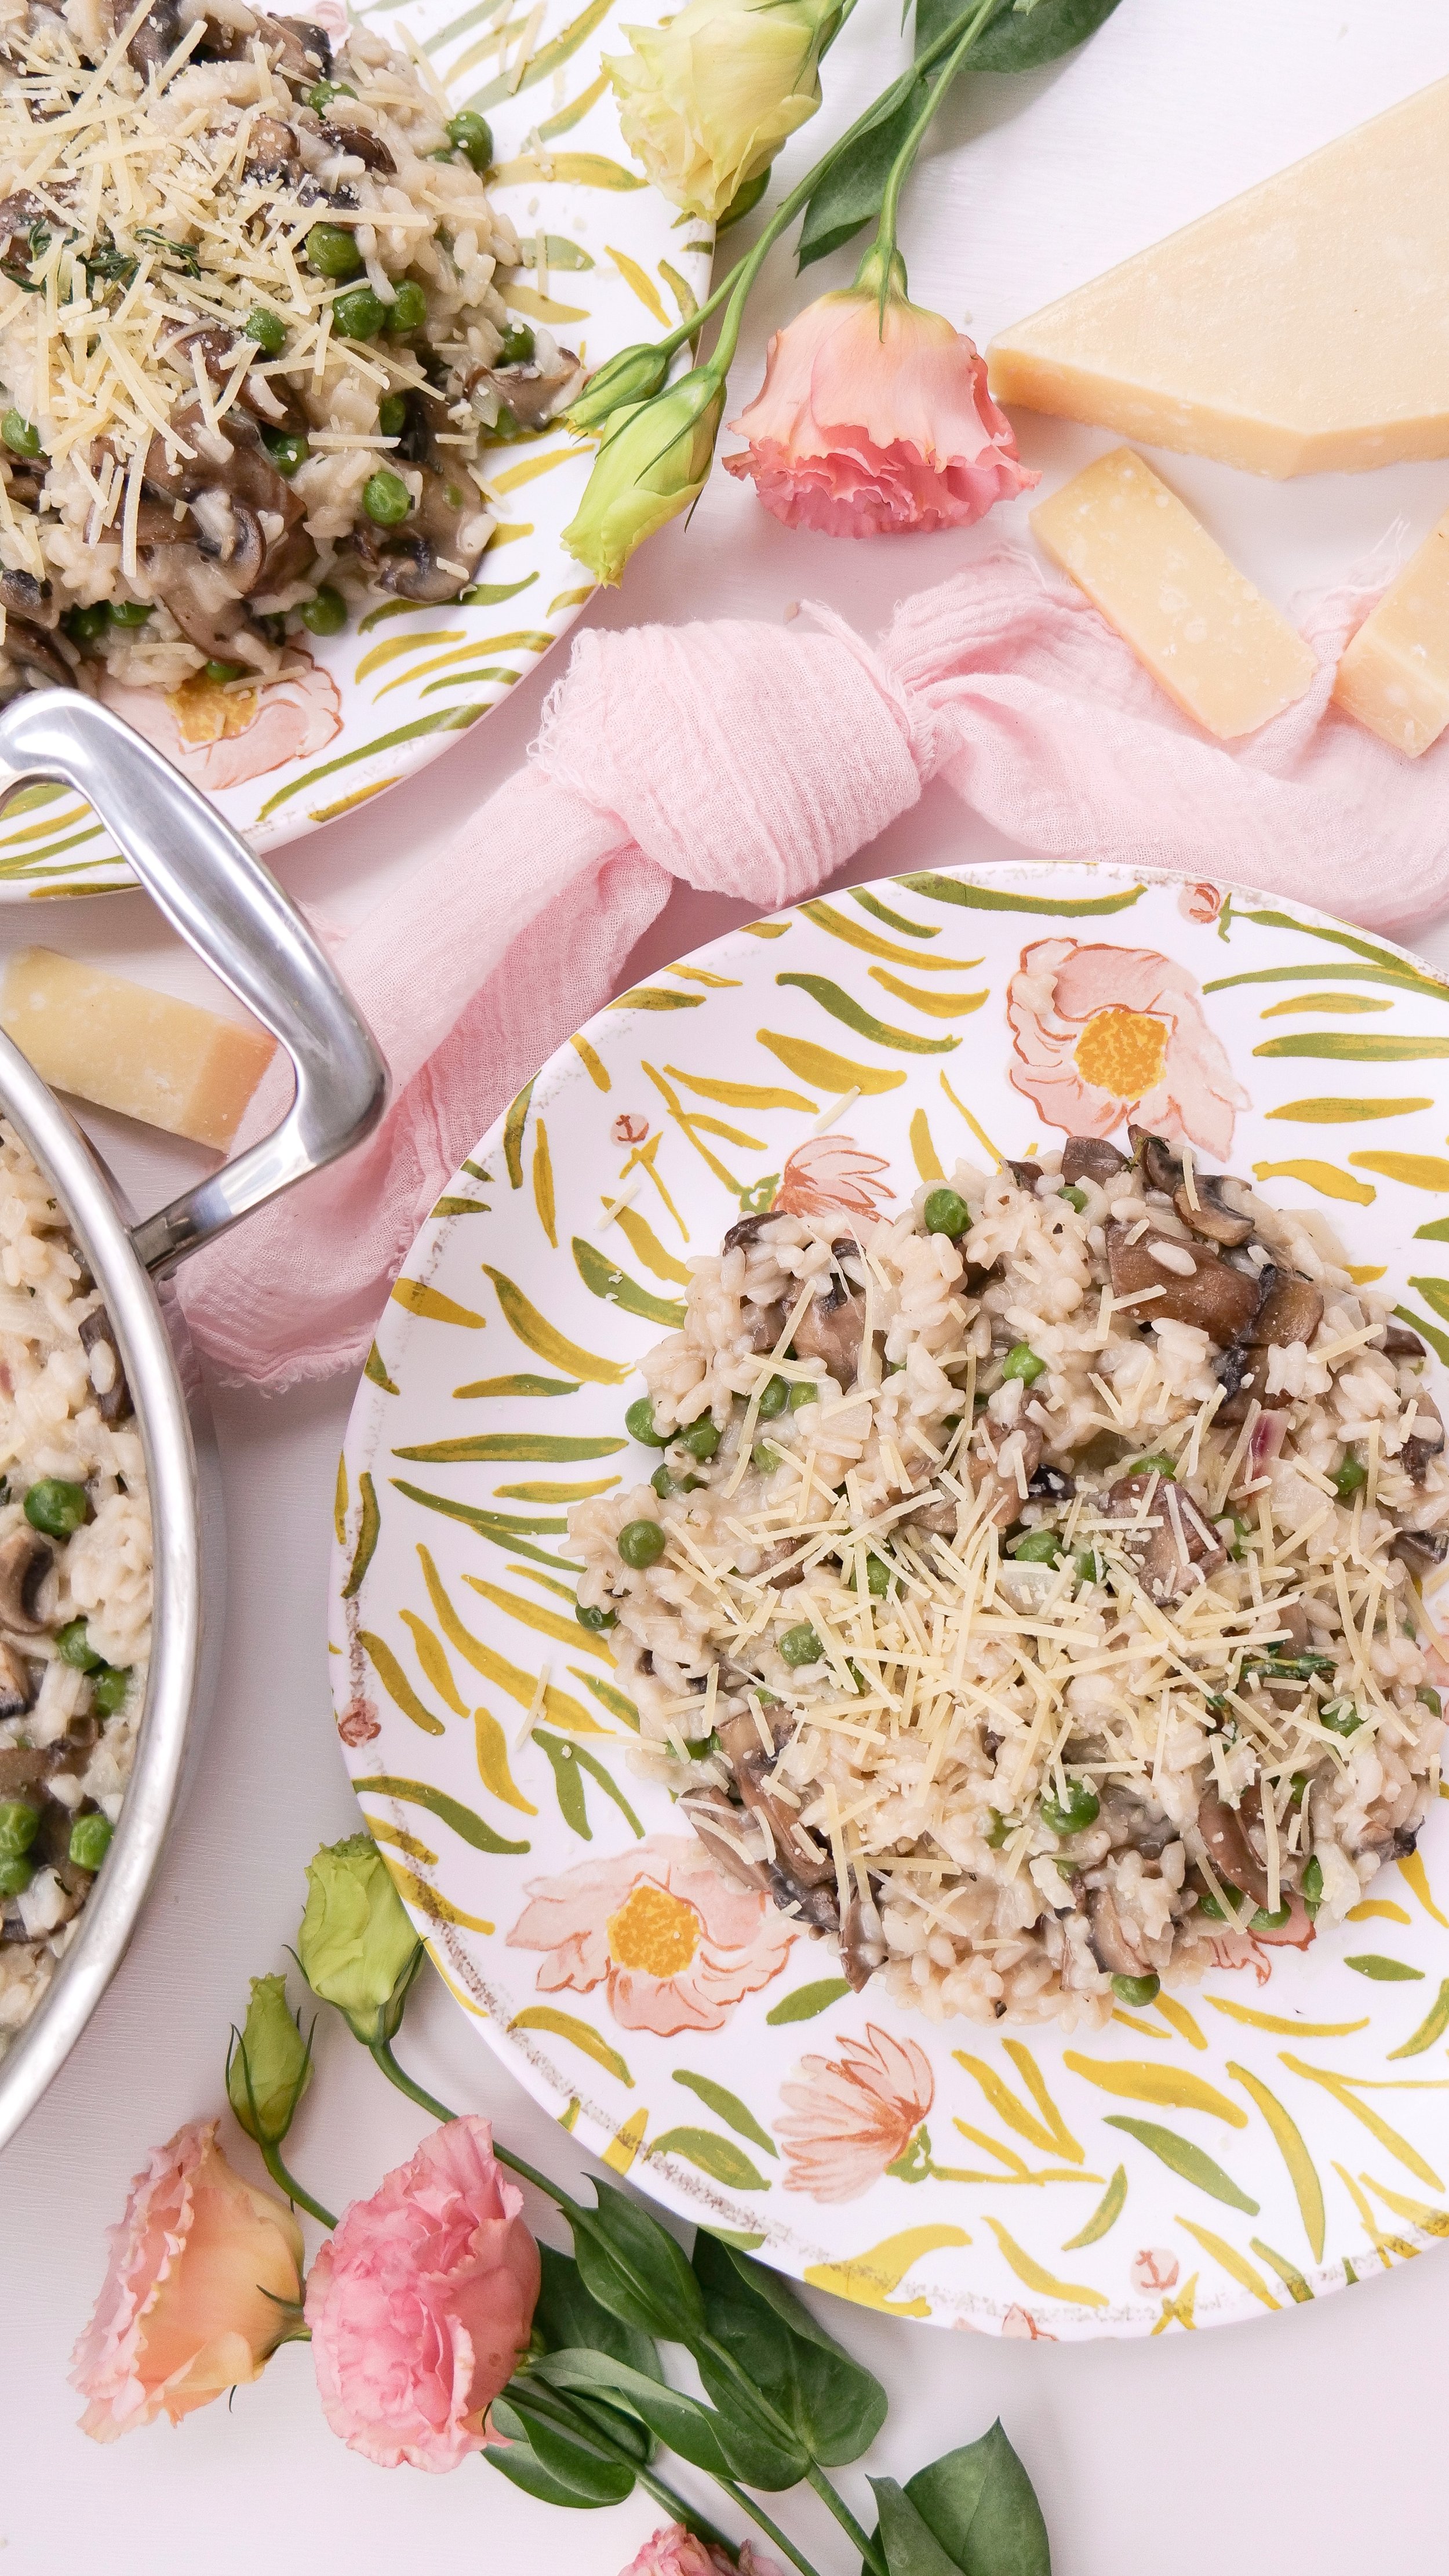
Easy and Delicious Mushroom & Pea Risotto Recipe

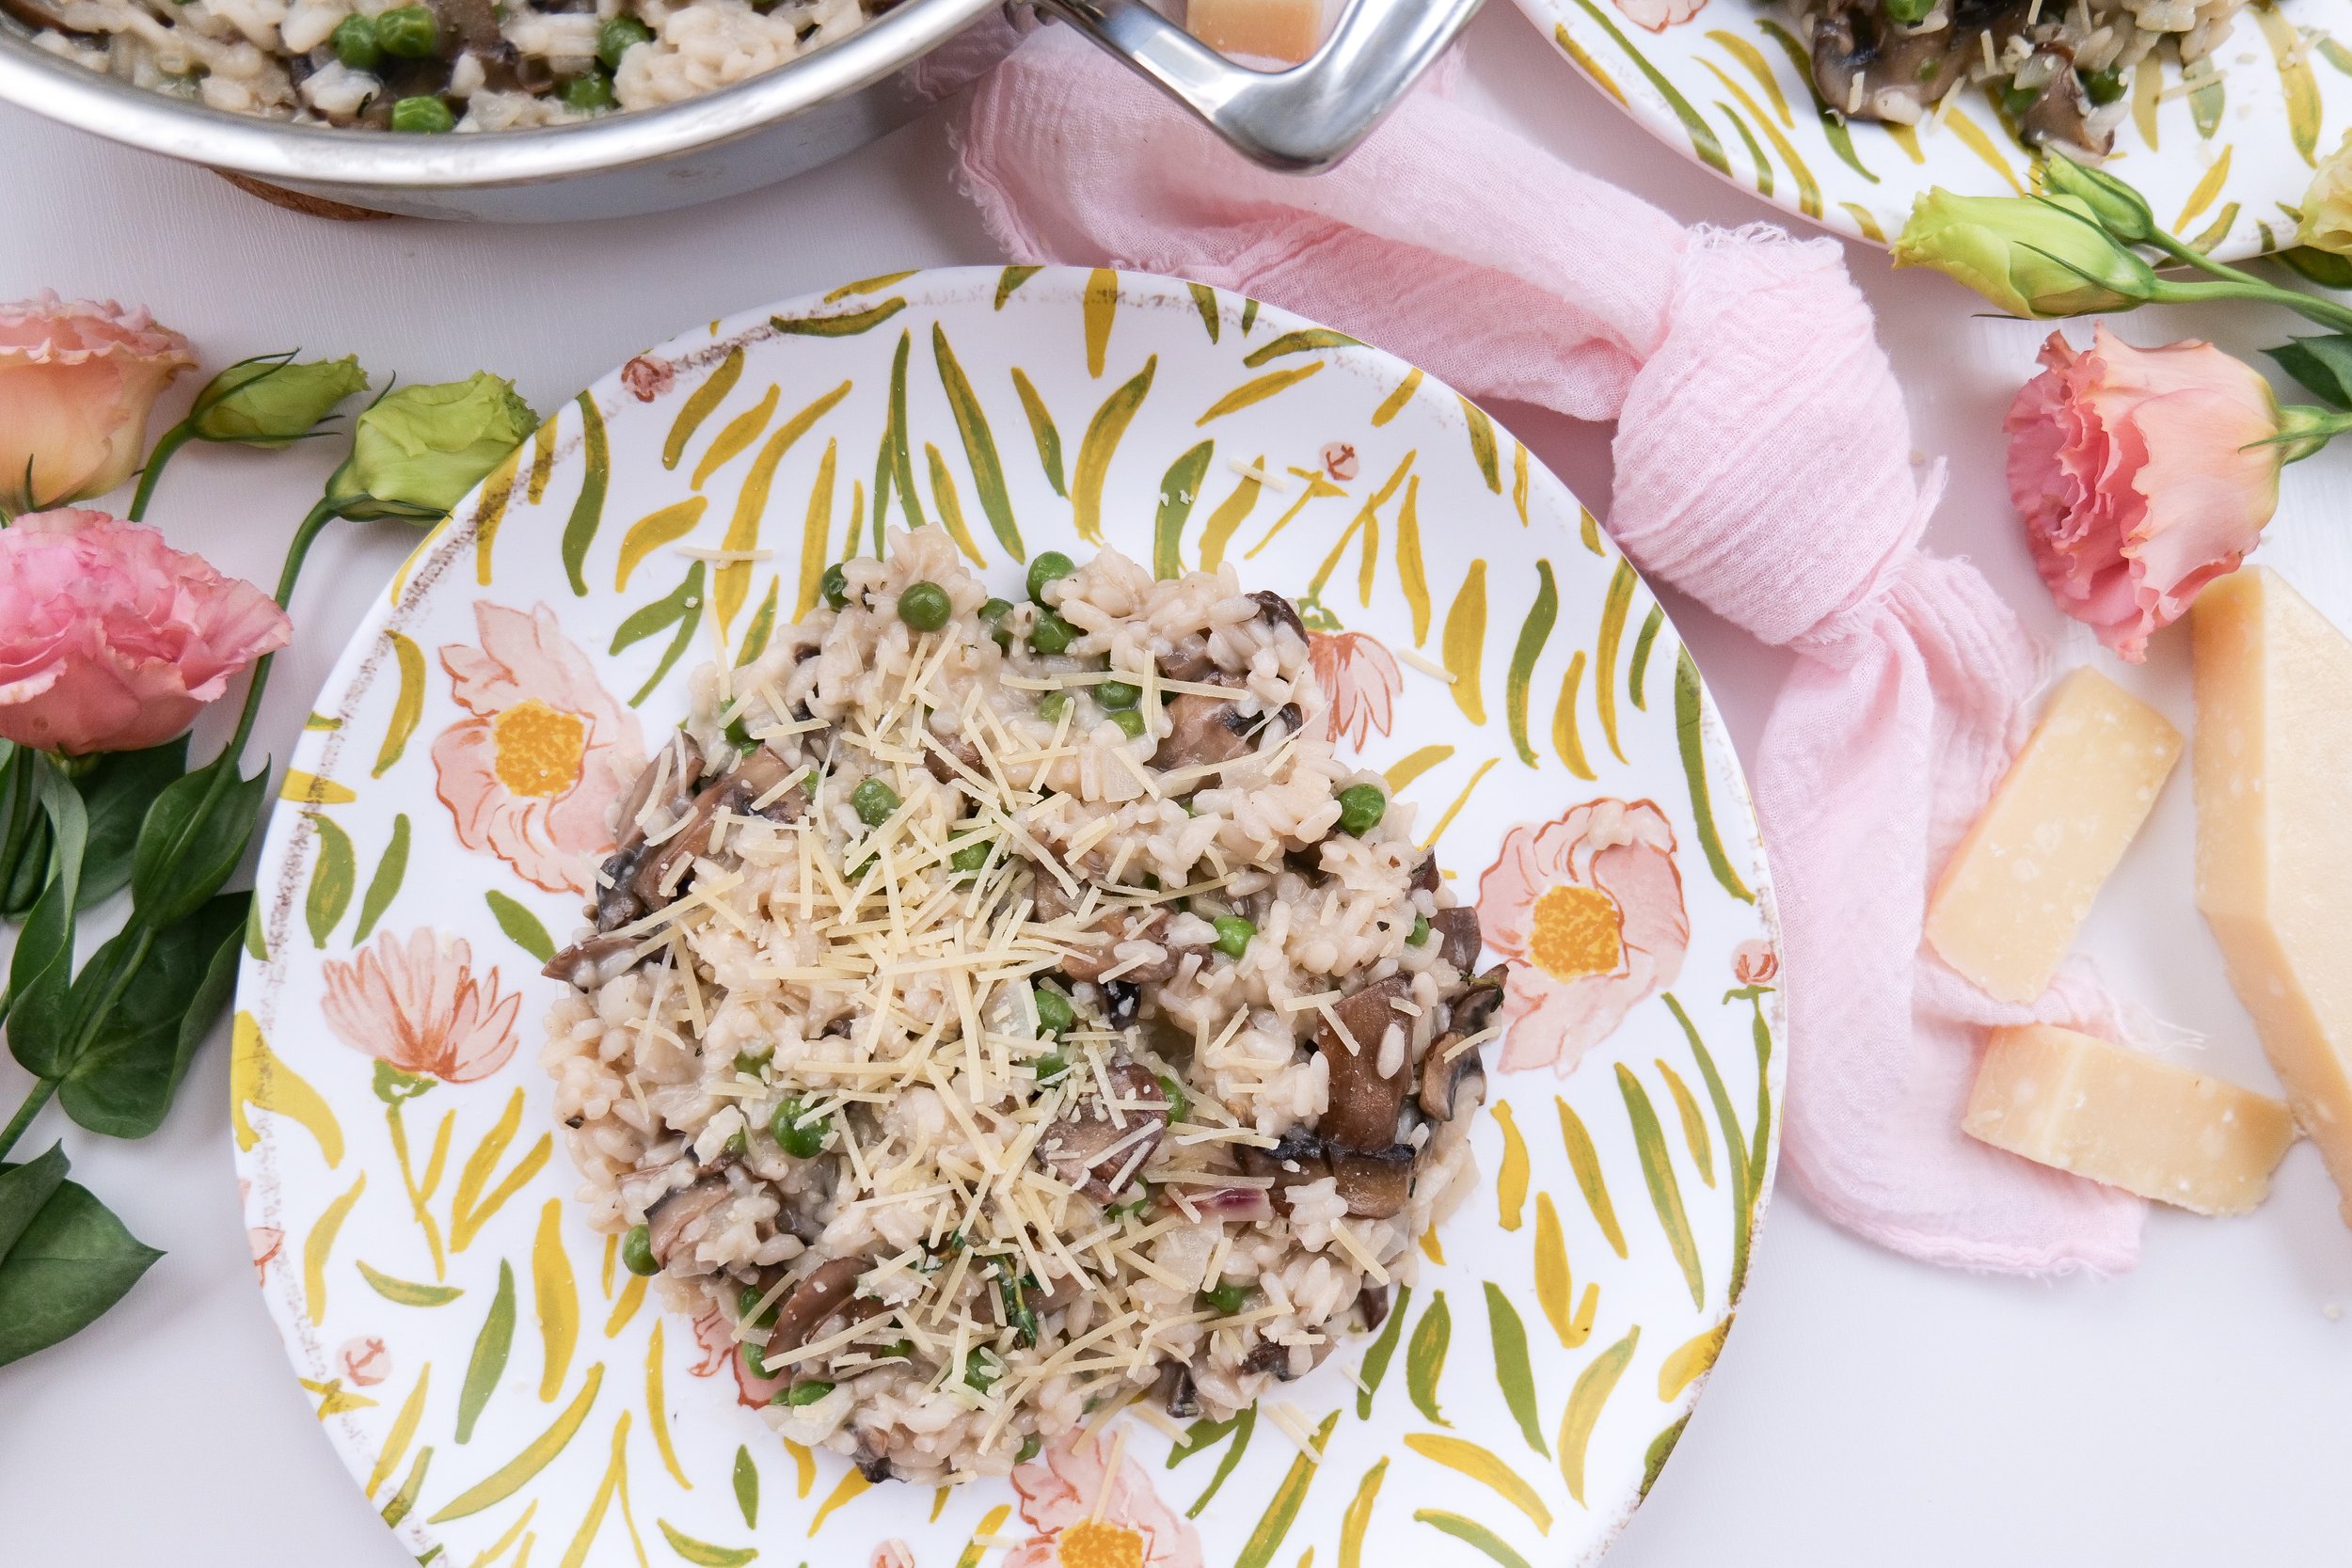
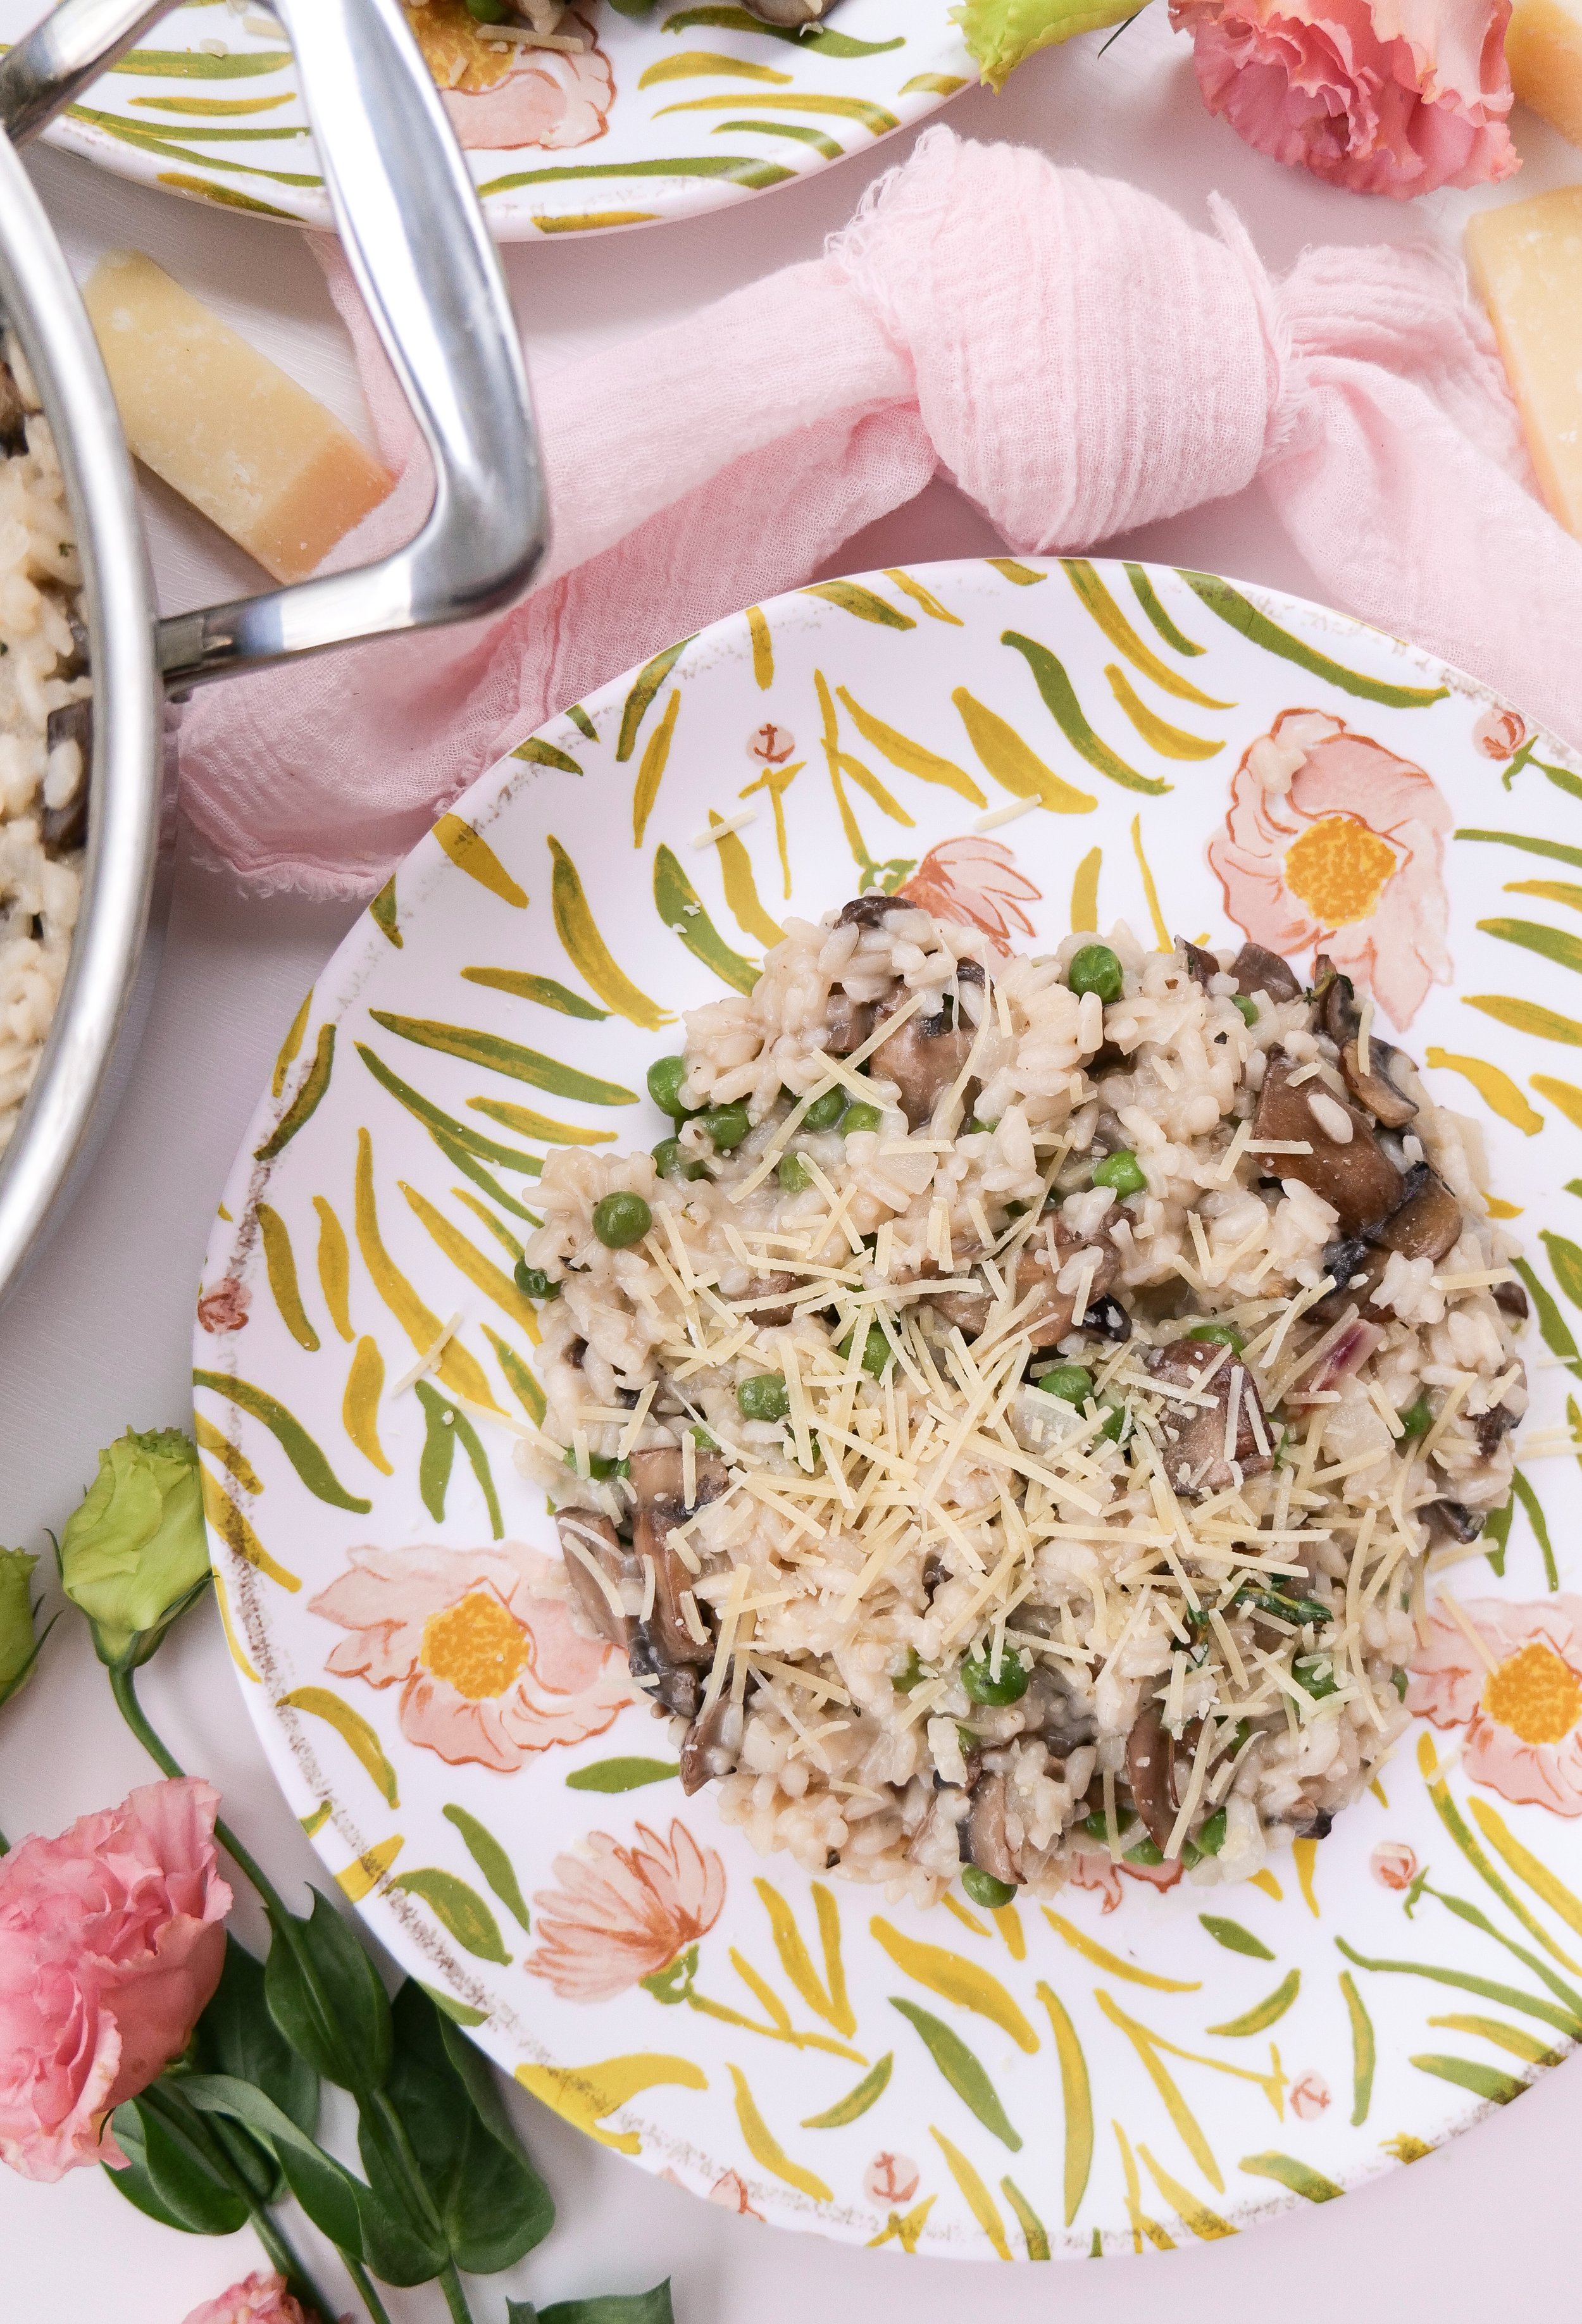
This Mushroom & Pea Risotto Recipe is a classic Italian dish that is sure to satisfy. Combining creamy Arborio rice, sautéed mushrooms, and sweet peas, this dish is packed with flavor and is surprisingly easy to make. This delicious risotto comes together in just 30 minutes, making it a great choice for any weeknight meal. As a bonus, it is also vegetarian-friendly! If you're looking for a tasty and quick meal, this is the best risotto recipe and is simply a must-try.

Mushroom and Pea Risotto is a delicious, creamy, and hearty dish that is perfect for a cozy night with family or friends. This easy-to-follow recipe takes no more than 30 minutes to make and is budget friendly as it is made with simple and affordable ingredients. Not only is it delicious, but it is also healthy and nutritious, and packed full of flavor. It is also a great option for vegetarians and vegans if you omit parmesan cheese at the end and swap the butter for olive oil. To make this dish, you will need your favorite mushrooms, peas, arborio rice, vegetable stock, garlic, olive oil, and parmesan cheese. You will also need some butter, parsley and salt to season. This creamy mushroom risotto recipe is a delicious and easy-to-make dish that is sure to become a family favorite. Below I will show you exactly how to make this.

INGREDIENTS

(Serving Size 8)

6 tablespoons butter

16 oz baby bella mushrooms

2 cloves minced garlic

3 finely chopped shallots

2 cups arborio rice

1/2 cup white wine

6 cups vegetable broth

1 1/2 cups frozen or fresh peas

2 teaspoons sea salt

1 cup grated parmesan cheese

1 teaspoon thyme

1 teaspoon rosemary

INSTRUCTIONS

1. To begin, heat the butter in a large pan ( I am using 3.5 Quart Sauté Pan with Short Handles

from 360cookware) over medium heat. Once melted, add the mushrooms and cook for about 3 minutes until softened. Then, add the peas and cook for an additional 5 minutes until well mixed and the mushrooms have shrunk in size. Remove the mixture to a clean plate and set aside.

2. Return the pan to the stove and add additional butter and shallots. Sautee until the shallots are transparent. Then, add the rice and cook for 1 minute. After that, reduce heat to medium-low heat and add the white wine and stir to scrape up any browned bits from the bottom of the pan. Slowly add in the stock, one cup at a time, stirring frequently.

3. When the rice is almost cooked through, stir in the peas and mushroom mixture for an additional 2 minutes. Taste and season with salt, thyme, and rosemary.

4. Finally, stir in the butter and Parmesan cheese until fully melted. Serve the risotto with a sprinkle of Parmesan cheese and fresh herbs. Enjoy!

Substitutions You Can Make:

Mushrooms are a key ingredient in this Mushroom & Pea Risotto recipe, as they add a savory and earthy flavor. Any type of wild mushroom or even a mixture of mushrooms can be used, such as porcini, shiitake, and oyster mushrooms. The main ingredient in this risotto recipe are peas, however, they can be swapped out for any other type of green vegetable such as spinach, kale, or asparagus. The type of rice used in this recipe can be swapped out for any type of short-grain white rice or even a mixture of different types, such as basmati or jasmine rice. The type of broth used in the recipe can be swapped out for chicken or beef broth, or white wine can be omitted for additional broth. Parmesan cheese is the main cheese used in this recipe, but it can be swapped out for any other type of hard cheese such as pecorino or cheddar.

This Mushroom & Pea Risotto recipe is a versatile dish that can be customized according to preference. With its delicious combination of mushrooms, peas, and cheese, it is sure to be a crowd-pleaser.