Deliciously Different: Pink Deviled Eggs to Spruce Up Your Easter Brunch

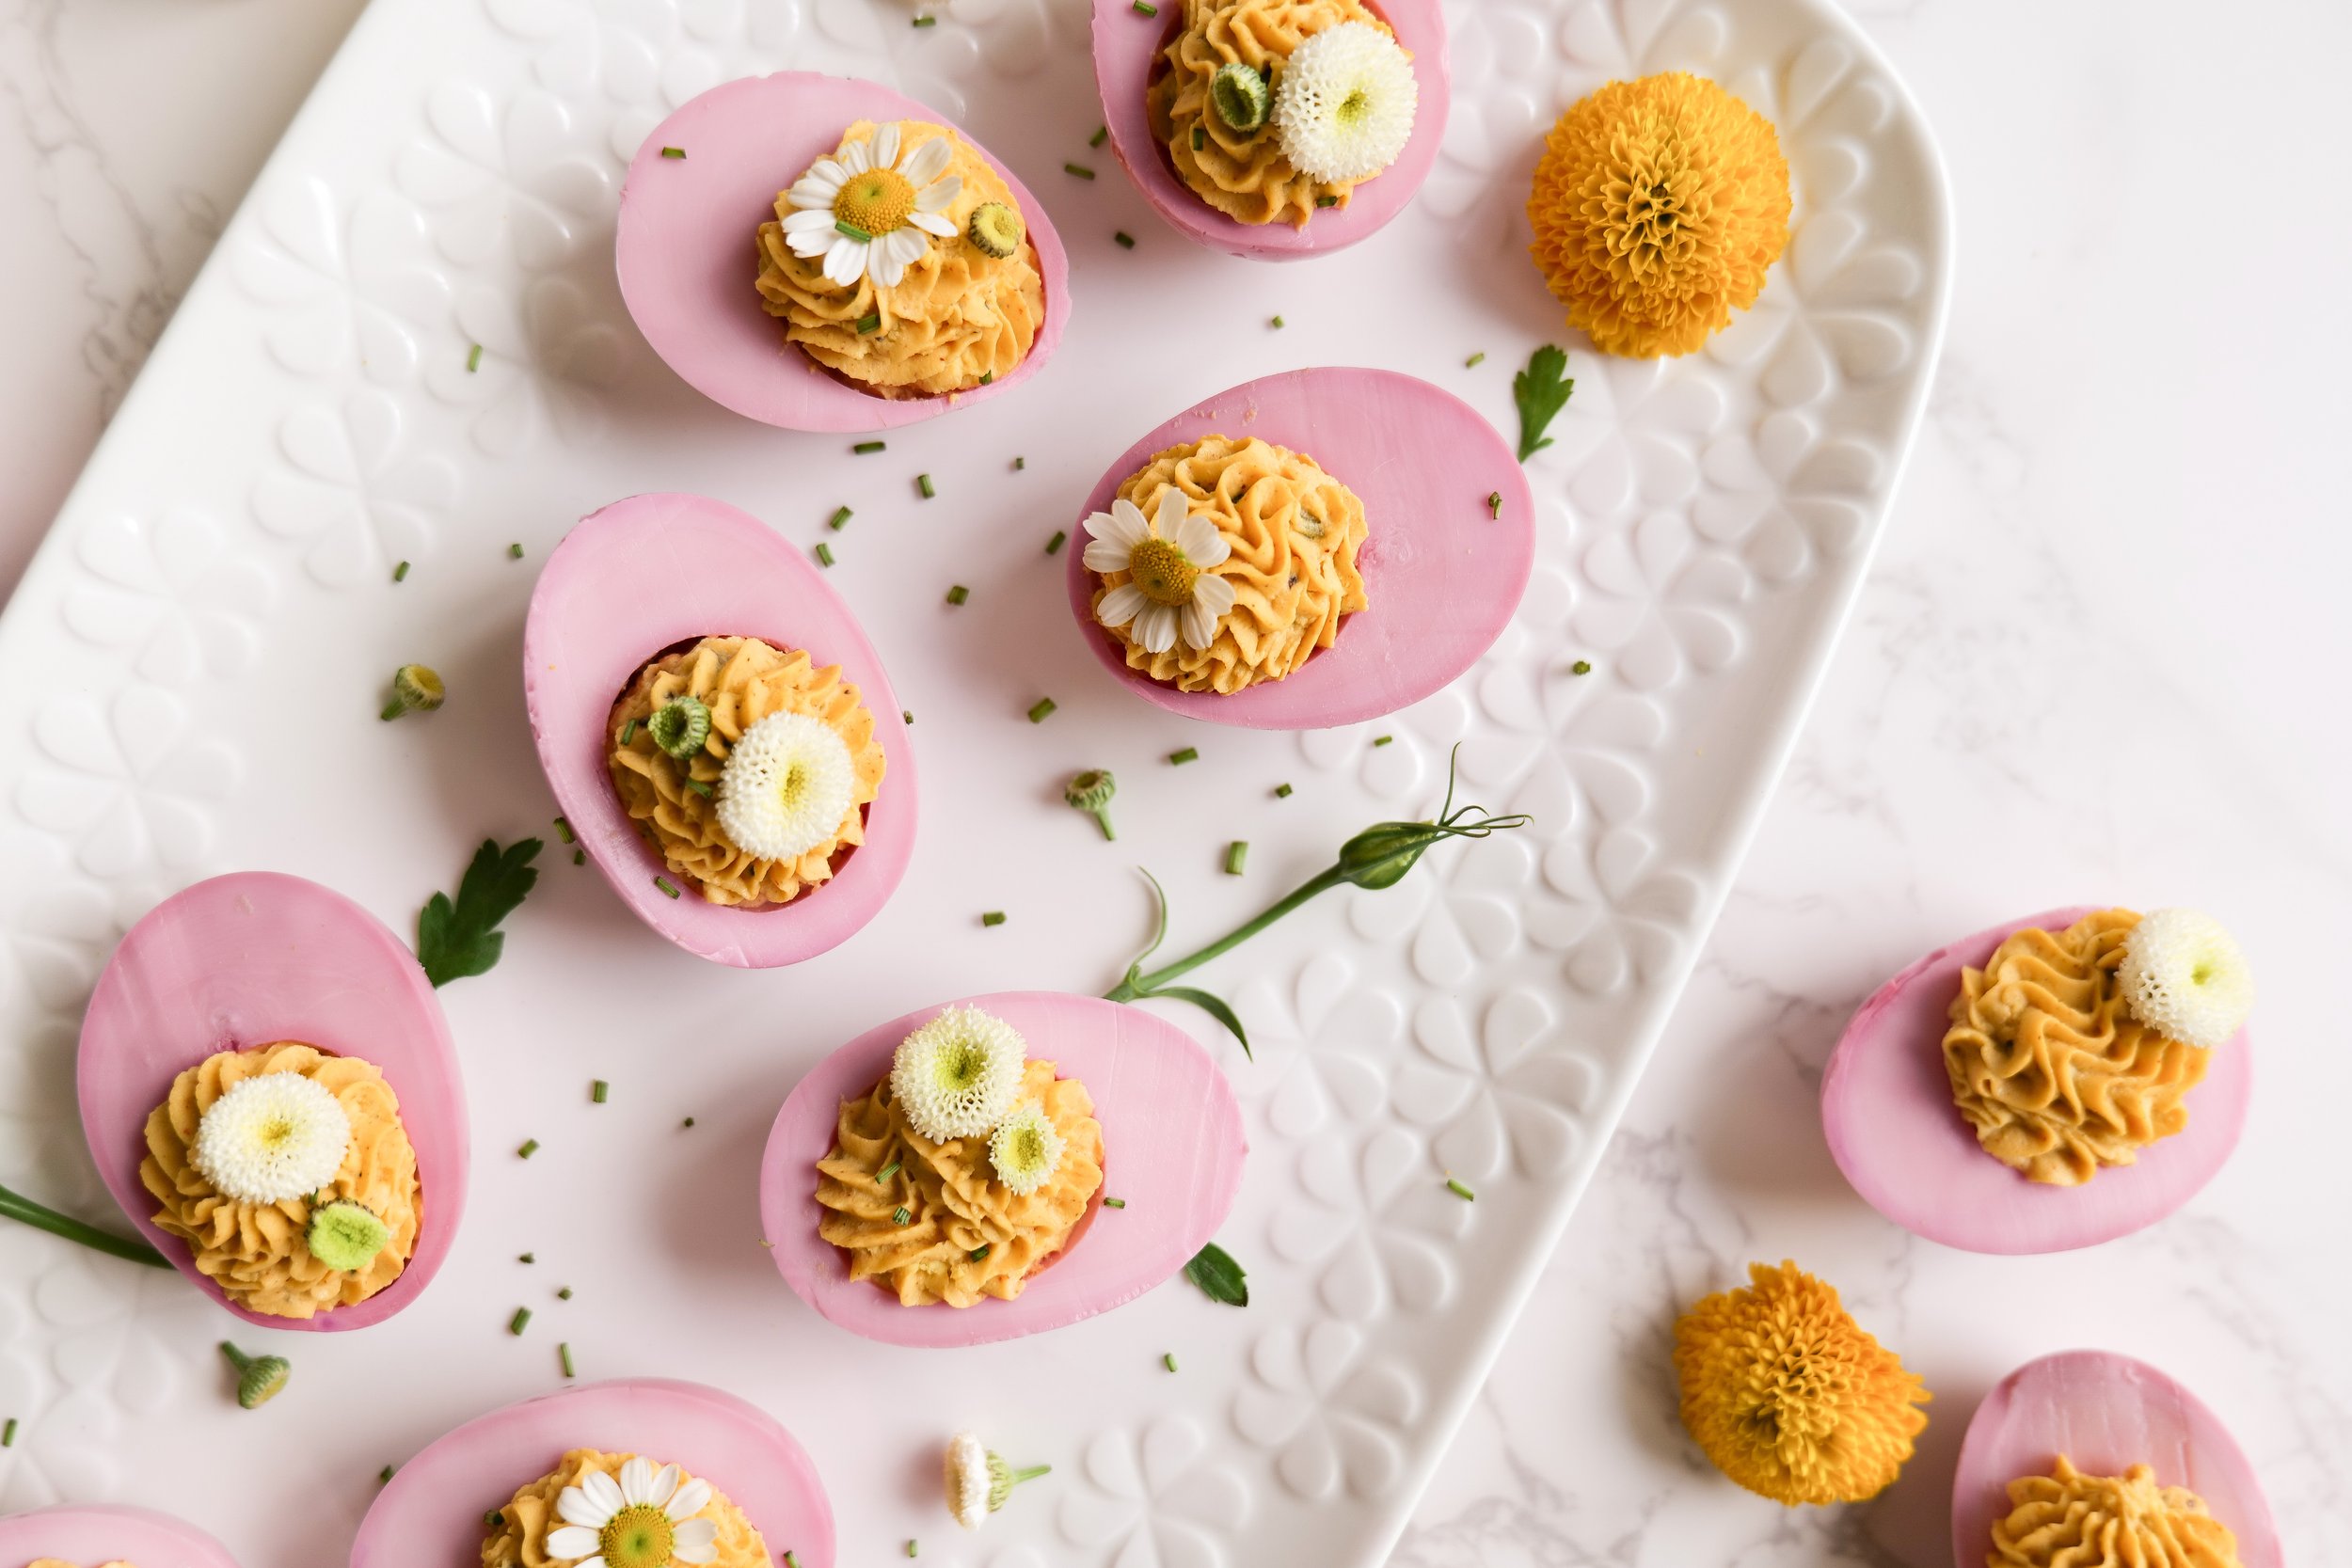
Nothing says springtime like a picnic with friends, and a plate of colorful pink deviled eggs. If you know me you know pink is my favorite color, so these pink eggs make for the perfect addition to any outdoor gathering. Not only are these deviled eggs a visually stunning food to share, but they are also packed with flavor. Whether you’re a fan of the classic deviled egg recipe or you’re looking for something new, this pink version is sure to become a favorite. Read on to learn the easy steps for making this fun twist on a classic picnic favorite.

Pink Easter Deviled Eggs

Pink Easter Deviled Eggs are an easy, creative, and delicious way to celebrate the Easter holiday. With a natural vegetable dye, you can create a beautiful pastel hue for your eggs. The creamy, tangy filling is the perfect complement to the eggs and will leave your guests wanting more! They are an easy and inexpensive dish making them the perfect dish for a family gathering or Easter party. The eggs can be served as an appetizer, snack, or even as a main dish. Have fun decorating the eggs and make them as creative as you wish. Whether you're hosting an Easter brunch or a dinner, Pink Easter Deviled Eggs will be sure to impress your guests.

If you're looking for a unique and fun way to celebrate the Easter holiday, Pink Easter Deviled Eggs are the perfect option. With easy preparation and affordable ingredients, you can have a delicious dish that will wow your guests. Add a bit of creativity to the eggs and you have the perfect appetizers or main dish to serve. Take the time to make these beautiful eggs and you'll have a memorable Easter celebration!

How to Make Colorful Deviled Eggs

Pink deviled eggs are a great way to add a personal pop of color to any gathering! Making them is surprisingly easy and does not take too much time.

To get started, you'll need twelve large eggs. Boil them until they are hard-boiled, then peel the shells off. In a medium-sized bowl, mix 1/3 cup mayonnaise, 1 tablespoon chopped pickles, 1 tablespoon pickle juice, 1/2 teaspoon paprika, and a pinch of salt and pepper. Once the ingredients are combined, add the egg yolks and mash them with a fork or potato masher until the mixture is creamy.

Next, you'll need to dye the egg whites. To make pink deviled eggs, use beet juice and water. Place the egg whites in the dye for one minute or longer, depending on how deep of a pink you are trying to achieve. Fill the dyed egg whites with the yolk mixture.

For the final touch, you can add small flowers or more paprika to the tops of the eggs. Serve the pink deviled eggs immediately or store them in the fridge for later. Enjoy!

What are Other Ways to Hard Boiled Eggs?

Using my 360 2 Quart Saucepan to make my hard-boiled eggs without water. First you will wet a paper towel and your eggs. Fold the paper towel to fit into the saucepan, wet it with water, and place it in the pot. Make sure the towel isn't sitting in a pool of water but that all the water is held in the towel. Carefully place the eggs in a single layer on top of the wet towel. Cover the pot and heat it over medium heat until steam just begins to escape from under the lid, about 3 minutes. Spin the lid to engage the vapor seal then immediately reduce the heat to low. The cooking time will vary depending on the desired doneness of the eggs. For soft-cooked eggs, cook 5 to 6 minutes; for medium-cooked eggs, cook 7 to 8 minutes; and for hard-cooked eggs, cook 13 to 15 minutes.

How to Dye the Eggs

To make your own Pink Deviled Eggs, gather the supplies: hard-boiled eggs, food coloring, water, a shallow bowl, and a slotted spoon. Then, fill the bowl with equal parts water and beet juice or food coloring. Submerge the hard-boiled eggs in the colored water and let them sit for about 1 minute or more depending on the depth of color you are looking for. Carefully remove the eggs from the liquid and pat them dry with a paper towel. Now you have festive Pink Deviled Eggs!

These eggs can be served as a colorful appetizer at a party, or you can use them as deviled egg filling. The possibilities are endless! Try adding a bit of color to your classic deviled eggs for a festive twist. Pink Deviled Eggs are sure to be a hit at your next gathering!

INGREDIENTS

(Serving Size 12)

12 large eggs

1/3 cup mayonnaise

1 tbsp chopped pickles

1 tbsp pickle juice

1/2 tsp Salt

1/2 tsp black pepper

1/2 Paprika

INSTRUCTIONS

  1. Hard boil the eggs first. Fold the paper towel to fit into the 2 Quart Saucepan.

  2. Wet the paper towel with water and place it in the pot. (The towel shouldn’t be sitting in a pool of water. All the water should be held in the towel.) Place the eggs in a single layer on top of the wet towel.

  3. Cover the pot and heat over medium heat until steam just begins to escape from under the lid, about 3 minutes.

  4. Spin the lid to engage the vapor seal then immediately reduce the heat to low for 15 minutes.

  5. Remove from heat and put eggs in an ice-cold bath. This makes it easier to peel them.

  6. Once you peel the shell of the egg cut it in half lengthwise and remove egg yolk in a bowl. Put egg whites in another bowl and cover with 1 cup beet juice and 1 cup water until completely submerged. Leave for 1 minute and rinse with water and lay on a paper towel to dry. You can add more beet juice or leave it for longer to achieve a deeper pink.

  7. In the egg yolk bowl mush eggs and add in pickle juice, chopped pickles, salt, pepper and paprika. Once mixed add to a piping bag and fill with egg yolks.

Adjustments you can make for this meal would be adding in dijon mustard in exchange for pickles if you want less of a pickled flavor. If you like a pickled flavor and are out of juice you can additionally use apple cider vinegar. Seasoning can also be changed for your taste buds as well as mayo ratio. I always encourage making all my recipes into your own to fit your diets and taste buds. Deviled eggs are a classic appetizer perfect for any occasion. Pink deviled eggs are a fun twist on a classic dish and are sure to be a hit at any gathering. Whether you’re hosting a dinner party or celebrating a special occasion, pink deviled eggs are an easy and delicious addition to your menu. Here are a few other recipes I think you will love this Easter season:

Easy and Delicious Mushroom & Pea Risotto Recipe

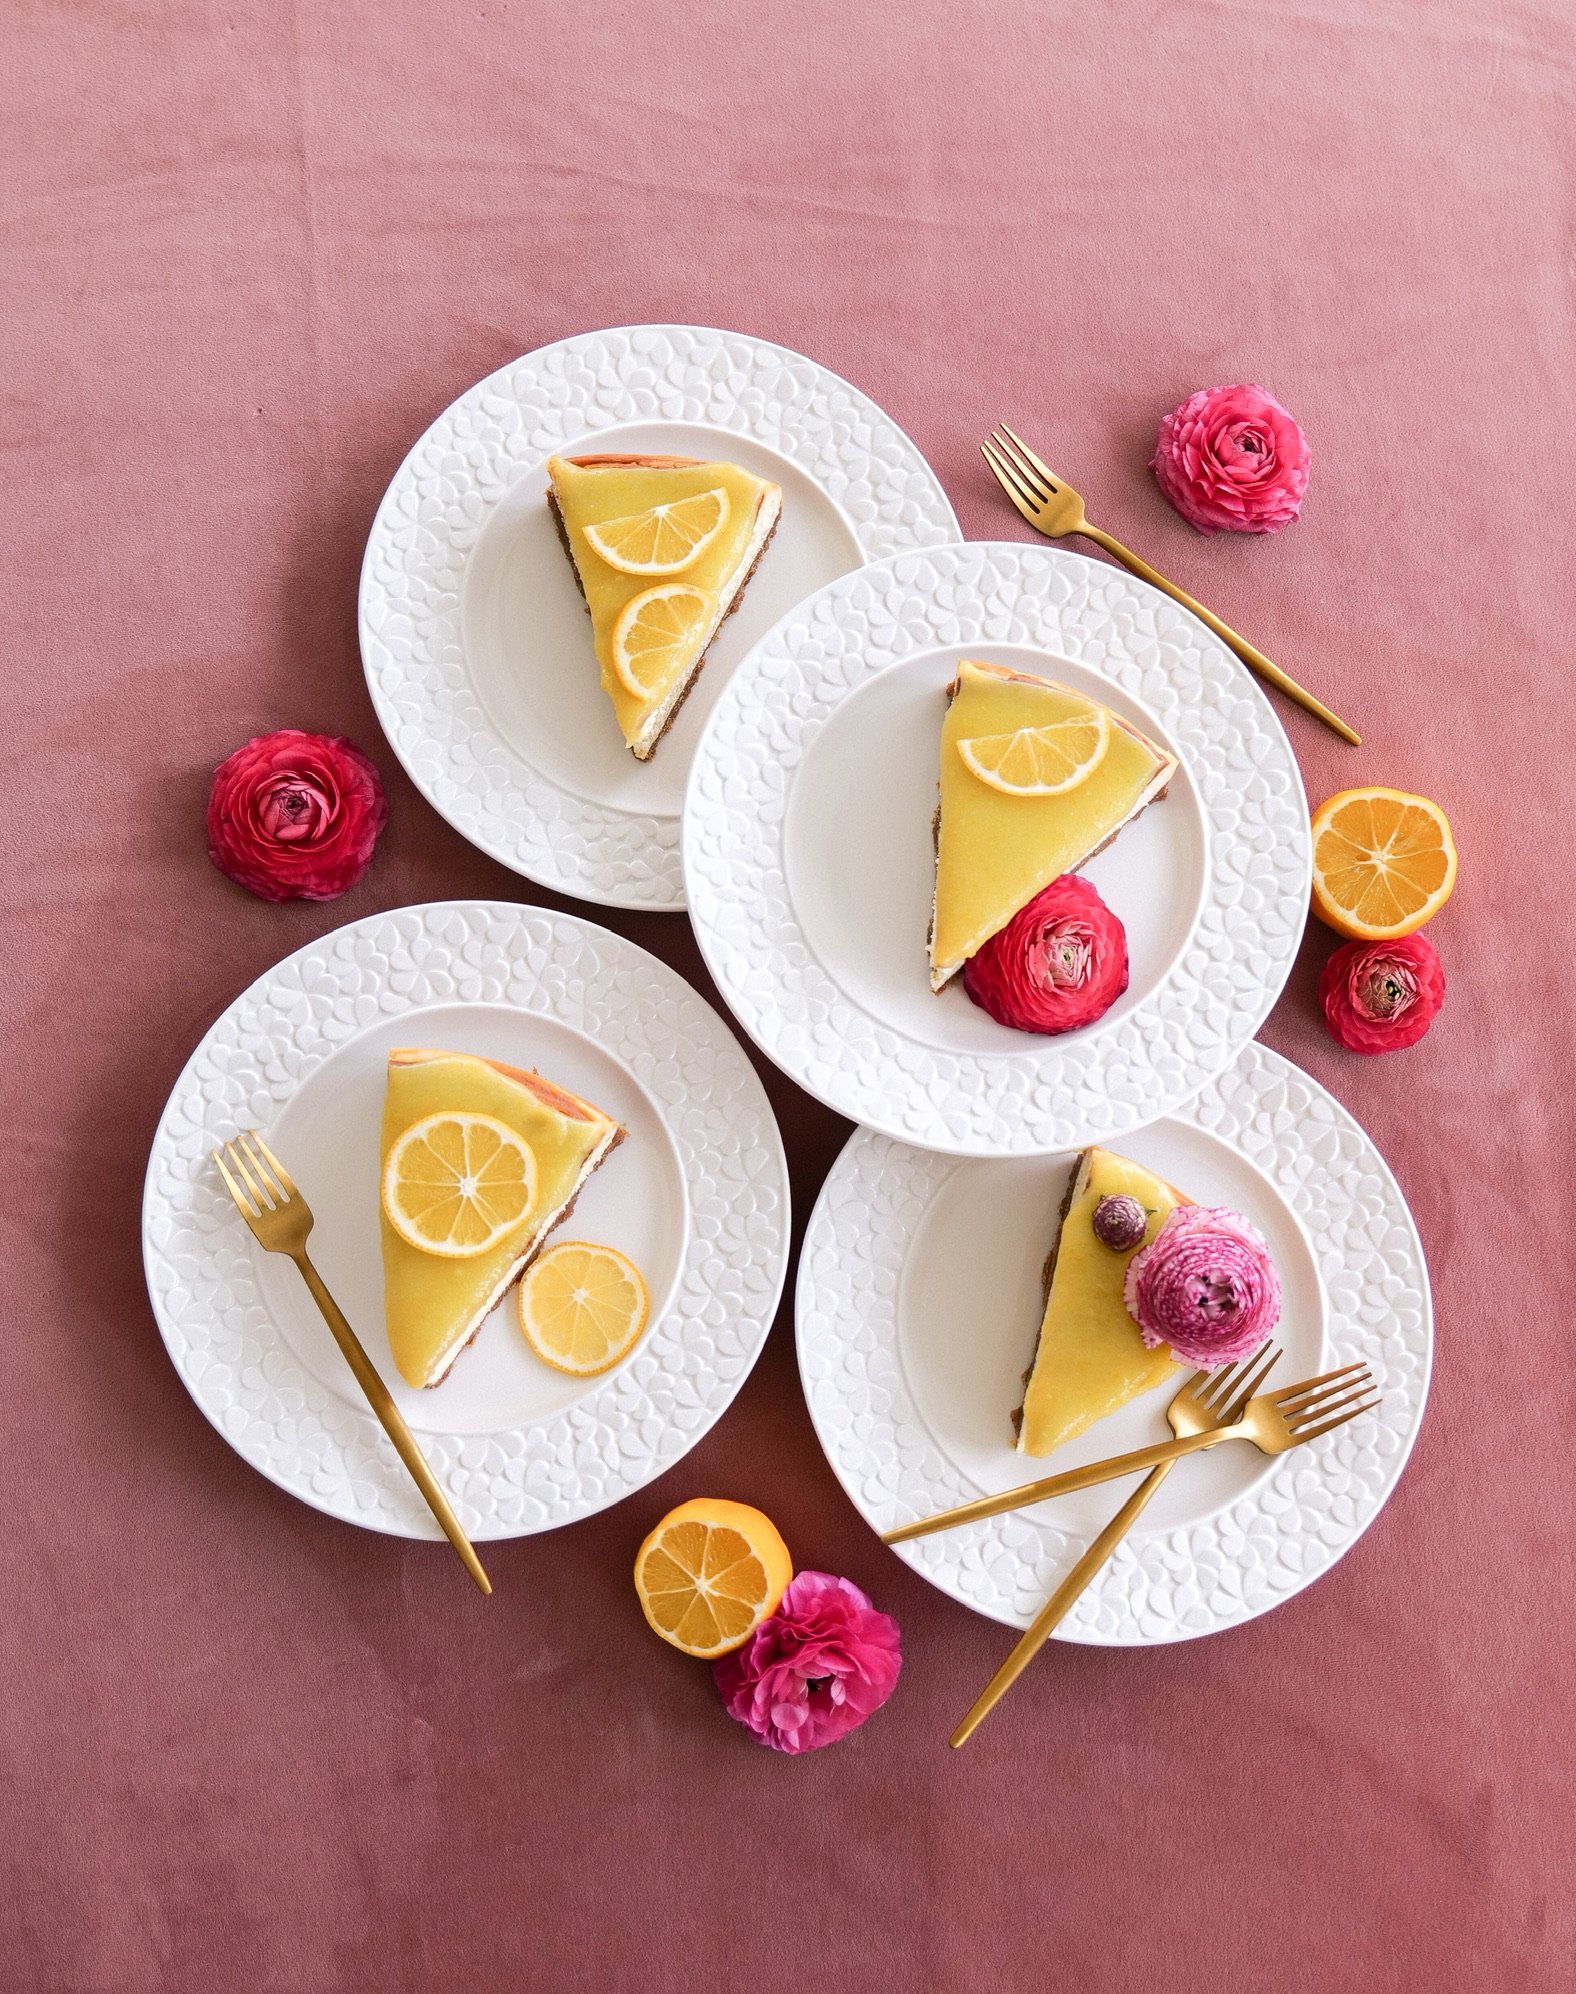
Tantalizingly Delicious Recipe For Lemon Cheesecake With An Amazing Glaze

Indulge in Deliciousness: Cherry Chip Cake with Chunks of Dark Chocolate Recipe

Shaved Brussel Sprout Salad with Apples, Goat Cheese & Candied Pecans

Blackberry Cinnamon Rolls with Mascarpone Frosting

Easy and Delicious Mushroom & Pea Risotto Recipe

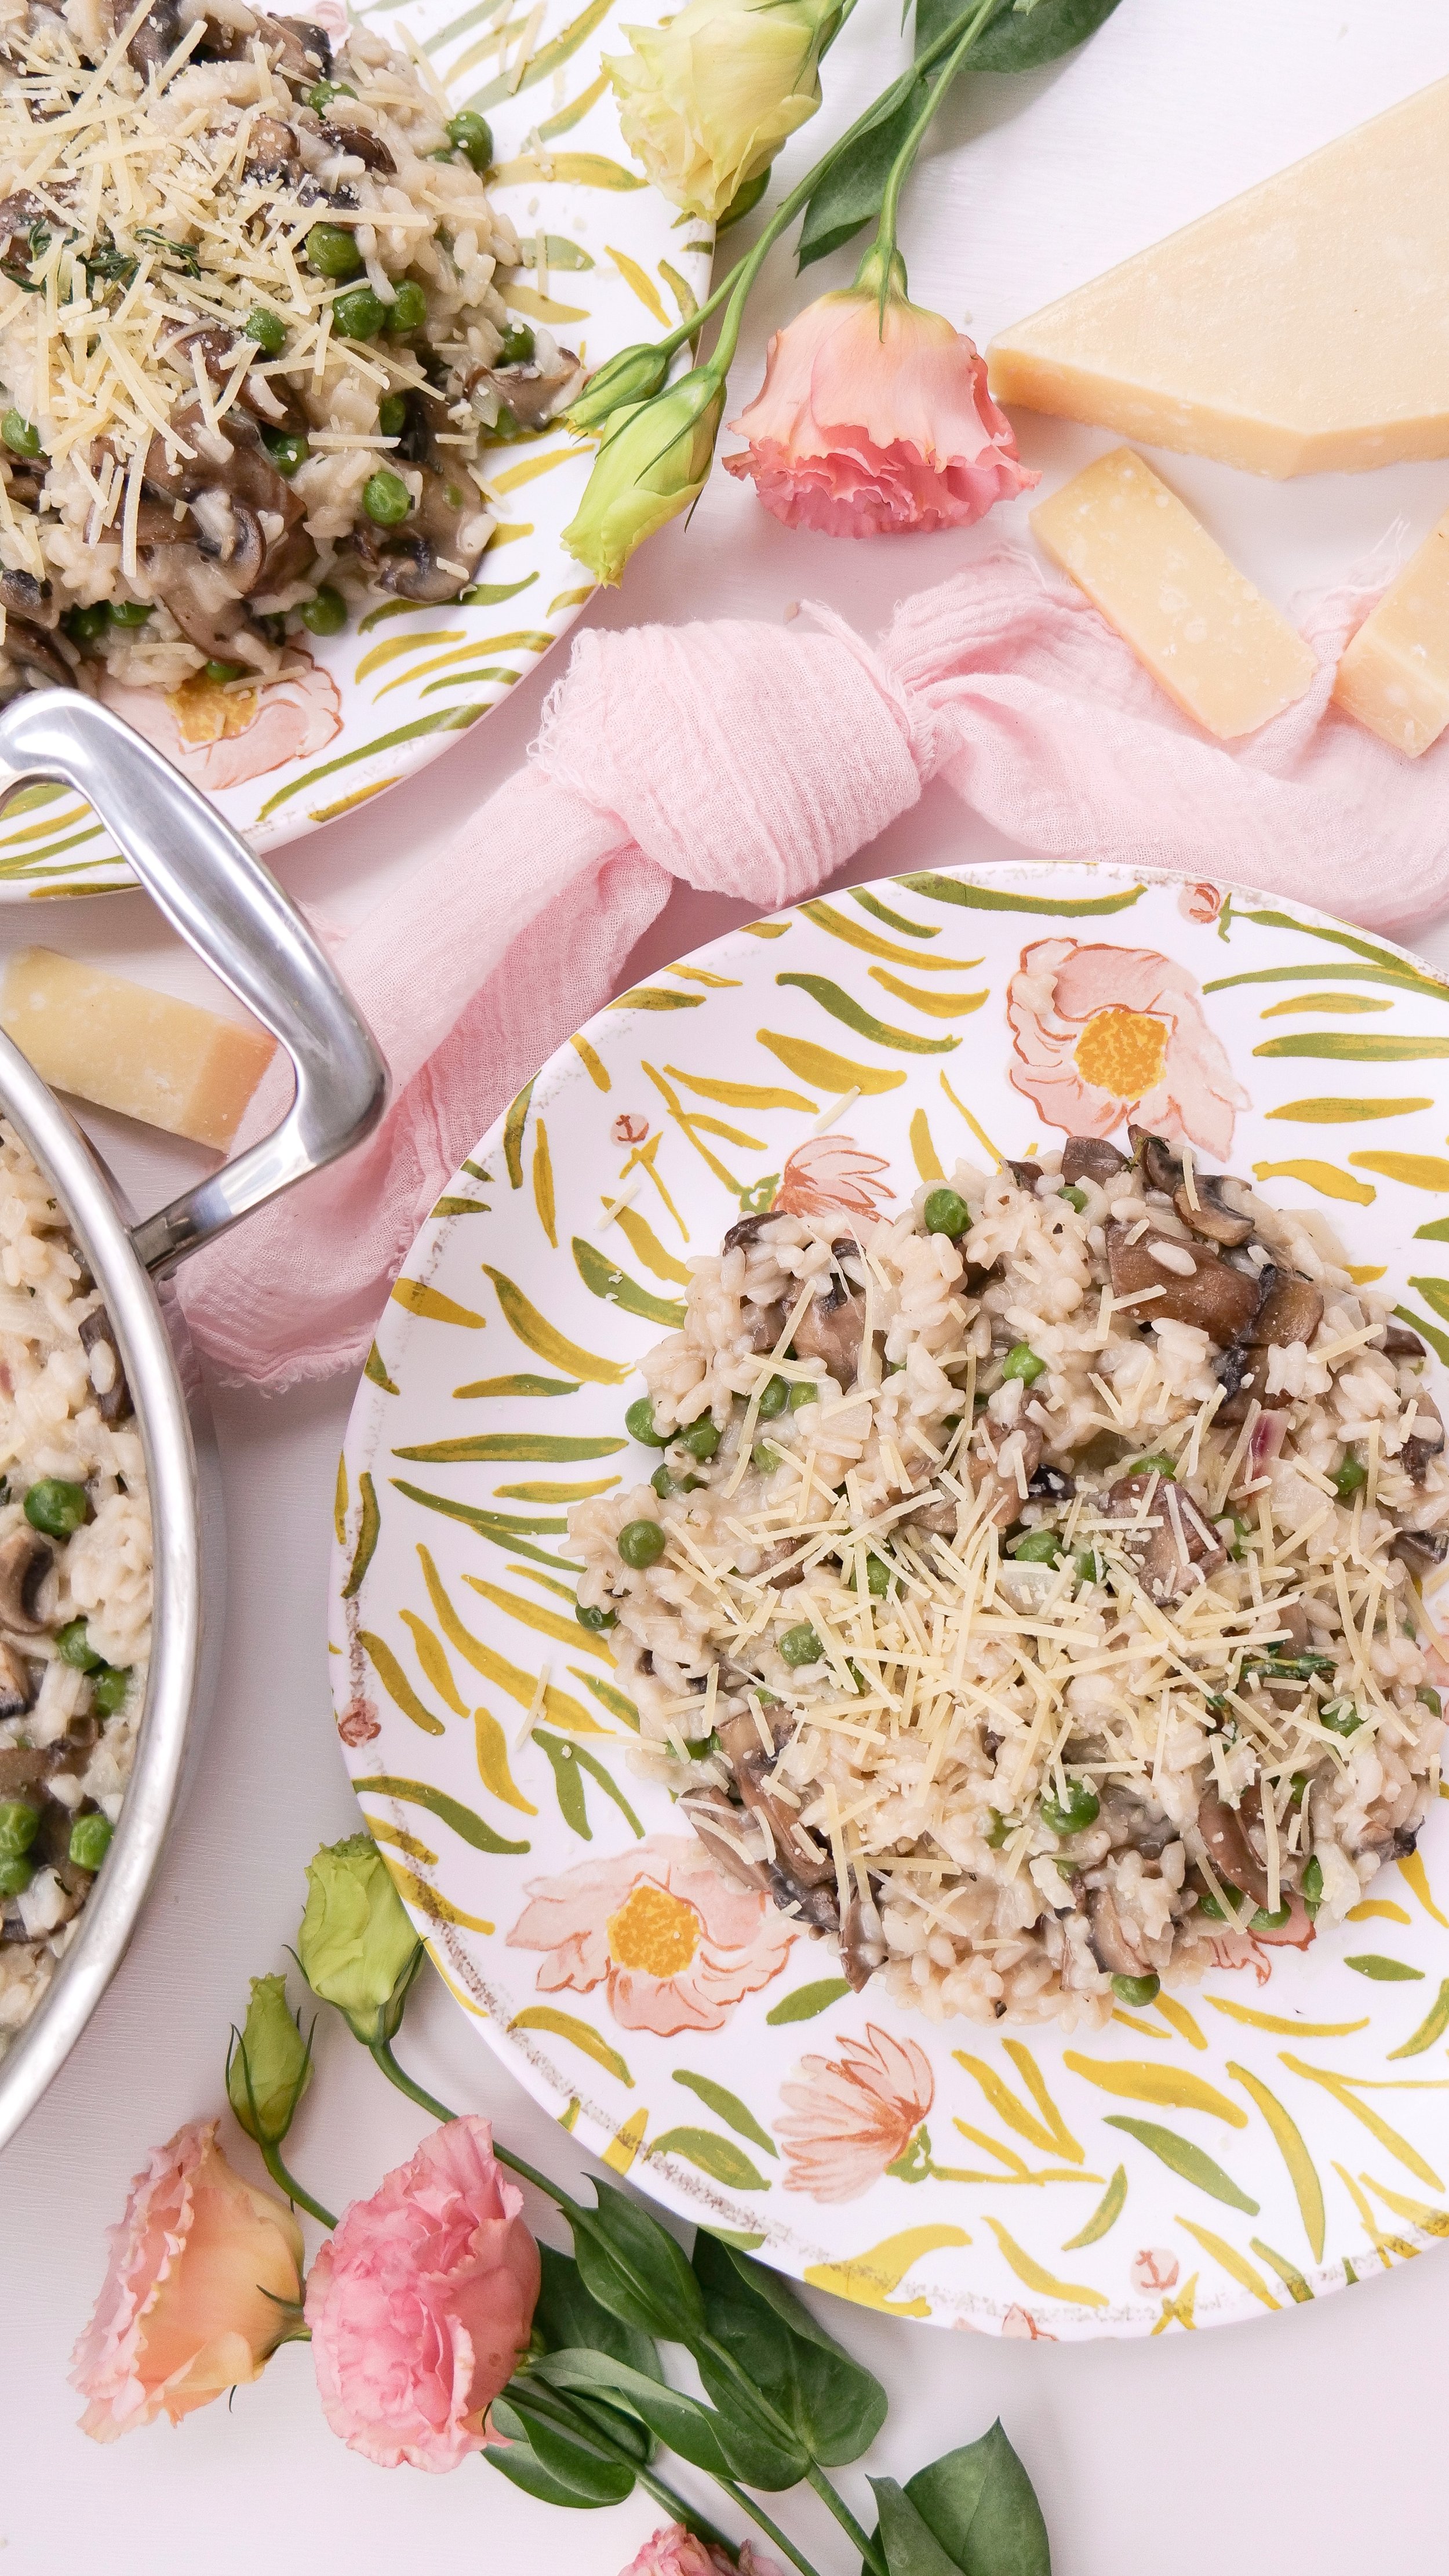
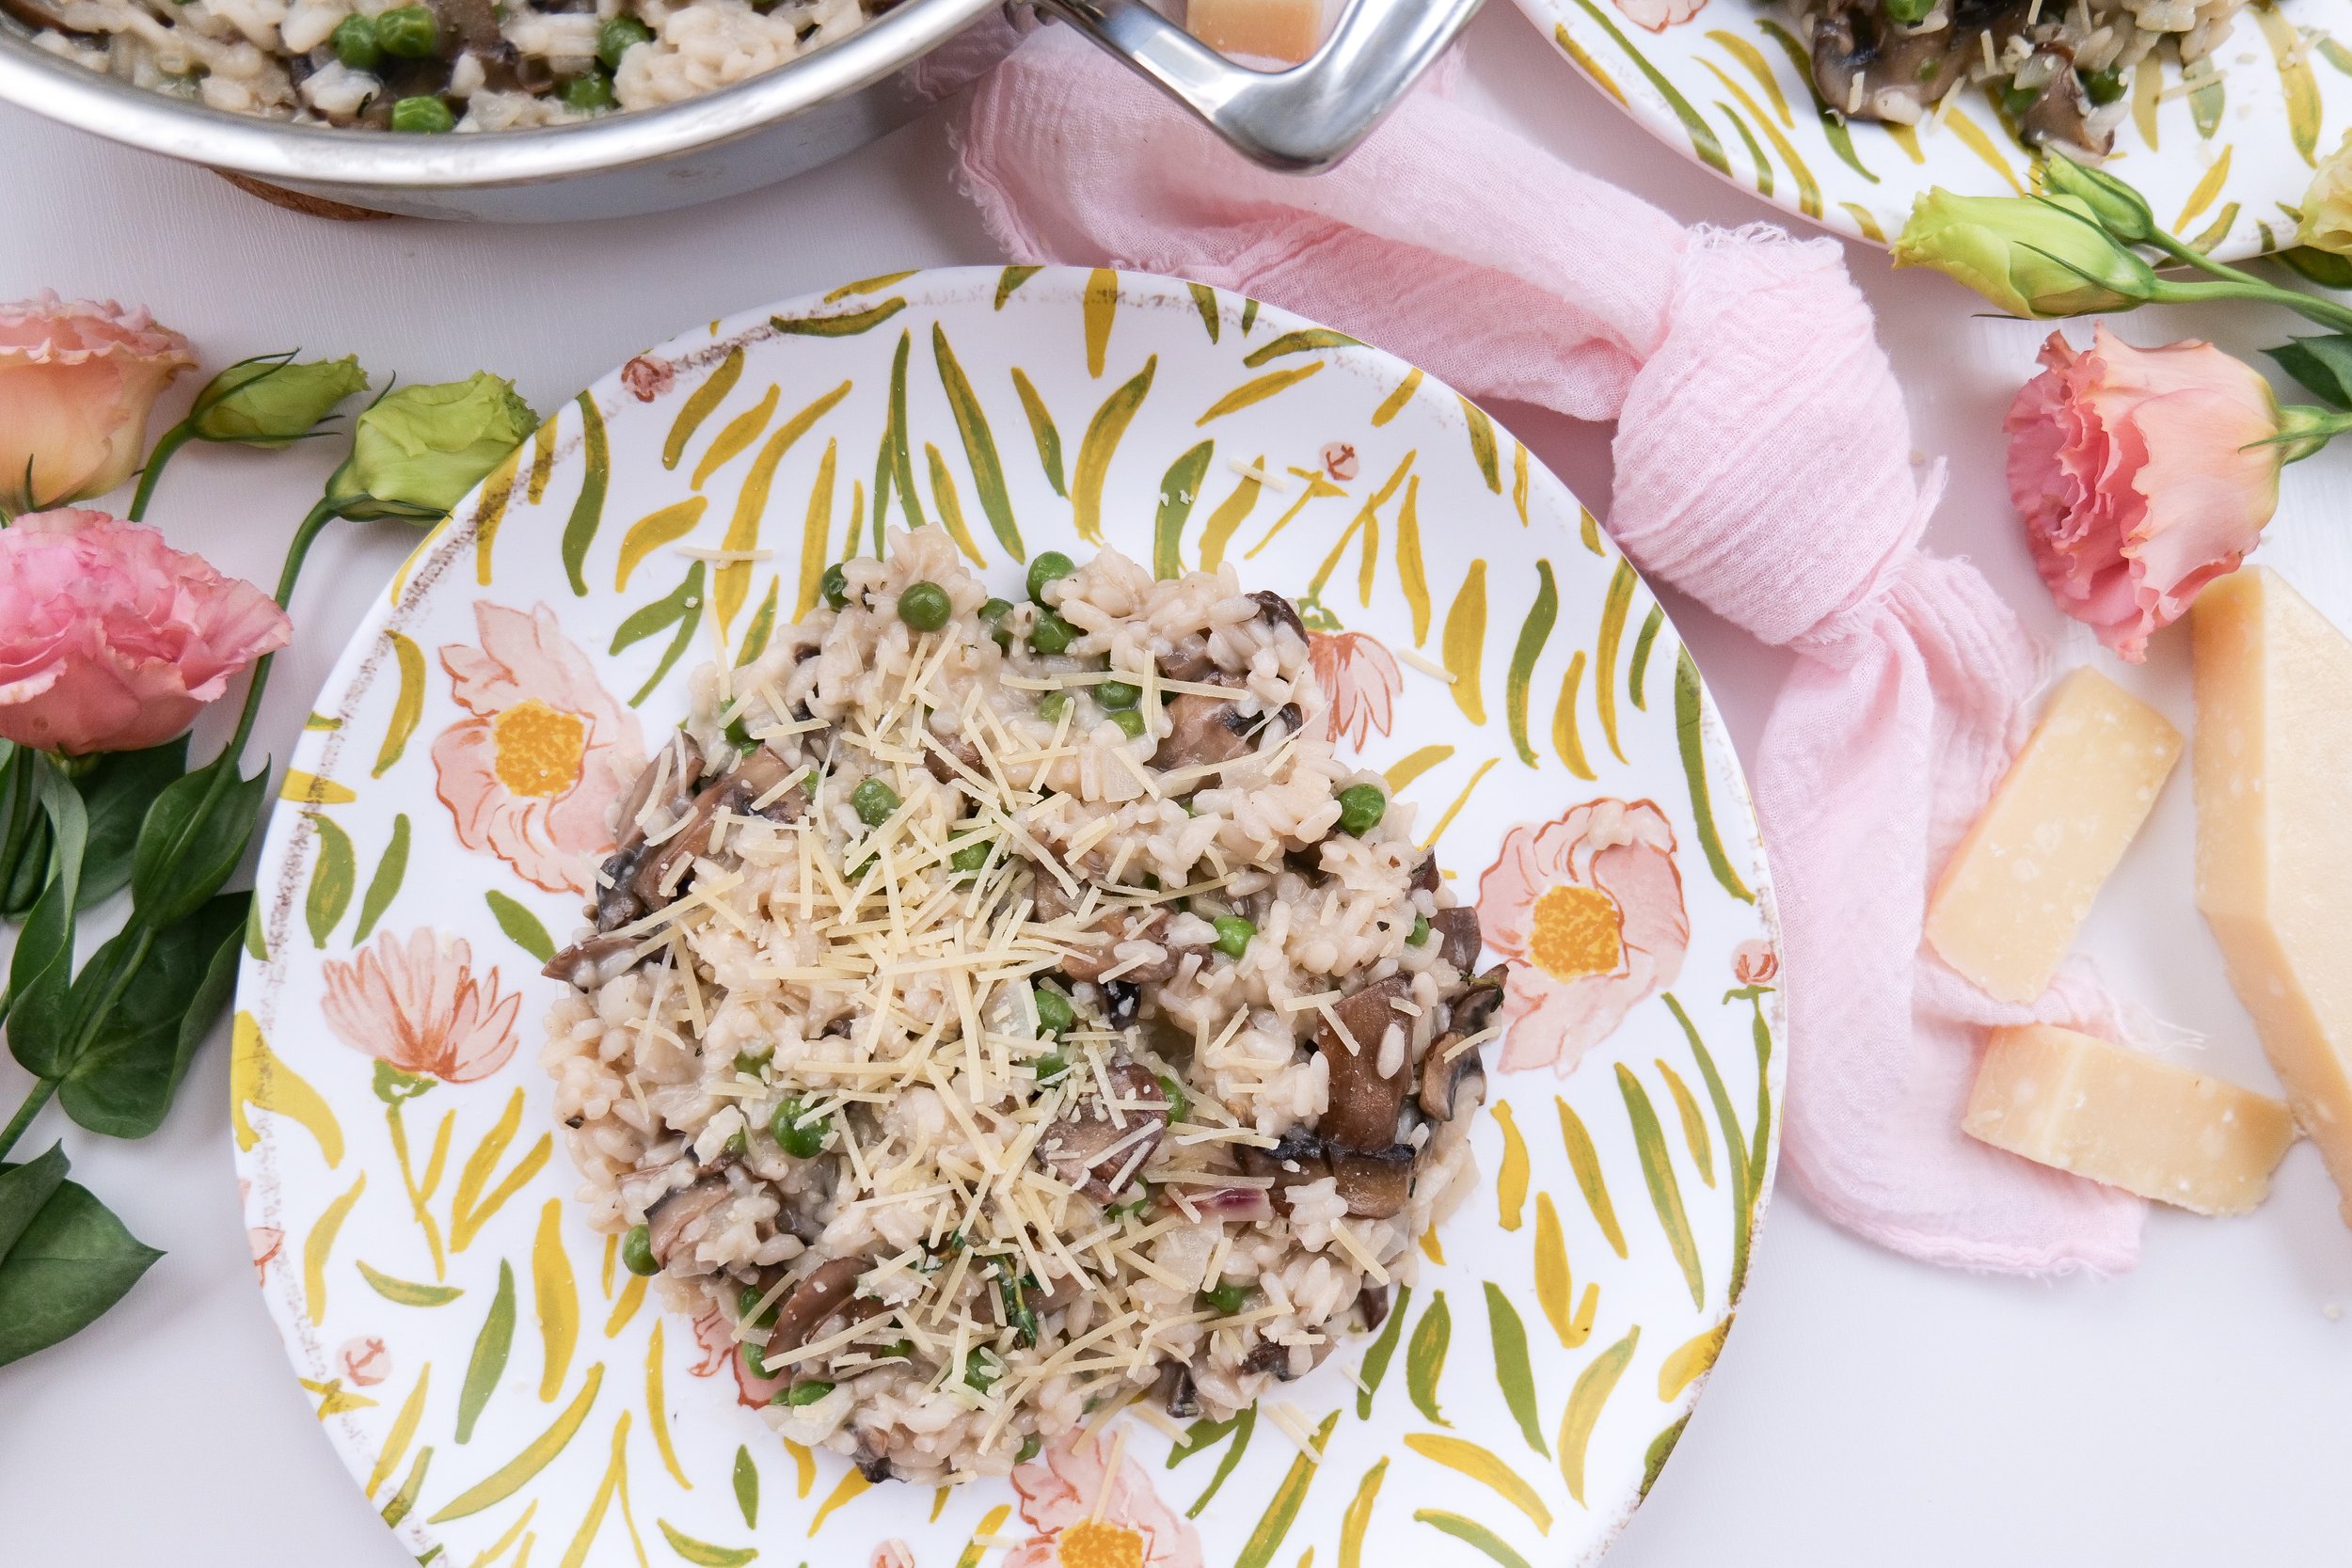
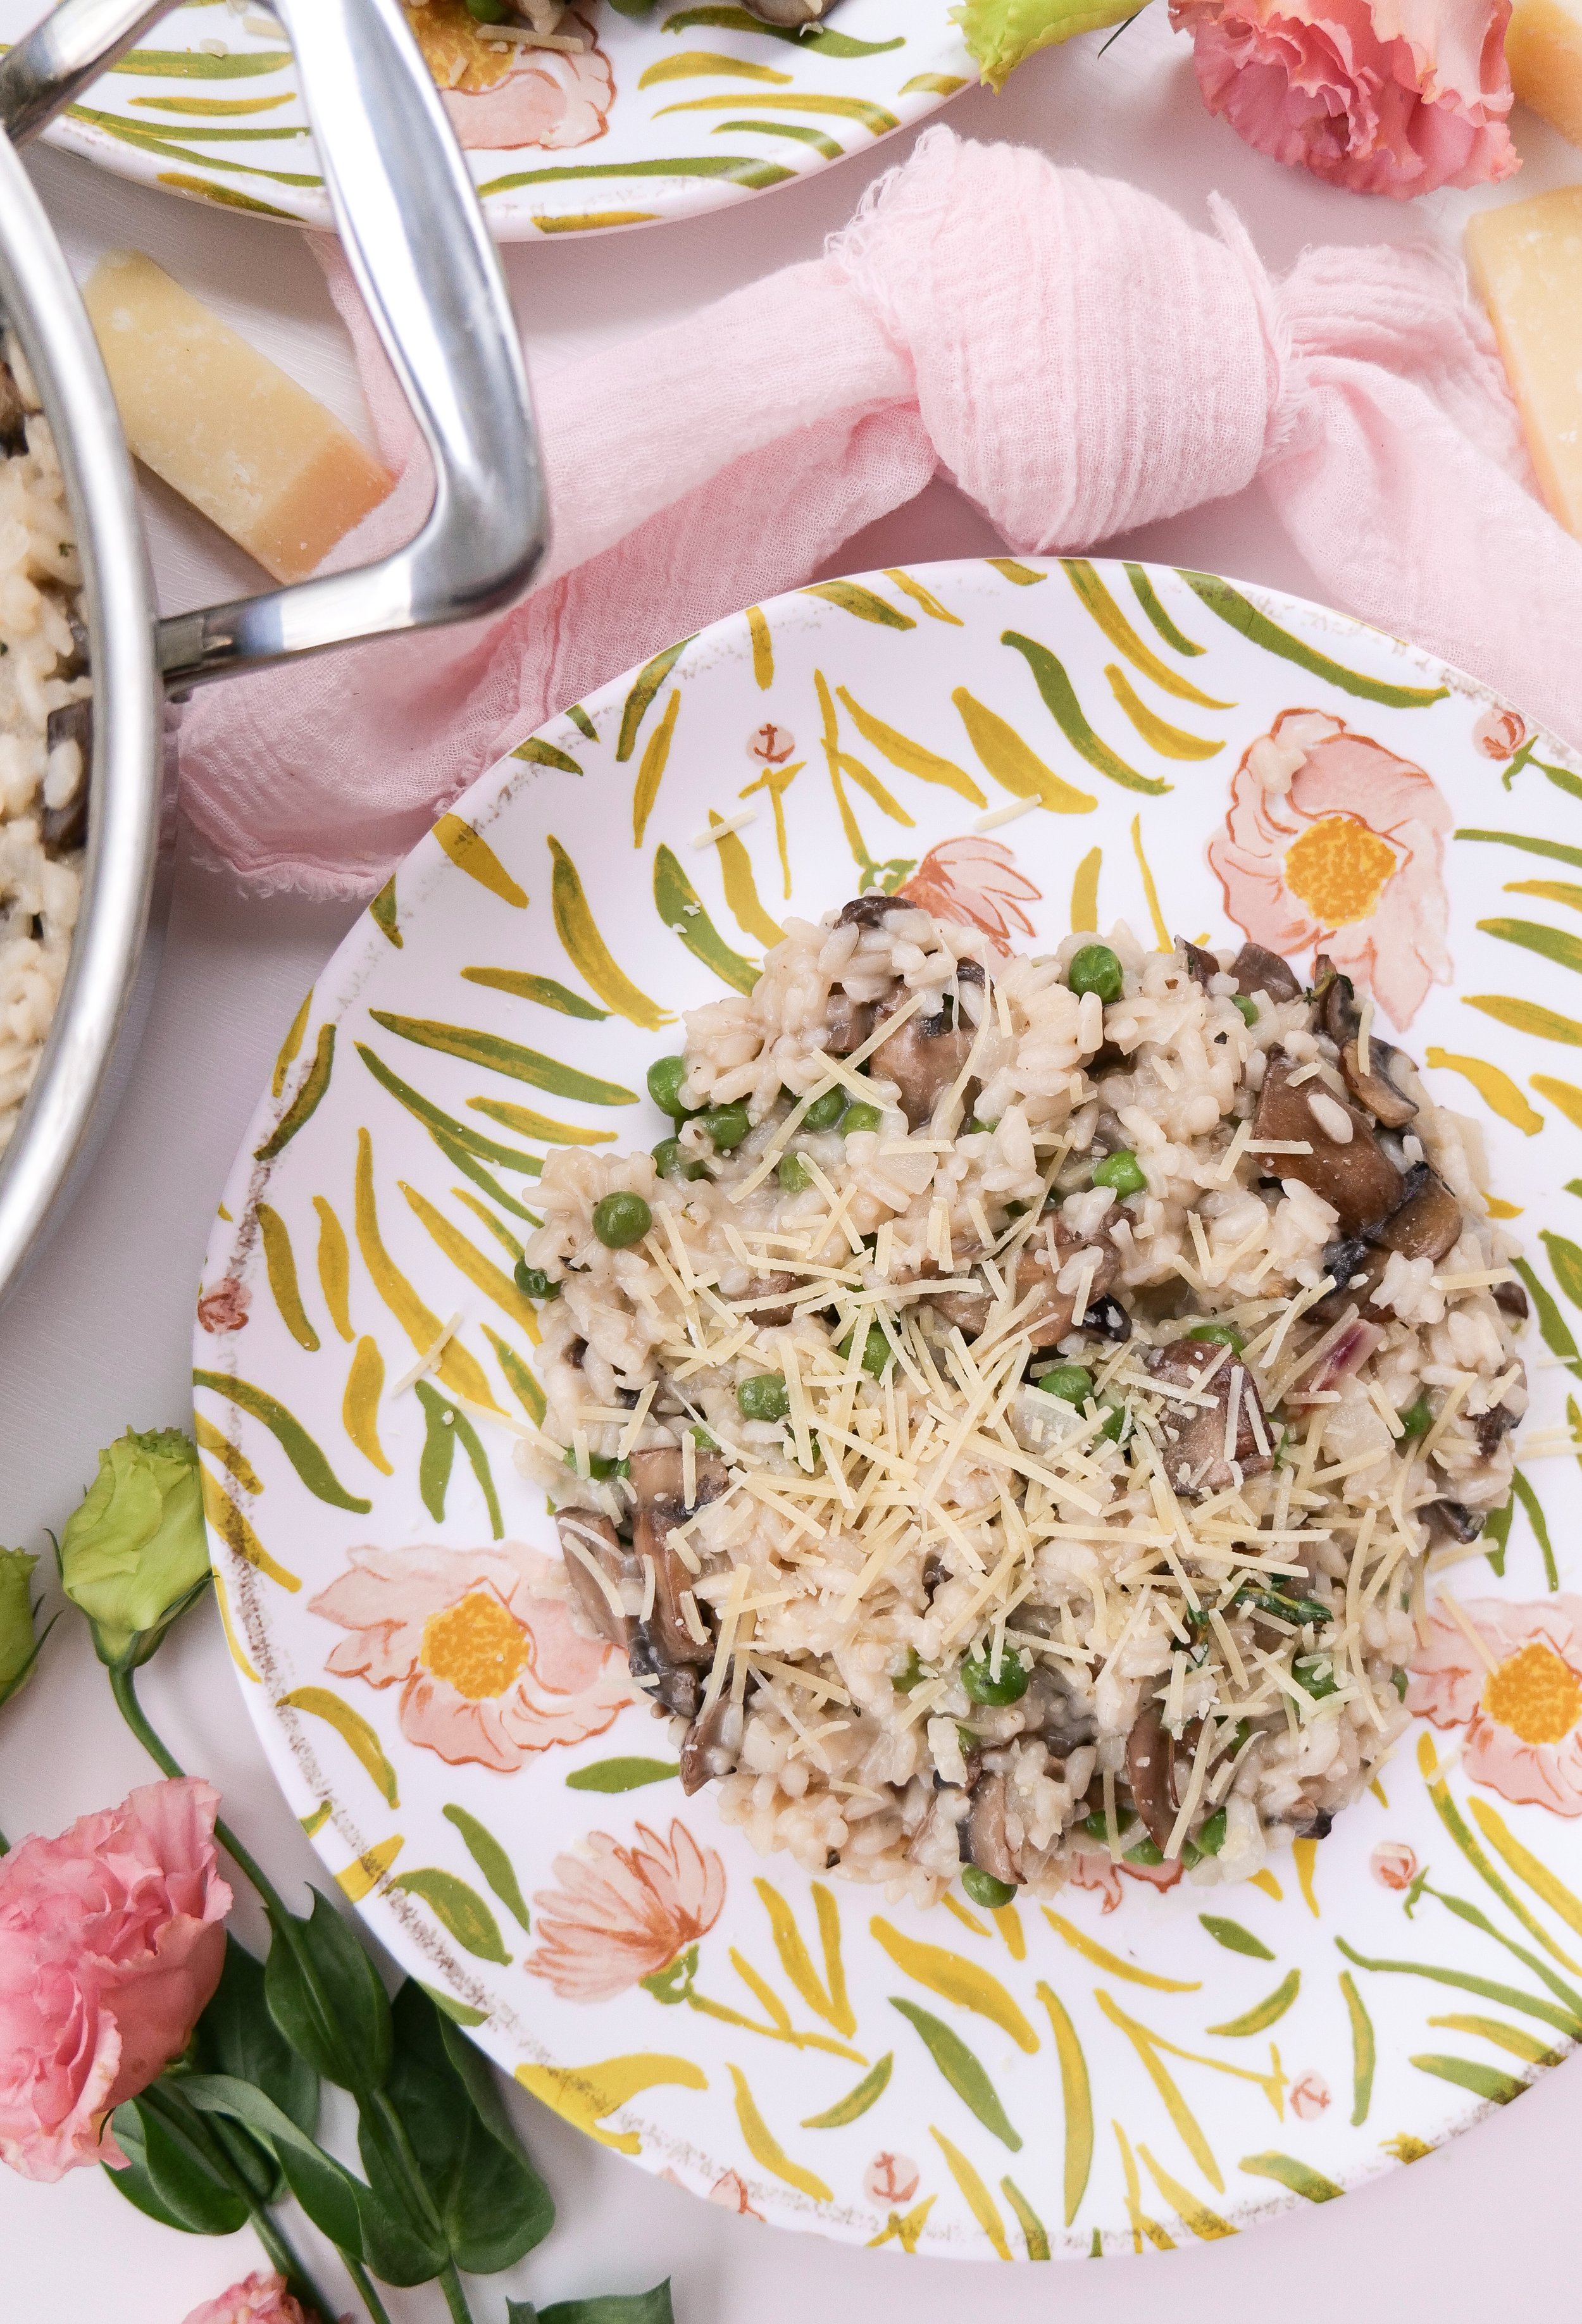
This Mushroom & Pea Risotto Recipe is a classic Italian dish that is sure to satisfy. Combining creamy Arborio rice, sautéed mushrooms, and sweet peas, this dish is packed with flavor and is surprisingly easy to make. This delicious risotto comes together in just 30 minutes, making it a great choice for any weeknight meal. As a bonus, it is also vegetarian-friendly! If you're looking for a tasty and quick meal, this is the best risotto recipe and is simply a must-try.

Mushroom and Pea Risotto is a delicious, creamy, and hearty dish that is perfect for a cozy night with family or friends. This easy-to-follow recipe takes no more than 30 minutes to make and is budget friendly as it is made with simple and affordable ingredients. Not only is it delicious, but it is also healthy and nutritious, and packed full of flavor. It is also a great option for vegetarians and vegans if you omit parmesan cheese at the end and swap the butter for olive oil. To make this dish, you will need your favorite mushrooms, peas, arborio rice, vegetable stock, garlic, olive oil, and parmesan cheese. You will also need some butter, parsley and salt to season. This creamy mushroom risotto recipe is a delicious and easy-to-make dish that is sure to become a family favorite. Below I will show you exactly how to make this.

INGREDIENTS

(Serving Size 8)

6 tablespoons butter

16 oz baby bella mushrooms

2 cloves minced garlic

3 finely chopped shallots

2 cups arborio rice

1/2 cup white wine

6 cups vegetable broth

1 1/2 cups frozen or fresh peas

2 teaspoons sea salt

1 cup grated parmesan cheese

1 teaspoon thyme

1 teaspoon rosemary

INSTRUCTIONS

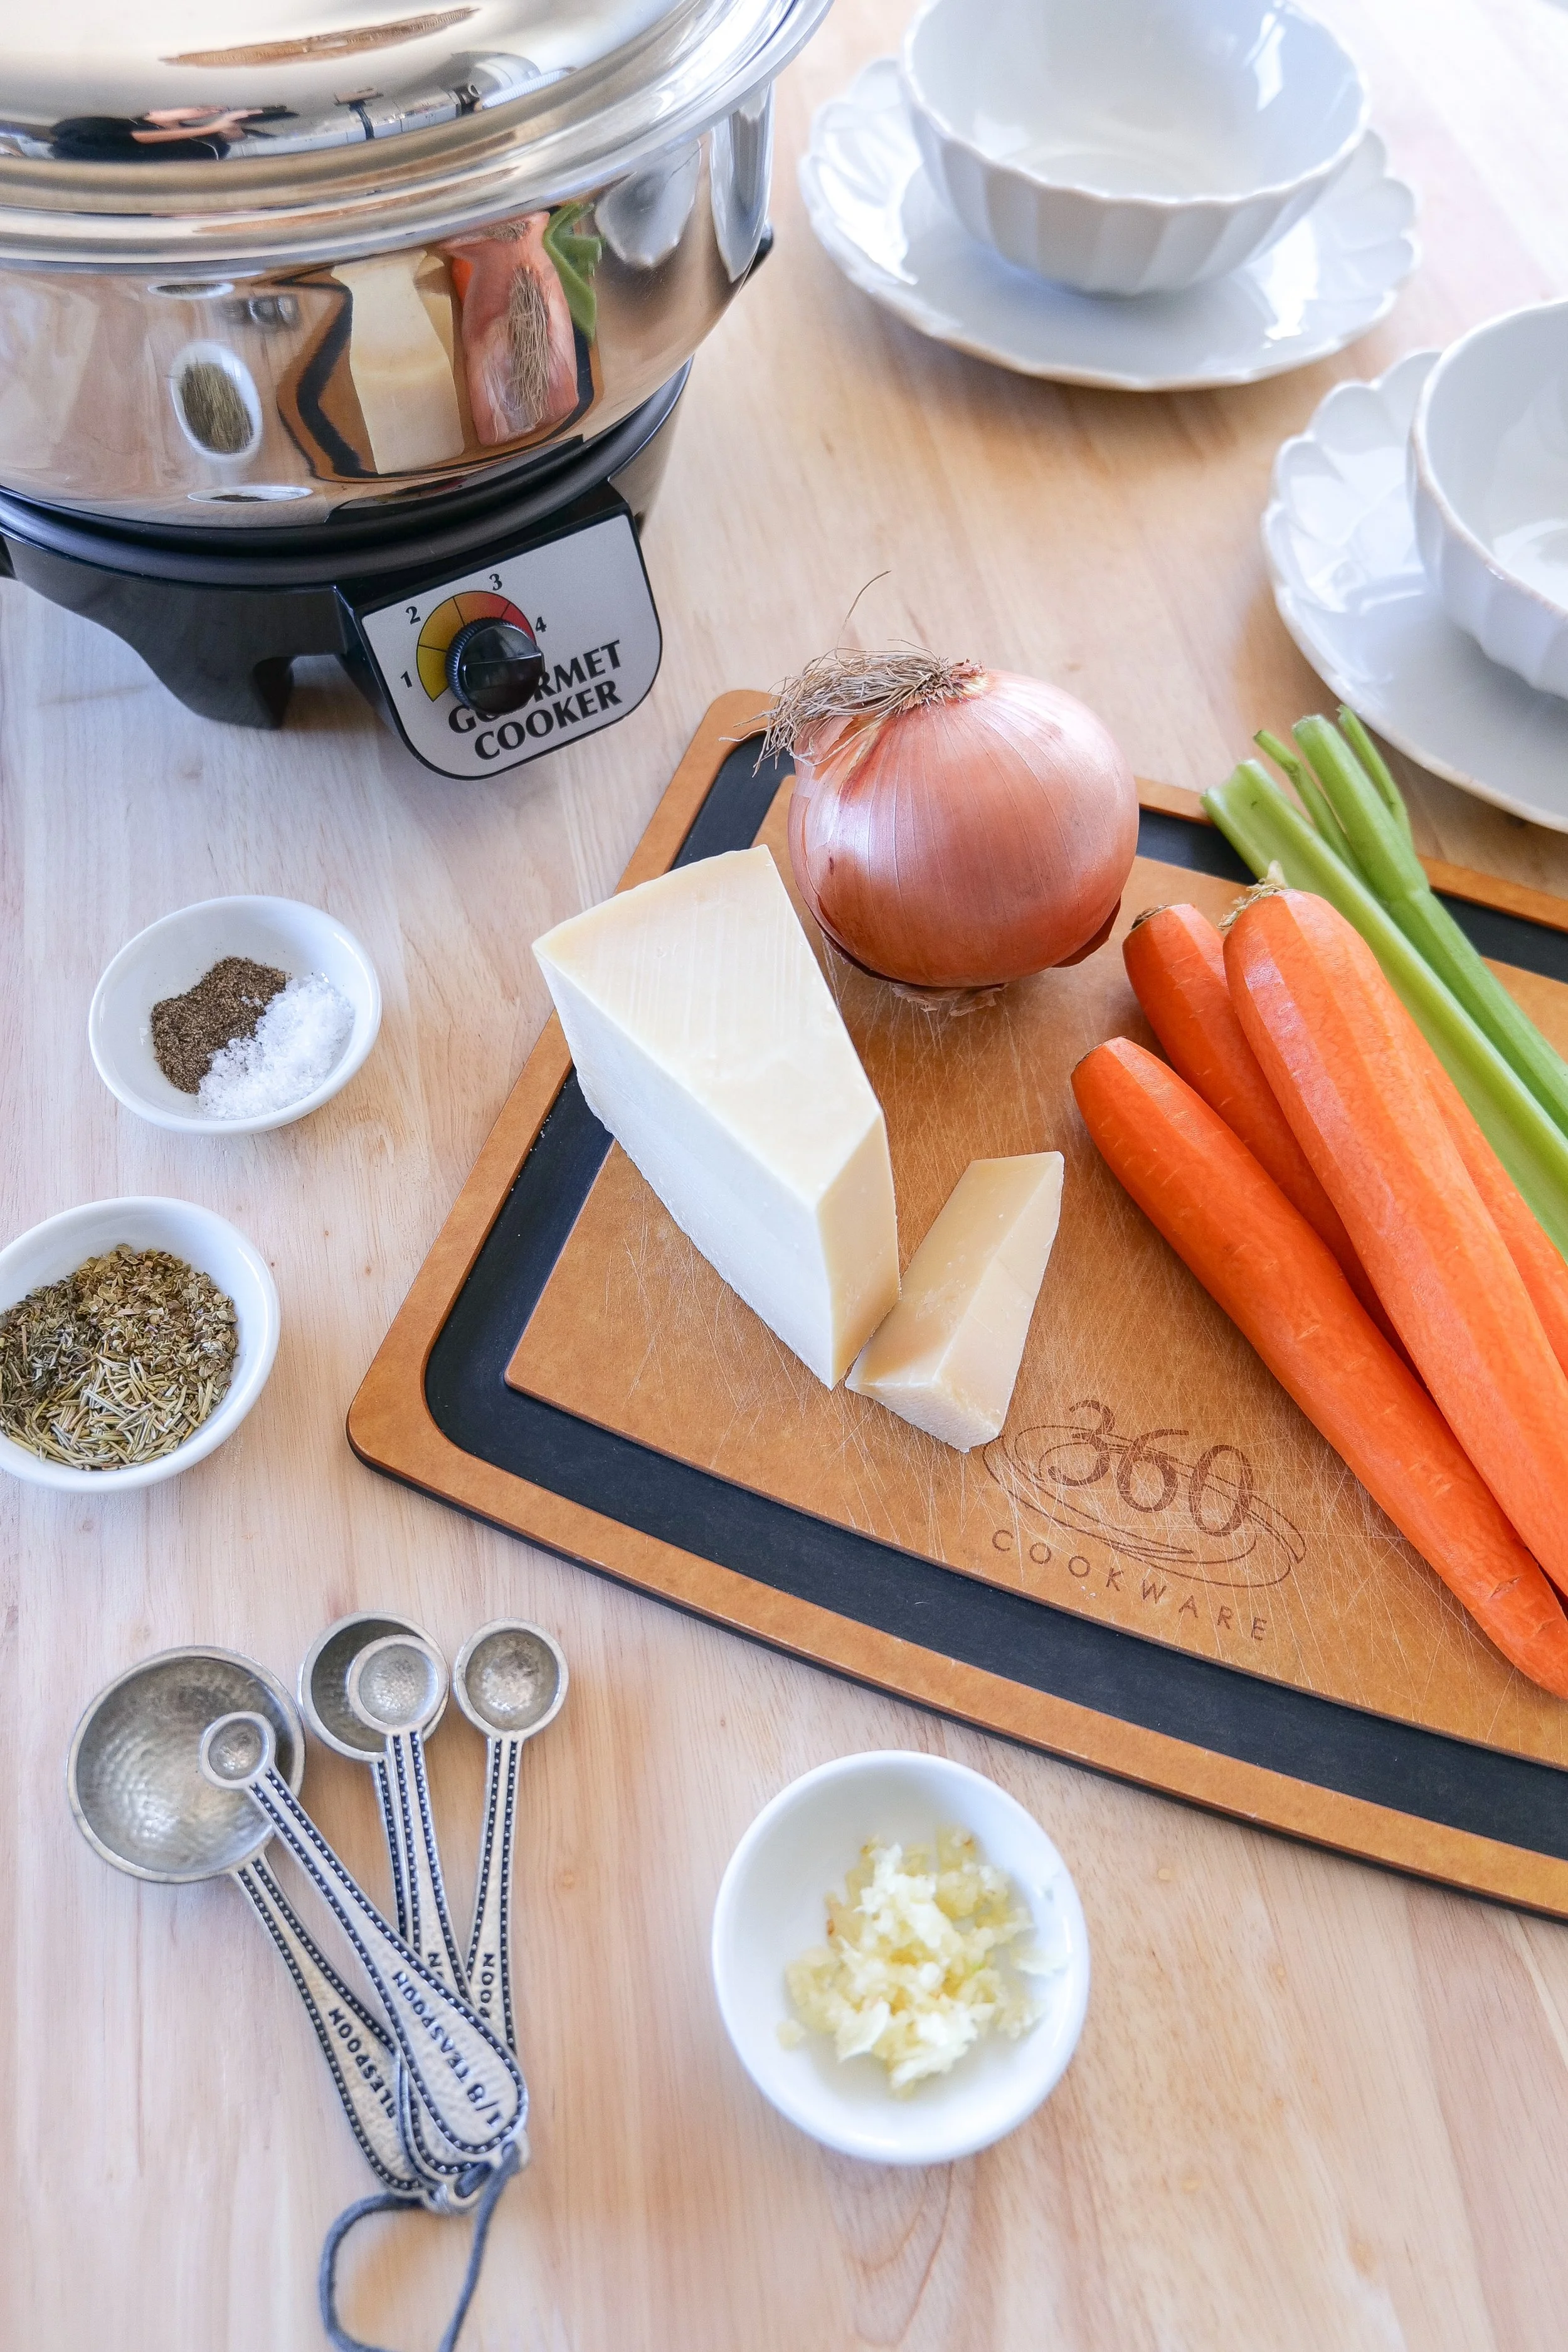
1. To begin, heat the butter in a large pan ( I am using 3.5 Quart Sauté Pan with Short Handles

from 360cookware) over medium heat. Once melted, add the mushrooms and cook for about 3 minutes until softened. Then, add the peas and cook for an additional 5 minutes until well mixed and the mushrooms have shrunk in size. Remove the mixture to a clean plate and set aside.

2. Return the pan to the stove and add additional butter and shallots. Sautee until the shallots are transparent. Then, add the rice and cook for 1 minute. After that, reduce heat to medium-low heat and add the white wine and stir to scrape up any browned bits from the bottom of the pan. Slowly add in the stock, one cup at a time, stirring frequently.

3. When the rice is almost cooked through, stir in the peas and mushroom mixture for an additional 2 minutes. Taste and season with salt, thyme, and rosemary.

4. Finally, stir in the butter and Parmesan cheese until fully melted. Serve the risotto with a sprinkle of Parmesan cheese and fresh herbs. Enjoy!

Substitutions You Can Make:

Mushrooms are a key ingredient in this Mushroom & Pea Risotto recipe, as they add a savory and earthy flavor. Any type of wild mushroom or even a mixture of mushrooms can be used, such as porcini, shiitake, and oyster mushrooms. The main ingredient in this risotto recipe are peas, however, they can be swapped out for any other type of green vegetable such as spinach, kale, or asparagus. The type of rice used in this recipe can be swapped out for any type of short-grain white rice or even a mixture of different types, such as basmati or jasmine rice. The type of broth used in the recipe can be swapped out for chicken or beef broth, or white wine can be omitted for additional broth. Parmesan cheese is the main cheese used in this recipe, but it can be swapped out for any other type of hard cheese such as pecorino or cheddar.

This Mushroom & Pea Risotto recipe is a versatile dish that can be customized according to preference. With its delicious combination of mushrooms, peas, and cheese, it is sure to be a crowd-pleaser.

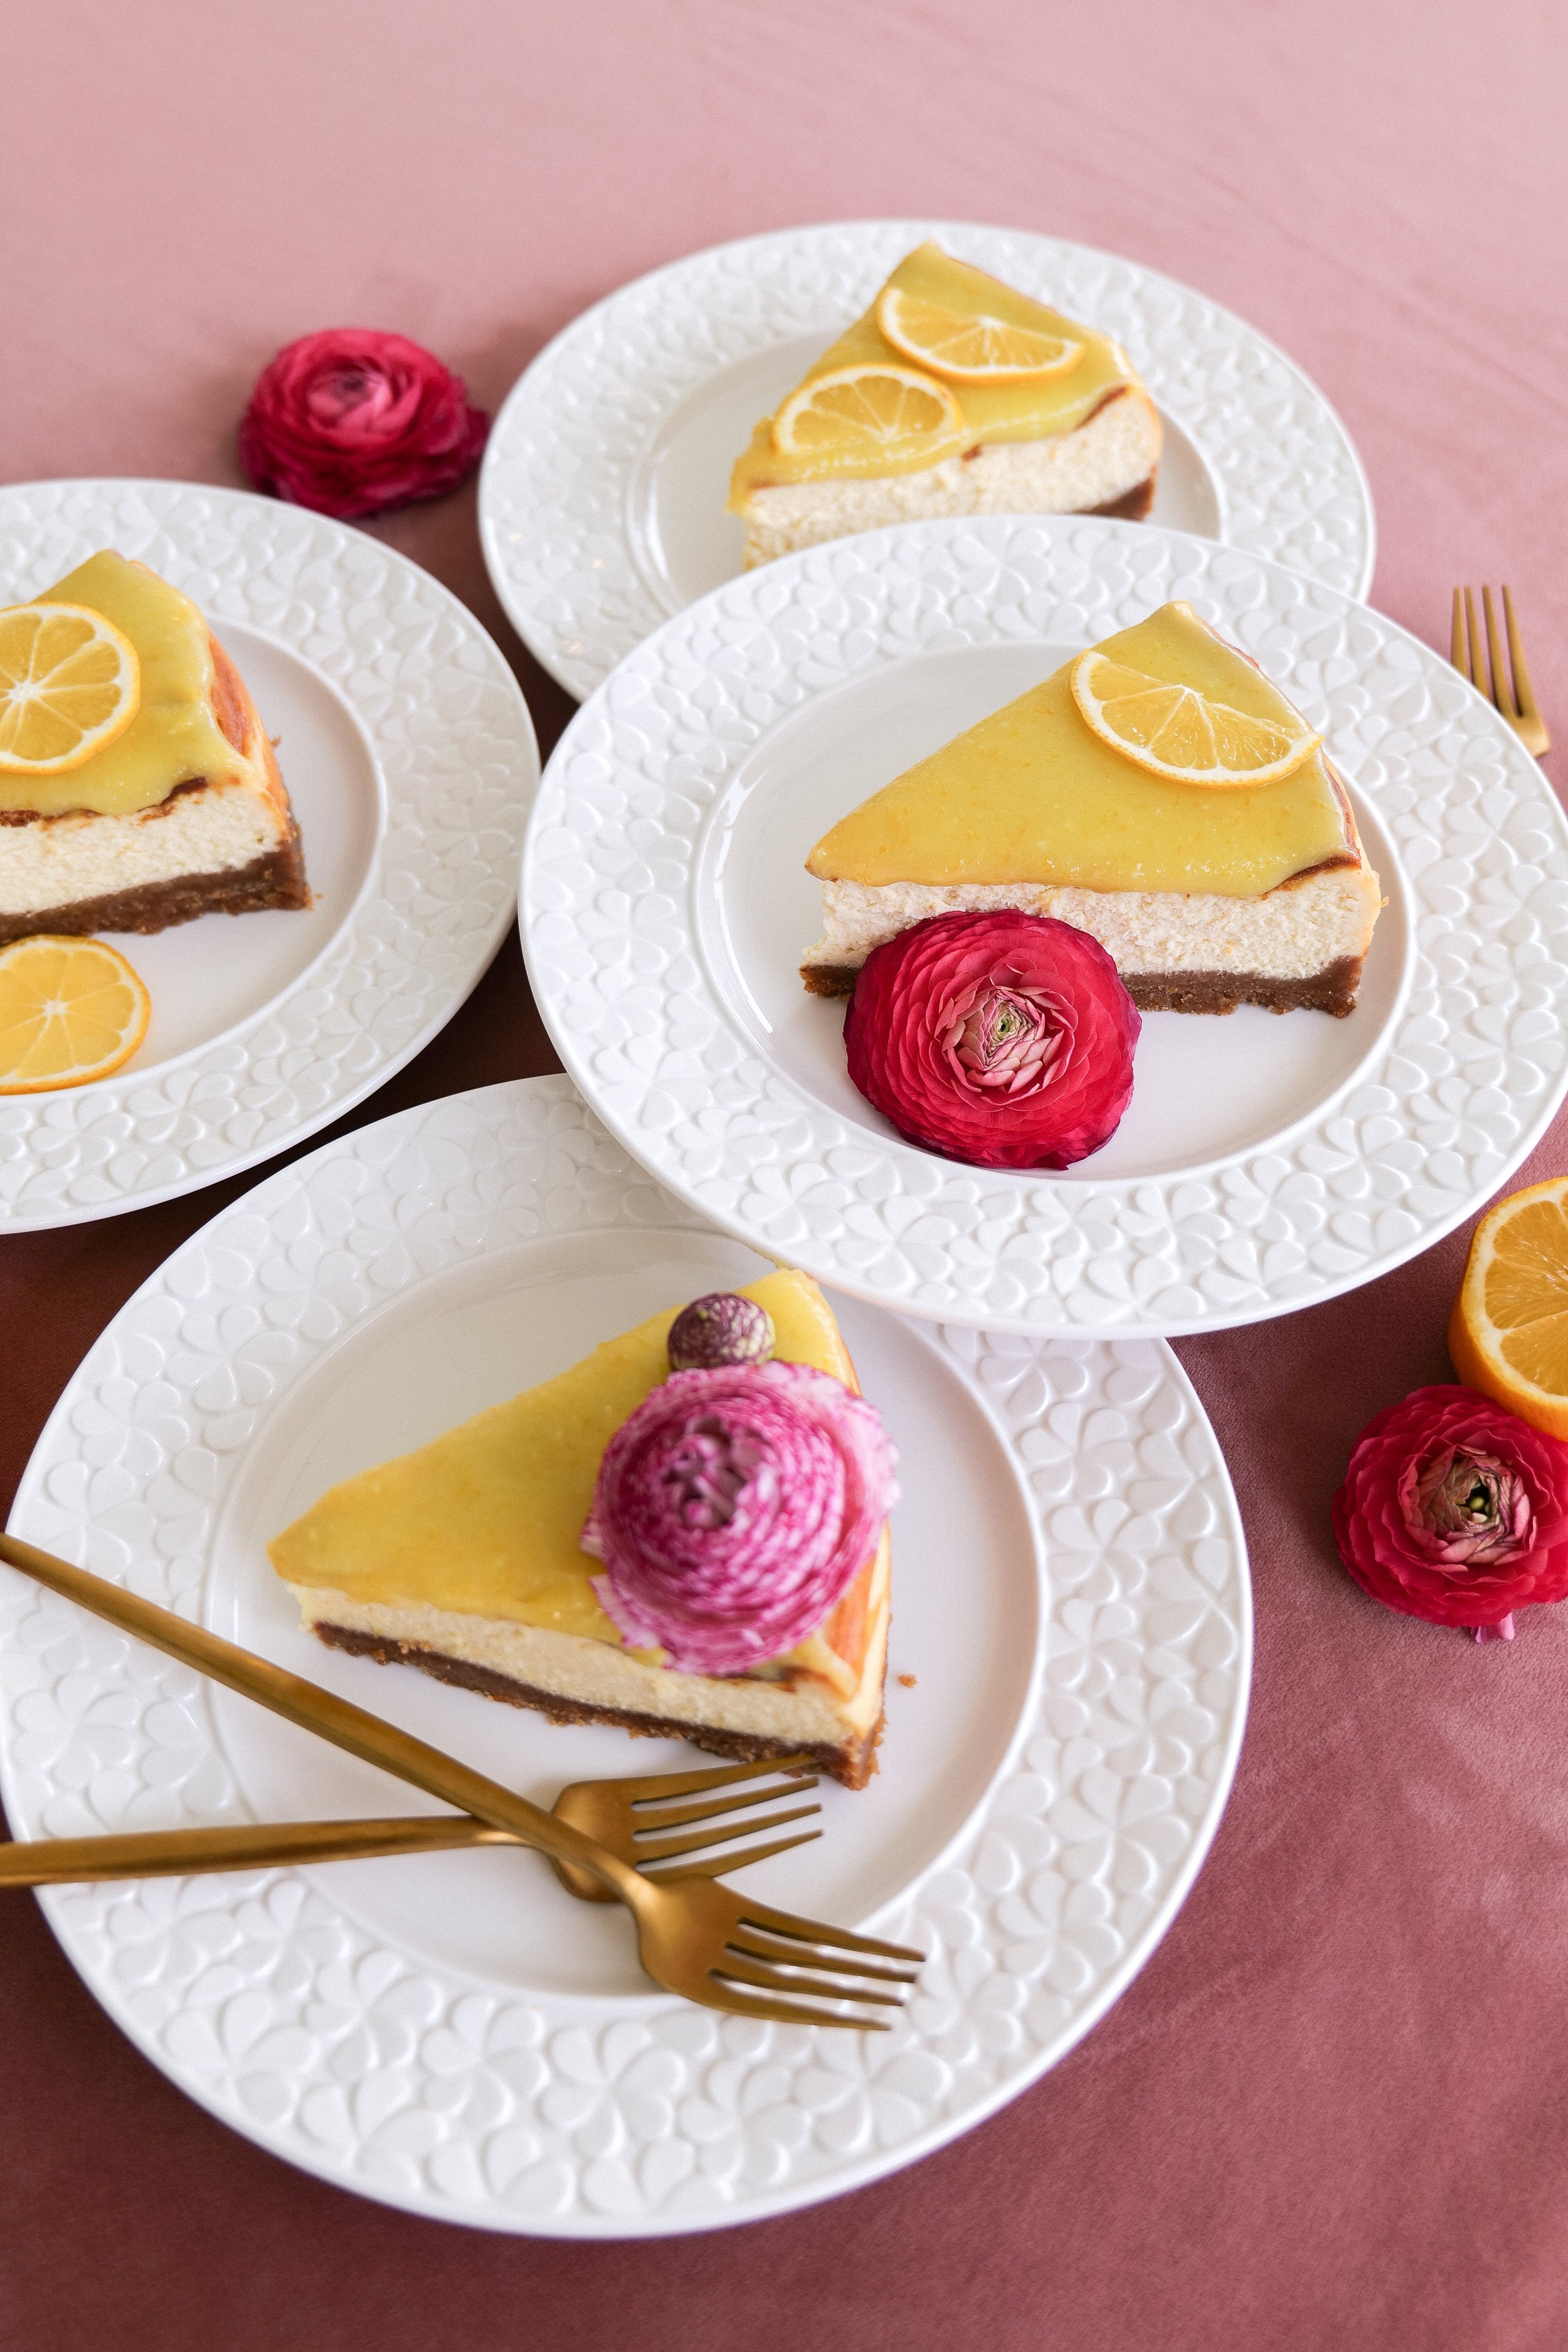
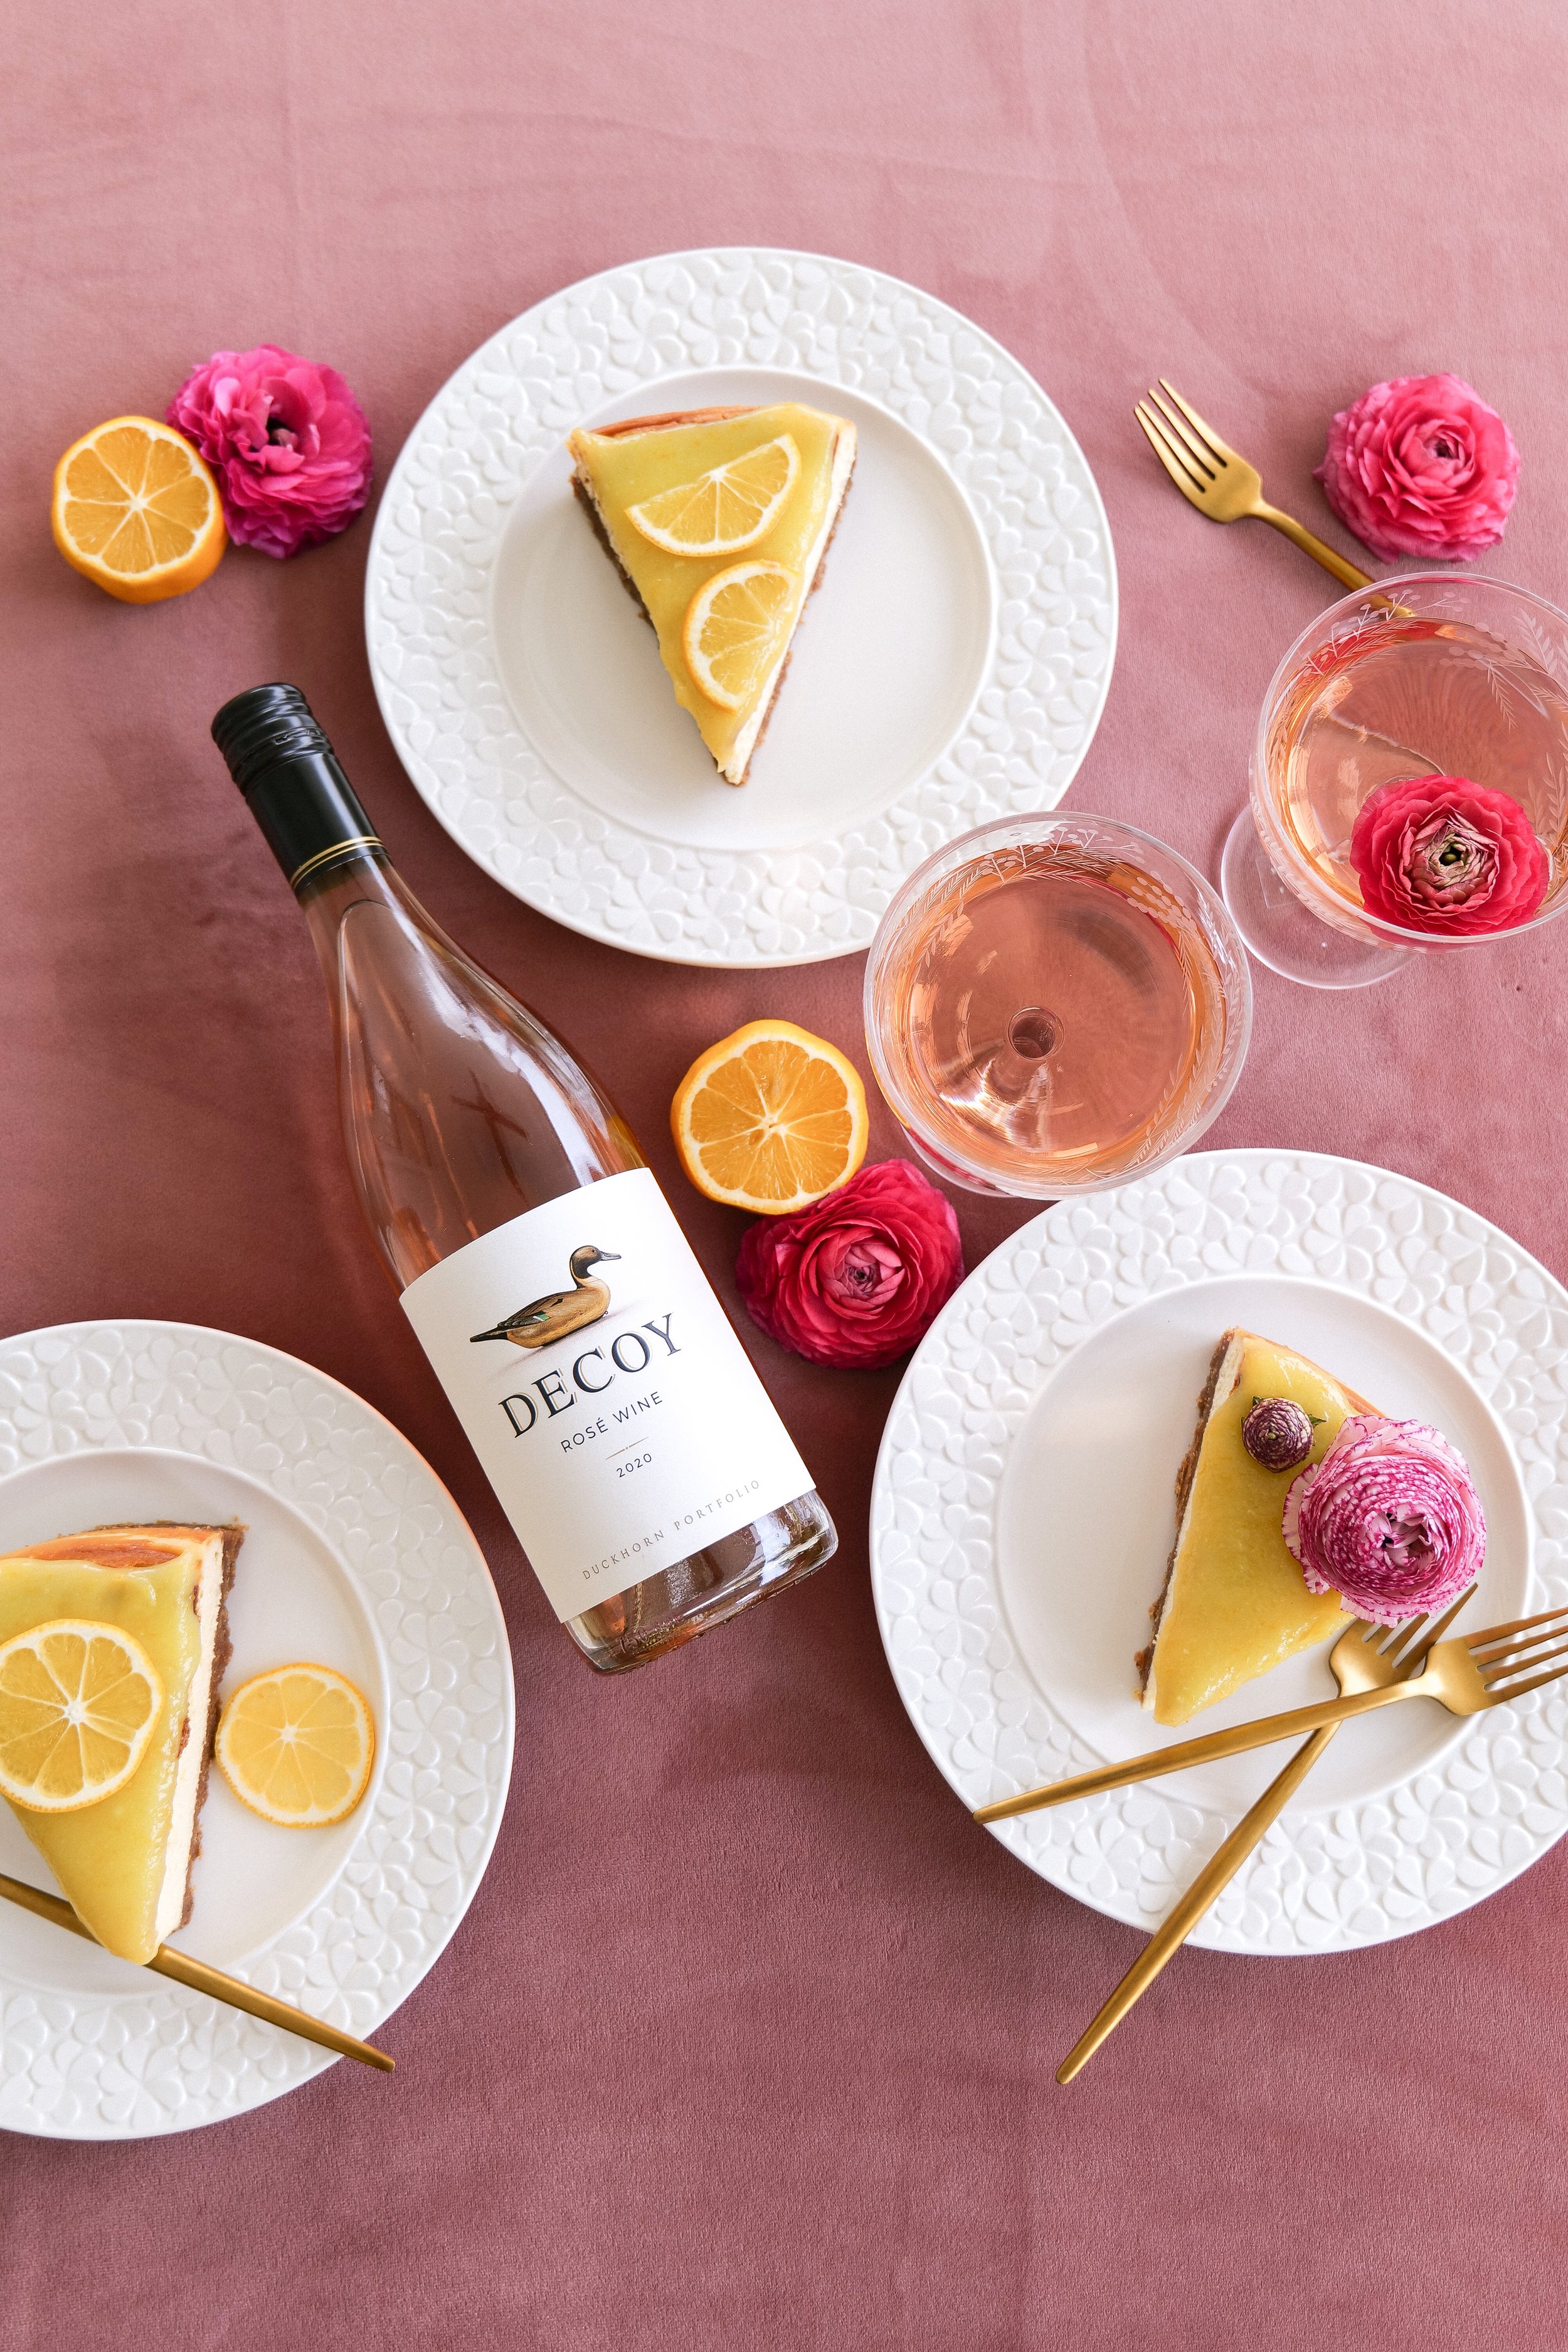
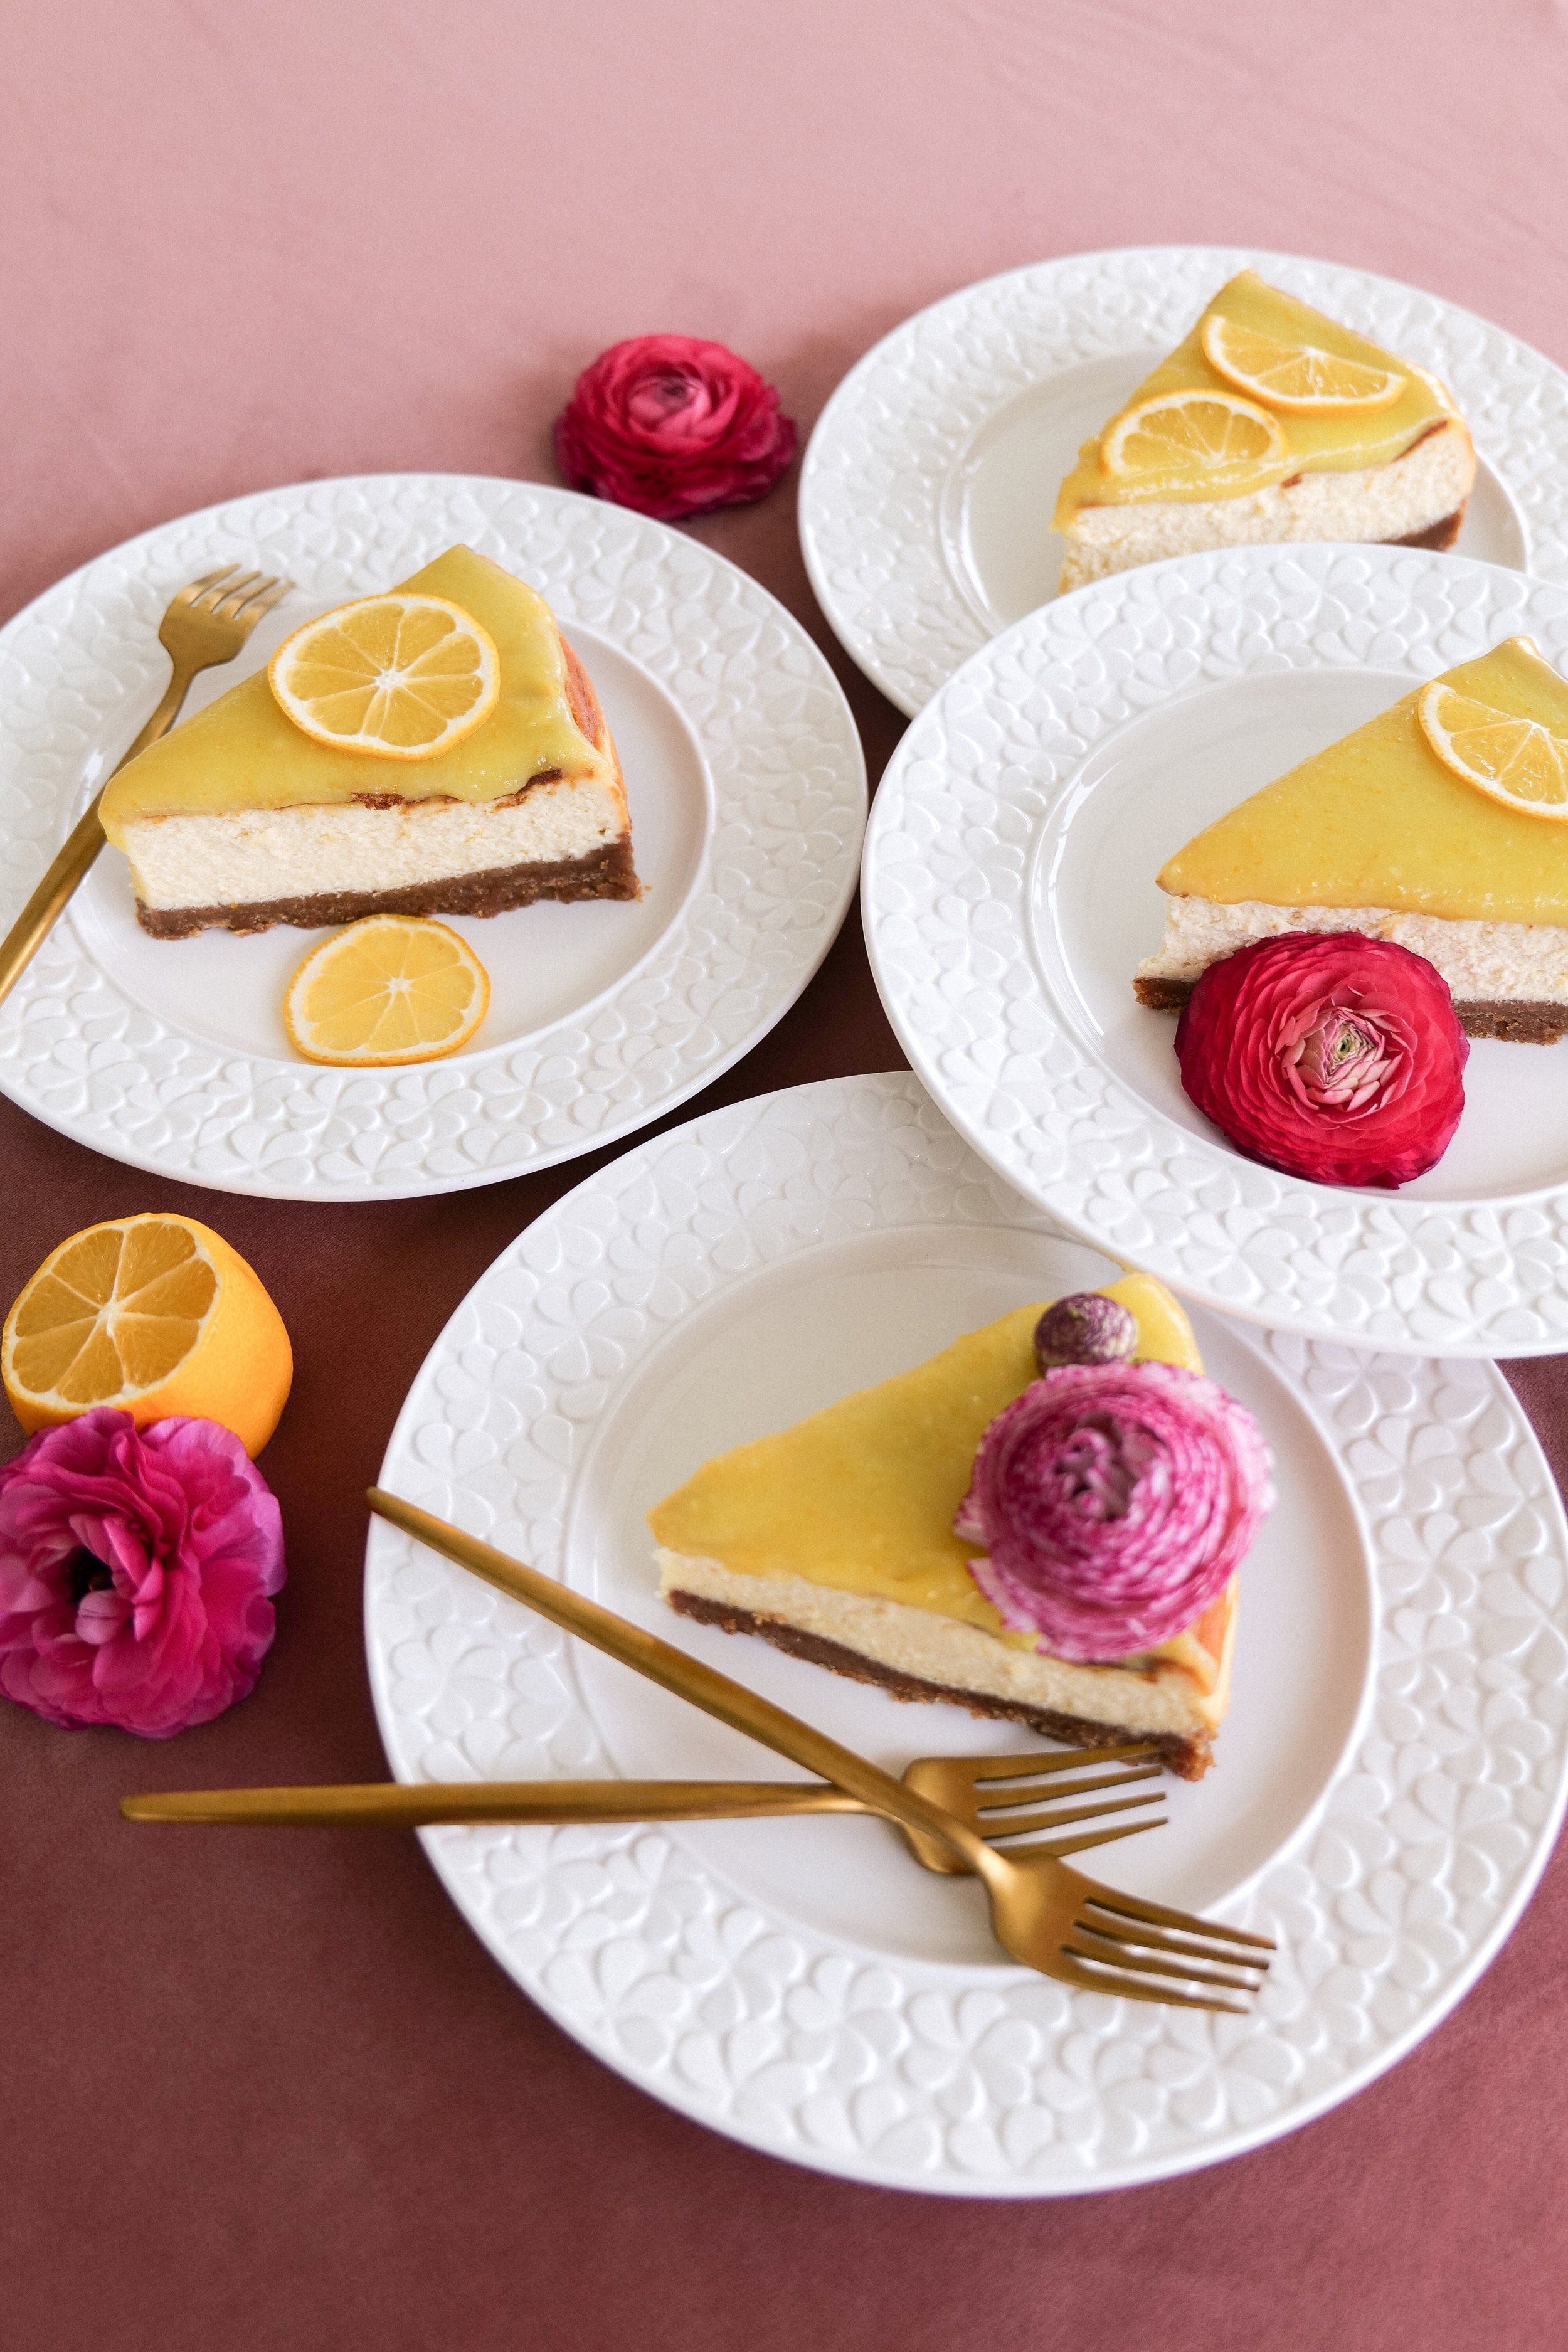
Tantalizingly Delicious Recipe For Lemon Cheesecake With An Amazing Glaze

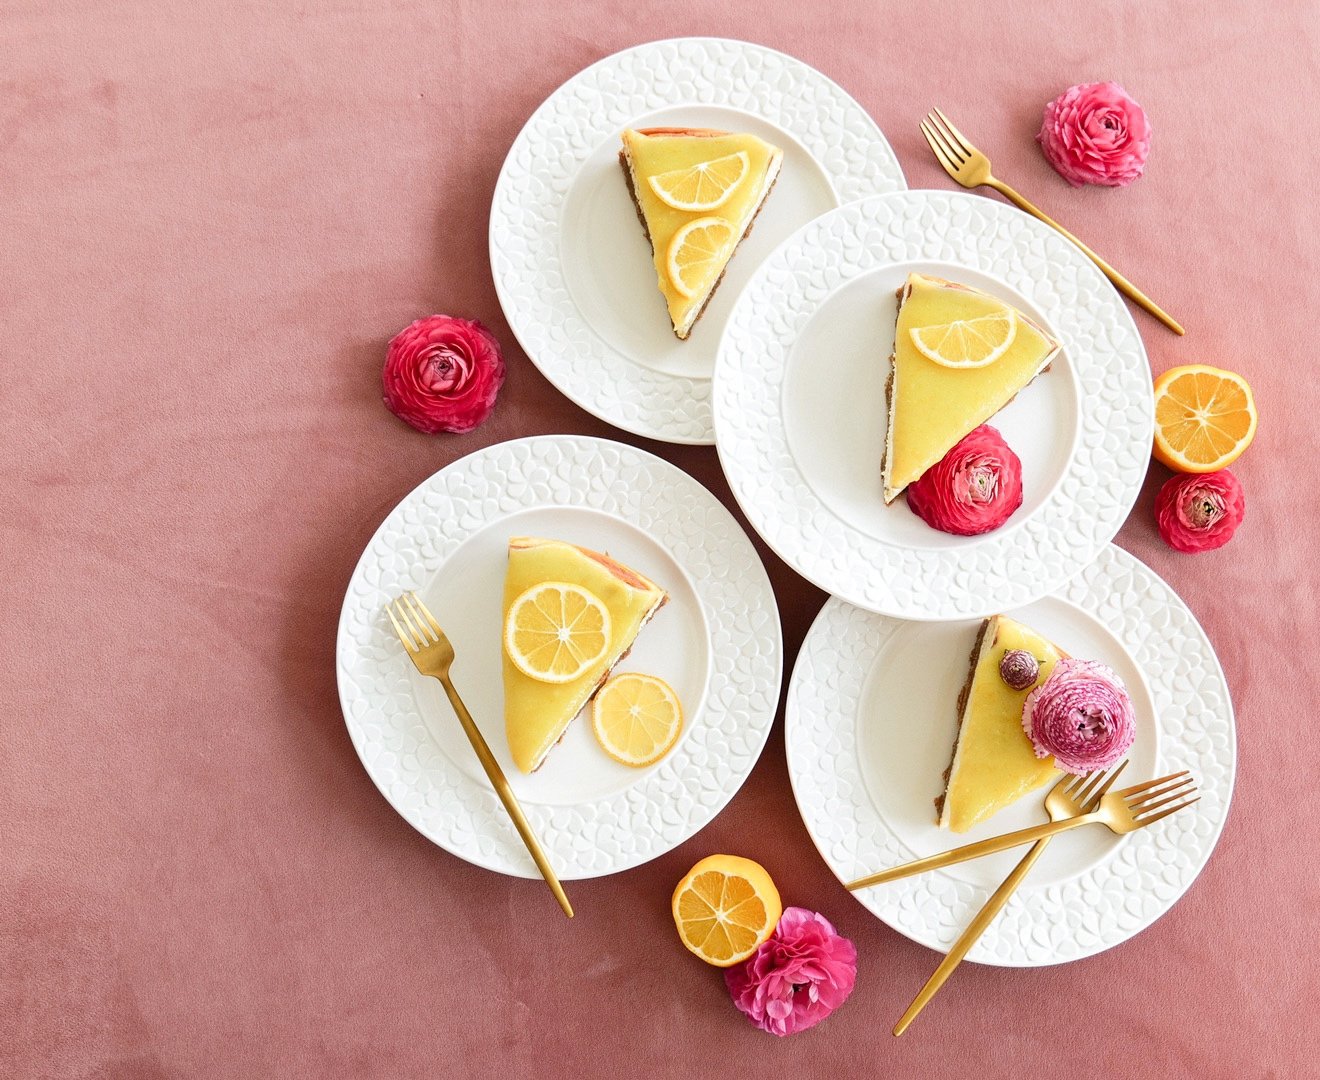
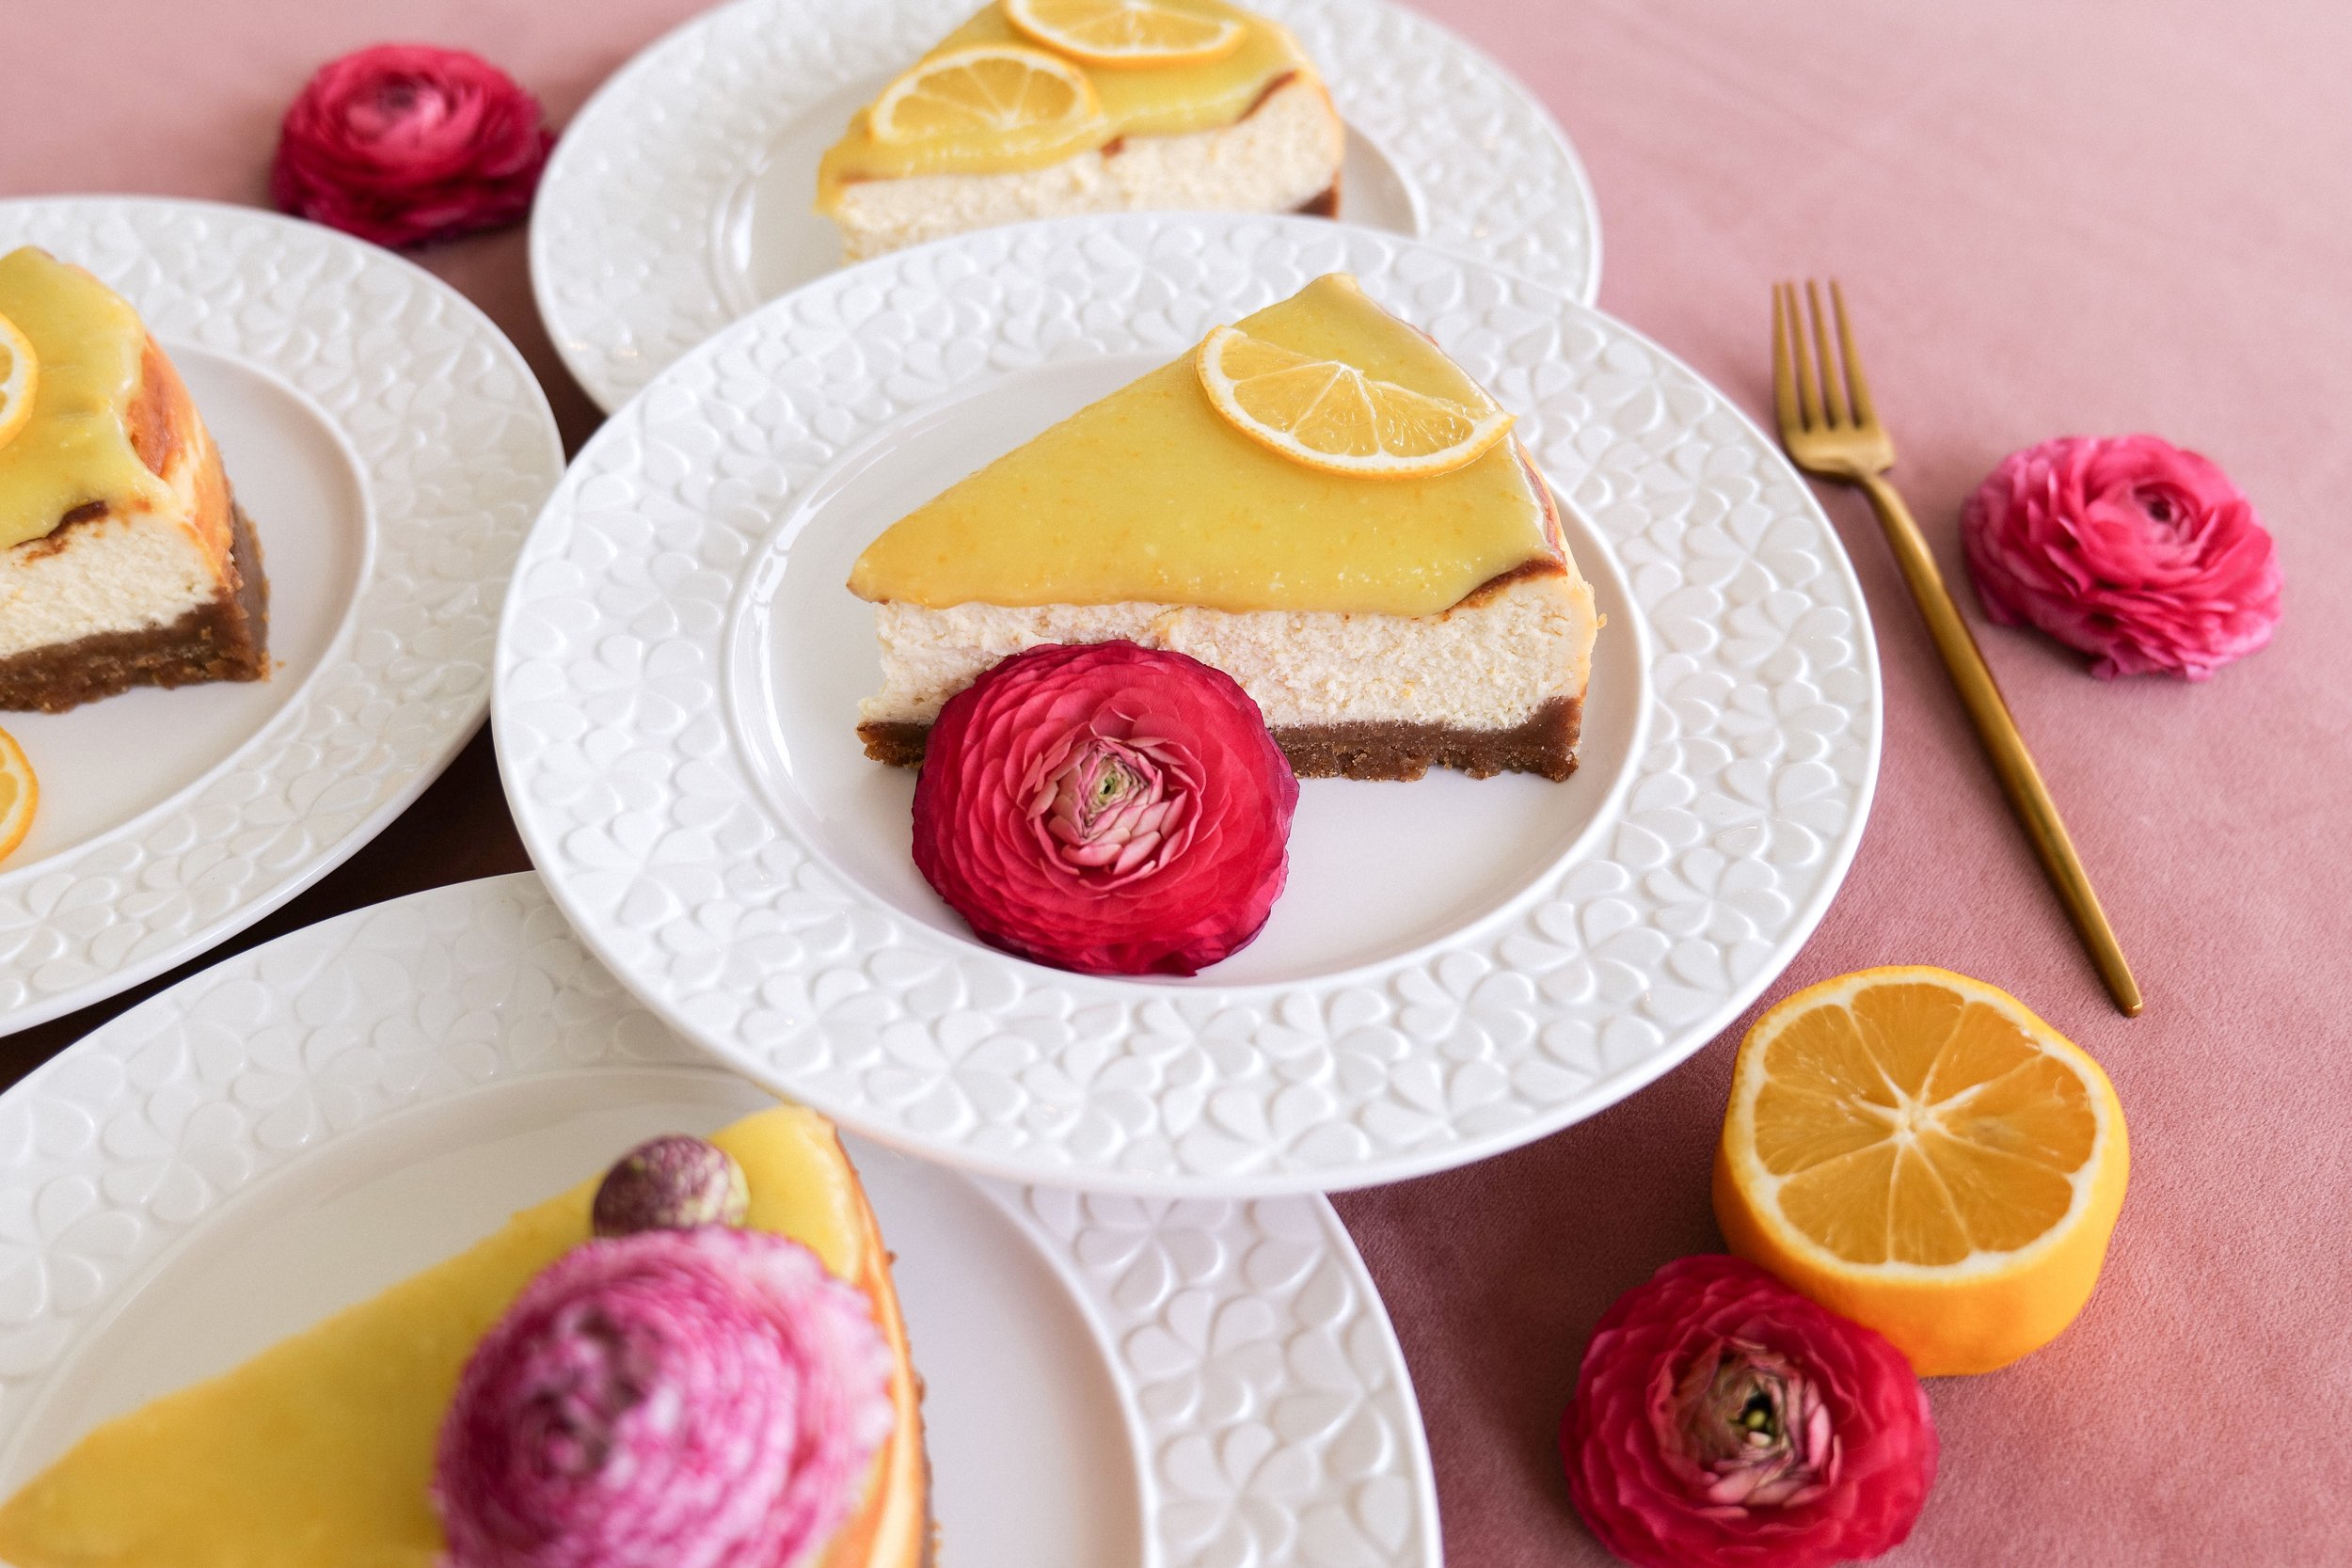
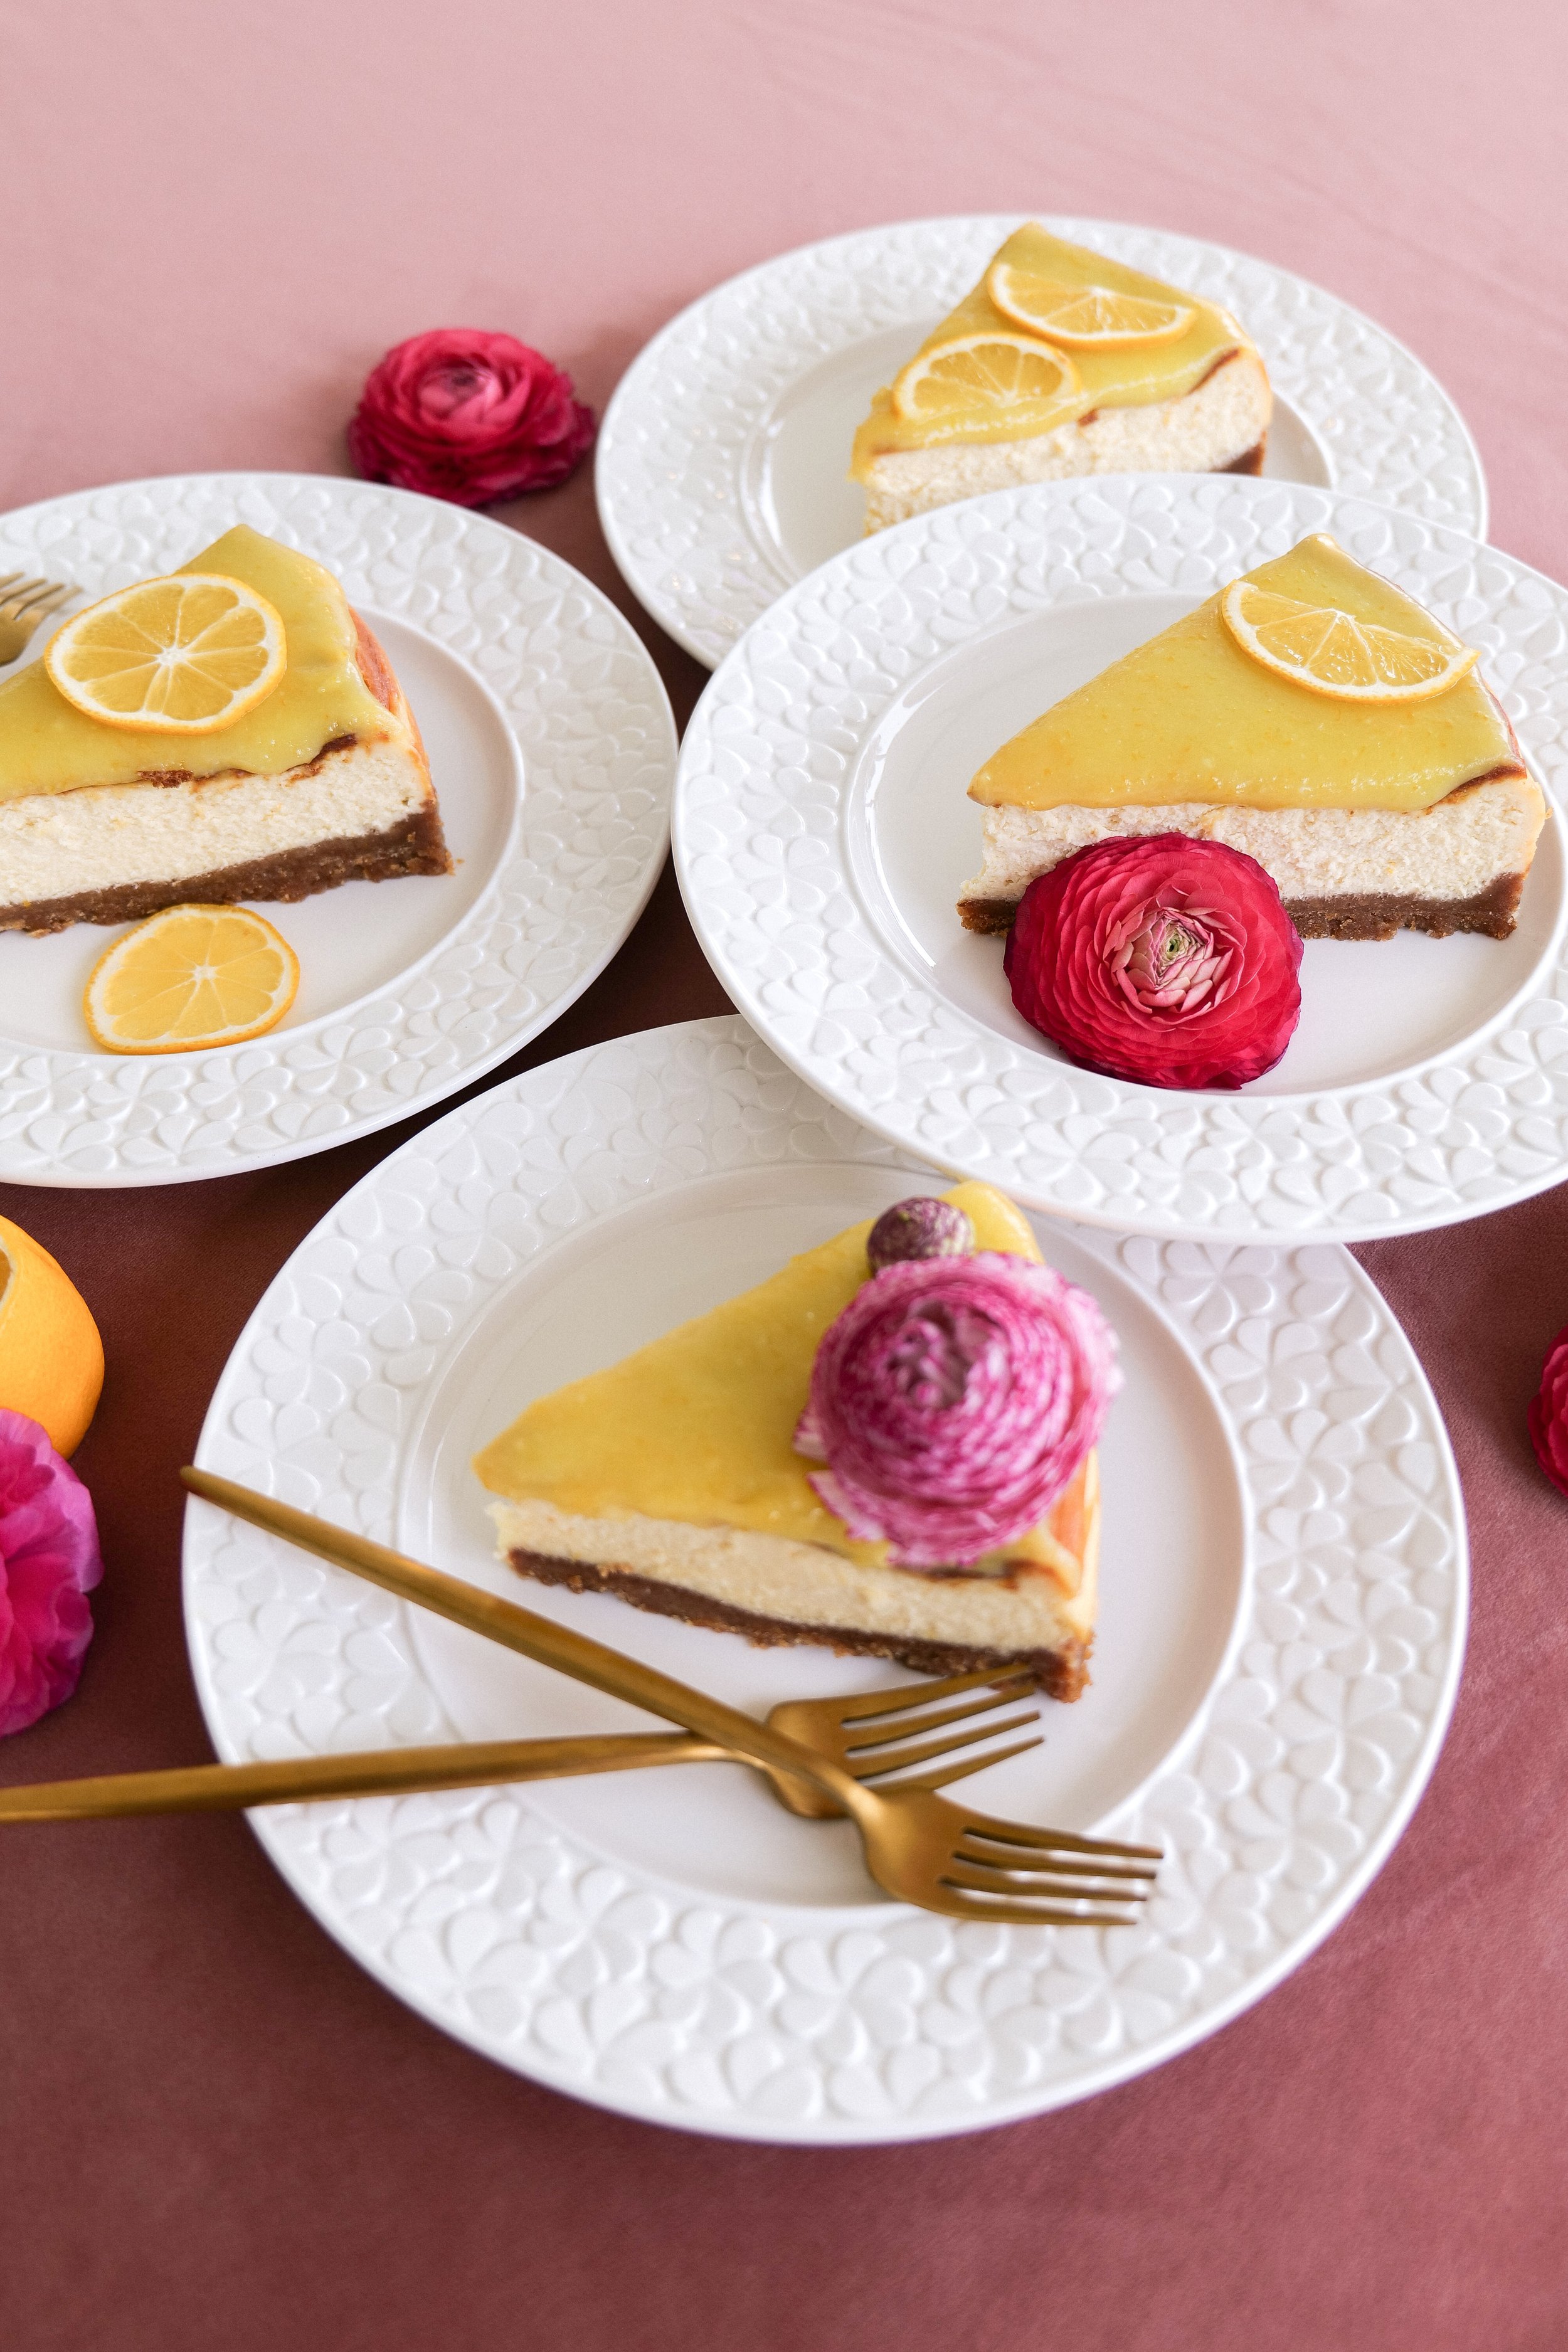
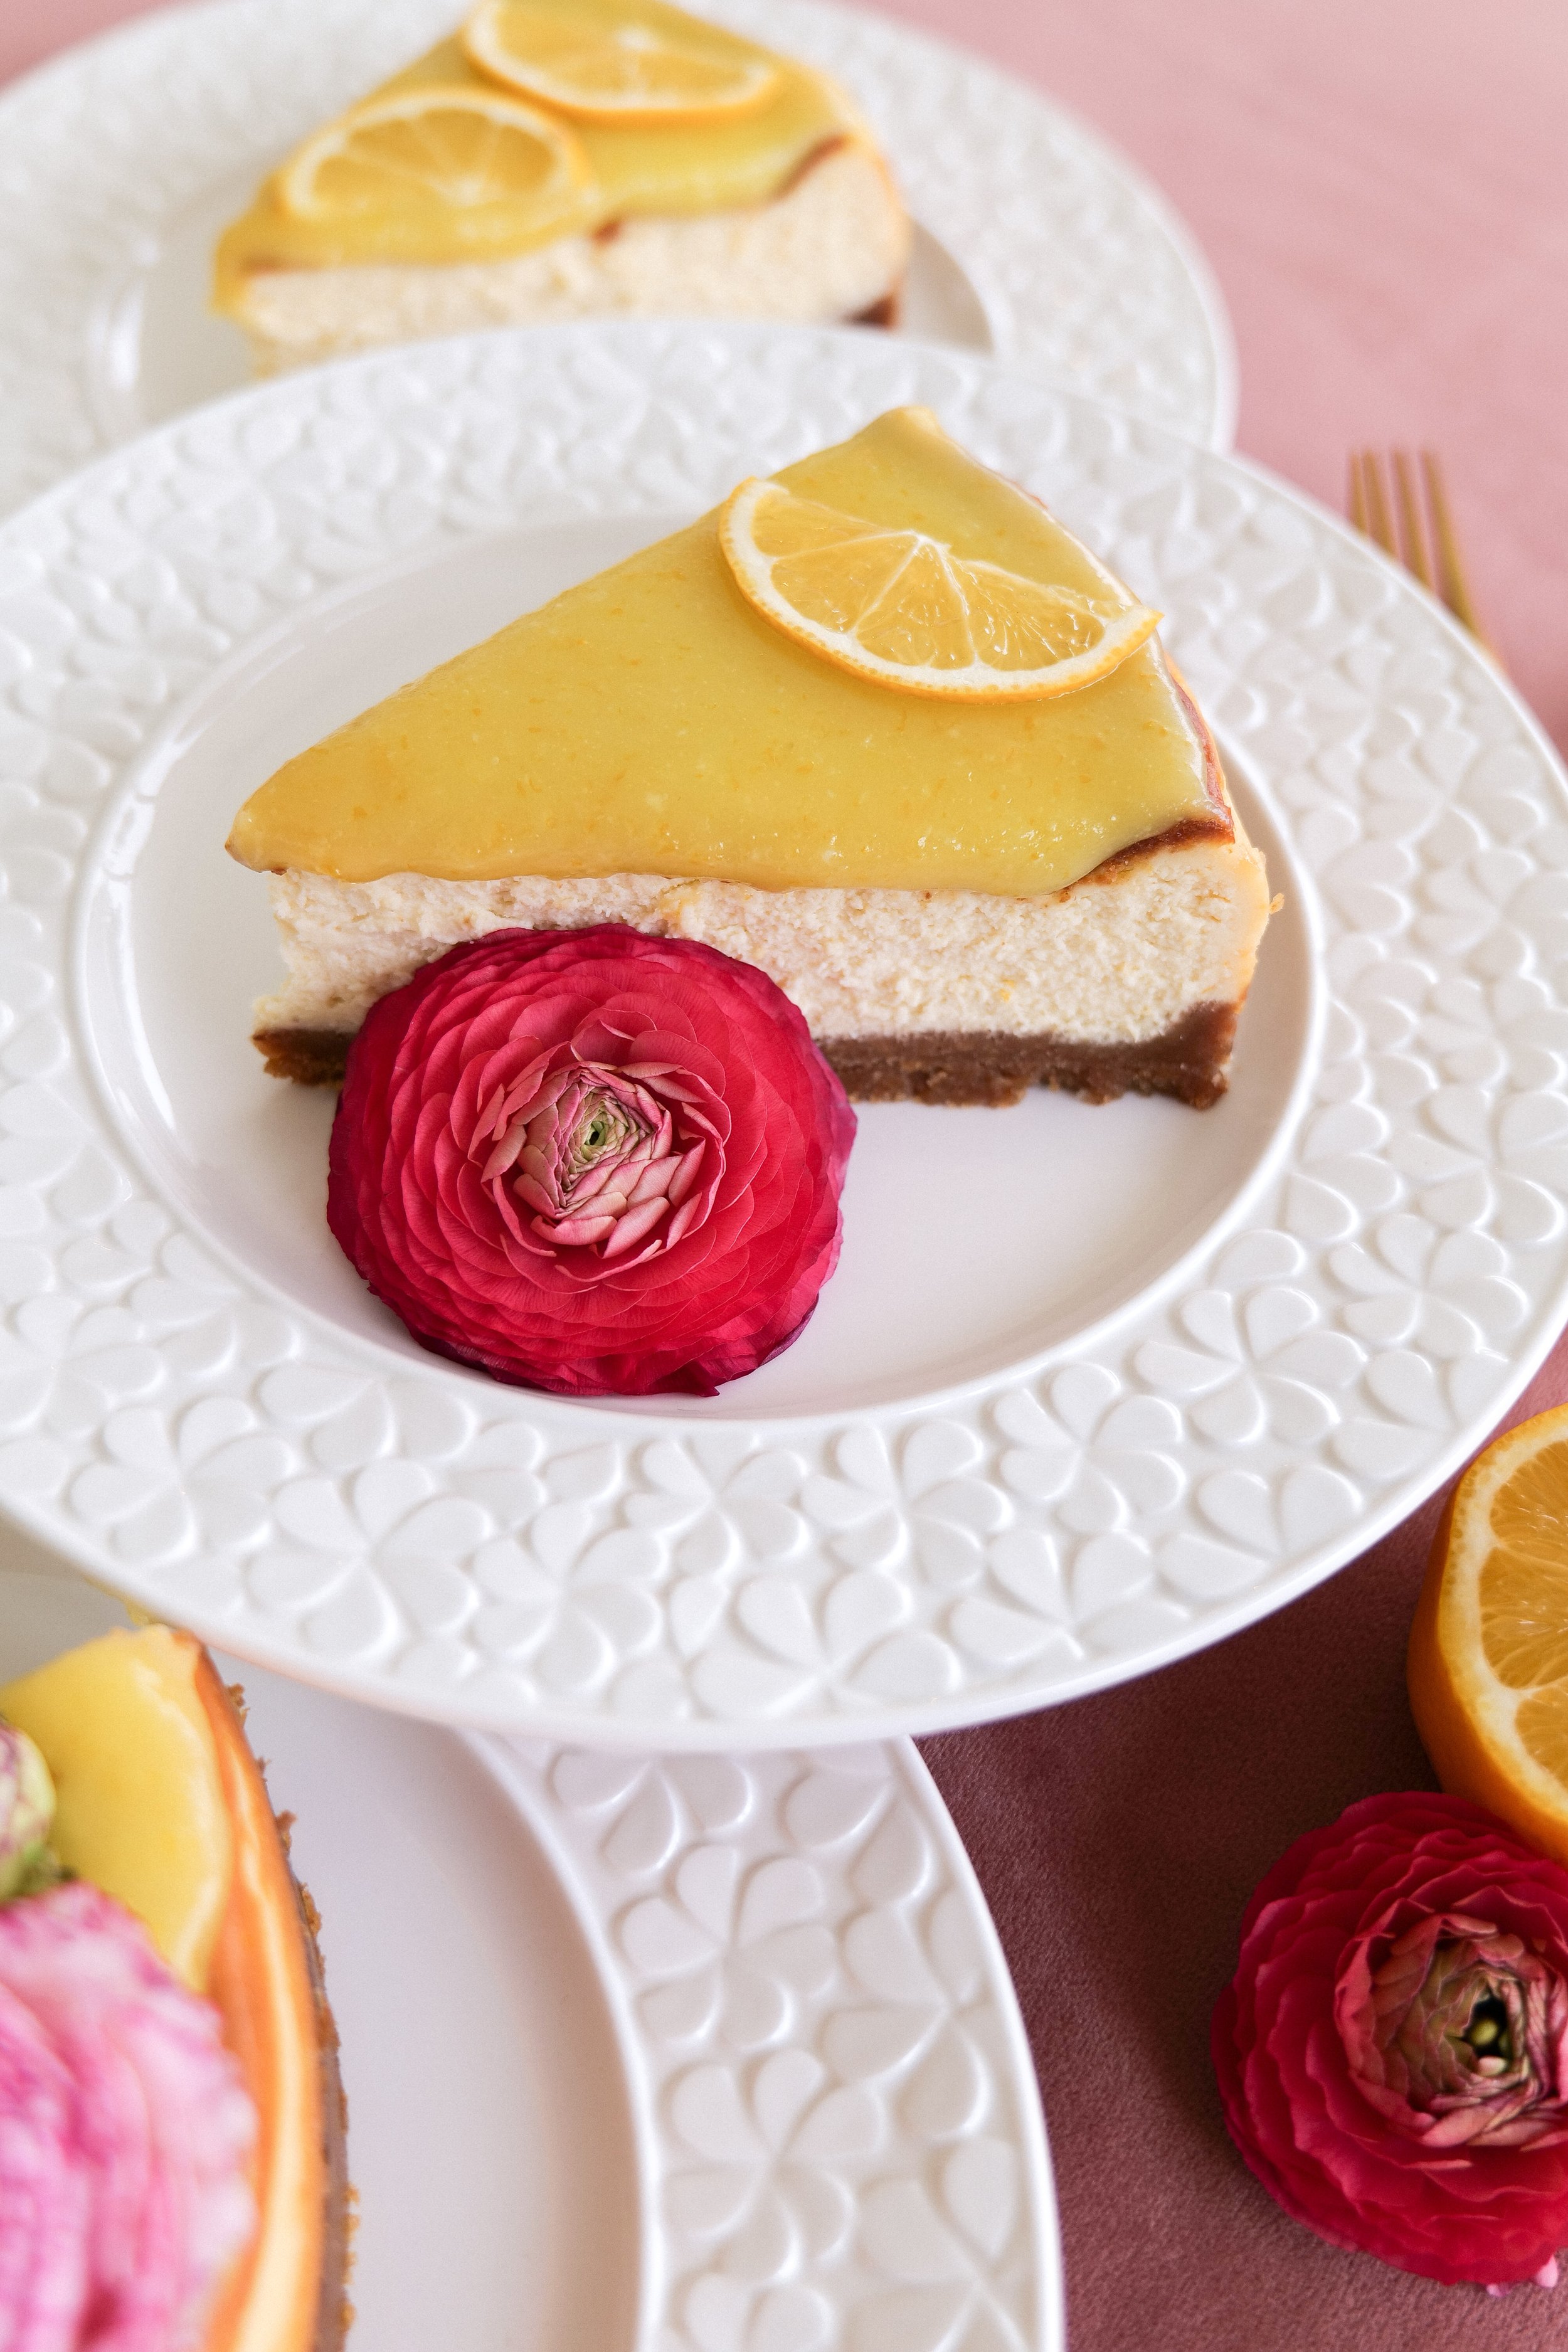
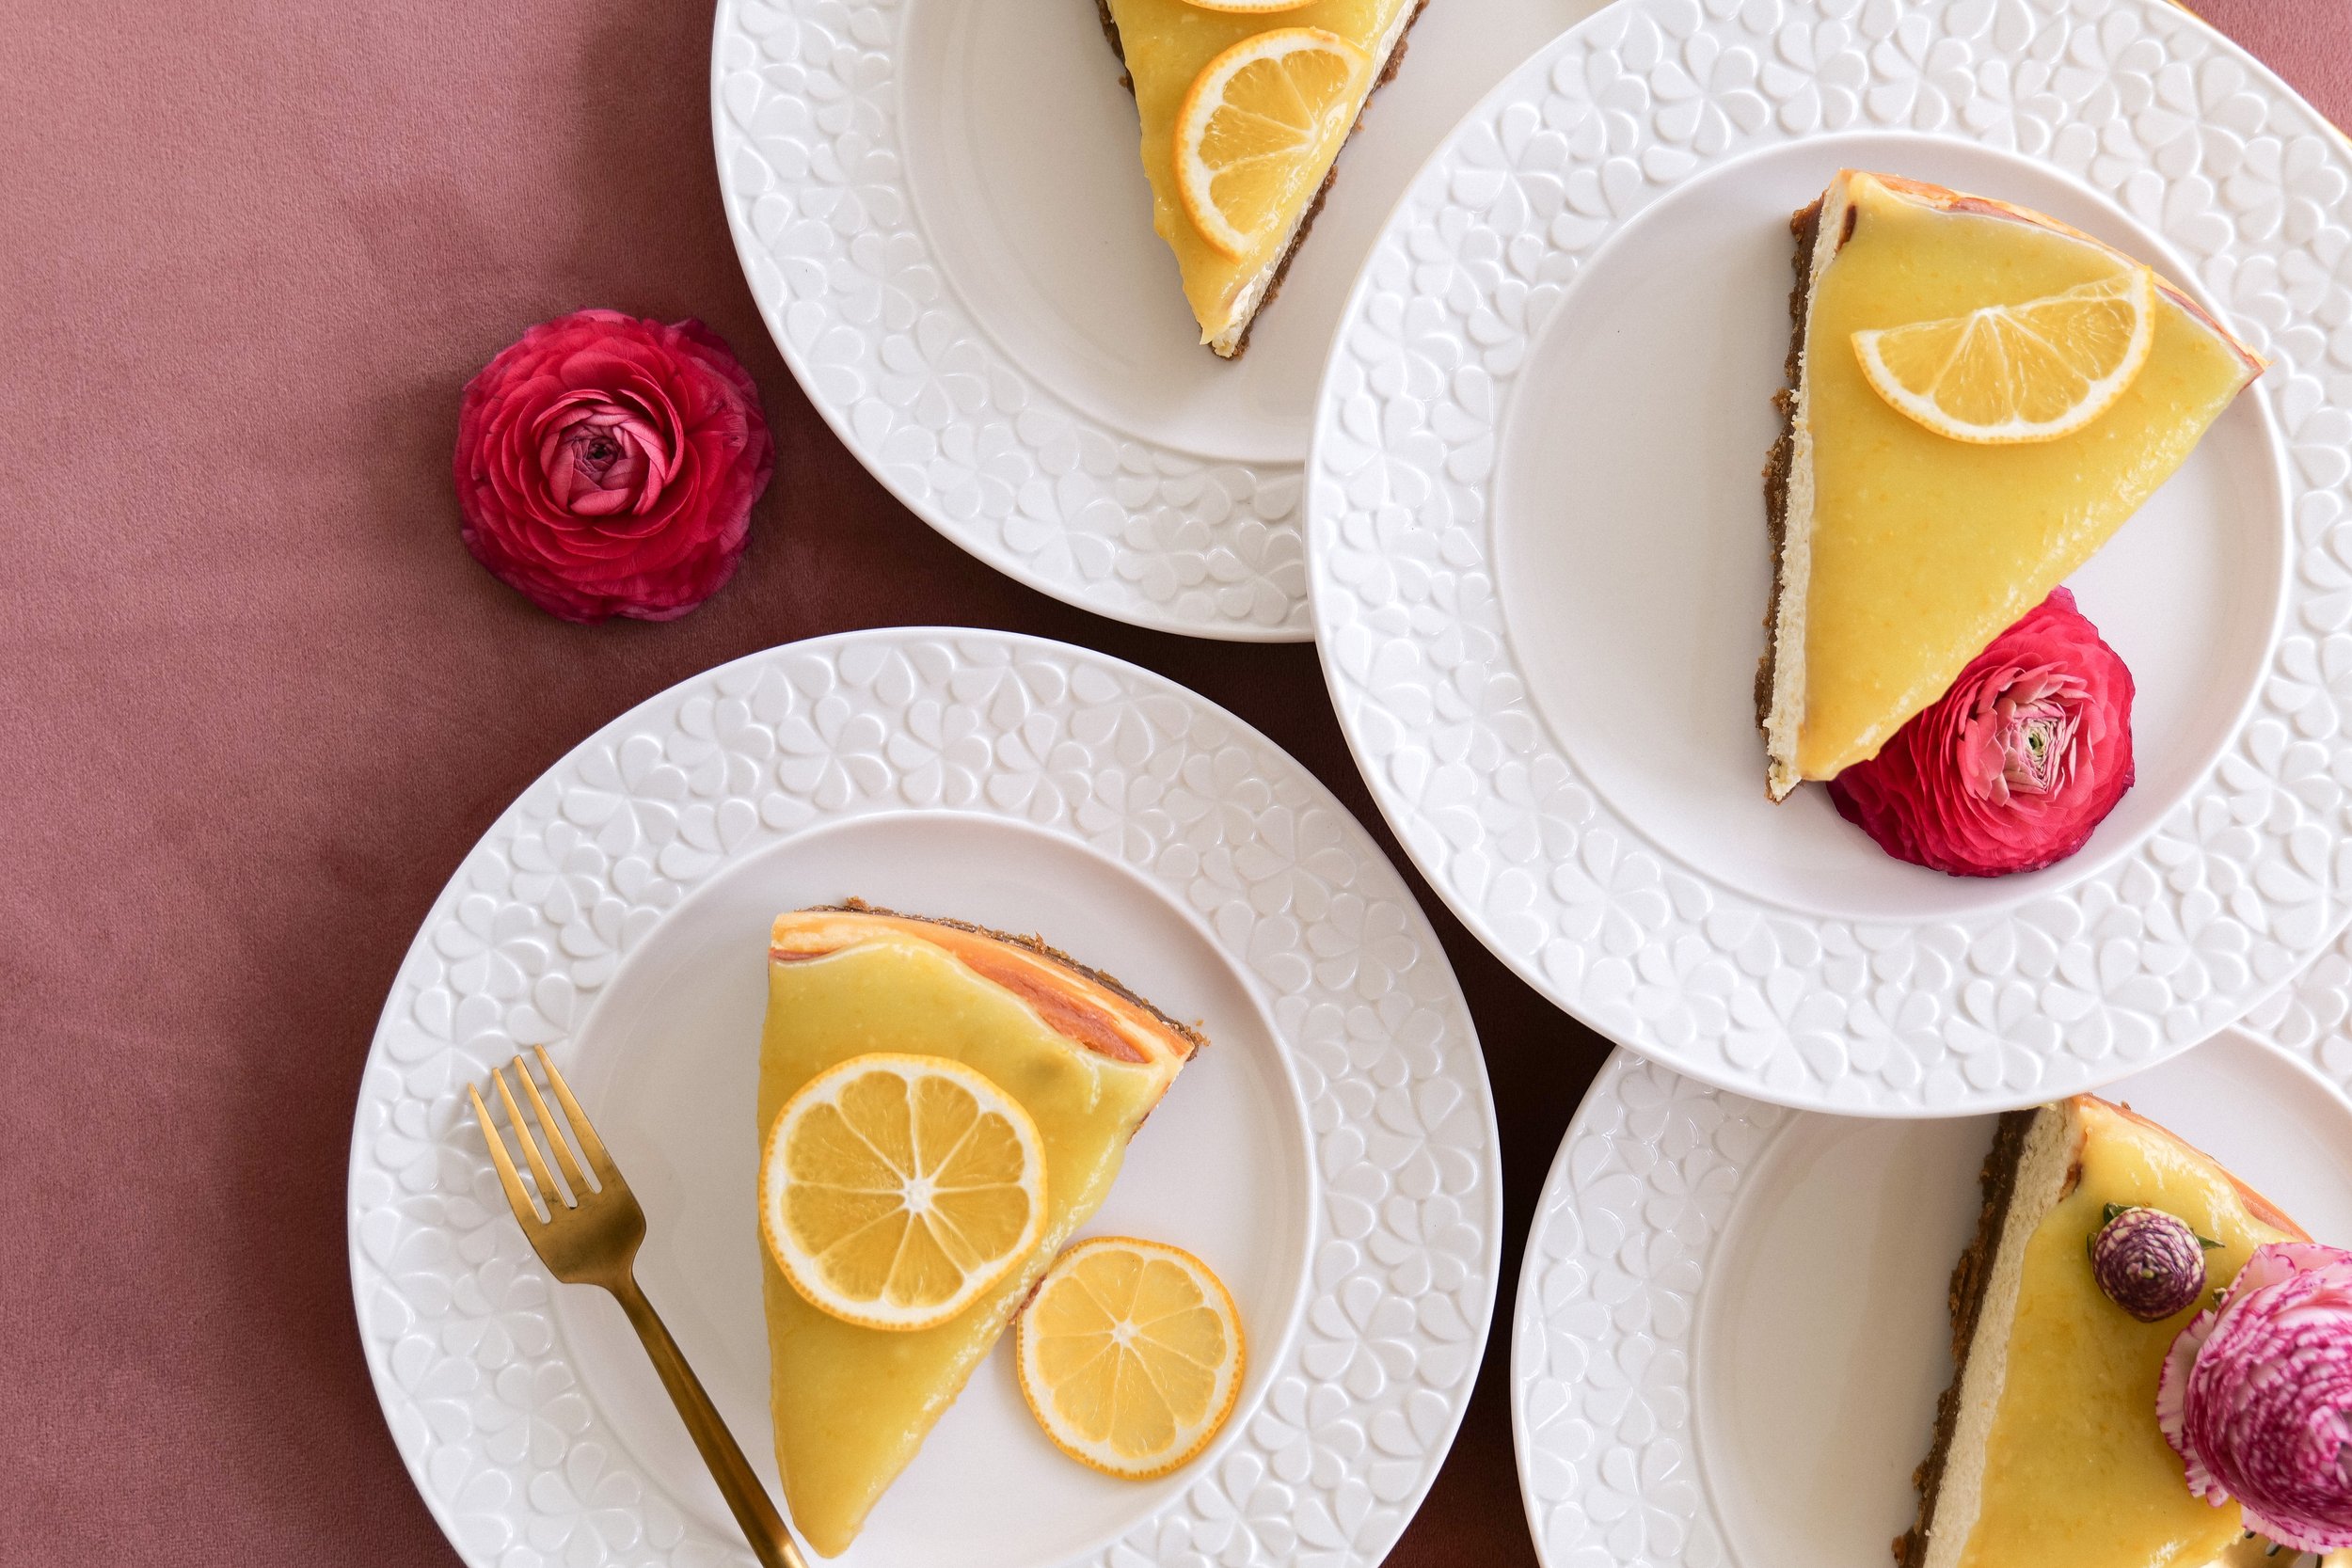
If you love a dessert that is both tart and sweet, then you must try this tantalizingly delicious lemon cheesecake with an amazing glaze. Not only is this a crowd-pleaser, but it is also fairly easy to make. The sweet lemon cheesecake is perfectly balanced with a tangy tart glaze, making it the perfect end to any meal. This recipe is sure to please everyone at your next gathering. Not only is it incredibly delicious, but it's beautiful presentation will surely impress your guests. This rich and creamy confection offers a perfect balance of sweetness and citrus. The smooth and velvety texture is light and airy, yet dense enough to satisfy. The golden-brown crust is a delicious base for the perfectly balanced flavor of sweet and tart lemon, and to top it all off, a decadent and delectable topping of fresh lemon curd makes this amazing. Read on to learn how to make this delicious lemon cheesecake!

The perfect base of this sweet treat is a graham cracker crust that is incredibly easy to make with butter, graham crackers and pecans. This gives a great base for your cheesecake with a buttery and nutty crunch that is so scrumptious. This buttery crust will be a staple recipe to use on any cheesecake, I promise you that!

With its creamy and sweet lemon cheesecake filling made with fresh lemon juice, it has a rich and velvety smooth texture that melts in your mouth. The sweet light flavor is enhanced with a hint of vanilla and an aromatic citrus aroma that tantalizes your taste buds. This perfectly balanced flavor will make your mouth water and its light and airy texture will leave you craving for more. The amazing glaze adds the perfect finishing touch to this delightful dessert and adds an element of surprise from your traditional cheesecakes.

Making the glaze is also very simple and requires minimal ingredients. Once the glaze is finished, you can serve it on top of the cheesecake, or on the side so guests can add it themselves. The glaze gives the cheesecake an extra bit of texture and flavor that will make it truly irresistible. With a combination of eggs, sugar, butter, fresh lemon zest, and juice, the glaze adds a layer of sweetness to the creamy cheesecake that complements it perfectly. You can top the cheesecake and glaze with fresh berries, additional lemon zest or thinly sliced lemons like I have done here.

INGREDIENTS

Crust:

12 oz graham crackers

1 cup pecans

1 cup melted butter

Filling:

3 - 8 oz cream cheese ( room temperature )

1 stick salted butter

1/2 cup brown sugar

1/2 cup granulated sugar

1/4 teaspoons sea salt

3 eggs

1/2 cup heavy cream

1 tsp vanilla extract

3 tablespoons lemon zest

Glaze -

1 cup granulated sugar

2 eggs

1/4 cup fresh lemon juice

3 tablespoons lemon zest

6 tablespoons butter

INSTRUCTIONS

  1. Preheat oven to 375. Spray cheesecake pan with olive oil spray and wrap around the outside with foil.

  2. Make Crust by adding pecans & graham cracker to blender and processing until fine. Add in melted butter and blend again.

  3. Press crust mixture into bottom of pan until even all the way around. I use a flat bottom cup or a metal spoon to help.

  4. Bake in oven for 13-15 minutes. Once done remove and let cool before adding filling.

  5. Reduce oven temperature to 325 degrees.

  6. Make filling. Mix together softened cream cheese and butter with both sugars and salt until well combined.

  7. Add in eggs. One at a time. Making sure they are fully incorporated each time.

  8. Next add heavy cream, vanilla and lemon zest! Once well mixed add into cooled cheesecake pan.

  9. You will then add this onto a tray with a lip. I use this one -here-. (Code Amanda20 for 20% off any order at 360cookware.com) Place on oven rack and add in warm water until halfway full and push back rack and start timer.

  10. Cook the cheesecake for 1 hour. The center will still be a little jiggly, but side will be set. After baked for 1 hour you will turn oven off the oven and leave the cheesecake in the oven for an additional hour.

  11. Once baked for an hour and let sit for an hour in the oven, you can remove from the oven. Wrap cheesecake and let sit in your refrigerator overnight. Up to 24 hours before serving or adding glaze.

GLAZE INSTRUCTIONS

After Cheesecake has cooled overnight you will want to get the glaze ready for the finishing touch! You can add this onto each piece as you serve as you go just in case someone doesn’t want it, but I always add ahead of time, because it's so good everyone will!!

  1. Take a small saucepan over low/medium heat and whisk eggs, sugar, lemon peel & lemon juice.

  2. Add butter and continue whisking constantly. Mix until thickened. (It will stick the back of a wooden spoon)

  3. Remove from pan into a glass bowl and let cool for 15 min.

  4. Place in refrigerator until completely cooled. Then place on top of cheesecake and serve!

For those of us who are looking for a way to get creative in the kitchen, this recipe is the perfect choice. You can make this recipe your own by adding different flavors and ingredients. Plus, you can even top it off with a unique glaze. For those wanting a sweeter crust try adding in honey. Switch out the lemon zest and juice in the glaze for fresh berries and make a blueberry drizzle that is also amazing on a lemon cheesecake! For those wanting a keto option, change the graham cracker to additional nuts, either more pecans or almonds will do great. No matter what you do to make this your own this tantalizingly delicious: lemon cheesecake with amazing glaze is sure to be a hit!

If you’re looking for more delicious recipes like this one, make sure to follow me on Pinterest. I have lots of incredible delicious desserts that are perfect for any occasion. From cakes and pies to cookies and bars, you’ll find something that’s sure to be tantalizing your taste buds.

Here are a few others I think you will enjoy:

Indulge in Deliciousness: Cherry Chip Cake with Chunks of Dark Chocolate Recipe

Chocolate Peanut Butter Brownies

Brown Butter Caramel Pretzel Cookies

Delicious & Easy Apple Pie