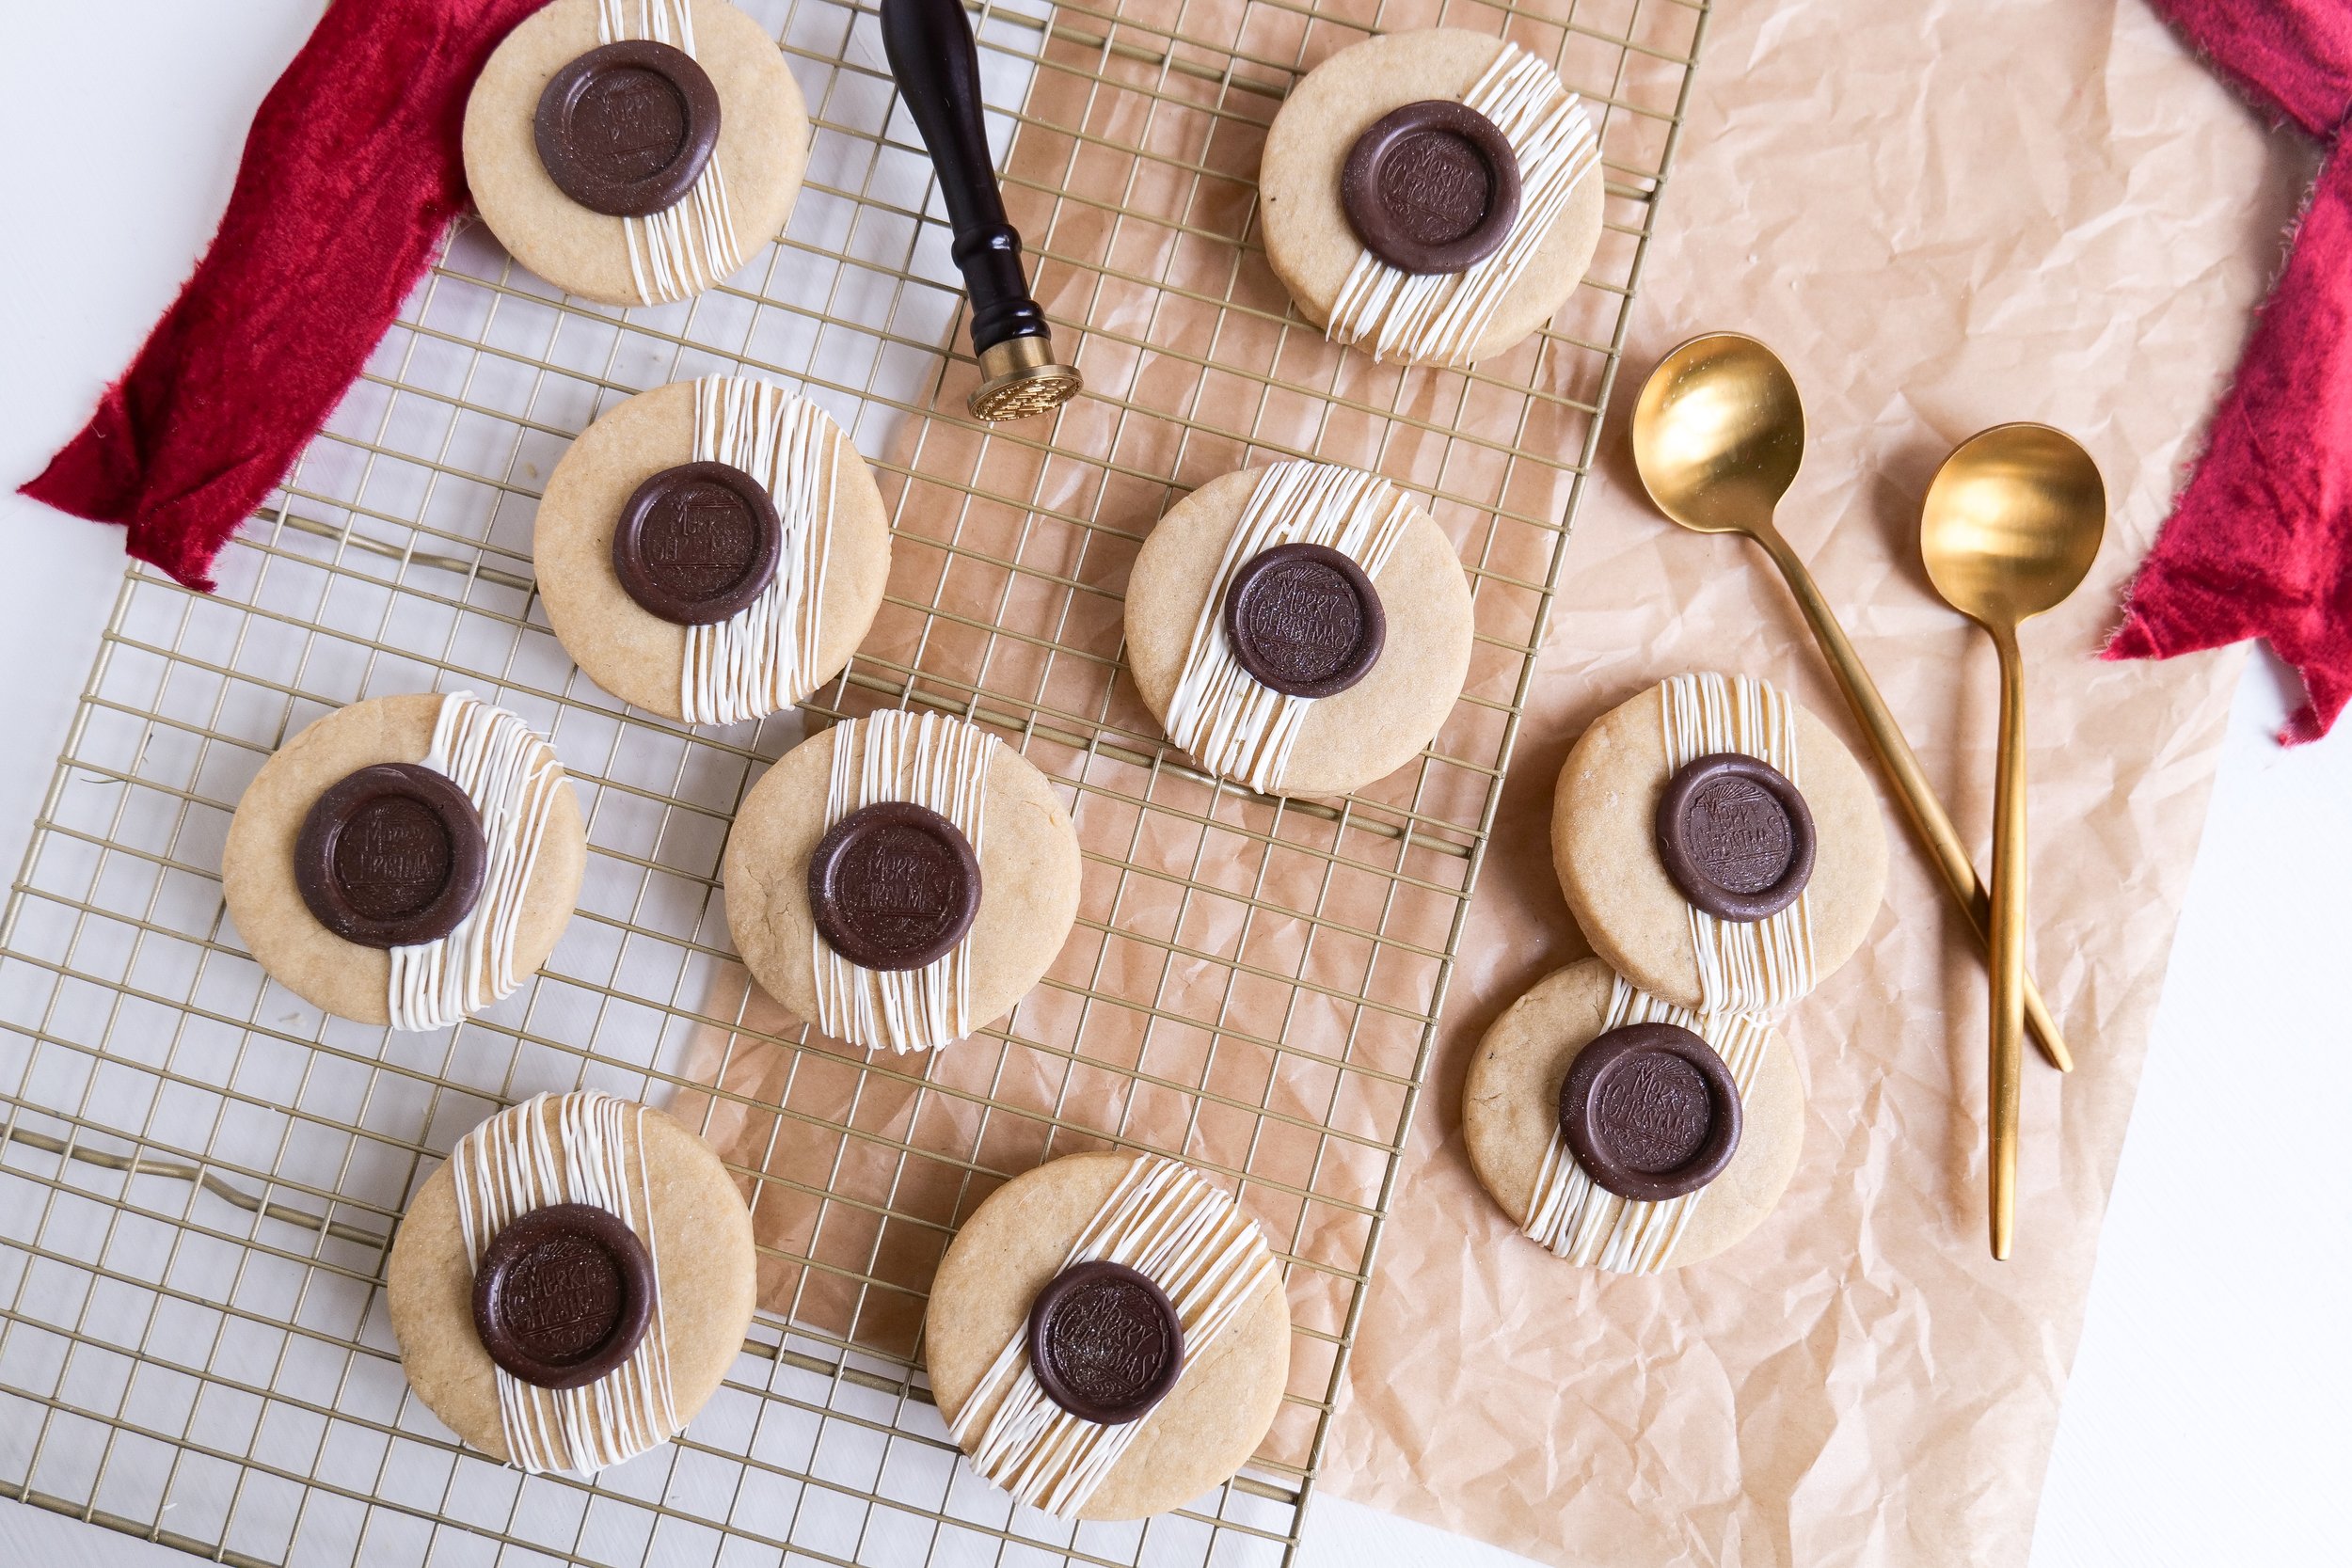
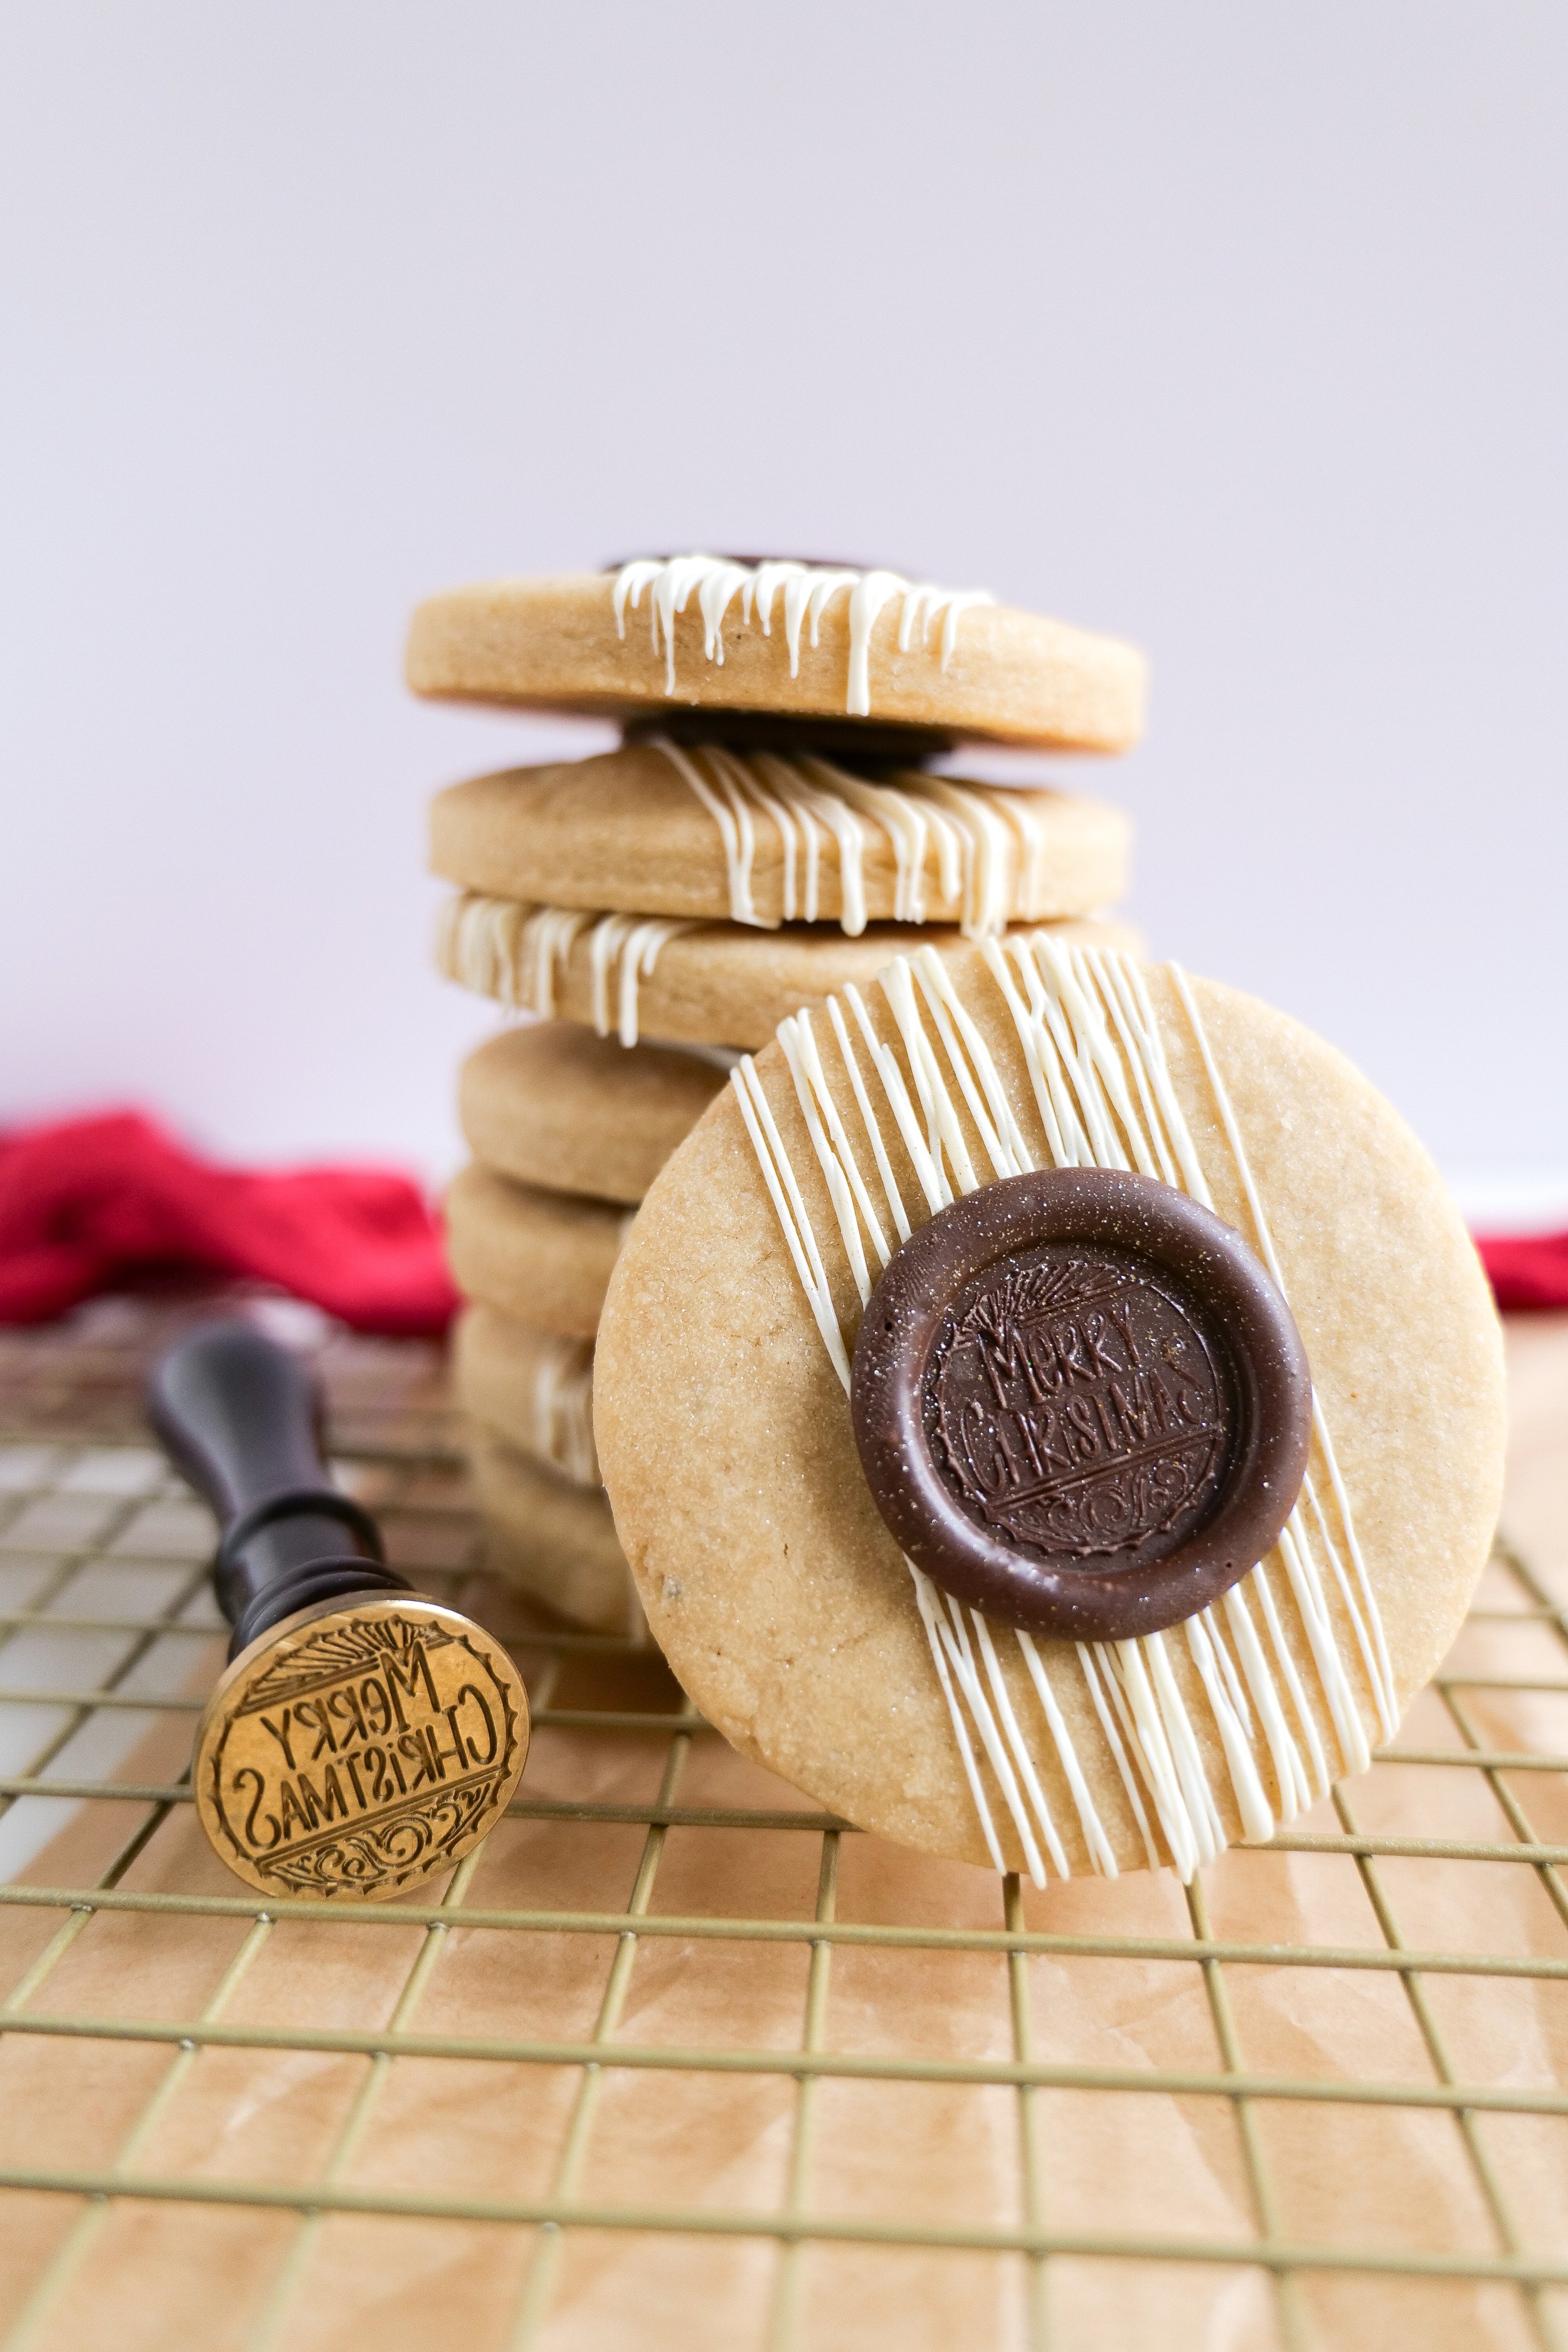
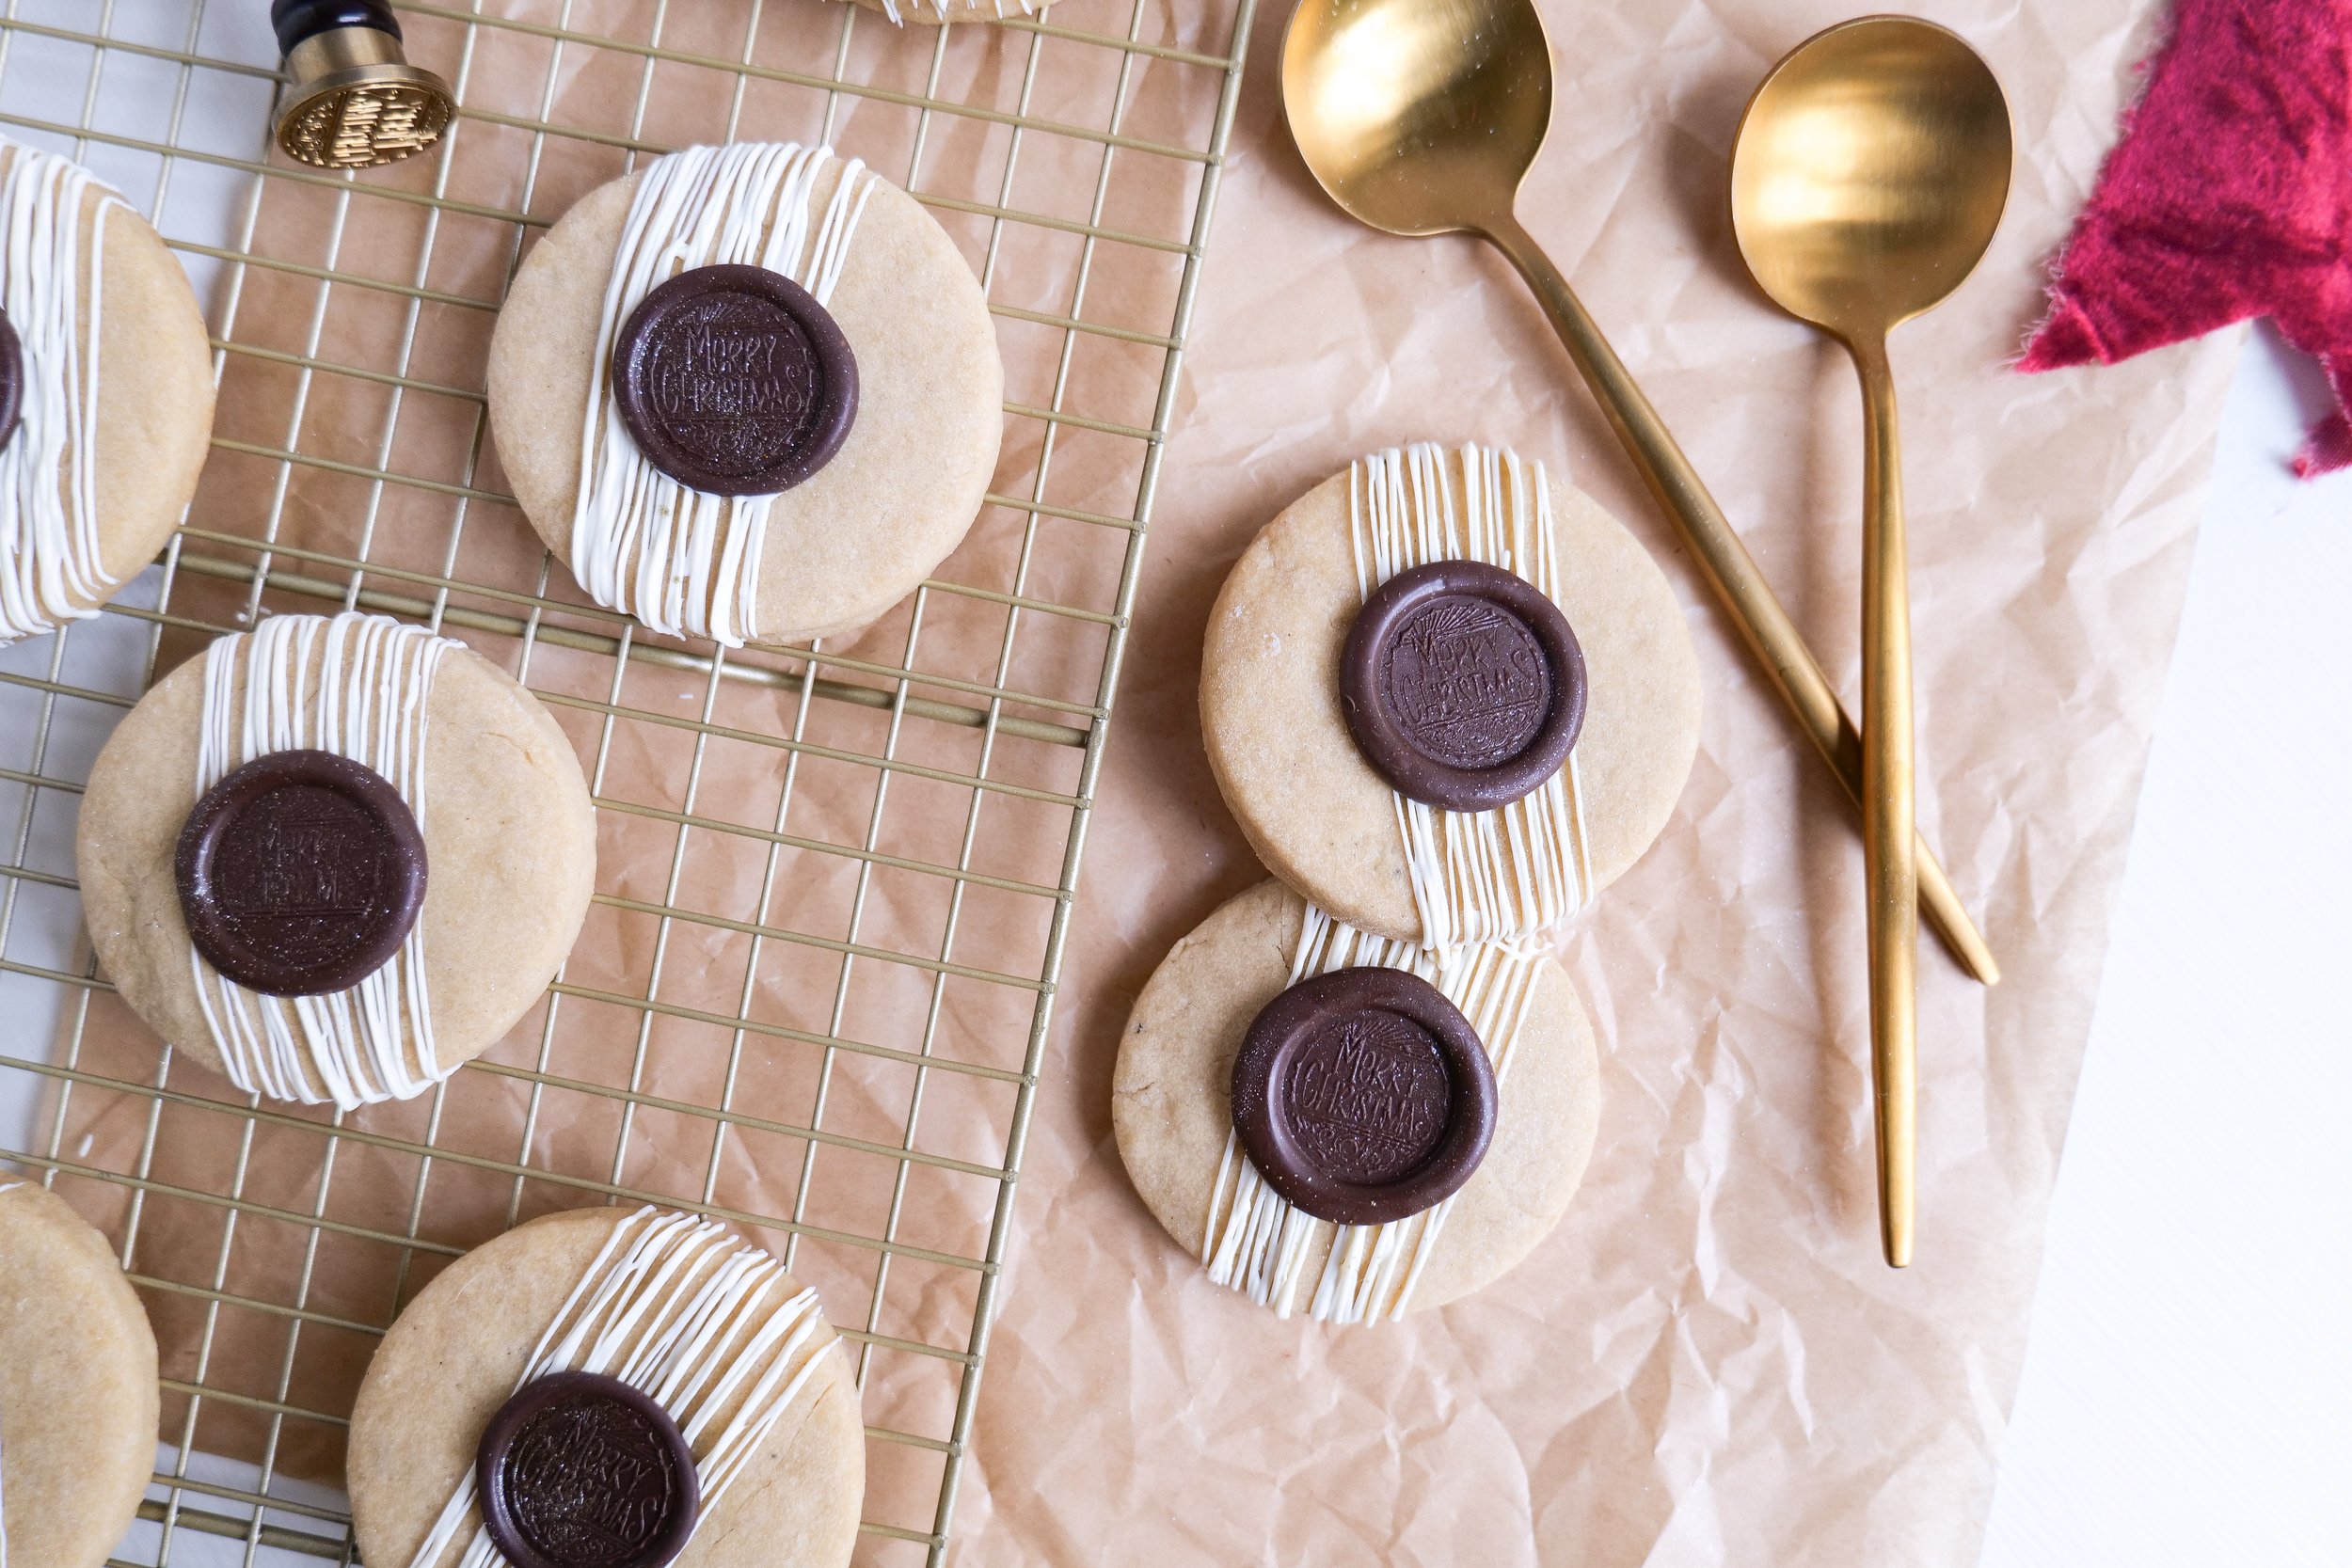
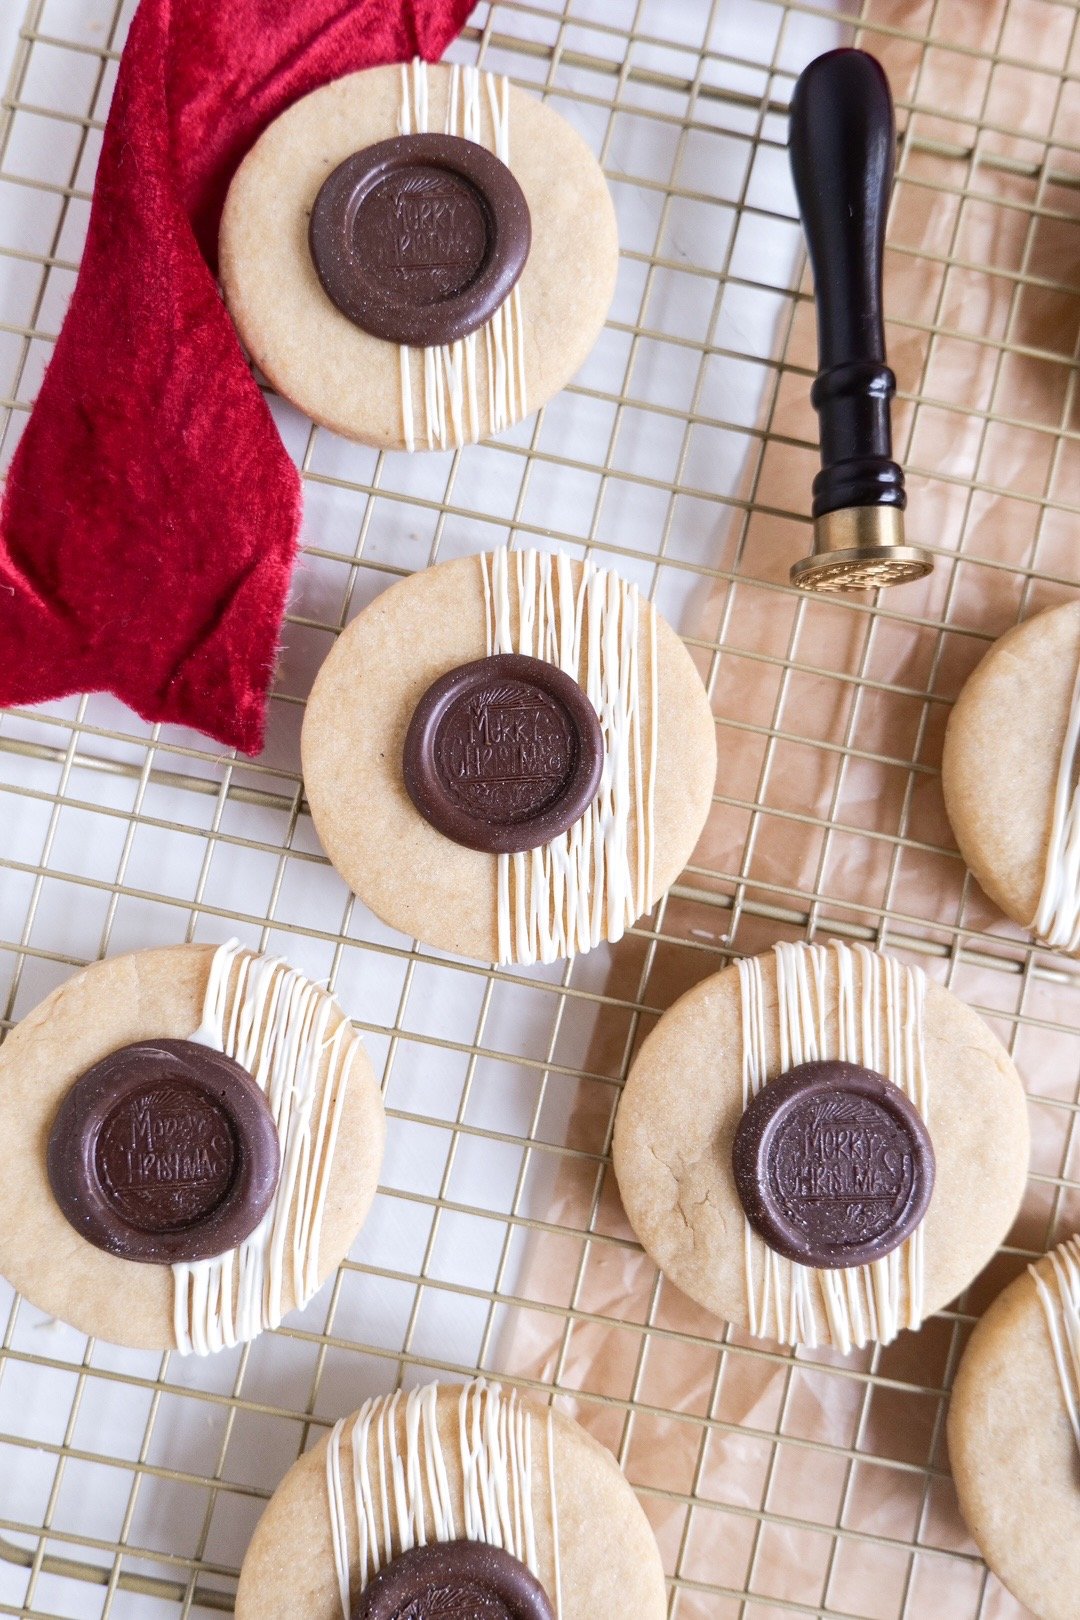
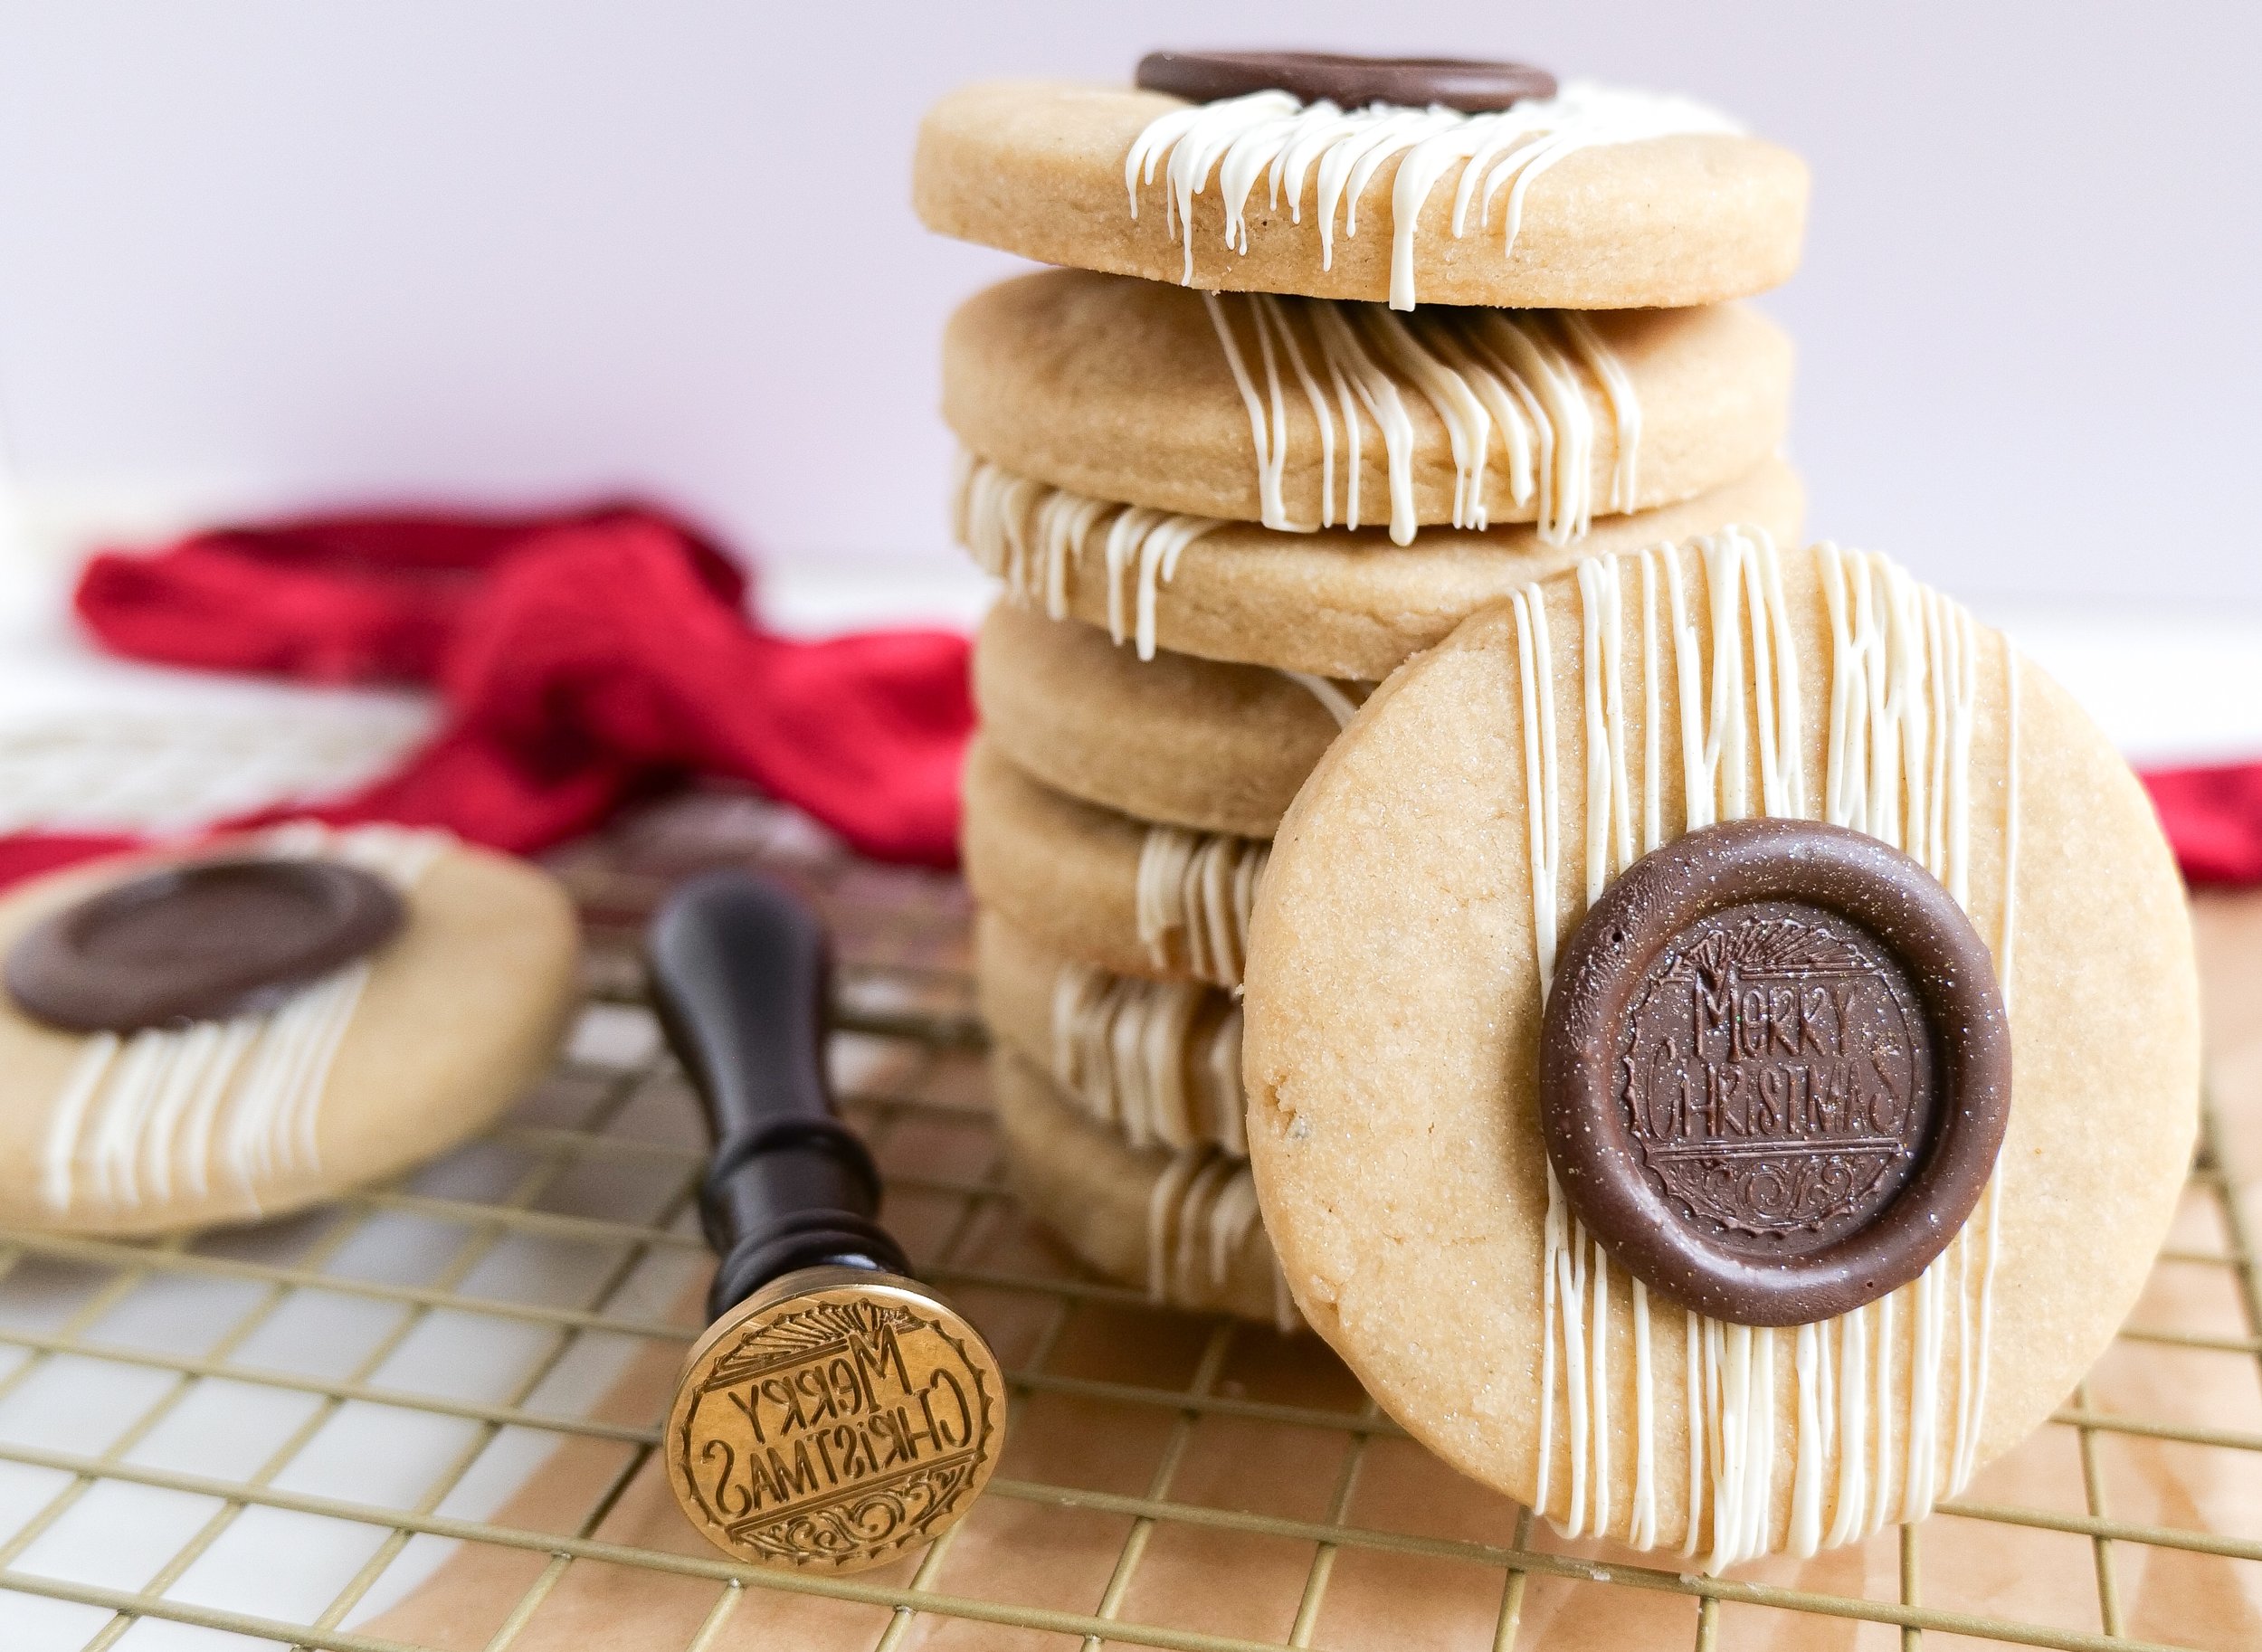
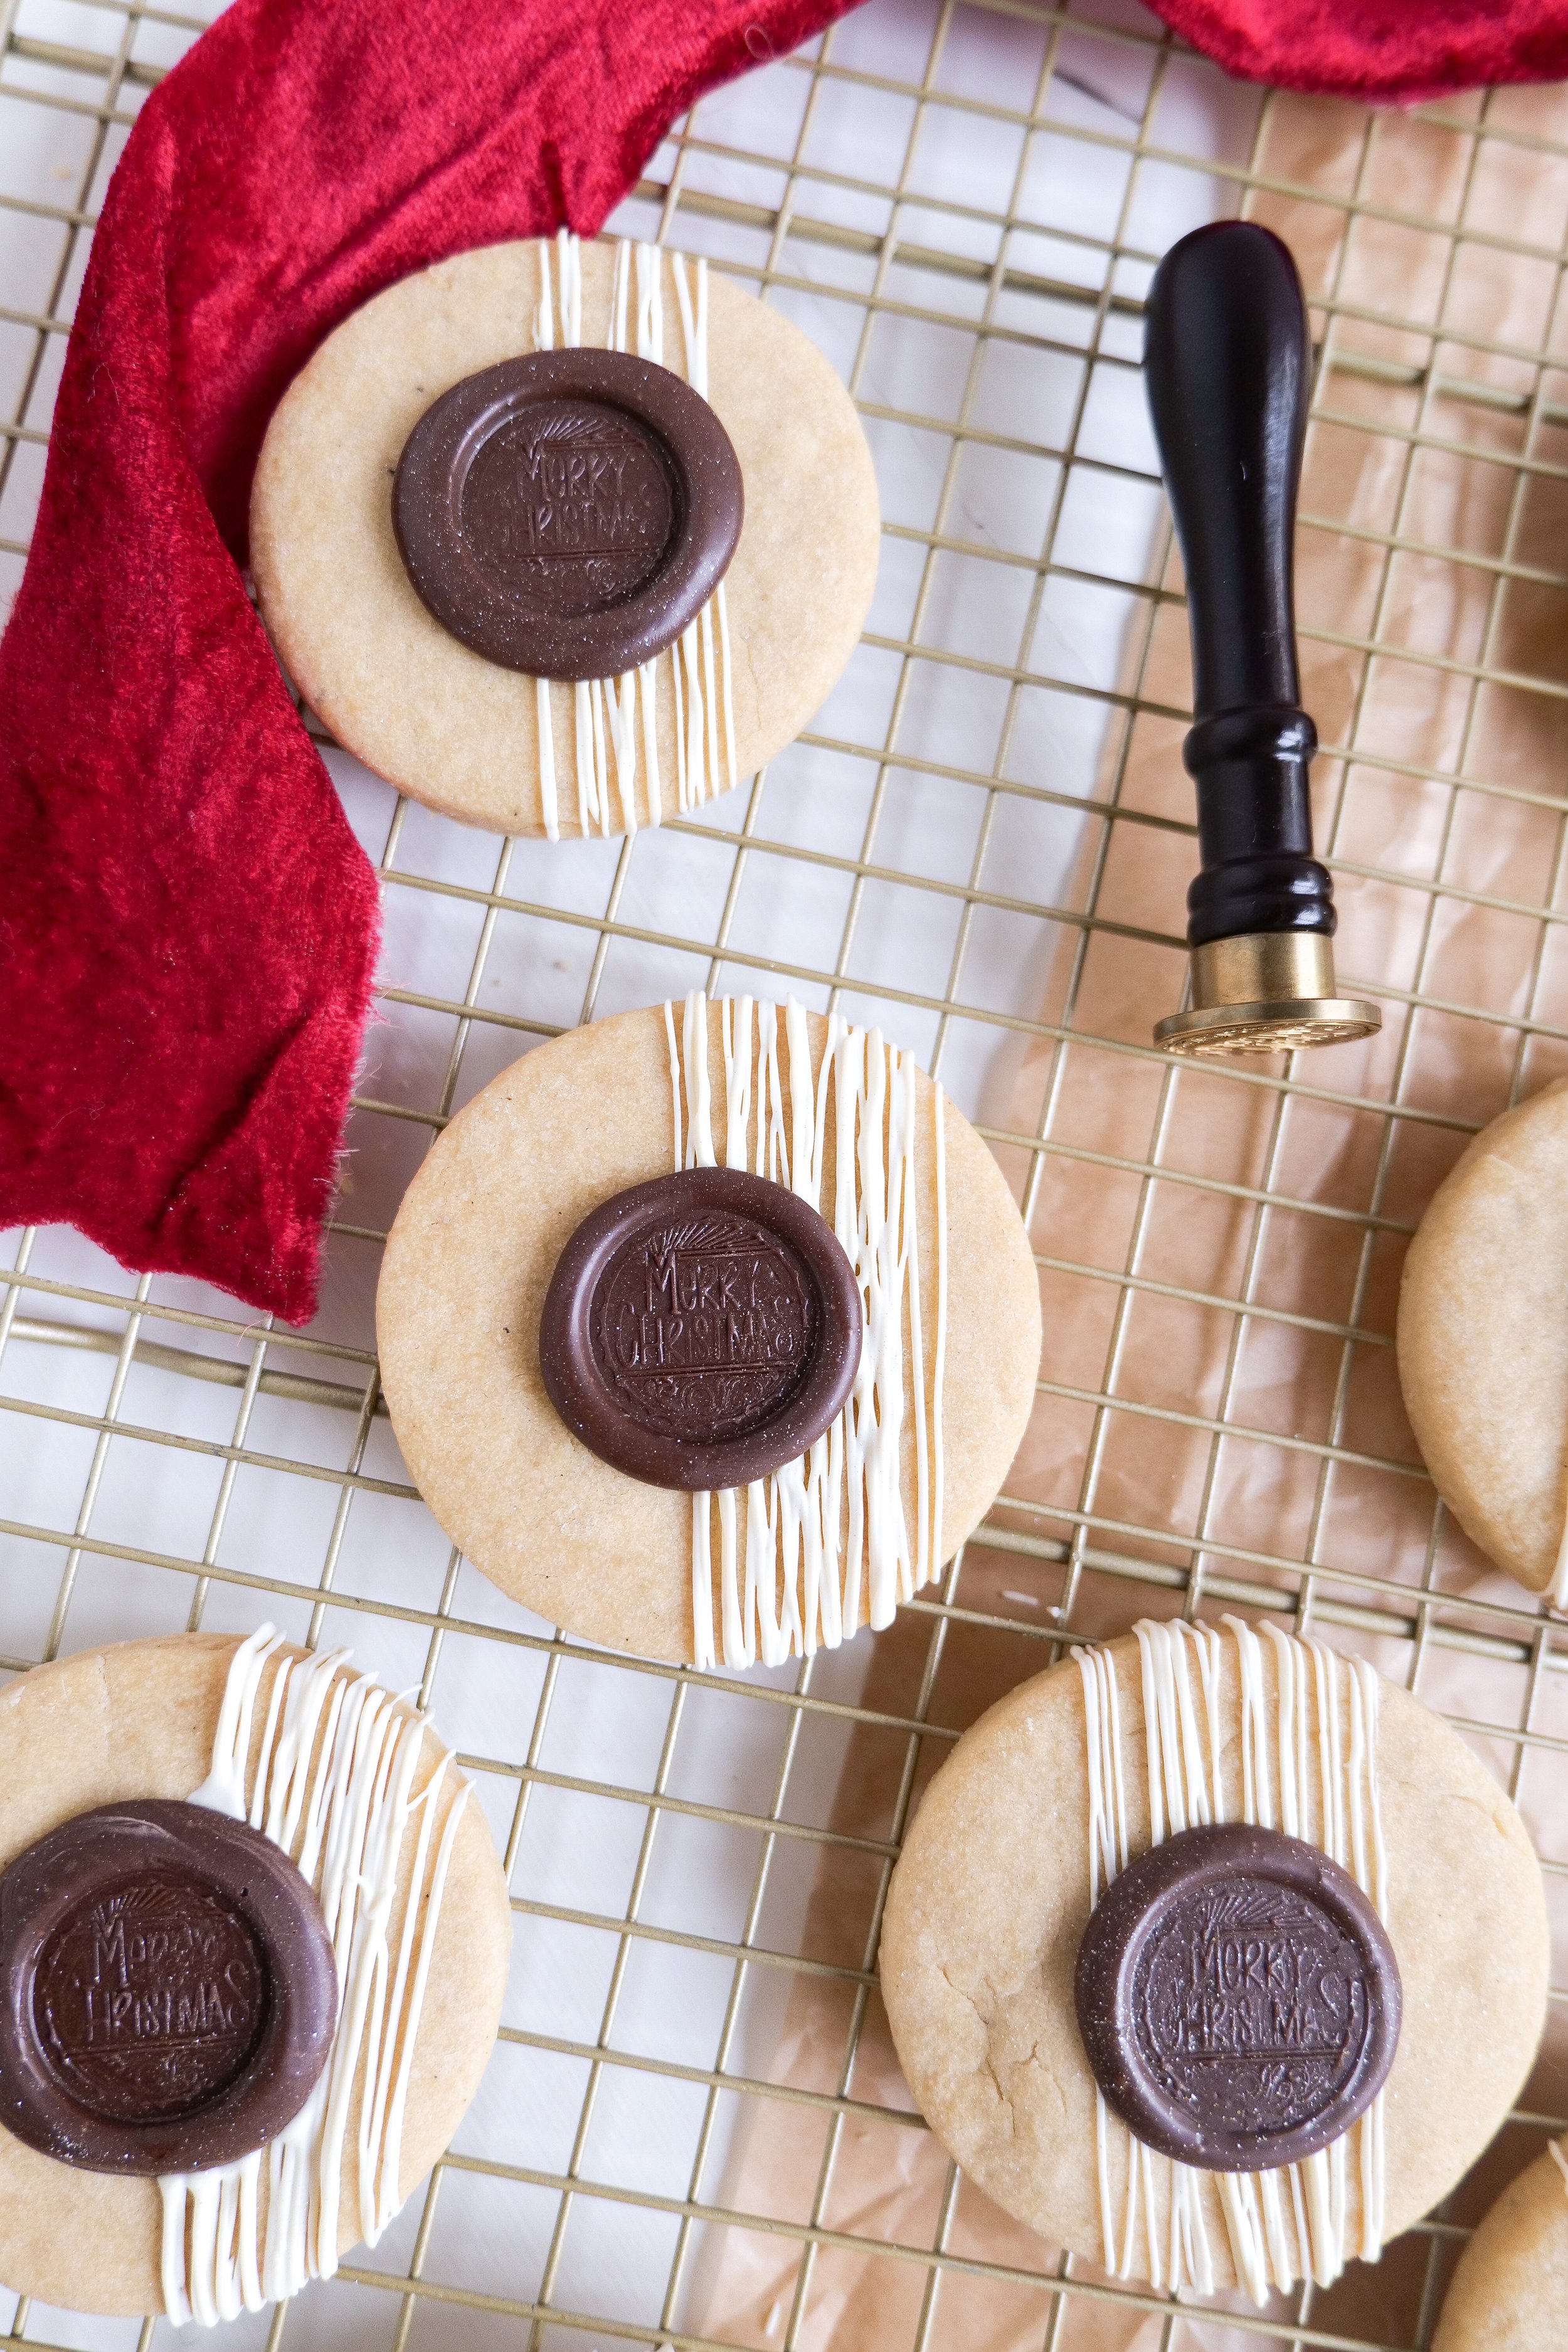
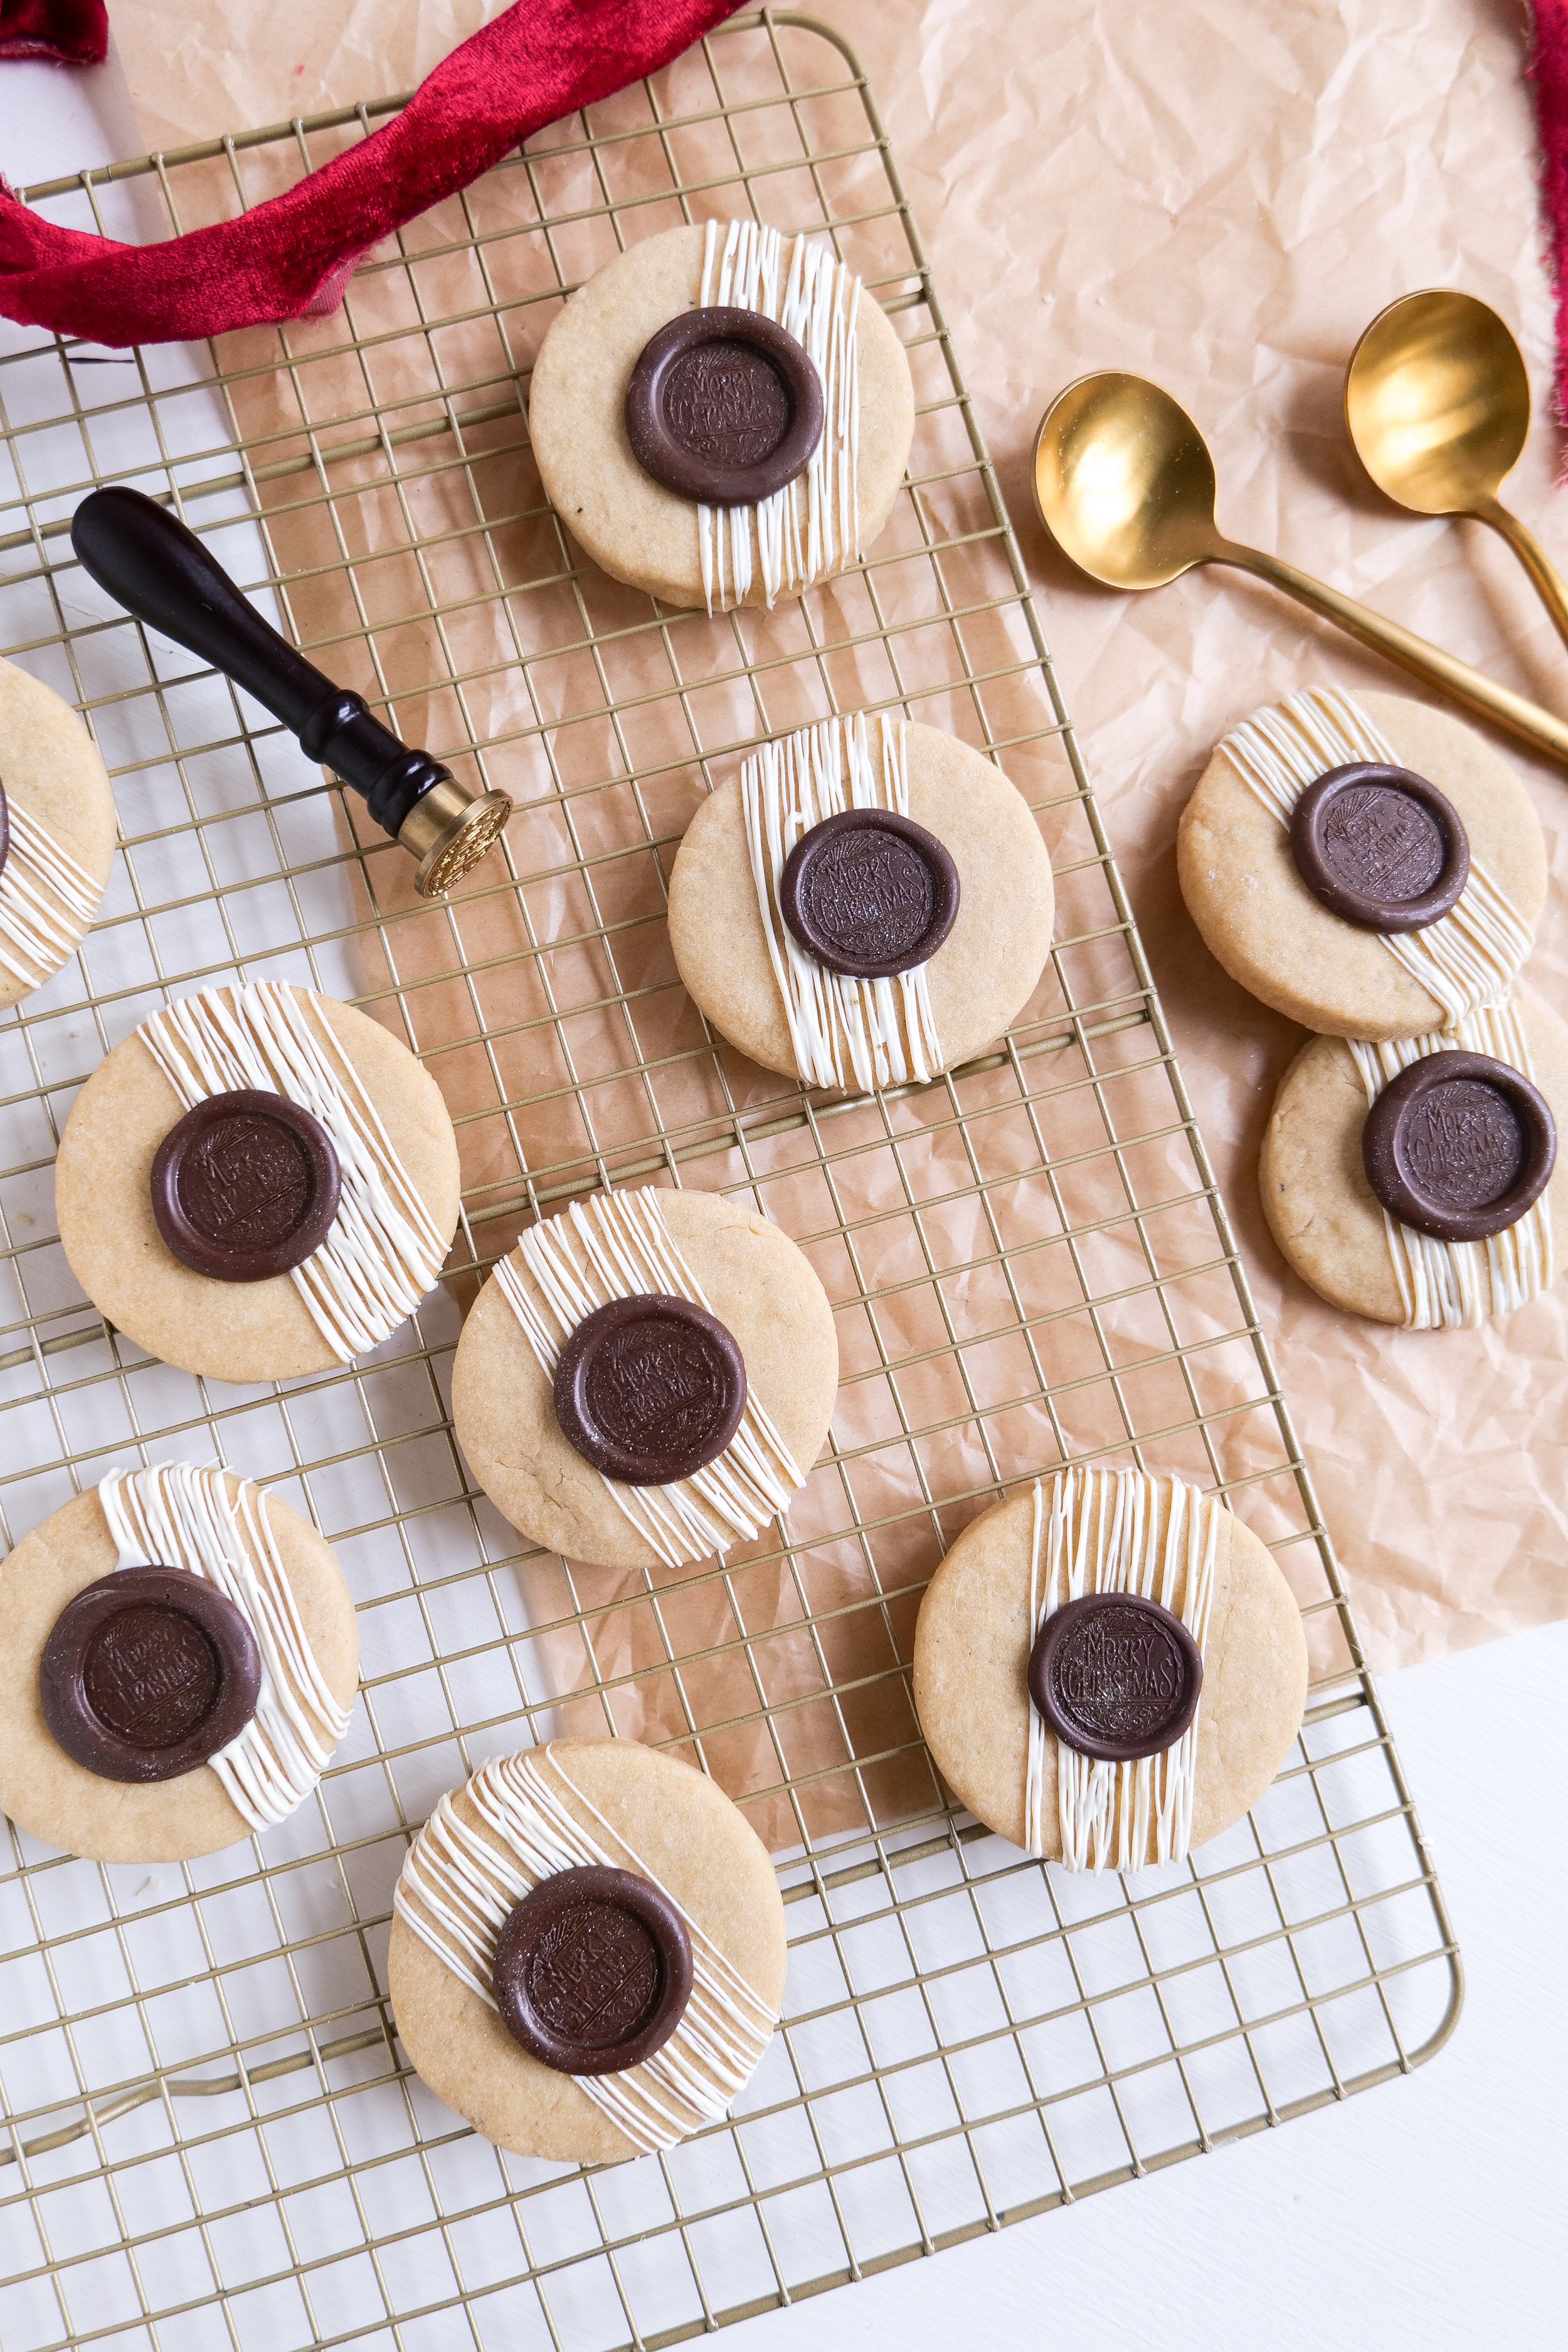
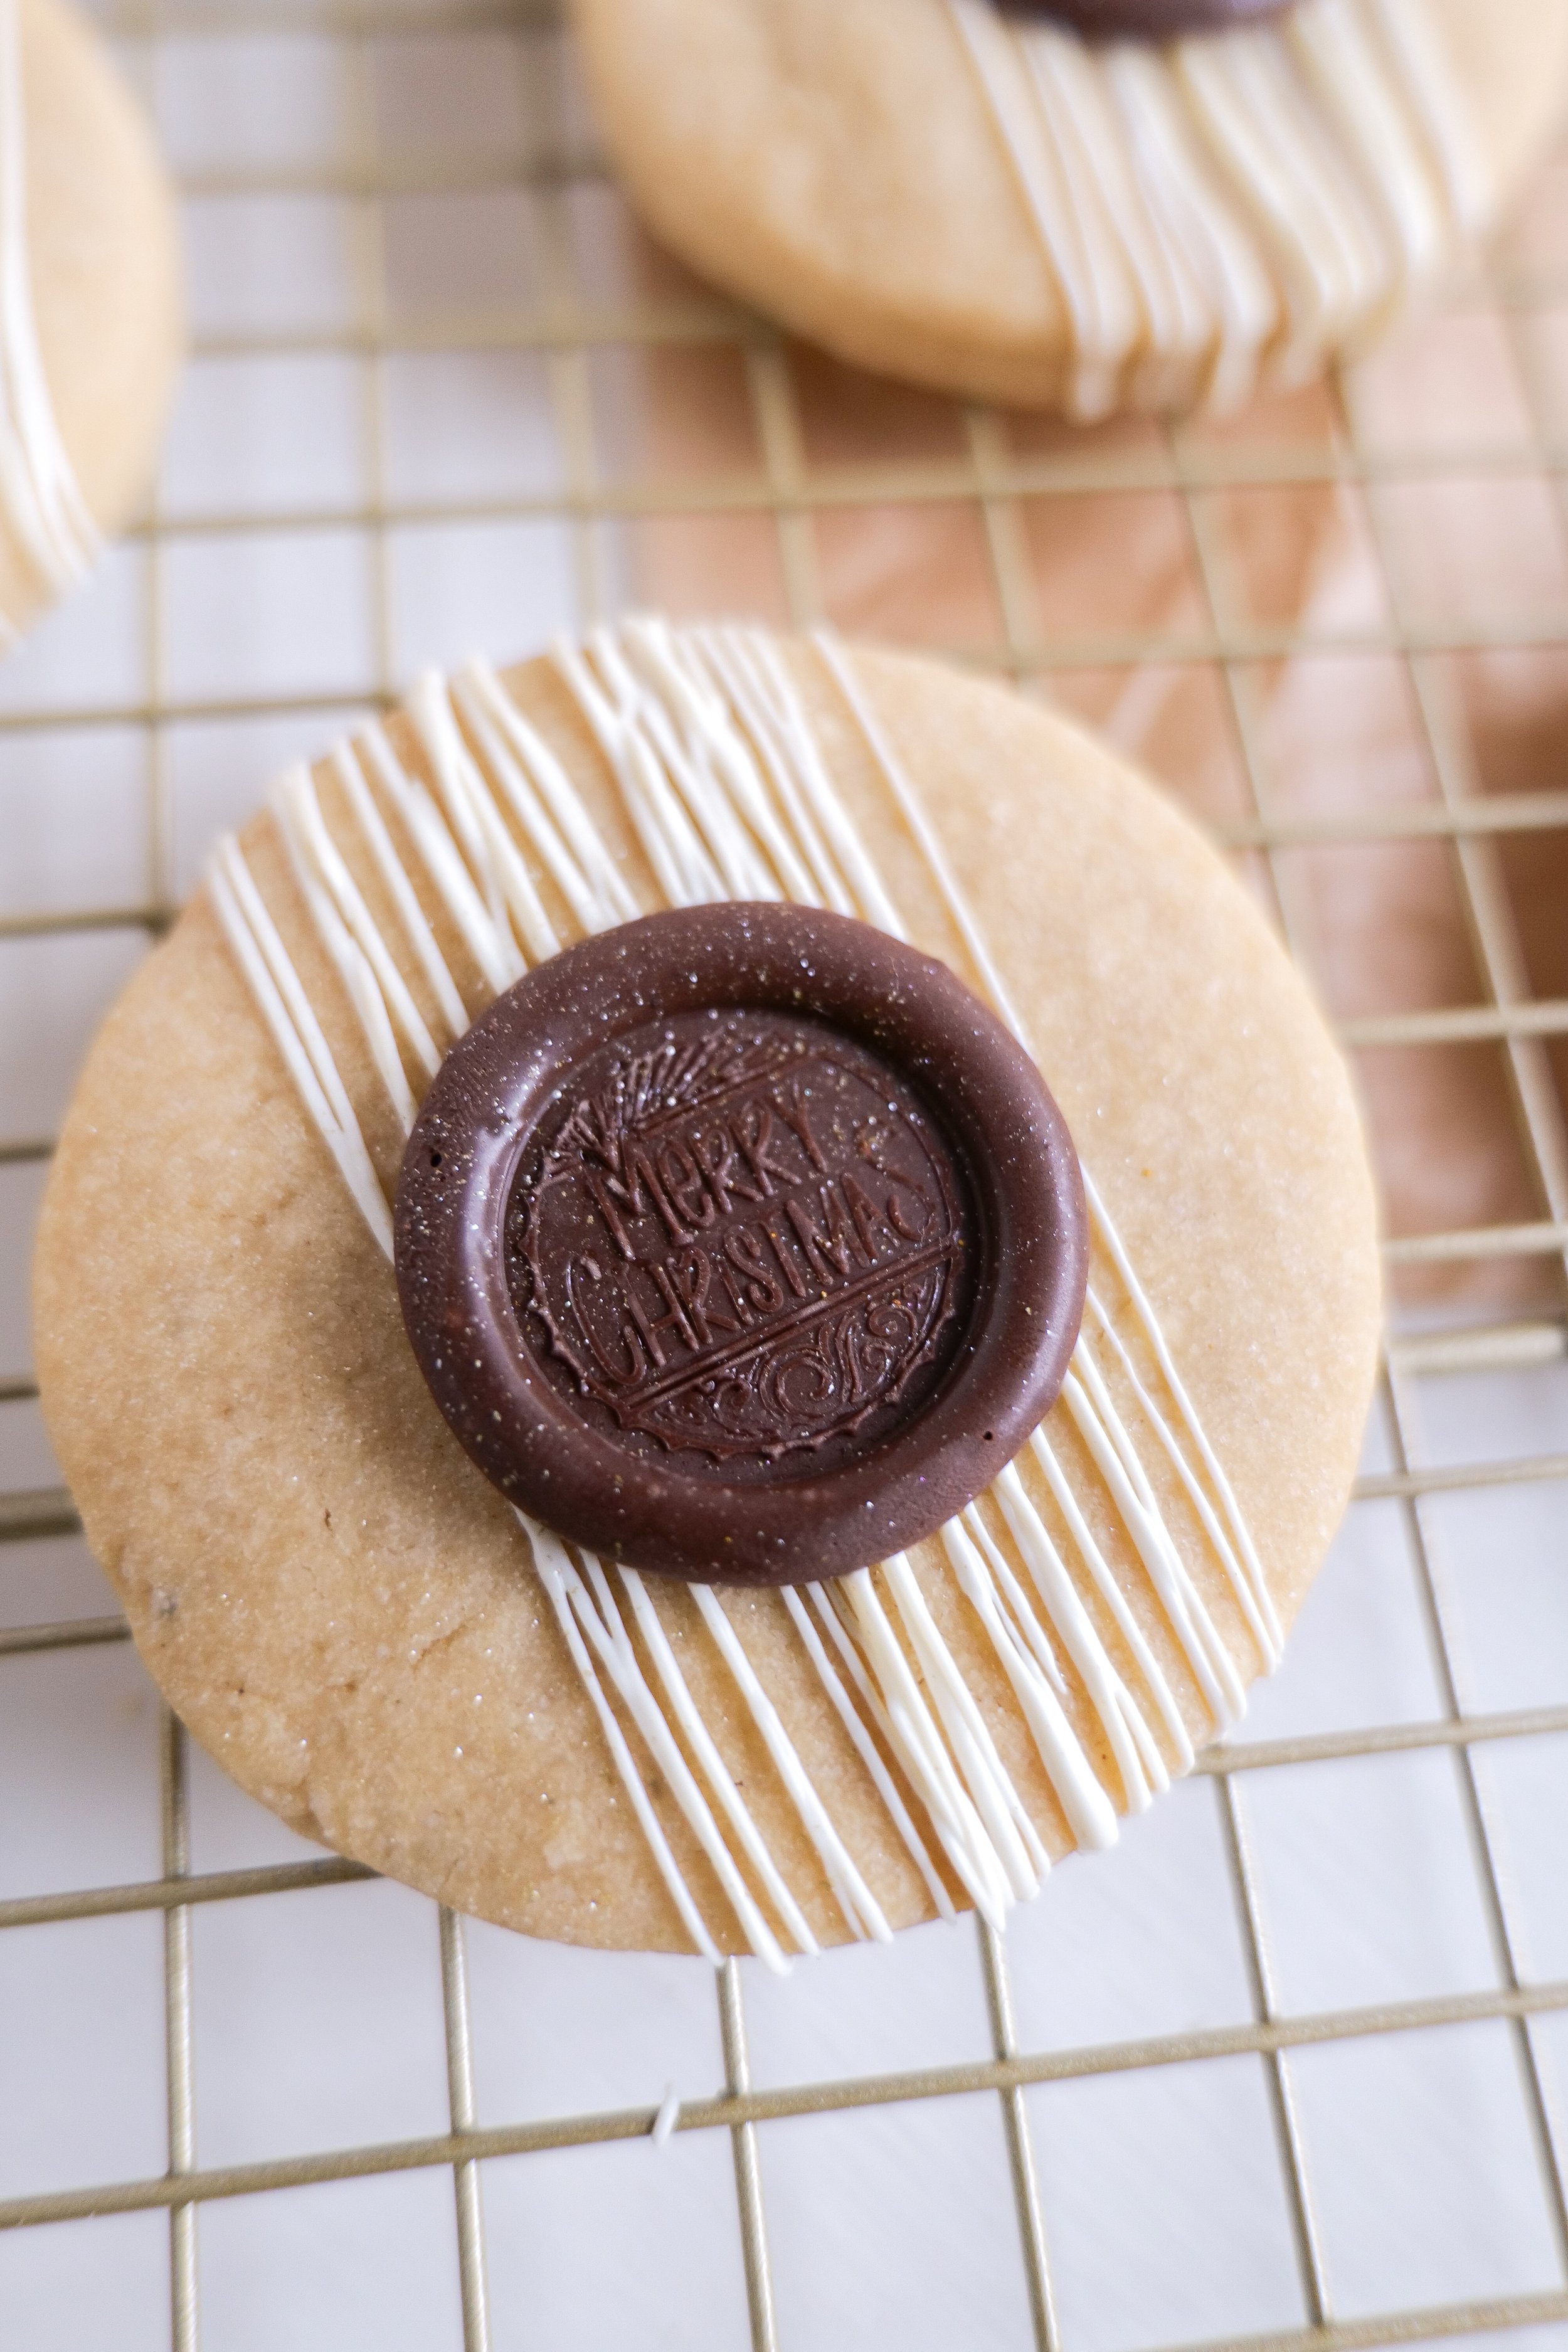
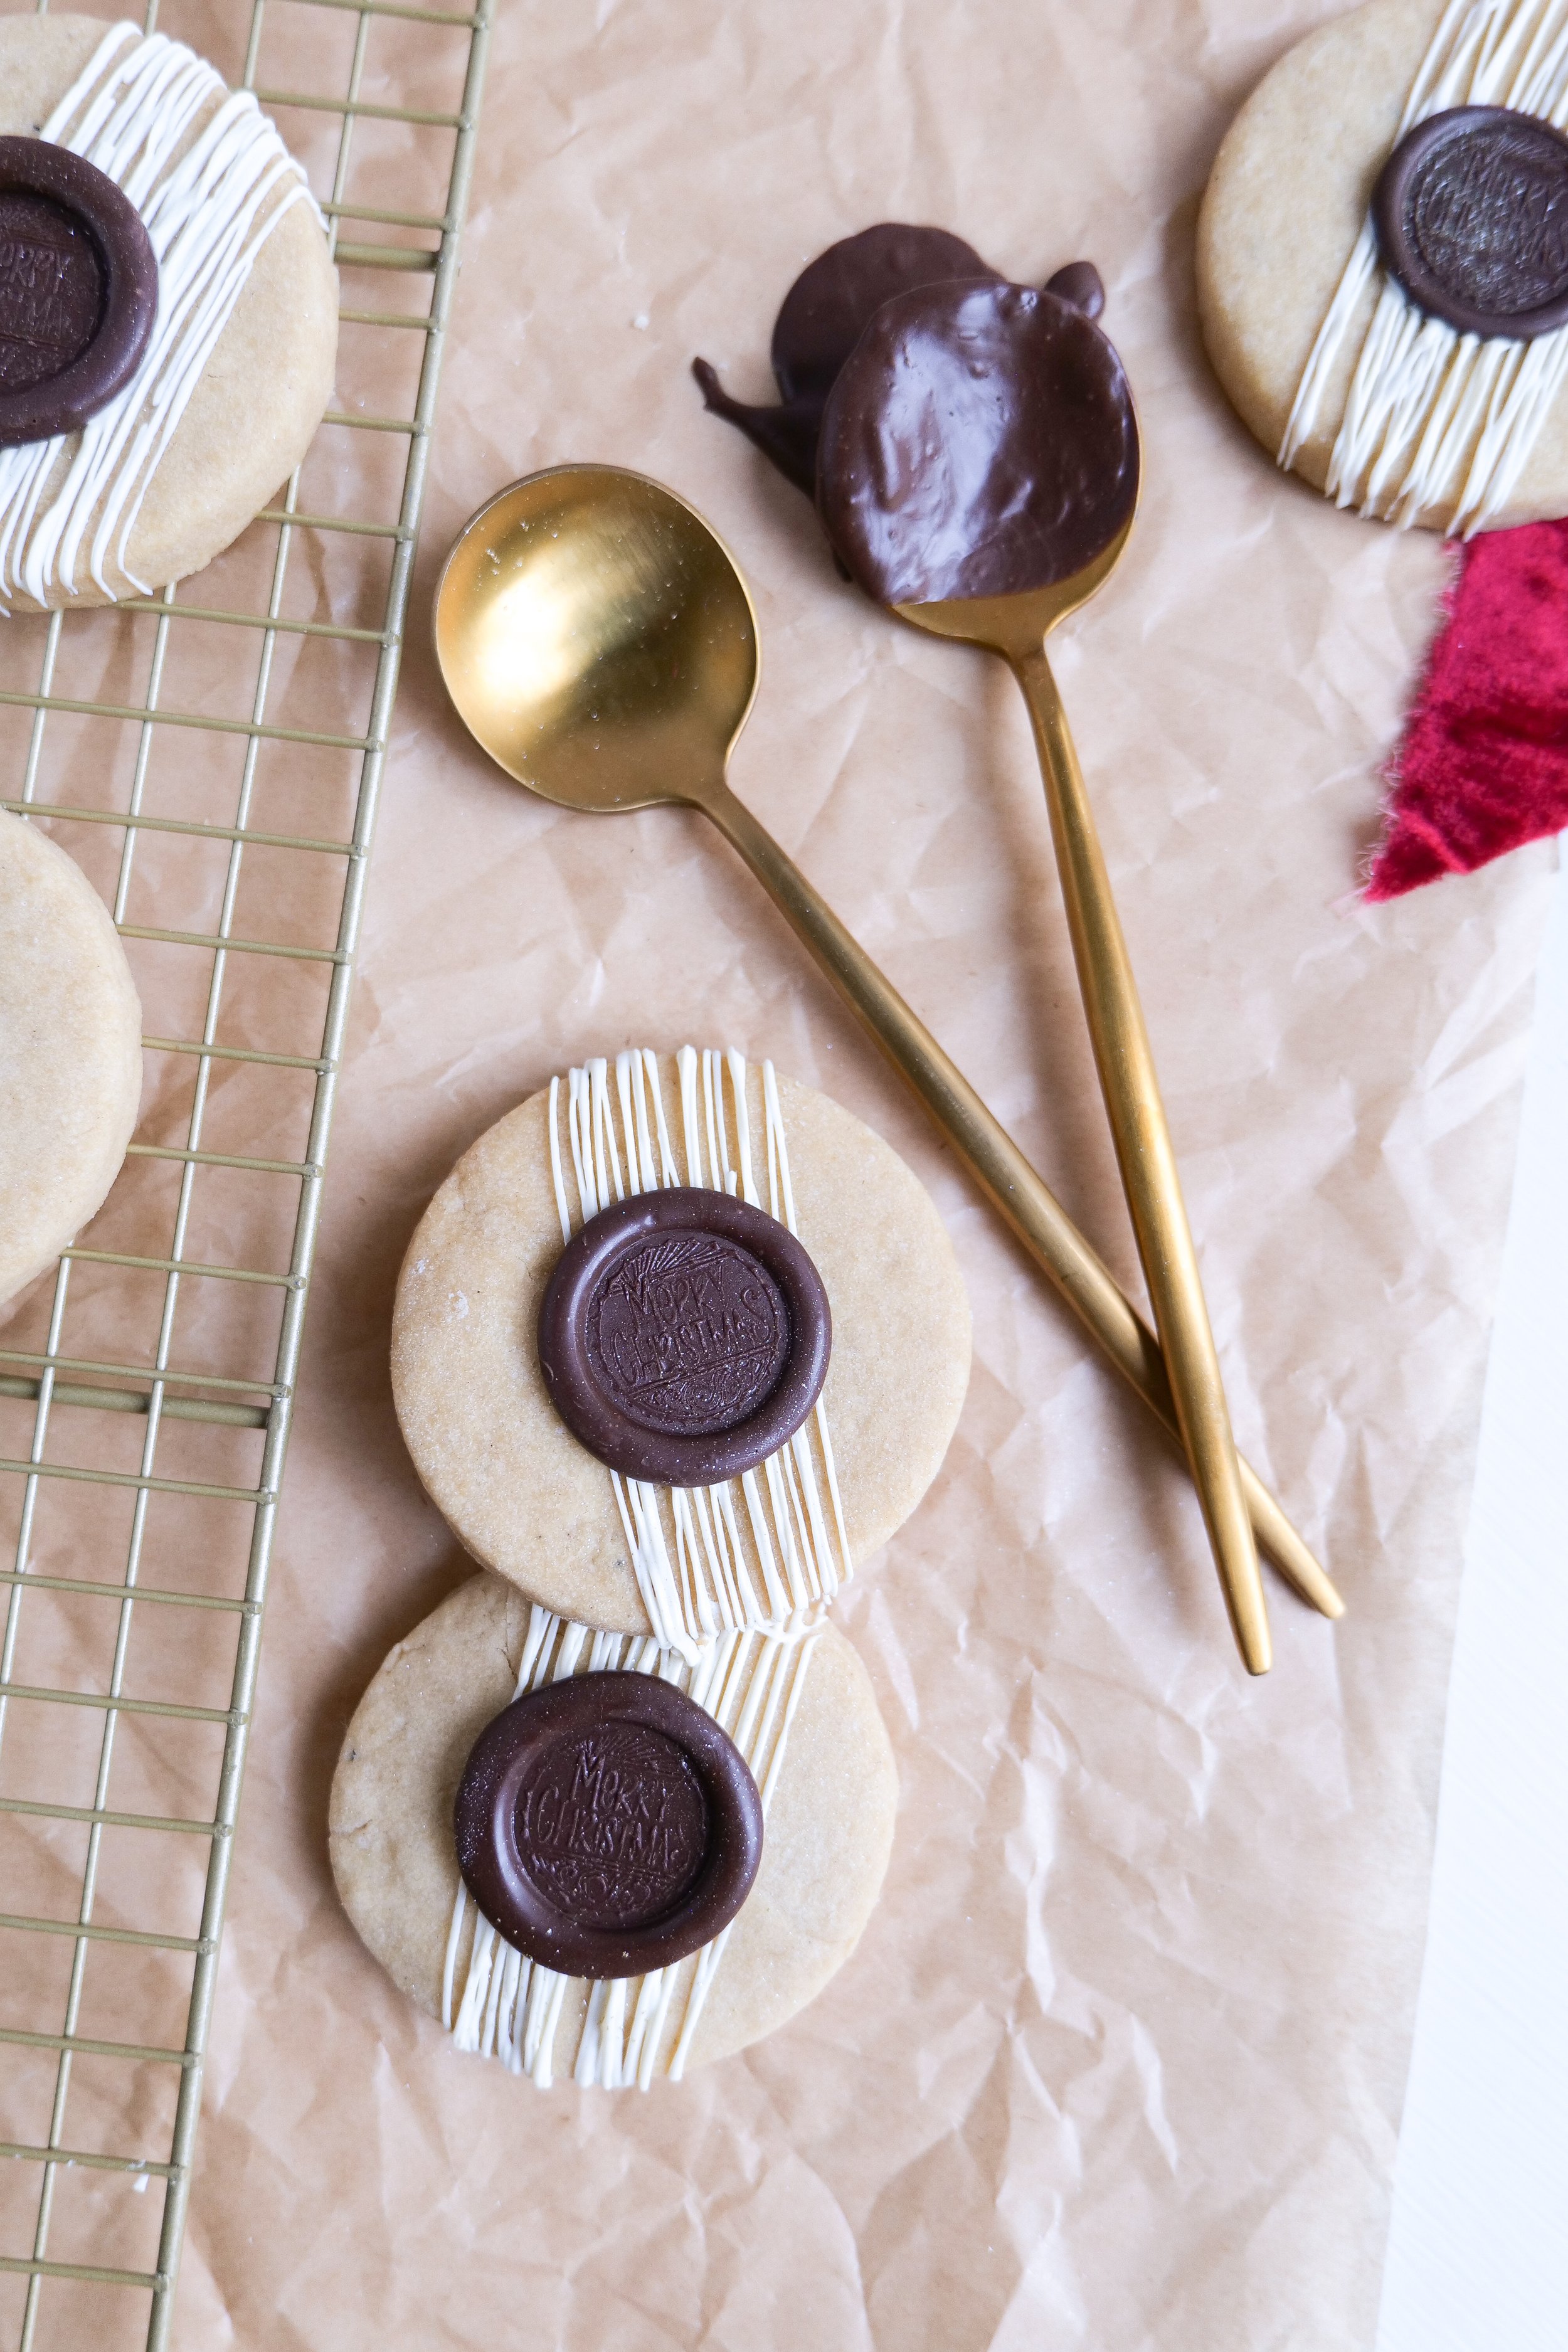
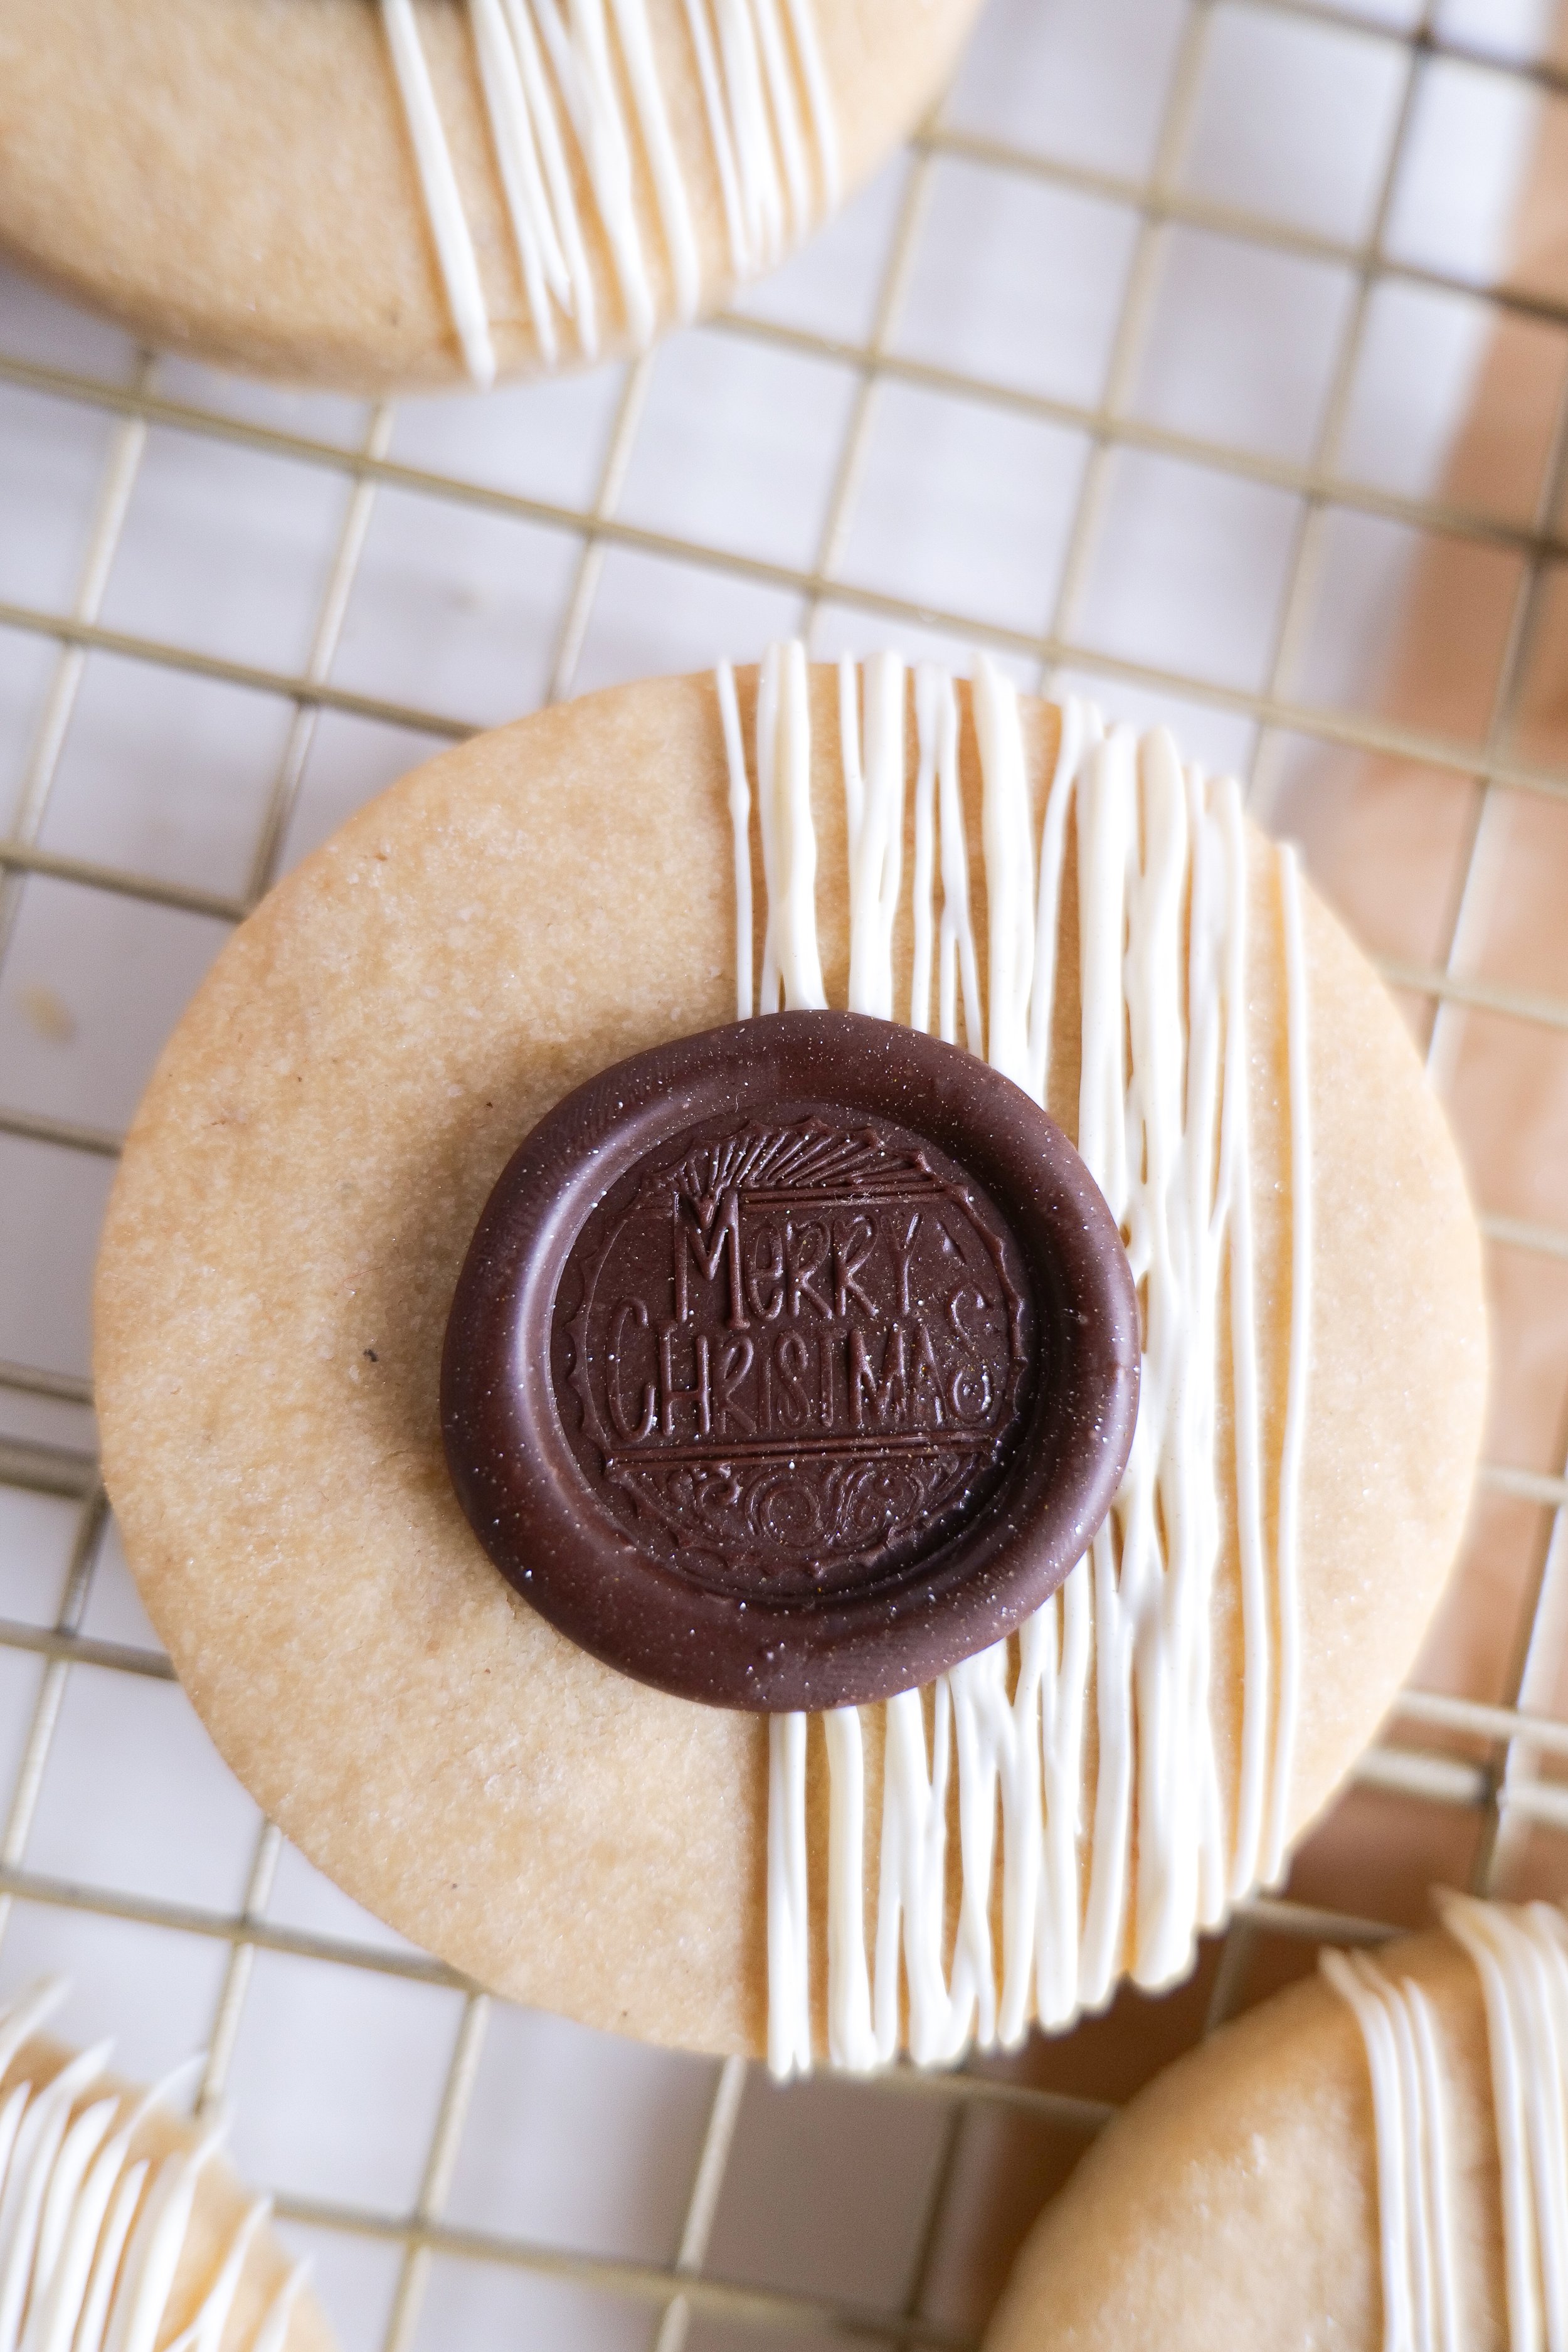
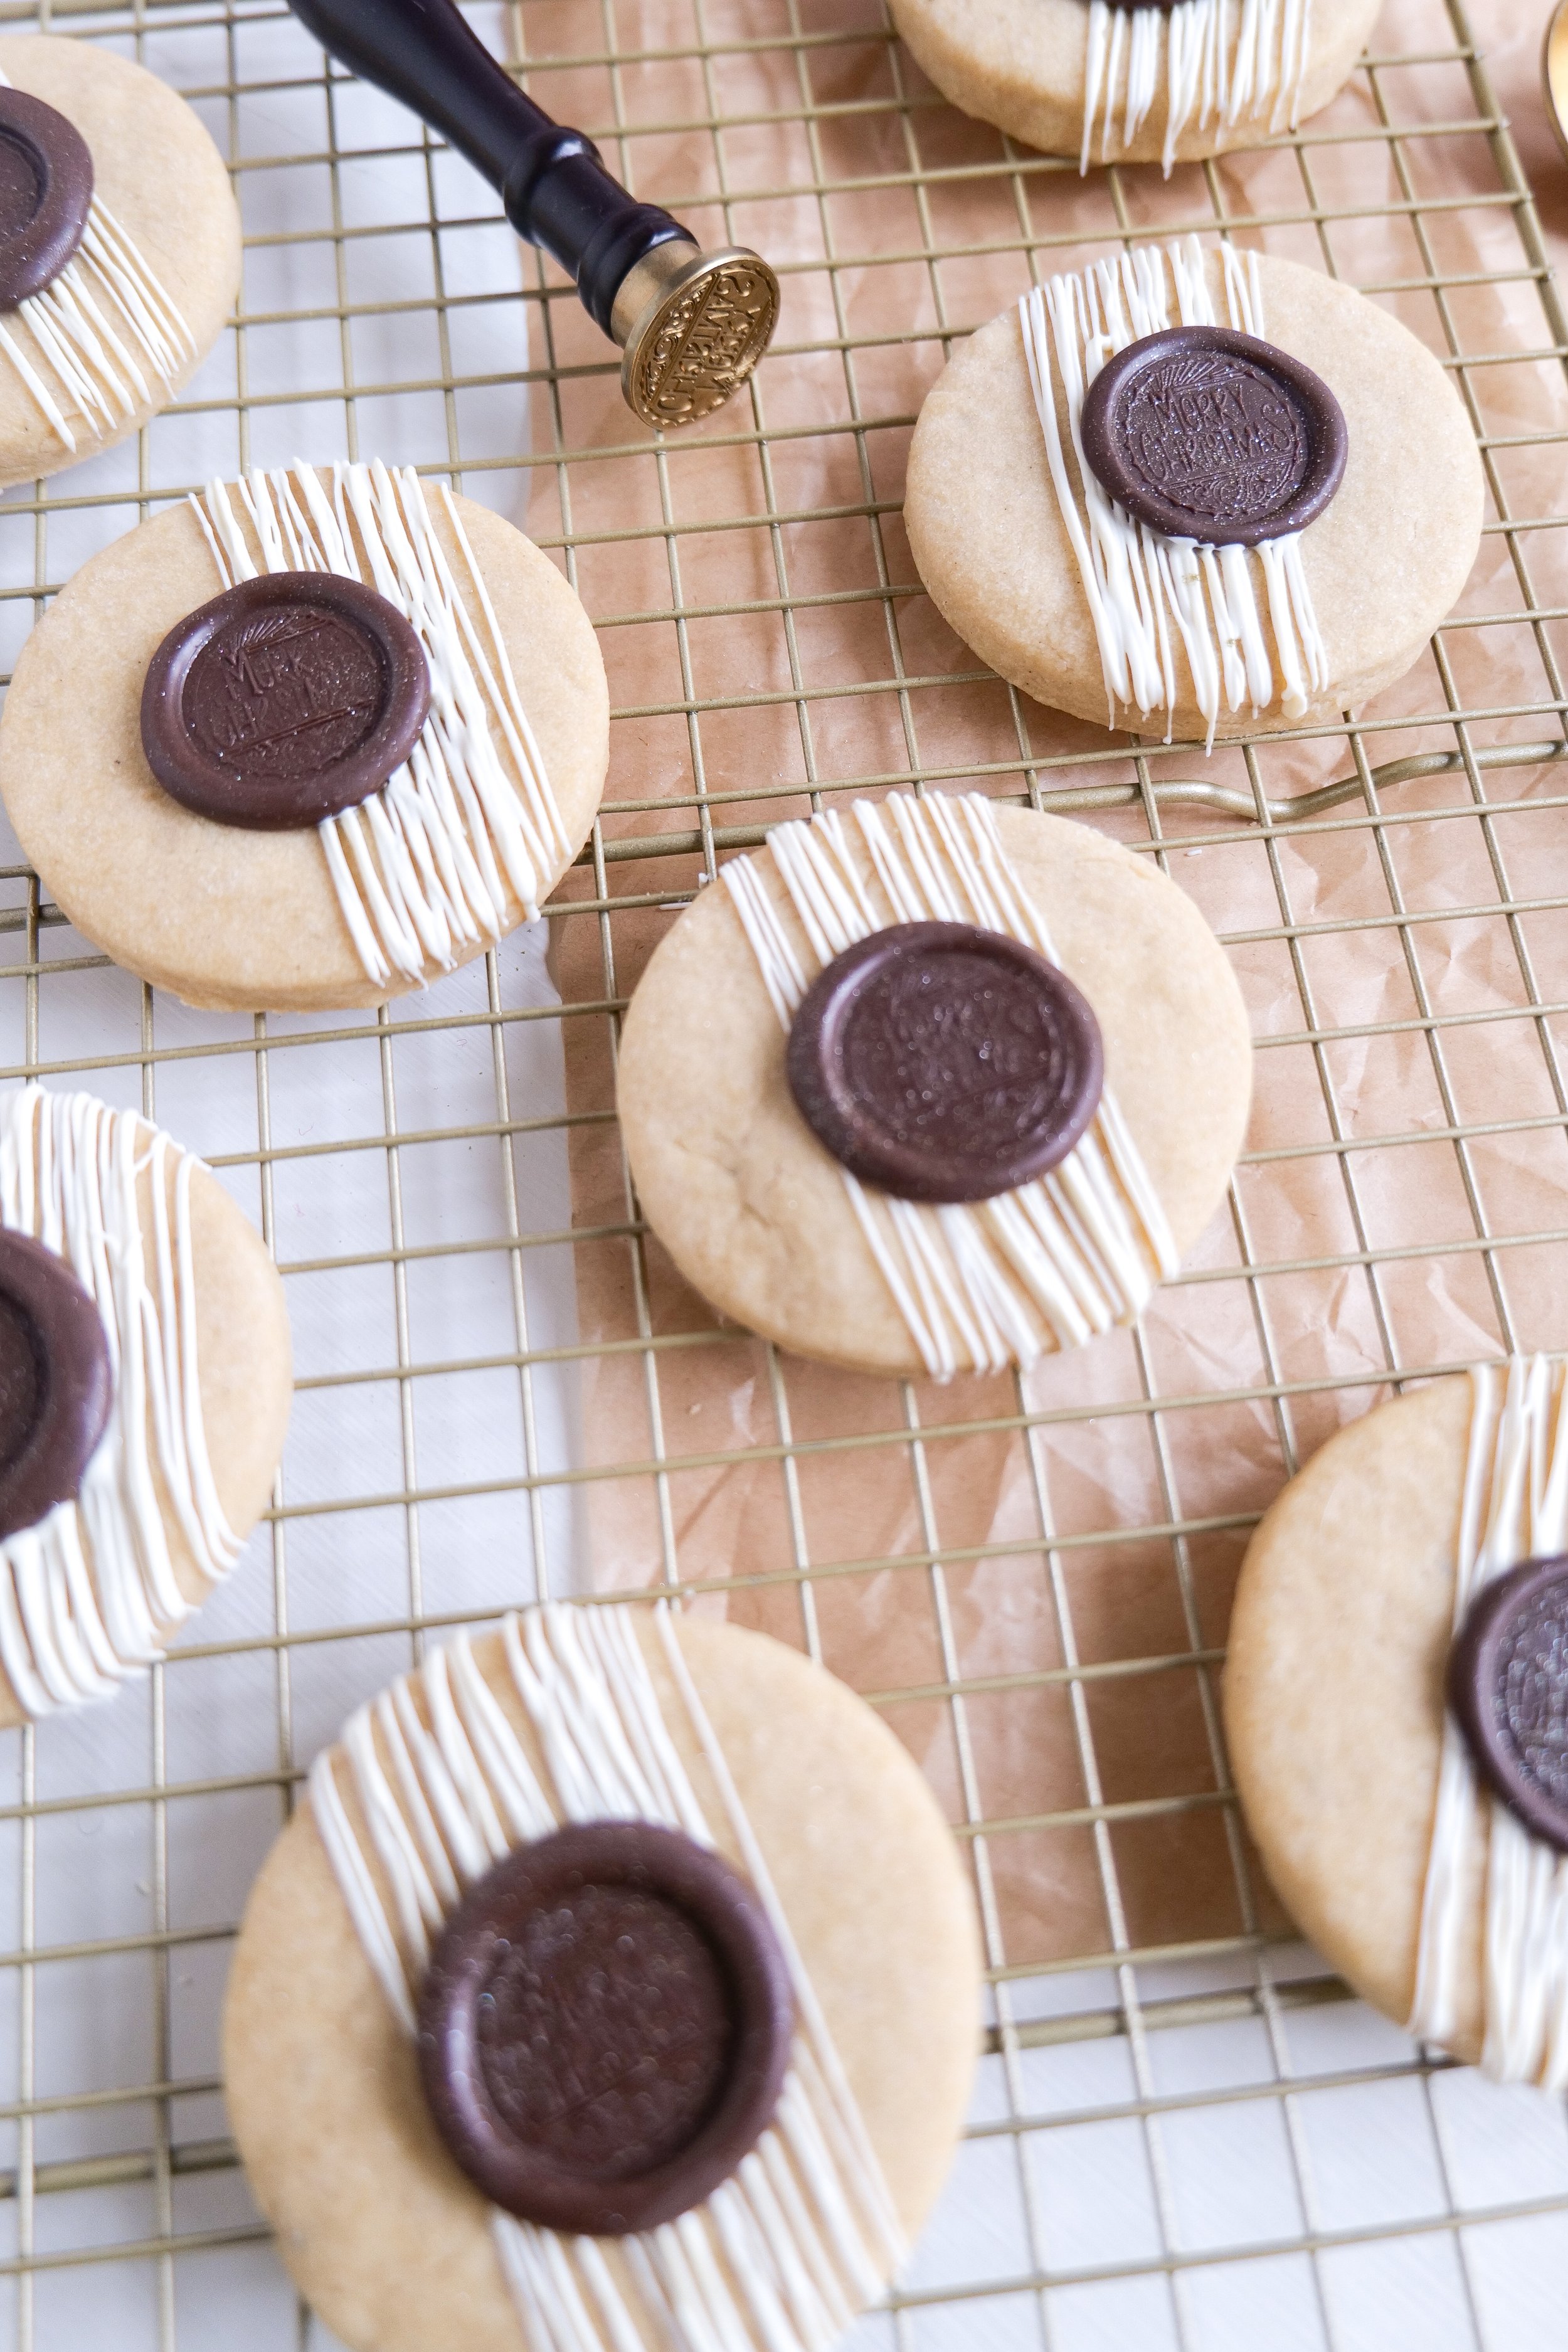
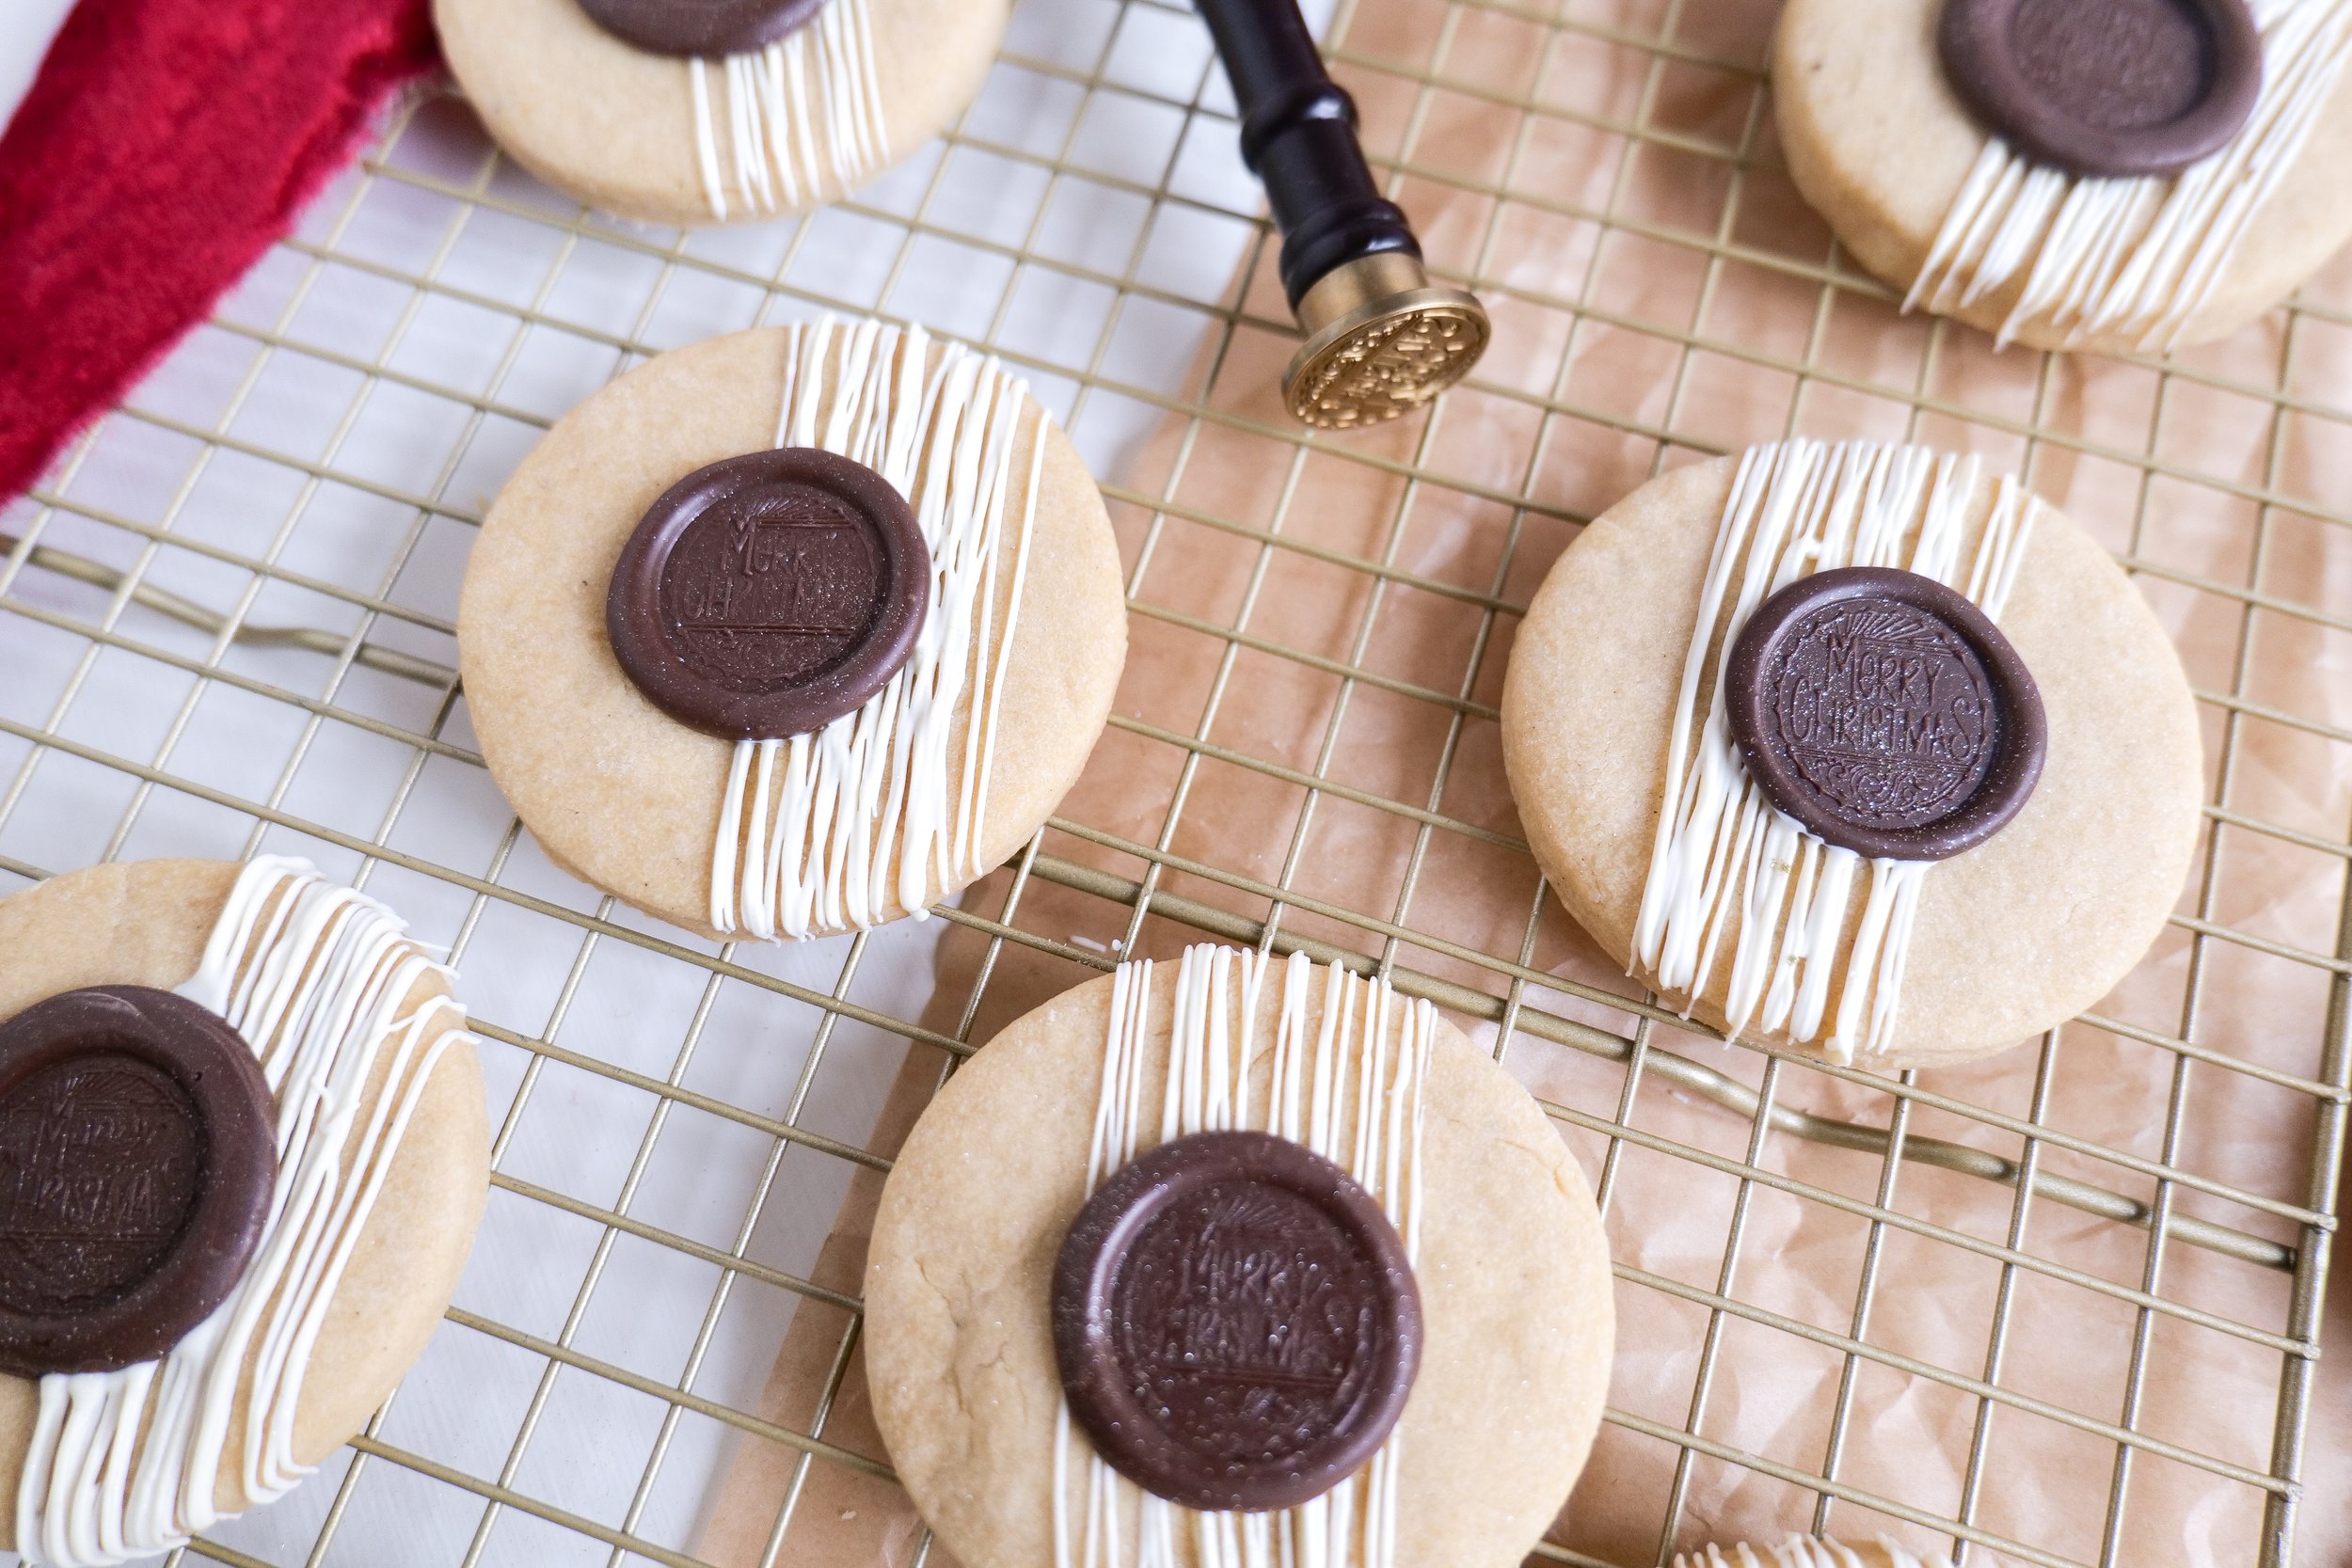
Decadent Brown Butter Shortbread Cookies with a Chocolate 'Wax' Seal – A Vintage Twist on a Classic Treat!

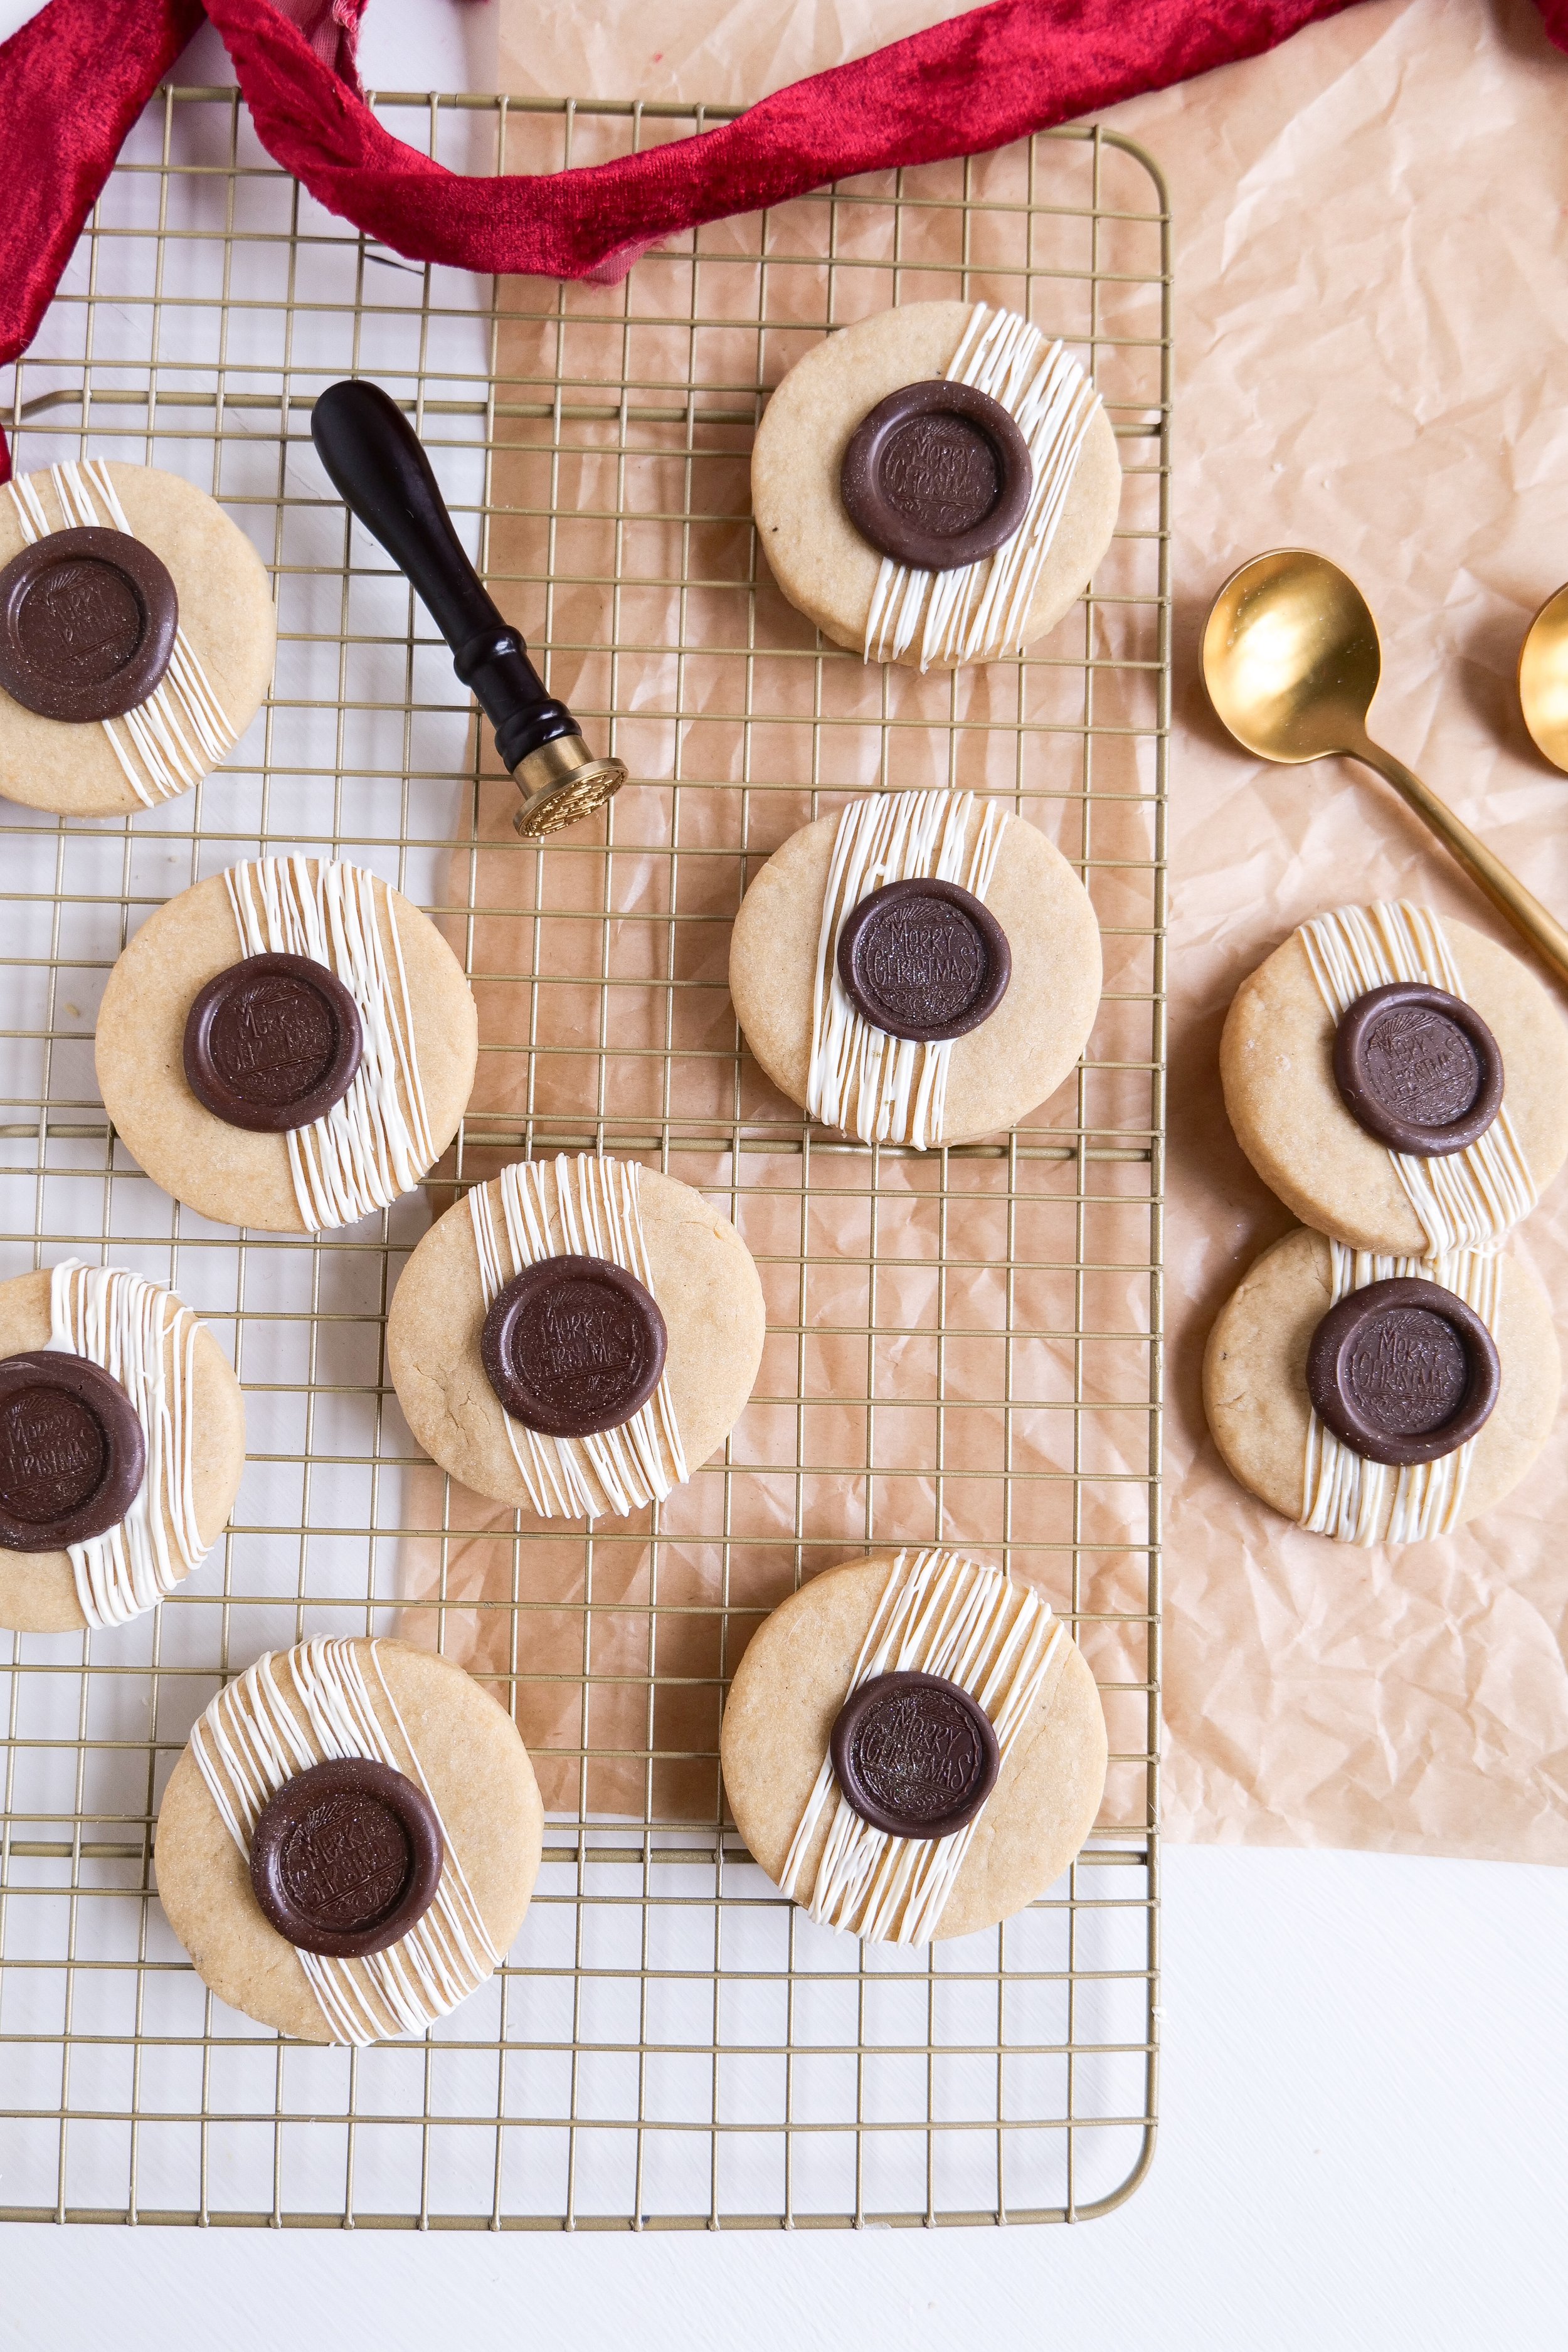
Imagine the irresistible aroma of butter melting slowly into a golden, nutty essence, filling your kitchen with a delicious smell and warmth that promises something truly special. This is the beginning of our journey to creating the ultimate brown butter shortbread cookies—a classic treat reinvented with a sophisticated twist. Each cookie, a masterpiece of simplicity, is made with care, transforming traditional shortbread into a decadent experience with its rich depth of flavor. To elevate this delight to a realm of elegance, we'll crown every cookie with a chocolate "wax" seal, reminiscent of an age when such a seal was a mark of distinction and quality. This whimsical touch not only adds visual intrigue but infuses each bite with a smooth chocolate finish. So, preheat your ovens and ready your parchment paper as we embark on a culinary adventure to bake these irresistible brown butter shortbread cookies. They are a perfect blend of nostalgia and modern flair.

The best part about this recipe is that it is so easy to make with just a few simple ingredients. Not only that, but you can easily customize the chocolate topping with many other alternatives, such as white, milk, or colored chocolate to match the occasion. Also, the wax seal can say anything you'd like for different holidays, occasions and celebrations. With the right balance of sweet and salty, you can enjoy this delicious treat in a simple way. So impress your guests at your next party with these delightful cookies or package them as a sweet gift during the different holiday seasons.

What is the best type of chocolate to use for the "wax" seal?

Brown butter shortbread cookies are a delicious treat that can be made with ease and look great as a presentation. To add a unique touch to the cookie, we are adding a customized “wax” seal made of melted chocolate. When choosing the type of chocolate to use for the seal, it is important to choose one that will not overpower the flavor of the shortbread cookie. Dark chocolate is the best type of chocolate to use for the “wax” seal because it has a richer flavor and is less sweet. It will provide a nice contrast of flavors and a fresh look to the shortbread cookie. Semi-sweet chocolate chips also work well but are slightly sweeter than dark chocolate. White chocolate has a very sweet flavor and may overpower the flavor of the shortbread cookie however if you are looking for a sweet treat that is also colorful this is the best way to dye your chocolate to match the decor of your party or the holiday you are celebrating.

Can I make the dough for these brown butter shortbread cookies ahead of time?

Making the dough ahead of time is an excellent option if you want to prepare for a special occasion, but are routinely pressed for time. The dough can be made up to one week ahead of time and stored in plastic wrap in an airtight container in your refrigerator. When you are ready to bake the cookies, let the dough come to room temperature, roll it out and cut them into desired shapes. The chocolate wax seal can also be made ahead of time and stored in an airtight container at room temperature. This will save you time and energy when you are ready to bake. The brown butter shortbread cookies are a delicious treat that will be sure to impress. The buttery flavor of the cookie combined with the rich chocolate wax seal creates a unique flavor that everyone will enjoy. The chocolate wax seal gives the cookies a special touch that will make them stand out at any gathering. You won't regret taking the extra time to make these cookies for your next special occasion.

How long can I store the brown butter shortbread cookies with the chocolate seal, and how should I store them?

When stored correctly, these cookies can surprisingly last up to two weeks. To store these cookies, it is best to use an airtight container, preferably glass or a food-grade plastic container. Keep them in a cool, dry place away from direct sunlight. Place a paper towel or parchment paper between the layers of cookies to prevent them from sticking together. Enjoy the cookies within two weeks of making them for the best flavor and texture.

Ingredients:

1 cup unsalted brown butter

1tsp vanilla extract

2 1/4 cups all-purpose flour

1/2 tsp sea salt

1/4 granulated sugar

1/2 cup powdered sugar

4 tbsp whole milk

bittersweet chocolate & wax seal of choice

Step-By-Step Instructions:

  1. Add butter to stove top pan to brown. Butter will melt and begin to get a nutty smell. Turning brown when it’s ready! Pour into a bowl and let come to room temp. After room temp place in fridge for 30 min to fully cool.

  2. While butter is cooling whisk together sugars, all-purpose flour and sea salt. Add in brown butter and vanilla extract with rubber spatula. Mix with an electric mixer until well combined.

  3. Dough with be flaky at this step. Add 1 tablespoon of milk at a time until the dough is incorporated and starts to stick together. Usually needing 4 tablespoons of milk total.

  4. Wrap with plastic wrap and keep refrigerated for at least 1 hour and up to 1 week.

  5. Remove from fridge when ready to make cookies. Flour the surface and roll out to 1/4 inch thick. Cut dough with your favorite cookie cutters and bake at 325.

  6. Baking for 12-14 min in oven. Remove and place cookies on the cookie sheet to cool.

  7. Once the cookies are cooled you can add the wax seal by two options. One way you can drizzle chocolate in the center of the cookie, let it cool for a few seconds and stamp it with your wax seal. The other option I did here was to make a wax seal on parchment paper and add it onto the cookie with a small drop of a full drizzle like I did to adhere to the cookie. Prep your wax seal by cooling it in the freezer for at least an hour to fully cool through. Between each stamp place in an ice bowl to continue to keep cool. Once finished, serve and enjoy your Brown Butter Shortbread Cookies with Chocolate "Wax" Seal

Other Cookie Recipes You Will Love:

How to Make Delicious Nutter Butter Cookies At Home

Indulge your Sweet Tooth: The Ultimate Guide to Making Brown Butter Maple Pecan Chocolate Chunk Cookies

The Best Monster Cookie Recipe You'll Ever Try!

Deliciously Sweet: Mastering the Perfect Pumpkin Molasses Cookie Recipe for the Autumn Season

Birthday Cutout Sugar Cookies

Brown Sugar Toffee Cookies

Brown Butter Caramel Pretzel Cookies

How to Make Delicious Nutter Butter Cookies At Home

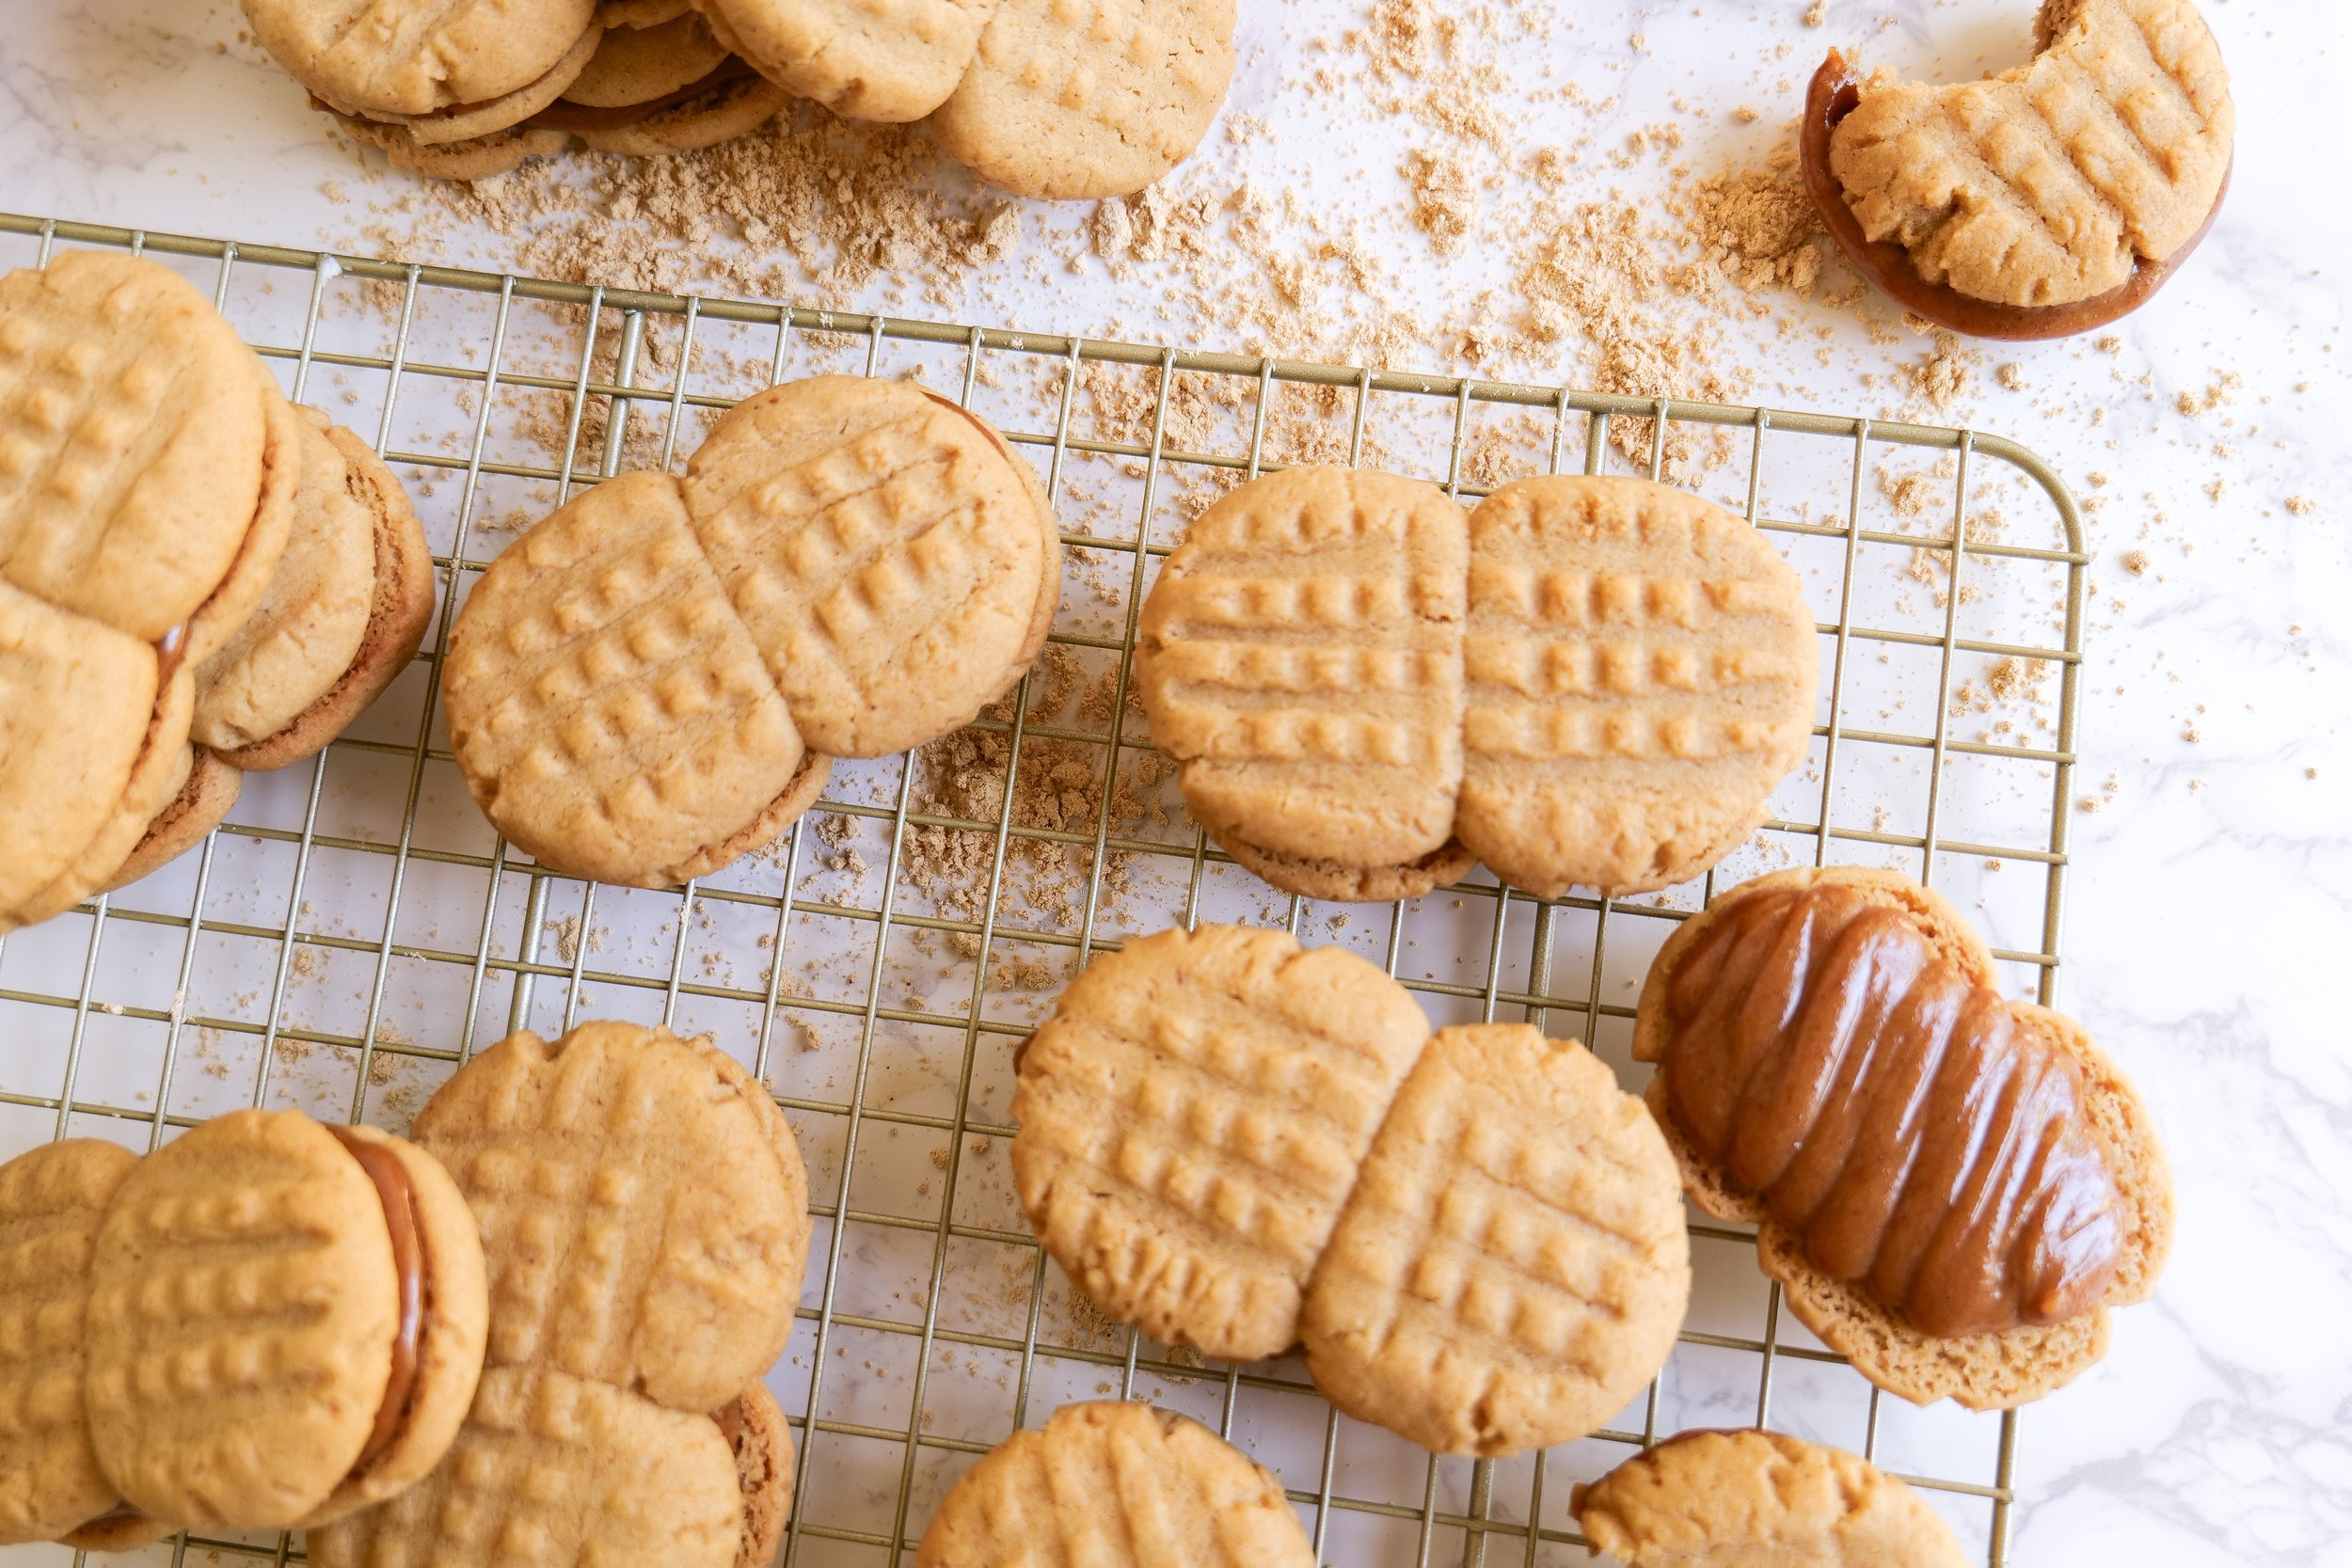
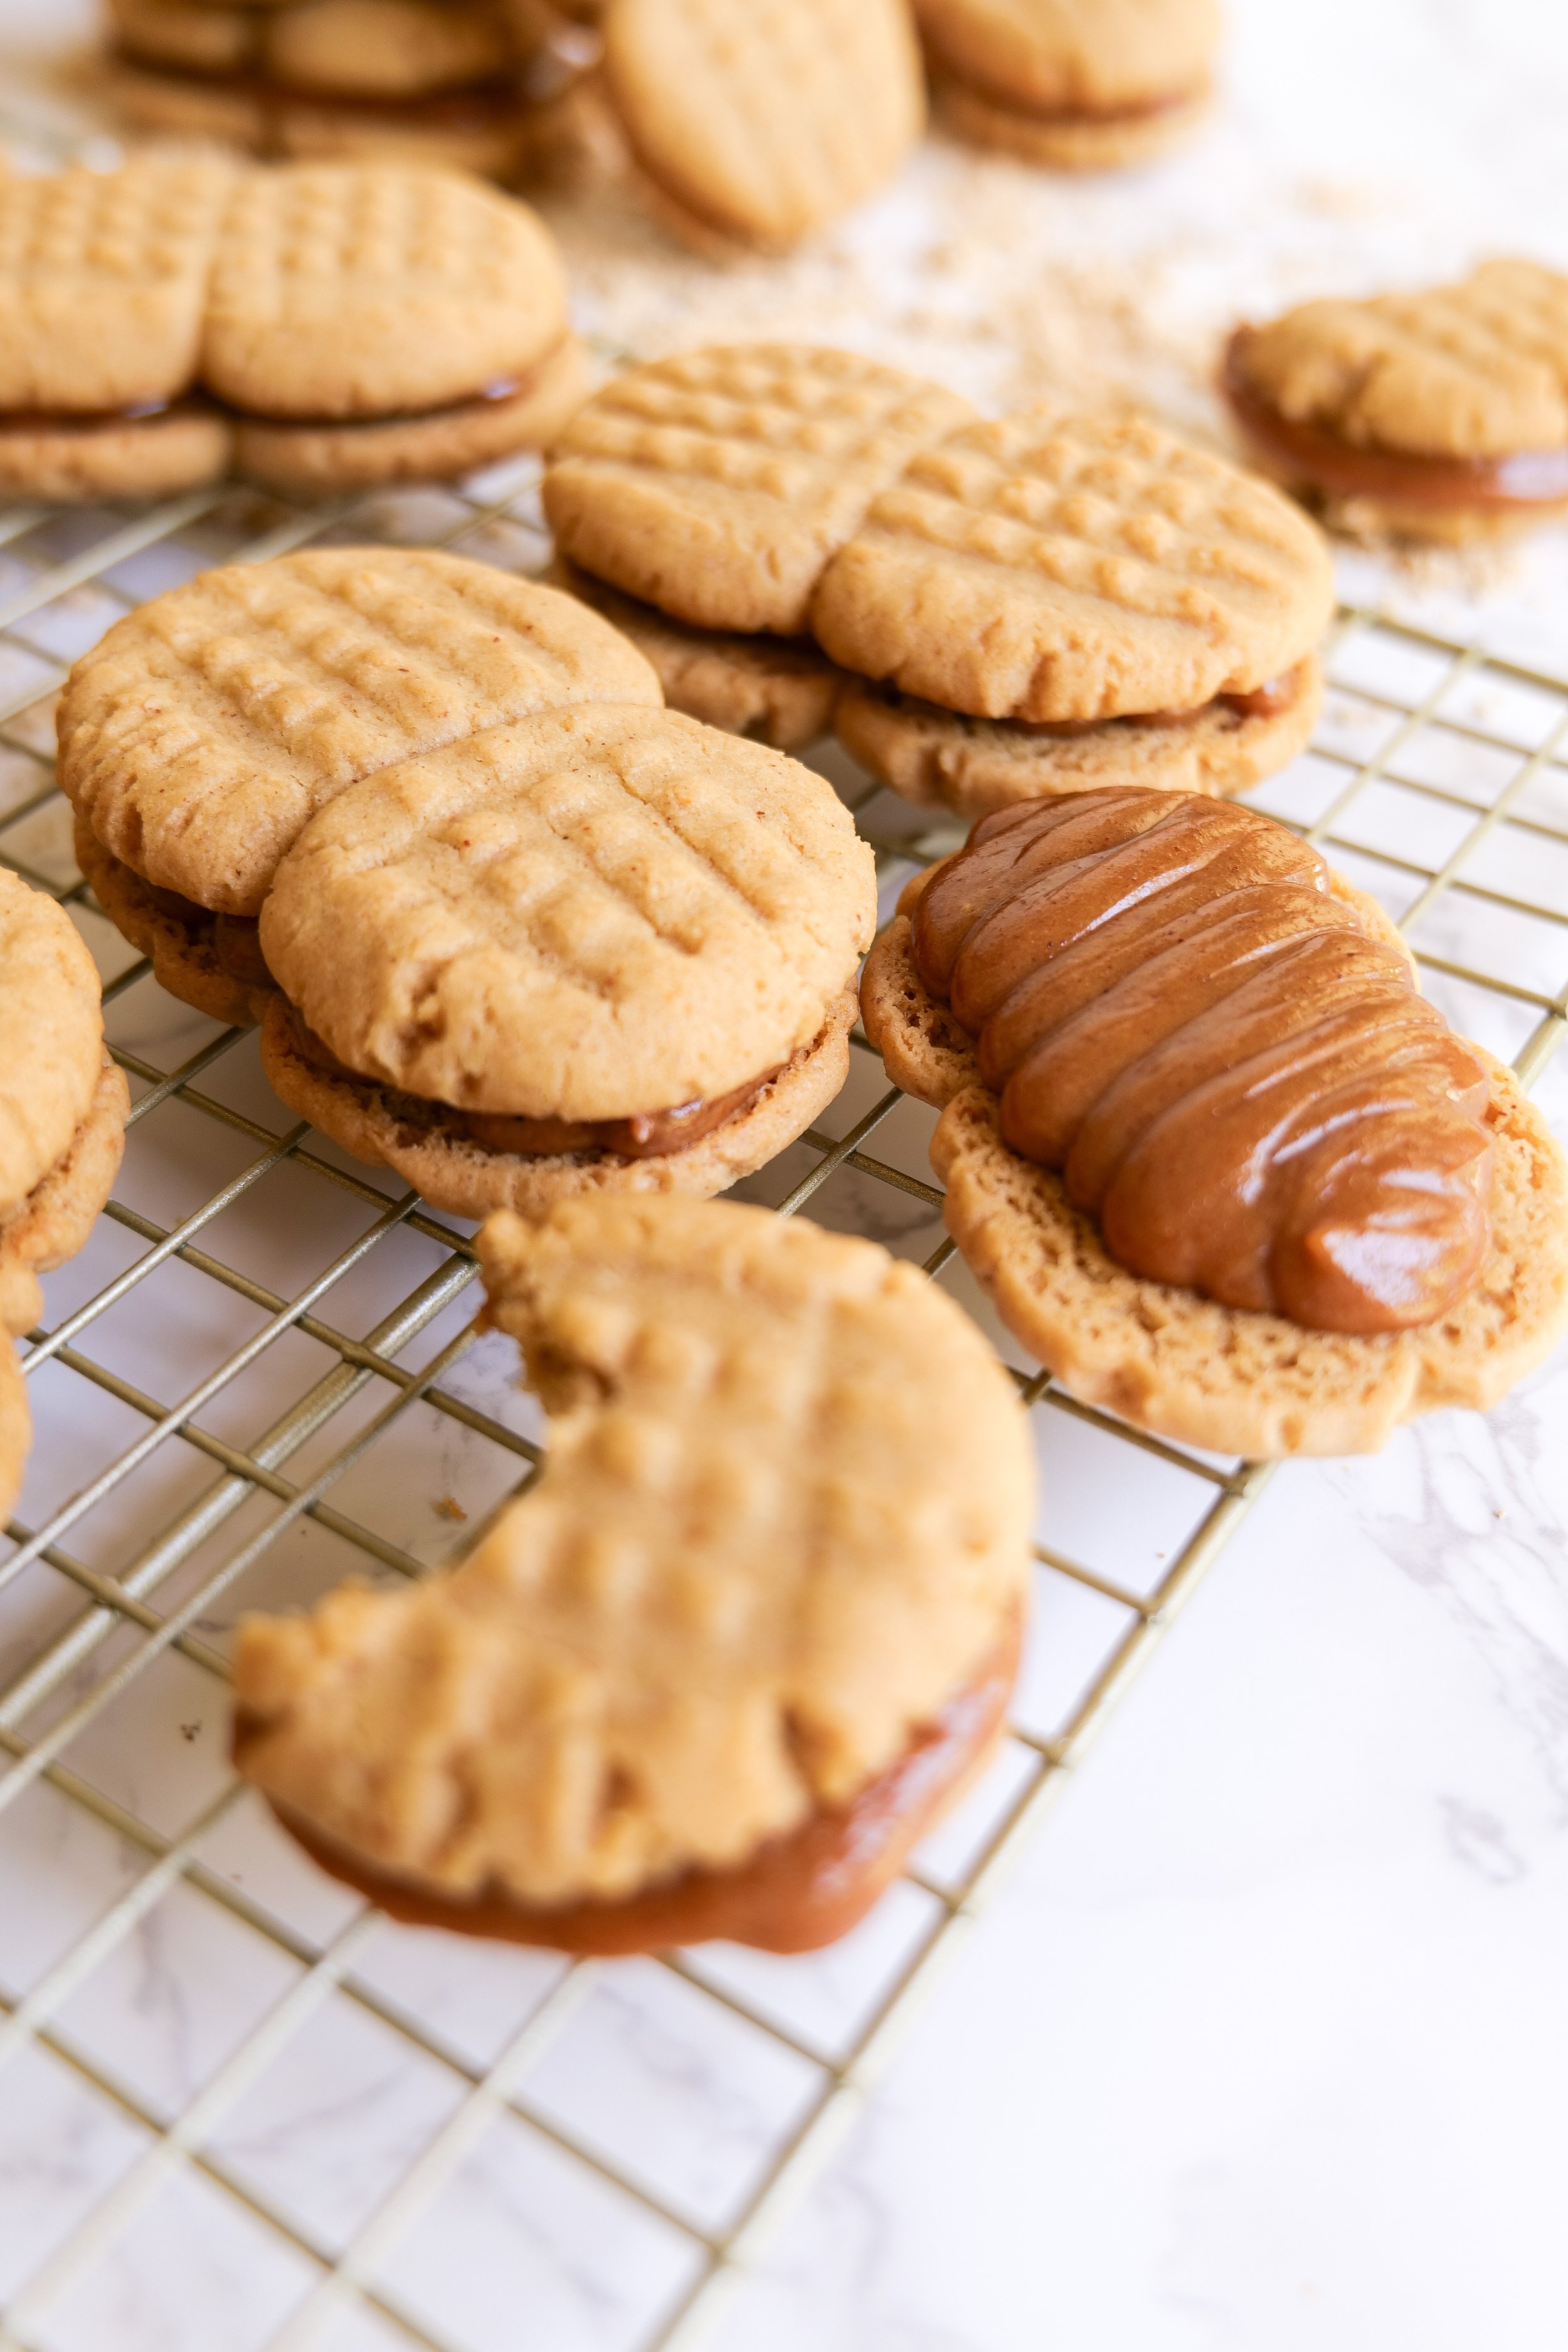
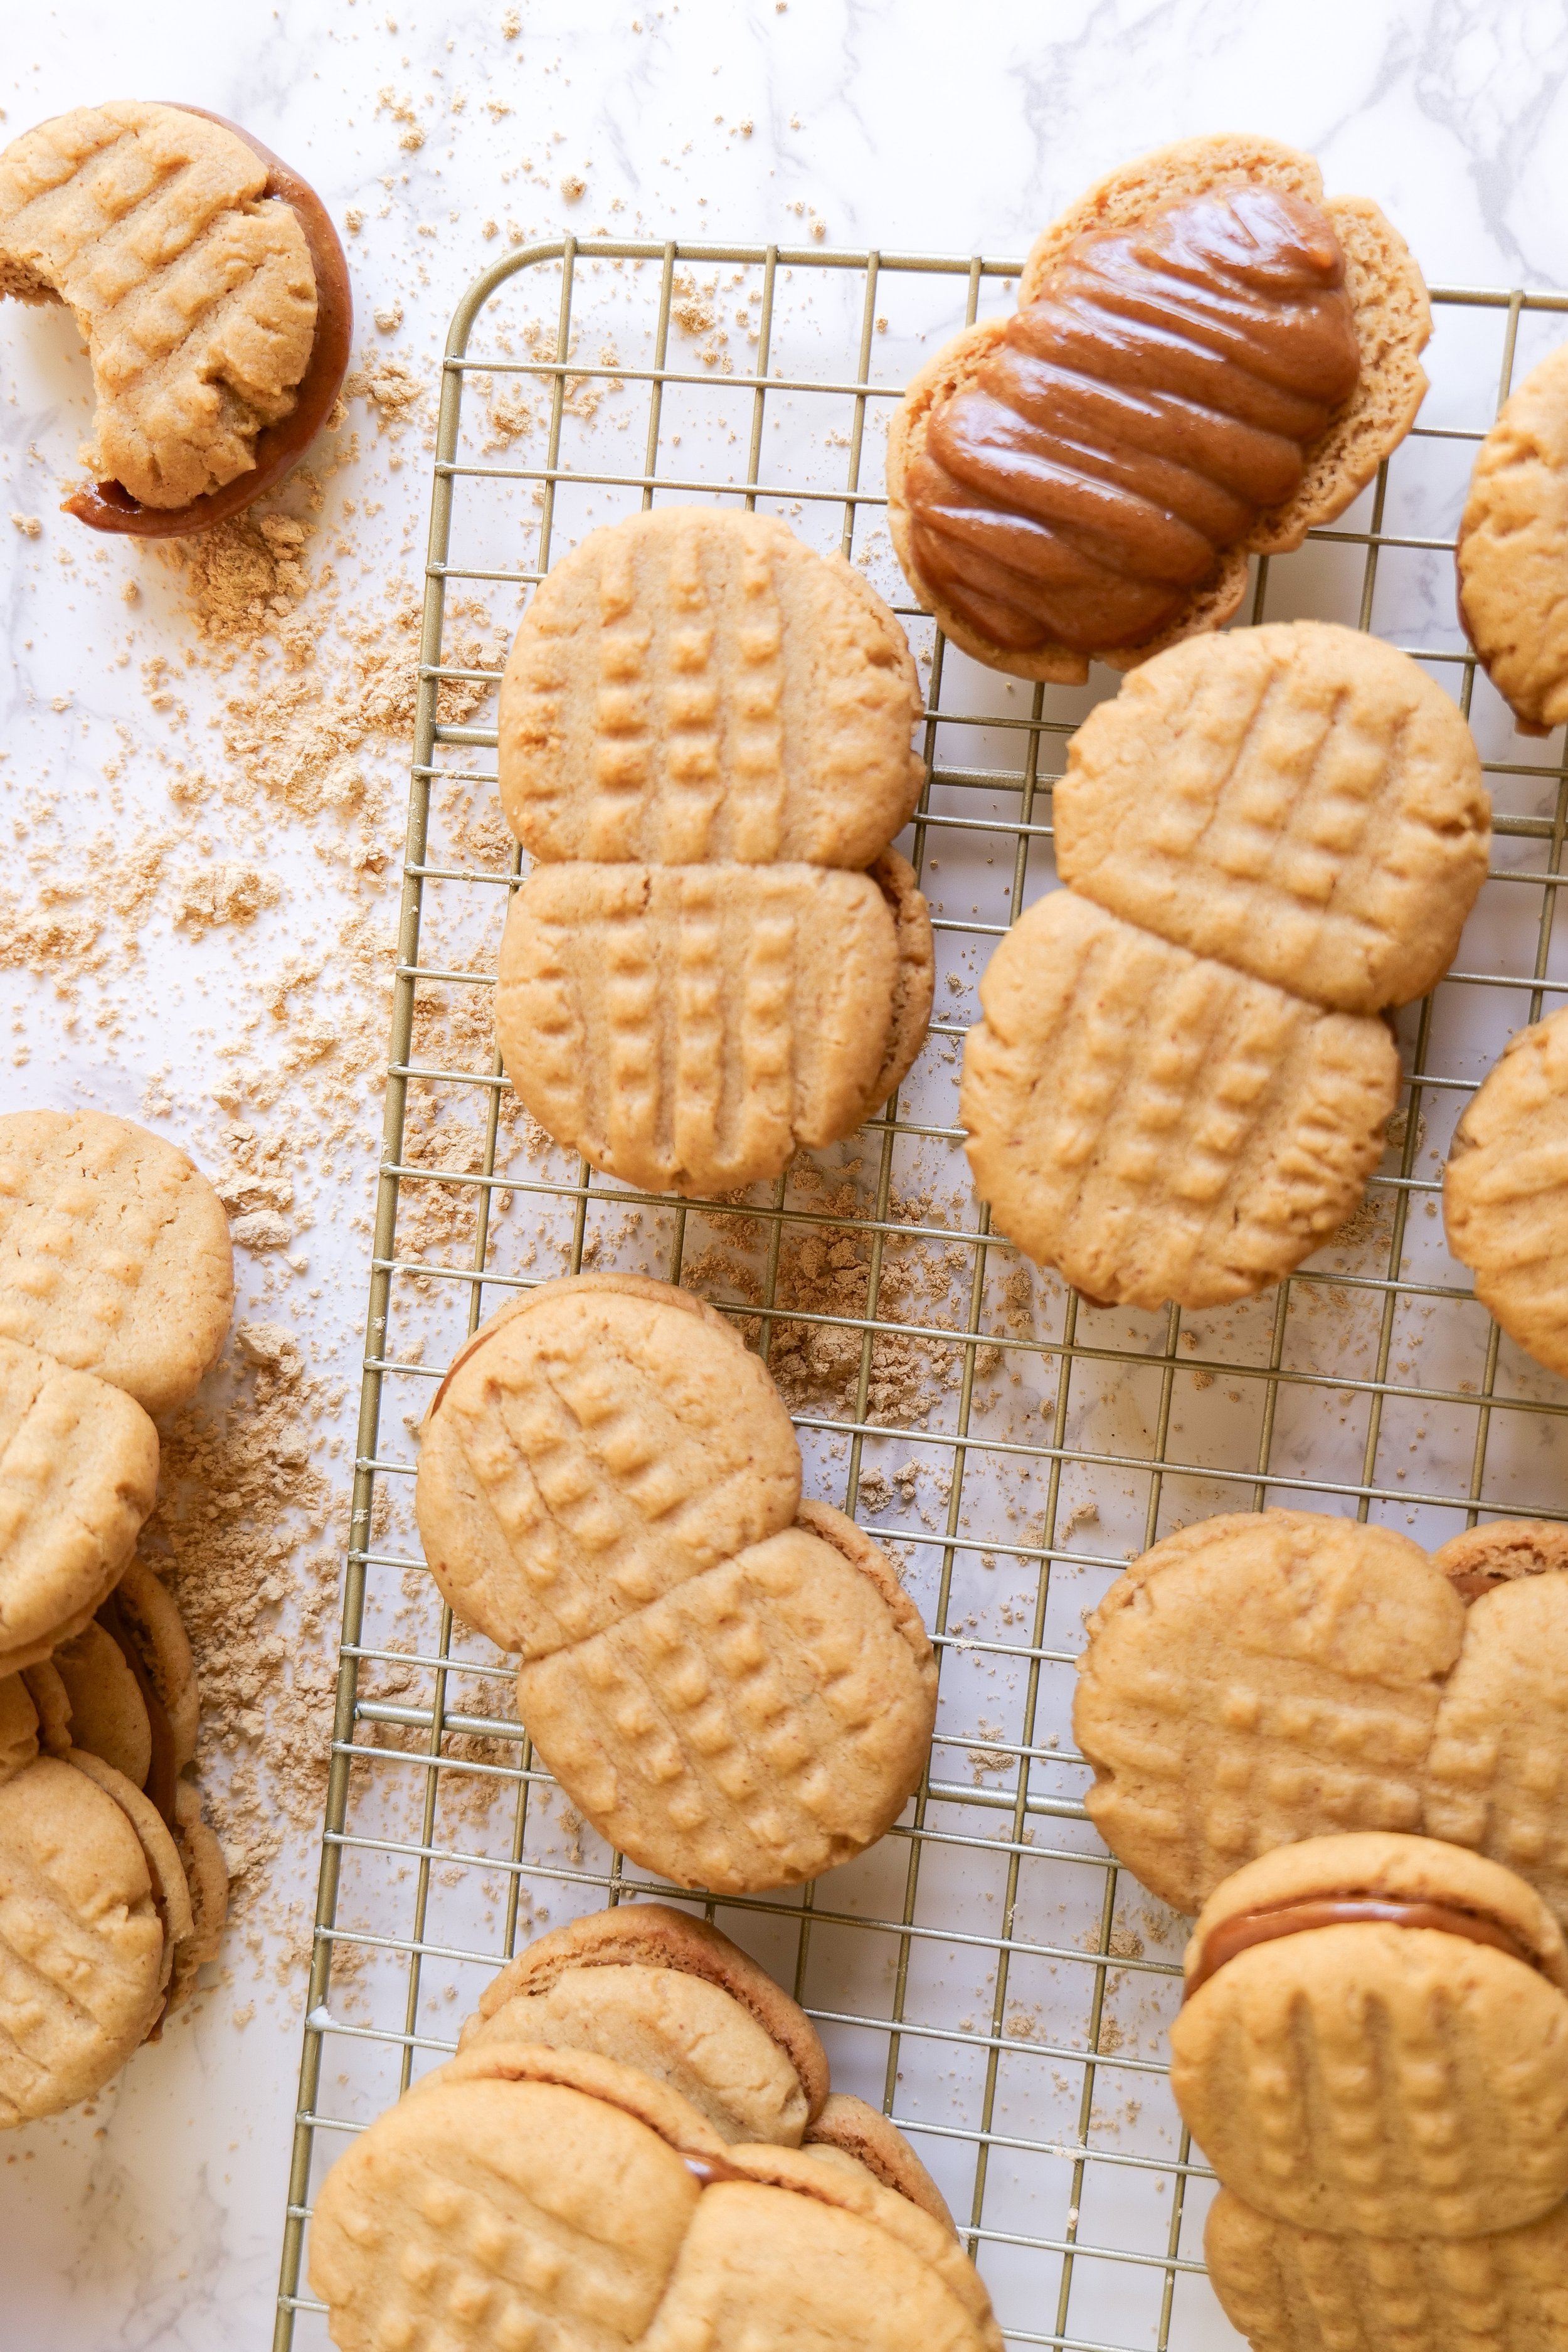
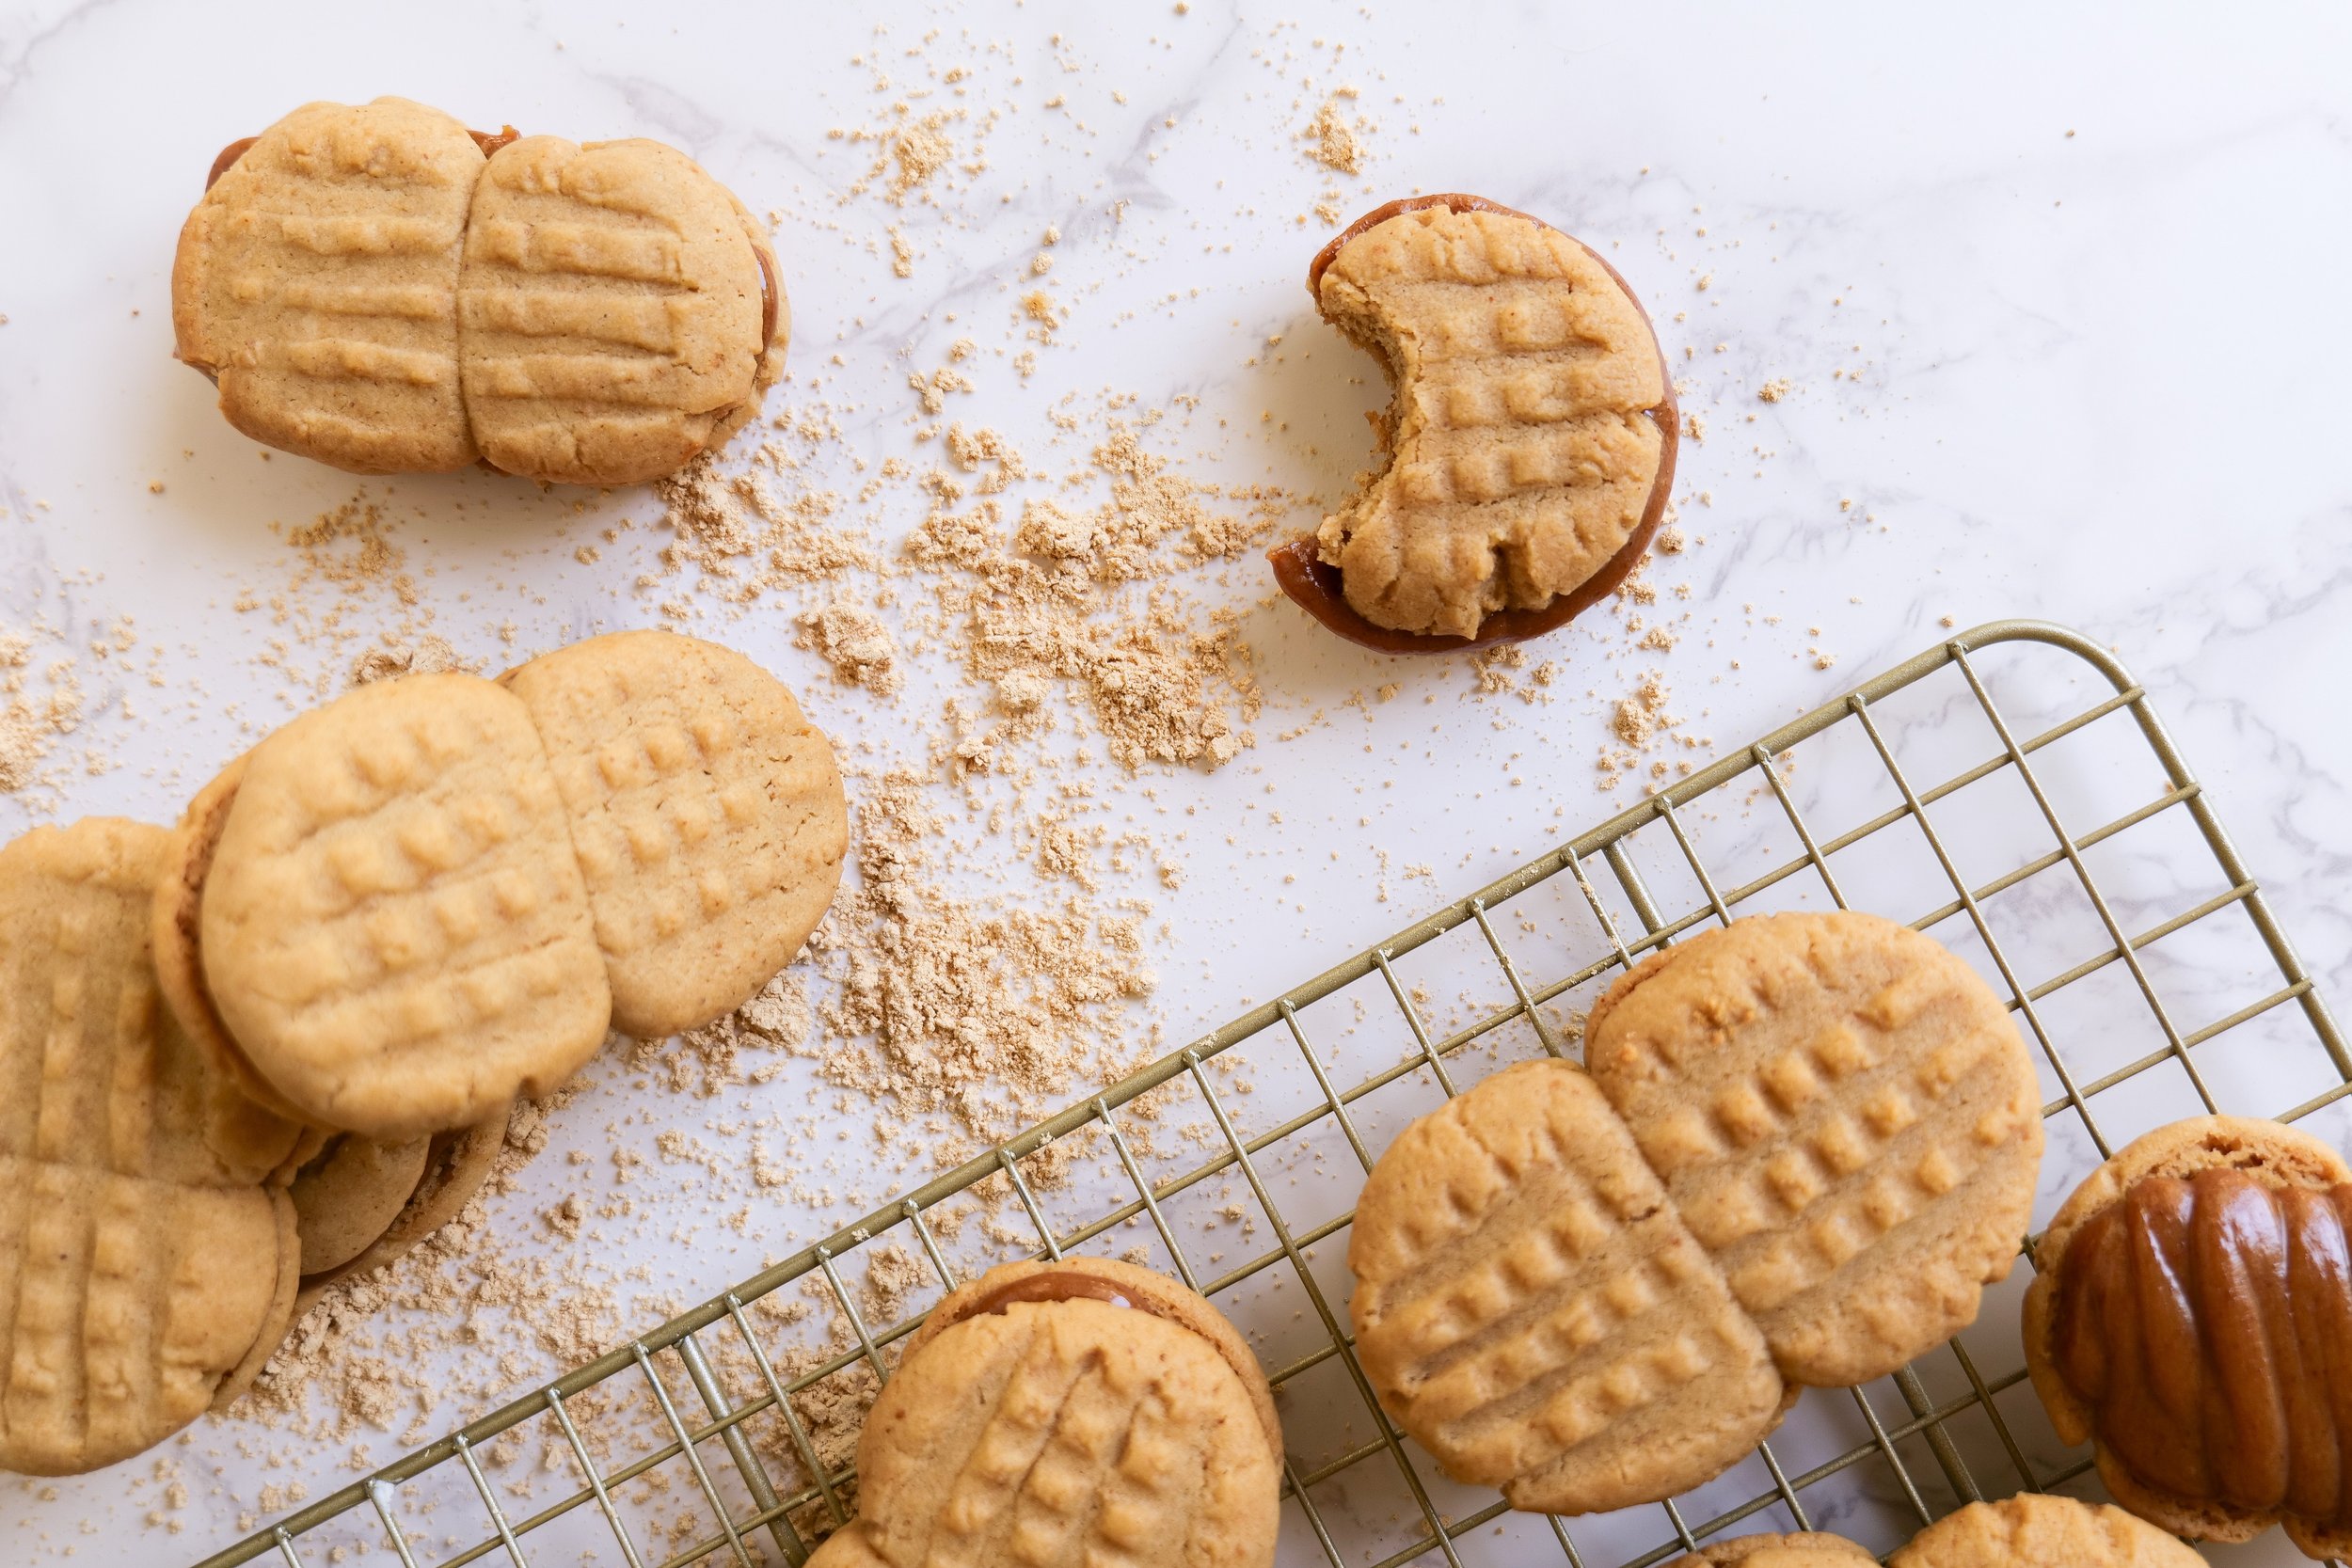
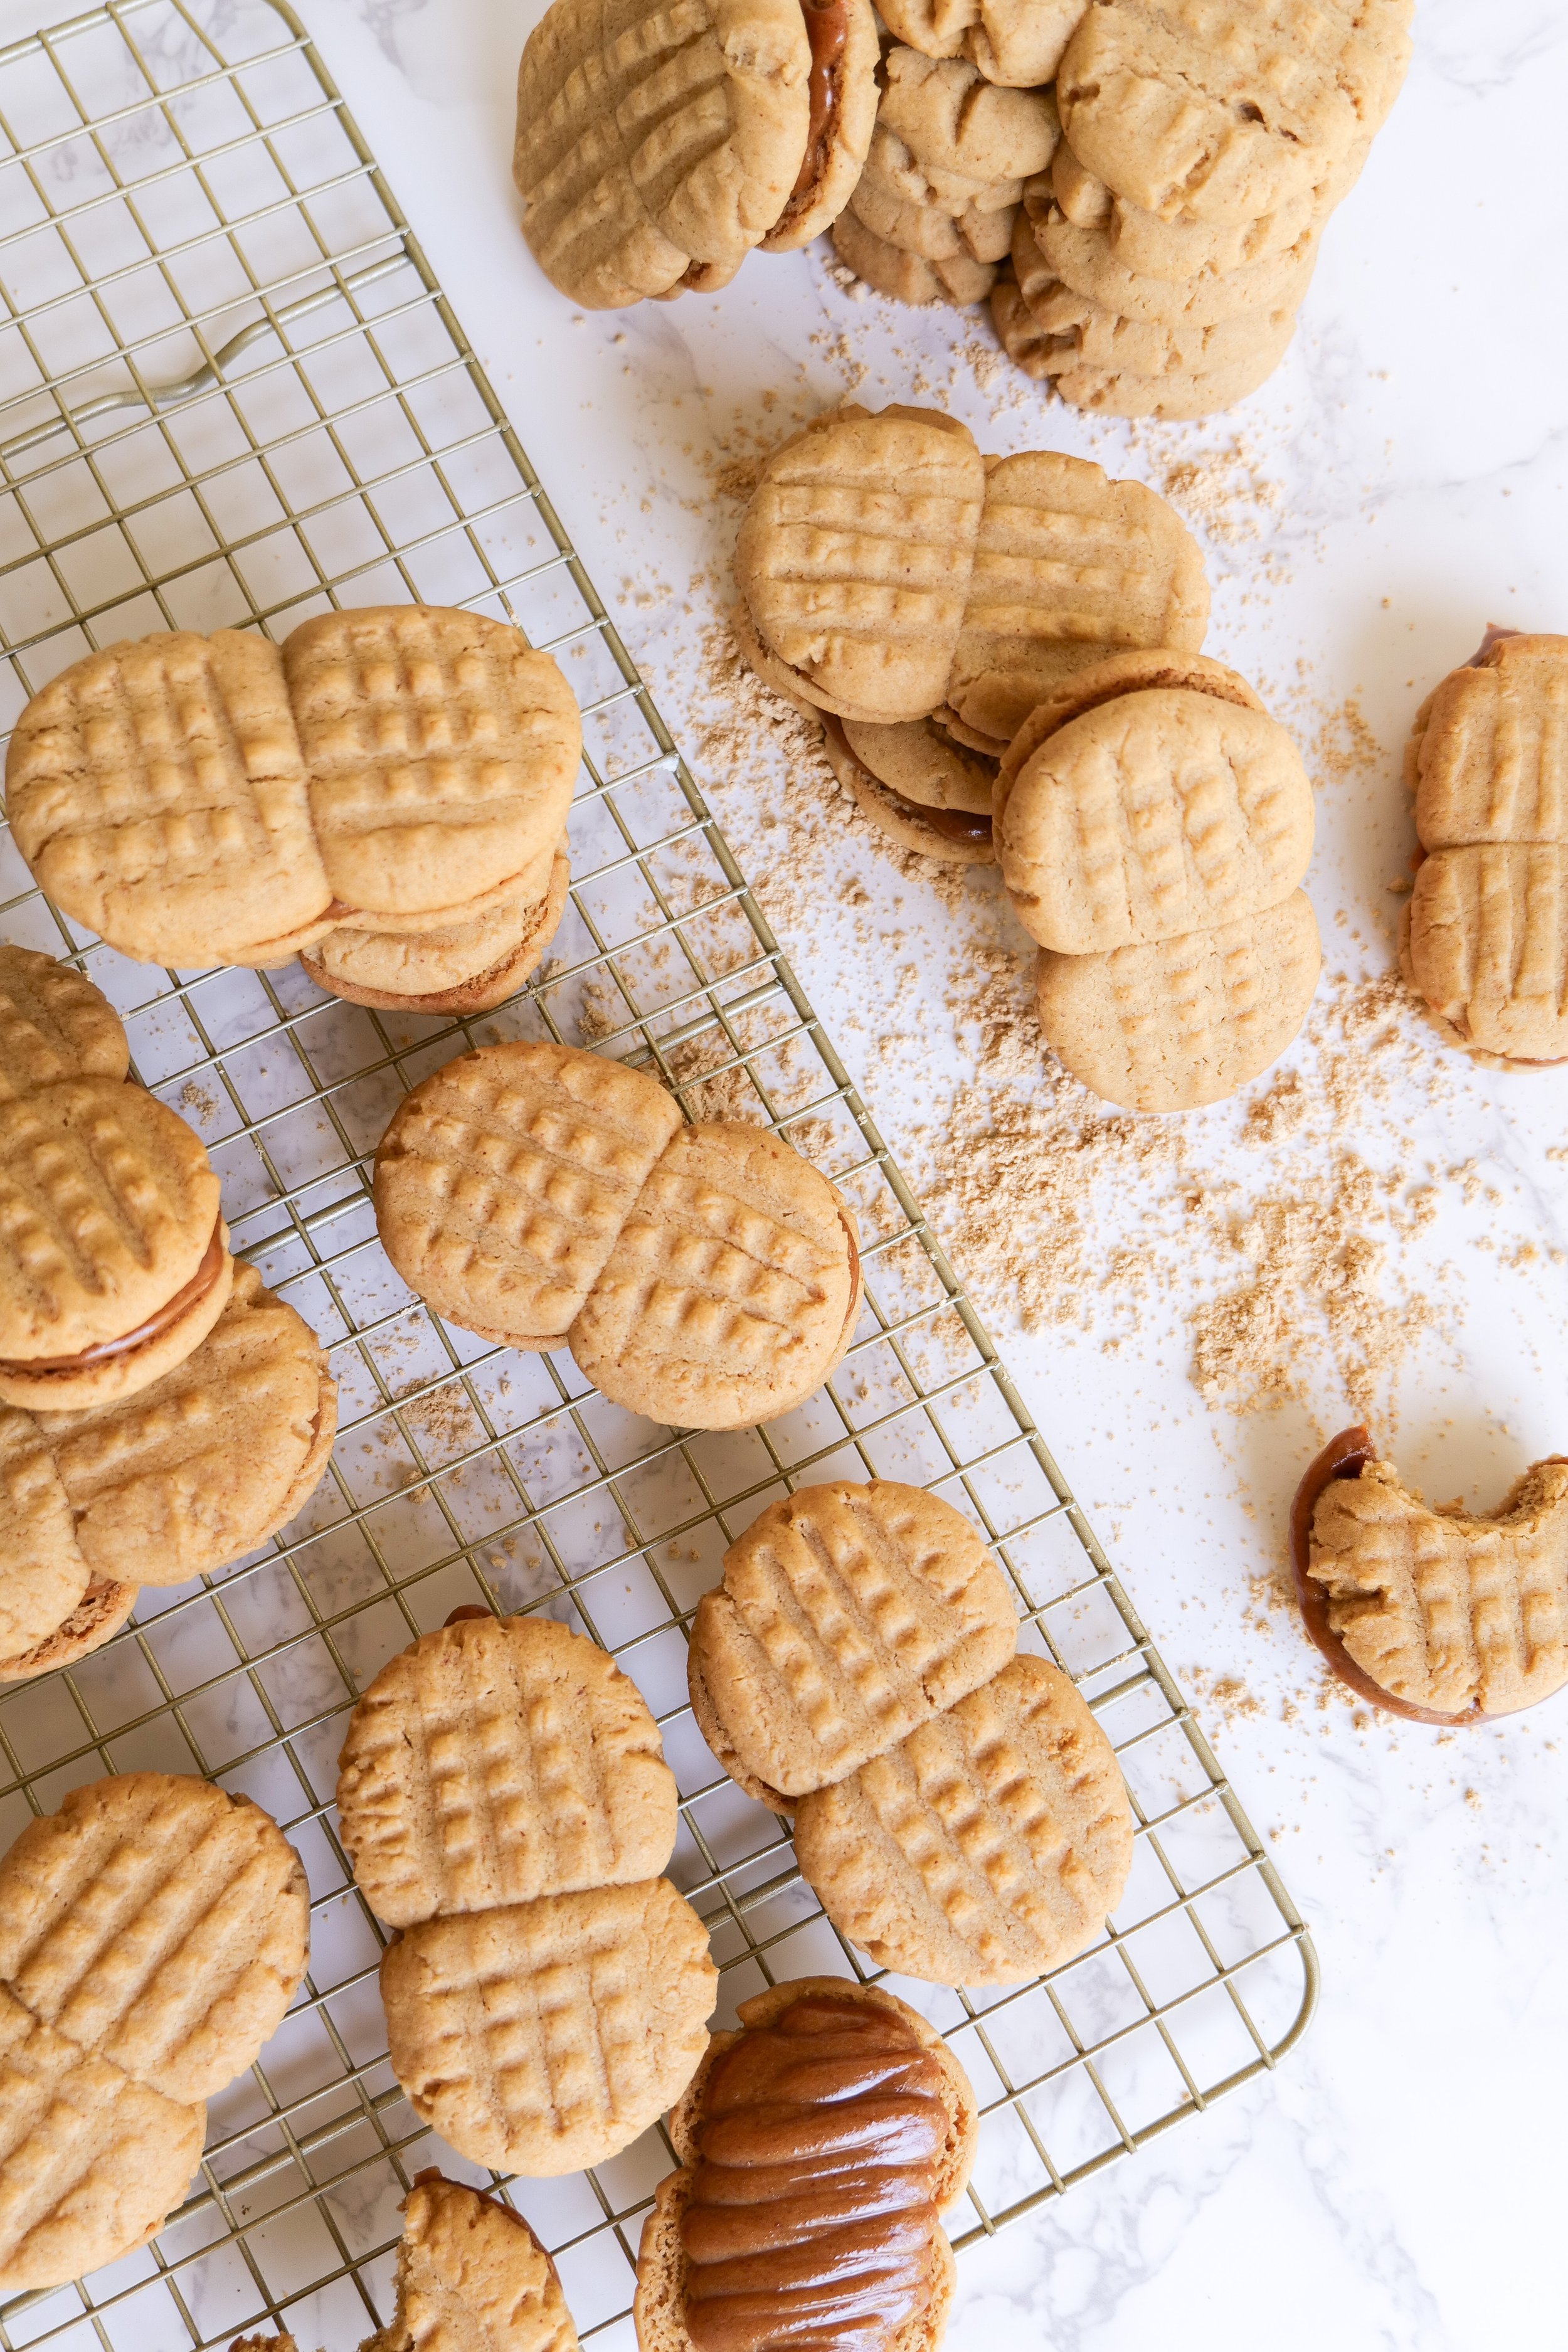
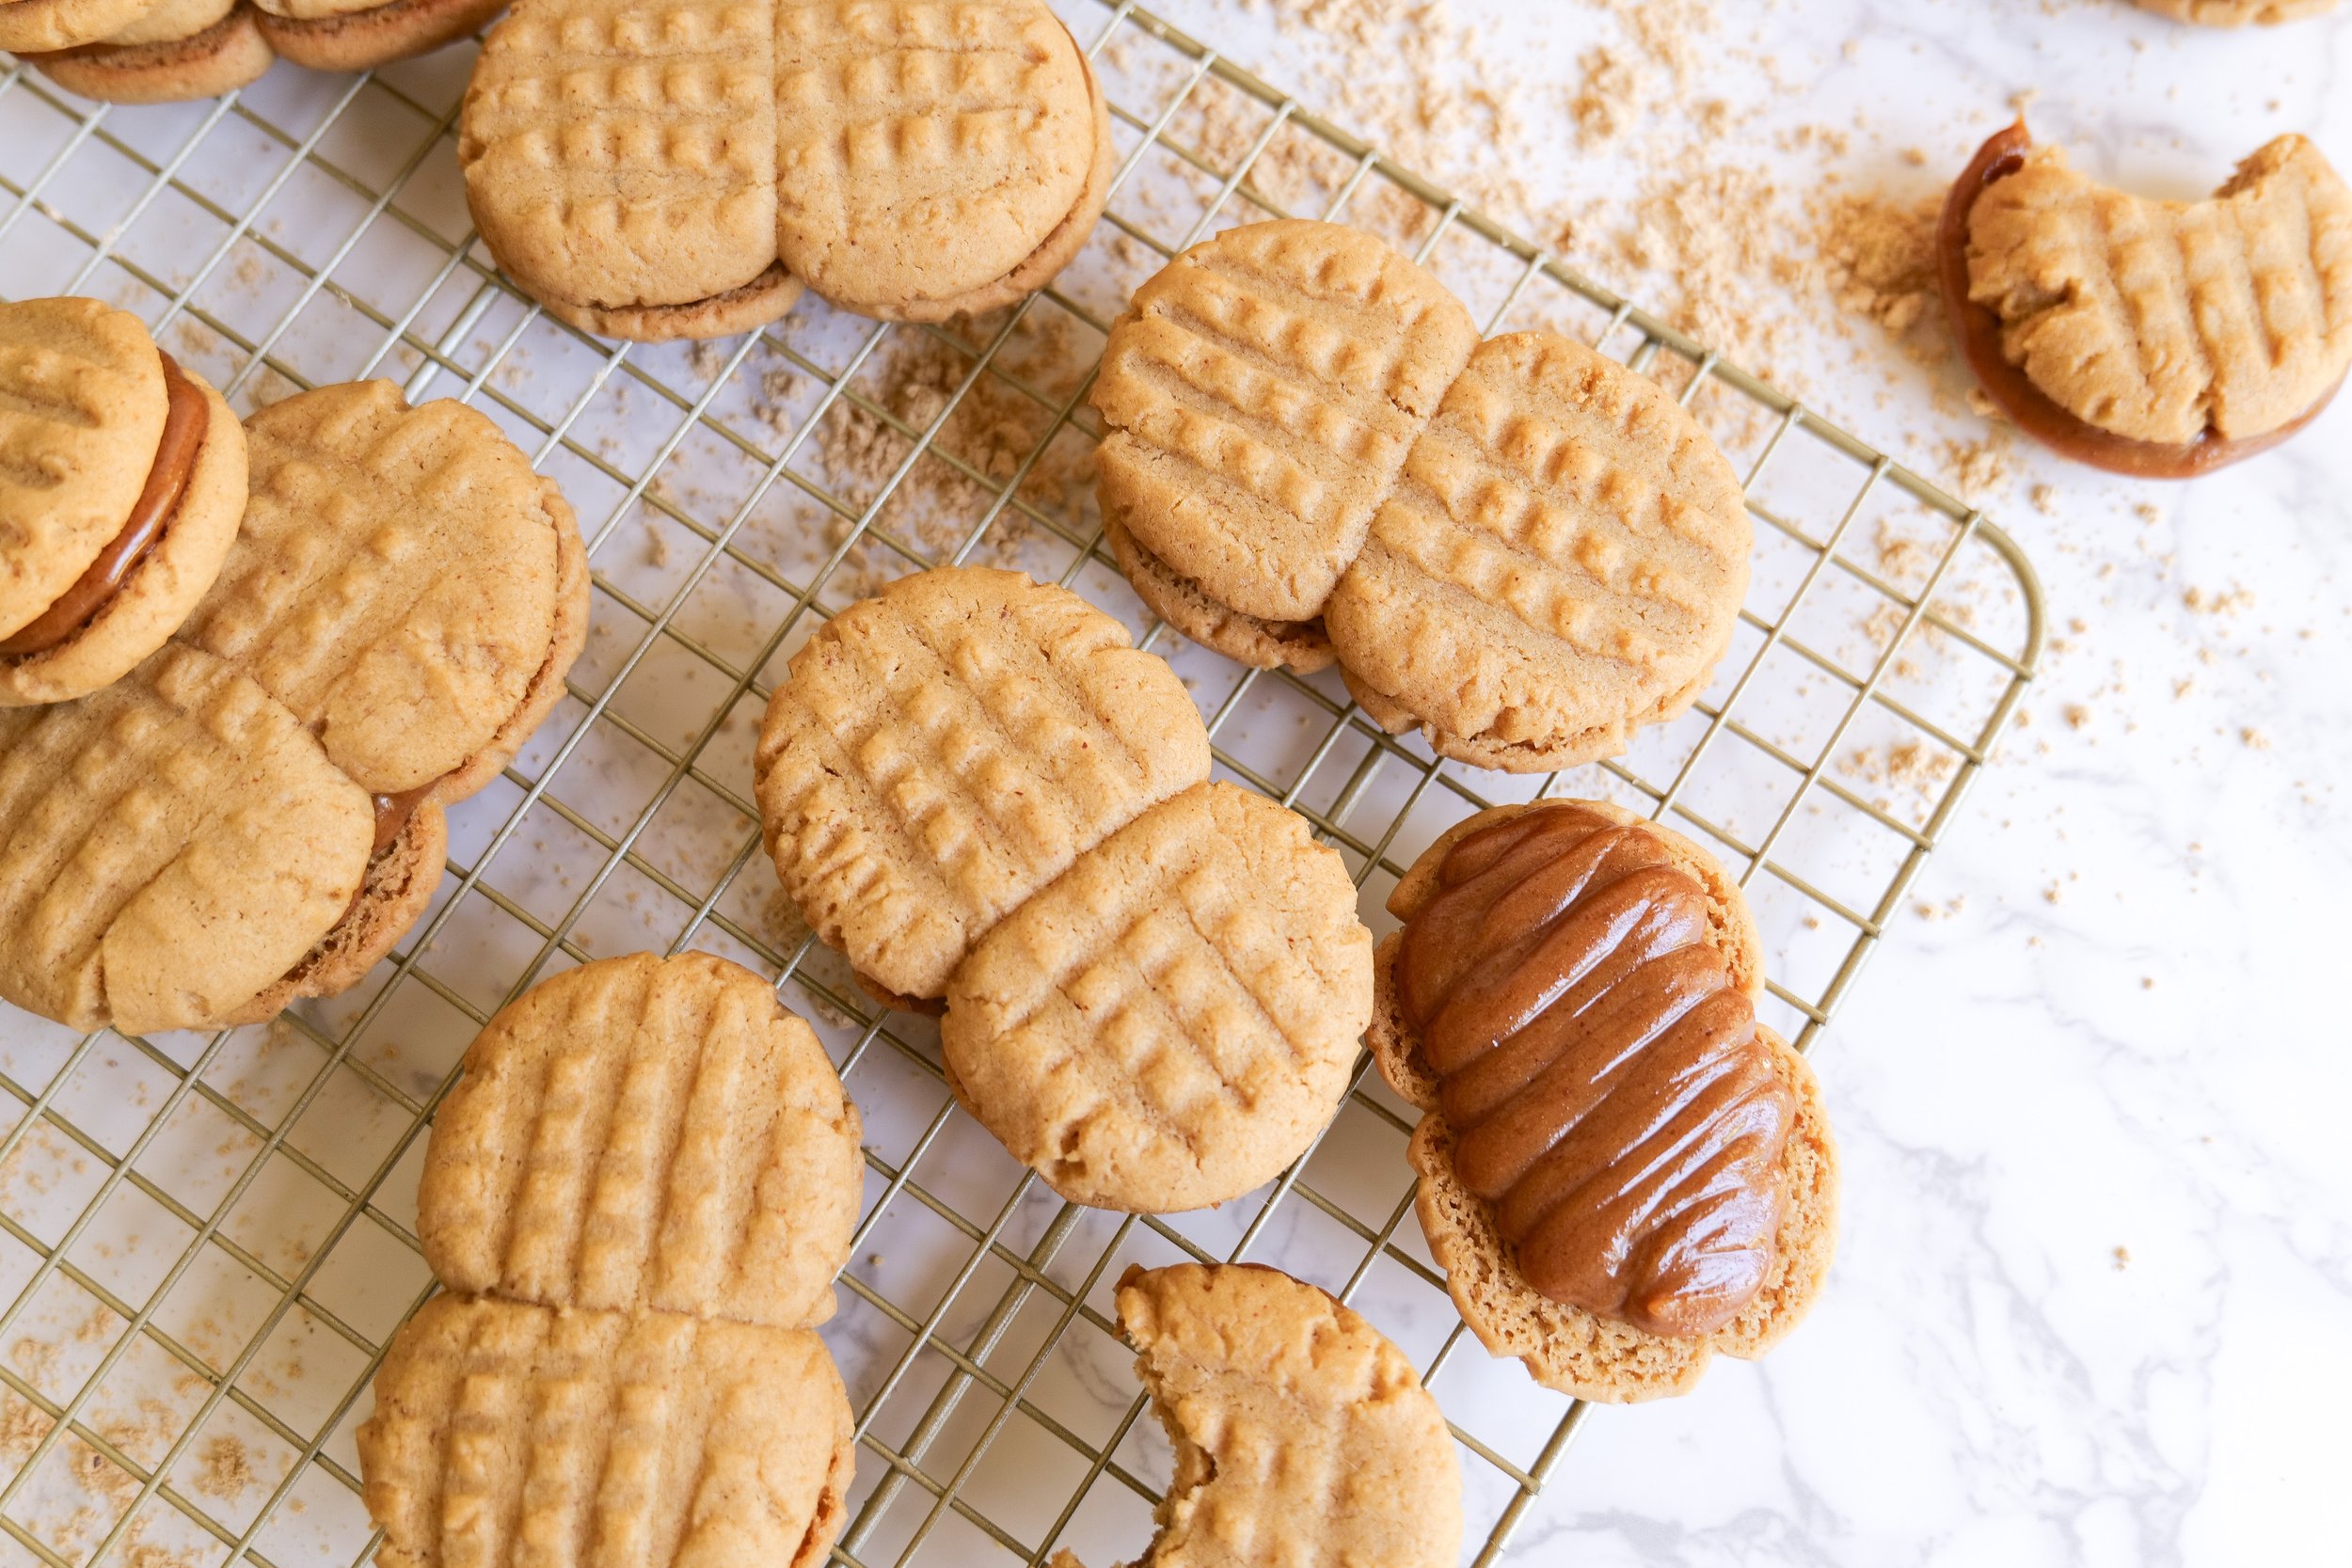
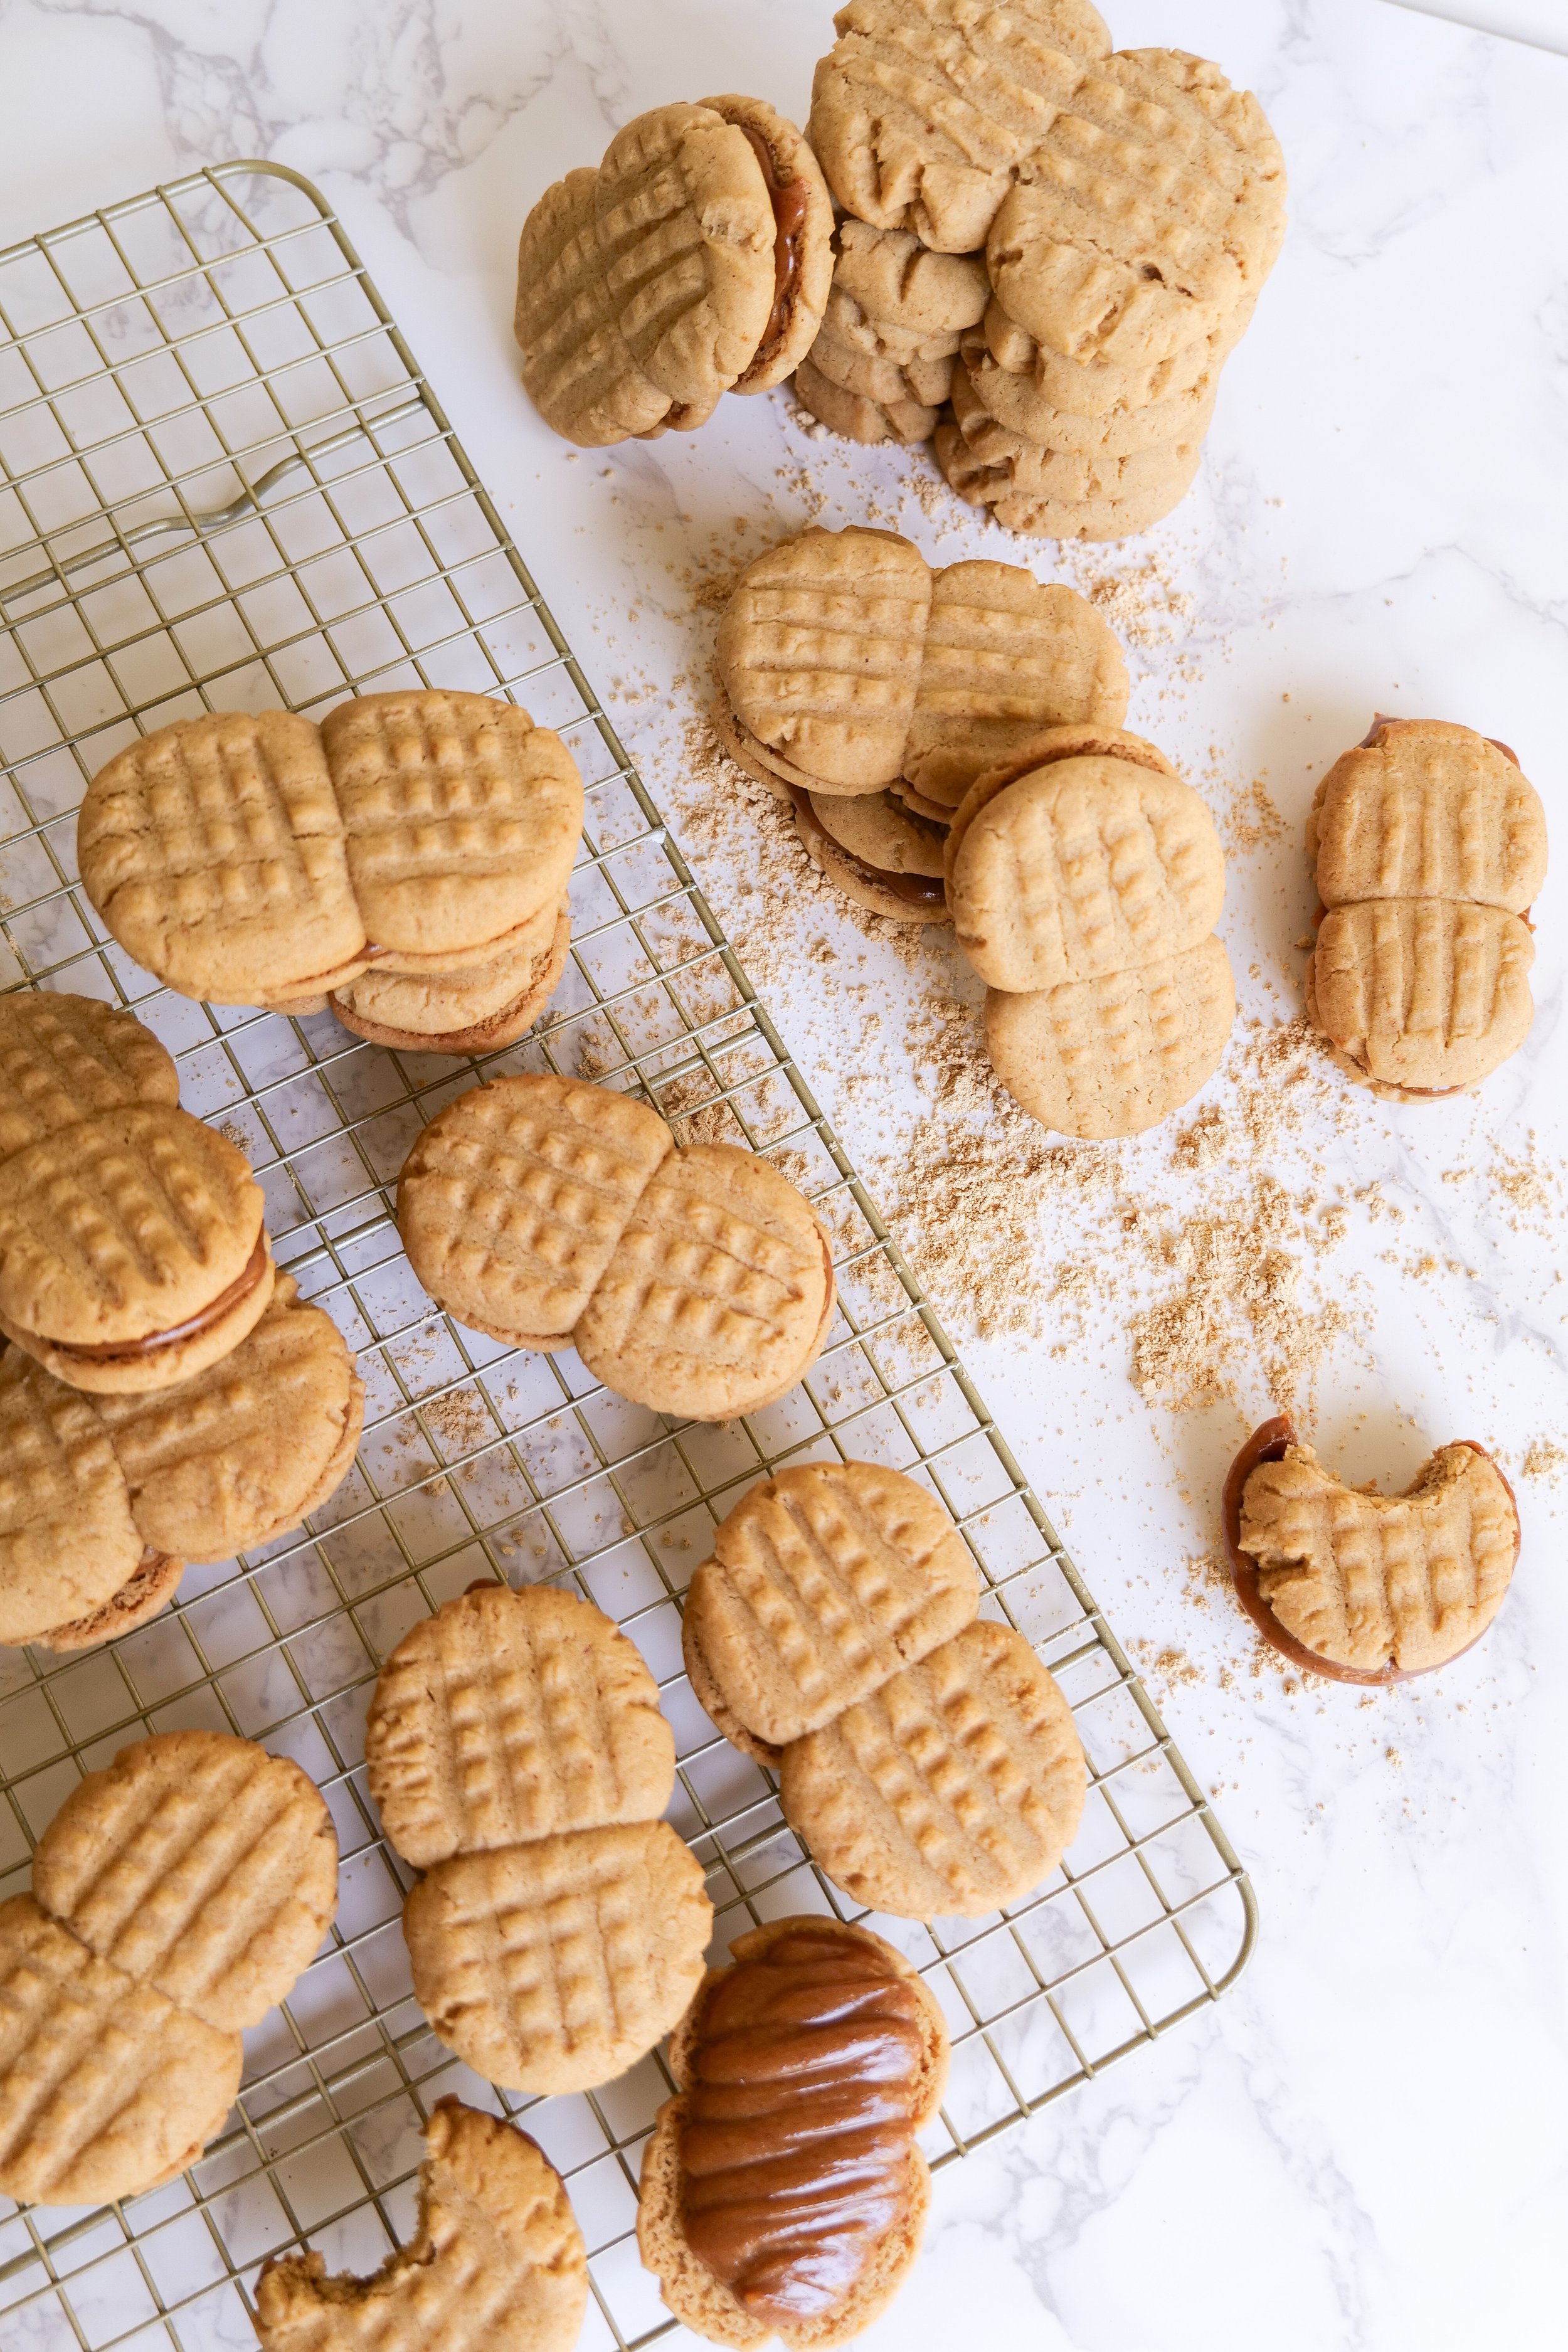
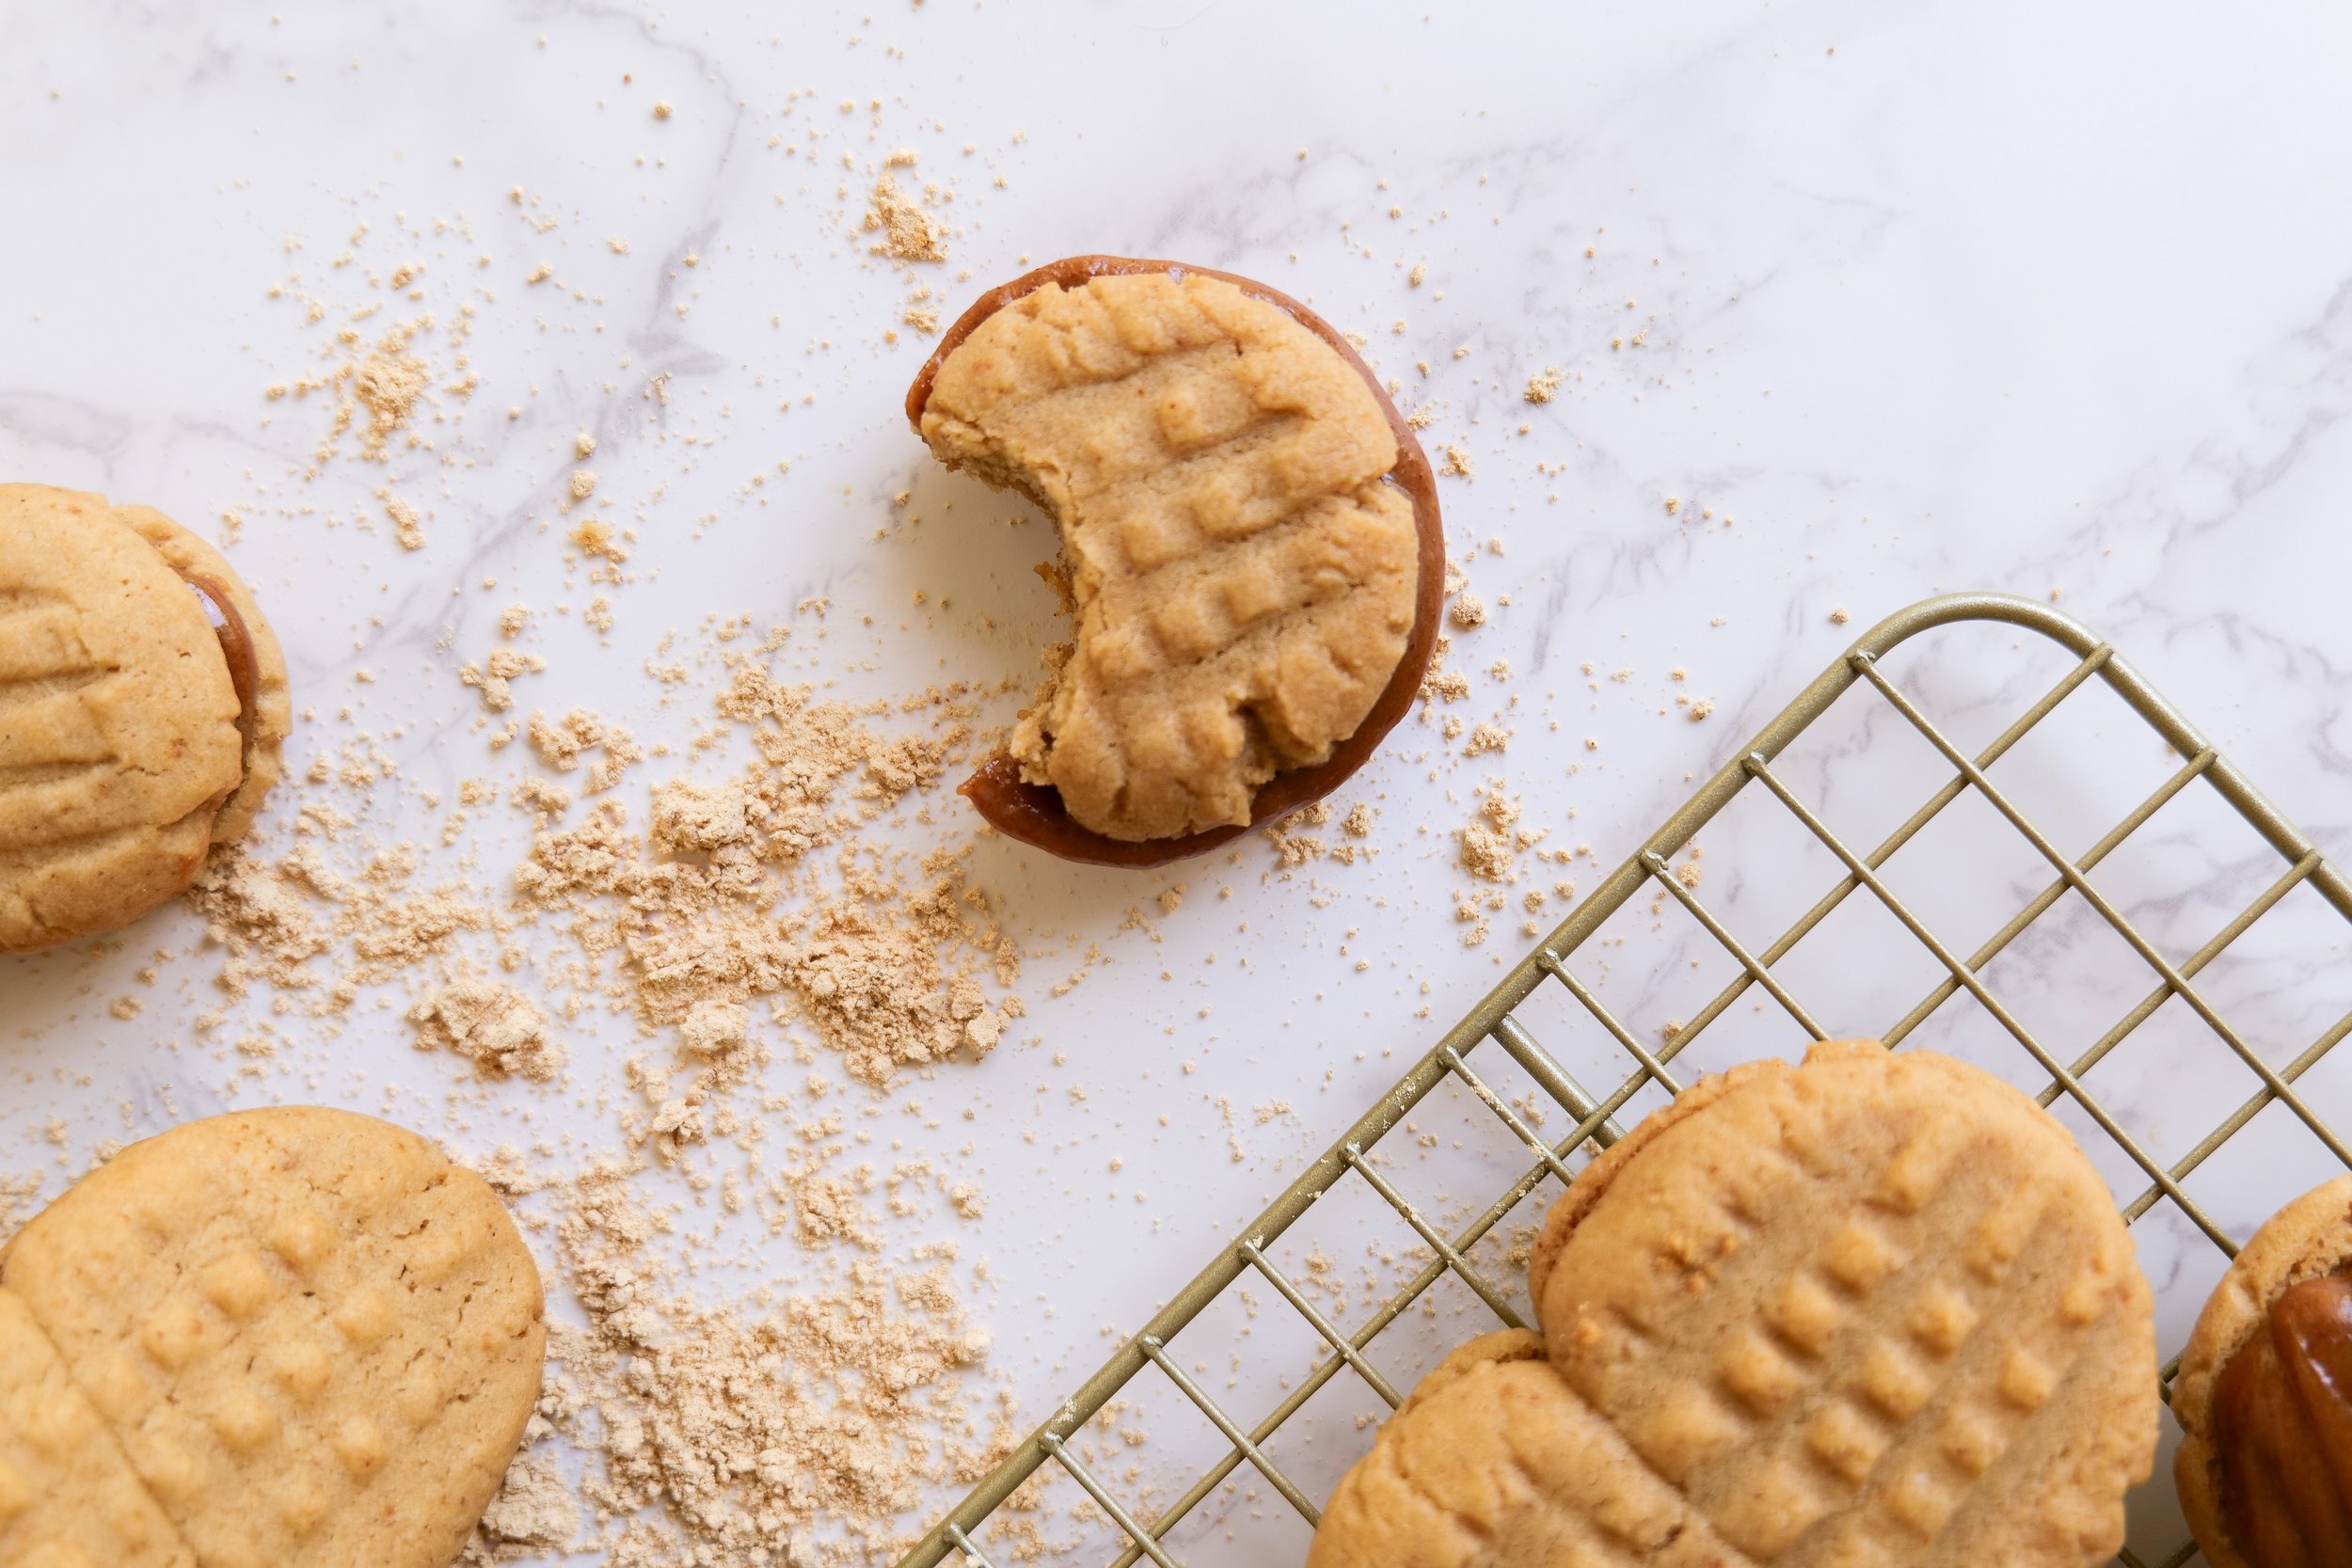
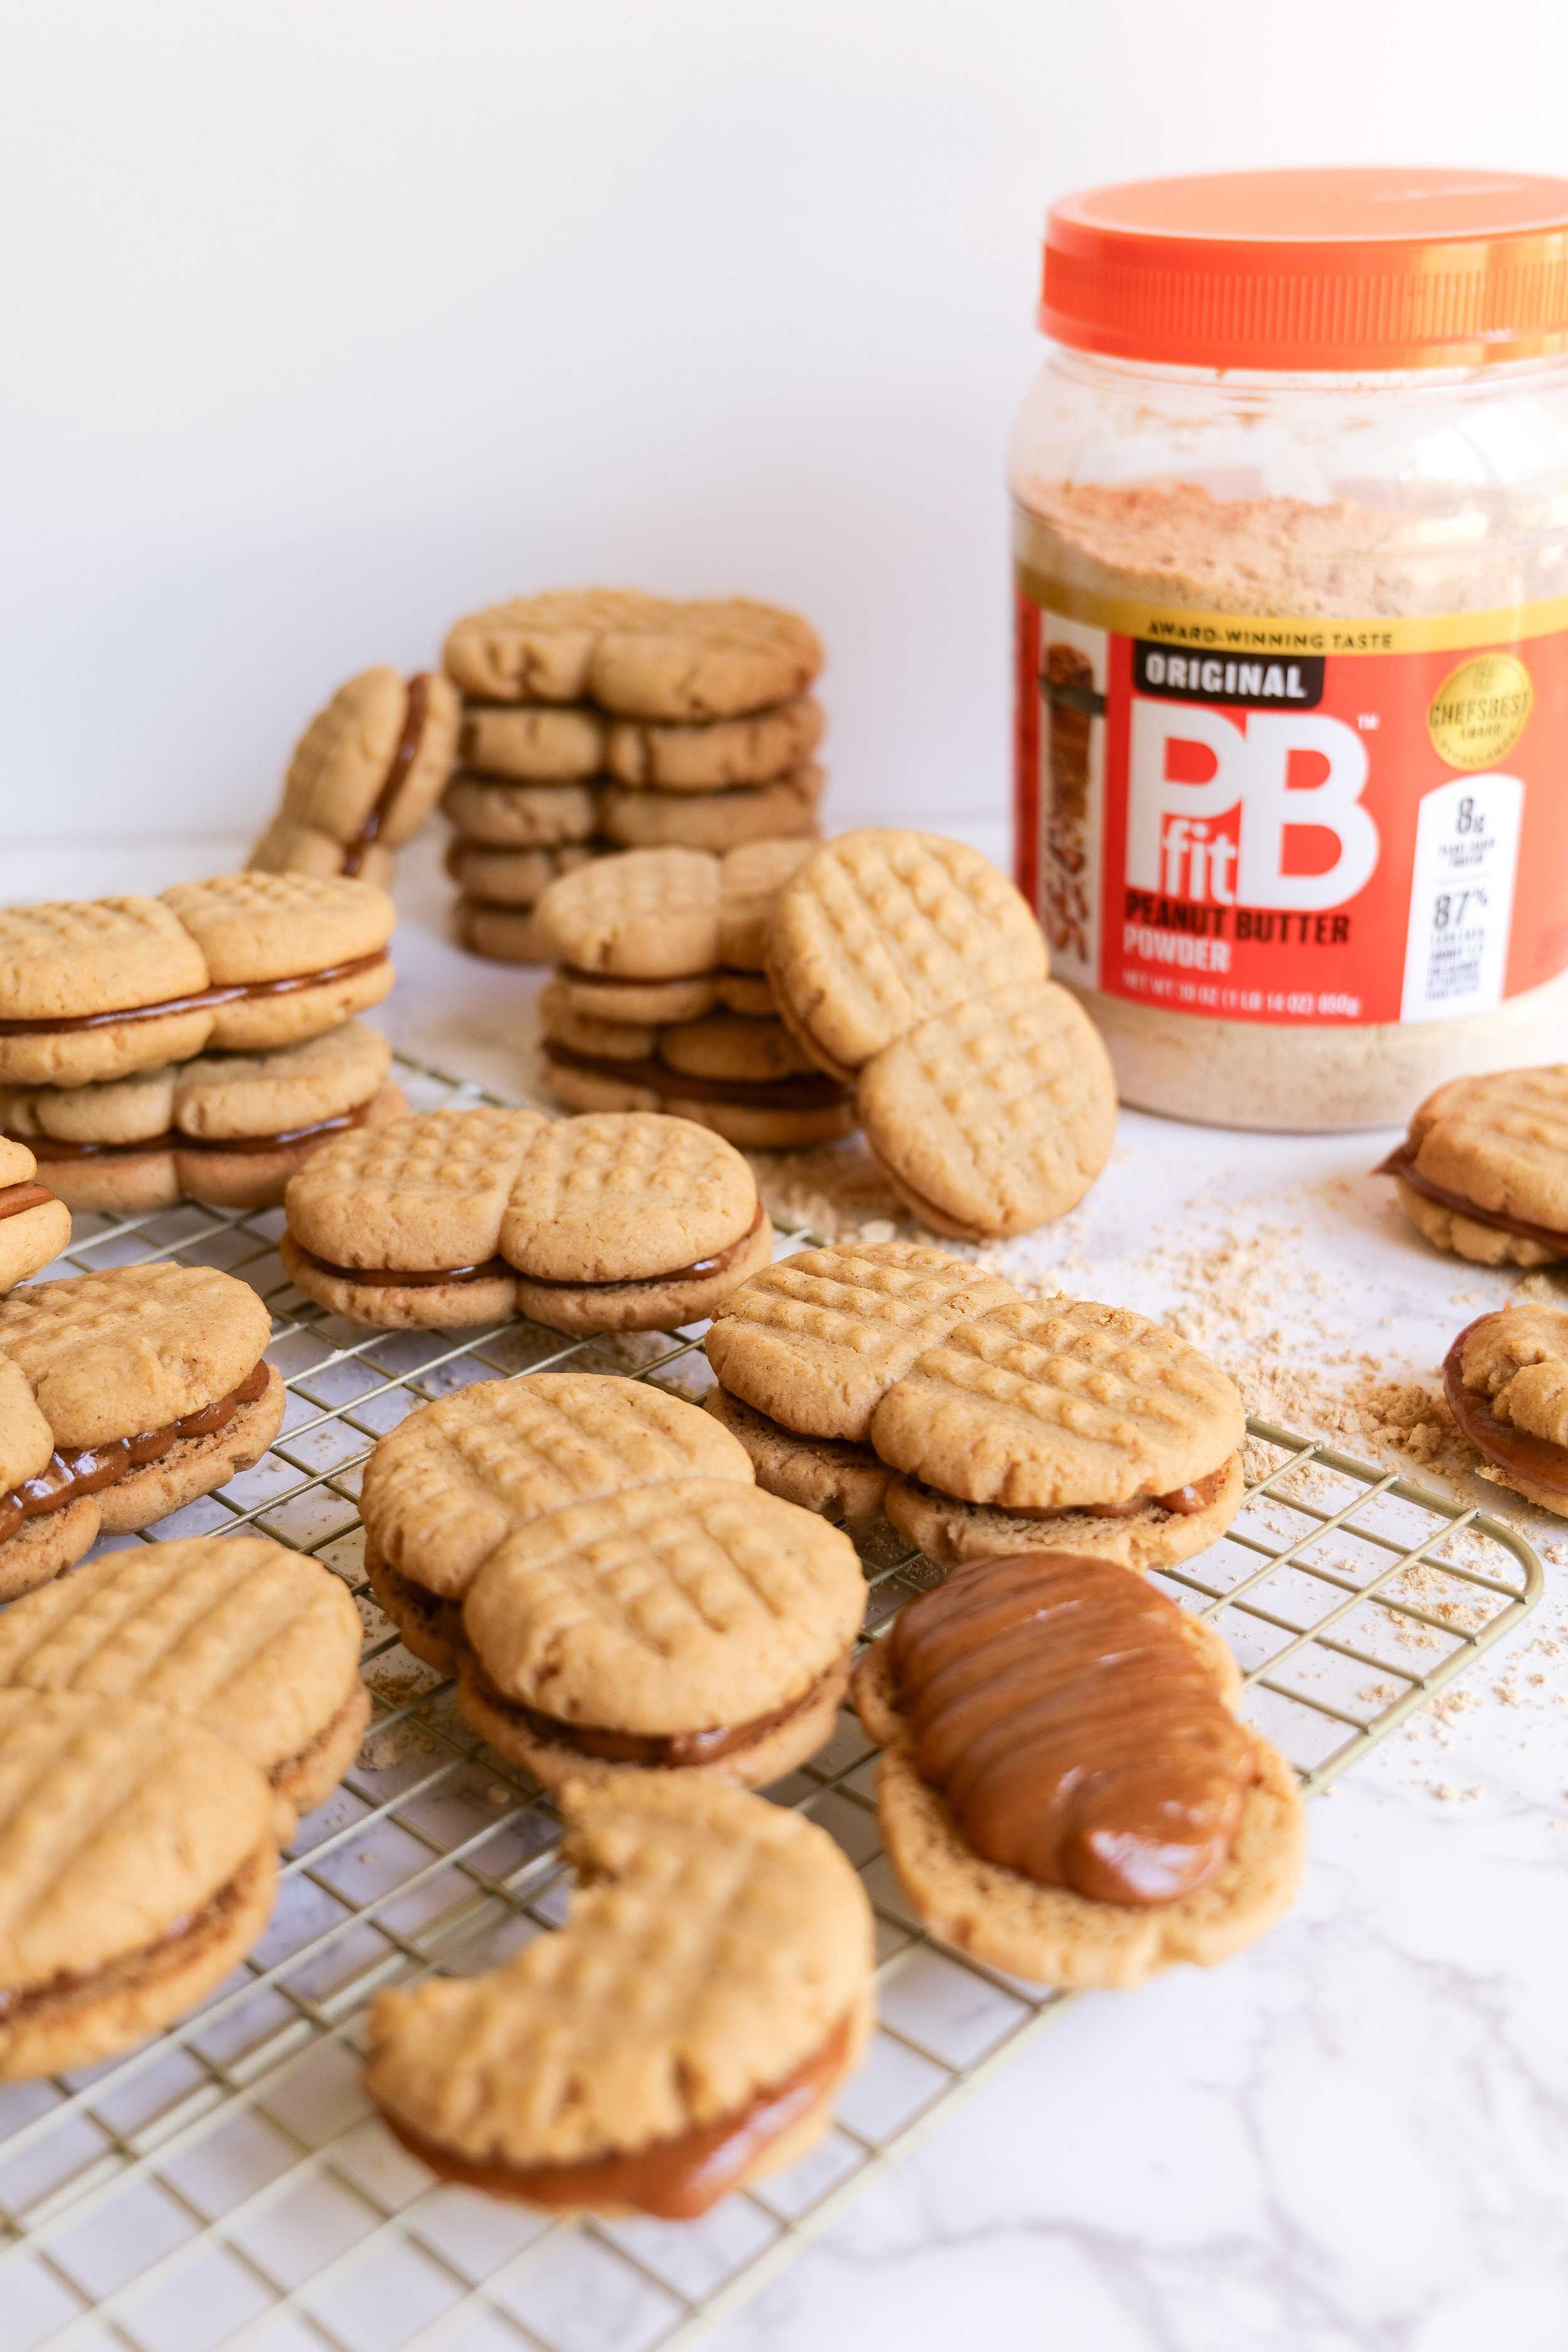
Have you ever wanted to make your own version of this classic childhood favorite cookie? Well, now you can with this recipe for homemade Nutter Butter cookies! This easy-to-follow recipe will have you enjoying these delicious, soft, and creamy peanut butter cookies in no time. These homemade Nutter Butter cookies are the perfect way to get your peanut butter fix and homemaking them for a twist on the classic store-bought version. With just a few simple ingredients and a few minutes, you can bake your own batch of delicious homemade Nutter Butter cookies. So grab your ingredients and let’s get to baking!

Who doesn't love the classic Nutter Butter cookie? This delicious treat is full of nutty flavor, and now you can make it right at home! With just a few simple ingredients and a few minutes of your time, you can have homemade Nutter Butter cookies that are just as delicious as the store-bought kind. To make your own Nutter Butter cookies, you'll simply need flour, butter, peanut butter, sugar, baking powder and vanilla extract. Mix the ingredients all together and roll the dough into small balls. For an extra crunch, roll the dough balls in crushed peanuts before baking. Once the cookies are done baking, let them cool and enjoy! These homemade Nutter Butter cookies make a great after-school snack or are perfect for a mid-morning pick-me-up. Enjoy them with a cold glass of milk or your favorite cup of coffee. No matter how you choose to enjoy them, you'll love the homemade nutty flavor of these classic cookies.

Why Make Nutter Butters at Home?

If you’re looking for a fun and rewarding activity that the whole family can enjoy, homemade Nutter Butter cookies are the perfect choice! From start to finish, the process of making them is incredibly simple and you can customize the recipe with whatever ingredients you have on hand. Unlike store-bought versions, homemade Nutter Butter cookies can be much healthier because of the natural sweeteners you can substitute such as honey and agave nectar instead of sugar or corn syrup. Not only does this give you complete control over the ingredients you use, but it also allows you to avoid any allergens or other ingredients that may not be suitable for your family.

When it comes to the size and shape of your Nutter Butter cookies, the possibilities are endless! You can make them as big or small as you like and even customize the shape and size to fit your tastes. You can even make them into smaller Nutter Butter bites for a fun take on peanut butter cookies. Not to mention, a homemade version of a Nutter Butter dessert is a great way to show your family and friends that you care about their health and well-being by providing them with a healthier alternative to store-bought.

Ingredients

1 cup unbleached all-purpose flour

1/2 tsp baking soda

1/4 tsp sea salt

1/2 cup melted butter

1/2 cup PBfit Powder

2/3 cup granulated sugar

1 egg

1/2 tsp vanilla extract

Filling

1-1/2 cups PBfit powder

1 cup powdered sugar

2/3 cup water

Instructions

1. In a large bowl blend melted butter, sugar, and PBfit then blend with an electric hand mixer or standing mixer until combined. Add in egg and vanilla extract. Mix with blender again on medium speed.

2. Add in dry ingredients; flour, baking soda & sea salt and mix again.

3. Take a parchment paper lined baking sheet and form Nutter Butters. For a medium size Nutter Butter you will take one cookie scoop and break it in half. Form both halves into balls and place them together on parchment paper. Using a fork make a criss-cross pattern. Make sure before removing the fork you press the 2 cookie balls together. Continue until the pan is full making sure cookies are 2 or more inches apart.

4. Bake at 350 degrees for 10-12 minutes or until the cookie is lightly browned.

5. While the cookies are baking make filling by mixing with whisk PBfit powder, powdered sugar, and water in a bowl. Fill a piping bag and set aside.

6. Once cookies are done baking remove them from the oven and place them on a cooling rack. Once cooled you will fill with the filling mixture and enjoy! You can dip in chocolate for an added layer of goodness or make the adorable referee cookies I did for a sports theme party -here-.

How Long Will My Homemade Nutter Butter Last?

When it comes to storing your homemade Nutter Butter, you’ll want to make sure it is kept in a cool, dark place. It can last up to two weeks stored in an airtight container in the refrigerator. If stored properly, homemade Nutter Butter can even last up to a month in the freezer. However, for best results, it is recommended to consume the Nutter Butter within four days of its preparation, and honestly, who can even wait once that delicious smell fills your ktichen. If you do plan on storing the Nutter Butter for longer than a week, be sure to wrap it tightly in plastic wrap to maintain its freshness.

How Can I Store My Homemade Nutter Butter?

Homemade Nutter Butter is a delicious treat that is easy to make. However, it is important to store it properly to maintain its freshness. The best way to store Homemade Nutter Butter is at room temperature in an airtight container. To keep them from sticking to each other, place a piece of wax paper between each layer of the Nutter Butter. Make sure the container is placed in a cool, dry place away from direct sunlight. If you don’t plan to eat the Nutter Butter within 1-2 weeks, it is best to freeze it. To thaw the Nutter Butter, place the container in the refrigerator overnight before eating. By following these simple steps, you can enjoy your Homemade Nutter Butter for weeks to come.

Other Delicious Cookie Recipes:

Monster Cookie Recipe

Birthday Cutout Sugar Cookies

Brown Sugar Toffee Cookies

Brown Butter Caramel Pretzel Cookies

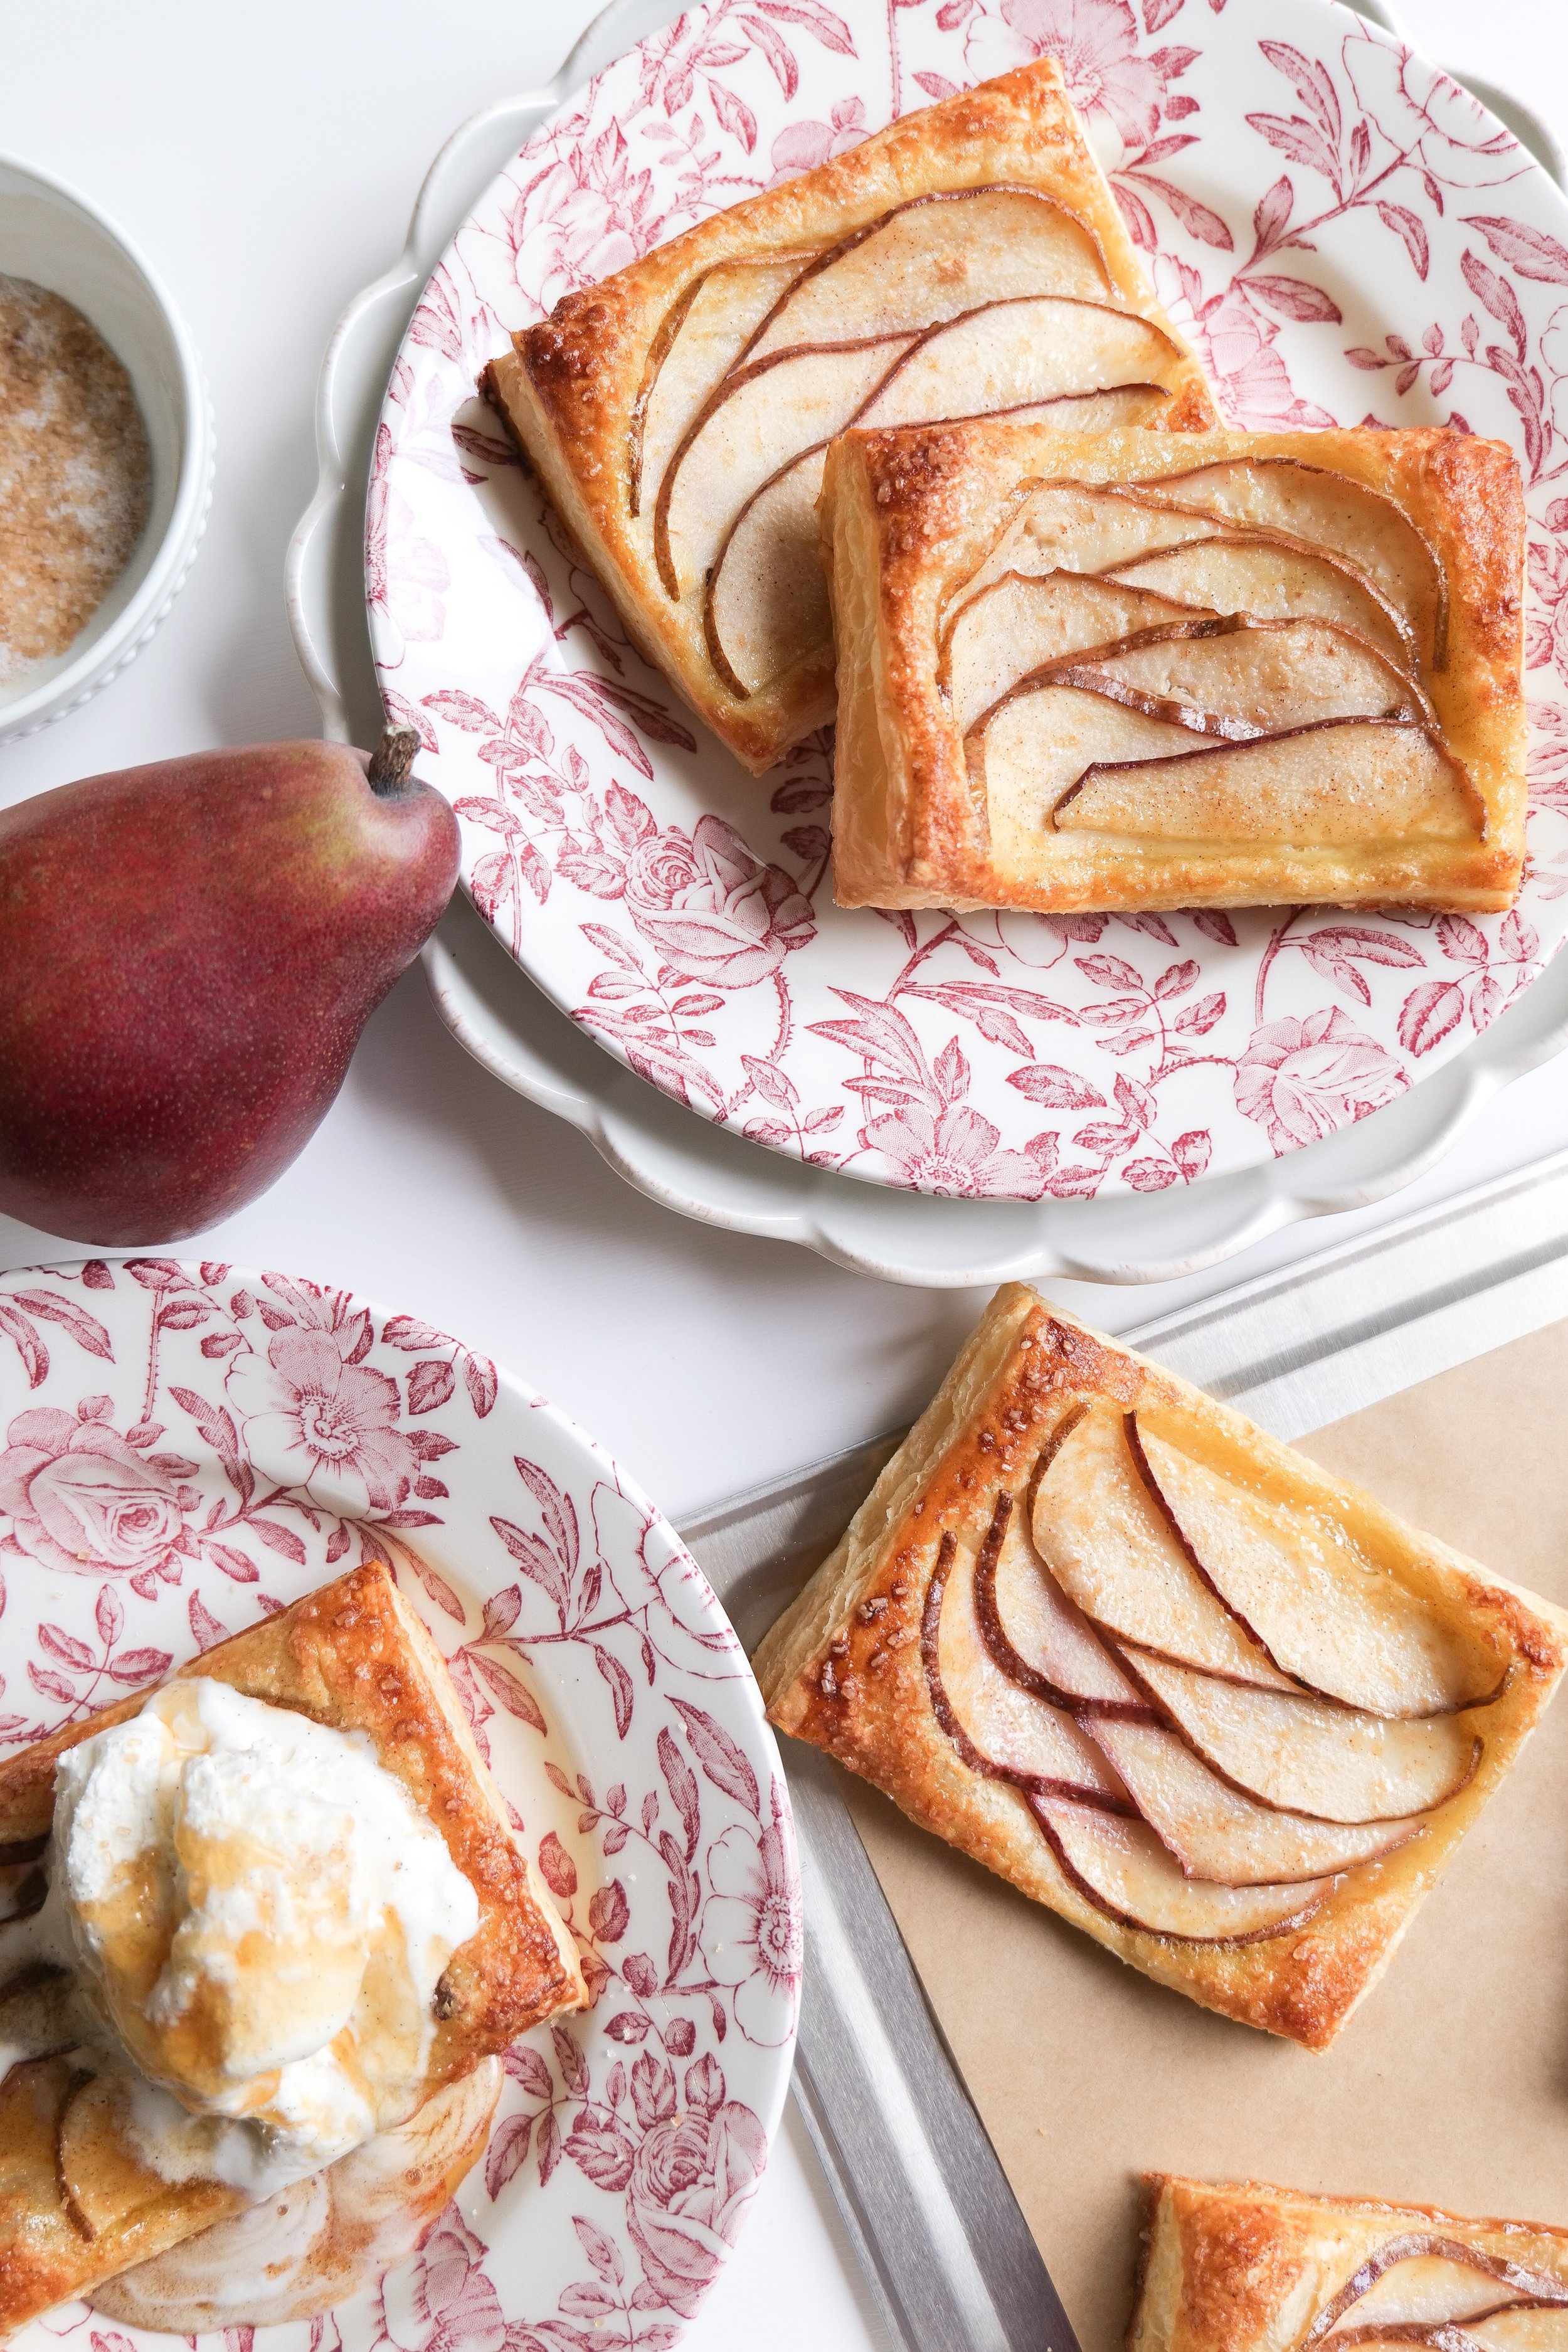
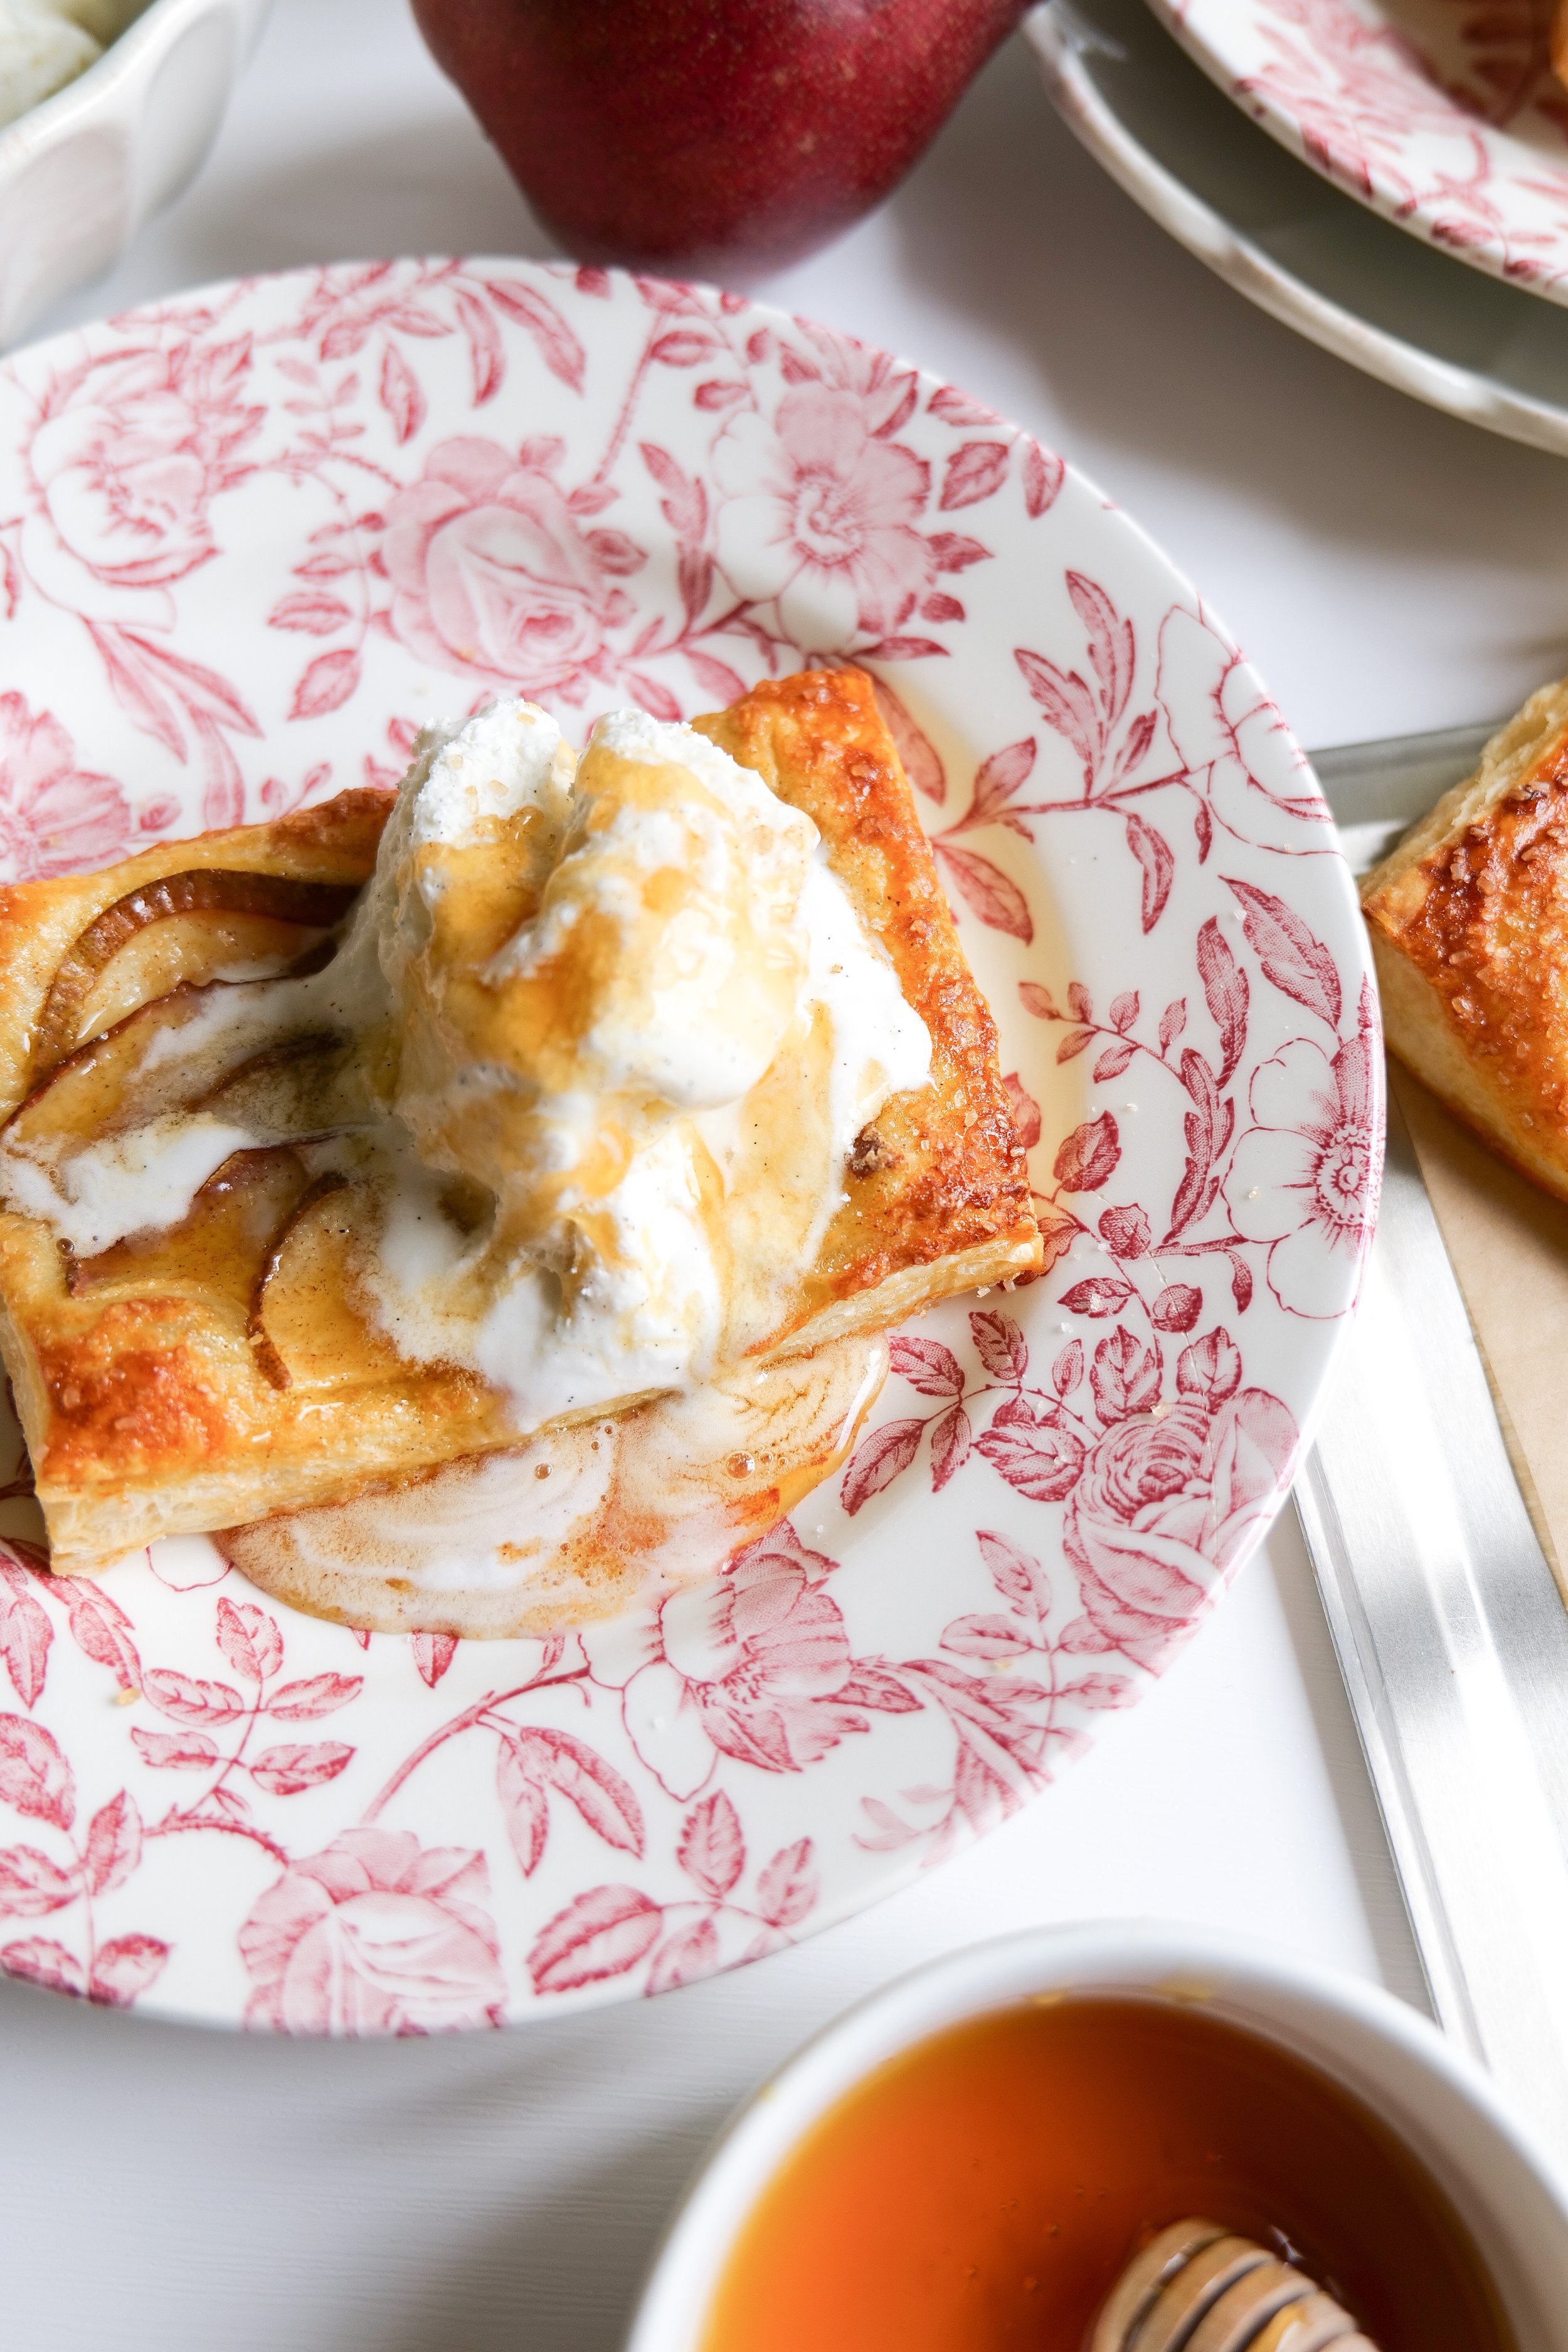
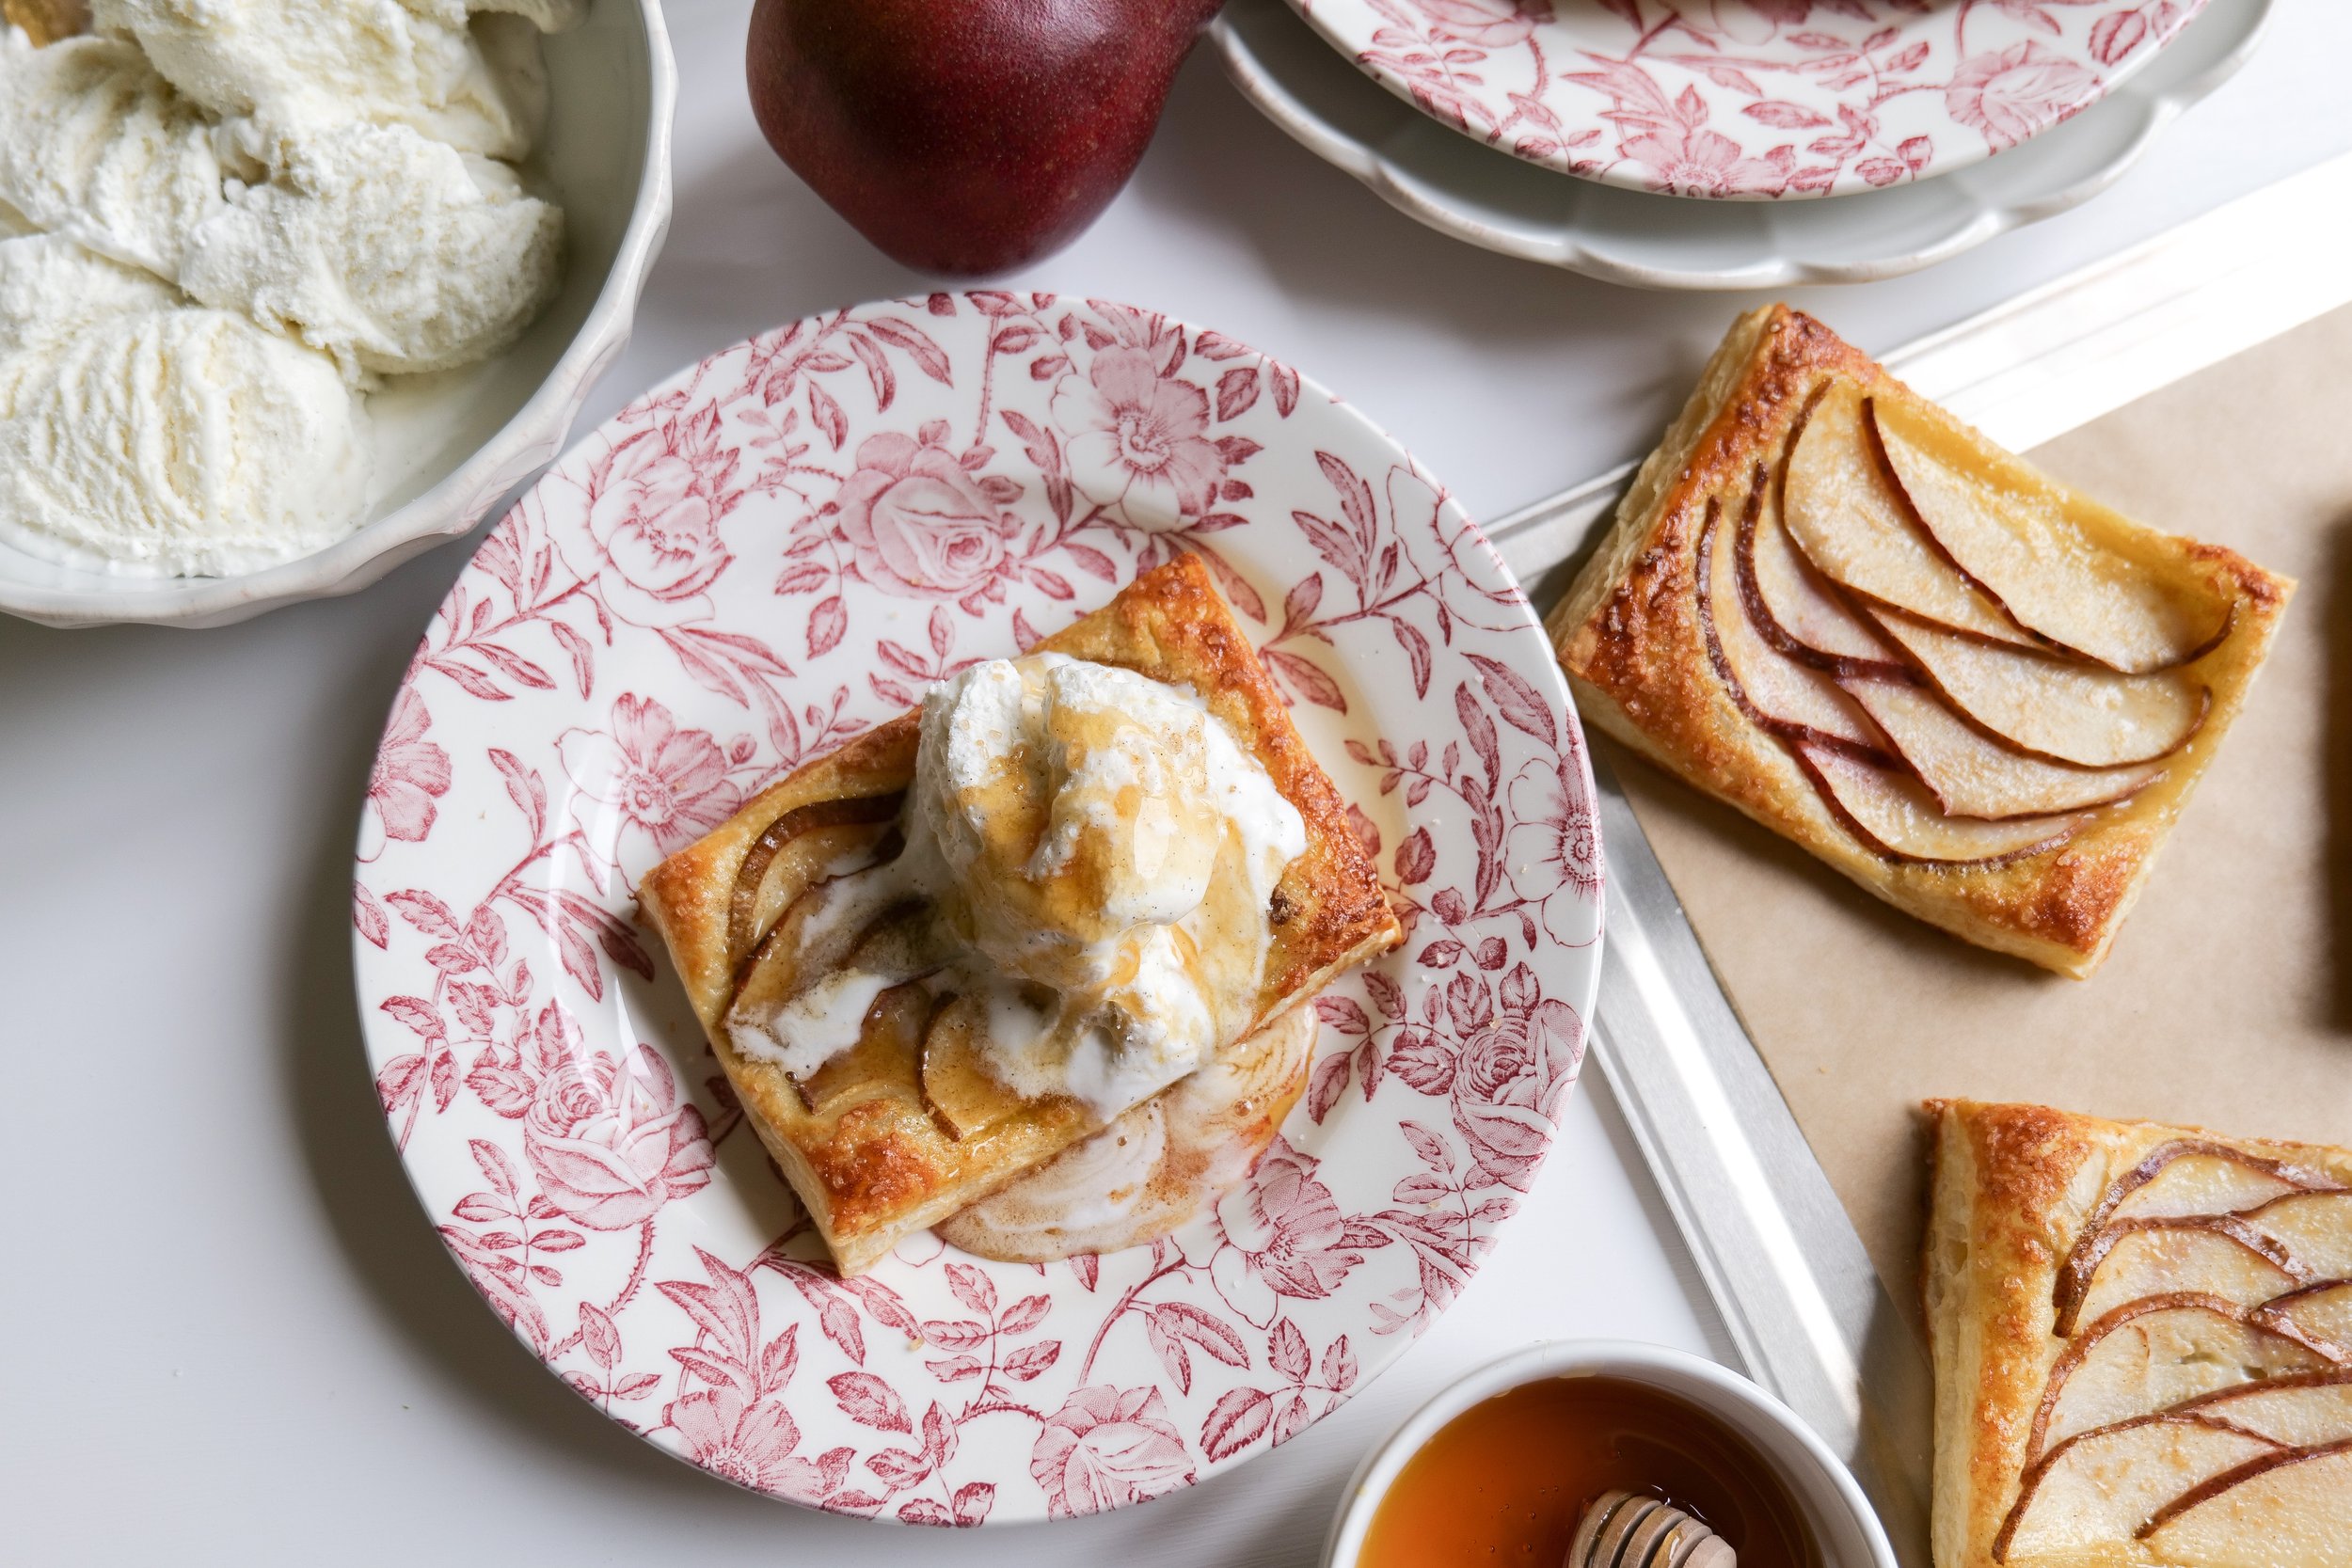
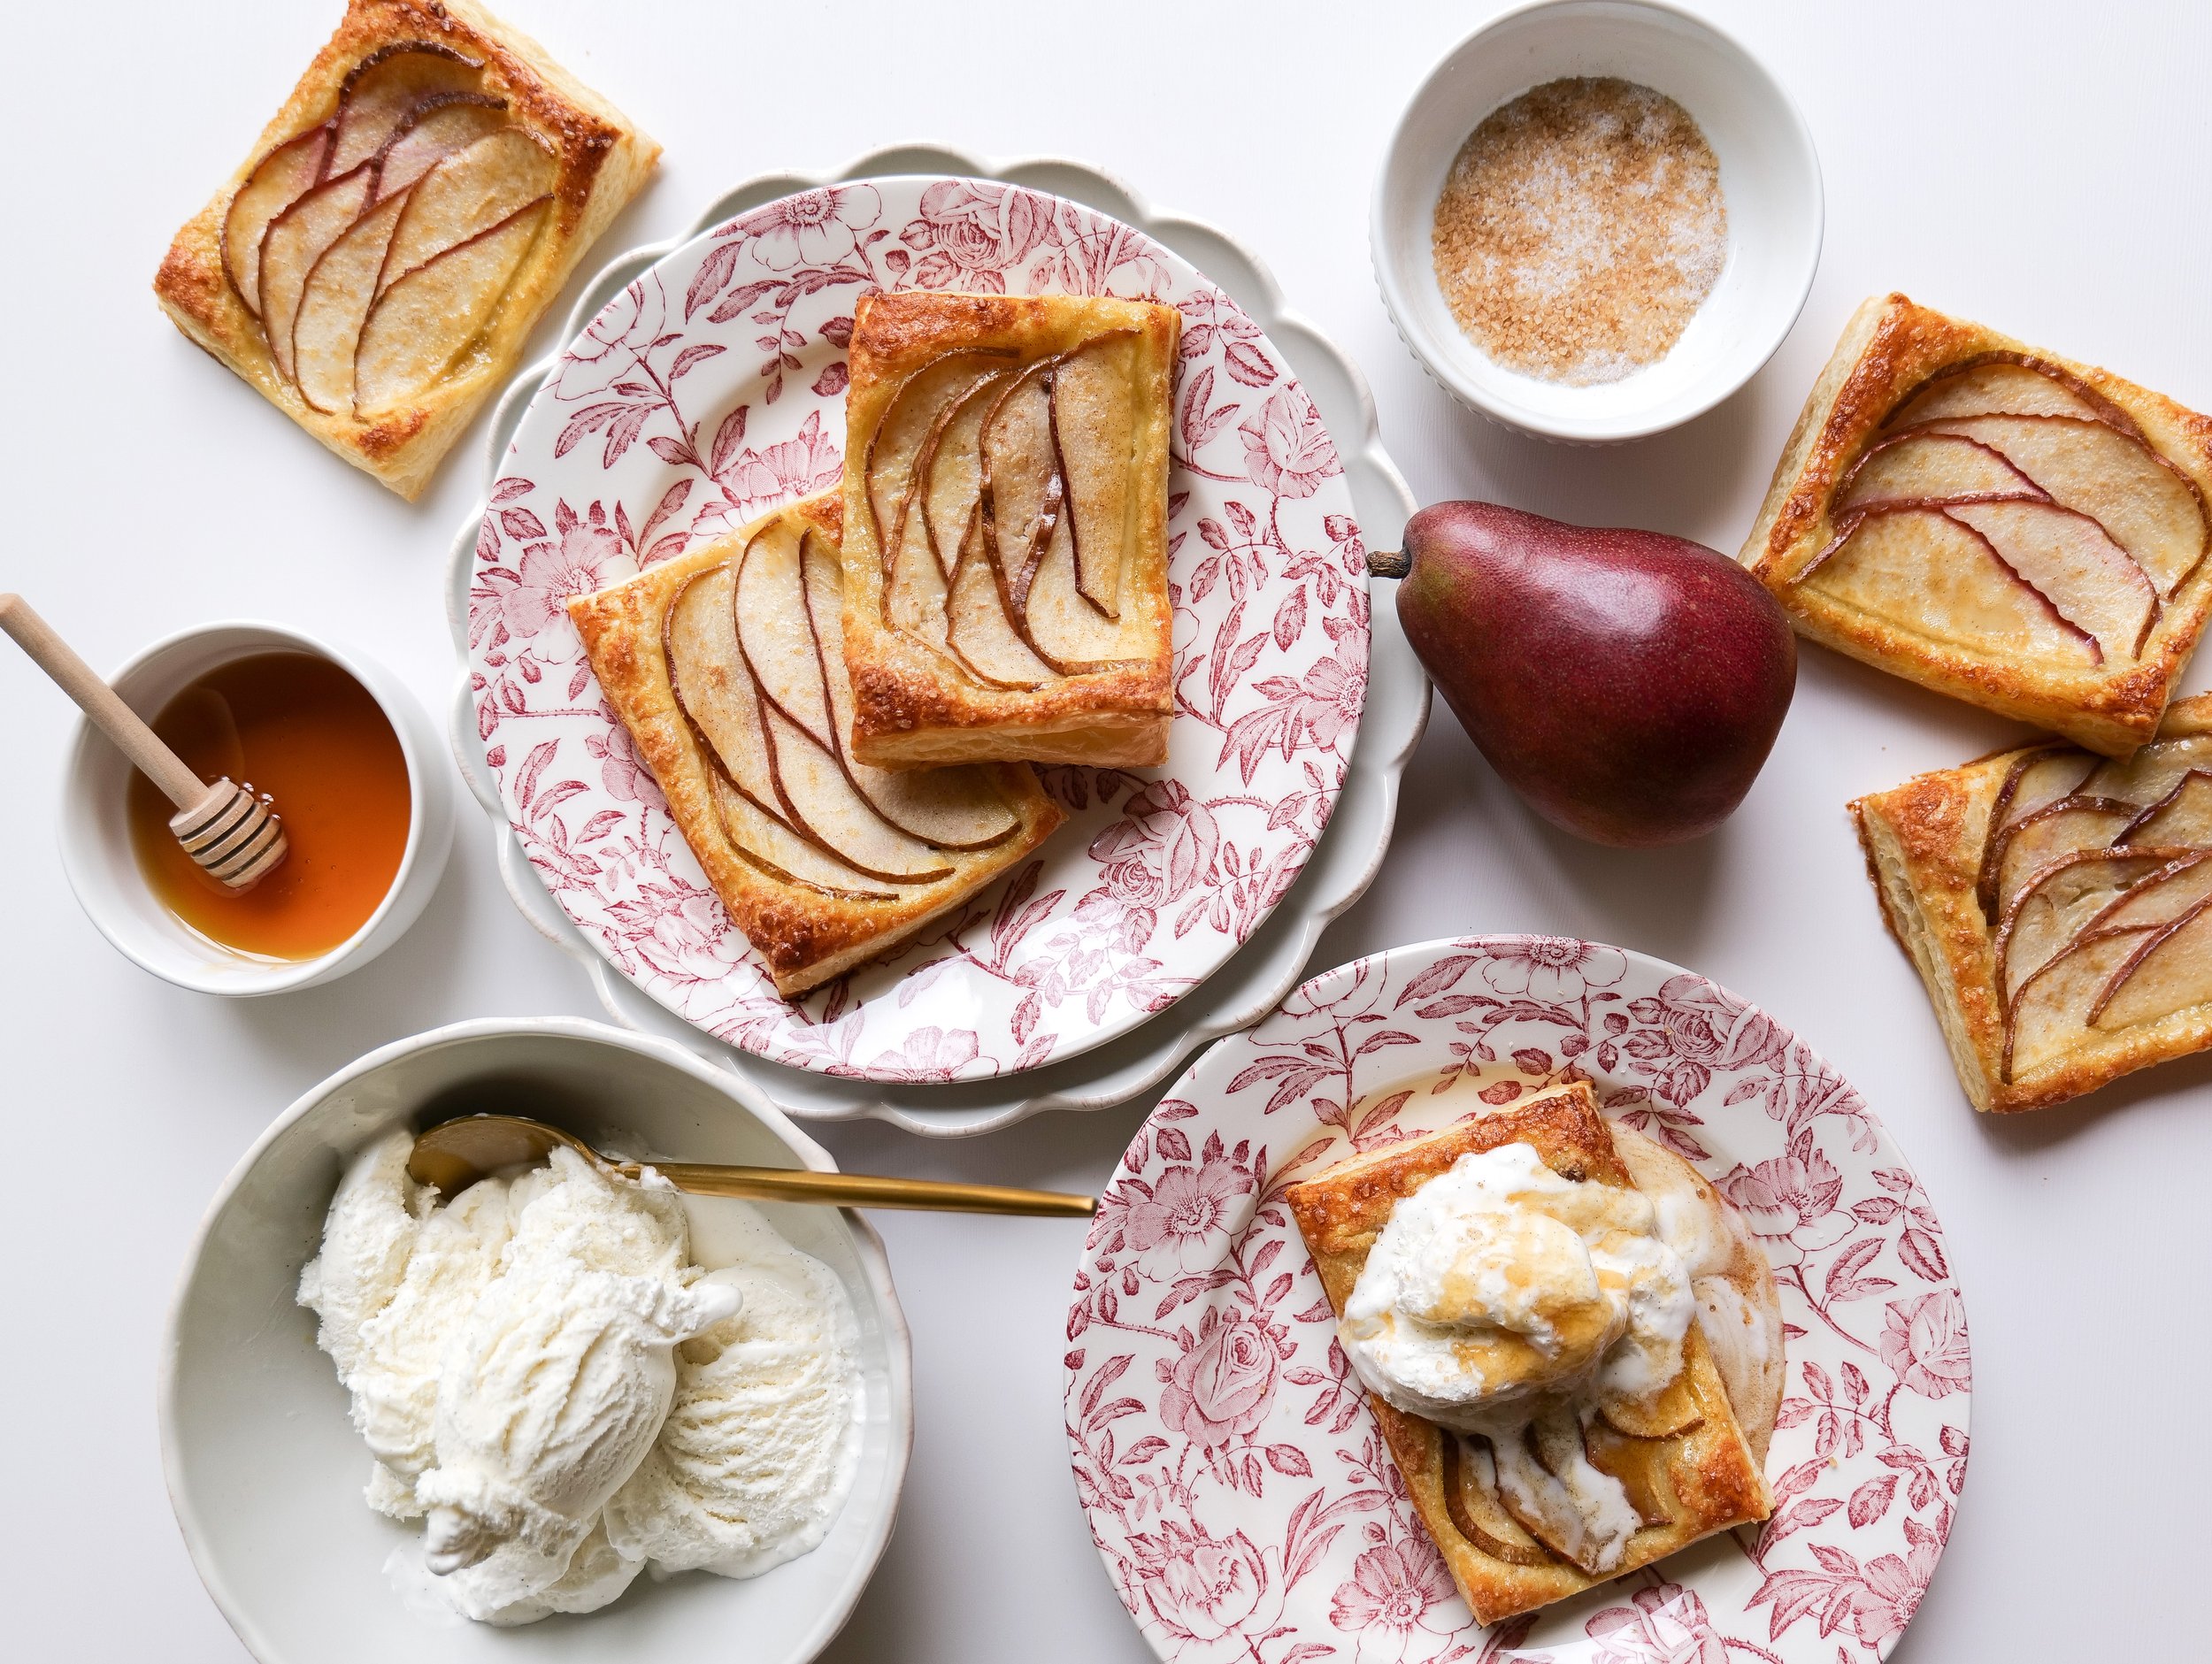
Indulge in Delicious Personal Pear Tarts

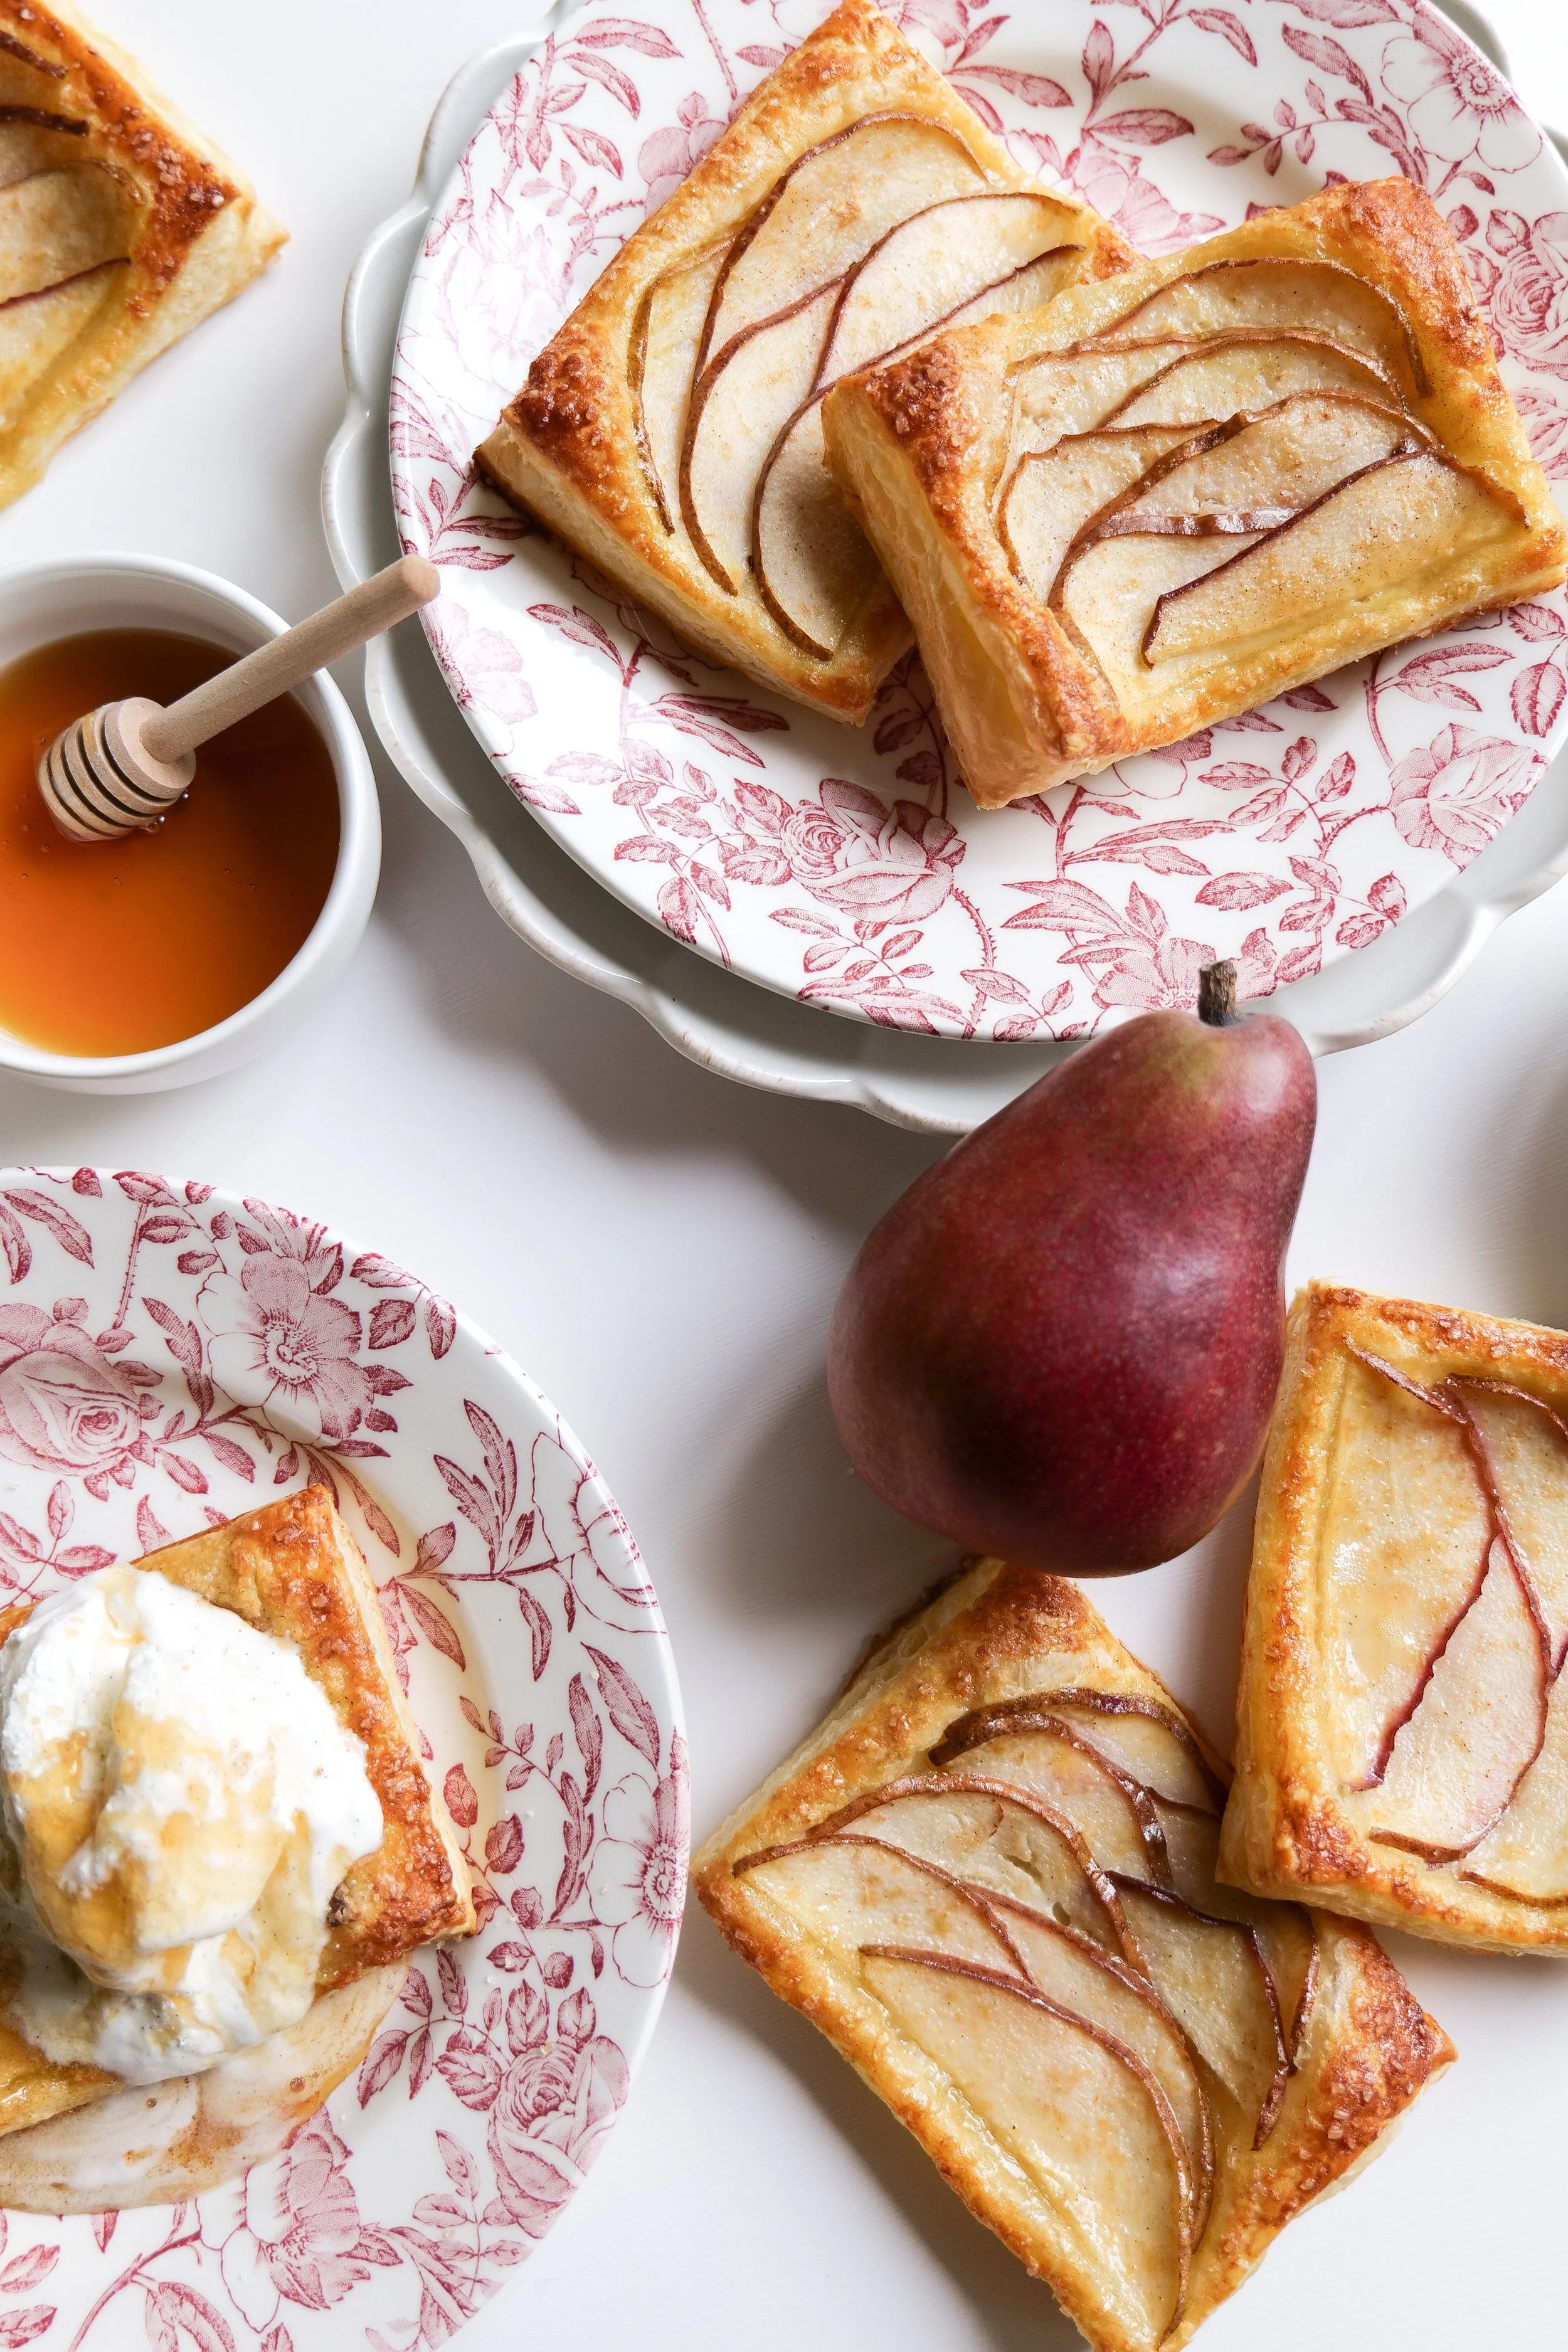
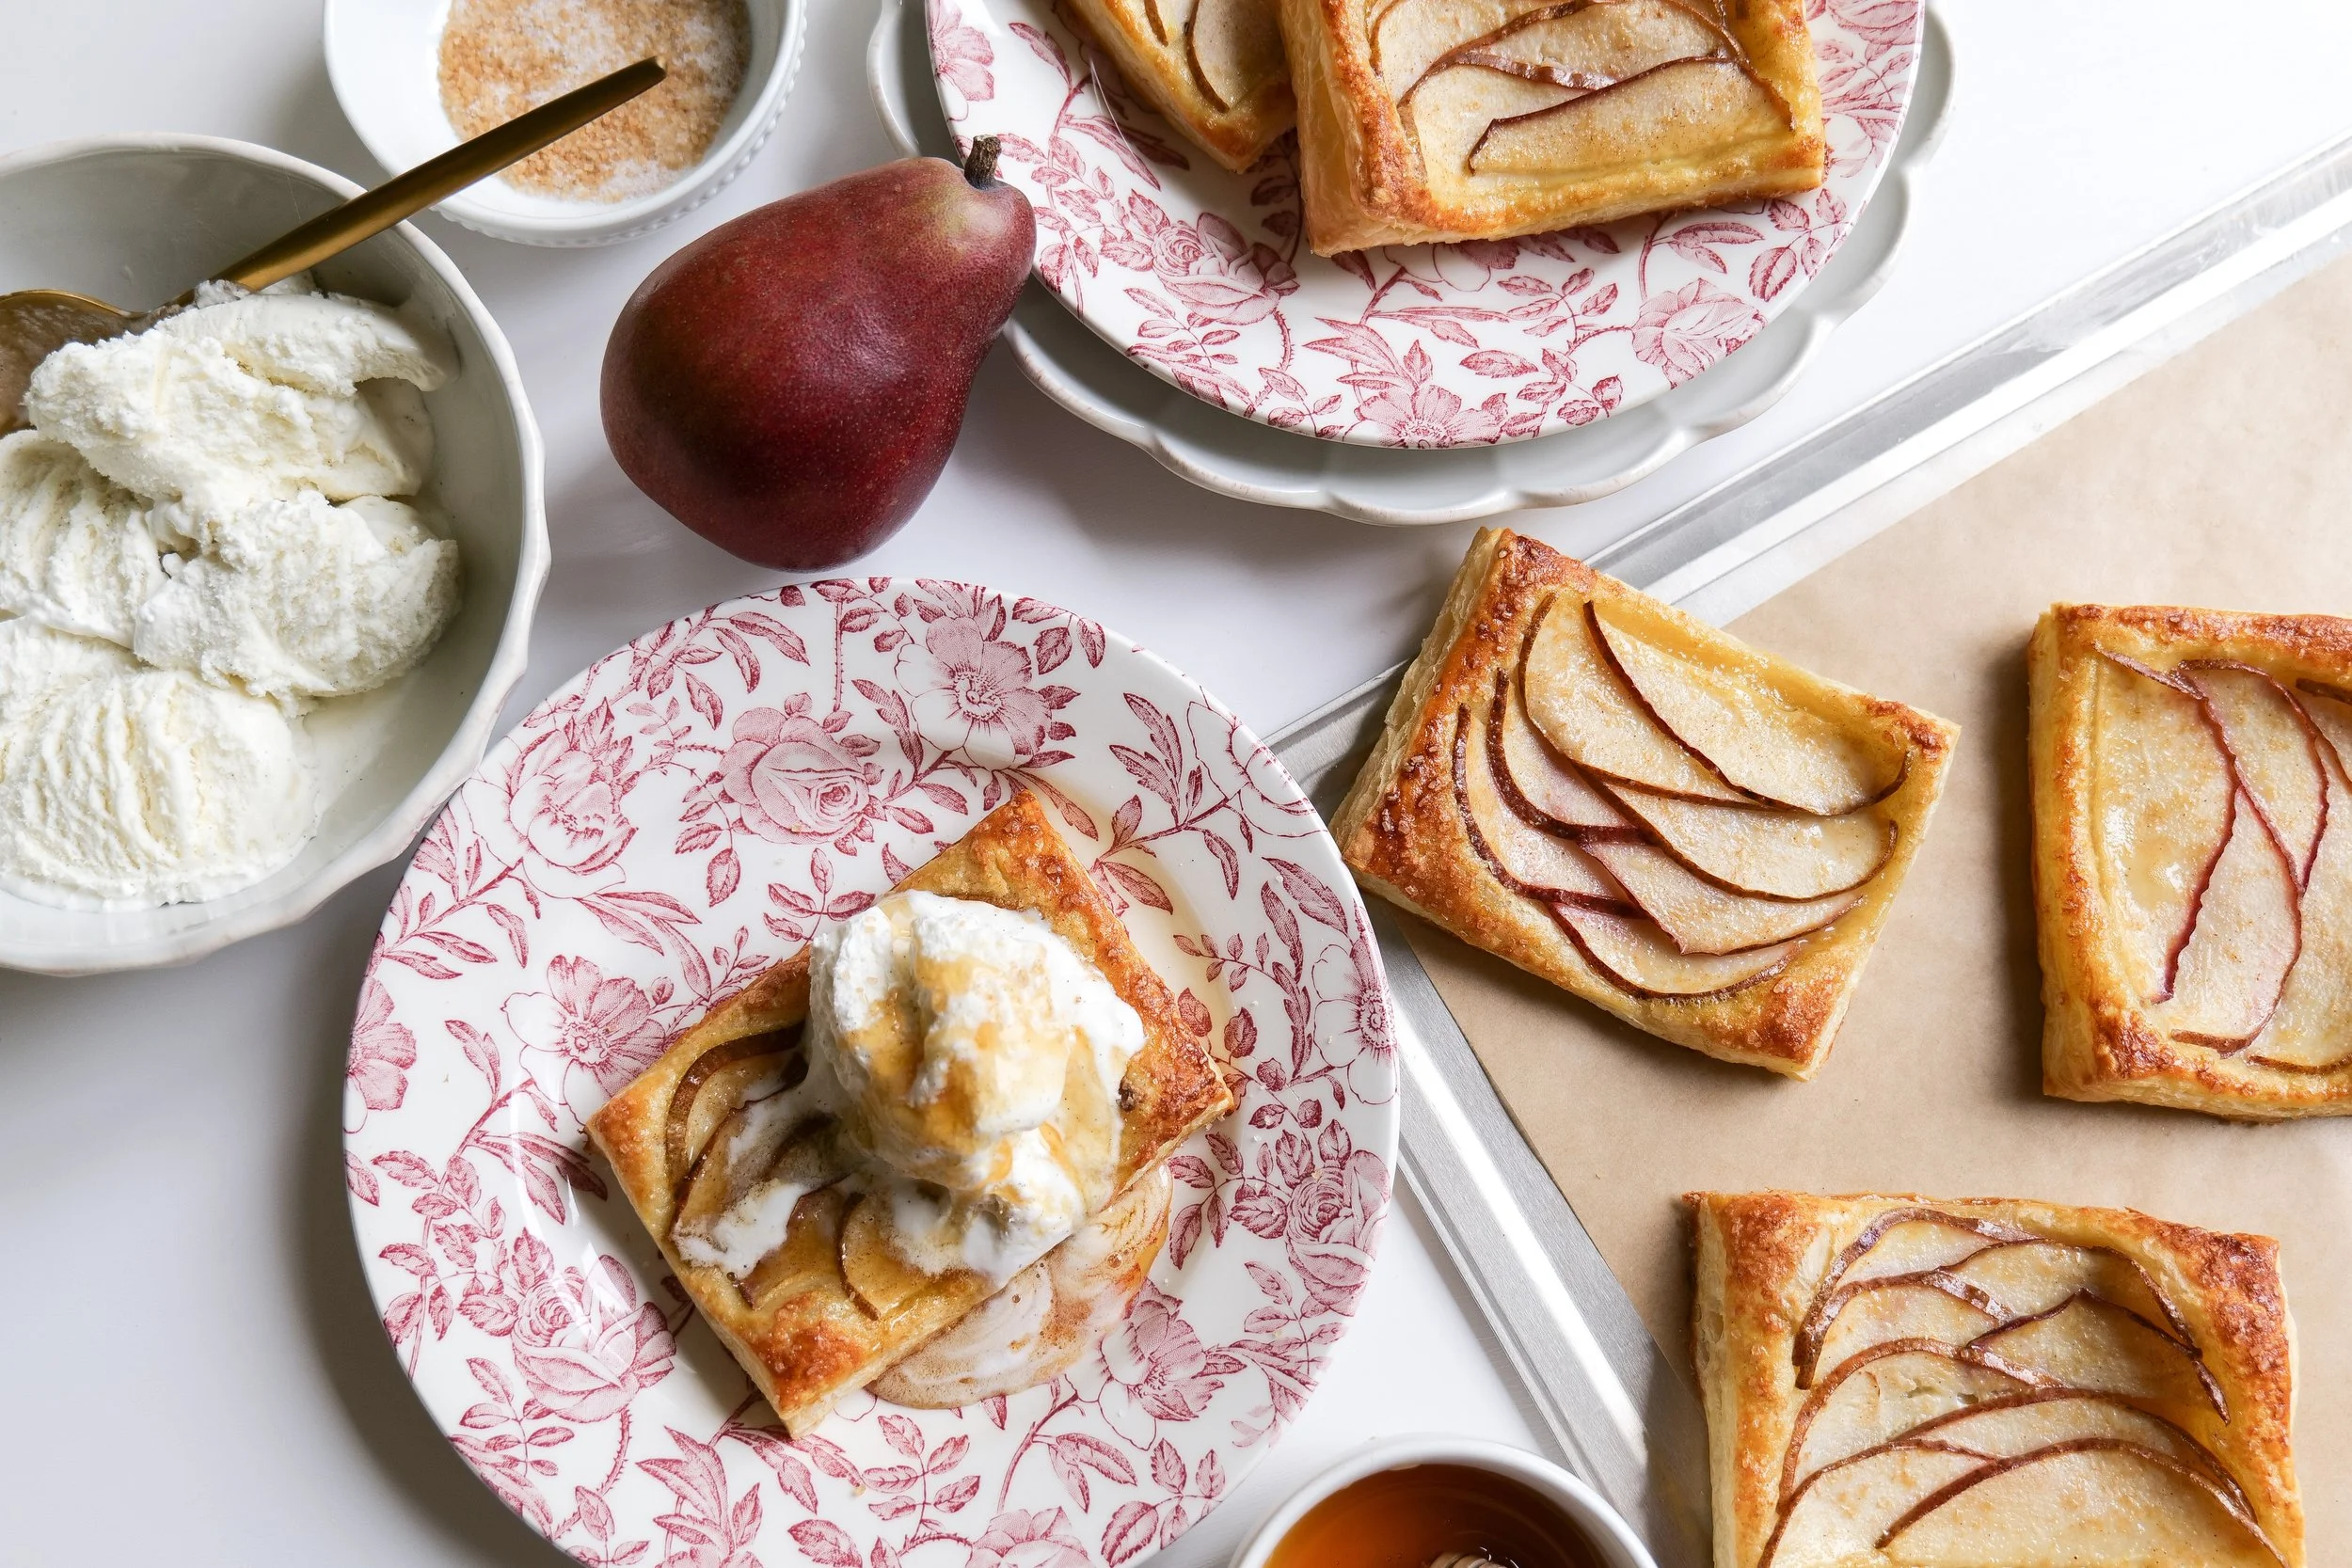
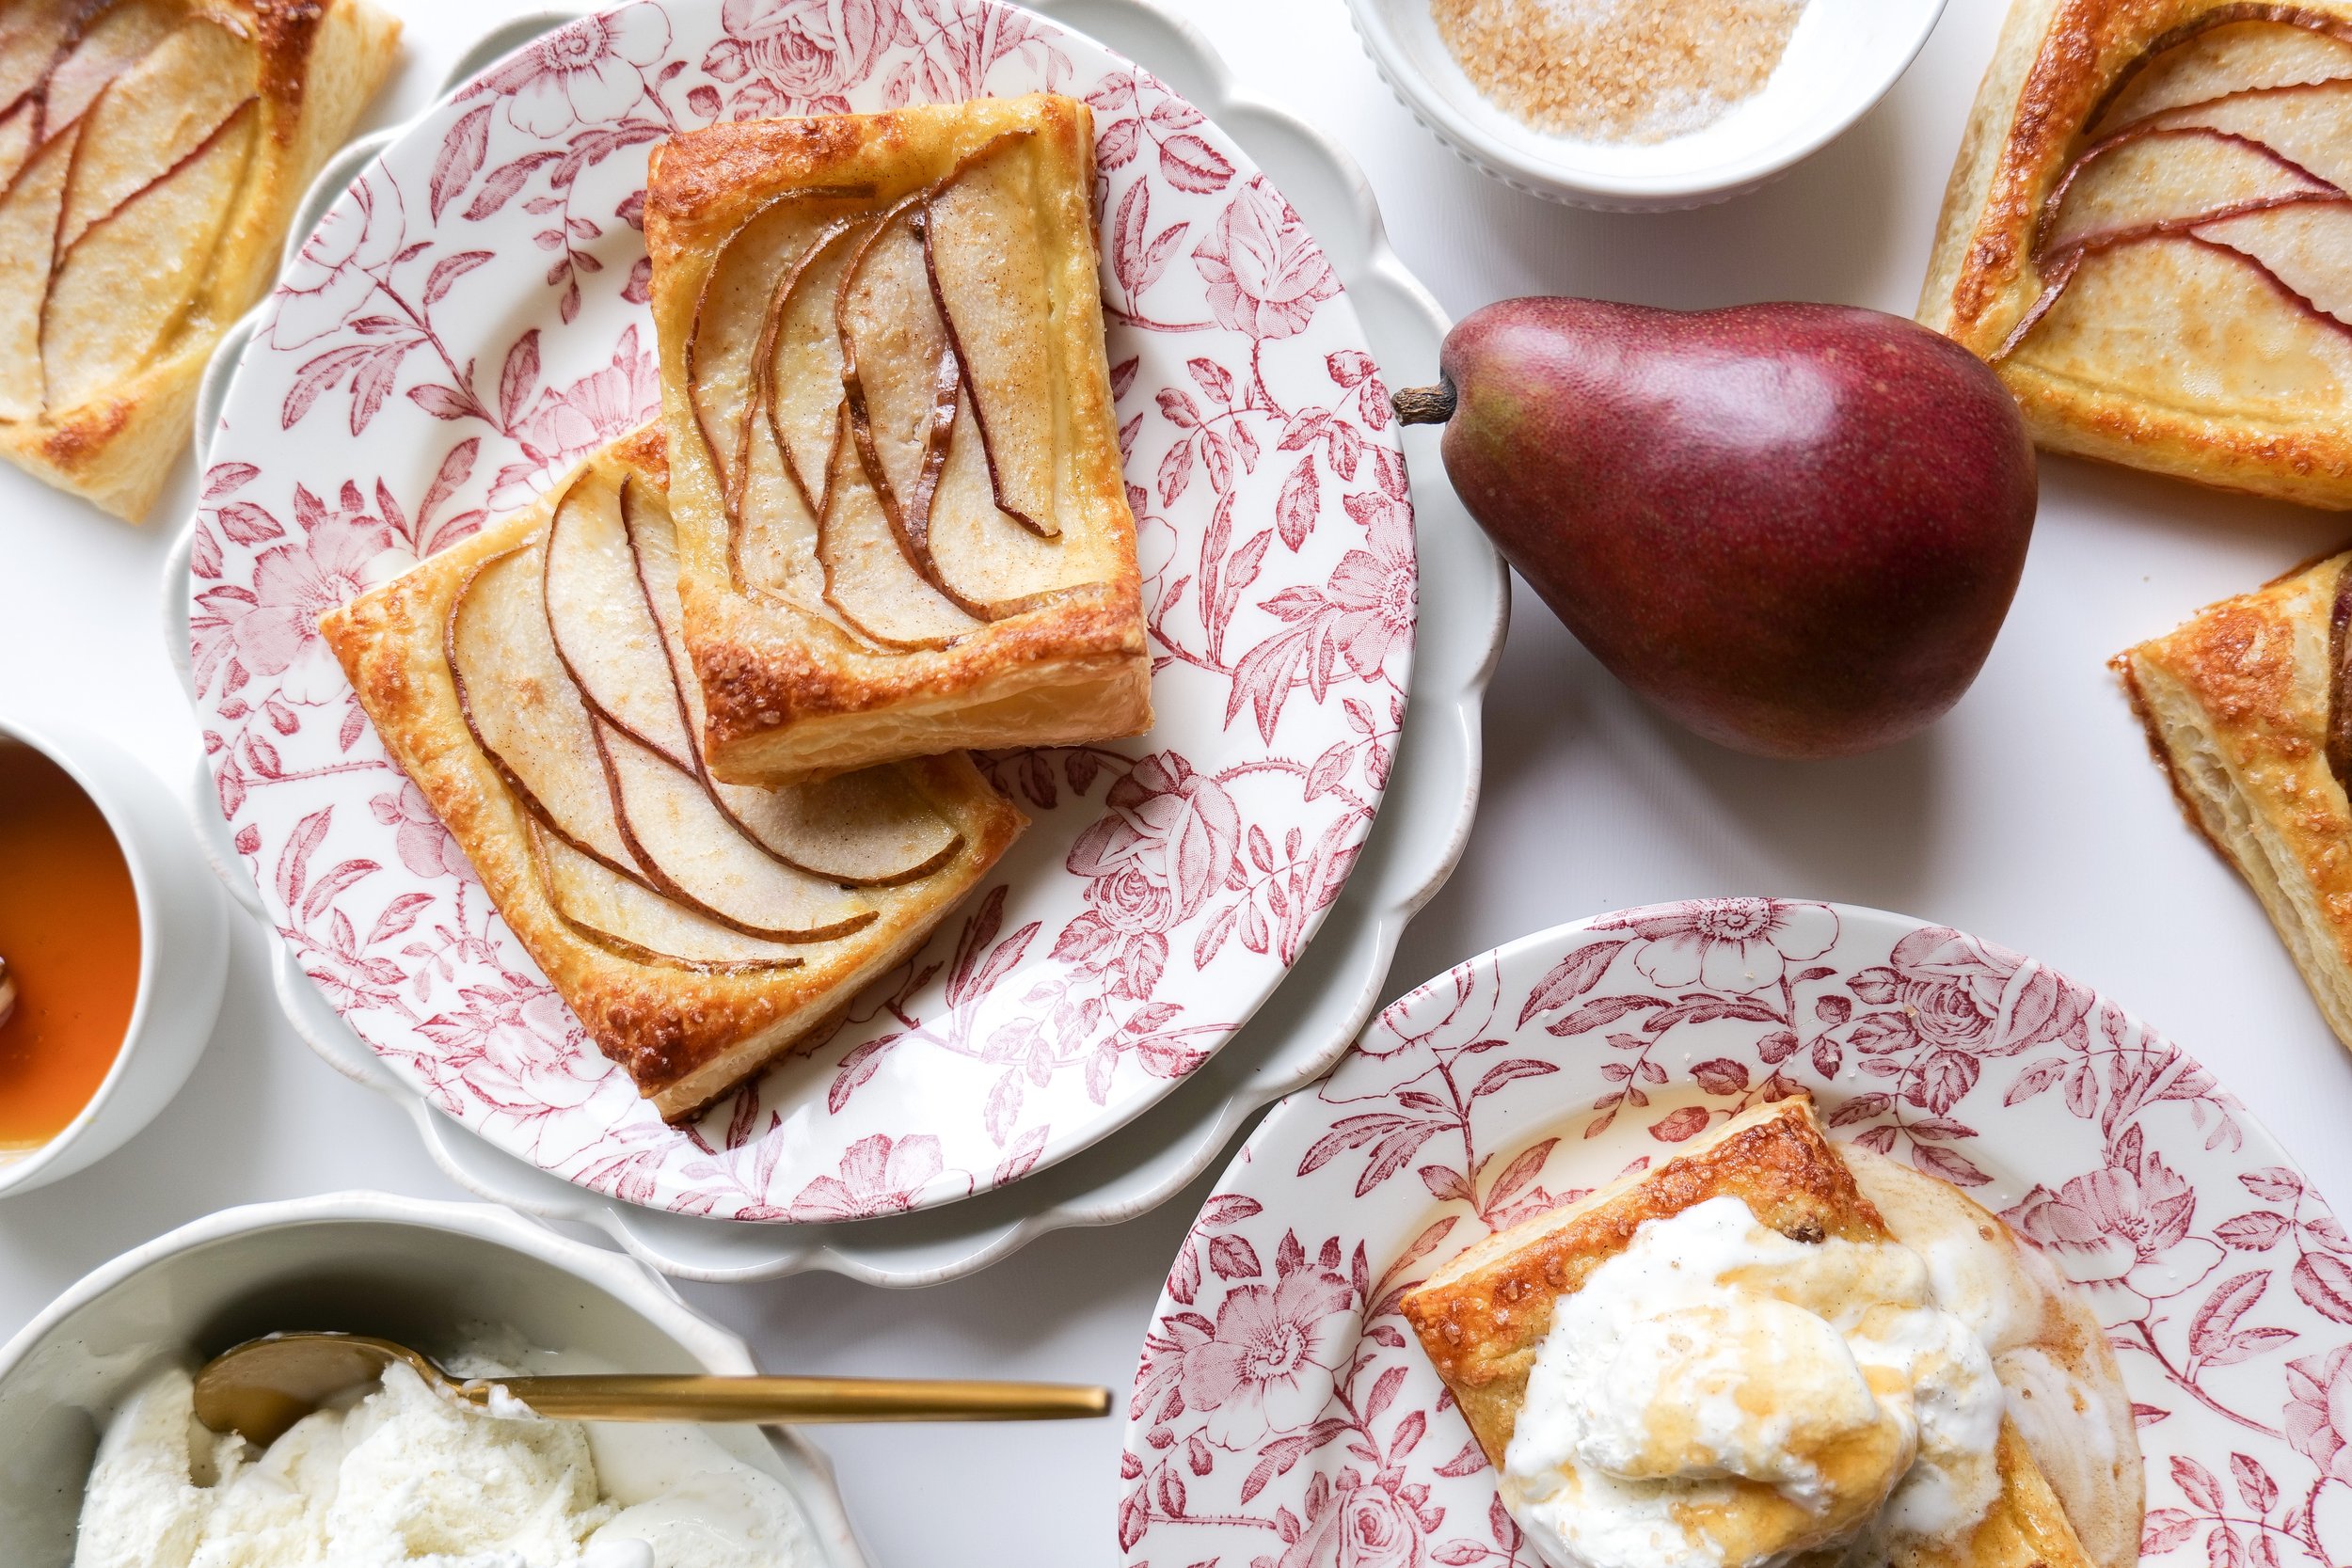
If you're looking for a fun and delicious dessert to make for your next gathering, look no further than these Personal Pear Tarts! The flakey crust on these tarts is perfectly complemented by the sweet, juicy pears with just a sprinkle of cinnamon and sugar. Each tart is the perfect size for a single serving and makes a wonderful treat or dessert. Enjoy them either warm or cold and savor every bite of this delightful combination of flavors! Not only is this recipe easy to make and customize, but it's also a great way to showcase seasonal fruits. Read on to find out how to whip up this mini pear tart recipe that is sure to be the star of your next gathering.

Individual Pear Tartlets are a delicious and easy-to-make dessert that can make any meal special from breakfast to dessert. Their sweet and flaky crust pairs perfectly with tender pears and fragrant spices, making a unique and tasty dish. With minimal effort, you can show off your baking skills by creating individual tartlets that can be customized to suit your taste.

The combination of the sweet pears and the crisp crust is delicious together and can be substituted for other fruits such as strawberry, apple or seasonal fruits. Add some spices and you have a unique and flavorful dessert. These tartlets are a great way to end a special meal and make a statement that your guests will remember. Whether you’re looking for a signature dessert for a dinner party or just a simple treat for your family, these individual tartlets are sure to please. For making this quick pear tart recipe ahead of events you can also refrigerate and microwave when ready to serve.

Ingredients

( serving size 6 )

1 sheet of frozen puff pastry

2-3 pears, thinly sliced

1 tablespoon sugar or brown sugar

1 tablespoons cane sugar

Pinch or two of ground cinnamon

1 egg

Directions:

  1. Preheat oven to 375 and let puff pastry start to defrost for 5-10 minutes while thinly slicing pears.

  2.  Mix together sugars and cinnamon in a bowl. In another bowl whisk together the egg.

  3. Once puff pastry has softened, unfold and cut into 6 squares

  4. Layer sliced pears onto puff pastry and brush whisked eggs over the pear and pastry.

  5. Sprinkle sugar mixture all over and place pastries on parchment paper lined cookie sheet.

  6. Place in oven for 15-17 minutes or until edges are golden brown.

  7. Remove once edges are browned and place on cooling rack until ready to serve.

  8. You can serve warm and sprinkle with powdered sugar and/or top with vanilla ice cream, honey, or caramel for a delicious treat.

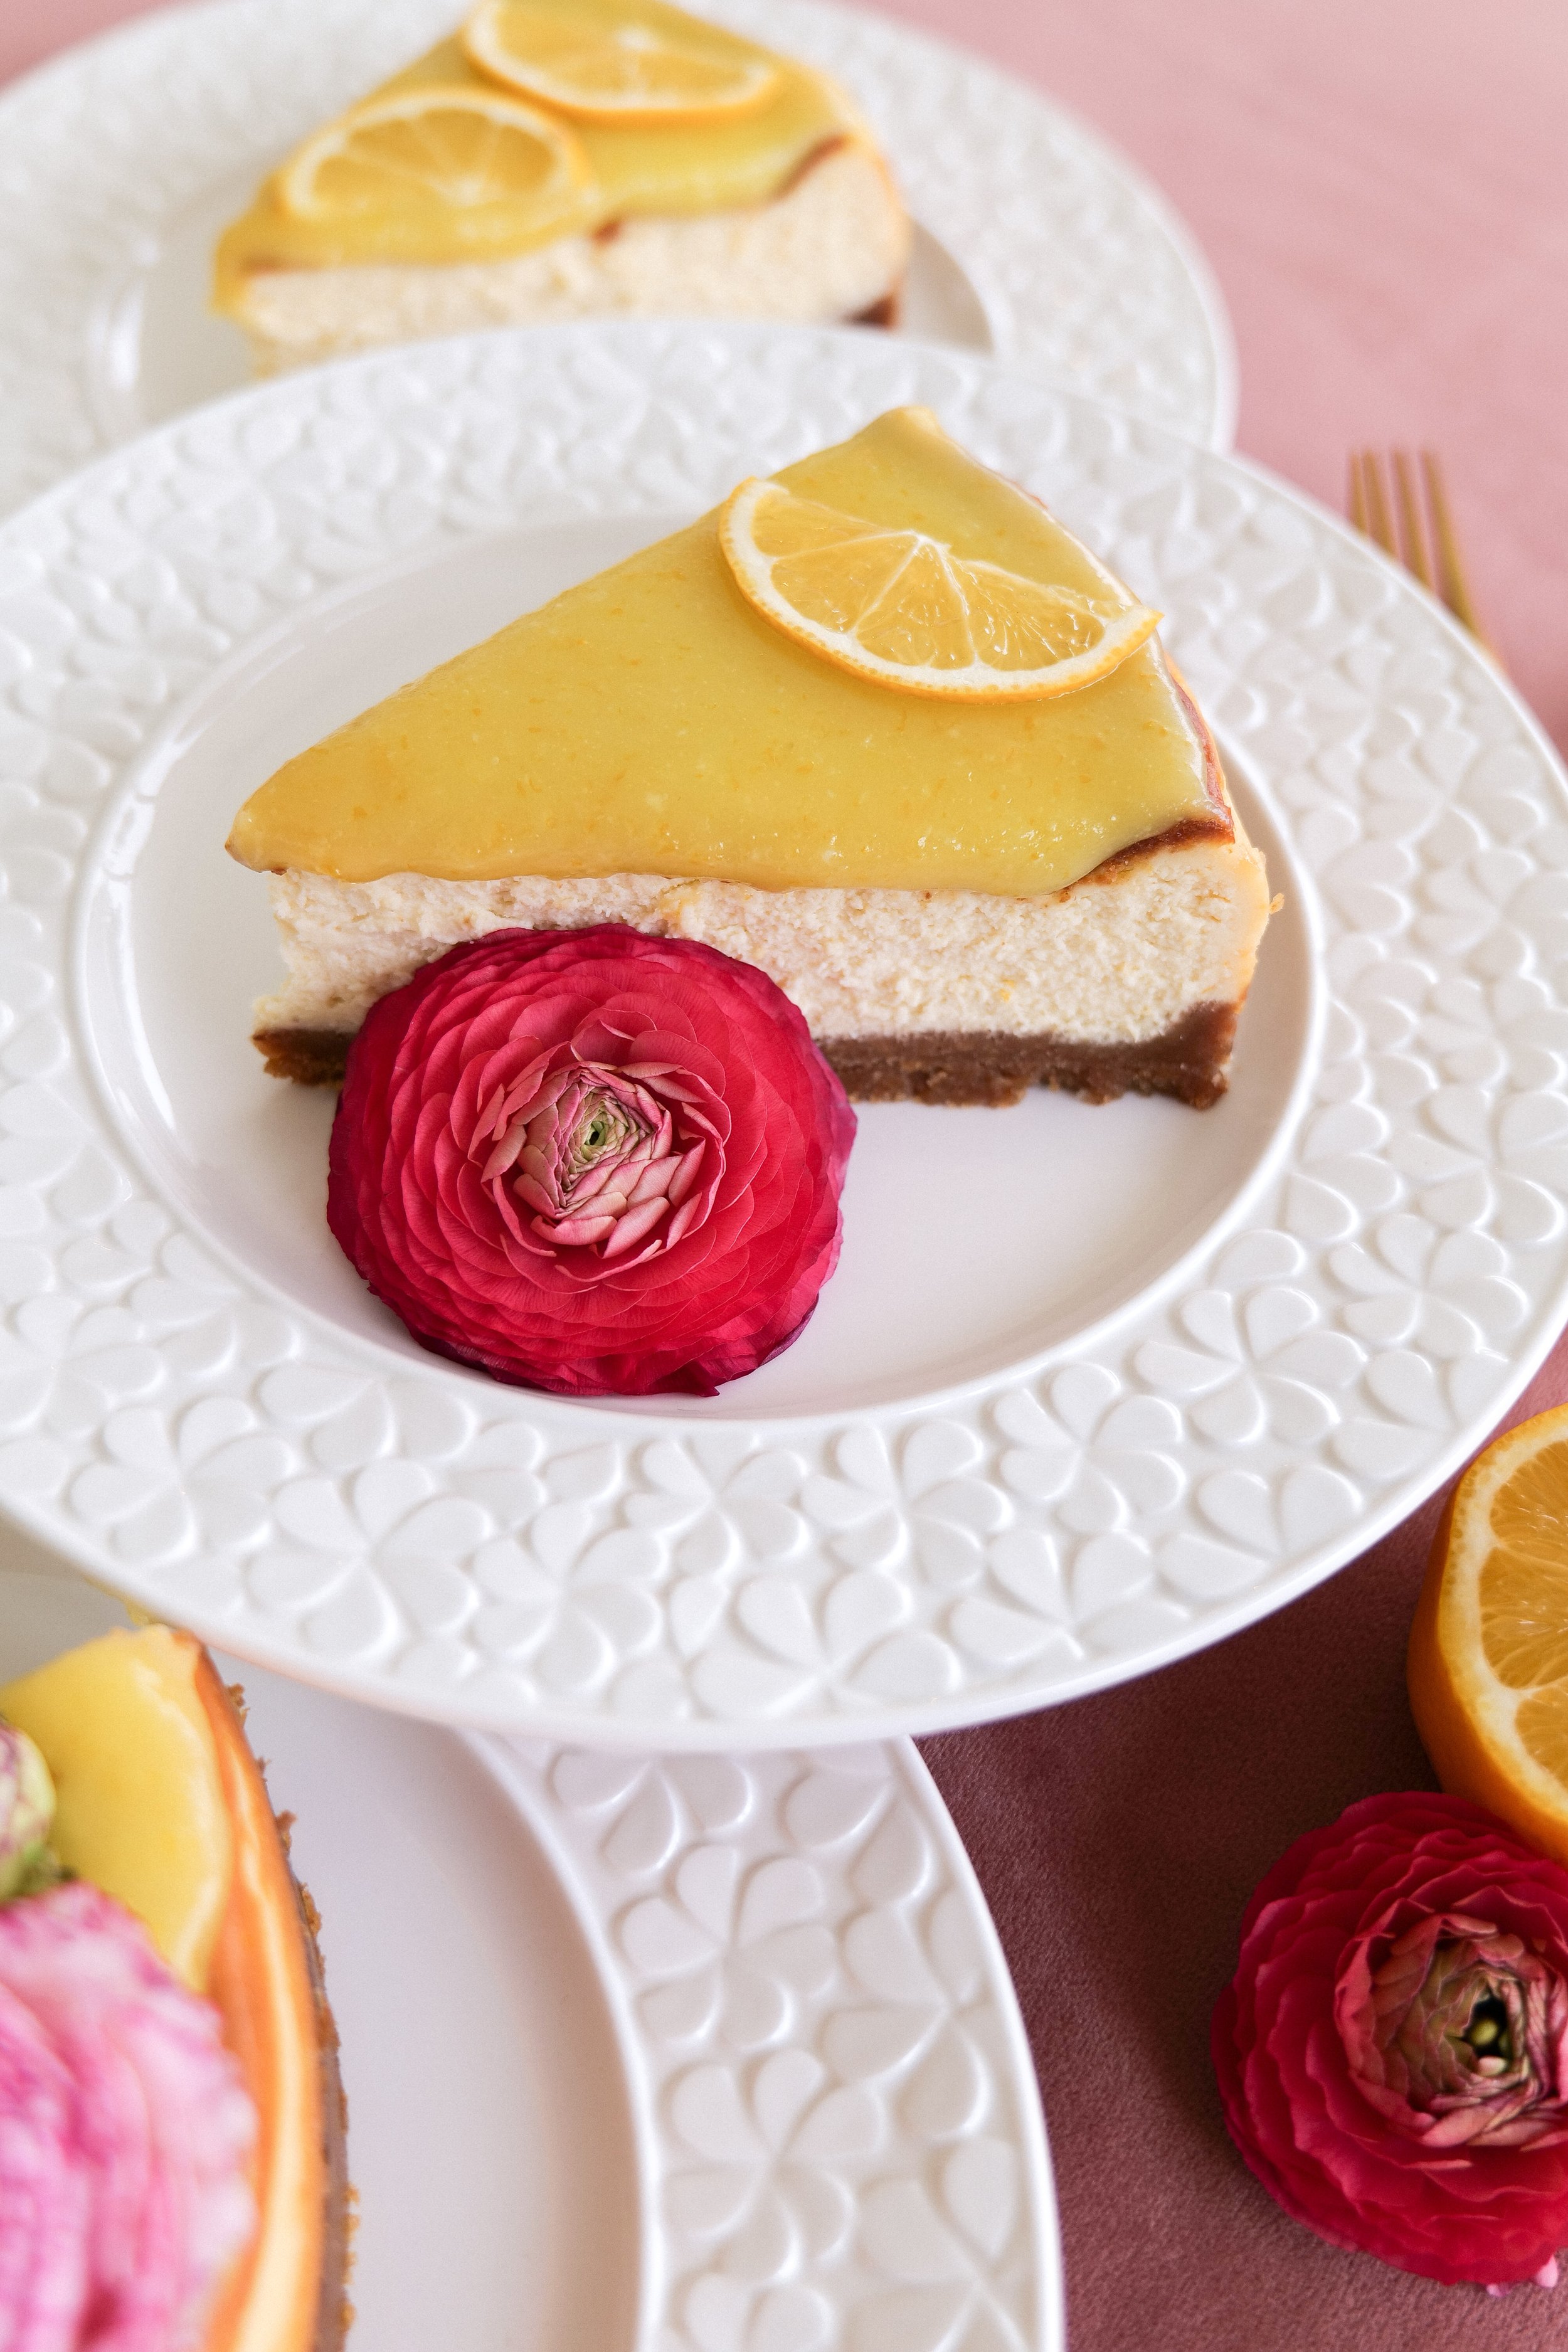
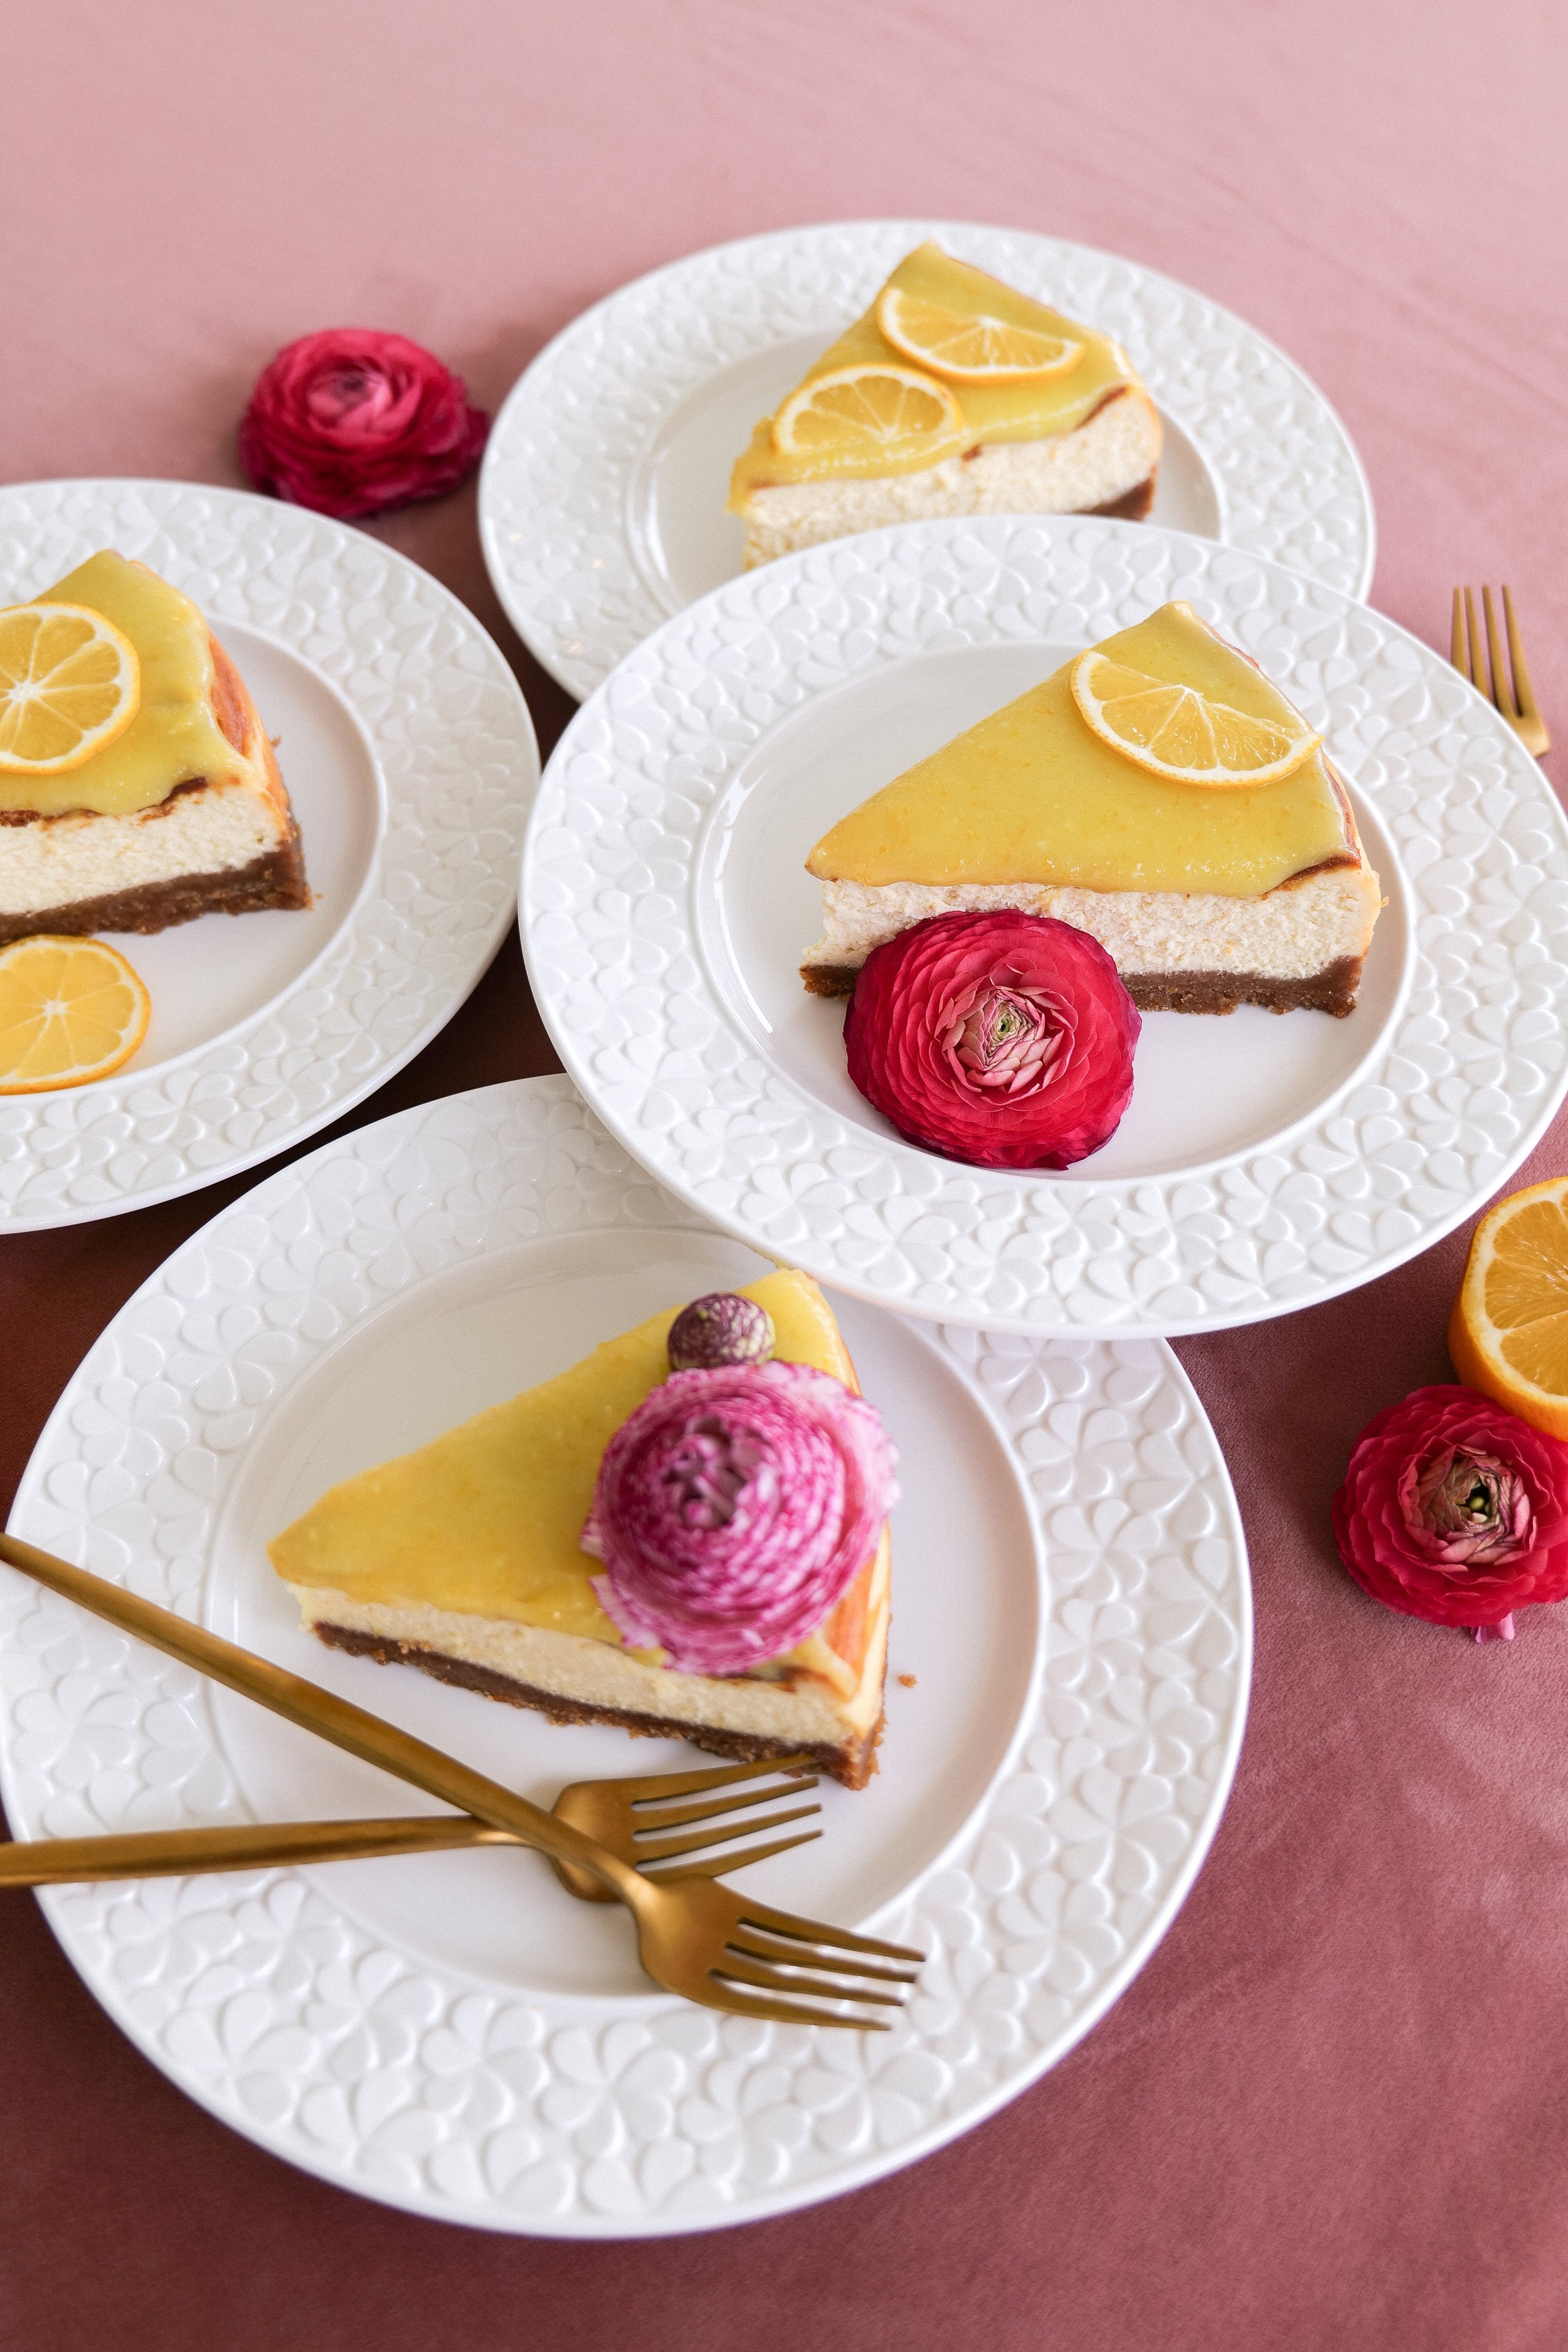
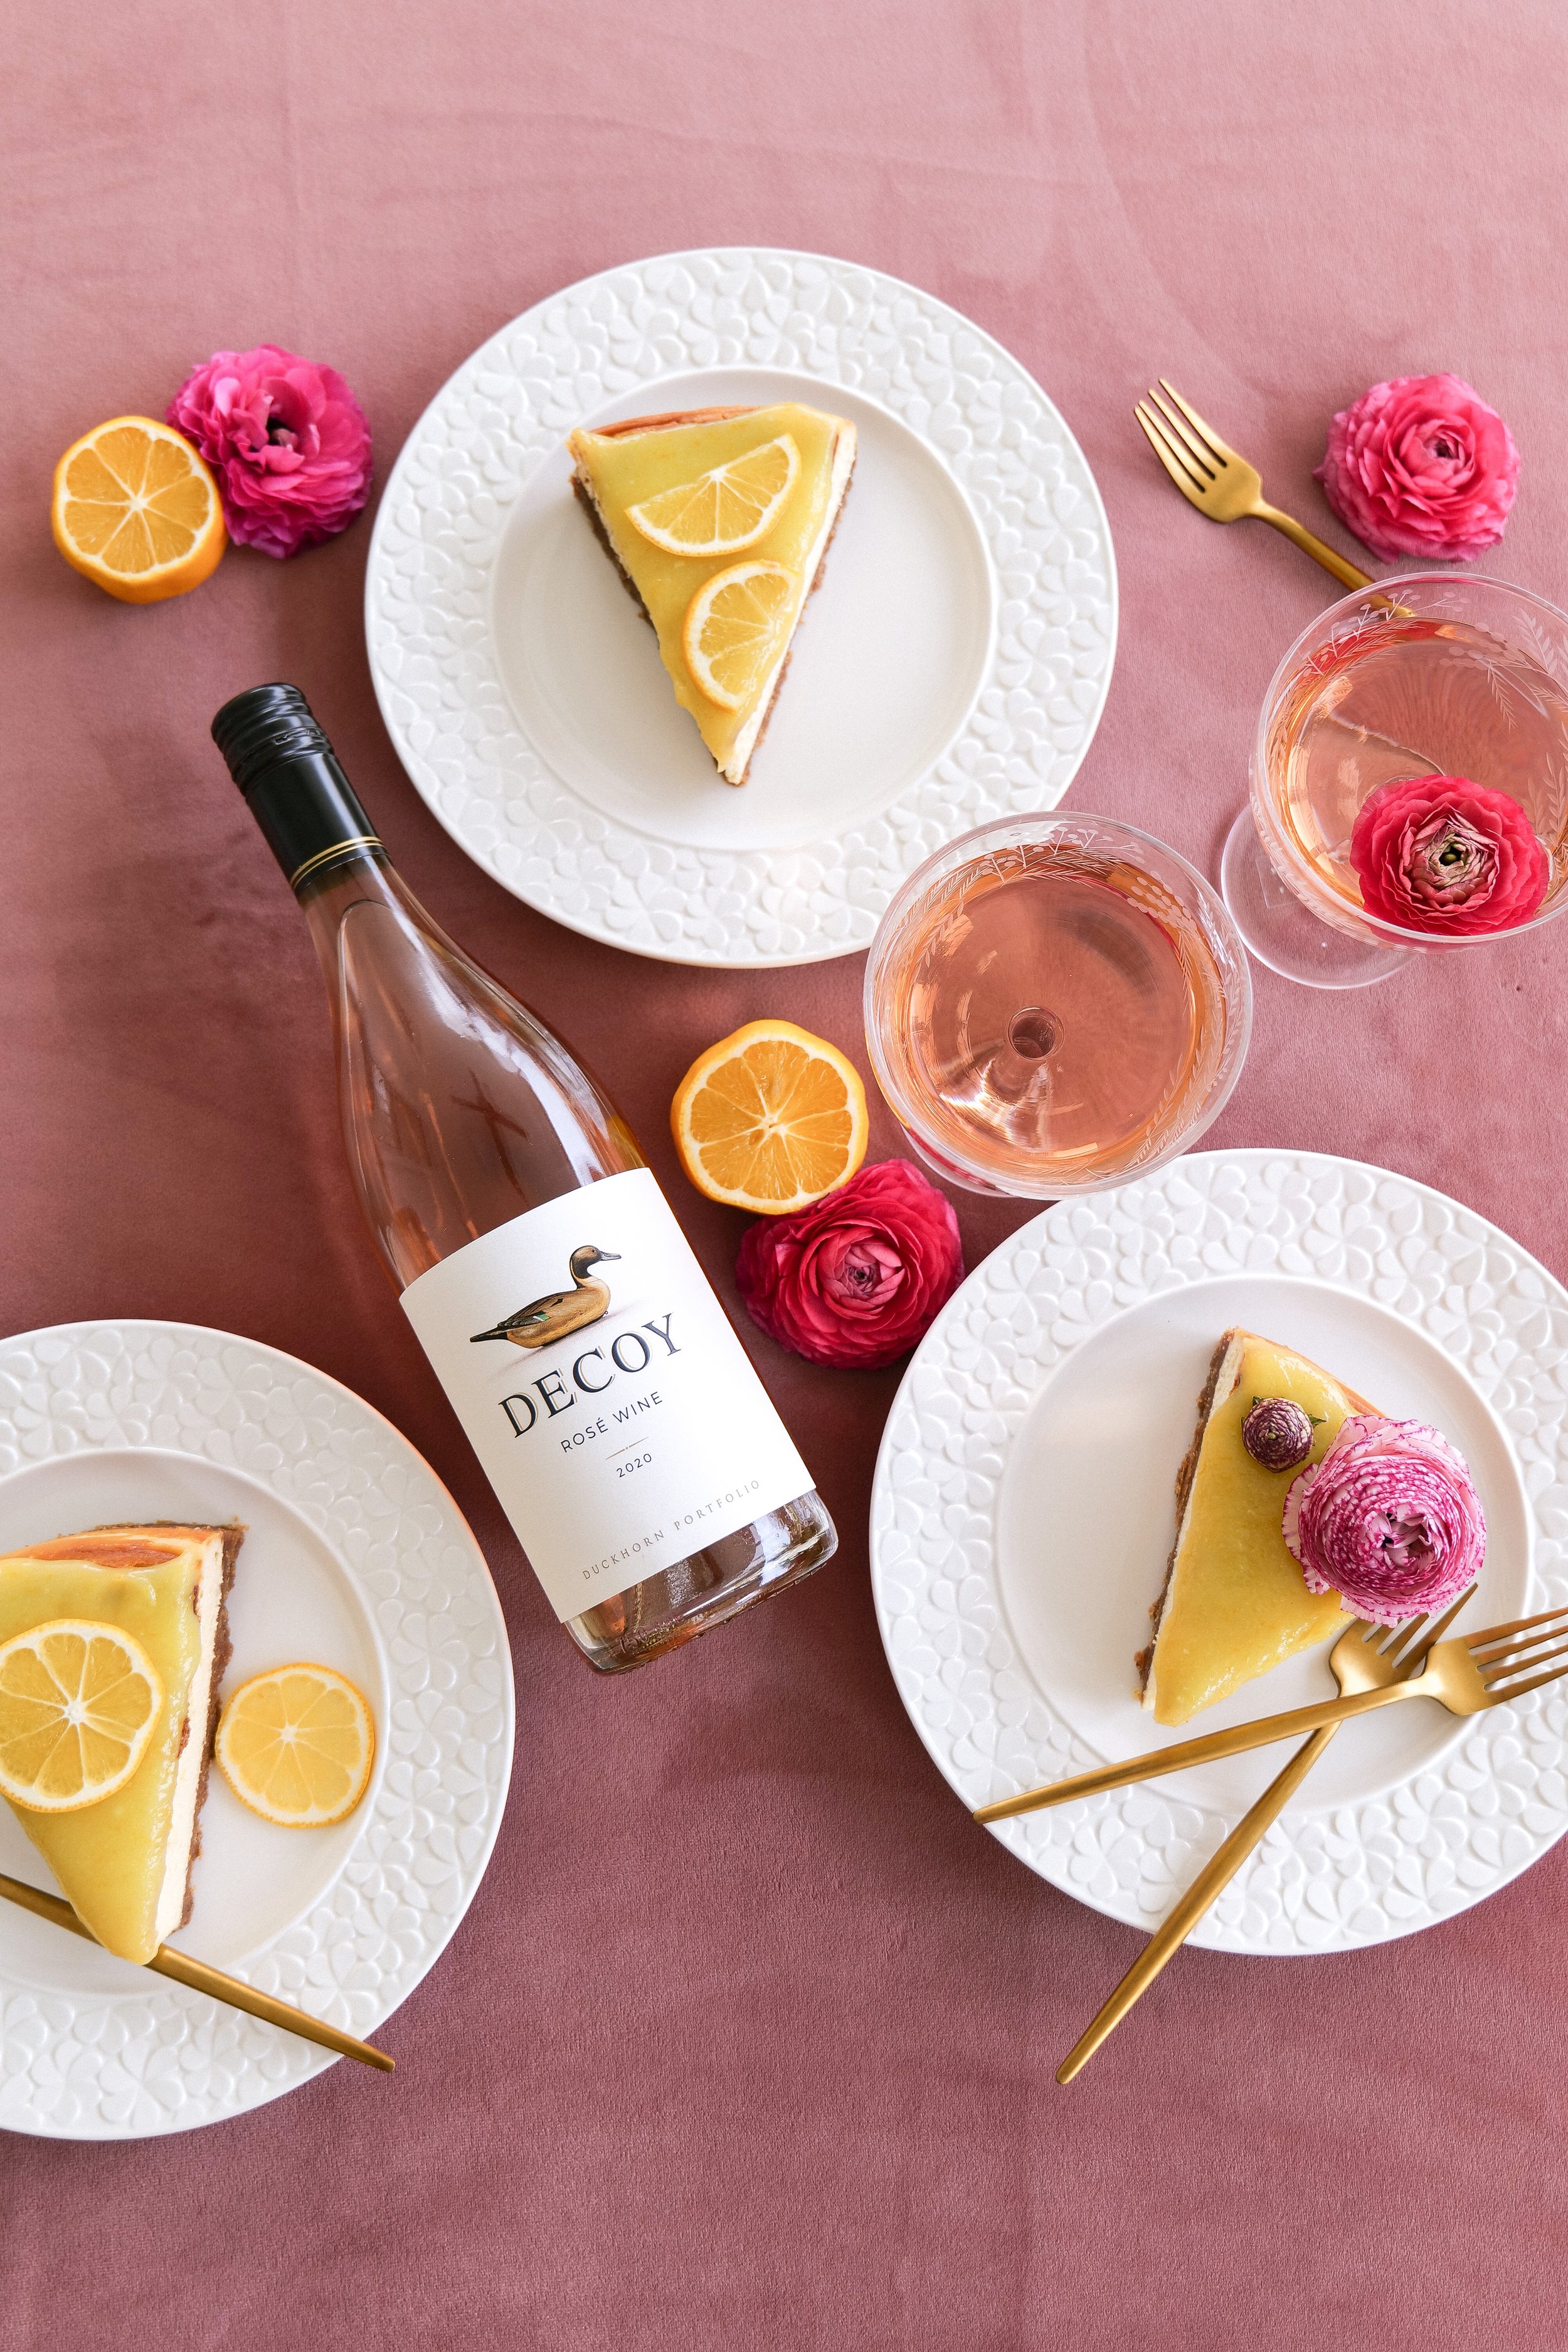
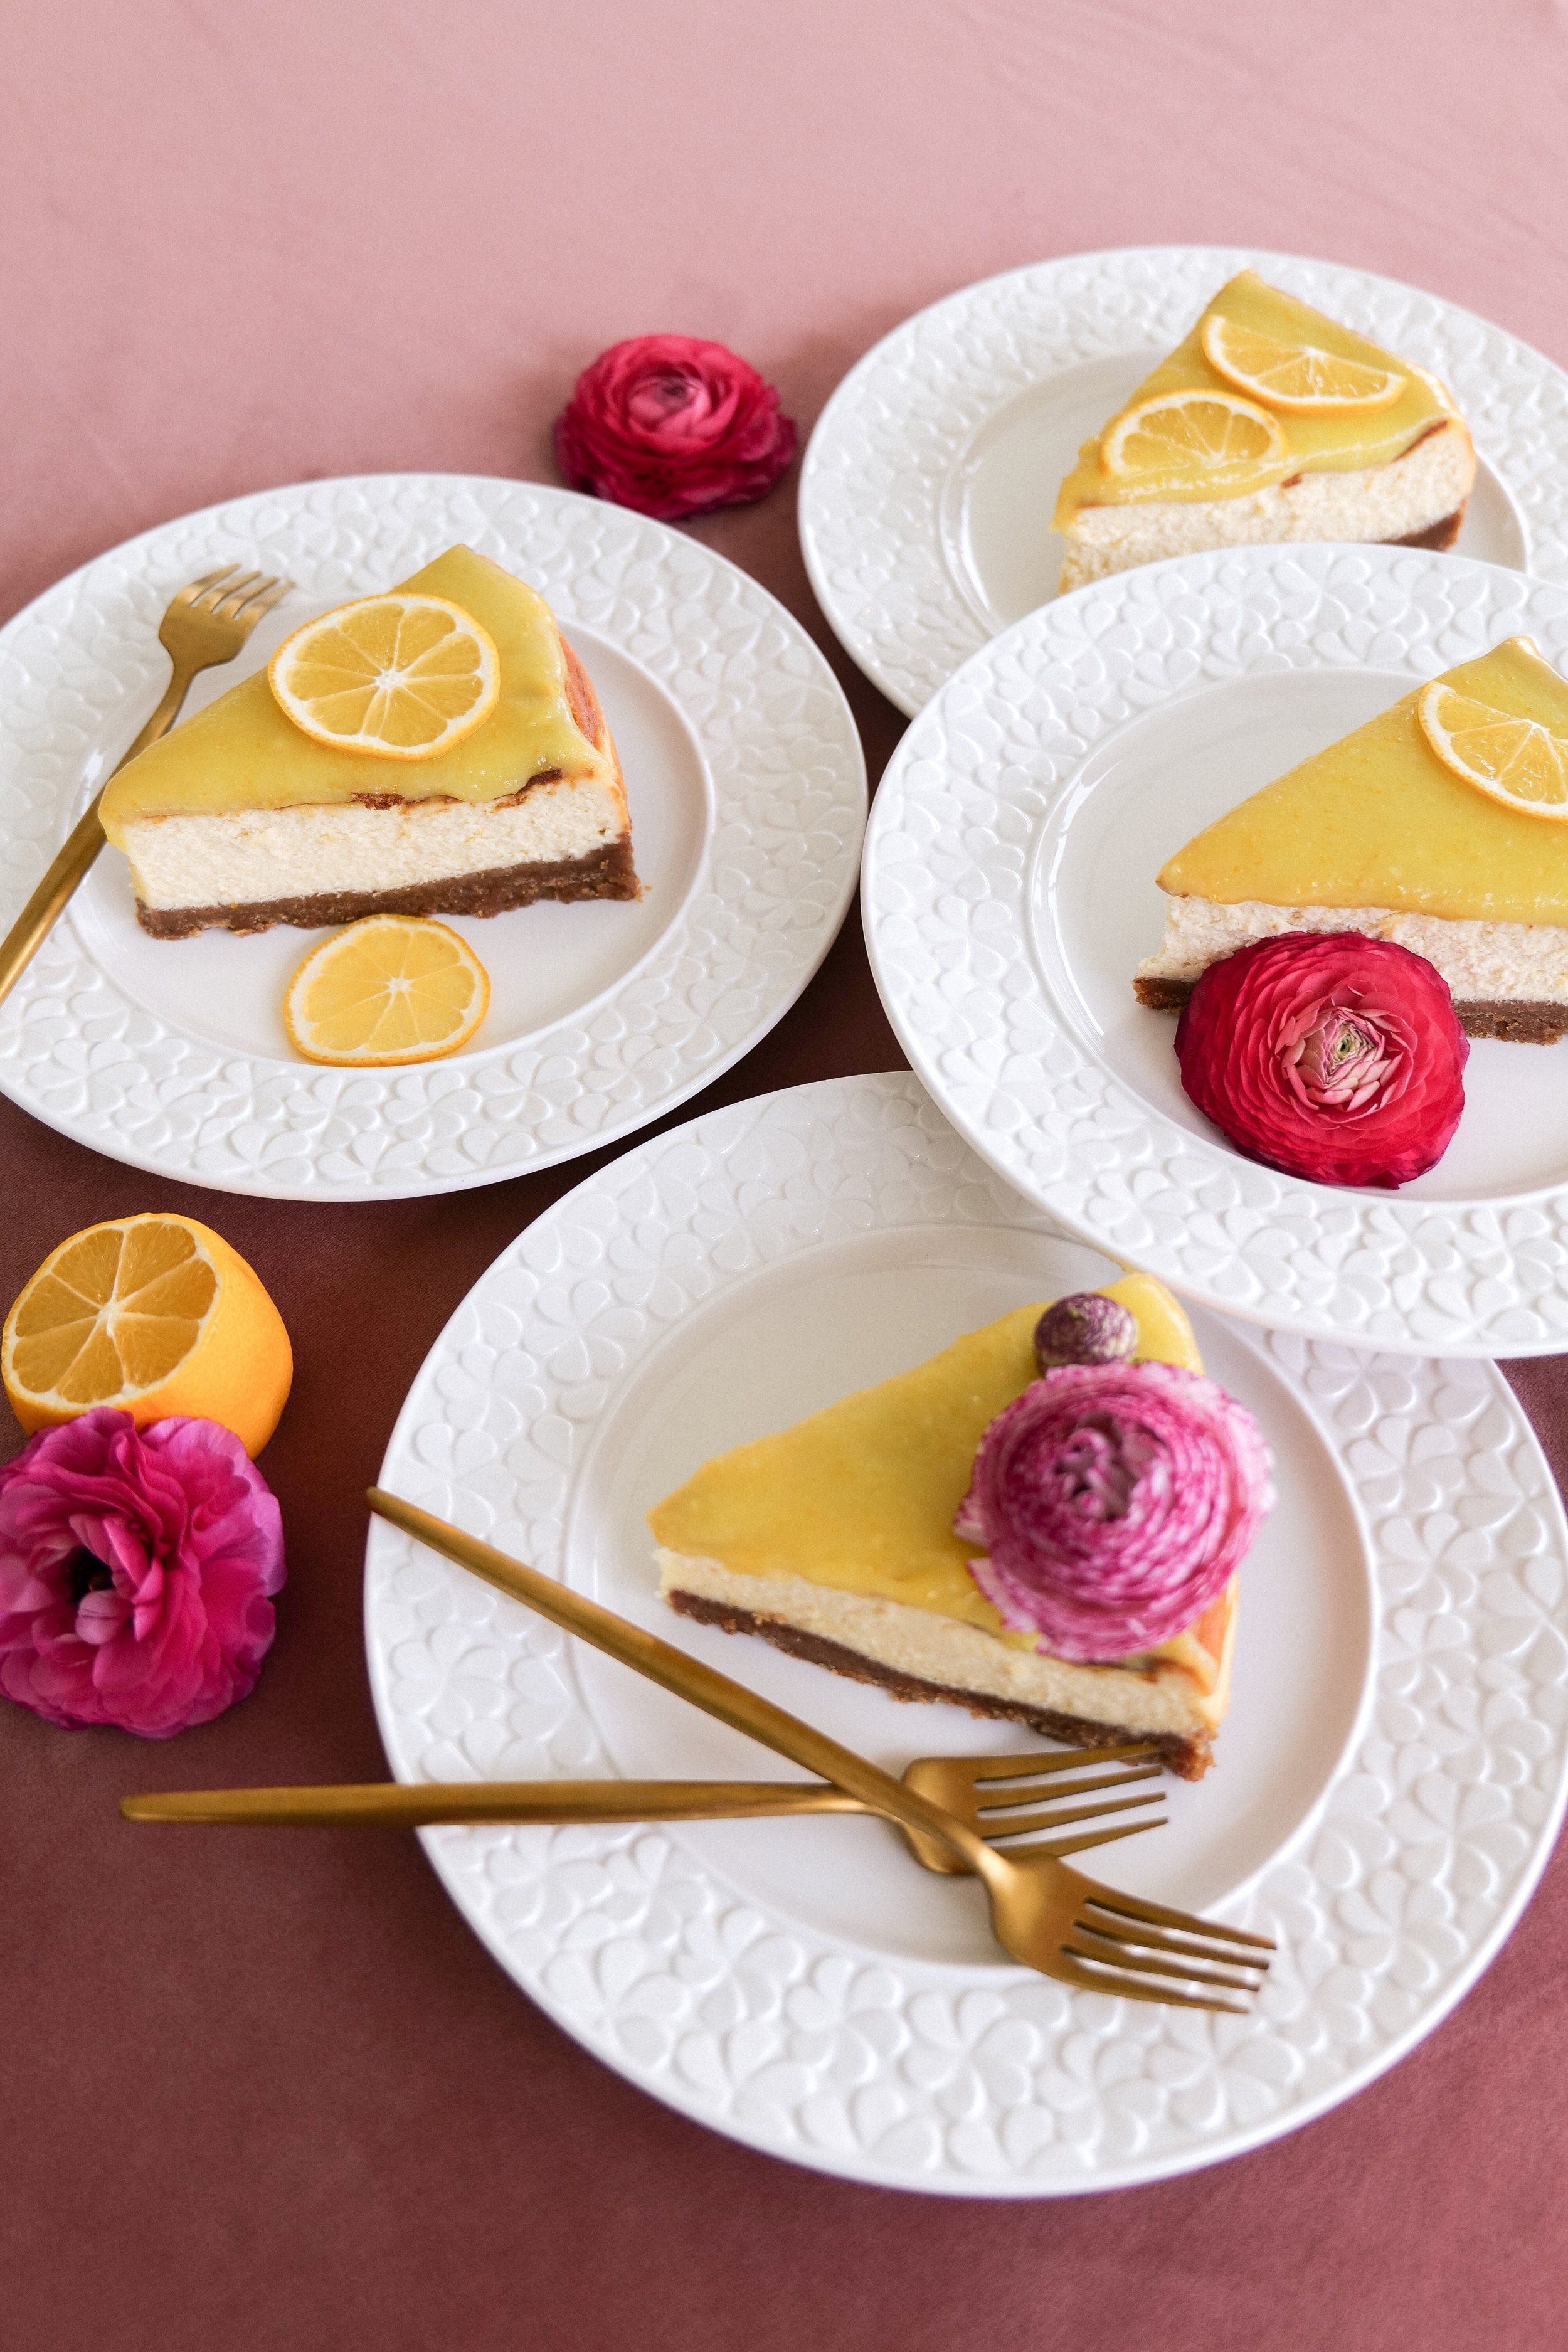
Tantalizingly Delicious Recipe For Lemon Cheesecake With An Amazing Glaze

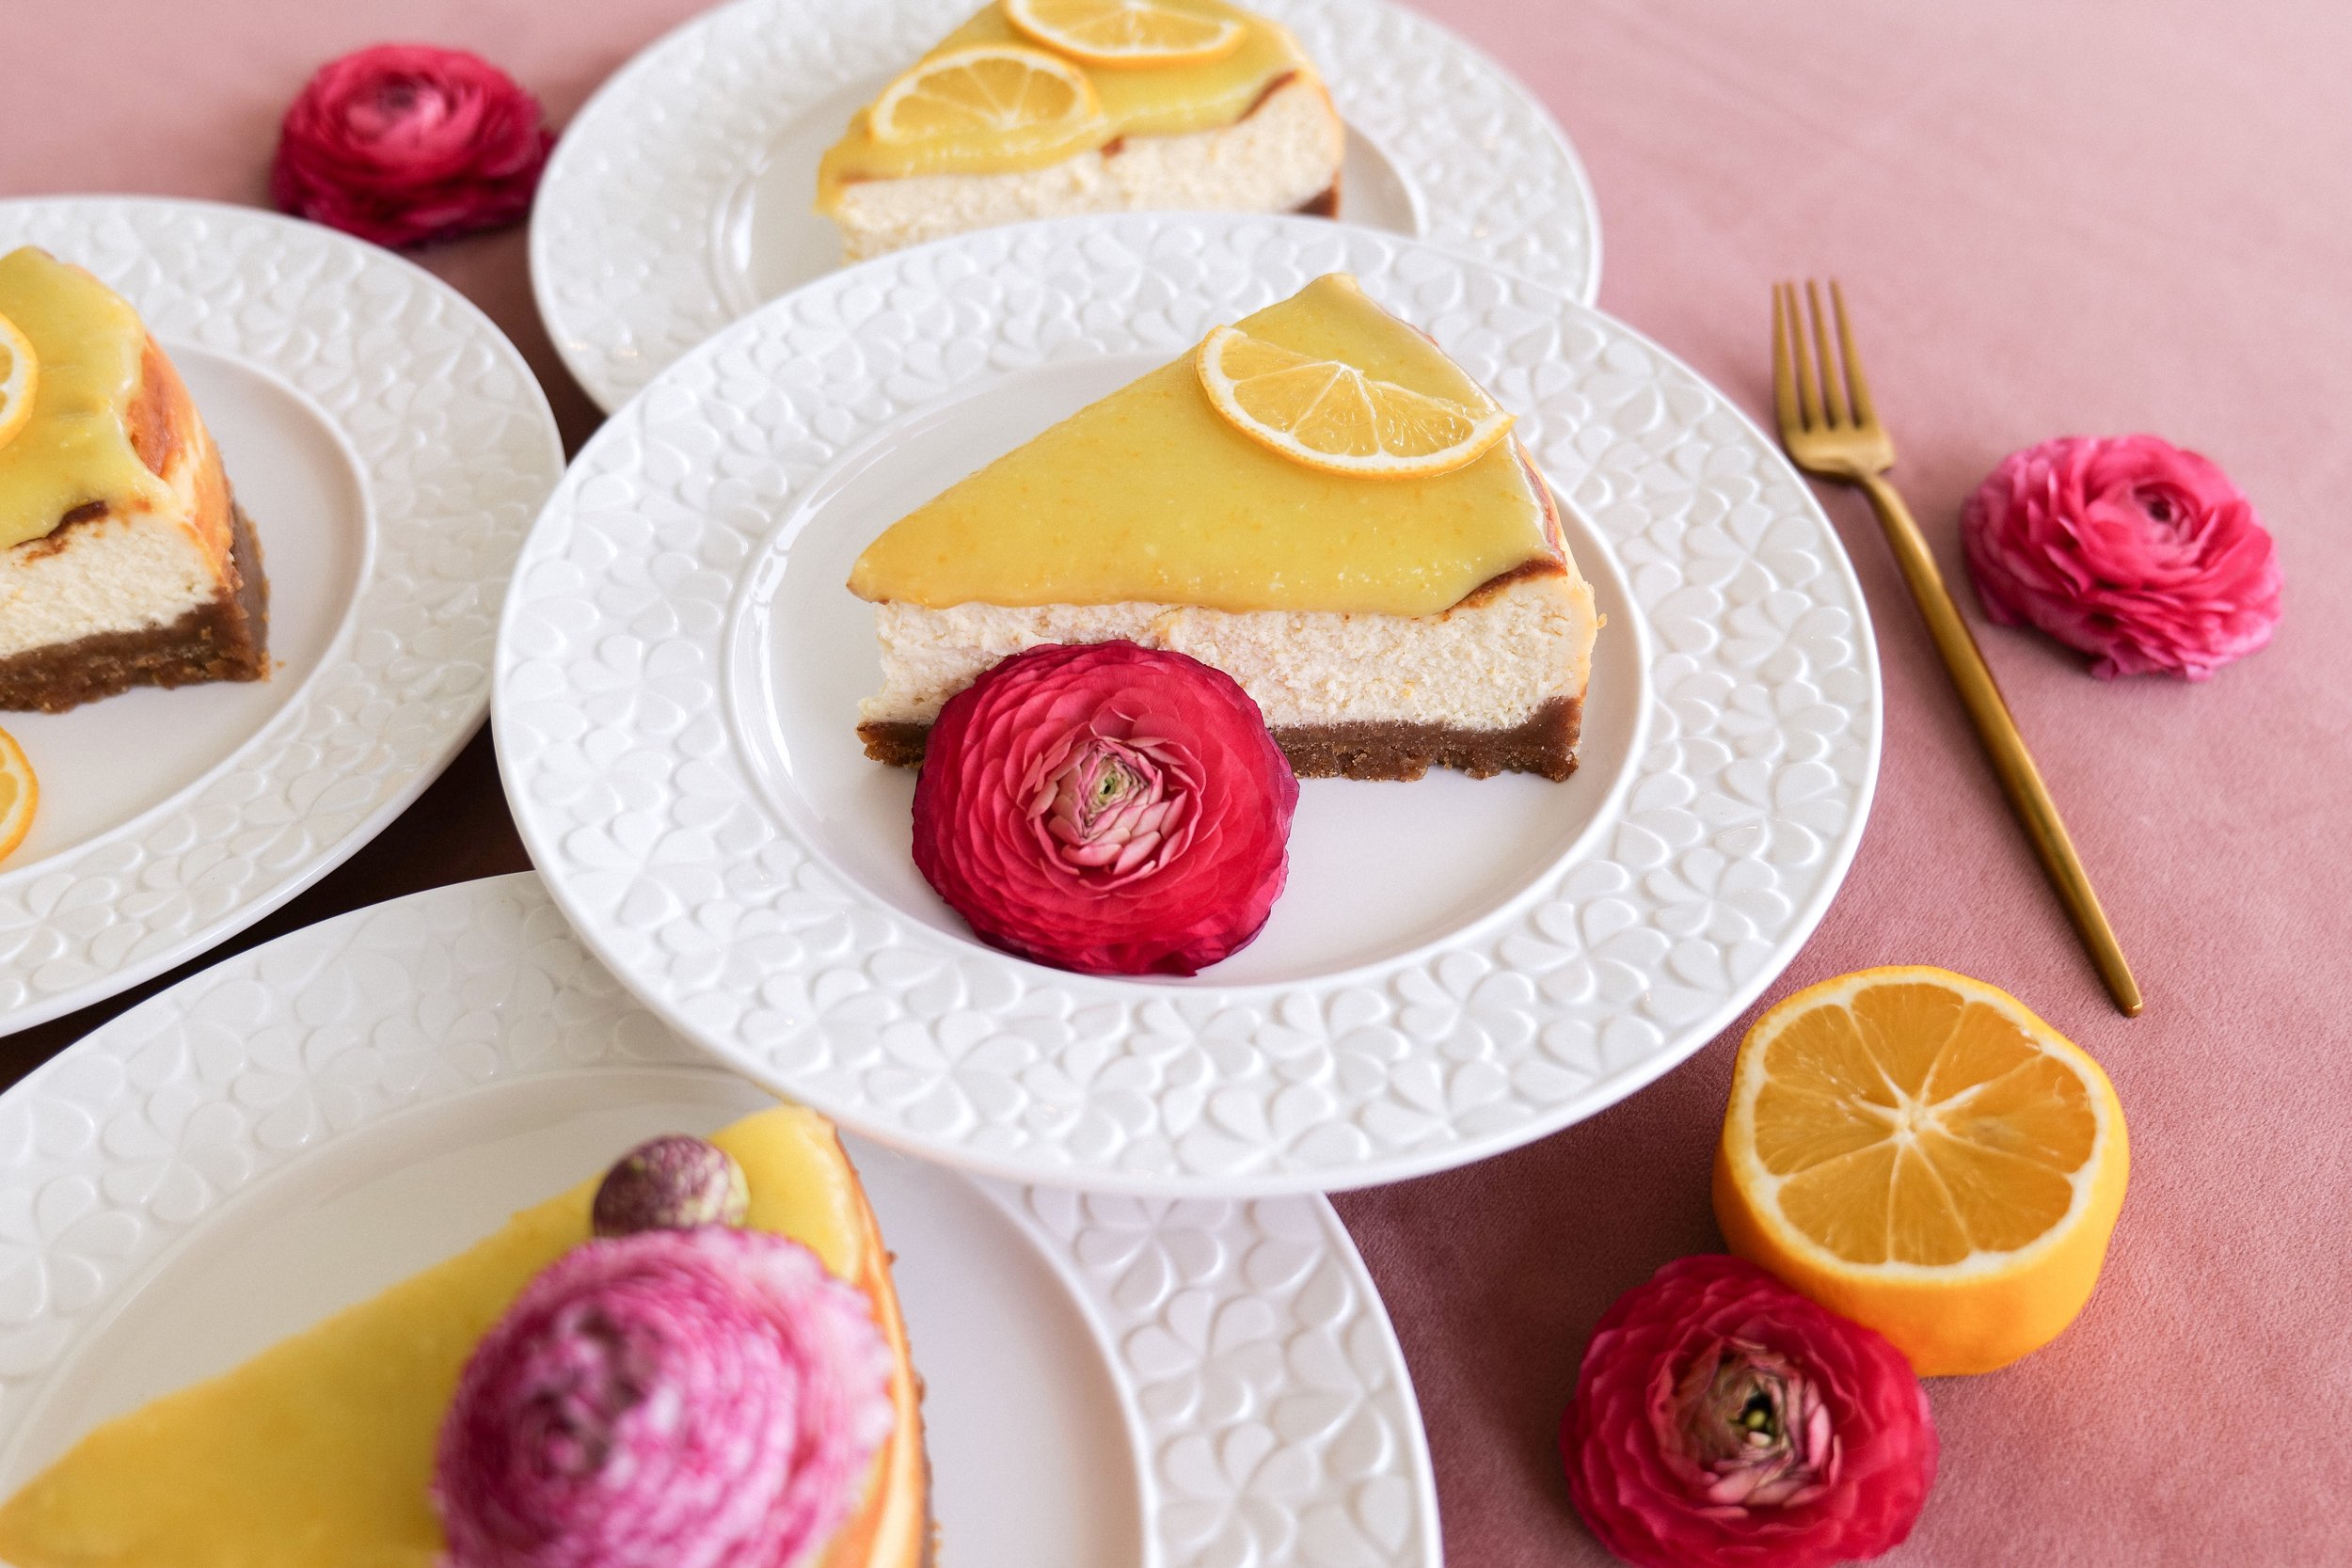
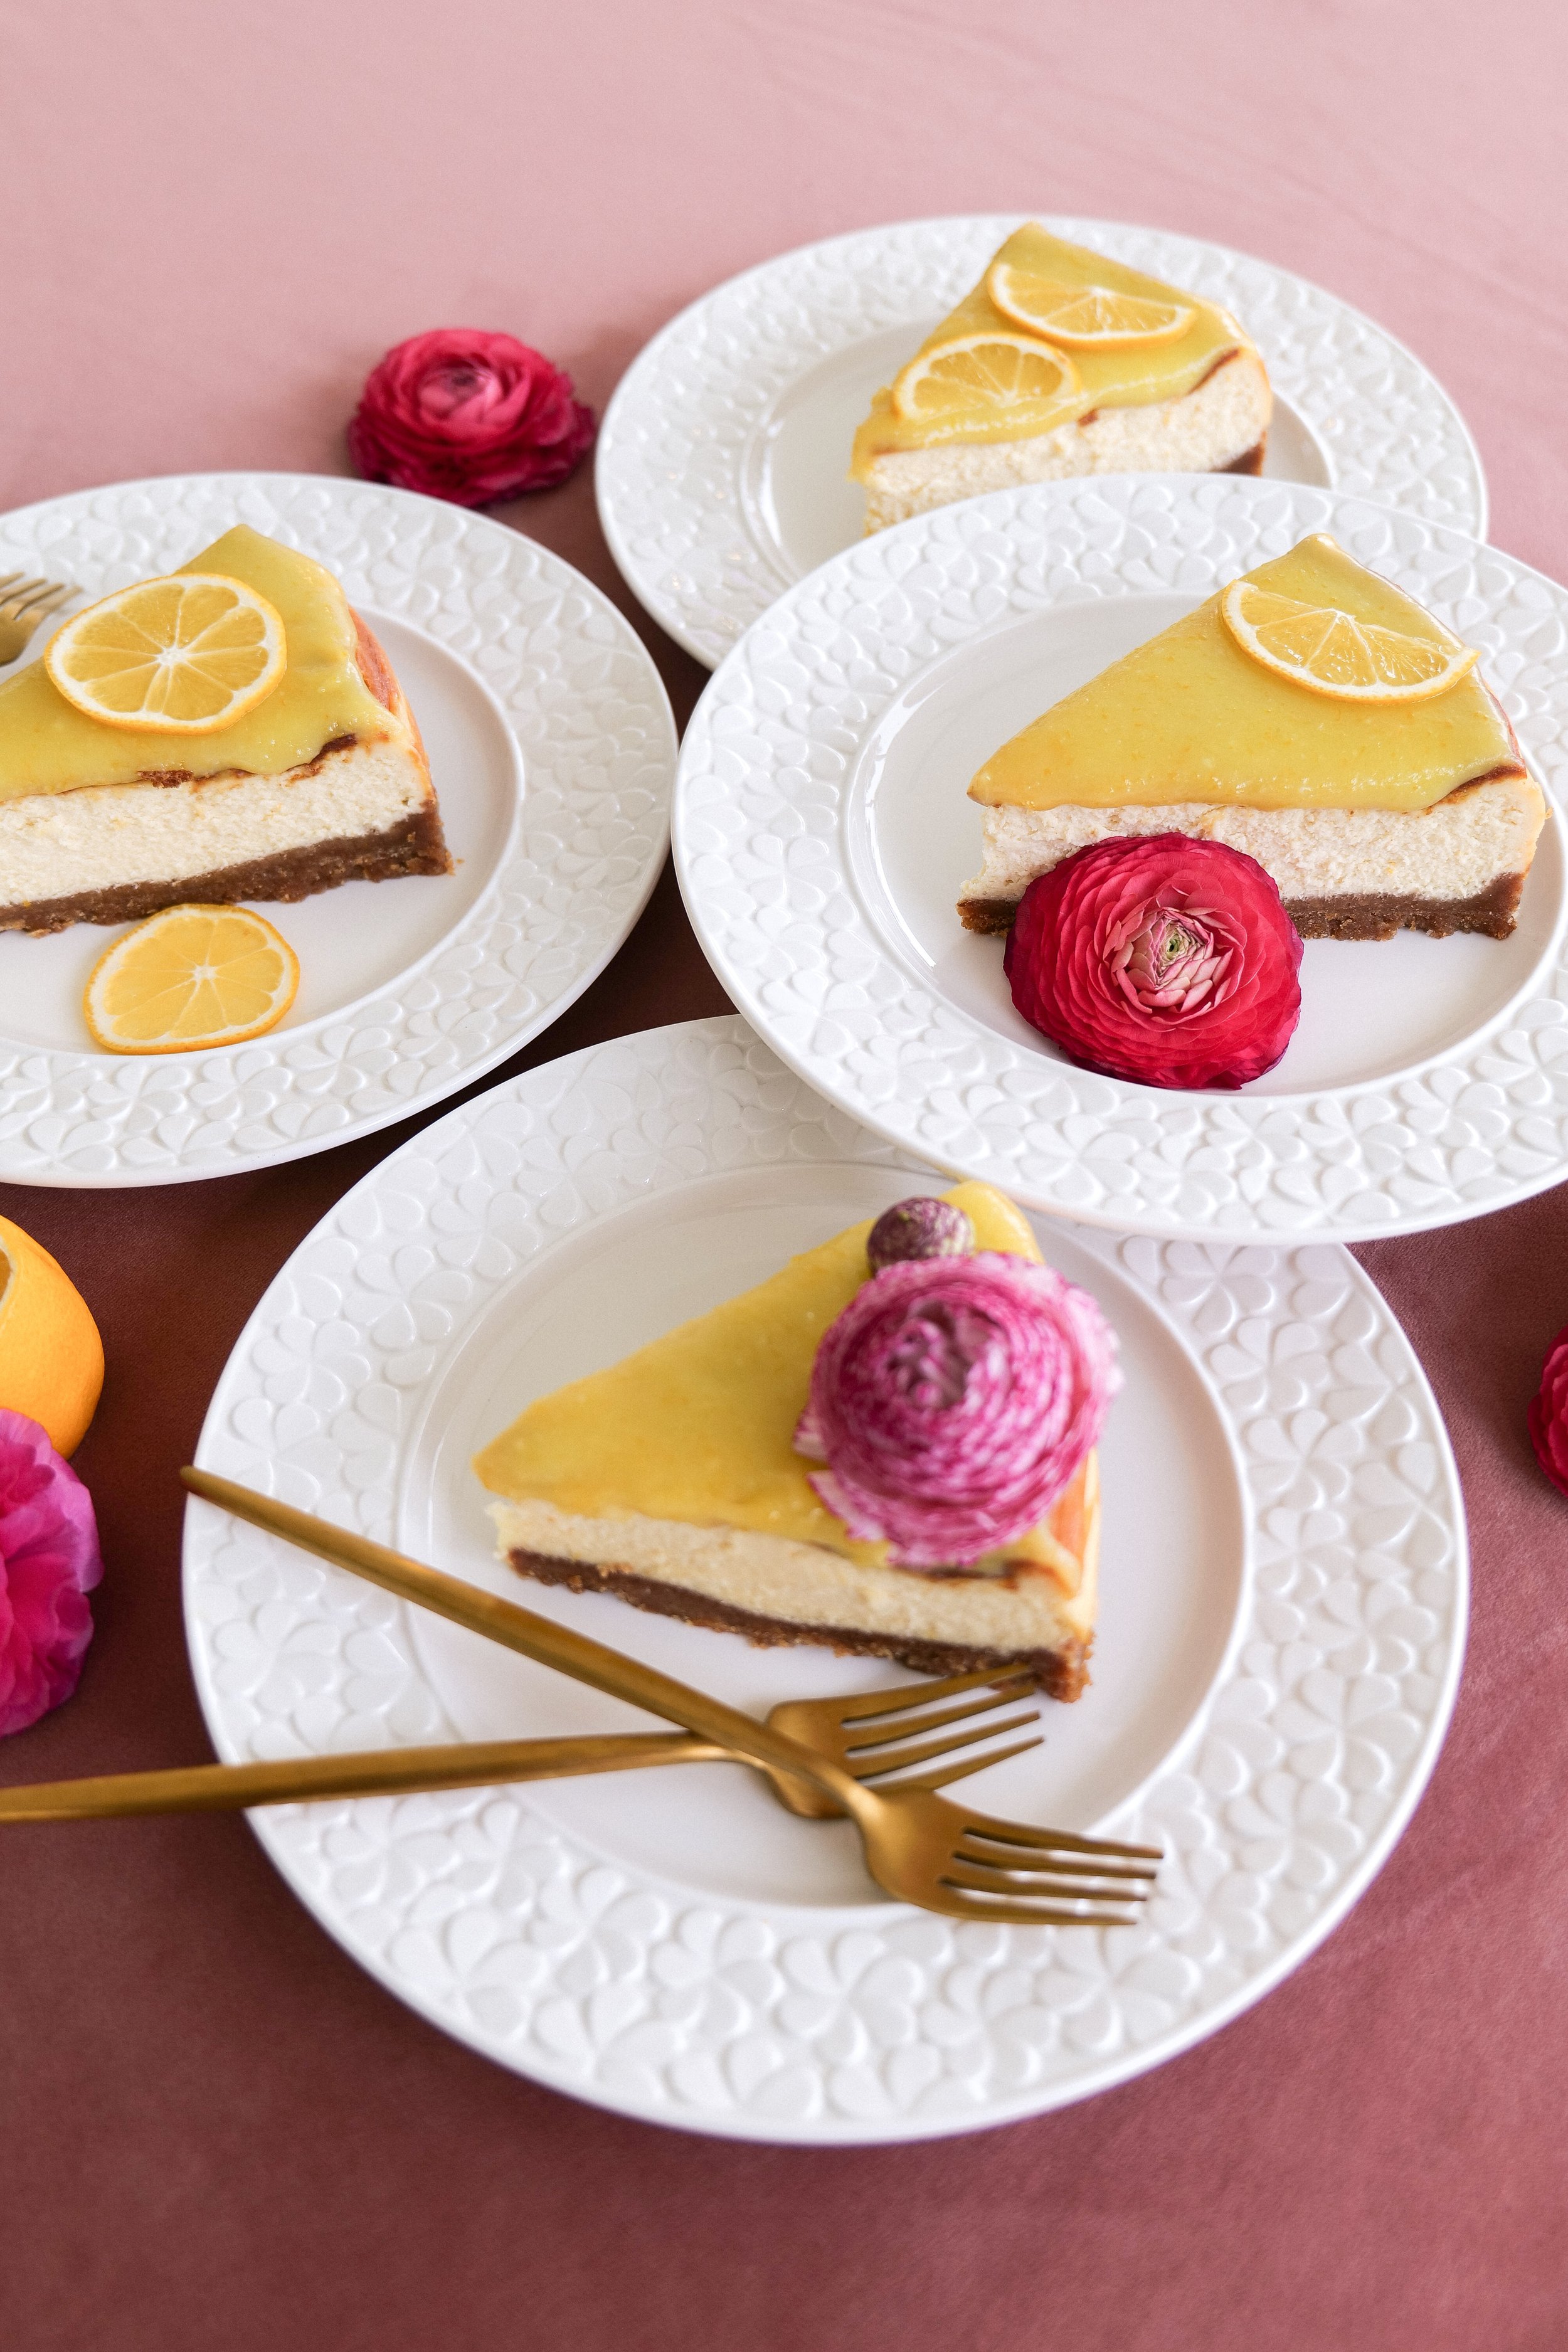
If you love a dessert that is both tart and sweet, then you must try this tantalizingly delicious lemon cheesecake with an amazing glaze. Not only is this a crowd-pleaser, but it is also fairly easy to make. The sweet lemon cheesecake is perfectly balanced with a tangy tart glaze, making it the perfect end to any meal. This recipe is sure to please everyone at your next gathering. Not only is it incredibly delicious, but it's beautiful presentation will surely impress your guests. This rich and creamy confection offers a perfect balance of sweetness and citrus. The smooth and velvety texture is light and airy, yet dense enough to satisfy. The golden-brown crust is a delicious base for the perfectly balanced flavor of sweet and tart lemon, and to top it all off, a decadent and delectable topping of fresh lemon curd makes this amazing. Read on to learn how to make this delicious lemon cheesecake!

The perfect base of this sweet treat is a graham cracker crust that is incredibly easy to make with butter, graham crackers and pecans. This gives a great base for your cheesecake with a buttery and nutty crunch that is so scrumptious. This buttery crust will be a staple recipe to use on any cheesecake, I promise you that!

With its creamy and sweet lemon cheesecake filling made with fresh lemon juice, it has a rich and velvety smooth texture that melts in your mouth. The sweet light flavor is enhanced with a hint of vanilla and an aromatic citrus aroma that tantalizes your taste buds. This perfectly balanced flavor will make your mouth water and its light and airy texture will leave you craving for more. The amazing glaze adds the perfect finishing touch to this delightful dessert and adds an element of surprise from your traditional cheesecakes.

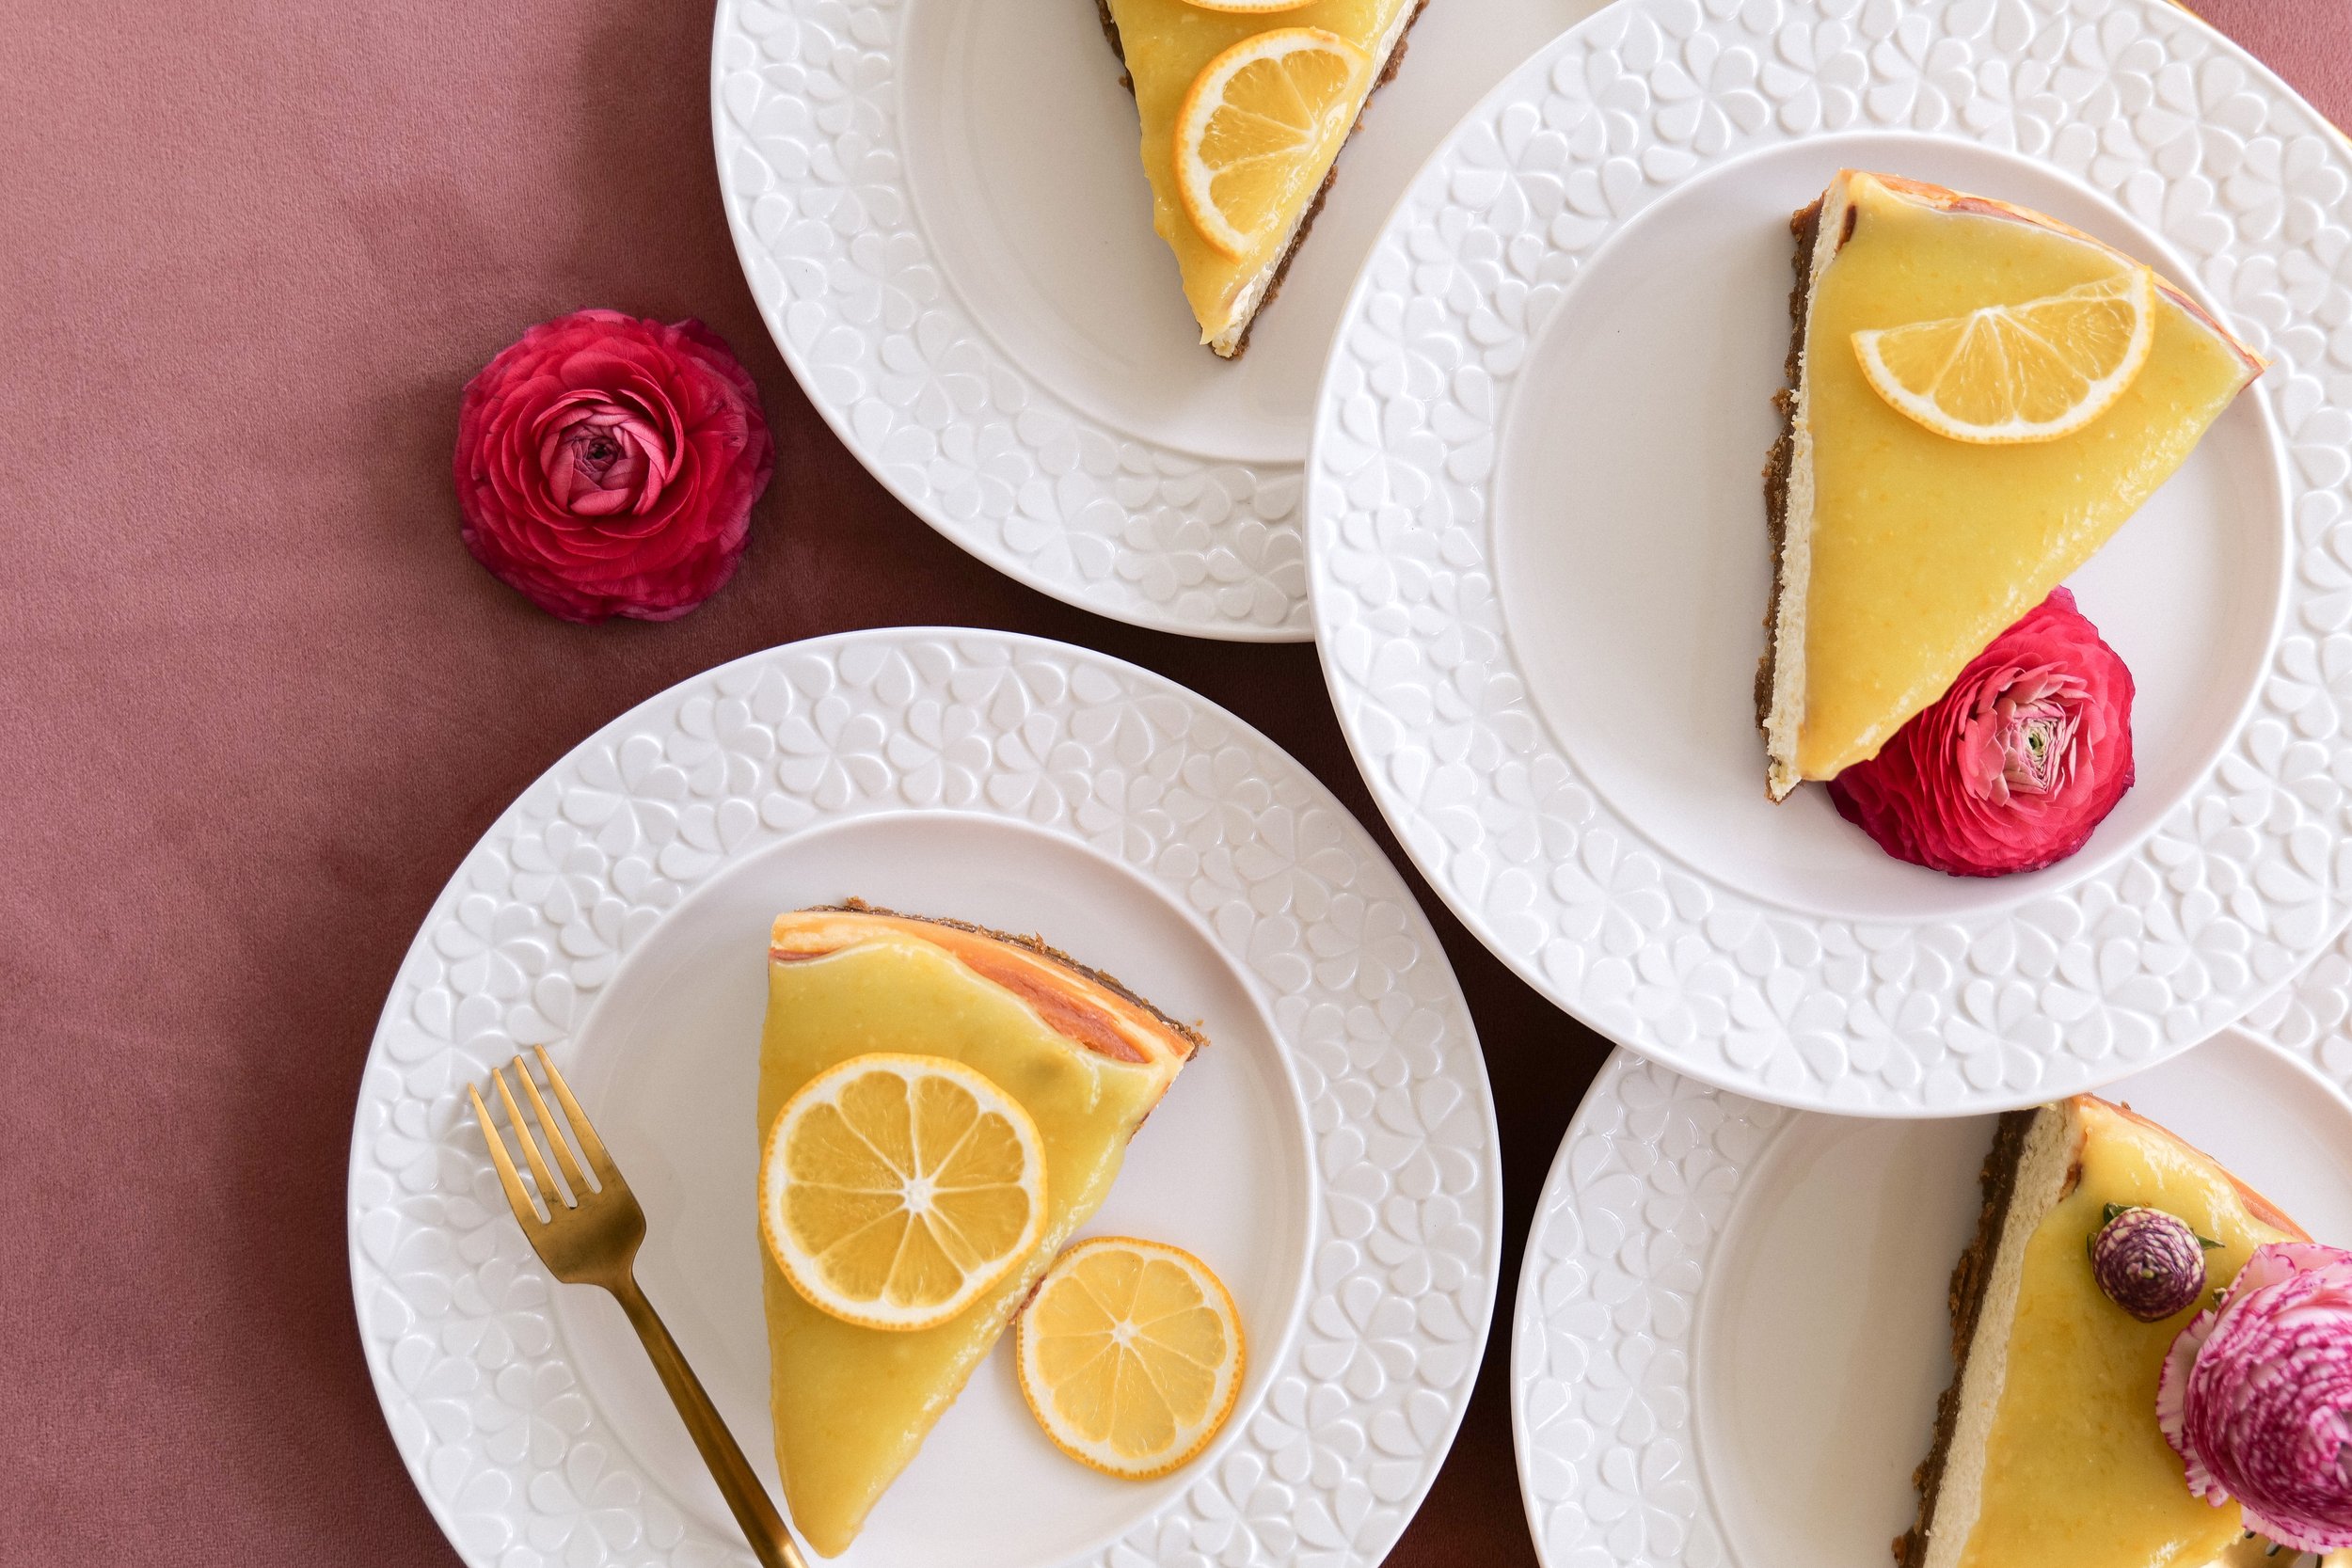
Making the glaze is also very simple and requires minimal ingredients. Once the glaze is finished, you can serve it on top of the cheesecake, or on the side so guests can add it themselves. The glaze gives the cheesecake an extra bit of texture and flavor that will make it truly irresistible. With a combination of eggs, sugar, butter, fresh lemon zest, and juice, the glaze adds a layer of sweetness to the creamy cheesecake that complements it perfectly. You can top the cheesecake and glaze with fresh berries, additional lemon zest or thinly sliced lemons like I have done here.

INGREDIENTS

Crust:

12 oz graham crackers

1 cup pecans

1 cup melted butter

Filling:

3 - 8 oz cream cheese ( room temperature )

1 stick salted butter

1/2 cup brown sugar

1/2 cup granulated sugar

1/4 teaspoons sea salt

3 eggs

1/2 cup heavy cream

1 tsp vanilla extract

3 tablespoons lemon zest

Glaze -

1 cup granulated sugar

2 eggs

1/4 cup fresh lemon juice

3 tablespoons lemon zest

6 tablespoons butter

INSTRUCTIONS

  1. Preheat oven to 375. Spray cheesecake pan with olive oil spray and wrap around the outside with foil.

  2. Make Crust by adding pecans & graham cracker to blender and processing until fine. Add in melted butter and blend again.

  3. Press crust mixture into bottom of pan until even all the way around. I use a flat bottom cup or a metal spoon to help.

  4. Bake in oven for 13-15 minutes. Once done remove and let cool before adding filling.

  5. Reduce oven temperature to 325 degrees.

  6. Make filling. Mix together softened cream cheese and butter with both sugars and salt until well combined.

  7. Add in eggs. One at a time. Making sure they are fully incorporated each time.

  8. Next add heavy cream, vanilla and lemon zest! Once well mixed add into cooled cheesecake pan.

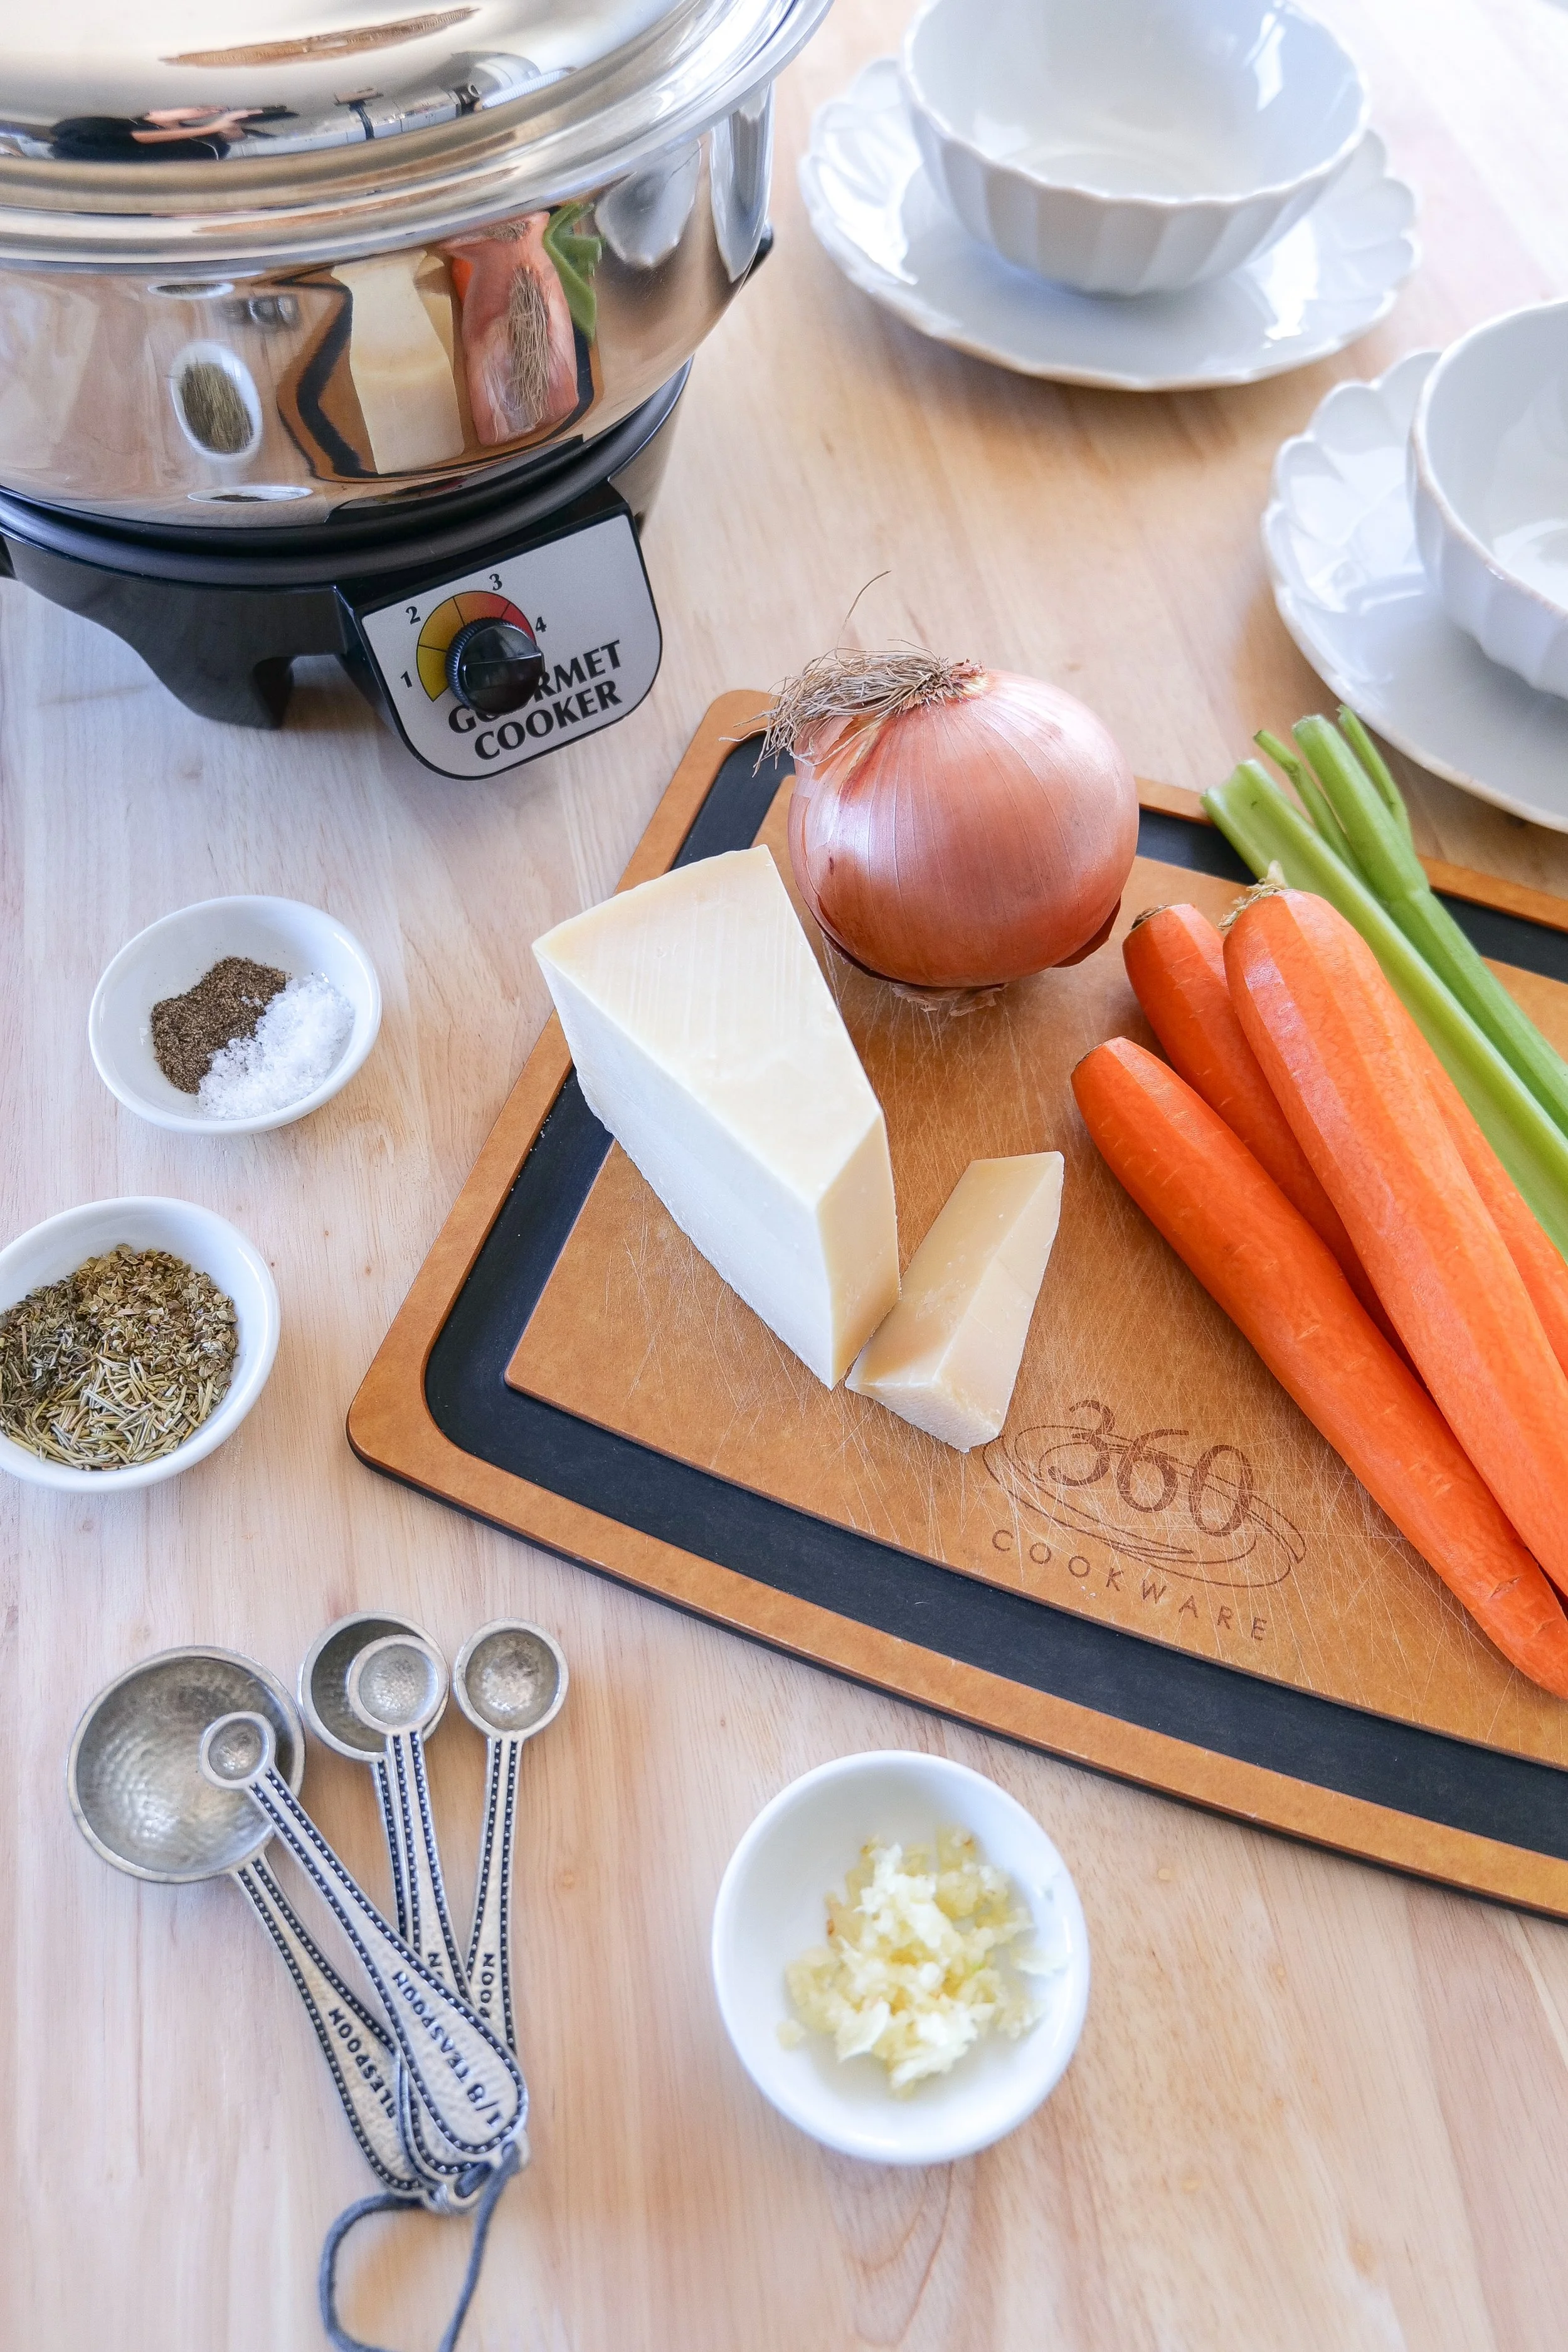
  9. You will then add this onto a tray with a lip. I use this one -here-. (Code Amanda20 for 20% off any order at 360cookware.com) Place on oven rack and add in warm water until halfway full and push back rack and start timer.

  10. Cook the cheesecake for 1 hour. The center will still be a little jiggly, but side will be set. After baked for 1 hour you will turn oven off the oven and leave the cheesecake in the oven for an additional hour.

  11. Once baked for an hour and let sit for an hour in the oven, you can remove from the oven. Wrap cheesecake and let sit in your refrigerator overnight. Up to 24 hours before serving or adding glaze.

GLAZE INSTRUCTIONS

After Cheesecake has cooled overnight you will want to get the glaze ready for the finishing touch! You can add this onto each piece as you serve as you go just in case someone doesn’t want it, but I always add ahead of time, because it's so good everyone will!!

  1. Take a small saucepan over low/medium heat and whisk eggs, sugar, lemon peel & lemon juice.

  2. Add butter and continue whisking constantly. Mix until thickened. (It will stick the back of a wooden spoon)

  3. Remove from pan into a glass bowl and let cool for 15 min.

  4. Place in refrigerator until completely cooled. Then place on top of cheesecake and serve!

For those of us who are looking for a way to get creative in the kitchen, this recipe is the perfect choice. You can make this recipe your own by adding different flavors and ingredients. Plus, you can even top it off with a unique glaze. For those wanting a sweeter crust try adding in honey. Switch out the lemon zest and juice in the glaze for fresh berries and make a blueberry drizzle that is also amazing on a lemon cheesecake! For those wanting a keto option, change the graham cracker to additional nuts, either more pecans or almonds will do great. No matter what you do to make this your own this tantalizingly delicious: lemon cheesecake with amazing glaze is sure to be a hit!

If you’re looking for more delicious recipes like this one, make sure to follow me on Pinterest. I have lots of incredible delicious desserts that are perfect for any occasion. From cakes and pies to cookies and bars, you’ll find something that’s sure to be tantalizing your taste buds.

Here are a few others I think you will enjoy:

Indulge in Deliciousness: Cherry Chip Cake with Chunks of Dark Chocolate Recipe

Chocolate Peanut Butter Brownies

Brown Butter Caramel Pretzel Cookies

Delicious & Easy Apple Pie