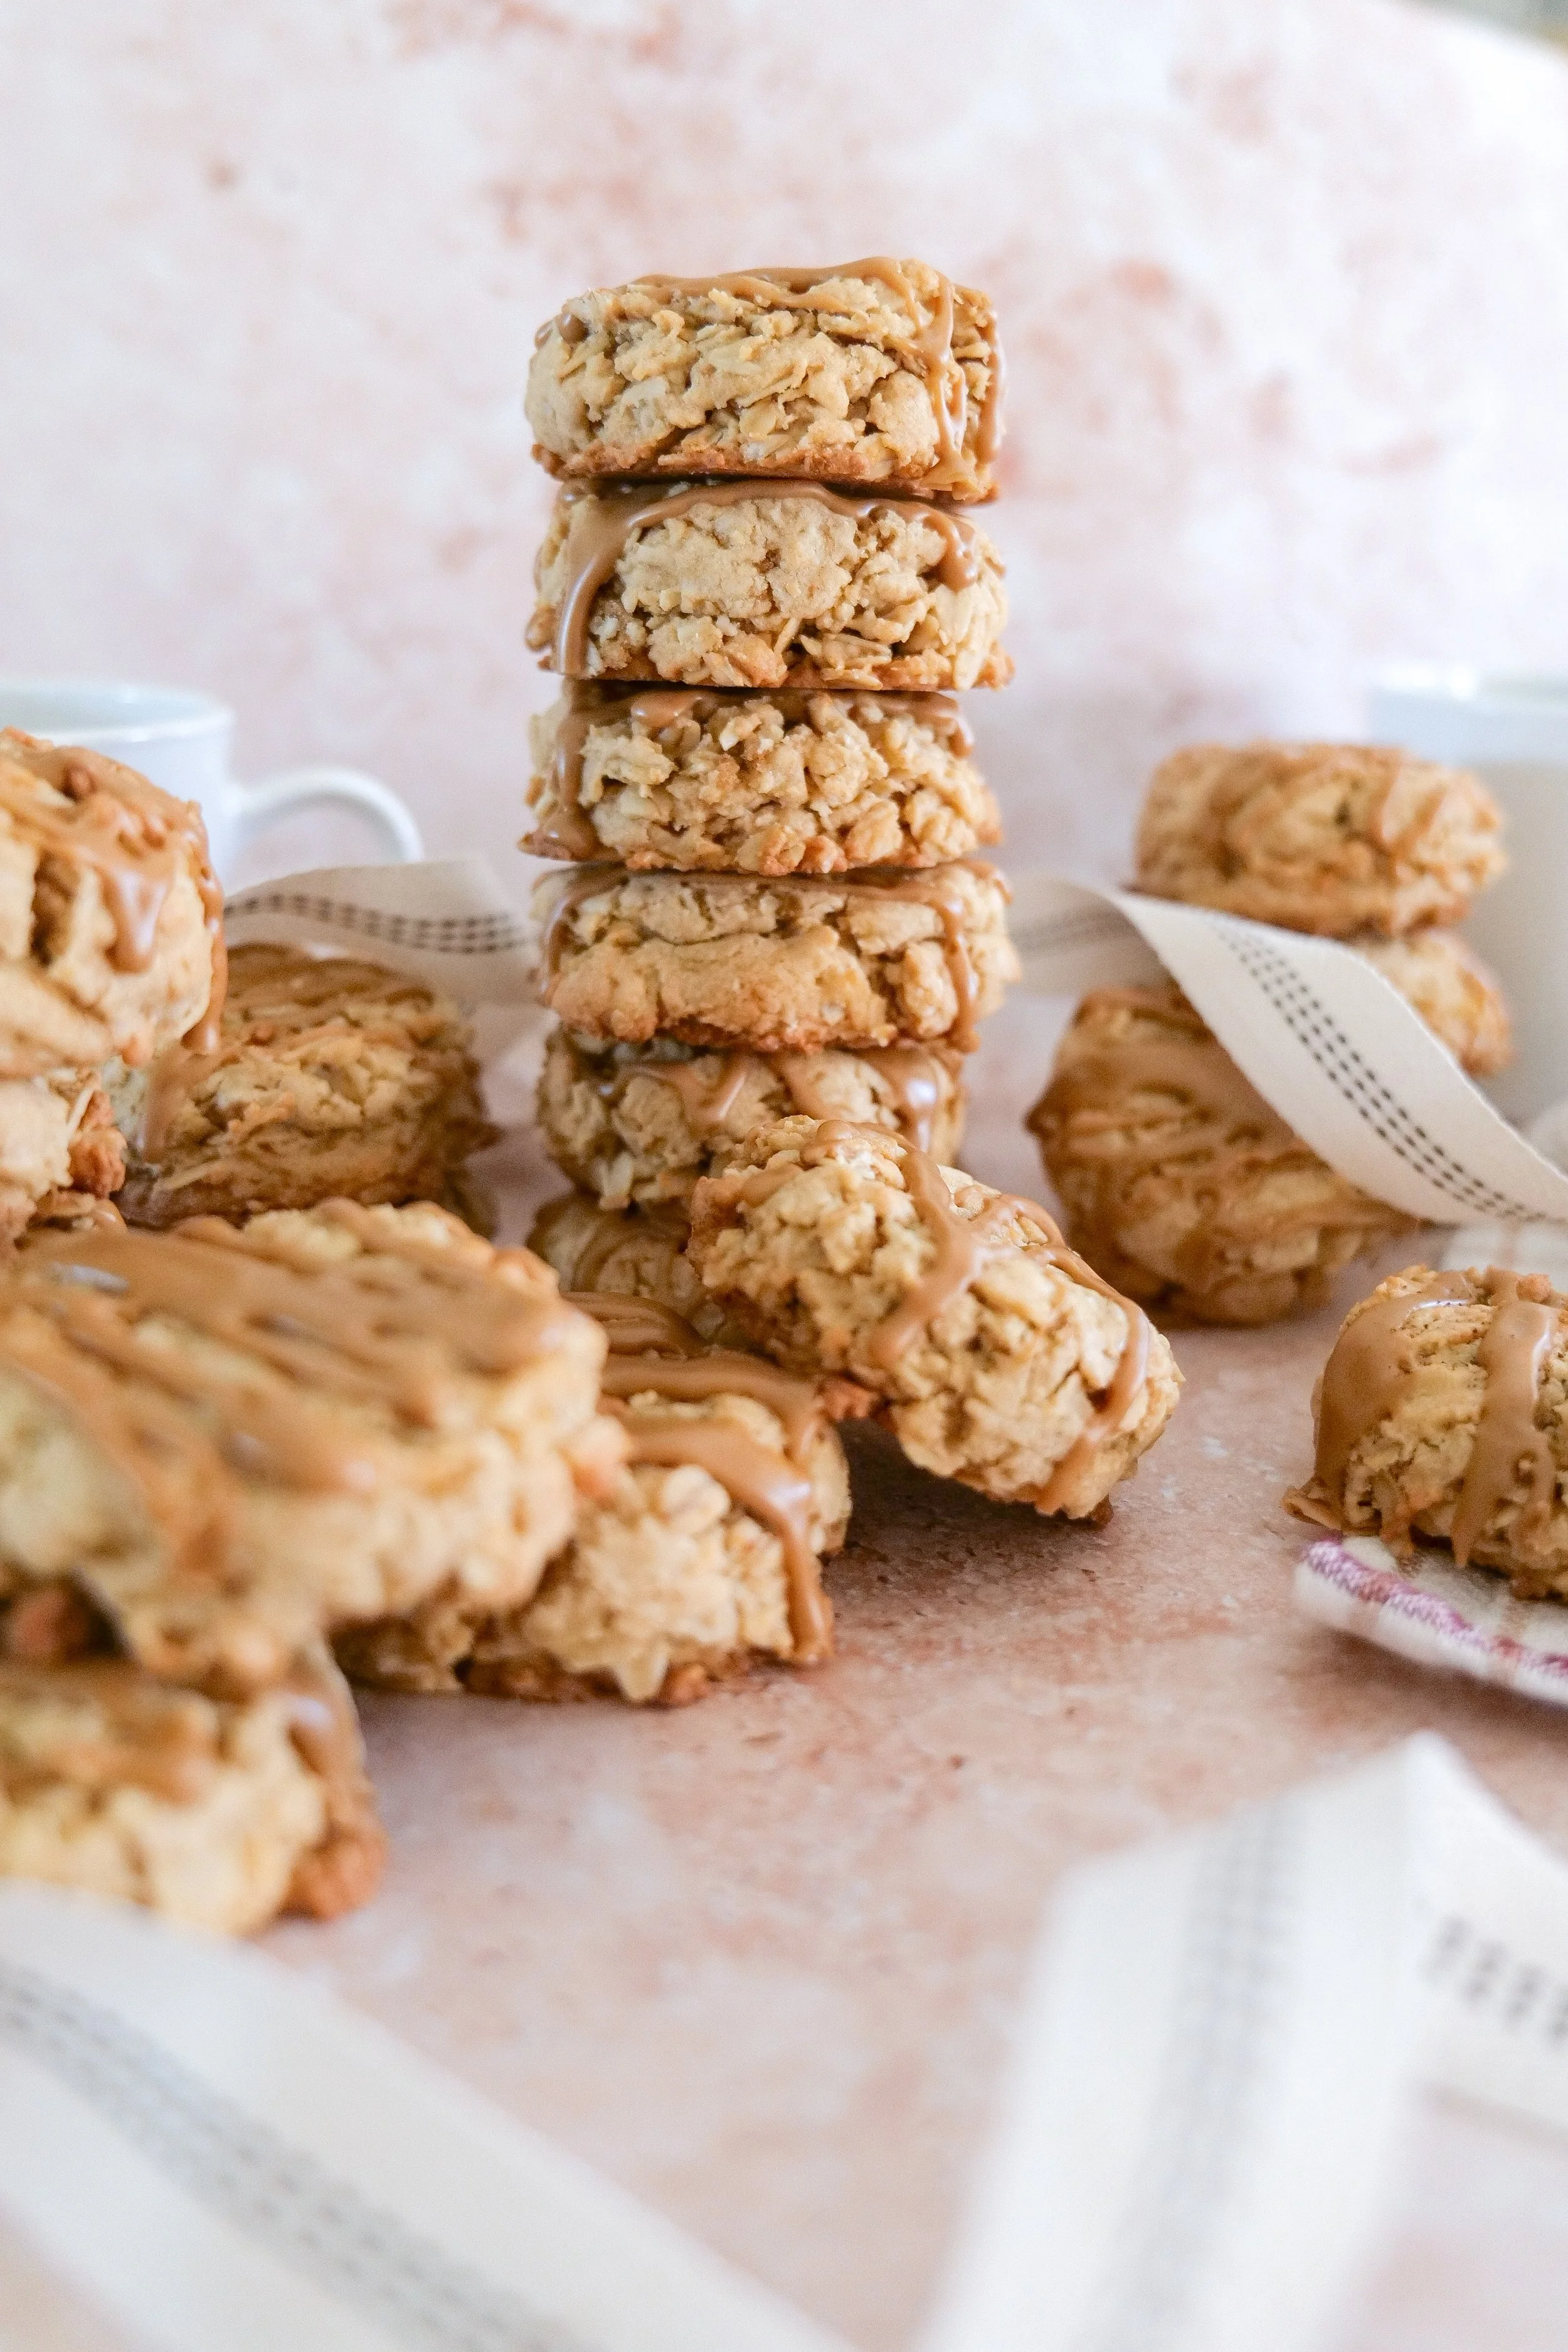
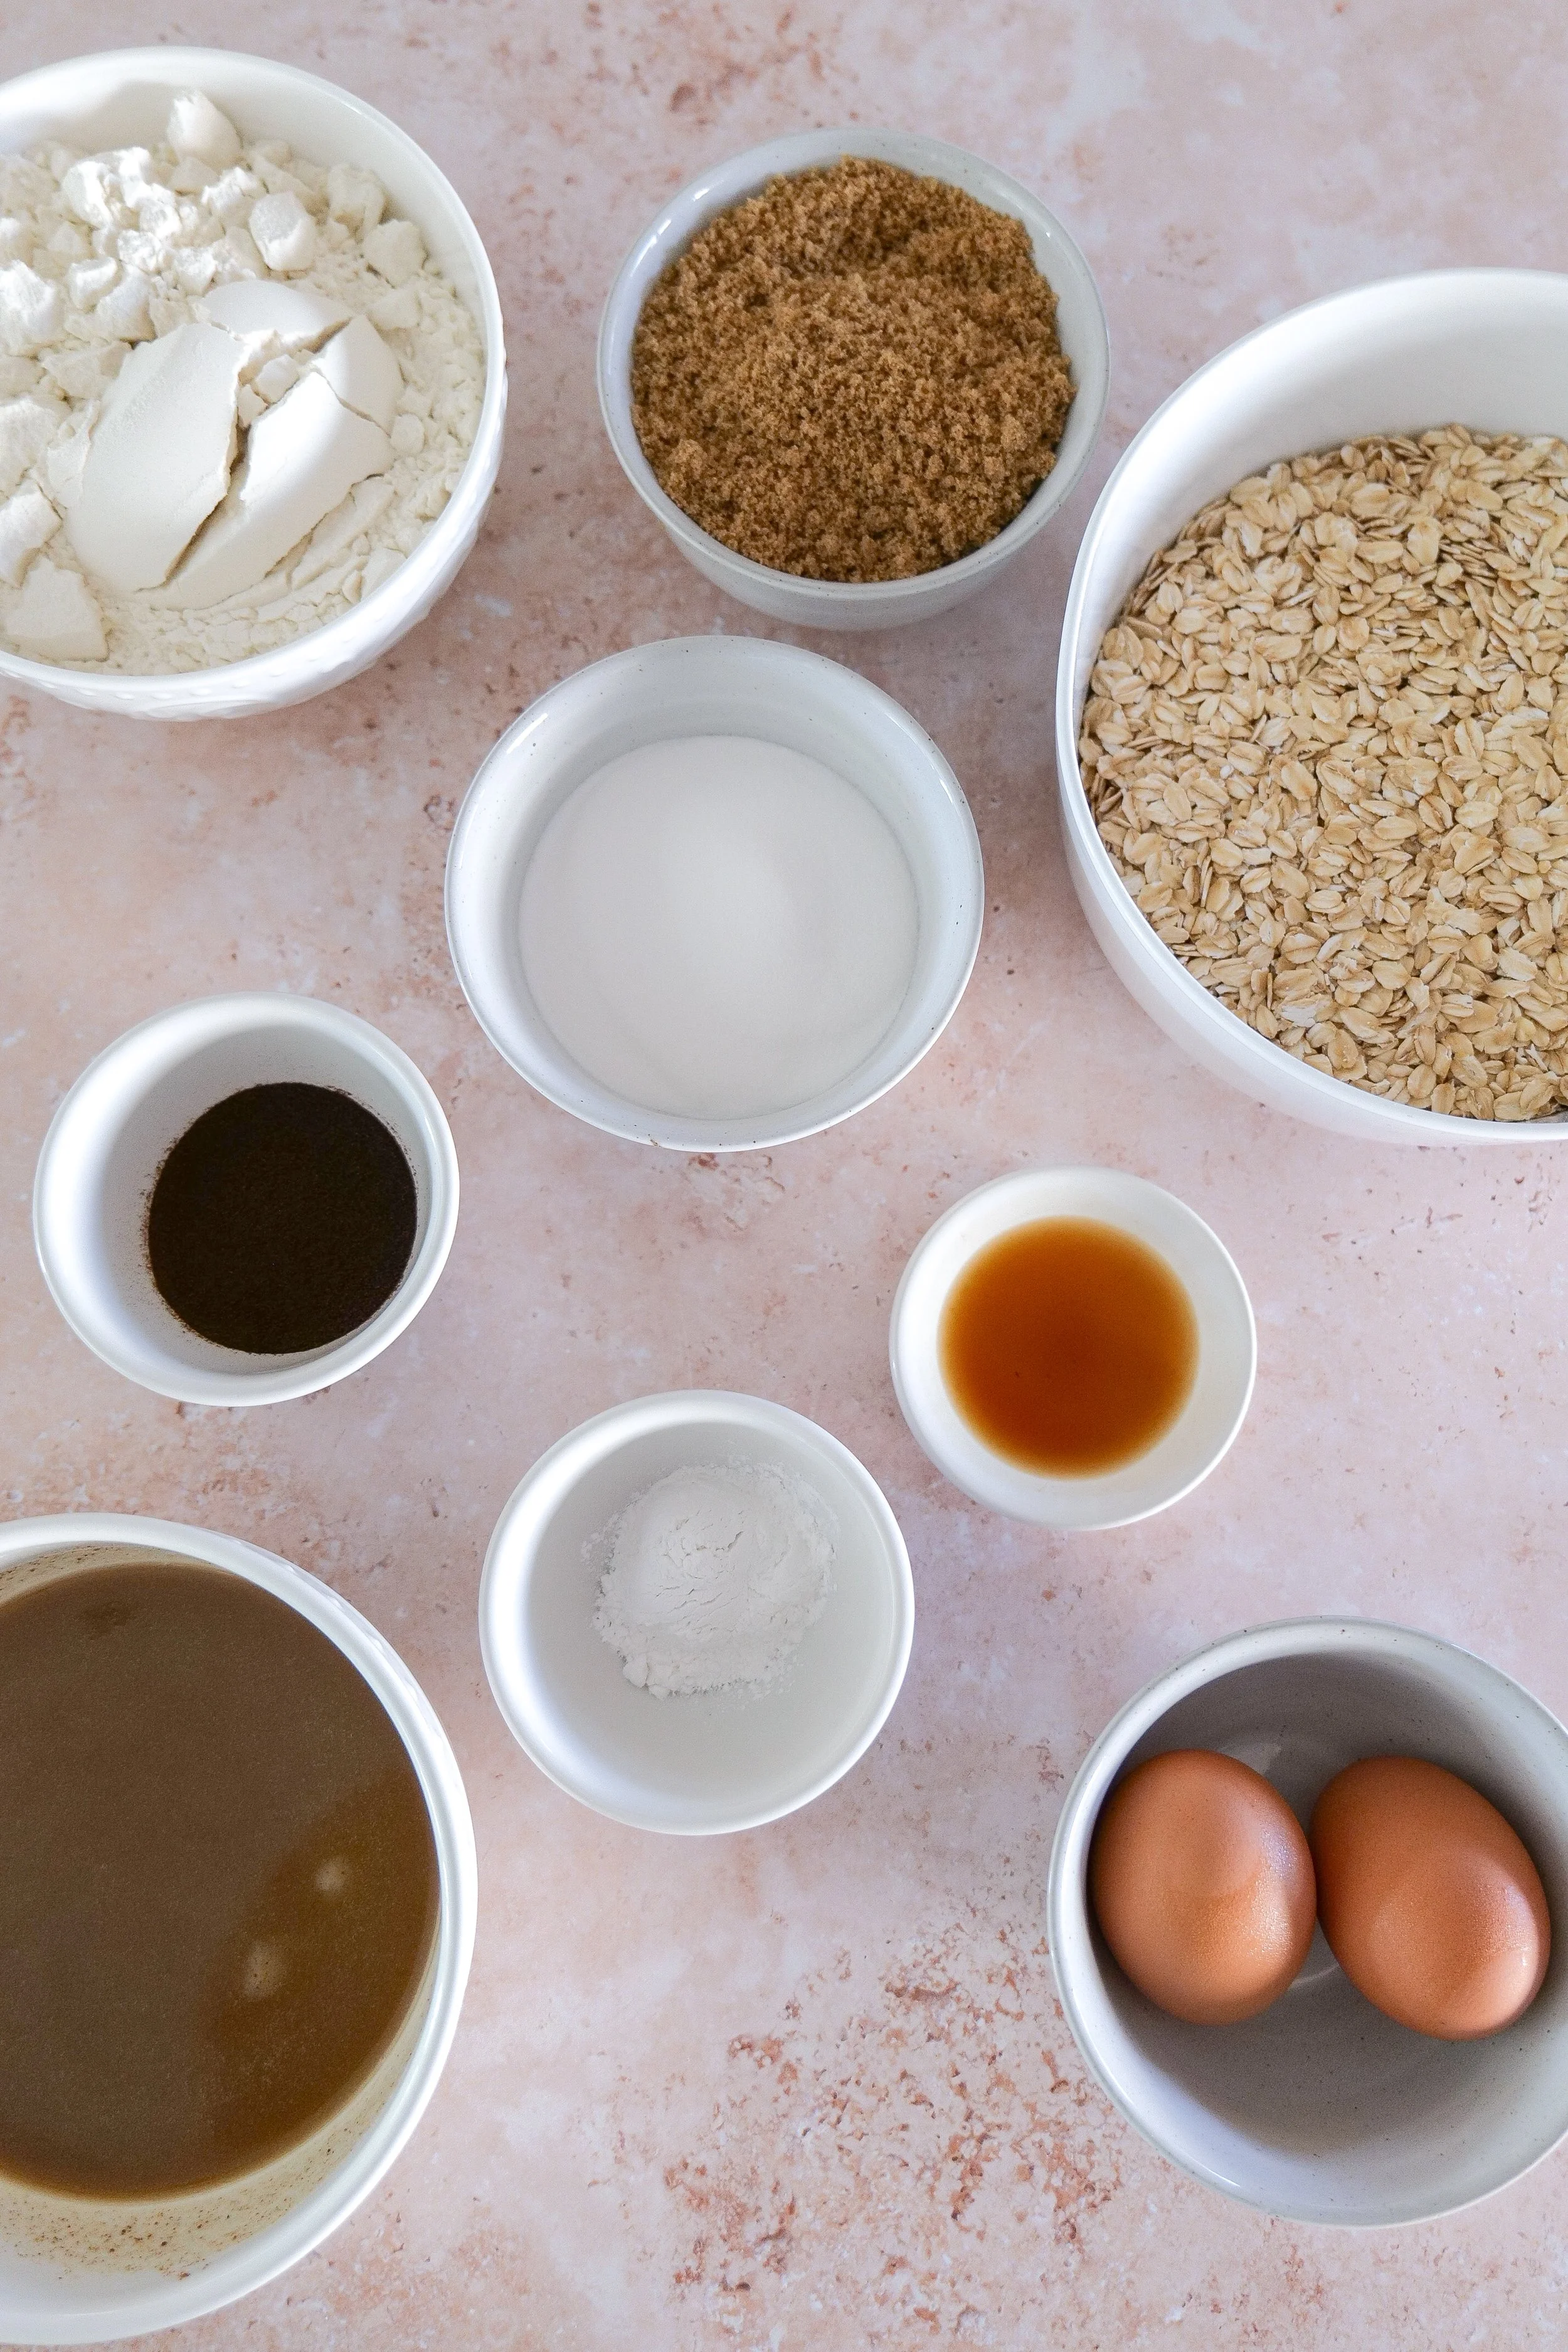
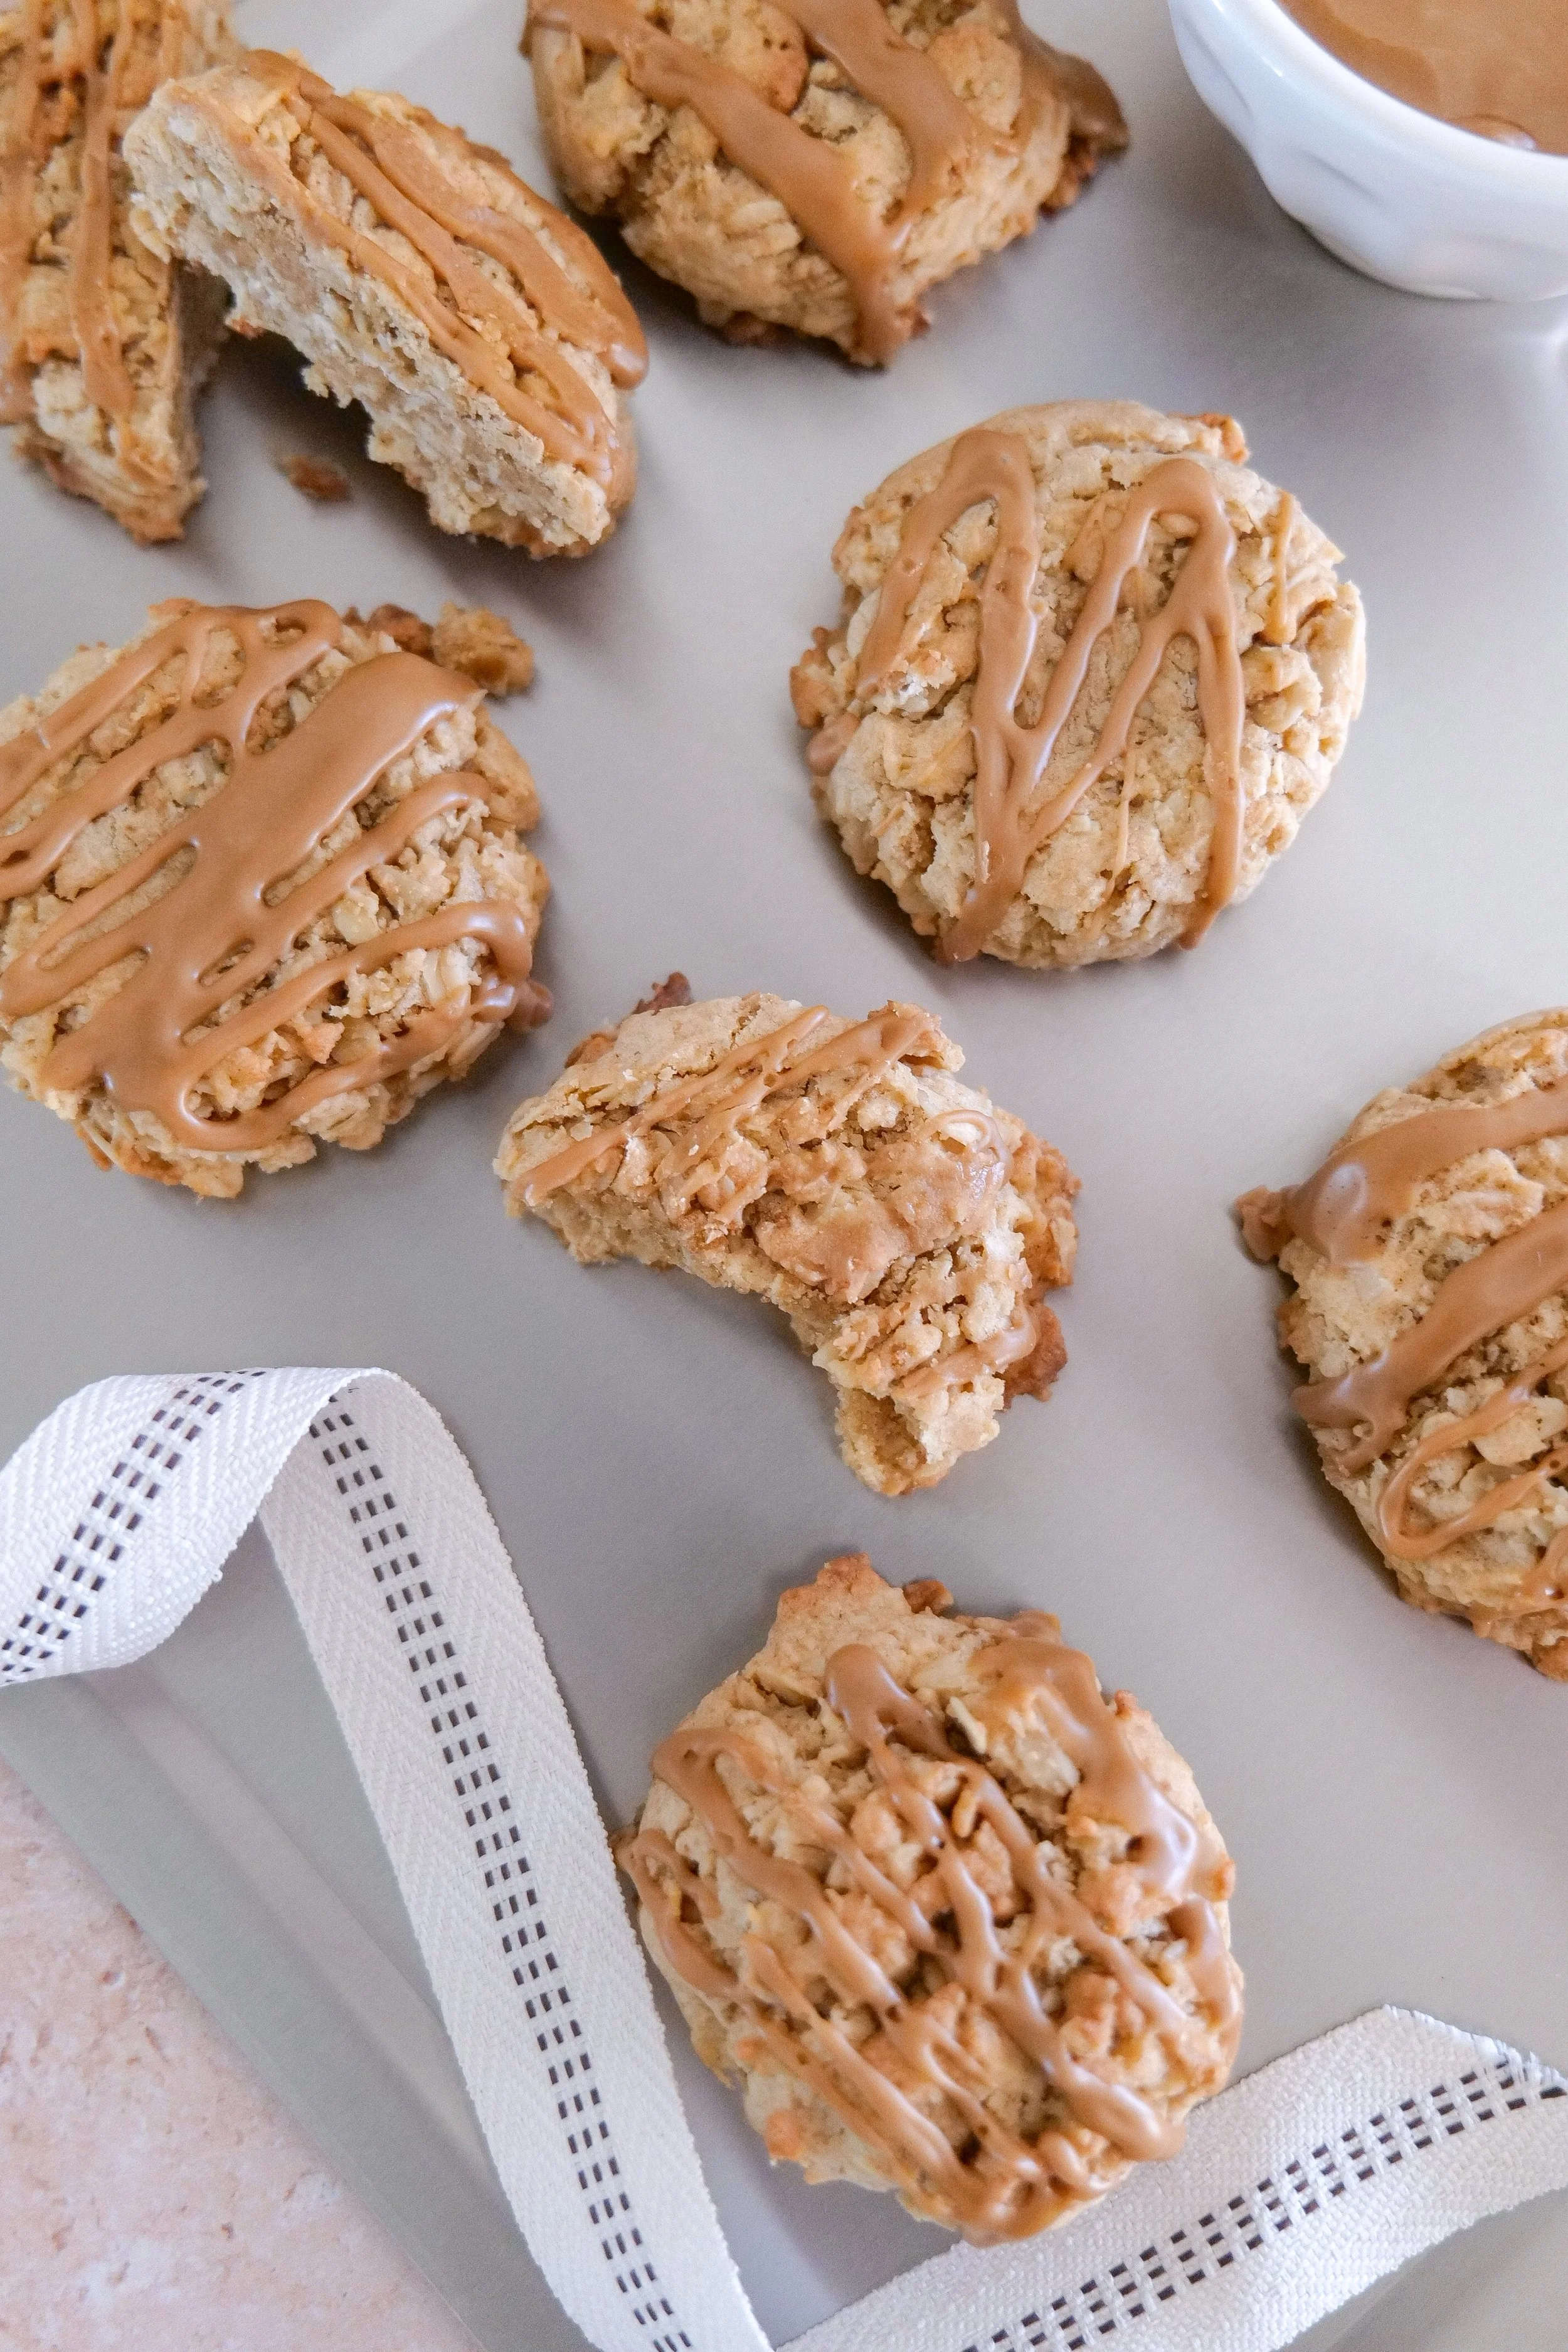
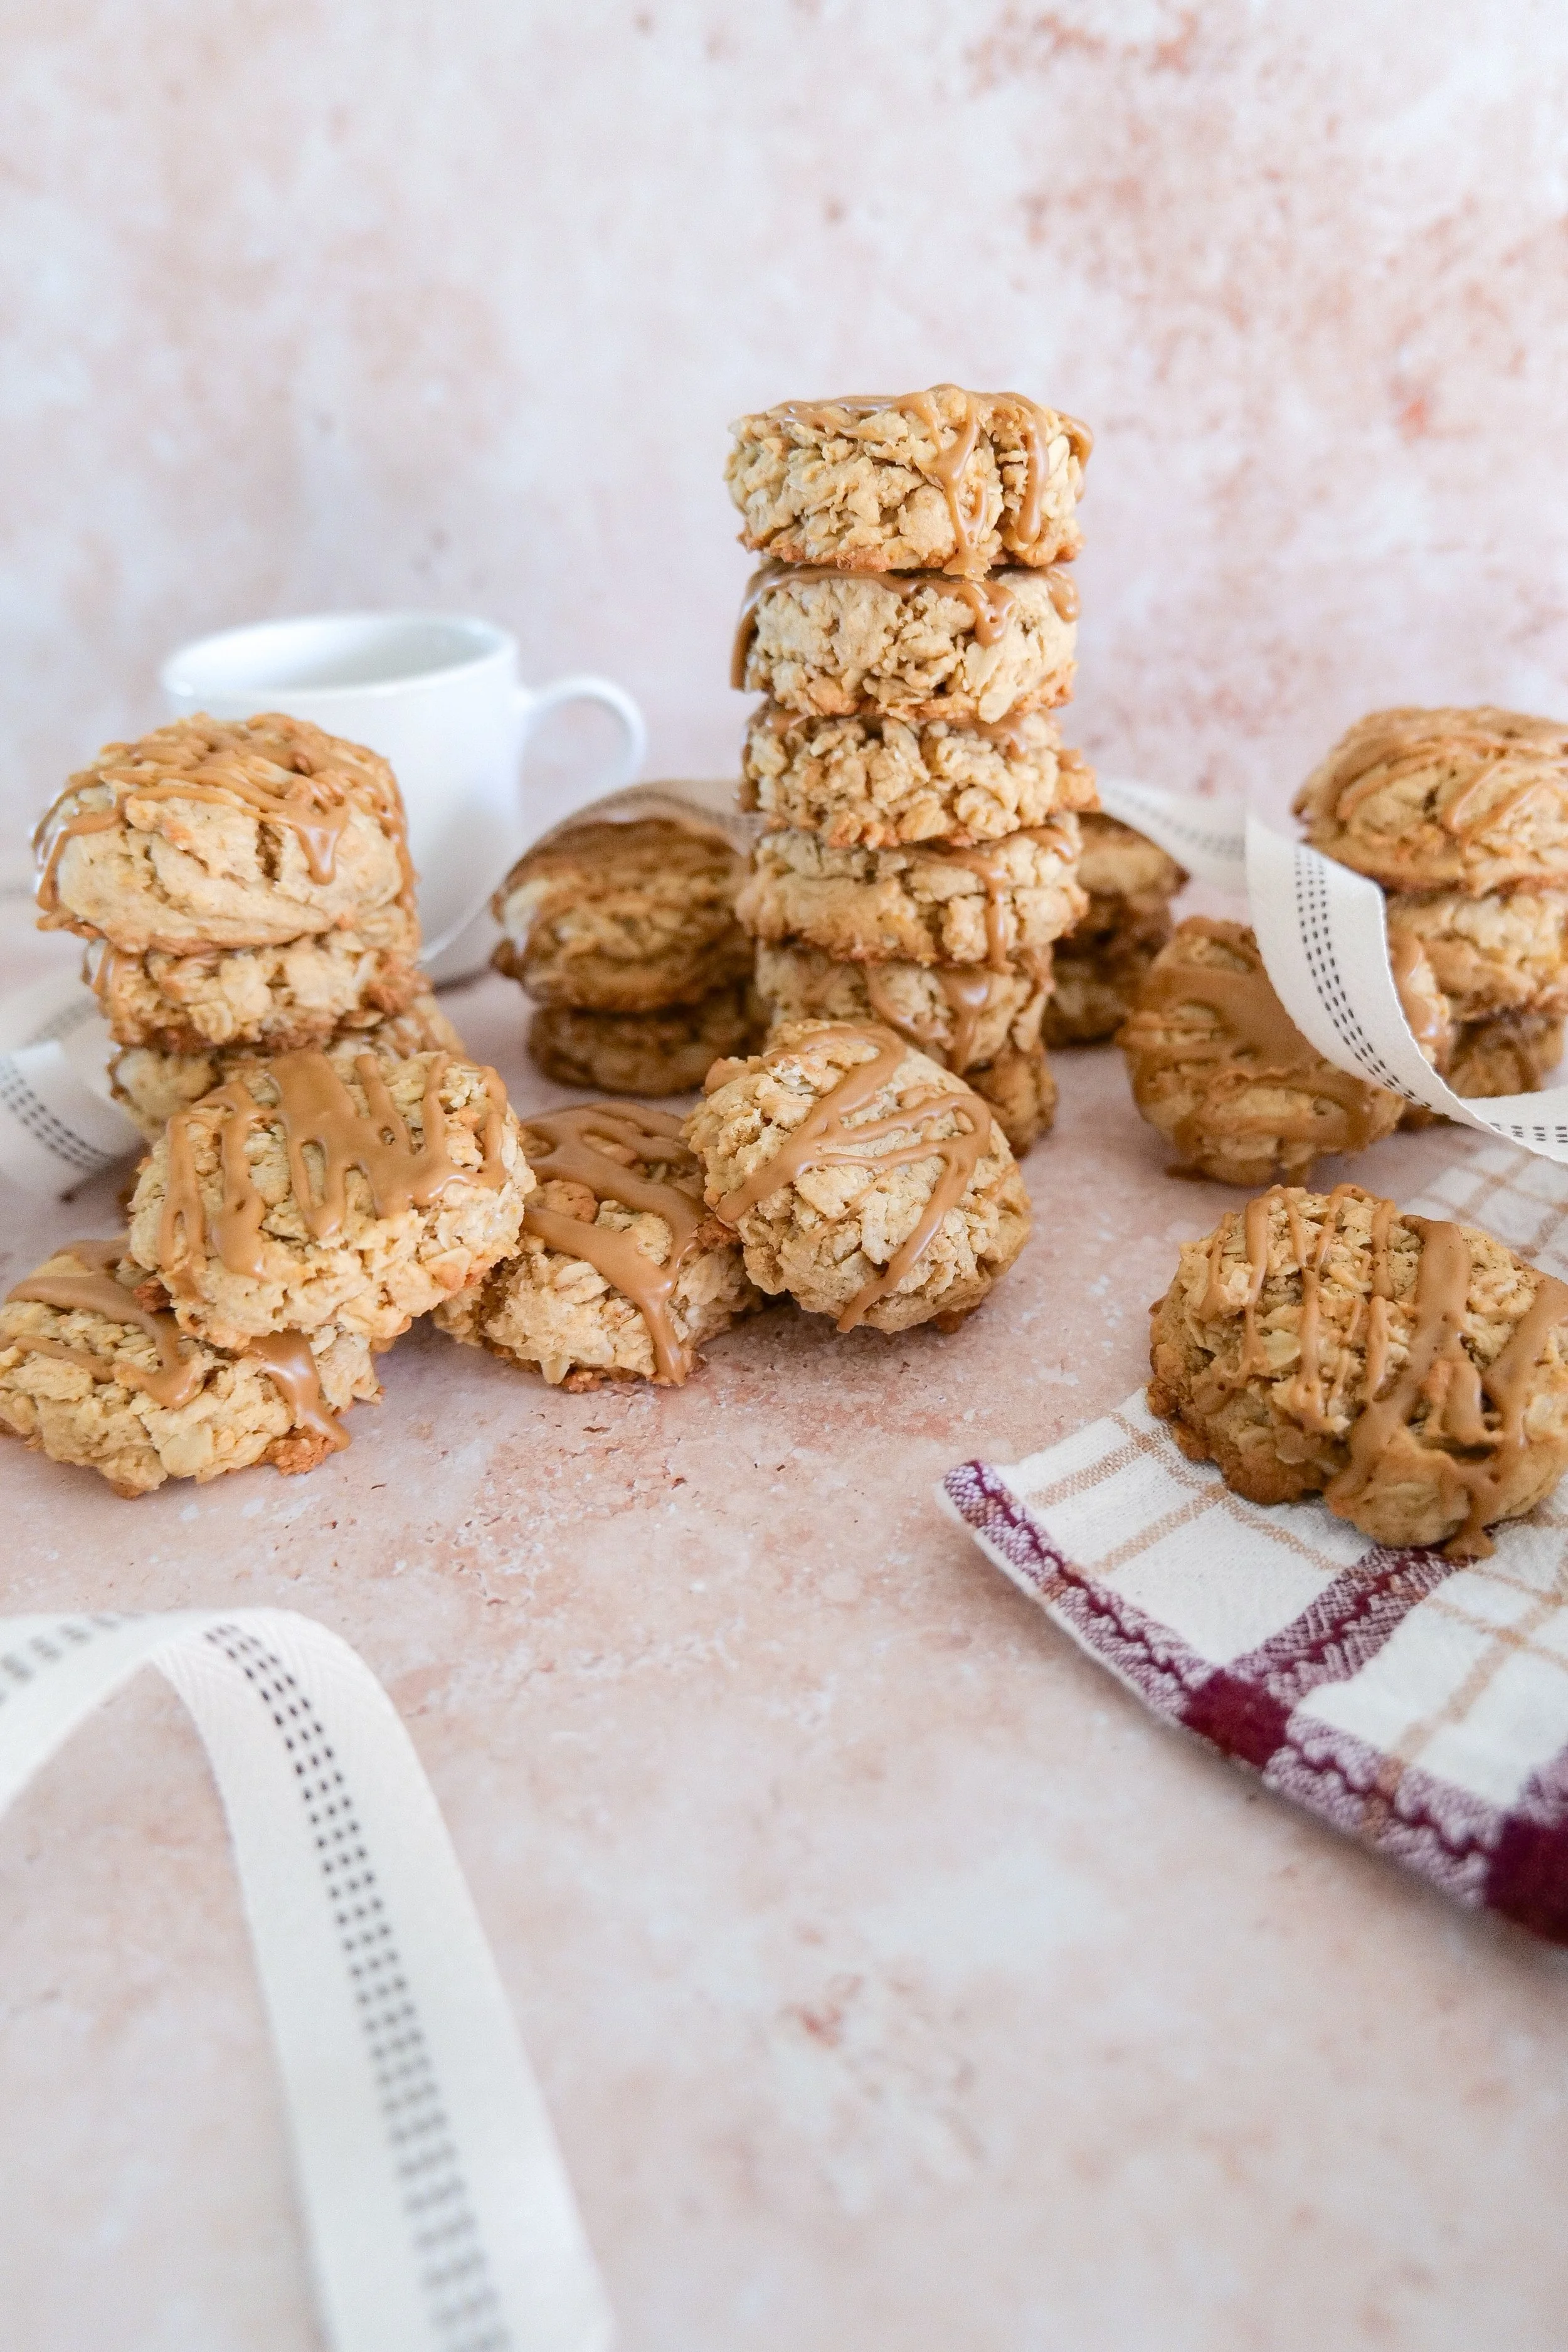
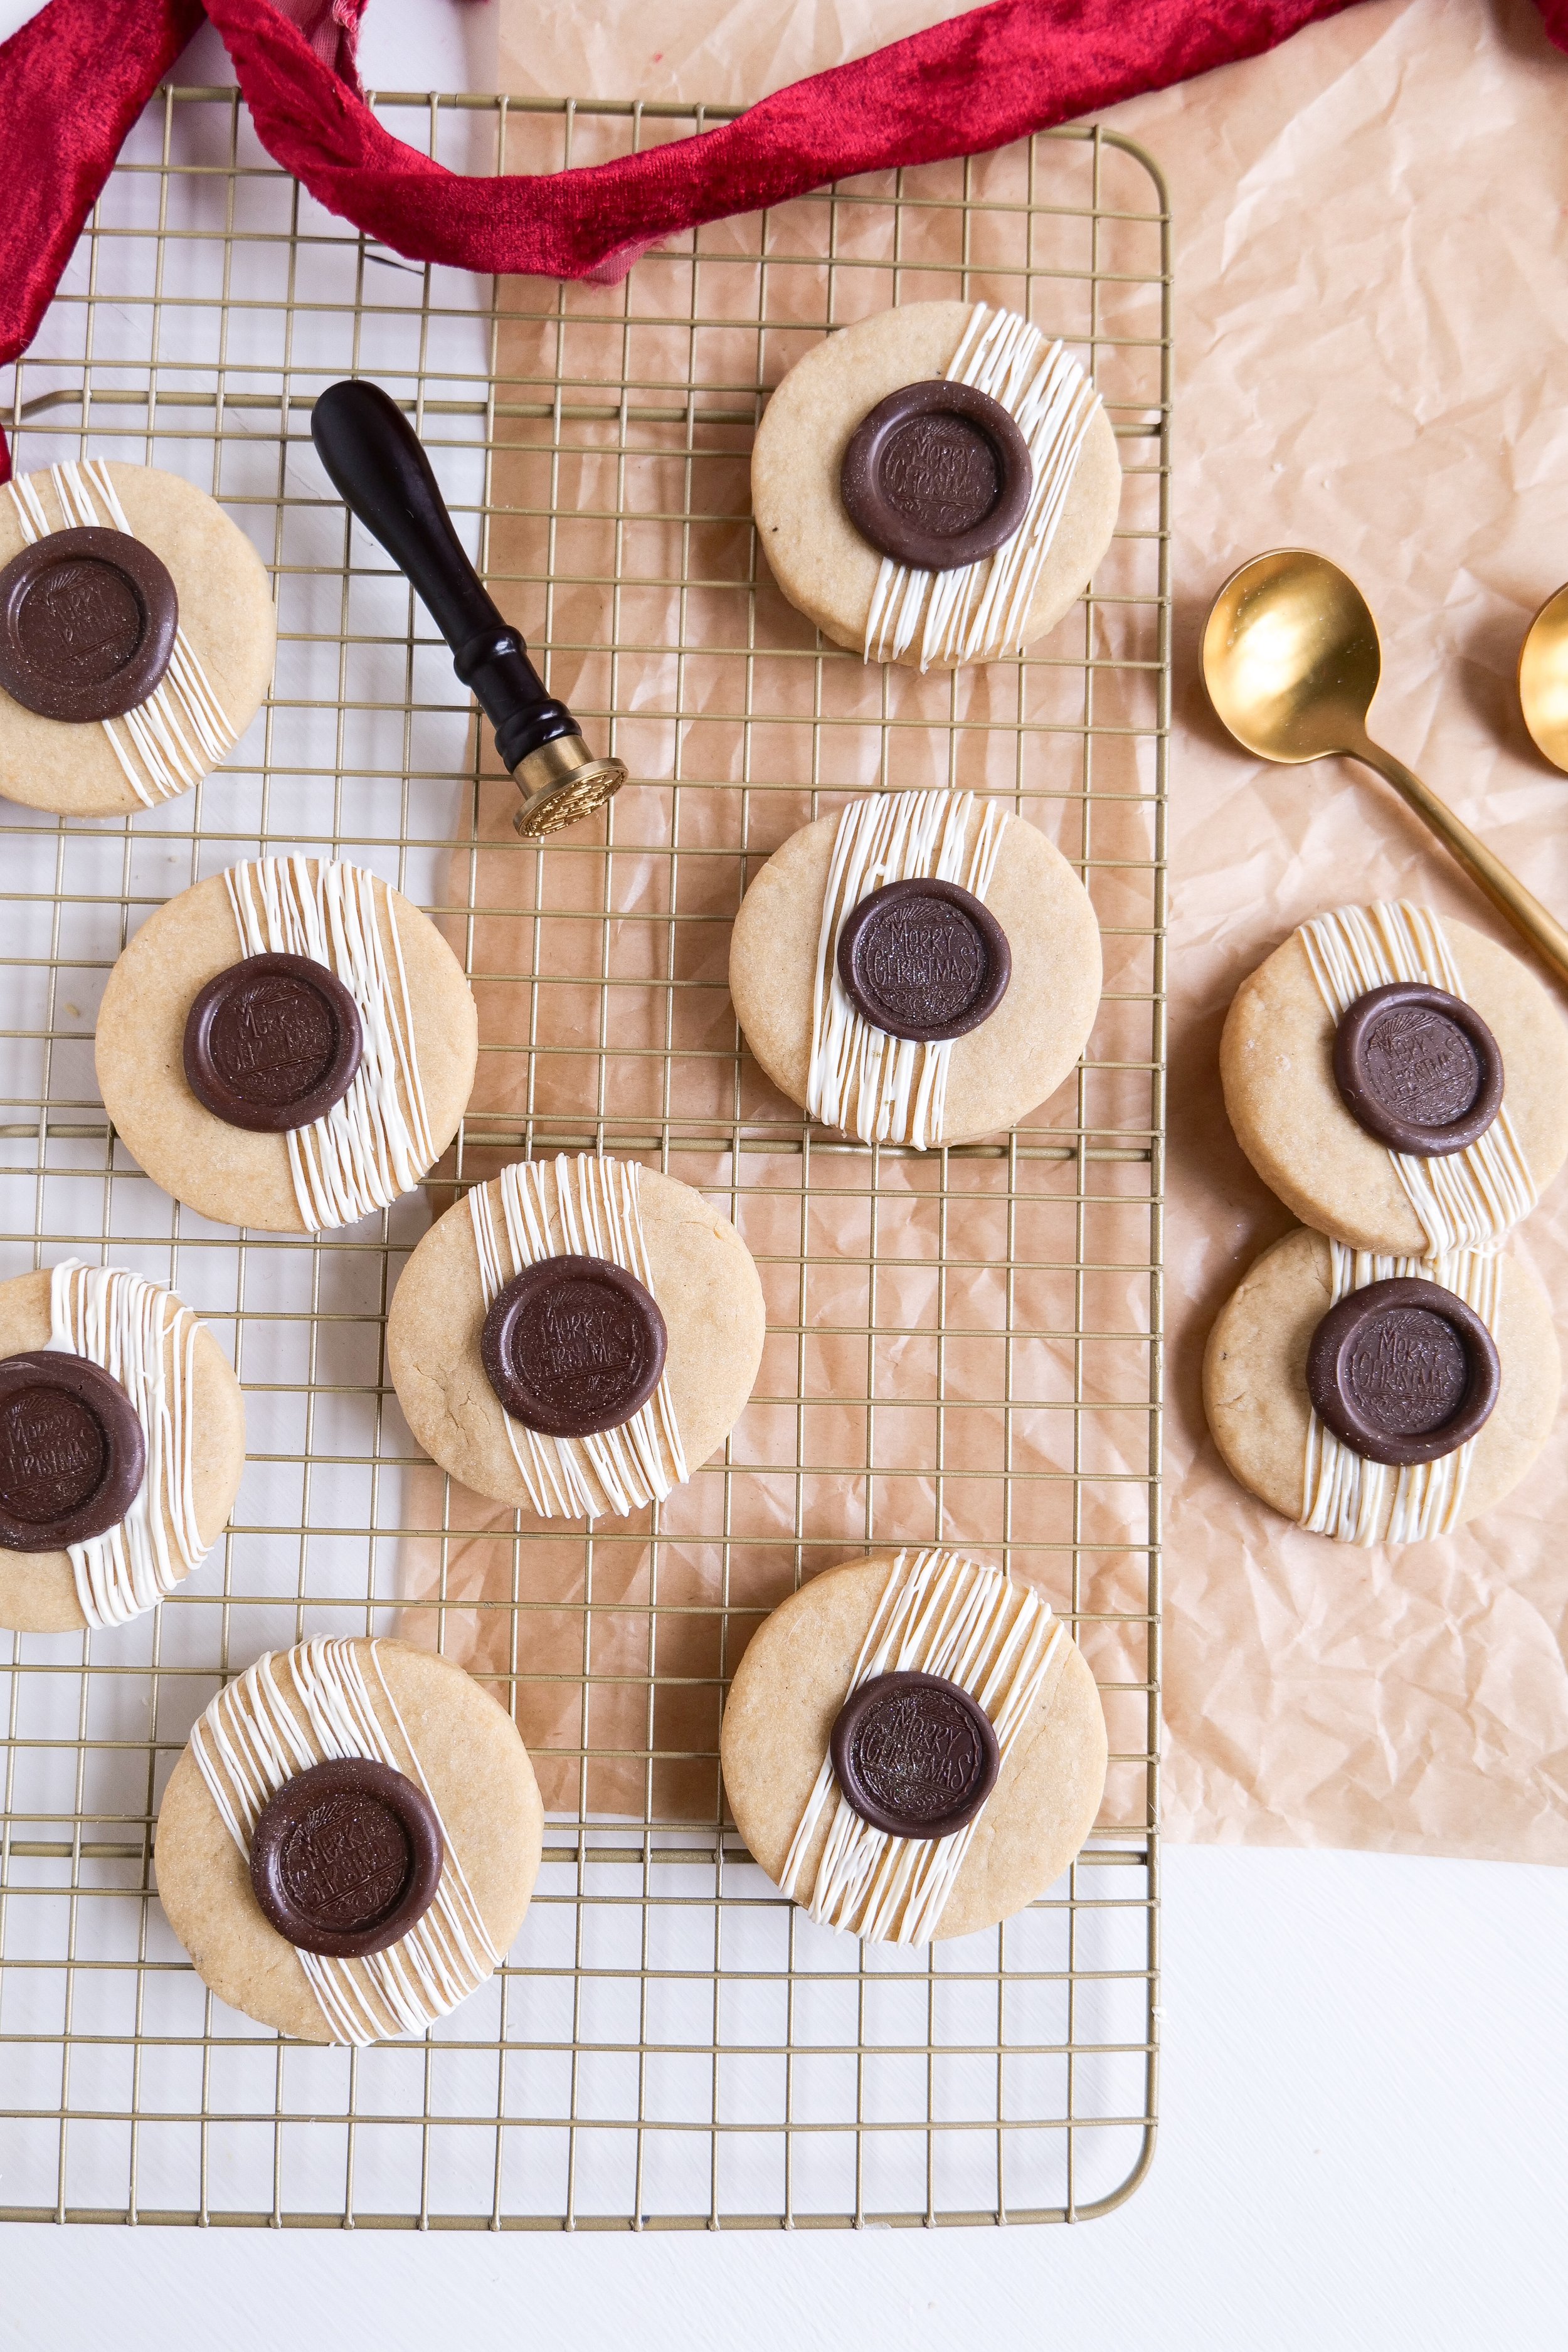
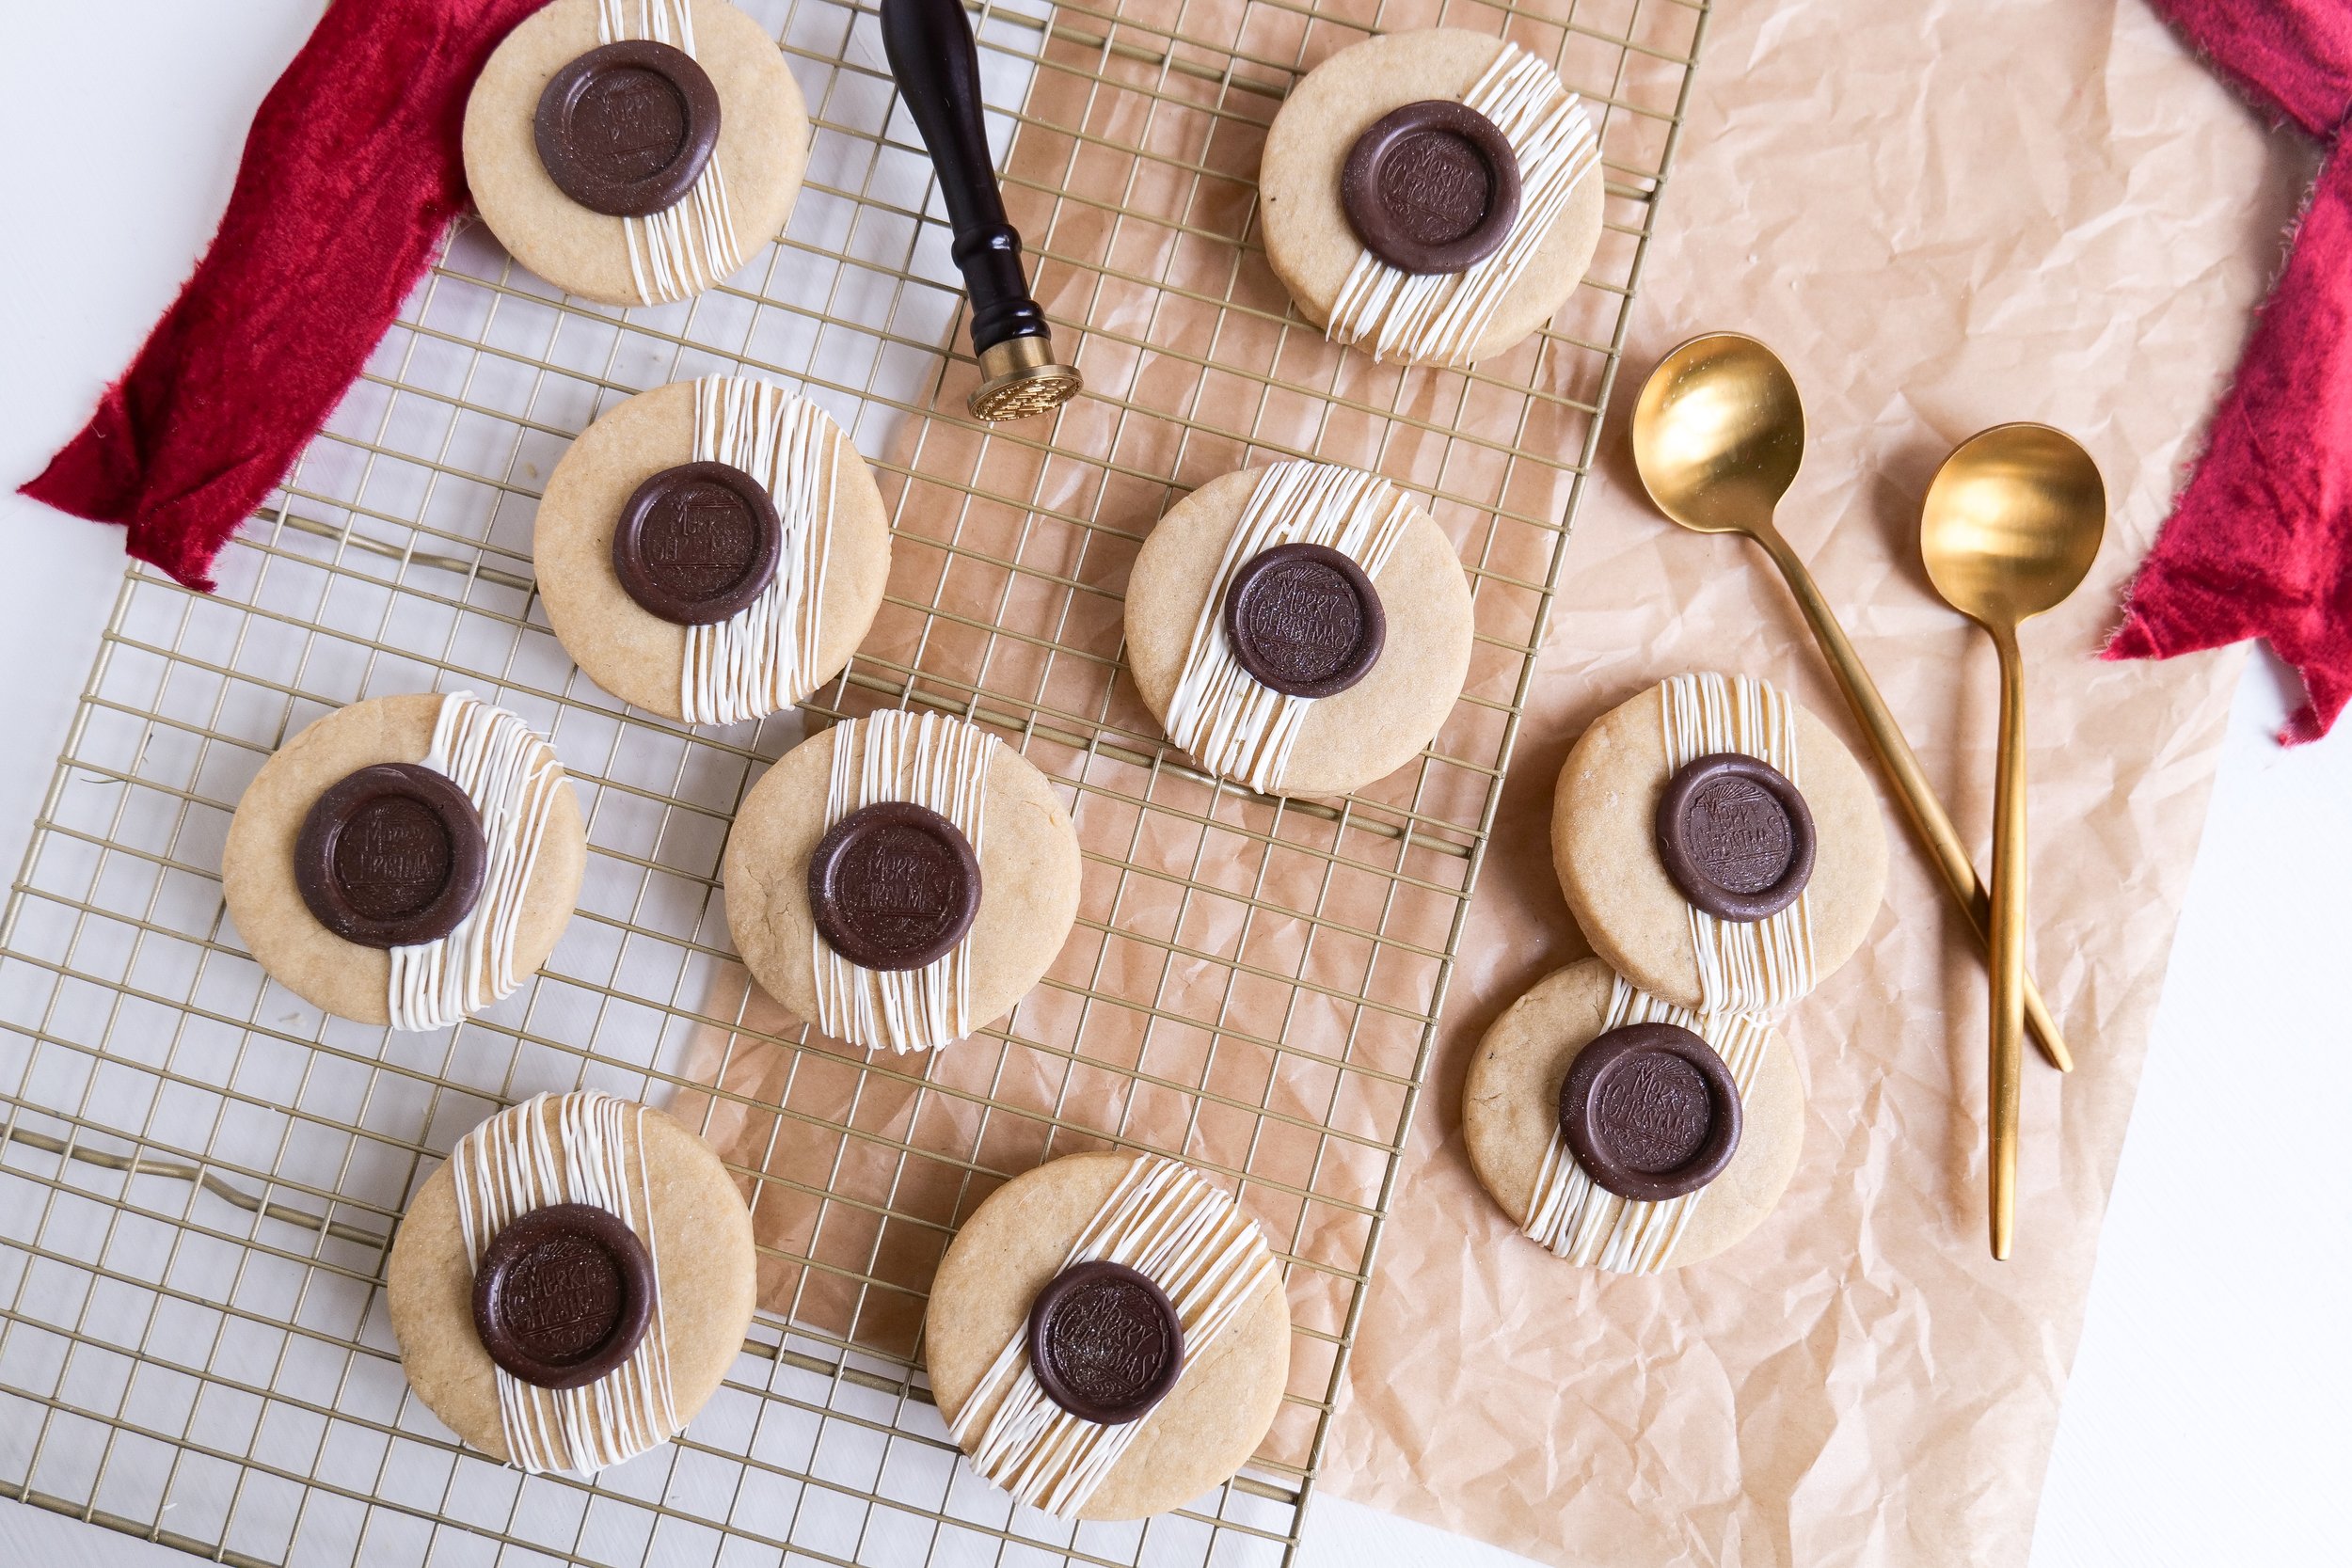
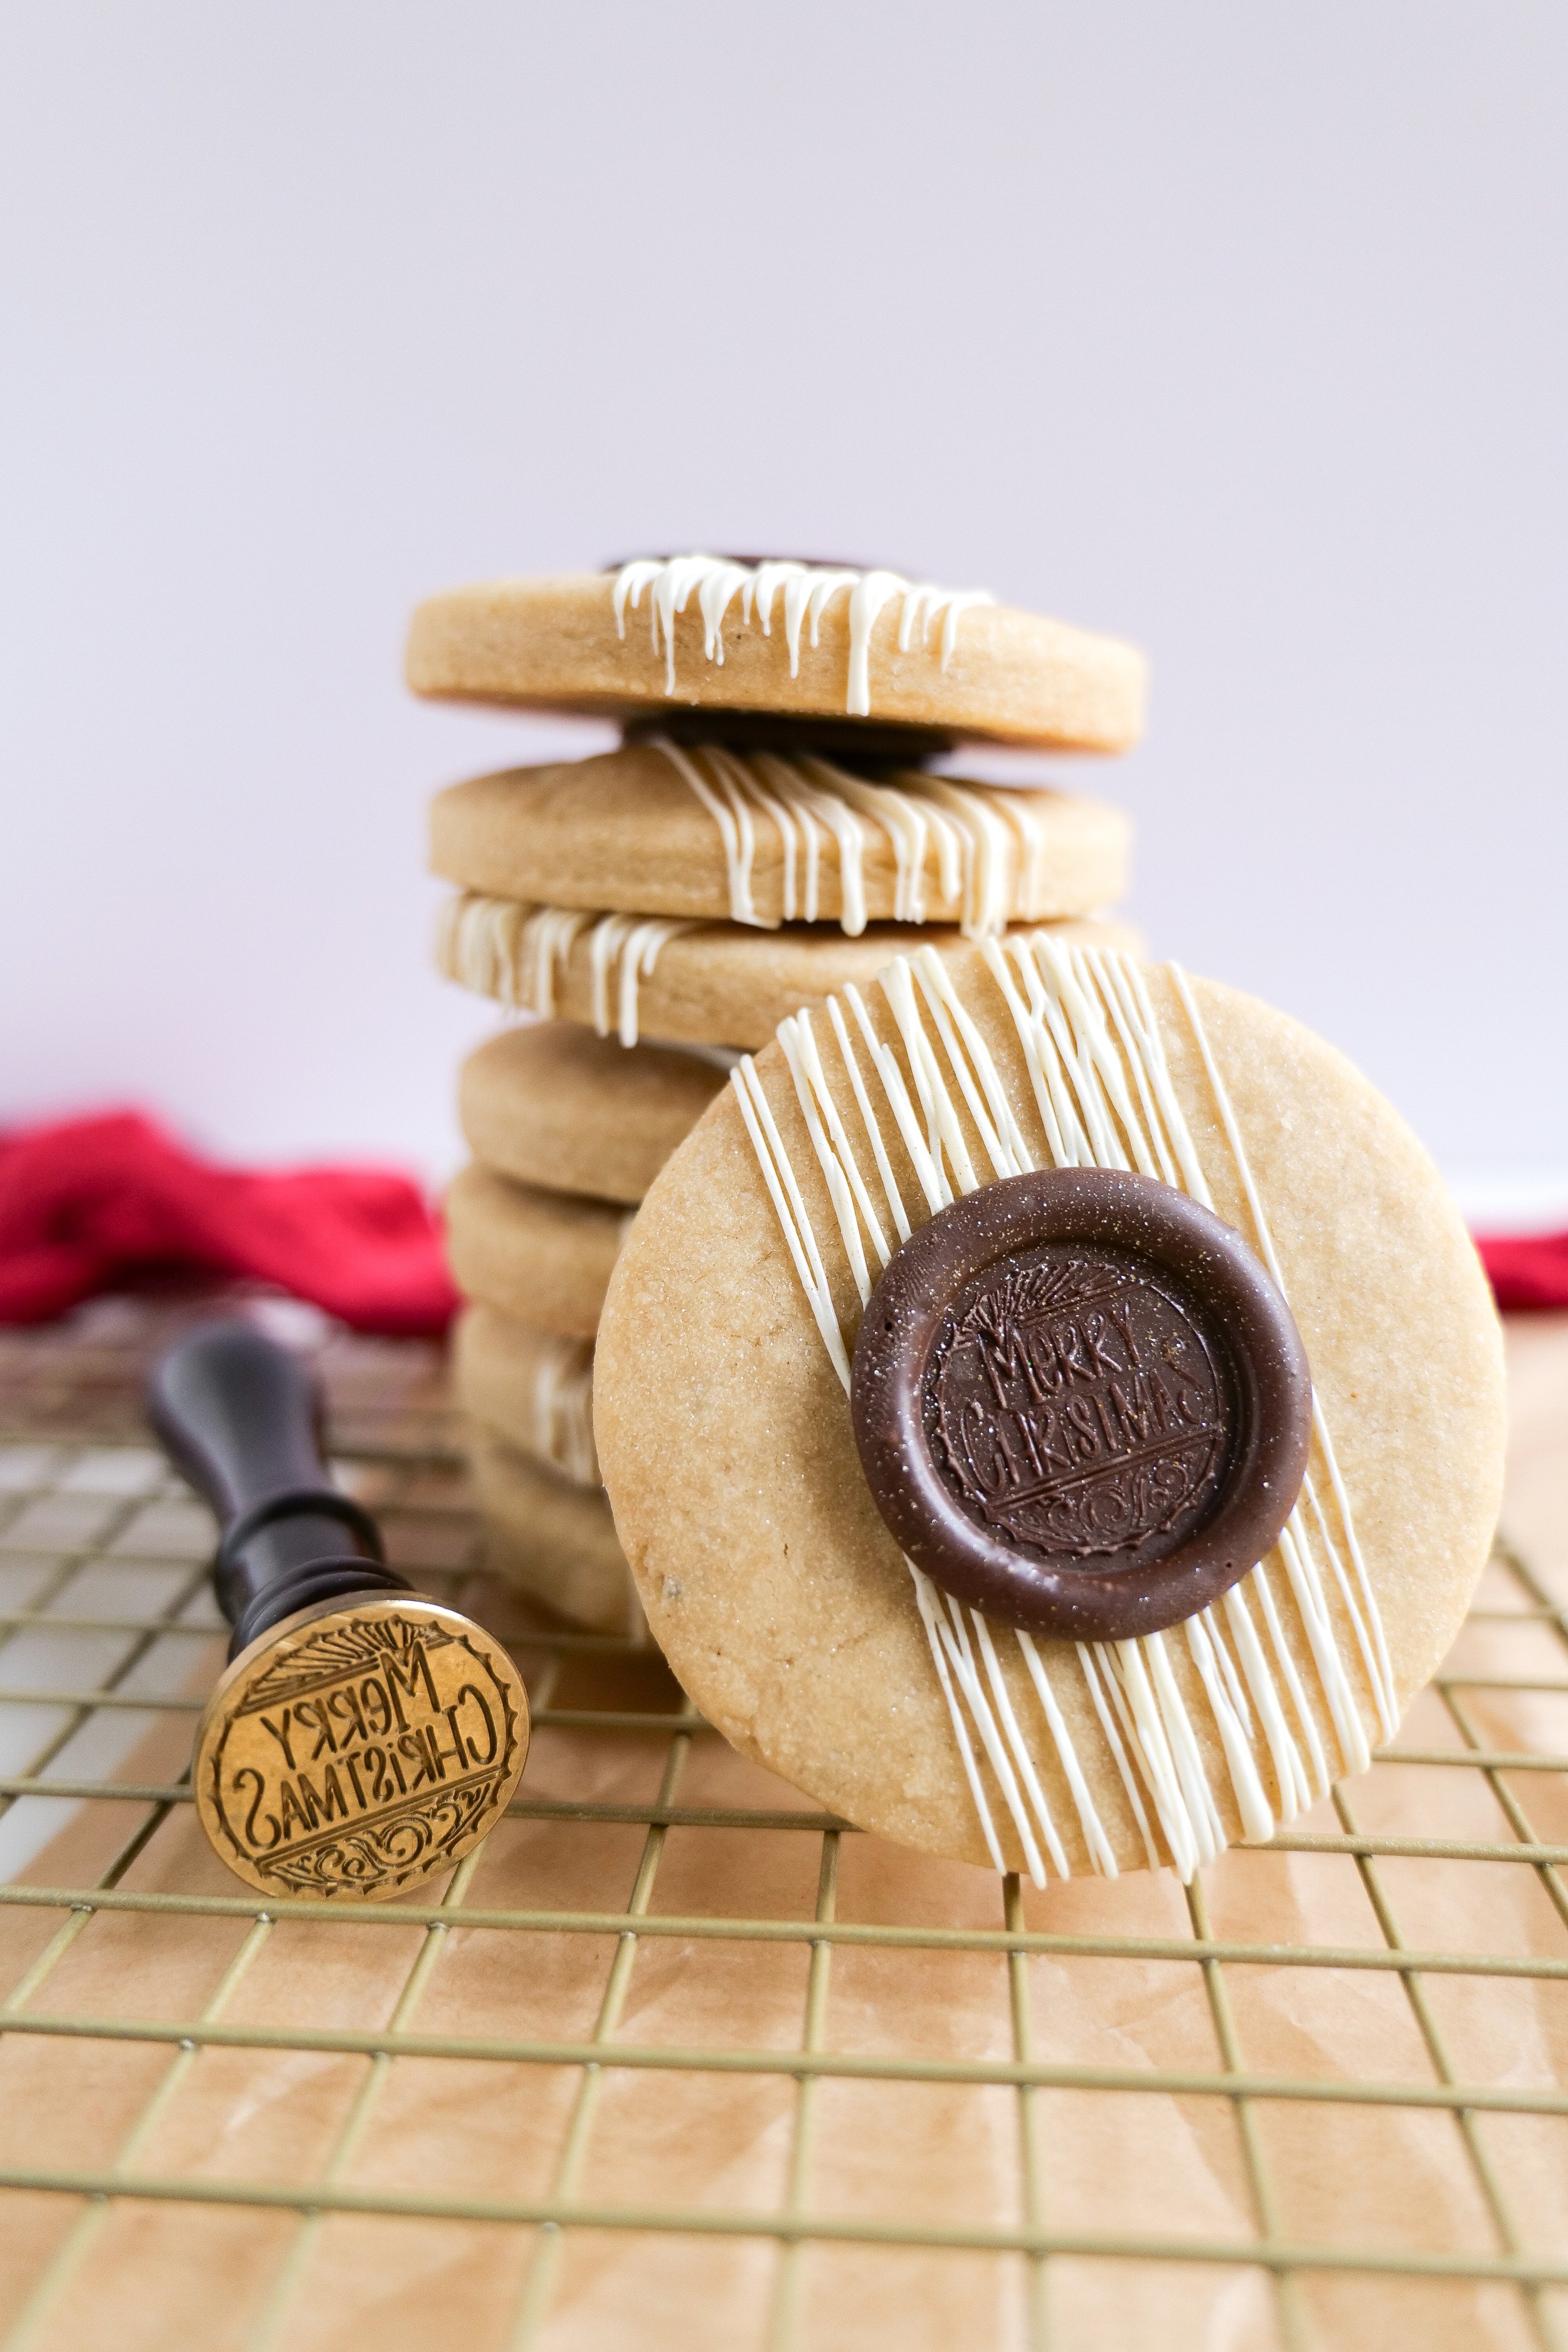
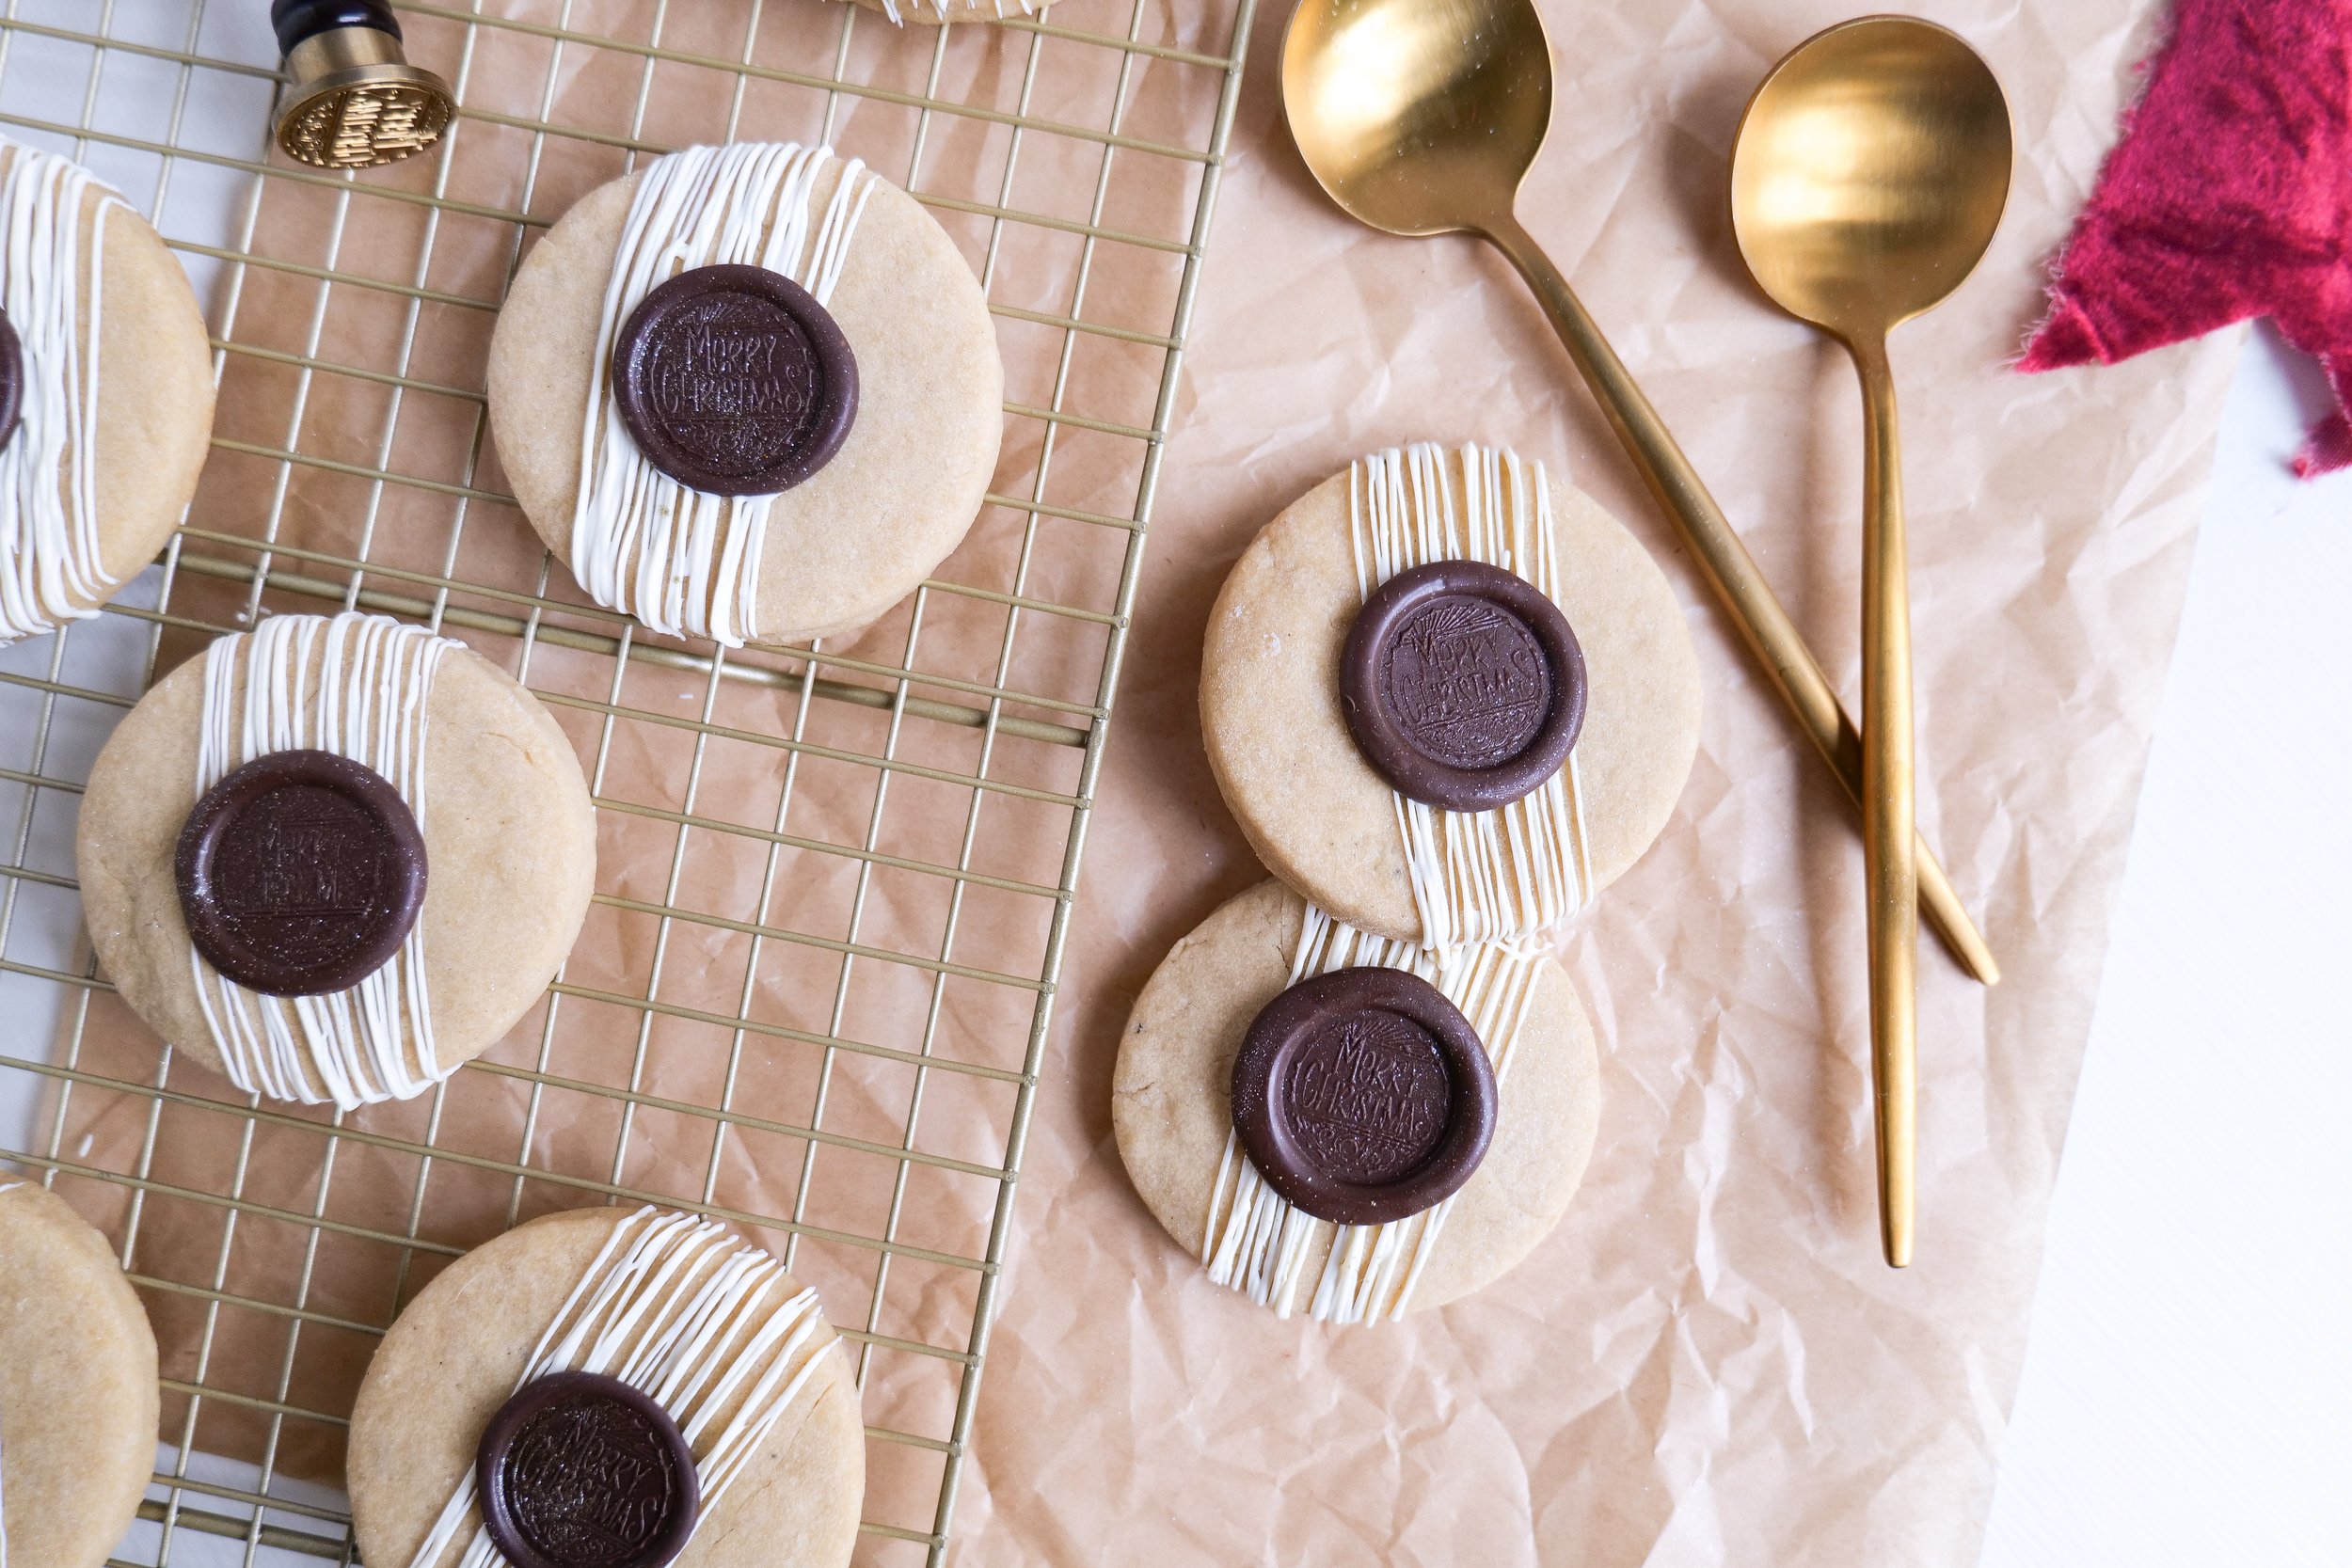
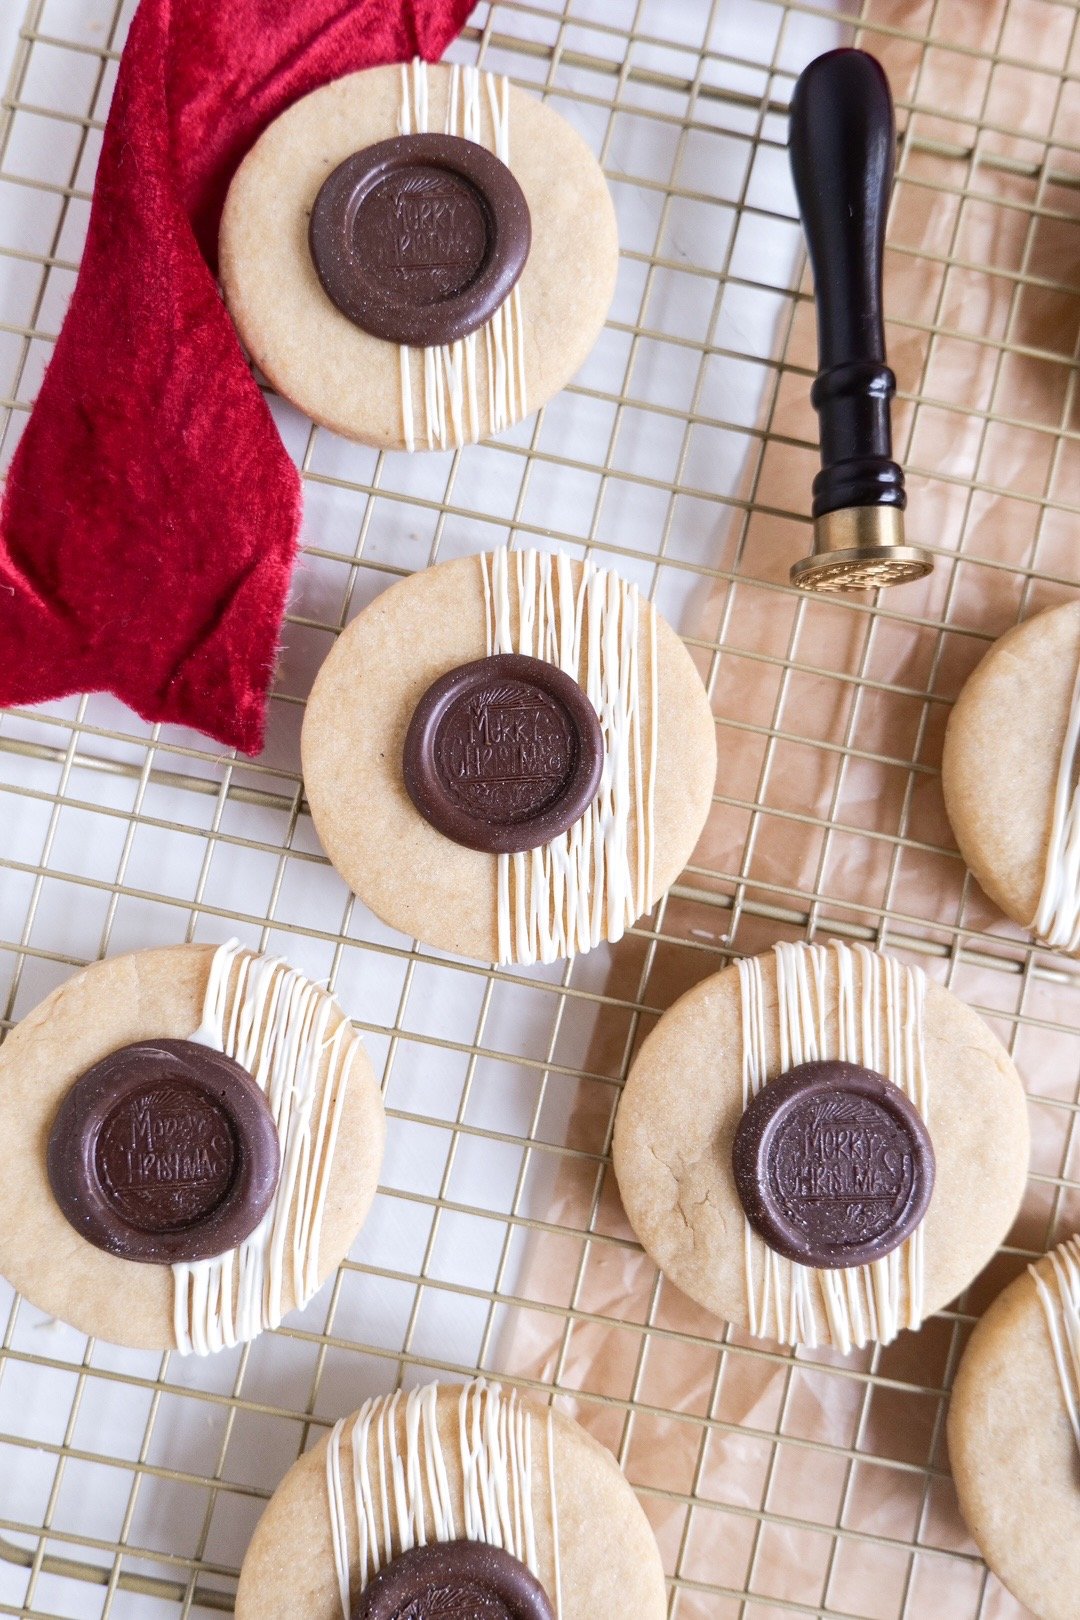
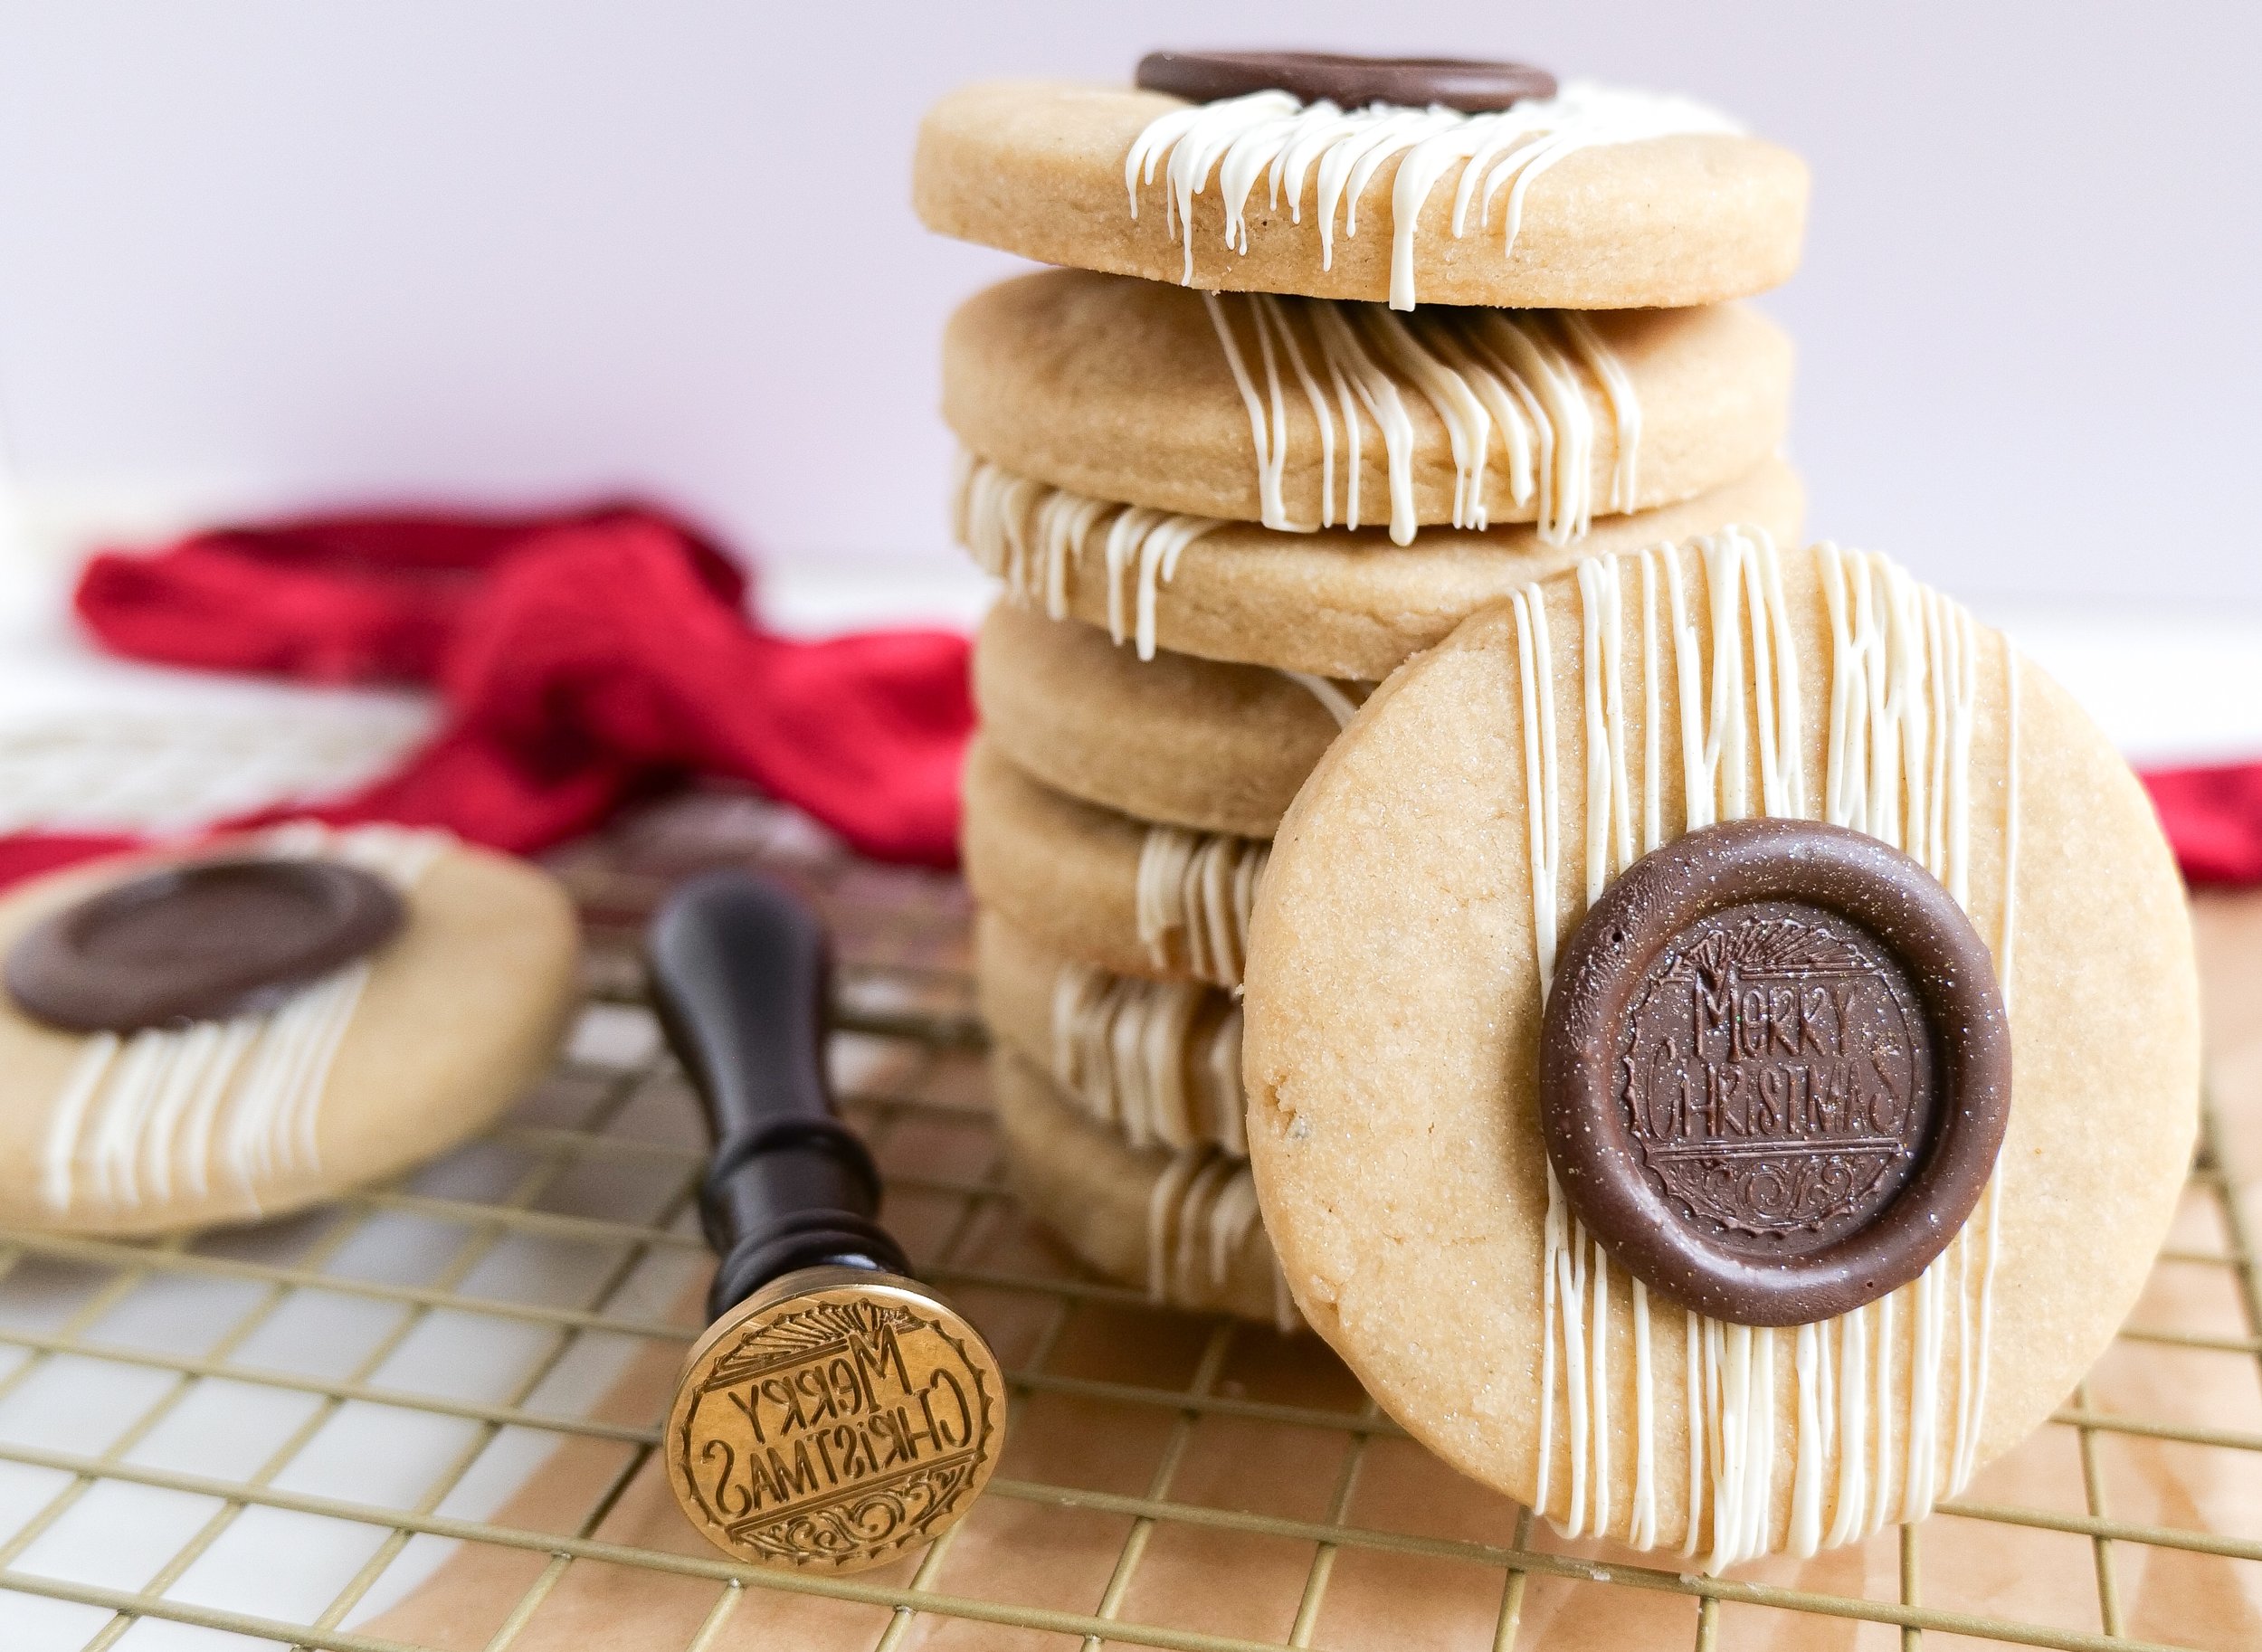
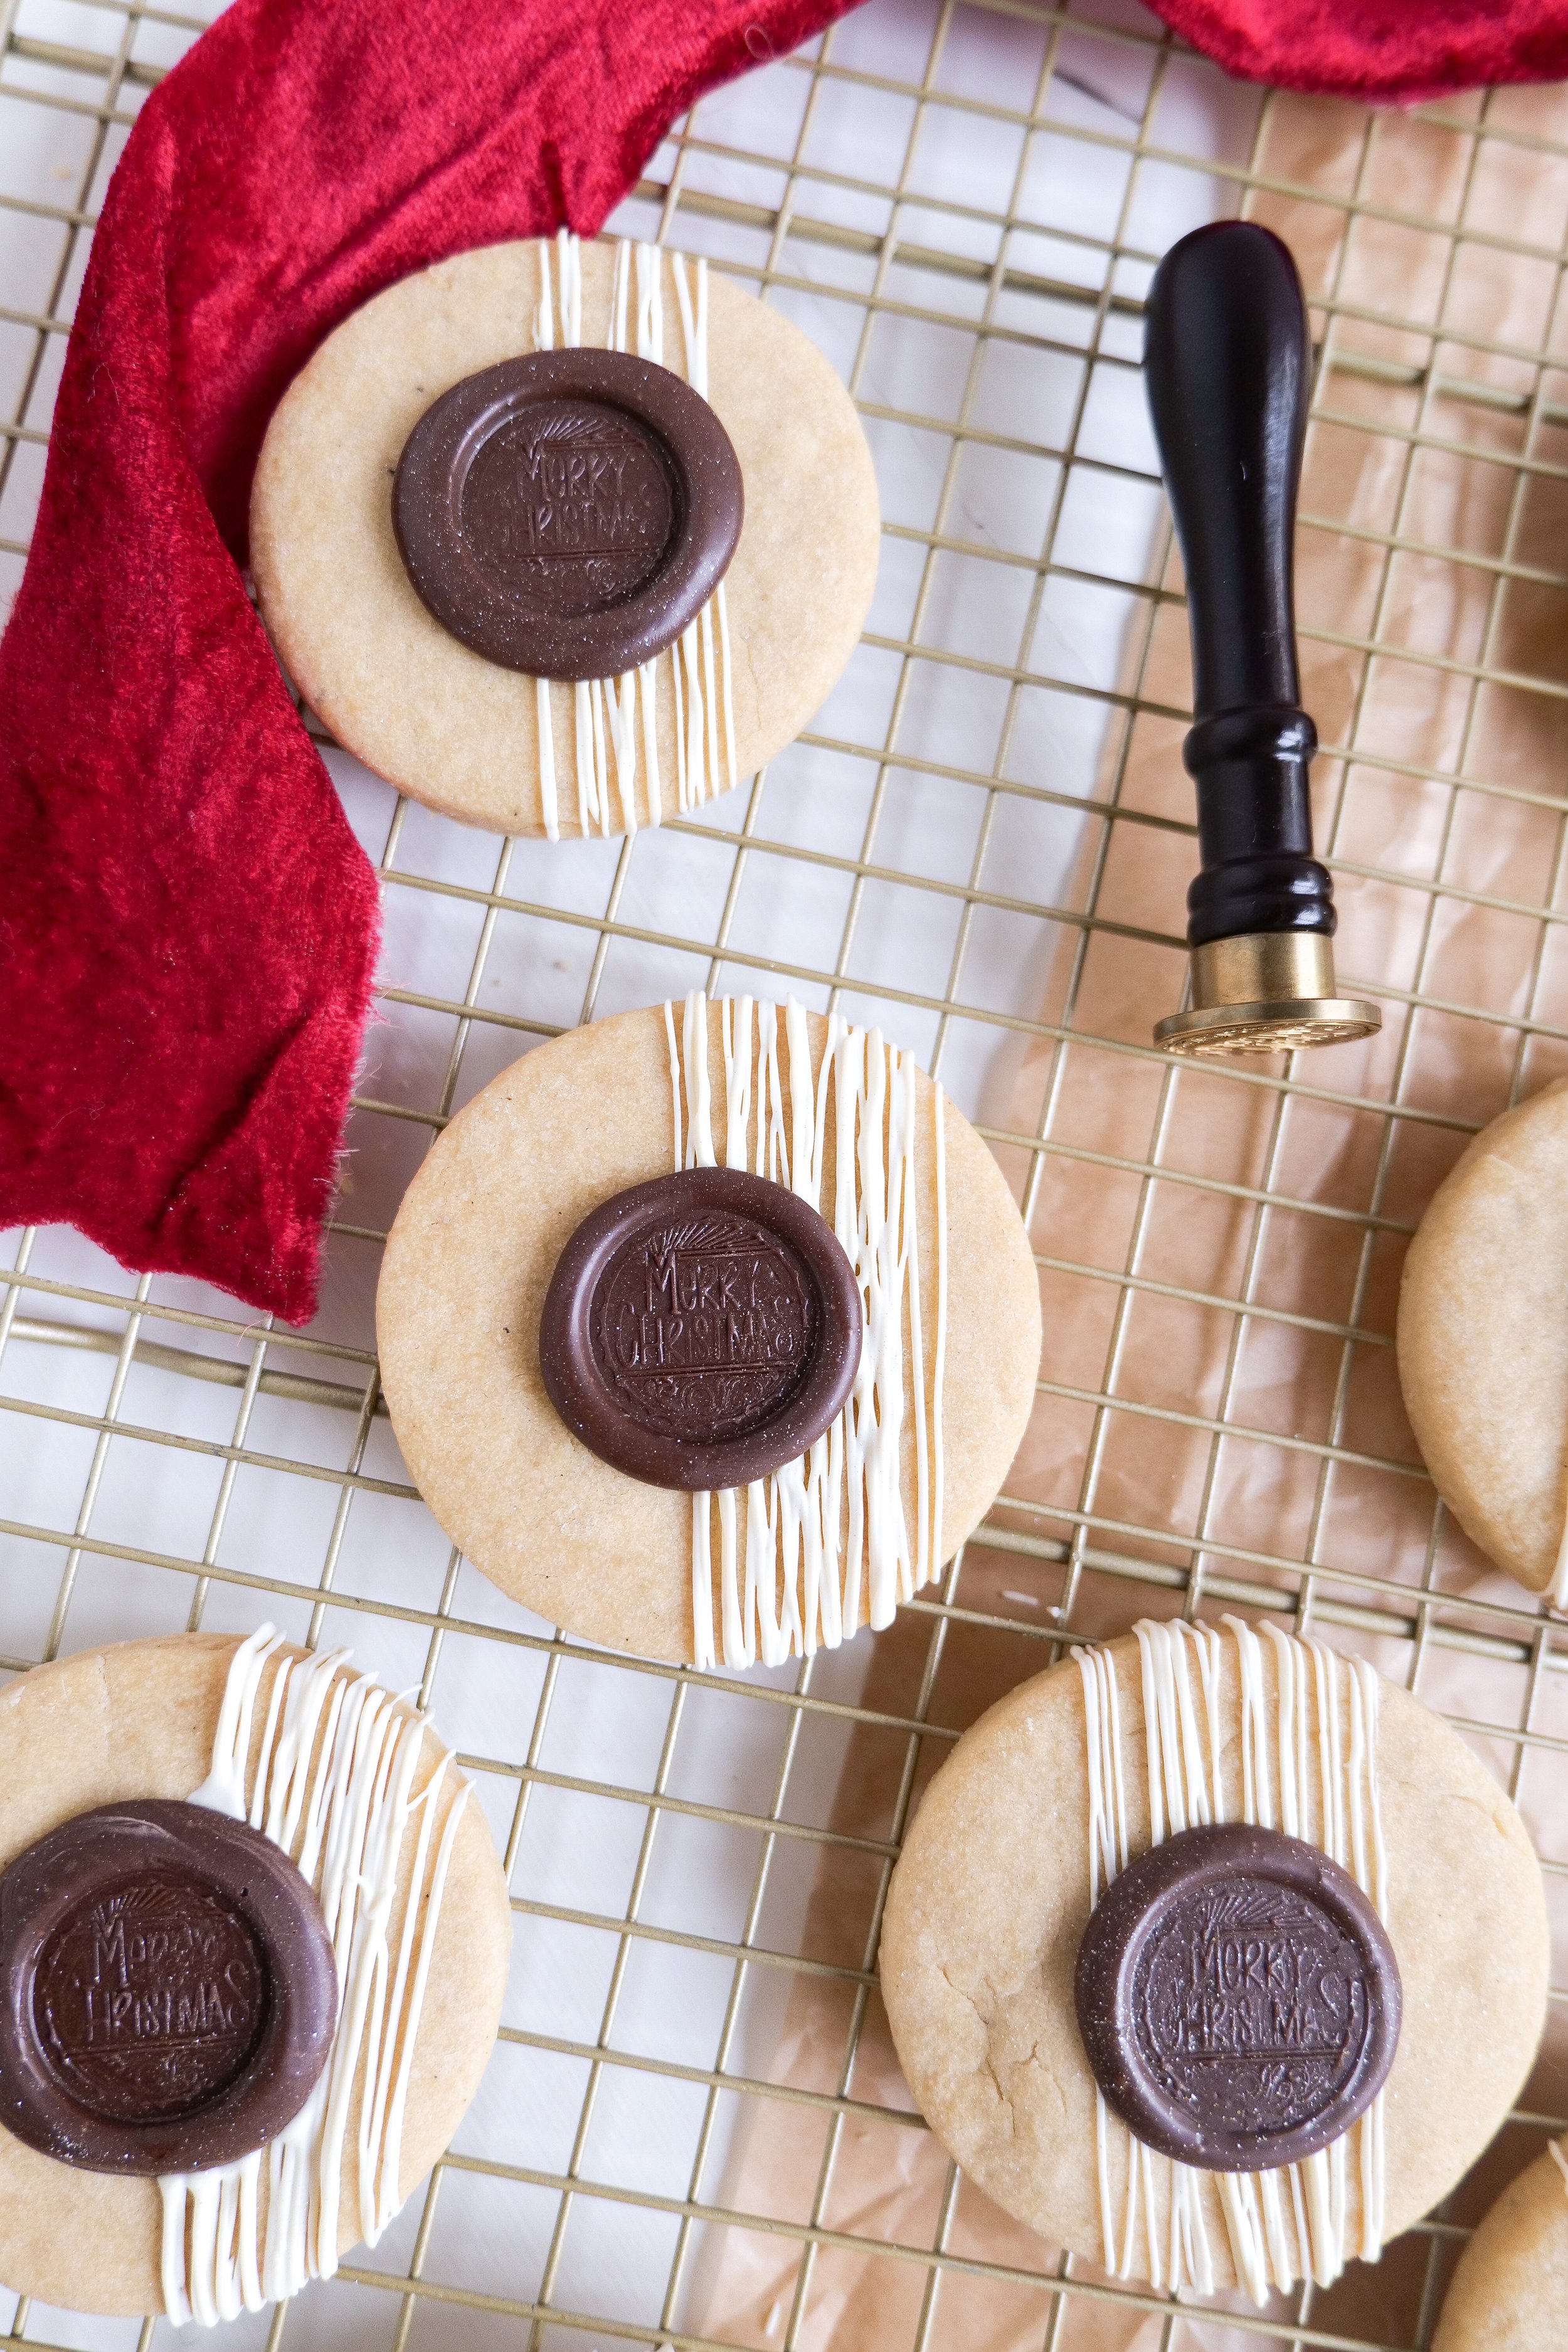
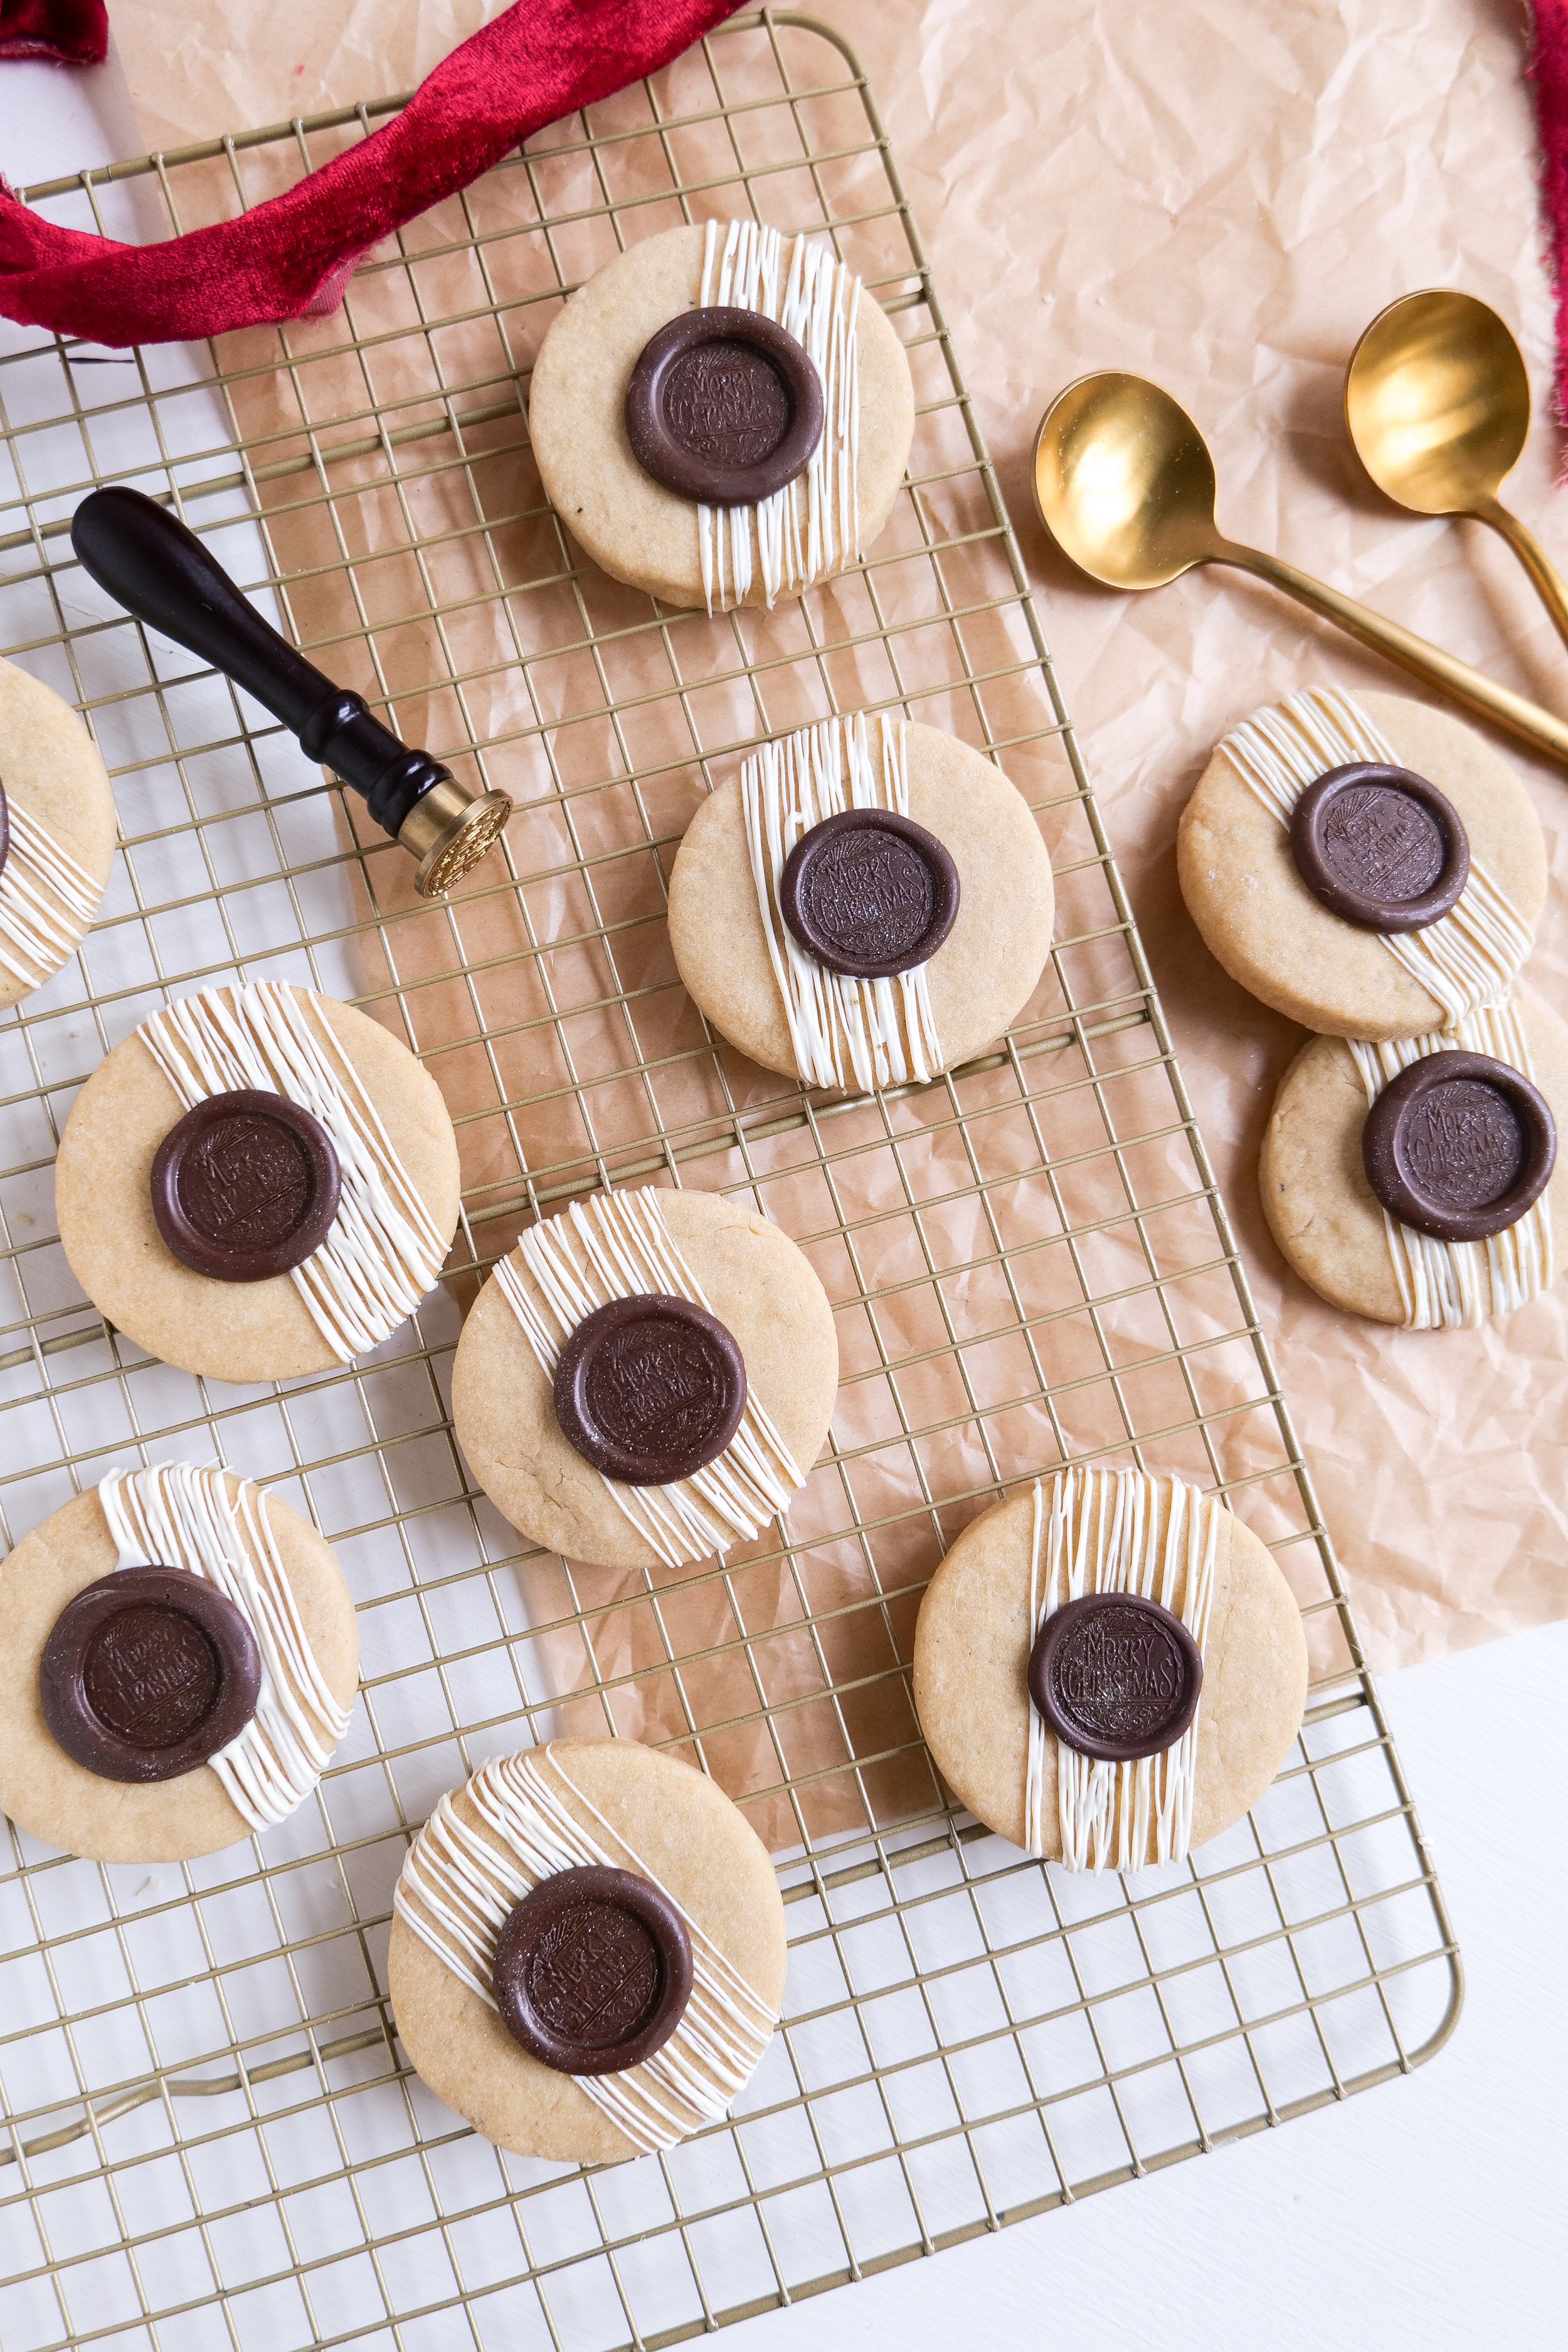
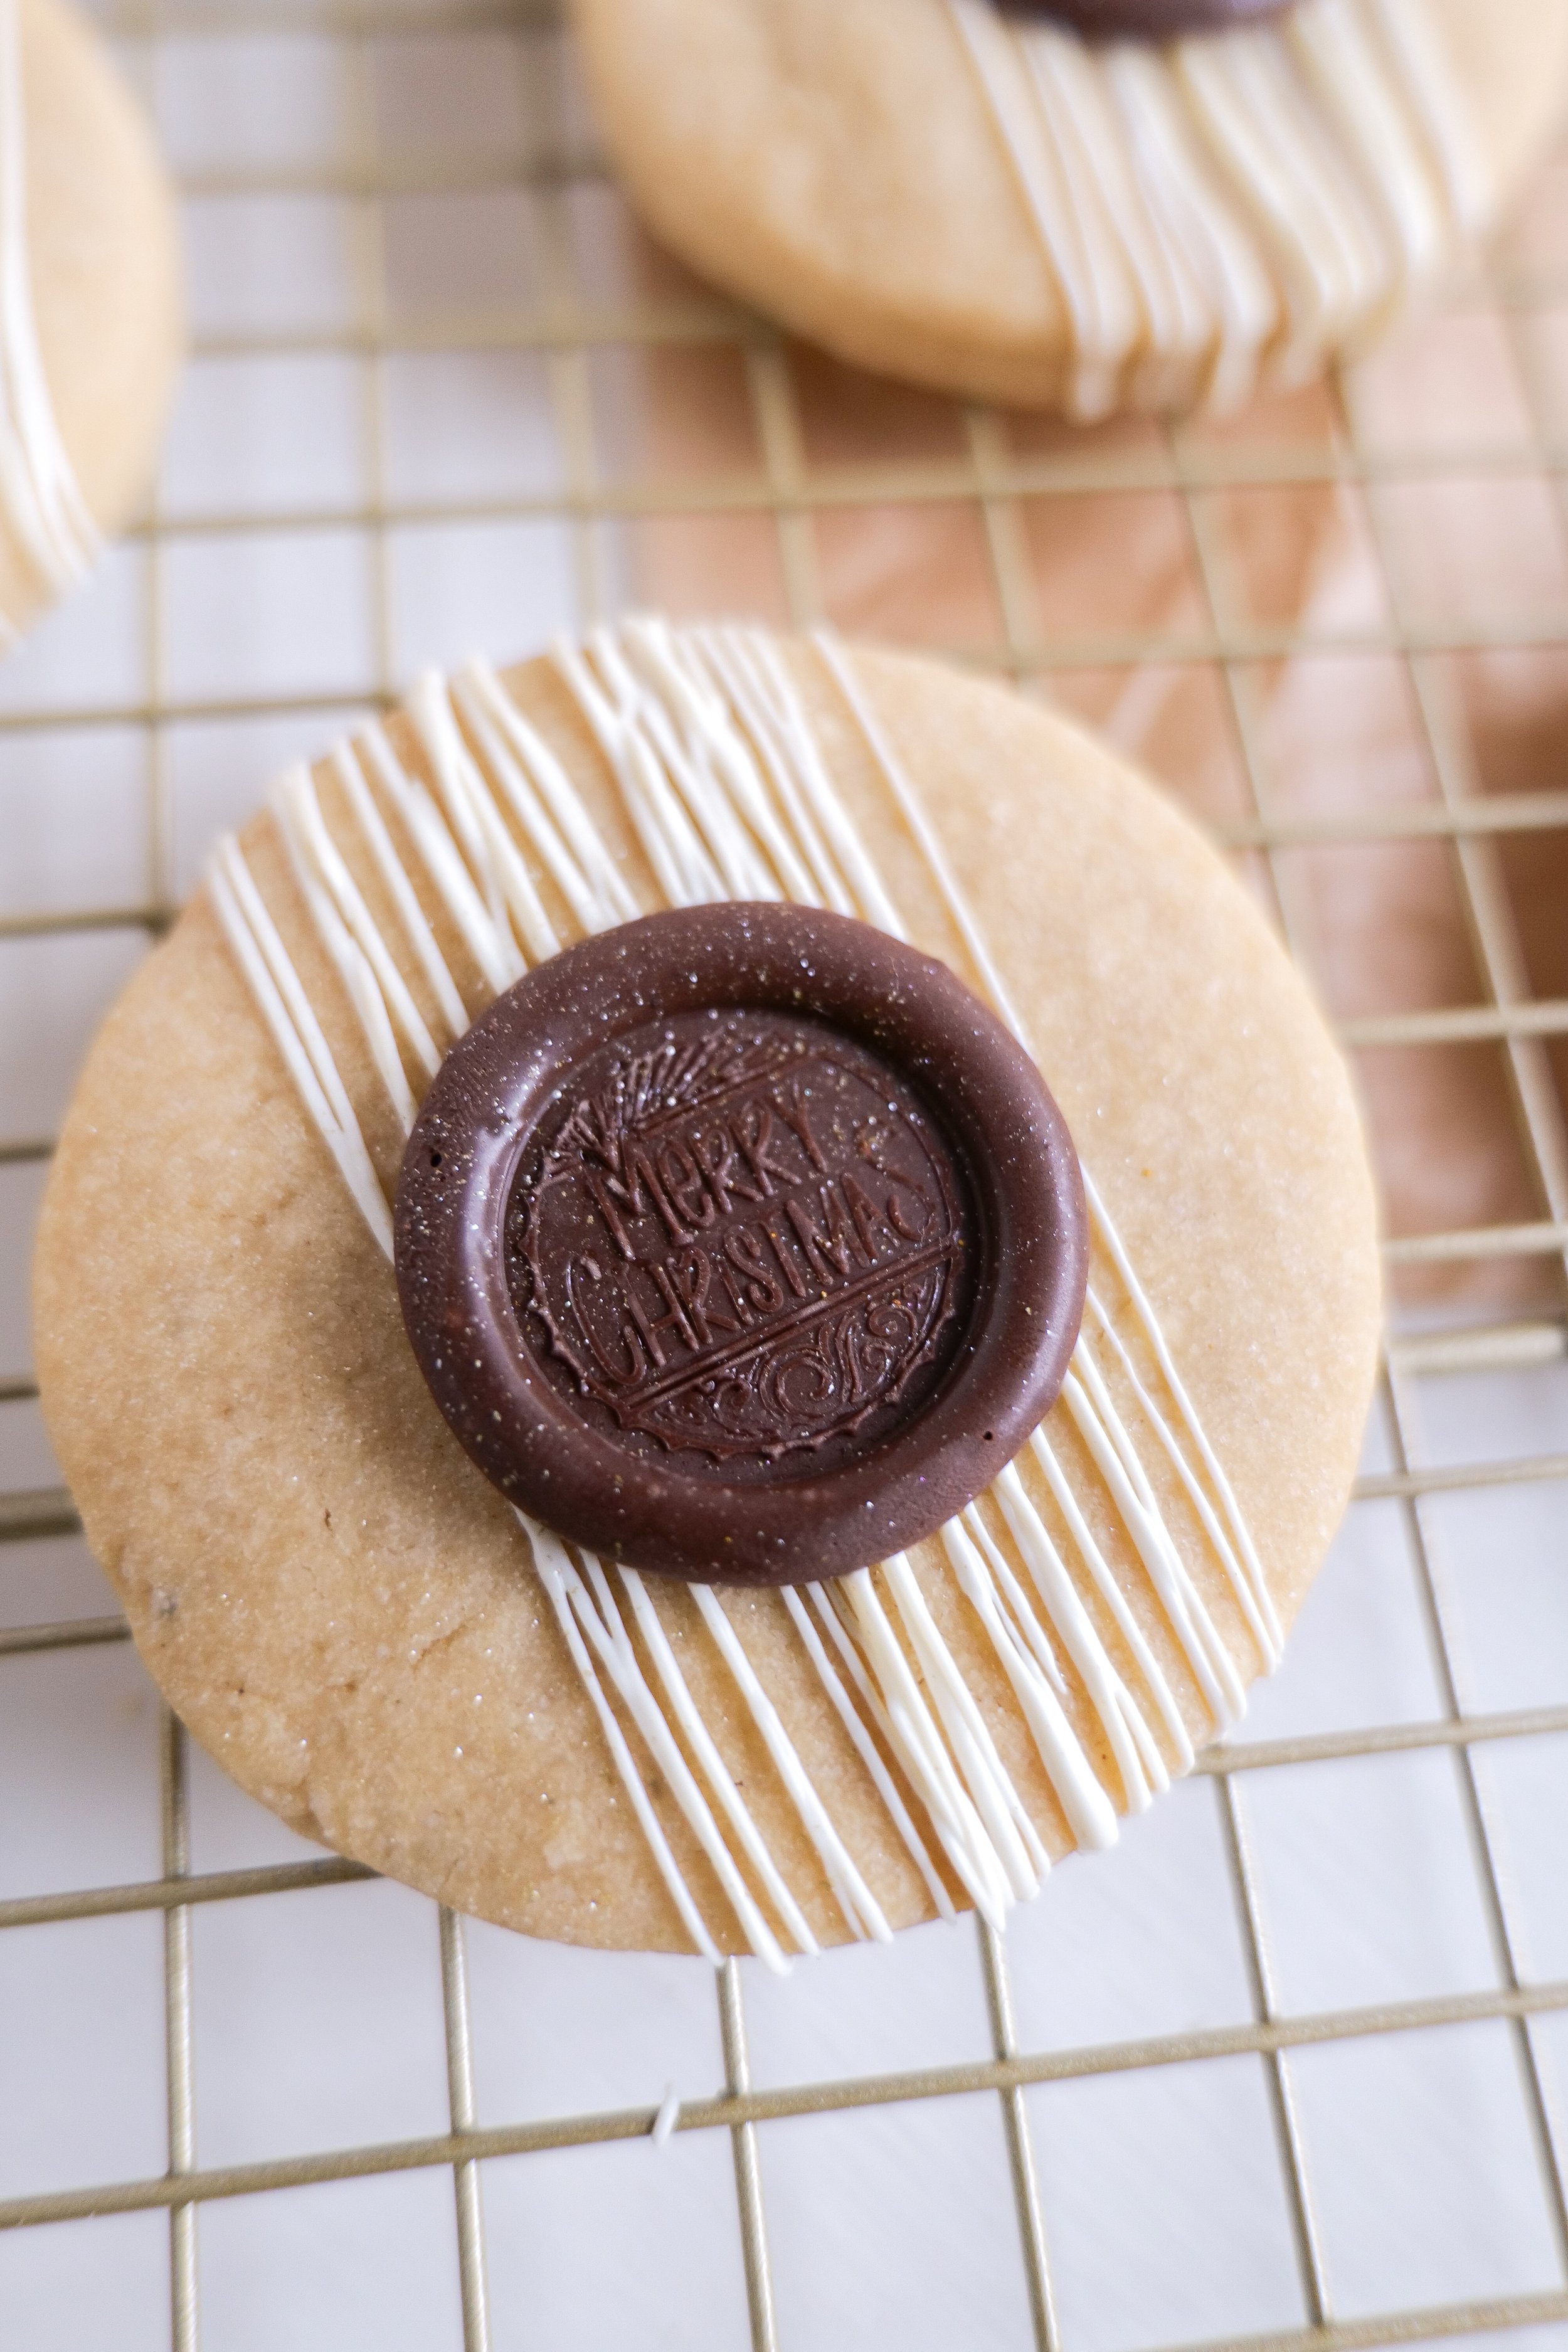
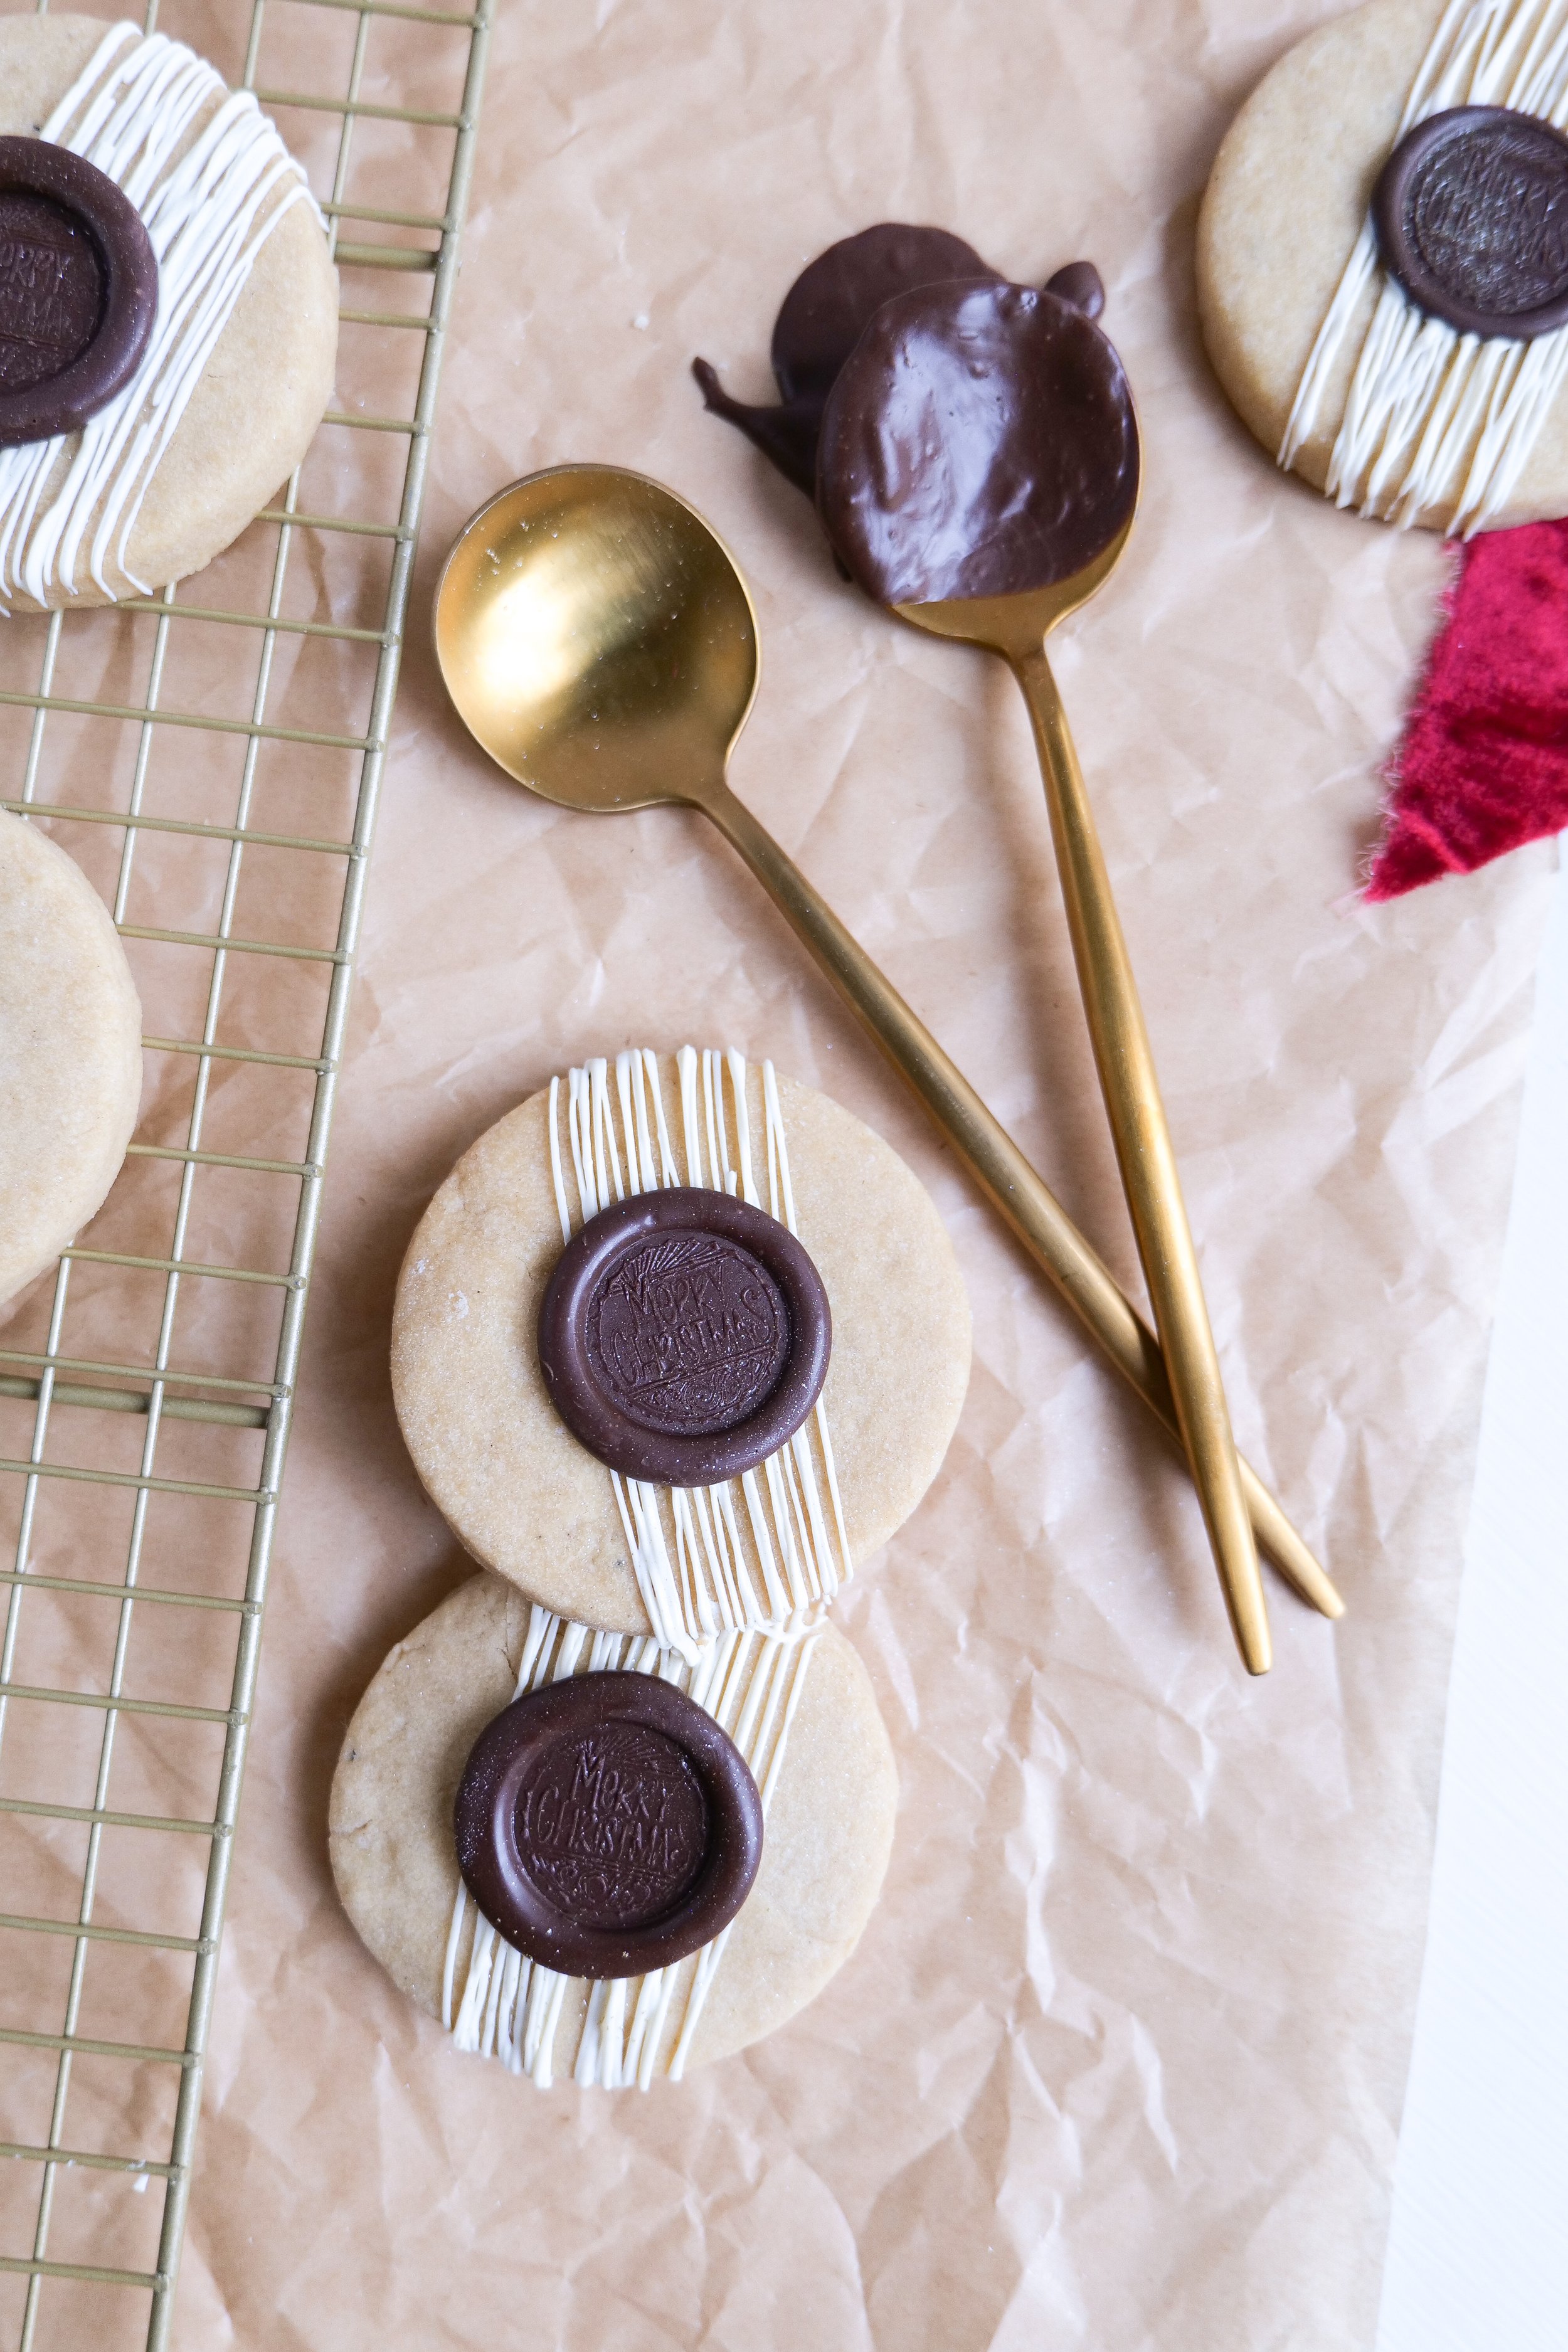
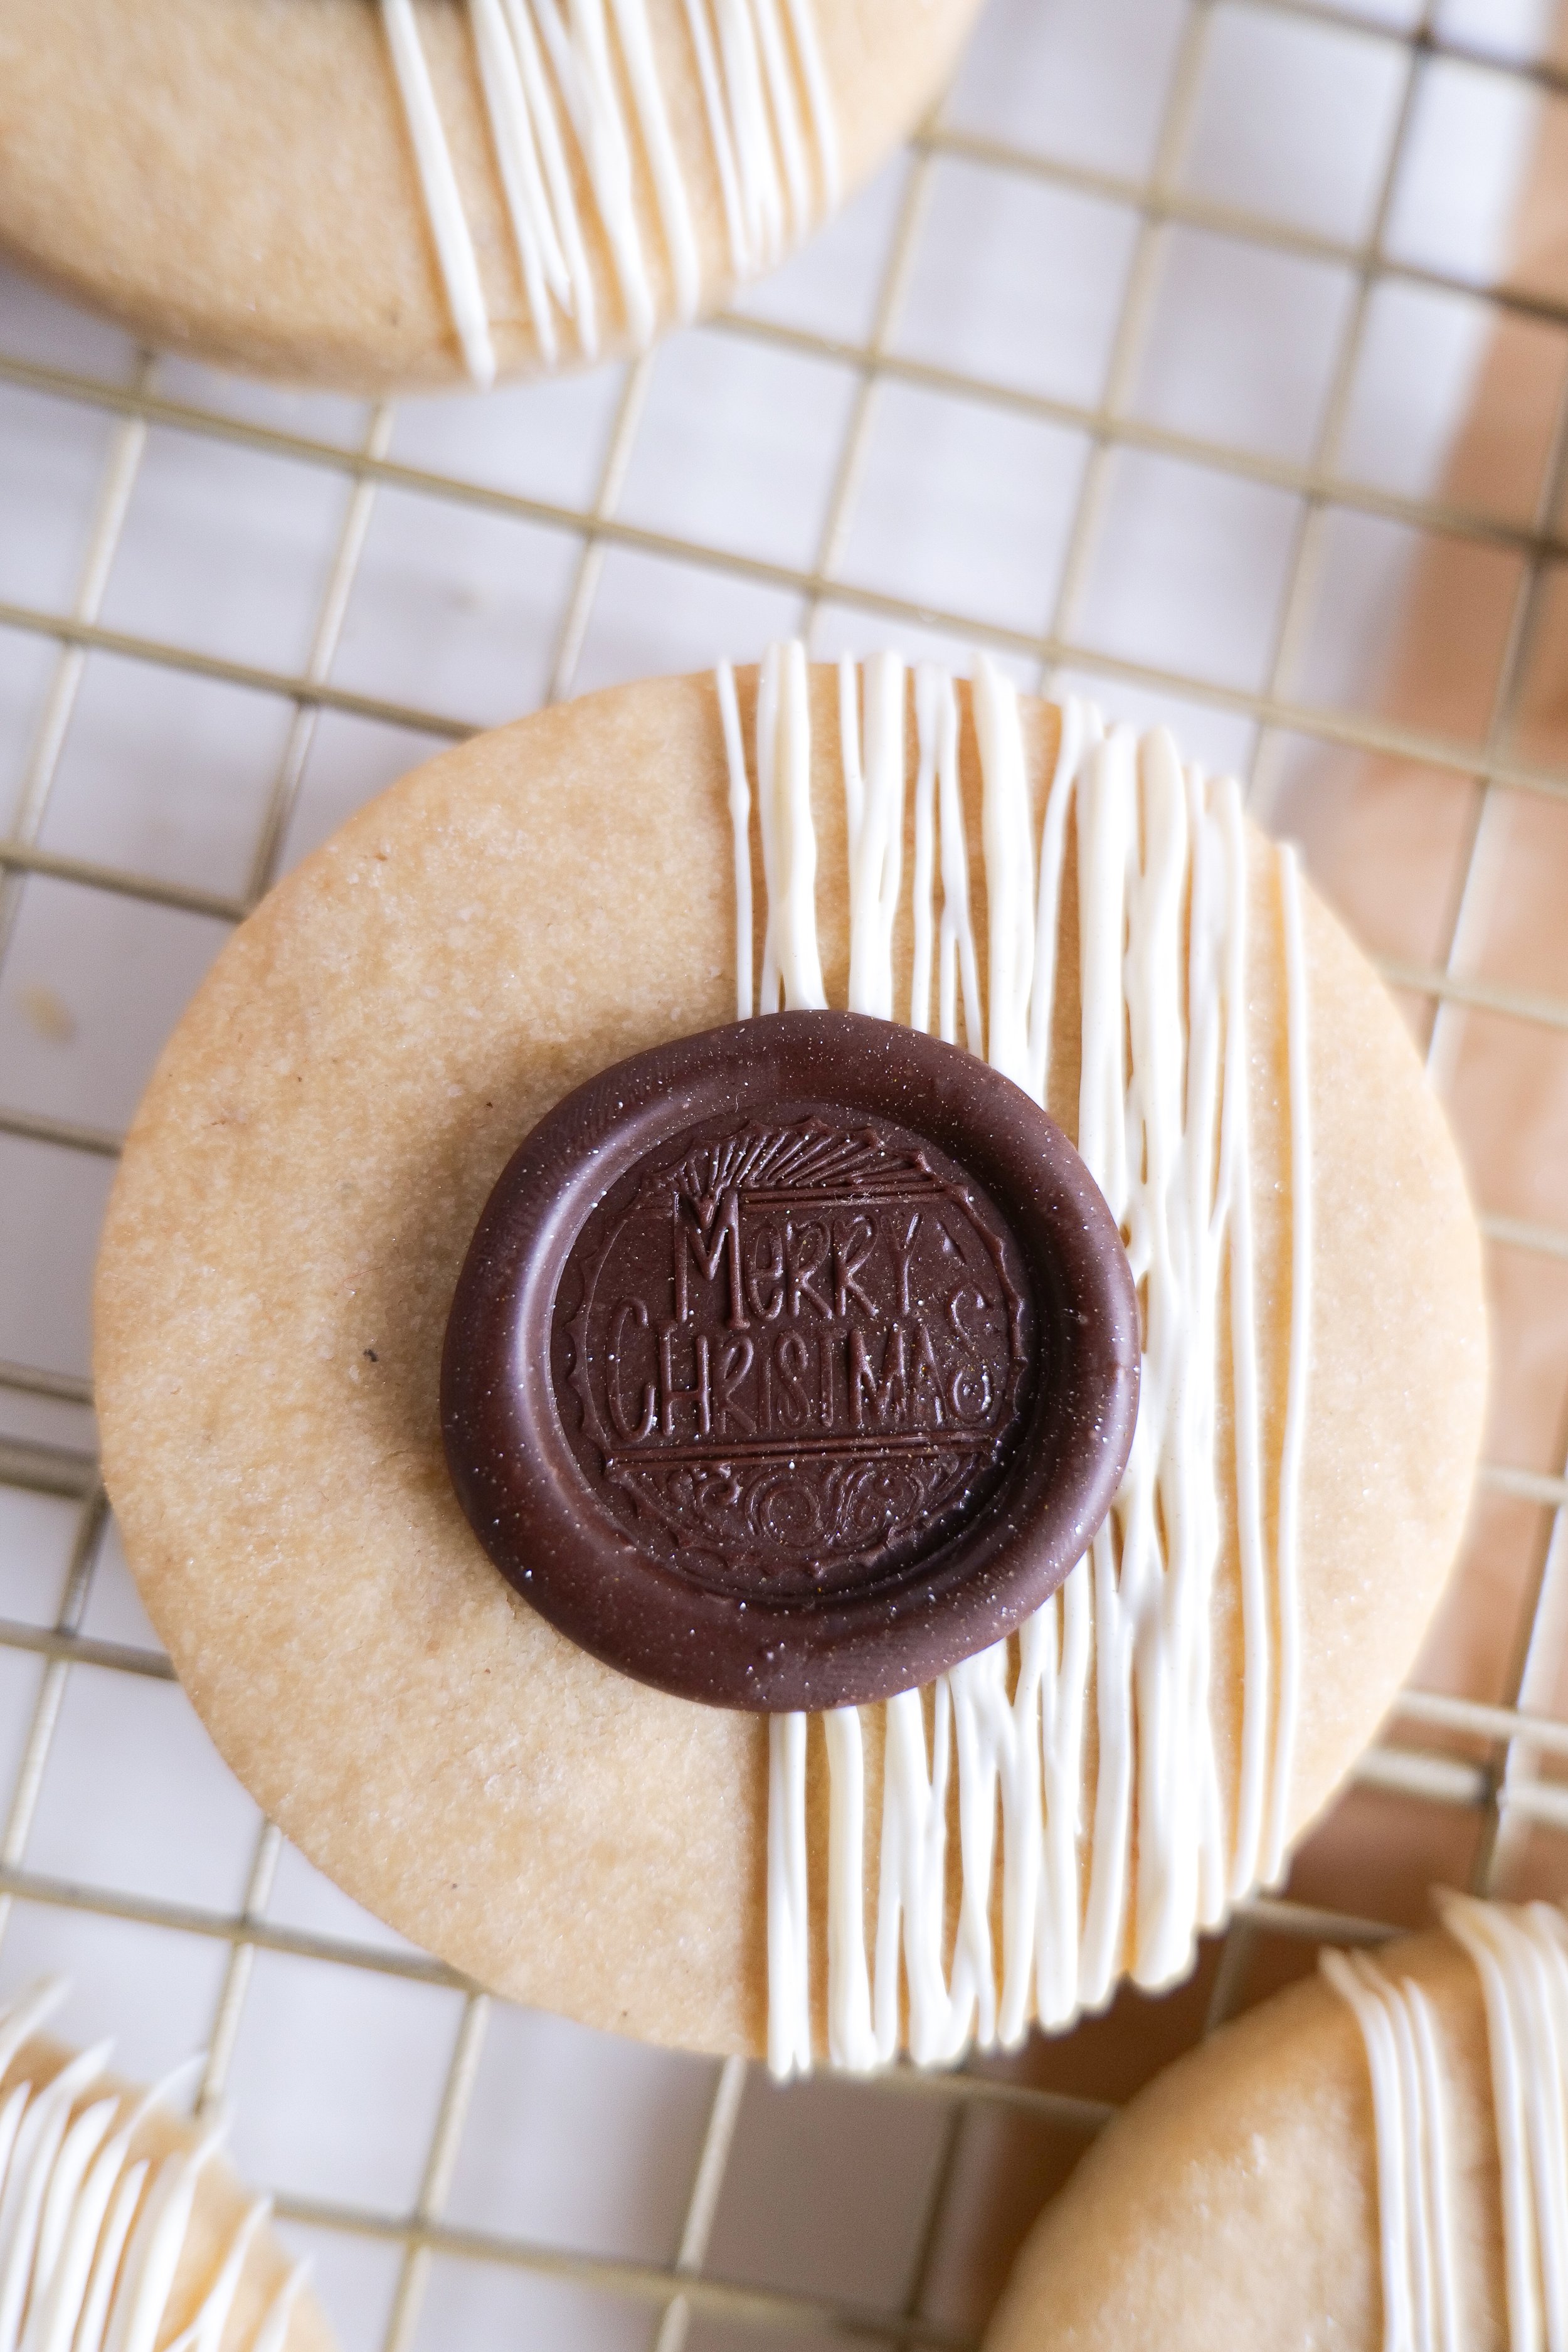
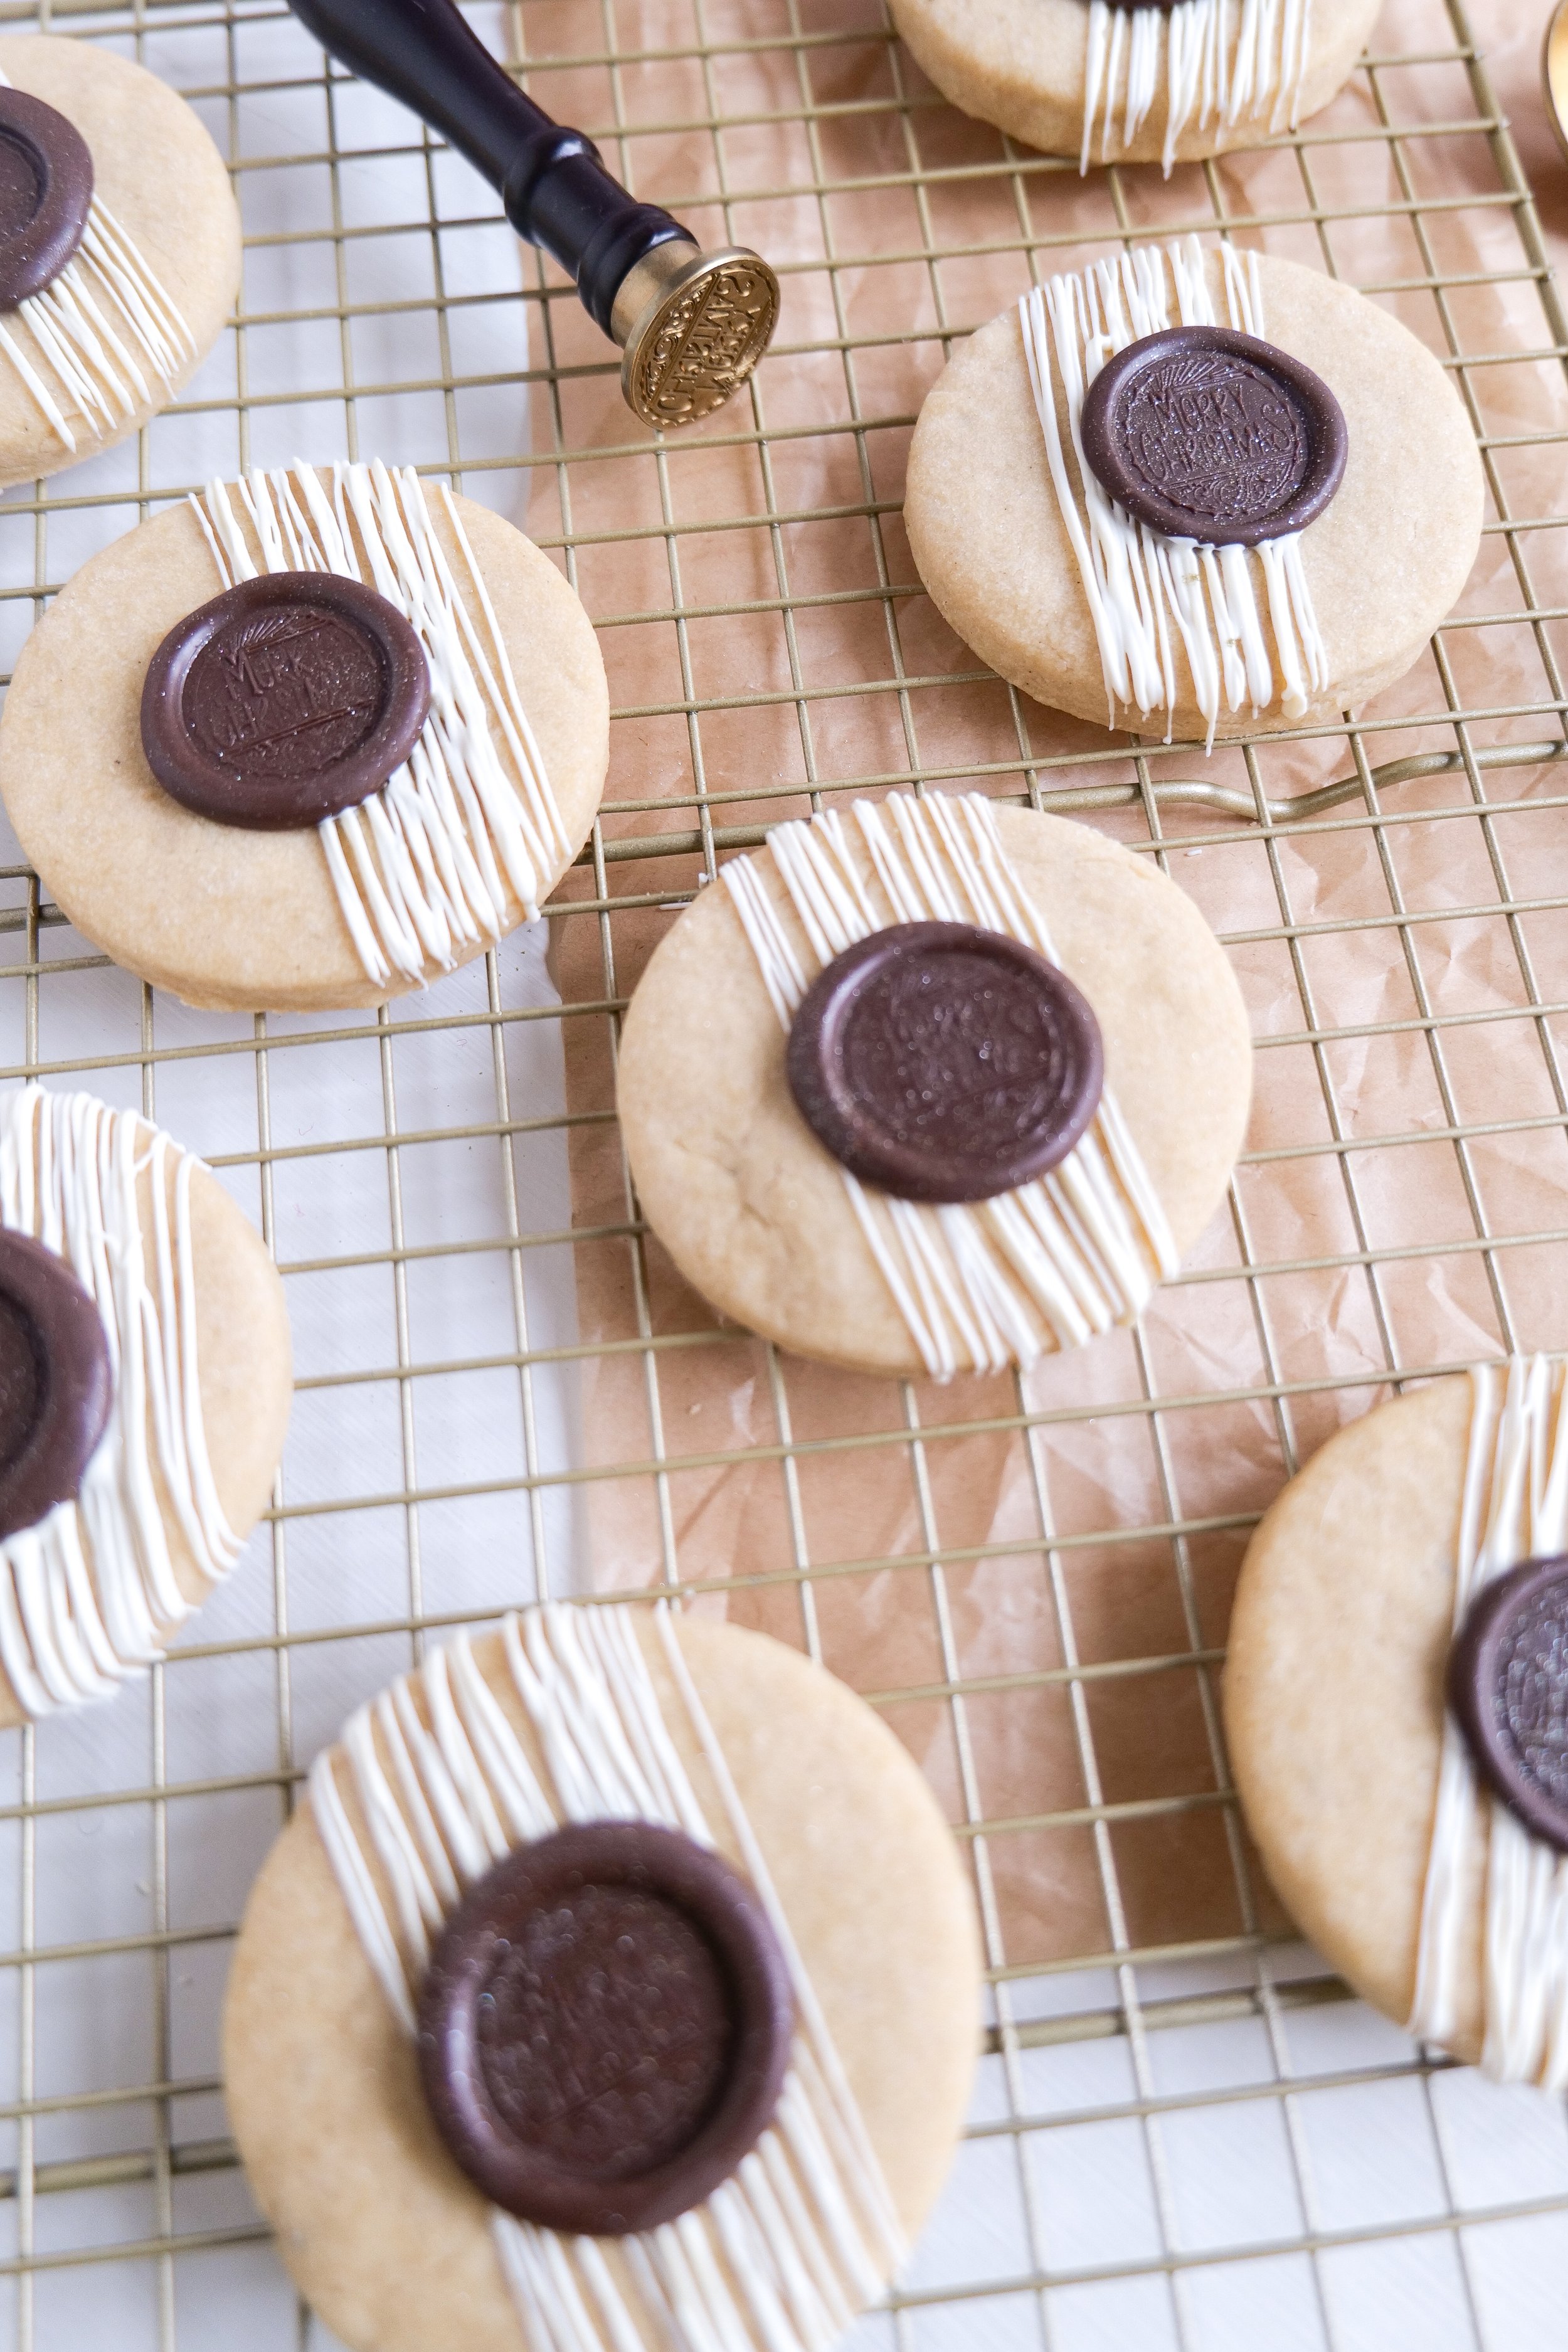
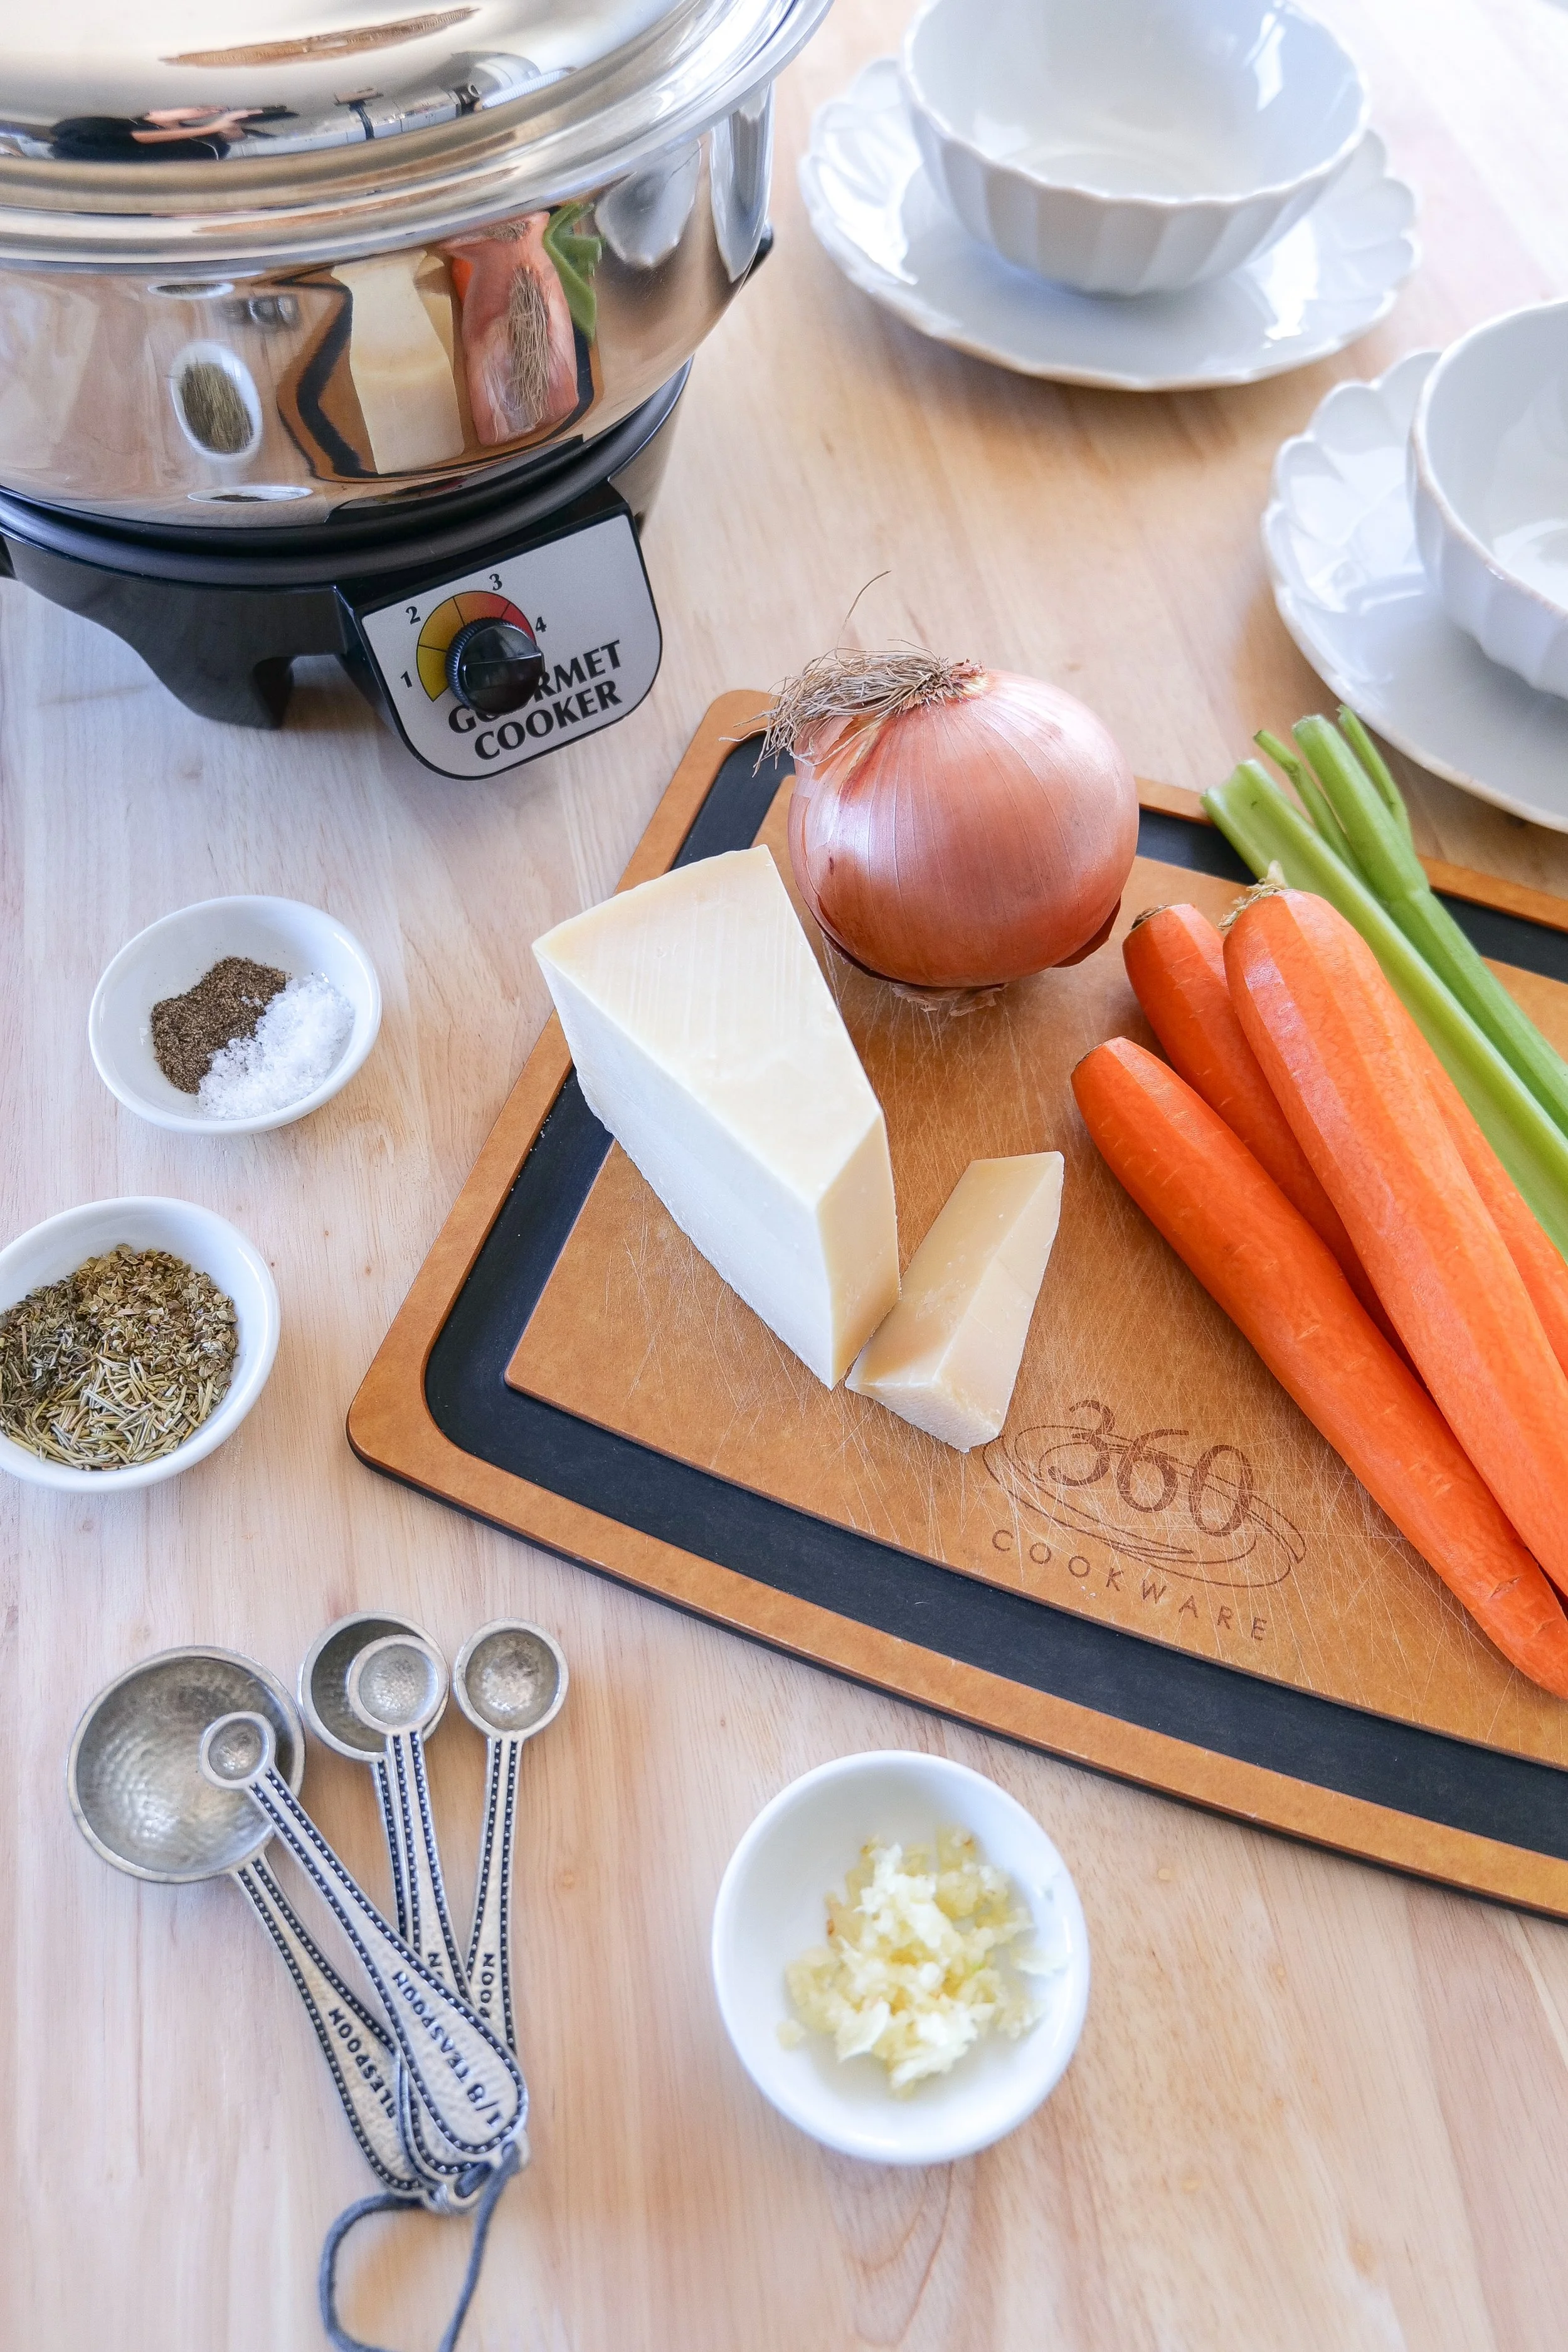
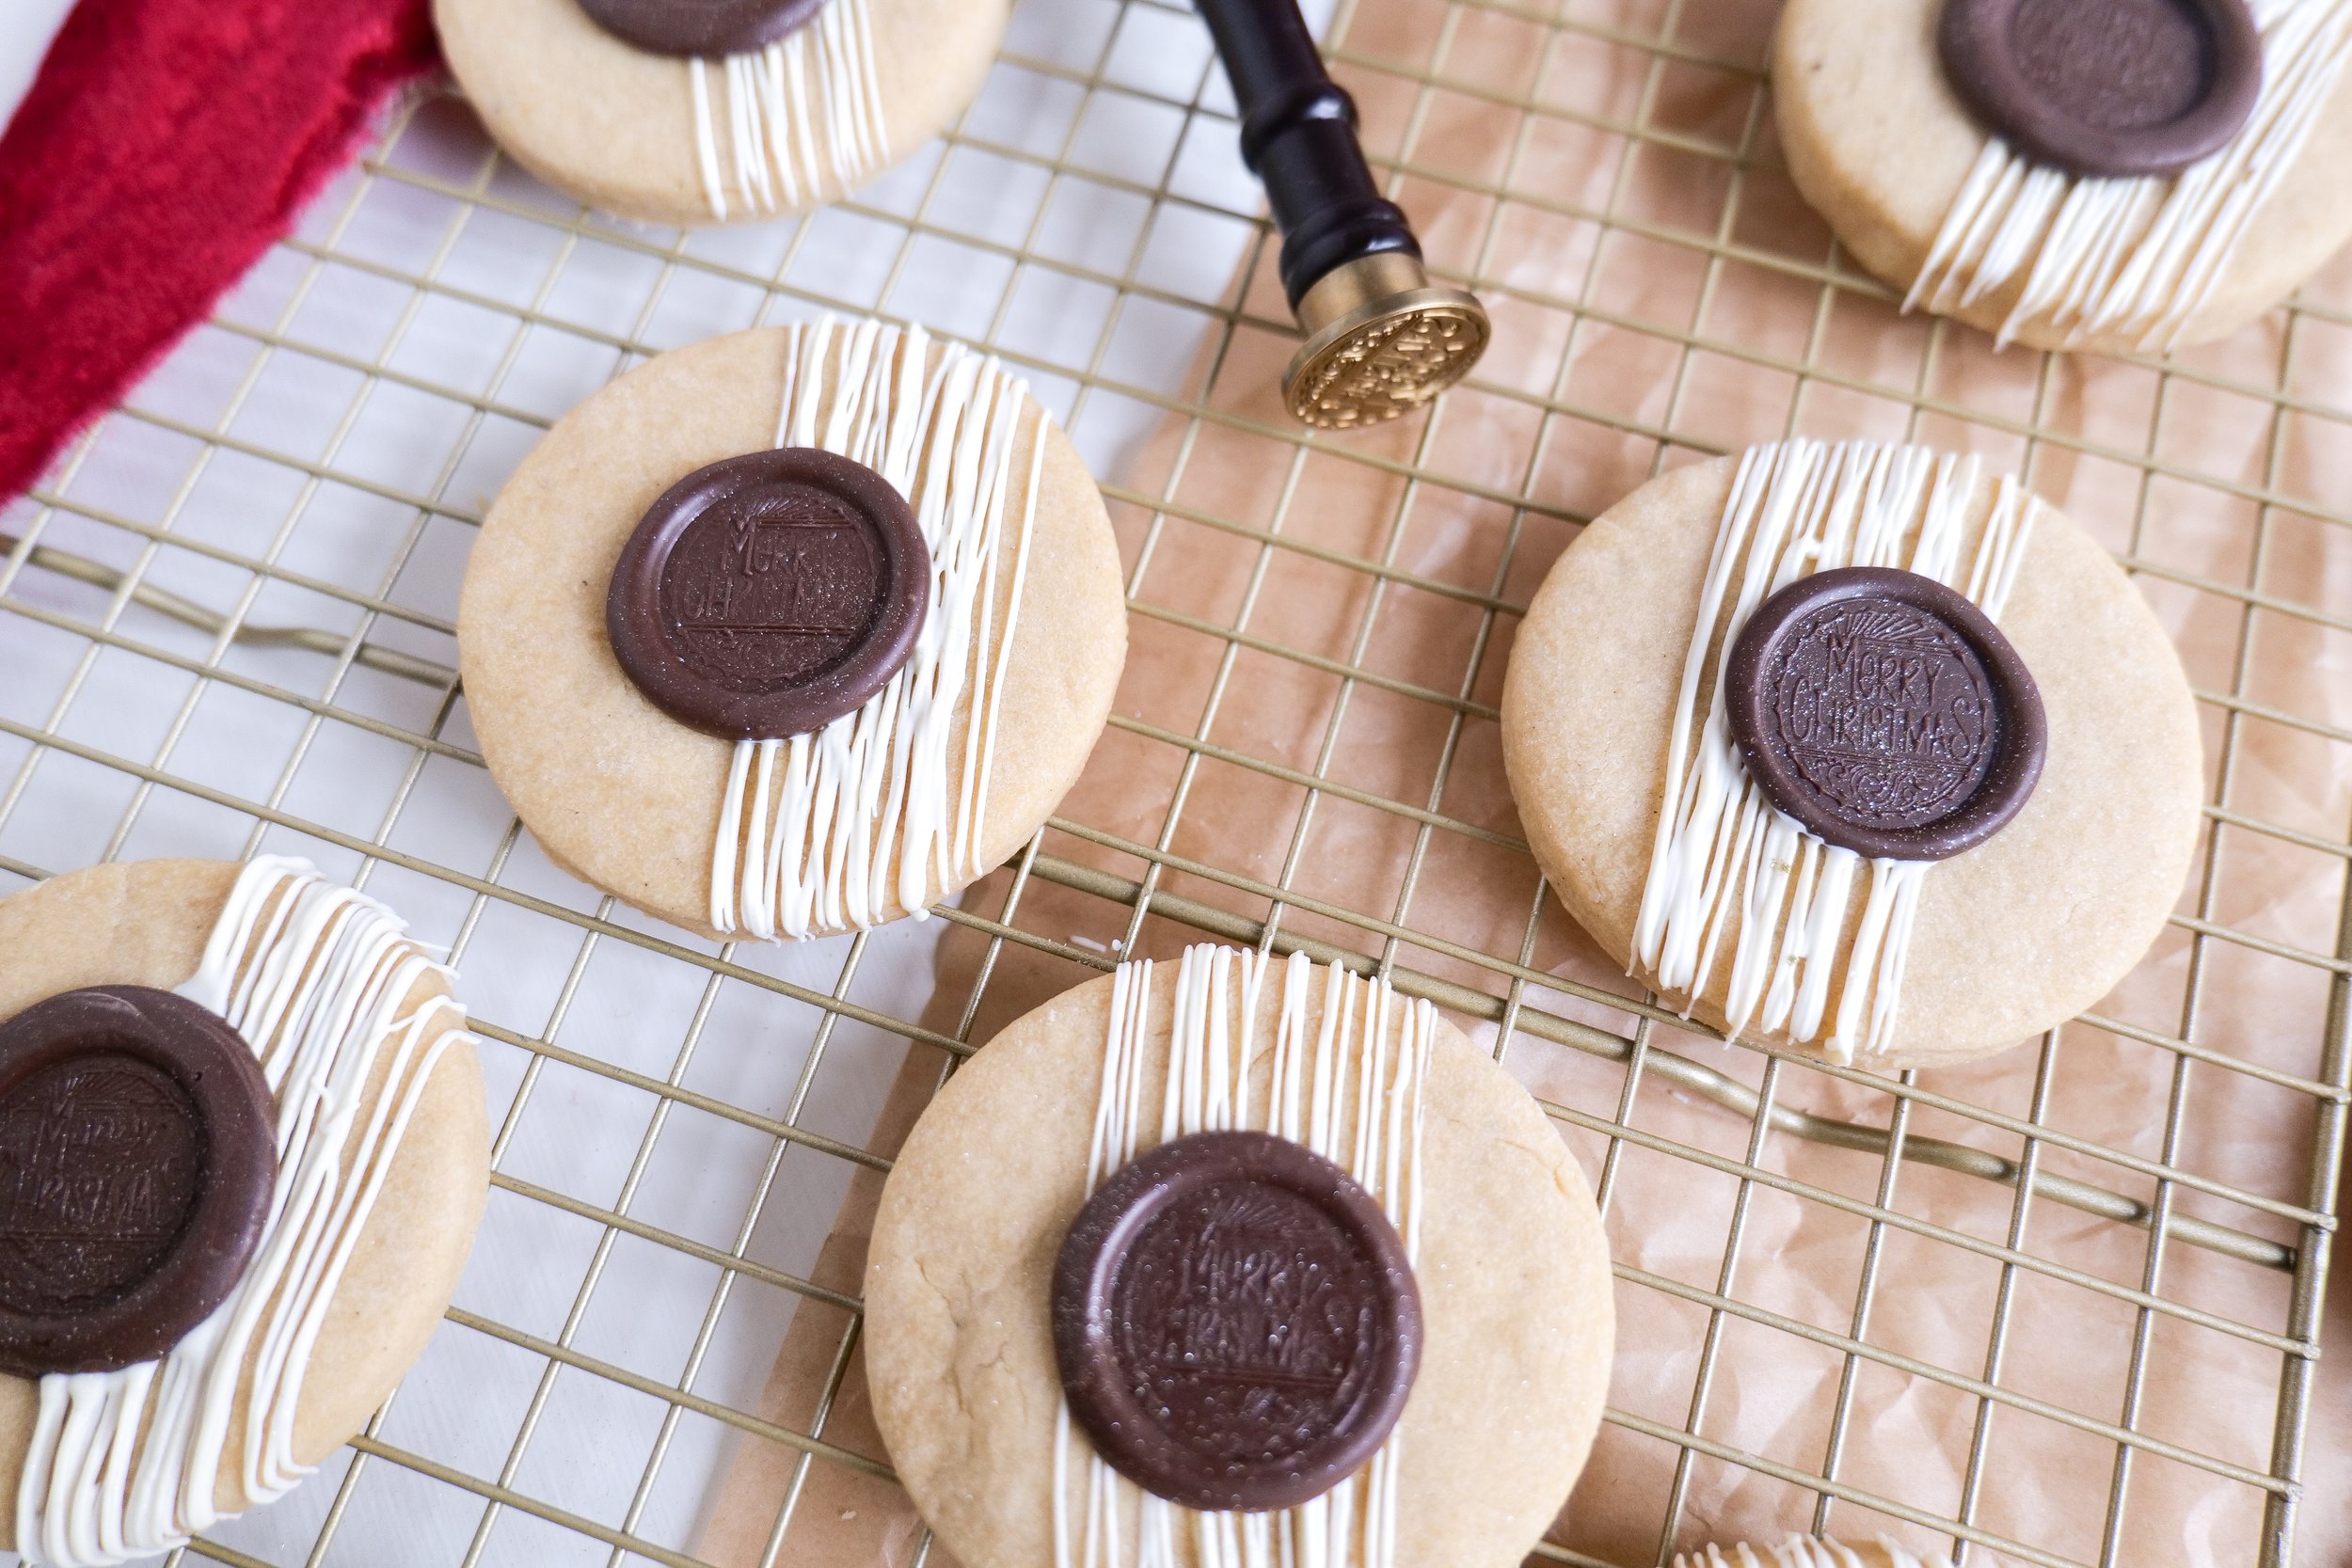
Decadent Brown Butter Shortbread Cookies with a Chocolate 'Wax' Seal – A Vintage Twist on a Classic Treat!

Imagine the irresistible aroma of butter melting slowly into a golden, nutty essence, filling your kitchen with a delicious smell and warmth that promises something truly special. This is the beginning of our journey to creating the ultimate brown butter shortbread cookies—a classic treat reinvented with a sophisticated twist. Each cookie, a masterpiece of simplicity, is made with care, transforming traditional shortbread into a decadent experience with its rich depth of flavor. To elevate this delight to a realm of elegance, we'll crown every cookie with a chocolate "wax" seal, reminiscent of an age when such a seal was a mark of distinction and quality. This whimsical touch not only adds visual intrigue but infuses each bite with a smooth chocolate finish. So, preheat your ovens and ready your parchment paper as we embark on a culinary adventure to bake these irresistible brown butter shortbread cookies. They are a perfect blend of nostalgia and modern flair.

The best part about this recipe is that it is so easy to make with just a few simple ingredients. Not only that, but you can easily customize the chocolate topping with many other alternatives, such as white, milk, or colored chocolate to match the occasion. Also, the wax seal can say anything you'd like for different holidays, occasions and celebrations. With the right balance of sweet and salty, you can enjoy this delicious treat in a simple way. So impress your guests at your next party with these delightful cookies or package them as a sweet gift during the different holiday seasons.

What is the best type of chocolate to use for the "wax" seal?

Brown butter shortbread cookies are a delicious treat that can be made with ease and look great as a presentation. To add a unique touch to the cookie, we are adding a customized “wax” seal made of melted chocolate. When choosing the type of chocolate to use for the seal, it is important to choose one that will not overpower the flavor of the shortbread cookie. Dark chocolate is the best type of chocolate to use for the “wax” seal because it has a richer flavor and is less sweet. It will provide a nice contrast of flavors and a fresh look to the shortbread cookie. Semi-sweet chocolate chips also work well but are slightly sweeter than dark chocolate. White chocolate has a very sweet flavor and may overpower the flavor of the shortbread cookie however if you are looking for a sweet treat that is also colorful this is the best way to dye your chocolate to match the decor of your party or the holiday you are celebrating.

Can I make the dough for these brown butter shortbread cookies ahead of time?

Making the dough ahead of time is an excellent option if you want to prepare for a special occasion, but are routinely pressed for time. The dough can be made up to one week ahead of time and stored in plastic wrap in an airtight container in your refrigerator. When you are ready to bake the cookies, let the dough come to room temperature, roll it out and cut them into desired shapes. The chocolate wax seal can also be made ahead of time and stored in an airtight container at room temperature. This will save you time and energy when you are ready to bake. The brown butter shortbread cookies are a delicious treat that will be sure to impress. The buttery flavor of the cookie combined with the rich chocolate wax seal creates a unique flavor that everyone will enjoy. The chocolate wax seal gives the cookies a special touch that will make them stand out at any gathering. You won't regret taking the extra time to make these cookies for your next special occasion.

How long can I store the brown butter shortbread cookies with the chocolate seal, and how should I store them?

When stored correctly, these cookies can surprisingly last up to two weeks. To store these cookies, it is best to use an airtight container, preferably glass or a food-grade plastic container. Keep them in a cool, dry place away from direct sunlight. Place a paper towel or parchment paper between the layers of cookies to prevent them from sticking together. Enjoy the cookies within two weeks of making them for the best flavor and texture.

Ingredients:

1 cup unsalted brown butter

1tsp vanilla extract

2 1/4 cups all-purpose flour

1/2 tsp sea salt

1/4 granulated sugar

1/2 cup powdered sugar

4 tbsp whole milk

bittersweet chocolate & wax seal of choice

Step-By-Step Instructions:

  1. Add butter to stove top pan to brown. Butter will melt and begin to get a nutty smell. Turning brown when it’s ready! Pour into a bowl and let come to room temp. After room temp place in fridge for 30 min to fully cool.

  2. While butter is cooling whisk together sugars, all-purpose flour and sea salt. Add in brown butter and vanilla extract with rubber spatula. Mix with an electric mixer until well combined.

  3. Dough with be flaky at this step. Add 1 tablespoon of milk at a time until the dough is incorporated and starts to stick together. Usually needing 4 tablespoons of milk total.

  4. Wrap with plastic wrap and keep refrigerated for at least 1 hour and up to 1 week.

  5. Remove from fridge when ready to make cookies. Flour the surface and roll out to 1/4 inch thick. Cut dough with your favorite cookie cutters and bake at 325.

  6. Baking for 12-14 min in oven. Remove and place cookies on the cookie sheet to cool.

  7. Once the cookies are cooled you can add the wax seal by two options. One way you can drizzle chocolate in the center of the cookie, let it cool for a few seconds and stamp it with your wax seal. The other option I did here was to make a wax seal on parchment paper and add it onto the cookie with a small drop of a full drizzle like I did to adhere to the cookie. Prep your wax seal by cooling it in the freezer for at least an hour to fully cool through. Between each stamp place in an ice bowl to continue to keep cool. Once finished, serve and enjoy your Brown Butter Shortbread Cookies with Chocolate "Wax" Seal

Other Cookie Recipes You Will Love:

How to Make Delicious Nutter Butter Cookies At Home
Indulge your Sweet Tooth: The Ultimate Guide to Making Brown Butter Maple Pecan Chocolate Chunk Cookies

The Best Monster Cookie Recipe You'll Ever Try!

Deliciously Sweet: Mastering the Perfect Pumpkin Molasses Cookie Recipe for the Autumn Season

Birthday Cutout Sugar Cookies

Brown Sugar Toffee Cookies

Brown Butter Caramel Pretzel Cookies

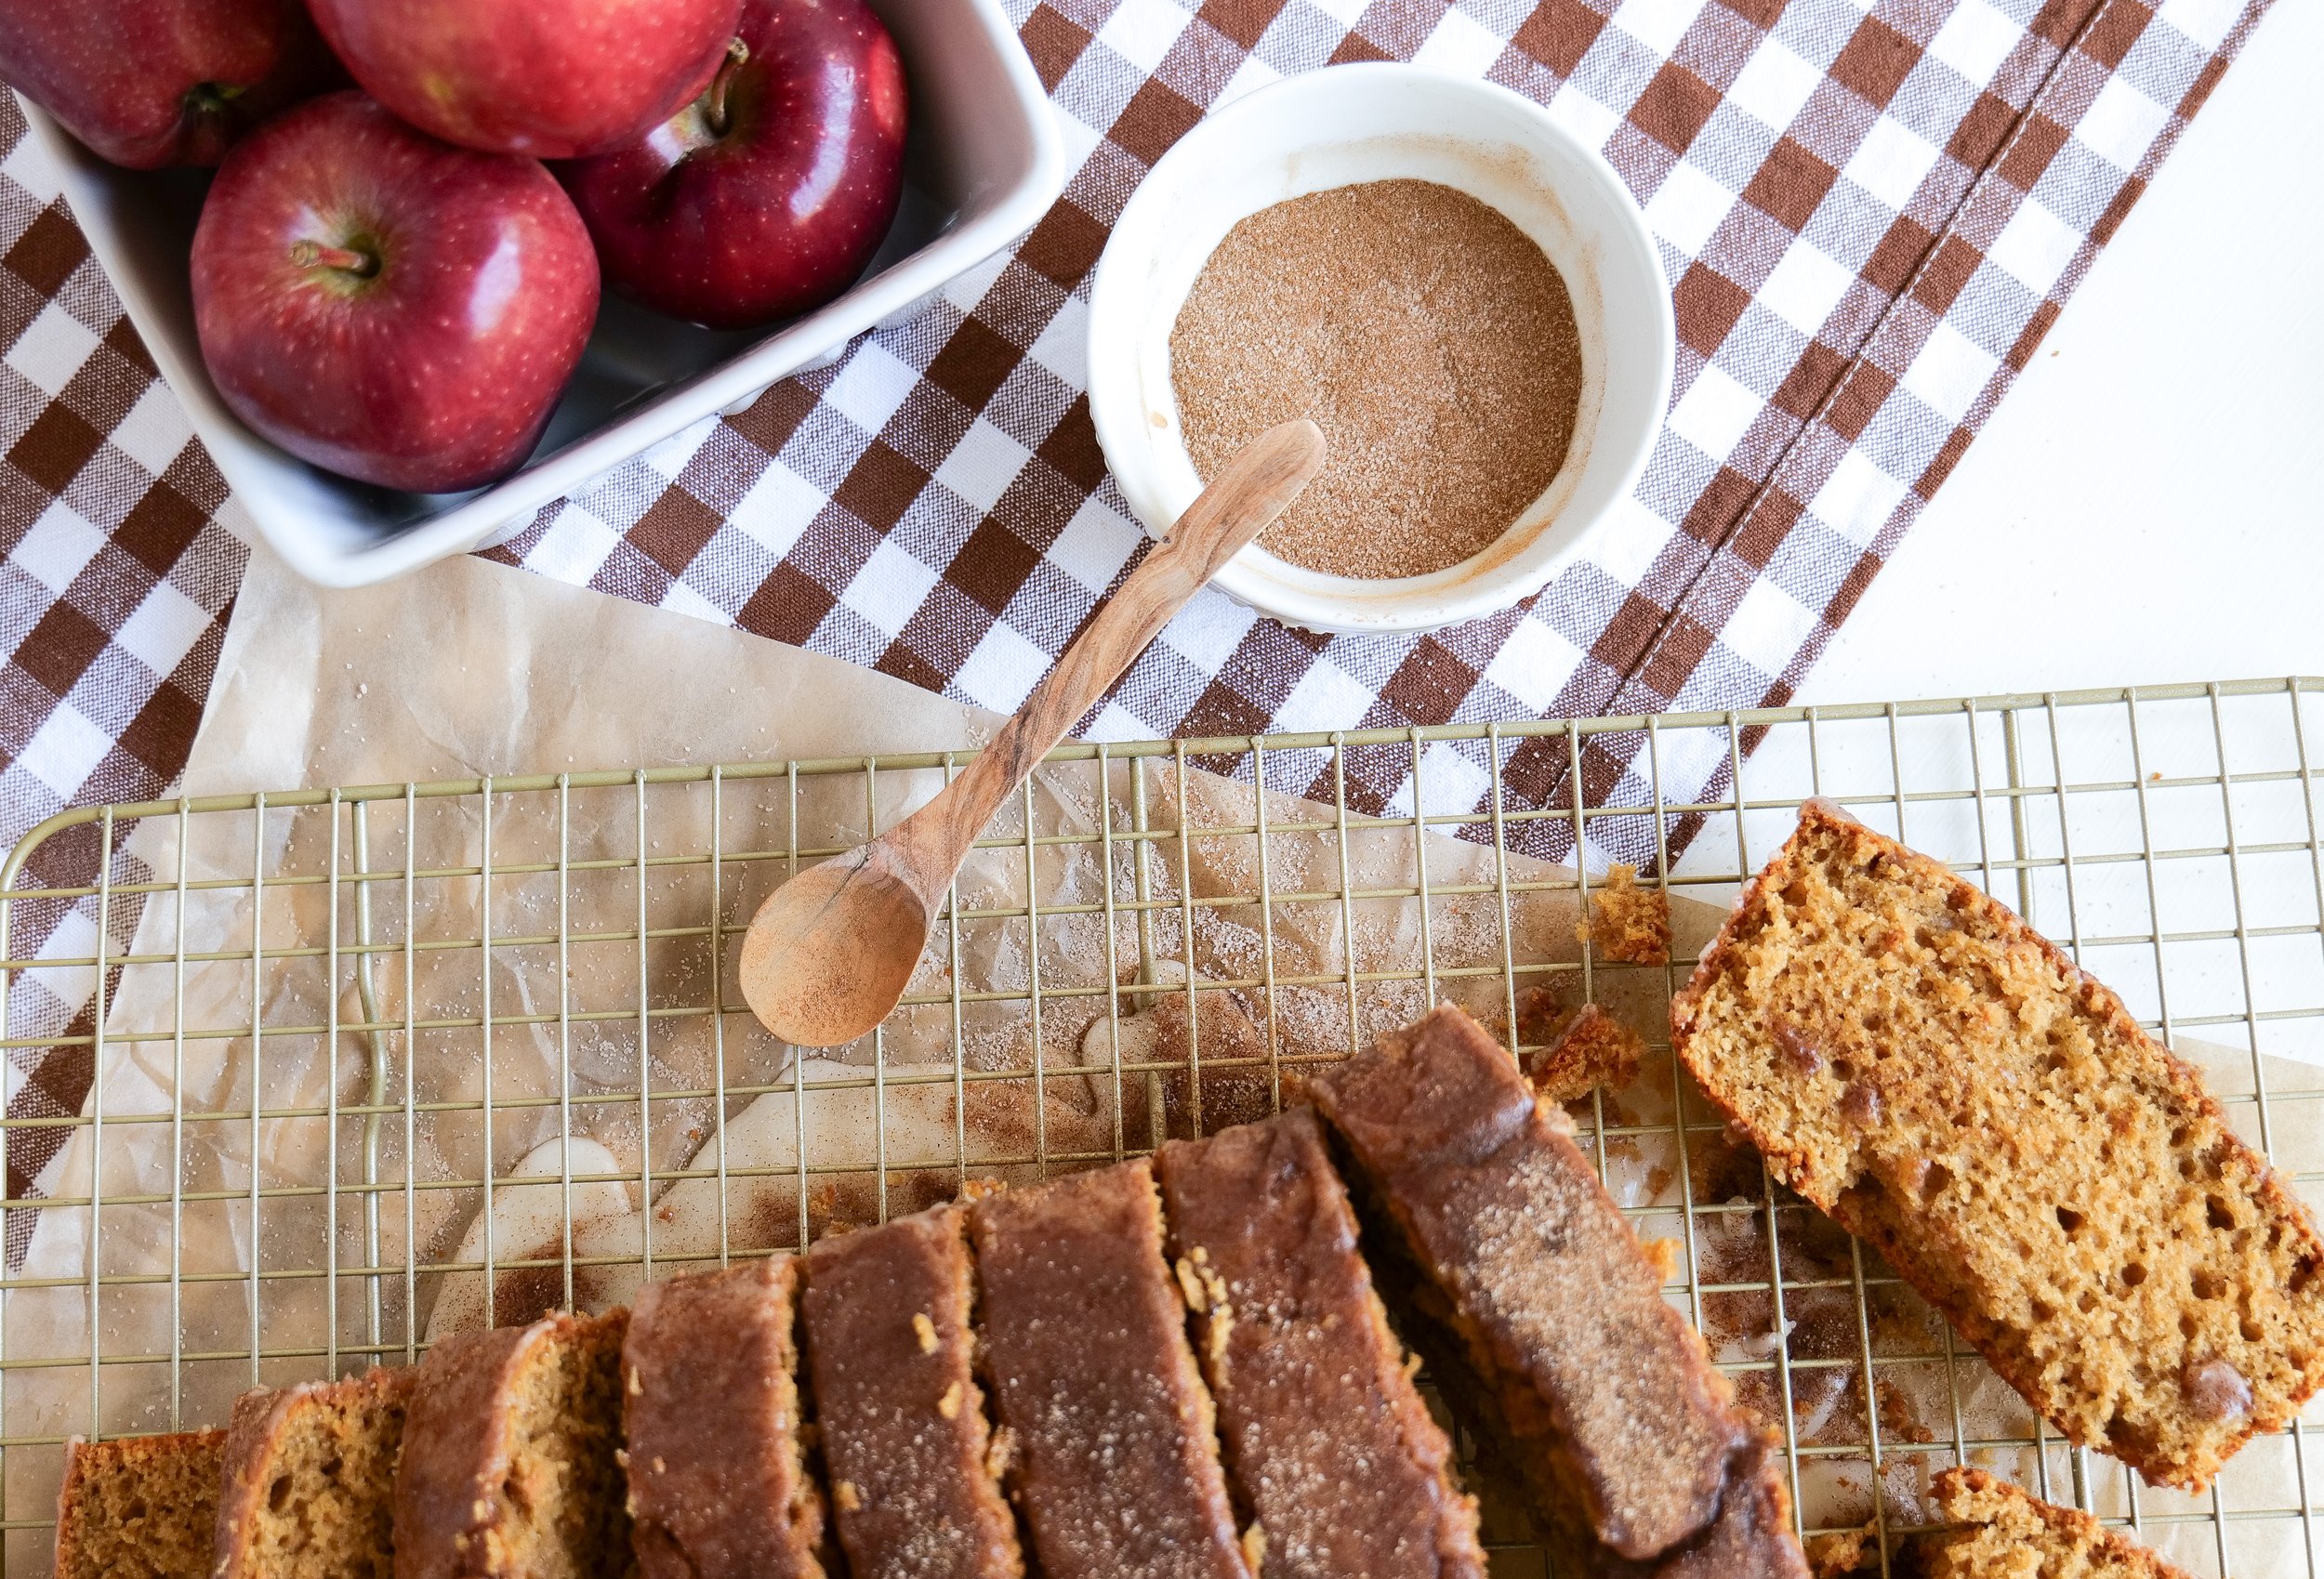
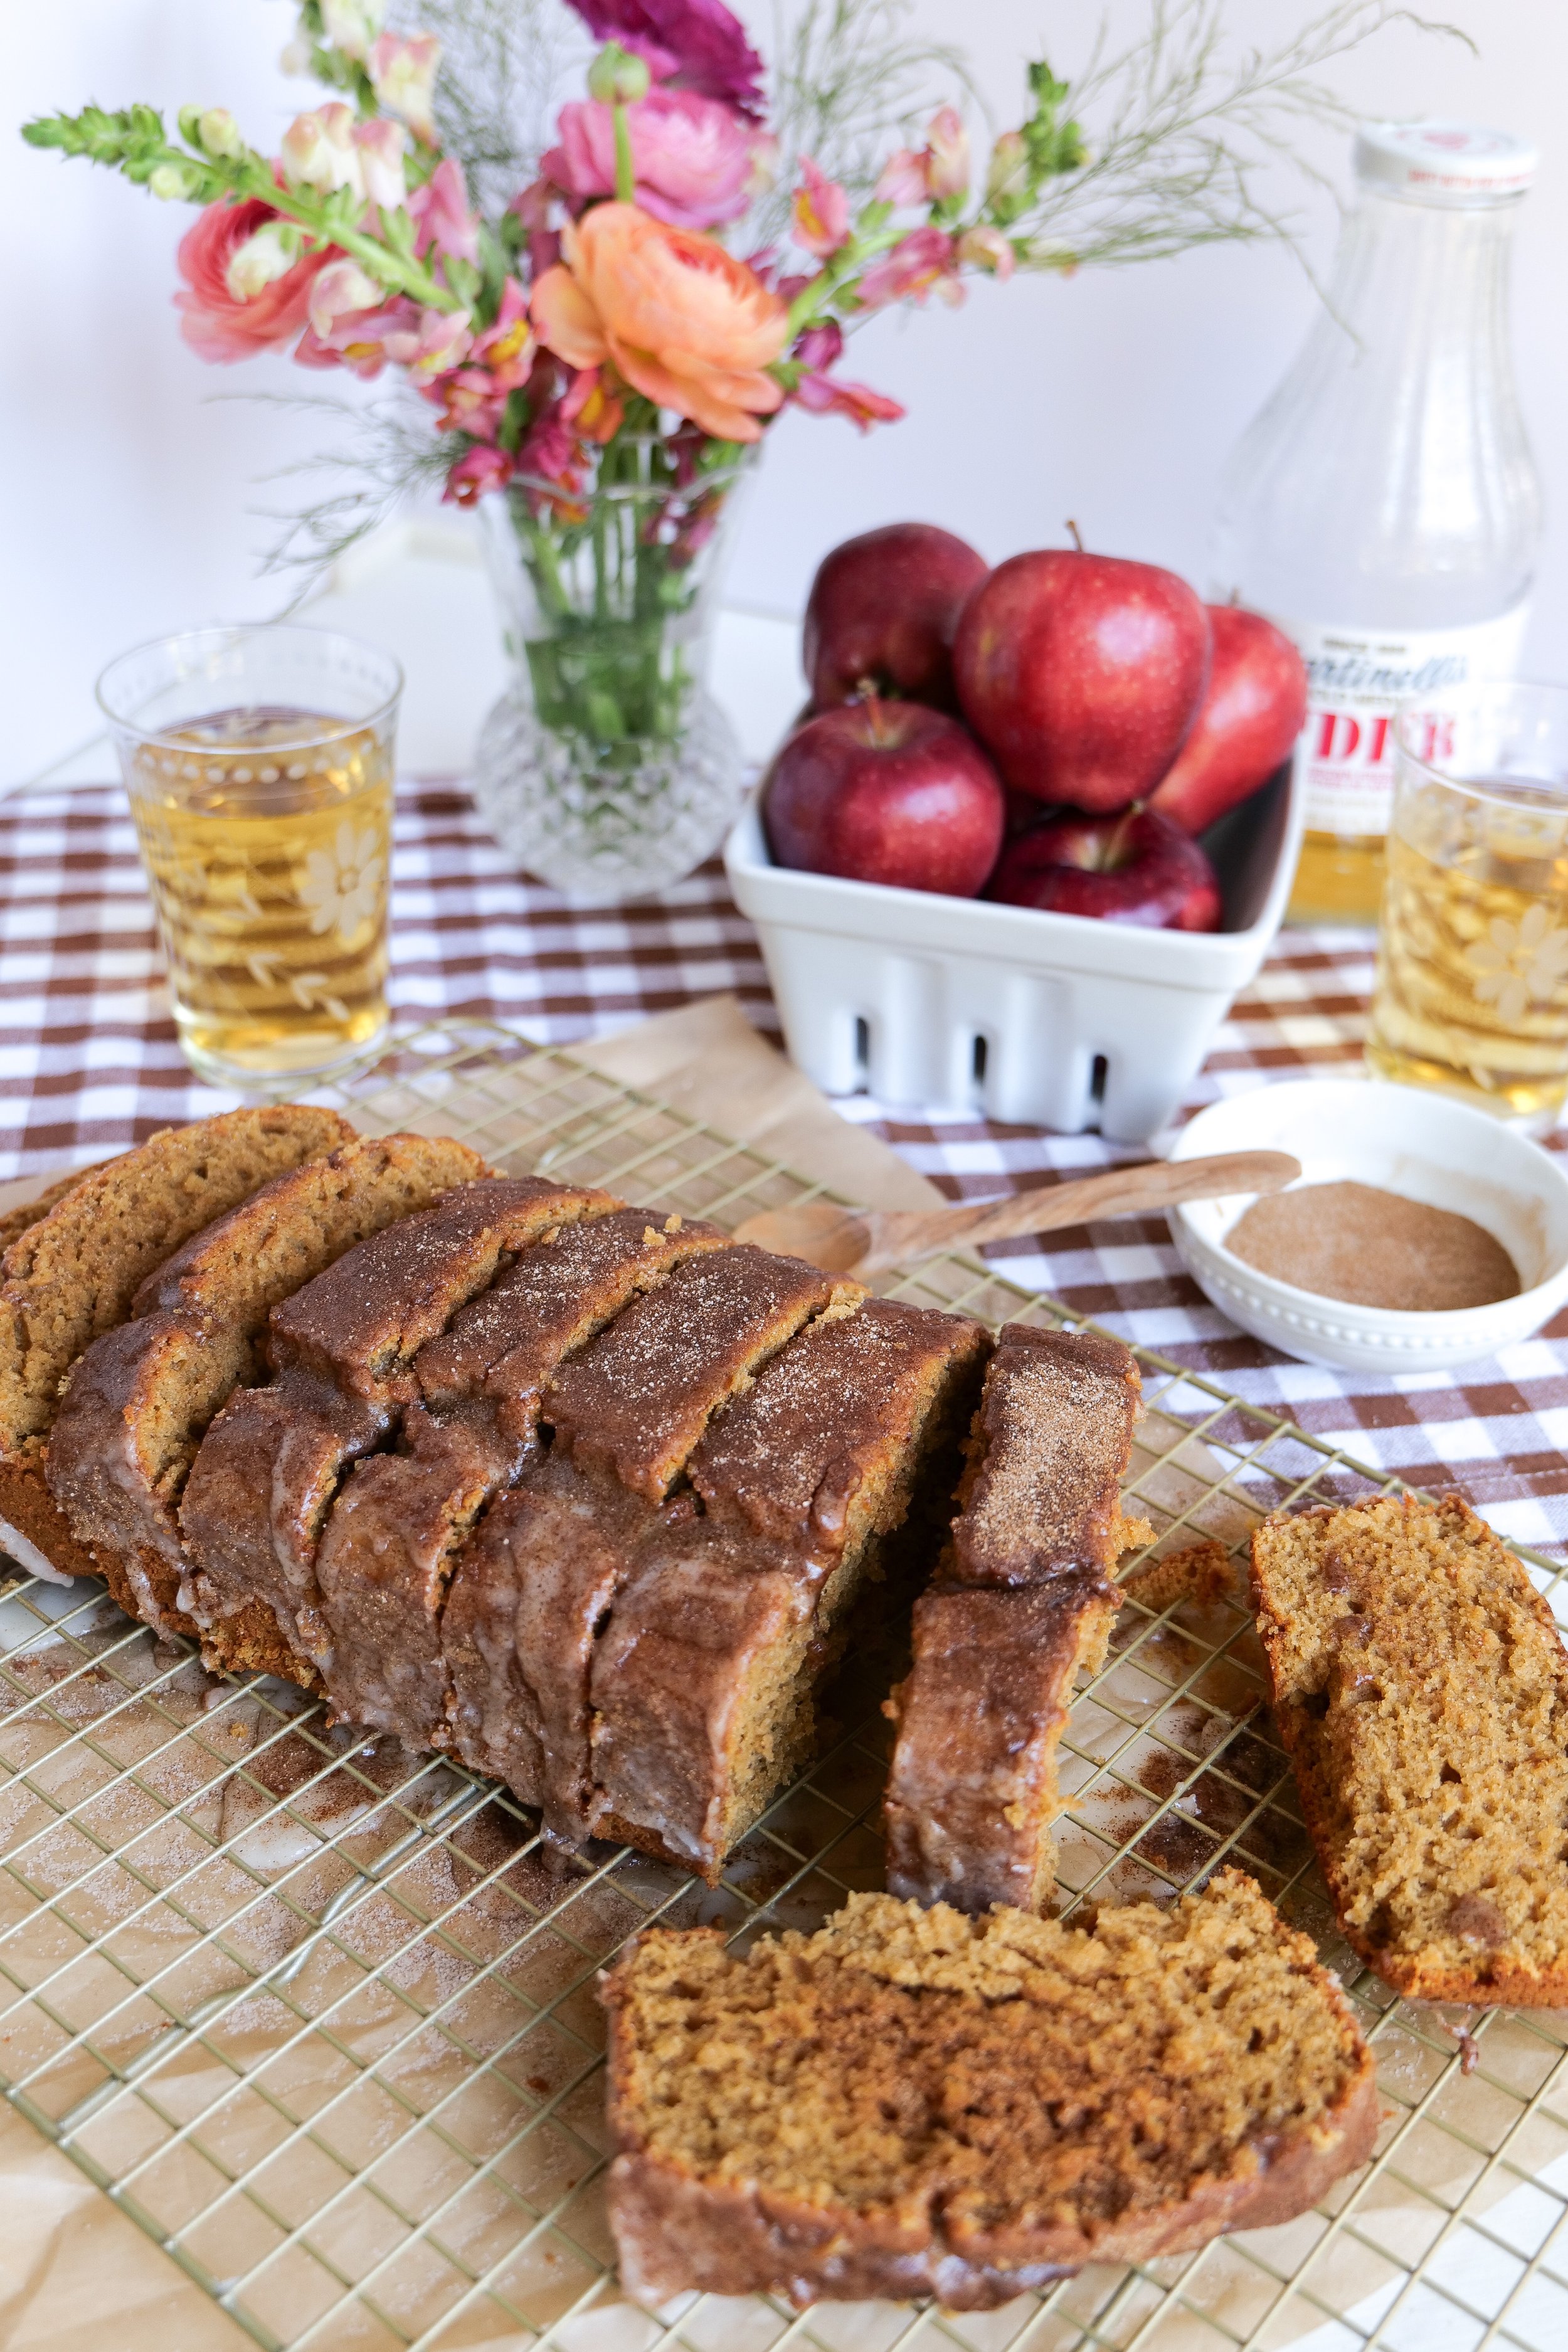
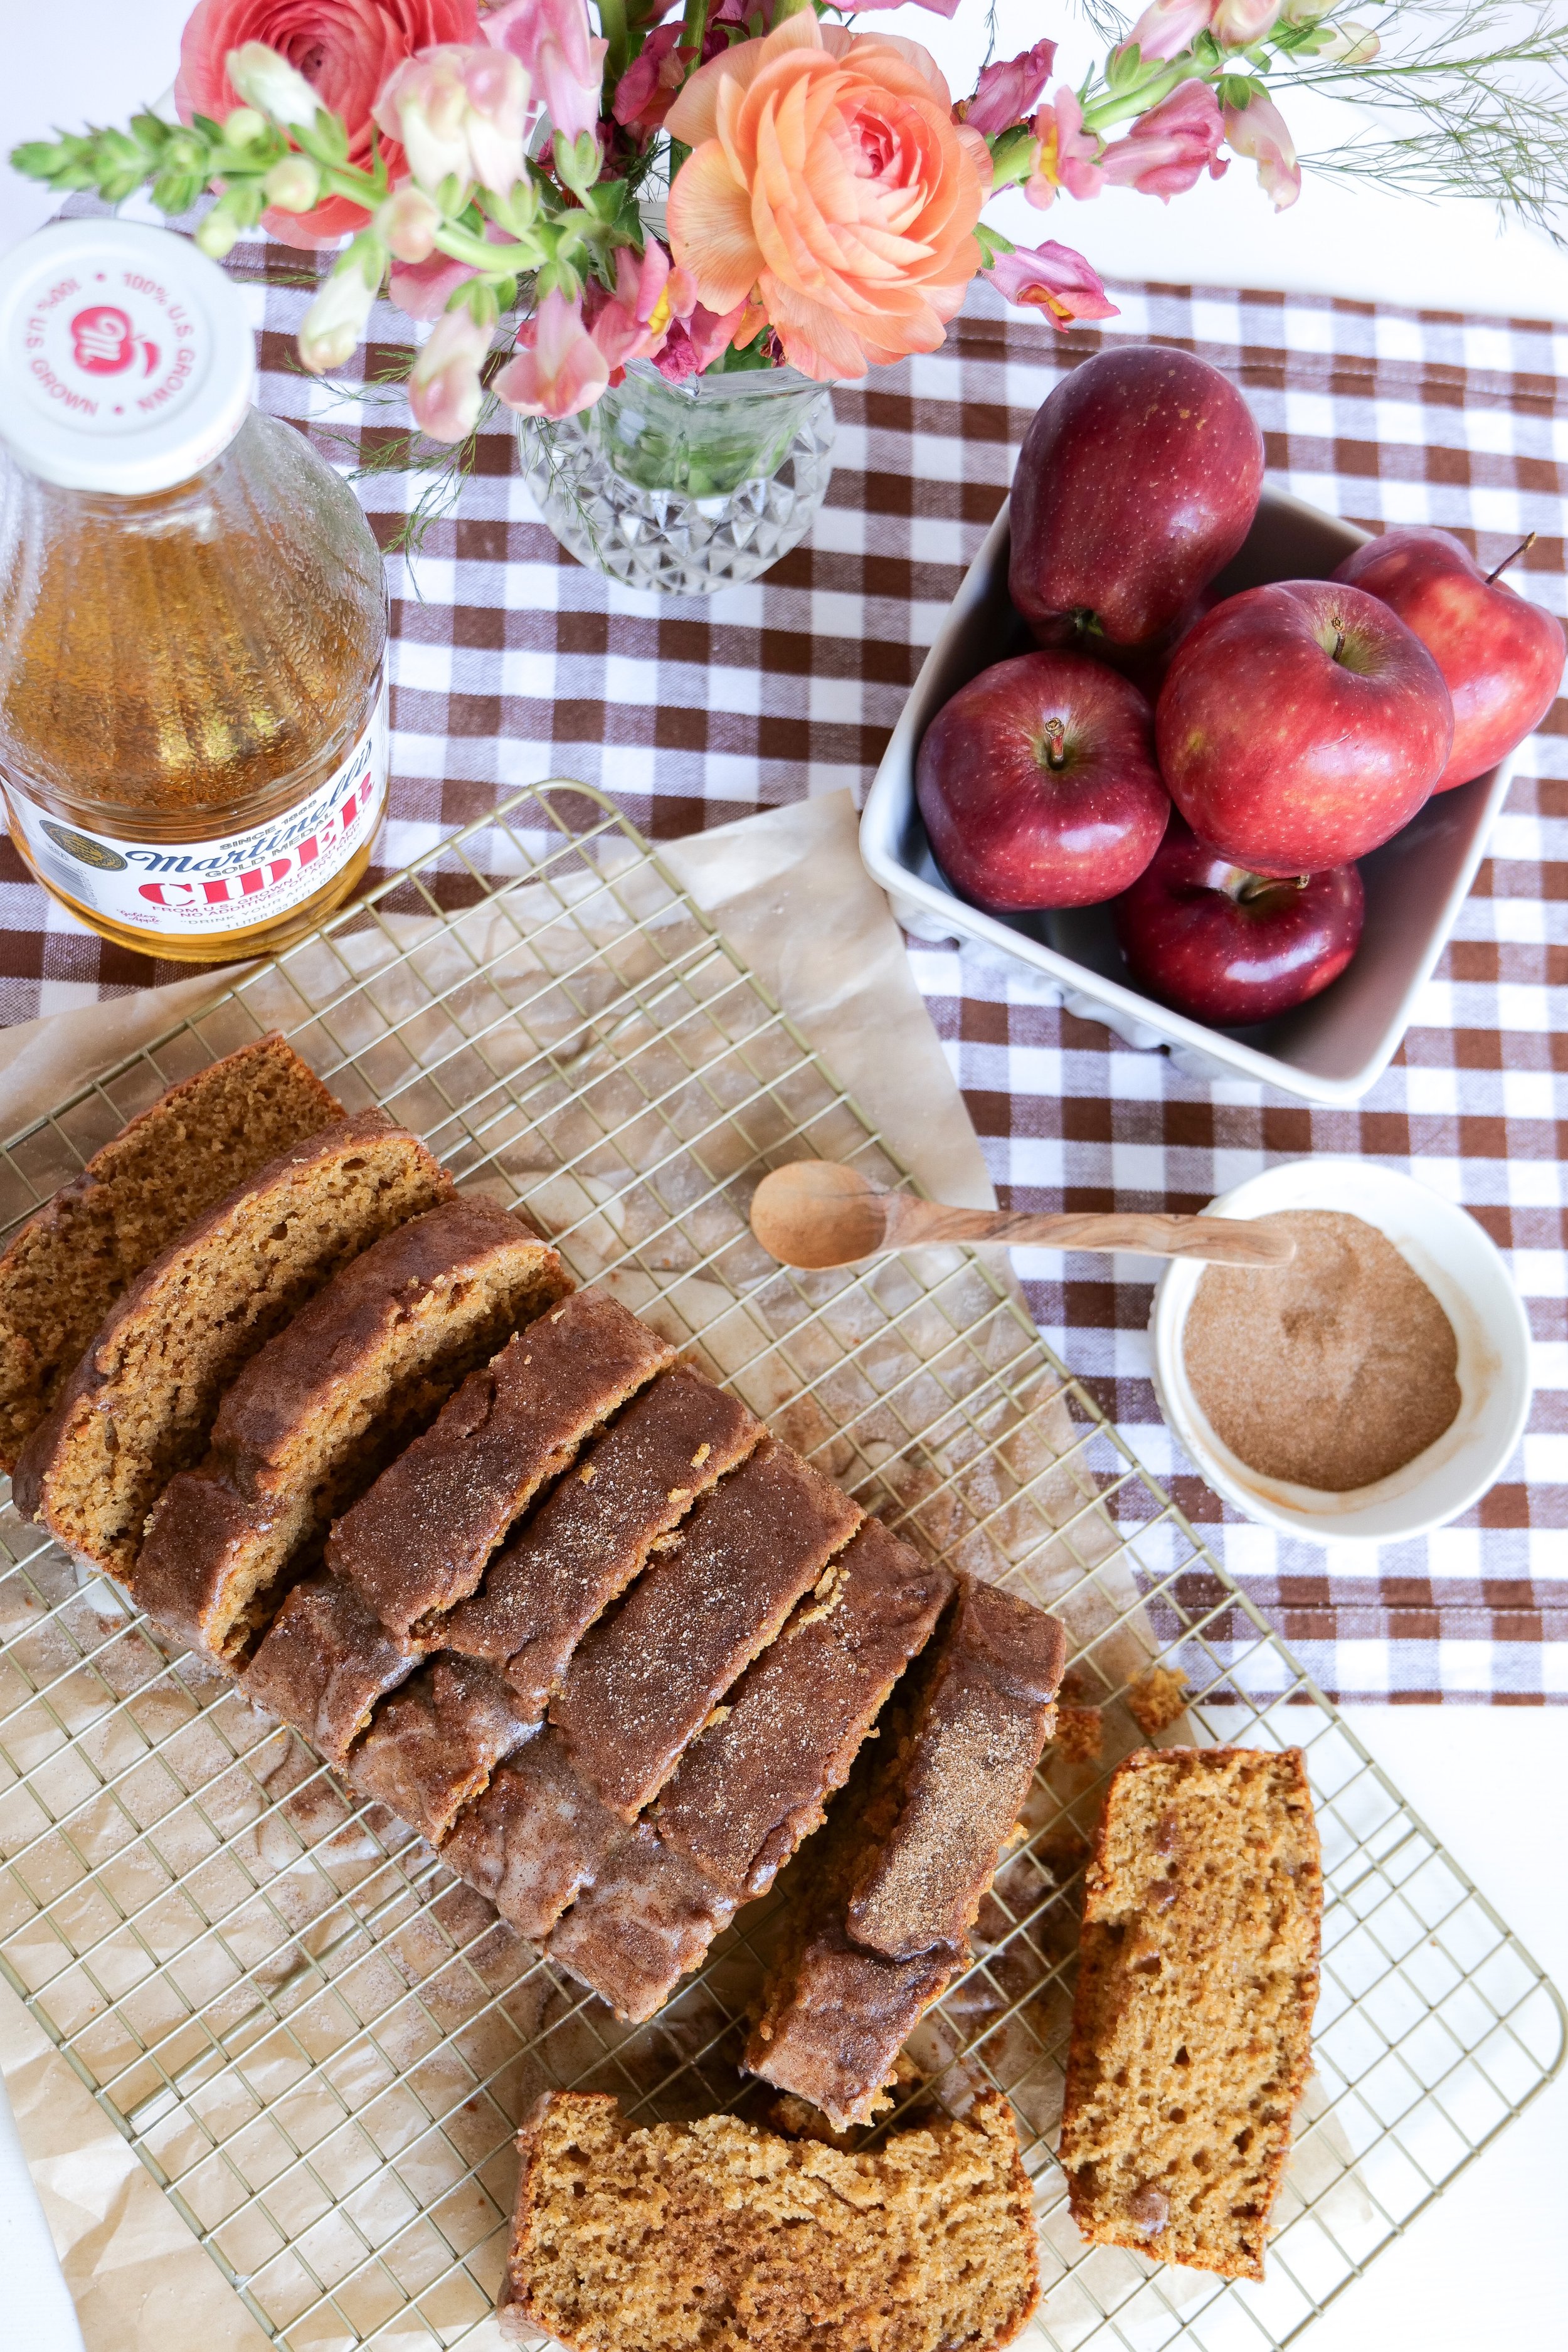
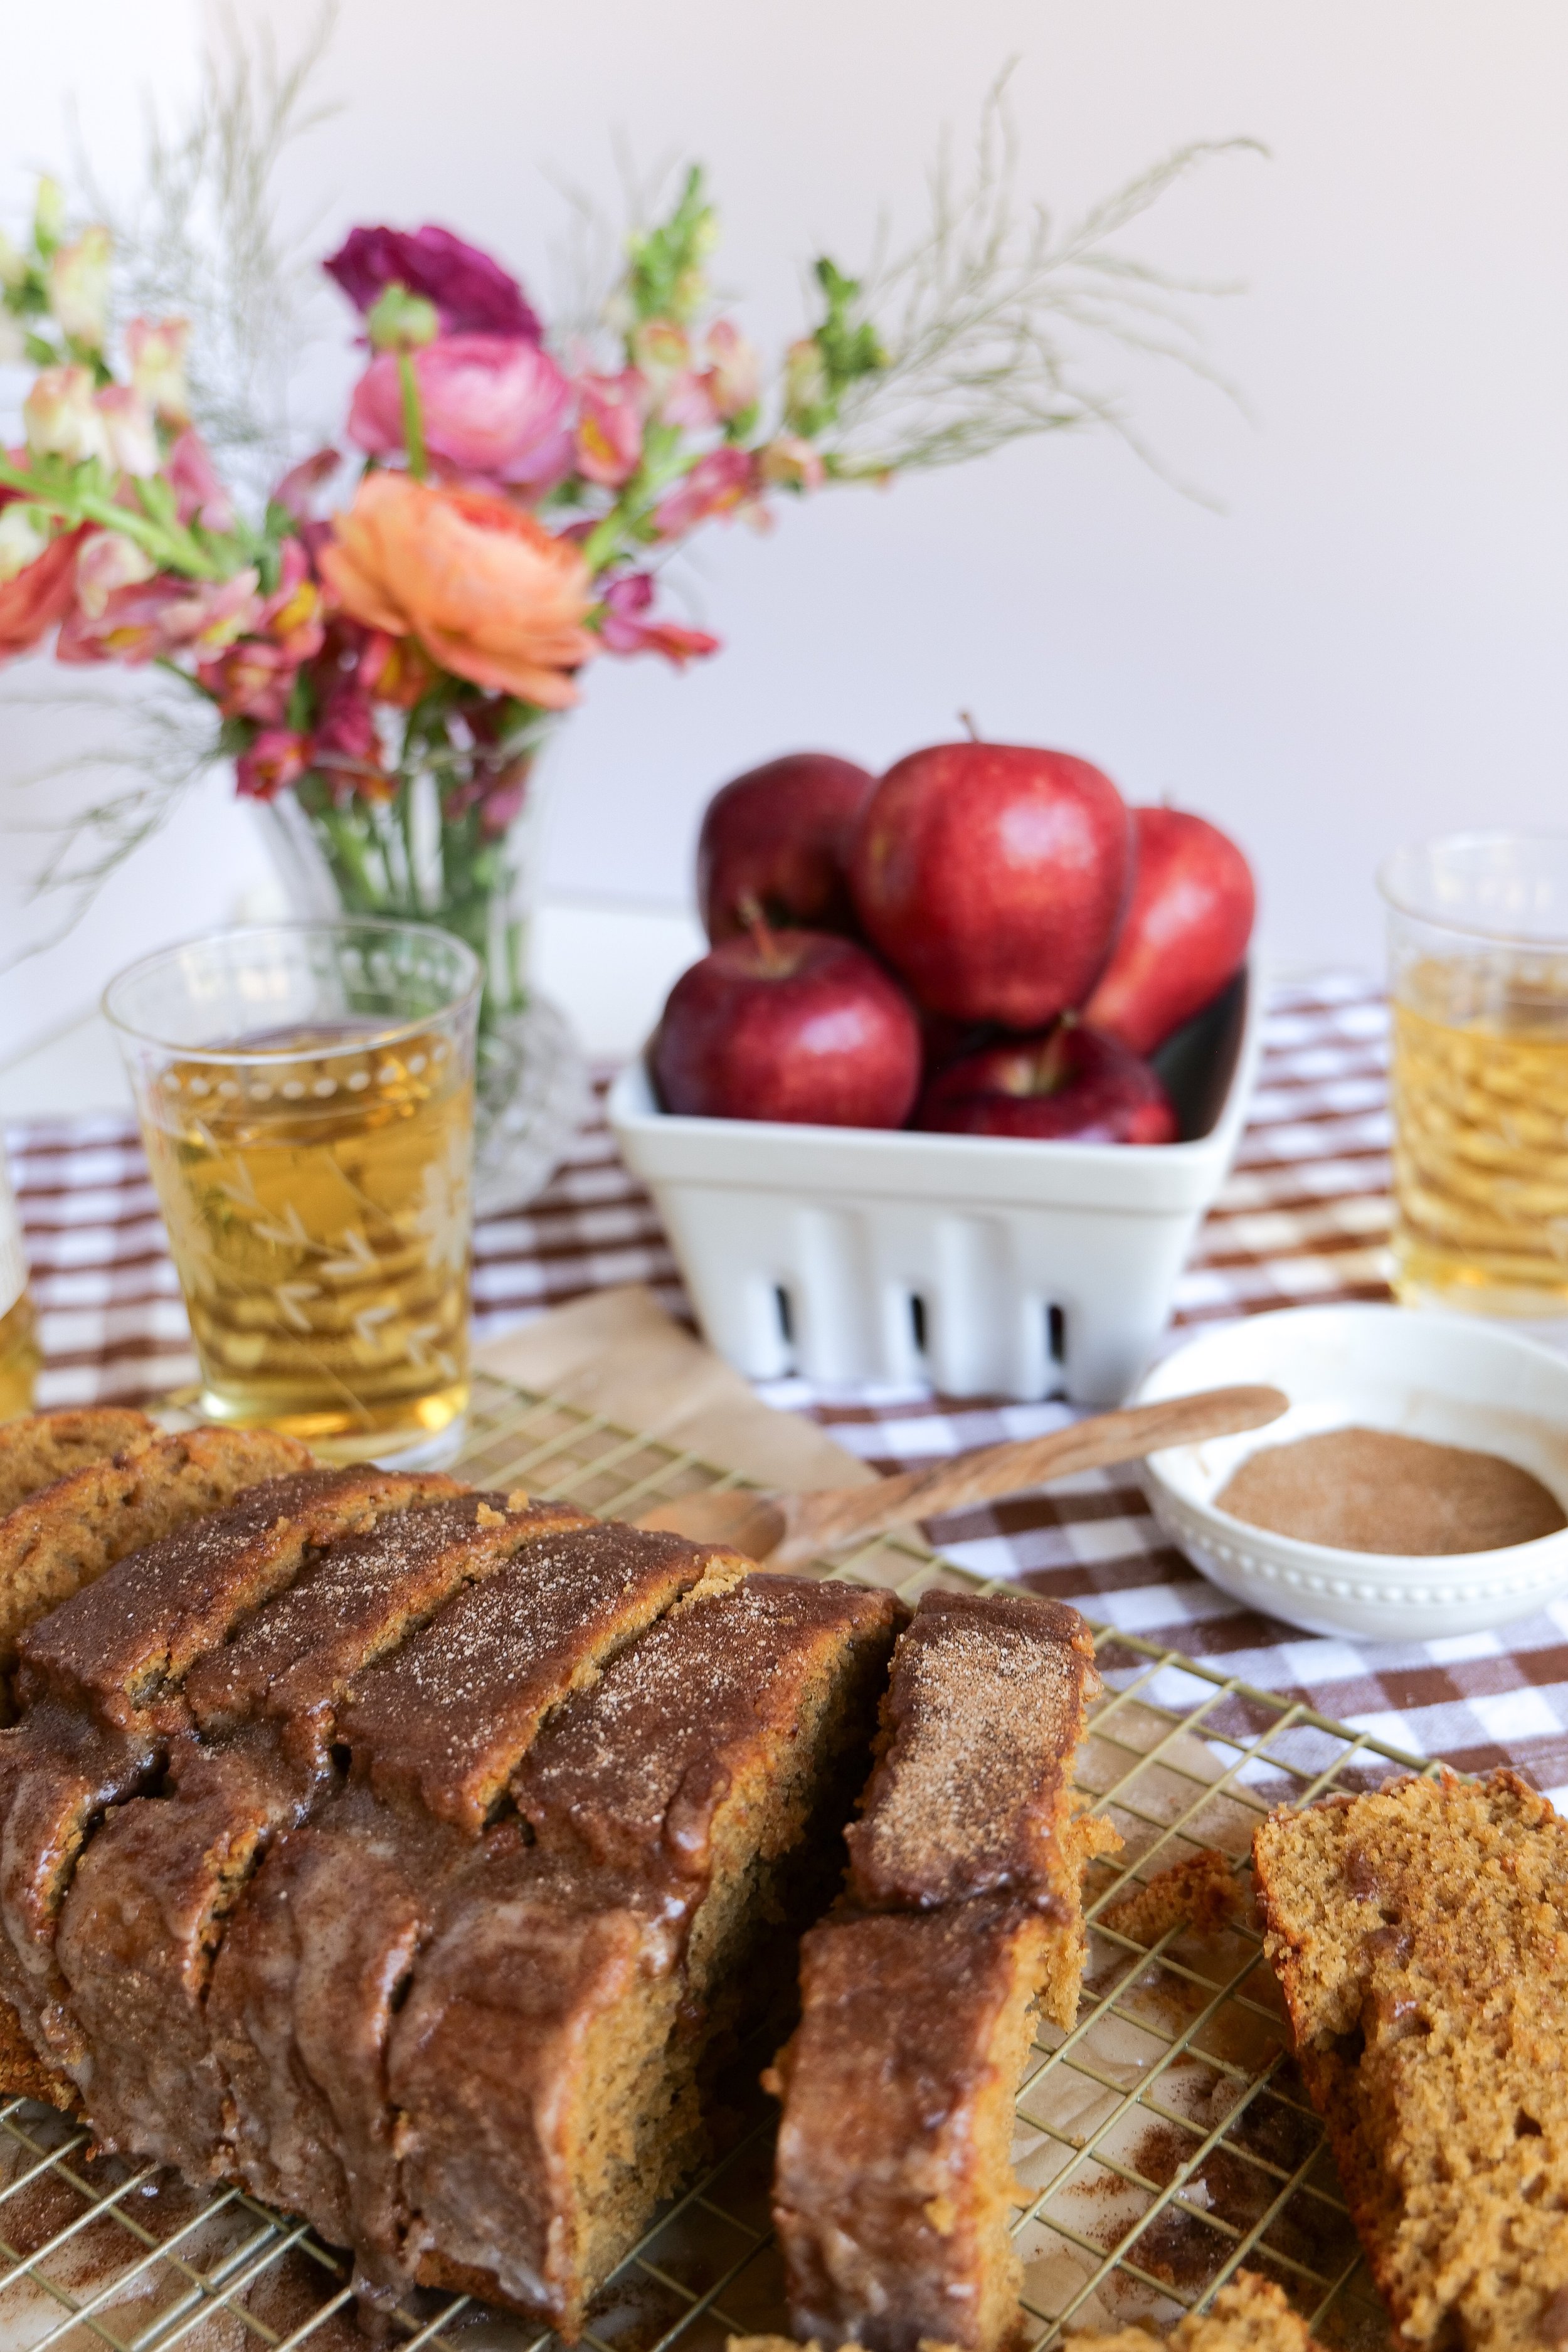
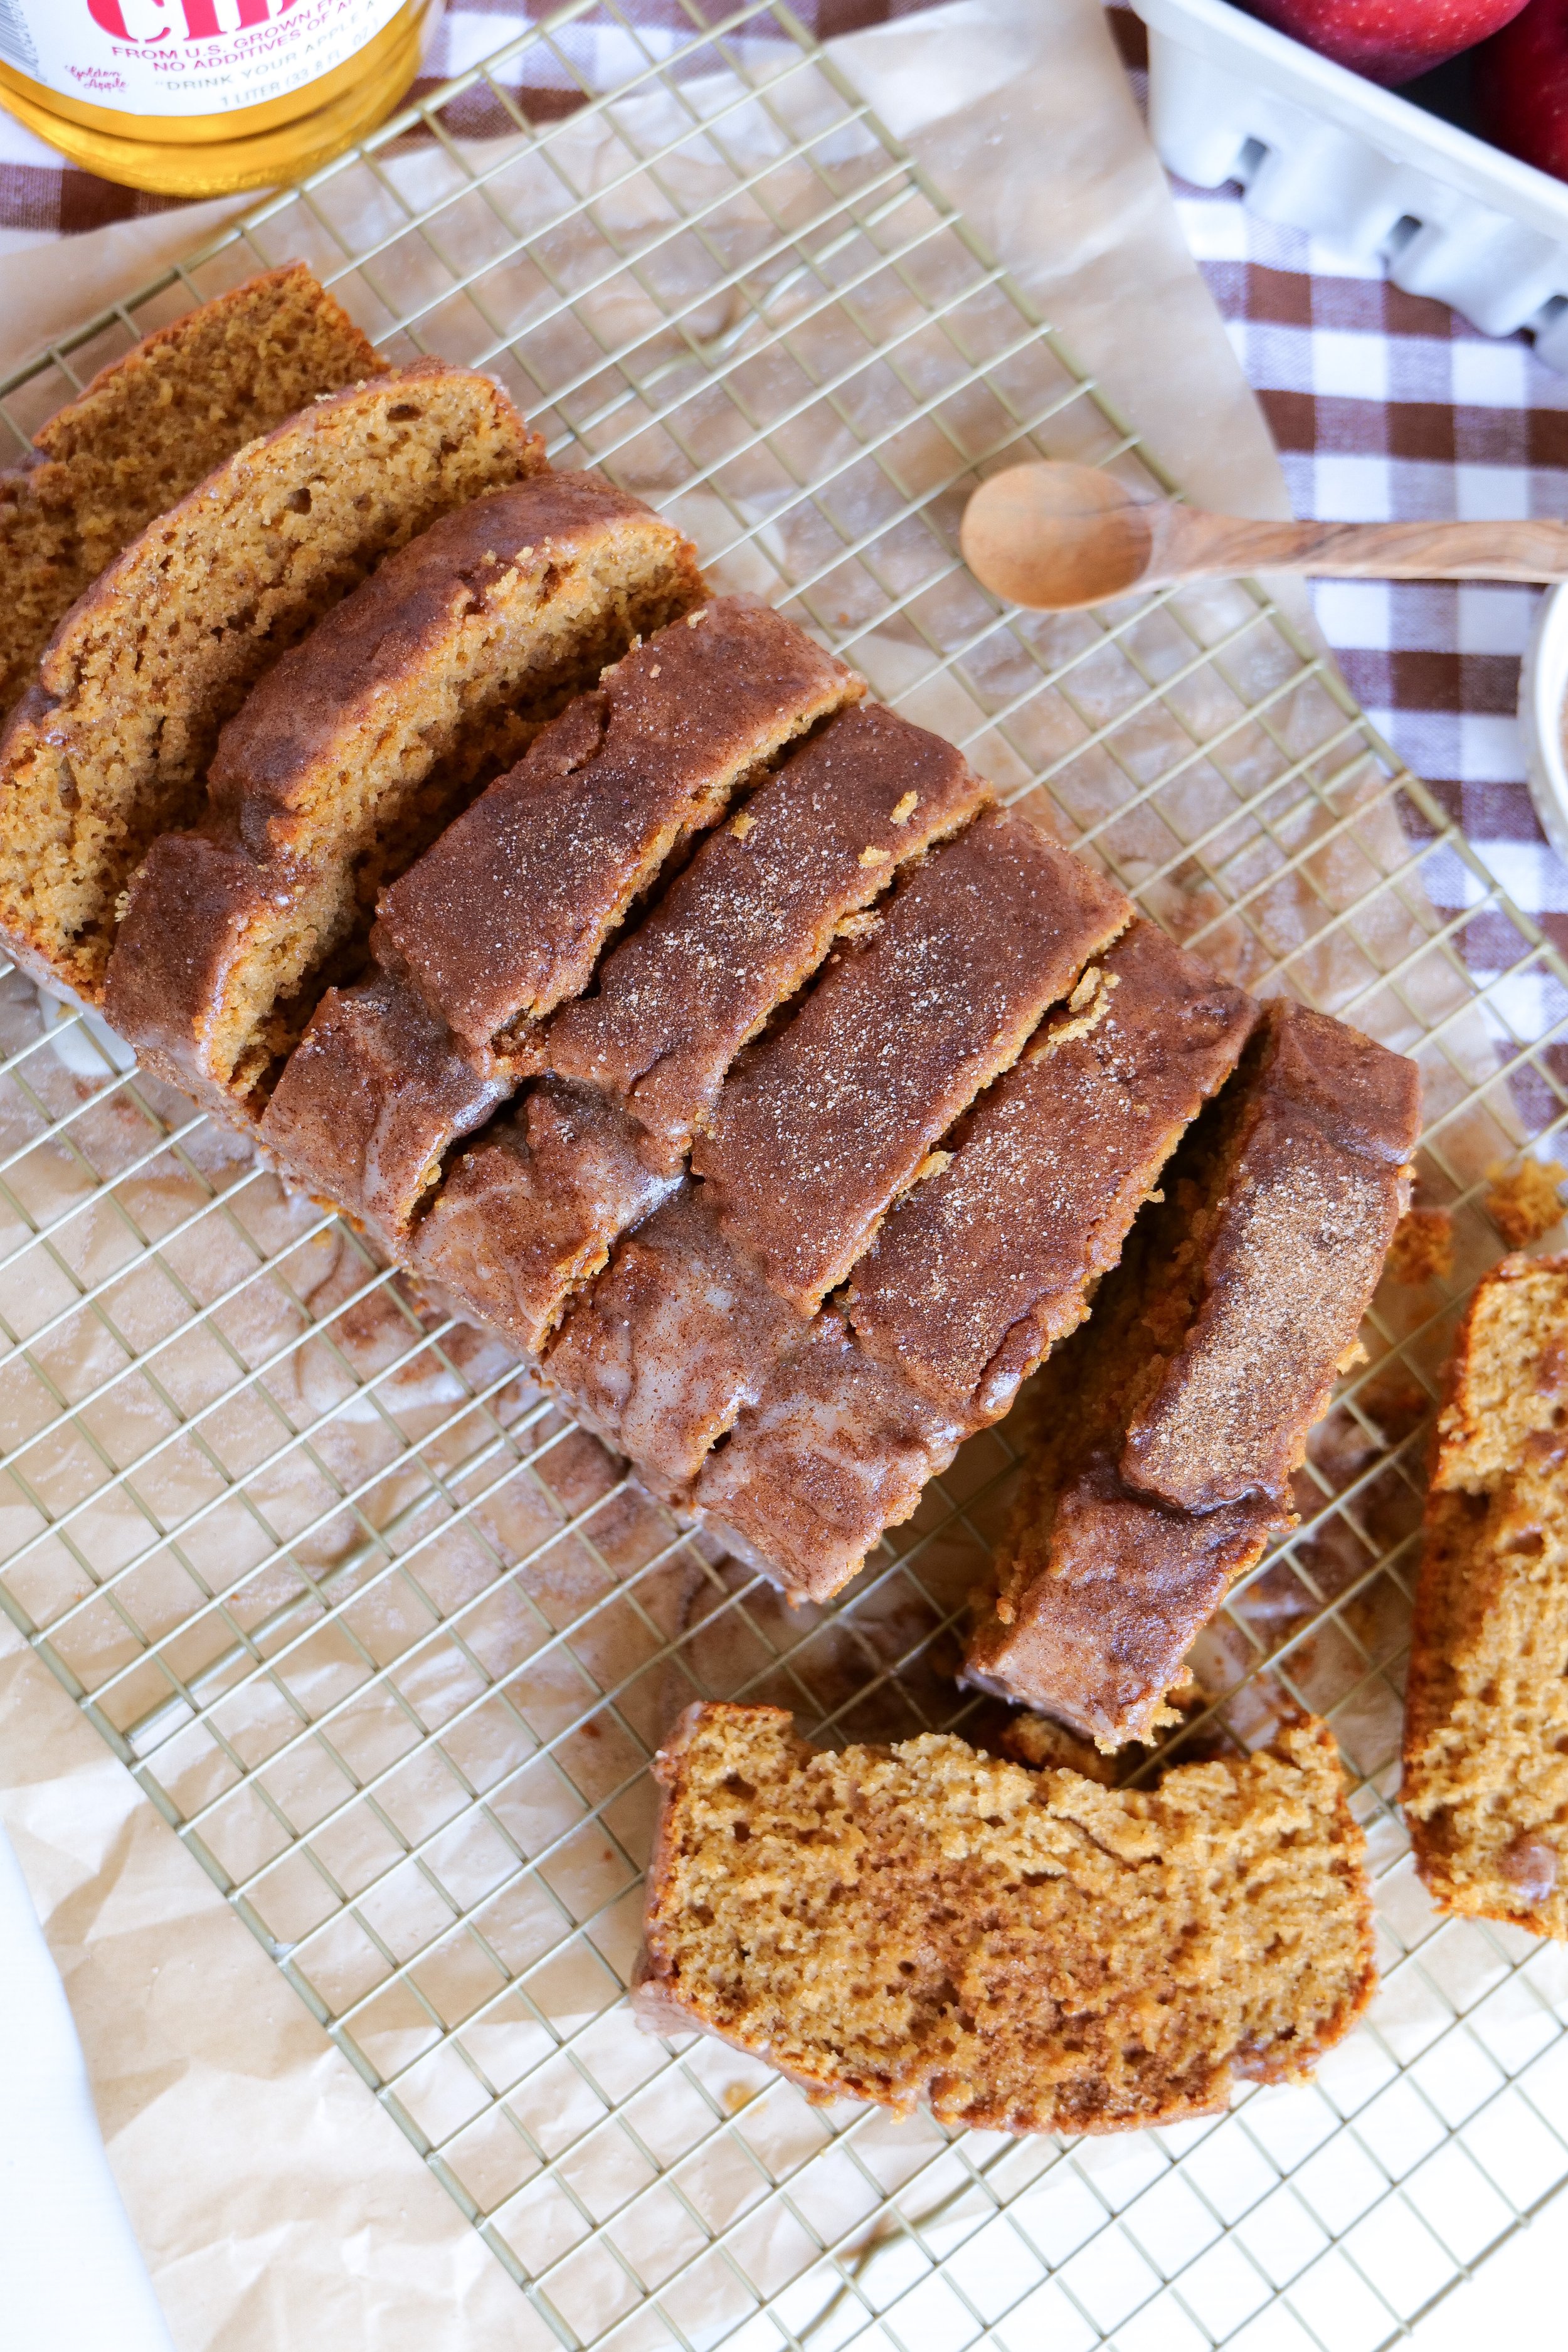
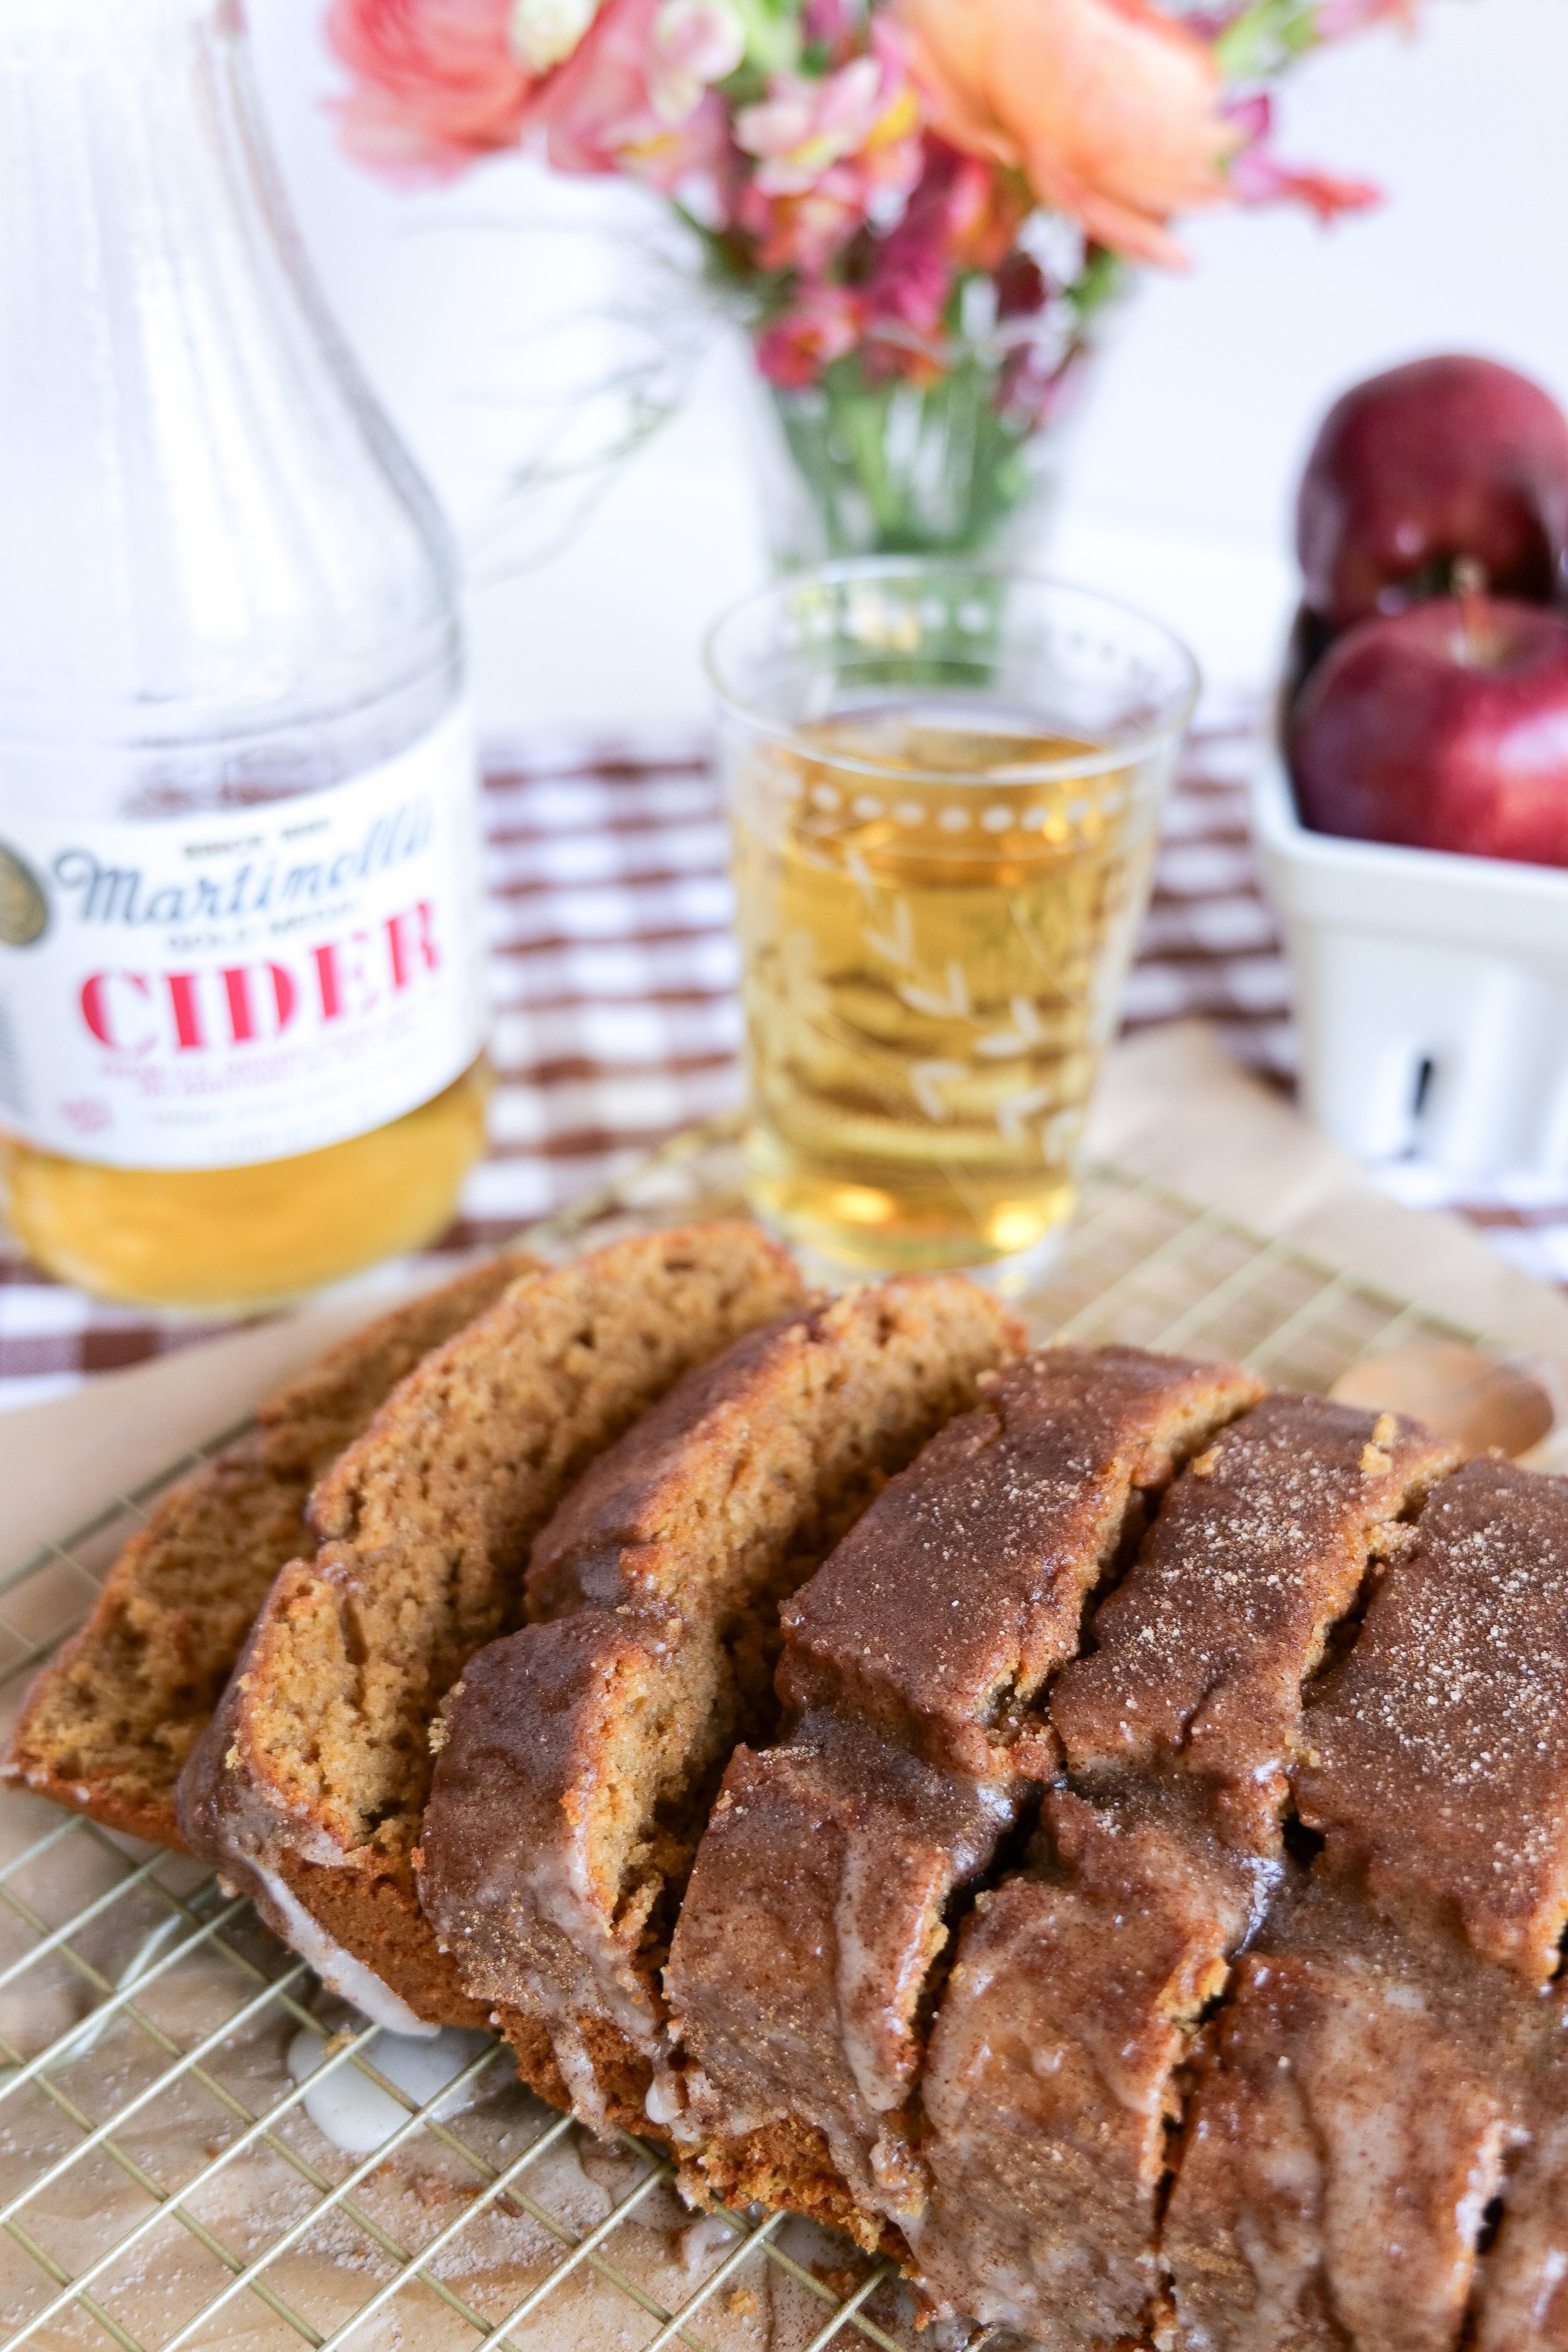
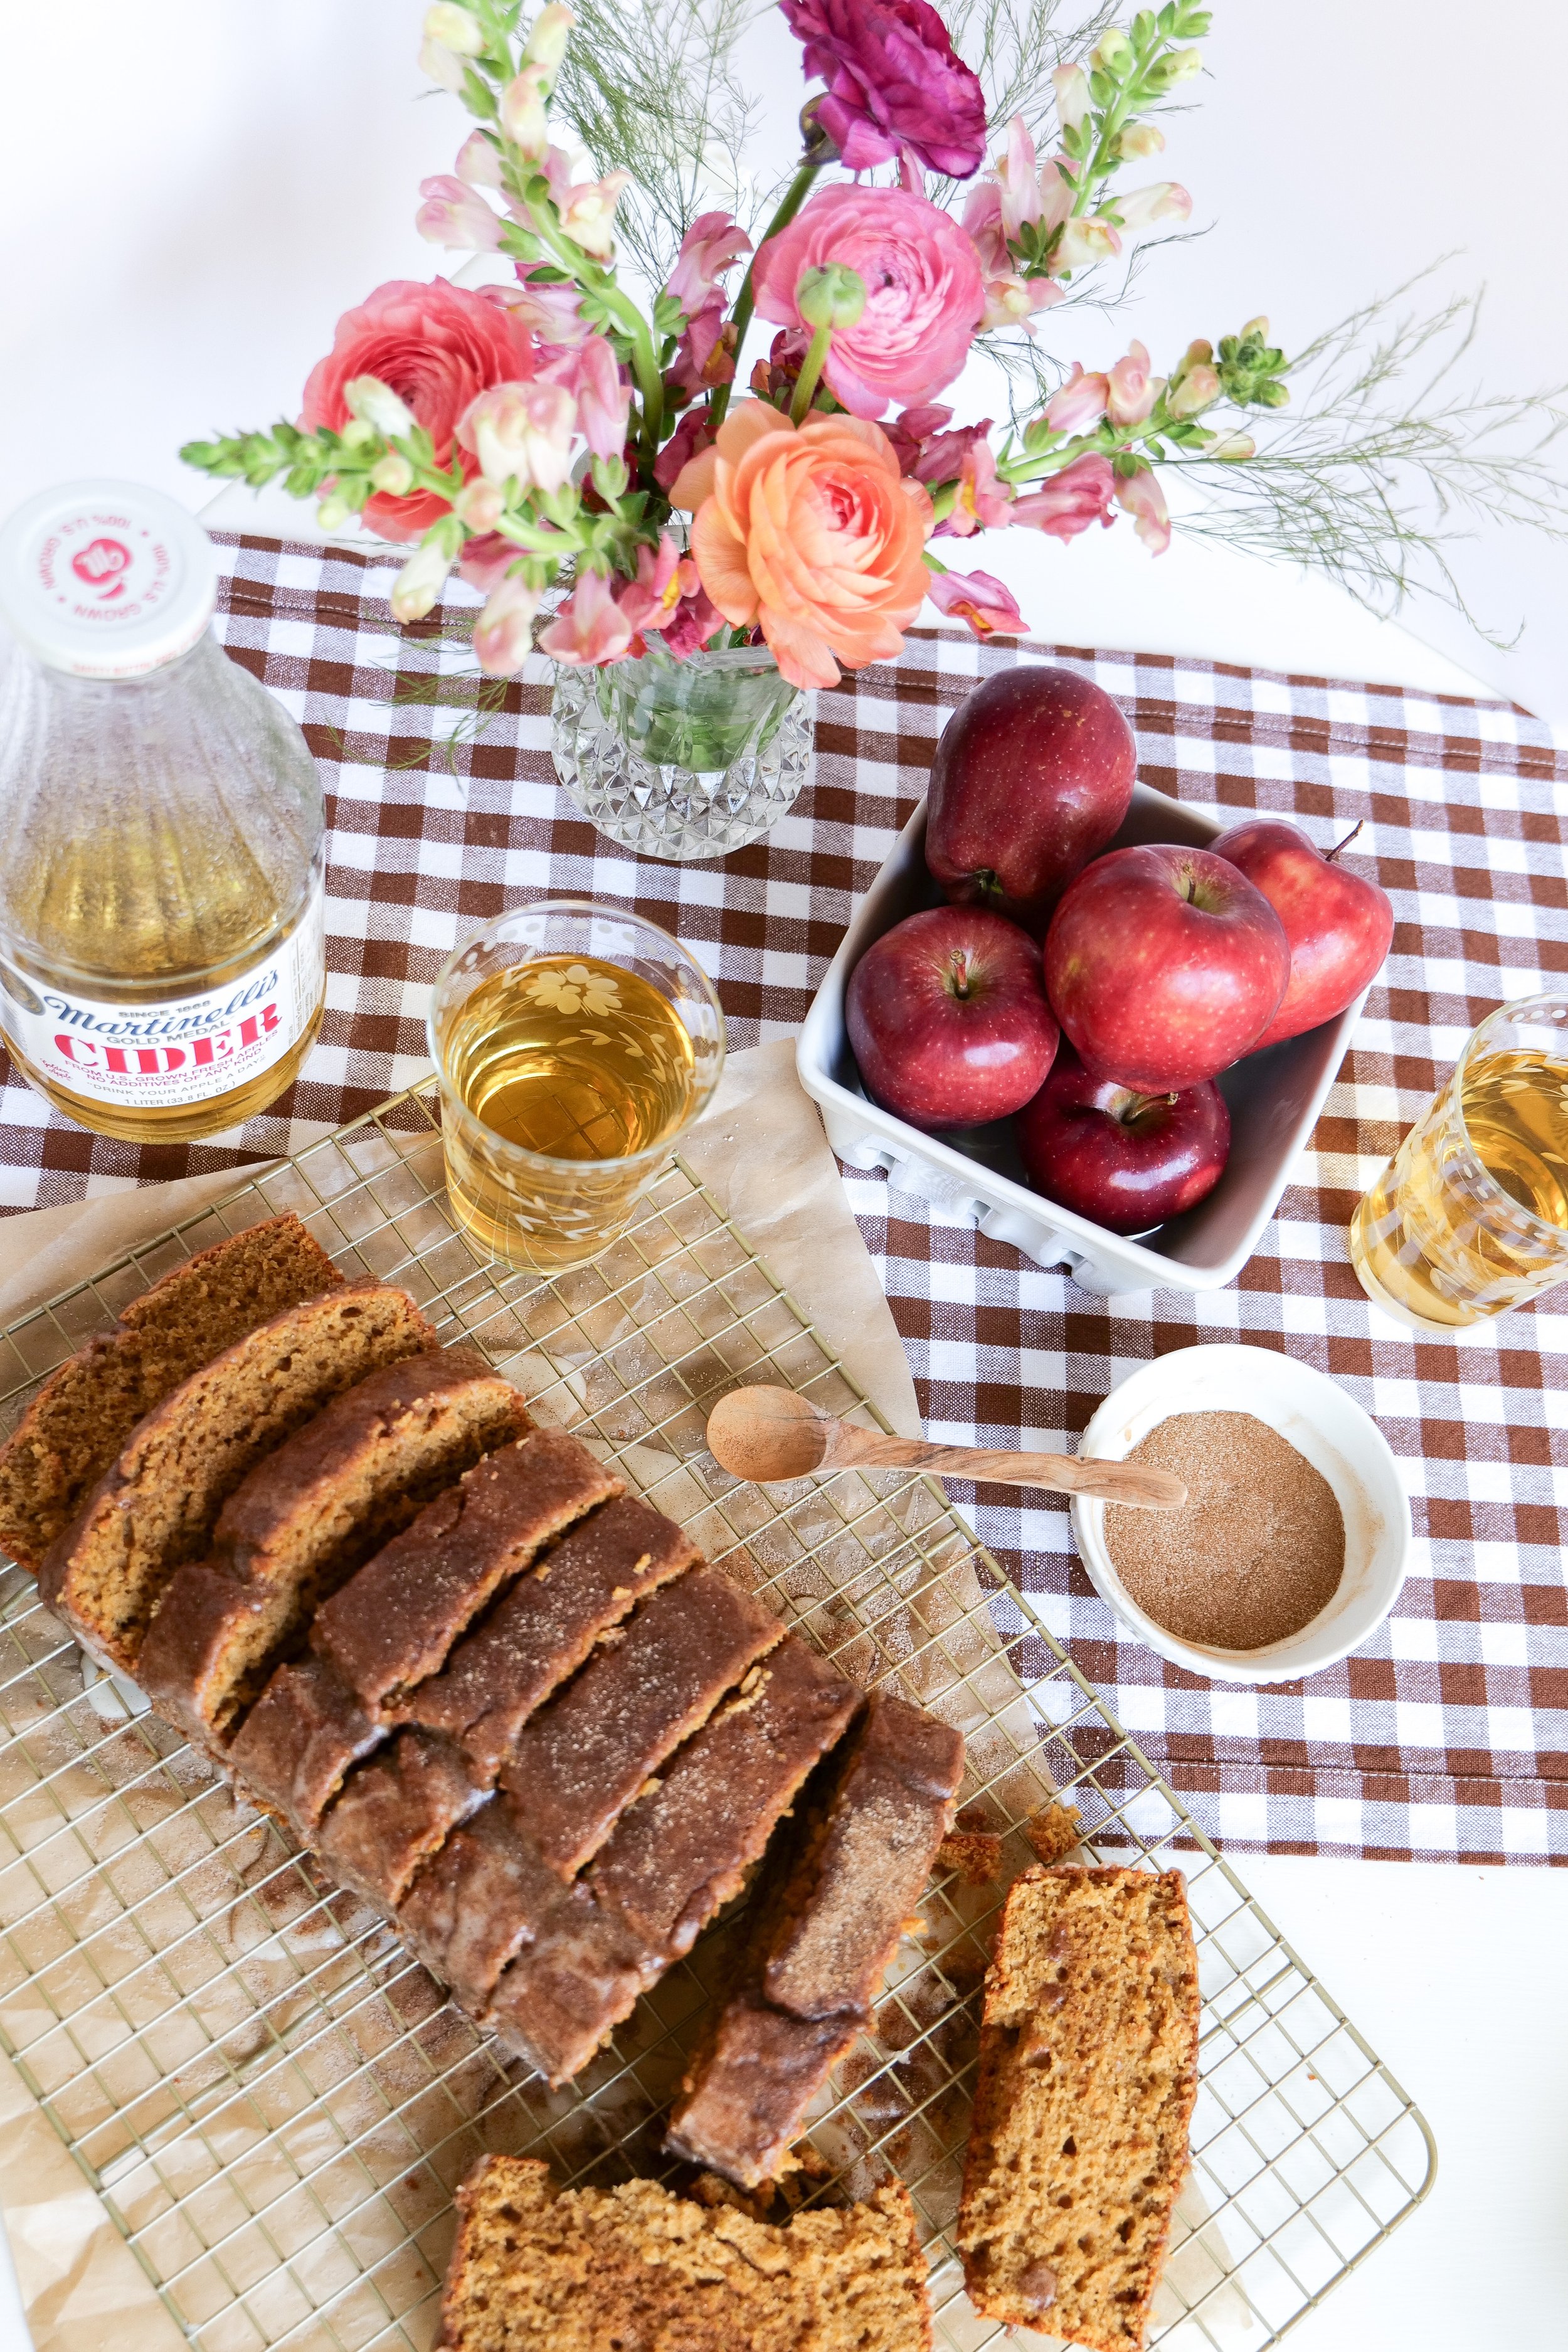
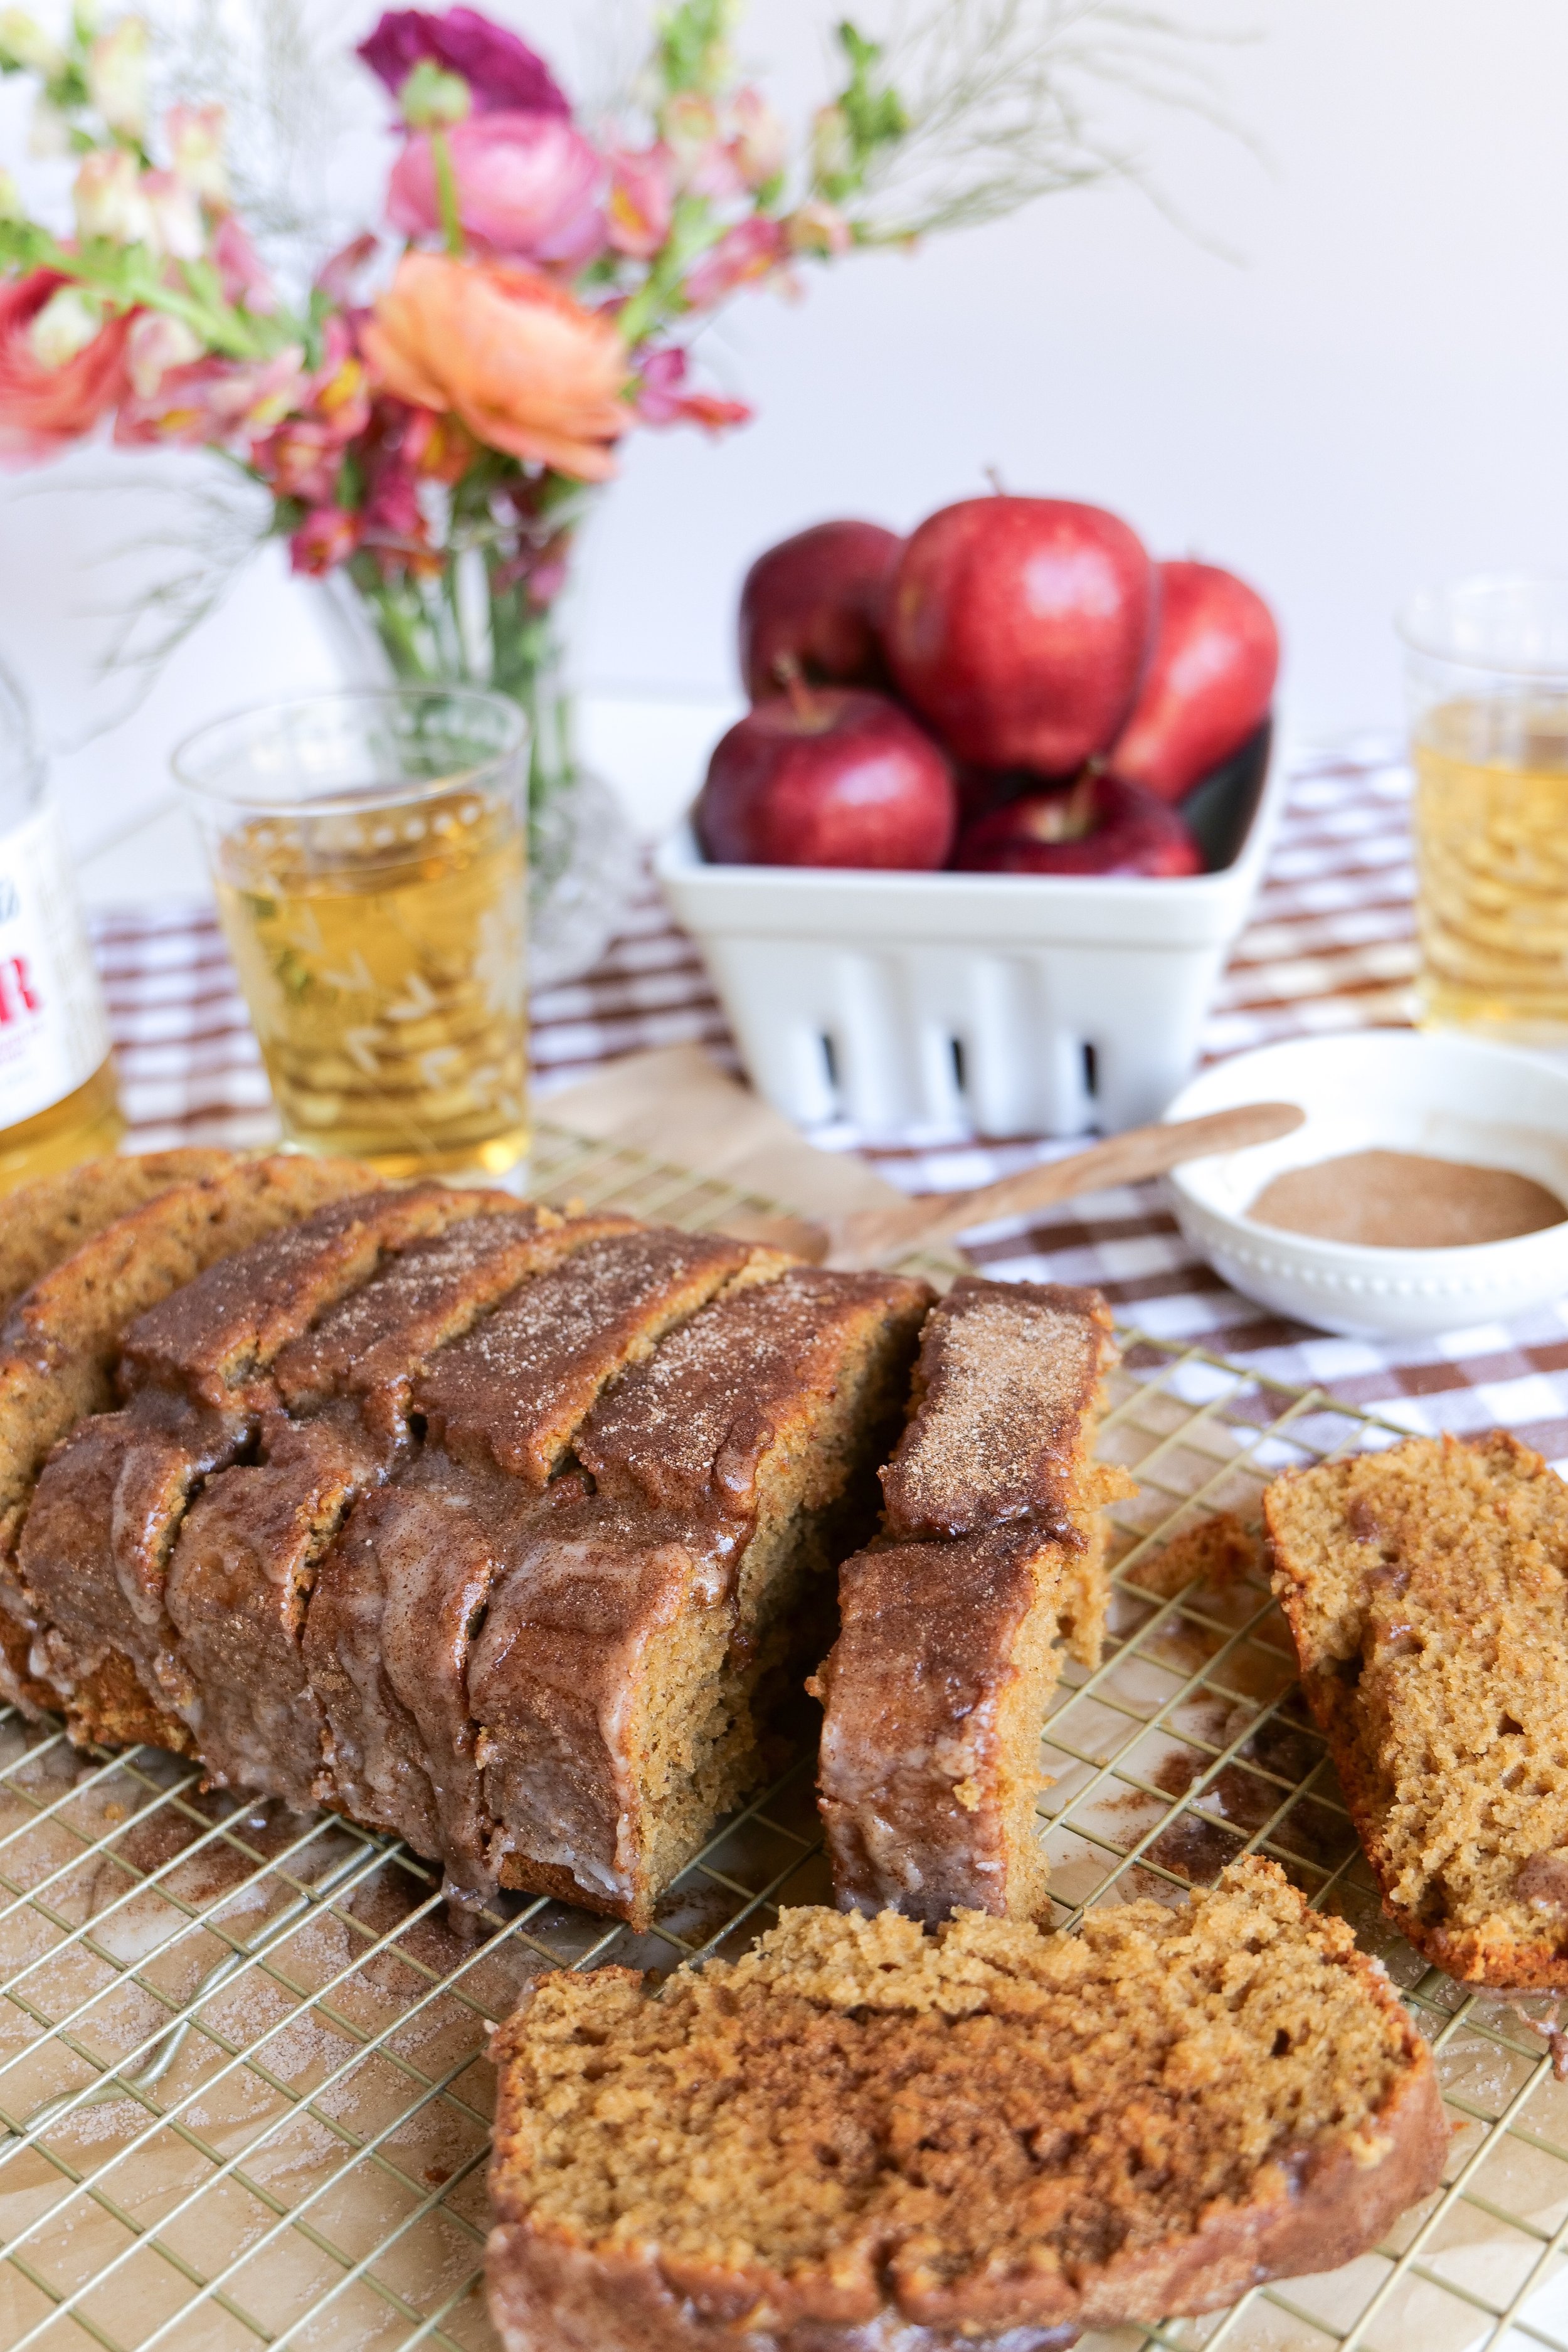
Delight in Every Bite: Making the Ultimate Apple Cider Loaf with Brown Butter Glaze

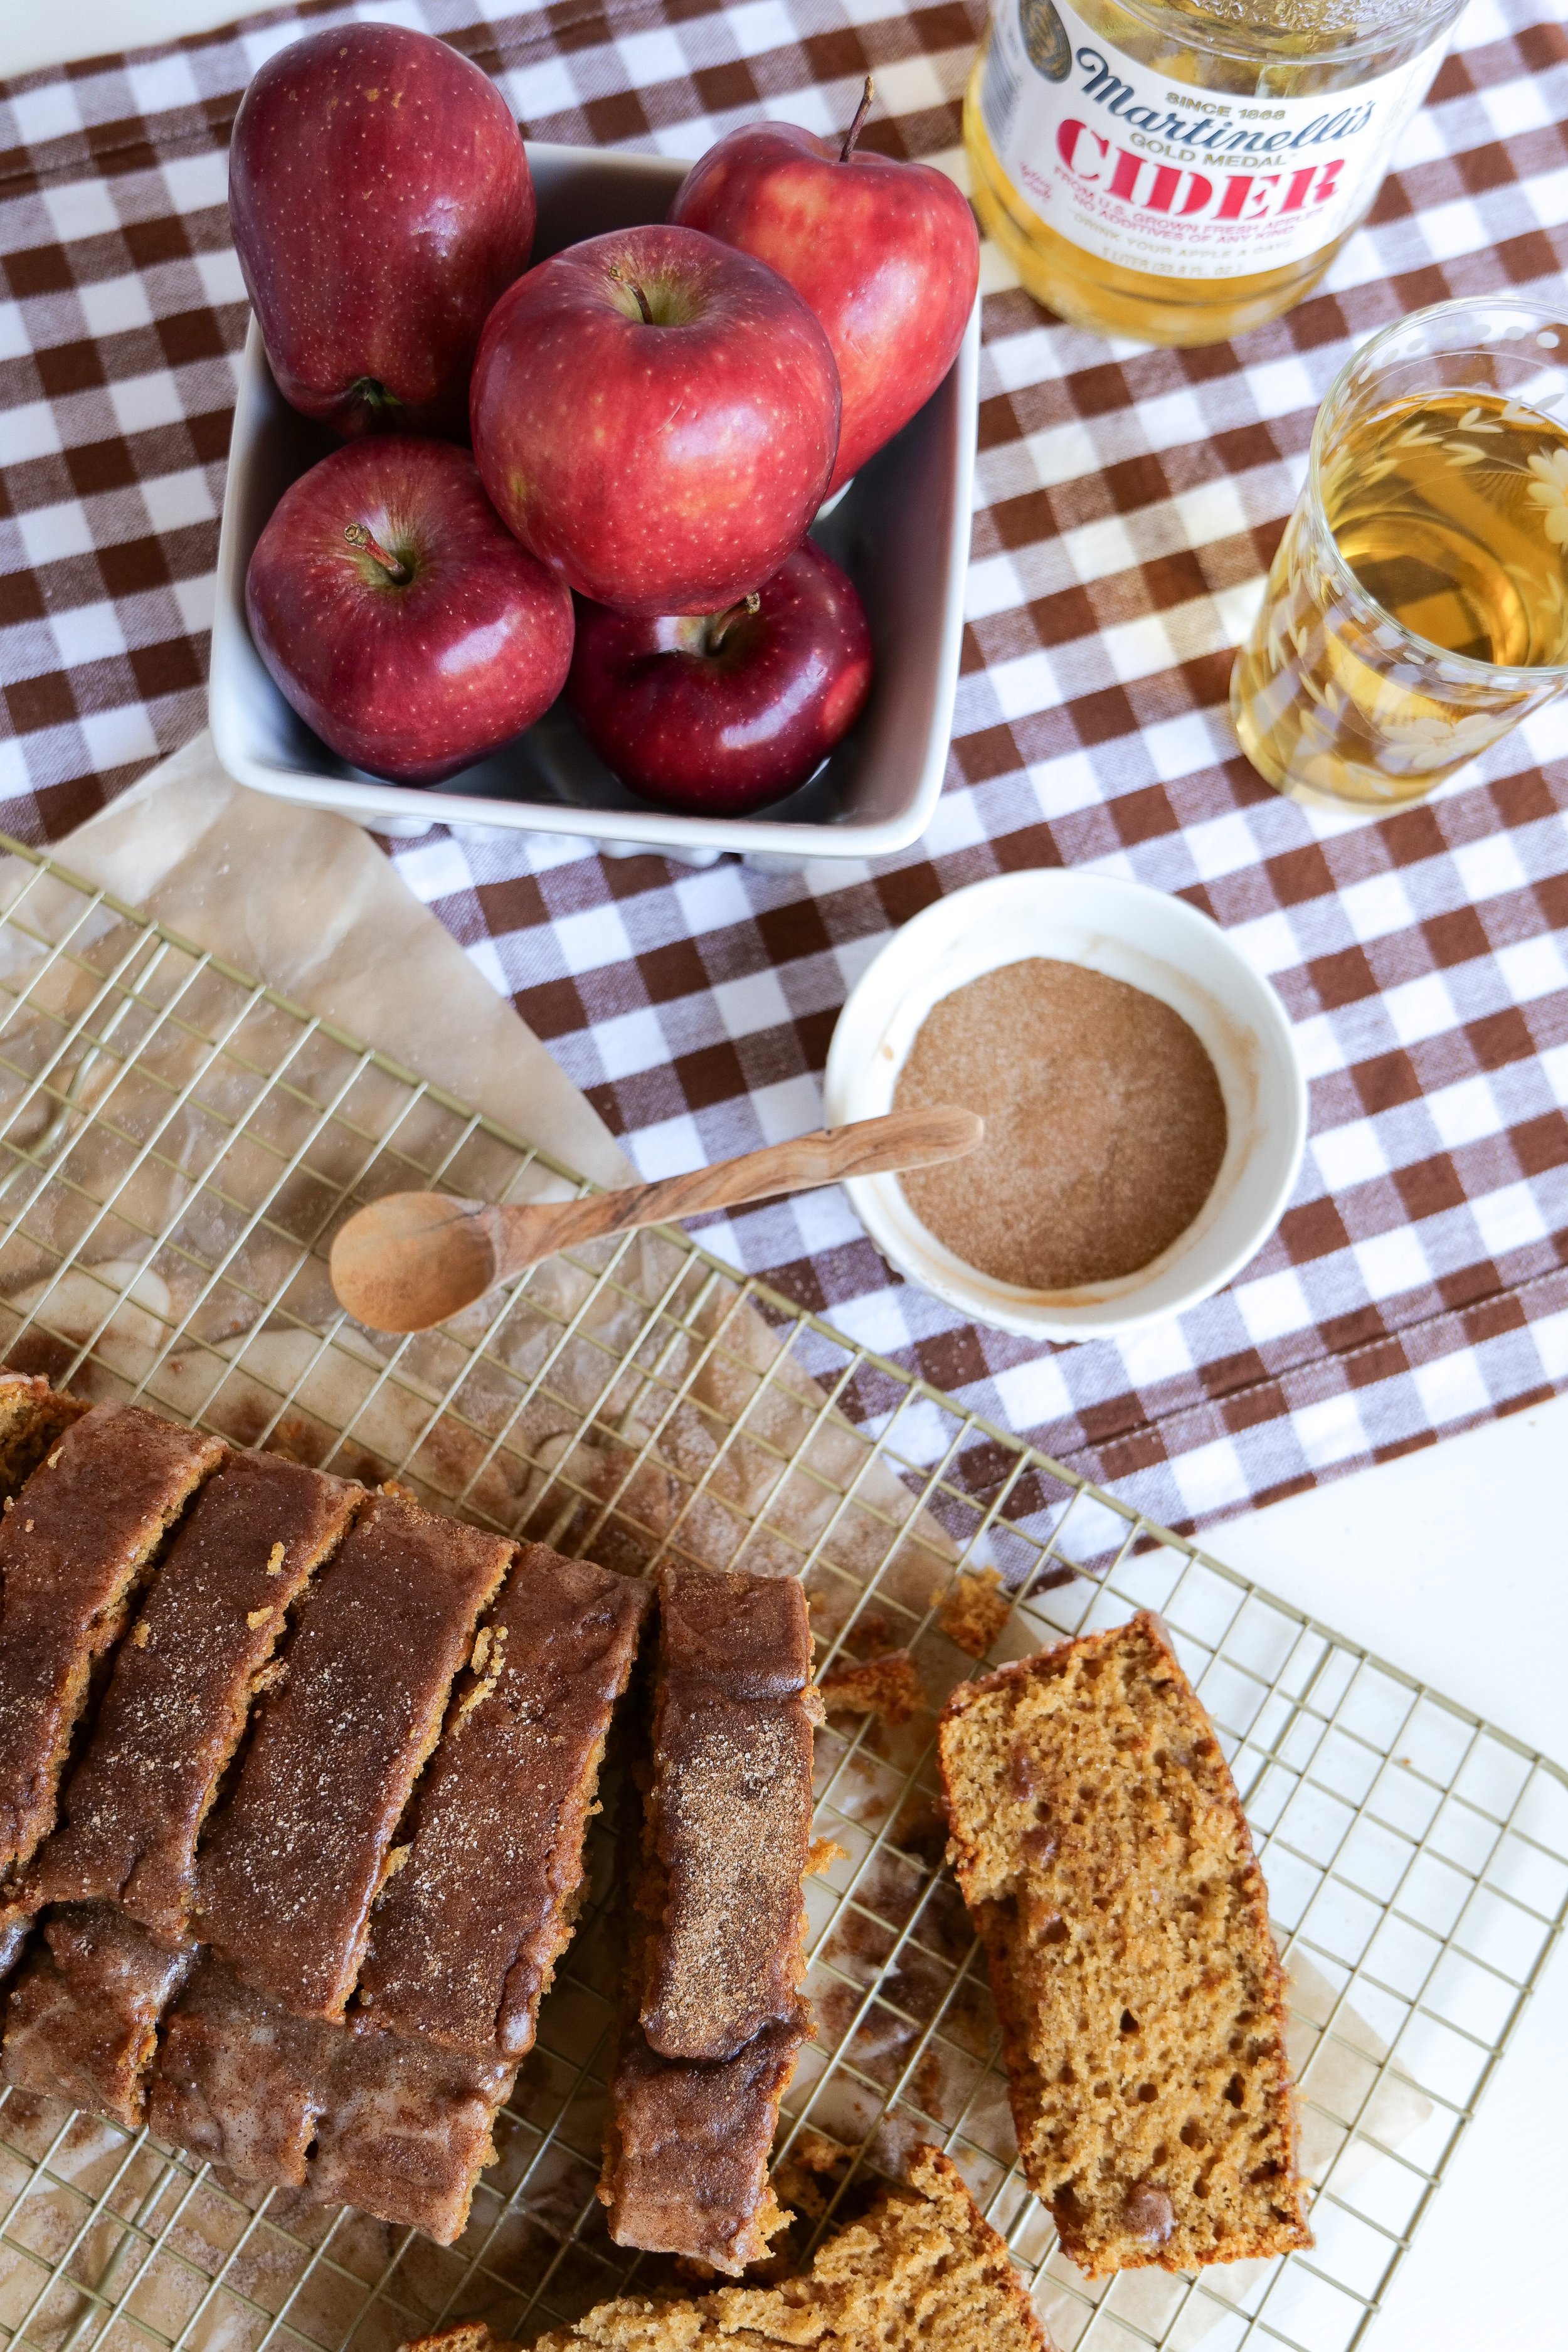
Welcome to our delicious corner of the internet, where today, we're diving into the delectable flavors of Autumn with an exceptional Apple Cider Loaf covered in a mouth-watering Brown Butter Glaze. This cozy, comforting recipe captures the essence of the season, combining the rich aroma of fresh apples and spicy cider with a tantalizingly sweet and nutty brown butter glaze. Whether looking for a scrumptious addition to your brunch table, a decadent afternoon snack, or a homemade gift for loved ones, this Apple Cider Loaf recipe promises to take your Fall baking adventures to exciting new heights. So, put on your favorite apron, fire up your oven, and let's get baking!
How to Make Brown Butter

To make the brown butter glaze, you will need to first make brown butter. If you haven't done this before let me explain to you just how easy it is. Soon, you'll be doing this to your butter for many recipes you make. First, you will need to melt the butter in a small saucepan over a medium-low heat. Let that cook, stirring occasionally, until the butter is a light golden brown color and has a nutty aroma. Then remove from heat and let cool. Depending on the recipe you will let it come to room temp and place it in the fridge, let come to room temp alone with no fridge, or use right away. Any way you choose to use the butter, it takes every recipe to the next level. The combination of sweet apple cider and nutty brown butter makes for a truly indulgent treat. Brown butter glaze is the perfect finish to this autumnal delight.

How to Store This Cake

After baking the cake, allow it to cool completely before storing. To ensure the cake stays fresh, wrap the cake tightly in plastic wrap, foil, or place it in an airtight container or cake carrier. Store at room temperature for up to 3 days, and in the refrigerator if you plan to keep the cake for longer than 3 days. If freezing, wrap the cake tightly in plastic wrap and then in aluminum foil. Feel free if necessary to store in the freezer for up to 3 months. To thaw, remove from the freezer and place in the refrigerator overnight. Enjoy the delicious flavors of this Fall delight apple cider loaf with brown butter glaze, no matter what time of year it is.

The best part is that this cake is easy to make and can be prepped ahead of time for a quick and easy dessert. So don’t worry if you’re short on time - this cake is a great option for any busy holiday.

Why is this apple cider bundt cake so good?

If you’re looking for the perfect Fall dessert, look no further than this delicious apple cider loaf with brown butter glaze! The addition of apple cider in the batter makes the cake incredibly moist and fluffy, and the warm Fall spices, such as cinnamon, nutmeg, and allspice, give it an unmistakable seasonal flavor. The addition of brown butter in the glaze adds a rich, nutty flavor that perfectly complements the sweetness of the cake. Not only does it add flavor, but the brown butter glaze also adds a beautiful glossy finish to the cake, making it look as good as it tastes. The classic combination of apple flavor and cinnamon in this cake is sure to be a hit with your family and friends.

What’s the difference between apple cider and apple juice?

Apple cider and apple juice are both popular drinks enjoyed by many around the world, but they are not the same. Apple cider is made by pressing and fermenting apples while apple juice is made from the juice of apples that have already been pressed. Apple cider is slightly tart and usually contains less sugar than apple juice. Additionally, apple cider is often enjoyed warm and spiced while apple juice is served cold. Furthermore, apple cider has a shorter shelf life than apple juice, as it is not pasteurized. Apple cider is usually darker in color than apple juice. If you can't find fresh apple cider, store-bought apple cider will work just as well. For a sweeter loaf, opt for unfiltered, preservative-free apple cider. This will make the loaf more flavorful and give it a richer sweetness.

Using these flavorful ingredients, you can easily whip up this delicious apple cider loaf with brown butter glaze. This delightful loaf is perfect for a light breakfast or as an afternoon snack. Enjoy it on its own or with a side of Greek yogurt and fresh berries. The possibilities are endless!

Can the brown butter glaze be prepared ahead of time?

The brown butter glaze gives this cake a rich, nutty flavor and a creamy texture. Conveniently, the glaze can be prepared ahead of time. Up to one day ahead for best results. To prepare the glaze ahead of time, simply melt the butter, whisk in the spices, and then let cool to room temperature. When ready to use, whisk in the powdered sugar and apple cider until it's smooth and creamy. Refrigerate the glaze until ready to use, and then bring to room temperature before pouring over the loaf. The glaze will add a beautiful sheen to the loaf and a wonderful flavor that will make your taste buds sing. Serve this apple cider loaf with brown butter glaze at your next brunch gathering, holiday celebration, or any day you're looking for something sweet and special.

Can I substitute or omit any ingredients in the apple cider loaf with the brown butter glaze recipe?

There are always substitutions you can find to better suit your diet. Here are a few that are easy for this recipe. Know that these substitutions can alter the flavor and cook time, however. Instead of using butter, you can substitute applesauce to cut down on the fat content of the recipe. Omitting the nutmeg and cinnamon will still yield a tasty loaf, but adding raisins, dried cranberries, or chopped walnuts to the batter will give the loaf some extra texture and flavor. For an even more unique taste, you can substitute apple cider for apple cider vinegar. This will give the bread a slight tangy taste that will be sure to tantalize your taste buds.

Ingredients

2 cups all-purpose flour

2 teaspoons baking powder

½ teaspoon cinnamon

¼ teaspoon nutmeg

½ teaspoon kosher salt

1 ½ cups apple cider reduced to ¾ cup

1 cup dark brown sugar

2 large eggs room temp

½ cup brown butter

1 teaspoon vanilla extract

½ cup sour cream

Glaze:

1 & 1/3 cups powdered confectioners sugar

3 tablespoons brown butter

2 tablespoons apple cider, saved from above

Instructions

1. Preheat oven to 375 and oil a loaf pan.

2. Put cider in a small saucepan over medium heat and bring to a boil. Boil for about 10 minutes, or until reduced to 3/4 cup. Pour the cider into a small bowl and set aside to cool slightly. Then brown butter for glaze and loaf (1/2 cup + 3 tablespoons) in the same saucepan until it gets a nutty fragrance and is browned. pour in another separate bowl and let cool. At this time you can take a third bowl and add in the 2 tablespoons of cider and 3 tablespoons of brown butter and set aside. This will be used later for the glaze

3. Once the bowl with apple cider has cooled to room temp add sour cream and set aside. Mix all wet ingredients, brown sugar, egg, brown butter, and vanilla extract with hand or stand mixer on medium-high until well combined.

4. Add dry ingredients to bowl of wet ingredients (not the one with apple cider), all-purpose flour, baking powder, and salt until smooth and no powder is showing and well incorporated. With a spatula mix in apple cider and sour cream mixture.

5. Pour batter into the prepared loaf pan. Bake for 55-60 minutes or until a toothpick in the center comes out clean.

6. While the loaf is baking mix powdered sugar and remaining brown butter and apple cider together for frosting. As soon as the loaf is done place it on a cooling rack and drizzle the glaze mixture on top so that it will stick well and melt into the warm loaf. Cut, Serve and Enjoy!

Apple Cider loaf with Brown Butter Apple Cider Glaze is a moist and flavorful loaf that will be sure to please any crowd. With a hint of apple cider, this loaf is the perfect way to use up any extra apple cider you may have. The brown butter glaze provides a nutty, caramel-like flavor that is sure to be a hit. The loaf is easy to make and only requires a handful of ingredients, so you can whip it up with ease. The result is a moist and flavorful loaf that will be sure to become a family favorite! Whether you're in the mood for a classic cake or something a bit more unique, this Apple Cider Loaf with Brown Butter Apple Cider Glaze is sure to satisfy. Serve it up with a dollop of whipped cream or a scoop of ice cream for a truly indulgent treat!

Other Fall Recipes You Will Love:

Indulge Your Sweet Tooth with This Delicious Brown Butter Spice Cake with Honey & Fig Jam Frosting

The Ultimate Thanksgiving Dessert - My Pumpkin Crisp Recipe

Baked Burrata Pumpkin Ziti with Pork Sausage Recipe

A Taste of Heaven: Deliciously Easy Apple Pie!

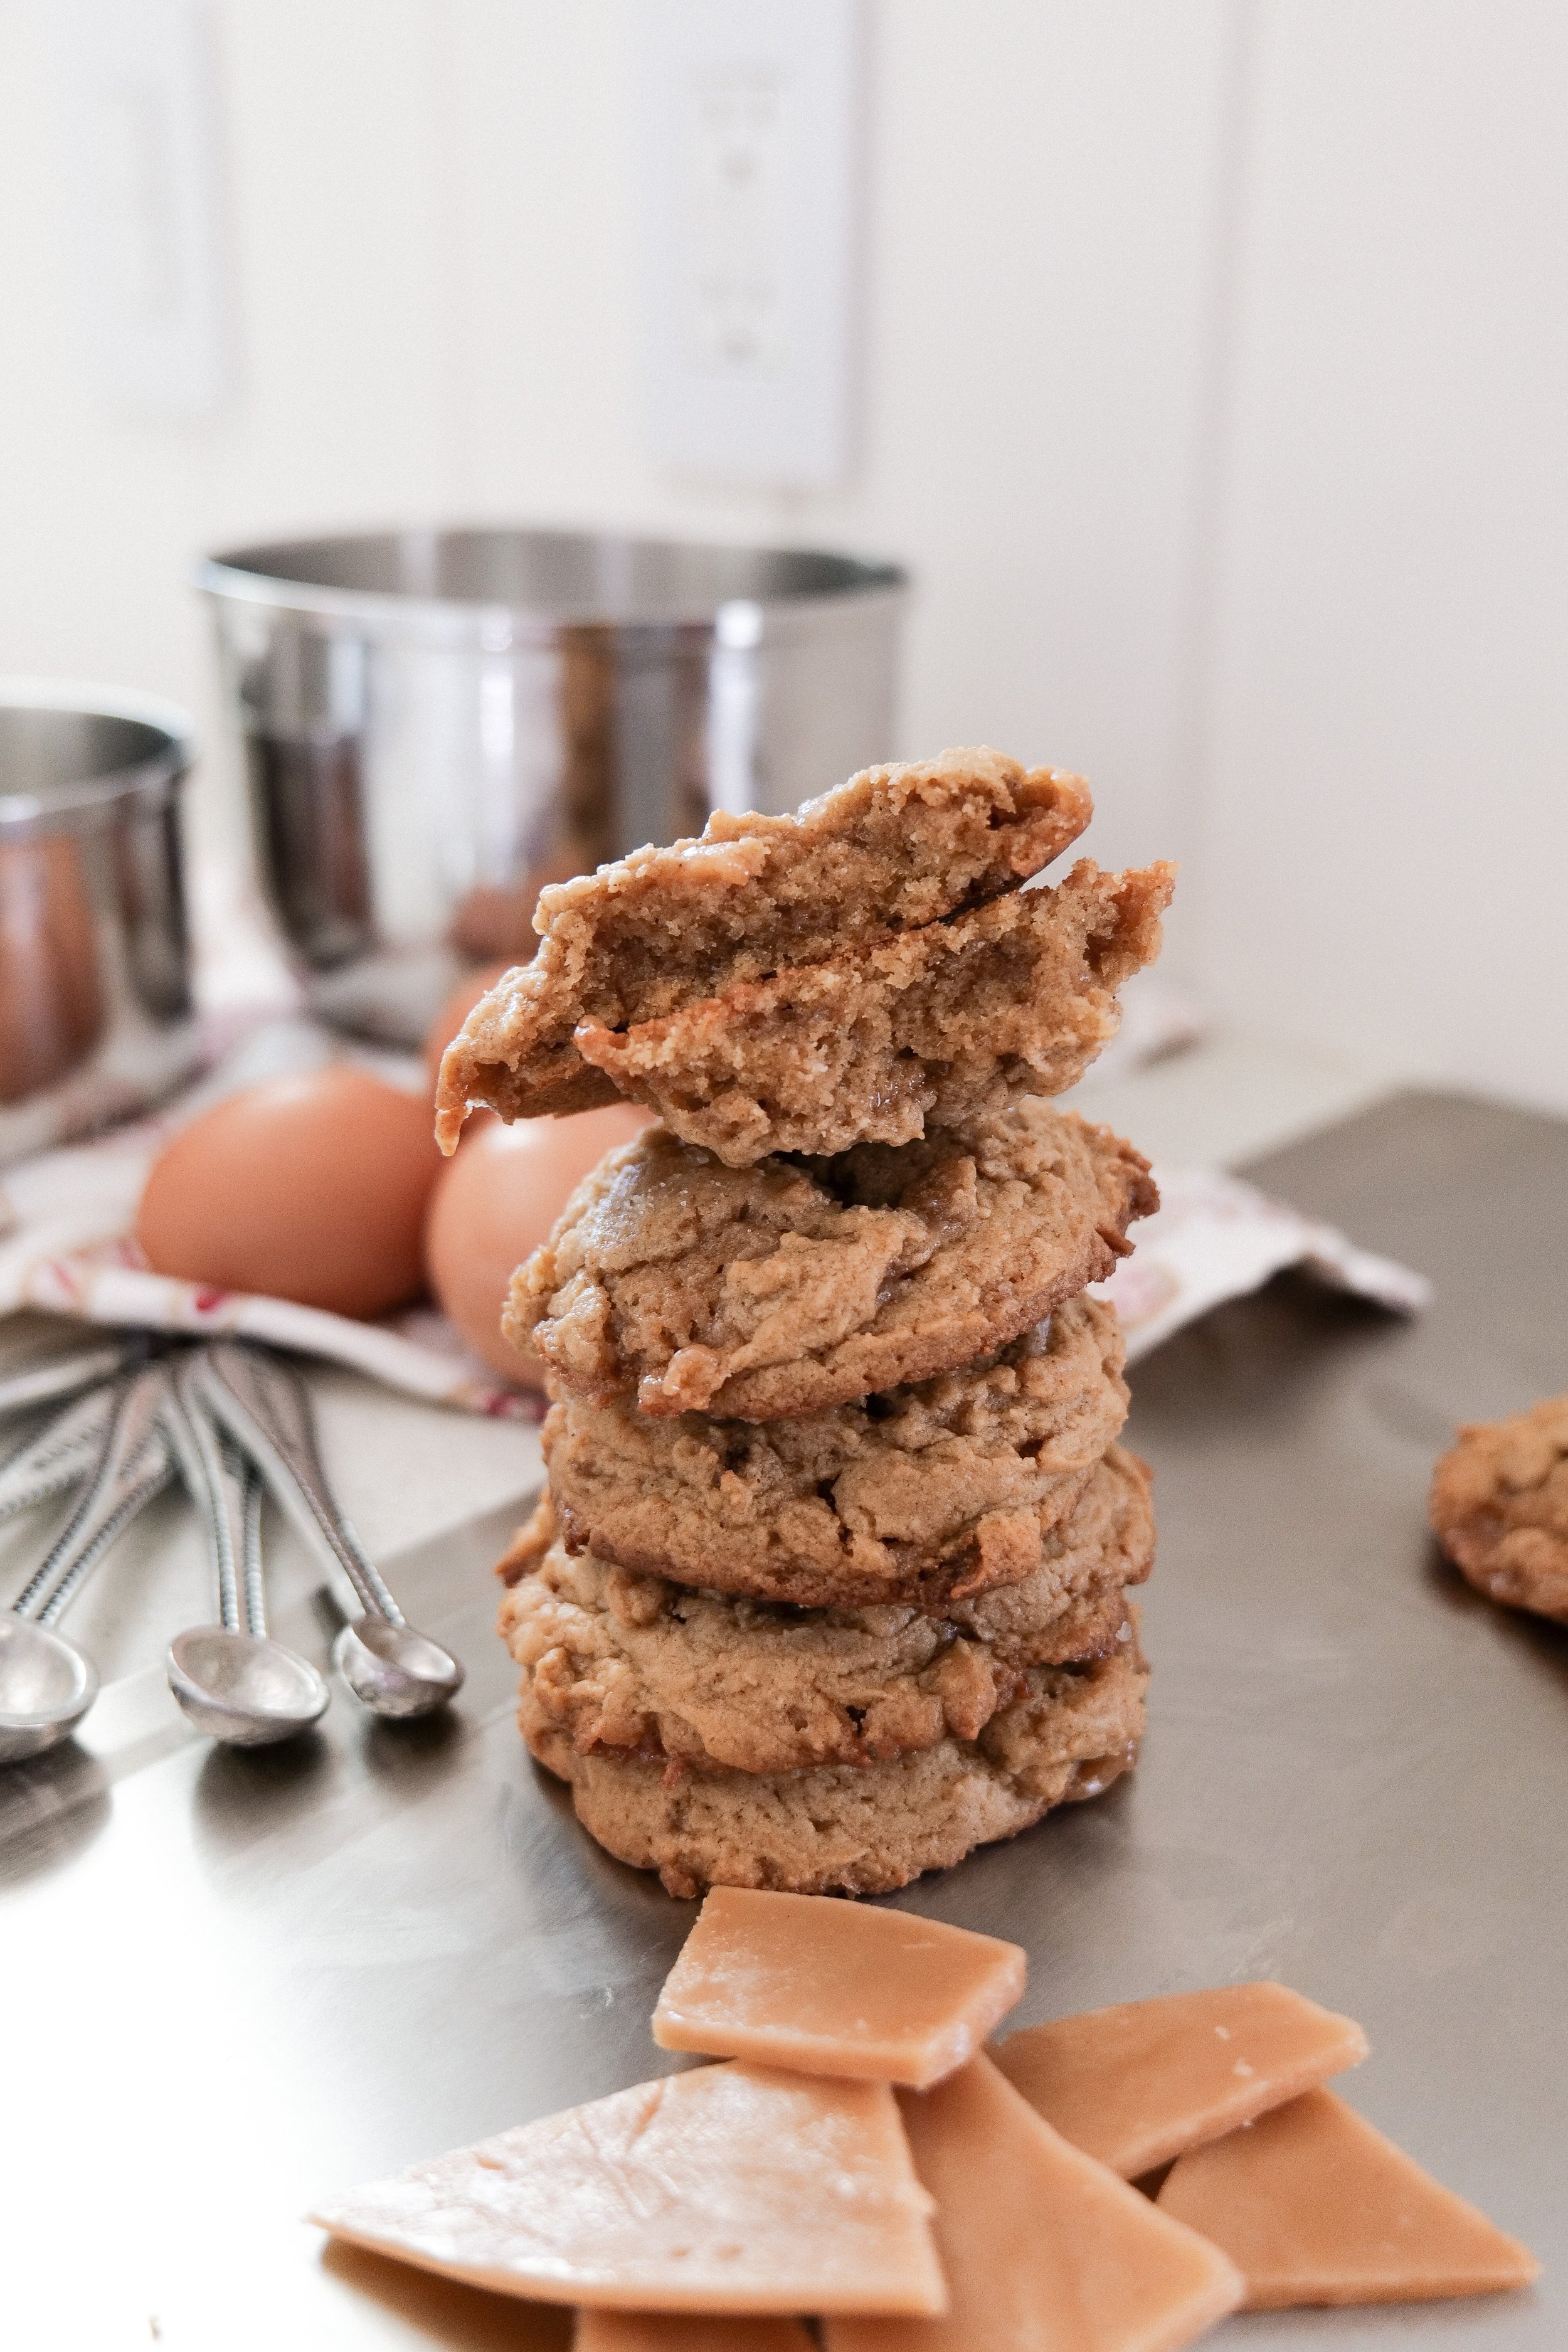
Brown Sugar Toffee Cookies

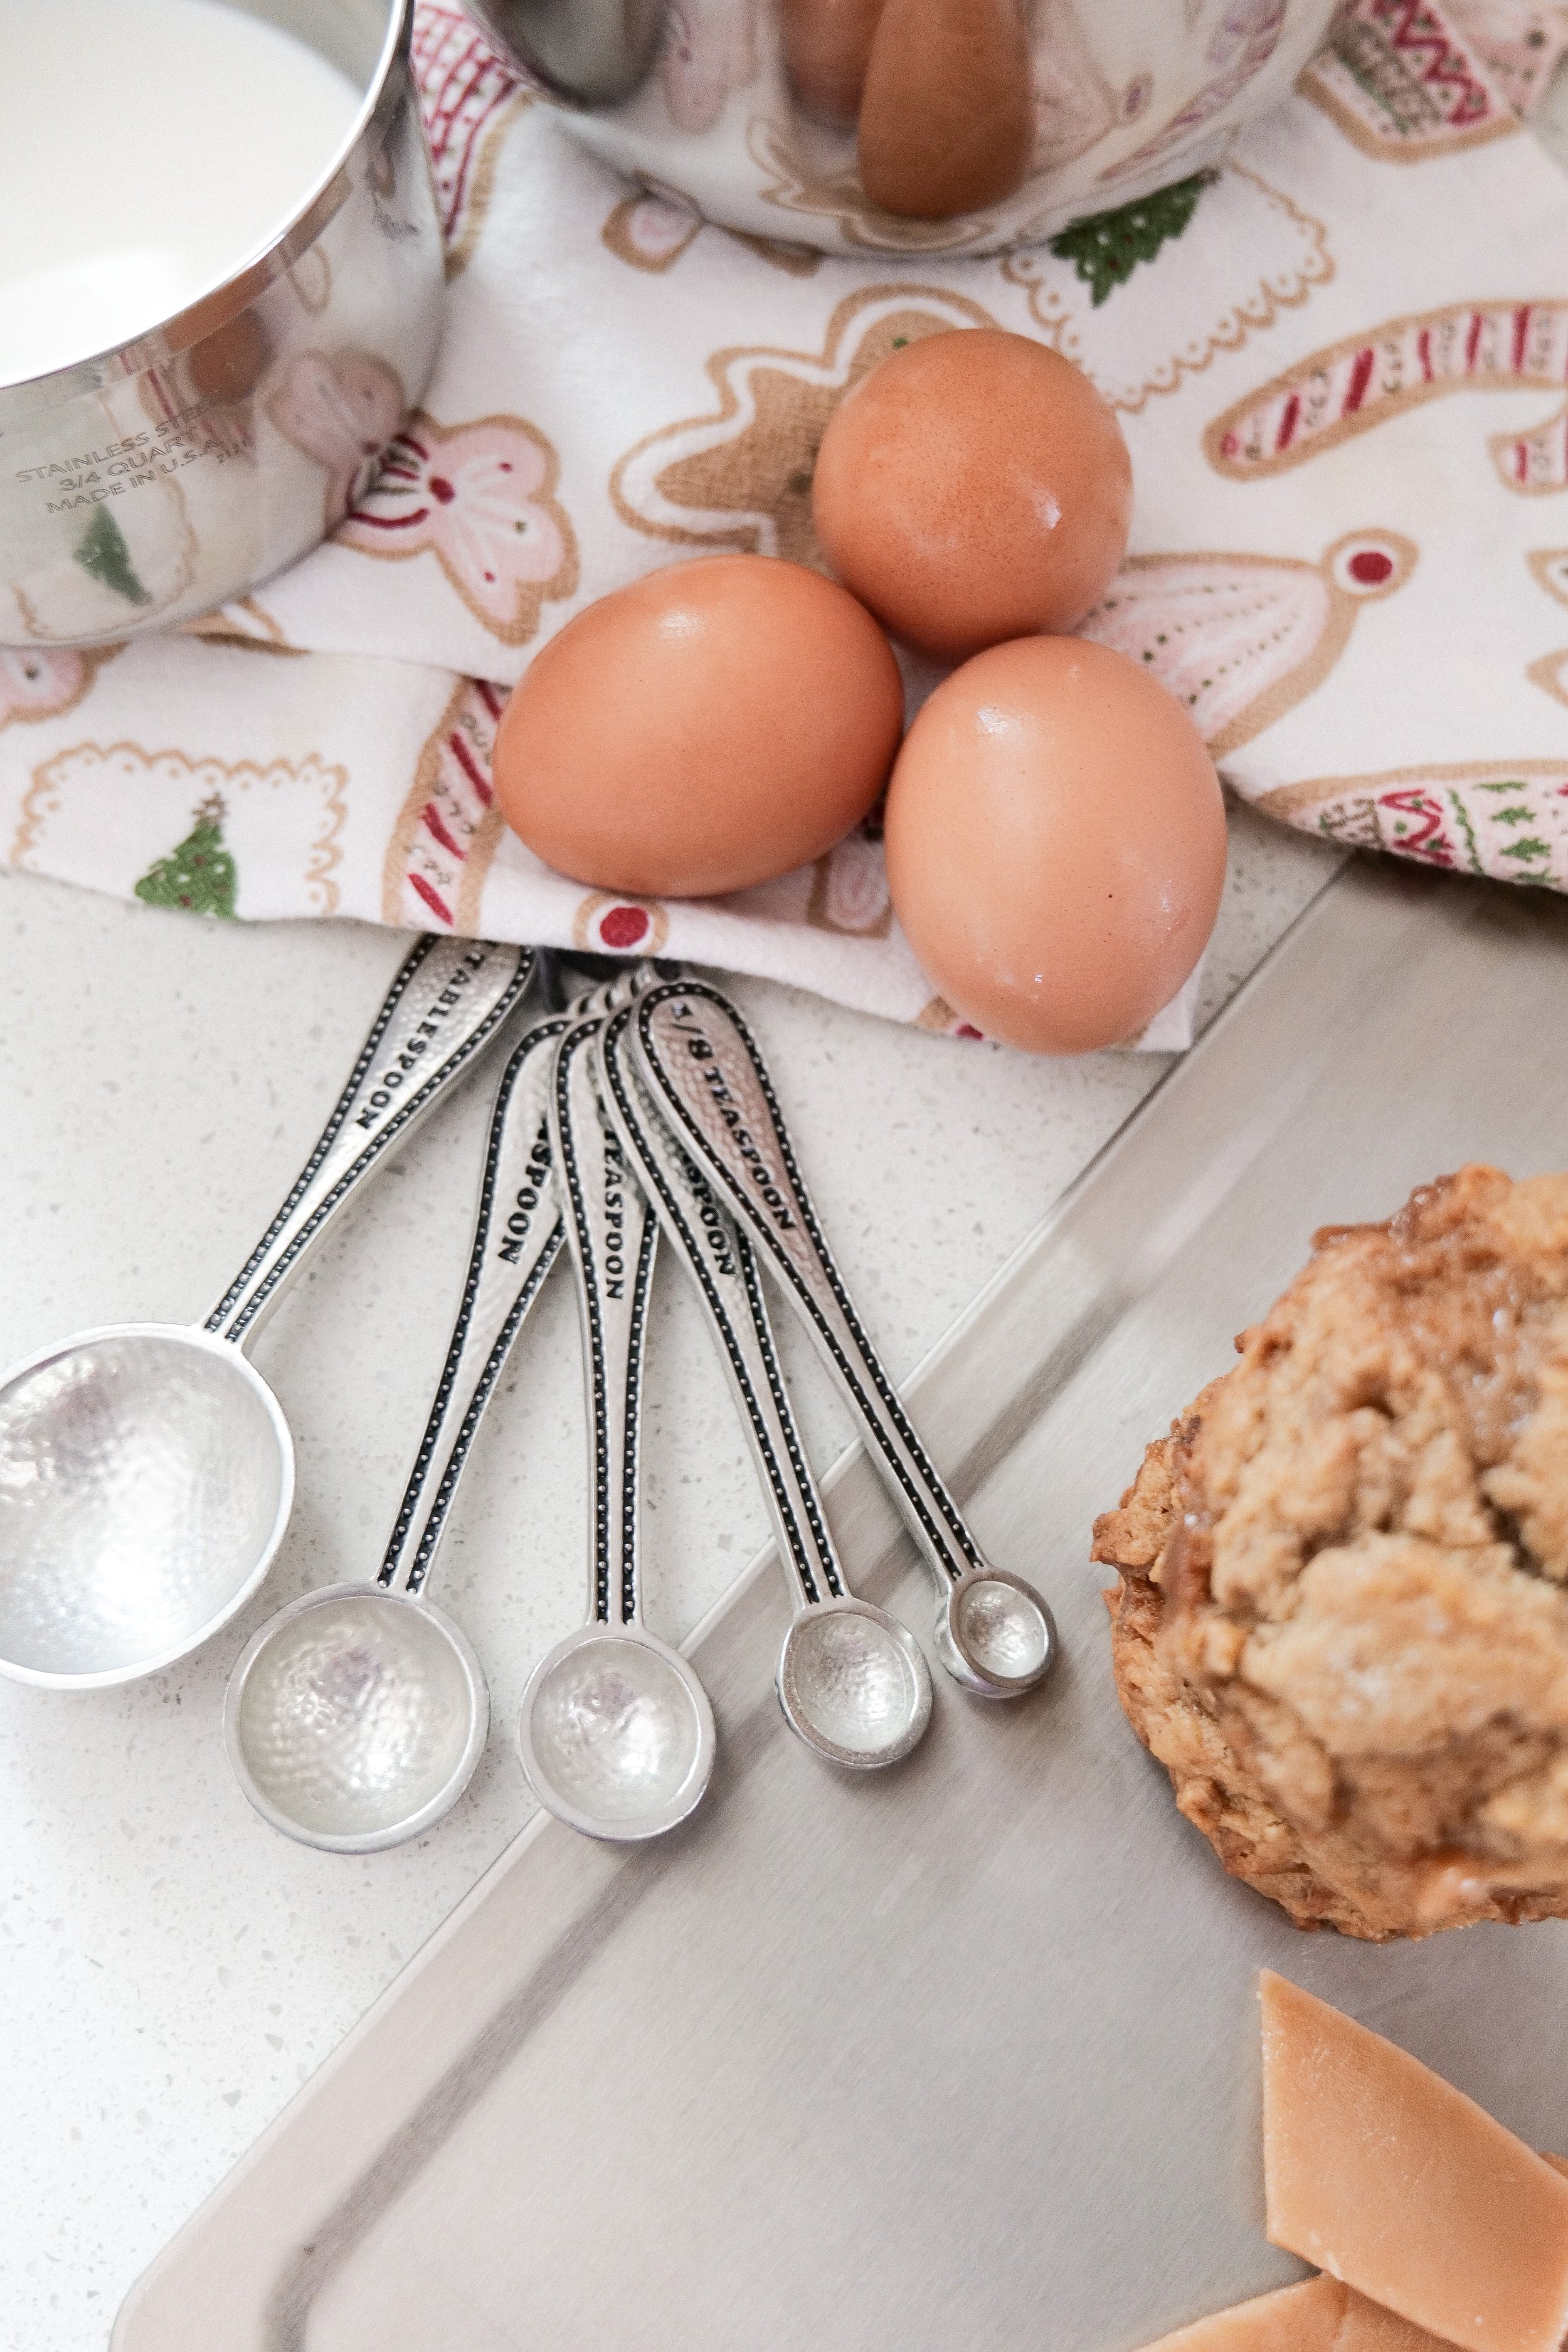
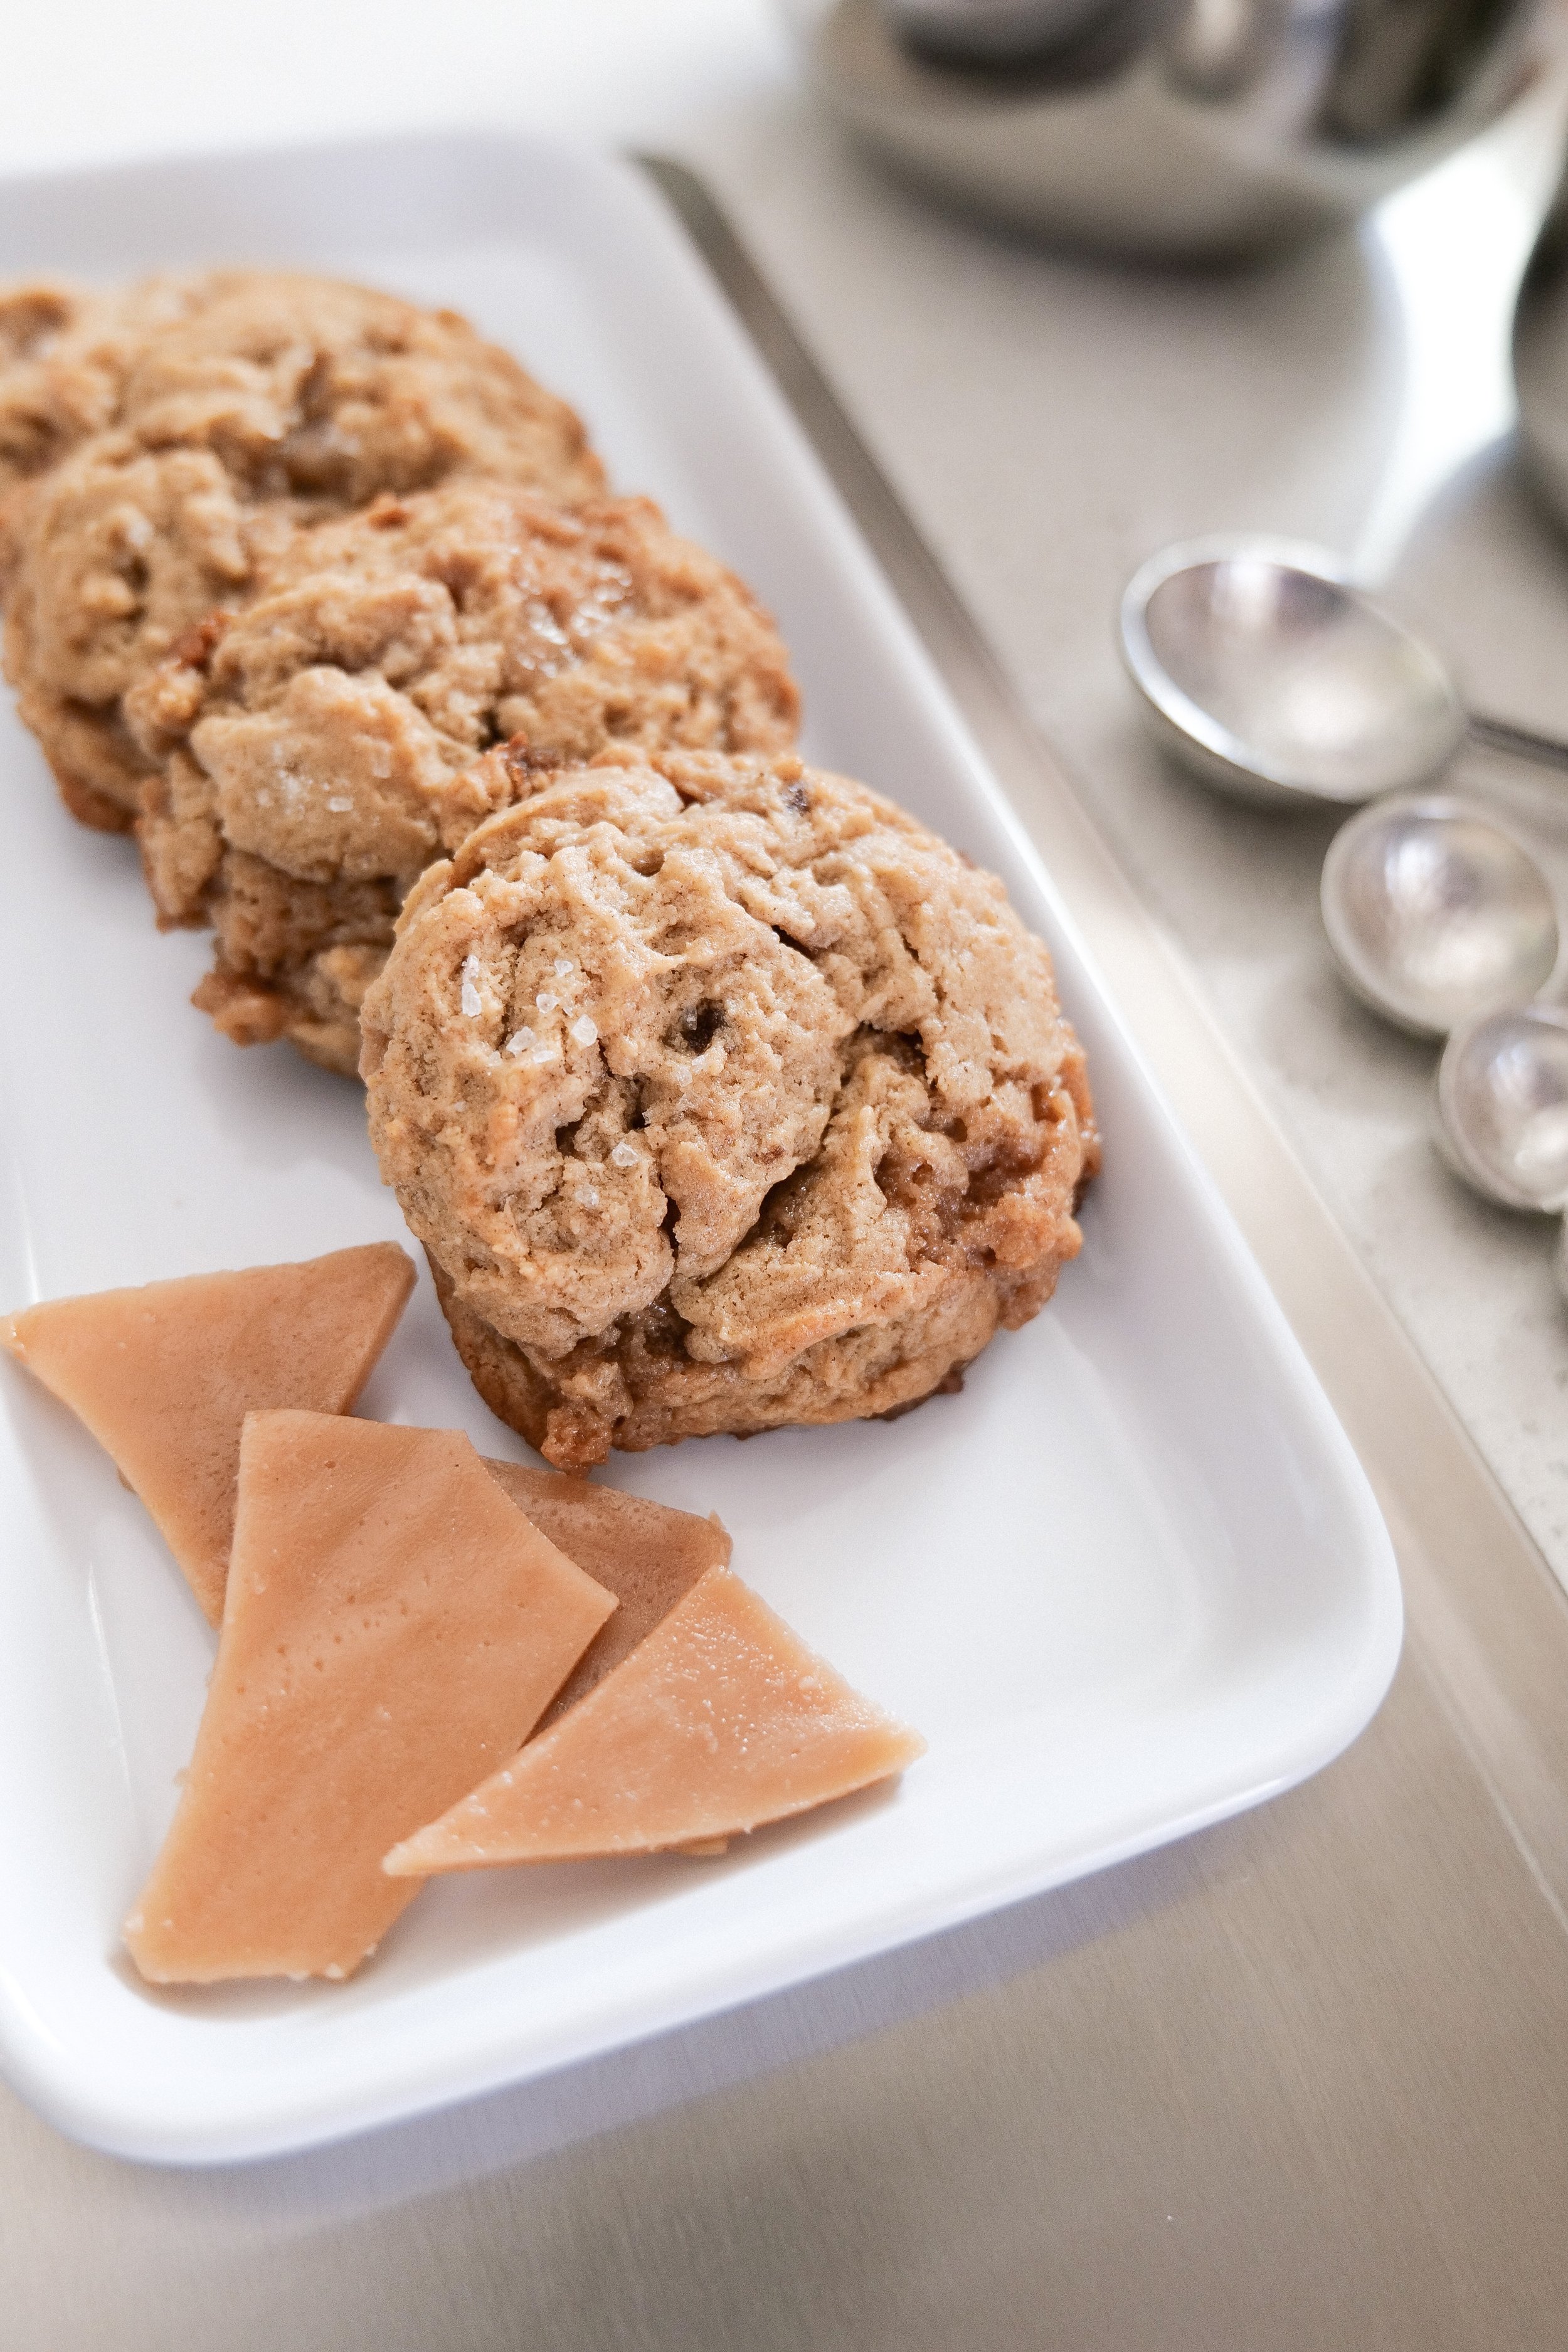
This cookie recipe has 3 of my favorite yummy ingredients: Brown Sugar, Brown Butter & Toffee!! That’s a lot of delicious goodness all cooked on my 360 cookware!! I love using 360 because for one its all made in the USA! I always love supporting companies and products made in the USA and work hard to find them. Second.. they are the best pans I have used particularly for making cookies hands down! They all are non toxic and so easy to clean. I cant say enough good things about them..They also have bowls that are just as amazing. To share my love I have a code for 20% off! Use code AMANDA20 to get 20% off your next purchase. Start shopping -here-

Brown Sugar Toffee Cookie Recipe

Toffee Recipe :

1 cup cubed salted butter

1 cup white sugar

1 tsp vanilla

  1. On low heat mix cubed butter and sugar. Using a spatula continue to stir to prevent from burning

  2. Once color starts to change add in vanilla

  3. Once color starts to look like peanut butter pour onto parchment paper

  4. Let cook for 10-20 min.

  5. Crack! You are ready to enjoy AND add into cookies!

Cookie Recipe:

1 cup brown butter

2 cups brown sugar (I do one of these dark brown but totally optional)

2 eggs

1 tsp vanilla

4 cups flour

1 tsp salt

4 tsp baking powder

1/2 cup milk

toffee

sea salt for topping

  1. Brown butter in a sauce pan. I do this first because it needs to cool. Once butter starts browning in color and smells nutty you can put in a bowl to cool

  2. Preheat oven to 375

  3. Once butter is cooled enough (I usually give it at least 20-30 min, while I am making toffee) blend butter and brown sugar.

  4. Add in eggs and vanilla and mix well.

  5. Stir dry ingredients in a separate bowl. Alternating between dry and milk adding into wet ingredients.

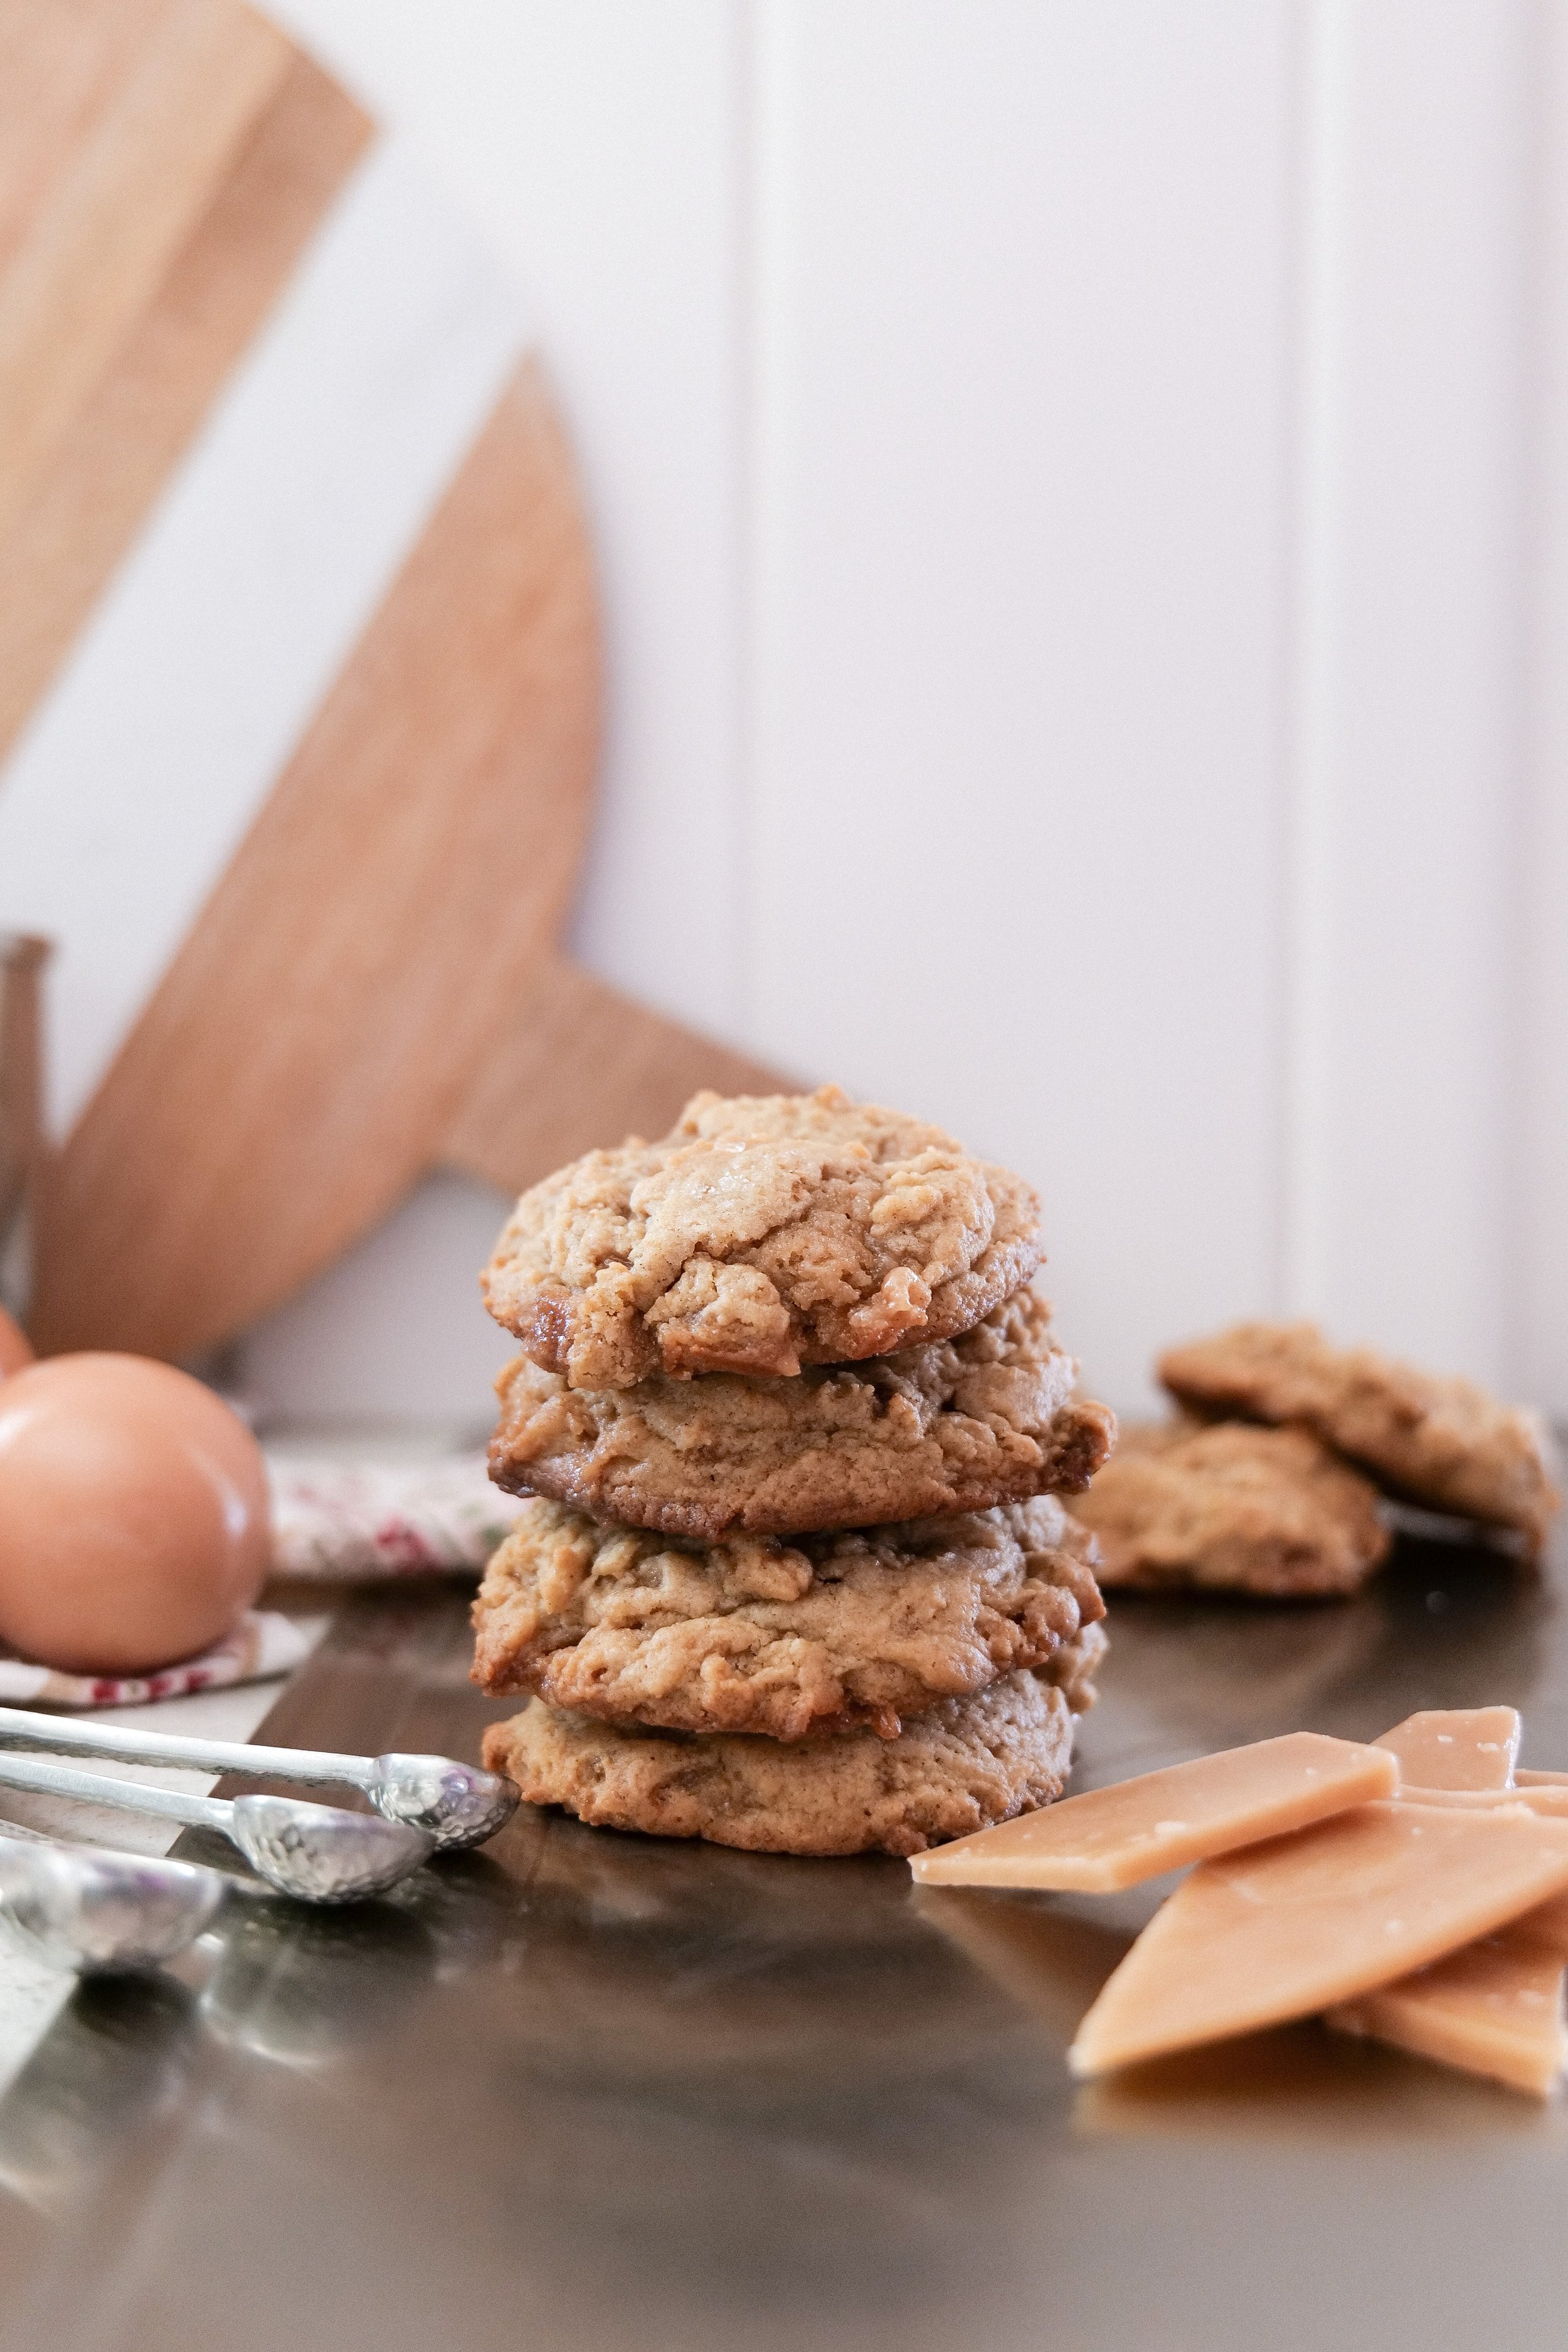
  6. Lastly add in toffee. You can use as much of the recipe from toffee as you want! Save some to add on the side of cookies, eat, or enjoy it all in the cookies.

  7. I take a cookie scoop and do 2 scoops one on top of each other then sprinkle the top with sea salt. This gives a nice fluffy cookie.

  8. Bake for 11-13 min.

  9. ENJOY!