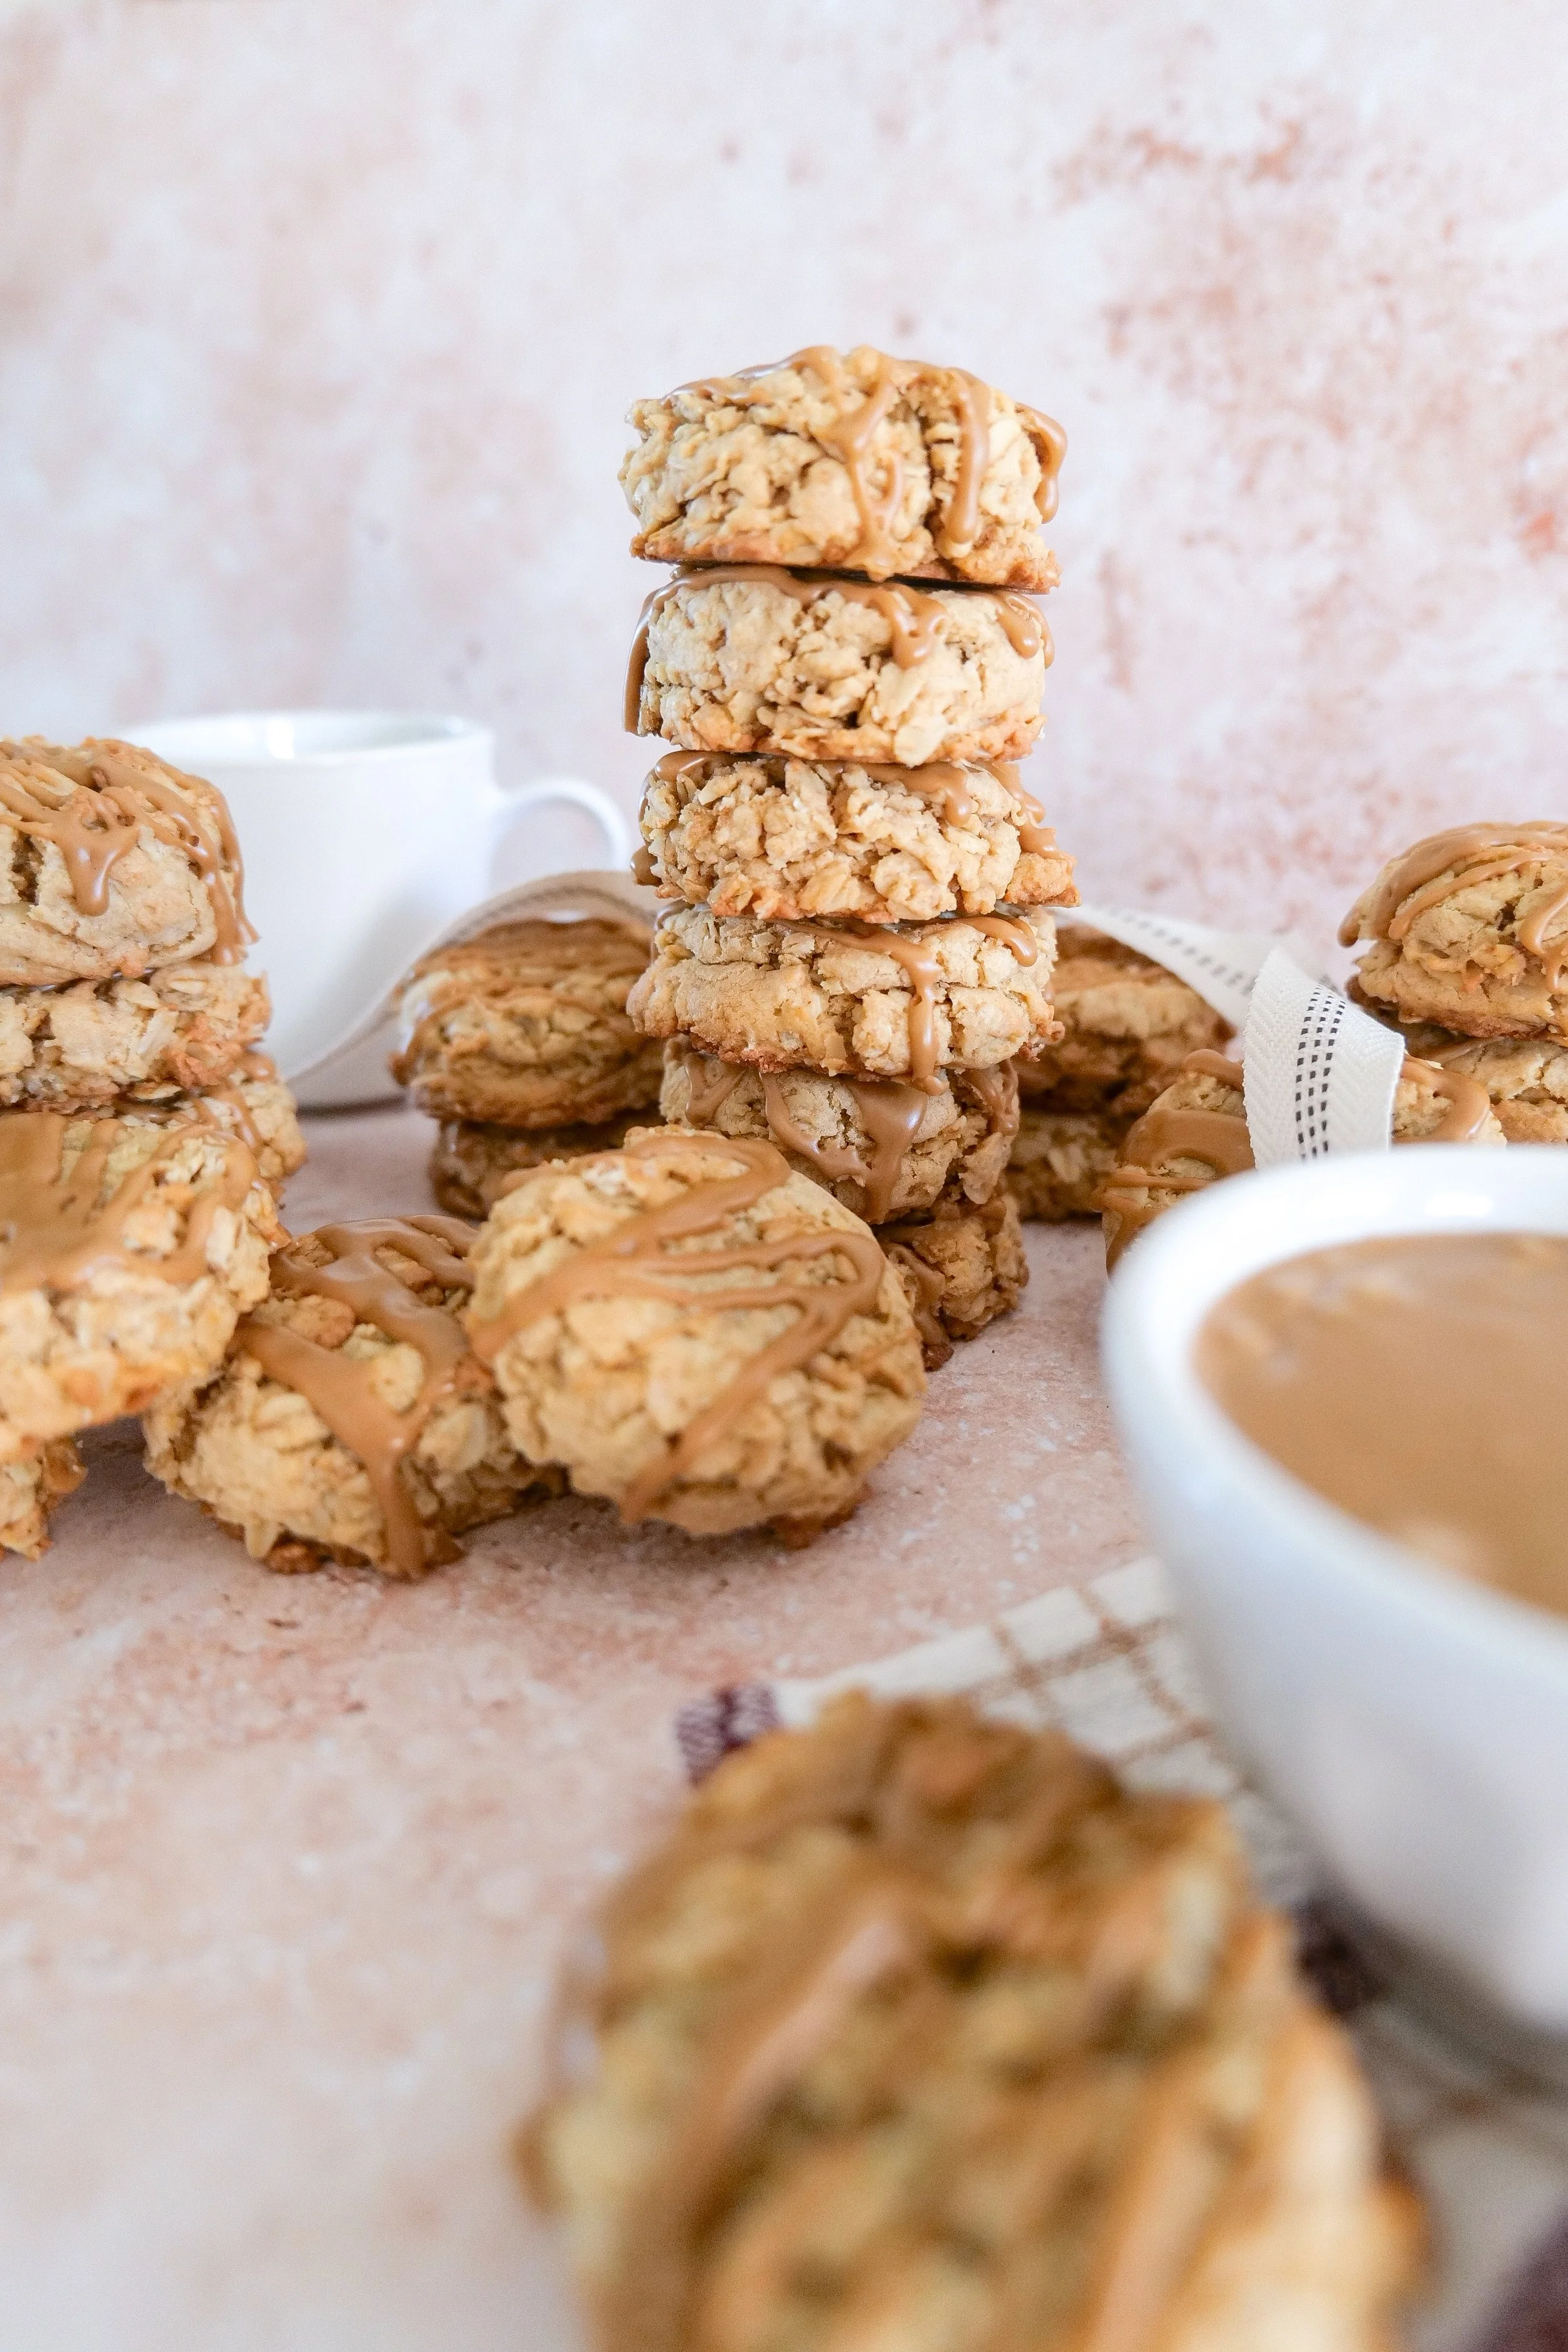
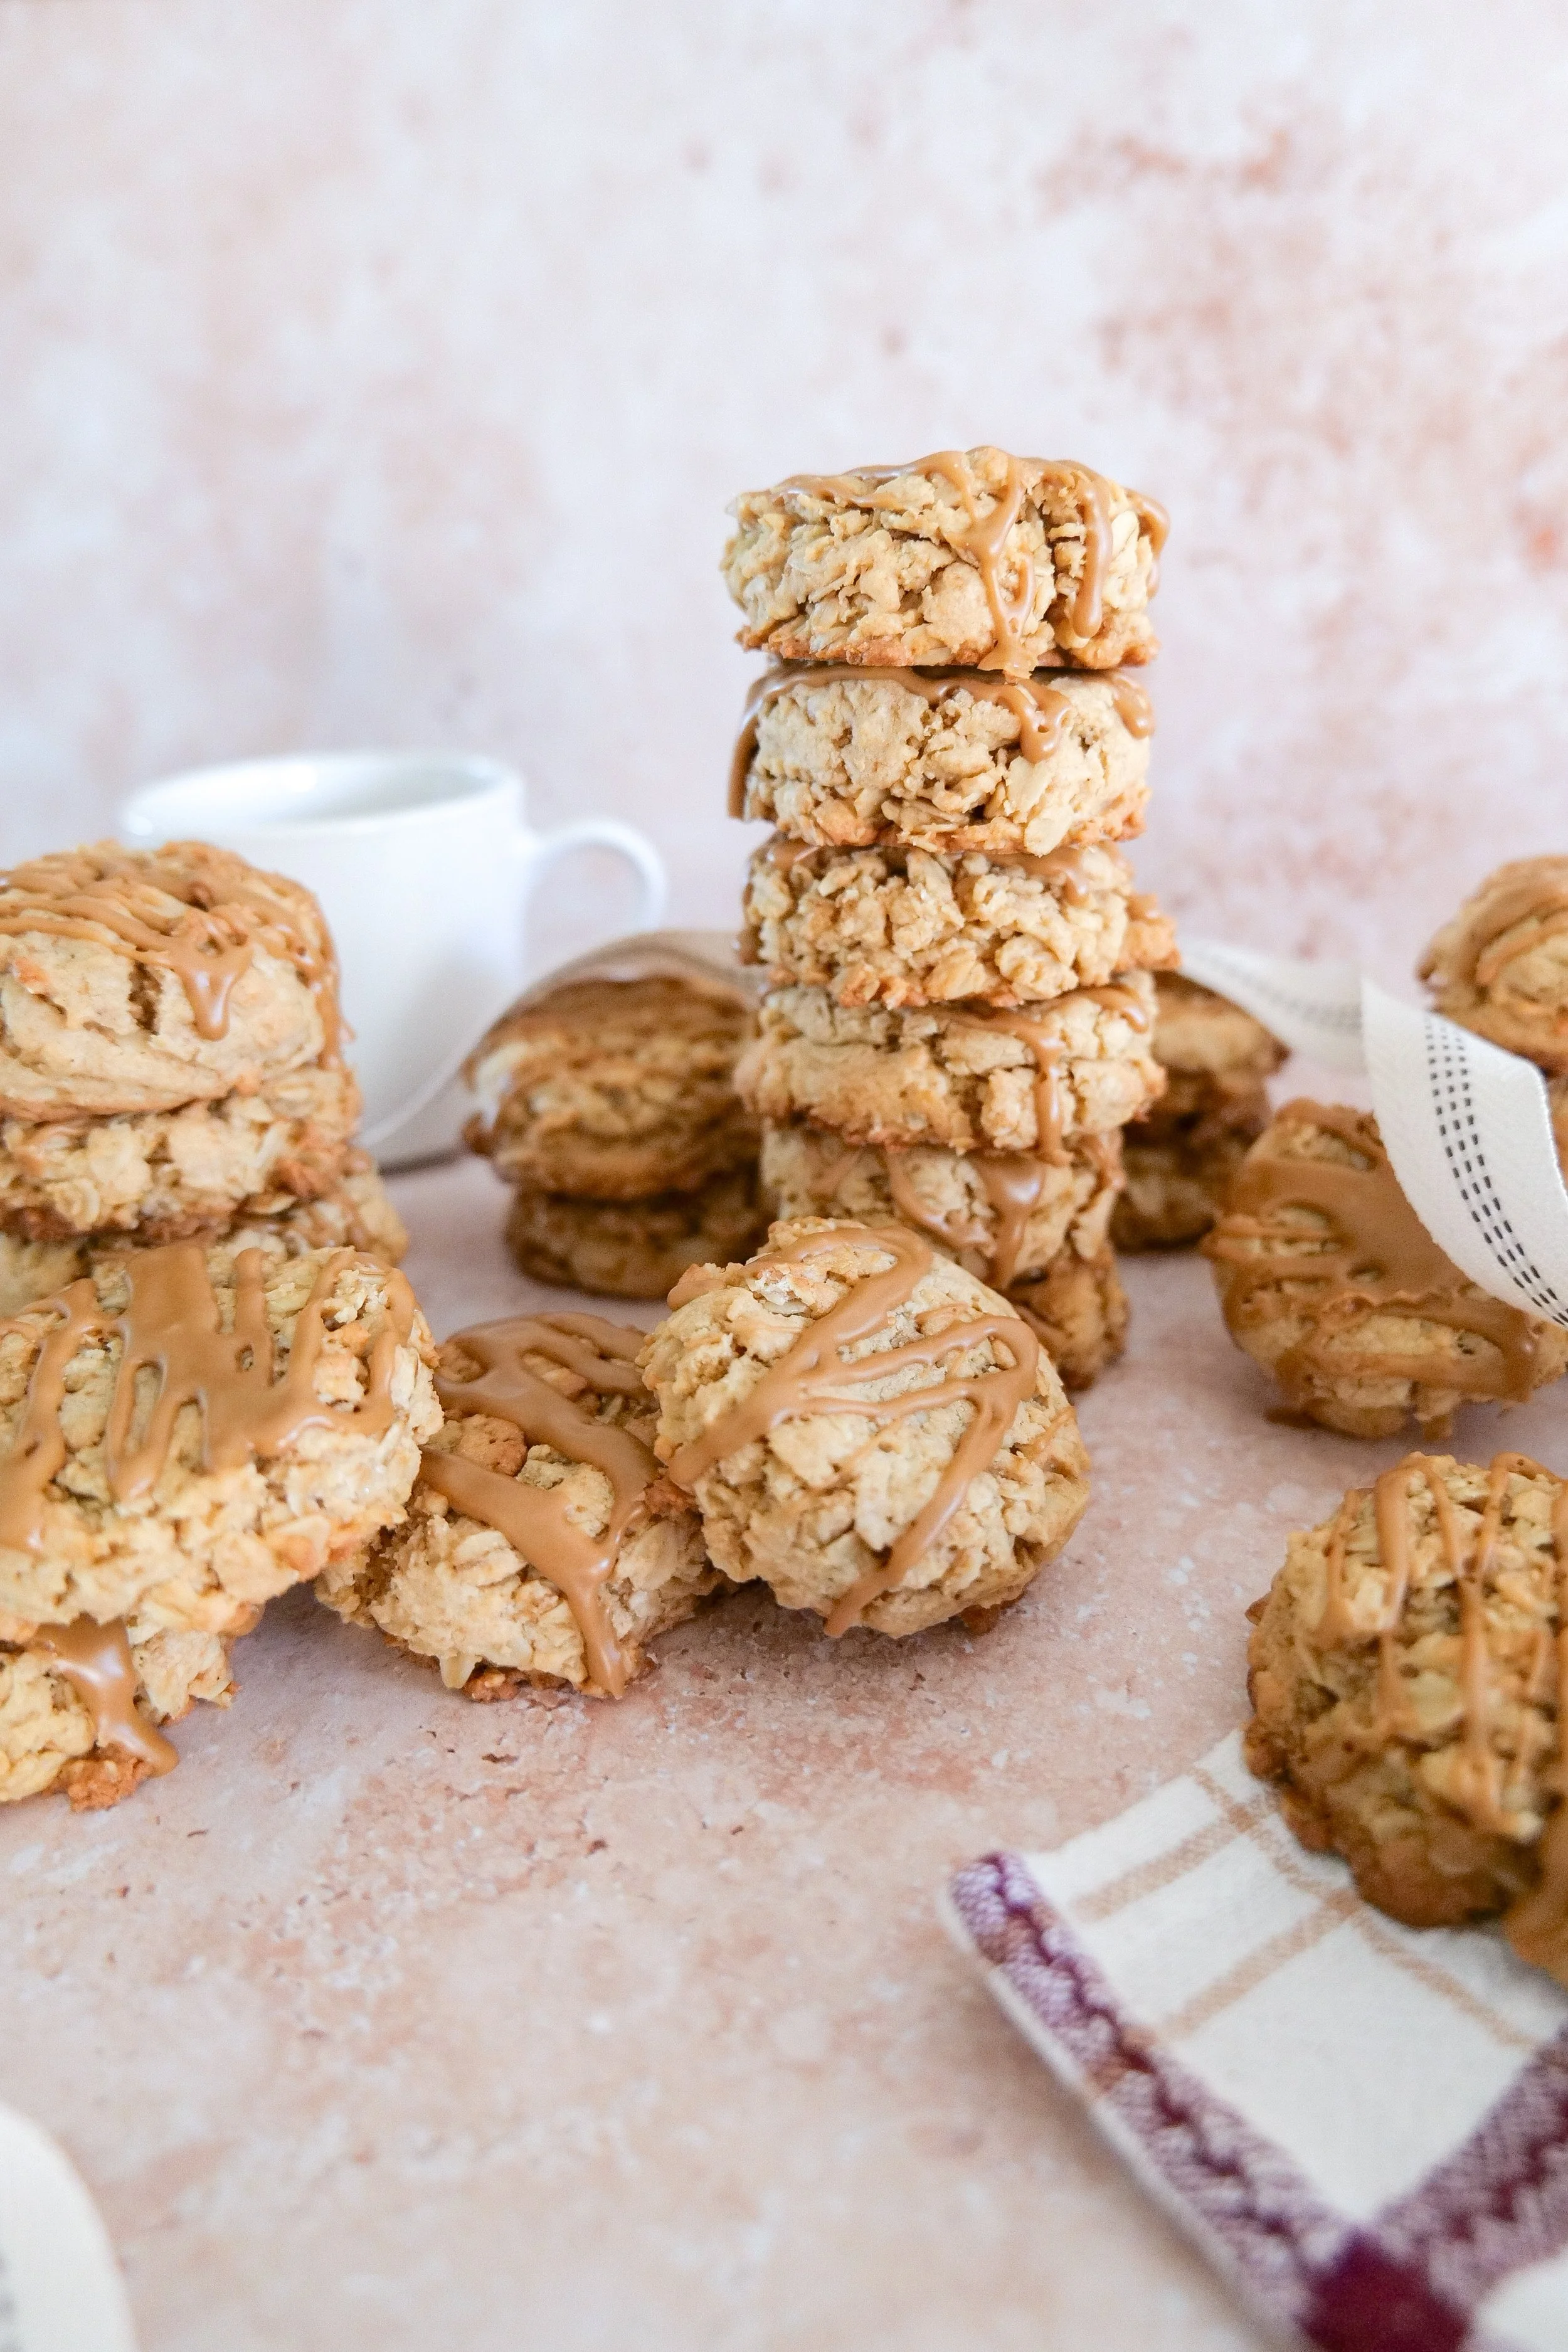
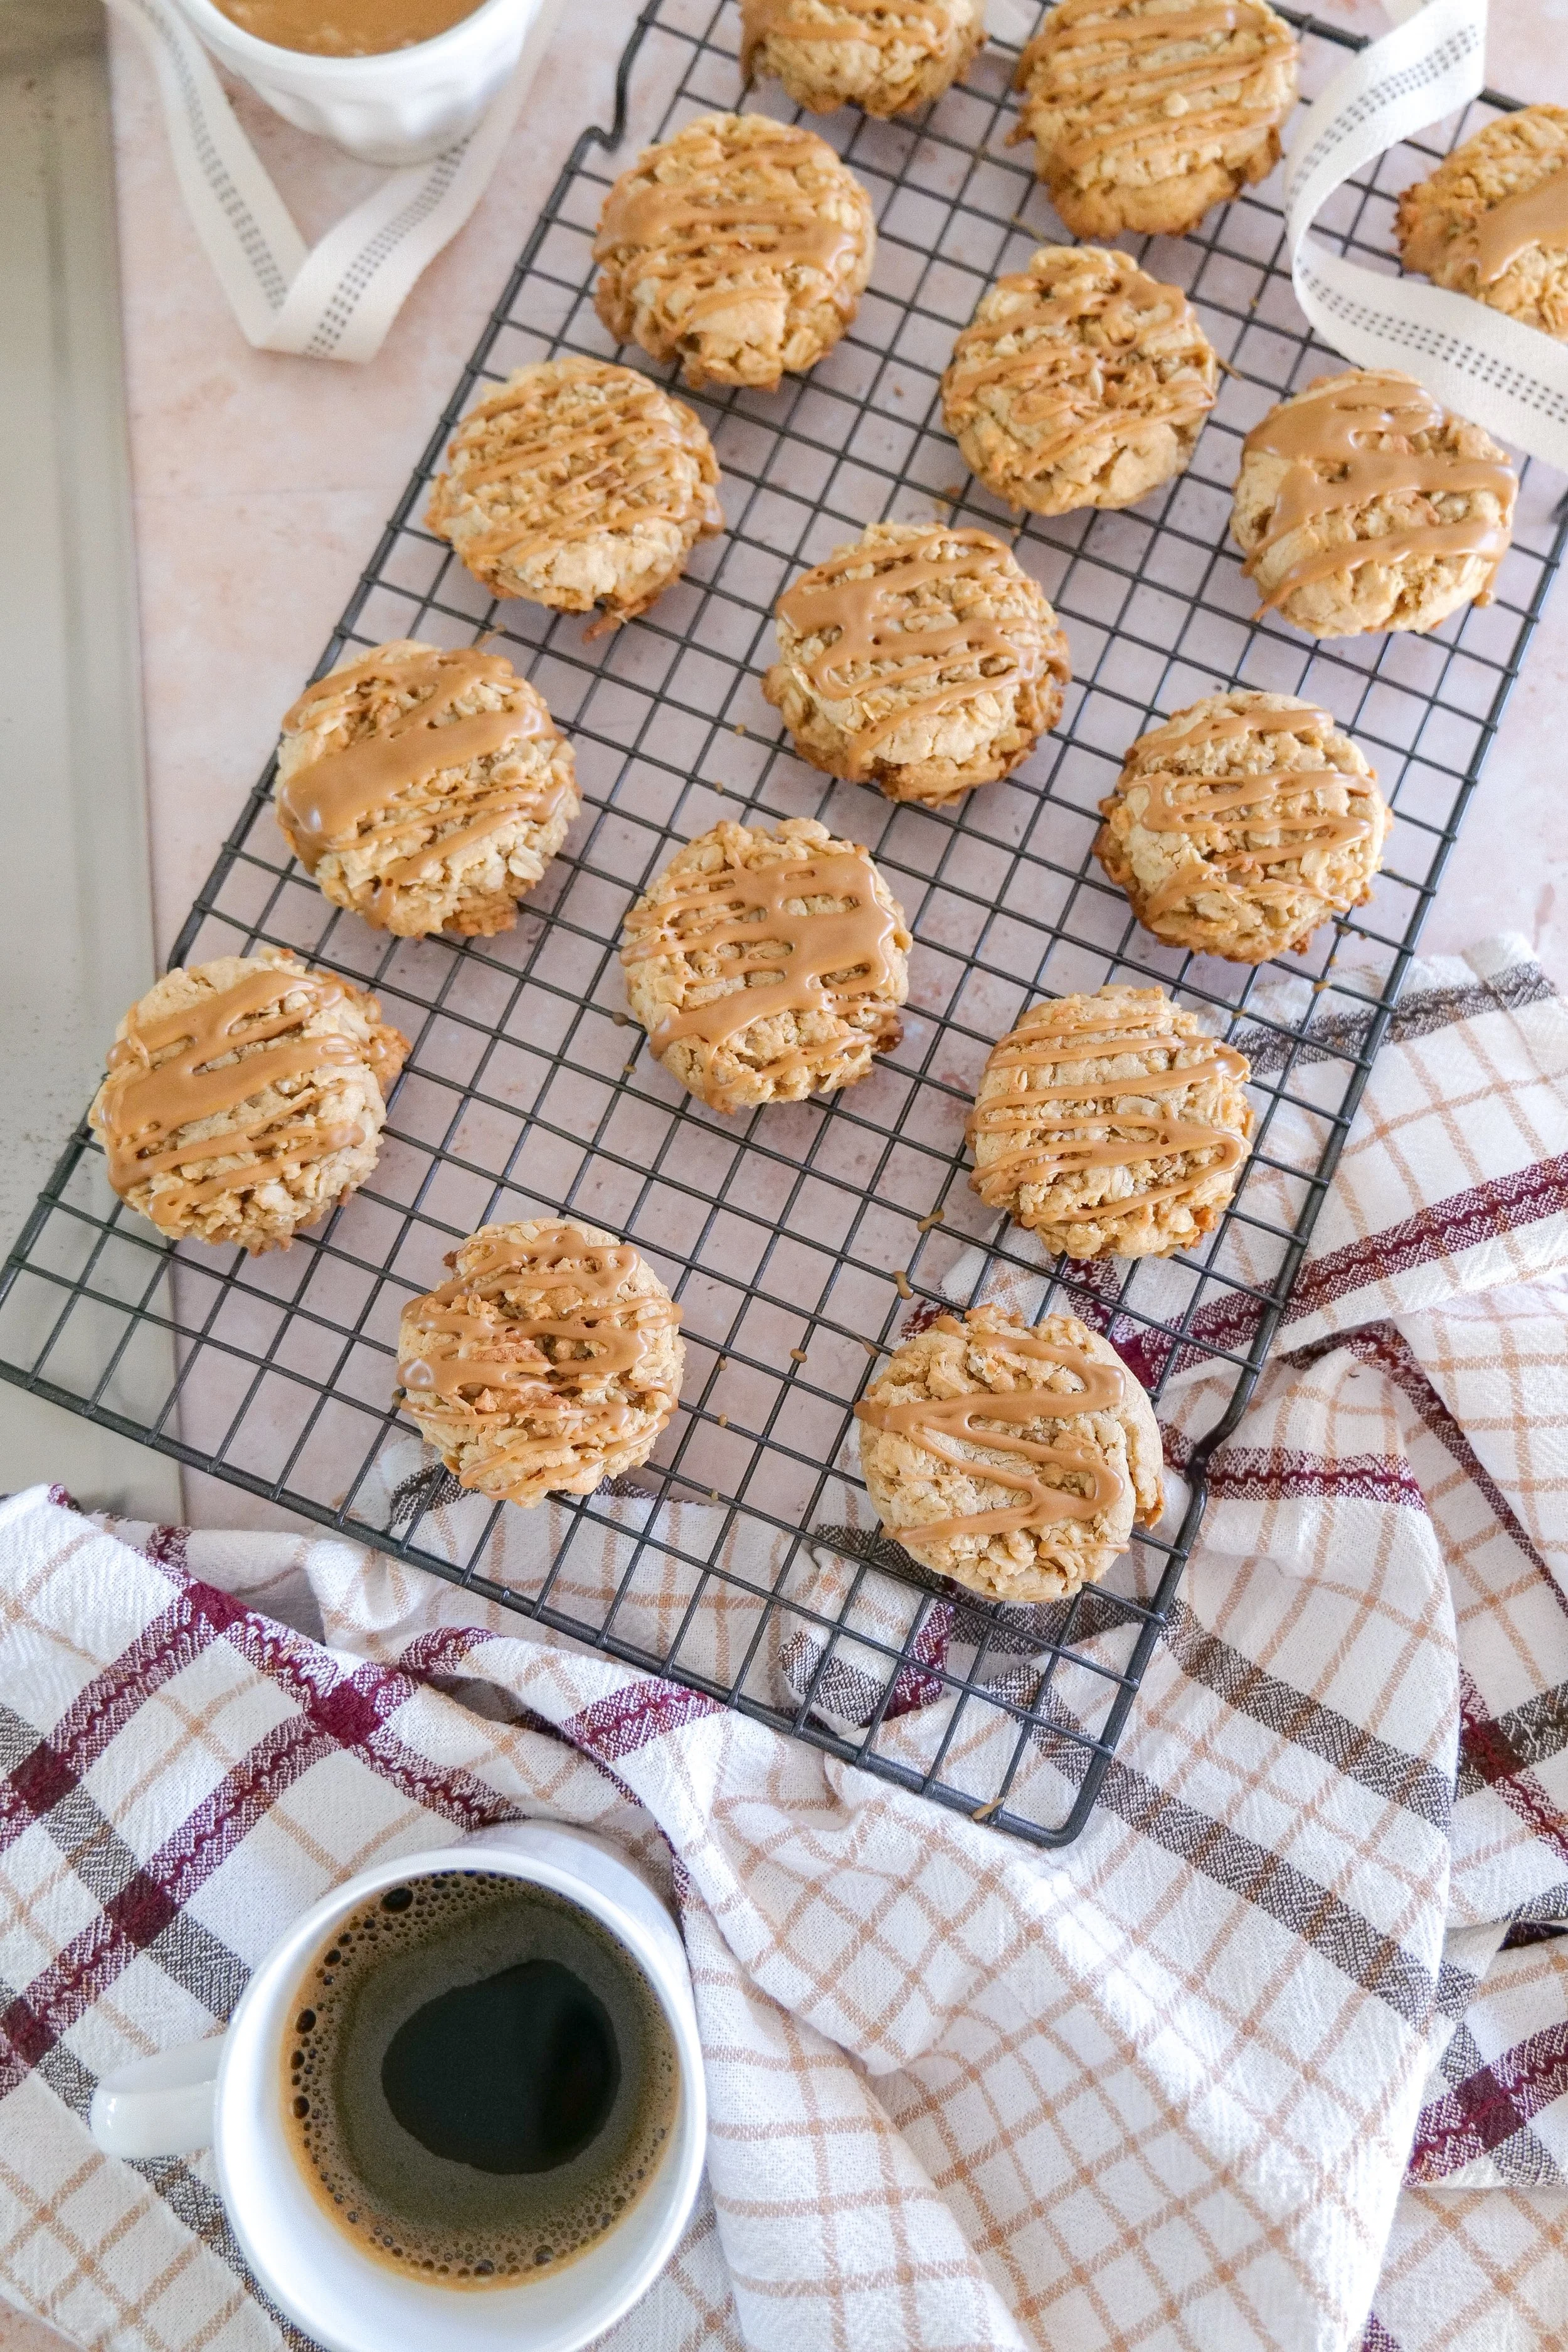
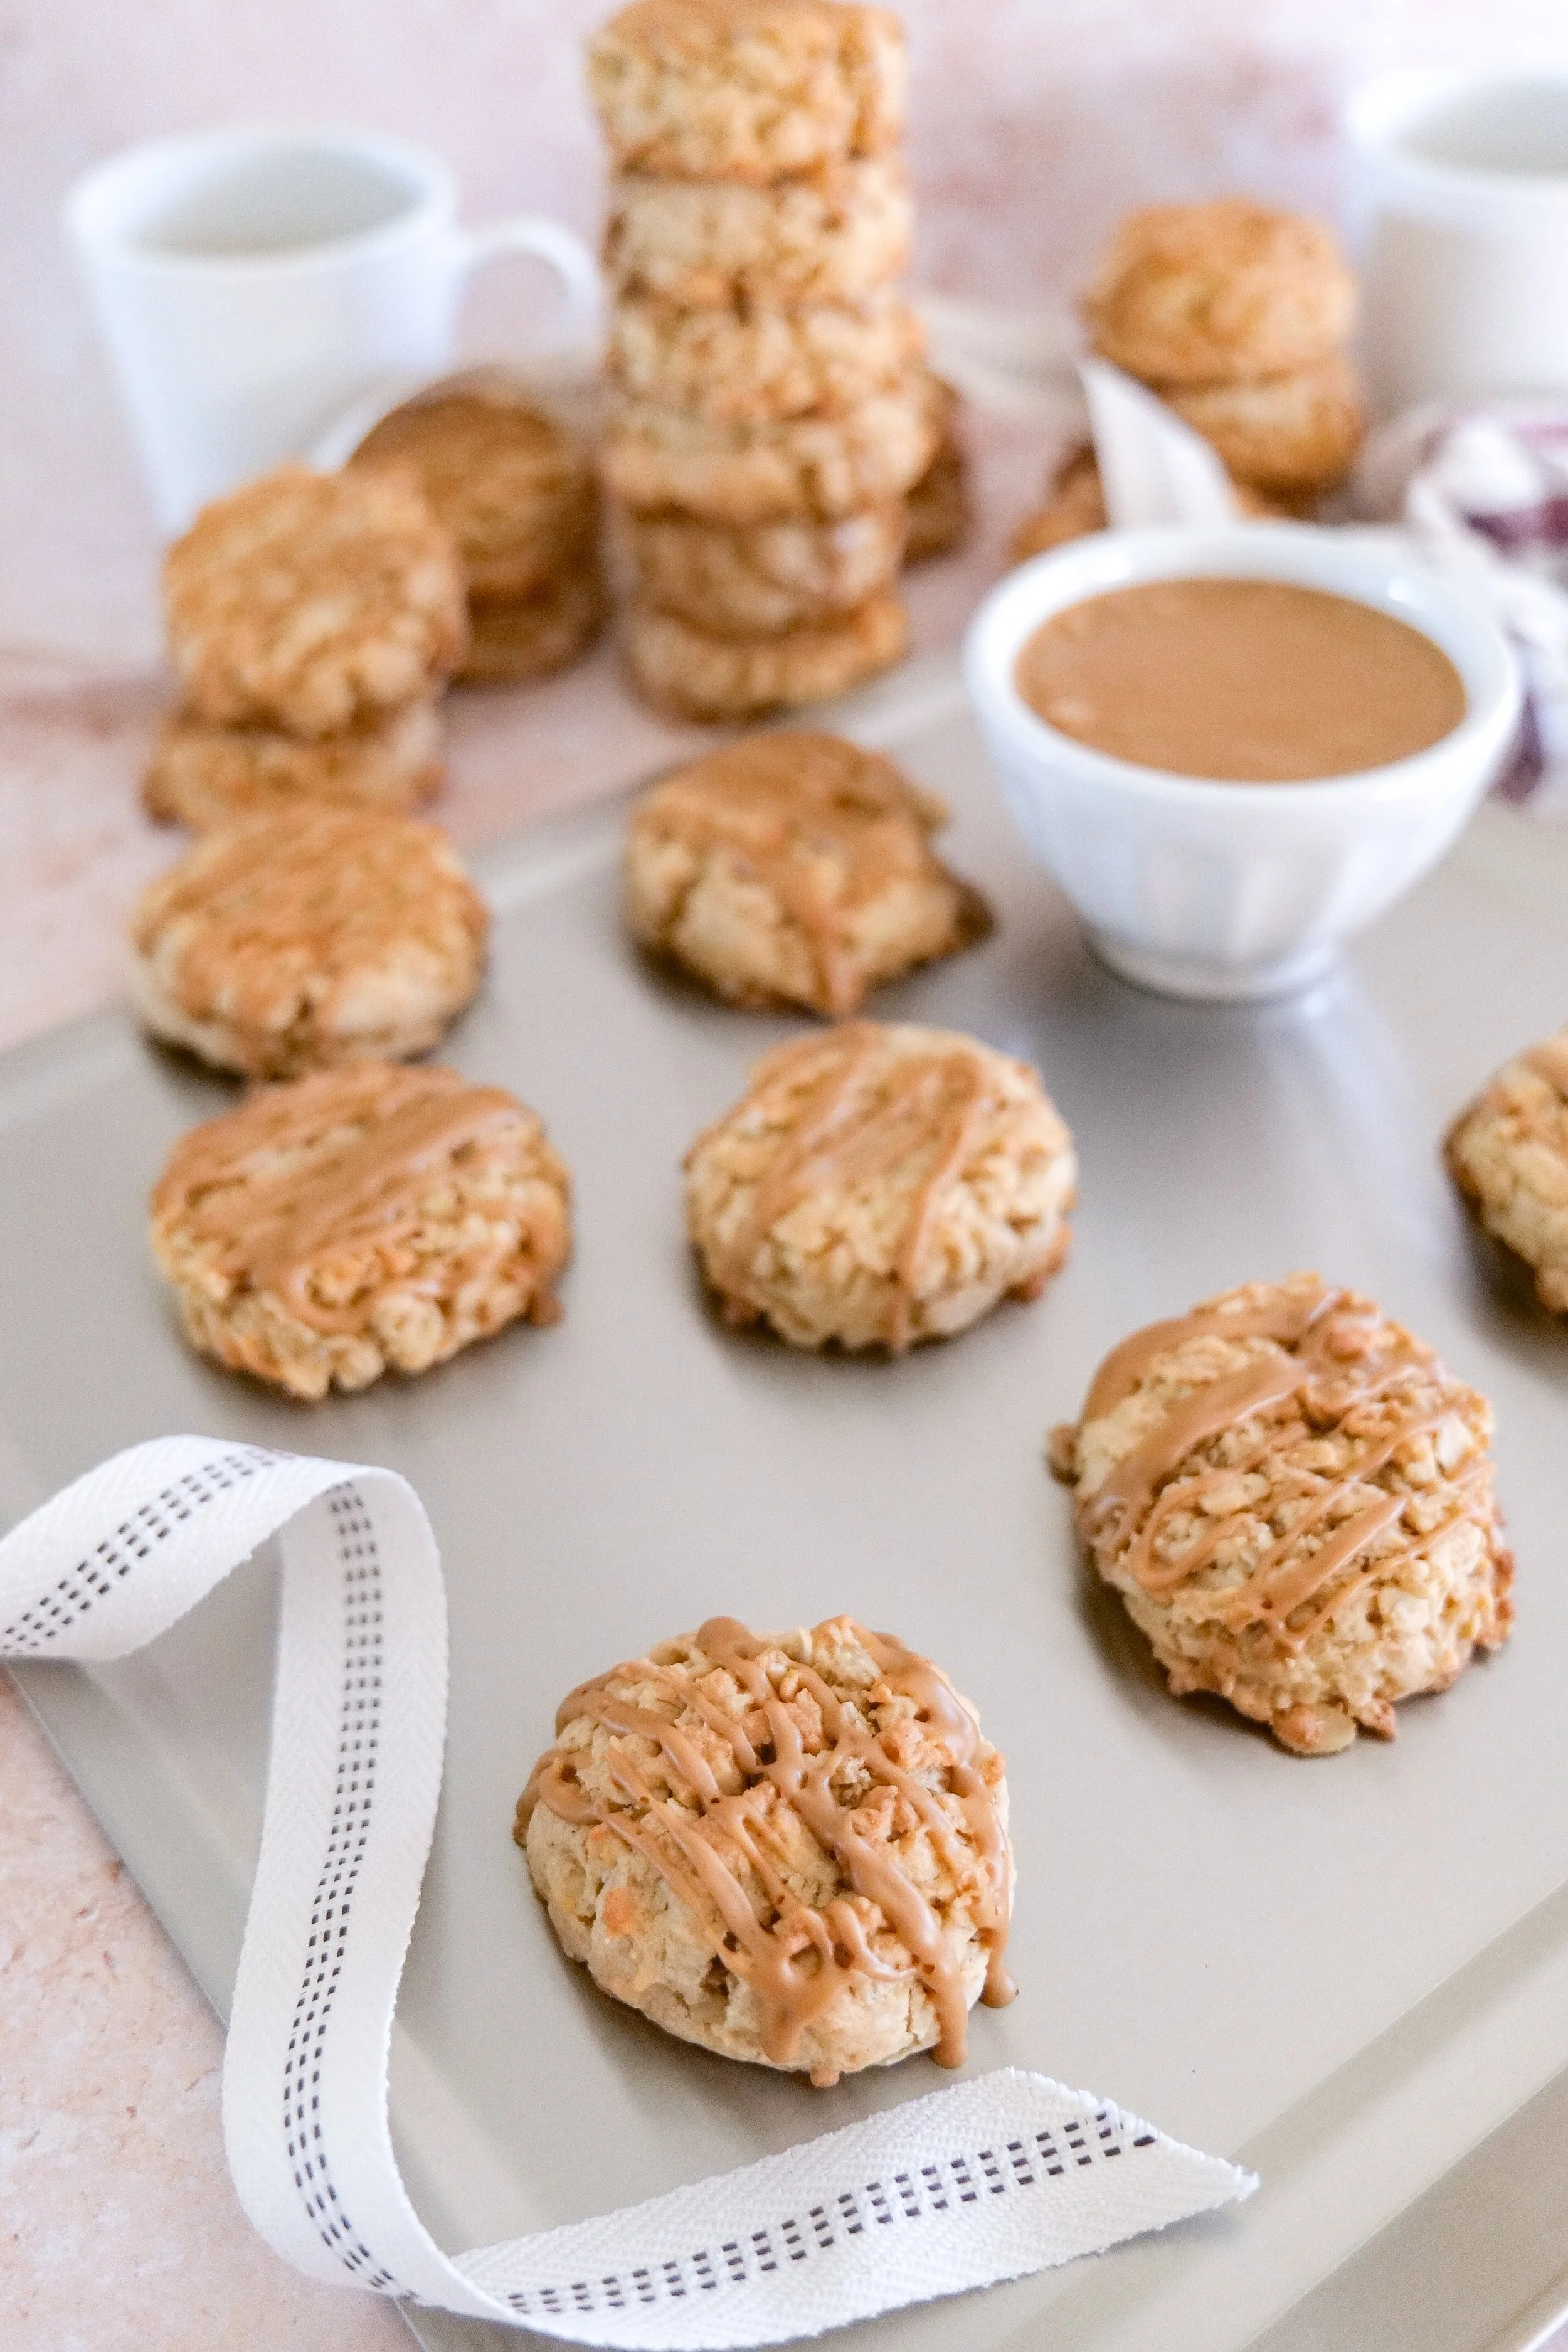
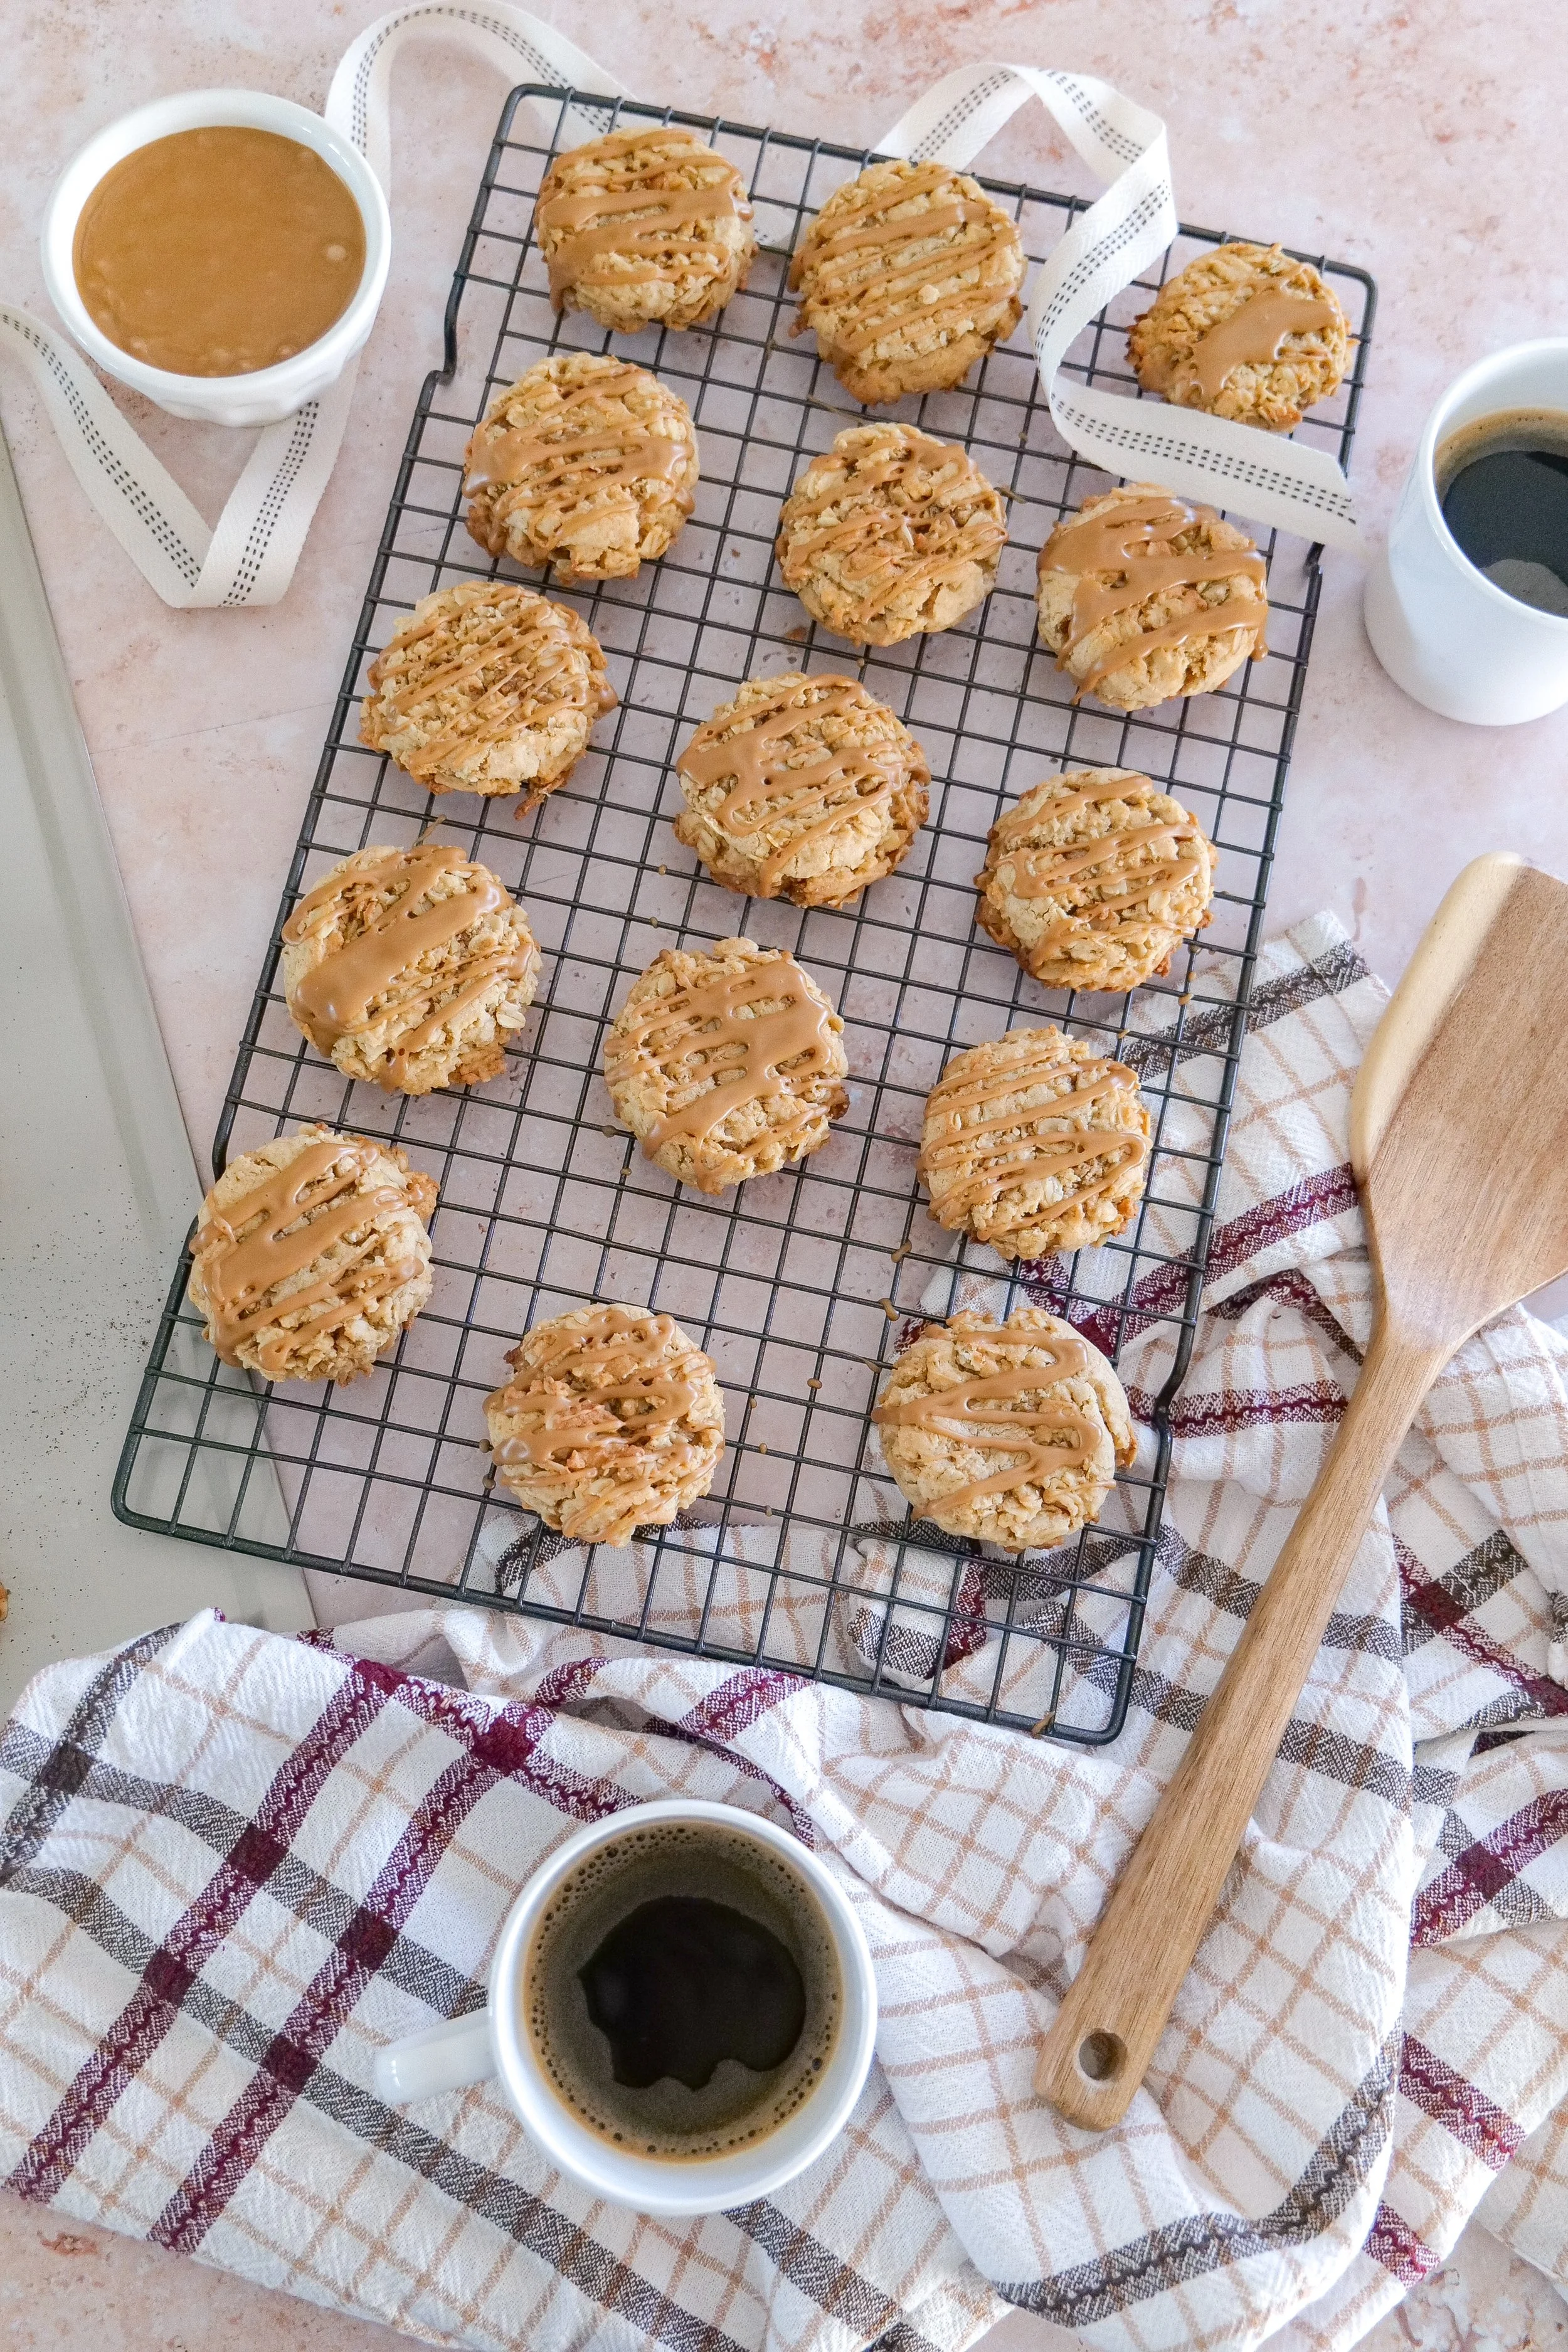
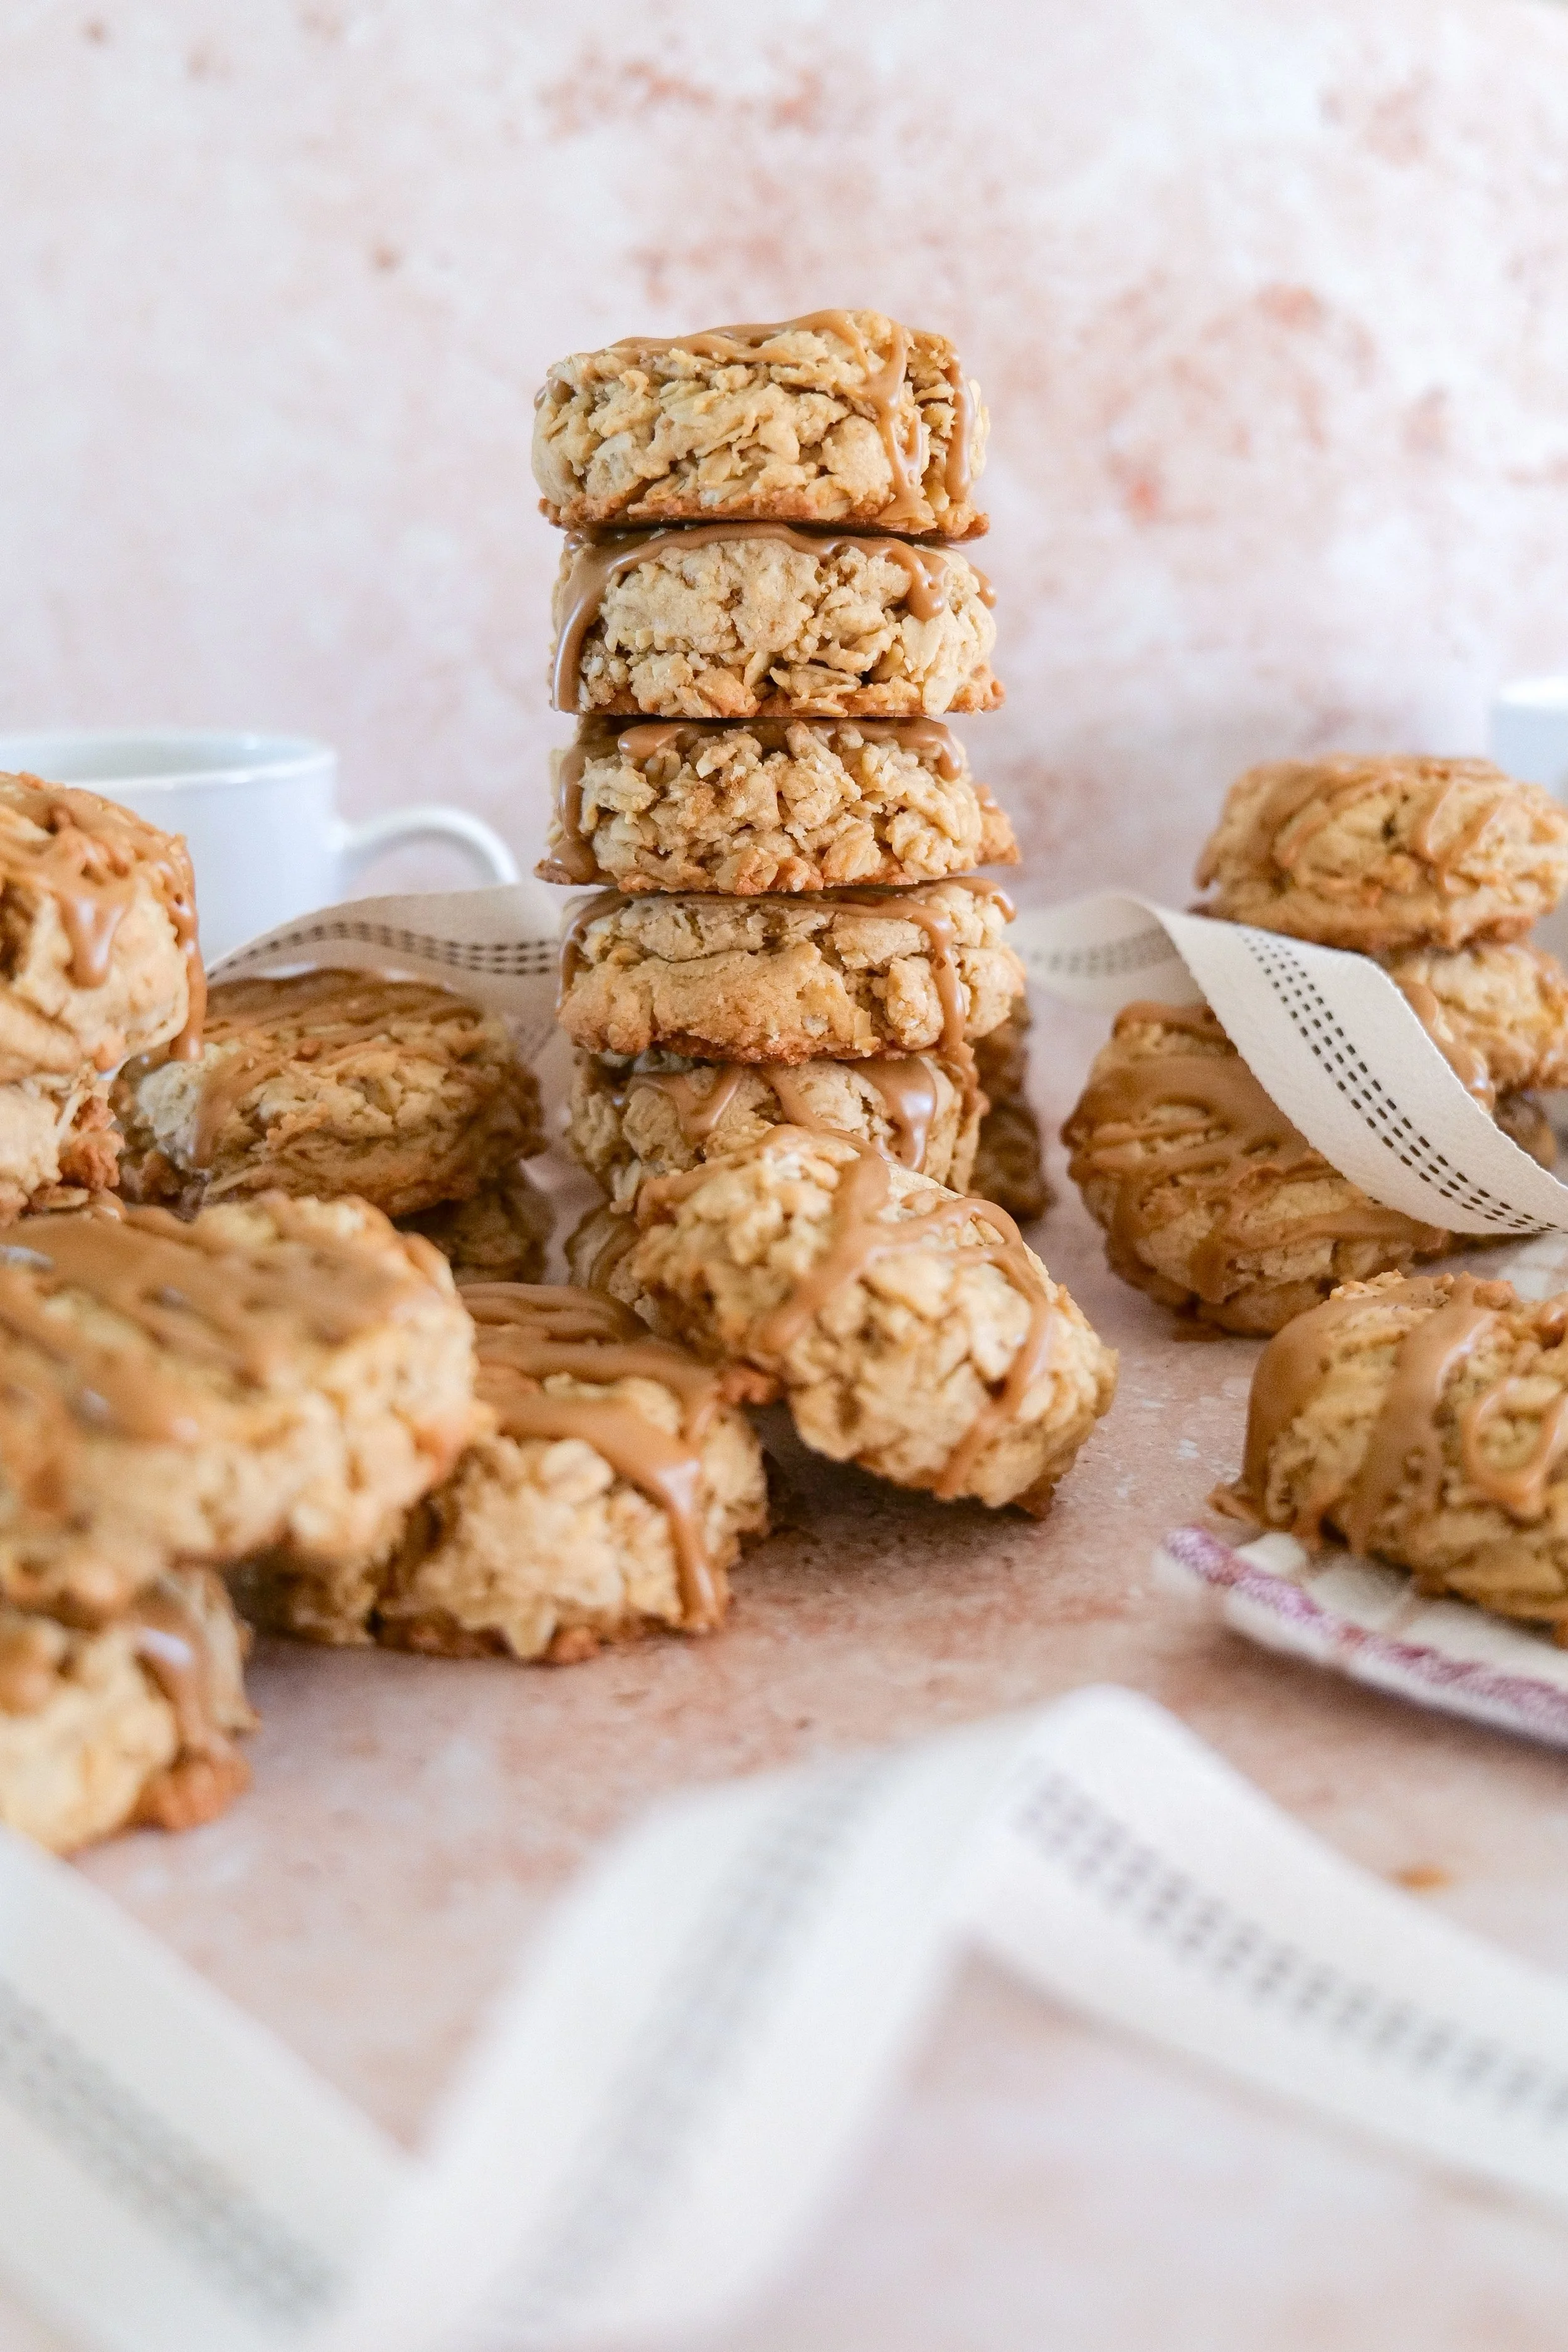
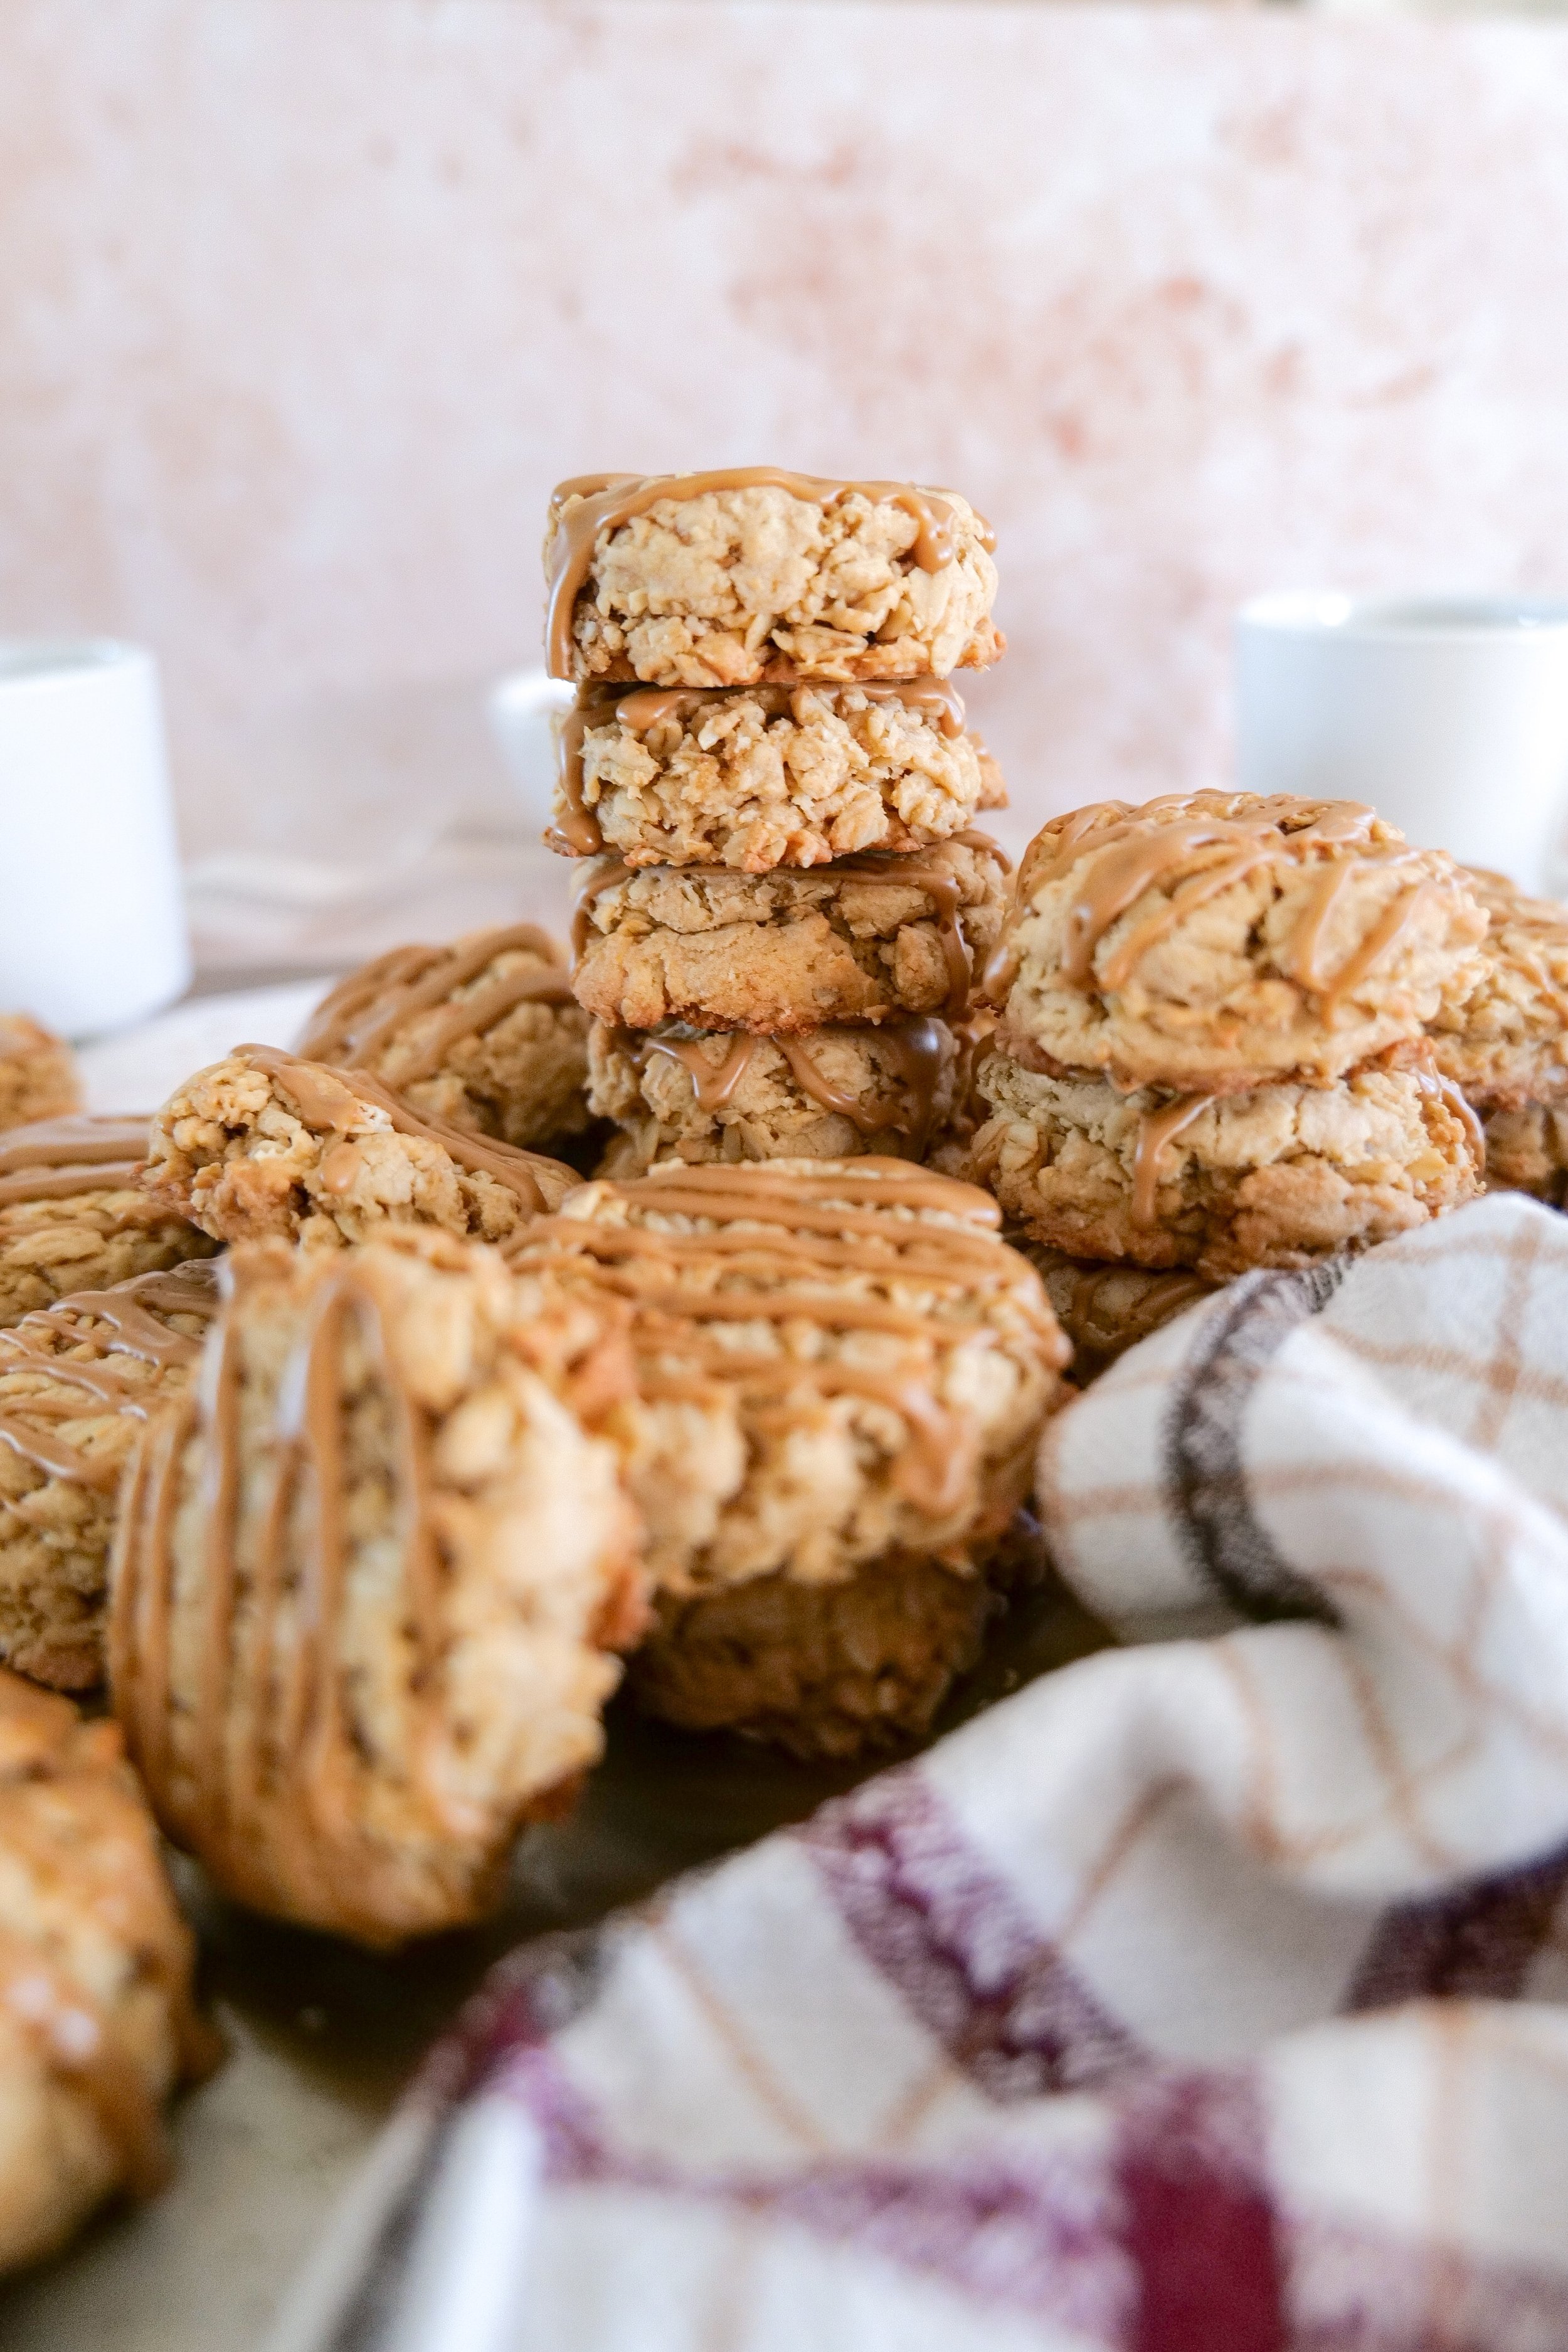
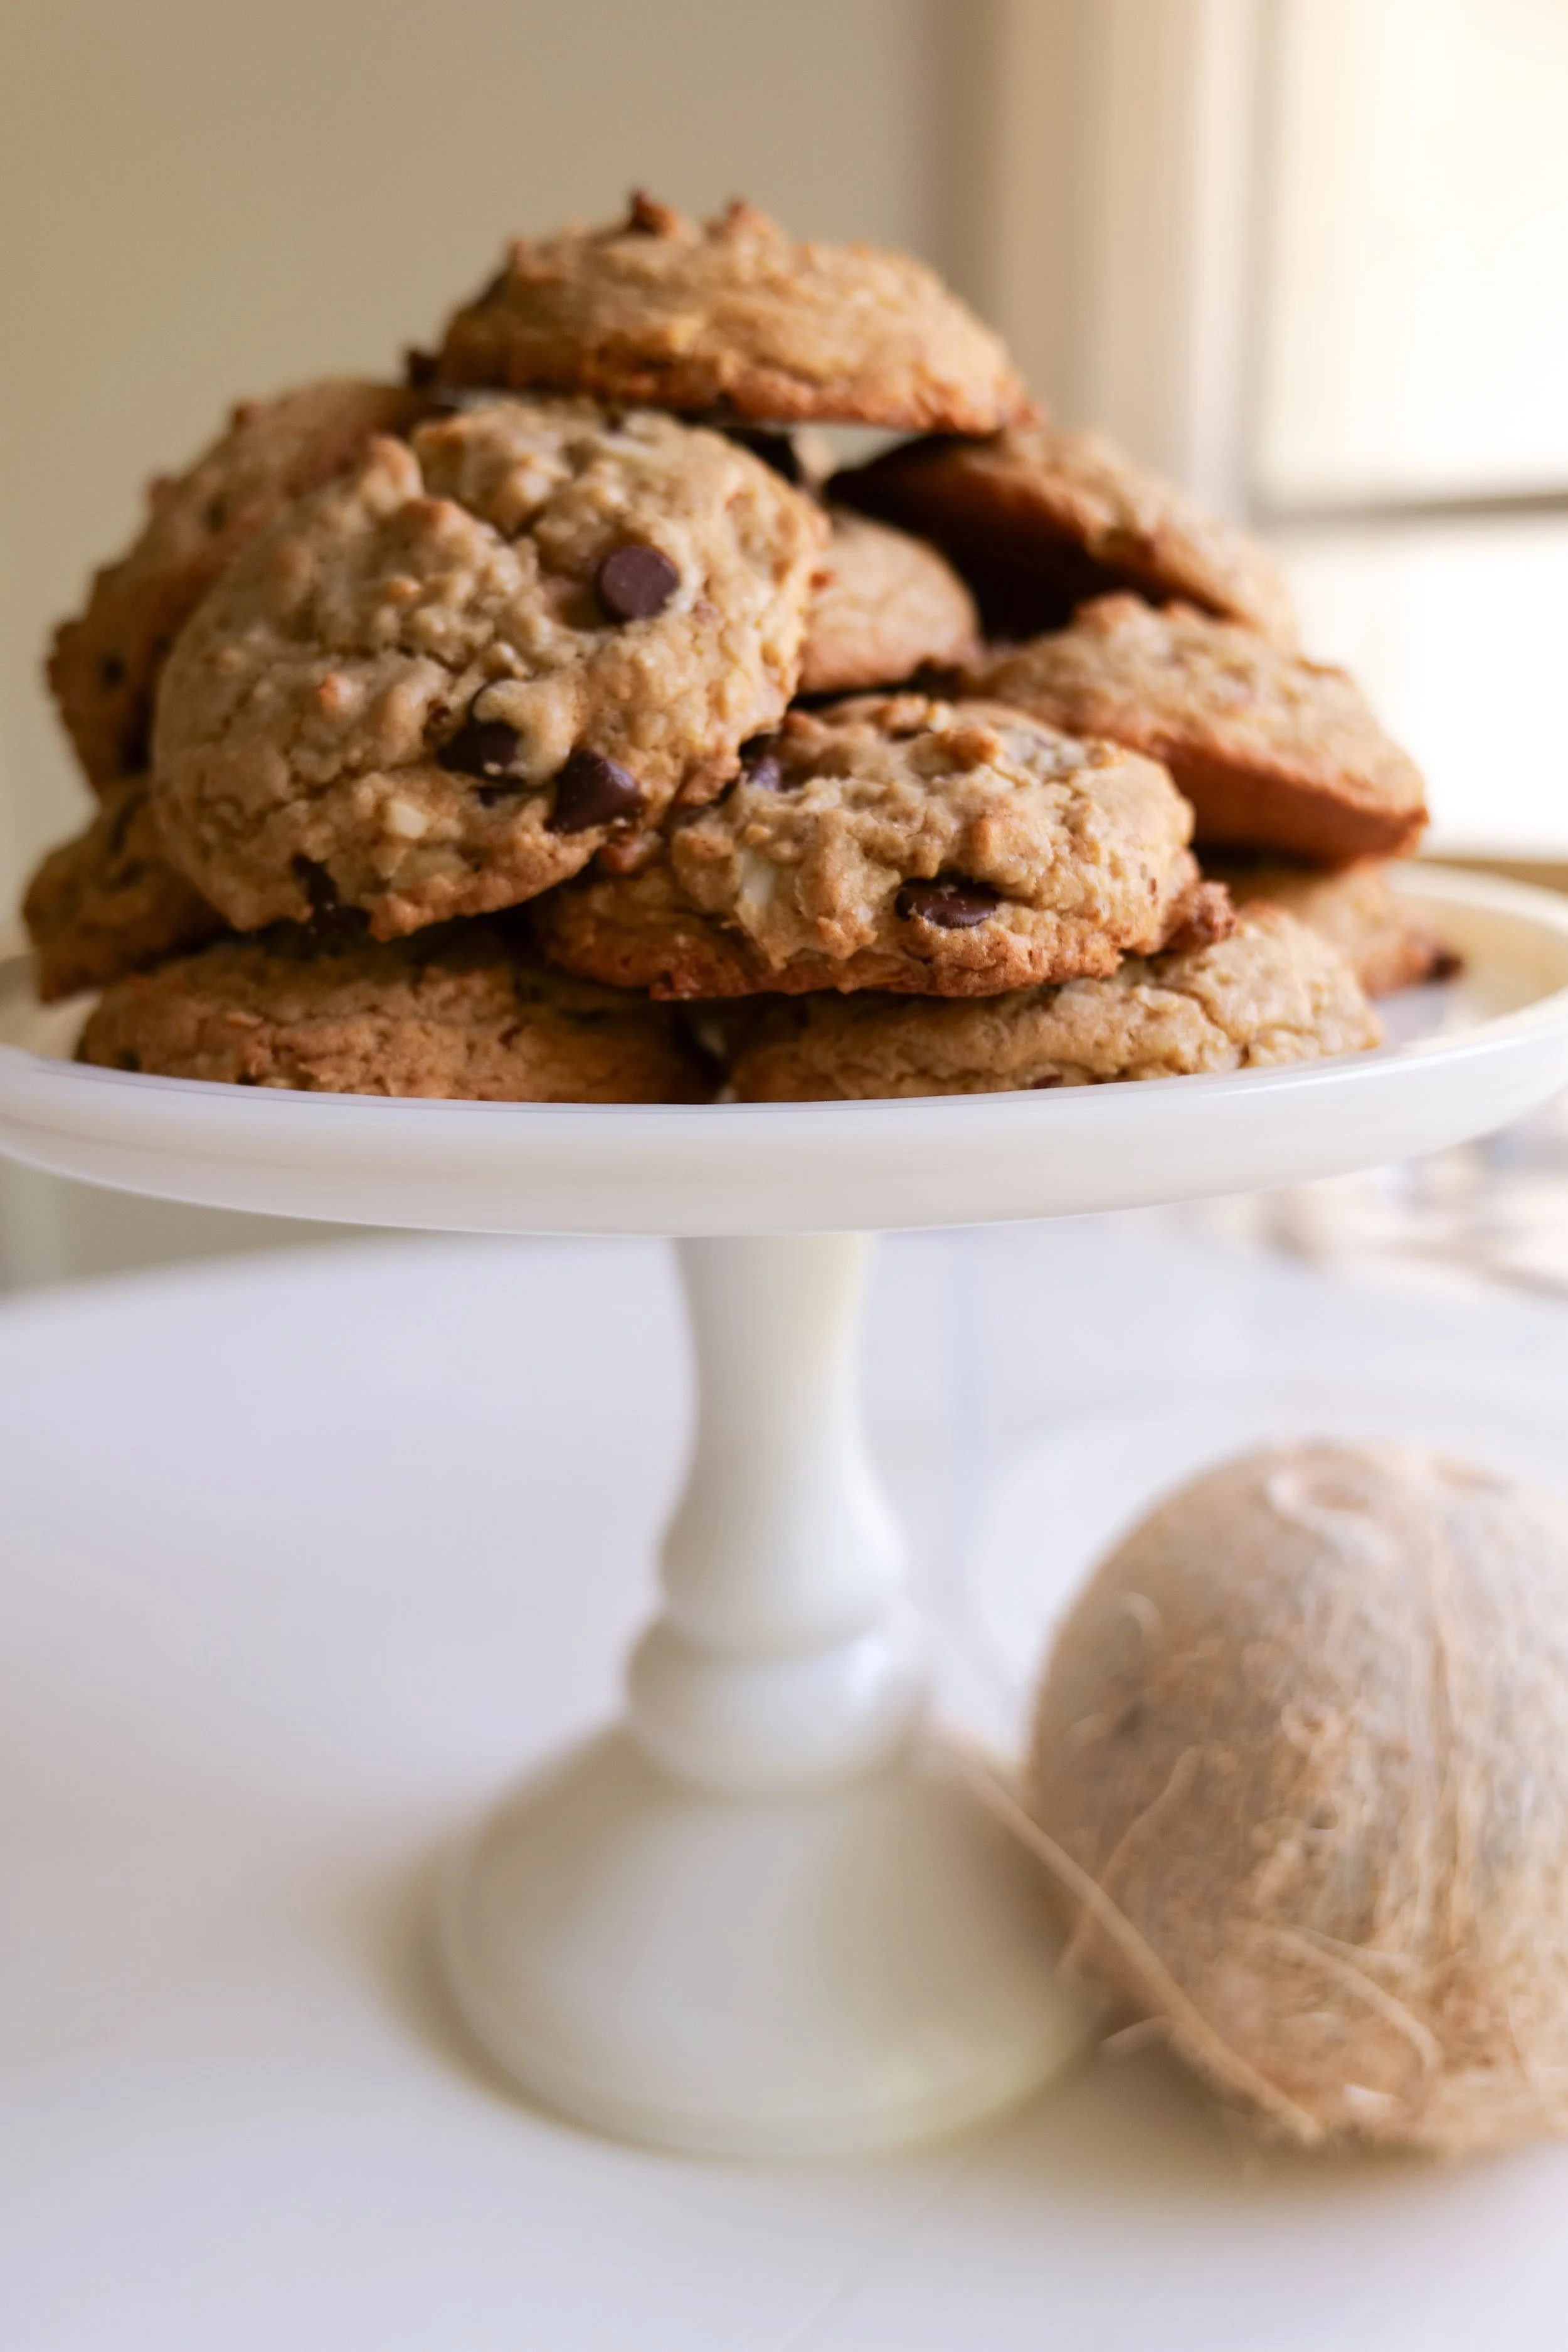
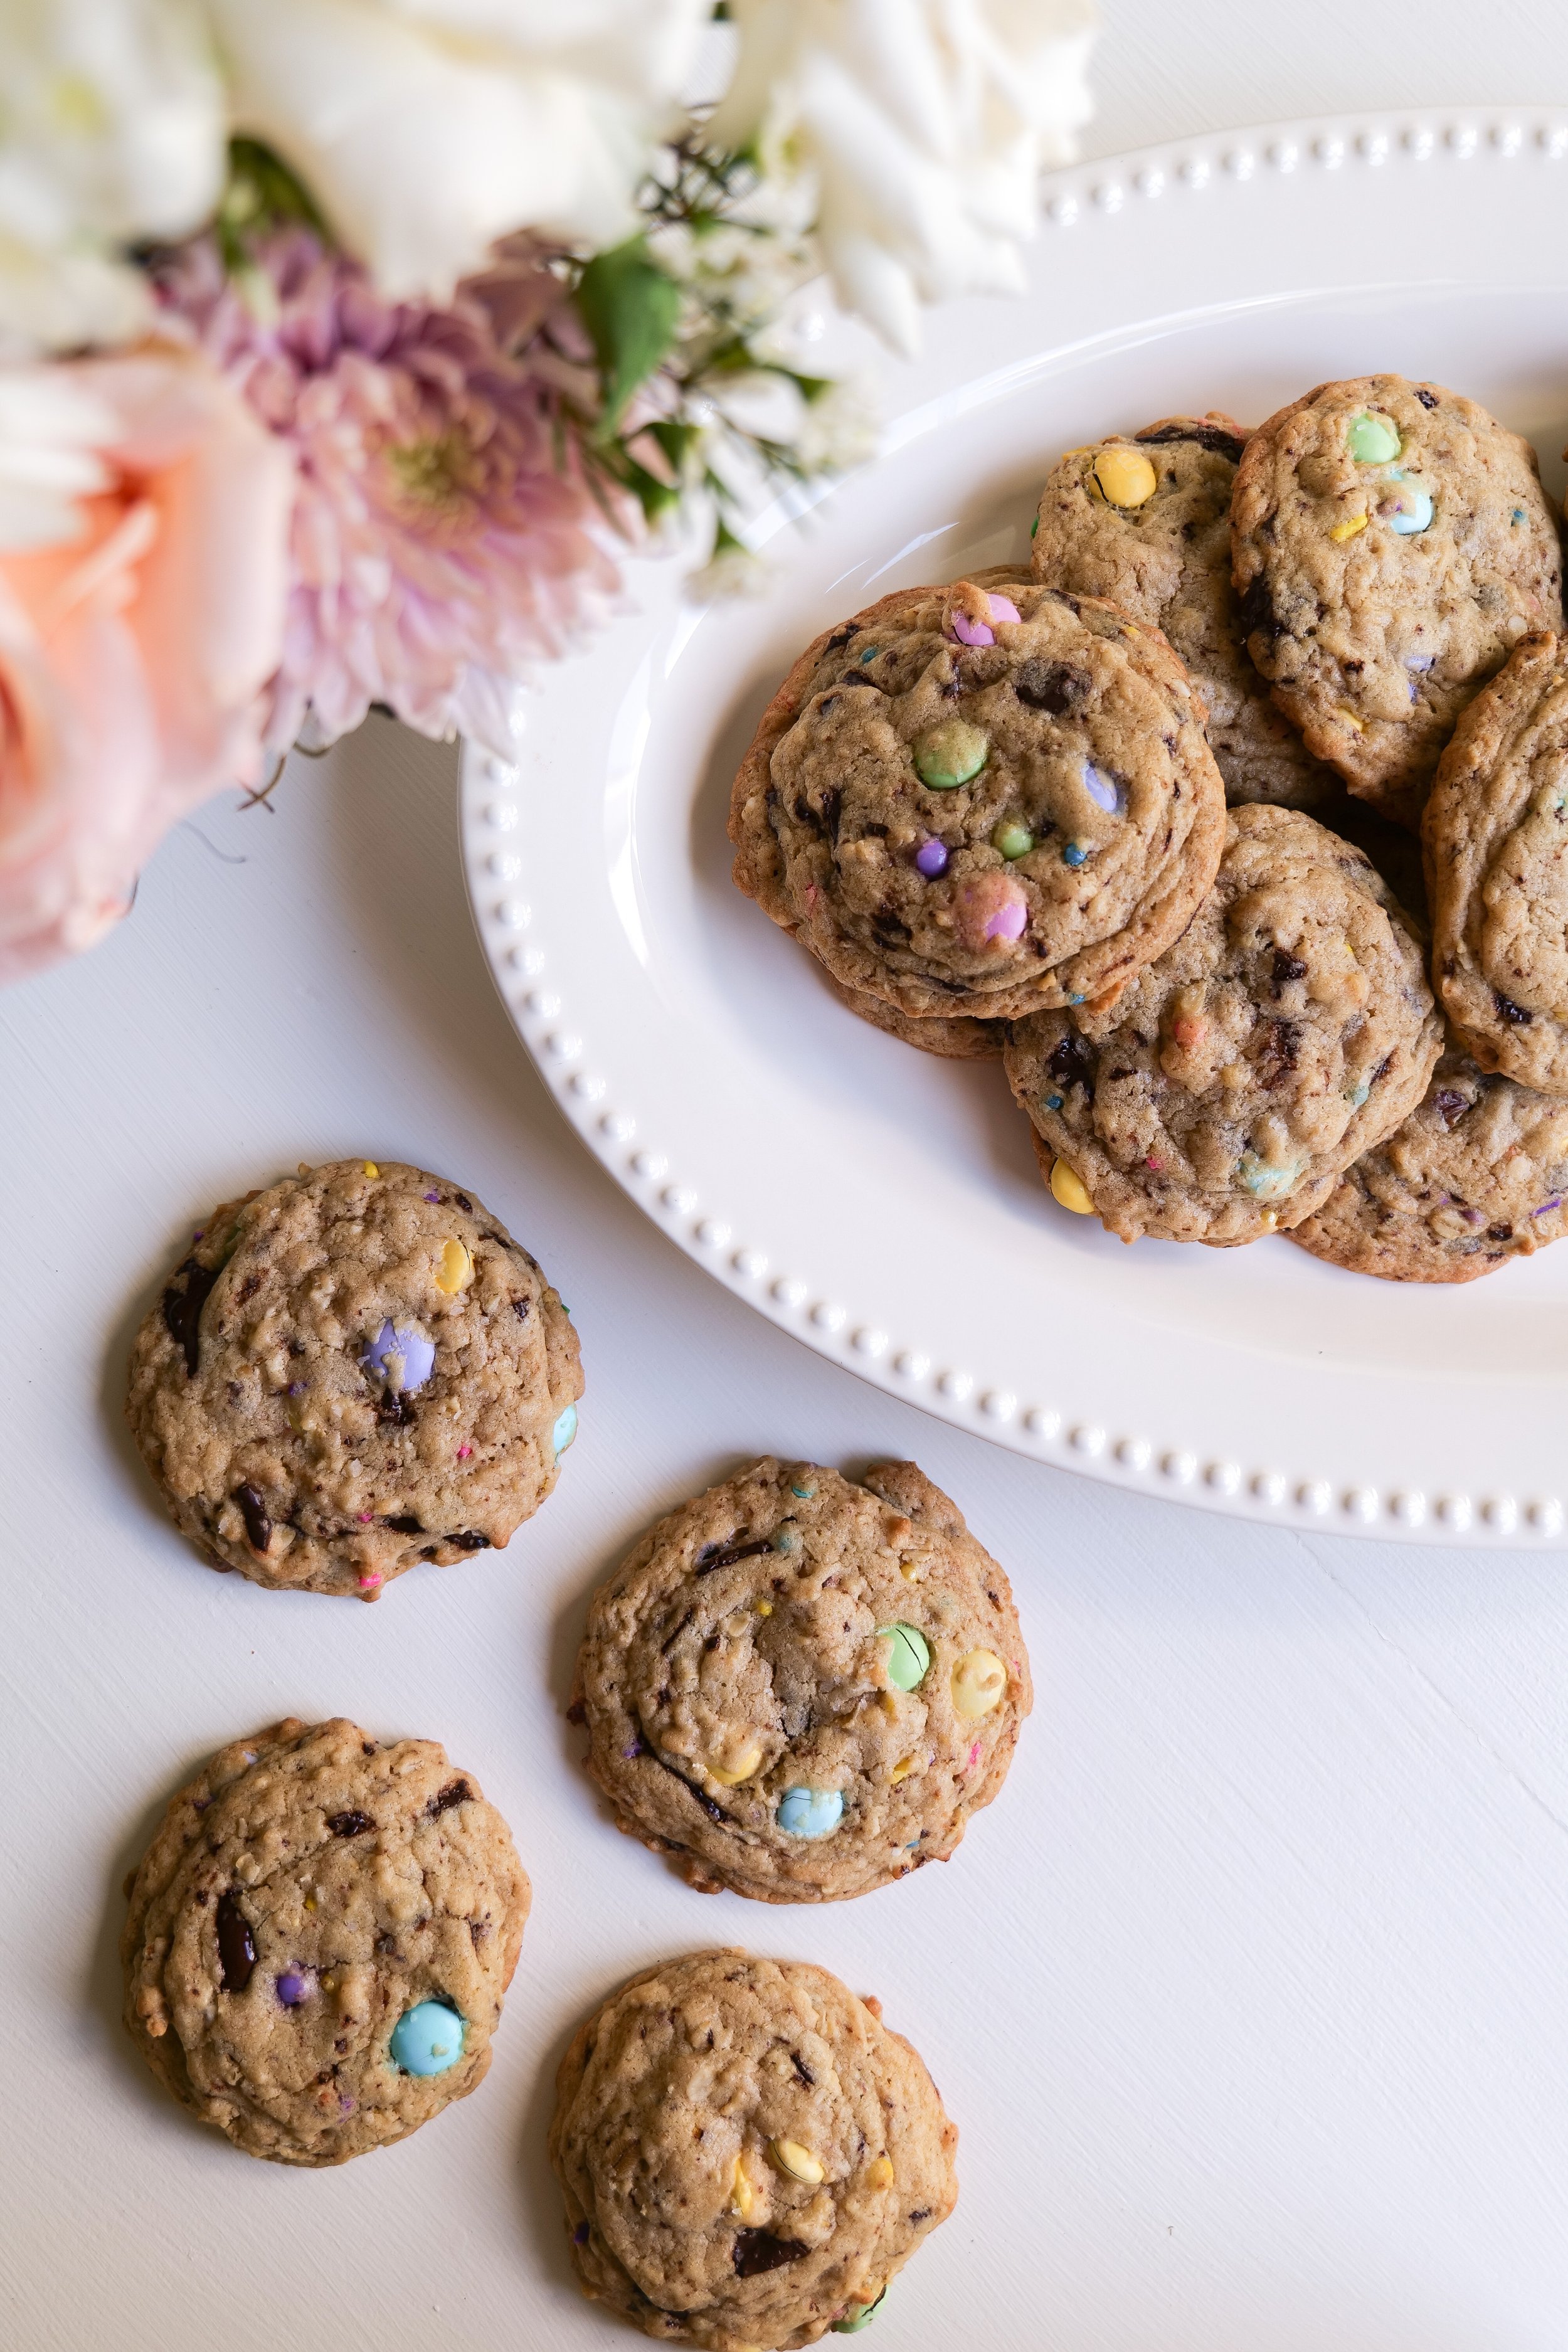
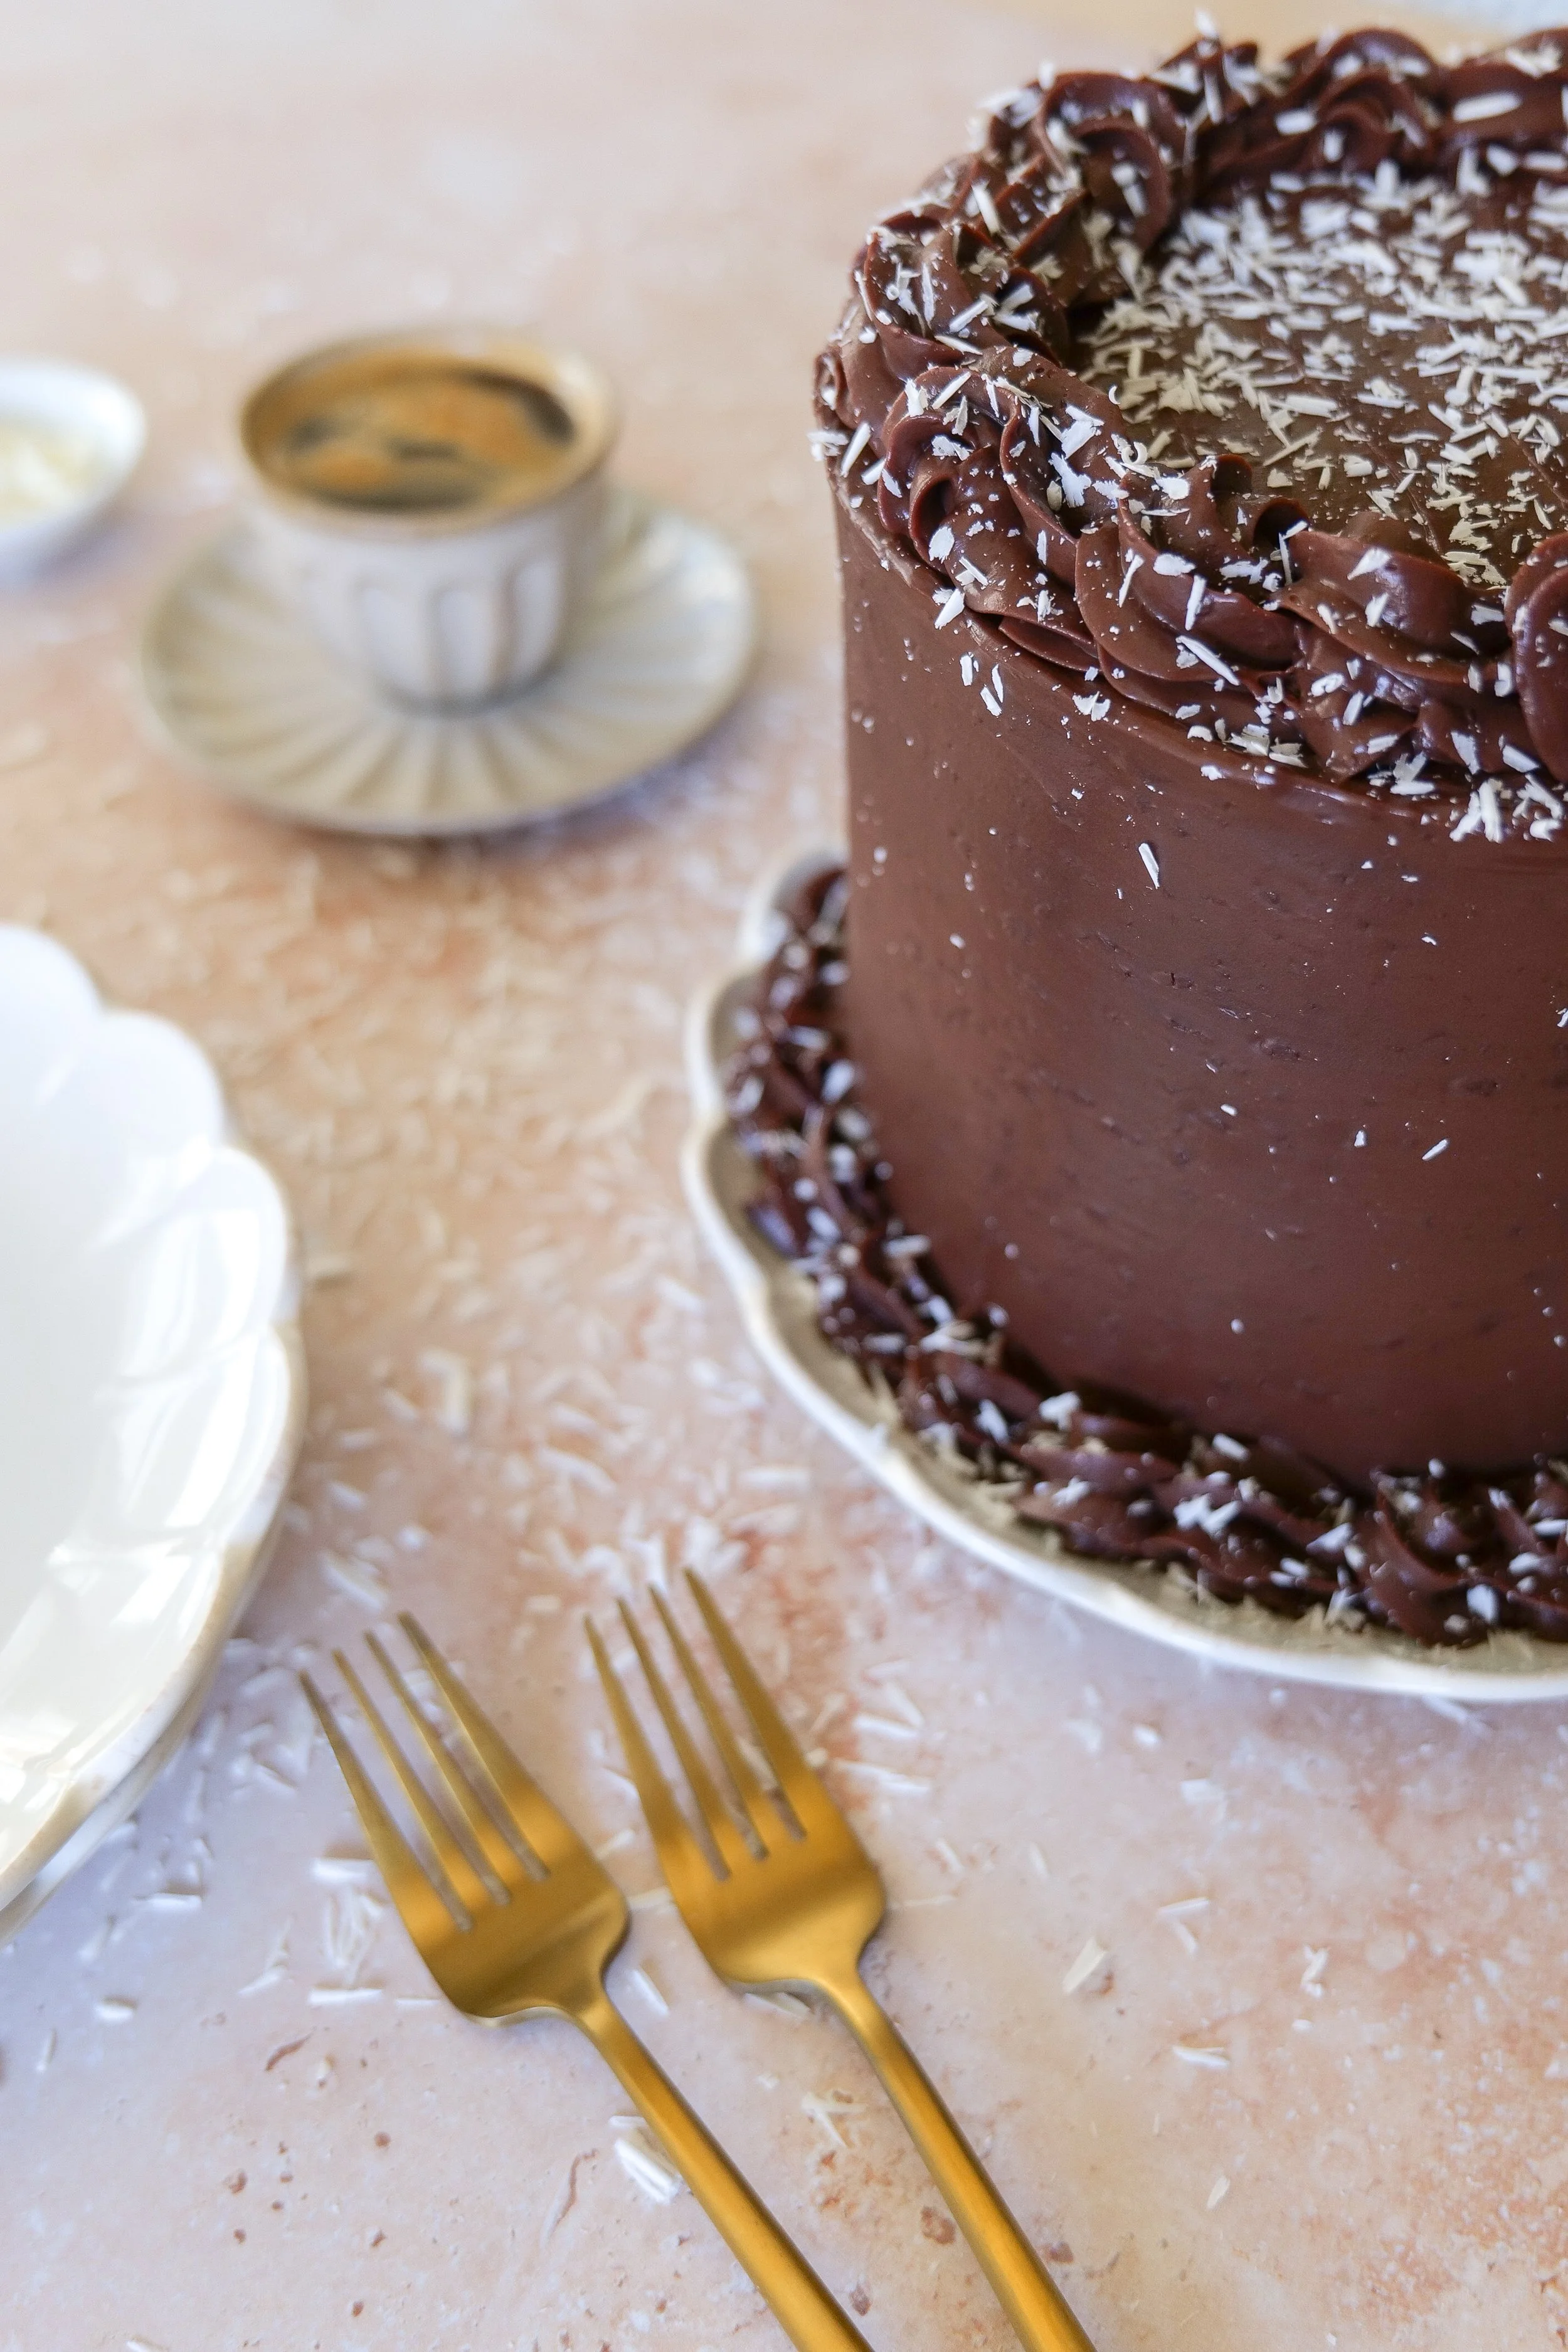
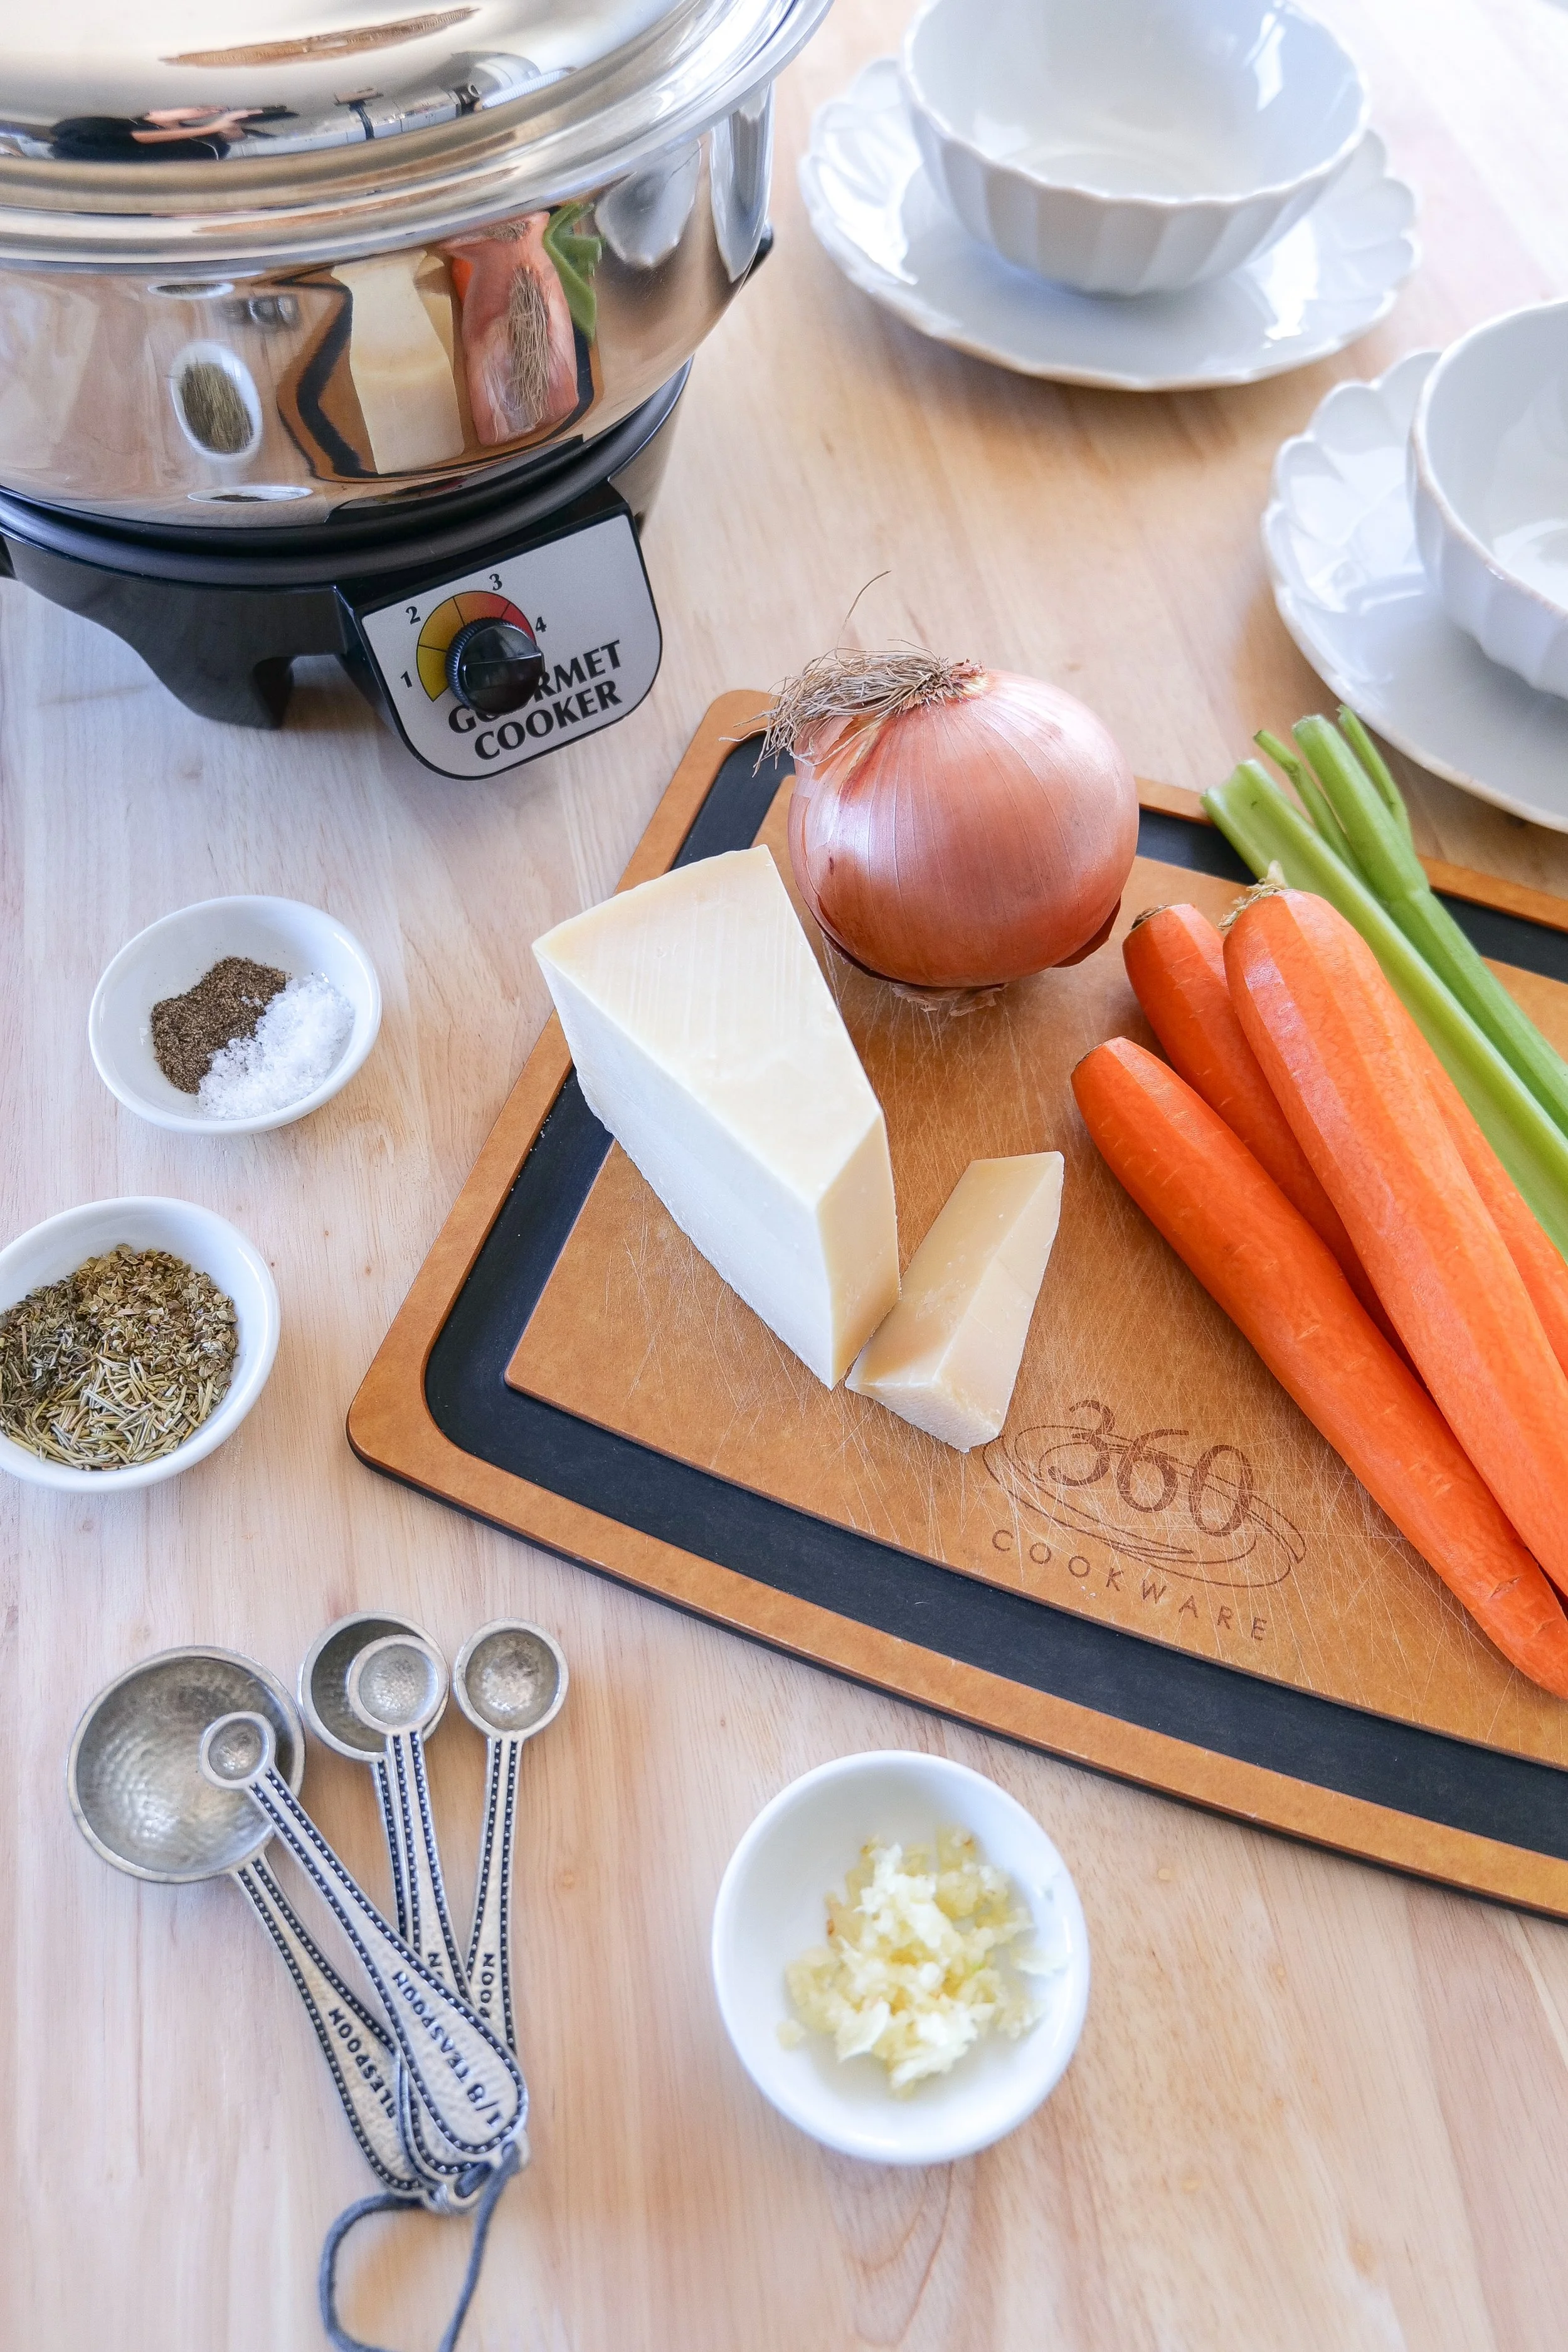
Decadent Almond Joy Cookies: A Tribute to the Classic Candy Bar

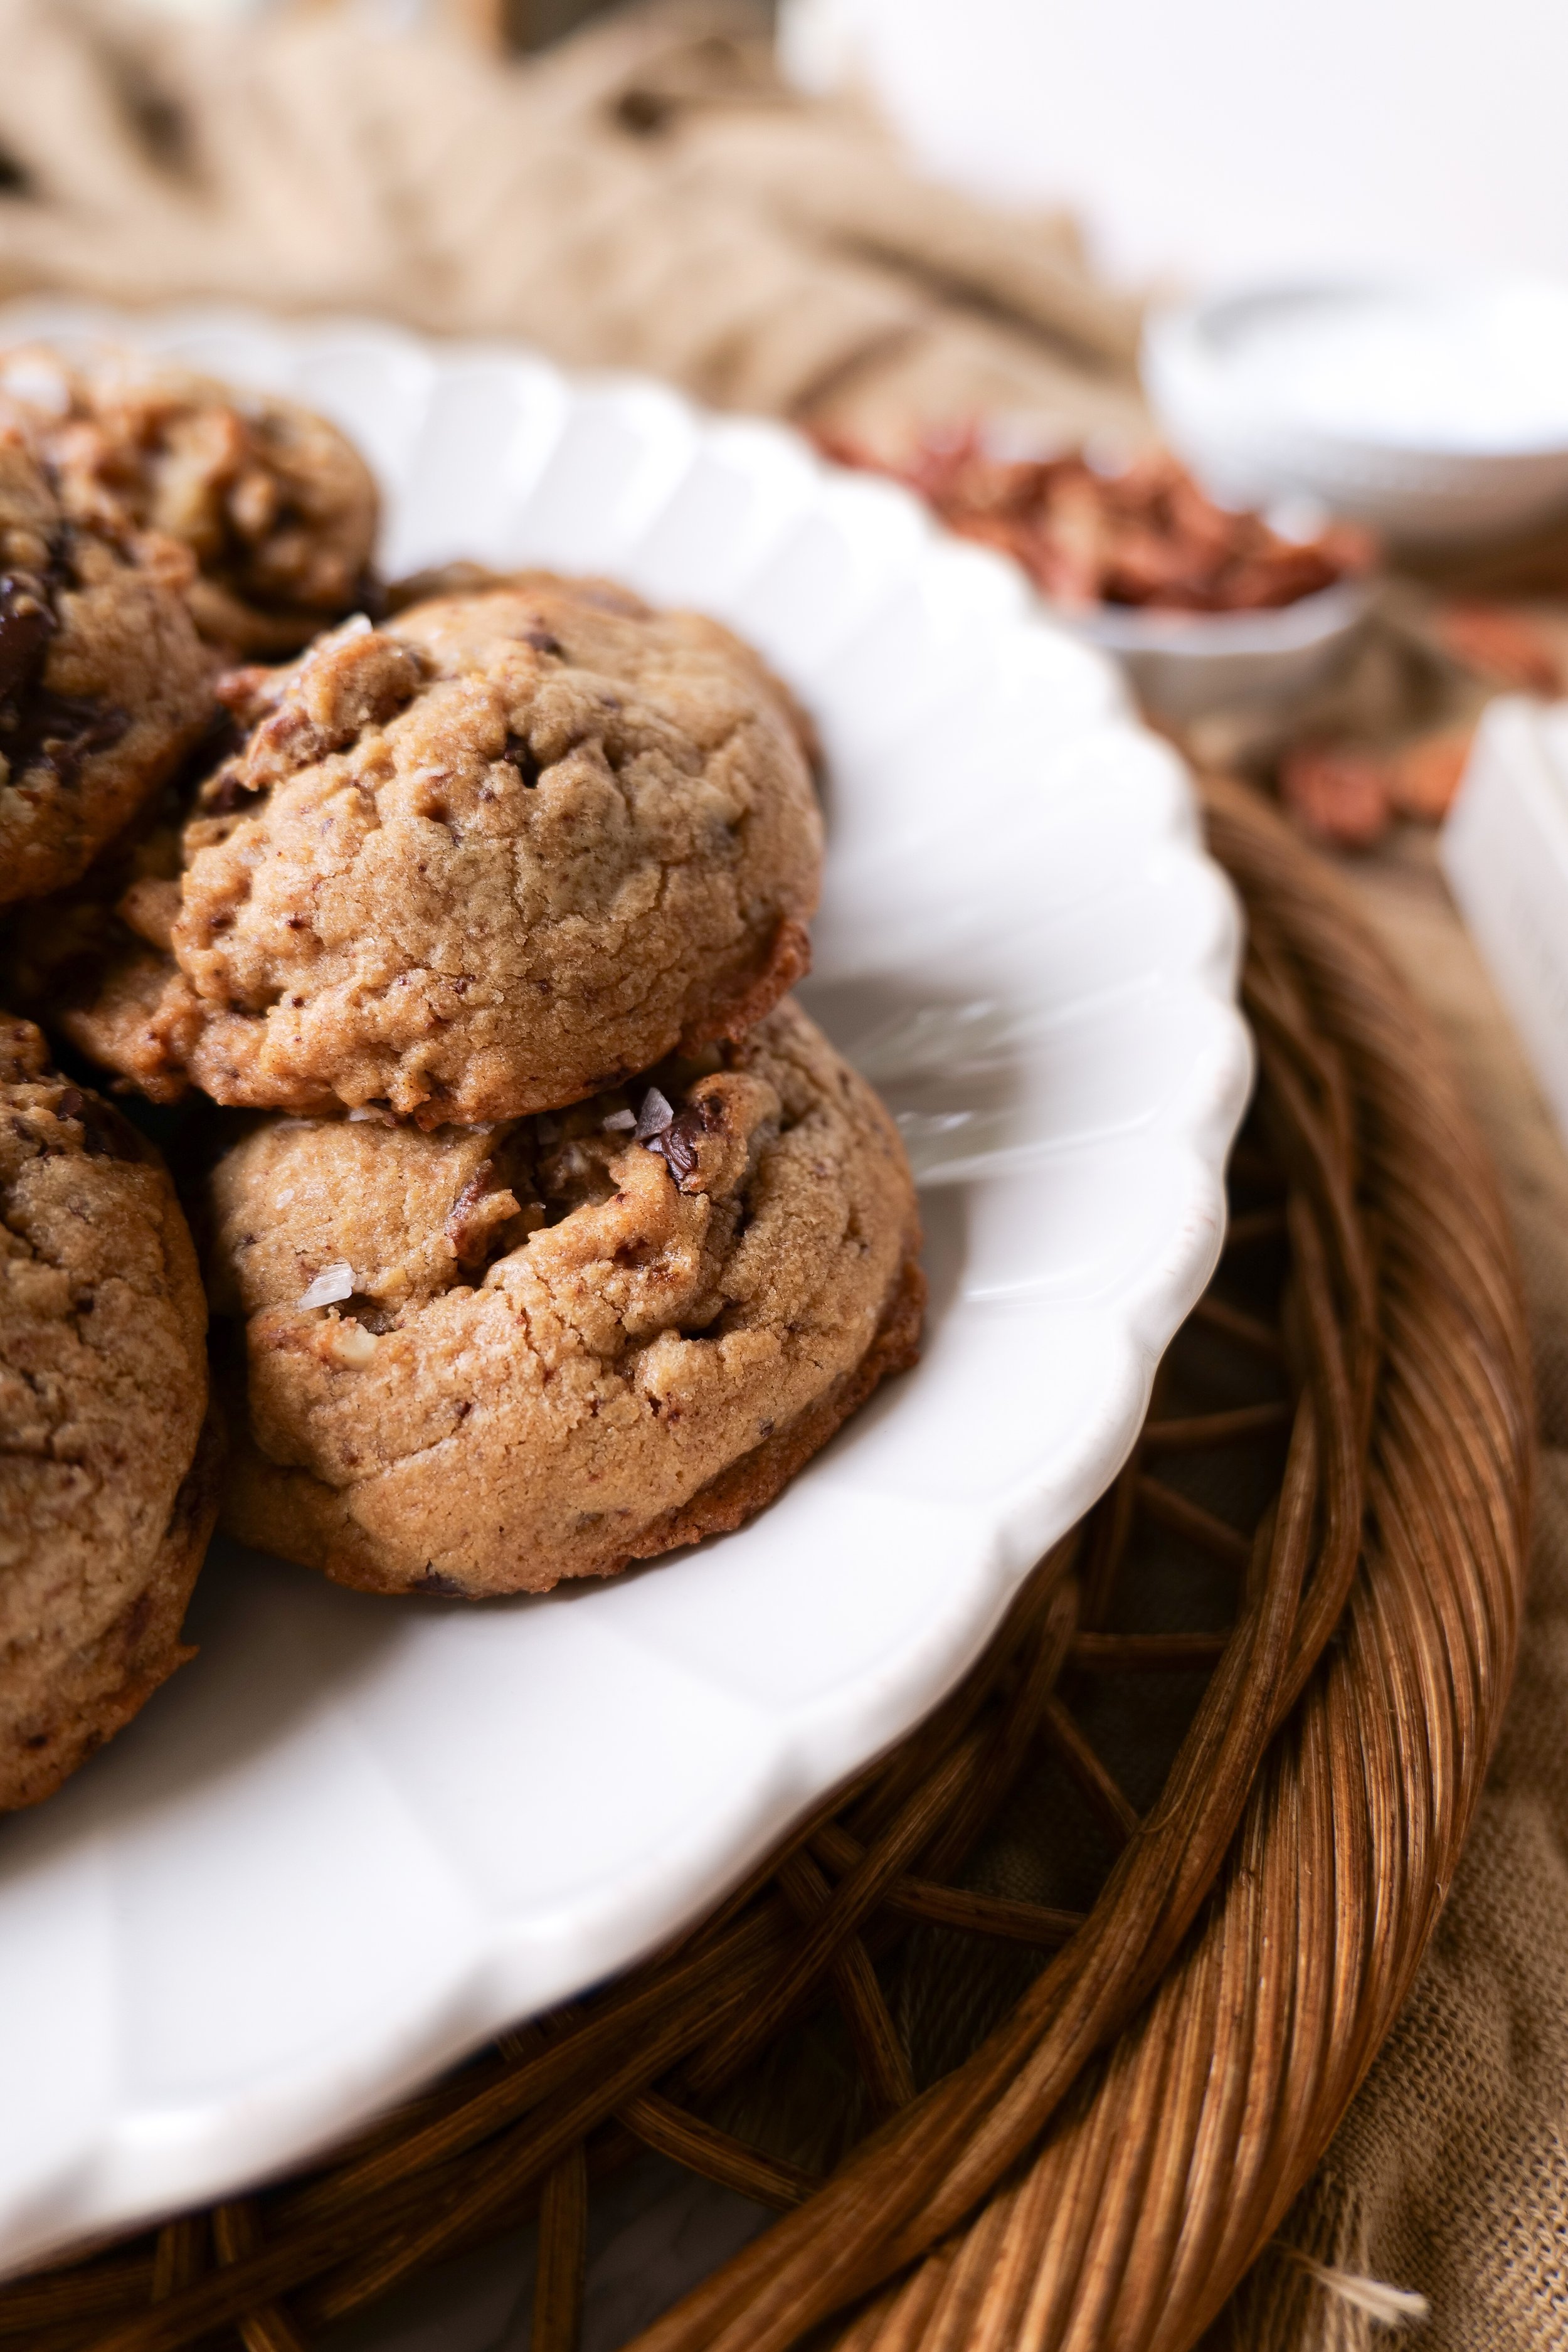
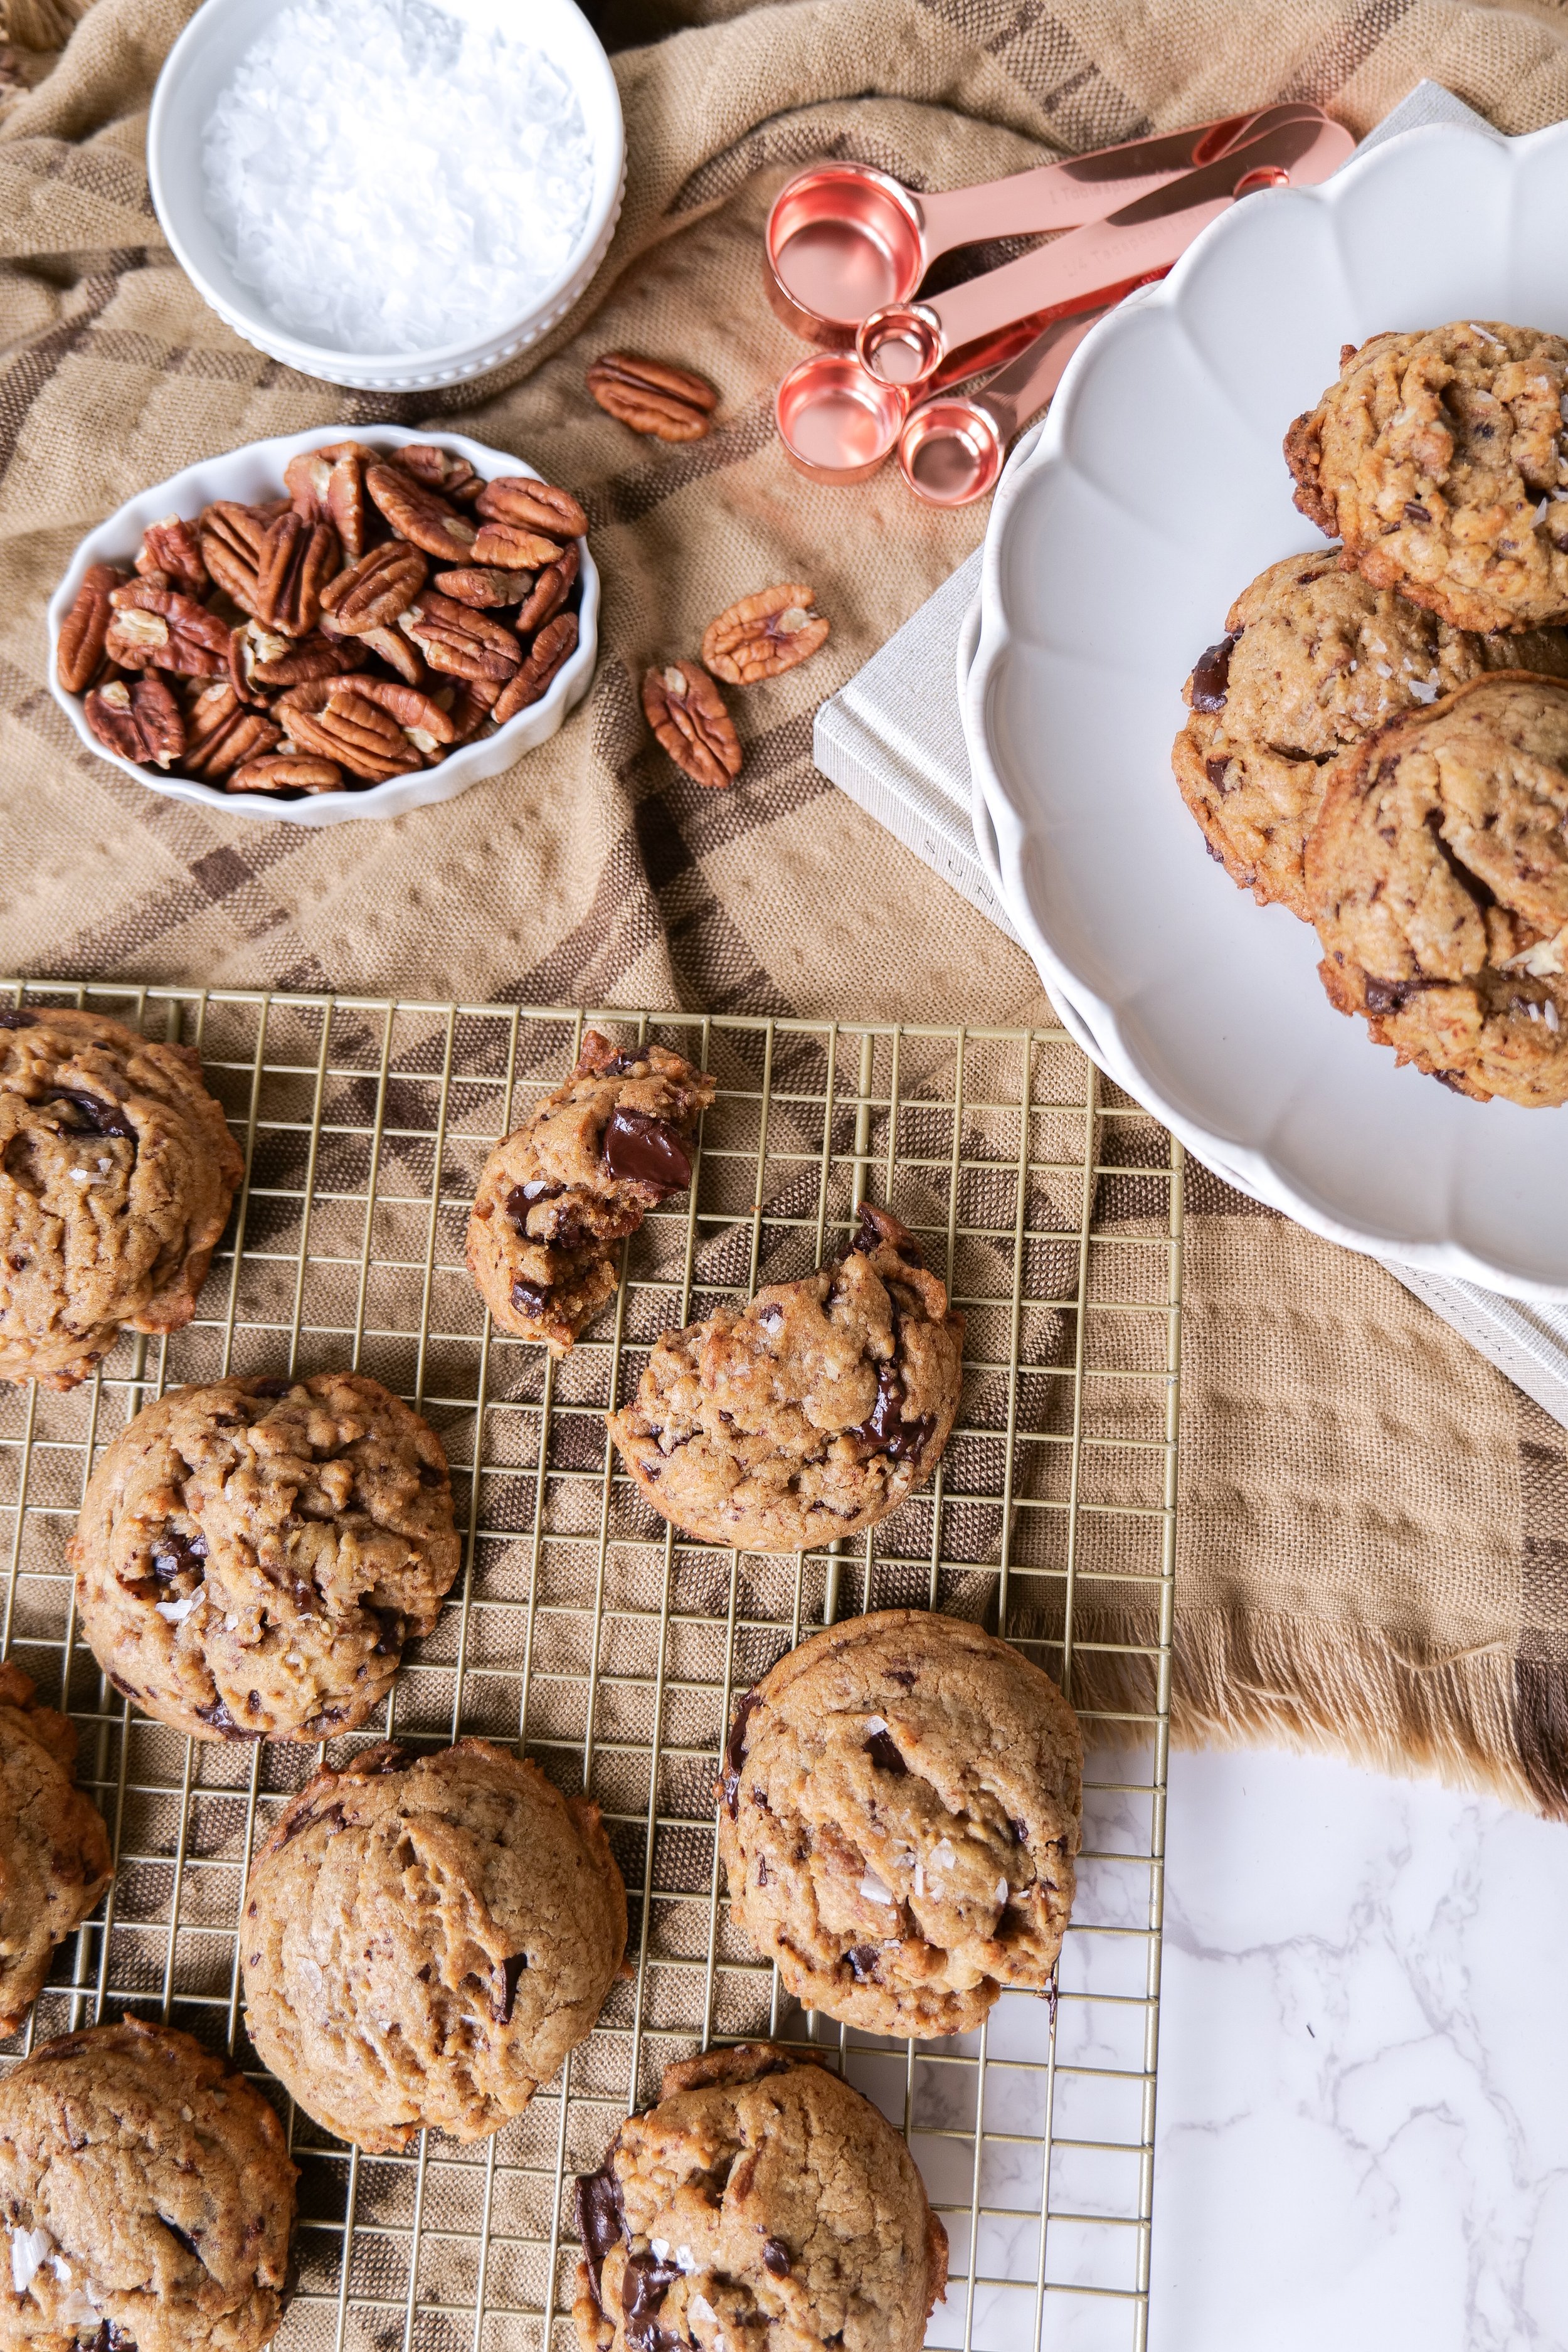
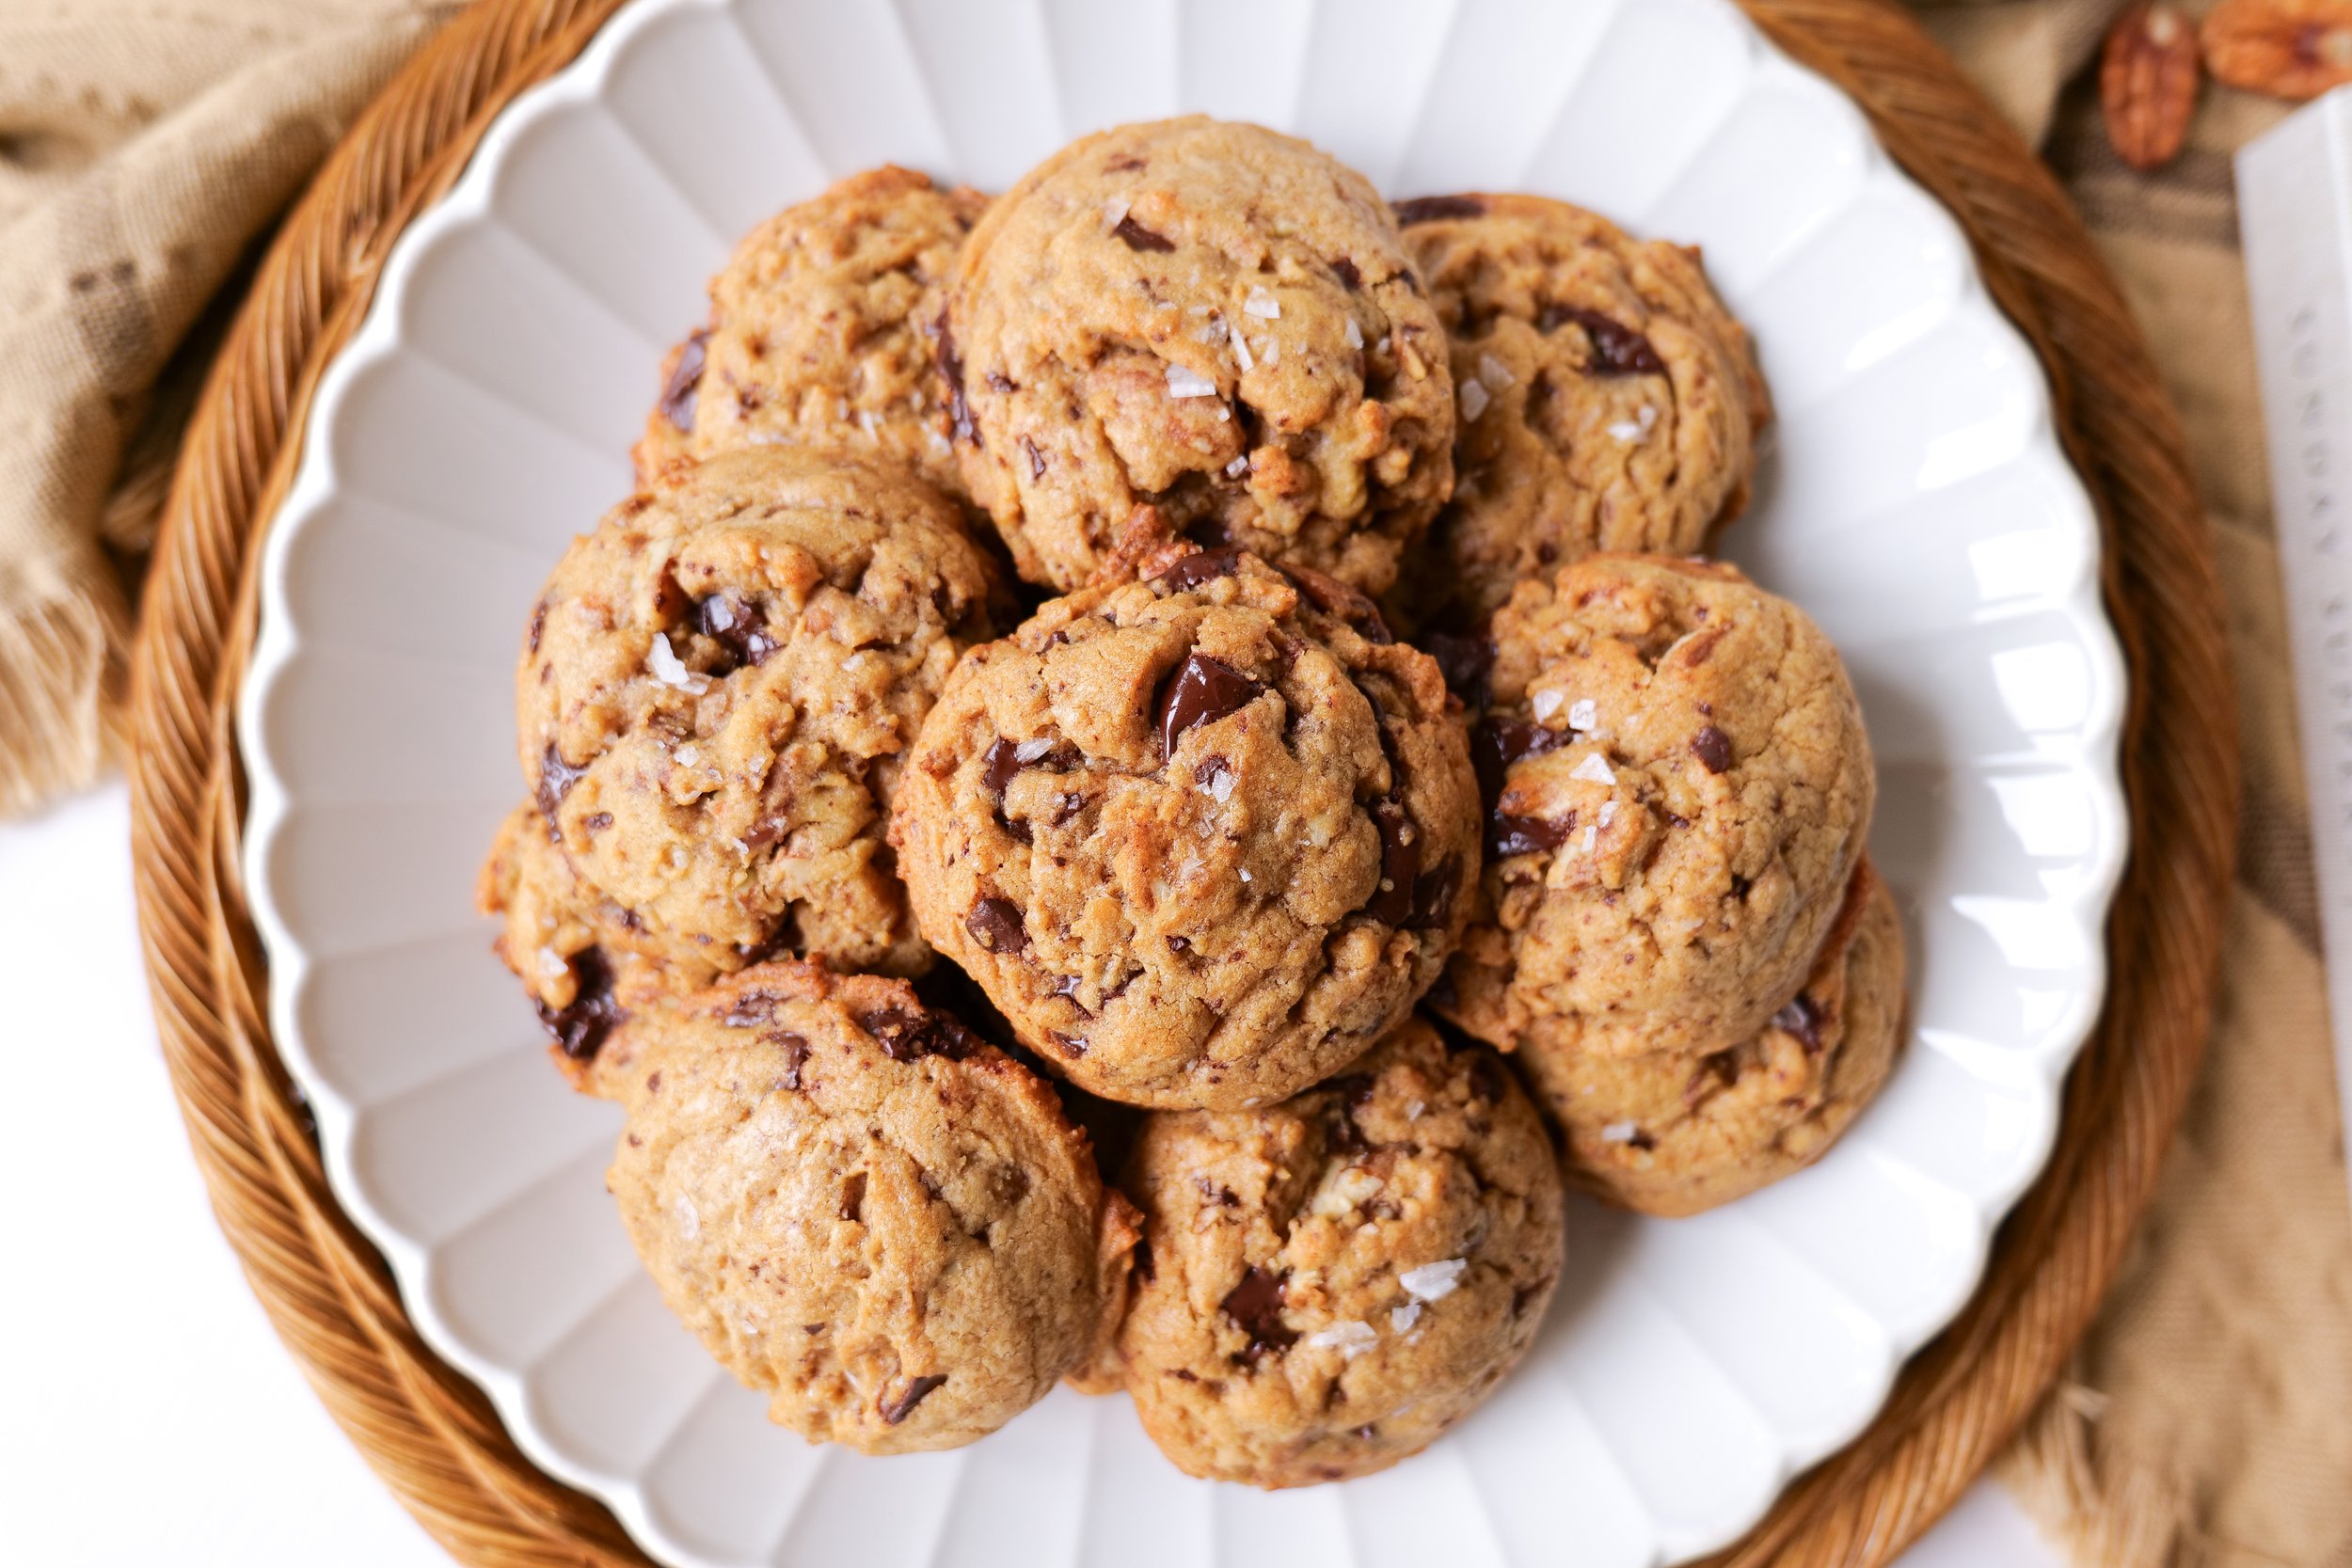
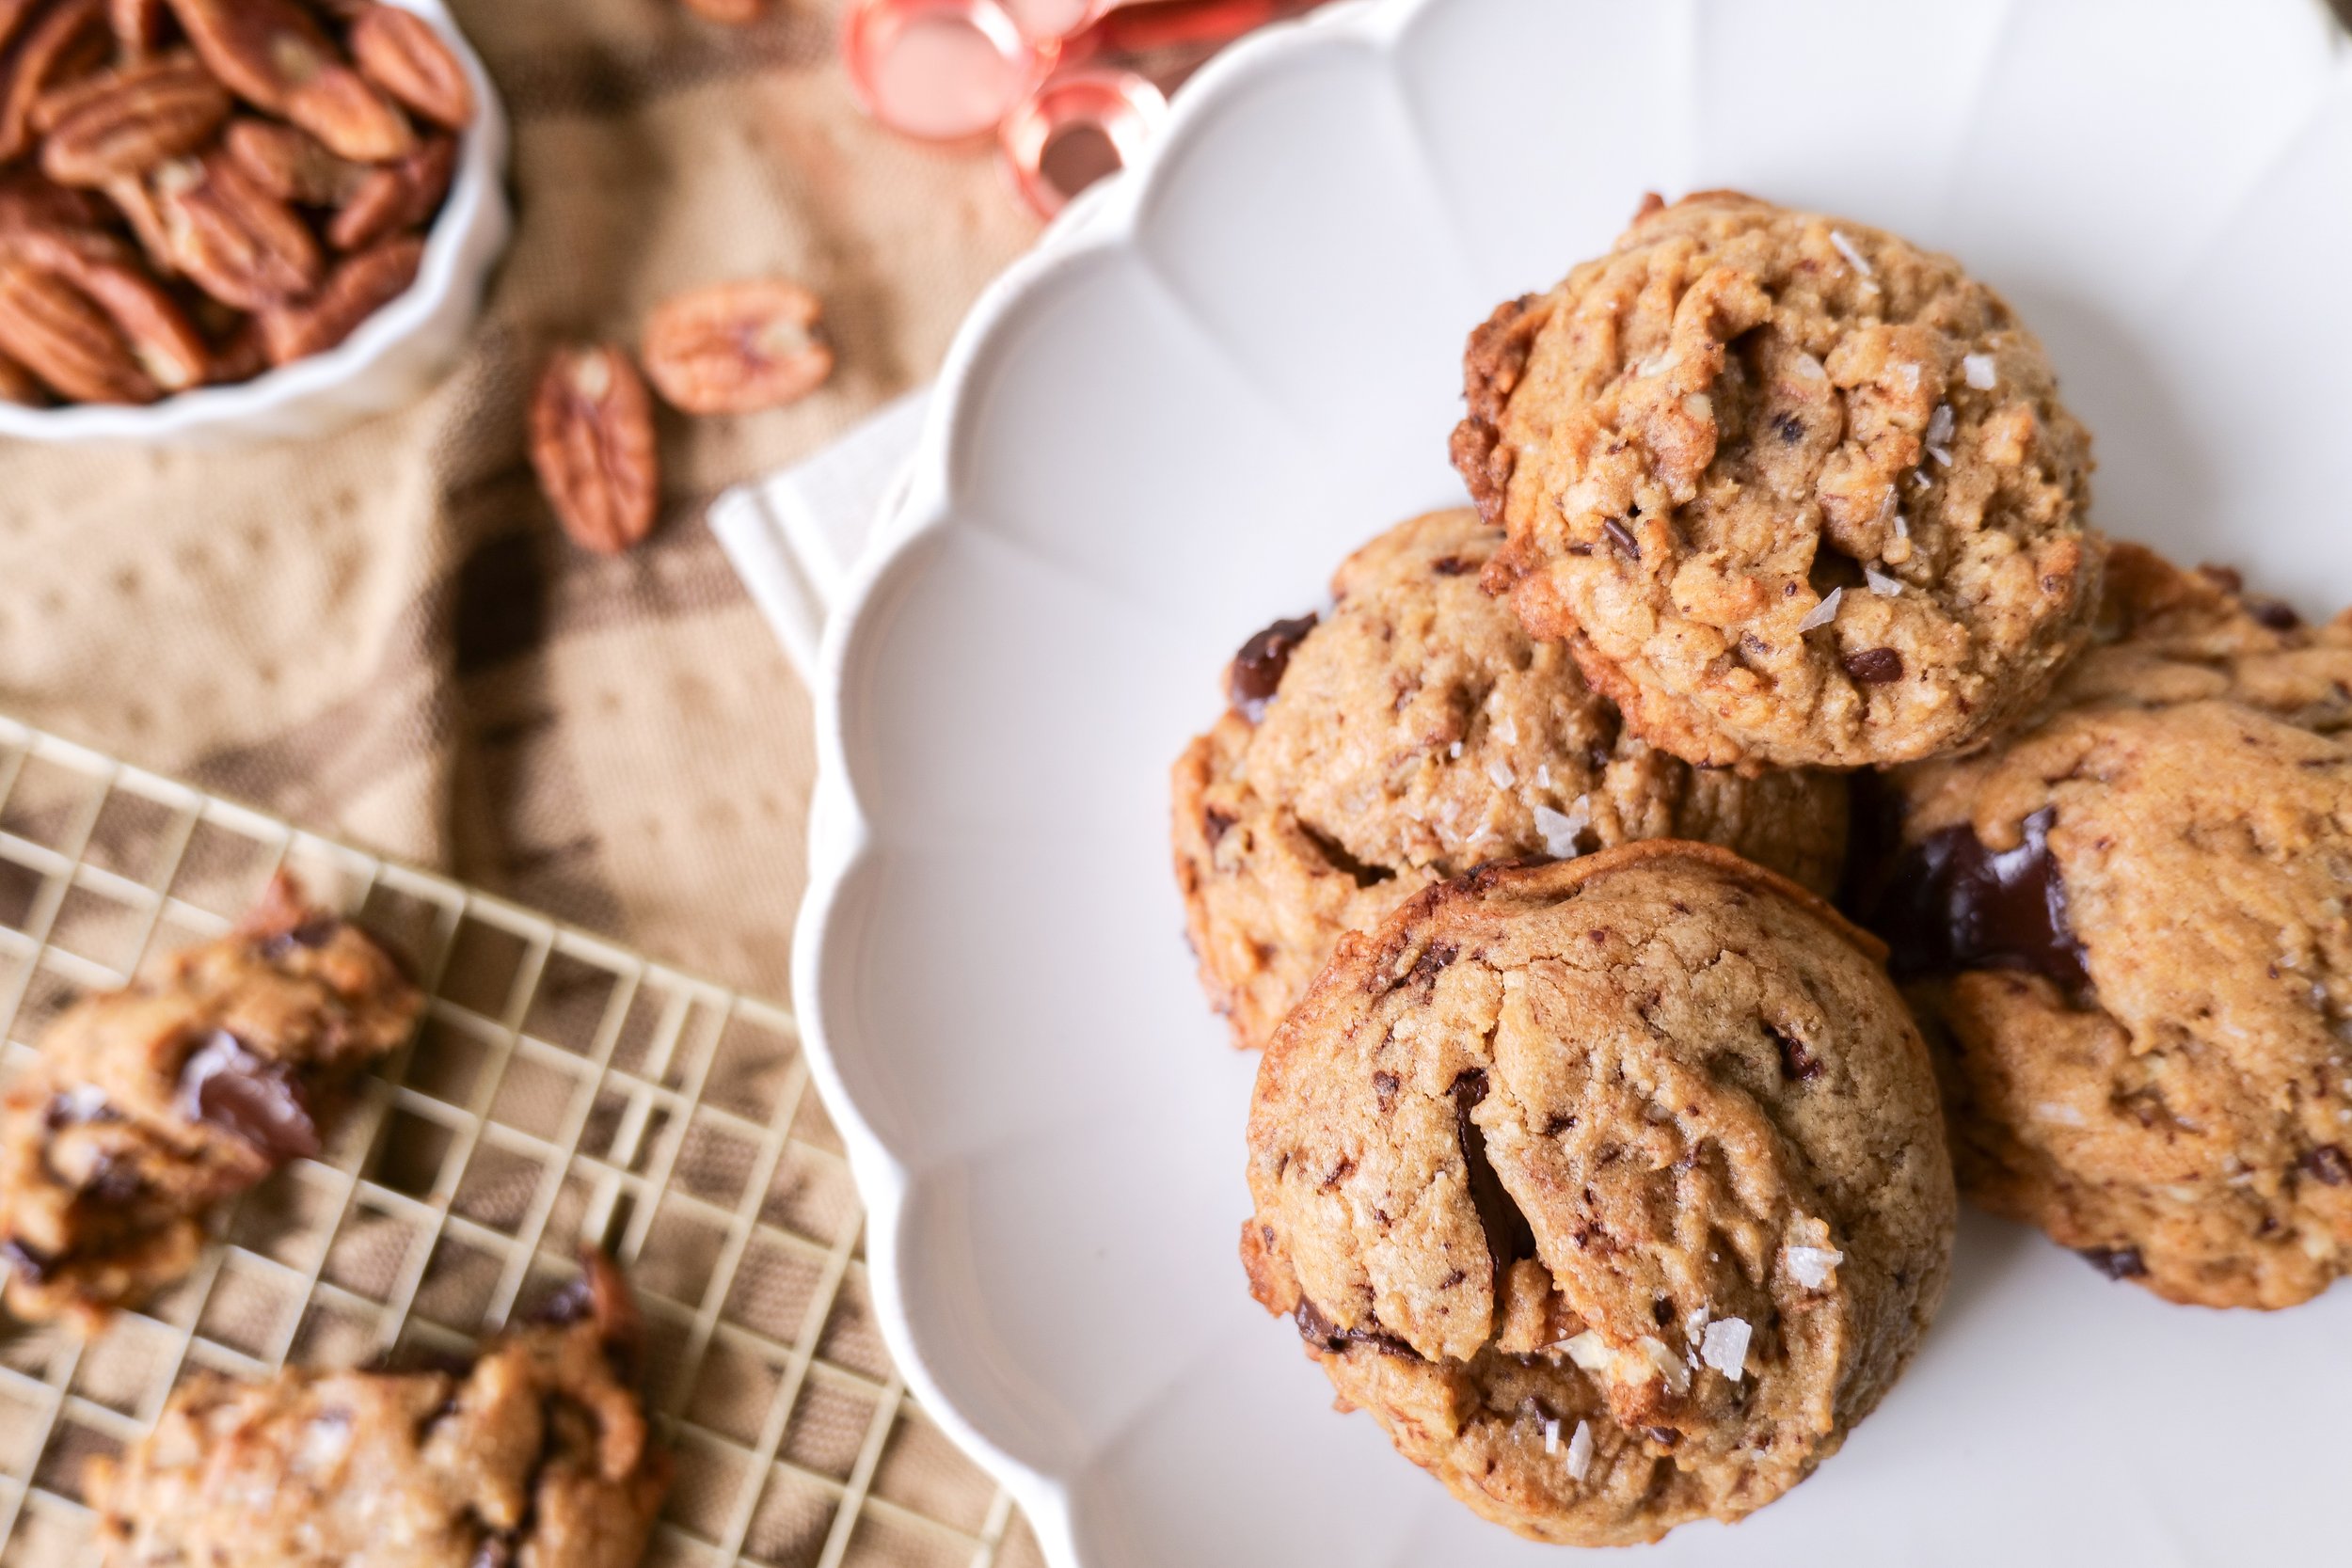
Who doesn't relish the thought of those sweet, coconut-filled Almond Joy candy bars. Now, imagine transforming that delicious taste into a warm, baked treat! These Chocolate Almond Joy Cookies capture the very essence of their namesake confection in a deliciously reimagined form. This recipe is an ode to the chocolate-coconut-almond trio that has won over palates for generations. Perfect for any occasion, these cookies are not just a mere dessert; they're a delightful journey with each bite harking back to the nostalgic moments of enjoying an Almond Joy bar. In every Almond Joy Cookie, you'll find melted butter that offers an irresistible base note of richness. Sugar that sweetens the tune, harmonizing with the melody of flavors. You'll also find flour, baking soda, and salt that compose the structural backbone. Crafting Almond Joy Cookies requires attention to detail and a nuanced understanding of the baking process. Here, I share the secrets to perfecting this culinary composition.

Consider the following instructions to fine-tune your recipe:

- Dry roast almonds beforehand, then let them cool.

- Opt for high-quality chocolate to establish your palate in a luxurious experience. Dark chocolate adds a rich counterbalance to the overarching sweetness.

- Select semi-sweet, milk, or dark chocolate as per your preference.

- Use parchment paper on baking trays for uniform heat distribution.

- Reduce sugar to balance the coconut's natural sweetness, if needed.

- Store these delights in an airtight container to keep the moisture intact.

- Out of almond extract? This can be substituted for vanilla. Taste will change the almond flavor slightly but still be delicious

End your baking session with a deep appreciation for the art of cookie-making, knowing that your Almond Joy Cookies are poised to offer joy with every note and in every bite.

How do I store Almond Joy Cookies to keep them fresh?

Storing Almond Joy Cookies properly ensures that the encore of their delectable performance is as impressive as the opening act. Once completely cooled, place the cookies in an airtight container. Sealing them at room temperature provides the ideal setting to keep your cookies ready for a repeat performance for up to 5 days of freshness, or if kept refrigerated can stay fresh for almost 2 weeks. Parchment paper between layers guards the individual textures of the cookies, ensuring no character is lost. For extended intervals, freezing the cookies prepares them for a grand return on a future stage. When you carefully store Almond Joy Cookies they are shielded from air that could snatch away their moisture. Storing your cookies in the freezer will preserve them for up to three months. Once ready to enjoy again simply let them come to room temperature.

These cookies, much like the classic bar, are a delicious blend of the fundamental trio of chocolate, coconut, and almonds. A testament to the simplicity yet perfection of mixing sweet and nutty tastes. Easily adaptable and warmly welcomed in any scenario where a sweet touch is desired. Almond Joy Cookies are a standing ovation in the dessert world—a cookie rendition that pays homage to the candy bars we've all adored.

INGREDIENTS

1 cup butter (2 sticks)

3/4 cup sugar

3/4 brown sugar

1 teaspoon almond extract

2 large eggs

2 1/4 cups flour

3 teaspoon baking powder

1 teaspoon salt

1 cup sliced almonds

1 cup shredded coconut

1 cup semi sweet chocolate chips

DIRECTIONS

1. Preheat oven to 375 degrees.

2. Melt the butter for 30 seconds in the microwave (if the butter is not at room temperature). Add sugar & brown sugar into butter and mix. Scrape sides and mix again immediately after. Mix in Almond Extract and eggs. Mix again.

3. Gradually add all-purpose Flour, Baking Soda, and salt. Mix well. Lastly add in chocolate chips, almonds and coconut.

4. Scoop dough onto a baking sheet or parchment paper. I use a pre-measured cookie scooper linked -here- works great to have even-sized cookies! Add 2 scoops right on top of each other to give a fuller cookie with a gooier middle.

5. Bake for 9 minutes until golden brown around the edges and remove from oven and place onto cooling racks. Serve & Enjoy!

Other Delicious Cookie Recipes You Will Love:

The Best Monster Cookie Recipe You'll Ever Try!

Indulge your Sweet Tooth: The Ultimate Guide to Making Brown Butter Maple Pecan Chocolate Chunk Cookies

Deliciously Sweet: Mastering the Perfect Pumpkin Molasses Cookie Recipe for the Autumn Season

How to Make Delicious Nutter Butter Cookies At Home

Decadent Brown Butter Shortbread Cookies with a Chocolate 'Wax' Seal – A Vintage Twist on a Classic Treat!

Birthday Cutout Sugar Cookies

Brown Sugar Toffee Cookies

Brown Butter Caramel Pretzel Cookies

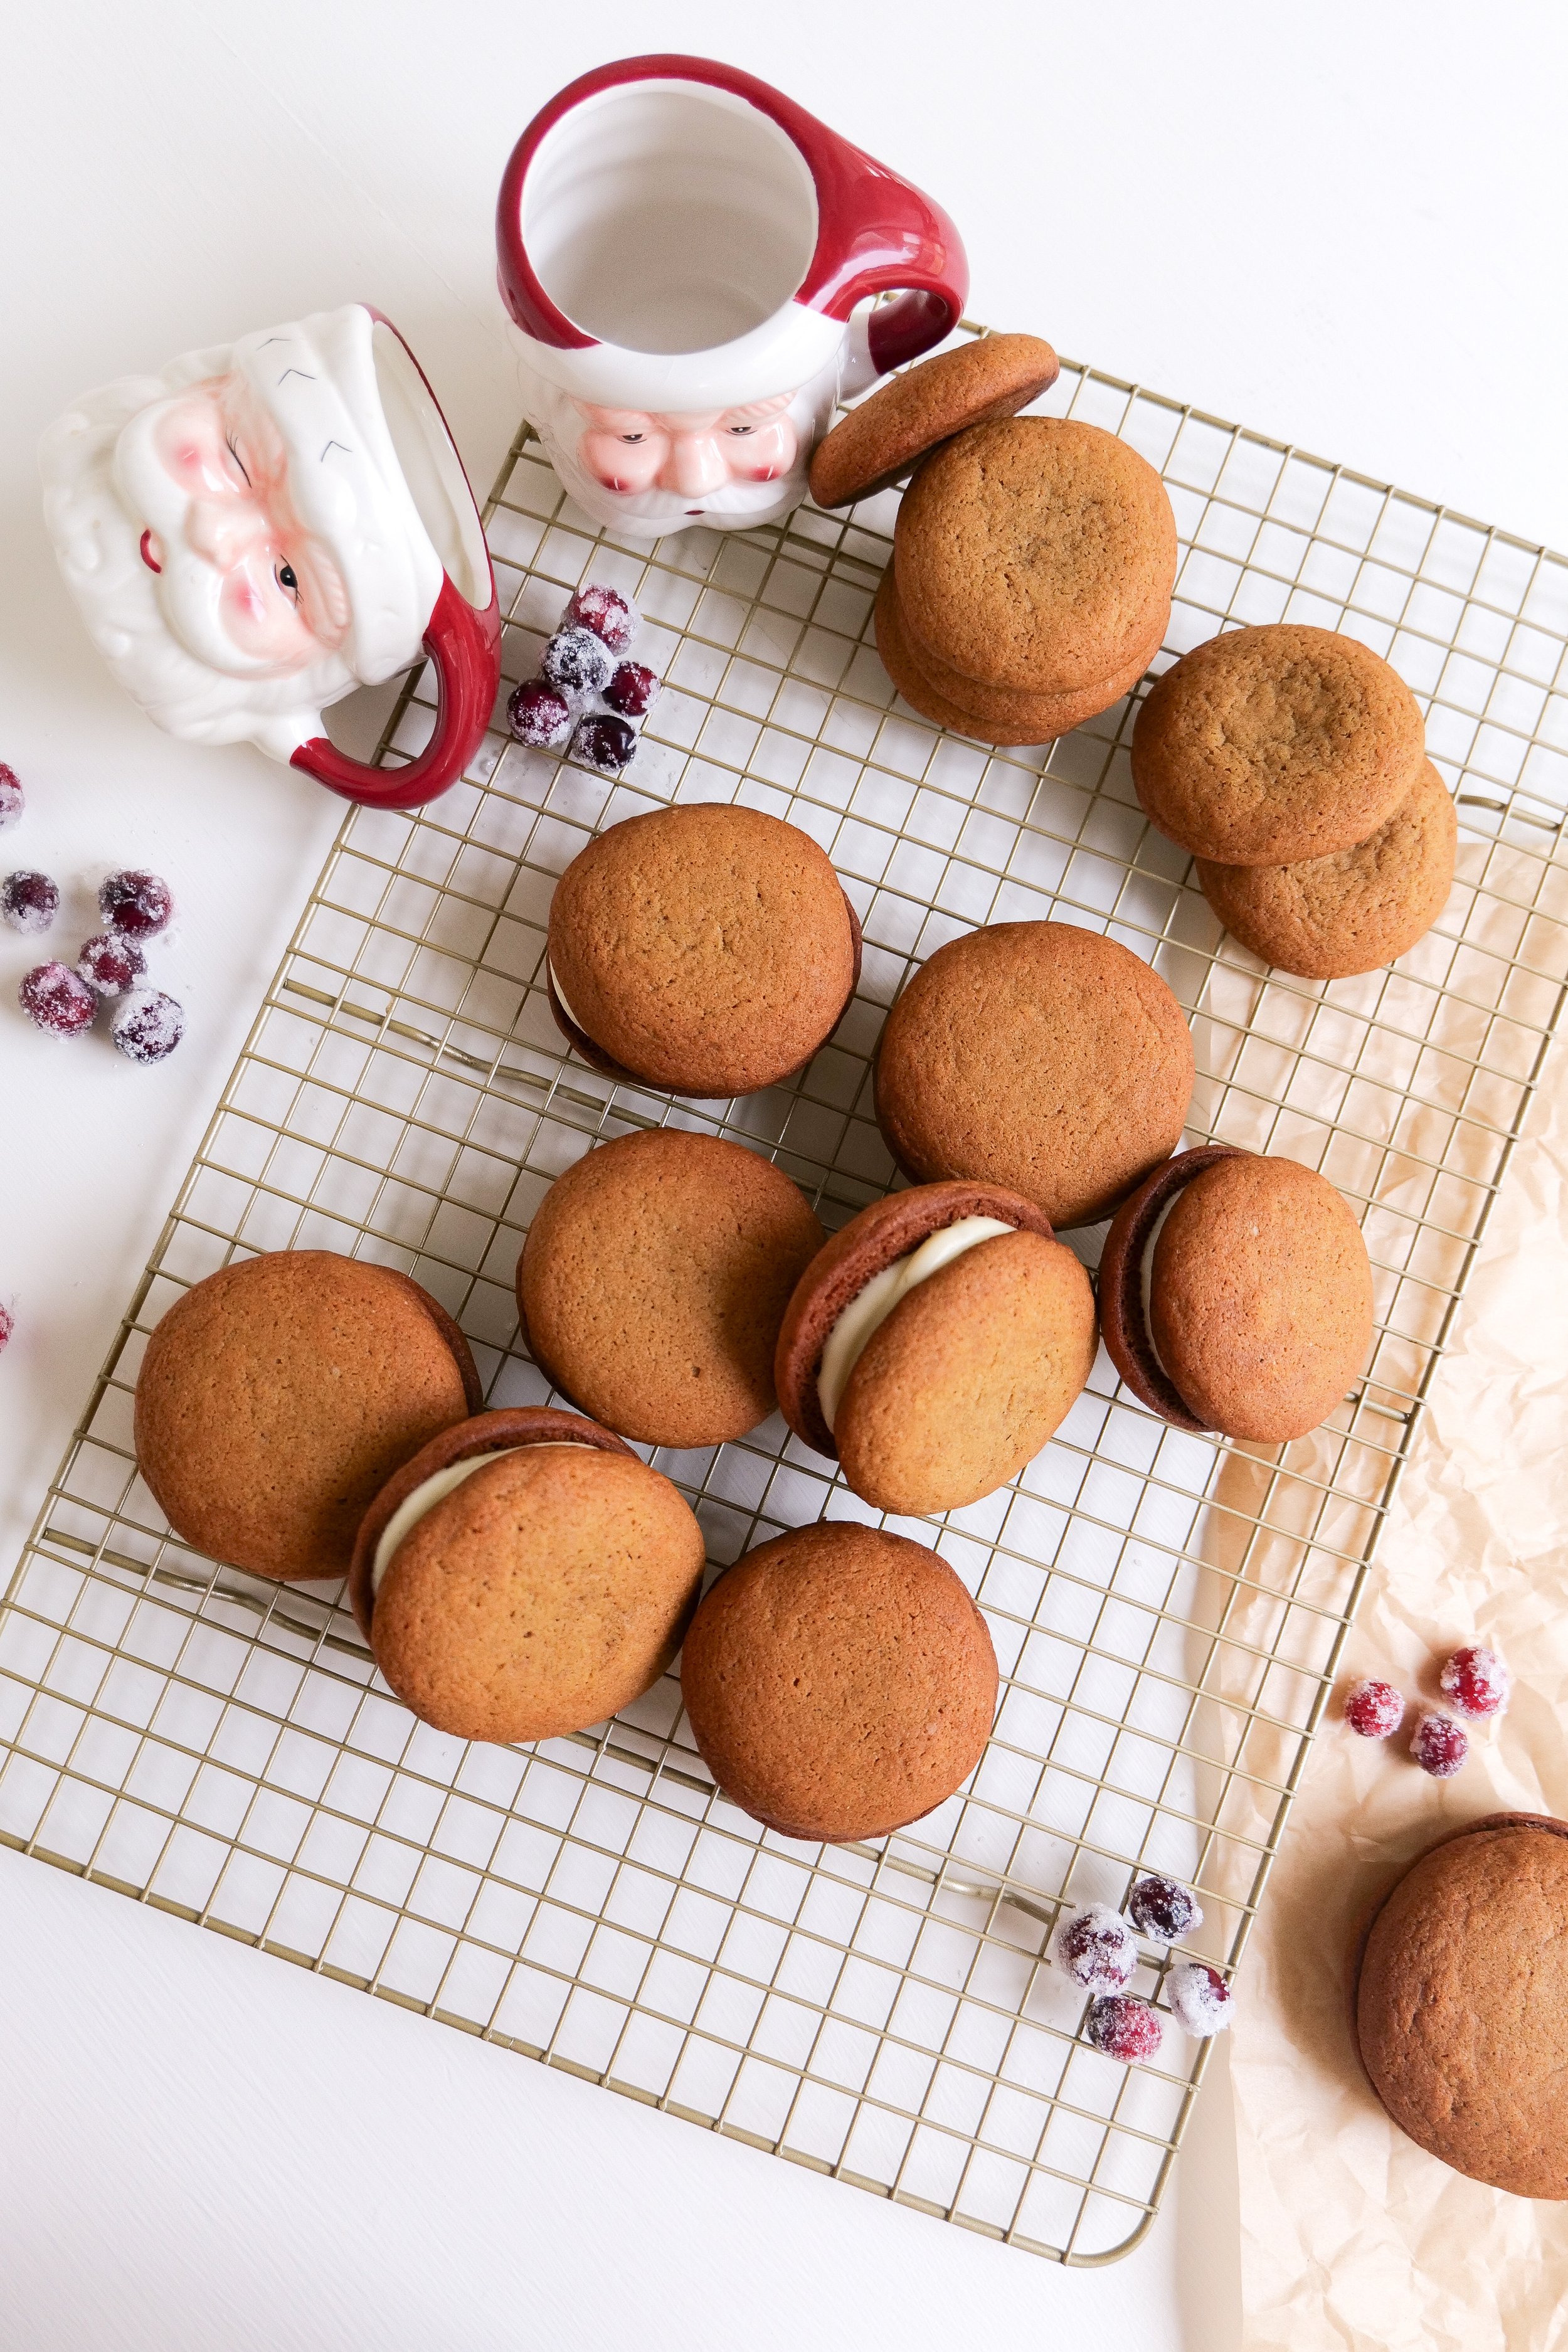
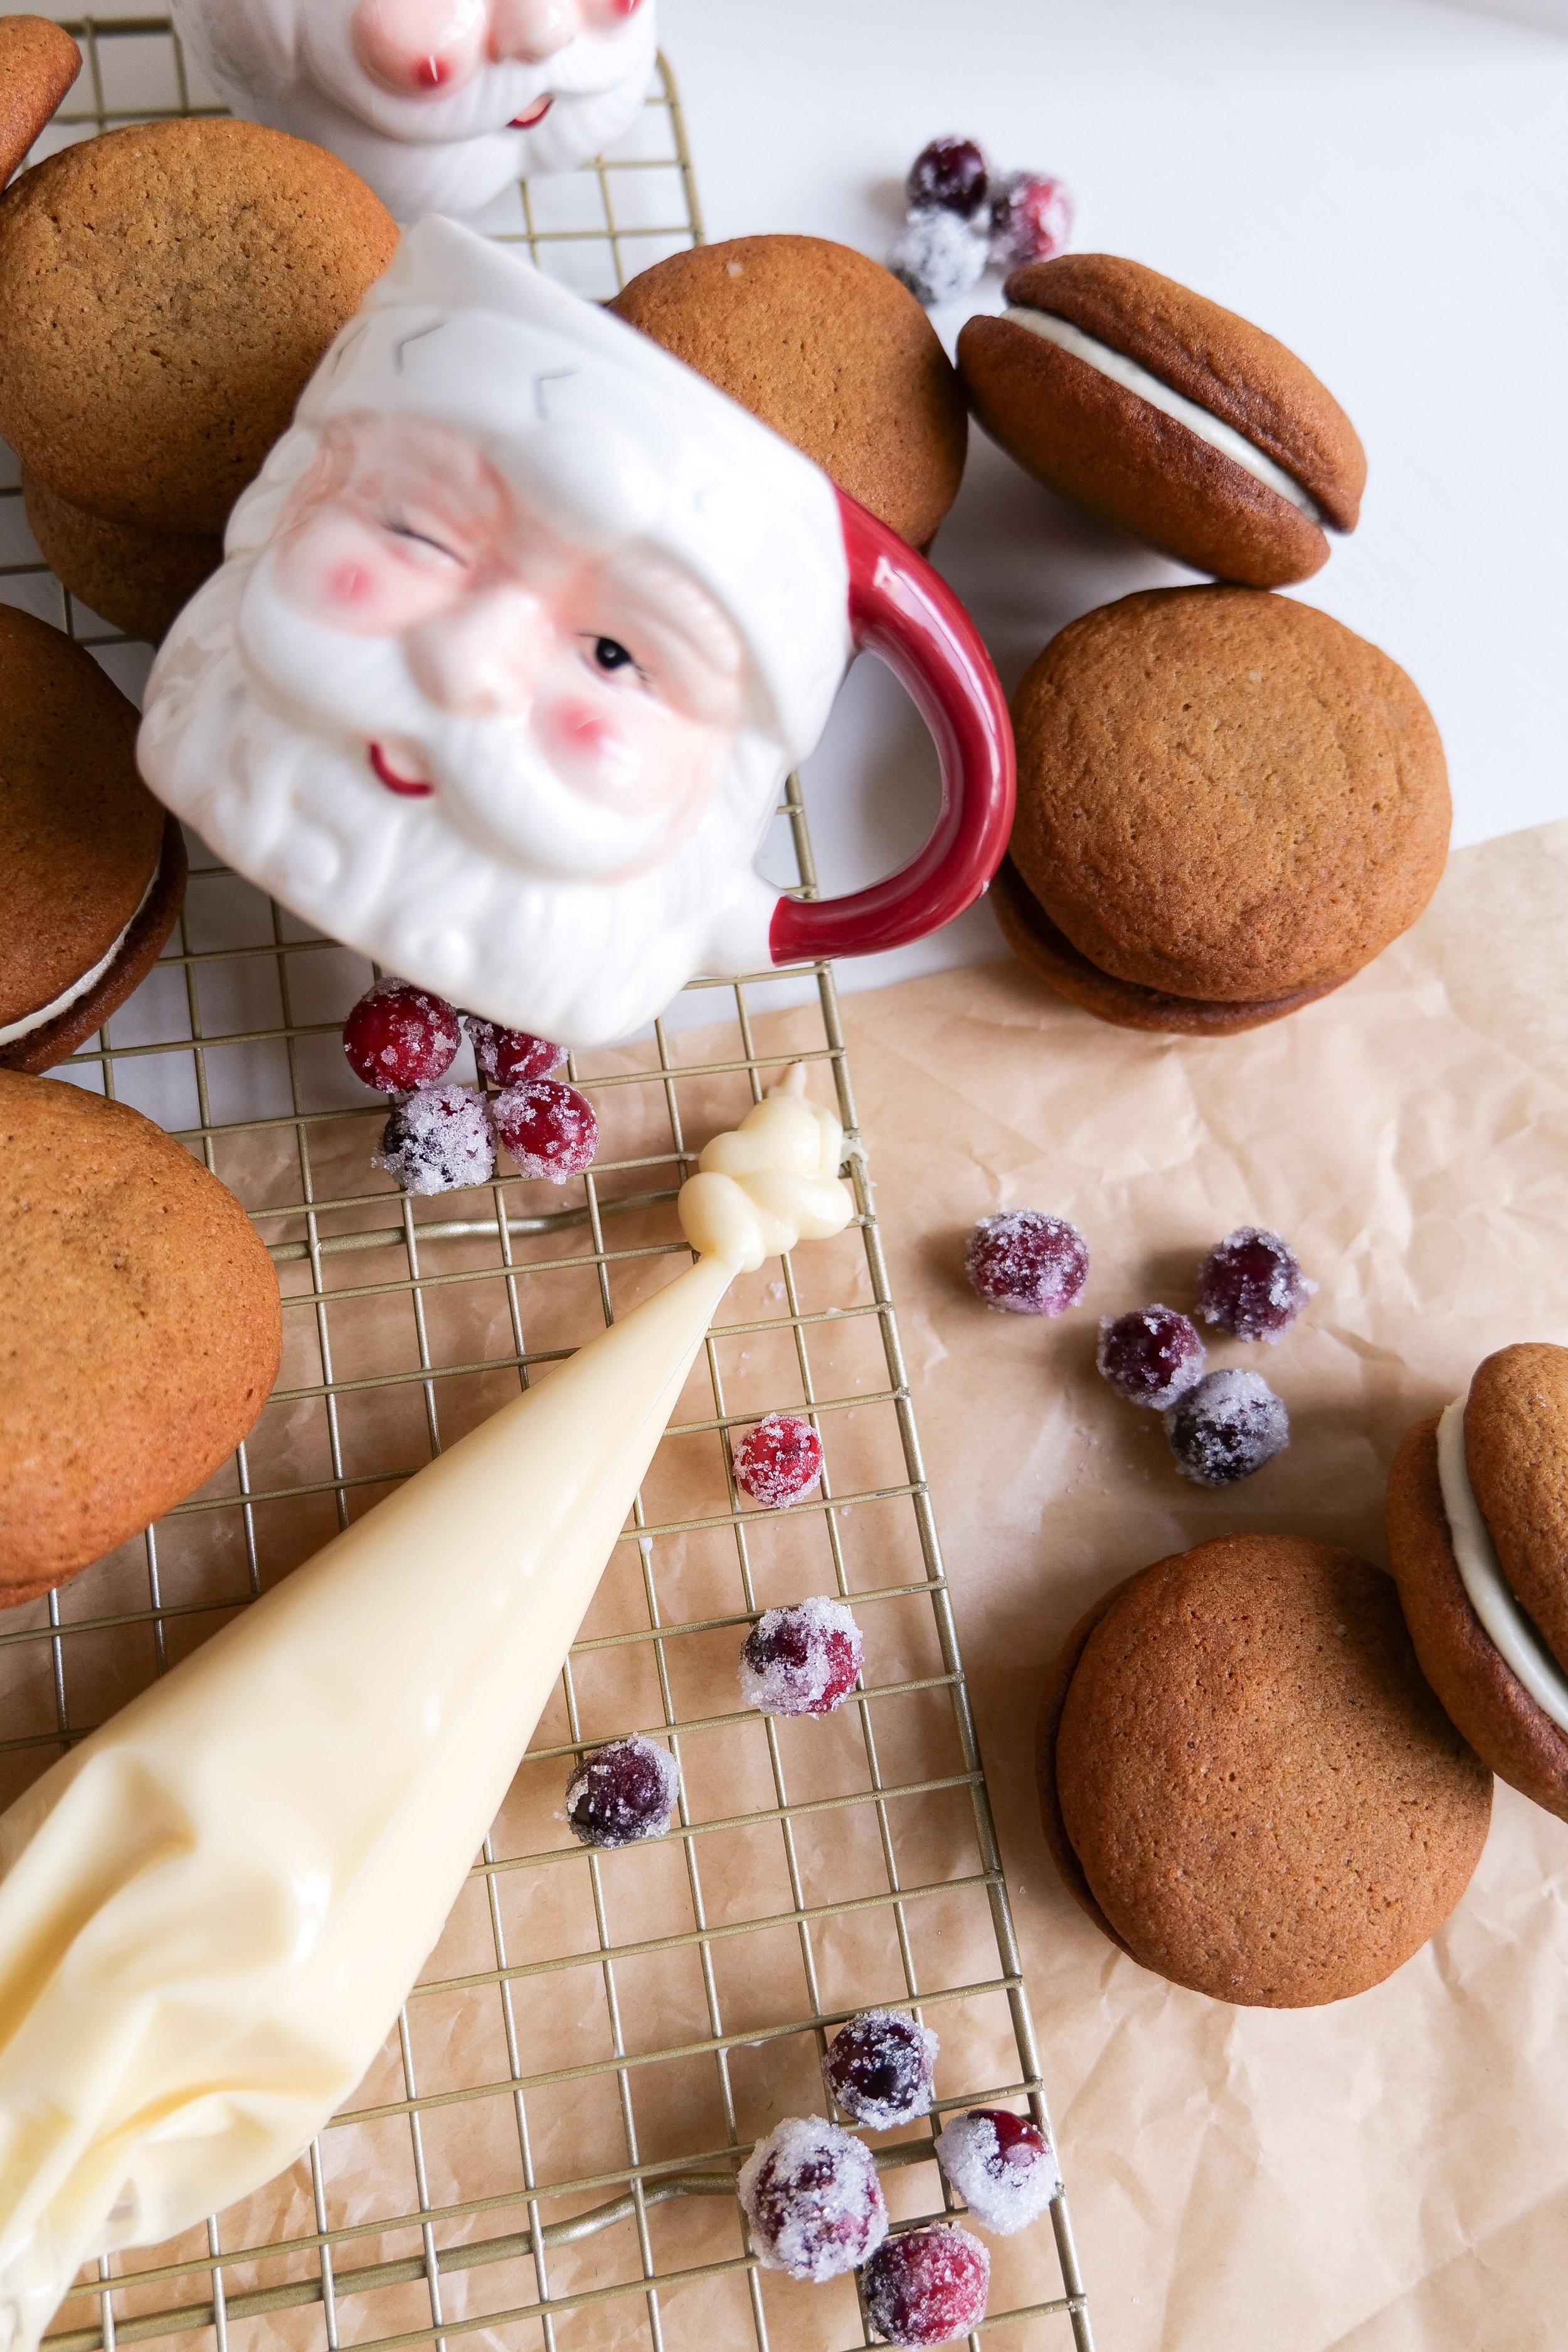
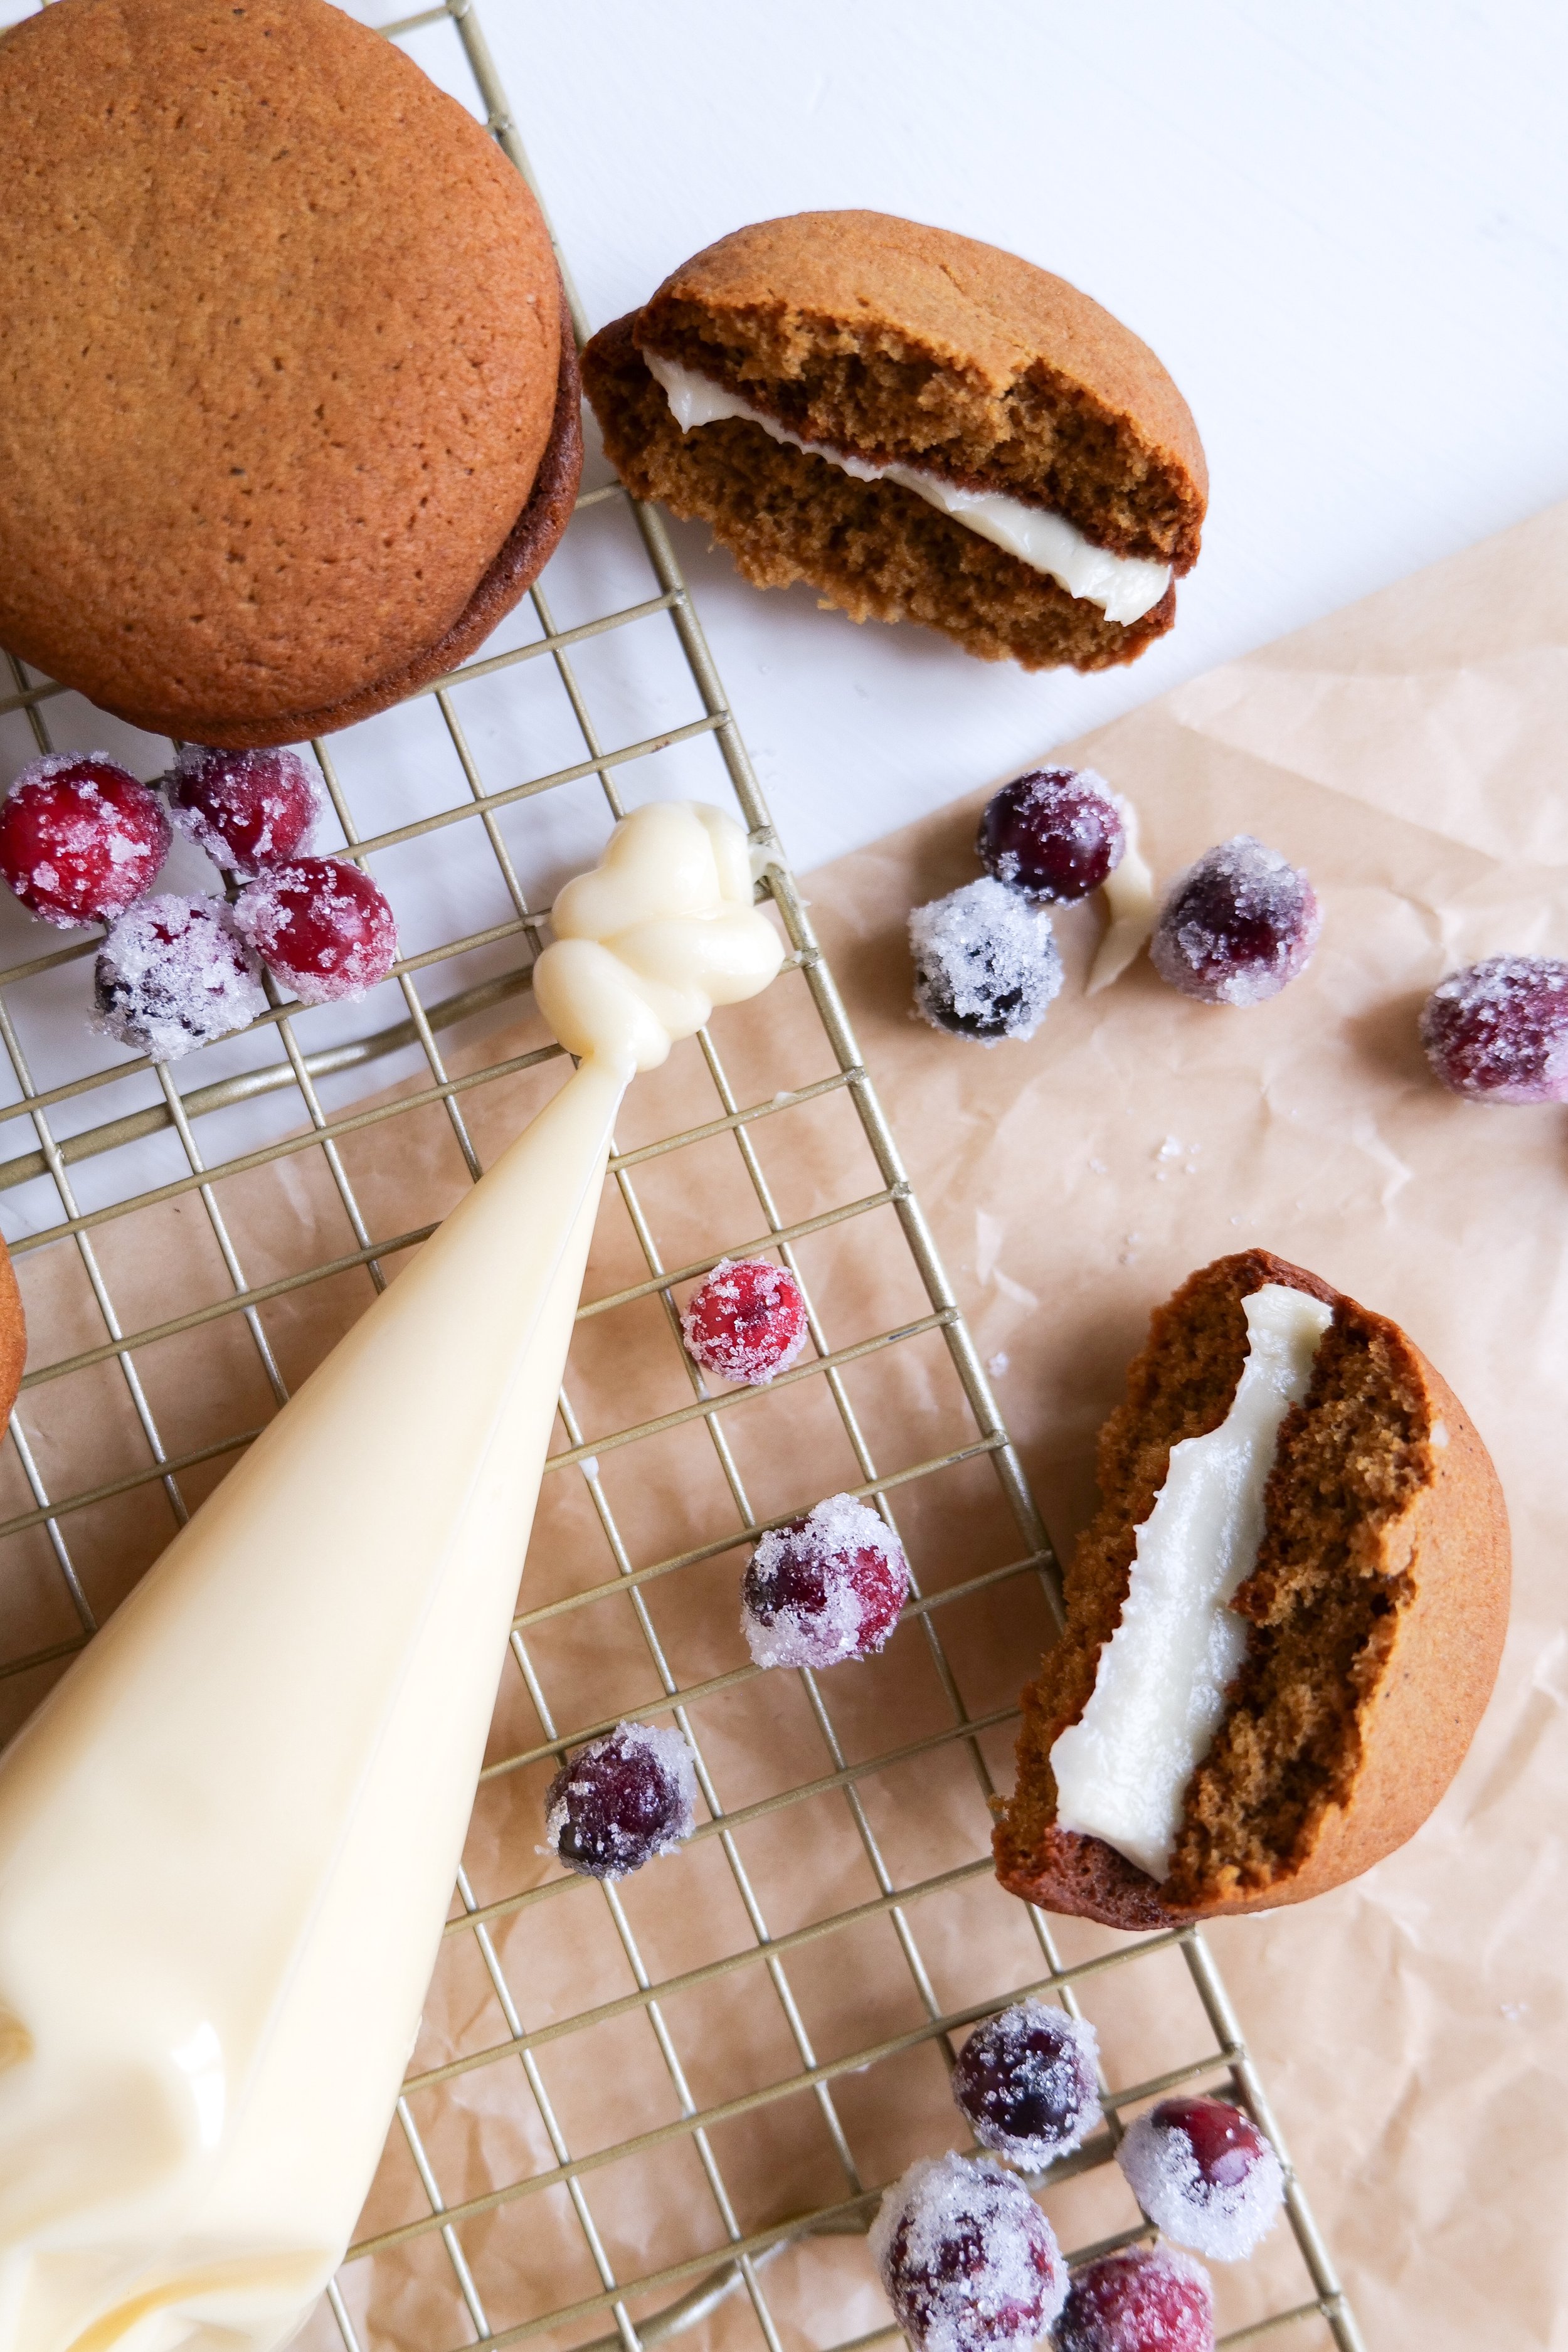
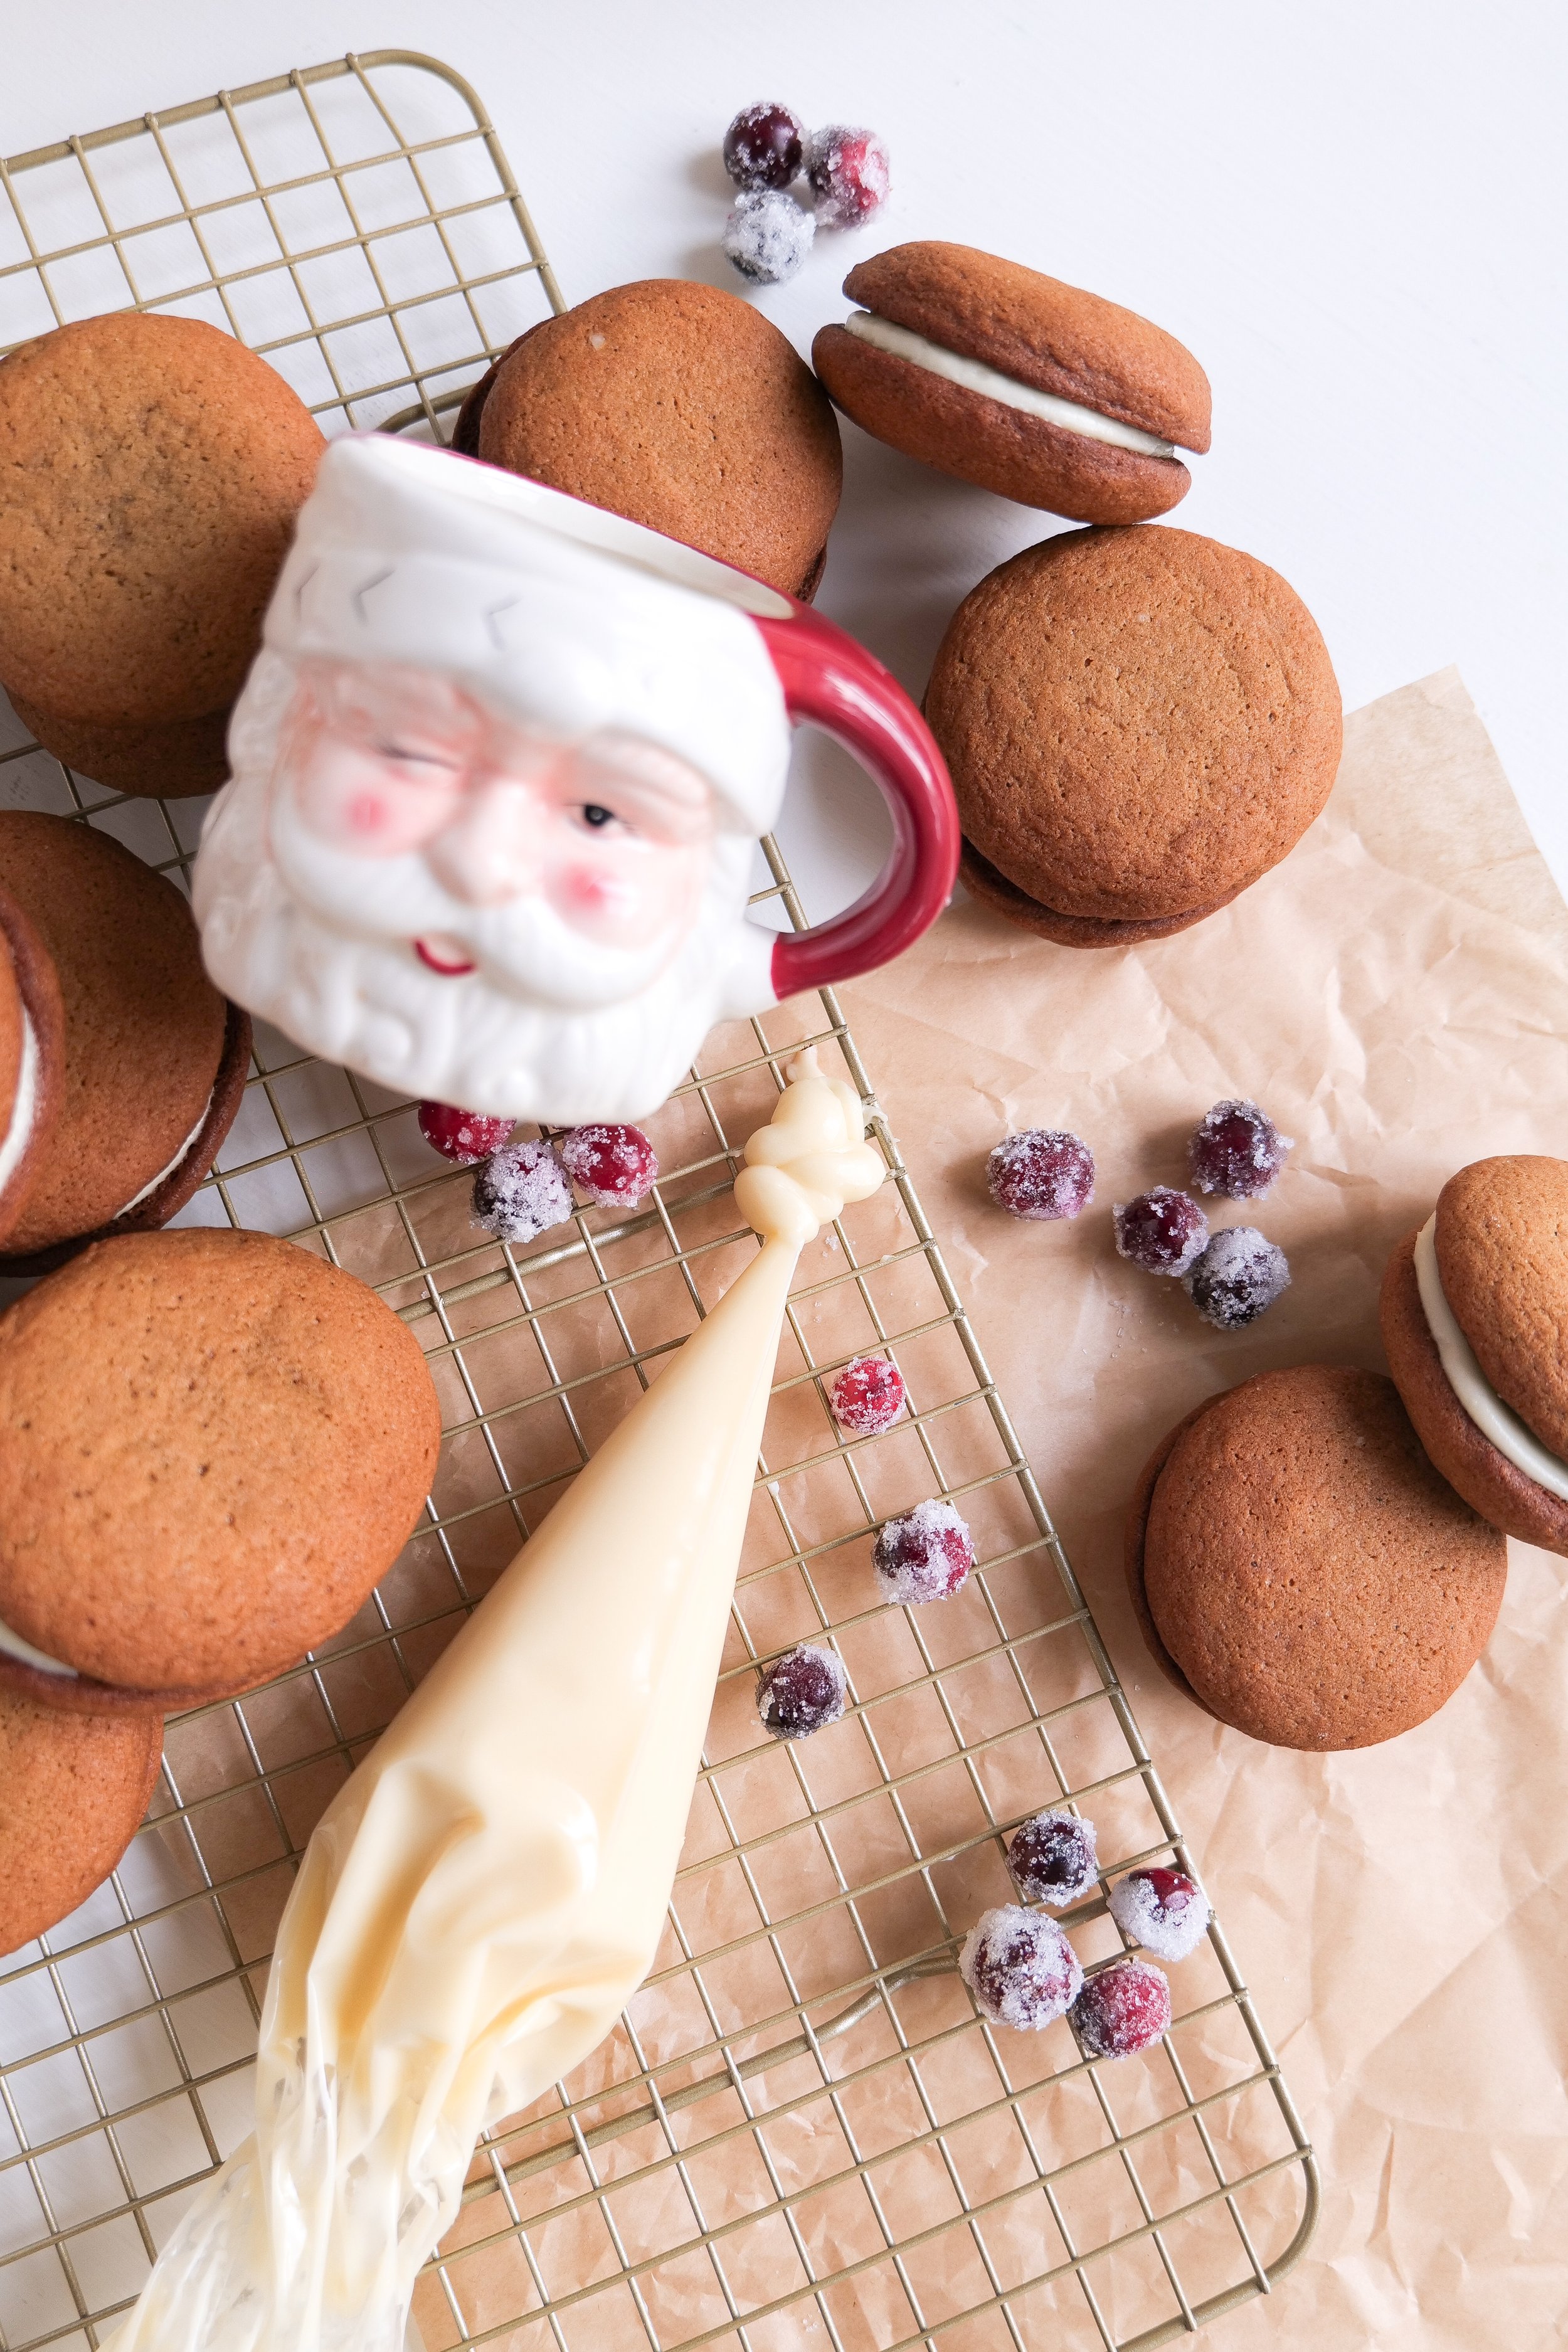
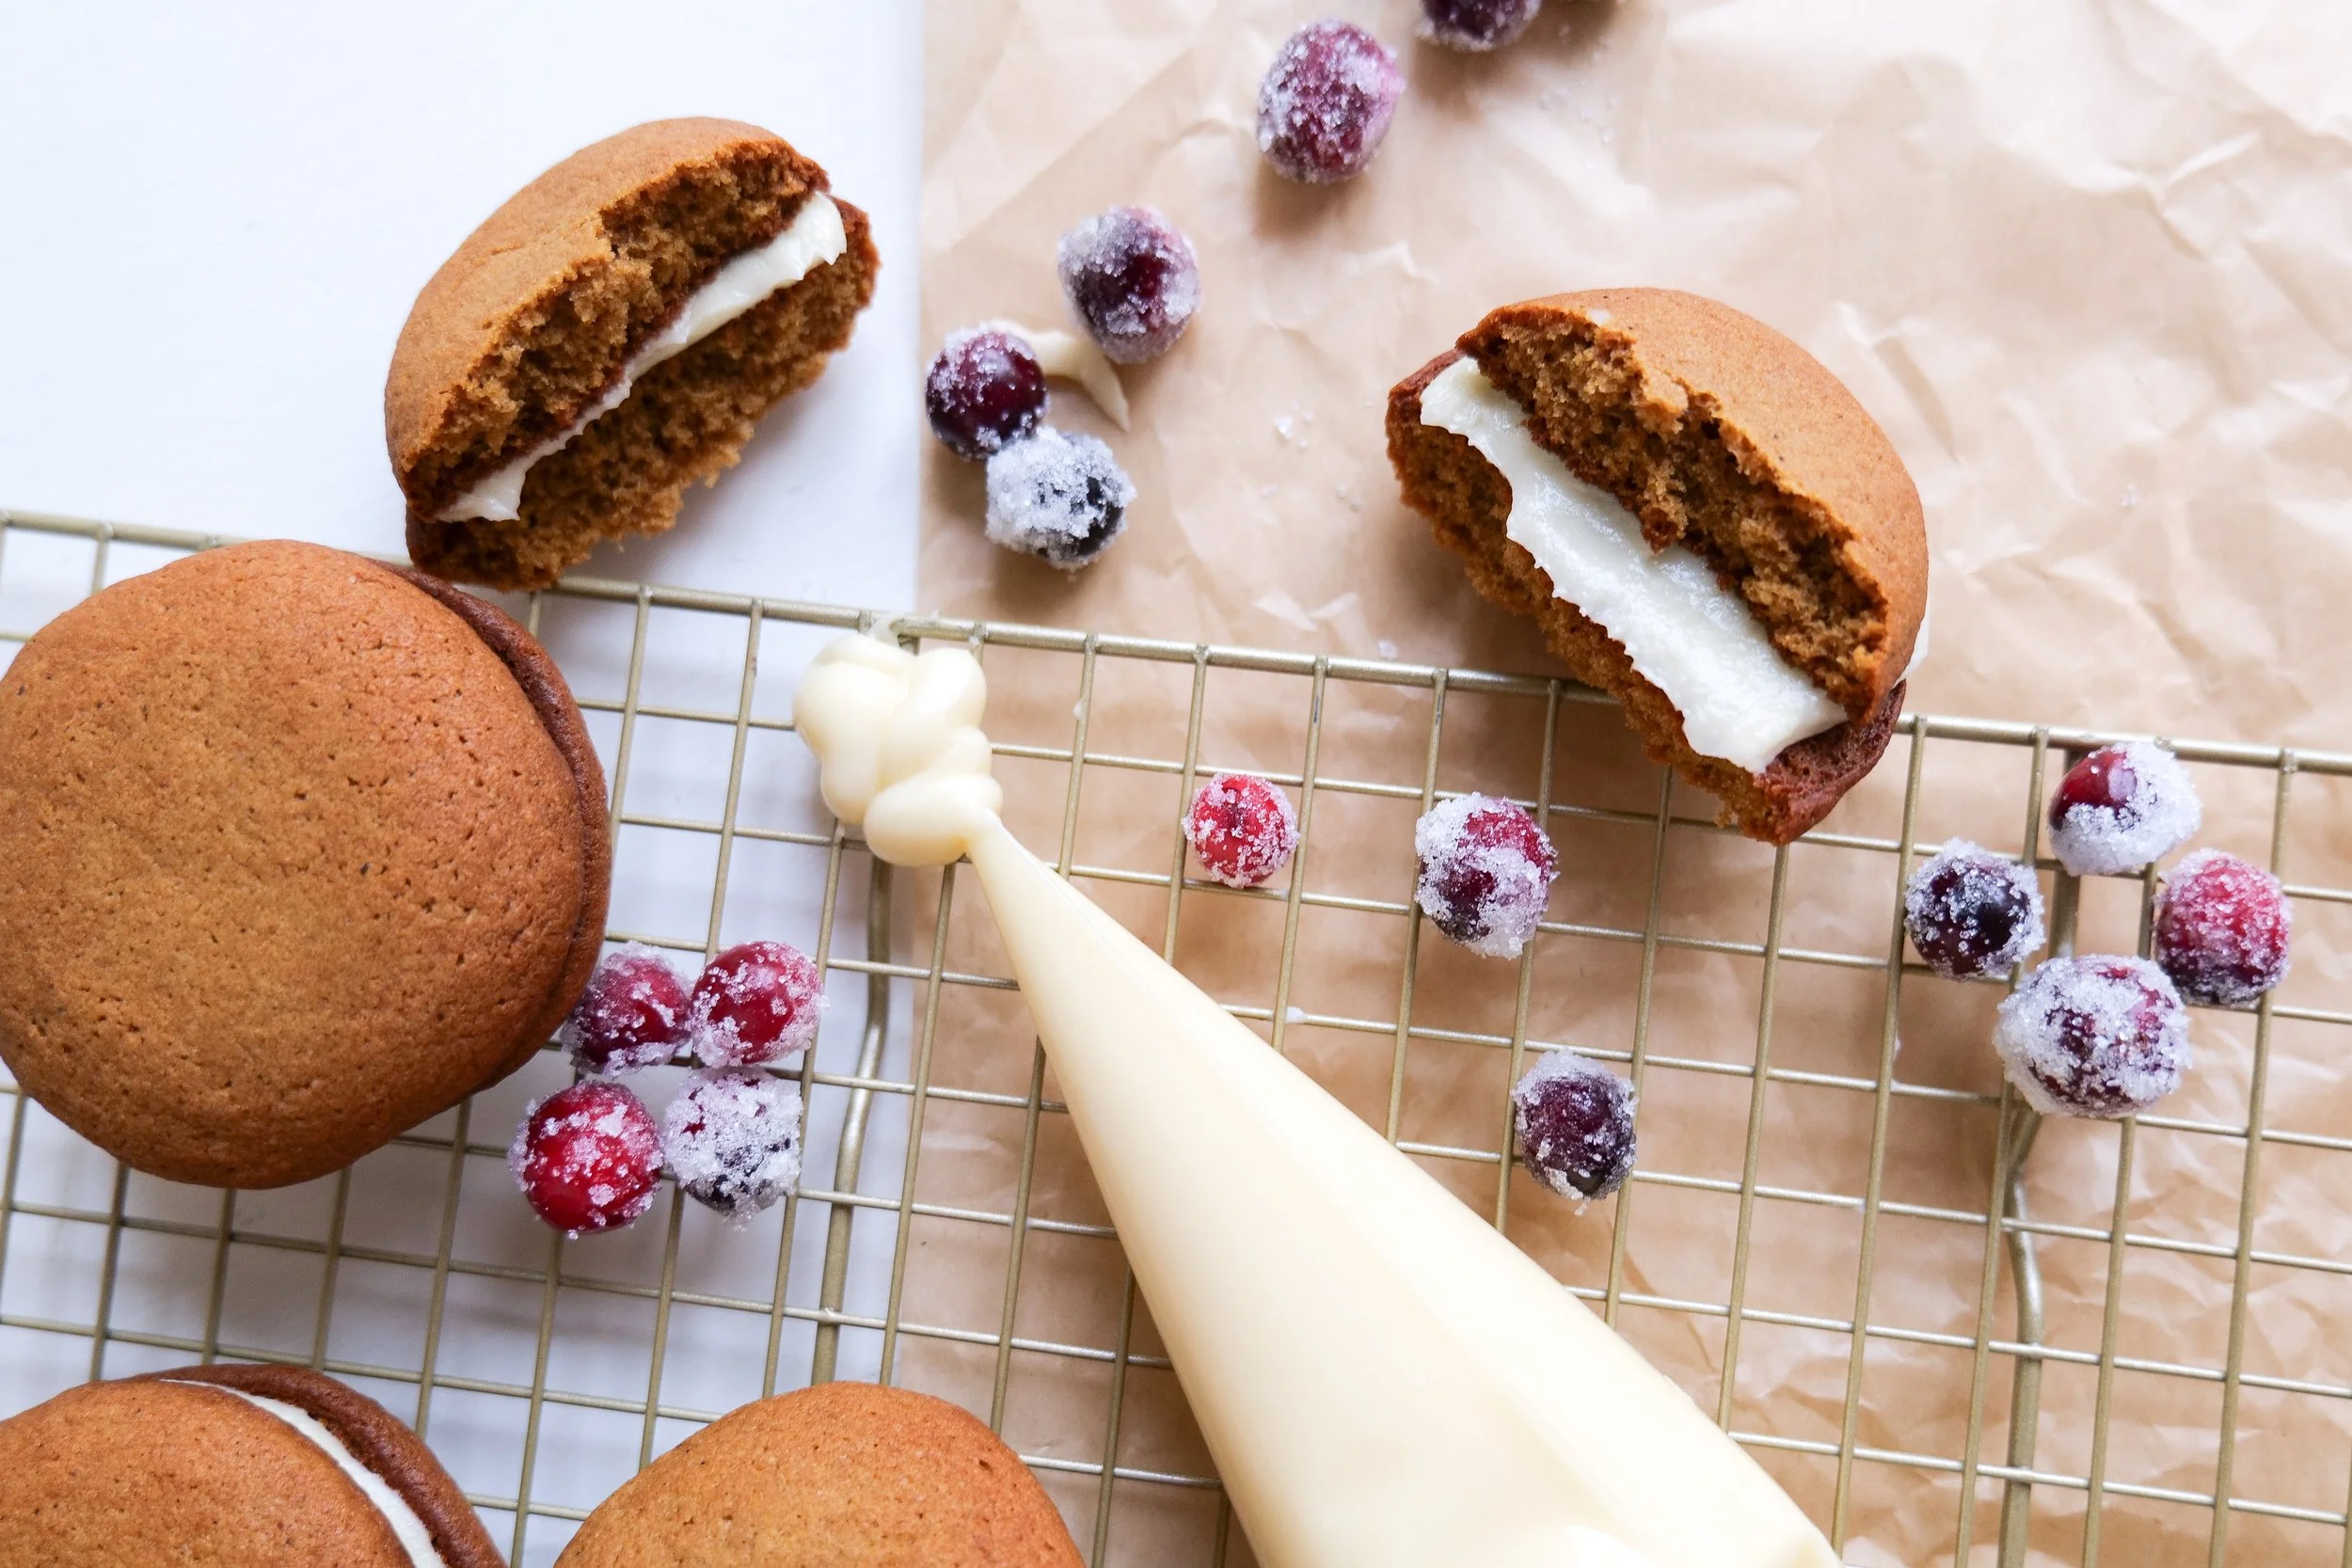
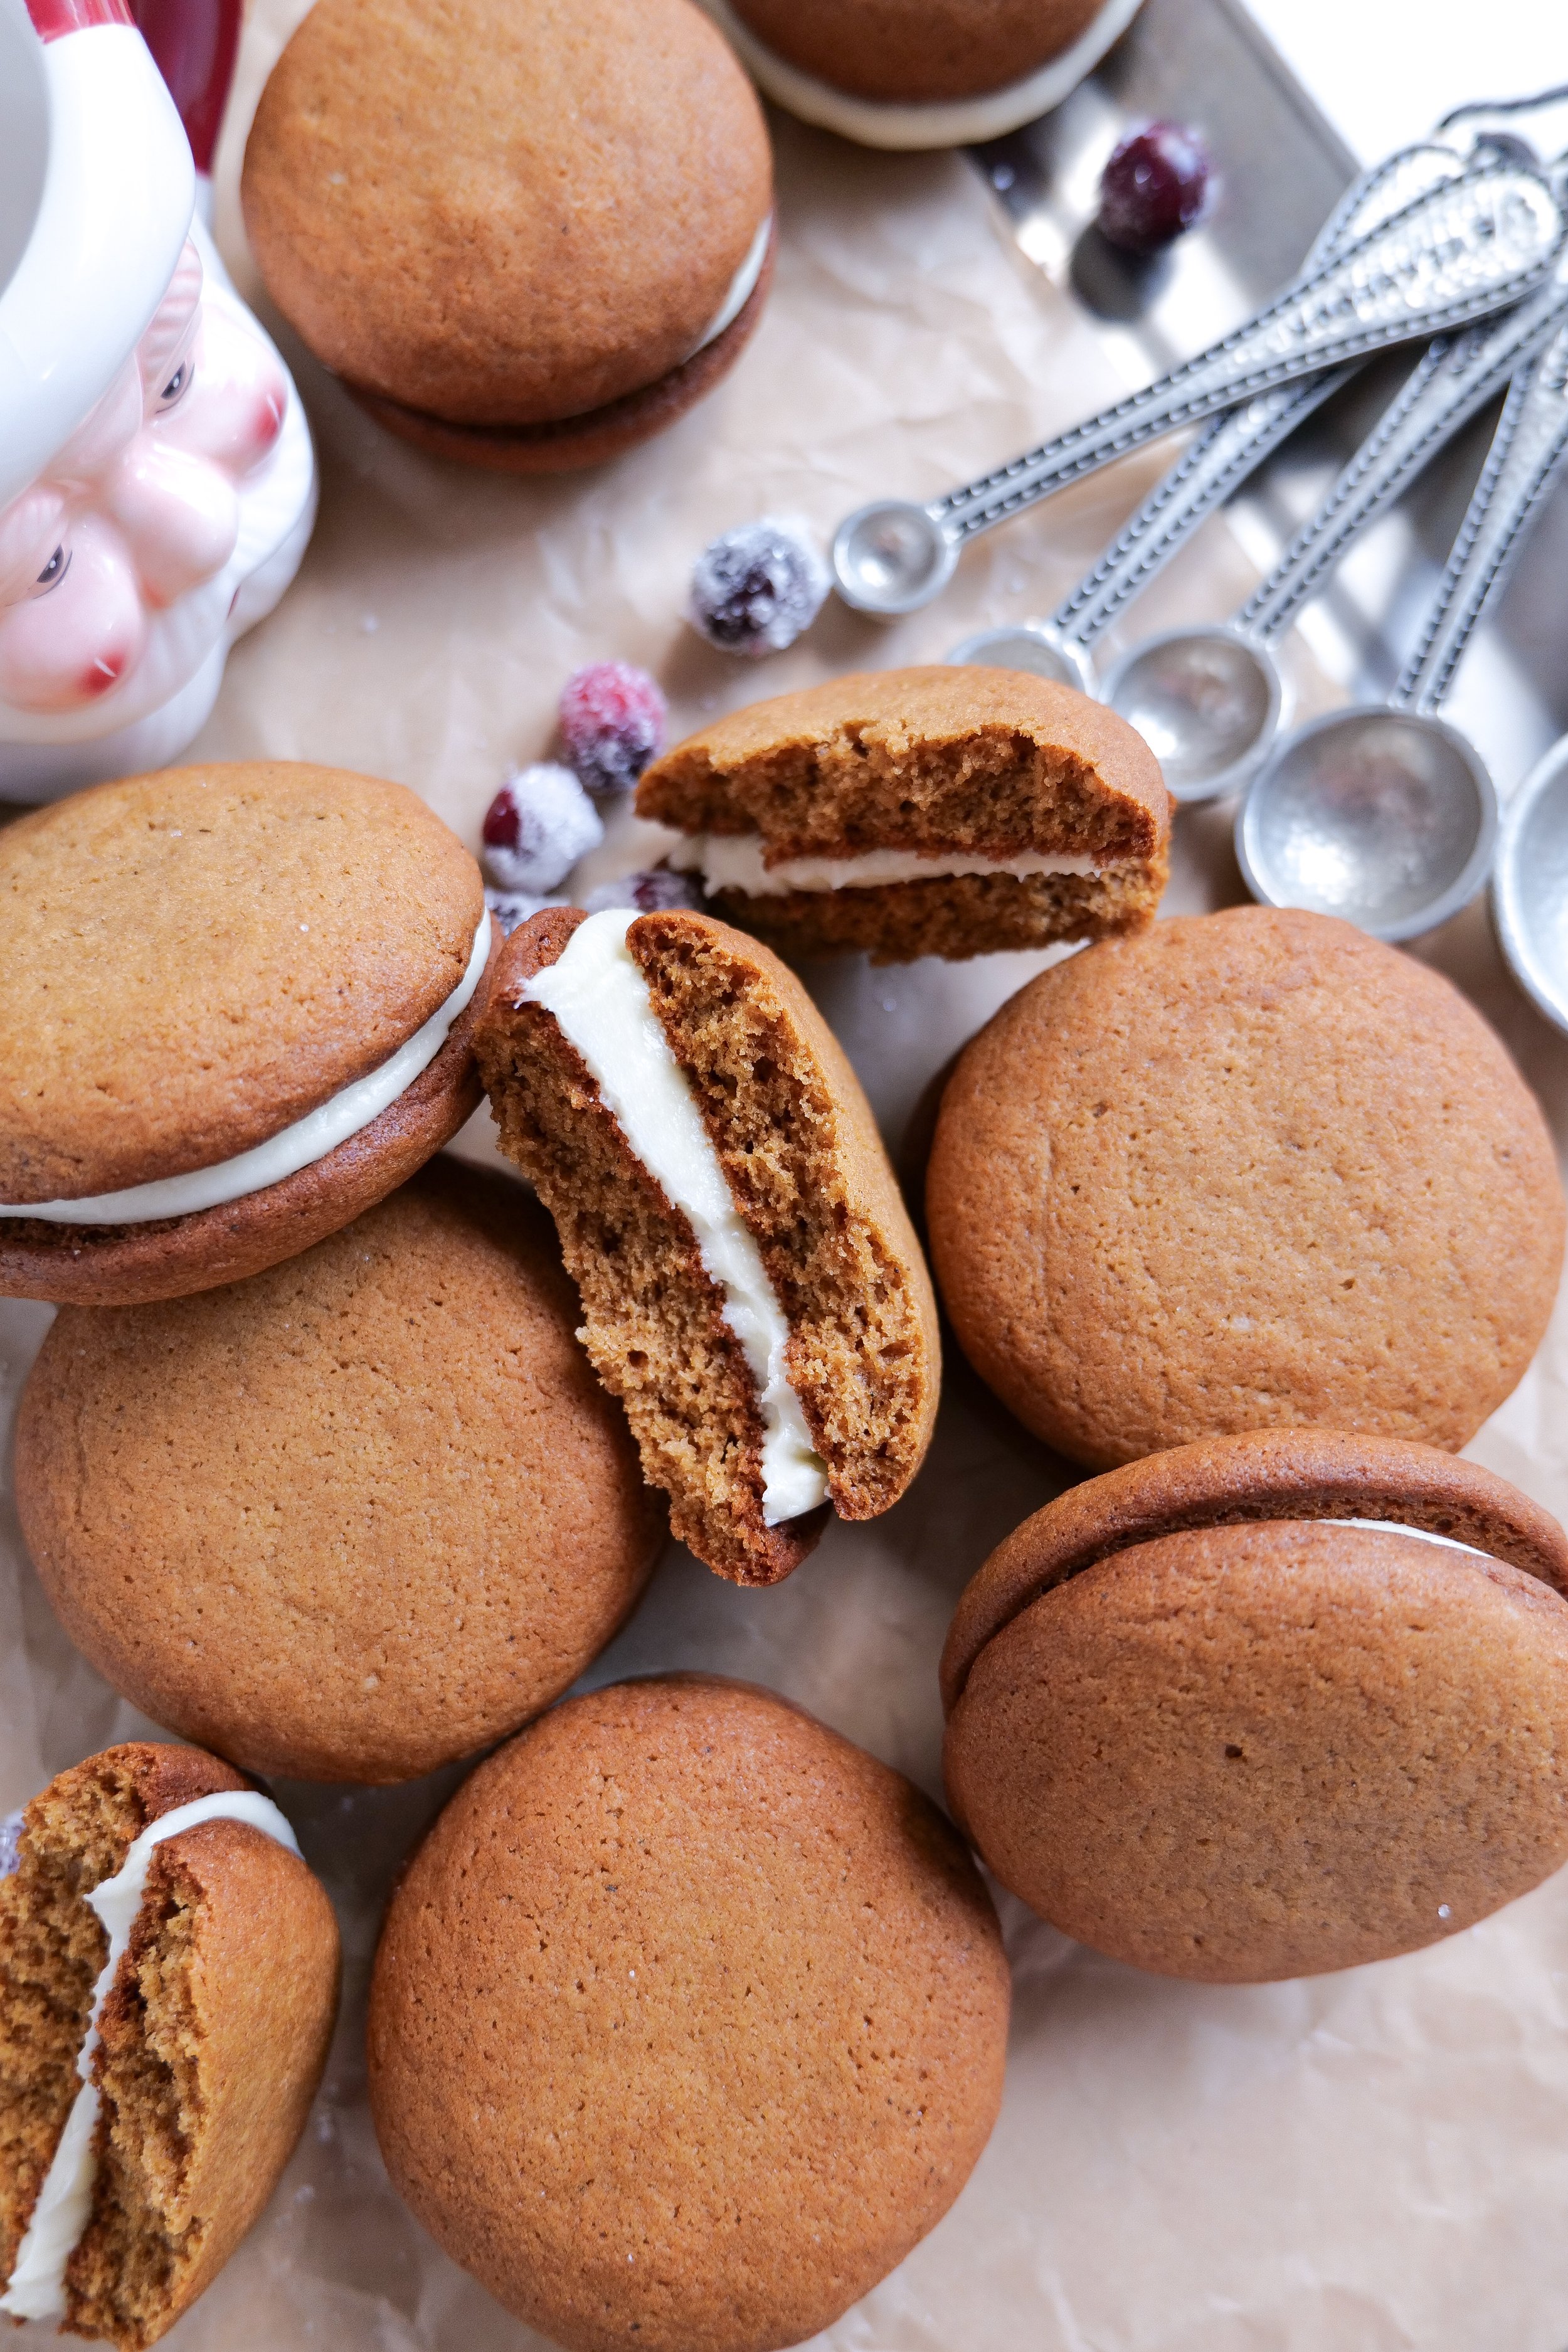
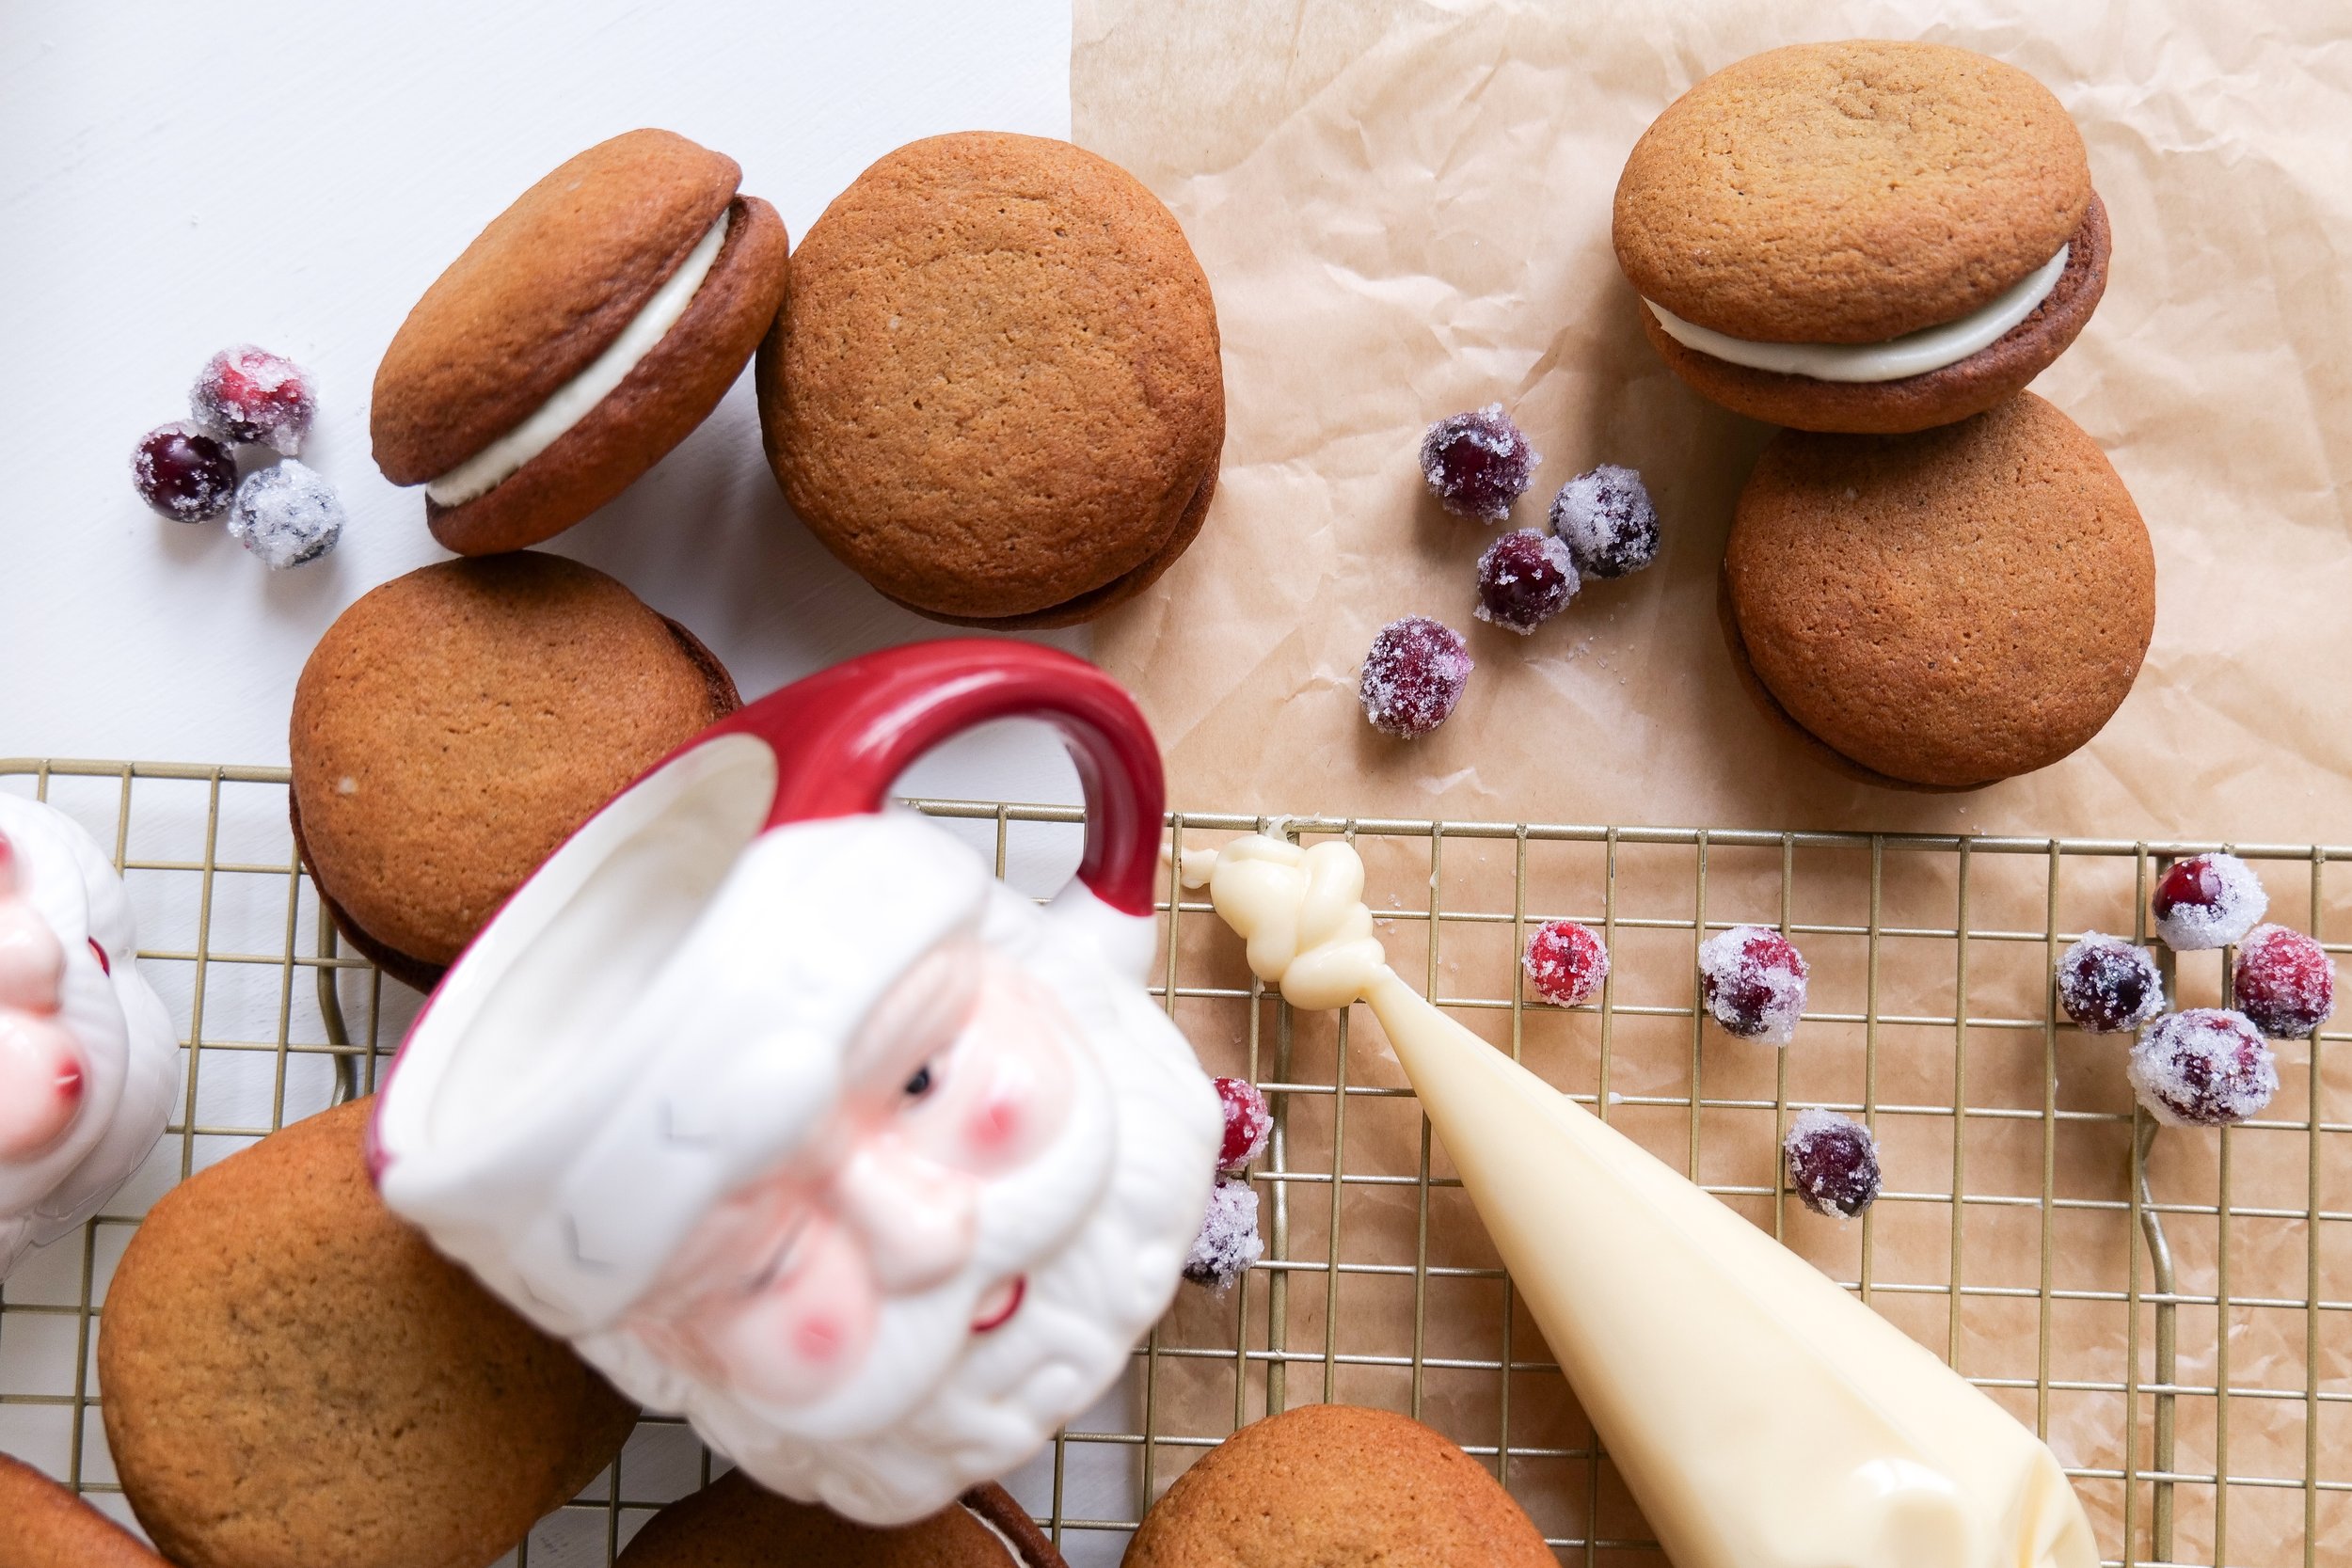
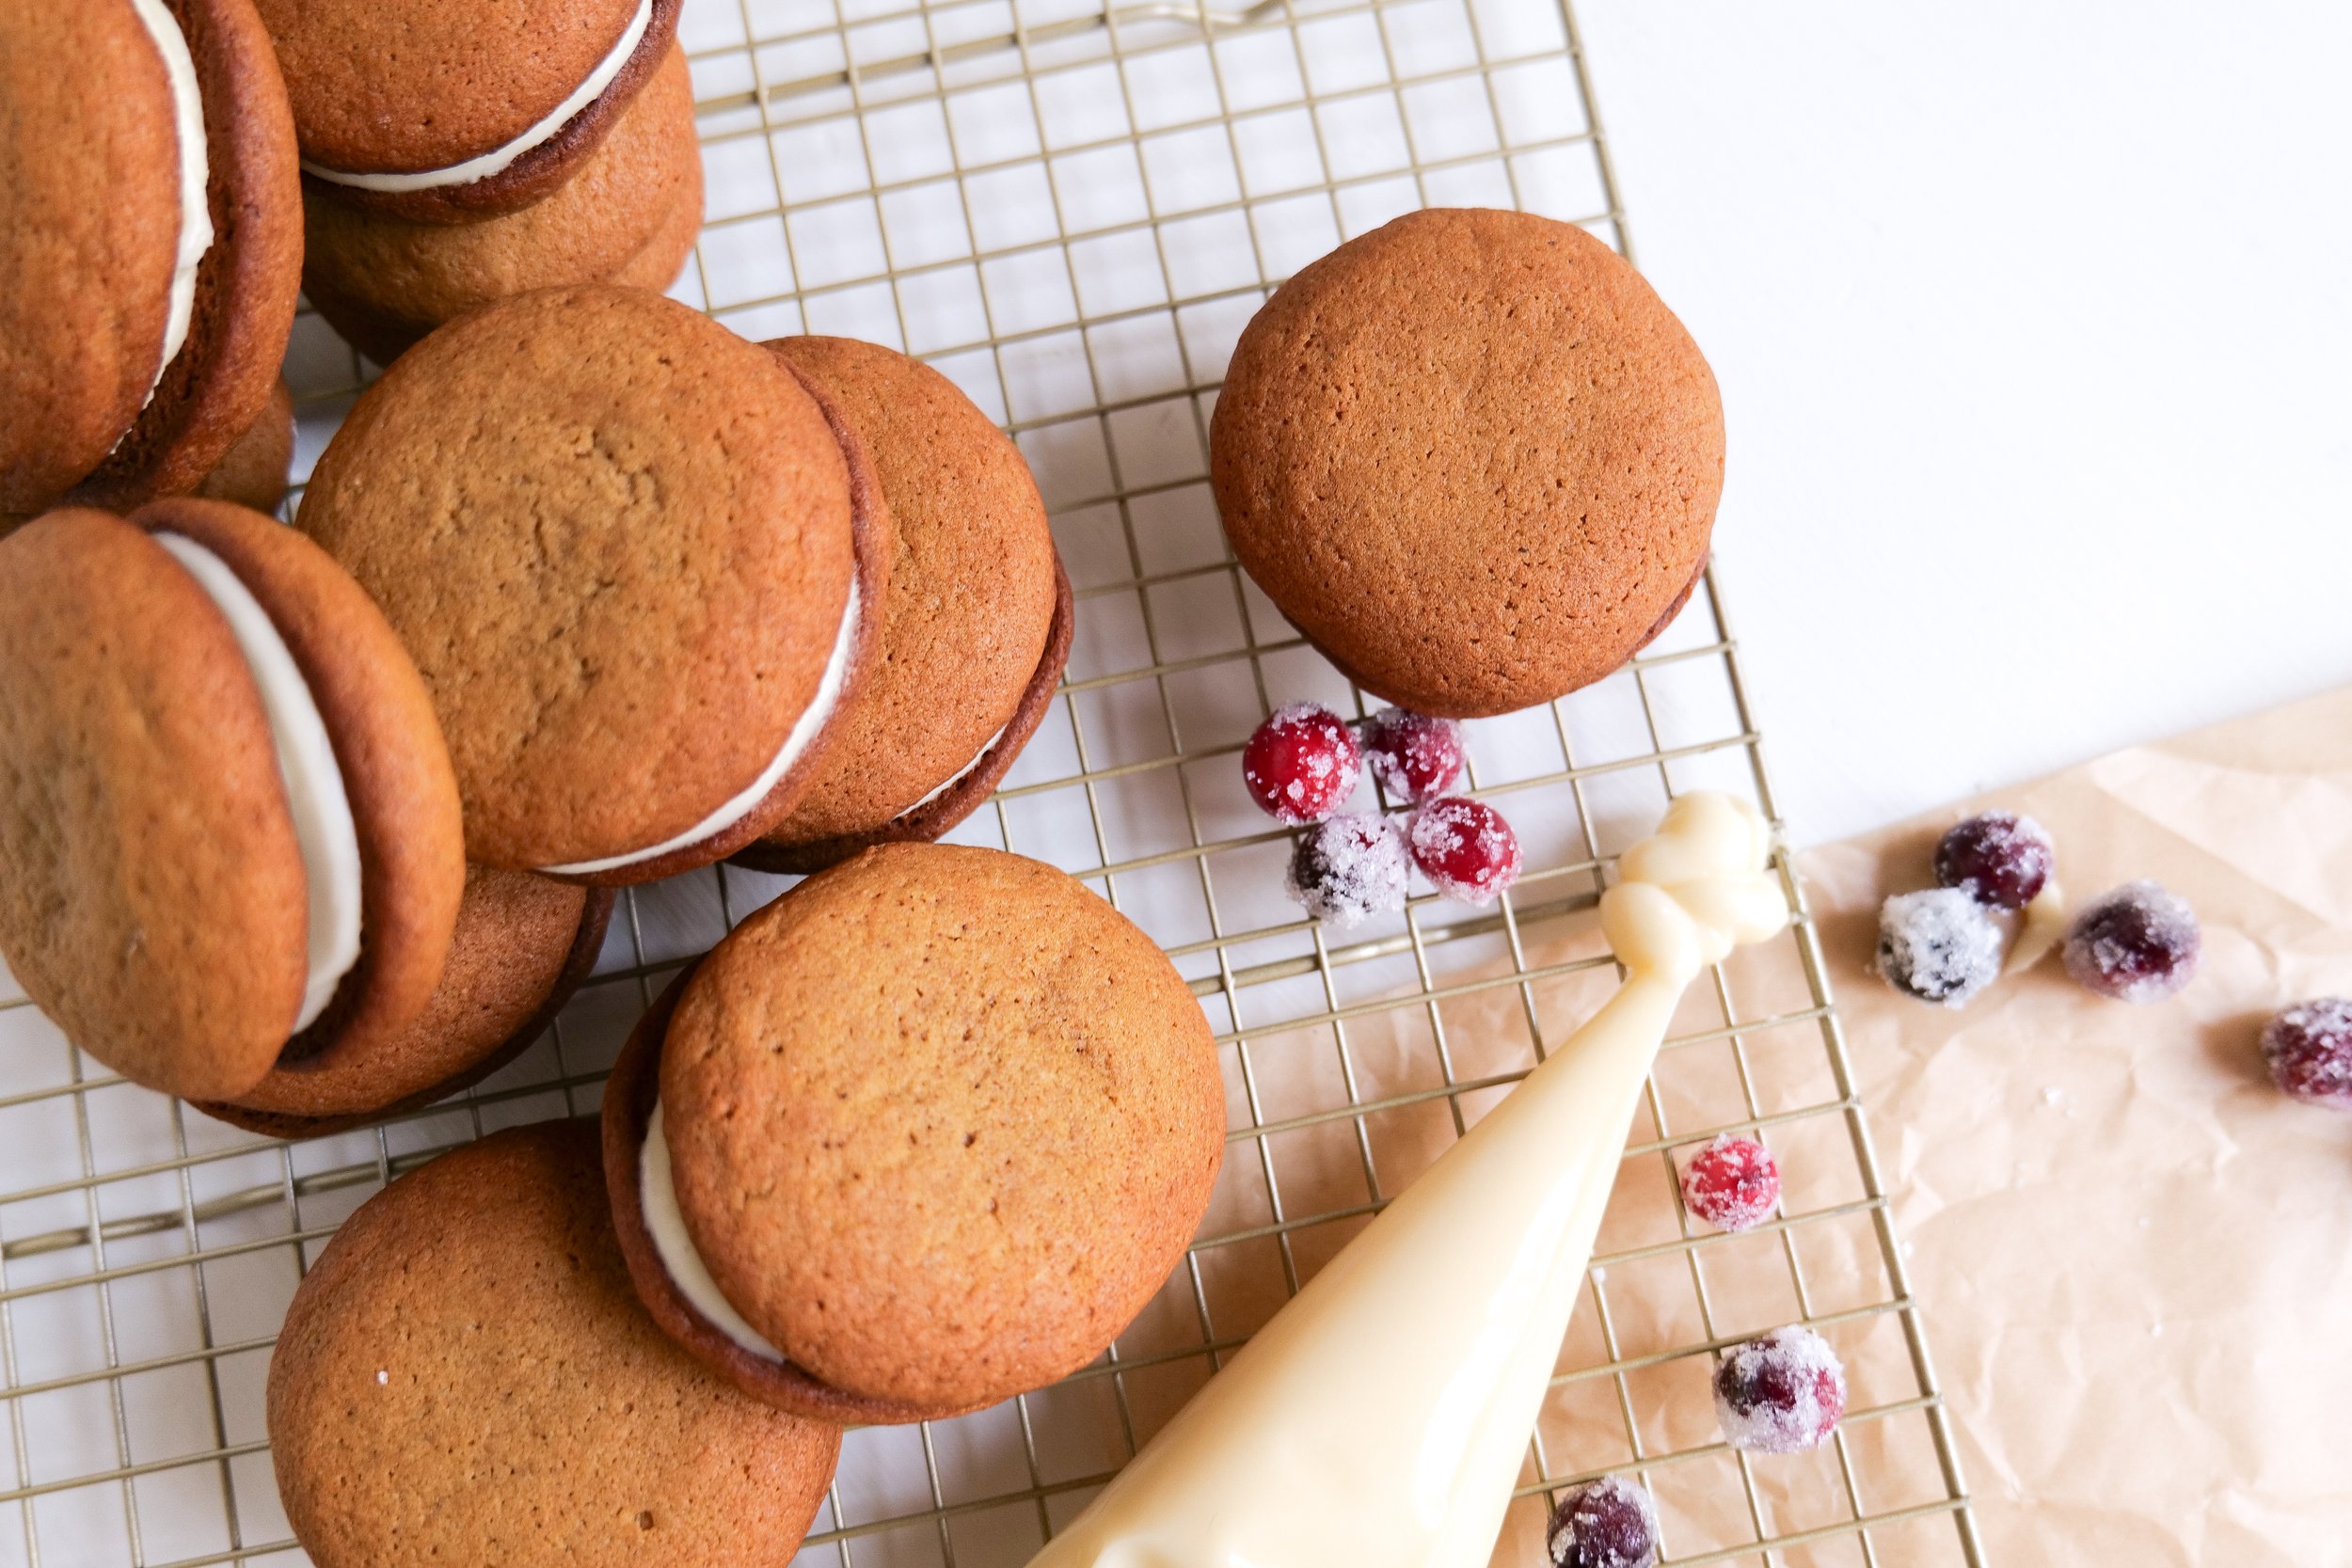
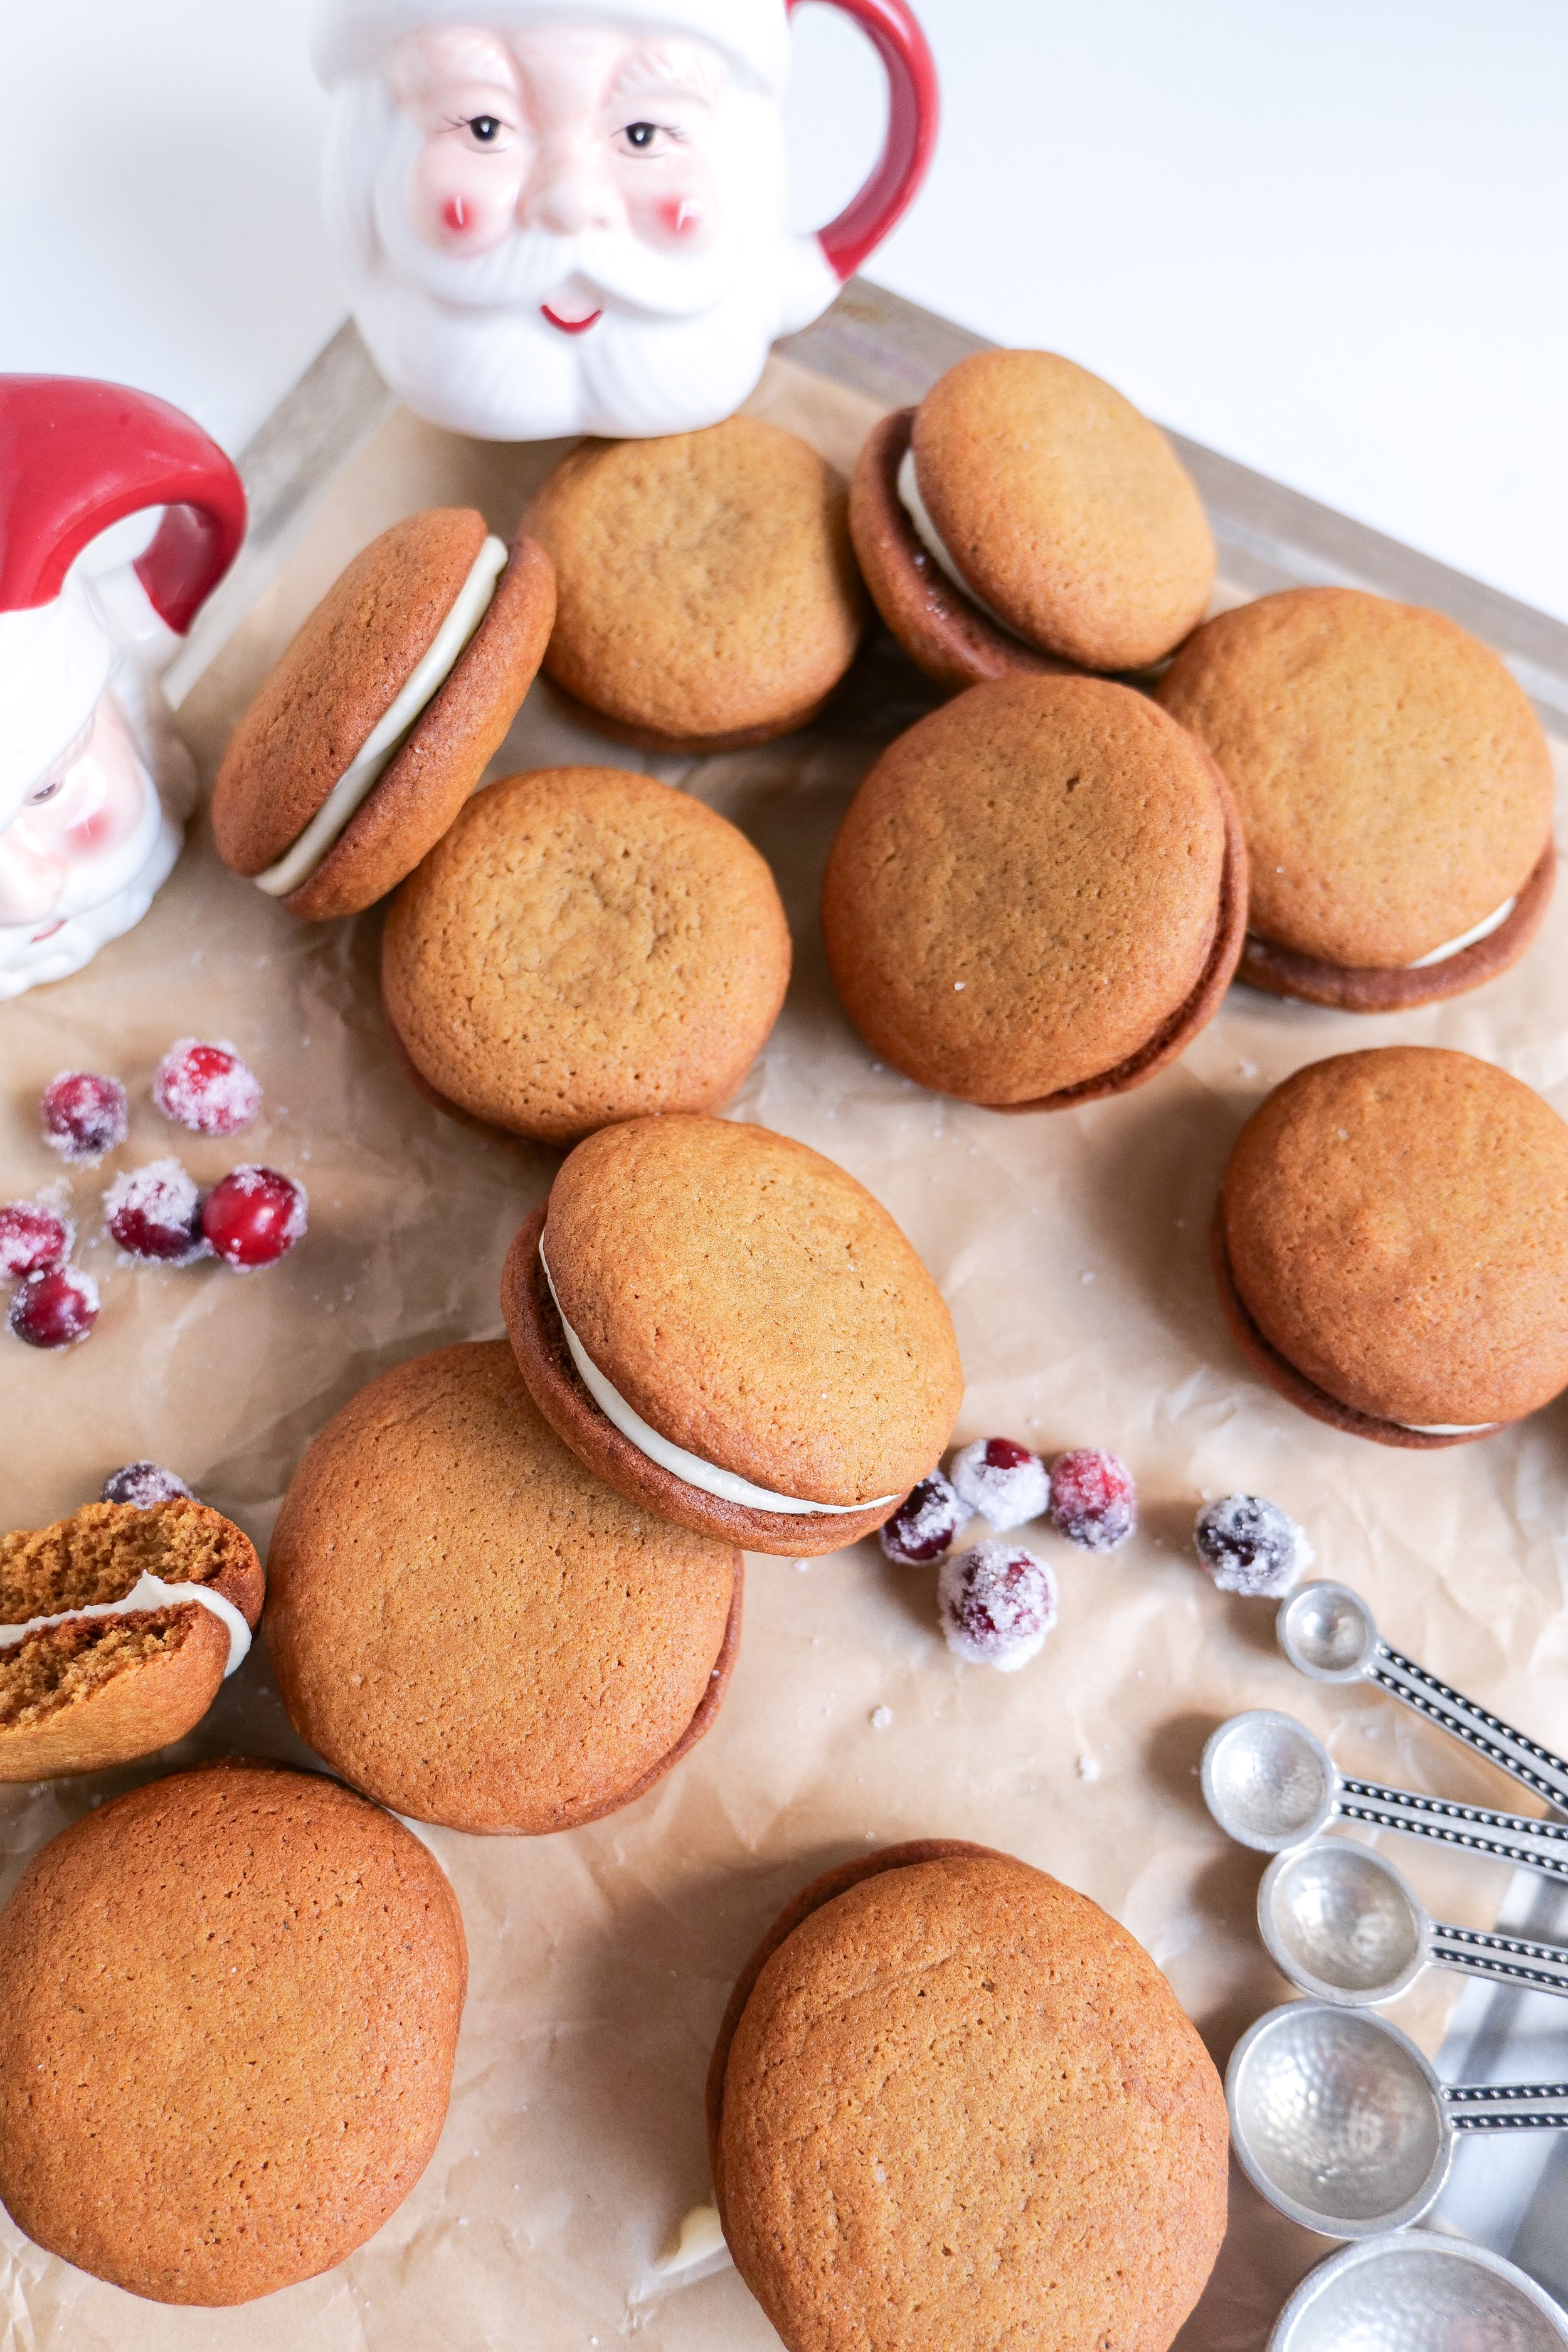
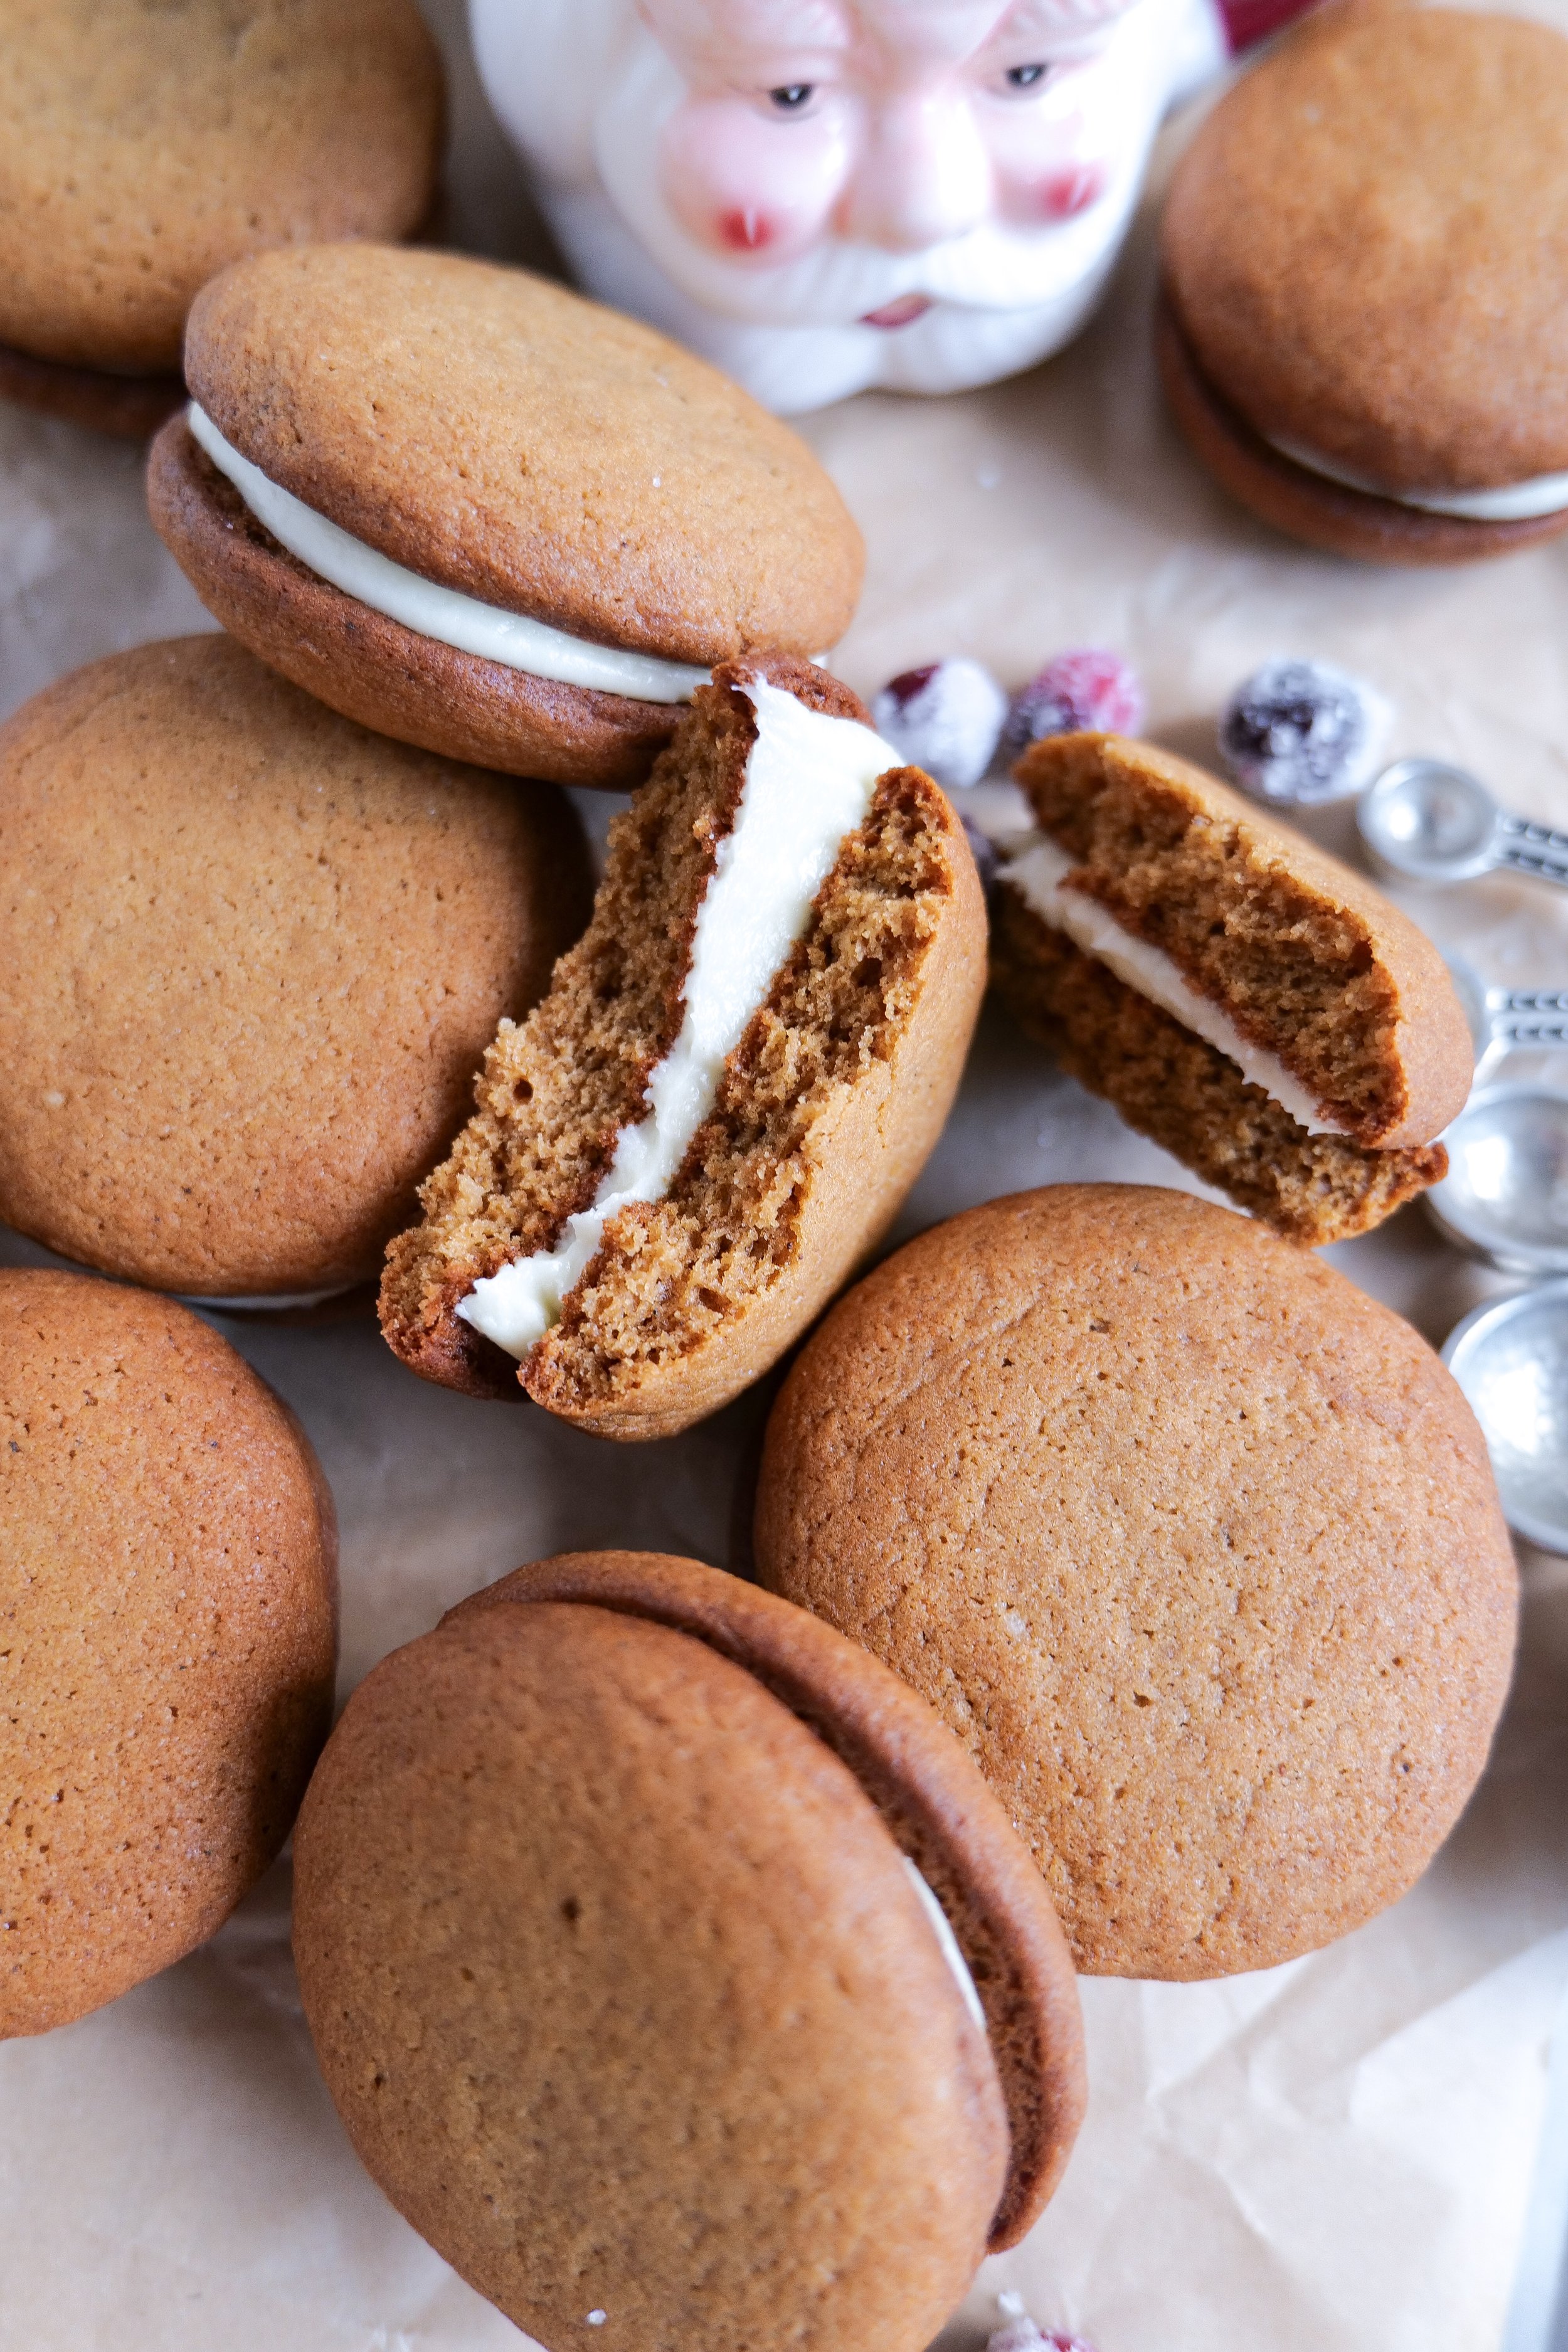
Indulge Your Sweet Tooth: The Ultimate Guide to Making Gingerbread Whoopie Pies at Home

Welcome to a world where the warm, nostalgic spices of gingerbread unite with the creamy, indulgent fluffy comfort of whoopie pies. This sweet treat promises to teleport your taste buds to a festive winter wonderland! Are you looking for the perfect, unique treat this holiday season? Gingerbread whoopie pies are the perfect dessert that is sure to wow your friends and family! This delightful confection, with its soft, cake-like gingerbread cookies and luscious filling, offers the perfect balance of spice and sweetness, making it a hit for any fall gathering, holiday party, or simply a quiet evening at home with a cup of tea. So tie on your apron, preheat your oven, and let's embark on the culinary adventure of creating these charming and irresistibly tasty treats that are certain to become a beloved addition to your baking repertoire.

Gingerbread whoopie pies are a delicious and unique twist on a classic dessert. The combination of gingerbread and the Spiced Cream Cheese Filling is a match made in flavor heaven! The cream cheese filling is so easy to make - and it can be prepared ahead of time, making it a great option for busy bakers. The cream cheese filling is also very versatile and can be used to fill other desserts such as cupcakes or as a topping for cakes. It’s a great way to add an extra layer of flavor to any dessert. So if you’re looking for a unique twist on a classic dessert, give gingerbread whoopie pies with Spiced Cream Cheese Filling a try! It’s sure to be a hit with family and friends.

How Do I Store For the freshest results?

Gingerbread whoopie pies are a delightful treat that can be enjoyed year-round. For those who are looking to store them for later, there are a few tips to ensure their freshness. To store for up to 4 days, feel free to place whoopie pies in an airtight container and store in the refrigerator. For longer storage, place in an airtight container and freeze. If freezing, be sure to thaw the whoopie pies overnight in the refrigerator before serving. To keep them from sticking, place parchment paper or wax paper between each whoopie pie and place in a single layer in the container. For optimal freshness, always store them in a cool and dry place. Enjoy these delicious gingerbread whoopie pies!

Gingerbread whoopie pies are the perfect dessert for any occasion. They are easy to make, can be made ahead of time, and can be stored for later use. So the next time you’re looking for a sweet and delicious treat, look no further than these holiday gingerbread whoopie pies!

Ingredients

1 cup salted butter

1/2 cup dark brown sugar

1/2 cup granulated sugar

2 egg

1 teaspoon vanilla extract

1/4 cup molasses

2 1/2 cups all-purpose flour

2 teaspoons baking soda

1 teaspoon ground cinnamon

1 teaspoon ground ginger

1/2 teaspoon ground cloves

1/2 teaspoon sea salt

Cream Cheese Filling

4 ounces cream cheese

1/4 cup salted butter, softened

1 1/2 cups powdered sugar

1 teaspoon vanilla extract

Instructions

1. Preheat oven to 375 degrees. Line a large cookie sheet with parchment paper and set aside.

2. In a large bowl mix together melted butter and sugar. Add in eggs and vanilla until smooth. Mix in molasses until well combined.

3. Mix in all-purpose flour, baking soda, cinnamon, ginger and cloves to batter until consistency is smooth. Cover and chill for 15-30 minutes in the fridge.

4. Take refrigerated cookie dough and scoop large scoops (around 1 1/2-2 tablespoons) and place onto prepared baking sheet 2 - 21/2 inches apart. Flatten the top with a flat bottom of a glass.

5. Bake for 8-10 minutes. Let cool for 1 minute and transfer to a cooling sheet. While cooling make cream cheese filling

6. Whip together cream cheese, melted salted butter, powdered sugar and vanilla extract. Fill each cookie and top with another, serve & enjoy!

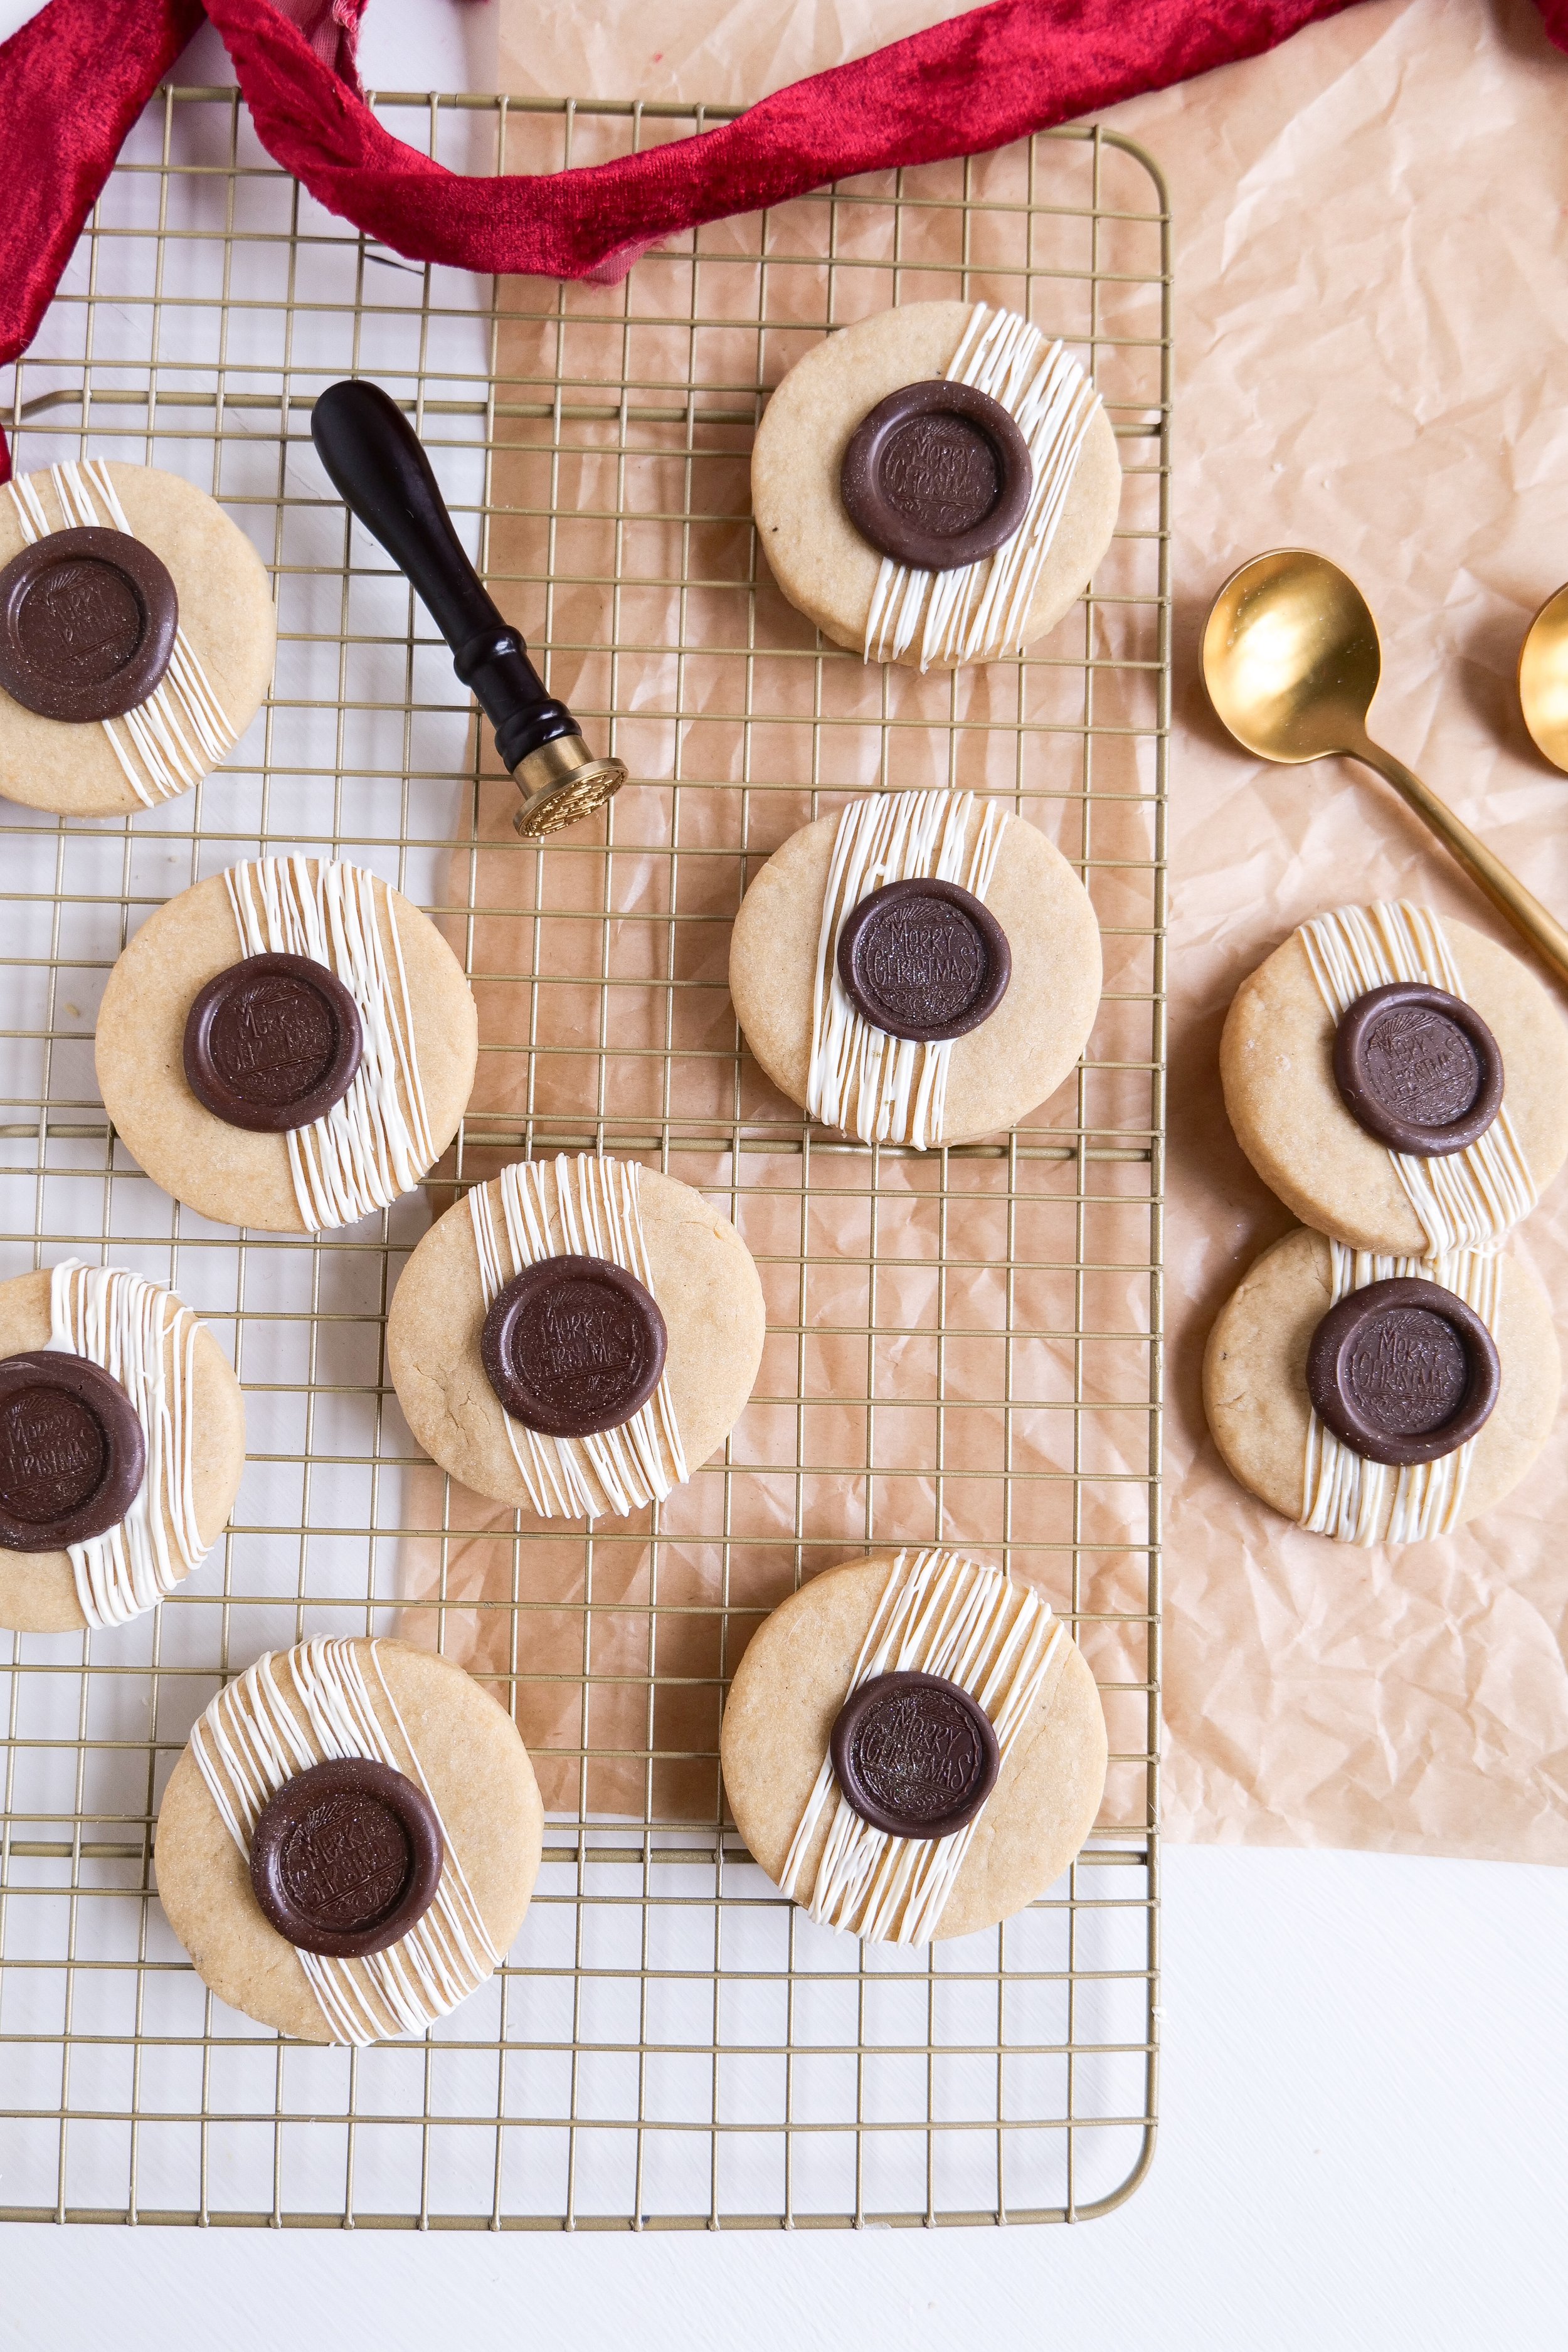
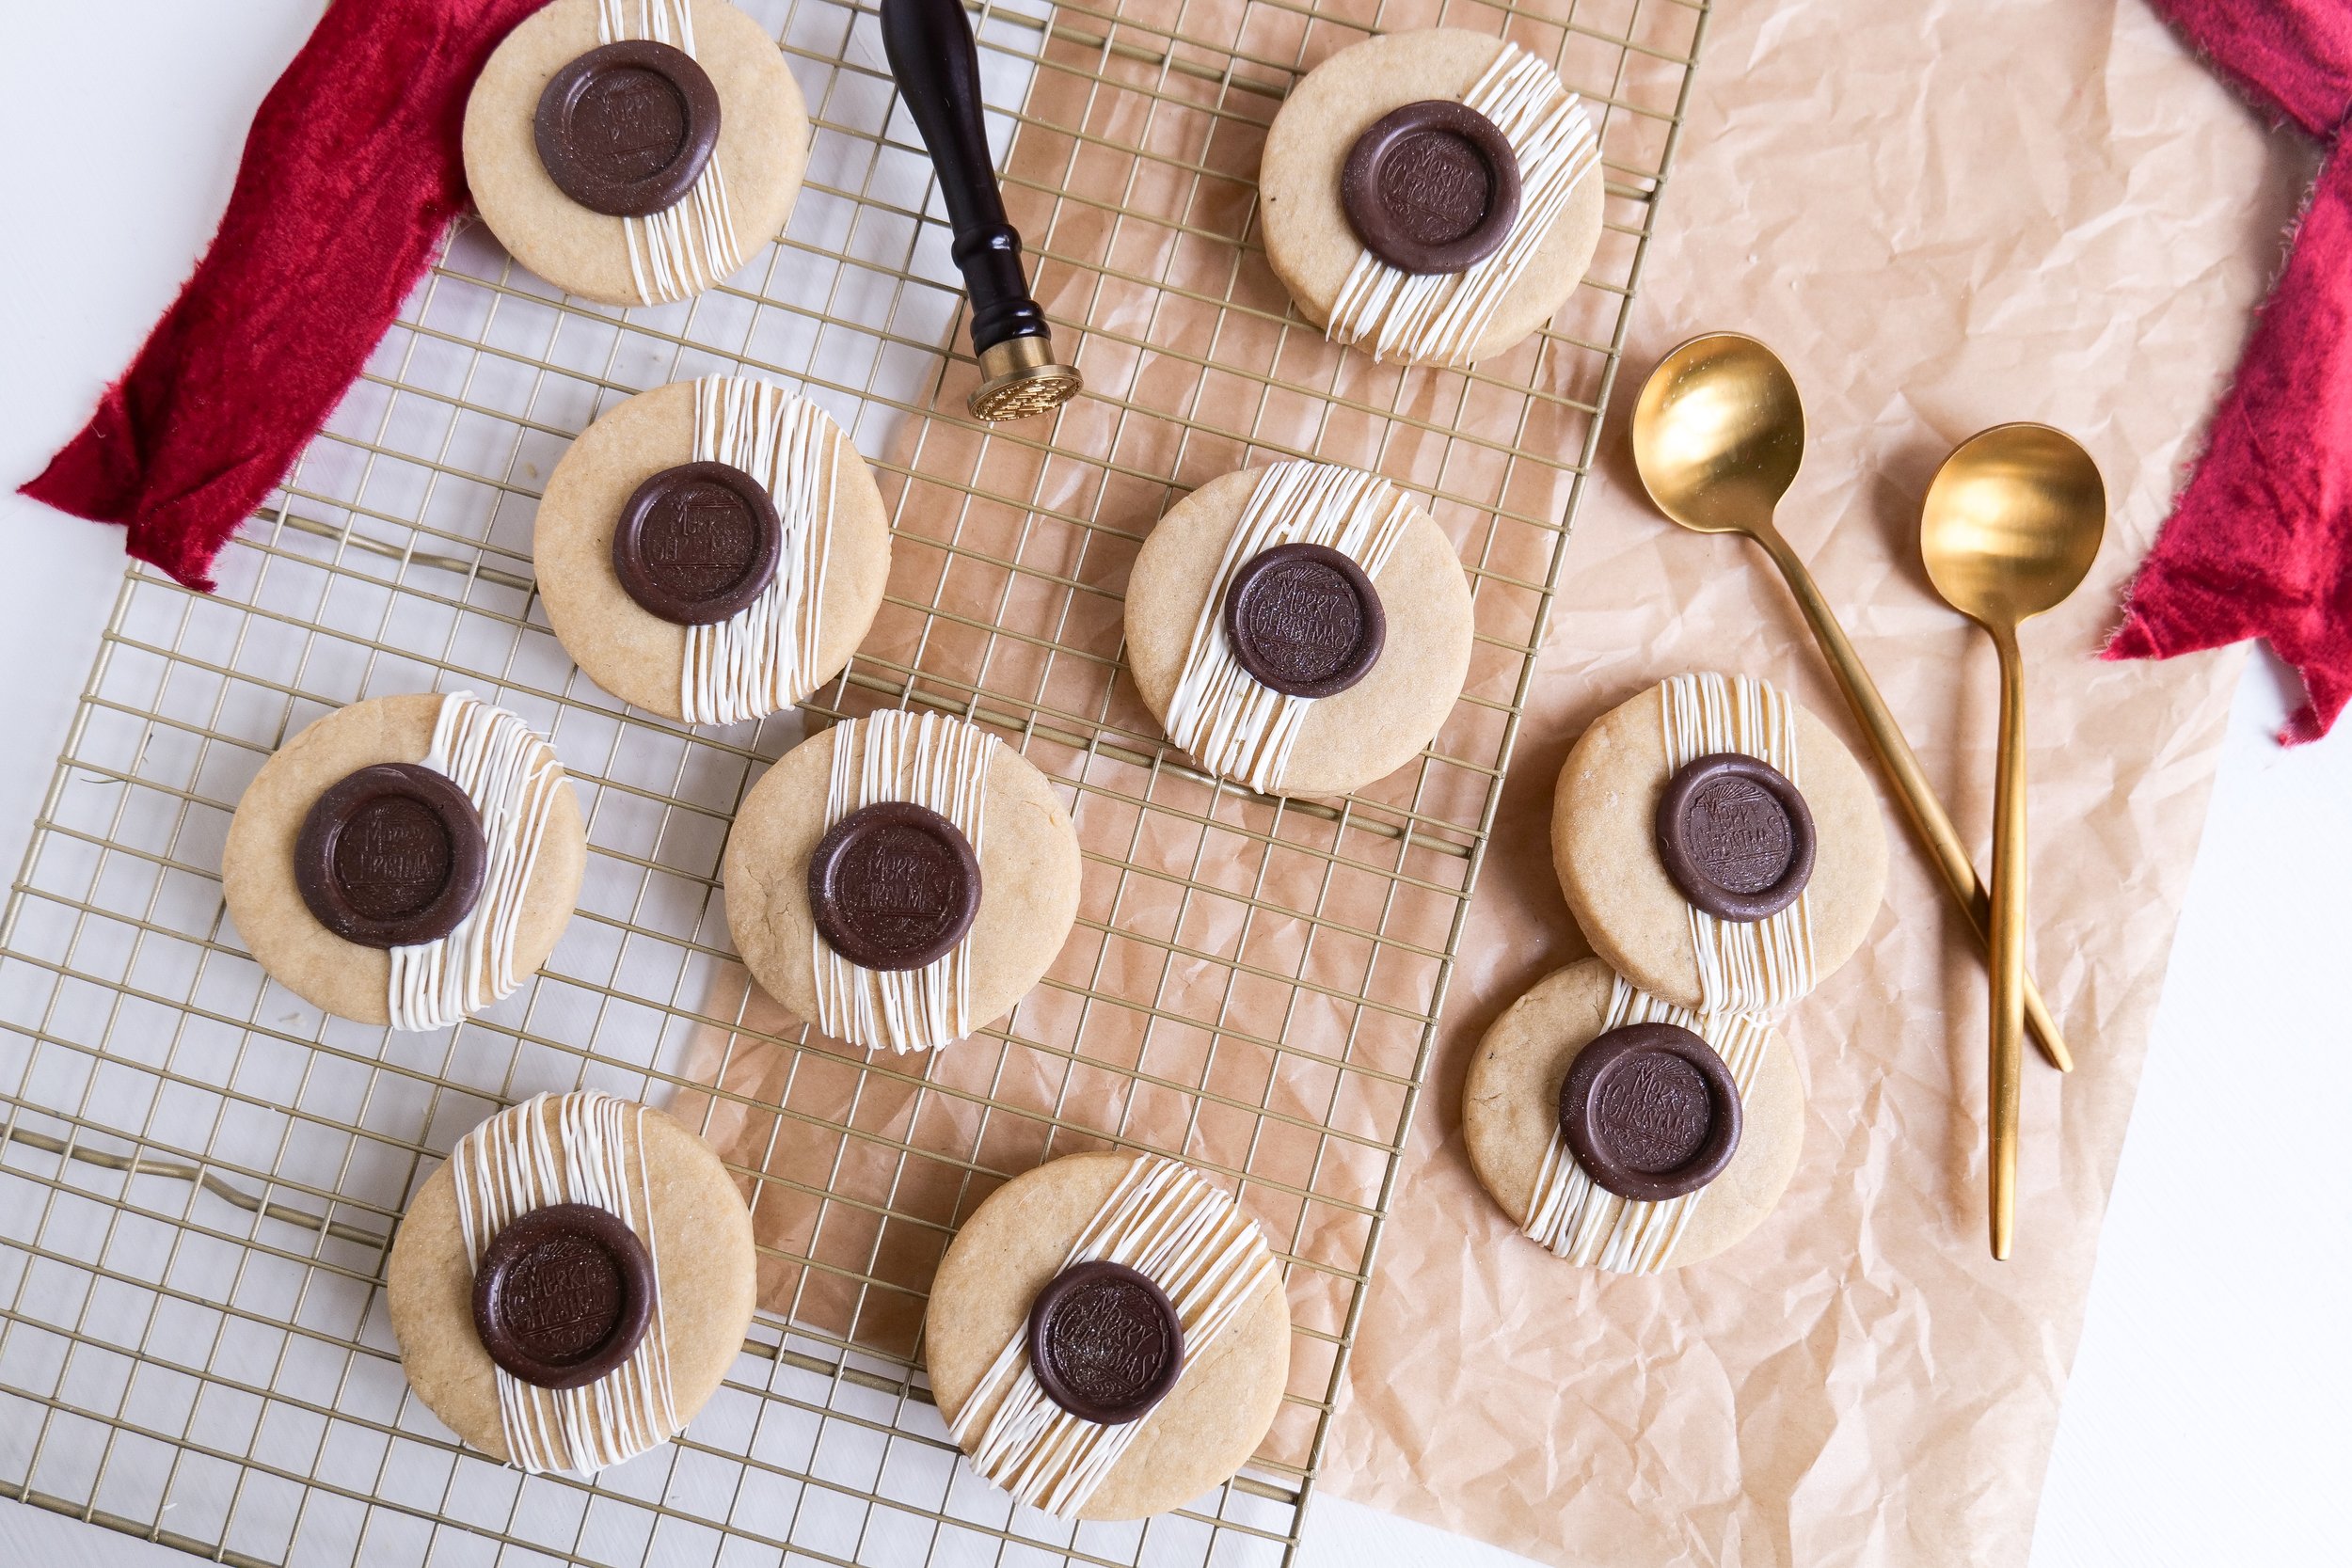
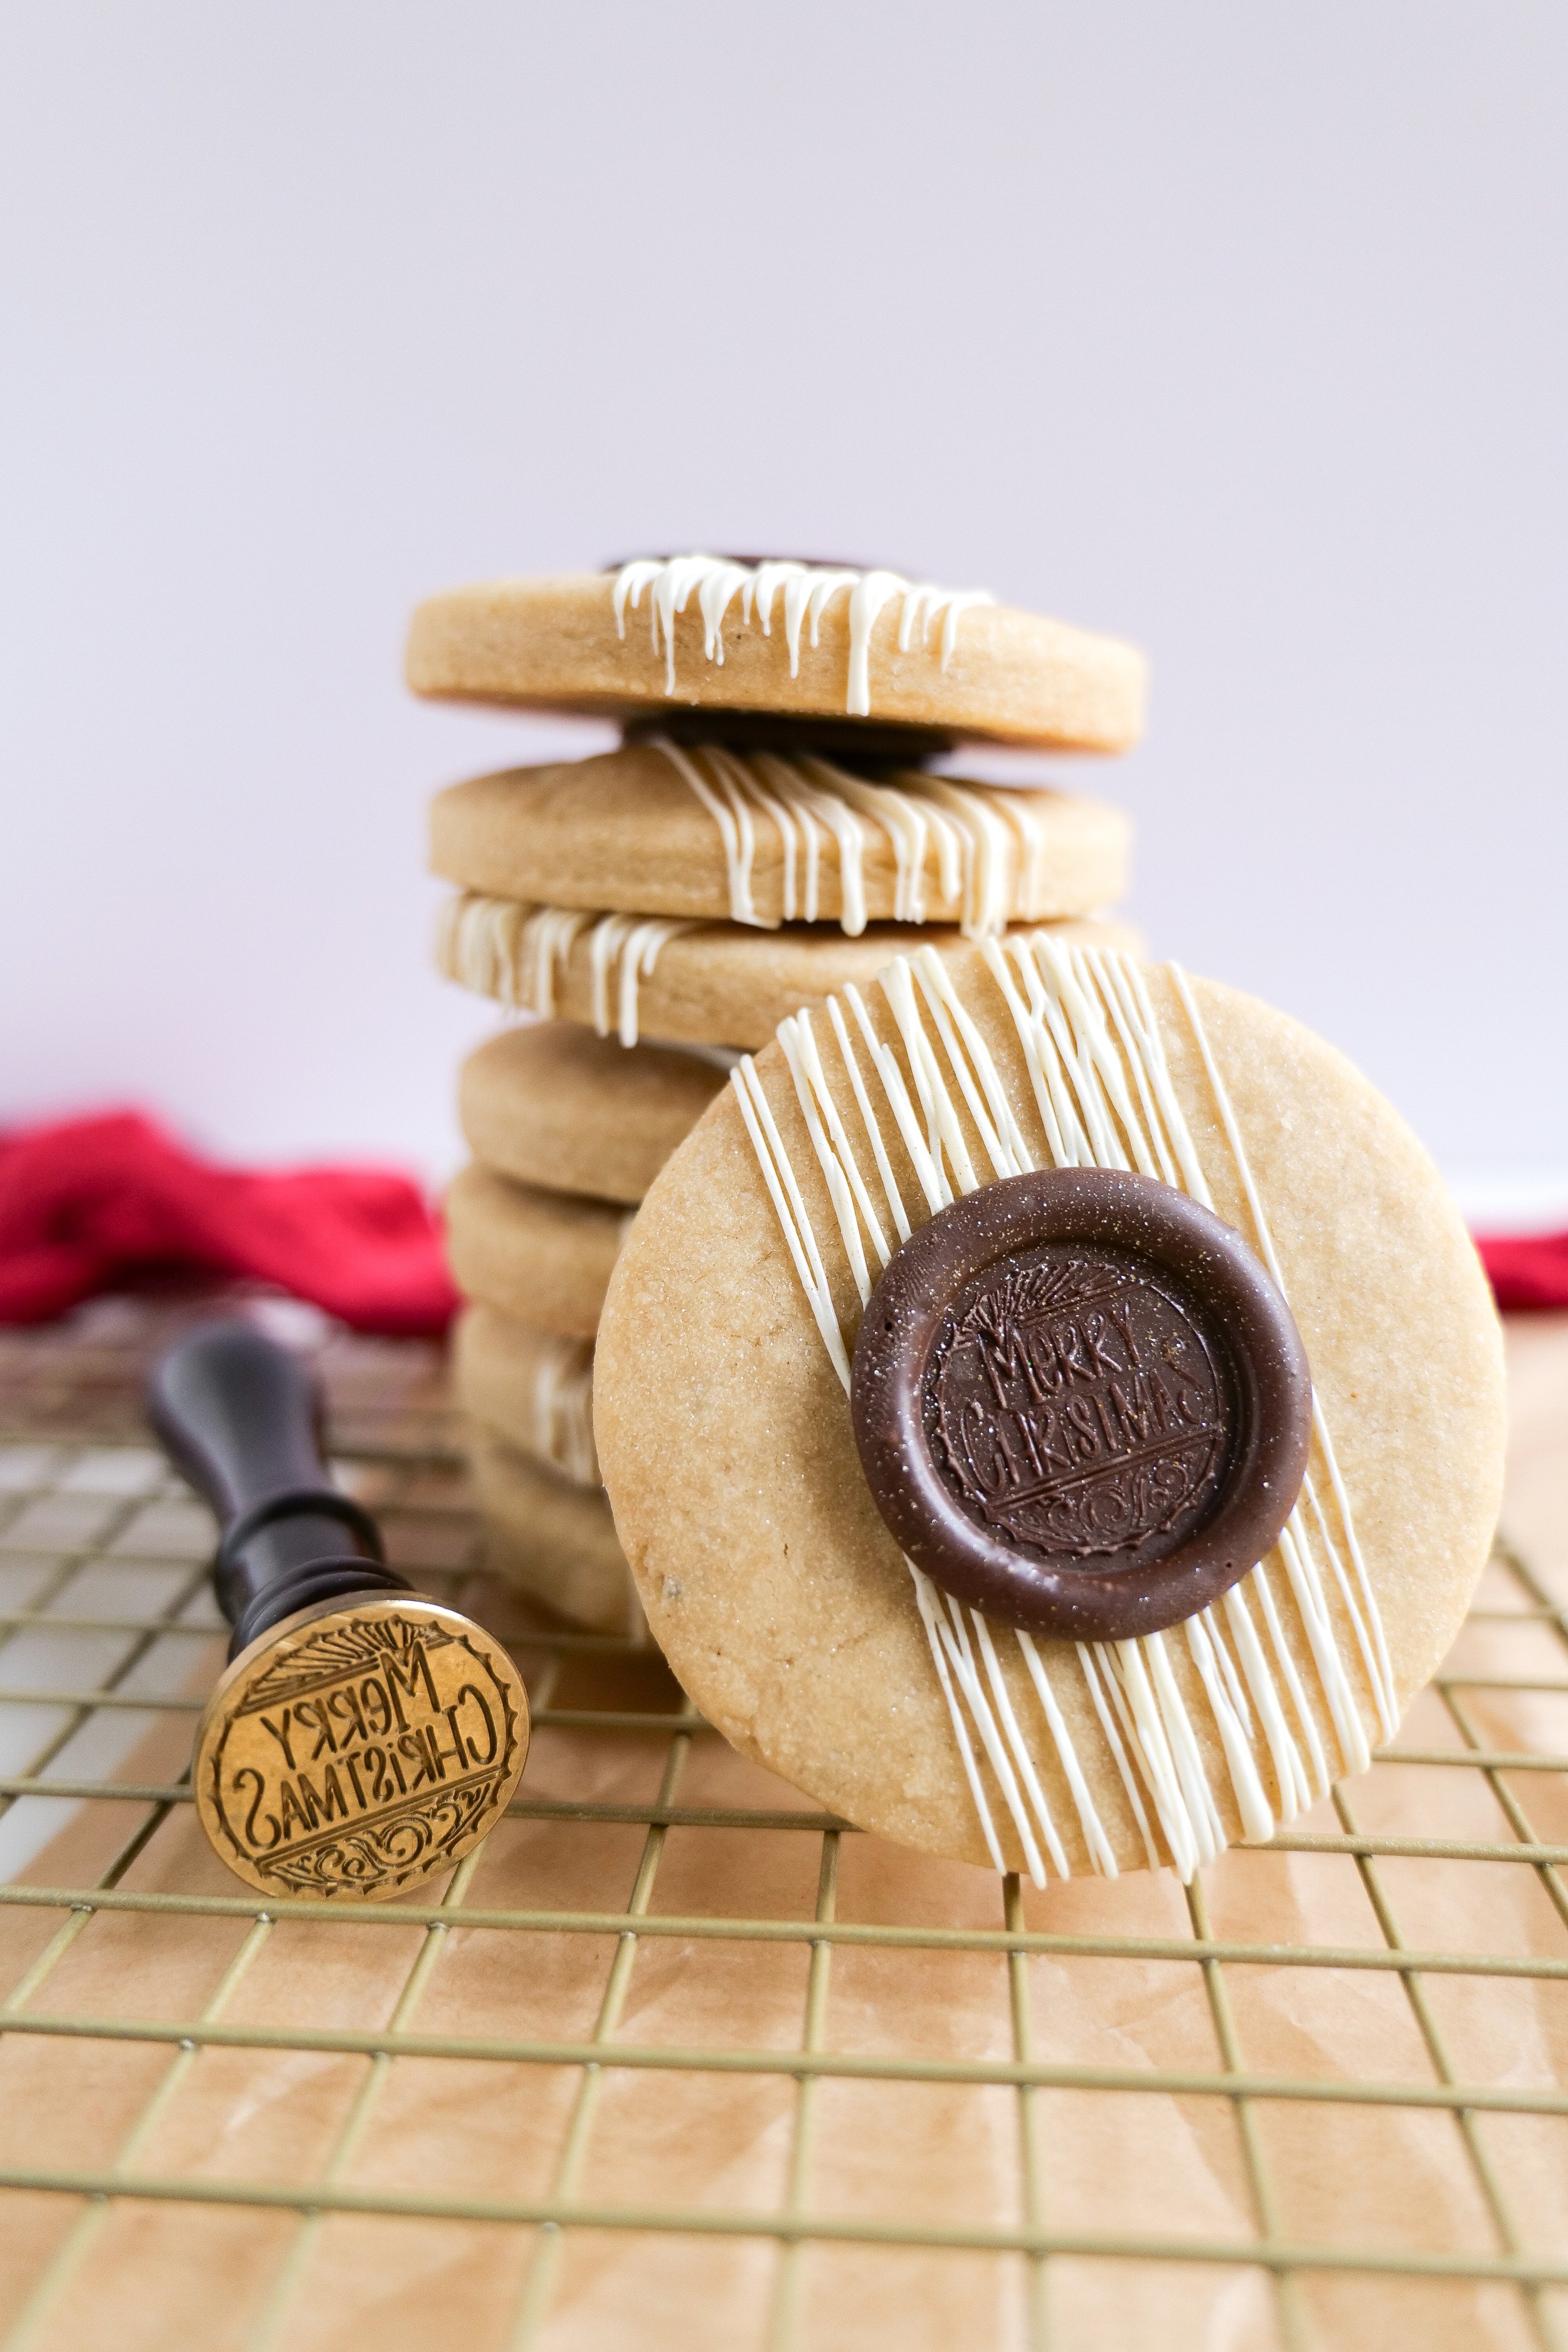
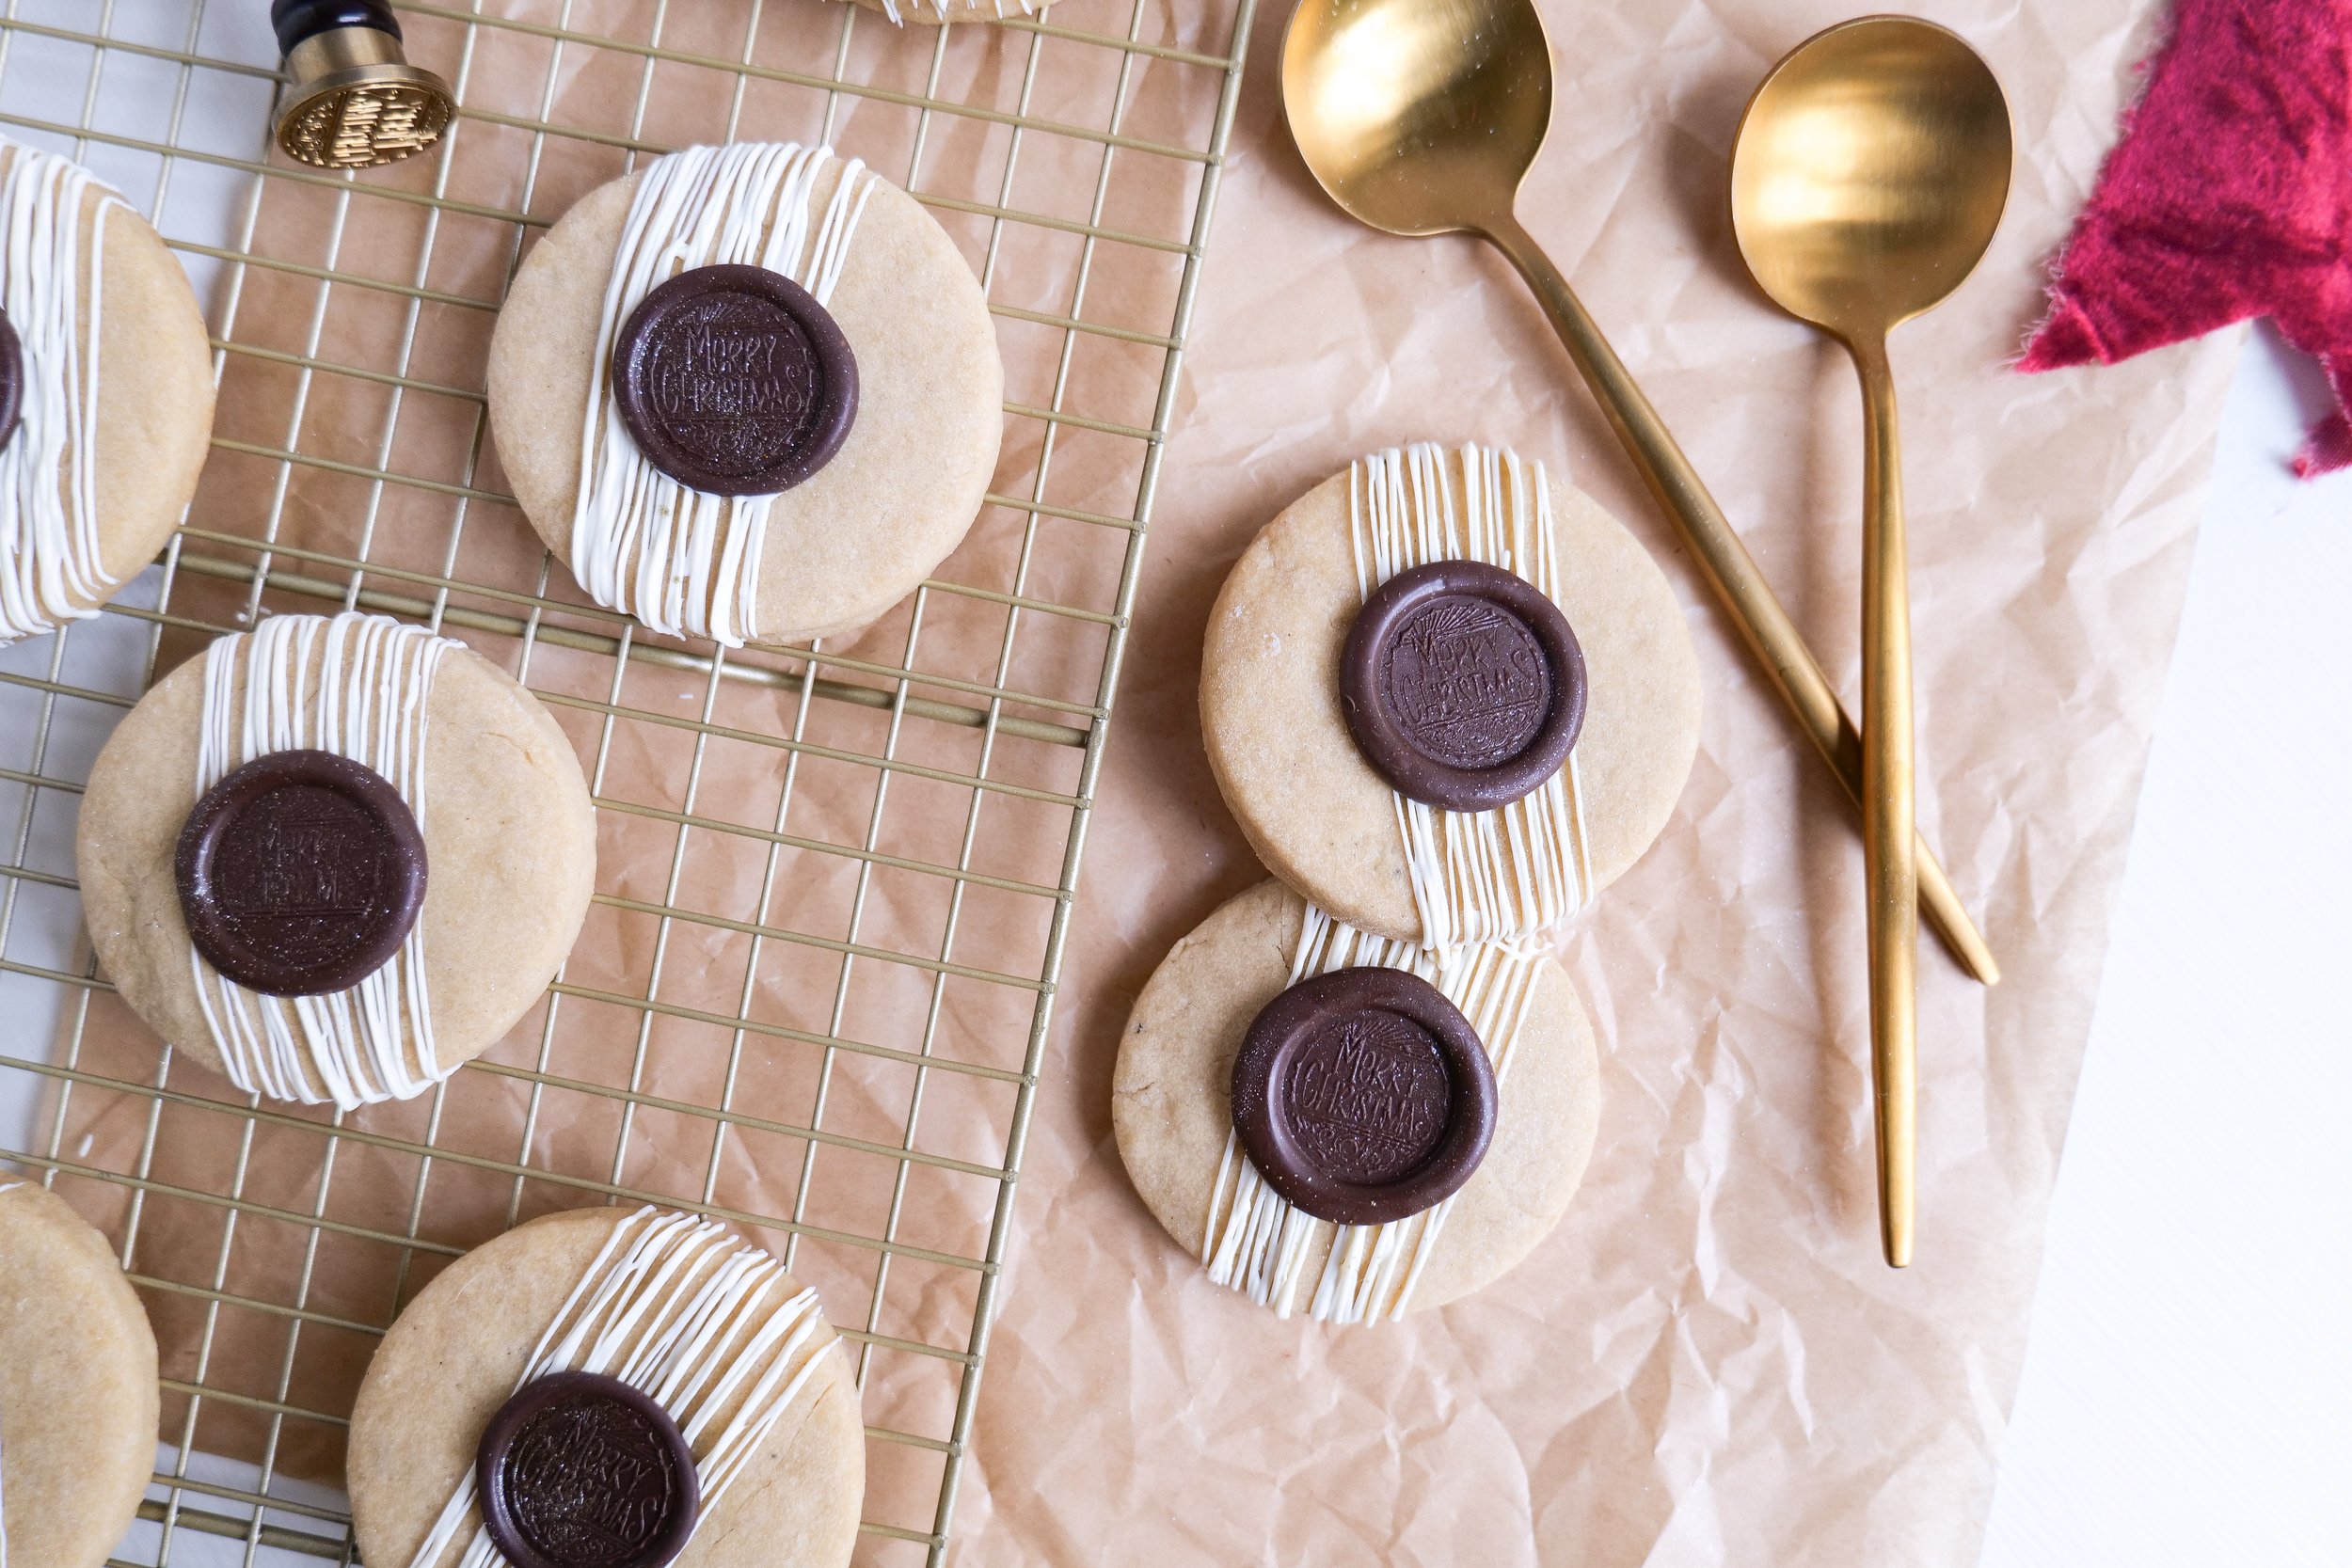
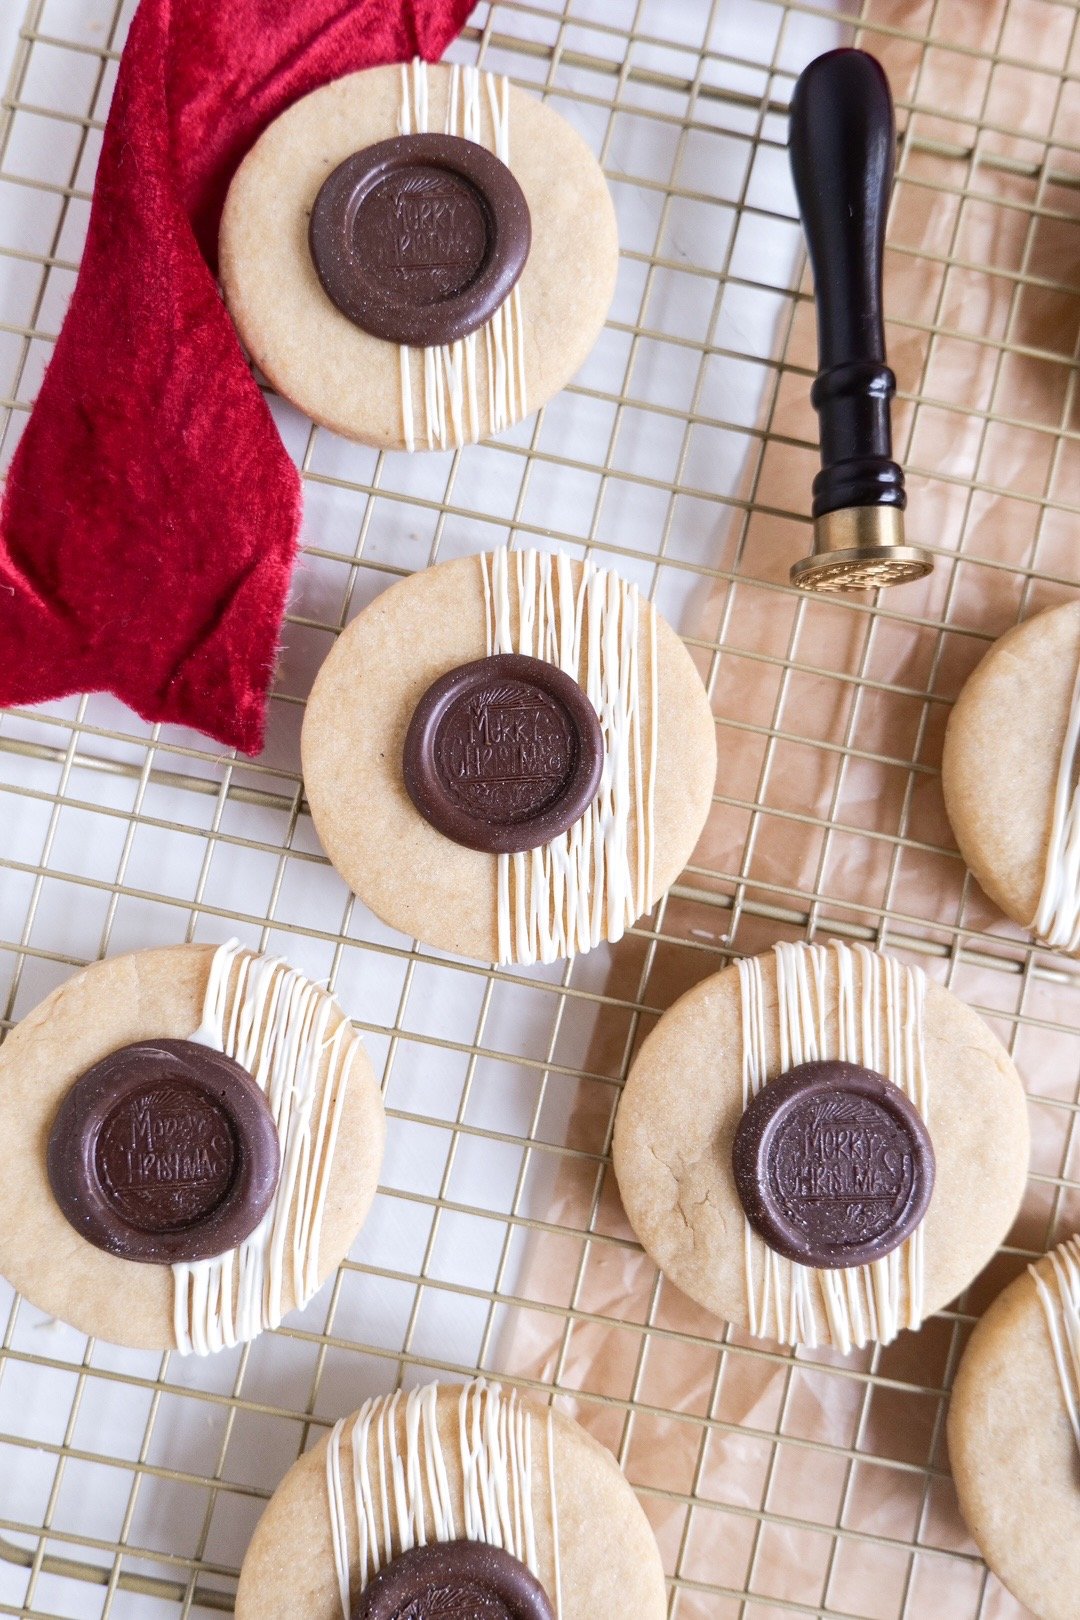
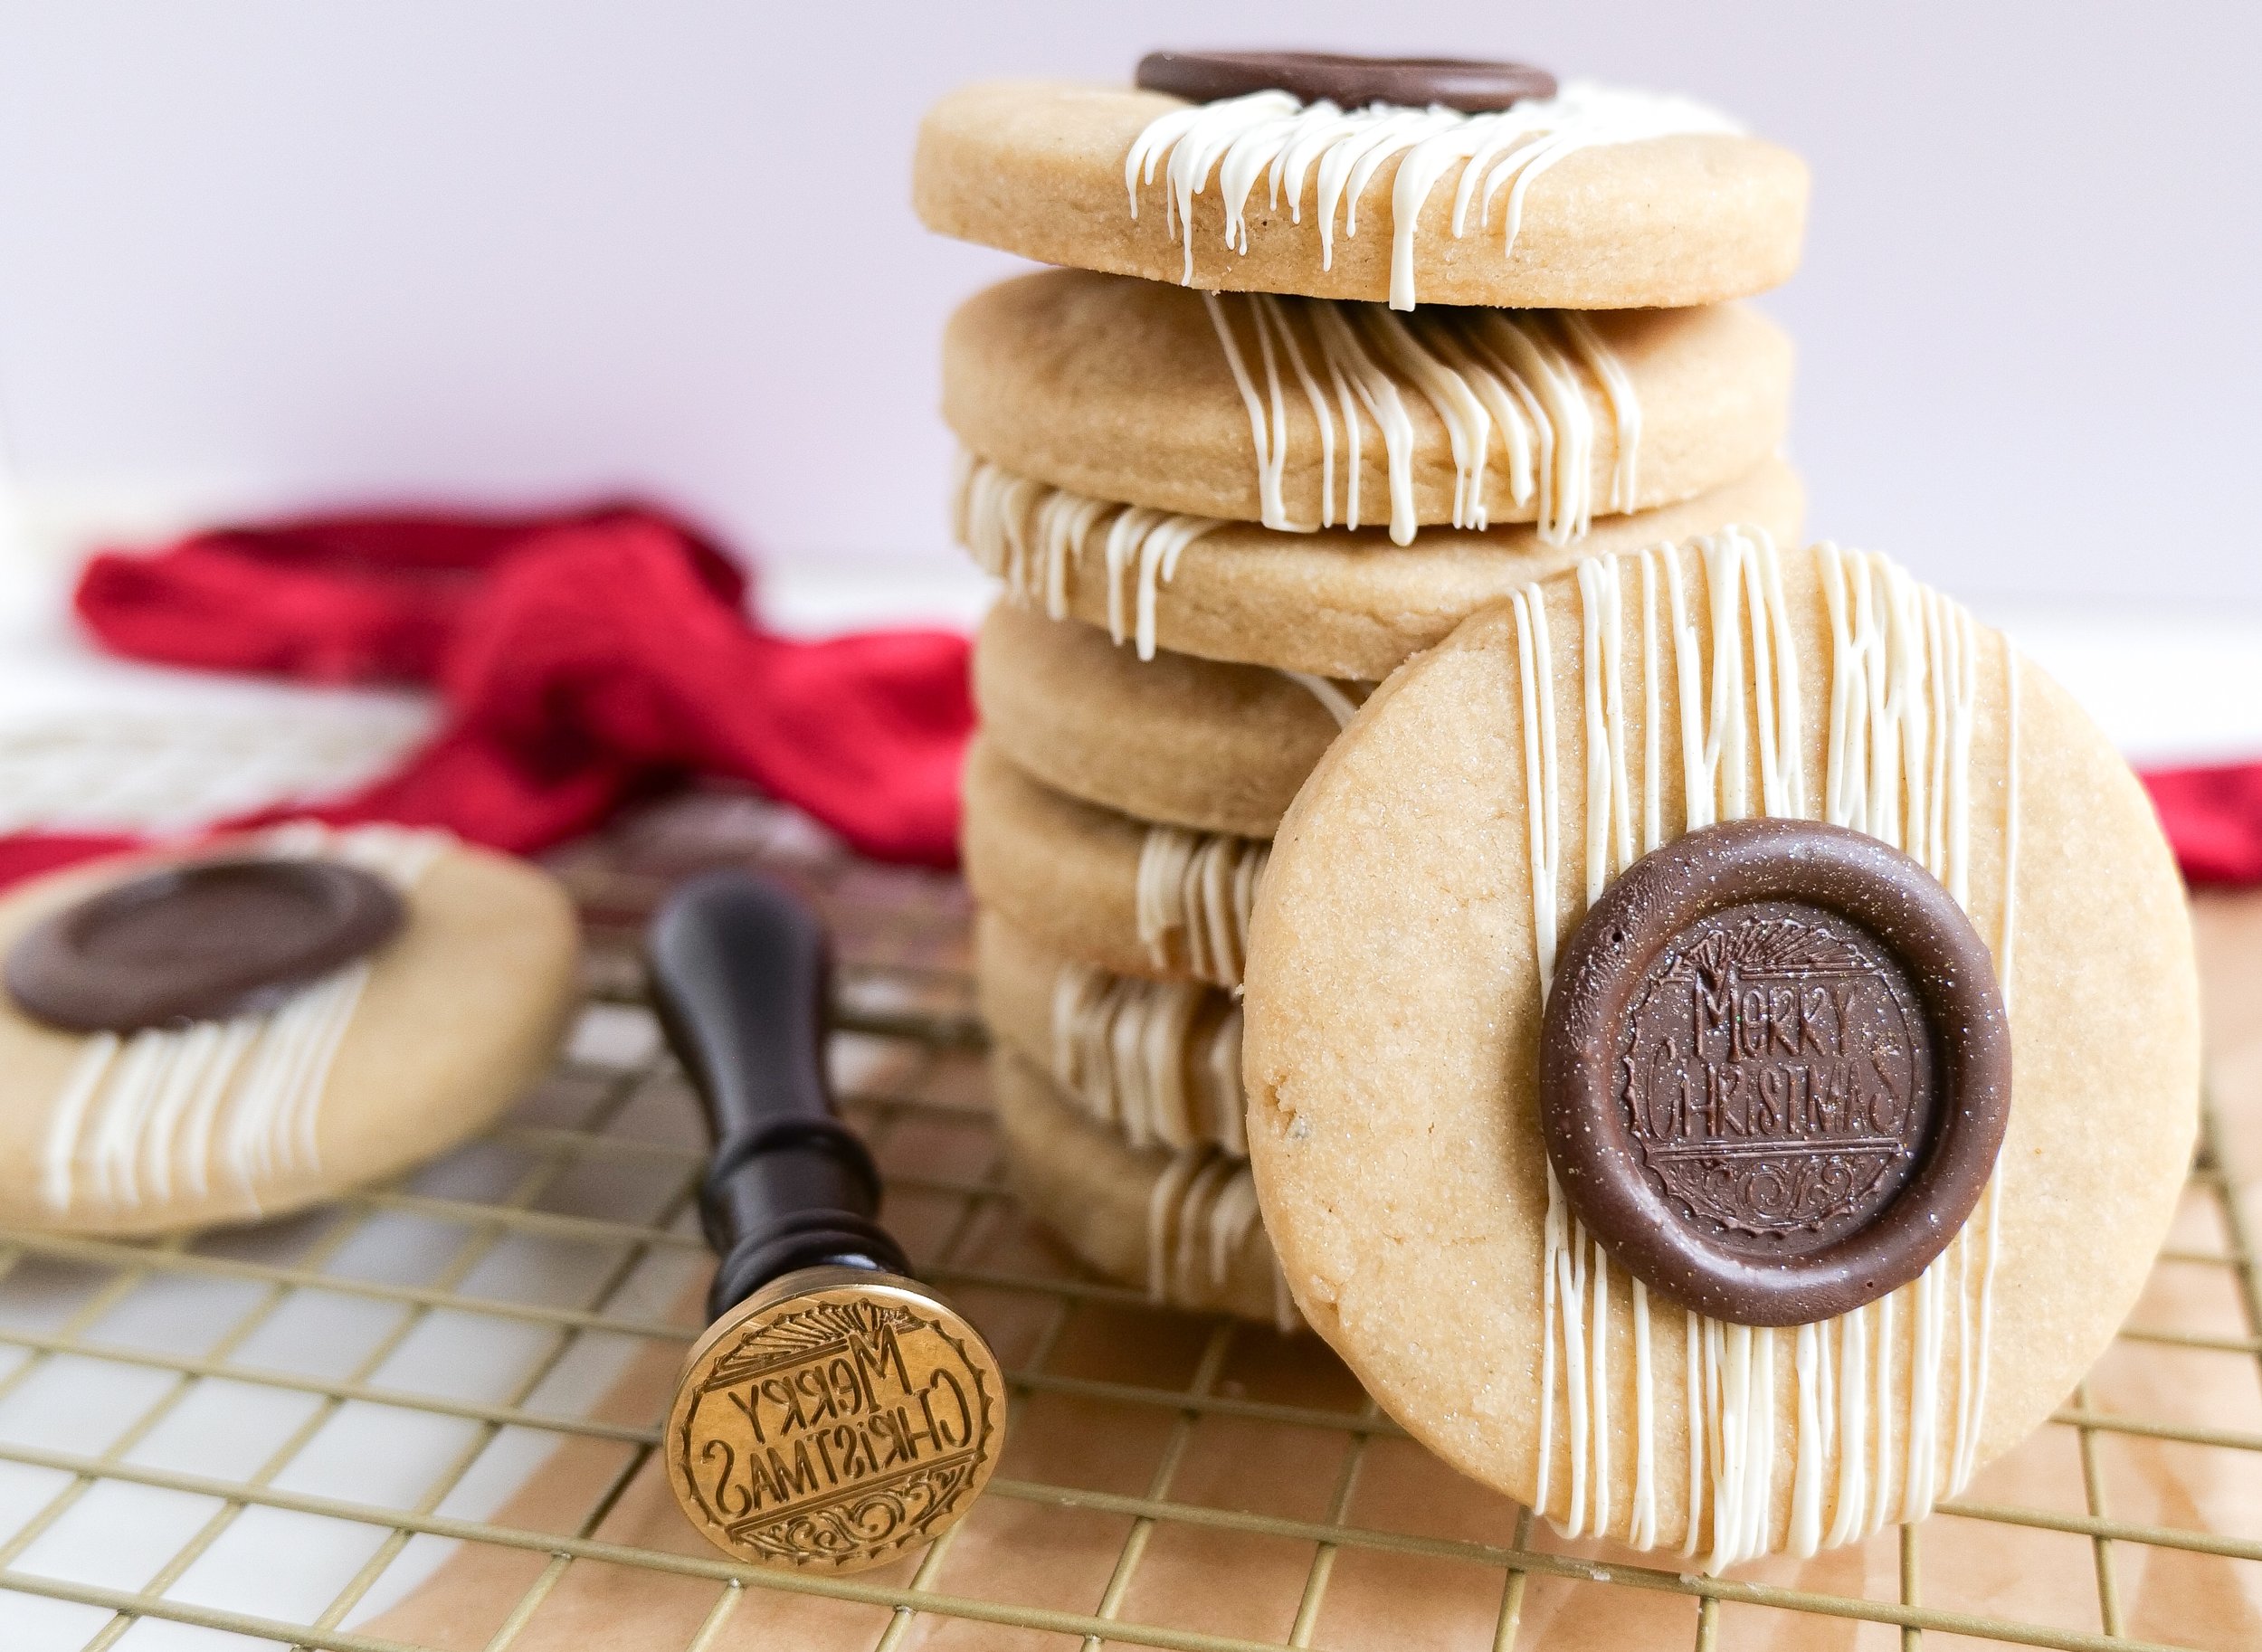
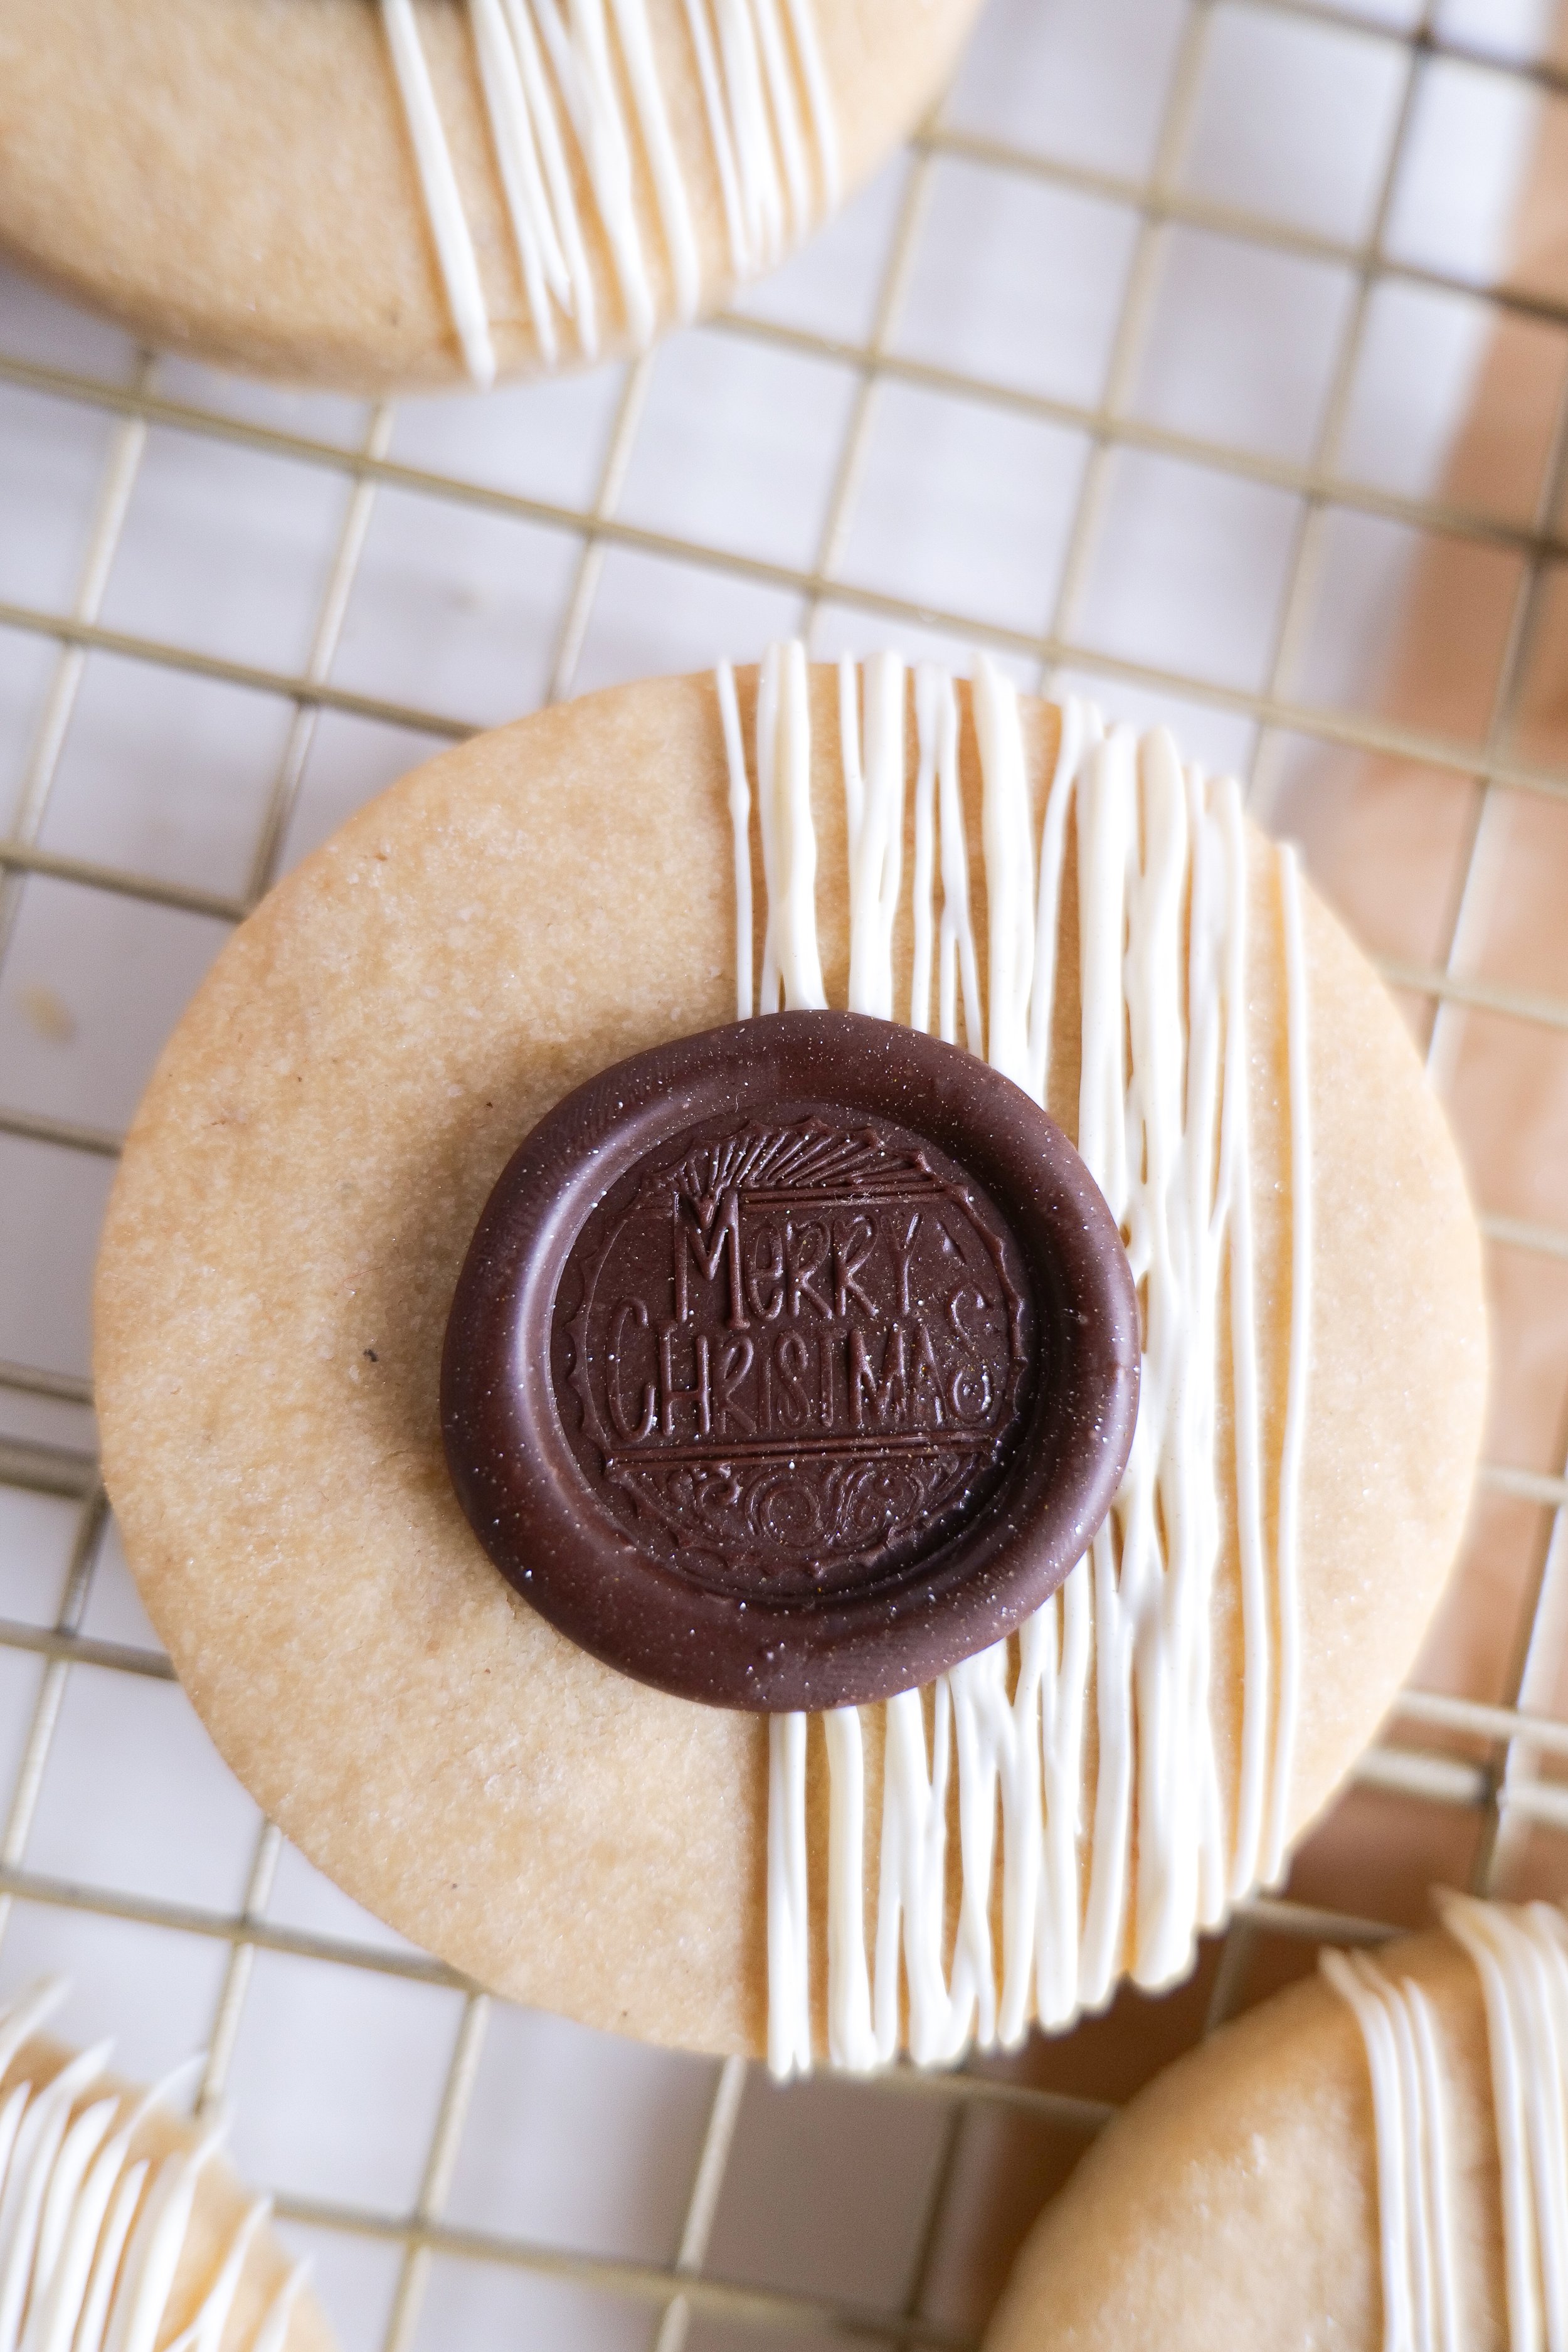
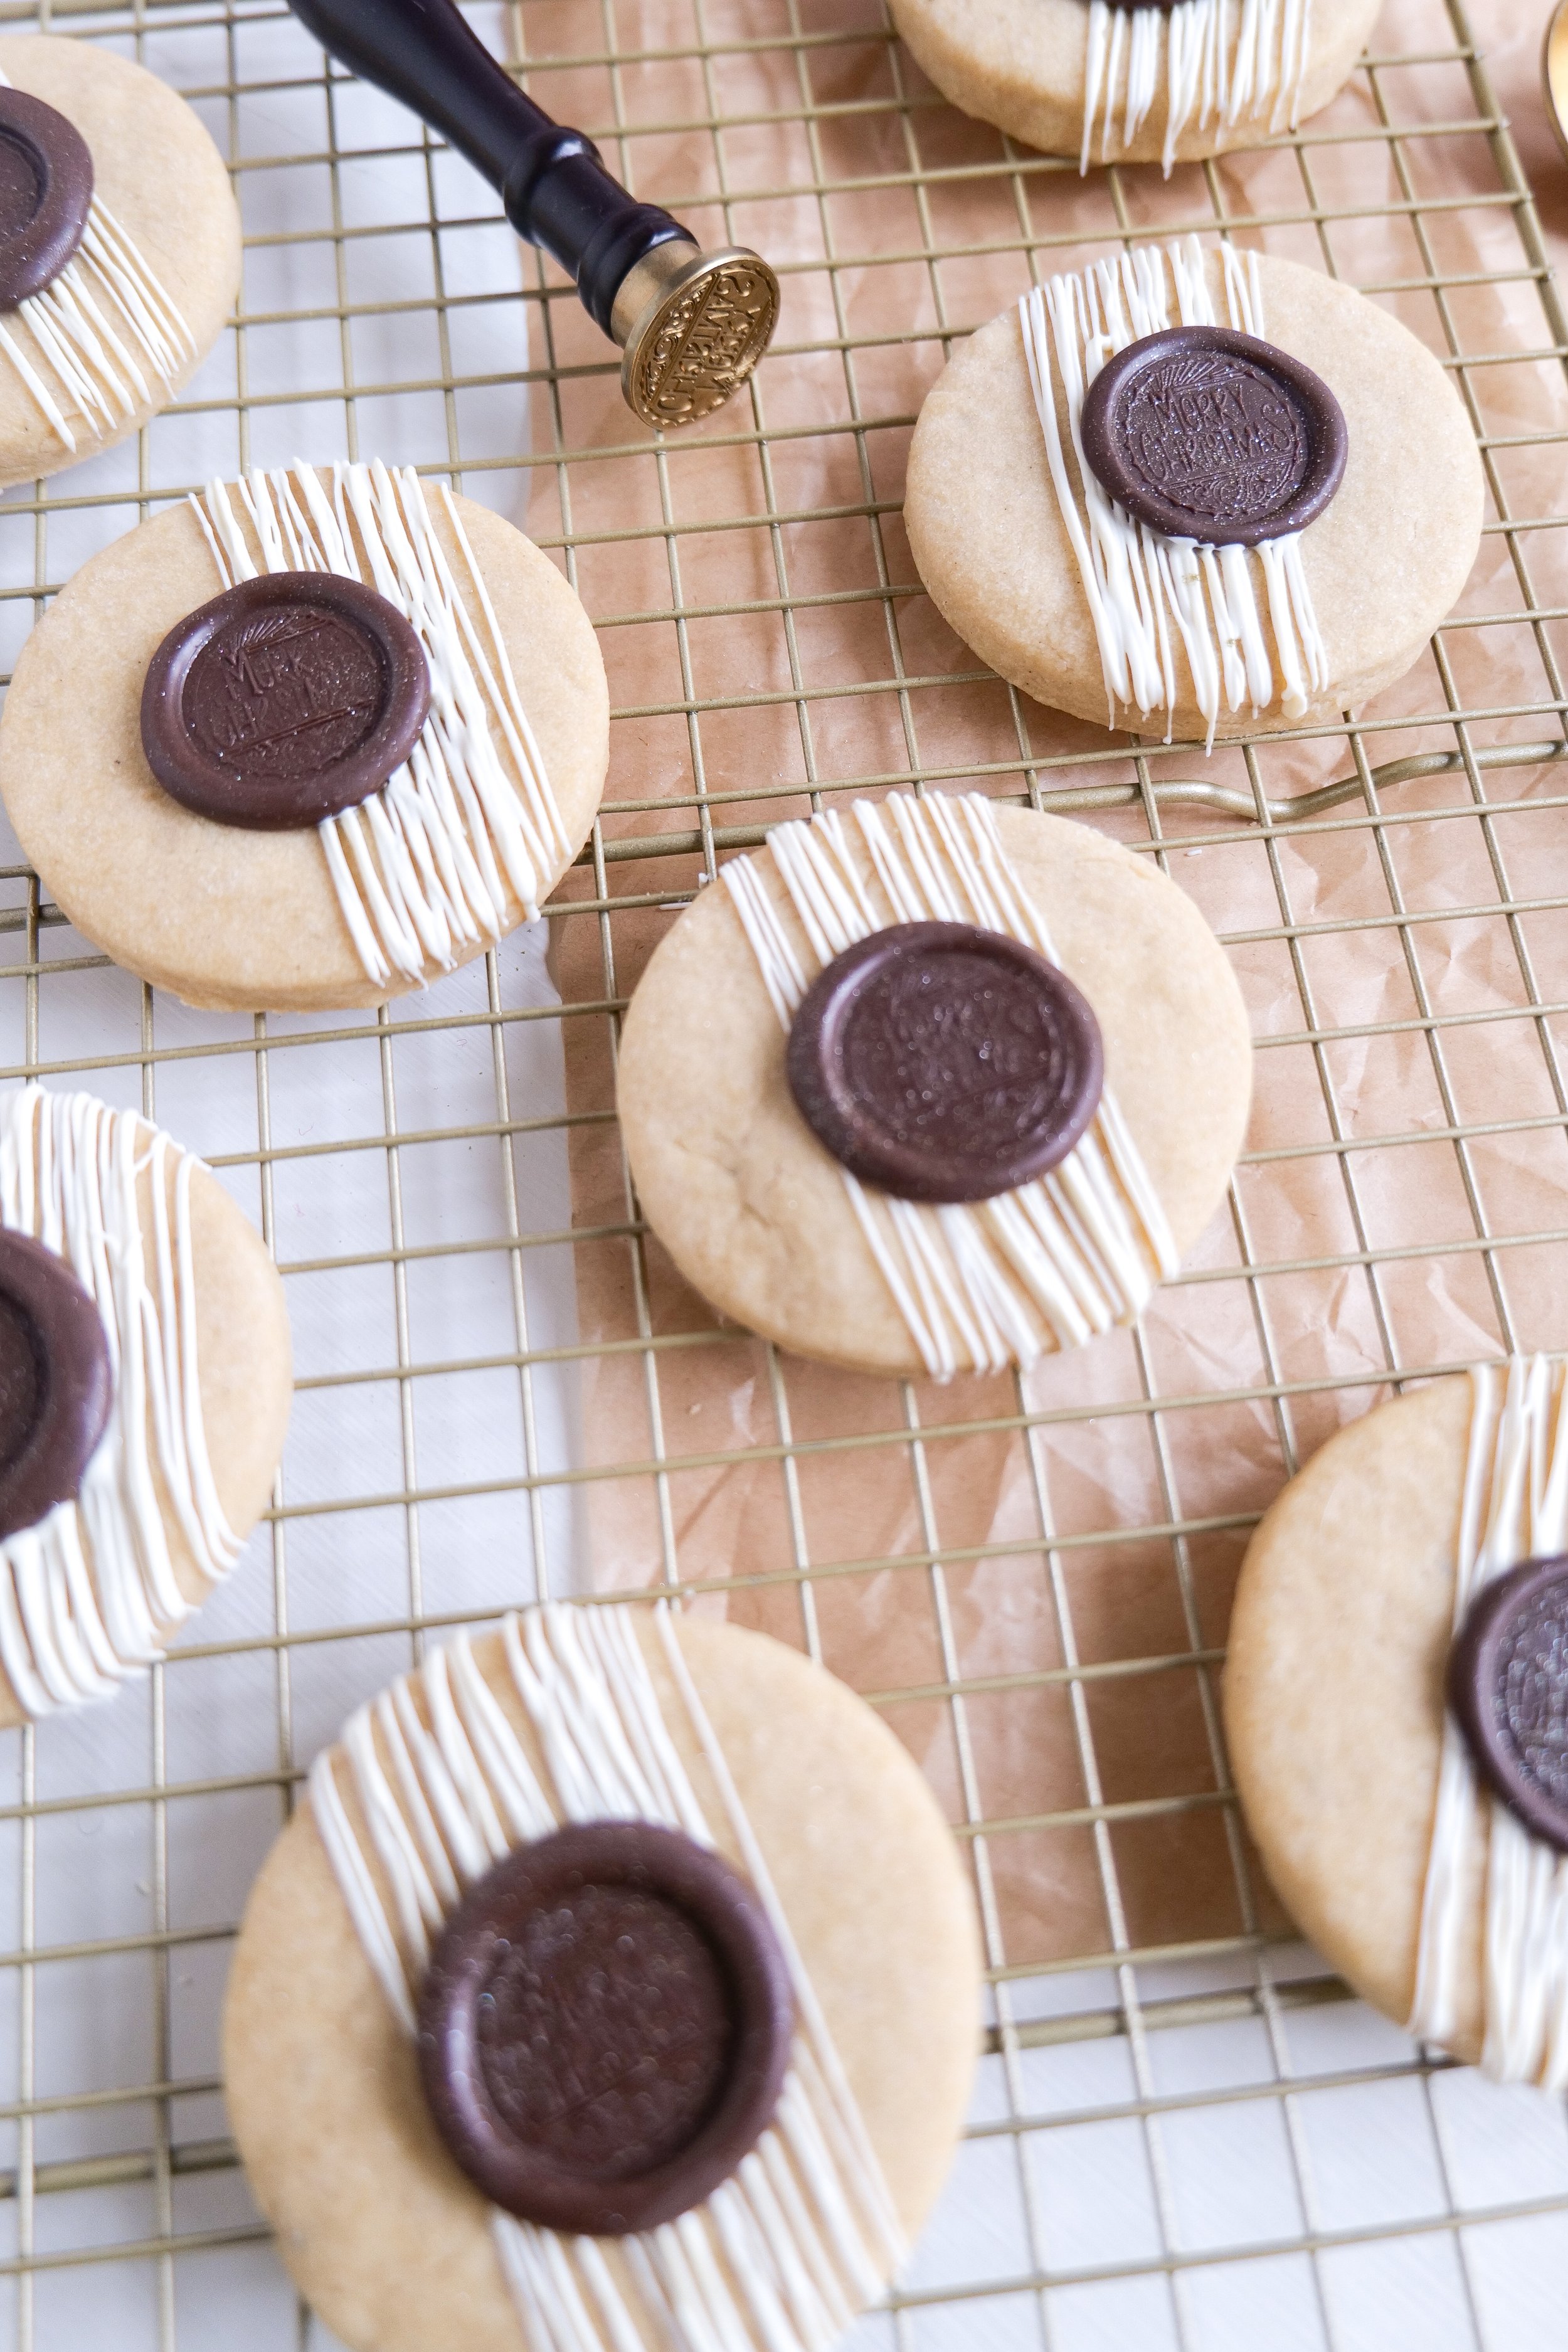
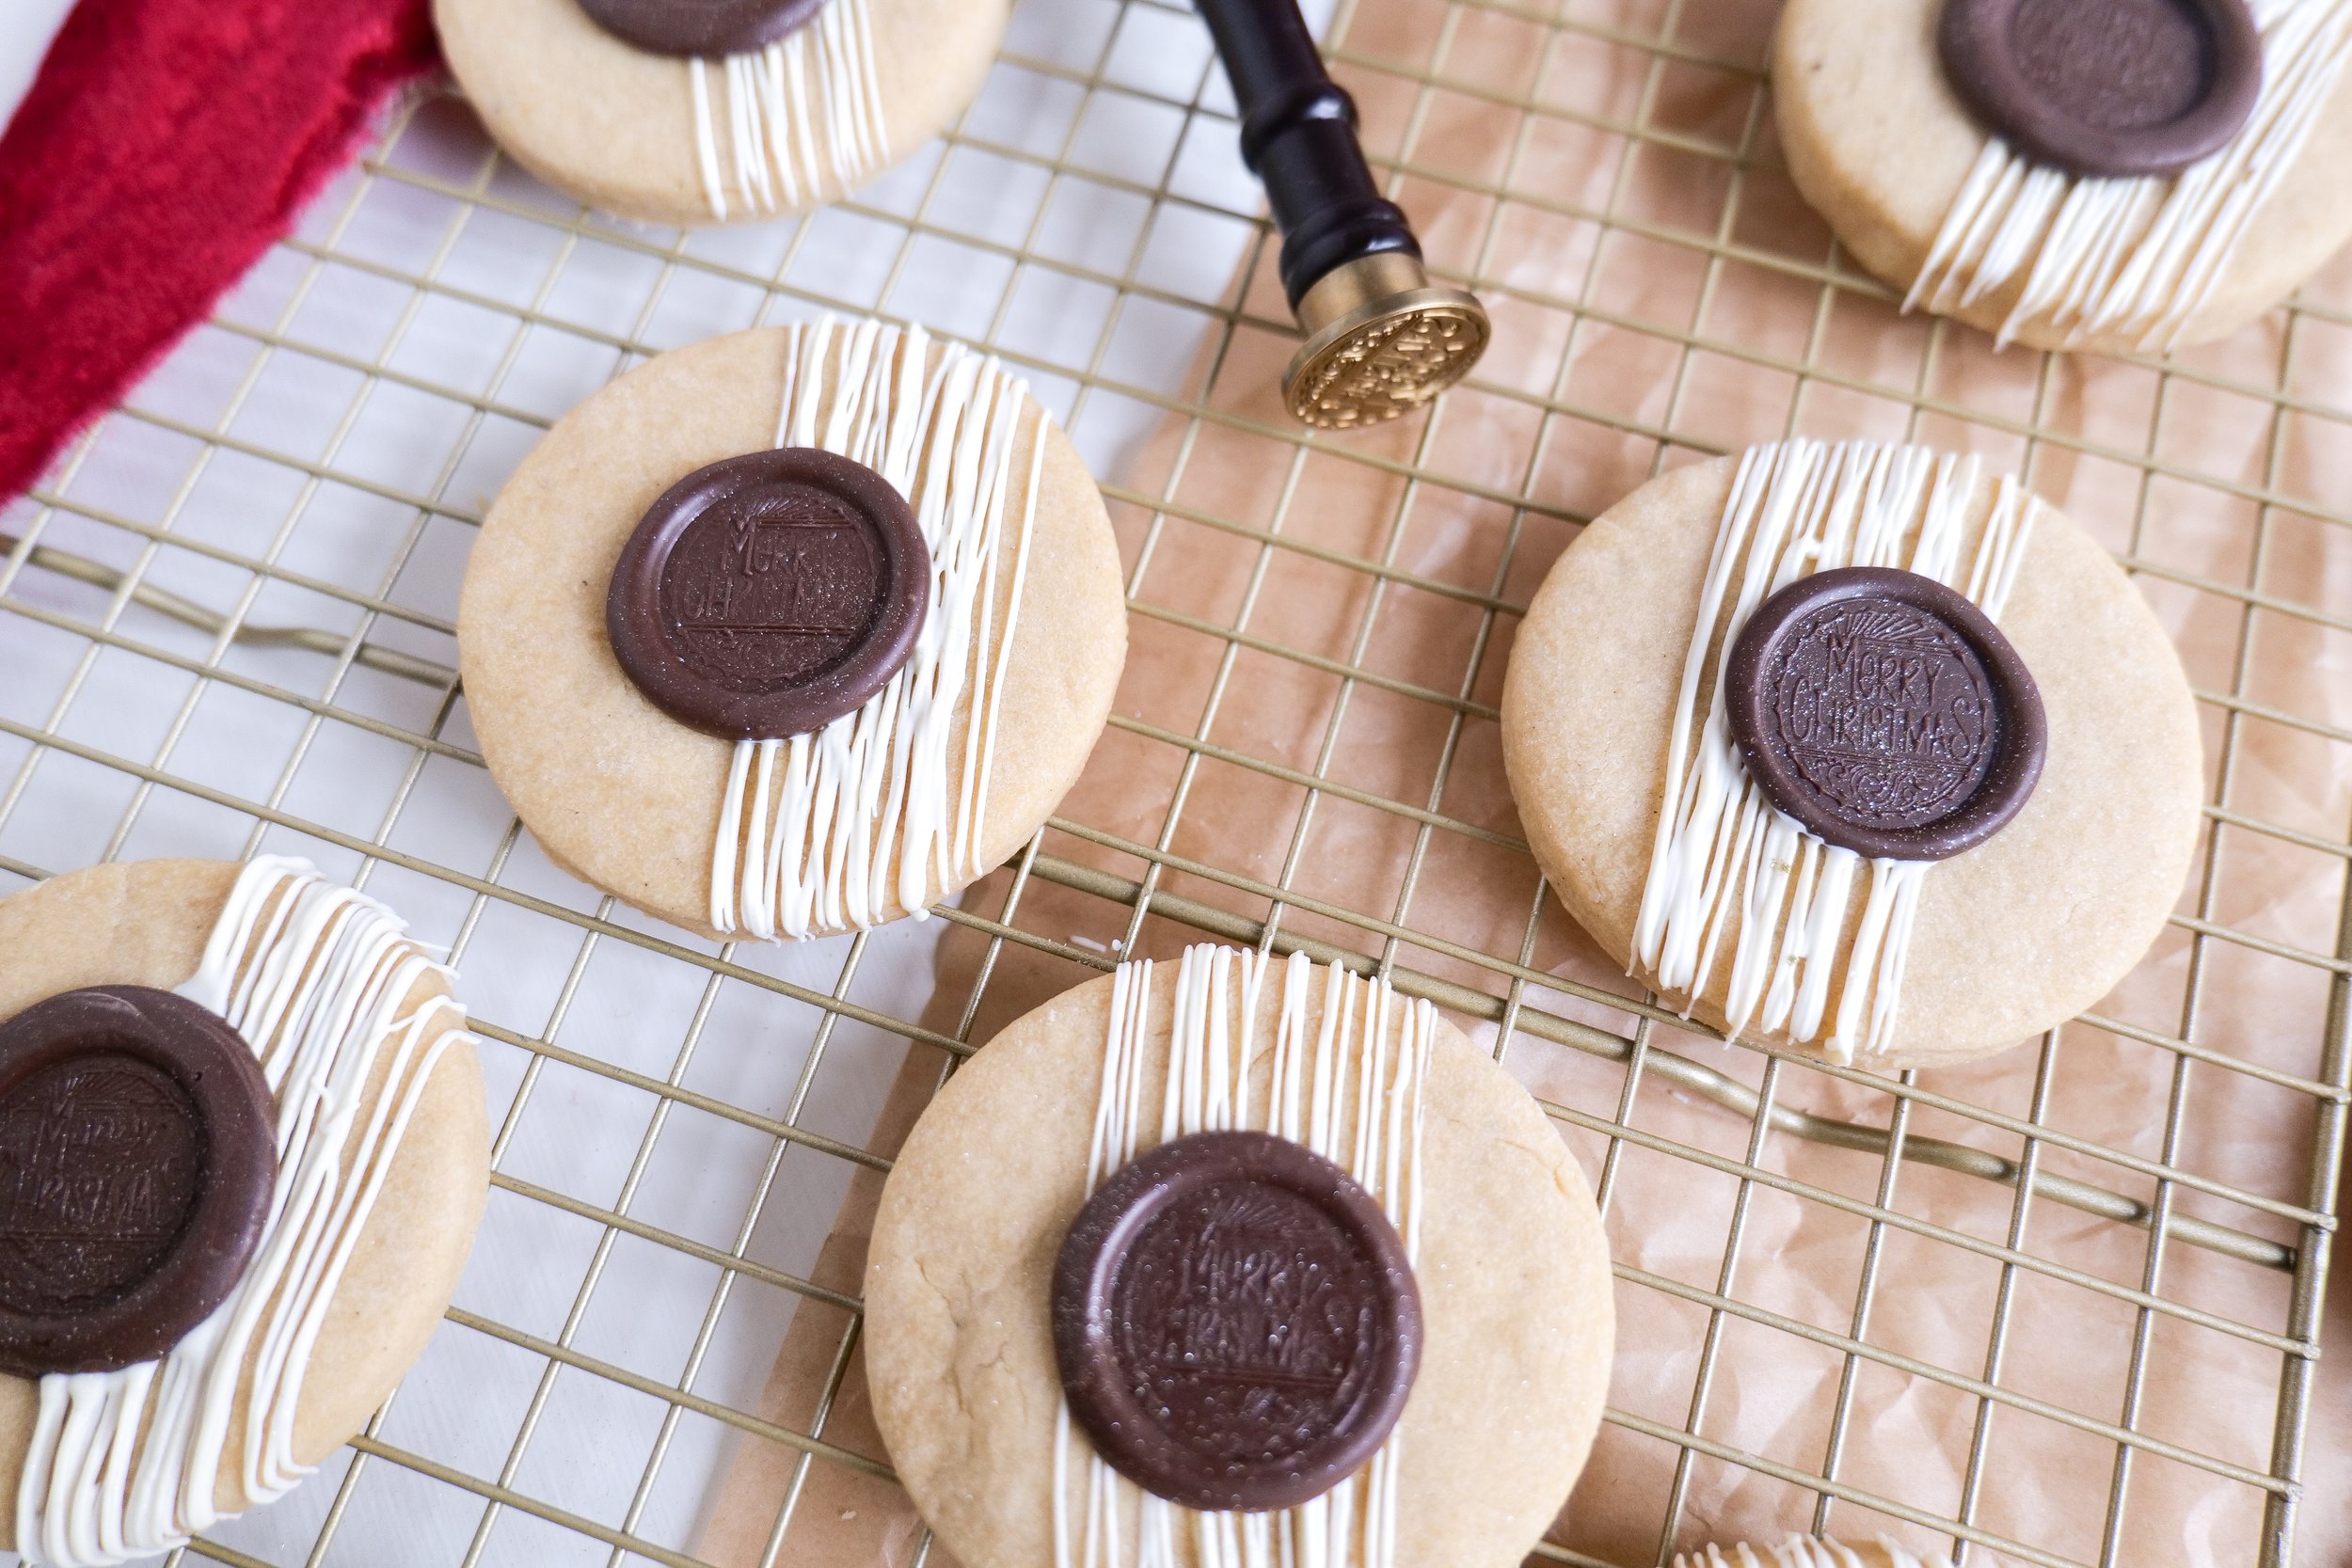
Decadent Brown Butter Shortbread Cookies with a Chocolate 'Wax' Seal – A Vintage Twist on a Classic Treat!

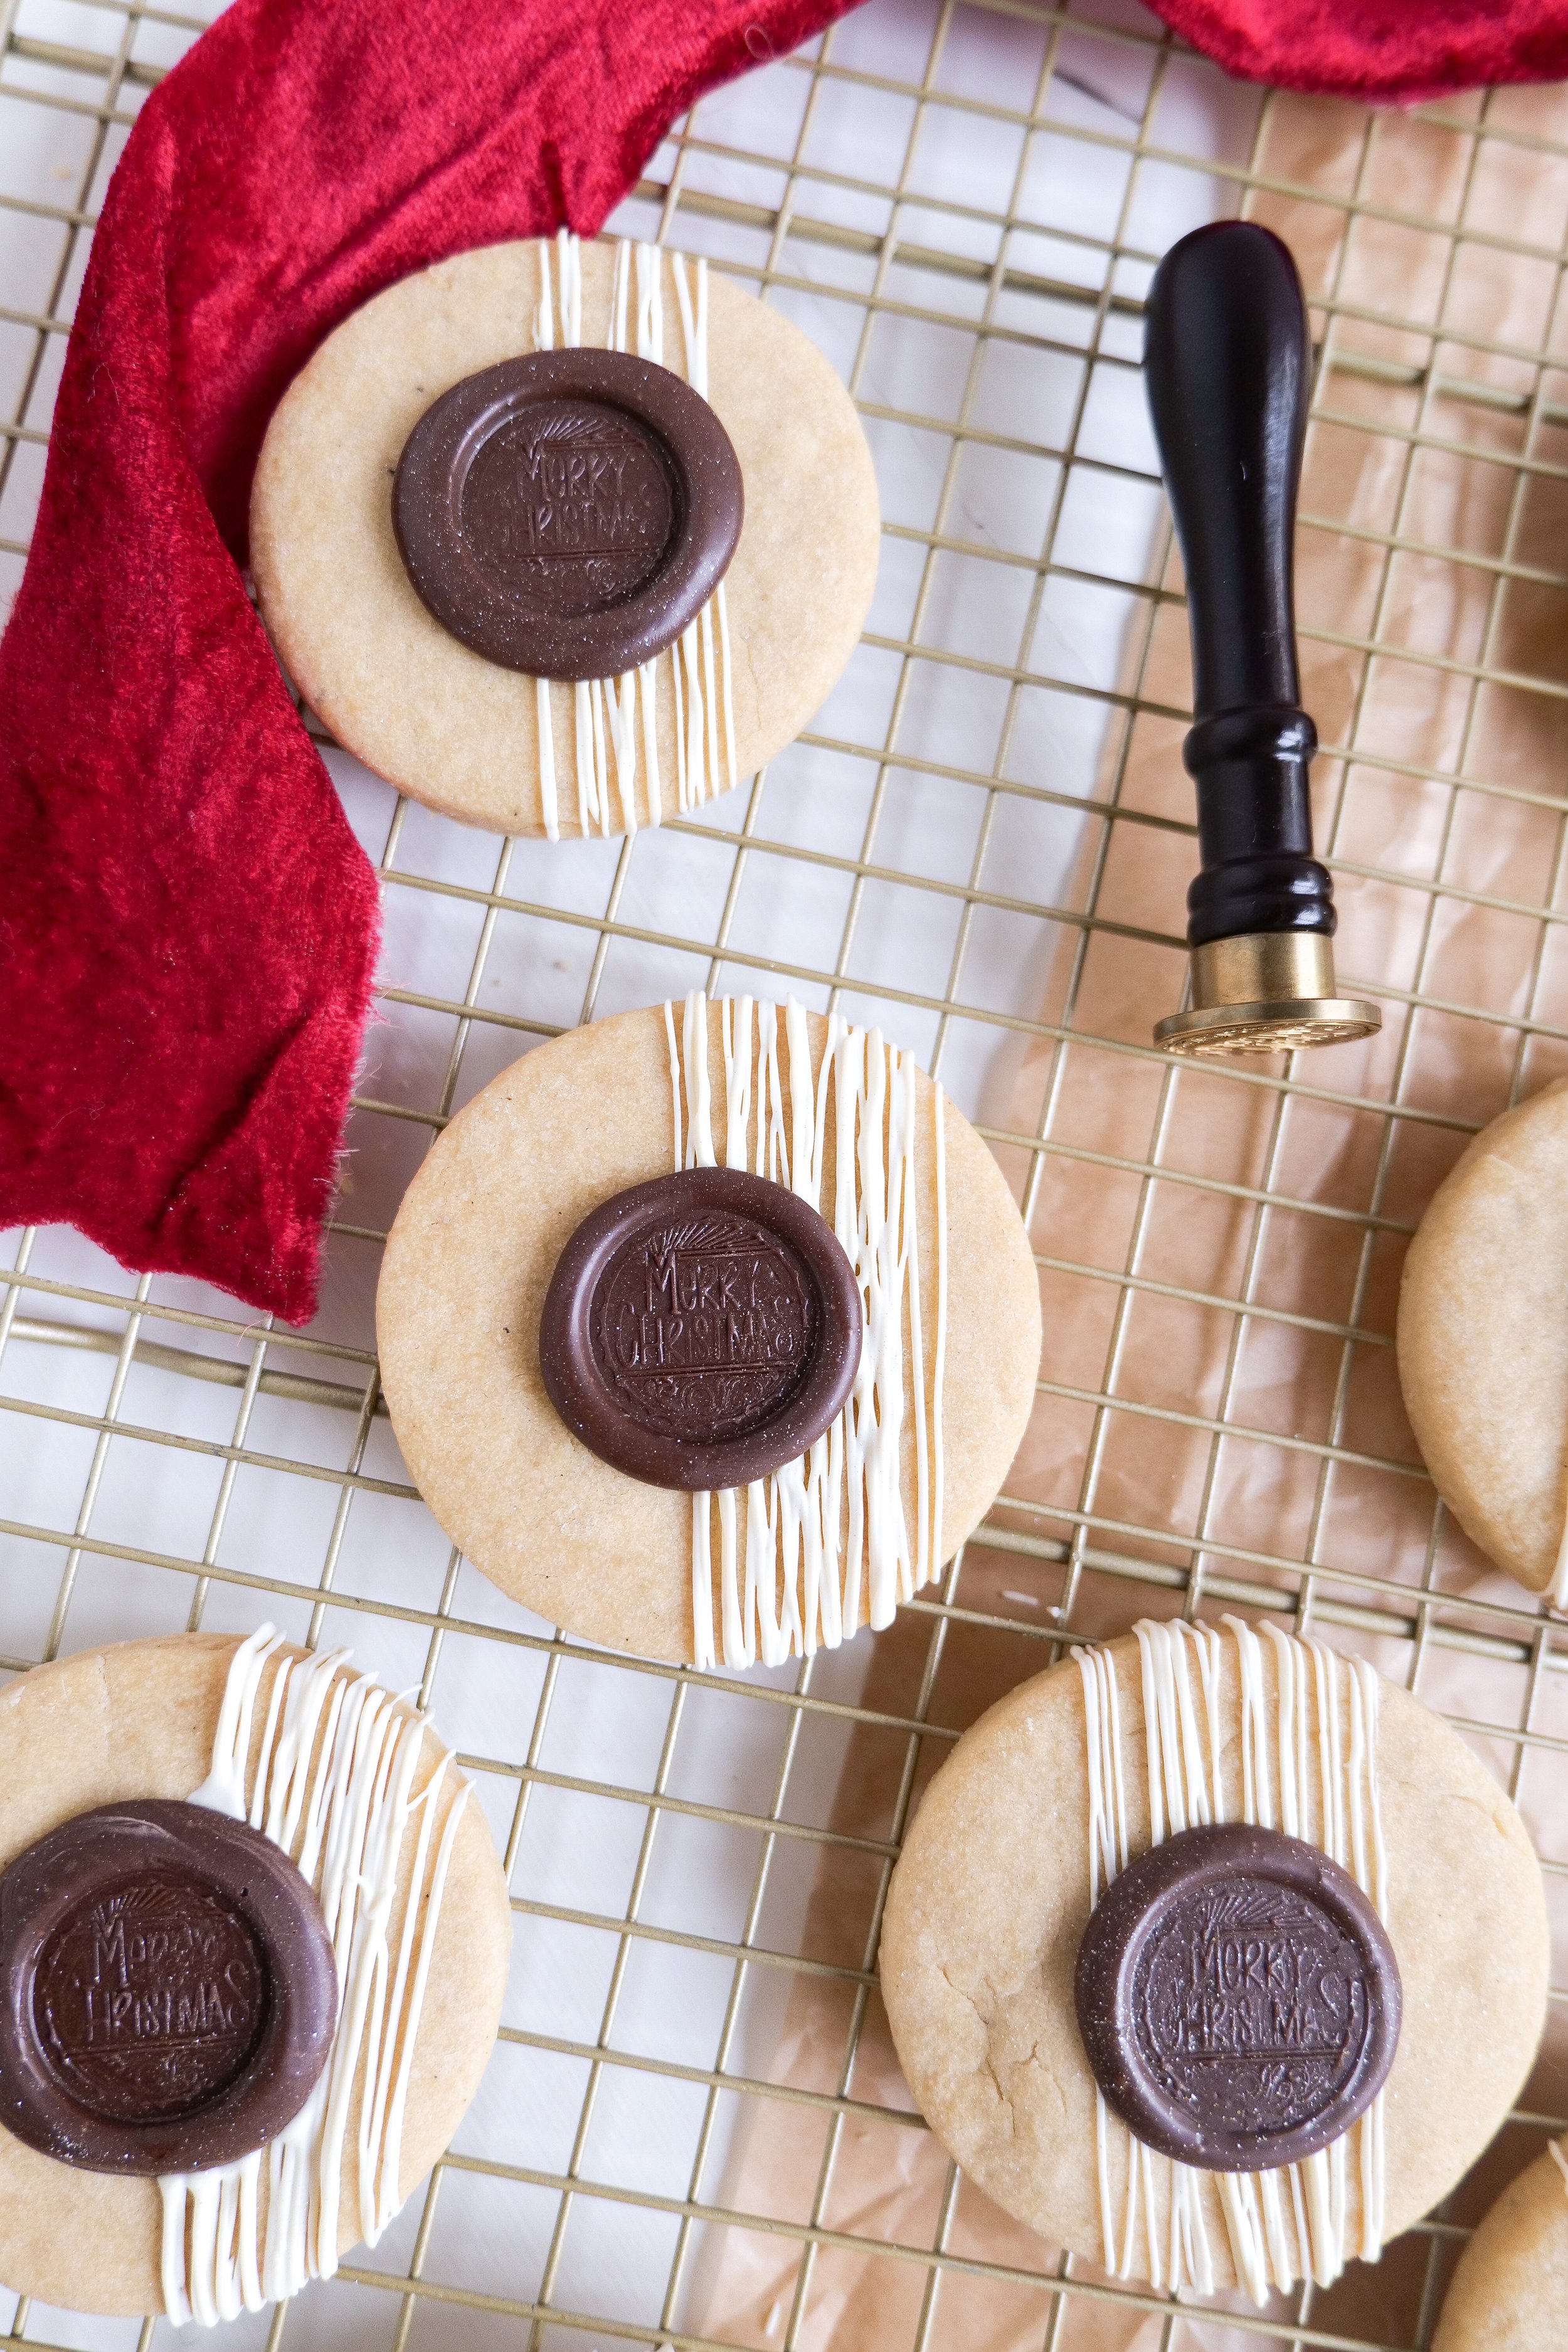
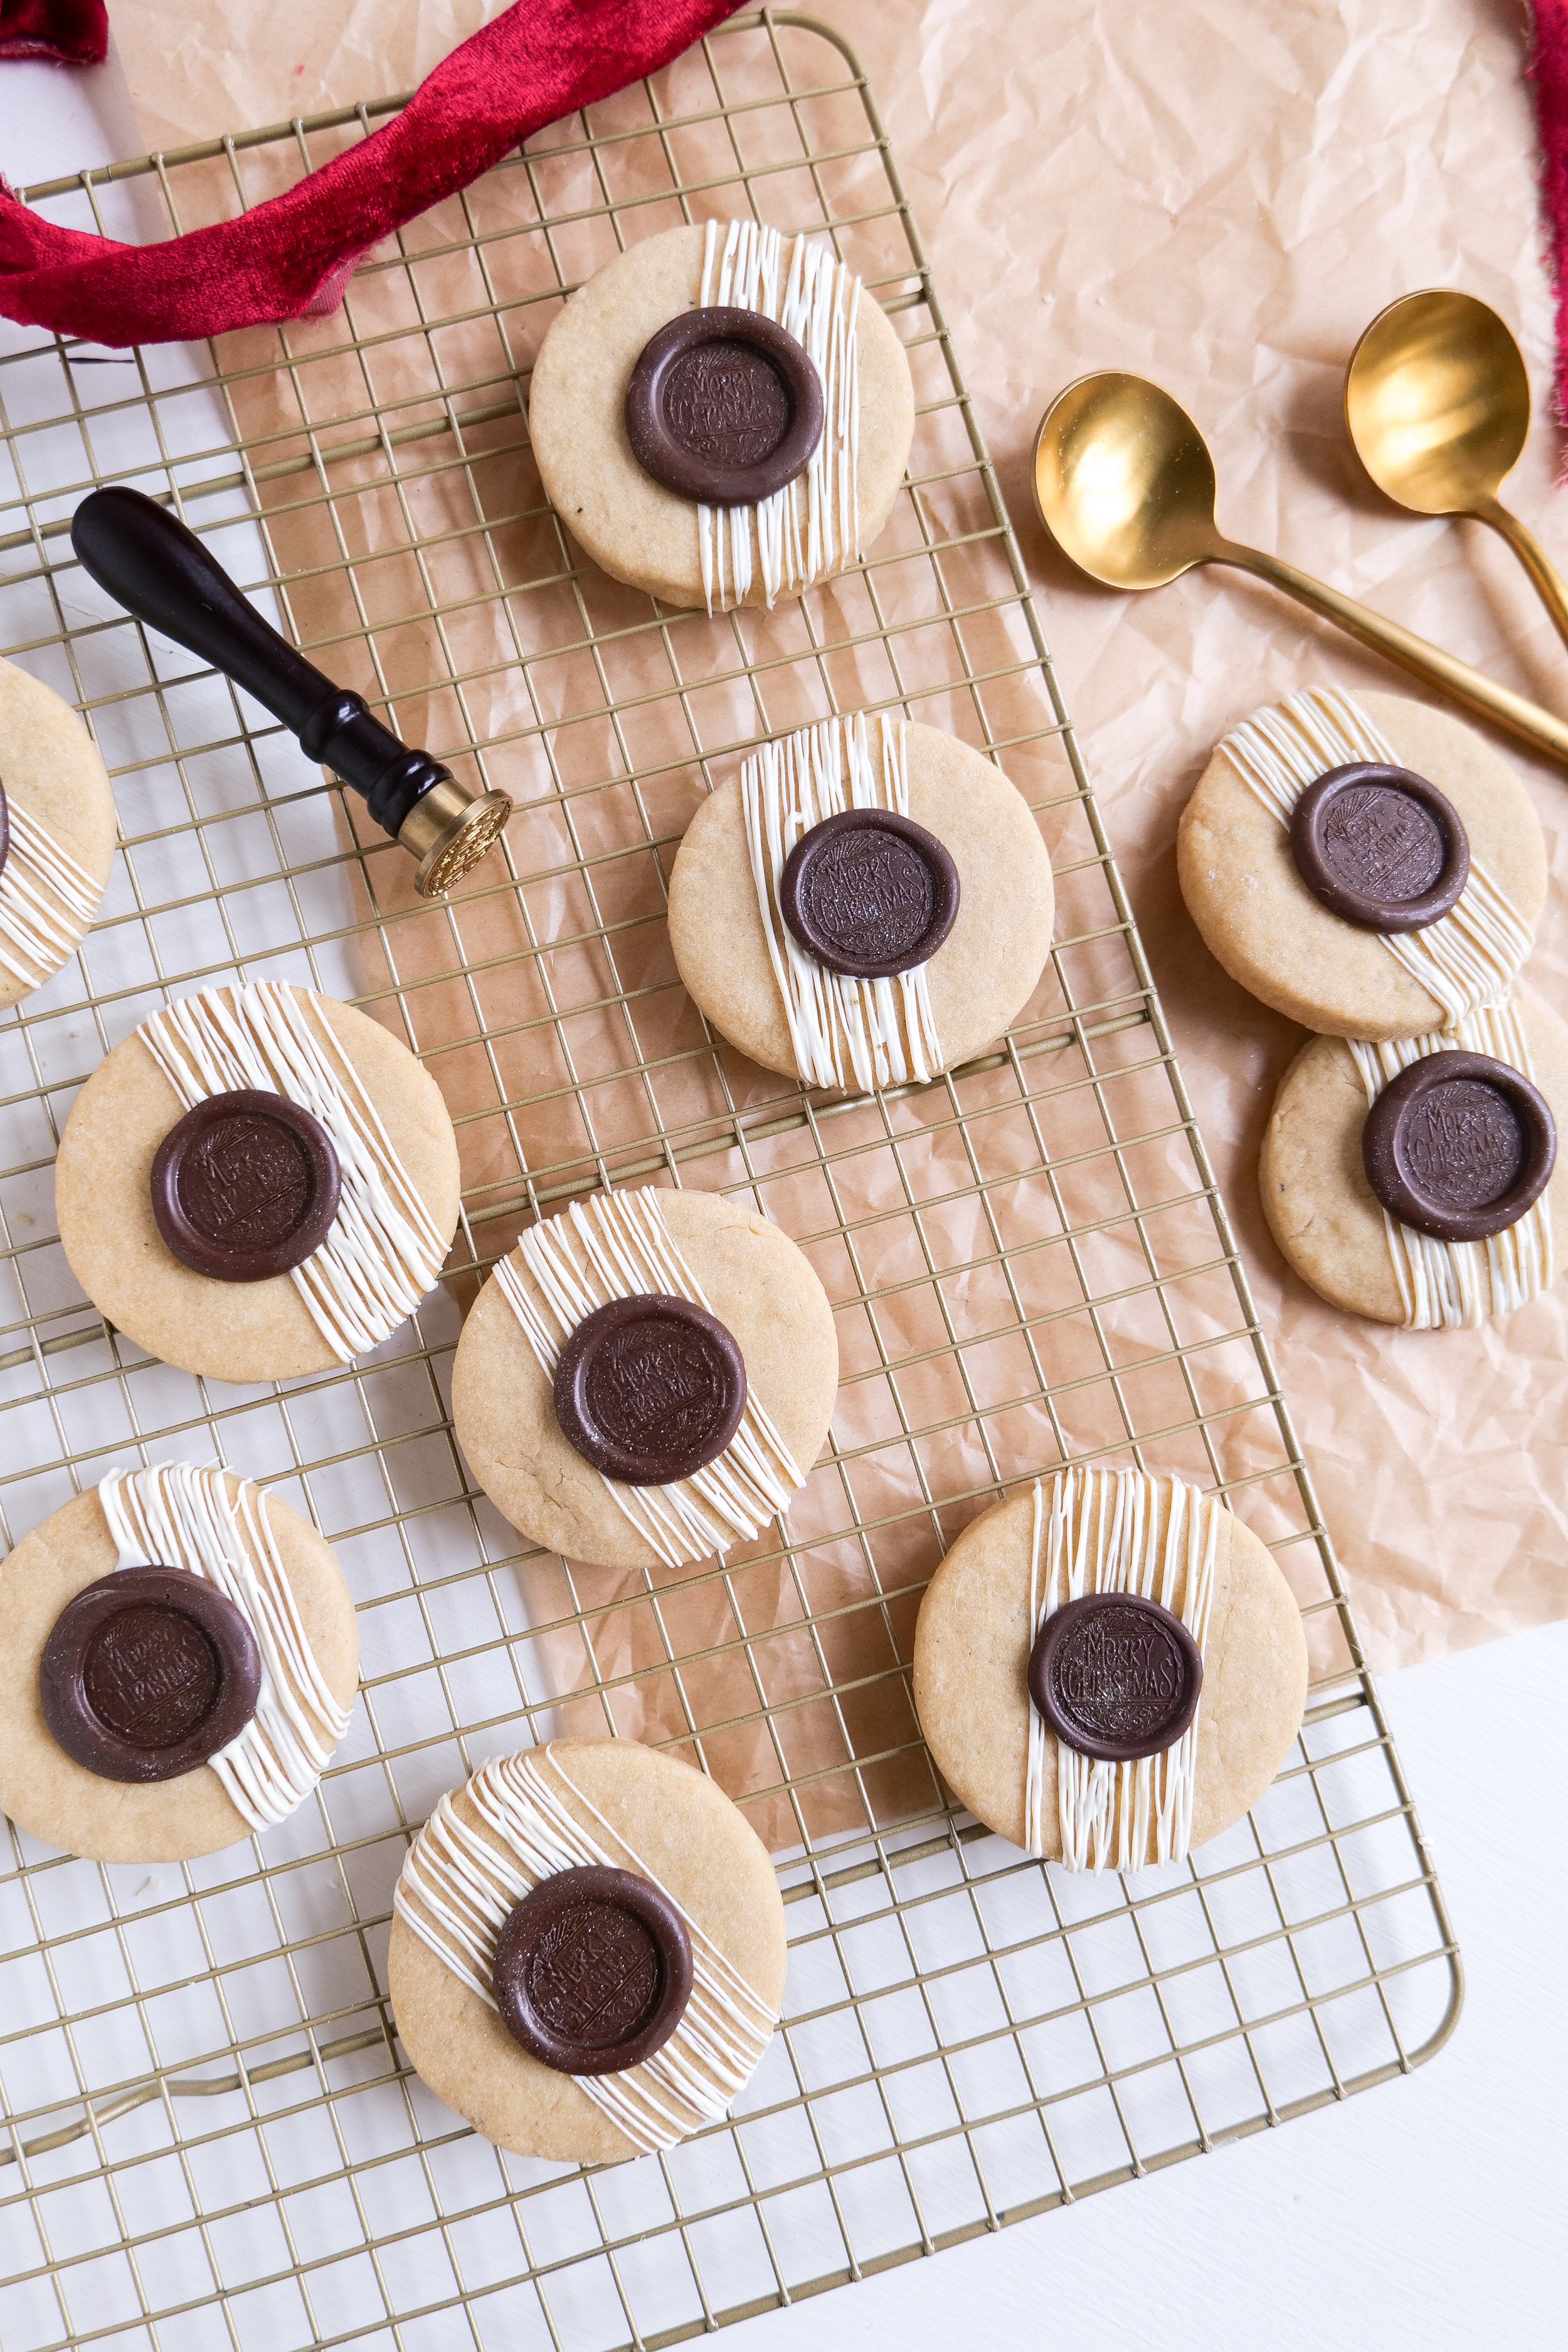
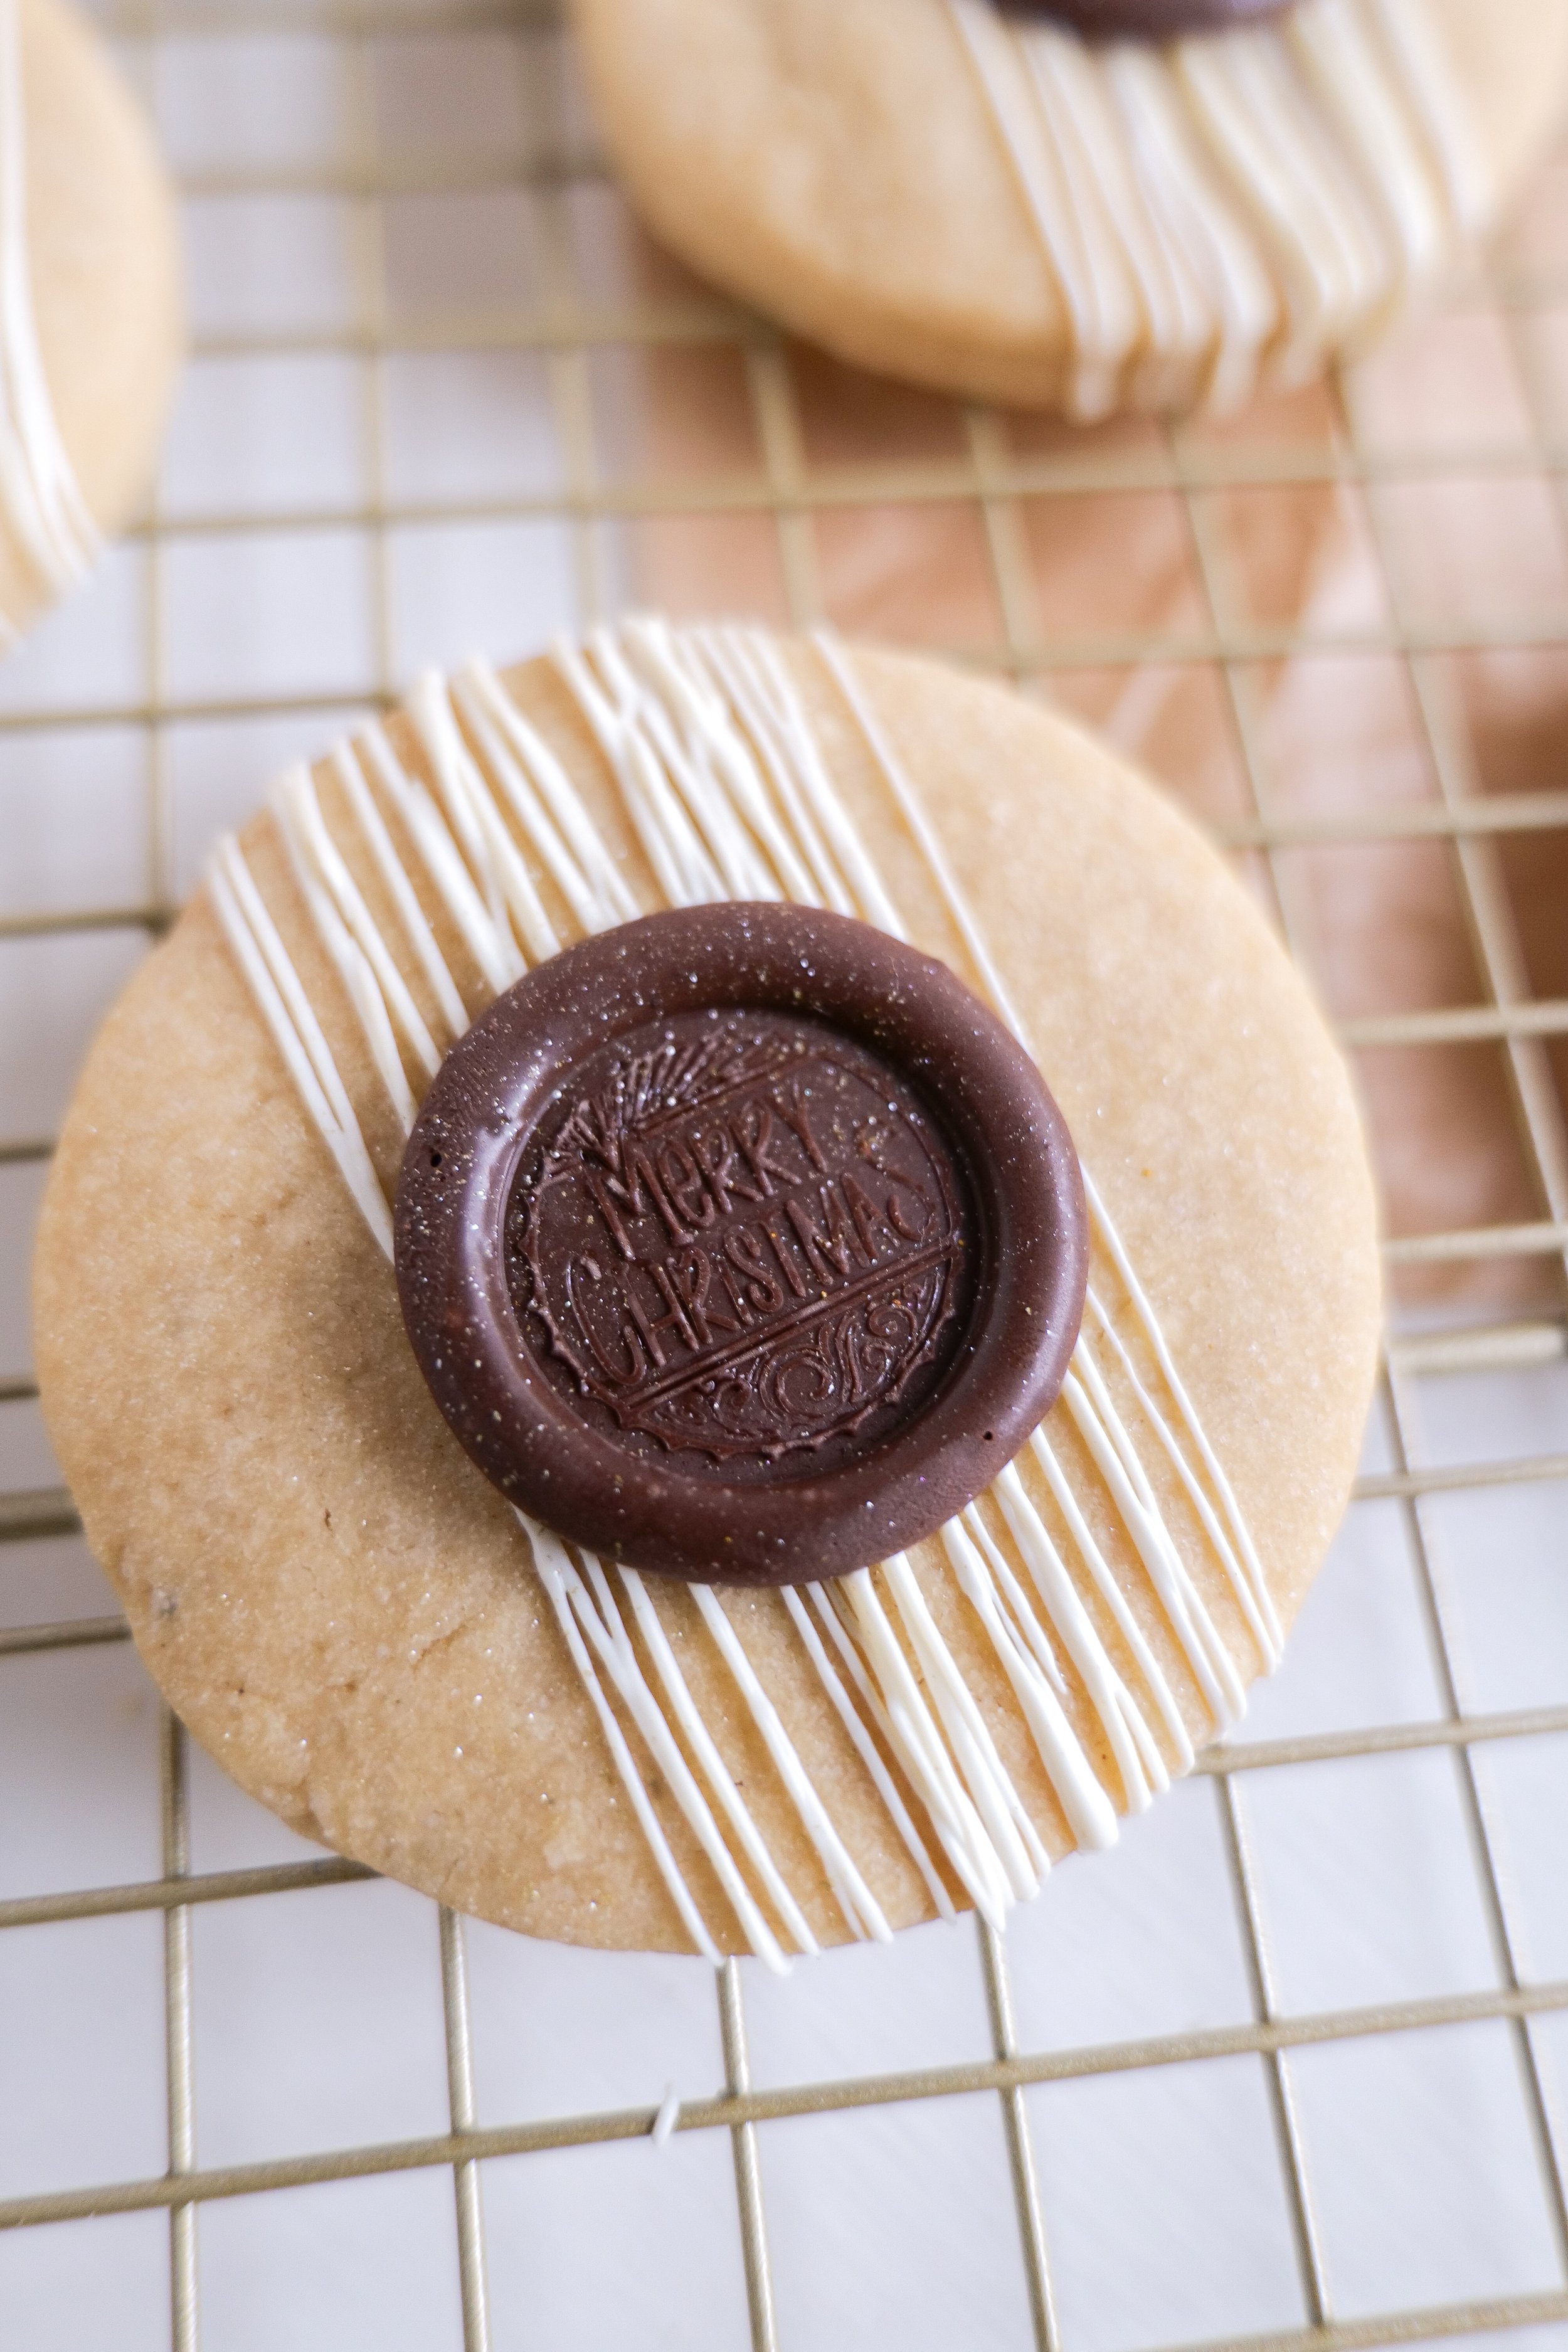
Imagine the irresistible aroma of butter melting slowly into a golden, nutty essence, filling your kitchen with a delicious smell and warmth that promises something truly special. This is the beginning of our journey to creating the ultimate brown butter shortbread cookies—a classic treat reinvented with a sophisticated twist. Each cookie, a masterpiece of simplicity, is made with care, transforming traditional shortbread into a decadent experience with its rich depth of flavor. To elevate this delight to a realm of elegance, we'll crown every cookie with a chocolate "wax" seal, reminiscent of an age when such a seal was a mark of distinction and quality. This whimsical touch not only adds visual intrigue but infuses each bite with a smooth chocolate finish. So, preheat your ovens and ready your parchment paper as we embark on a culinary adventure to bake these irresistible brown butter shortbread cookies. They are a perfect blend of nostalgia and modern flair.

The best part about this recipe is that it is so easy to make with just a few simple ingredients. Not only that, but you can easily customize the chocolate topping with many other alternatives, such as white, milk, or colored chocolate to match the occasion. Also, the wax seal can say anything you'd like for different holidays, occasions and celebrations. With the right balance of sweet and salty, you can enjoy this delicious treat in a simple way. So impress your guests at your next party with these delightful cookies or package them as a sweet gift during the different holiday seasons.

What is the best type of chocolate to use for the "wax" seal?

Brown butter shortbread cookies are a delicious treat that can be made with ease and look great as a presentation. To add a unique touch to the cookie, we are adding a customized “wax” seal made of melted chocolate. When choosing the type of chocolate to use for the seal, it is important to choose one that will not overpower the flavor of the shortbread cookie. Dark chocolate is the best type of chocolate to use for the “wax” seal because it has a richer flavor and is less sweet. It will provide a nice contrast of flavors and a fresh look to the shortbread cookie. Semi-sweet chocolate chips also work well but are slightly sweeter than dark chocolate. White chocolate has a very sweet flavor and may overpower the flavor of the shortbread cookie however if you are looking for a sweet treat that is also colorful this is the best way to dye your chocolate to match the decor of your party or the holiday you are celebrating.

Can I make the dough for these brown butter shortbread cookies ahead of time?

Making the dough ahead of time is an excellent option if you want to prepare for a special occasion, but are routinely pressed for time. The dough can be made up to one week ahead of time and stored in plastic wrap in an airtight container in your refrigerator. When you are ready to bake the cookies, let the dough come to room temperature, roll it out and cut them into desired shapes. The chocolate wax seal can also be made ahead of time and stored in an airtight container at room temperature. This will save you time and energy when you are ready to bake. The brown butter shortbread cookies are a delicious treat that will be sure to impress. The buttery flavor of the cookie combined with the rich chocolate wax seal creates a unique flavor that everyone will enjoy. The chocolate wax seal gives the cookies a special touch that will make them stand out at any gathering. You won't regret taking the extra time to make these cookies for your next special occasion.

How long can I store the brown butter shortbread cookies with the chocolate seal, and how should I store them?

When stored correctly, these cookies can surprisingly last up to two weeks. To store these cookies, it is best to use an airtight container, preferably glass or a food-grade plastic container. Keep them in a cool, dry place away from direct sunlight. Place a paper towel or parchment paper between the layers of cookies to prevent them from sticking together. Enjoy the cookies within two weeks of making them for the best flavor and texture.

Ingredients:

1 cup unsalted brown butter

1tsp vanilla extract

2 1/4 cups all-purpose flour

1/2 tsp sea salt

1/4 granulated sugar

1/2 cup powdered sugar

4 tbsp whole milk

bittersweet chocolate & wax seal of choice

Step-By-Step Instructions:

  1. Add butter to stove top pan to brown. Butter will melt and begin to get a nutty smell. Turning brown when it’s ready! Pour into a bowl and let come to room temp. After room temp place in fridge for 30 min to fully cool.

  2. While butter is cooling whisk together sugars, all-purpose flour and sea salt. Add in brown butter and vanilla extract with rubber spatula. Mix with an electric mixer until well combined.

  3. Dough with be flaky at this step. Add 1 tablespoon of milk at a time until the dough is incorporated and starts to stick together. Usually needing 4 tablespoons of milk total.

  4. Wrap with plastic wrap and keep refrigerated for at least 1 hour and up to 1 week.

  5. Remove from fridge when ready to make cookies. Flour the surface and roll out to 1/4 inch thick. Cut dough with your favorite cookie cutters and bake at 325.

  6. Baking for 12-14 min in oven. Remove and place cookies on the cookie sheet to cool.

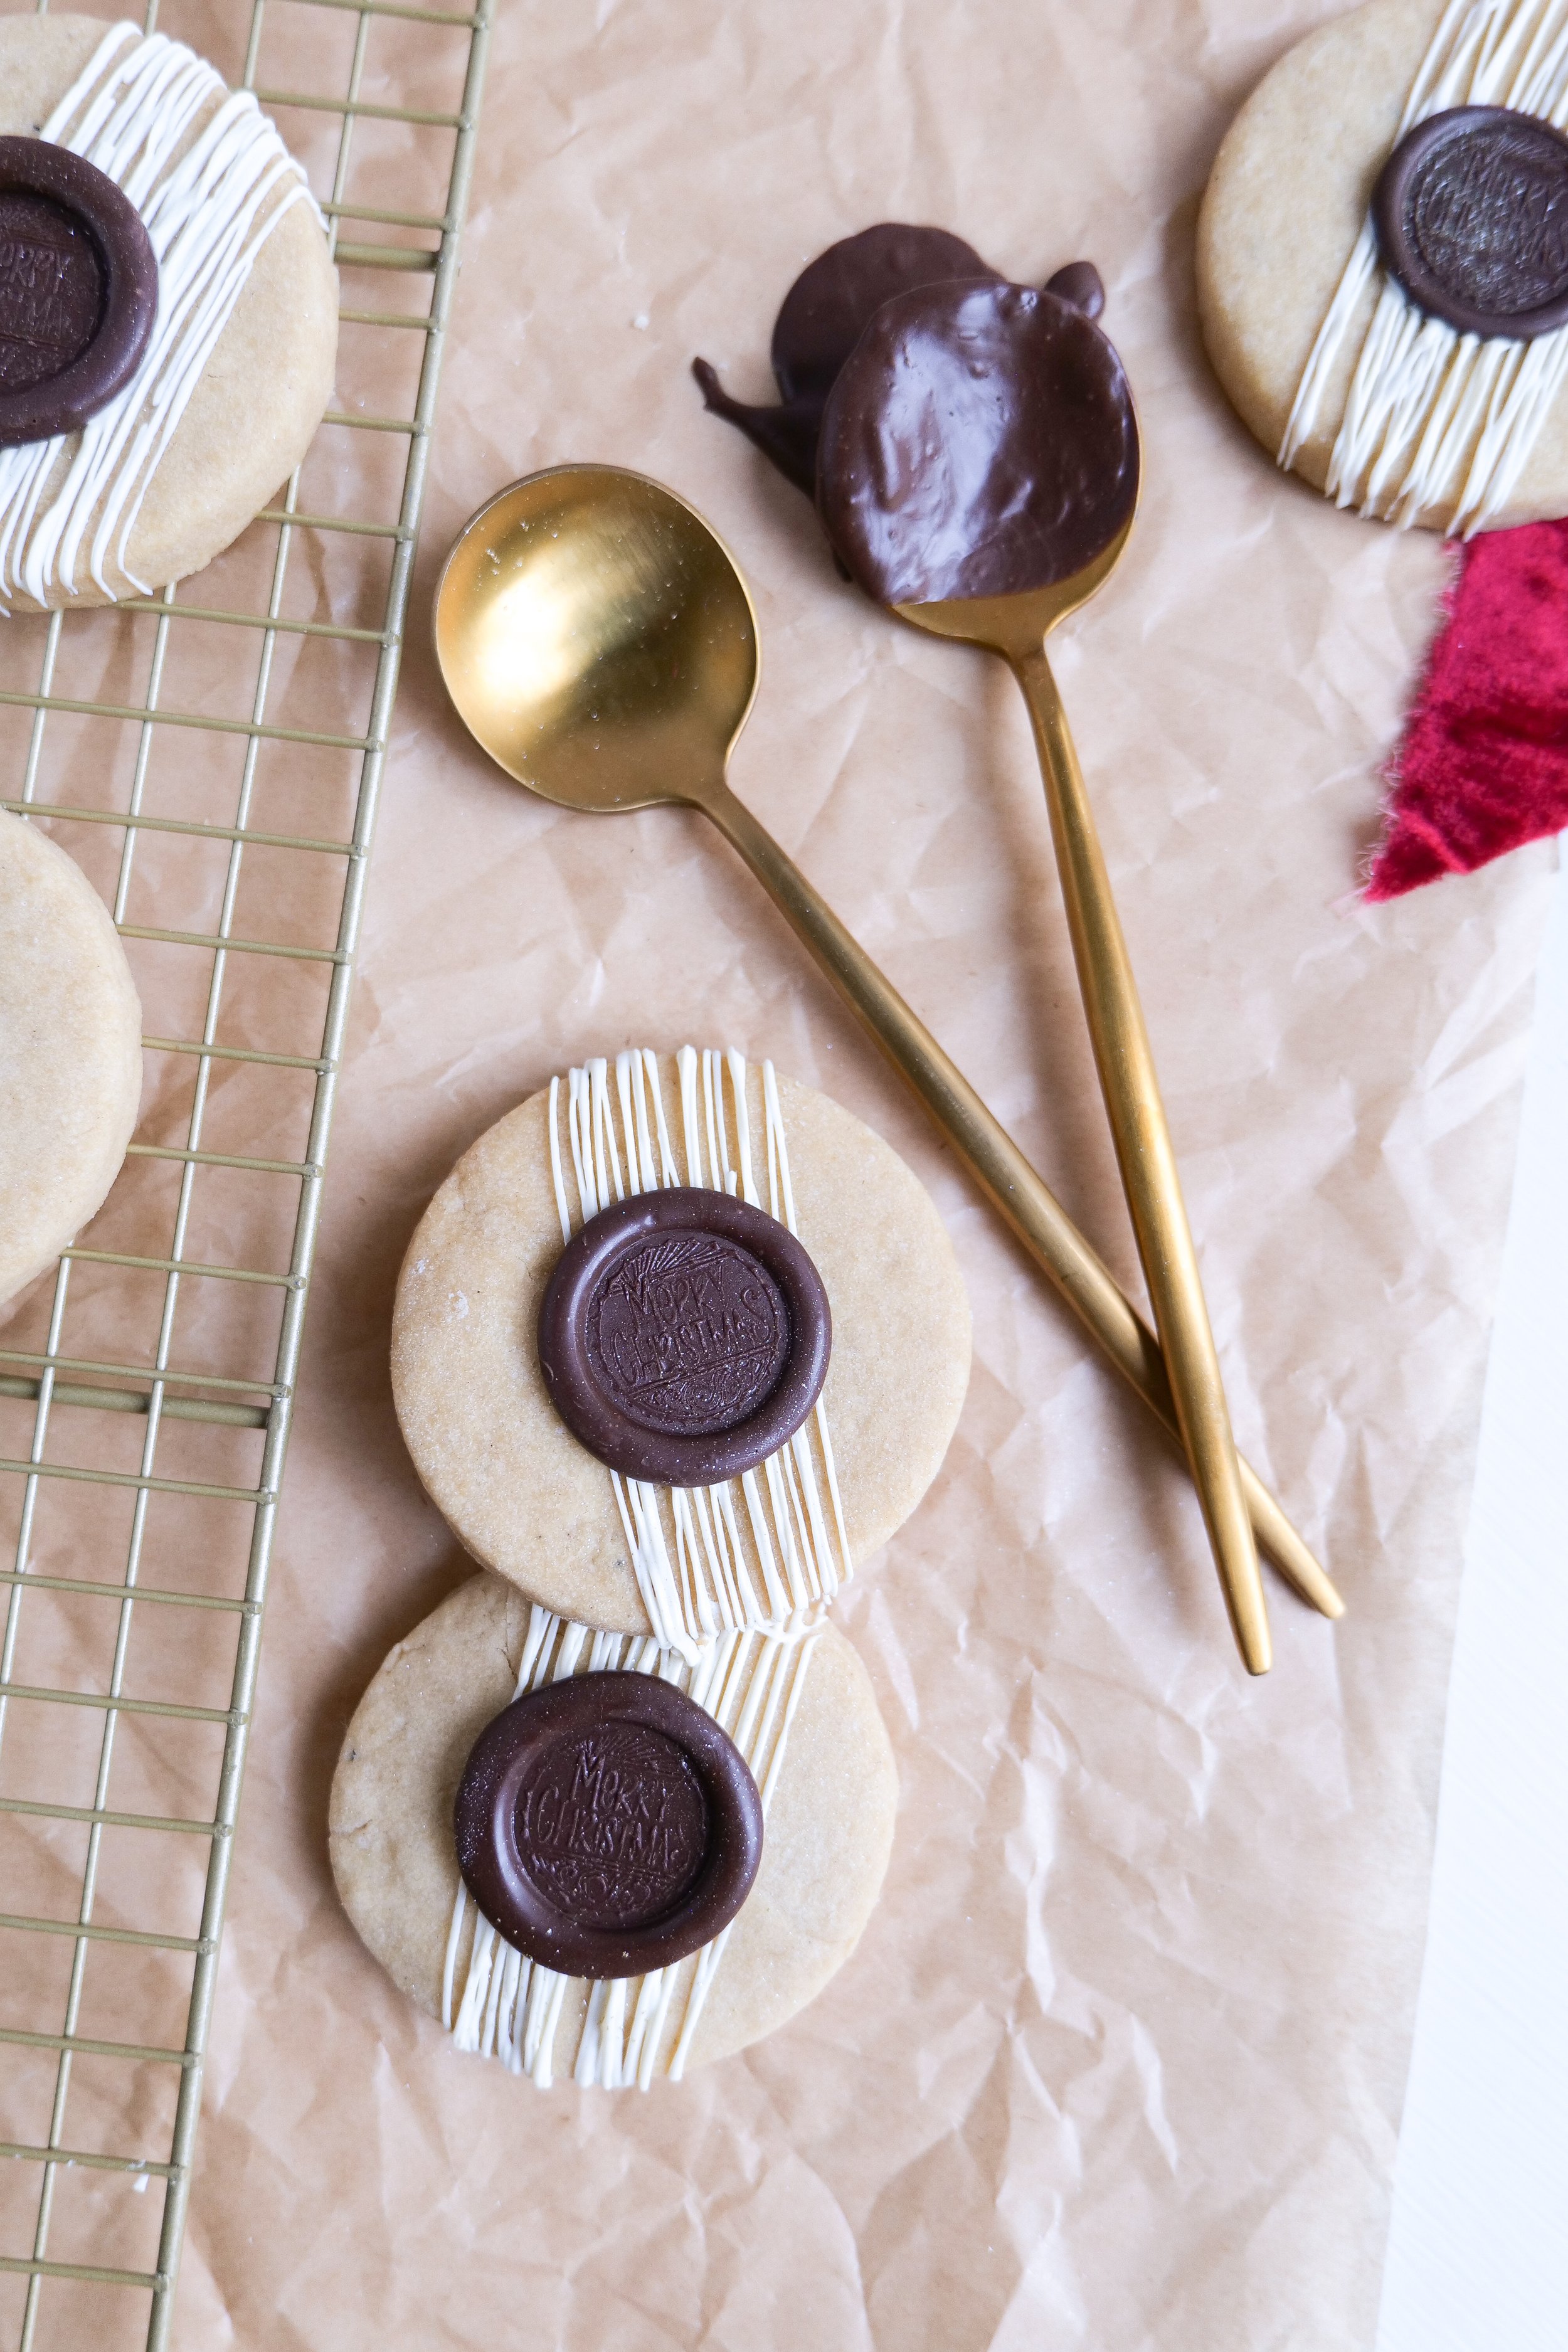
  7. Once the cookies are cooled you can add the wax seal by two options. One way you can drizzle chocolate in the center of the cookie, let it cool for a few seconds and stamp it with your wax seal. The other option I did here was to make a wax seal on parchment paper and add it onto the cookie with a small drop of a full drizzle like I did to adhere to the cookie. Prep your wax seal by cooling it in the freezer for at least an hour to fully cool through. Between each stamp place in an ice bowl to continue to keep cool. Once finished, serve and enjoy your Brown Butter Shortbread Cookies with Chocolate "Wax" Seal

Other Cookie Recipes You Will Love:

How to Make Delicious Nutter Butter Cookies At Home

Indulge your Sweet Tooth: The Ultimate Guide to Making Brown Butter Maple Pecan Chocolate Chunk Cookies

The Best Monster Cookie Recipe You'll Ever Try!

Deliciously Sweet: Mastering the Perfect Pumpkin Molasses Cookie Recipe for the Autumn Season

Birthday Cutout Sugar Cookies

Brown Sugar Toffee Cookies

Brown Butter Caramel Pretzel Cookies

Indulge your Sweet Tooth: The Ultimate Guide to Making Brown Butter Maple Pecan Chocolate Chunk Cookies

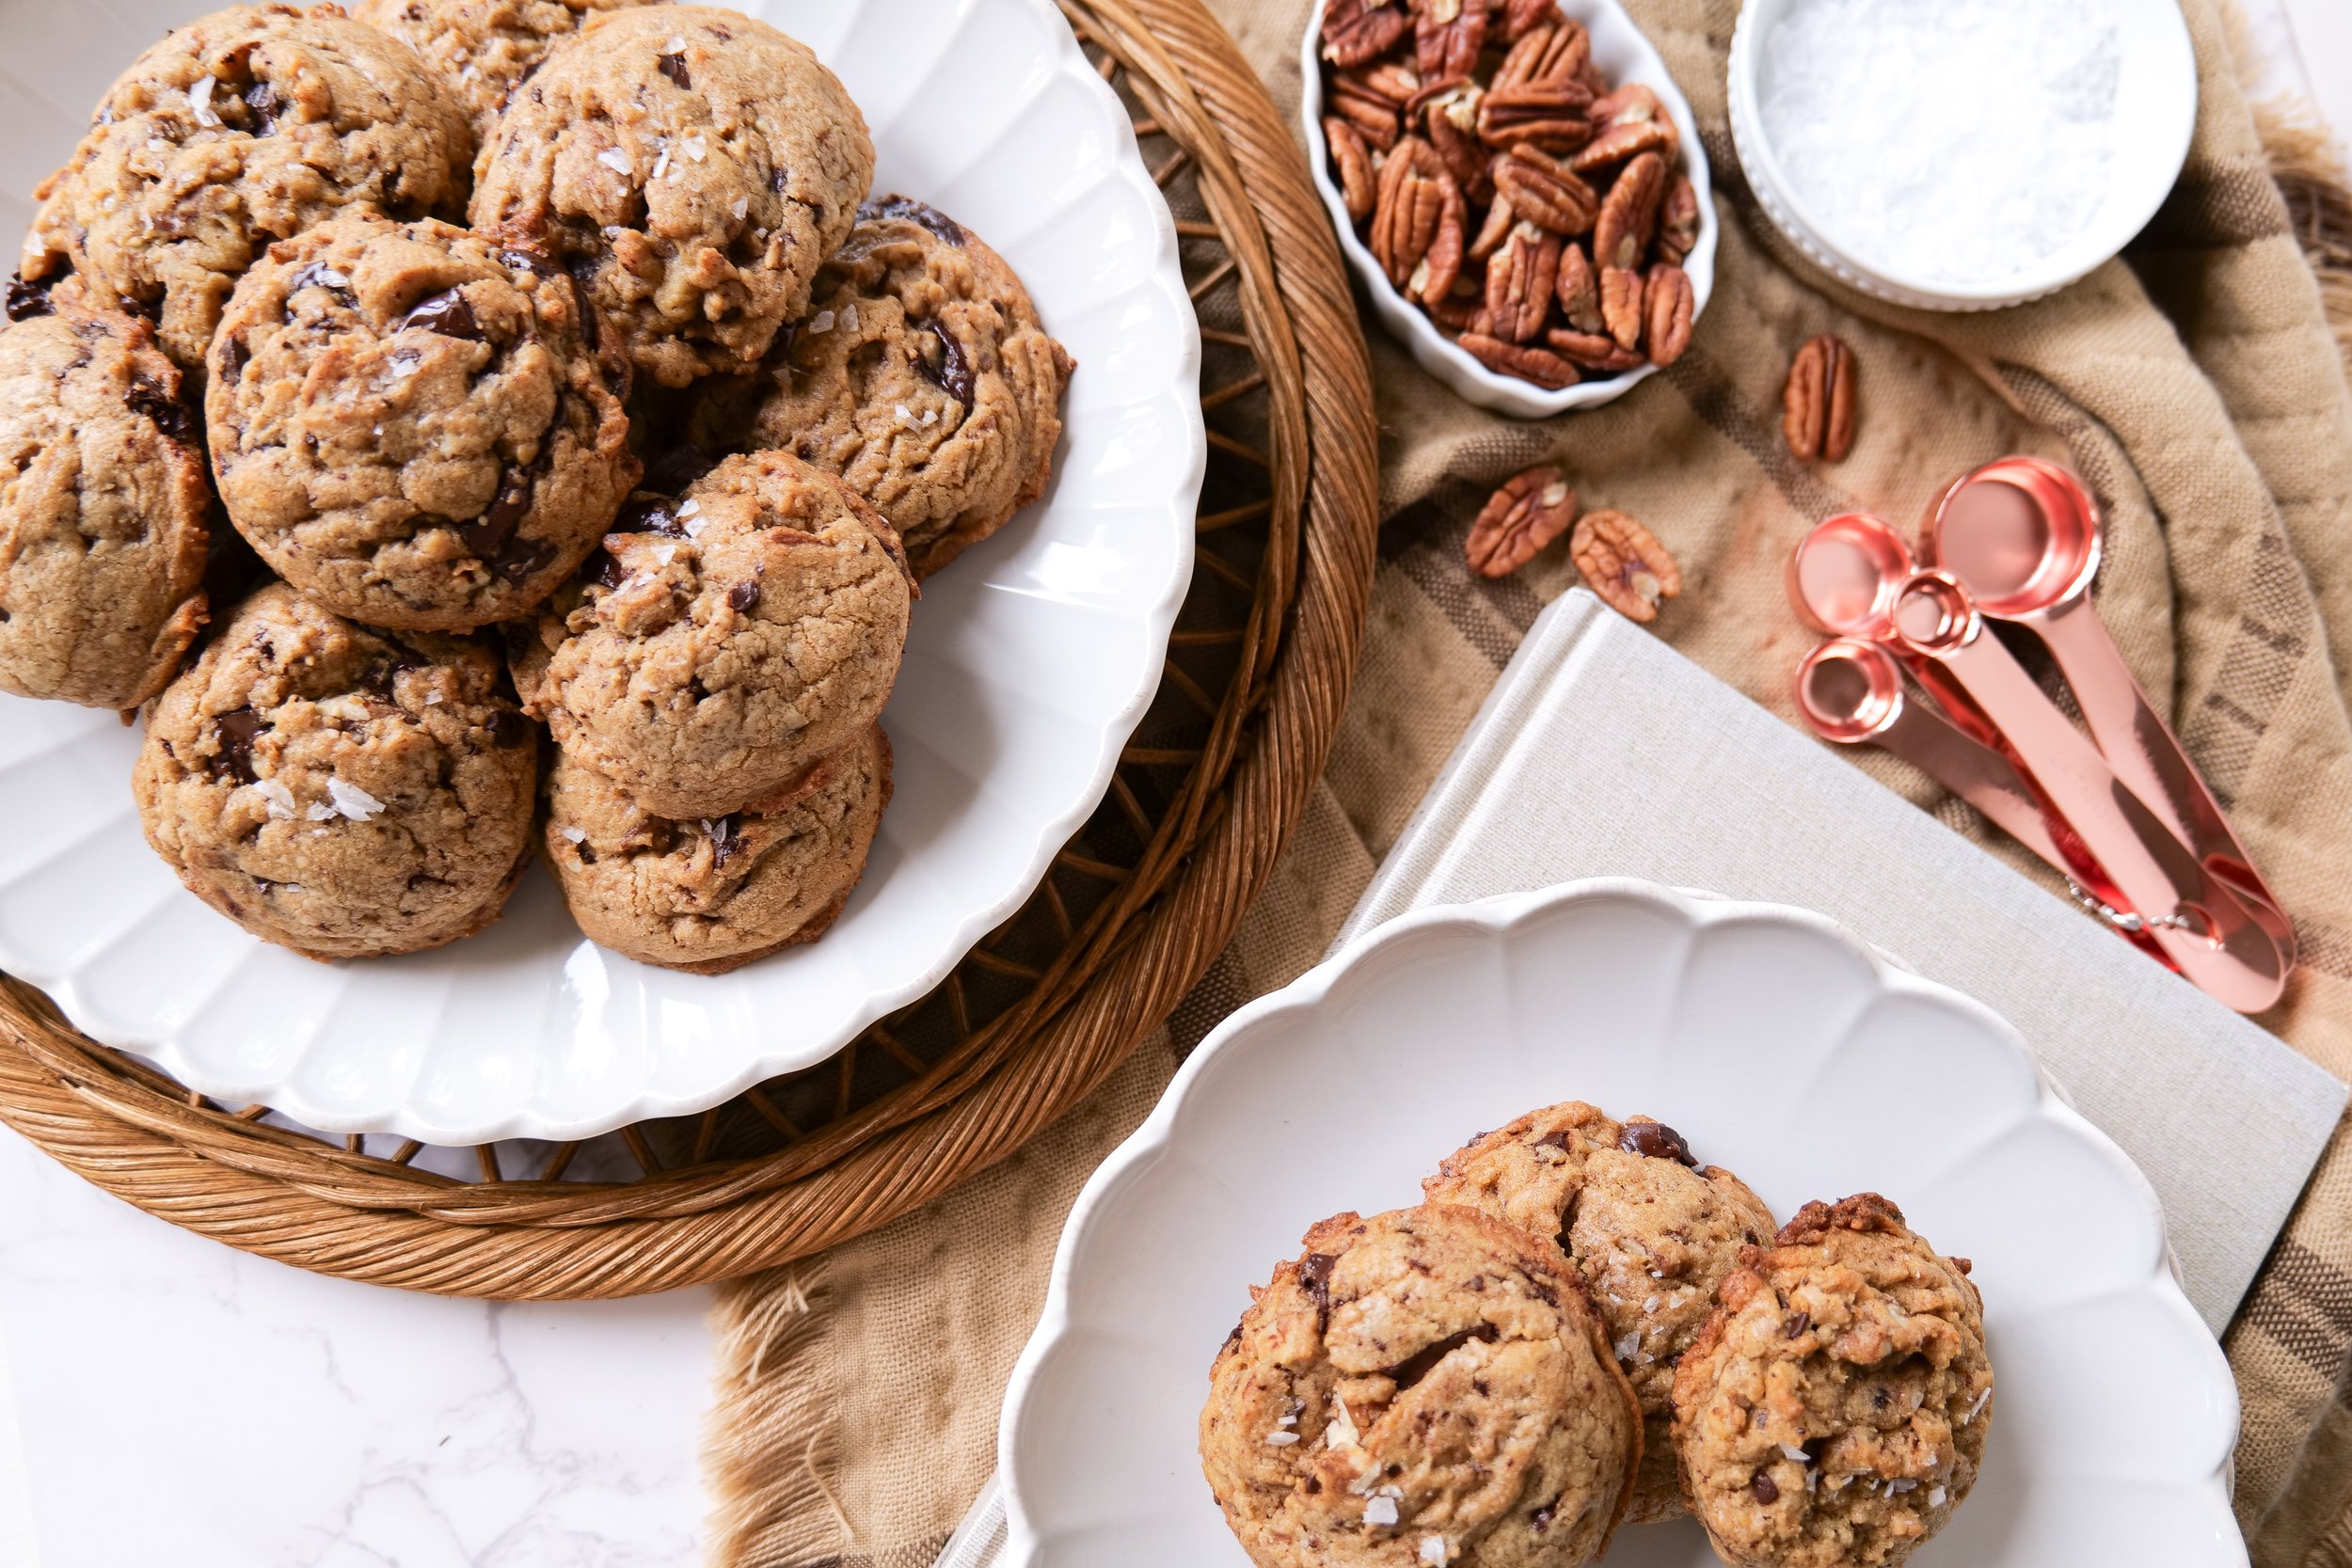
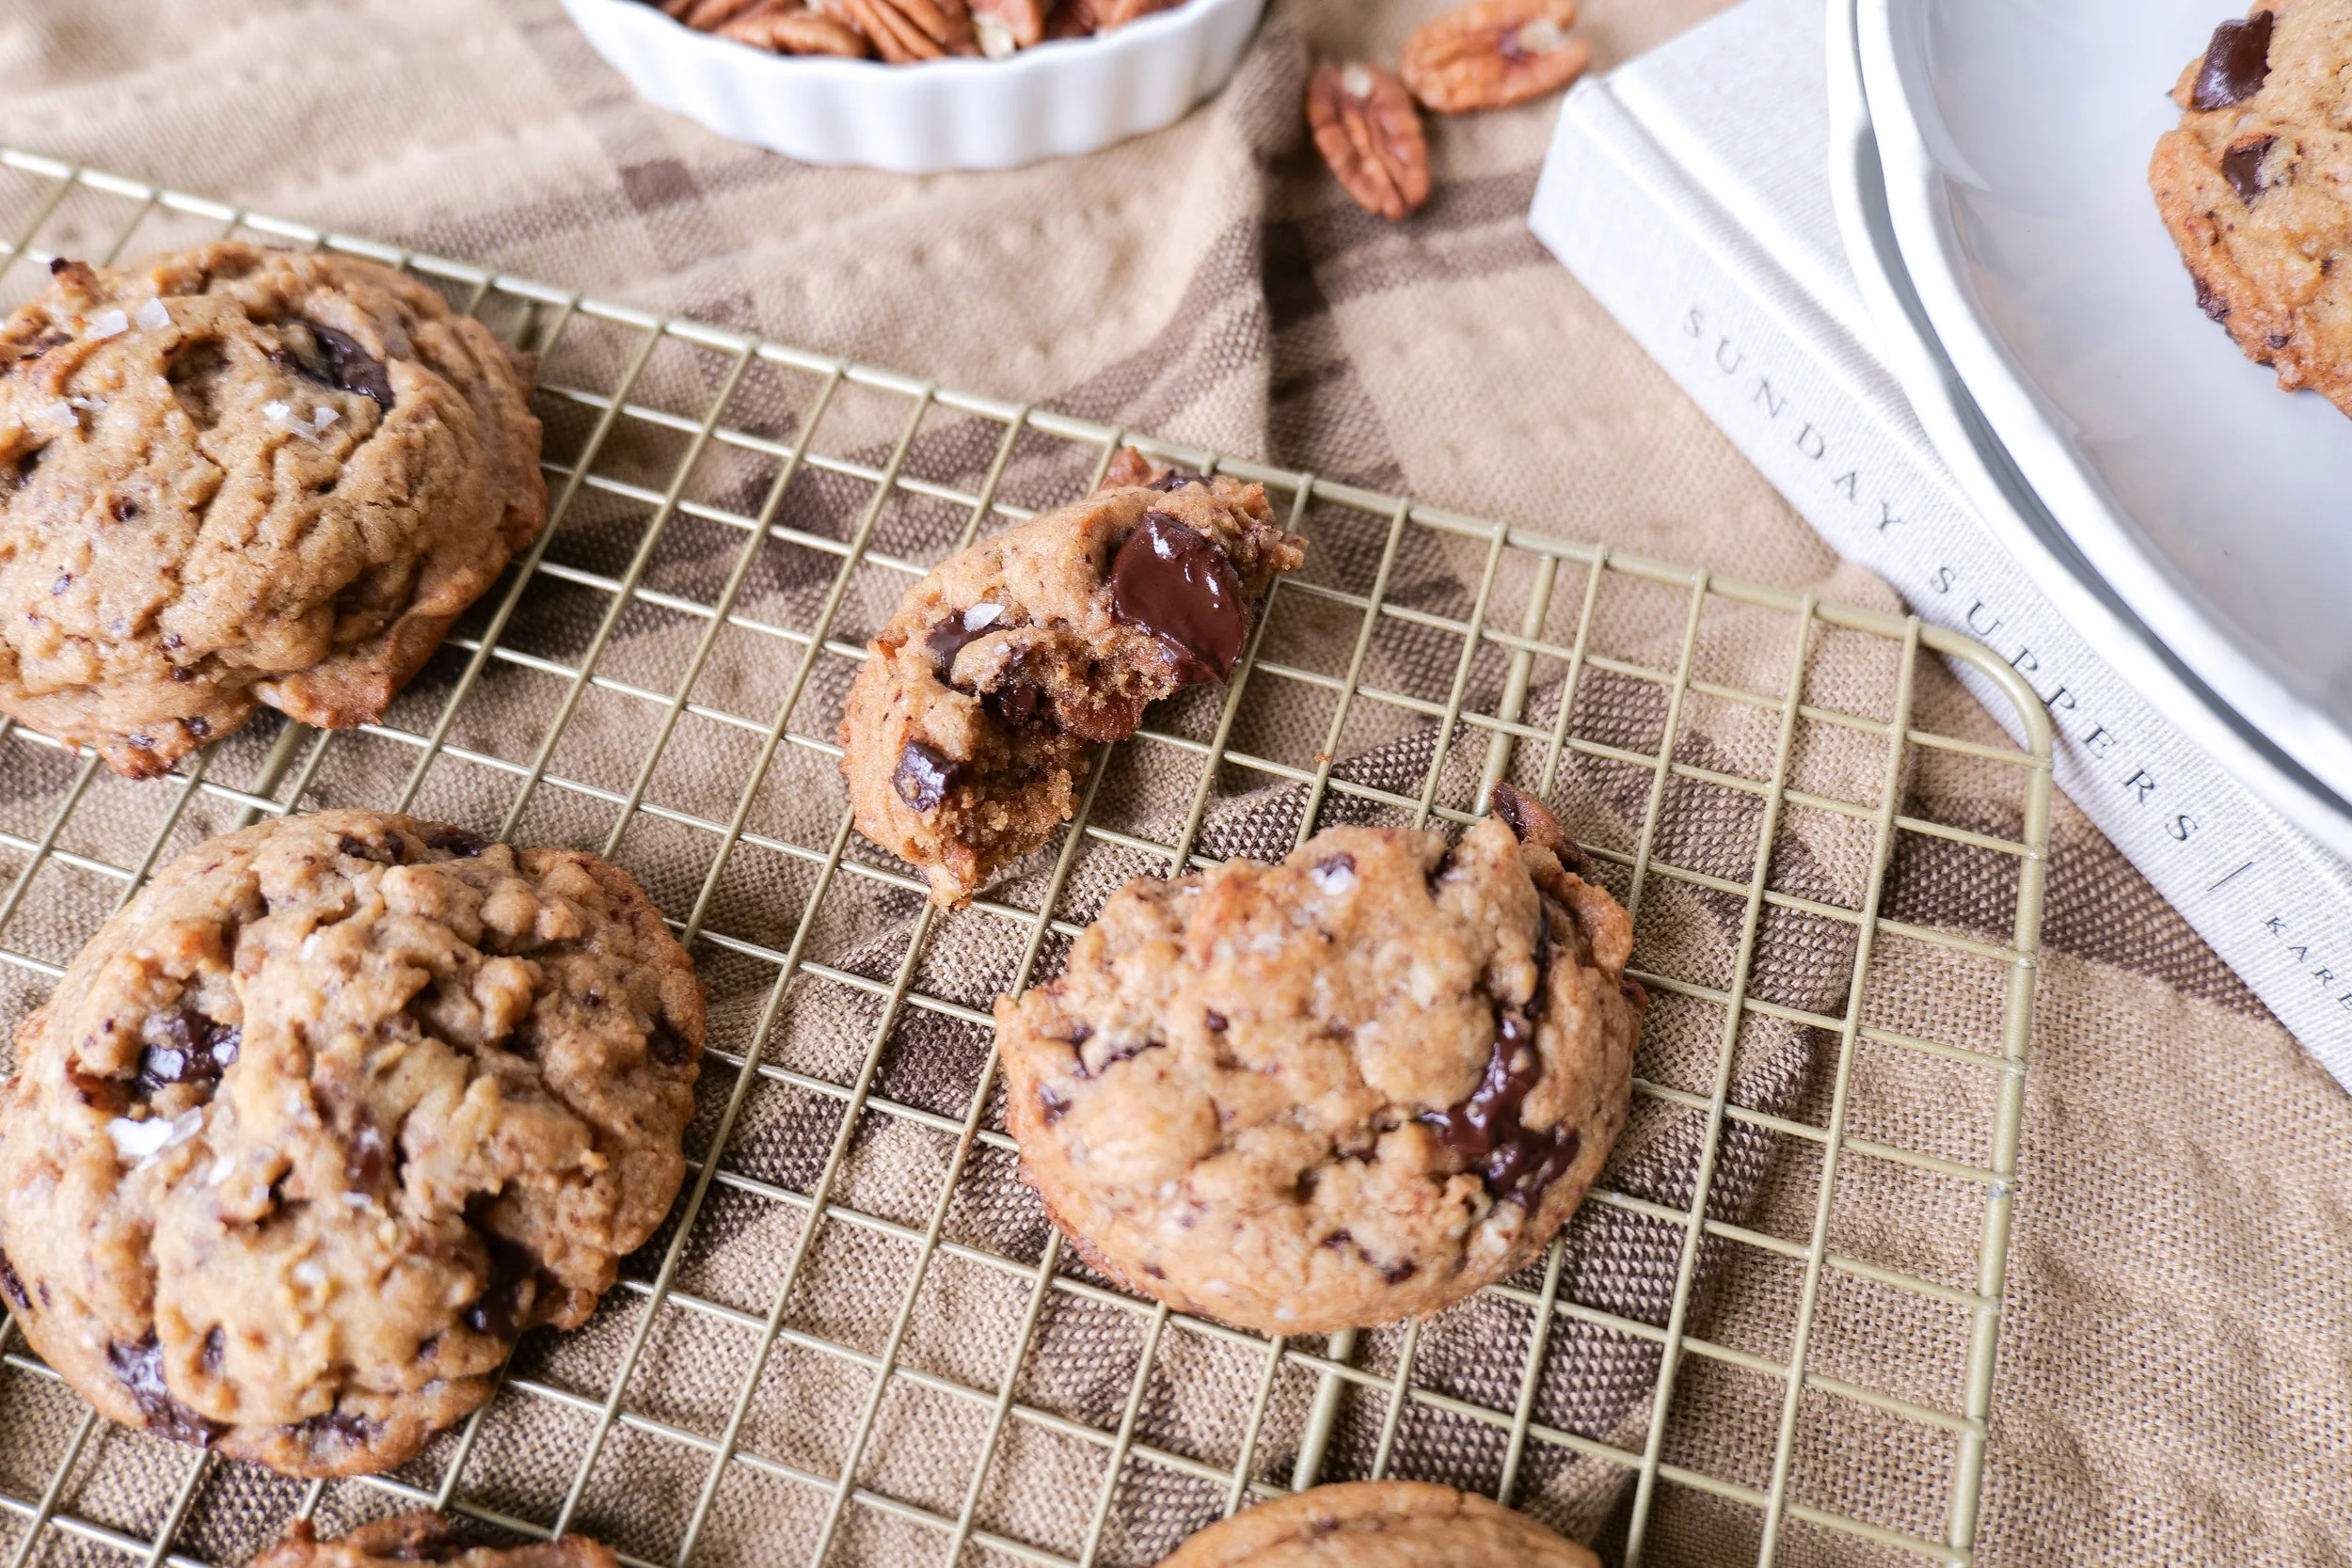
Welcome to an utterly scrumptious journey into the world of baking! Today, we're indulging in the divine fusion of flavors that is none other than Brown Butter Maple Pecan Chocolate Chunk Cookies. The name might be a mouthful, but so is every bite of these glorious treats! These are not your typical chocolate chip cookies. They are packed with loads of different great flavors and textures that all hit you at the perfect time. With the sophistication of brown butter, the earthy sweetness of maple, the nutty crunch of pecans, and the gooey richness of chocolate chunks, these little pieces of sweet heavenly tastes and textures will make your taste buds dance in delight. So, put your apron on and get ready to be the star of any bake sale, class party, or family gathering with these irresistible delights!

What is brown butter?

The secret ingredient that sets these cookies apart from the rest is brown butter. Brown butter is a cooking technique that adds a rich and nutty flavor to recipes. To make brown butter, simply melt butter in a saucepan over medium heat until the butter foams and the milk solids turn golden brown. This technique can add an extra layer of flavor to a variety of dishes, from sauces and soups to baked goods. The brown butter in these cookies is what gives them such an incredible depth of flavor, and it is further enhanced by the addition of maple syrup, pecans, and chocolate chunks. With a combination of sweet and savory flavors, these Brown Butter Maple Pecan Chocolate Chunk Cookies will quickly become a favorite.

INGREDIENTS

1 cup pecans

2 tablespoons pure maple syrup

1 cup butter (2 sticks)

3/4 cup granulated sugar

3/4 brown sugar

1 teaspoon maple extract

2 large eggs

2 1/4 cups flour

3 teaspoons baking powder

1 teaspoon salt

1 1/2 cups of chopped semi-sweet chocolate

INSTRUCTIONS

1. Start by making brown butter in a pan, once browned pour into a new bowl and let come to room temperature. In another pan add in maple syrup & pecans toasting until browned (usually around 4-7 minutes). Then set aside and let come to room temp. Once cooled chop and set aside.

2. Preheat oven to 375 degrees. Melt the butter for 30 seconds in the microwave (if the butter is not at room temperature).

3. Add sugar & brown sugar into butter and mix. Scrape sides and mix again immediately after. Mix in Vanilla Extract and eggs. Mix again.

4. Gradually add all-purpose Flour, Baking Soda, and salt. Mix well. Once mixed well add in chopped chocolate bar that equals 1-1/2 cups and chopped pecans made above.

5. Using an ice cream scooper scoop onto a baking sheet or parchment paper 2 -3 inches apart. Sprinkle with flaky sea salt and place in oven.

6. Bake for 9 minutes and cool on a cookie sheet. Once cooked through move cookies to cooling rack. Enjoy!

Feel free to use plastic wrap to cover or if in need of longer storage an airtight container to keep cookies as fresh as possible! These make a great cookie for any time of the year, but they're especially great now for the Fall, Thanksgiving or Christmas gatherings for everyone to come! Serve with a nice hot drink for a perfect treat for the holidays!

Other Delicious Cookie Recipes:

How to Make Delicious Nutter Butter Cookies At Home

The Best Monster Cookie Recipe You'll Ever Try!

Deliciously Sweet: Mastering the Perfect Pumpkin Molasses Cookie Recipe for the Autumn Season

Brown Sugar Toffee Cookies

Brown Butter Caramel Pretzel Cookies

Birthday Cutout Sugar Cookies

Deliciously Sweet: Mastering the Perfect Pumpkin Molasses Cookie Recipe for the Autumn Season

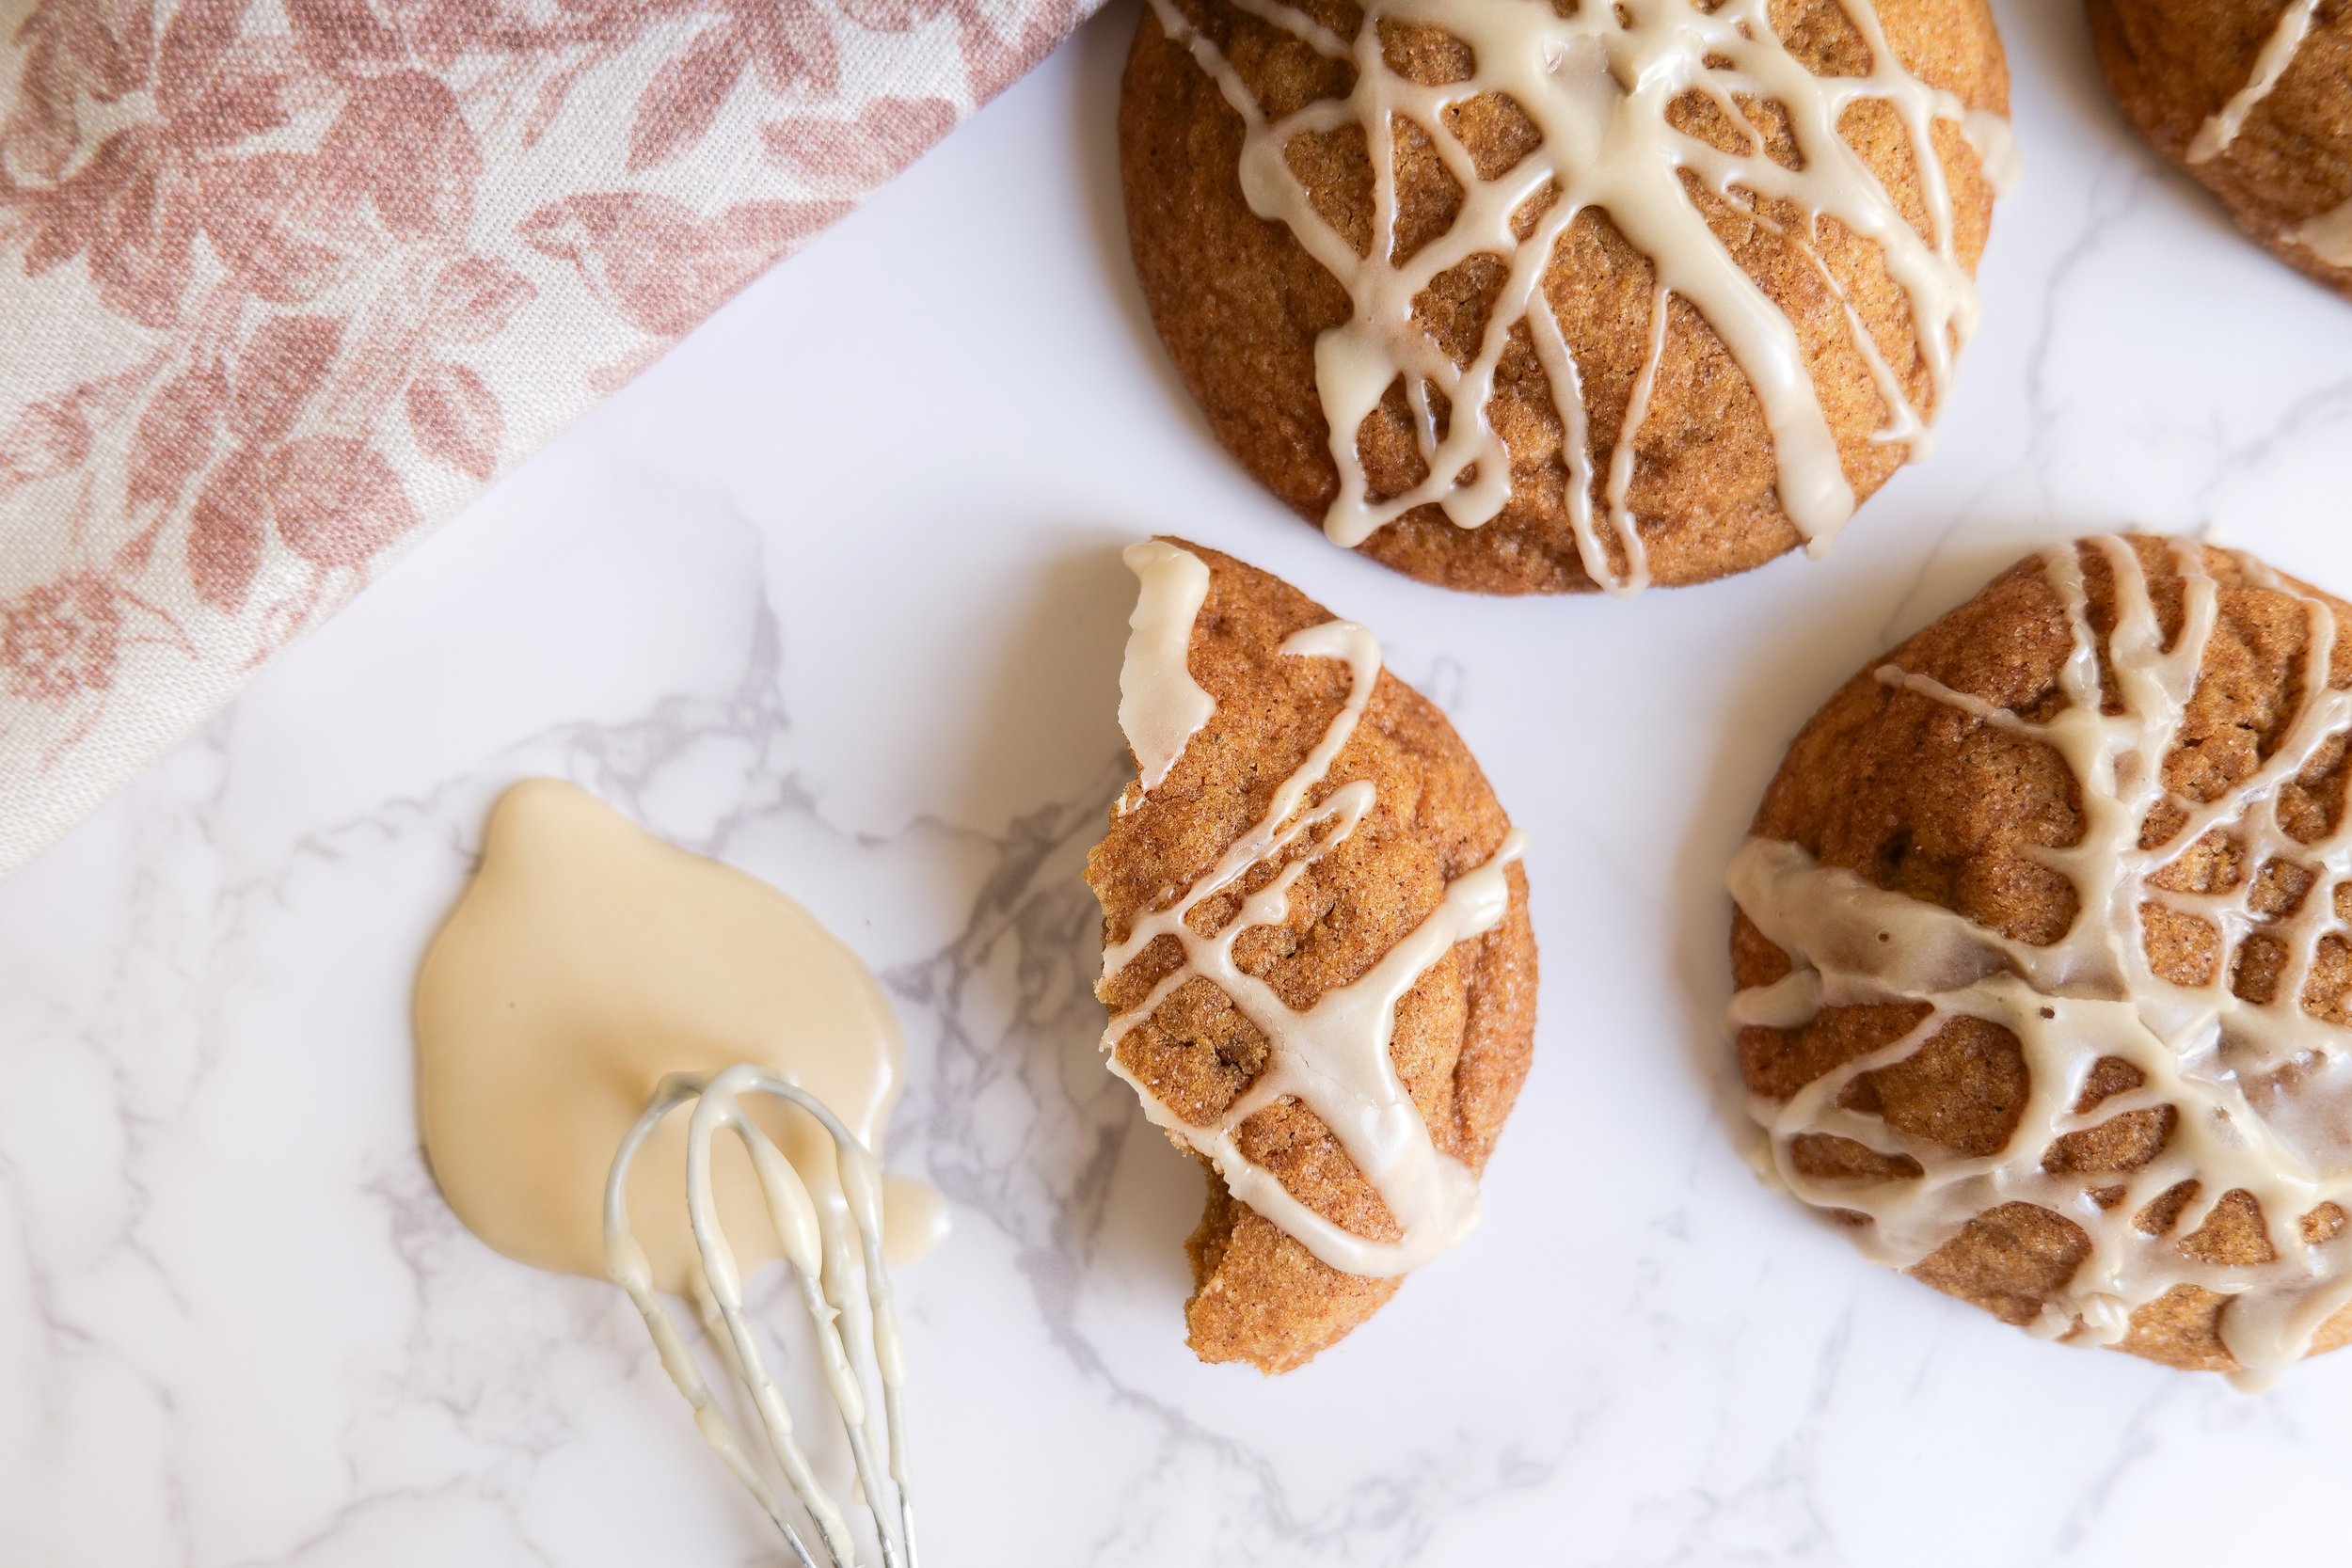
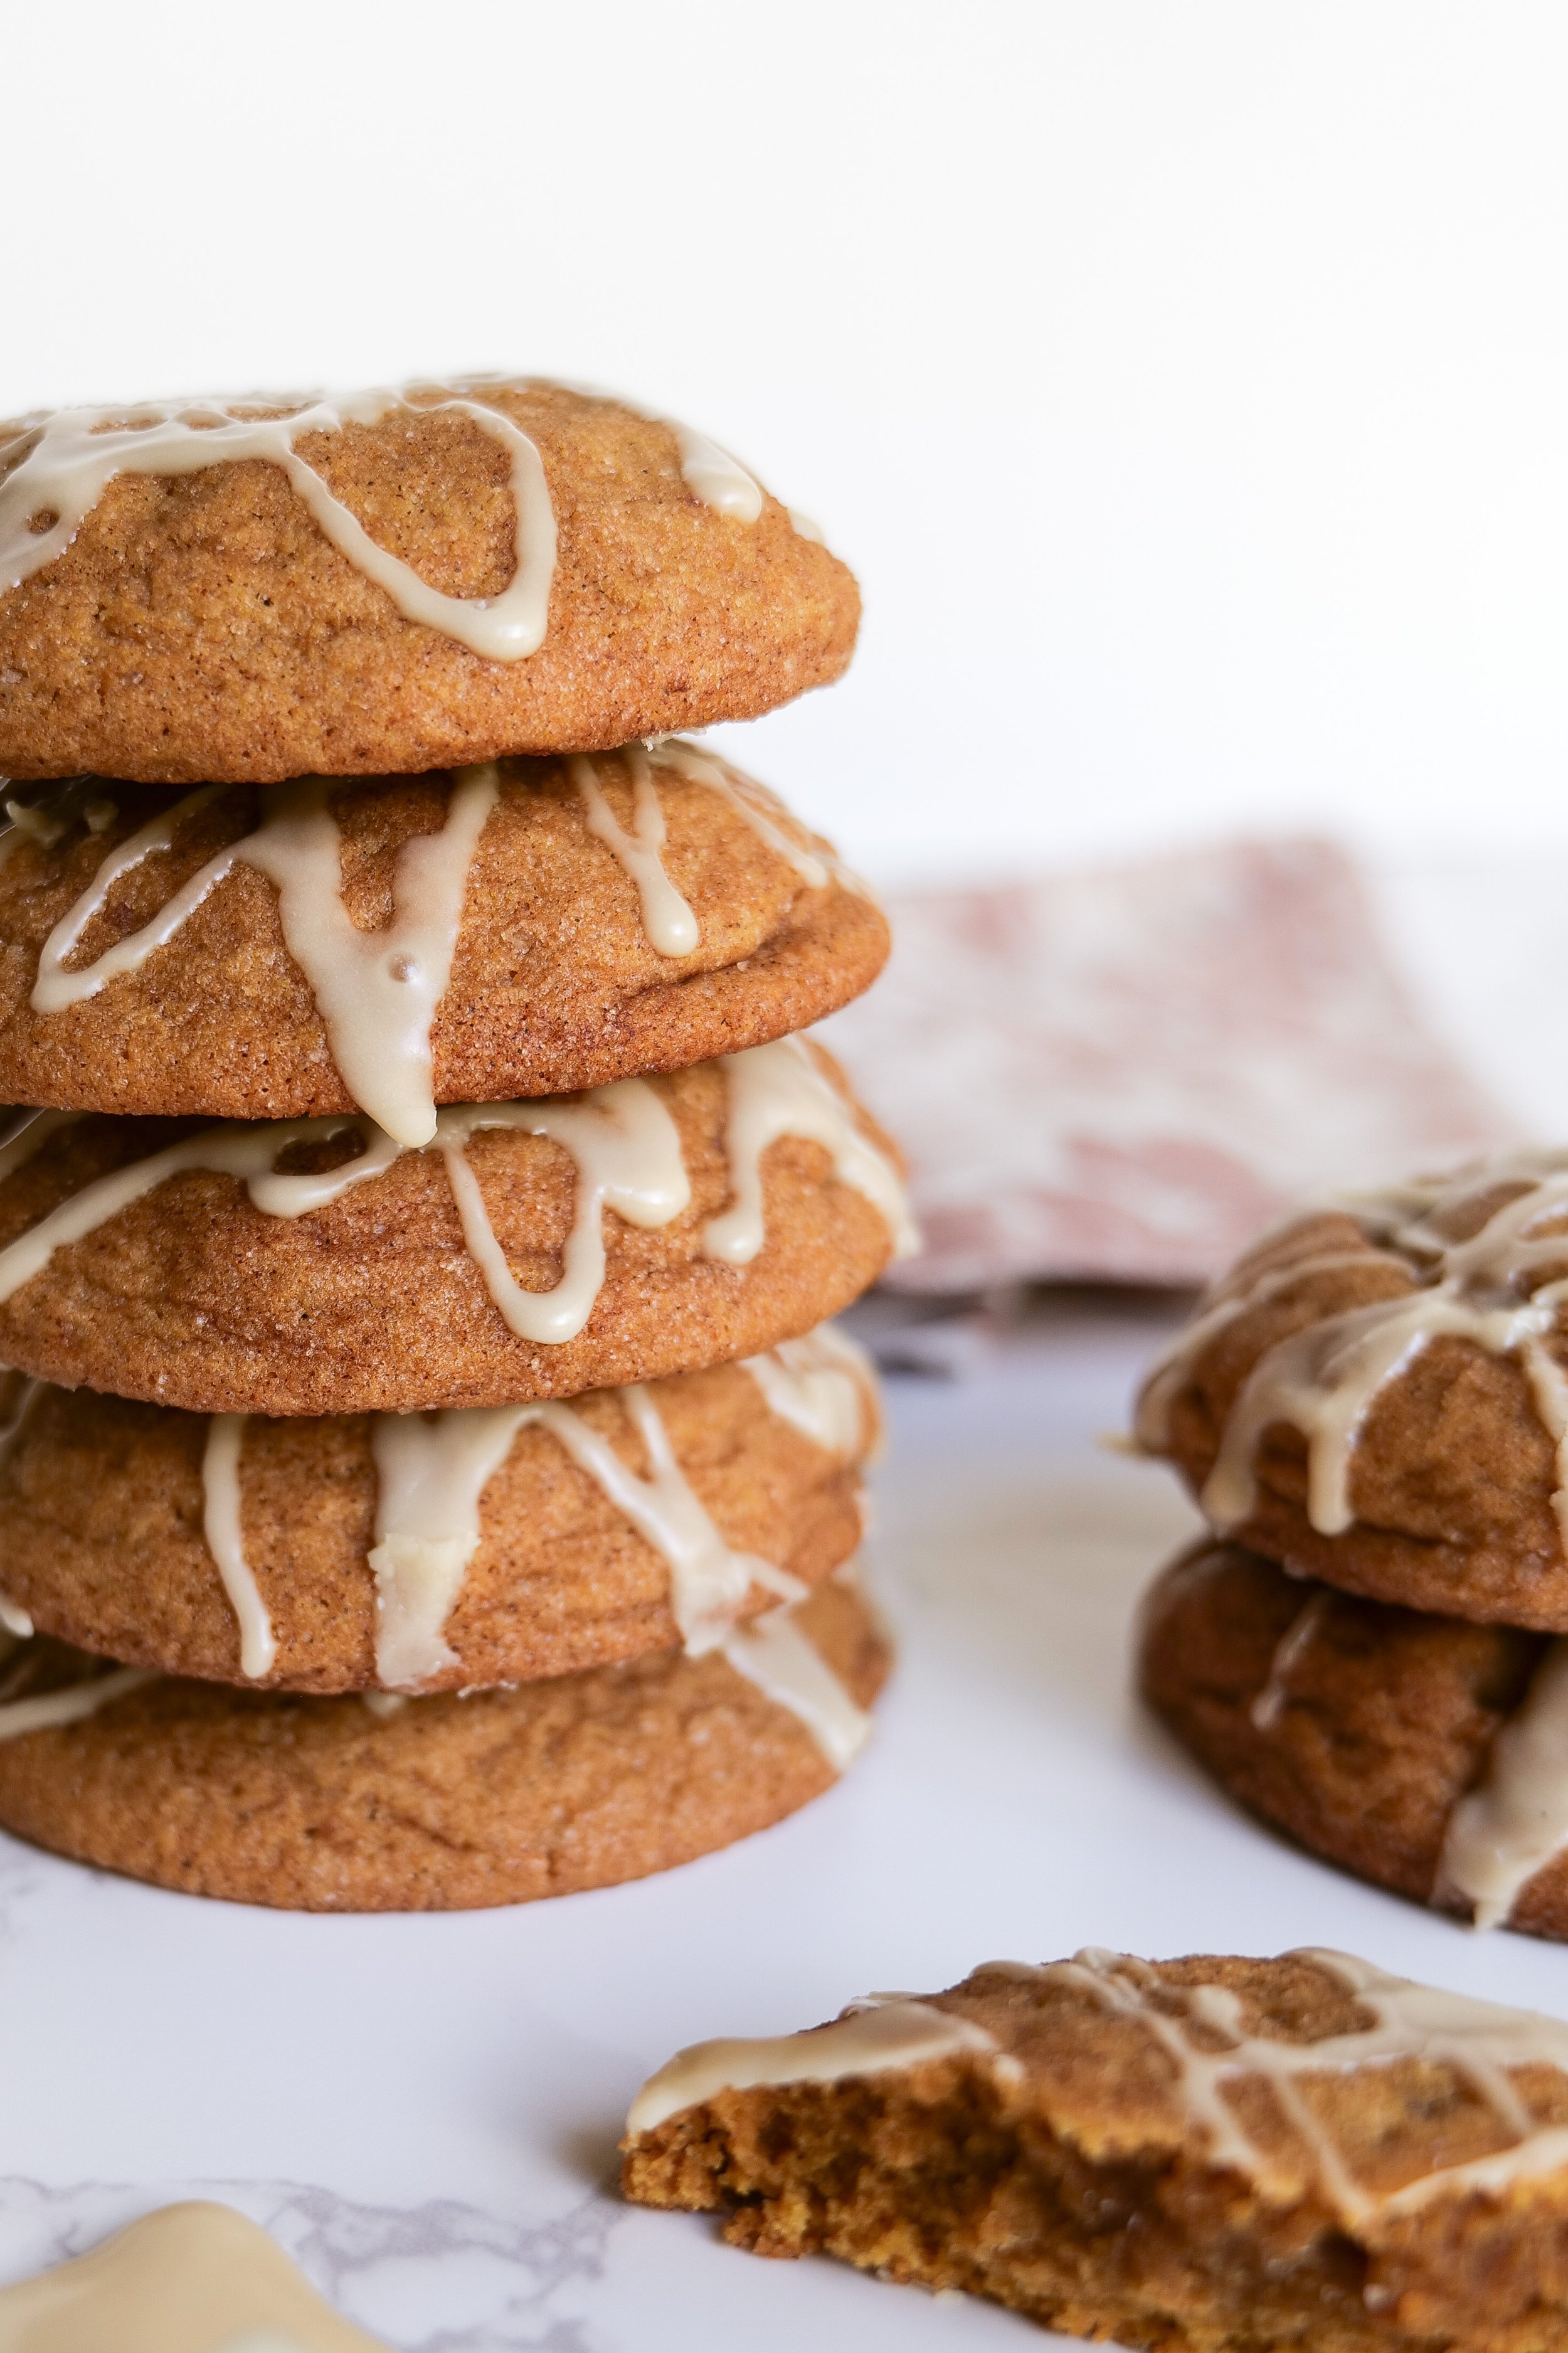
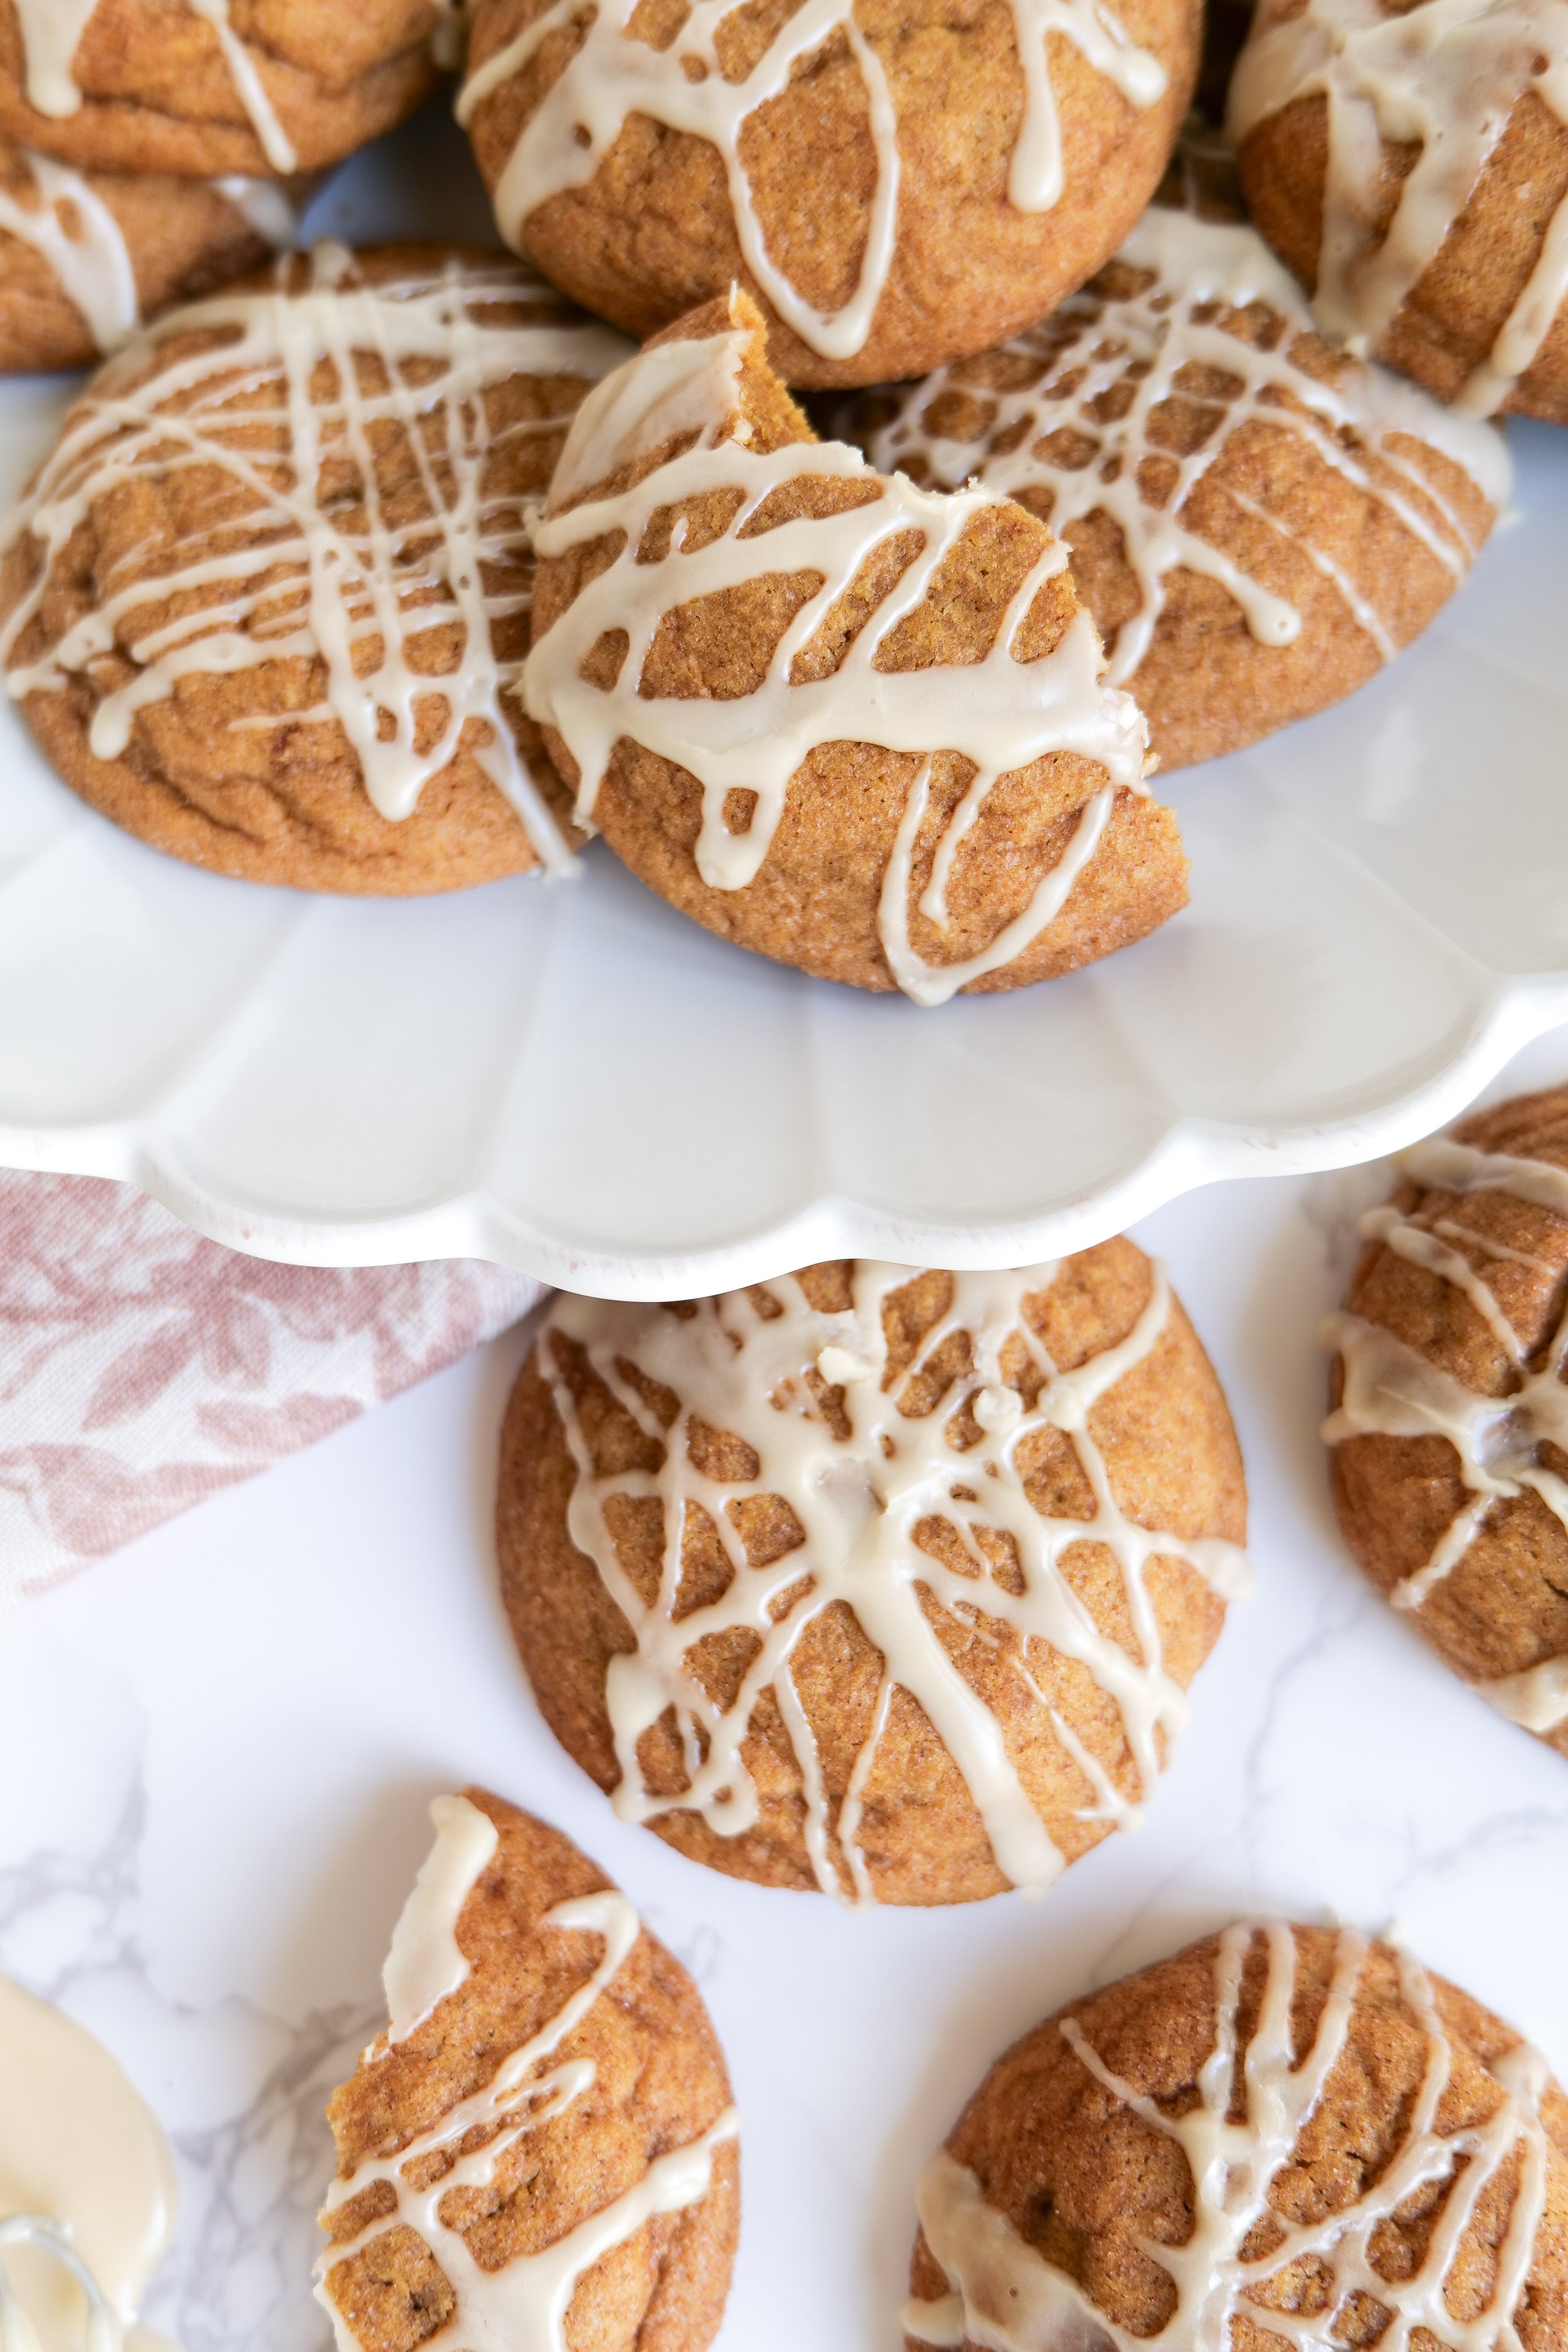
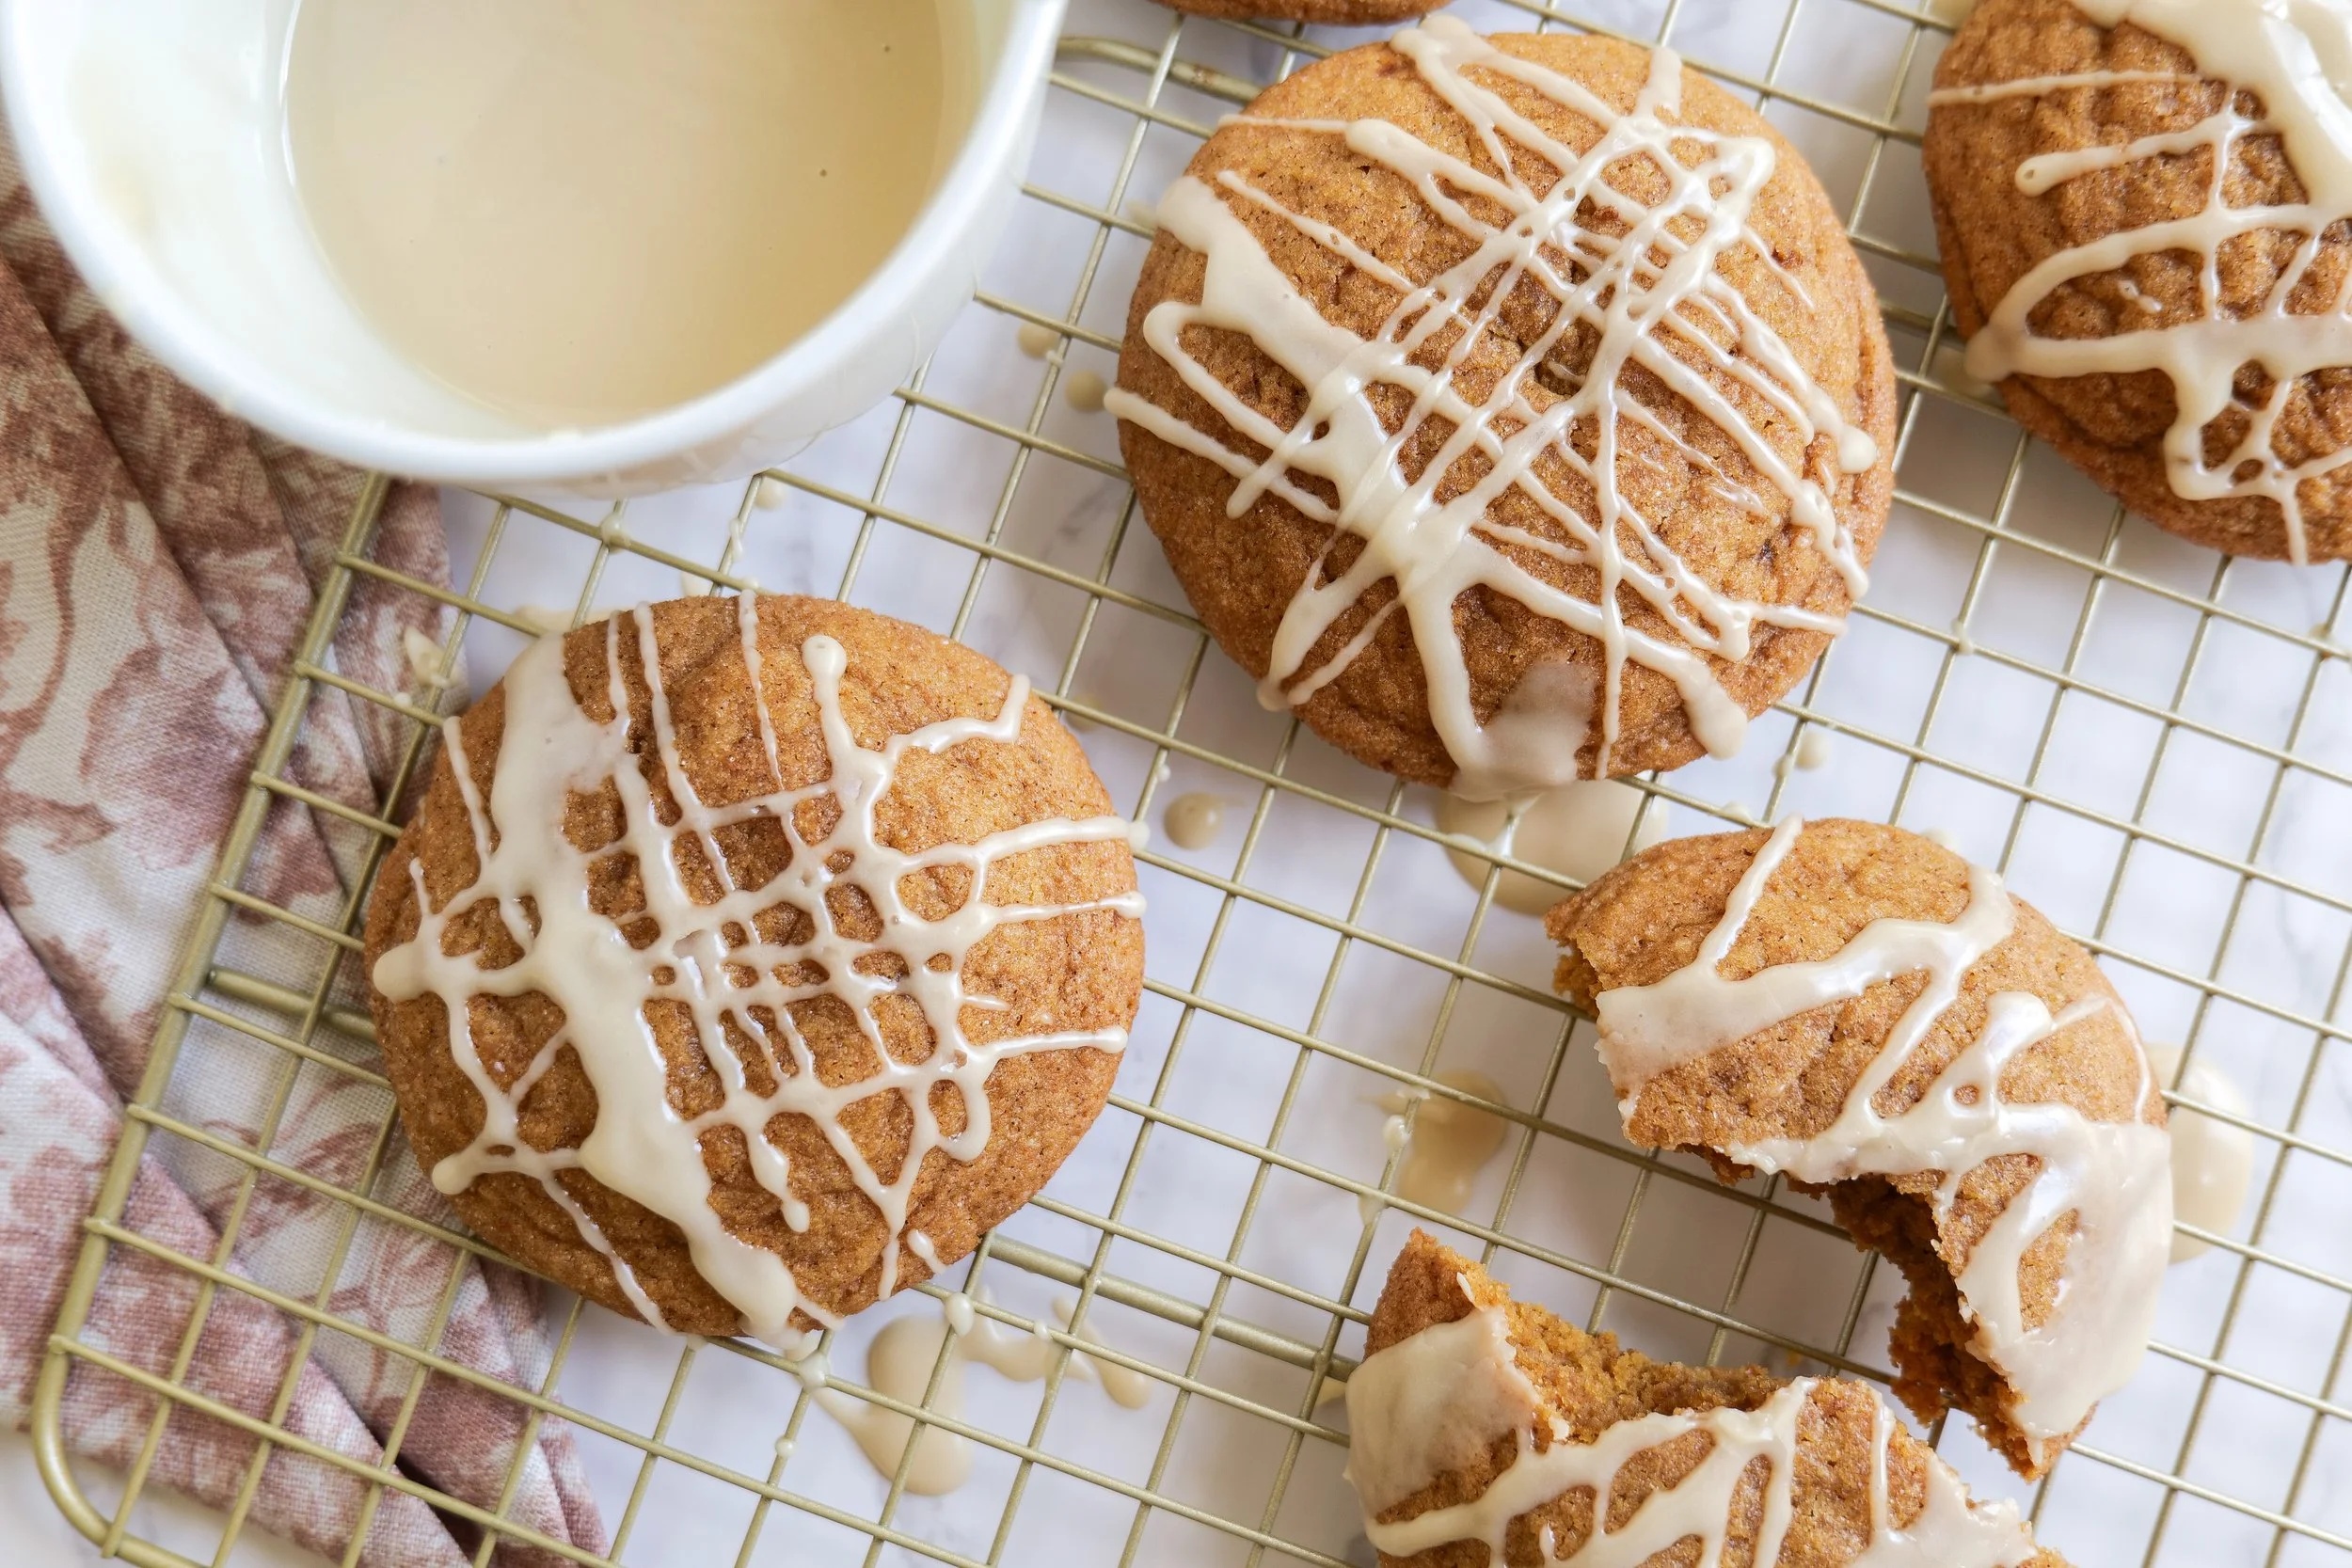
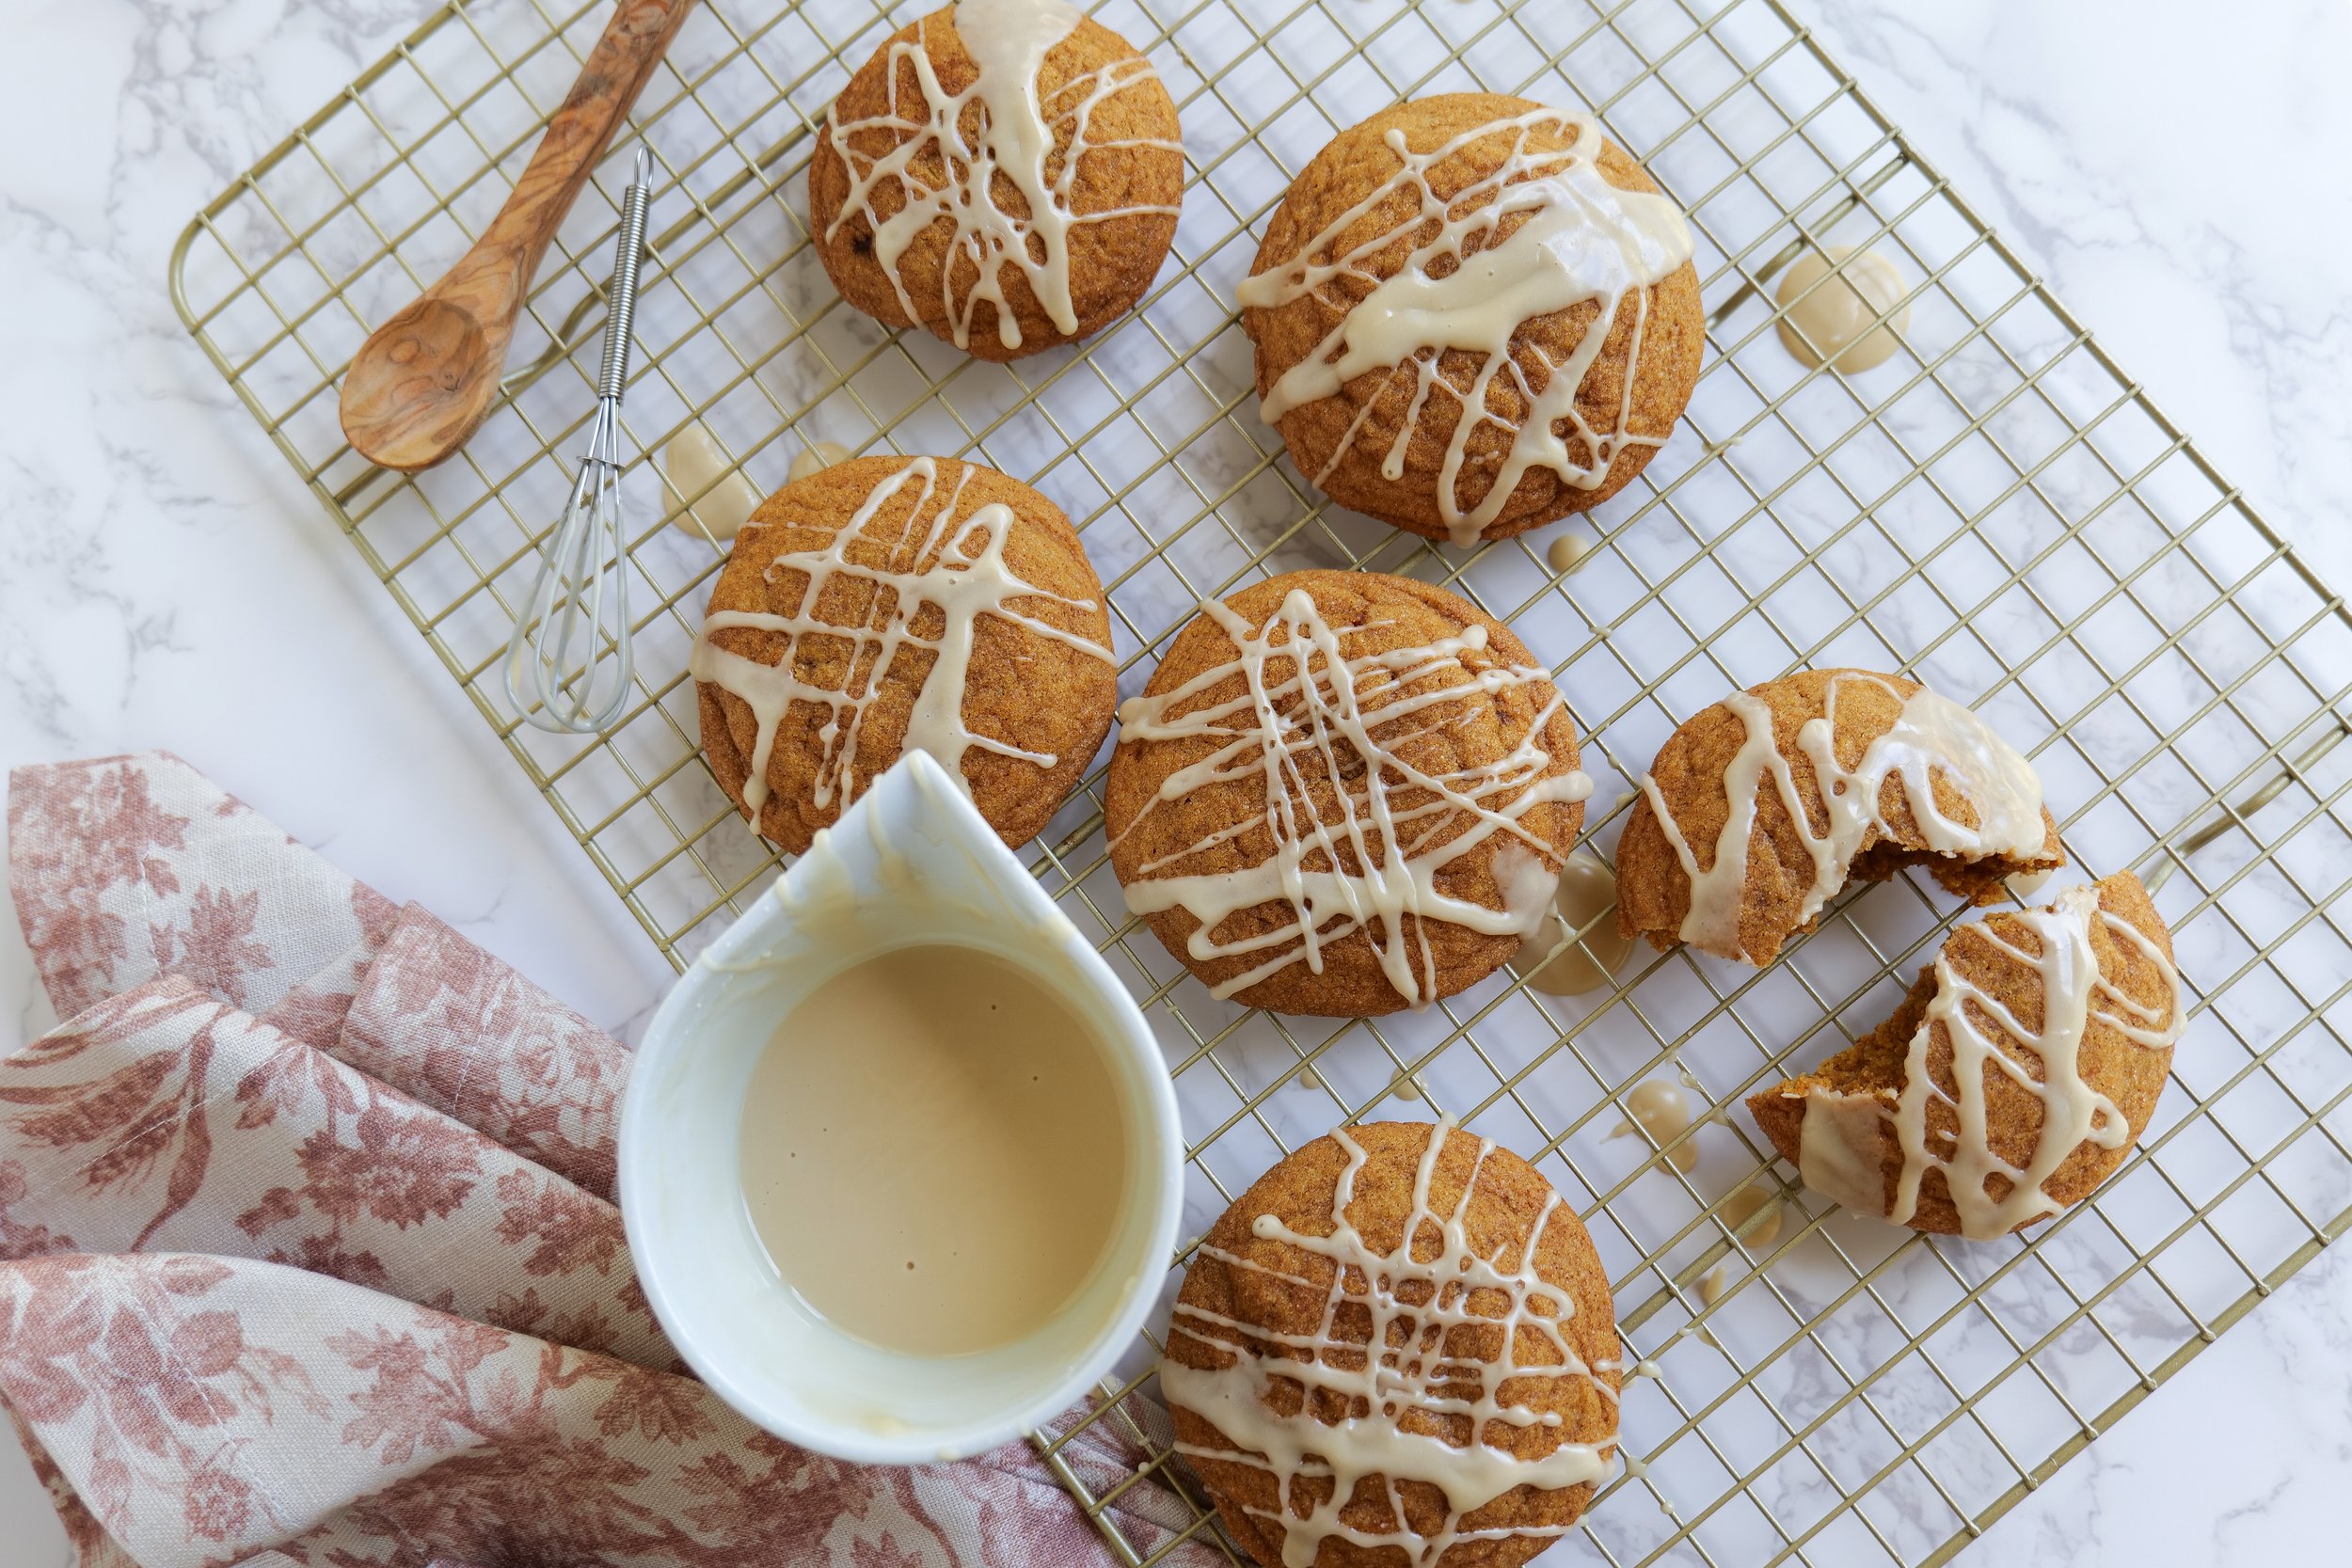
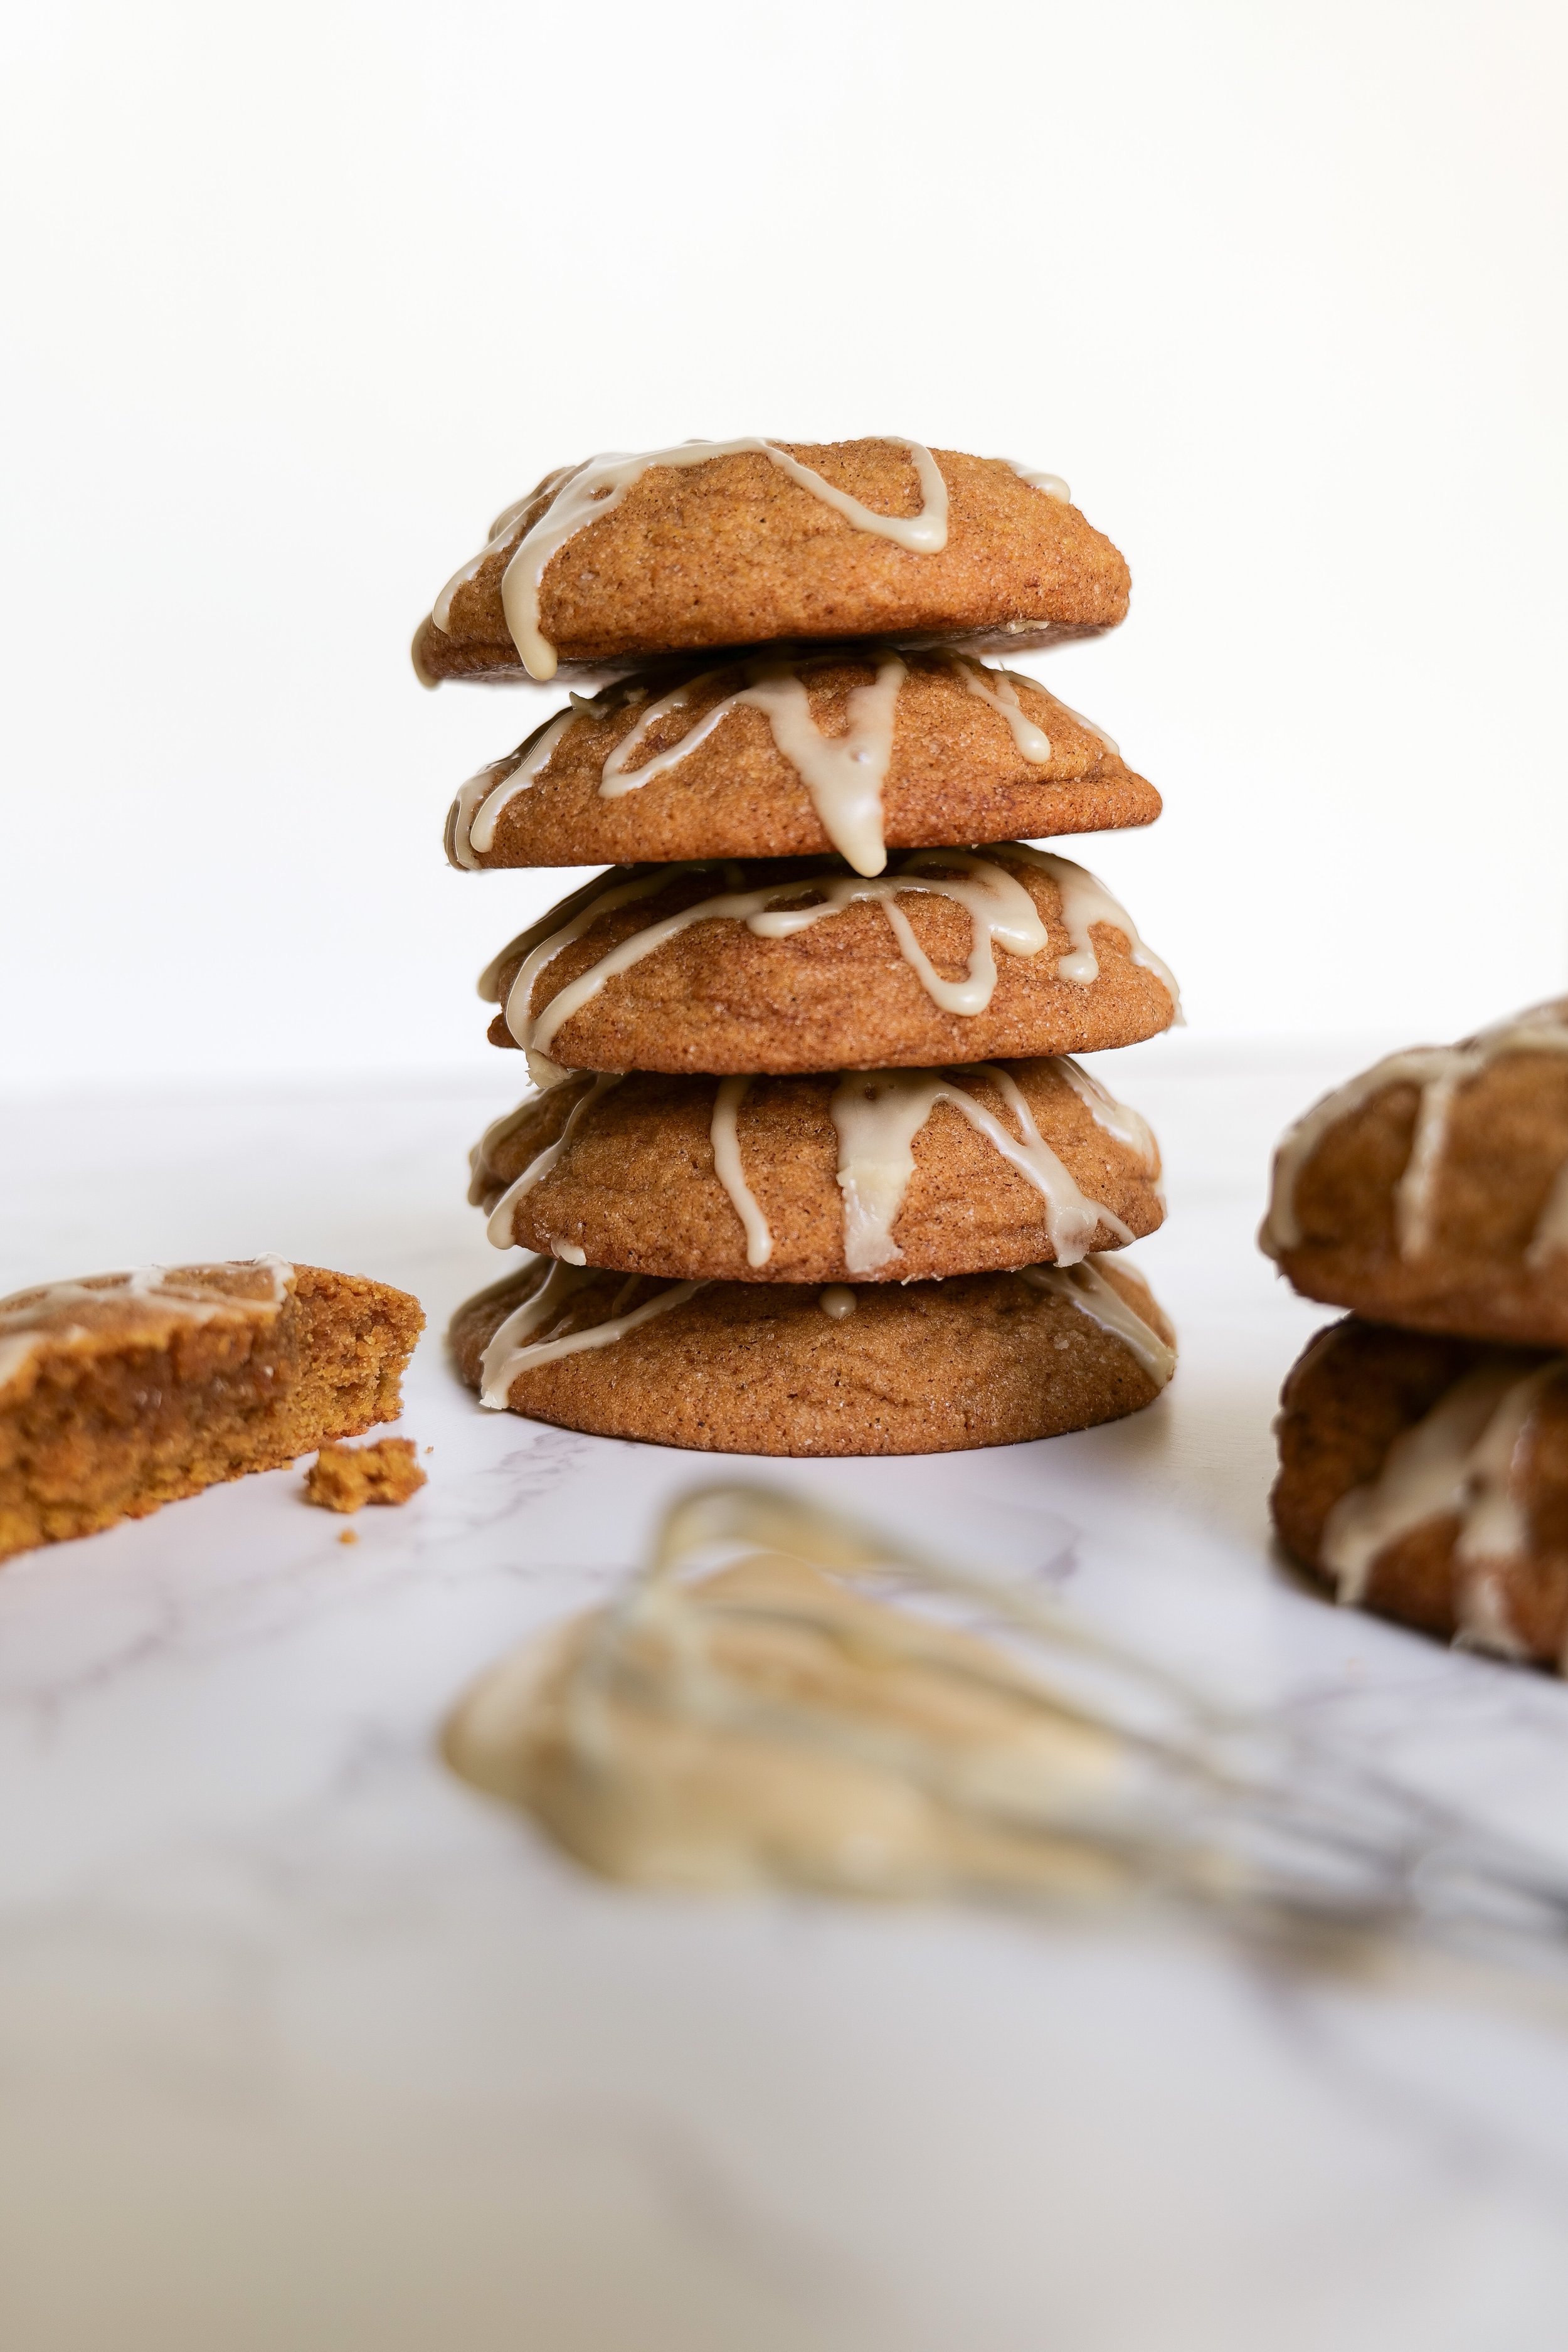
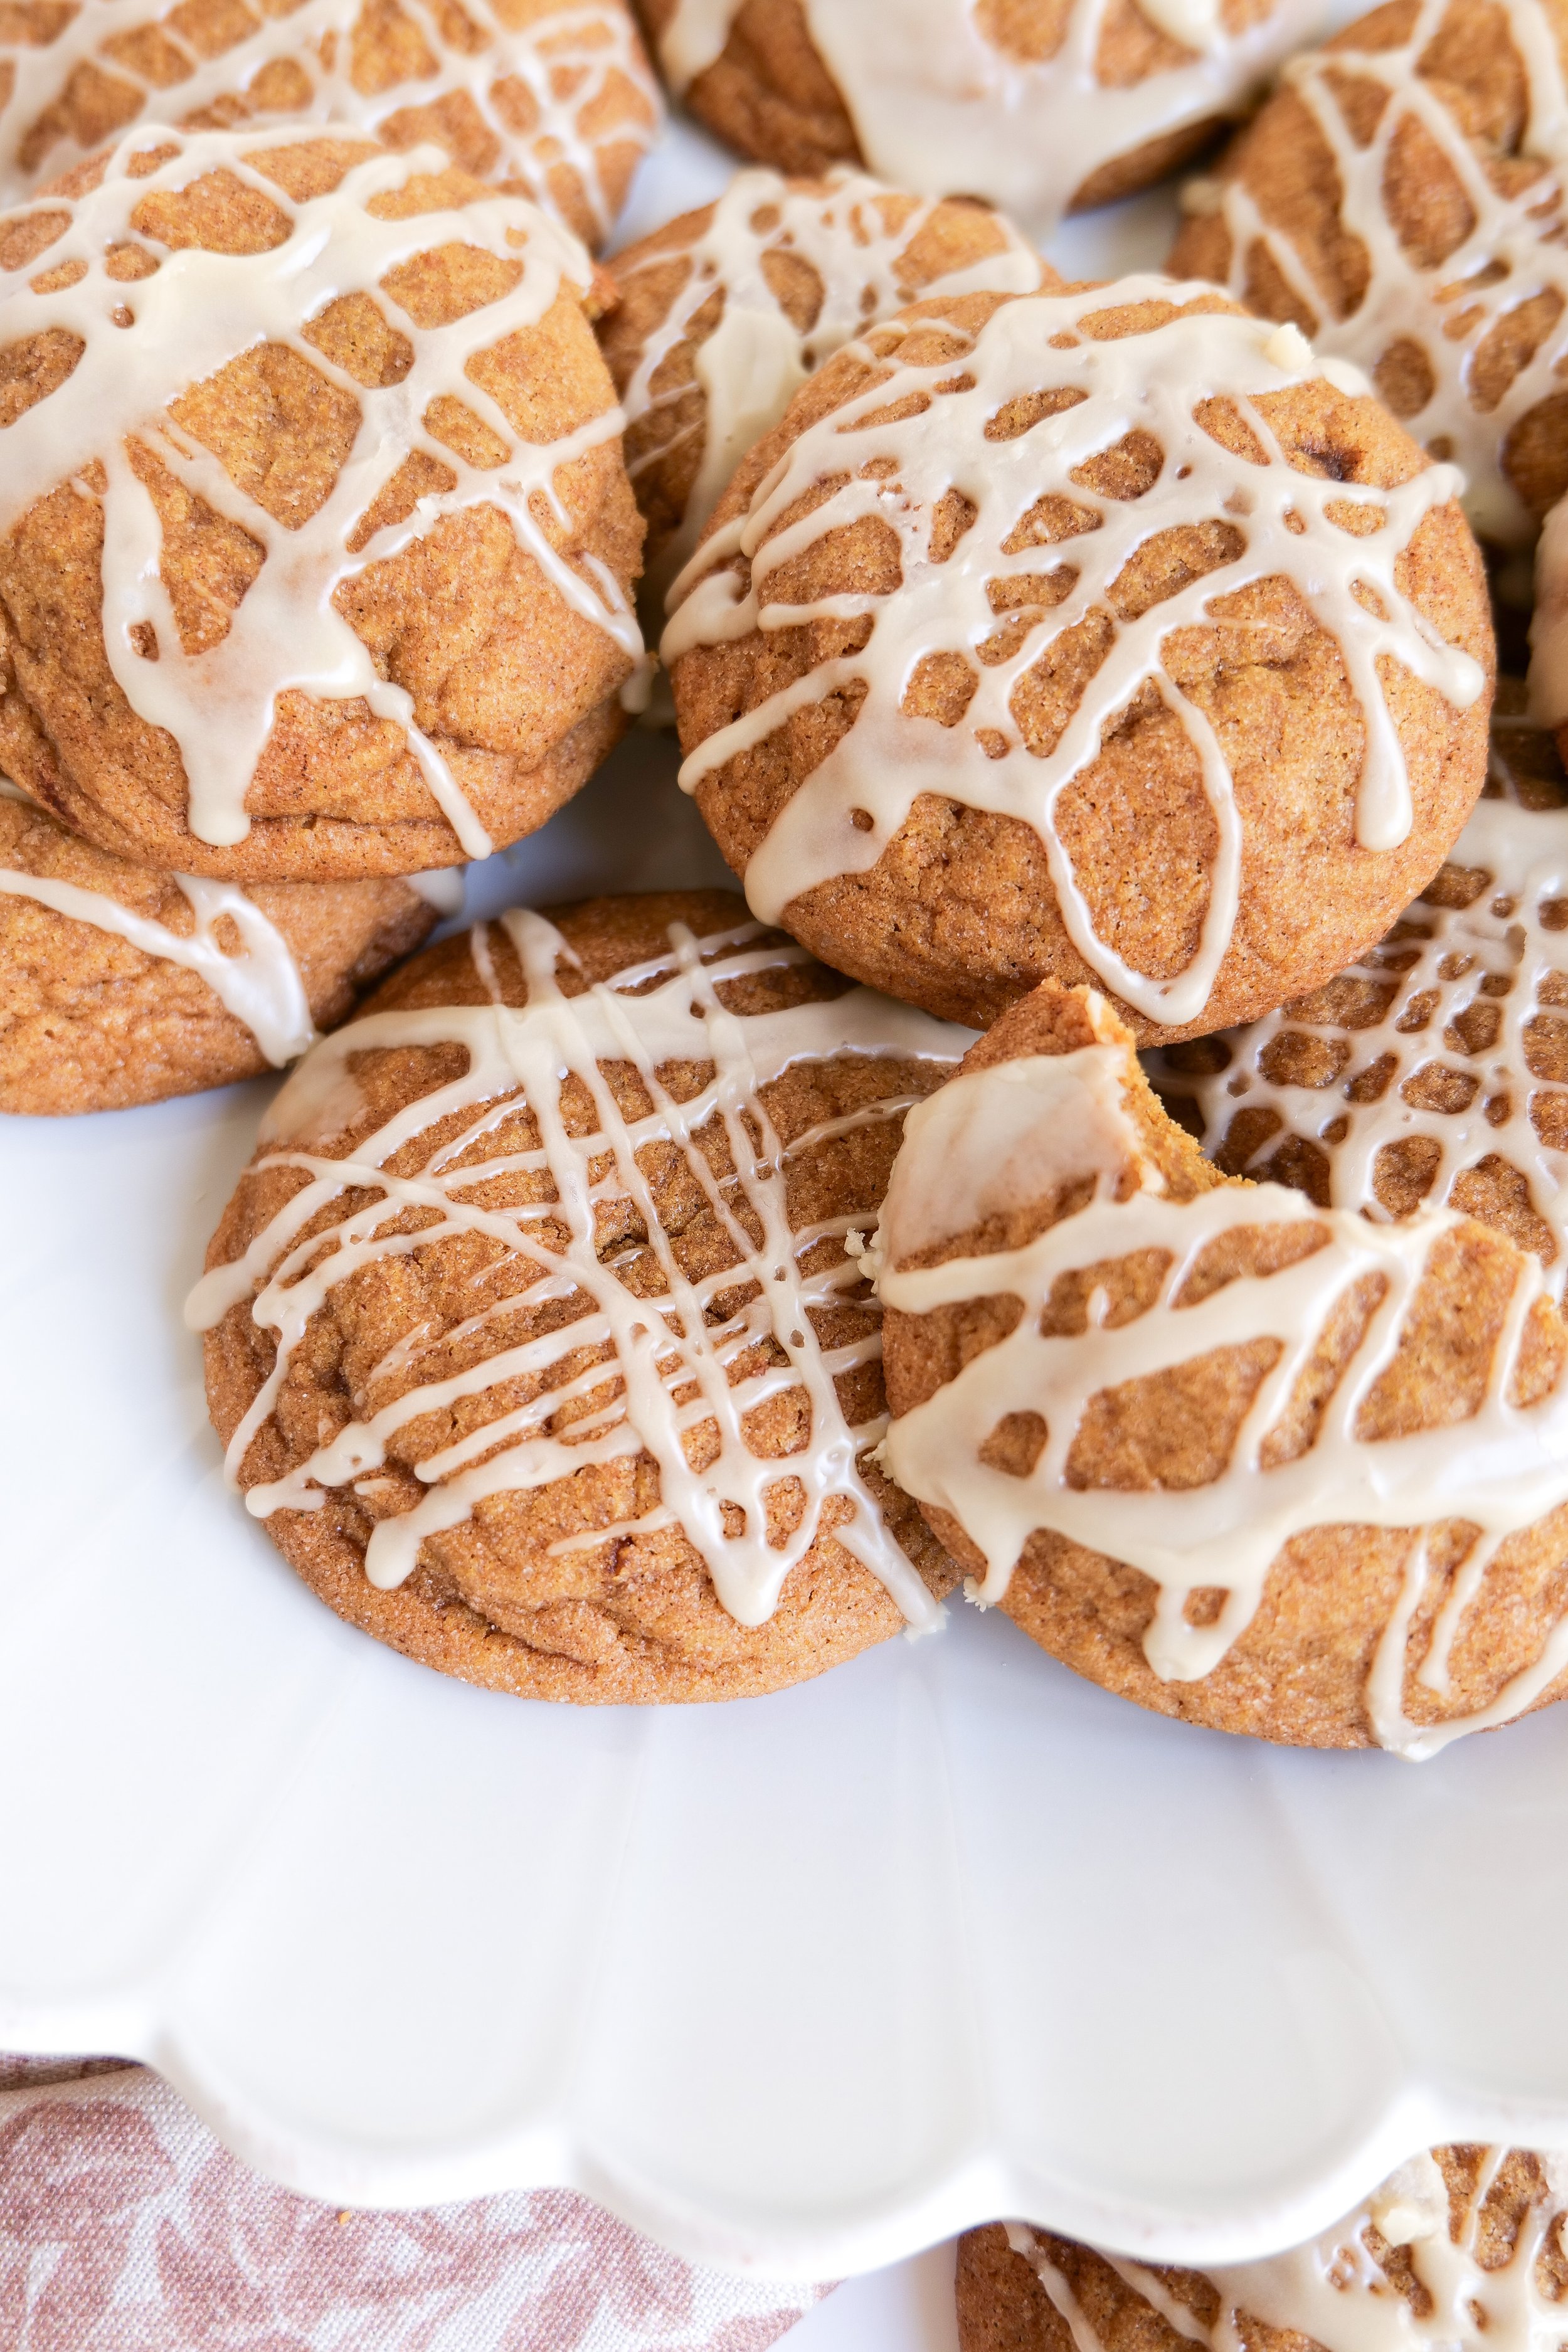
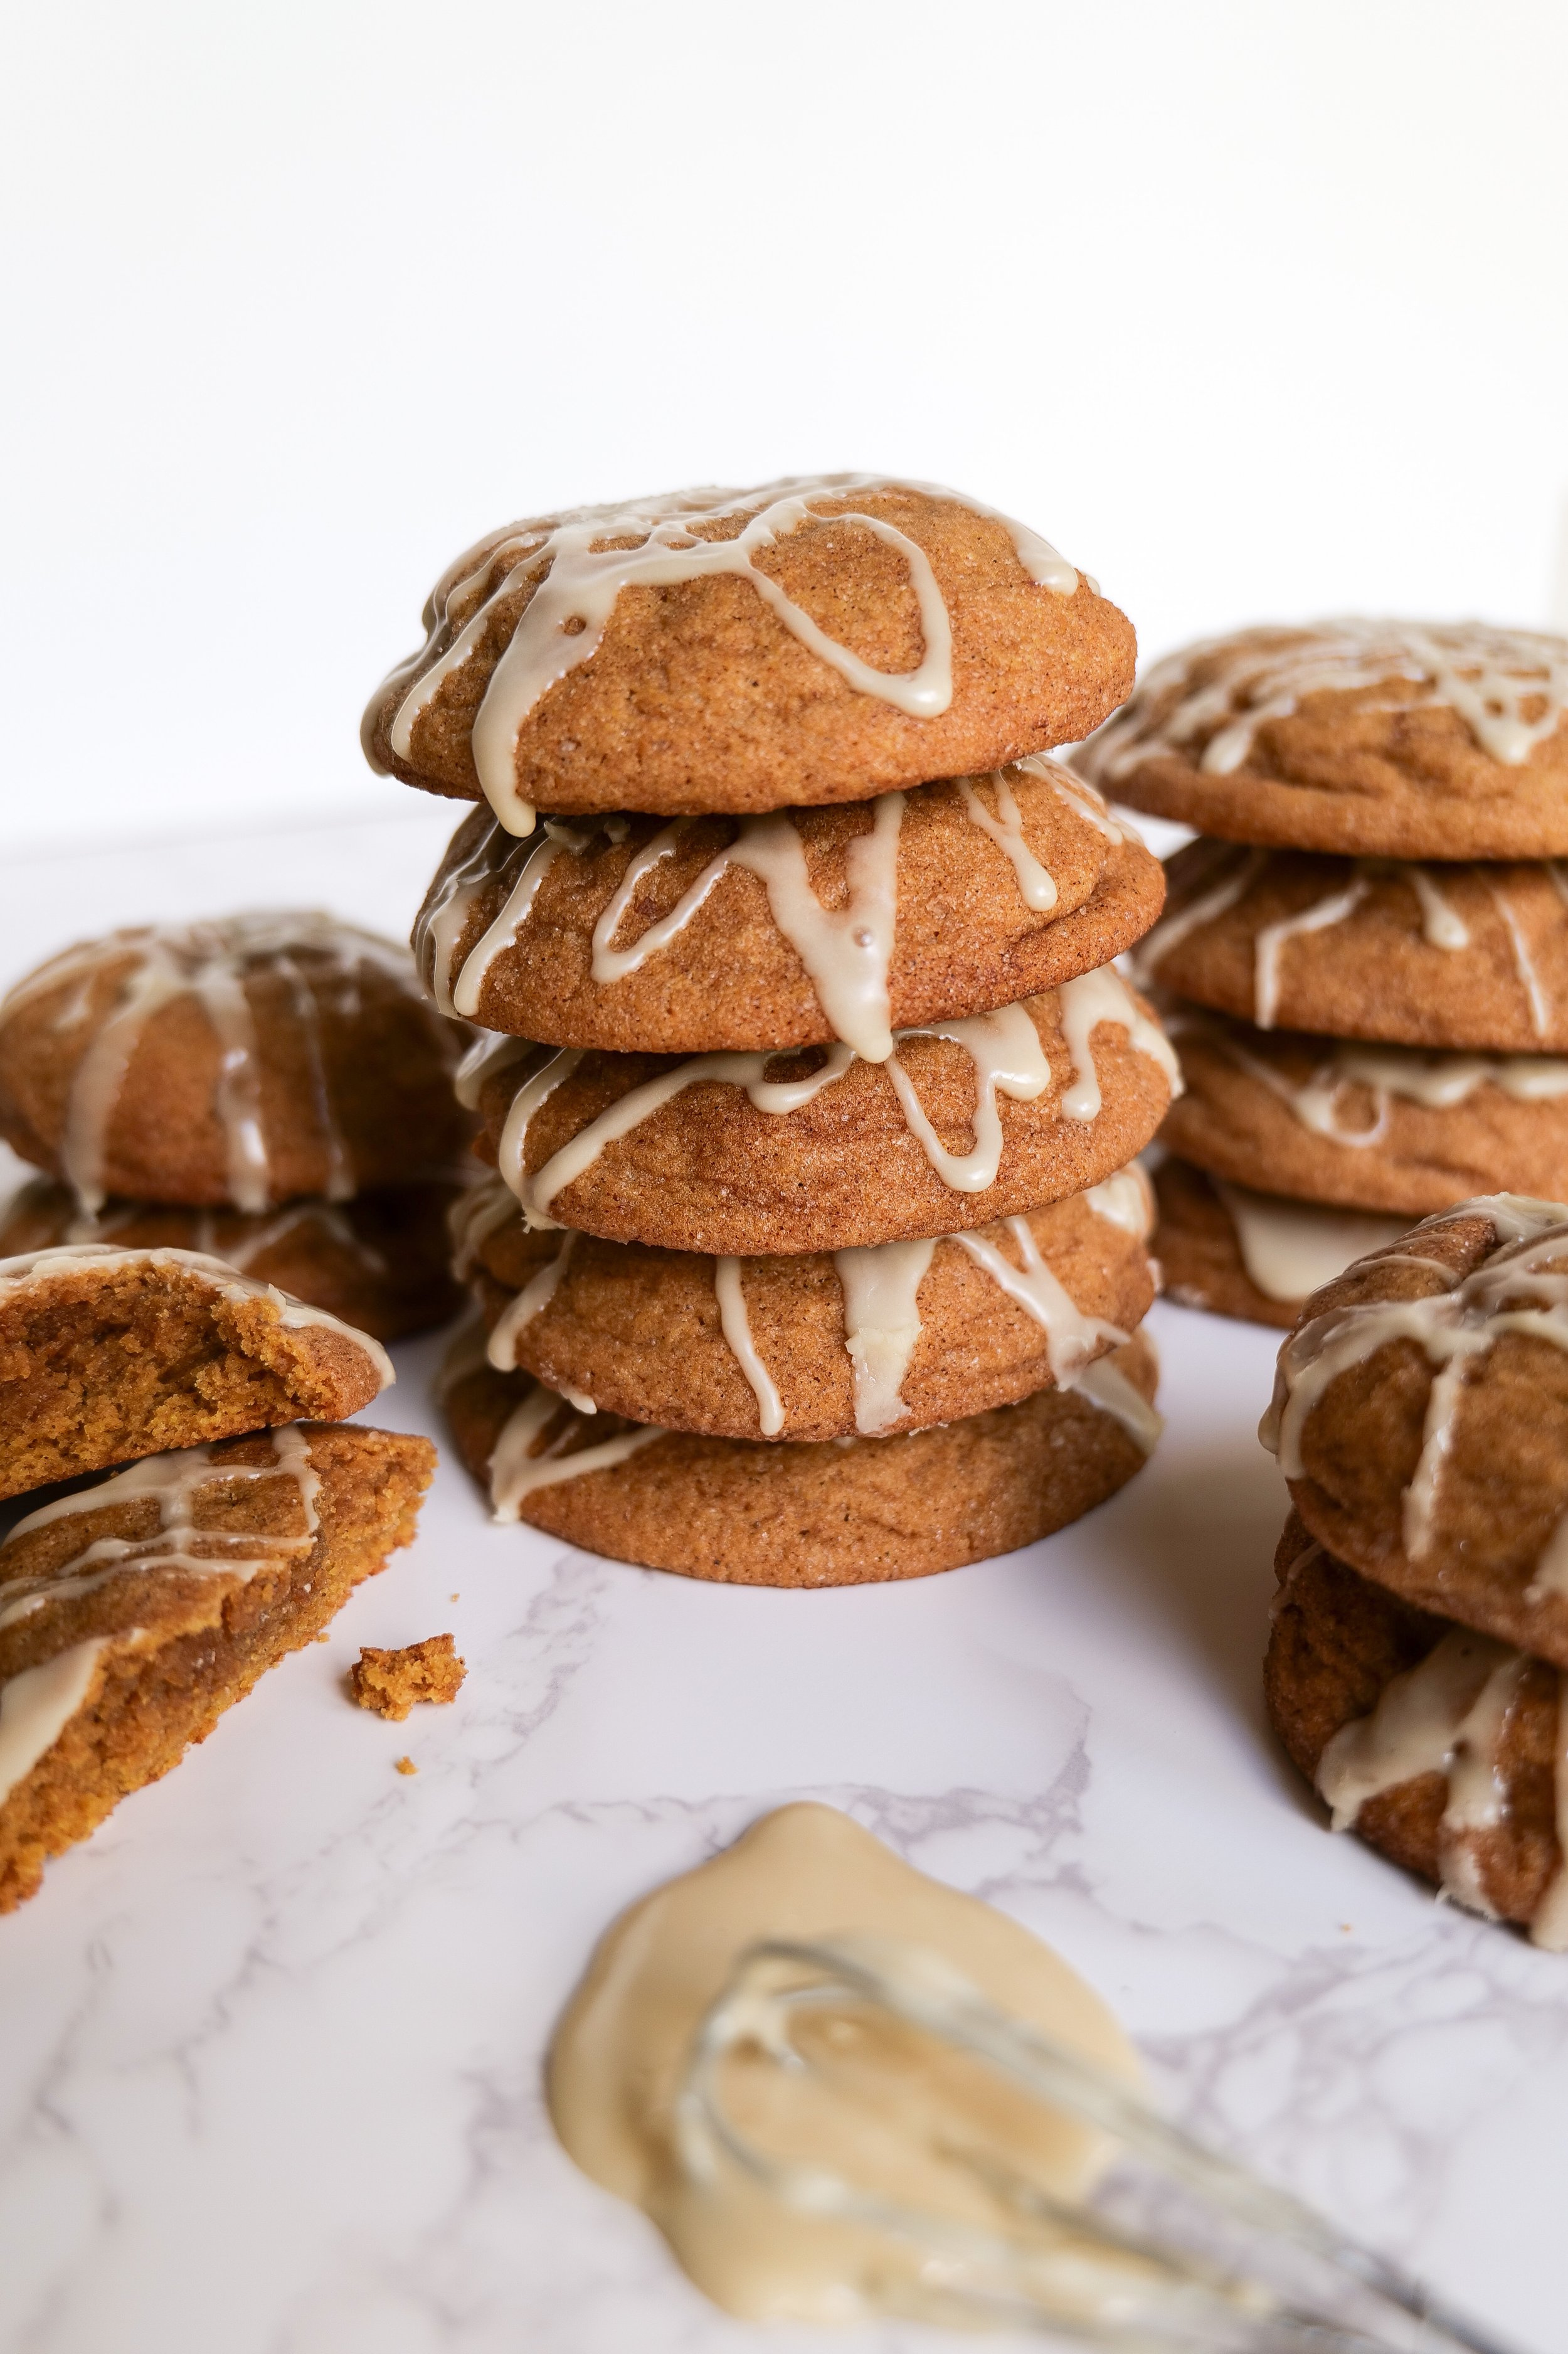
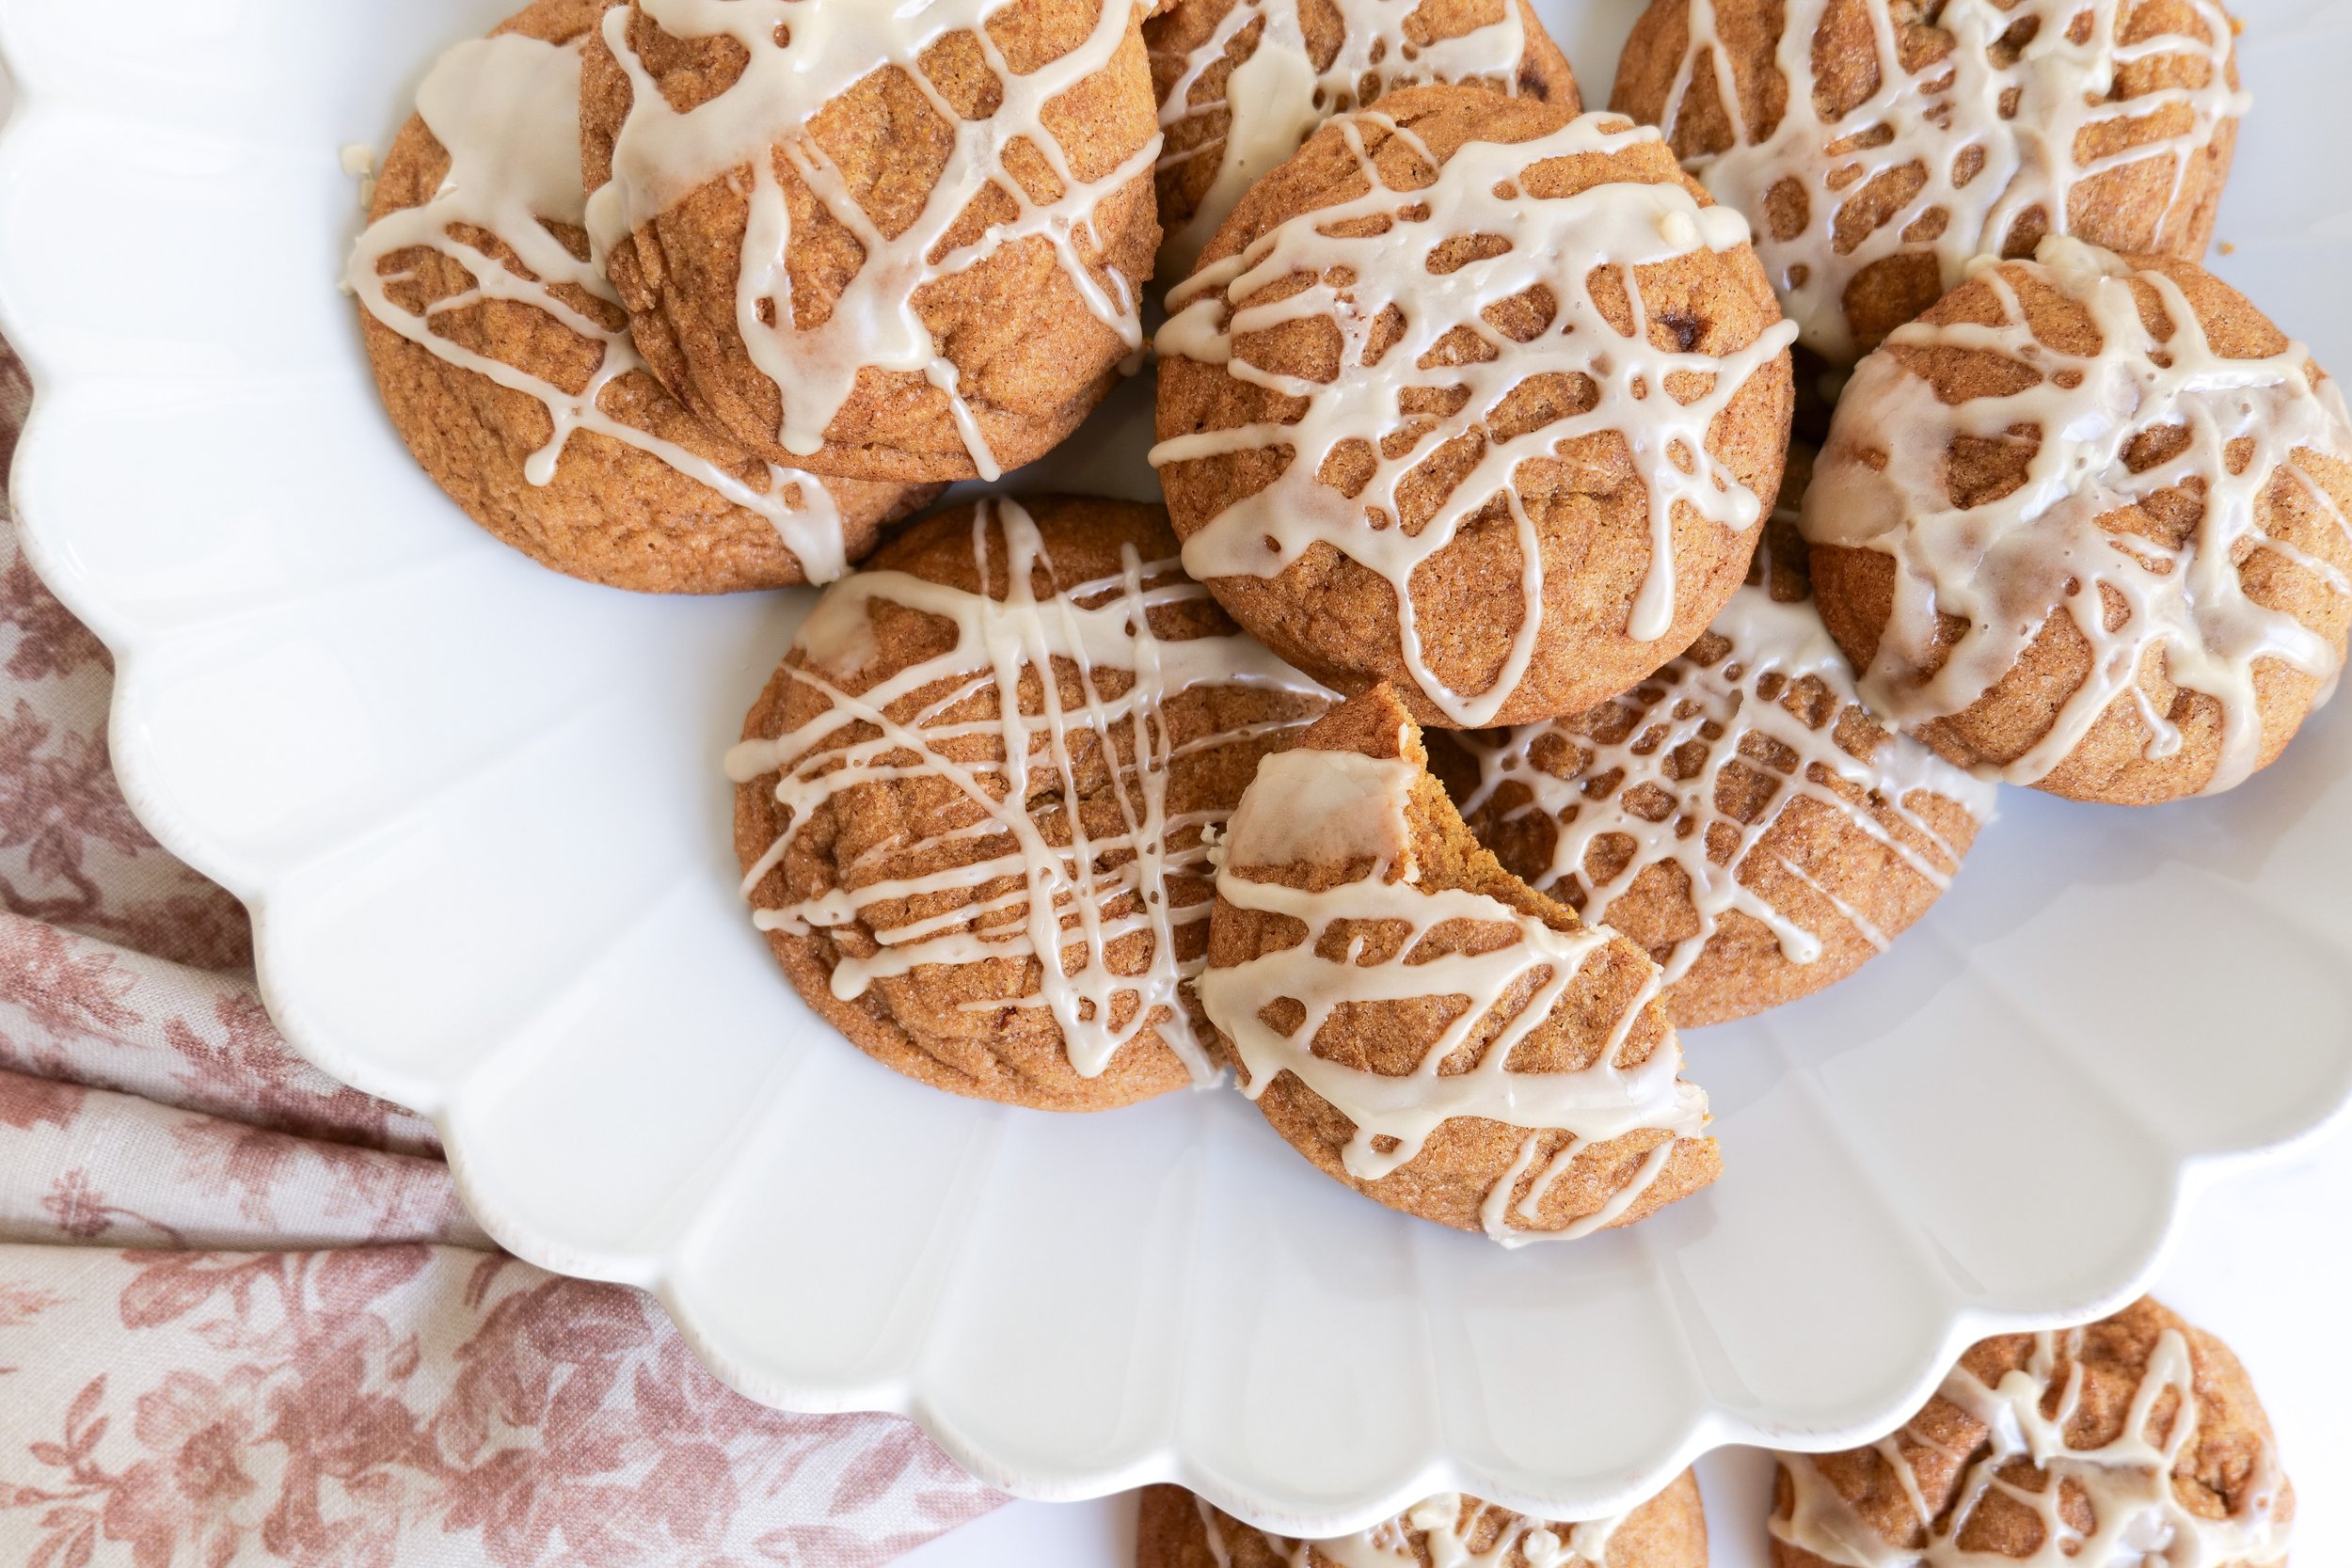
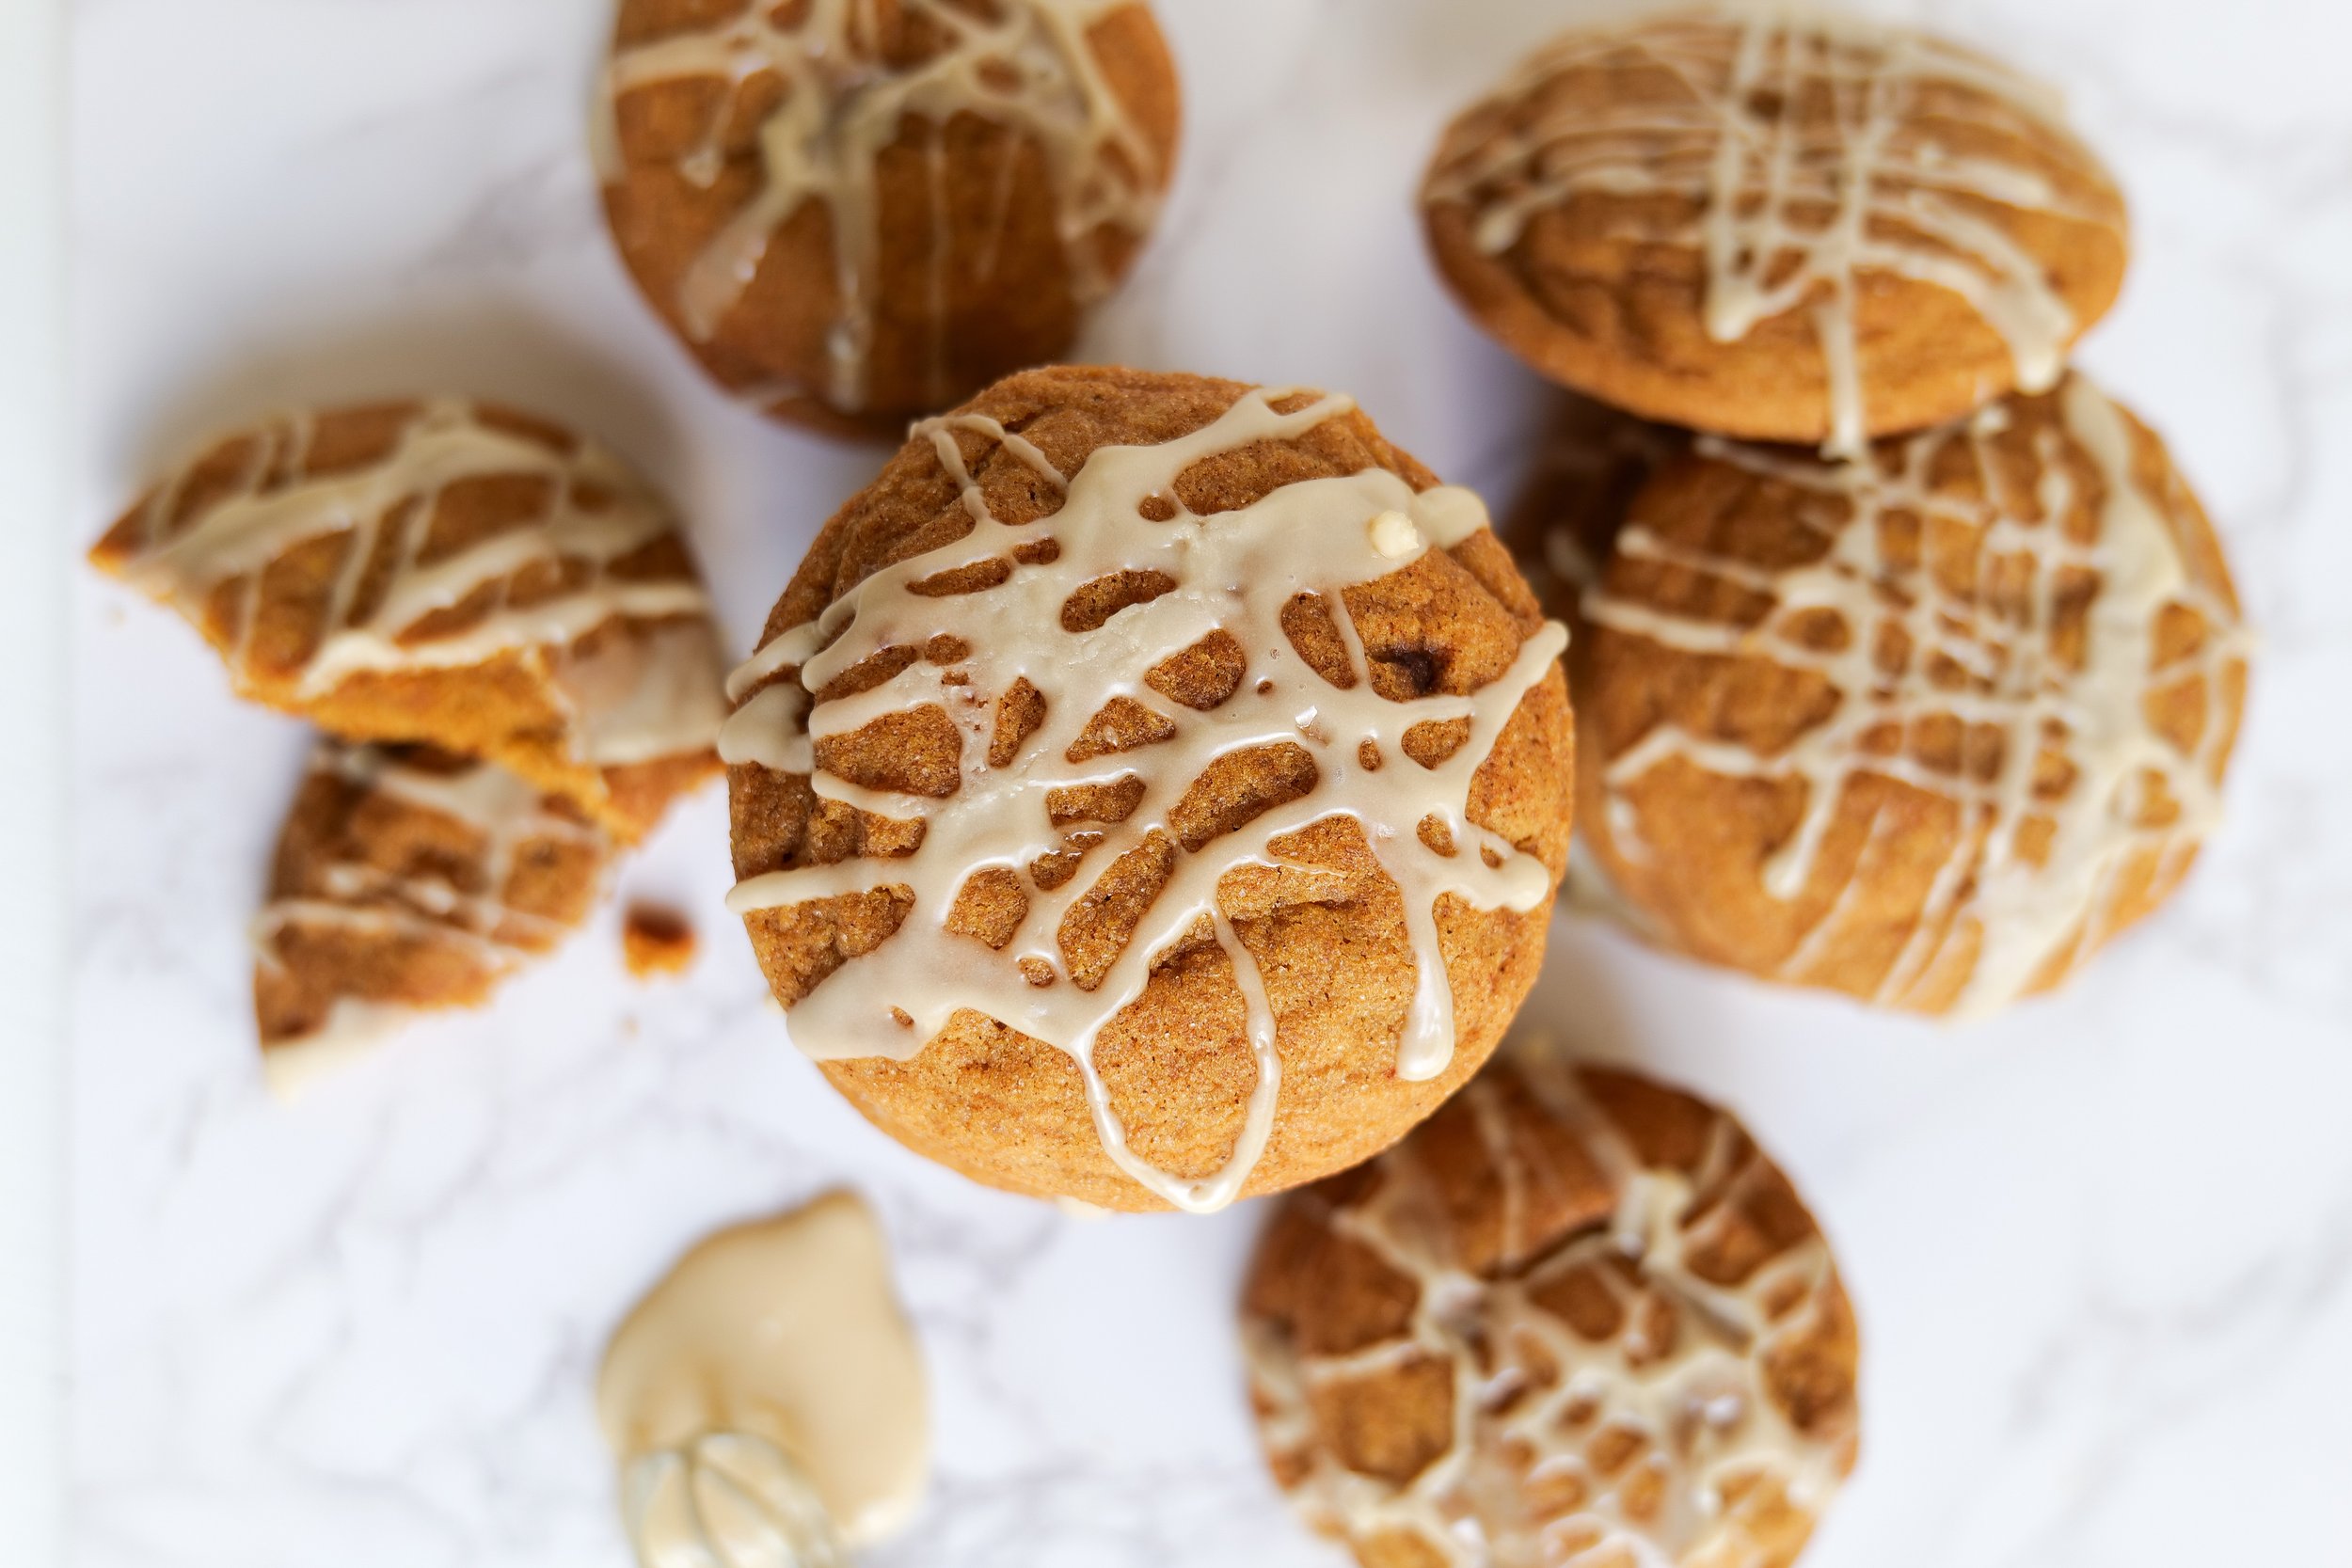
As the leaves change color and you begin to feel that crisp autumn chill in the air, there's no better time to indulge in some home-baked goodness and what could be more fitting than pumpkin molasses cookies. This recipe, with the delightful combination of pumpkin and molasses, embodies the warm, comforting flavors we associate with the fall season. They are incredibly soft and perfectly spiced and every bite brings in a heavenly mix of flavors that will make your taste buds sing. In this blog post about our wonderful pumpkin molasses cookie recipe, we're not just focusing on the delectable end product. We're also highlighting the joy and the warming sense of comfort that the baking process itself brings. So, without further ado, let's sink our teeth deeper into this recipe.

Tips To Make The BEST Pumpkin Molasses Cookies!

To get the best results, it is important to use quality ingredients such as butter, molasses, and pumpkin puree. For an even richer flavor, try using dark brown sugar and brown butter. It is also essential to chill your cookie dough for at least 30 minutes before baking. This will help prevent spreading and make sure your cookies are the same size and bake evenly. To prevent your cookies from sticking, bake them on a parchment-lined baking sheet. Finally, don’t forget to pull your cookies out of the oven when they’re just beginning to brown. The recipe is quick and easy to make, making it a great way to use up any leftover pumpkin puree. They are perfect to enjoy with a hot cup of coffee or tea during the fall and winter months. They make a great addition to holiday cookie trays or as a homemade gift. Pumpkin molasses cookies are guaranteed to be a delicious and festive treat that everyone will love.

How to Store Pumpkin Molasses Cookies

When it comes to pumpkin molasses cookies, the key to keeping them fresh and delicious is proper storage. To ensure that your pumpkin molasses cookies remain soft and flavorful, store them in an airtight container. Place a baking sheet at the bottom of the container before adding the cookies. This will help absorb any moisture that may have accumulated during baking or storage. Place a piece of parchment paper between the layers of cookies. This will prevent them from sticking together and will keep them from drying out. Store the container in a cool, dry place, away from direct sunlight. If storing for more than a few days, place the container in the refrigerator for longer-term storage. Pumpkin molasses cookies can be stored for up to one month. However, they are best enjoyed fresh.

If you decide to freeze the cookie dough, shape it into balls and place them on a baking sheet. Place the baking sheet in the freezer until the dough is frozen and then transfer it to a freezer-safe container. When you’re ready to bake the cookies, remove the desired amount of cookie dough balls from the freezer and place them on a baking sheet. Allow the cookie dough to thaw completely before baking and you’ll have fresh pumpkin molasses cookies in no time! They can be stored this way for up to 3 months.

Can I Use Gluten-Free Flour?

Cooking with gluten-free flour can be a challenge, but it is possible to make delicious pumpkin molasses cookies with the help of this alternative to all-purpose flour. Gluten-free flour is made from different ingredients such as rice flour, almond flour, or garbanzo bean flour, and does not contain the protein gluten which can be found in wheat, barley, and rye.

When using gluten-free flour to make pumpkin molasses cookies, it is important to use a combination of flours, as well as a thickener such as xanthan gum, to achieve the desired texture. The combination of flour and thickener helps to replicate the texture of regular all-purpose flour. Gluten-free flour can be found in most health food stores and some regular grocery stores. While it is more expensive than regular all-purpose flour, it is a great substitute for those with gluten sensitivity or allergies.

Can I substitute any ingredients in the pumpkin molasses cookie recipe?

You can easily substitute ingredients to make it more flavorful or to accommodate personal preferences. For example, you can replace the butter with a vegan alternative such as coconut oil or margarine. You can also substitute the molasses for honey or maple syrup for a slightly different flavor. Additionally, you can add different spices such as nutmeg, allspice, or ginger for an extra kick. If you’re looking for a healthier option, you can replace the refined white sugar with coconut sugar or other natural sweetener. If you are looking to add chocolate to this already delicious cookie you can add 1/2 cup of chocolate chip chunks to the dough right before adding to the fridge for an added chocolate taste. With so many options to choose from, you’ll find a pumpkin molasses dessert that you’ll love!

Ingredients

For the cookies

1 cup butter, room temperature

1/2 cup dark brown sugar

1/2 cup sugar plus

¼ cup molasses

¼ cup pumpkin puree

1 egg

1 teaspoon vanilla extract

1 teaspoon baking soda

1 teaspoon kosher salt

1 teaspoon cinnamon

3/4 teaspoon pumpkin pie spice

1/4 teaspoon cloves

¼ teaspoon ground ginger

2¼ cups all-purpose flour

Cinnamon Sugar Coating

1/2 cup sugar

1 tablespoon cinnamon

Directions

  1. Whisk together flour, spices, baking soda and salt in a small bowl.

  2. In a separate bowl add the butter and both sugars and mix with a hand mixer or stand mixer on medium speed for 2 minutes until fluffy and light.

  3. Add in the molasses, pumpkin, egg and vanilla extract. Mix on medium speed until combined and smooth, scraping the sides of the bowl as needed

  4. Turn the mixer to low and add in the flour mixture mixing until just combined.

  5. Place into the fridge for 30 min to 1 hour until the dough hardens slightly and mix cinnamon sugar coating in a bowl. Preheat oven to 350°F. Line a cookie sheet with parchment paper and set aside.

  6. Portion out the dough using a large cookie scoop or ice cream scoop, and roll each into a ball. Roll each ball into the cinnamon sugar mixture and place on cookie sheets.

  7. Bake on a parchment-lined cookie sheet for 10-12 minutes. Cookies are done when they look slightly dry on top but still somewhat moist in the cracks. 

  8. Transfer cookies to a cooling rack and Enjoy!

Other Delicious Cookie Recipes You Will Love:

Brown Butter Caramel Pretzel Cookies

The Best Monster Cookie Recipe You'll Ever Try!

Birthday Cutout Sugar Cookies

Brown Sugar Toffee Cookies

How to Make Delicious Nutter Butter Cookies At Home

How to Make Delicious Nutter Butter Cookies At Home

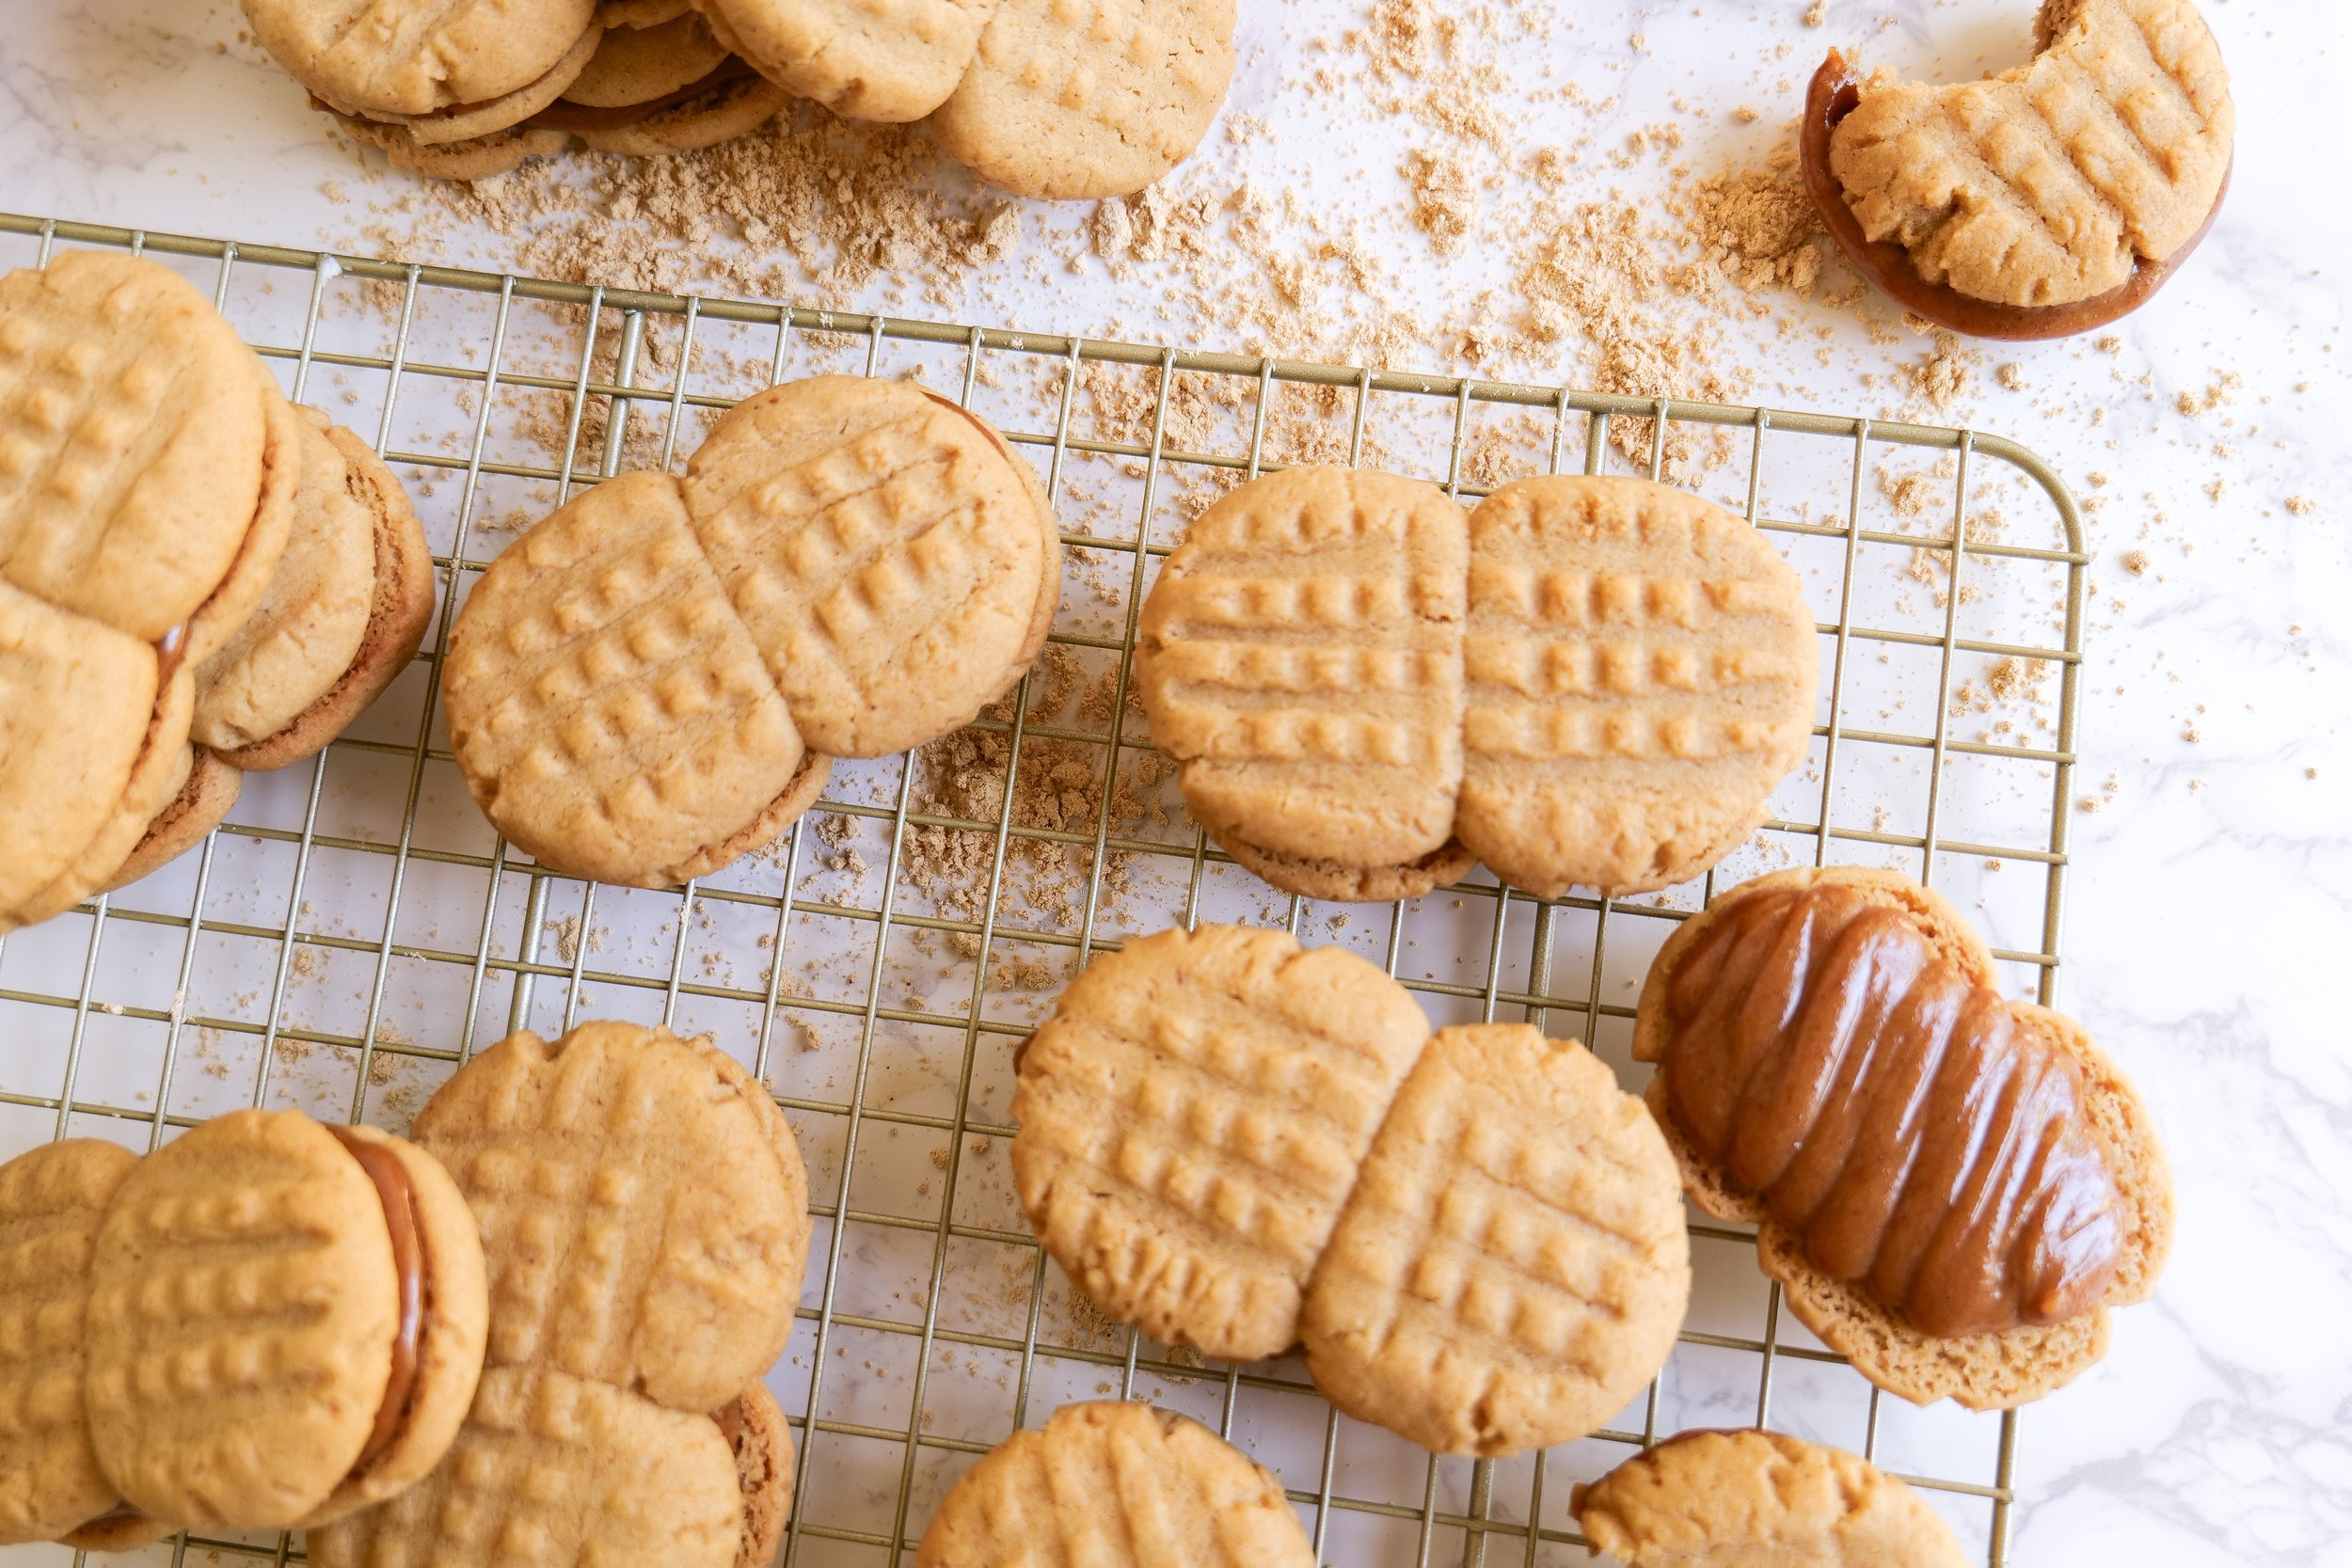
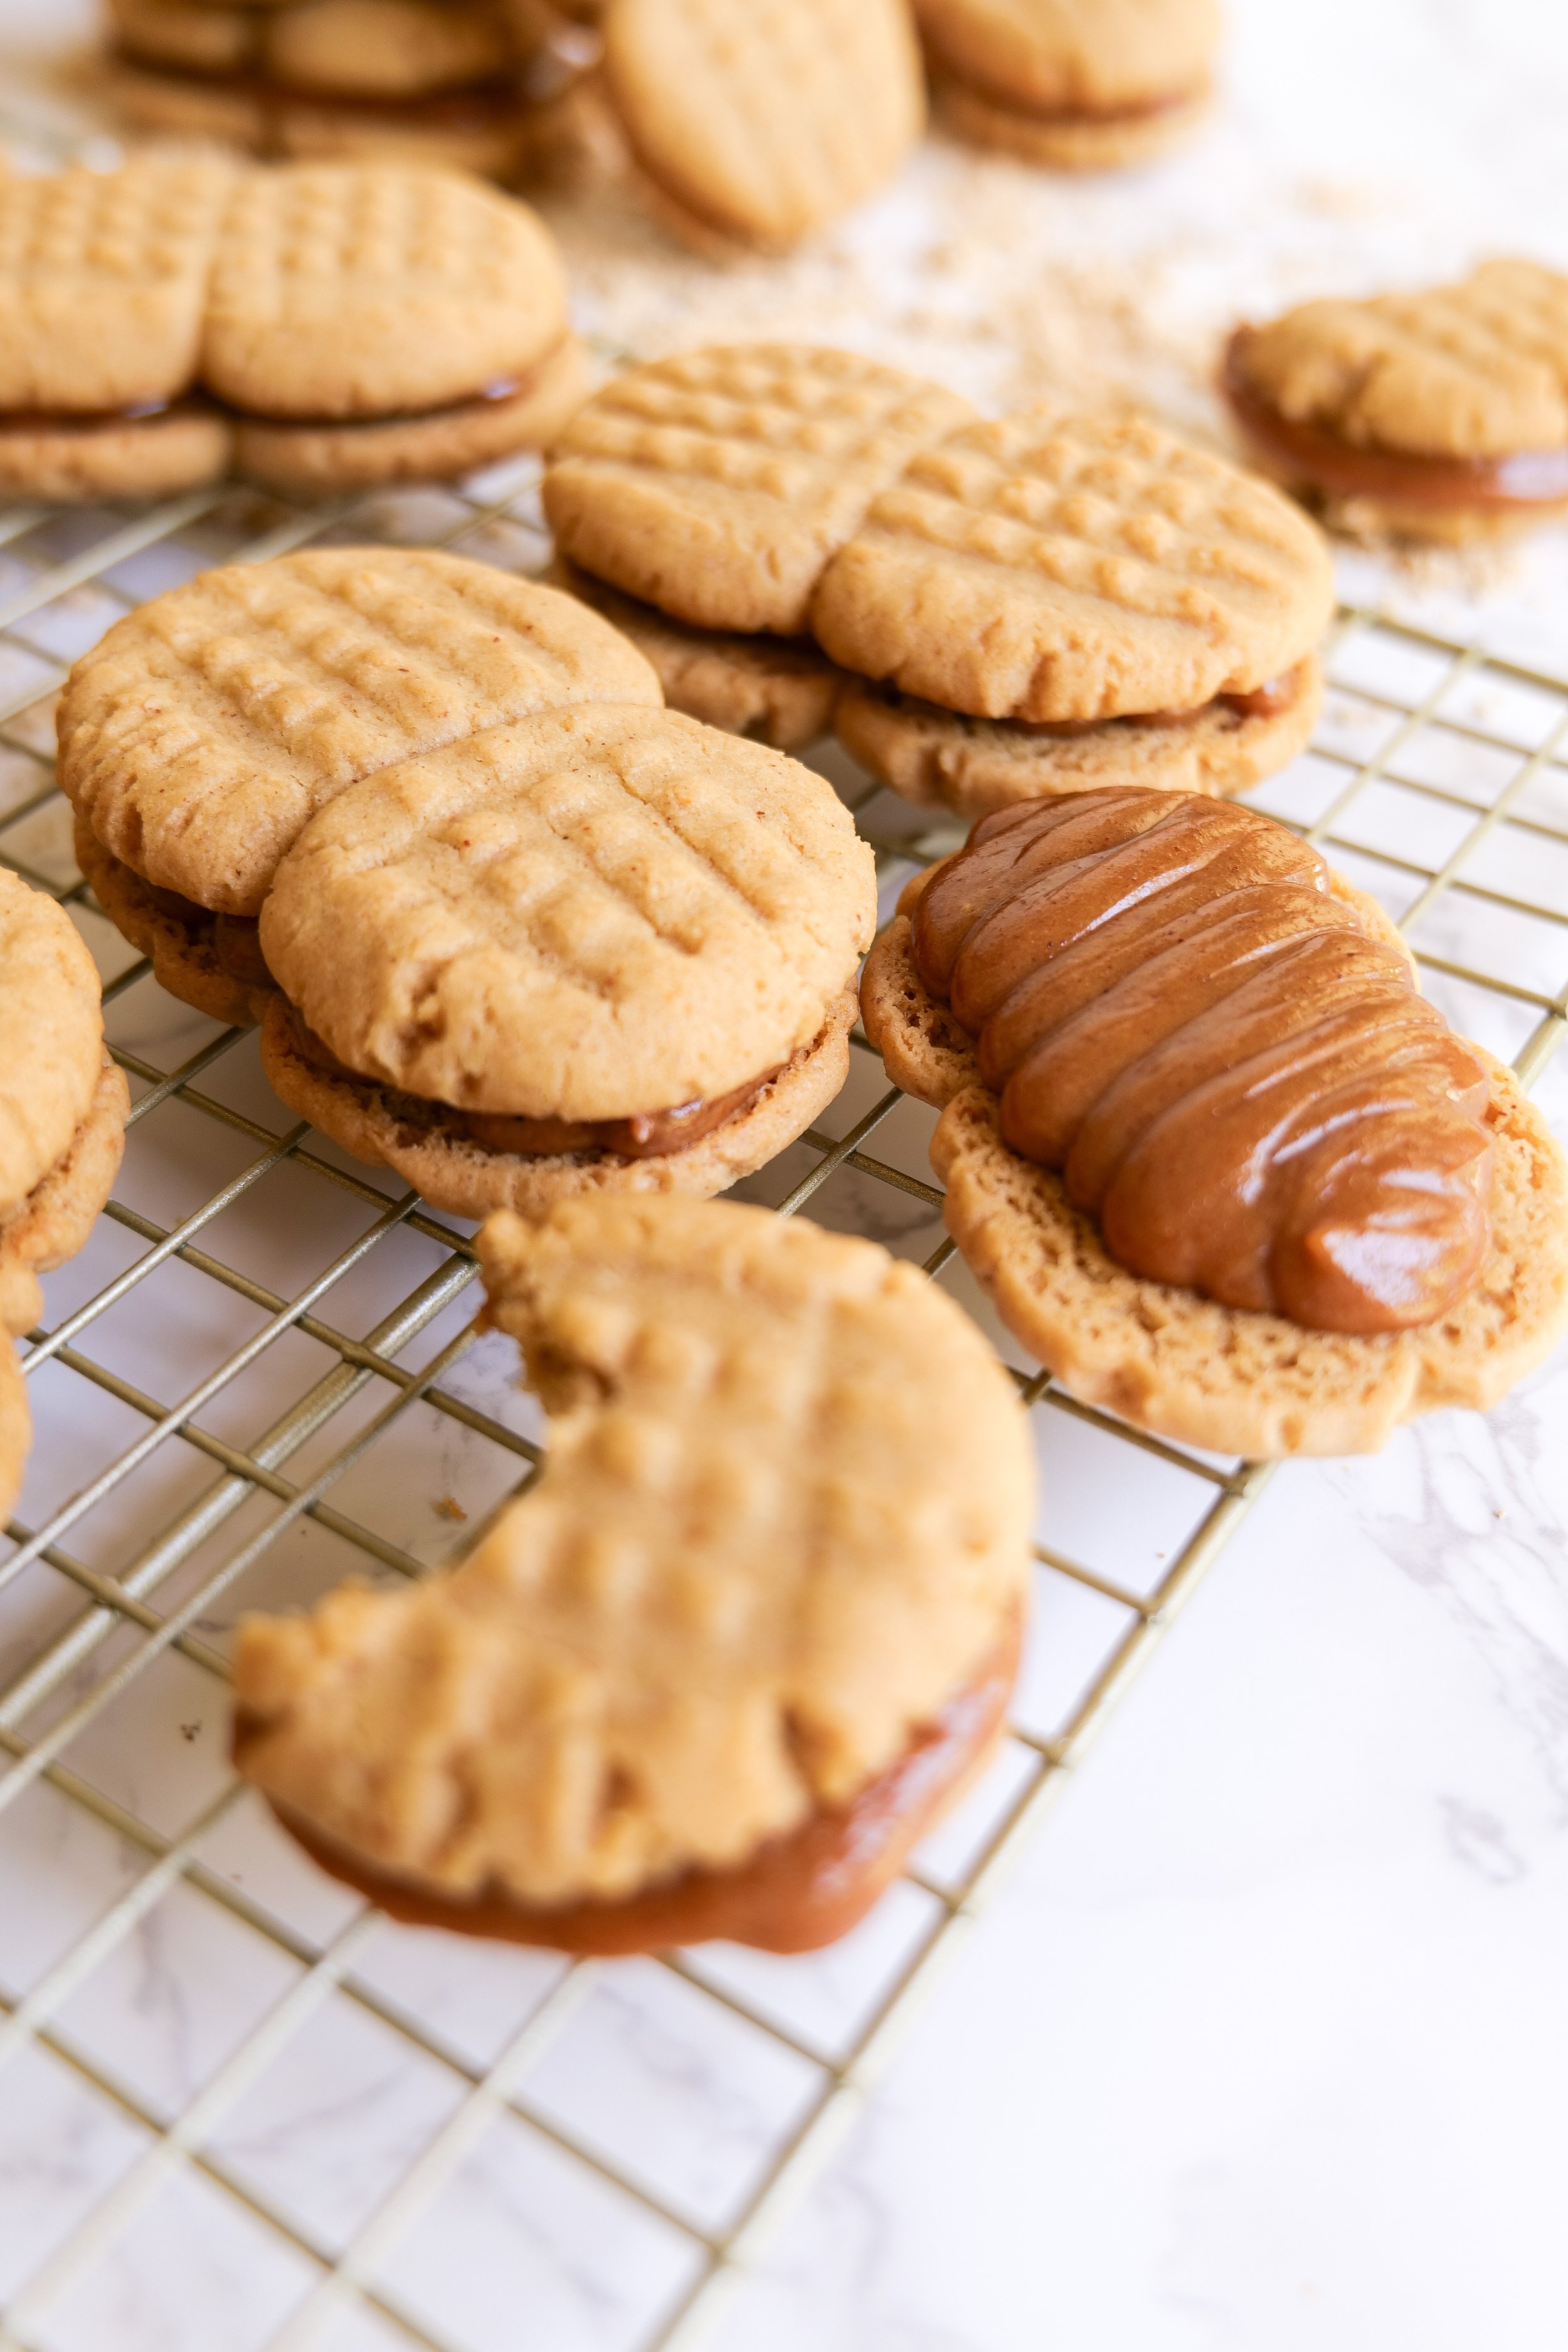
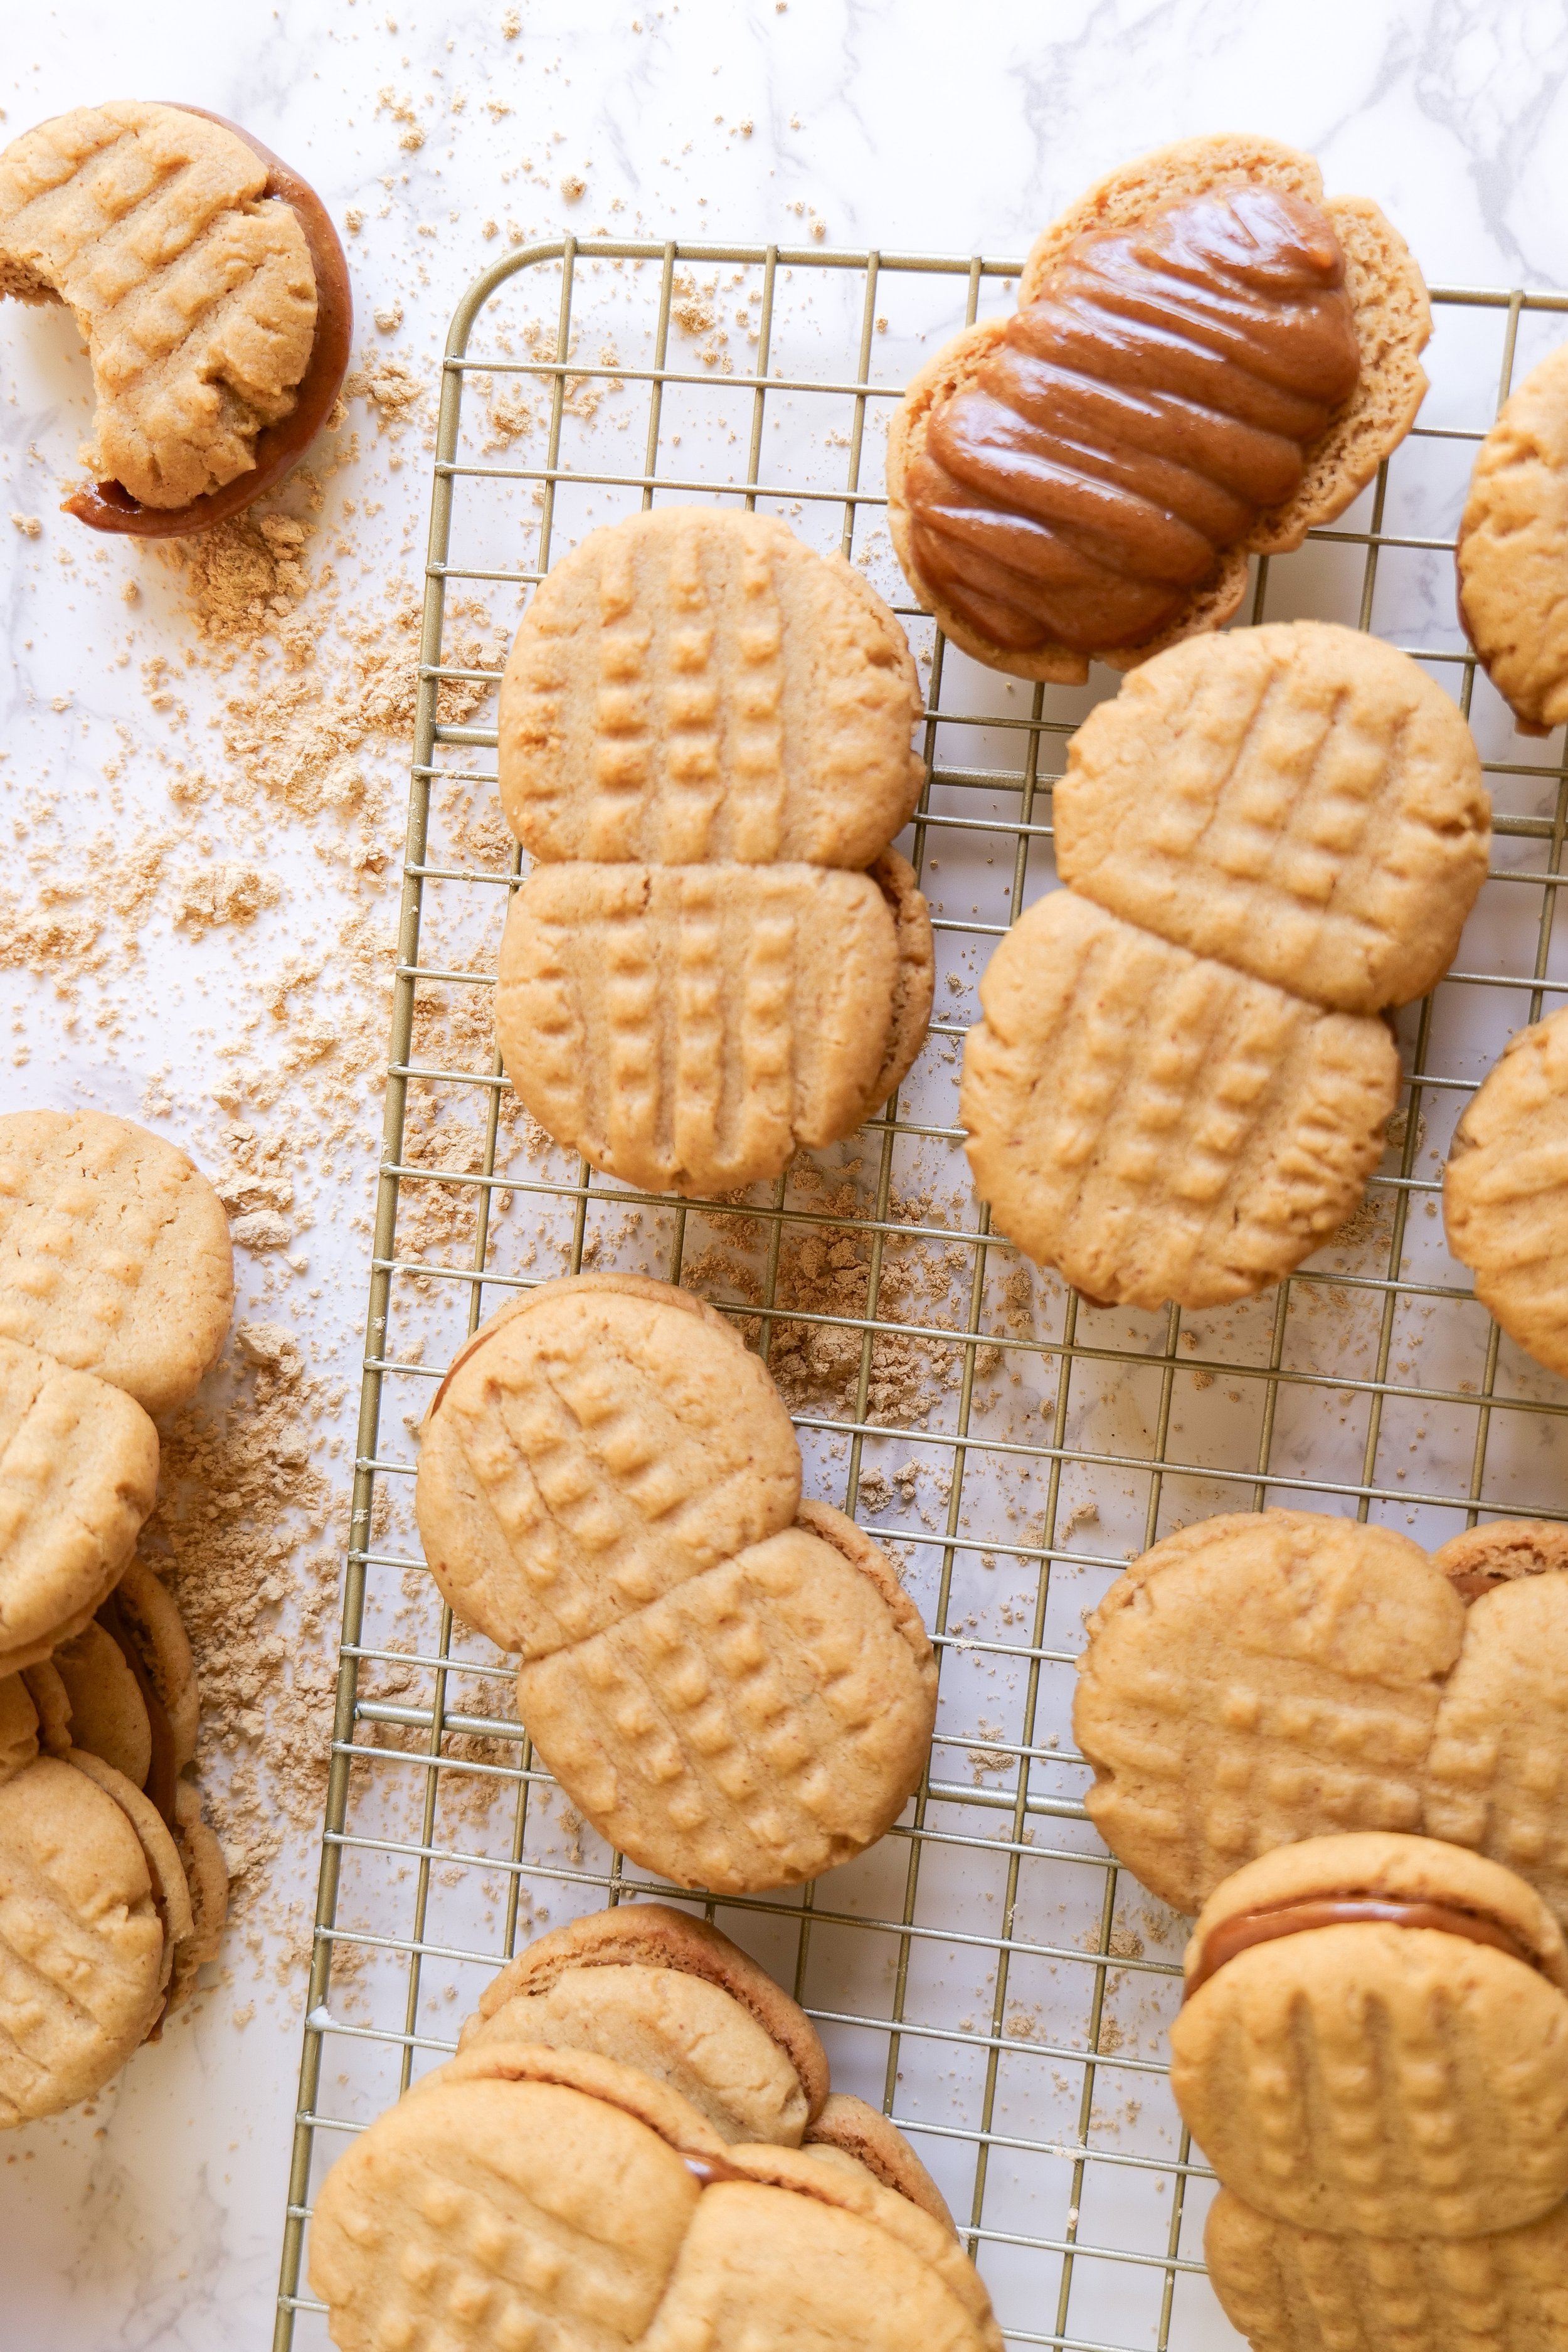
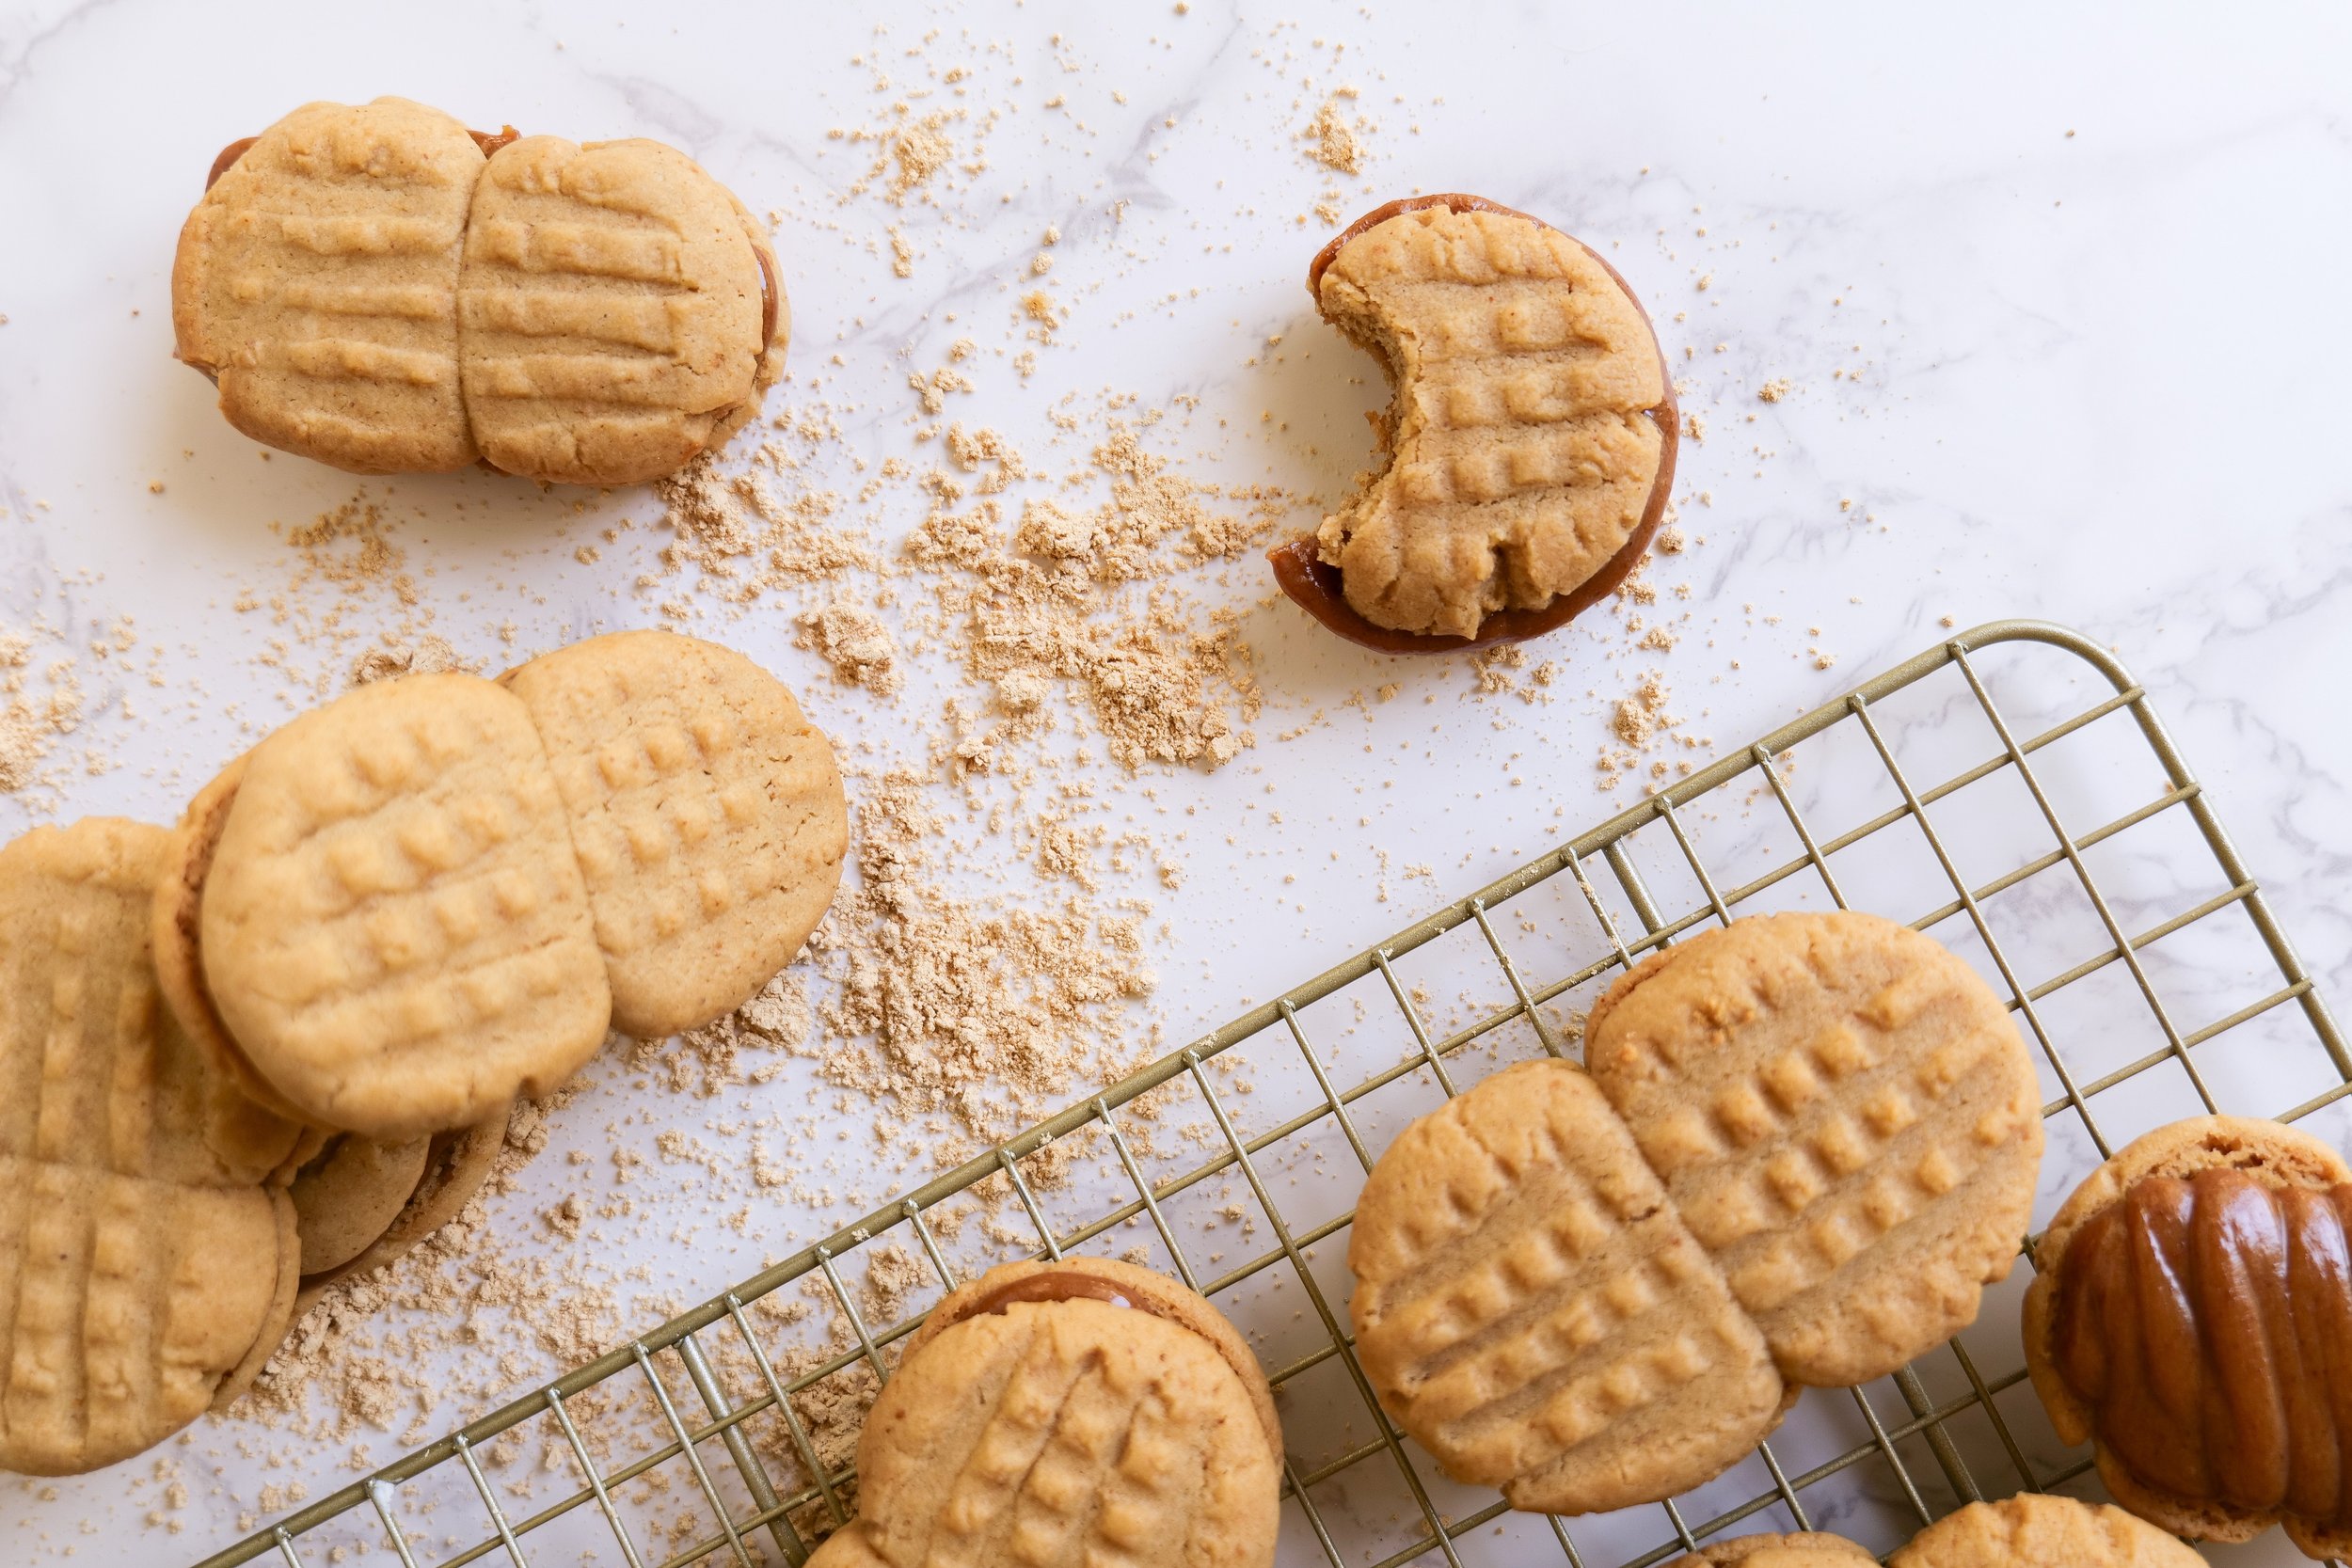
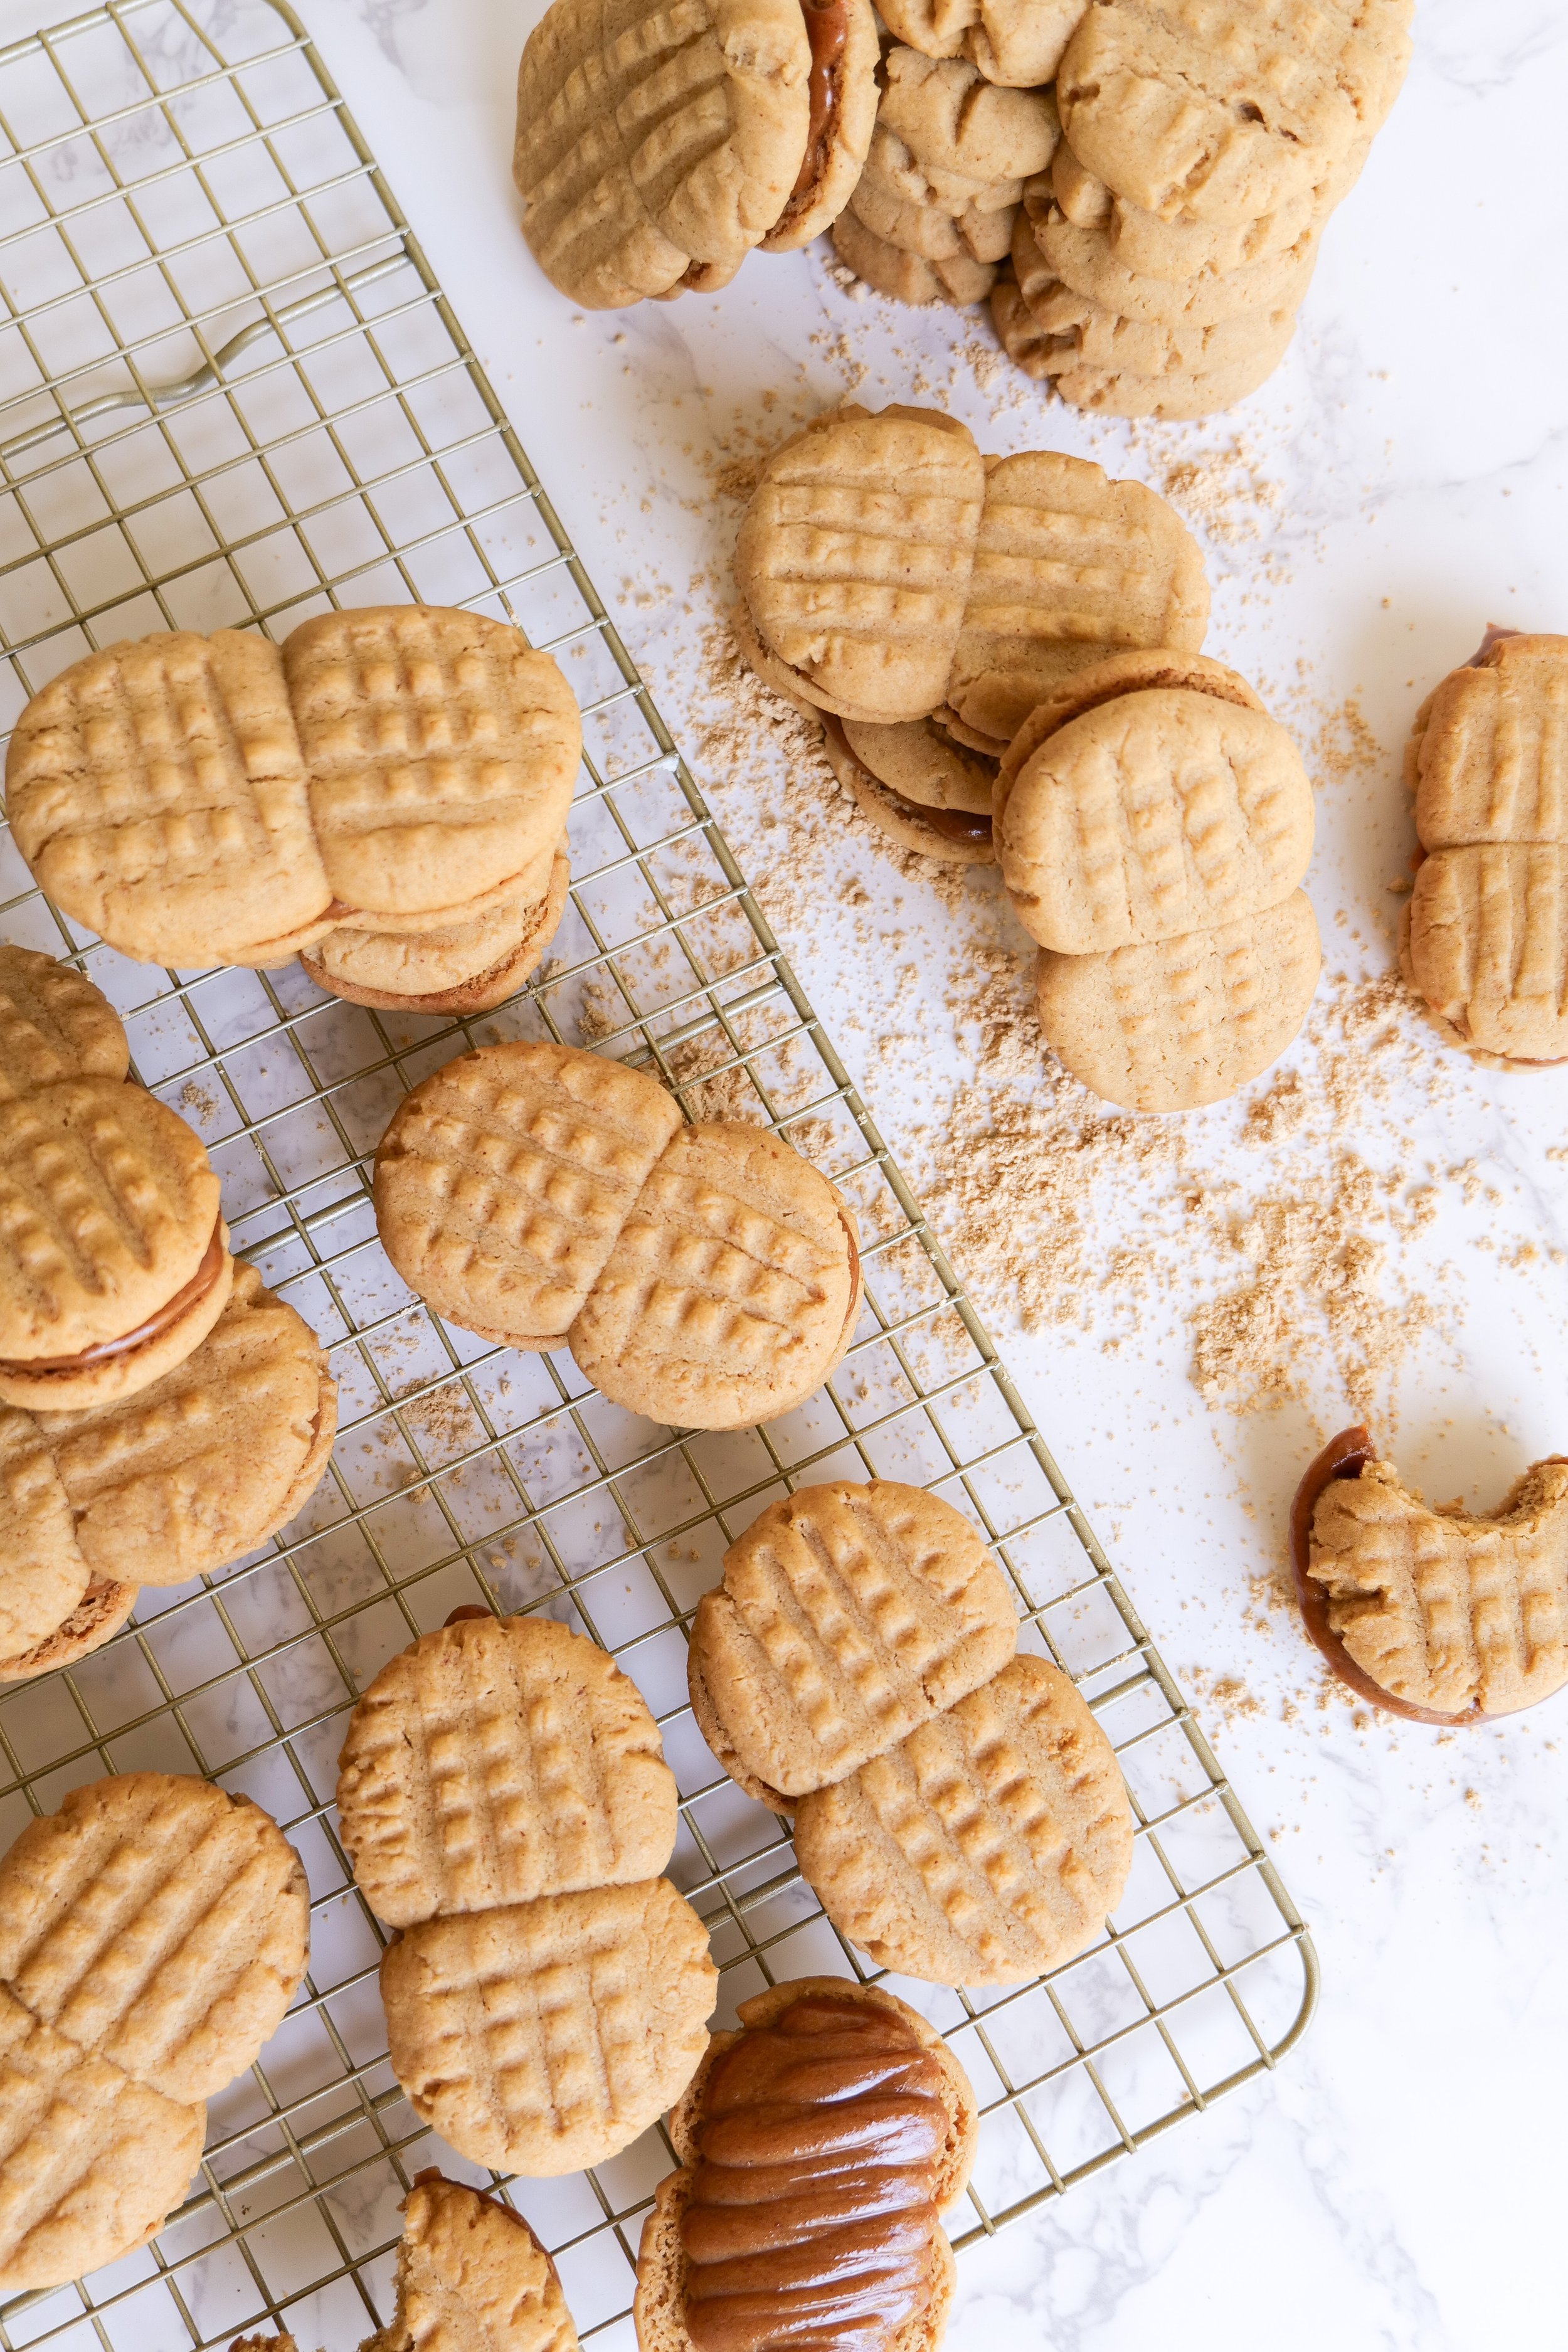
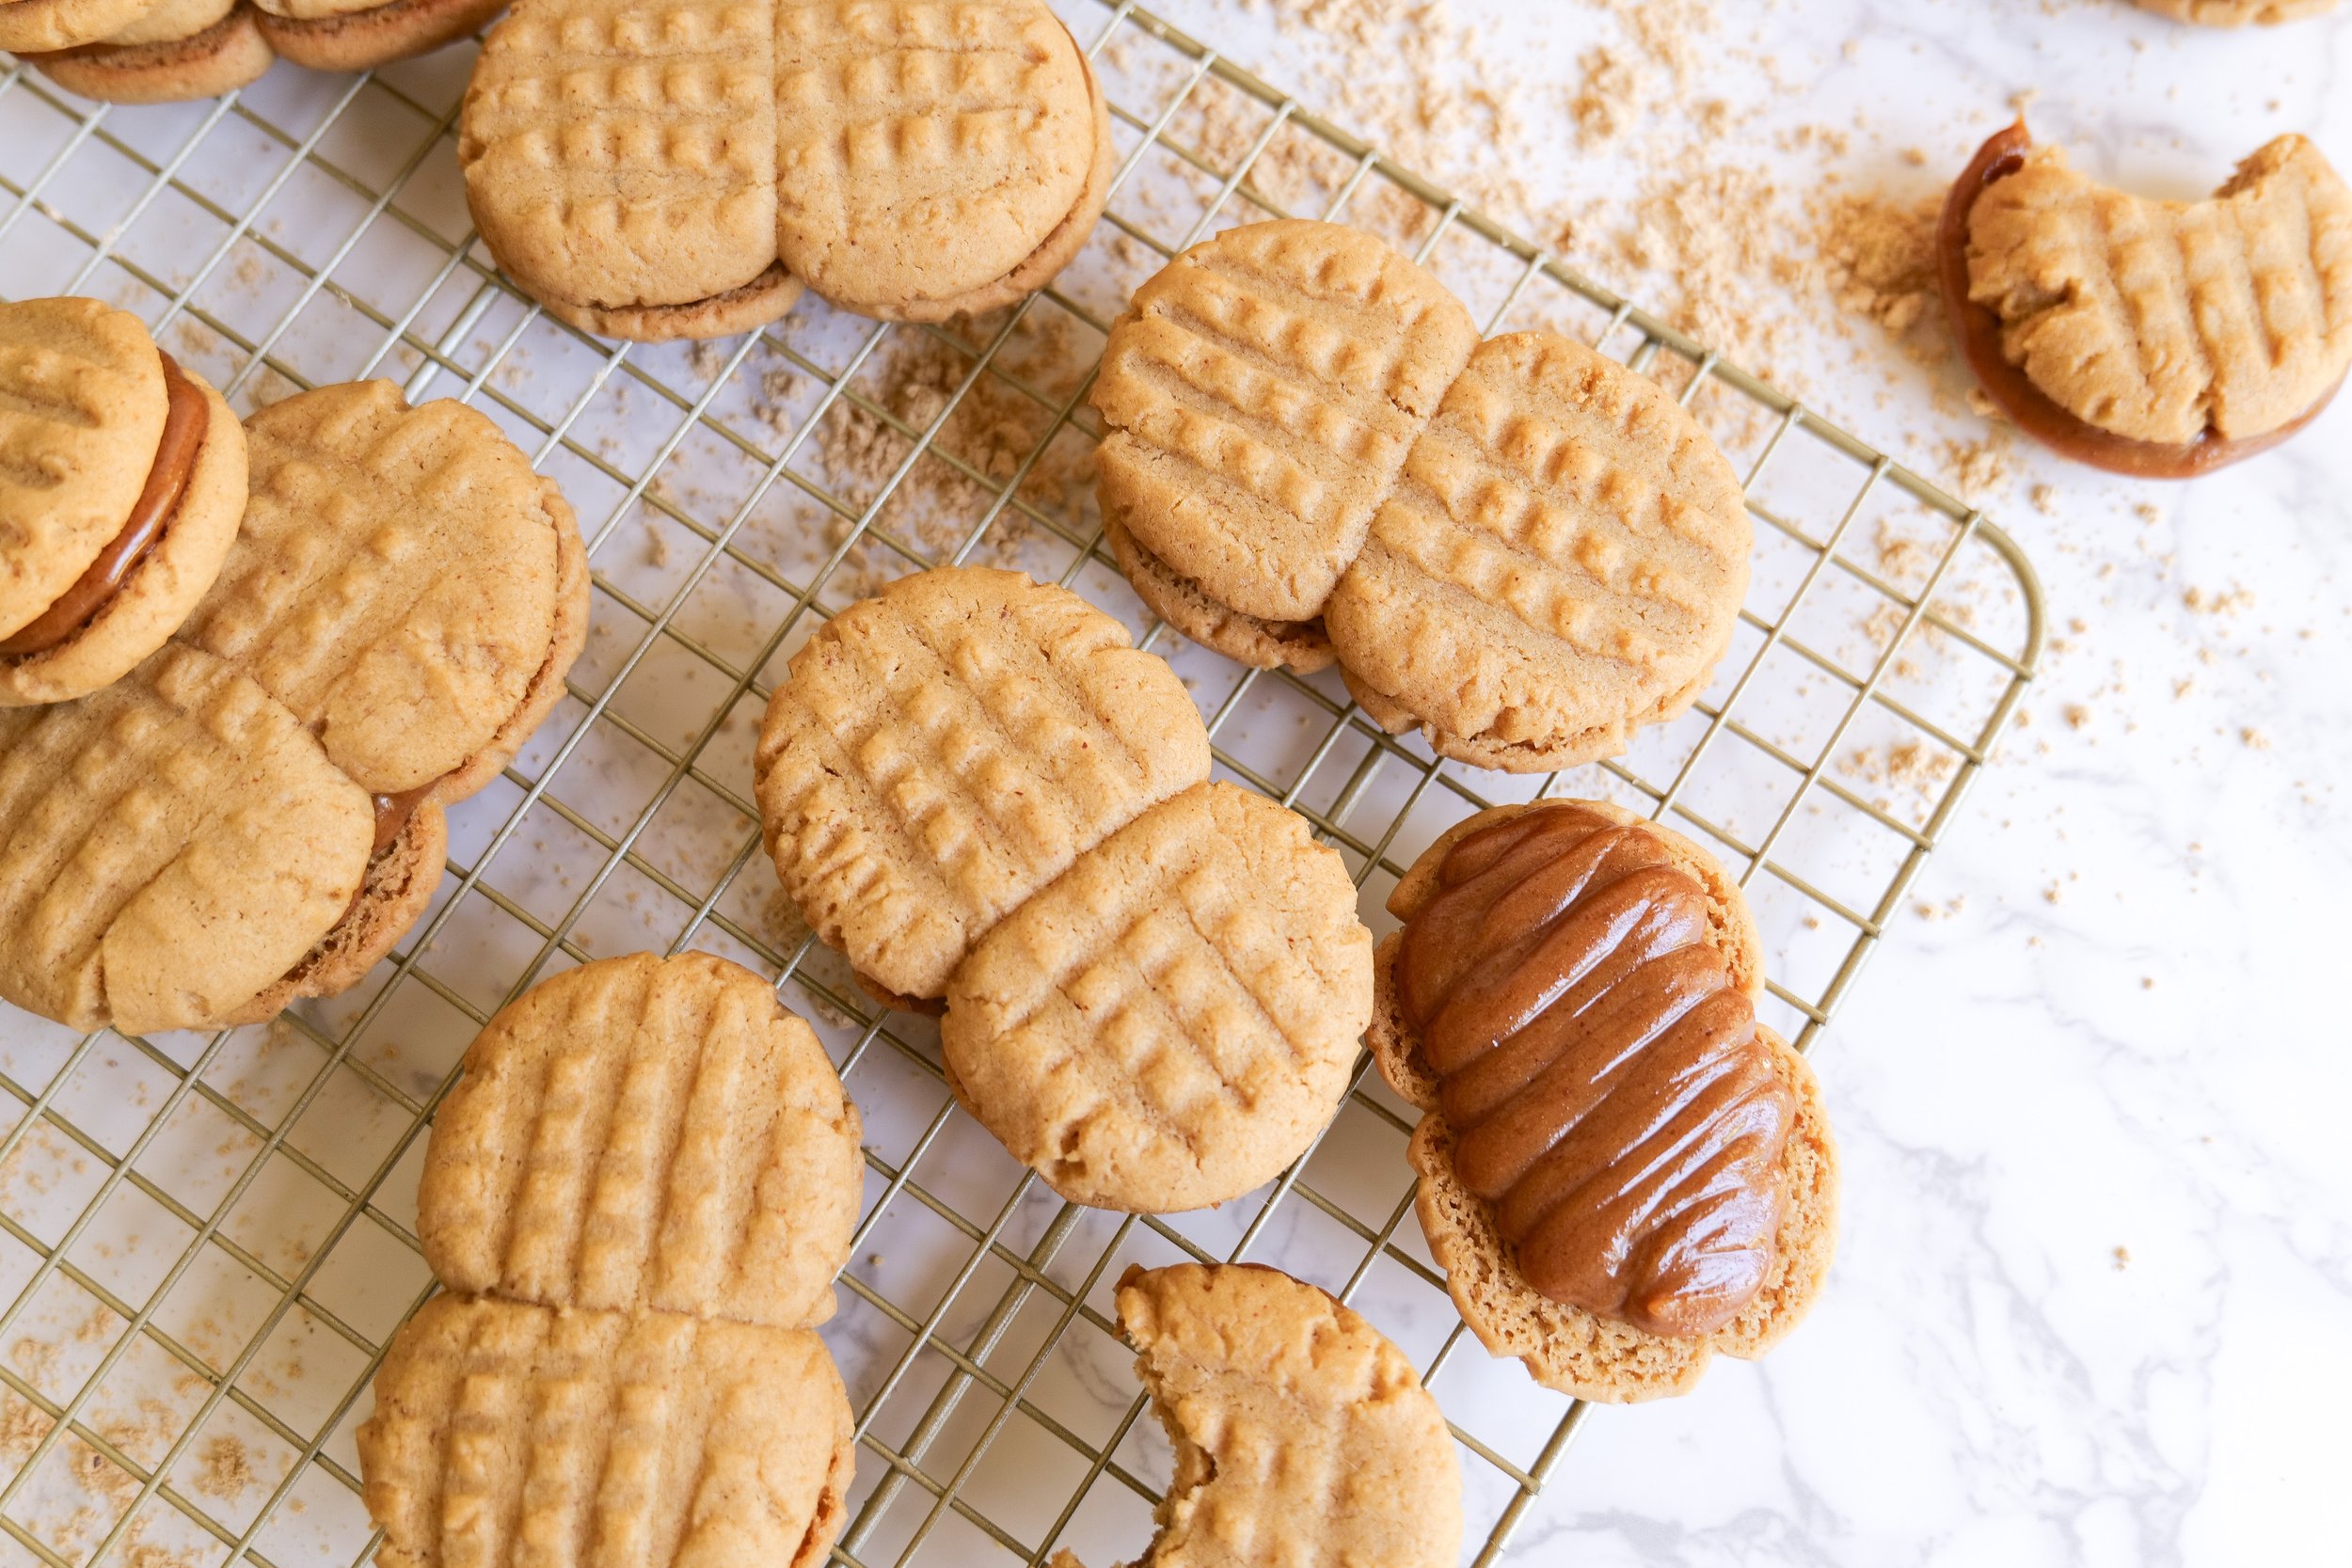
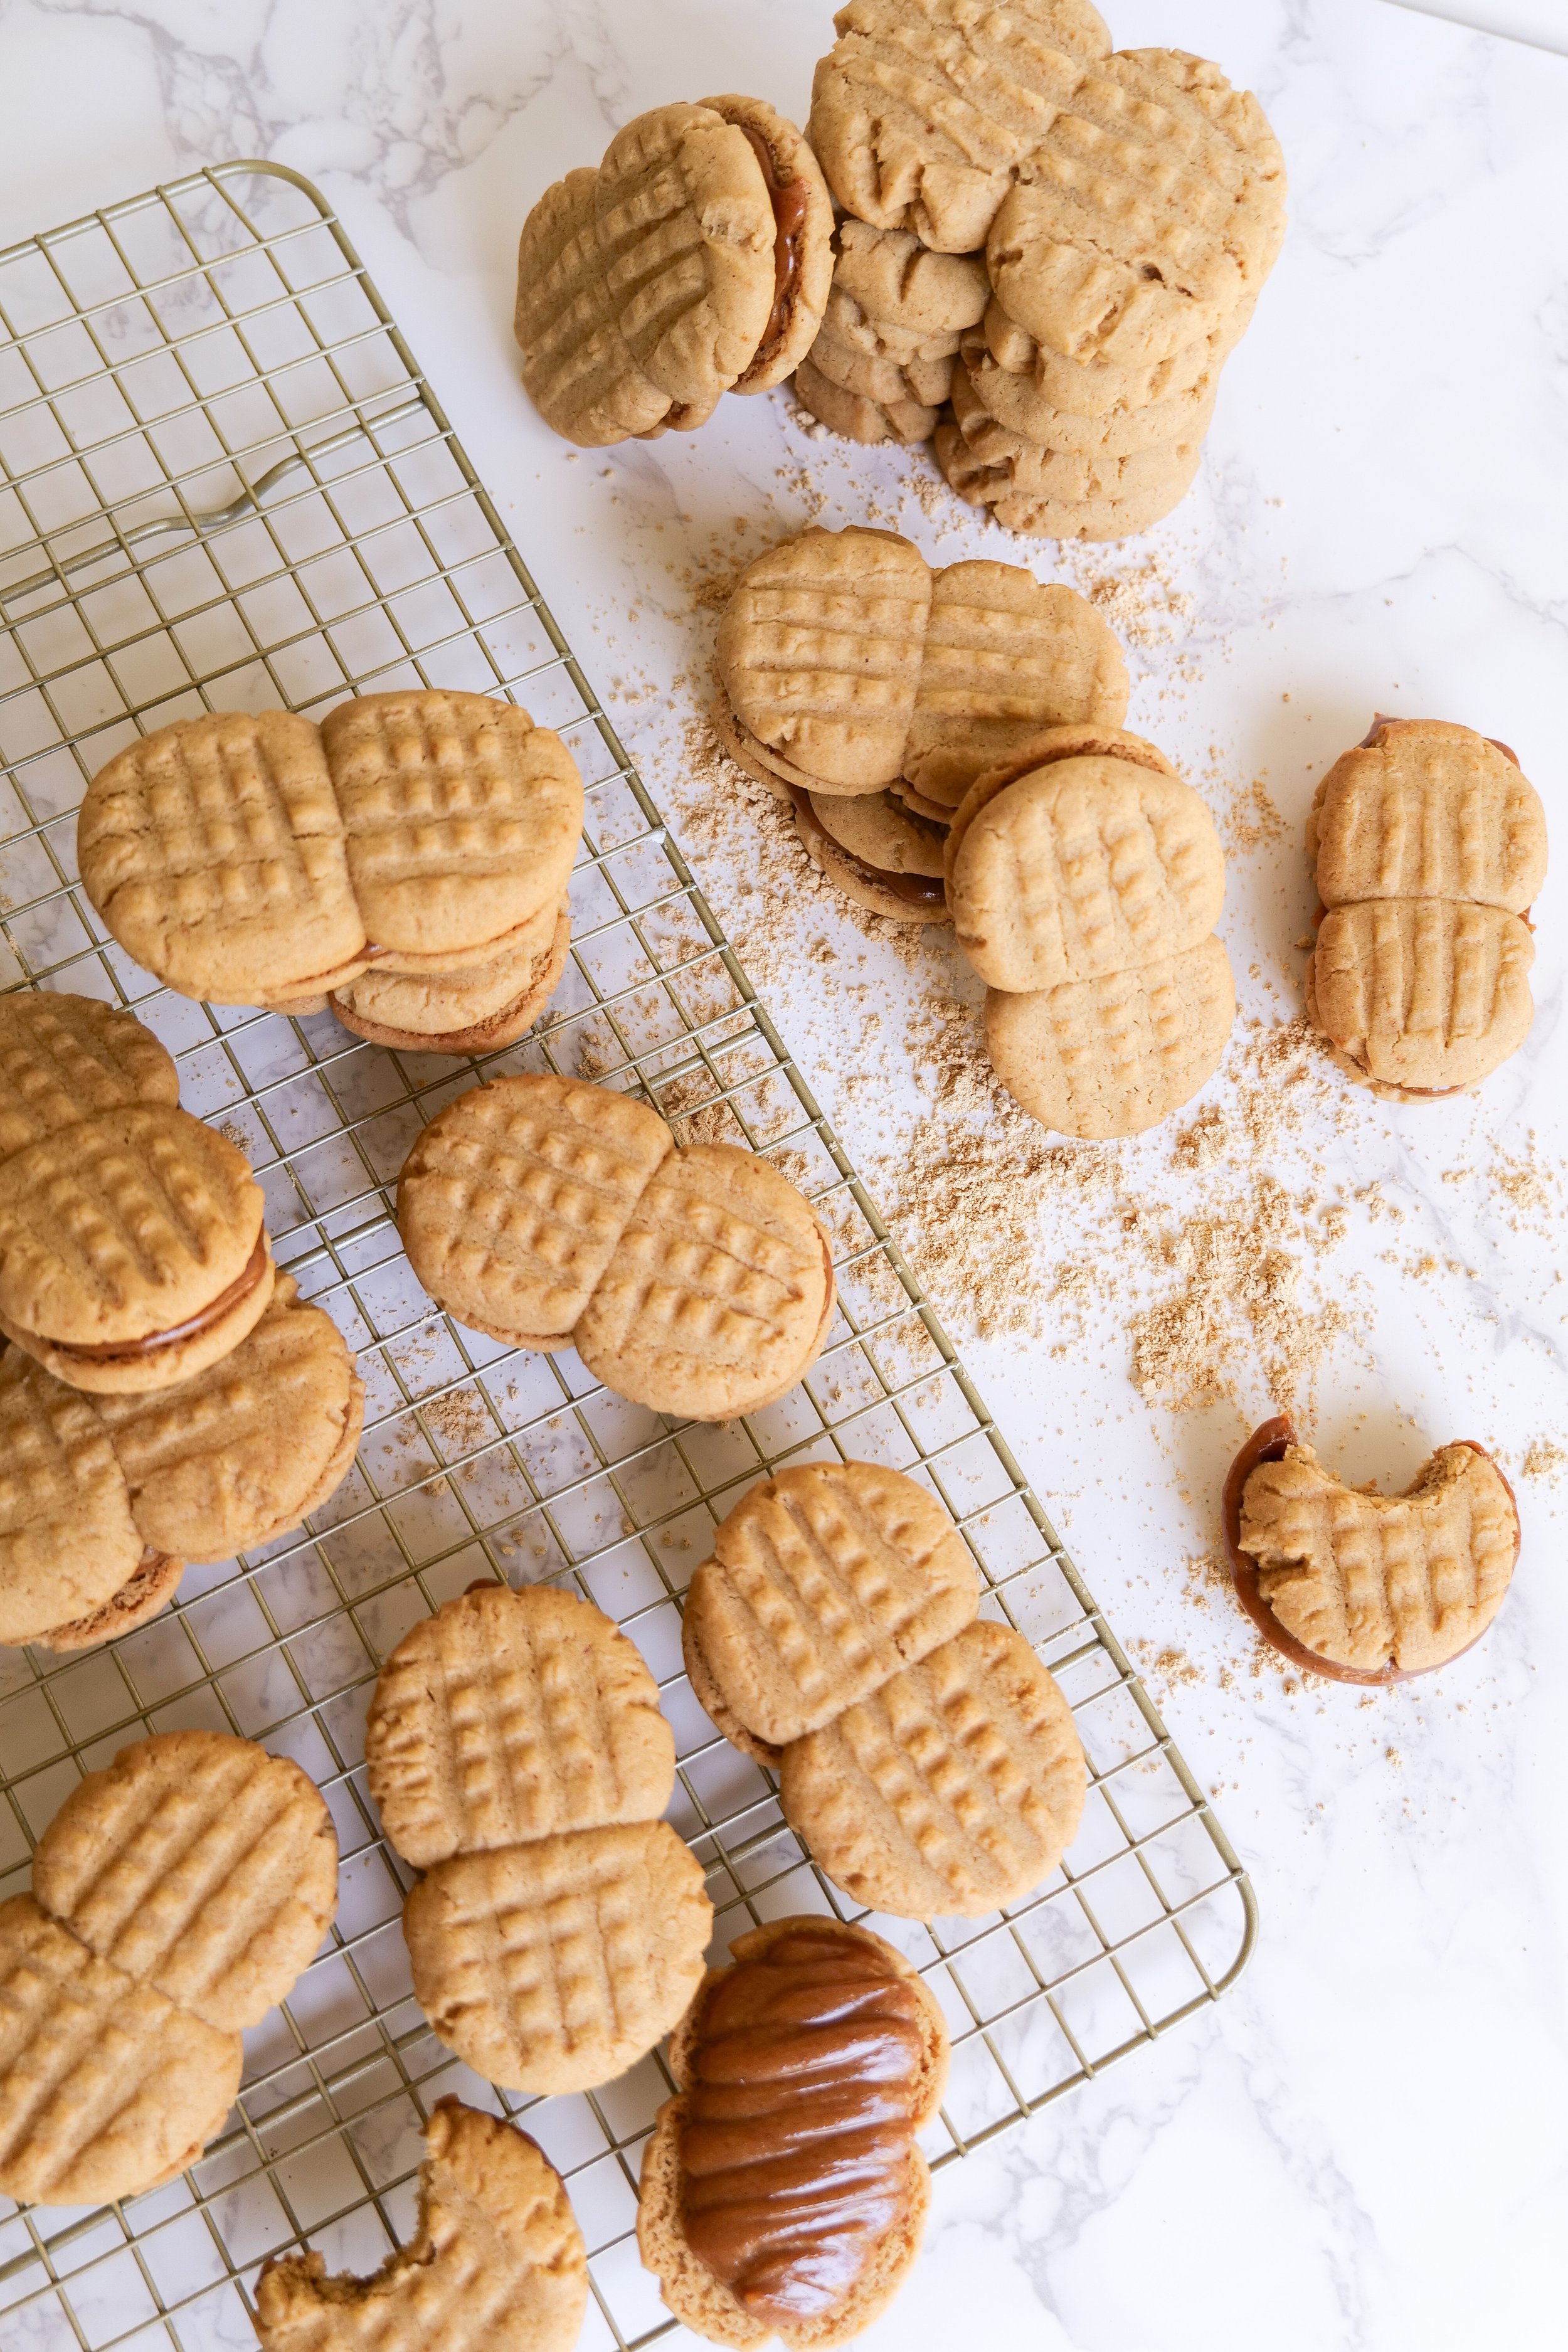
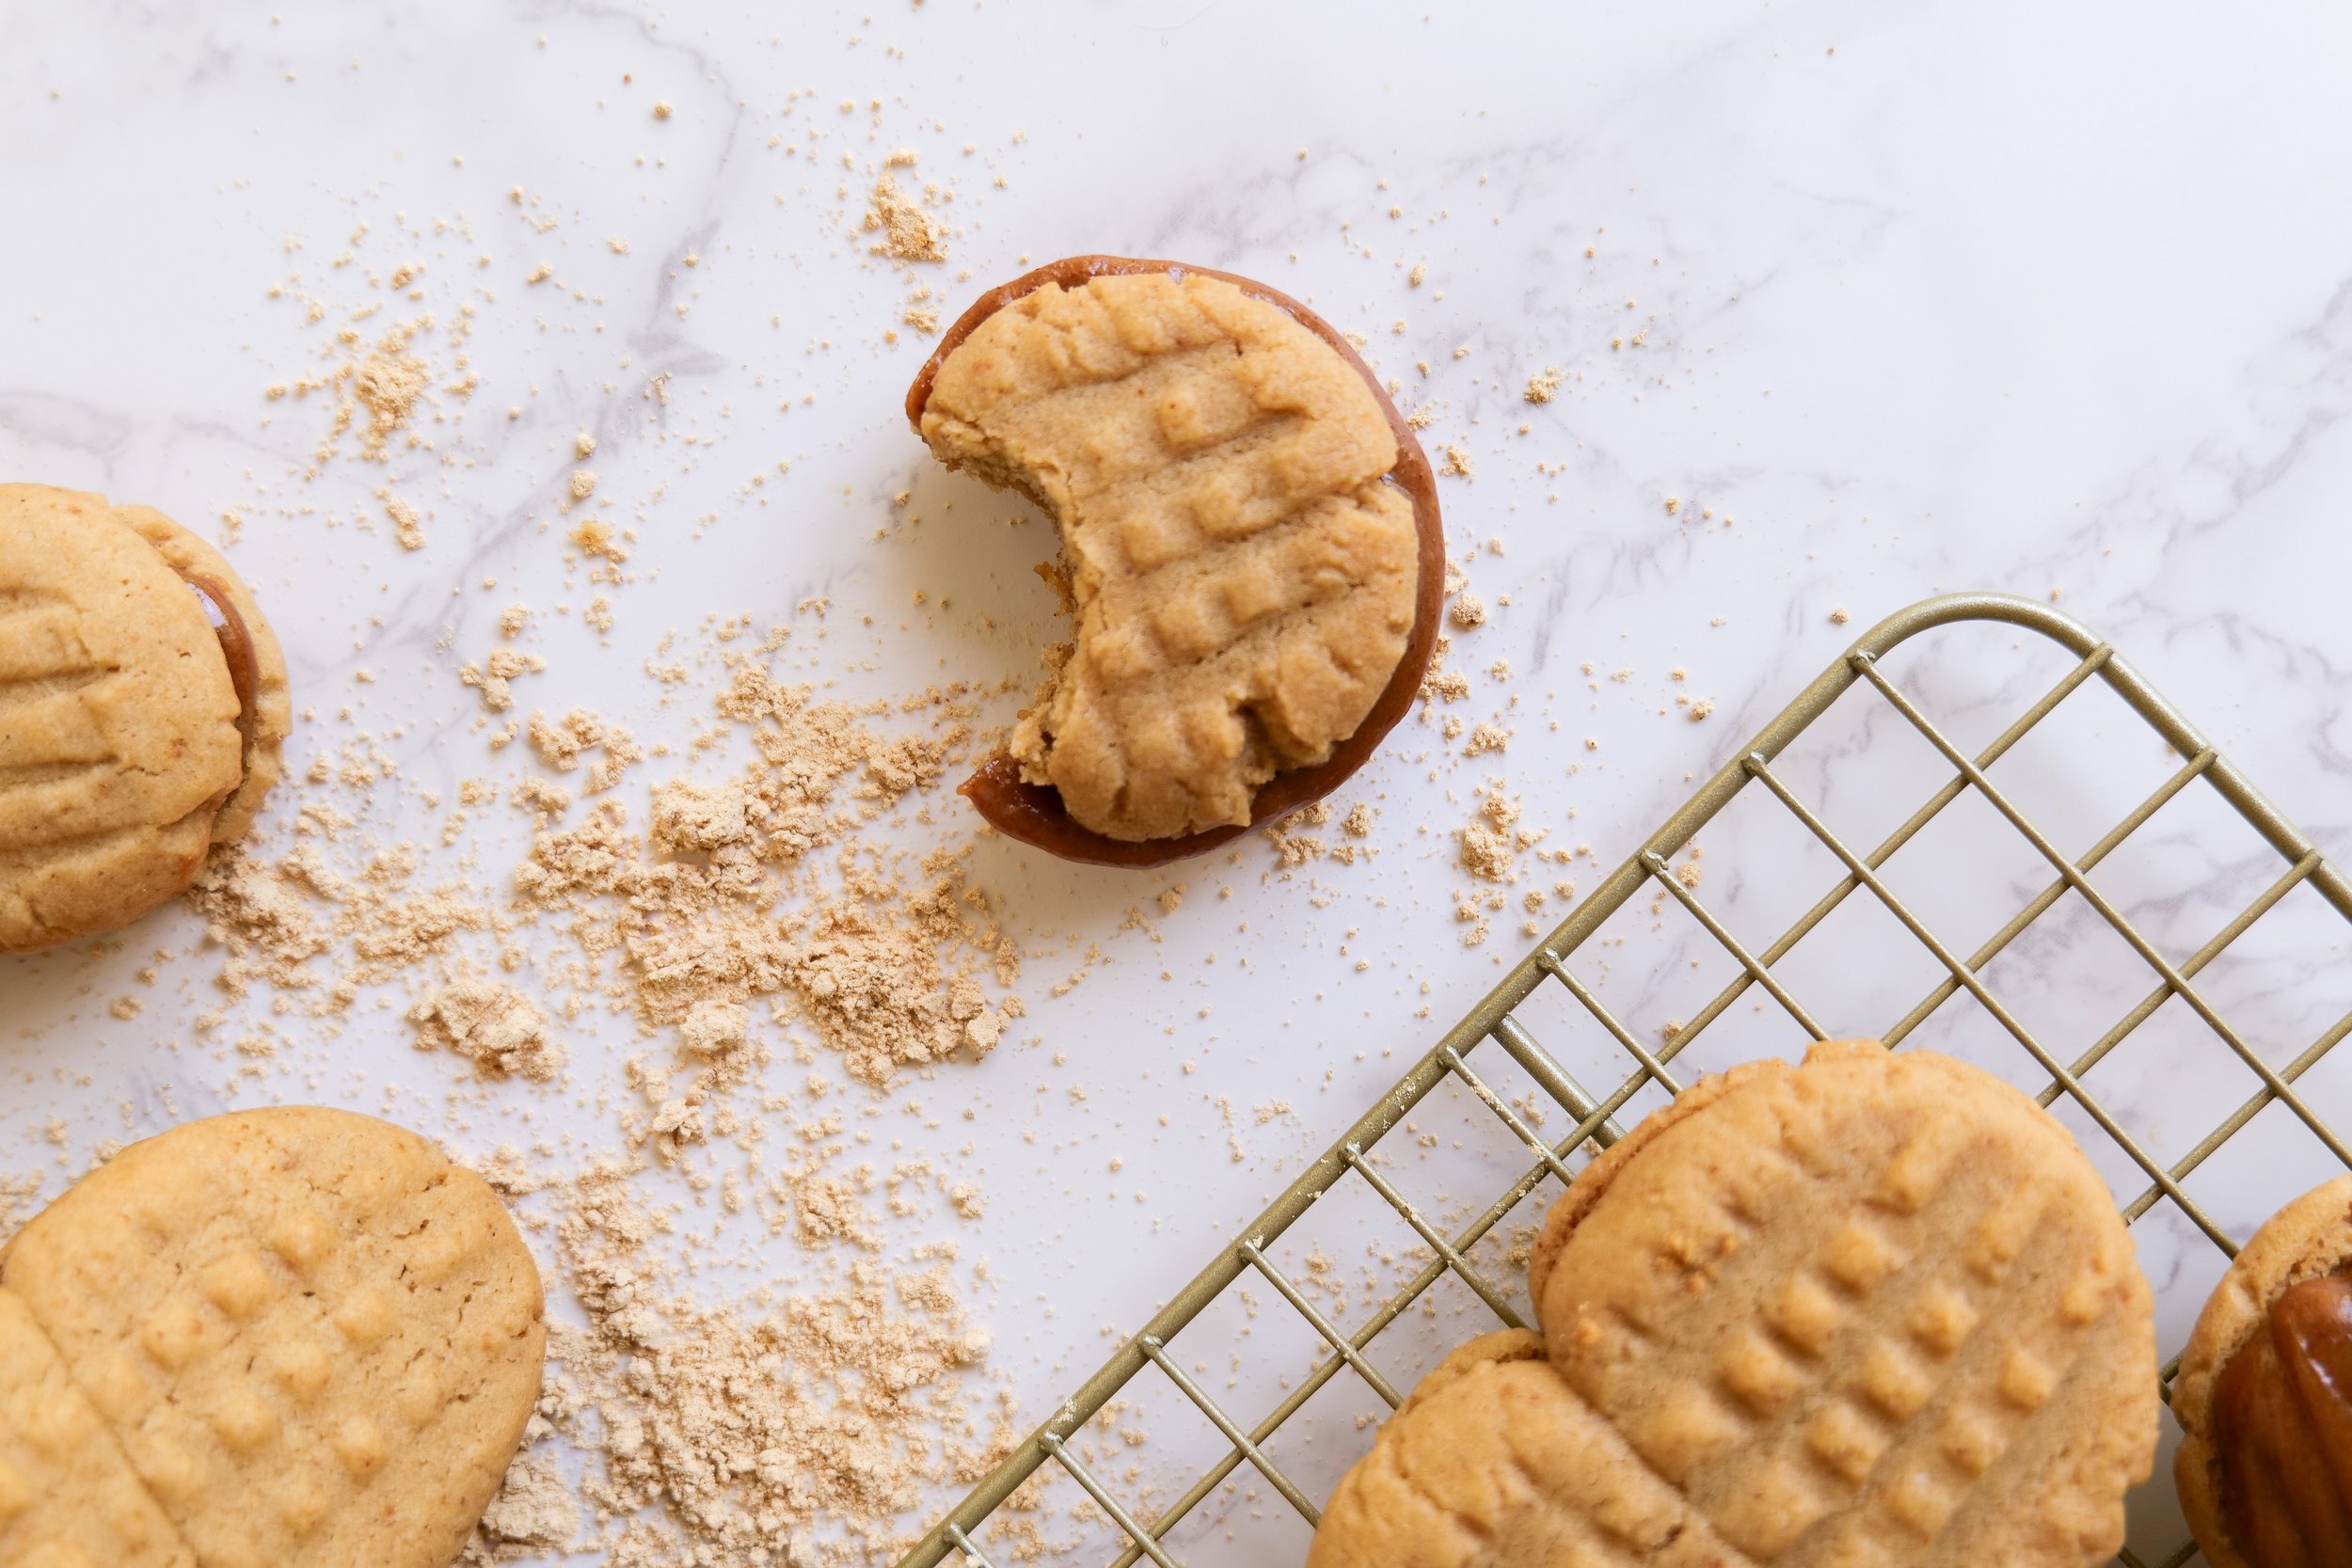
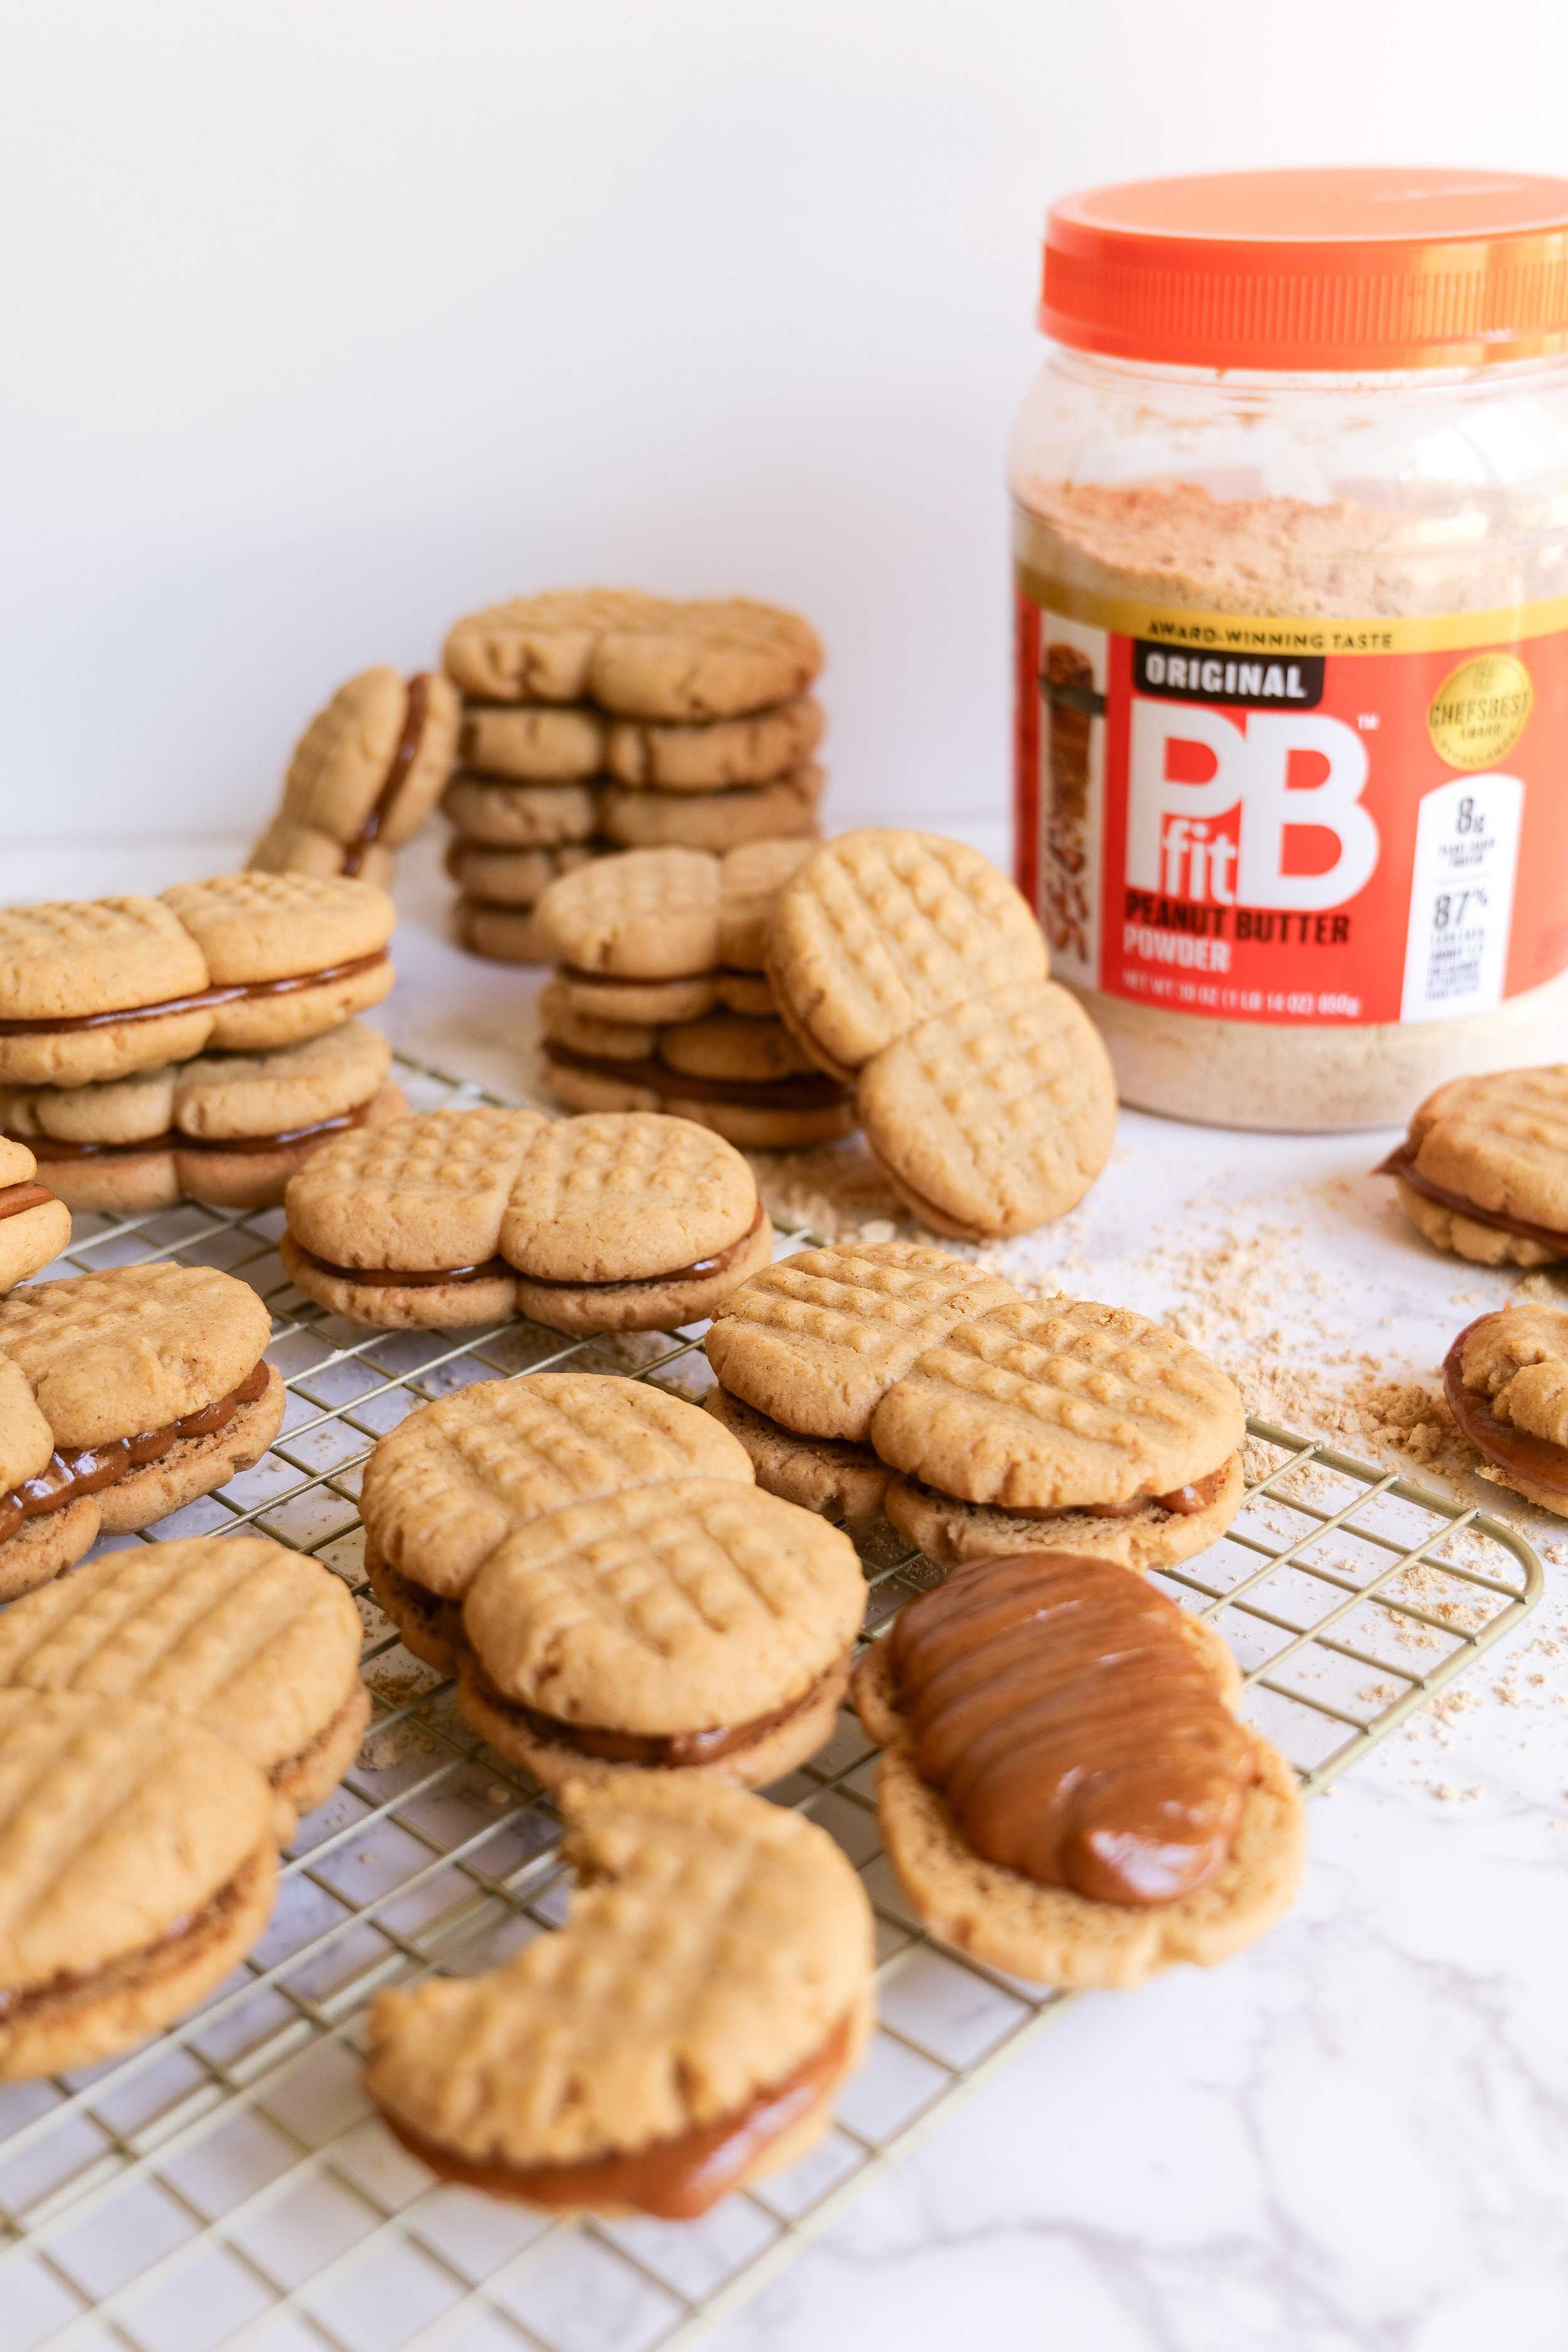
Have you ever wanted to make your own version of this classic childhood favorite cookie? Well, now you can with this recipe for homemade Nutter Butter cookies! This easy-to-follow recipe will have you enjoying these delicious, soft, and creamy peanut butter cookies in no time. These homemade Nutter Butter cookies are the perfect way to get your peanut butter fix and homemaking them for a twist on the classic store-bought version. With just a few simple ingredients and a few minutes, you can bake your own batch of delicious homemade Nutter Butter cookies. So grab your ingredients and let’s get to baking!

Who doesn't love the classic Nutter Butter cookie? This delicious treat is full of nutty flavor, and now you can make it right at home! With just a few simple ingredients and a few minutes of your time, you can have homemade Nutter Butter cookies that are just as delicious as the store-bought kind. To make your own Nutter Butter cookies, you'll simply need flour, butter, peanut butter, sugar, baking powder and vanilla extract. Mix the ingredients all together and roll the dough into small balls. For an extra crunch, roll the dough balls in crushed peanuts before baking. Once the cookies are done baking, let them cool and enjoy! These homemade Nutter Butter cookies make a great after-school snack or are perfect for a mid-morning pick-me-up. Enjoy them with a cold glass of milk or your favorite cup of coffee. No matter how you choose to enjoy them, you'll love the homemade nutty flavor of these classic cookies.

Why Make Nutter Butters at Home?

If you’re looking for a fun and rewarding activity that the whole family can enjoy, homemade Nutter Butter cookies are the perfect choice! From start to finish, the process of making them is incredibly simple and you can customize the recipe with whatever ingredients you have on hand. Unlike store-bought versions, homemade Nutter Butter cookies can be much healthier because of the natural sweeteners you can substitute such as honey and agave nectar instead of sugar or corn syrup. Not only does this give you complete control over the ingredients you use, but it also allows you to avoid any allergens or other ingredients that may not be suitable for your family.

When it comes to the size and shape of your Nutter Butter cookies, the possibilities are endless! You can make them as big or small as you like and even customize the shape and size to fit your tastes. You can even make them into smaller Nutter Butter bites for a fun take on peanut butter cookies. Not to mention, a homemade version of a Nutter Butter dessert is a great way to show your family and friends that you care about their health and well-being by providing them with a healthier alternative to store-bought.

Ingredients

1 cup unbleached all-purpose flour

1/2 tsp baking soda

1/4 tsp sea salt

1/2 cup melted butter

1/2 cup PBfit Powder

2/3 cup granulated sugar

1 egg

1/2 tsp vanilla extract

Filling

1-1/2 cups PBfit powder

1 cup powdered sugar

2/3 cup water

Instructions

1. In a large bowl blend melted butter, sugar, and PBfit then blend with an electric hand mixer or standing mixer until combined. Add in egg and vanilla extract. Mix with blender again on medium speed.

2. Add in dry ingredients; flour, baking soda & sea salt and mix again.

3. Take a parchment paper lined baking sheet and form Nutter Butters. For a medium size Nutter Butter you will take one cookie scoop and break it in half. Form both halves into balls and place them together on parchment paper. Using a fork make a criss-cross pattern. Make sure before removing the fork you press the 2 cookie balls together. Continue until the pan is full making sure cookies are 2 or more inches apart.

4. Bake at 350 degrees for 10-12 minutes or until the cookie is lightly browned.

5. While the cookies are baking make filling by mixing with whisk PBfit powder, powdered sugar, and water in a bowl. Fill a piping bag and set aside.

6. Once cookies are done baking remove them from the oven and place them on a cooling rack. Once cooled you will fill with the filling mixture and enjoy! You can dip in chocolate for an added layer of goodness or make the adorable referee cookies I did for a sports theme party -here-.

How Long Will My Homemade Nutter Butter Last?

When it comes to storing your homemade Nutter Butter, you’ll want to make sure it is kept in a cool, dark place. It can last up to two weeks stored in an airtight container in the refrigerator. If stored properly, homemade Nutter Butter can even last up to a month in the freezer. However, for best results, it is recommended to consume the Nutter Butter within four days of its preparation, and honestly, who can even wait once that delicious smell fills your ktichen. If you do plan on storing the Nutter Butter for longer than a week, be sure to wrap it tightly in plastic wrap to maintain its freshness.

How Can I Store My Homemade Nutter Butter?

Homemade Nutter Butter is a delicious treat that is easy to make. However, it is important to store it properly to maintain its freshness. The best way to store Homemade Nutter Butter is at room temperature in an airtight container. To keep them from sticking to each other, place a piece of wax paper between each layer of the Nutter Butter. Make sure the container is placed in a cool, dry place away from direct sunlight. If you don’t plan to eat the Nutter Butter within 1-2 weeks, it is best to freeze it. To thaw the Nutter Butter, place the container in the refrigerator overnight before eating. By following these simple steps, you can enjoy your Homemade Nutter Butter for weeks to come.

Other Delicious Cookie Recipes:

Monster Cookie Recipe

Birthday Cutout Sugar Cookies

Brown Sugar Toffee Cookies

Brown Butter Caramel Pretzel Cookies

Birthday Cutout Sugar Cookies

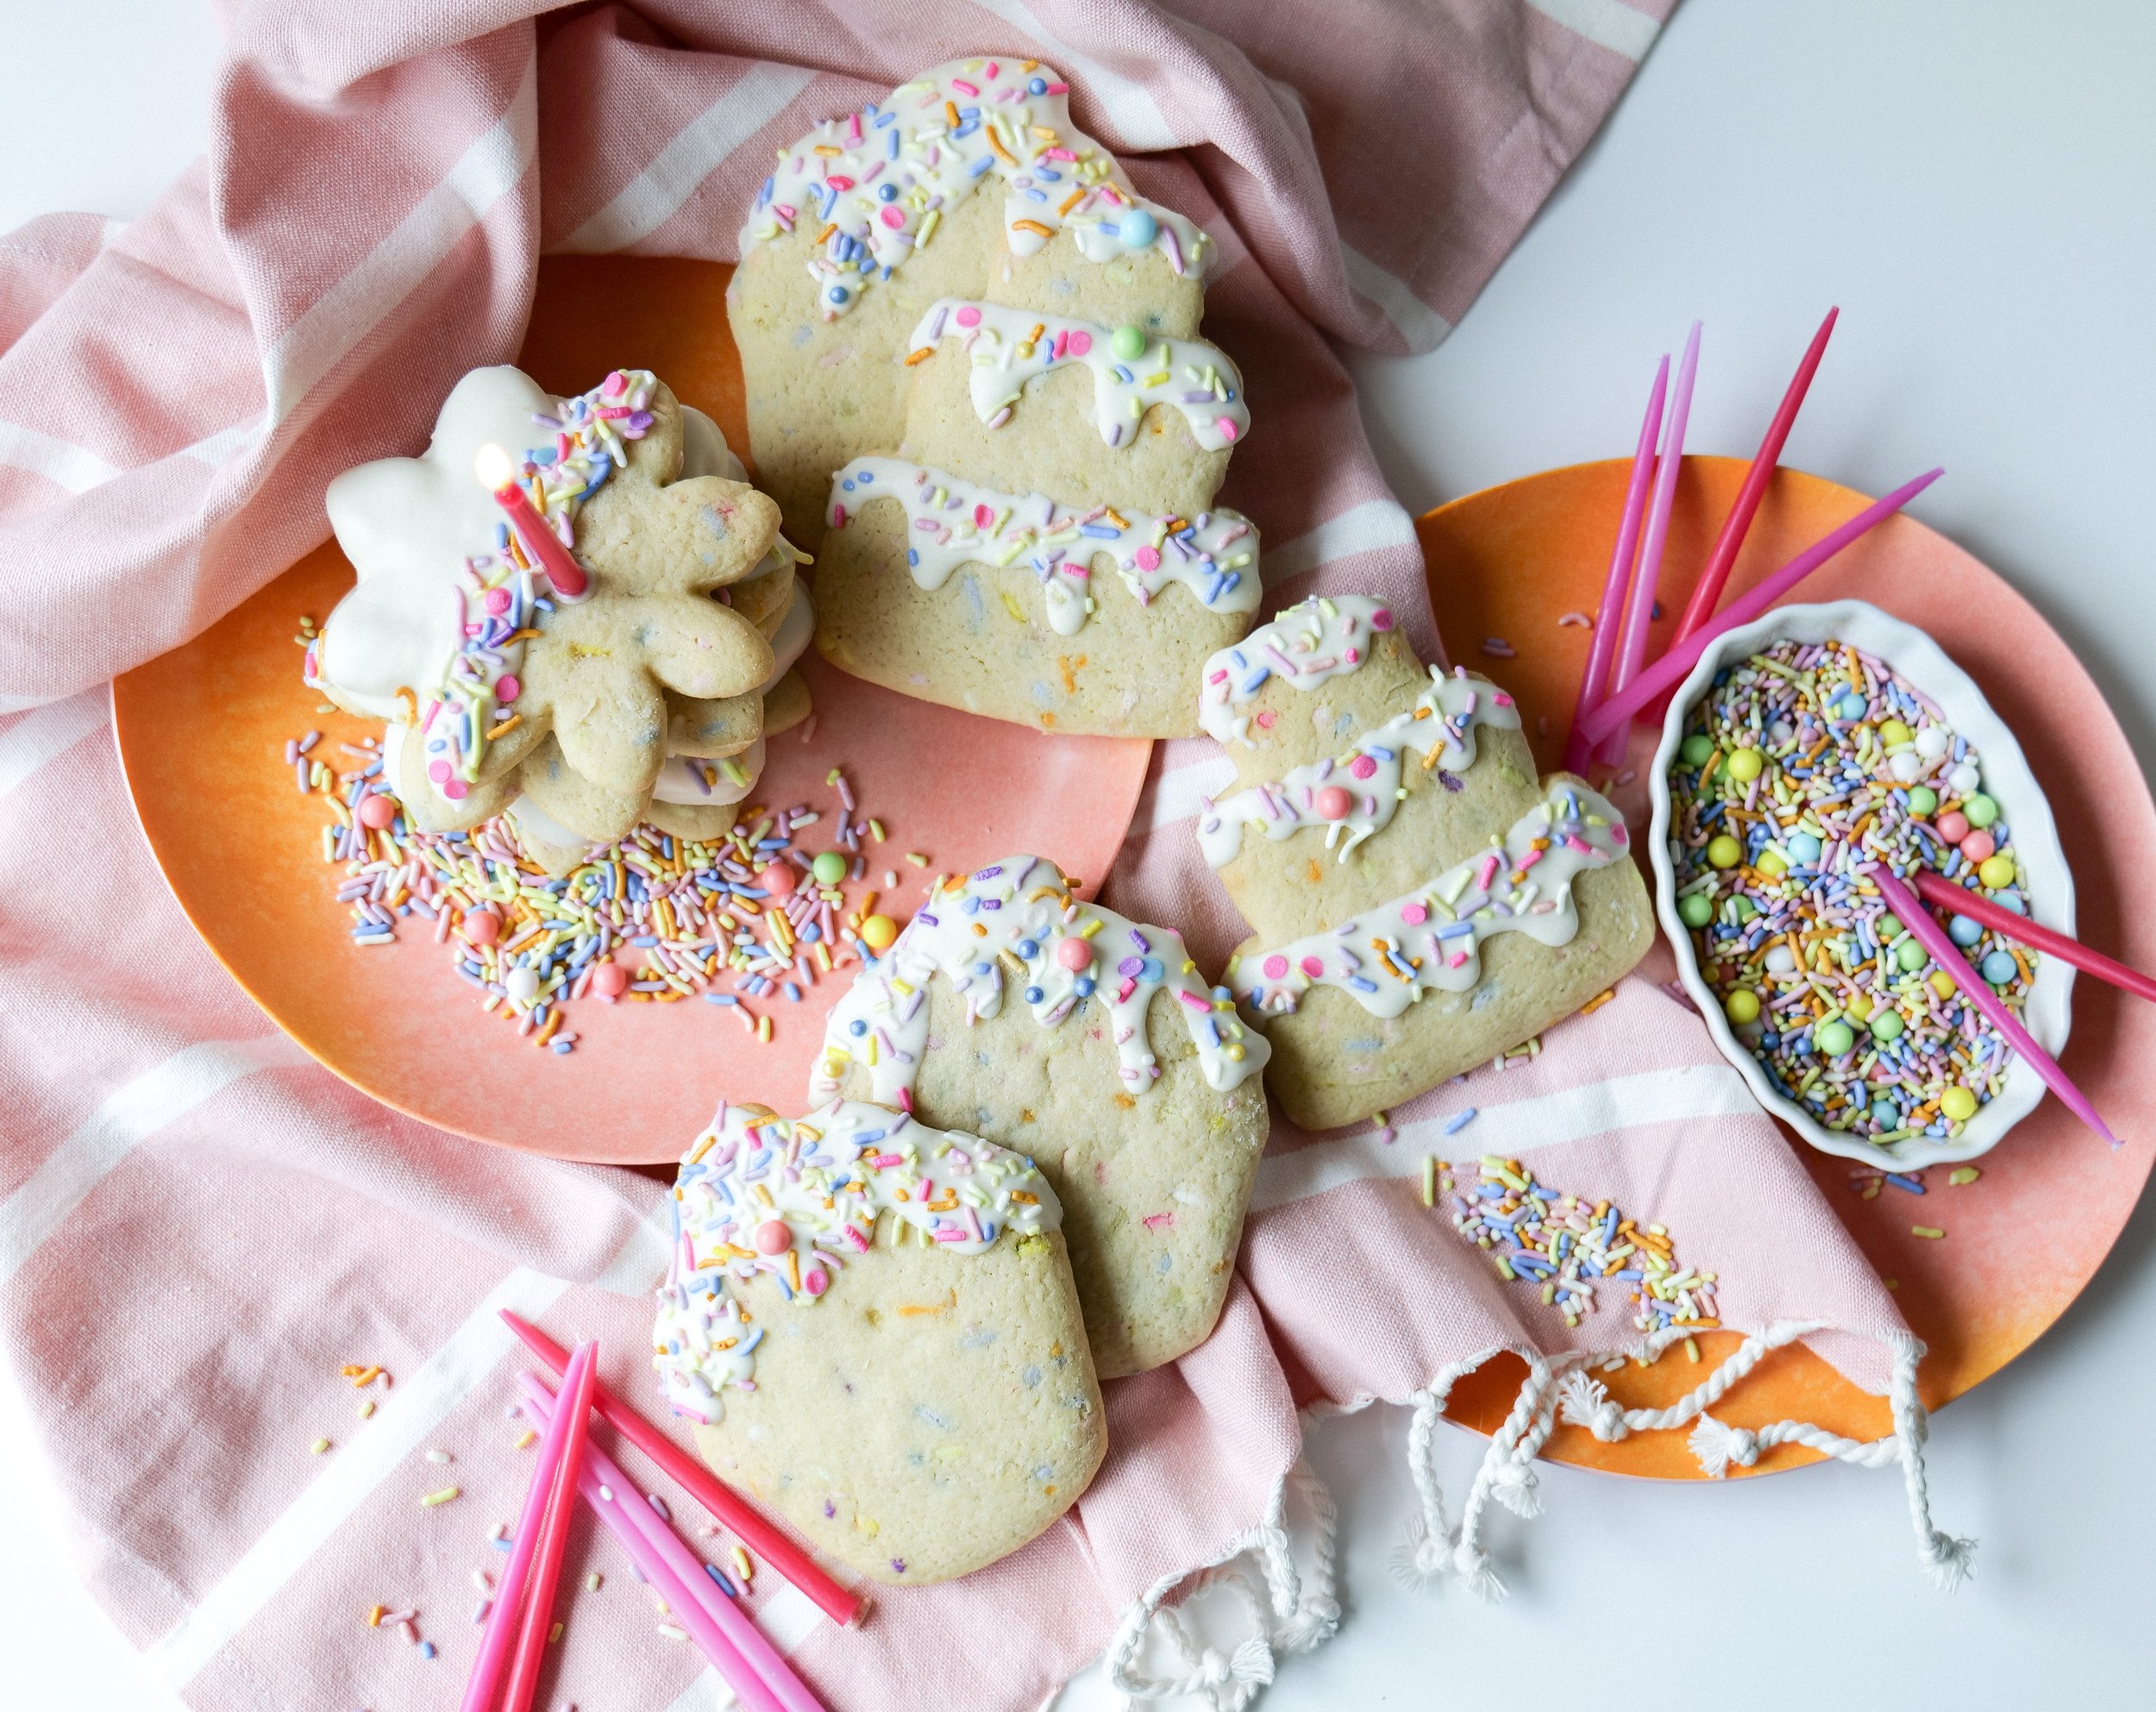
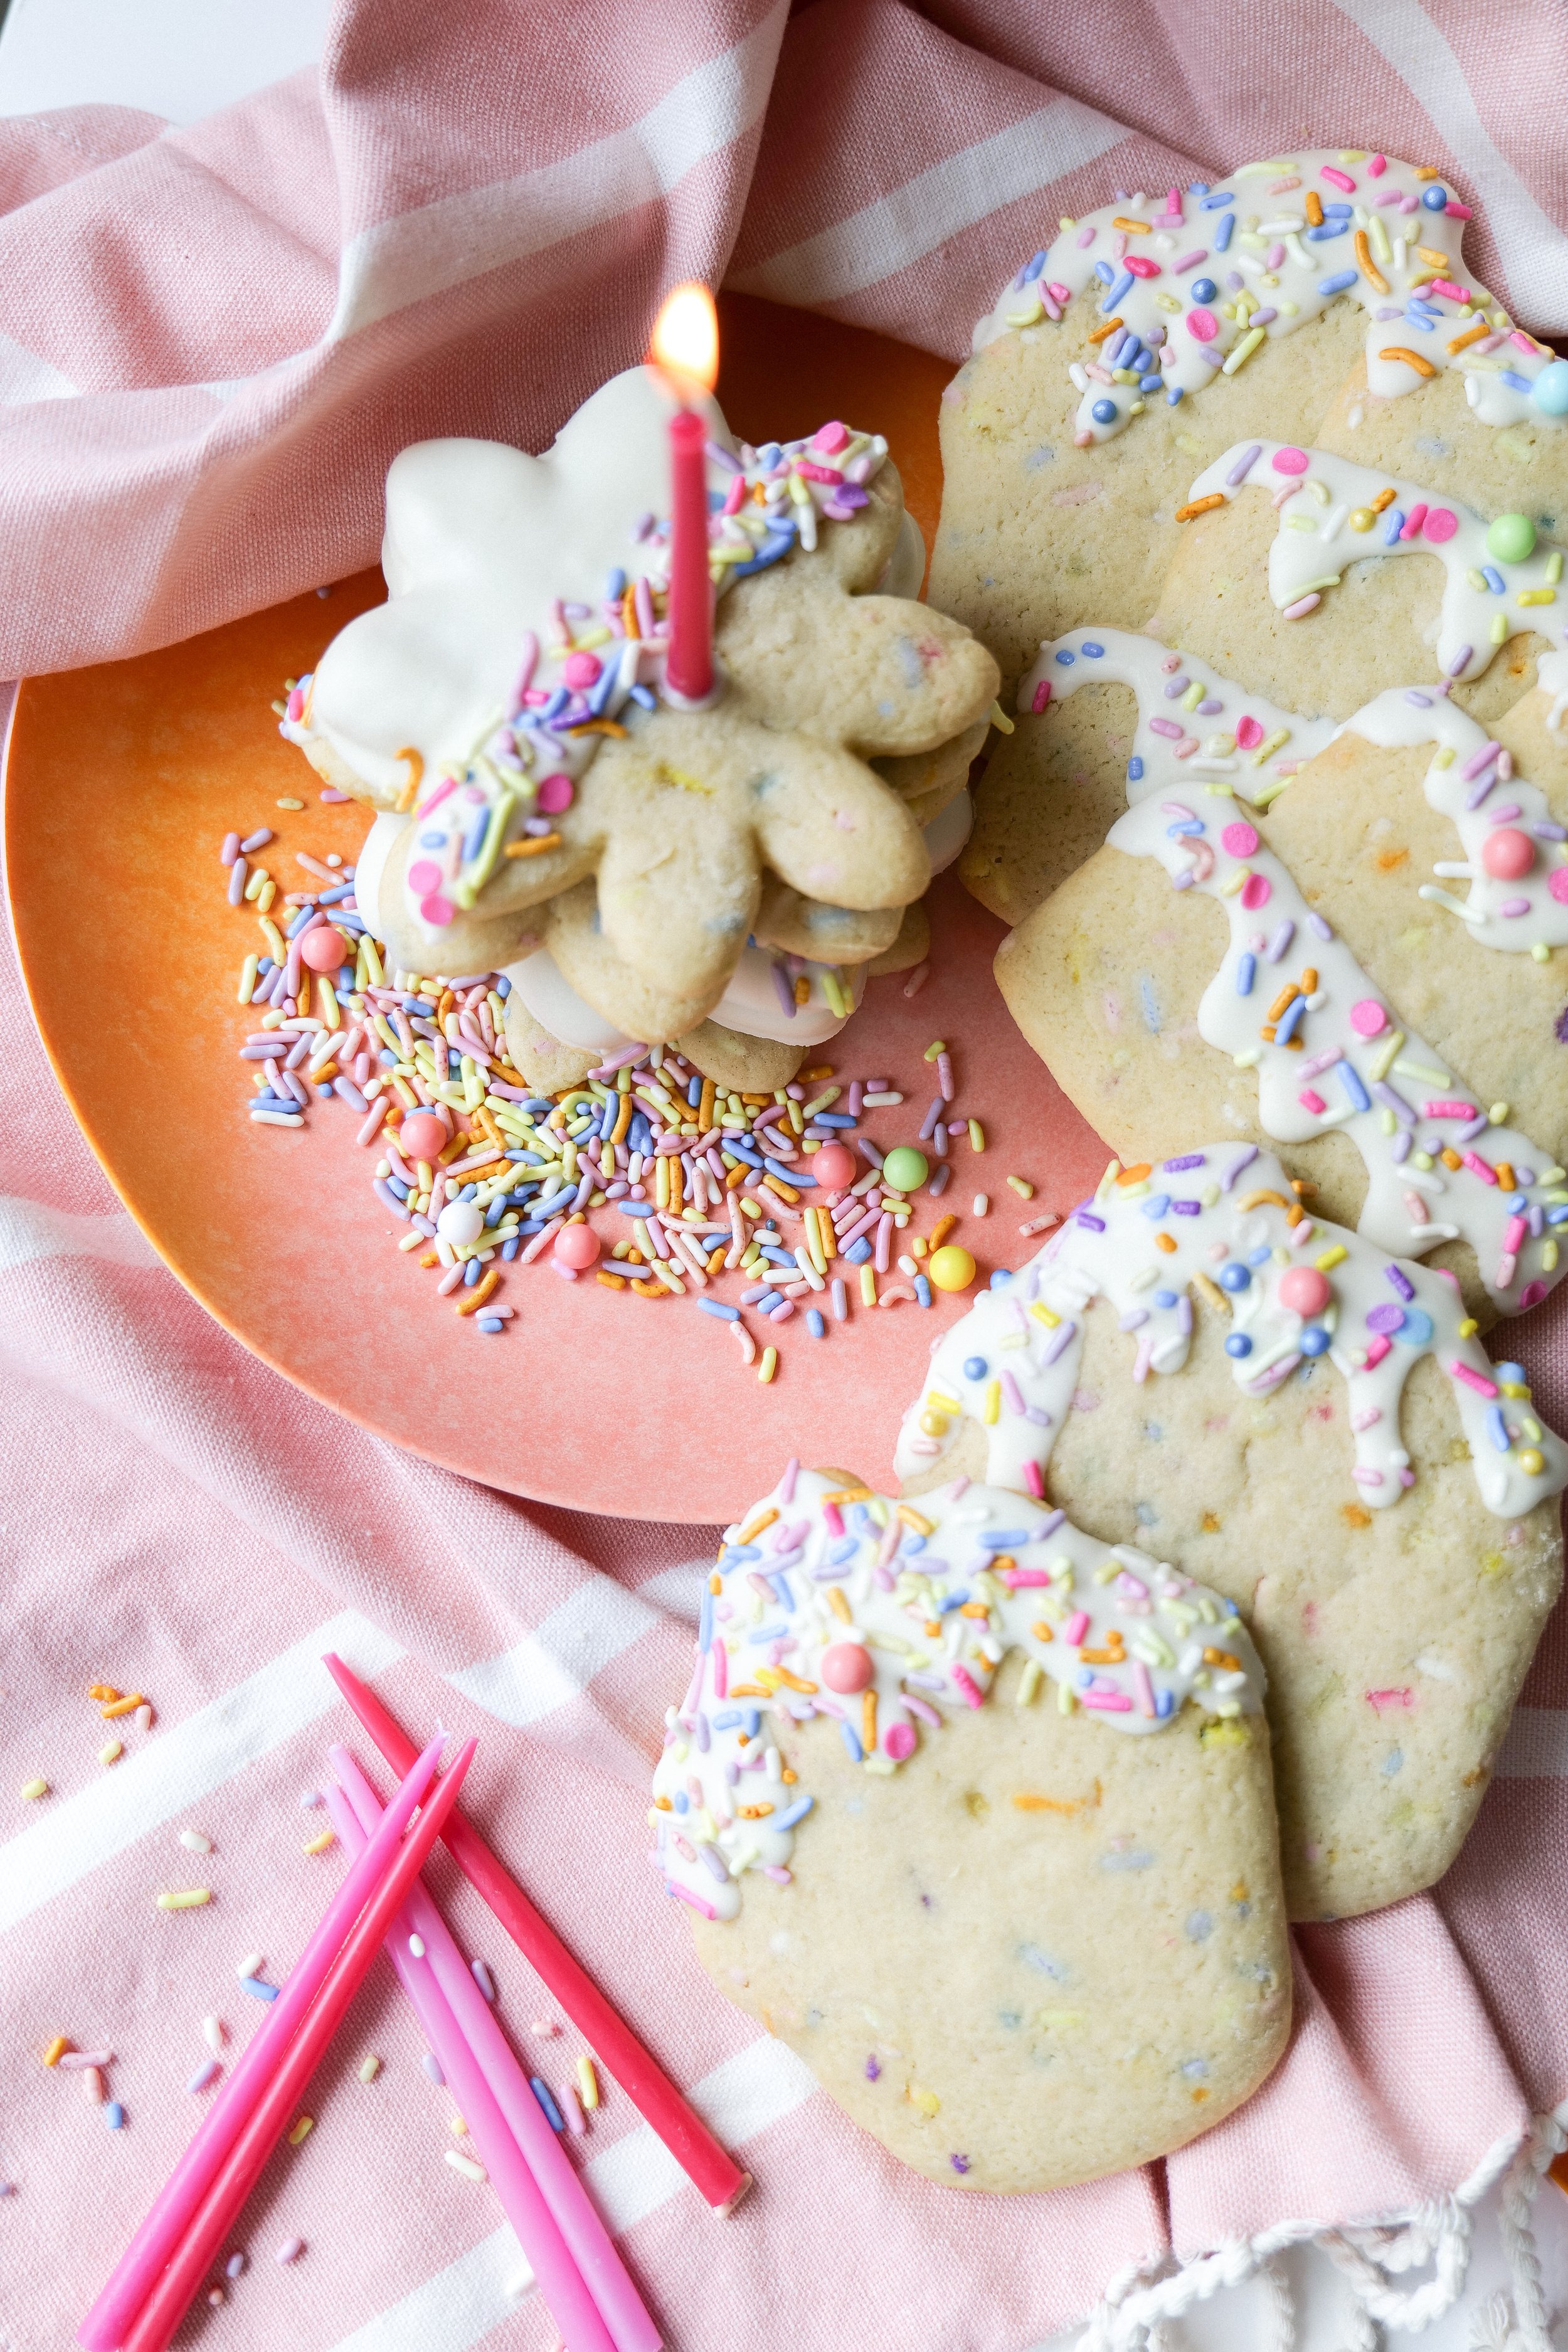
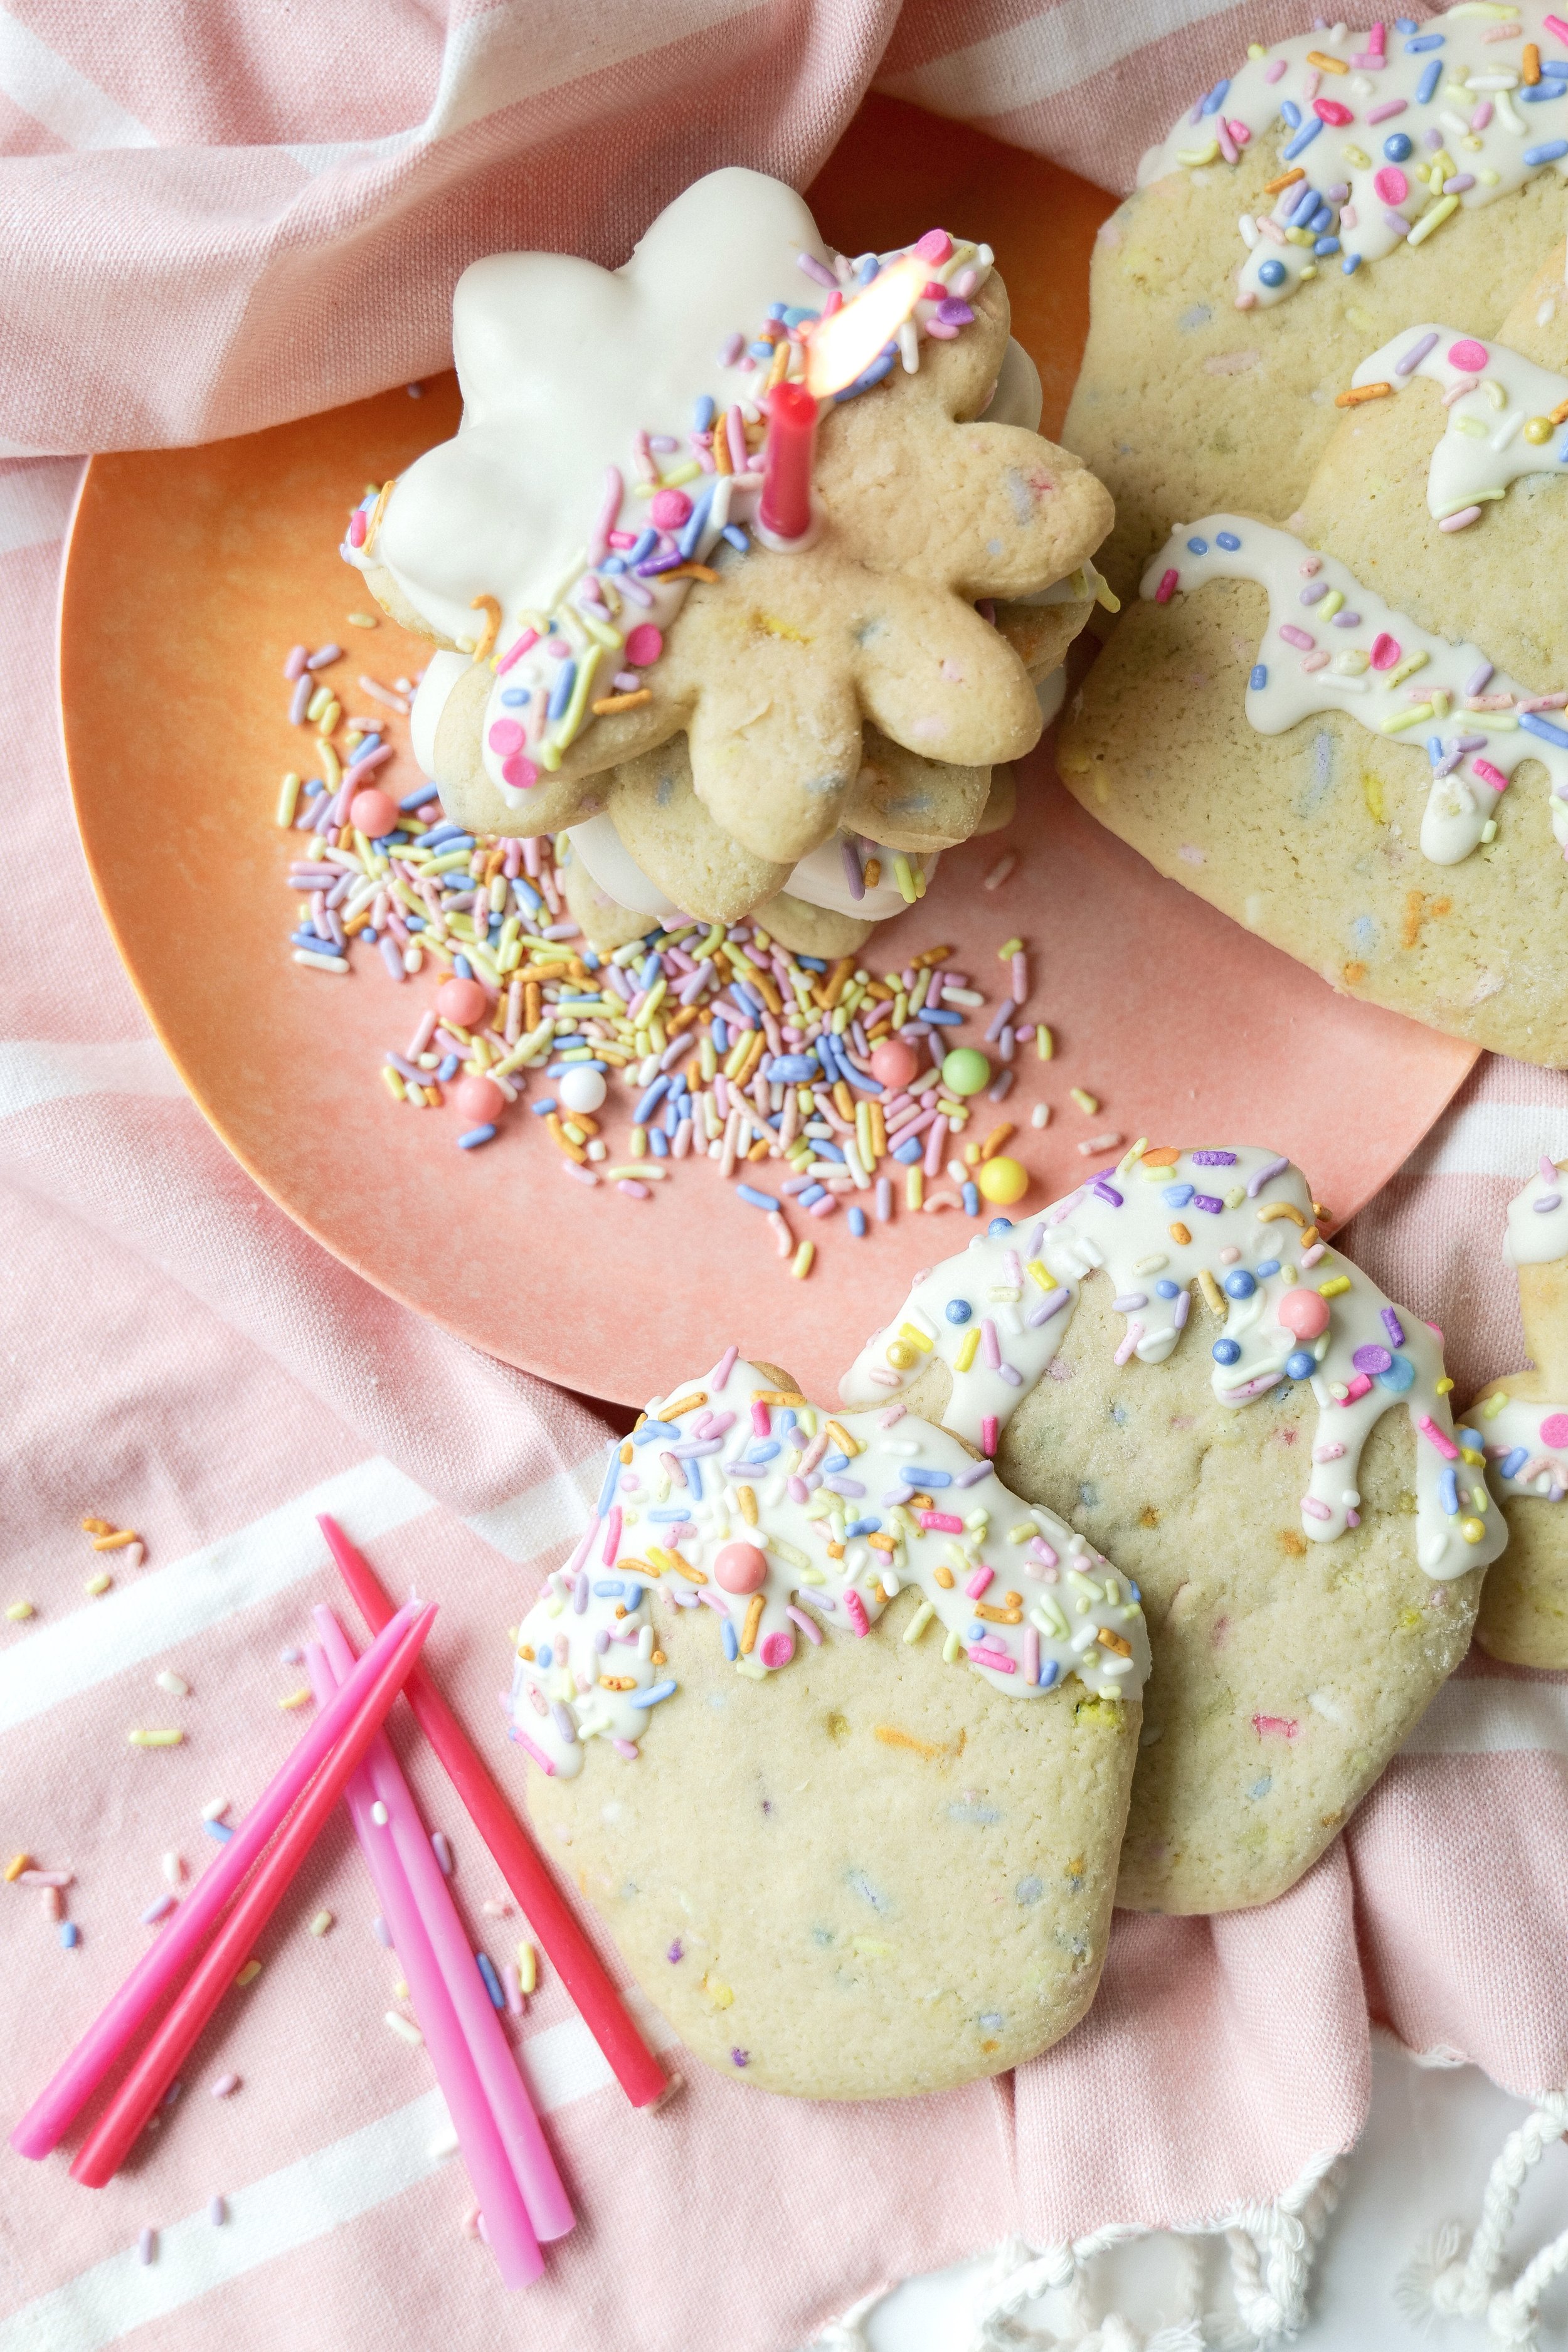
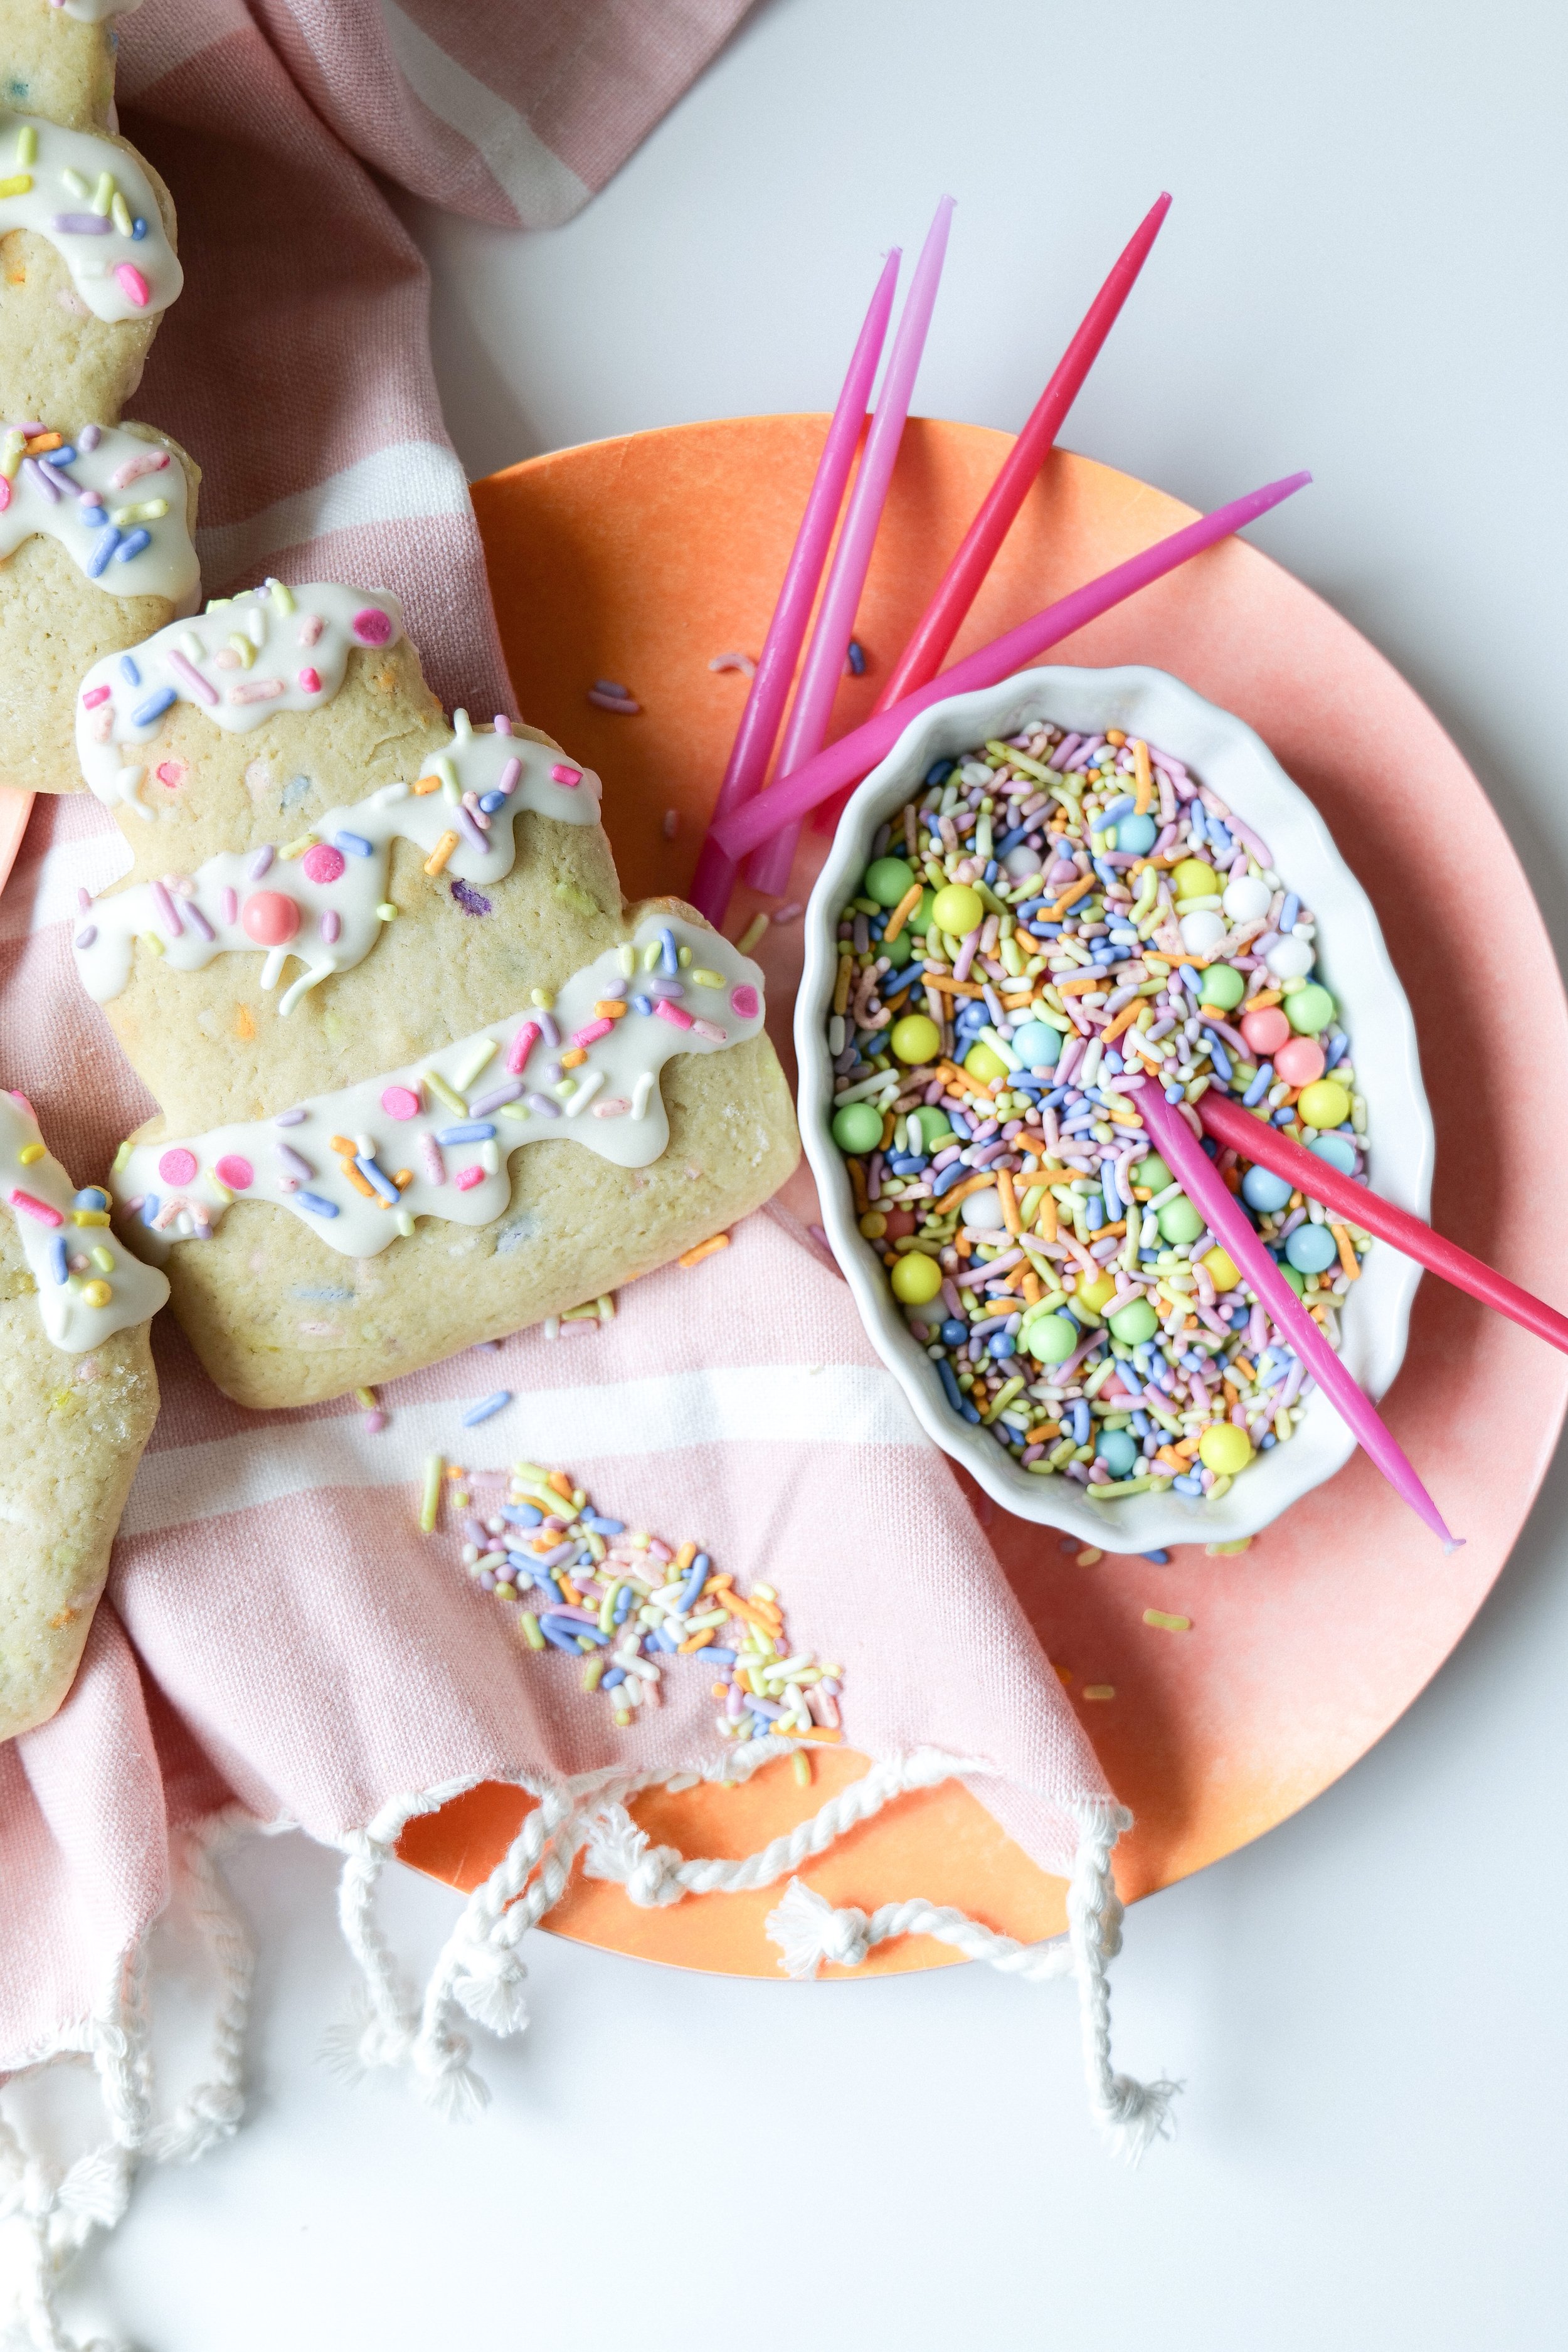
These may be called “birthday sugar cookies” but I approve them to be eaten on any day all year long! Enjoy them for any celebration, special milestones, or also just because you want a tasty dessert. I love making these for fun and adding a small amount of white chocolate to add décor and to add a little extra sweetness. The cookie itself without the chocolate isn’t overly sweet (but more buttery and delicious), so this makes for the ultimate pairing! Adding in the colorful sprinkles makes for a fun burst of color and you can even add different color themes to go with parties, holidays like Christmas, Valentine Day, and more! Hope you enjoy!

Ingredients:

1 cup melted butter

2 cups white sugar

2 eggs

2 tsp vanilla ext

4 cups all-purpose flour

1/2 tsp salt

1 tsp baking soda

1 tsp baking powder

3/4 cup buttermilk

1/2 cup sprinkles

white chocolate for decorating (can use buttercream if you rather)

Instructions:

  1. Beat butter and sugar together.

  2. 2. Add eggs and vanilla extract, and mix well.

  3. In another bowl, sift flour, salt, baking soda and baking powder together, and add little by little to butter mixture, alternating with buttermilk.

  4. Now that your dough is made you will wrap in plastic wrap and refrigerate for at least 6 hours. I like to let mine stay overnight and up to 24 hours. This makes the cutouts come out better on edges.
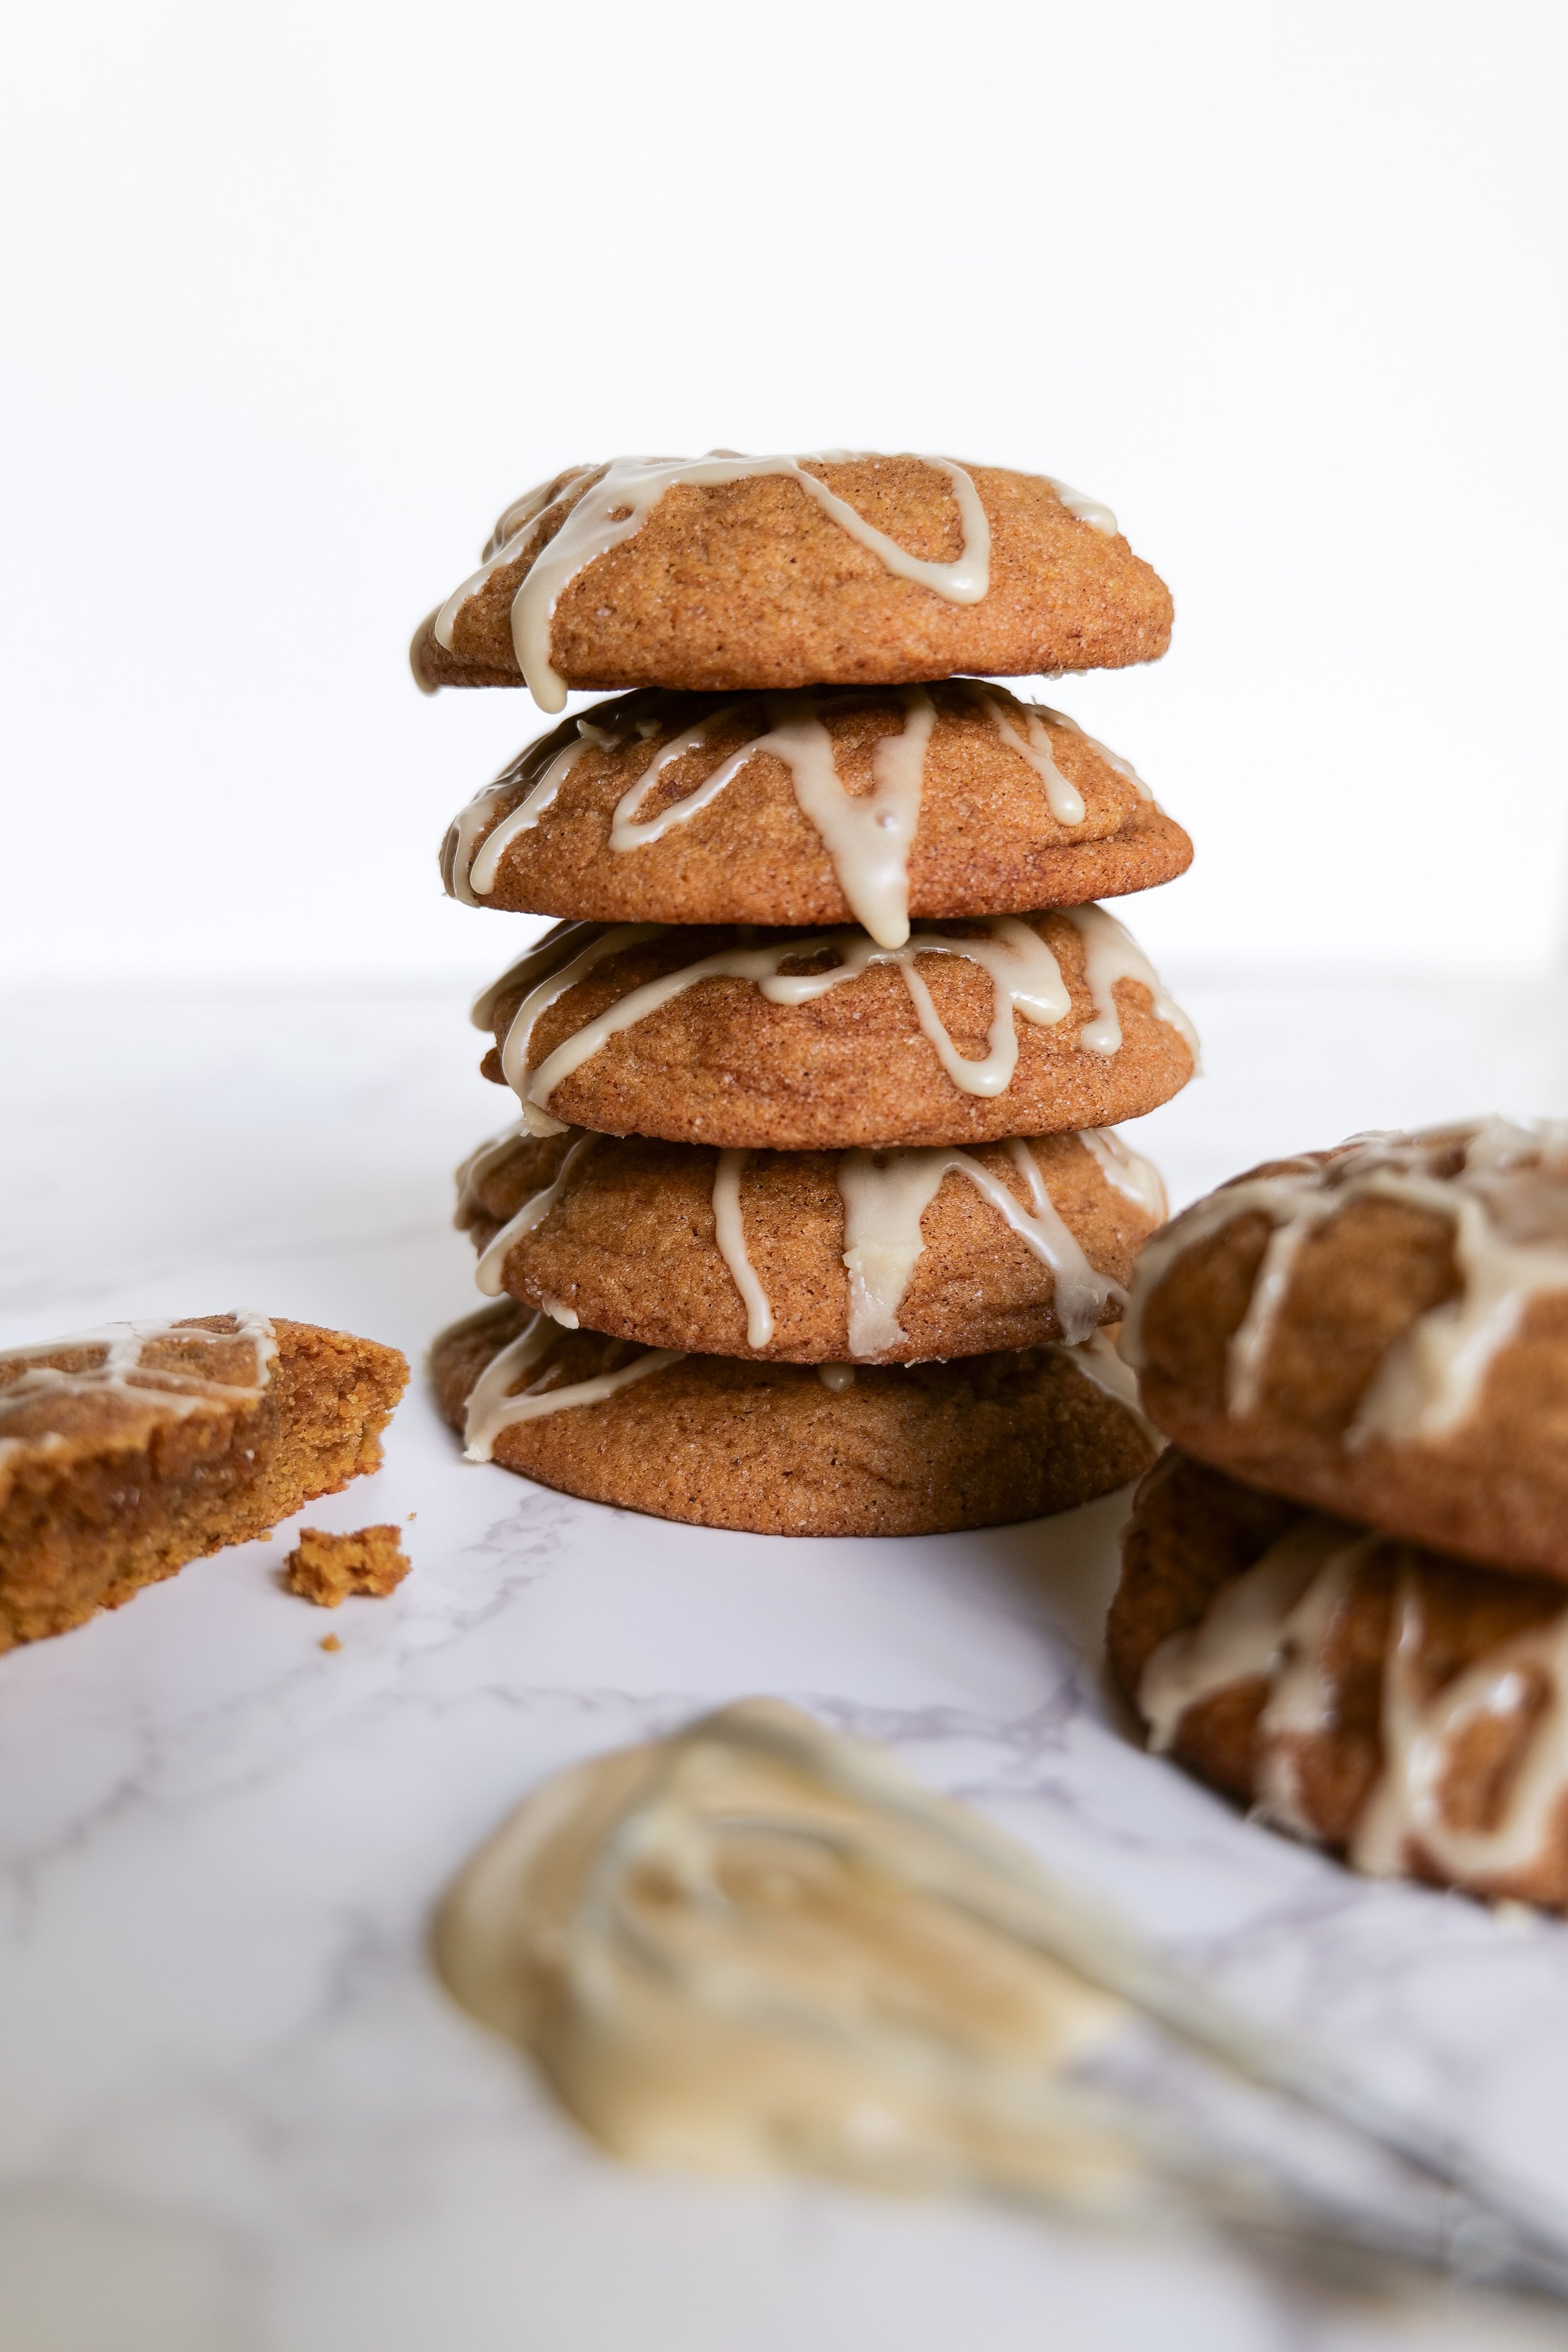
  5. After dough has chilled and you are ready to roll out. Heat oven to 375 degrees.

  6. Be sure to flour surface area, rolling pin and dough to make sure no sticking happens. I am using 360 cookie cutters here! So many amazing designs and shapes!! Shop entire collections -here- (use code AMANDAWARREN20 for 20% off entire site)

  7. Bake for 8-10 minutes on stainless steel pan. After baking place onto cooling rack and decorate once cooled. After decorated ENJOY!!

Brown Sugar Toffee Cookies

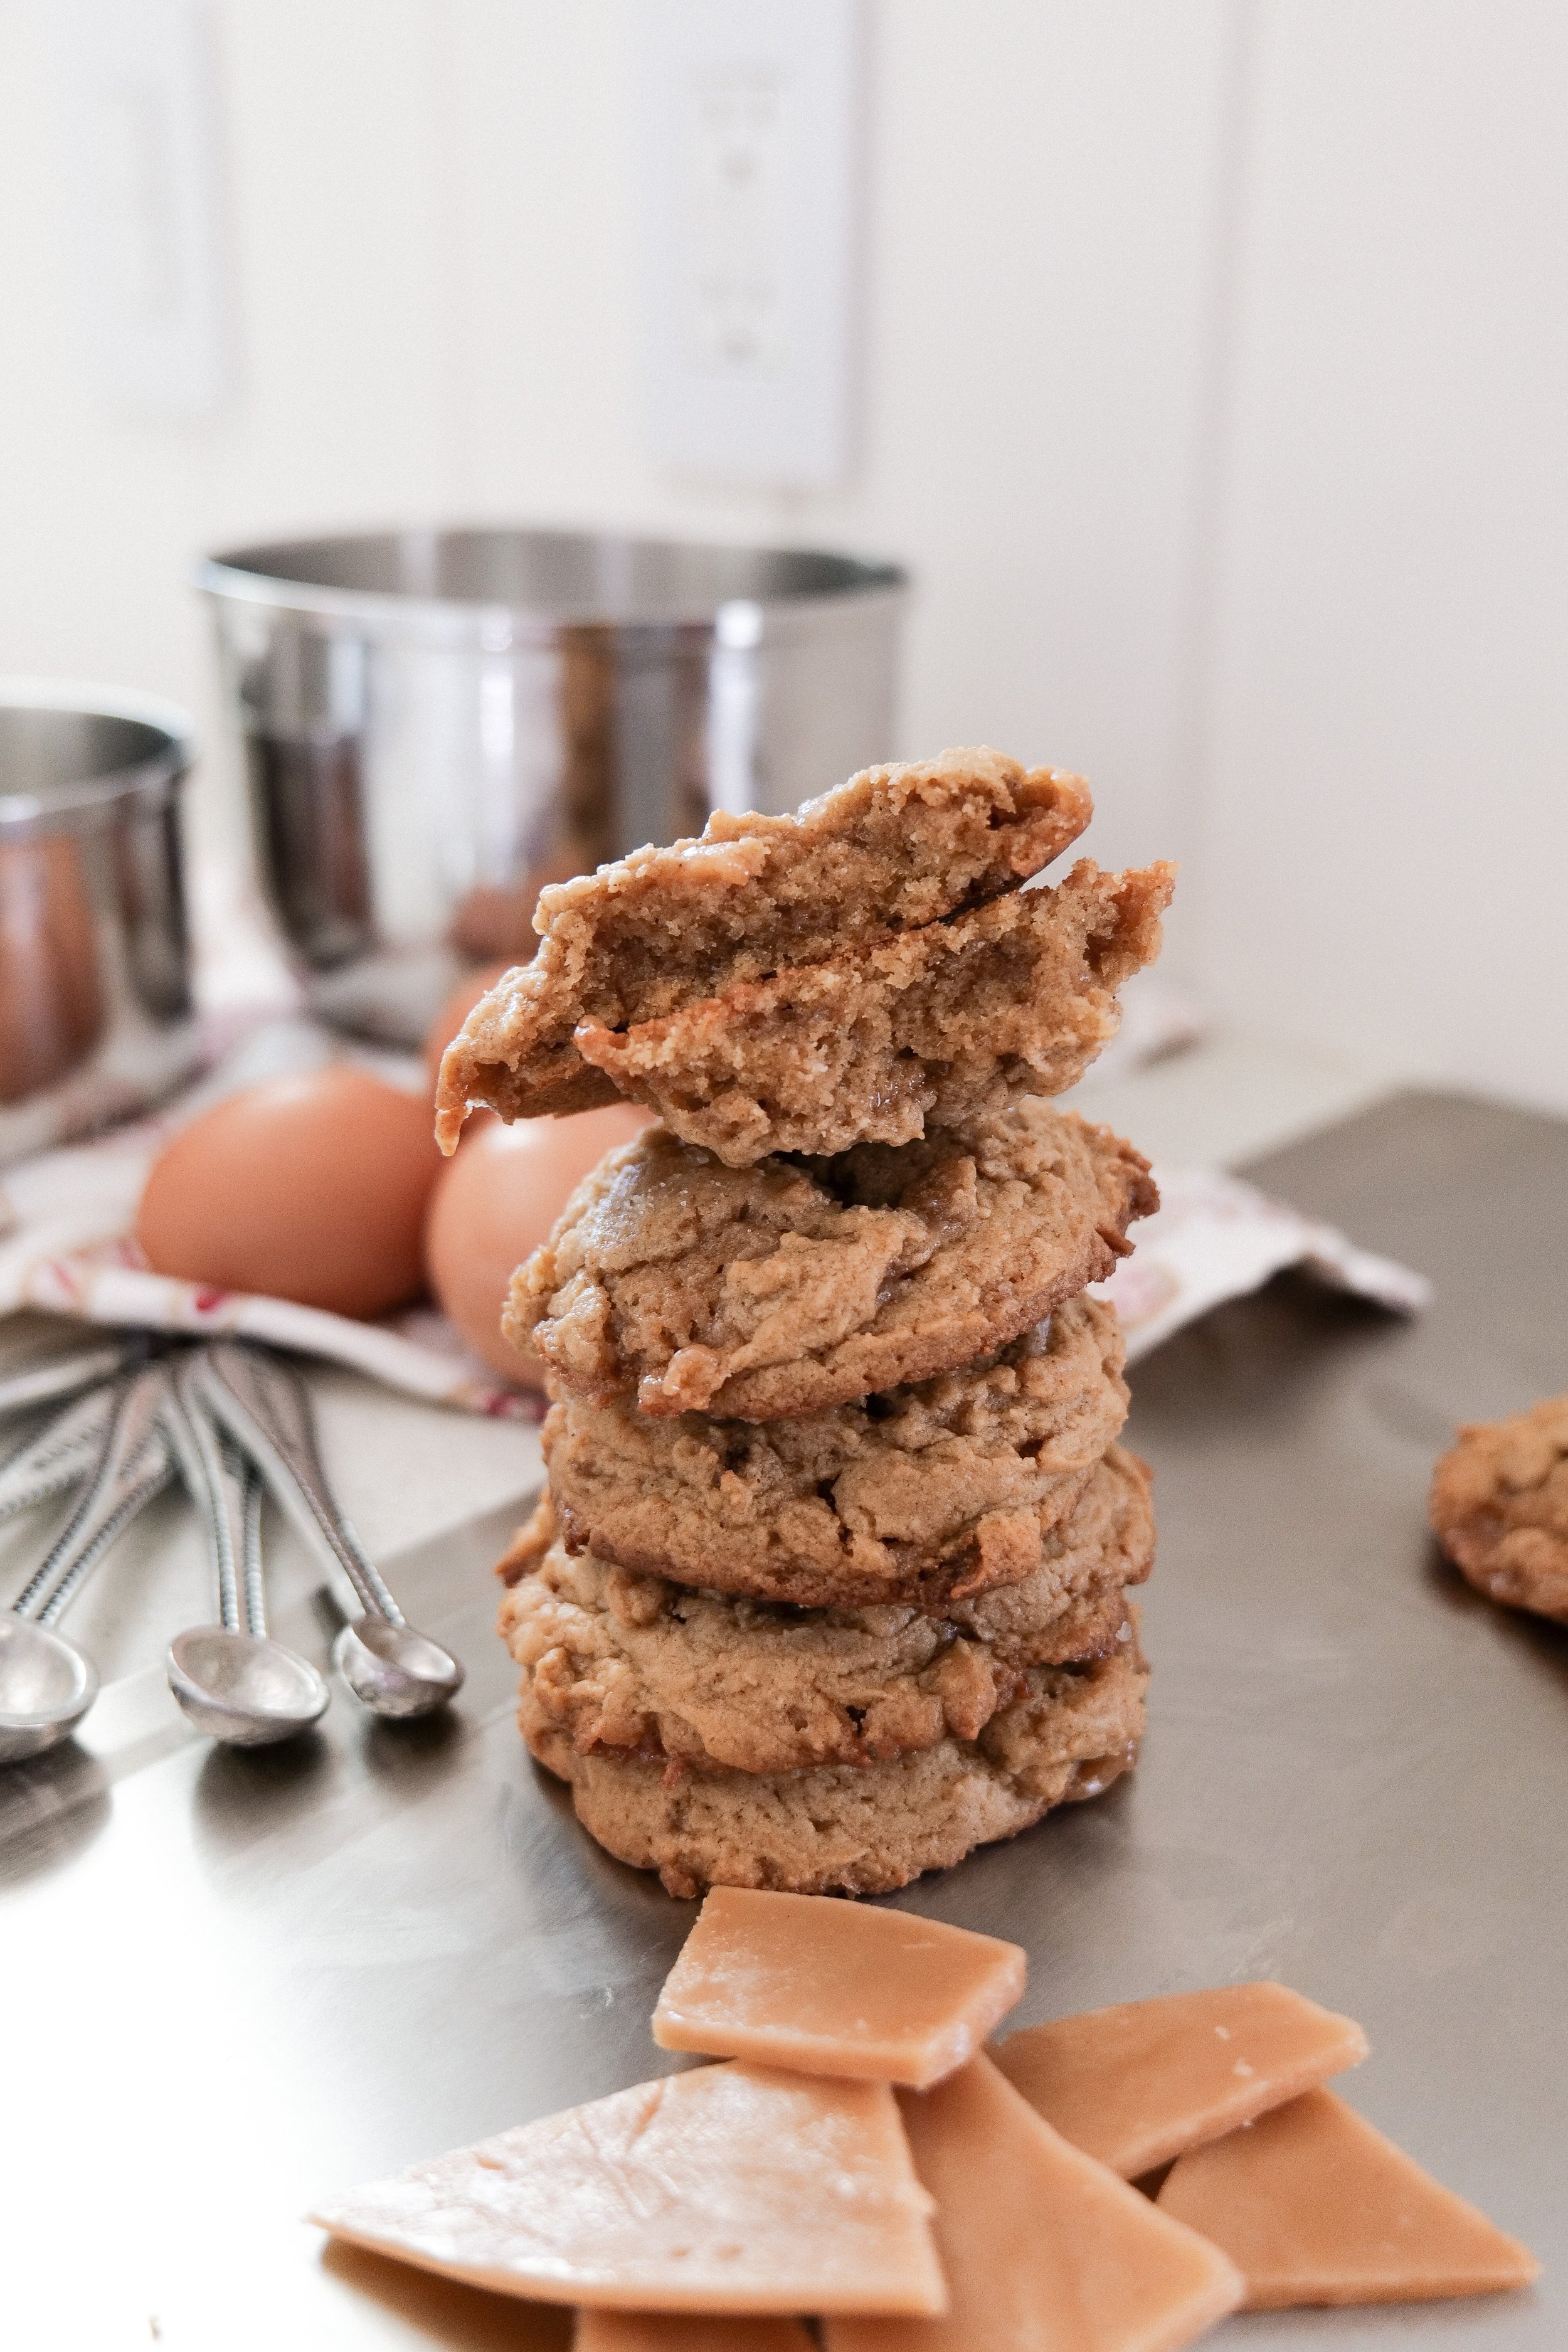
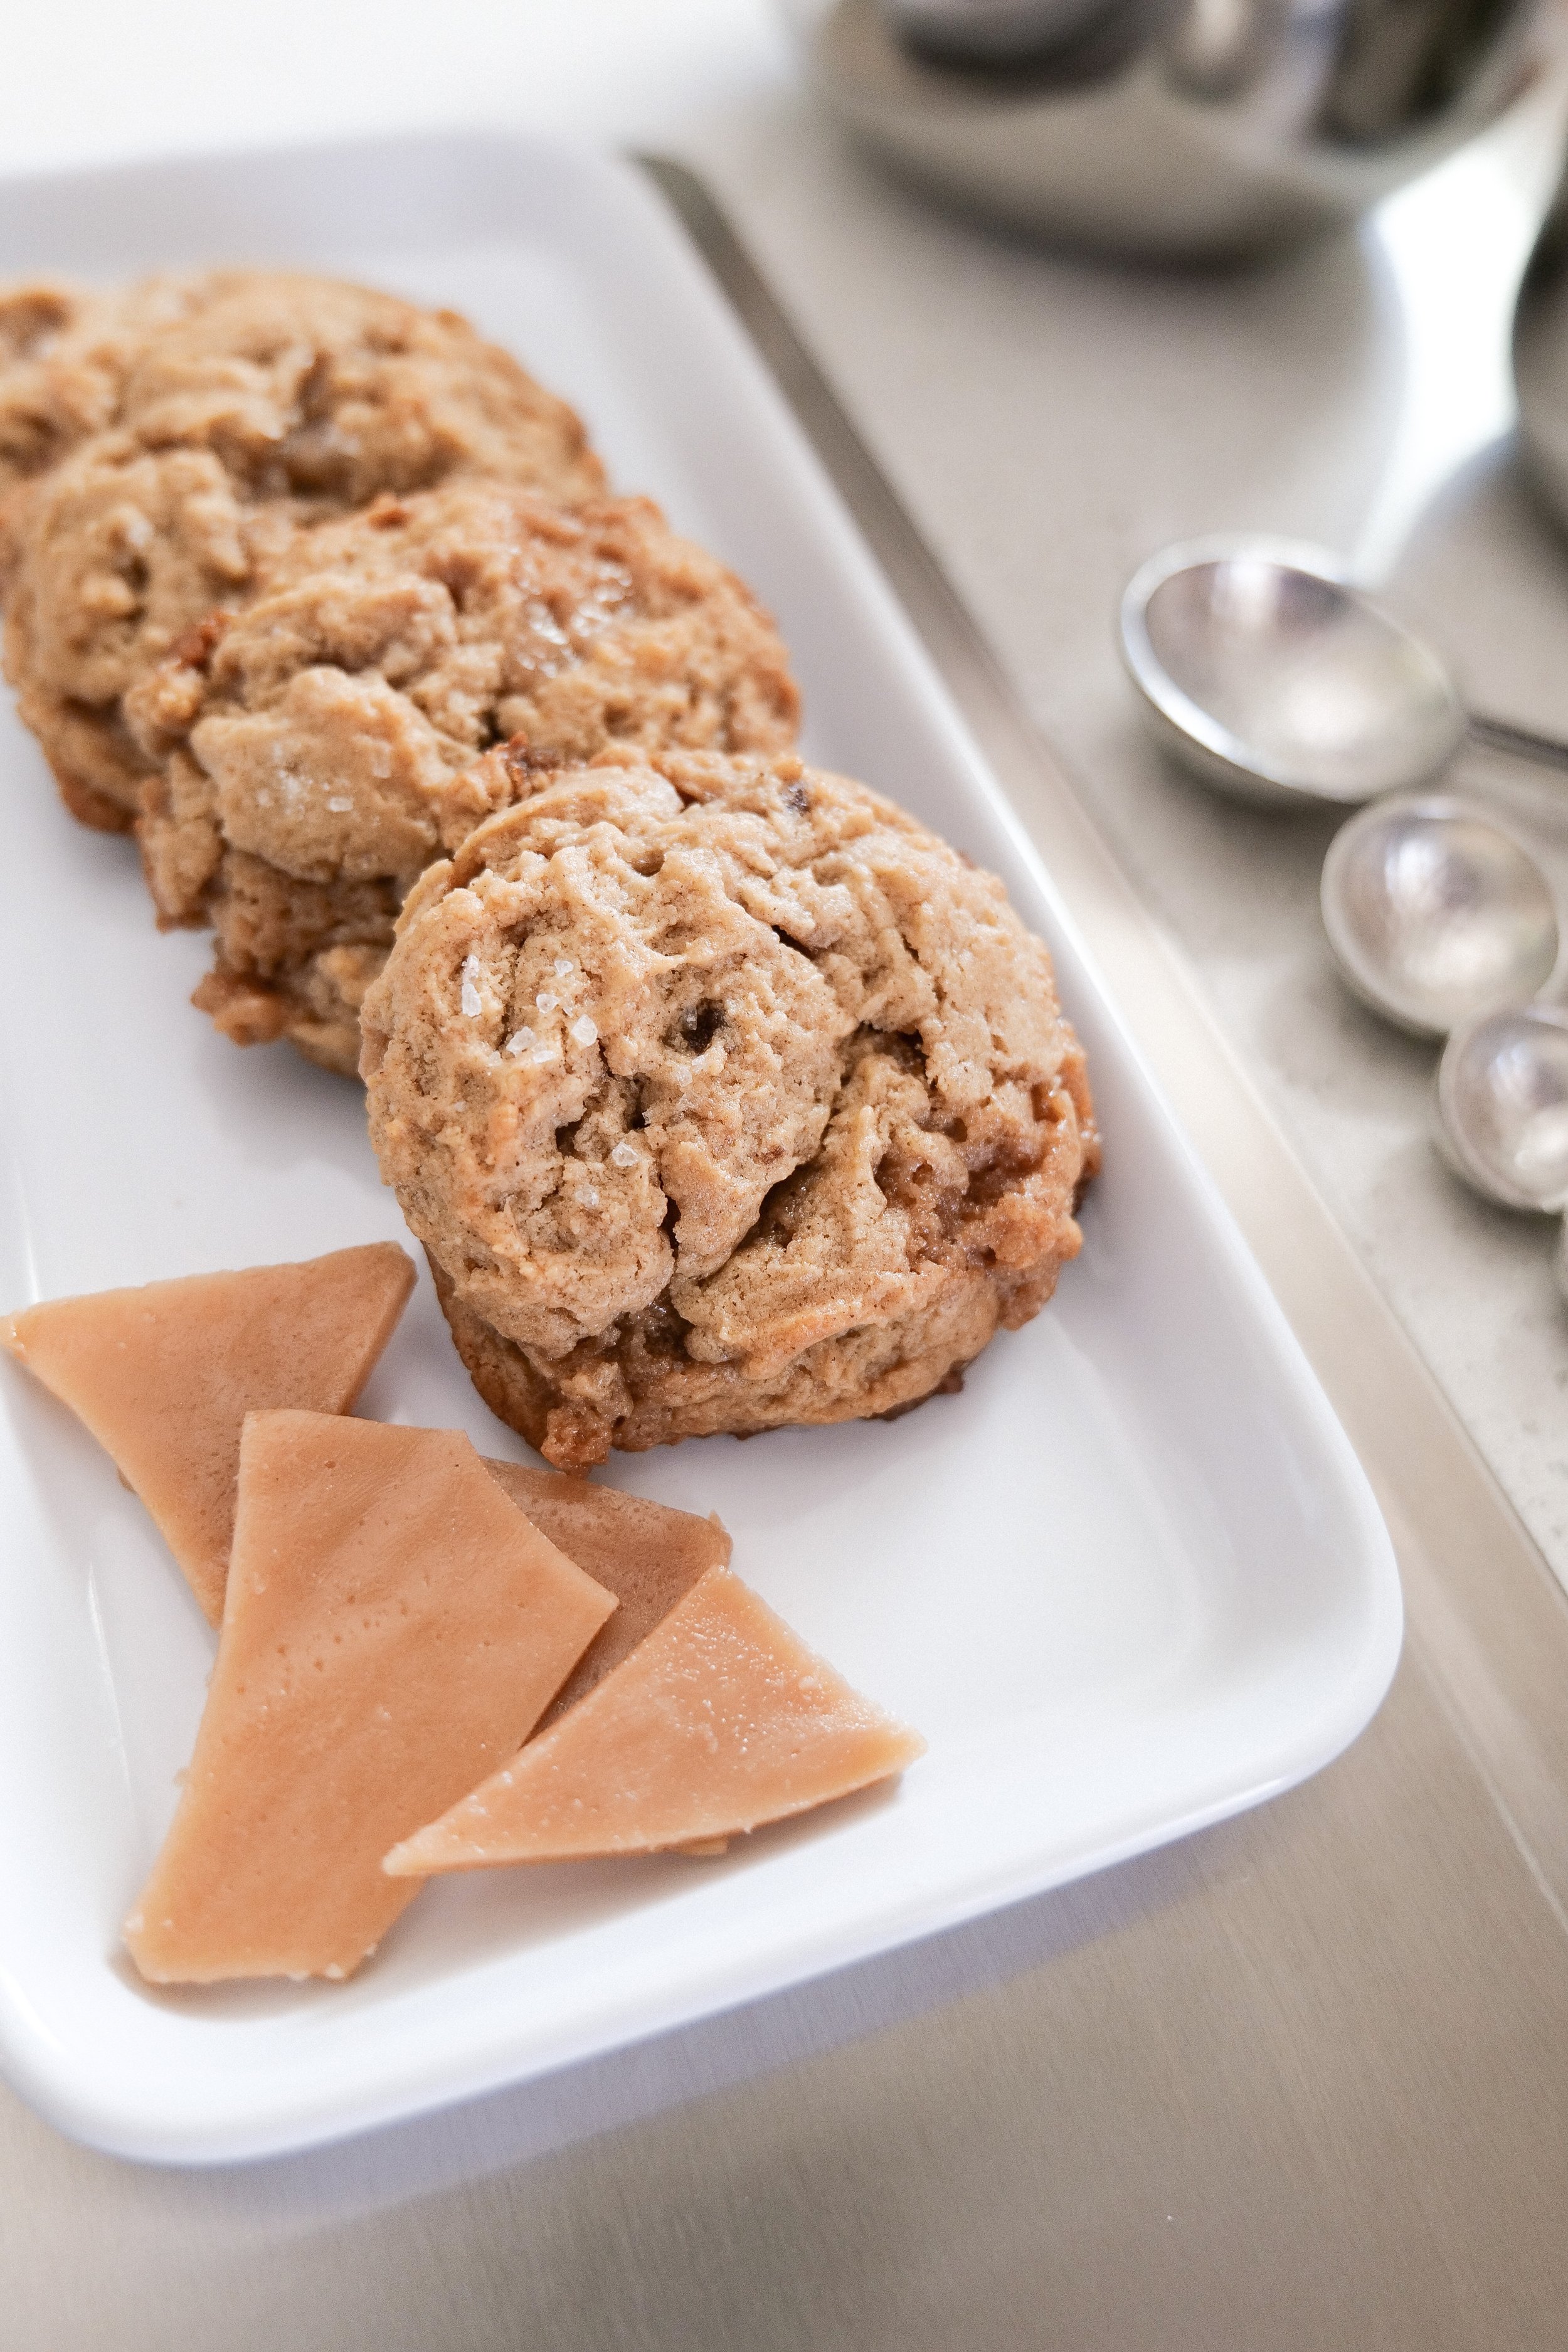
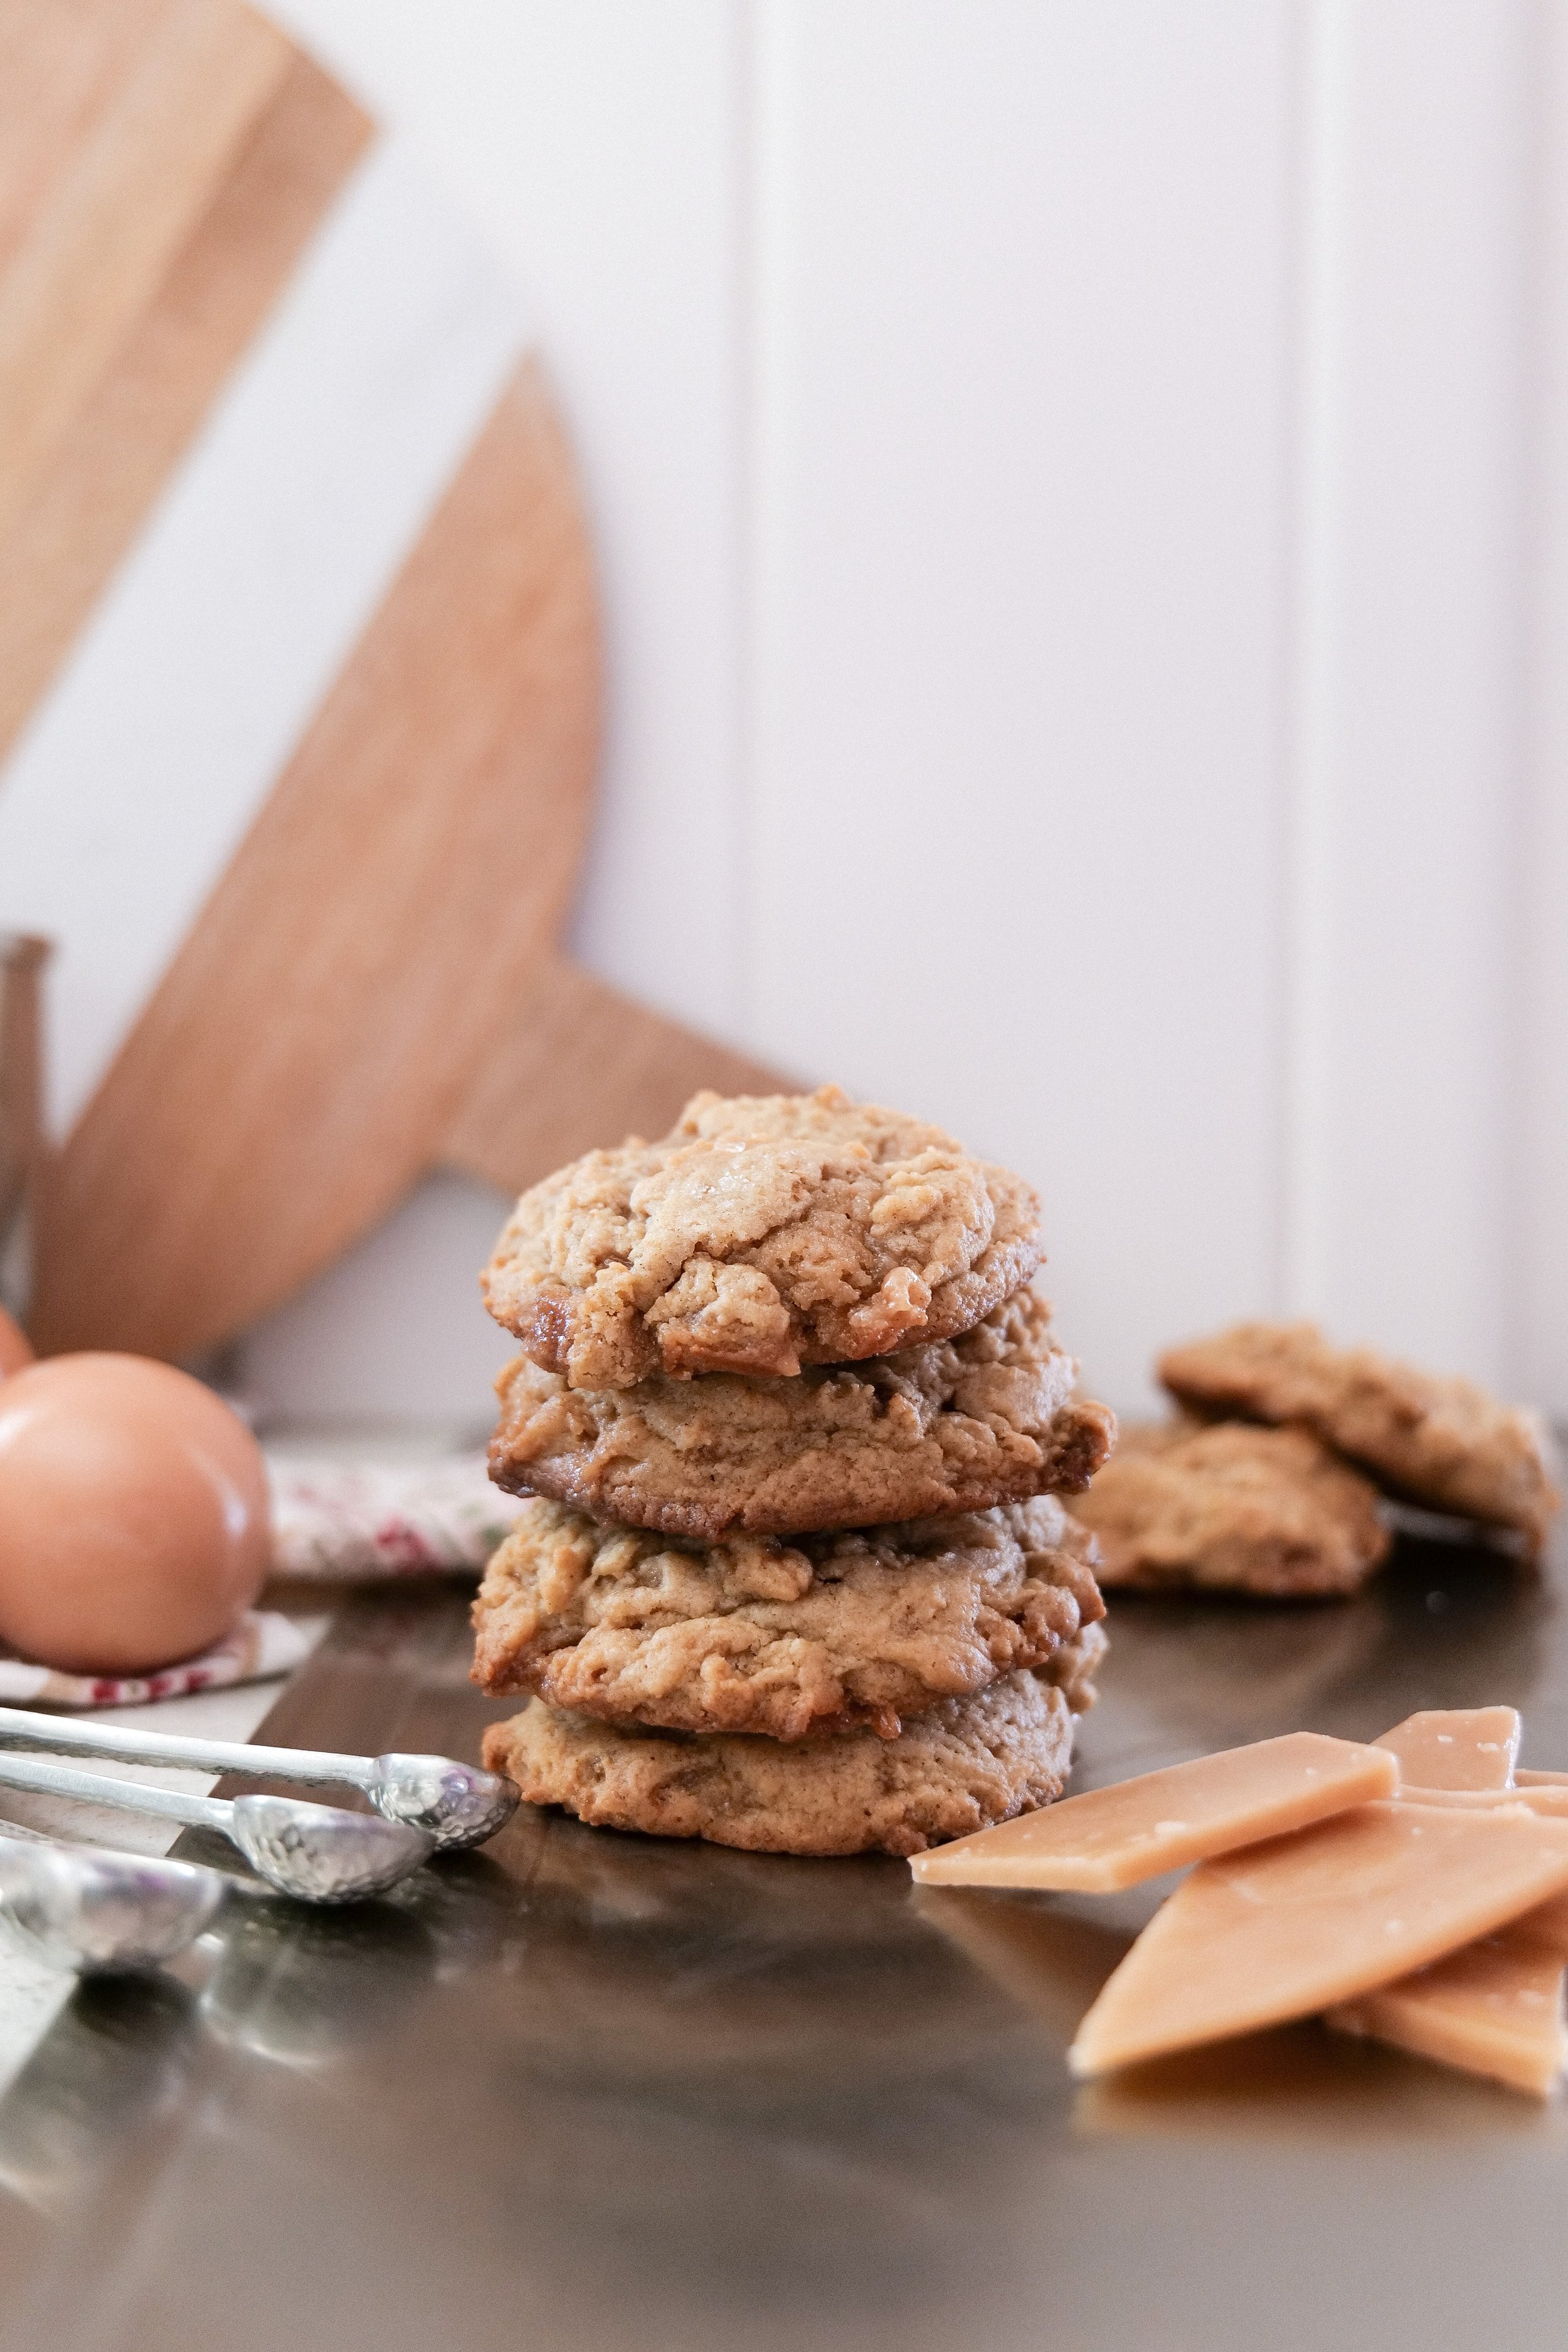
This cookie recipe has 3 of my favorite yummy ingredients: Brown Sugar, Brown Butter & Toffee!! That’s a lot of delicious goodness all cooked on my 360 cookware!! I love using 360 because for one its all made in the USA! I always love supporting companies and products made in the USA and work hard to find them. Second.. they are the best pans I have used particularly for making cookies hands down! They all are non toxic and so easy to clean. I cant say enough good things about them..They also have bowls that are just as amazing. To share my love I have a code for 20% off! Use code AMANDA20 to get 20% off your next purchase. Start shopping -here-

Brown Sugar Toffee Cookie Recipe

Toffee Recipe :

1 cup cubed salted butter

1 cup white sugar

1 tsp vanilla

  1. On low heat mix cubed butter and sugar. Using a spatula continue to stir to prevent from burning

  2. Once color starts to change add in vanilla

  3. Once color starts to look like peanut butter pour onto parchment paper

  4. Let cook for 10-20 min.

  5. Crack! You are ready to enjoy AND add into cookies!

Cookie Recipe:

1 cup brown butter

2 cups brown sugar (I do one of these dark brown but totally optional)

2 eggs

1 tsp vanilla

4 cups flour

1 tsp salt

4 tsp baking powder

1/2 cup milk

toffee

sea salt for topping

  1. Brown butter in a sauce pan. I do this first because it needs to cool. Once butter starts browning in color and smells nutty you can put in a bowl to cool

  2. Preheat oven to 375

  3. Once butter is cooled enough (I usually give it at least 20-30 min, while I am making toffee) blend butter and brown sugar.

  4. Add in eggs and vanilla and mix well.

  5. Stir dry ingredients in a separate bowl. Alternating between dry and milk adding into wet ingredients.

  6. Lastly add in toffee. You can use as much of the recipe from toffee as you want! Save some to add on the side of cookies, eat, or enjoy it all in the cookies.

  7. I take a cookie scoop and do 2 scoops one on top of each other then sprinkle the top with sea salt. This gives a nice fluffy cookie.

  8. Bake for 11-13 min.

  9. ENJOY!

Brown Butter Caramel Pretzel Cookies

These cookies are probably my all time favorite homemade ones.. That’s a big statement being that I love to bake so much, but I’m pretty sure they can hold up the pressure of it! They have all the tastes with the salt, the sweet, and the crunch! So good that the hubby even agrees with me! You may think he’s just being nice because he is my husband. He is sweet.. but he would never lie about my cooking to save face! If I ever need to know if a recipe is good enough to share online.. I call on him and my mom. They both without a doubt will give me their honest opinions no matter what!

Now that I hyped these cookies up.. I have to tell you the bad news. They do take a few hours to make!! (Sorry!!) However the hours that it takes are mostly spent with them in the fridge cooling. So in reality its not too bad and it just means you get more done during that time!

Let’s Get Cooking!

IMG_0467.JPG
IMG_0464.JPG

Recipe:

1 cup butter (2 sticks)

3/4 cup sugar

3/4 dark brown sugar

1 tsp vanilla

2 large eggs

2 1/4 cups flour

1 tsp baking powder

1 tsp salt

1 package of chocolate covered caramels

1 cup crushed pretzels + more to add in later

Sea Salt

Directions:

1. Making brown butter! You want to melt the 2 sticks of butter in a pan until they boil, change in color and start to smell a nutty delicious flavor! The entire house will smell like this and its heavenly. Once the butter gets brown in color and is a yummy nutty smell put into a bowl and let sit cool 5 min. Next, put that bowl into the fridge for 1 hour. I suggest to stir at the 30 min mark just to make sure its cooling evenly and as fast as possible. Once the butter is more like butter and not melted you are ready!

2. While the butter is in the fridge this is the perfect time to get the goodies ready for the end. The chocolate covered caramels I typically use are the Dove brand (if you are a fan of another kind any will work). Unwrap and cut each candy into 4 pieces. Fill a plastic bag with 1 cup of pretzels and crush them!

3. Blend in both sugars and vanilla completely

4. Add in eggs, one at a time

5. Slowly add in all dry ingredients a little at a time until well blended.

6. Now the dough is all ready add in the chocolate caramels and pretzels. Don’t over blend of the chocolate and caramel will over mix and not be in whole chunks.

7. Roll into dough balls, sprinkle with sea salt and add extra pieces of pretzel on corners for extra crunch!

8. Bake at 375 for 9-11 min.

9. Let cool and enjoy!

IMG_0453.JPG

The Best Monster Cookie Recipe You'll Ever Try!

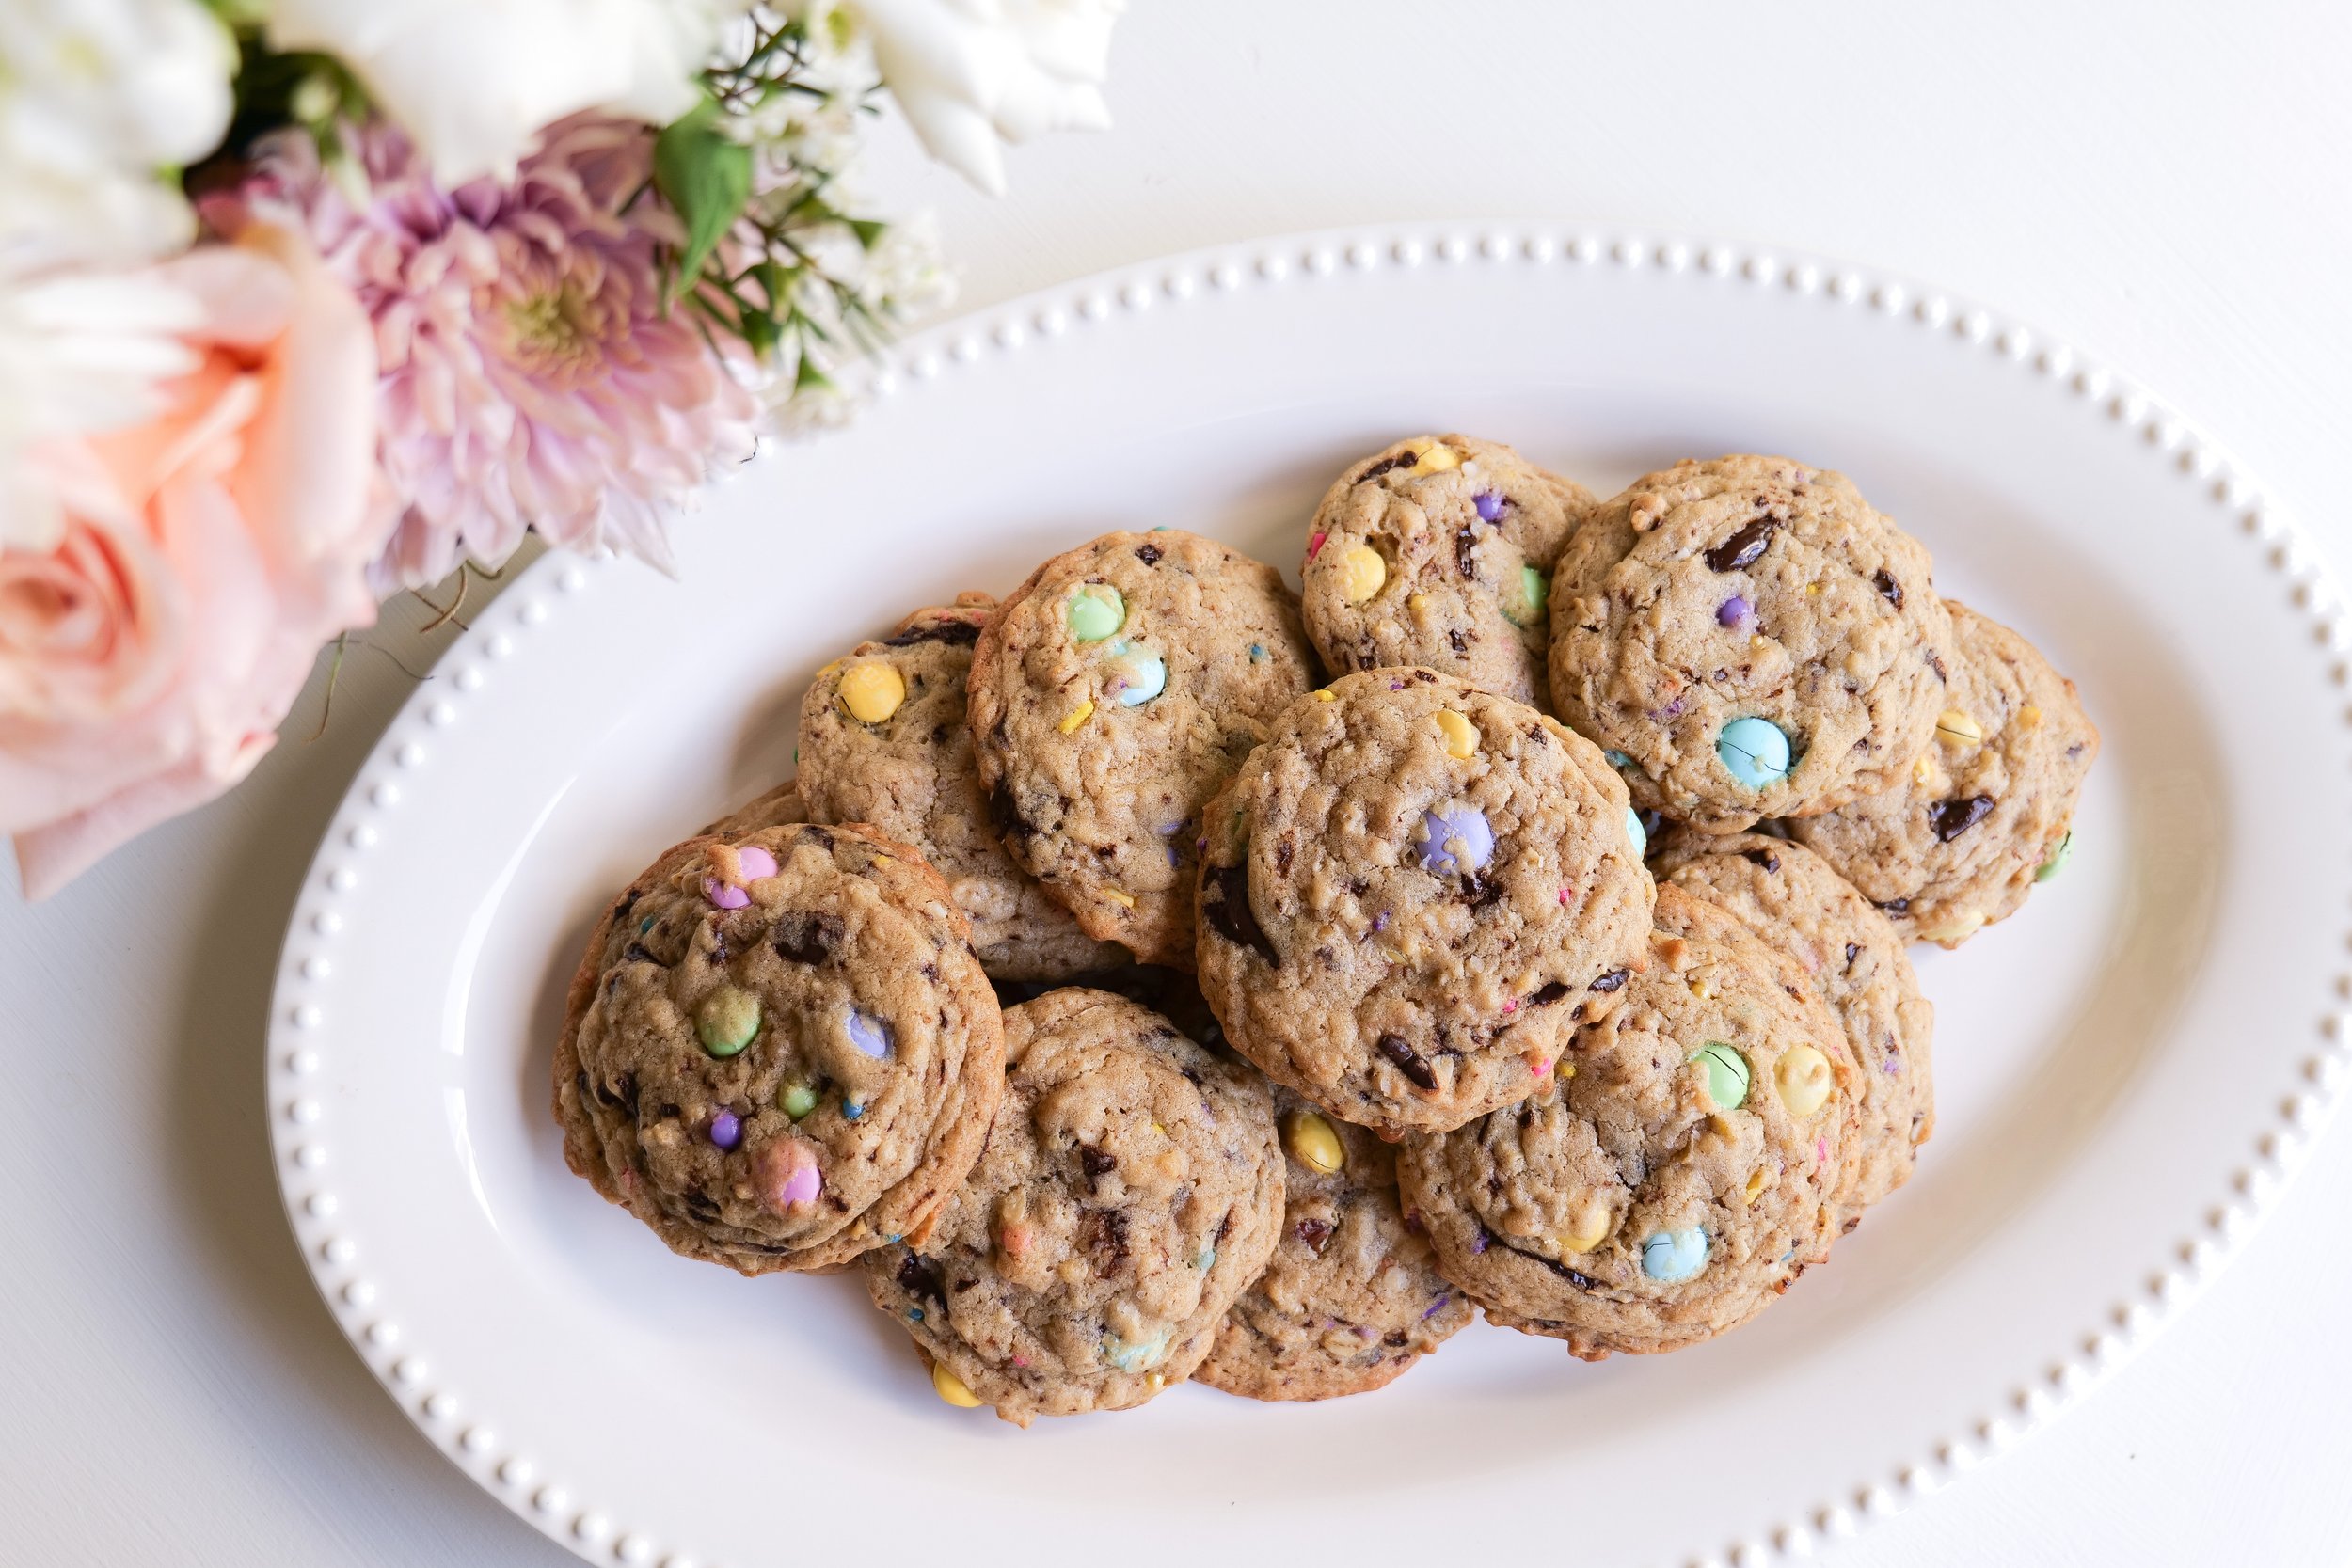
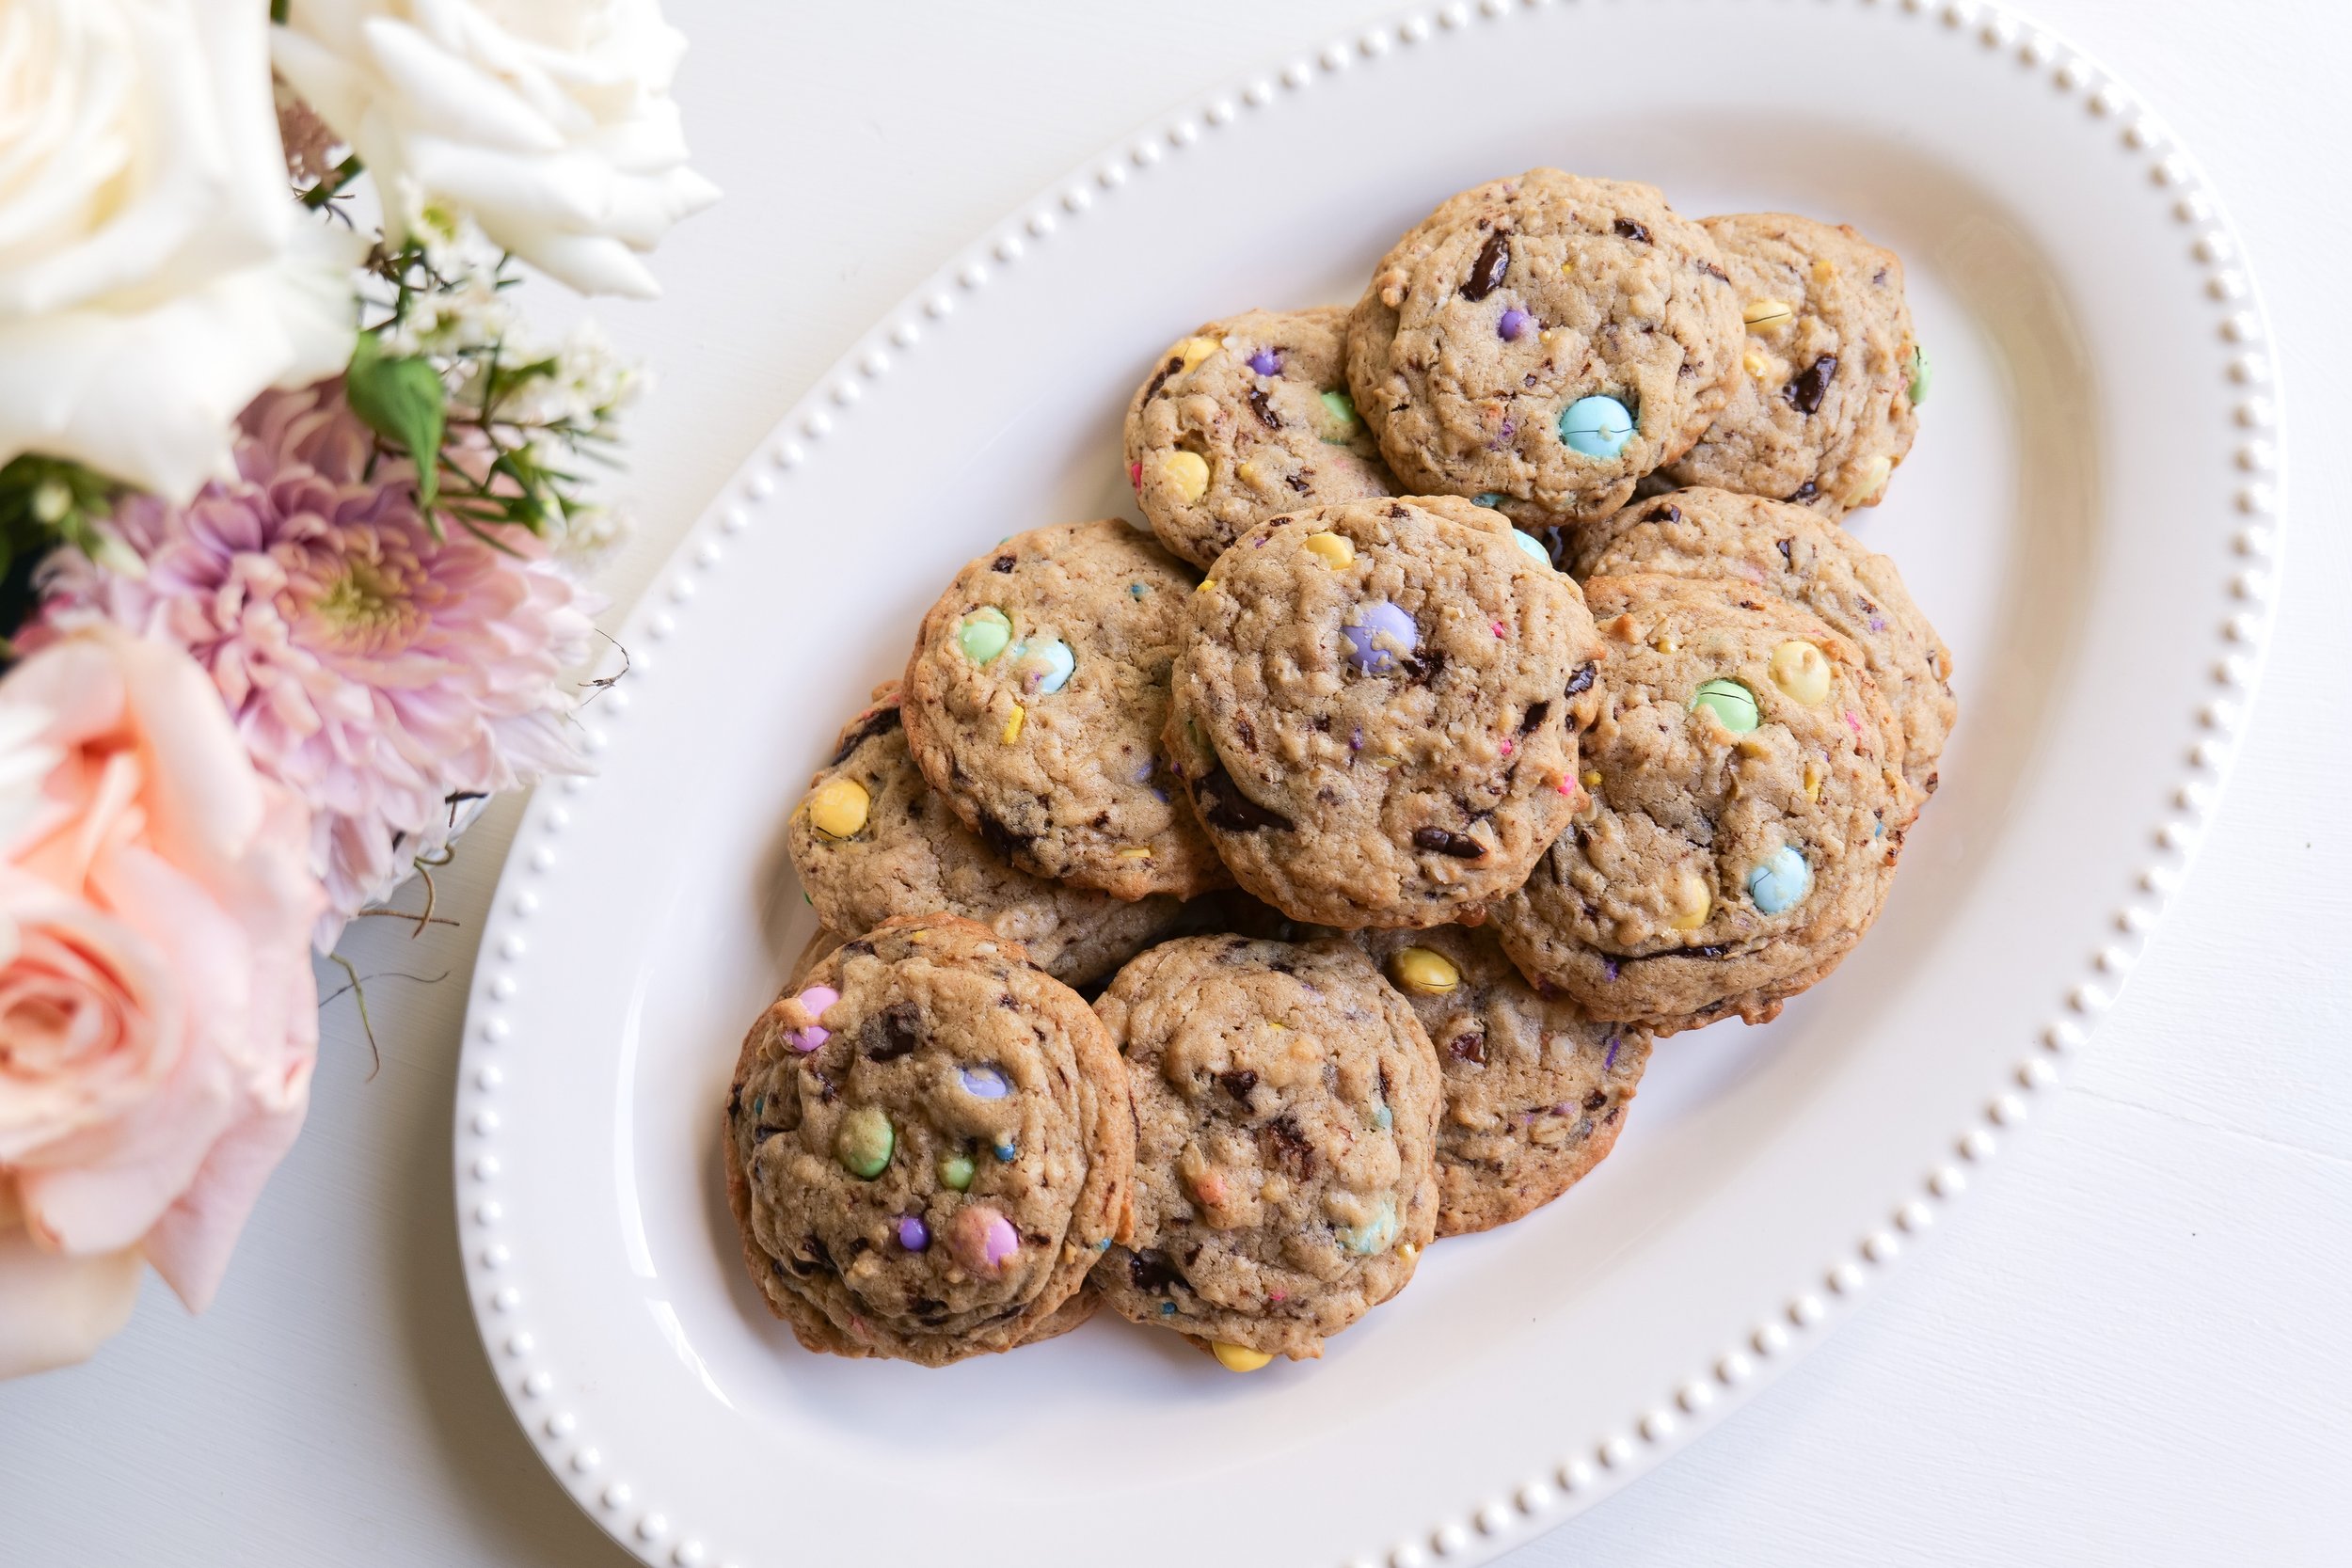
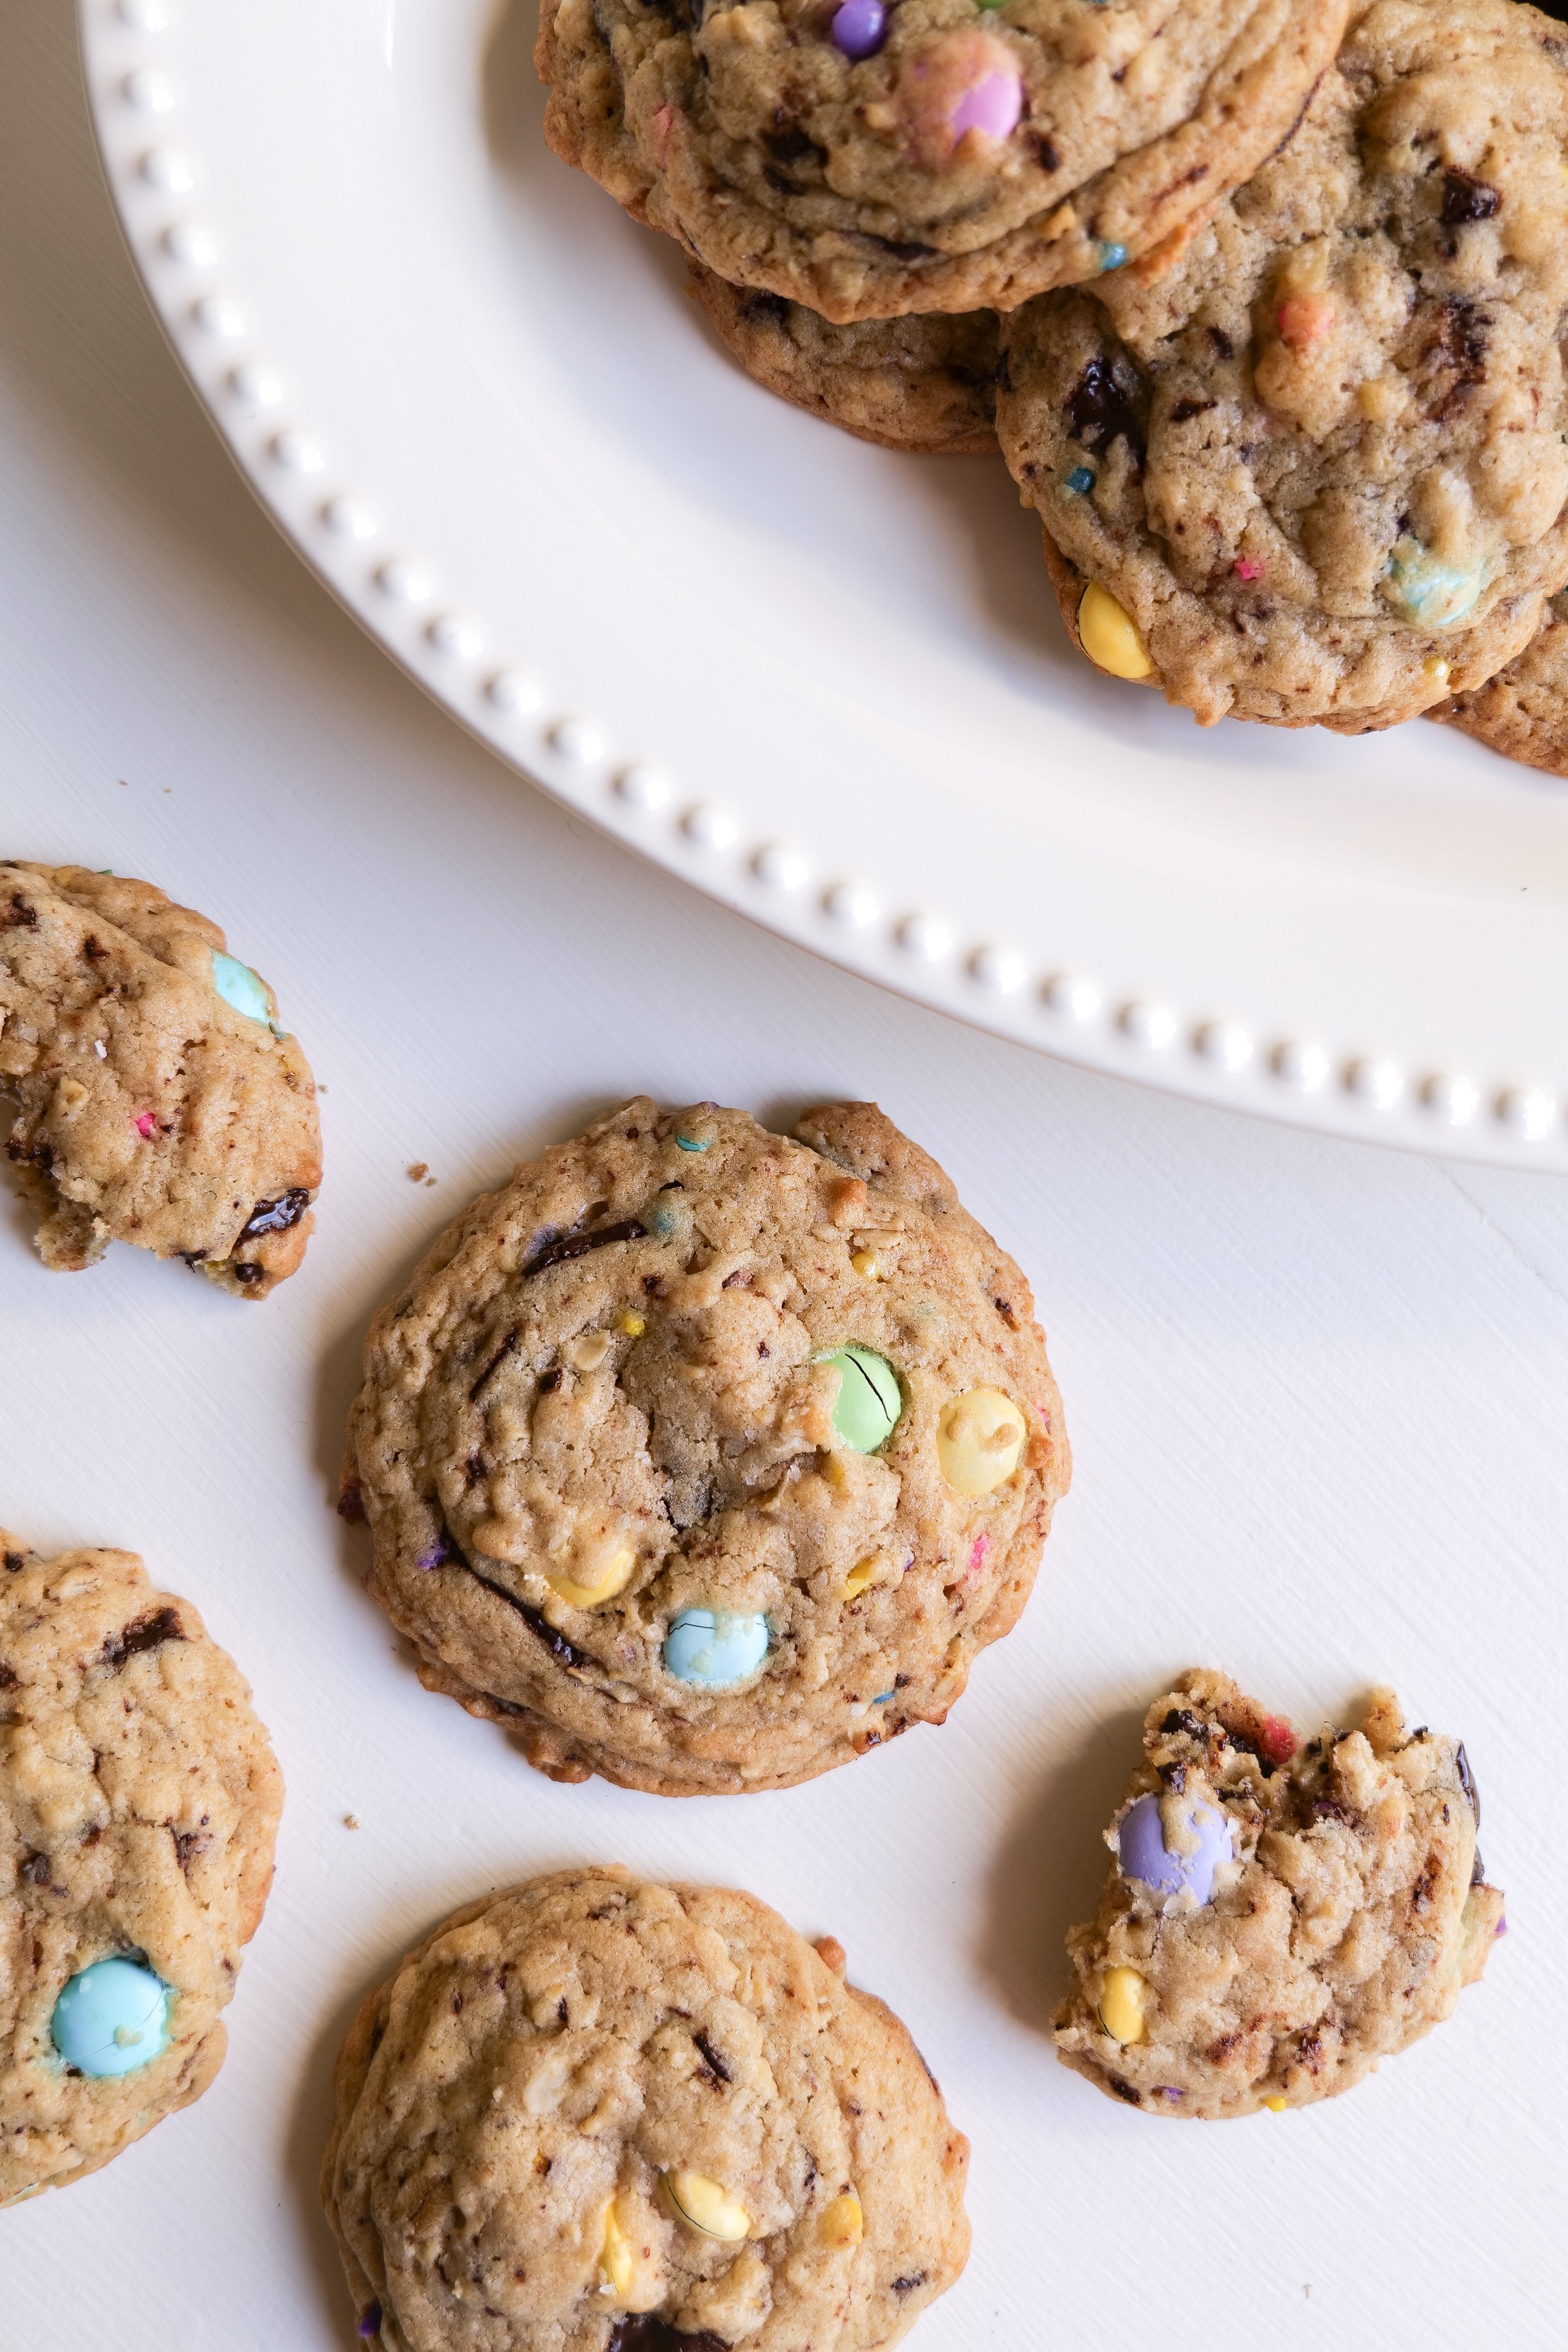
Are you looking for a delicious and easy-to-make cookie recipe? Look no further—this Monster Cookie recipe is sure to satisfy anyone's sweet tooth! Packed with sweet and salty flavors, this amazing cookie is already a fan favorite and a classic that has universally loved cookie ingredients. This simple and delicious treat is made with oats, peanut butter, M&Ms, and chocolate chips, creating a classic flavor combination that nobody can turn down. Best of all, this cookie is super easy to make and takes no time at all. So, if you’re looking for a delicious and colorful cookie recipe that everyone will love, give this Monster Cookie recipe a try. You won't be disappointed!

I love making monster cookies so much because of how customizable they are.

Monster cookies are a classic treat that can be customized in countless ways. With the right ingredients, you can create a cookie that is perfect for any occasion. Whether you're looking for a classic monster cookie recipe or something a little unique to the ingredients, you can make a batch of delicious monster cookies that everyone will love. The best part about making monster cookies is that you can add whatever ingredients you like. Traditionally this cookie would start with classic favorites like chocolate chips and all-natural peanut butter, but delicious new twists to the recipe could include adding things like crushed pretzels and candy. Adding in colorful sprinkles or M&M's for the holidays is one of my favorite seasonal customizations as well. You can even get creative and mix and match different flavors to create the perfect monster cookie for you and your event!

What You’ll Need to Make Monster Cookies

For this recipe, you will need butter, sugar, brown sugar, vanilla extract, eggs, all-purpose flour, baking powder, salt, and 3 cups of your favorite goodies. I typically use chocolate chips, old-fashioned oats, chopped pecans or walnuts, M&M's and sprinkles. You can add in other things like peanut butter, butterscotch, or anything you have in your pantry to make this monster cookie recipe all your own.

In addition to these ingredients, you’ll likely need a few basic kitchen tools such as a large bowl, an electric mixer or stand mixer, a baking sheet, and measuring cups and spoons. You’ll also need an oven to bake the cookies. Preheat your oven to 375 degrees Fahrenheit before you begin. Finally, you’ll need a few minutes of free time to step-by-step mix, scoop, bake, and enjoy the delicious monster cookies you’ve created.

How to Store Leftover Cookies

If you don't plan on eating your leftovers right away, it's important to store them properly. When it comes to storing leftover cookies, there are a few key things to keep in mind. First, it's important to store them in an air-tight container, such as a plastic bag or airtight container. This will help to keep them as fresh as possible and keep out any moisture that could cause the cookies to spoil. Additionally, it's important to store the cookies in a cool, dry place. If you plan on storing them for more than a day or two, then it's best to put the container in the refrigerator or freezer. If you plan on keeping them in the freezer, make sure to use freezer-safe bags or containers. This will help to prevent the cookies from becoming soggy or developing freezer burn. Finally, make sure to label the containers with the date you stored them, so you can easily see when they need to be eaten. By following these simple steps, you can easily store your leftover cookies and enjoy them later.

monster 8.JPG

INGREDIENTS

1 cup butter (2 sticks)

3/4 cup sugar

3/4 brown sugar

1 tsp vanilla

2 large eggs

2 1/4 cups flour

3 tsp baking powder

1 tsp salt

3 cups of your favorite goodies

INSTRUCTIONS

1. Preheat oven to 375 degrees.

2. Melt the butter for 30 seconds in the microwave (if the butter is not at room temperature).

3. Add sugar & brown sugar into butter and mix. Scrape sides and mix again immediately after.

4. Mix in Vanilla Extract and eggs. Mix again.

5. Gradually add all-purpose Flour, Baking Soda, and salt. Mix well.

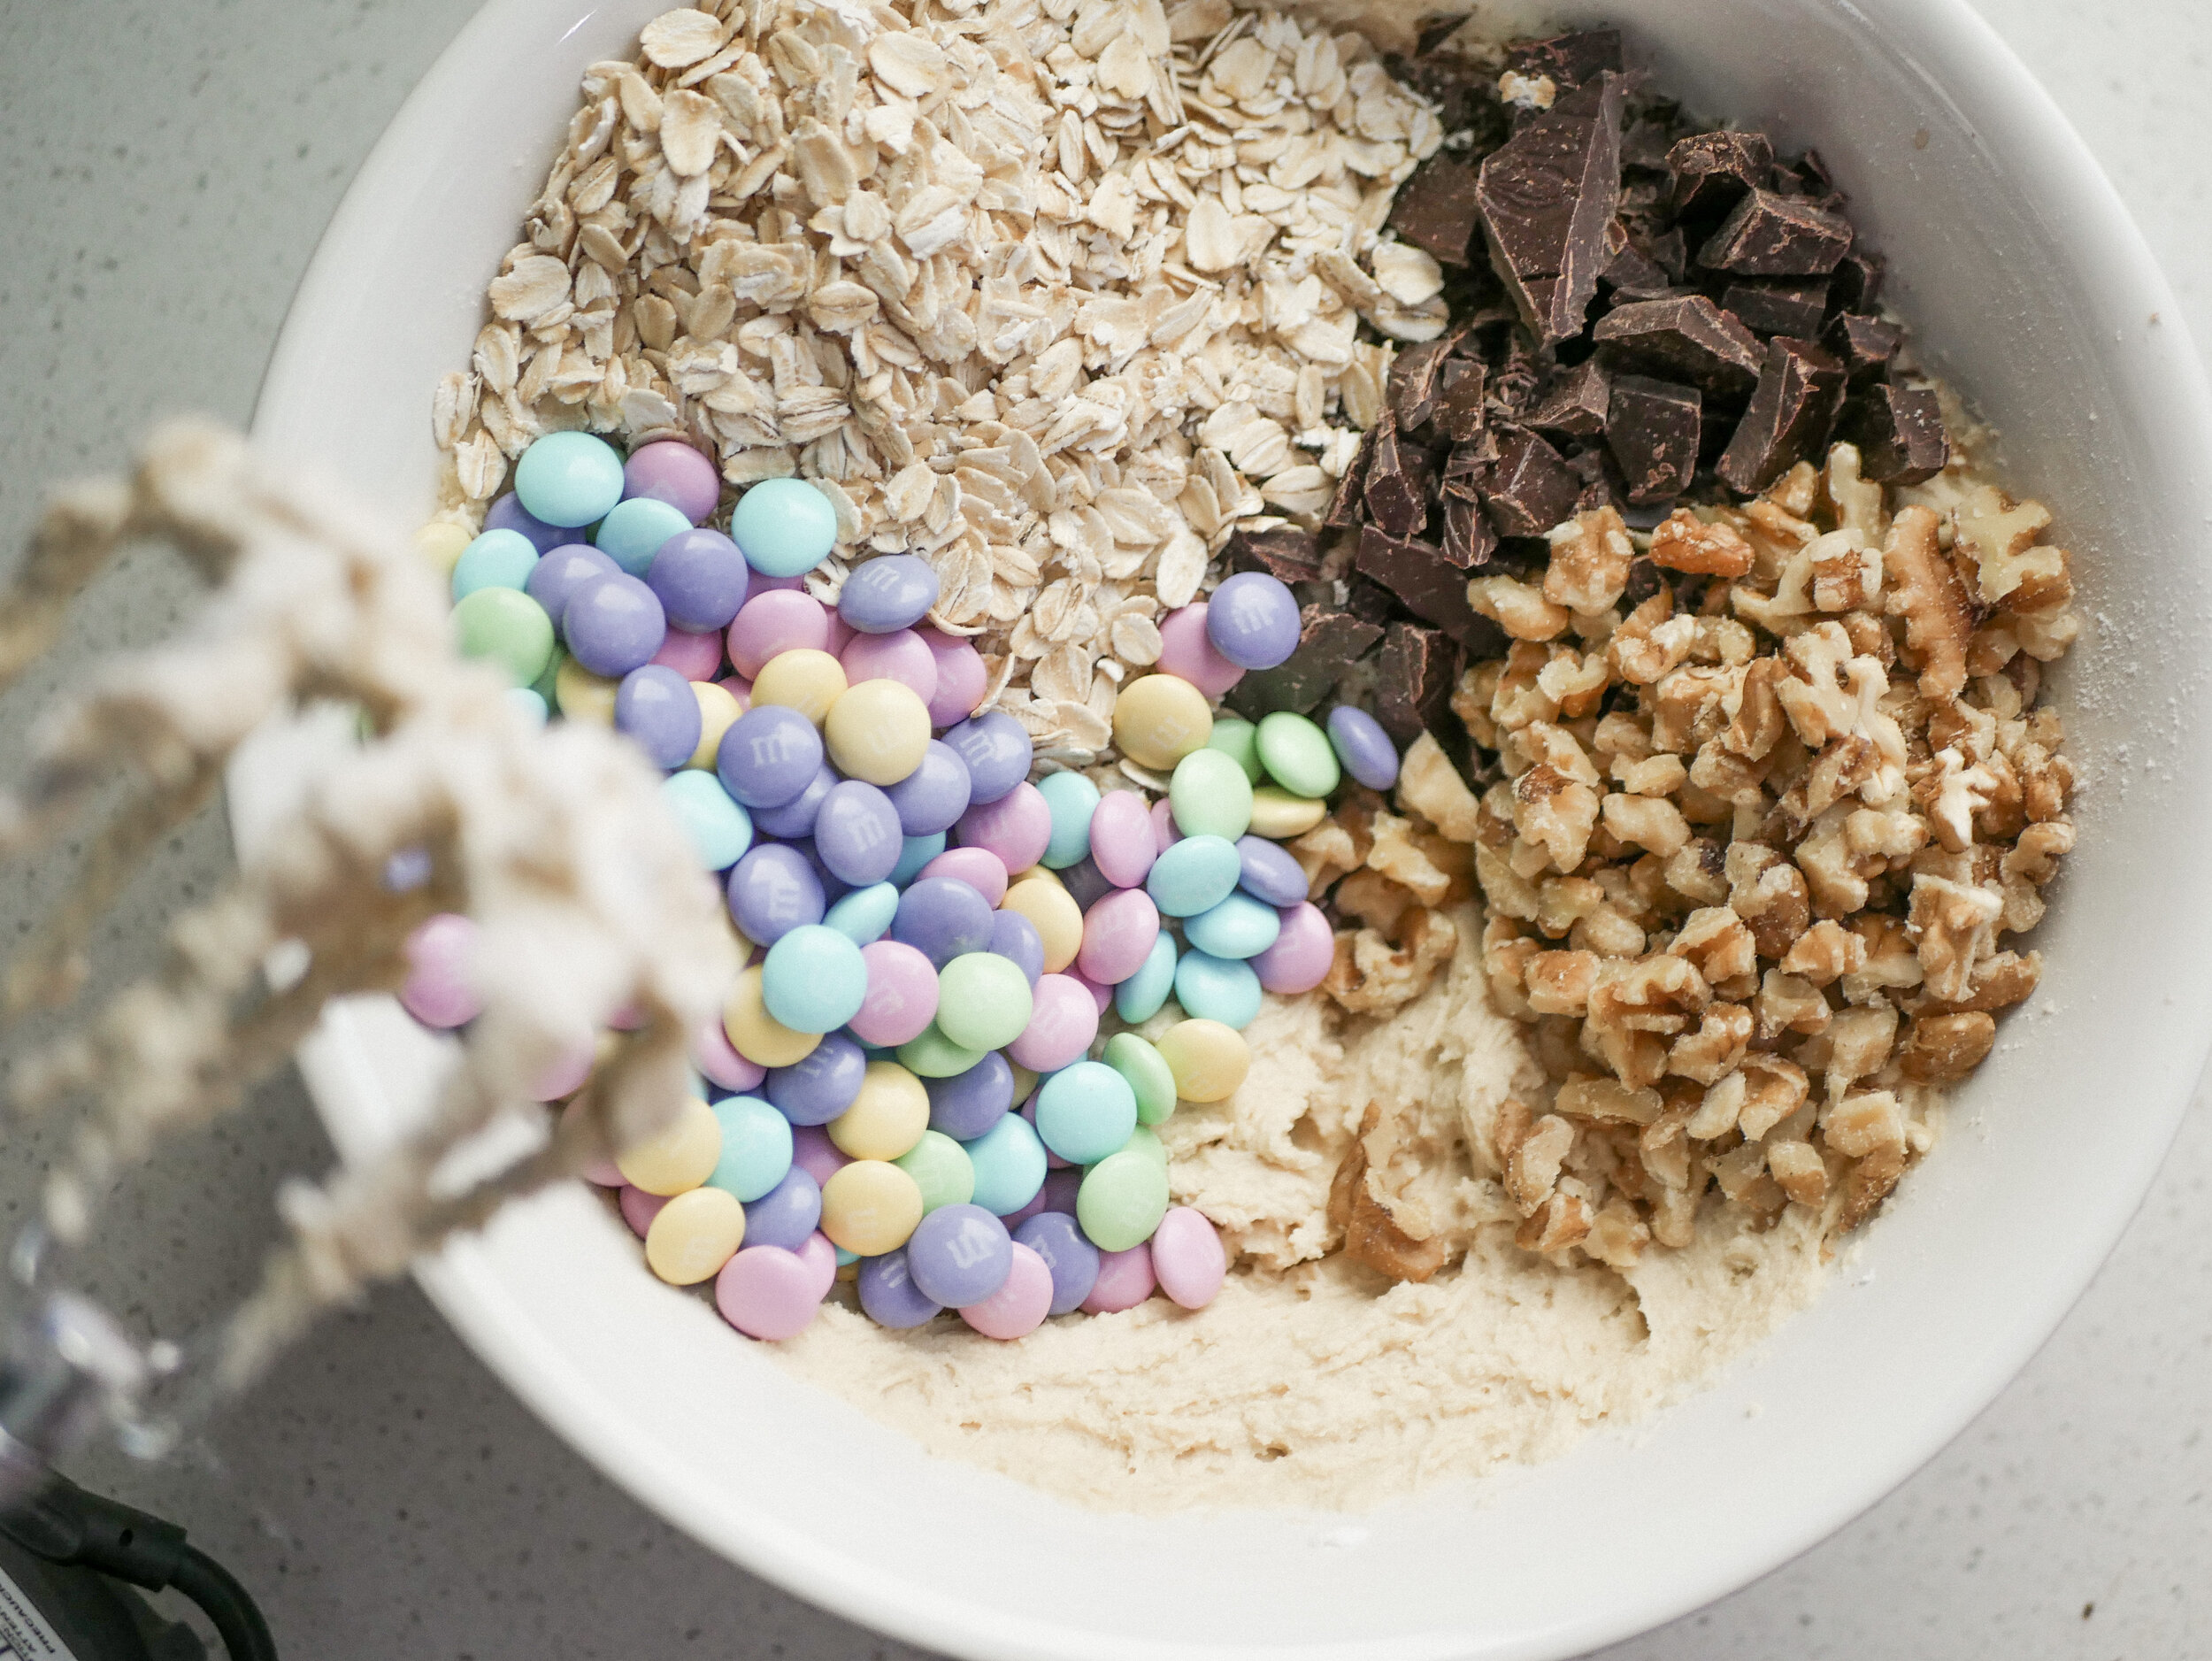
6. Now add in all your favorite treats! For these cookies, I did chunks of a milk chocolate bar, old-fashioned oats, colorful M&M’s, sprinkles, and walnuts (all equal to 3 cups)

7. I use a pre-measured cookie scooper linked -here- works great to have even-sized cookies! Scoop onto a baking sheet or parchment paper. Add 2 scoops right on top of each other to give a fuller cookie with a gooier middle.

8. Bake for 9 minutes and cool on a cookie sheet.

9. Enjoy!

Other Cookie Recipes You Will Love:

Birthday Cutout Sugar Cookies

Brown Sugar Toffee Cookies

Brown Butter Caramel Pretzel Cookies

How to Make Delicious Nutter Butter Cookies At Home