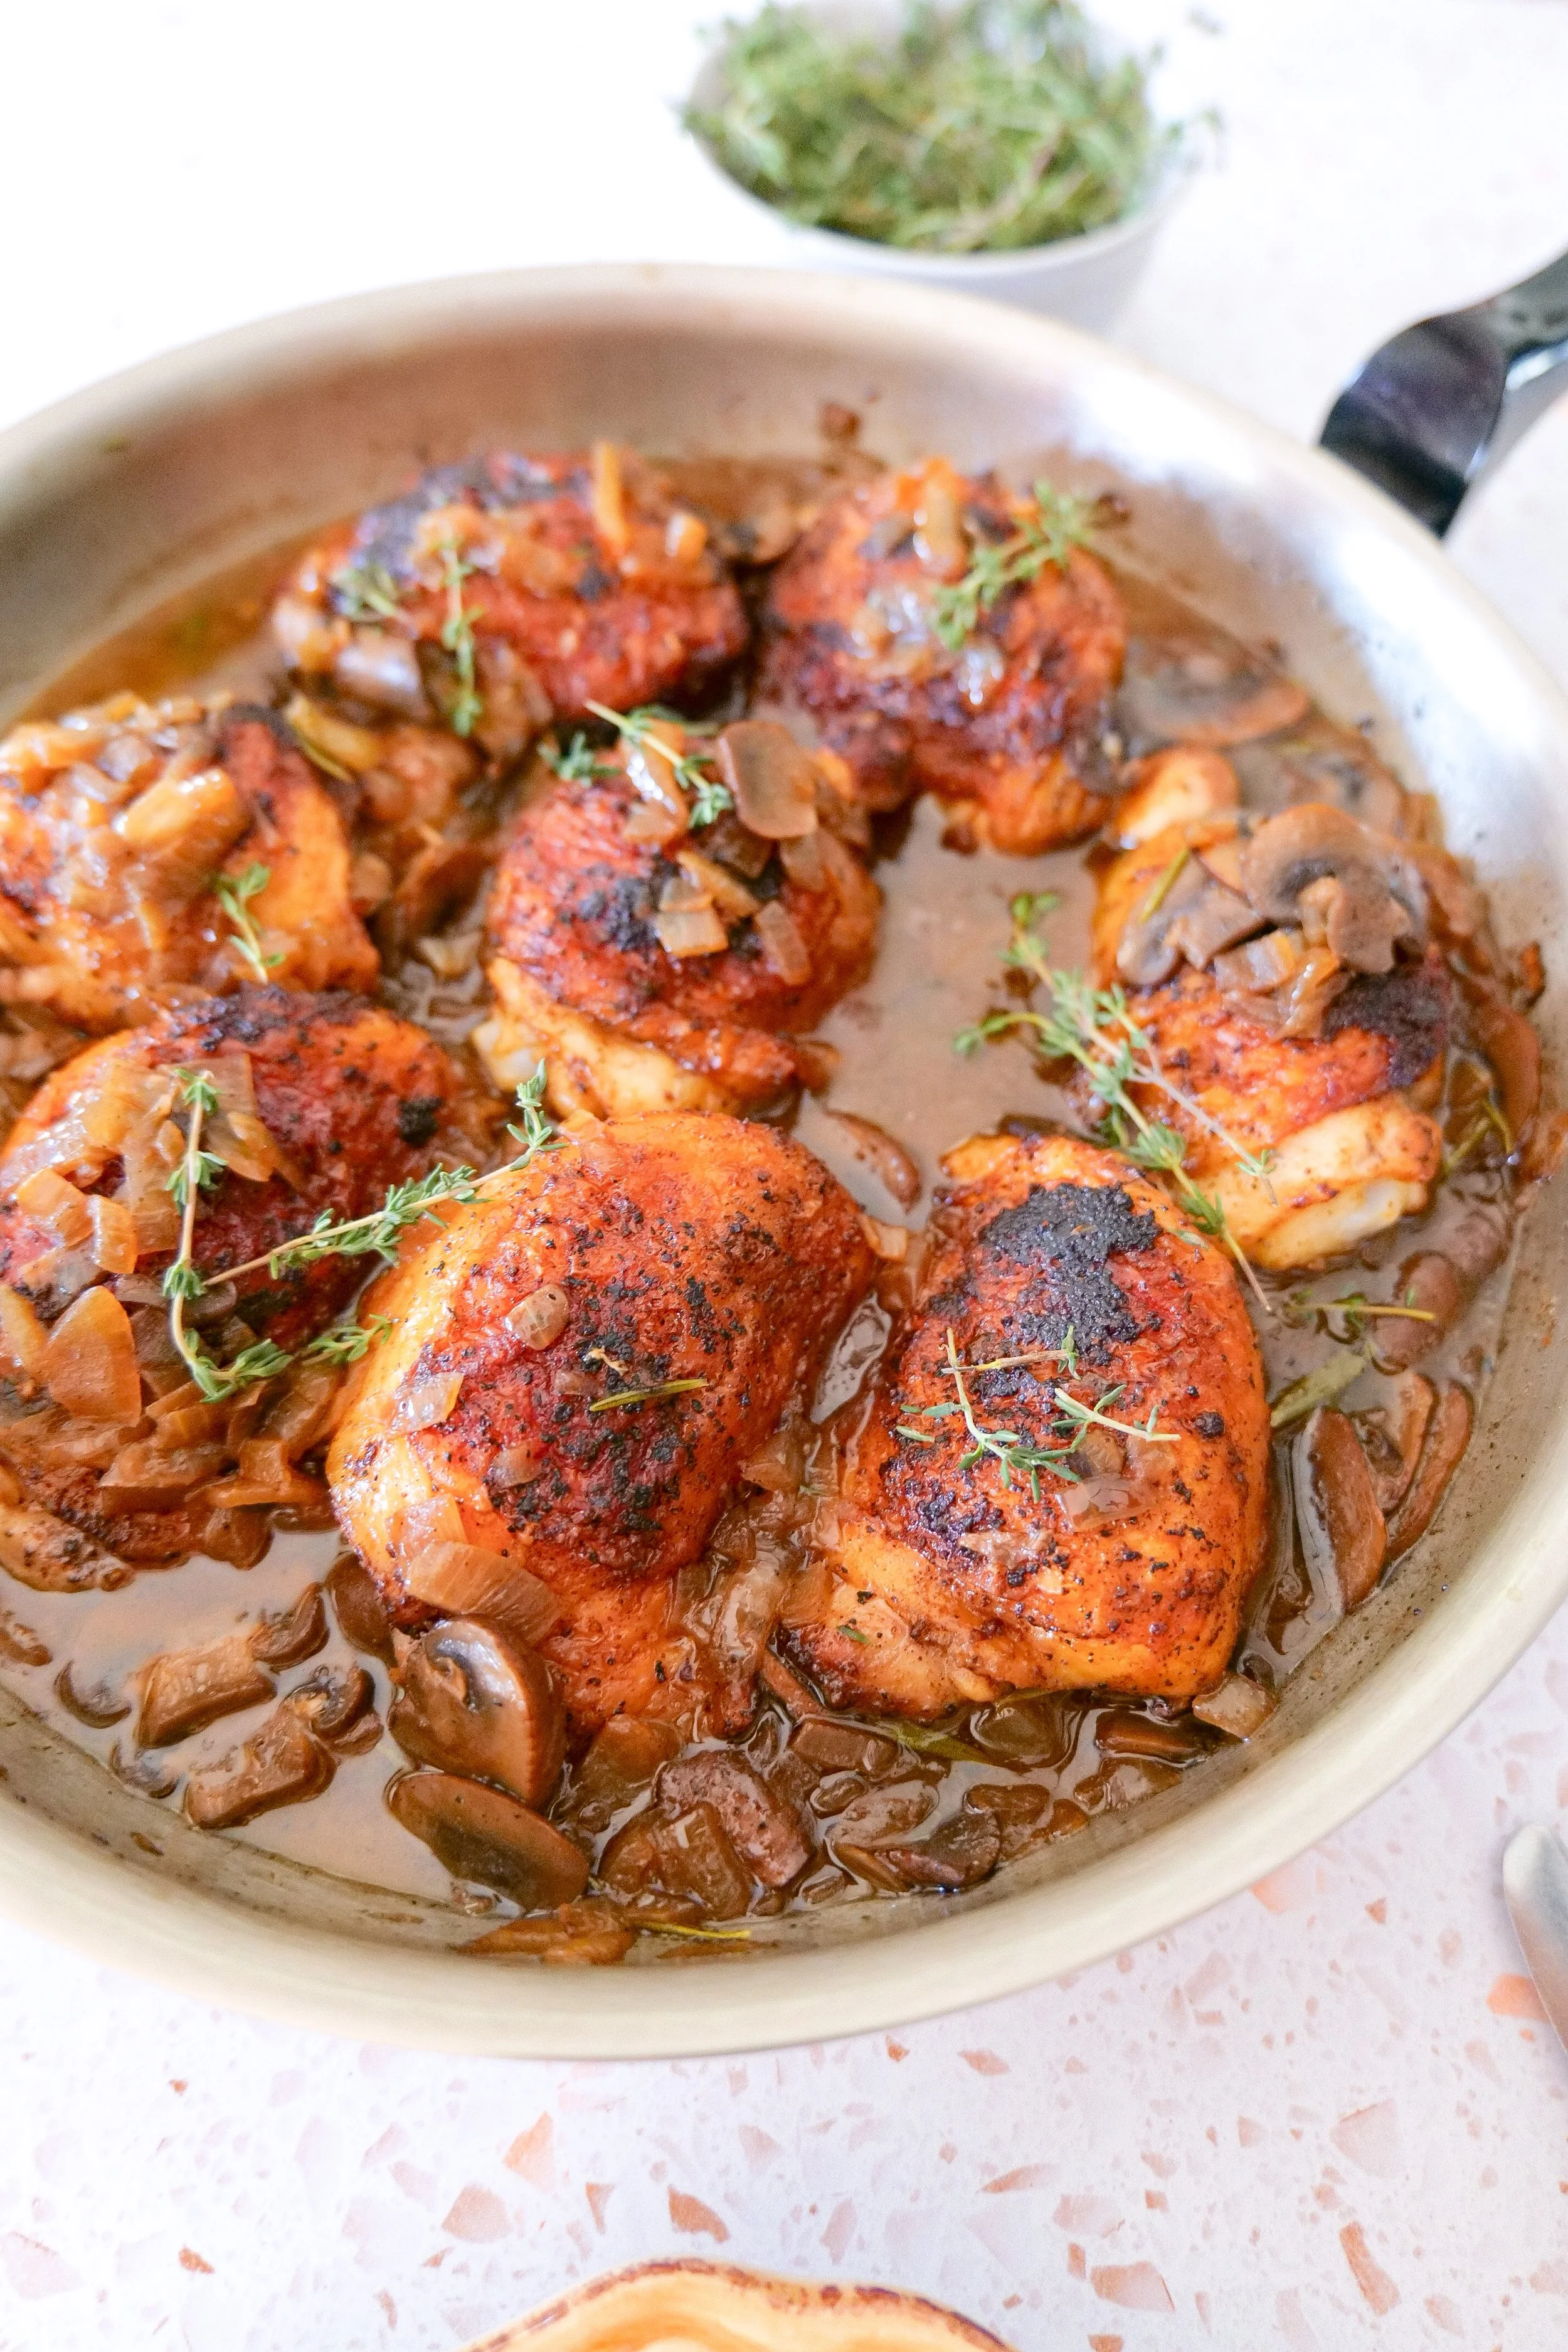
Caramelized Onion & Mushroom Chicken Thighs
/A Cozy One-Pan Chicken Dinner
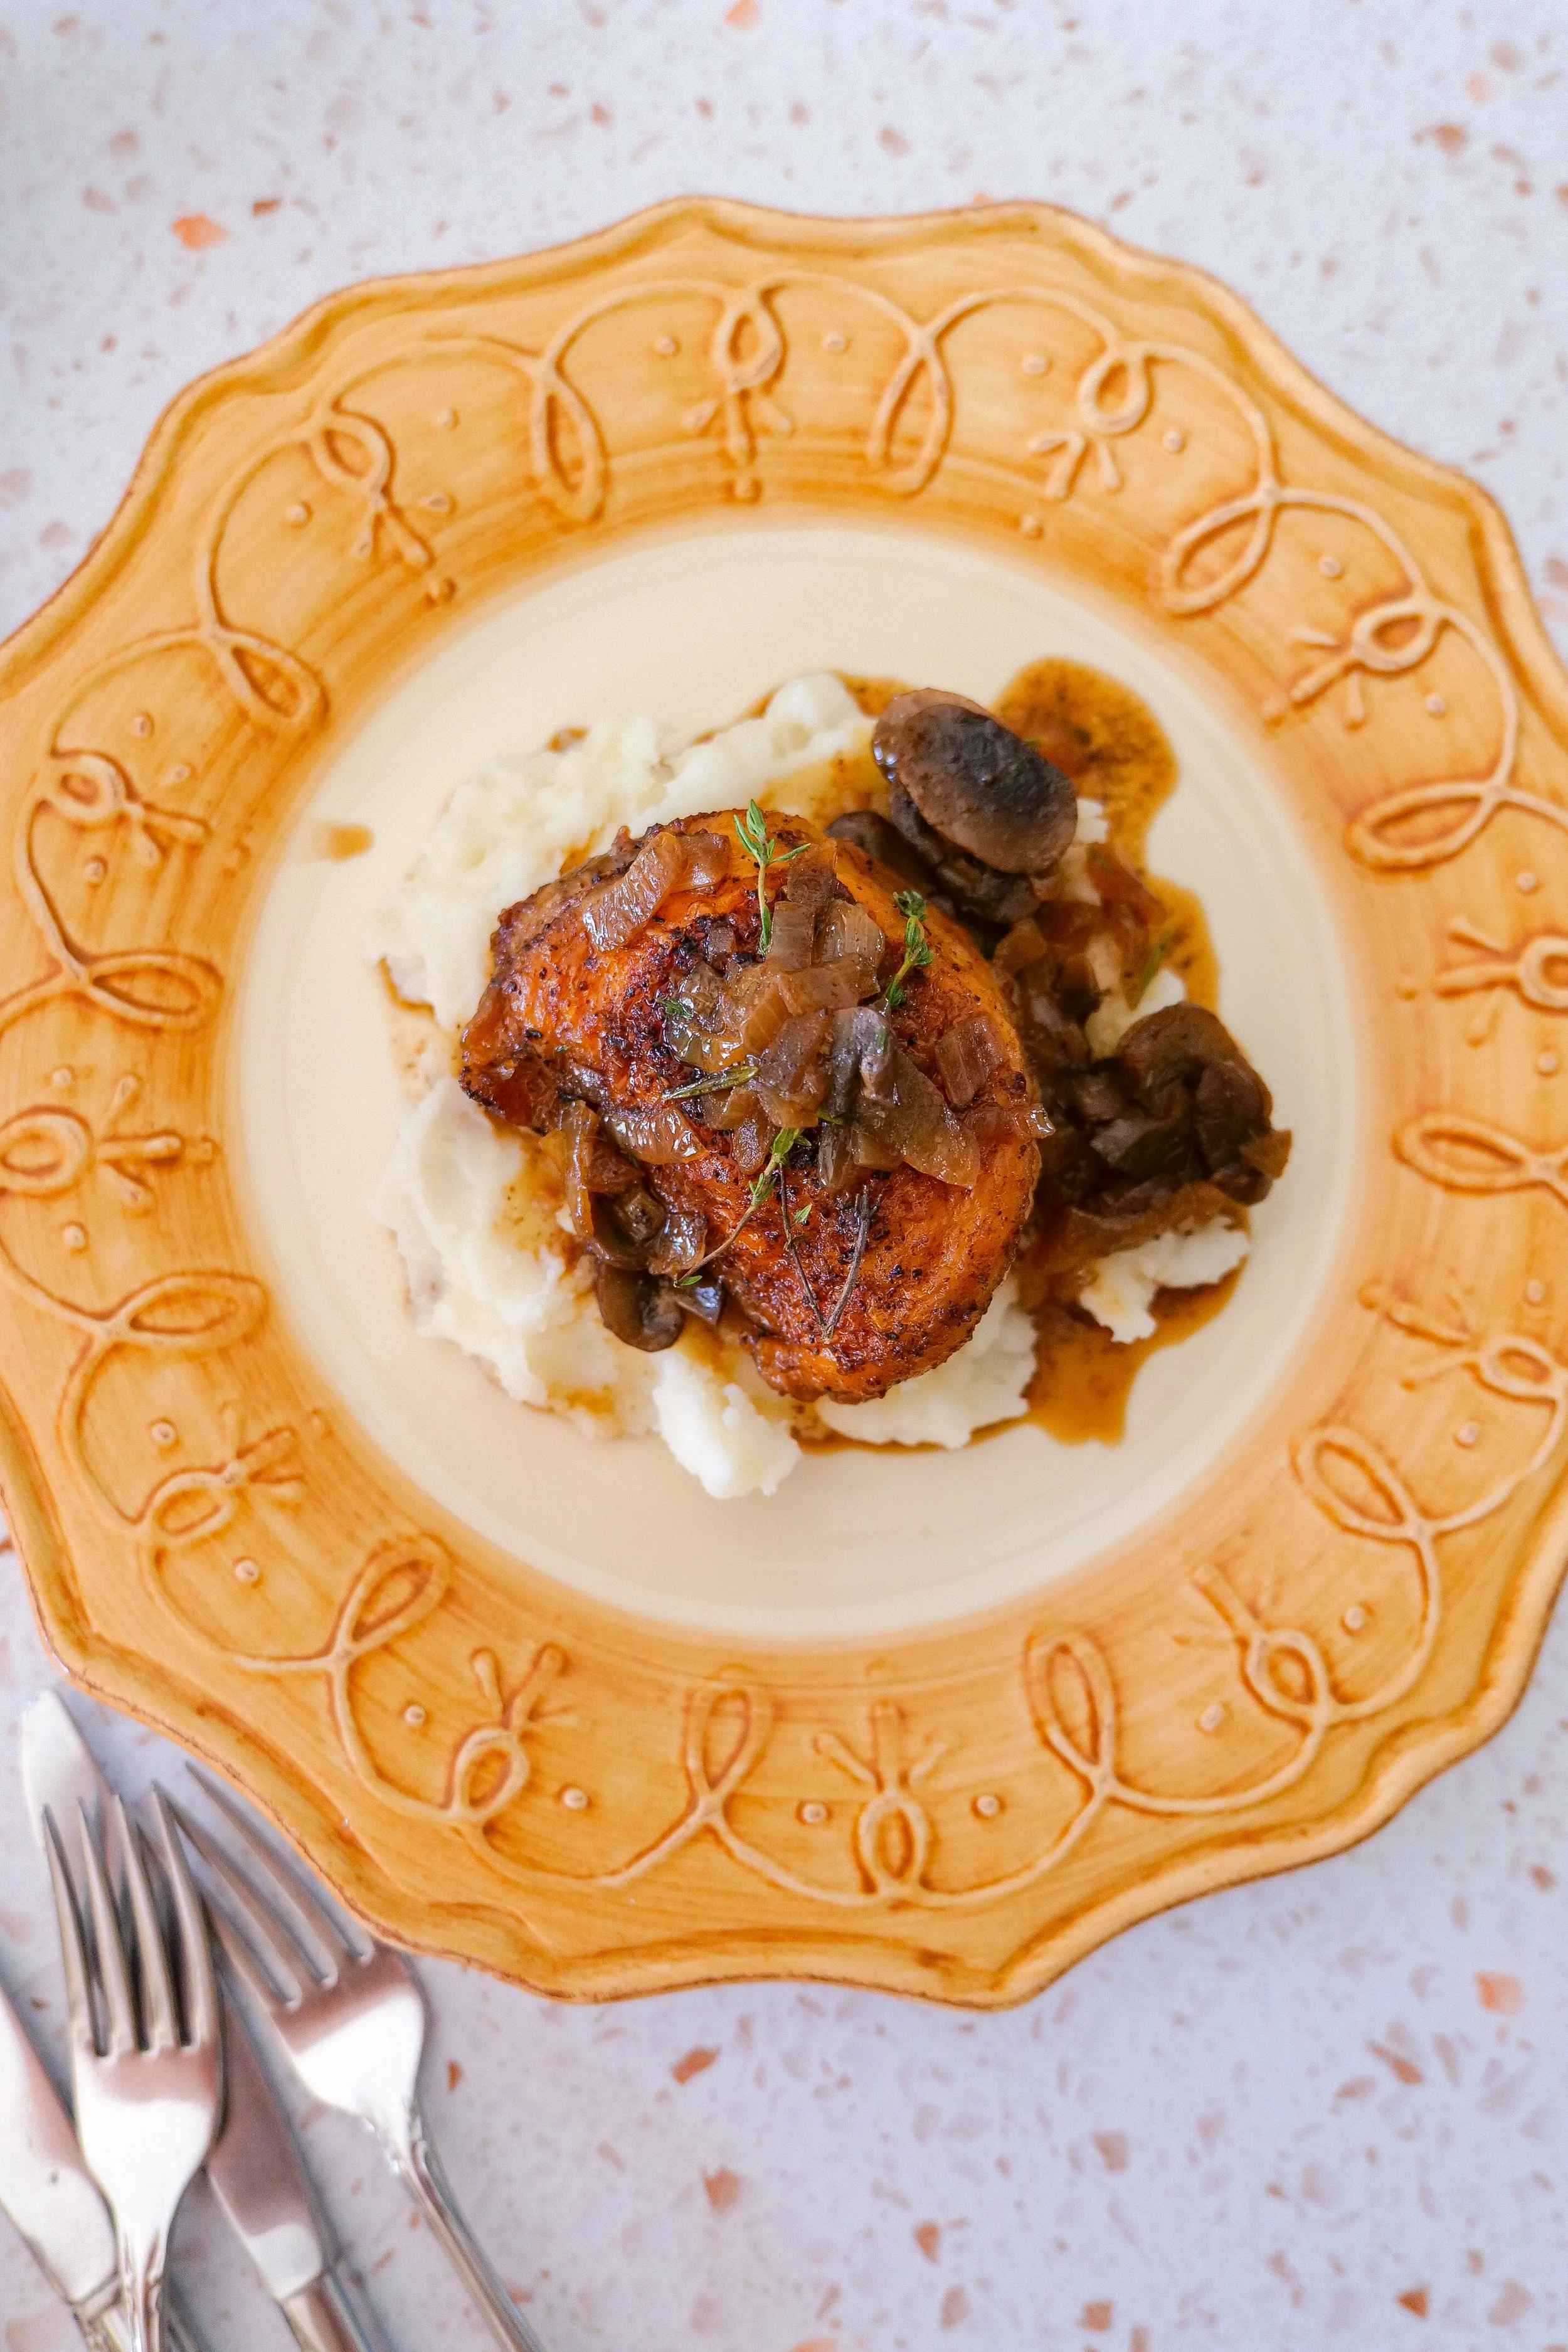
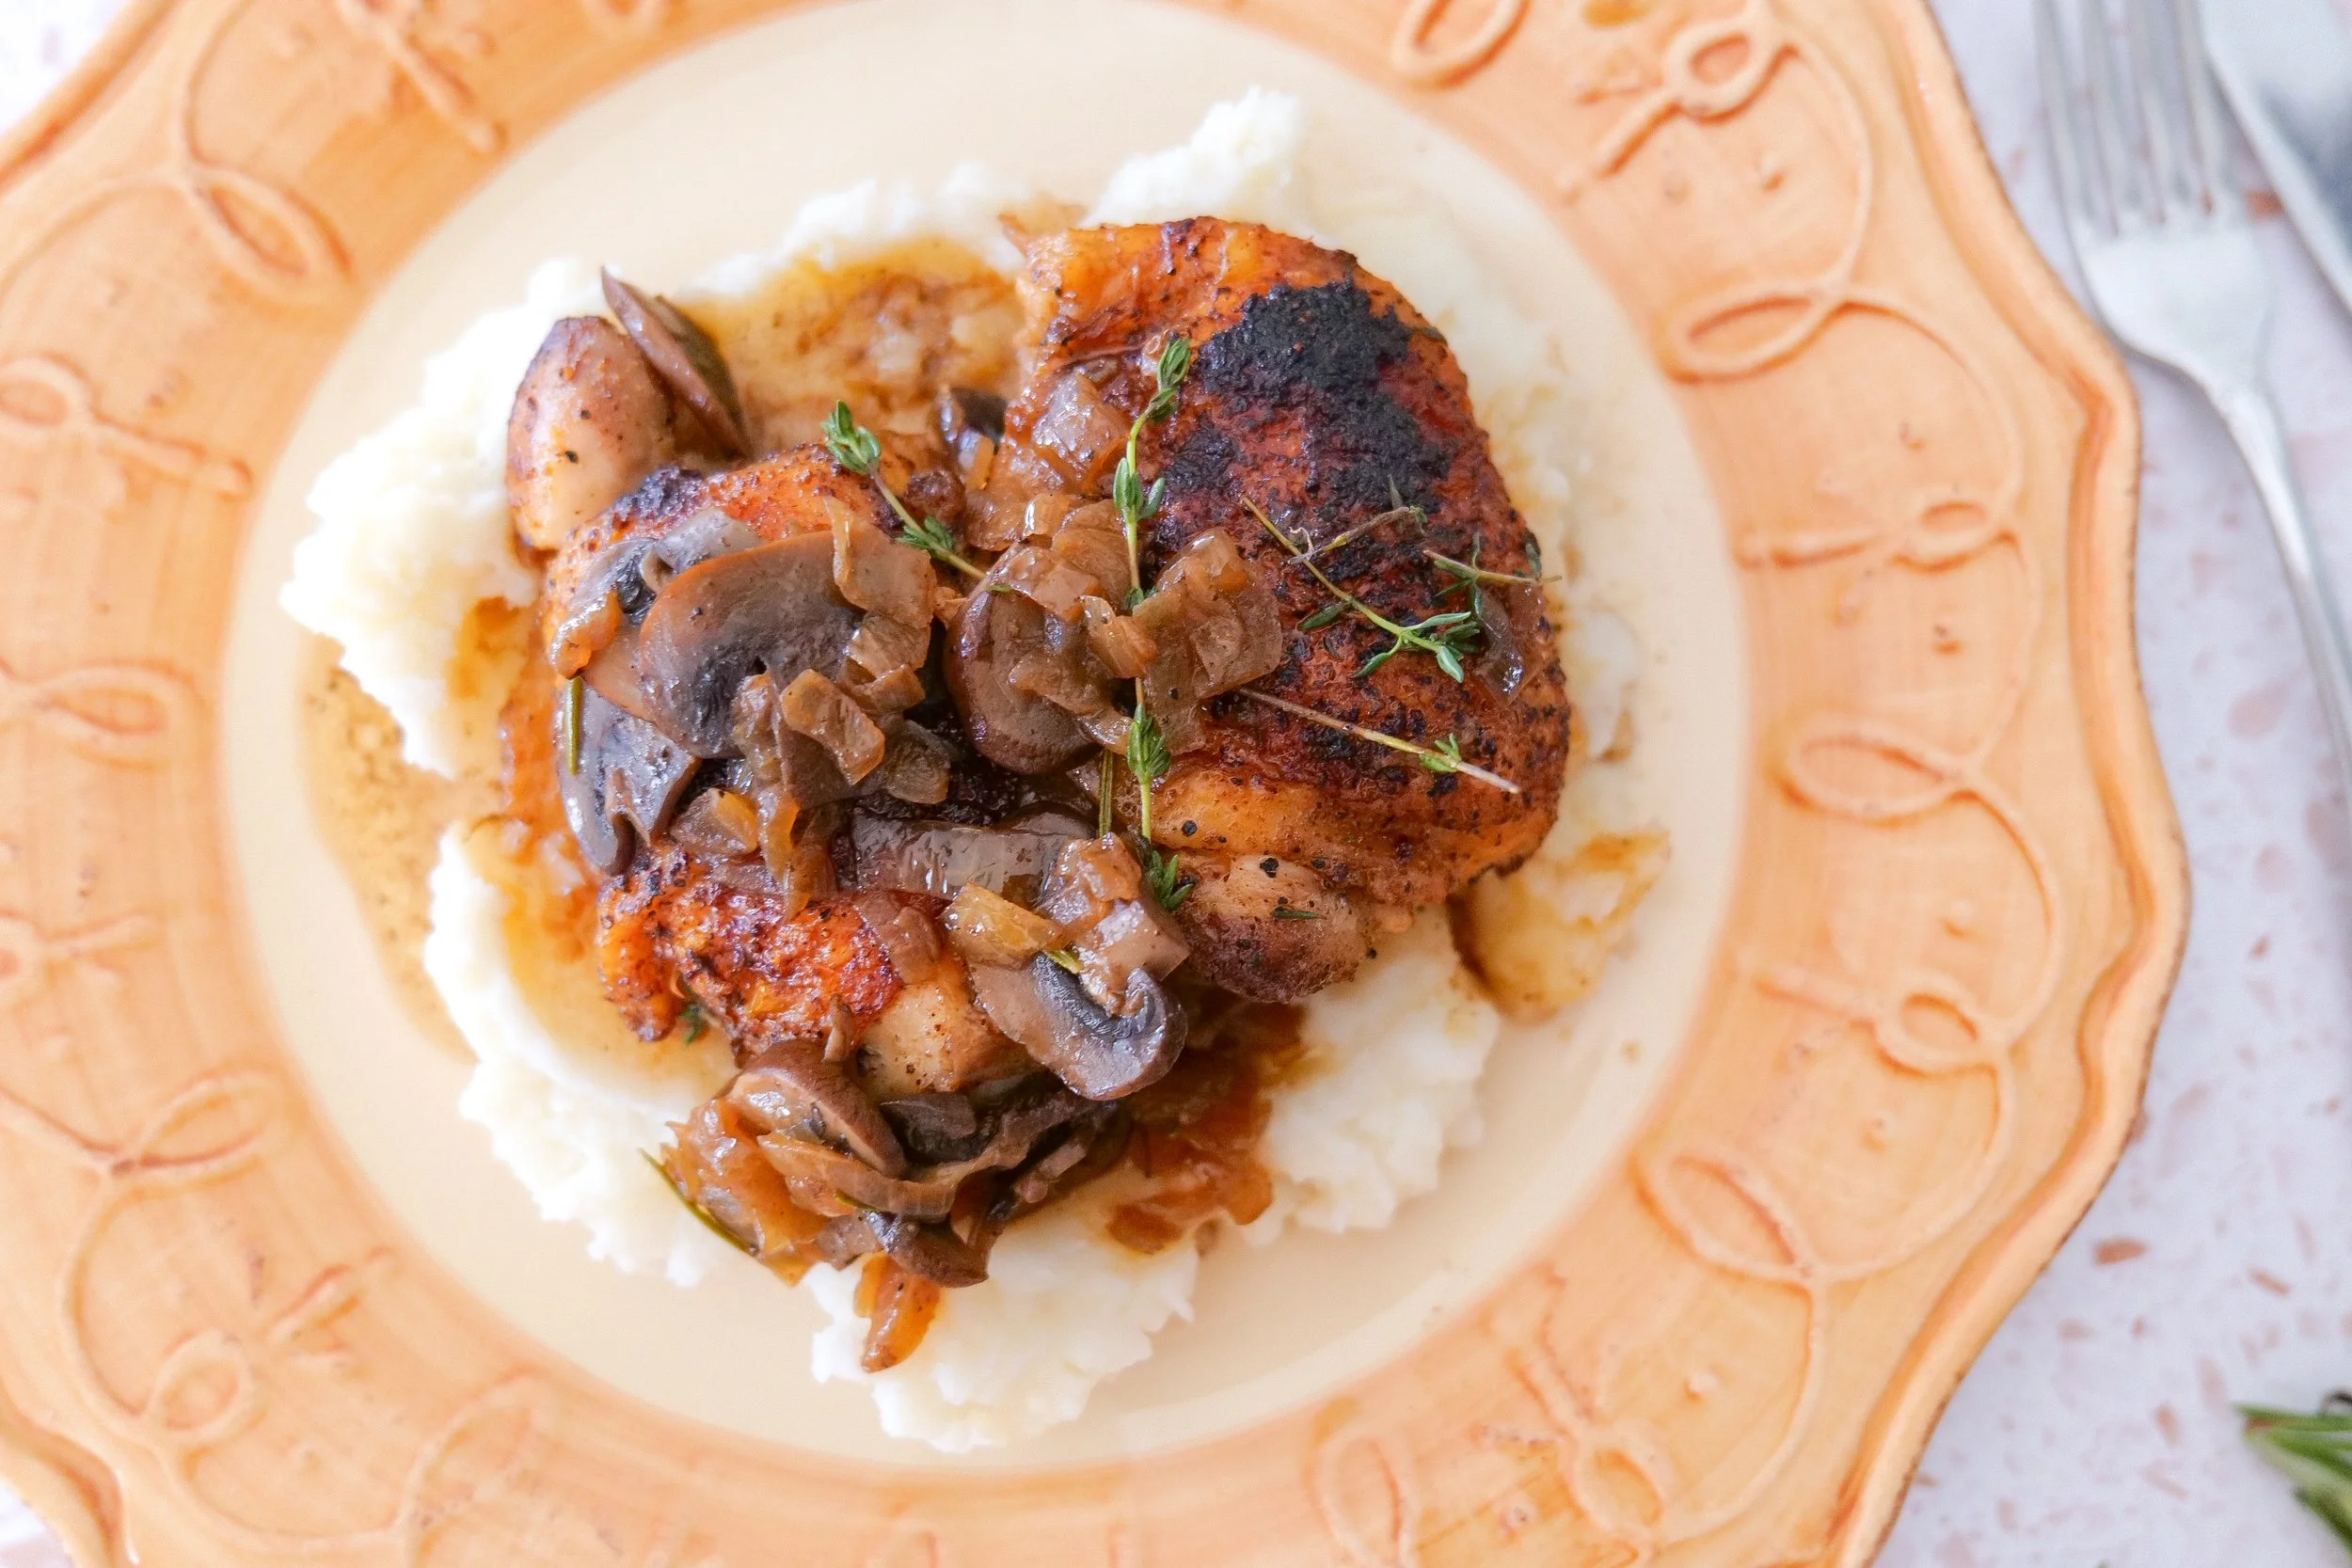
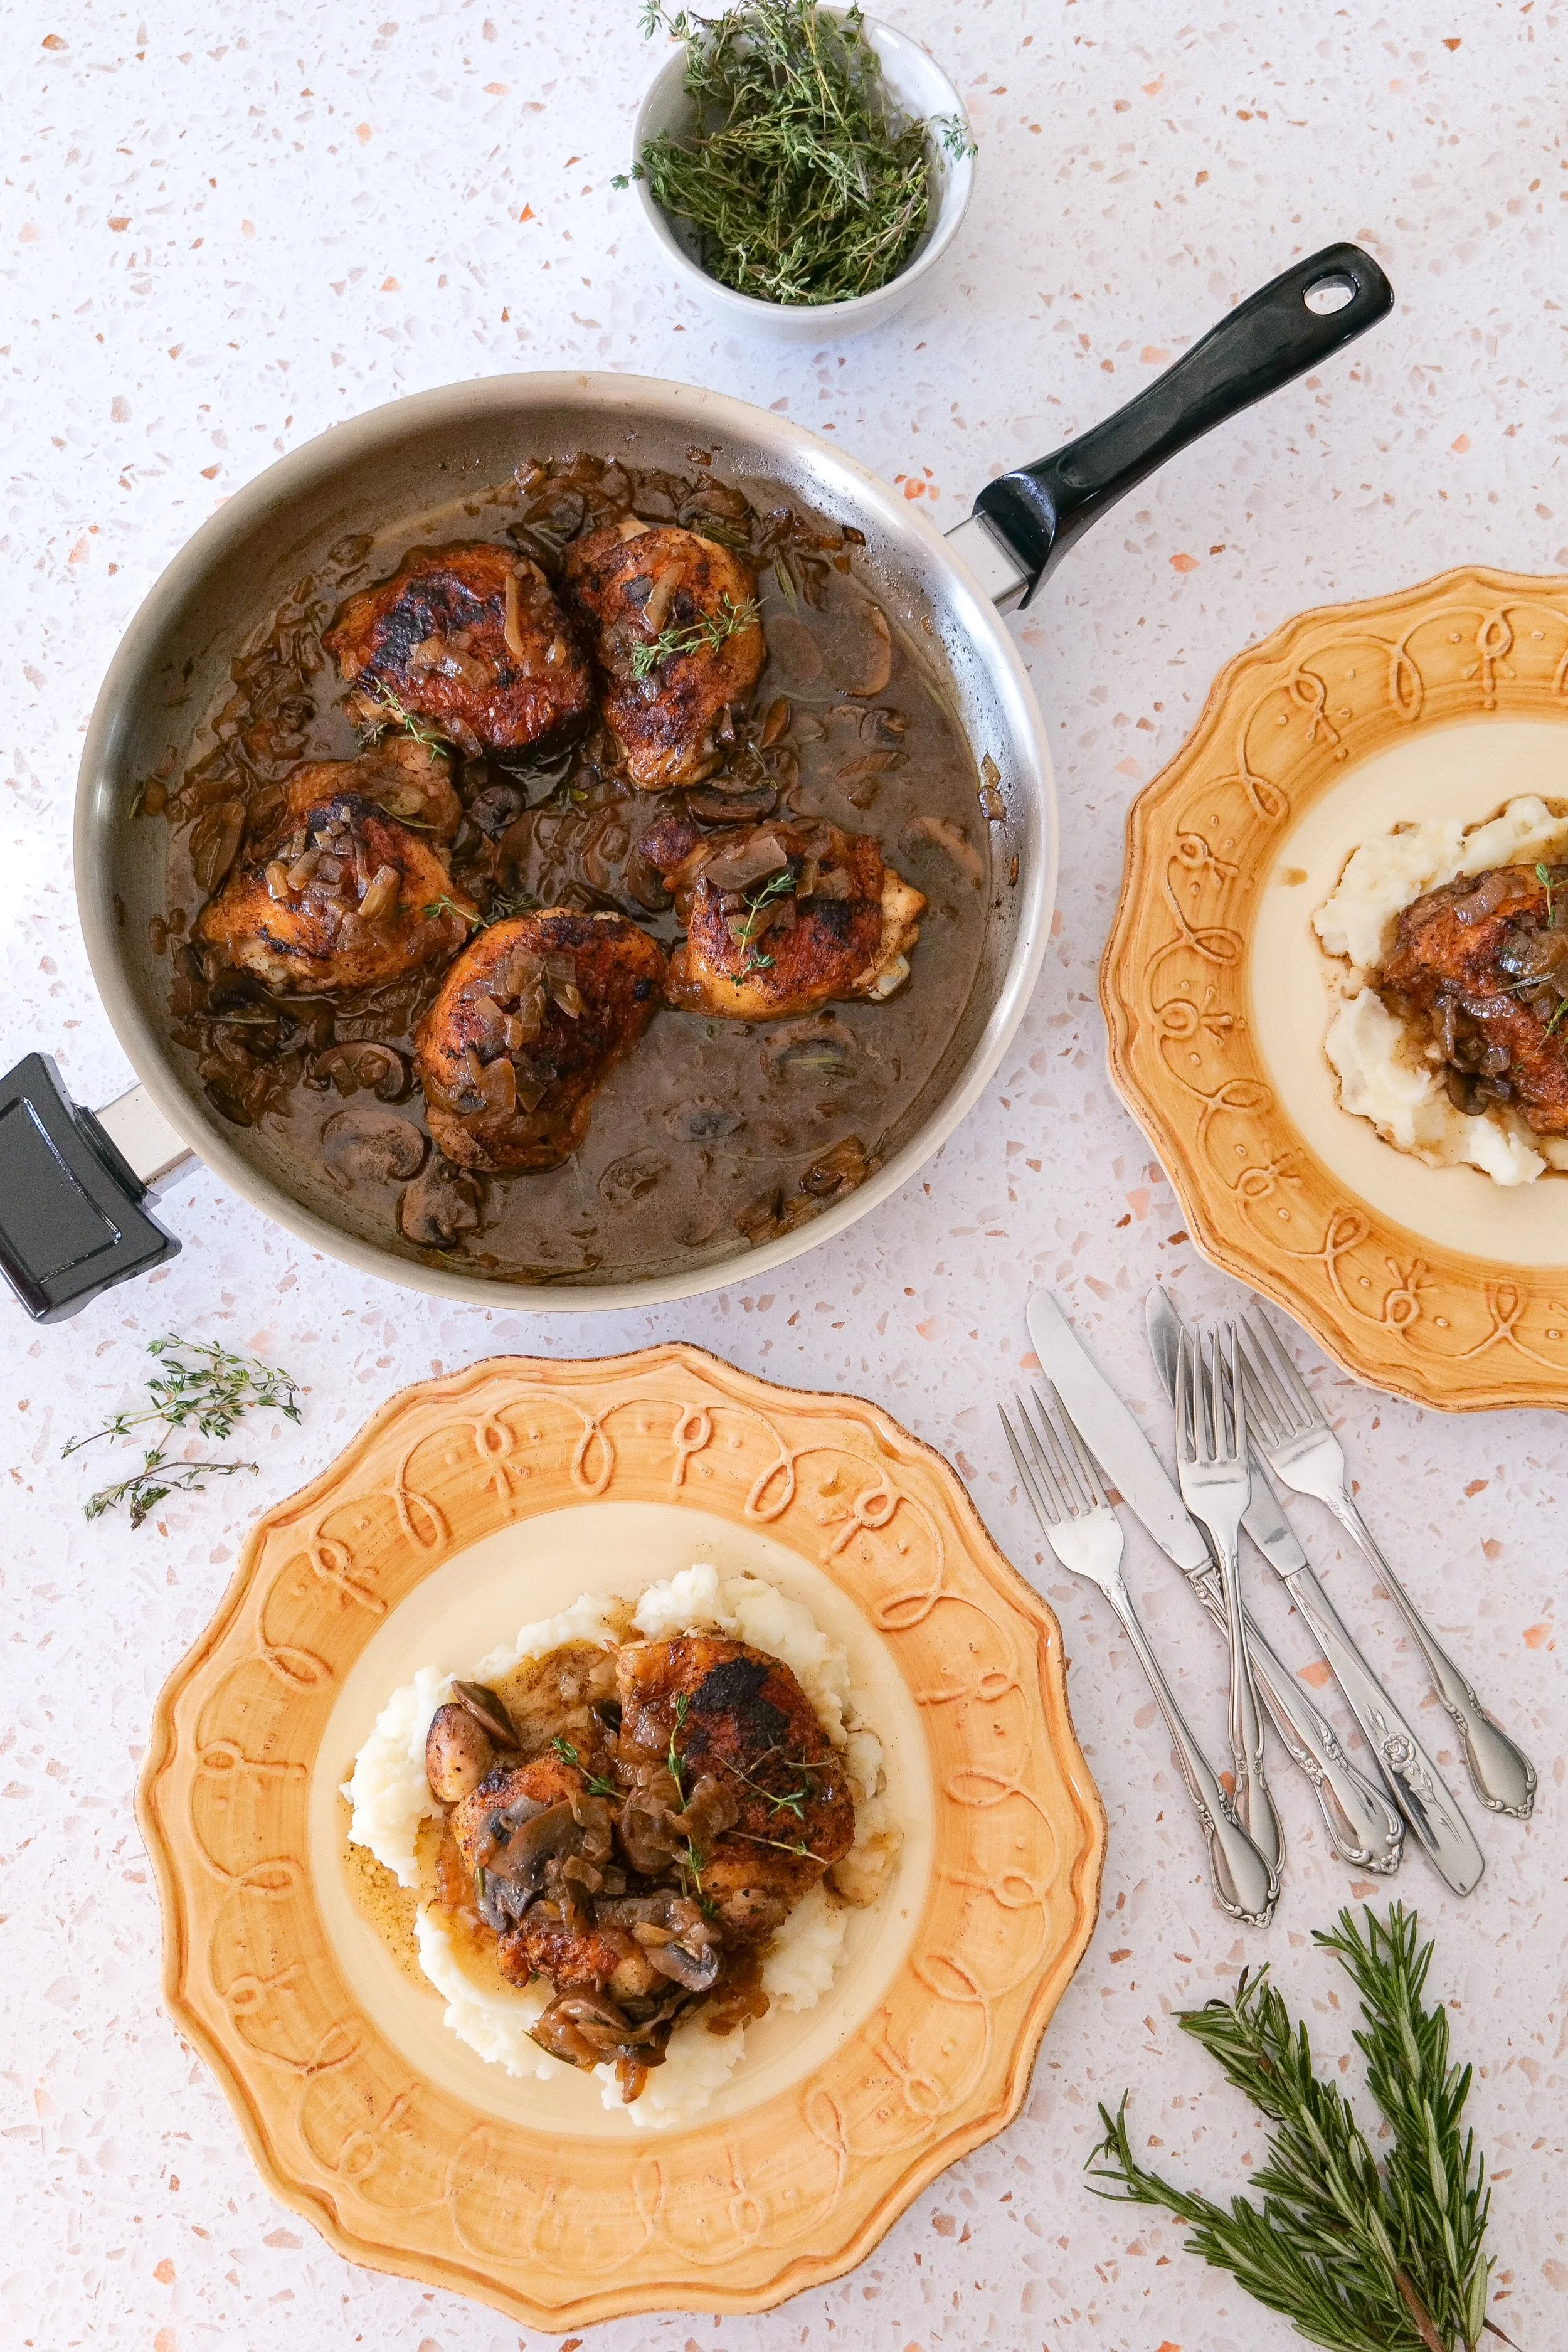
There are certain dinners that feel a little special without requiring an entire afternoon in the kitchen, and these Caramelized Onion & Mushroom Chicken Thighs are exactly that.
Bone-in, skin-on chicken thighs are seasoned simply and seared until the skin is beautifully golden and crisp. In the same skillet, thinly sliced onions slowly caramelize before mushrooms, fresh rosemary, thyme, and broth are added to create a rich, savory pan sauce.
Everything comes together in one skillet, allowing all of those browned bits from the chicken to become part of the sauce. The result is tender, juicy chicken surrounded by buttery mushrooms and sweet caramelized onions that taste like something you might order at a cozy little restaurant.
Serve it over creamy mashed potatoes, buttered noodles, or rice to soak up every bit of the sauce. Add a simple green vegetable or salad and you have a comforting family dinner that feels just as appropriate for a weeknight as it does for Sunday dinner with family.
Why You'll Love This Recipe
This is one of those recipes that takes simple ingredients and turns them into something incredibly comforting.
You'll love it because it's:
Made primarily in one skillet
Full of rich, savory flavor
Made with simple ingredients
Perfect for cozy fall and winter dinners
Easy enough for a weeknight
Beautiful enough to serve when entertaining
Delicious with mashed potatoes, rice, or noodles
Made with bone-in chicken thighs that stay wonderfully juicy
Finished with an easy pan sauce rather than a heavy cream sauce
The combination of crispy chicken, sweet onions, earthy mushrooms, and fresh herbs makes every bite feel much more special than the amount of work involved.
Why Chicken Thighs Work So Well
Bone-in, skin-on chicken thighs are perfect for skillet recipes like this because they stay tender and juicy as they cook.
Searing them skin-side down also creates a beautifully crisp exterior while leaving behind flavorful browned bits in the skillet.
Don't clean that pan.
Those little browned pieces are exactly what you want when you begin cooking the onions. As you add the butter, onions, mushrooms, and broth, all of that flavor works its way into the sauce.
Ingredient Notes
Chicken Thighs
I use bone-in, skin-on chicken thighs for the best flavor and texture. Pat them very dry before seasoning so the skin can become crisp when it hits the hot skillet.
Onion
Use one large onion sliced thinly. Giving the onion enough time to slowly turn golden brings out its natural sweetness and creates much more flavor than simply sautéing it for a few minutes.
Mushrooms
I like brown mushrooms, such as cremini or baby bella mushrooms, because they have a slightly deeper flavor than white button mushrooms.
Butter
Butter helps brown the chicken and gives the onions and mushrooms a rich flavor. The recipe uses 4 tablespoons total, divided between the chicken and vegetables.
Fresh Rosemary & Thyme
Fresh herbs give the pan sauce that cozy, savory flavor that works so beautifully with chicken and mushrooms.
Vegetable Broth
Broth loosens all of the flavorful browned bits from the skillet and creates the simple sauce surrounding the chicken.
Kitchen Tools
You don't need many tools for this dinner, which is another reason I love it.
Large stainless steel or oven-safe skillet
Sharp chef's knife
Cutting board
Small bowl for seasoning
Tongs
Wooden spoon
Meat thermometer
I've linked some of the pans, knives, utensils, and other everyday pieces I use most often in my Kitchen Essentials shelf.
Caramelized Onion & Mushroom Chicken Thighs Recipe
Prep Time: 15 minutes
Cook Time: Approximately 45 minutes
Total Time: Approximately 1 hour
Servings: 6
Ingredients
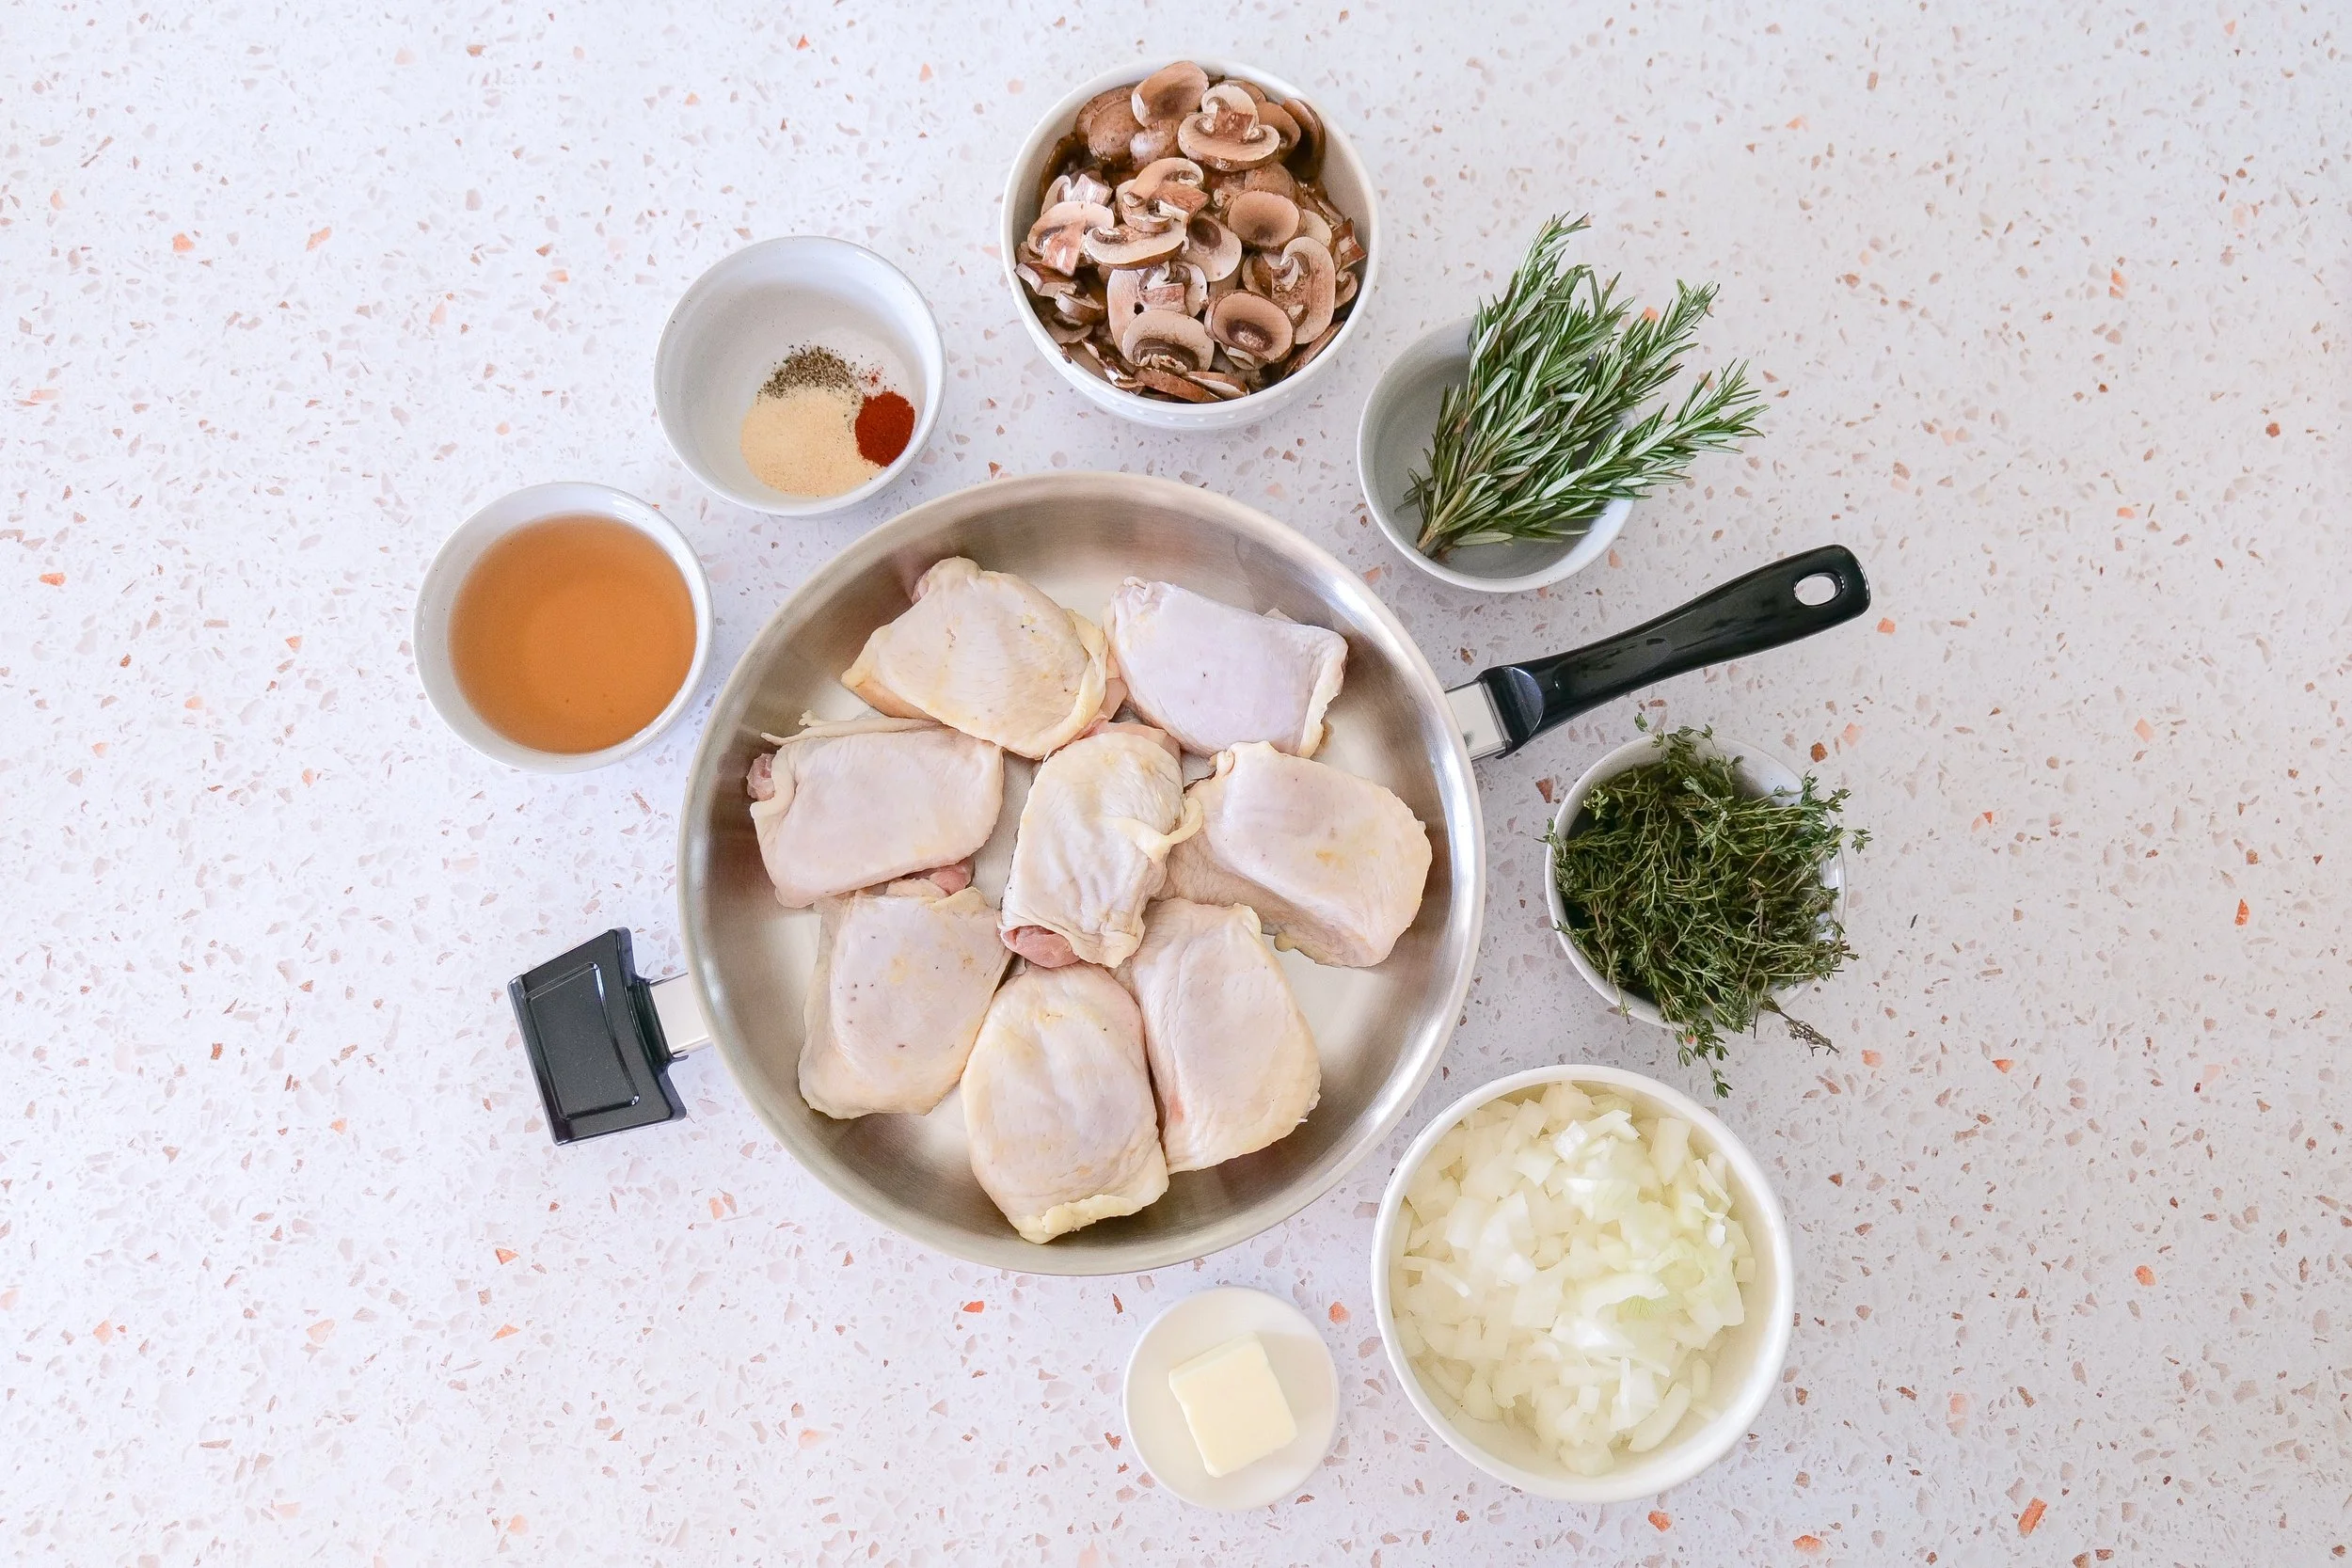
6–8 bone-in, skin-on chicken thighs
1 teaspoon sea salt
½ teaspoon freshly ground black pepper
1 teaspoon onion powder
1 teaspoon garlic powder
¼ teaspoon paprika
4 tablespoons salted butter, divided
1 large onion, thinly sliced
8 ounces brown mushrooms, sliced
2 sprigs fresh rosemary
2 sprigs fresh thyme
1 cup vegetable broth
1 teaspoon dried thyme
Olive oil, if needed
Fresh thyme, for garnish
Instructions
Step 1: Prepare the Chicken
Heat a large skillet over medium-high heat.
While the skillet heats, pat the chicken thighs thoroughly dry with paper towels. Removing as much surface moisture as possible is one of the keys to achieving beautifully crisp skin.
In a small bowl, combine the sea salt, black pepper, onion powder, garlic powder, and paprika.
Season the chicken generously on both sides.
Step 2: Sear the Chicken
Add 2 tablespoons of salted butter to the hot skillet and allow it to melt.
Place the chicken thighs skin-side down in the skillet, being careful not to overcrowd the pan. Work in batches if necessary.
Leave the chicken undisturbed for approximately 5–7 minutes. When the skin has developed a deep golden crust, it should release easily from the skillet.
Flip and sear the second side for another 5–7 minutes.
Transfer the chicken to a plate and loosely cover while you prepare the onions and mushrooms.
The chicken does not need to be completely cooked through at this point.
Step 3: Caramelize the Onion
Reduce the heat to medium-low and add the remaining 2 tablespoons of butter to the same skillet.
Use a wooden spoon to gently loosen the flavorful browned bits left behind from the chicken.
Add the thinly sliced onion.
Cook for approximately 15 minutes, stirring regularly, until the onion becomes soft, golden, and caramelized.
If the skillet begins to look dry, add a small drizzle of olive oil.
Step 4: Add the Mushrooms & Herbs
Add the sliced mushrooms, rosemary sprigs, fresh thyme sprigs, and dried thyme.
Cook until the mushrooms soften and begin to brown, approximately 5–7 minutes.
Step 5: Make the Pan Sauce
Pour in the vegetable broth.
Use your wooden spoon to scrape the bottom of the skillet so all of those flavorful browned bits become part of the sauce.
Bring the mixture to a gentle simmer and cook for approximately 5 minutes.
Step 6: Finish the Chicken
Return the chicken thighs to the skillet, nestling them into the onions and mushrooms while keeping as much of the crispy skin above the liquid as possible.
Continue cooking gently until the thickest part of each chicken thigh reaches a safe internal temperature of 165°F.
Depending on the size of your chicken thighs and how far they cooked during searing, this will generally take another 10–15 minutes.
Spoon some of the sauce over the chicken as it cooks, avoiding the crispy skin when possible.
Step 7: Serve
Remove the rosemary and thyme stems.
Taste the sauce and adjust the salt and pepper if needed.
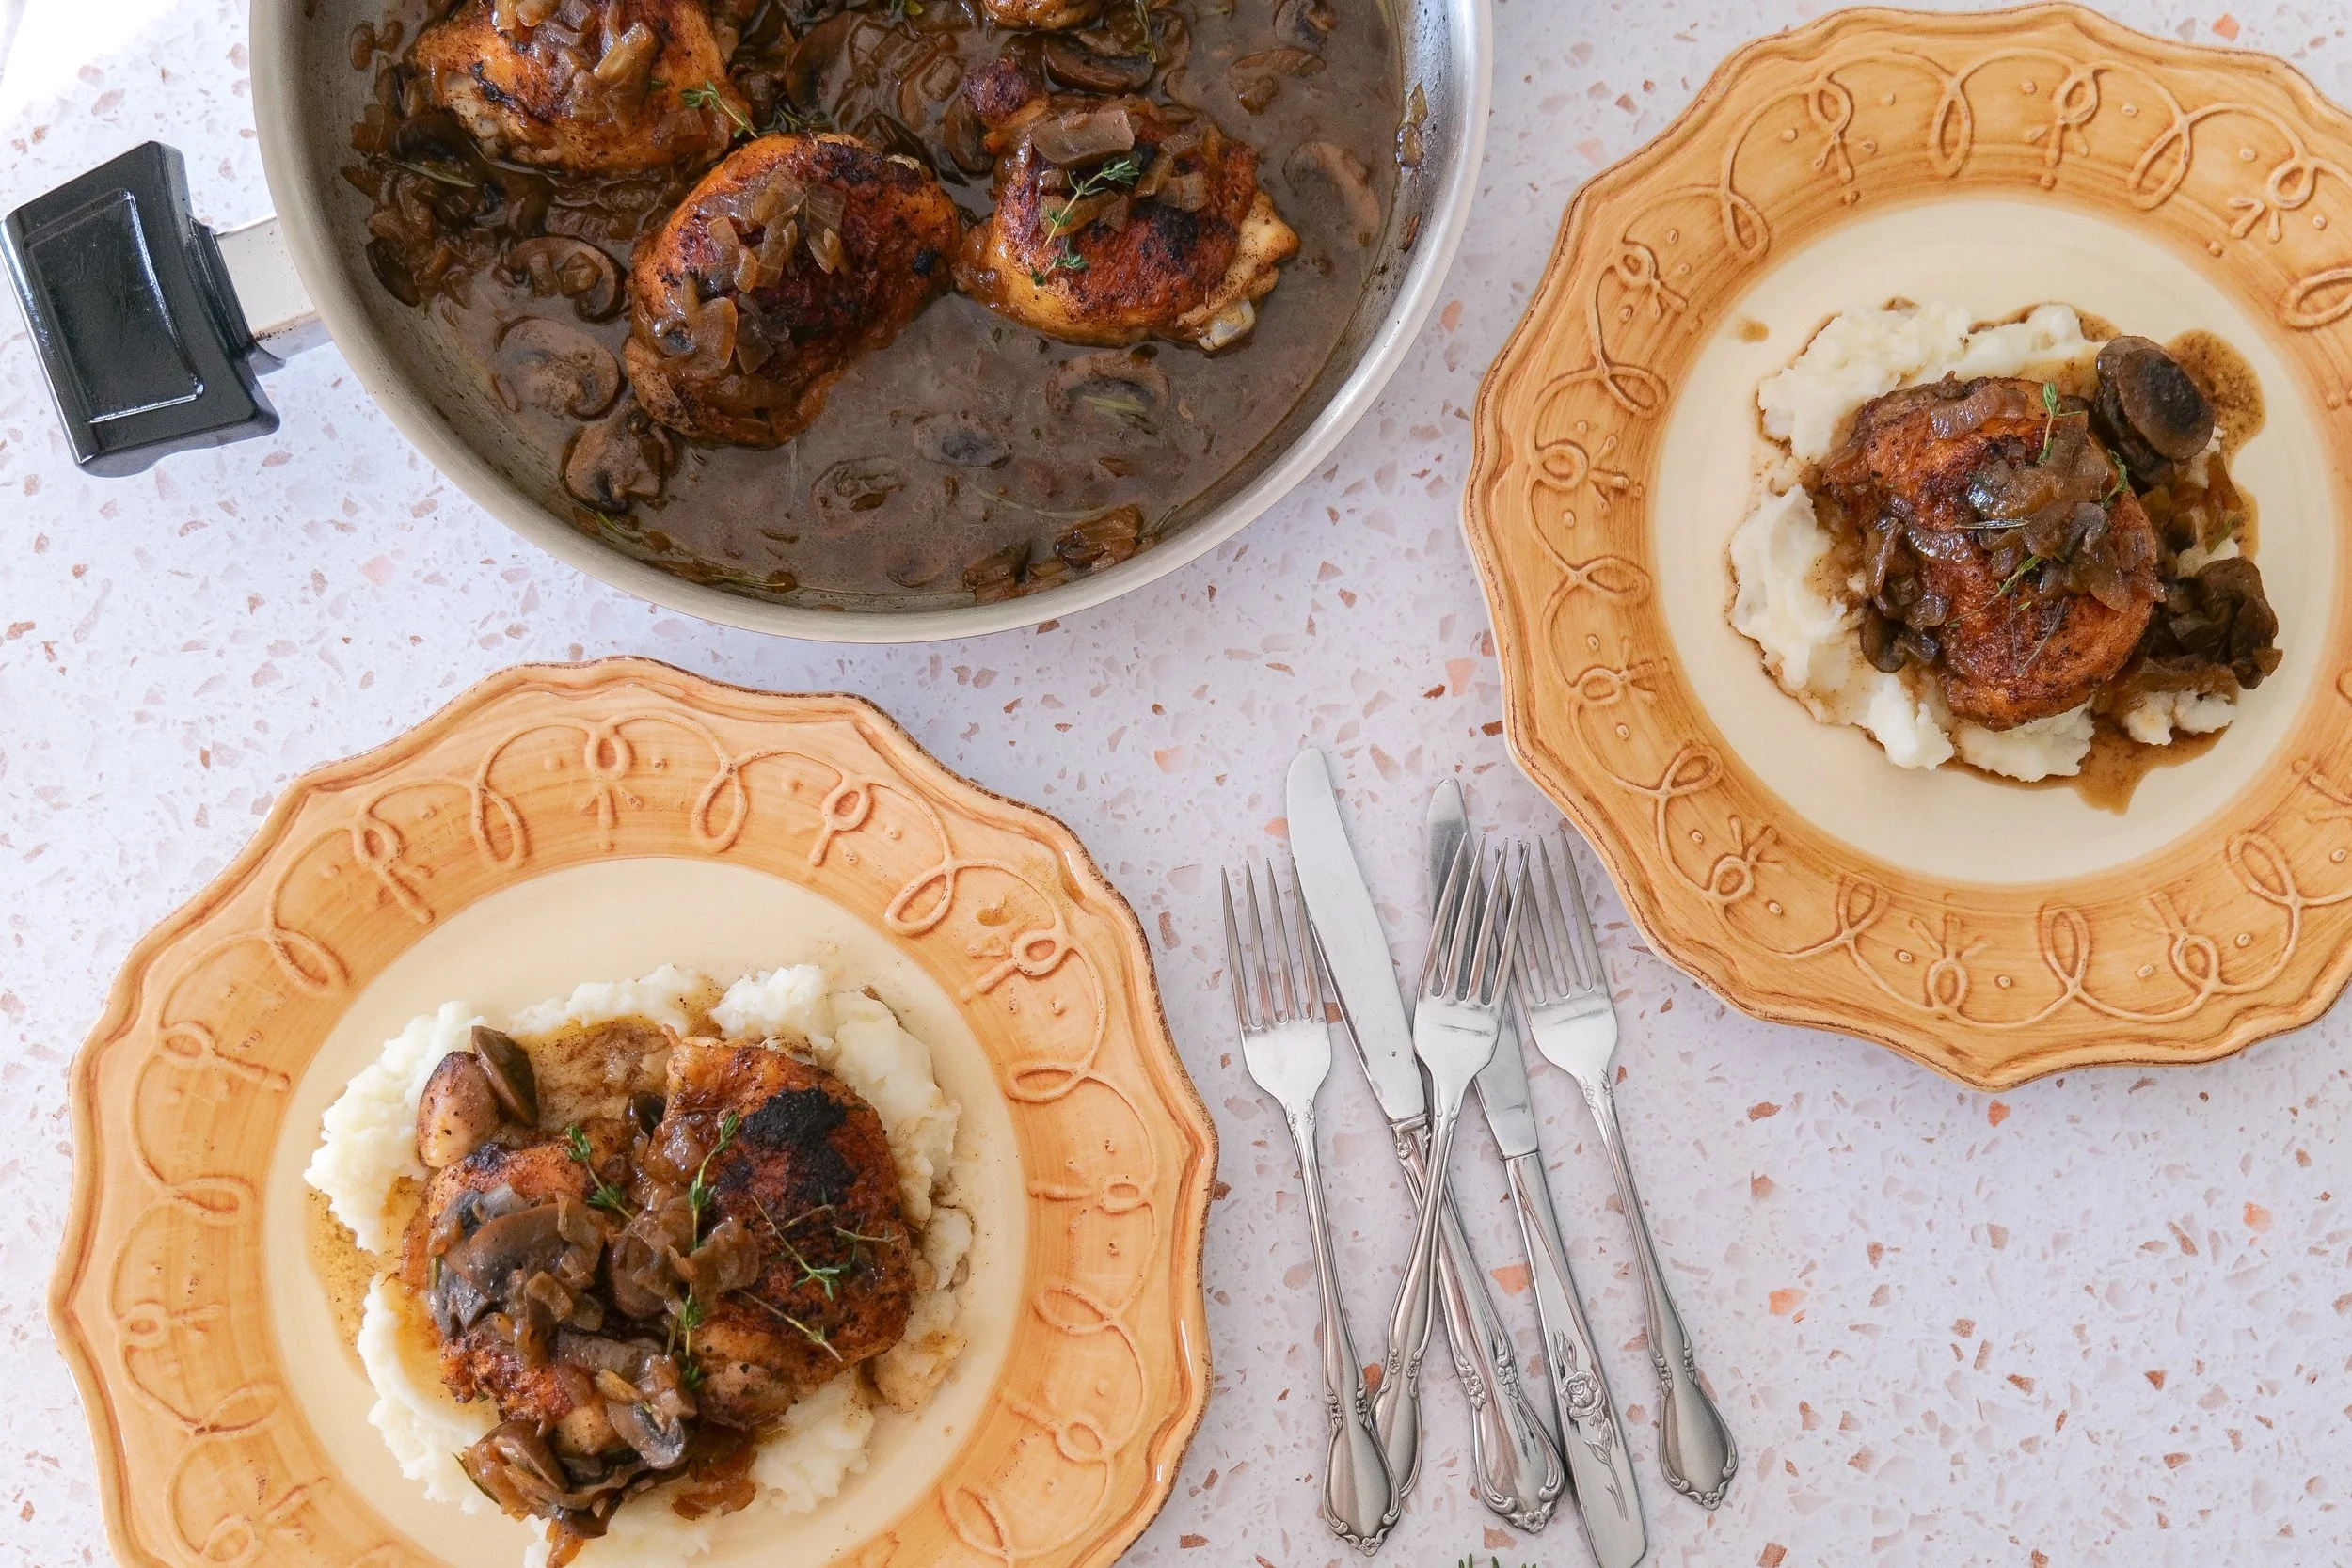
Serve the chicken warm with plenty of caramelized onions, mushrooms, and pan sauce spooned around it.
Finish with fresh thyme if desired.
Enjoy!
Amanda's Quick Tips
Pat the chicken completely dry before seasoning.
Don't move the chicken while the skin is searing.
If it sticks to the skillet, give it another minute before trying to flip it.
Don't rush the onions; their slow caramelization is where so much of the flavor develops.
Cook mushrooms until their moisture has released and they begin to brown.
Keep the crispy chicken skin mostly above the sauce.
Always use the internal temperature rather than cooking time alone to determine when chicken is done.
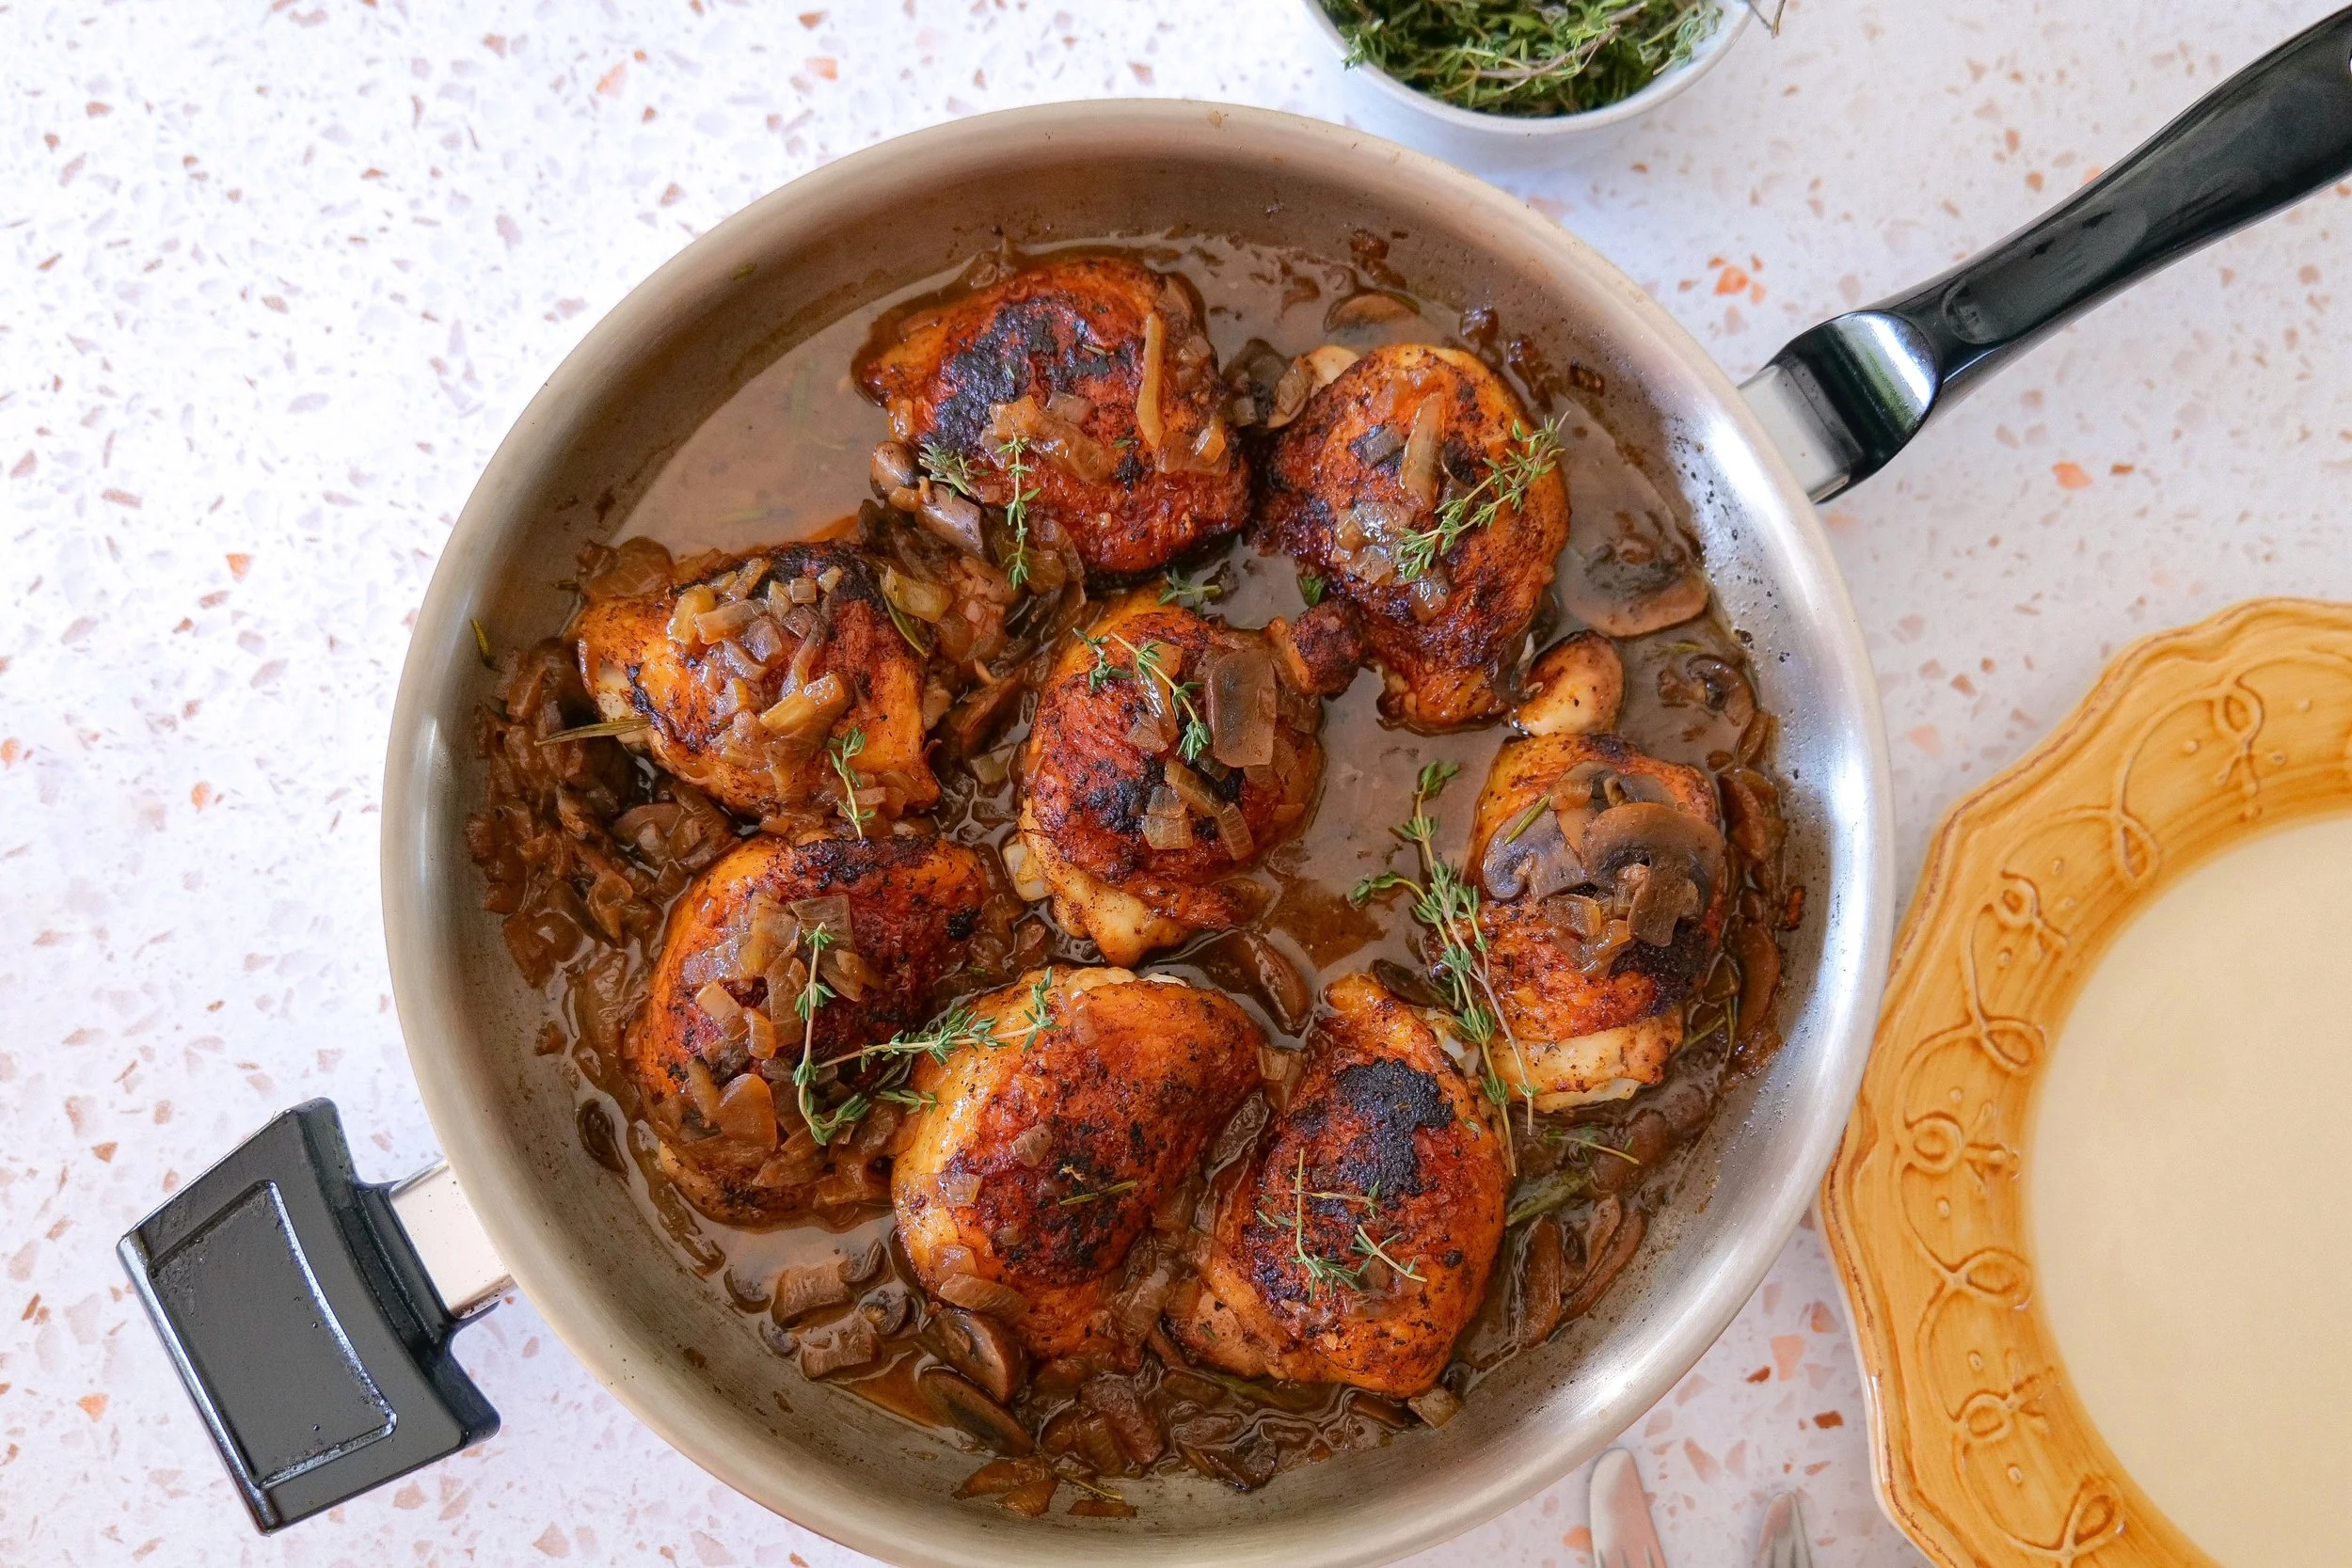
How to Get Crispy Chicken Thigh Skin
The difference between good skillet chicken and really good skillet chicken often comes down to the skin.
First, make sure your chicken is dry. Moisture creates steam, which works against browning.
Next, make sure the skillet is hot before adding the chicken.
Once the chicken goes into the pan, resist the temptation to move it around. Let it develop a crust.
One of my favorite tricks when cooking with stainless steel is simply waiting. If your chicken is firmly stuck to the skillet when you try to flip it, it often hasn't developed its crust yet. Give it another minute and try again.
Finally, when the chicken returns to the sauce, keep the skin above the liquid as much as possible so you don't lose all of that beautiful texture you just created.
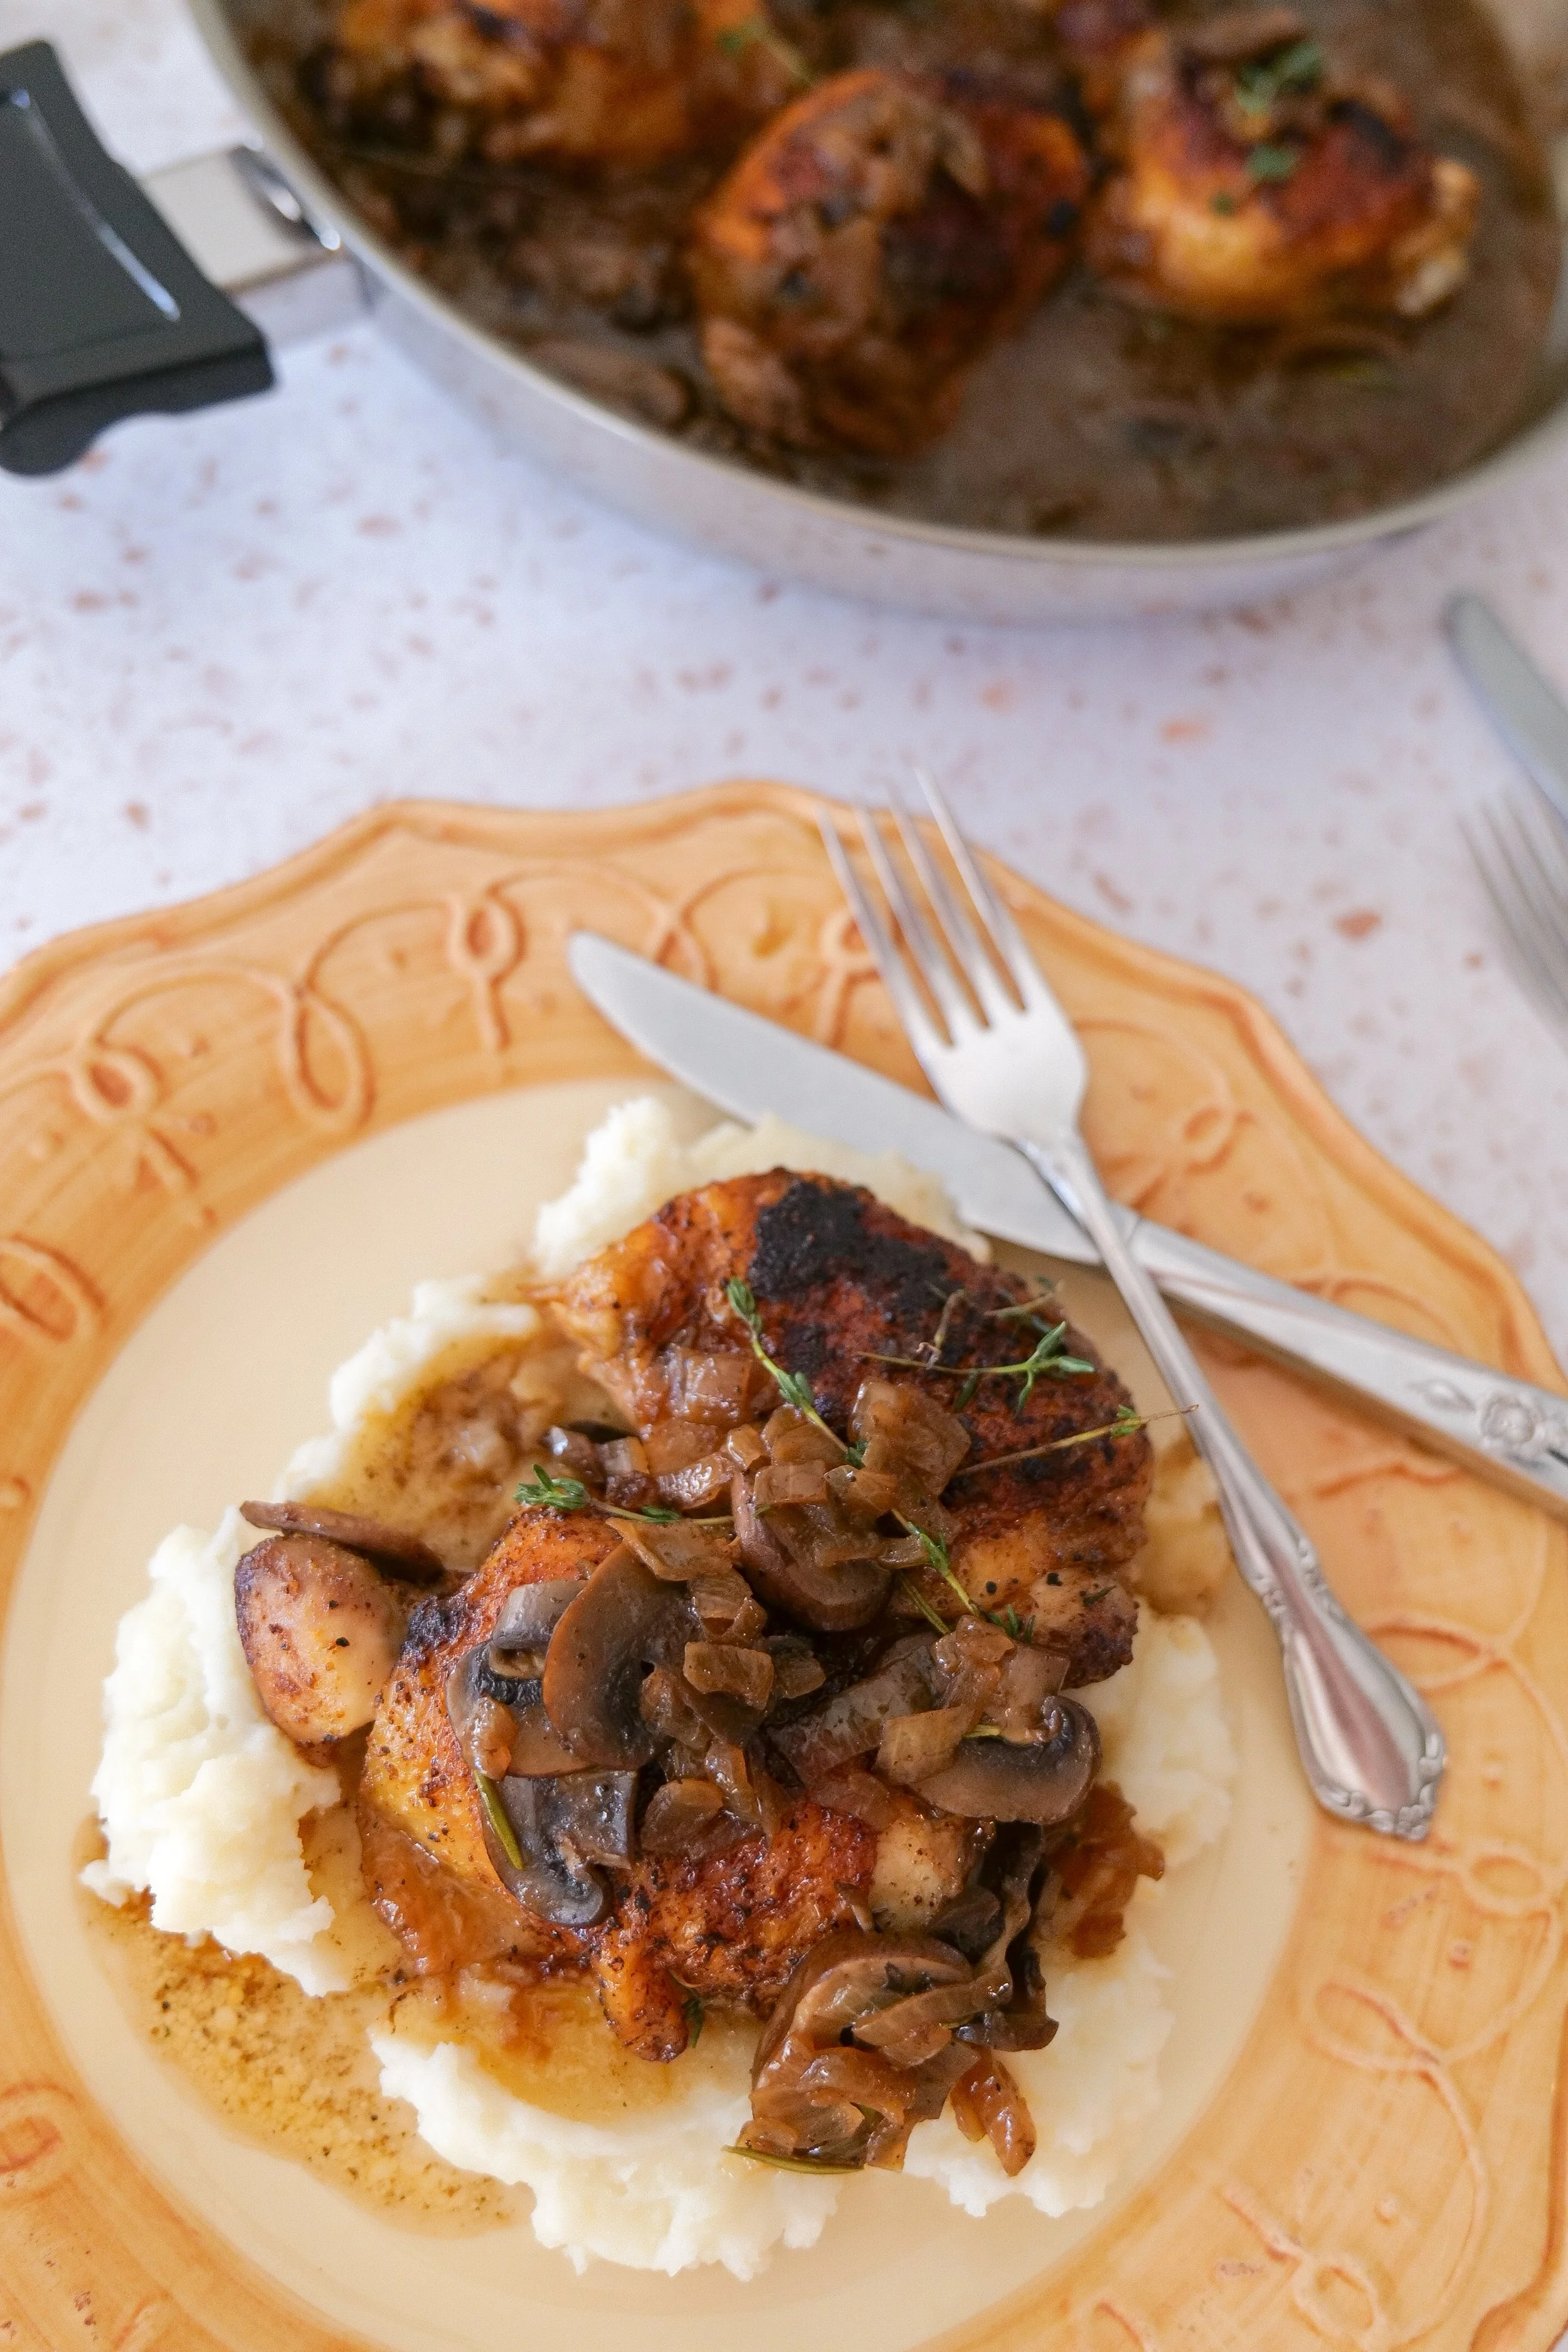
How to Caramelize Onions for Chicken
Caramelized onions aren't difficult, but they do require a little patience.
Keep the heat around medium-low and allow the onions to cook gradually rather than trying to brown them quickly over high heat.
Stir them regularly so they cook evenly and pick up the browned bits from the chicken.
You'll know they're ready when they're soft, deeply golden, and noticeably sweeter than when they went into the pan.
Those 15 minutes make a huge difference in the finished dish, so this is one step I wouldn't rush.
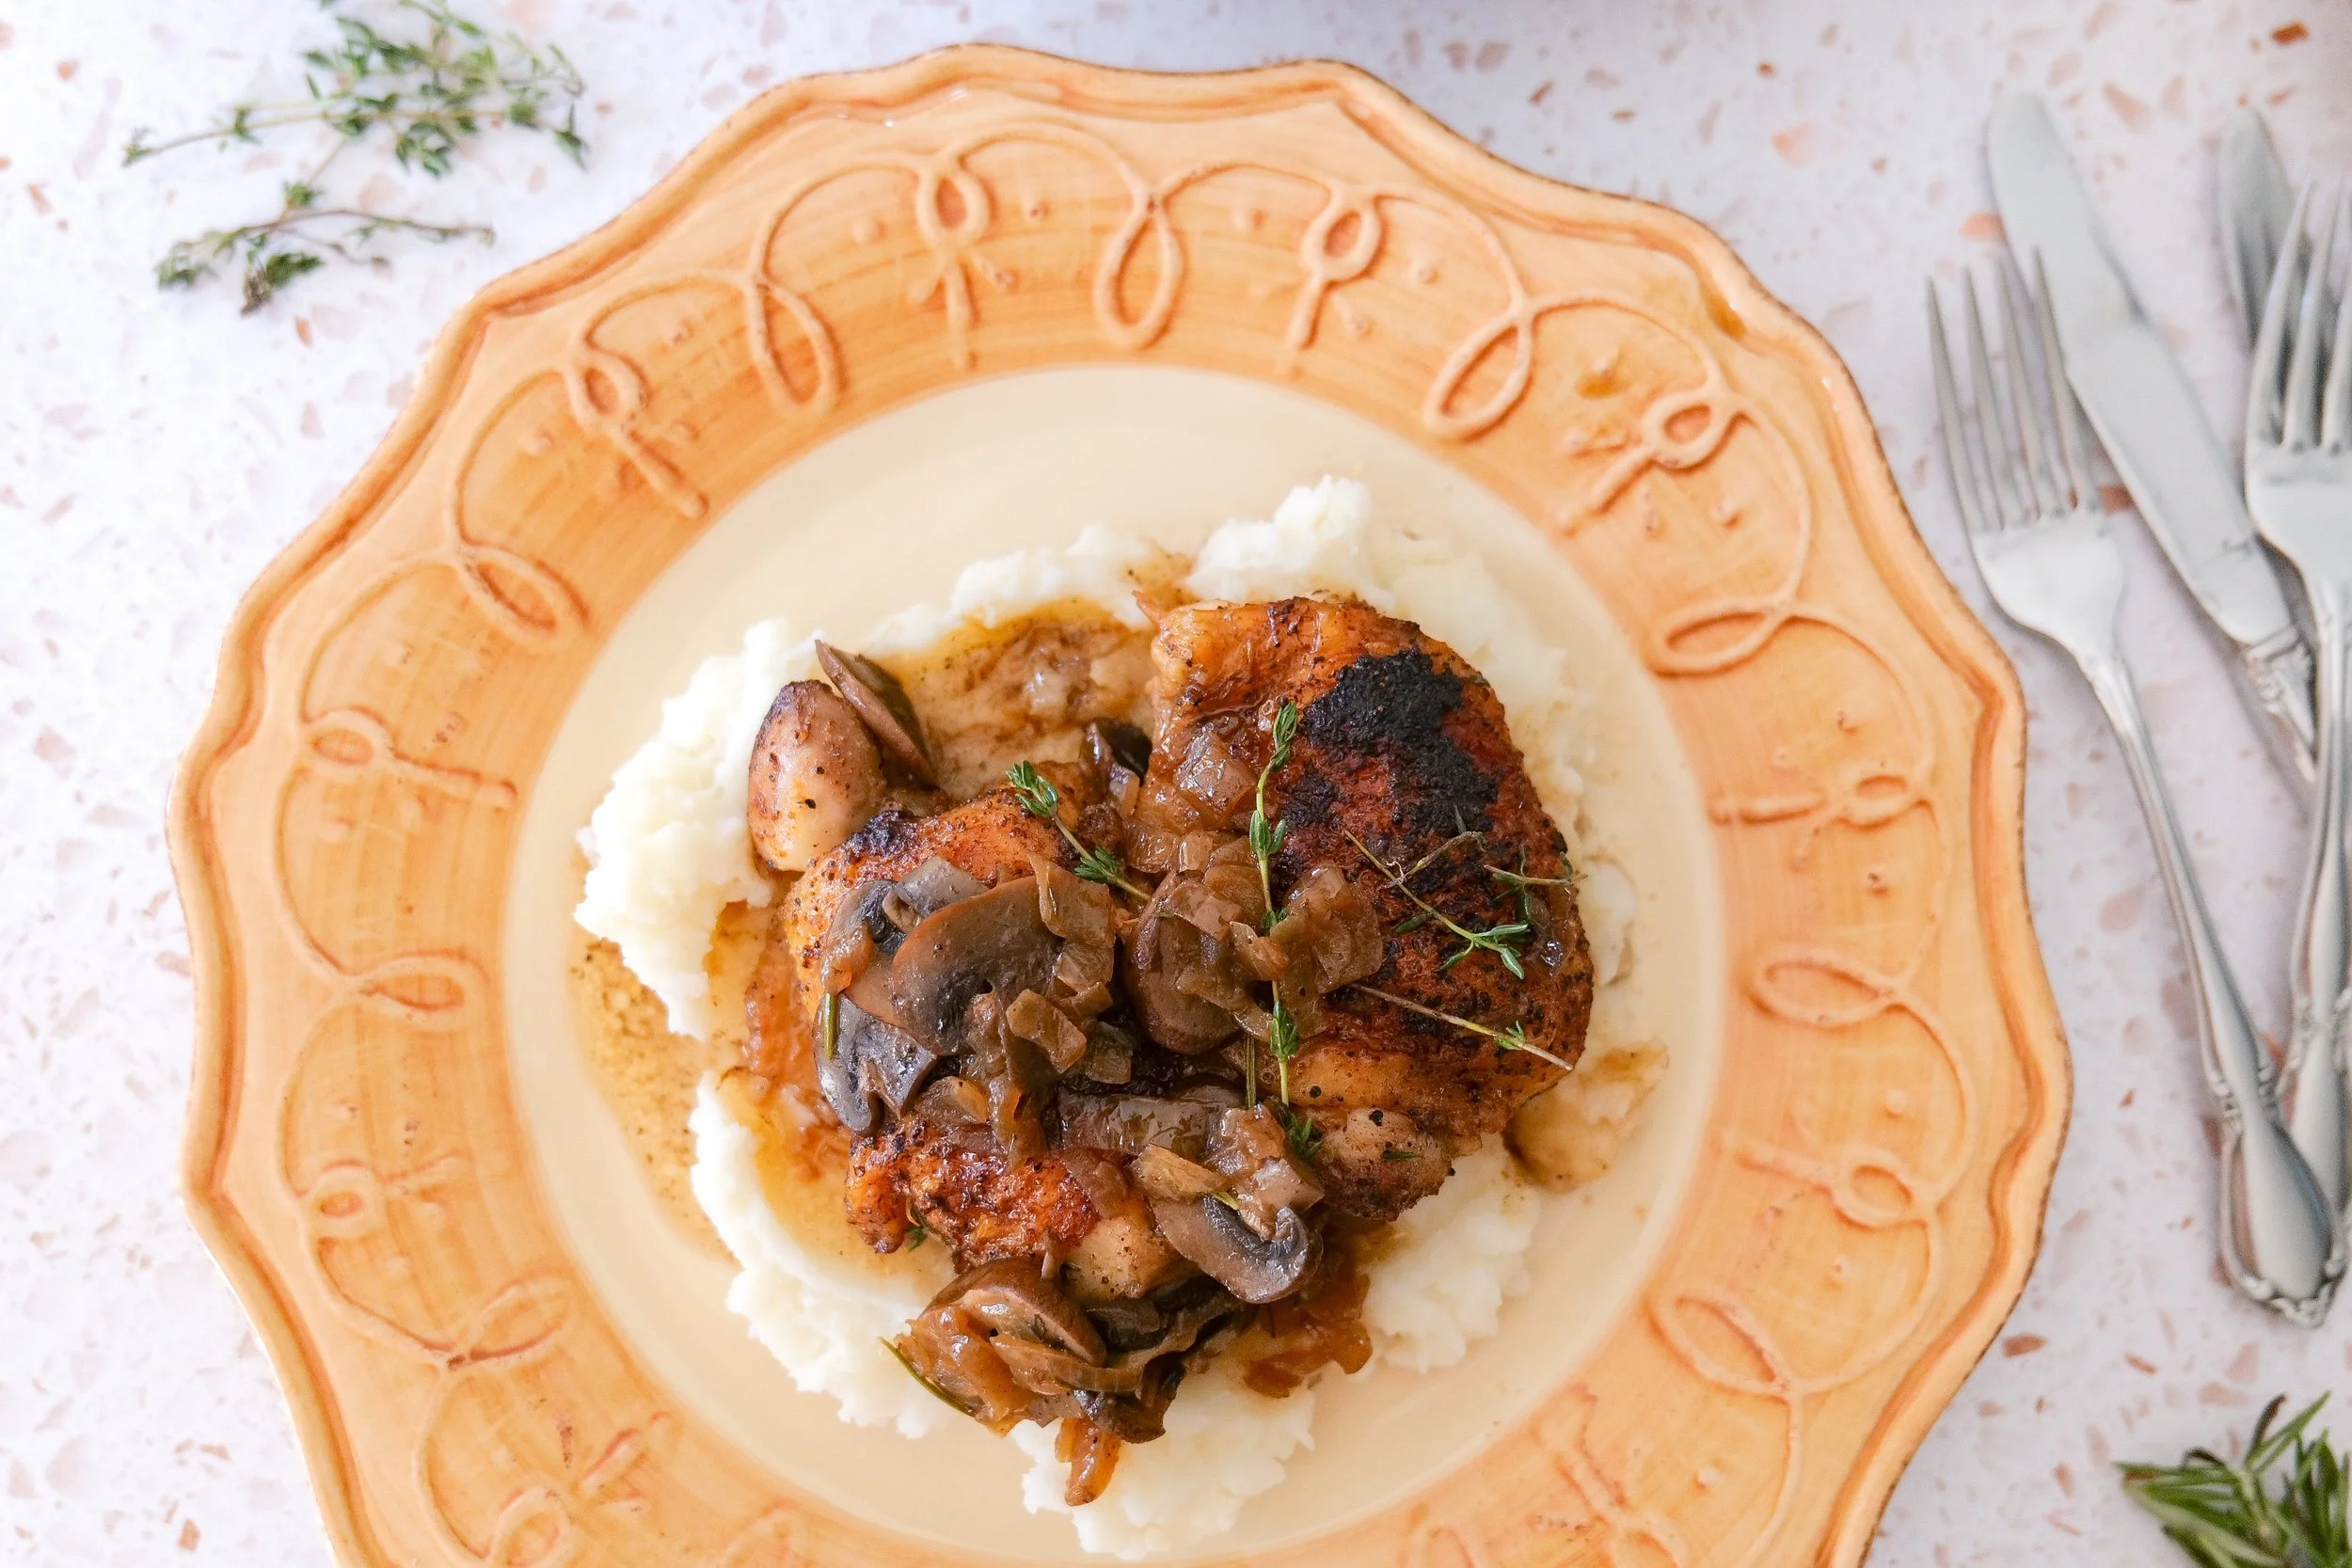
Amanda's Tips
Don't Overcrowd the Skillet
If your chicken thighs don't comfortably fit without touching, sear them in batches. Overcrowding lowers the temperature of the pan and can cause the chicken to steam instead of brown.
Give the Mushrooms Time to Brown
Just like the chicken, mushrooms develop more flavor when they're given time to brown.
Use a Meat Thermometer
Chicken thighs vary considerably in size, which makes an internal temperature much more reliable than an exact cooking time.
Taste Your Sauce at the End
The chicken, butter, and broth all contribute salt to the final sauce. Wait until everything has cooked together before deciding whether it needs more seasoning.
Can I Use Boneless Chicken Thighs?
Yes.
Boneless, skinless chicken thighs can be used, but they'll cook more quickly and you won't get the same crispy-skin element.
Sear them until browned and begin checking their internal temperature earlier when you return them to the skillet.
If you have the choice, I prefer bone-in, skin-on thighs for this particular recipe because their richness works beautifully with the caramelized onions and mushrooms.
Easy Variations
Creamy Mushroom Chicken
After the chicken is fully cooked, remove it briefly and stir a splash of heavy cream into the sauce. Simmer gently until slightly thickened, then return the chicken to the skillet.
Garlic Mushroom Chicken
Add 2–3 cloves of minced garlic during the final minute of cooking the mushrooms.
White Wine Mushroom Chicken
Replace part of the broth with a dry white wine. Allow the wine to simmer for a few minutes before adding the remaining broth.
Extra Herb Chicken
Add additional rosemary and thyme for a more pronounced herb flavor.
Parmesan Mushroom Chicken
Finish the mushrooms and onions with freshly grated Parmesan just before serving.
What to Serve with Caramelized Onion & Mushroom Chicken
The sauce is one of the best parts of this recipe, so I especially love sides that can soak it up.
Try serving it with:
Creamy mashed potatoes
Buttered egg noodles
Steamed rice
Roasted potatoes
Creamy polenta
Crusty bread
Roasted asparagus
Green beans
Roasted broccoli
Simple arugula salad
Mixed greens with lemon vinaigrette
For a particularly cozy dinner, mashed potatoes and a simple green vegetable would be my first choice.
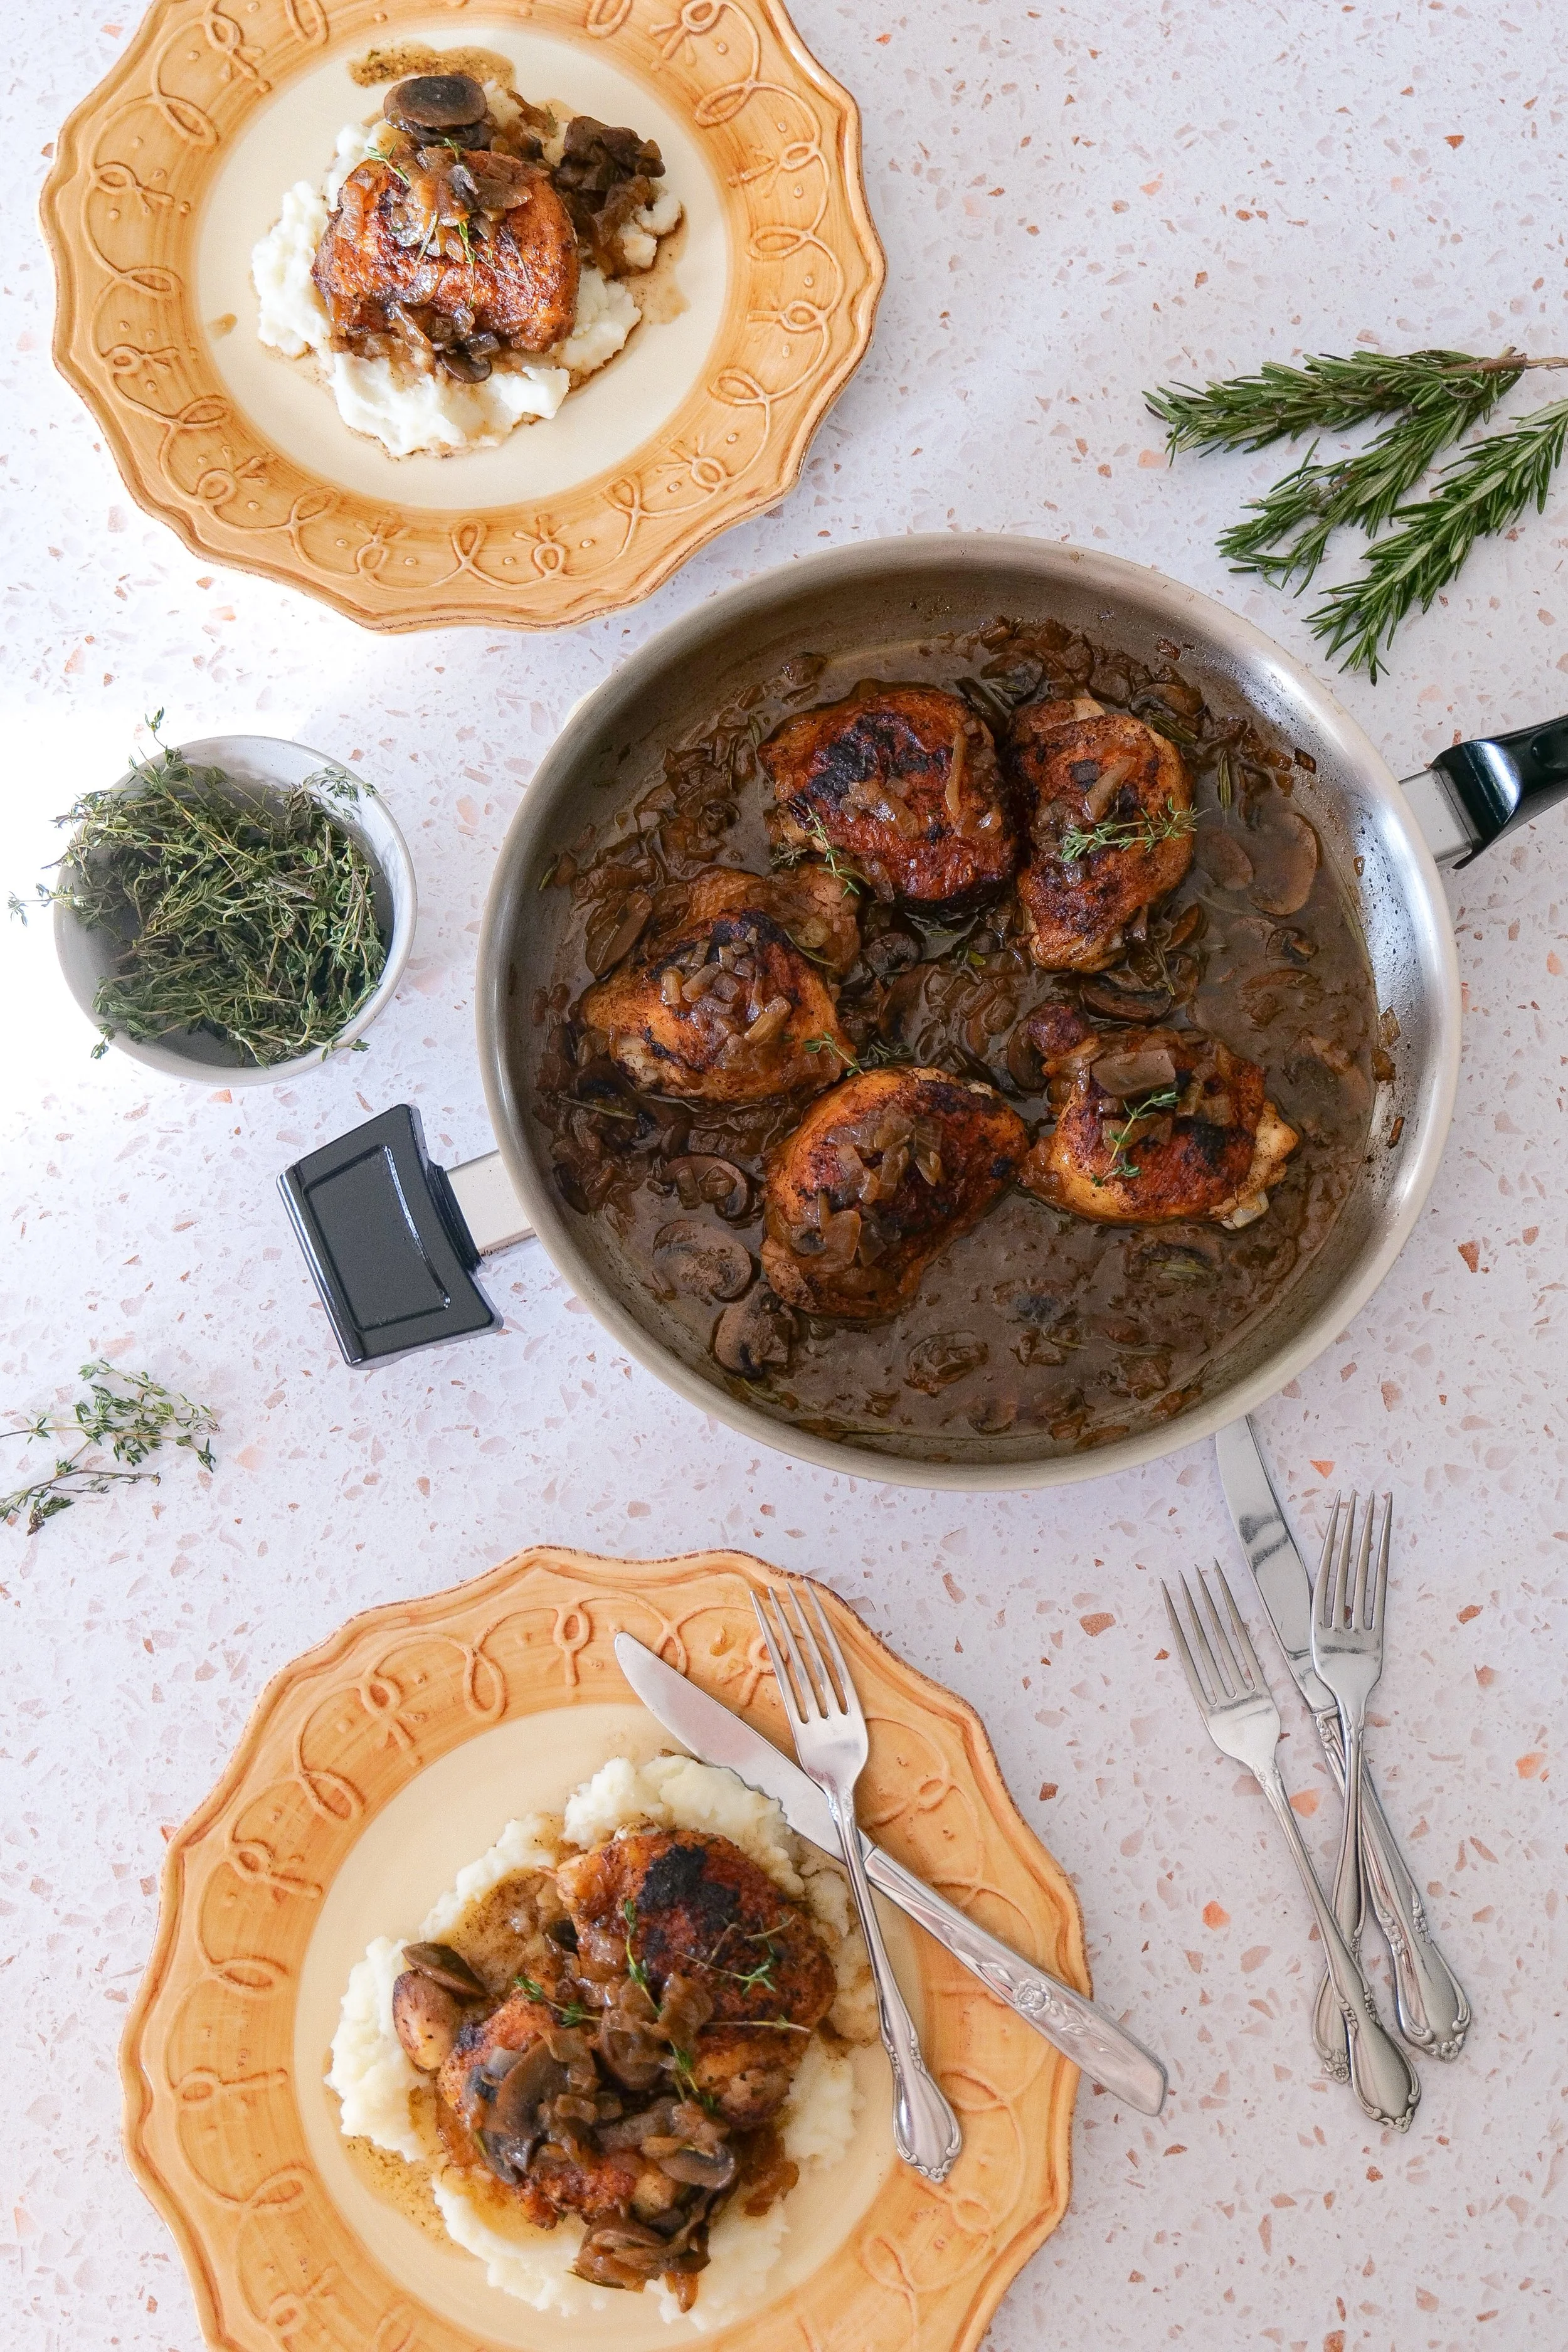
Make Ahead Tips
You can slice the onions and mushrooms and mix the seasoning blend earlier in the day to make dinner prep faster.
I prefer cooking the chicken fresh so the skin stays as crisp as possible.
If you're making the entire meal ahead, store the chicken and sauce together and use the reheating method below.
How to Store Leftovers
Allow leftovers to cool before transferring them to an airtight container.
Store in the refrigerator for up to 3–4 days.
For longer storage, the cooked chicken and sauce can be frozen in an airtight freezer-safe container for up to 3 months.
Keep in mind that mushrooms may have a slightly softer texture after freezing and reheating.
How to Reheat Chicken Thighs
For the best texture, place the chicken and sauce in an oven-safe dish, cover loosely with foil, and warm in a 350°F oven until heated through.
You can remove the foil toward the end of reheating to help the chicken skin regain some of its texture.
Individual portions can also be reheated gently on the stovetop.
Frequently Asked Questions
What mushrooms are best with chicken thighs?
Cremini or baby bella mushrooms are my first choice because their deeper, earthy flavor works particularly well with caramelized onions and chicken.
Can I use white mushrooms?
Absolutely. White button mushrooms will also work.
Can I use chicken breasts?
You can, although you'll need to adjust the cooking time carefully because chicken breasts are leaner and can dry out more easily.
Do I have to use bone-in chicken thighs?
No. Boneless thighs work, but bone-in, skin-on chicken thighs give this recipe its best flavor and texture.
How do I know when chicken thighs are done?
Use an instant-read thermometer inserted into the thickest portion of the chicken without touching the bone. Chicken is safe once it reaches 165°F.
Why is my chicken skin not crispy?
The most common causes are excess moisture on the chicken, a skillet that wasn't hot enough, overcrowding, or moving the chicken before a crust had time to form.
How long does it take to caramelize the onions?
For this recipe, plan on approximately 15 minutes. We're looking for soft, deeply golden onions rather than the much darker onions used in something like French onion soup.
Can I make this dairy-free?
Yes. Replace the butter with your preferred cooking oil or dairy-free butter.
Can I make the sauce creamy?
Yes. A splash of heavy cream added at the end creates a delicious creamy mushroom sauce.
What should I serve with mushroom chicken thighs?
Mashed potatoes, rice, noodles, polenta, or crusty bread are especially good because they soak up the pan sauce.
More Cozy Dinner Recipes You'll Love
If you enjoyed these Caramelized Onion & Mushroom Chicken Thighs, you may also enjoy these comforting recipes from Amanda's Kitchen:
Easy Skillet Chicken Pot Pie with Biscuits
A cozy one-pan chicken dinner topped with golden, flaky biscuits.
Another simple chicken thigh dinner with a sweet and savory seasonal glaze.
Creamy Chicken & Mushroom Couscous Soup
Perfect if you love the chicken and mushroom combination in this recipe.
A warm, comforting soup that's perfect for cooler evenings.
All of the cozy flavors of lasagna in an easy soup.
Slow Cooker Pulled Pork
An easy make-ahead dinner that's perfect for busy weeks and feeding a crowd.
Shop My Kitchen Favorites
I've gathered the cookware, knives, serving pieces, and everyday kitchen essentials I reach for when making recipes like this in my Kitchen Essentials shelf.
SHOP MY KITCHEN ESSENTIALS
Save This Recipe
Whether you're looking for a cozy weeknight dinner or something a little special to make for family and friends, save these Caramelized Onion & Mushroom Chicken Thighs for the next time you're craving a warm, savory skillet dinner.
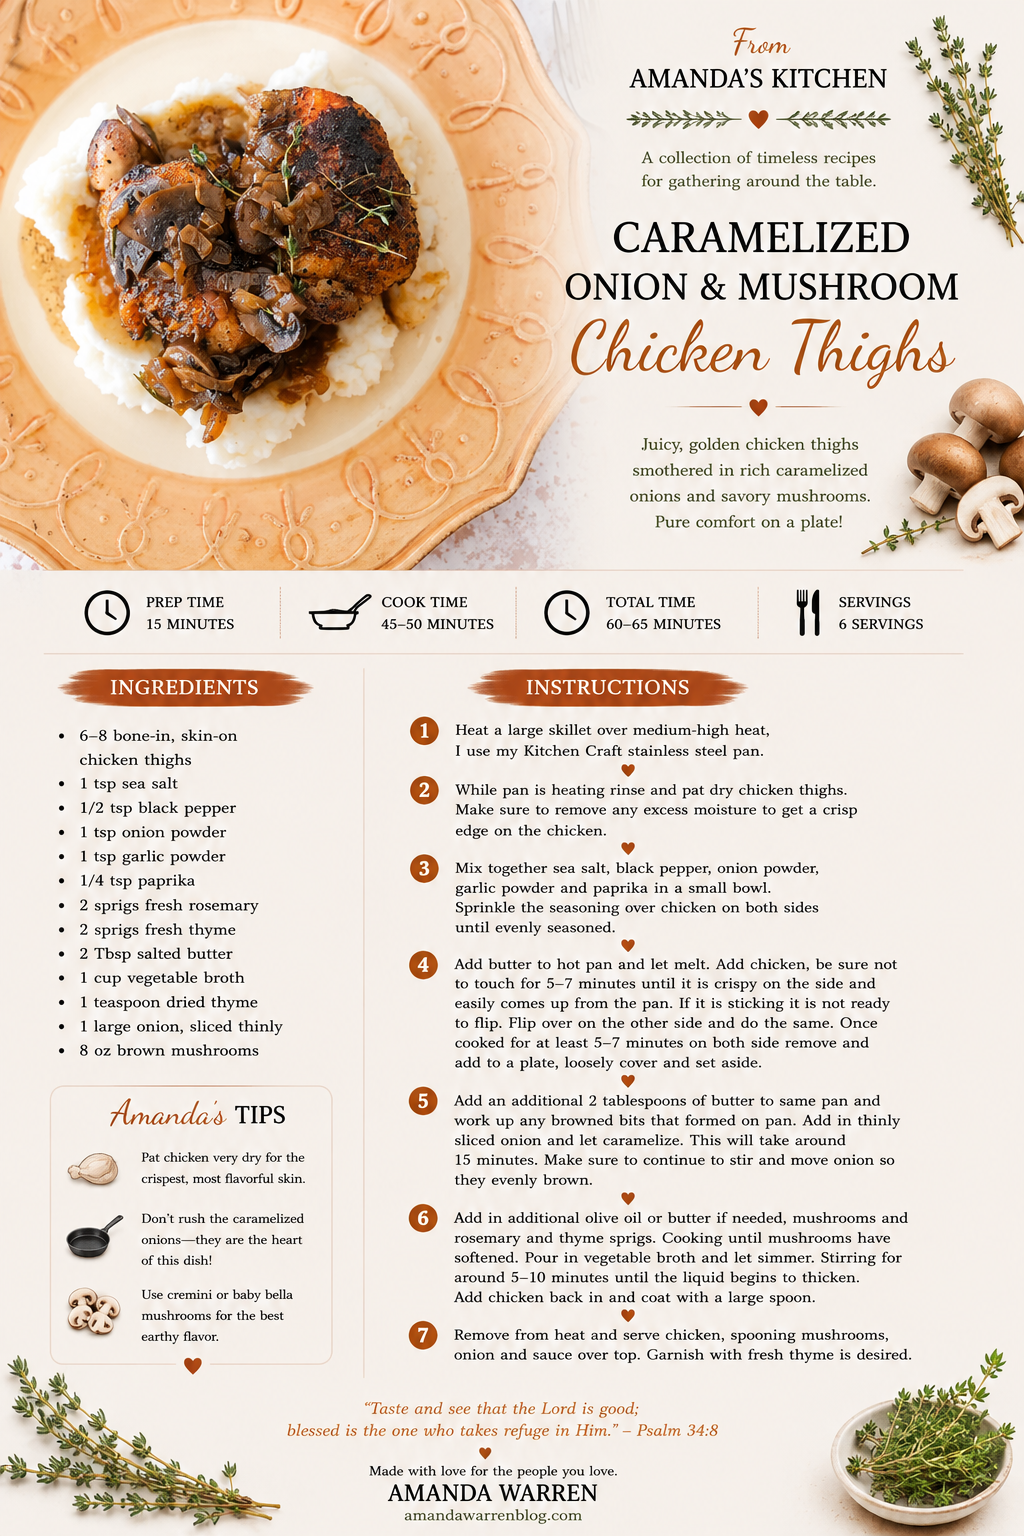
I've included my printable From Amanda's Kitchen recipe card below so you can save it, print it, and come back to the recipe whenever you need it.
A Note From Amanda
Some of my favorite dinners are the ones that turn simple ingredients into something that feels a little more special.
Chicken, onions, and mushrooms aren't complicated ingredients, but giving each one the time to develop its flavor completely changes the finished dish. The crispy chicken, sweet onions, earthy mushrooms, and warm herbs make this one of those meals that feels comforting from the moment it starts cooking.
I hope this becomes one of those recipes you pull out on cool evenings when you want something warm on the table and everyone gathered around it.
"Taste and see that the Lord is good."
Psalm 34:8
Made with love for the people you love.