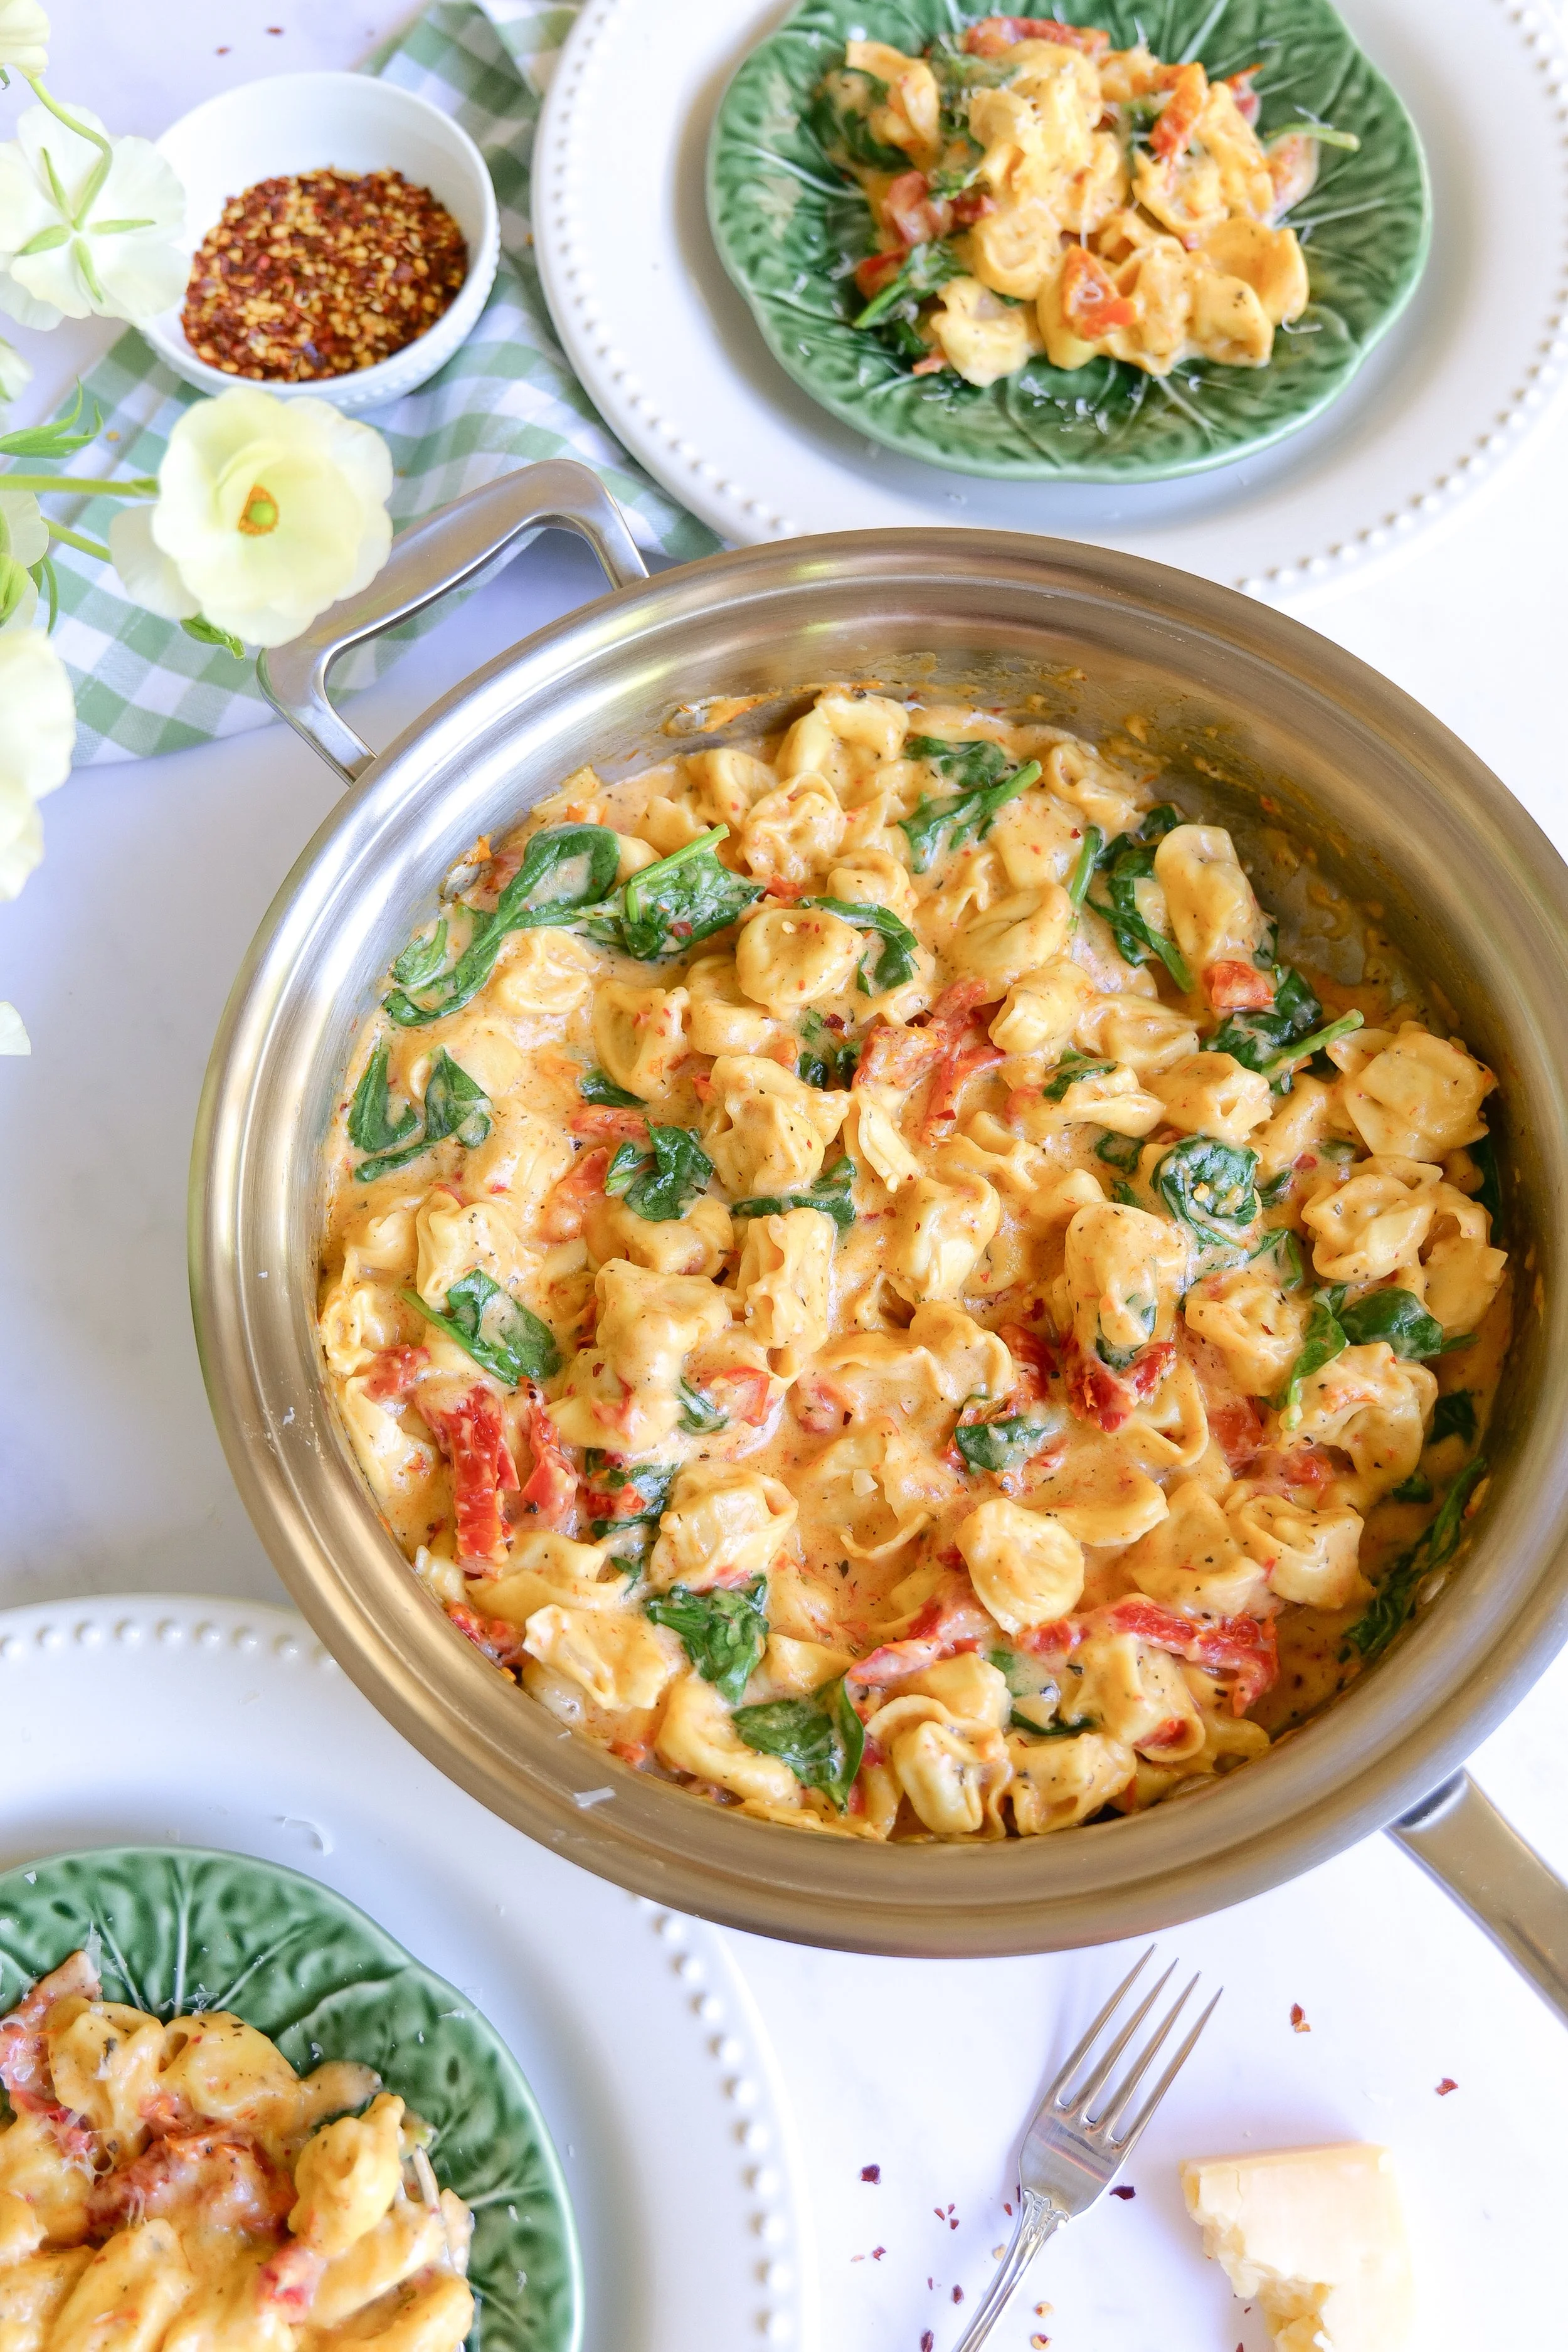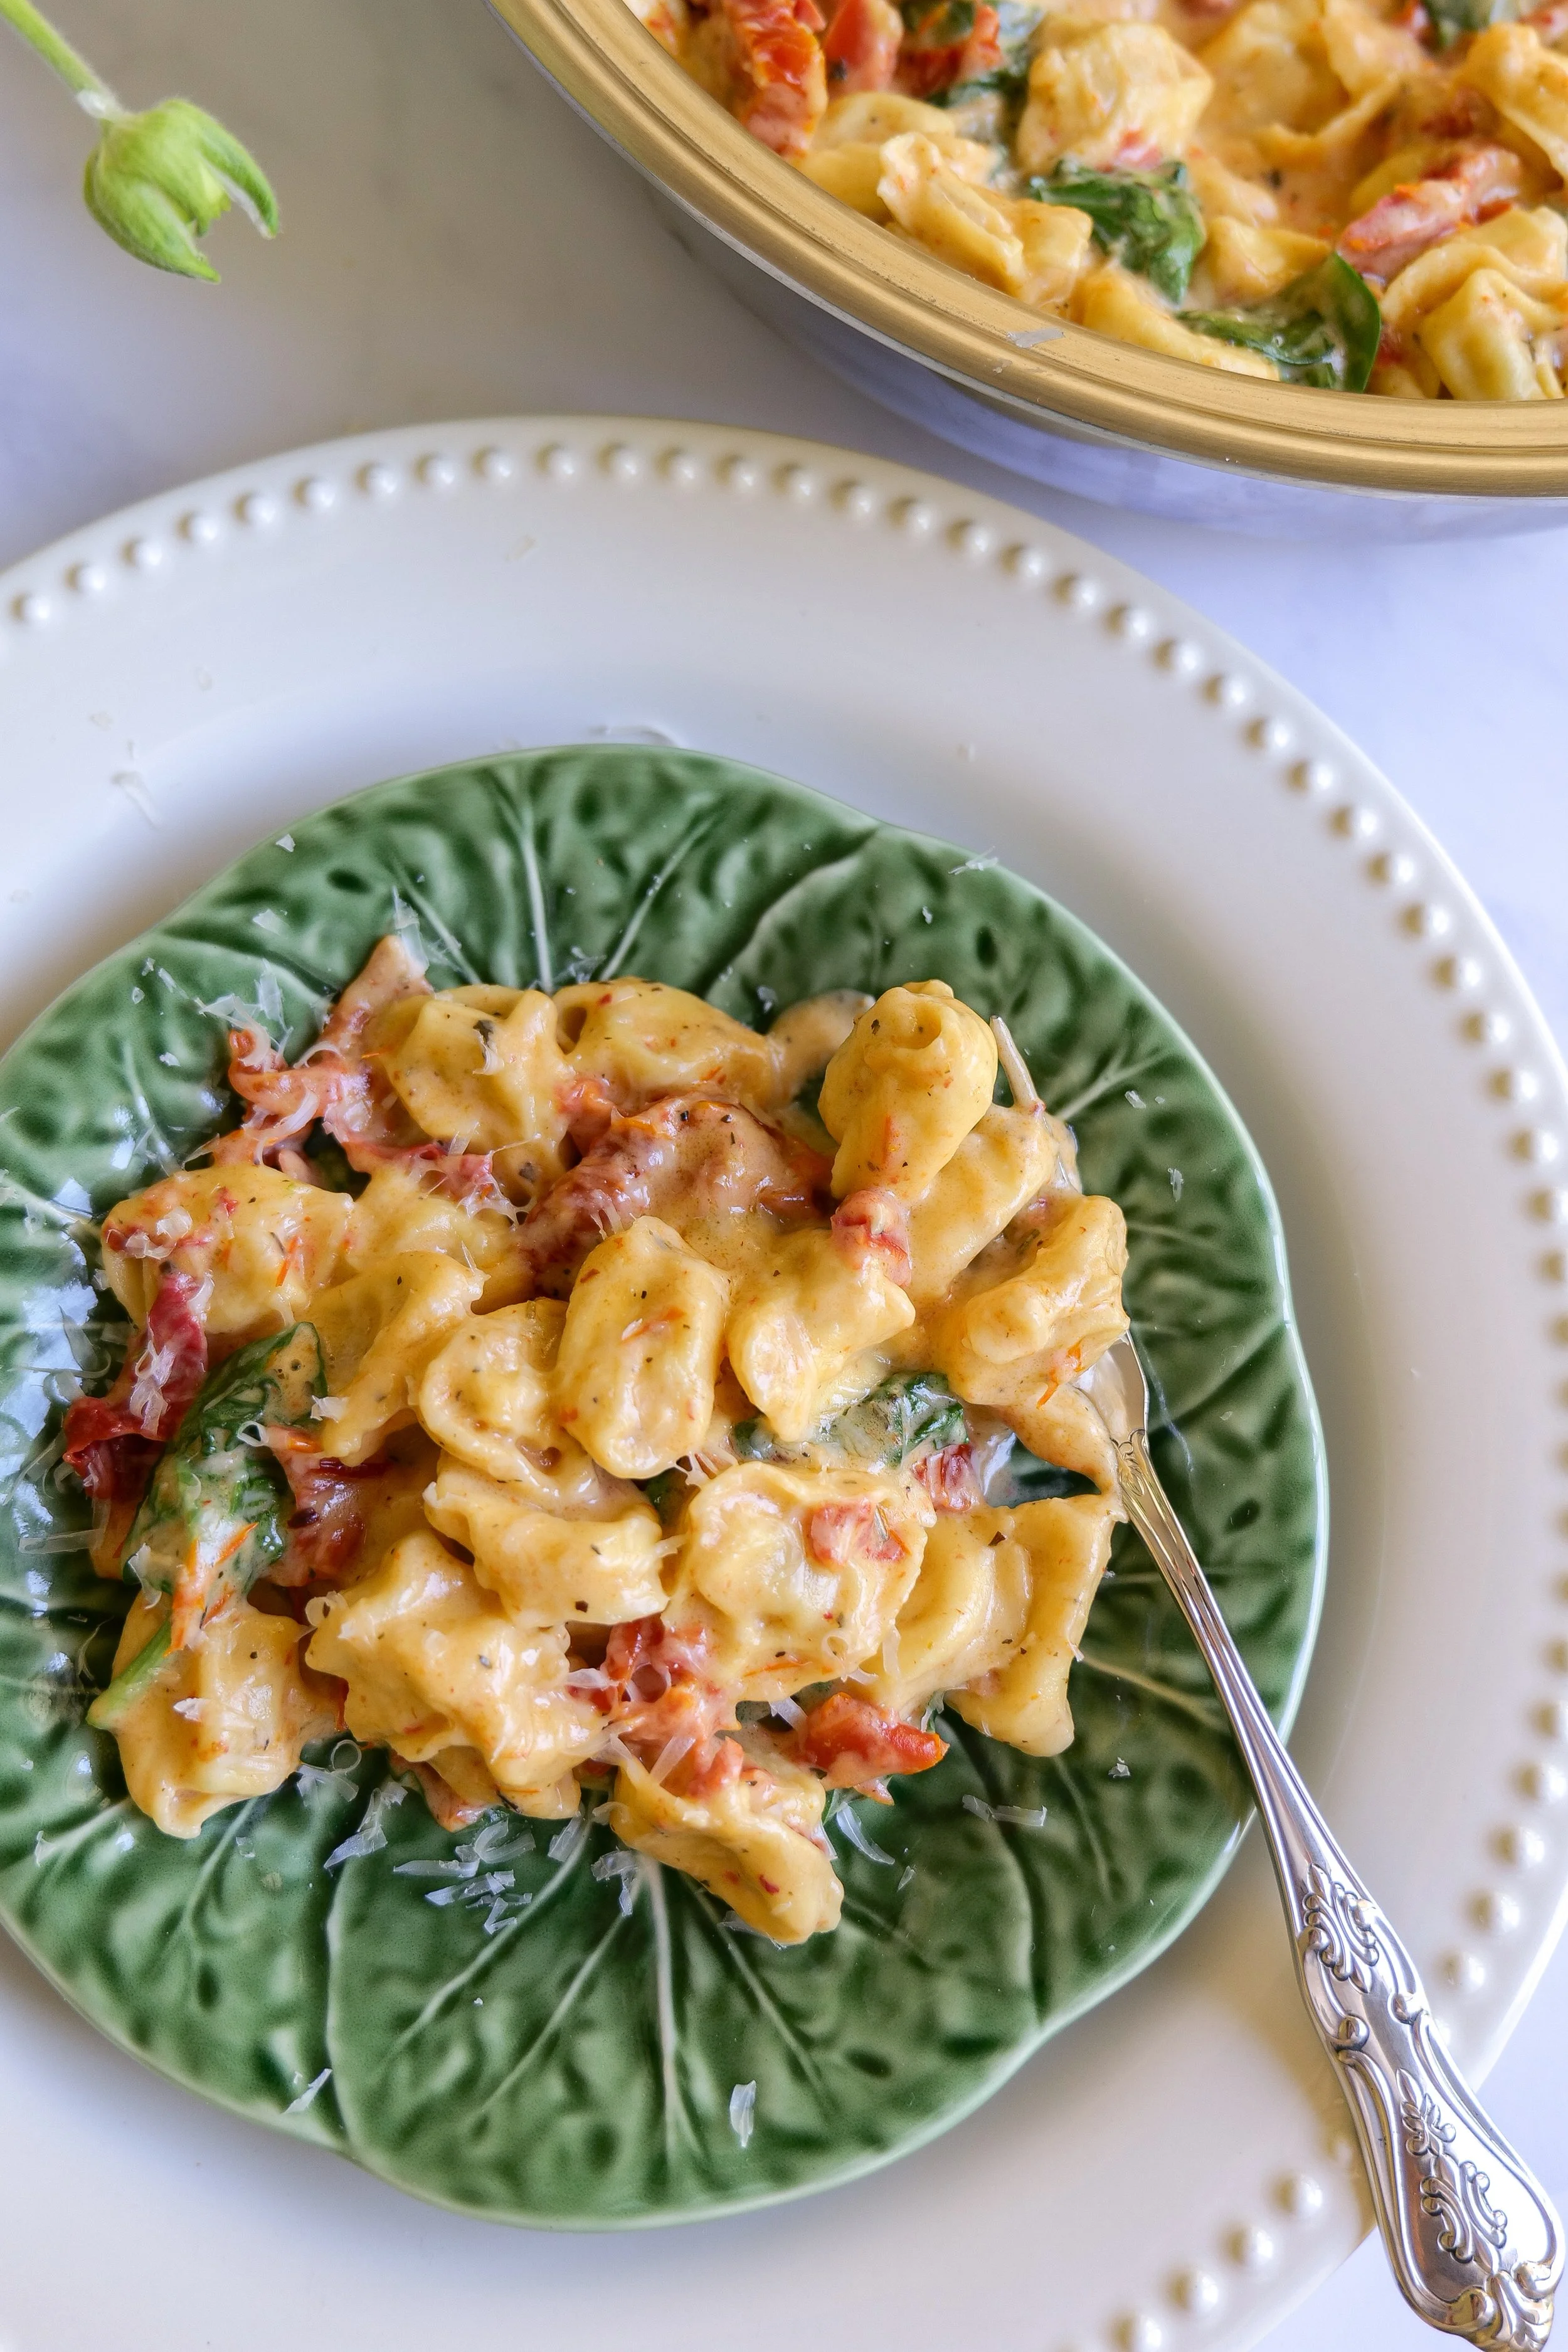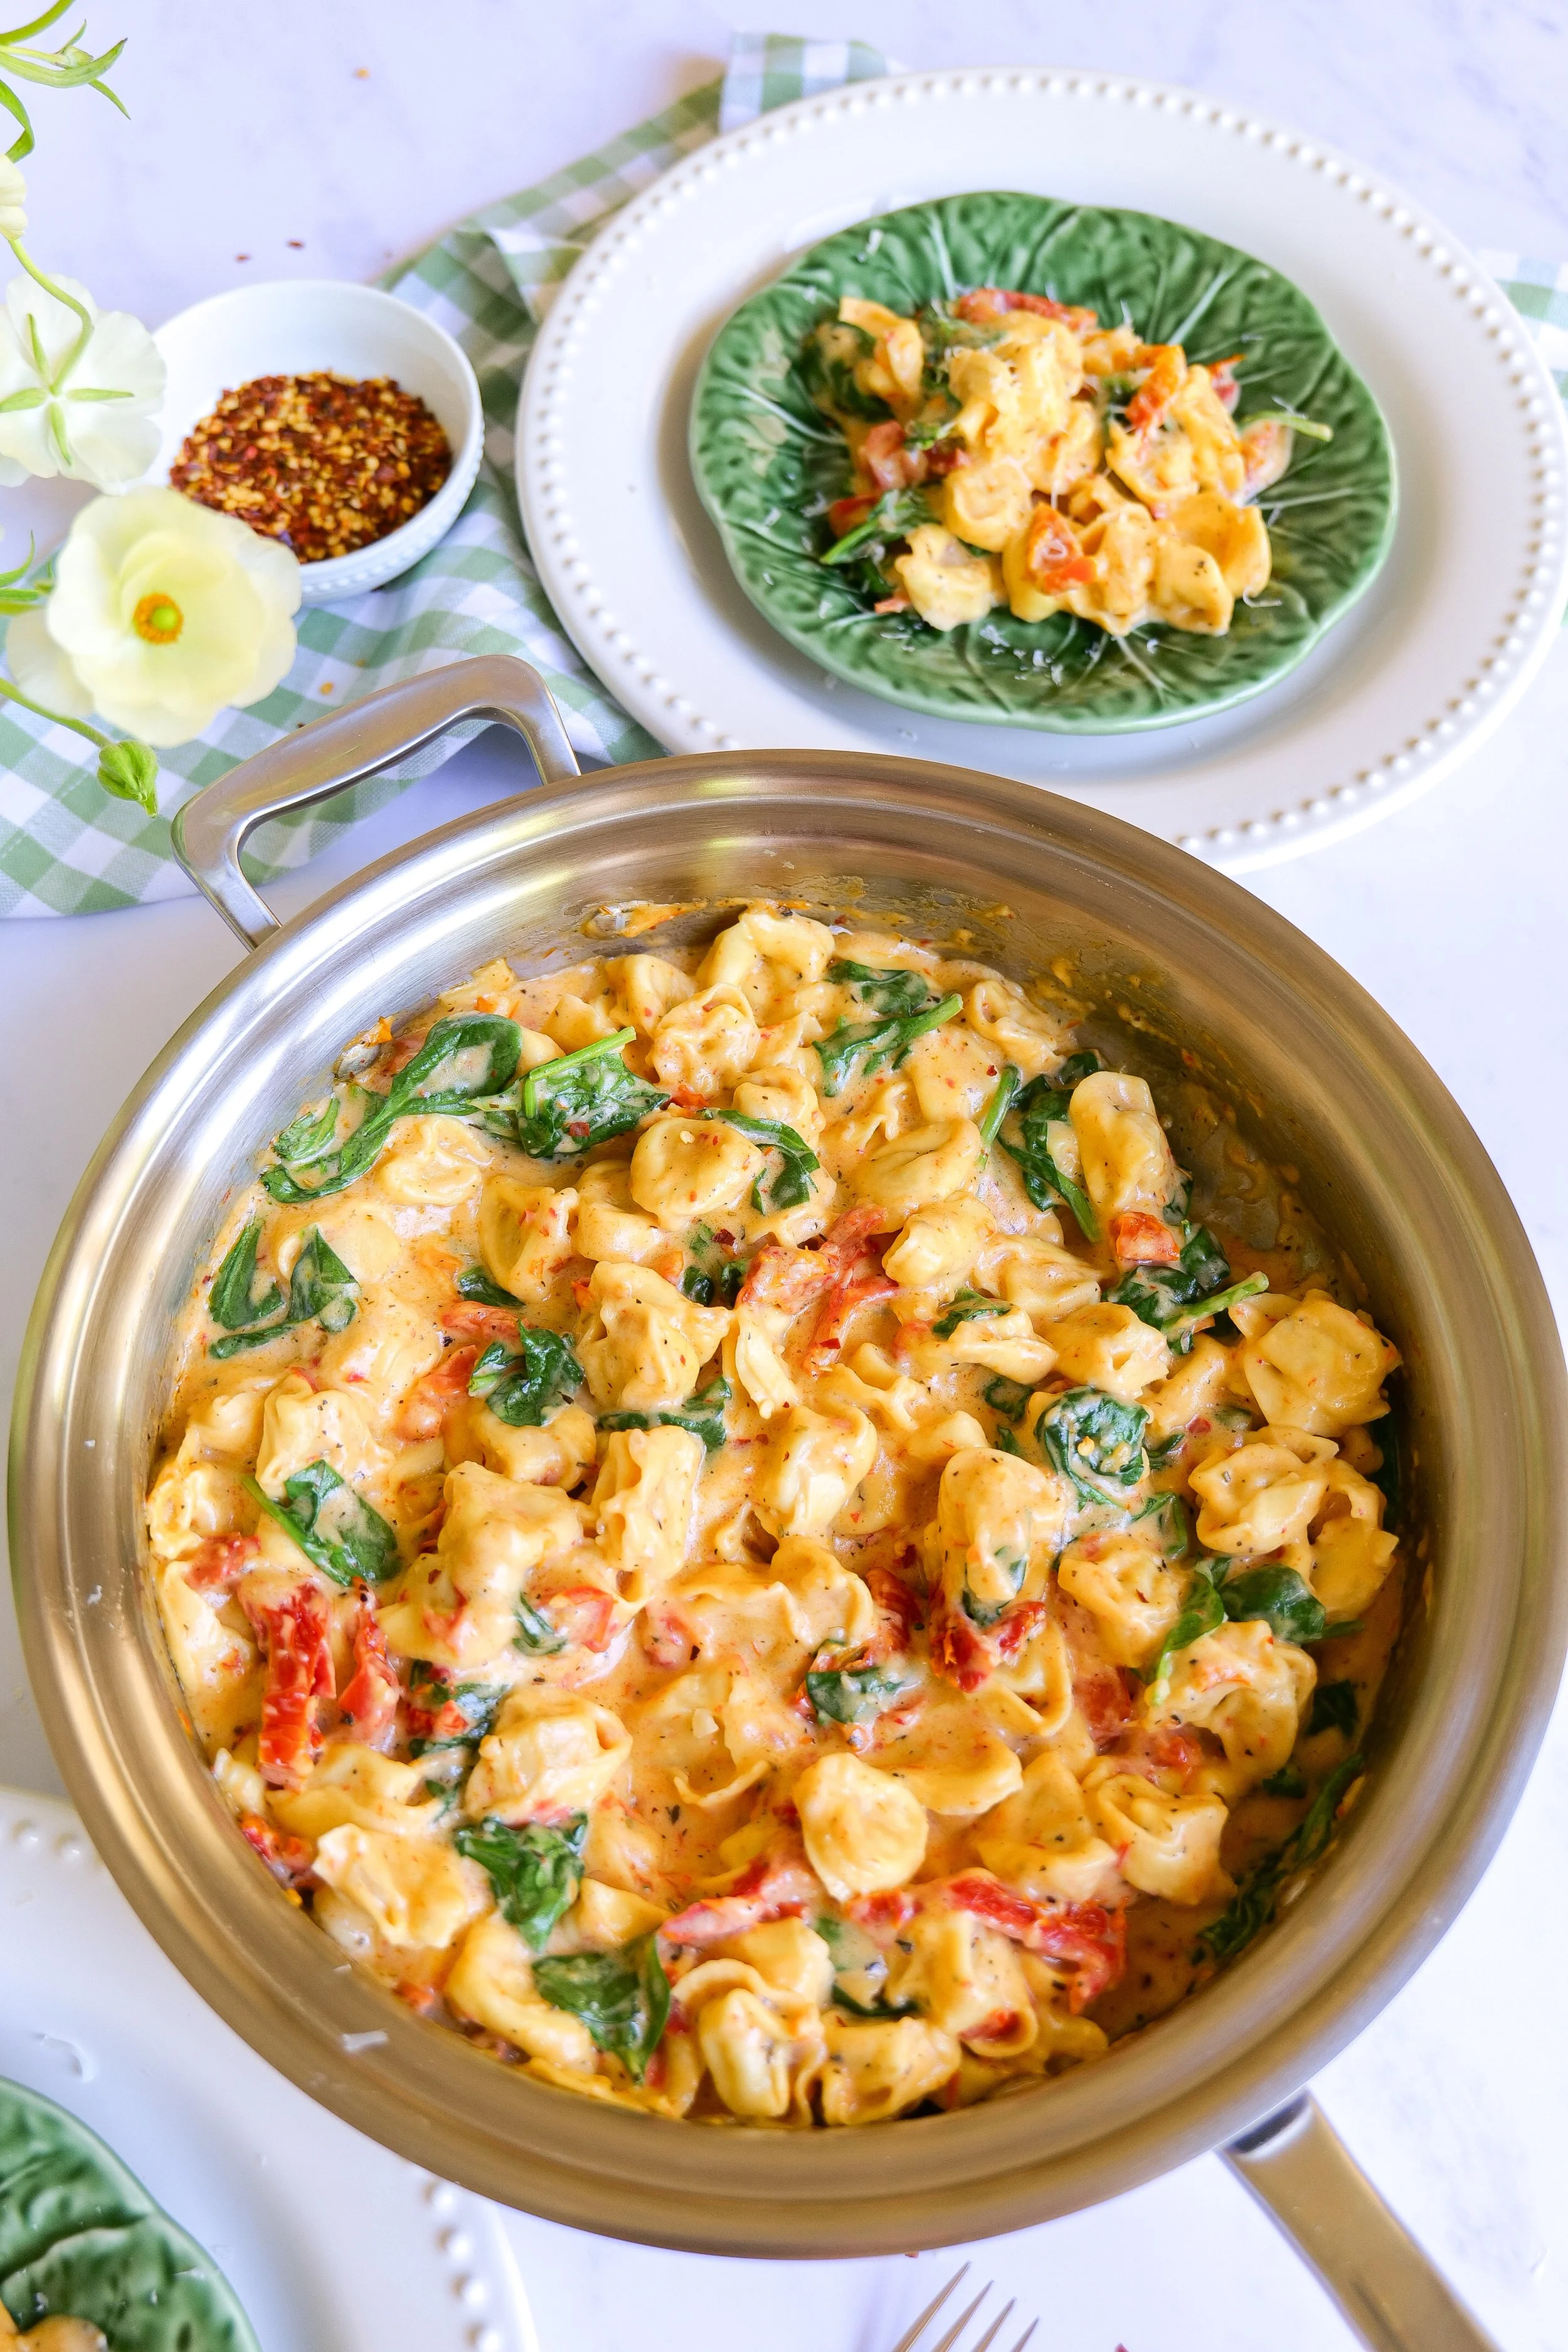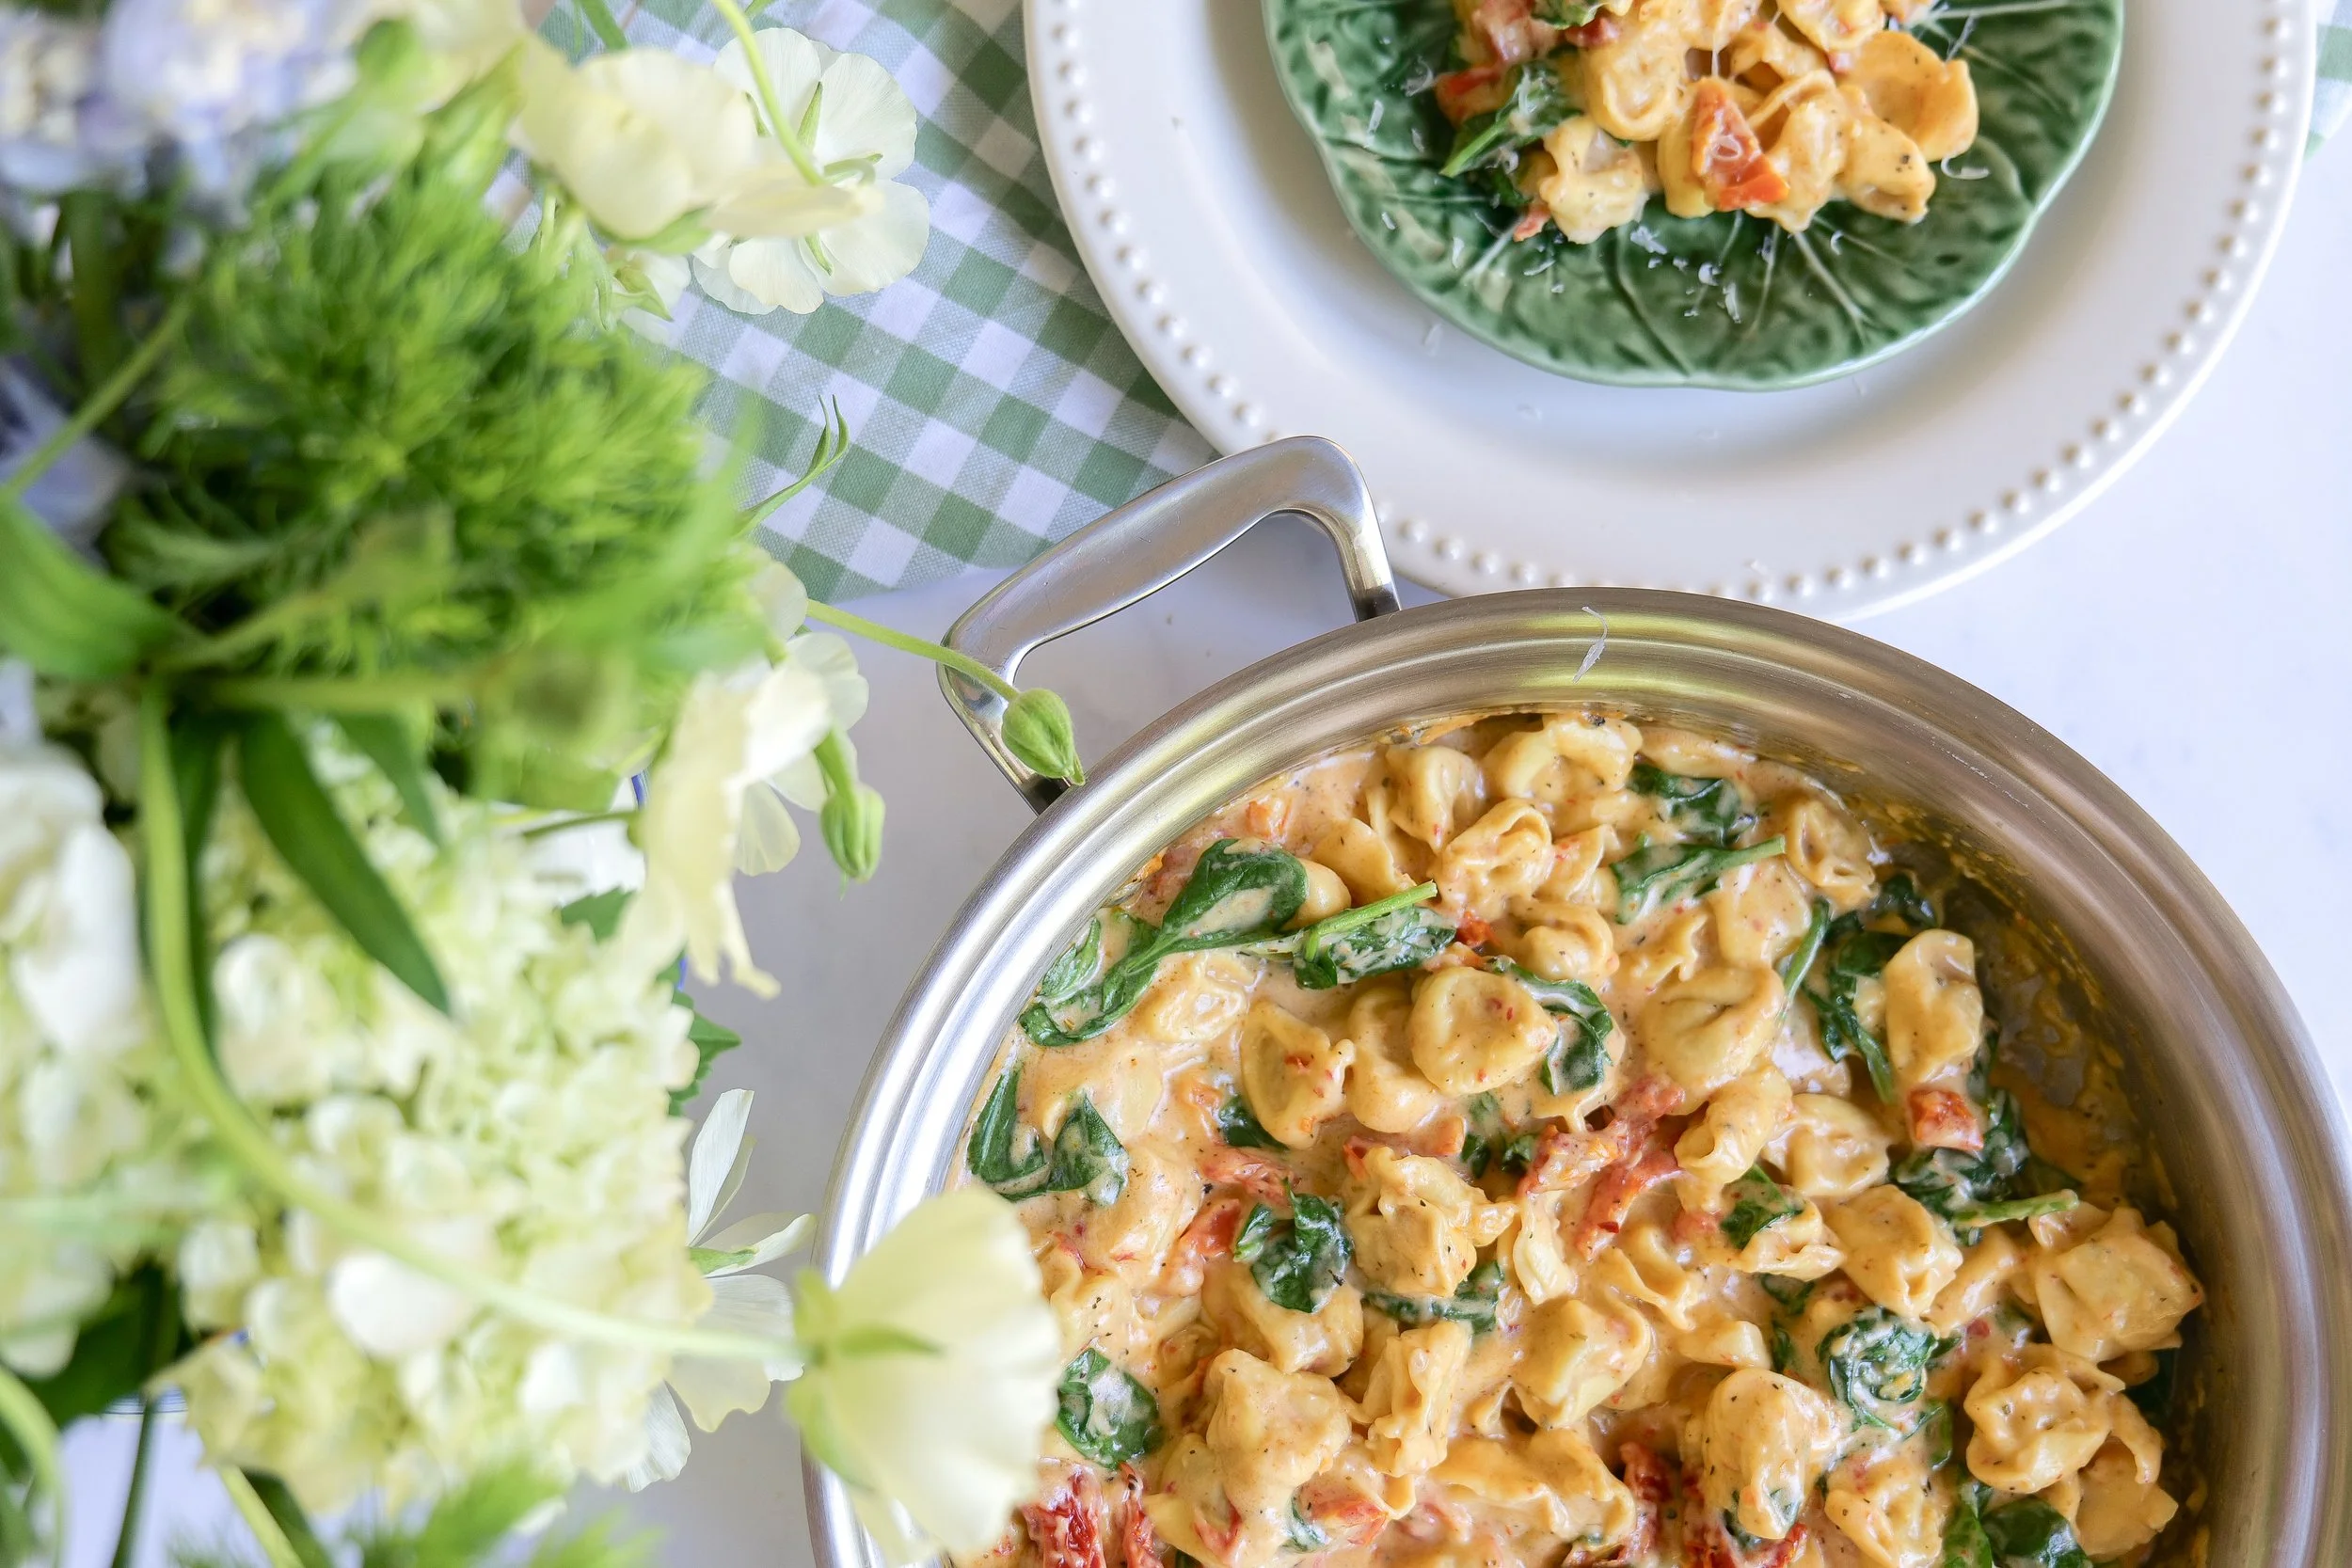
Slow Cooker Scalloped Potatoes: The Perfect Savory Side Dish for Any Occasion!

↓ Skip to Recipe

The Creamiest Slow Cooker Scalloped Potatoes for Holidays & Cozy Family Dinners
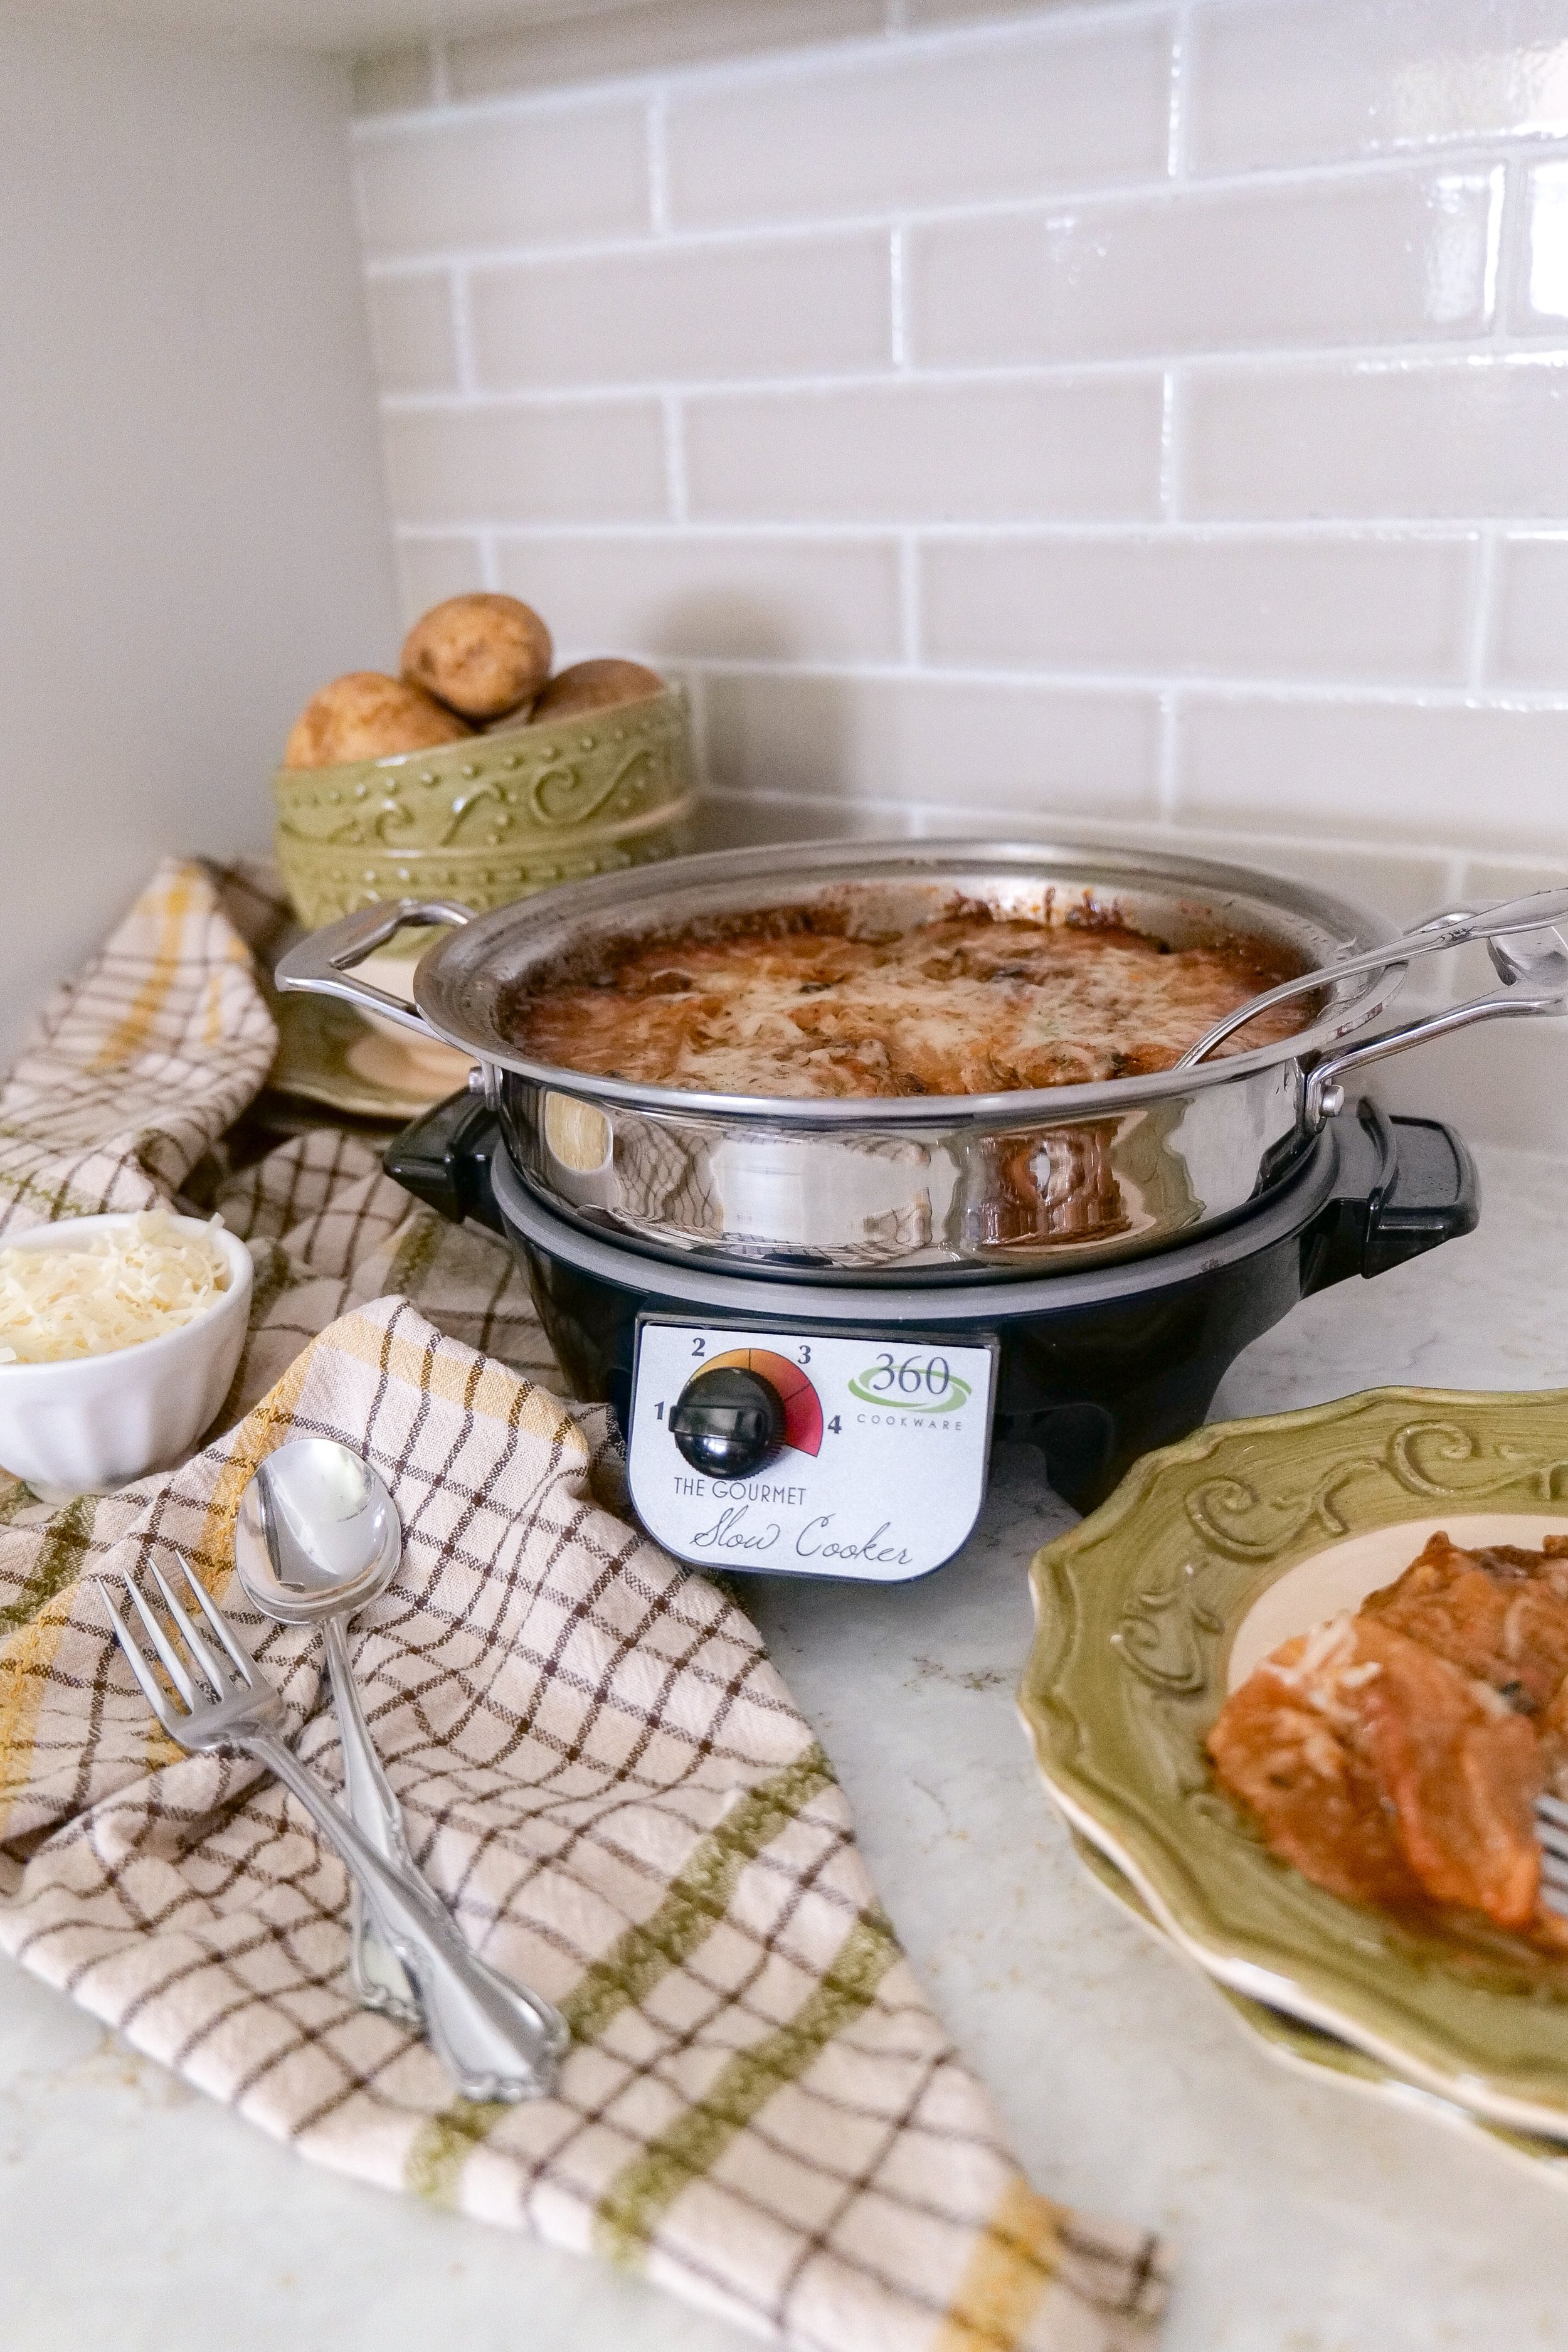
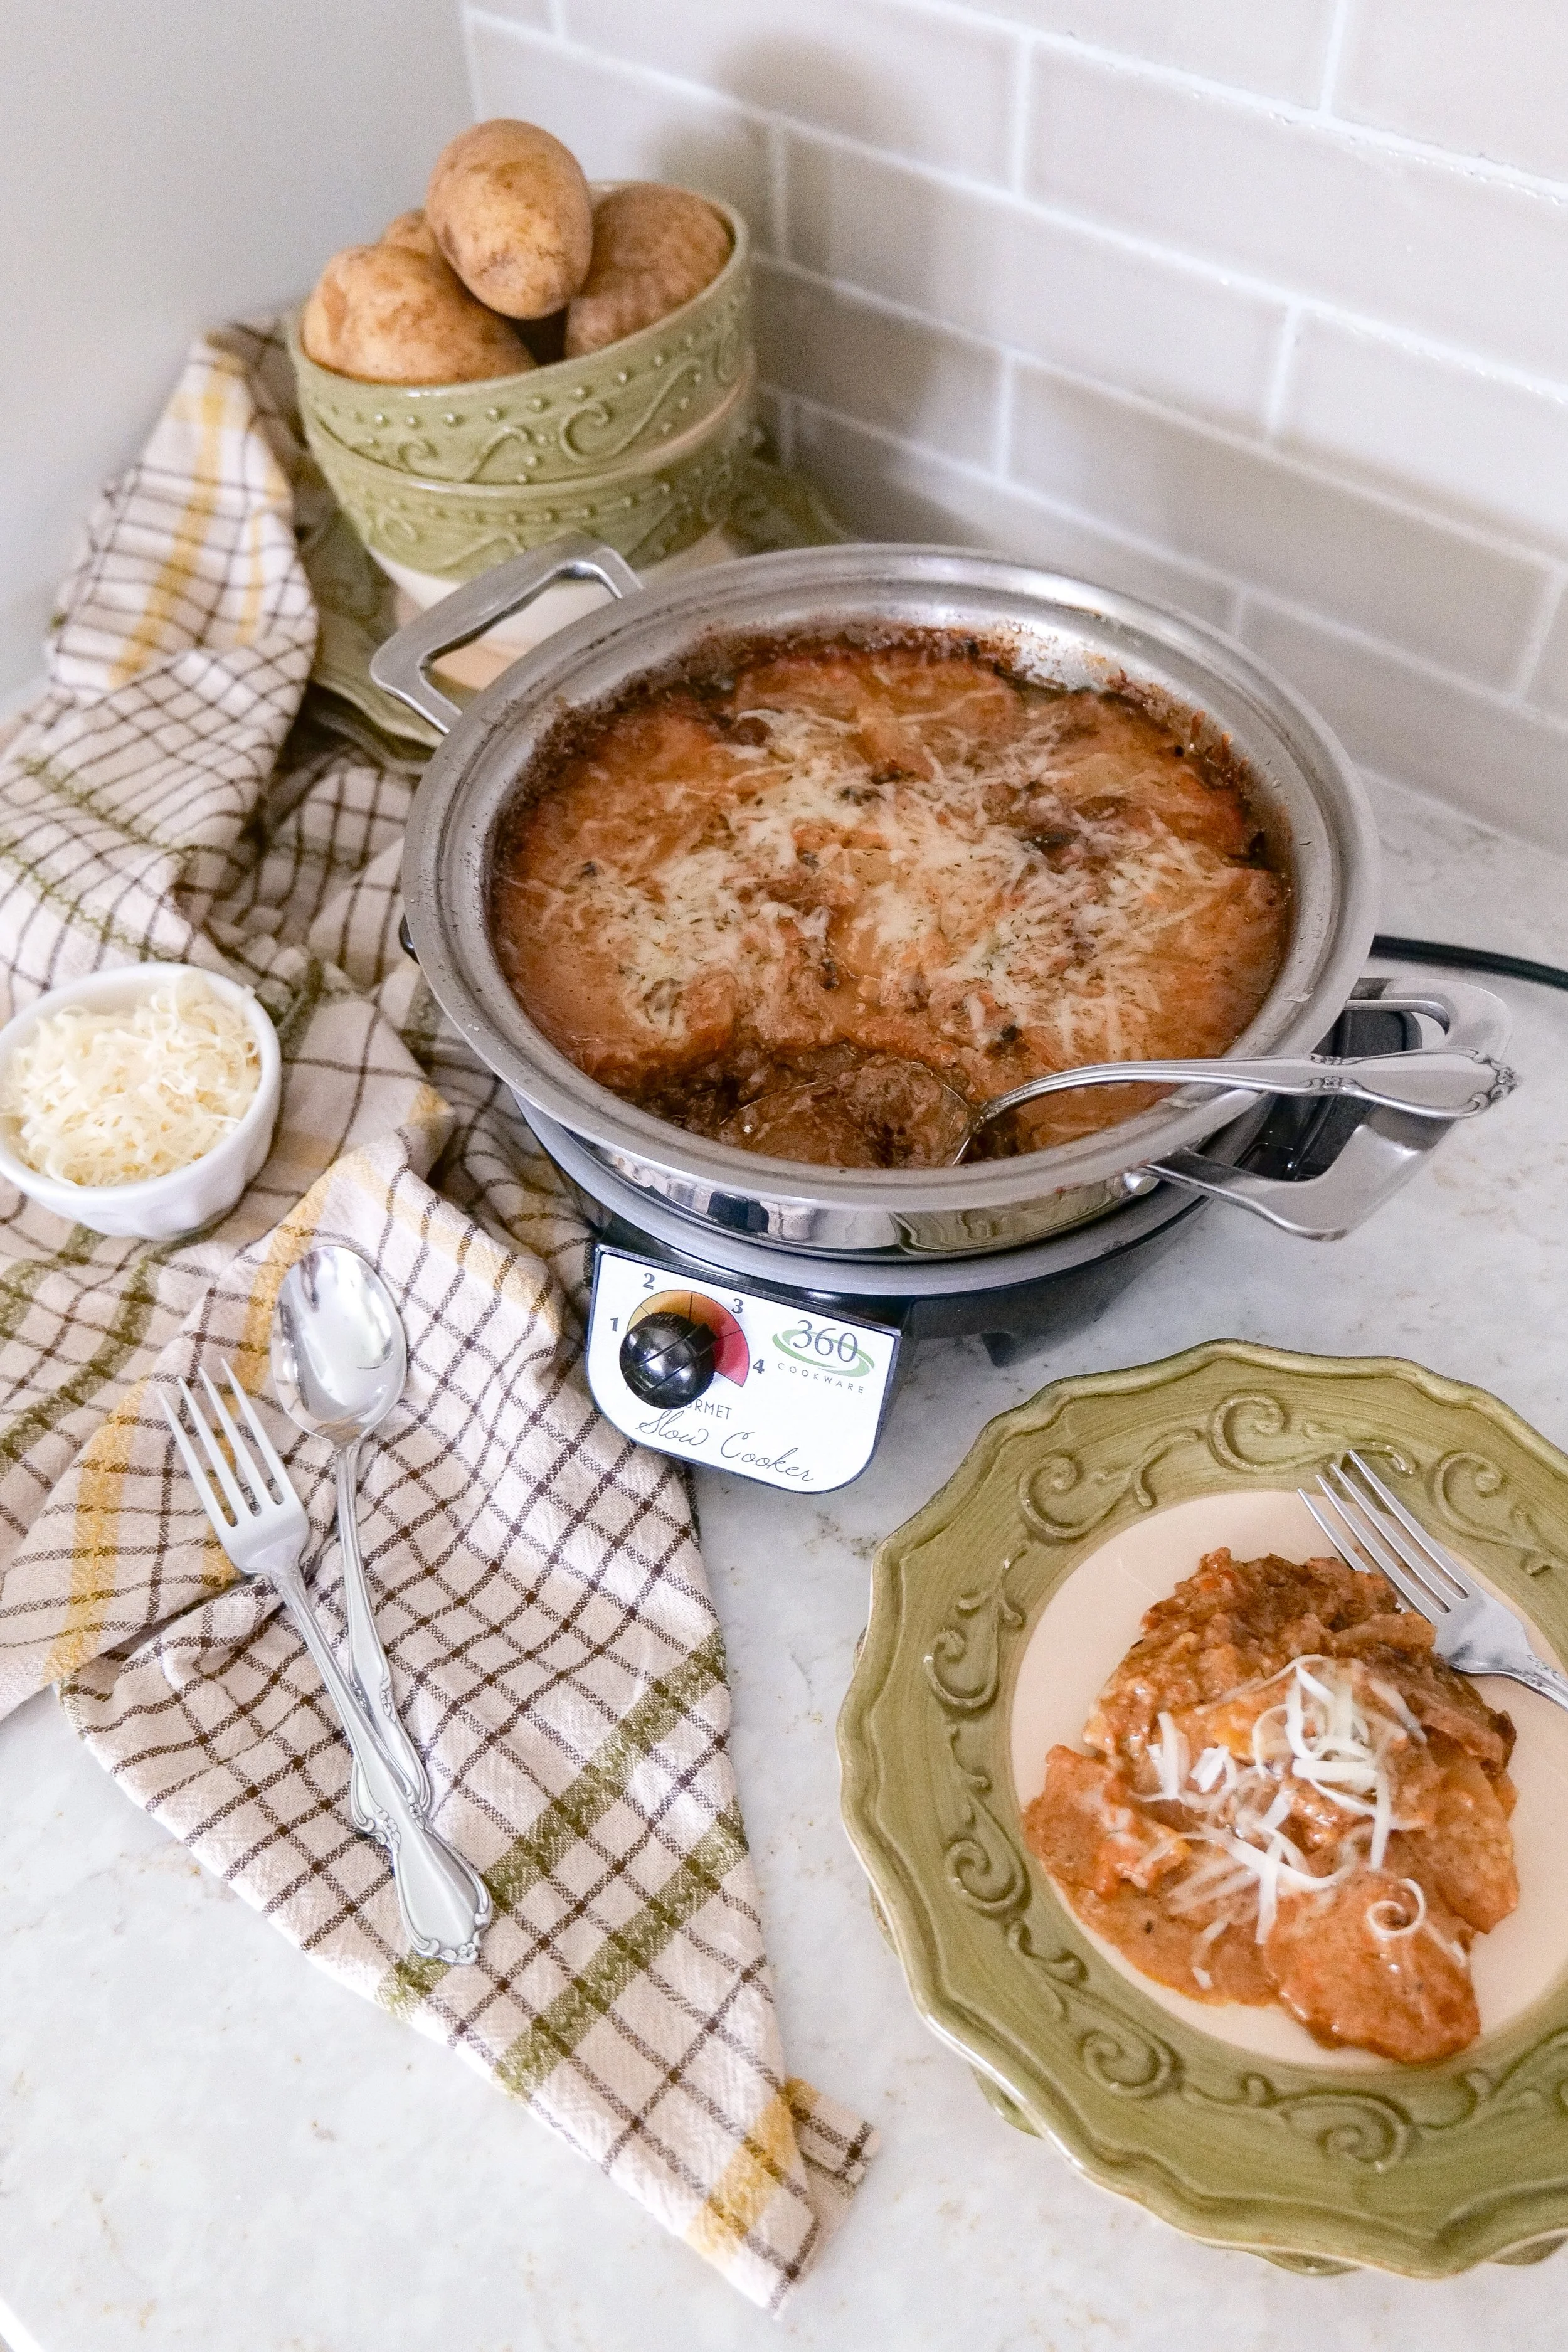
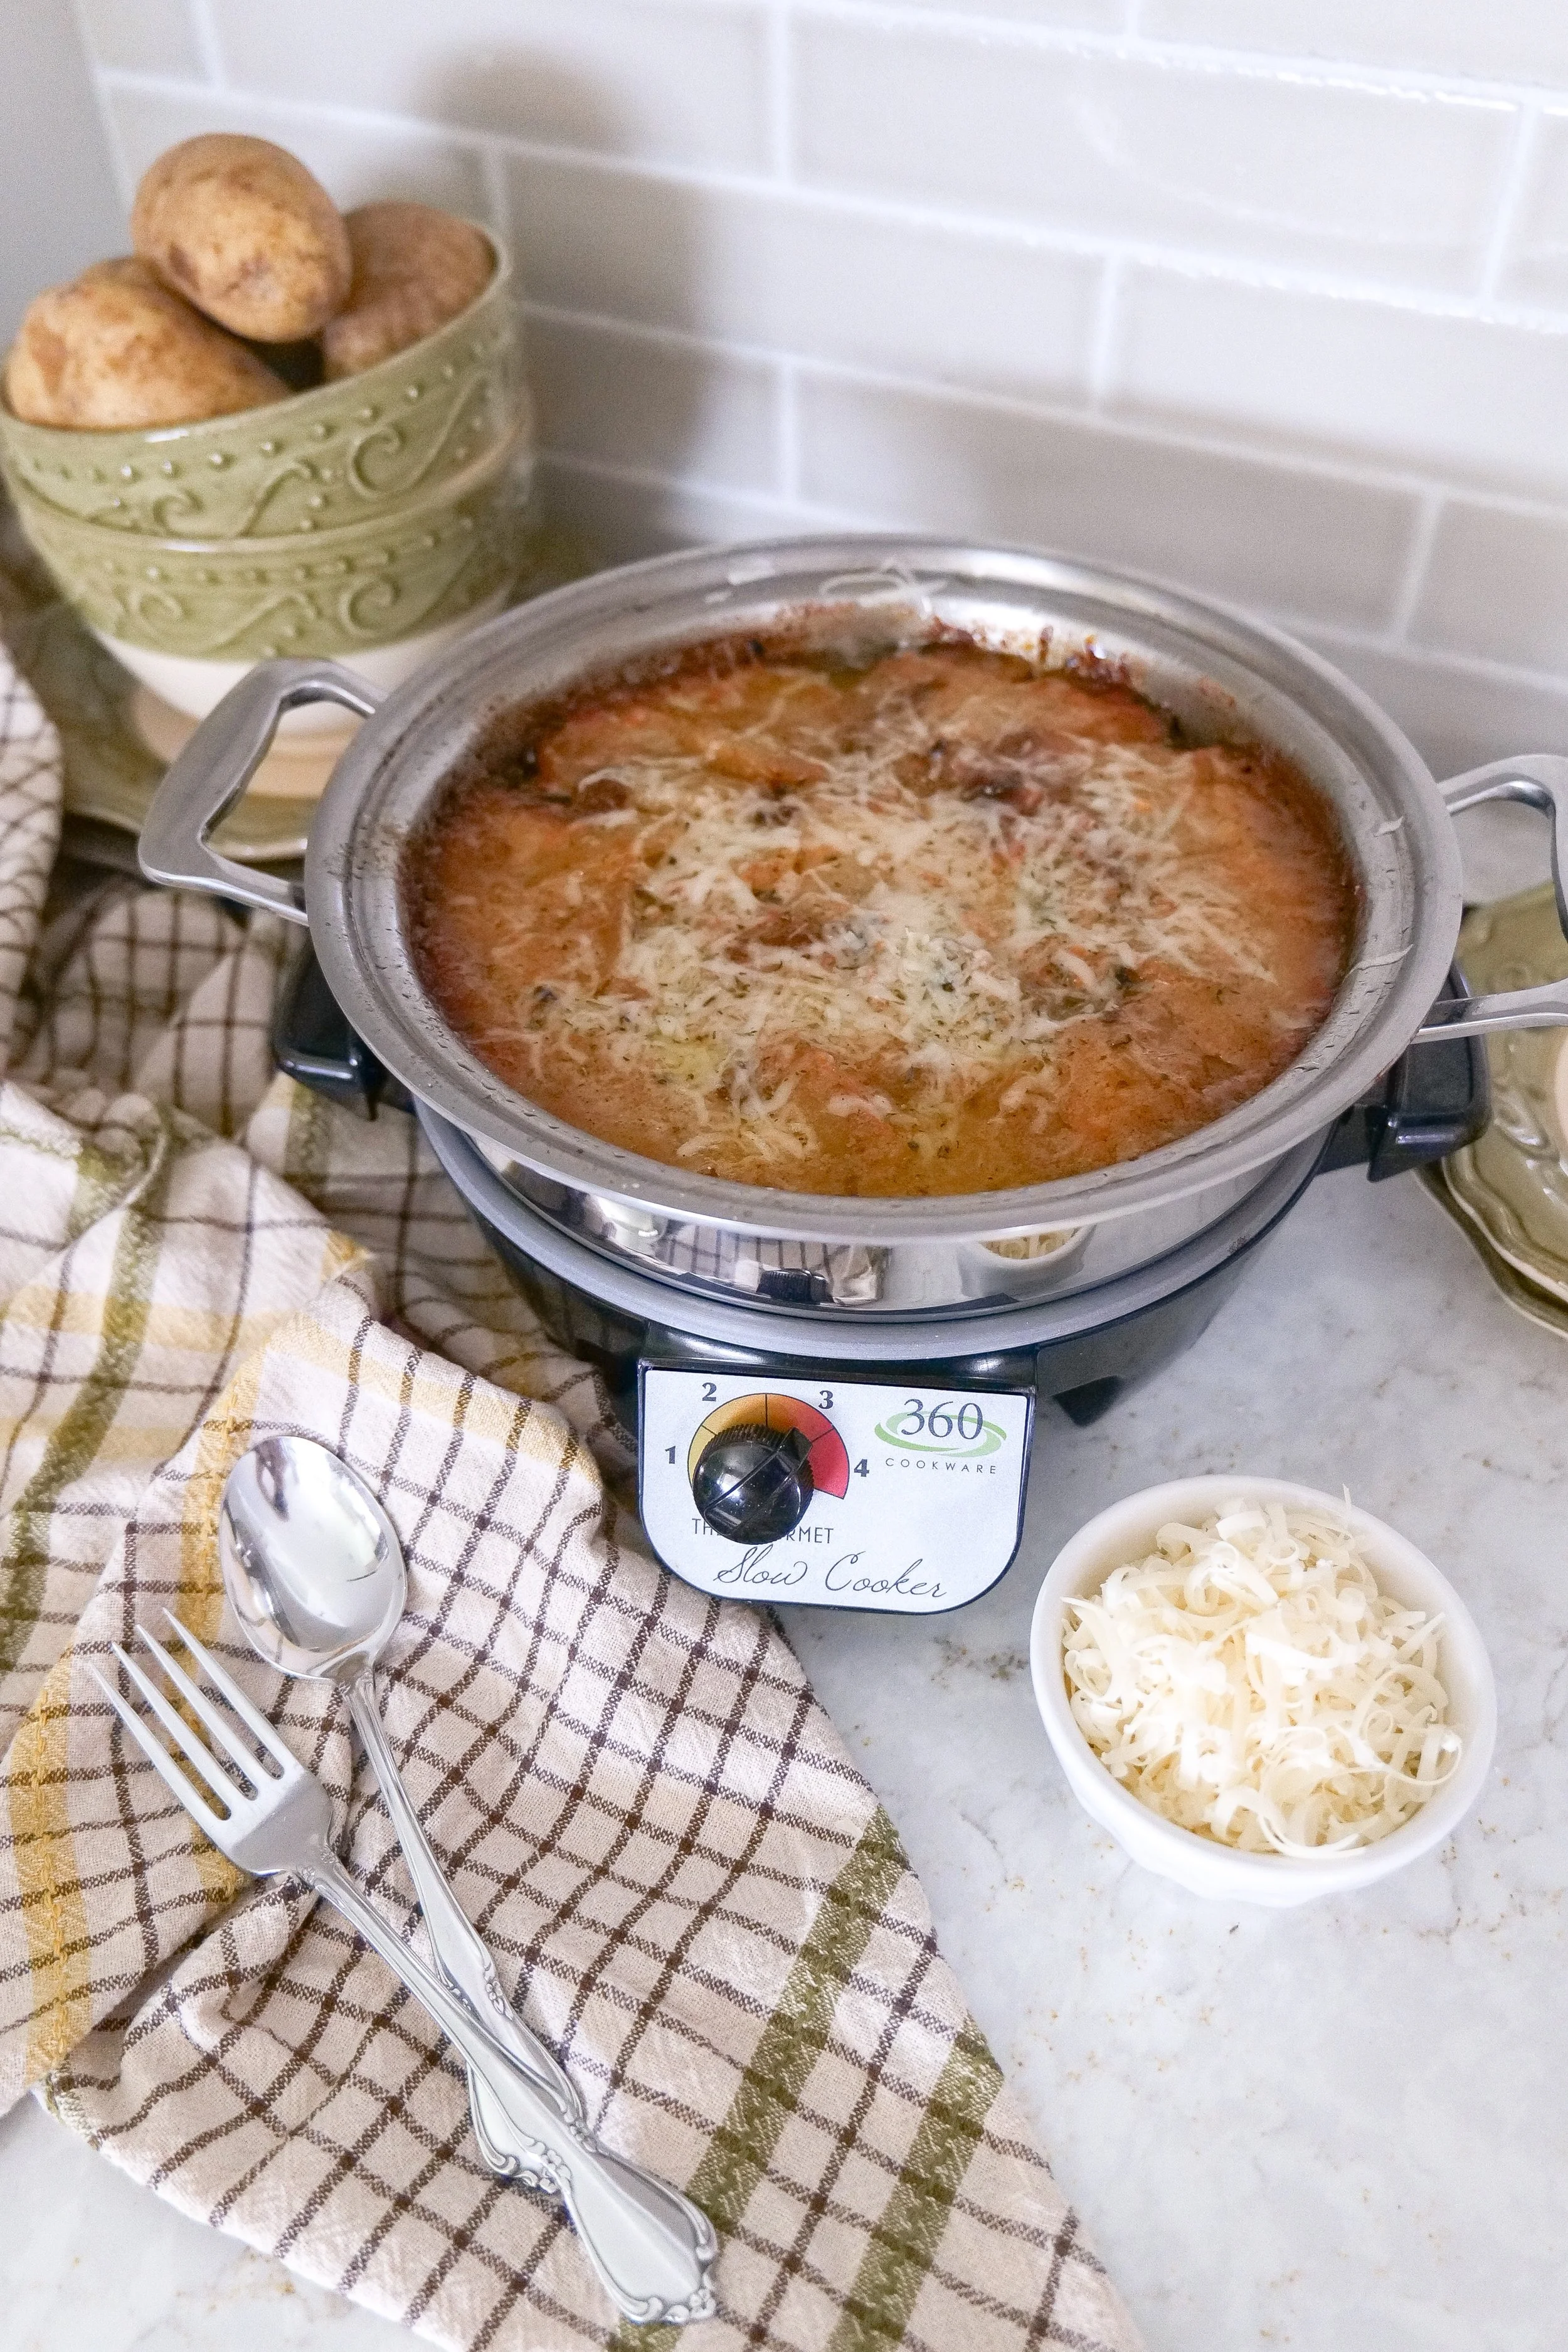
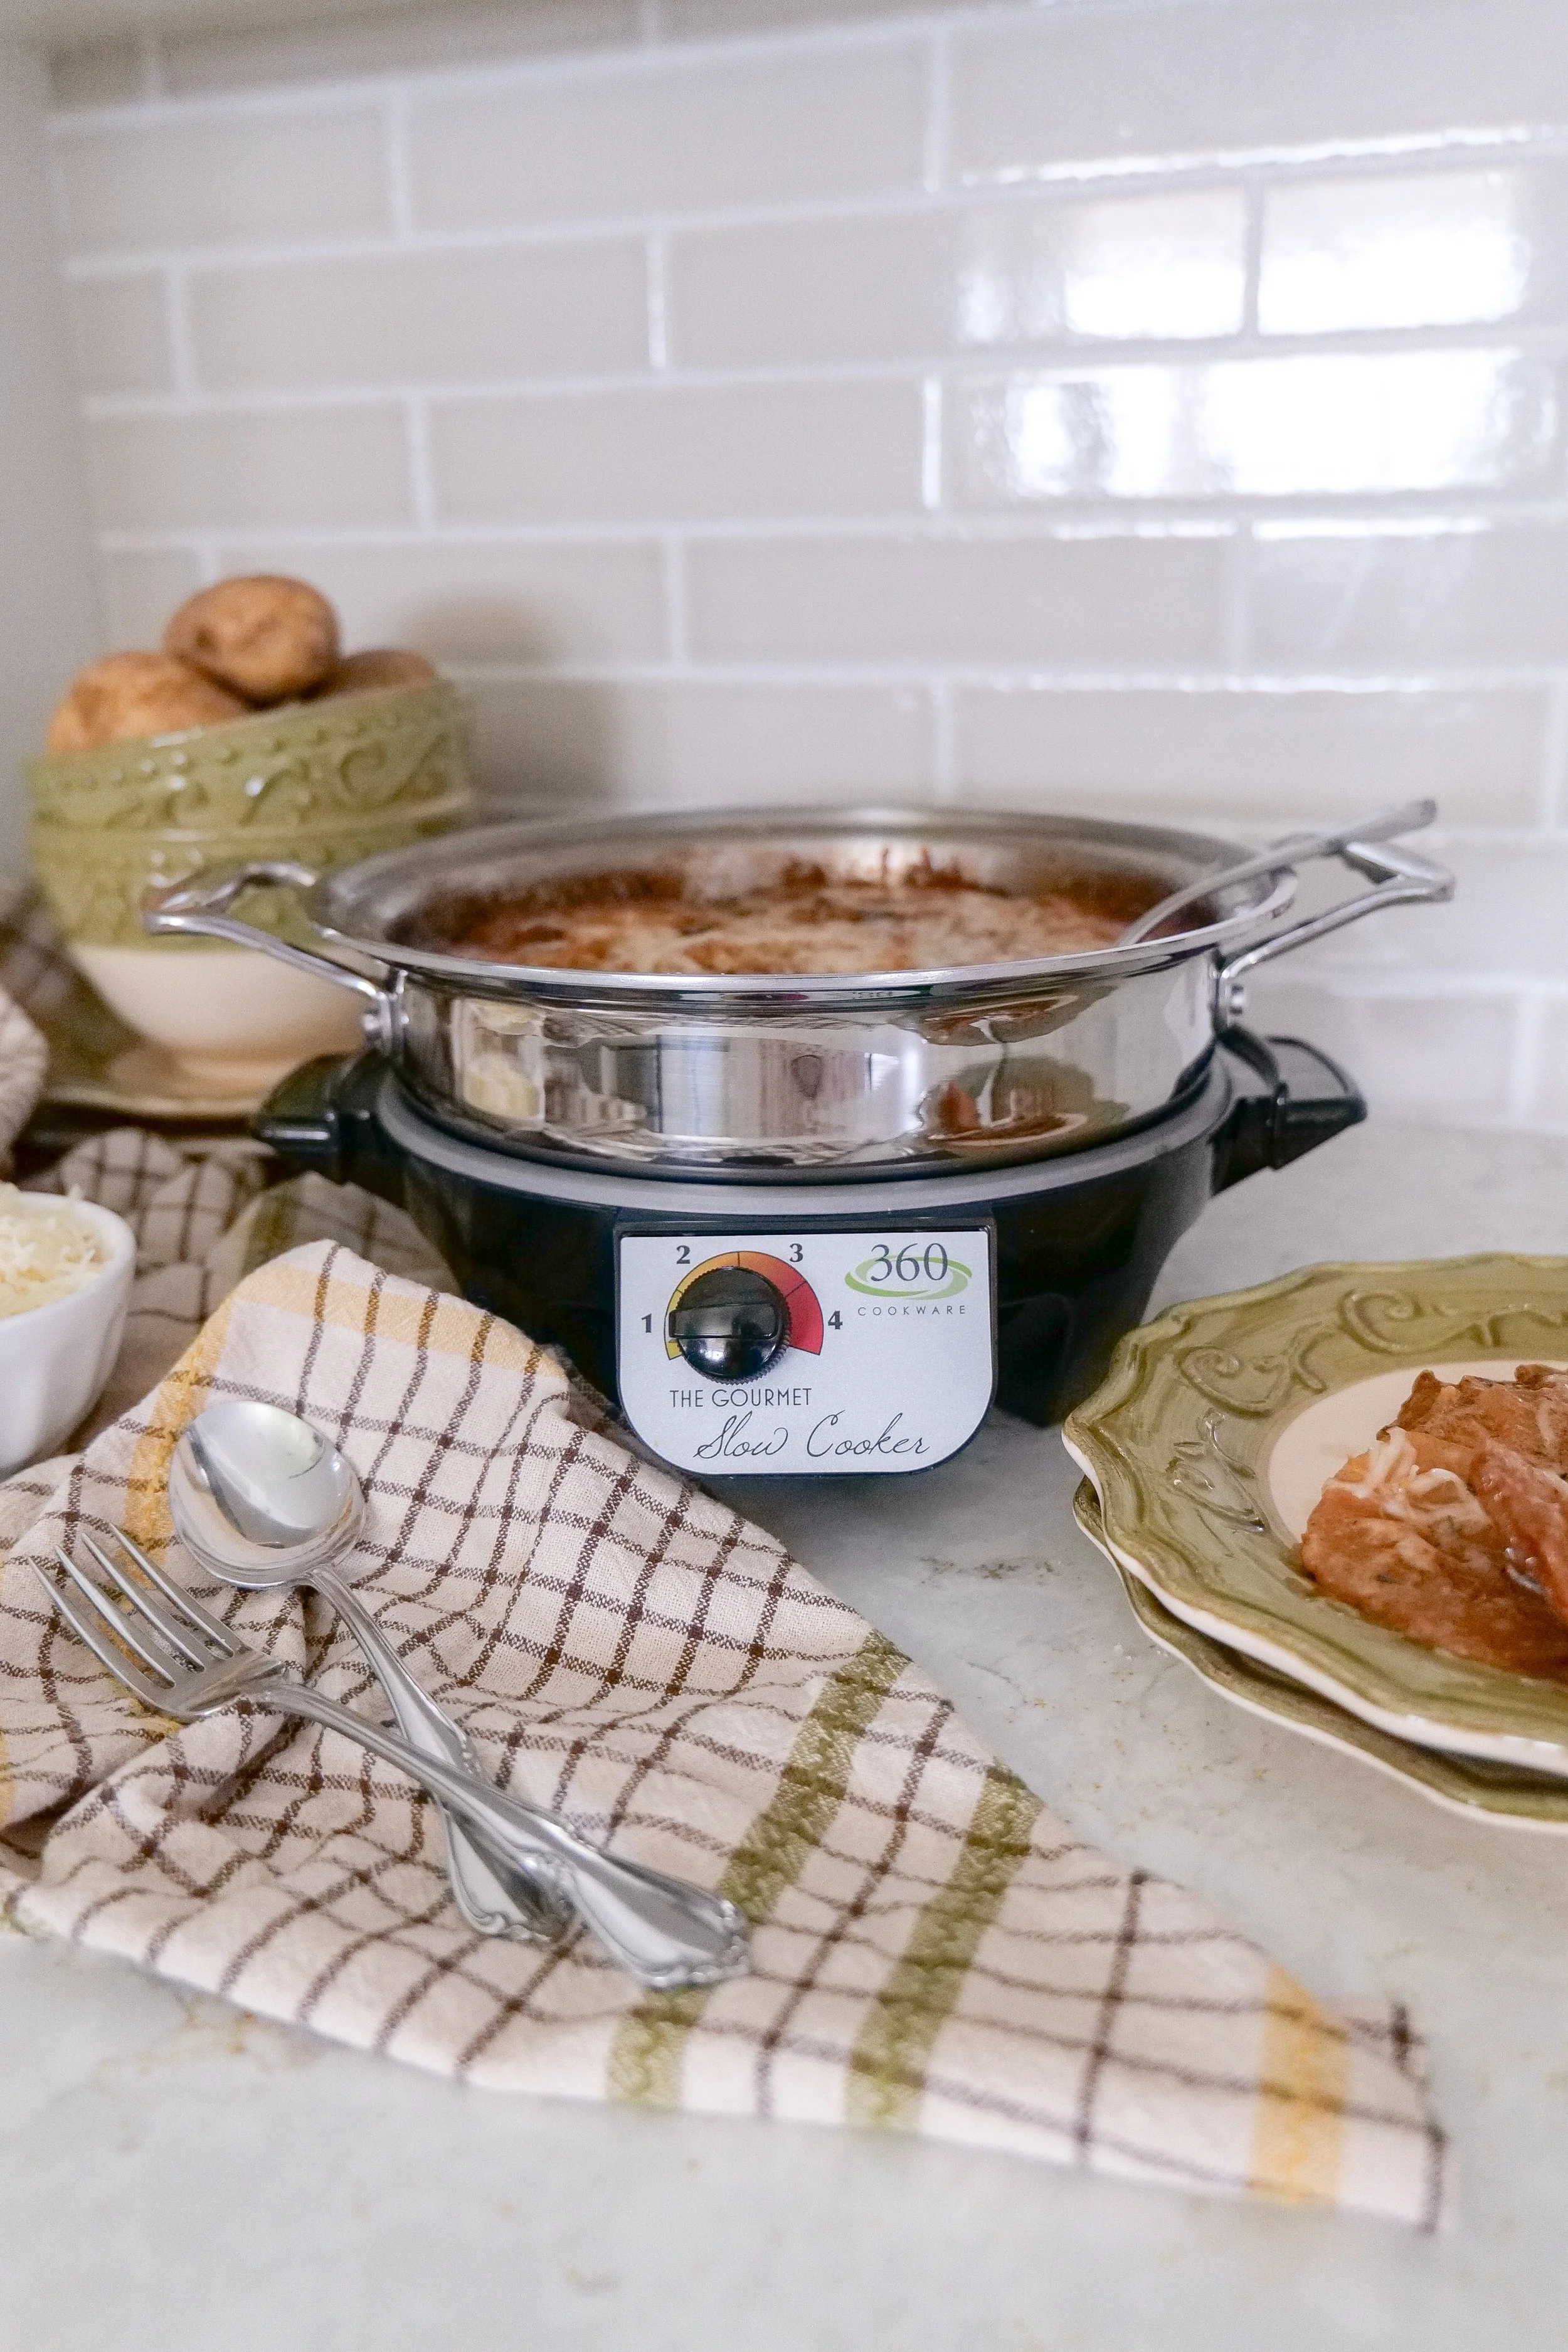
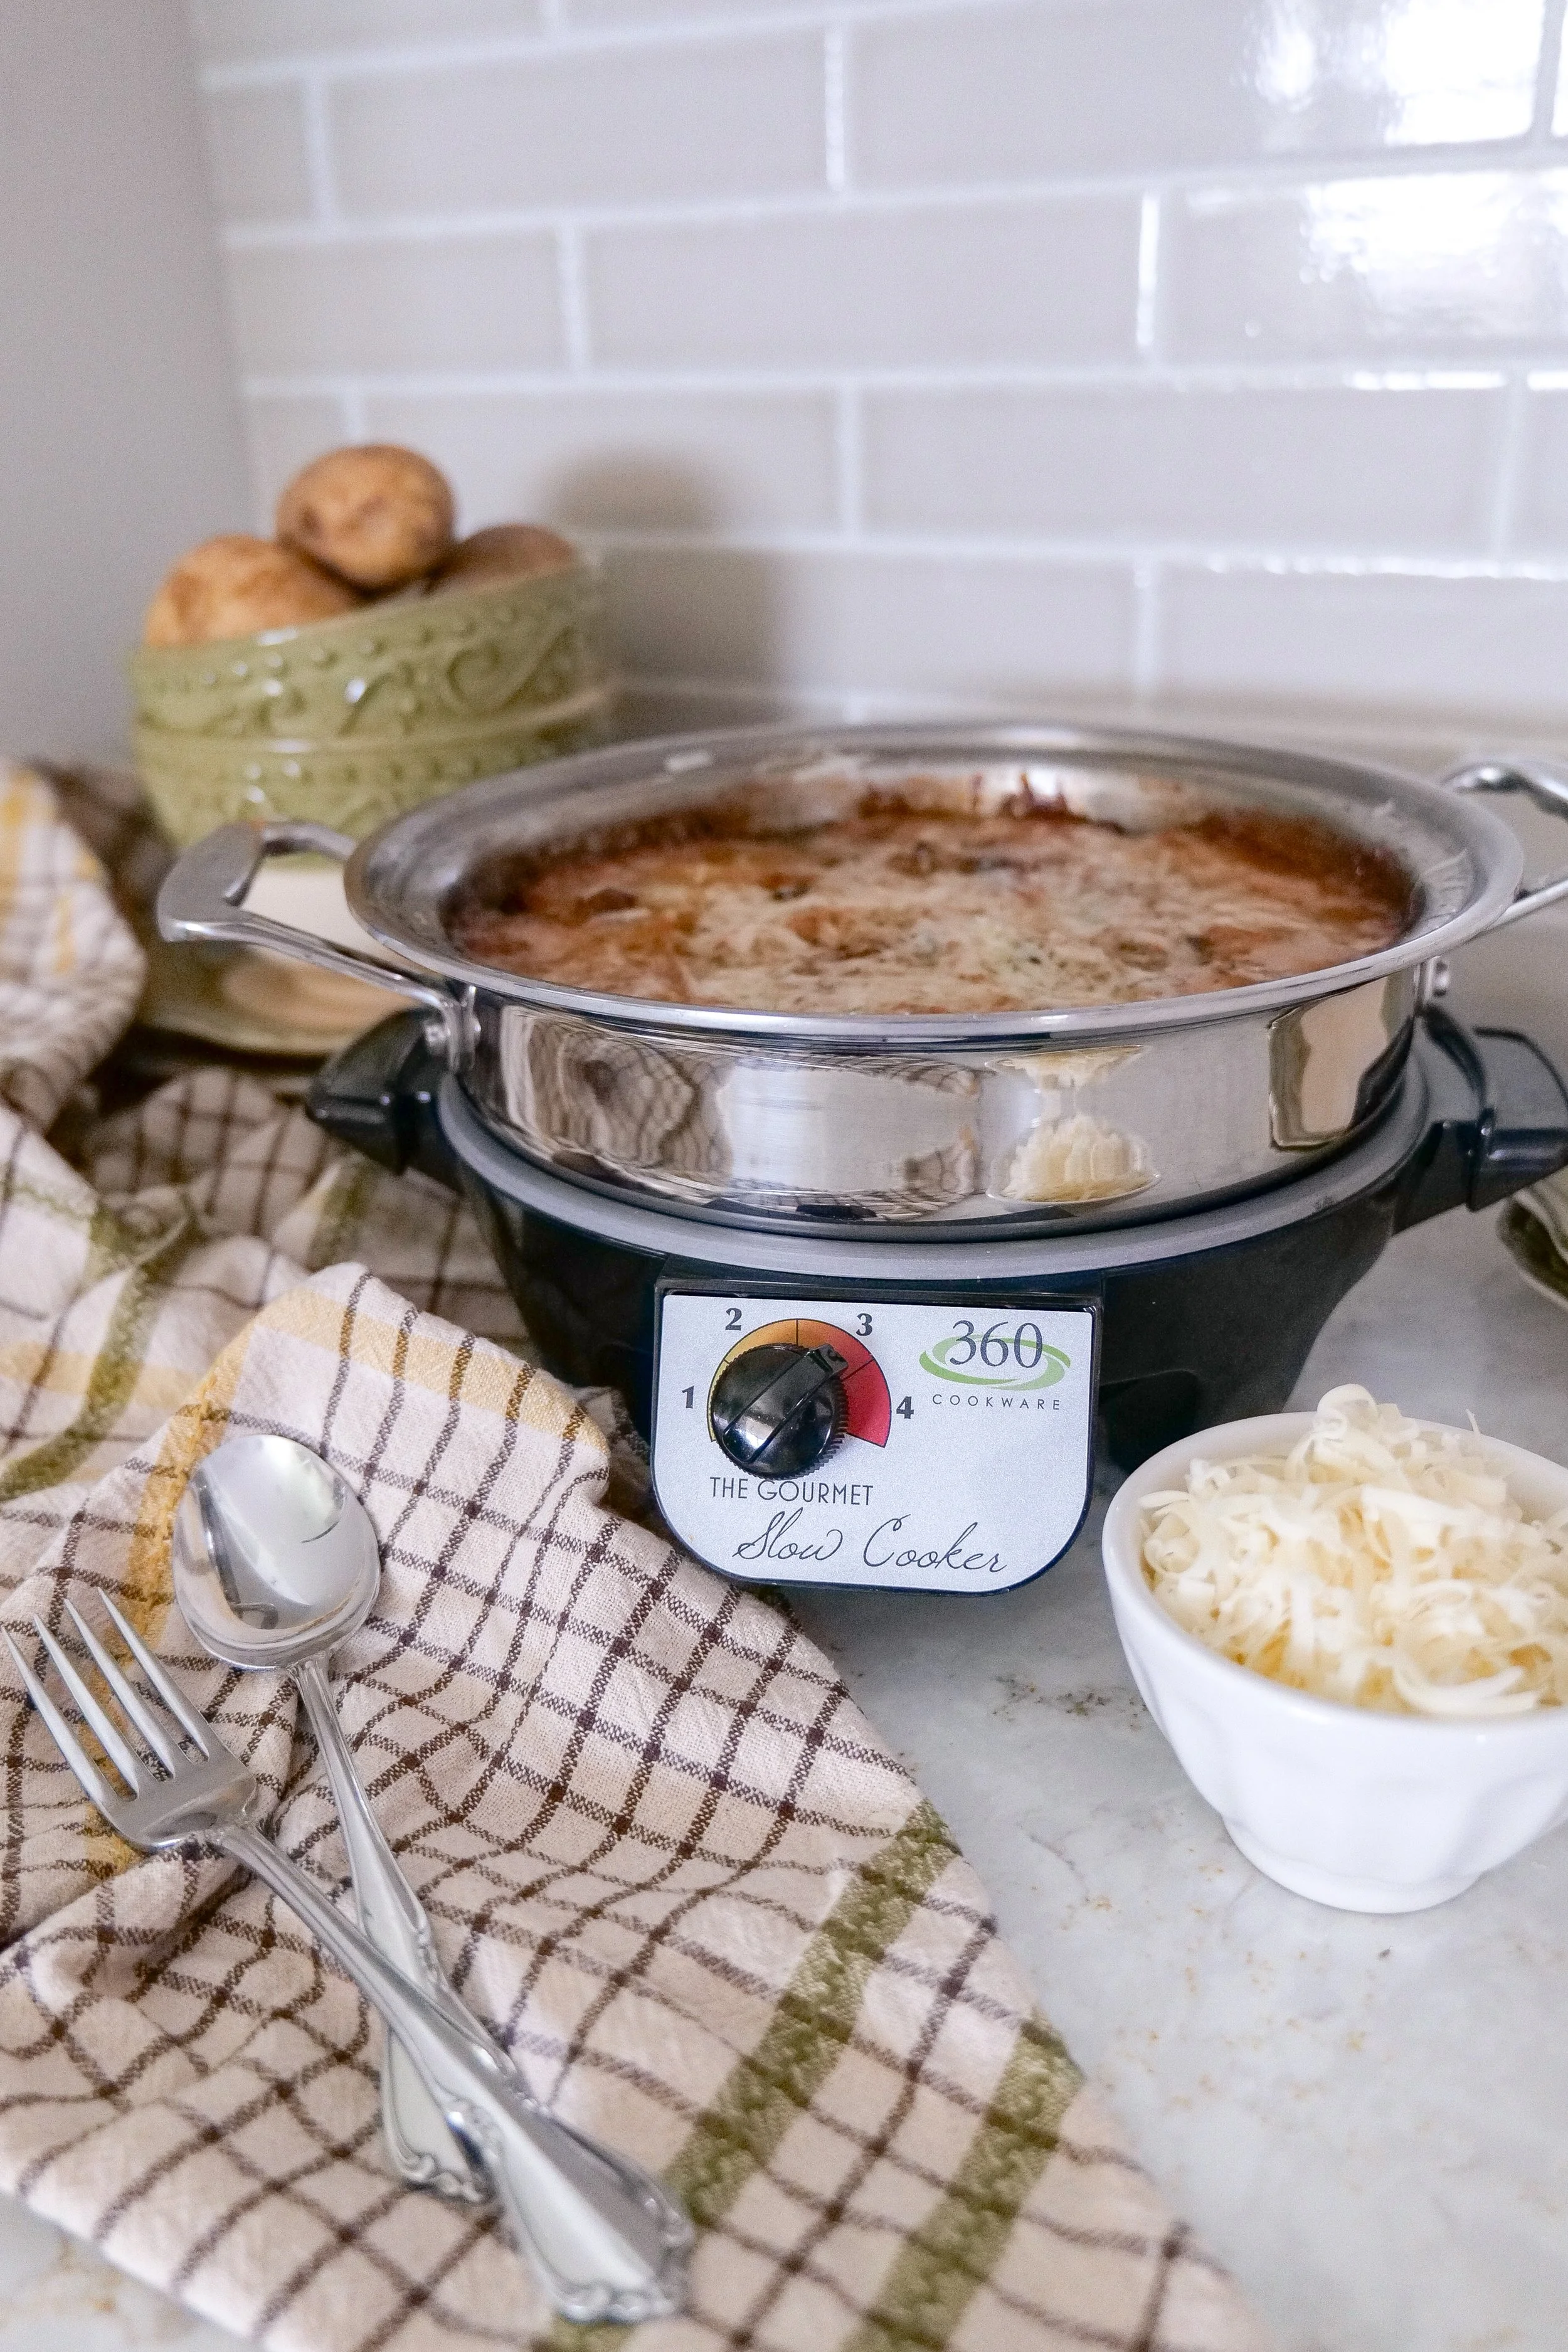
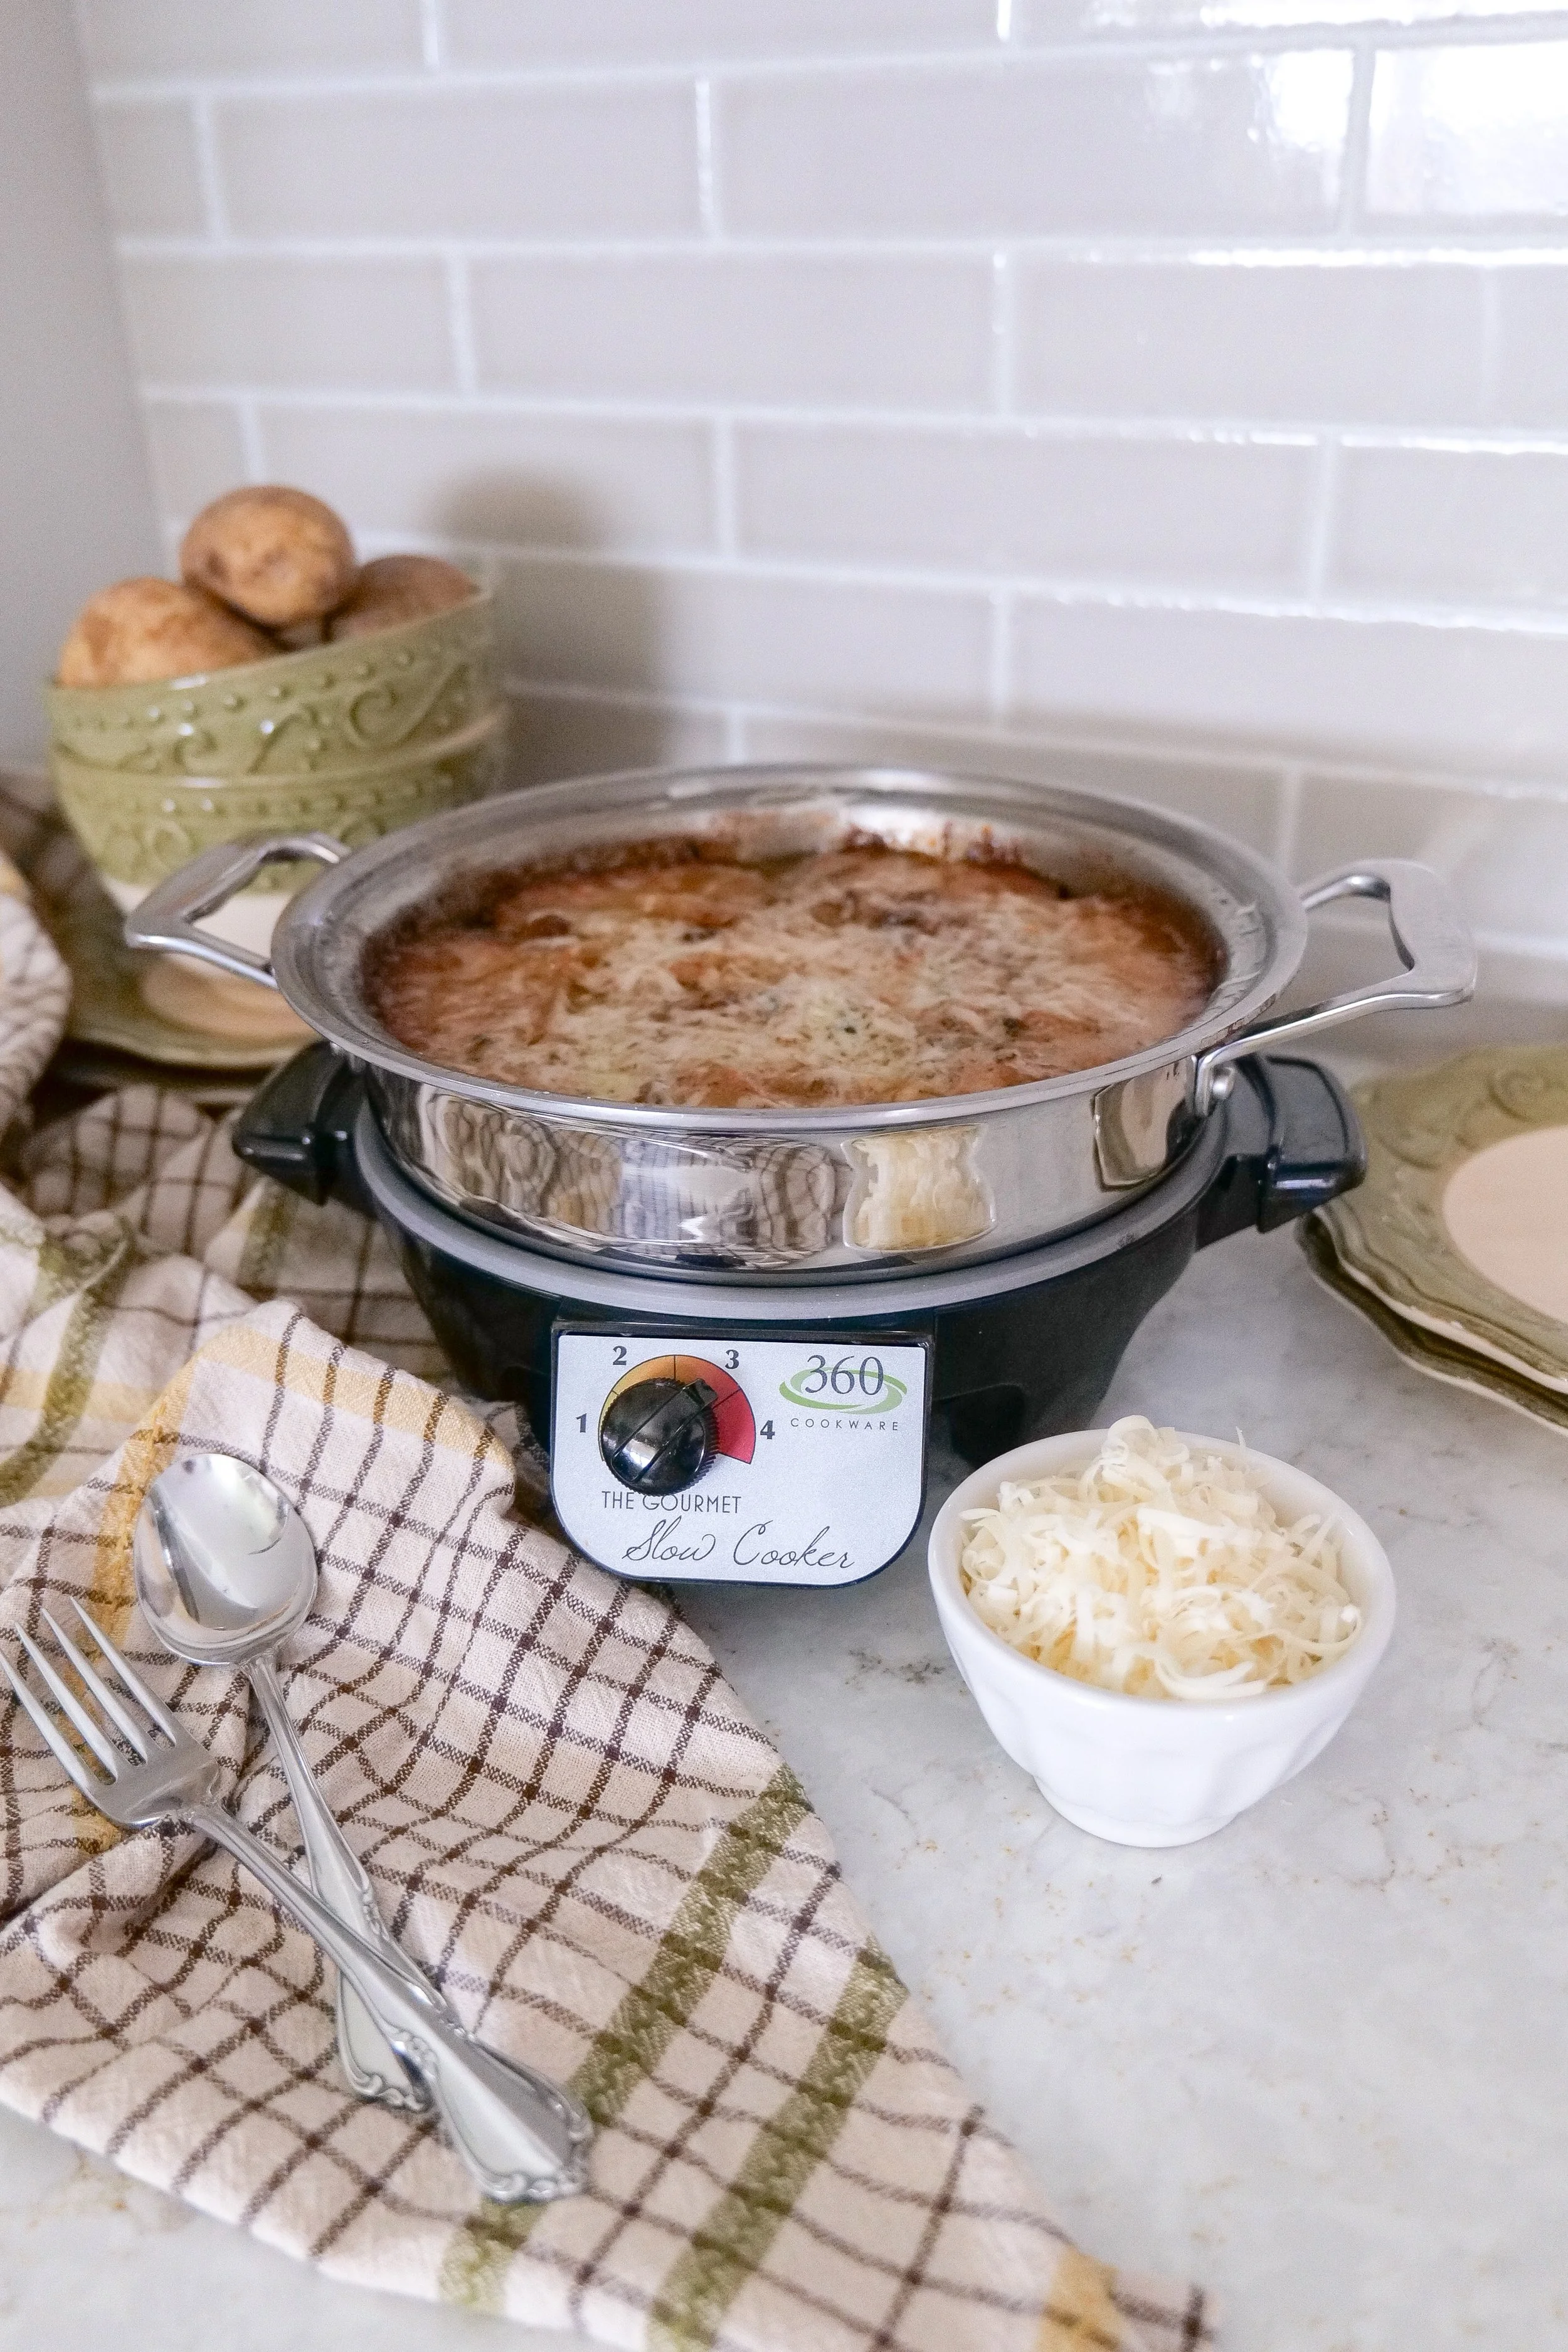
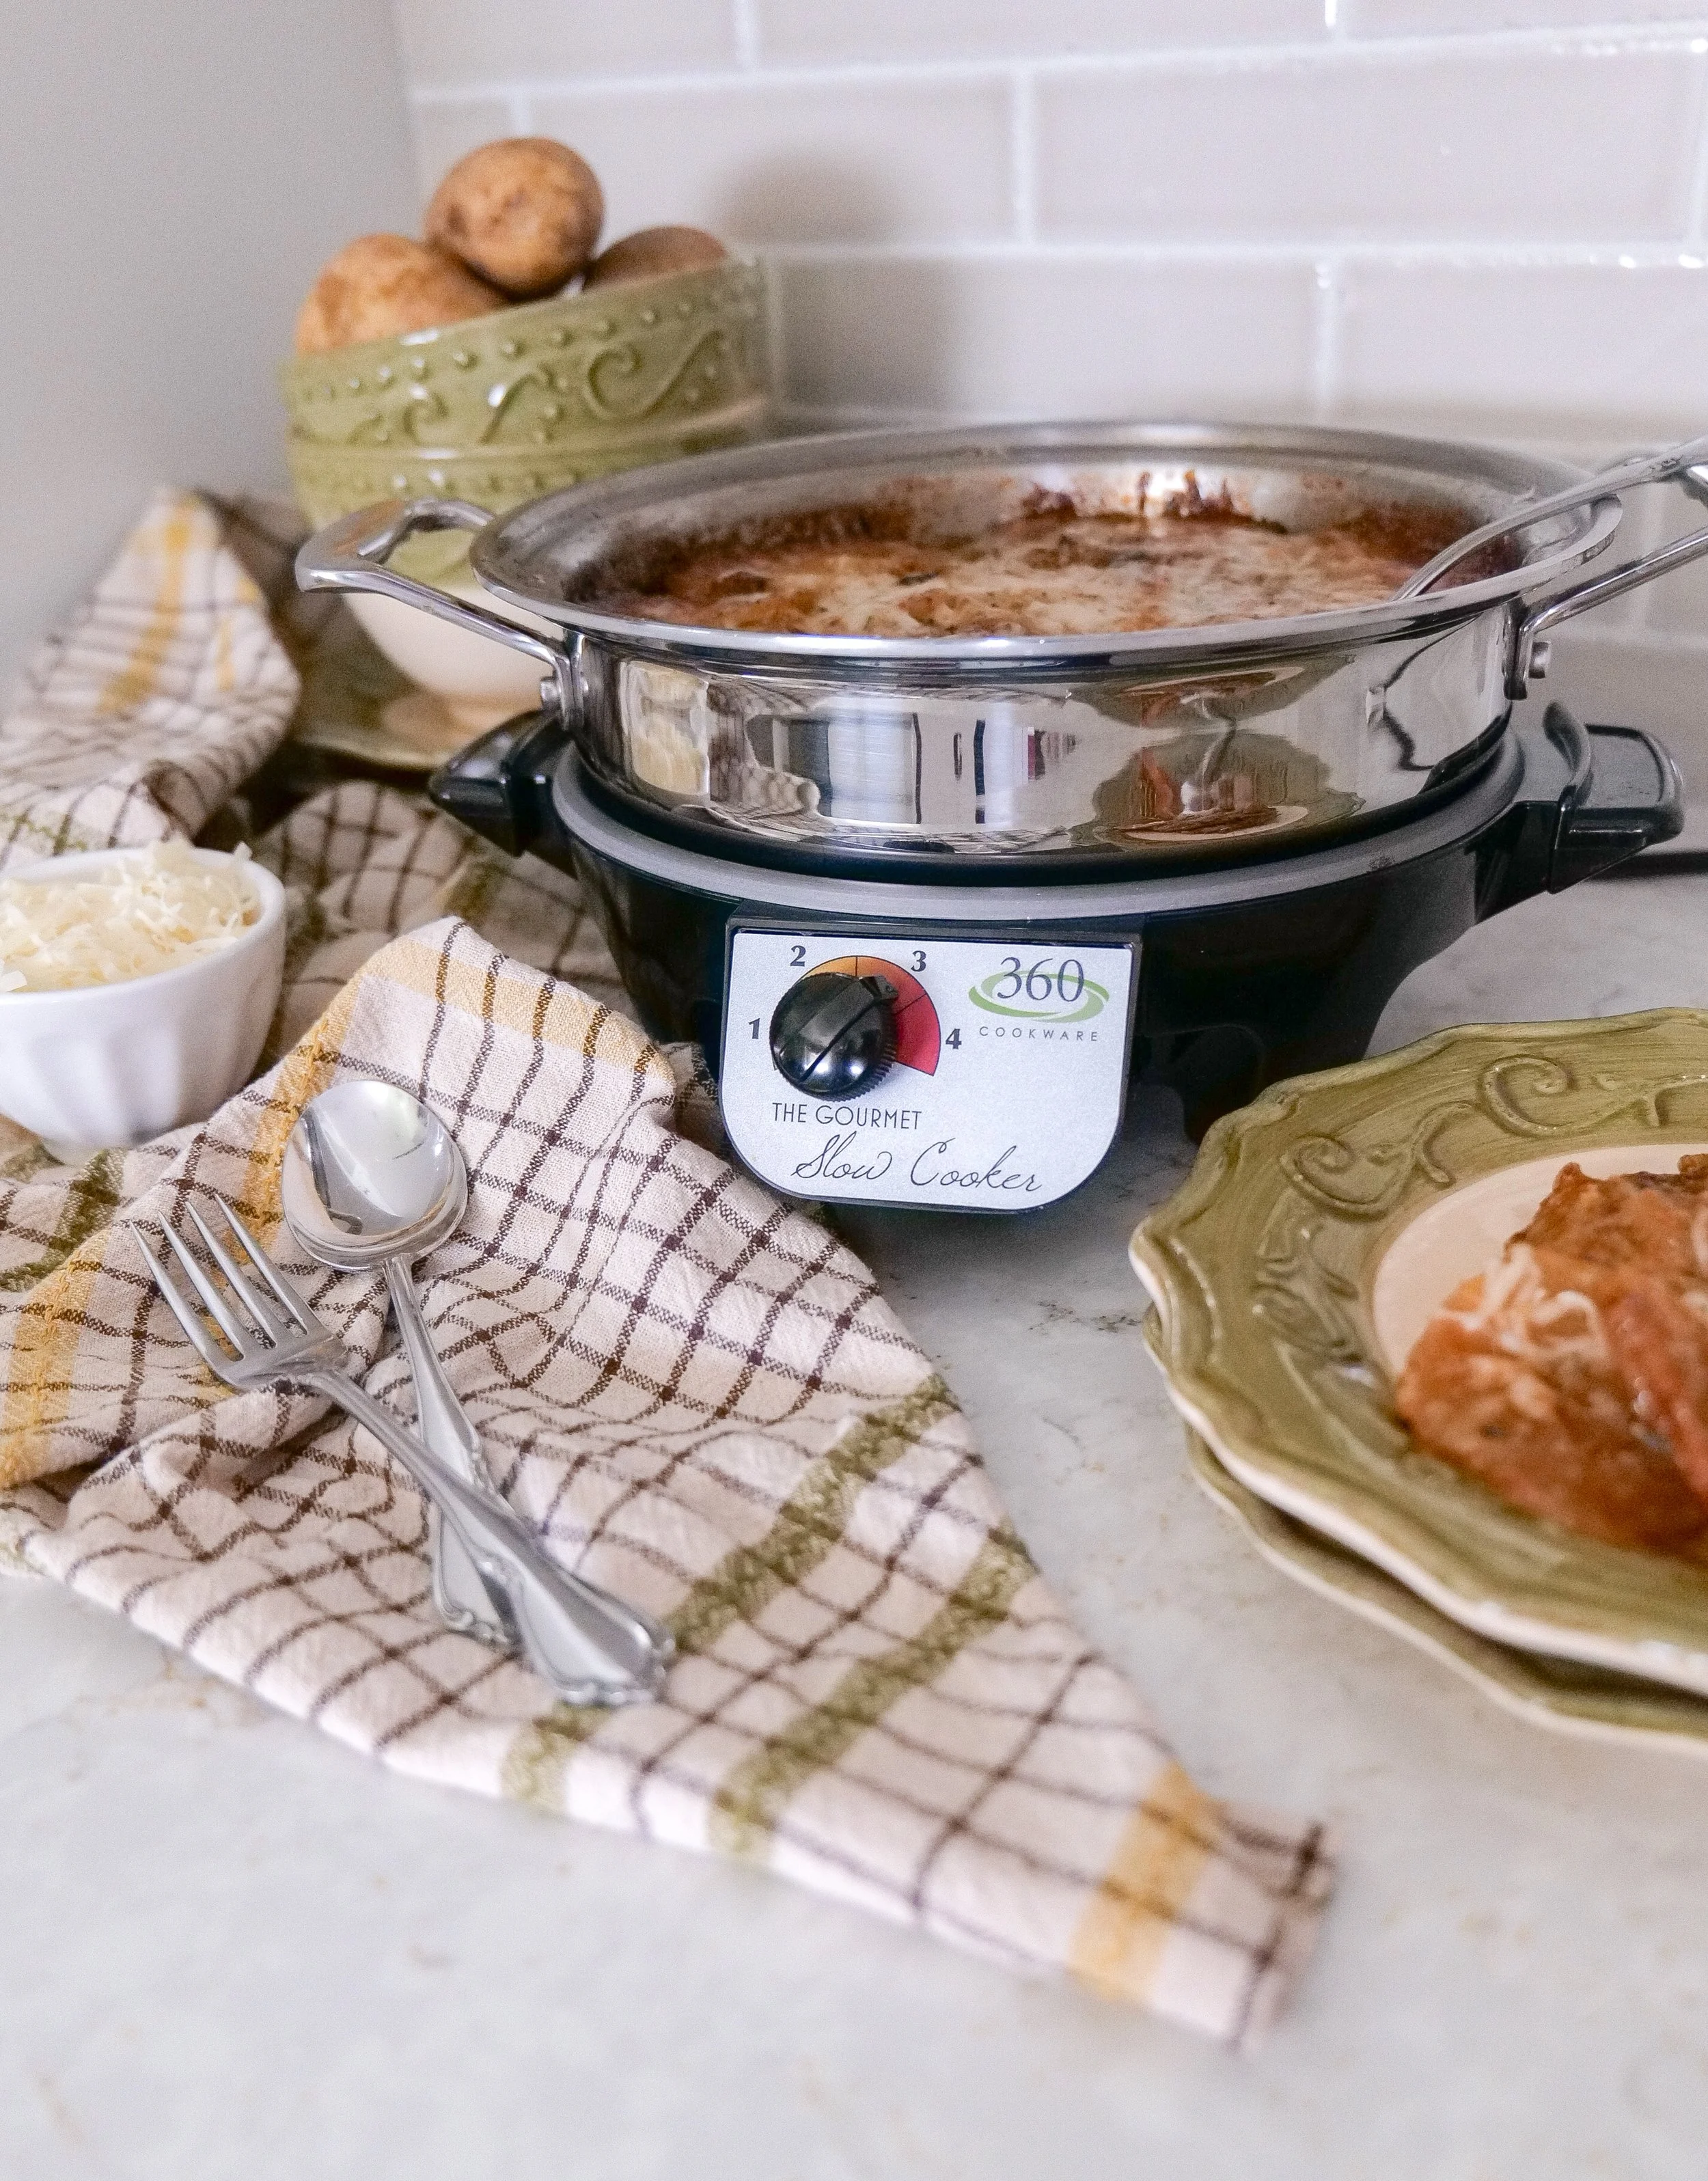
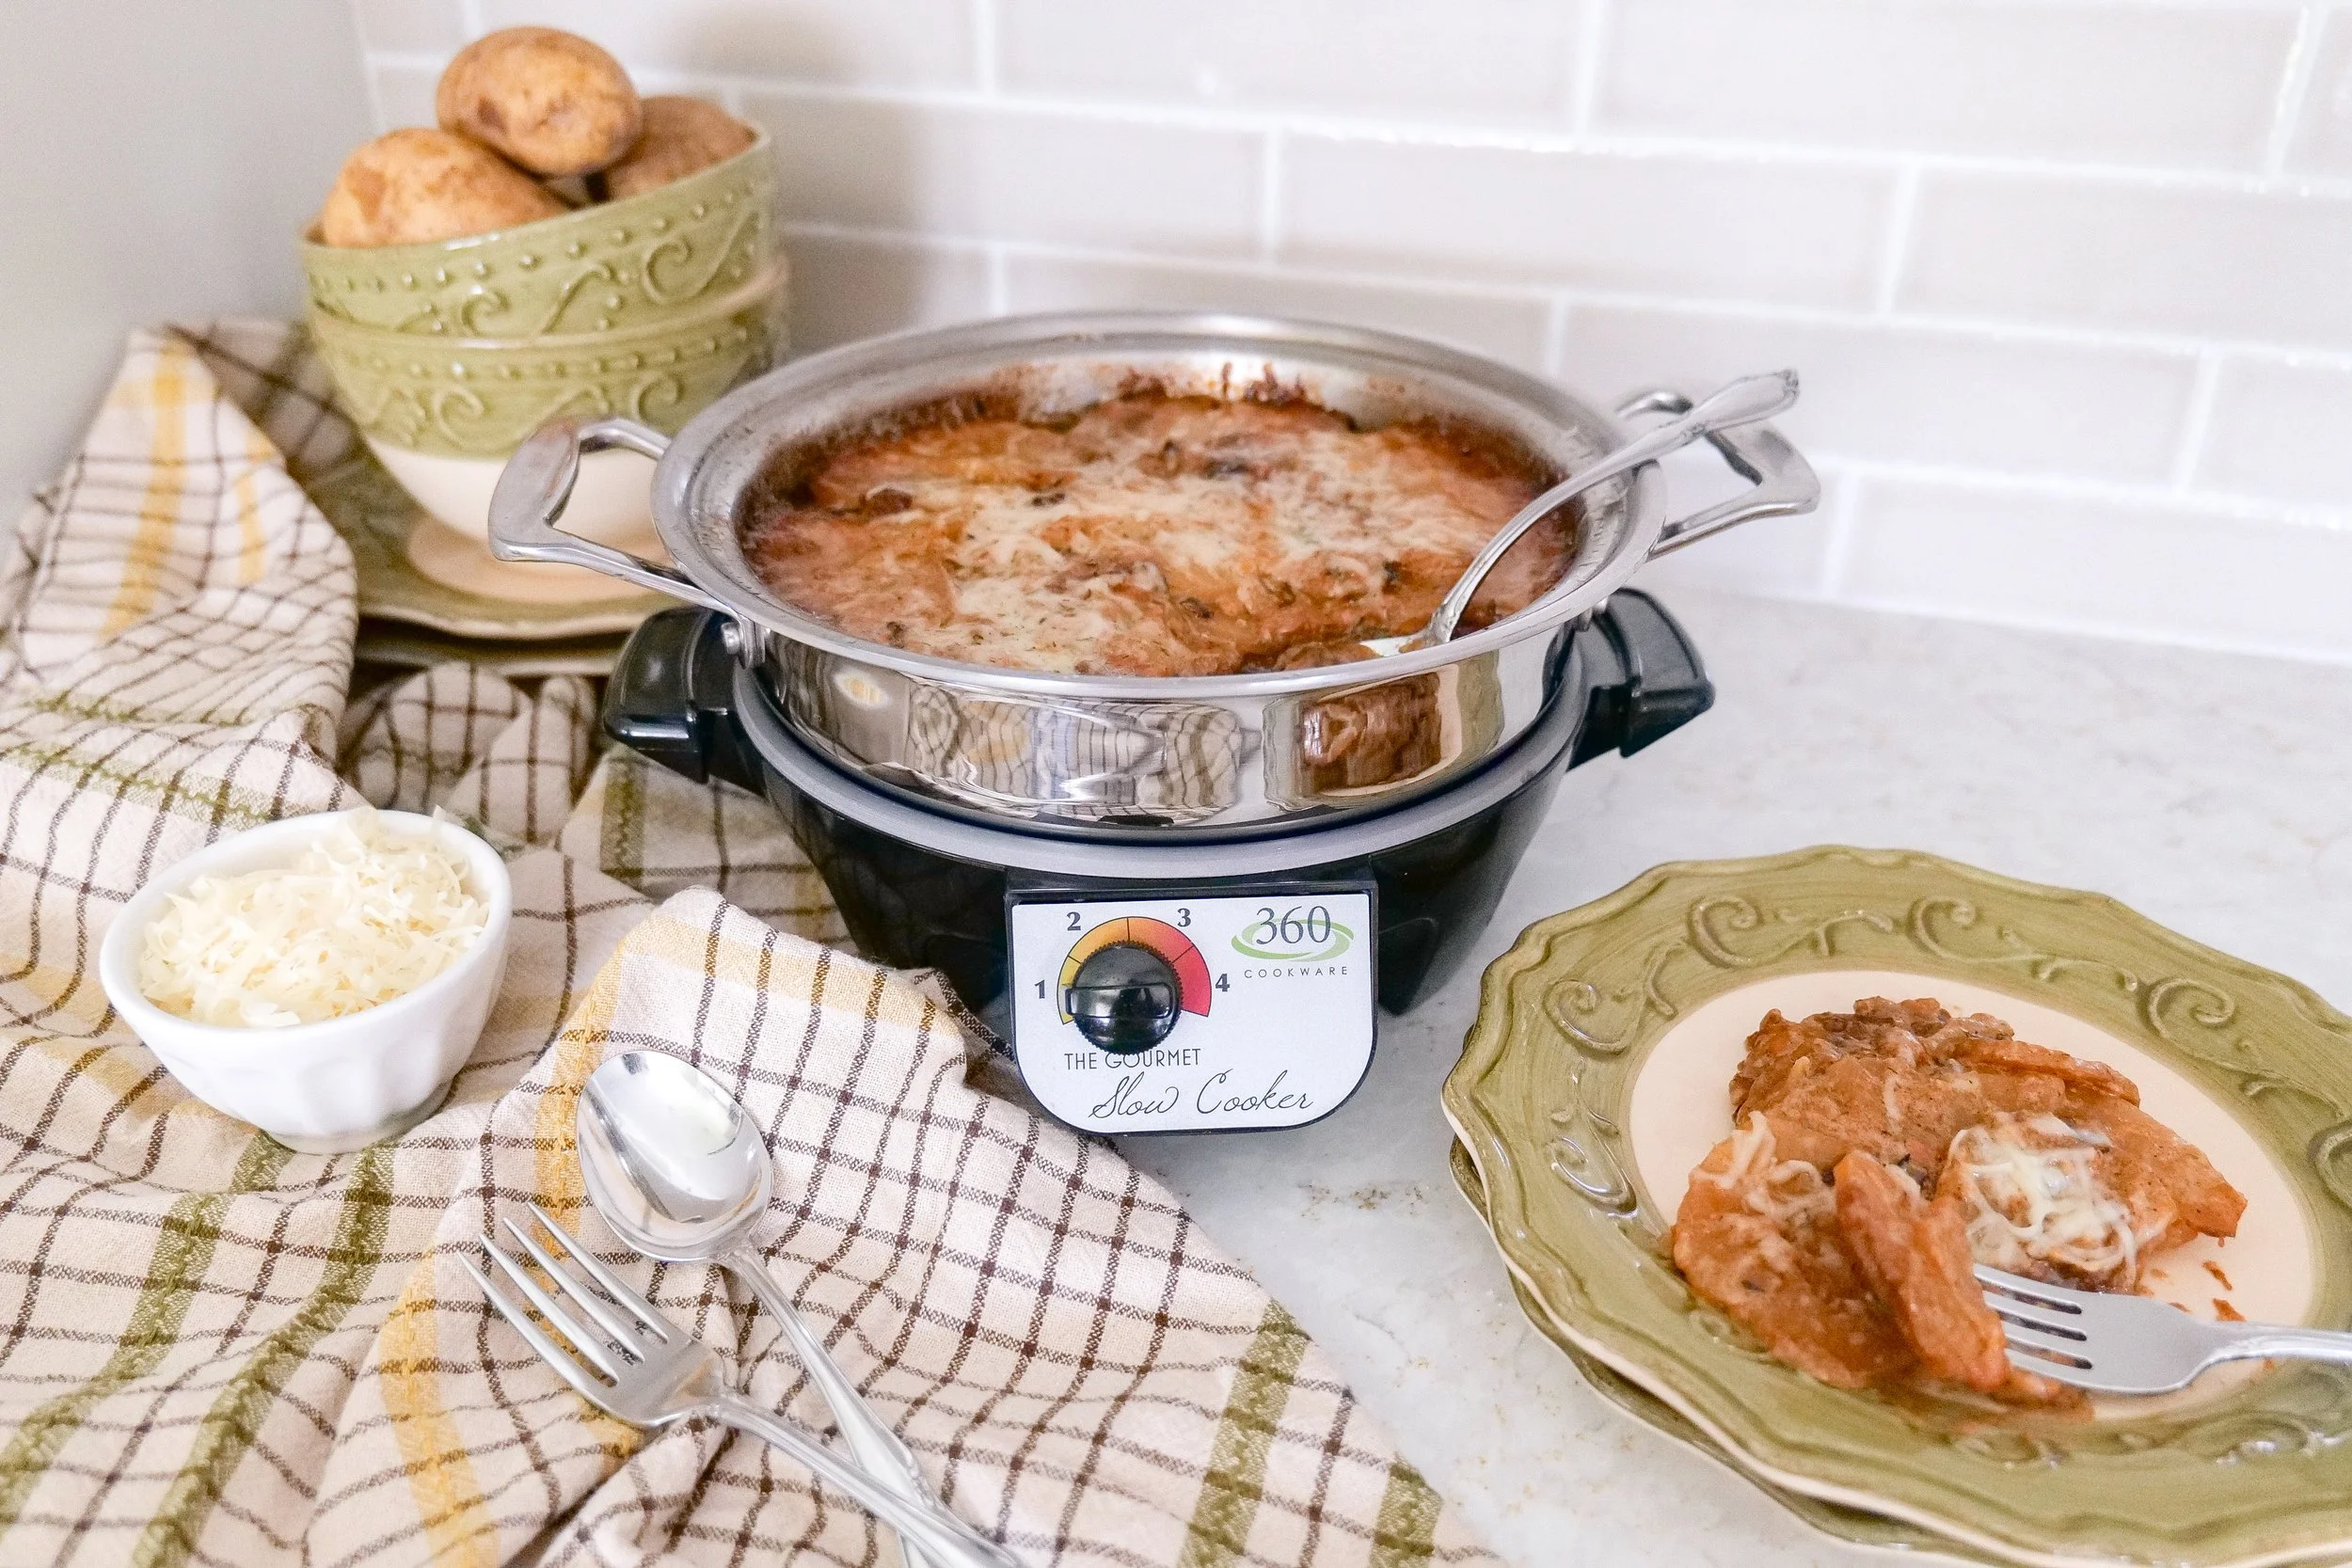
Creamy slow cooker scalloped potatoes layered with Gruyère cheese and baked until tender.

There are some recipes that simply never go out of style, and these Slow Cooker Scalloped Potatoes have become one of those recipes in our home.

Whether I'm planning Thanksgiving dinner, Christmas with family, Easter brunch, or a cozy Sunday meal, this is the side dish everyone quietly hopes makes it onto the table.

One of my favorite parts about making scalloped potatoes in the slow cooker is that it frees up precious oven space—especially during the holidays when every rack seems to be full. While these potatoes slowly cook away, I can spend my time setting the table, preparing dessert, or simply enjoying the people gathered in my kitchen instead of worrying about another casserole.

Thinly sliced russet potatoes are layered with caramelized onions, fresh garlic, Gruyère cheese, and a rich cream sauce before slowly cooking into one of the creamiest potato dishes you'll ever make.

If you're looking for an easy slow cooker side dish that's comforting enough for winter holidays but simple enough for family dinners throughout the year, this recipe is one you'll come back to again and again.

Why You'll Love These Slow Cooker Scalloped Potatoes

  • Rich, creamy Gruyère cheese sauce

  • Perfect for Thanksgiving, Christmas, Easter, or Sunday dinner

  • Frees up oven space during the holidays

  • Easy to prepare ahead of time

  • Family-friendly comfort food

  • Elegant enough for entertaining

  • Minimal hands-on cooking

Make-ahead slow cooker scalloped potatoes for holiday entertaining.
Classic scalloped potatoes for holiday entertaining and family dinners.

Ingredients

Easy slow cooker scalloped potatoes recipe made with russet potatoes and heavy cream.
  • 2 pounds russet potatoes

  • 3 cloves garlic, minced

  • ½ teaspoon dried thyme

  • 1 teaspoon sea salt

  • 1 teaspoon ground black pepper

  • 2 tablespoons all-purpose flour

  • 1 yellow onion

  • 3 tablespoons salted butter

  • 1 cup Gruyère cheese

  • 2 cups heavy cream

Ingredient Notes

Russet Potatoes

Russet potatoes are my favorite choice because they become perfectly tender while still holding their layers beautifully after hours of slow cooking.
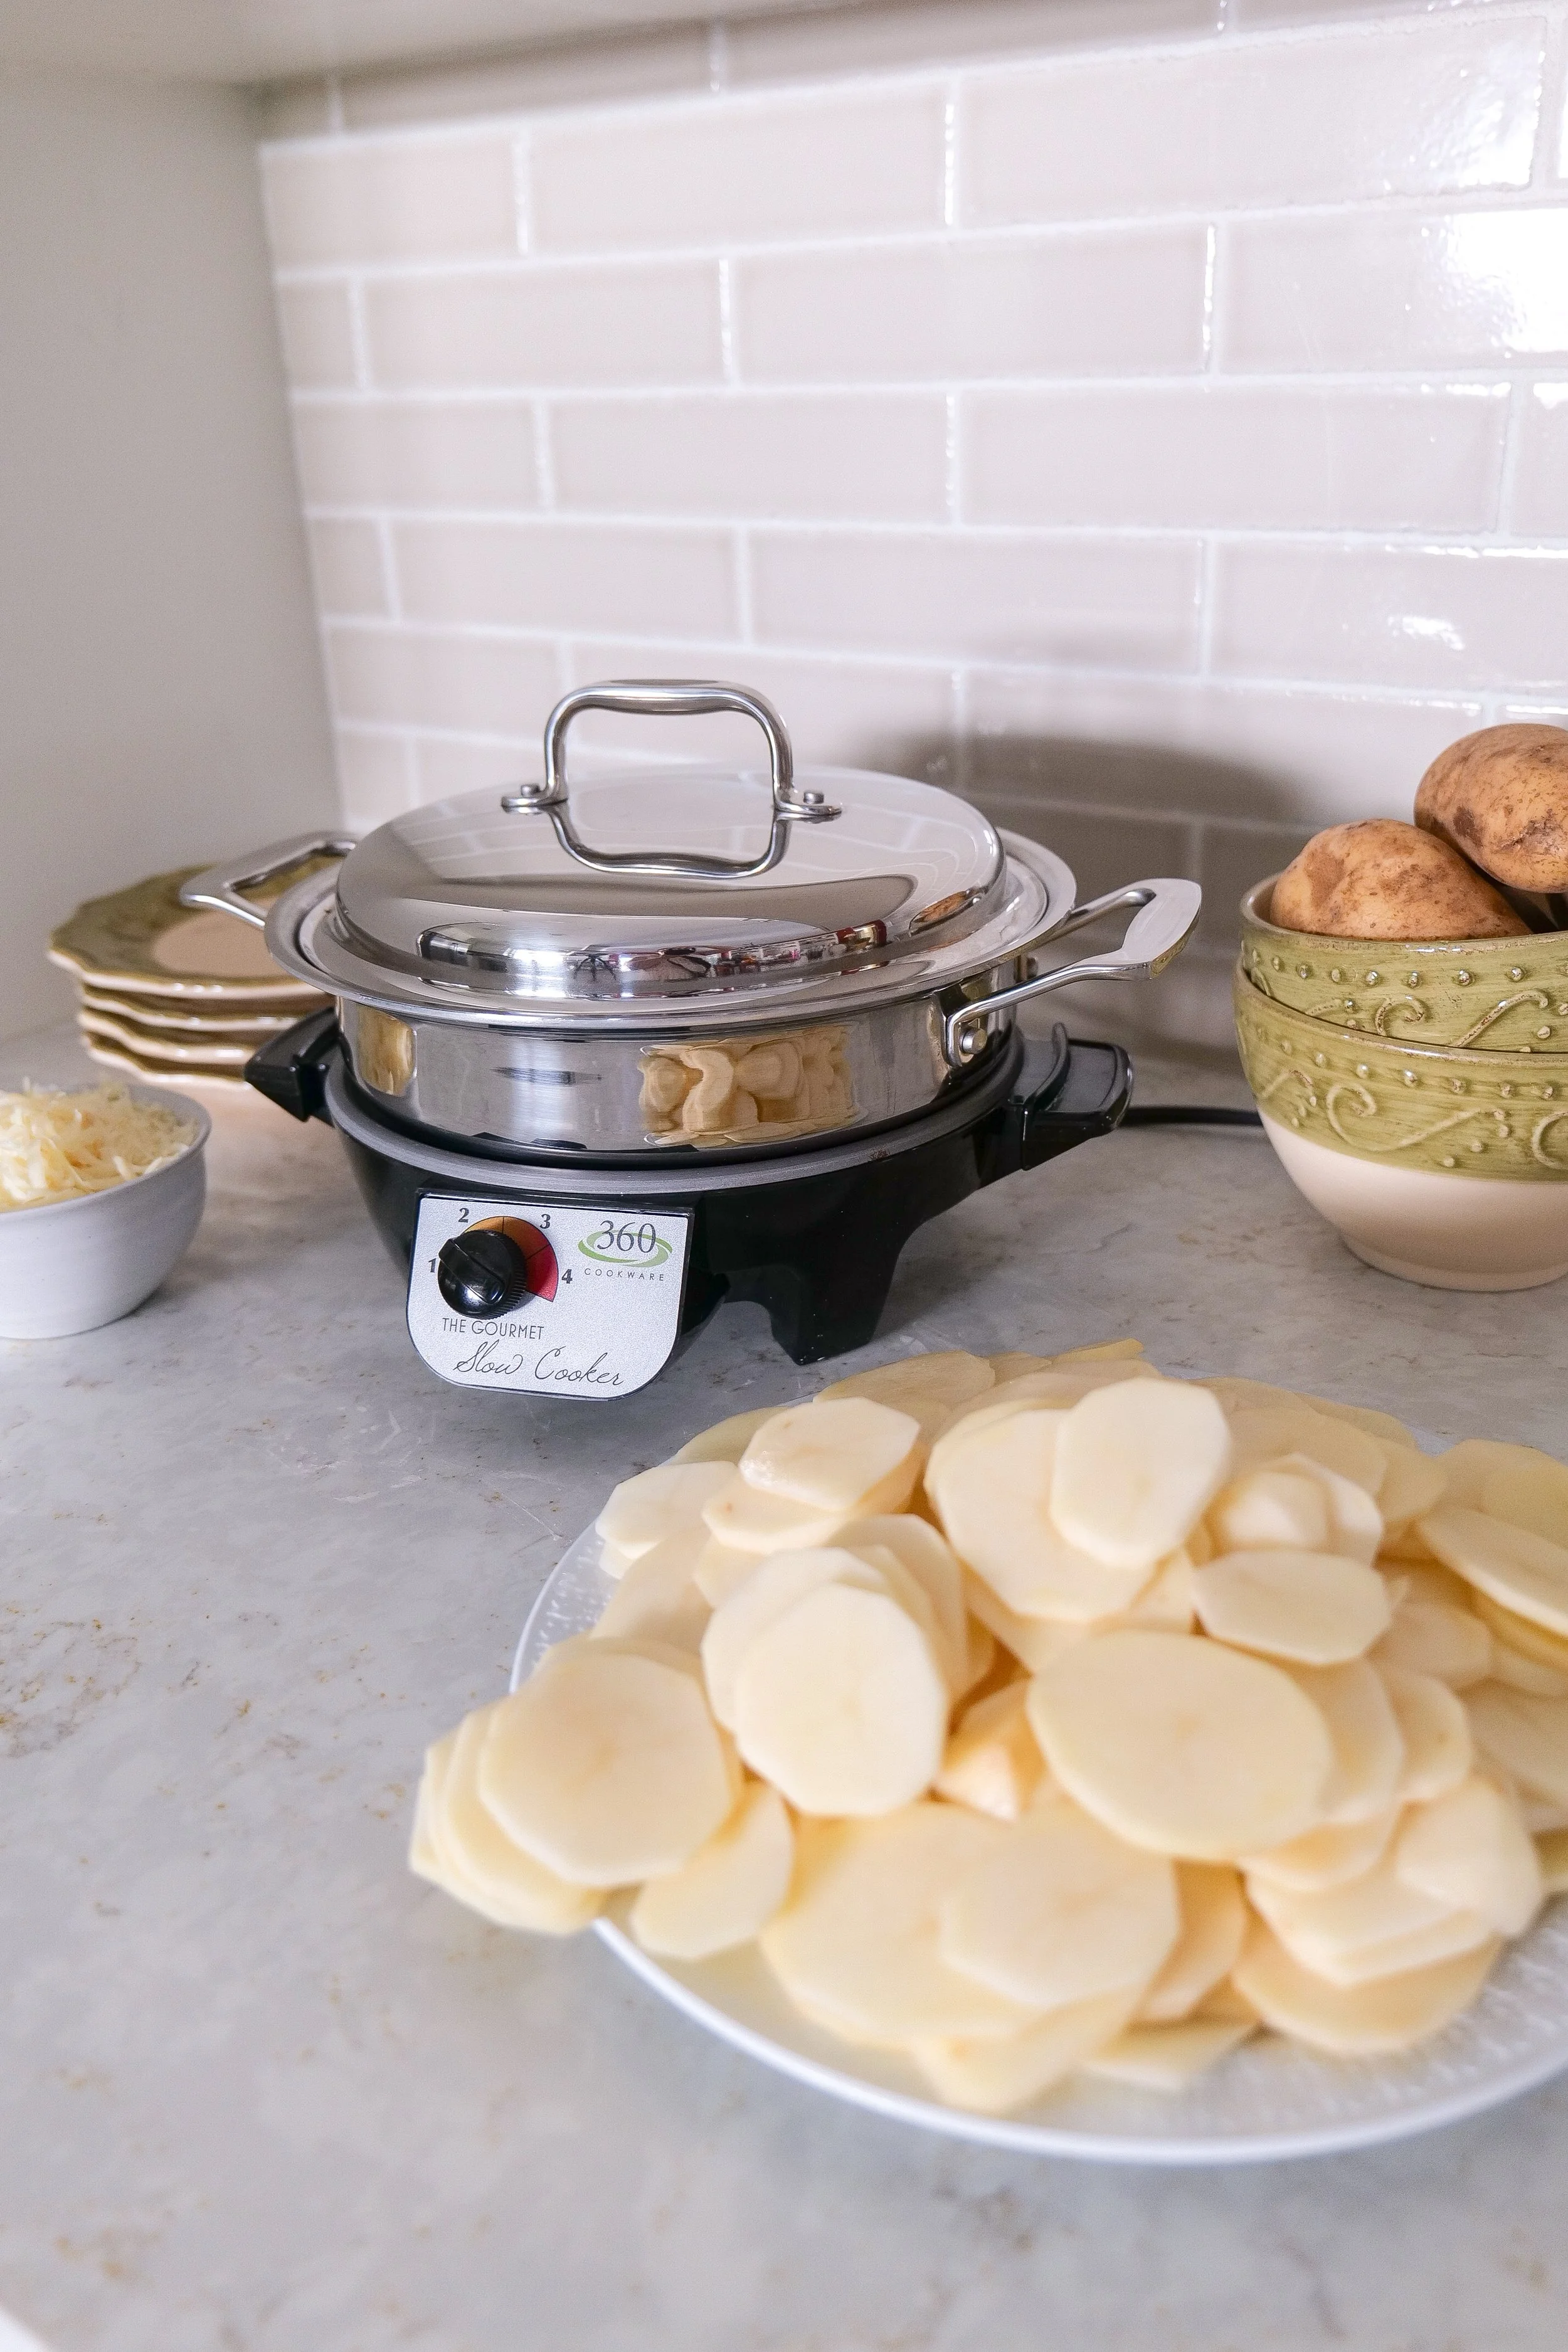
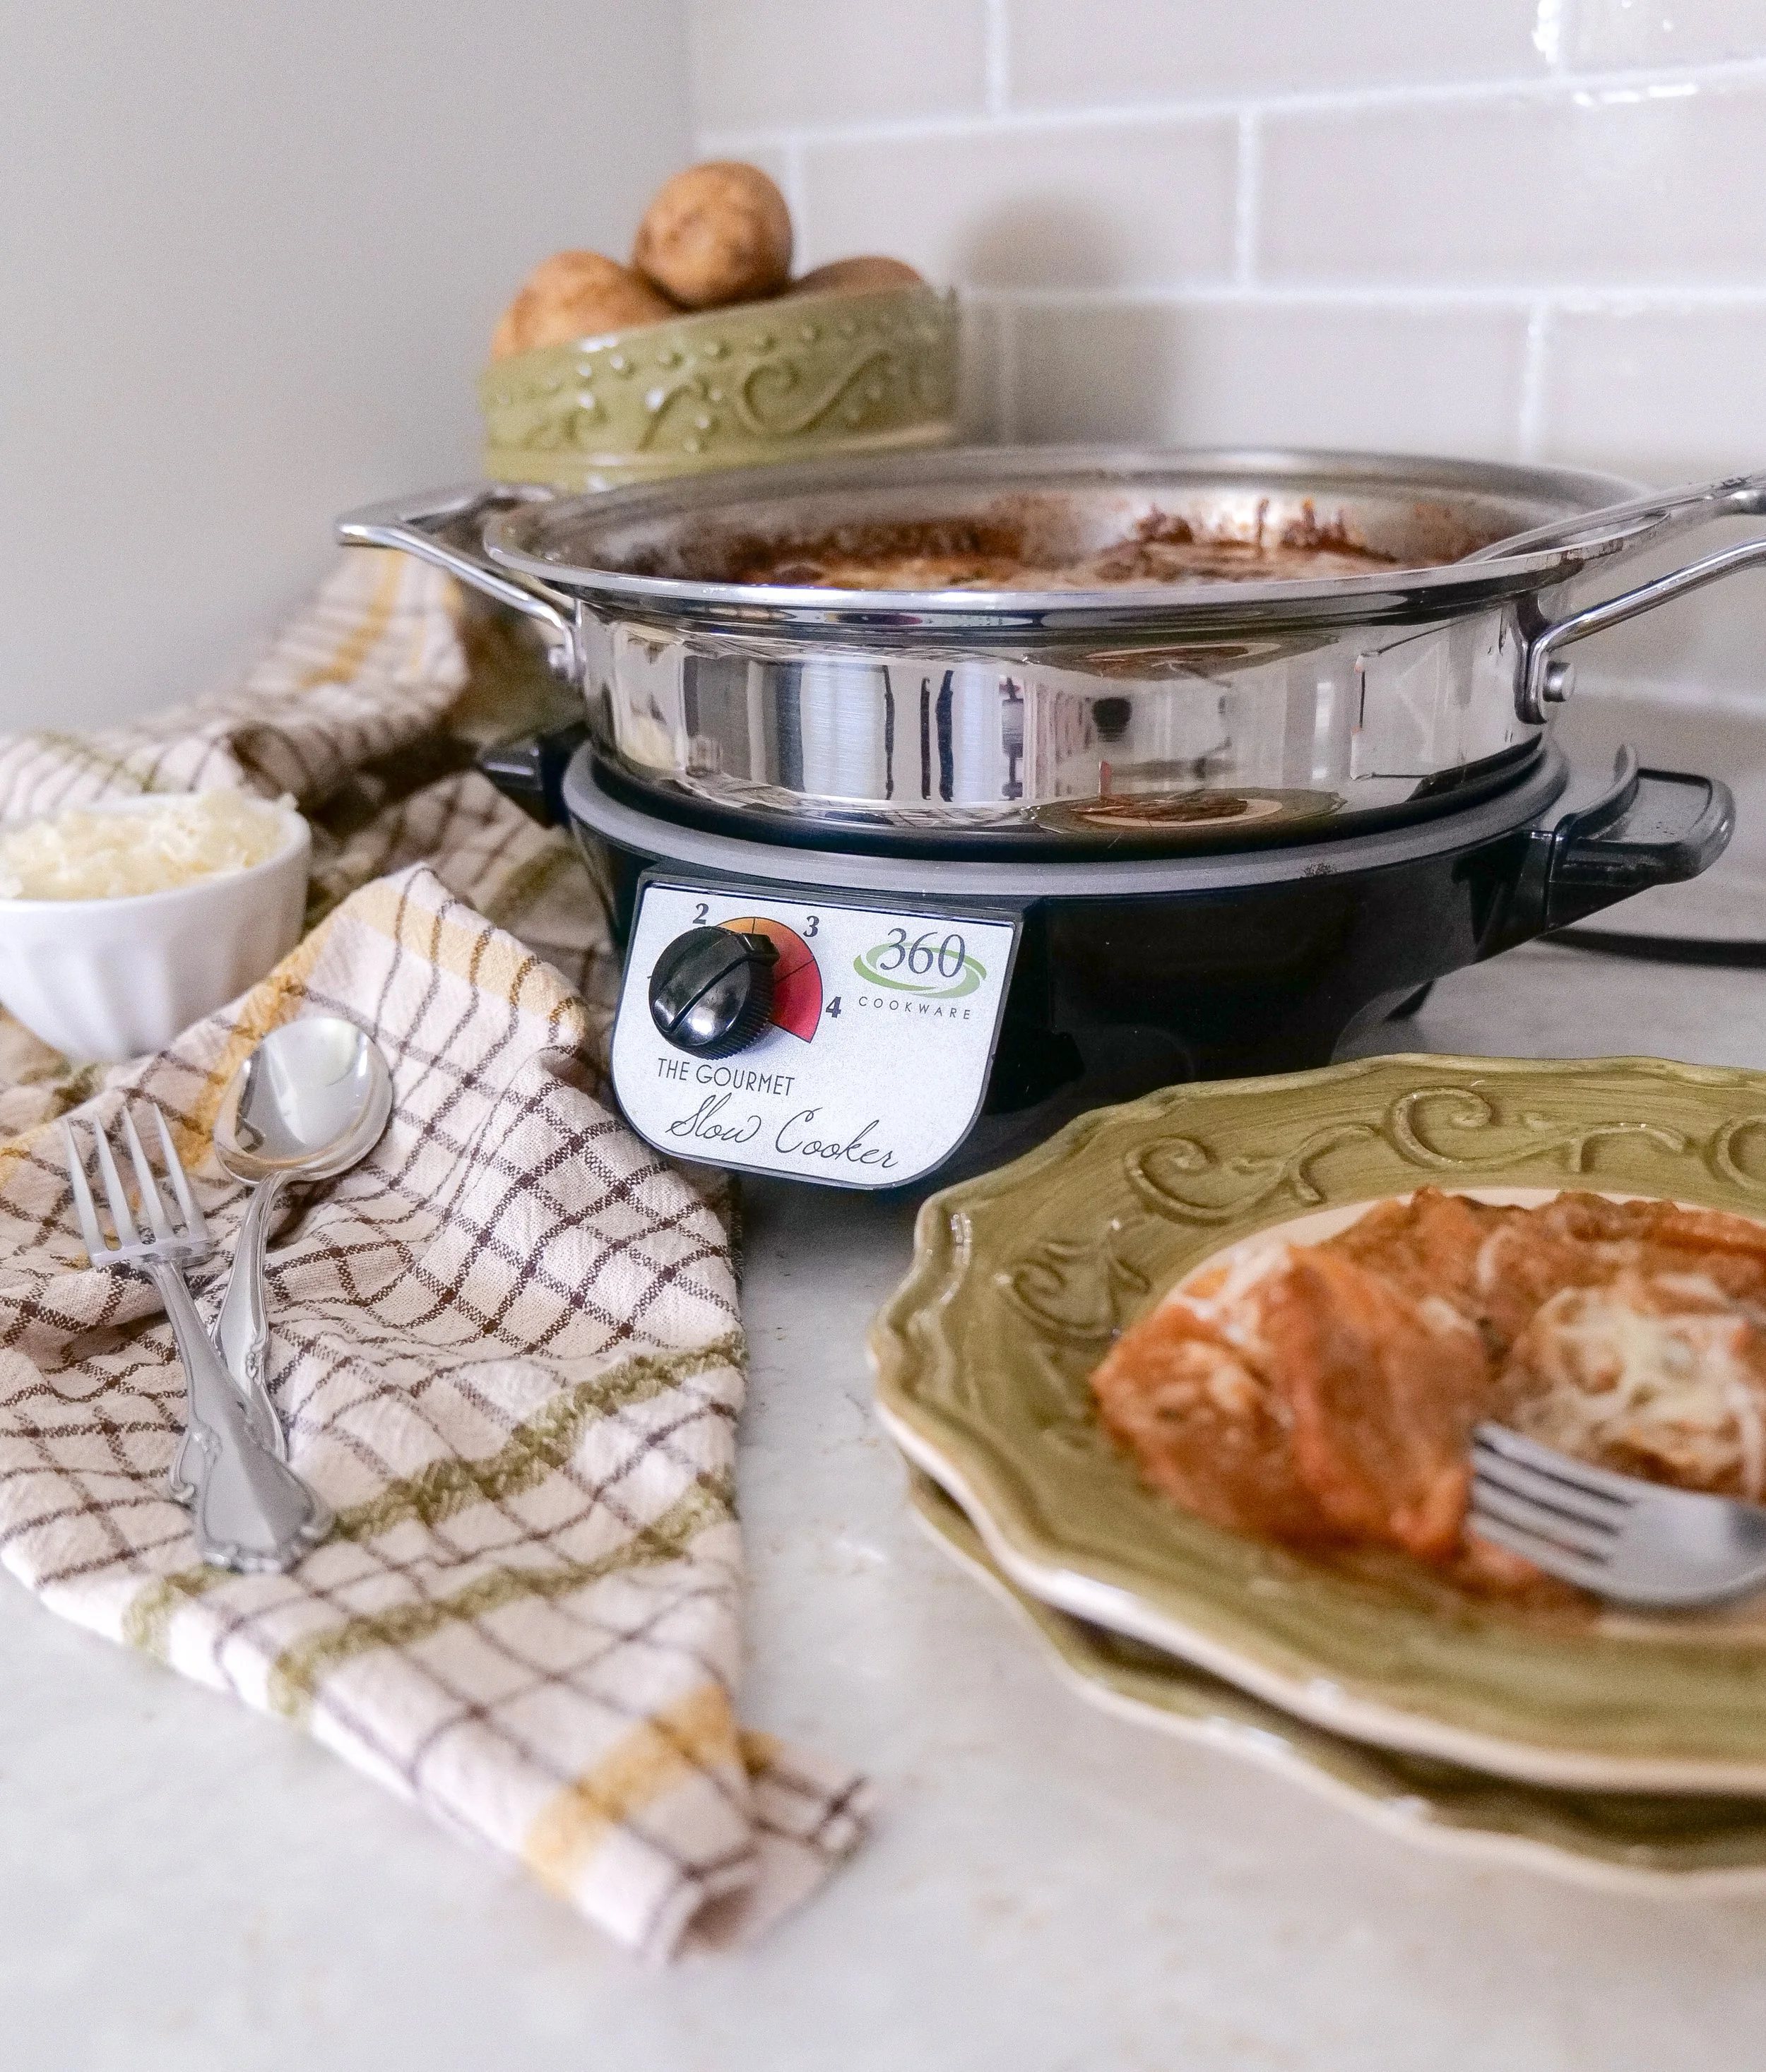
Creamy crockpot scalloped potatoes served as a cozy holiday side dish.

Gruyère Cheese

Gruyère adds a rich, nutty flavor that melts beautifully into the cream sauce.

Heavy Cream

Heavy cream creates the luxurious sauce that makes these potatoes so irresistible.
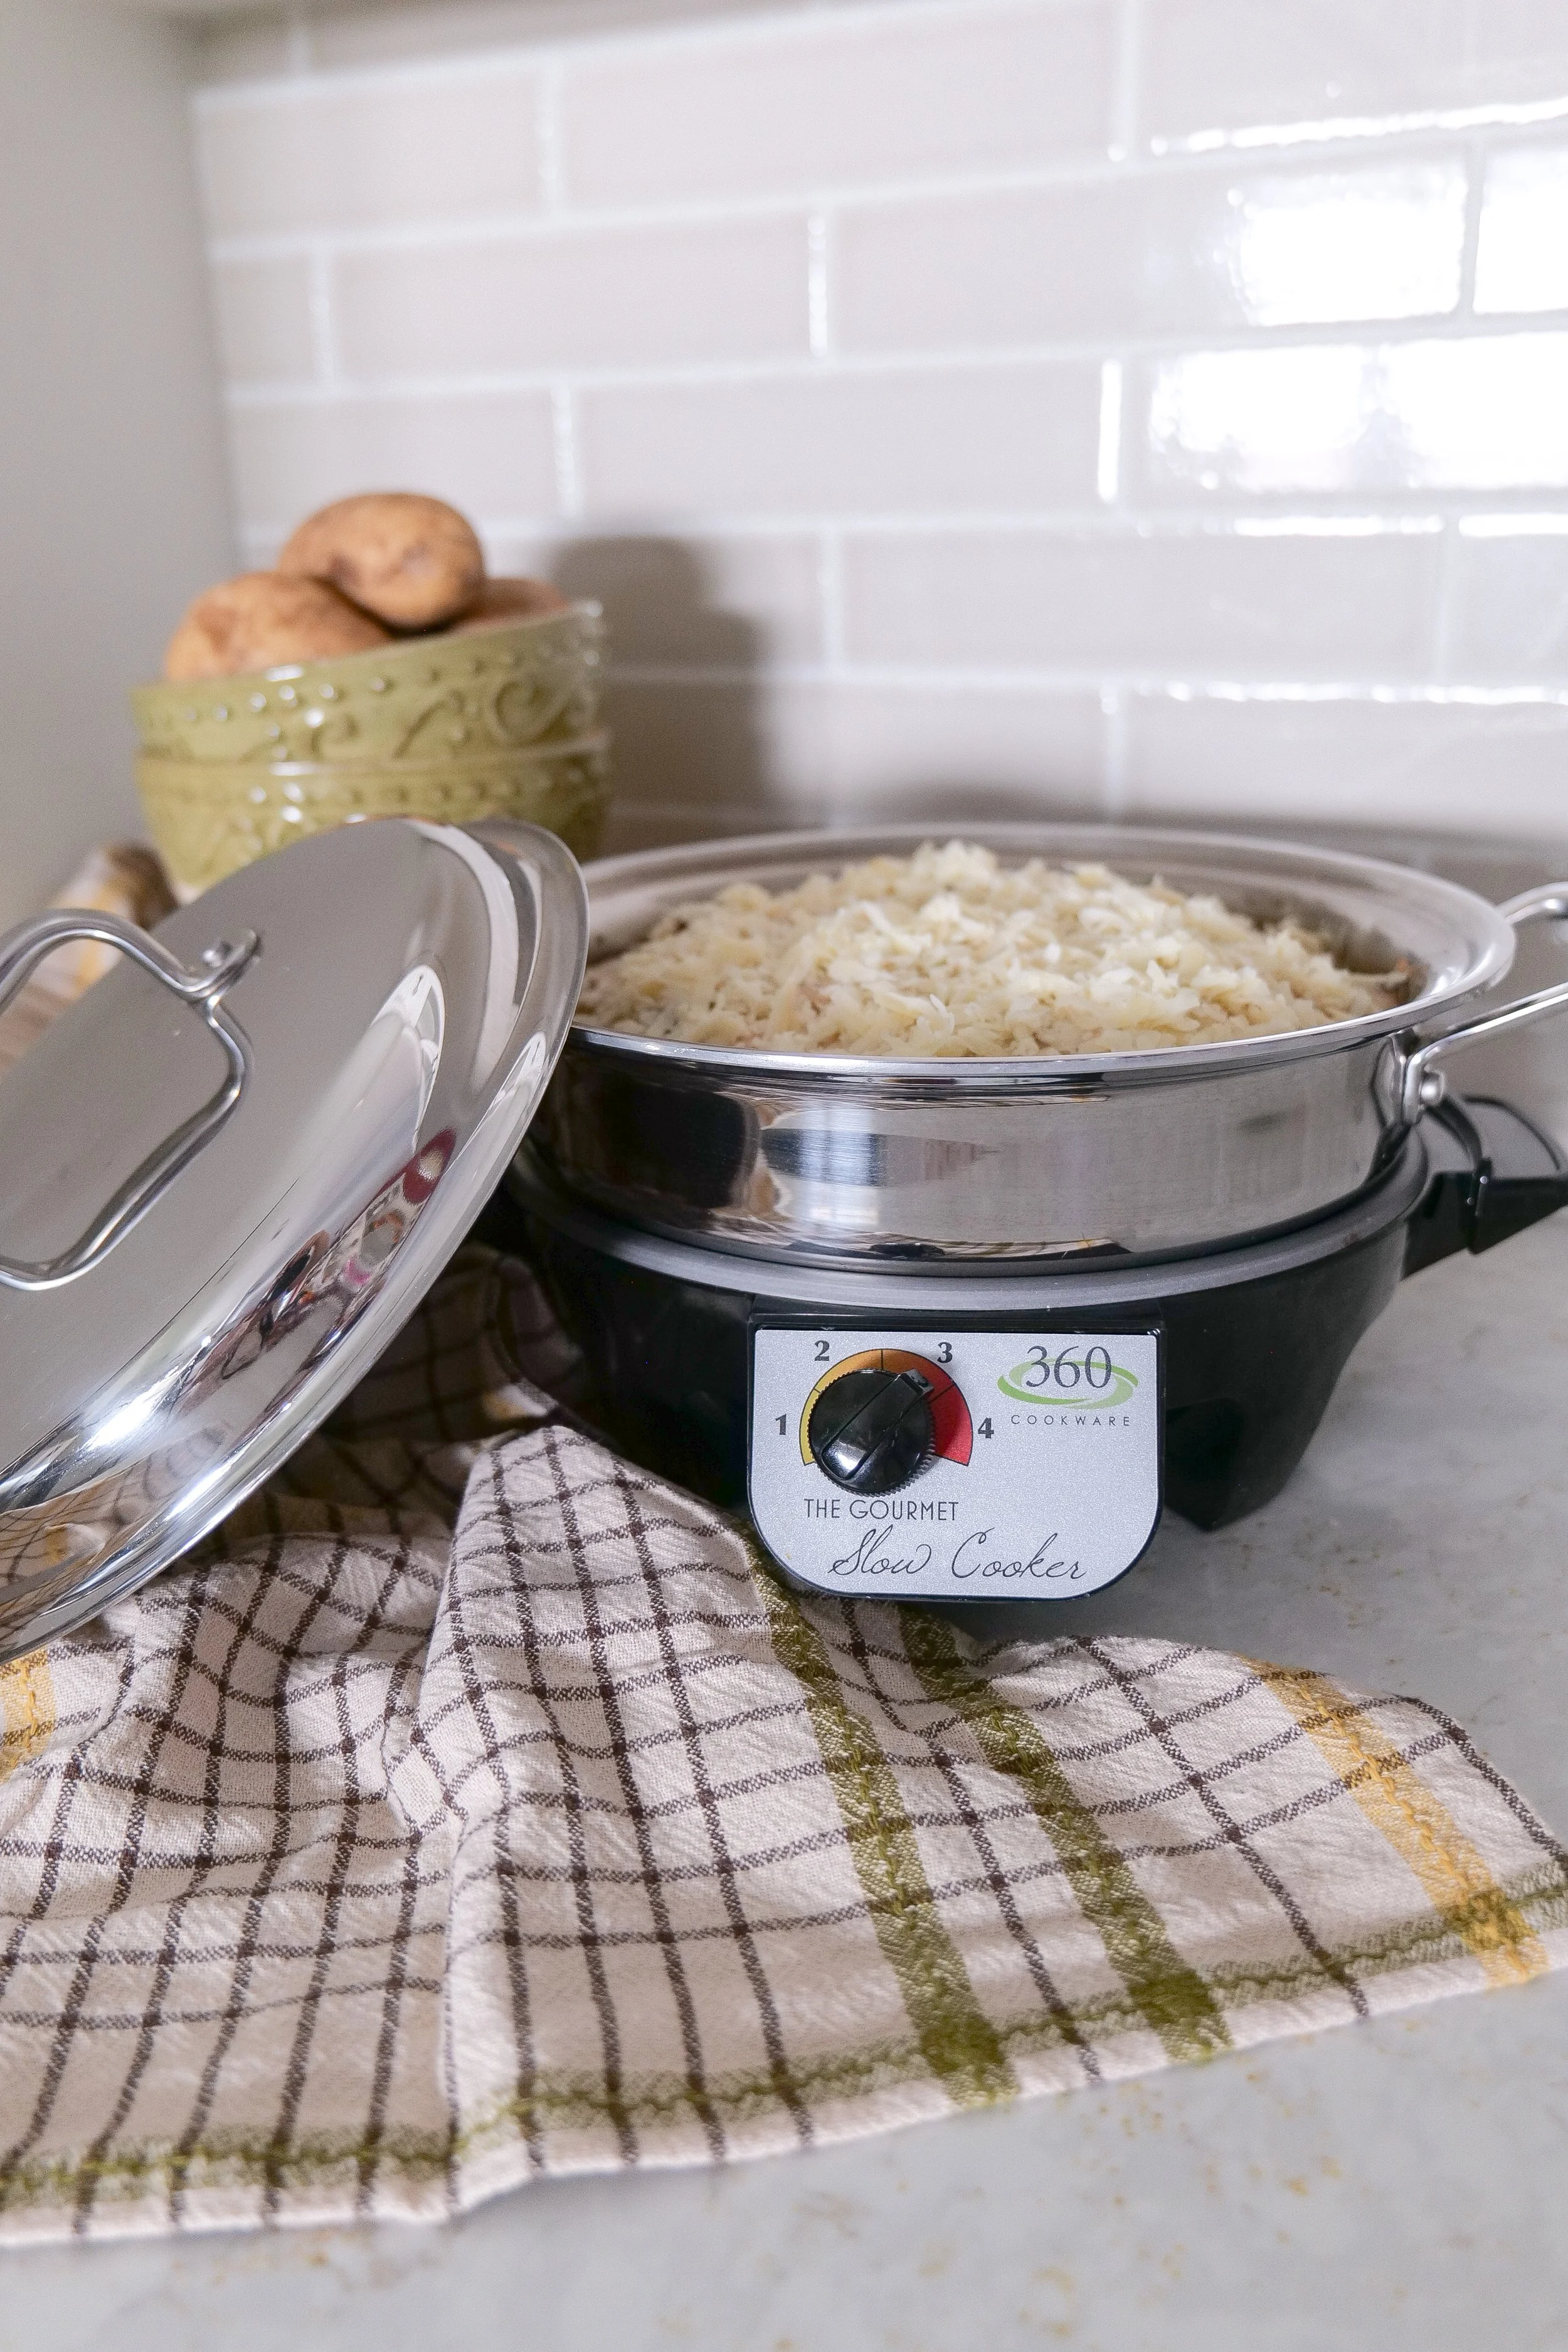
Slow cooker scalloped potatoes served for a Thanksgiving holiday dinner.

How to Make Slow Cooker Scalloped Potatoes

Step 1

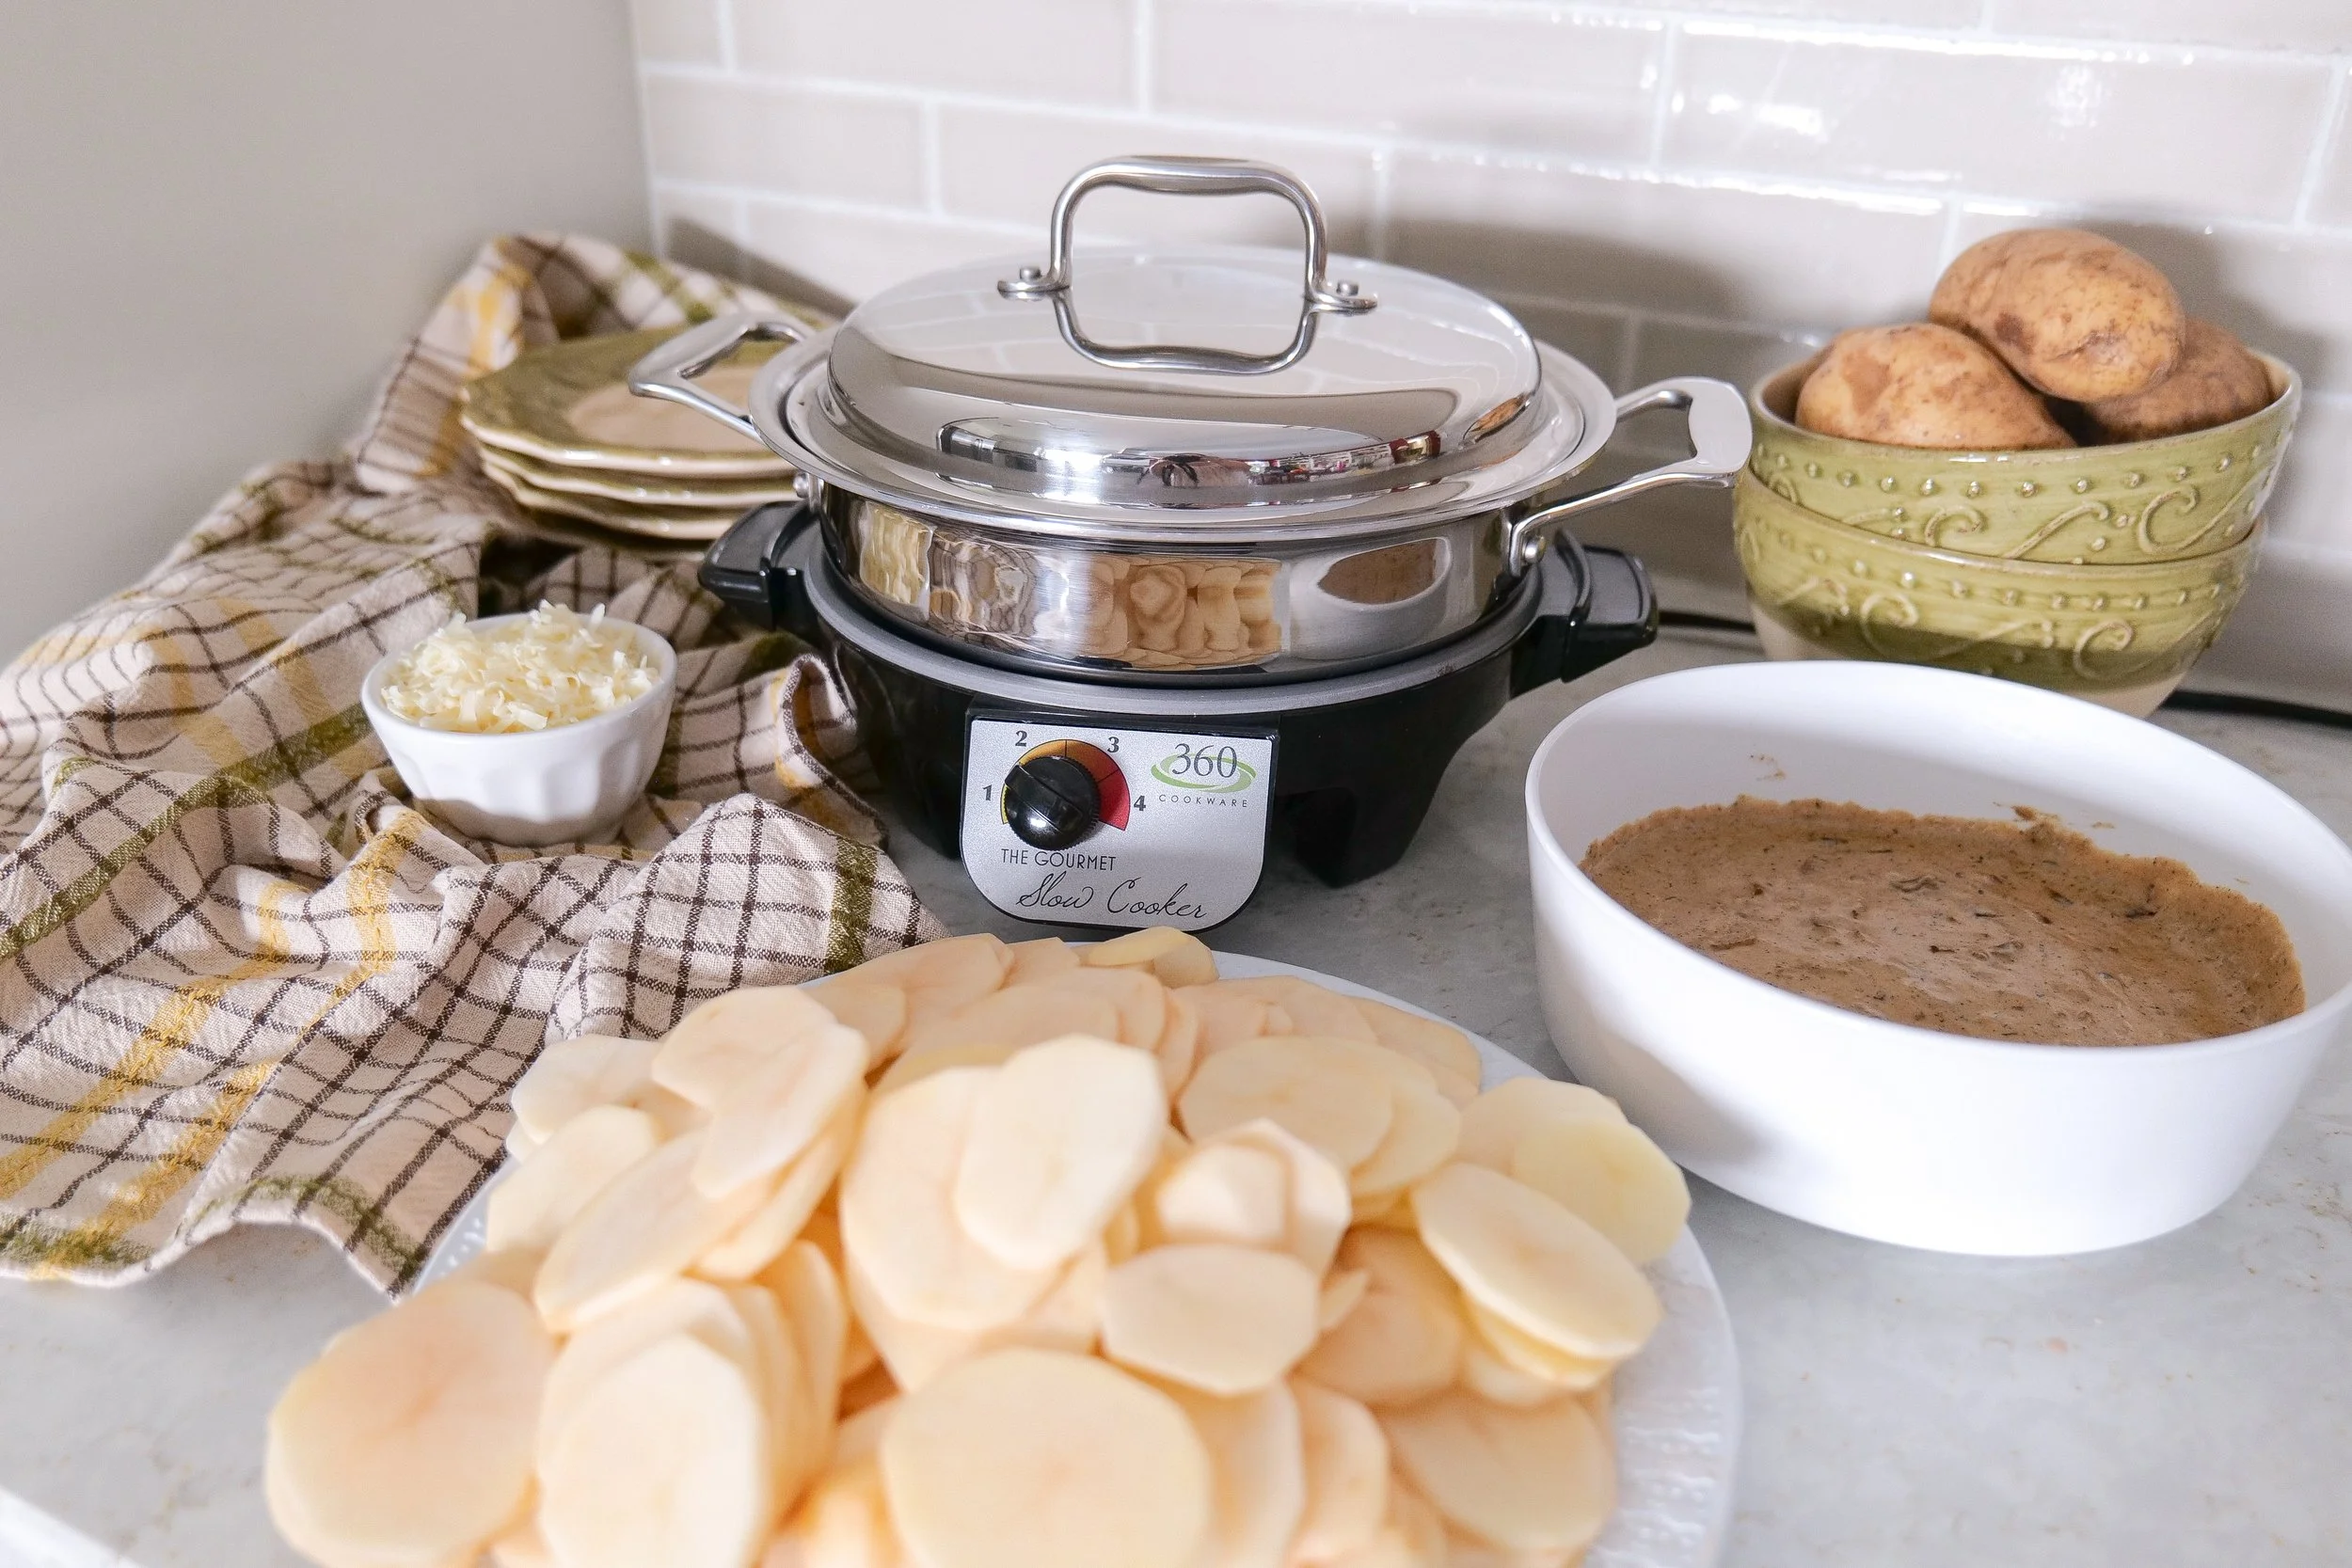
Wash and peel the potatoes before slicing them about ⅛-inch thick using a mandoline or sharp knife.

Step 2

Melt butter in a skillet before caramelizing the onions. Stir in garlic before whisking together the heavy cream, flour, thyme, salt, and pepper until smooth.

Step 3

Layer potatoes, Gruyère cheese, and cream sauce into the slow cooker.

Repeat until everything has been used.

Step 4

Cook for approximately four hours until fork tender.

Allow to rest before serving.
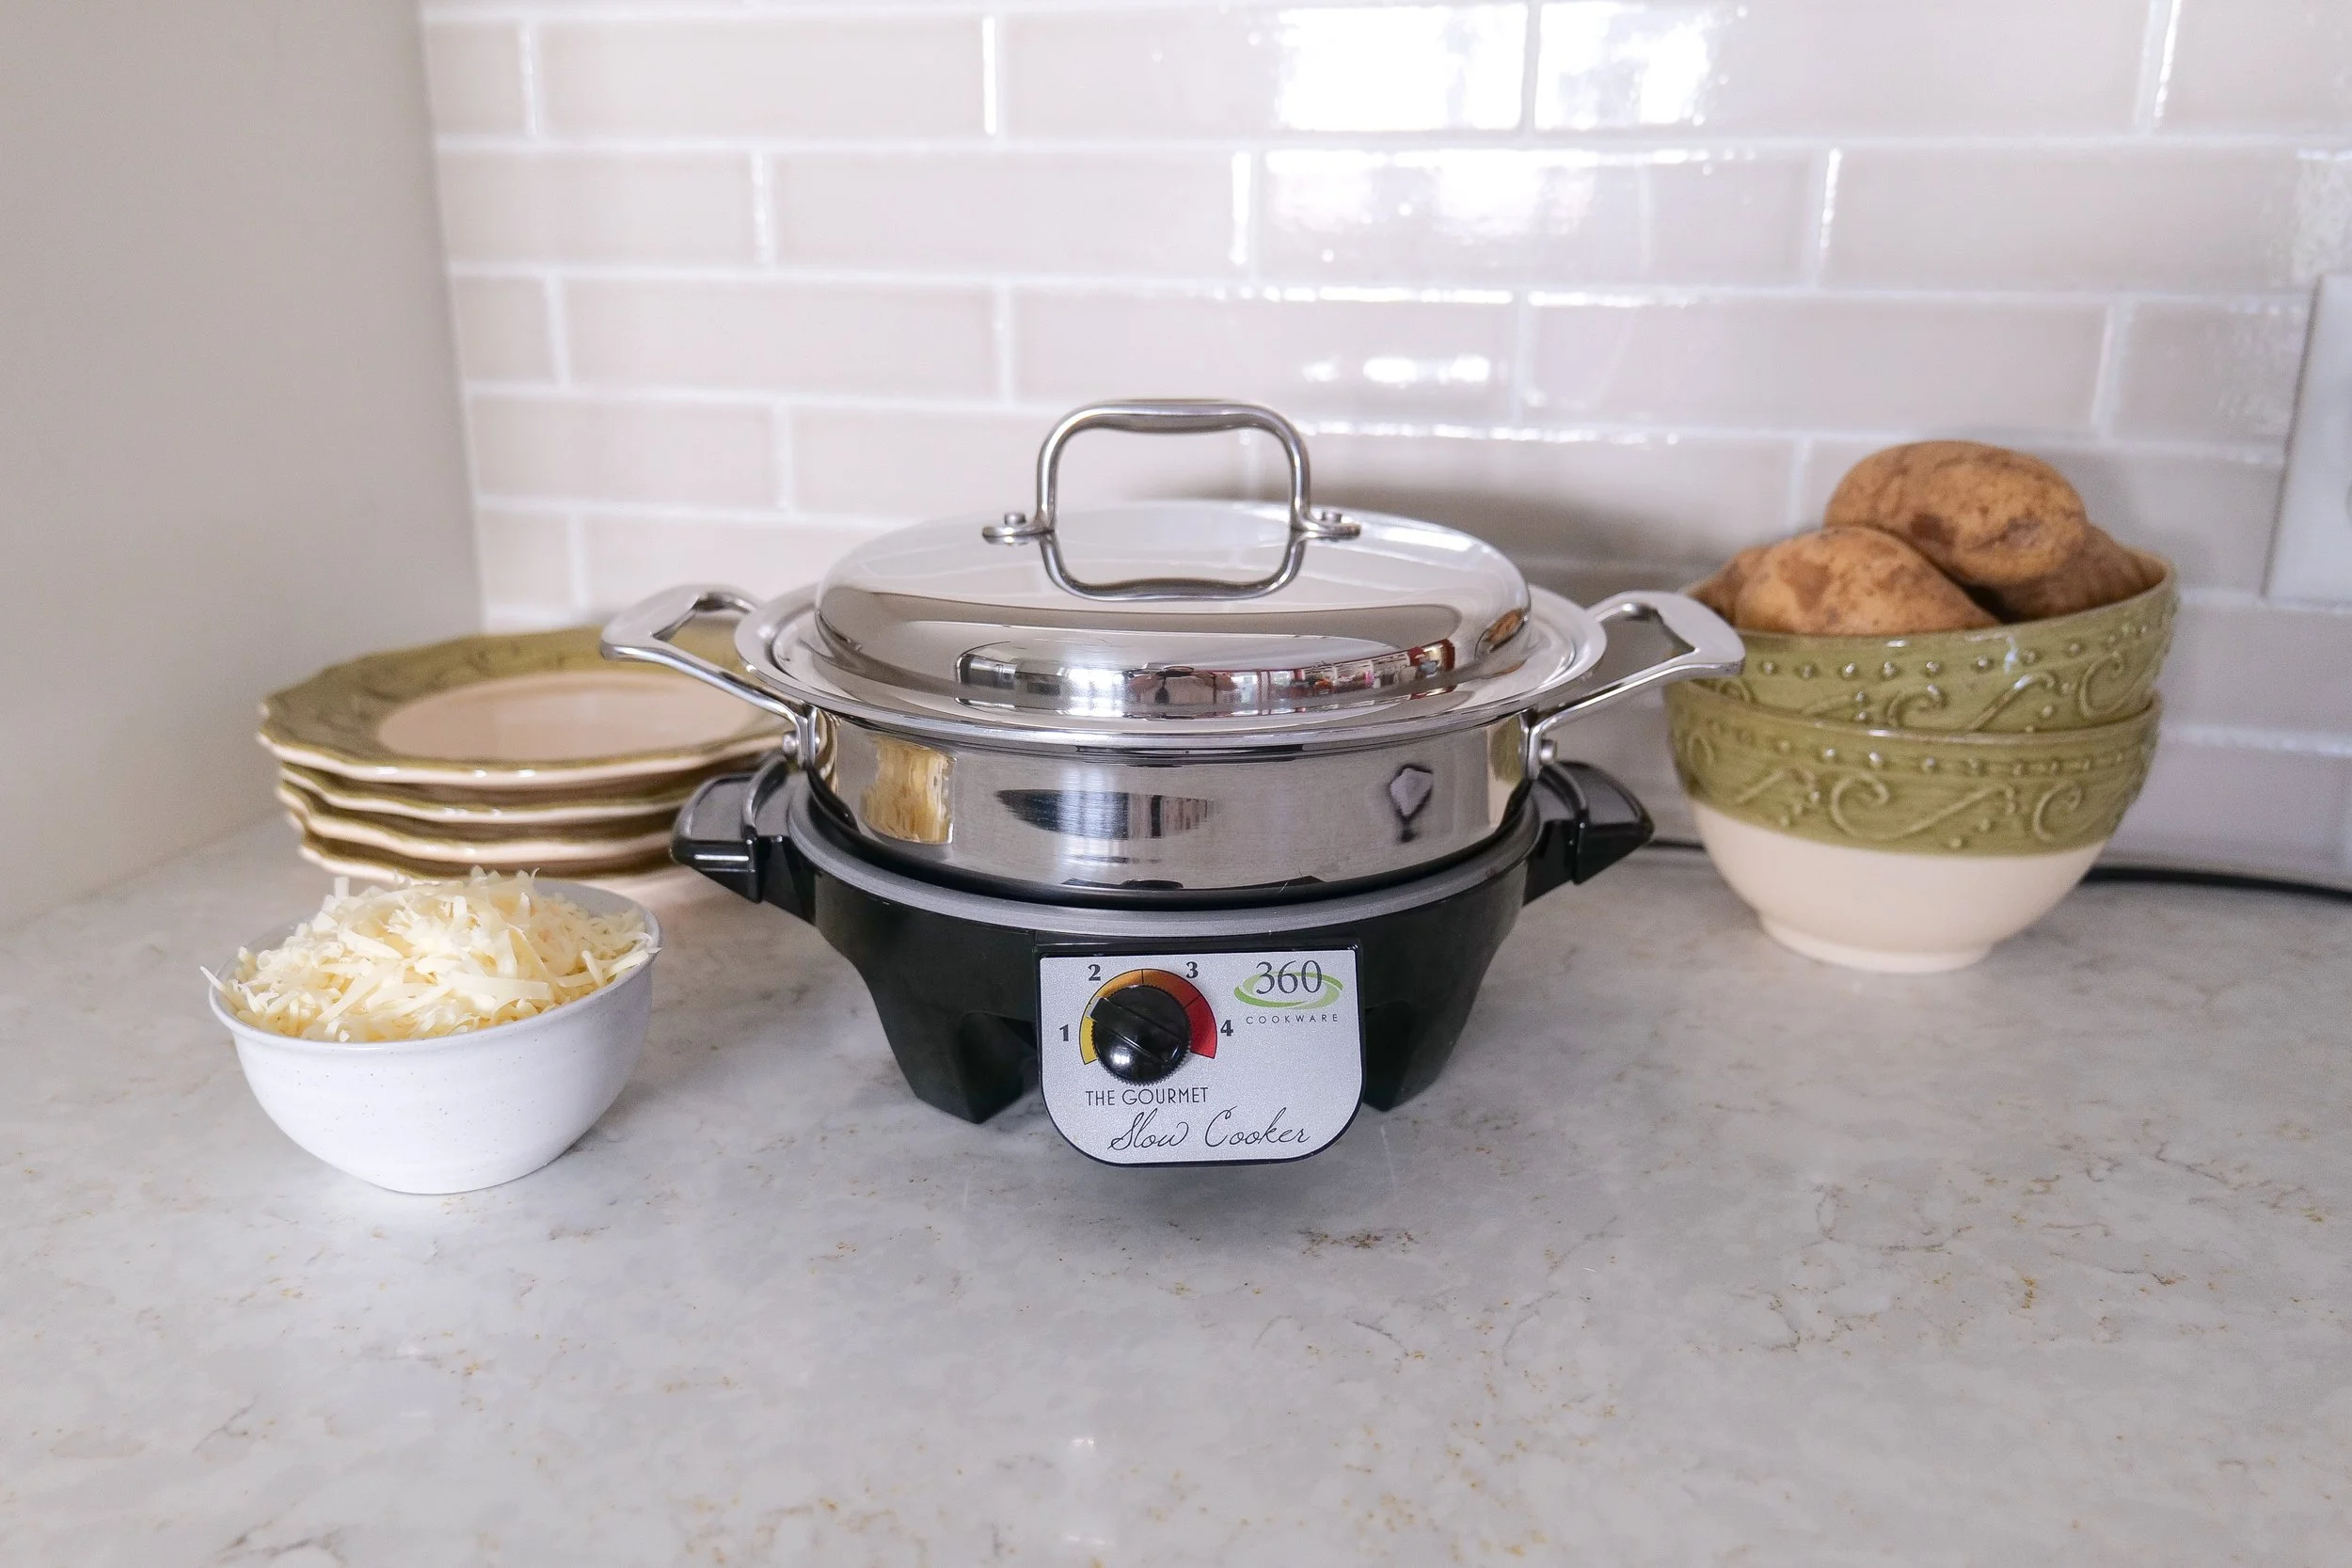
Creamy slow cooker scalloped potatoes layered with Gruyère cheese and baked until tender.

Amanda's Tips

• Slice evenly.

• Freshly shred cheese.

• Let rest.

• Grease slow cooker.

• Use a mandoline.
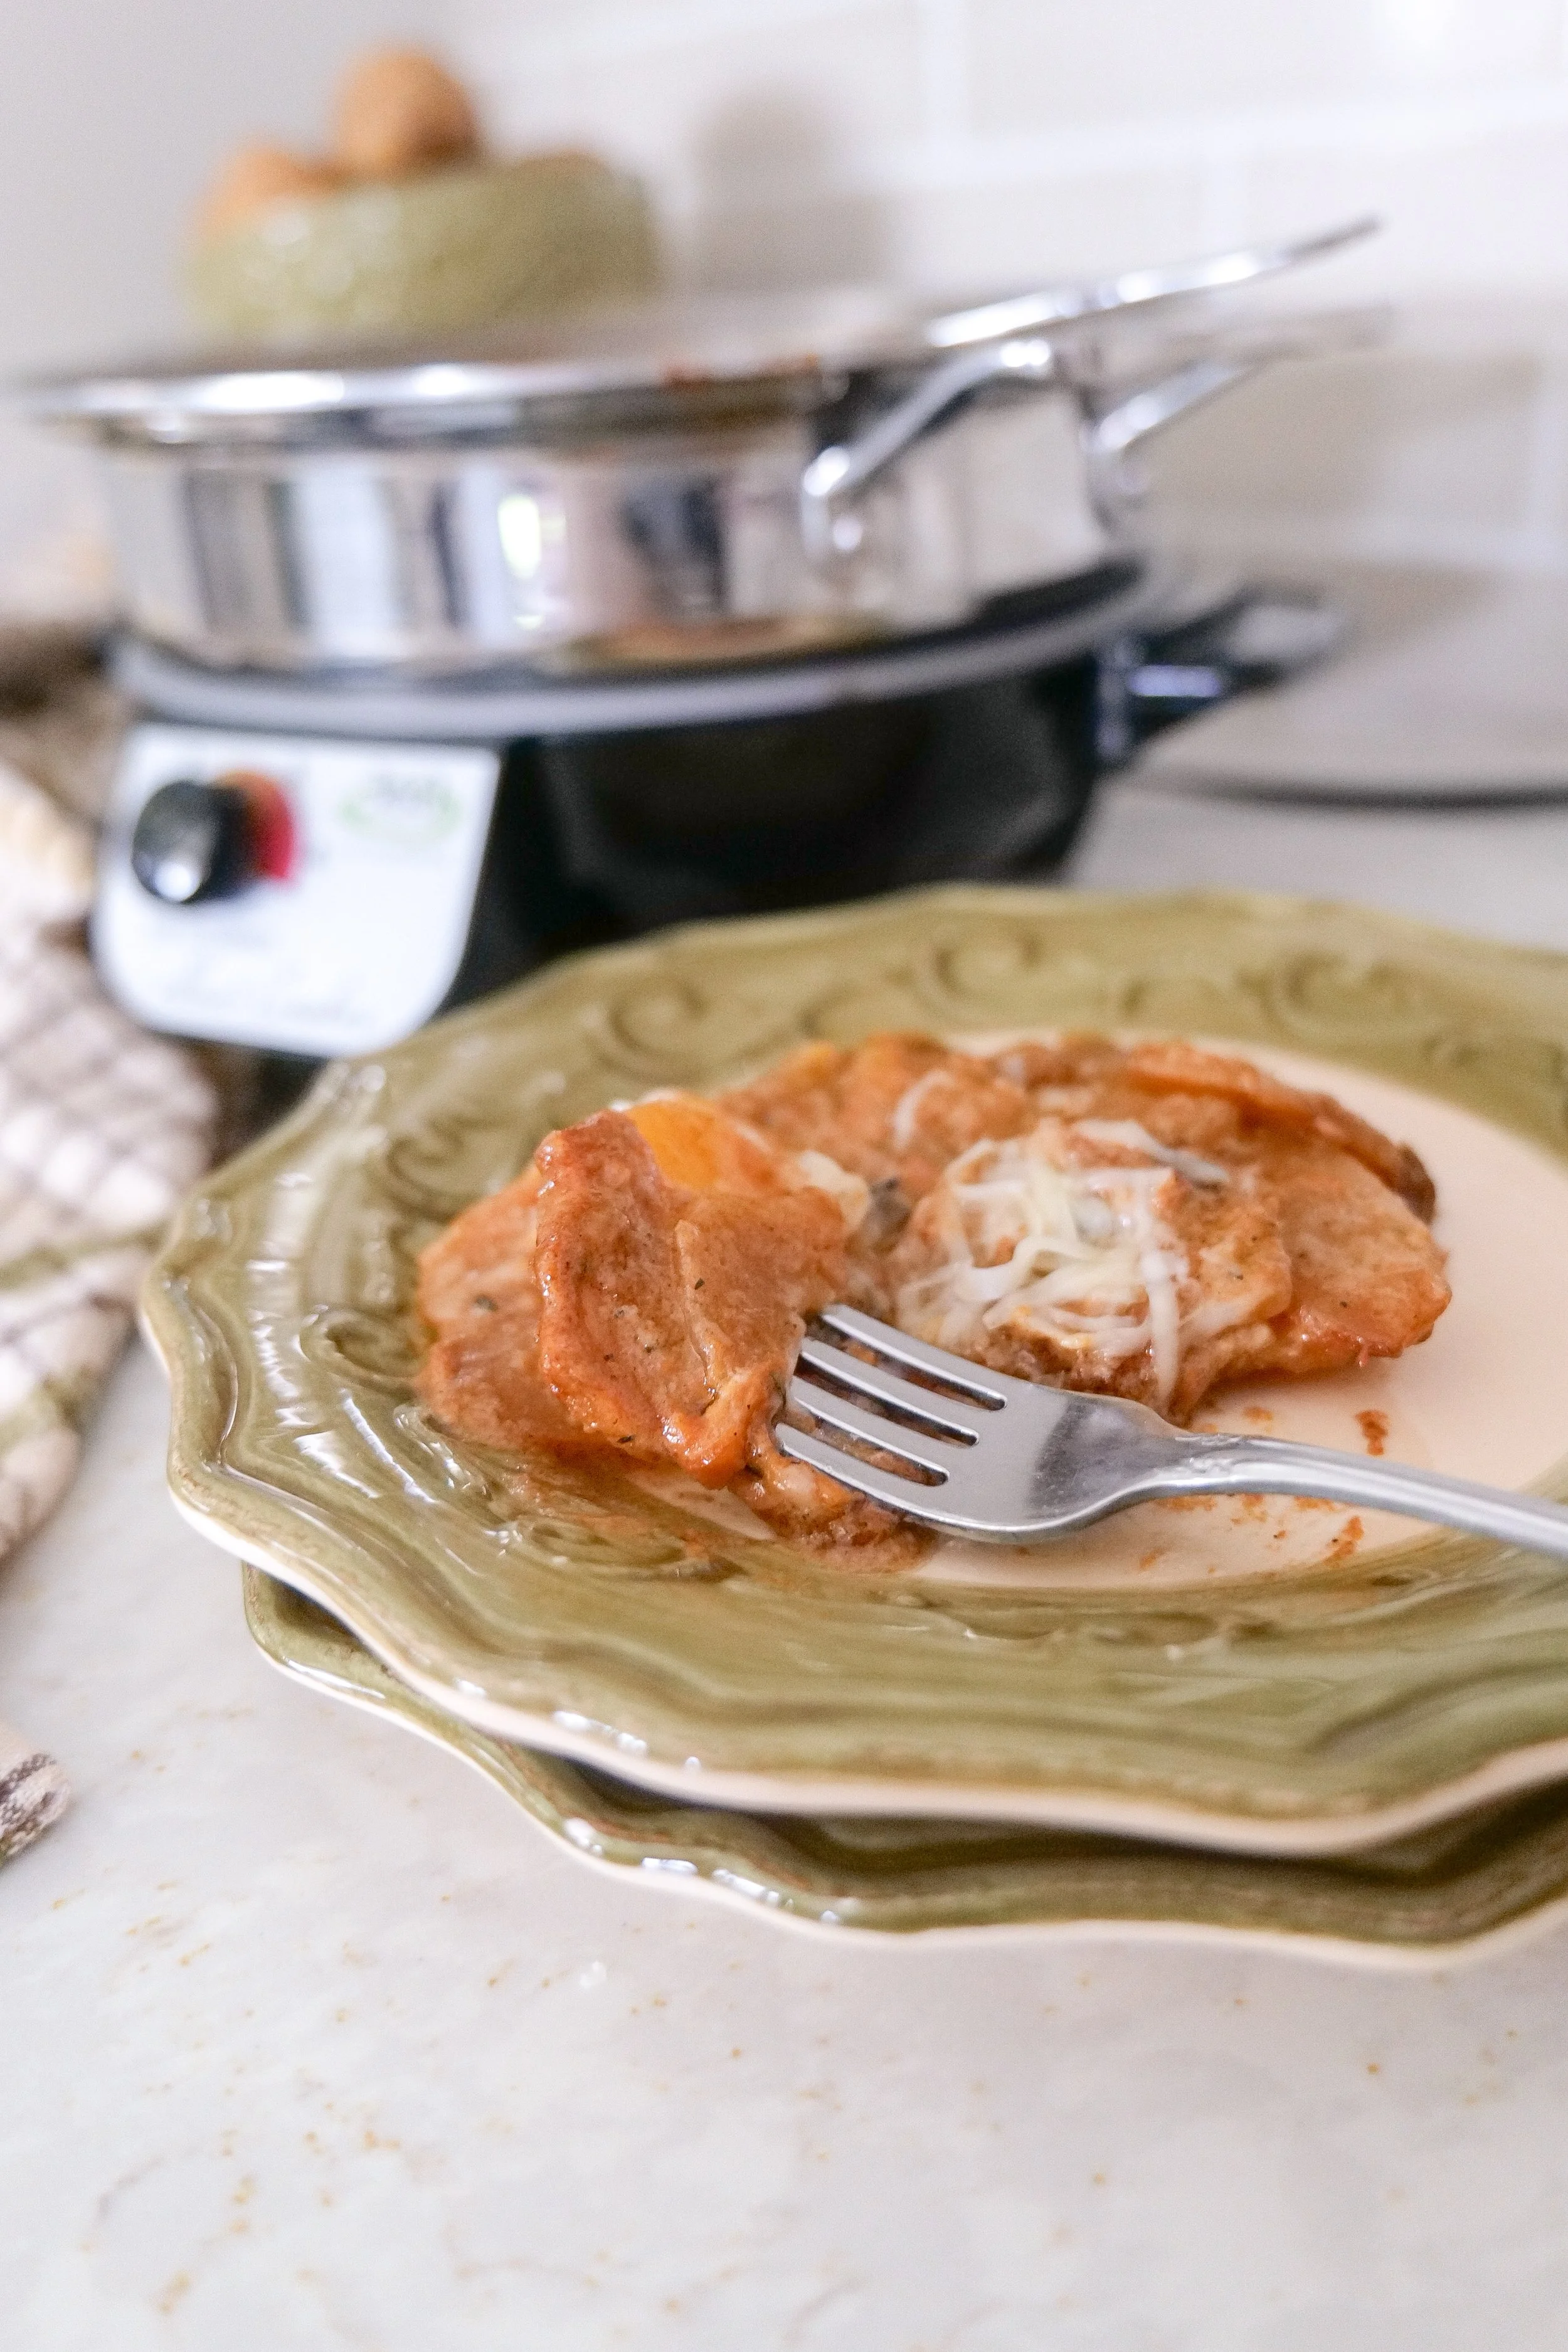
Easy crockpot potato recipe with garlic, onions, Gruyère cheese, and herbs.

Make Ahead Instructions

This recipe is perfect for holiday meal prep.

Assemble everything the night before, refrigerate, then simply place the insert into the slow cooker the next day.
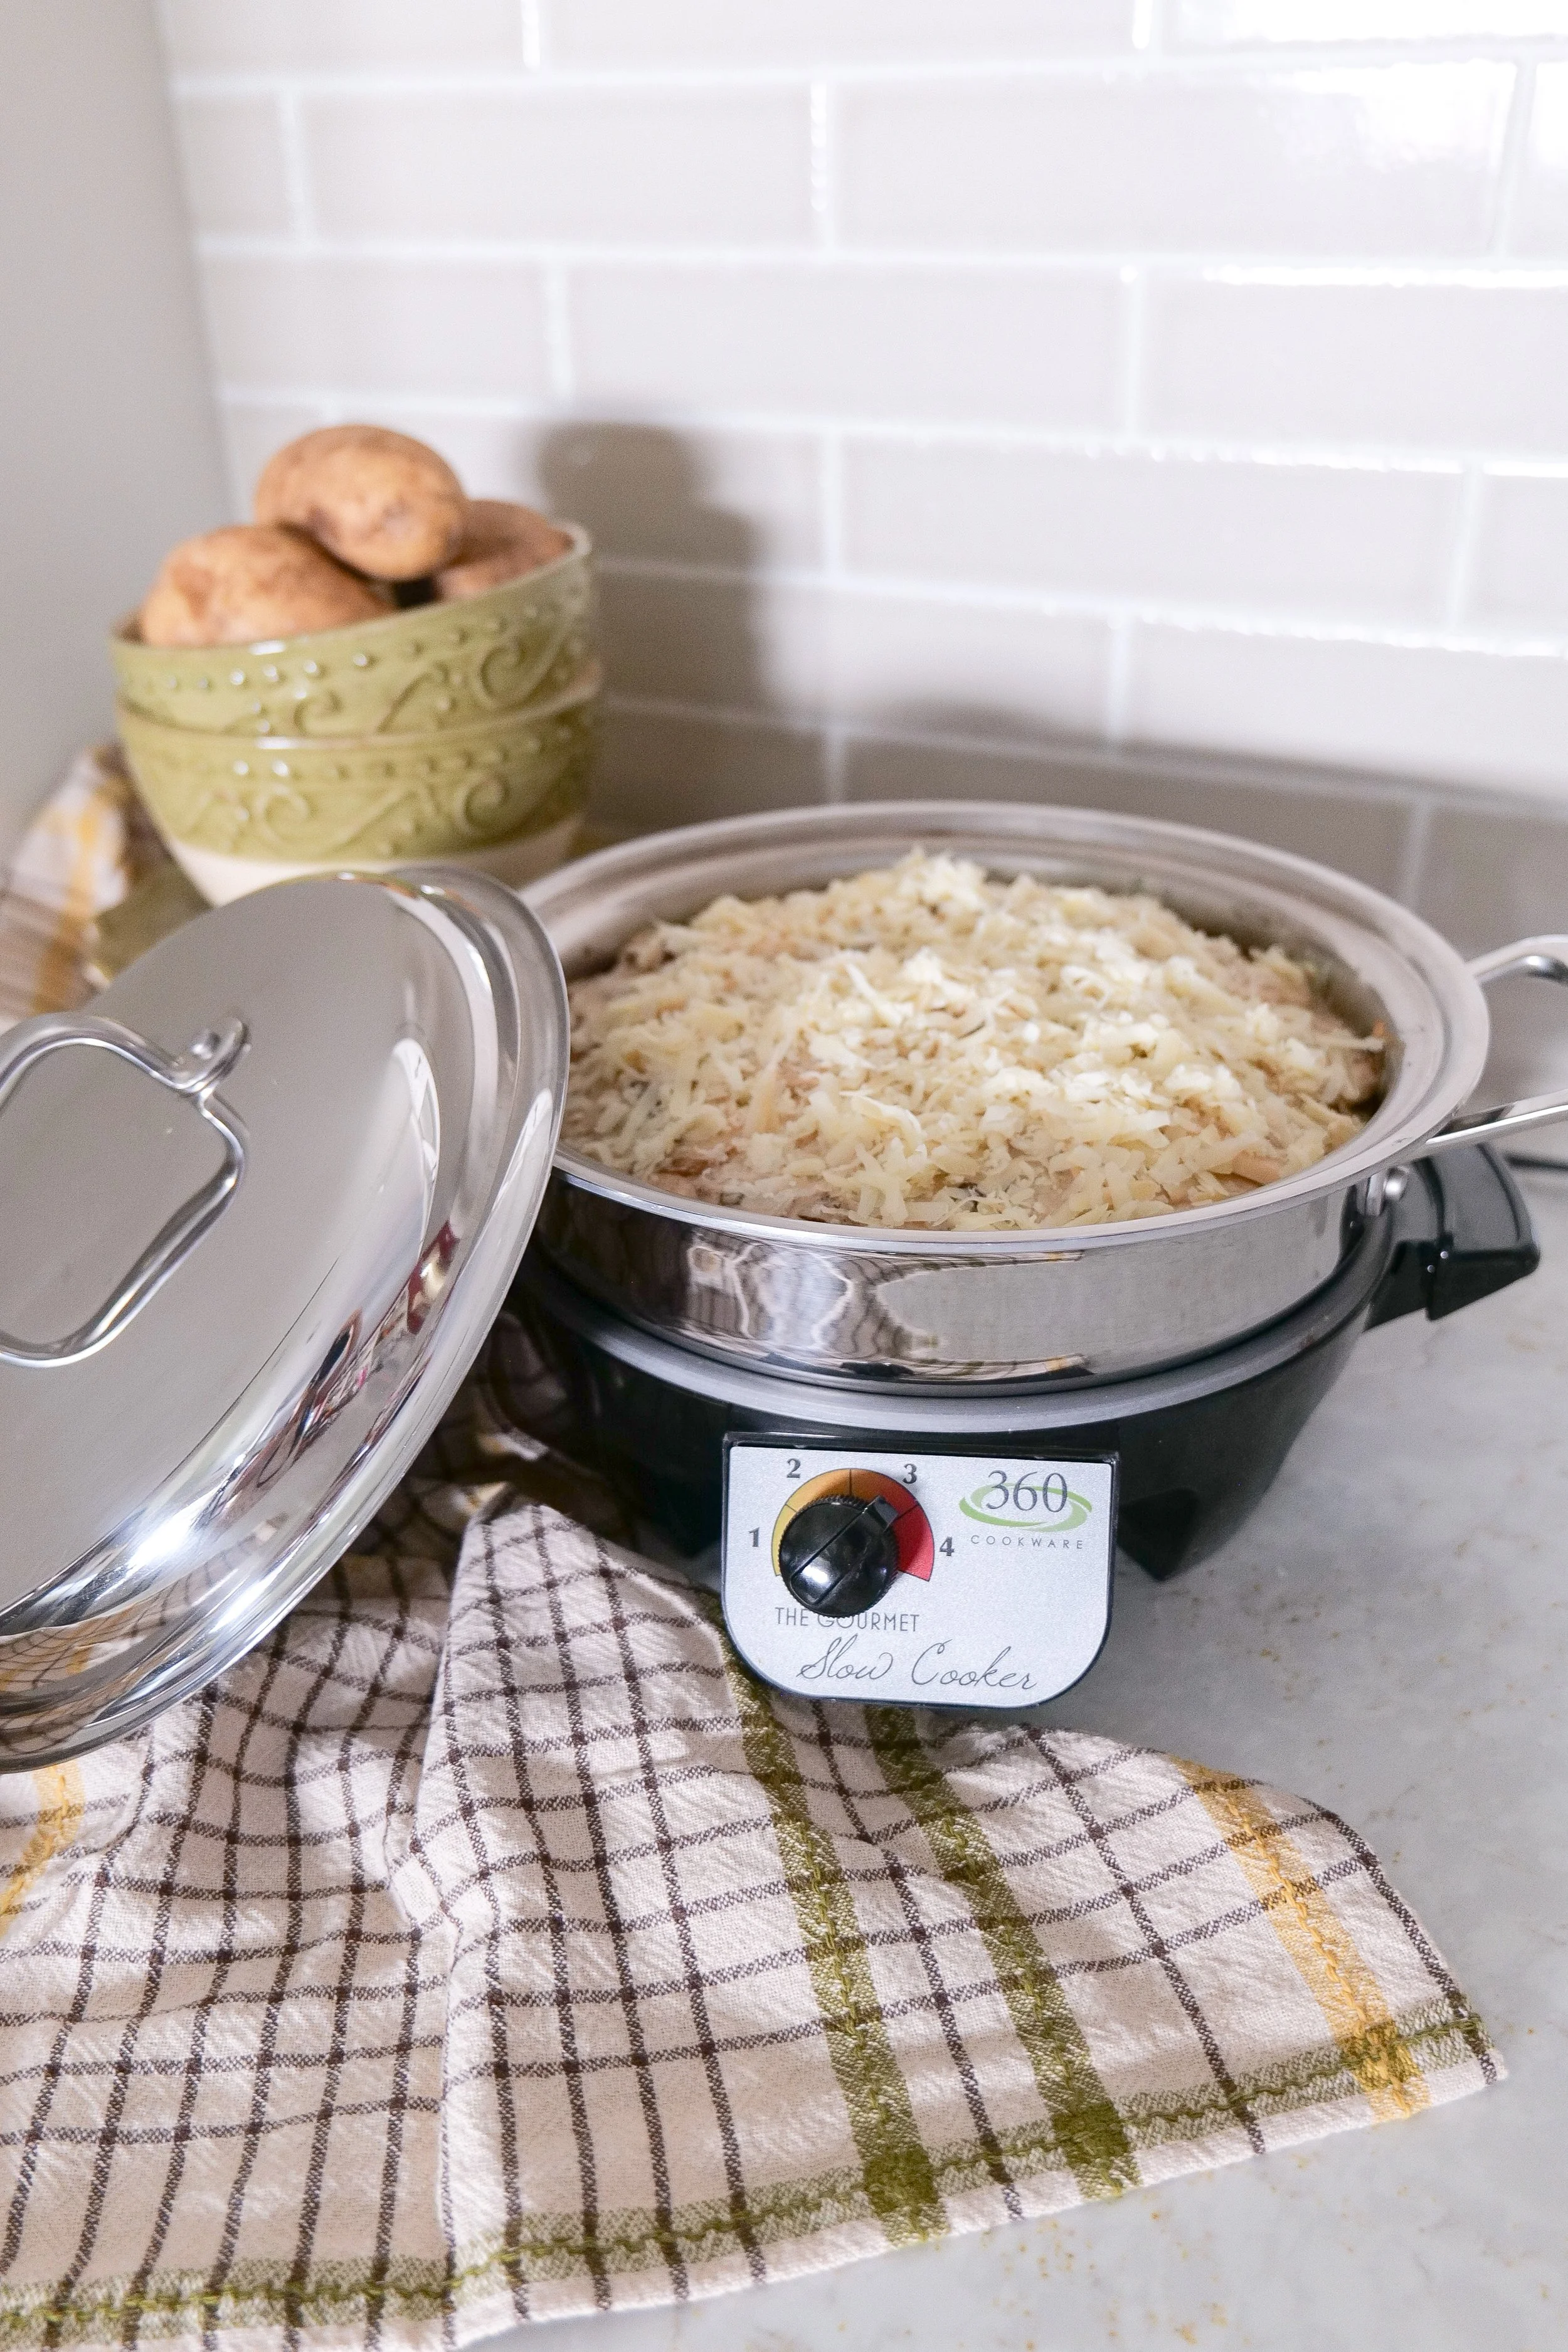
Cheesy Gruyère scalloped potatoes with caramelized onions and garlic.

Storage & Reheating

Store in an airtight container up to four days.

Reheat gently.
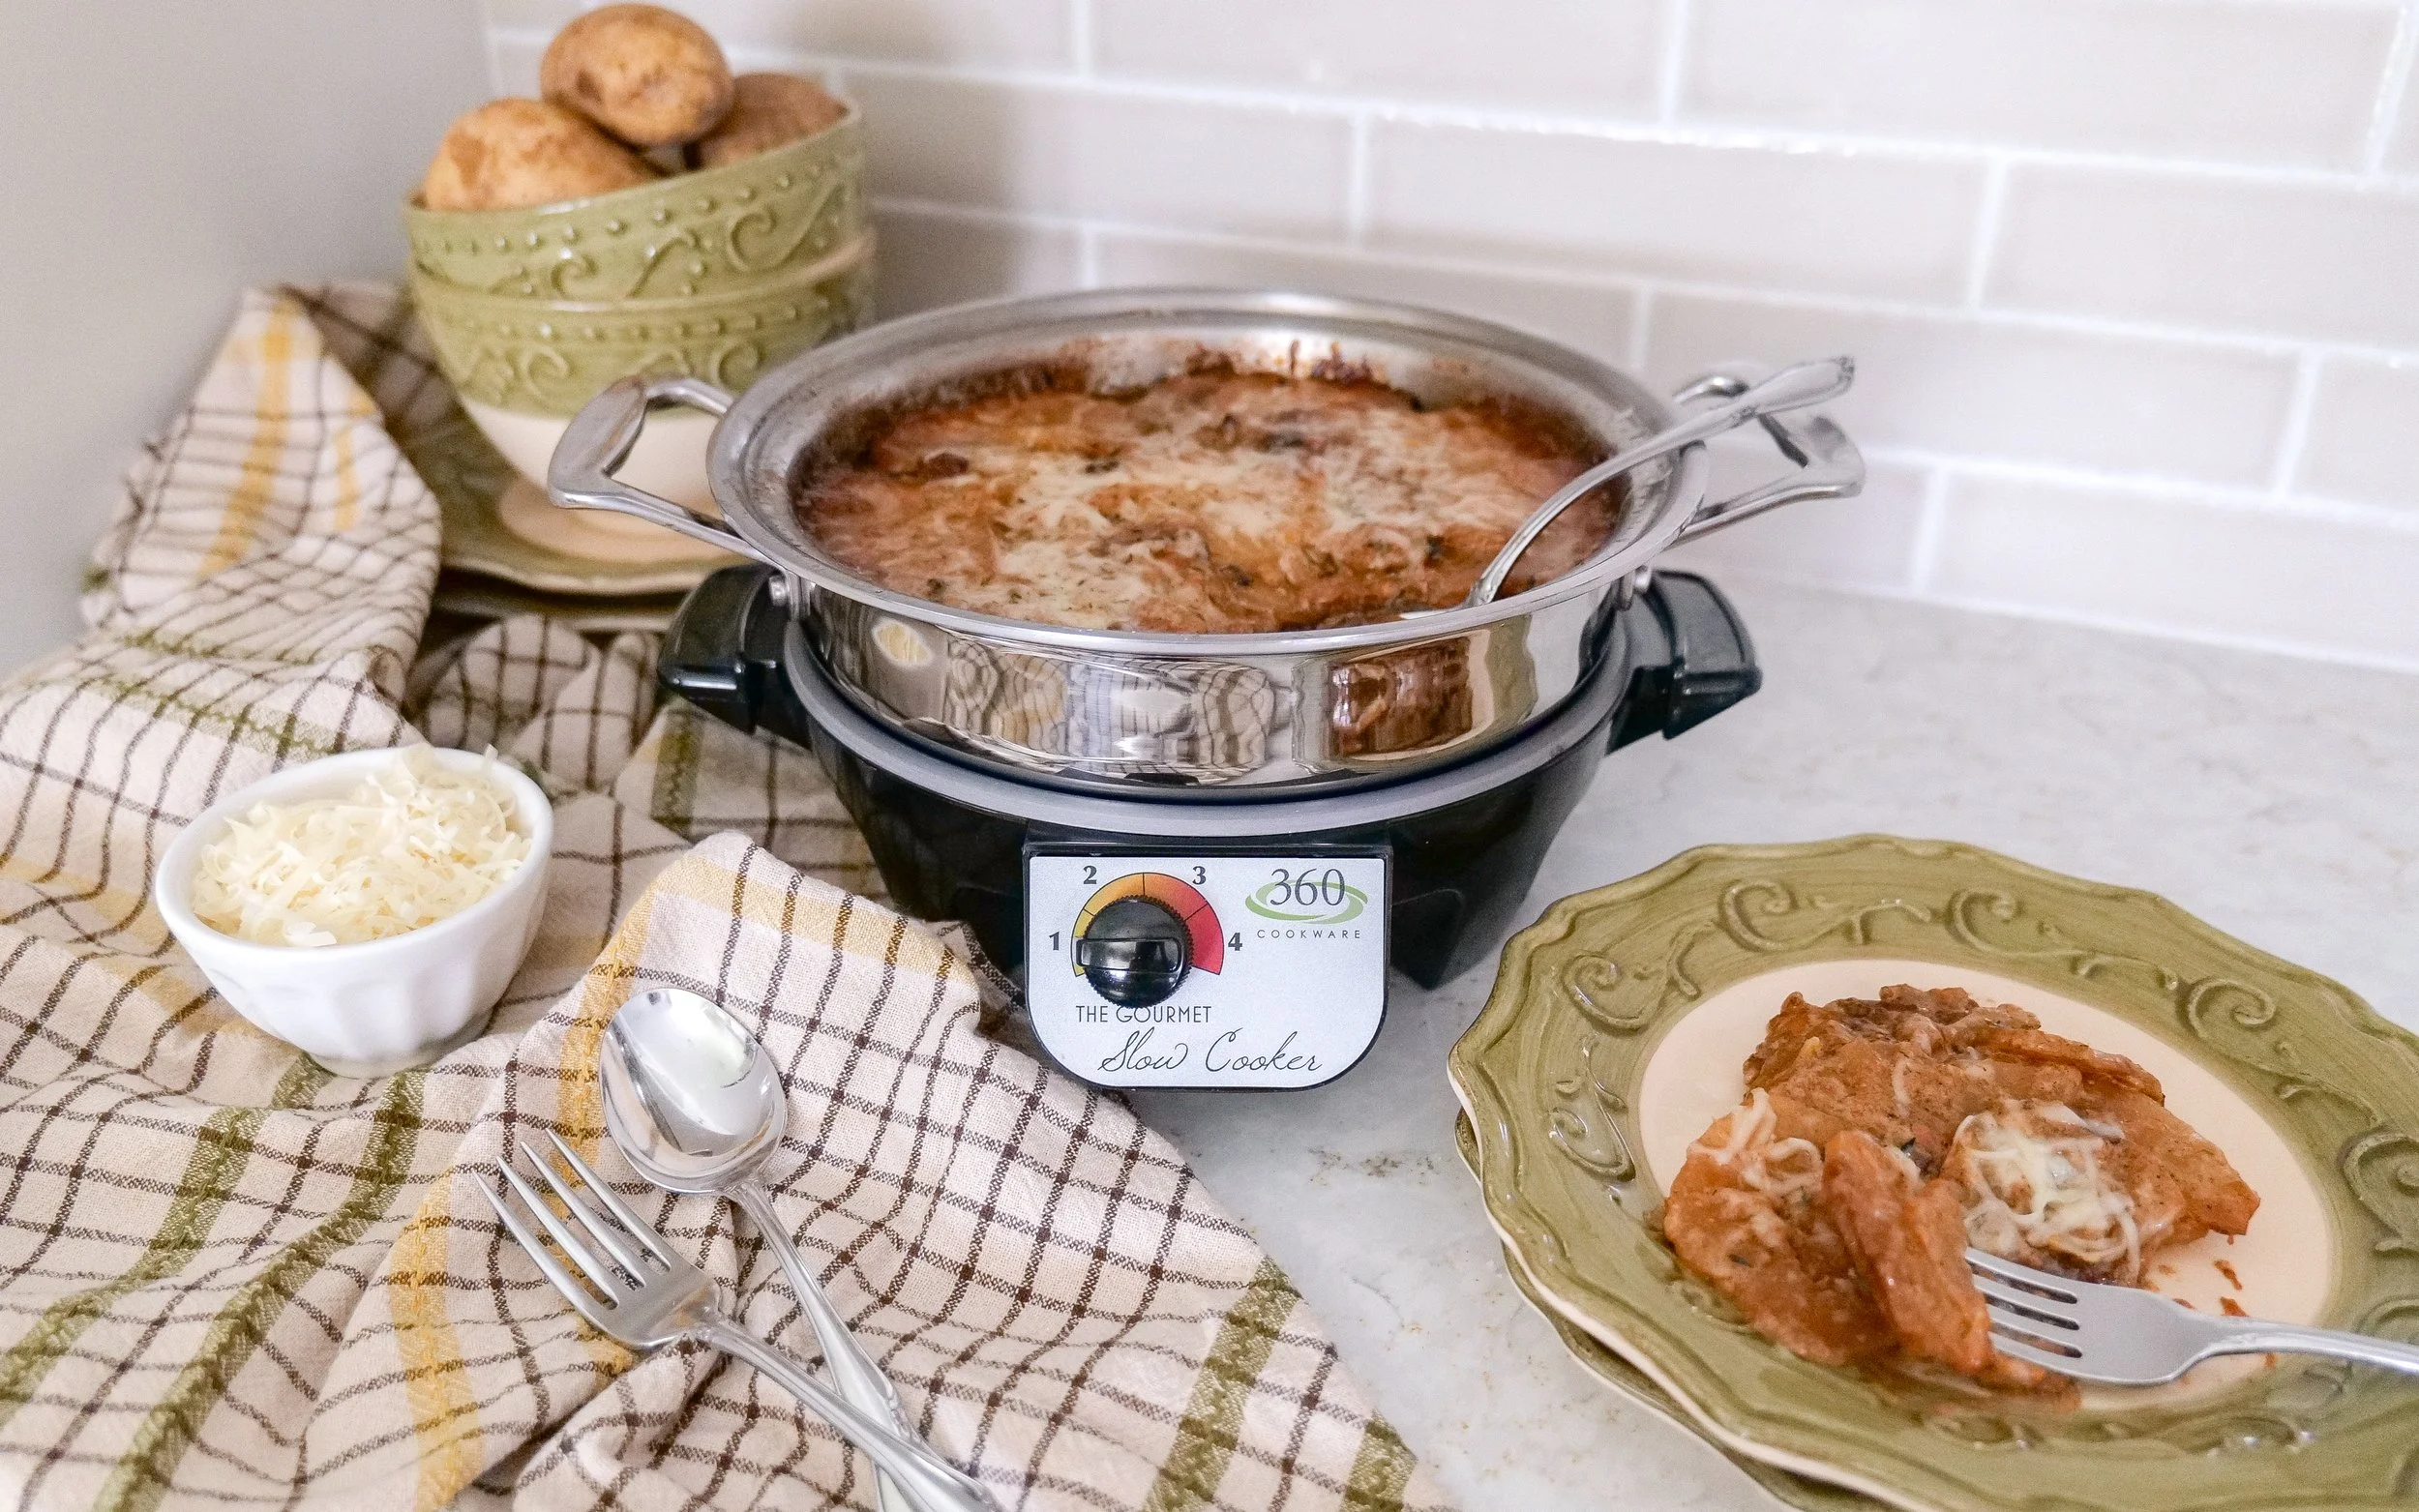
Easy potato side dish for weeknight dinners and holidays.

What to Serve with Slow Cooker Scalloped Potatoes

One of my favorite things about these potatoes is just how versatile they are. They're equally at home on a holiday table or served alongside a cozy weeknight dinner.

If you're planning a complete meal, these recipes pair beautifully with this creamy side dish:

Apple Glazed Chicken Thighs

A sweet and savory main dish that complements the rich, cheesy potatoes beautifully.

Grilled Peach Caprese Chicken

Fresh peaches, basil, mozzarella, and balsamic glaze make this one of my favorite warm-weather pairings.

Baked Caesar Asparagus

A fresh vegetable side that balances the richness of the potatoes.

Shaved Brussels Sprout Salad with Apples, Goat Cheese & Candied Pecans

Crisp, colorful, and perfect for holiday meals.

Stuffed Mushrooms

An elegant appetizer for Thanksgiving, Christmas, or dinner parties.

Sweet Kale Salad with Poppy Seed Dressing

A bright and refreshing salad to round out the meal.

Shop My Kitchen

If you've been around here for a while, you know I love investing in kitchen tools that last for years.

I've linked my favorite slow cooker, mandoline slicer, Dutch oven, serving dishes, and entertaining favorites in my Cozy Kitchen Essentials ShopMy Shelf.
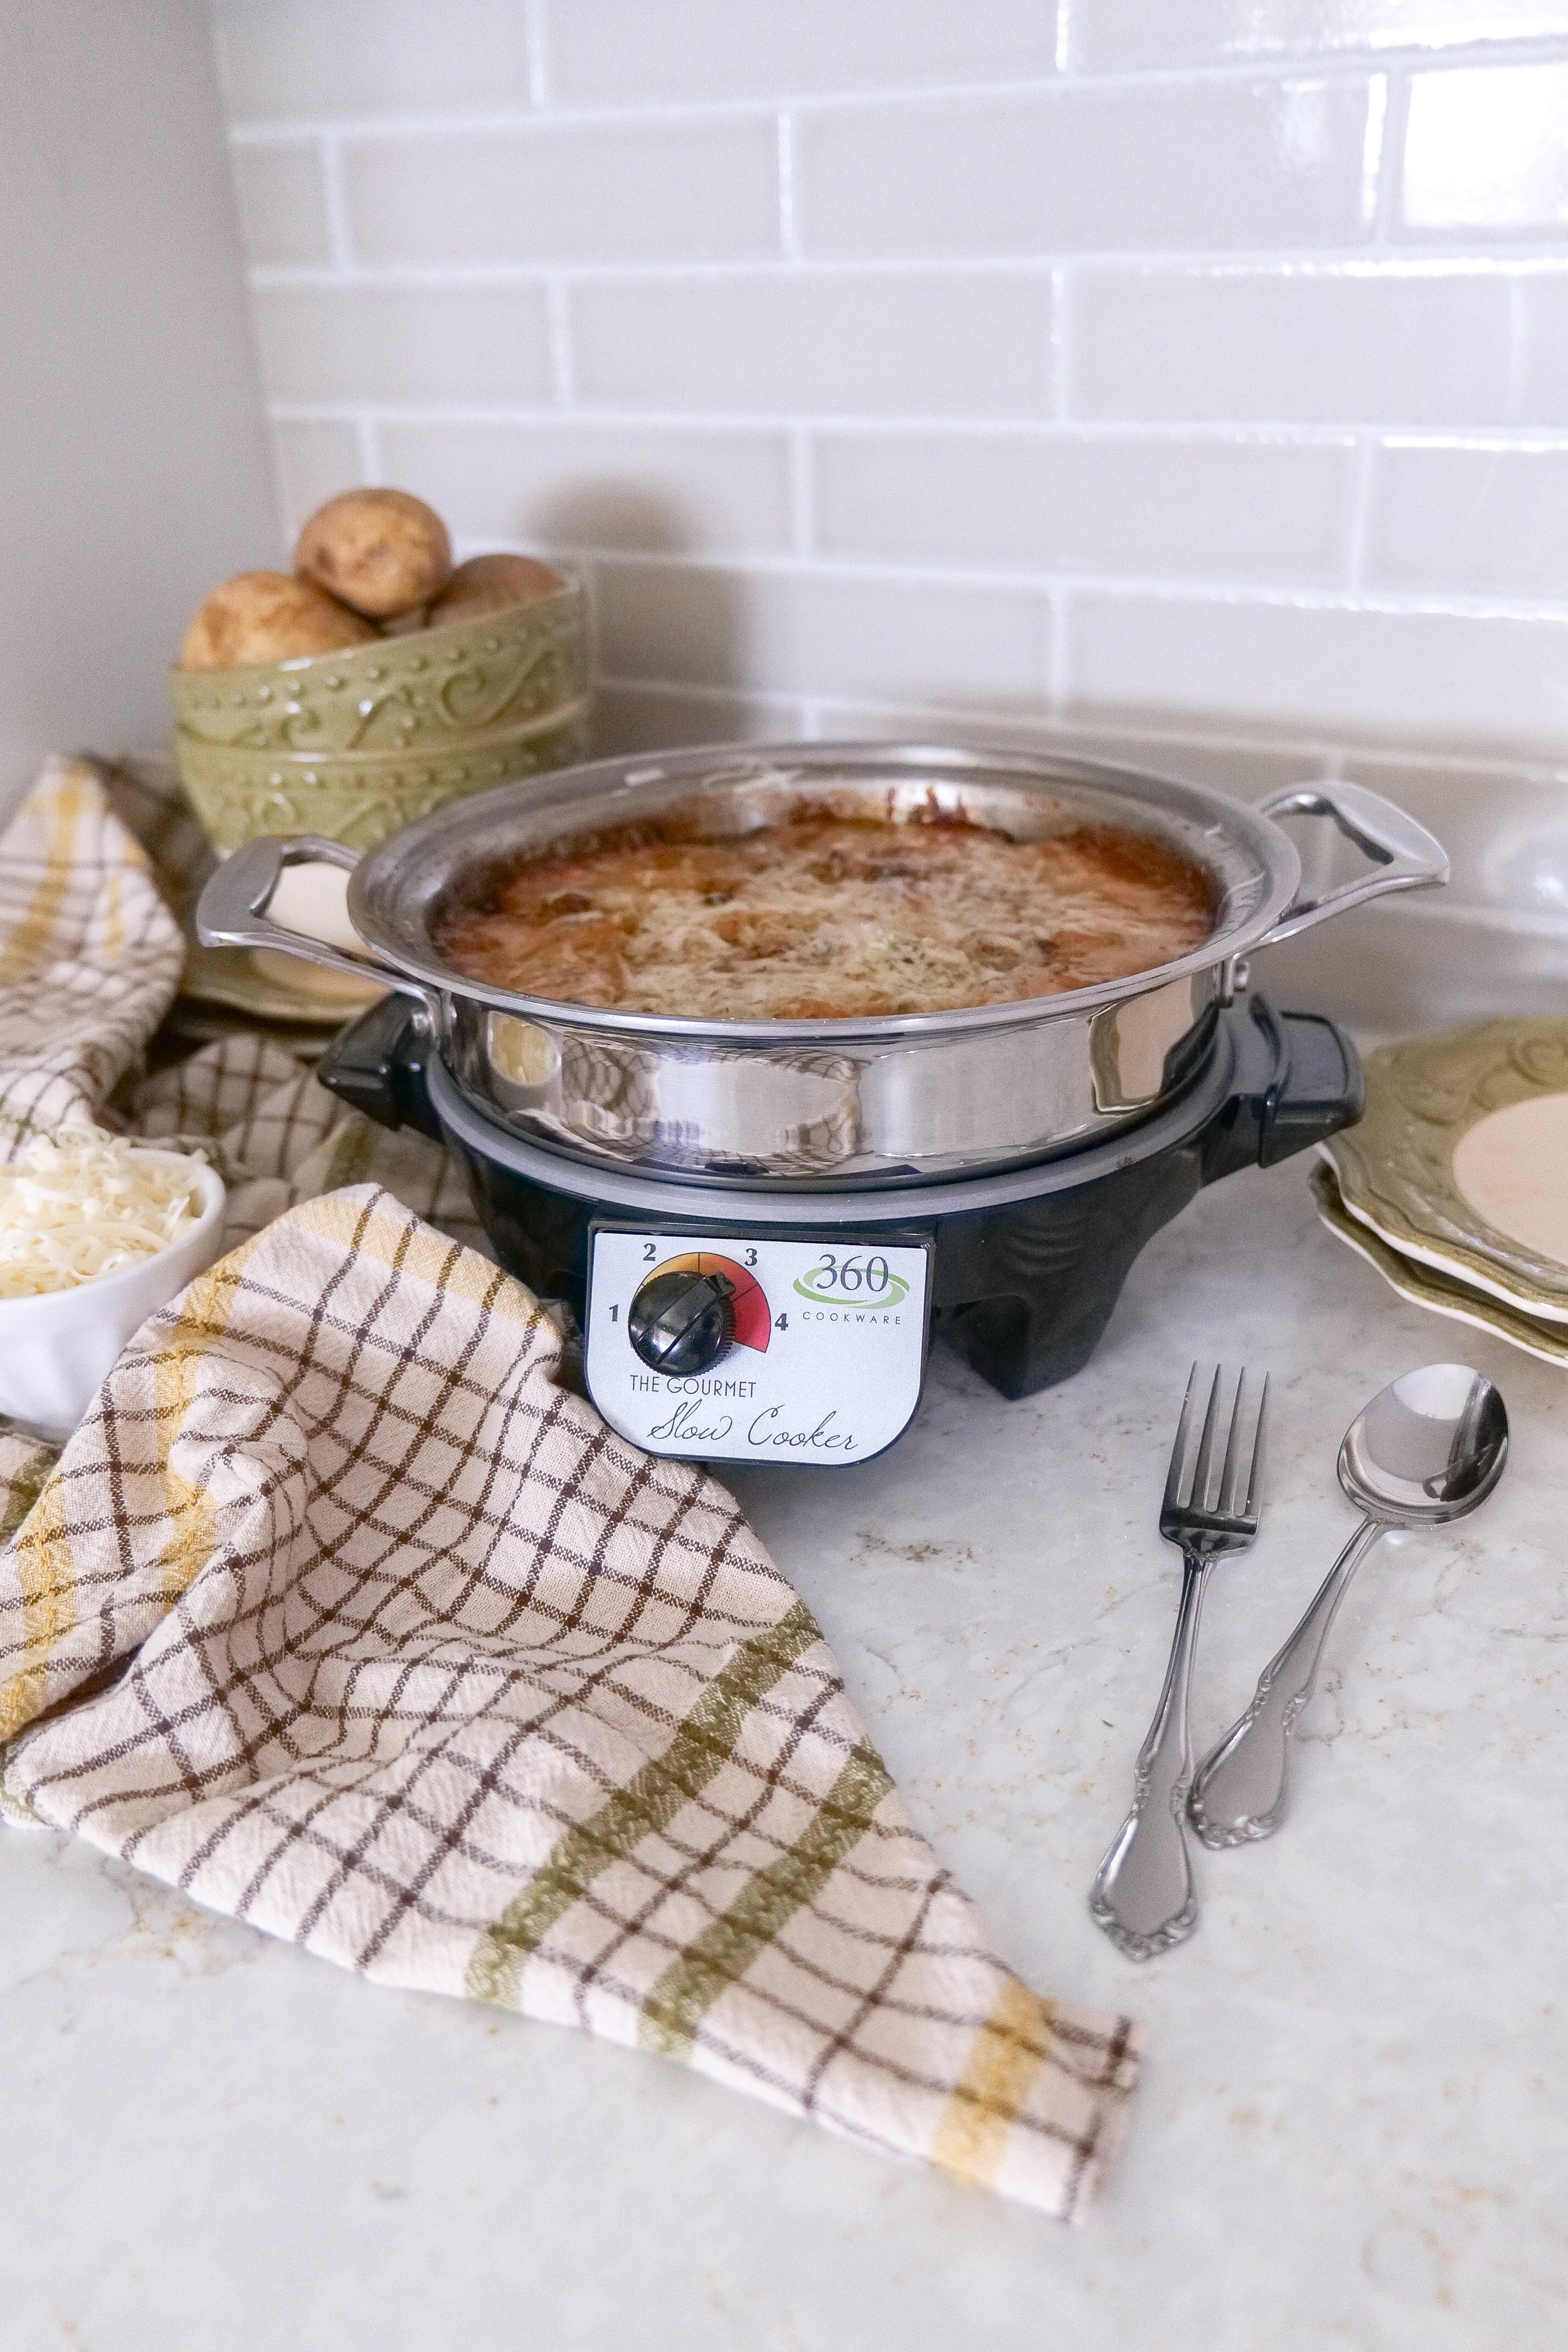
Homemade scalloped potatoes with a creamy herb sauce.

Frequently Asked Questions

Can I make these the night before?

Yes!

Can I use Yukon Gold potatoes?

Absolutely.

What's the difference between scalloped potatoes and potatoes au gratin?

Traditional scalloped potatoes use a cream sauce, while au gratin potatoes typically contain more cheese. This recipe offers the best of both.

Can I freeze them?

Cream sauces don't freeze as well, so I recommend enjoying them fresh.
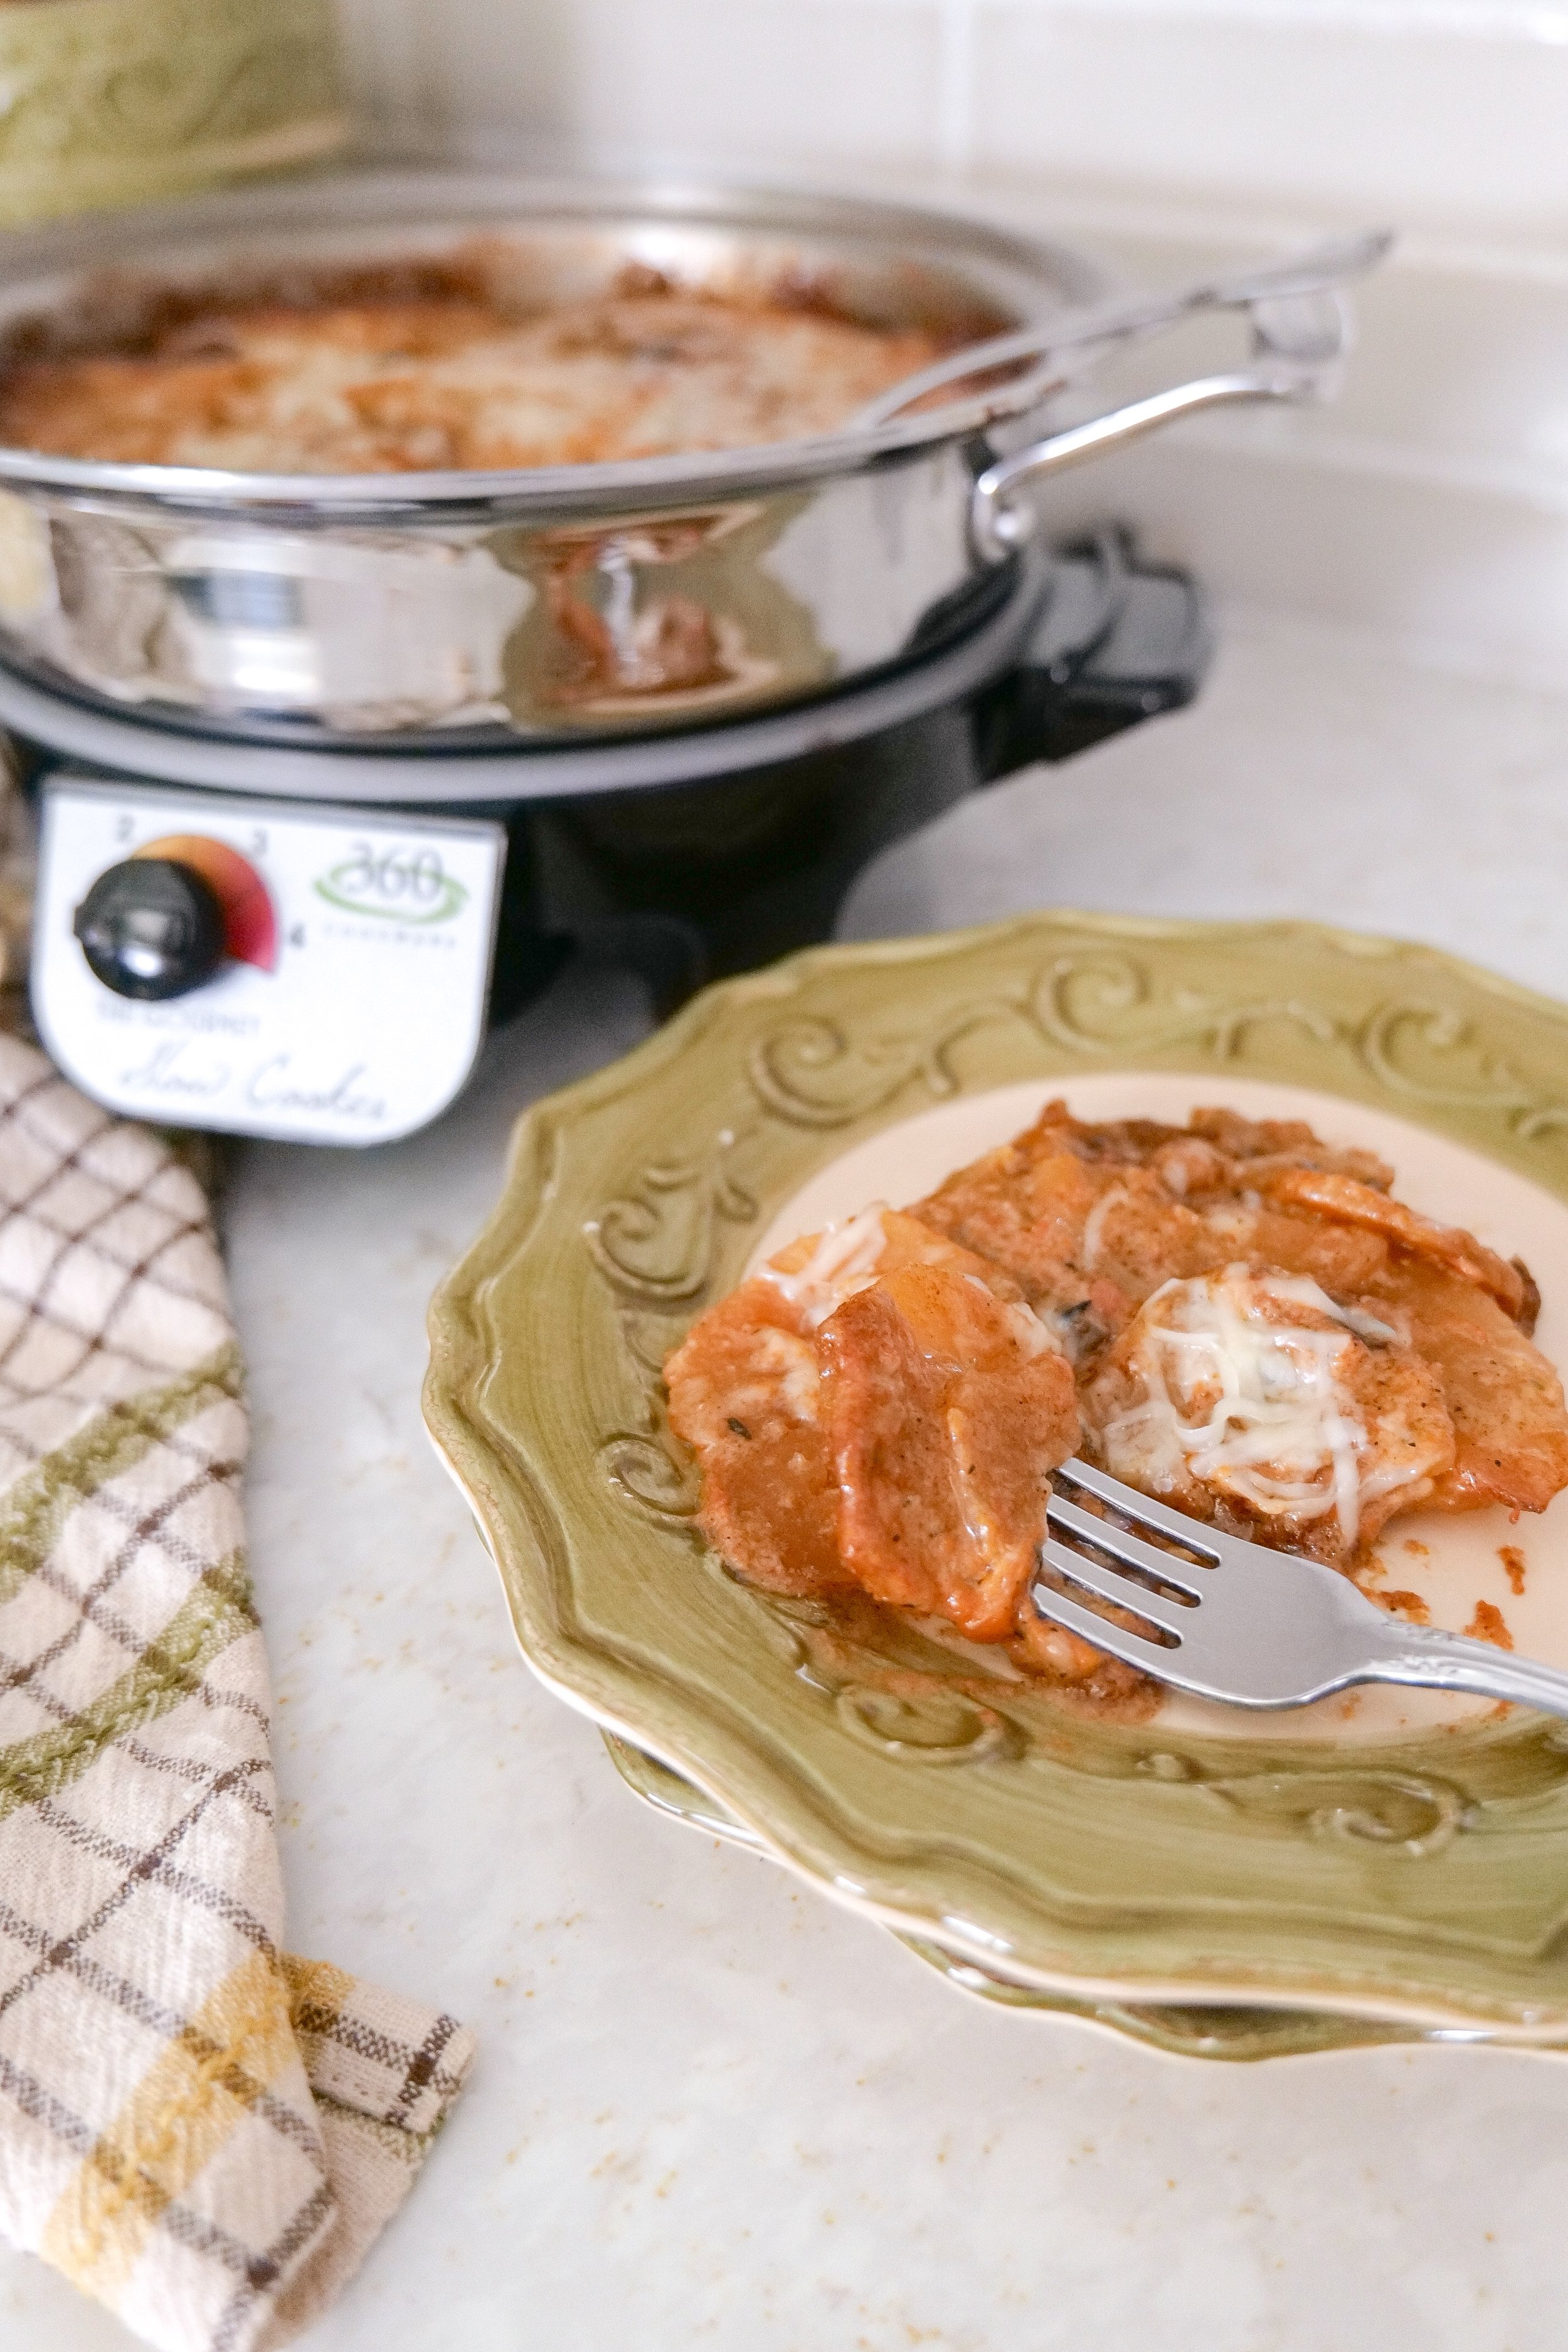
The best creamy scalloped potatoes made in the slow cooker.
Creamy potato side dish served with roasted chicken for family dinner.

More Cozy Recipes You'll Love

If you're building a holiday menu or simply love comforting family dinners, here are a few more favorites from my kitchen.

Elevate Your Plate with a Baked Caesar Asparagus Side Dish

Shaved Brussels Sprout Salad with Apples, Goat Cheese & Candied Pecans

A Crowd-Pleasing Stuffed Mushroom Recipe

Discover the Delightful Twist of Sweet Kale Salad with Poppy Seed Dressing

Holiday Menus You'll Love

If entertaining is one of your favorite ways to love on people, I think you'll enjoy these seasonal menus and hosting guides too.

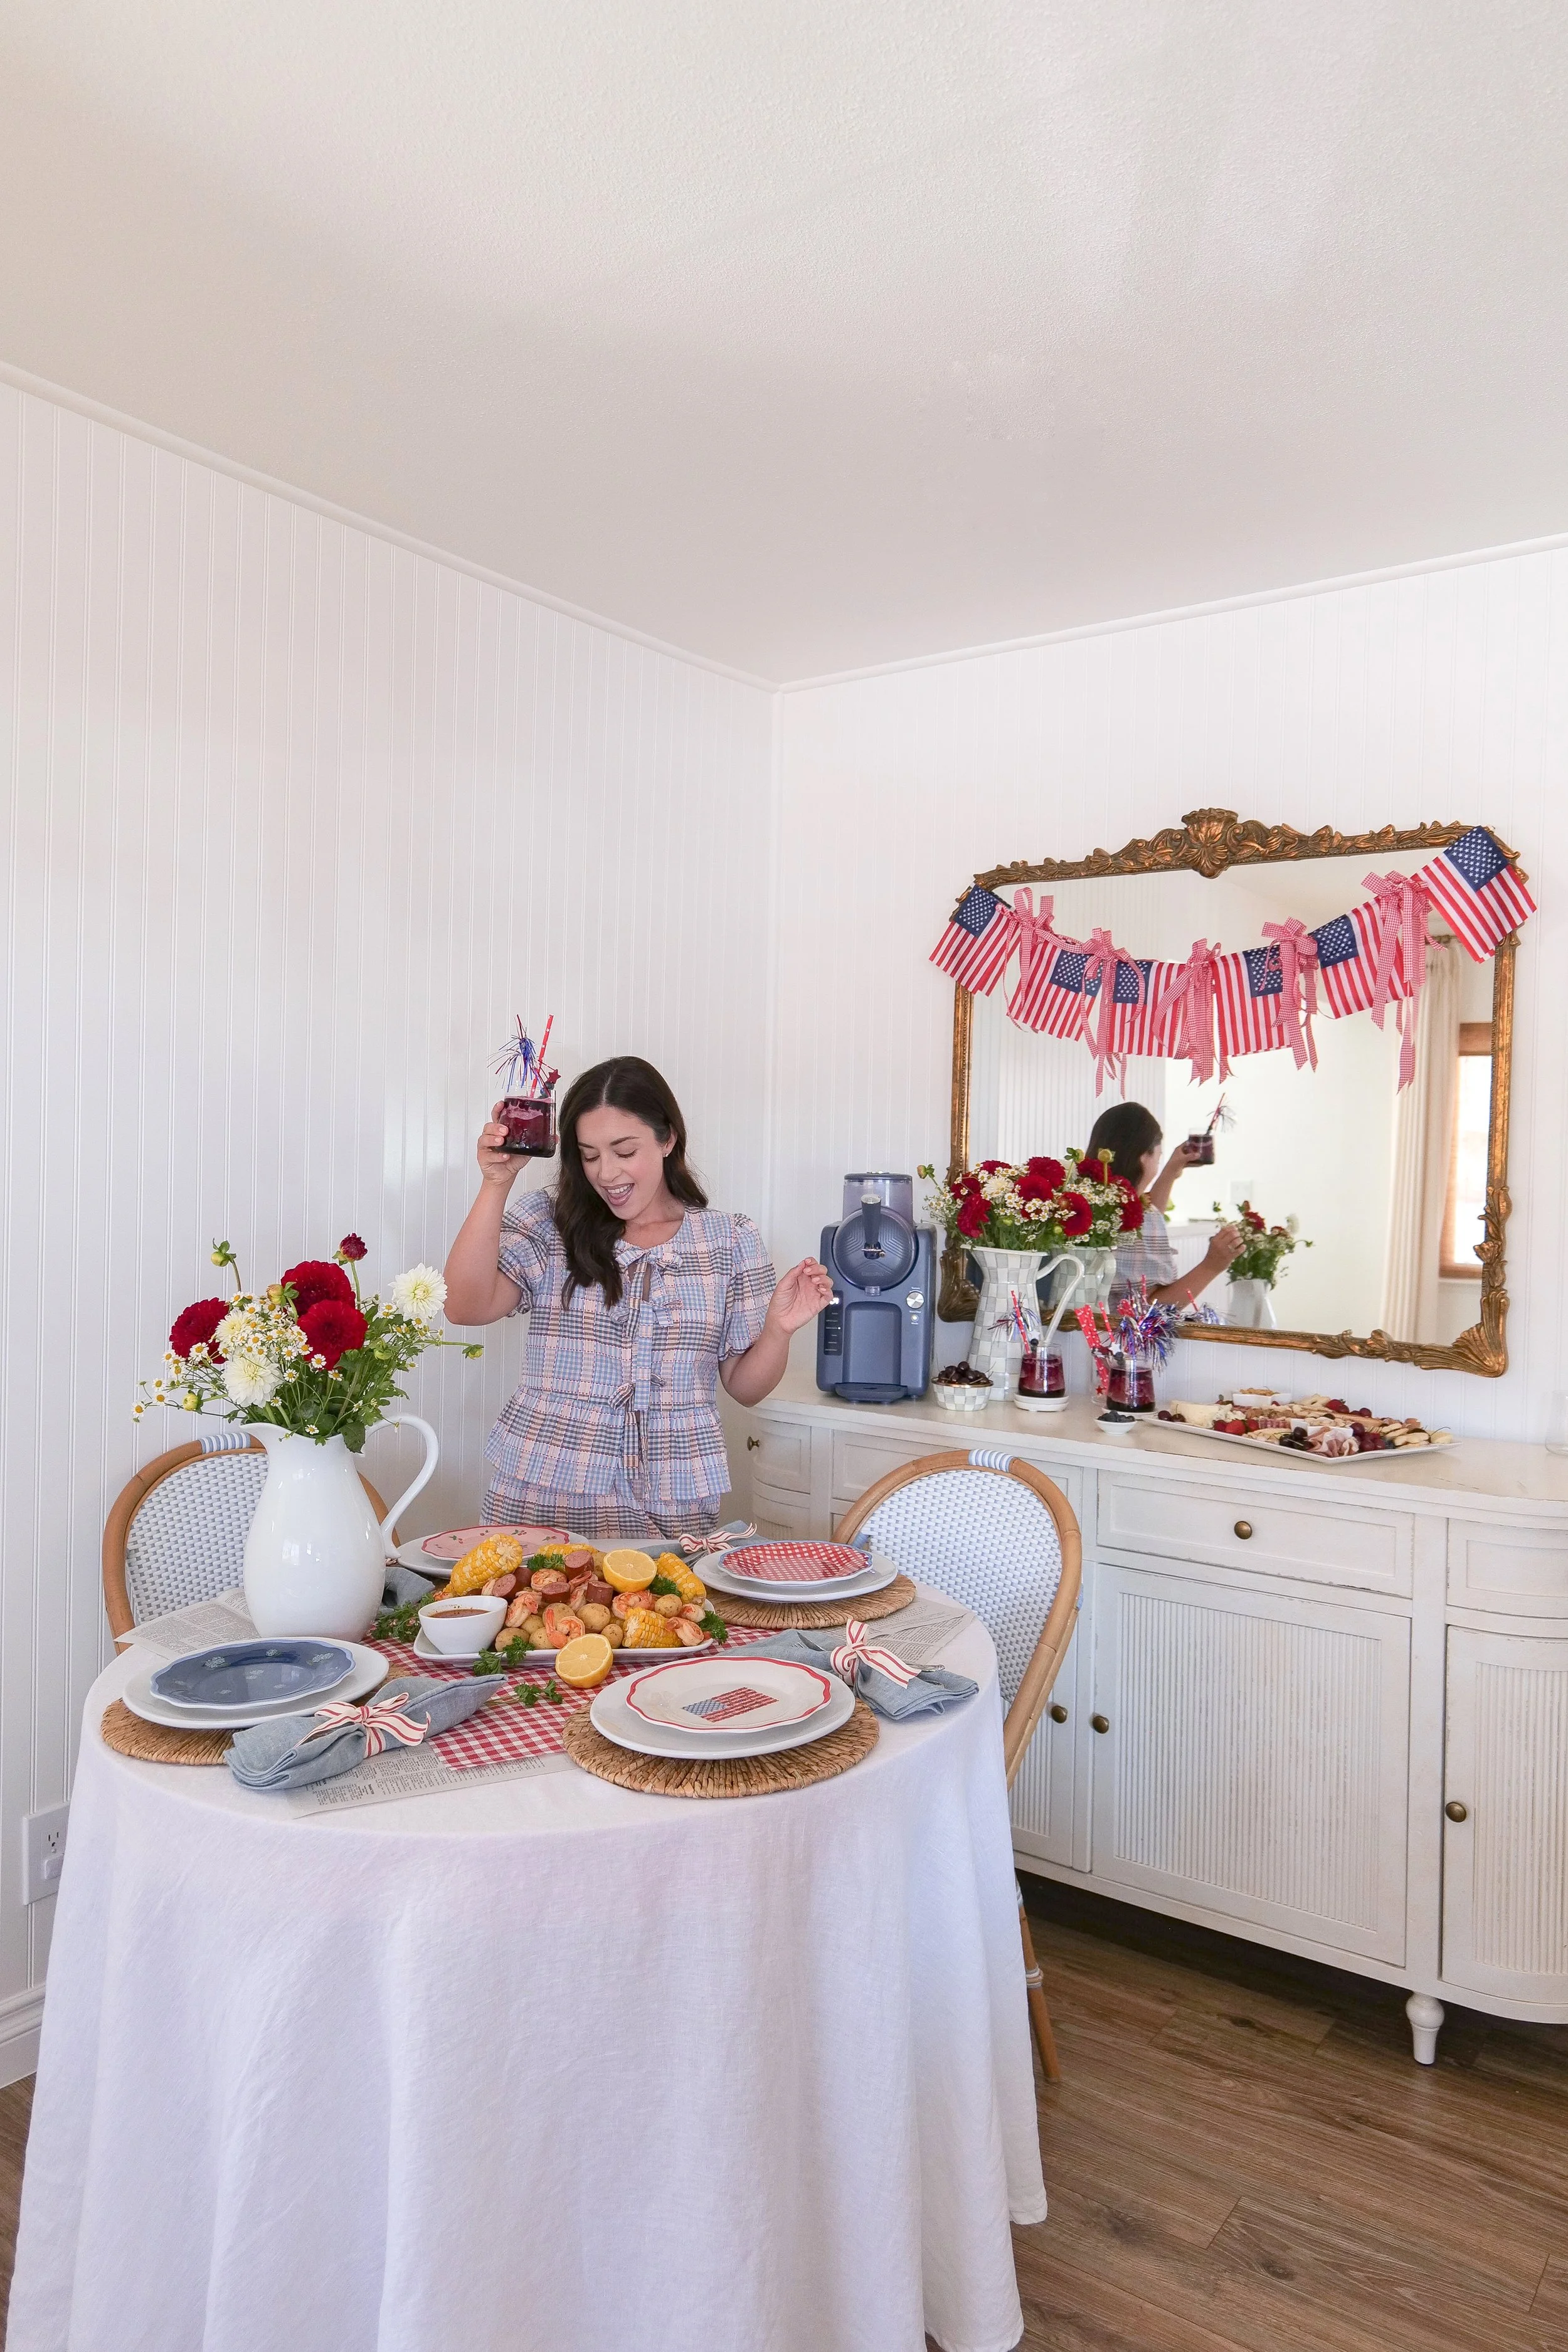
Red, White & Boil: An Americana Southern Dinner Party

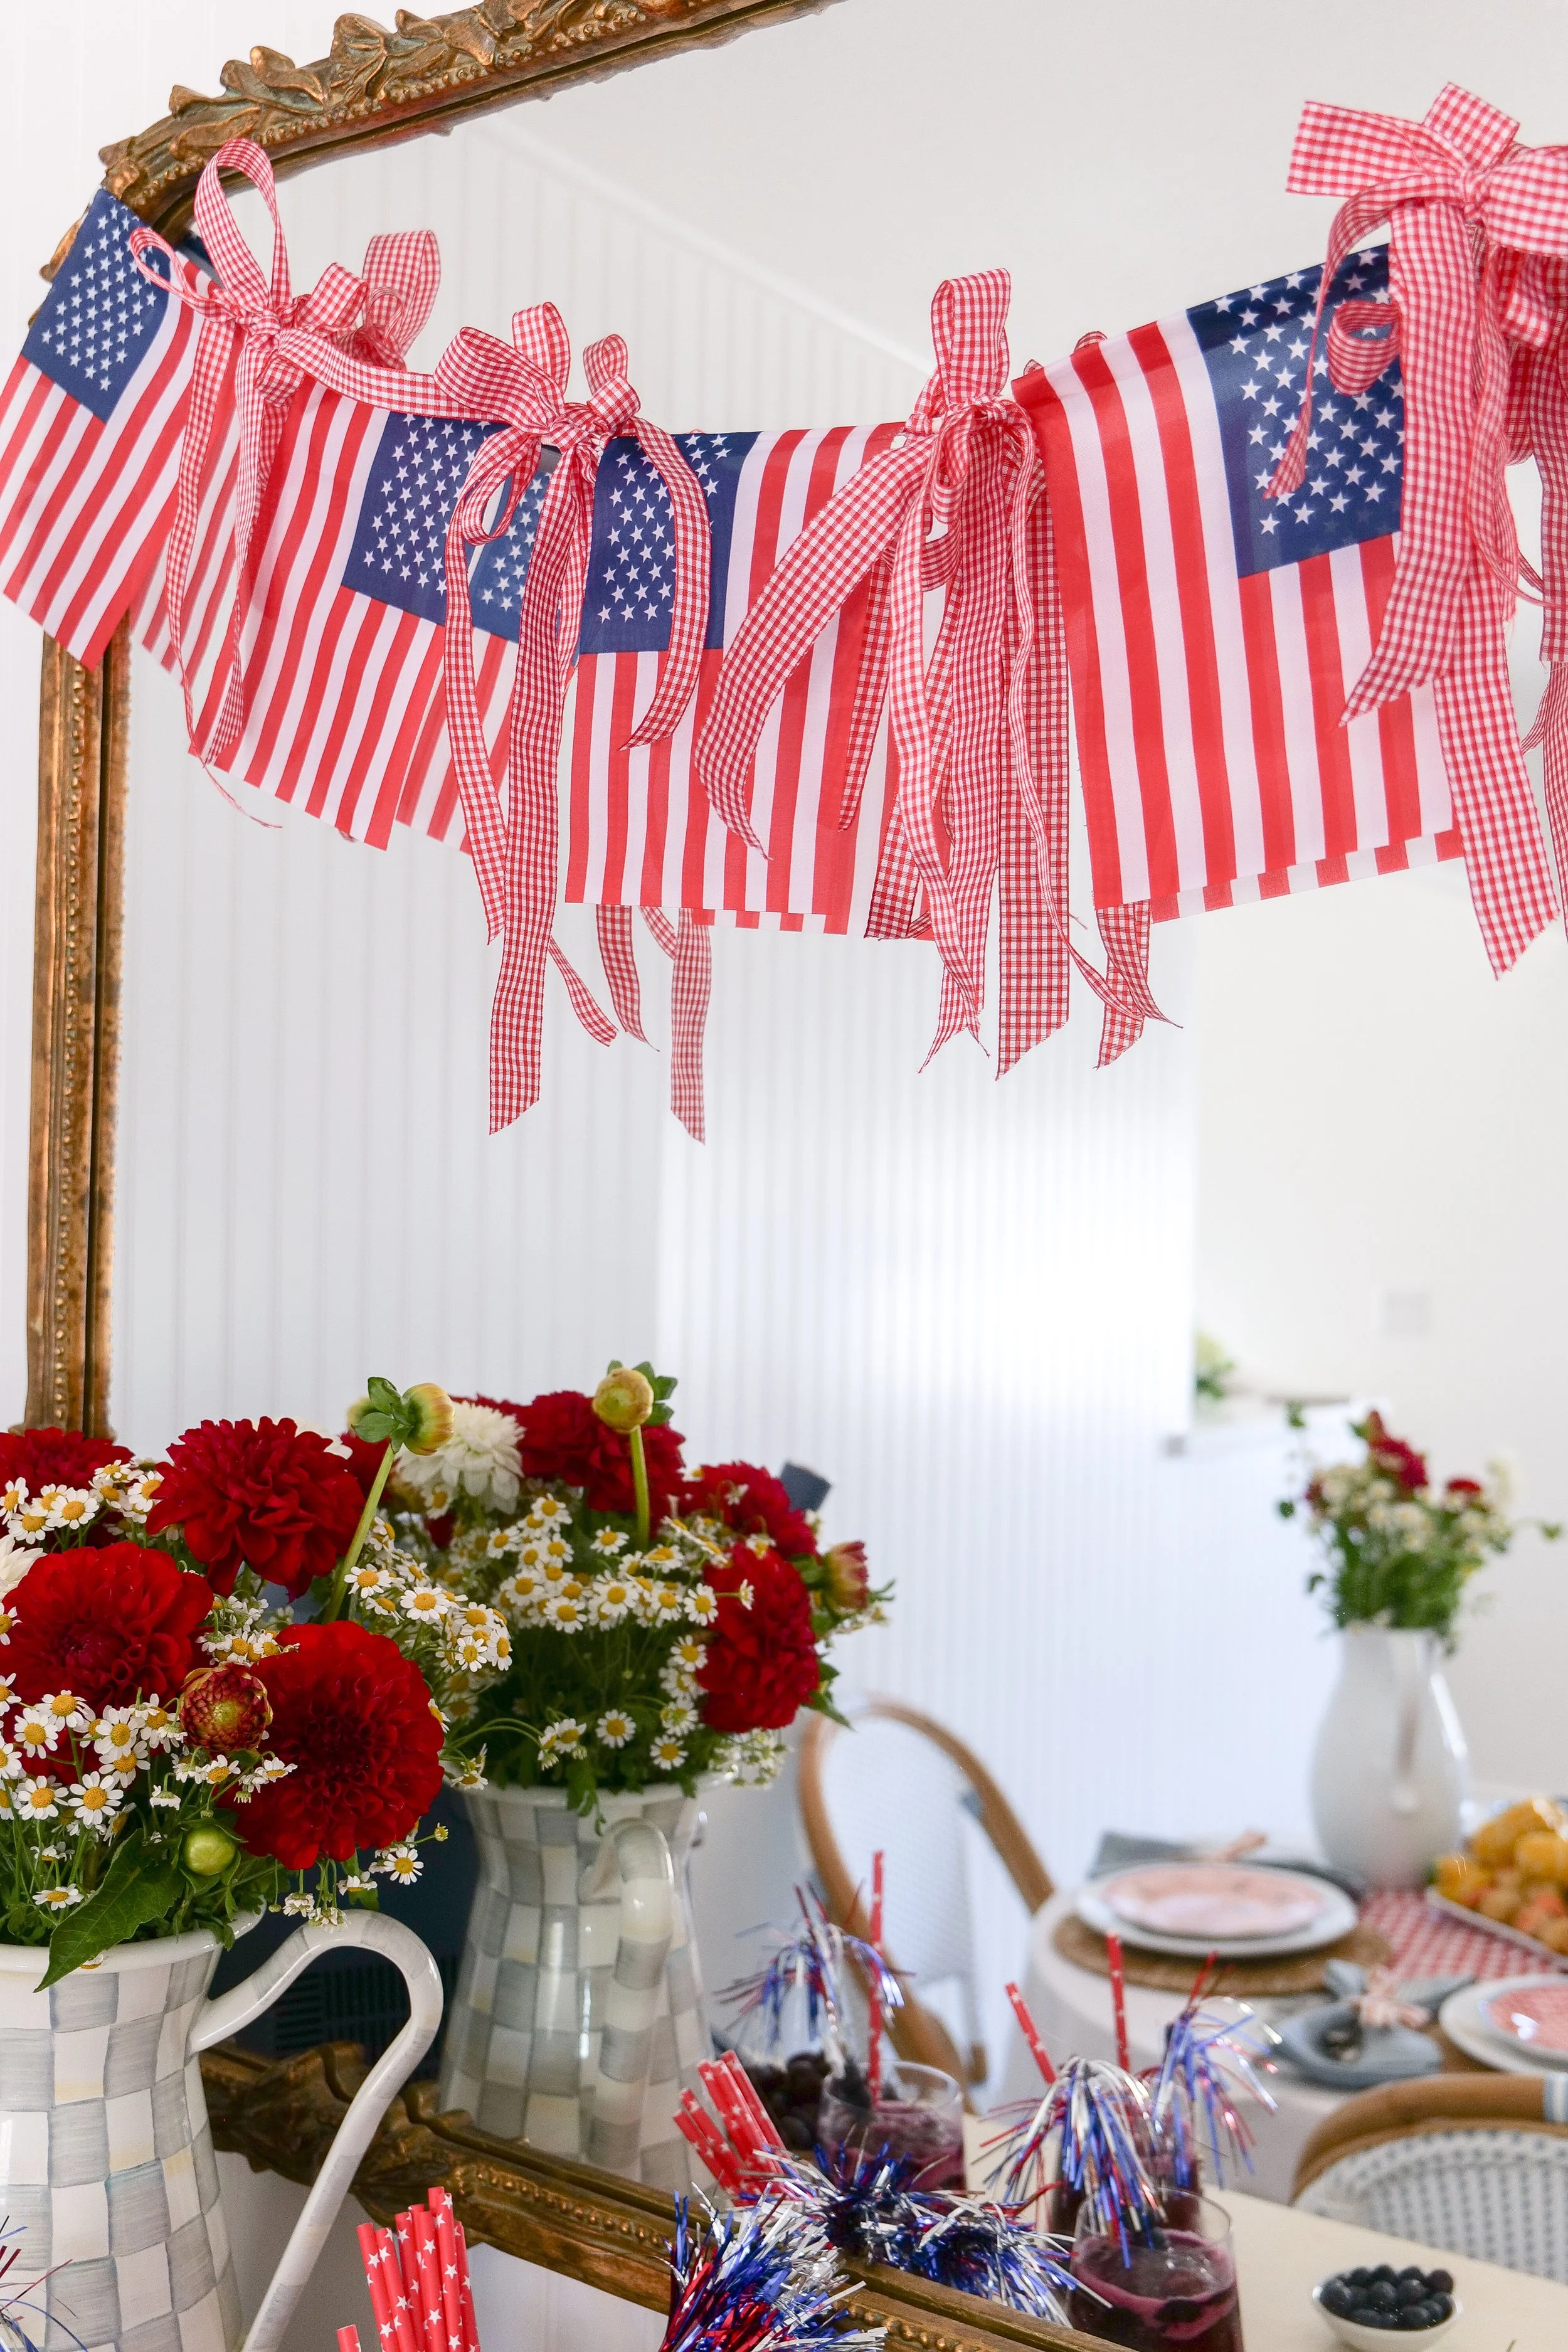
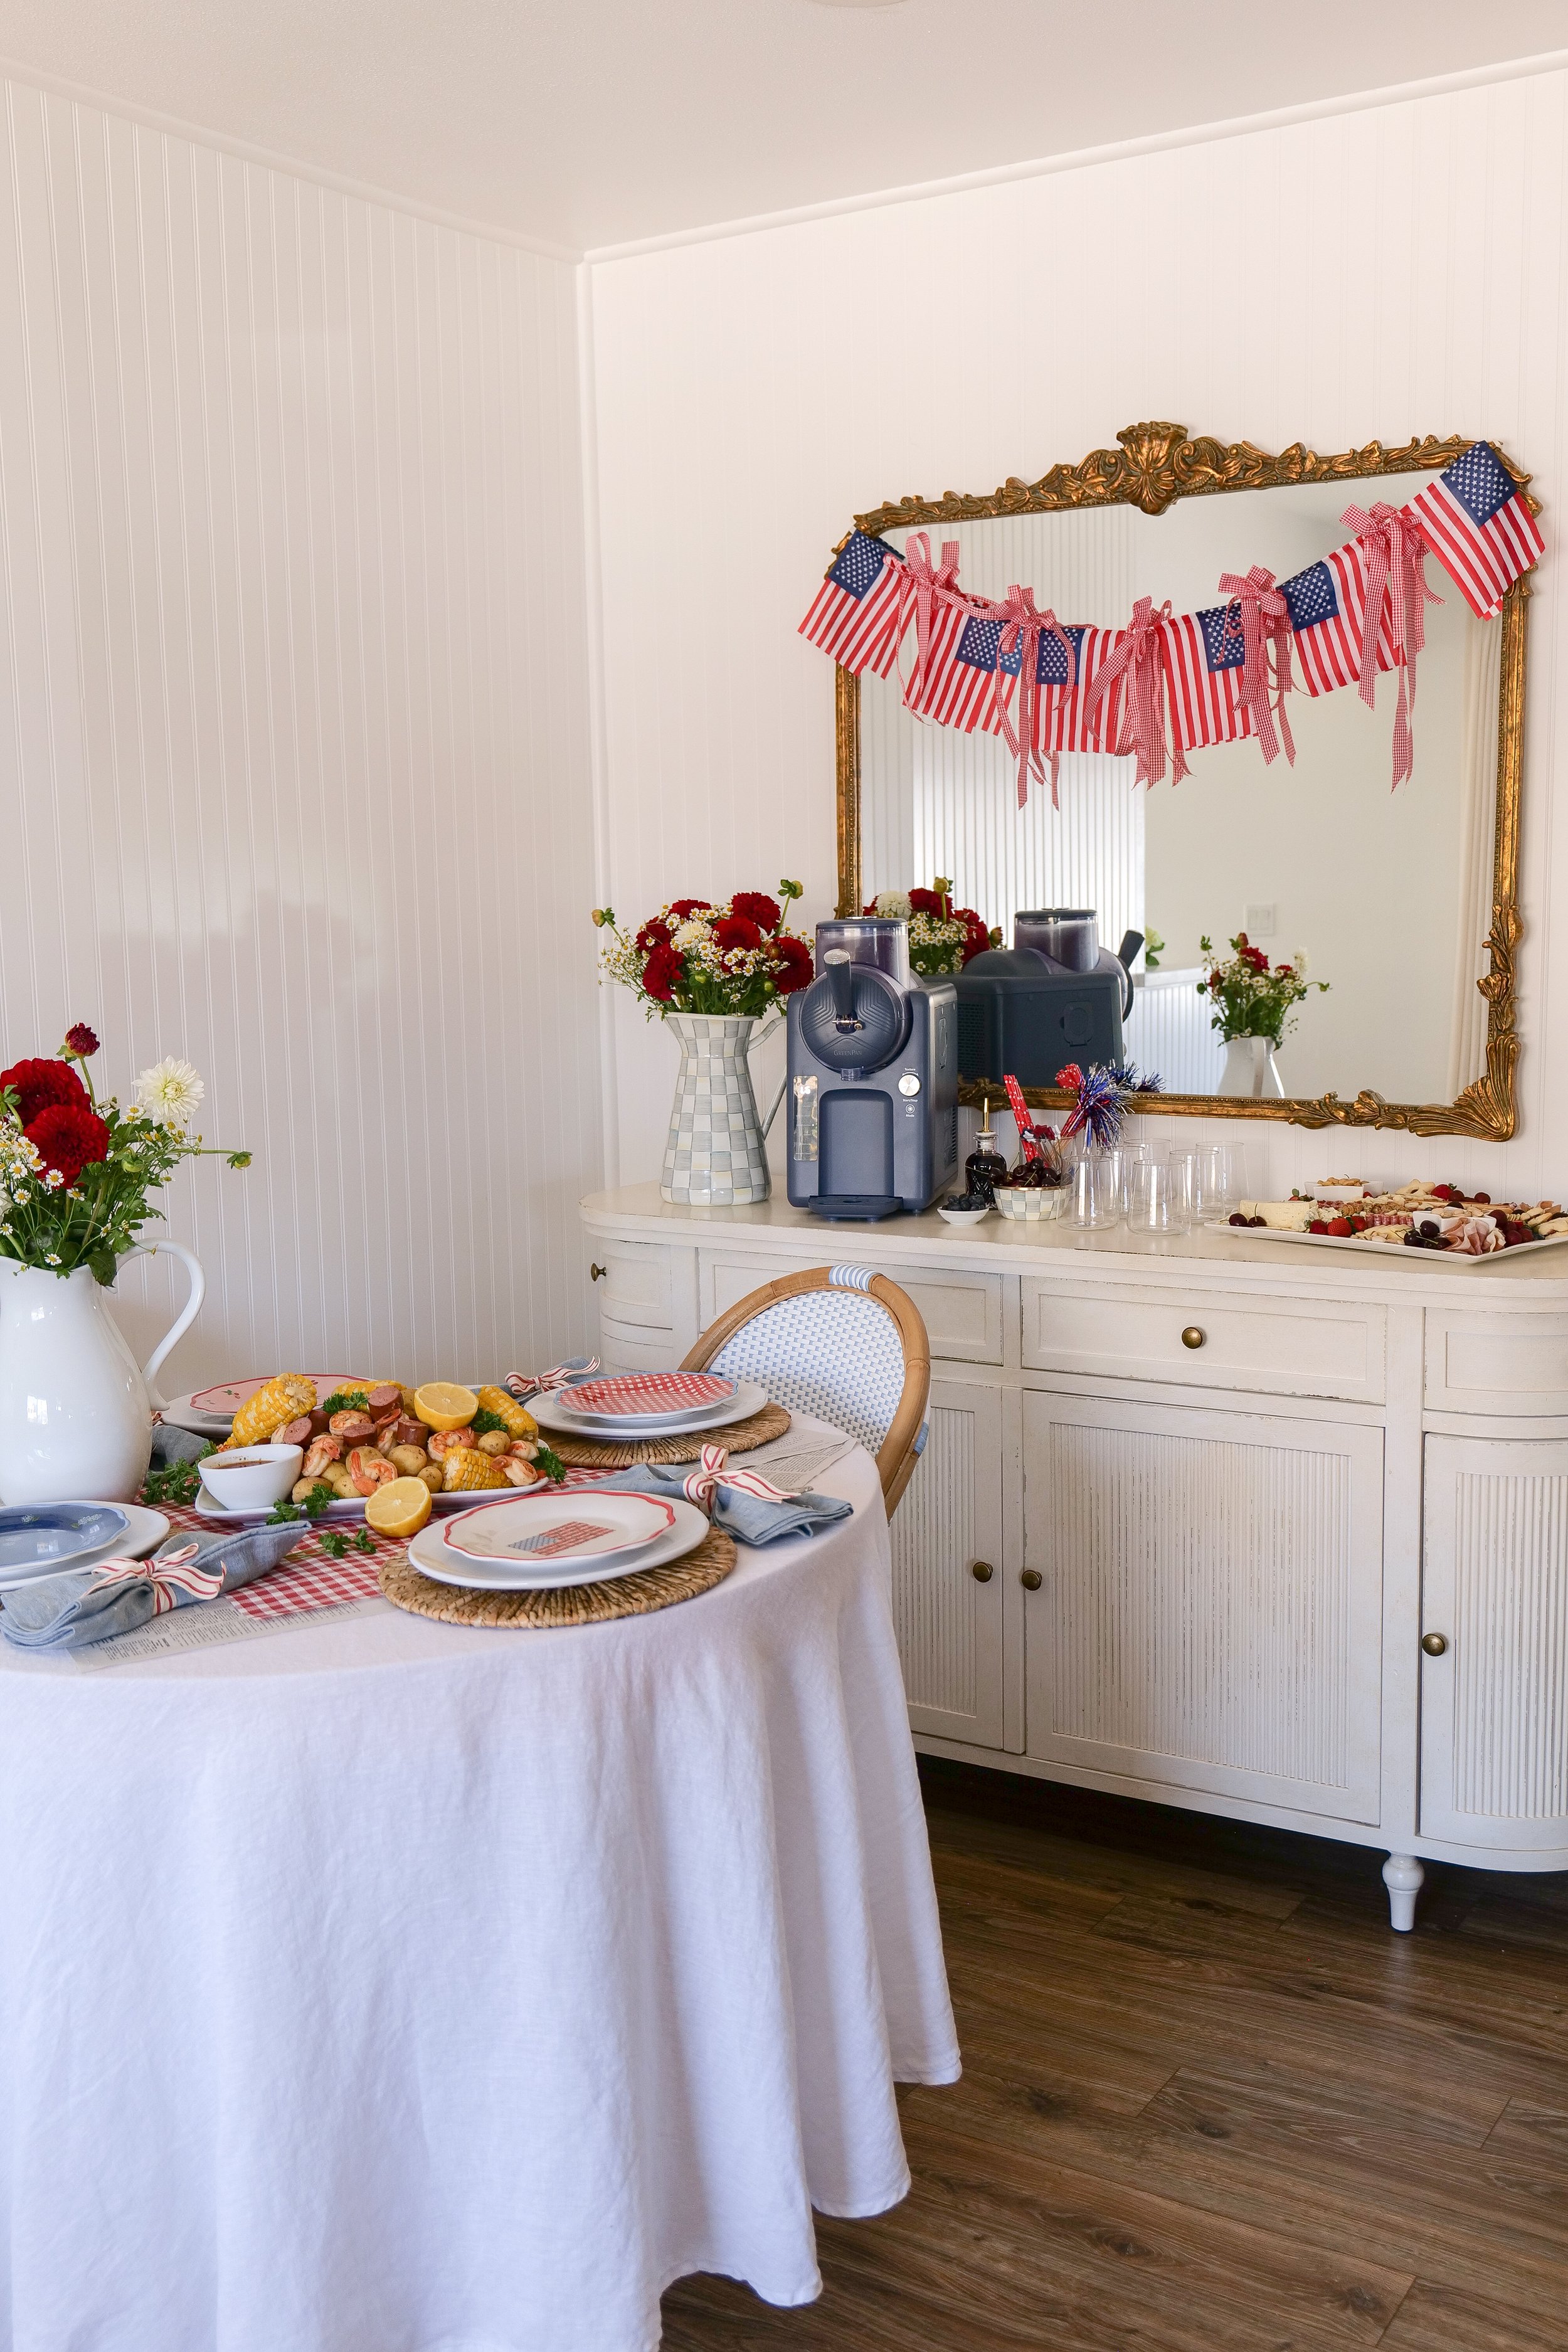
America's 250th Summer Tablescape

Easy Shrimp Boil Recipe

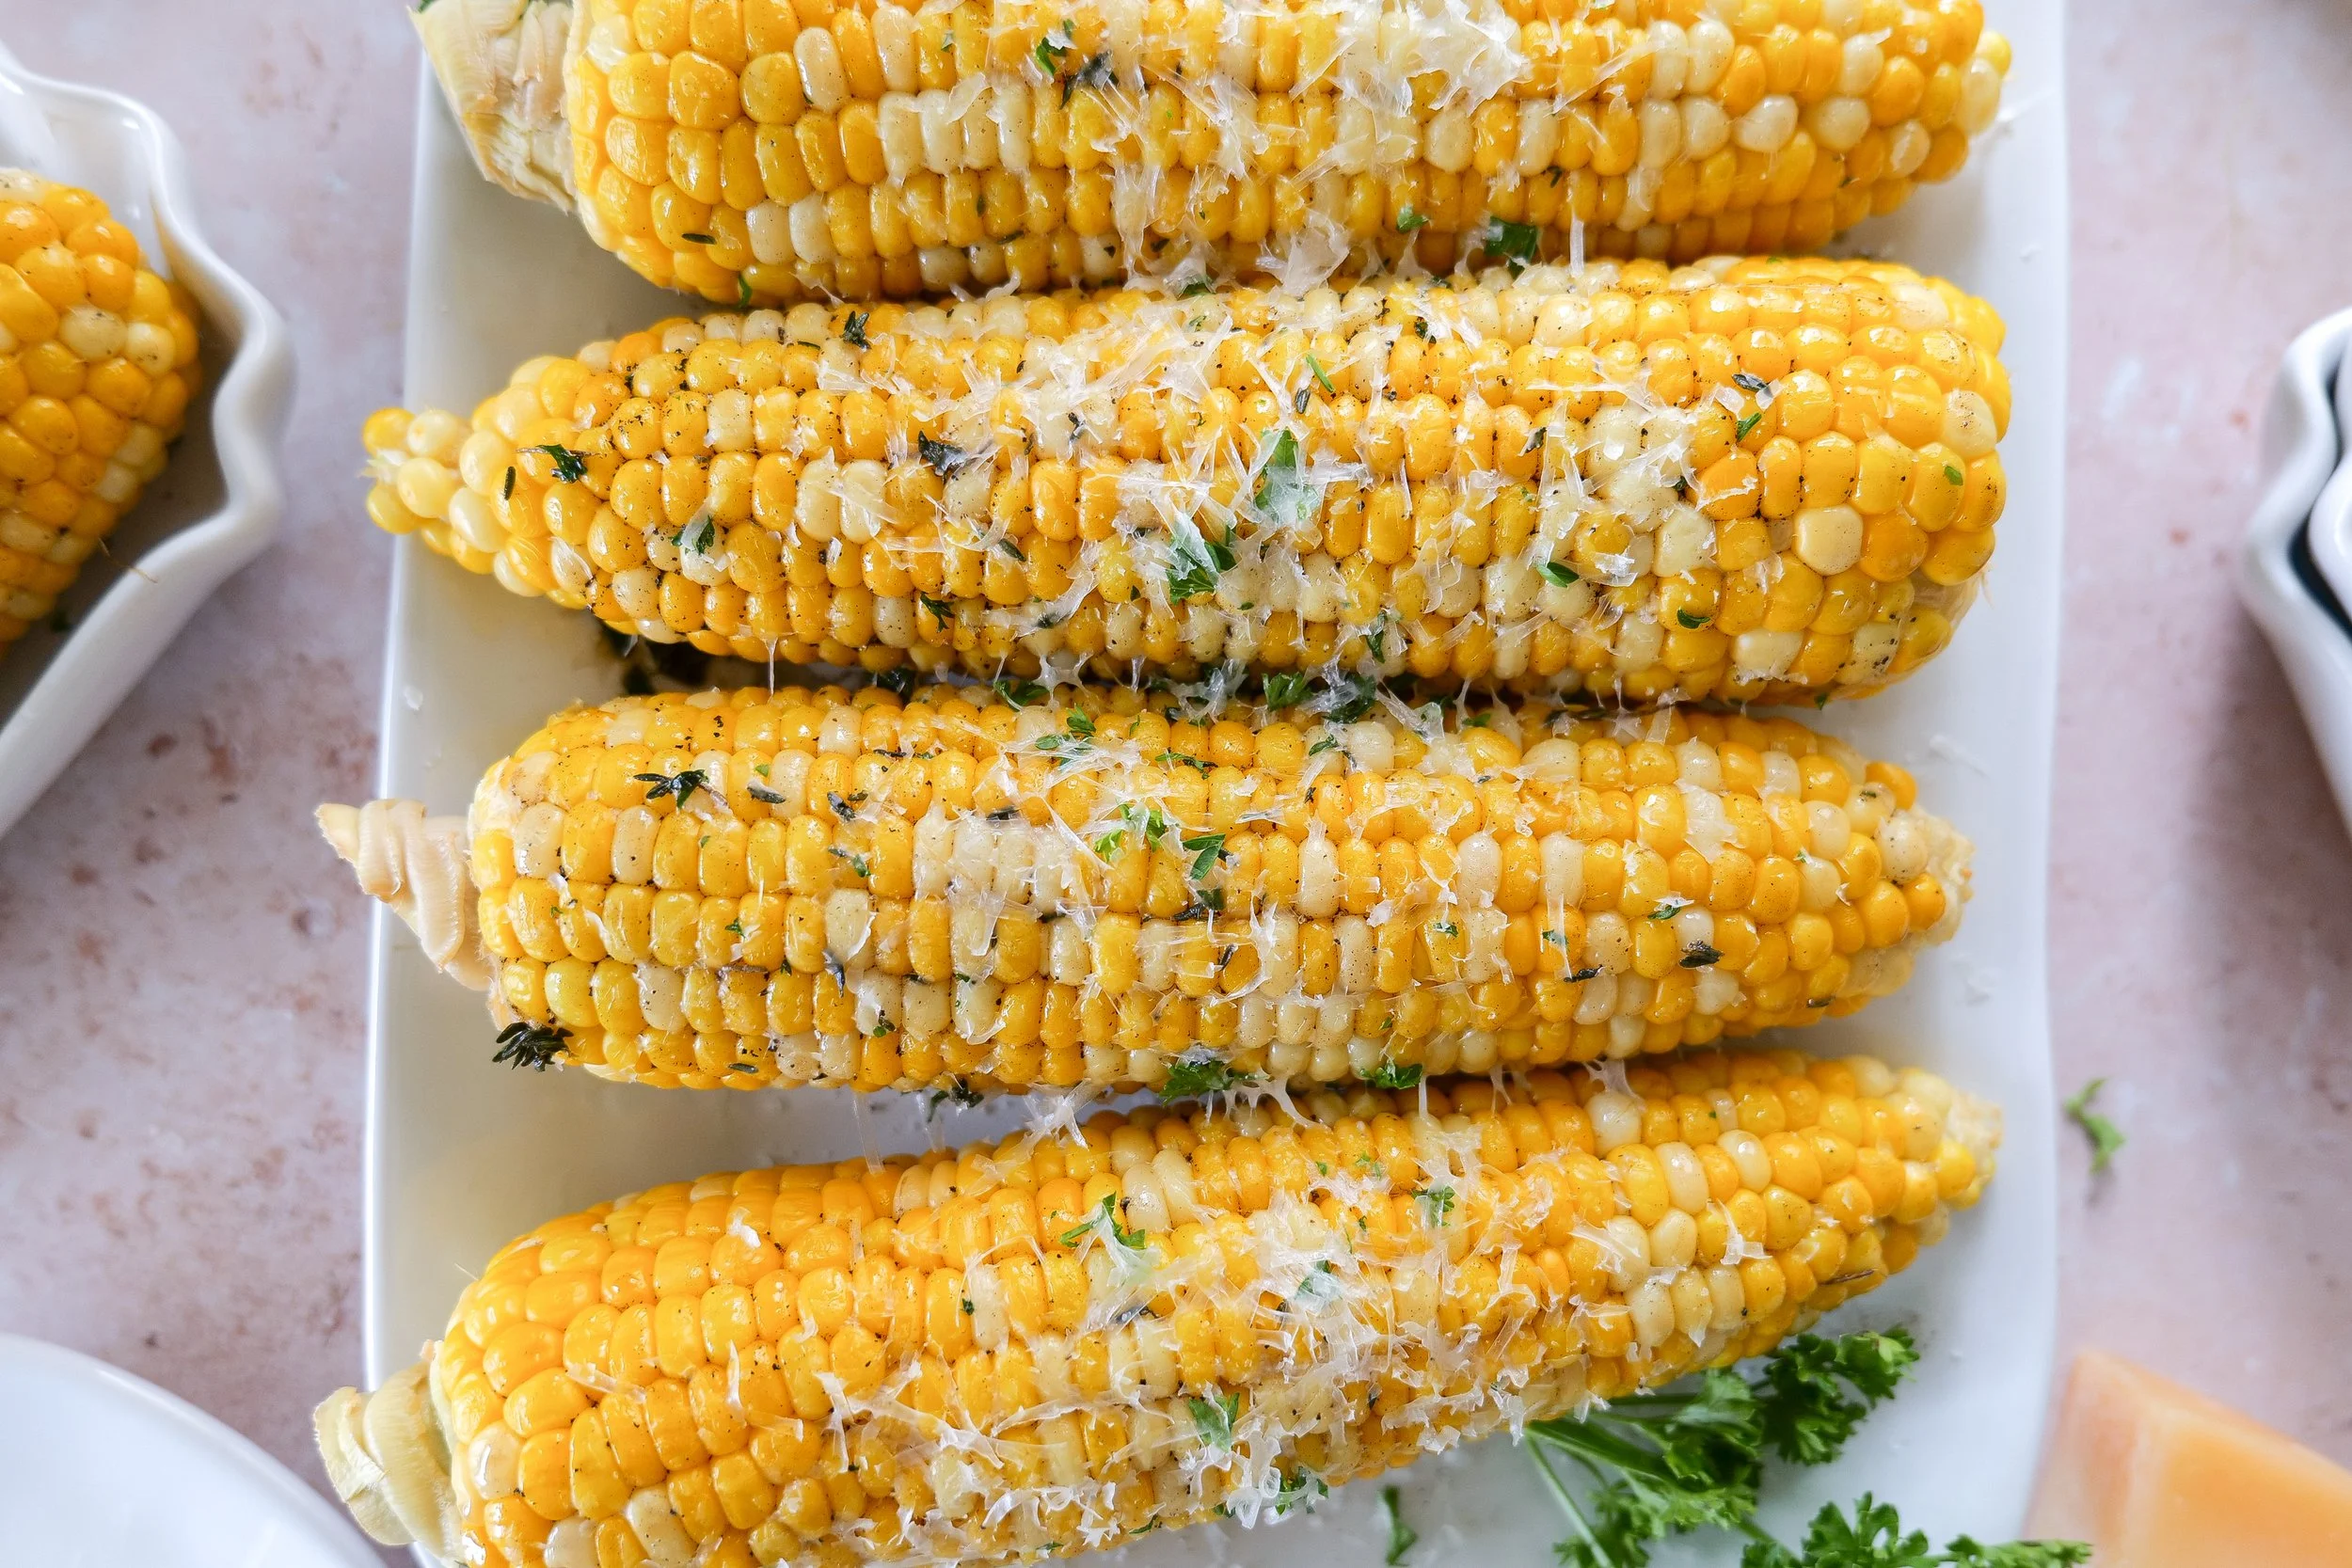
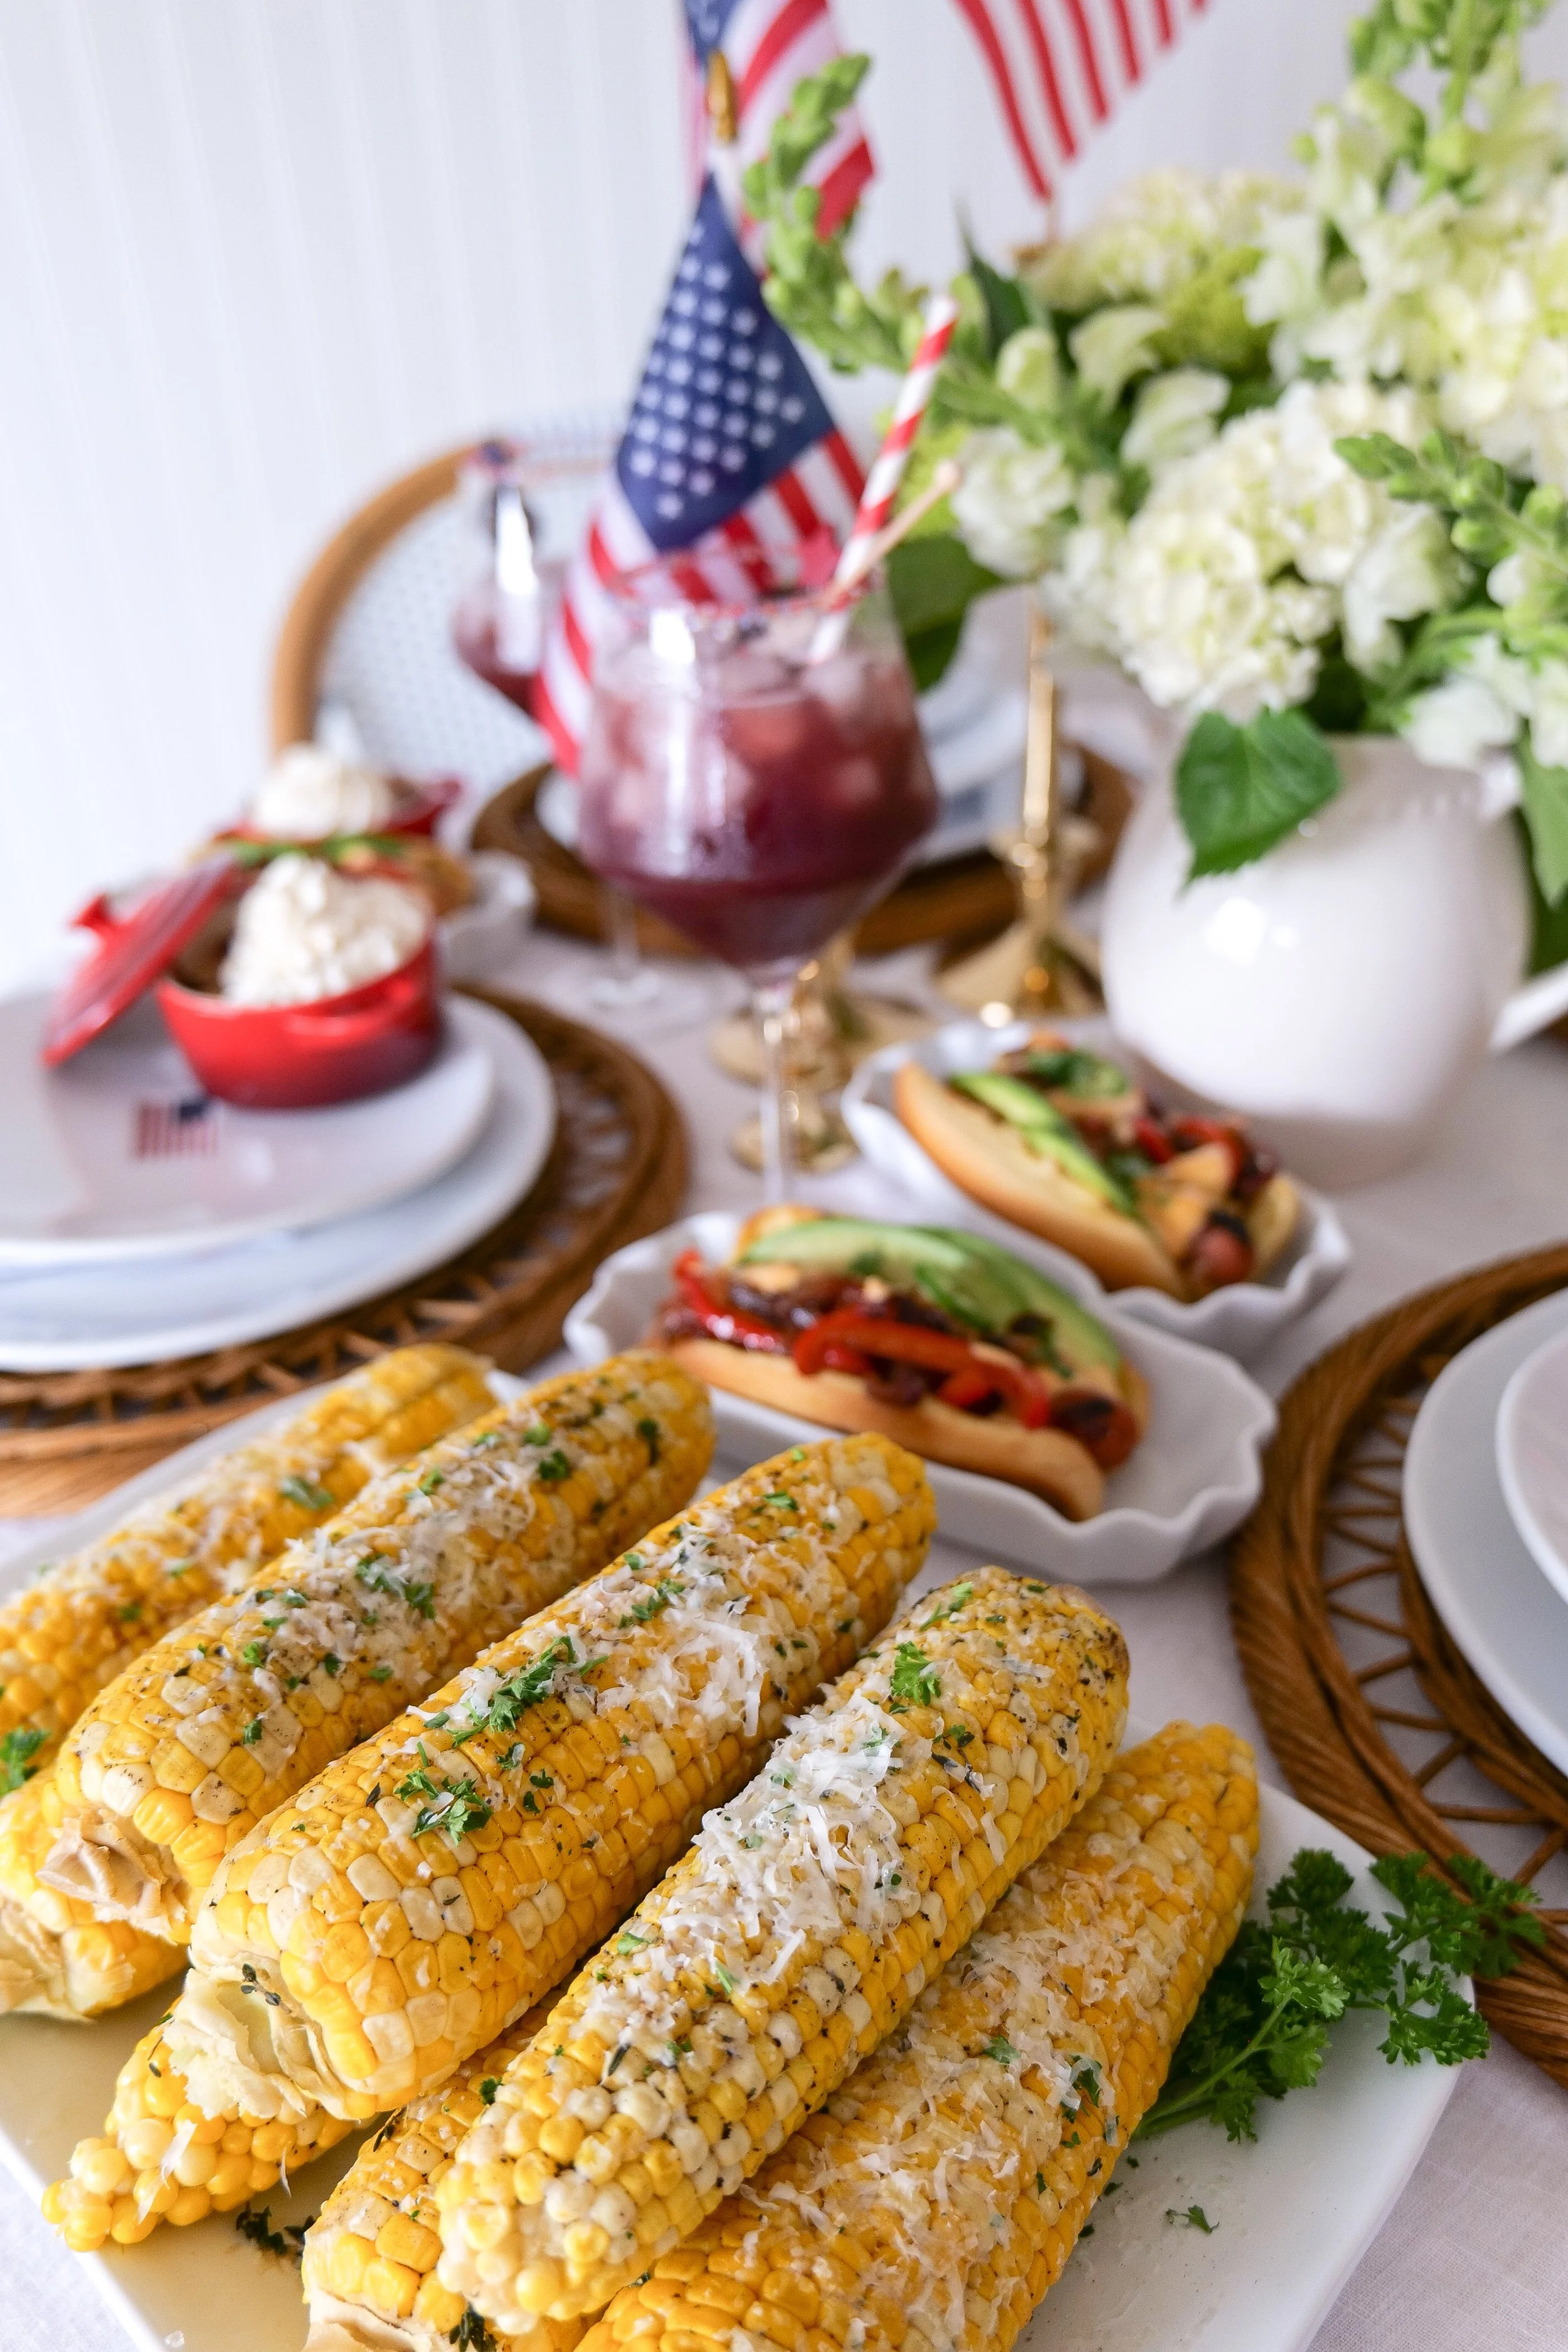
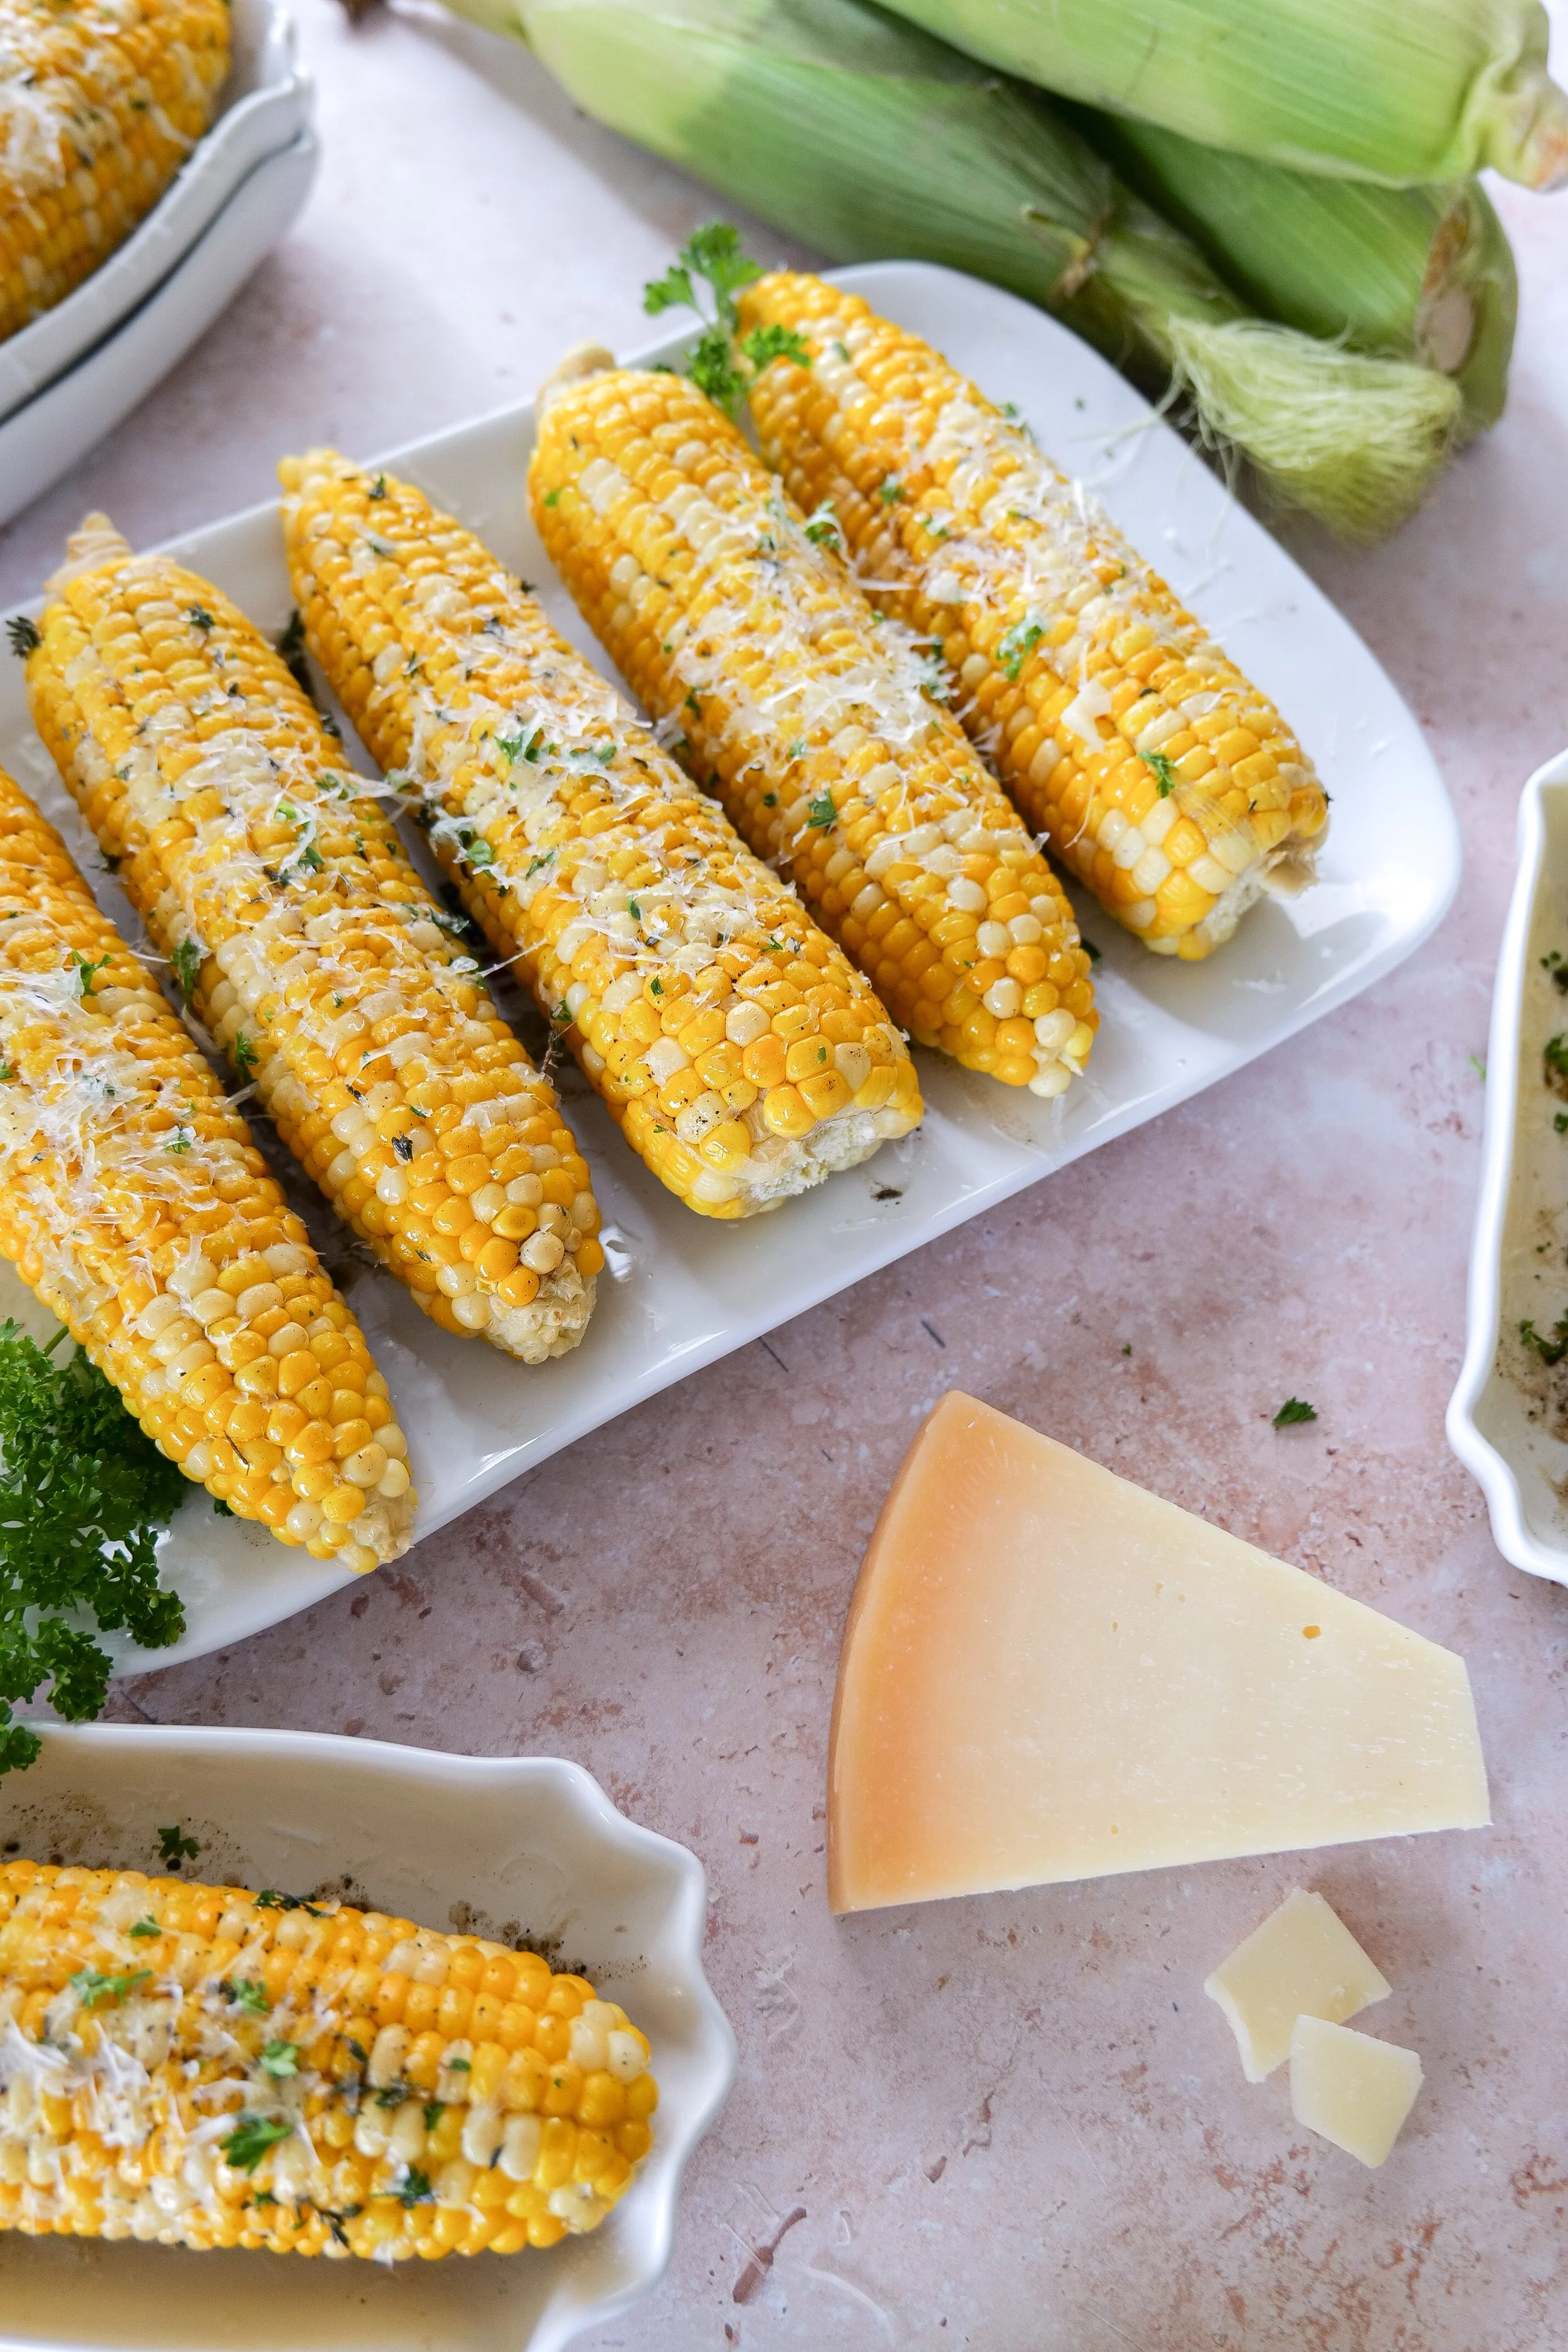
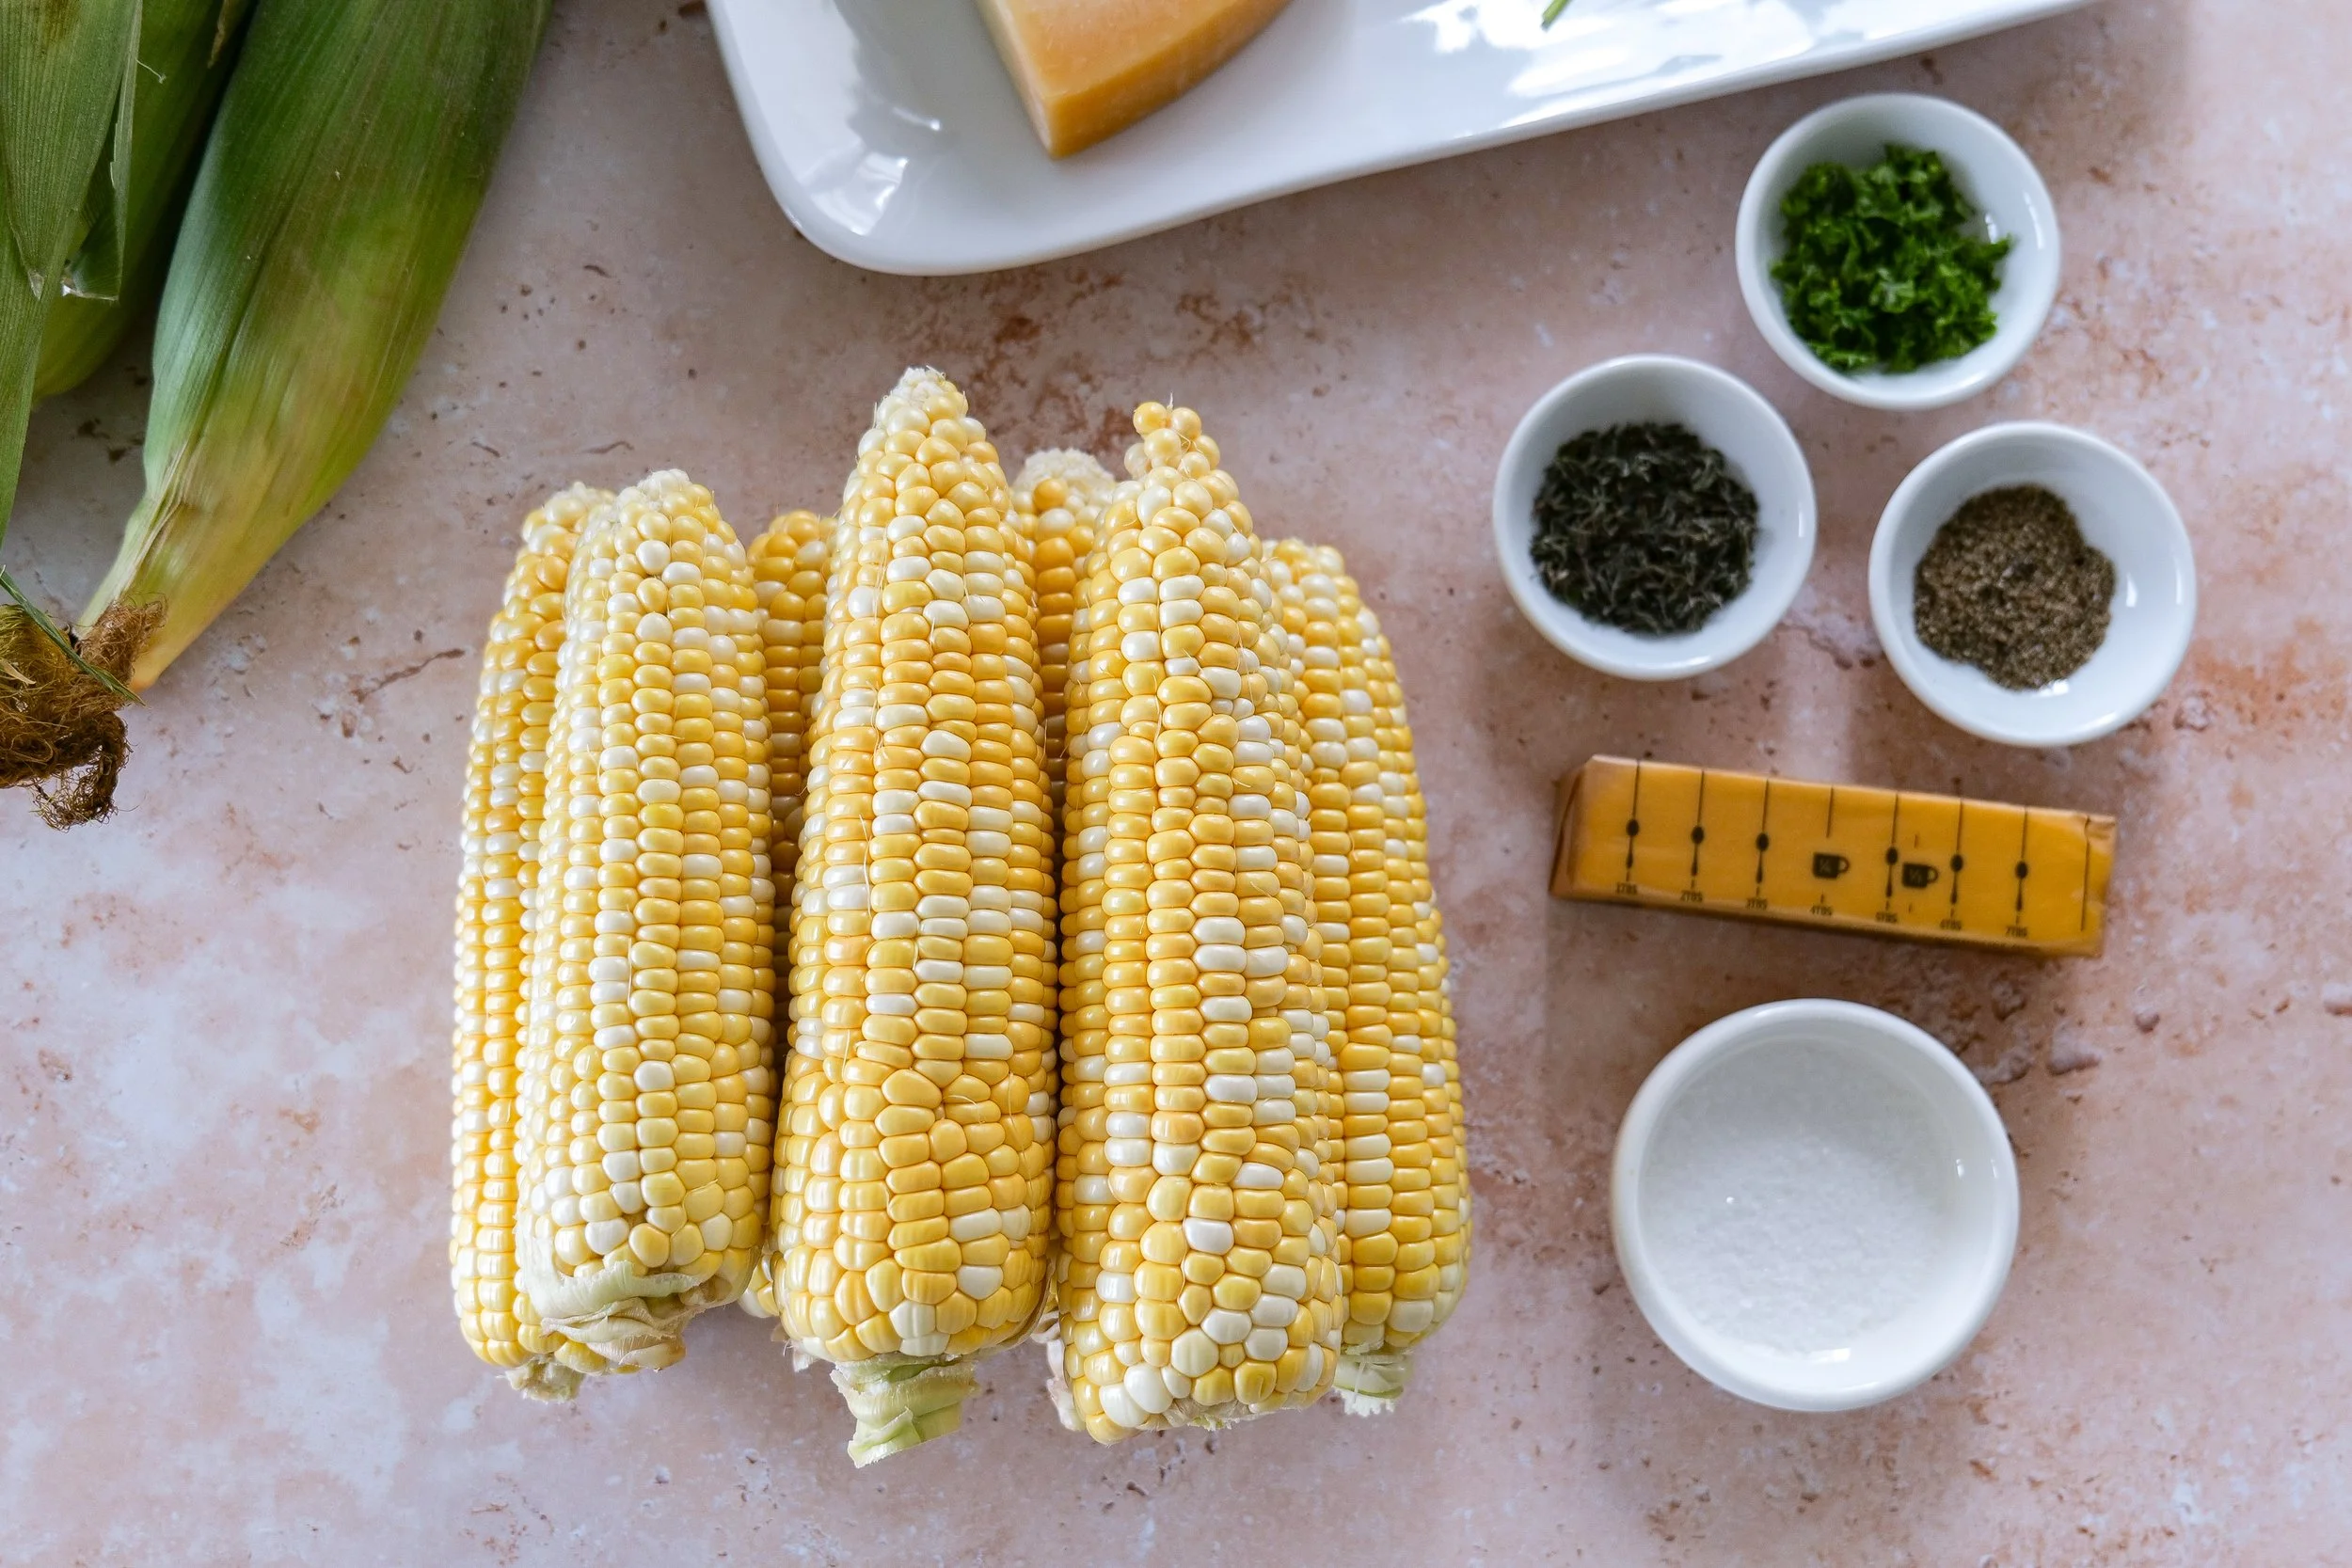
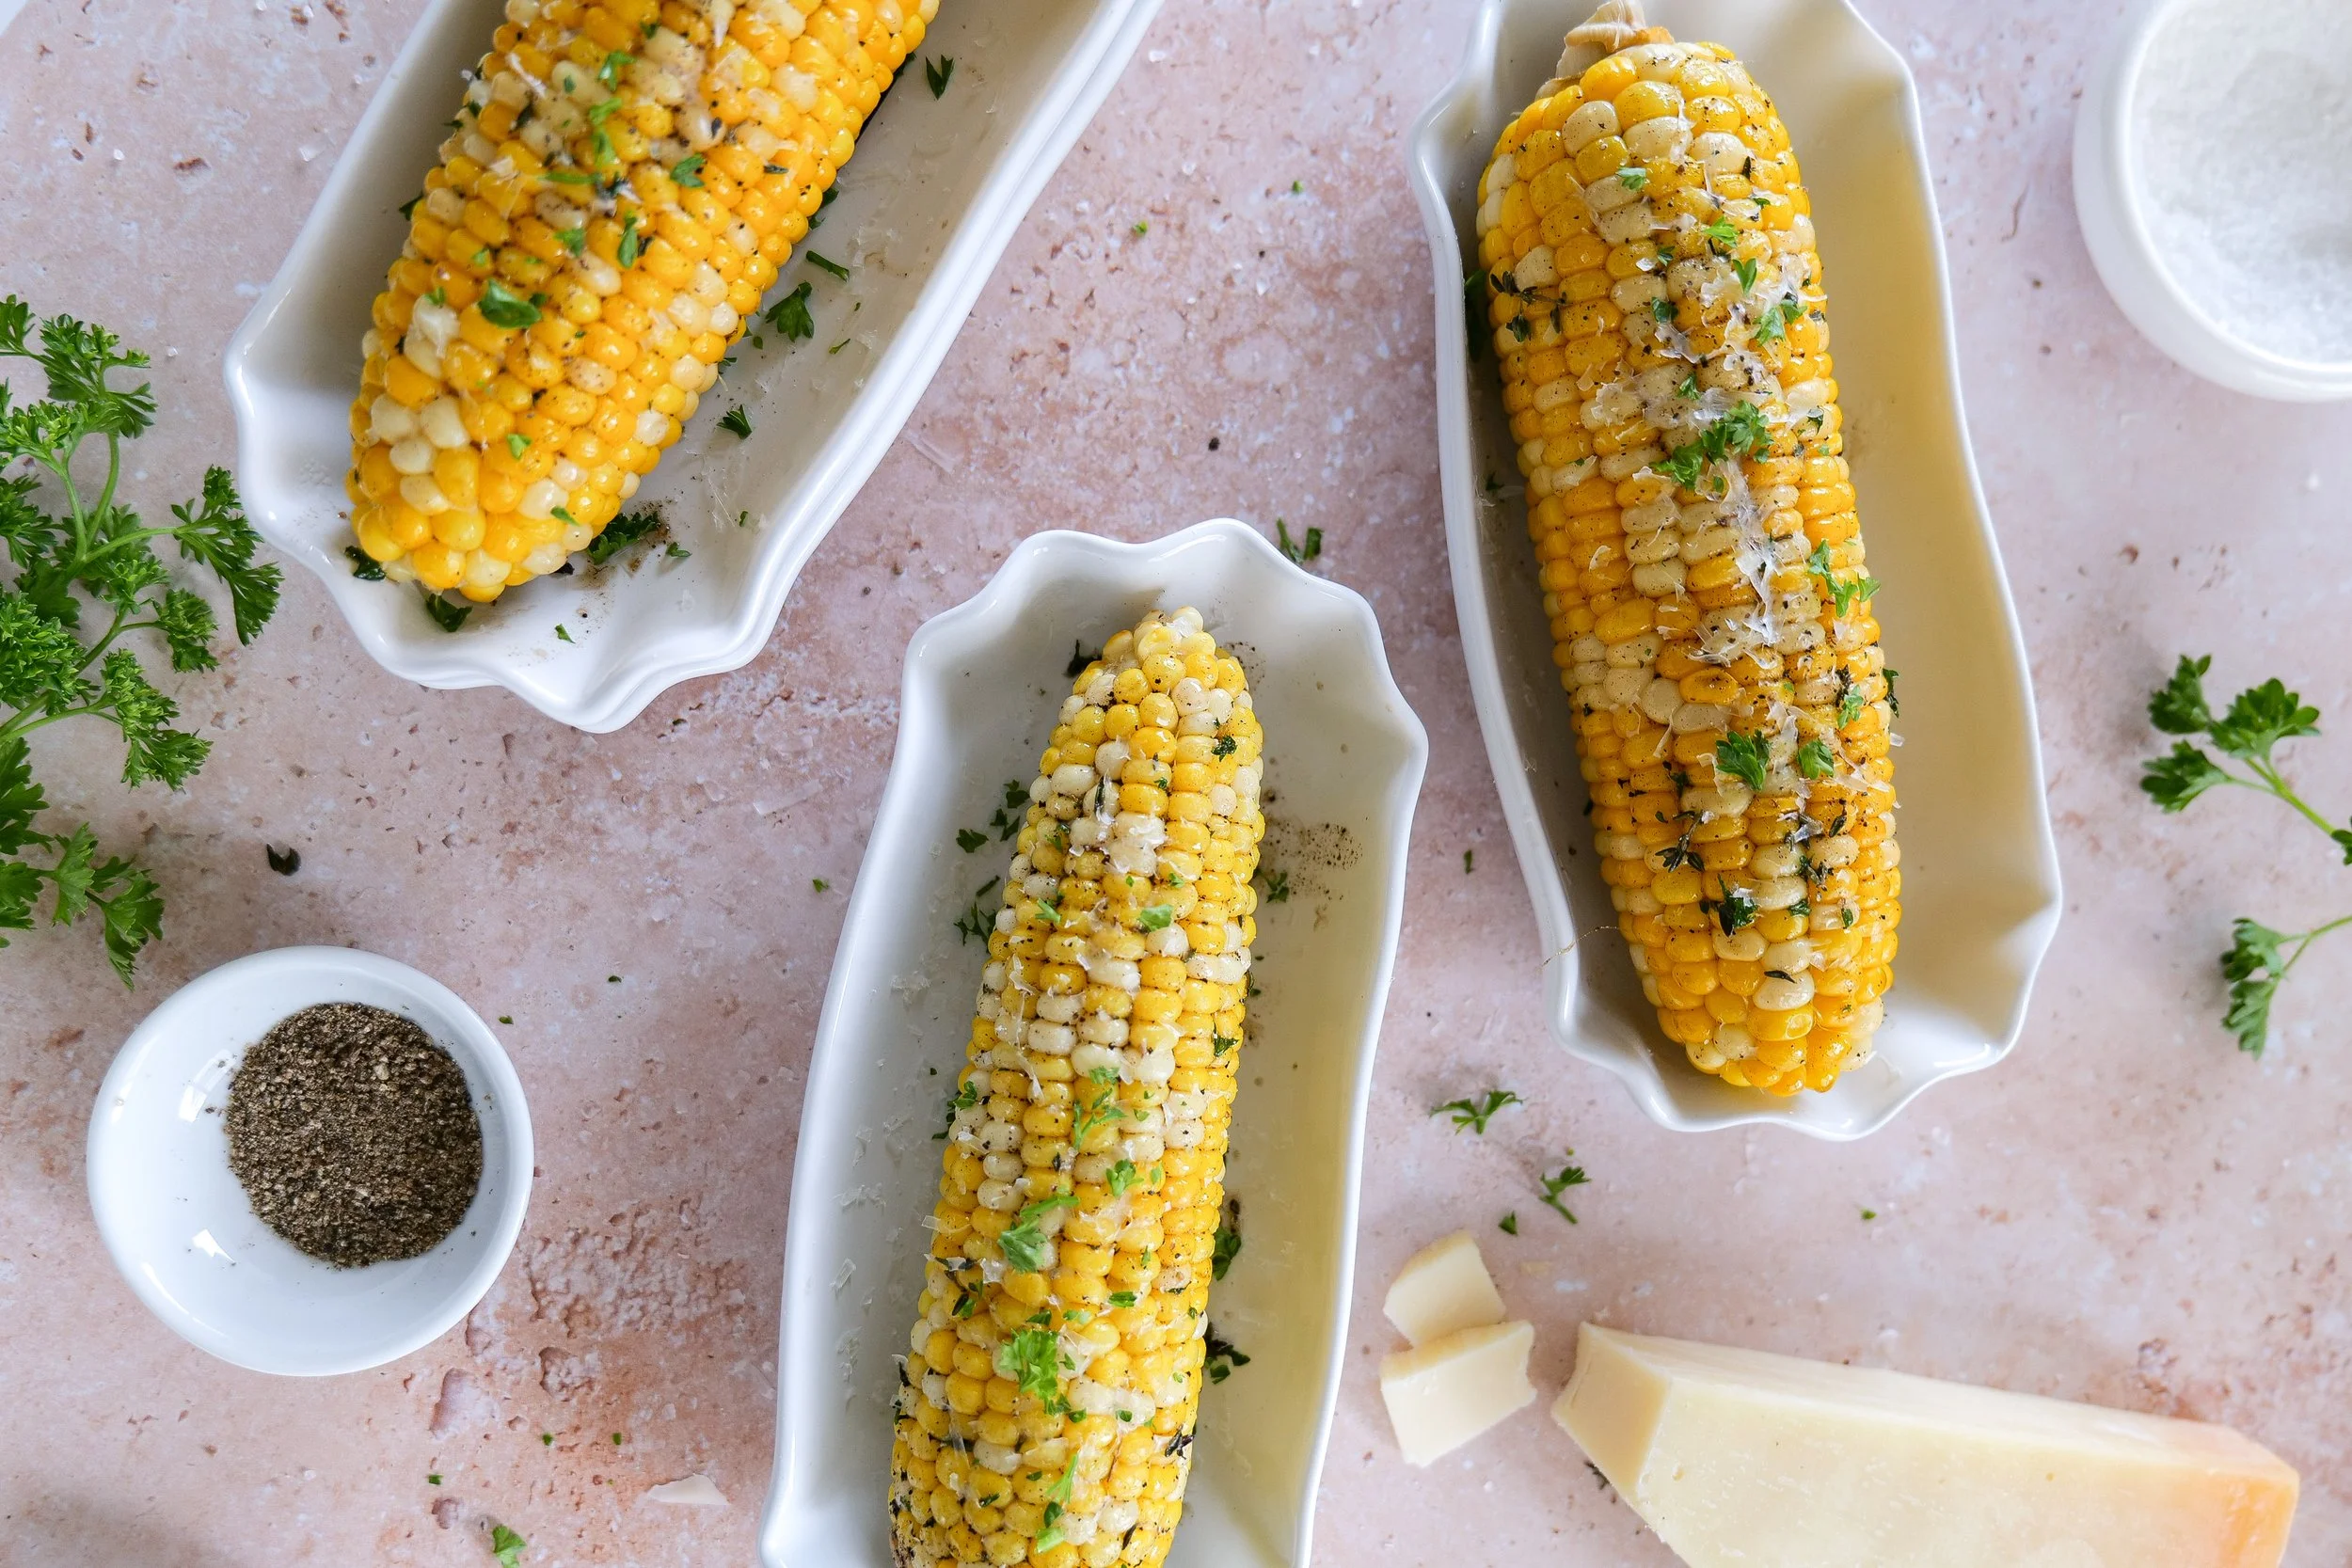
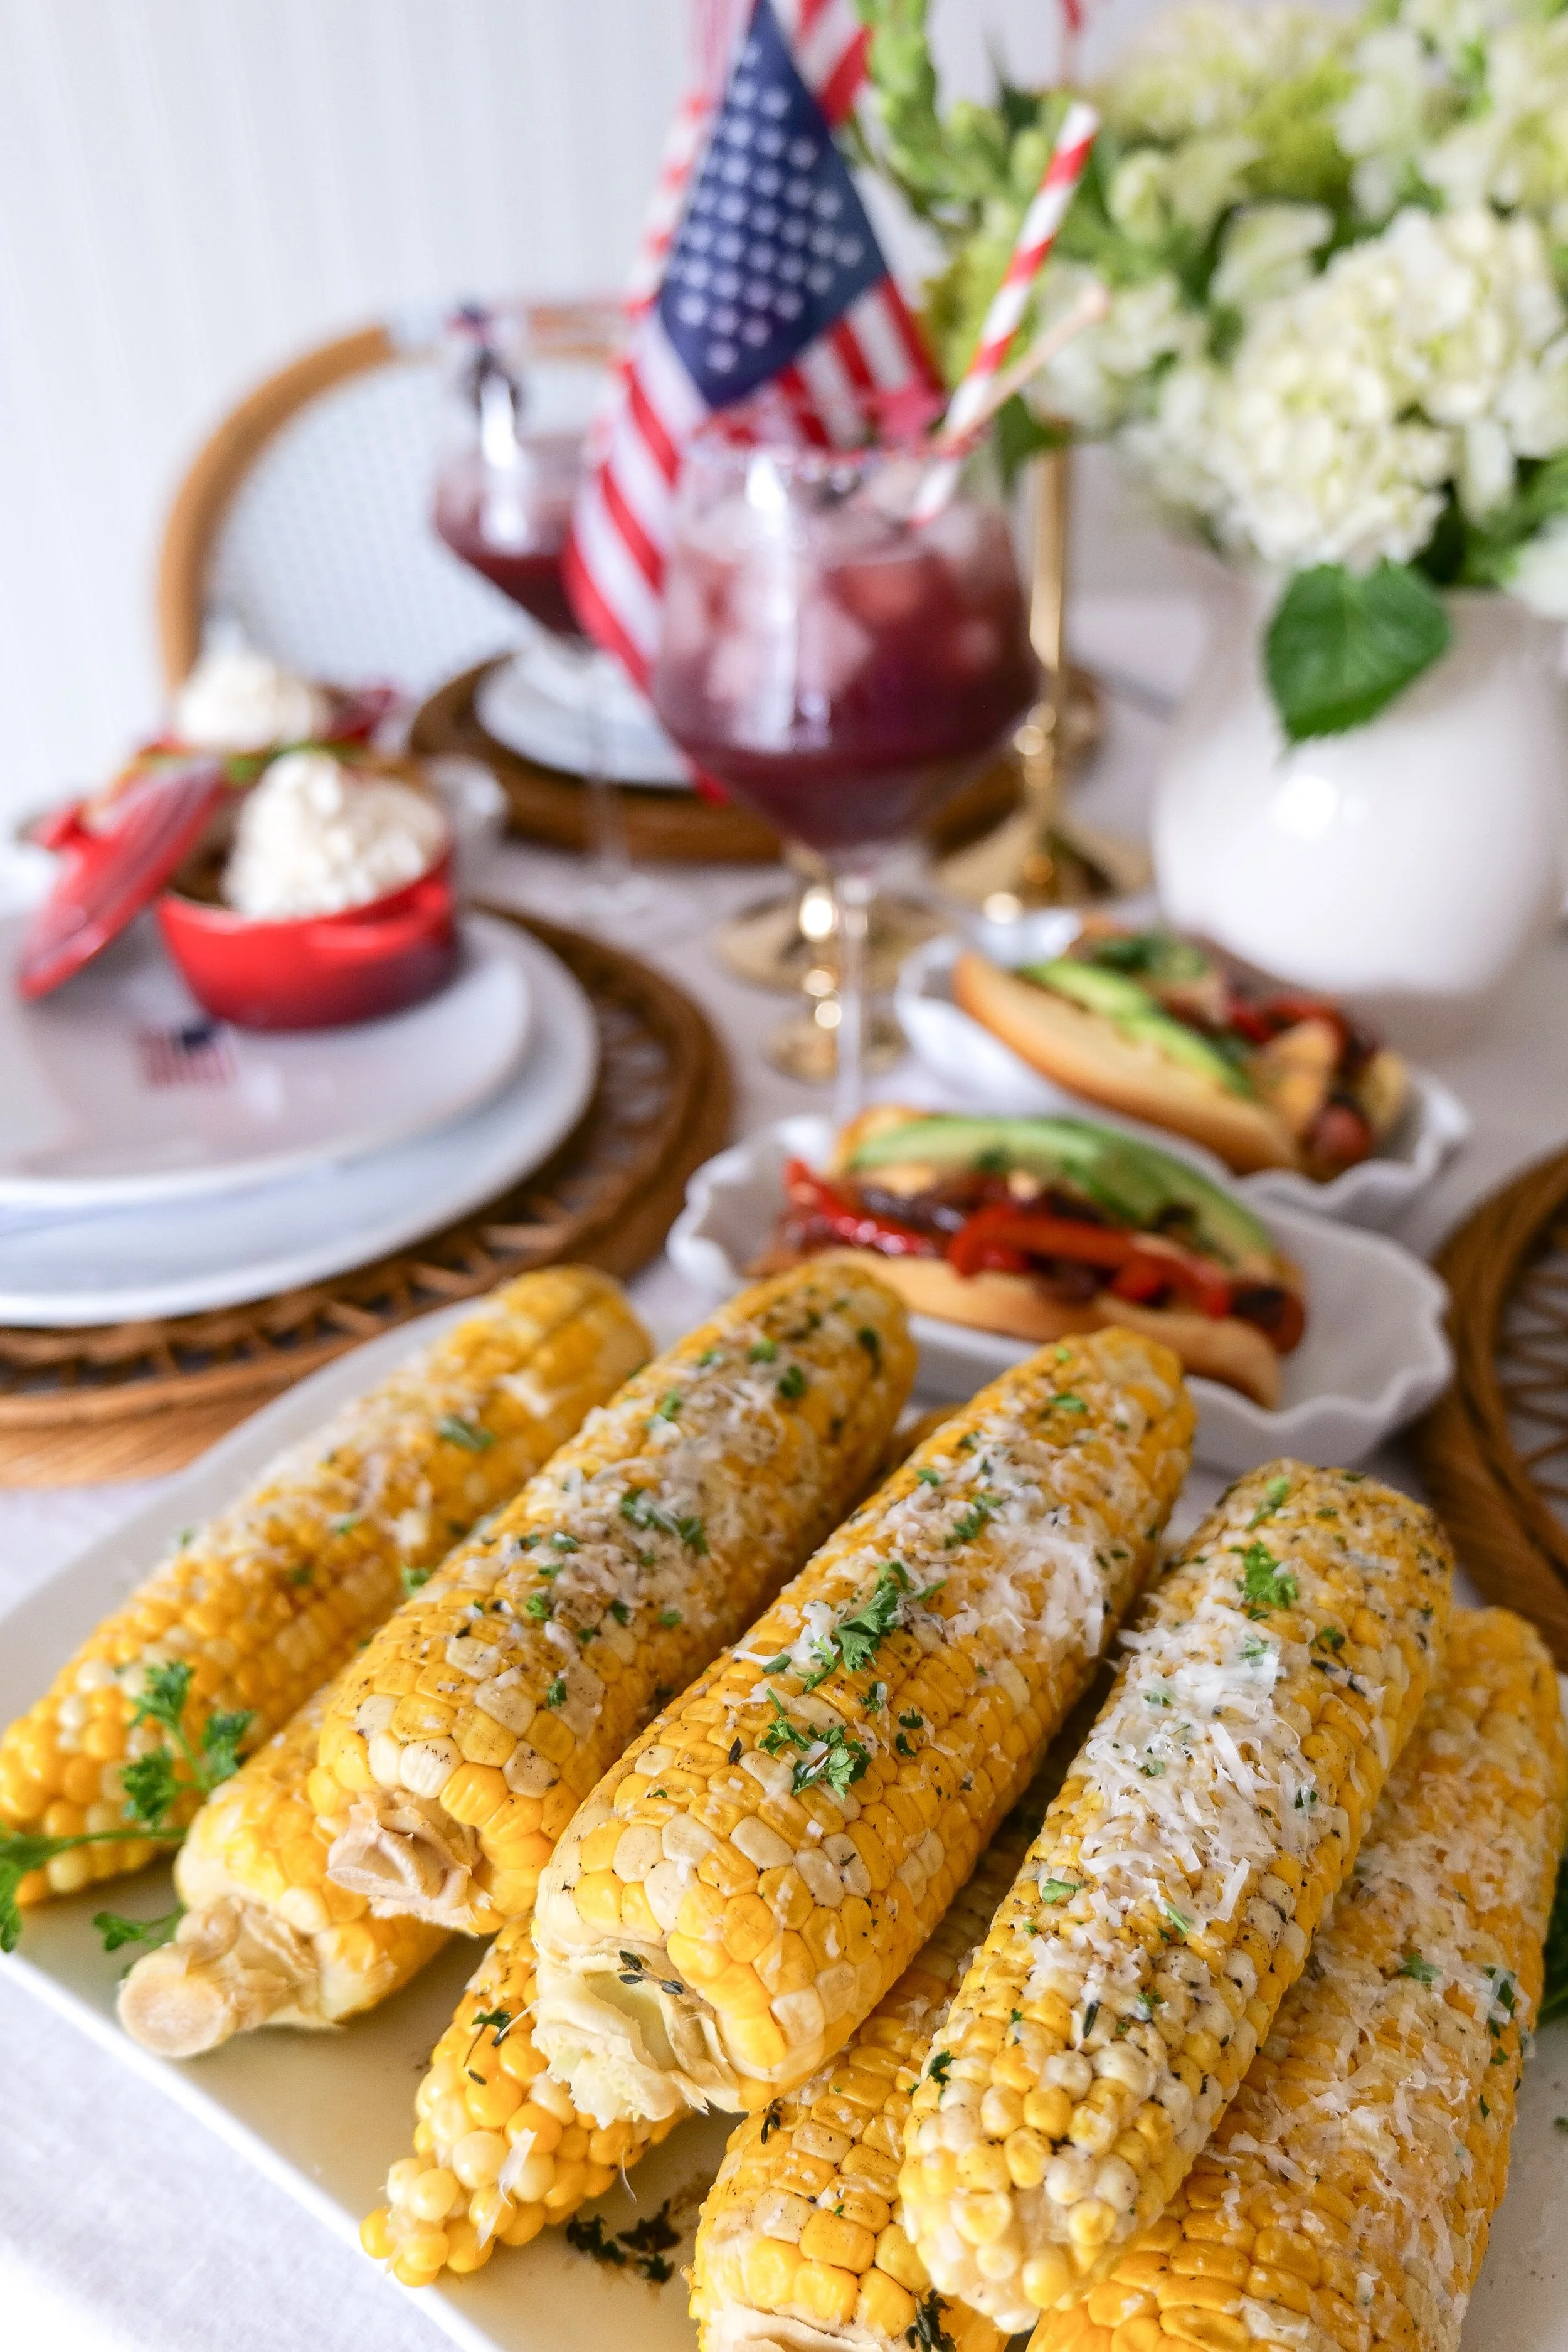
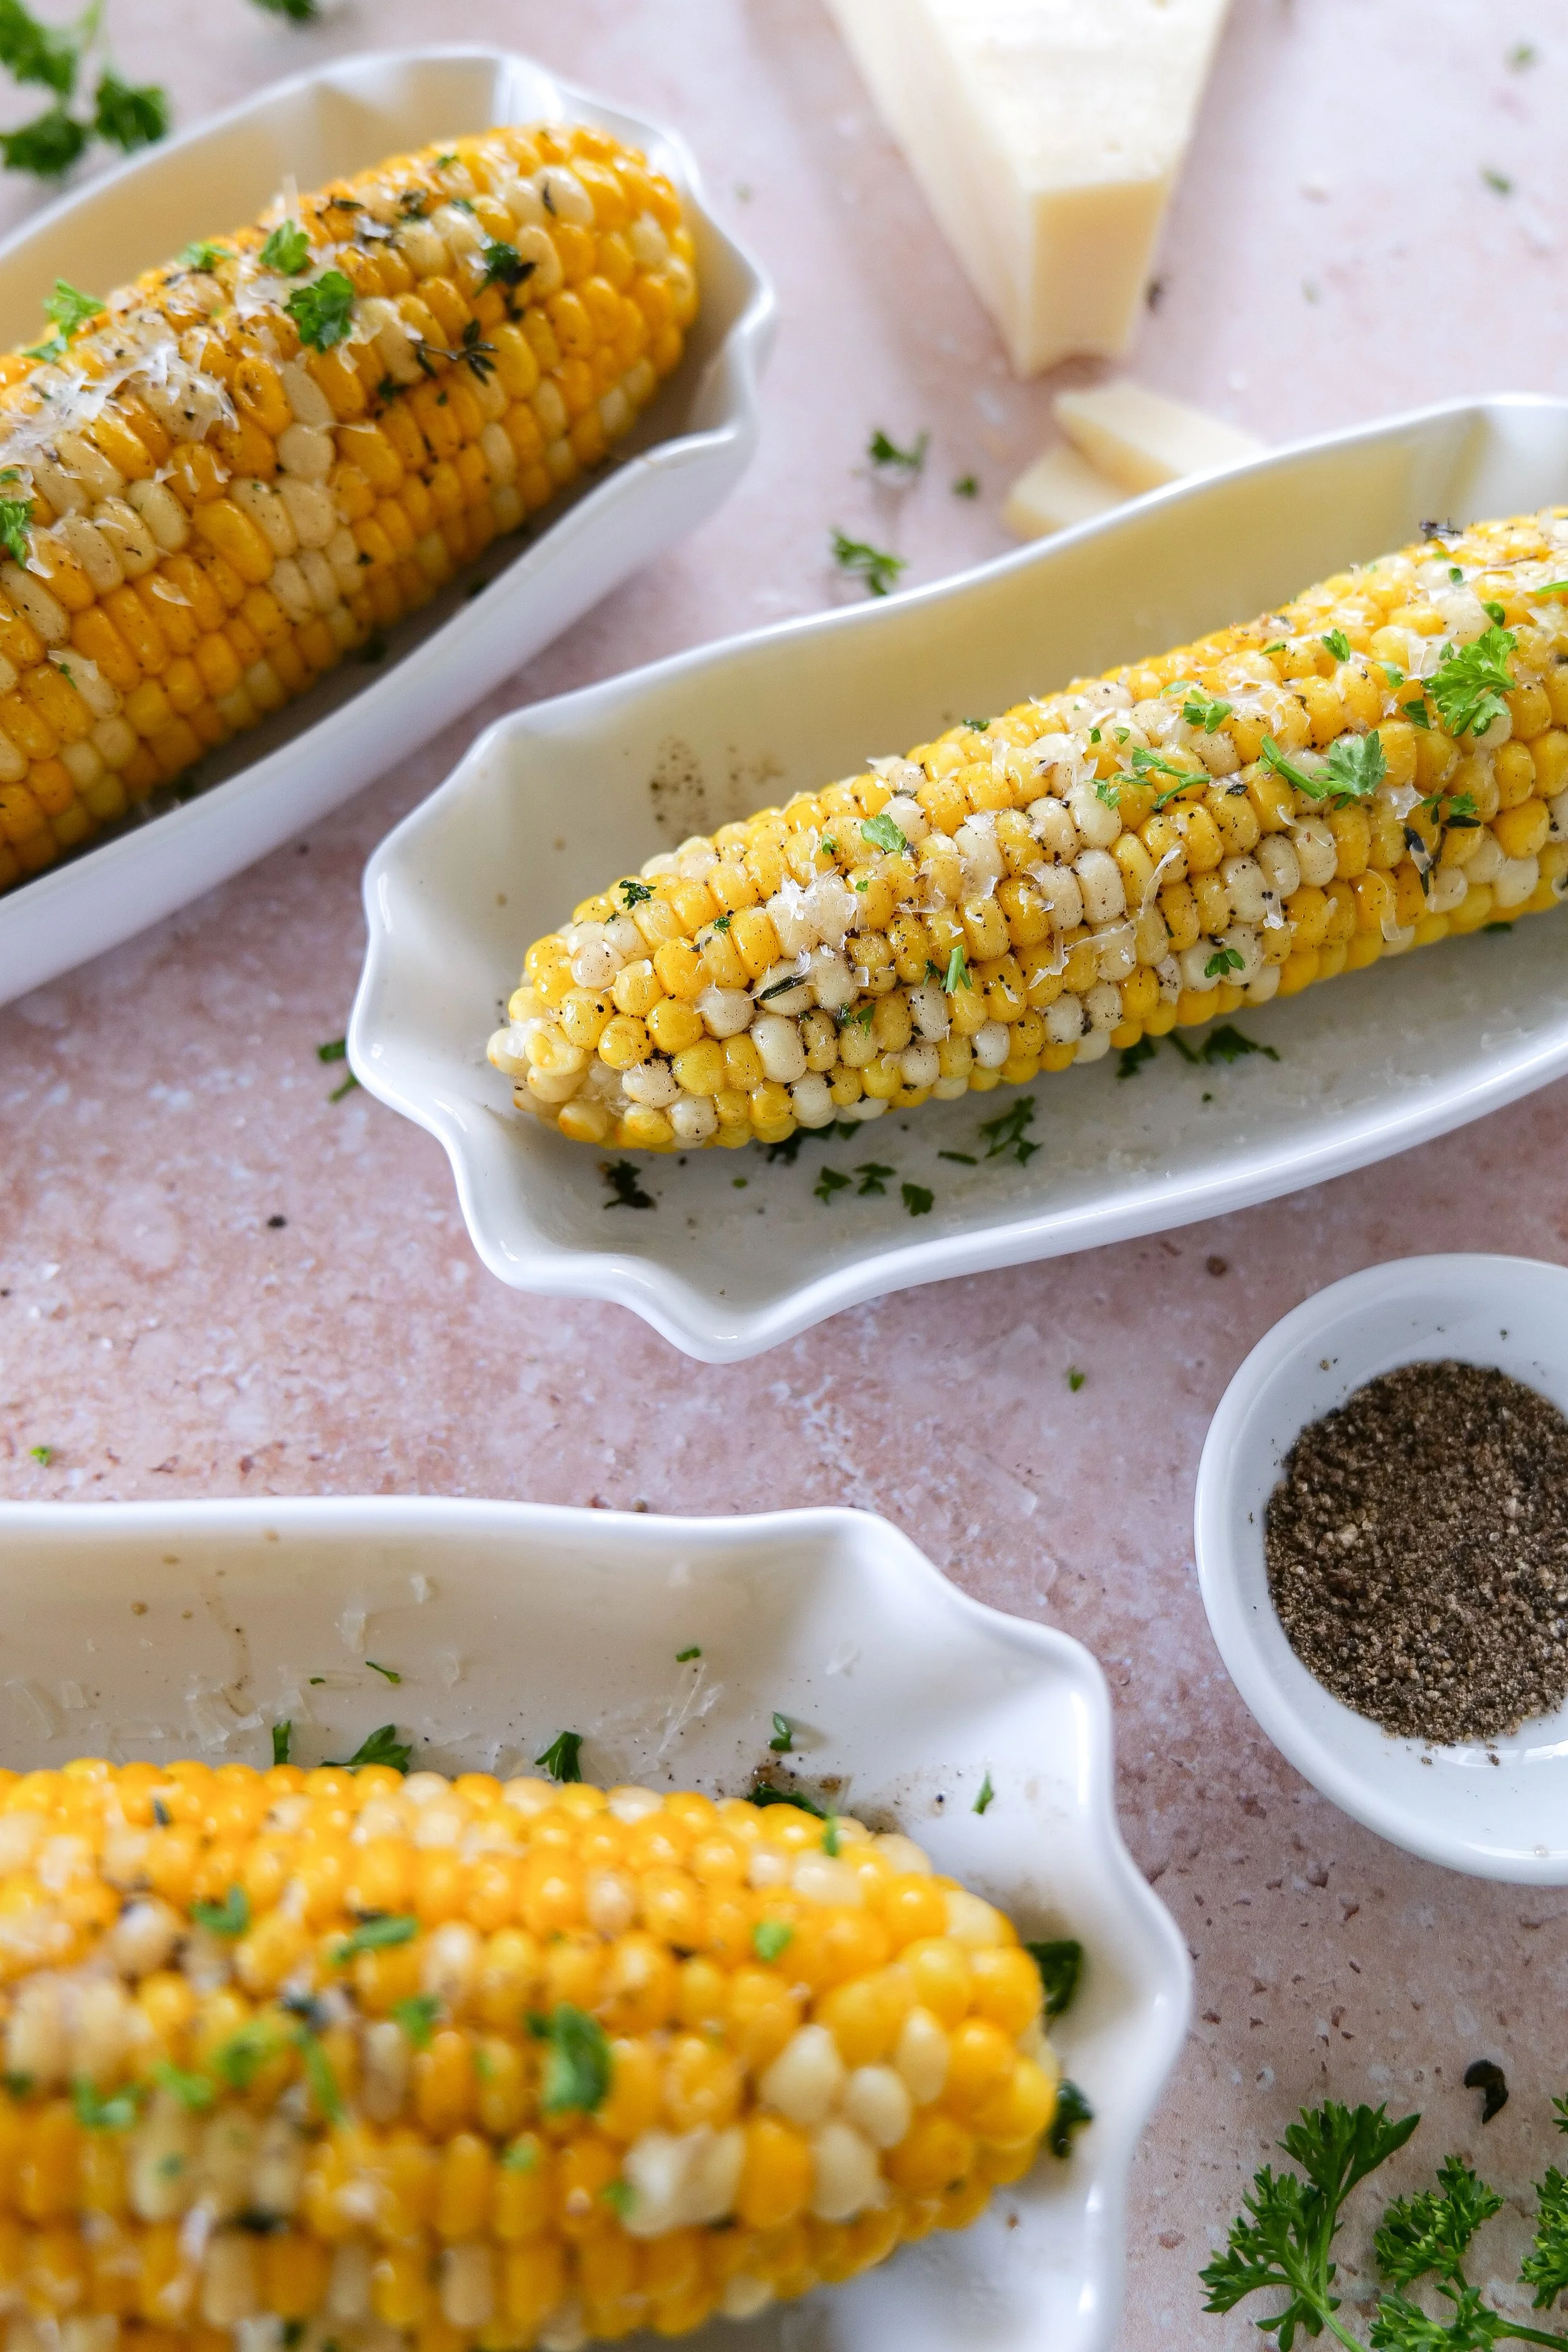
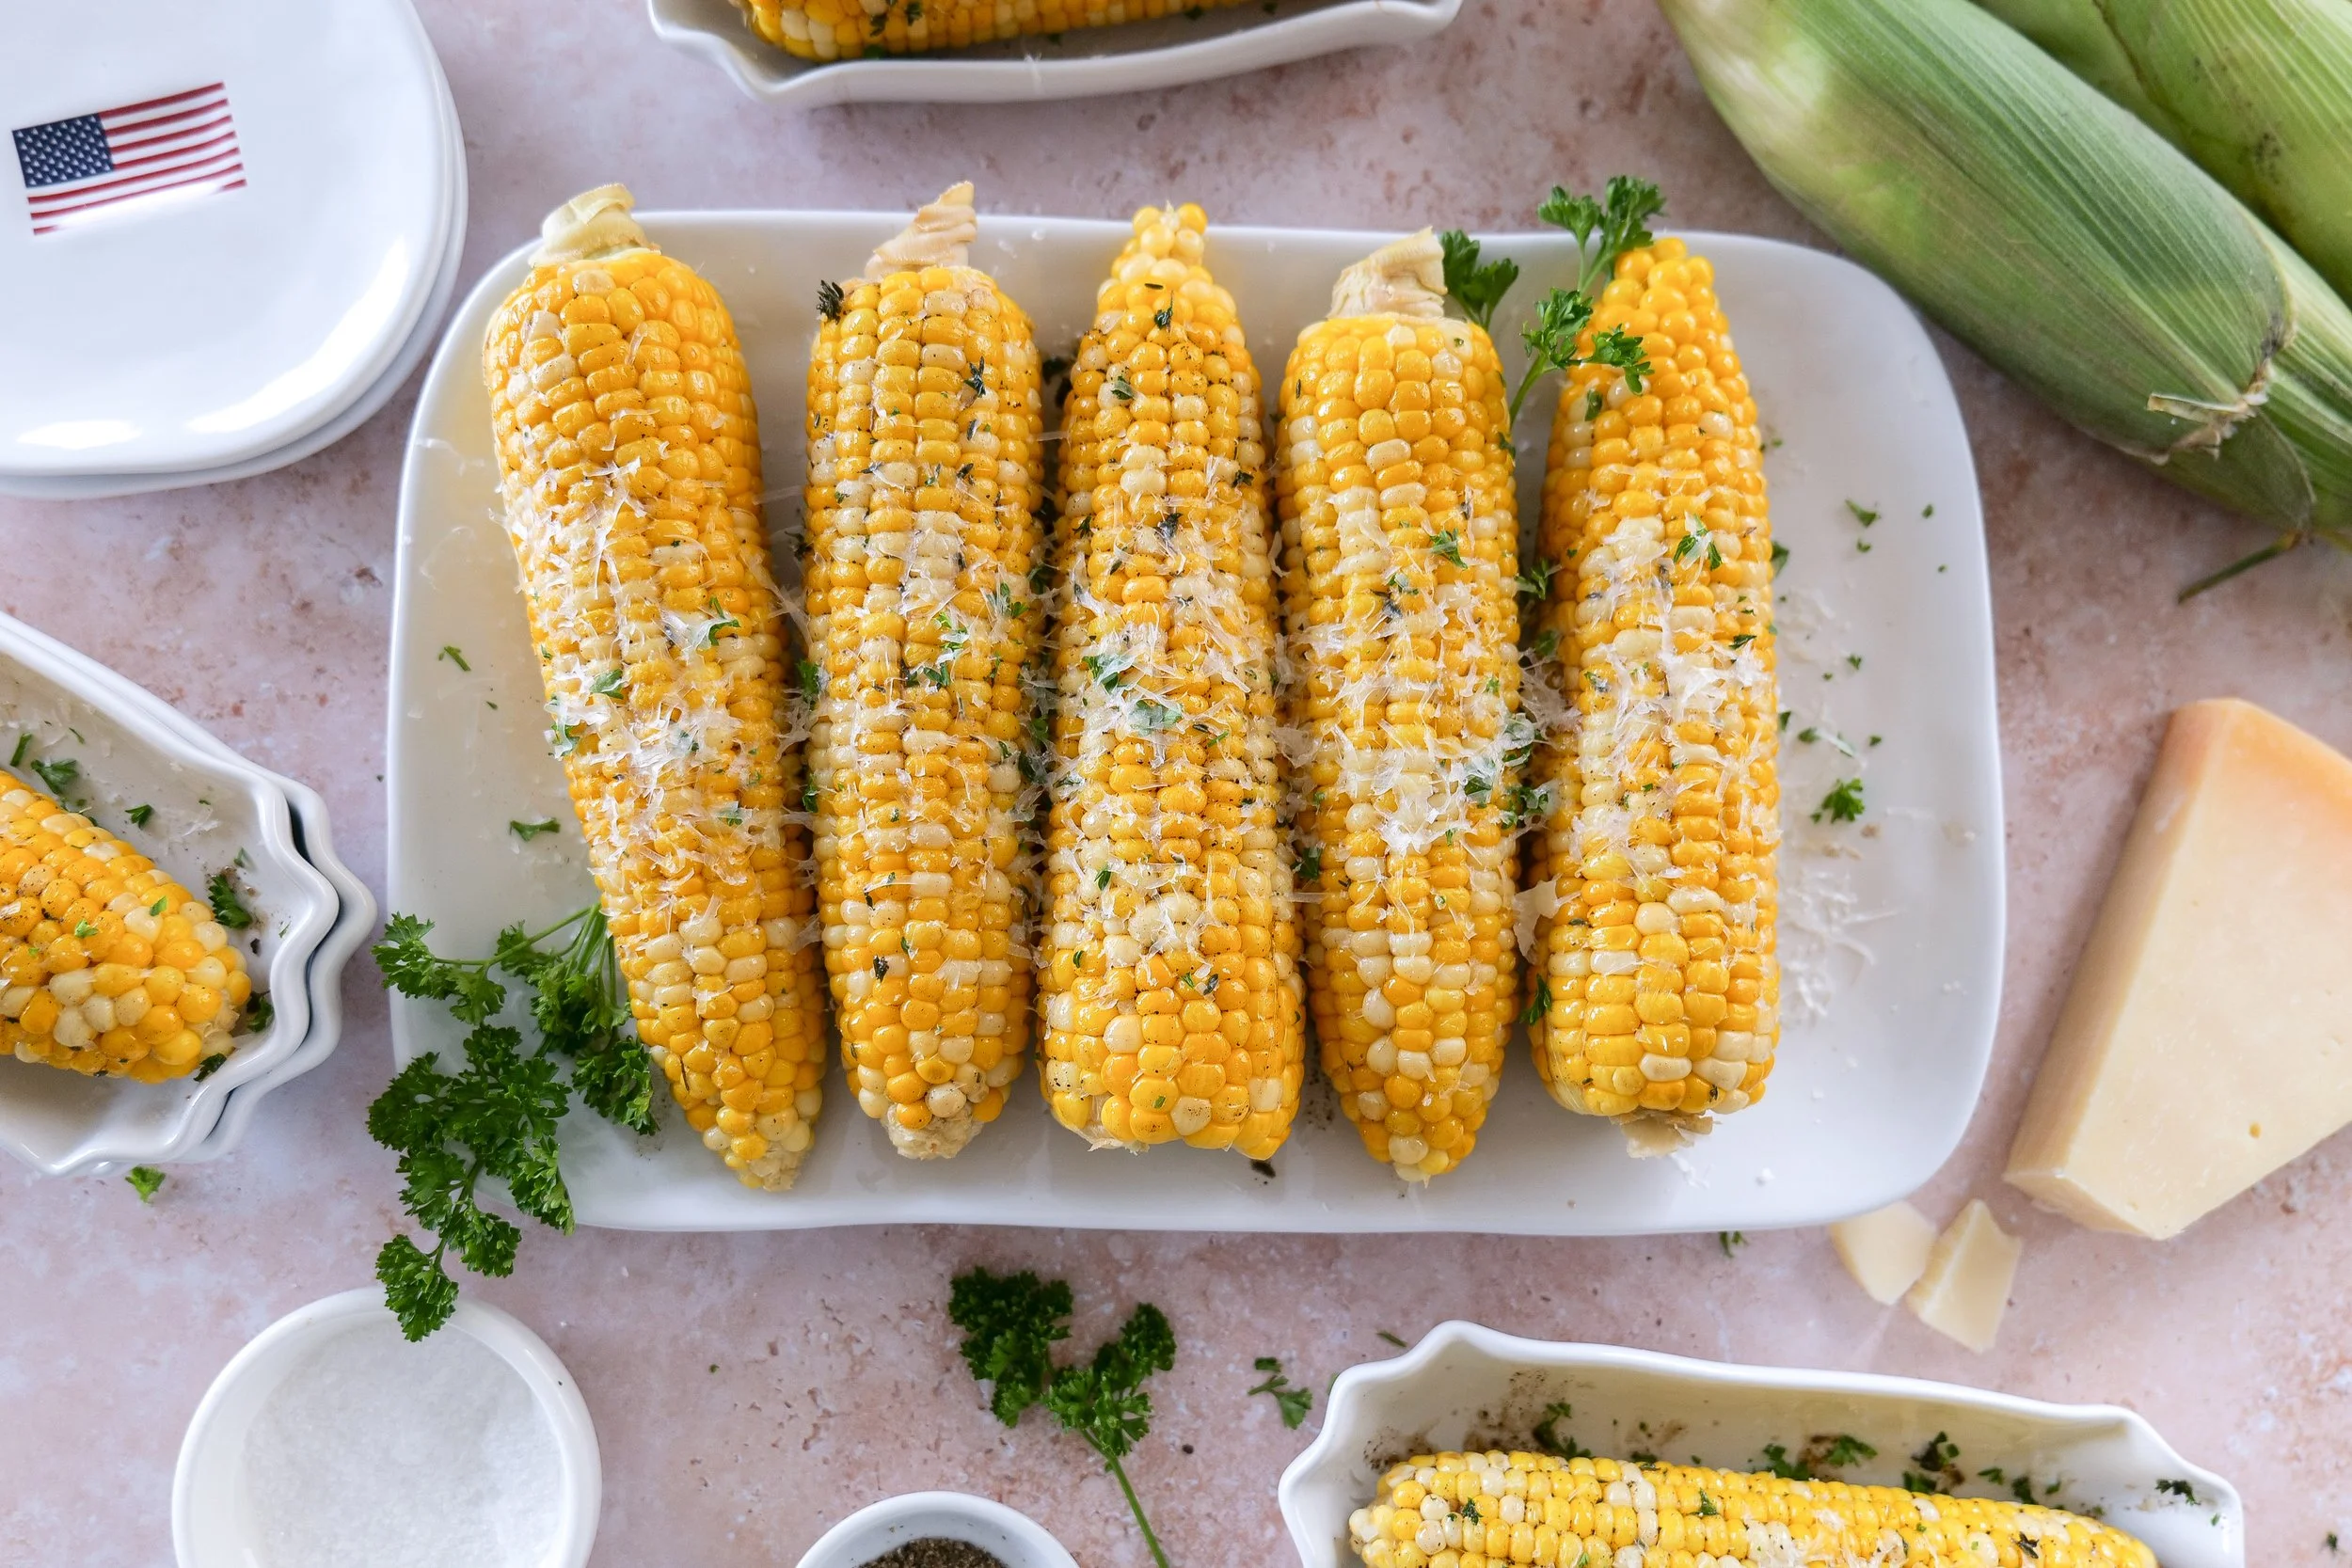
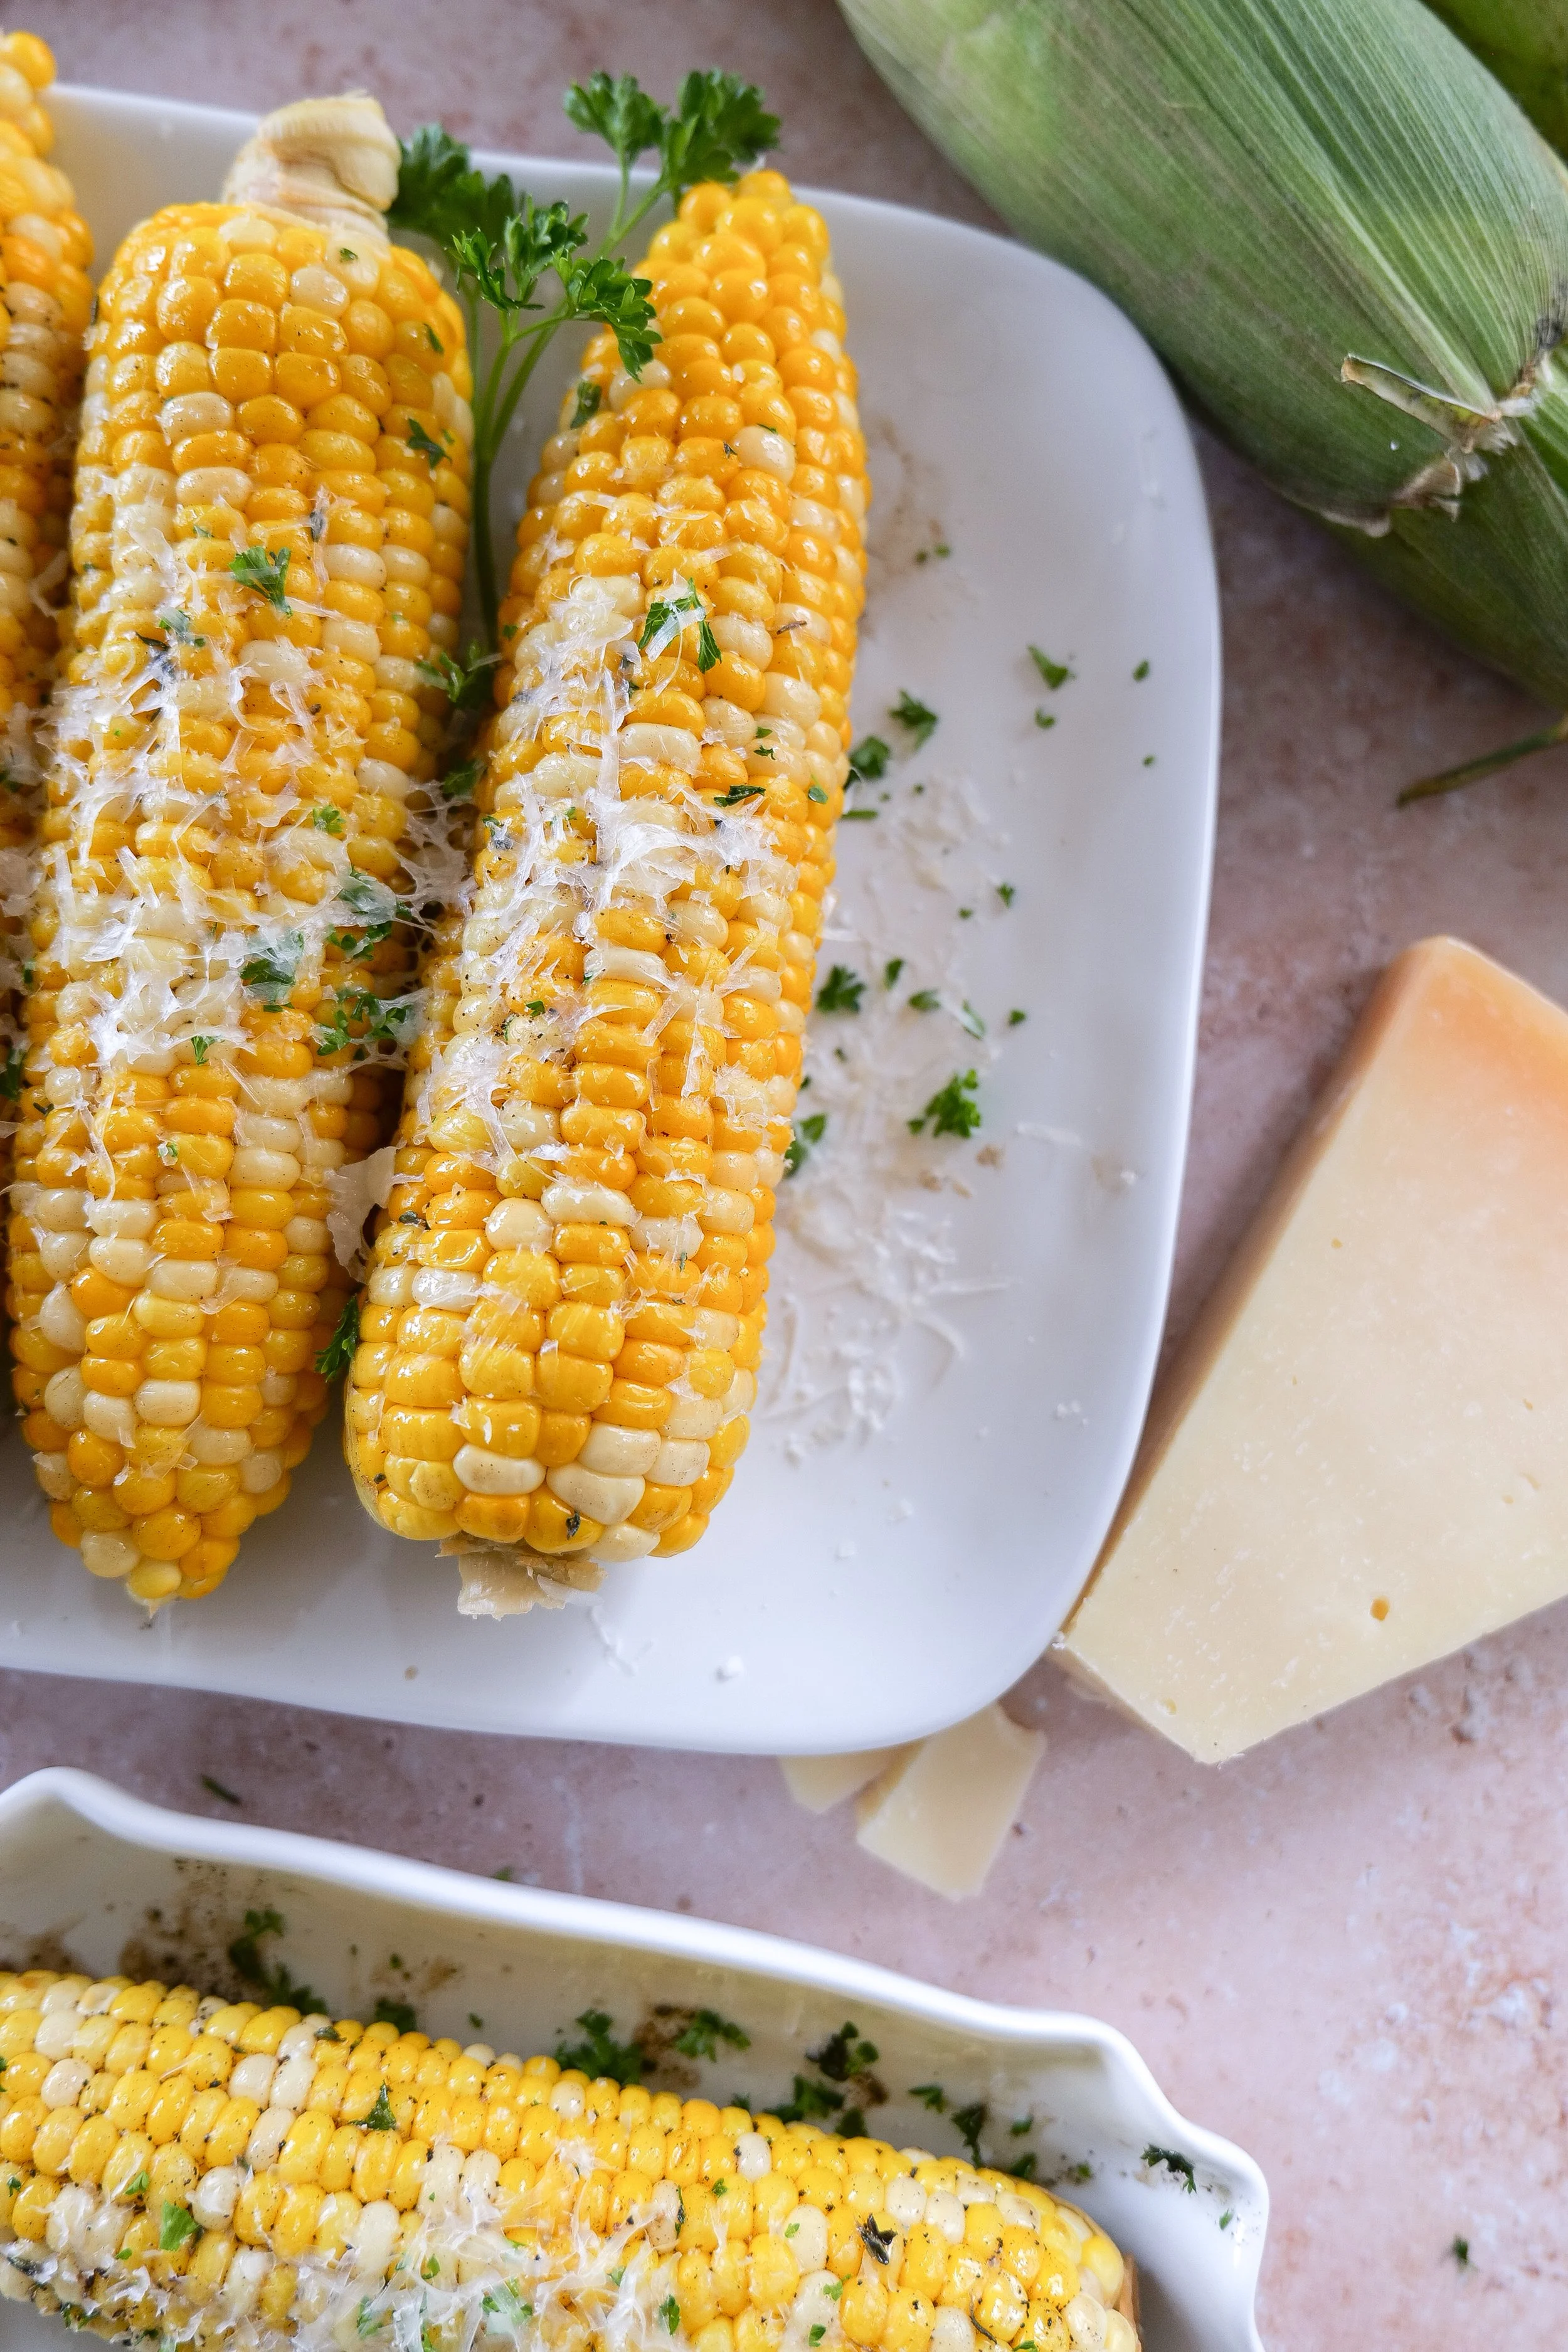
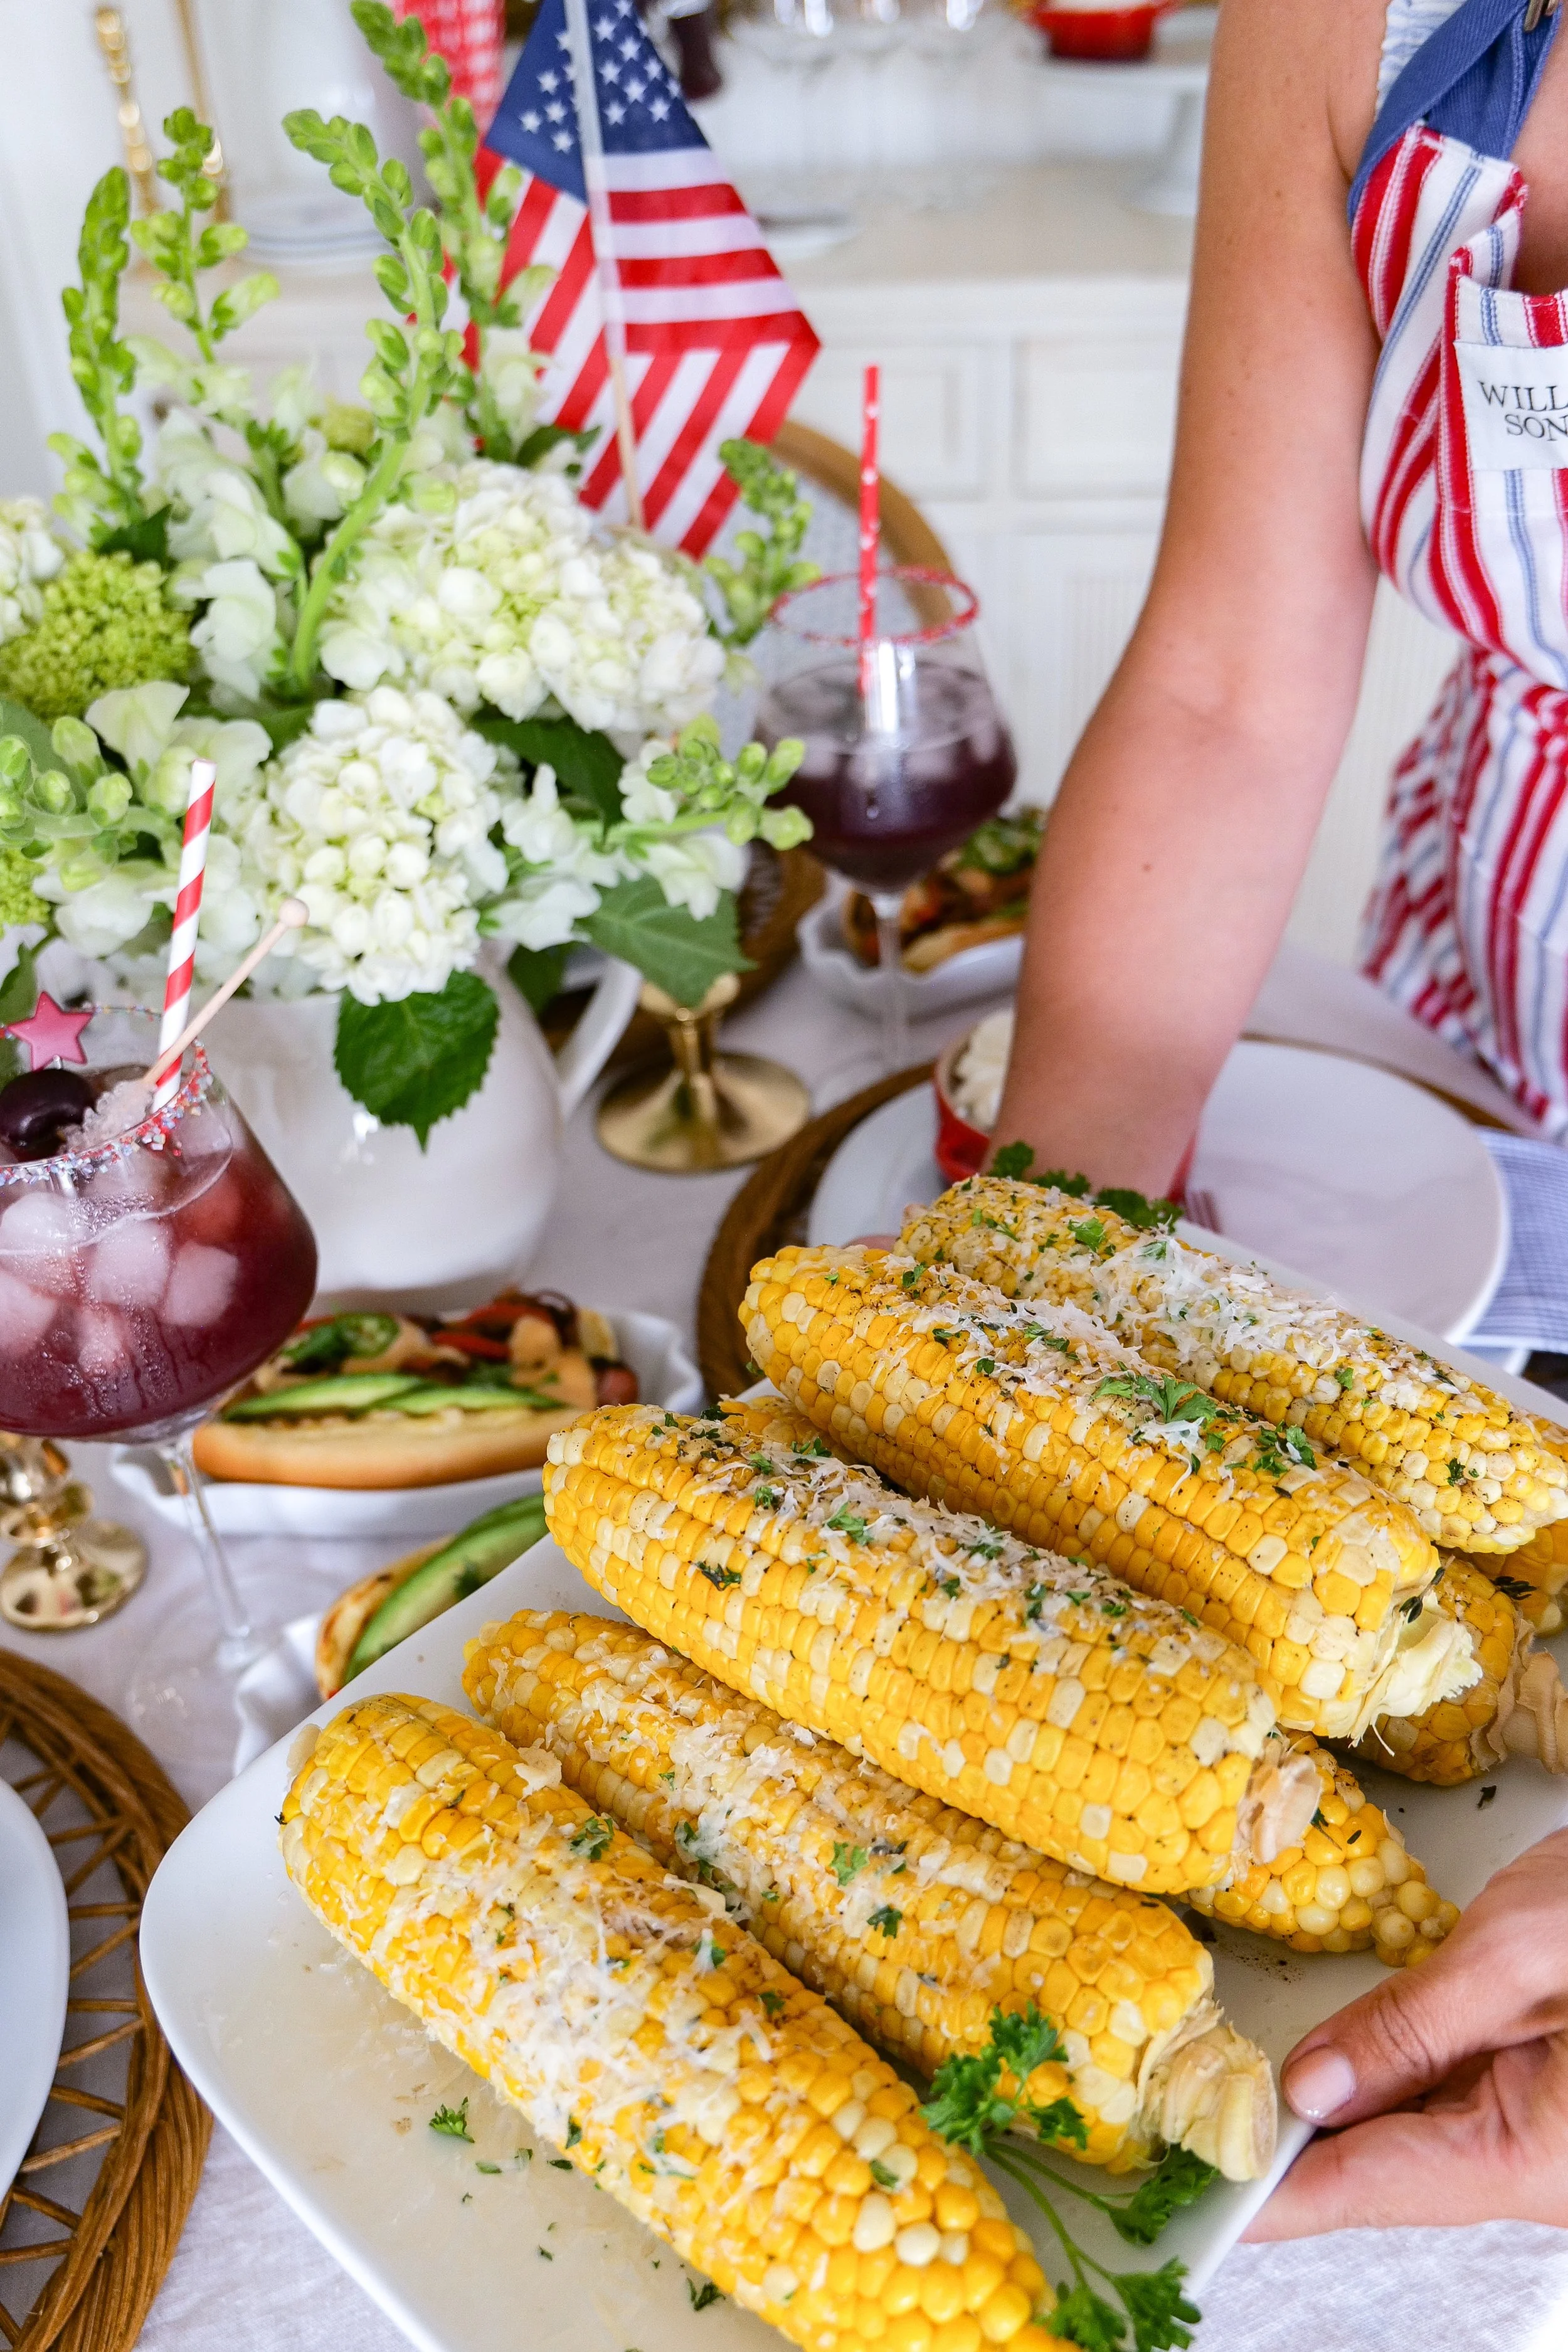
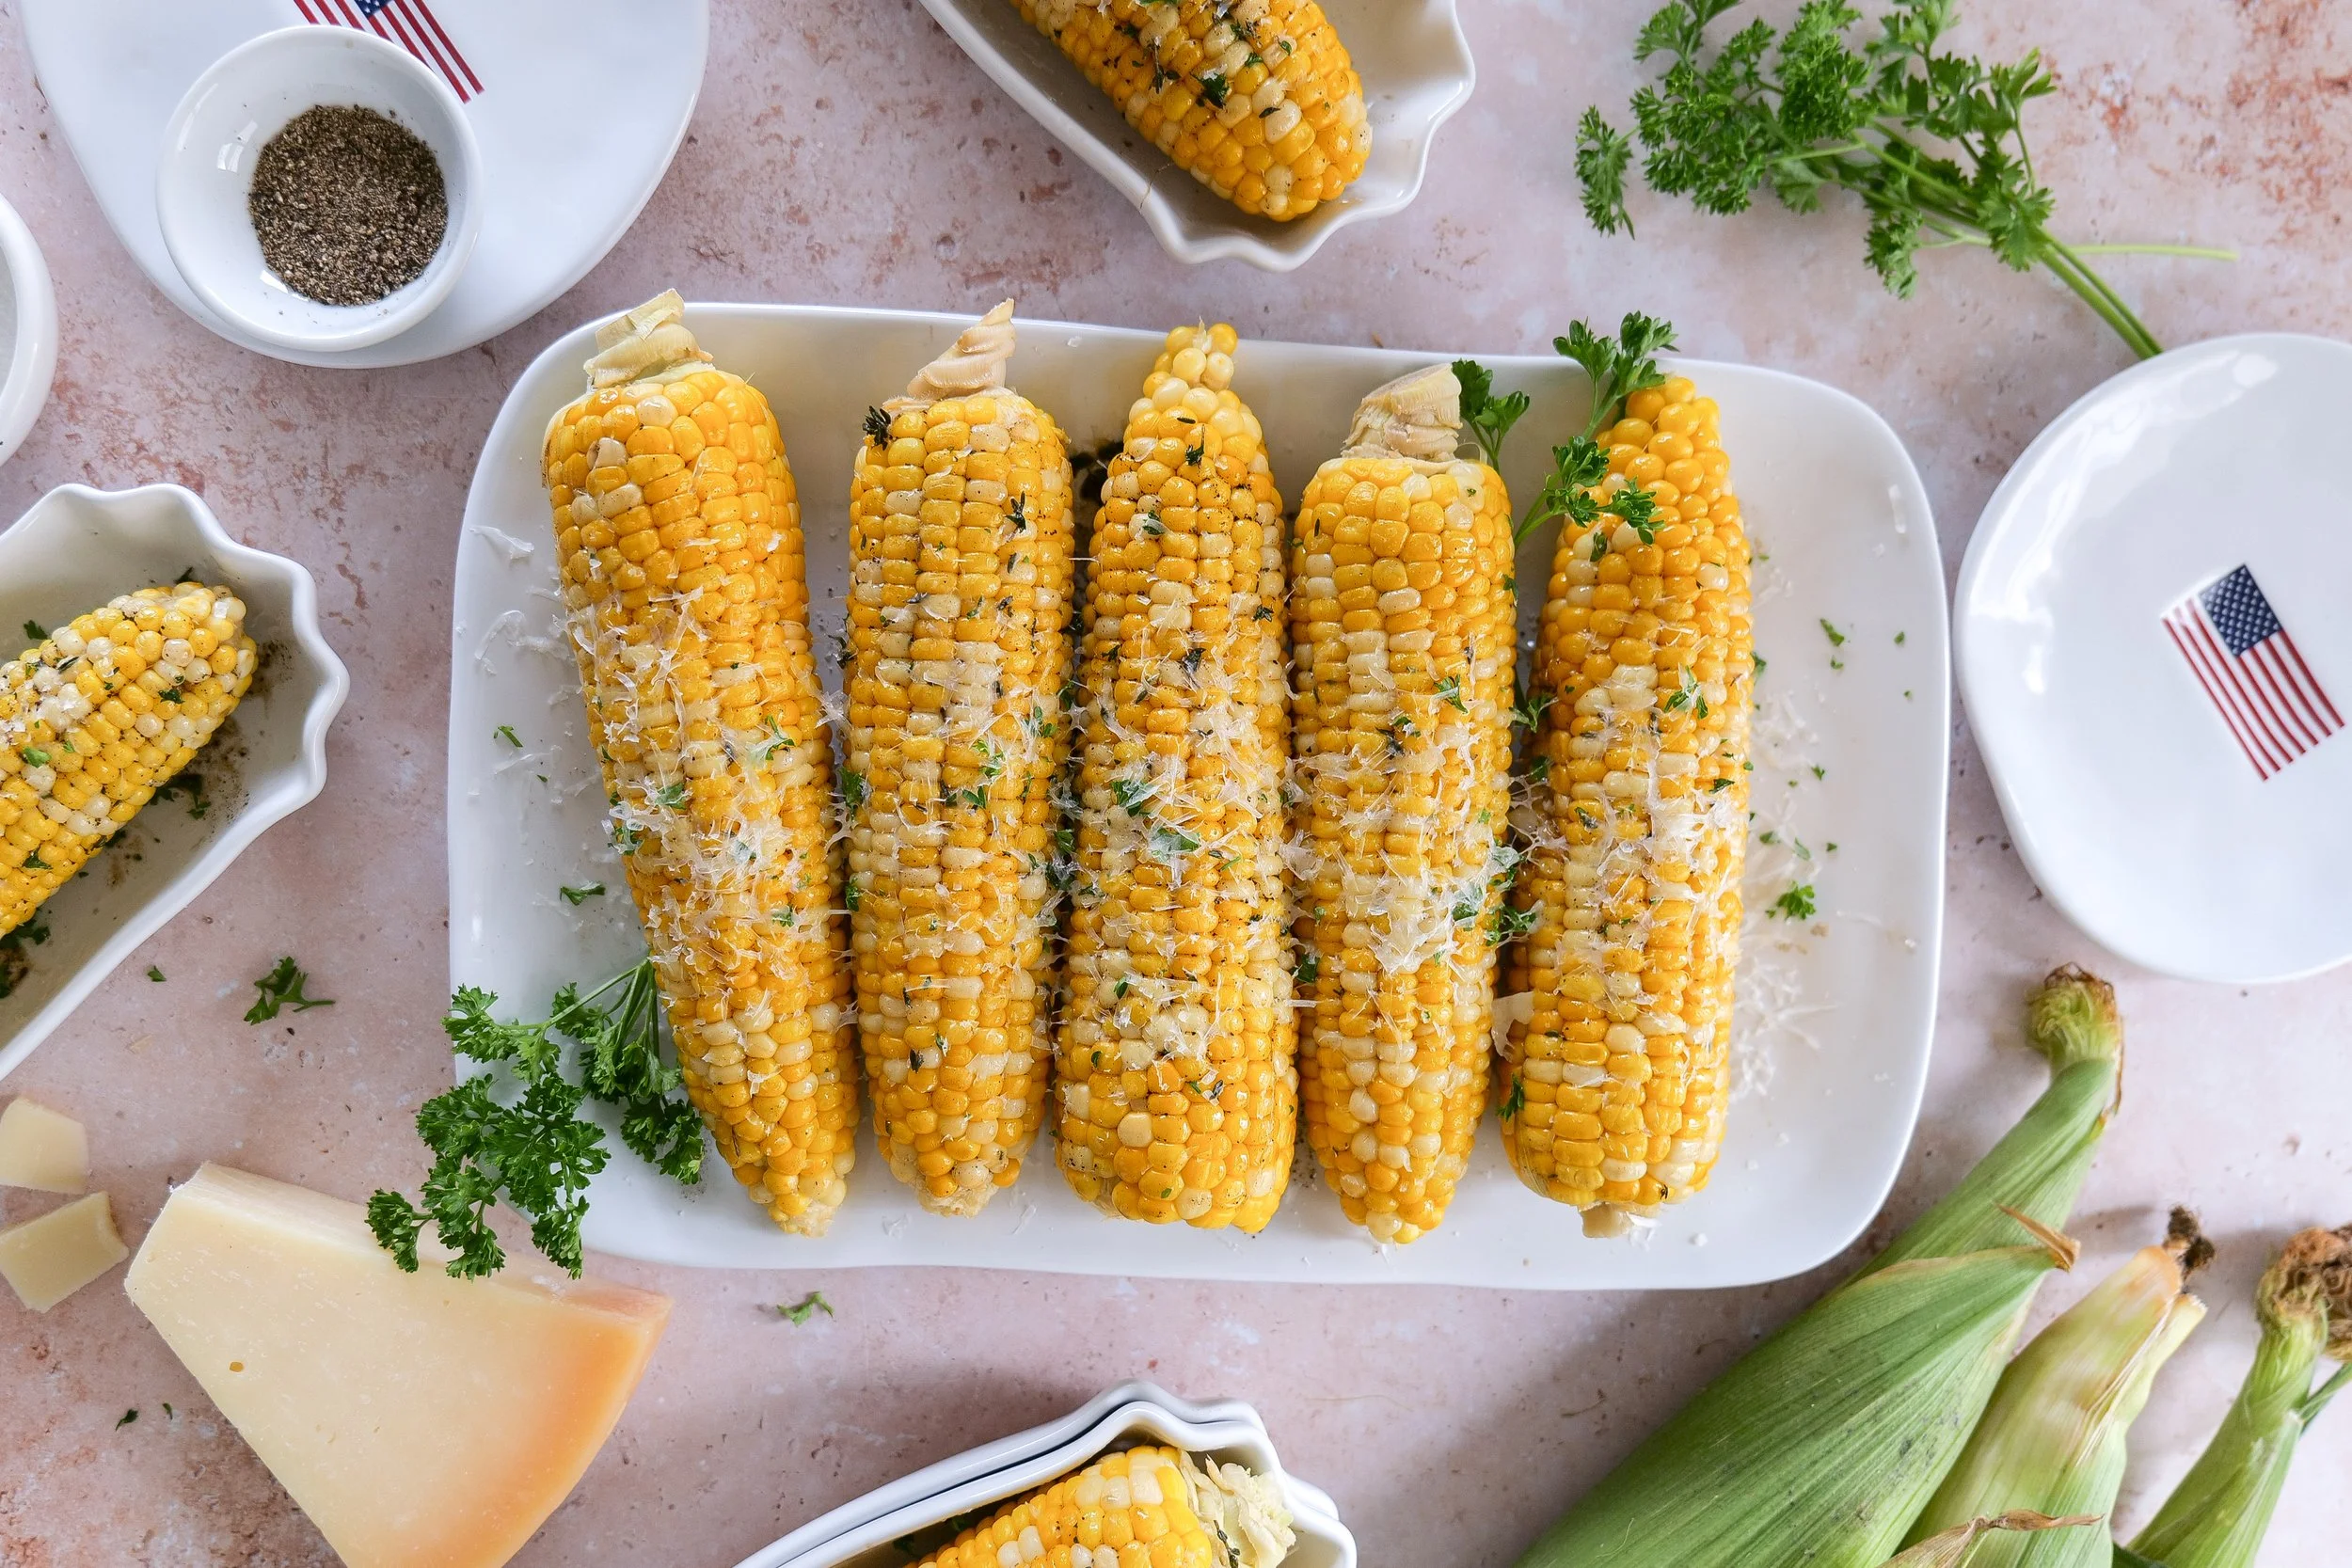
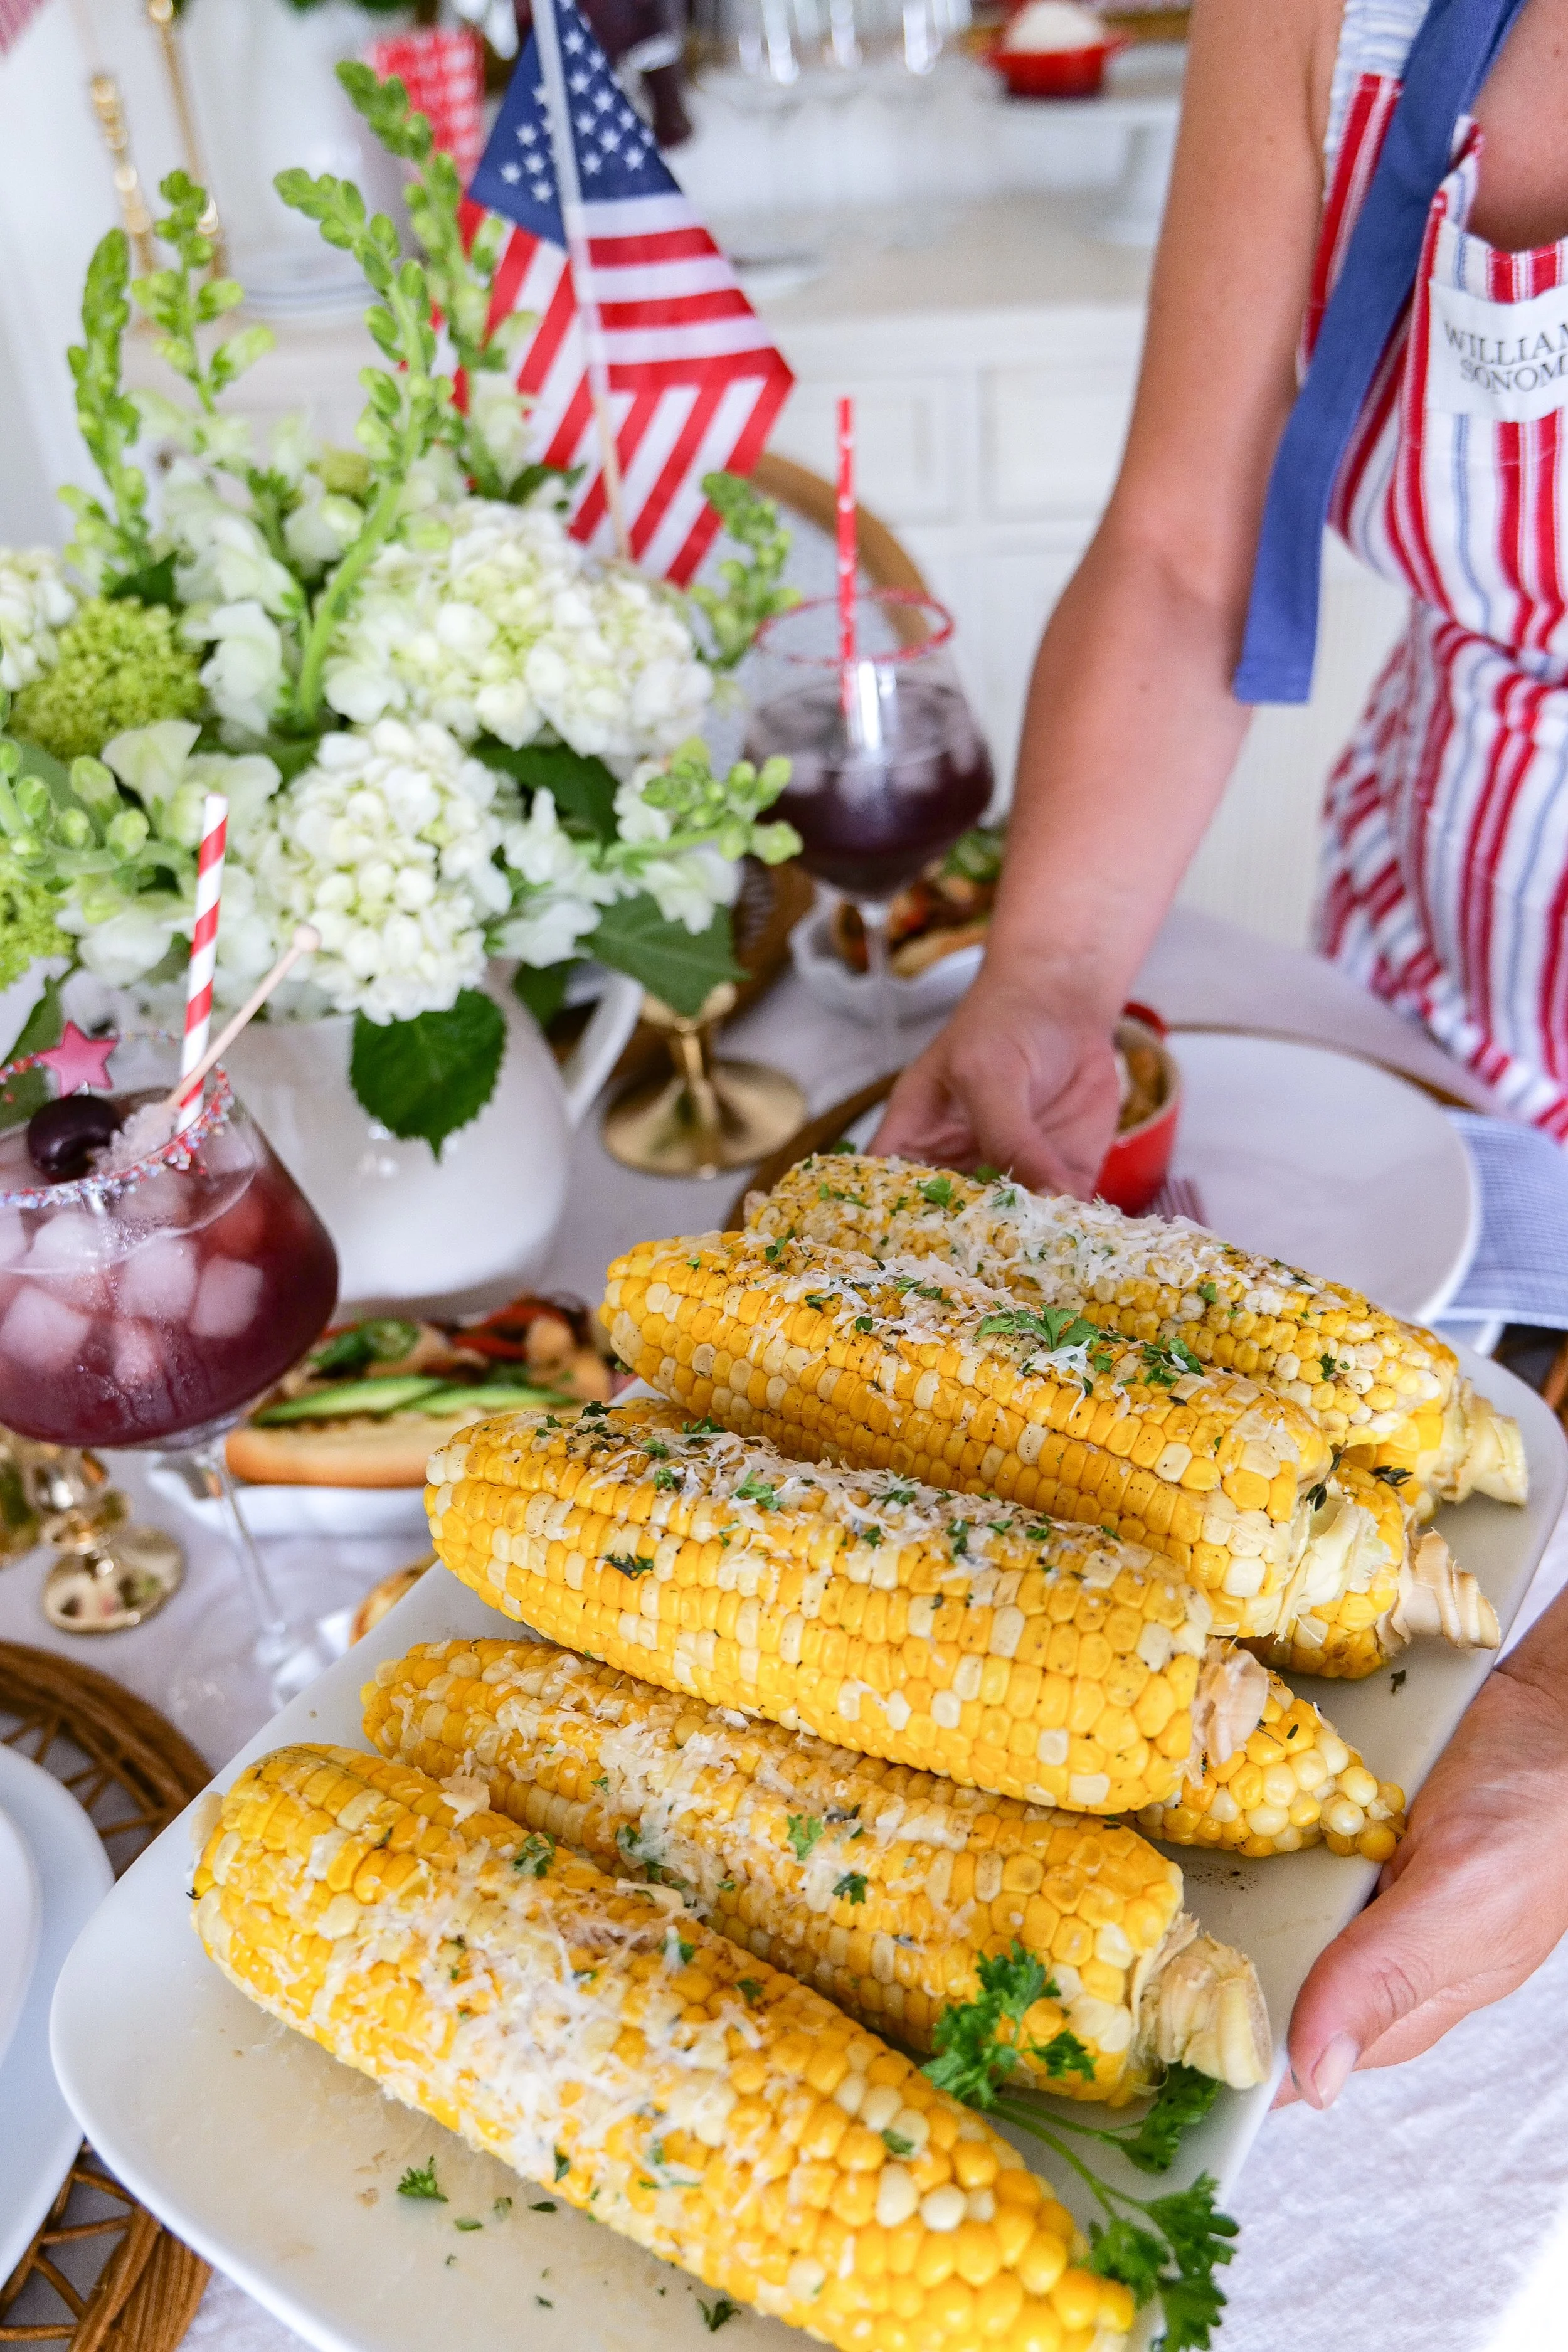
Brown Butter Herb Corn on the Cob

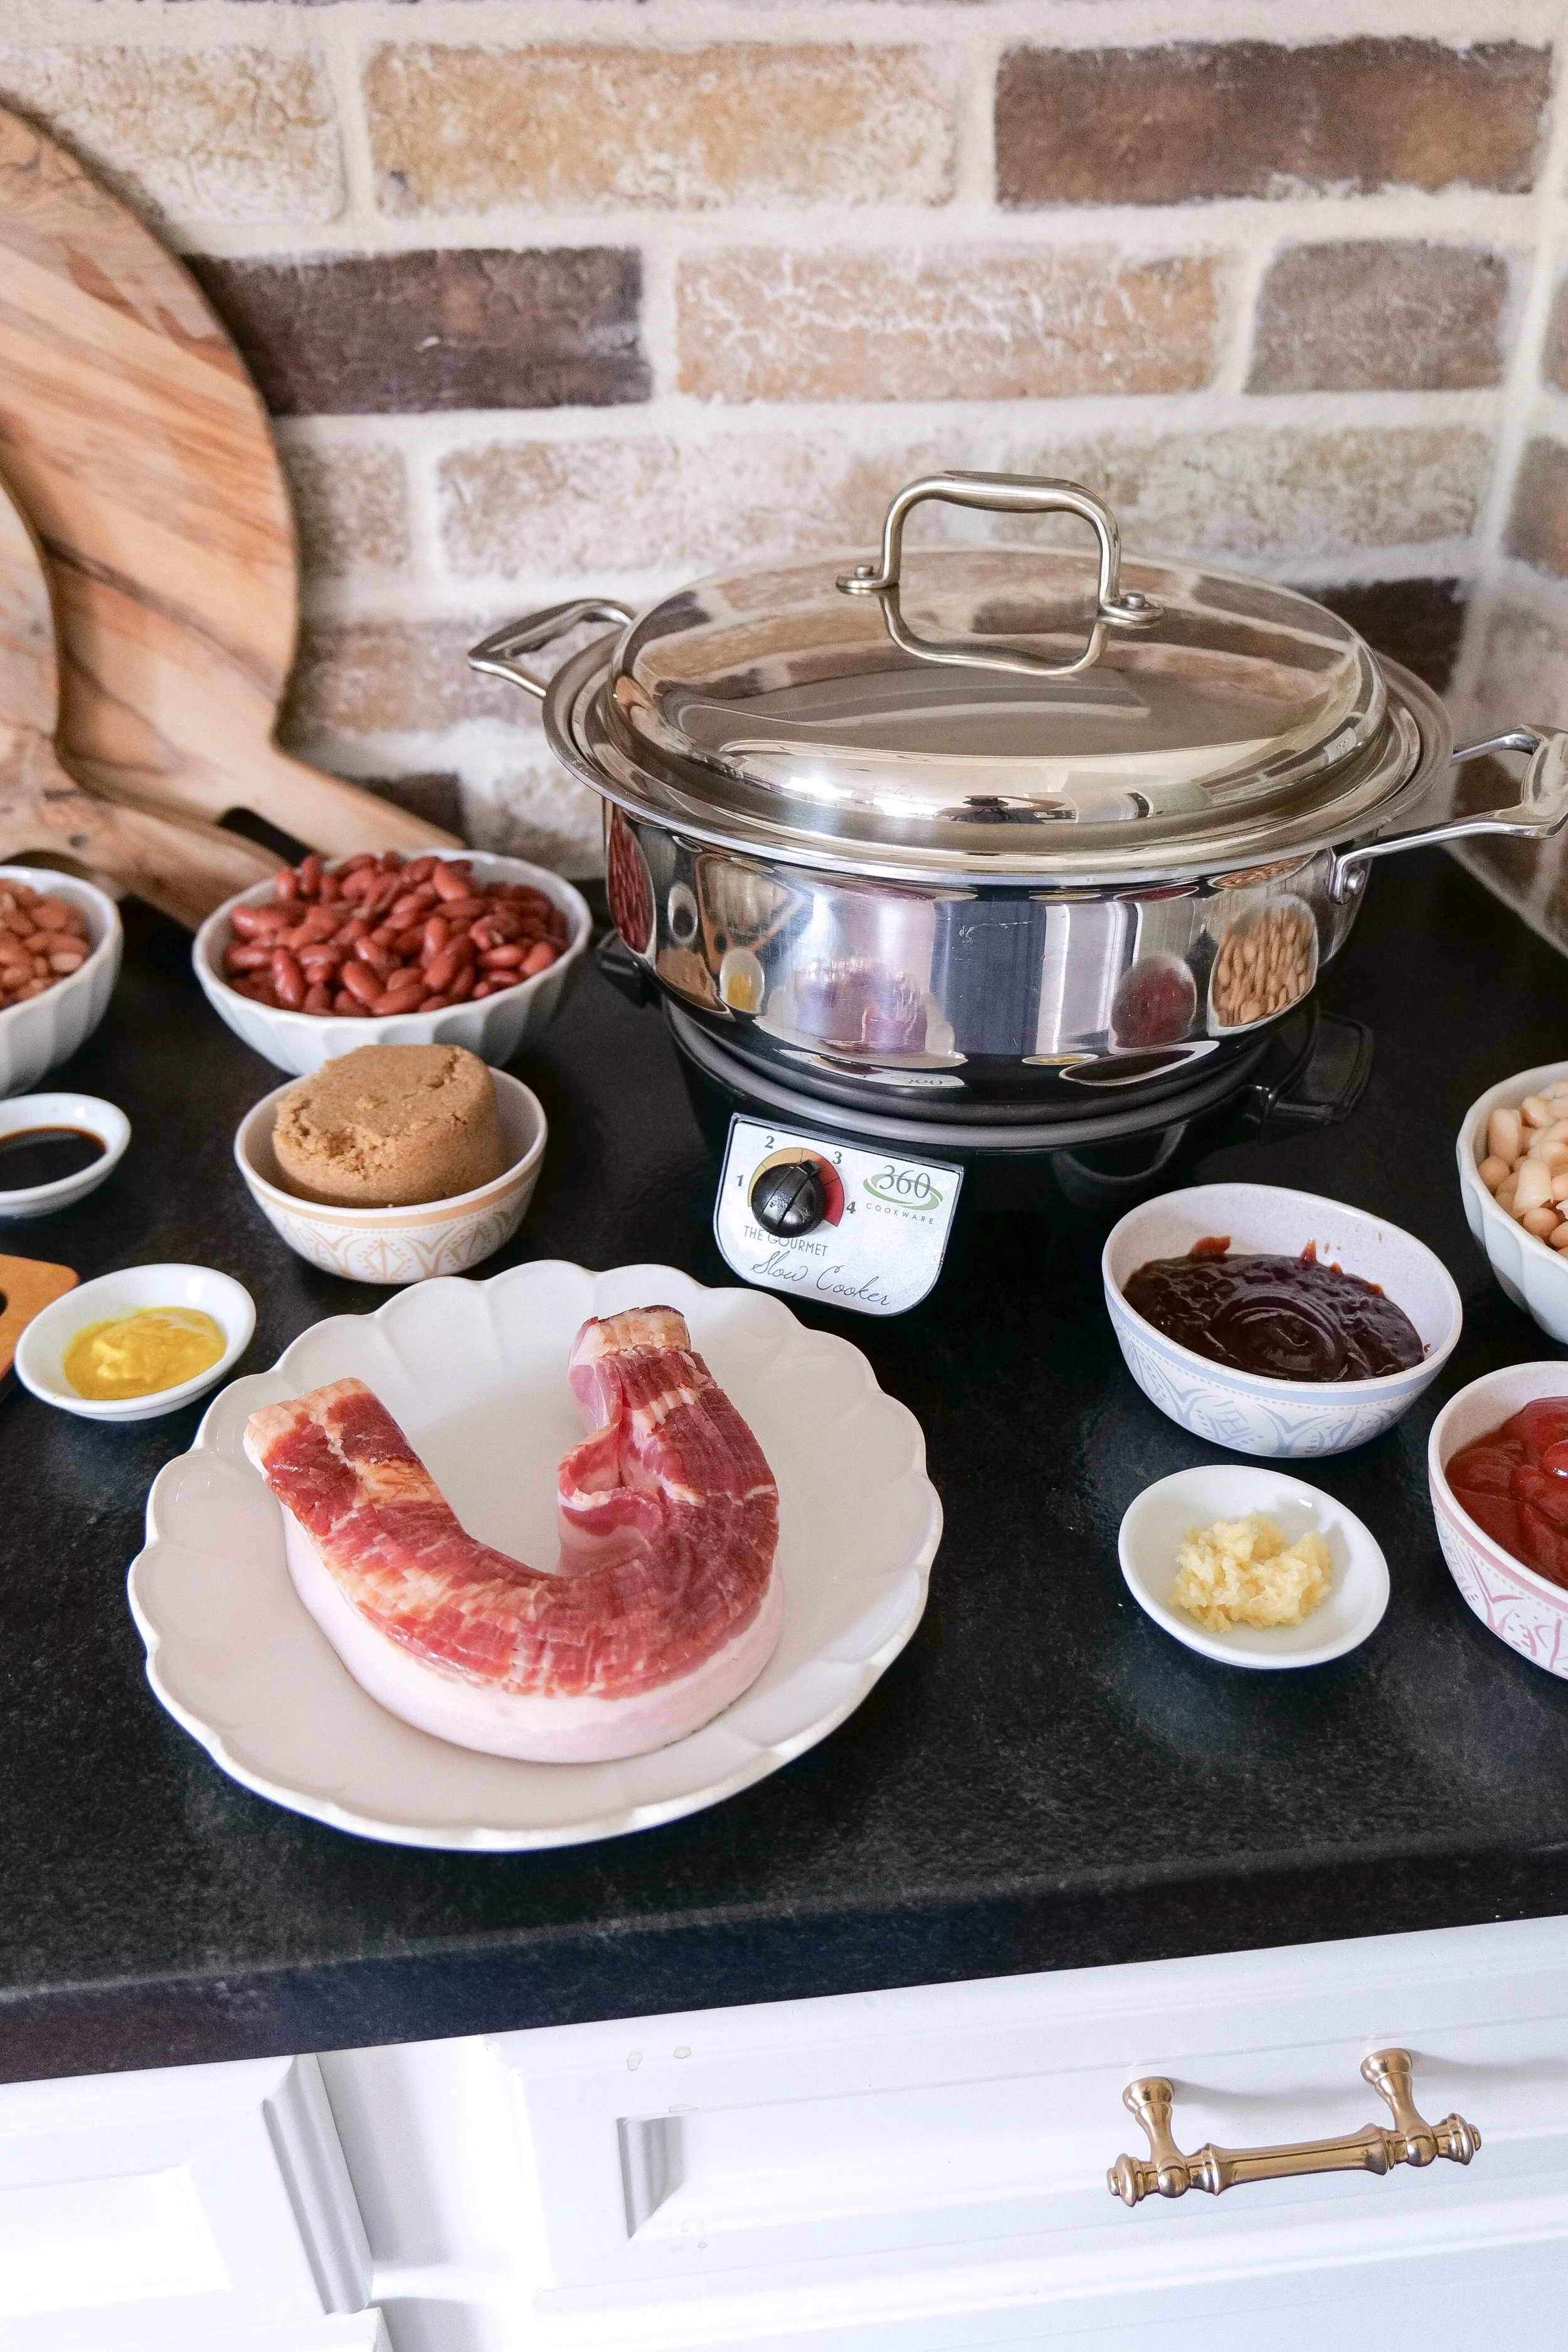
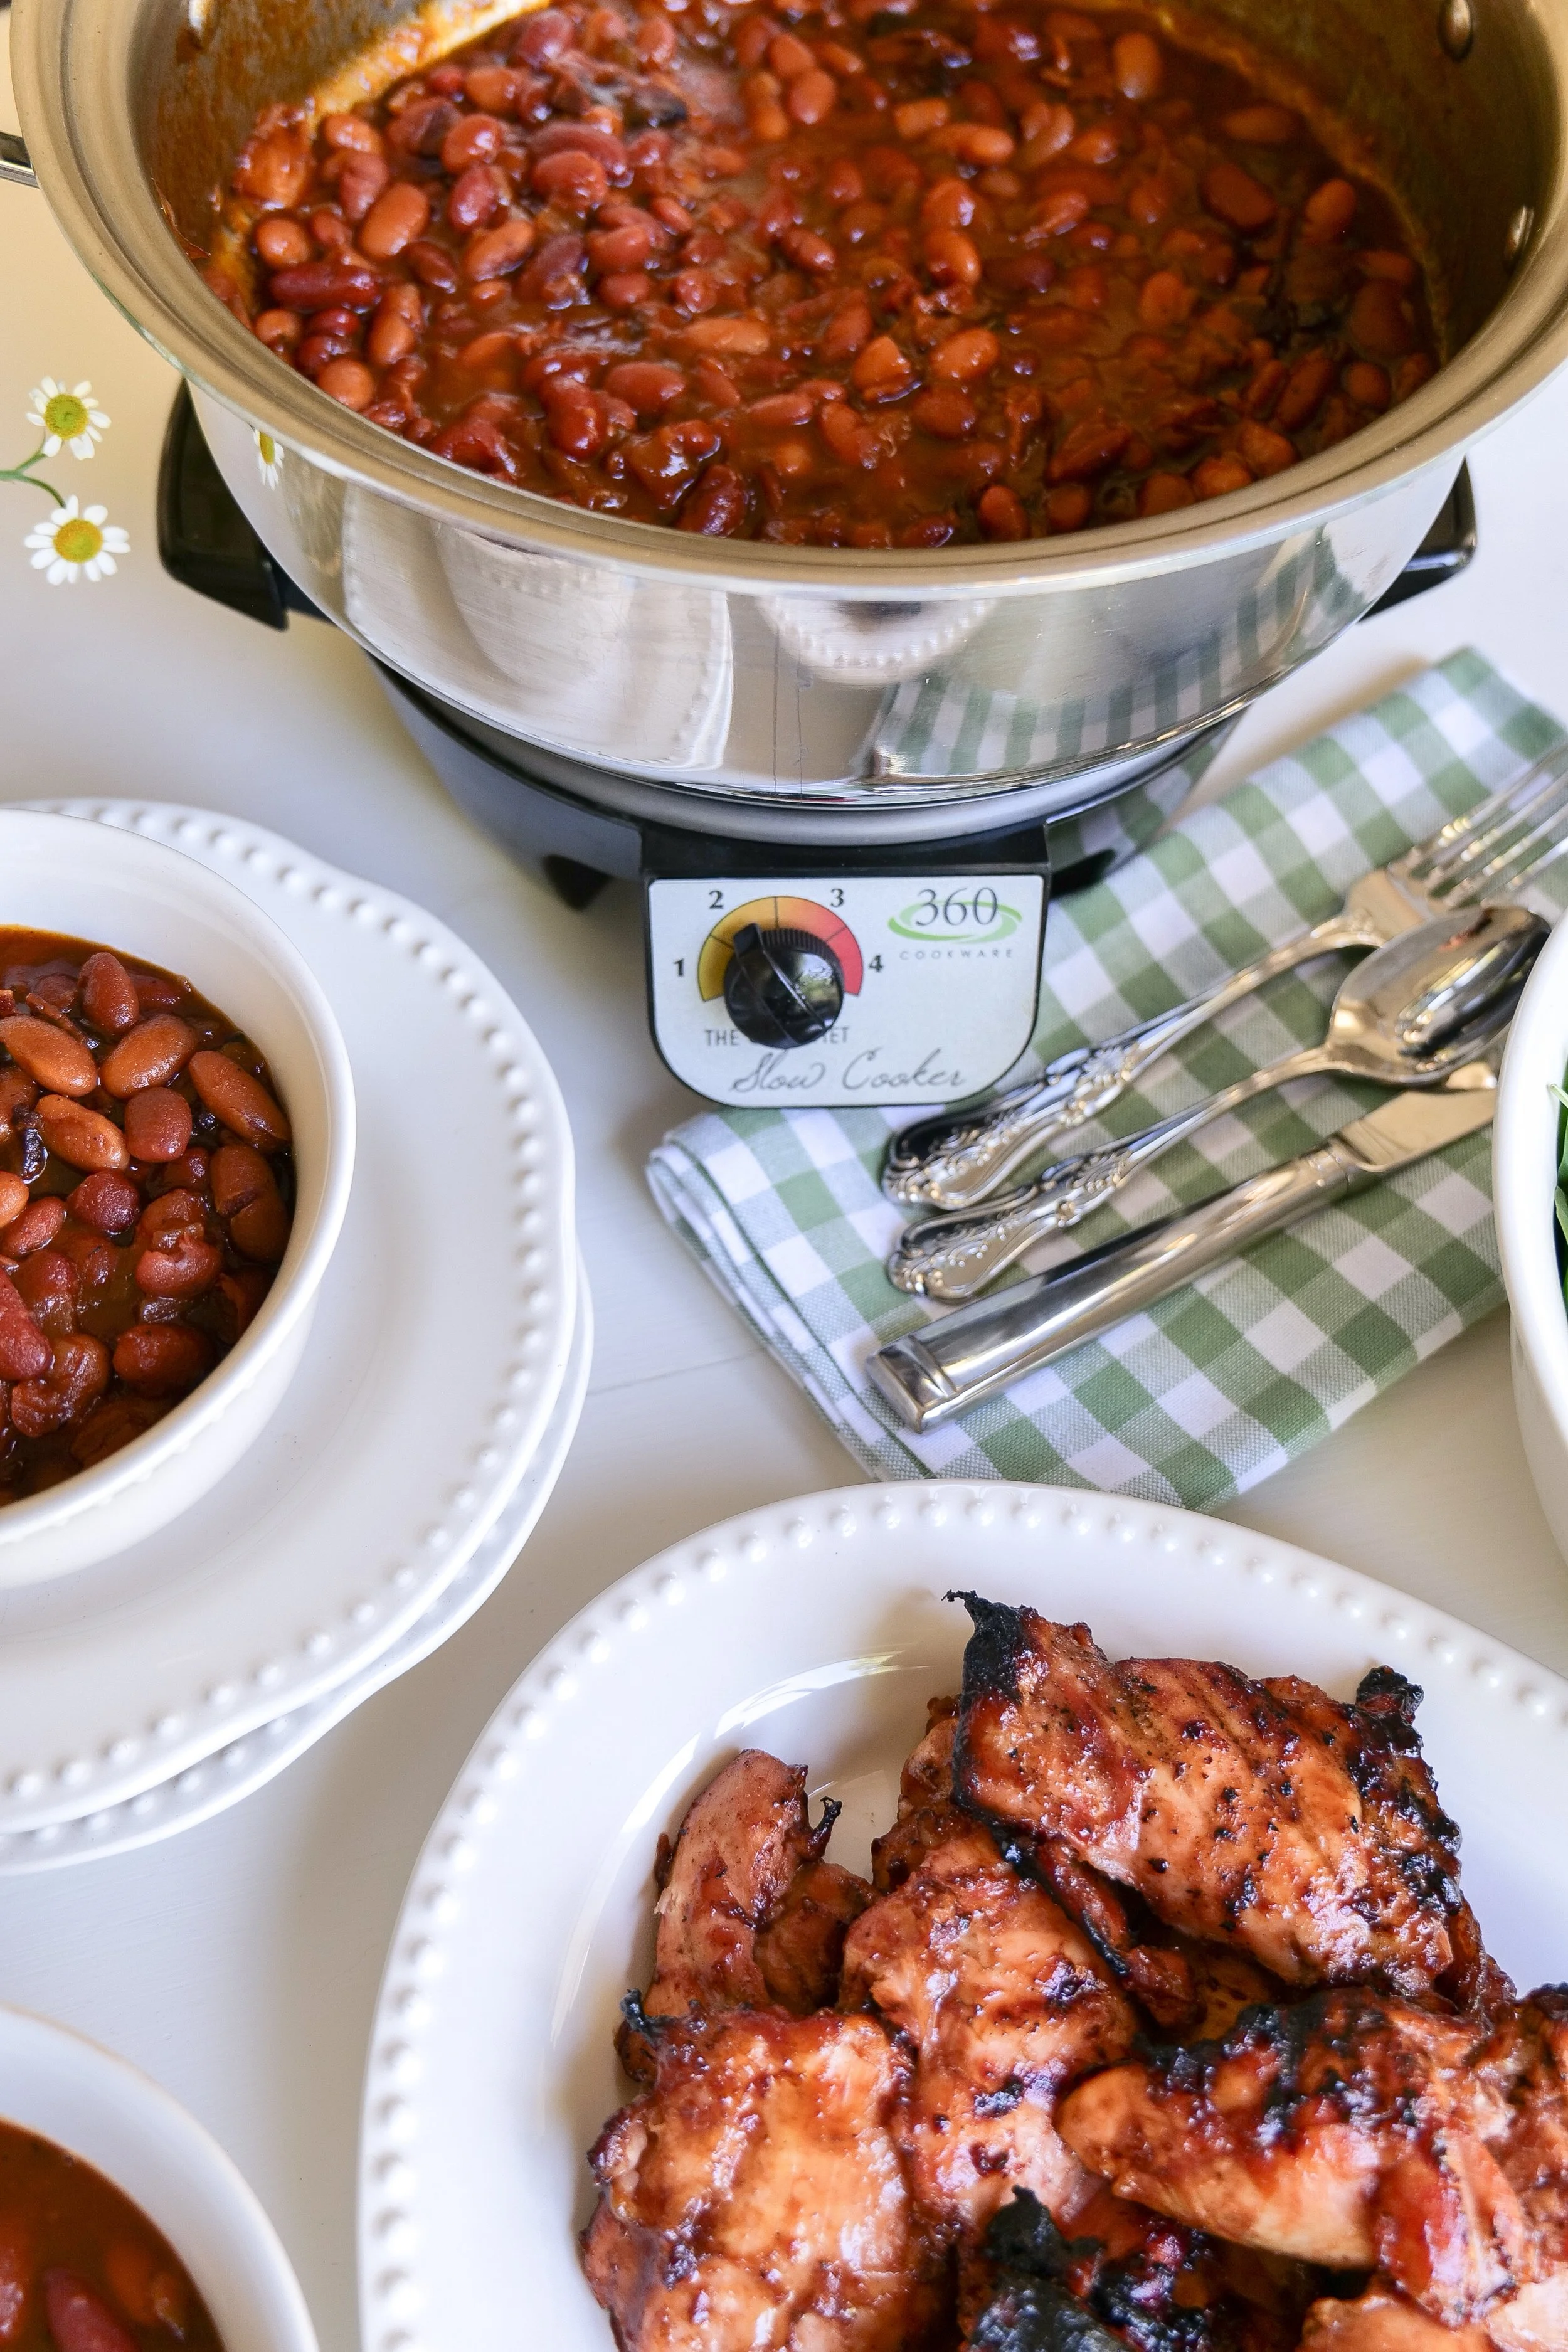
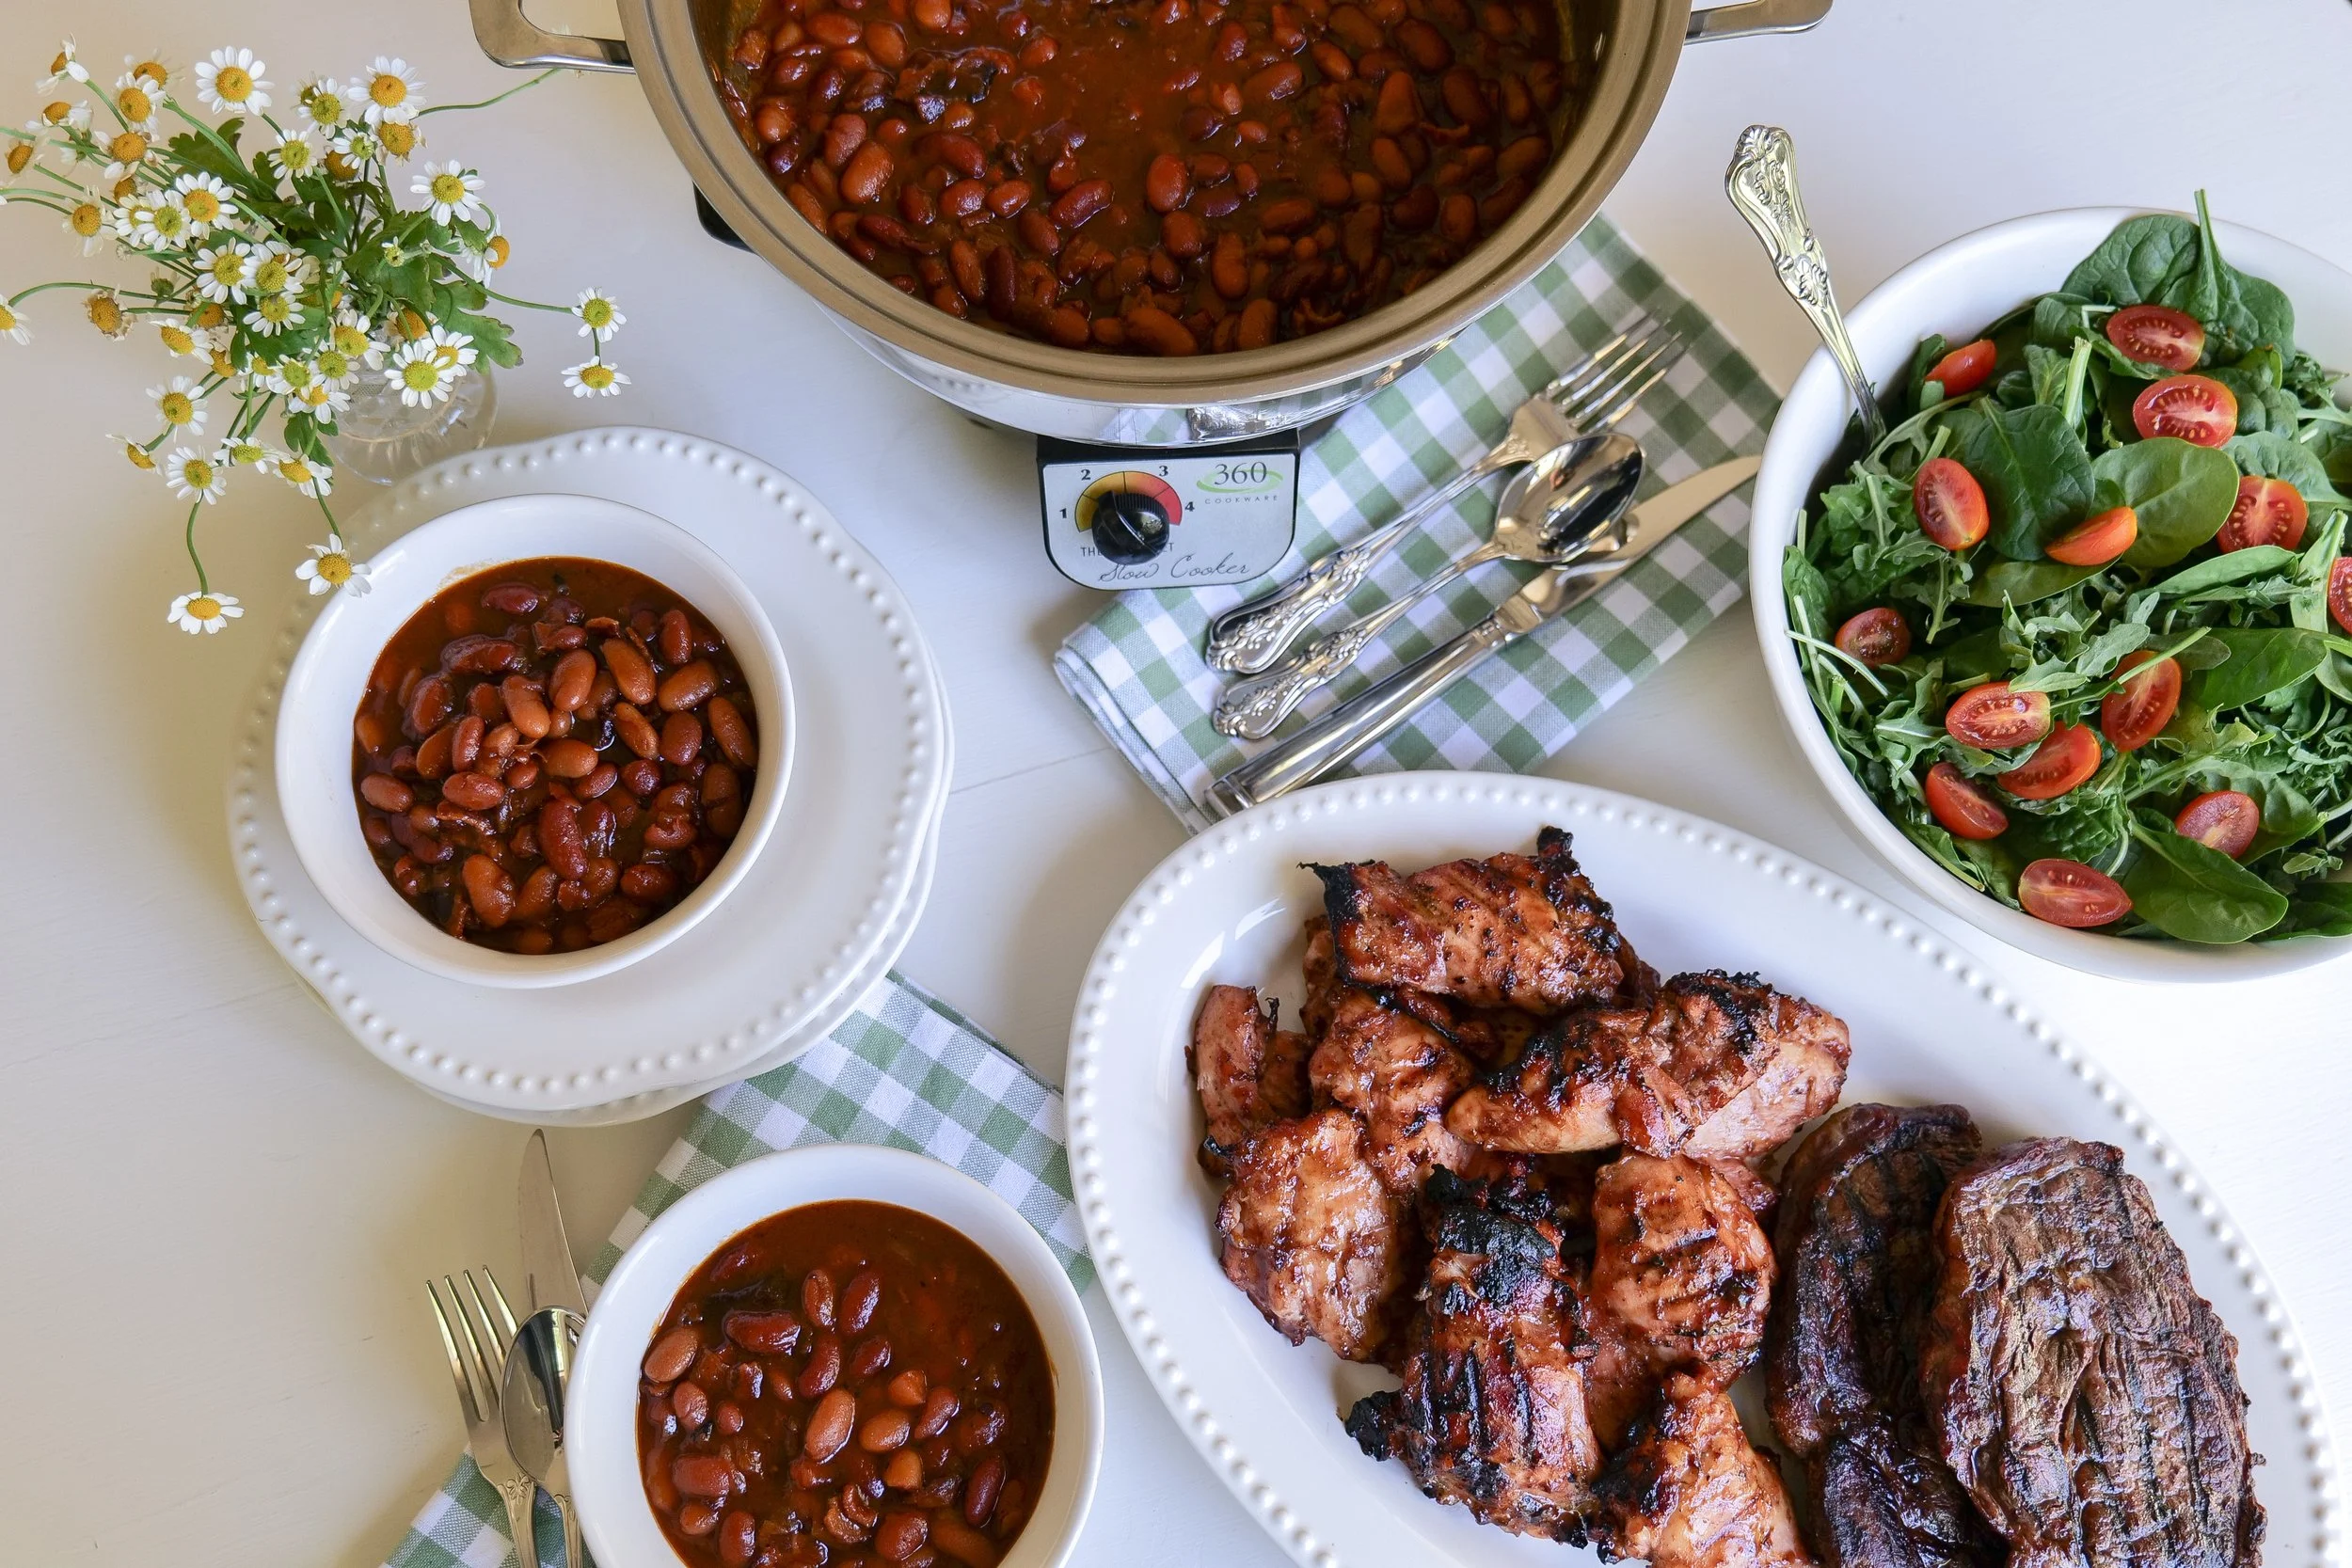
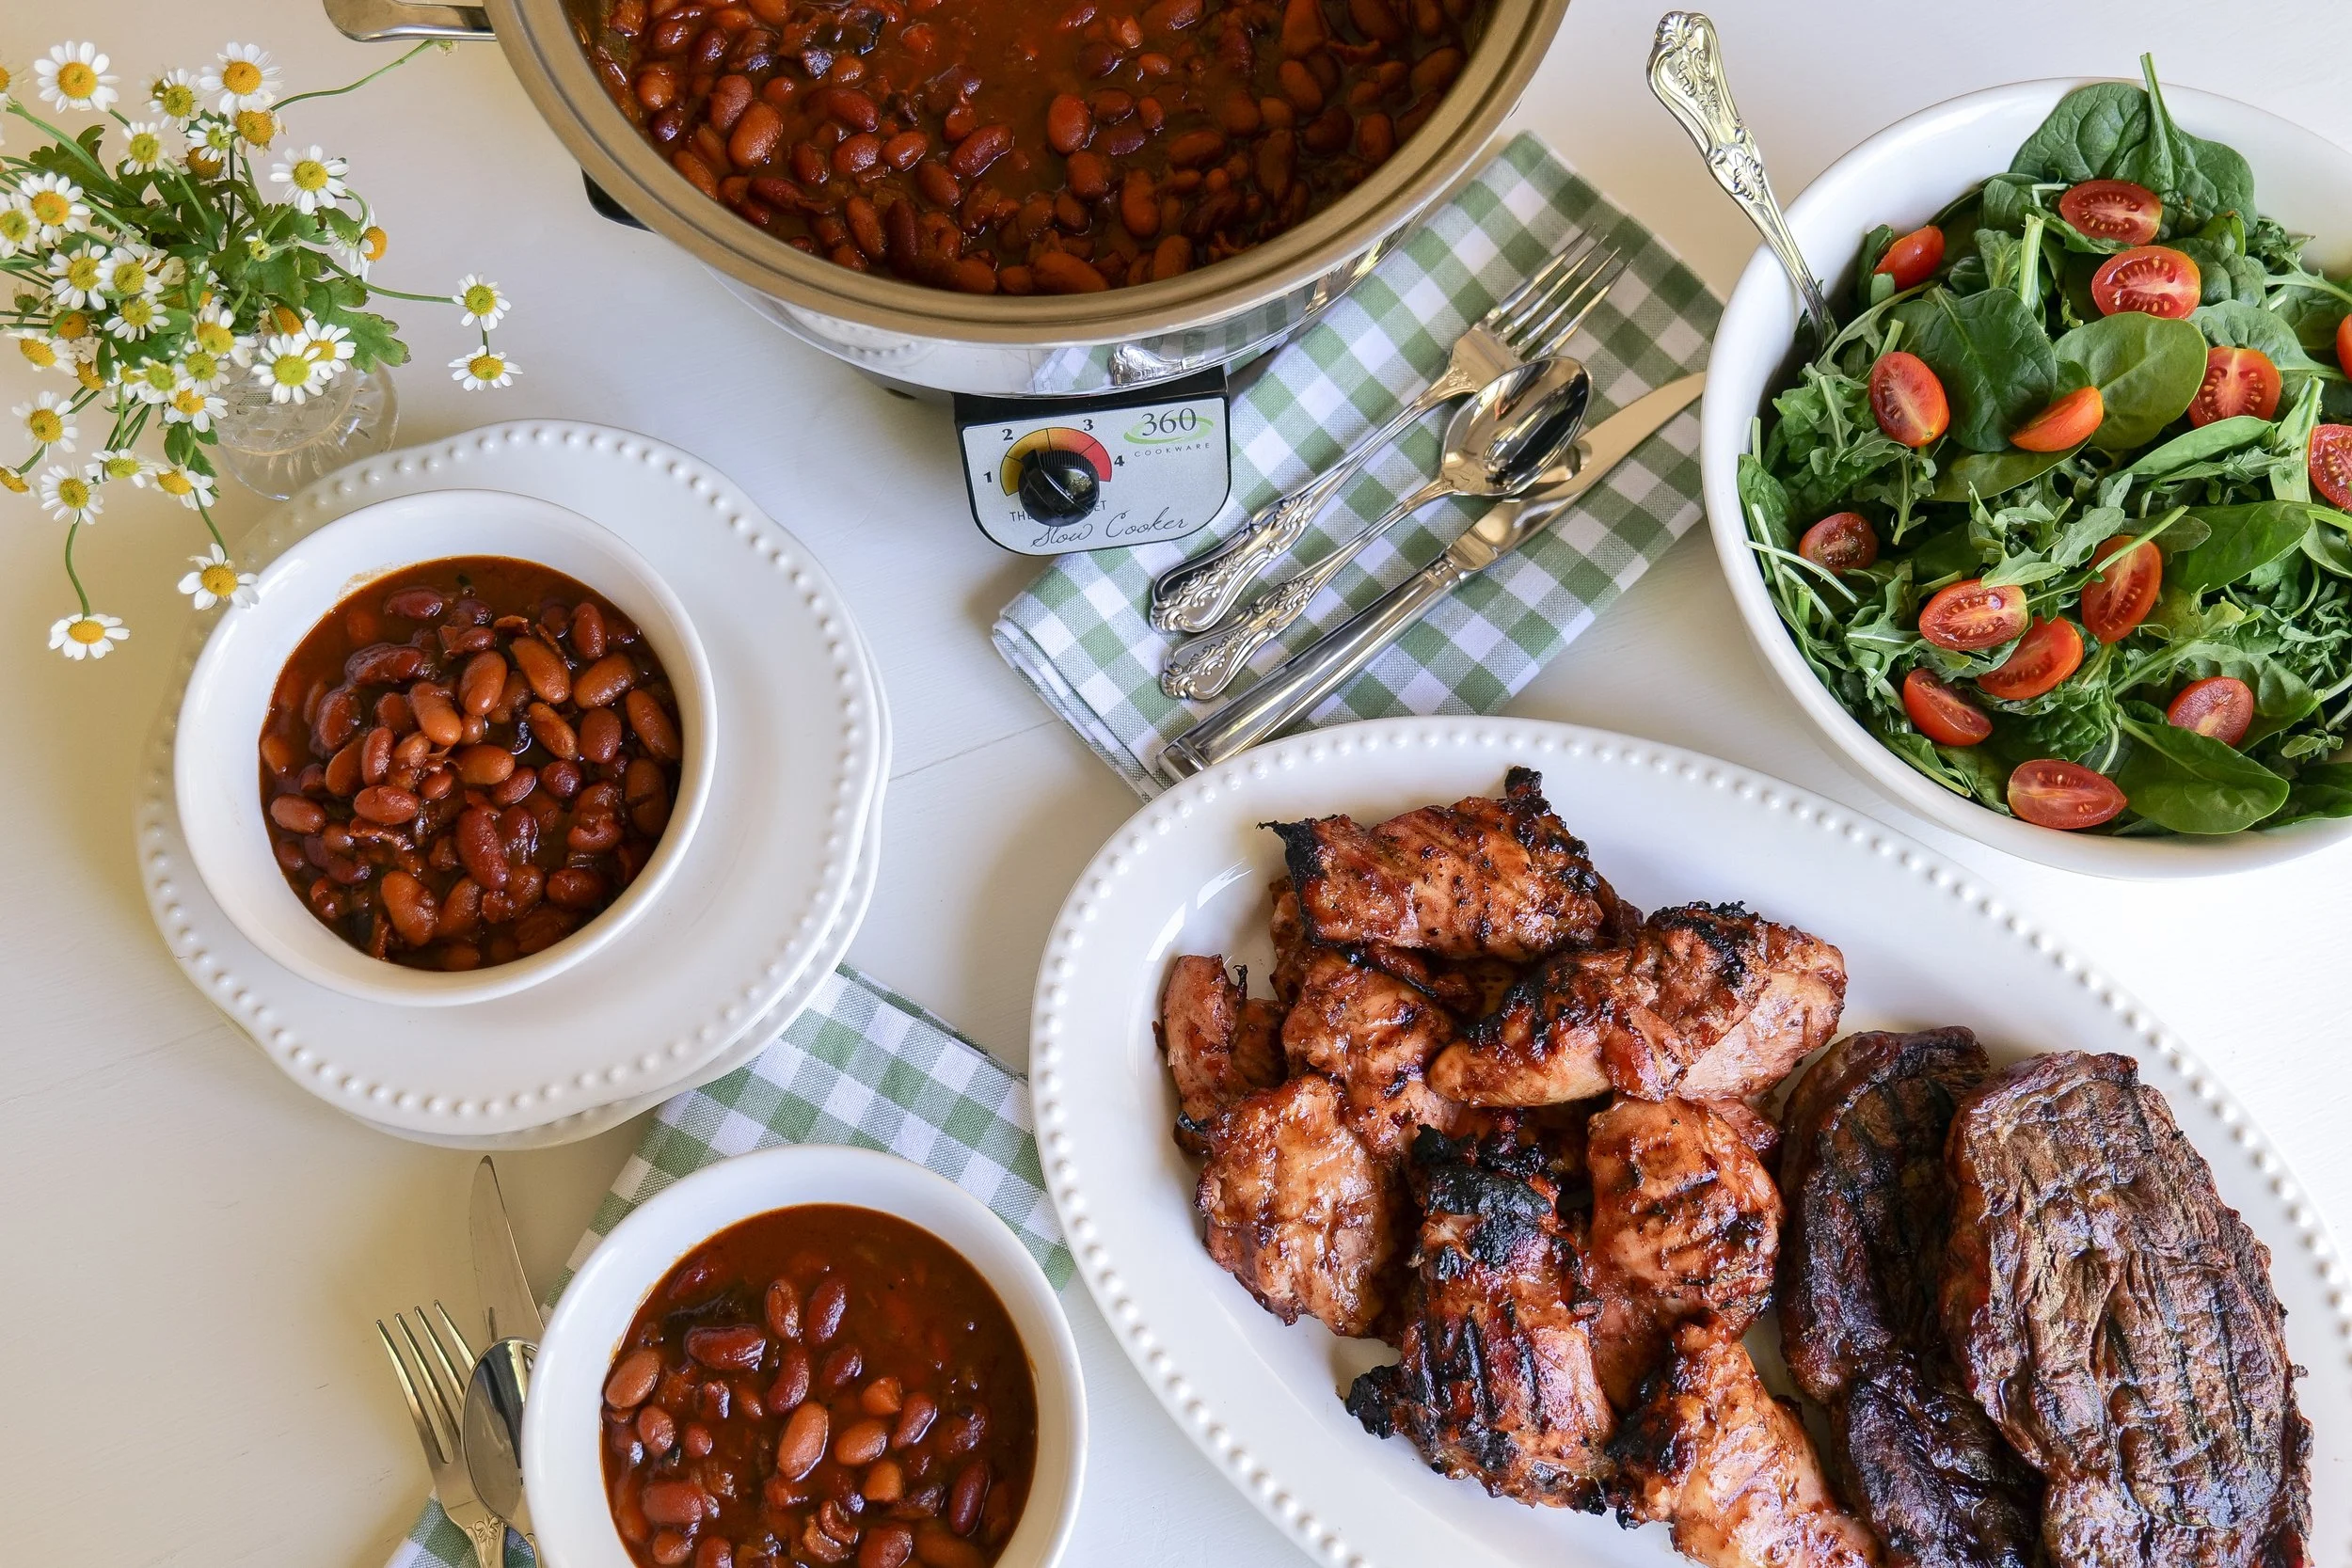
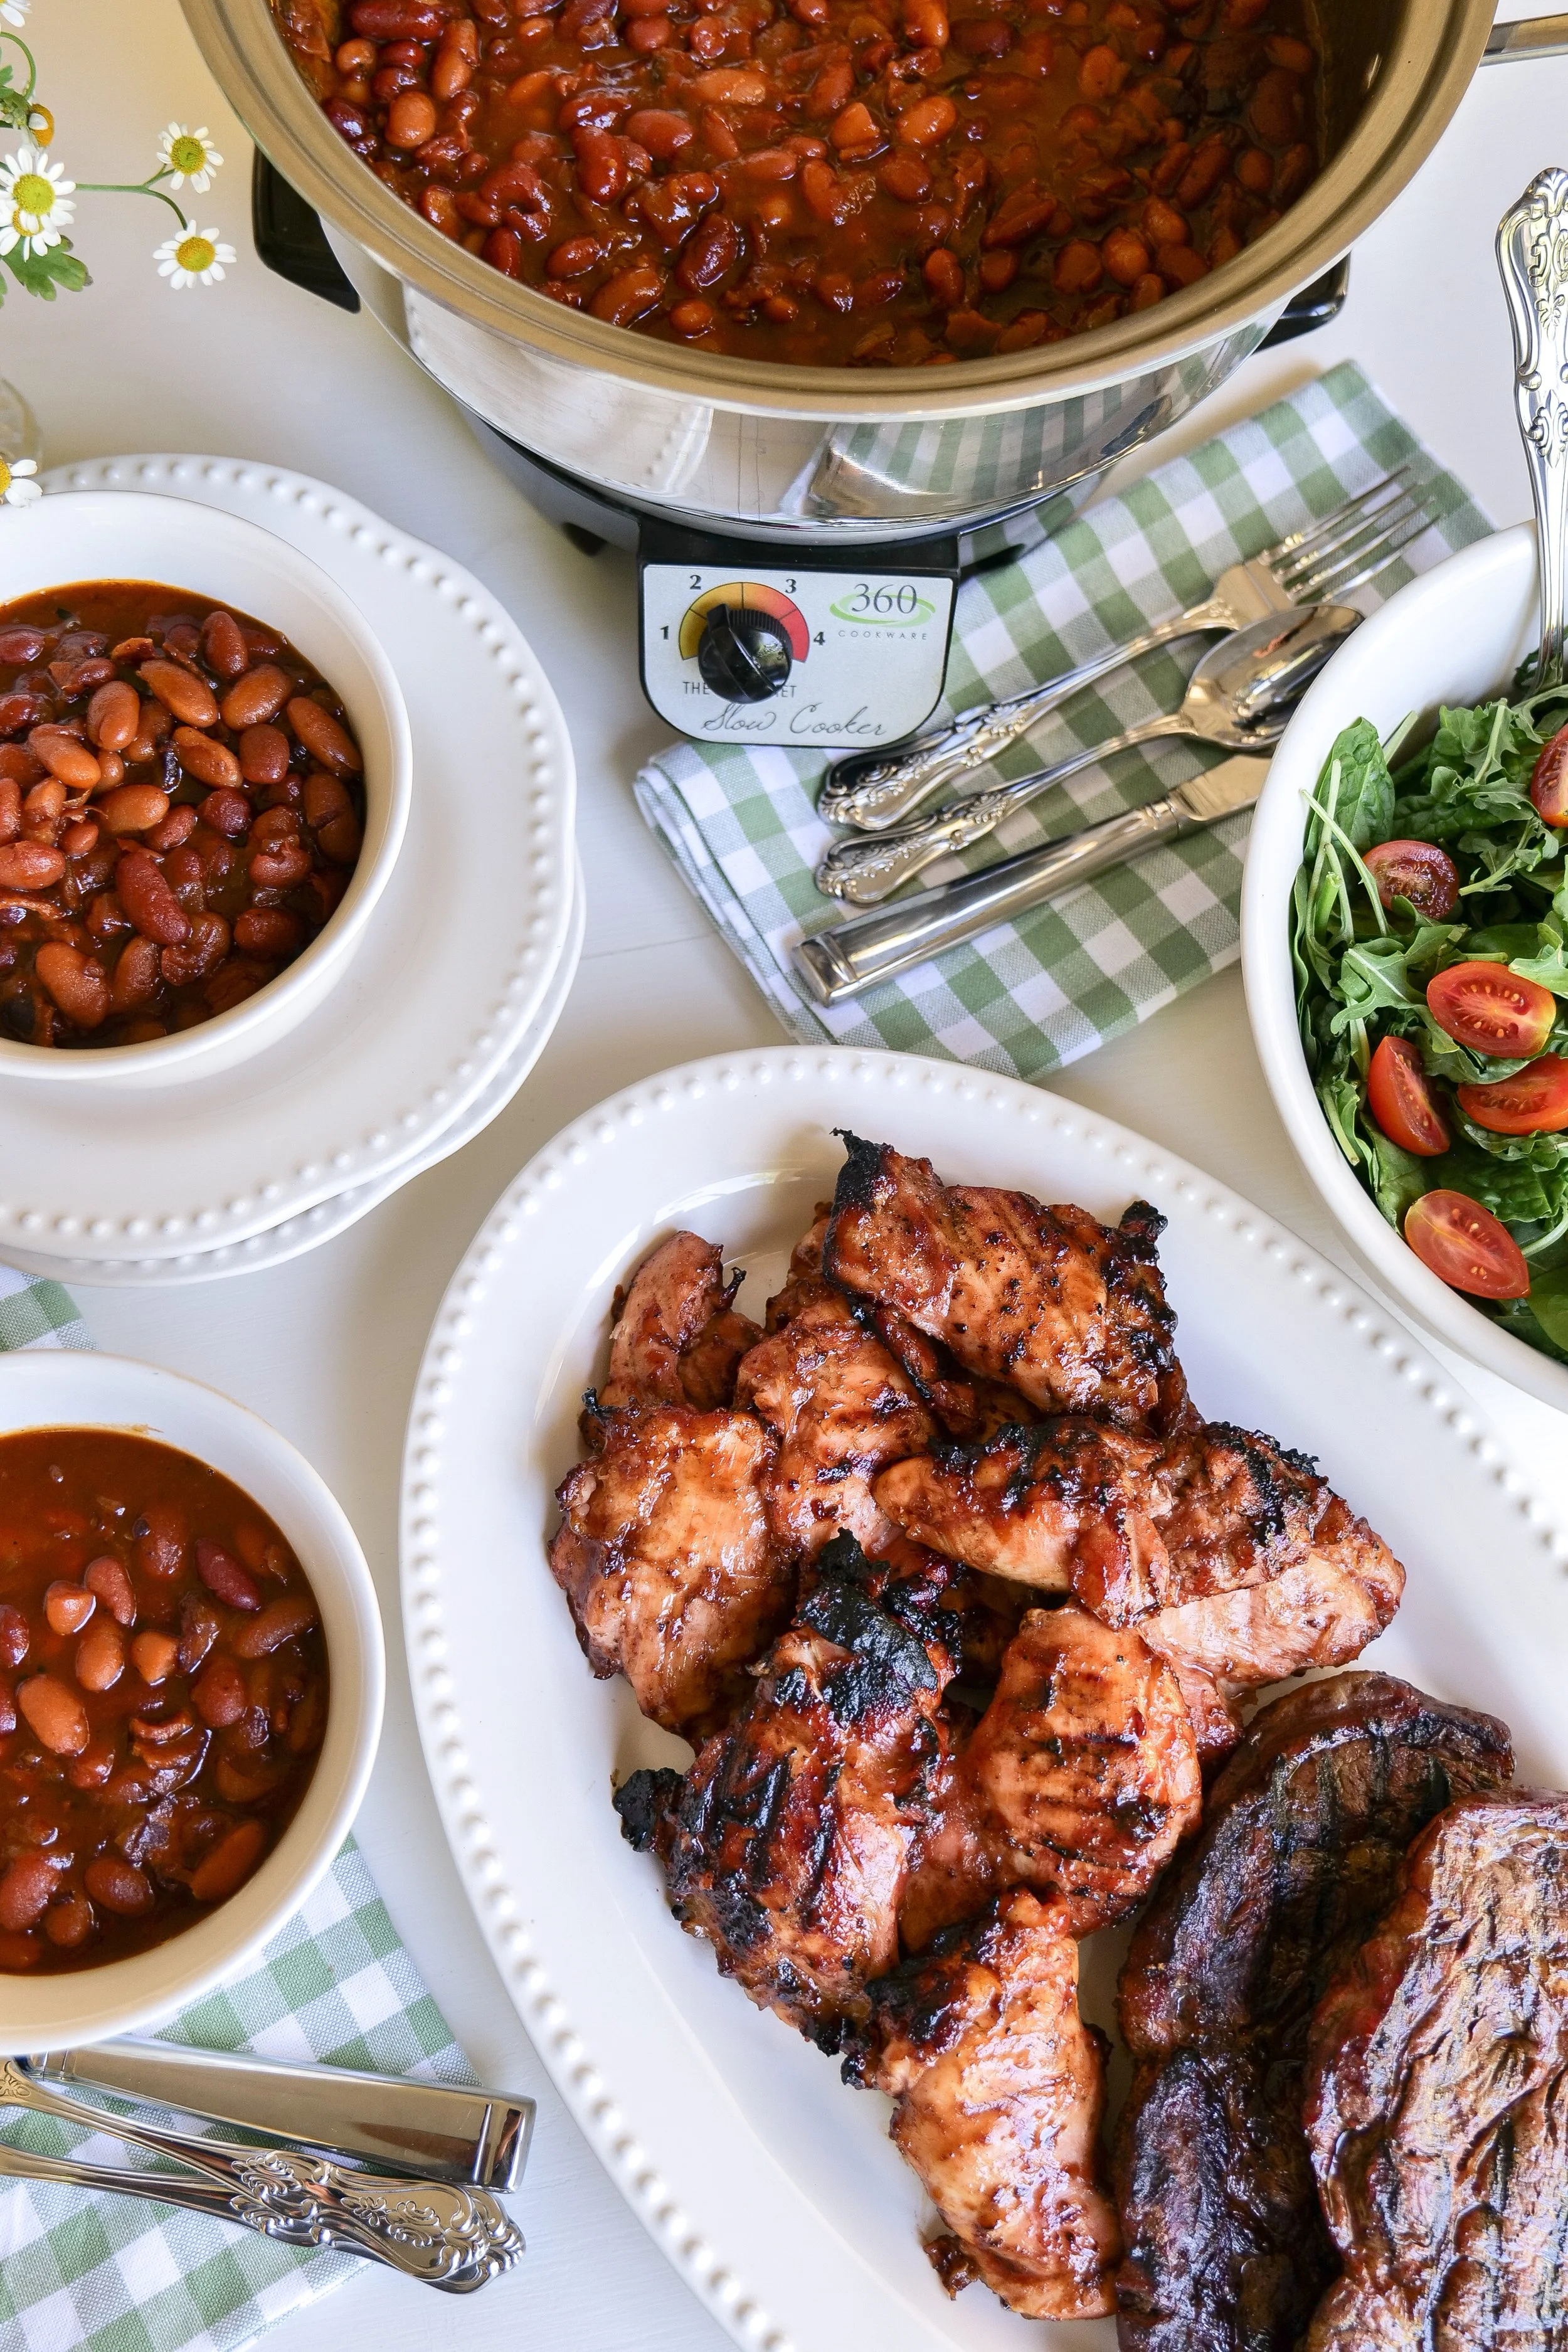
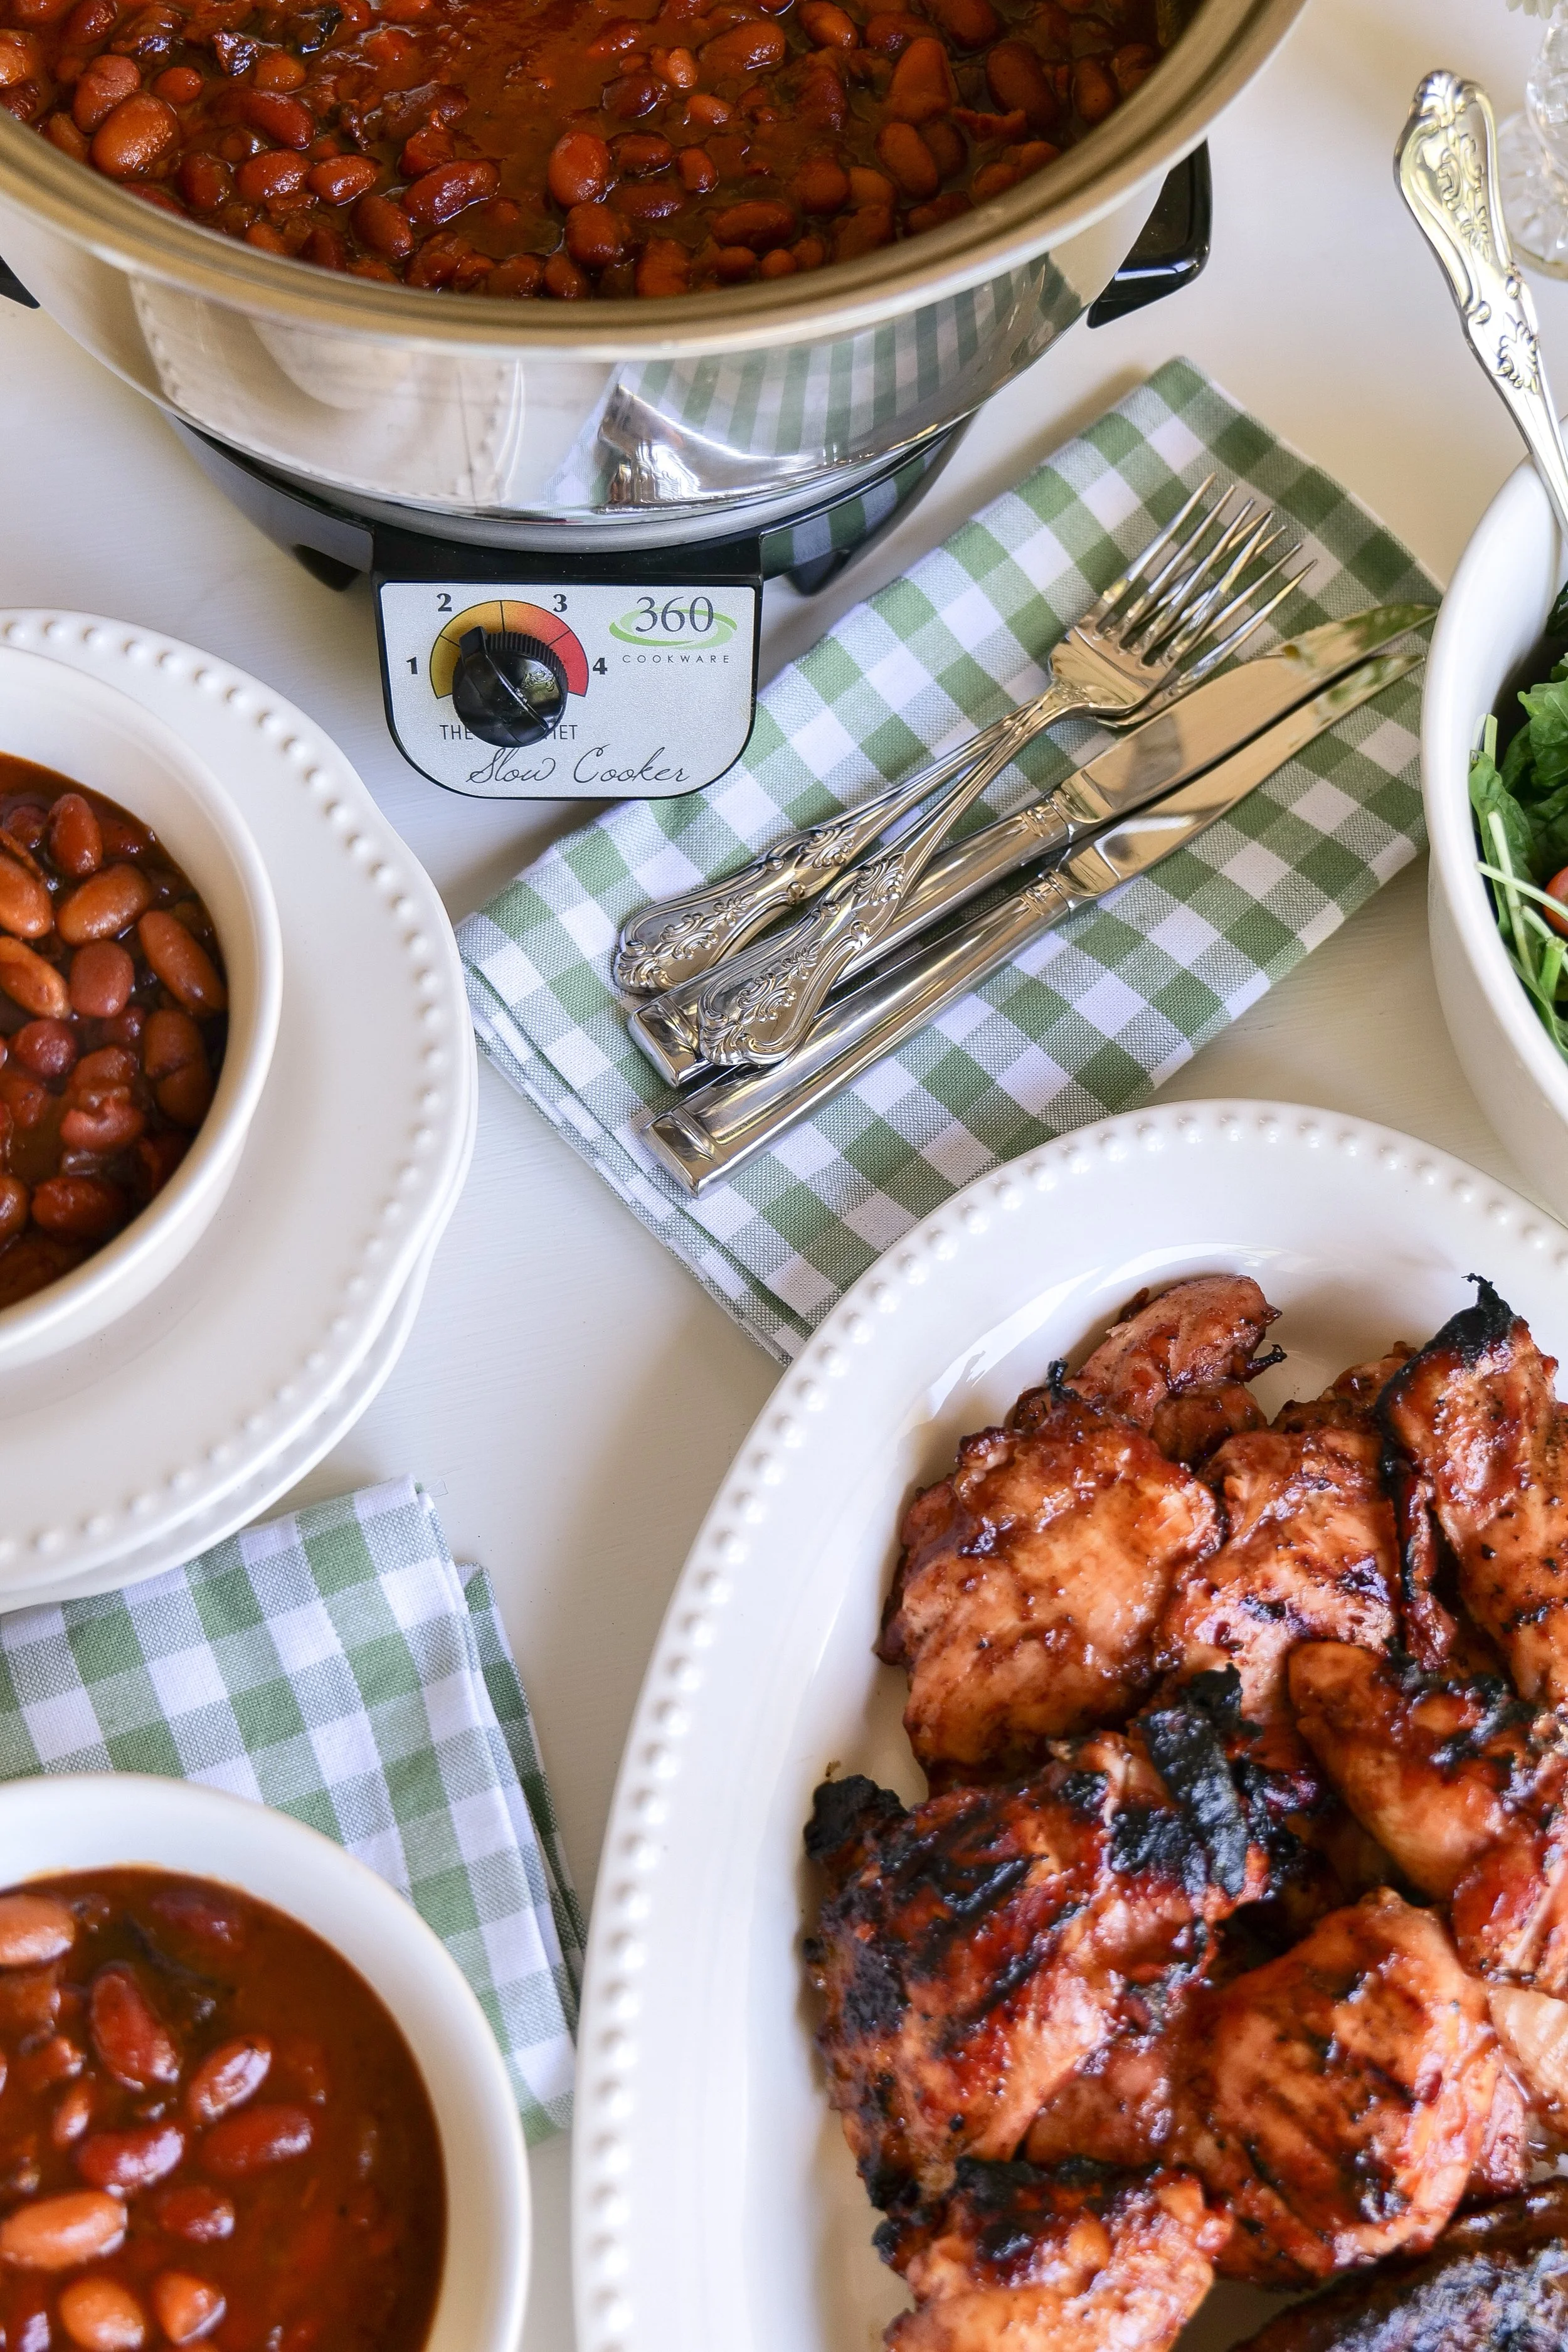
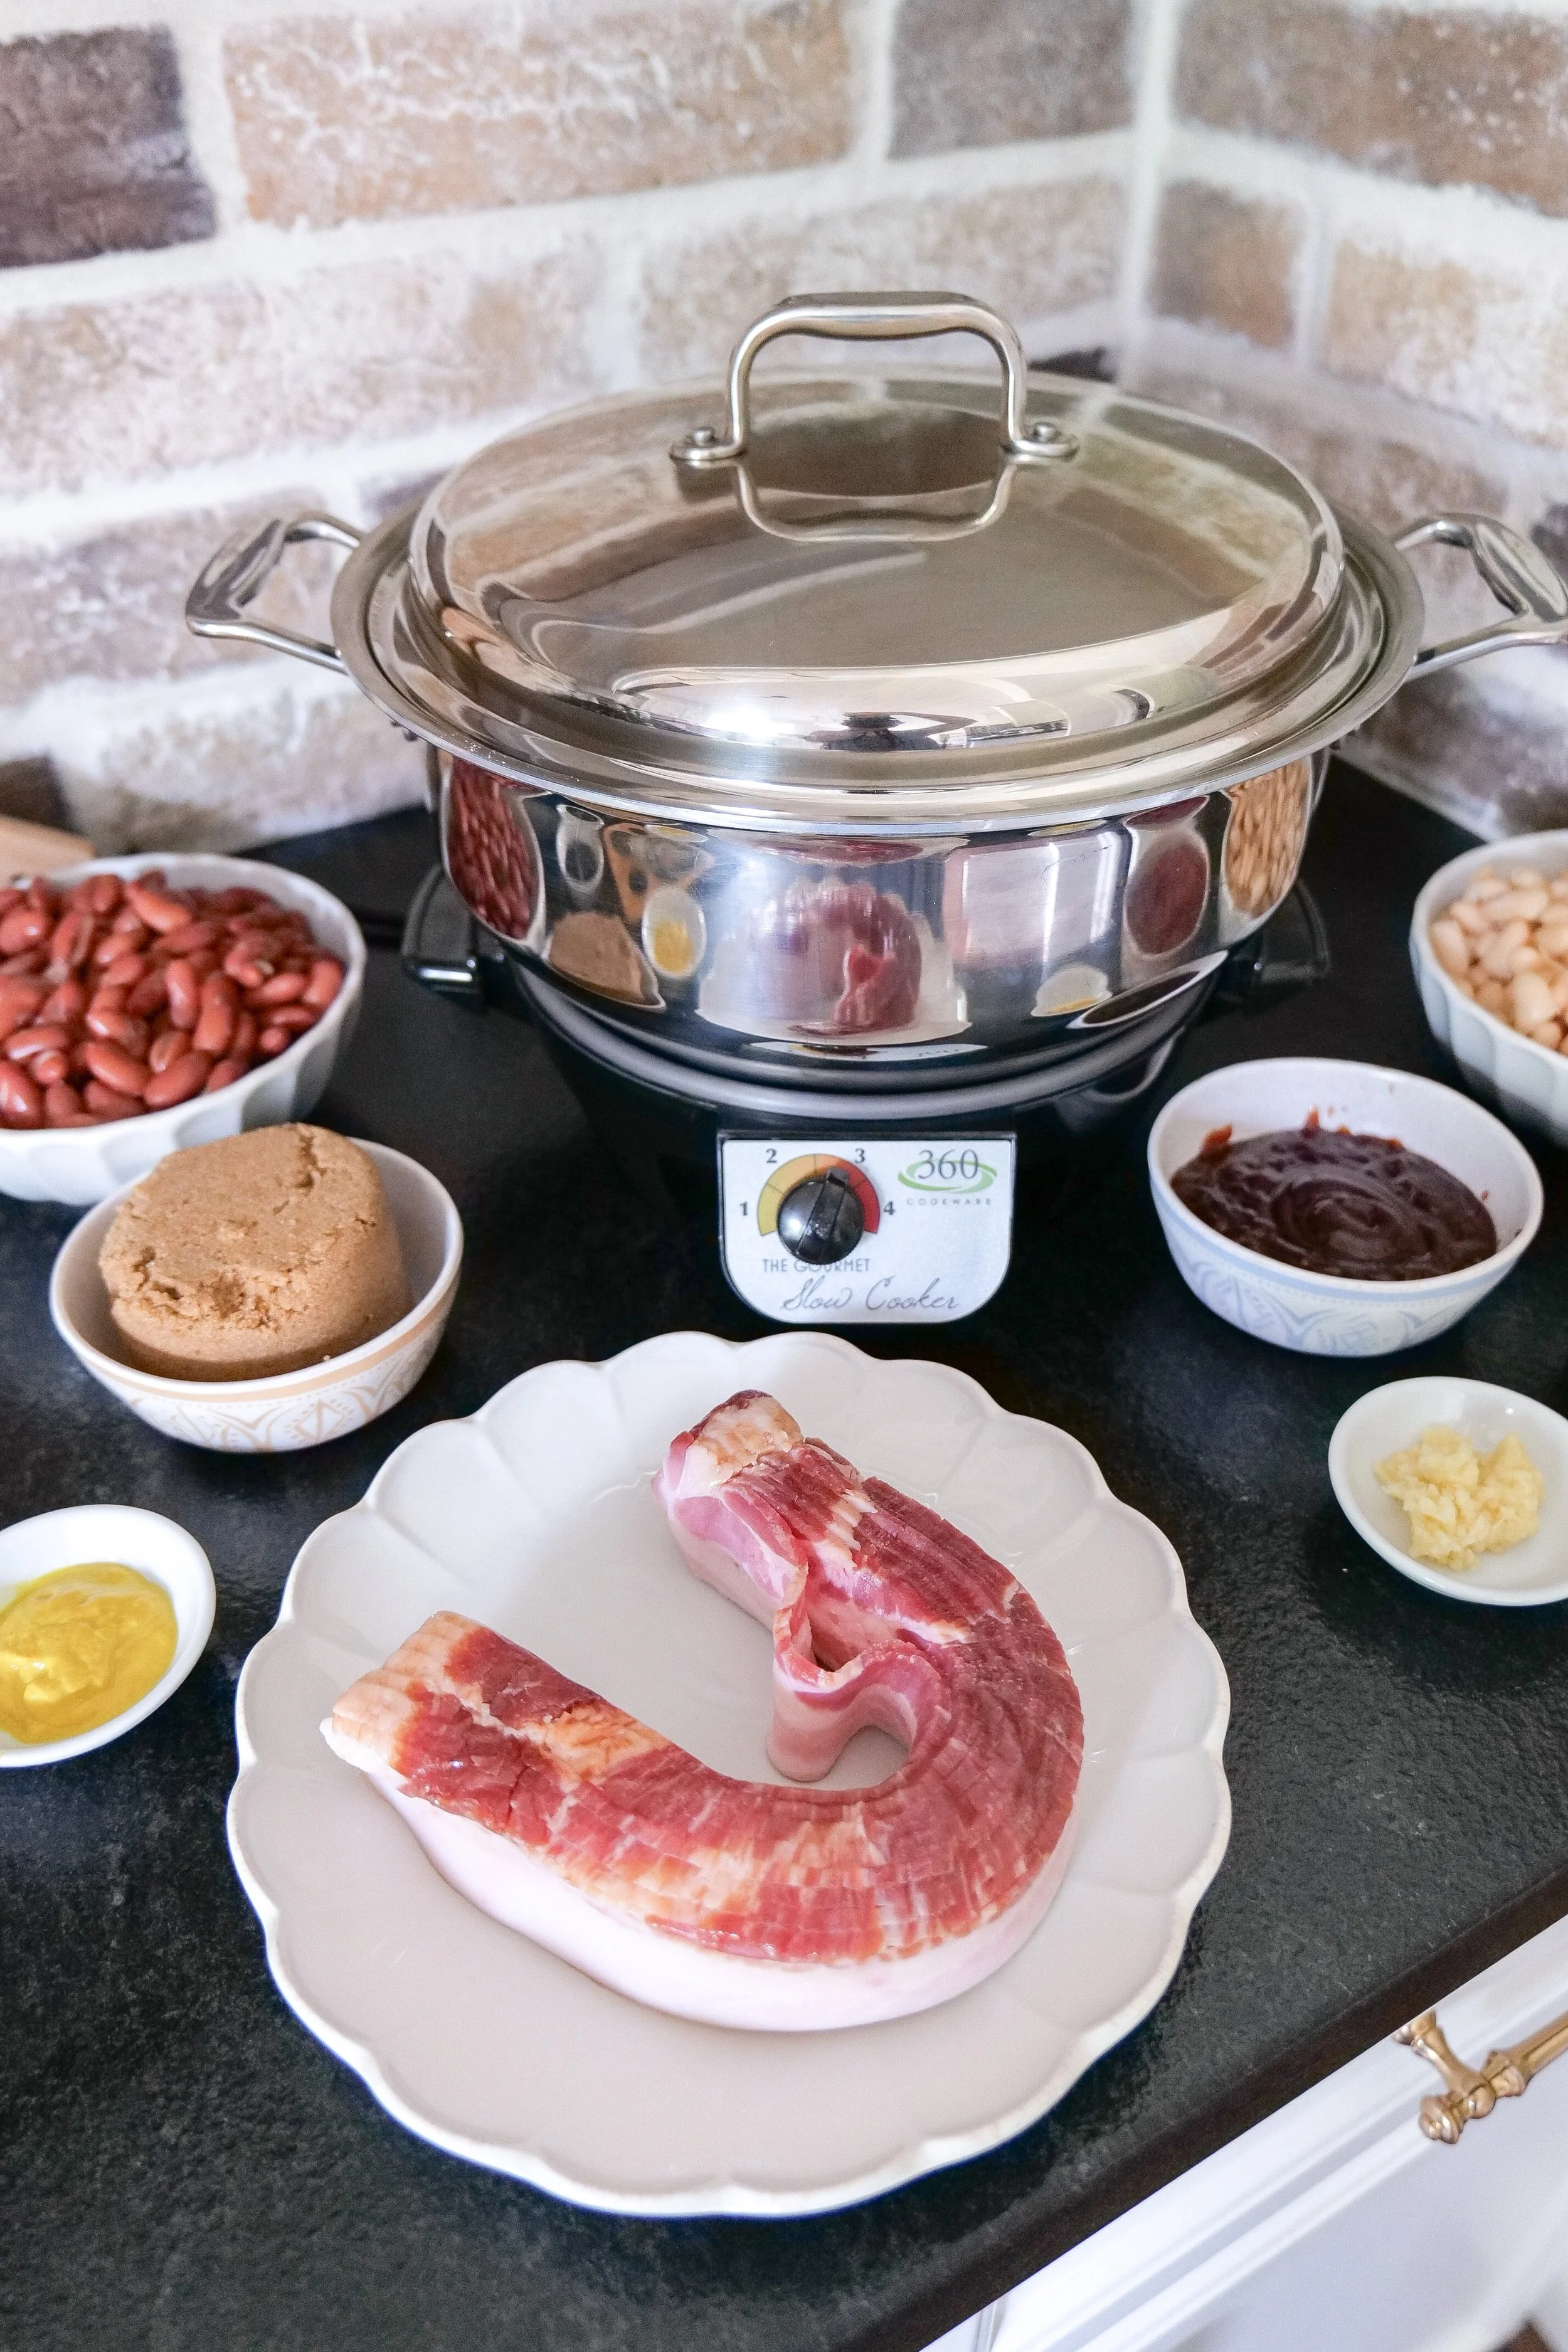
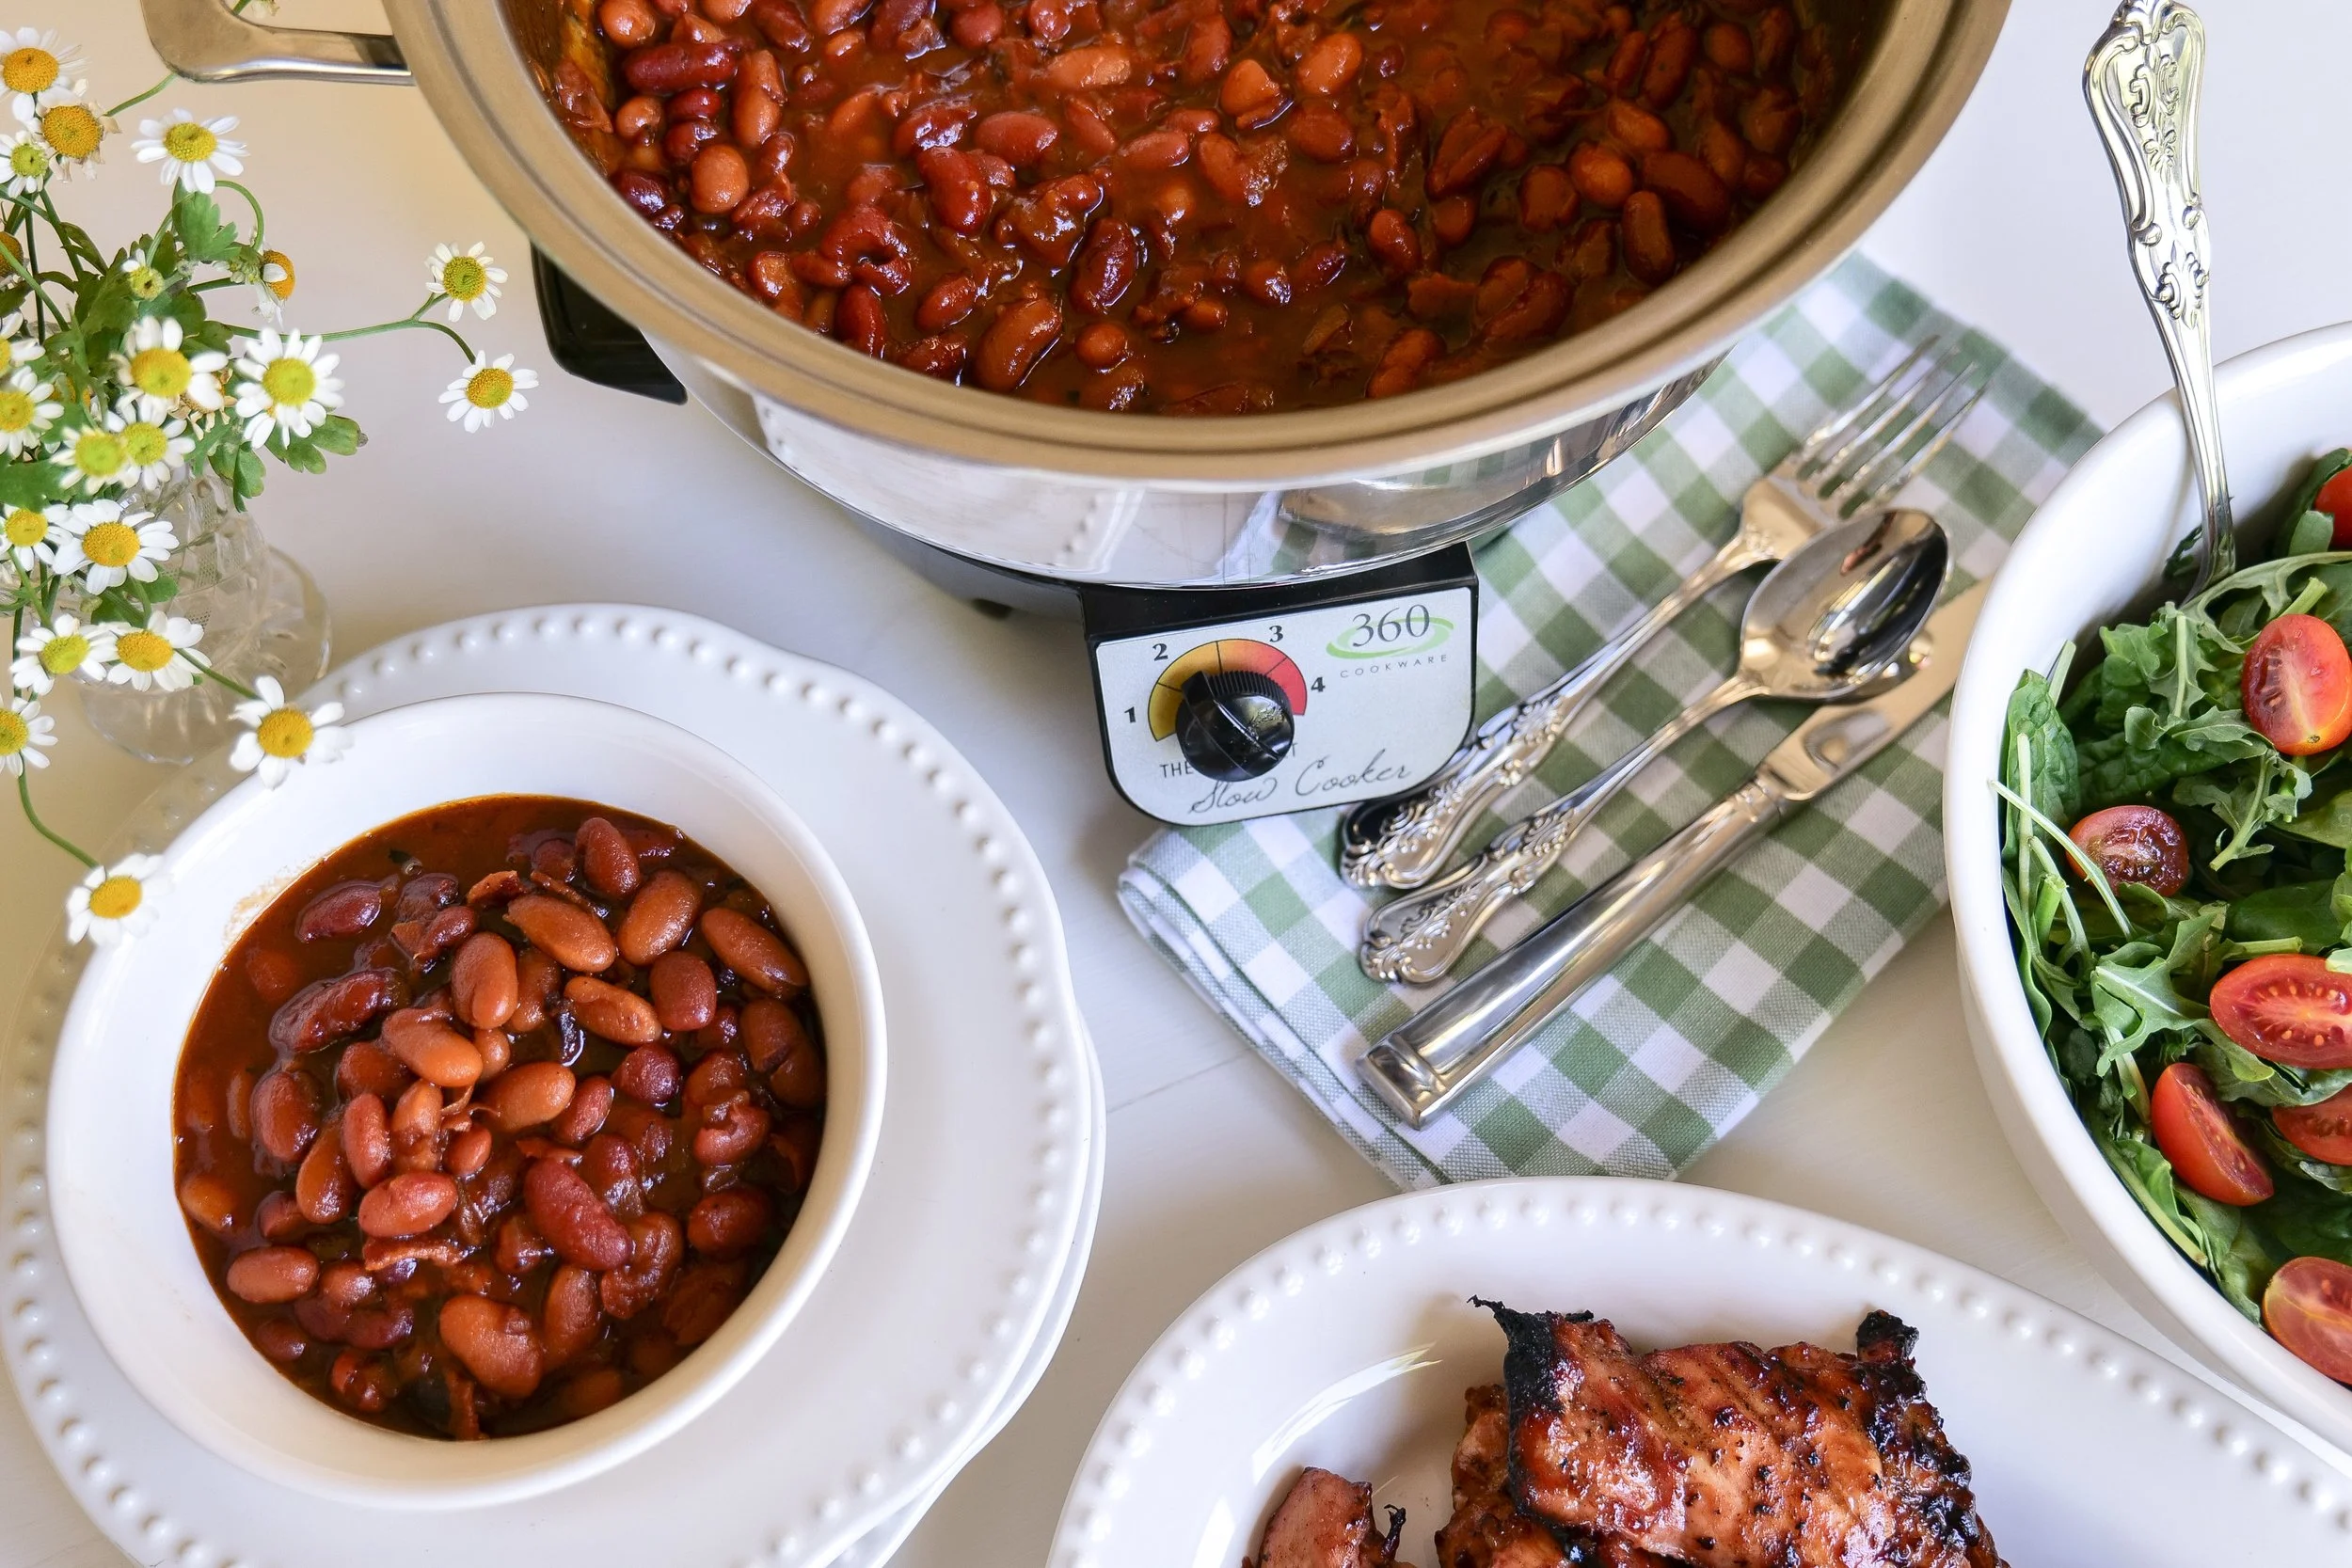
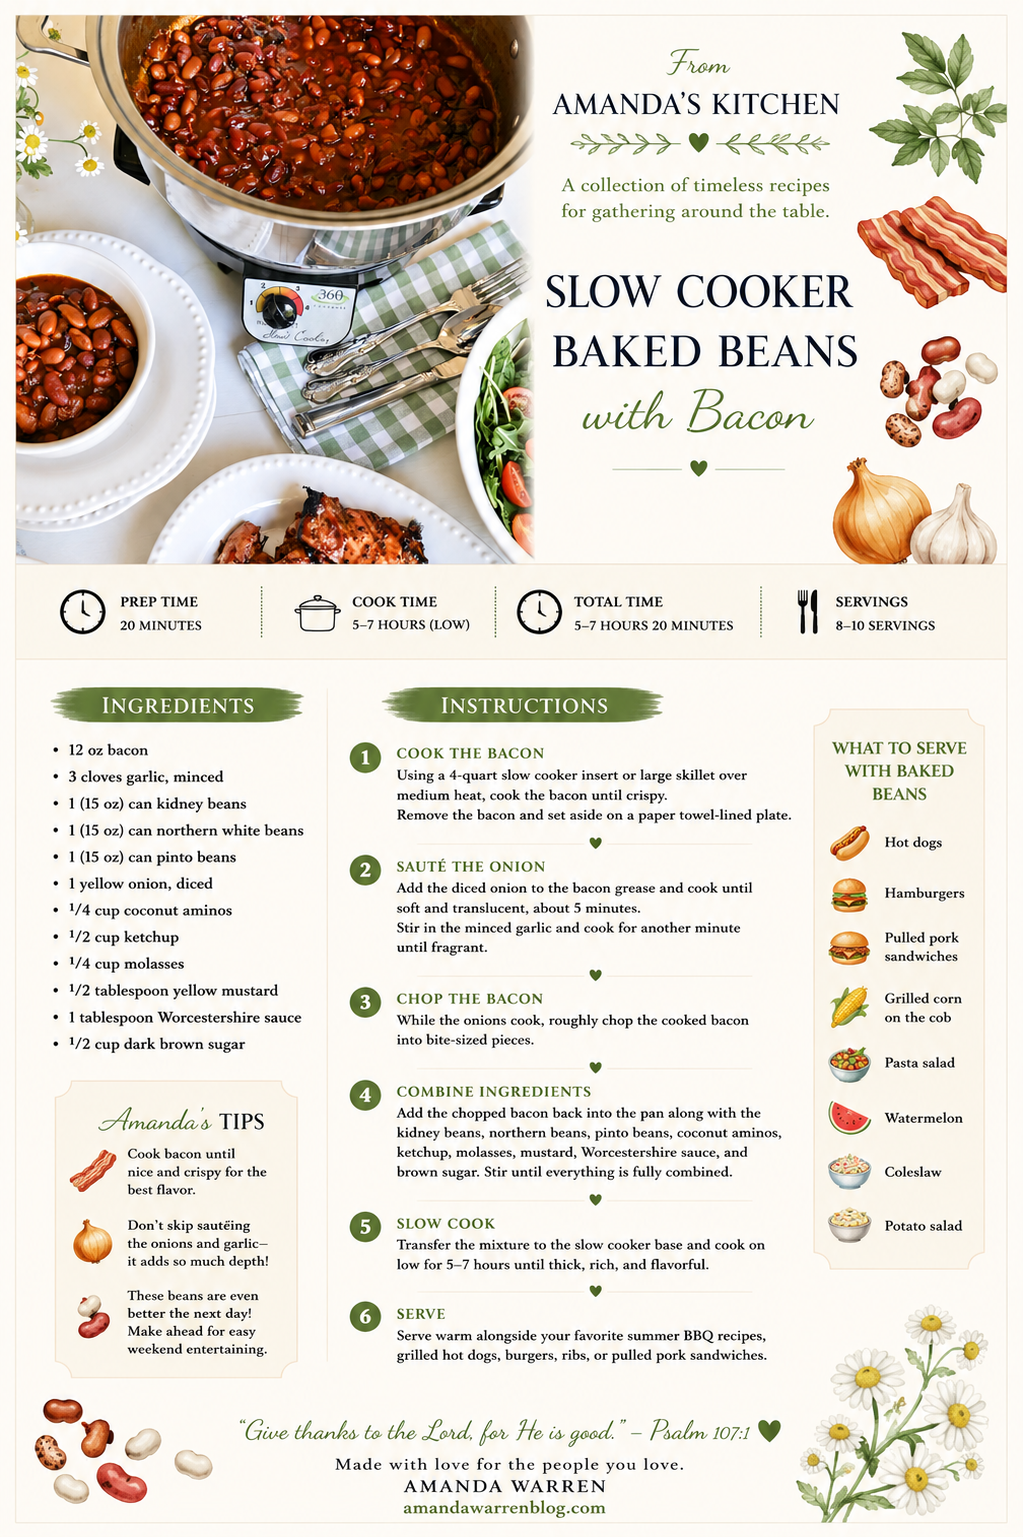
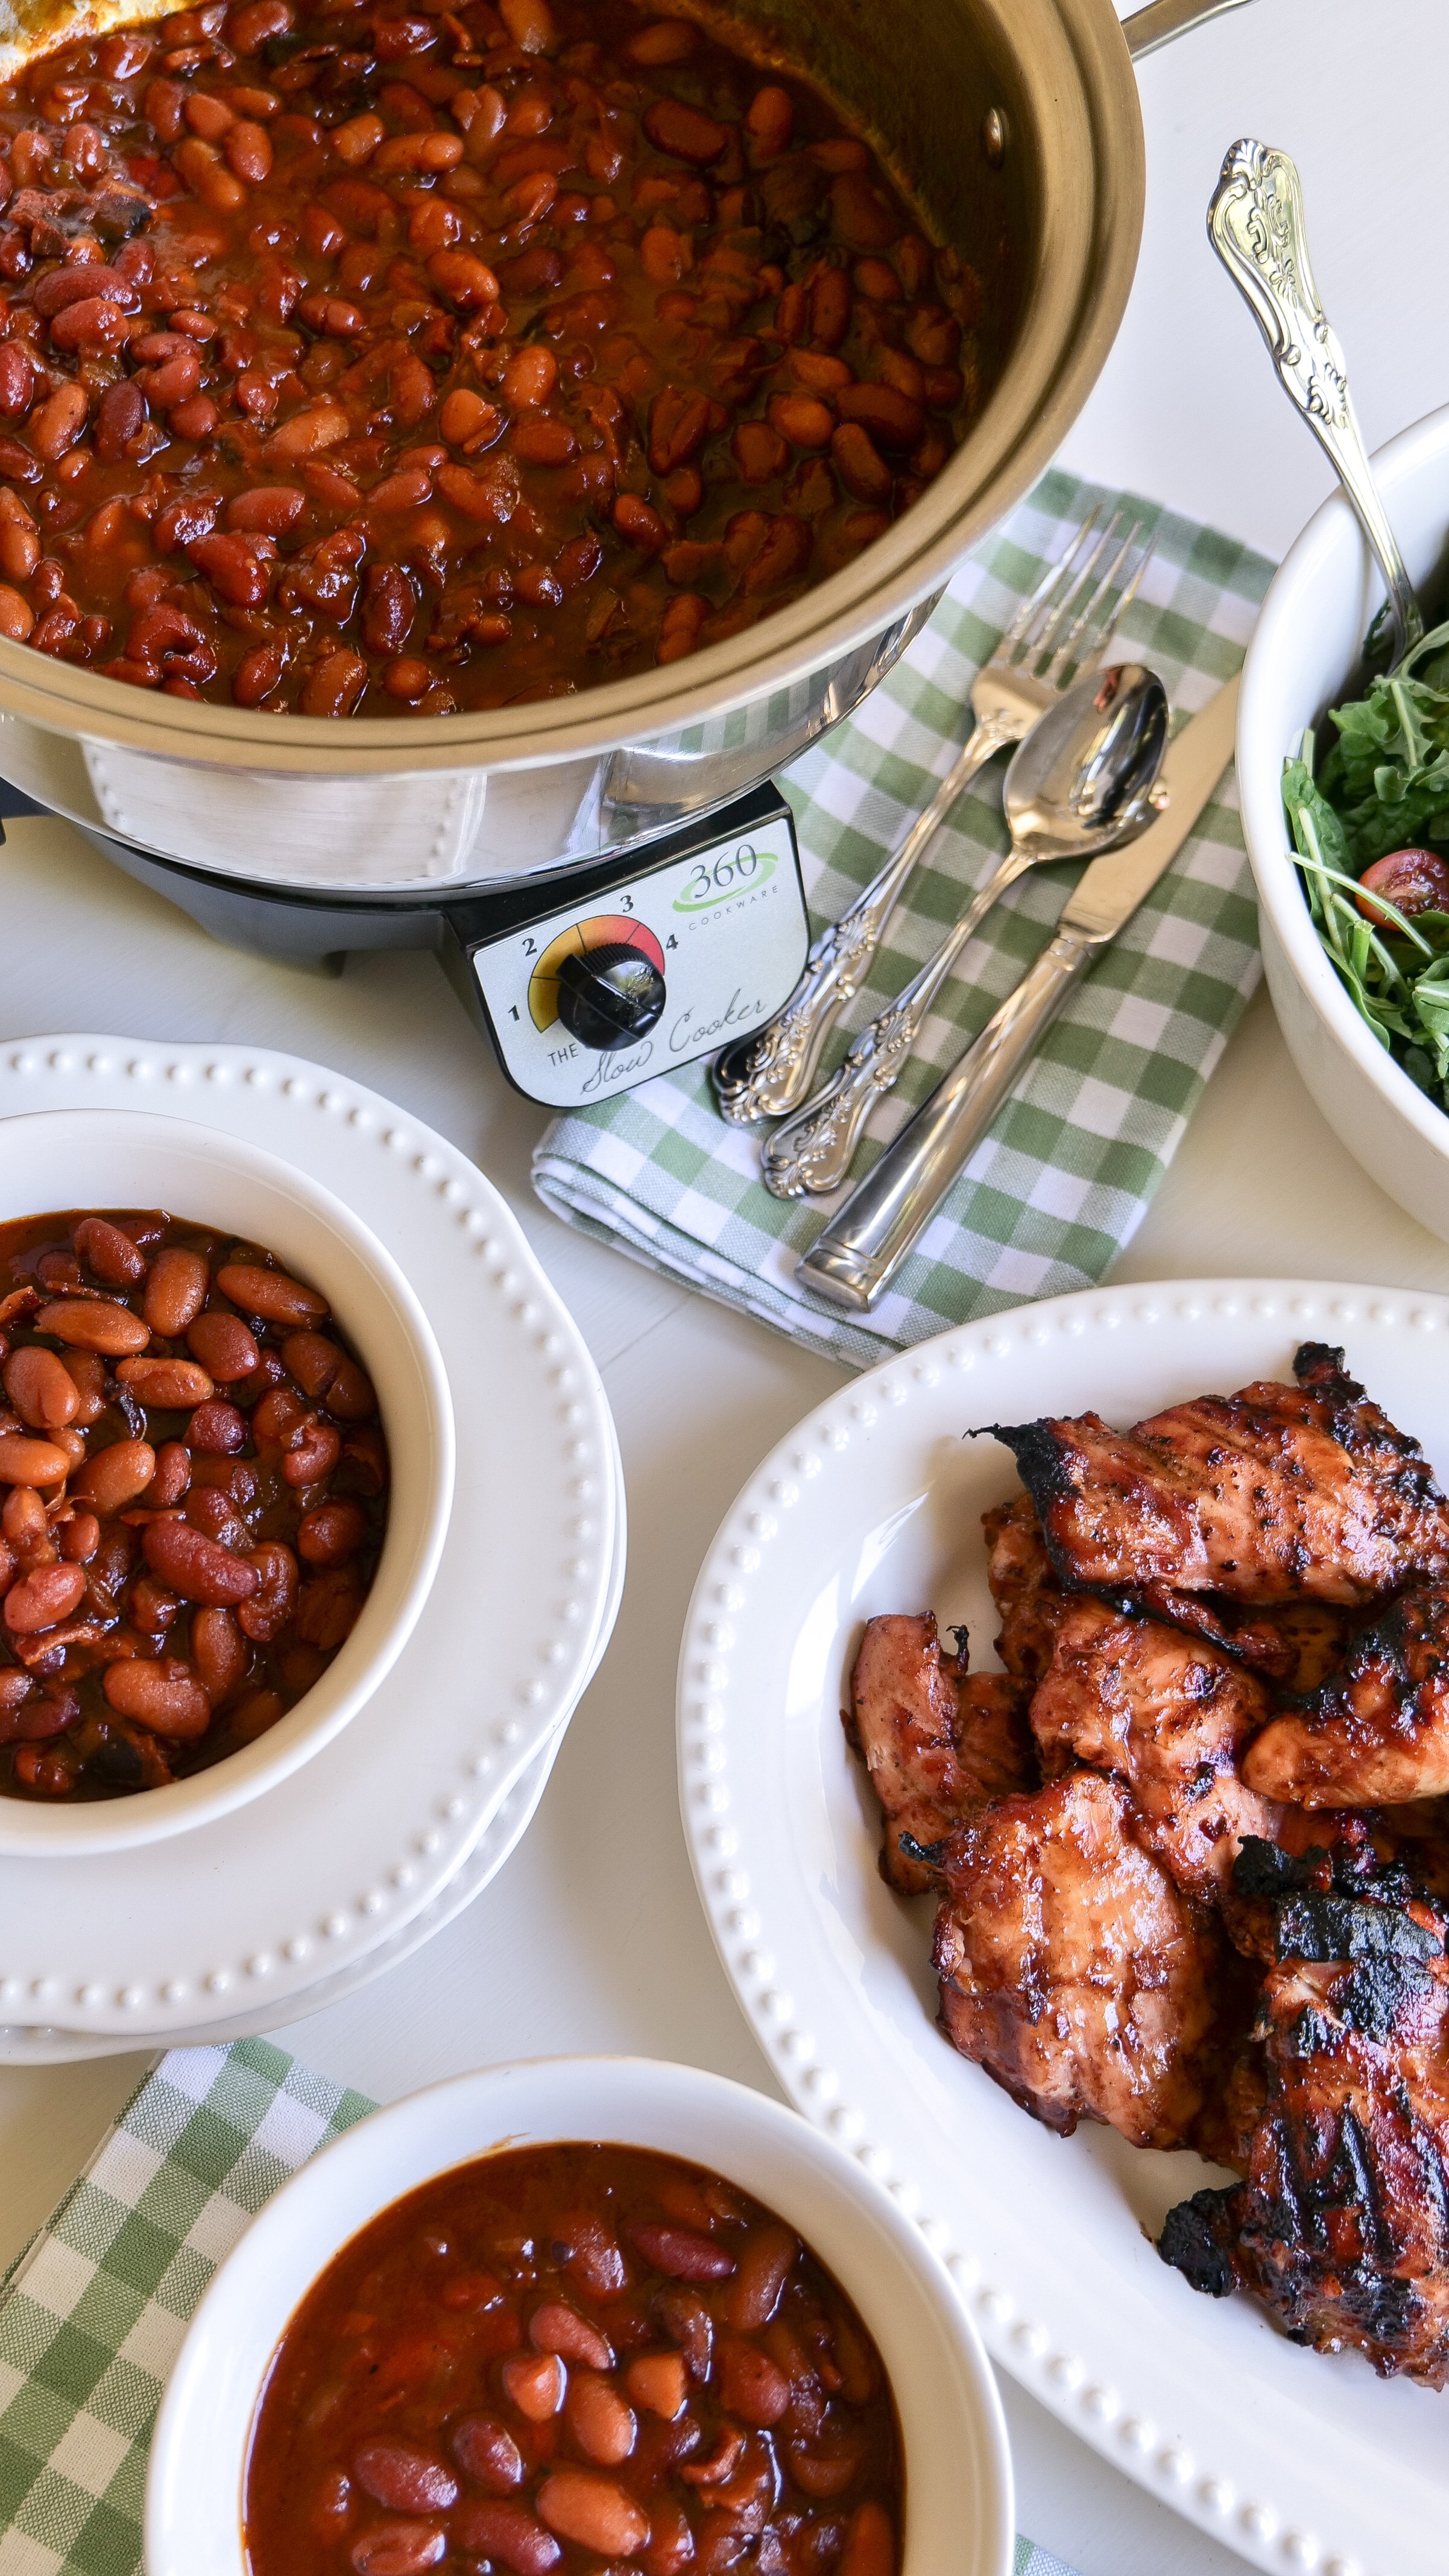
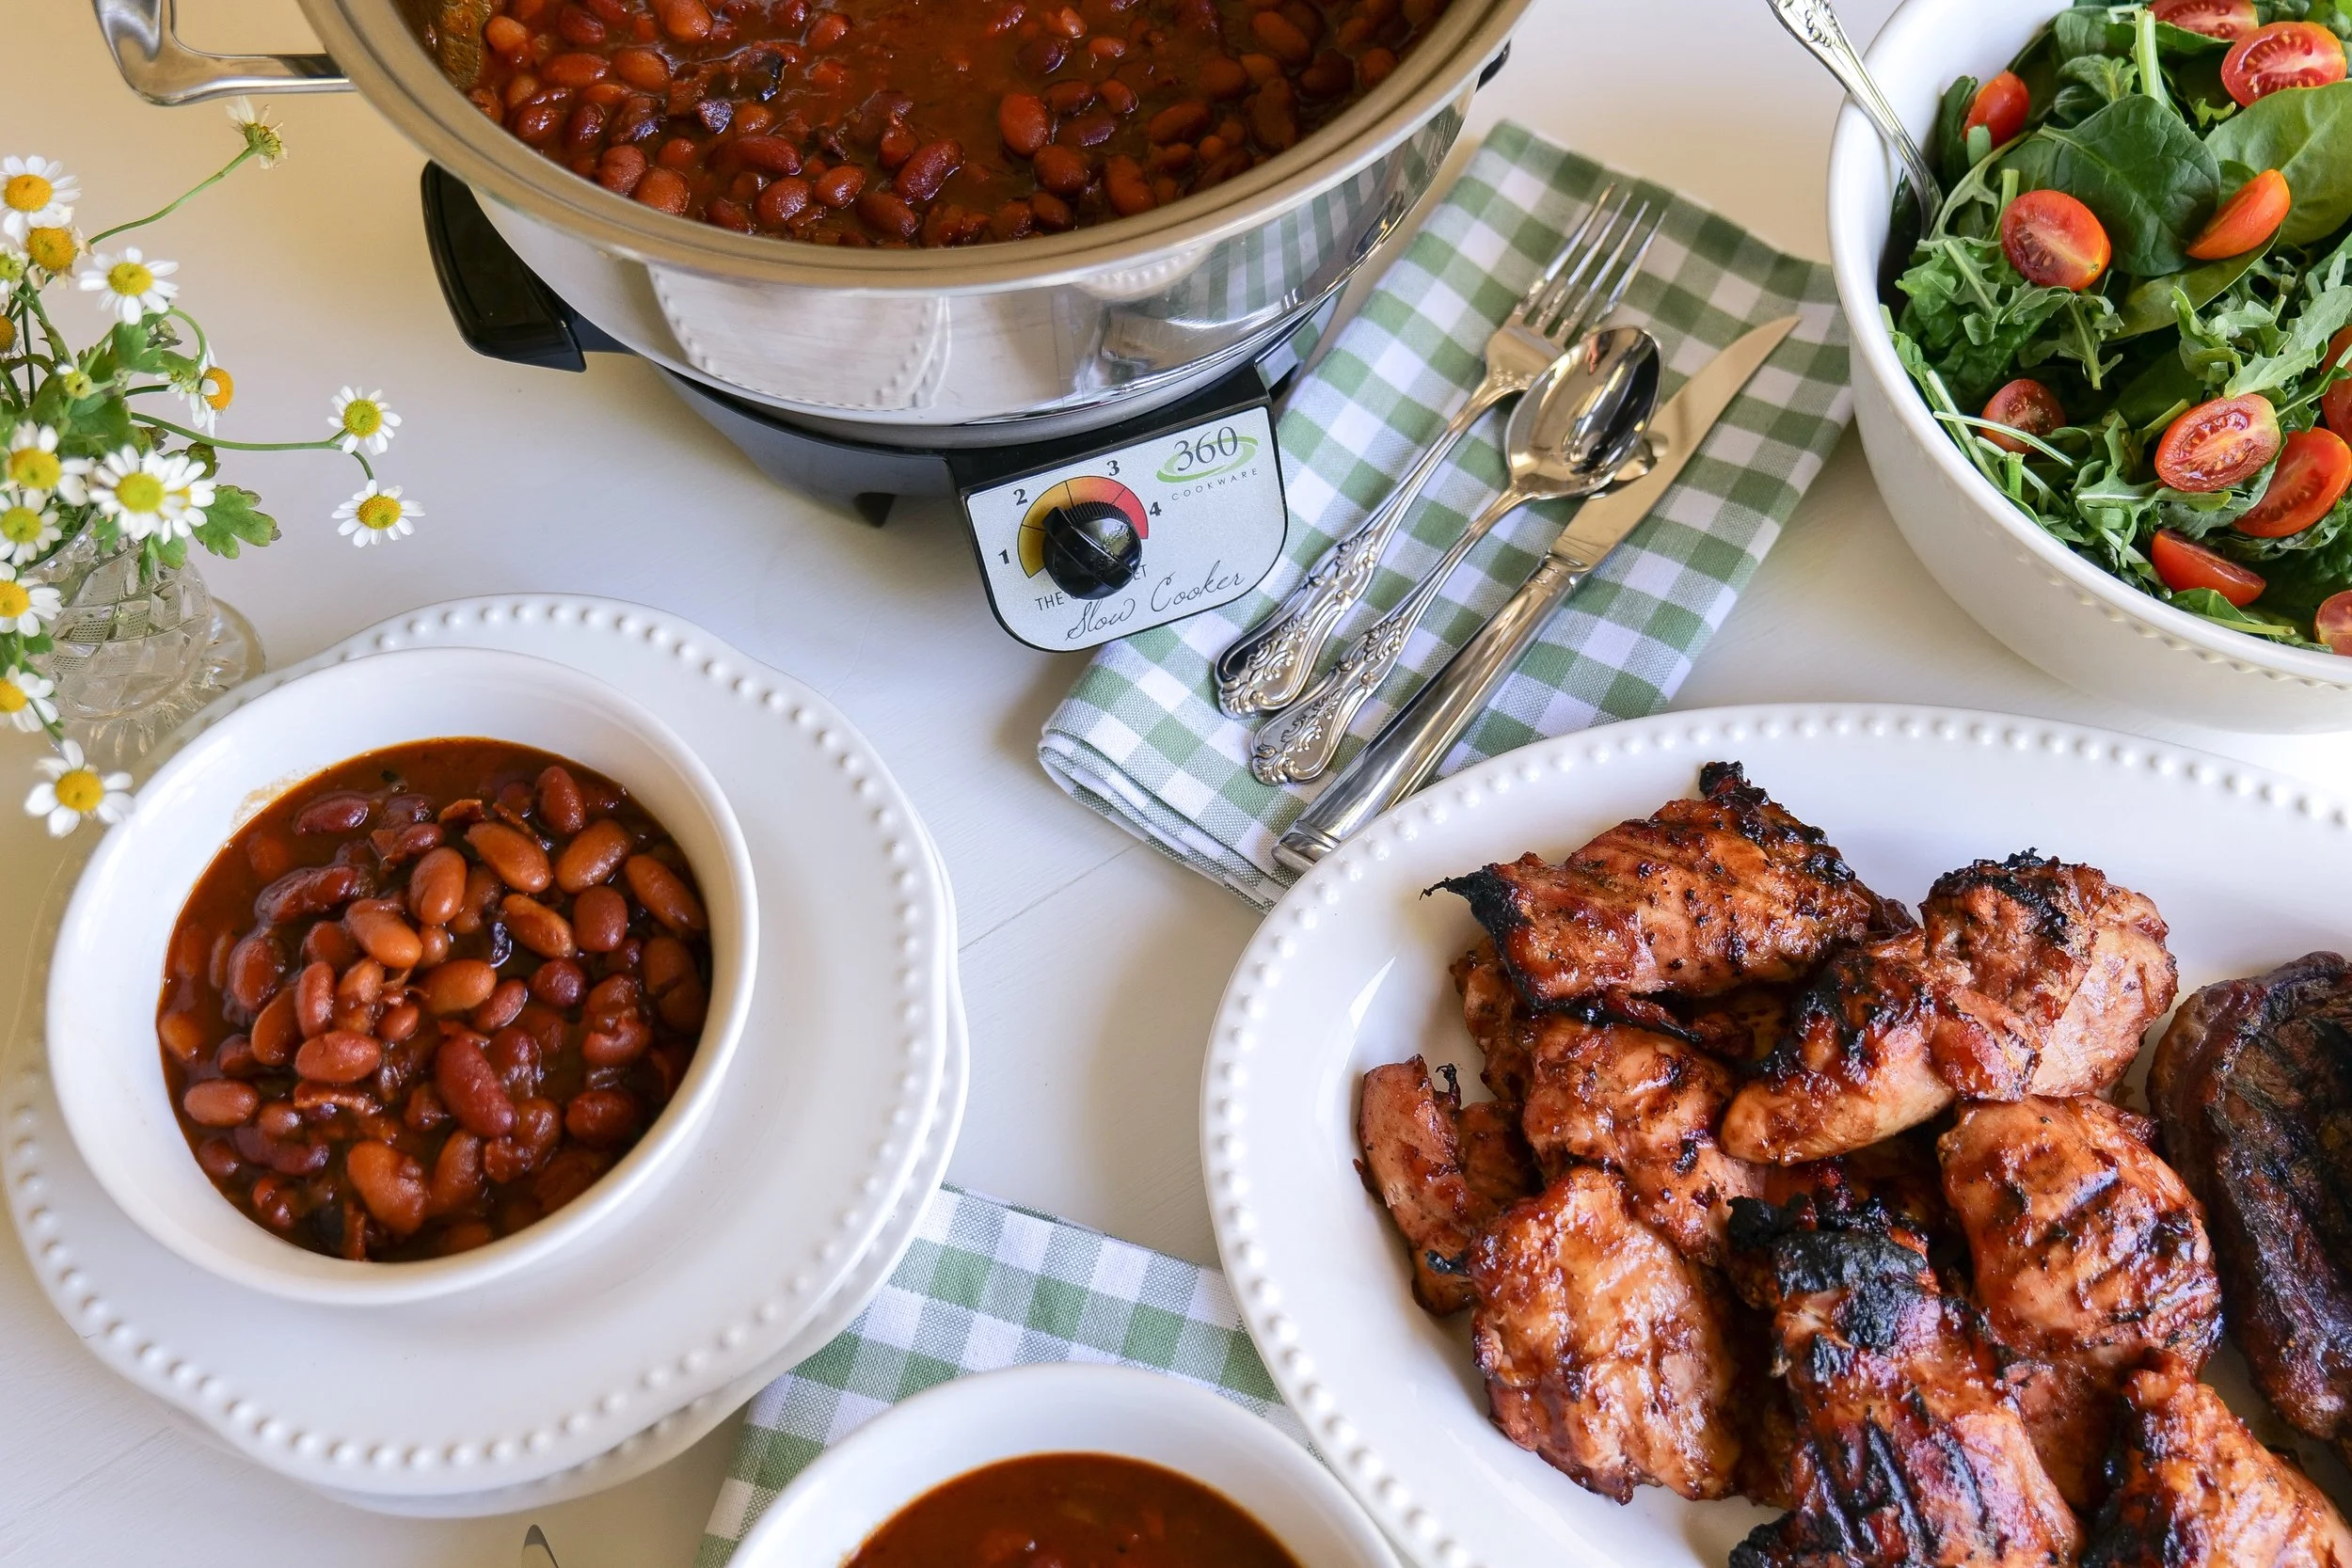
Slow Cooker Baked Beans with Bacon

All-American Charcuterie Board

From Amanda's Kitchen

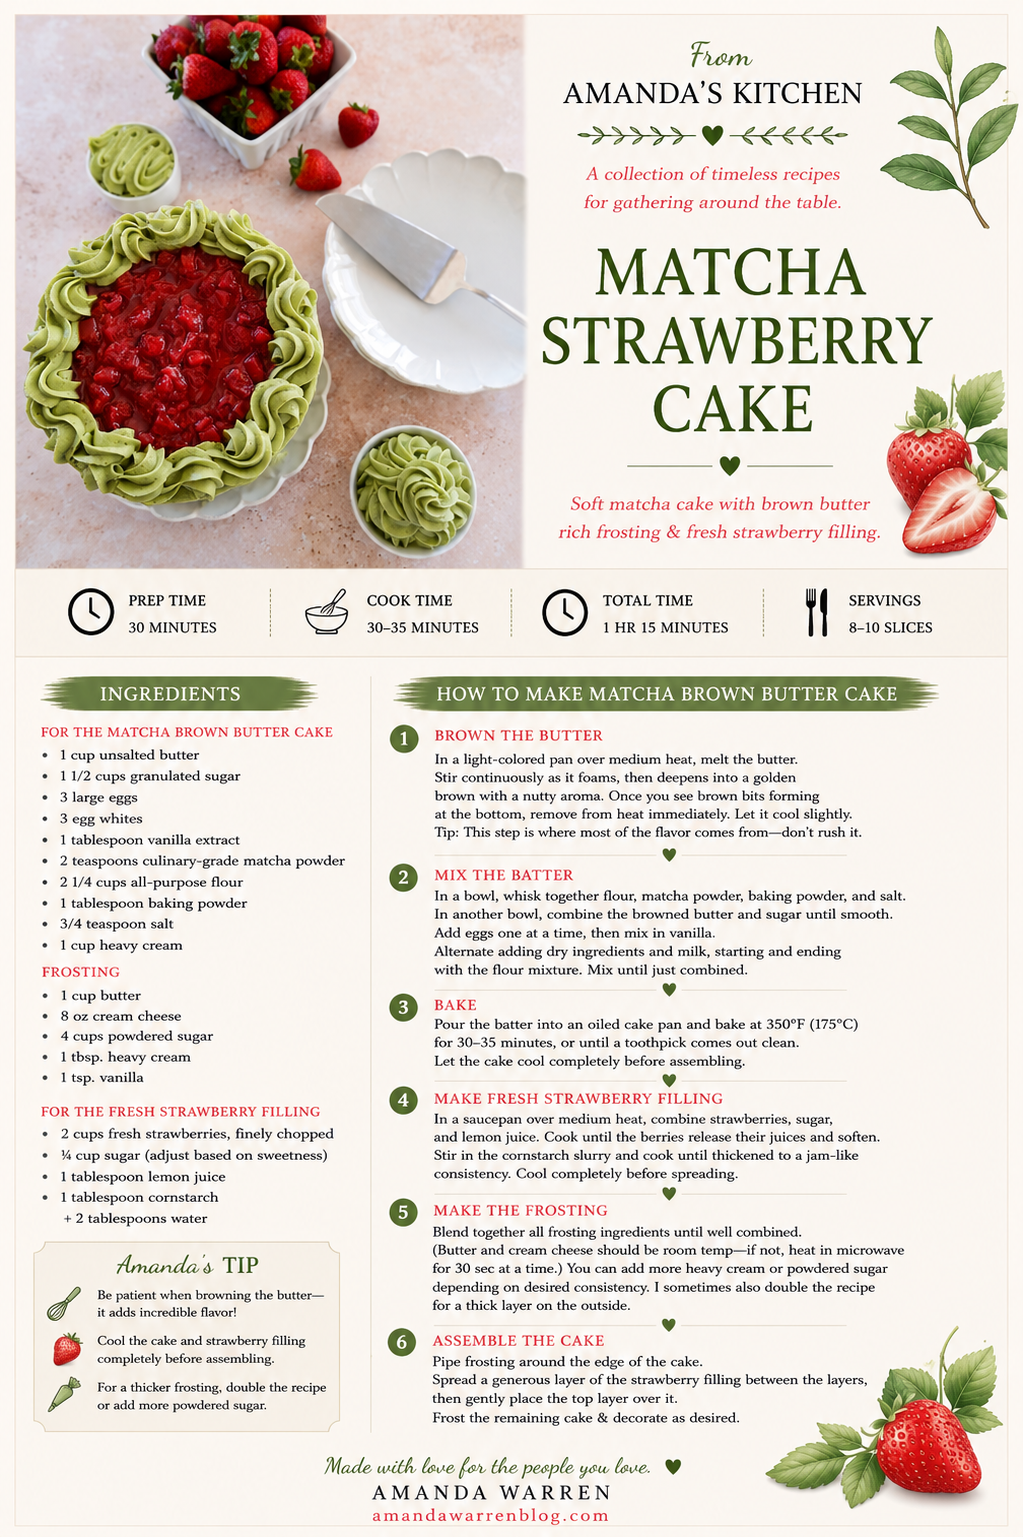
Love having recipes you can print and keep? I've started creating beautiful printable recipe cards for some of my favorite recipes so you can save them in your recipe binder, tuck them into a cookbook, or share them with family and friends.
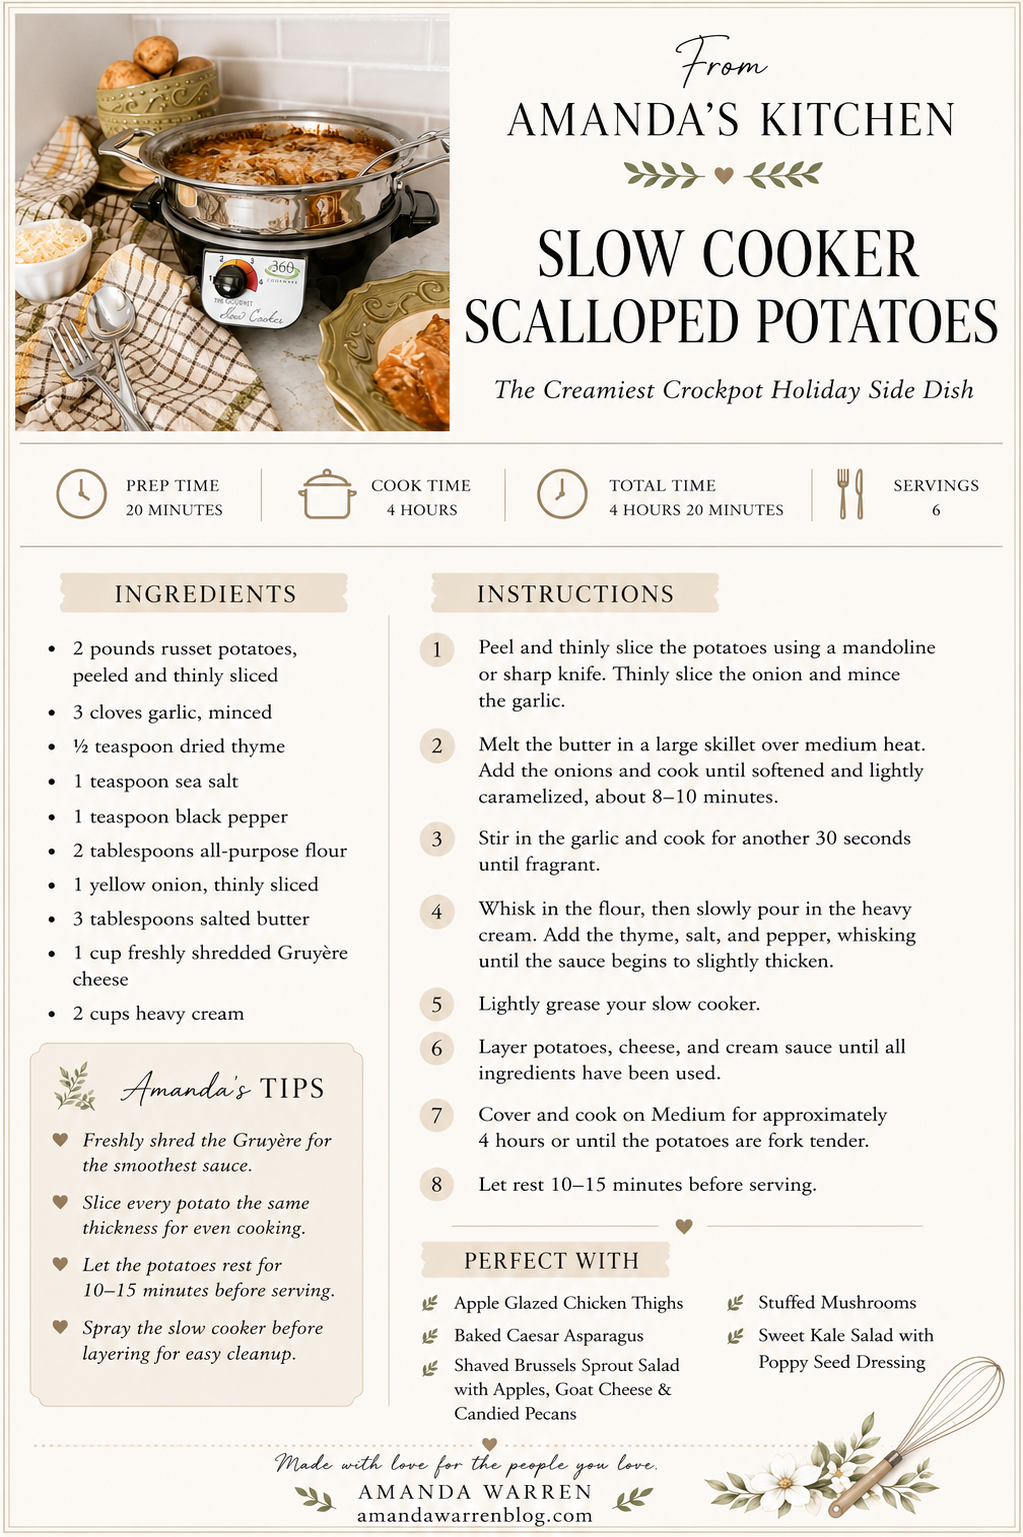
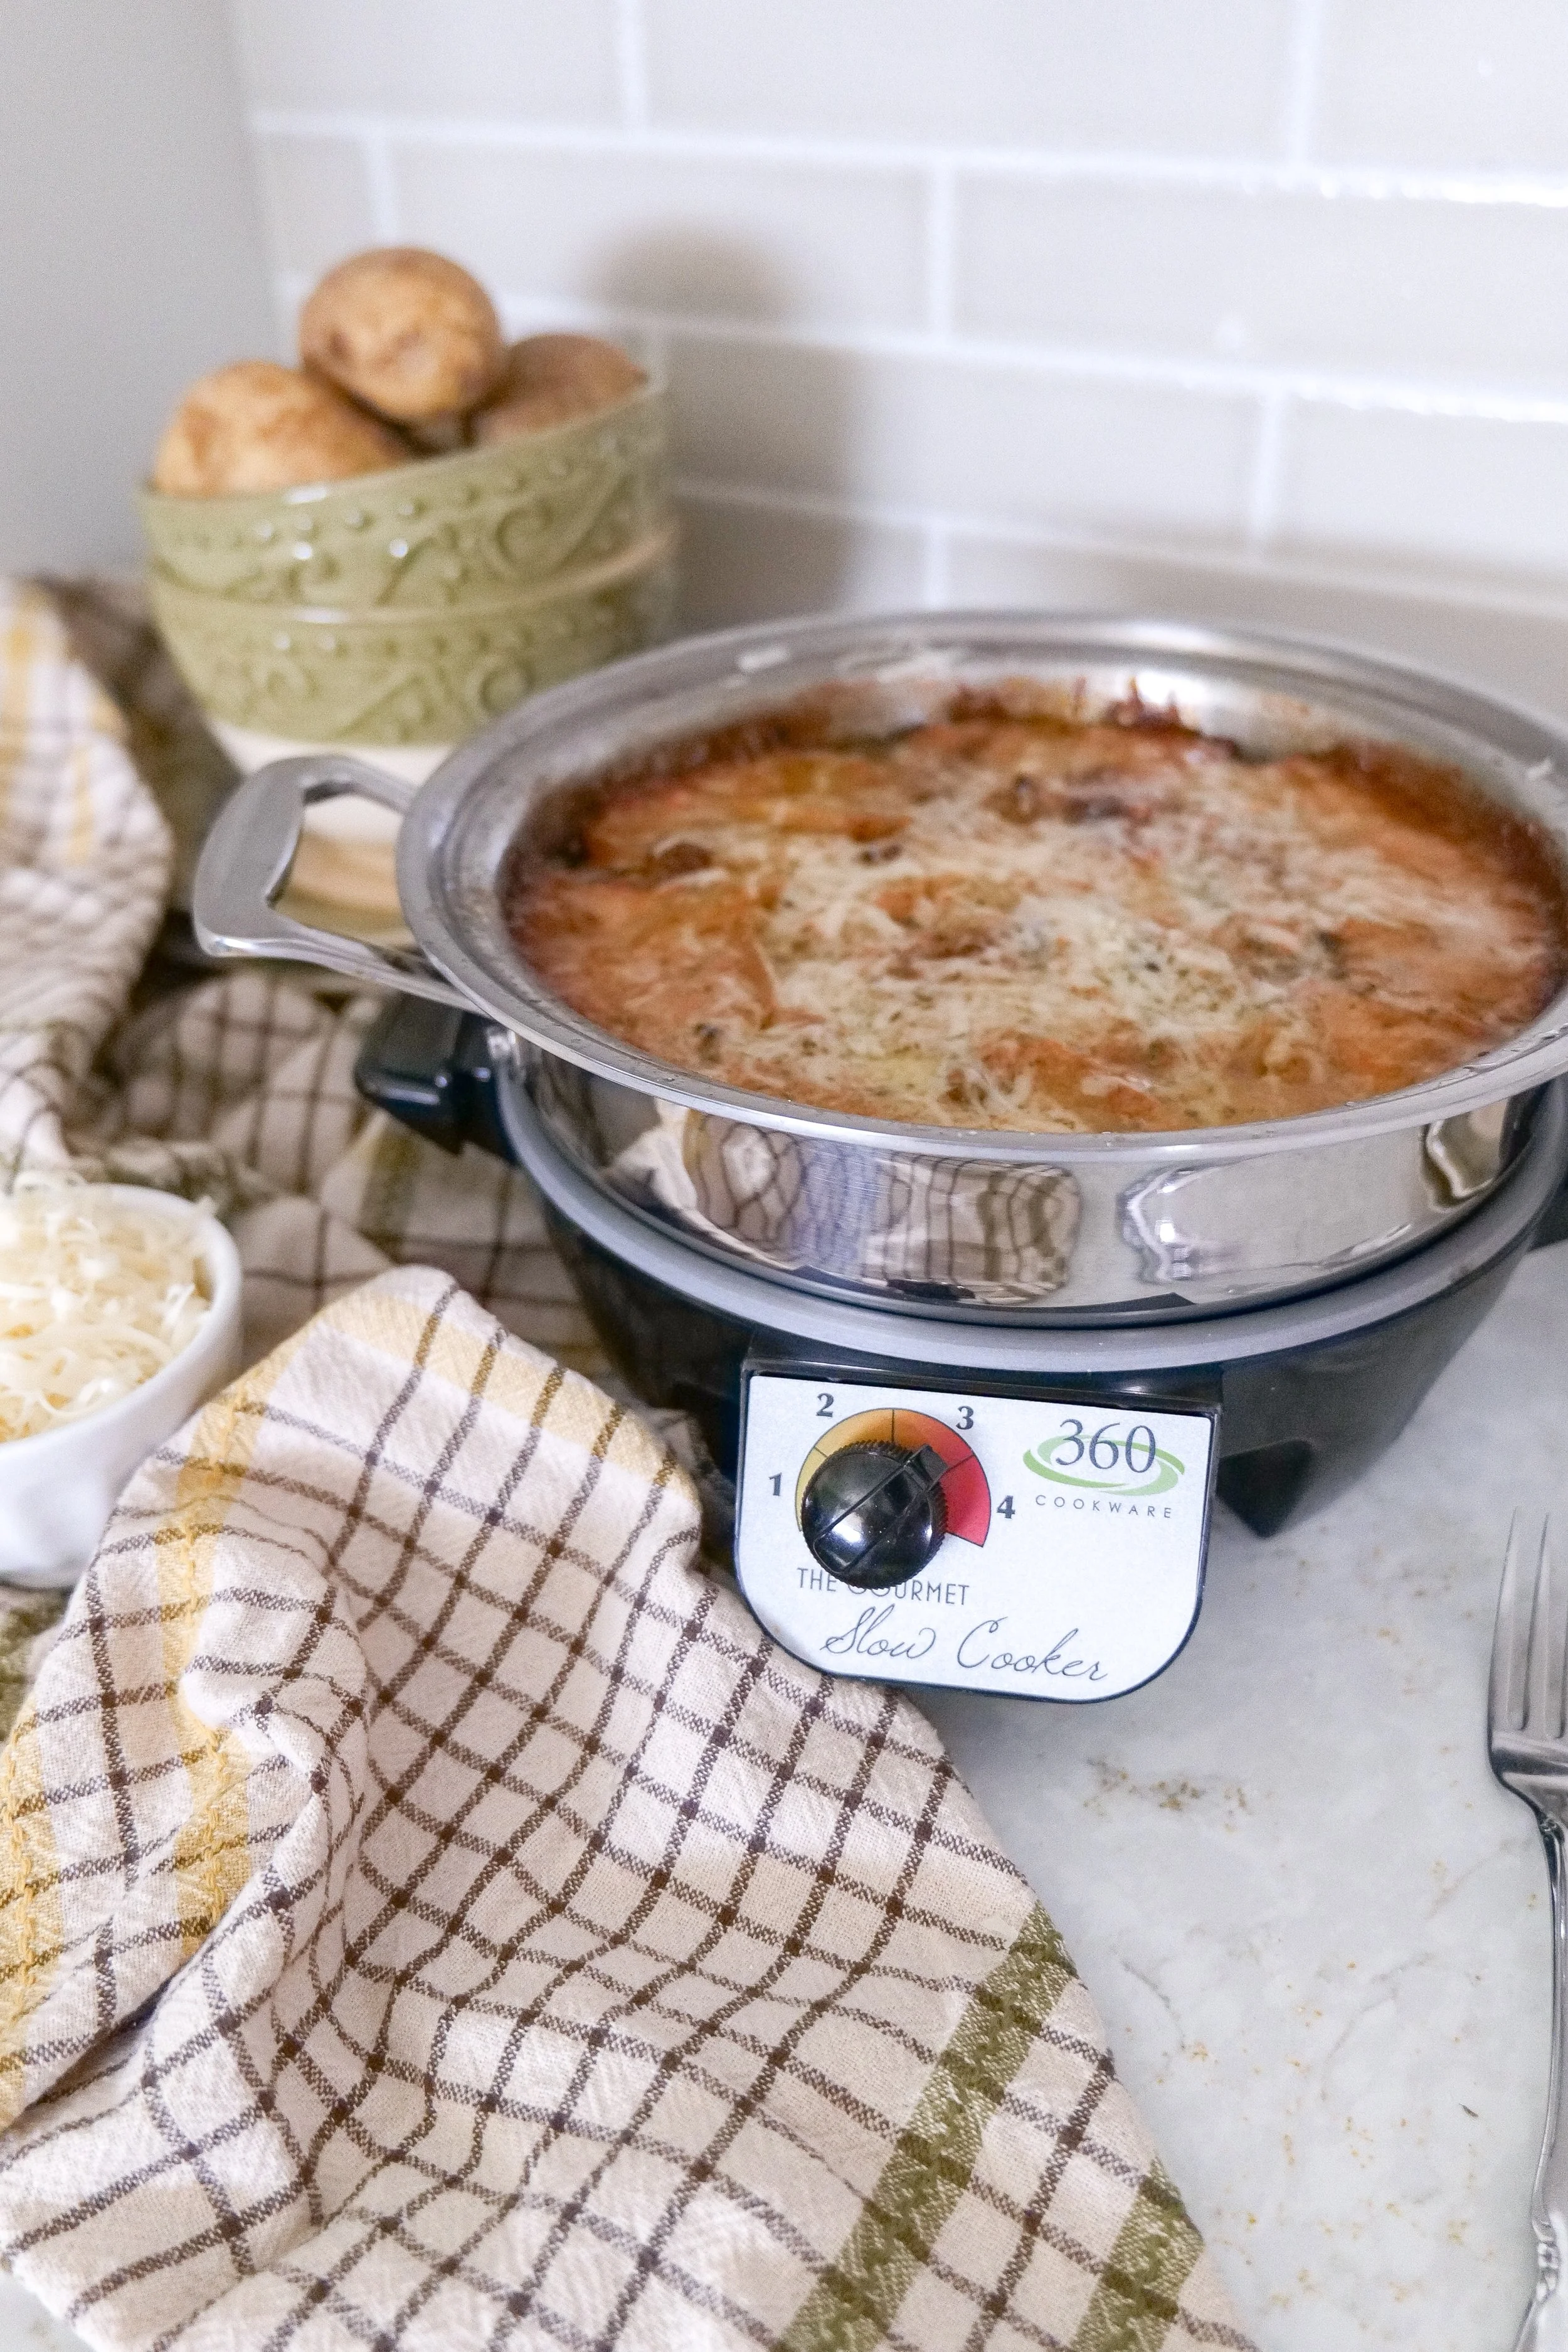
Printable recipe card for creamy slow cooker scalloped potatoes made with russet potatoes, Gruyère cheese, garlic, onions, and heavy cream. Easy crockpot holiday side dish from Amanda's Kitchen.
Easy potato side dish perfect for Christmas, Easter, and Thanksgiving meals.
Slow cooker holiday side dish recipe with creamy scalloped potatoes.
Close-up of creamy slow cooker scalloped potatoes ready to serve.
Cheesy potato casserole cooked low and slow in the crockpot.
Comfort food scalloped potatoes with rich cream sauce and cheese.
Rustic homemade scalloped potatoes in a slow cooker.

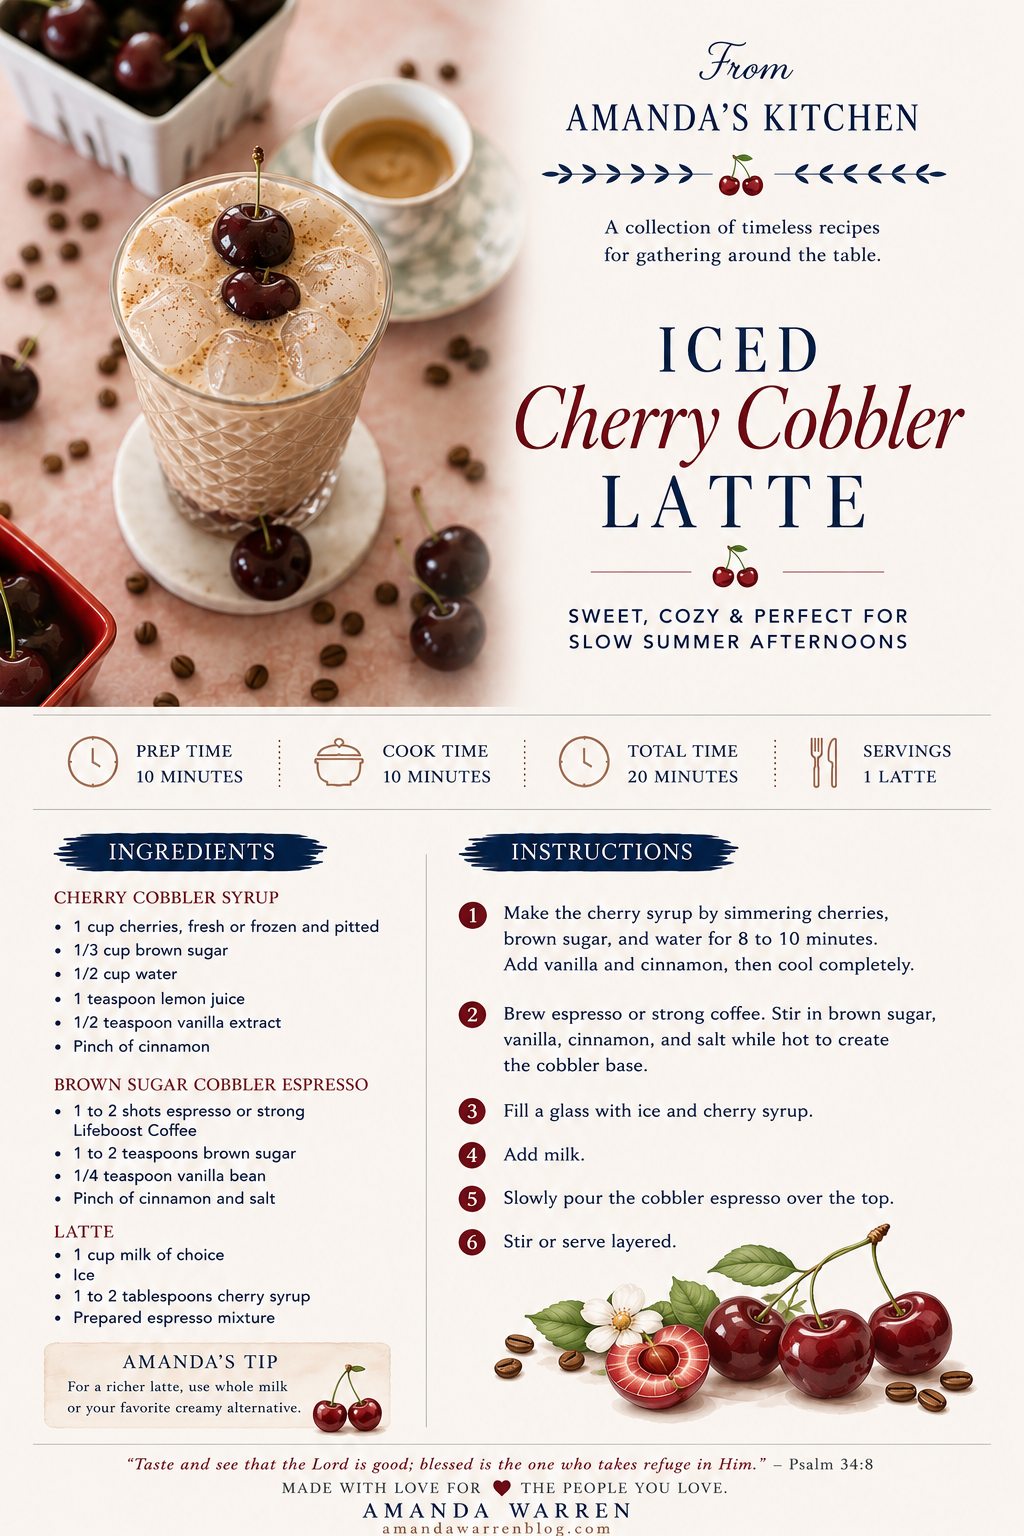
Iced Cherry Cobbler Latte

A cozy summer iced coffee inspired by cherry cobbler, made with brown sugar cobbler espresso, thick cherry syrup, and creamy milk over ice.

There is something about summer mornings that always feel slower in the best way.

Sunlight coming through the kitchen, ice clinking in a glass, and that first iced coffee that feels like a quiet moment before the day begins.

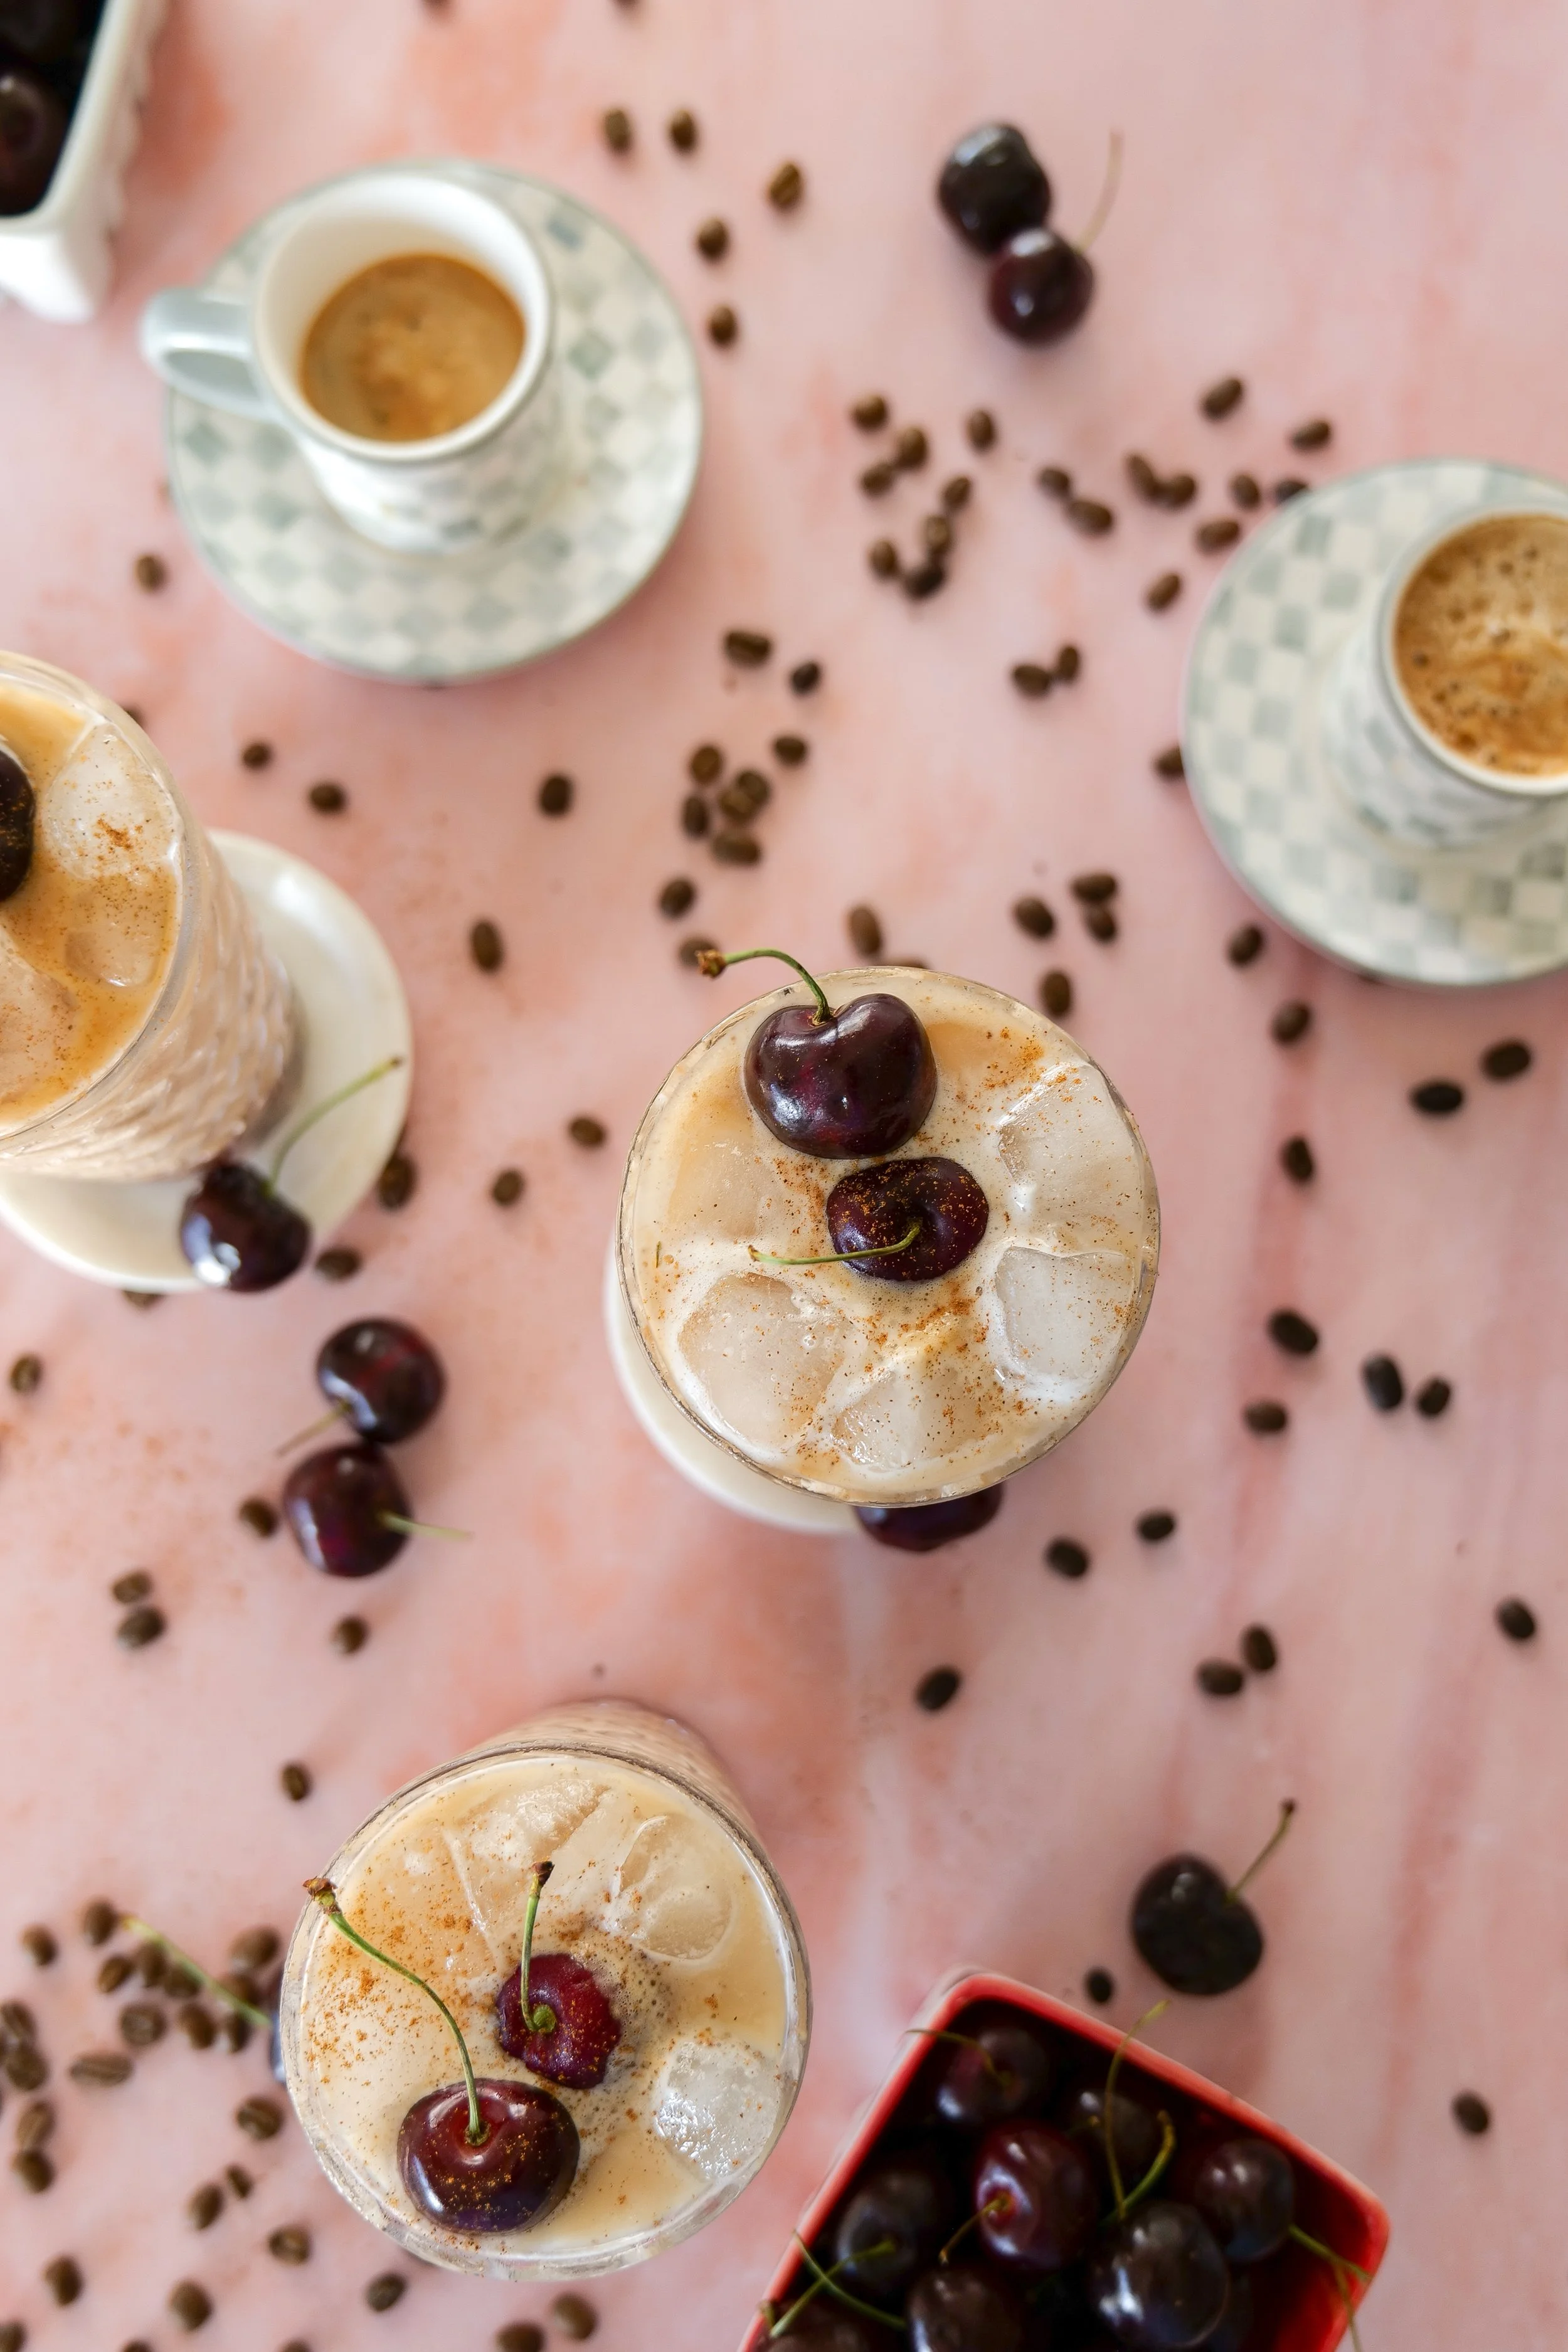
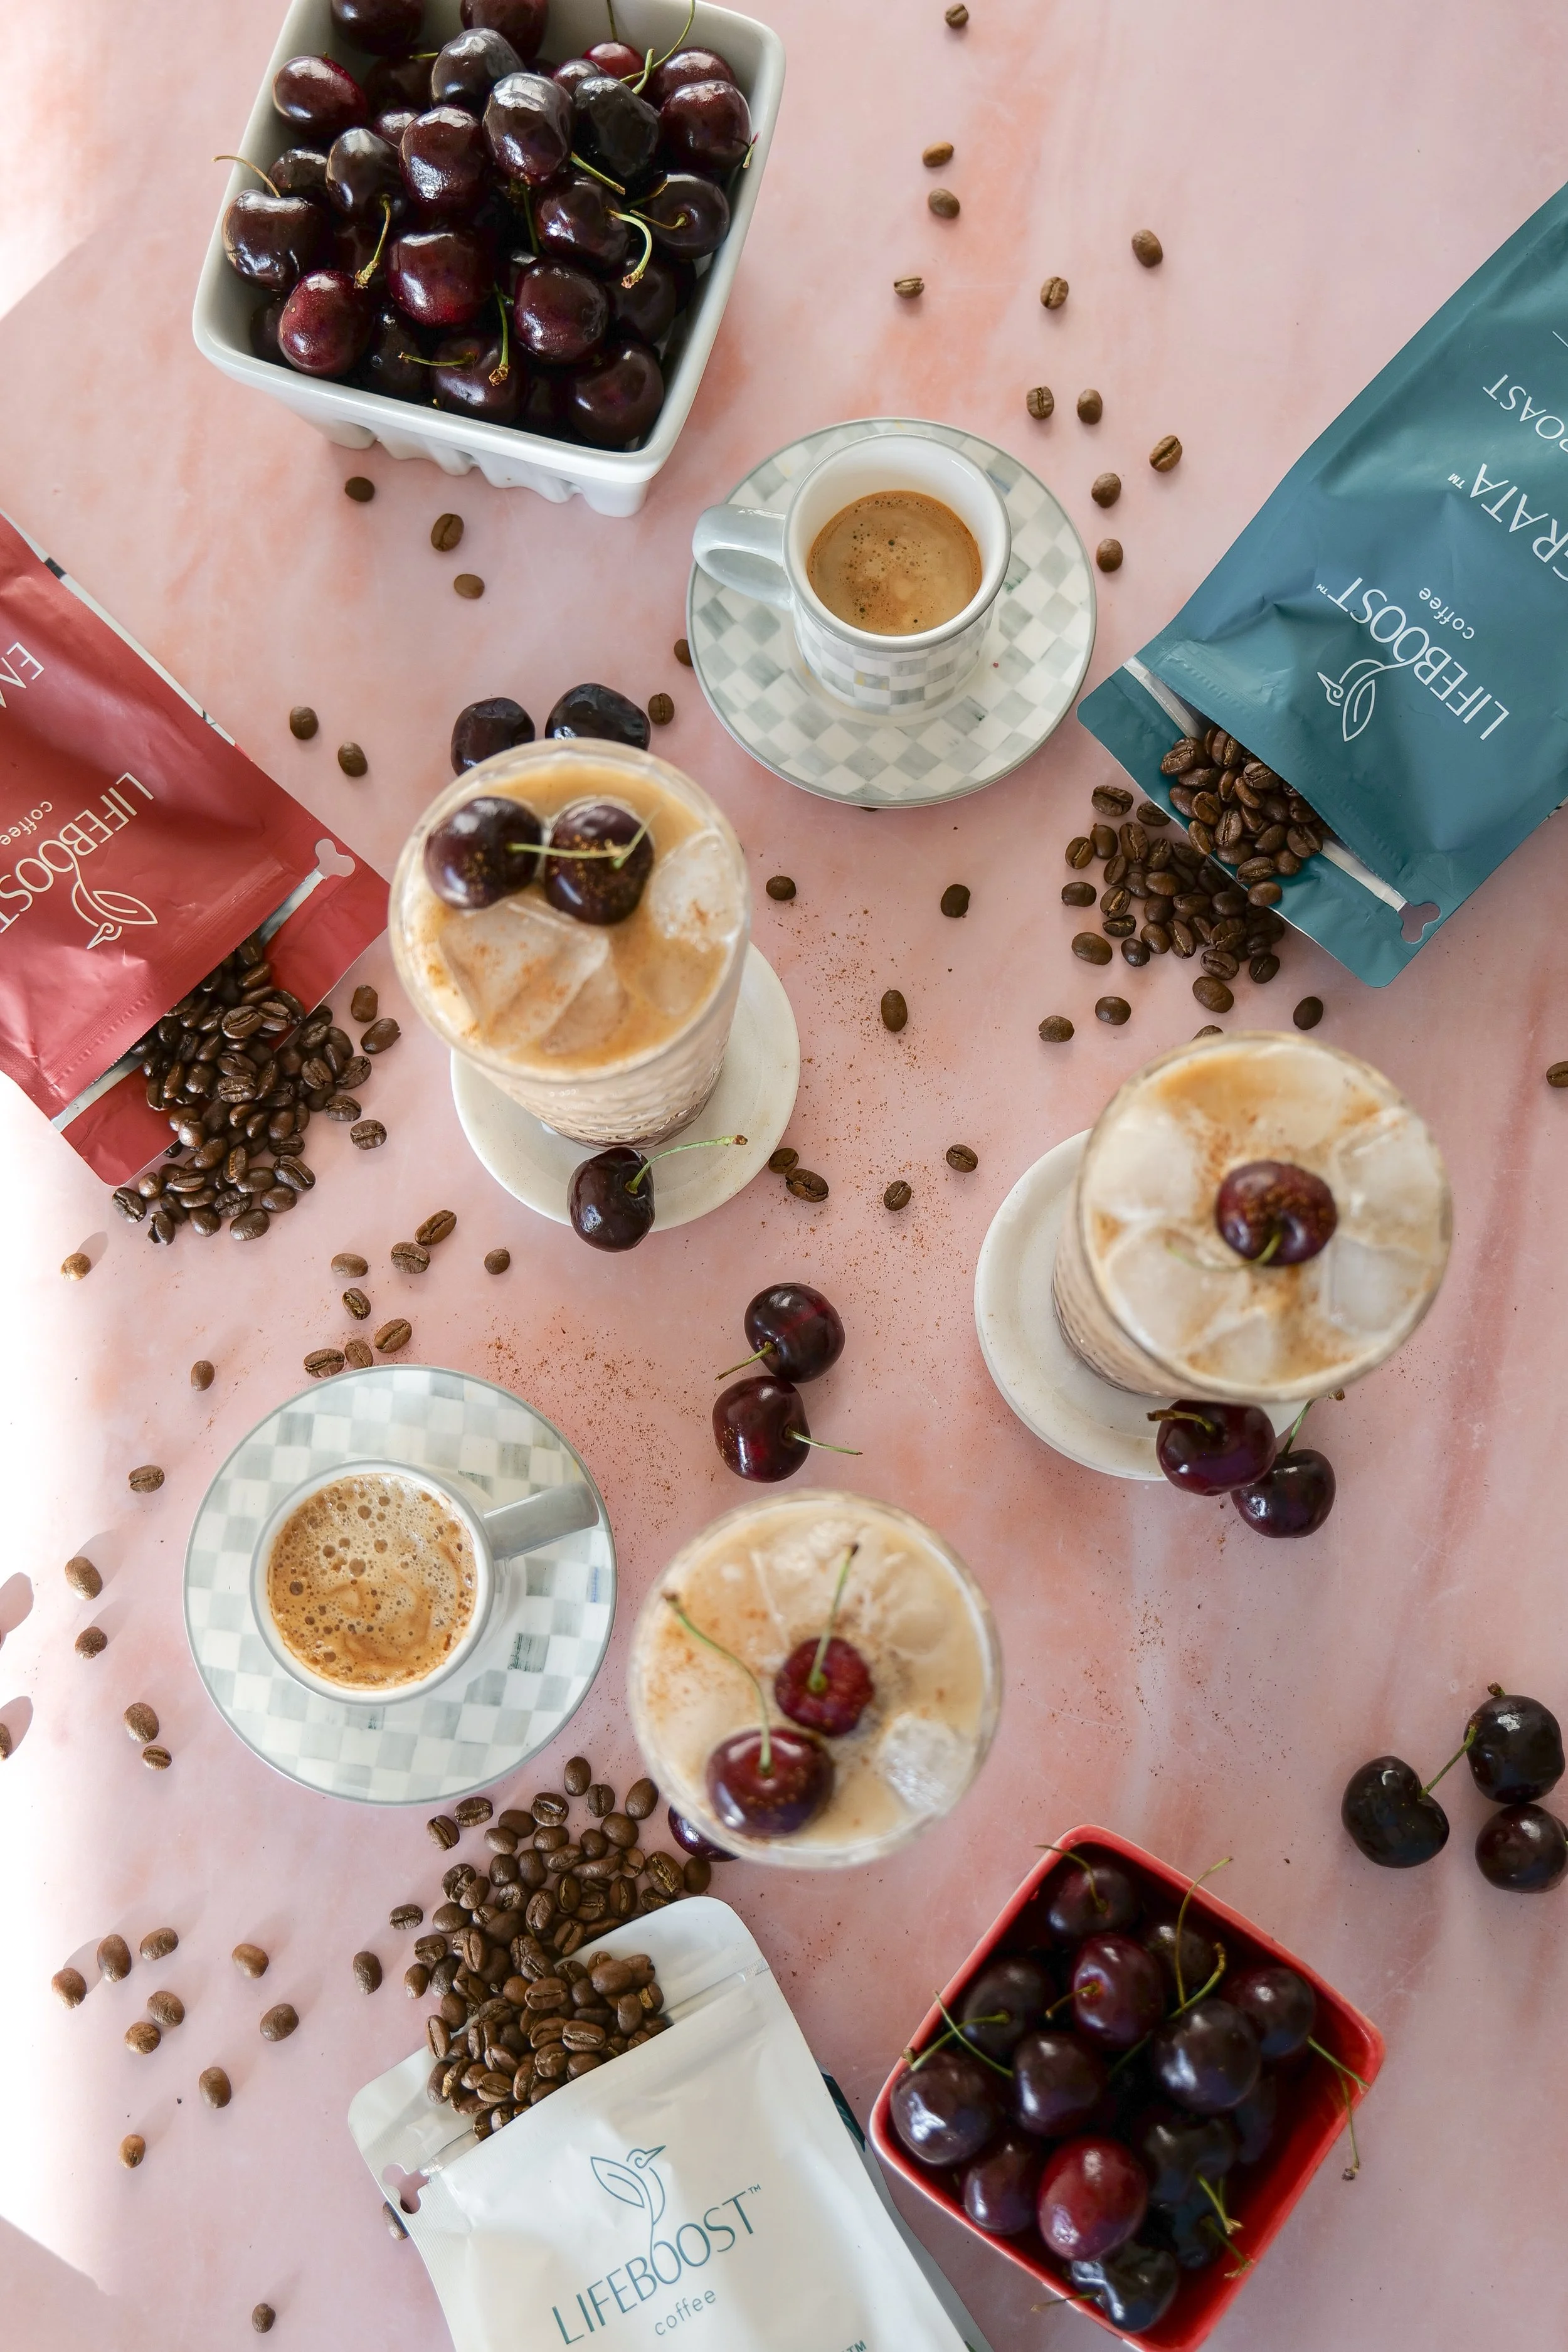
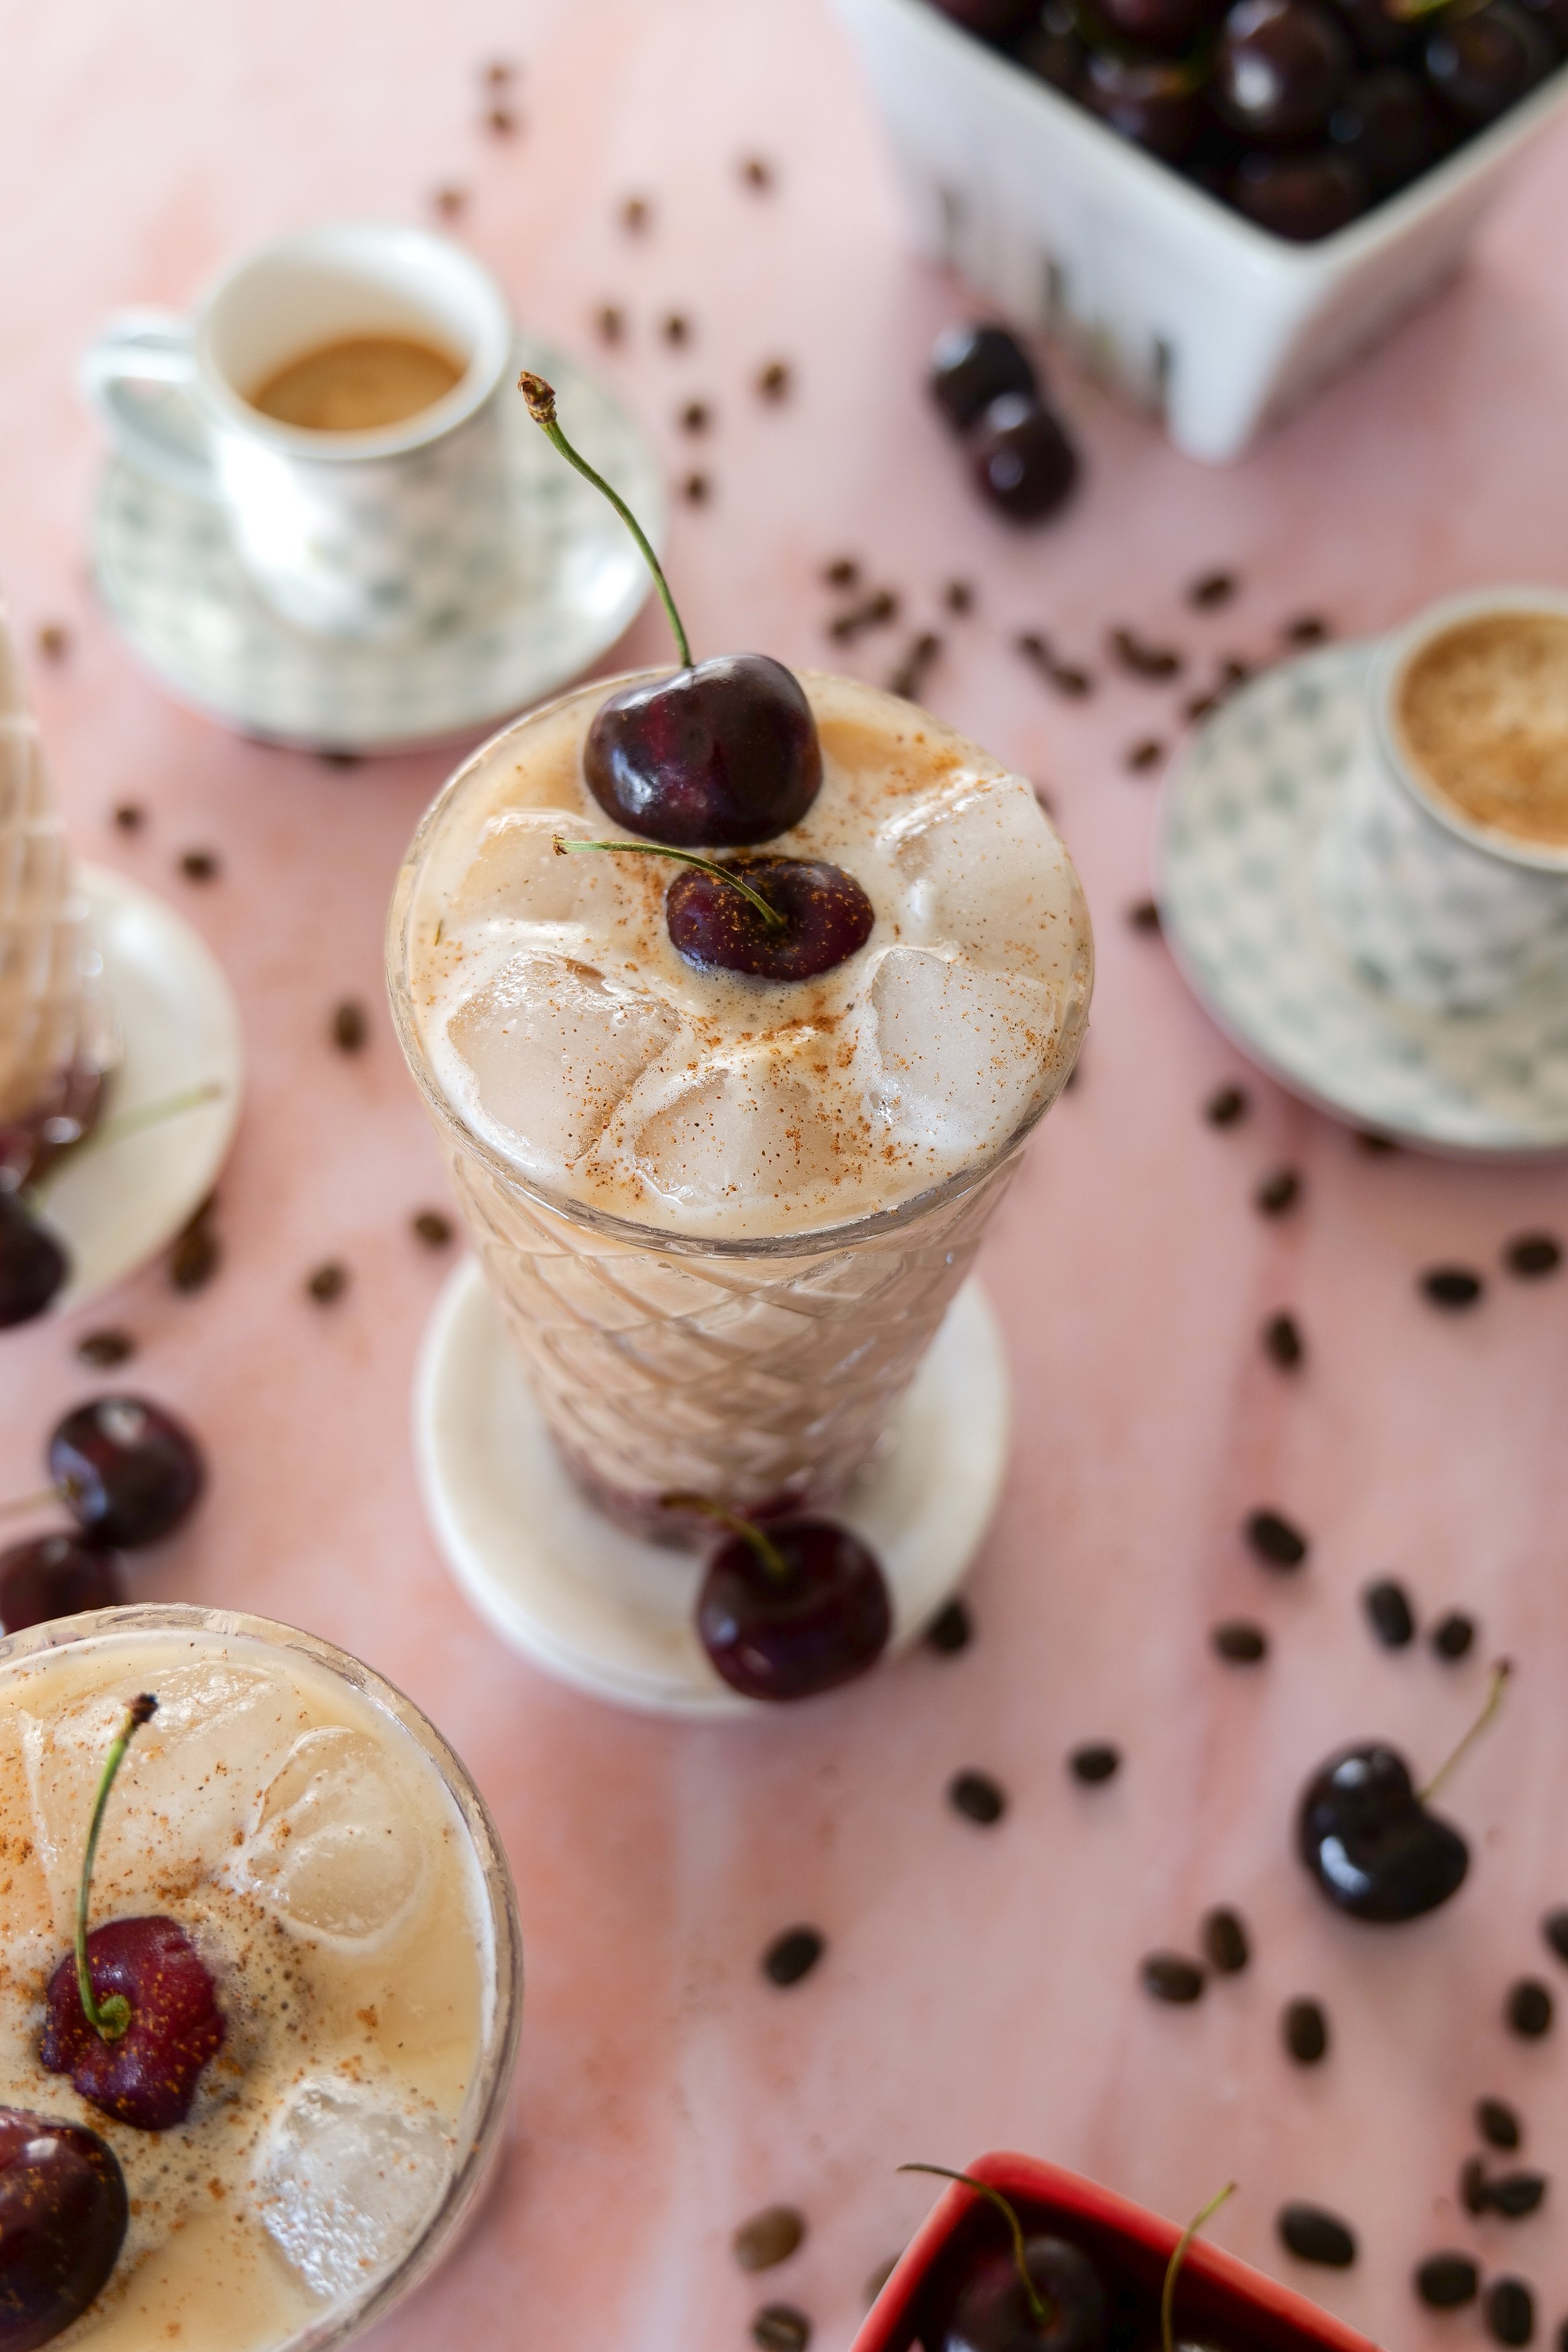
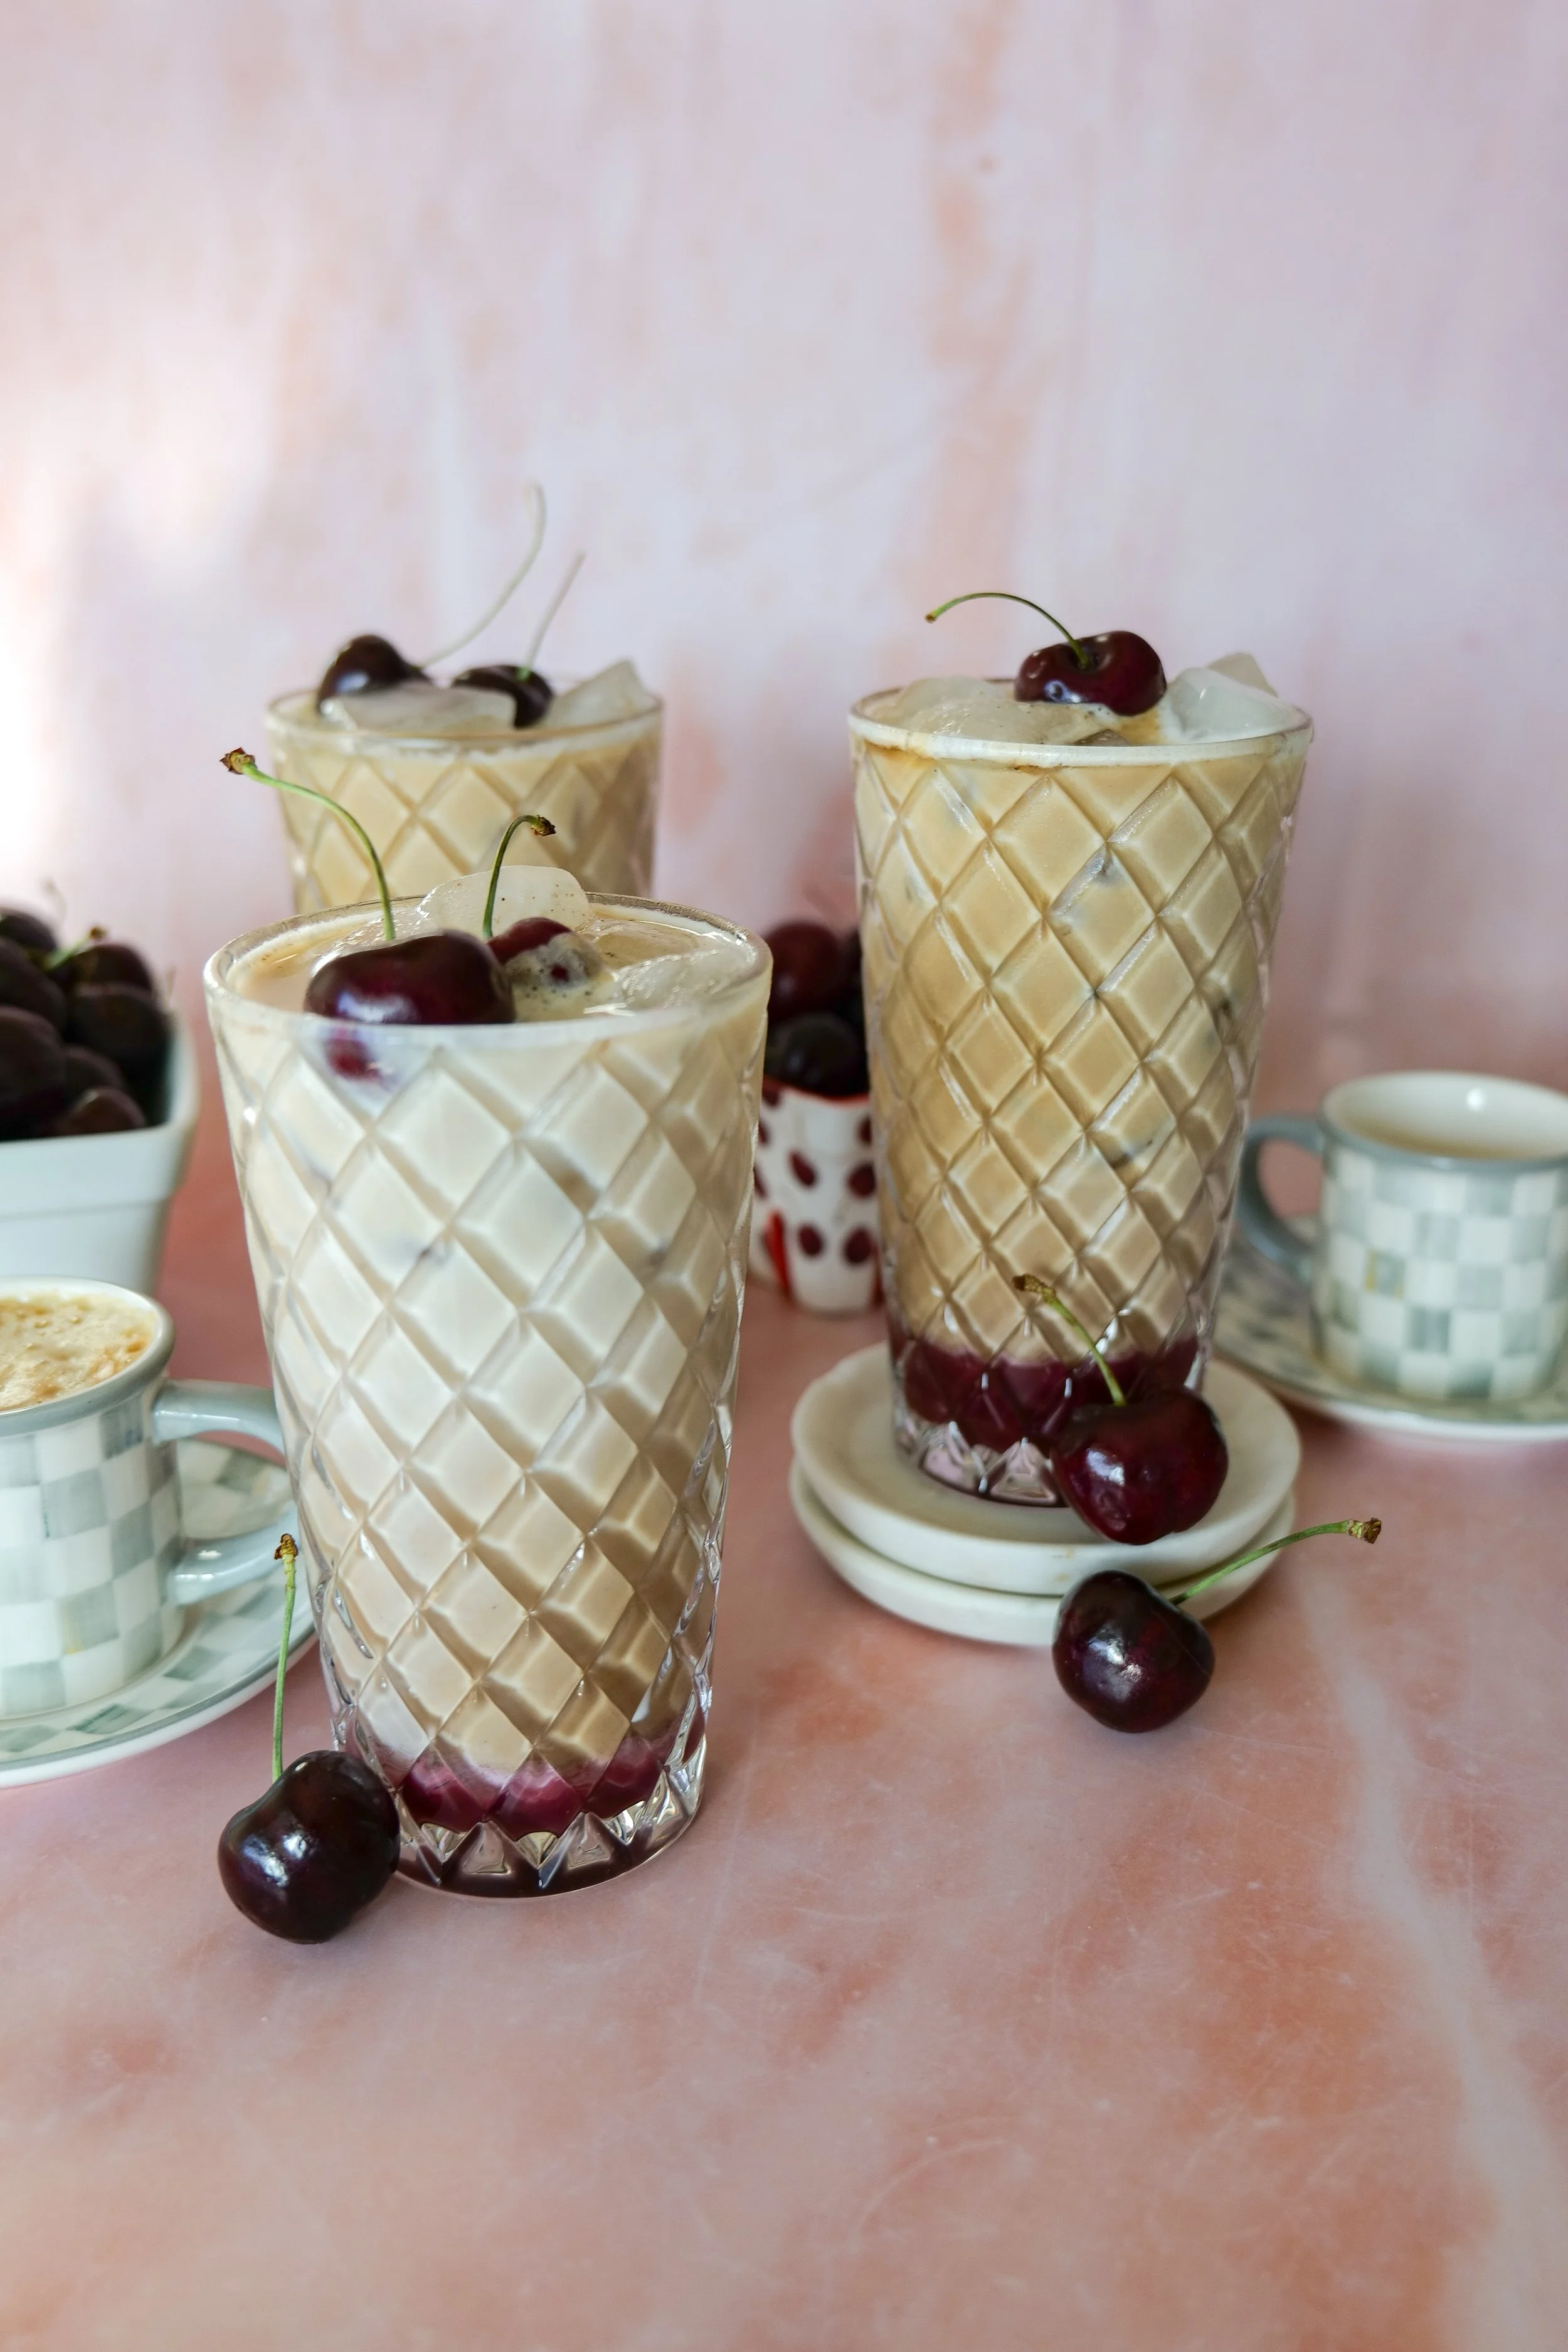
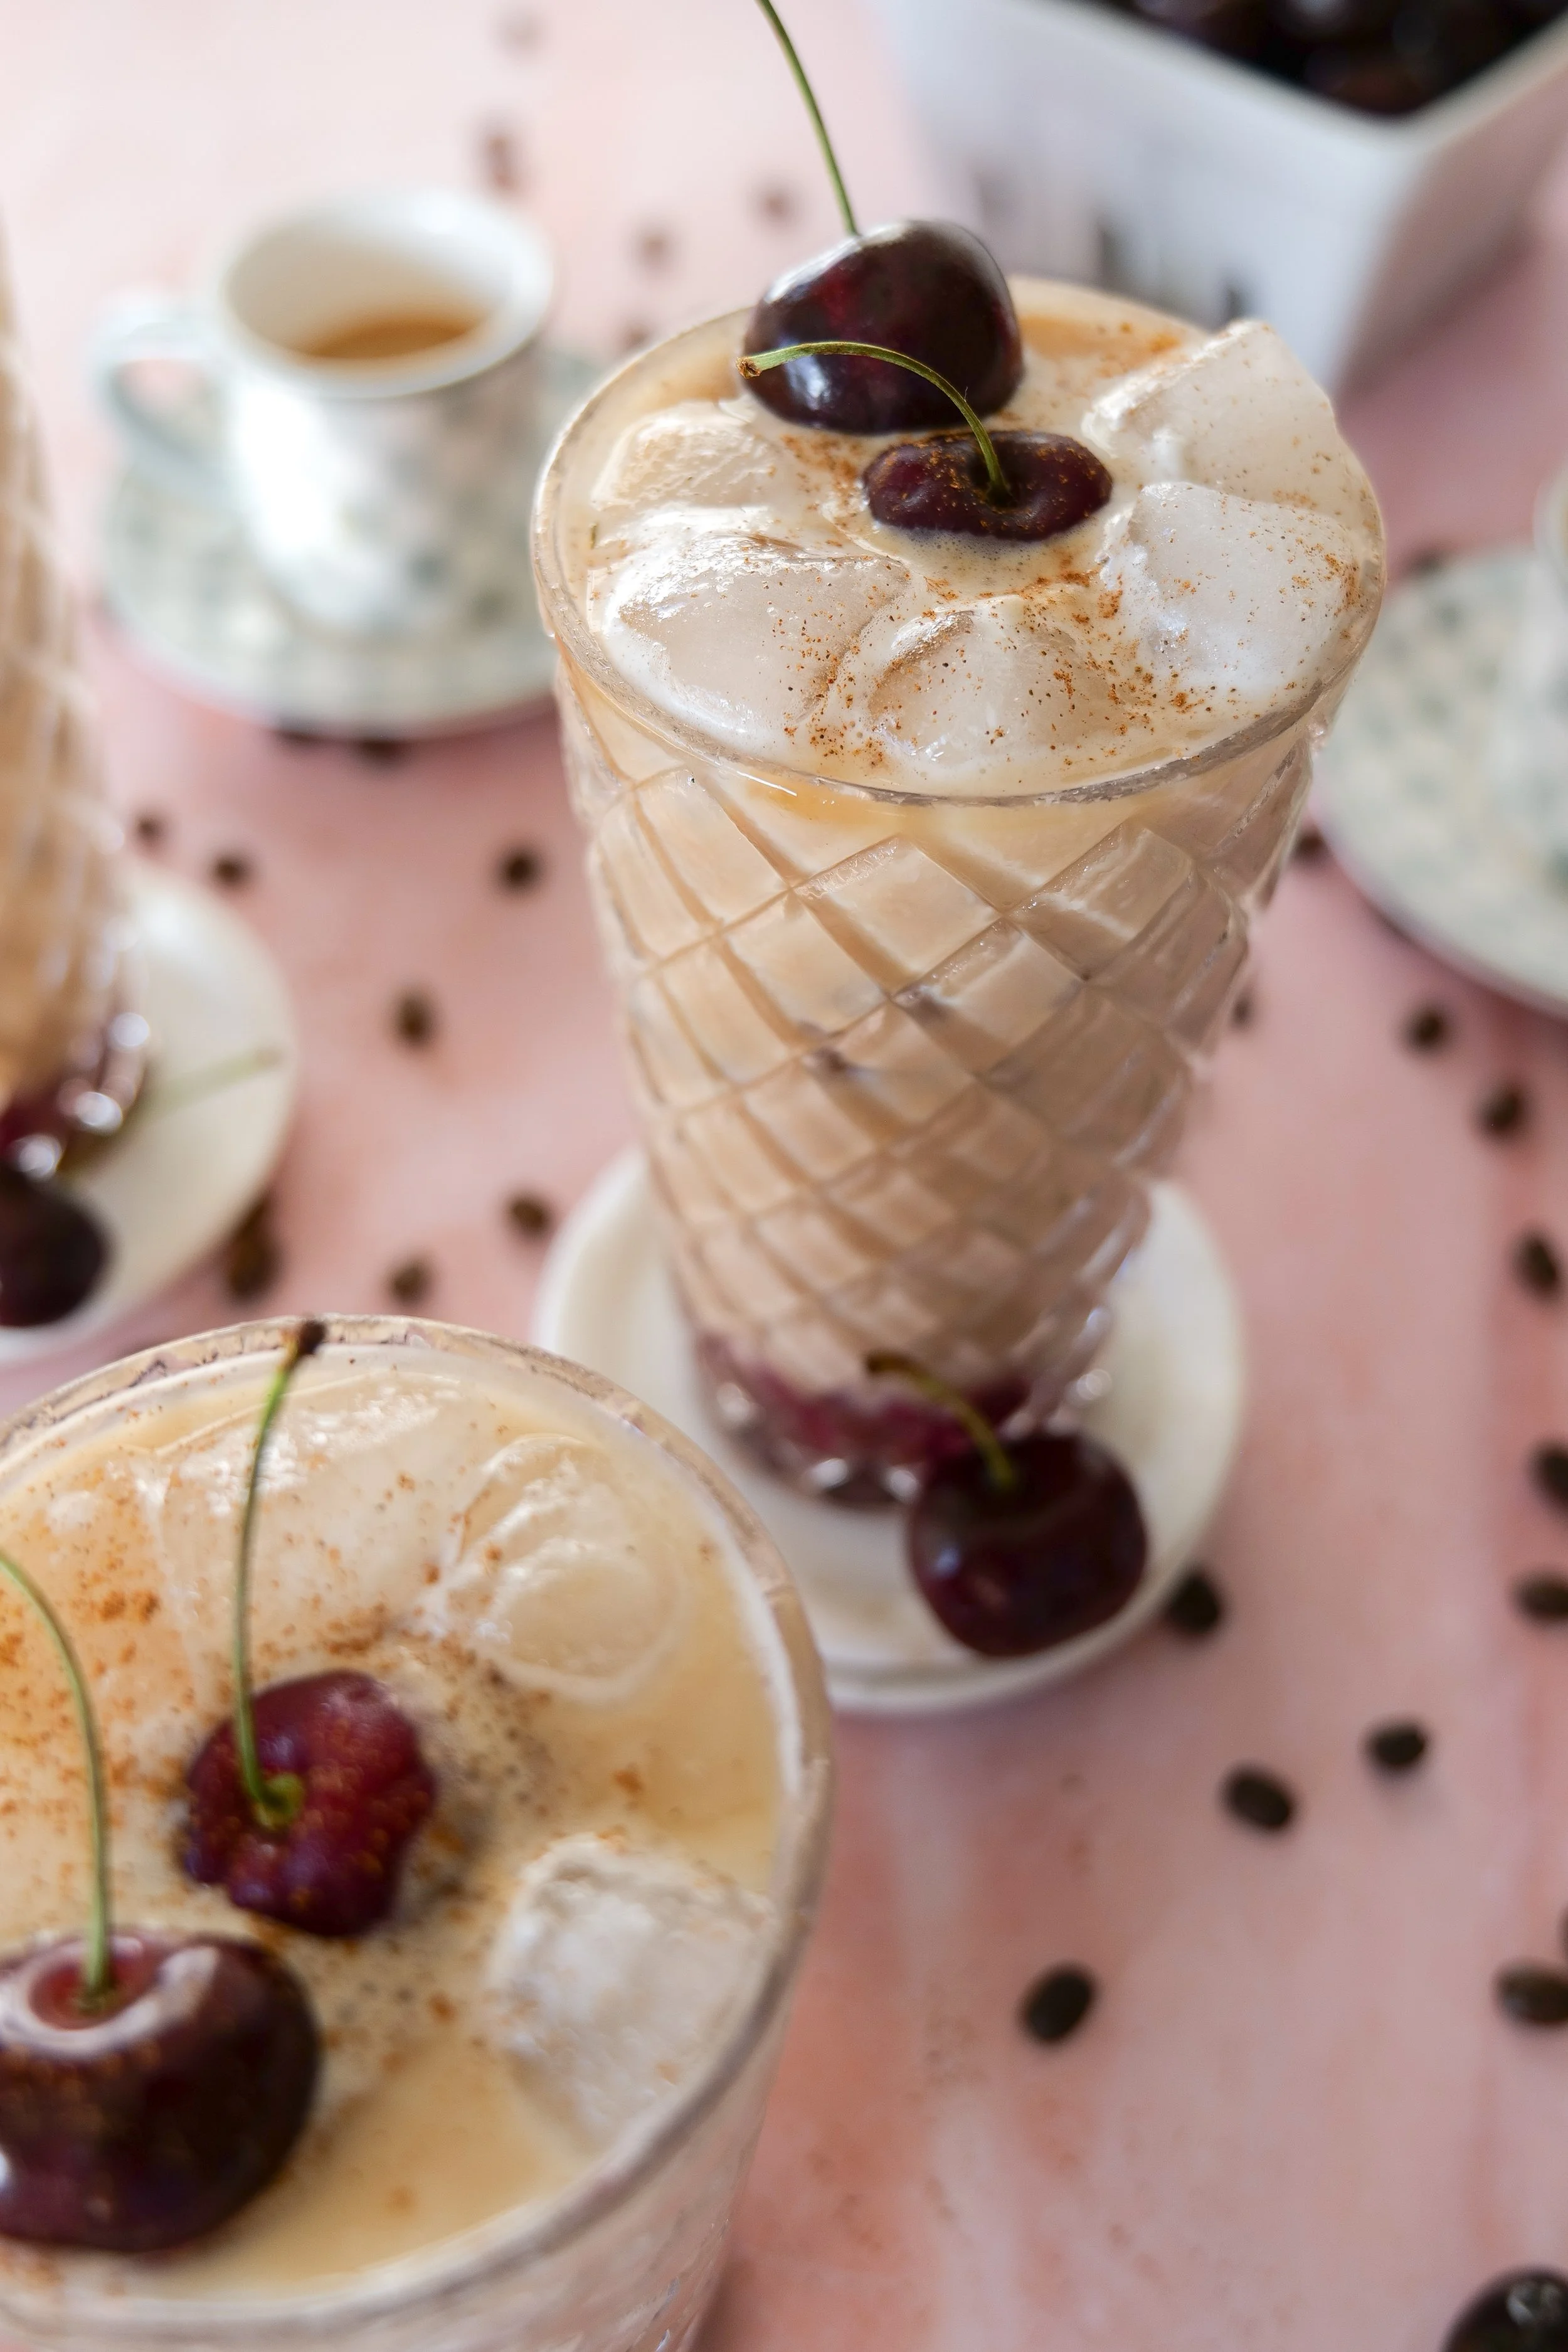
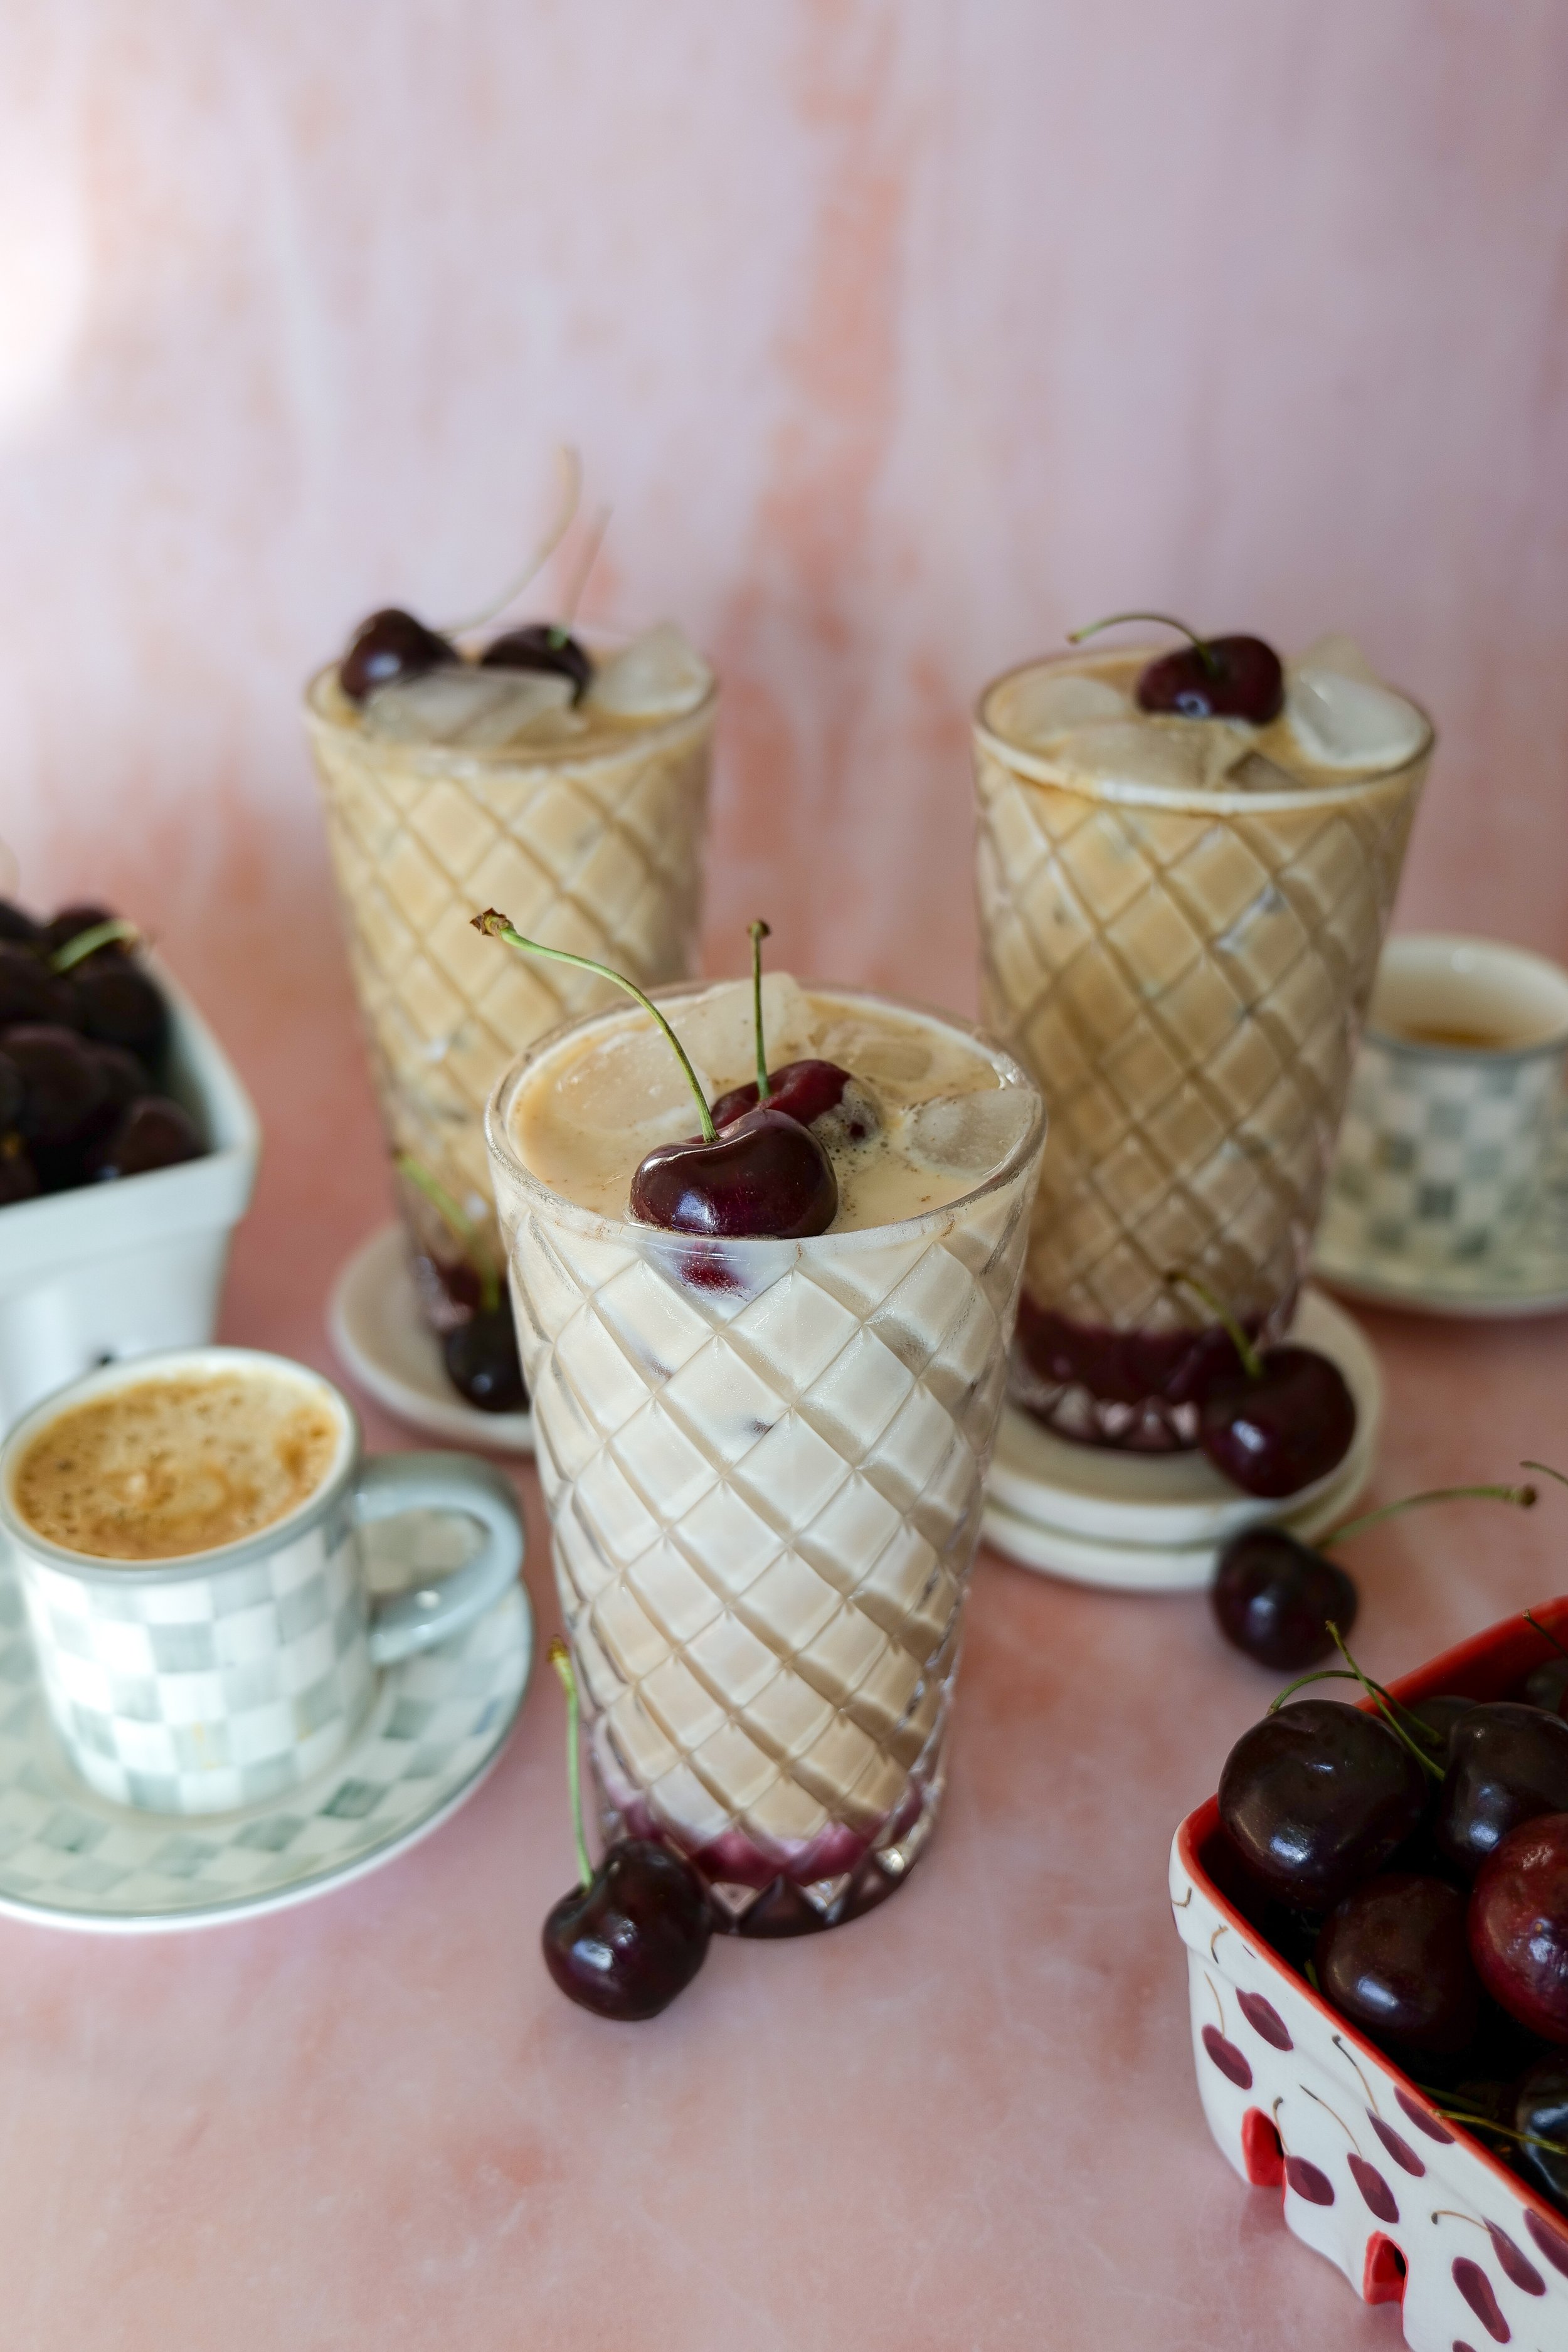
Iced Cherry Cobbler Latte made with homemade cherry cobbler syrup, espresso, milk, and cold foam in a glass topped with fresh cherries.
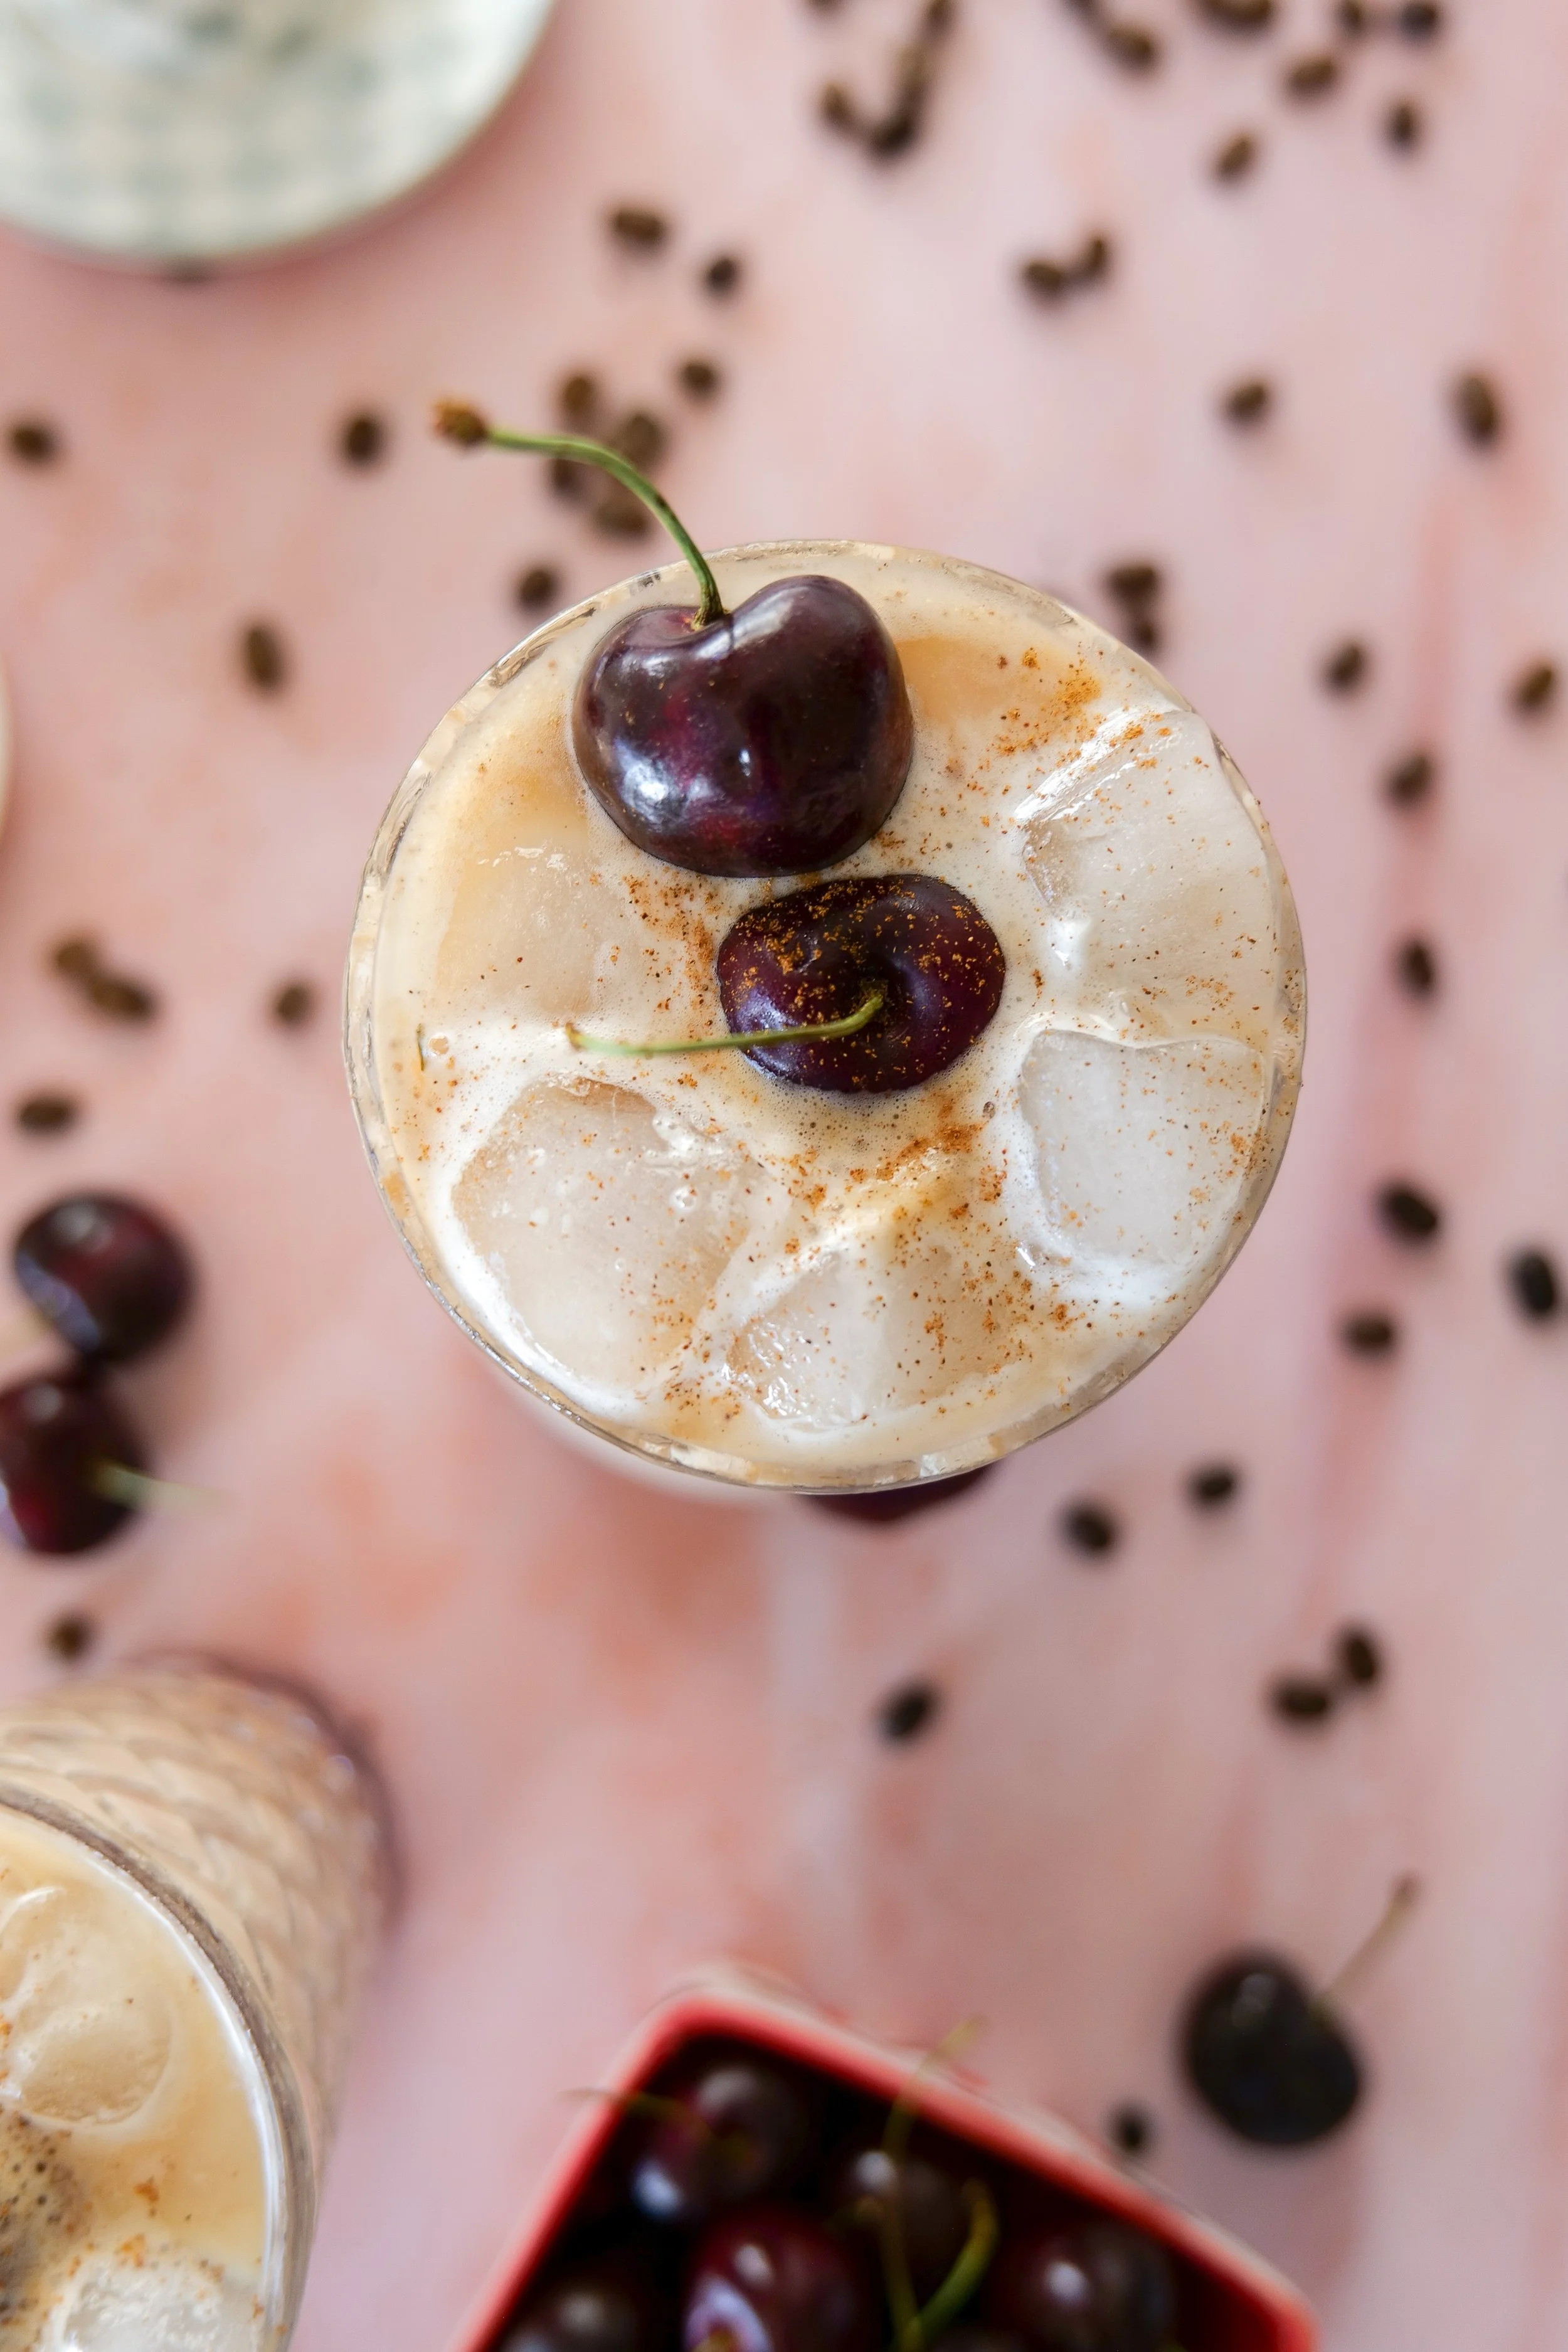
Homemade Iced Cherry Cobbler Latte served over ice with creamy cold foam and fresh cherry garnish.
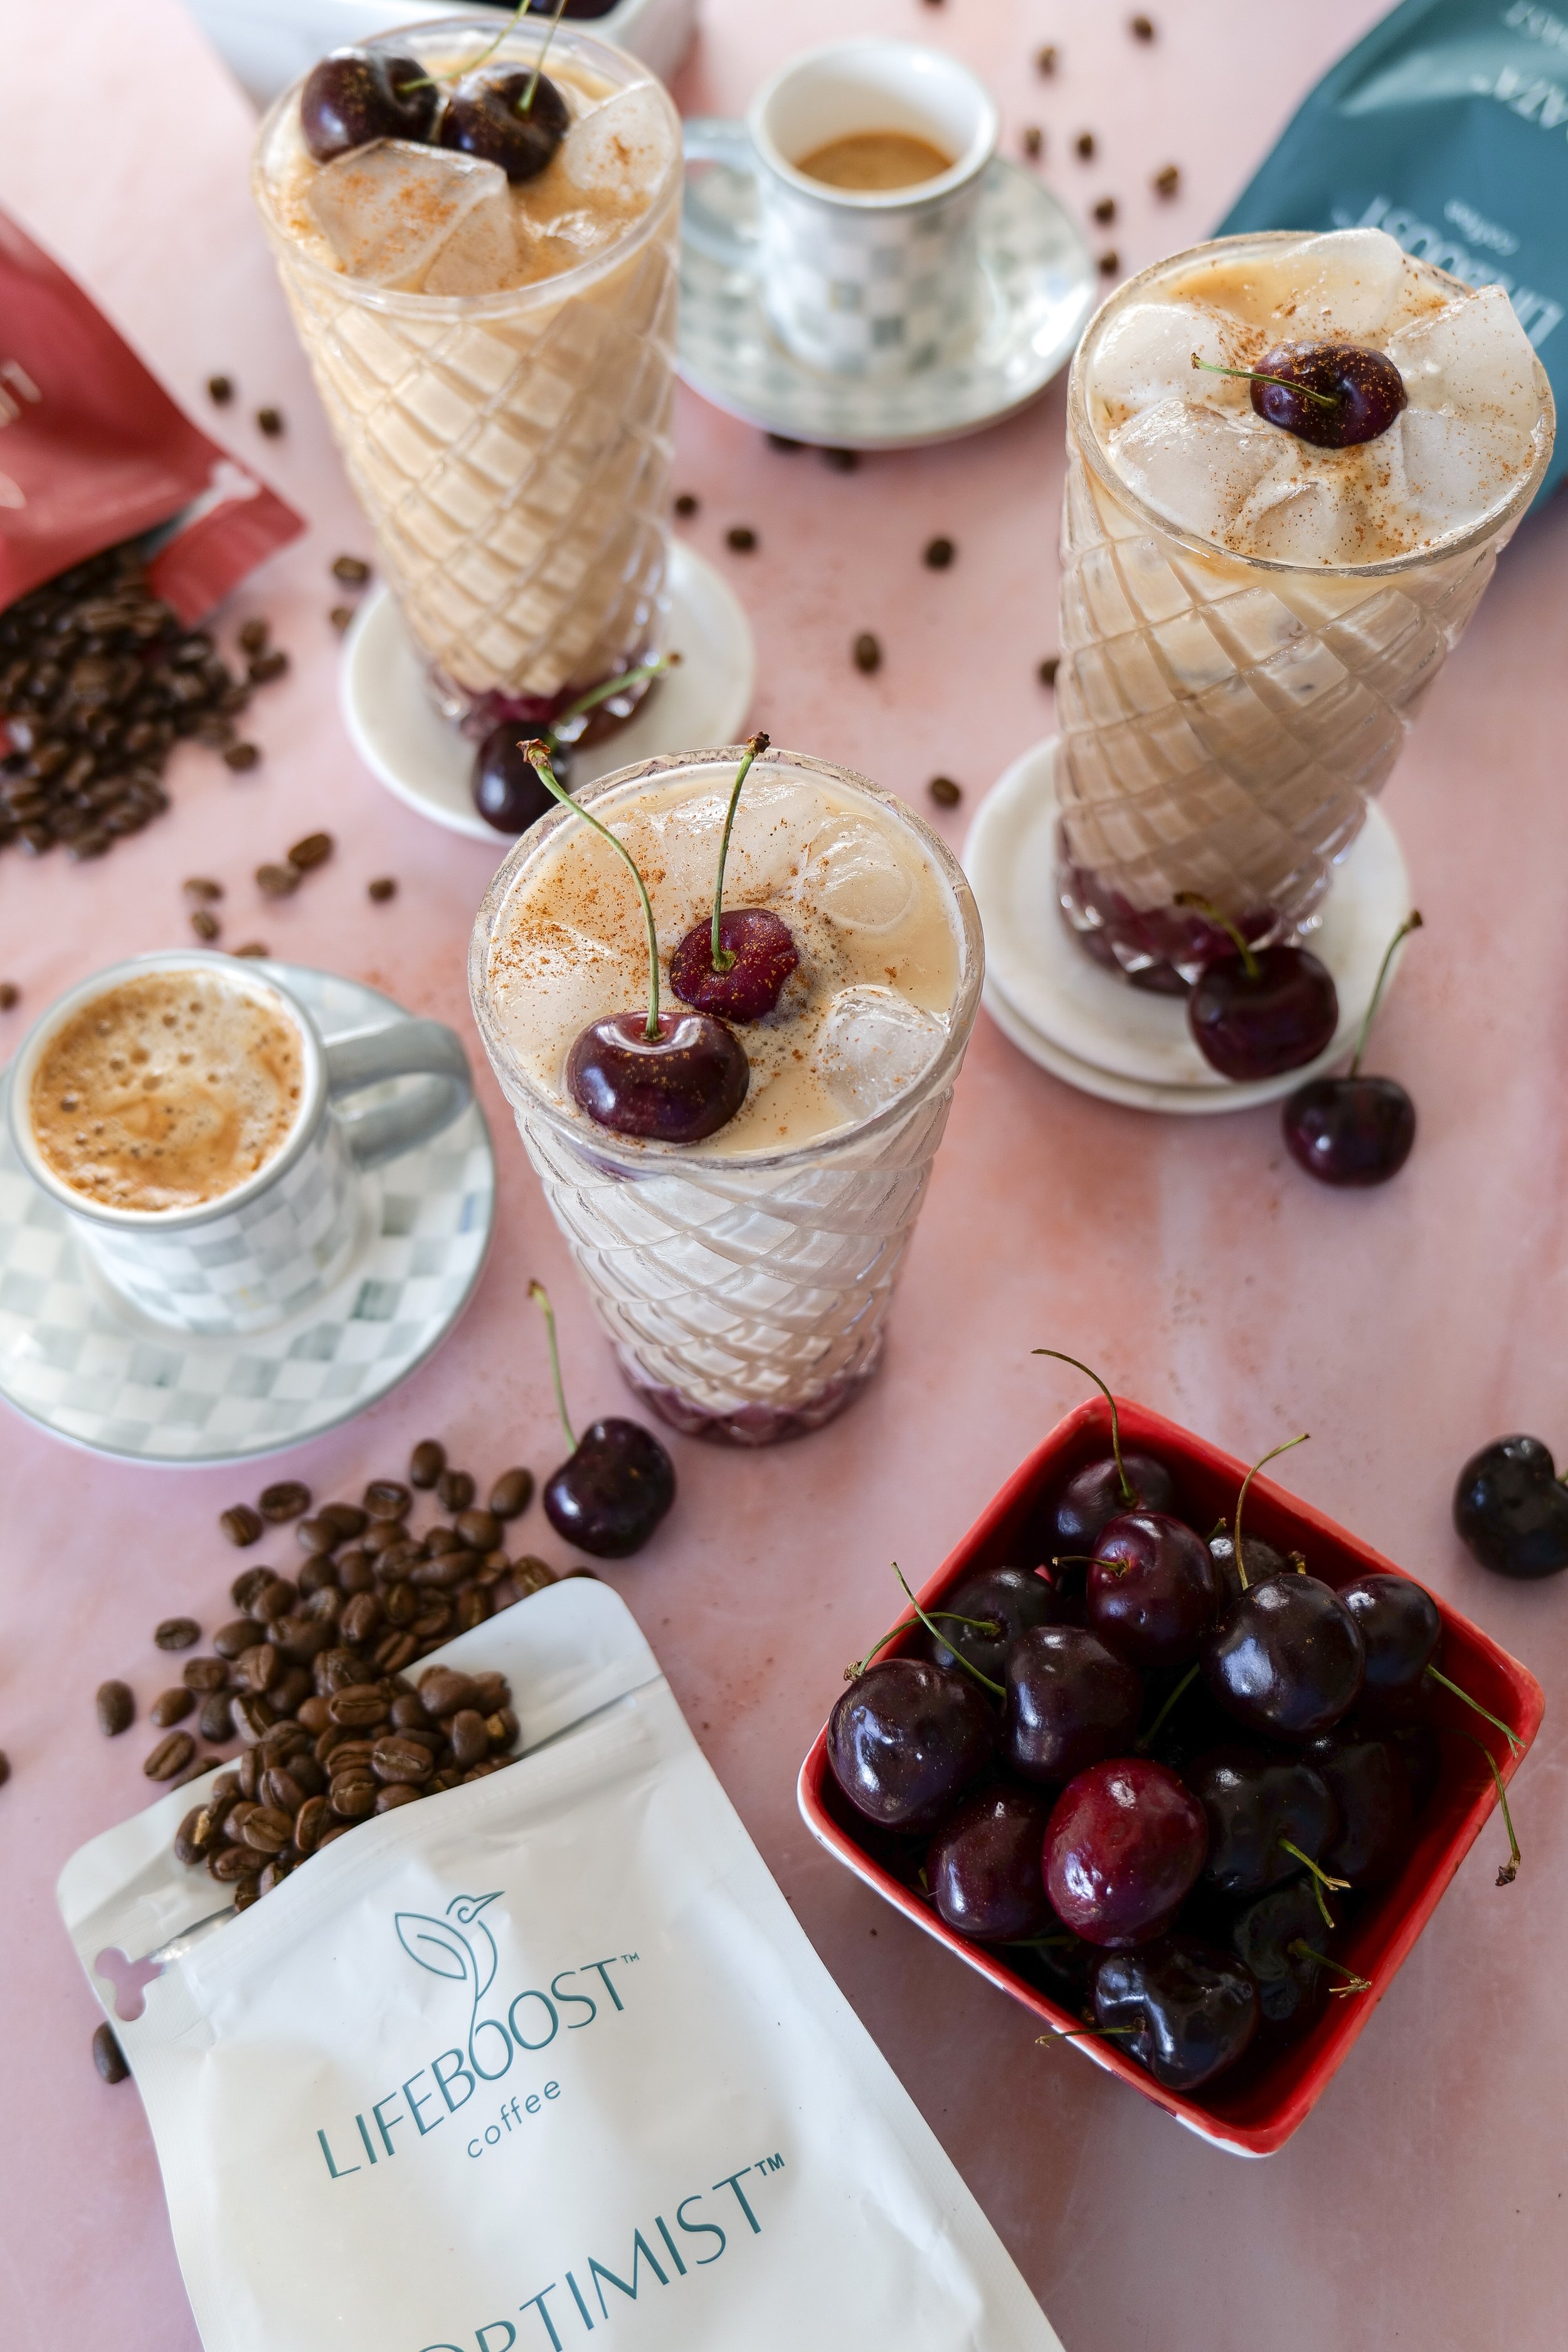
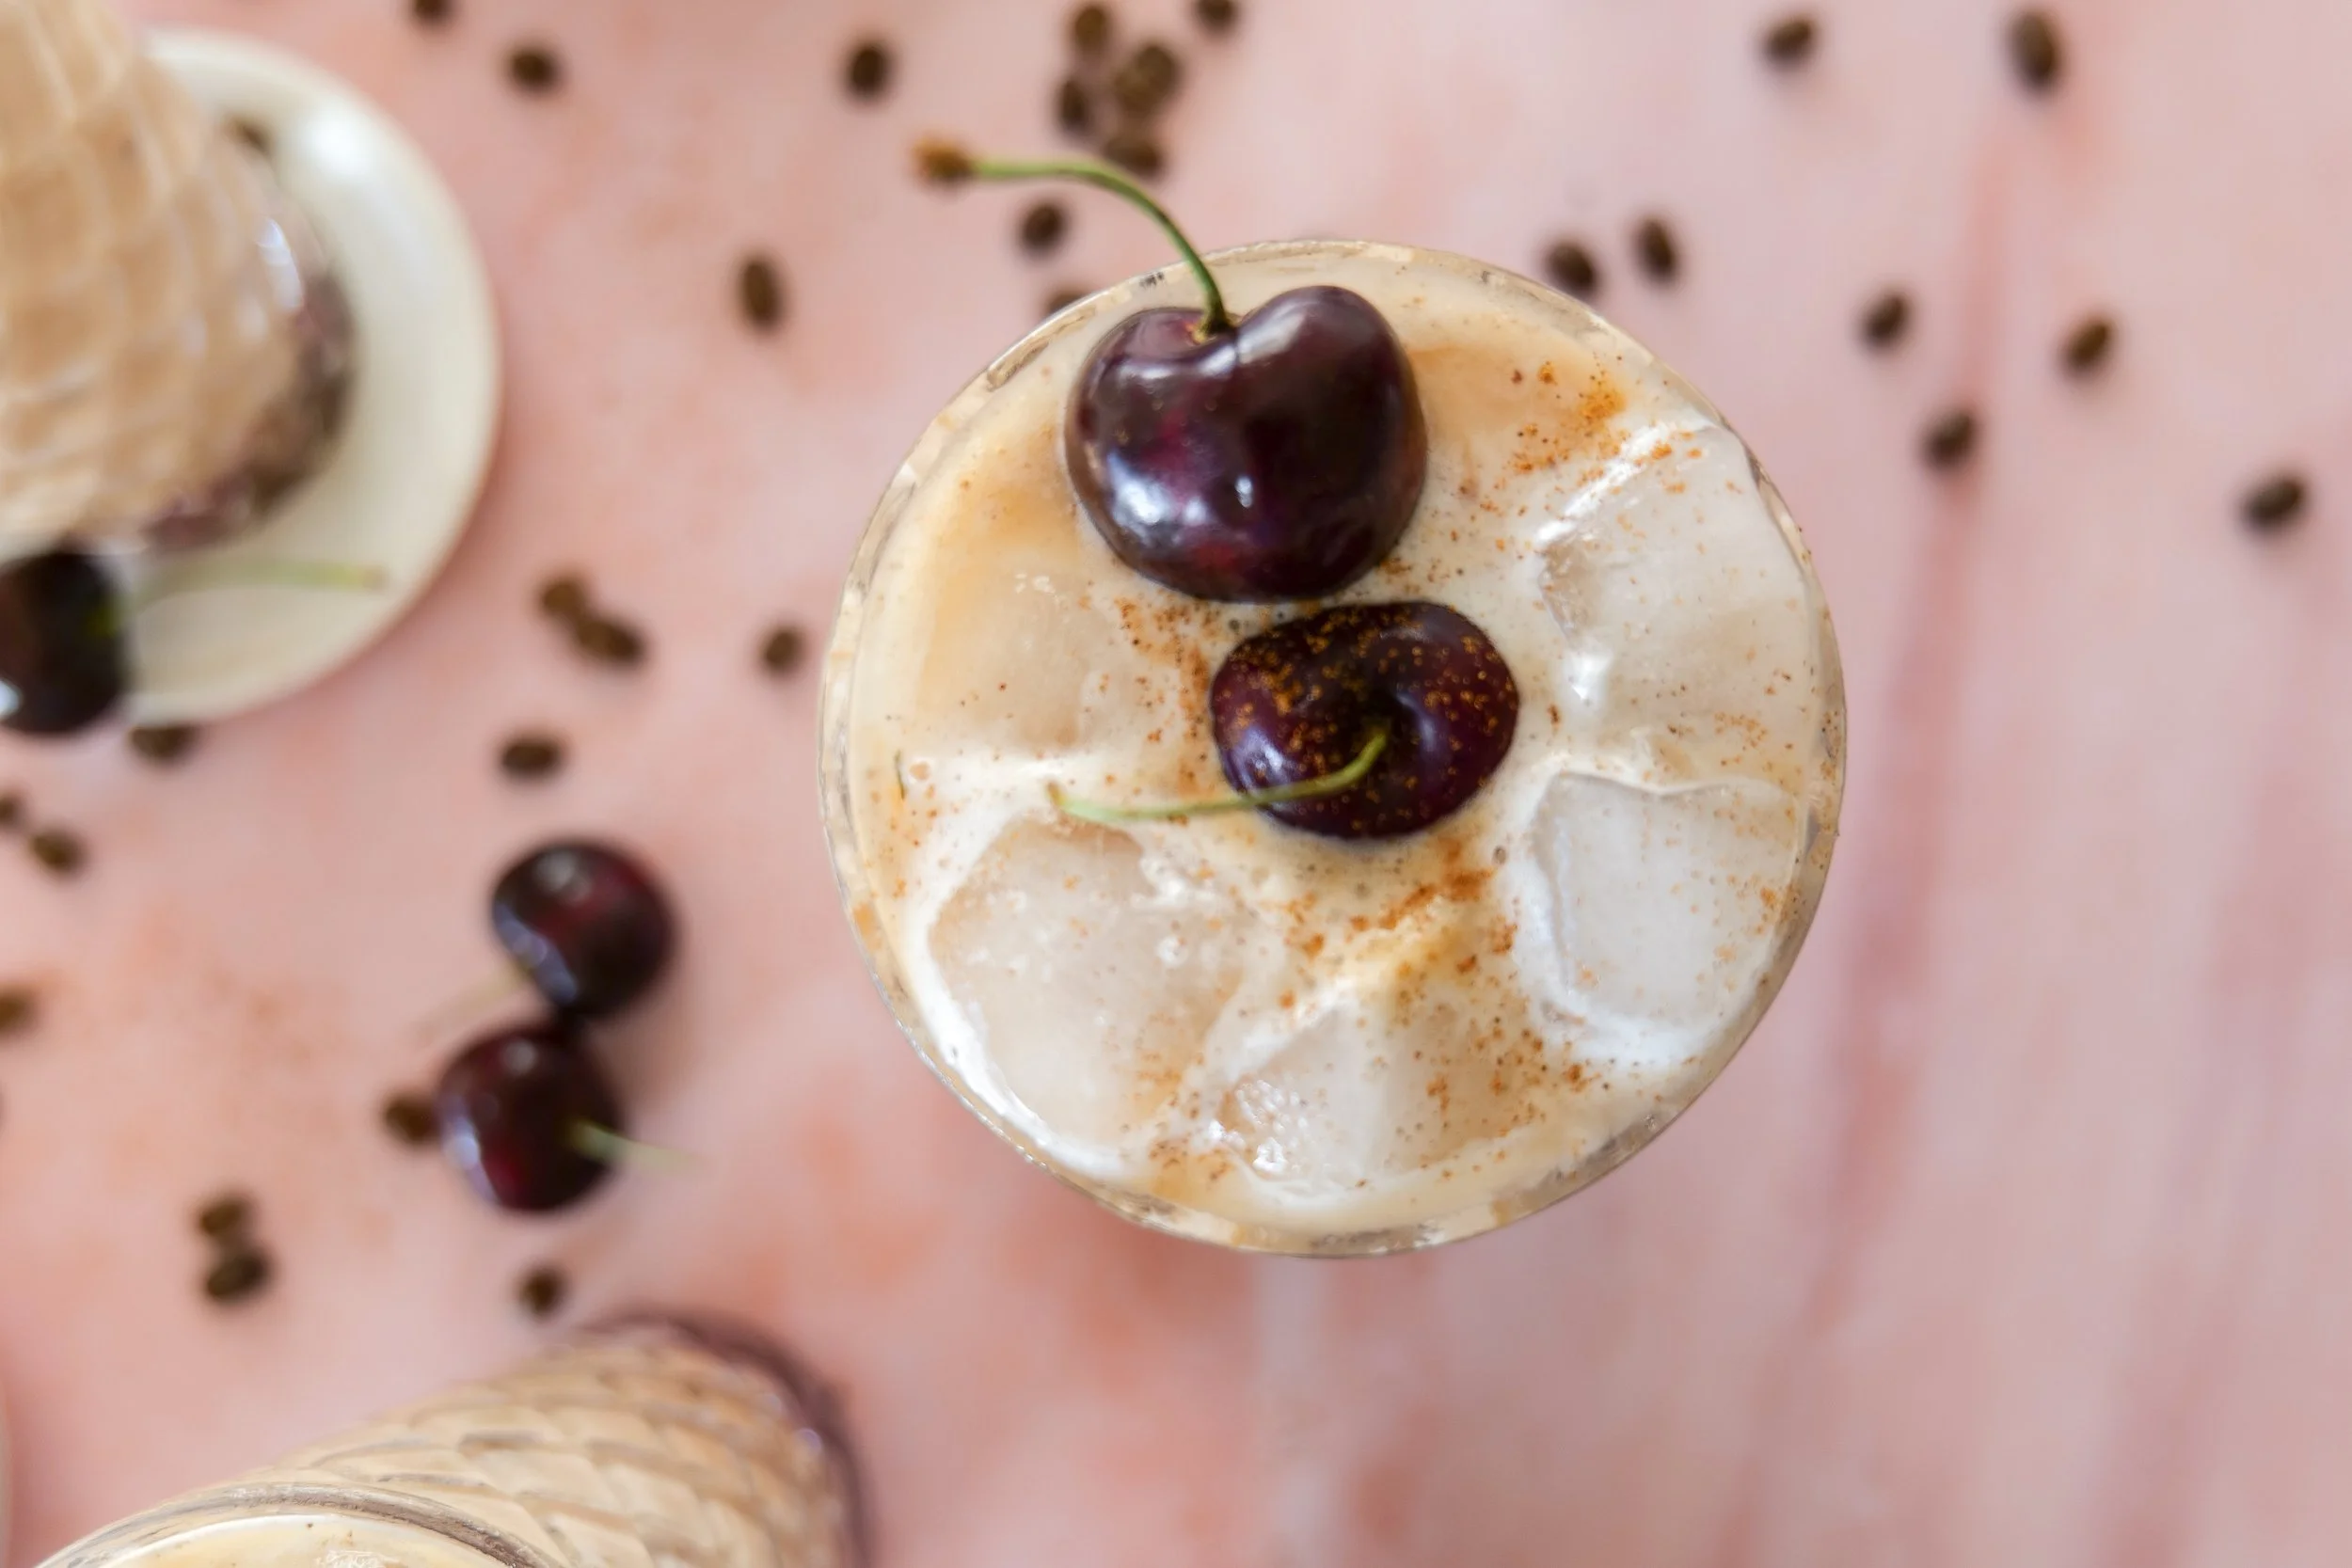
Refreshing summer iced cherry latte topped with cherry cold foam and homemade cherry cobbler syrup.
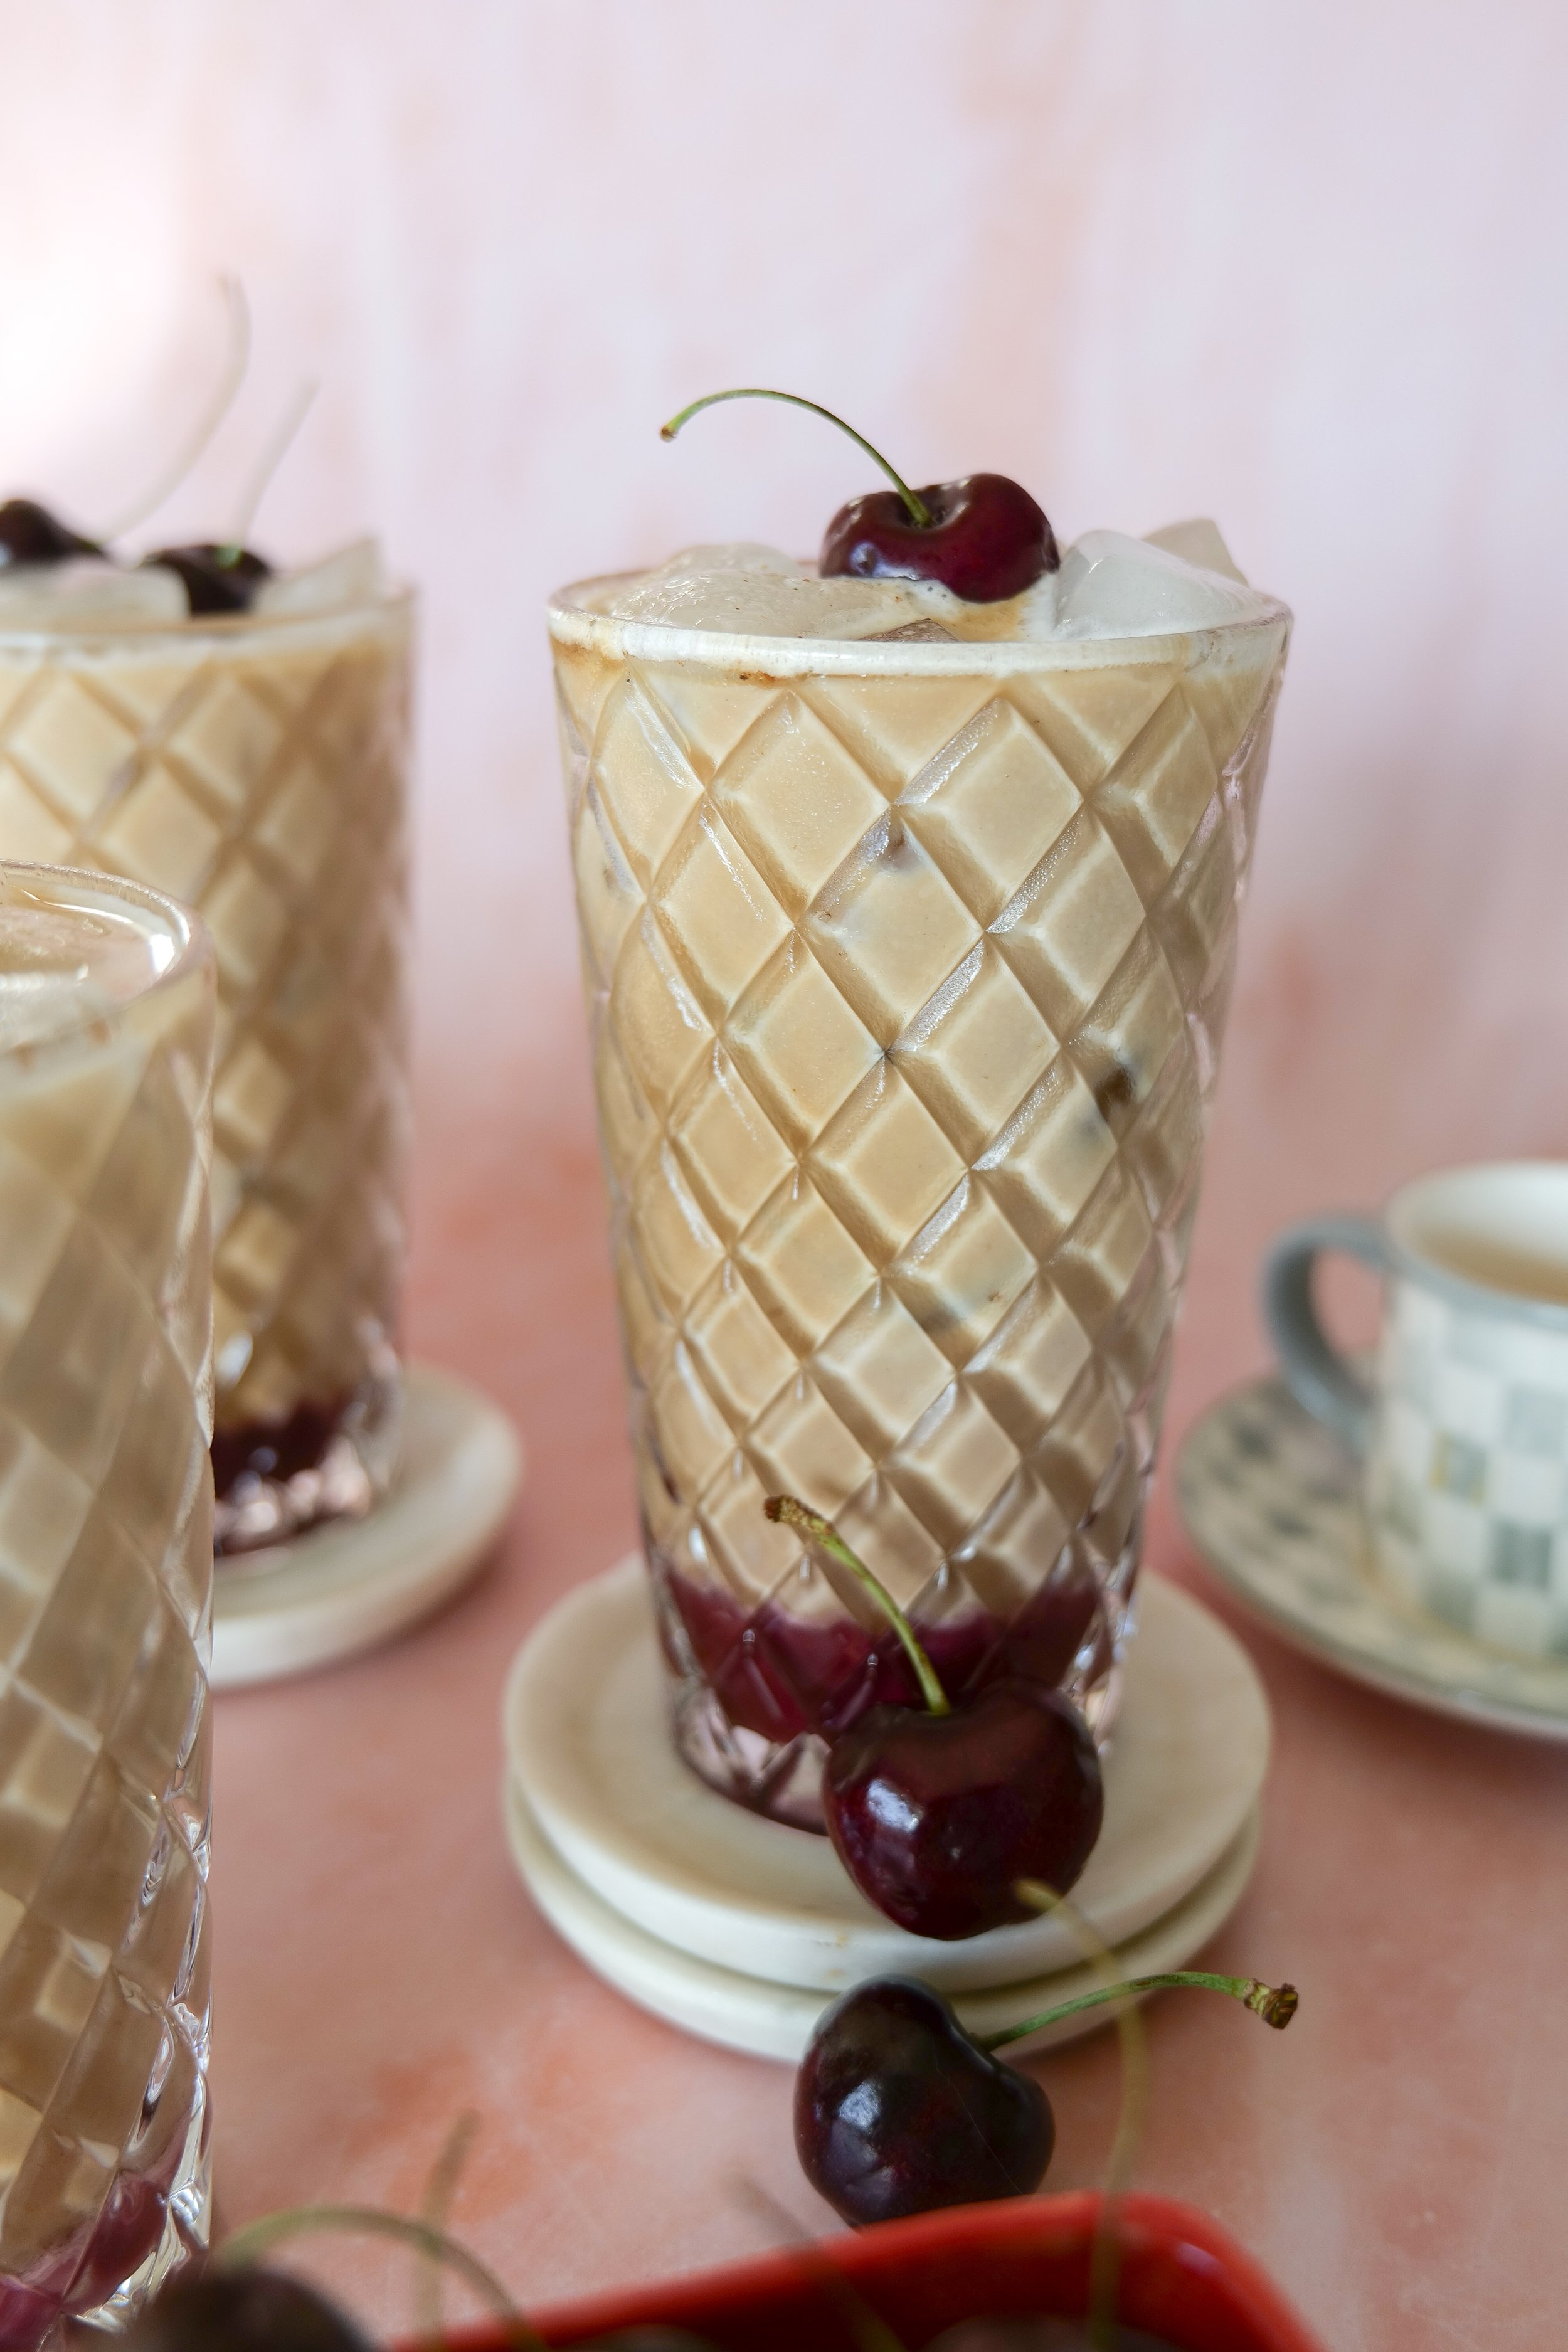
Espresso poured over homemade cherry cobbler syrup and ice to make a creamy iced latte.

This Iced Cherry Cobbler Latte was inspired by one of my favorite summer desserts, cherry cobbler with its buttery topping and warm, juicy filling.

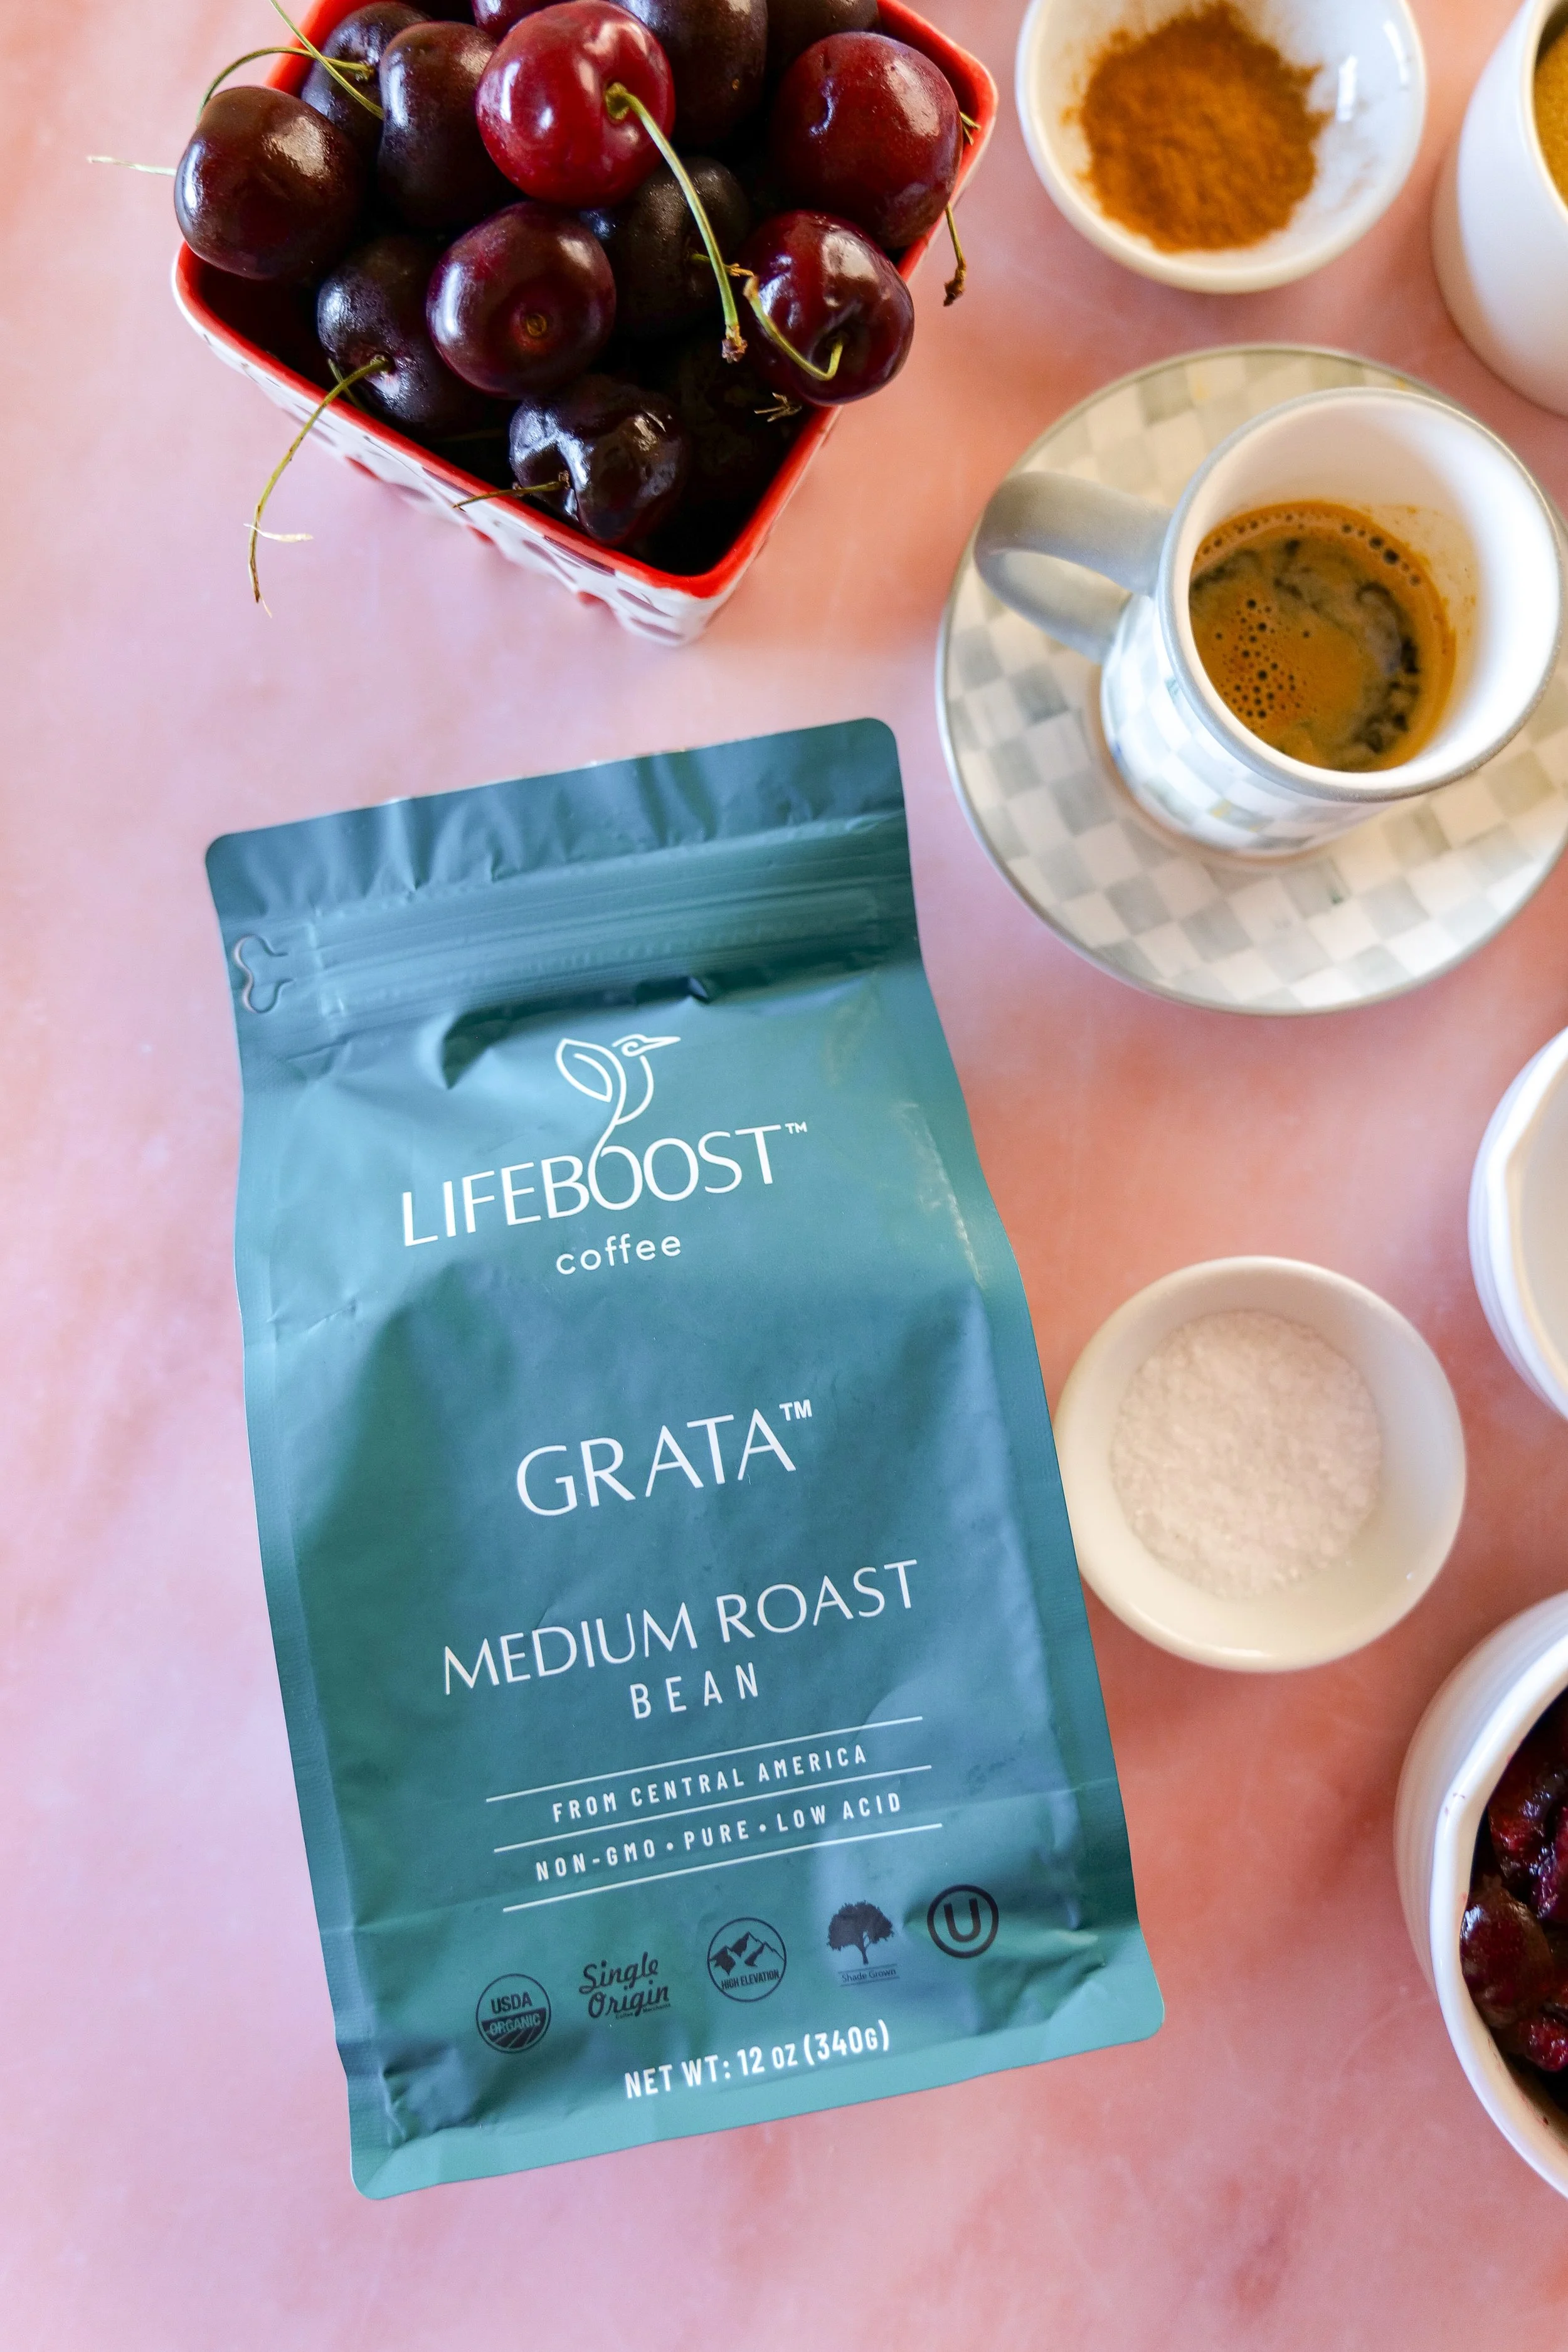
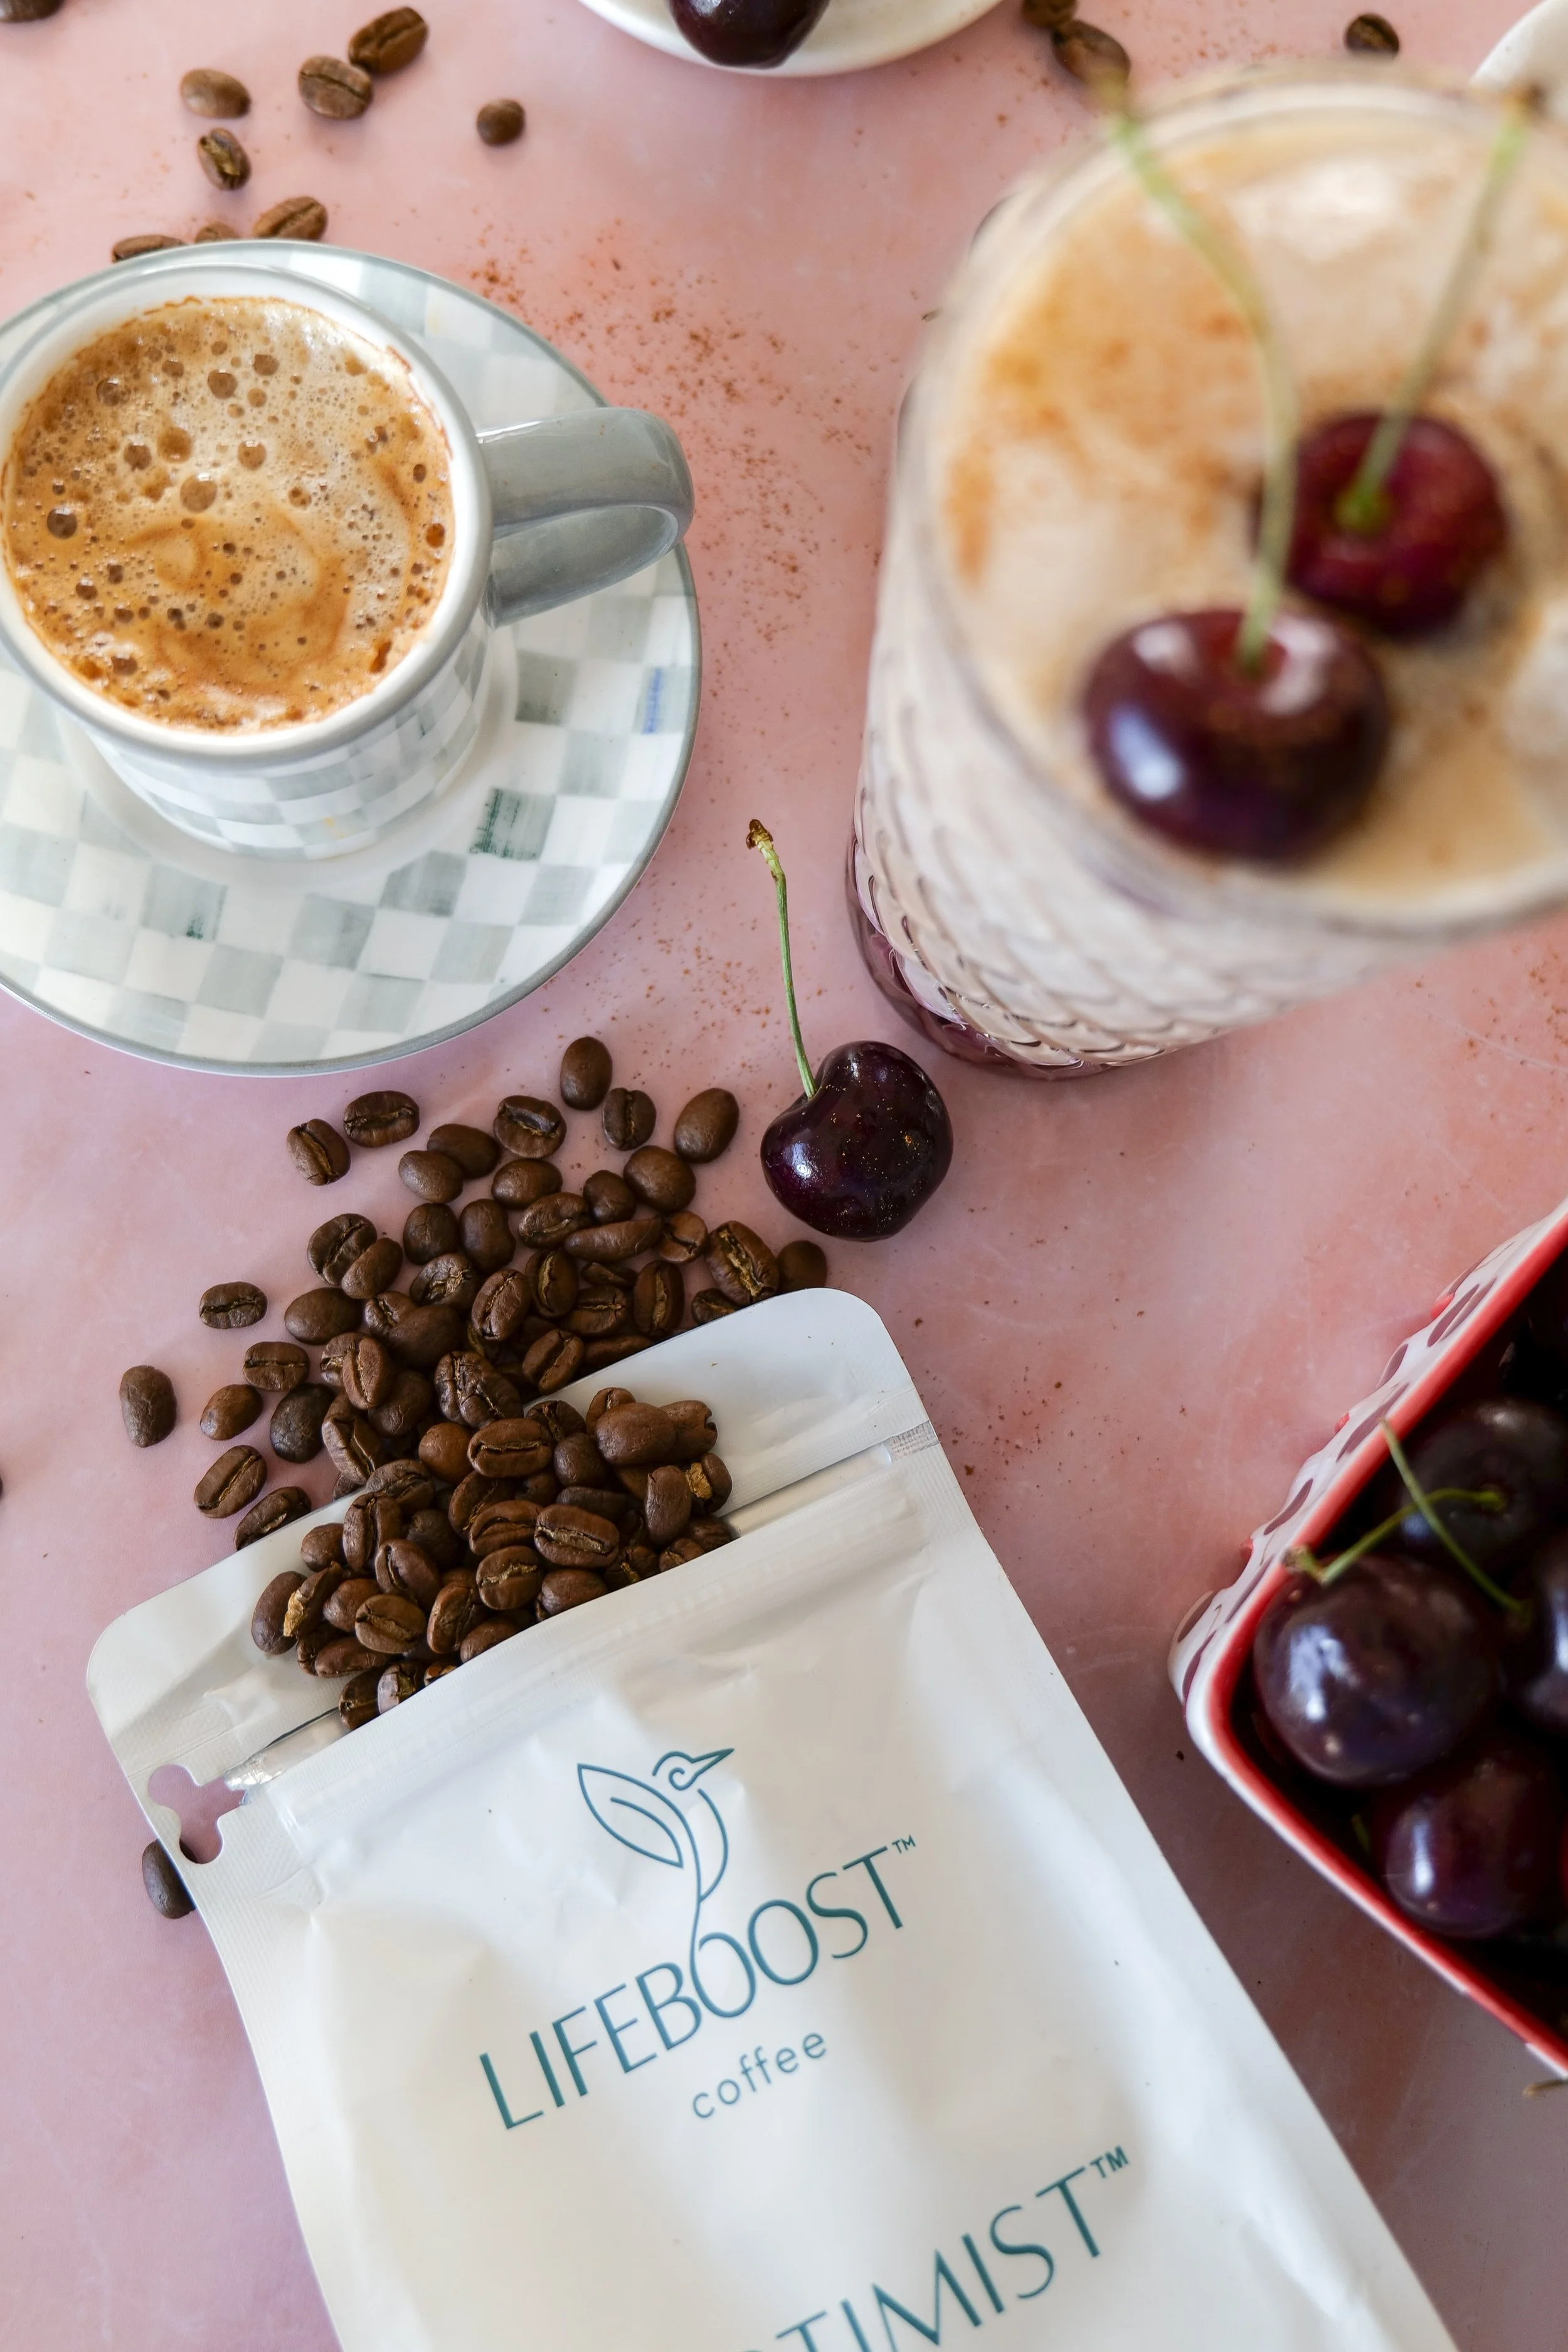
Instead of baking it into a dessert, I wanted to translate those same flavors into a drink using smooth, low-acid Lifeboost Coffee, a brown sugar cobbler espresso base, and a thick cherry syrup that tastes like pie filling over ice.

The result is a drink that feels nostalgic, lightly spiced, and perfect for summer mornings.

I made this latte with my favorite Lifeboost Coffee espresso because I love the smooth flavor in this recipe. If you'd like to try it too, you can shop through my link and save 10% with code Amanda10 at checkout. ☕ Thank you for supporting Amanda's Kitchen!

Shop the Cherry Cobbler Latte

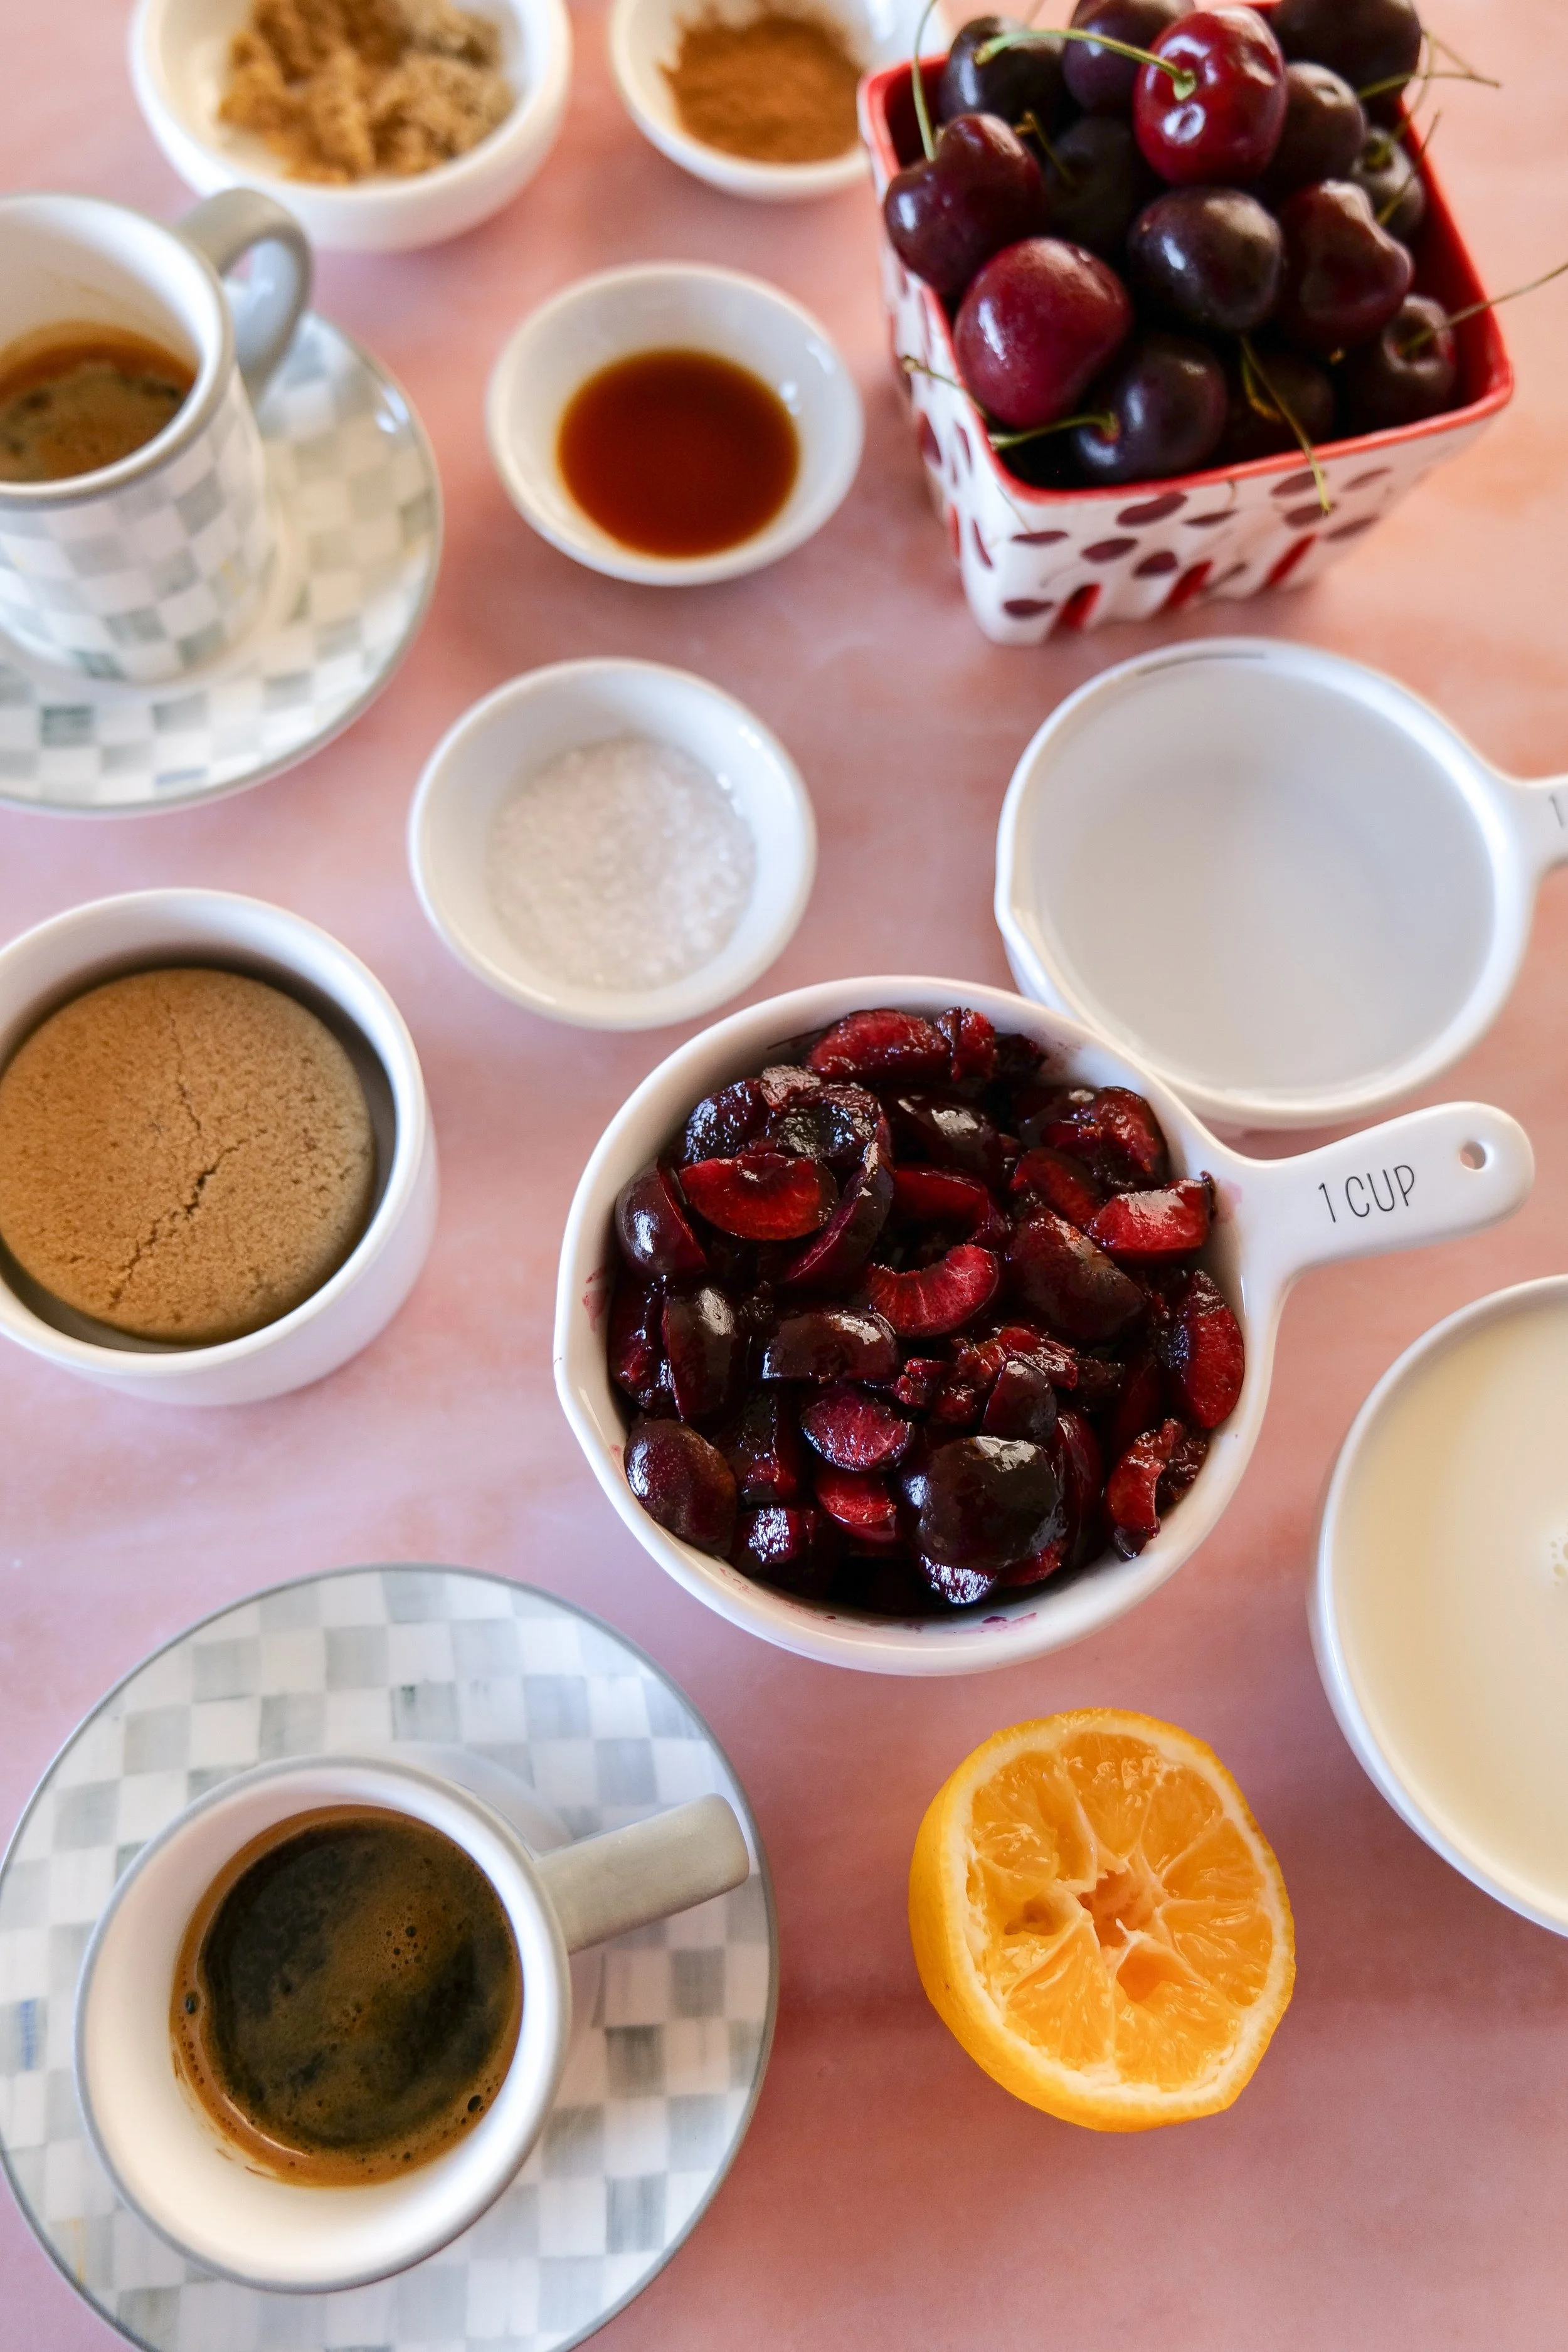
Before making the recipe, here is everything used to create this café-style drink at home.

Cherry Cobbler Latte essentials:

  • Lifeboost Coffee (smooth, low-acid base)

  • Espresso machine or strong coffee brewing method

  • Glass iced coffee cups for layering and presentation

  • Milk frother or whisk

  • Cherry syrup or jarred cherries

  • Large ice cube tray

This setup creates the foundation for an at-home coffee shop experience.

The Cobbler Flavor Method

This latte is built in layers to replicate the flavor of cherry cobbler.

Brown sugar cobbler espresso provides a warm, caramelized base with vanilla and cinnamon.

Thick cherry syrup adds a rich, fruit-forward layer that mimics cherry pie filling.

Creamy milk over ice balances everything with a smooth, cooling finish.

Together, it creates a drink that tastes like dessert in coffee form.

Iced latte made with homemade cherry syrup, espresso, milk, and sweet cold foam.
Coffeehouse-style Iced Cherry Cobbler Latte made from scratch at home.
Homemade iced cherry coffee drink with espresso, milk, and whipped cherry cold foam.

Shop My Cozy Coffee Bar Favorites

These are the everyday essentials I use to create coffee moments at home.

Save This Recipe

Whether you're planning ahead for a special occasion or adding a new favorite to your recipe collection, I've included a printable recipe card below so it's easy to save, print, and share with the people you love.

Iced latte topped with fluffy homemade cherry cold foam and fresh cherries.
Cherry Cobbler Latte inspired by the flavors of homemade cherry cobbler served over ice.
Cold espresso drink layered with cherry syrup, milk, and ice for a refreshing summer coffee.
Creamy homemade iced latte topped with thick cold foam and fresh cherries.

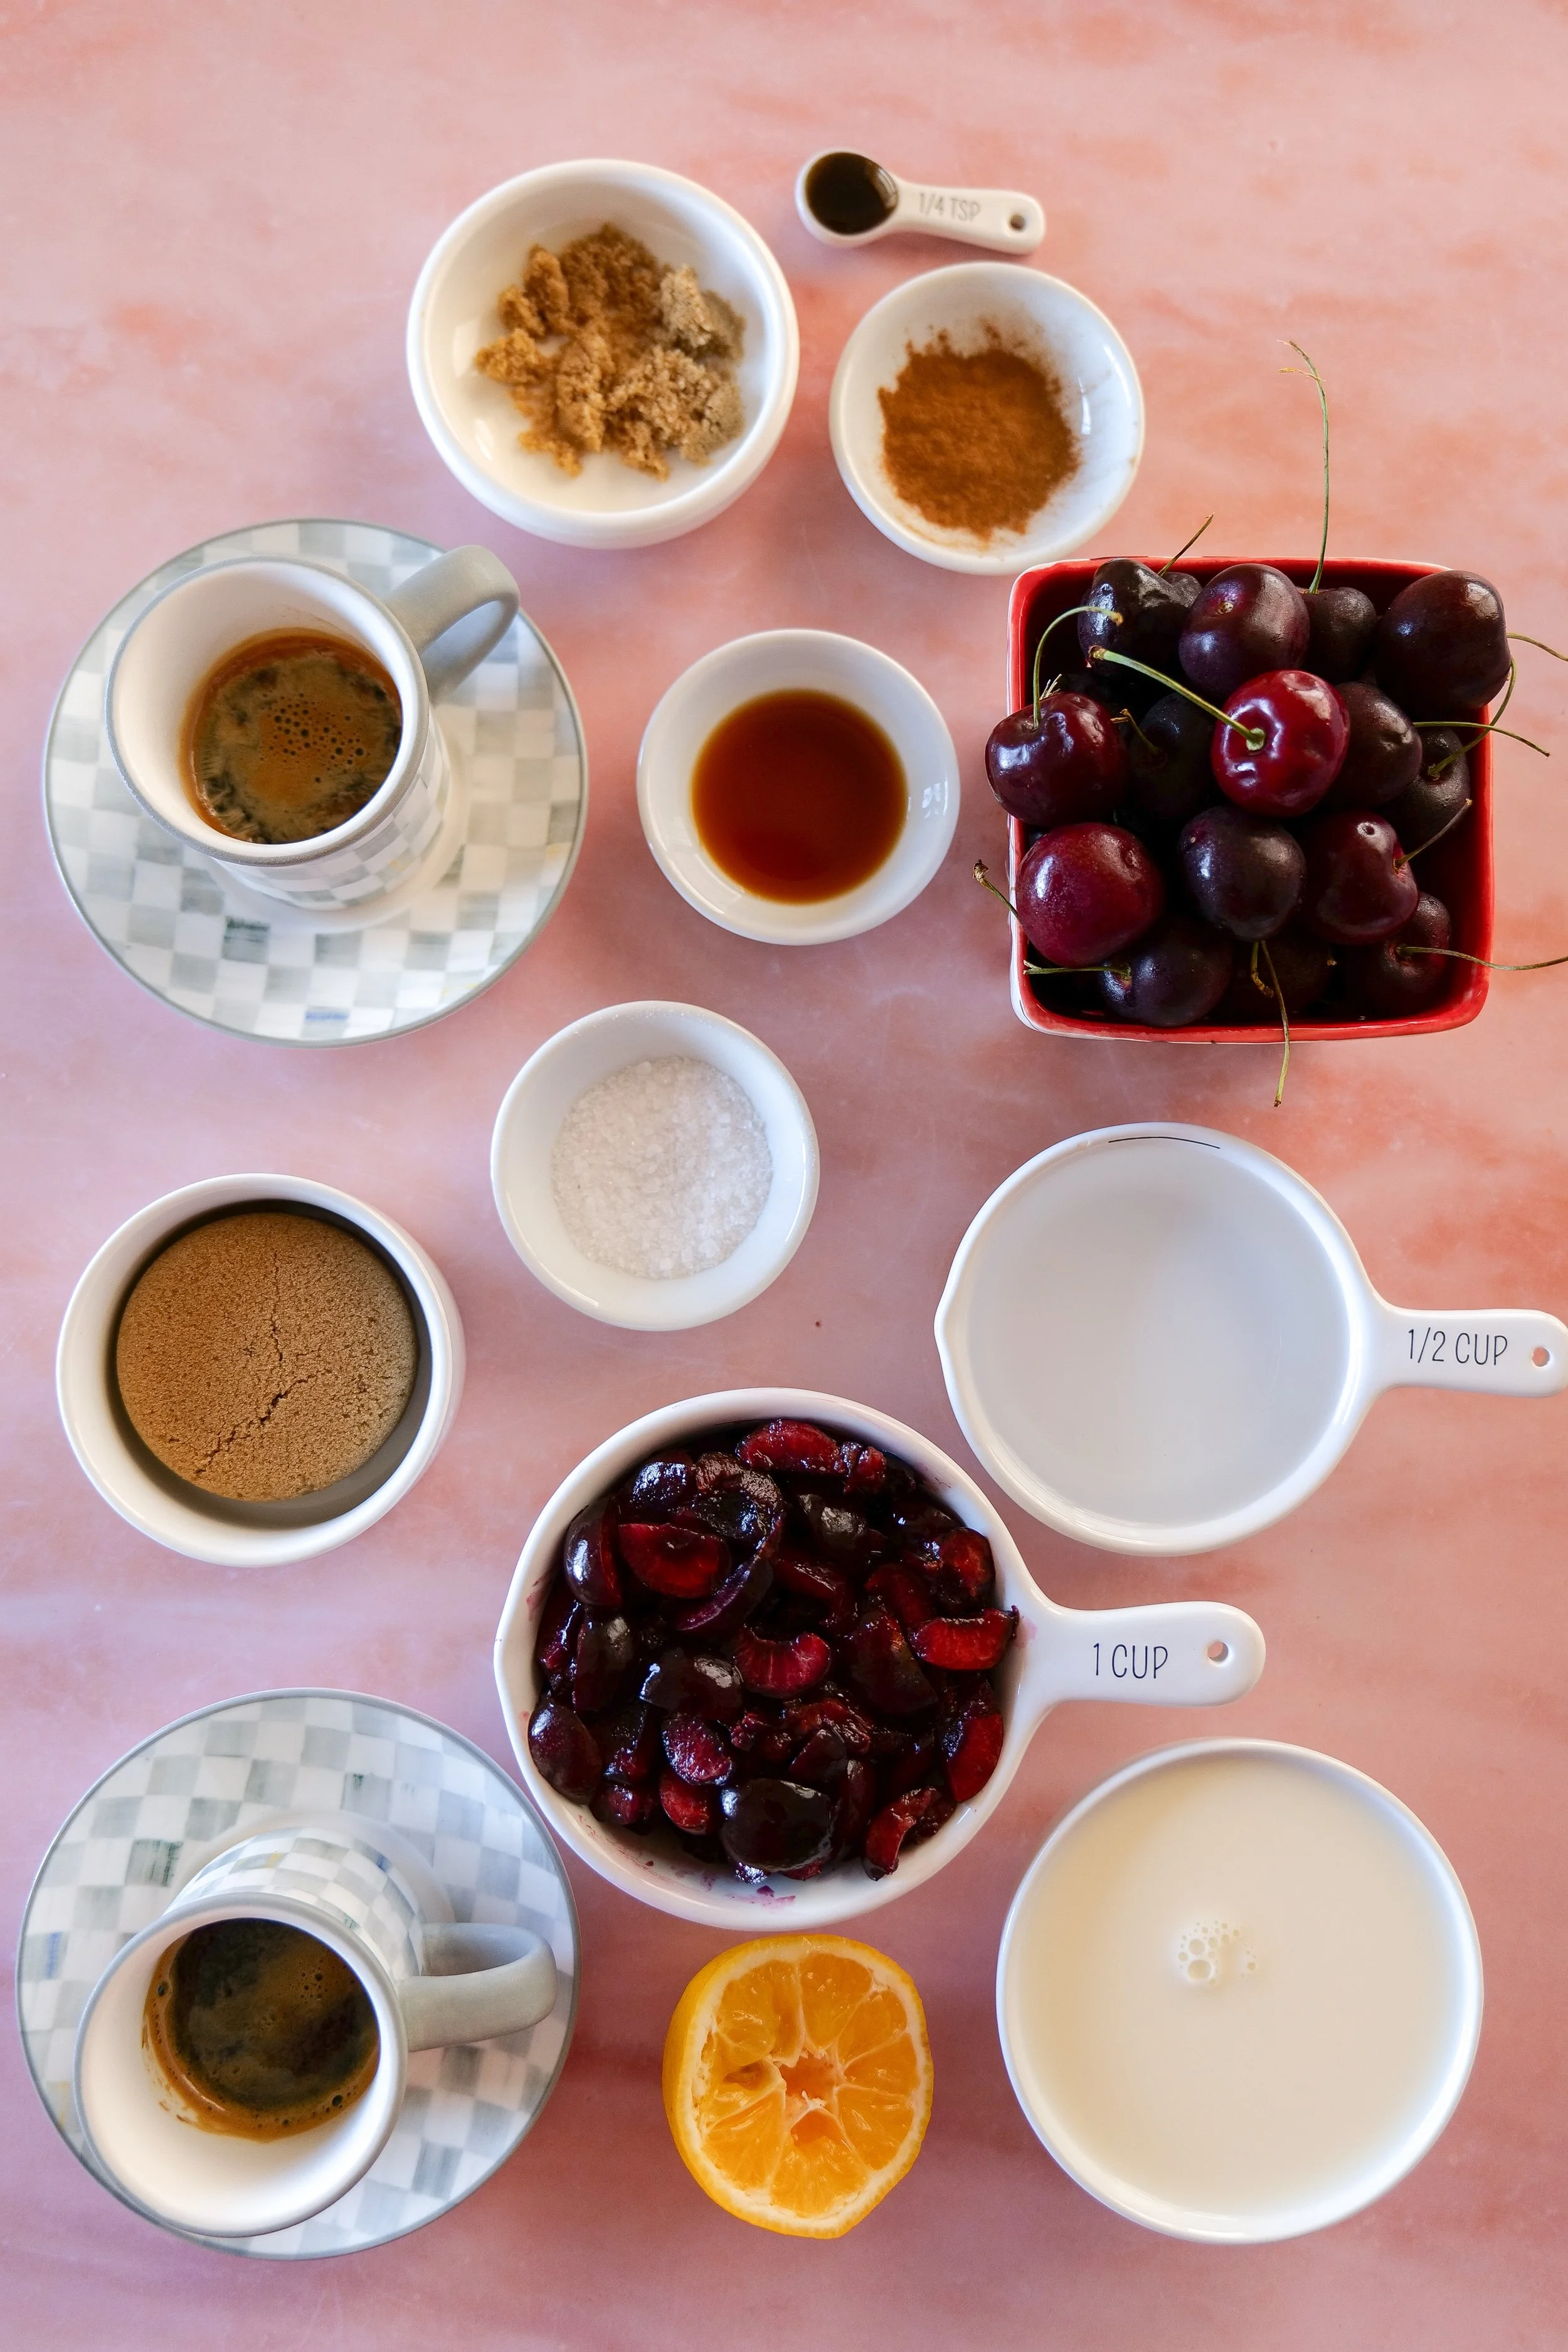
Ingredients

Cherry Cobbler Syrup

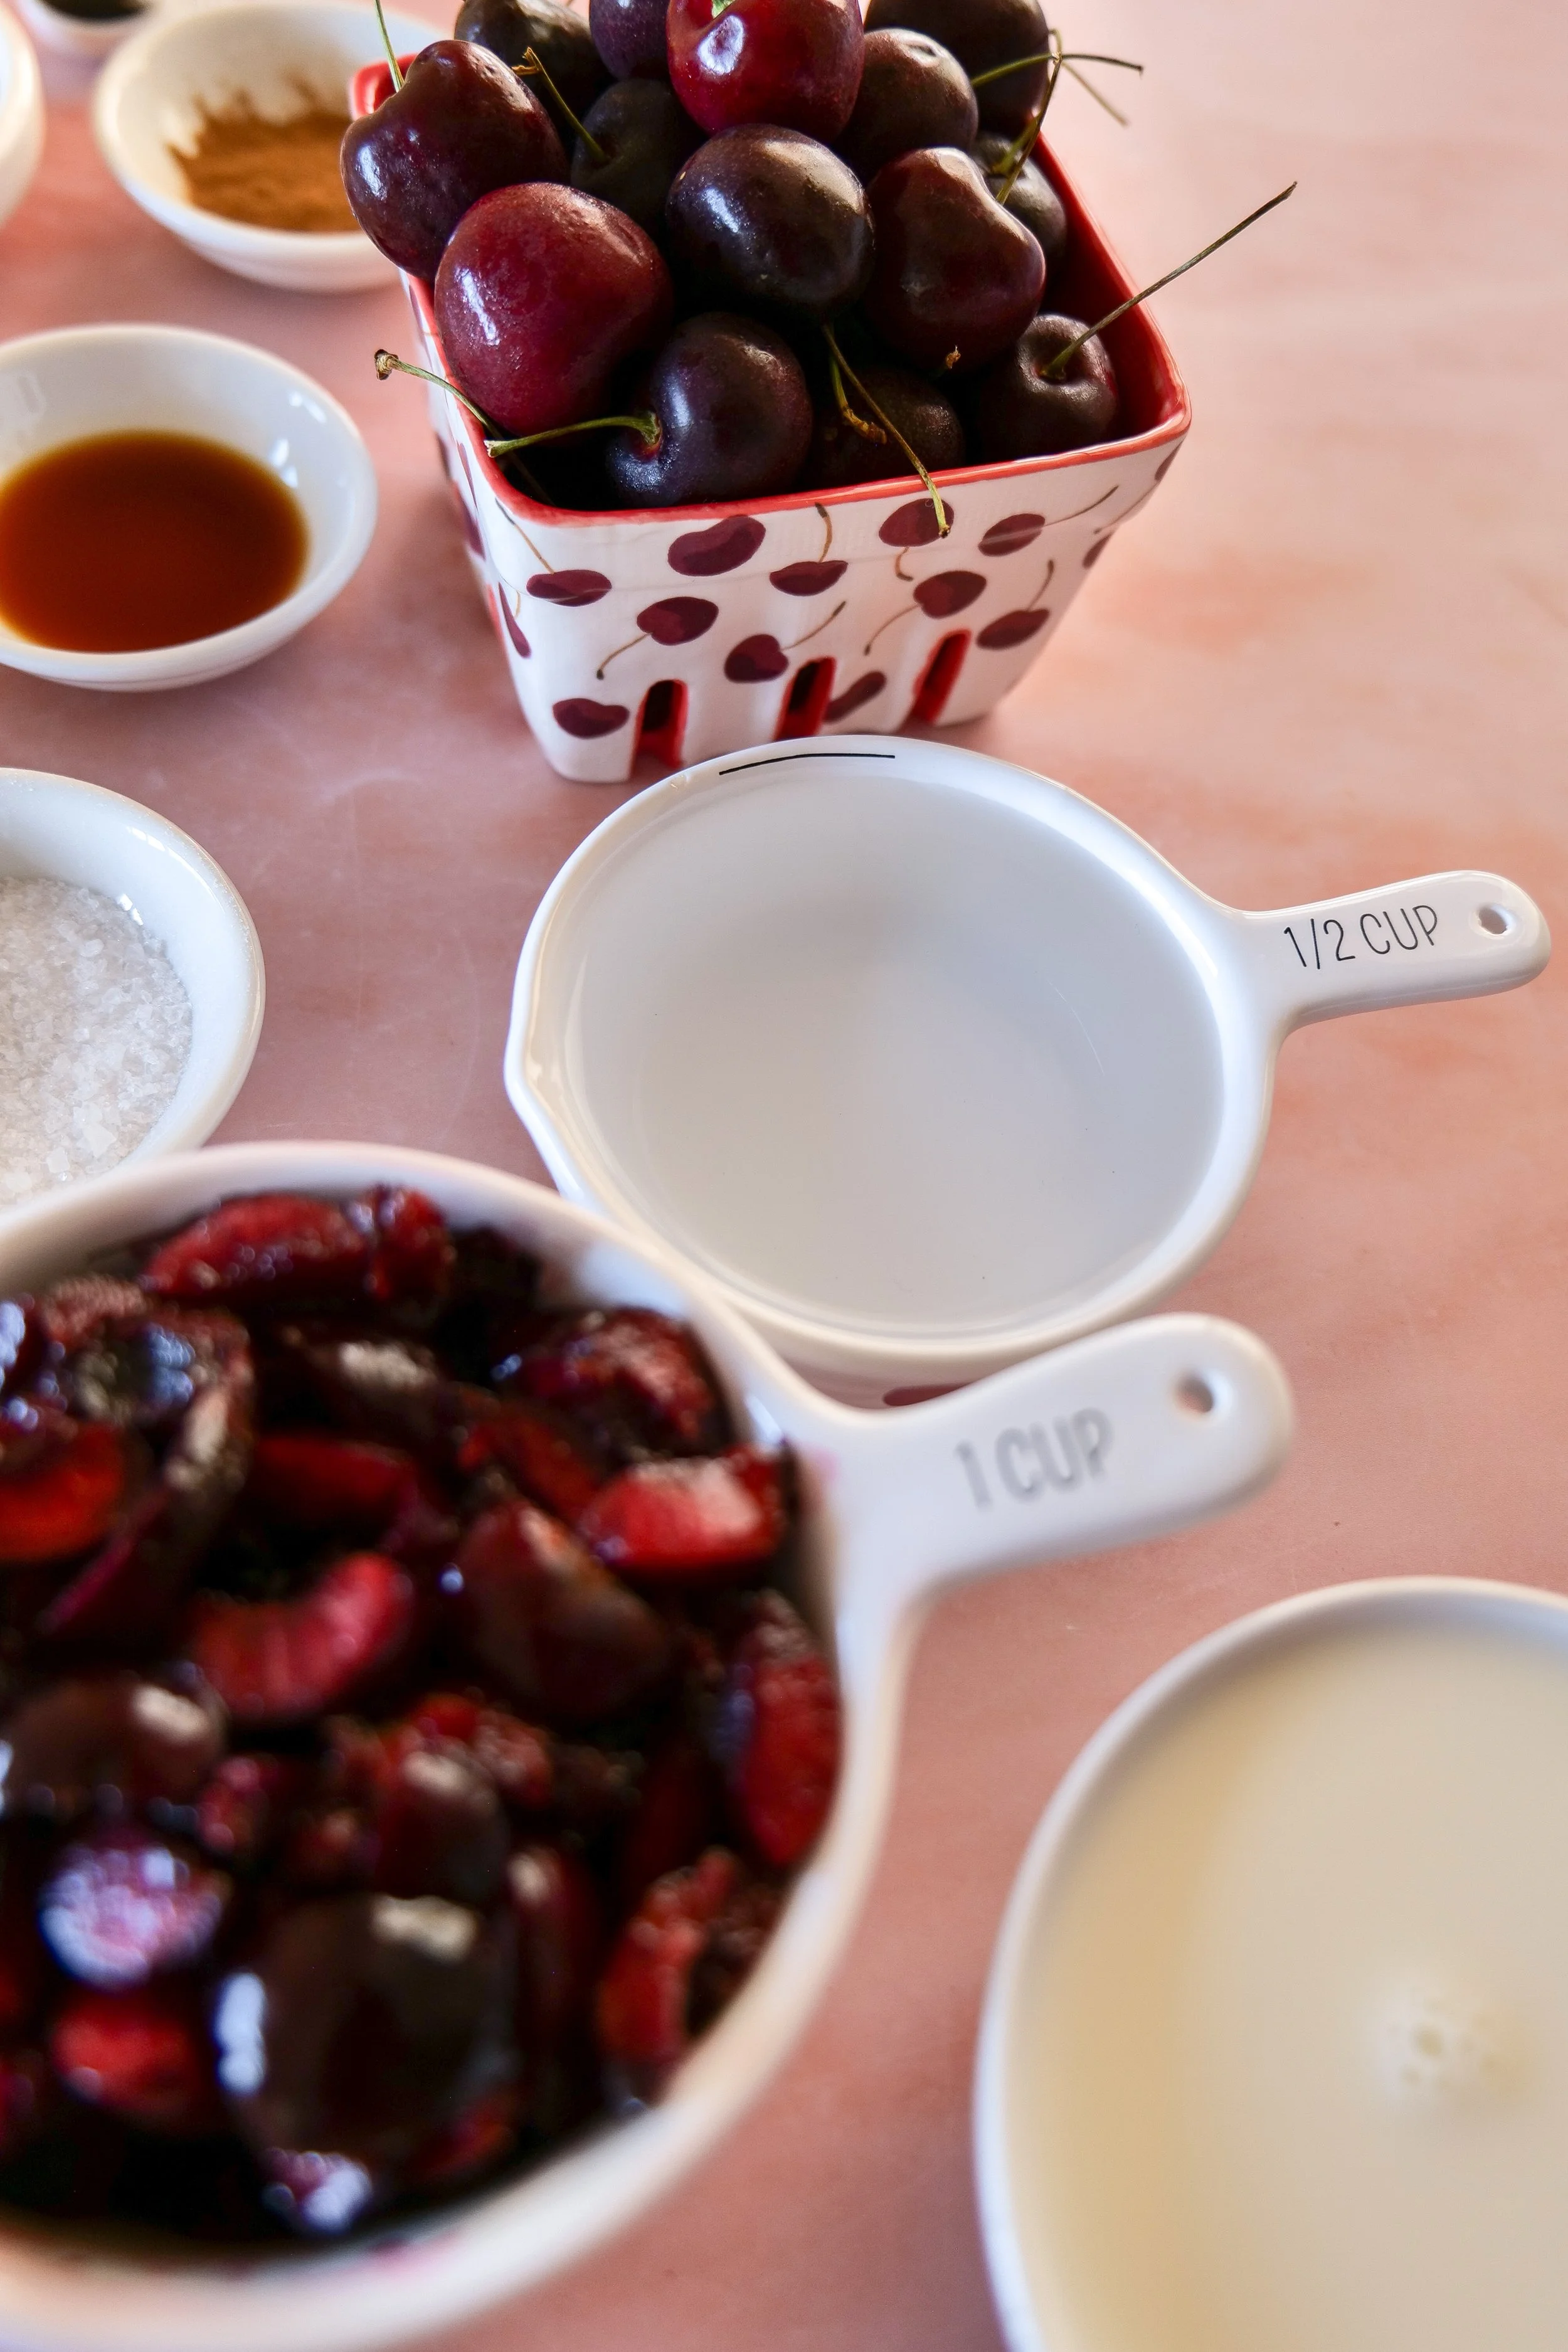
  • 1 cup cherries, fresh or frozen and pitted

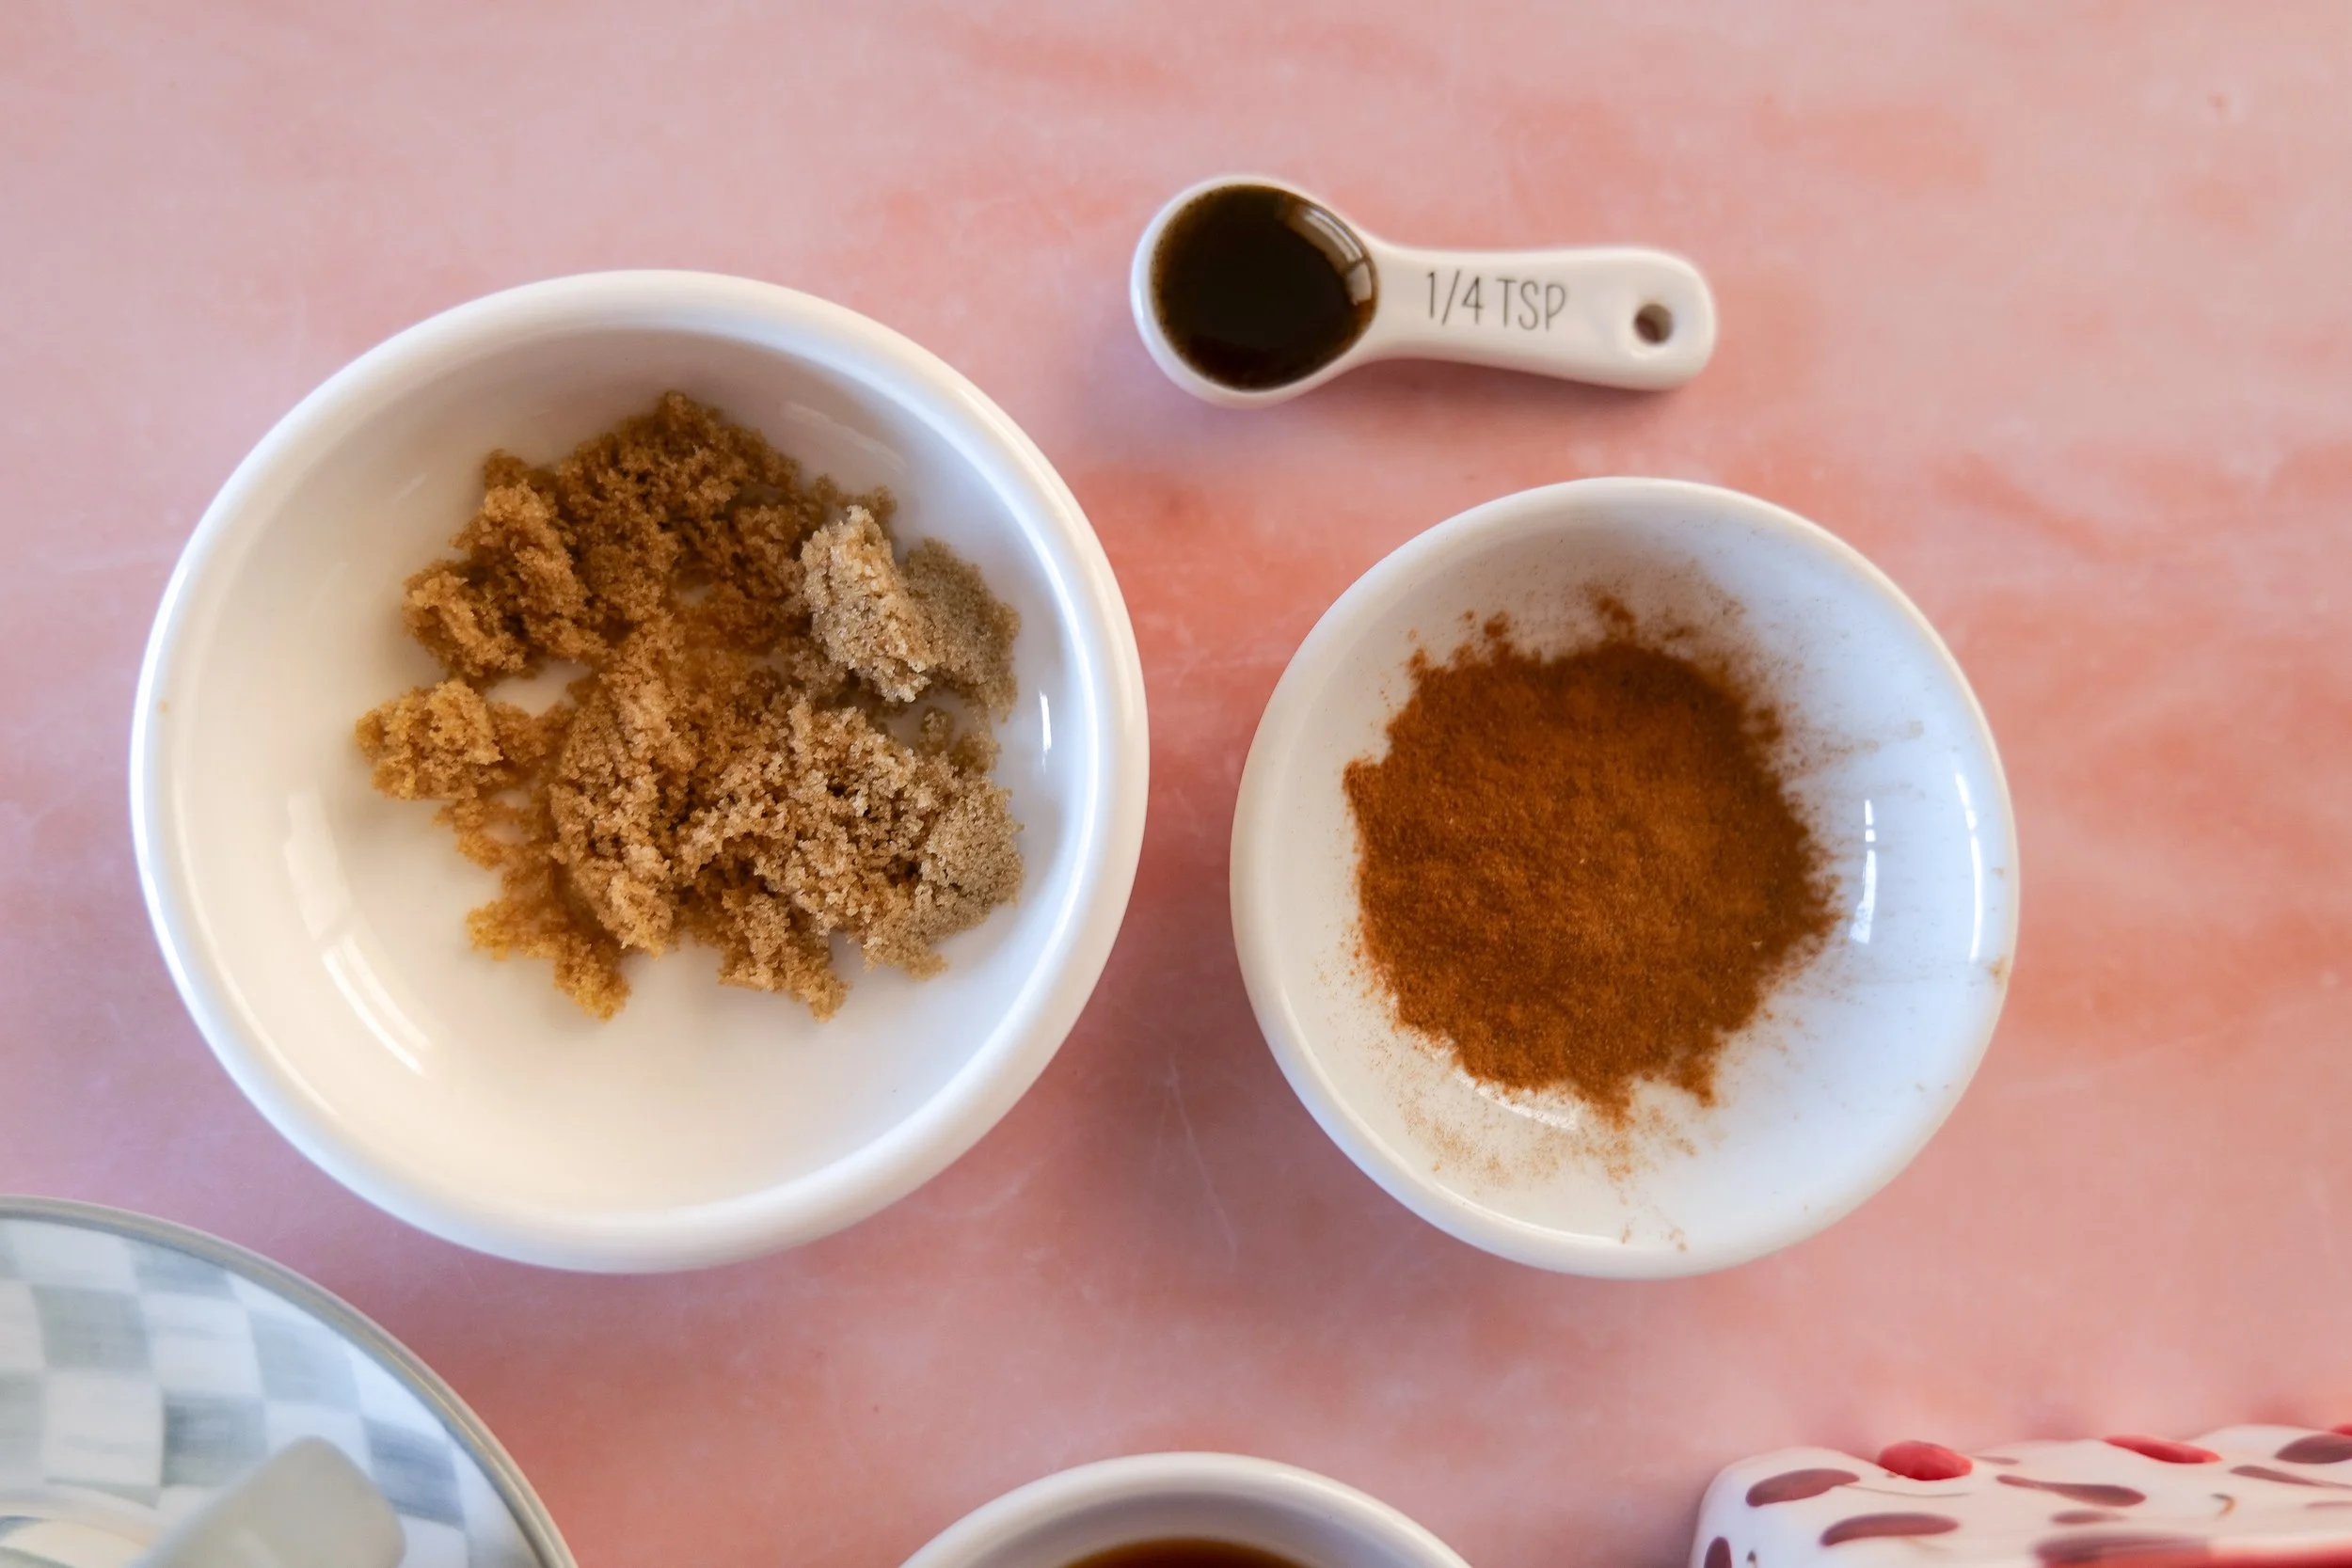
  • 1/3 cup brown sugar

  • 1/2 cup water

  • 1 teaspoon lemon juice

  • 1/2 teaspoon vanilla extract

  • Pinch of cinnamon

Brown Sugar Cobbler Espresso

  • 1 to 2 shots espresso or strong Lifeboost Coffee

  • 1 to 2 teaspoons brown sugar

  • 1/4 teaspoon vanilla bean

  • Pinch of cinnamon and salt

Latte

  • 1 cup milk of choice

  • Ice

  • 1 to 2 tablespoons cherry syrup

  • Prepared espresso mixture

Instructions

  1. Make the cherry syrup by simmering cherries, brown sugar, and water for 8 to 10 minutes. Add vanilla and cinnamon, then cool completely.

  2. Brew espresso or strong coffee. Stir in brown sugar, vanilla, cinnamon, and salt while hot to create the cobbler base.

  3. Fill a glass with ice and cherry syrup.

  4. Add milk.

  5. Slowly pour the cobbler espresso over the top.

  6. Stir or serve layered.

What to Serve With Your Cherry Cobbler Latte

To turn this into a full café-style moment at home, pair it with:

  • Cherry scones

  • Almond croissants

  • Butter shortbread cookies

  • Vanilla pound cake

  • Mini cobbler cups

  • Simple bakery-style biscuits

Shop Café Pairings and Pastries

Tips for Best Results

Do not skip the brown sugar espresso, as it creates the cobbler flavor base.

Make the cherry syrup slightly thick for a pie filling texture.

Use glass cups to highlight the layered effect.

Oat milk works especially well for a creamy finish.

Save for Later

This is a simple way to turn a quiet morning into something more intentional and seasonal.

Easy summer coffee recipe featuring espresso, homemade cherry syrup, and creamy milk.
Homemade iced coffee flavored with rich cherry cobbler syrup and topped with cold foam.
Coffee shop inspired Cherry Cobbler Latte made with espresso, milk, and homemade cherry syrup.
Refreshing iced cherry latte finished with creamy vanilla cold foam and cherry garnish.
The best homemade Iced Cherry Cobbler Latte with espresso, homemade cherry syrup, and cold foam.

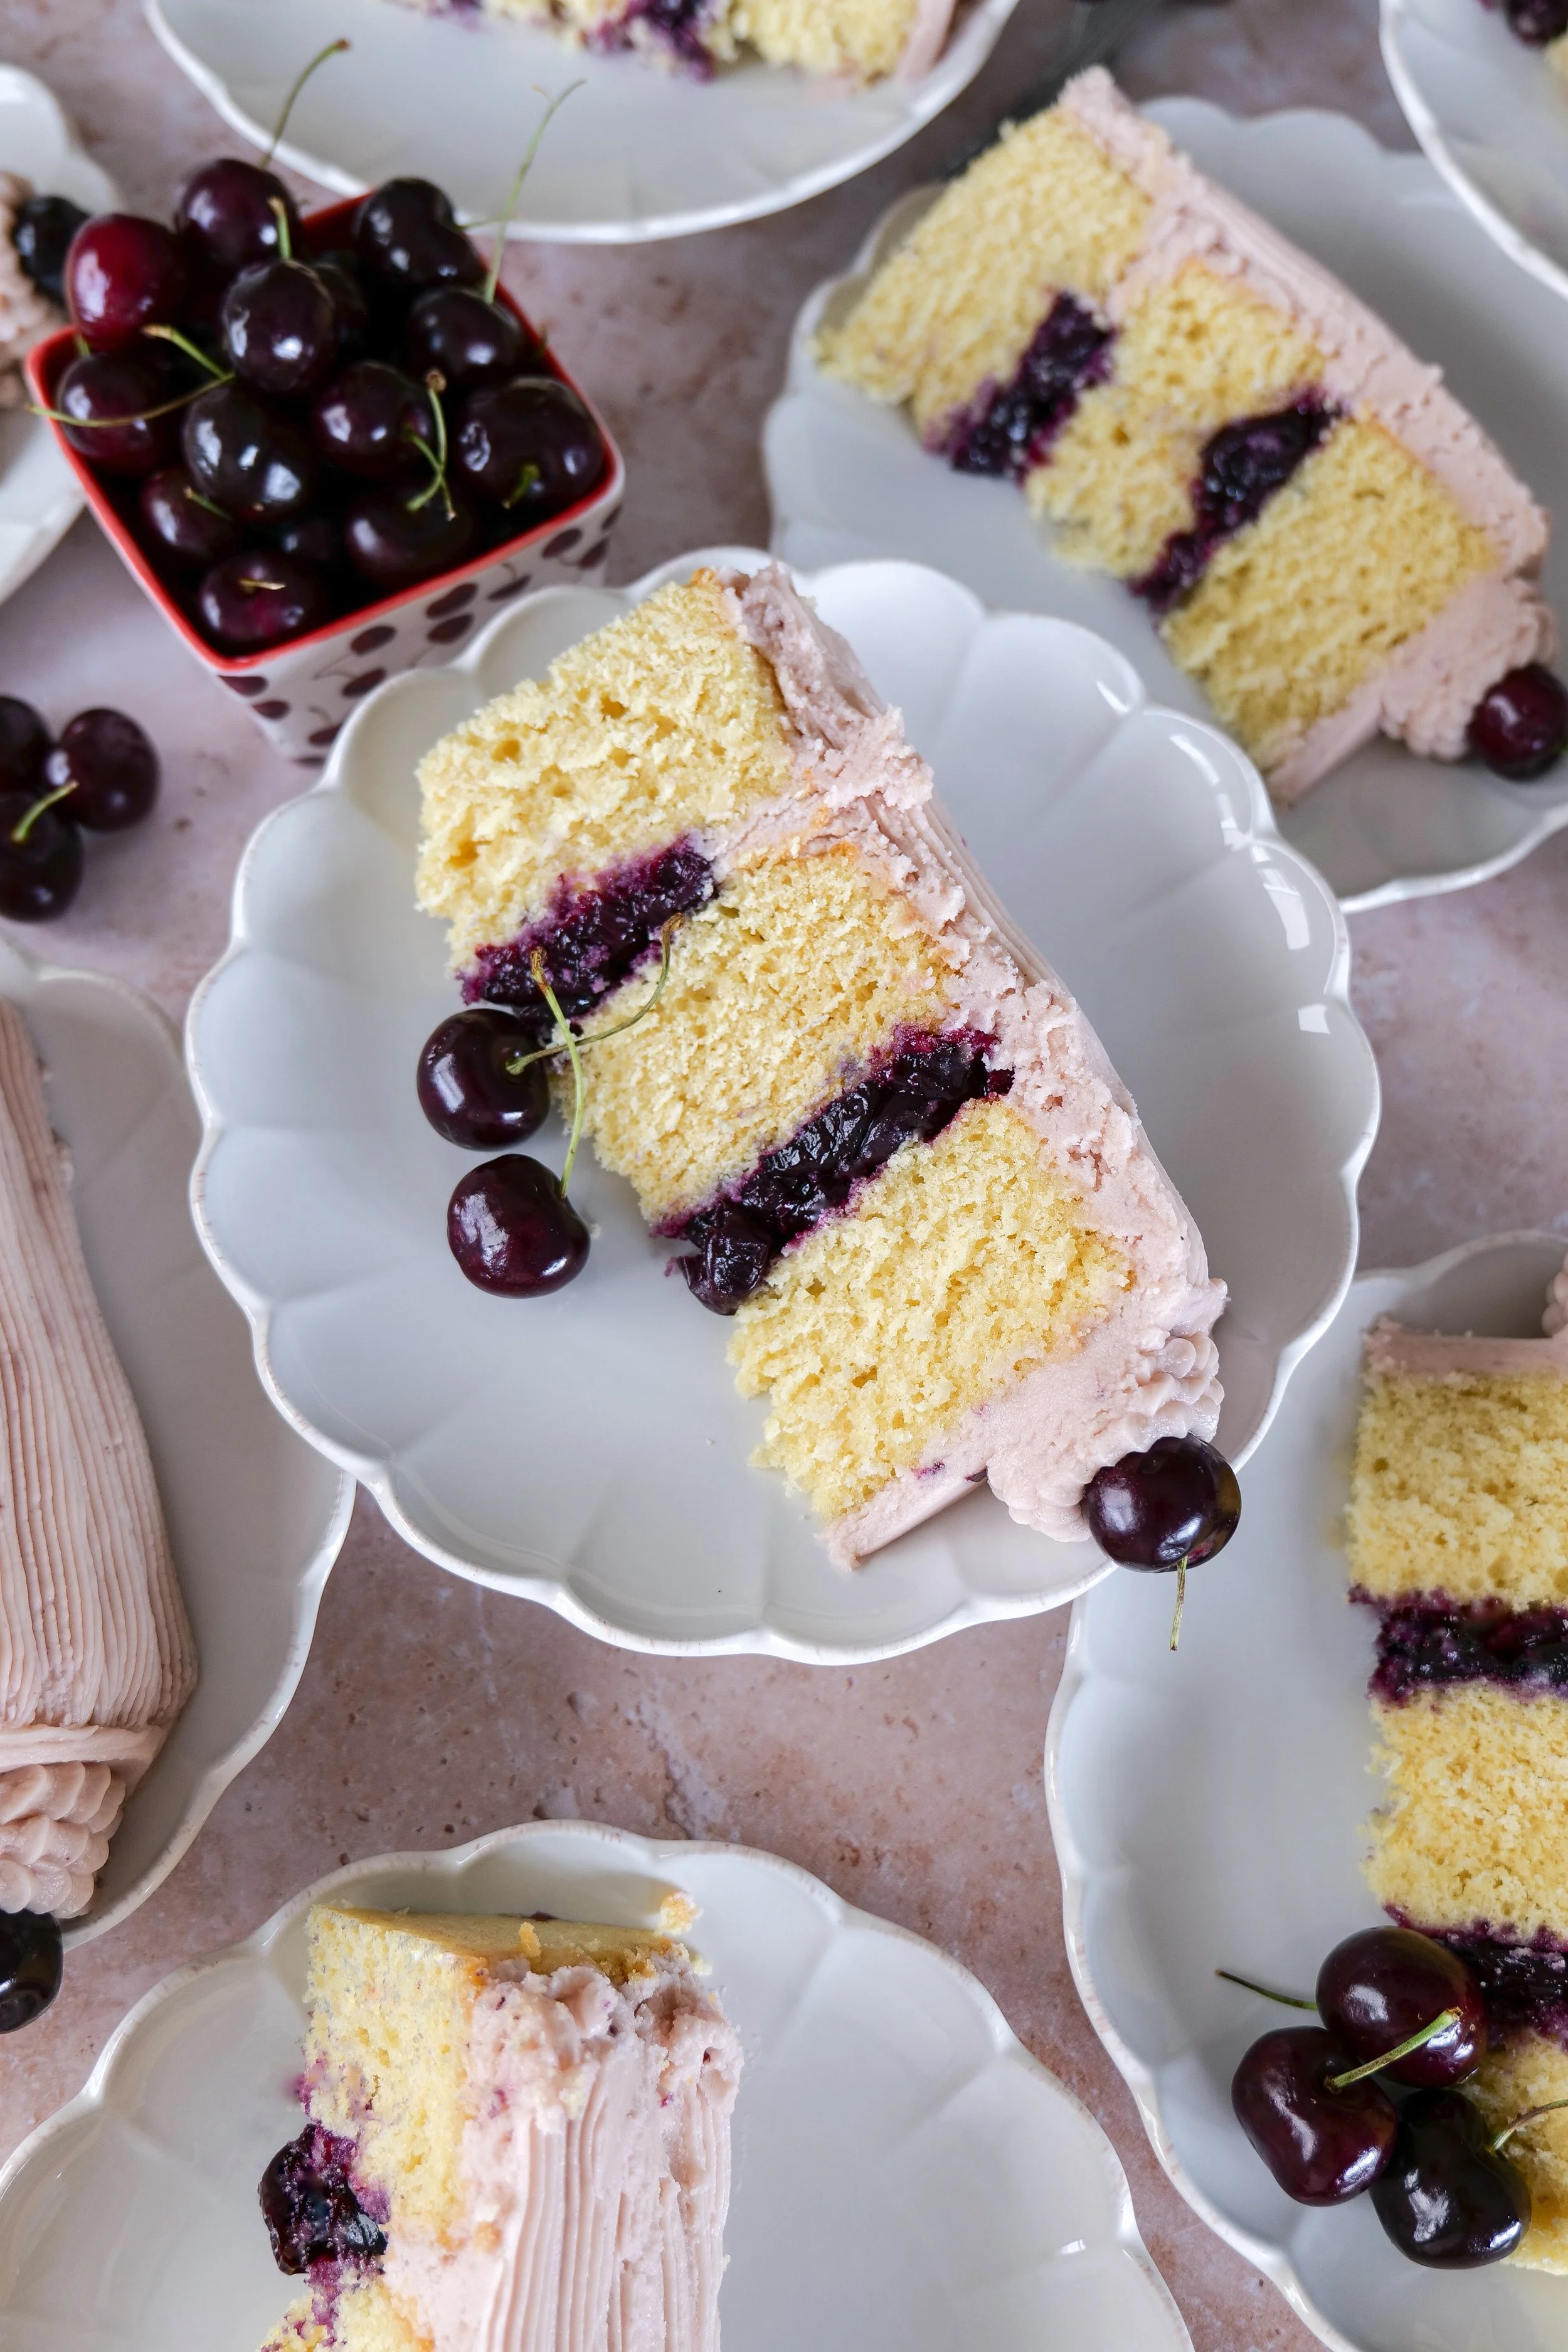
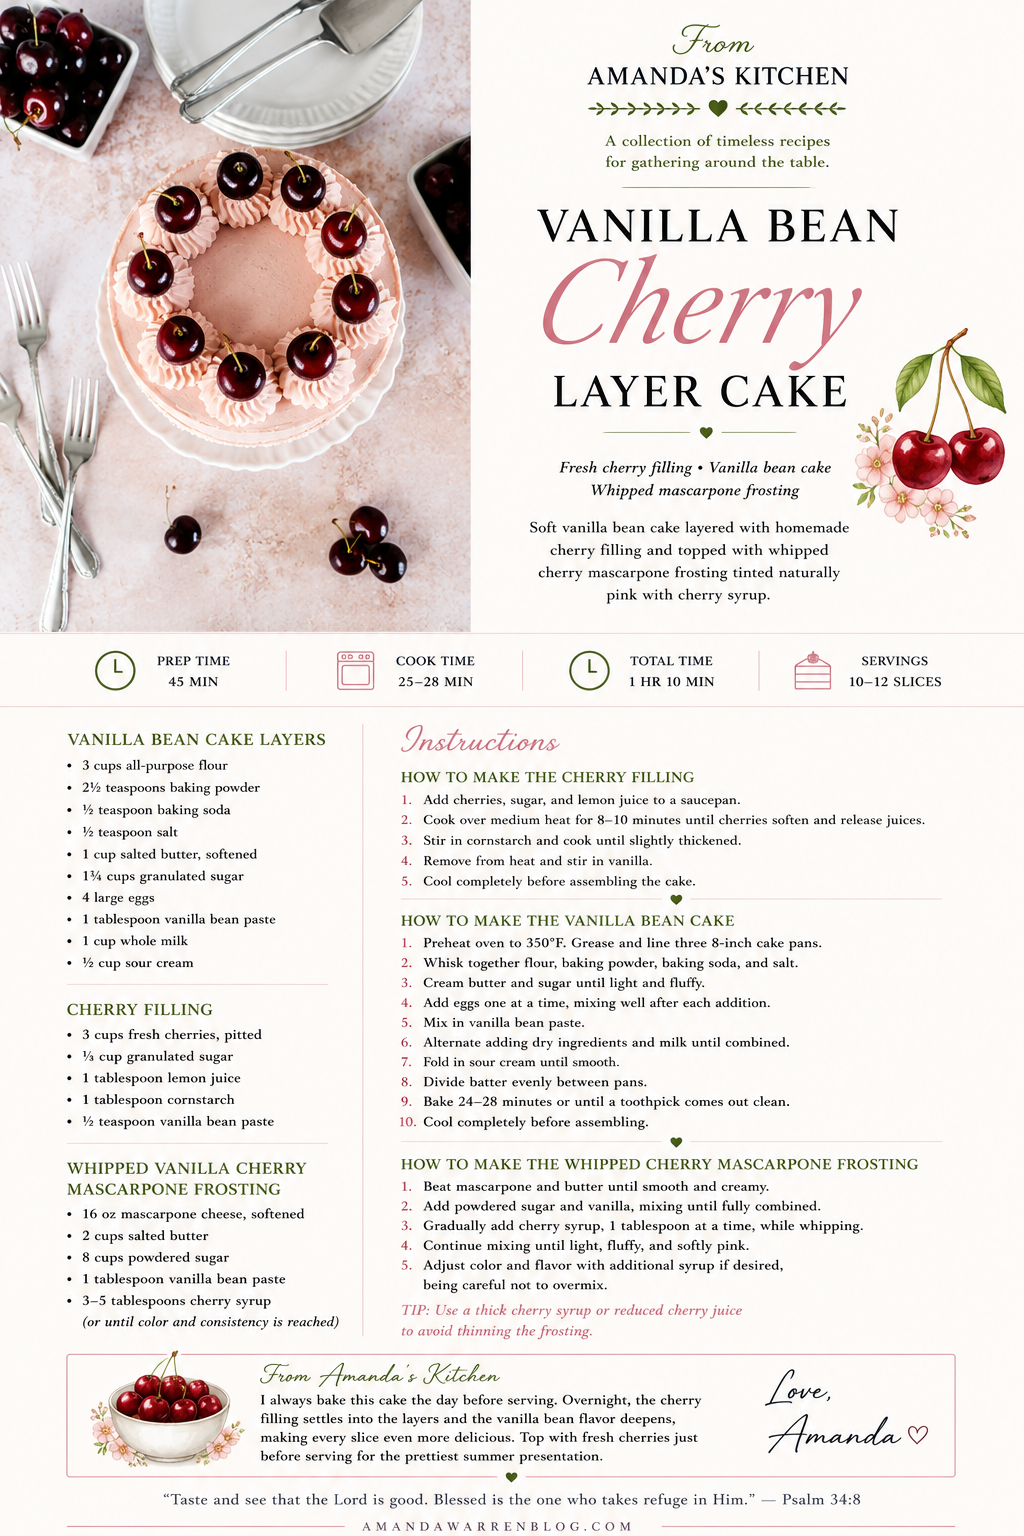
Vanilla Bean Cherry Layer Cake (The Perfect Summer Celebration Cake)

A soft vanilla bean cake layered with sweet cherry filling and finished with whipped vanilla cherry mascarpone frosting.

↓ Skip to Recipe
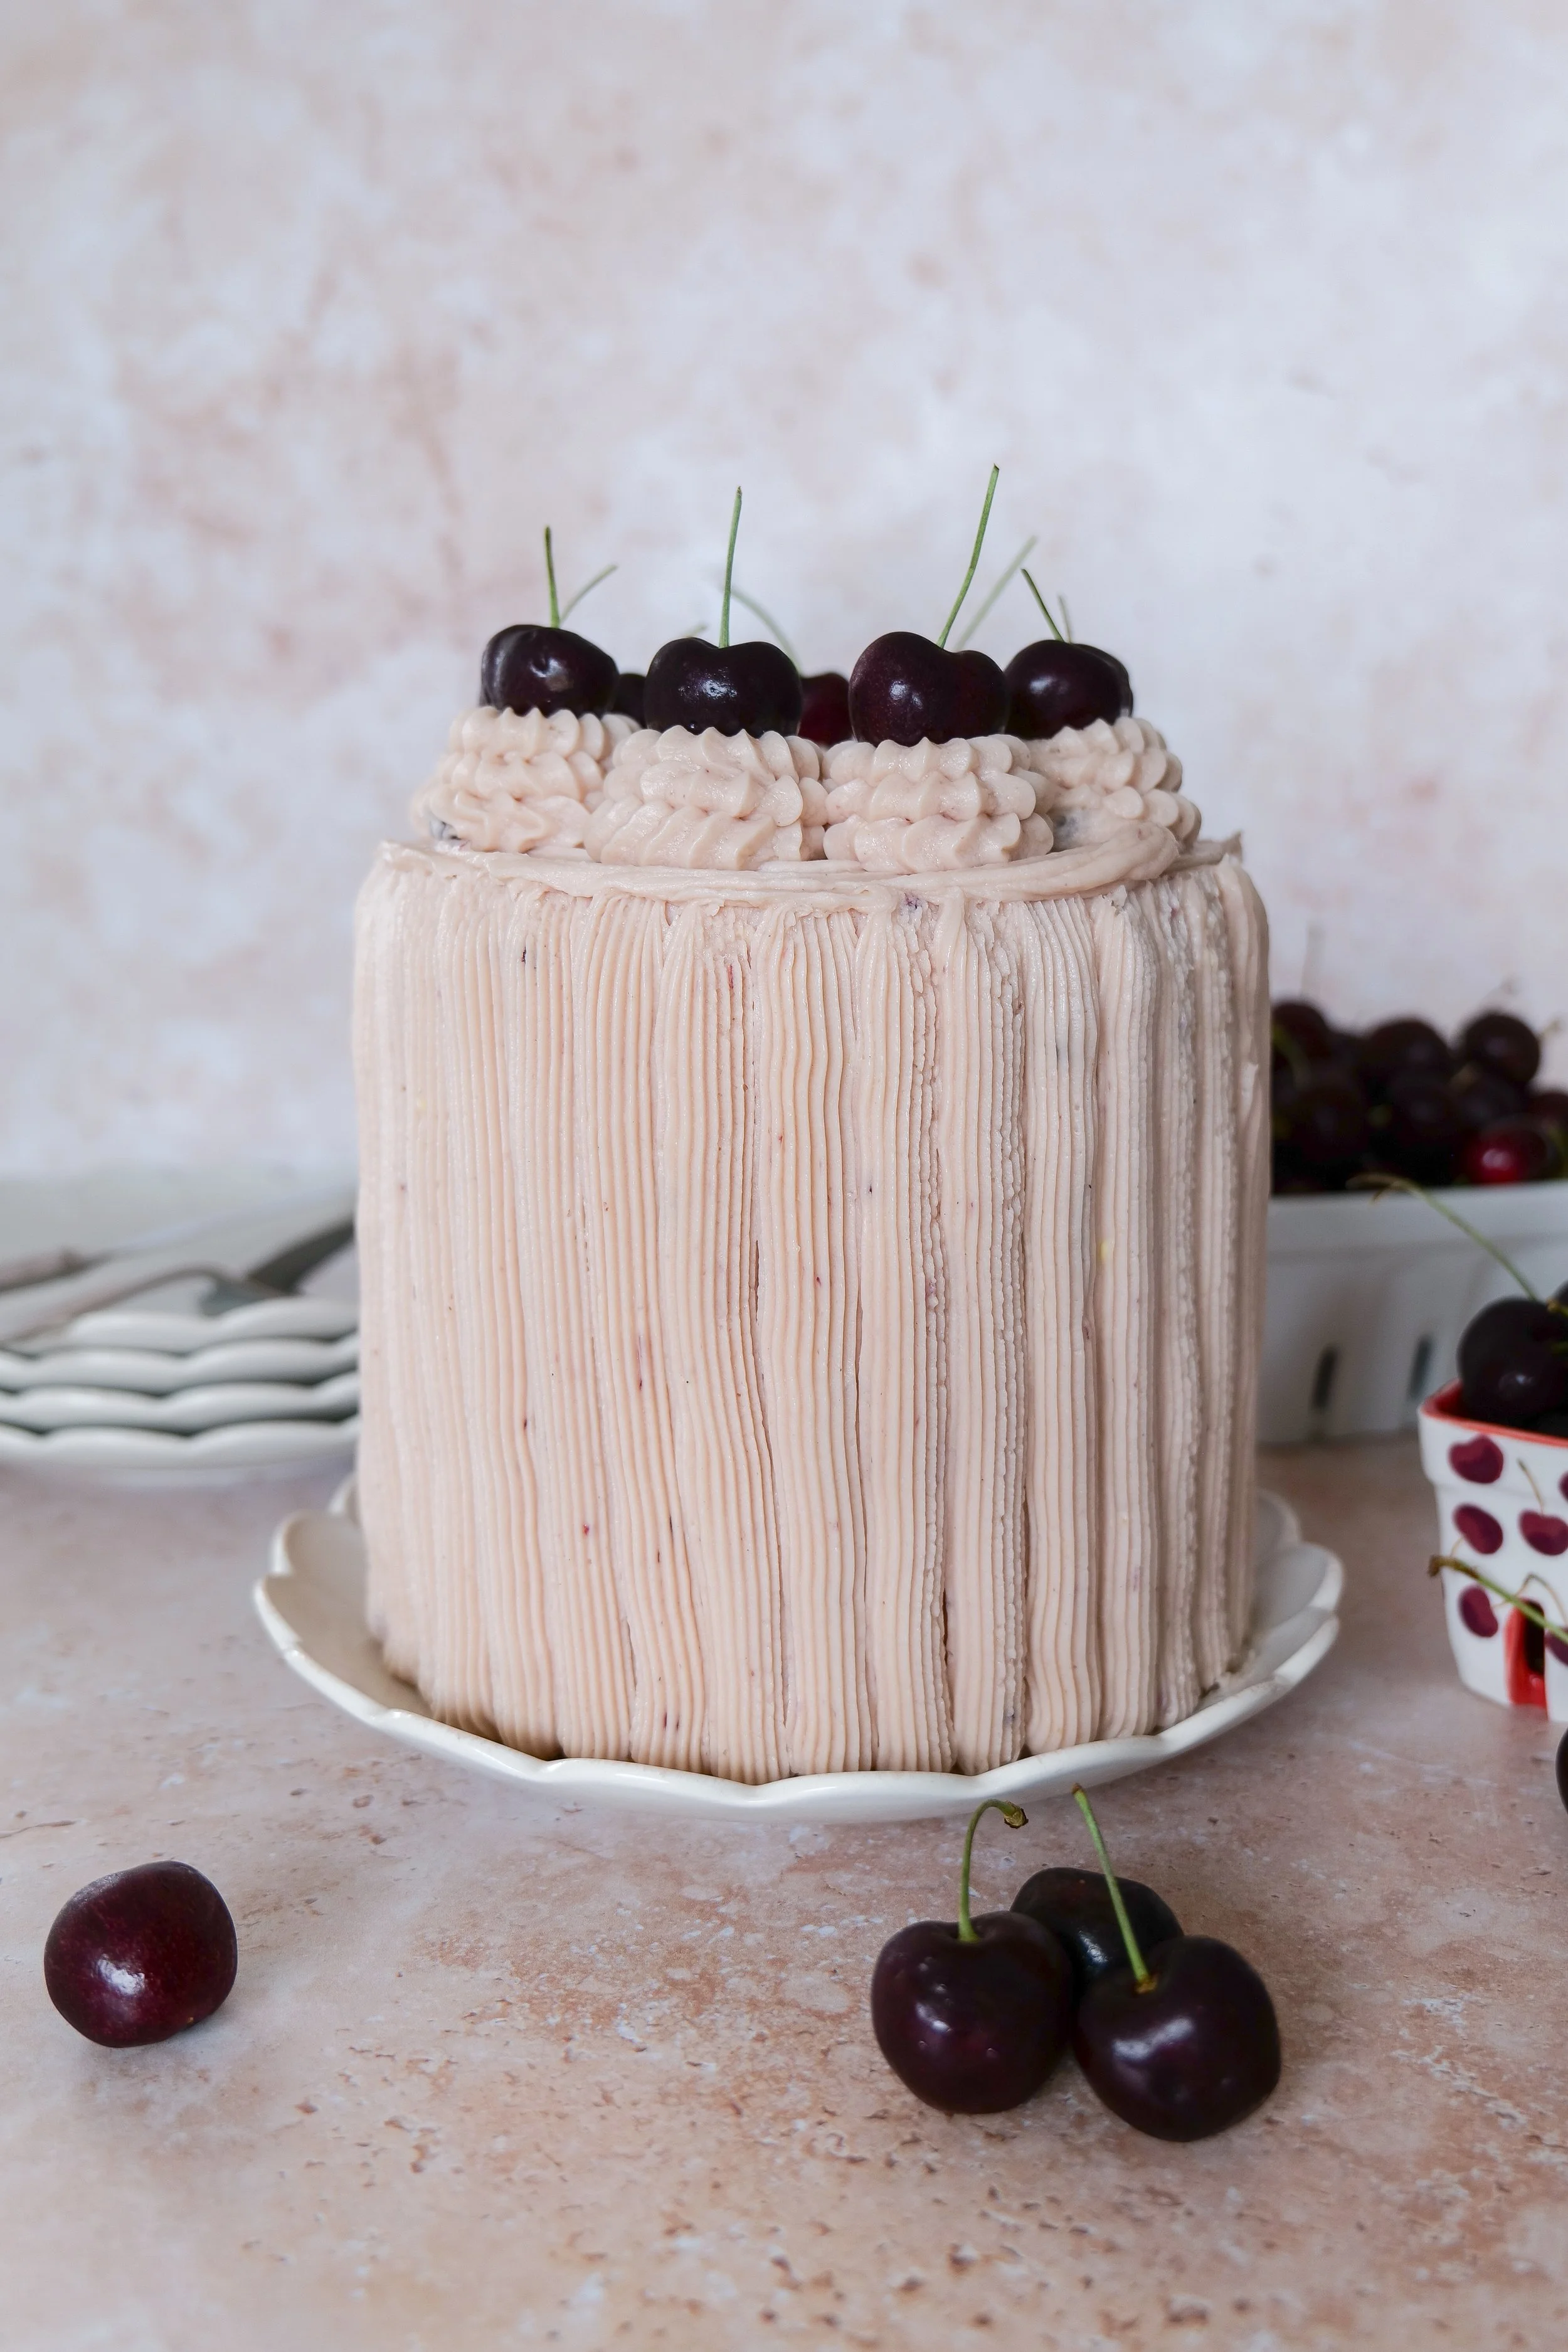
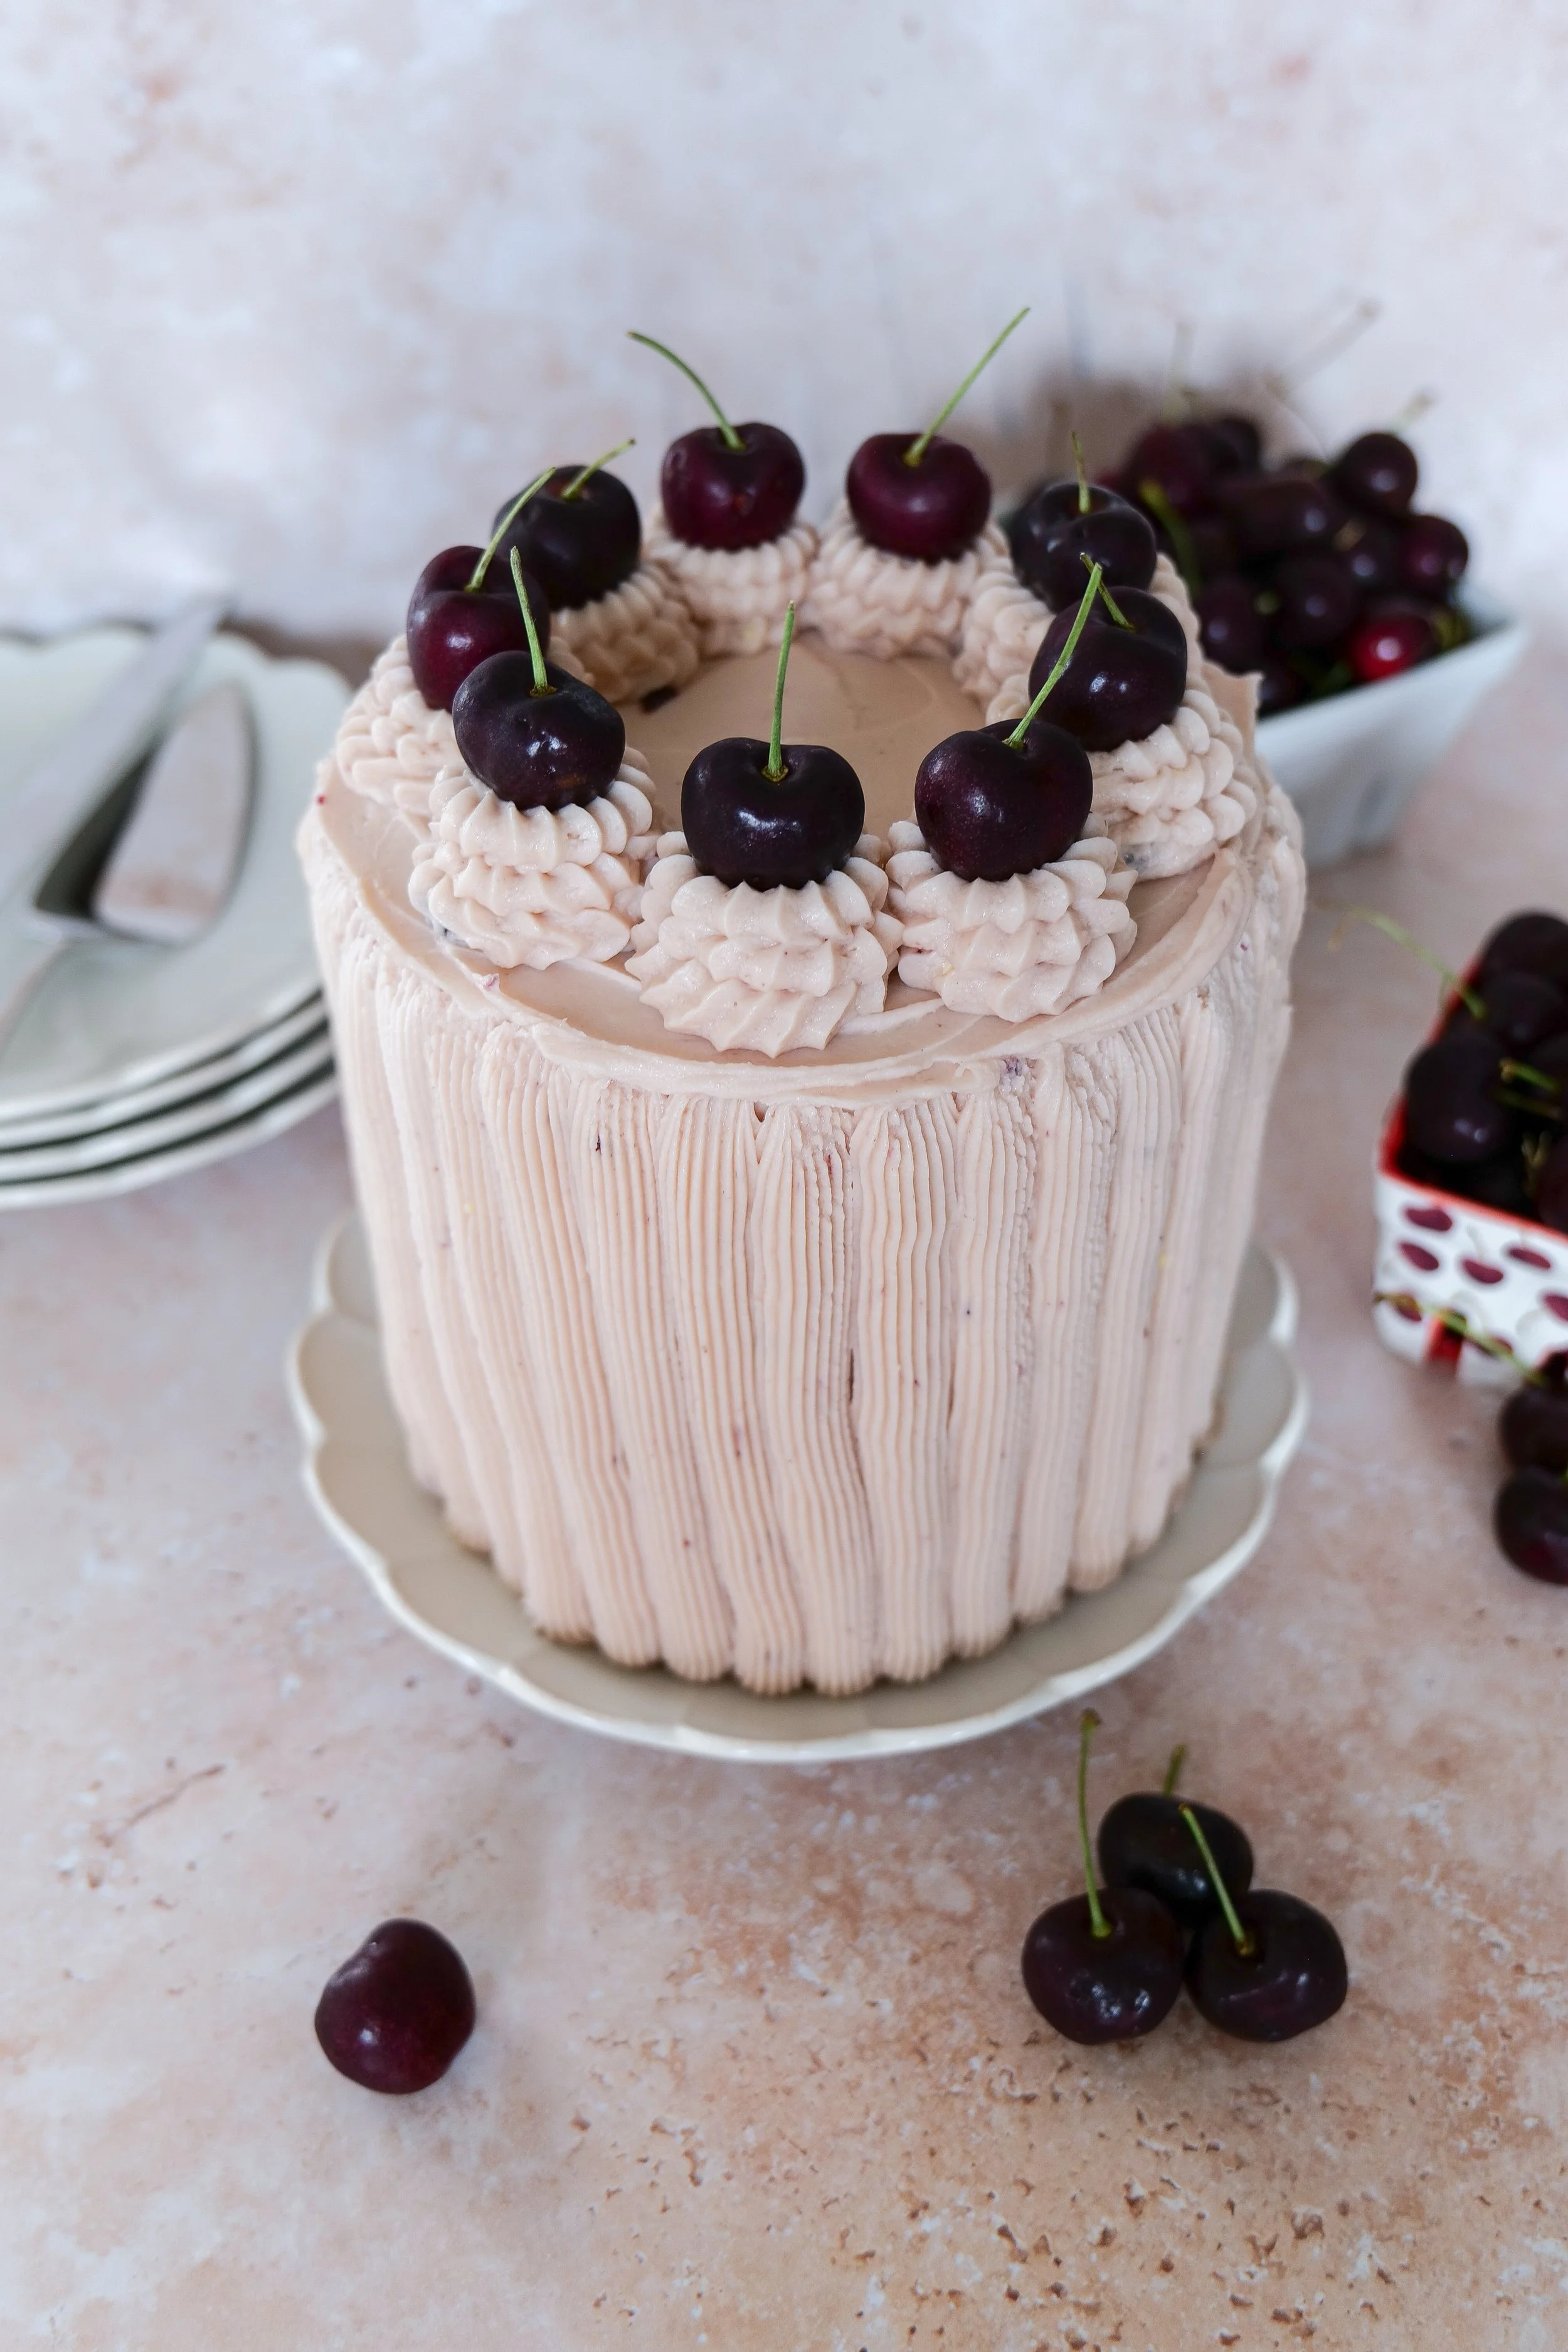
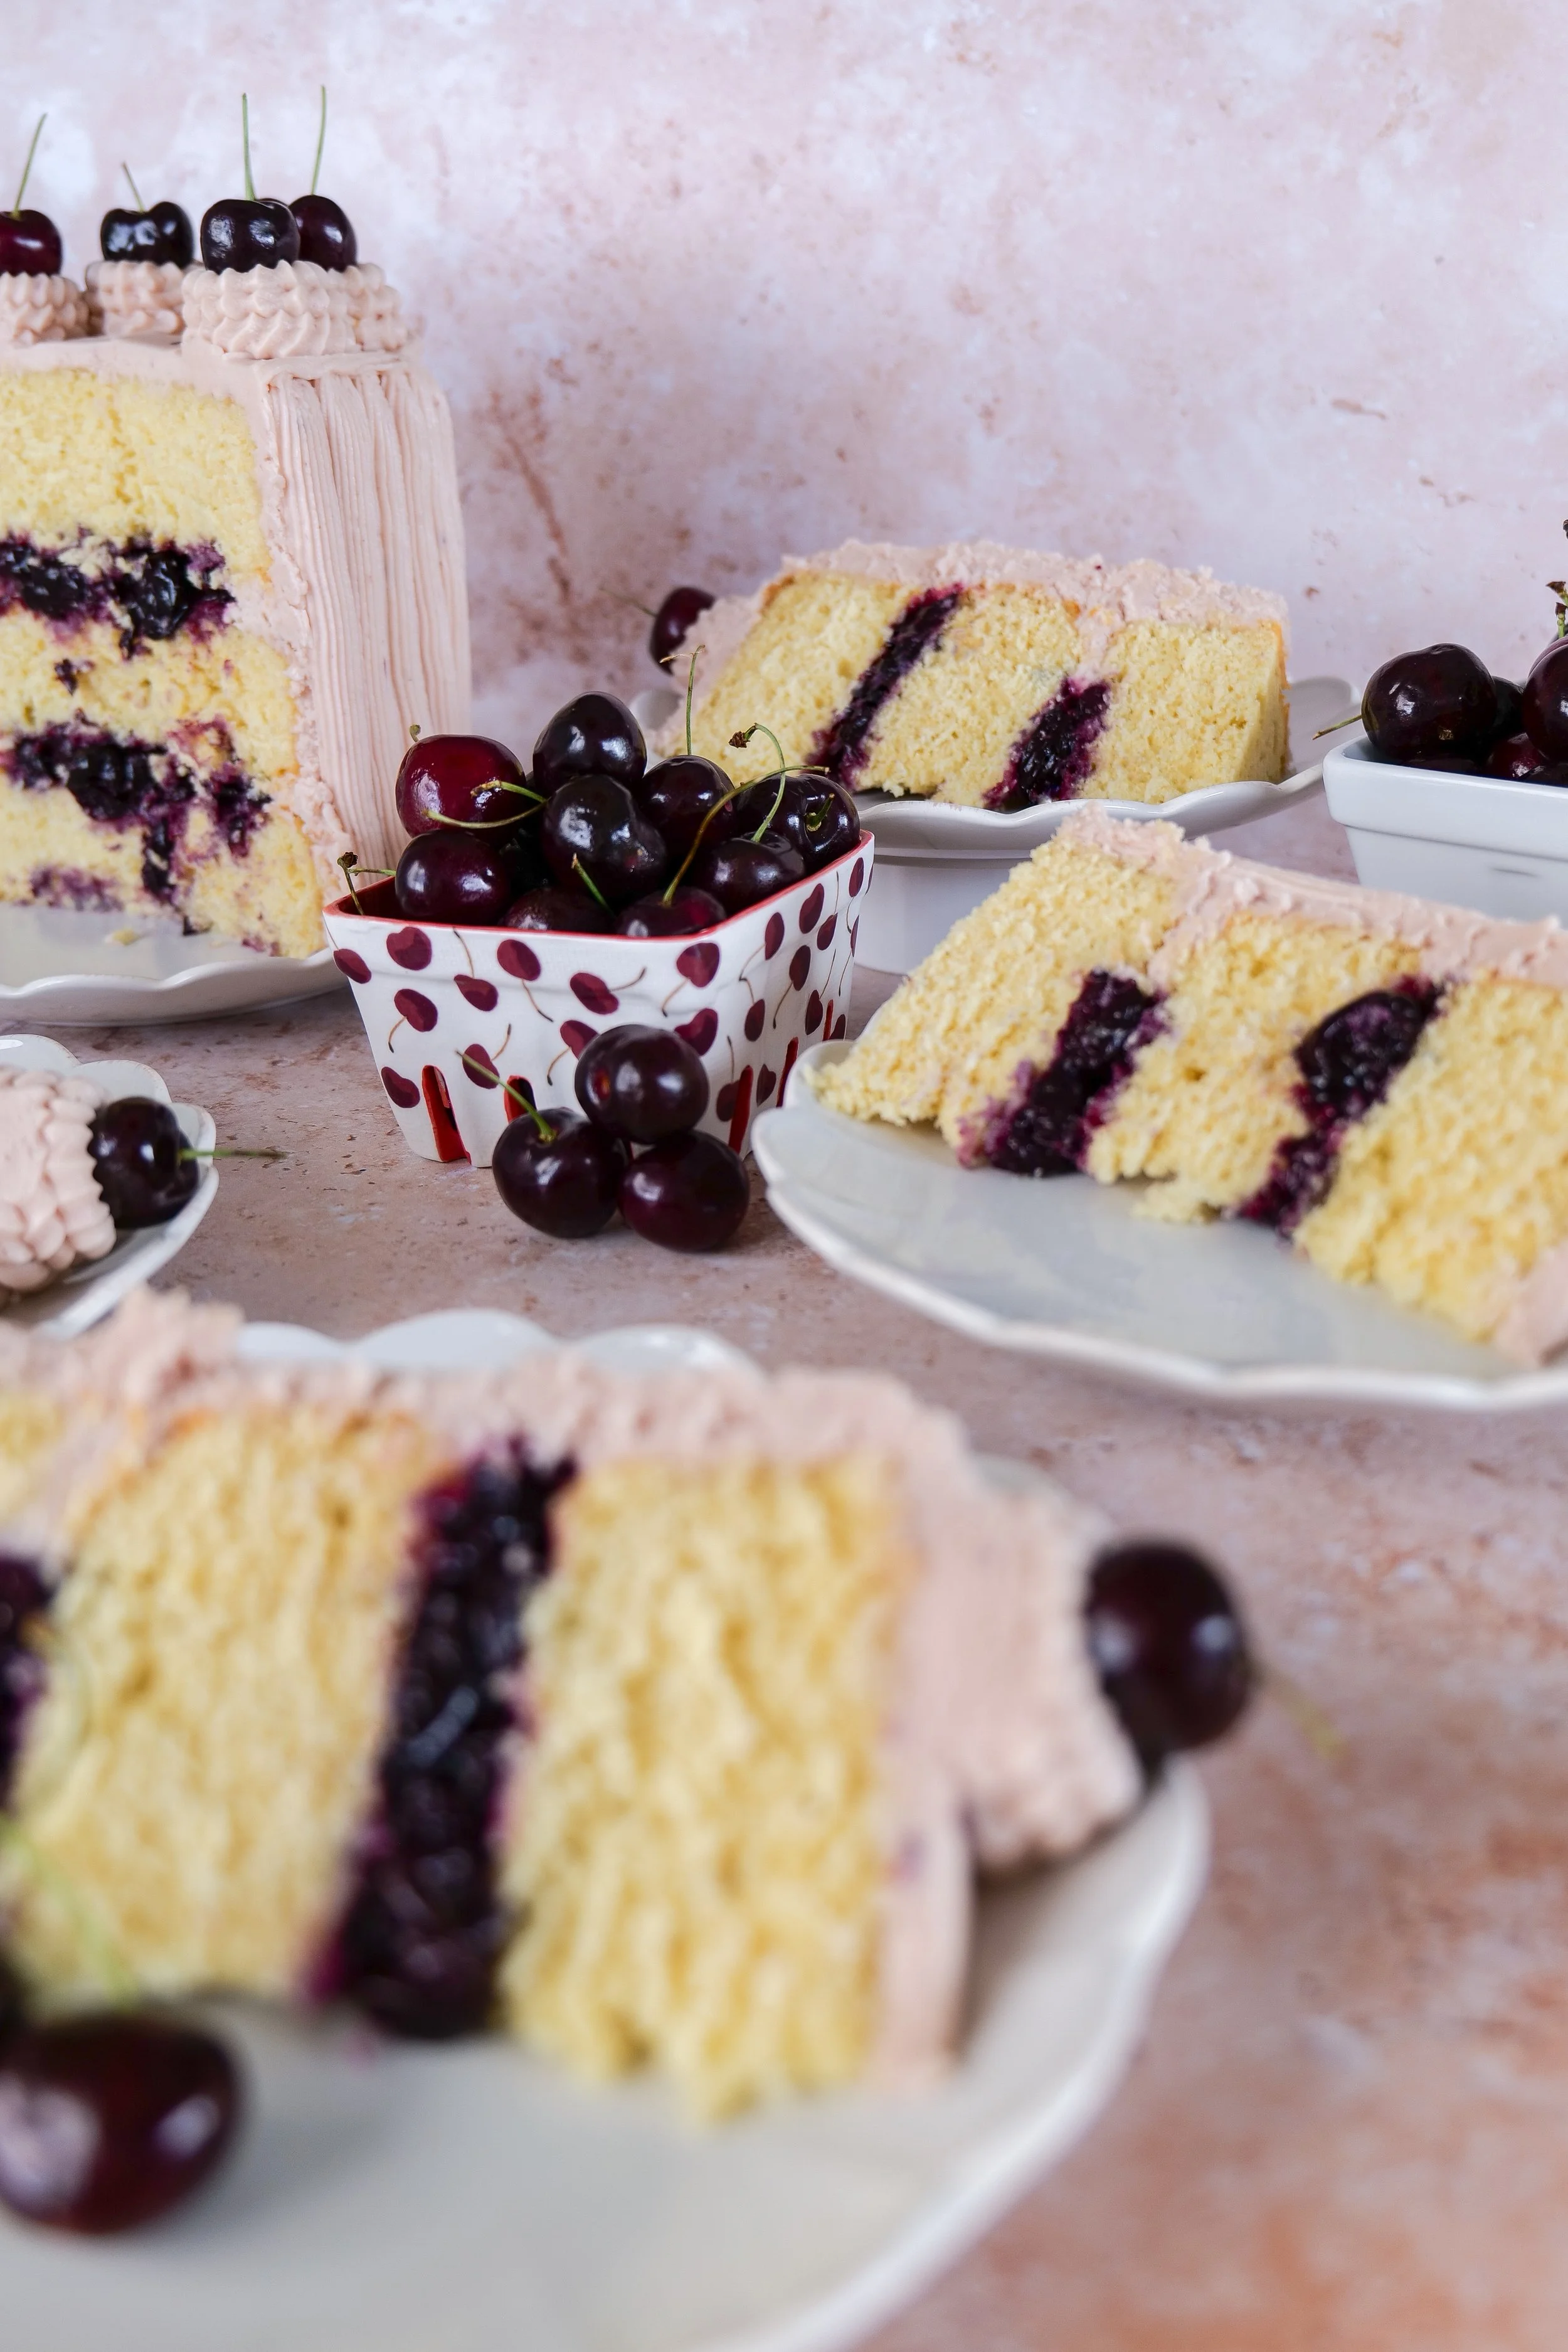
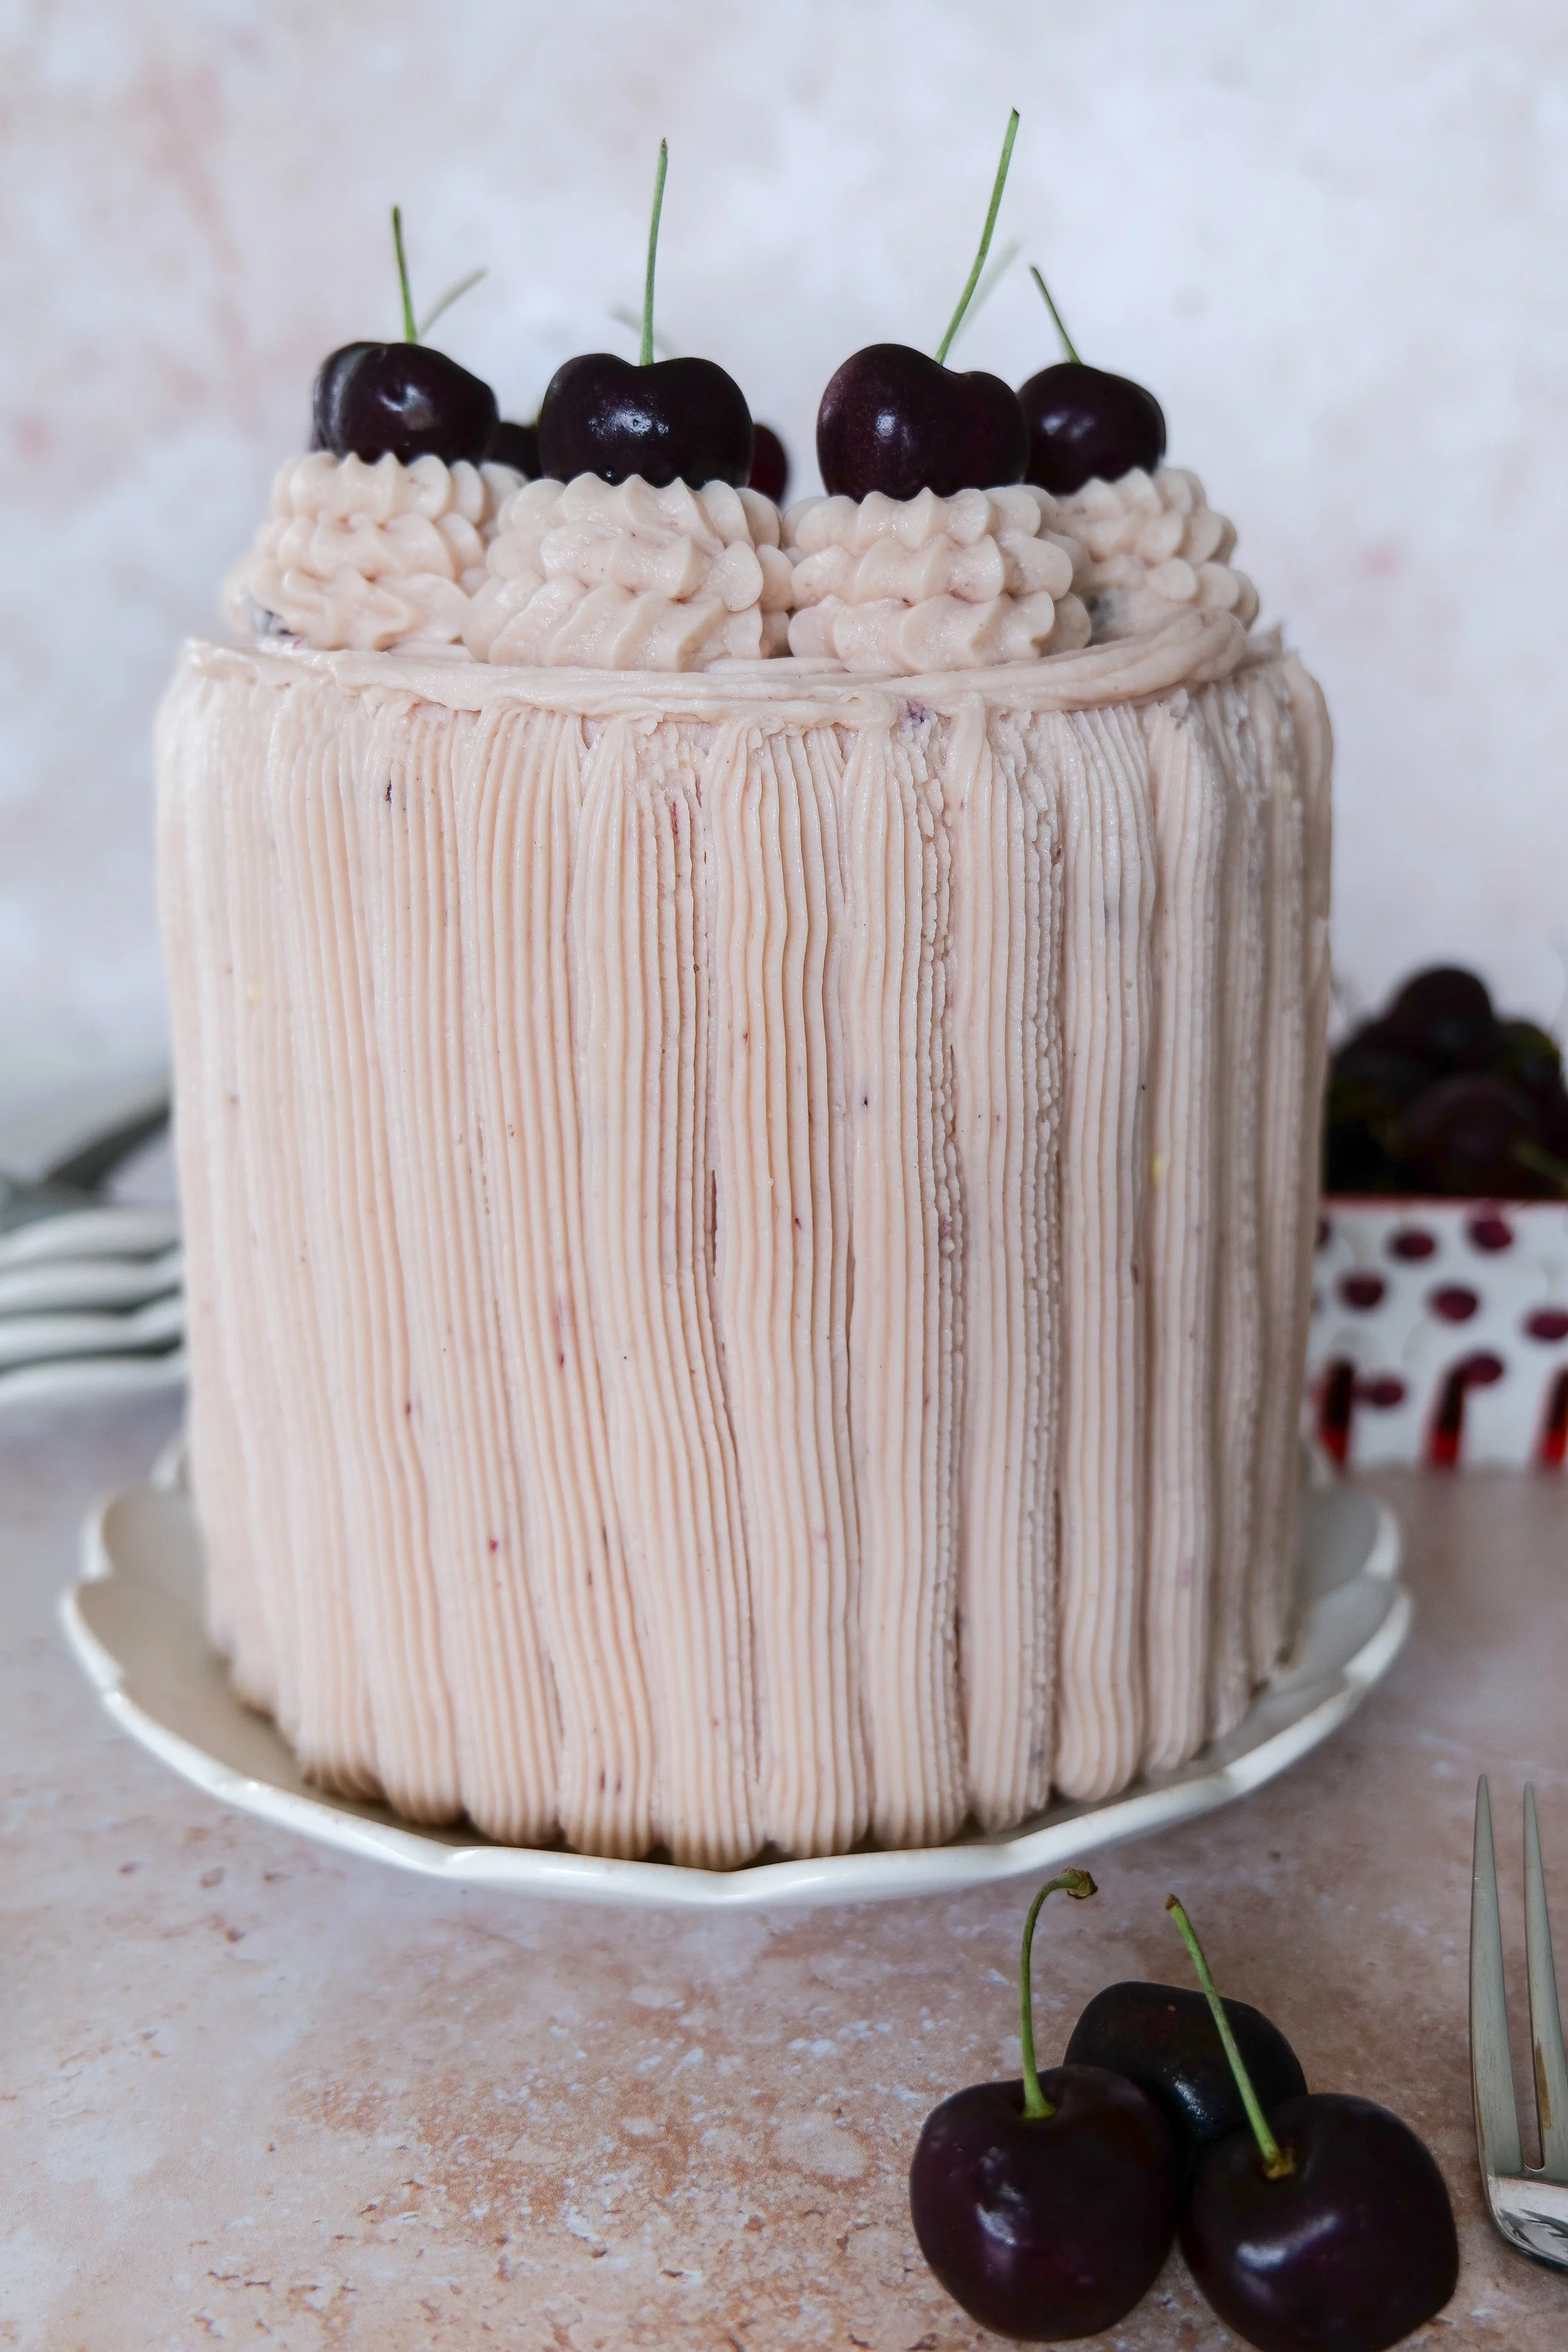
Vanilla bean cherry layer cake with pink cherry buttercream frosting and homemade cherry filling.
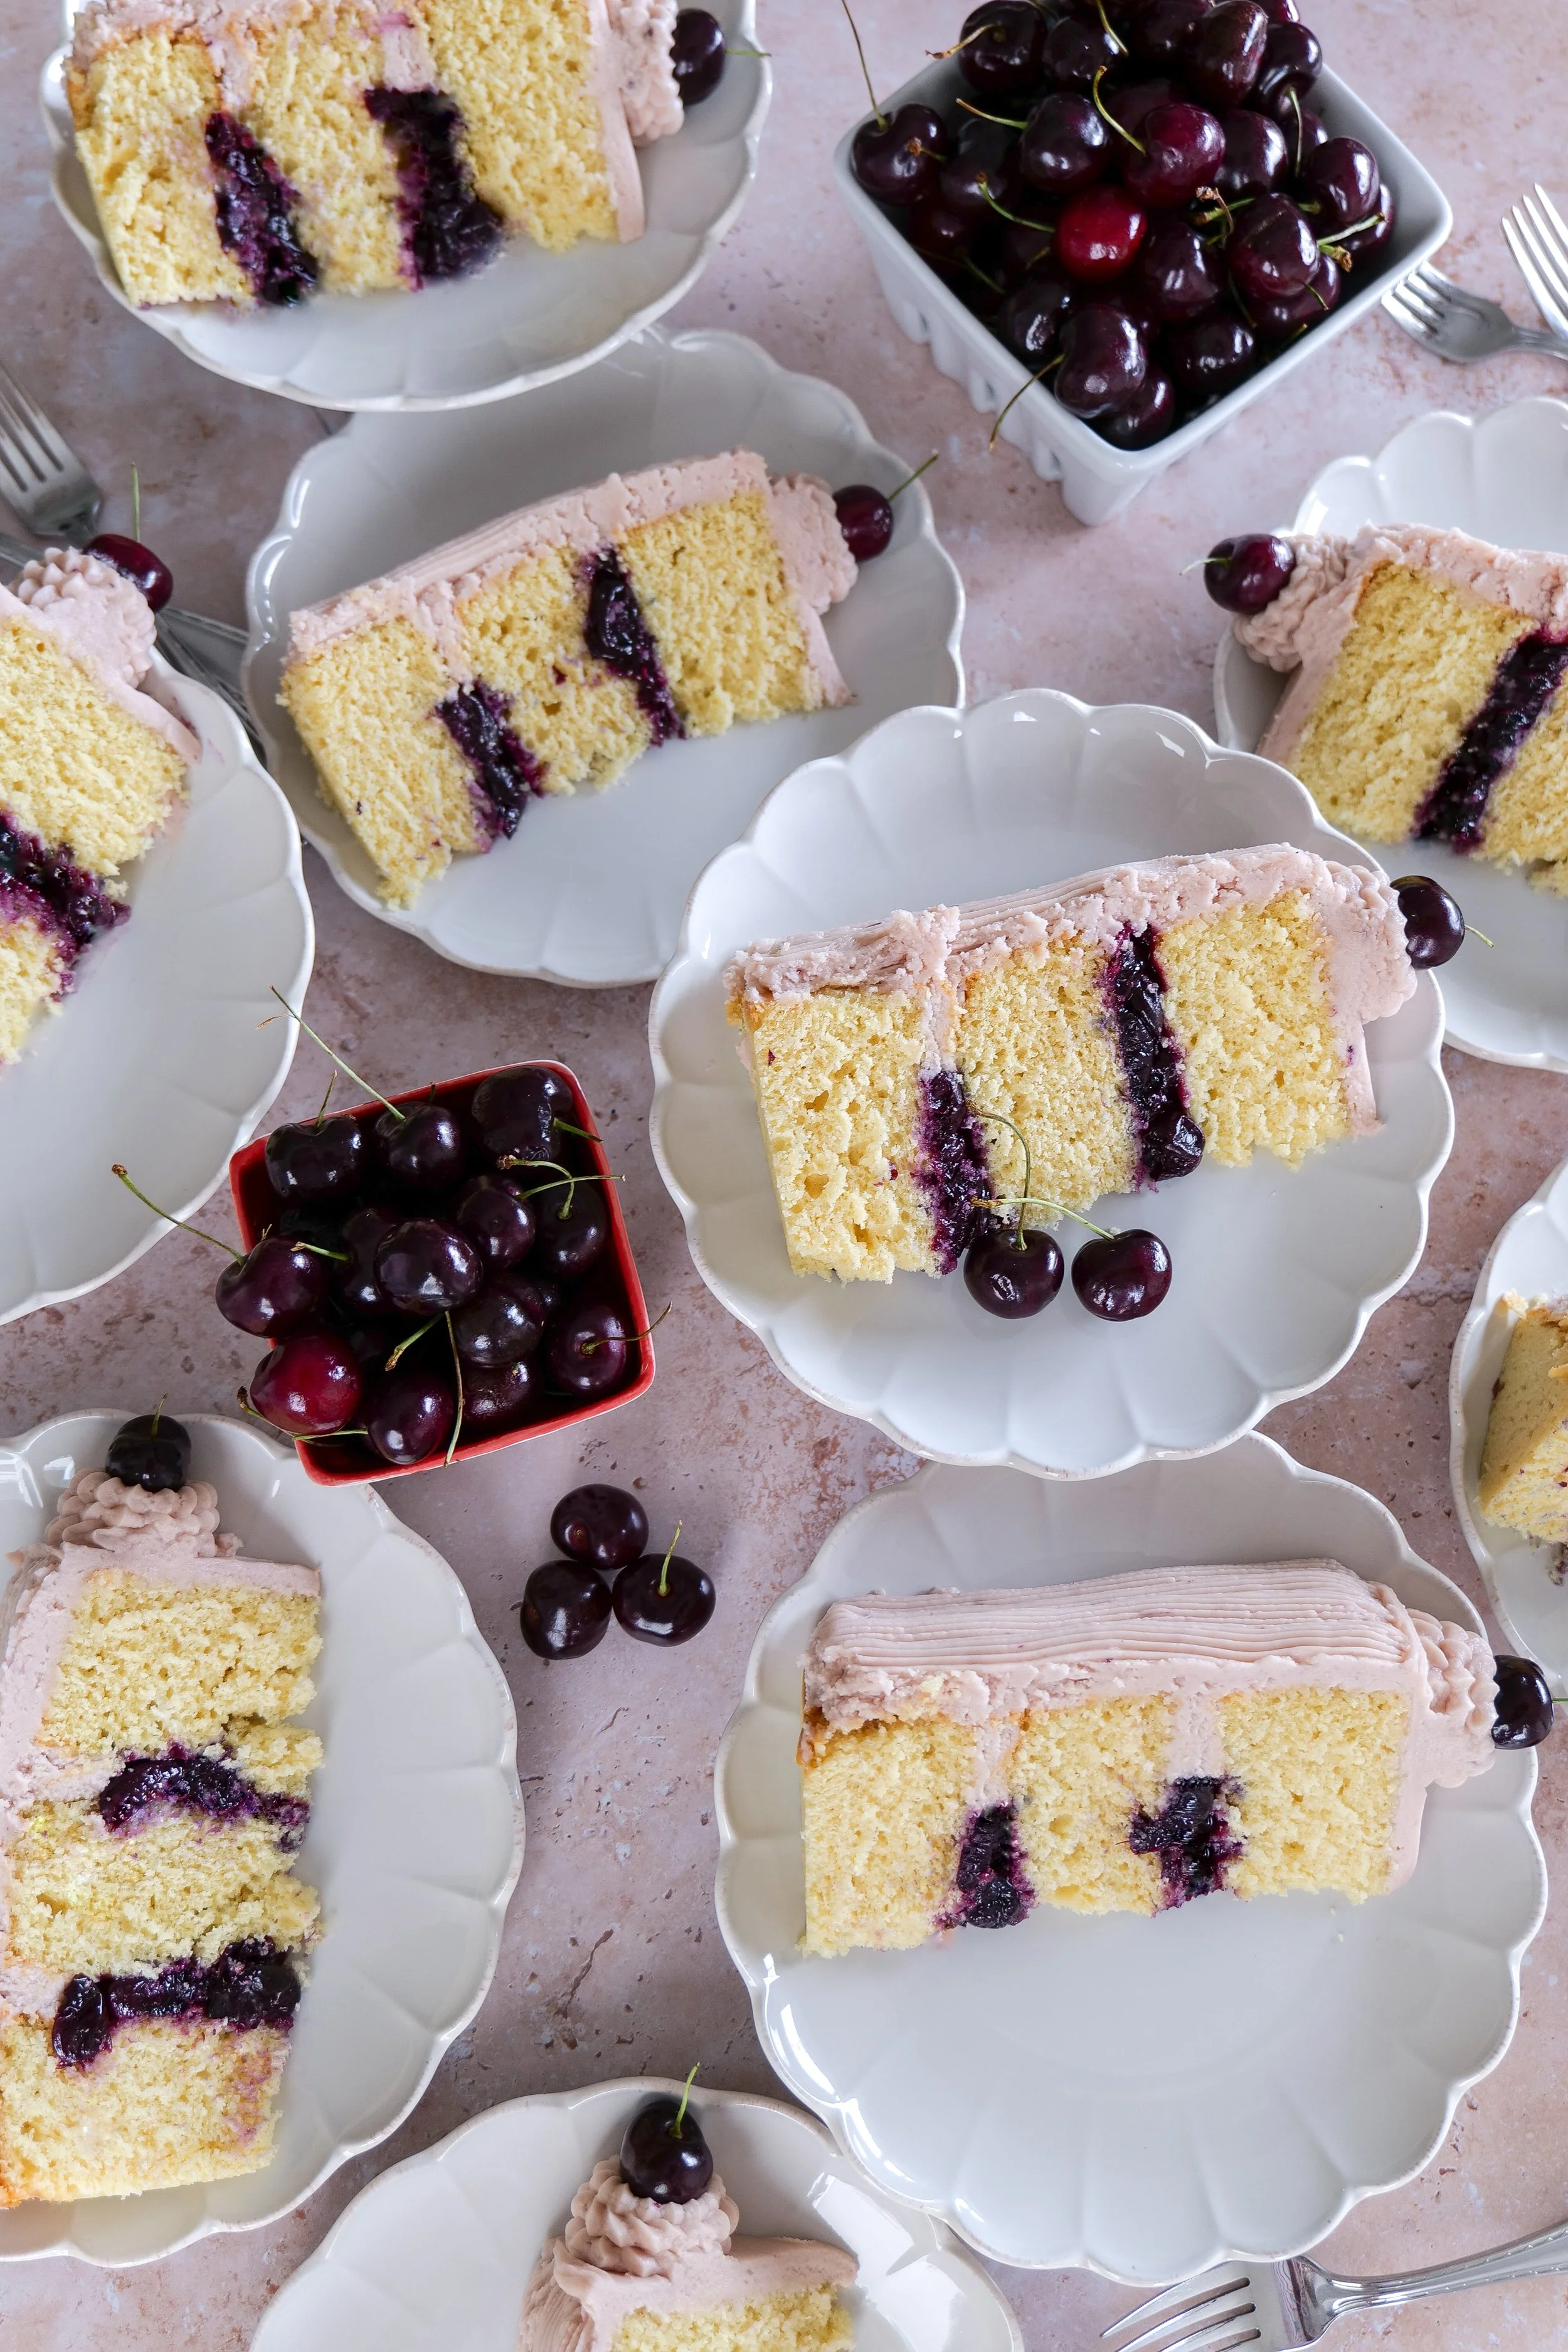
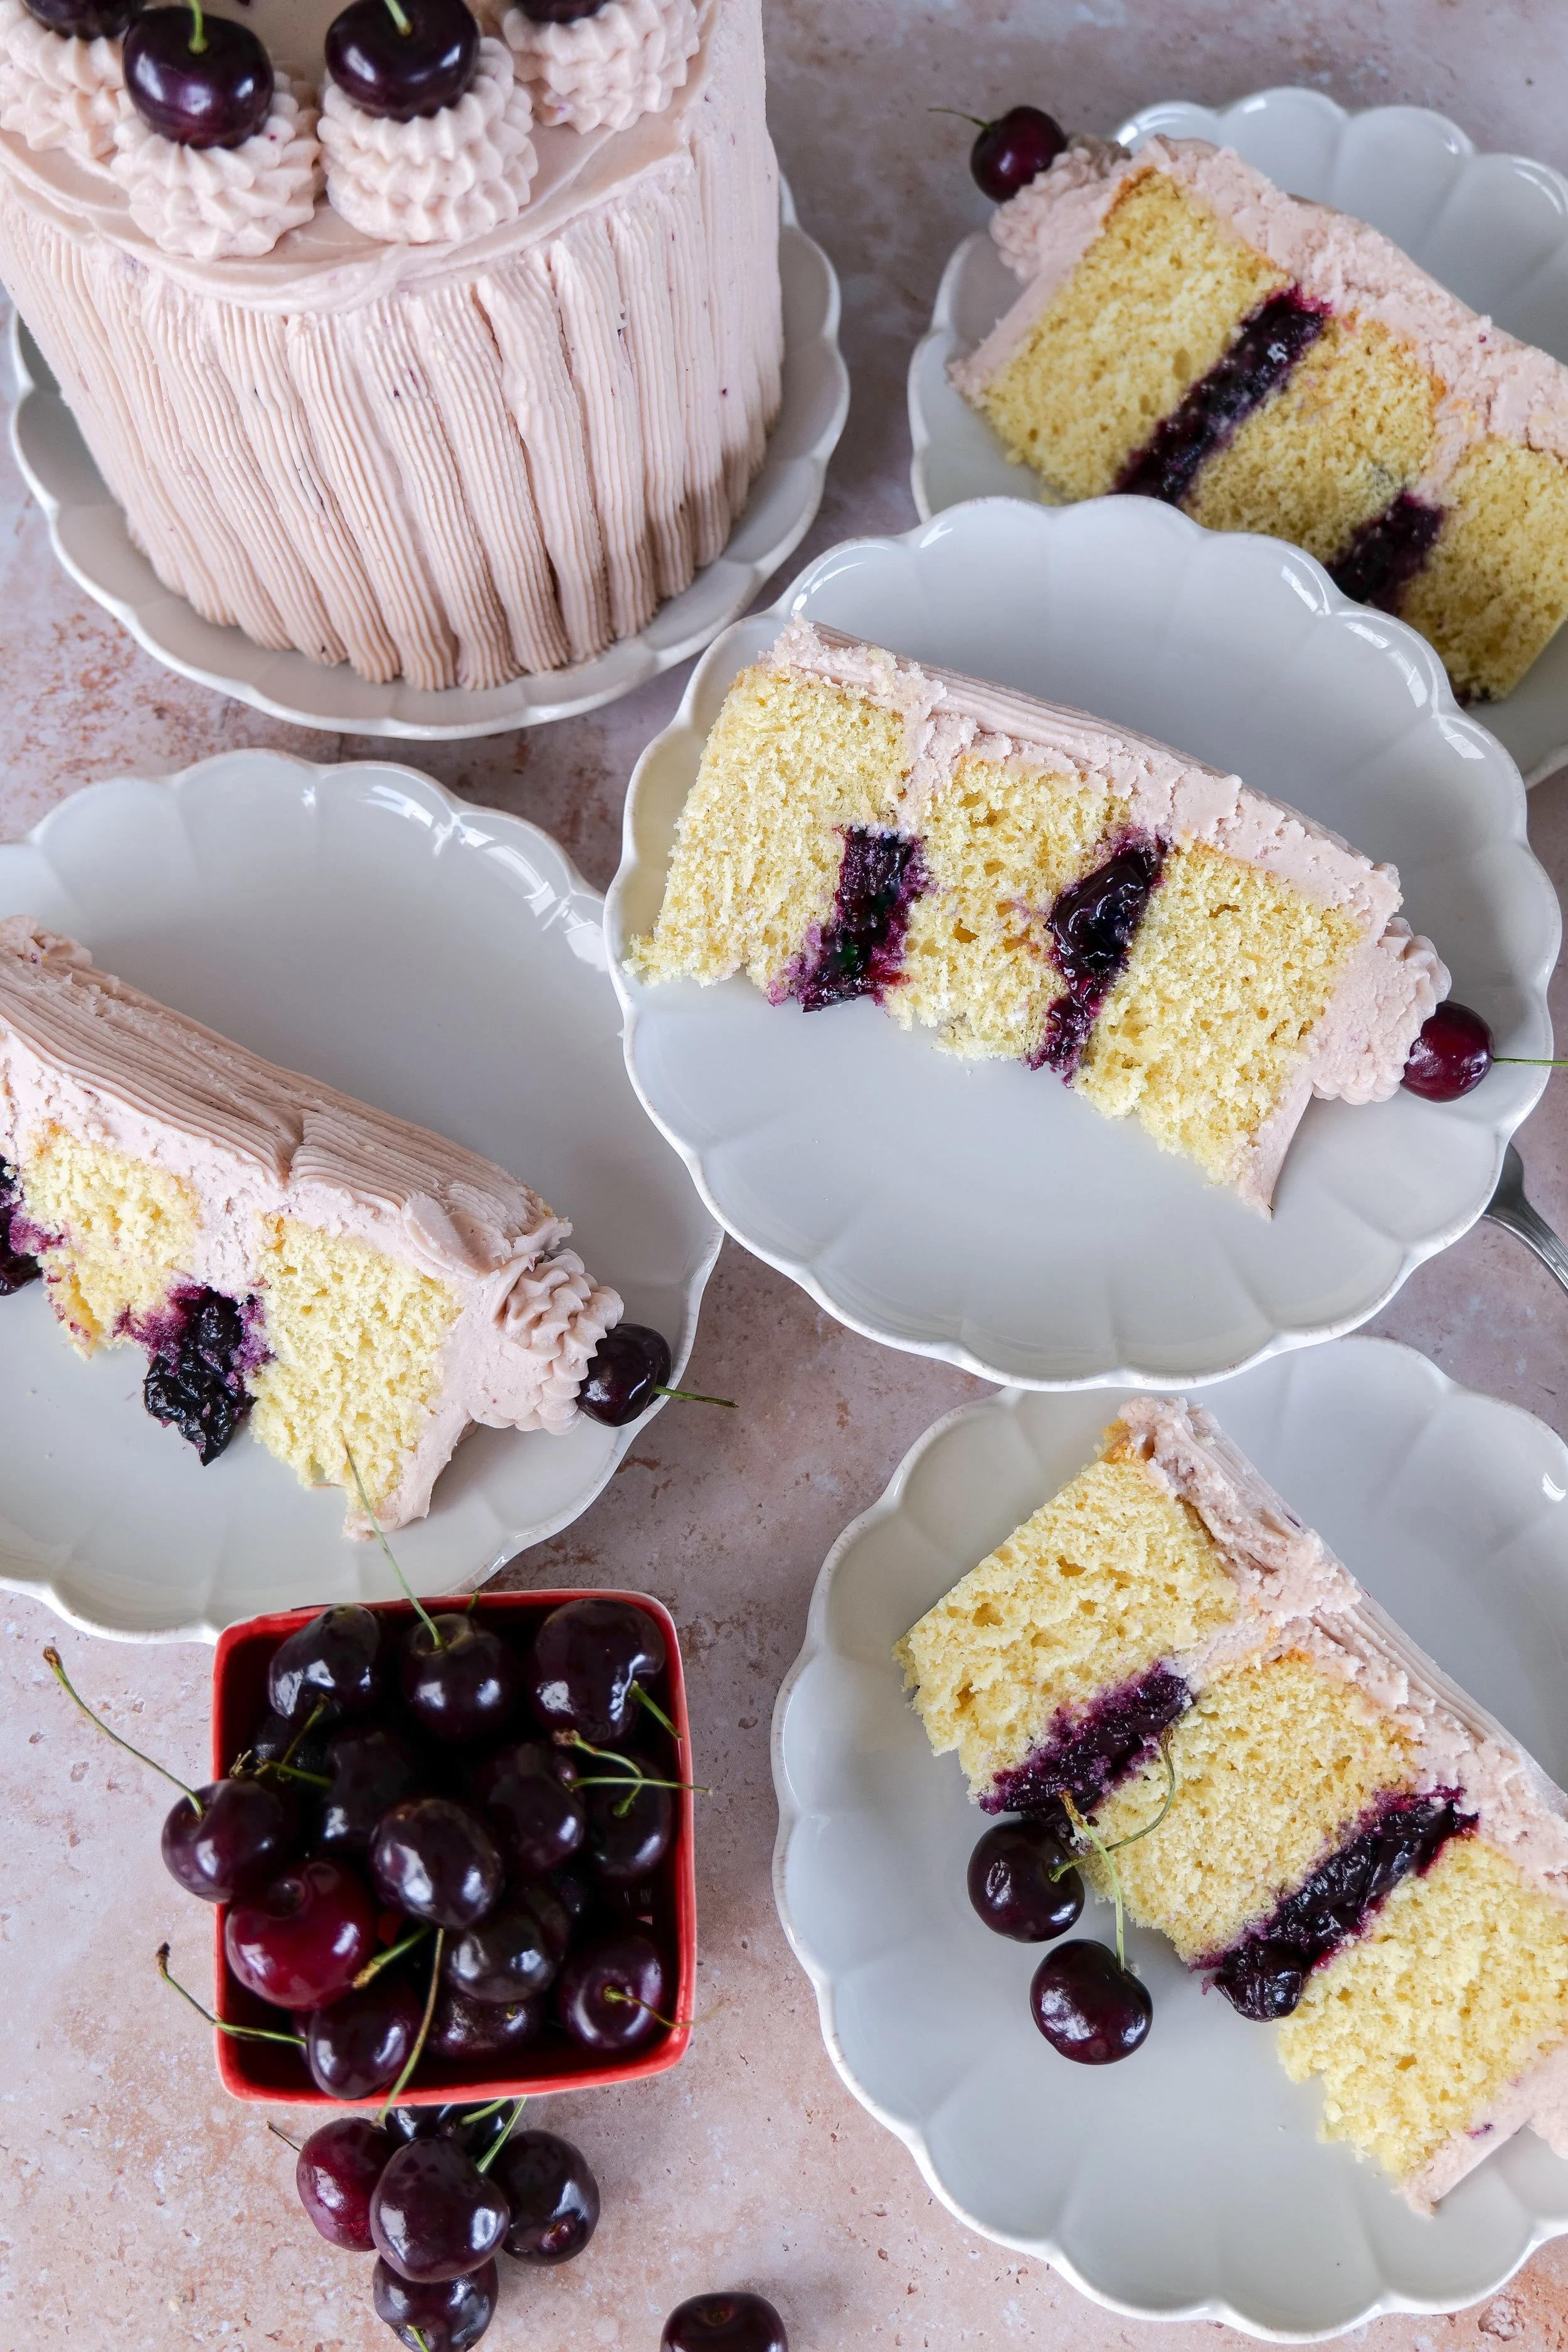
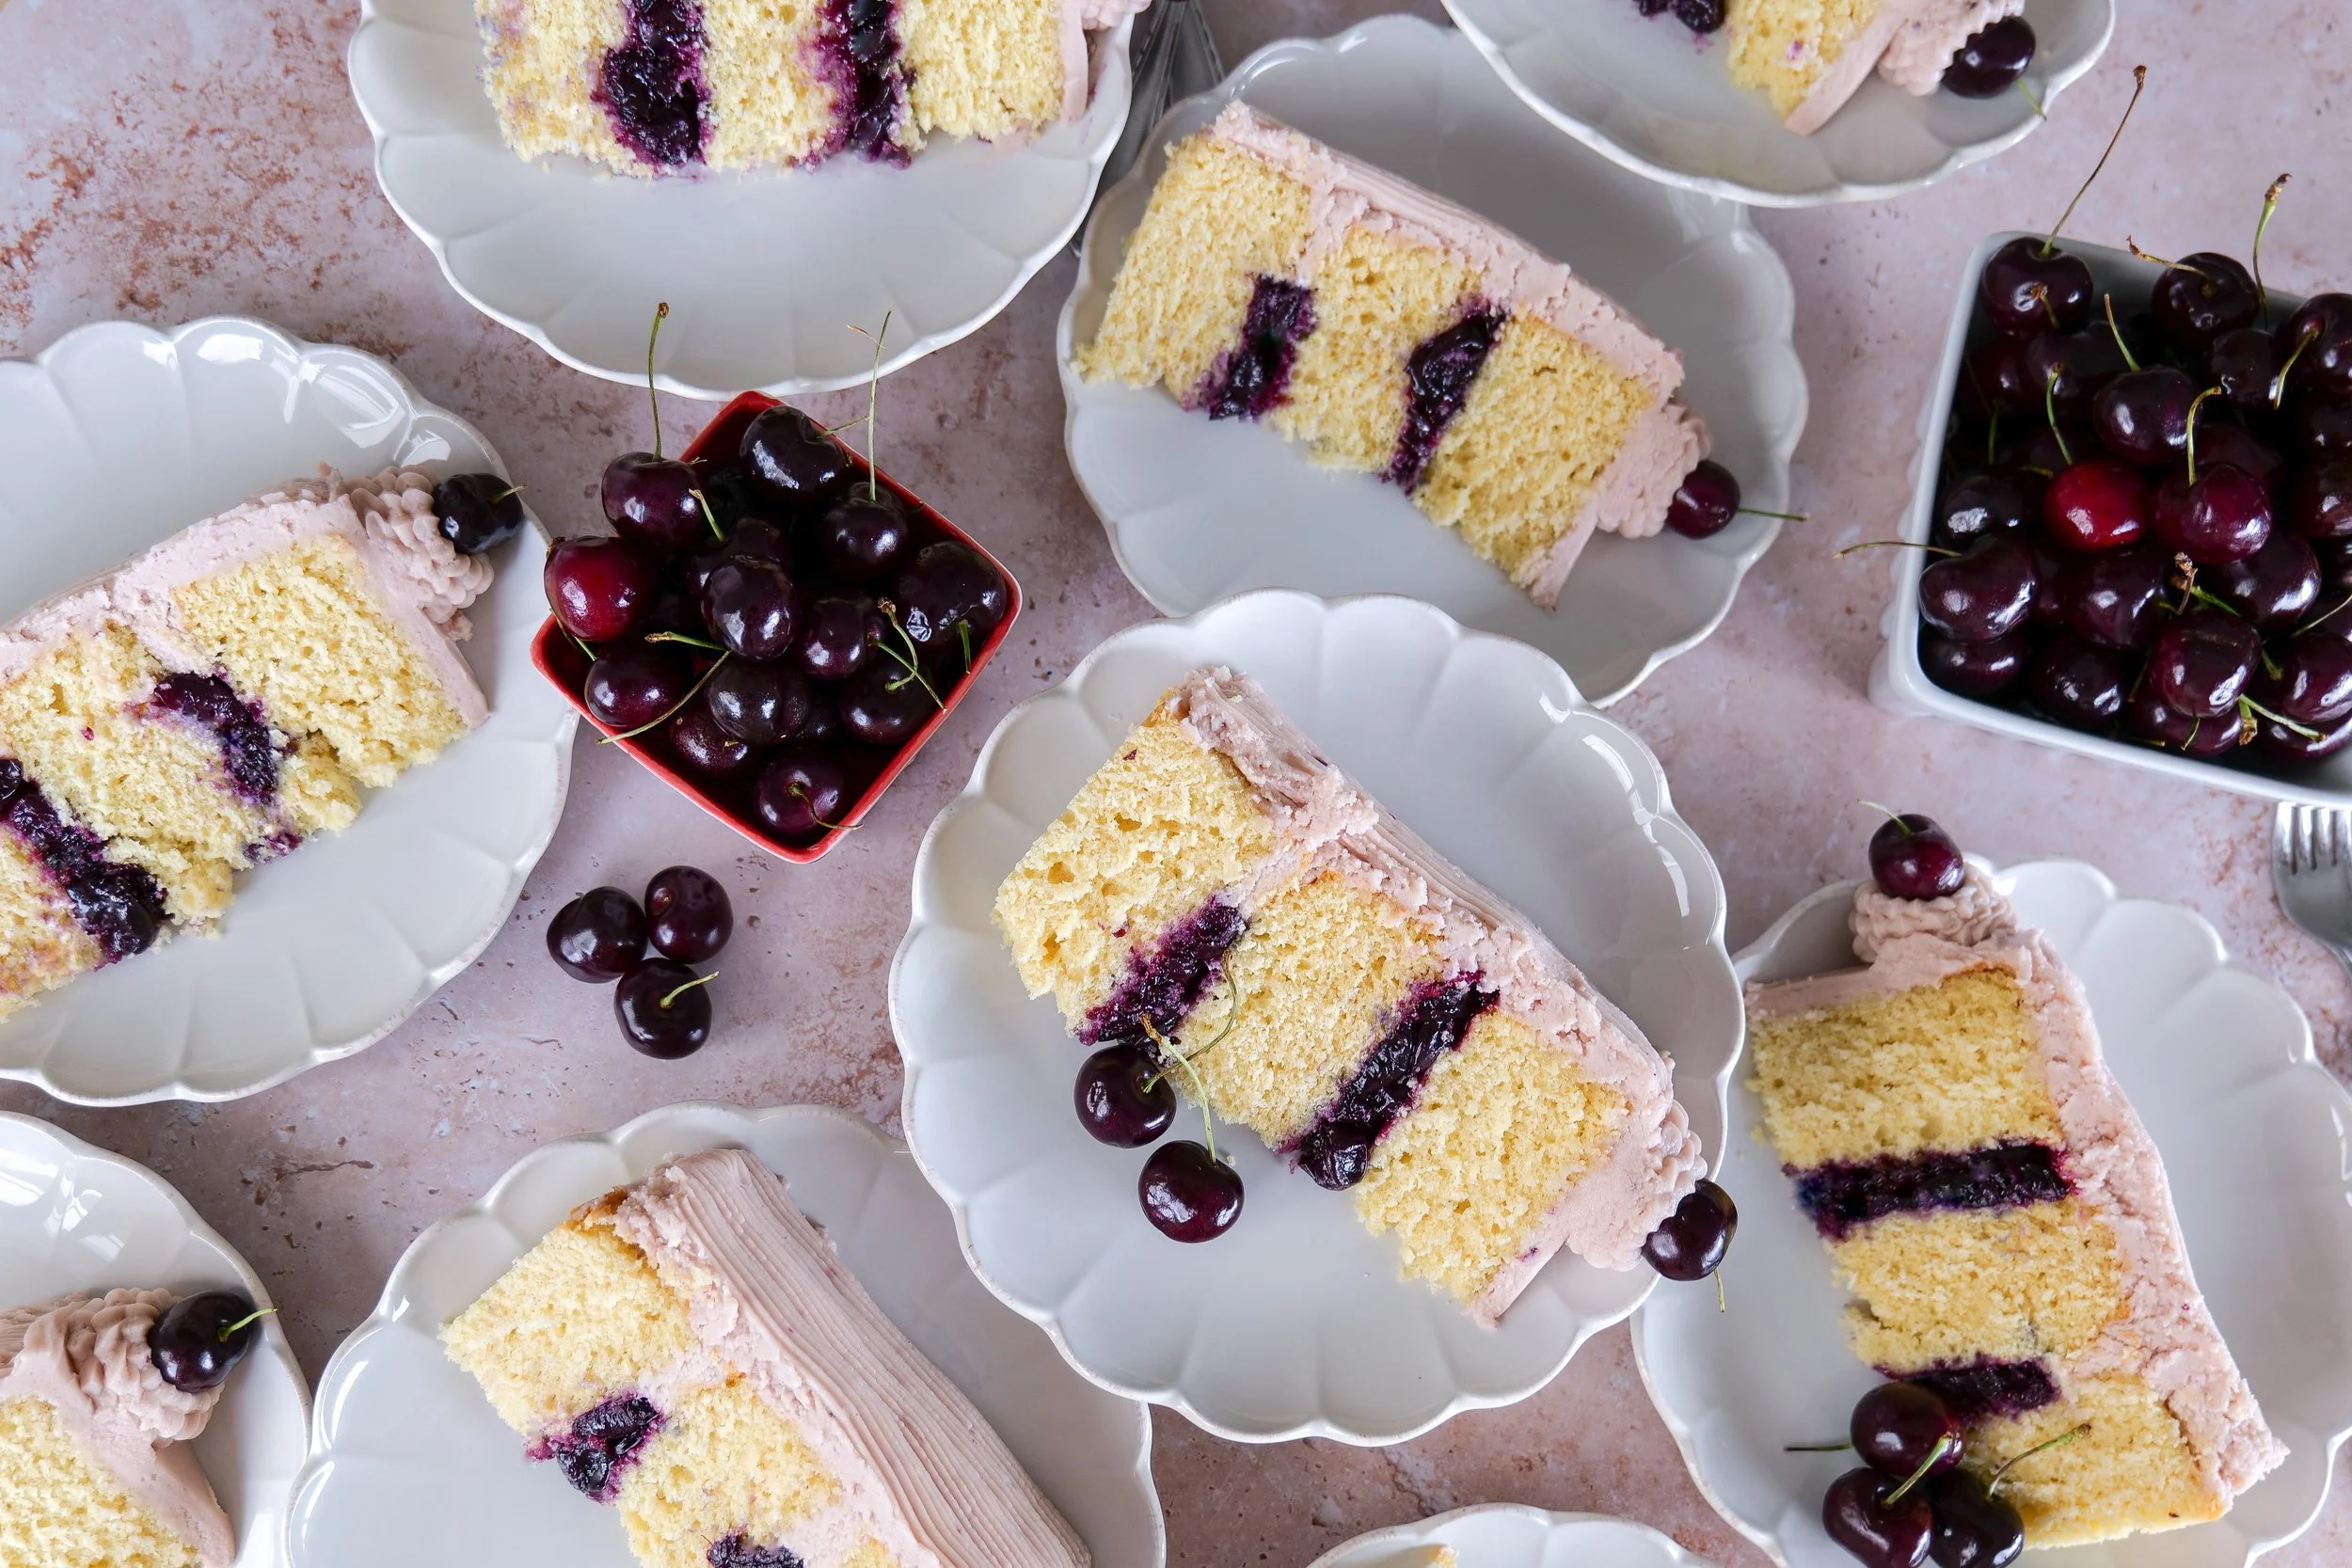
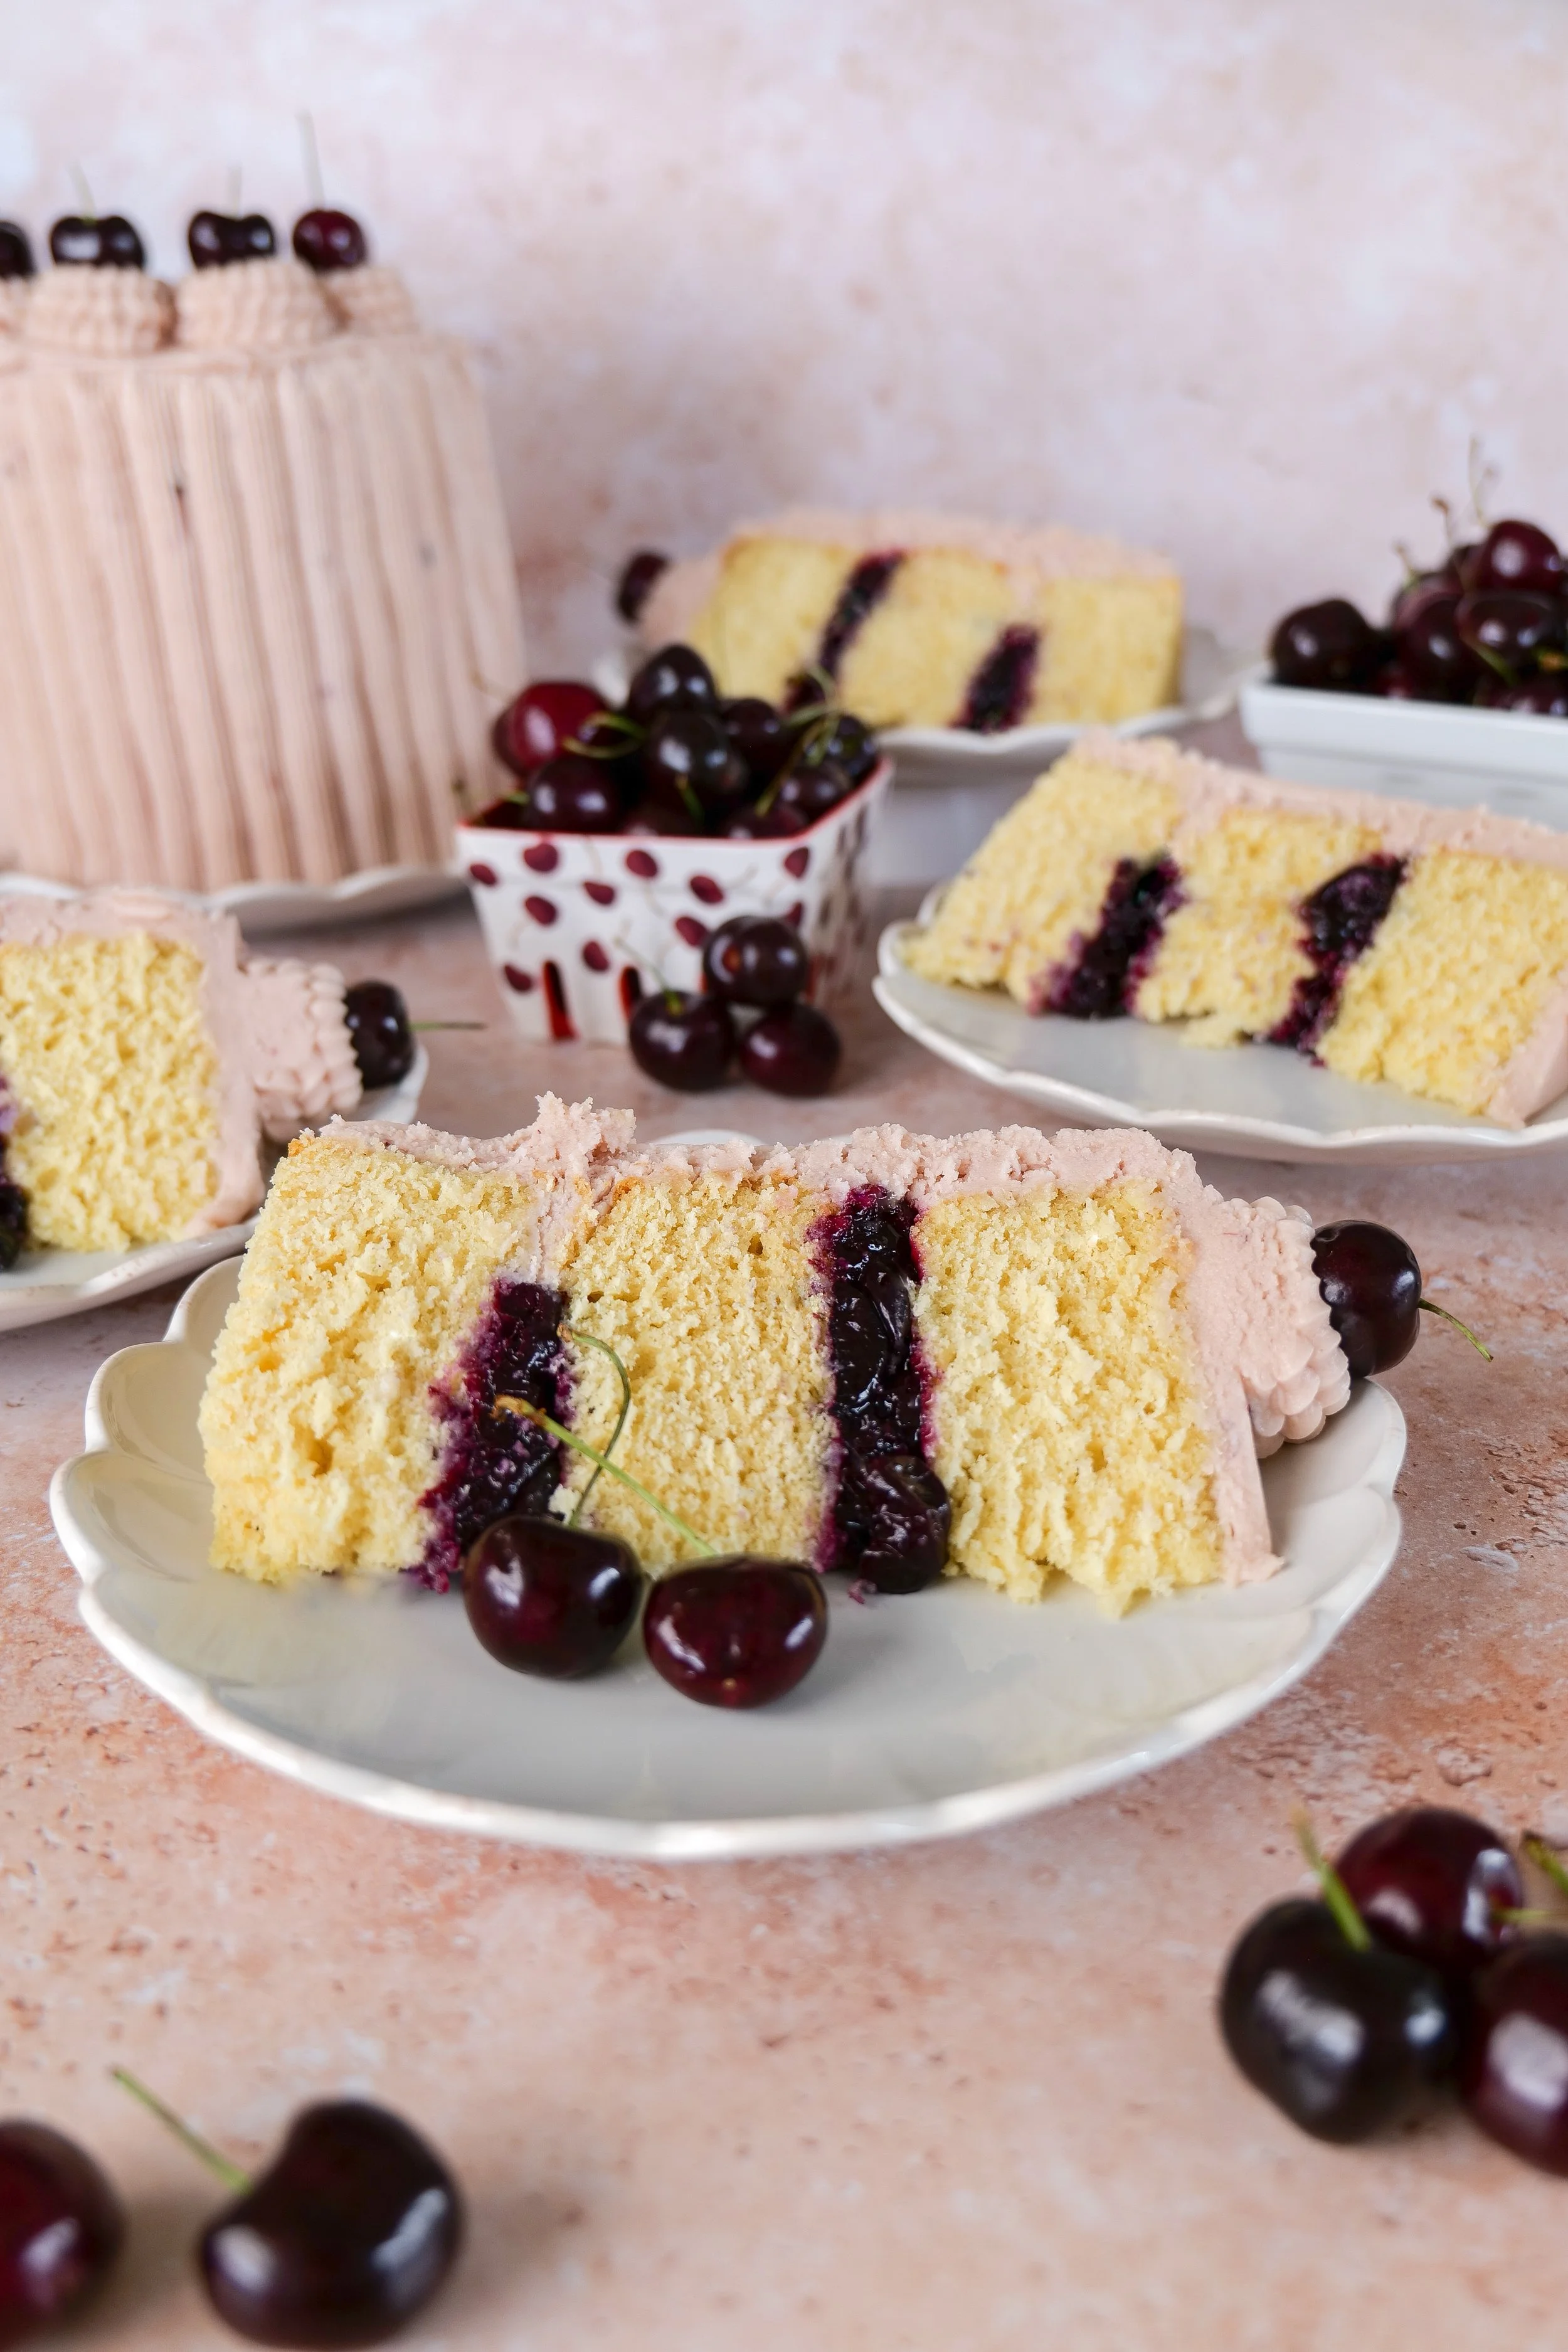
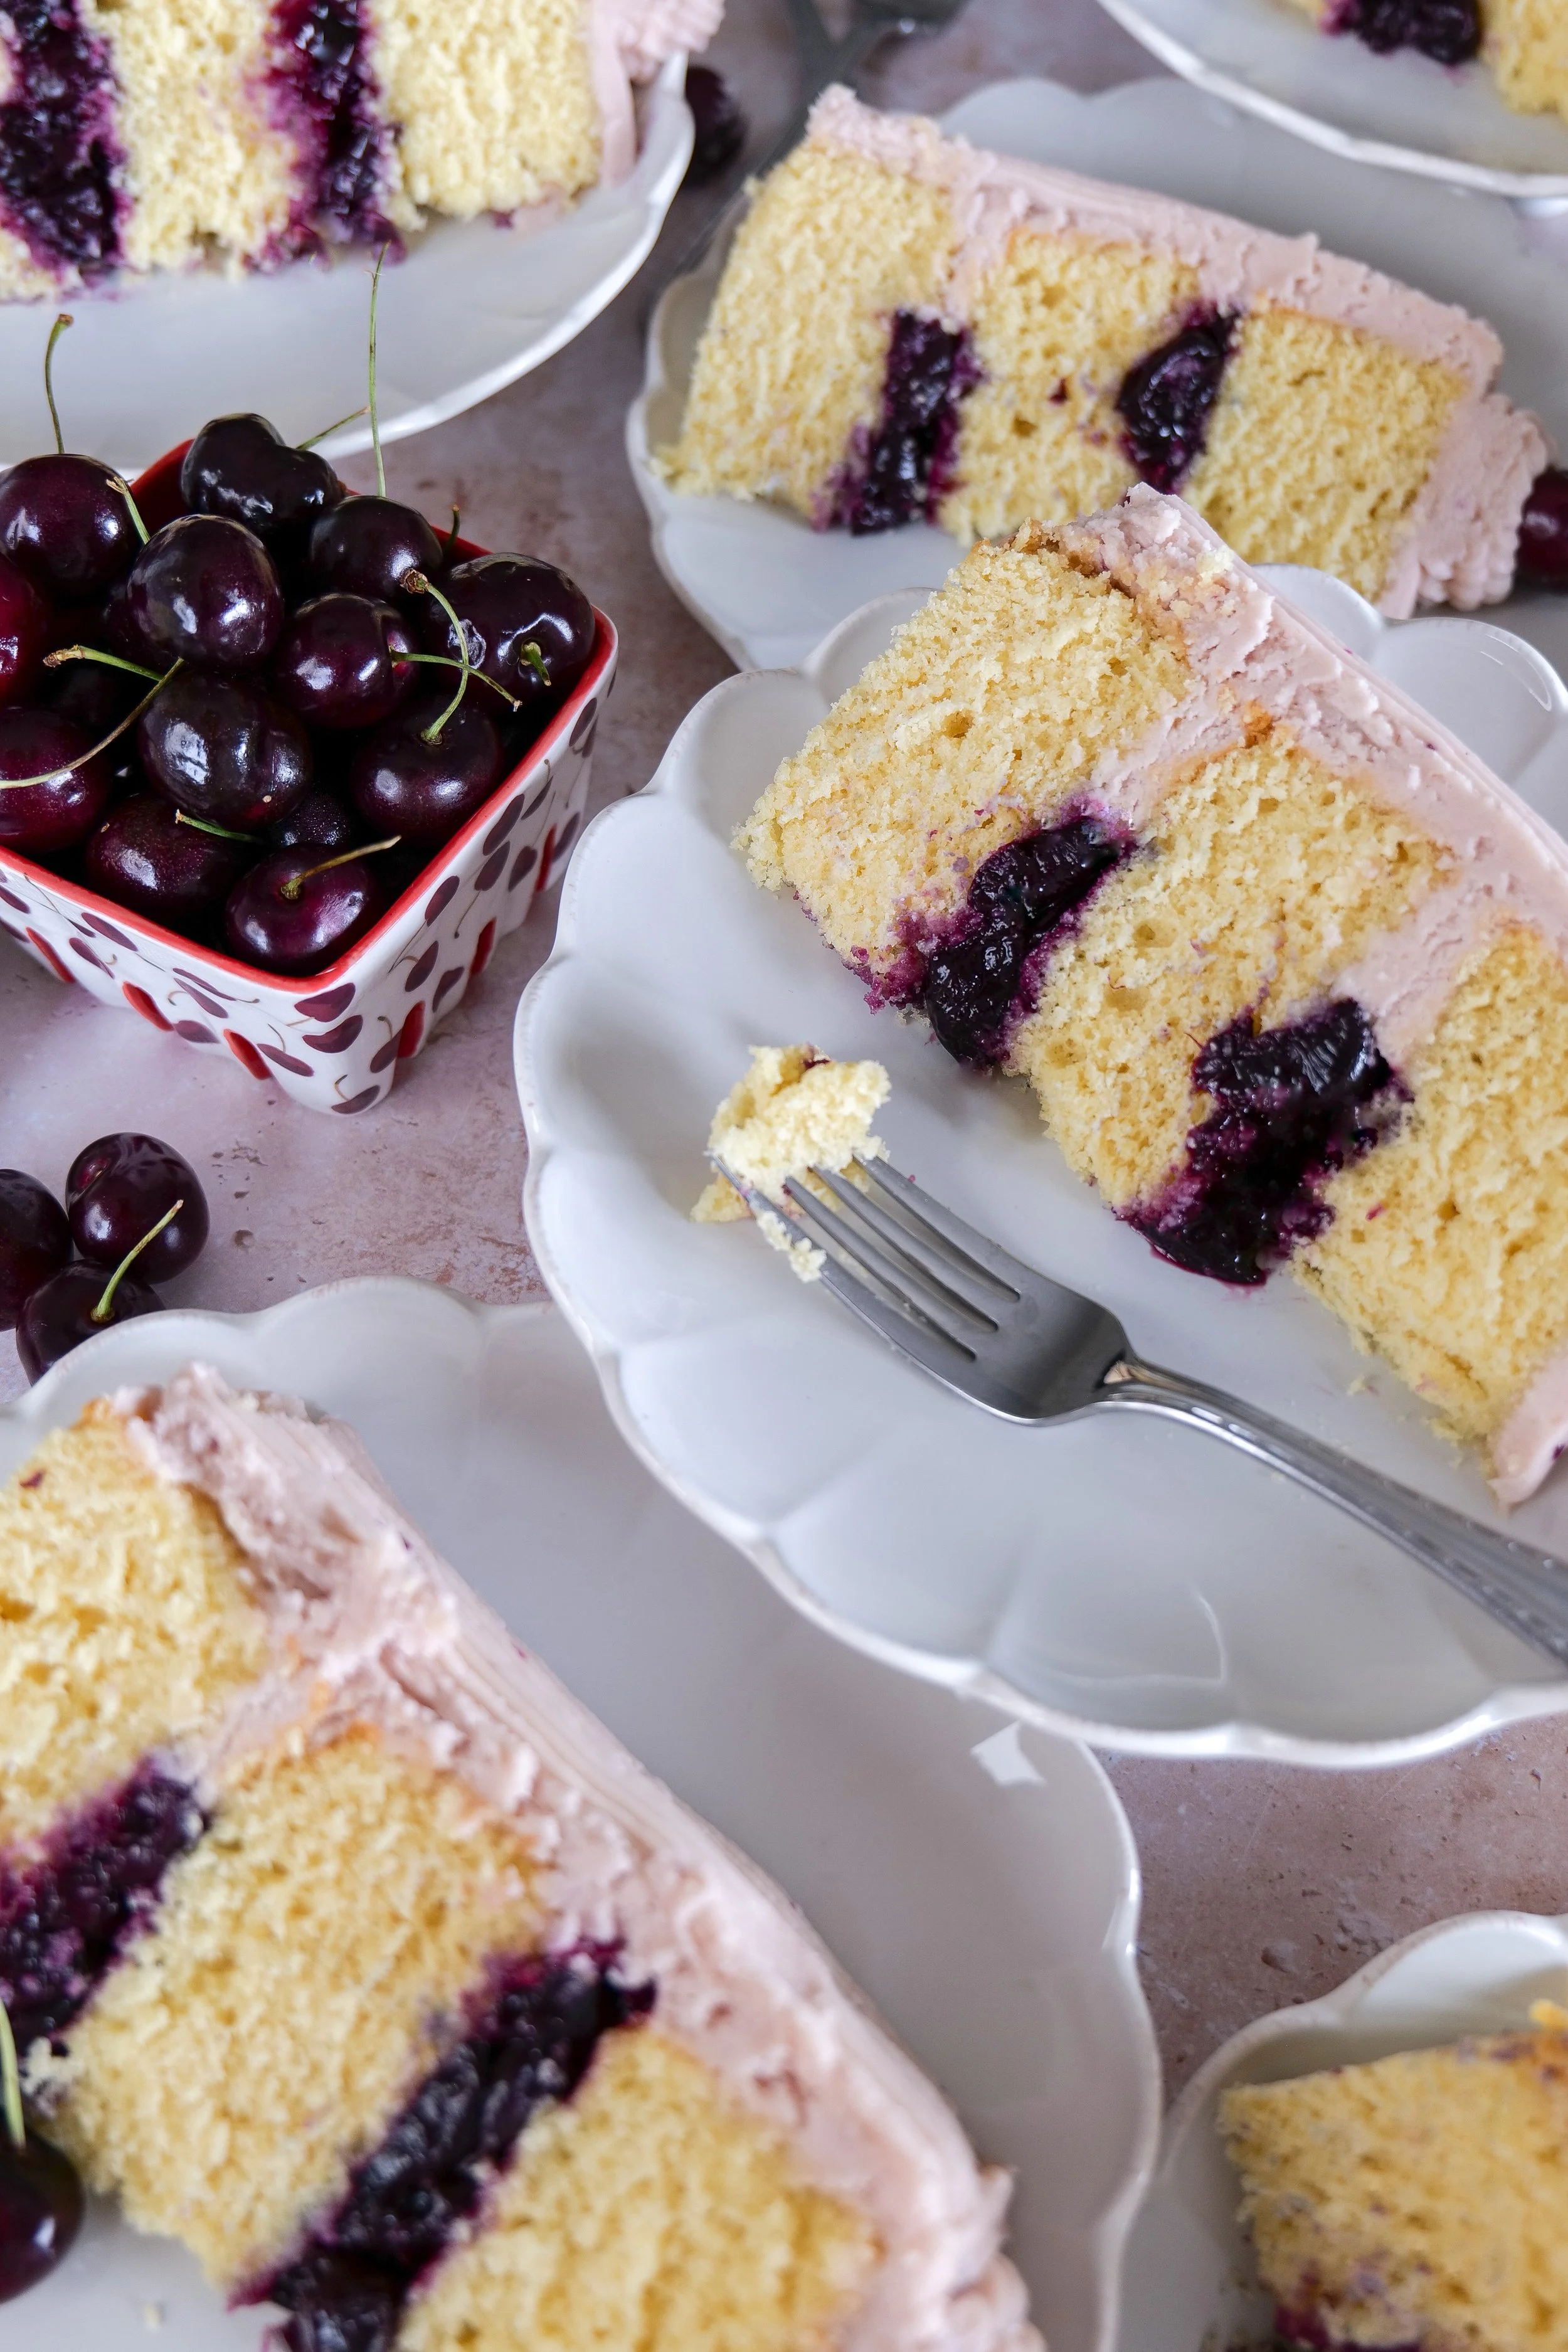
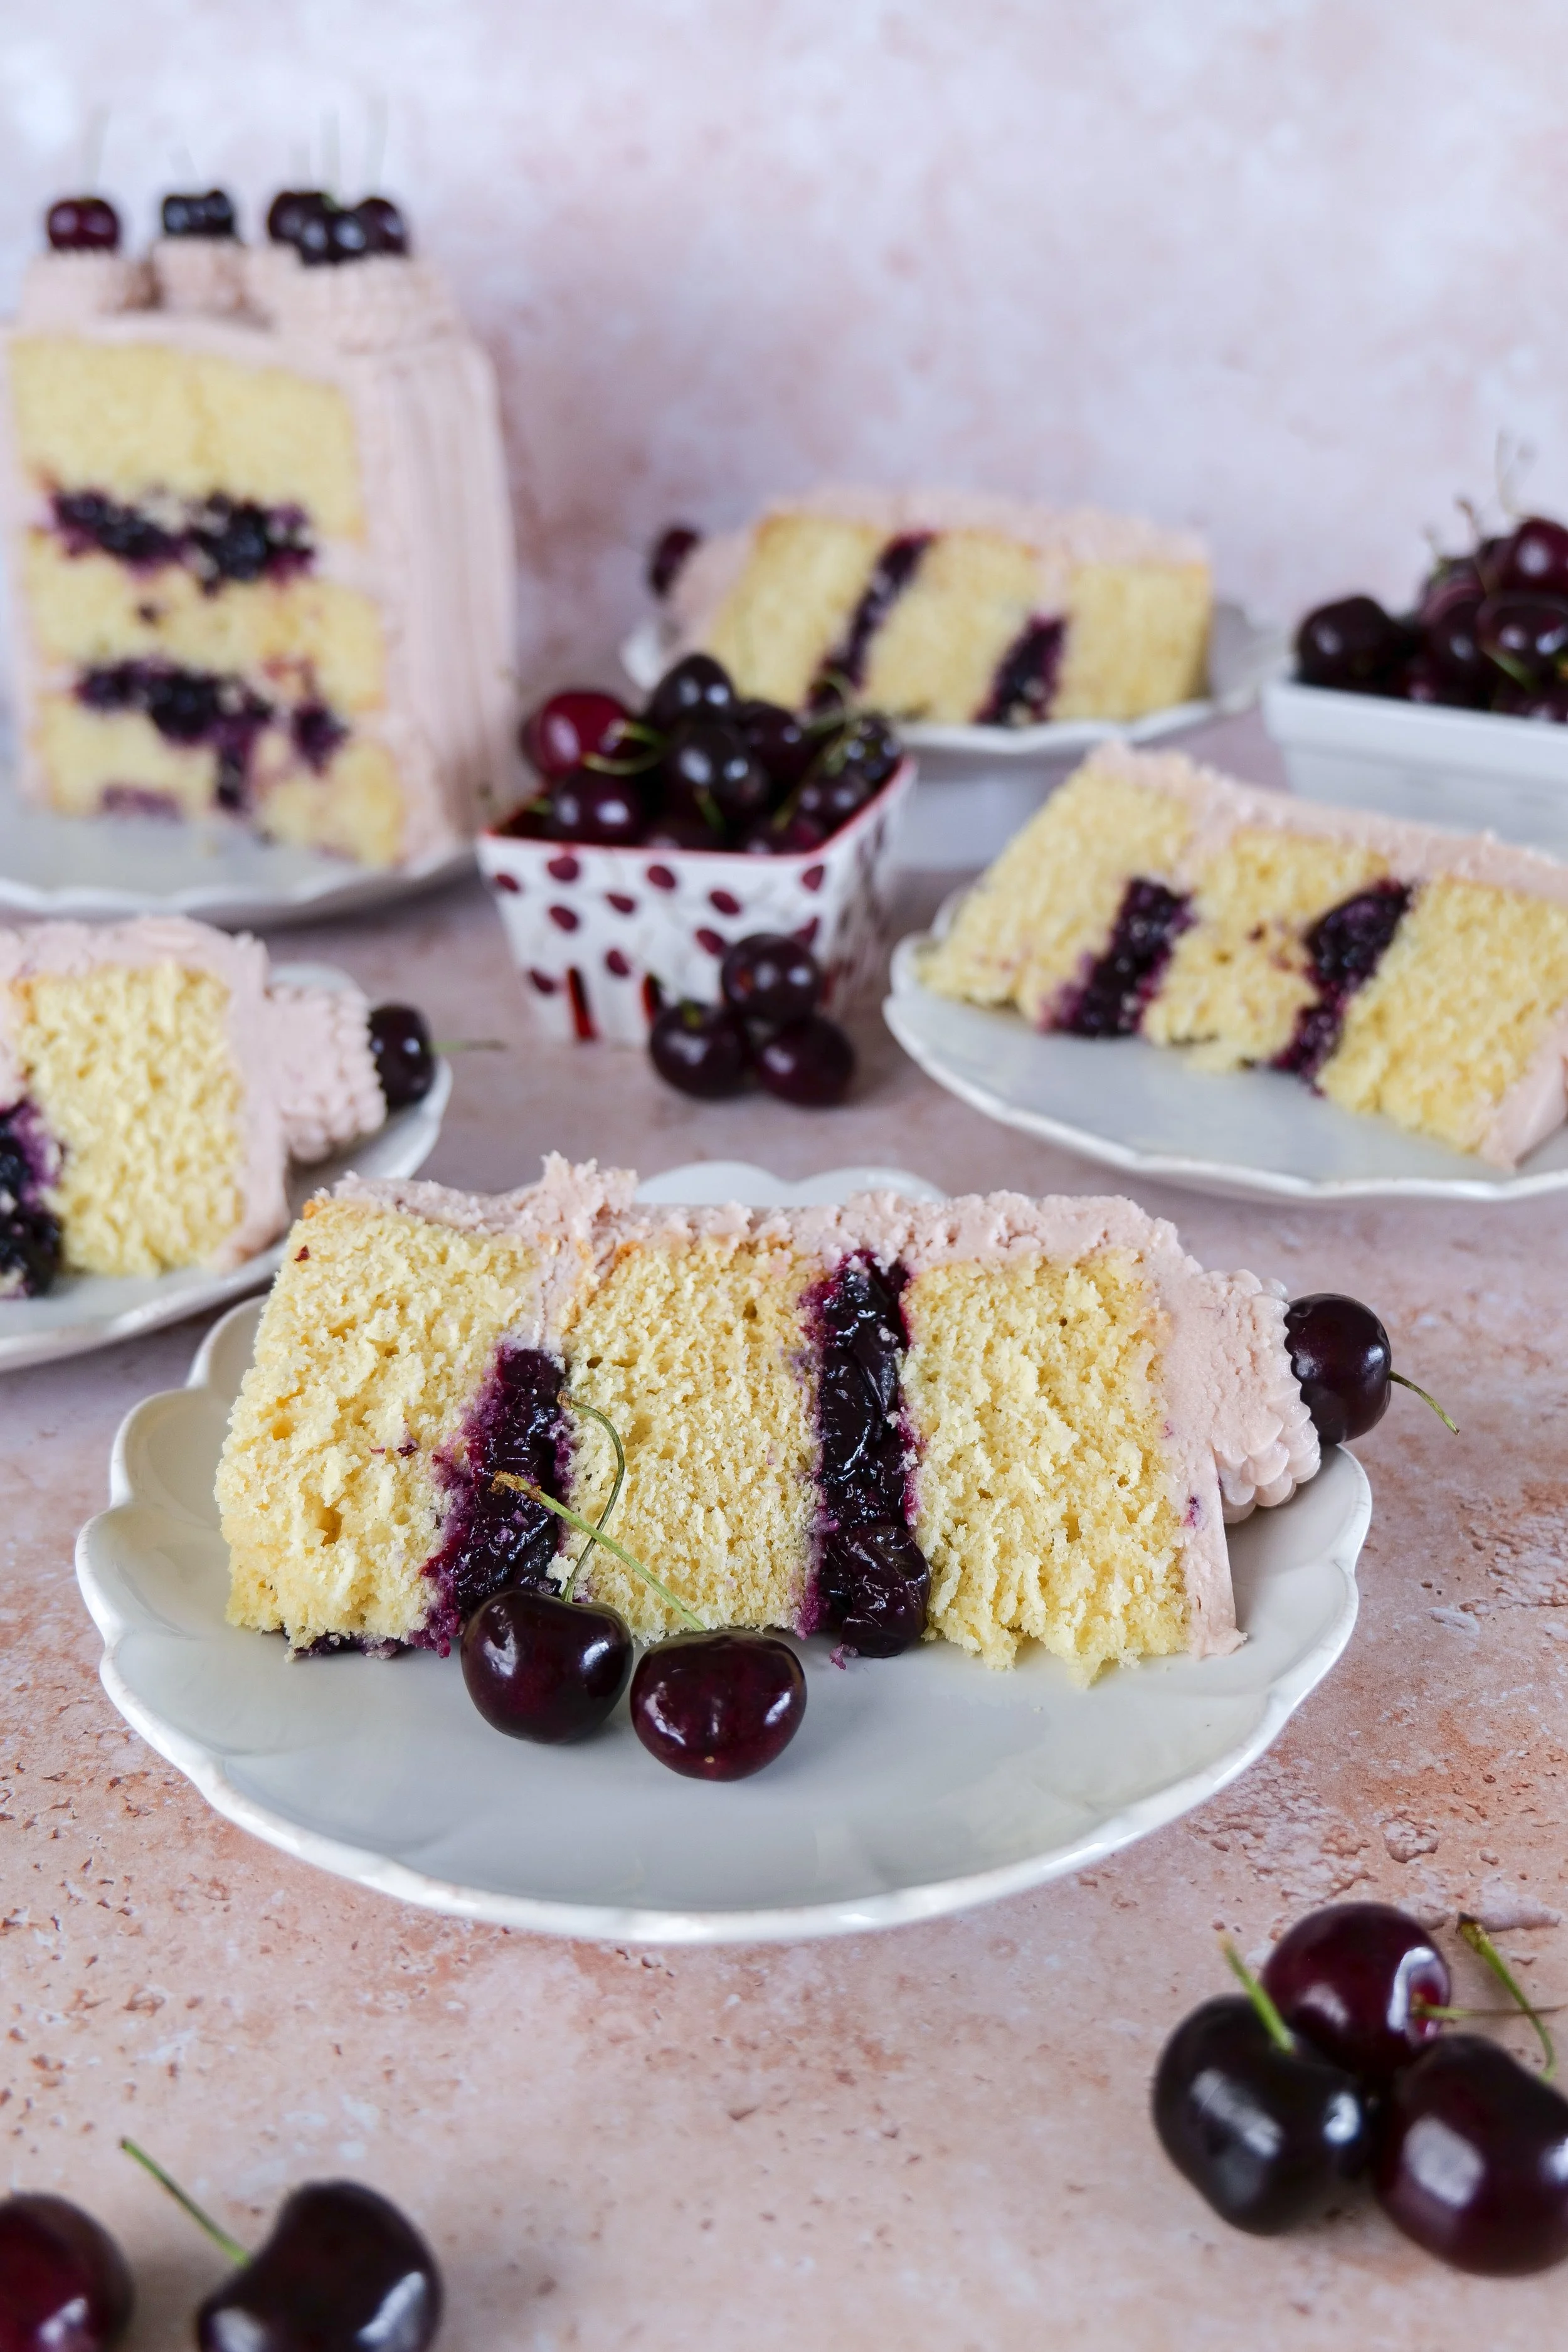
Slice of vanilla bean cherry layer cake showing fluffy vanilla cake layers and fresh cherry filling.
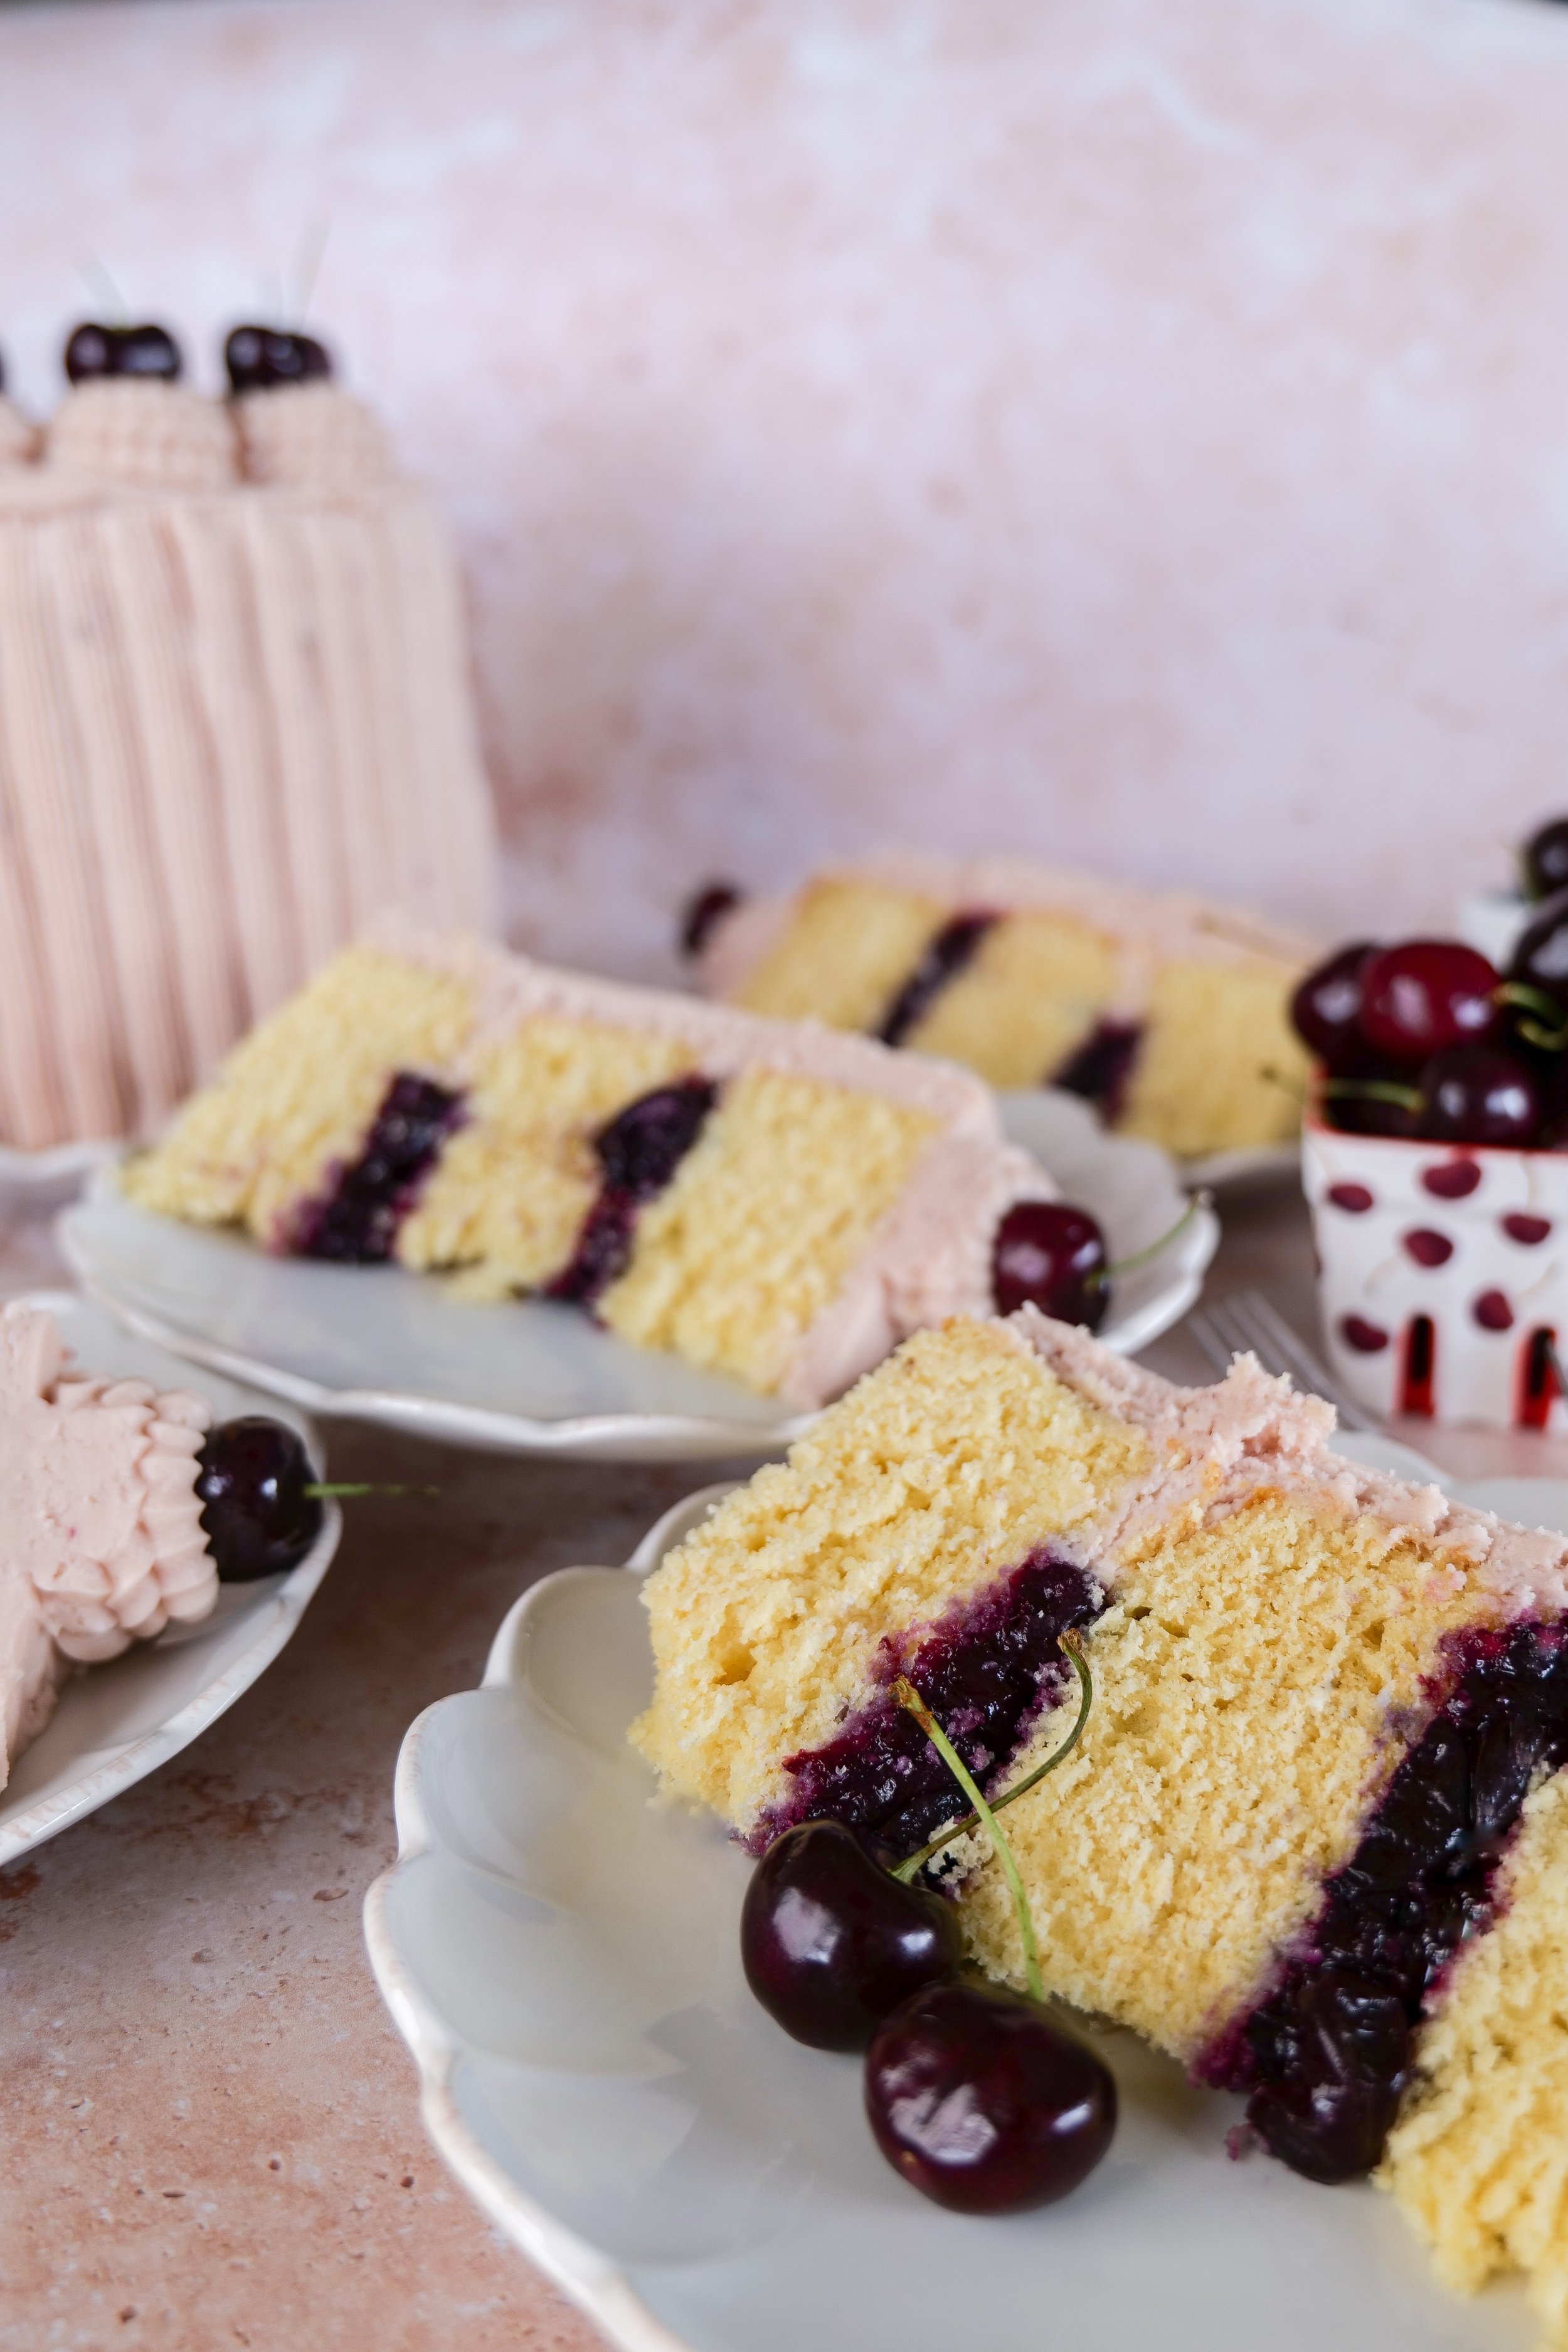
Close-up of vanilla bean cherry cake with homemade cherry filling and soft pink buttercream.

July always feels like the peak of summer.

Fresh cherries are everywhere, the light lasts just a little longer in the evenings, and everything feels slower in the best way. This month’s milestone cake is inspired by exactly that moment—the simplicity of peak cherry season.

Instead of a heavy or overly complex dessert, I wanted something light, beautiful, and centered around one clear flavor: cherry. Paired with soft vanilla bean cake layers and a whipped cherry mascarpone frosting, this cake feels like summer in its most elegant form.

It’s simple, fresh, and designed to let the cherries shine.

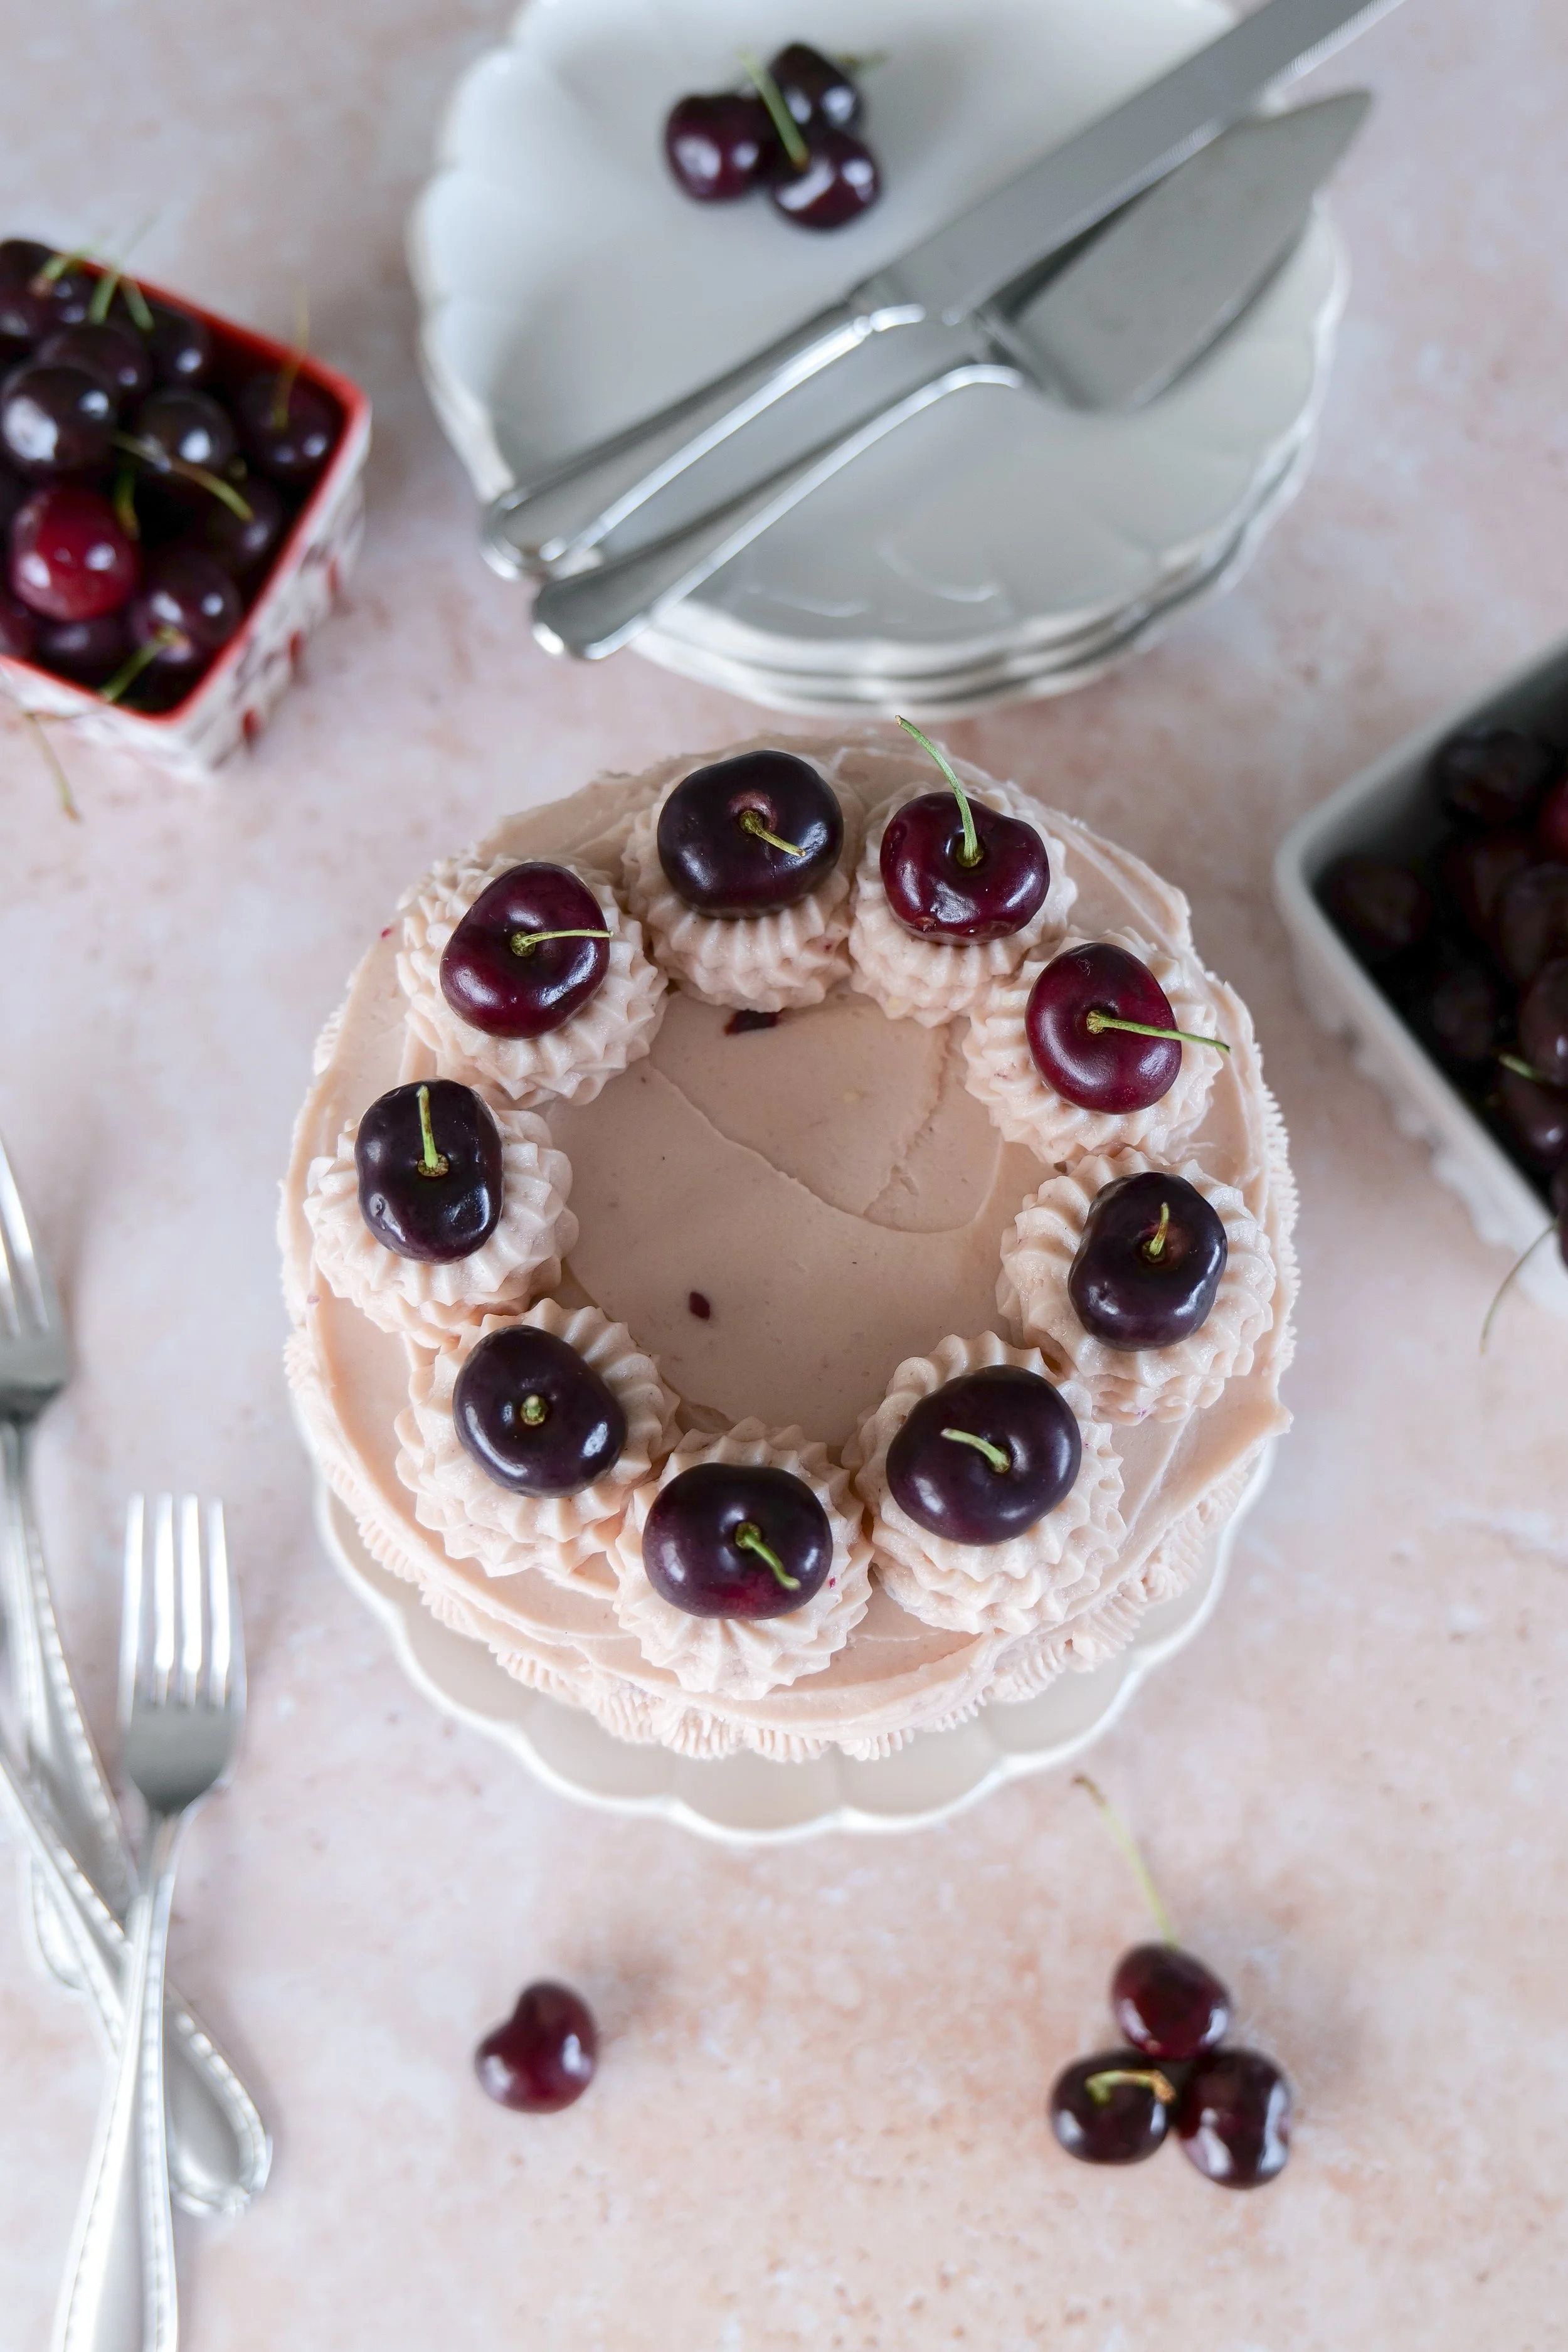
Homemade vanilla bean cherry layer cake decorated with fresh cherries and cherry buttercream.
Beautiful summer cherry layer cake perfect for birthdays, holidays, and celebrations.

Why You’ll Love This Cherry Layer Cake

  • Soft vanilla bean cake layers with a tender crumb

  • Homemade cherry filling made with fresh summer cherries

  • Light whipped mascarpone frosting infused with cherry syrup

  • Naturally soft pink frosting for a beautiful finish

  • Elegant but easy enough for home baking

  • Perfect for birthdays, summer gatherings, or milestone celebrations

Shop the Cherry Layer Cake

Before baking, here are the essentials used to create this cake.

Baking + Cake Essentials

Includes:

  • 8-inch cake pans

  • Stand mixer or hand mixer

  • Offset spatula

  • Cake turntable

  • Cooling racks

  • Parchment rounds

  • Piping bags (optional for decoration)

These tools help create a smooth, bakery-style finish at home.

Easy vanilla bean cherry cake recipe made with fresh cherries and creamy buttercream frosting.  7.
Slice of cherry layer cake served on a white scalloped dessert plate.
Vanilla cake frosted with naturally pink cherry buttercream and filled with homemade cherries.

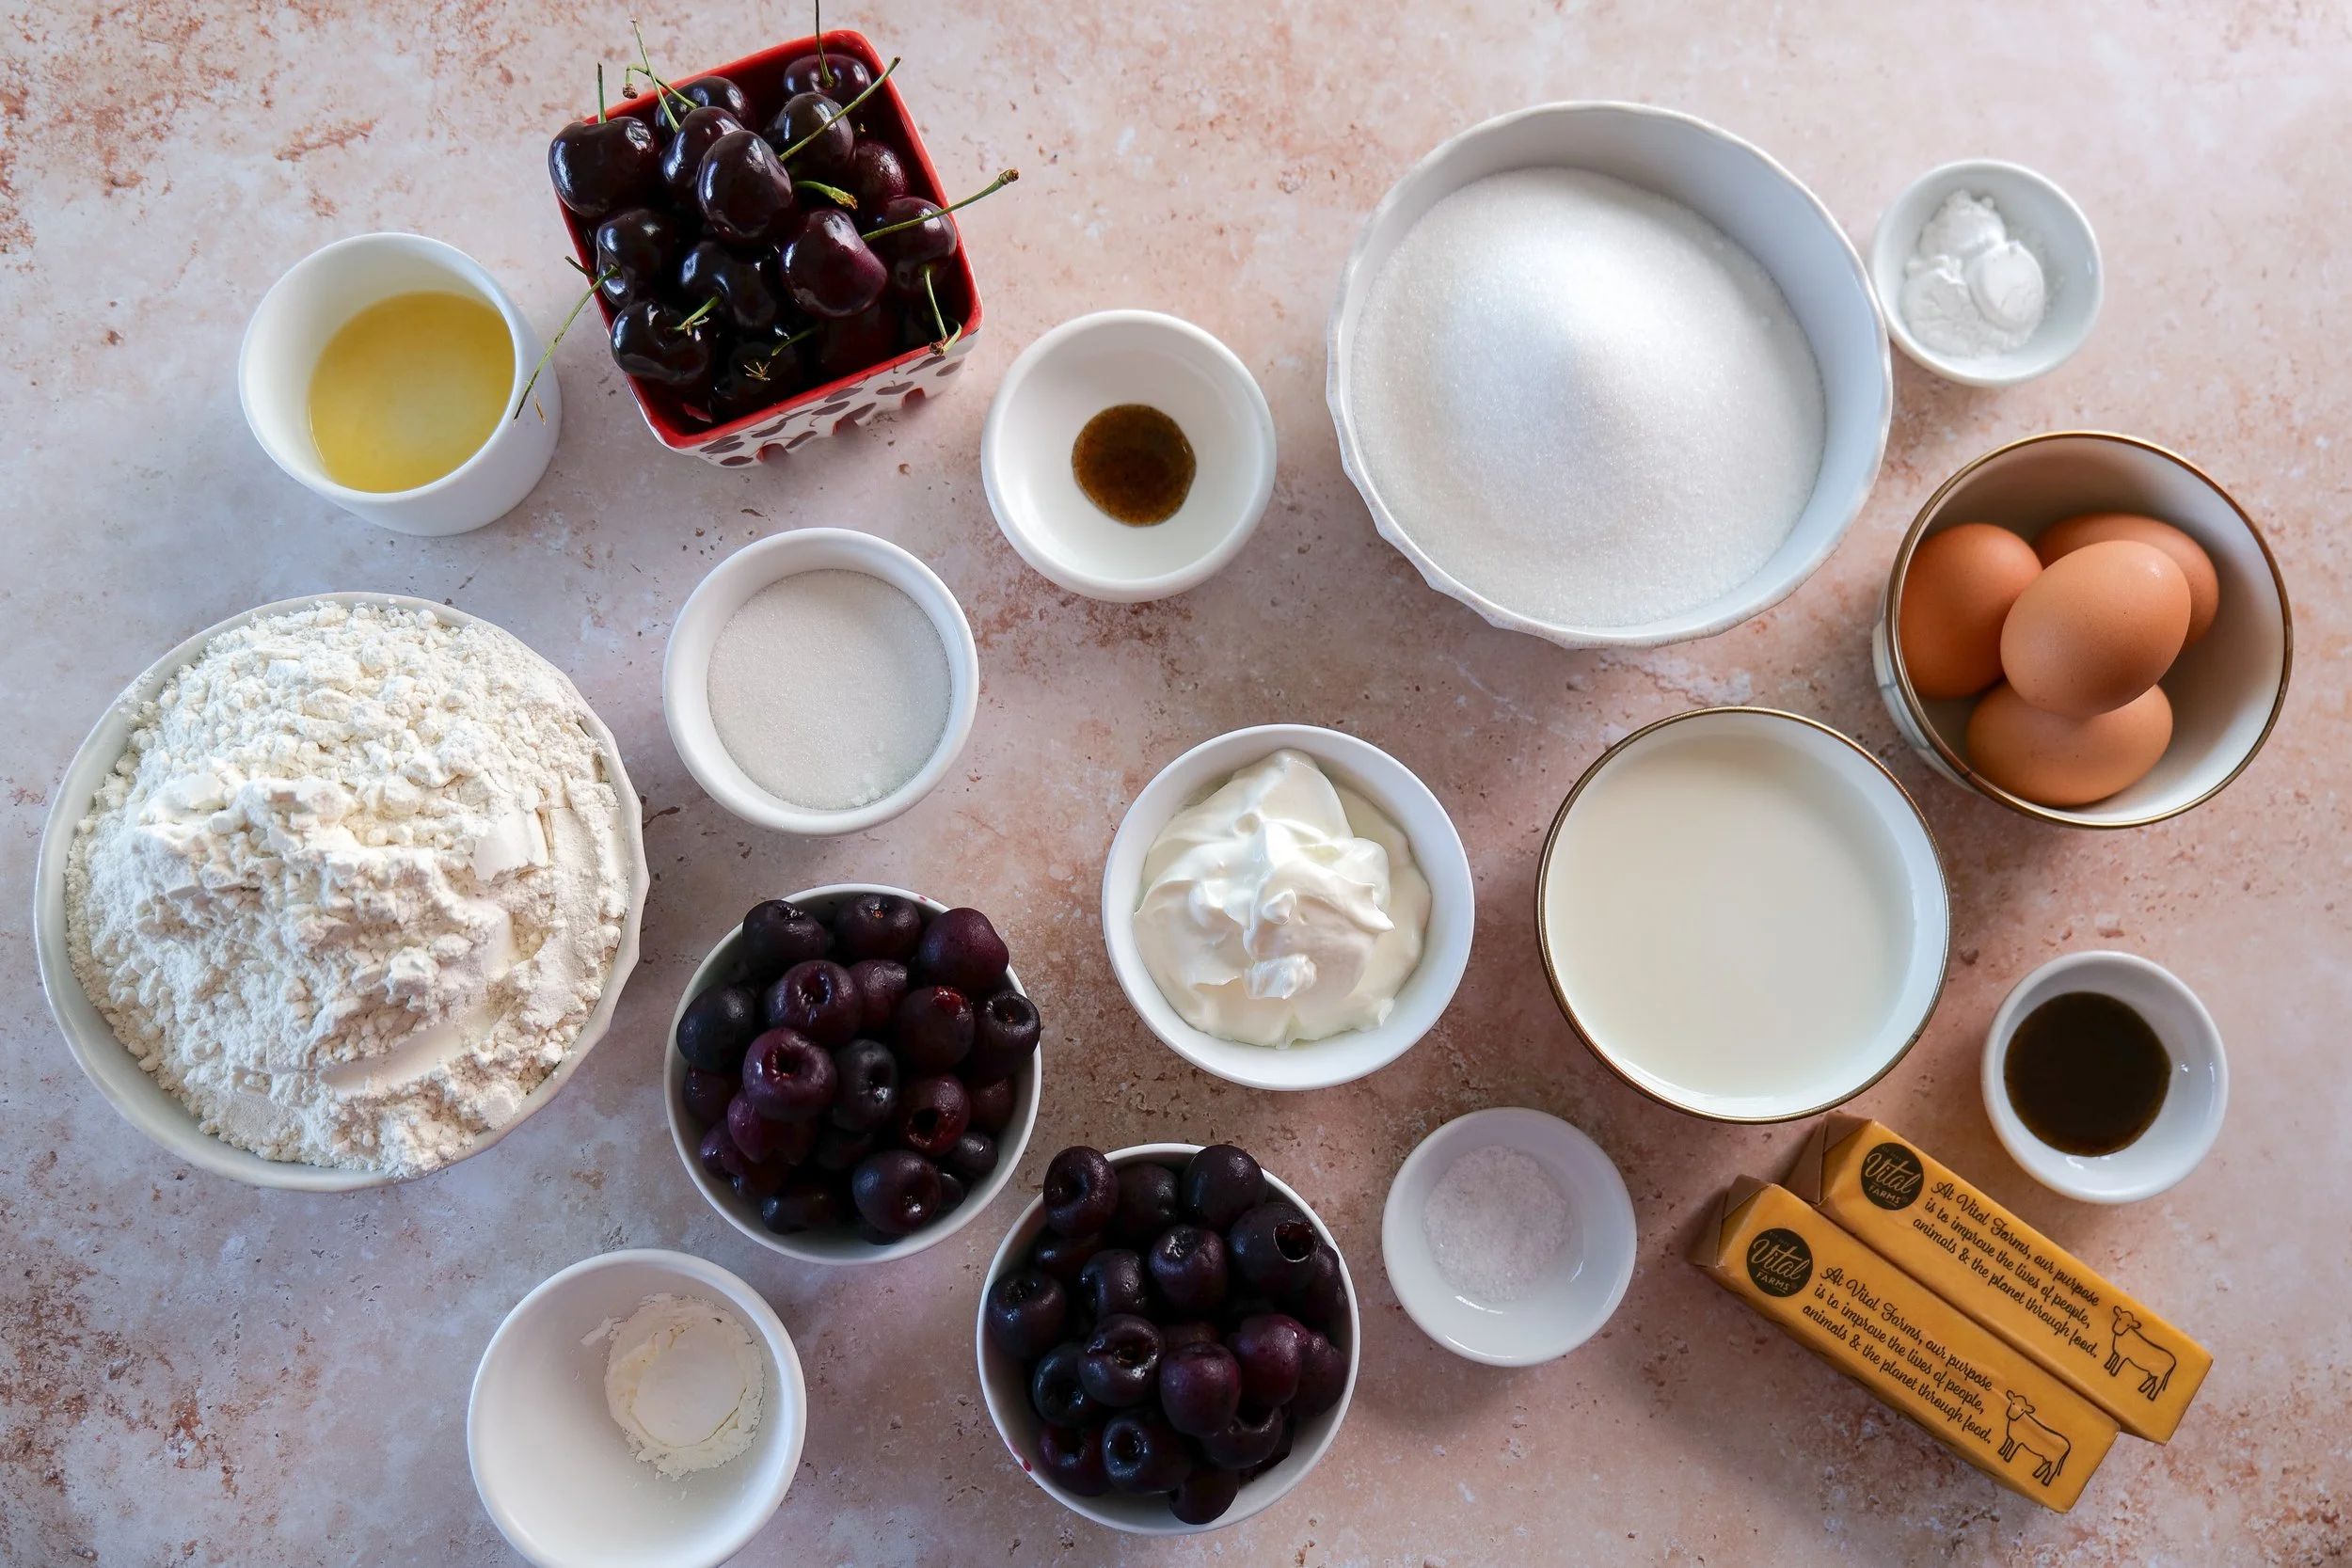
Ingredients

Vanilla Bean Cake Layers

  • 3 cups all-purpose flour

  • 2½ teaspoons baking powder

  • ½ teaspoon baking soda

  • ½ teaspoon salt

  • 1 cup salted butter, softened

  • 1¾ cups granulated sugar

  • 4 large eggs

  • 1 tablespoon vanilla bean paste

  • 1 cup whole milk

  • ½ cup sour cream

Cherry Filling

  • 3 cups fresh cherries, pitted

  • ⅓ cup granulated sugar

  • 1 tablespoon lemon juice

  • 1 tablespoon cornstarch

  • ½ teaspoon vanilla bean paste

Whipped Vanilla Cherry Mascarpone Frosting

This frosting is light, fluffy, and naturally tinted a soft pink from cherry syrup. It adds both flavor and color to the finished cake.

  • 16 oz mascarpone cheese, softened

  • 2 cups salted butter

  • 8 cups powdered sugar

  • 1 tablespoon vanilla bean paste

  • 3–5 tablespoons cherry syrup (or until color and consistency is reached)

How to Make the Cherry Filling

  1. Add cherries, sugar, and lemon juice to a saucepan.

  2. Cook over medium heat for 8–10 minutes until cherries soften and release juices.

  3. Stir in cornstarch and cook until slightly thickened.

  4. Remove from heat and stir in vanilla.

  5. Cool completely before assembling the cake.

How to Make the Vanilla Bean Cake

  1. Preheat oven to 350°F. Grease and line three 8-inch cake pans.

  2. Whisk together flour, baking powder, baking soda, and salt.

  3. Cream butter and sugar until light and fluffy.

  4. Add eggs one at a time, mixing well after each addition.

  5. Mix in vanilla bean paste.

  6. Alternate adding dry ingredients and buttermilk until combined.

  7. Fold in sour cream until smooth.

  8. Divide batter evenly between pans.

  9. Bake 24–28 minutes or until a toothpick comes out clean.

  10. Cool completely before assembling.

How to Make the Whipped Cherry Mascarpone Frosting

  1. Beat mascarpone and butter until smooth and creamy.

  2. Add powdered sugar and vanilla, mixing until fully combined.

  3. Gradually add cherry syrup, 1 tablespoon at a time, while whipping.

  4. Continue mixing until light, fluffy, and softly pink.

  5. Adjust color and flavor with additional syrup if desired, being careful not to overmix.

Tip: Use a thick cherry syrup or reduced cherry juice to avoid thinning the frosting.

Assemble the Cake

  1. Place one cake layer on a stand or plate.

  2. Pipe a border of cherry mascarpone frosting around the edge.

  3. Fill the center with cherry filling.

  4. Repeat with remaining layers.

  5. Frost the outside of the cake with whipped cherry mascarpone frosting.

  6. Smooth or texture as desired for a rustic or bakery-style finish.

  7. Top with fresh cherries if desired.

Fresh cherry cake recipe featuring vanilla bean cake layers and juicy cherry filling.

Decorating Ideas

  • Fresh cherries with stems for a natural finish

  • Soft swirls of pink frosting

  • Light, rustic textured finish for a homemade bakery look

  • Minimal decoration to highlight the natural color of the frosting

Tips for Success

  • Make sure cherry filling is fully cooled before assembling

  • Use thick cherry syrup for frosting color and stability

  • Do not overwhip mascarpone or it may loosen

  • Chill cake slightly before slicing for cleaner layers

More Cake Recipes You'll Love

This creates another internal linking hub, which Google loves for recipe sites. Since this is a cake recipe, readers are often looking for another cake to save for later.

I'd link to something like:

Shop Pairings for Summer Hosting

Shop Shelf: Summer Dessert & Hosting Pairings

Three-layer vanilla bean cake filled with fresh cherries and finished with cherry frosting.
Vanilla bean cake layered with sweet homemade cherry filling and whipped cherry buttercream.

Frequently Asked Questions

Can I use frozen cherries?

Yes. Thaw completely and drain excess liquid before cooking.

Can I make this cake ahead of time?

Yes. Bake layers a day ahead and assemble the next day for best texture.

Can I replace mascarpone frosting?

Yes. A vanilla buttercream works, but the mascarpone version keeps it lighter and less sweet.

How to Serve Vanilla Bean Cherry Cake

This vanilla bean cherry cake is delicious served:

  • with fresh whipped cream

  • alongside vanilla bean ice cream

  • topped with fresh cherries

  • with hot coffee or iced lattes

  • at birthdays, bridal showers, baby showers, and summer celebrations

From Amanda's Kitchen

Some recipes become traditions the moment they're placed on the table, and this Vanilla Bean Cherry Layer Cake is one of those recipes for our family.

The soft vanilla bean cake, homemade cherry filling, and light mascarpone frosting create a cake that's elegant enough for birthdays and celebrations, yet simple enough to make just because cherries are in season. It's the kind of dessert that invites everyone to slow down, pour another cup of coffee, and linger around the table just a little longer.

I hope this recipe finds its way into your family's celebrations for years to come. Print this recipe card, tuck it into your favorite recipe binder, and know it's being shared from my kitchen to yours.

Love, Amanda

Printable recipe card for Vanilla Bean Cake with Cherry Filling featuring soft vanilla bean cake layers, homemade fresh cherry filling, and whipped vanilla cherry mascarpone frosting. An elegant summer layer cake recipe by Amanda Warren.
Elegant homemade cherry birthday cake with fluffy vanilla layers and fresh fruit filling.
Fresh cherries styled beside slices of homemade vanilla bean cherry cake.
Cross section of vanilla bean cherry layer cake showing thick cherry filling between cake layers.
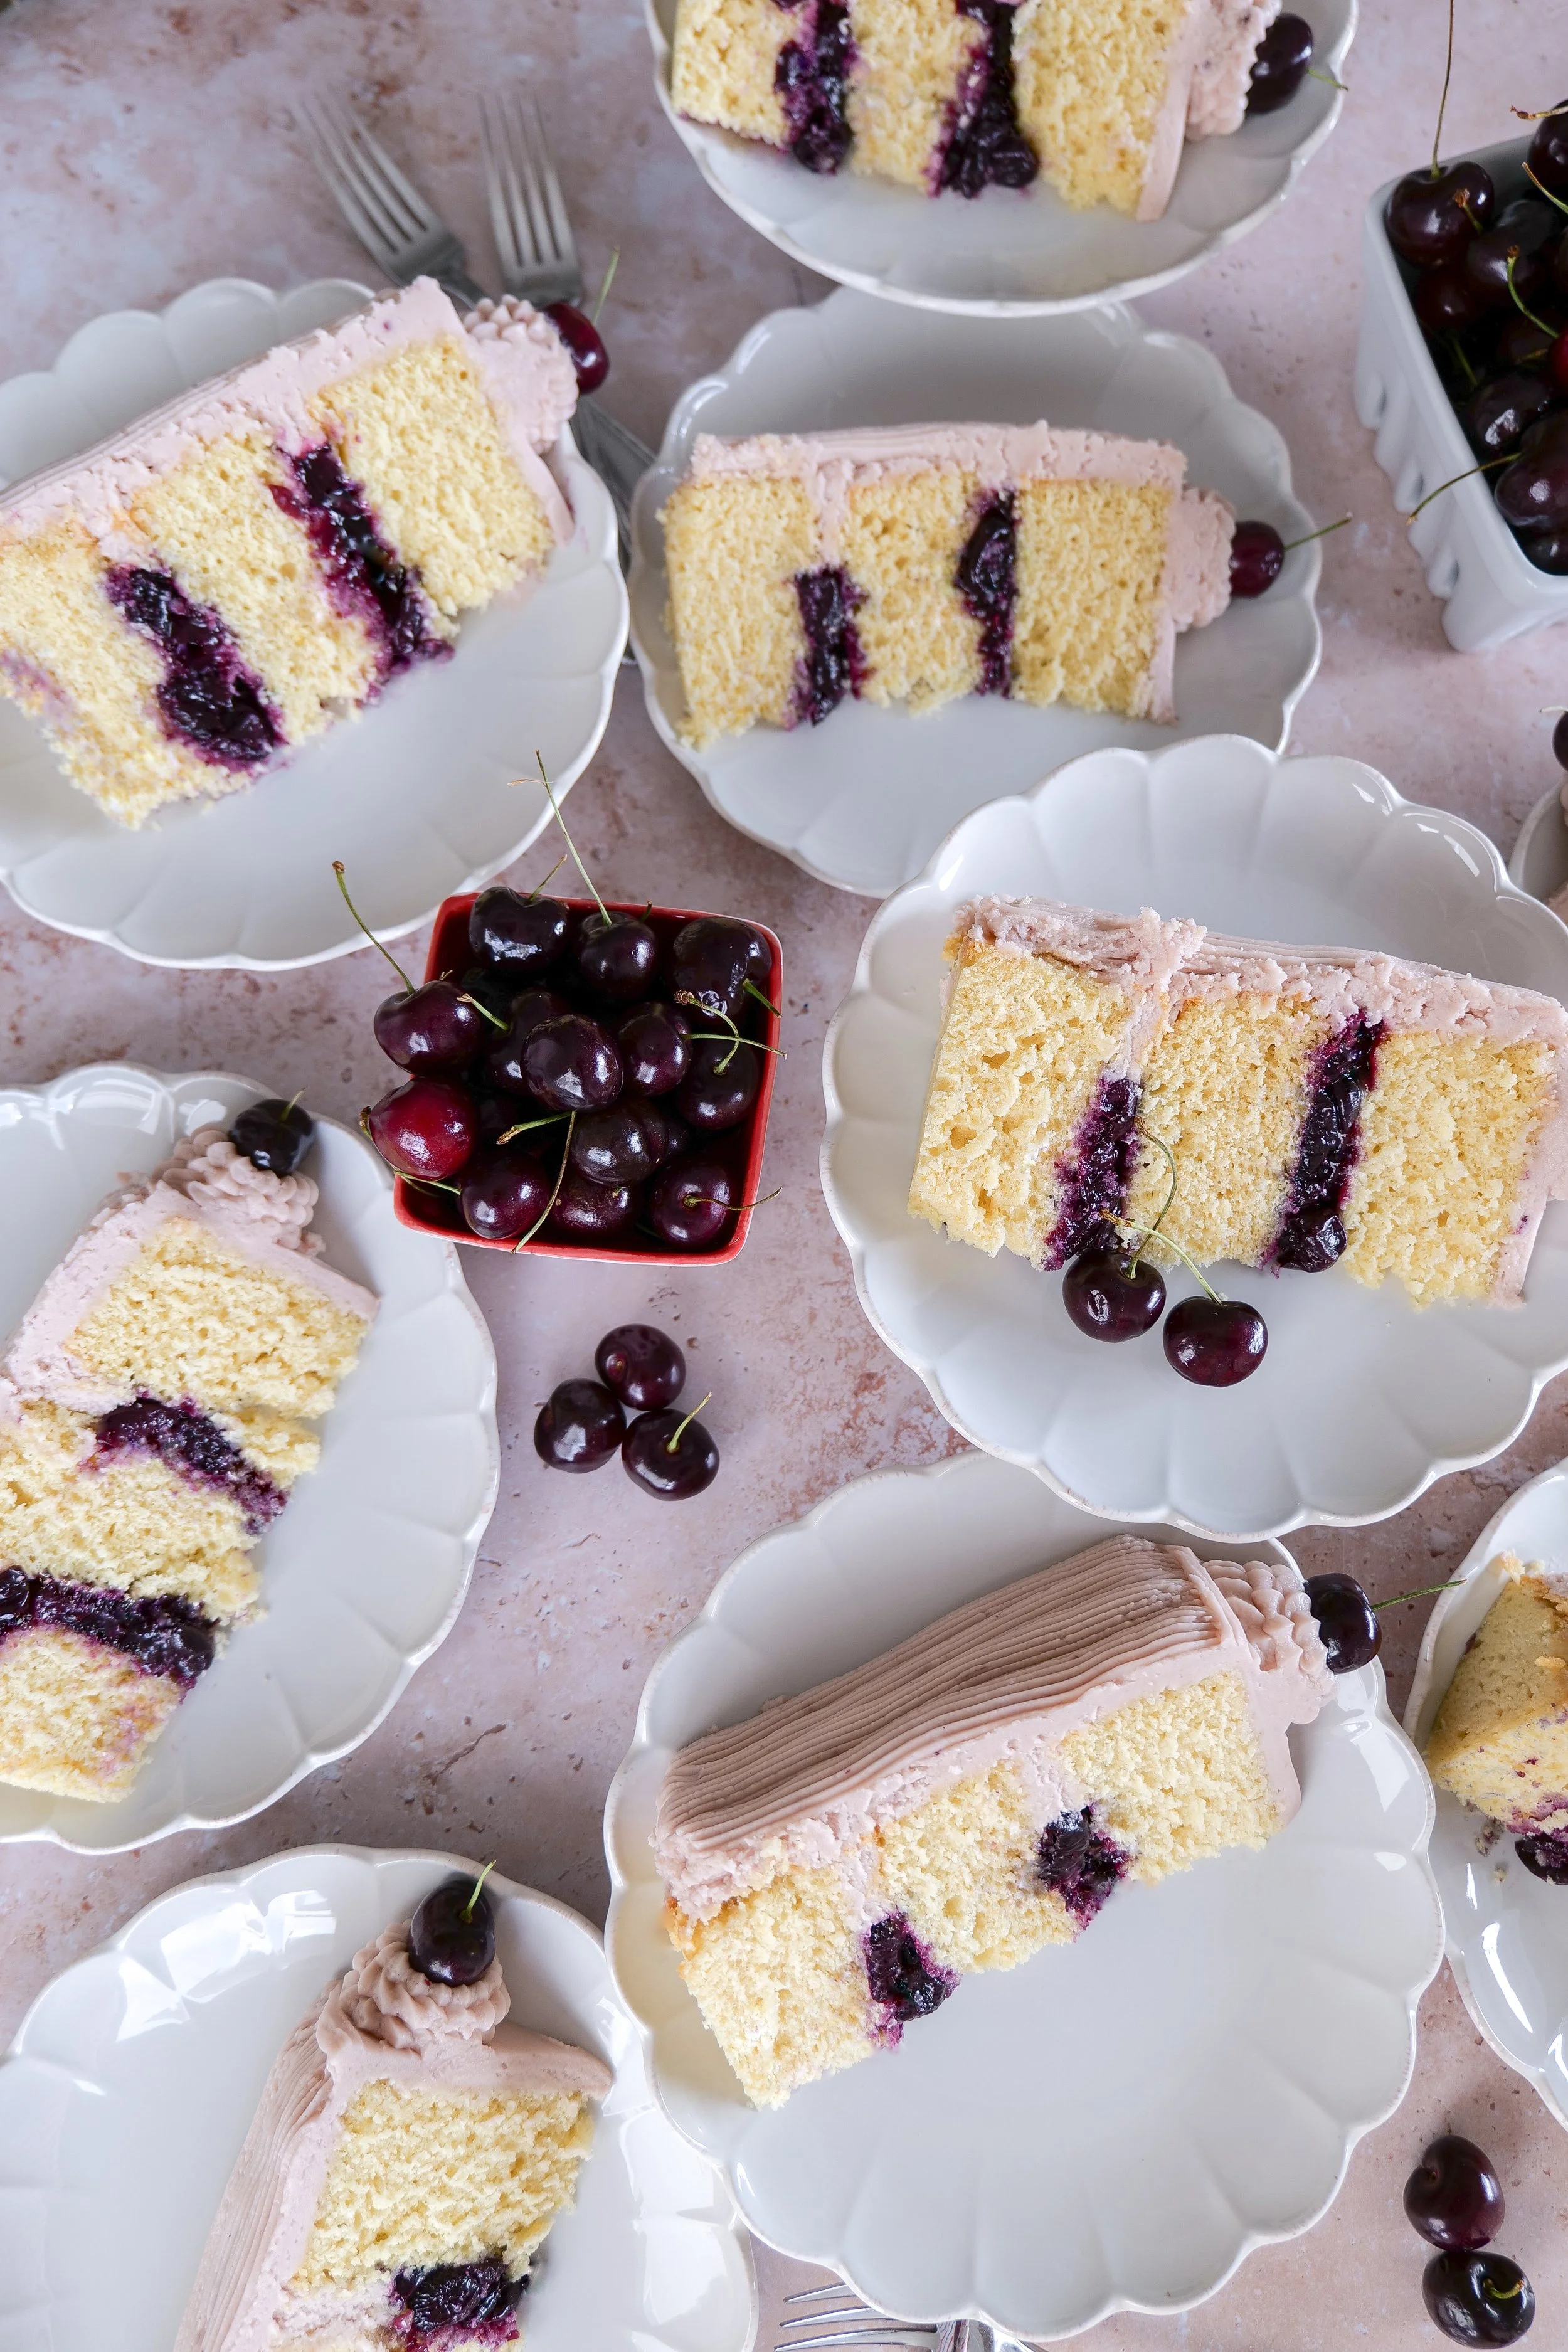
Several slices of vanilla bean cherry cake styled for summer entertaining and celebrations.
Easy homemade vanilla bean cherry layer cake recipe with fresh cherries and pink buttercream frosting.

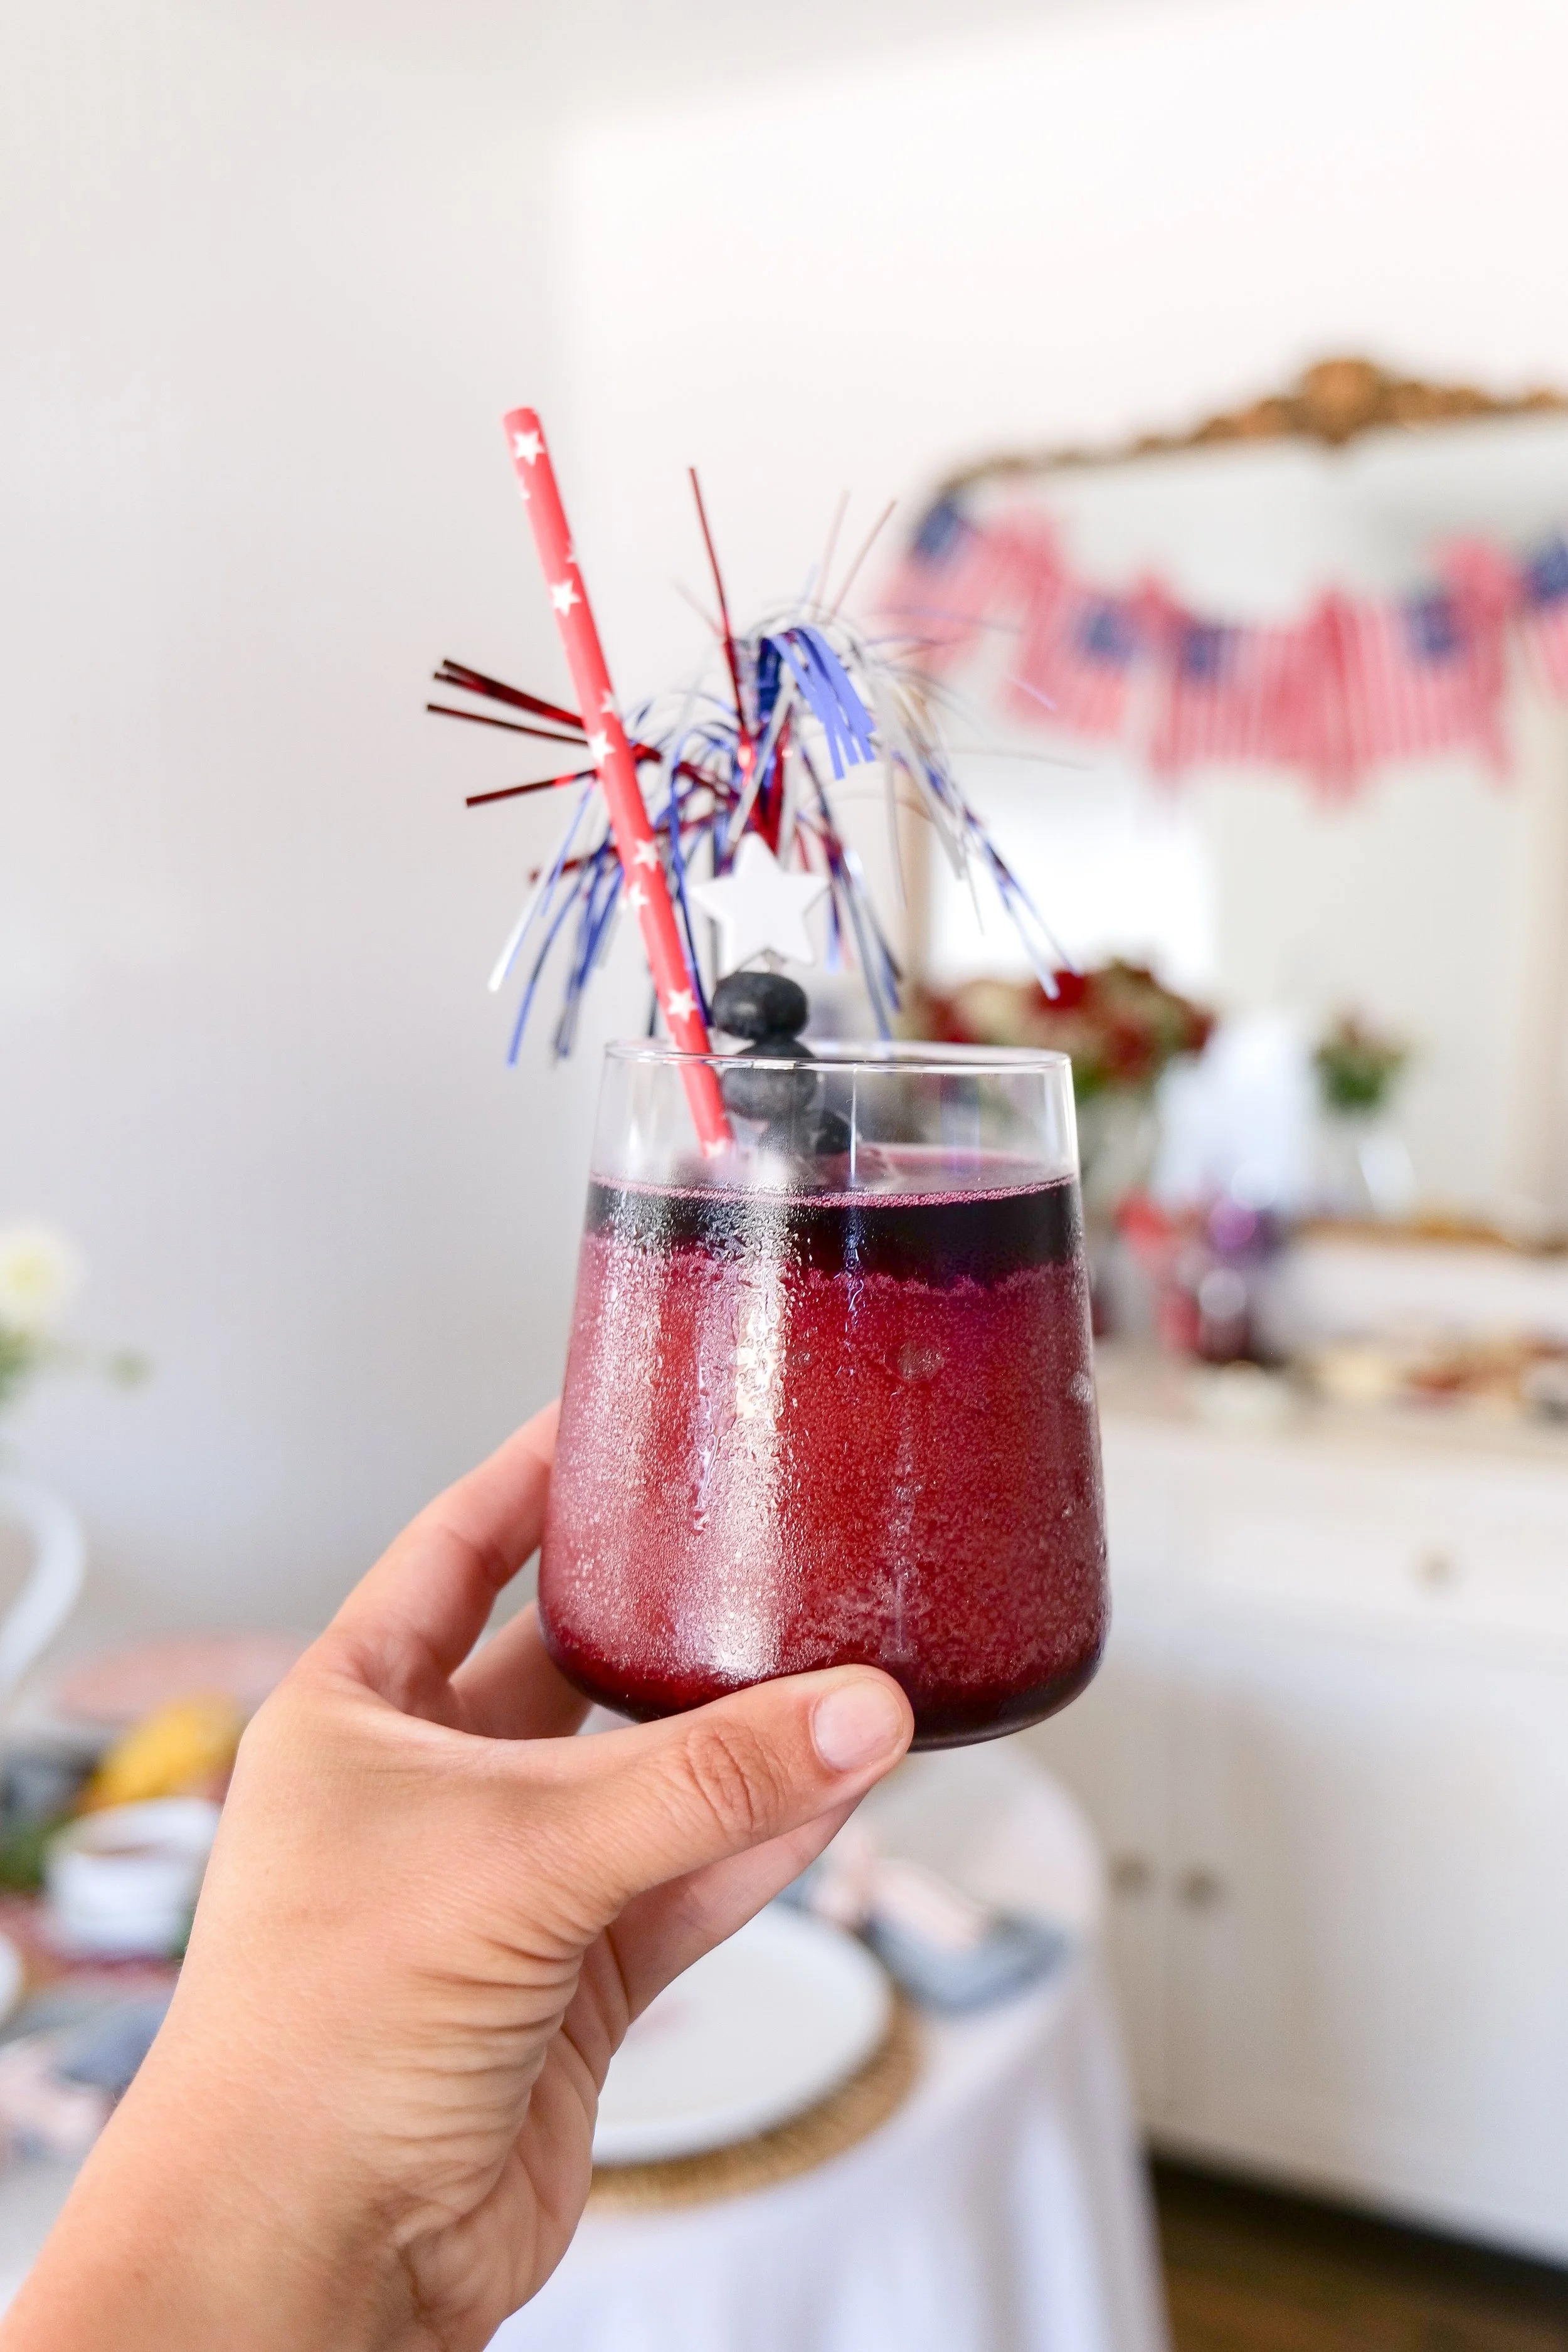
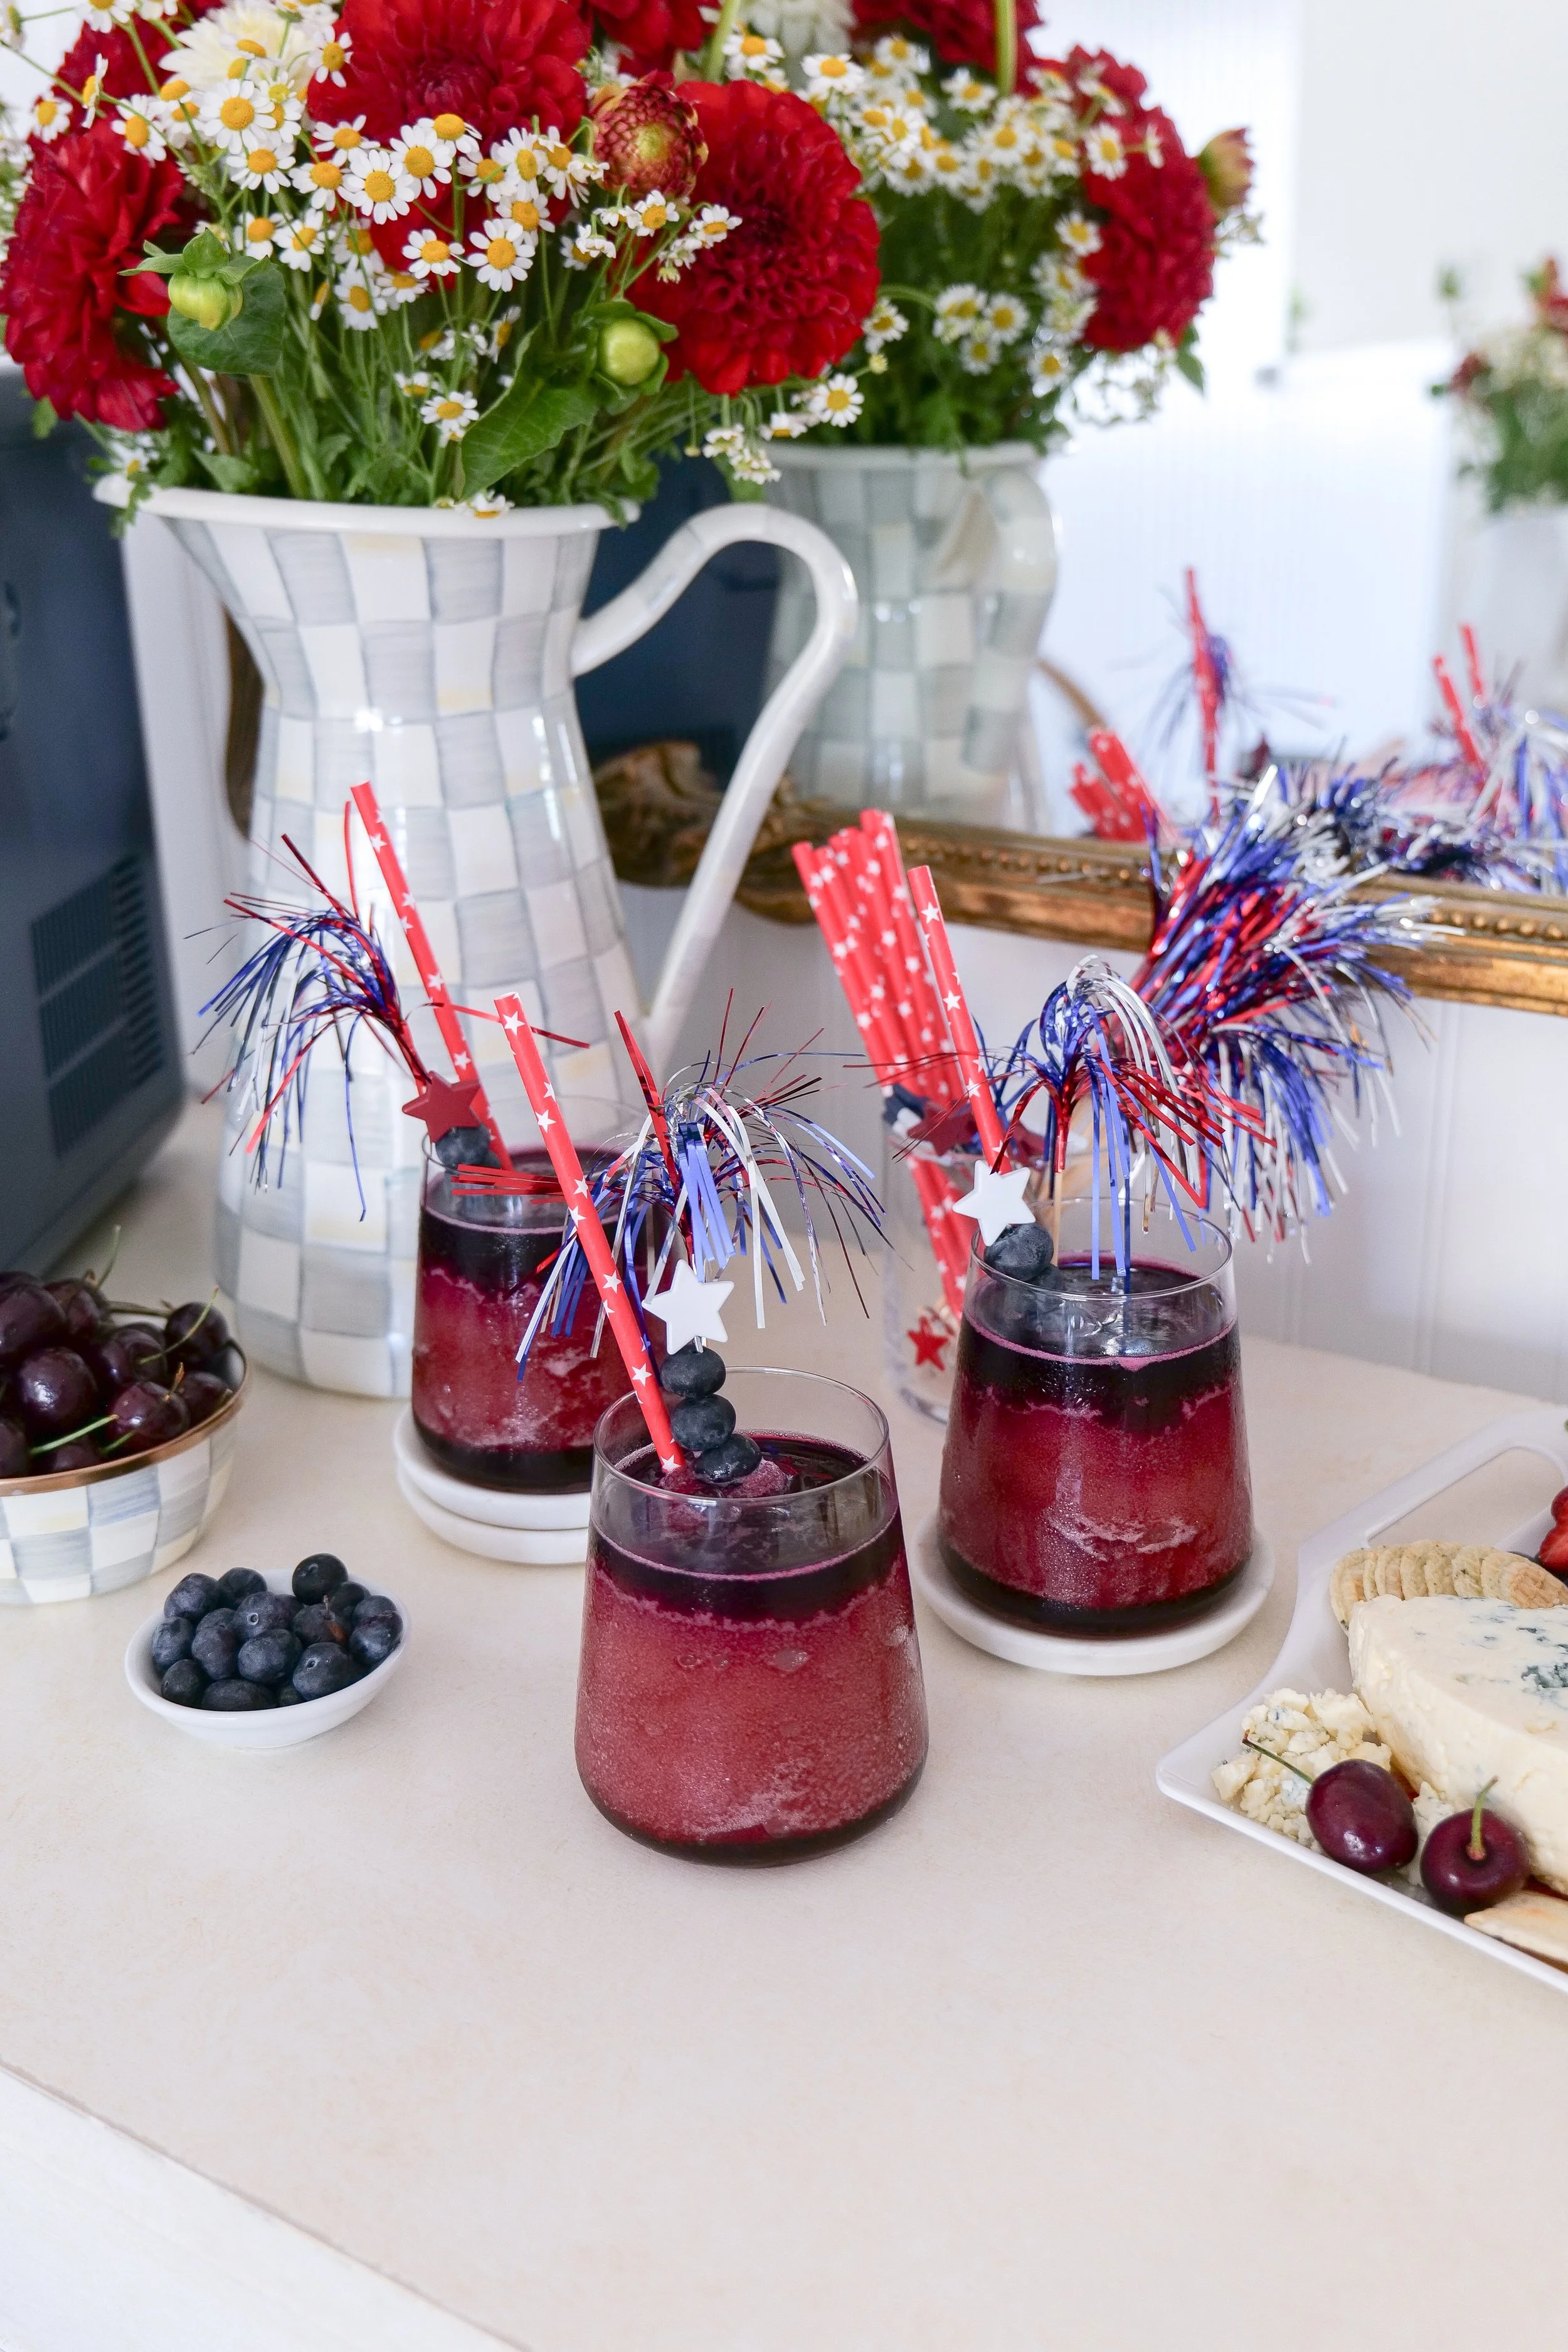
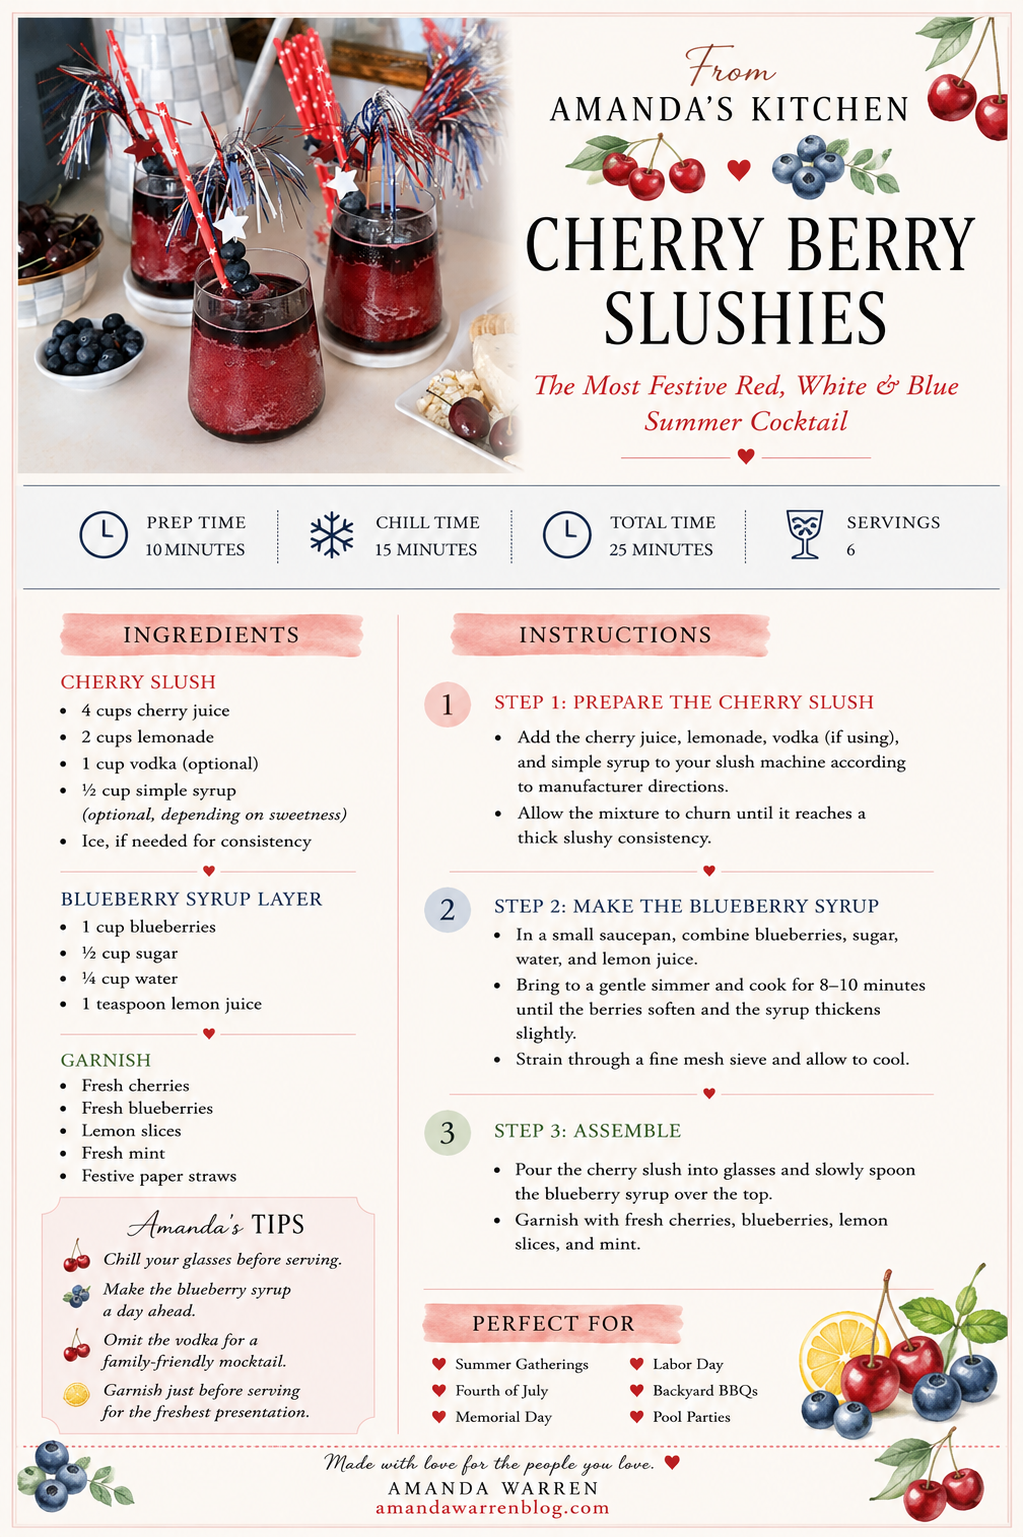
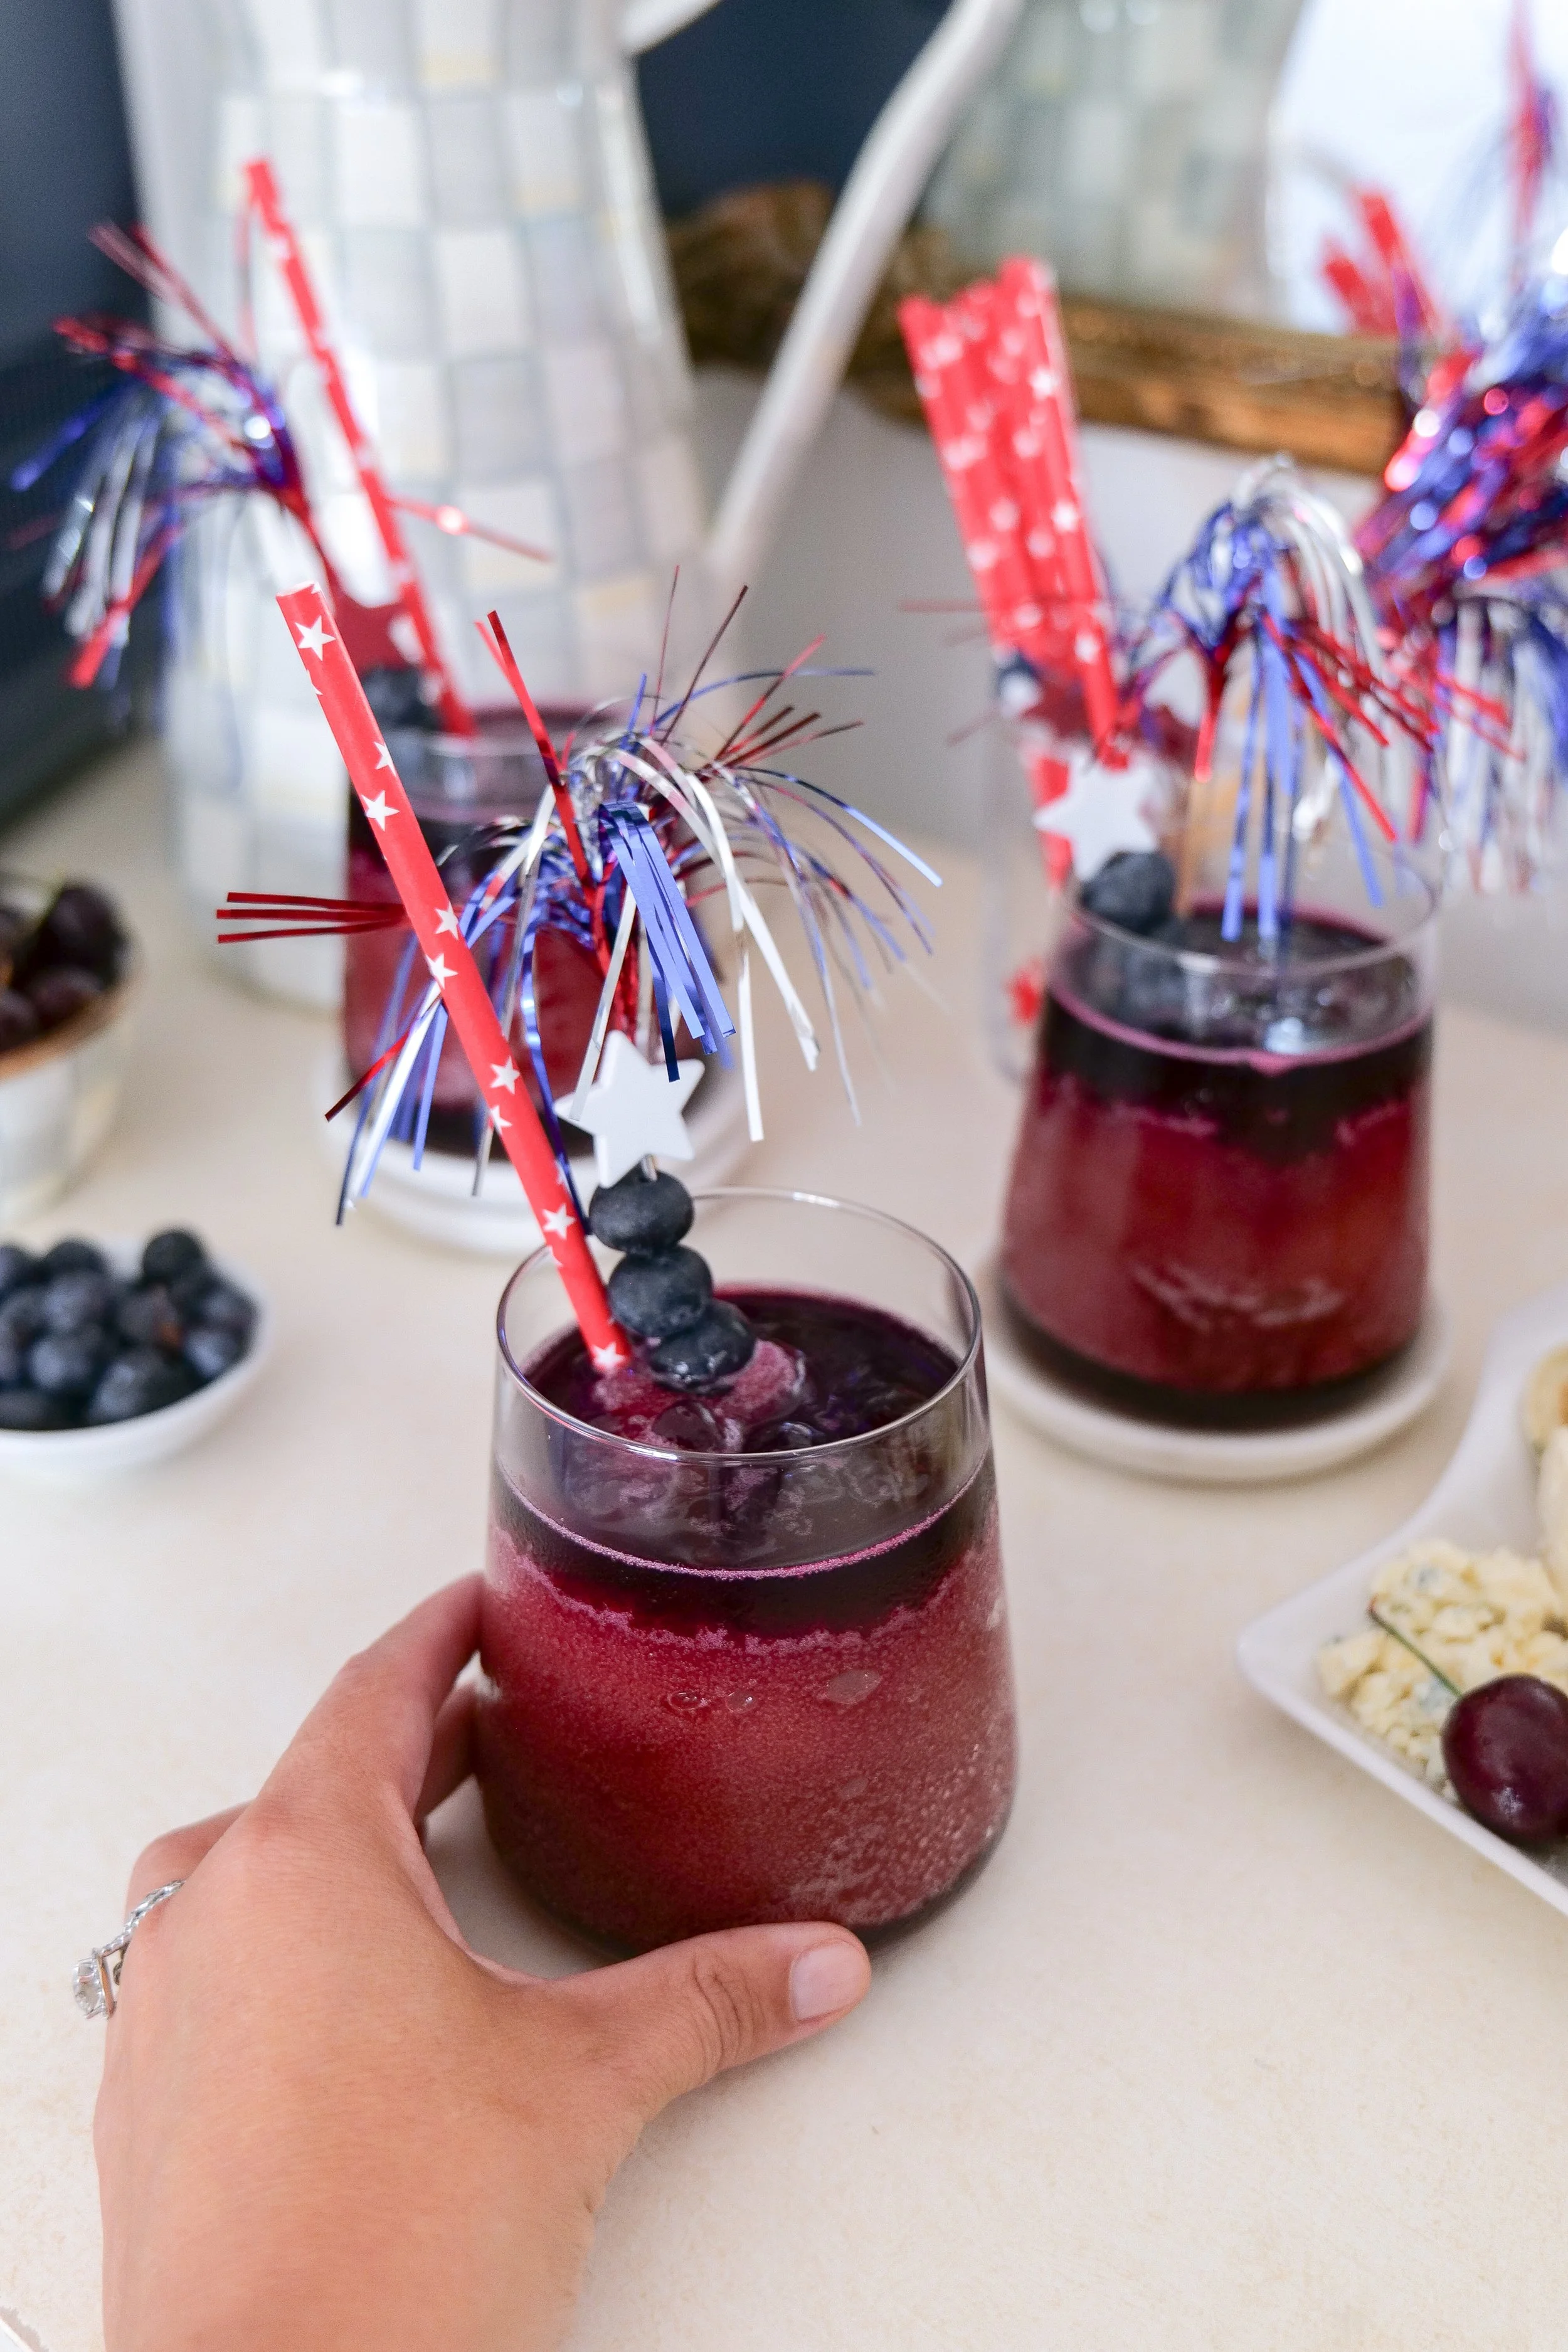
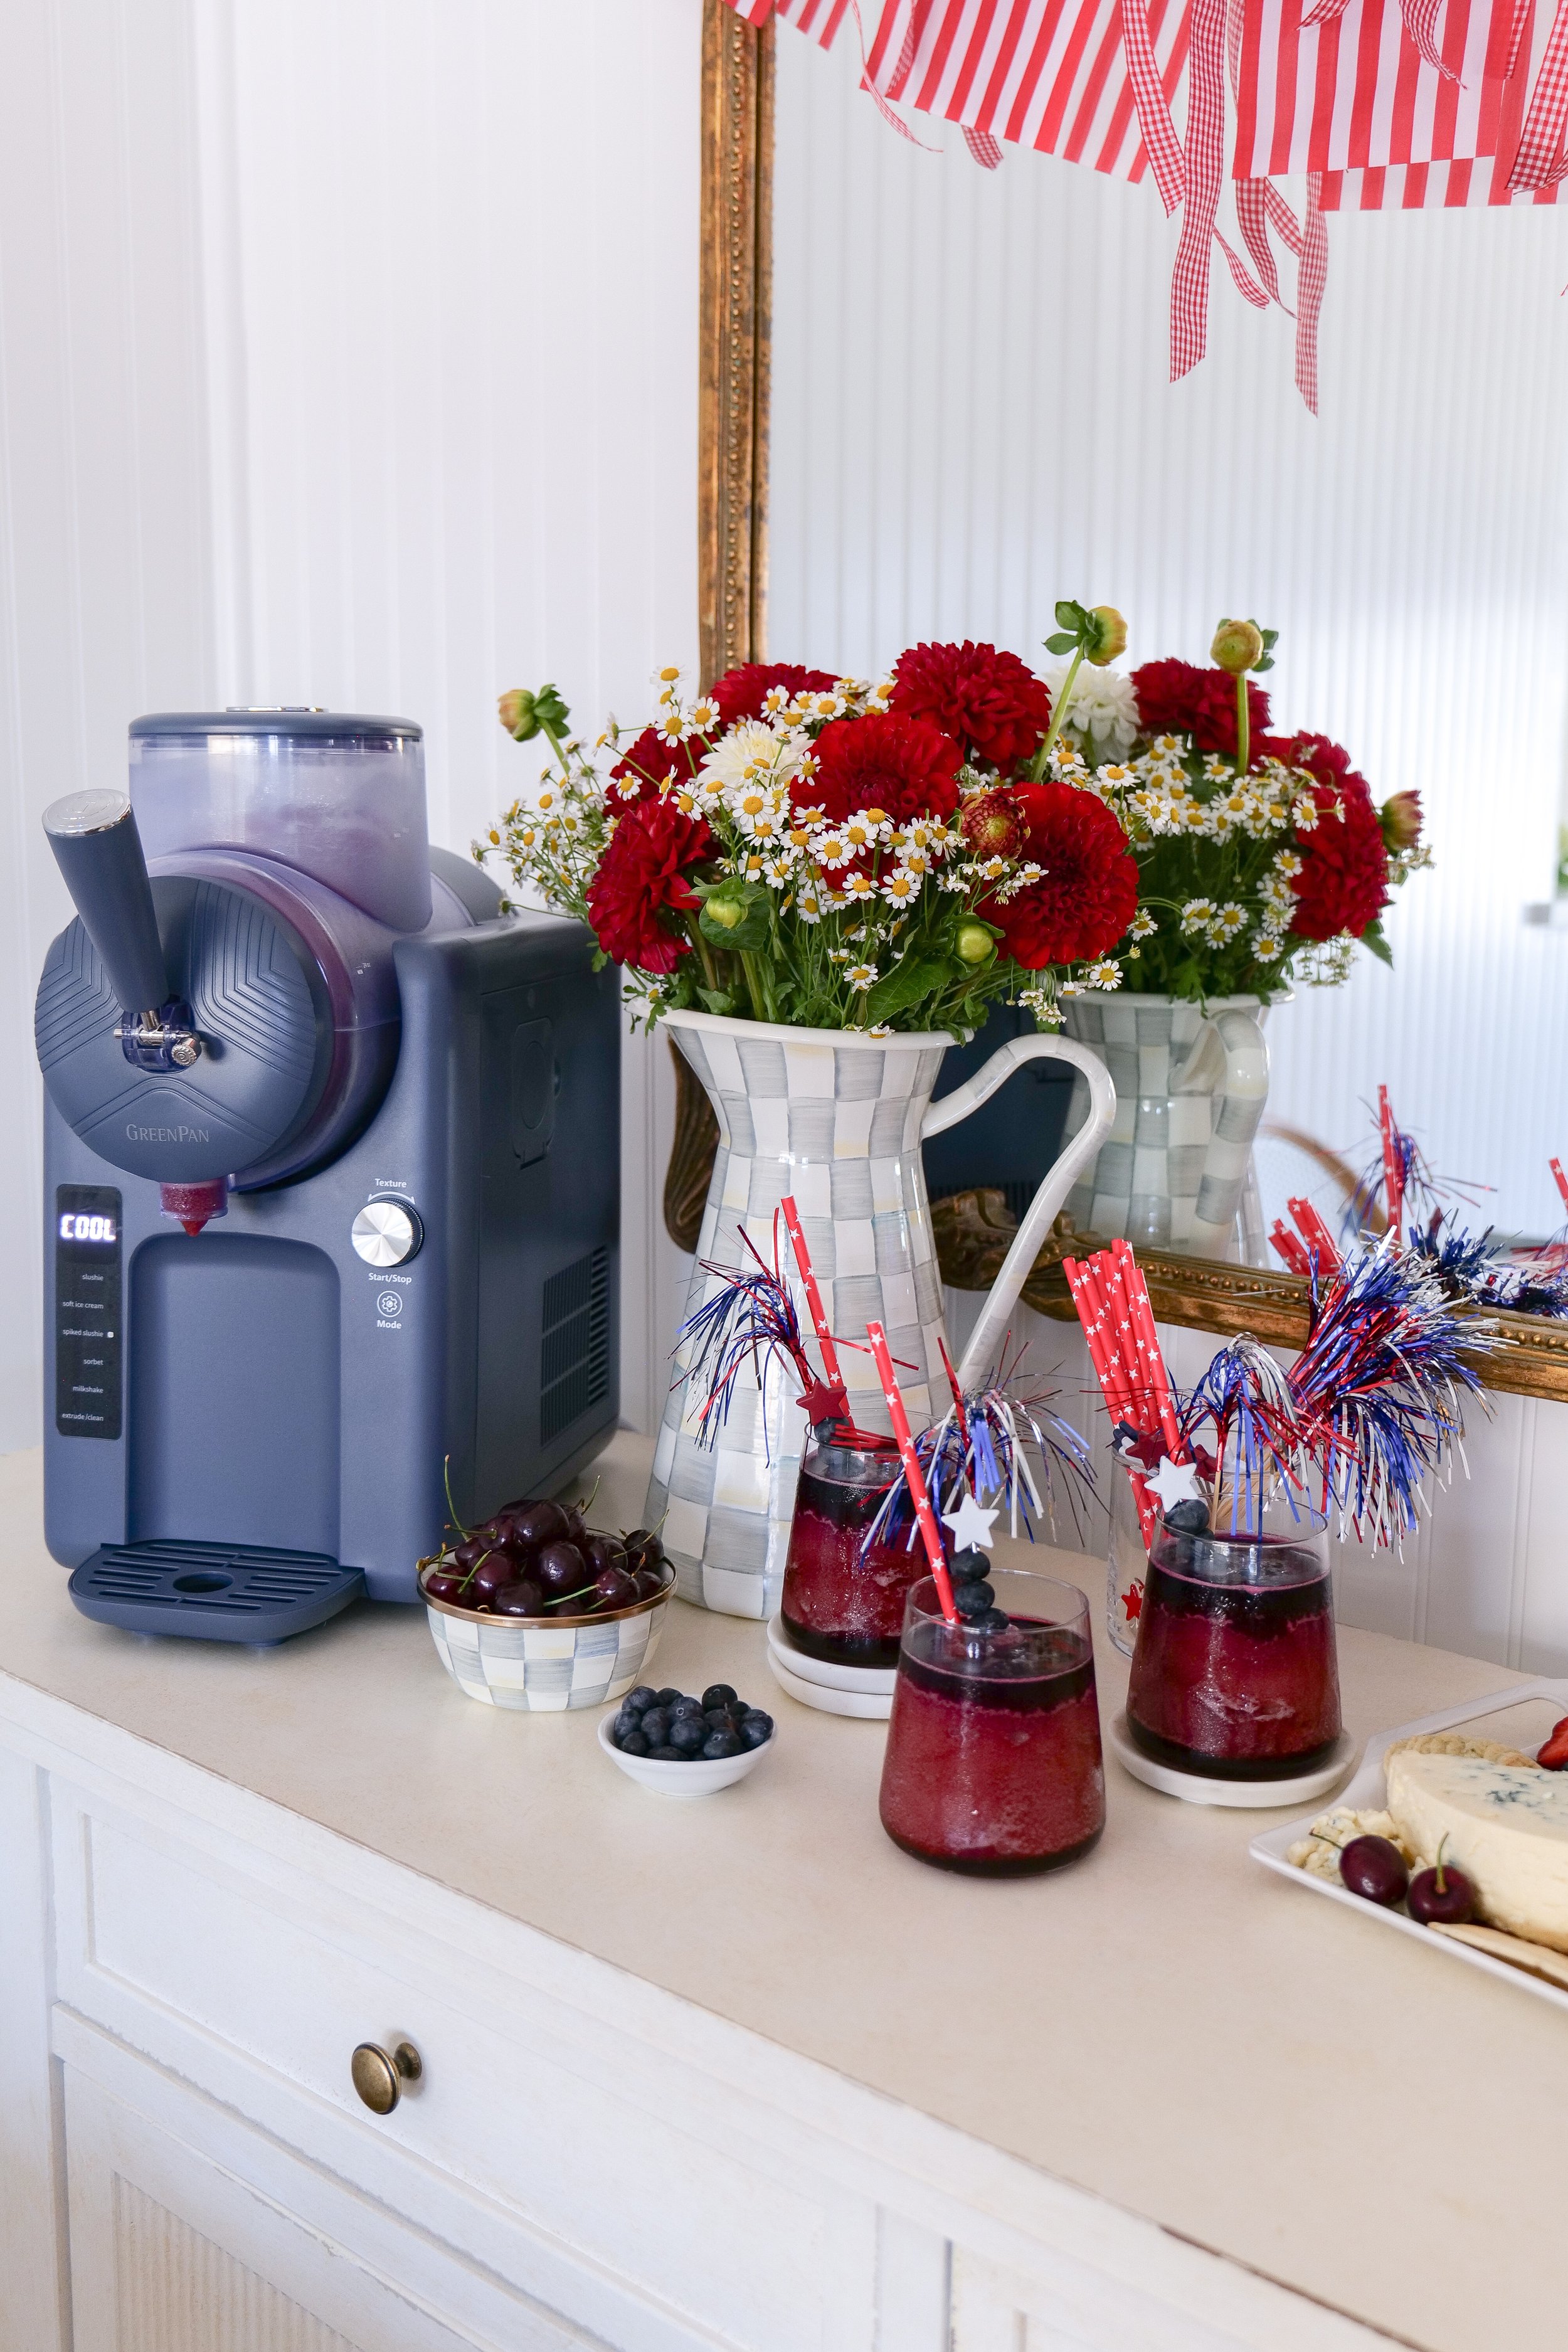
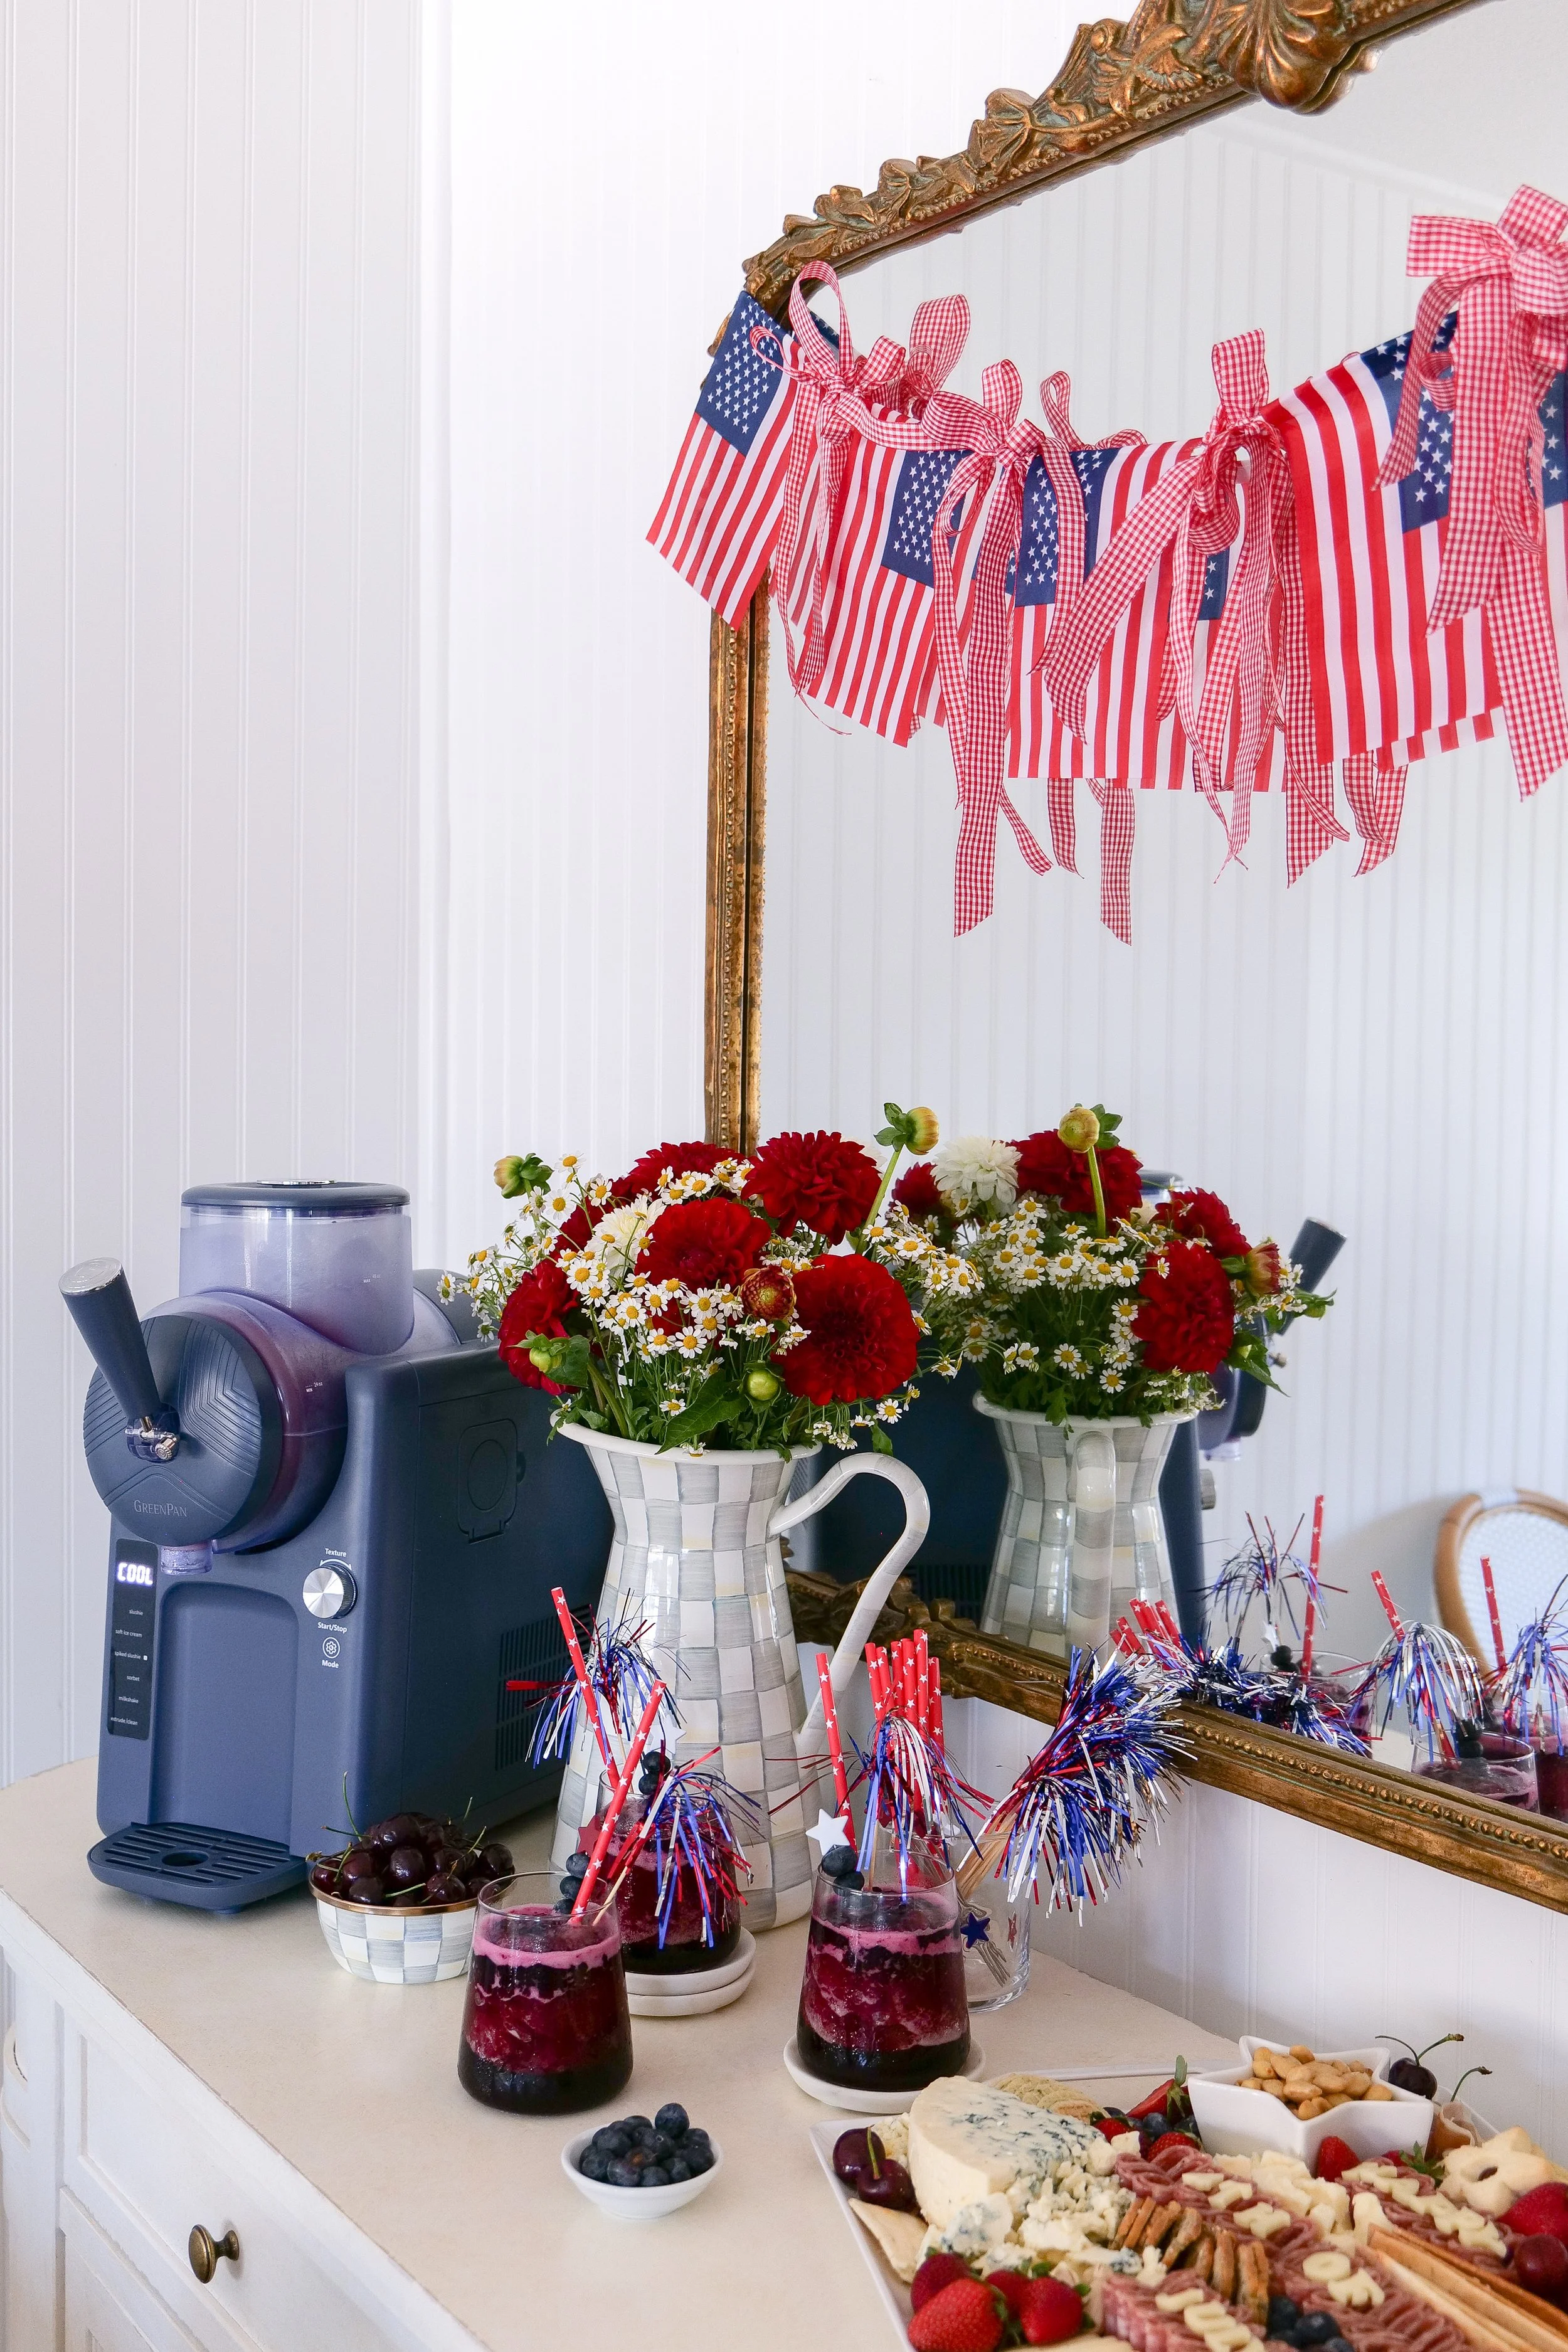
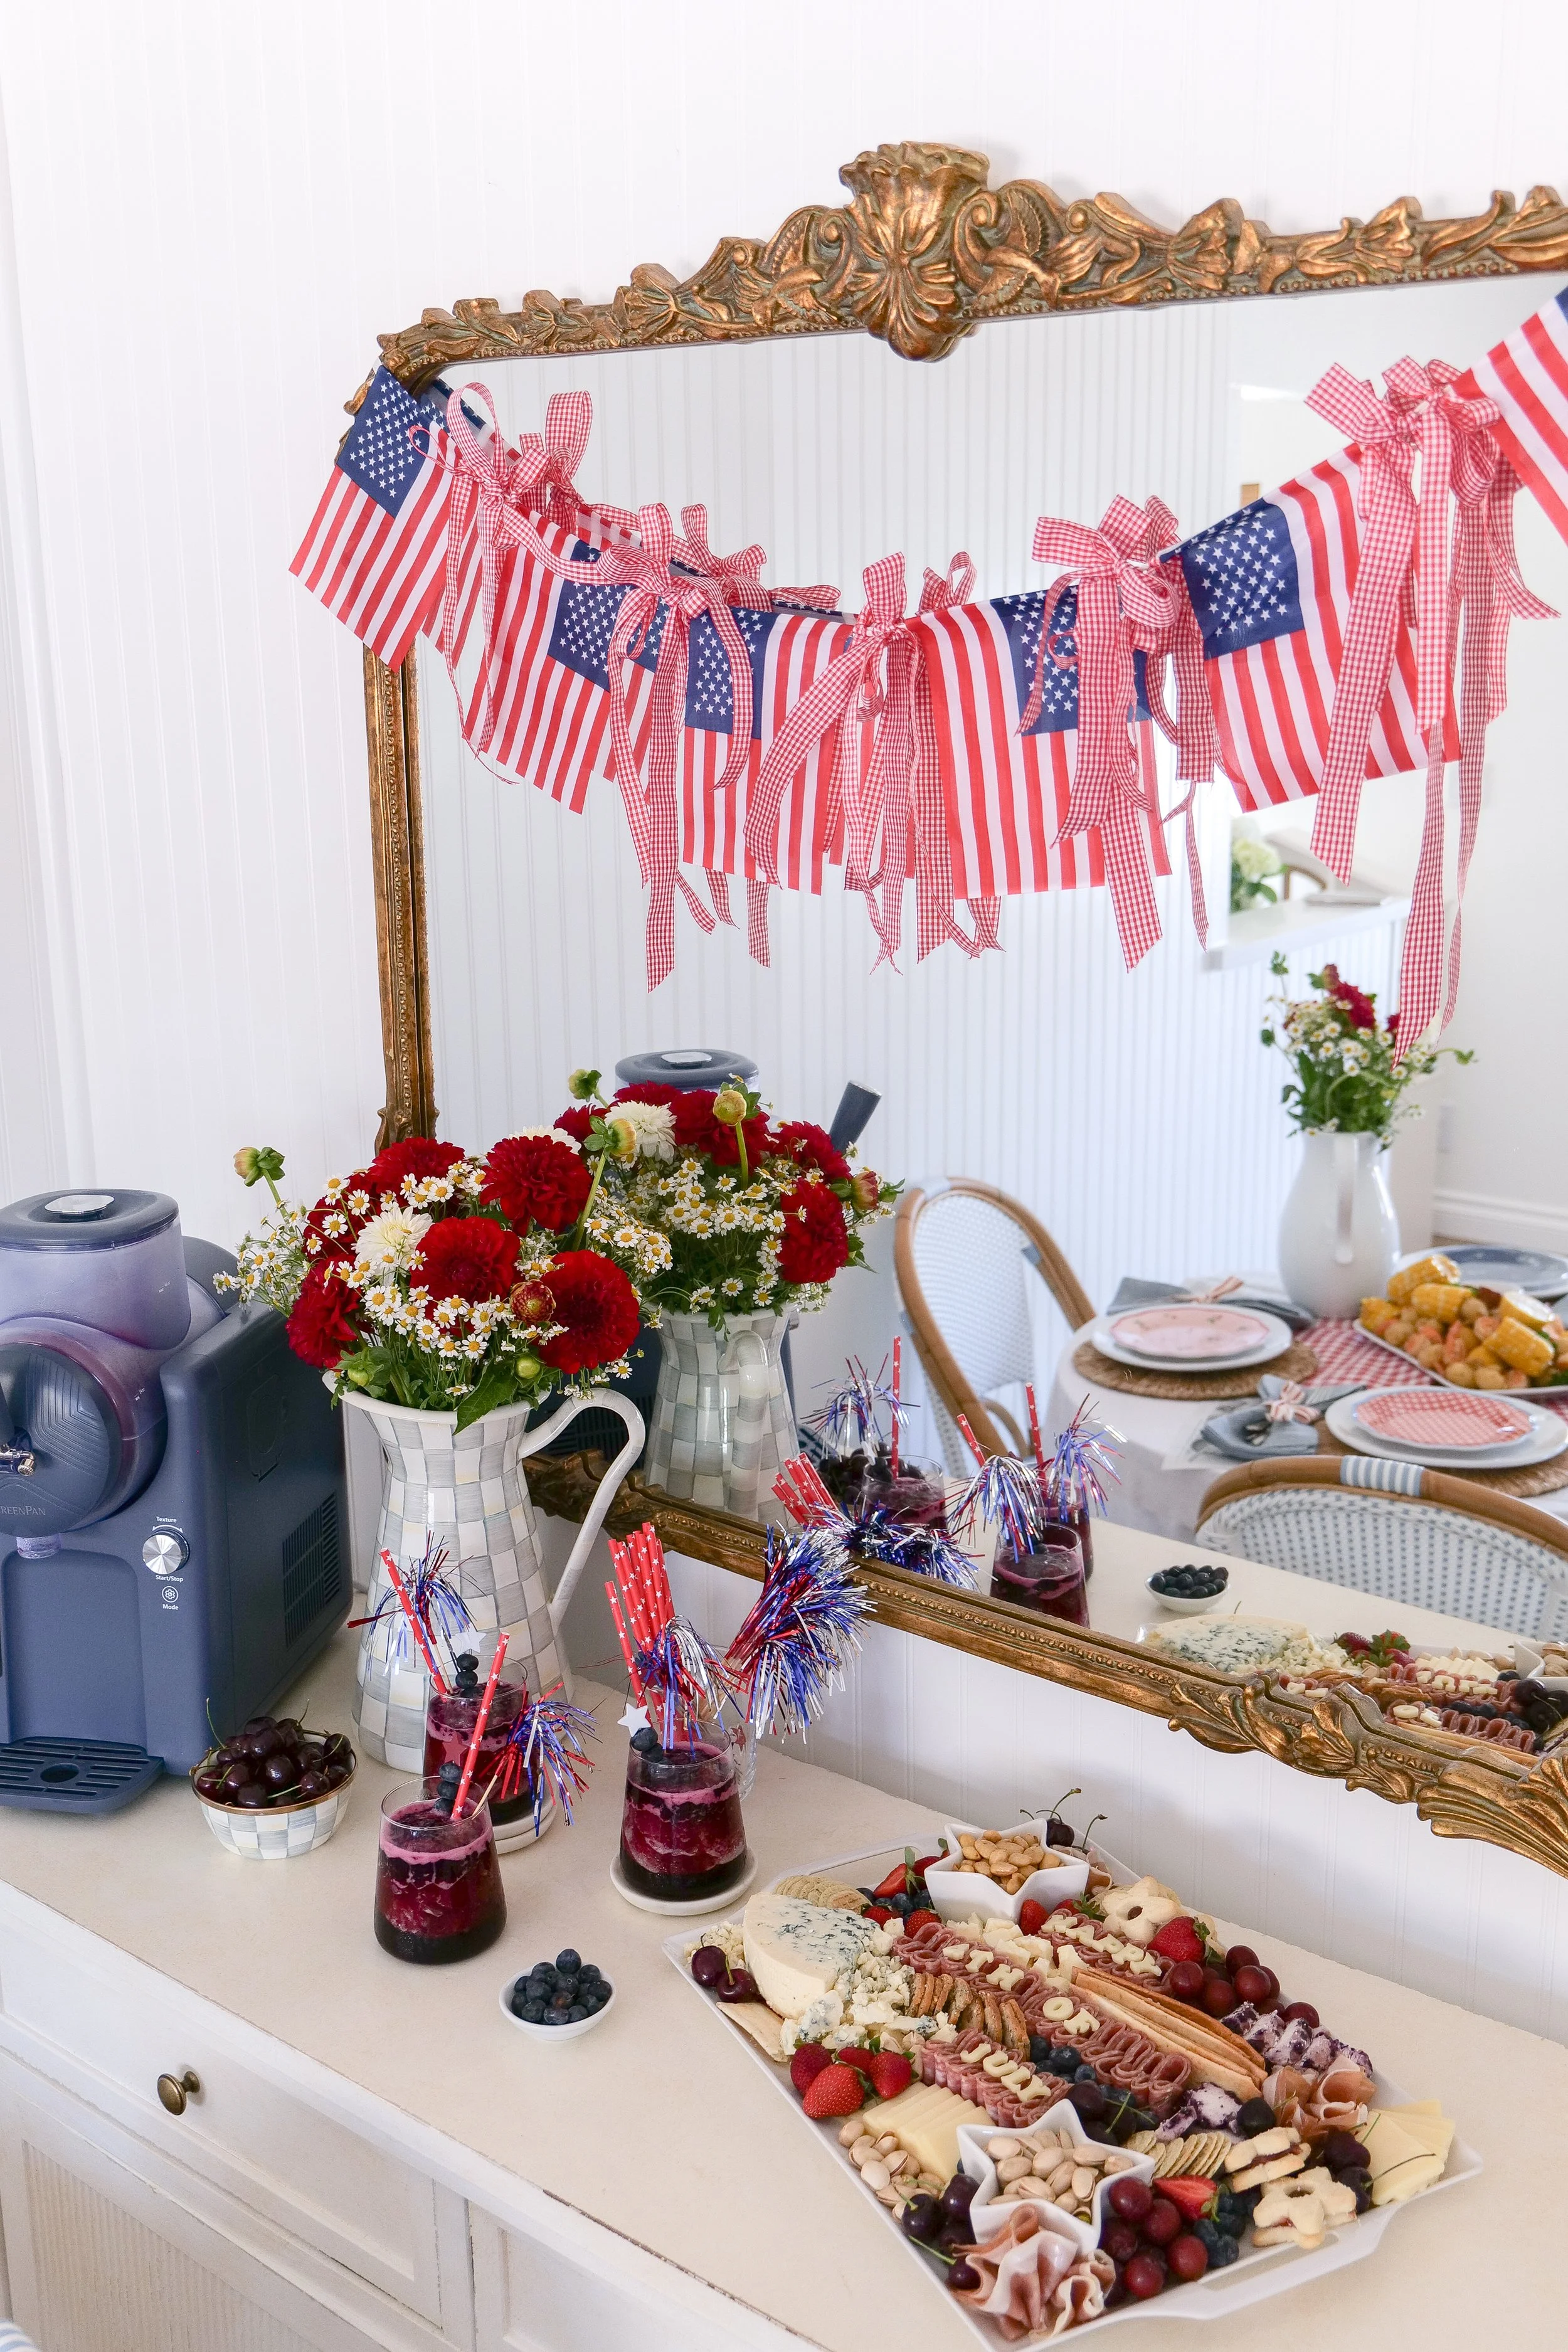
Cherry Berry Slushies (The Most Festive Red, White & Blue Summer Cocktail)

The Most Festive Red, White & Blue Summer Cocktail

There's something nostalgic about a cold cherry slush on a warm summer evening. Inspired by classic drive-in slushies and all things Americana, these Cherry Berry Slushies became the perfect addition to our Americana Summer table.

↓ Skip to Recipe

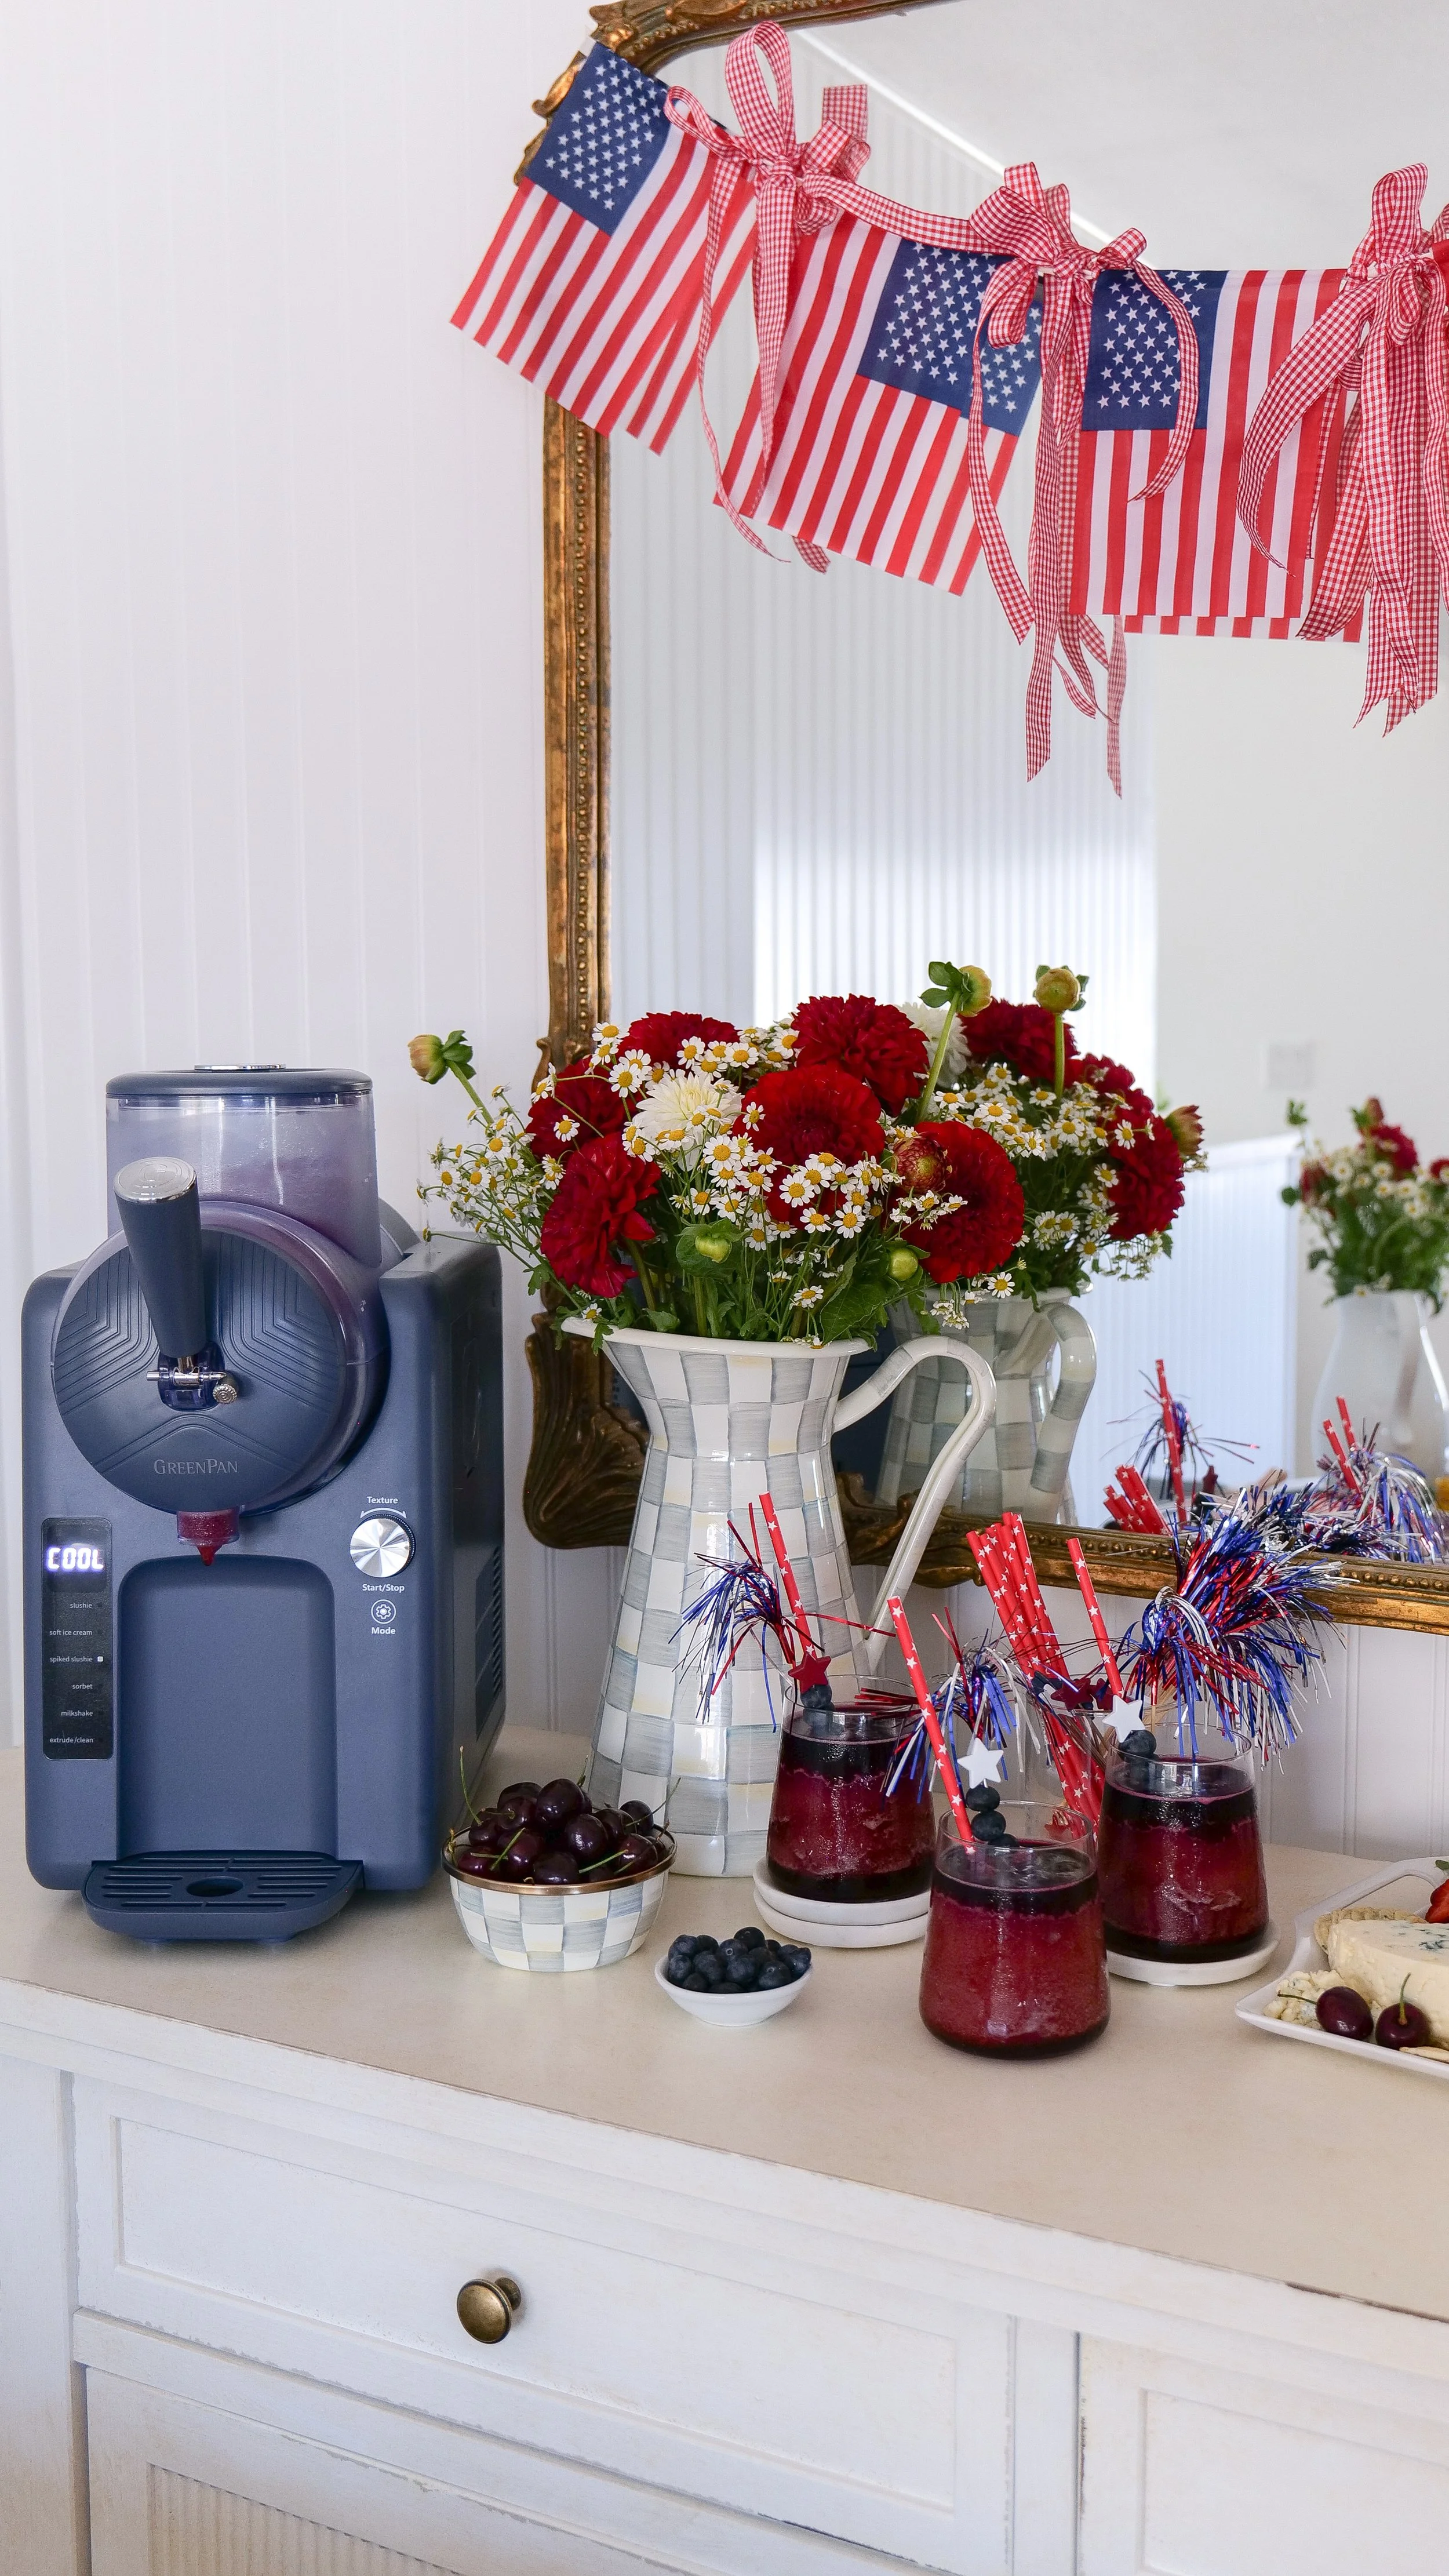
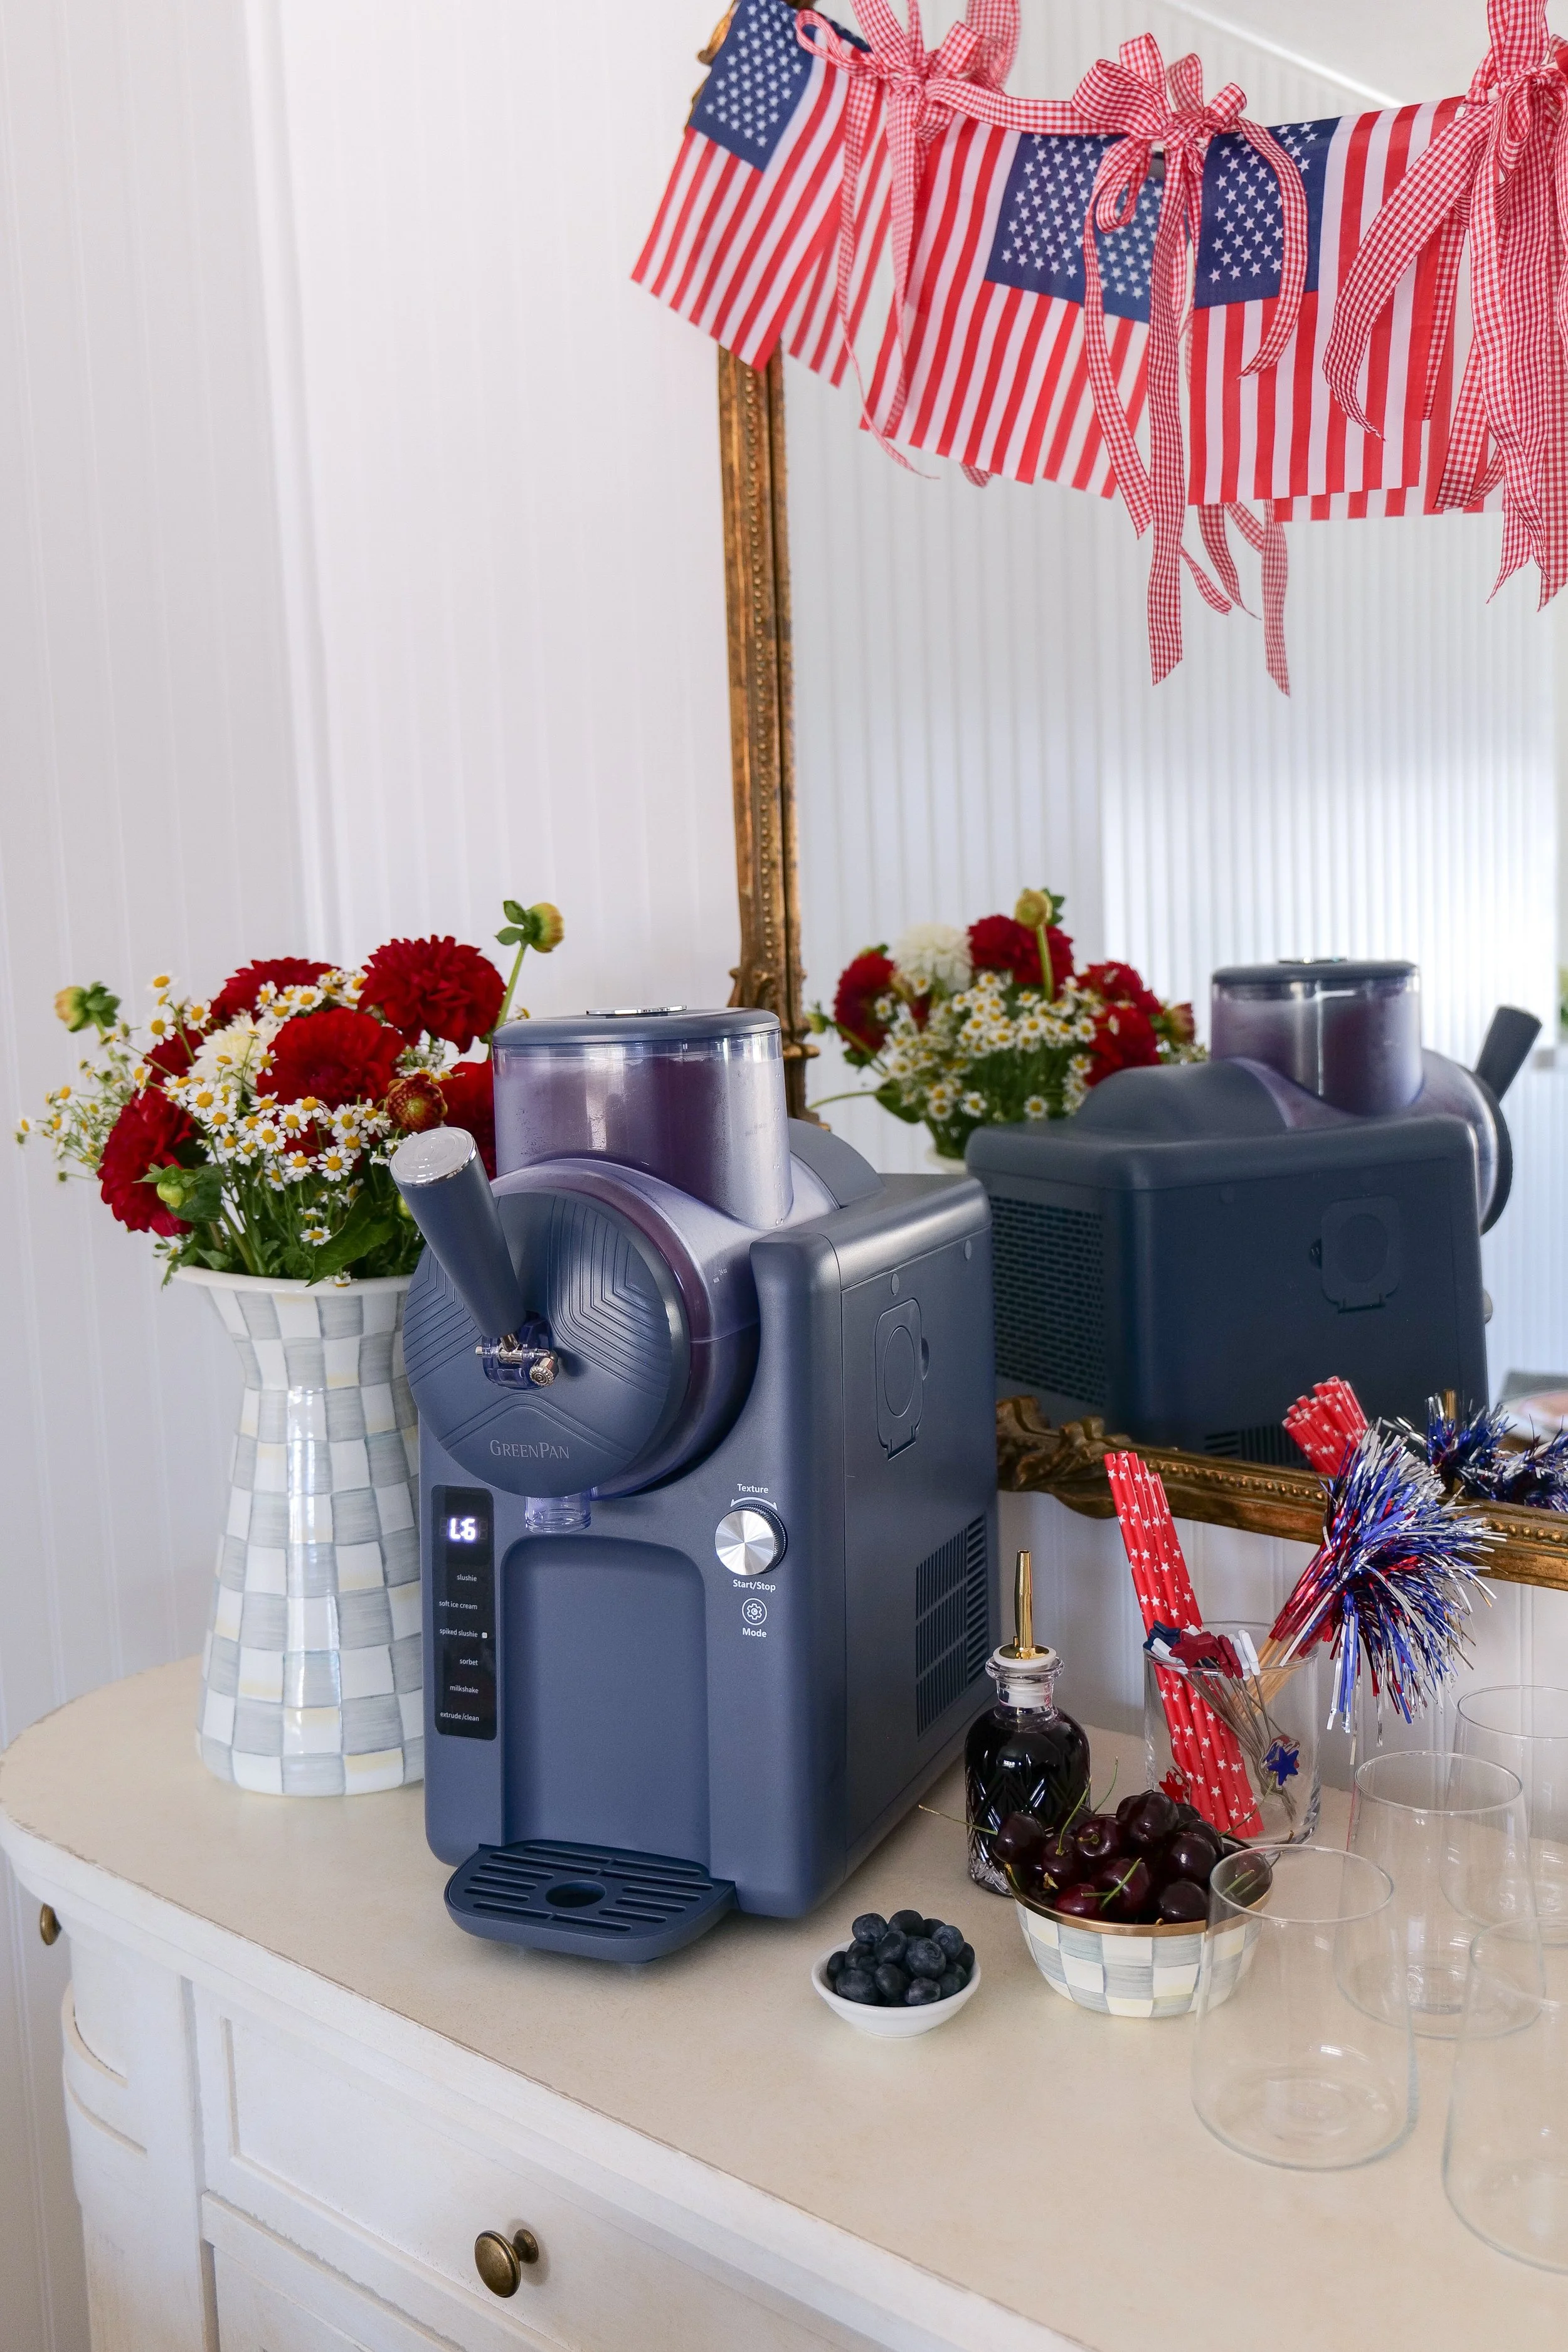
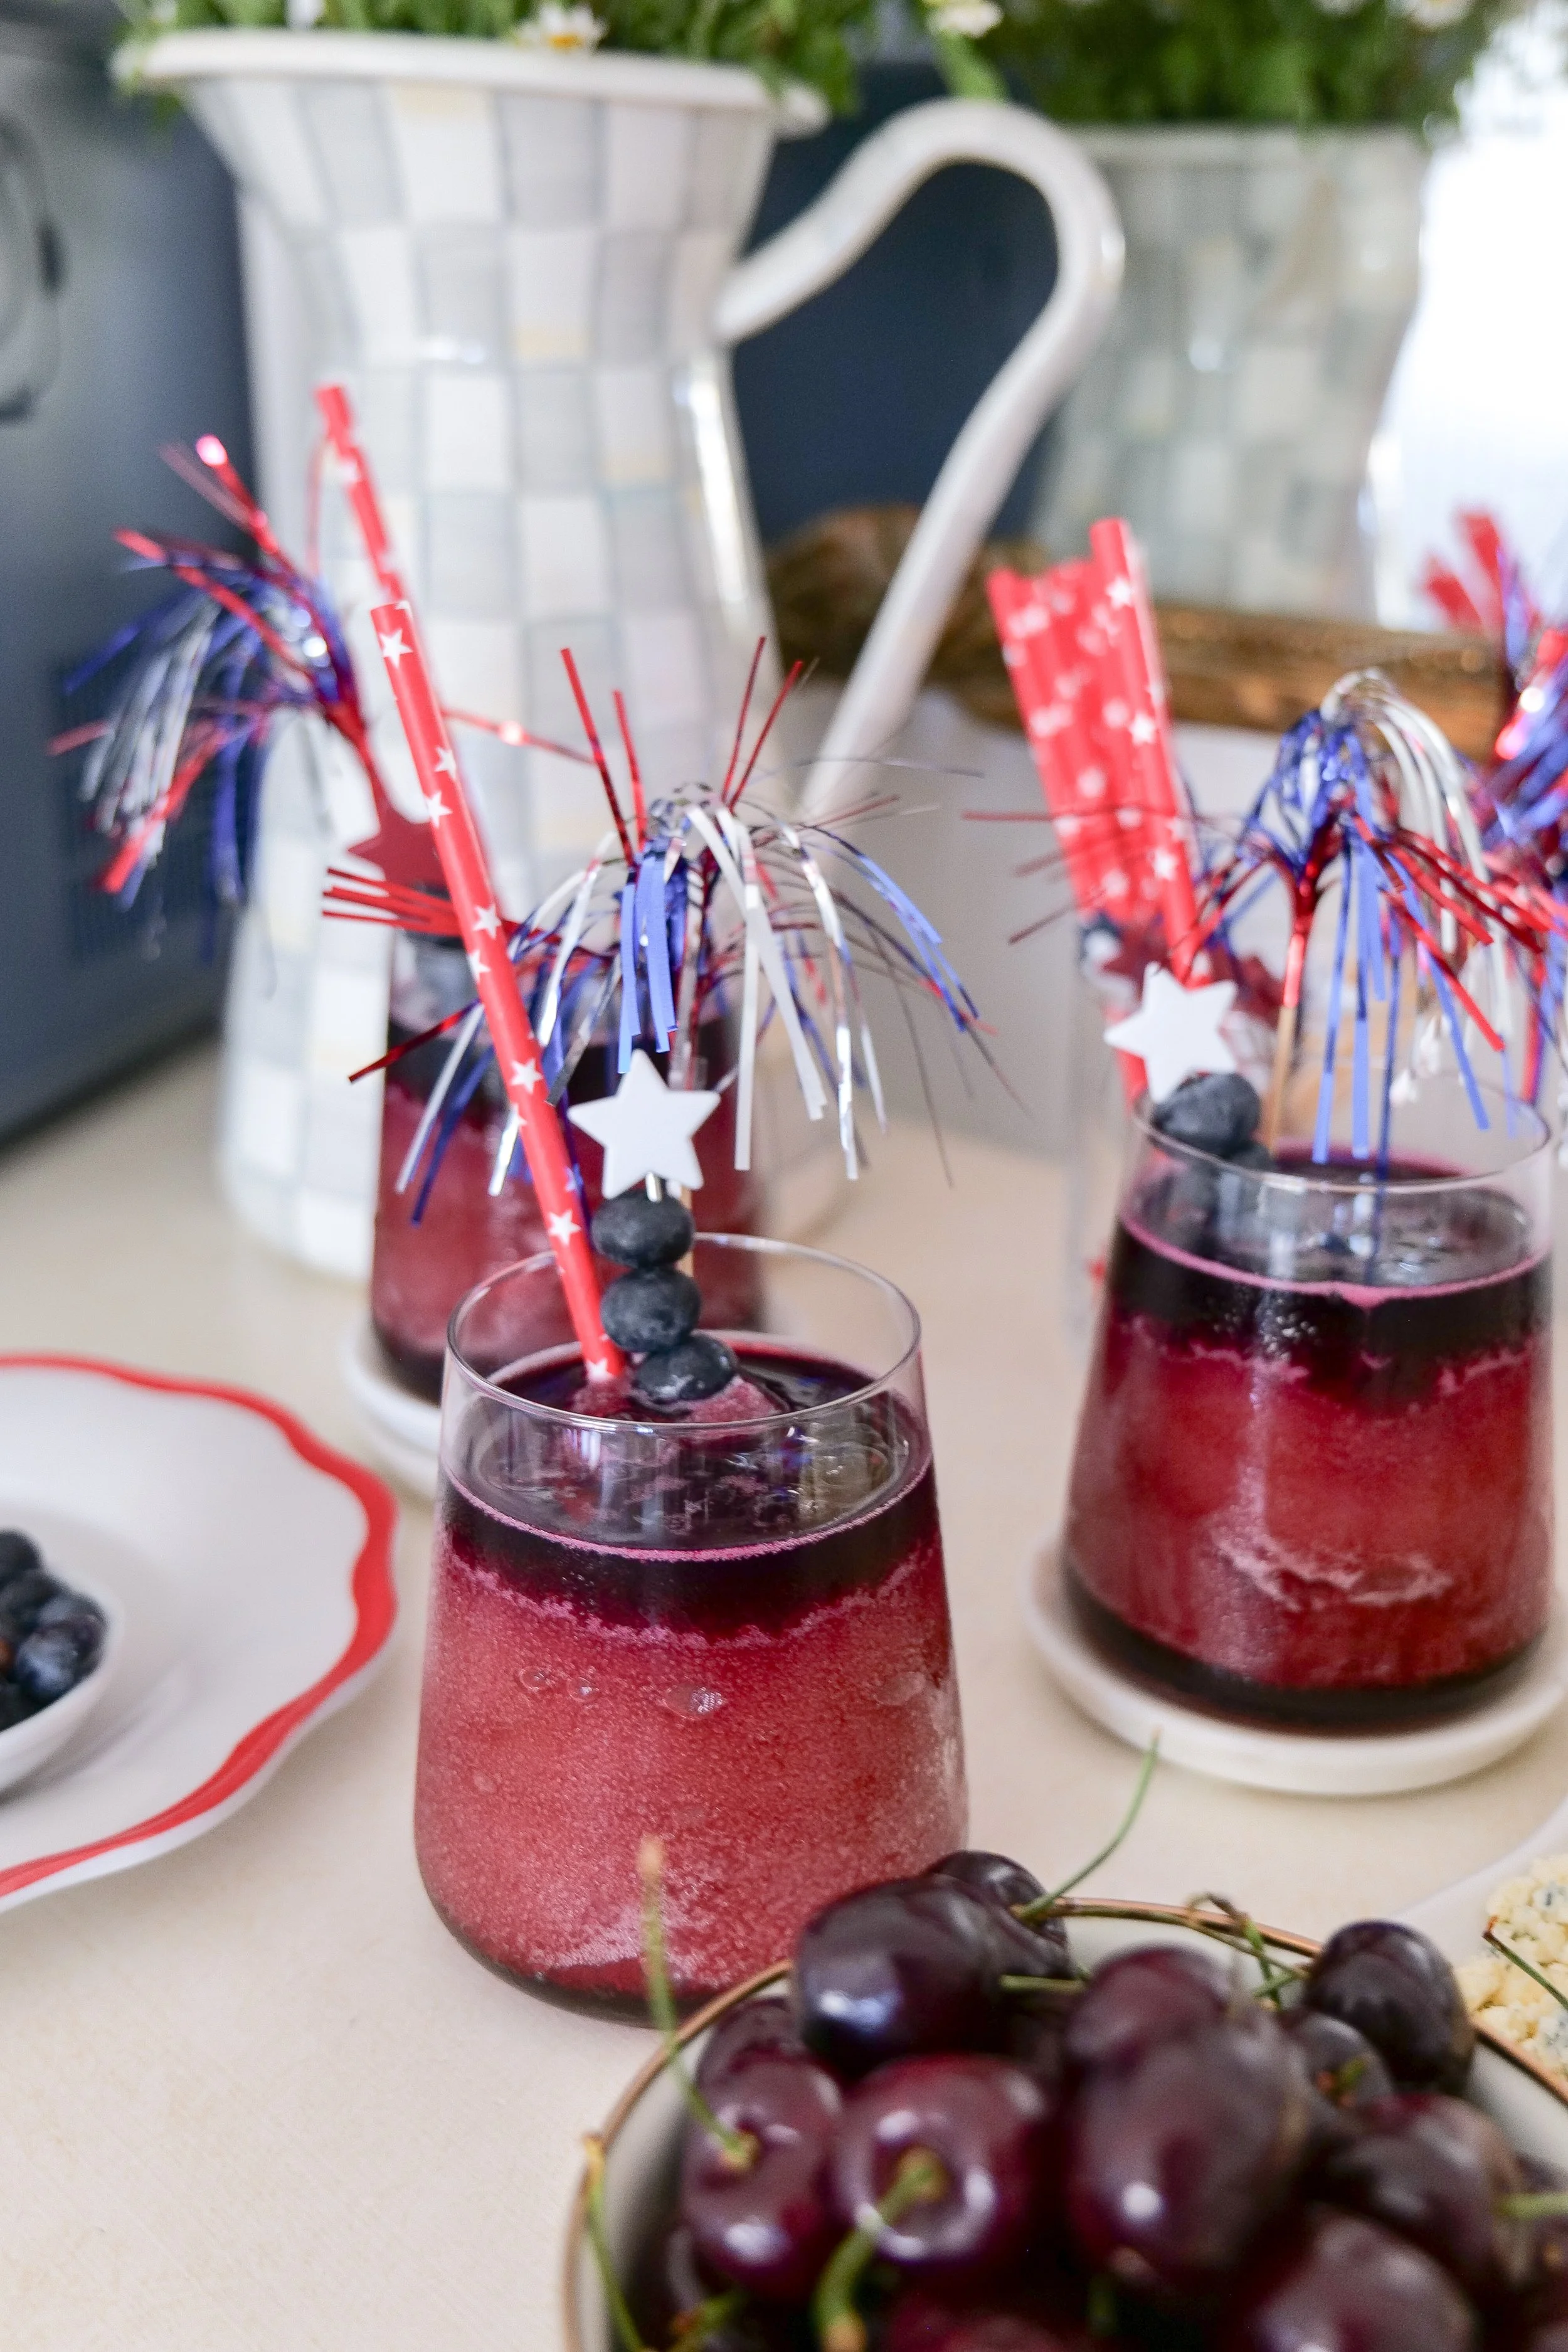
Made with a refreshing cherry slush base and topped with sweet blueberry syrup, these festive drinks are simple to make and perfect for Memorial Day, Fourth of July, Labor Day, or any summer gathering. Pair them with a shrimp boil, an All-American Charcuterie Board, and Mini Cherry Cobblers for the ultimate summer menu.

Why You'll Love These Cherry Berry Slushies

  • Perfect for a slush machine

  • Easy to make ahead

  • Beautiful patriotic colors

  • Great as a cocktail or mocktail

  • Refreshing for hot summer days

  • Part of my Americana Summer Series

Ingredients

Cherry Slush

  • 4 cups cherry juice

  • 2 cups lemonade

  • 1 cup vodka (optional)

  • ½ cup simple syrup (optional, depending on sweetness)

  • Ice, if needed for consistency

Blueberry Syrup Layer

  • 1 cup blueberries

  • ½ cup sugar

  • ¼ cup water

  • 1 teaspoon lemon juice

Garnish

  • Fresh cherries

  • Fresh blueberries

  • Lemon slices

  • Fresh mint

  • Festive paper straws

Instructions

Step 1: Prepare the Cherry Slush

Add the cherry juice, lemonade, vodka (if using), and simple syrup to your slush machine according to manufacturer directions.

Allow the mixture to churn until it reaches a thick slushy consistency.

Step 2: Make the Blueberry Syrup

In a small saucepan, combine blueberries, sugar, water, and lemon juice.

Bring to a gentle simmer and cook for 8–10 minutes until the berries soften and the syrup thickens slightly.

Strain through a fine mesh sieve and allow to cool.

Step 3: Assemble

Pour the cherry slush into glasses and slowly spoon the blueberry syrup over the top.

Garnish with fresh cherries, blueberries, lemon slices, and mint.

Make It Kid-Friendly

Simply omit the vodka for a fun Cherry Berry Slush everyone can enjoy.

Shop My Americana Summer Hosting Favorites

One of my favorite things about summer entertaining is keeping things simple and beautiful. I've linked my favorite glasses, ice buckets, drink dispensers, serving trays, patriotic details, and entertaining pieces below.

Featured Shelf: Americana Summer Hosting

Perfect Pairings

These Cherry Berry Slushies pair perfectly with:

🦐 Classic Shrimp Boil

🧀 All-American Charcuterie Board

🌽 Brown Butter Corn on the Cob

🌭 California Bacon-Wrapped Hot Dogs

🍒 Mini Cherry Cobblers

America's 250th Summer Tablescape

Together they create the ultimate red, white, and blue summer menu.

Frequently Asked Questions

Can I make Cherry Berry Slushies without alcohol?

Absolutely! Simply omit the vodka for a family-friendly mocktail.

Can I make these ahead of time?

Yes! The slush can stay in the machine while entertaining, and the blueberry syrup can be made a day ahead.

What type of alcohol works best?

Vodka works wonderfully, but whipped cream vodka or coconut rum would also be delicious.

Are these good for Fourth of July parties?

They're perfect for Memorial Day, Fourth of July, Labor Day, and summer celebrations of every kind.

Final Thoughts

Refreshing, nostalgic, and bursting with cherry flavor, these Cherry Berry Slushies quickly became one of my favorite parts of our Americana Summer celebration. With their festive red and blue colors and simple ingredients, they're the perfect drink for celebrating summer and making memories around the table.

Happy gathering!

From Amanda's Kitchen

Some recipes are meant to be shared, saved, and brought back out year after year.

That's exactly why I created these From Amanda's Kitchen printable recipe cards. Whether you're adding this recipe to your summer entertaining binder, printing it for your next backyard gathering, or passing it along to a friend, I hope it brings people together around your table.

Because the best recipes aren't just about the food—they're about the memories we make while sharing them.

Save or print the recipe card below so it's ready for your next summer celebration.

All-American Charcuterie Board (The Ultimate Red, White & Blue Party Board)

There's just something magical about gathering around the table during summer. Whether it's Memorial Day weekend, the Fourth of July, Labor Day, or simply a backyard evening with friends, I love creating simple details that make everyone feel welcome.

↓ Skip to Recipe
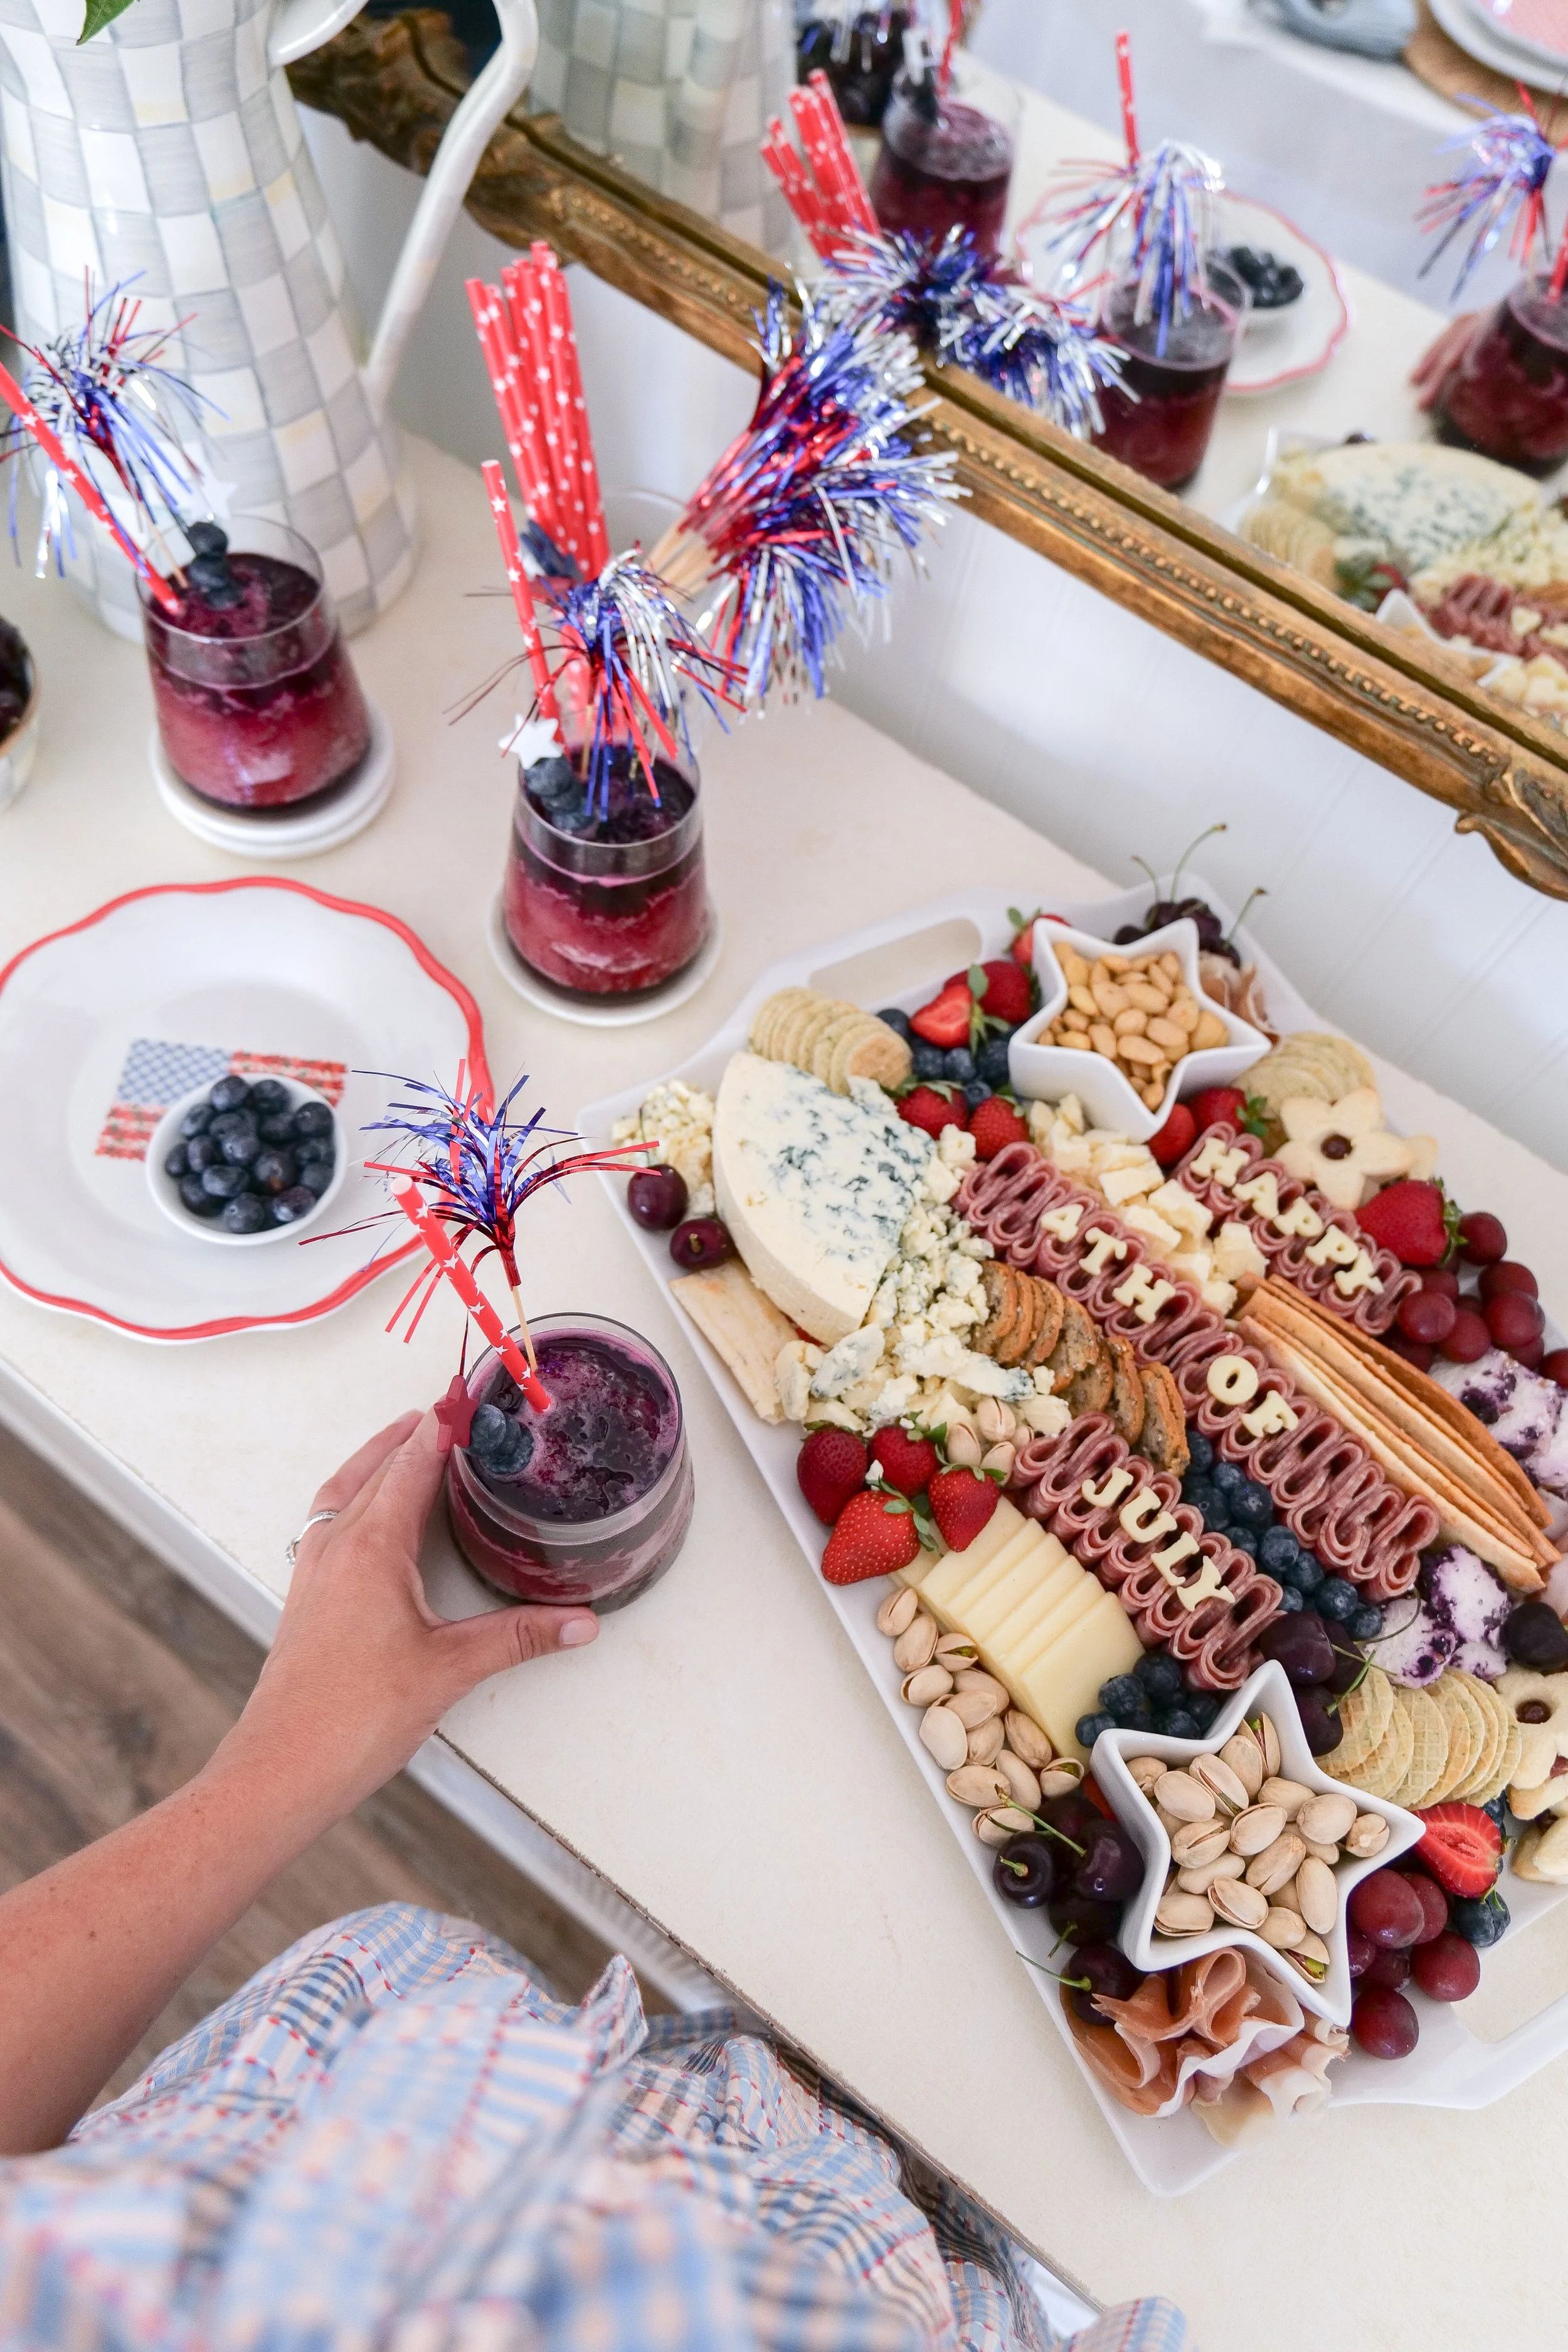
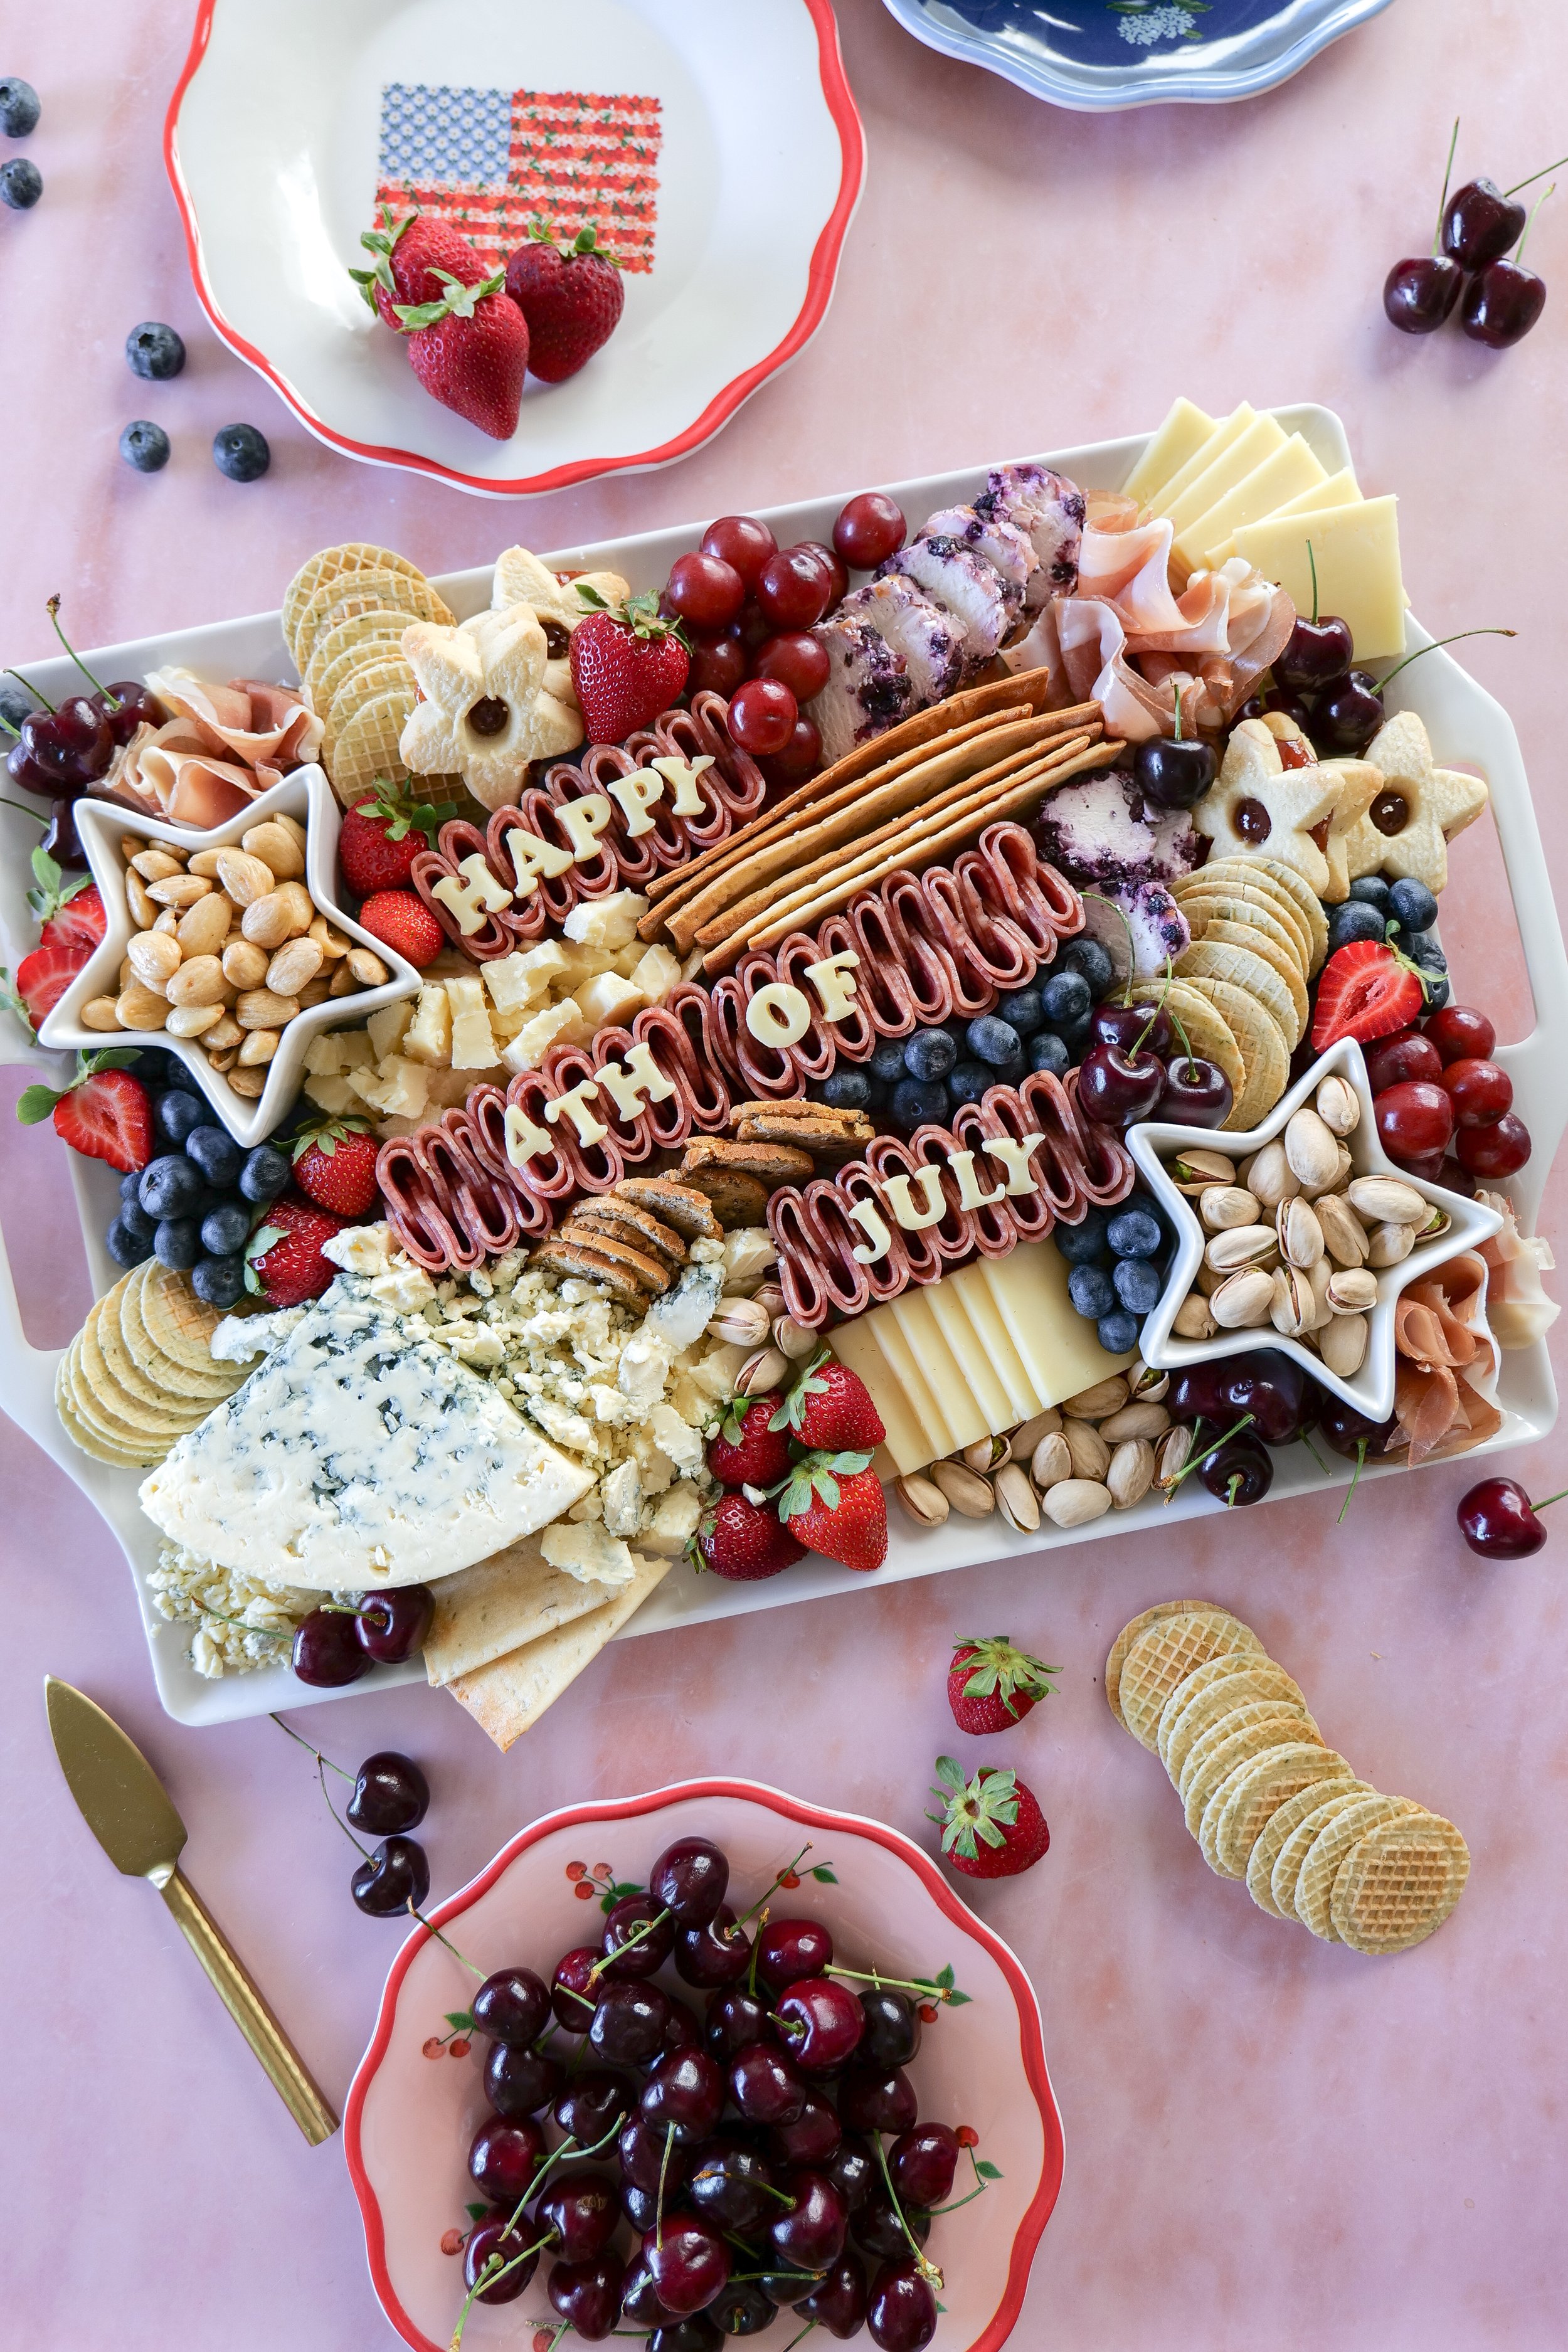
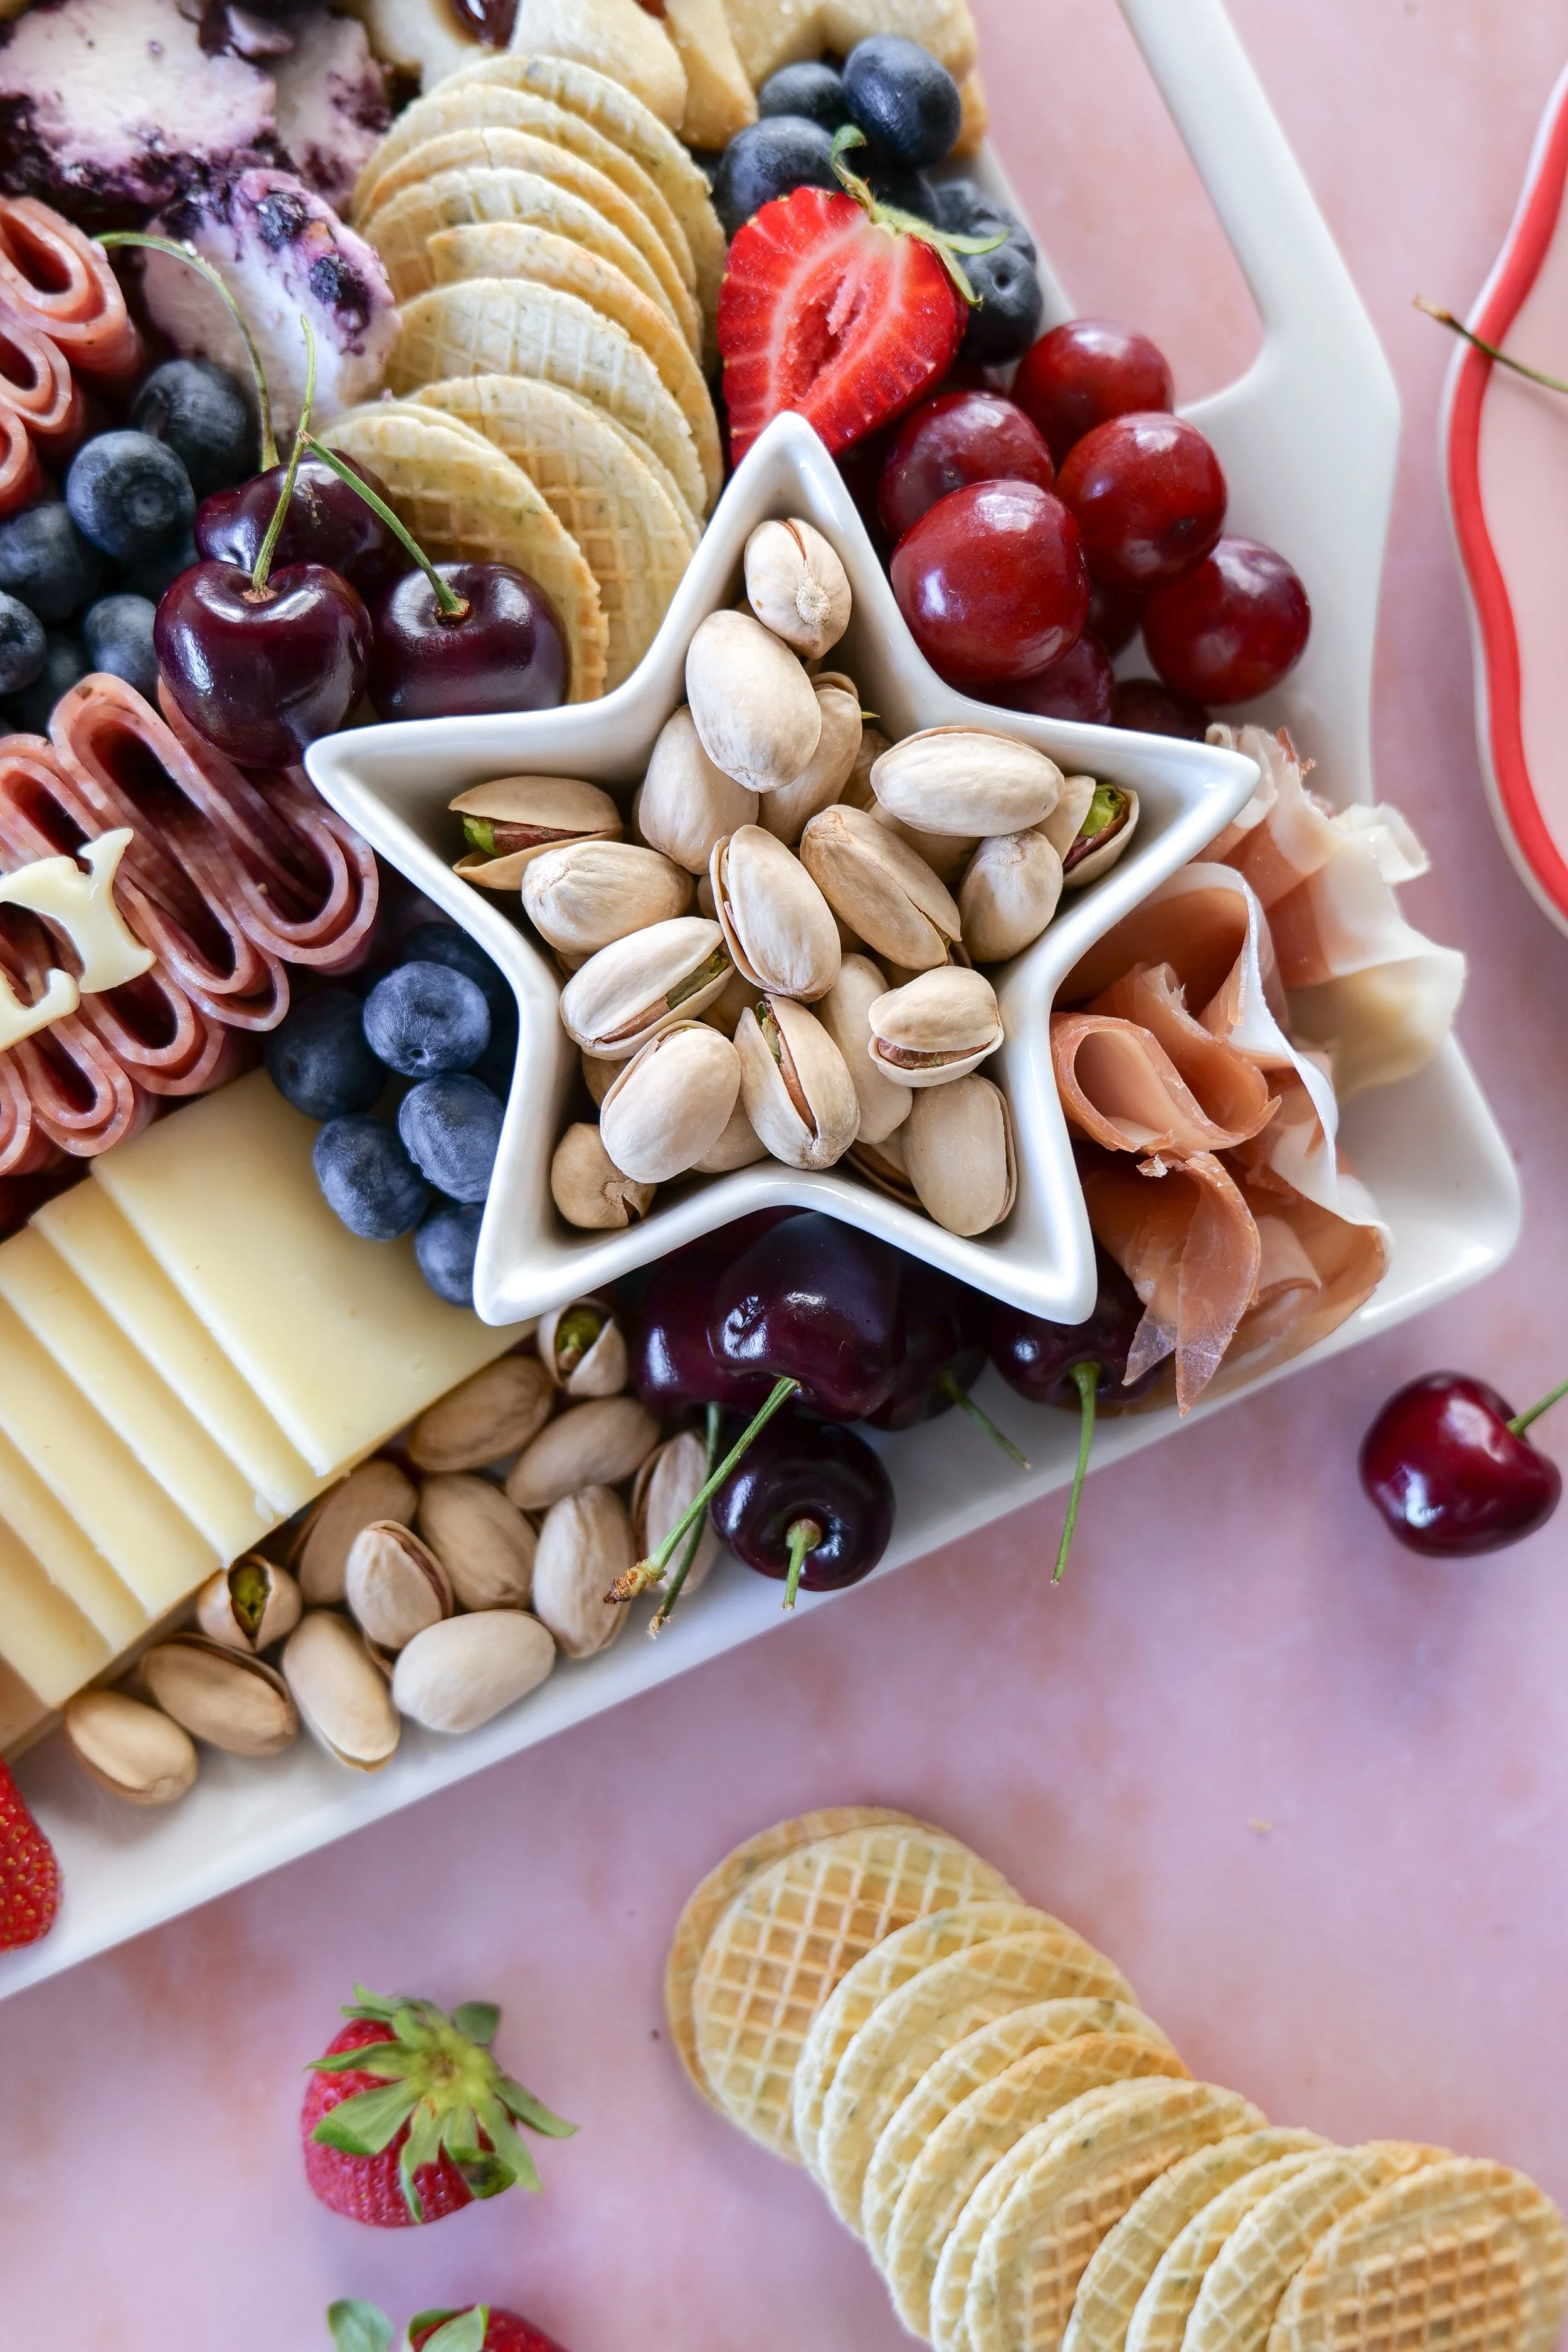
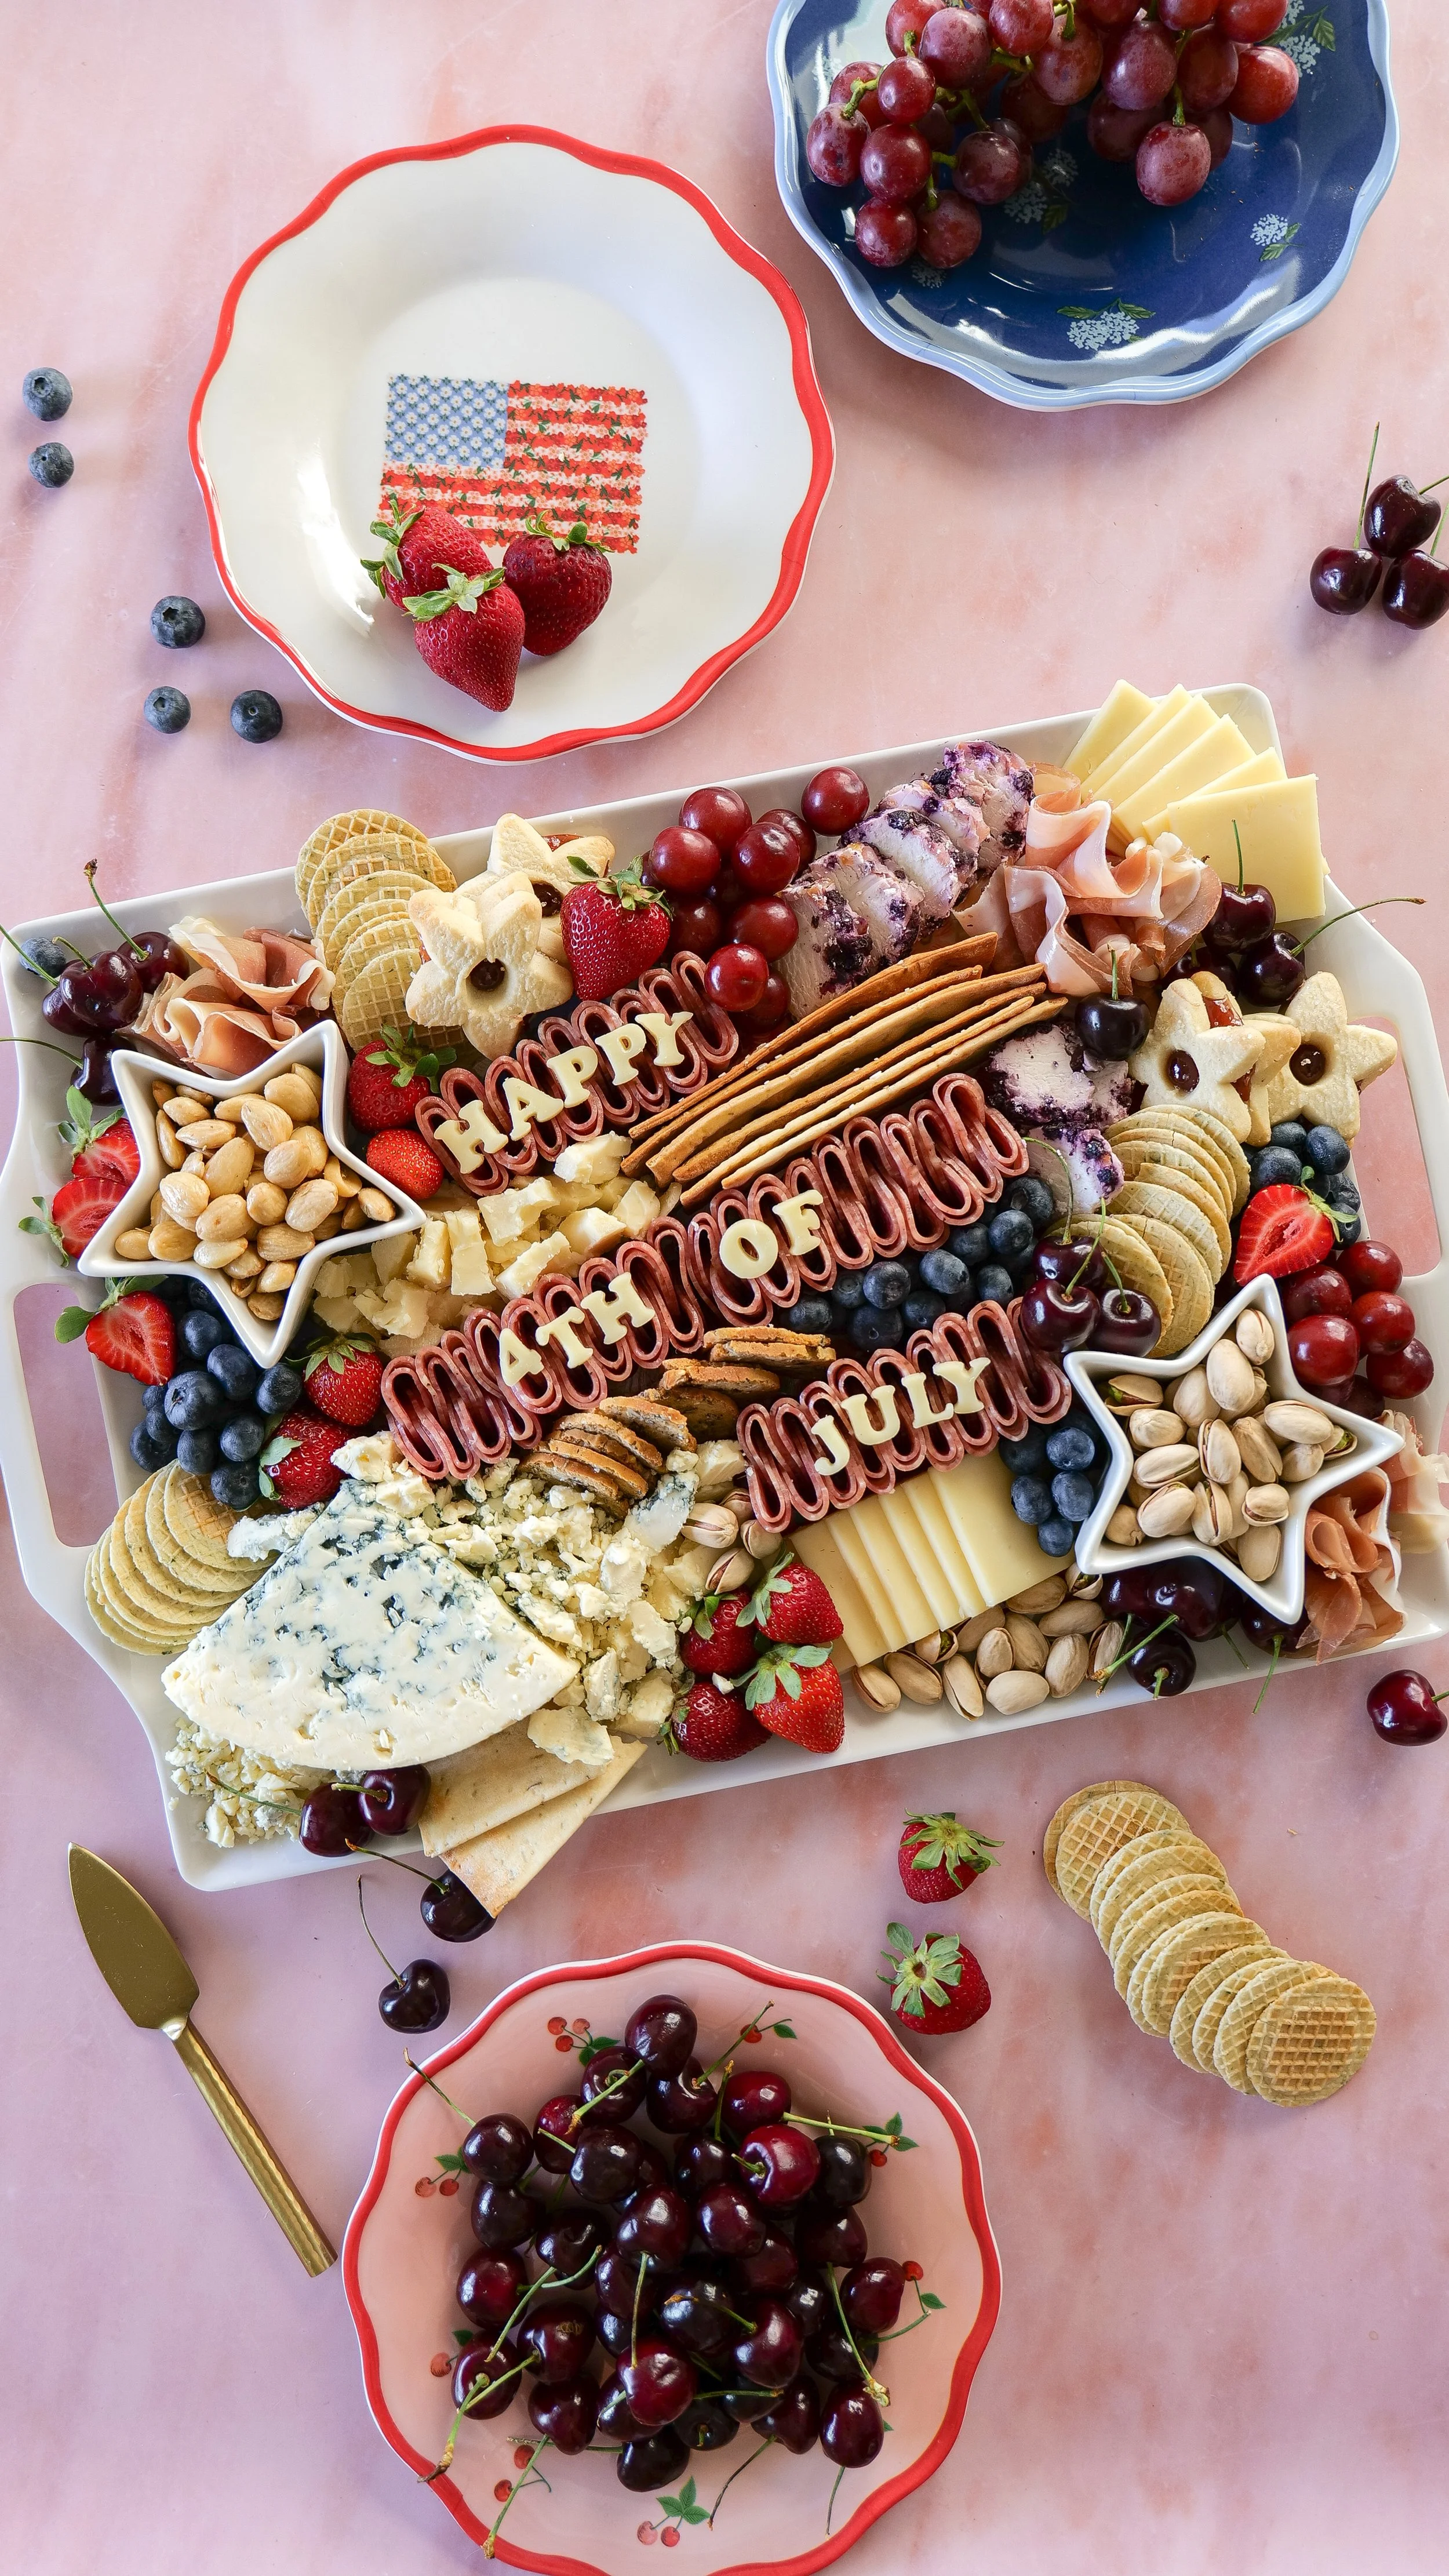
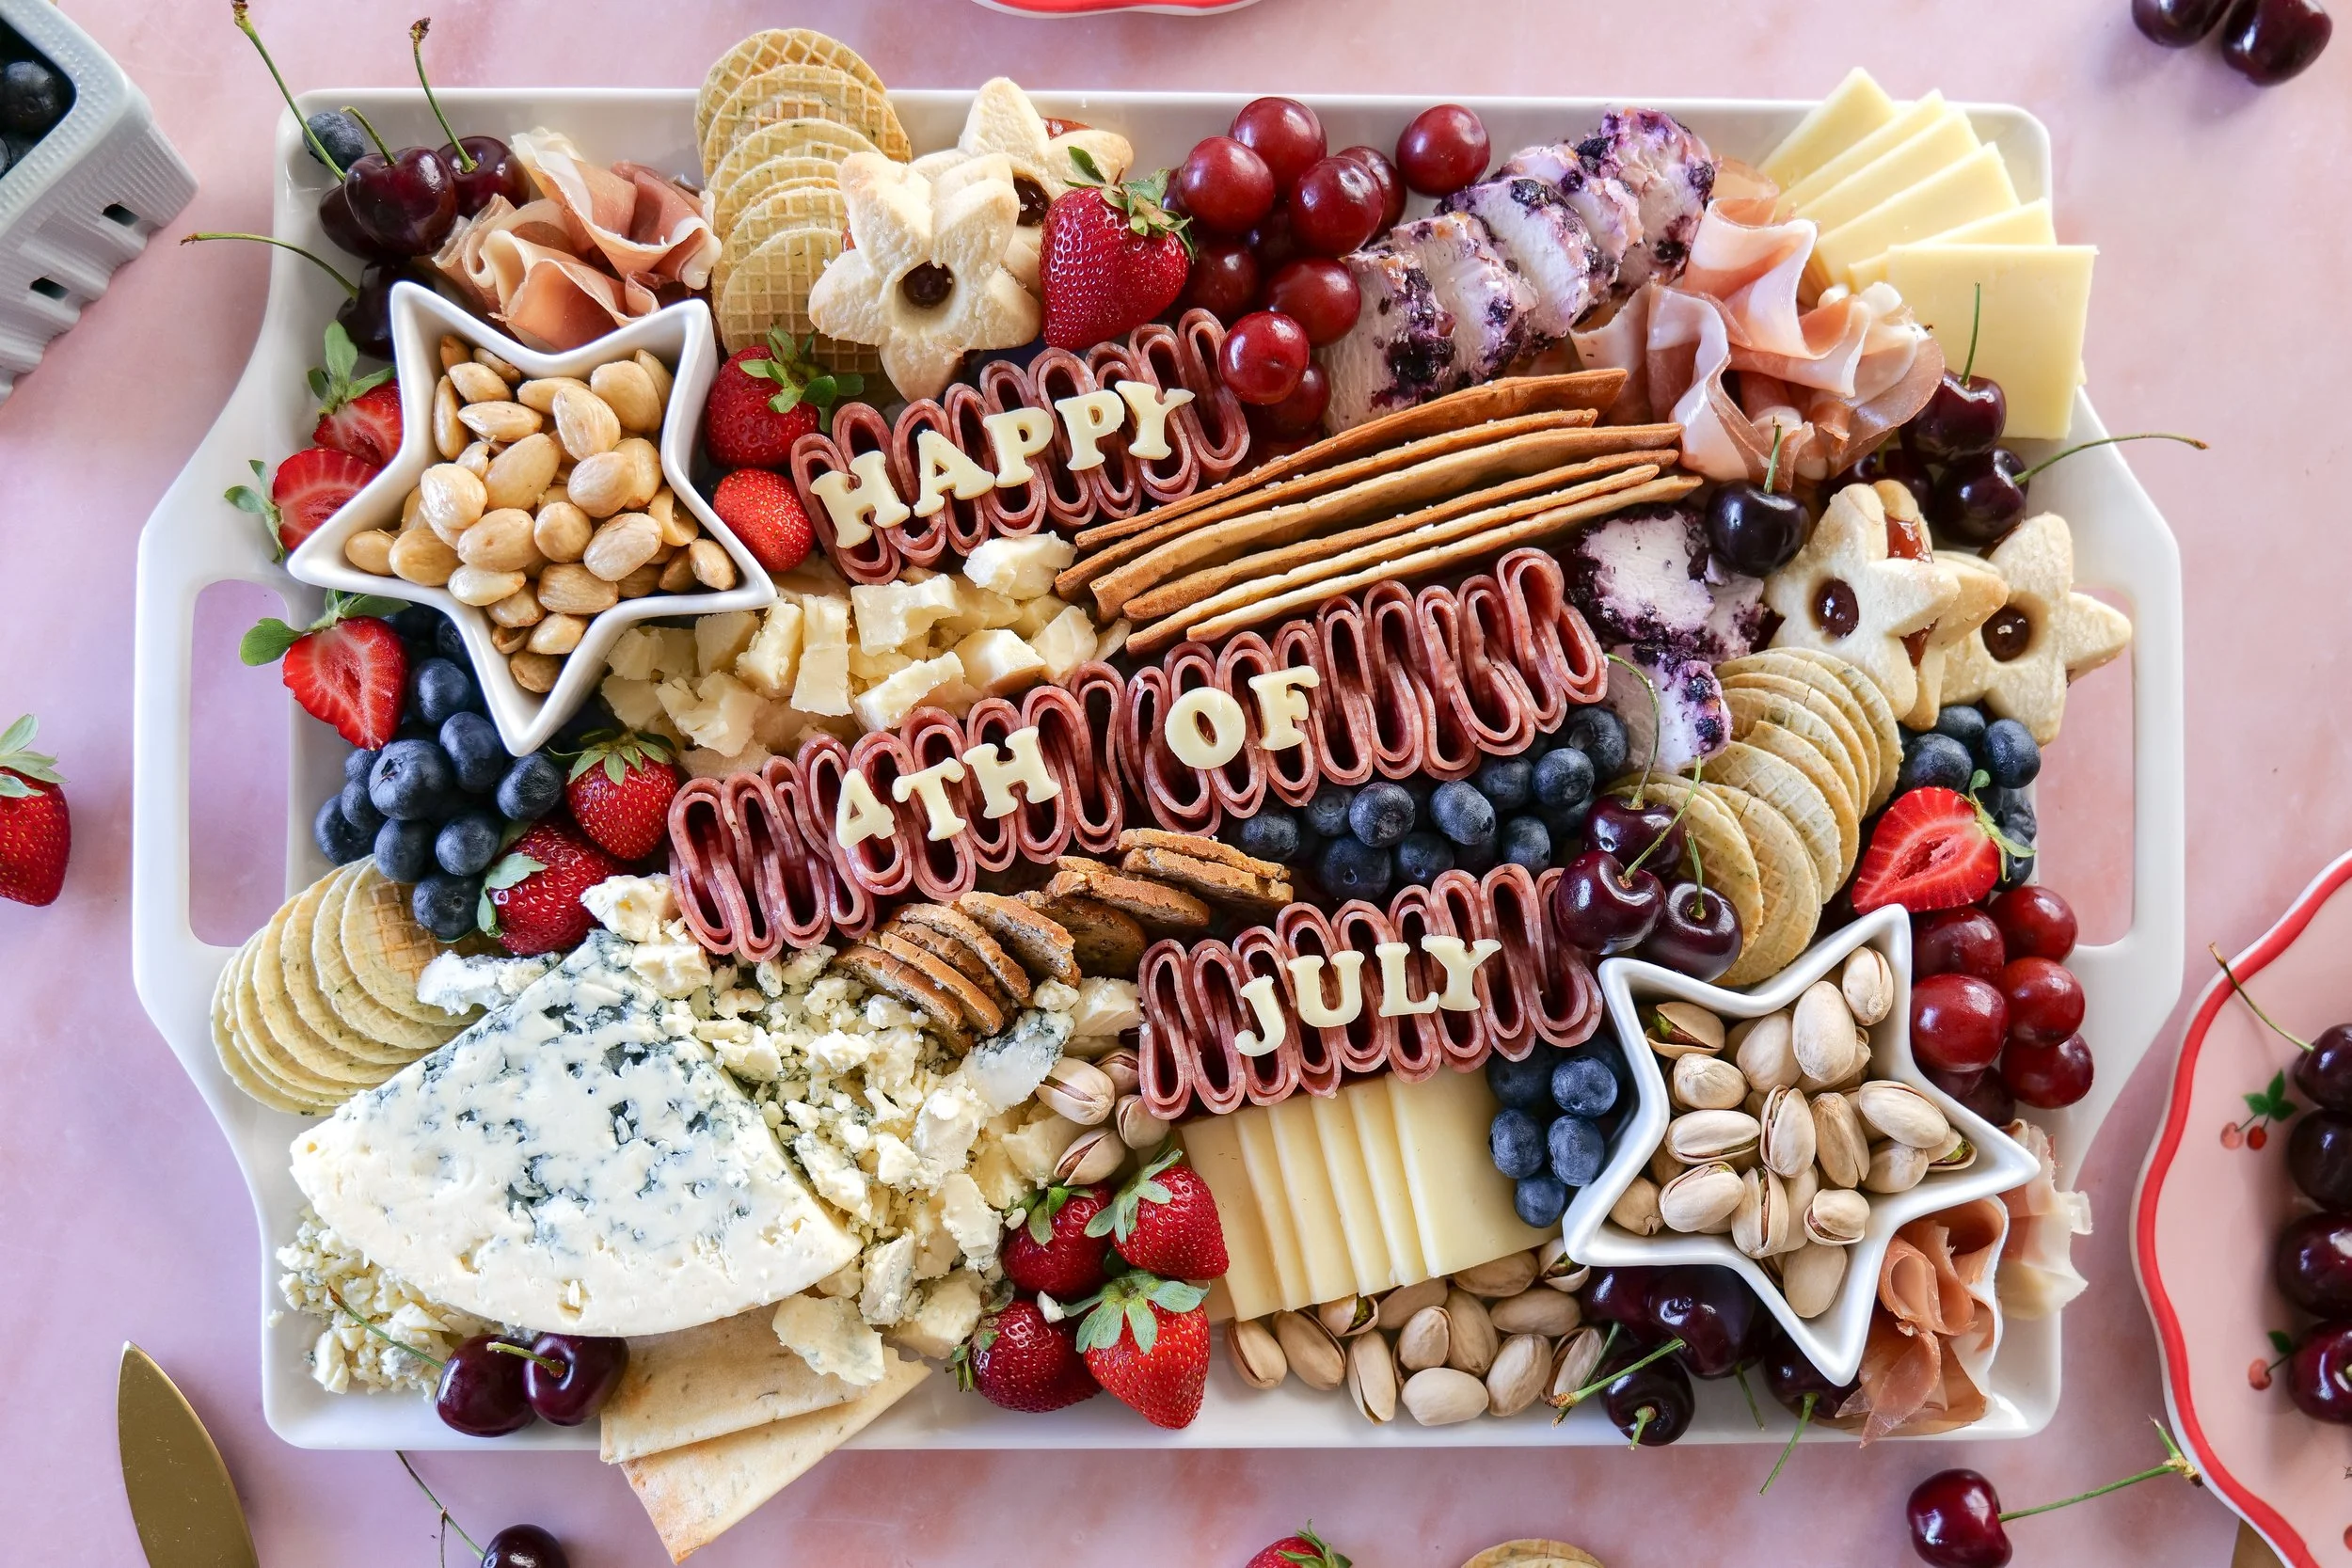
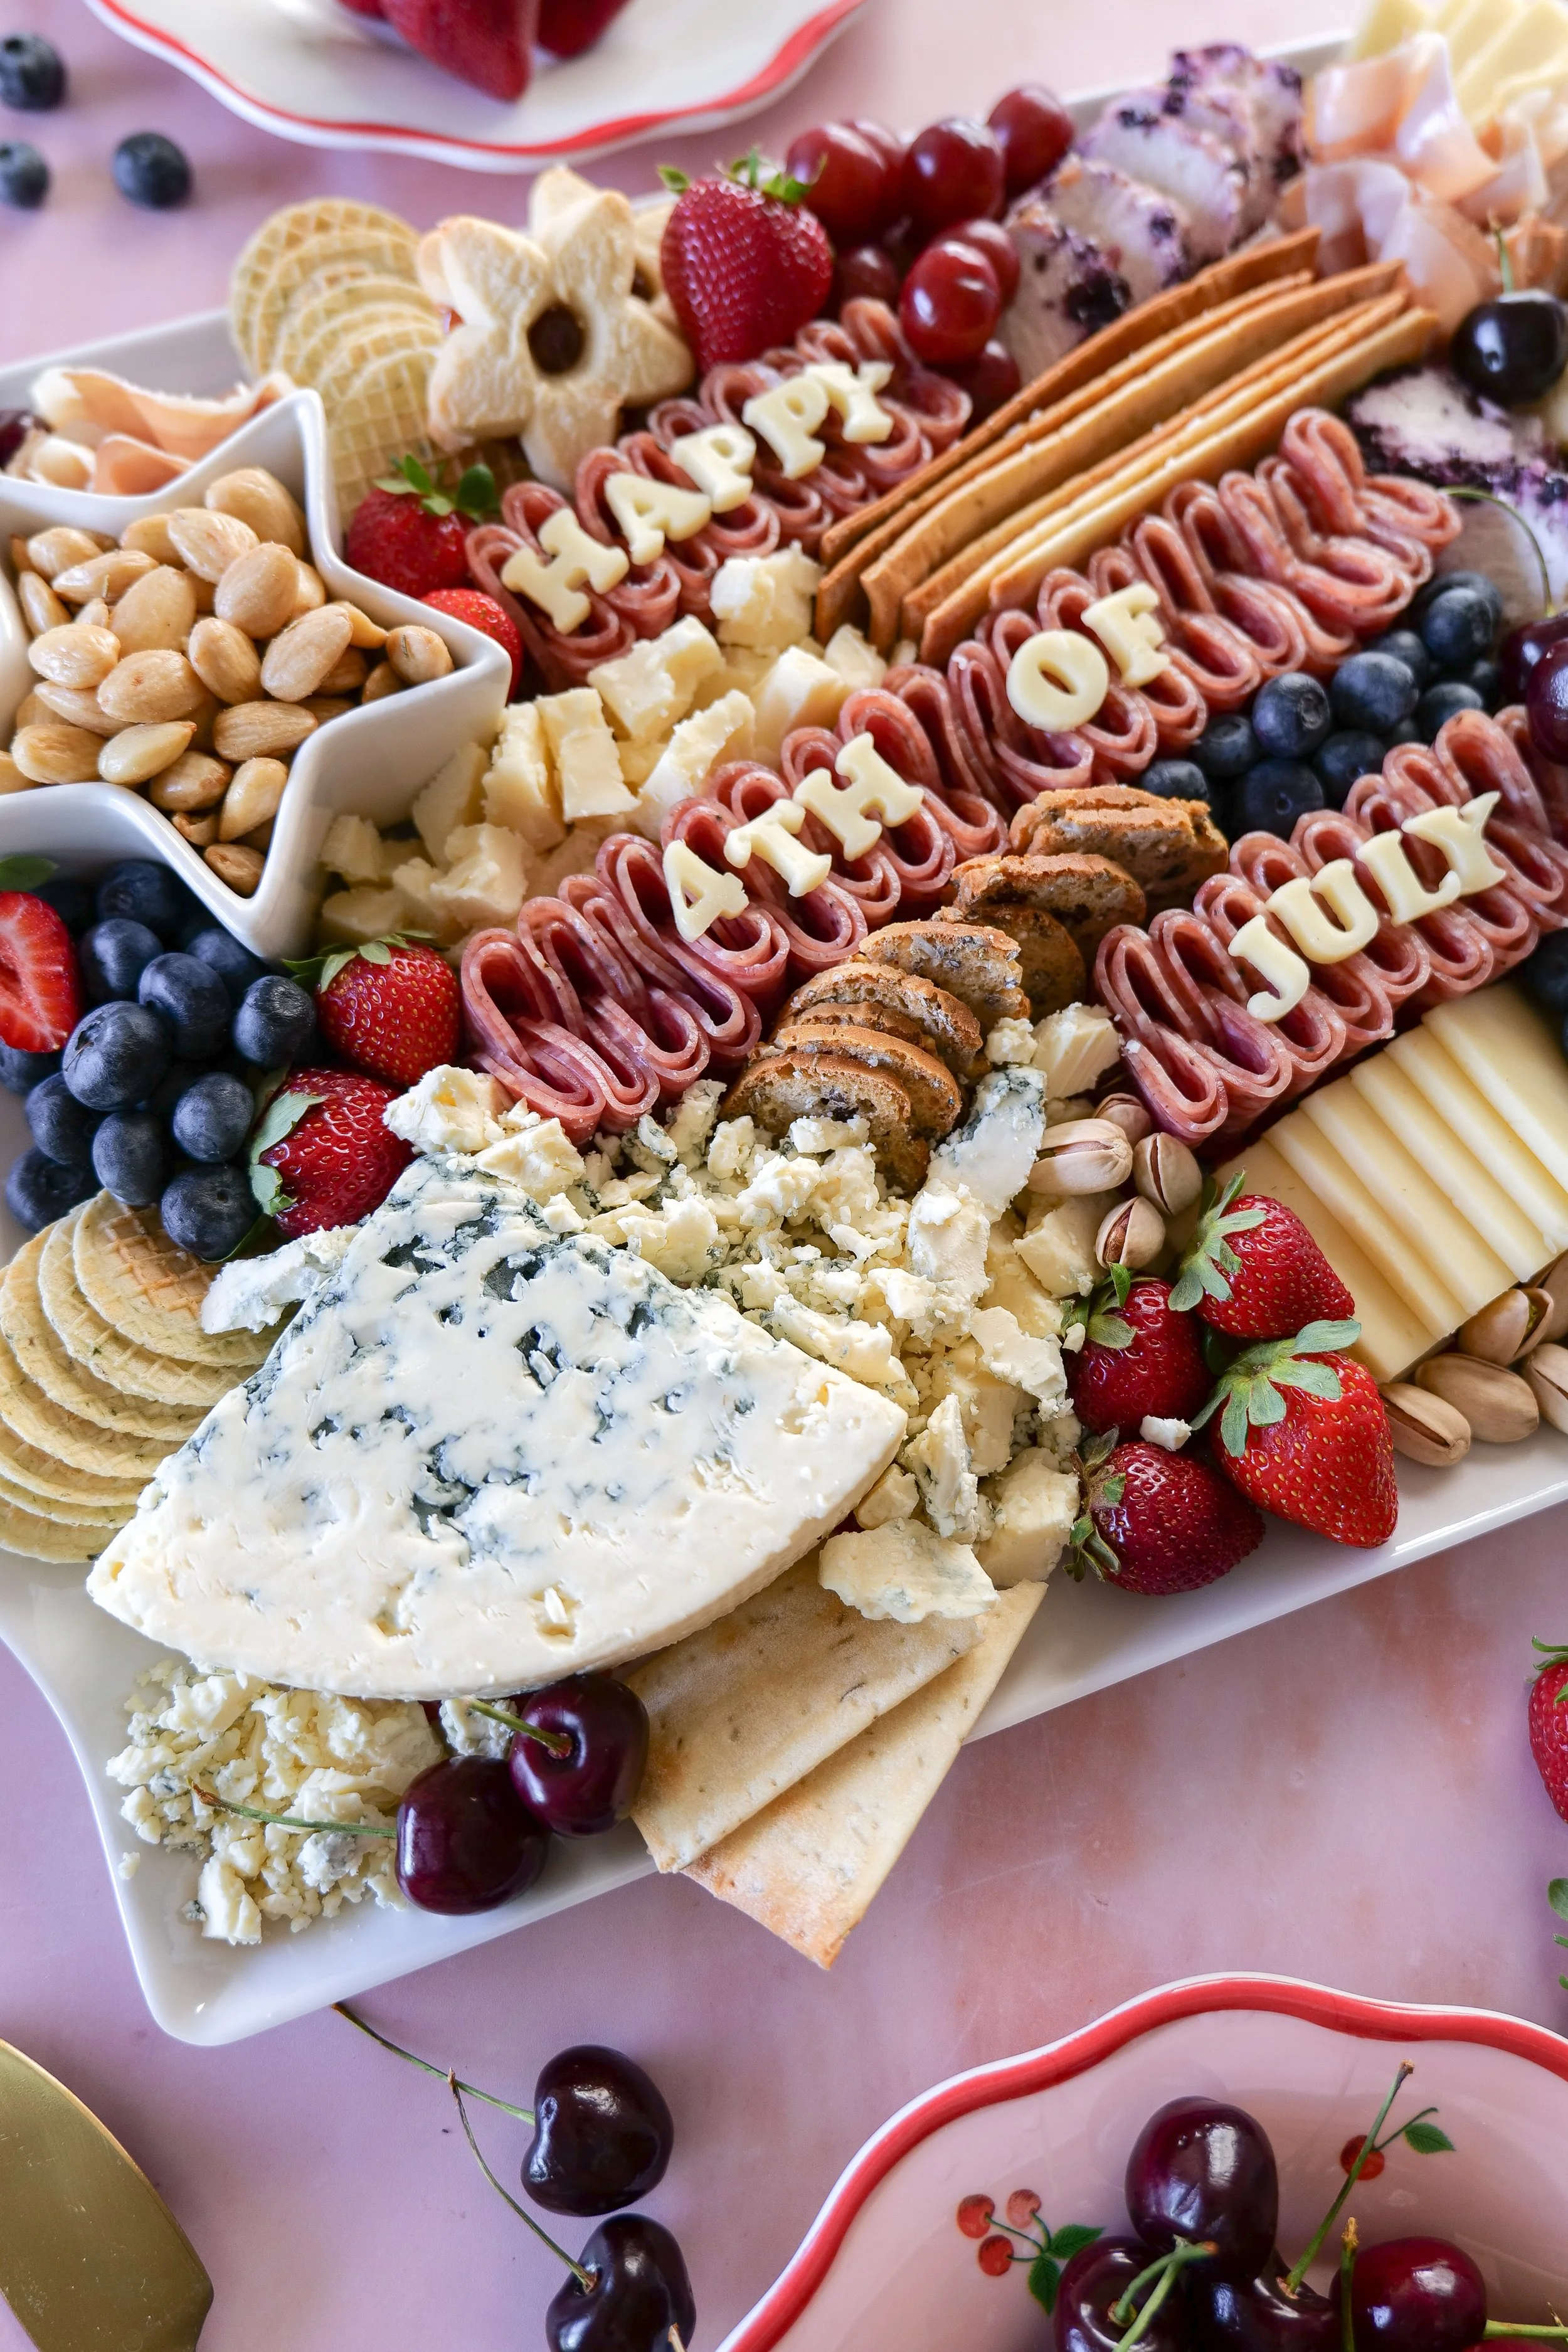
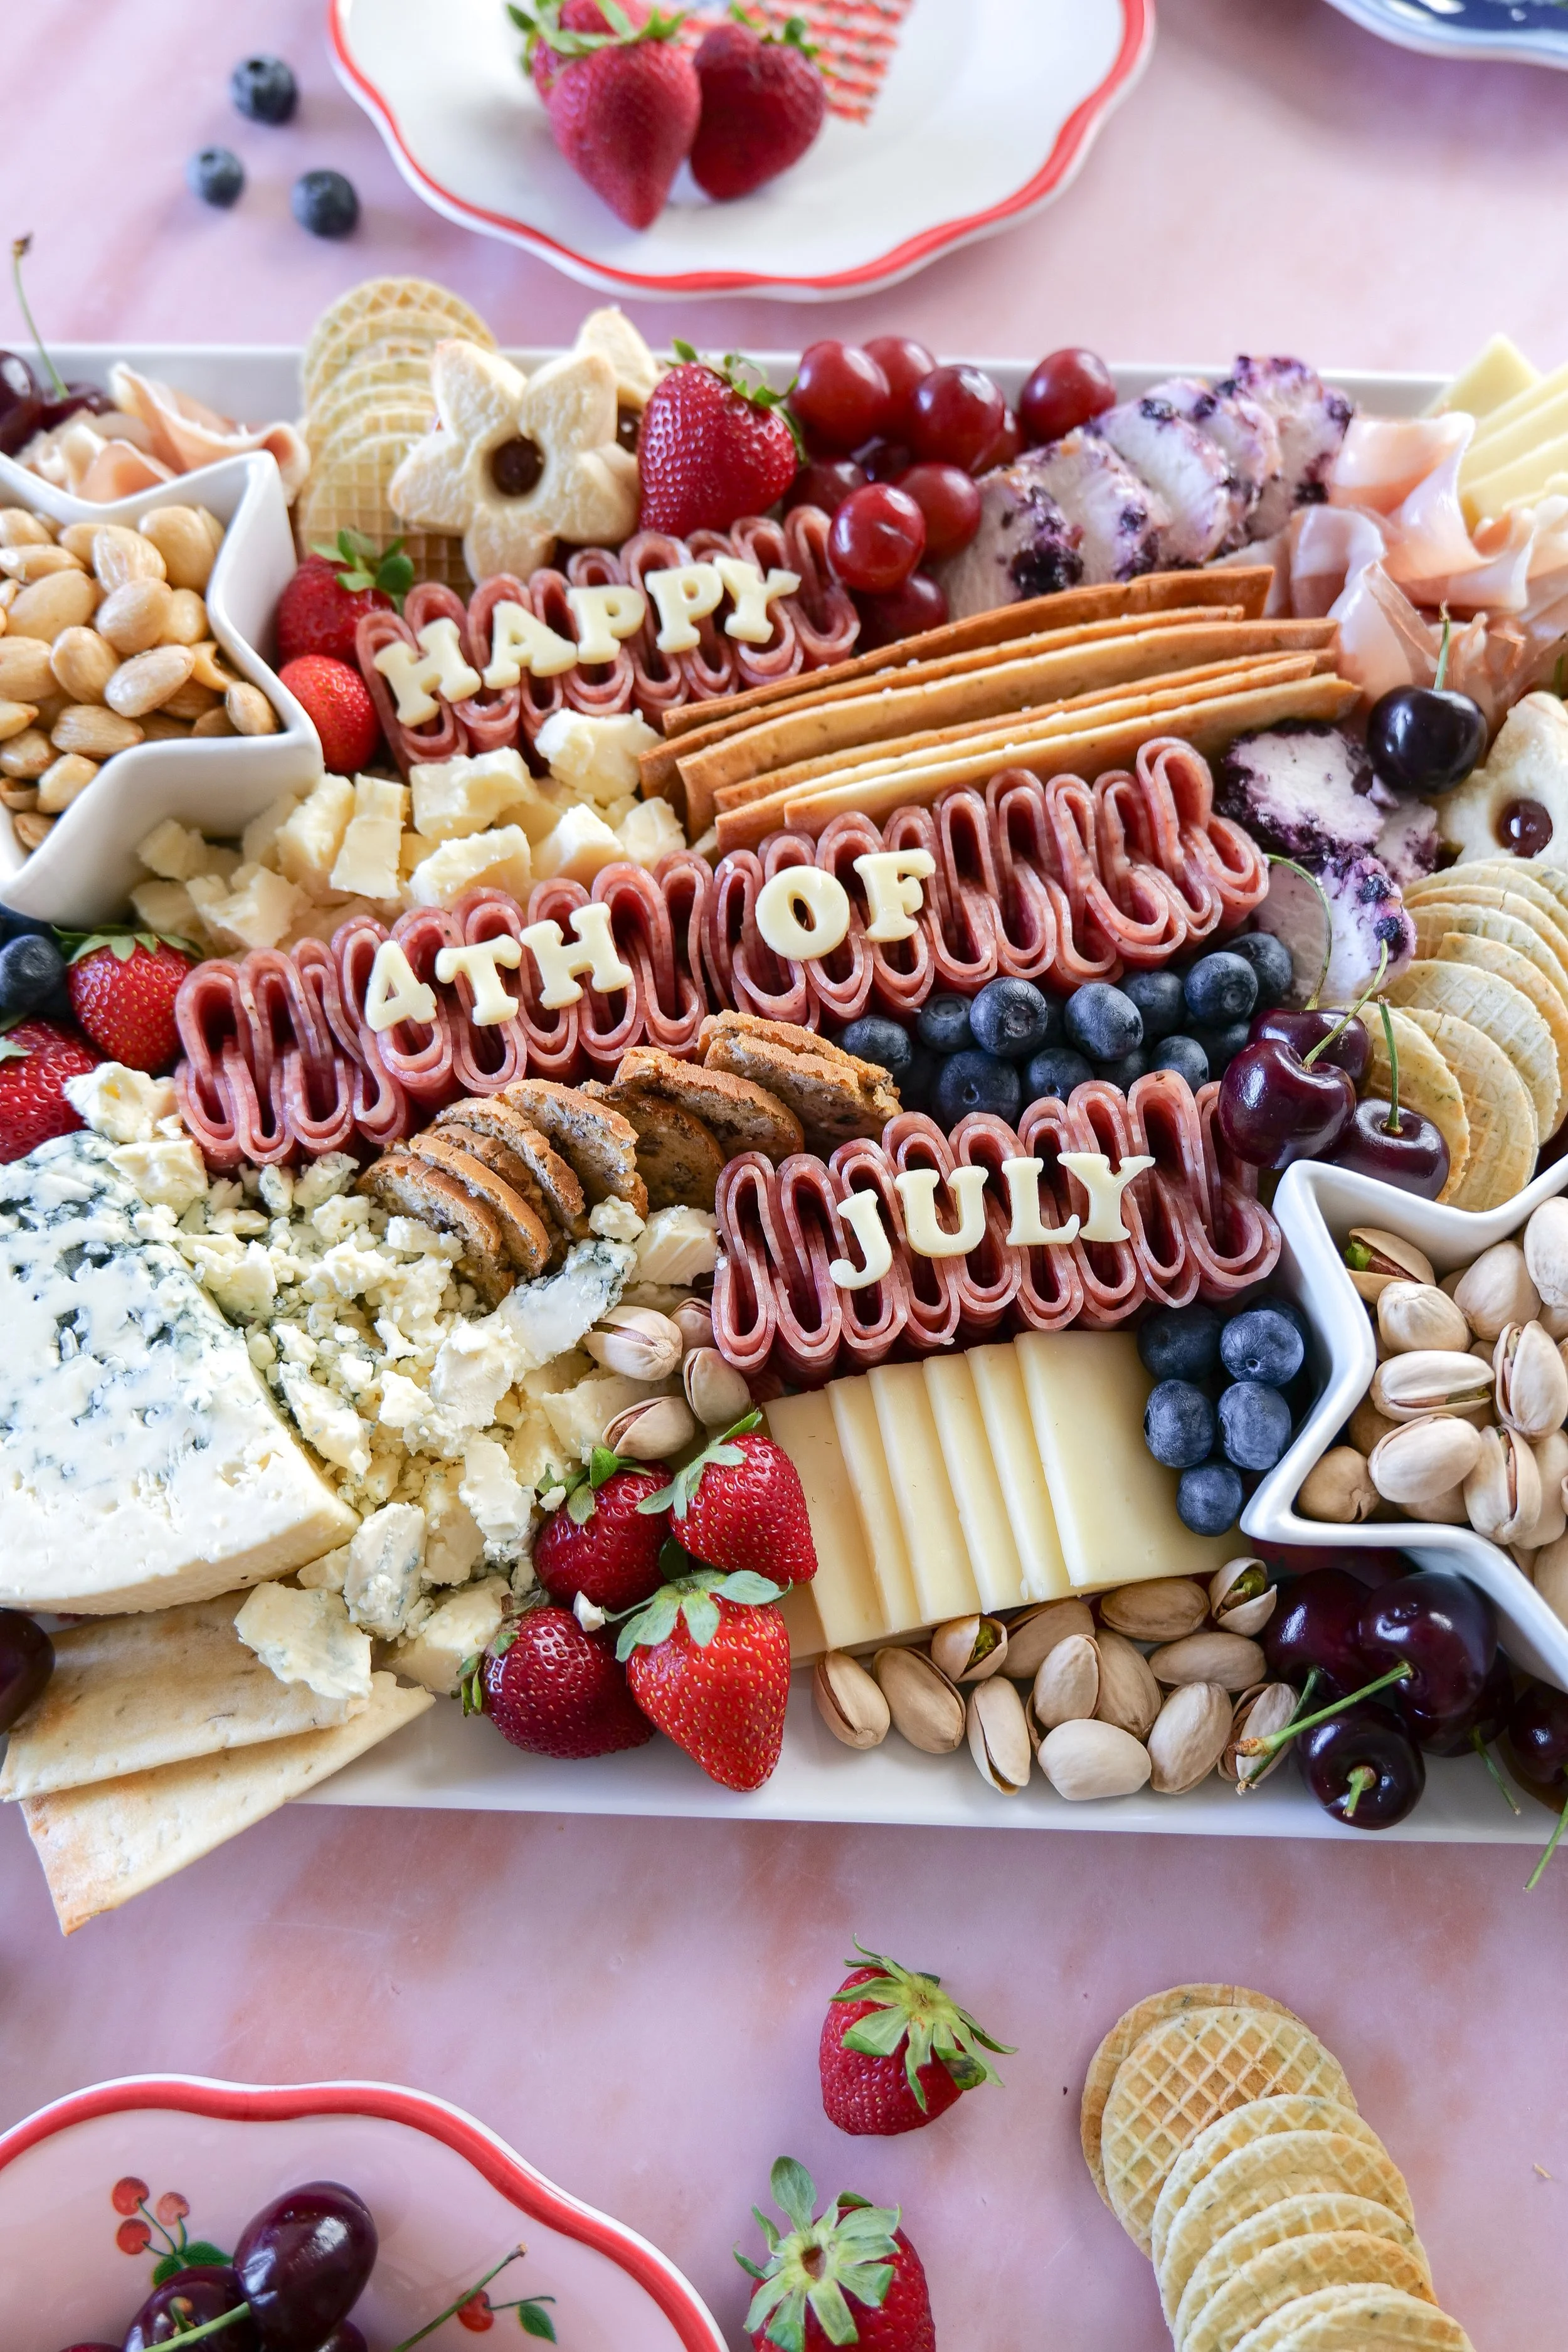
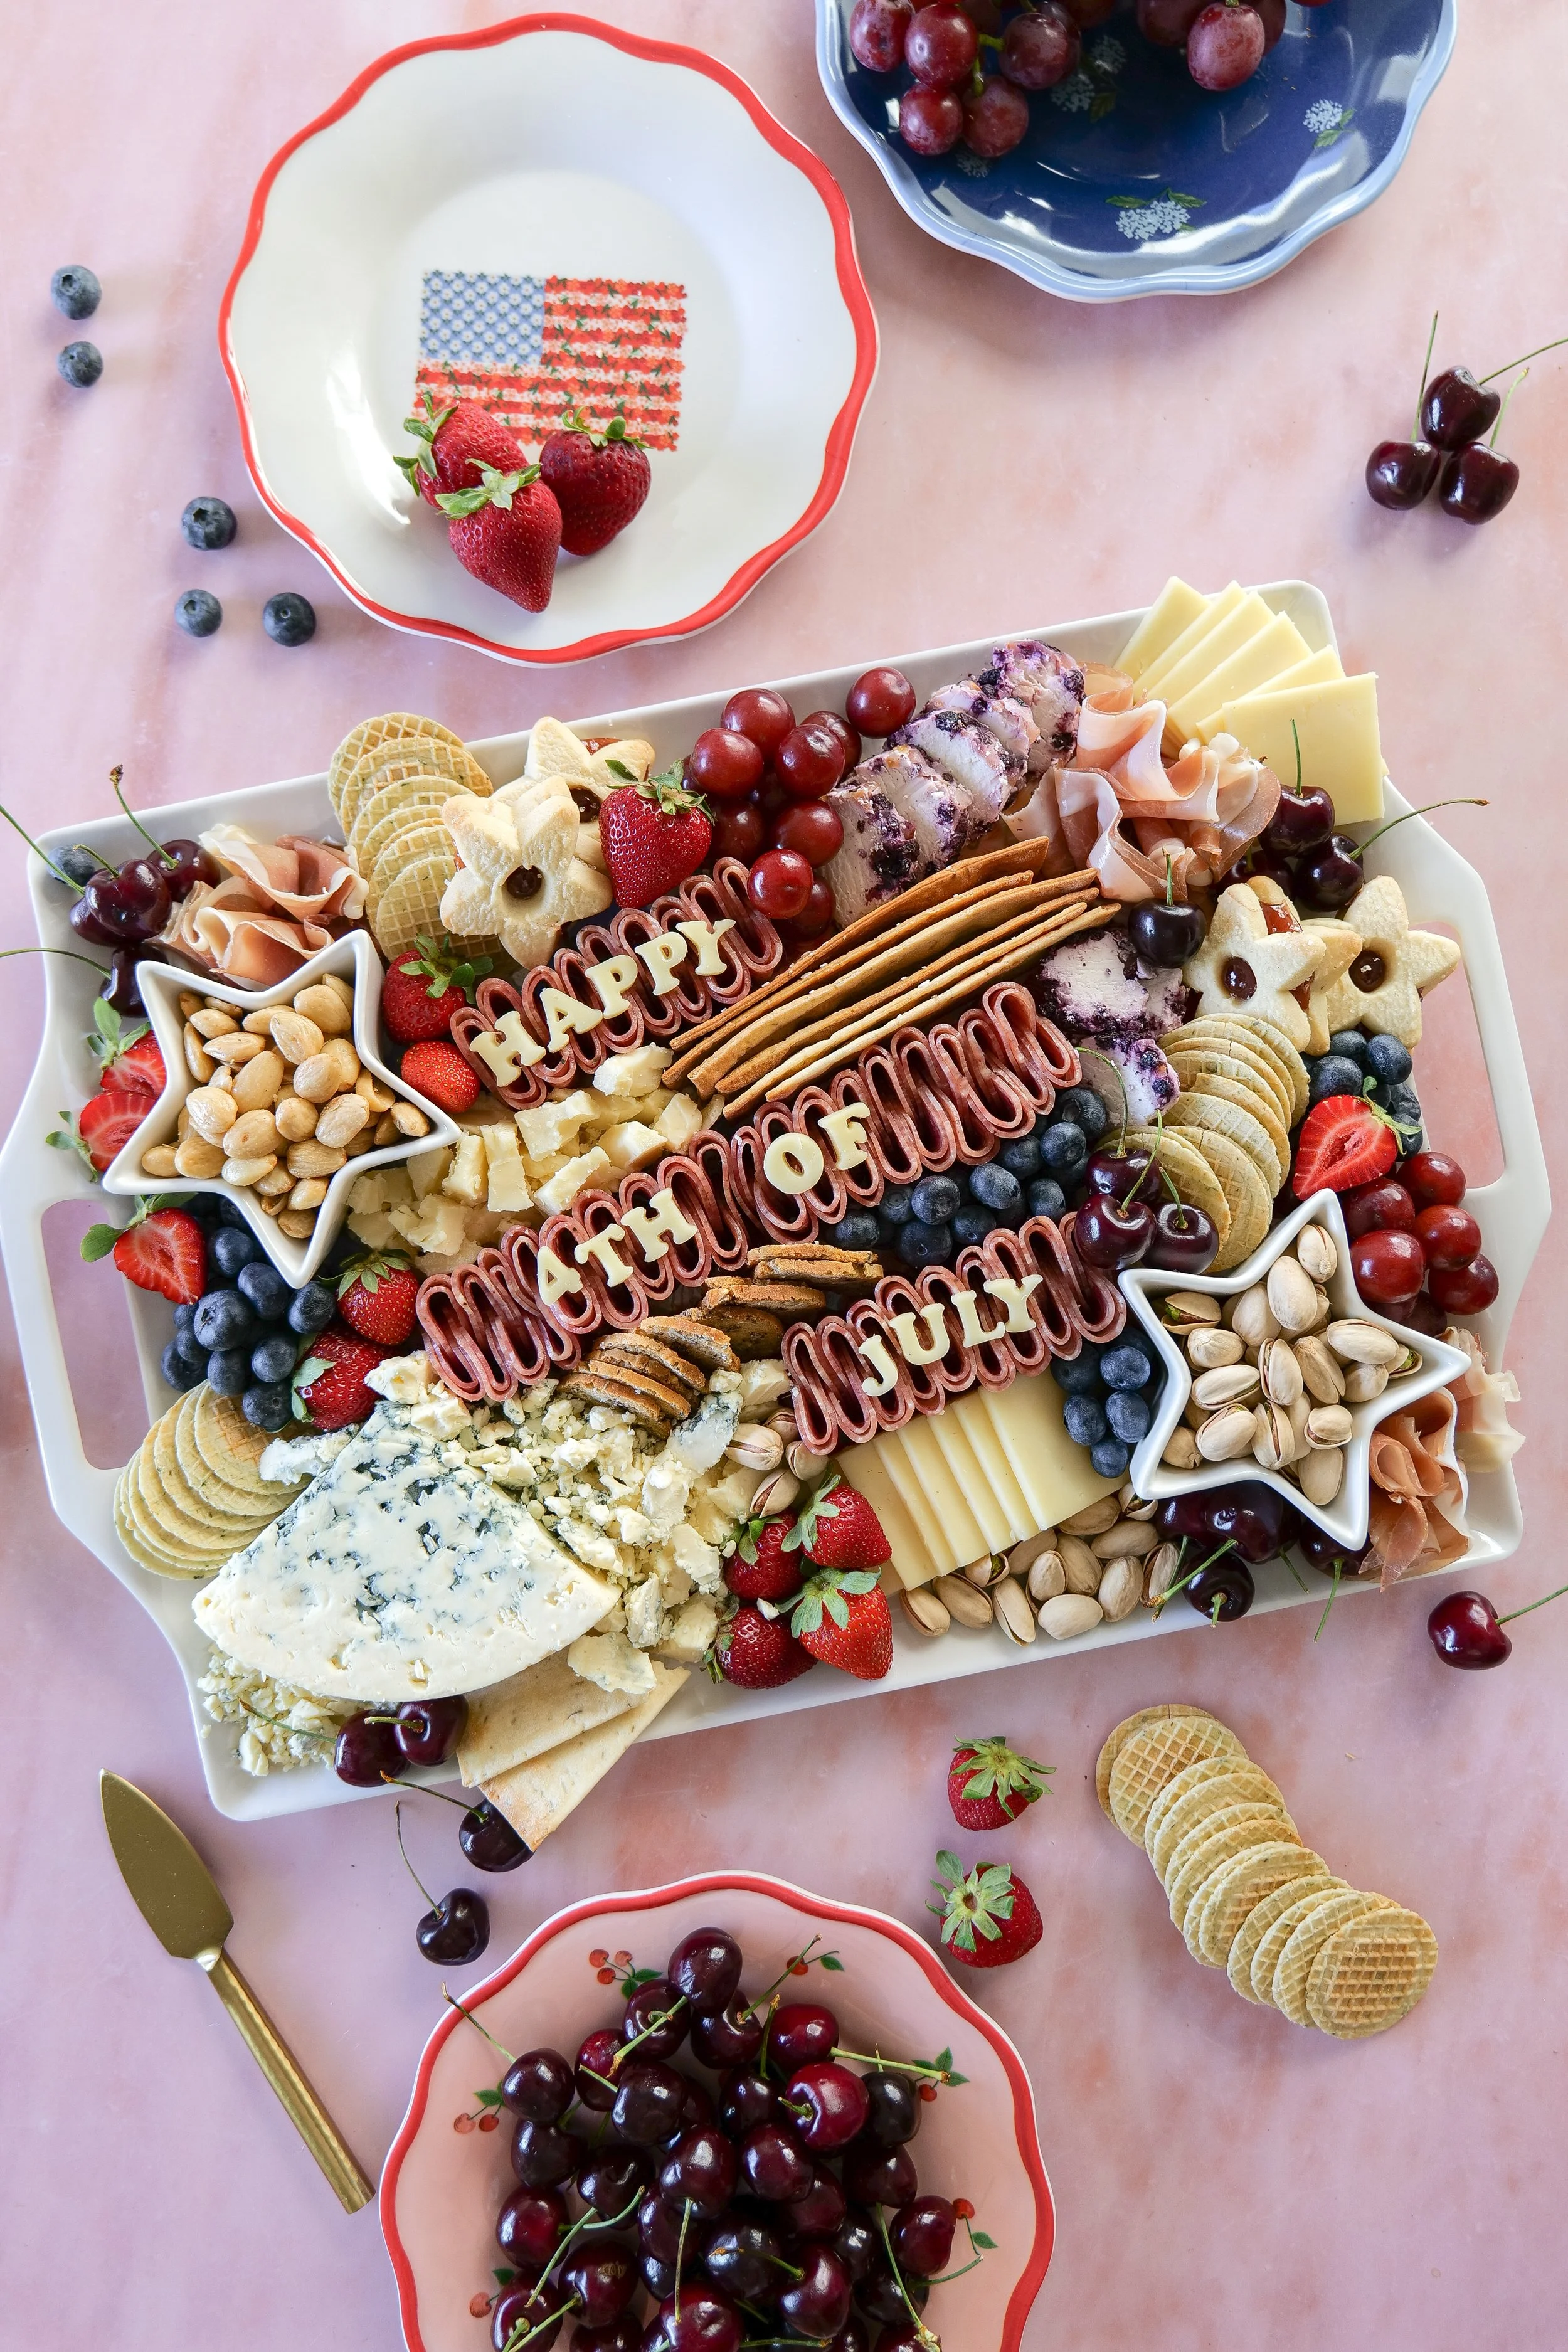
All-American charcuterie board filled with red, white, and blue ingredients for patriotic summer entertaining.
board.jpg Festive summer charcuterie board for patriotic celebrations and backyard gatherings.
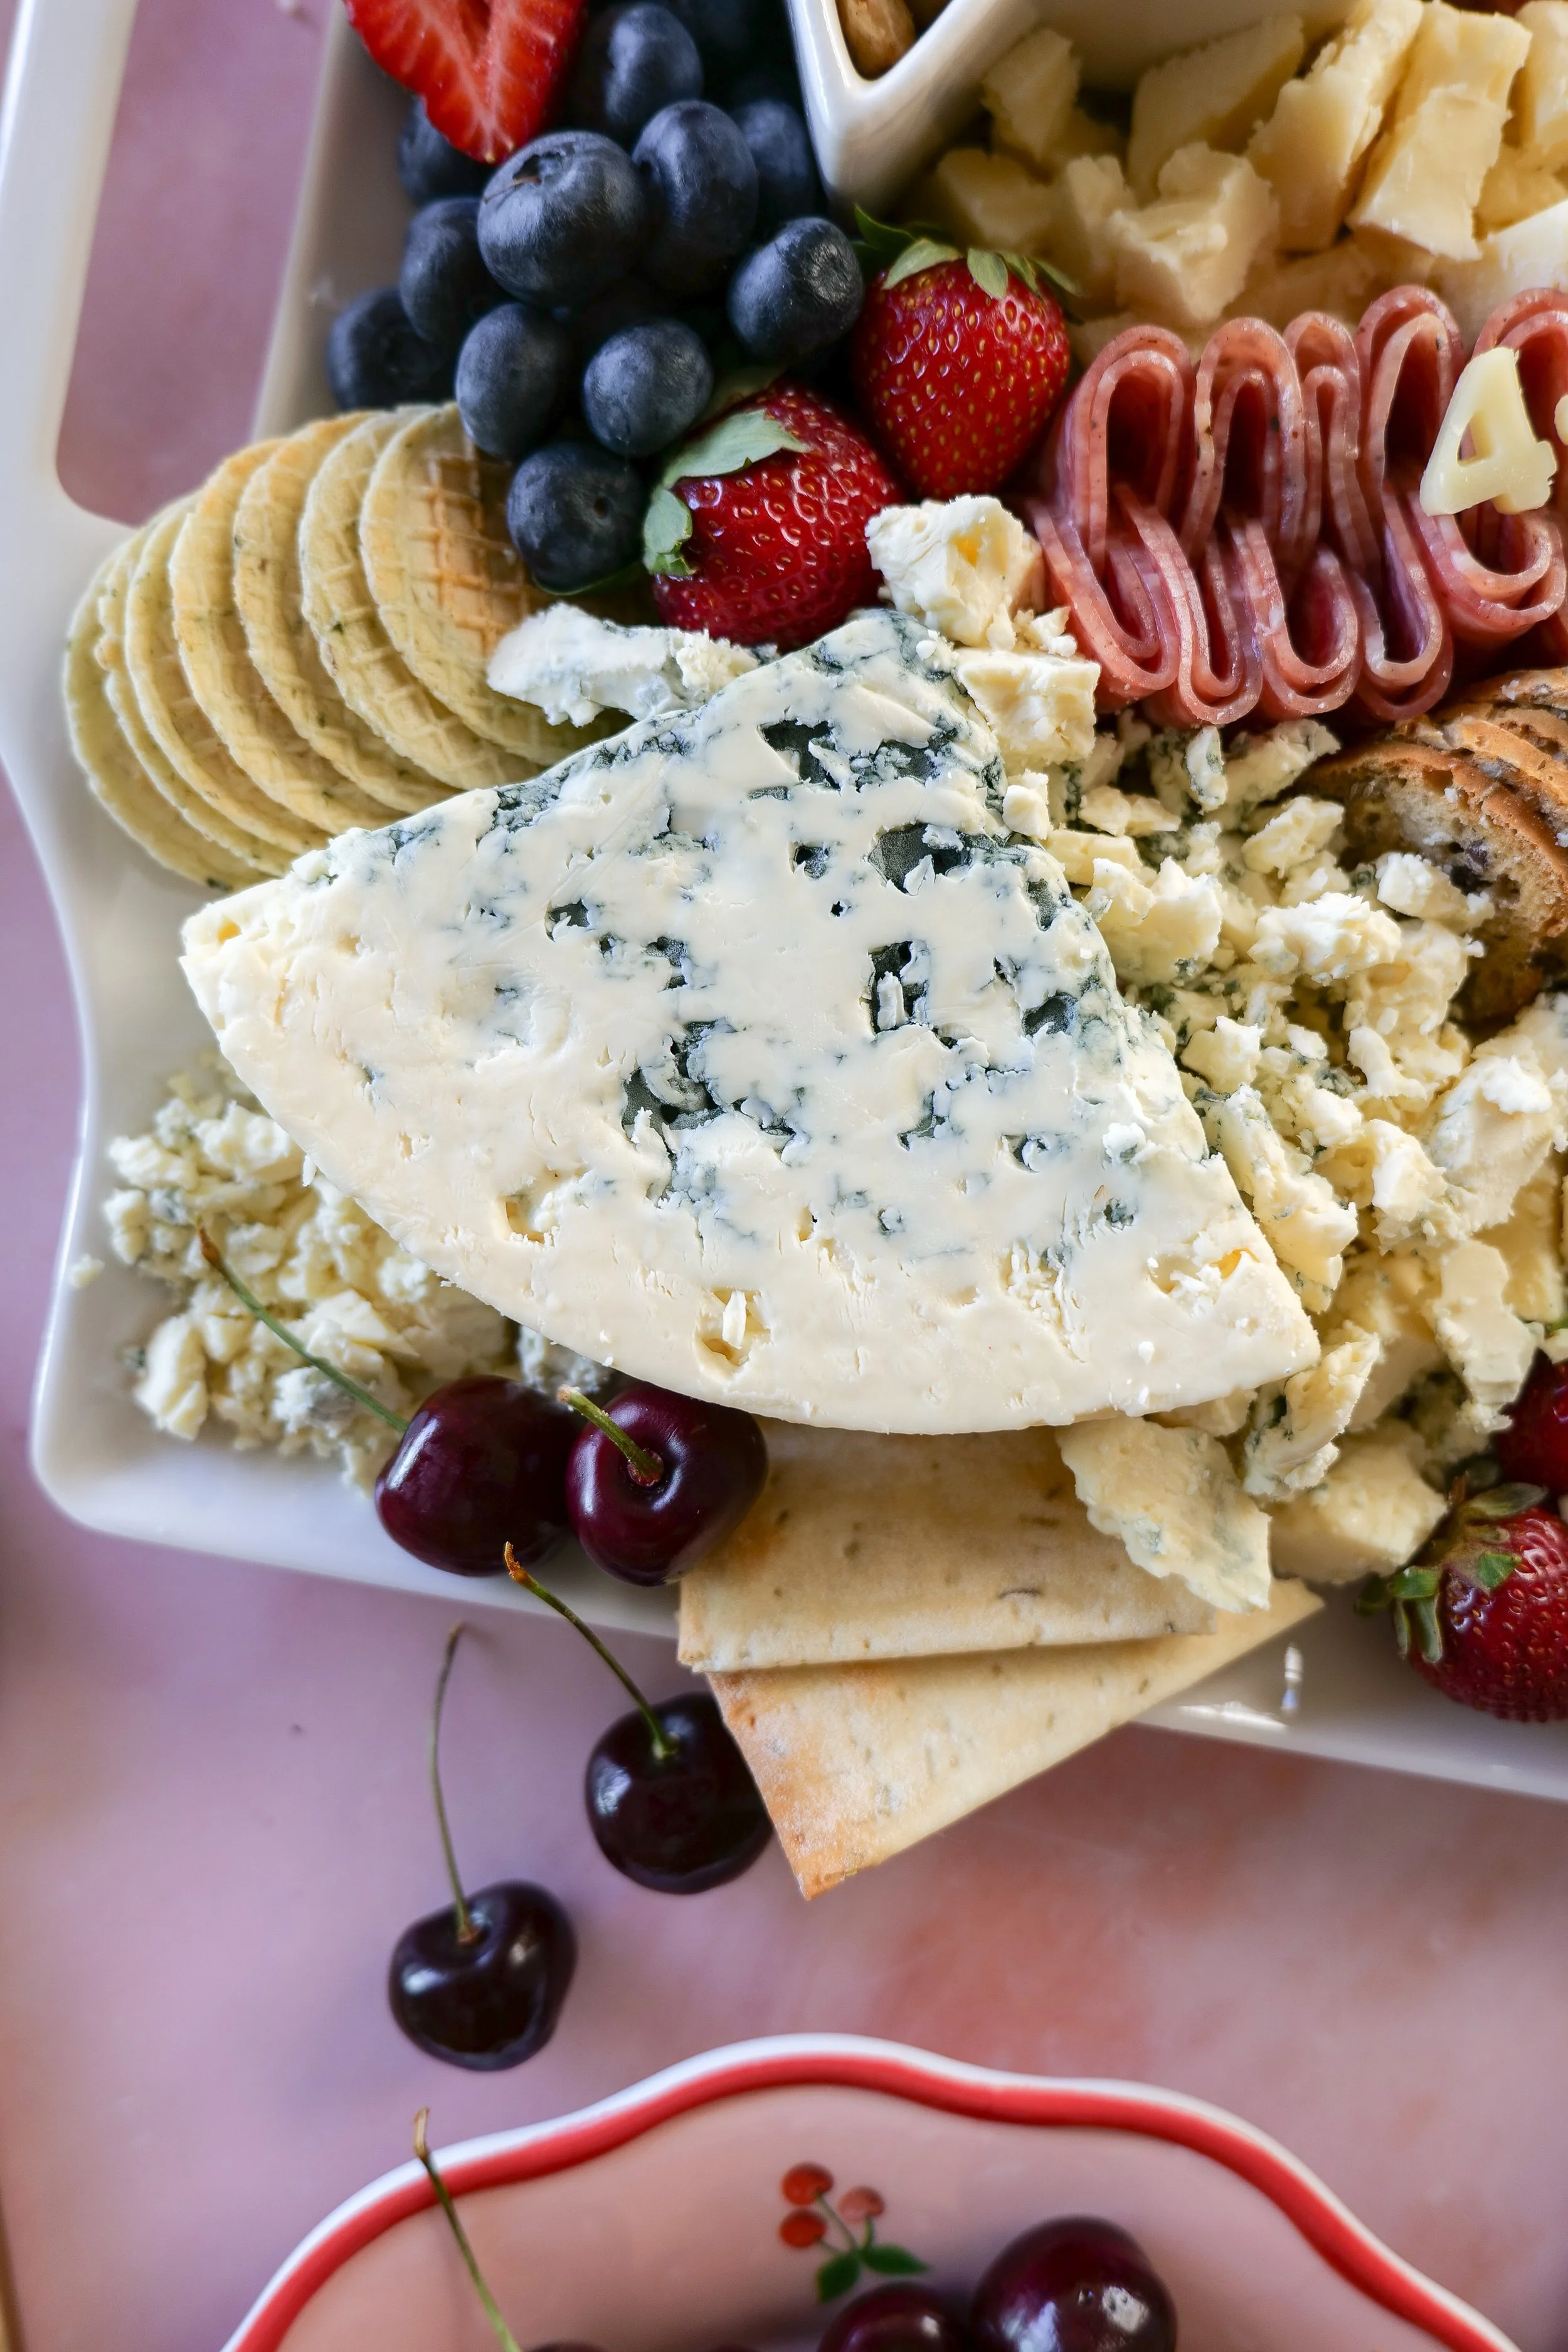
All-American party board styled for an Americana Summer celebration.
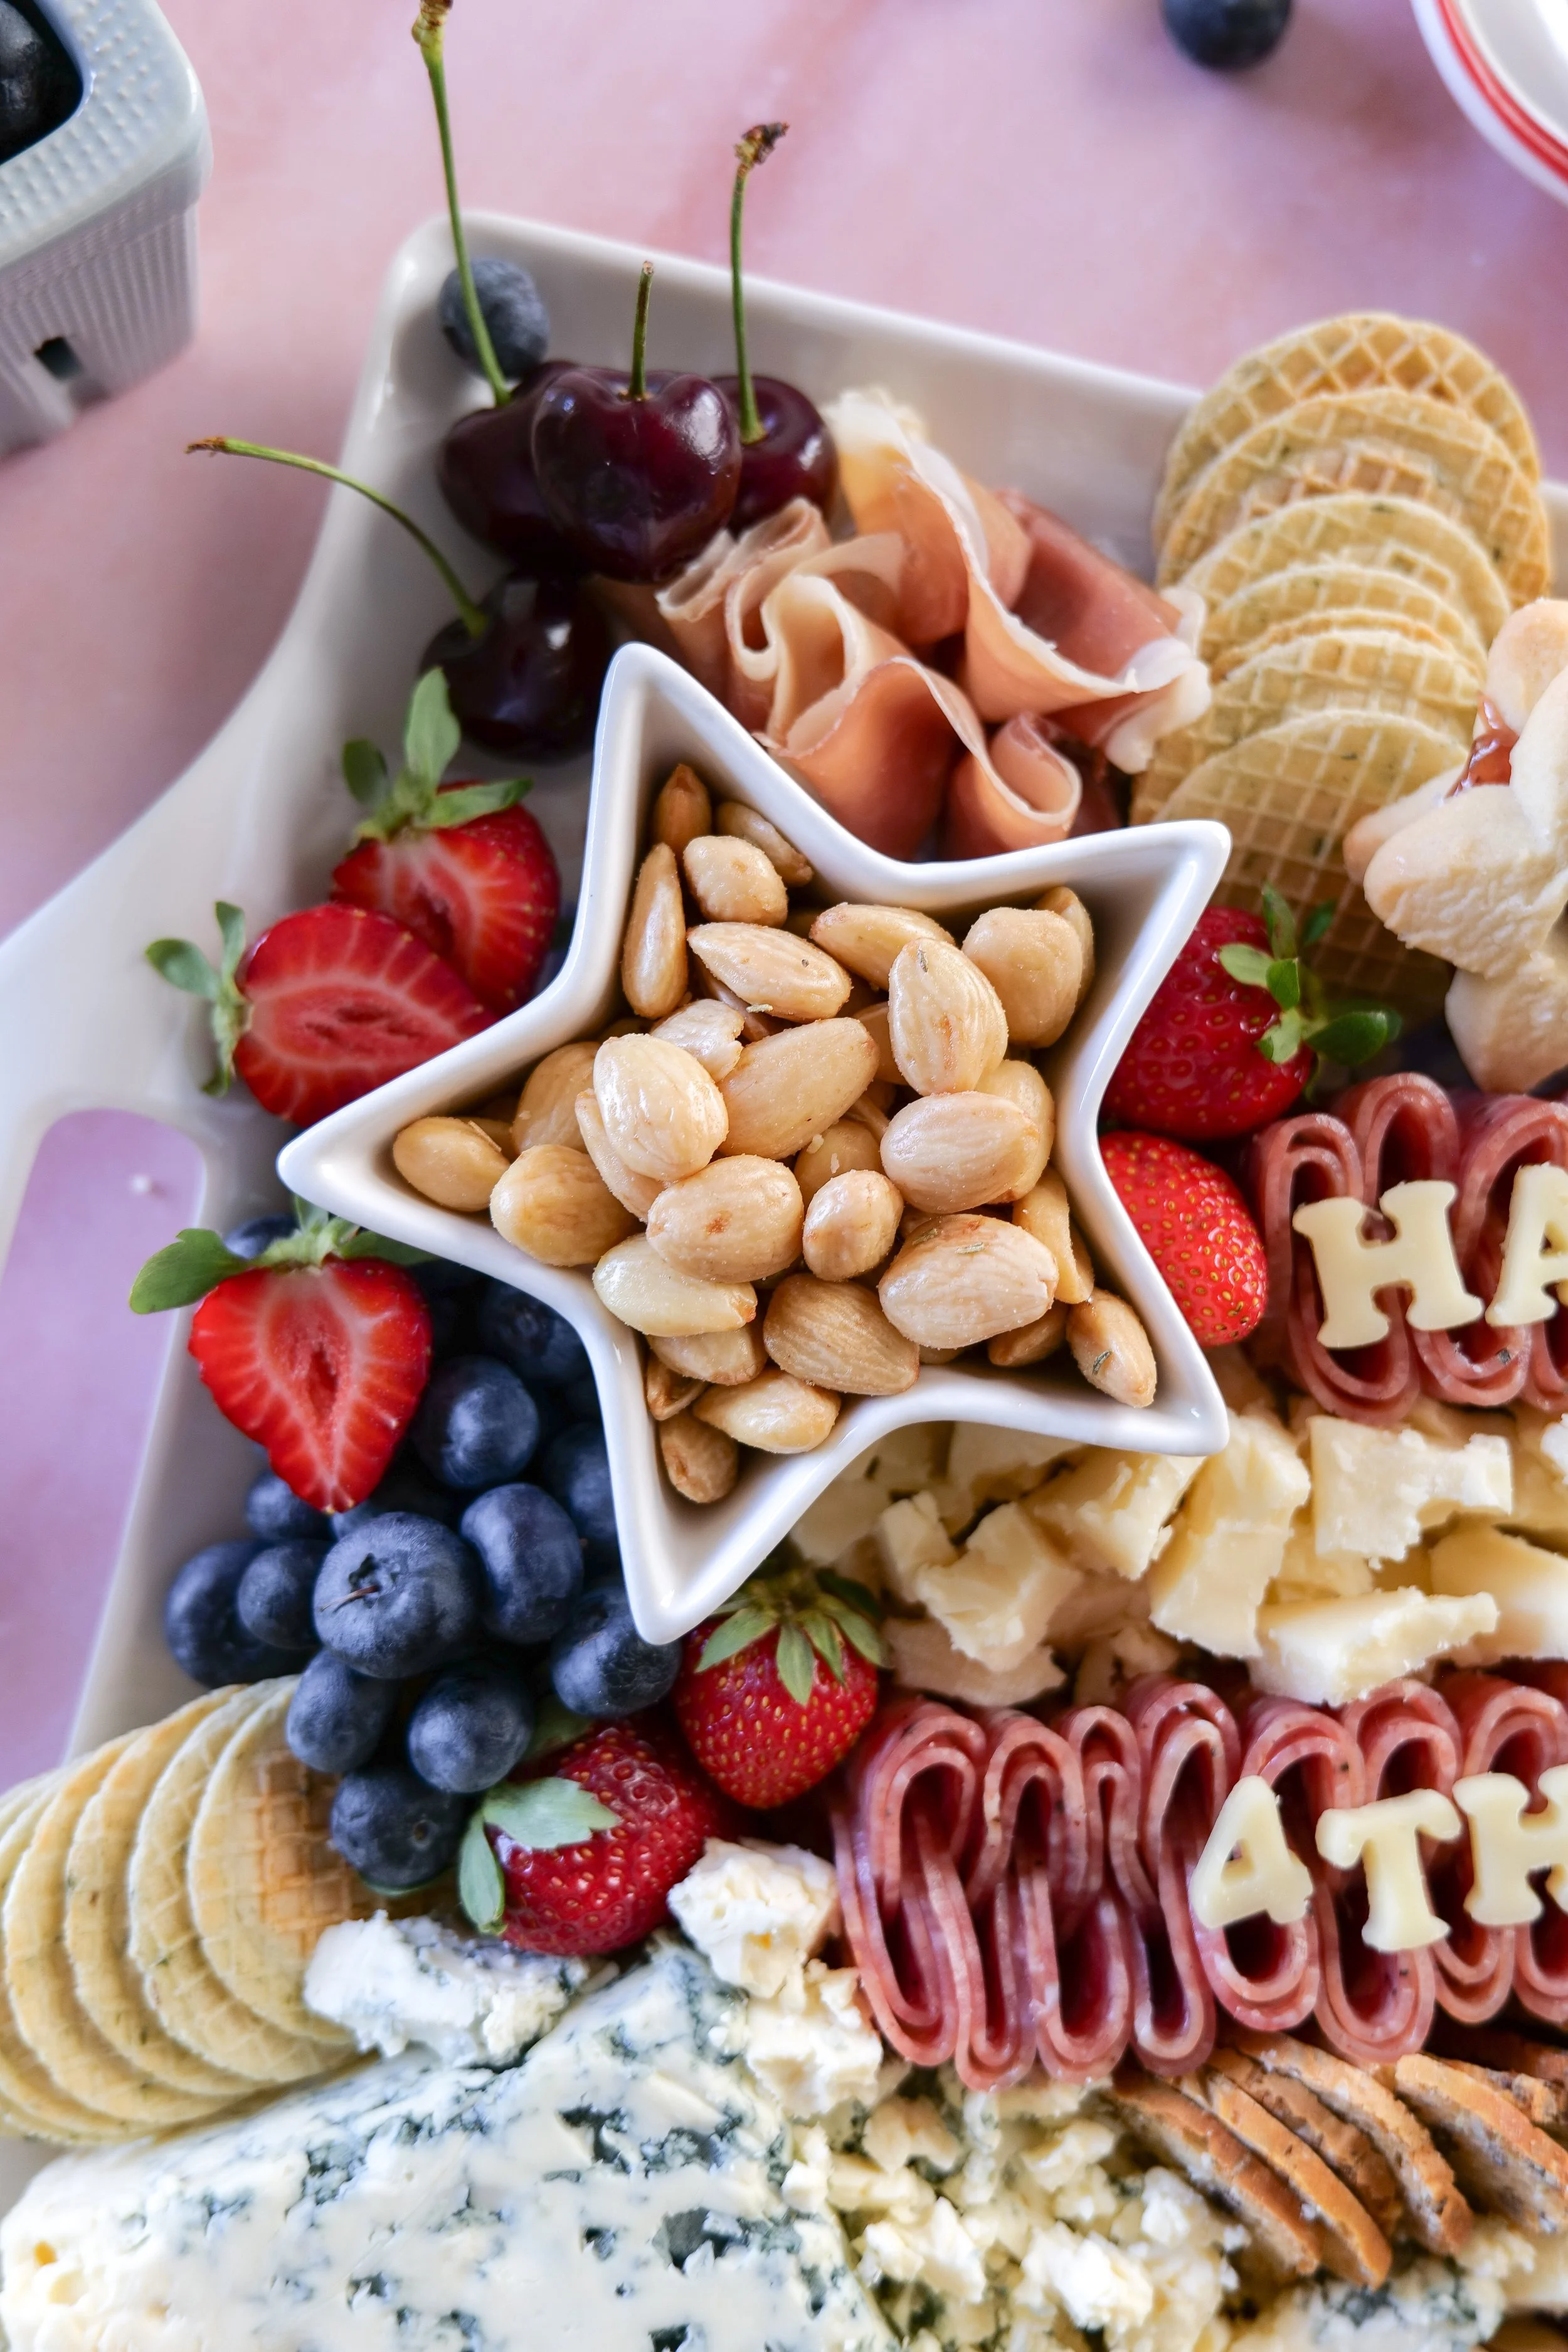
Charcuterie board featuring fresh berries and patriotic summer ingredients.
Charcuterie board for a summer party featuring colorful seasonal ingredients.
Summer entertaining charcuterie board perfect for patriotic holidays and celebrations.

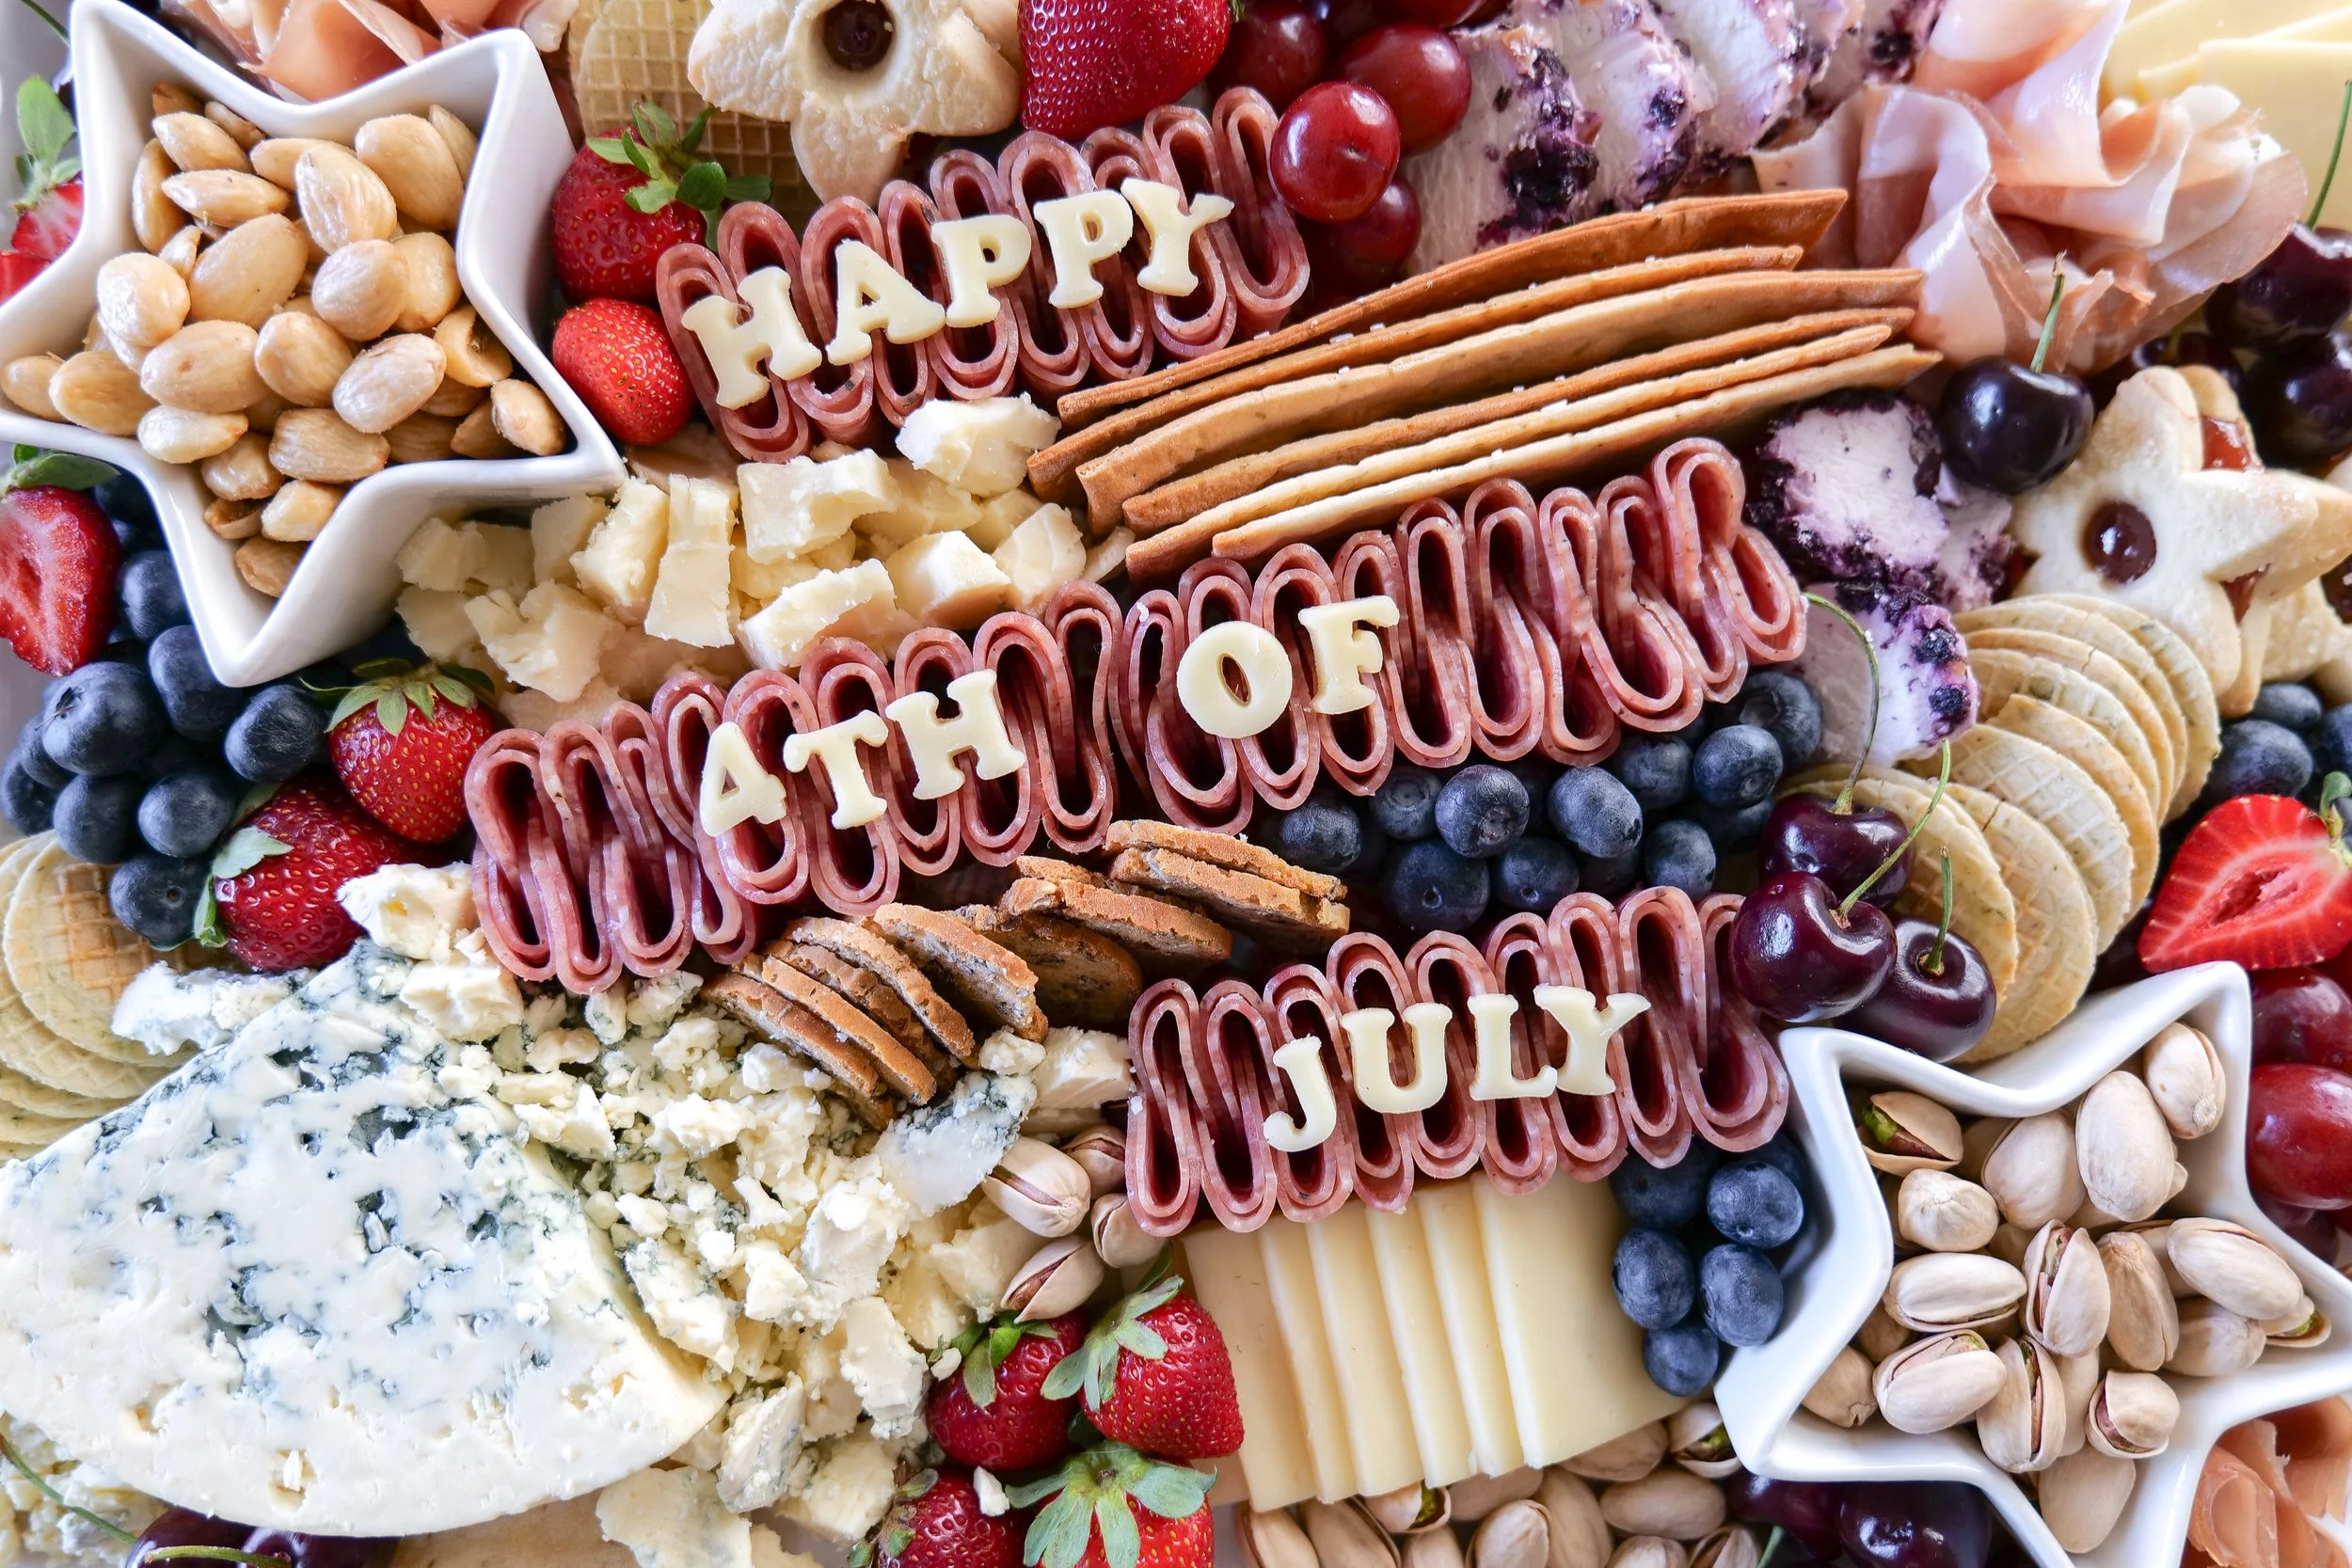
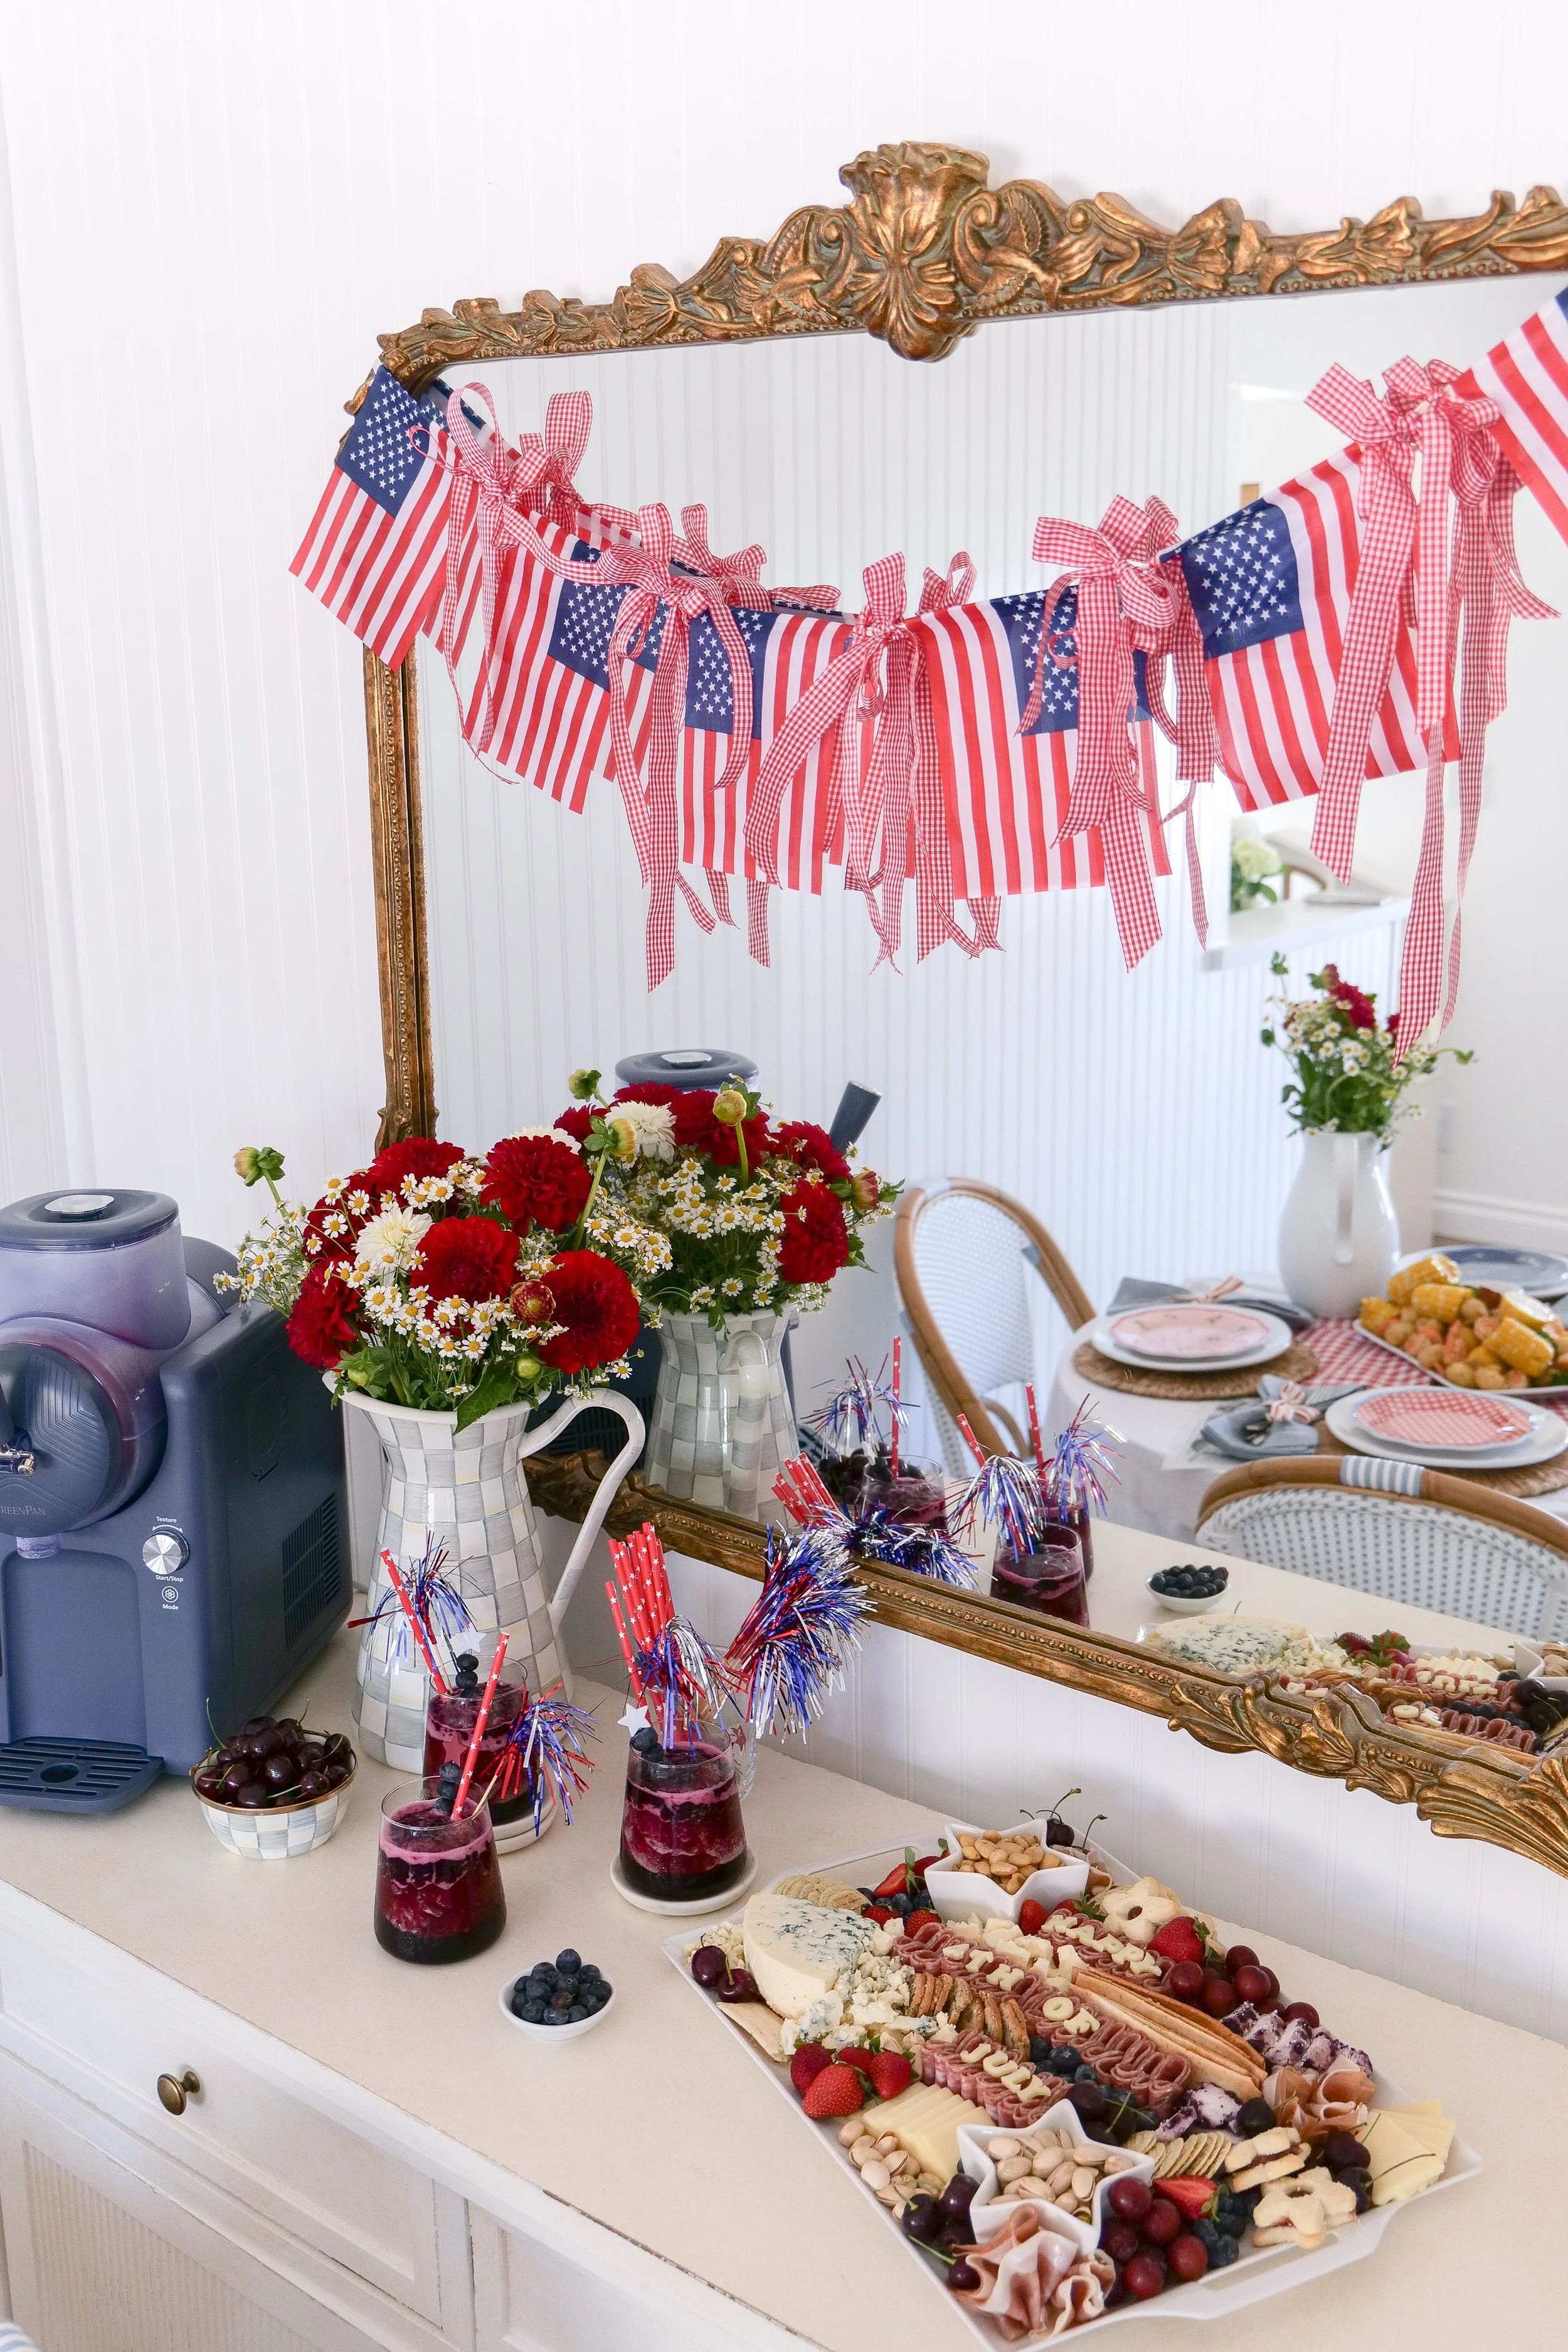
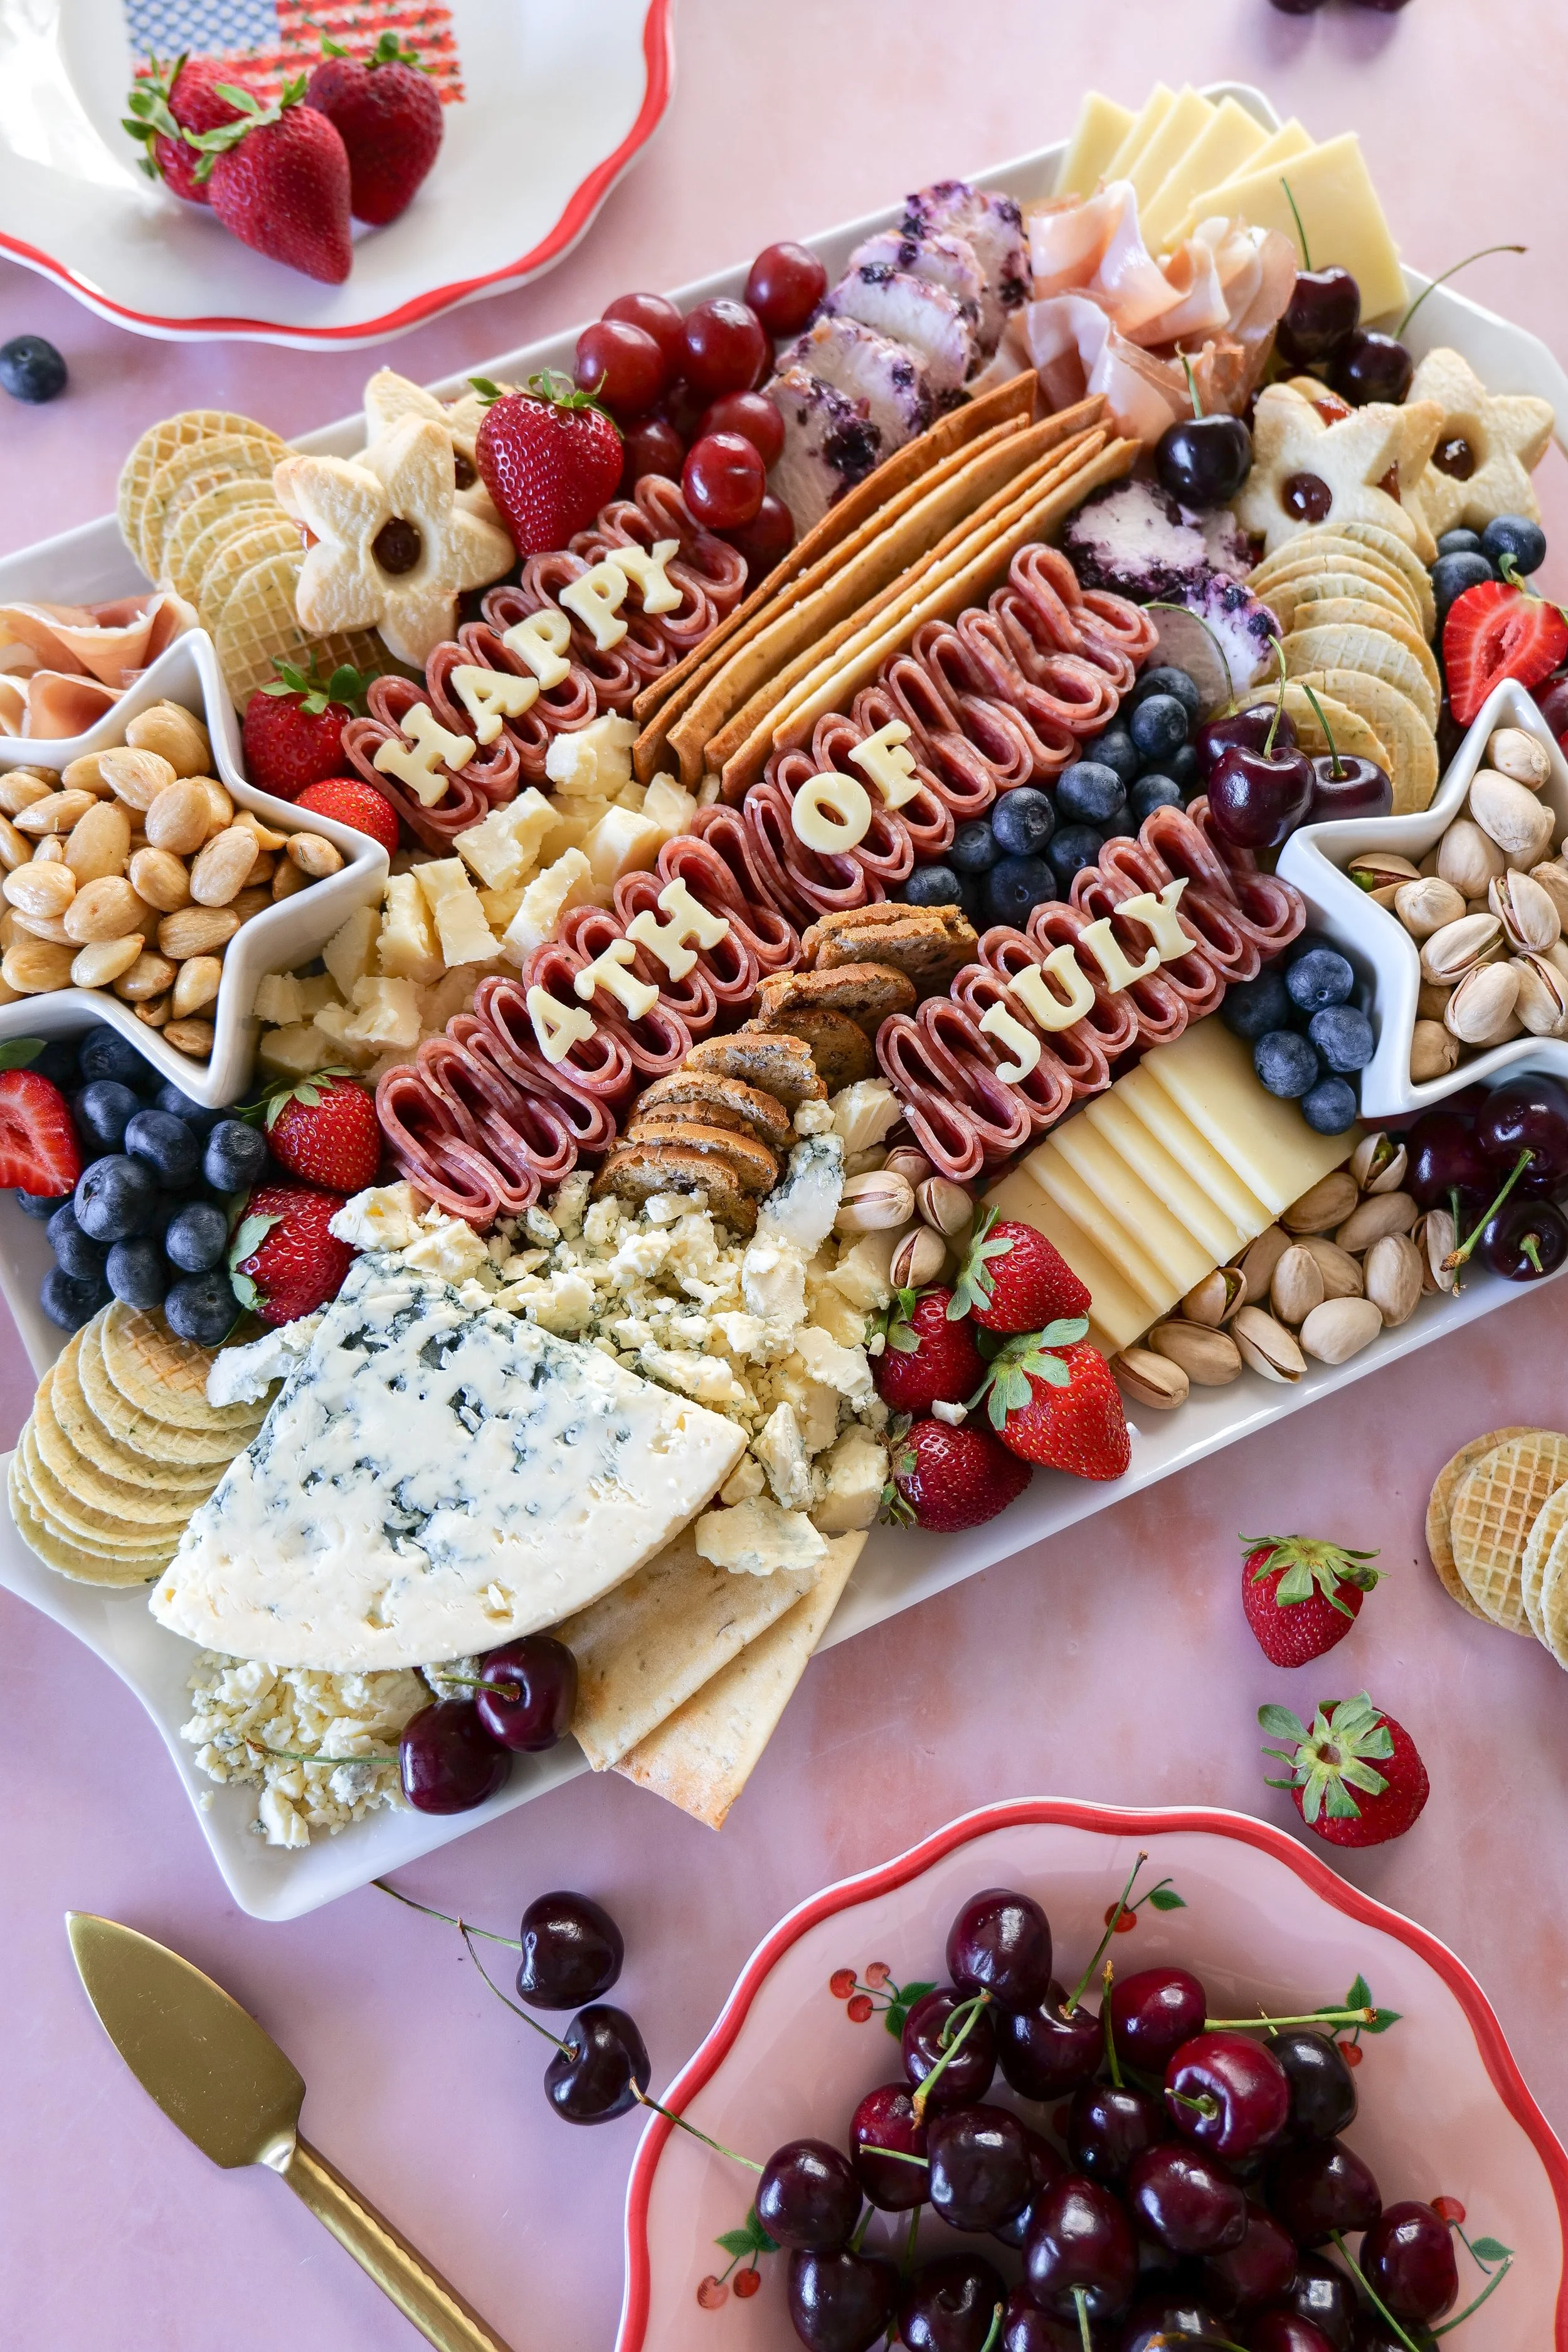
This All-American Charcuterie Board became the centerpiece of our Americana Summer shrimp boil table and quickly turned into one of my favorite entertaining ideas yet. Filled with festive red, white, and blue ingredients and topped with cheese letters spelling out "Happy Fourth of July," it's a board that's as beautiful as it is delicious.

Fresh berries, creamy cheeses, savory meats, and festive treats come together to create the ultimate patriotic appetizer. Best of all, it's easy to customize and perfect for summer gatherings of every kind.

Whether you're hosting America's 250th birthday celebration, a Memorial Day cookout, a Fourth of July barbecue, or a Labor Day weekend gathering, this board is guaranteed to be the first thing guests gather around.

Why You'll Love This All-American Charcuterie Board

  • Perfect for Memorial Day, Fourth of July, Labor Day, and summer entertaining

  • Easy to customize with your favorite ingredients

  • Makes a beautiful centerpiece

  • Sweet and savory options for everyone

  • Pairs perfectly with shrimp boils, grilled favorites, and summer cocktails

  • Part of my Americana Summer Series

Ingredients

Cheese

  • White cheddar slices (for lettering)

  • Brie cheese

  • White cheddar cubes

  • Fruit covered goat cheese

Meats

  • Salami

  • Prosciutto

  • Pepperoni

Fresh Fruit

  • Strawberries

  • Blueberries

  • Cherries

  • Raspberries

  • Red grapes

Crackers & Crunch

  • Assorted crackers

  • Pretzels

  • Pita chips

Festive Extras

  • Star-shaped cookies (I get these every summer from Trader Joe’s)

  • White chocolate pretzels

  • Candied pecans

  • Almonds

  • Fresh rosemary

  • Mini American flags

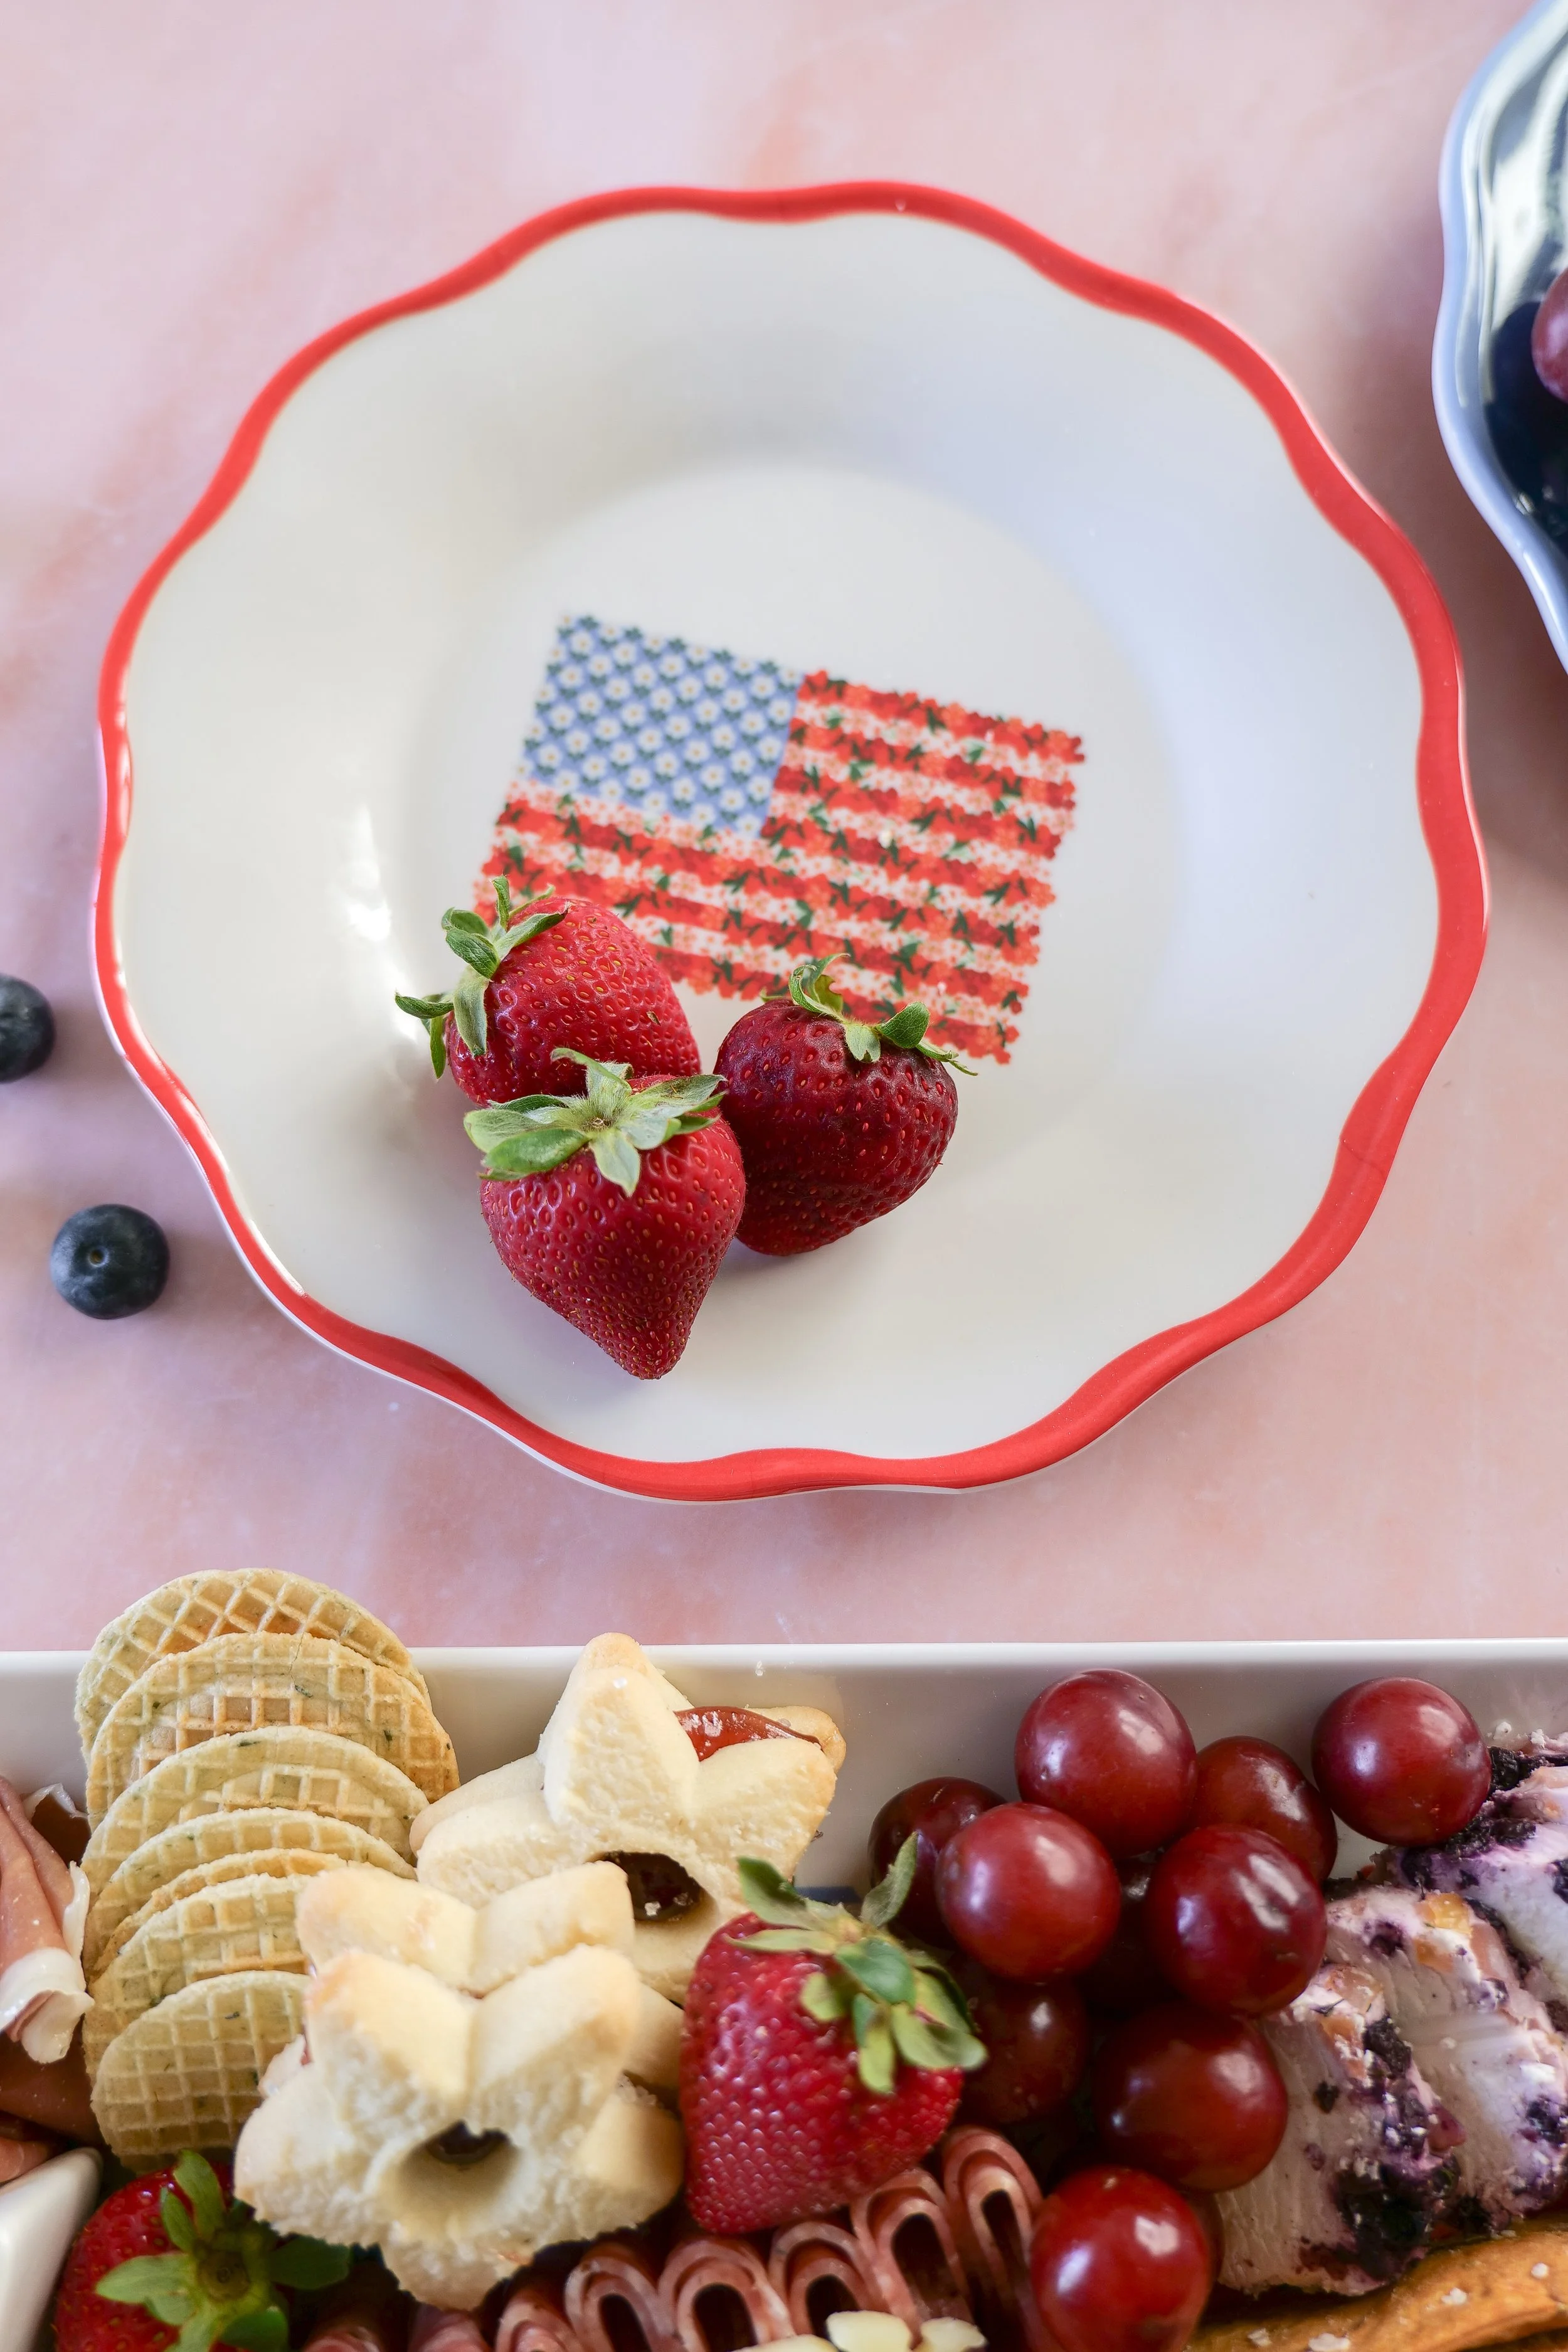
Red, white, and blue charcuterie board styled for a Fourth of July party.
Patriotic charcuterie board featuring cheese, fruit, and festive summer snacks.
Americana-inspired charcuterie board perfect for Memorial Day, Fourth of July, and Labor Day.

How to Make a Patriotic Charcuterie Board

Step 1: Create Your Message

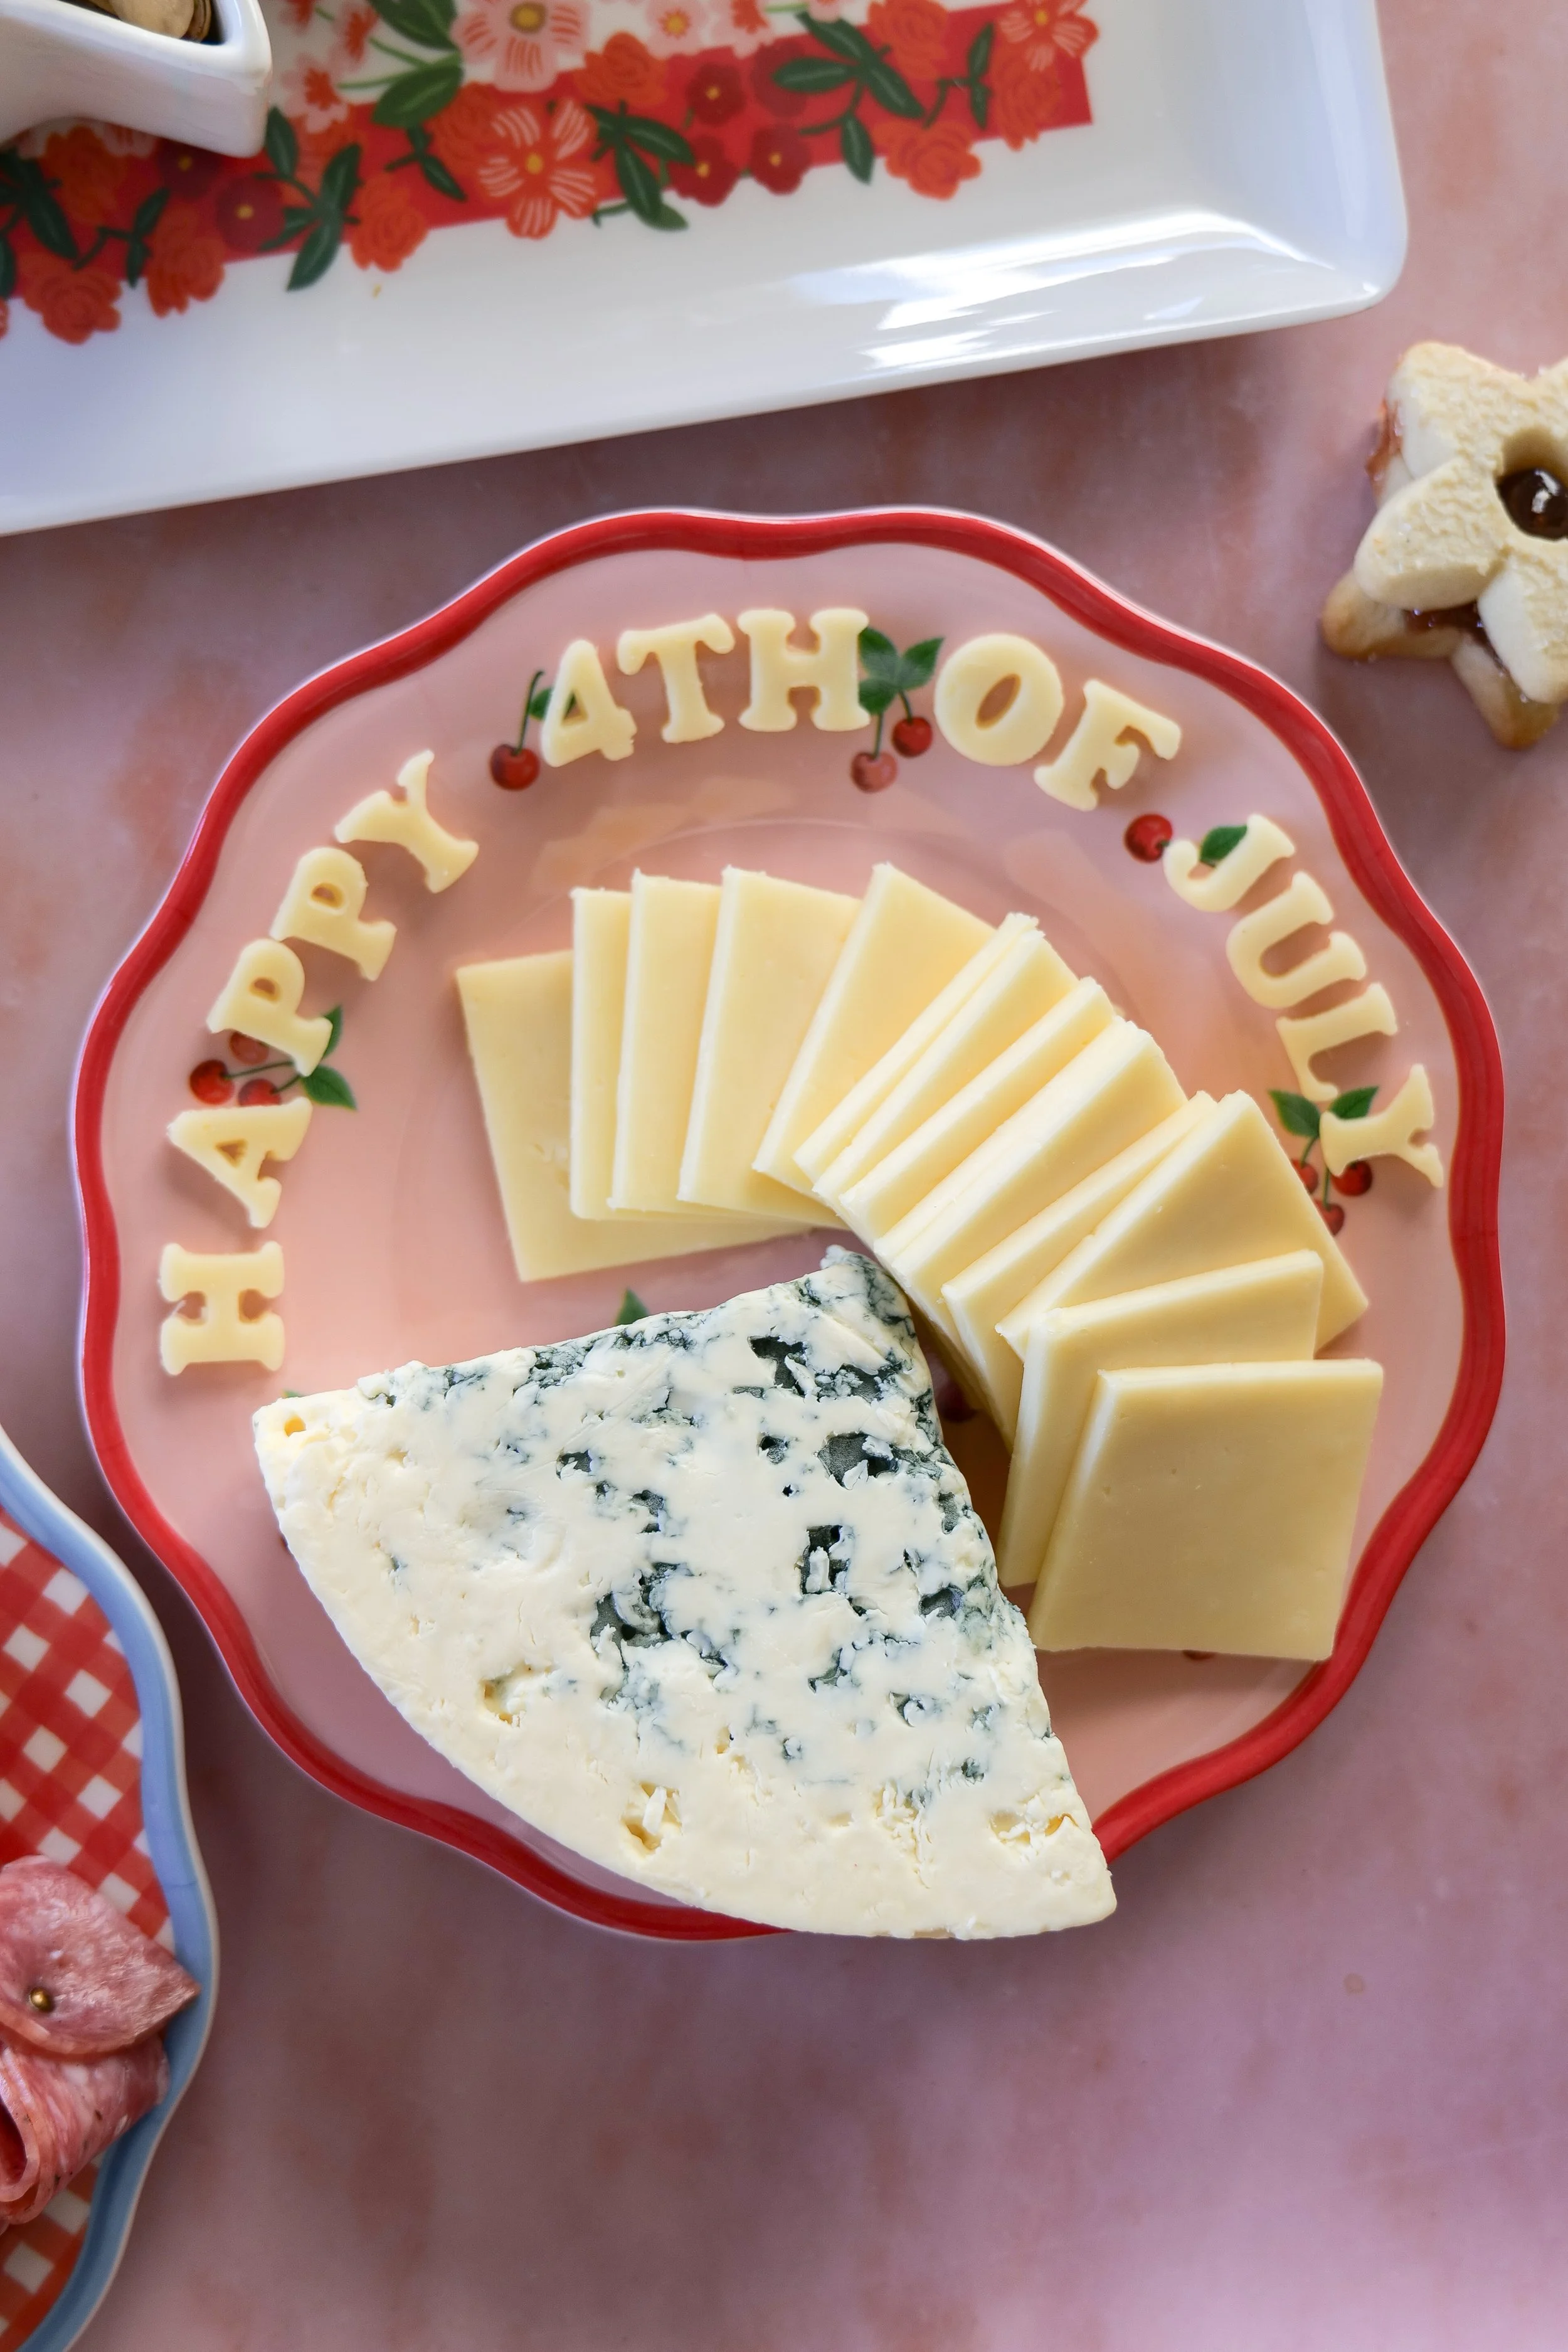
Using white cheddar slices and alphabet cutters, spell out:

"HAPPY FOURTH OF JULY"

Place the lettering through the center of your board on top of salami folds.

Step 2: Add Your Anchor Ingredients

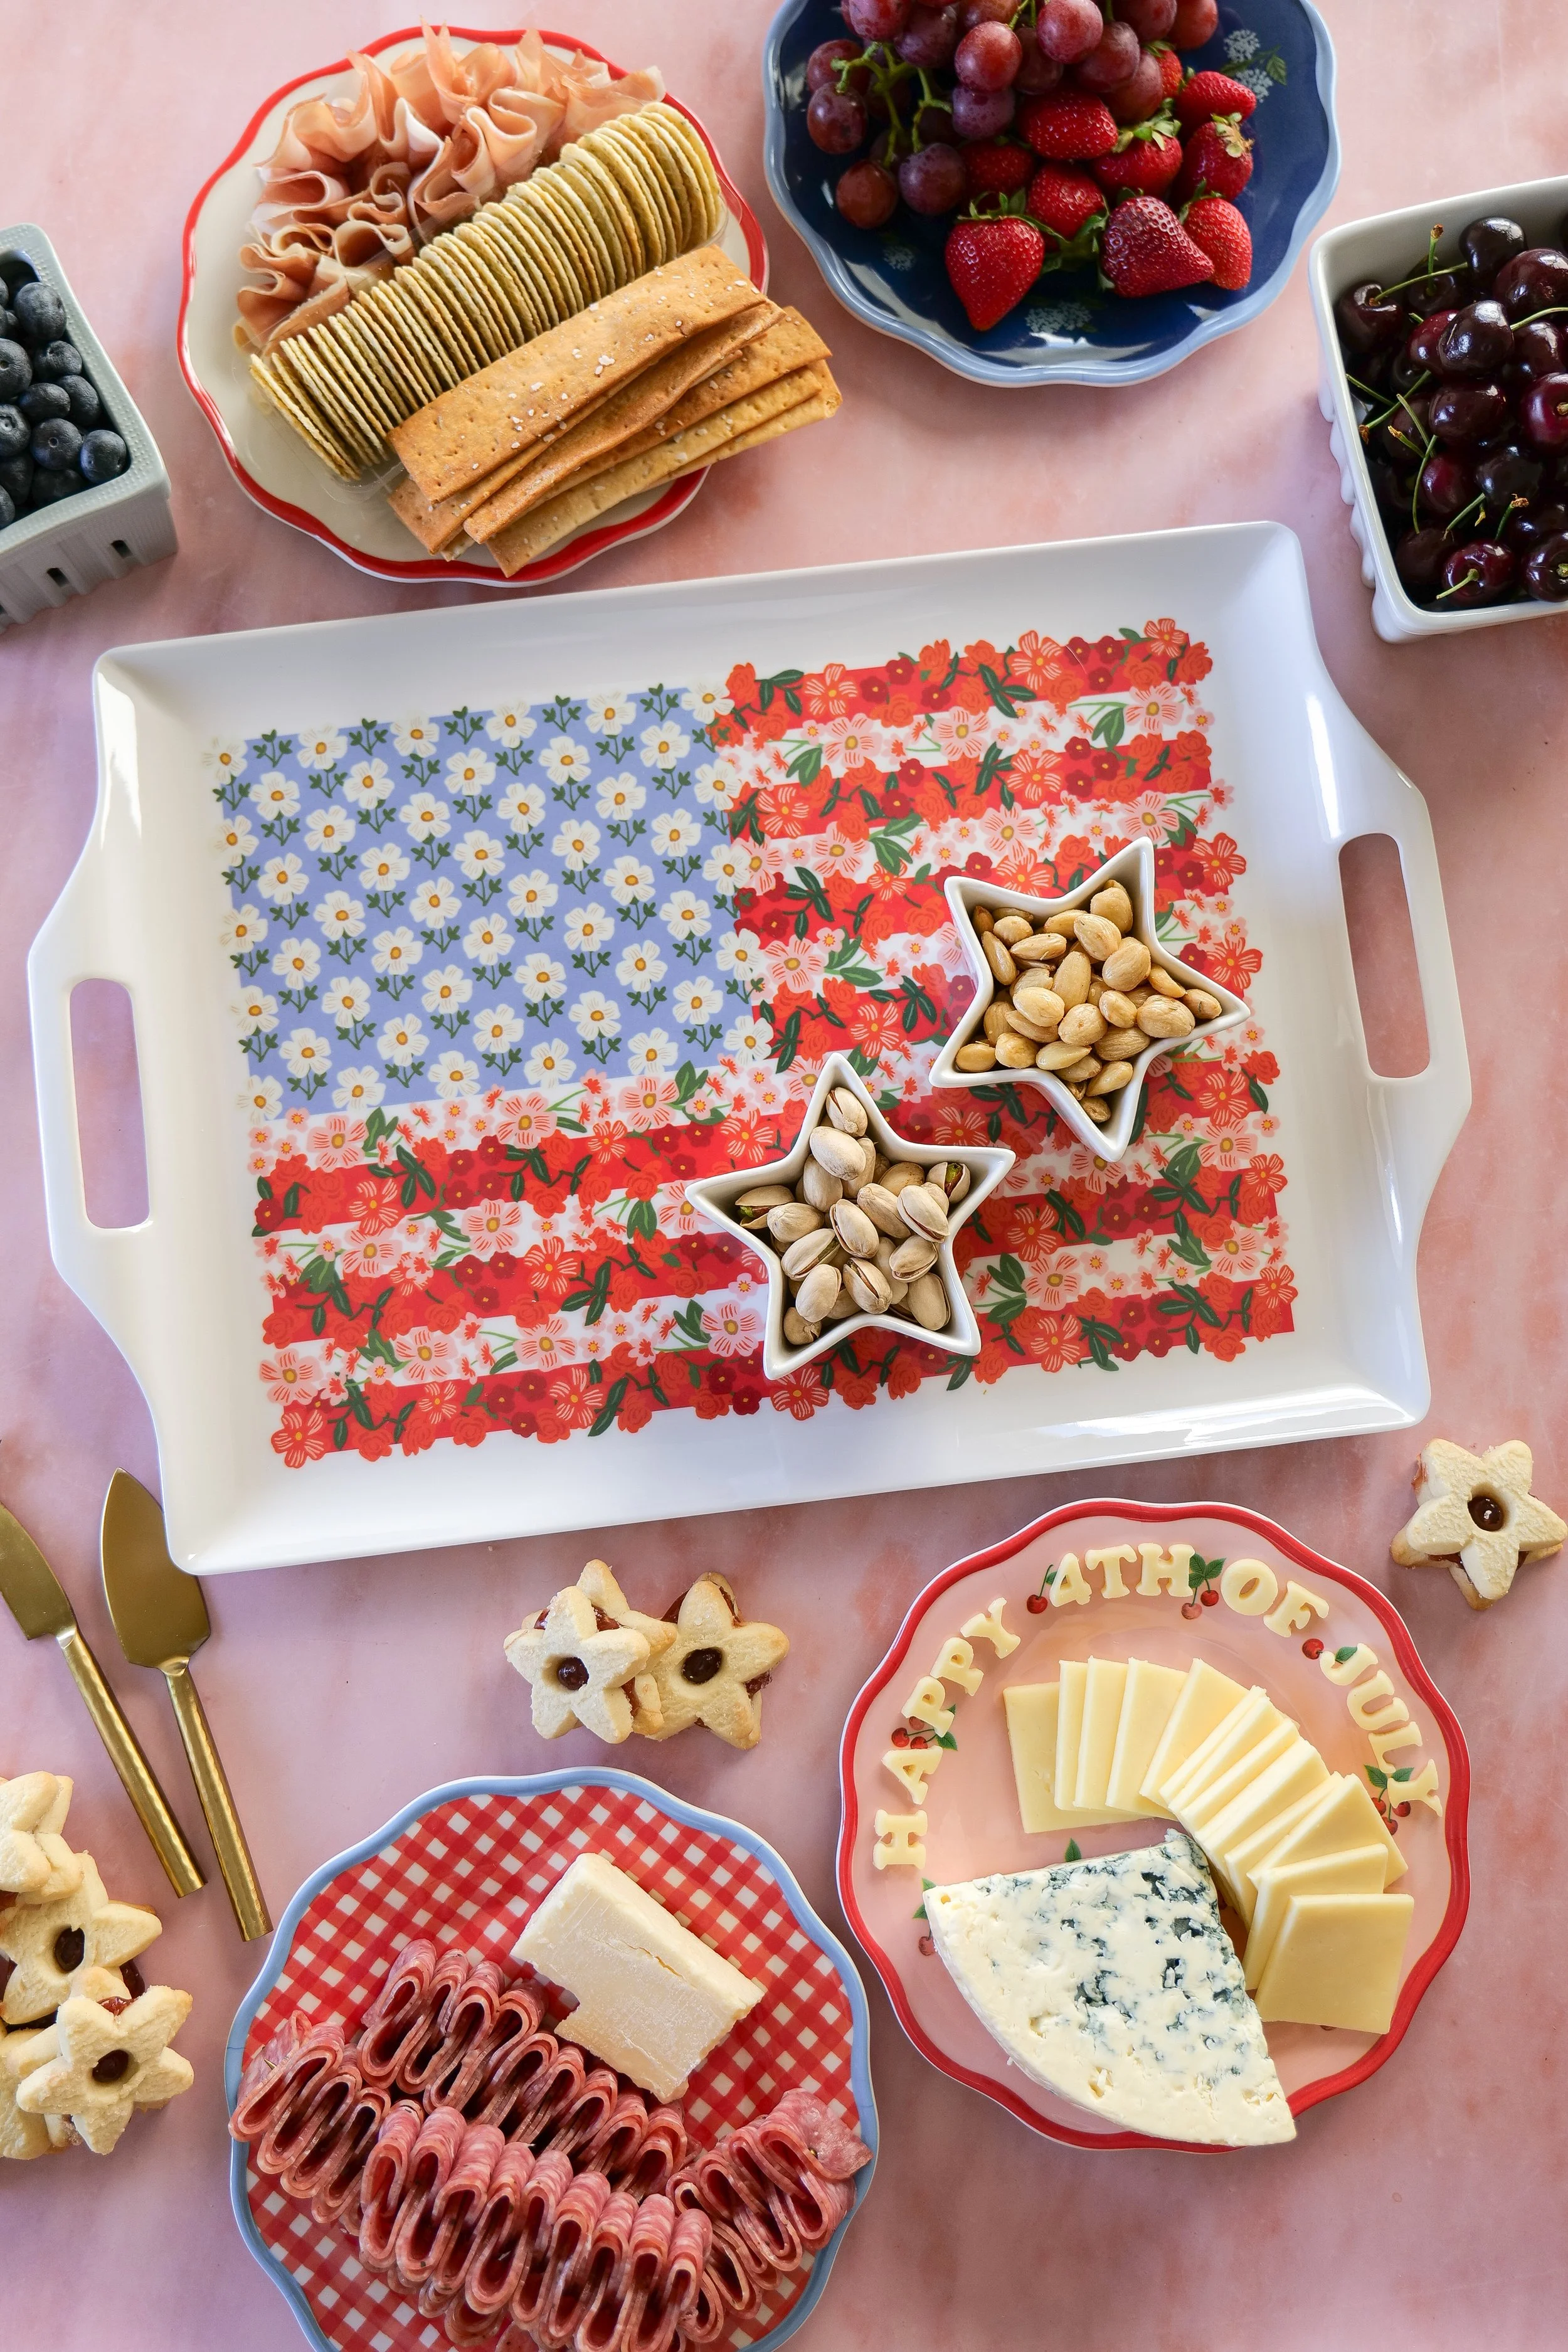
Arrange cheeses, salami roses, and bowls of nuts around the board.

Step 3: Fill in With Color

Scatter strawberries, blueberries, cherries, crackers, and festive treats throughout.

Step 4: Don’t Forget The Details

Add rosemary sprigs, mini American flags or star shaped ramekins for the perfect patriotic touch.

Tips for the Best Charcuterie Board

  • Fill every empty space.

  • Mix sweet and savory.

  • Use different textures and heights.

  • Assemble shortly before serving.

  • Don't strive for perfection—abundance is beautiful.

How I Styled Our Americana Summer Table

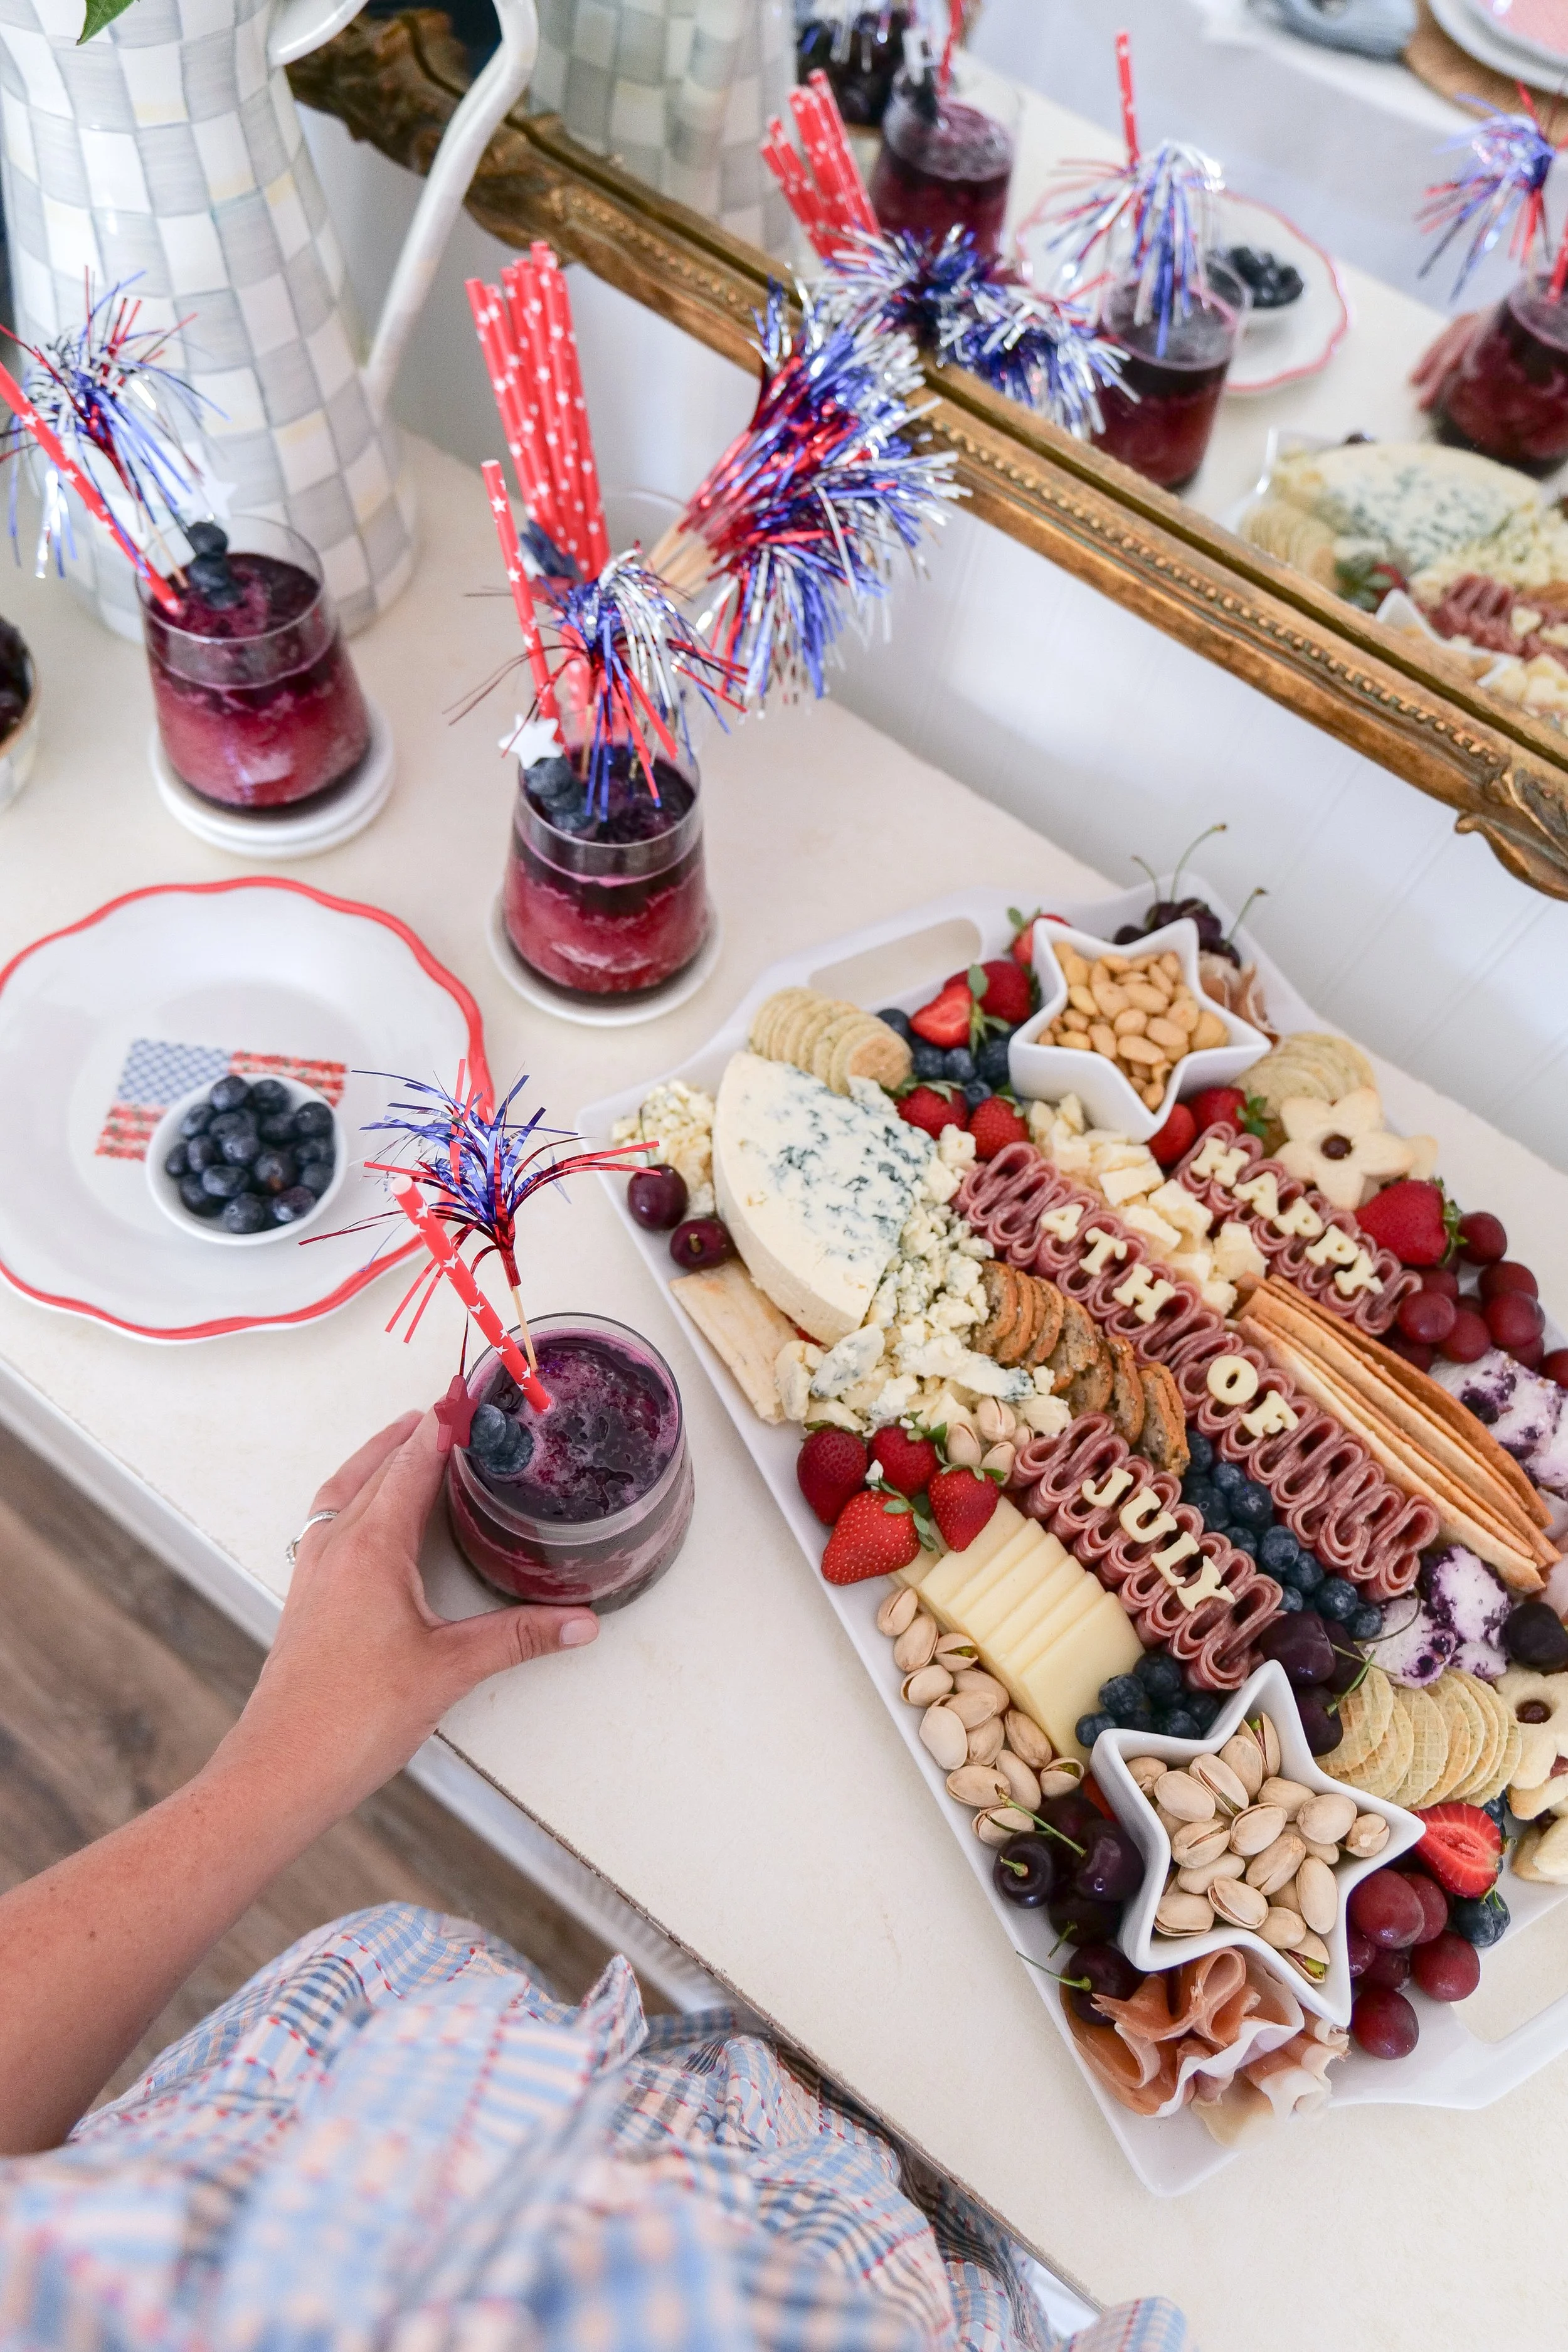
This board was part of our Americana Summer shrimp boil dinner, and I wanted the table to feel festive without being overly themed. Blue and white linens, shell details, fresh flowers, and simple patriotic touches created a timeless table perfect for celebrating America's 250th birthday.

Shop My Americana Summer Hosting Favorites

One of my favorite things about summer entertaining is keeping things simple and beautiful. I've linked my favorite serving boards, shell details, blue and white accents, linens, glassware, and entertaining pieces below.

Charcuterie board spelling out Happy Fourth of July with festive red, white, and blue ingredients.

Build the Ultimate All-American Menu

This charcuterie board pairs beautifully with:

Classic Shrimp Boil Recipe

Filled with shrimp, sausage, potatoes, and corn, this easy shrimp boil is one of my favorite summer entertaining recipes.

Brown Butter Corn on the Cob

Sweet summer corn finished with rich brown butter and flaky sea salt.

California Bacon-Wrapped Hot Dogs

A California-inspired twist on a classic cookout favorite.

Mini Cherry Cobblers

Individual cherry cobblers that are perfect served warm with vanilla ice cream.

Cherry Berry Slushies

A festive red, white, and blue drink that's refreshing and perfect for summer gatherings.

America's 250th Summer Tablescape

See how I styled the entire table for this celebration.

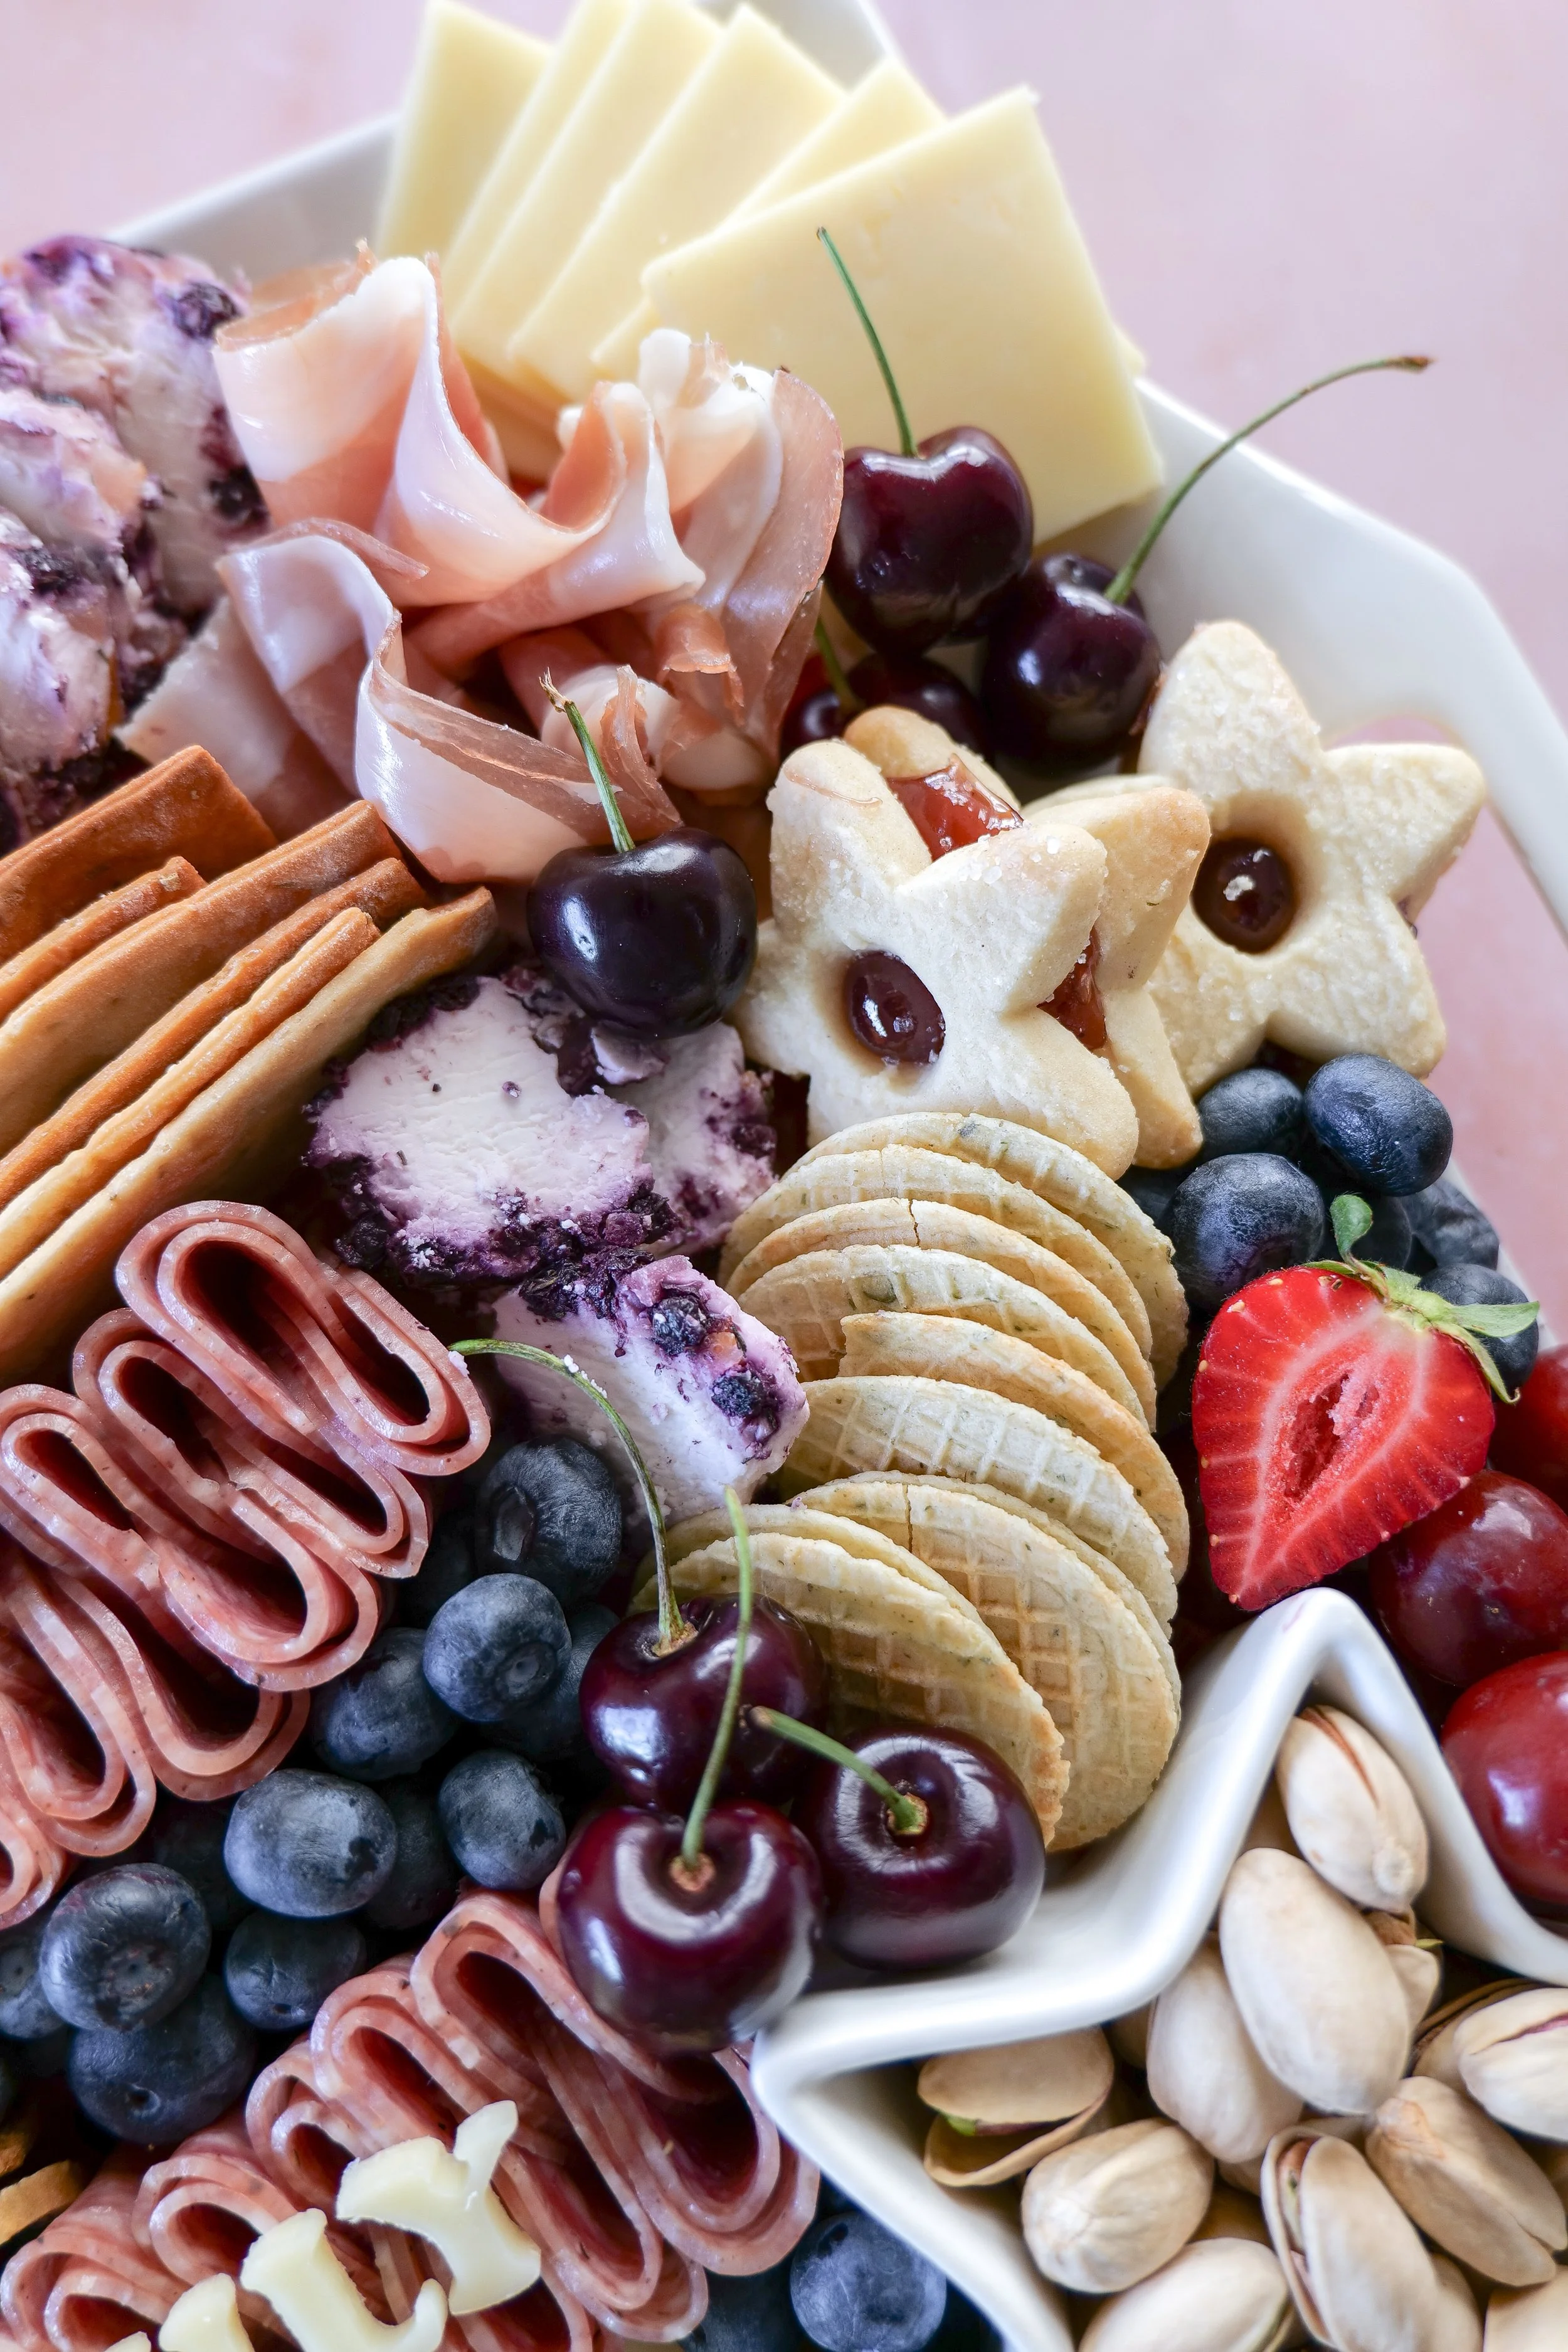
Easy Fourth of July appetizer board filled with cheese, fruit, and crackers.
Red, white, and blue appetizer board for Fourth of July entertaining.

Frequently Asked Questions

What should I put on a patriotic charcuterie board?

Fresh berries, cheeses, cured meats, crackers, nuts, and festive treats create the perfect red, white, and blue board.

Can I make a charcuterie board ahead of time?

Yes! Prep ingredients ahead and assemble 1–2 hours before serving.

What holidays work best for this board?

Memorial Day, Fourth of July, Labor Day, and summer parties are all perfect occasions.

How do you make a charcuterie board look festive?

Mini flags, star-shaped treats, fresh herbs, and colorful fruits instantly make any board feel patriotic.

Final Thoughts

There's something special about gathering around the table during summer. Whether you're celebrating Memorial Day, America's 250th birthday, the Fourth of July, or simply enjoying a warm evening with family and friends, I hope this All-American Charcuterie Board inspires you to slow down and savor the season.

Paired with shrimp boils, California bacon-wrapped hot dogs, mini cherry cobblers, and Cherry Berry Slushies, this board became one of my favorite parts of our Americana Summer celebration—and I hope it brings a little extra joy to your gatherings too.

Happy gathering!

More Americana Summer Favorites

Fourth of July charcuterie board arranged with festive red, white, and blue foods.
Red, white, and blue party food displayed on an All-American charcuterie board.
Patriotic entertaining ideas featuring an easy red, white, and blue charcuterie board.
Patriotic snack board with festive ingredients for summer entertaining.
Close-up of an All-American charcuterie board with cheese, fruit, and festive details.

Easy Shrimp Boil Recipe (Perfect for Summer Entertaining)

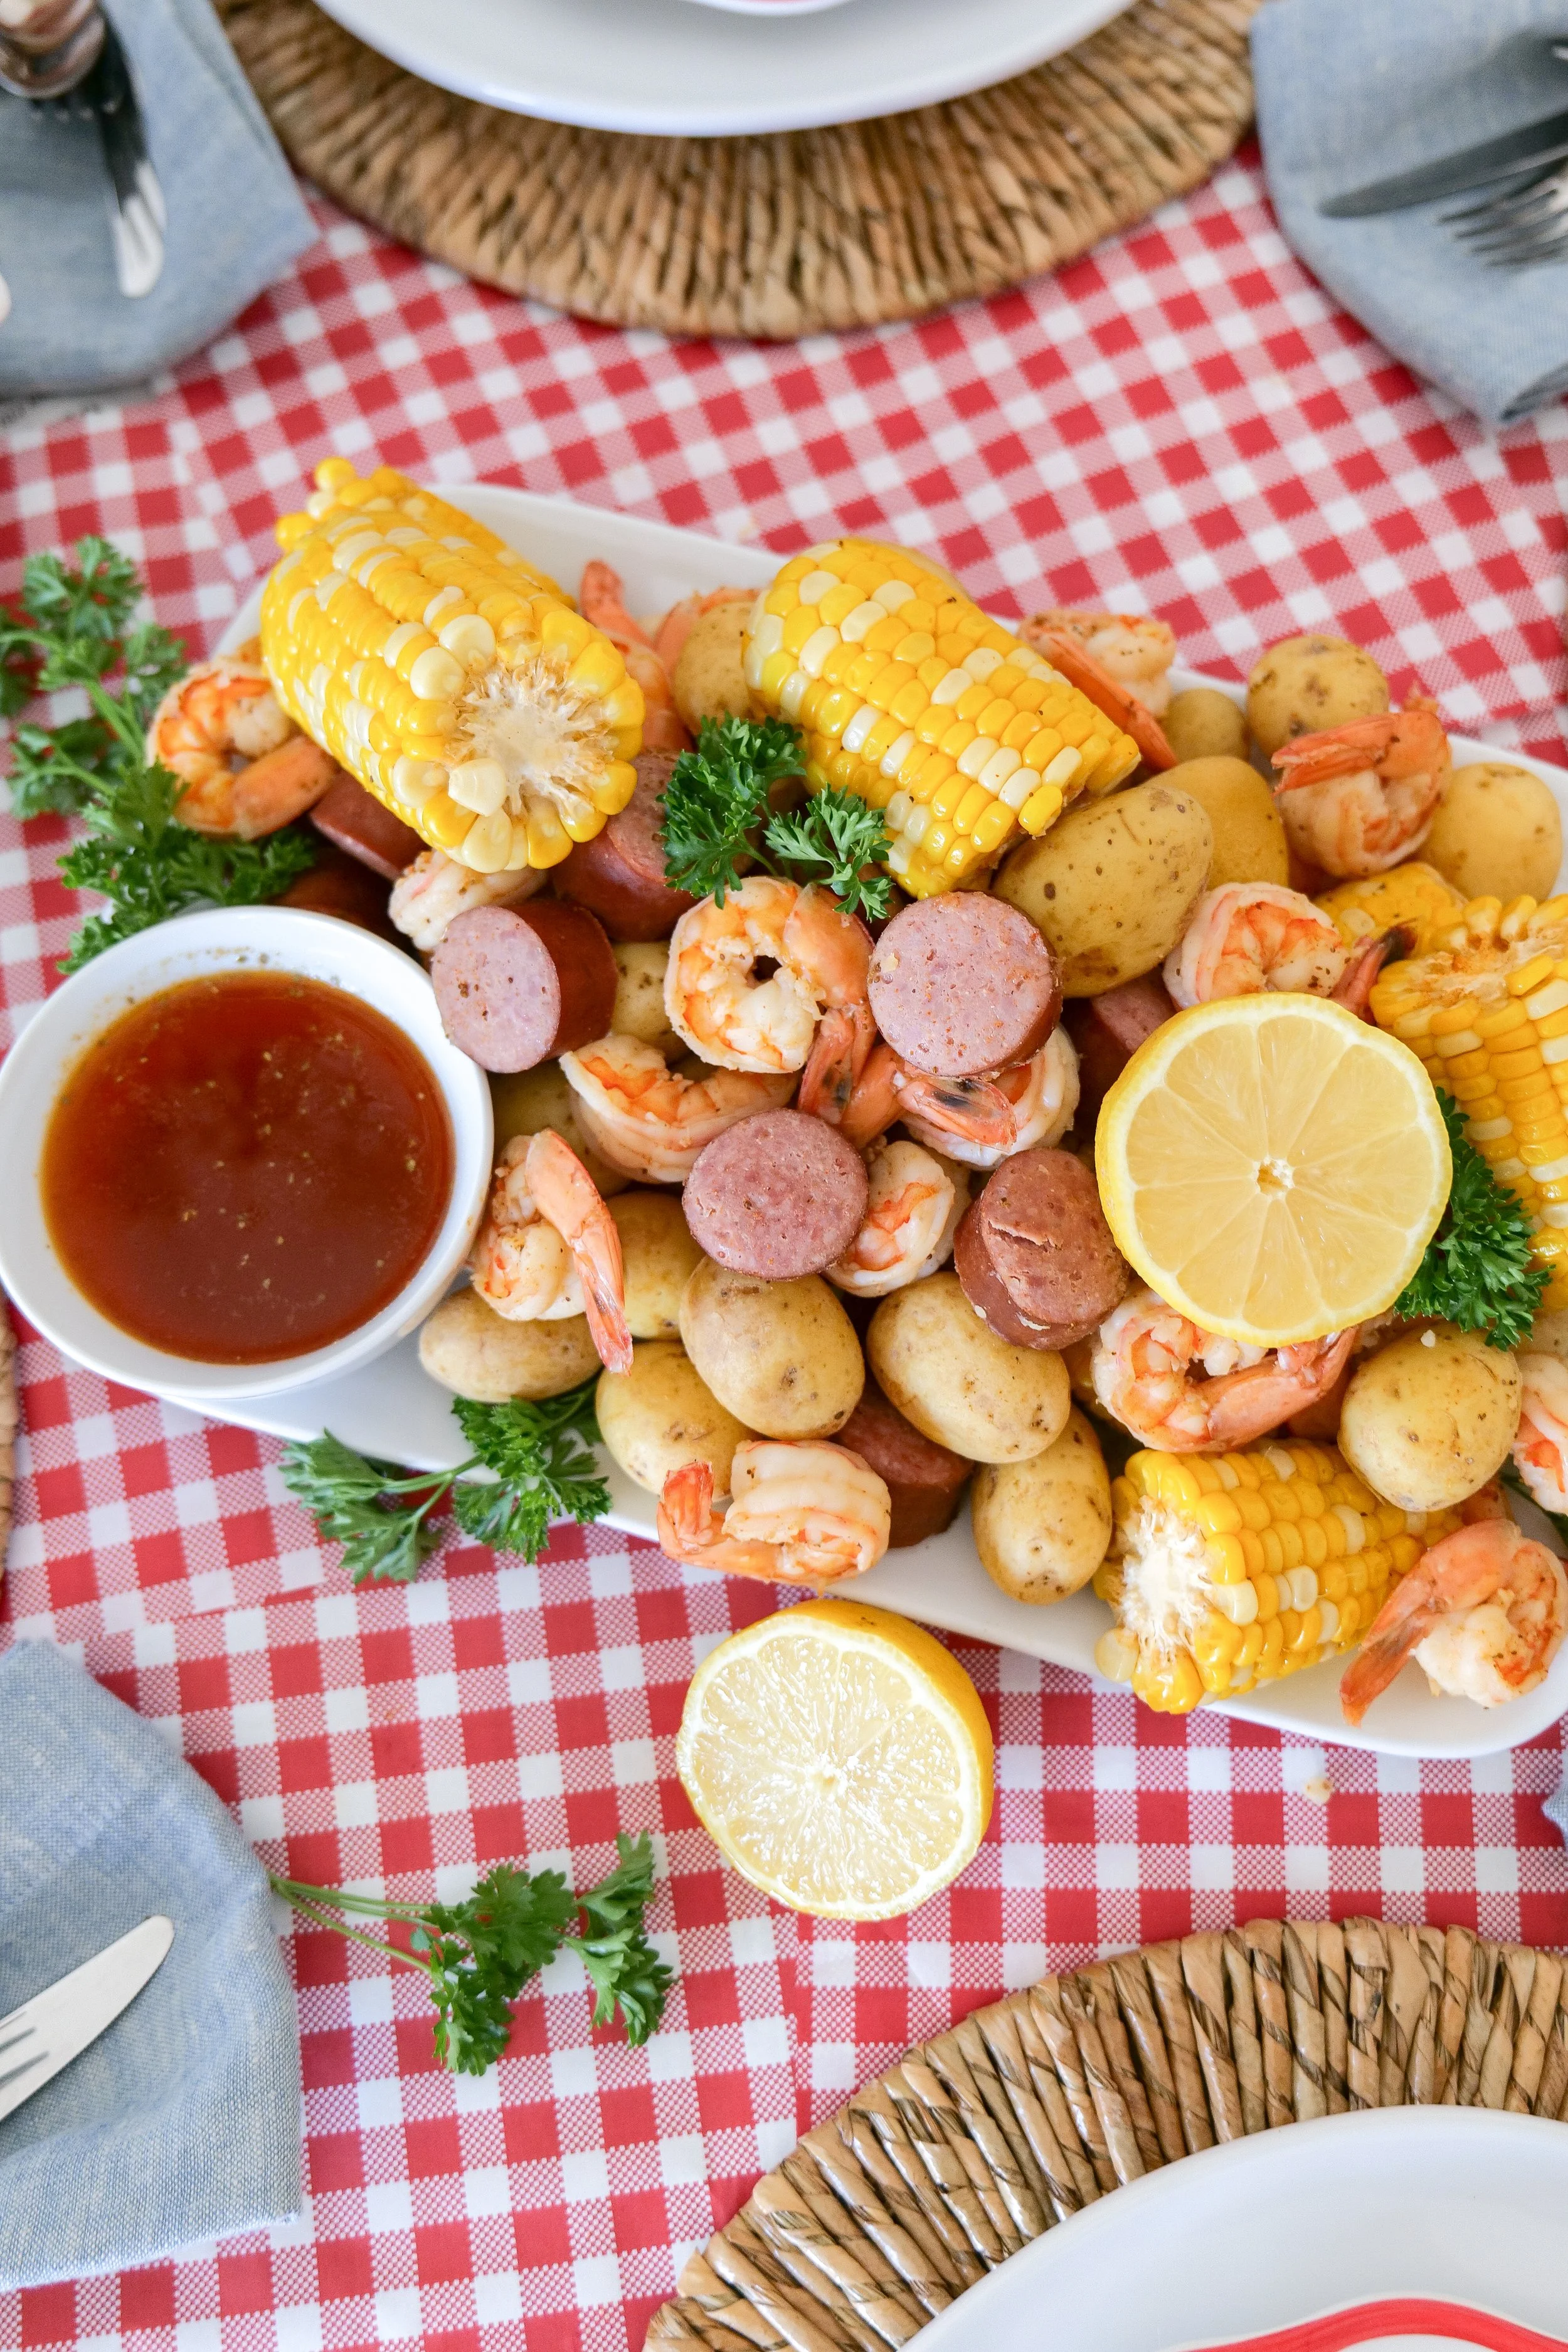
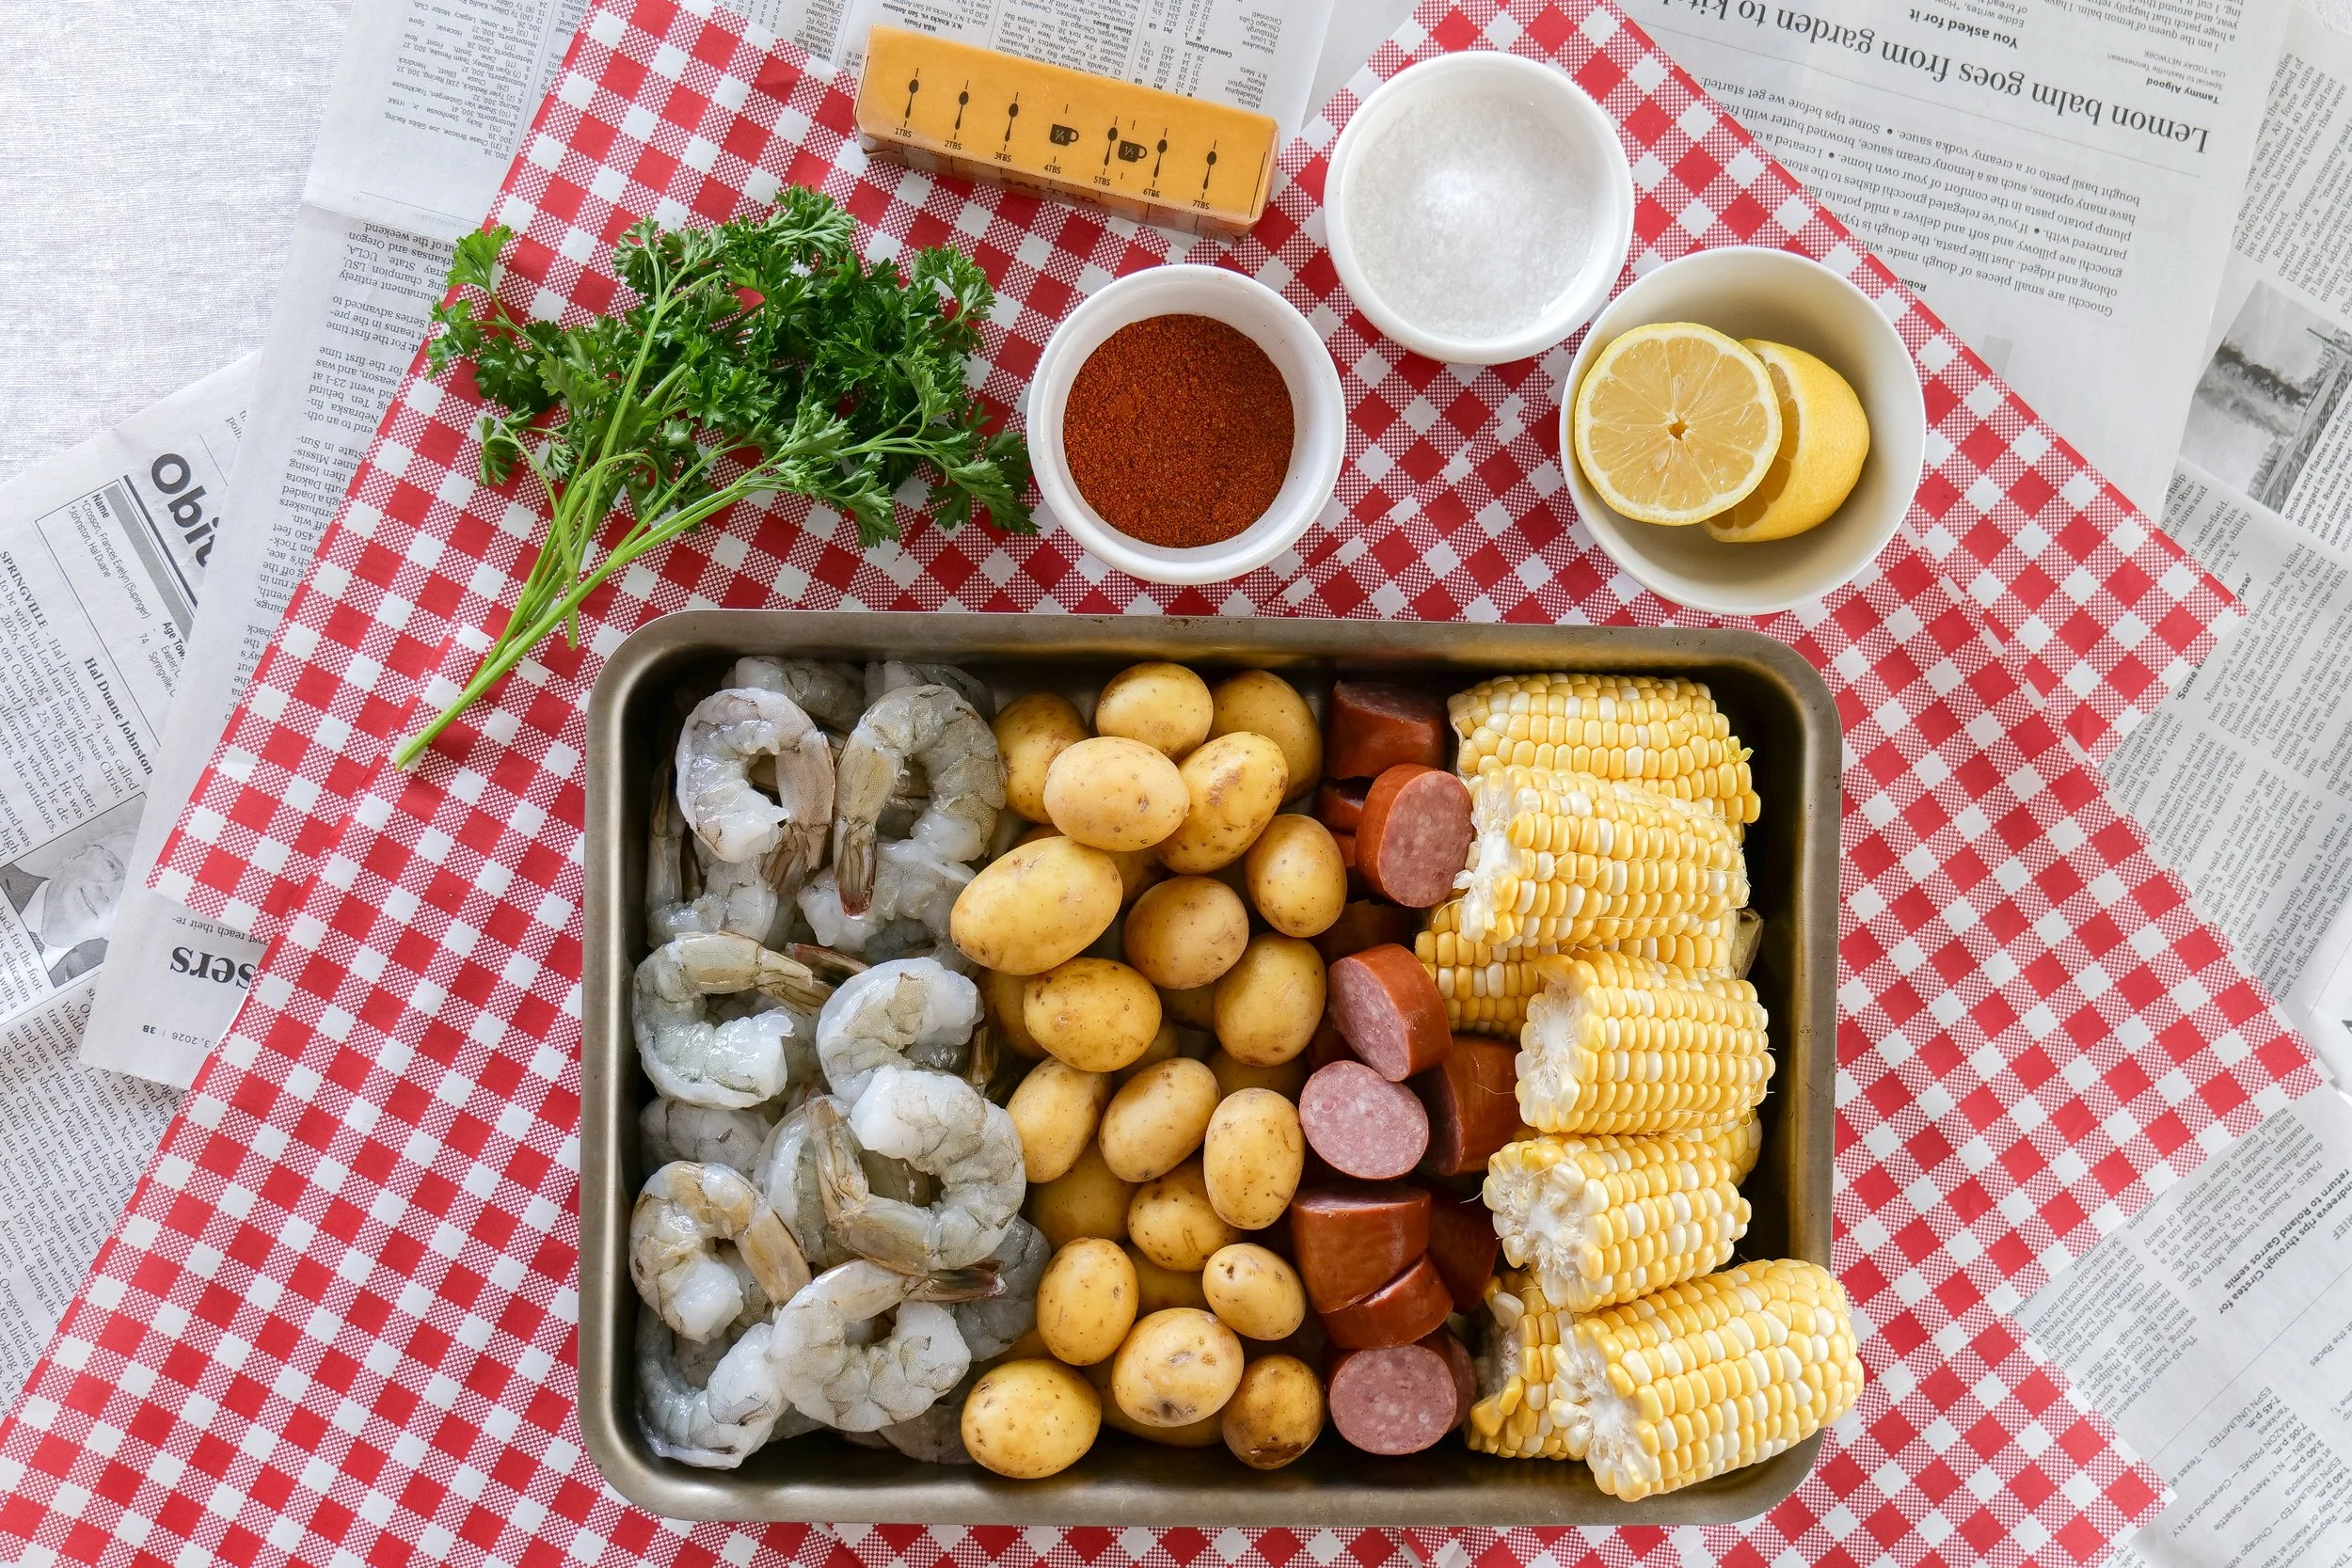
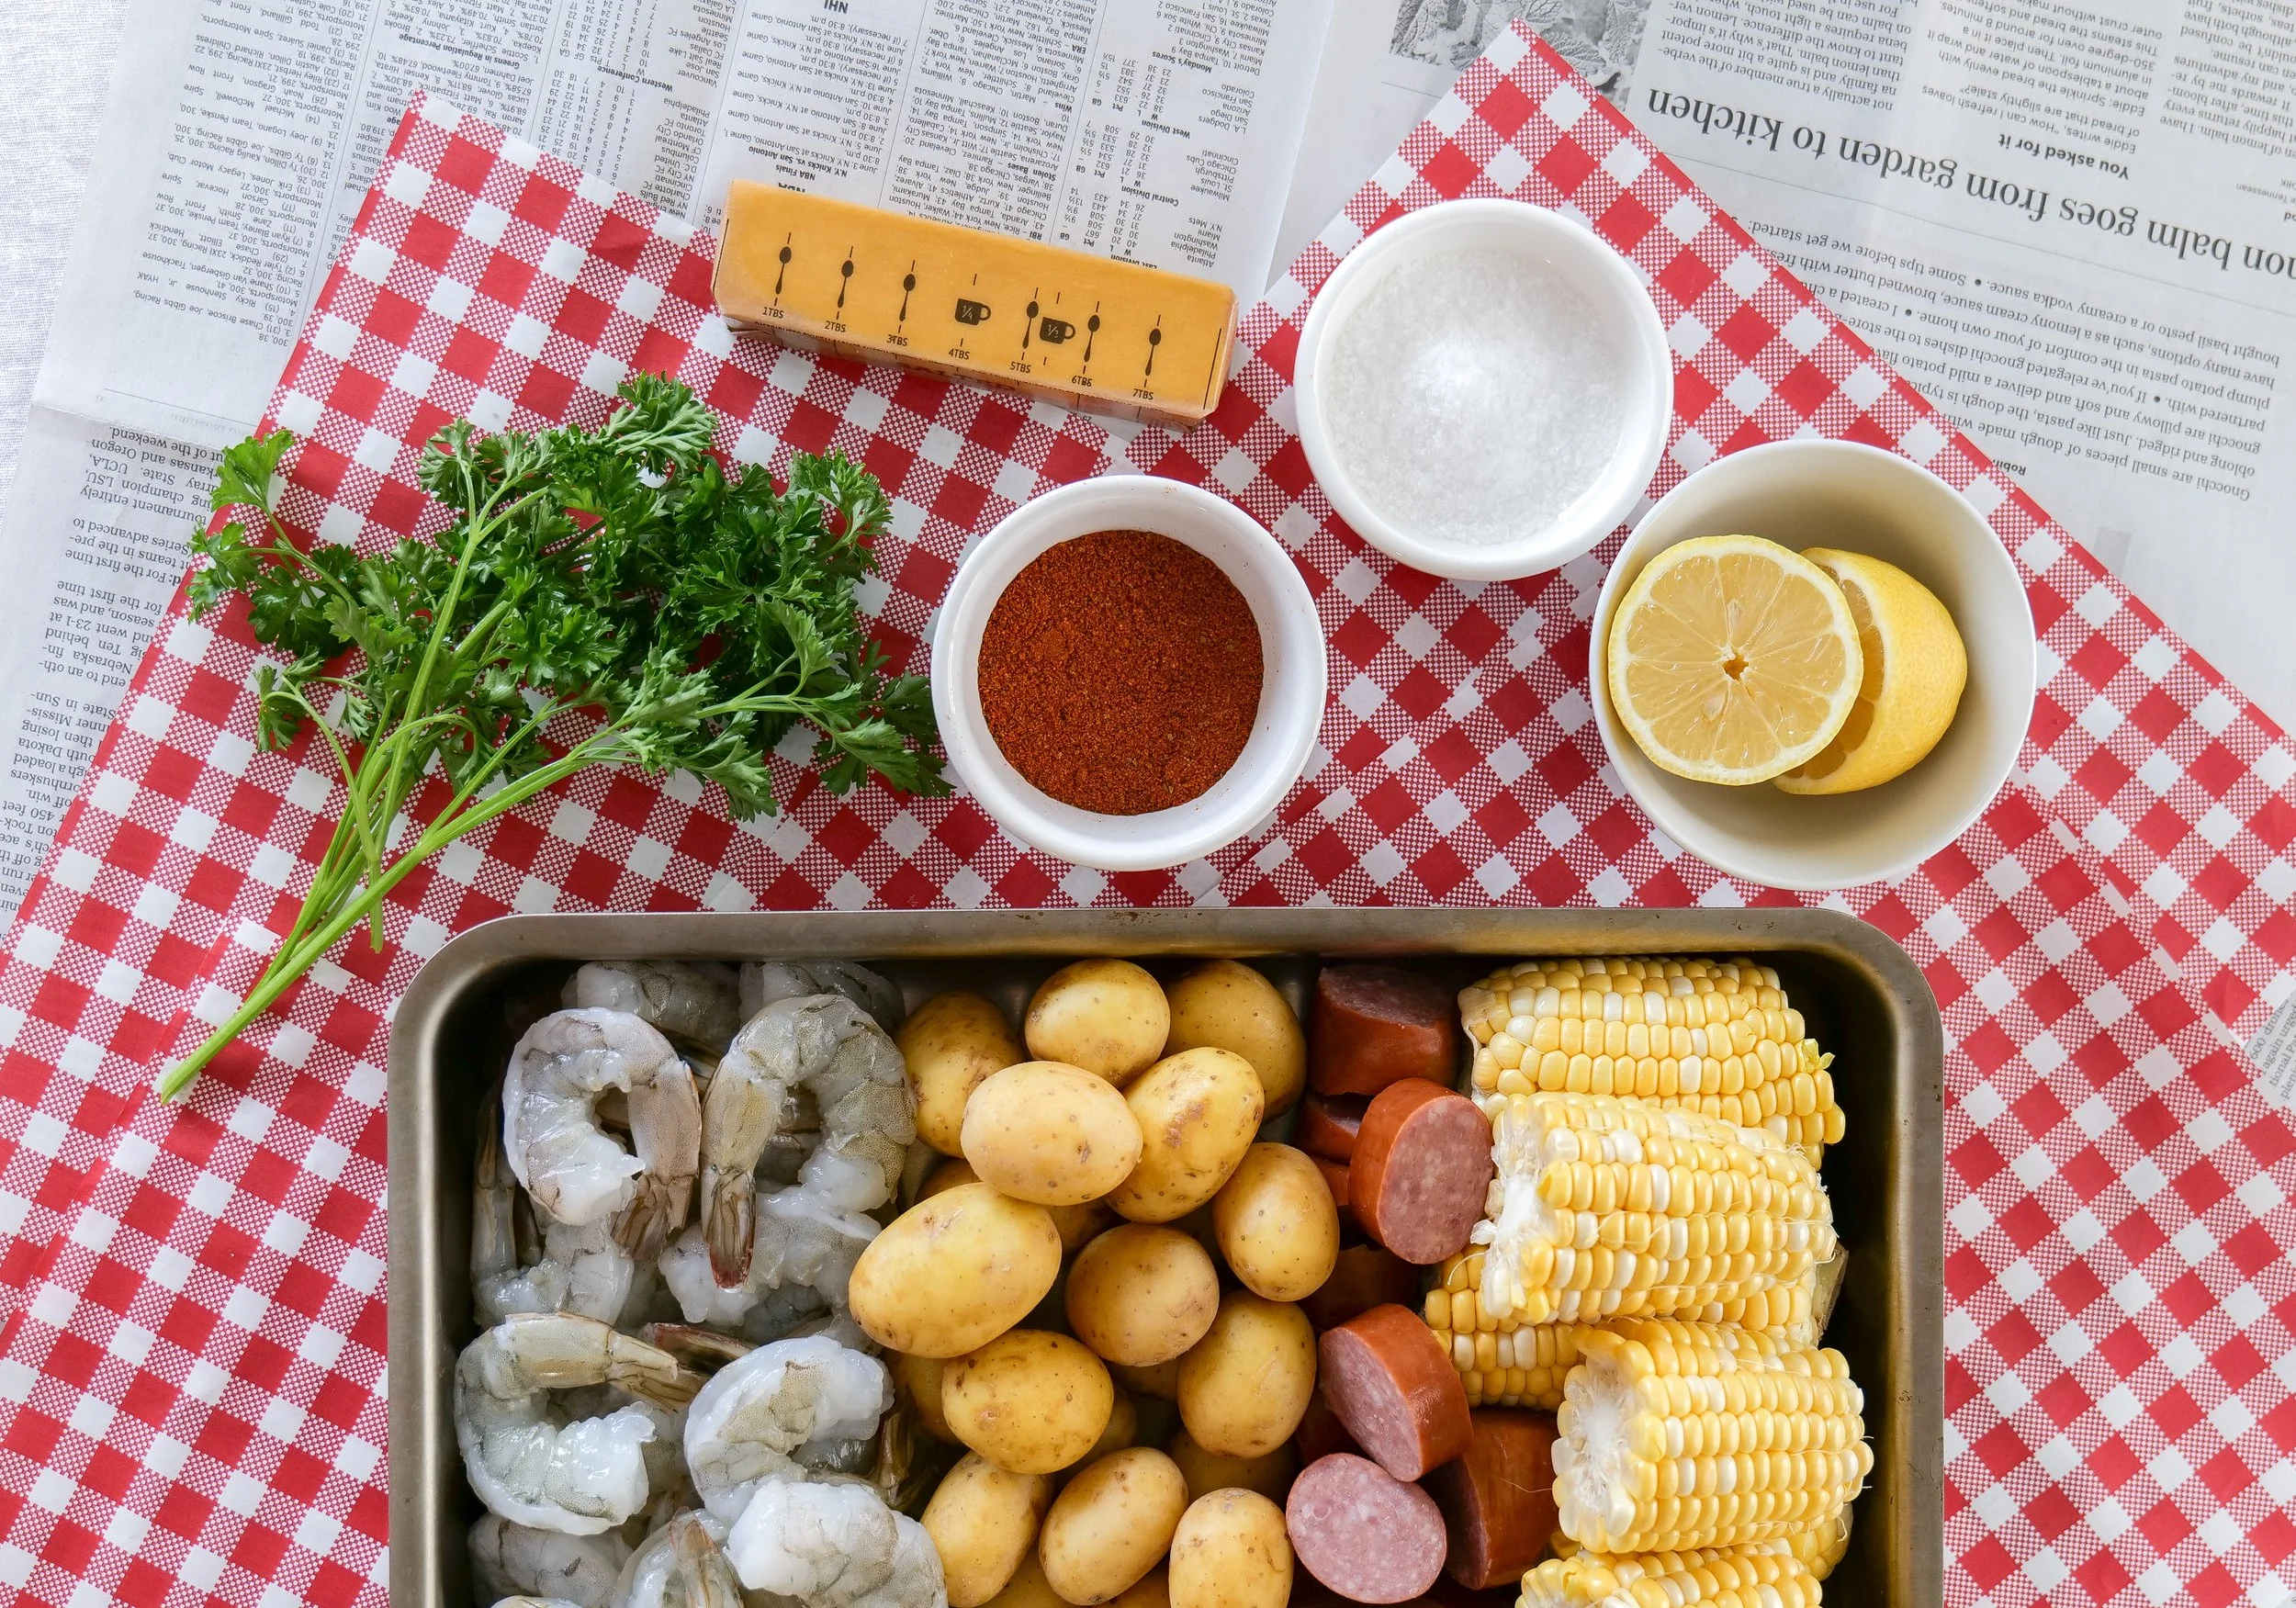
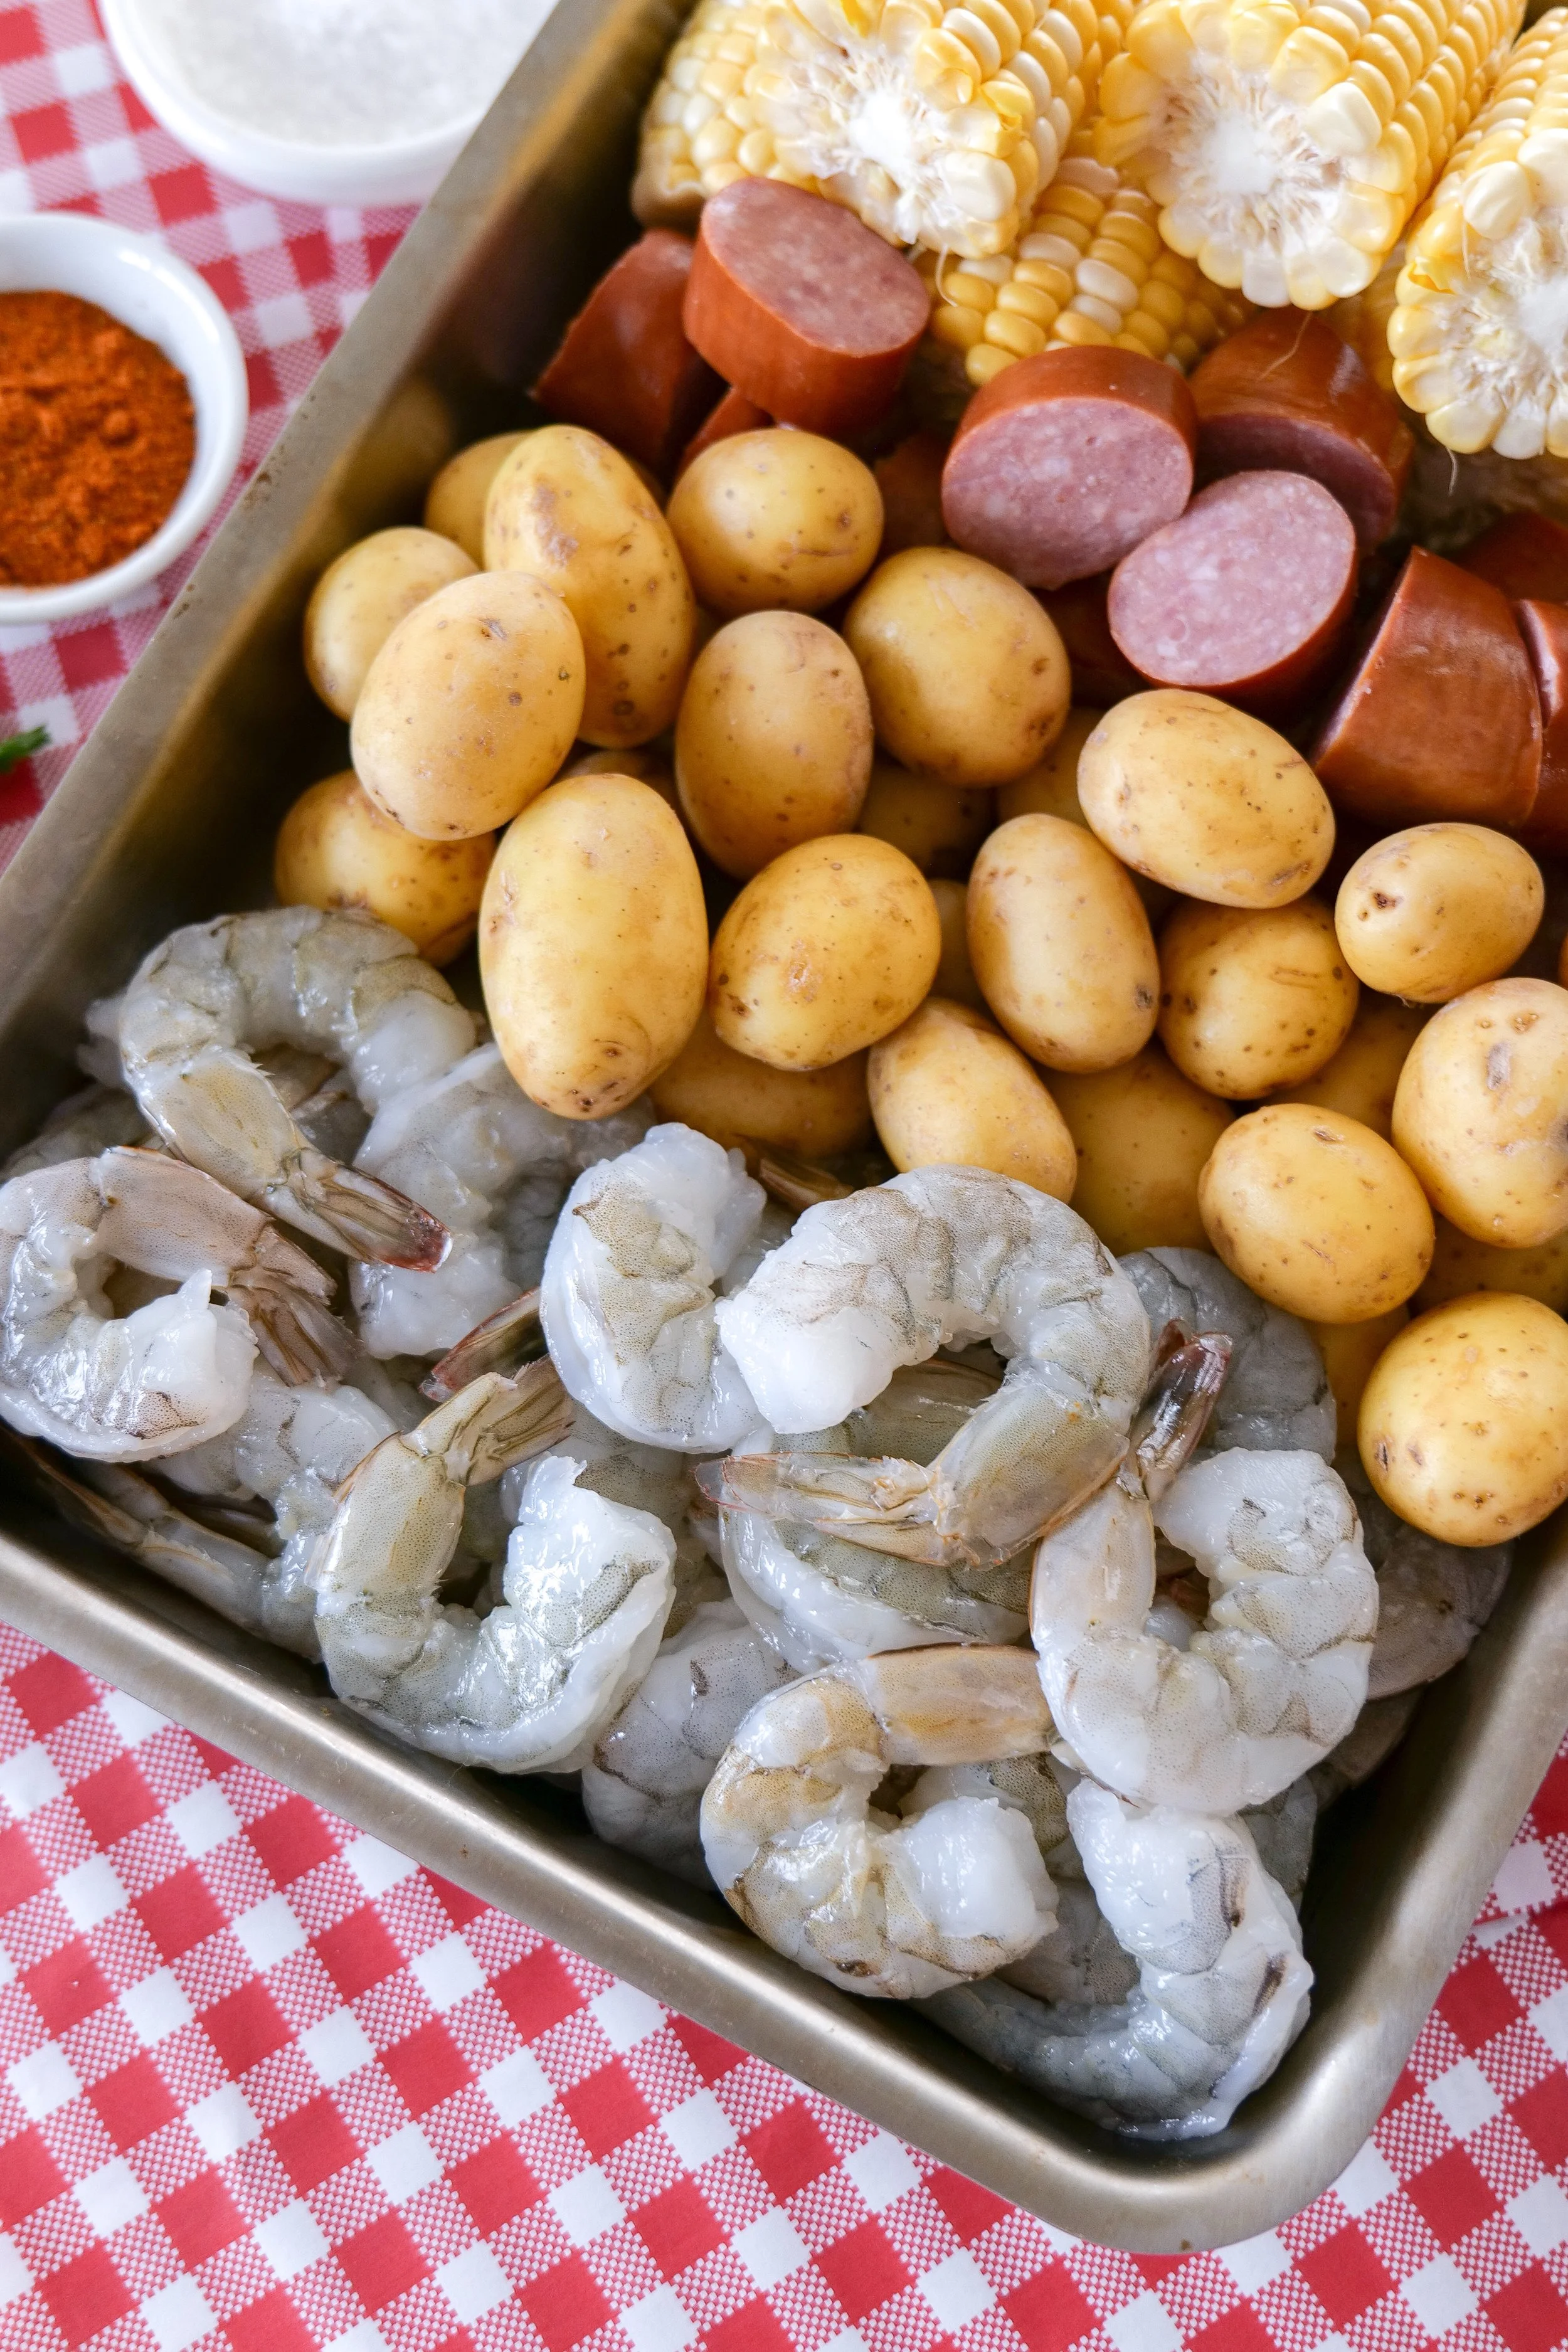
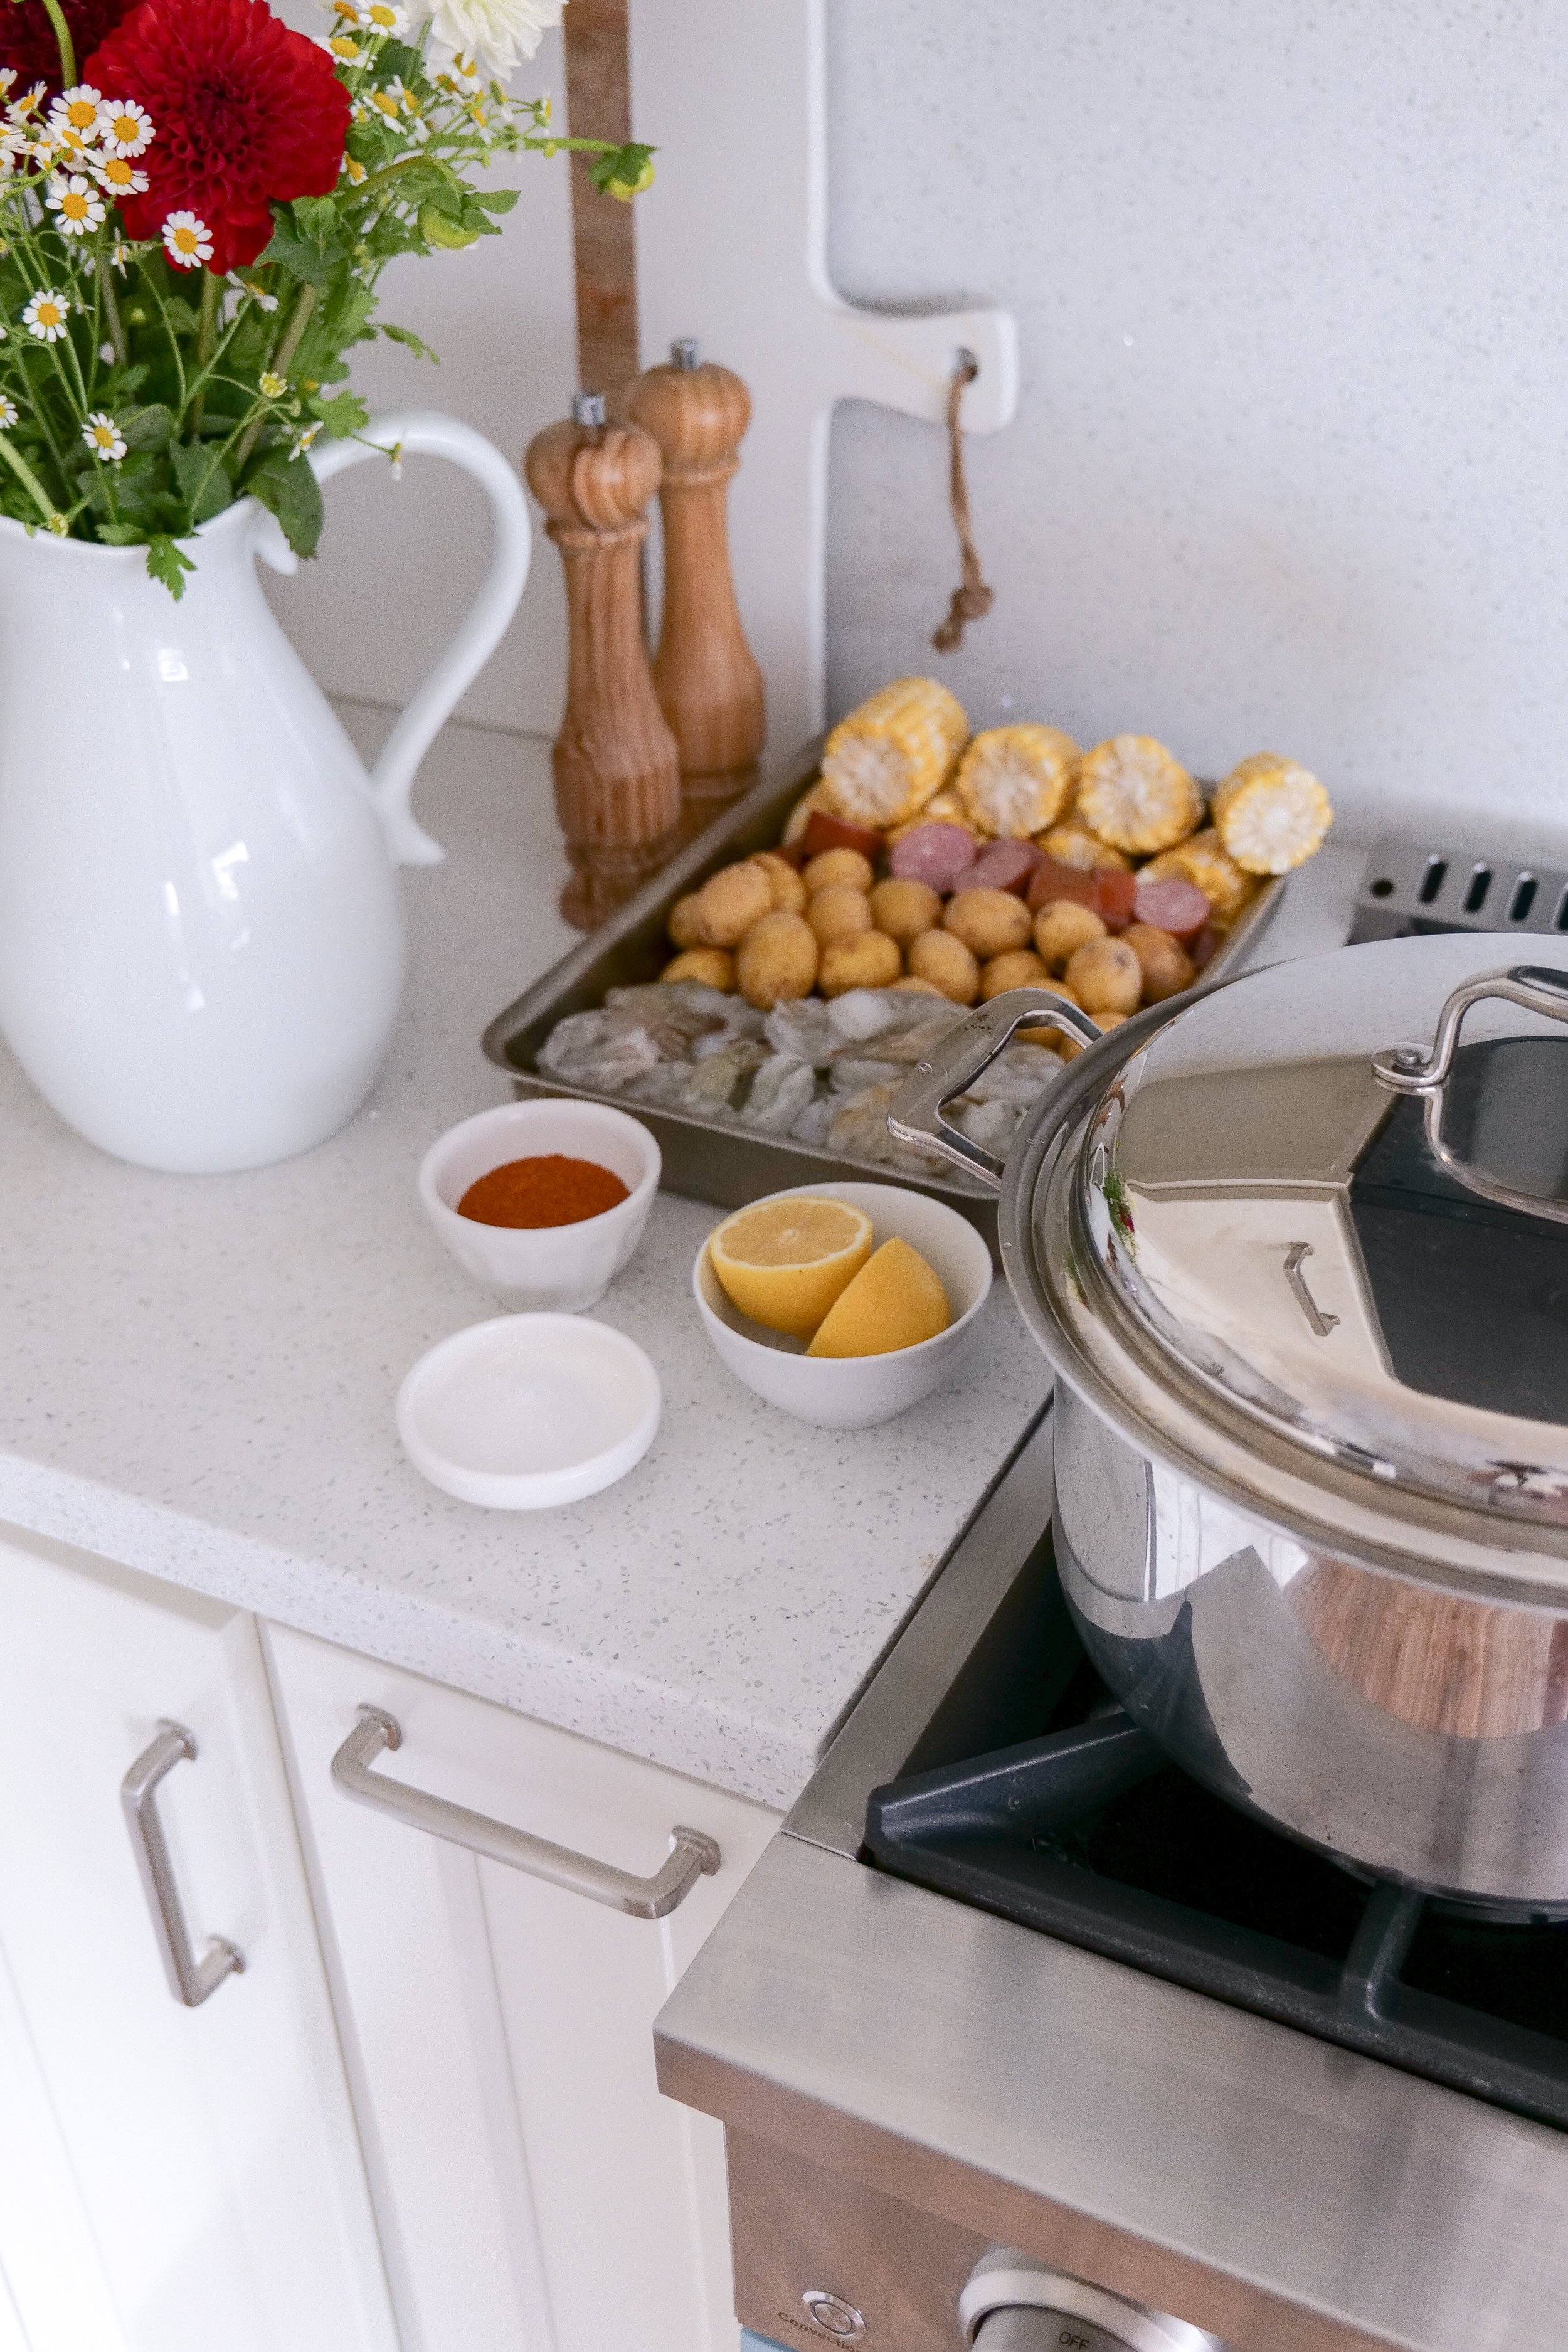
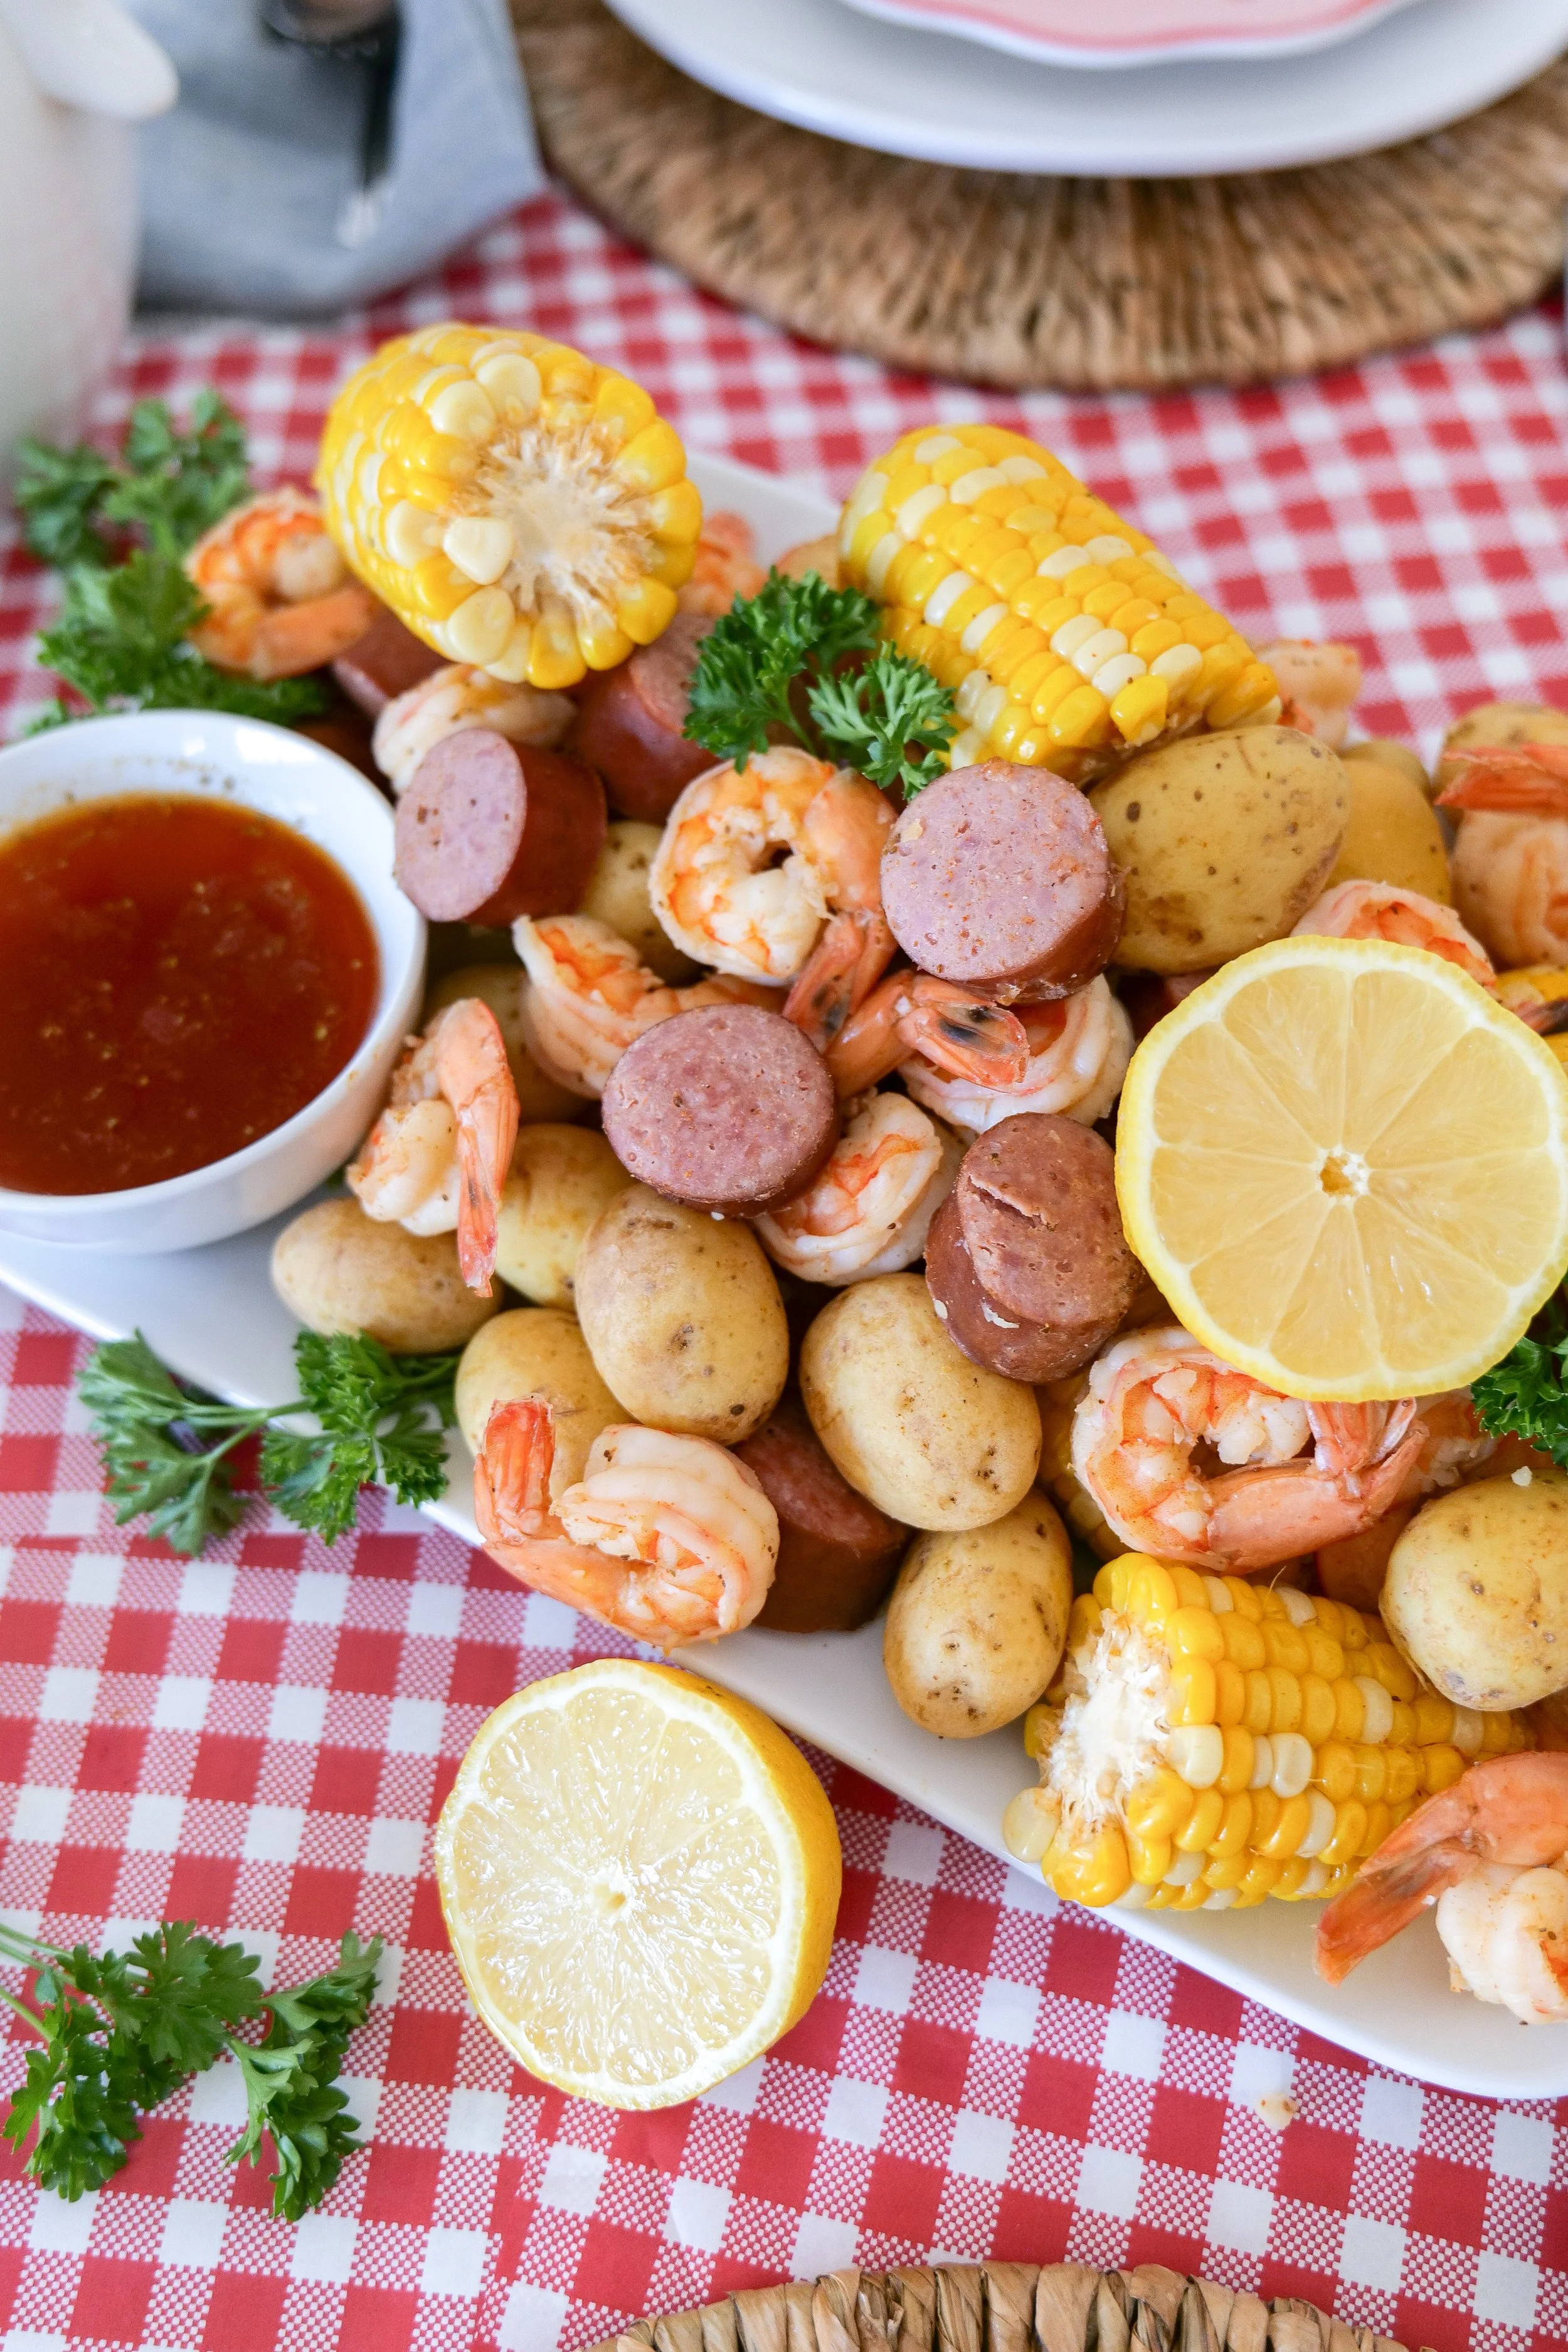
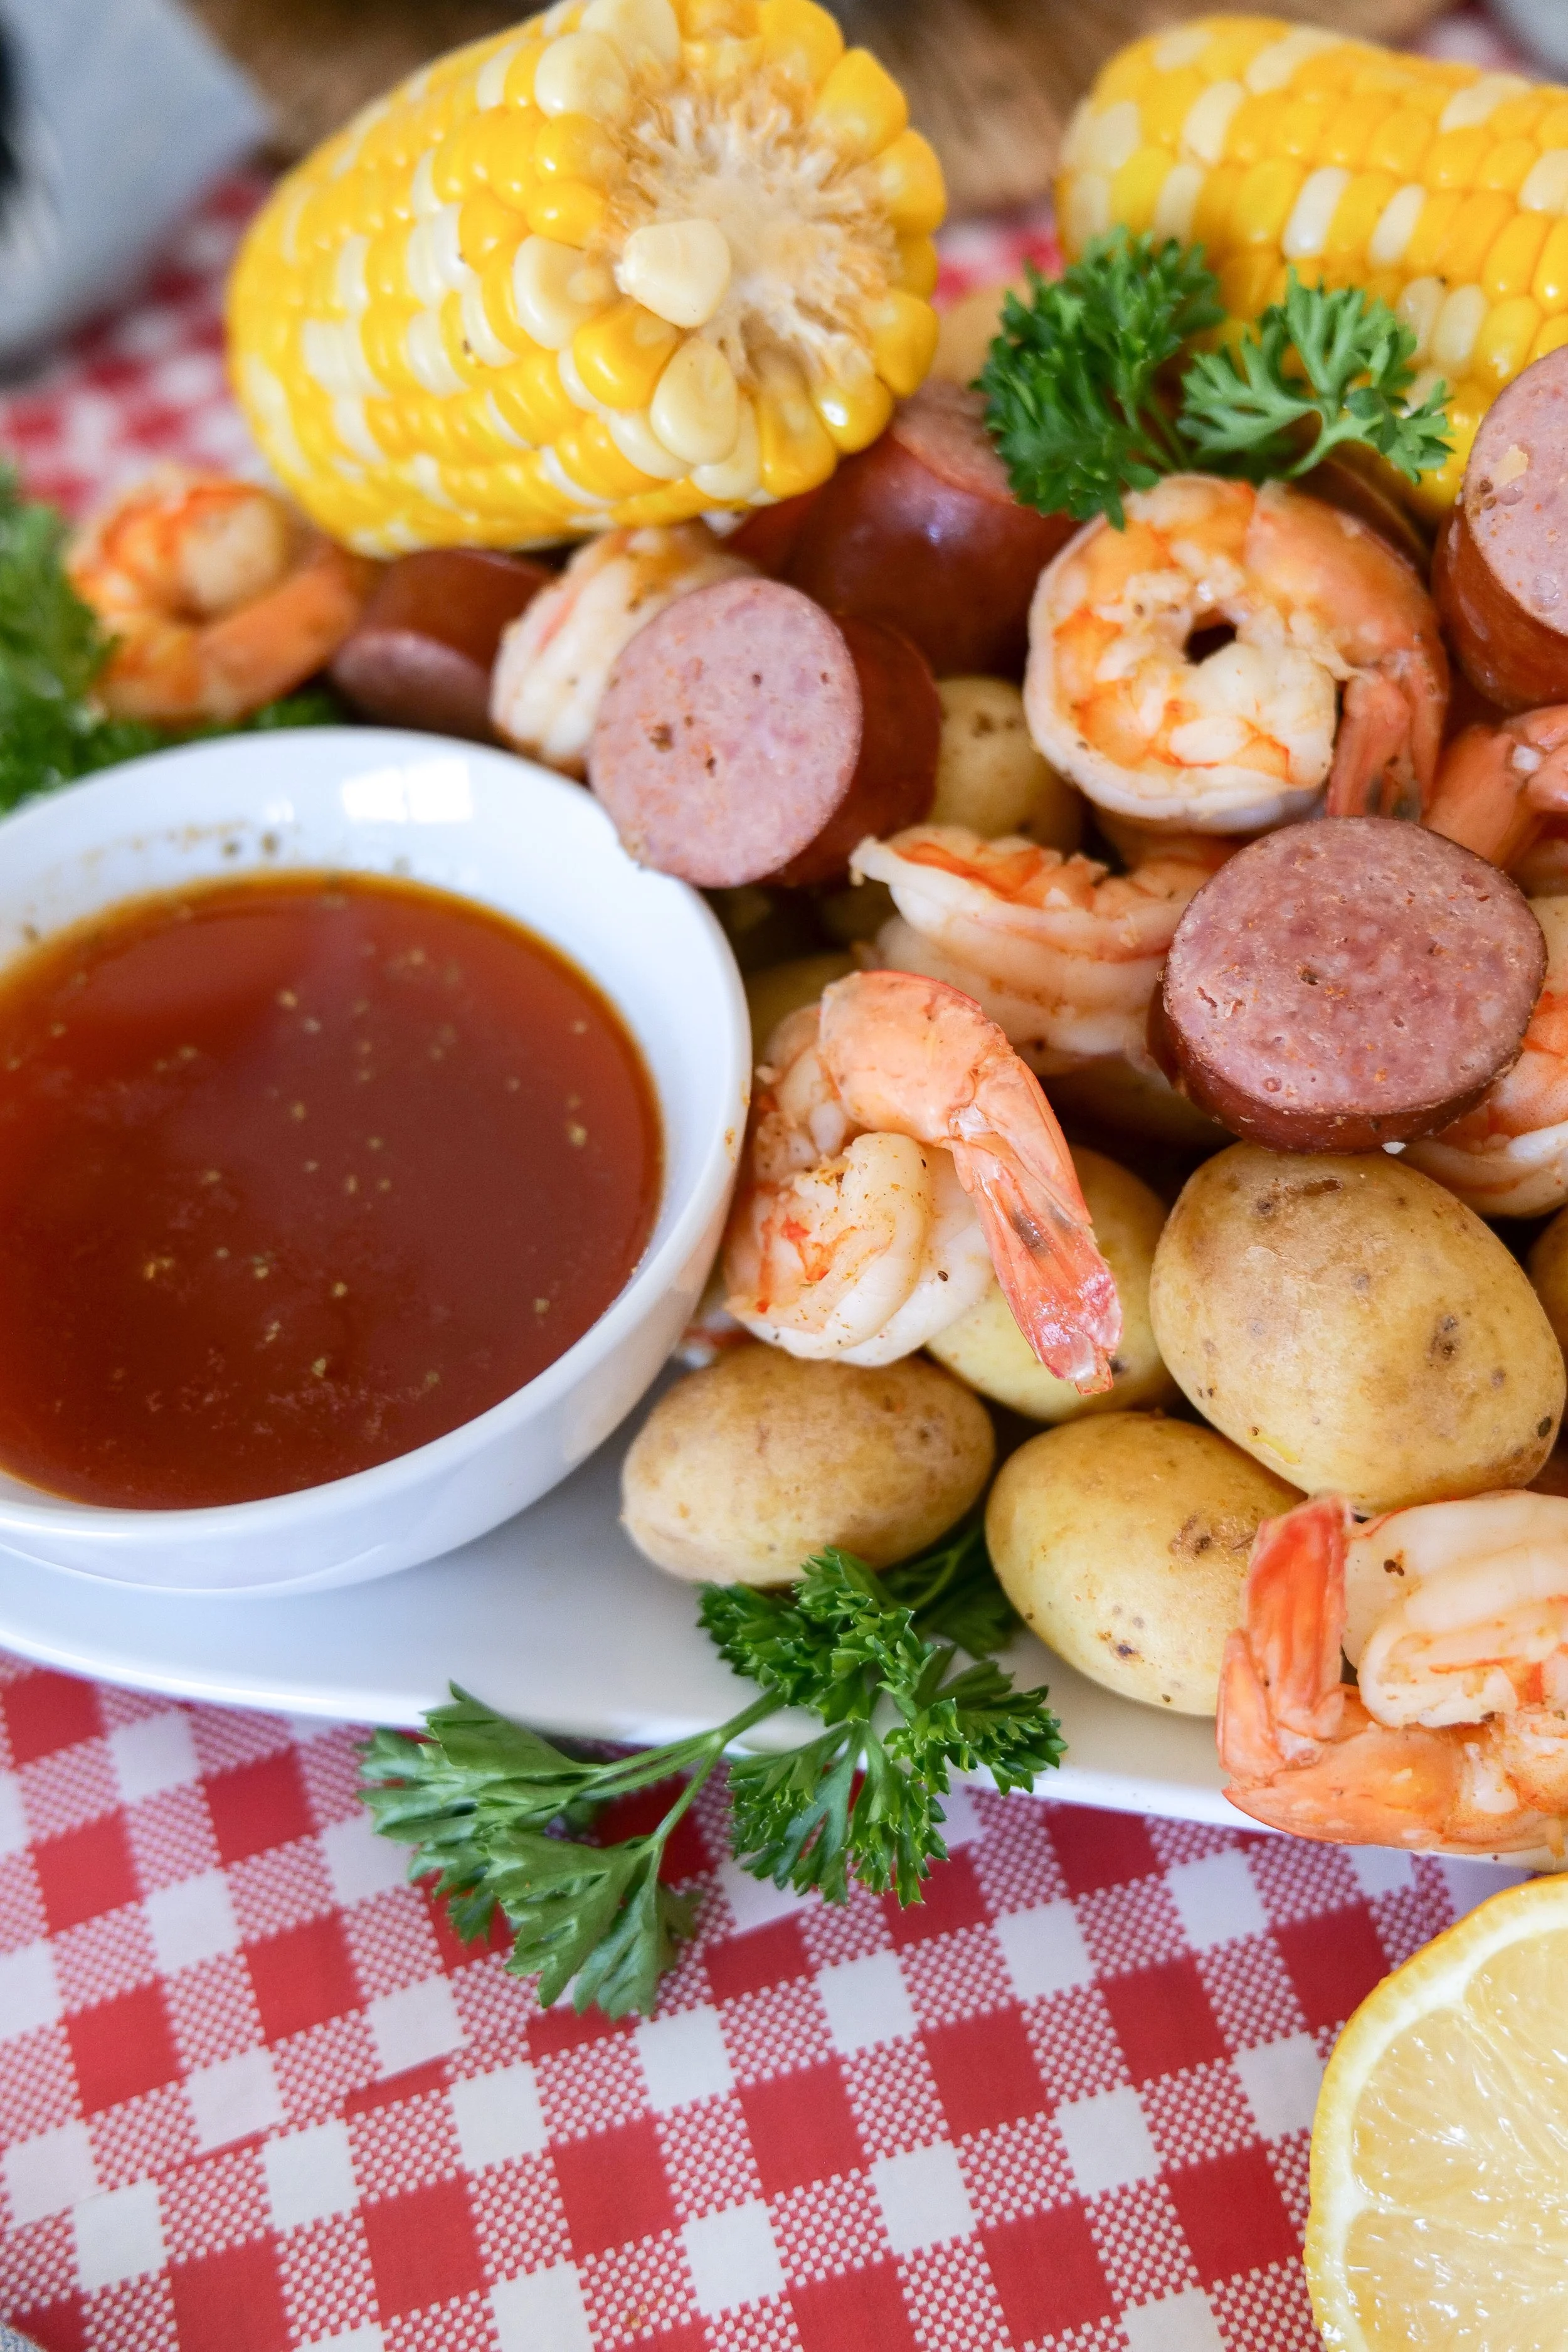
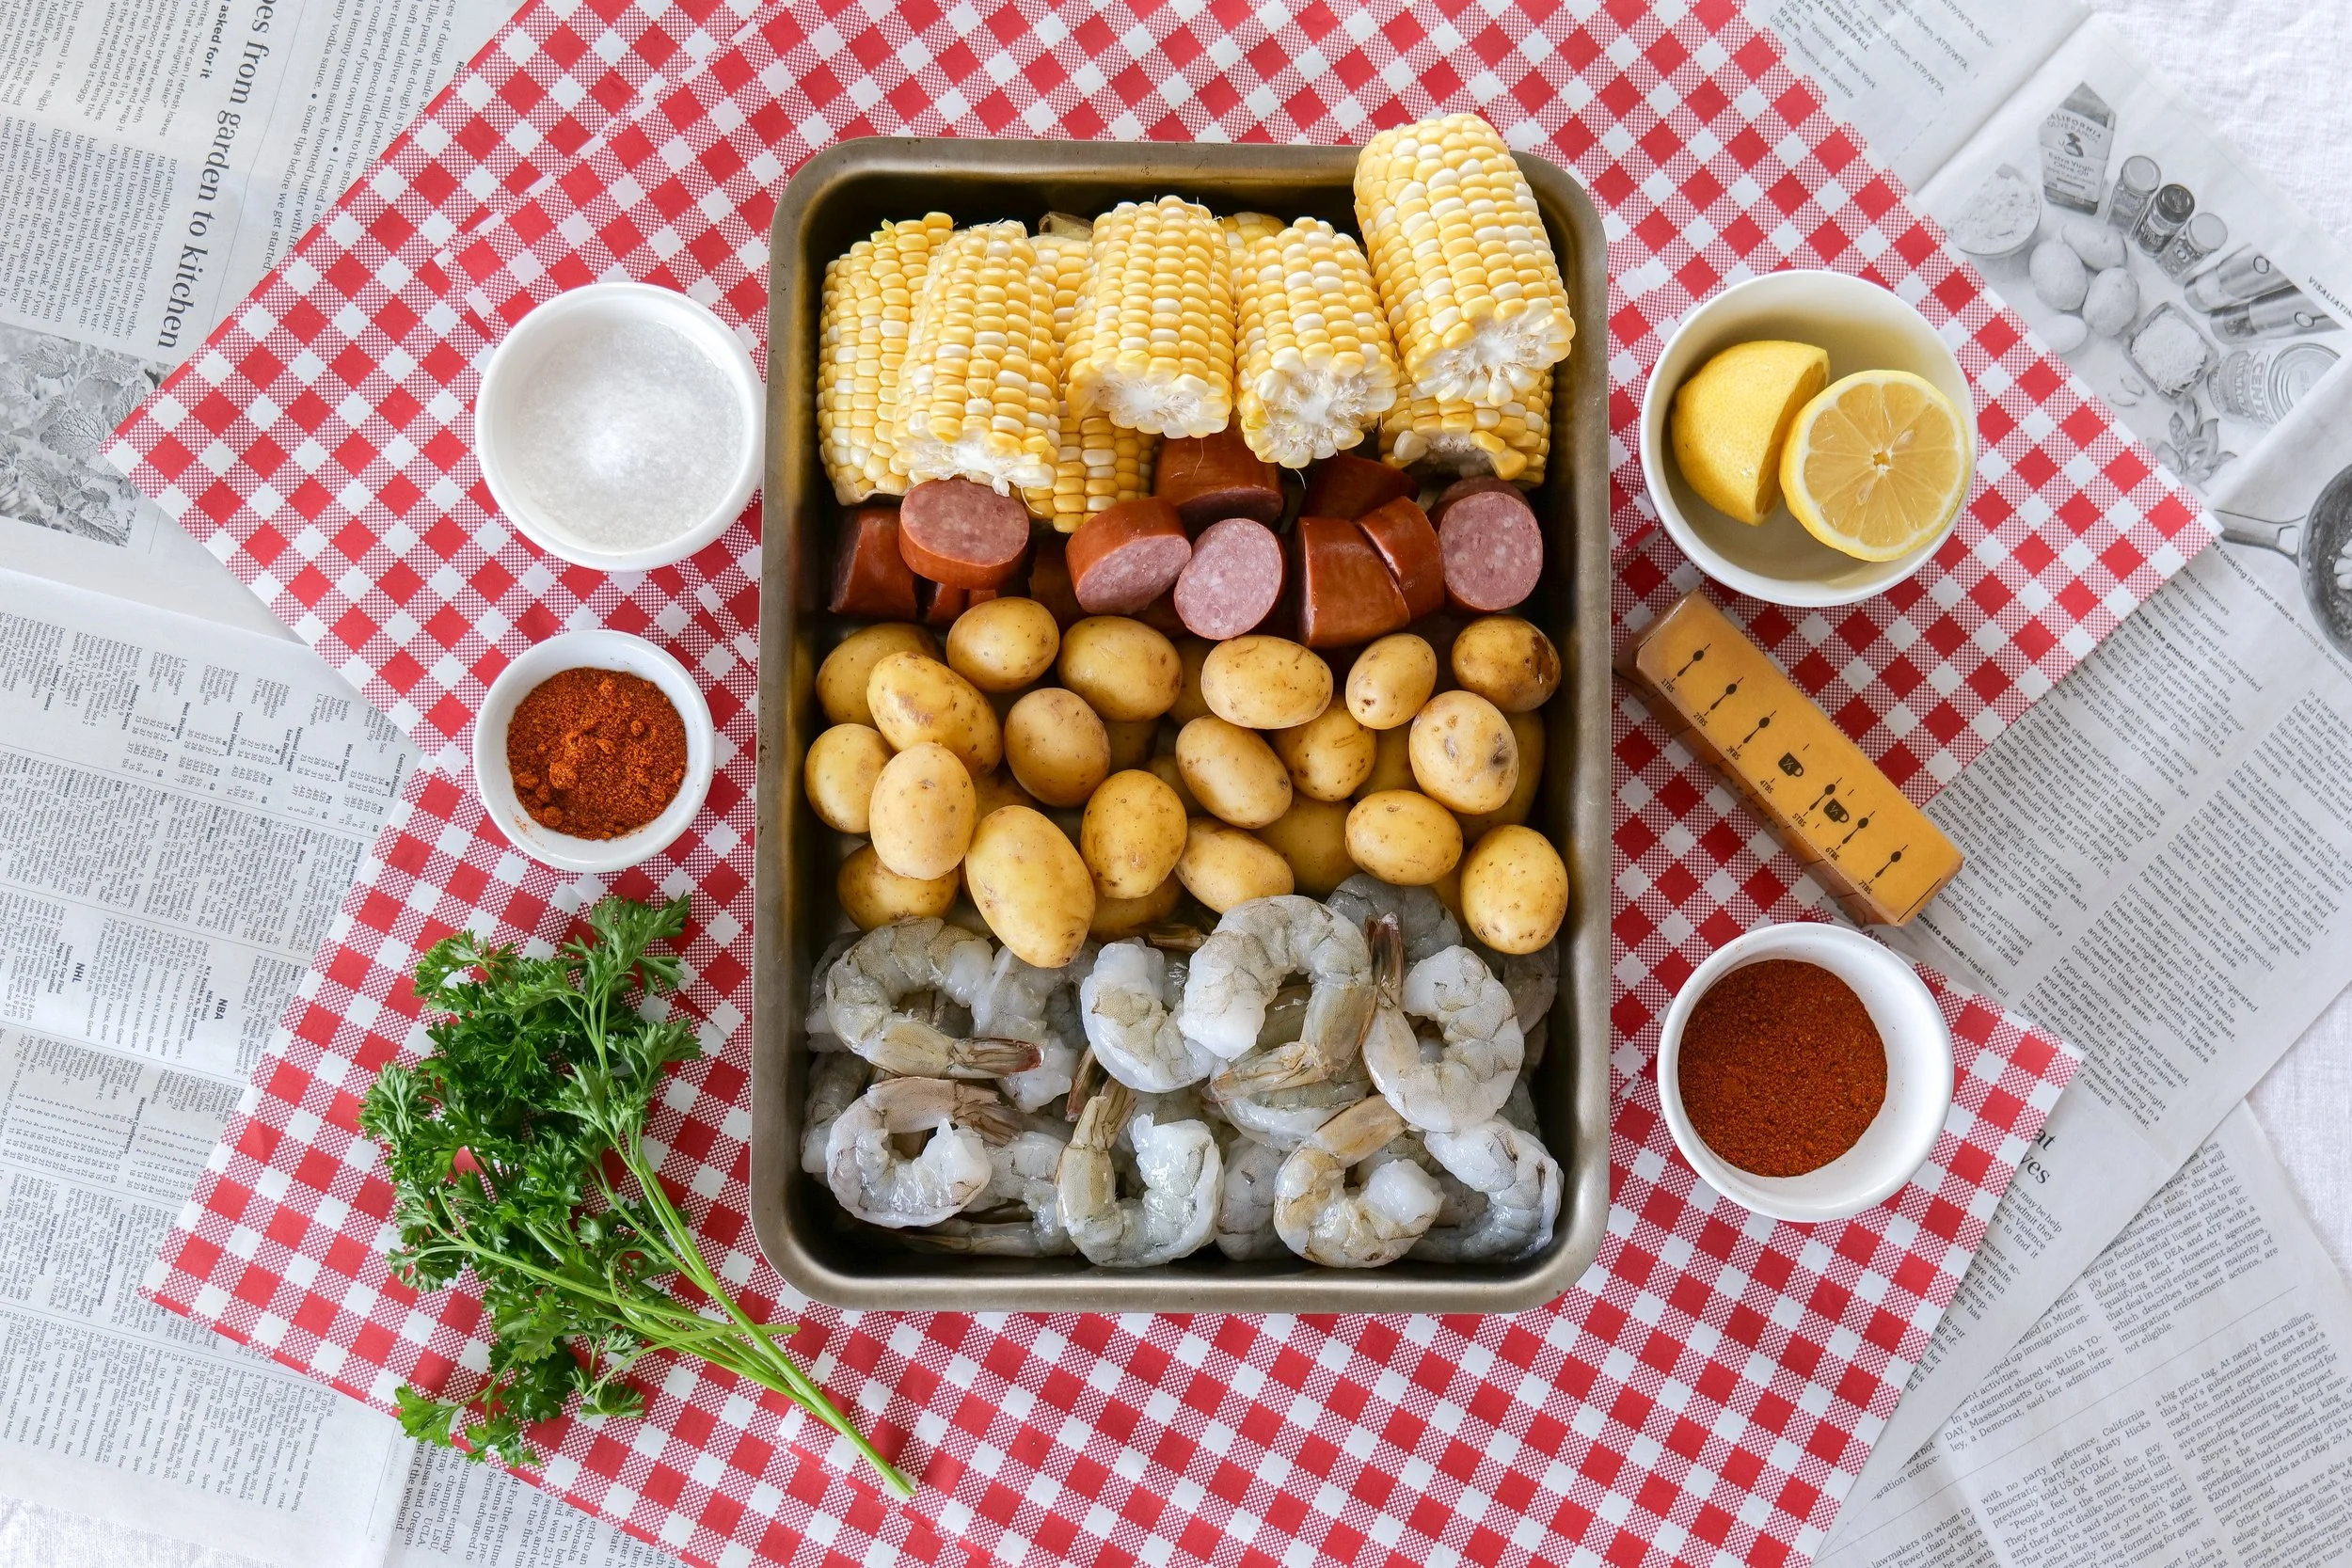
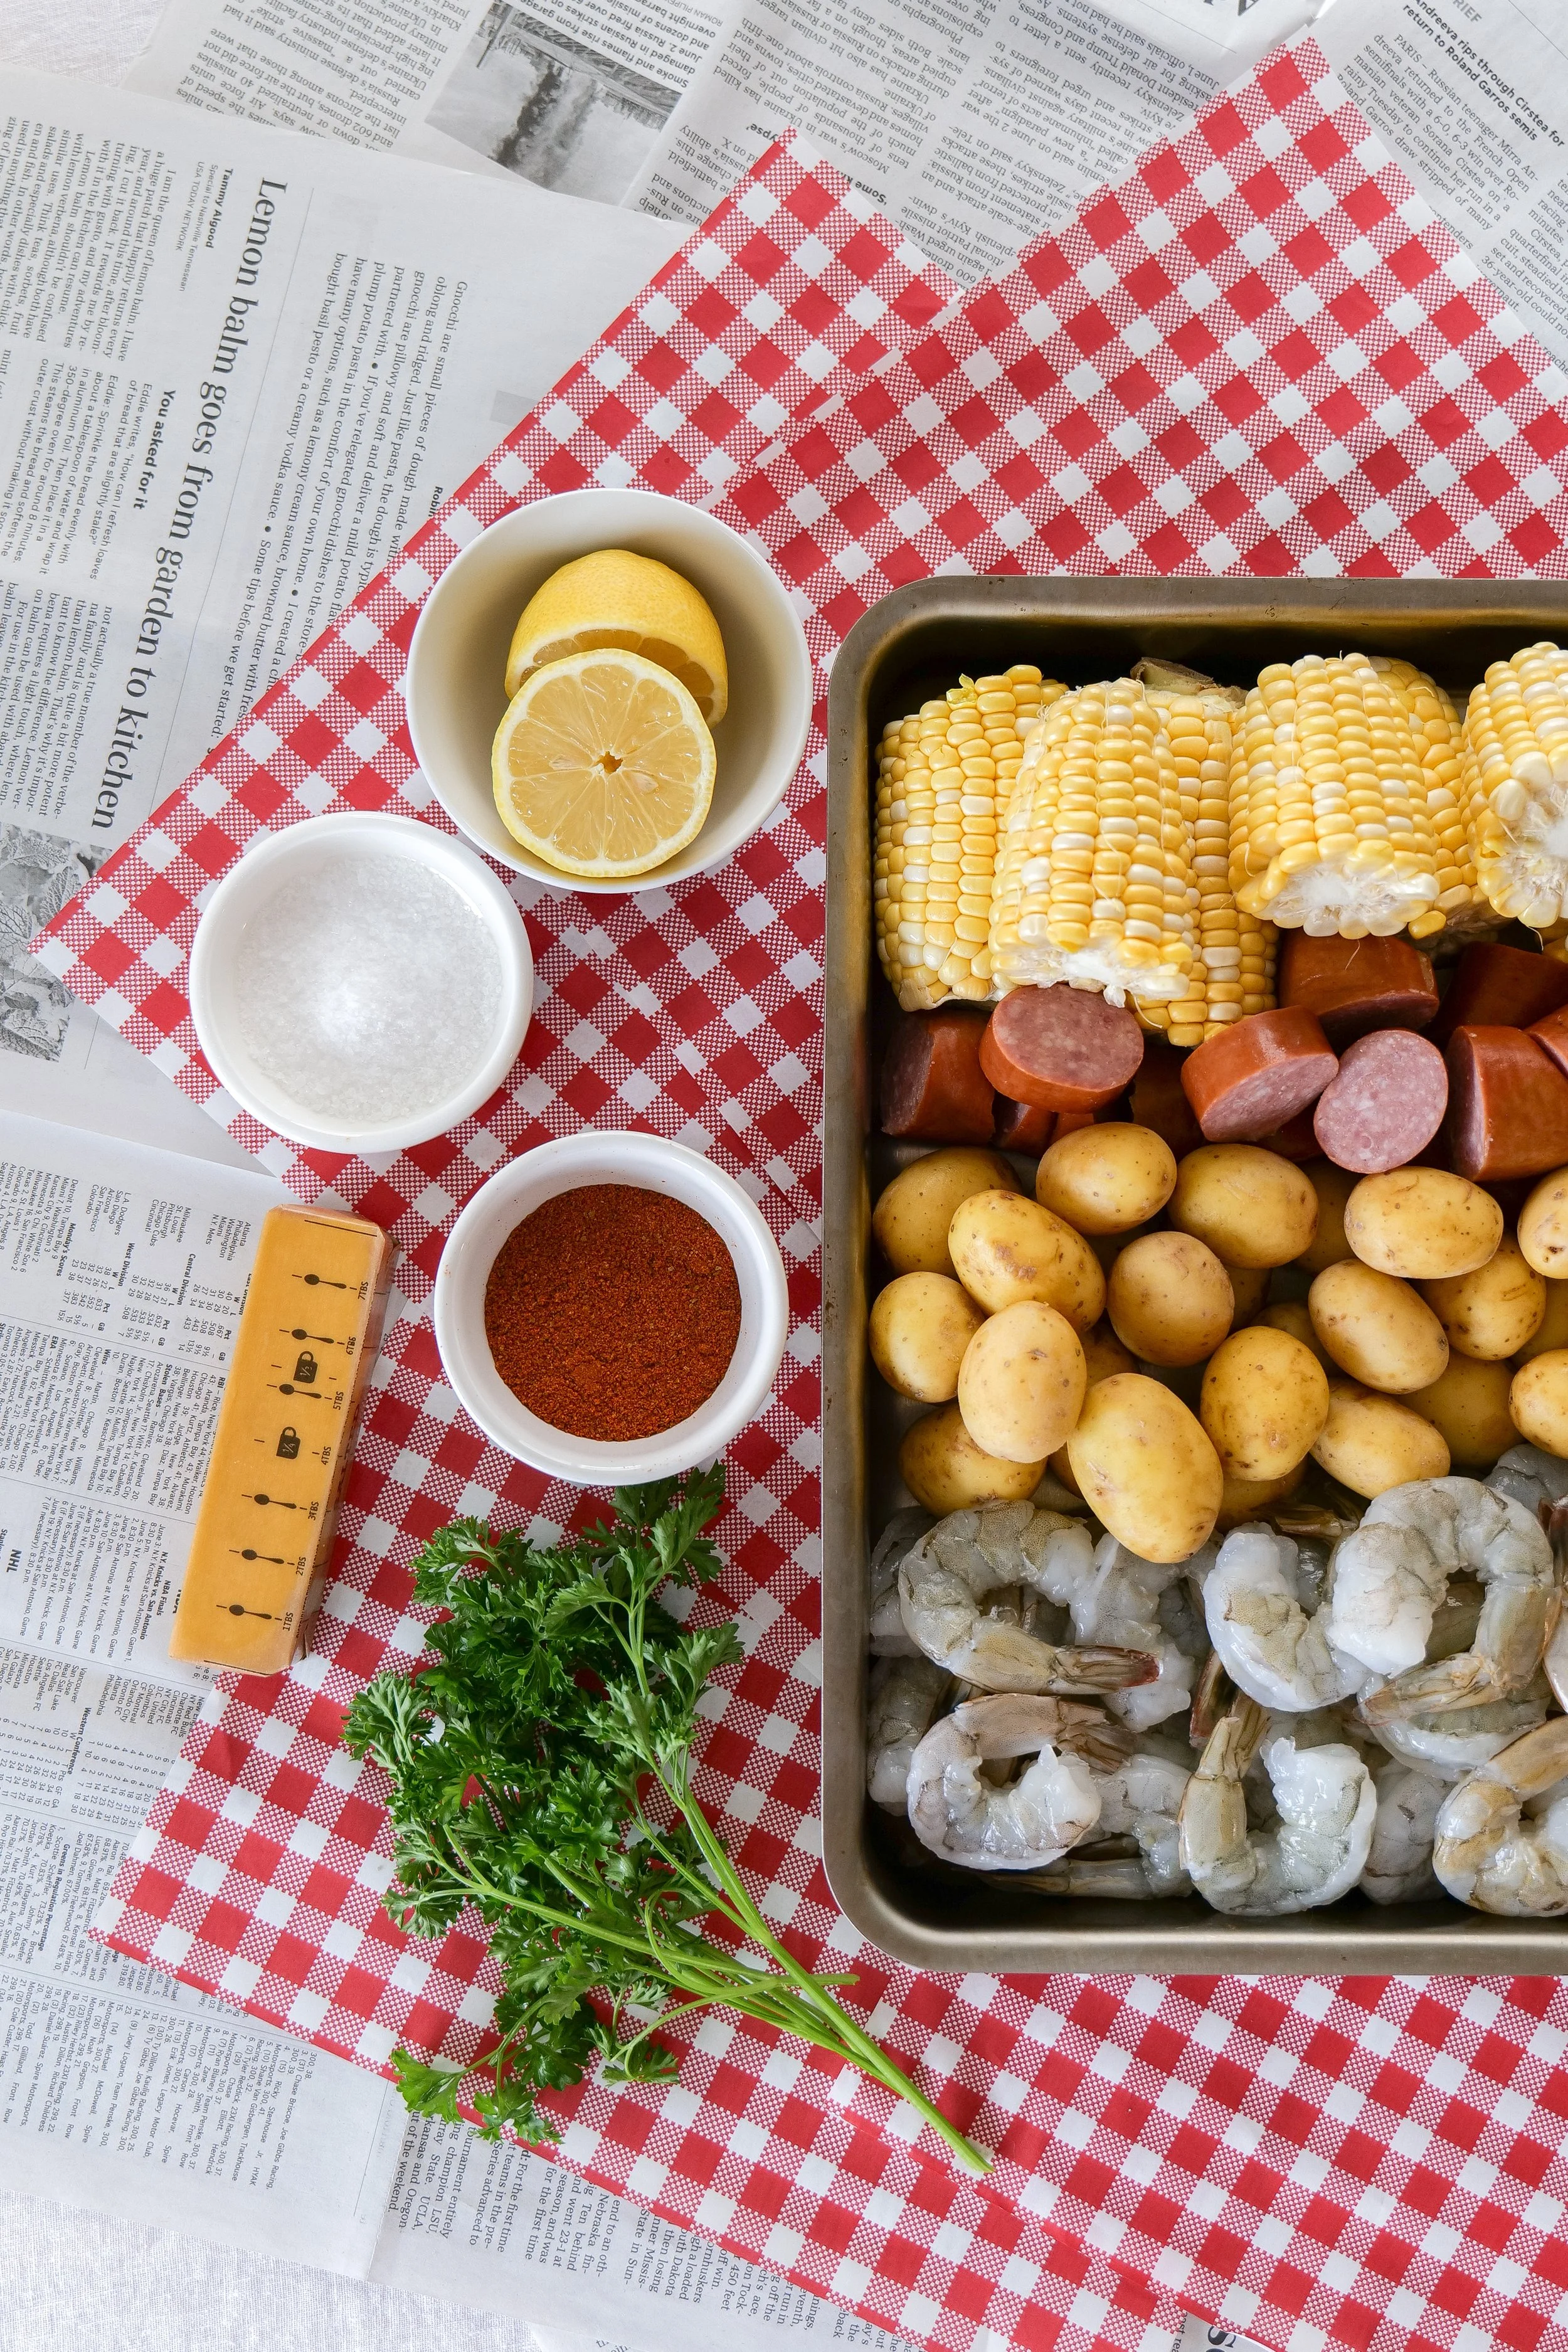
Looking for an easy shrimp boil recipe that's simple enough for a weeknight dinner but impressive enough for entertaining? This classic shrimp boil is made in a standard 8-quart stockpot and loaded with juicy shrimp, smoked sausage, sweet corn, tender potatoes, and plenty of Old Bay seasoning.

↓ Skip to Recipe
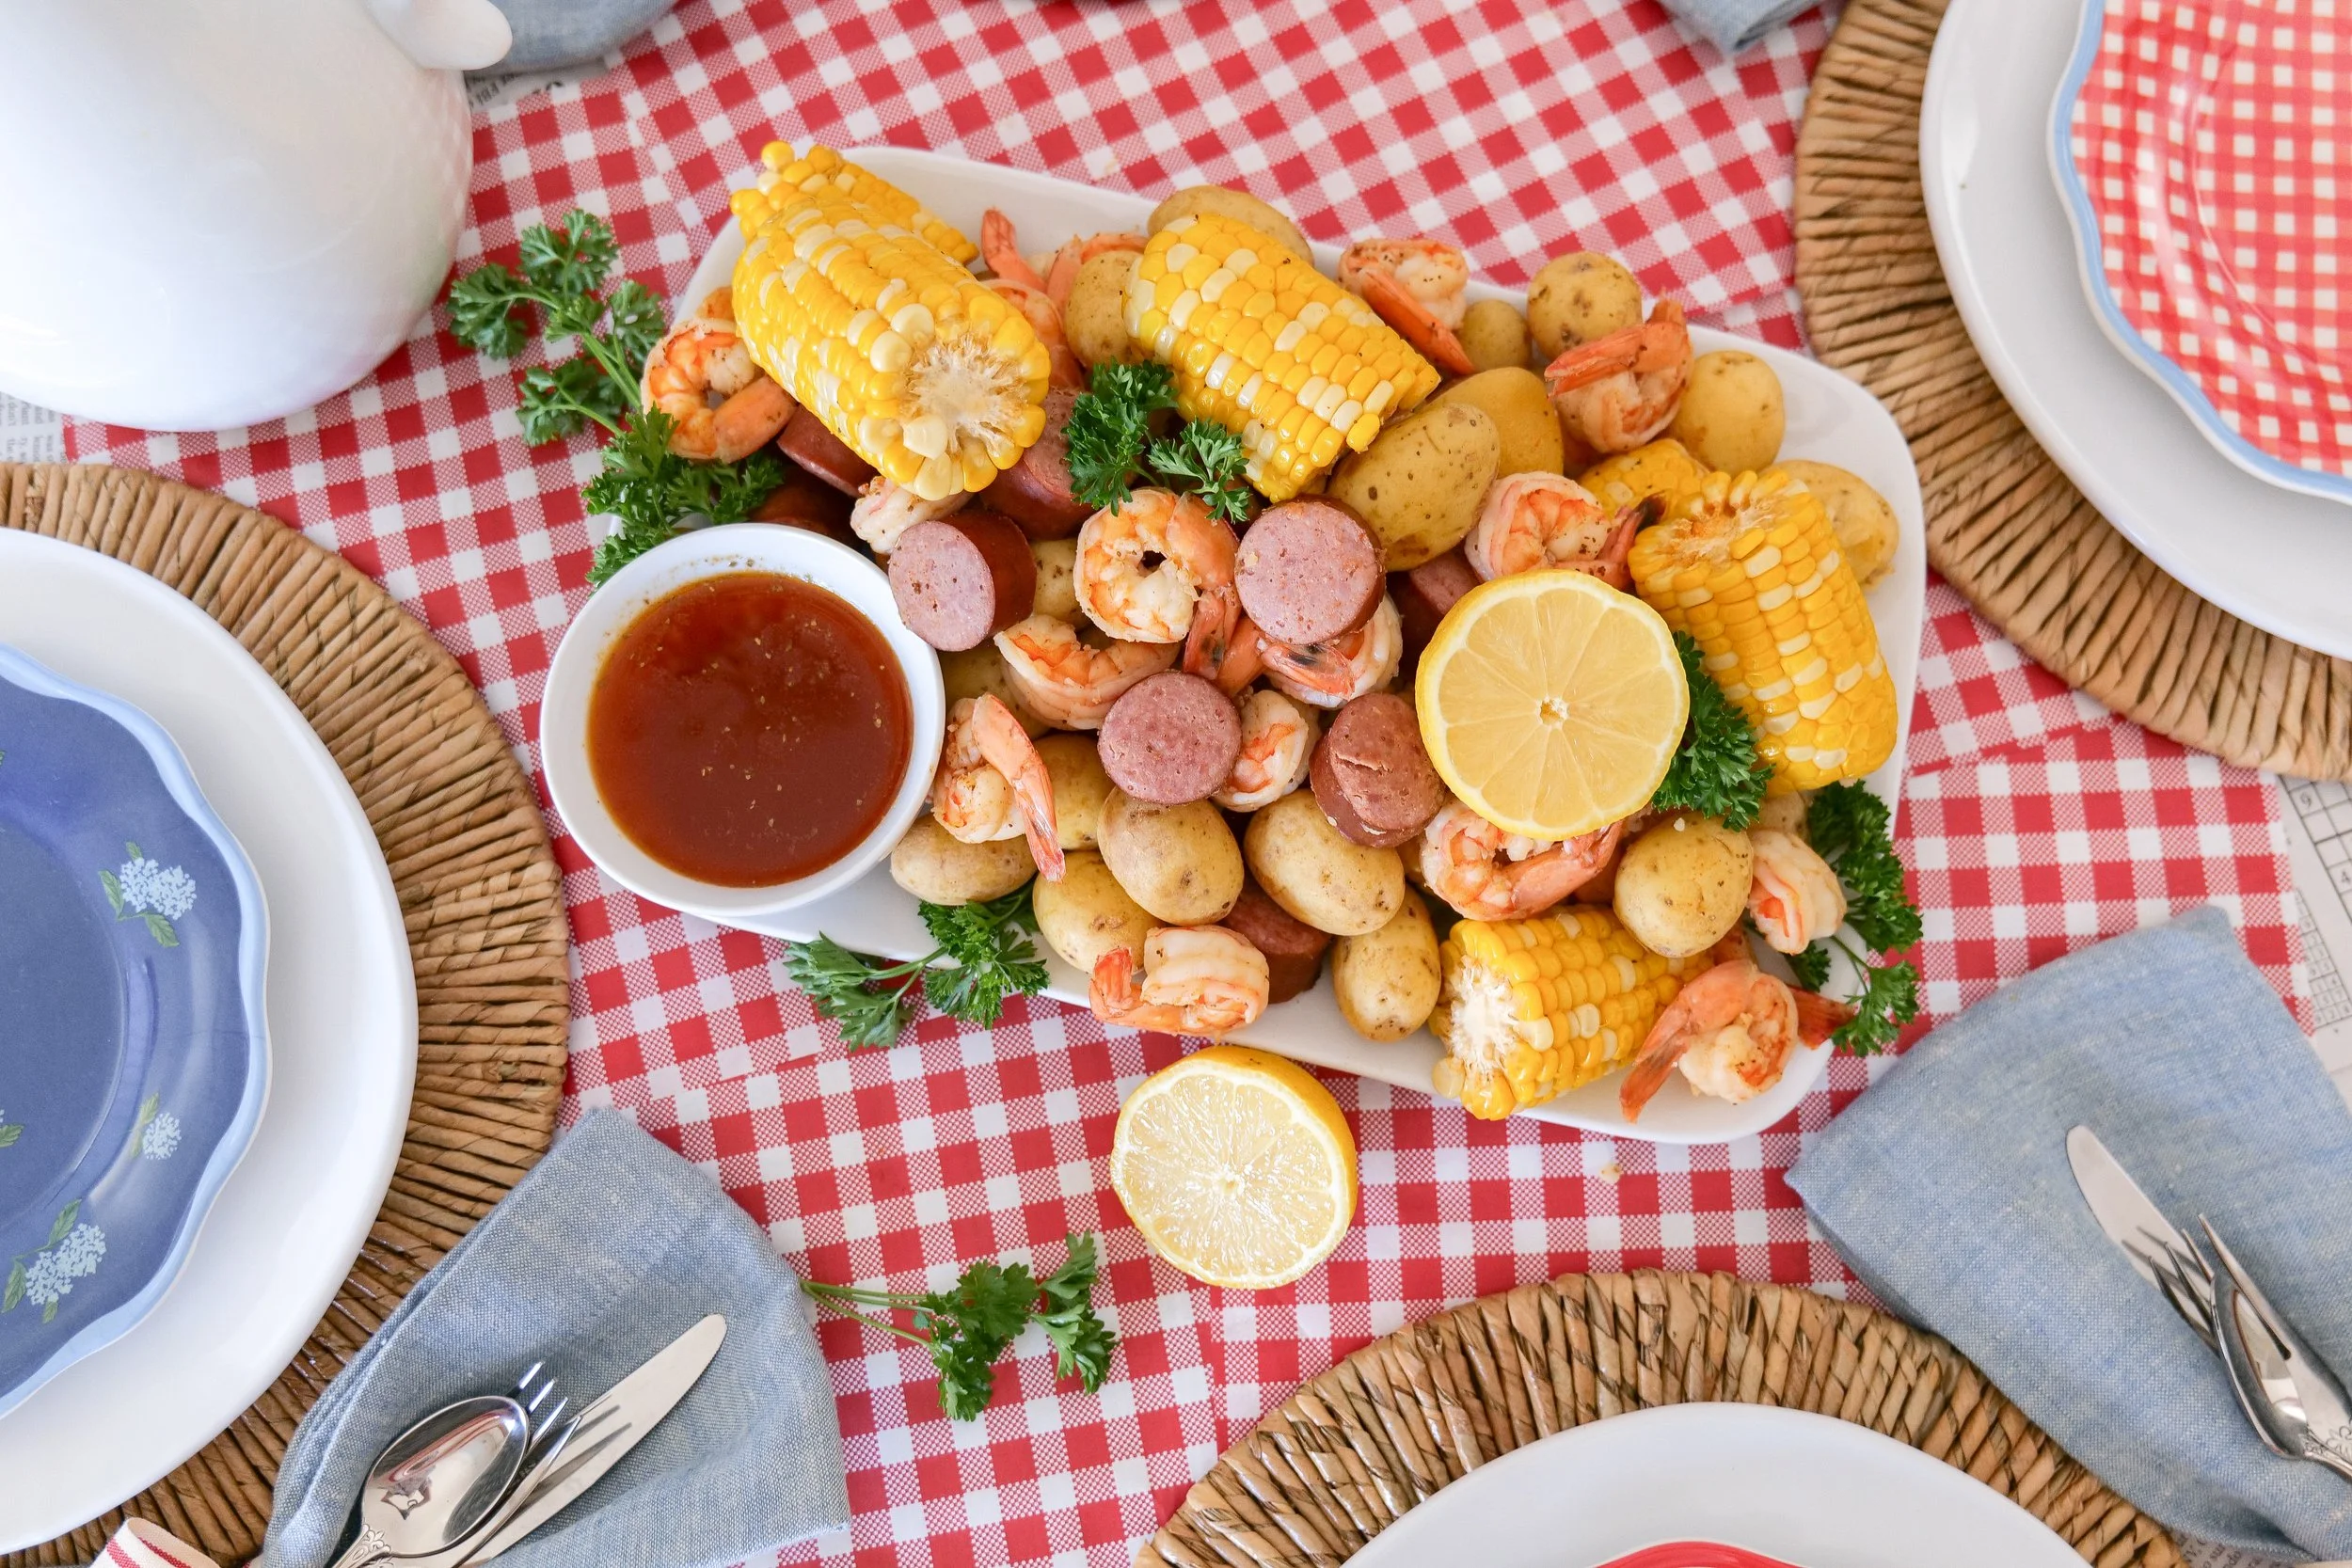
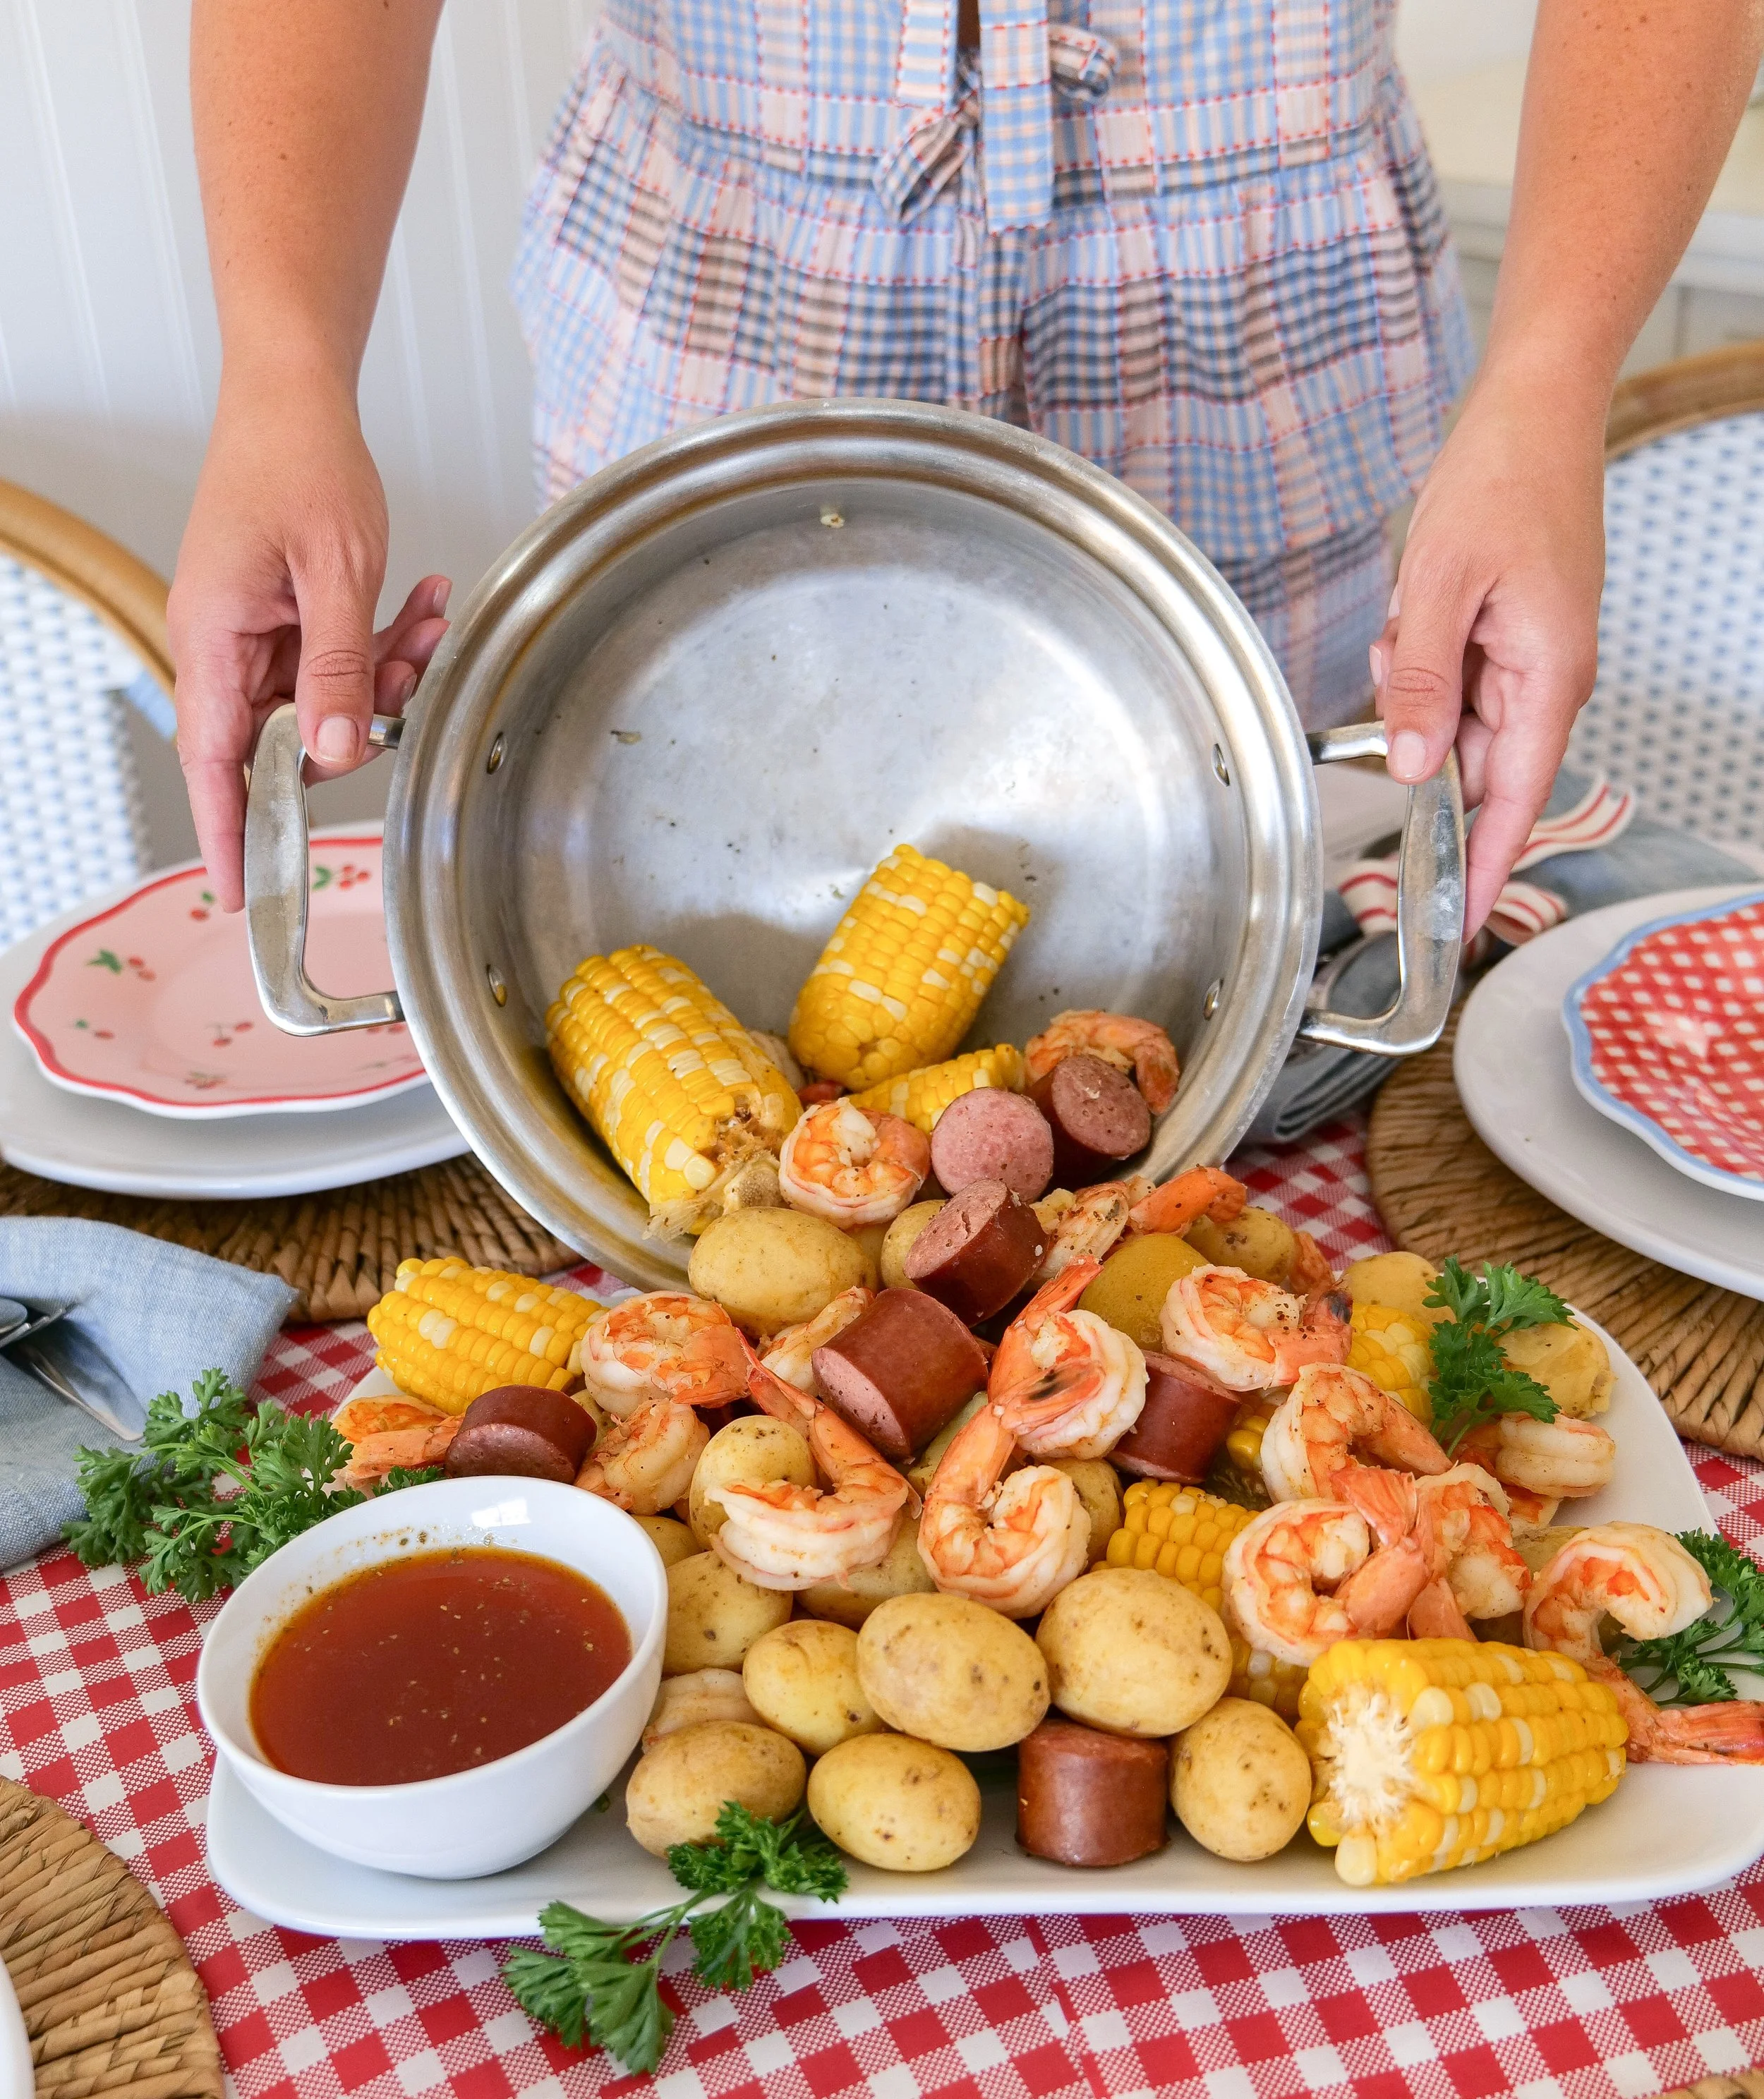
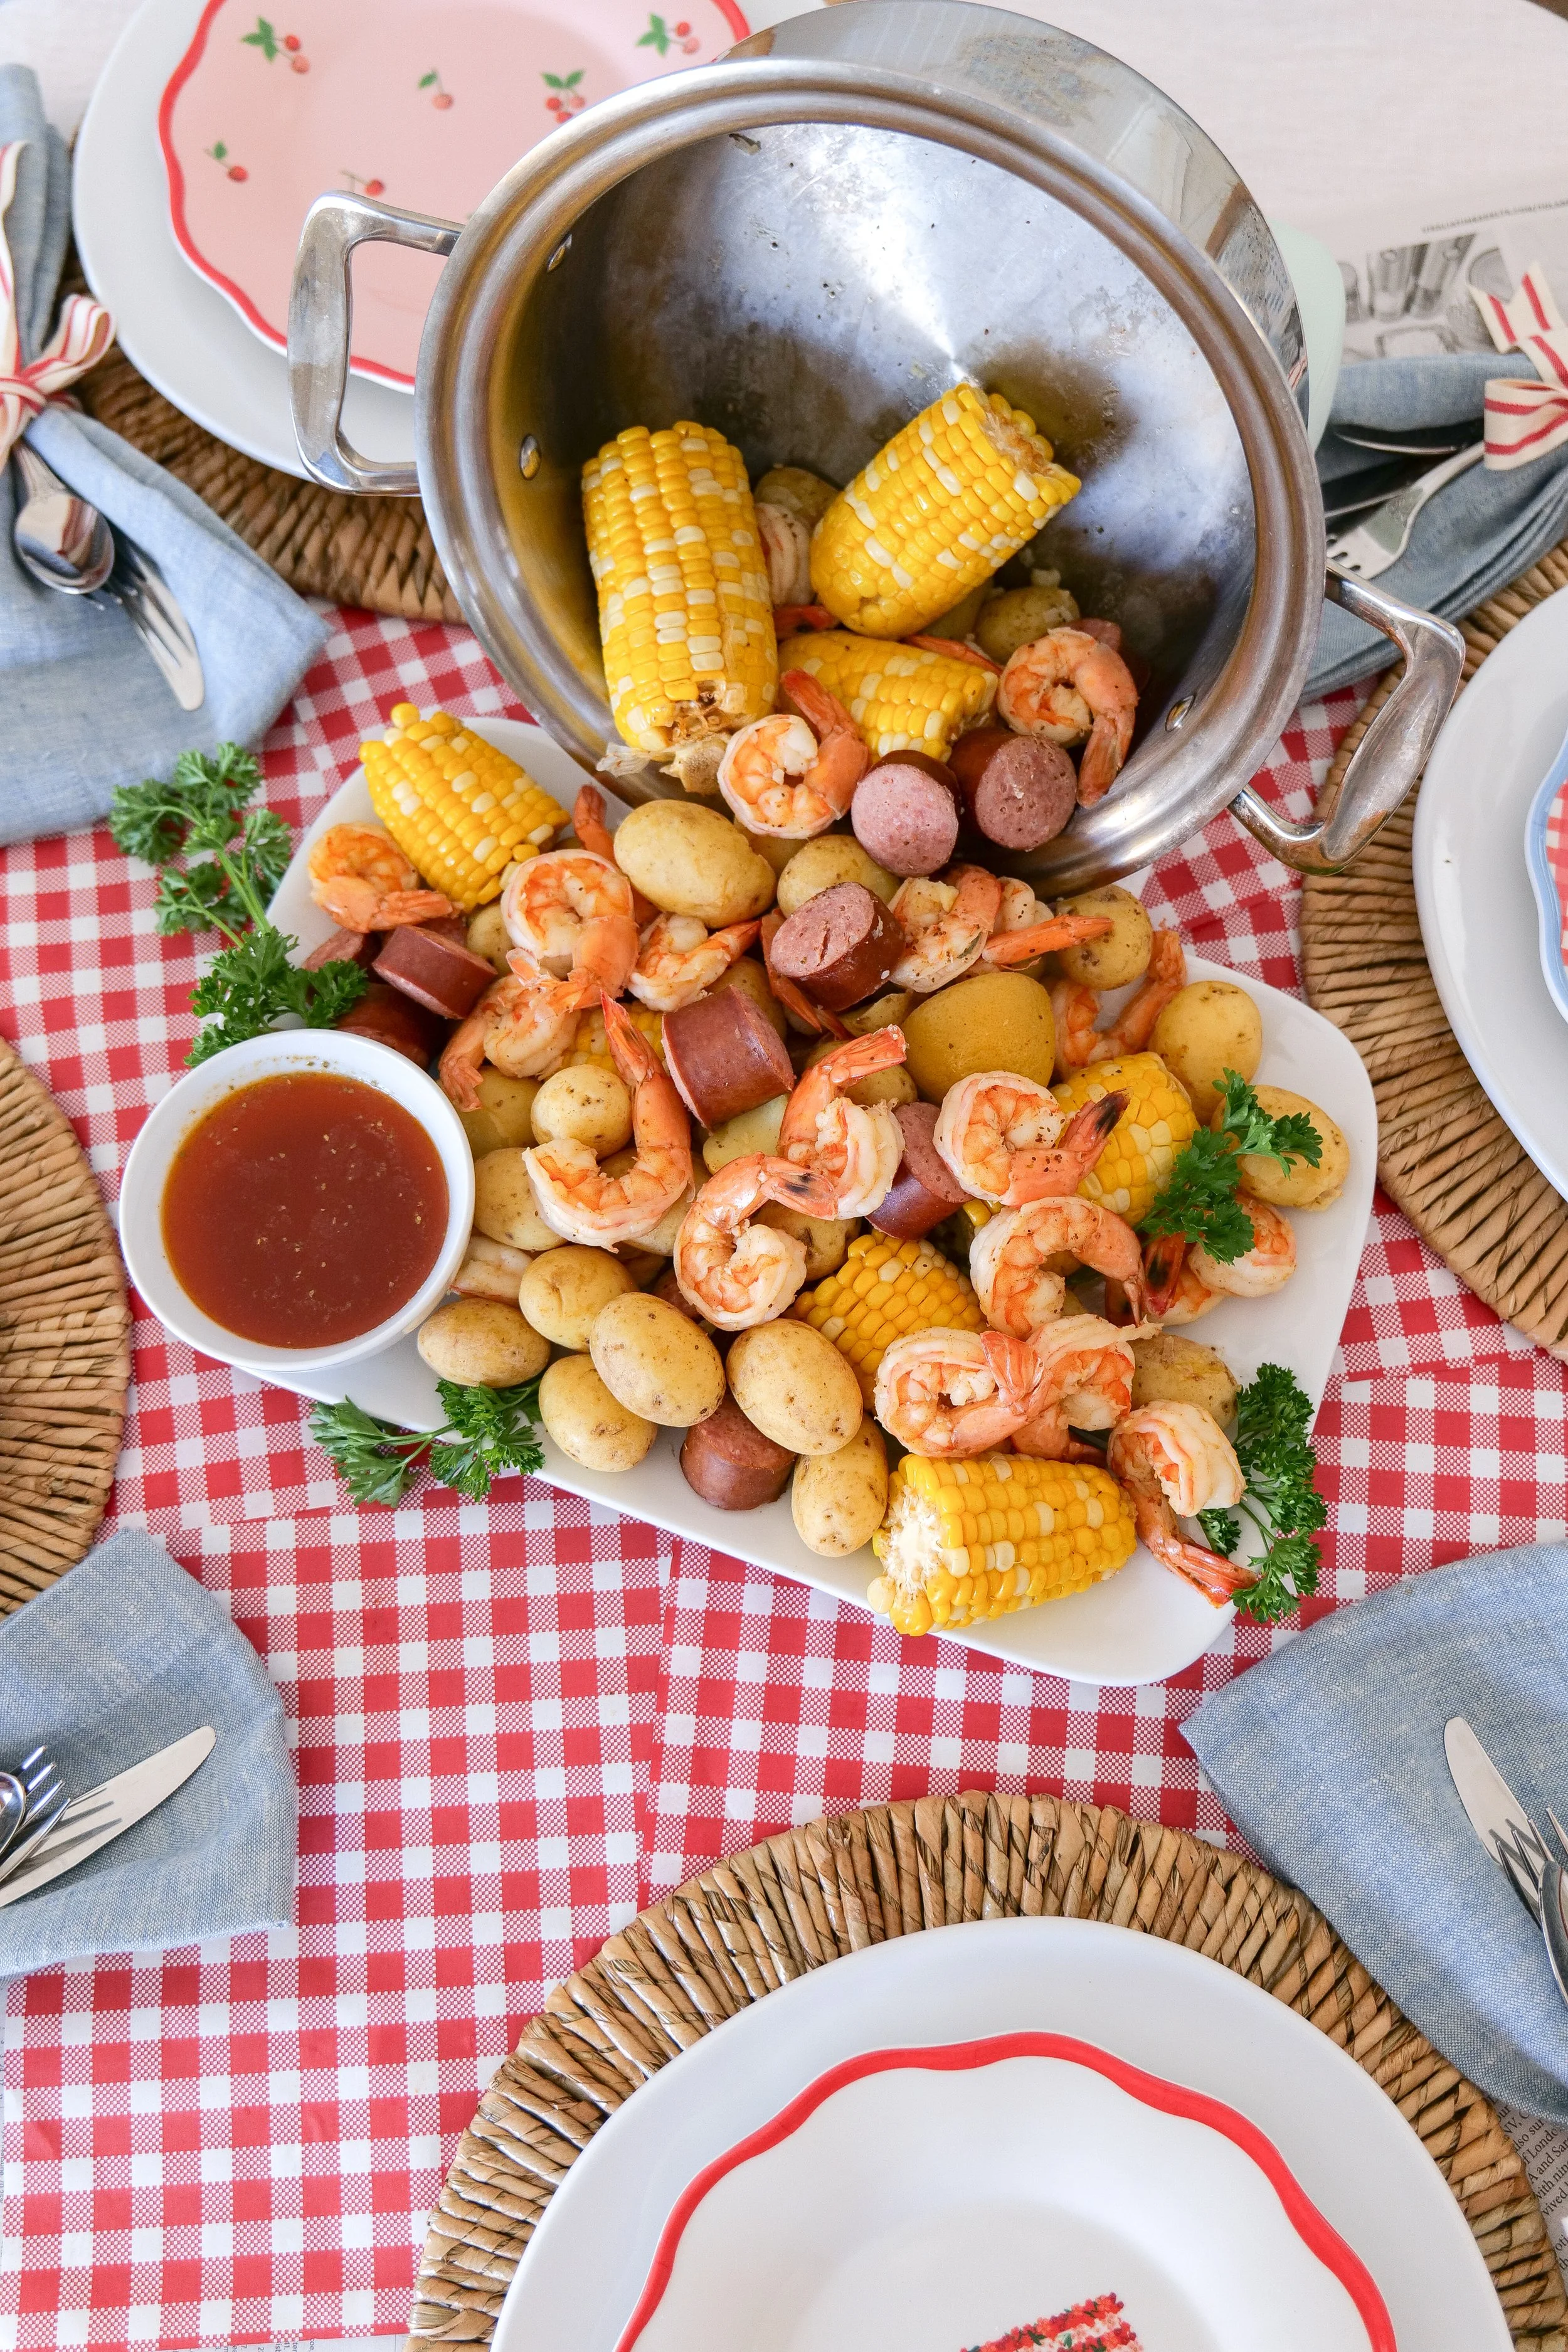
Classic homemade shrimp boil with shrimp, corn, sausage, potatoes, and lemons served in a large stainless steel pot.
Easy shrimp boil recipe made with fresh shrimp, smoked sausage, baby potatoes, and sweet corn.
Shrimp boil garnished with fresh herbs and lemon slices for serving.
Shrimp boil with corn on the cob, smoked sausage, potatoes, and Old Bay seasoning.
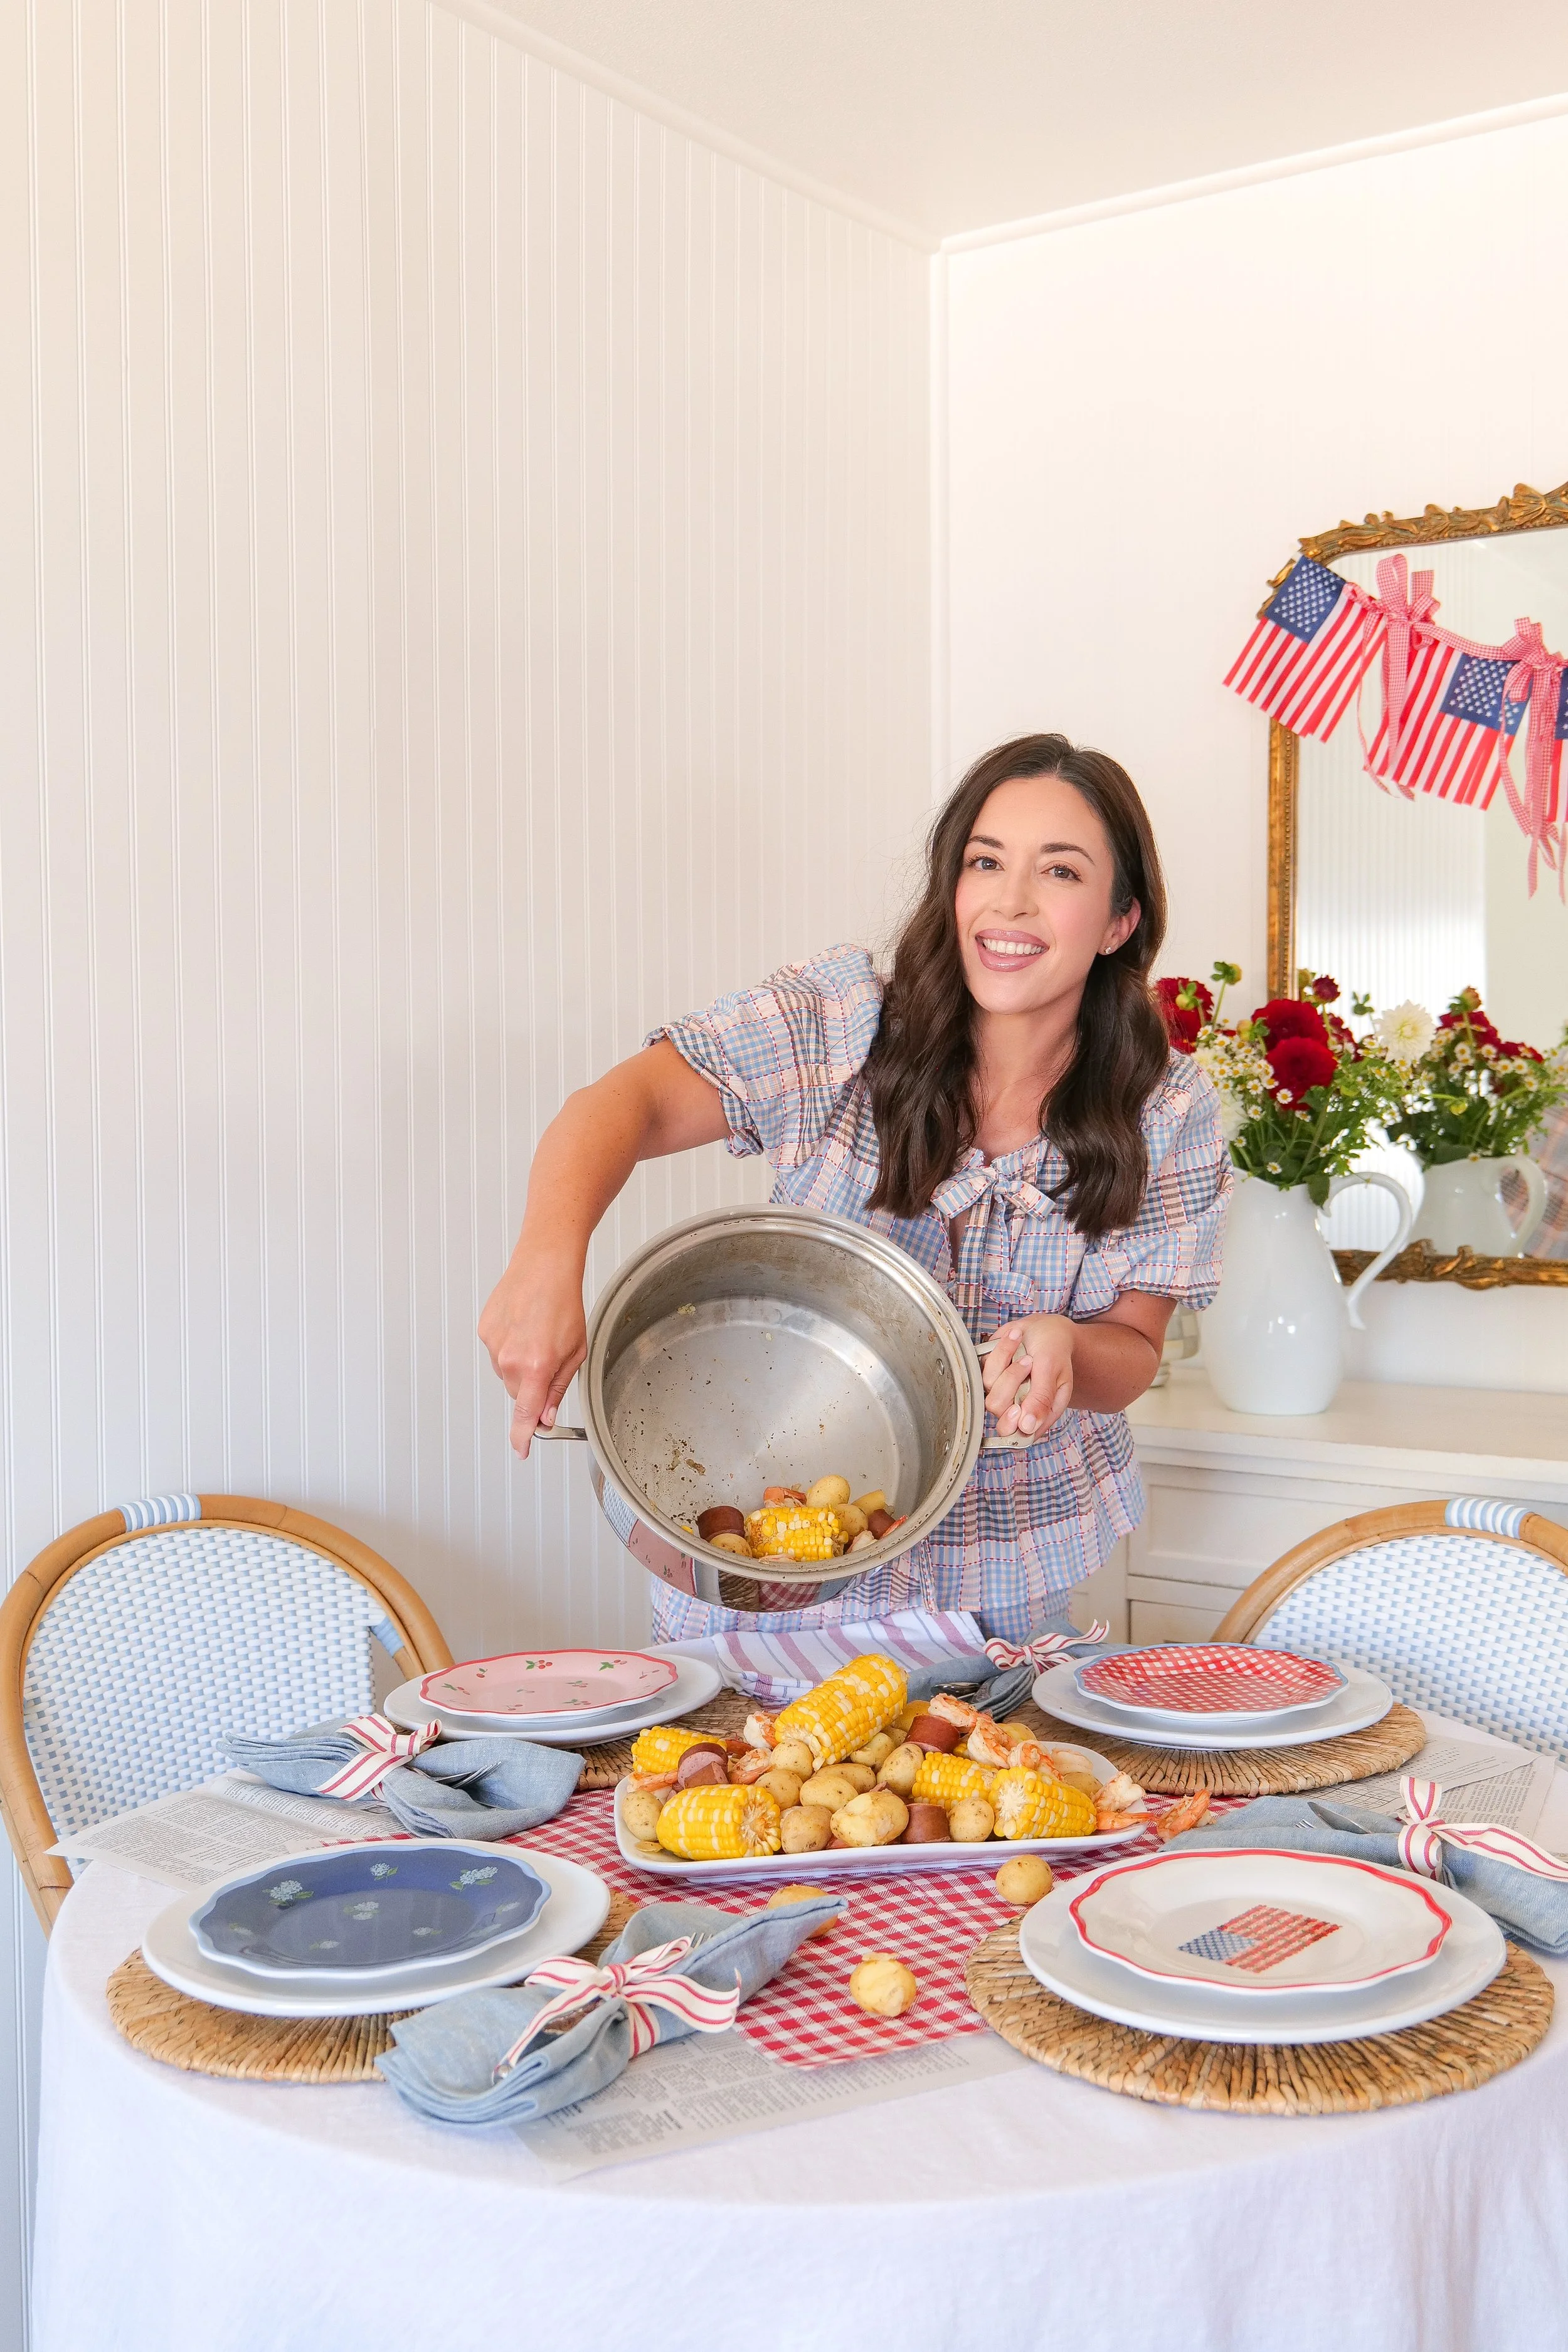
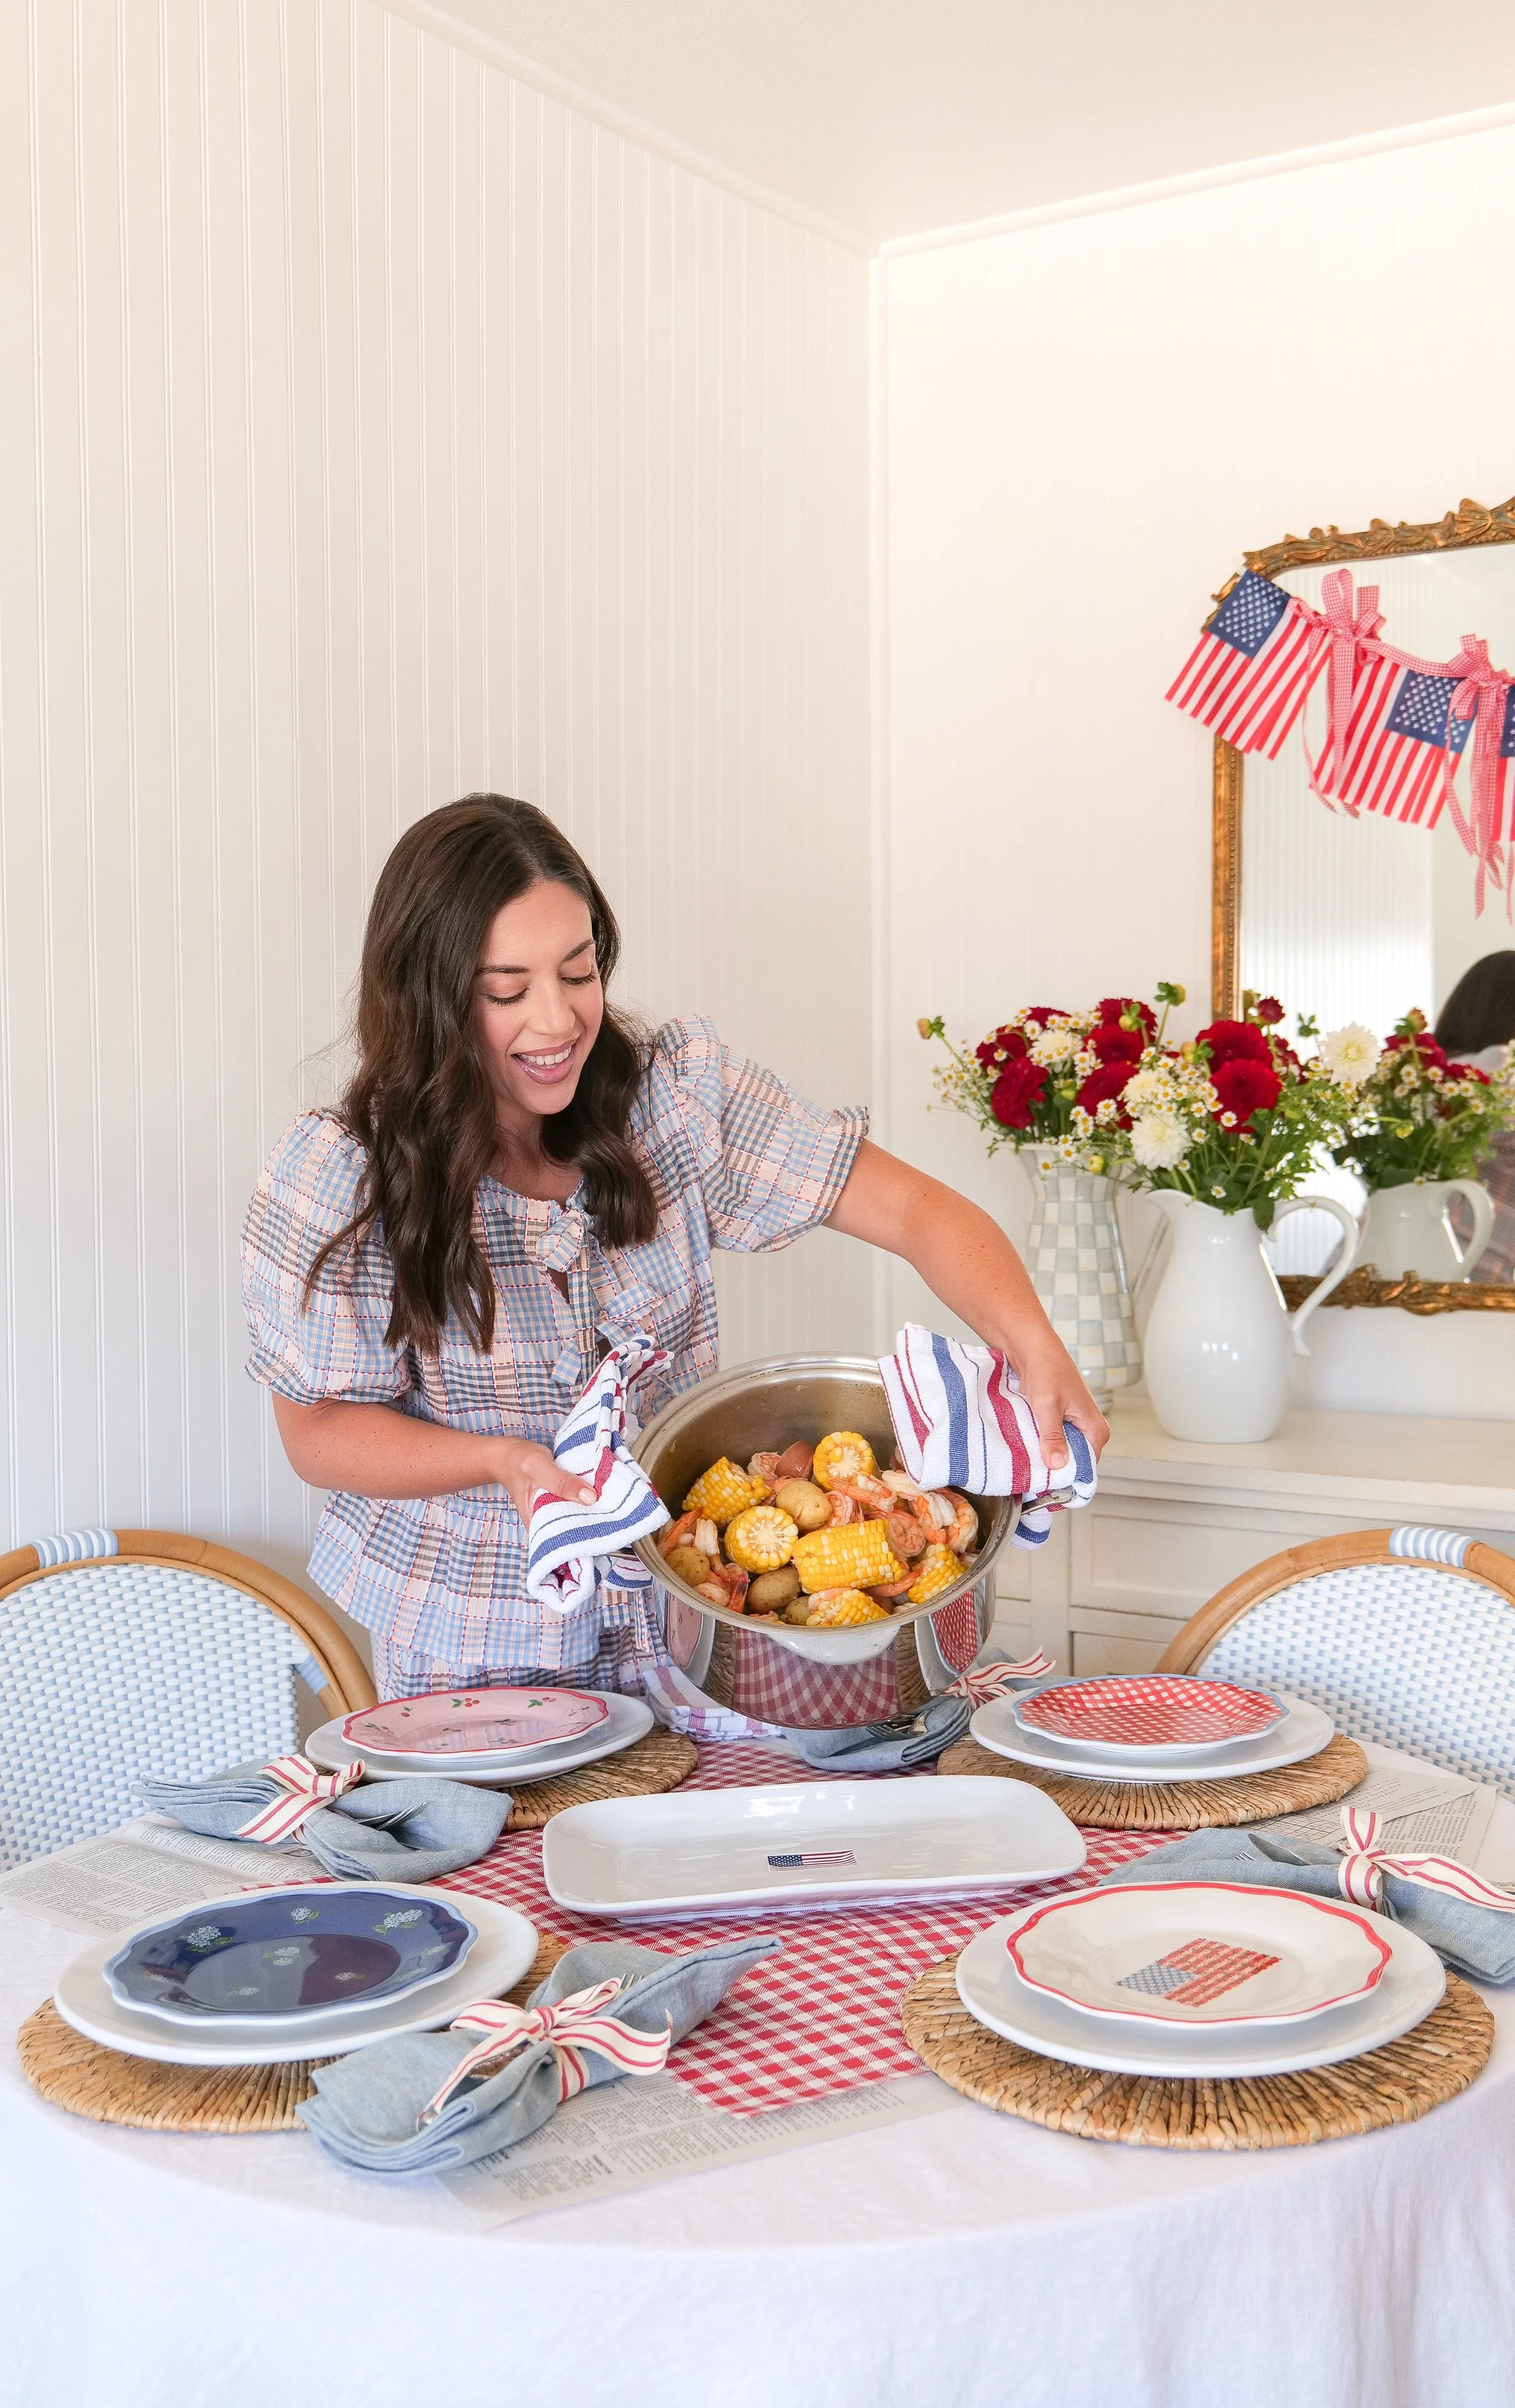
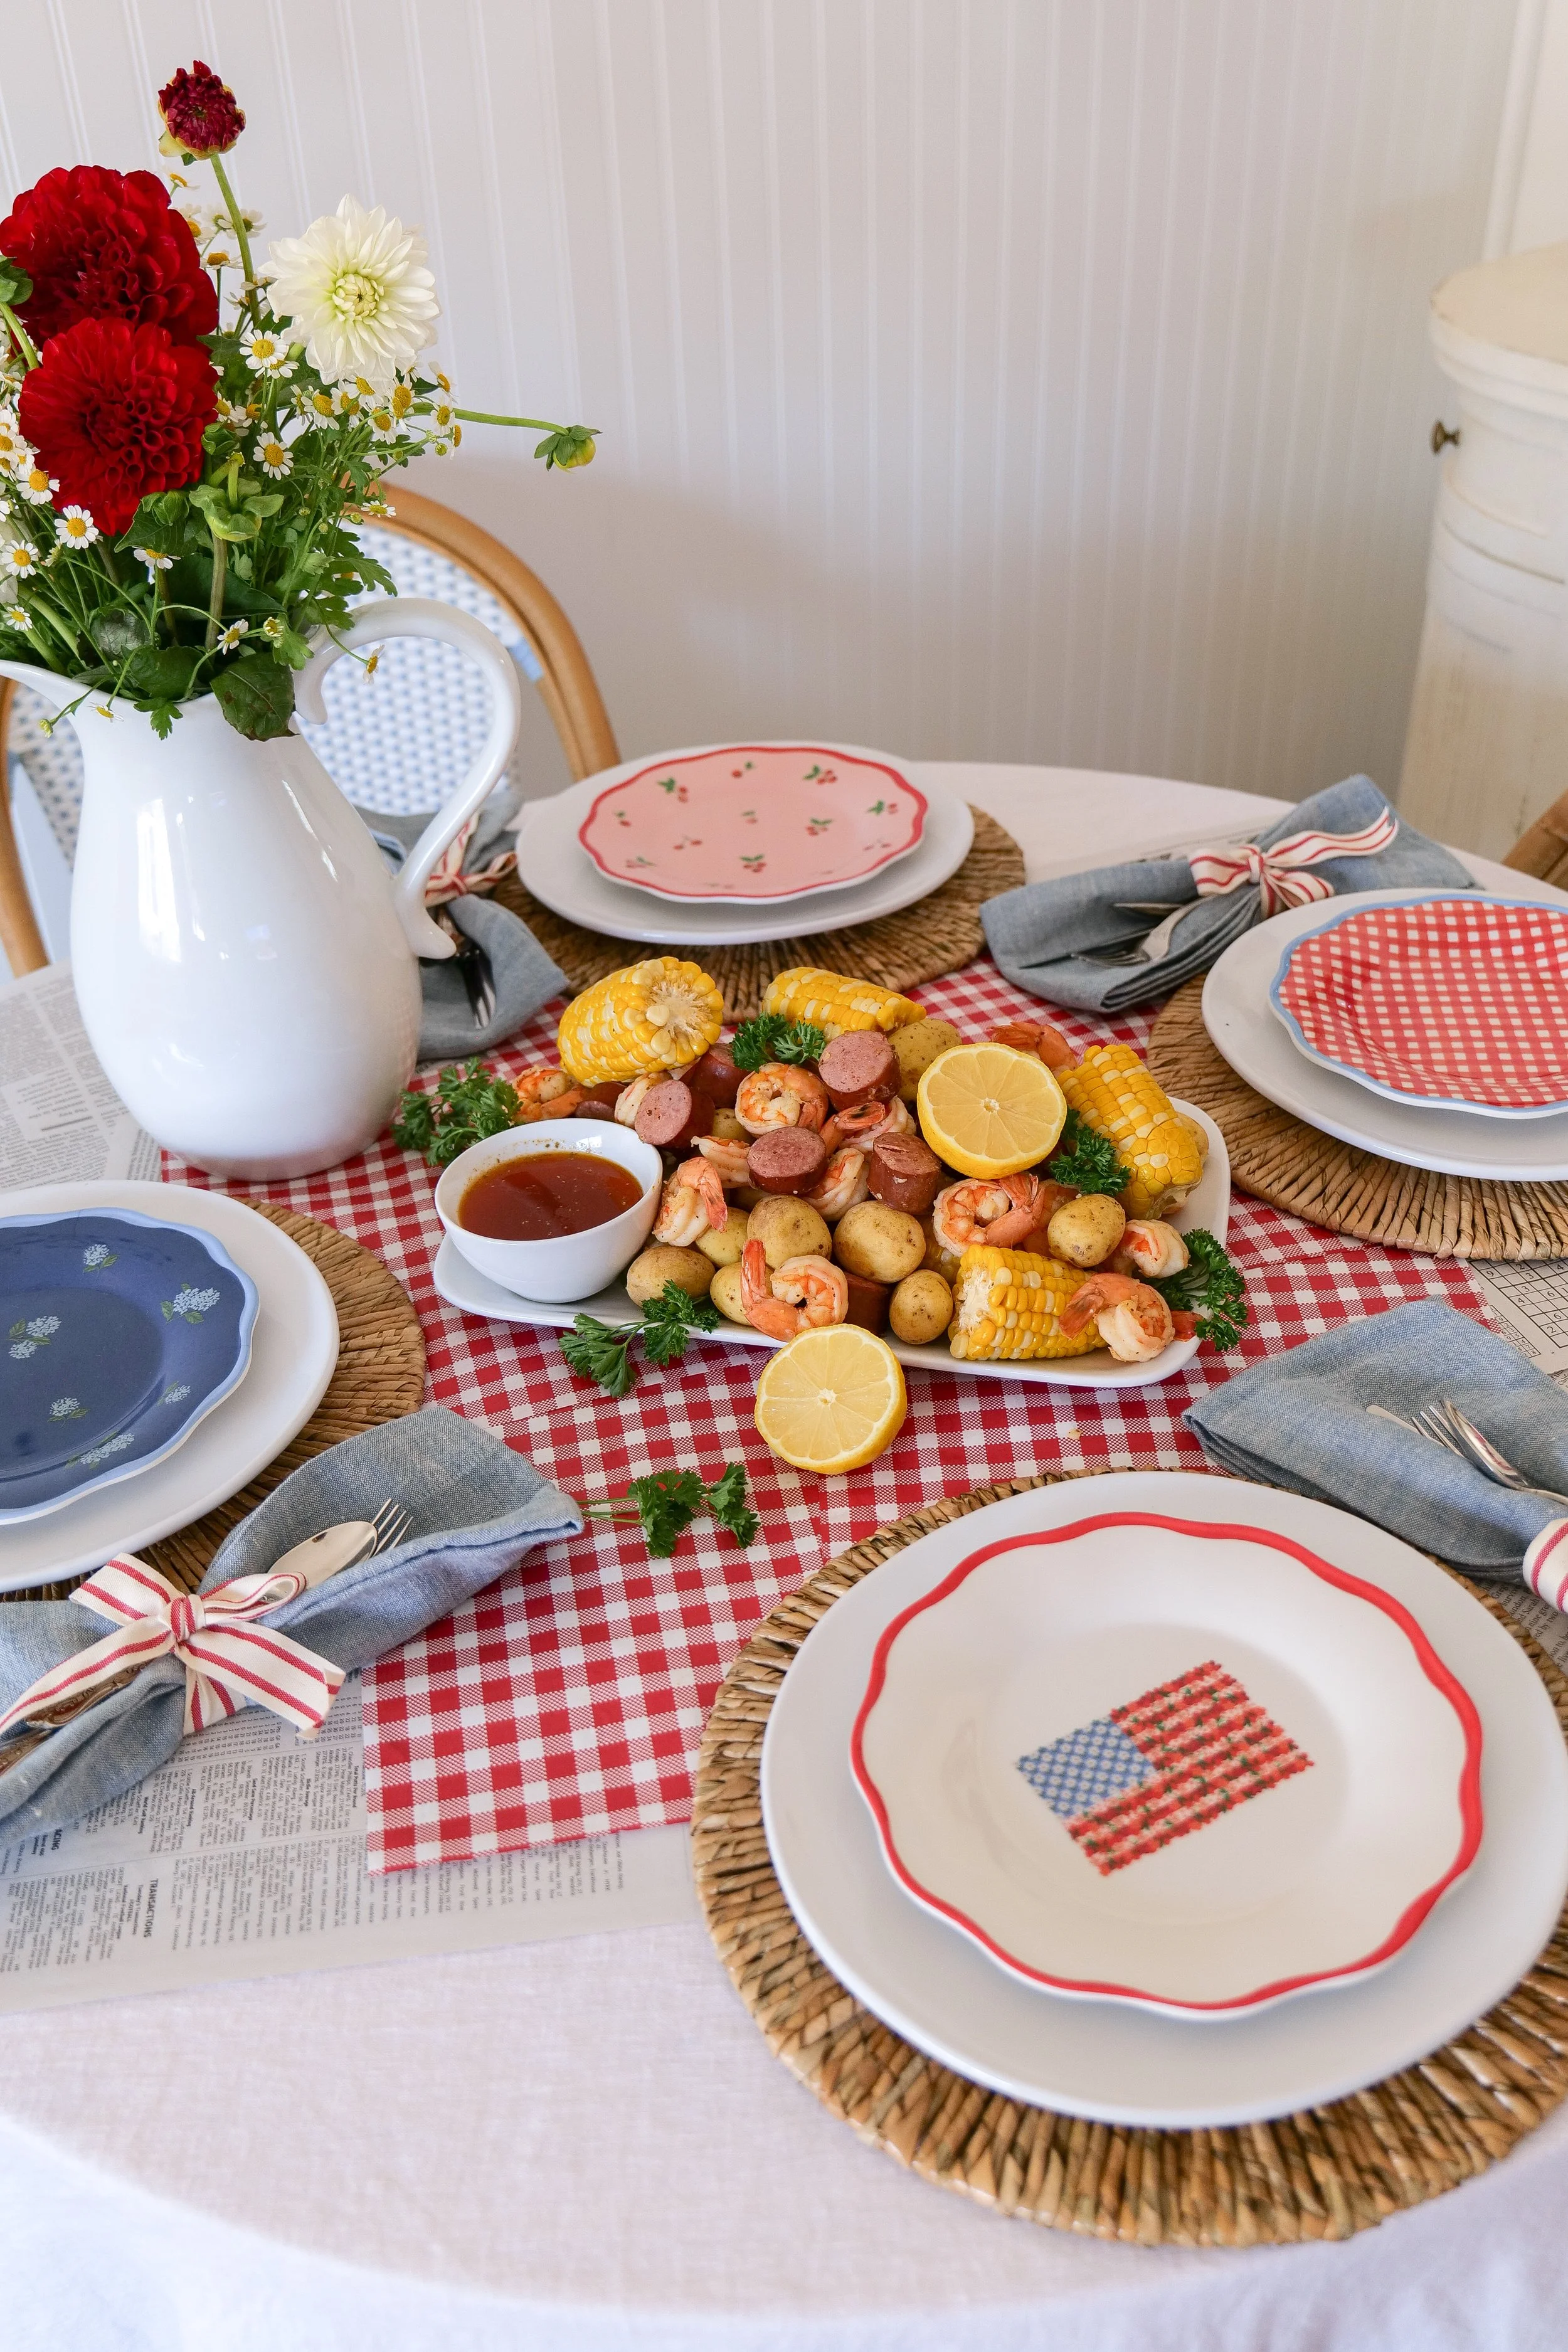
Fourth of July shrimp boil served on a patriotic summer table with festive decor.

Whether you're planning a summer dinner party, hosting friends for the Fourth of July, or creating a coastal-inspired tablescape, this shrimp boil makes a beautiful centerpiece that's both casual and memorable.

Unlike traditional large-scale seafood boils, this recipe is perfectly sized for 4–6 people, making it ideal for home cooks who want all the flavor without needing outdoor burners or oversized equipment.

Why You'll Love This Shrimp Boil Recipe

✔ Made in a standard 8-quart stockpot

✔ Perfect for 4–6 guests

✔ Easy one-pot recipe

✔ Ready in under an hour

✔ Packed with classic coastal flavor

✔ Beautiful presentation for summer gatherings

The combination of shrimp, sausage, potatoes, and corn creates a complete meal that feels festive and relaxed all at once.

What Is a Shrimp Boil?

A shrimp boil is a classic coastal dish popular throughout the Southern United States and Lowcountry regions. Shrimp, potatoes, corn, sausage, and seasonings are cooked together in a large pot and served family-style.

Traditionally enjoyed during warm-weather gatherings, shrimp boils are known for bringing people together around the table. This smaller version makes it easy to recreate the experience indoors while still delivering all the flavor and charm of the original.

Shrimp boil served on a festive Americana-inspired summer tablescape.
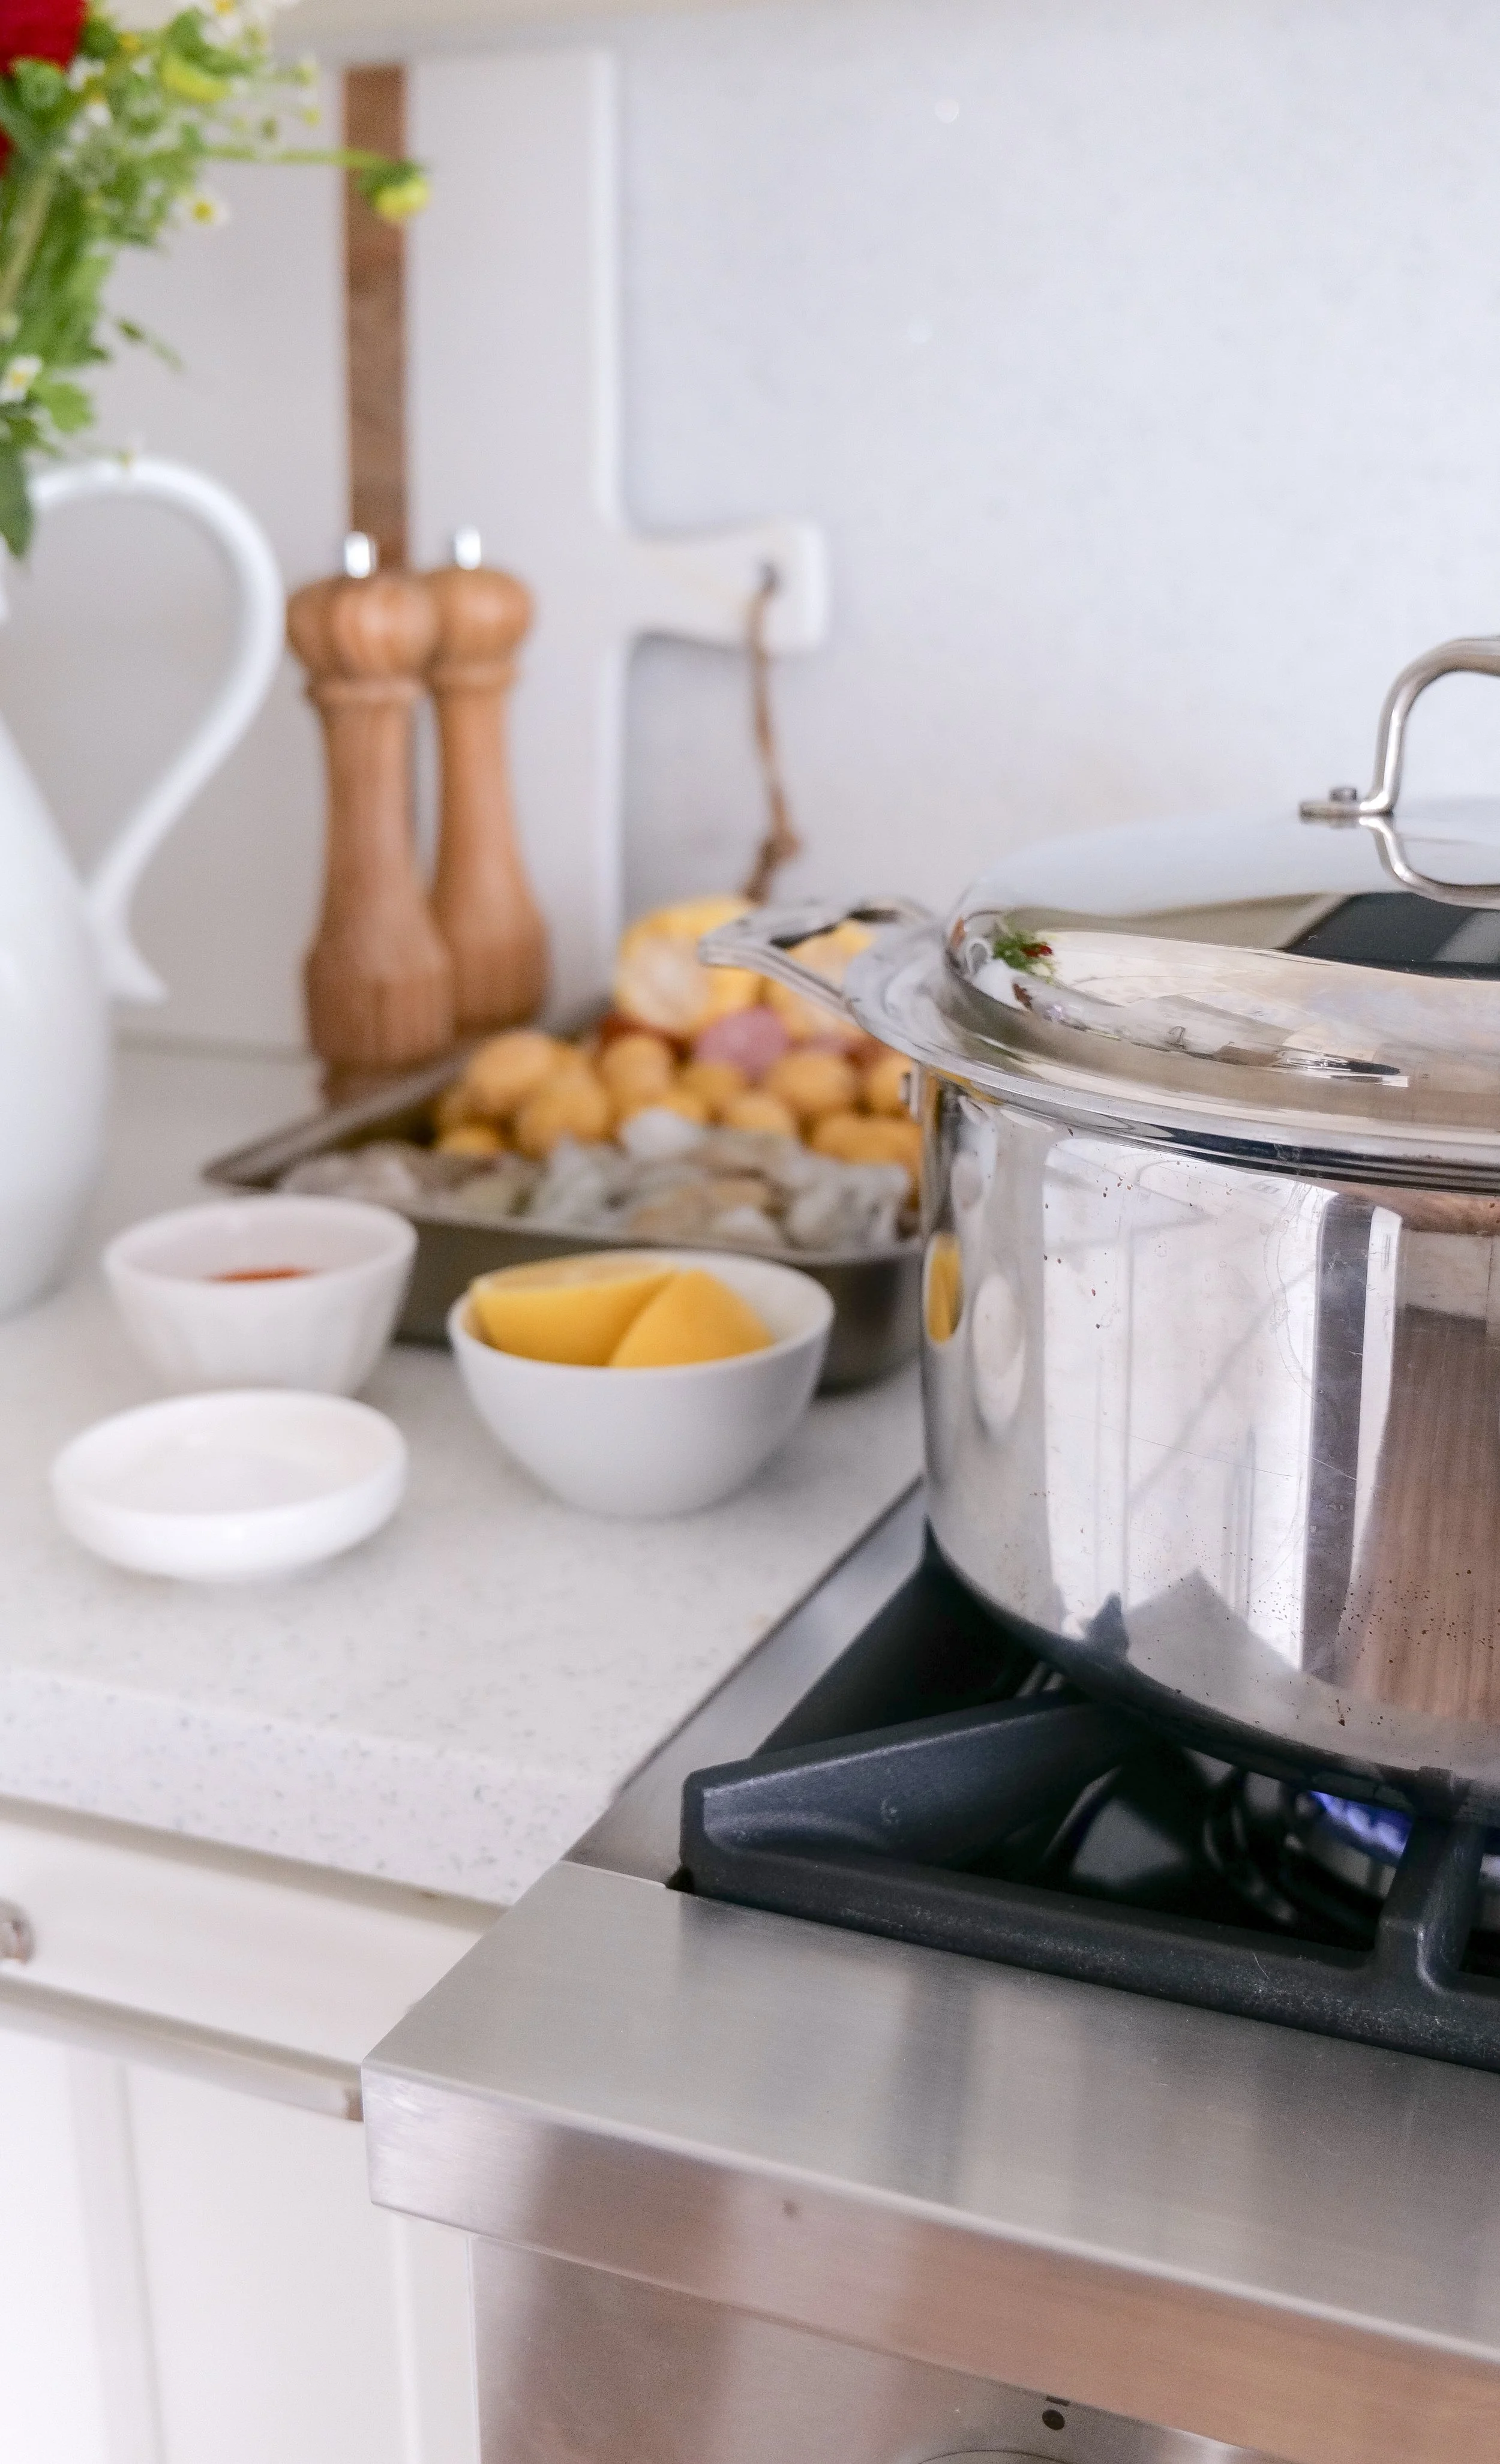
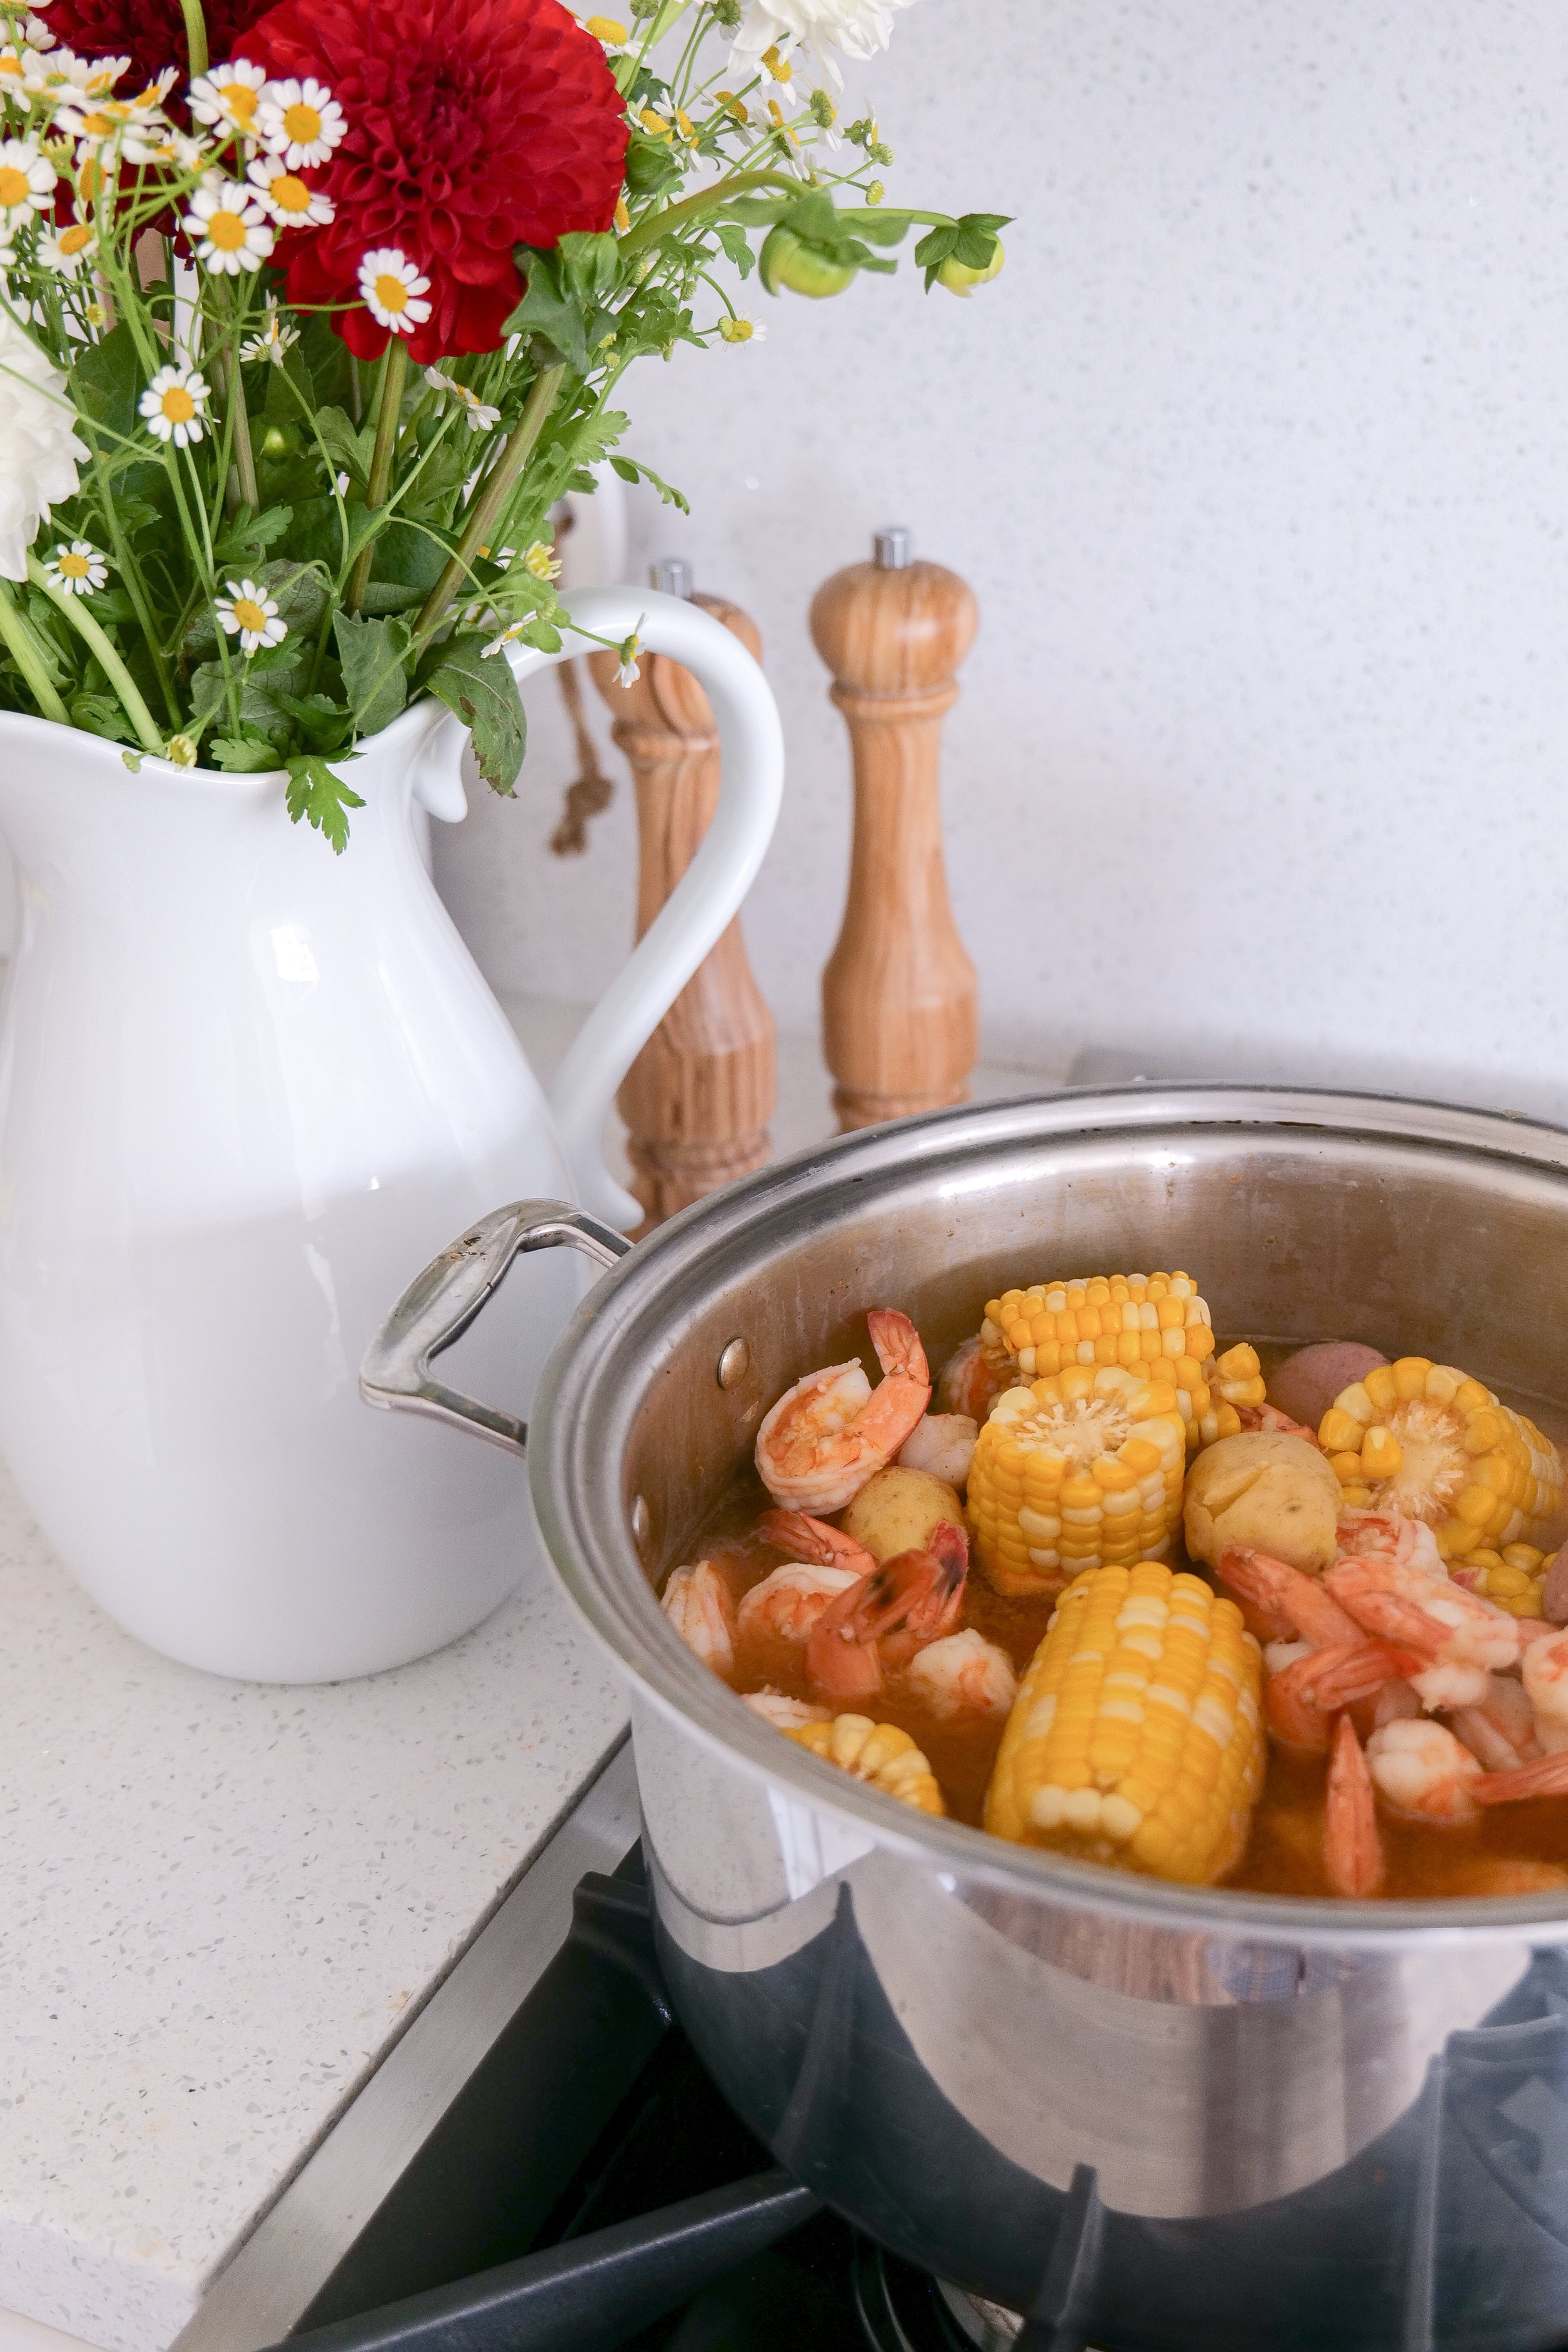
Homemade shrimp boil cooking in an 8-quart stainless steel stock pot.
Family-style shrimp boil served for a backyard summer dinner
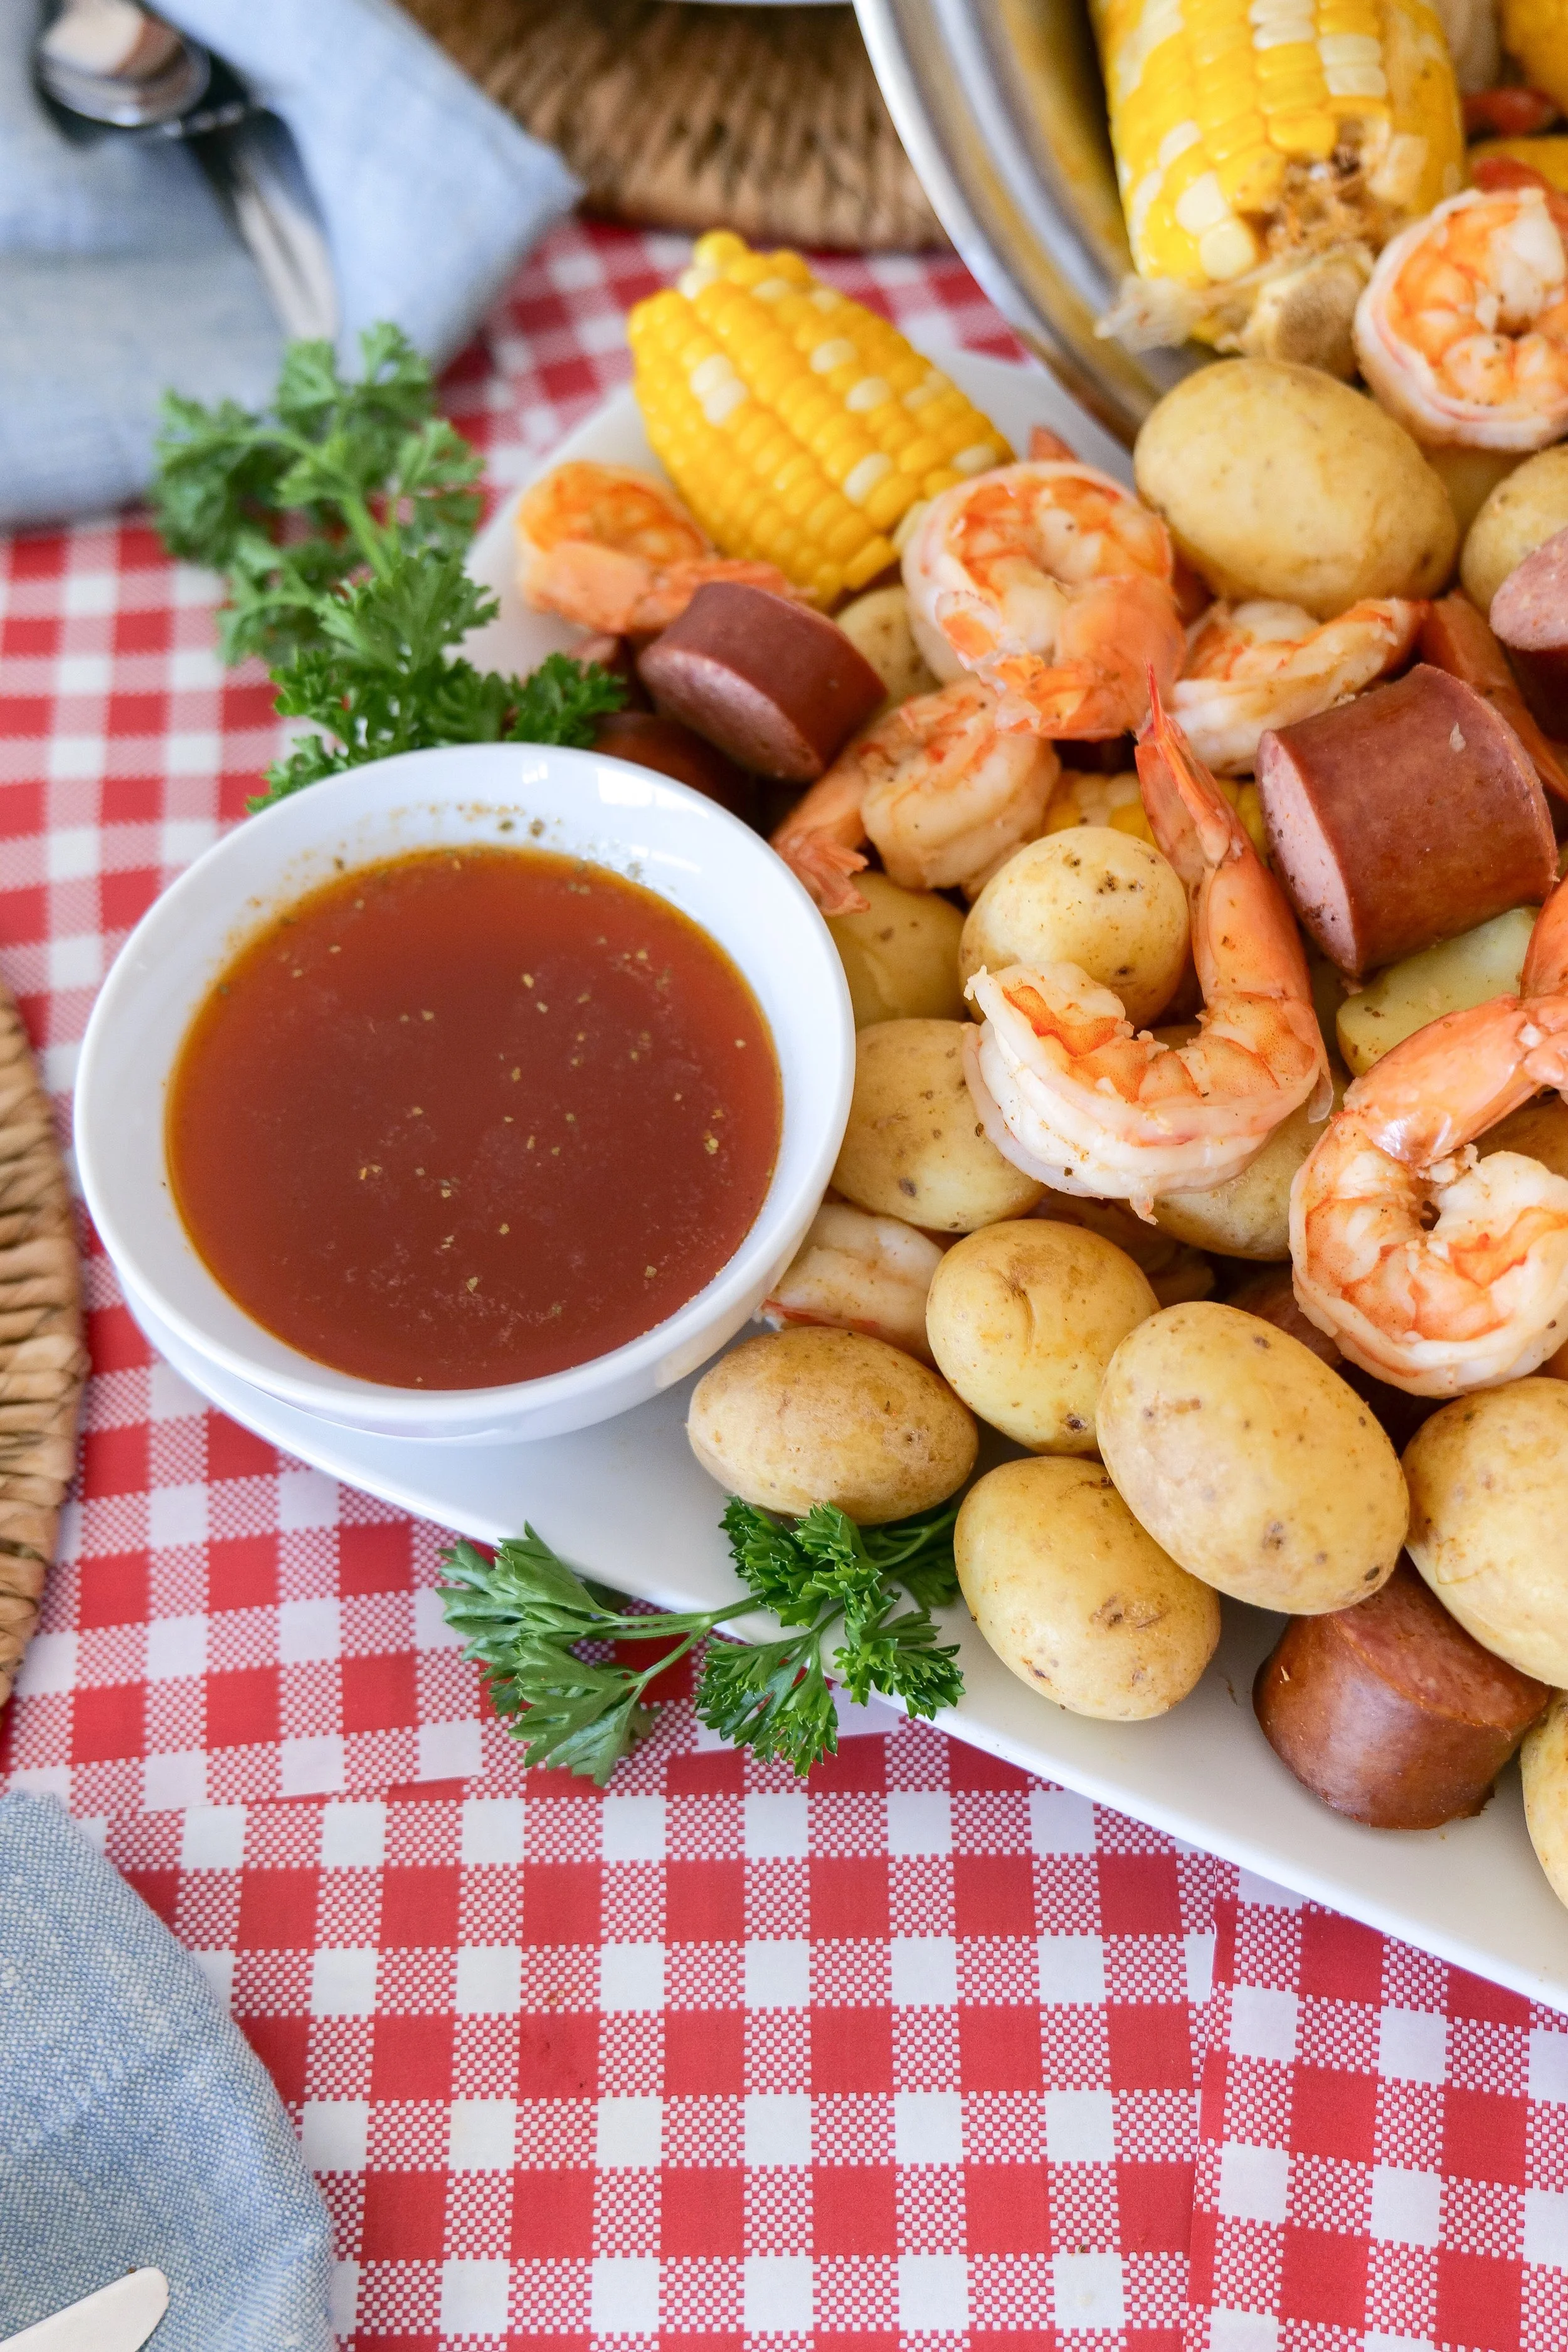
Homemade shrimp boil served with melted butter for dipping.

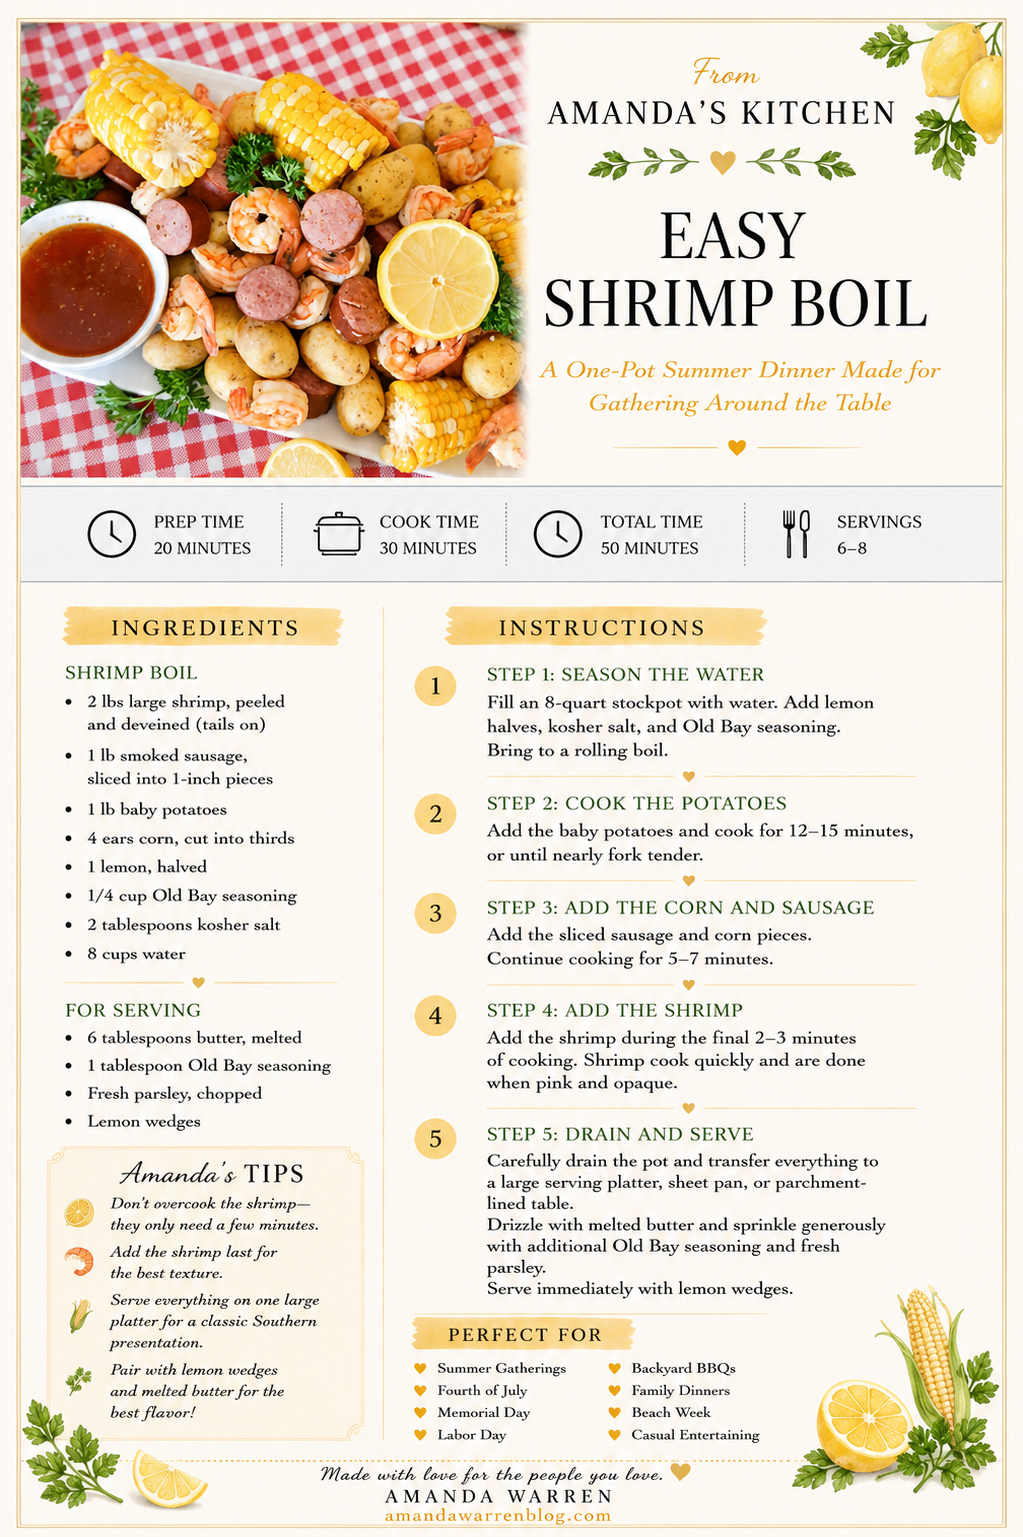
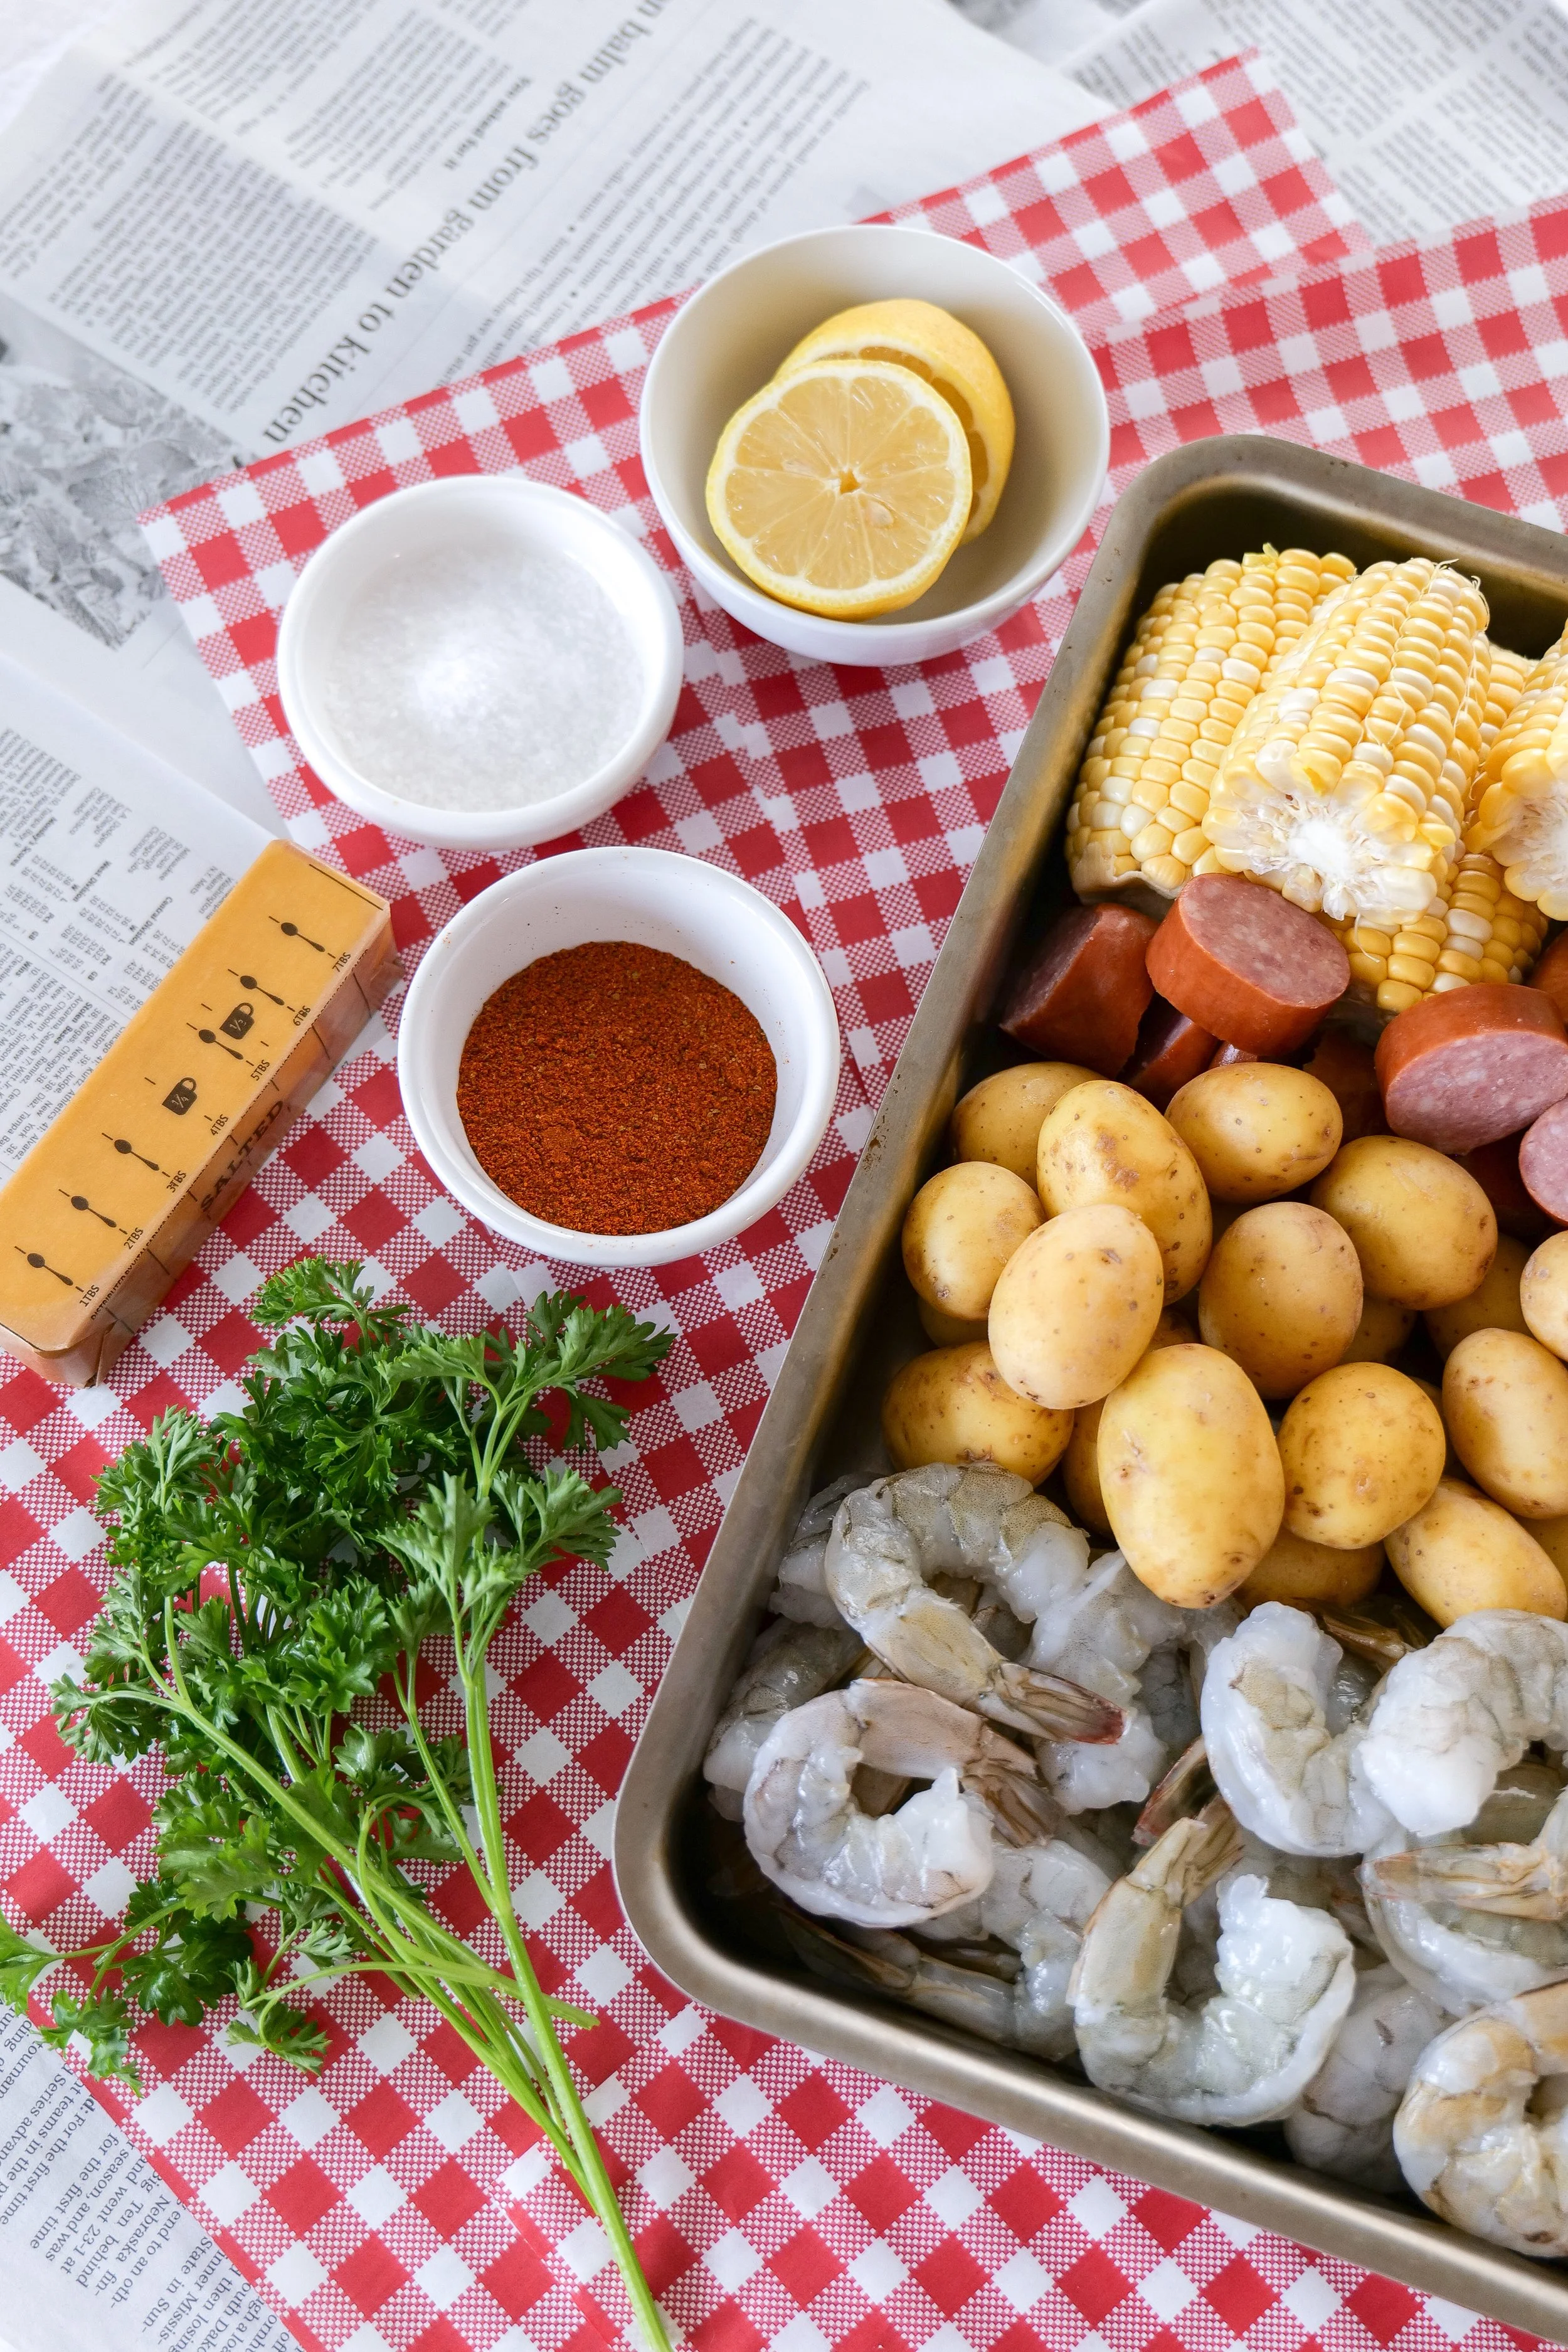
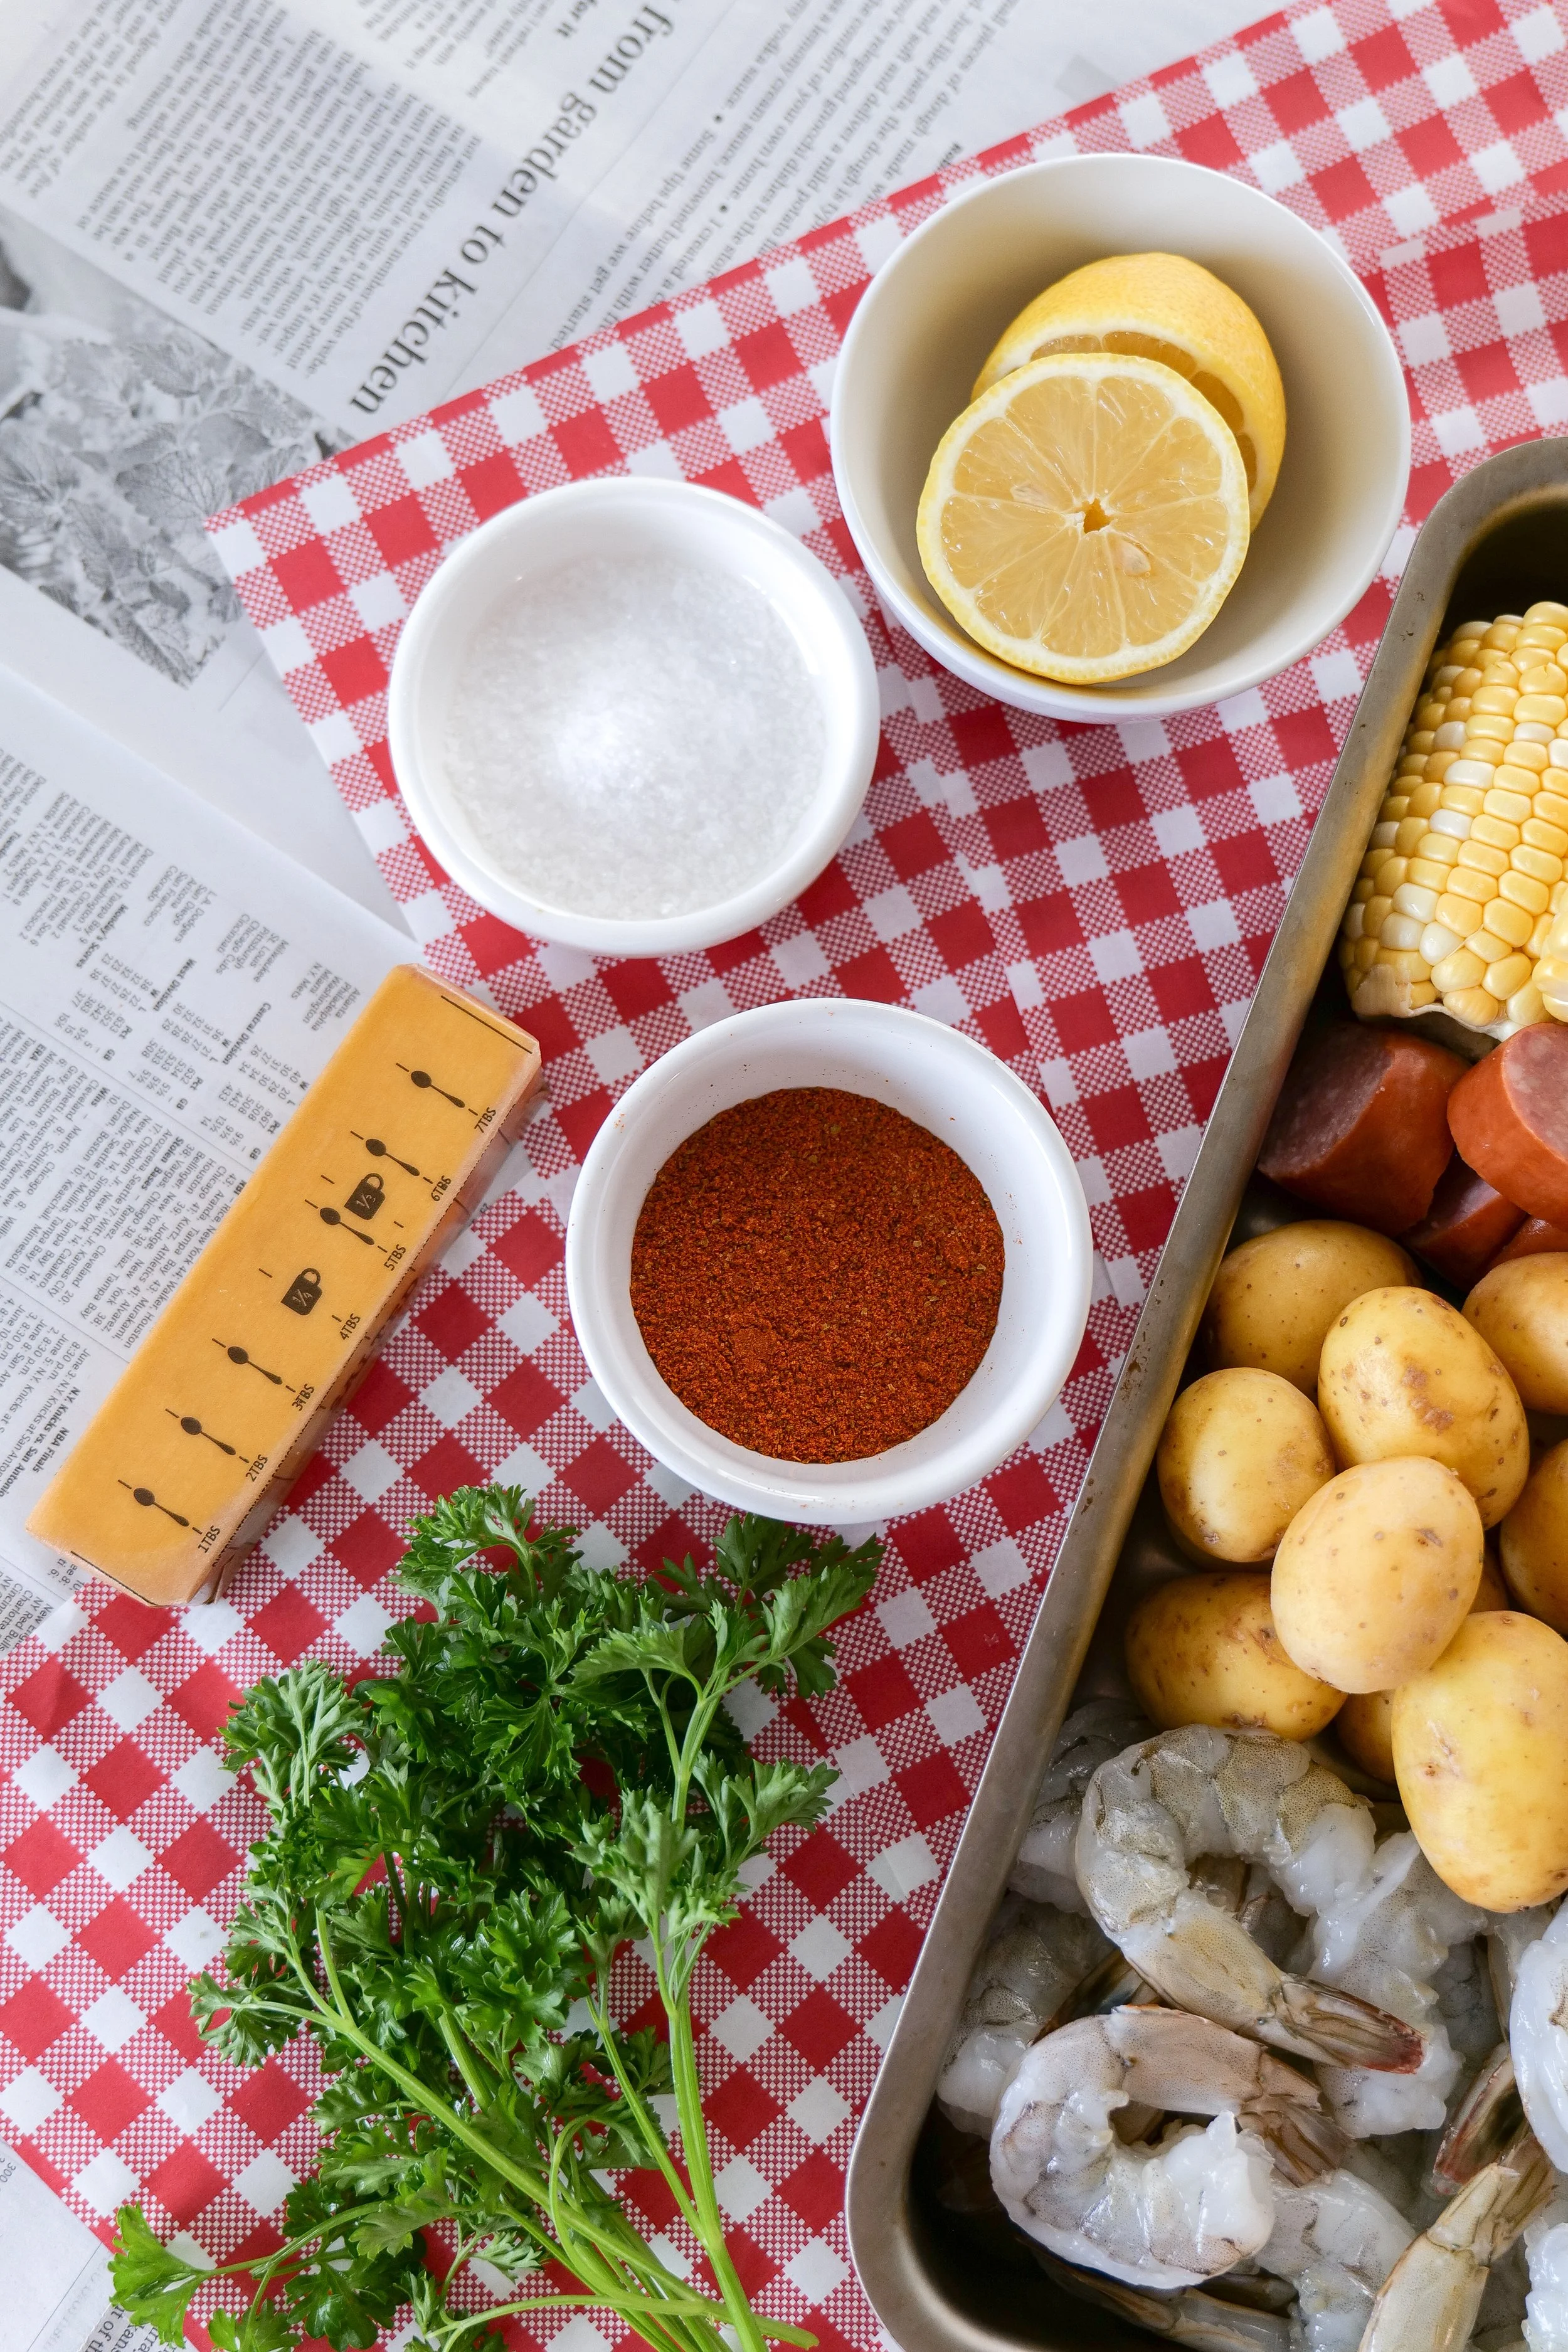
Ingredients

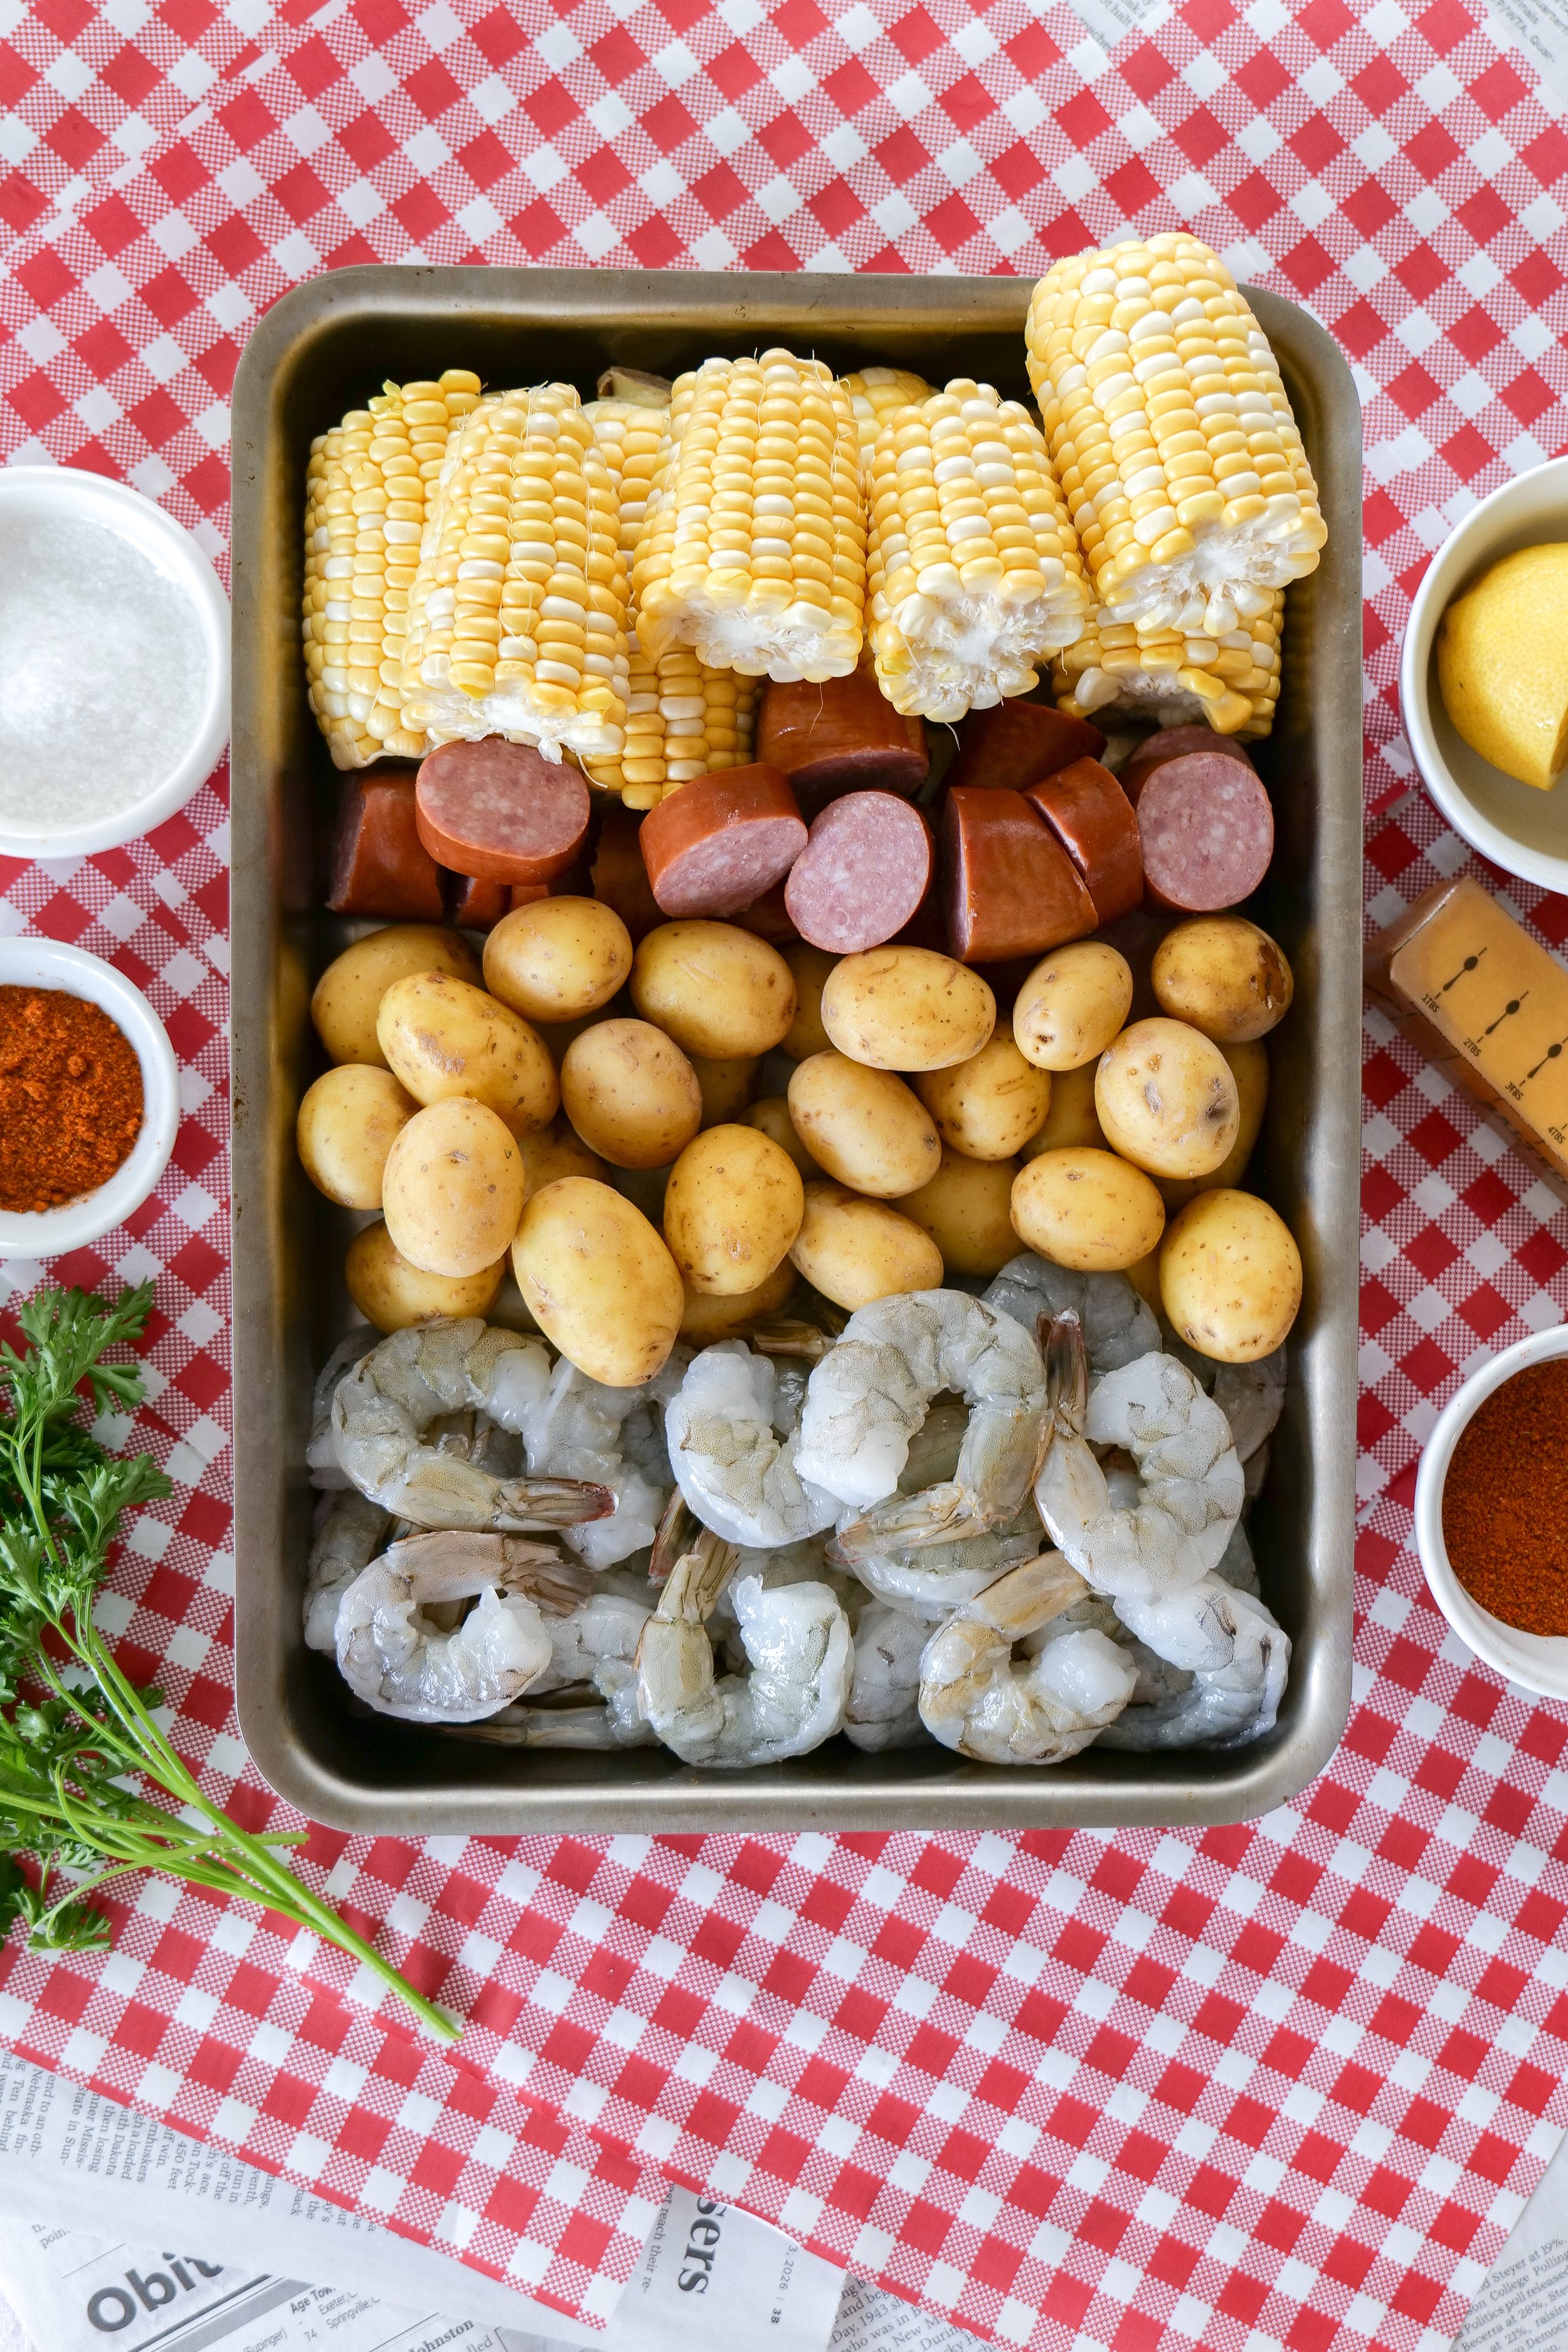
2 lbs large shrimp, peeled and deveined (tails on)

1 lb smoked sausage, sliced into 1-inch pieces

1 lb baby potatoes

4 ears corn, cut into thirds

1 lemon, halved

1/4 cup Old Bay seasoning

2 tablespoons kosher salt

8 cups water

For Serving

6 tablespoons butter, melted

1 tablespoon Old Bay seasoning

Fresh parsley, chopped

Lemon wedges

How to Make a Shrimp Boil

Step 1: Season the Water

Fill an 8-quart stockpot with water. Add lemon halves, kosher salt, and Old Bay seasoning. Bring to a rolling boil.

Step 2: Cook the Potatoes

Add the baby potatoes and cook for 12–15 minutes, or until nearly fork tender.

Step 3: Add the Corn and Sausage

Add the sliced sausage and corn pieces. Continue cooking for 5–7 minutes.

Step 4: Add the Shrimp

Add the shrimp during the final 2–3 minutes of cooking. Shrimp cook quickly and are done when pink and opaque.

Step 5: Drain and Serve

Carefully drain the pot and transfer everything to a large serving platter, sheet pan, or parchment-lined table.

Drizzle with melted butter and sprinkle generously with additional Old Bay seasoning and fresh parsley.

Serve immediately with lemon wedges.

Shrimp boil seasoned with Old Bay and served with melted butter and lemon wedges.
Shrimp boil displayed on a beautiful patriotic tablescape with coastal-inspired decor.
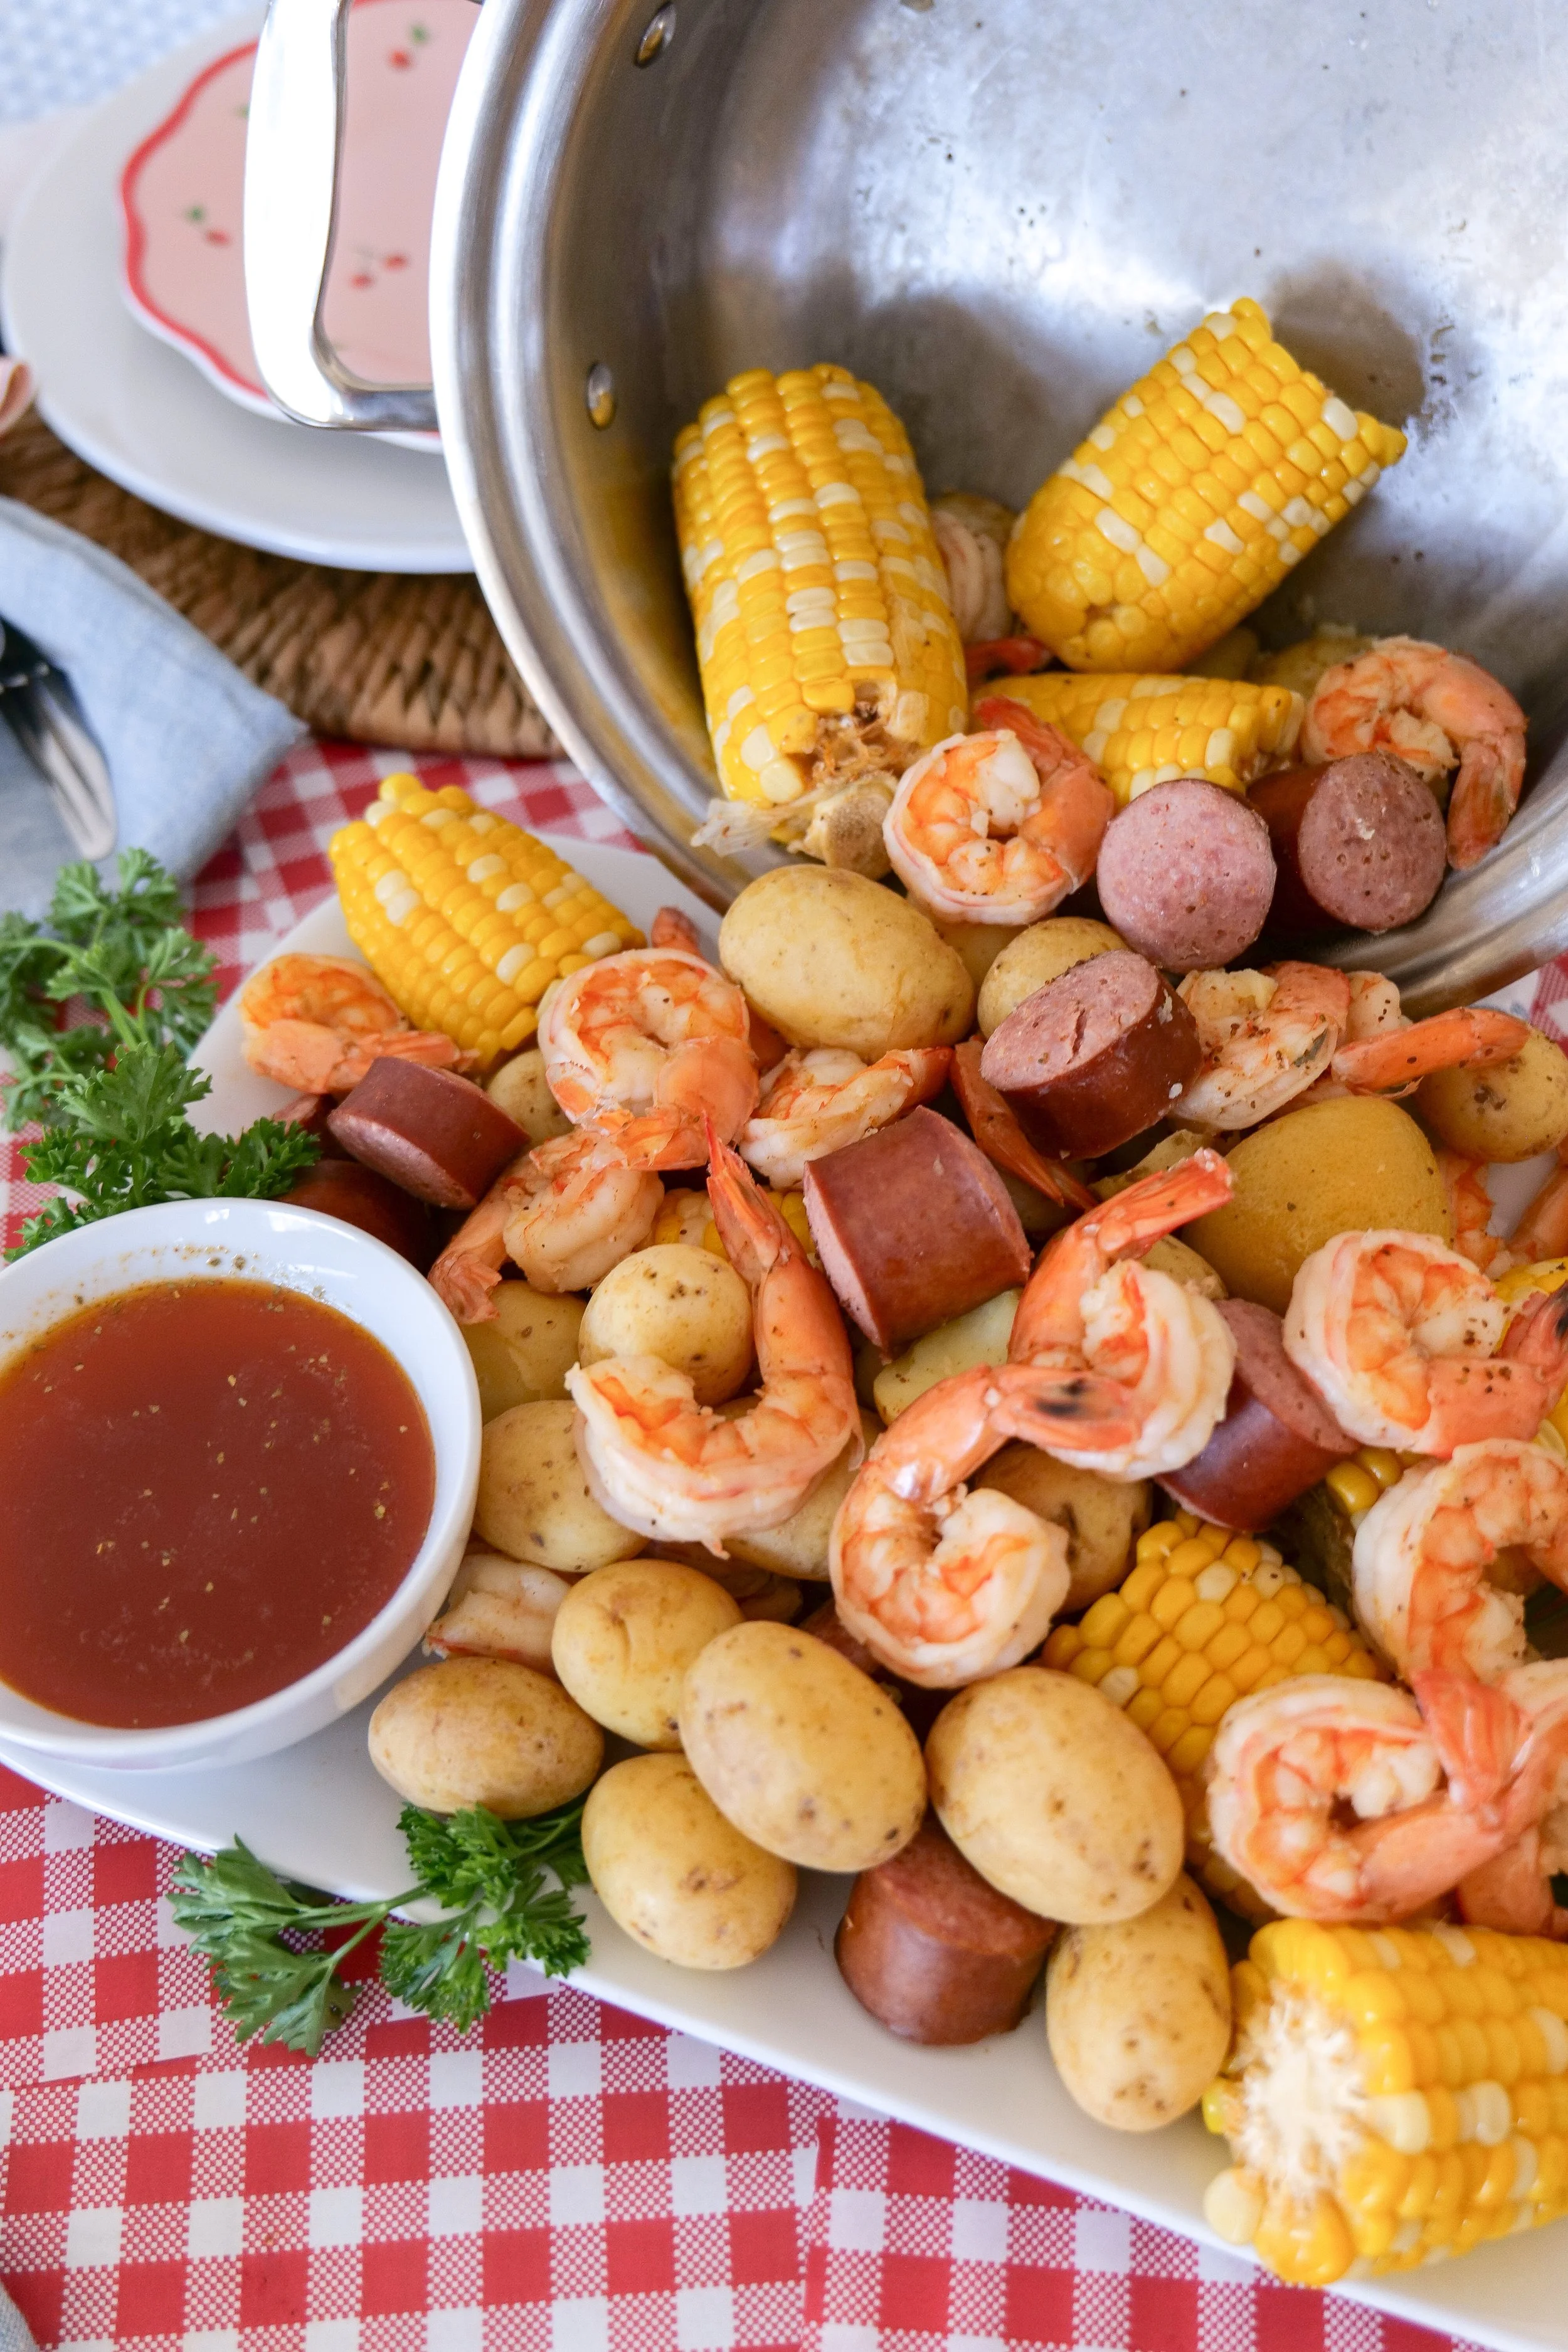
Buttery close-up of a classic shrimp boil with tender shrimp, potatoes, corn, and fresh lemon slices for summer entertaining.
Close-up of a homemade shrimp boil featuring juicy shrimp, sweet corn on the cob, and smoked sausage coated in butter and seasoning.

Summer Hosting Essentials

Hosting a shrimp boil or coastal dinner party? I've rounded up my favorite serving platters, blue-and-white table pieces, woven chargers, appetizer trays, and entertaining staples that help make summer gatherings feel effortless and elevated.

[INSERT SHOPMY IMAGE CAROUSEL HERE]

Tips for the Best Shrimp Boil

Don't Overcook the Shrimp

Shrimp cook very quickly. Leaving them in the pot too long can make them rubbery.

Use Fresh Lemon

Fresh lemon adds brightness that balances the richness of the butter and sausage.

Choose Large Shrimp

Large shrimp hold up best during cooking and make the presentation more impressive.

Serve Family Style

Part of the charm of a shrimp boil is the presentation. Serve everything together on a large platter or spread across parchment paper for a true coastal entertaining experience.

What to Serve with a Shrimp Boil

This shrimp boil pairs beautifully with:

• Coastal Summer Charcuterie Board

• Blueberry Lemon Ginger Beer Cocktail

• Watermelon Feta Salad

• Cornbread

• Citrus Slaw

• Lemon Bars

For entertaining, I love serving this alongside a coastal-inspired charcuterie board and a refreshing summer cocktail for a complete dinner party menu.

Coastal Entertaining Favorites

These are the serving pieces and hosting details I reach for when styling summer tablescapes and seafood dinners—from oversized platters and serving boards to cocktail glasses and casual coastal decor.

[INSERT SHOPMY IMAGE CAROUSEL HERE]

Hosting Tip

Planning a summer gathering? Style your shrimp boil with blue and white linens, fresh hydrangeas, woven chargers, and plenty of lemons for a timeless coastal tablescape that feels both elegant and approachable.

Easy shrimp boil recipe perfect for entertaining family and friends during summer.
Classic shrimp boil as part of an Americana Summer celebration with seasonal recipes.
Shrimp boil served in a large serving bowl ready for summer entertaining.

Frequently Asked Questions

Can I make a shrimp boil indoors?

Yes. This recipe was specifically designed for a standard 8-quart stockpot and can easily be made indoors on your stovetop.

How many people does this shrimp boil serve?

This recipe serves approximately 4–6 people depending on portion size and side dishes.

Can I use frozen shrimp?

Absolutely. Just thaw the shrimp completely before cooking for the best texture.

What type of sausage works best?

Smoked sausage, andouille sausage, or kielbasa all work beautifully in this recipe.

Can I make a shrimp boil ahead of time?

Shrimp boils are best served fresh. You can prep the ingredients ahead of time, but cook everything just before serving for the best flavor and texture.

More Summer Recipes You'll Love

• Coastal Summer Charcuterie Board

• Blueberry Lemon Ginger Beer Cocktail

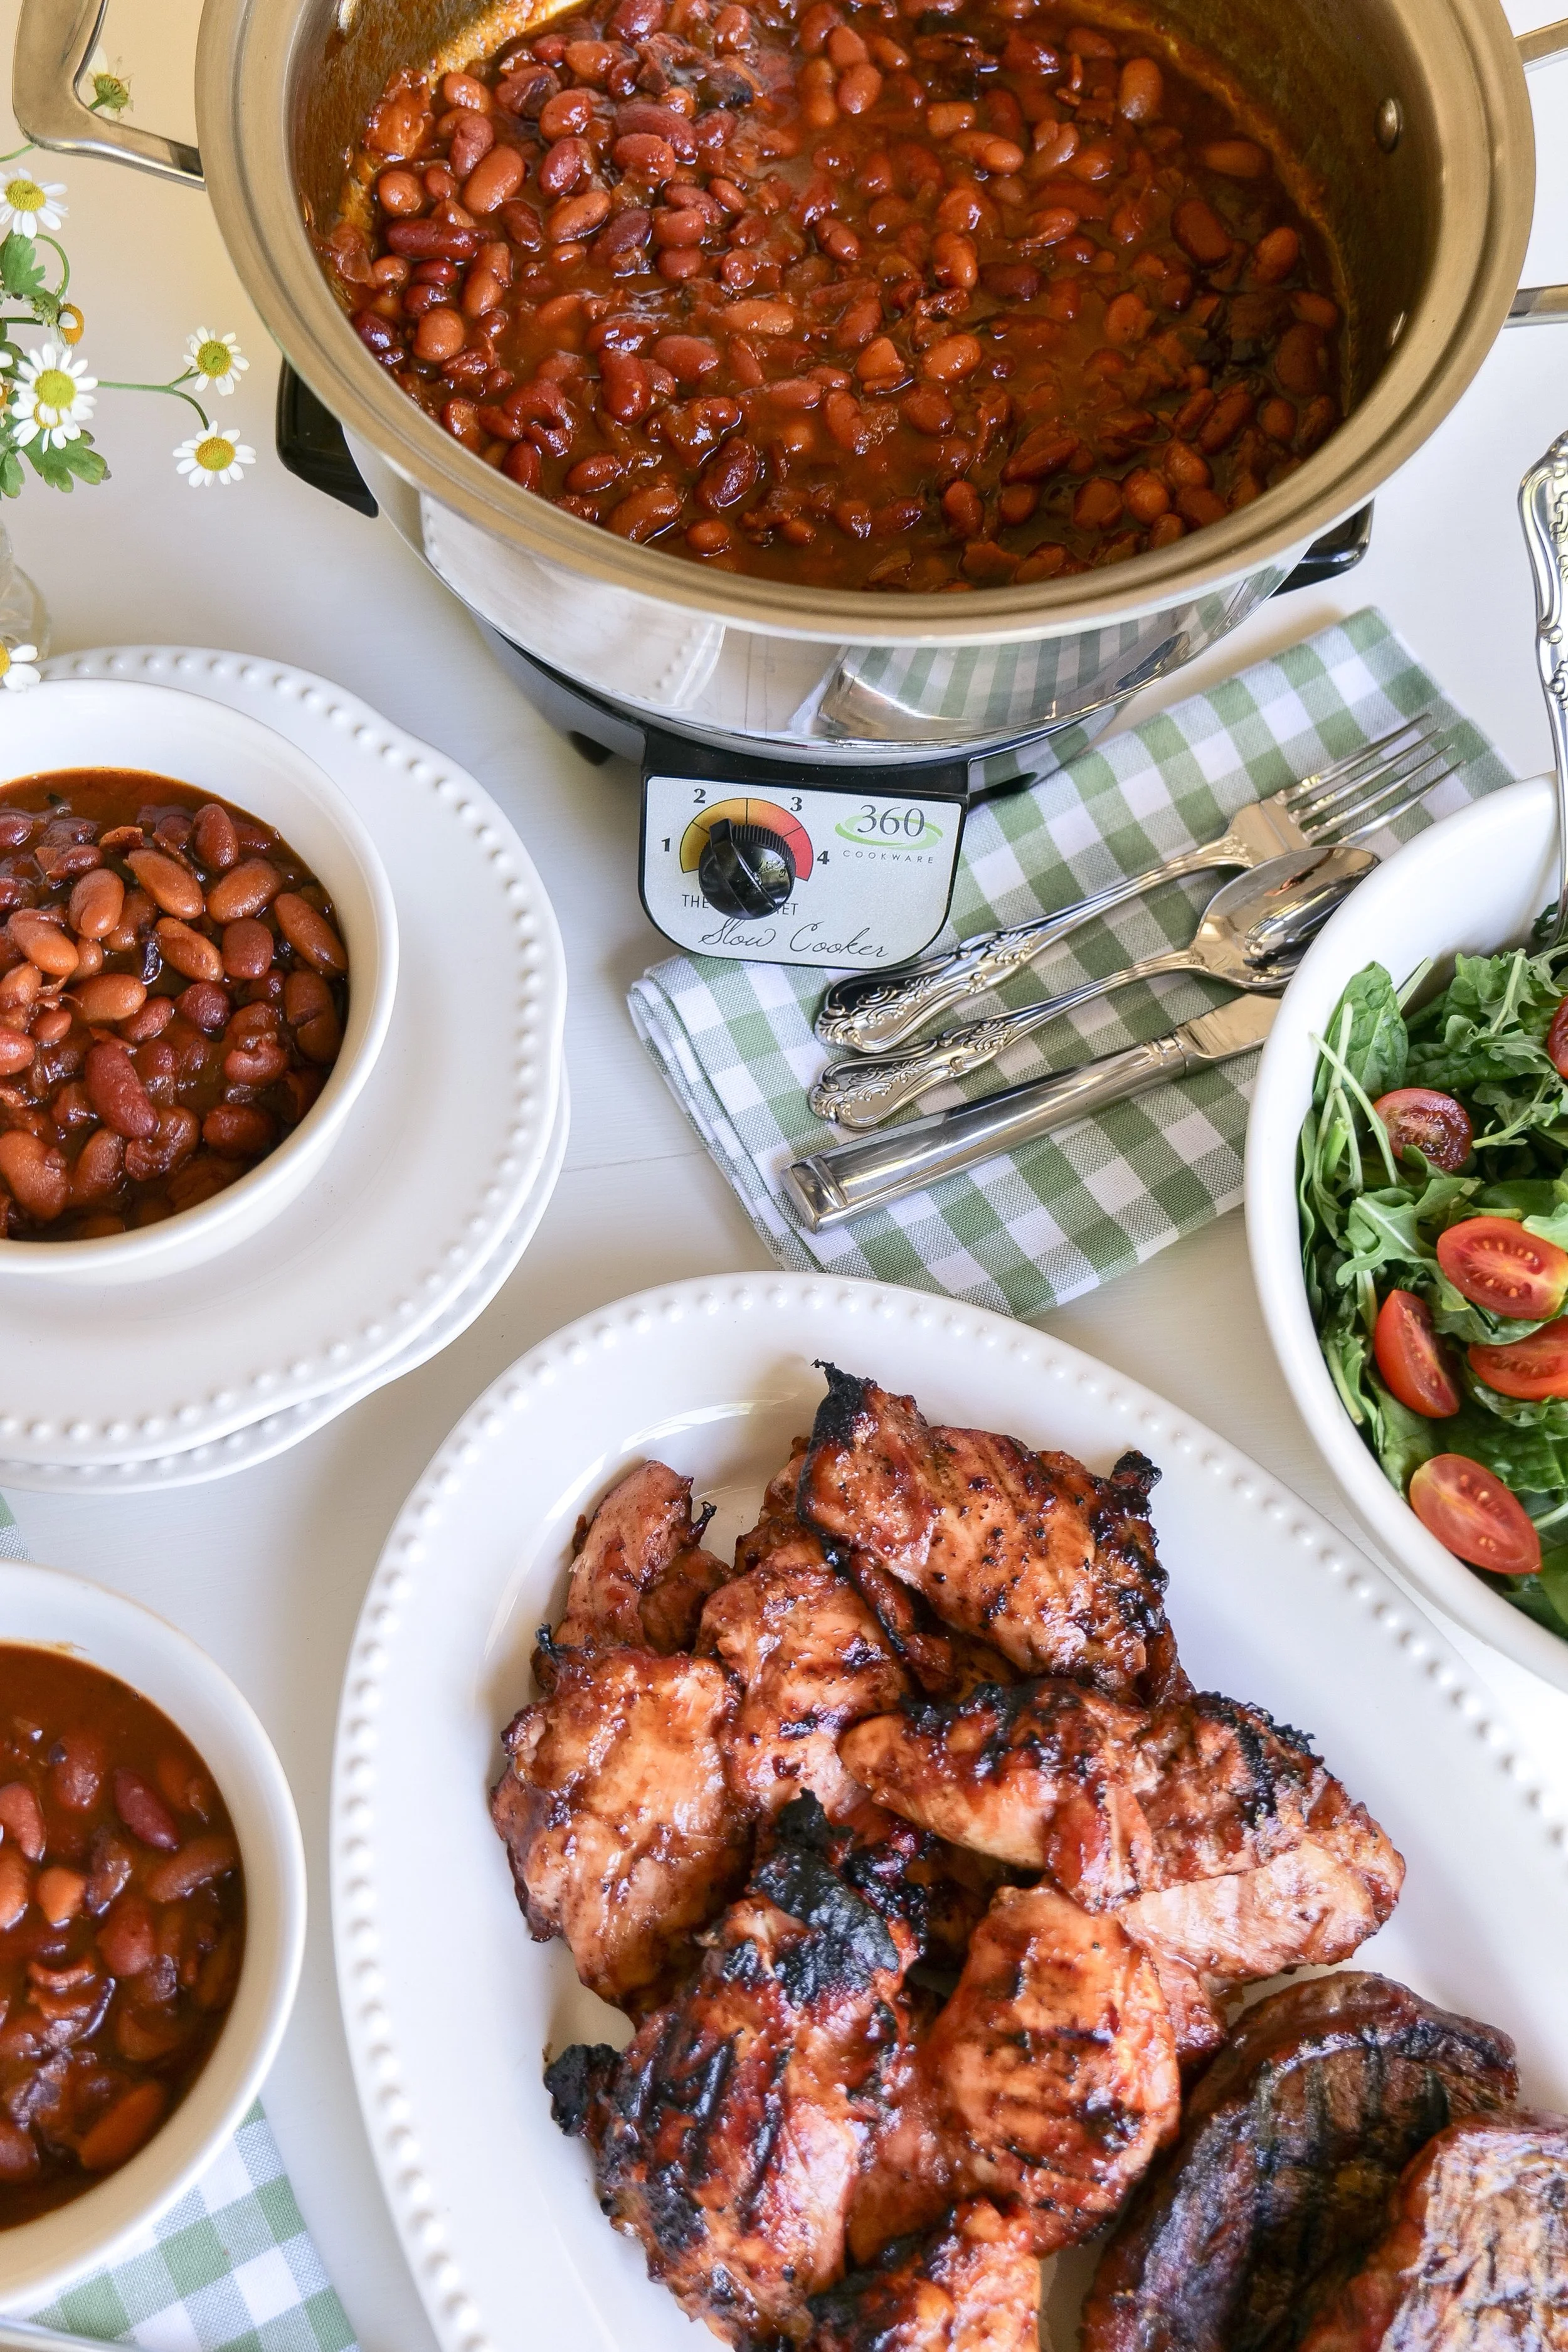
• Slow Cooker Baked Beans with Bacon

• Chicago-Style Hot Dogs

• 4th of July Flag Fruit Pizza

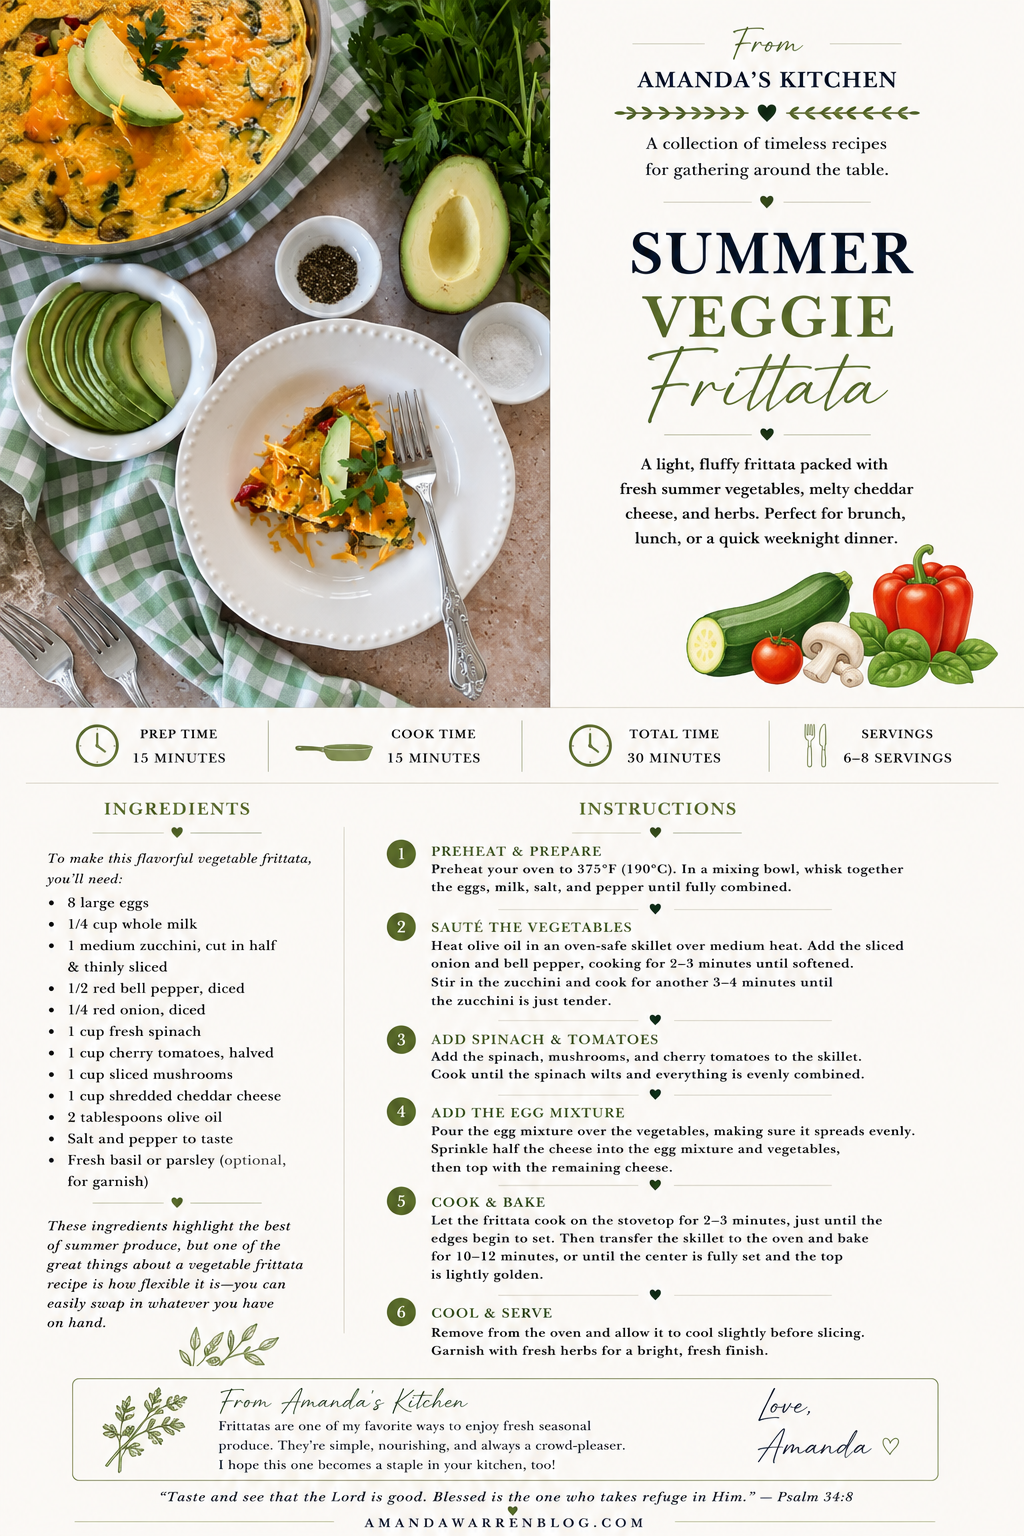
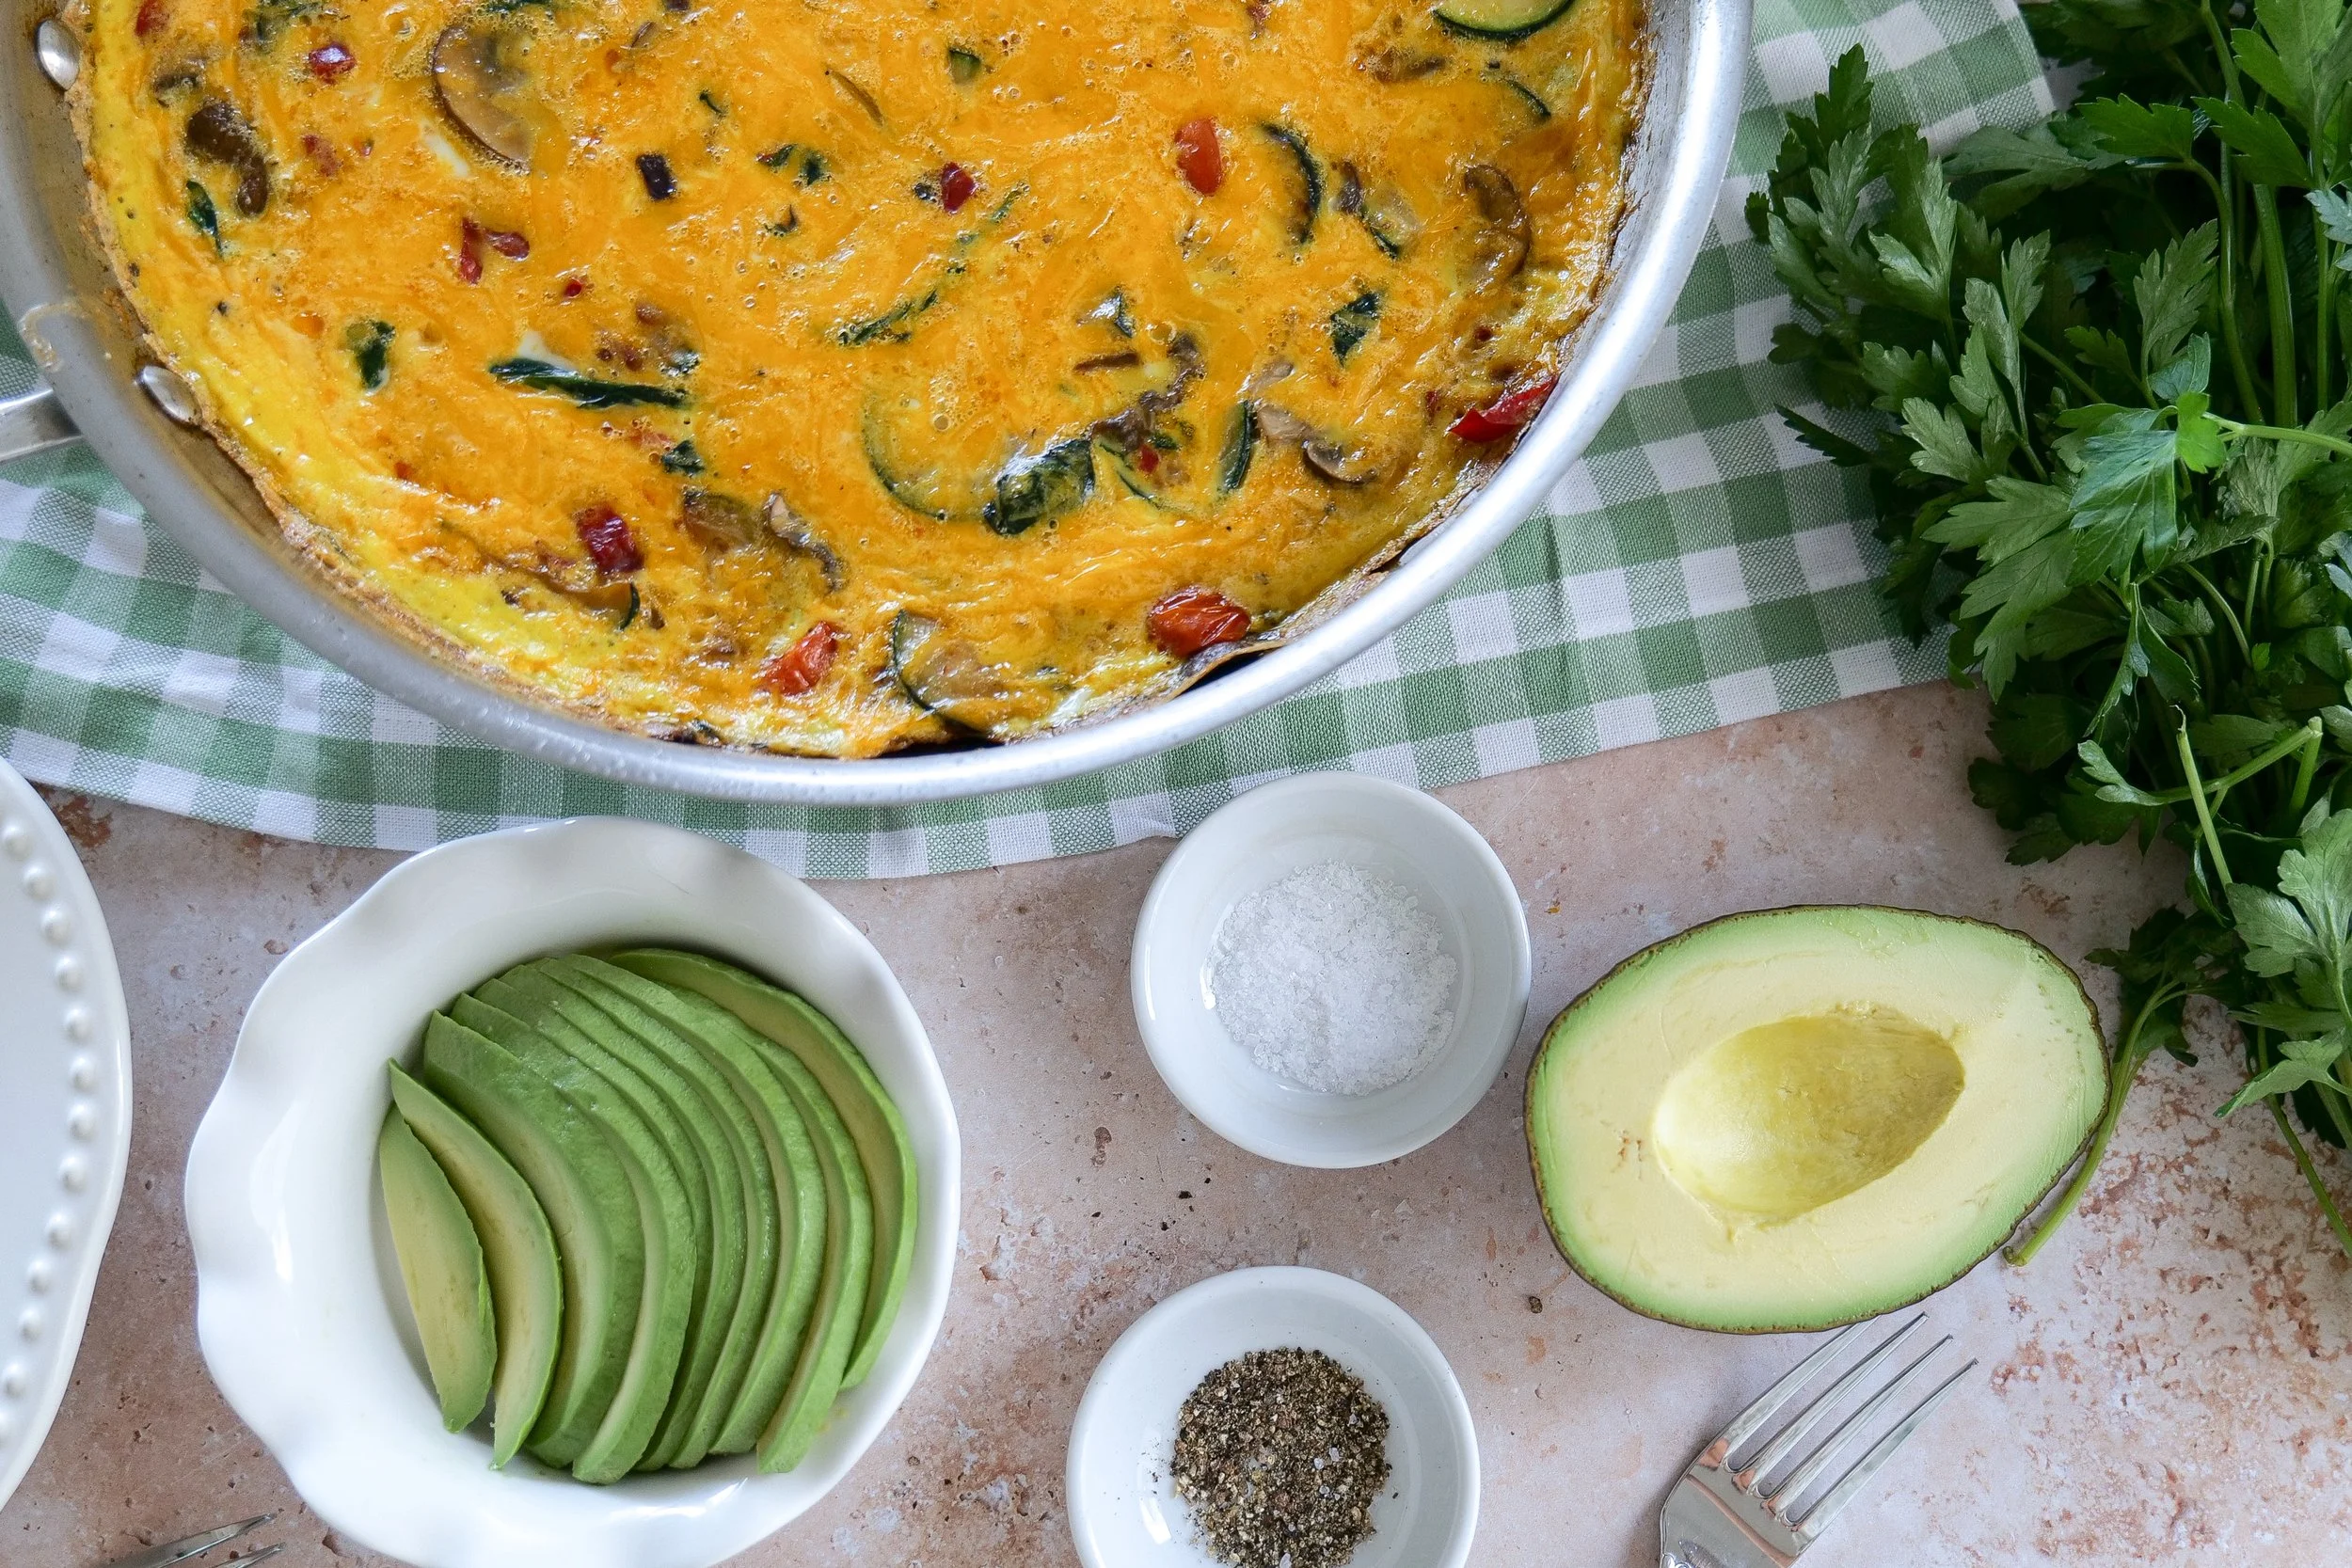
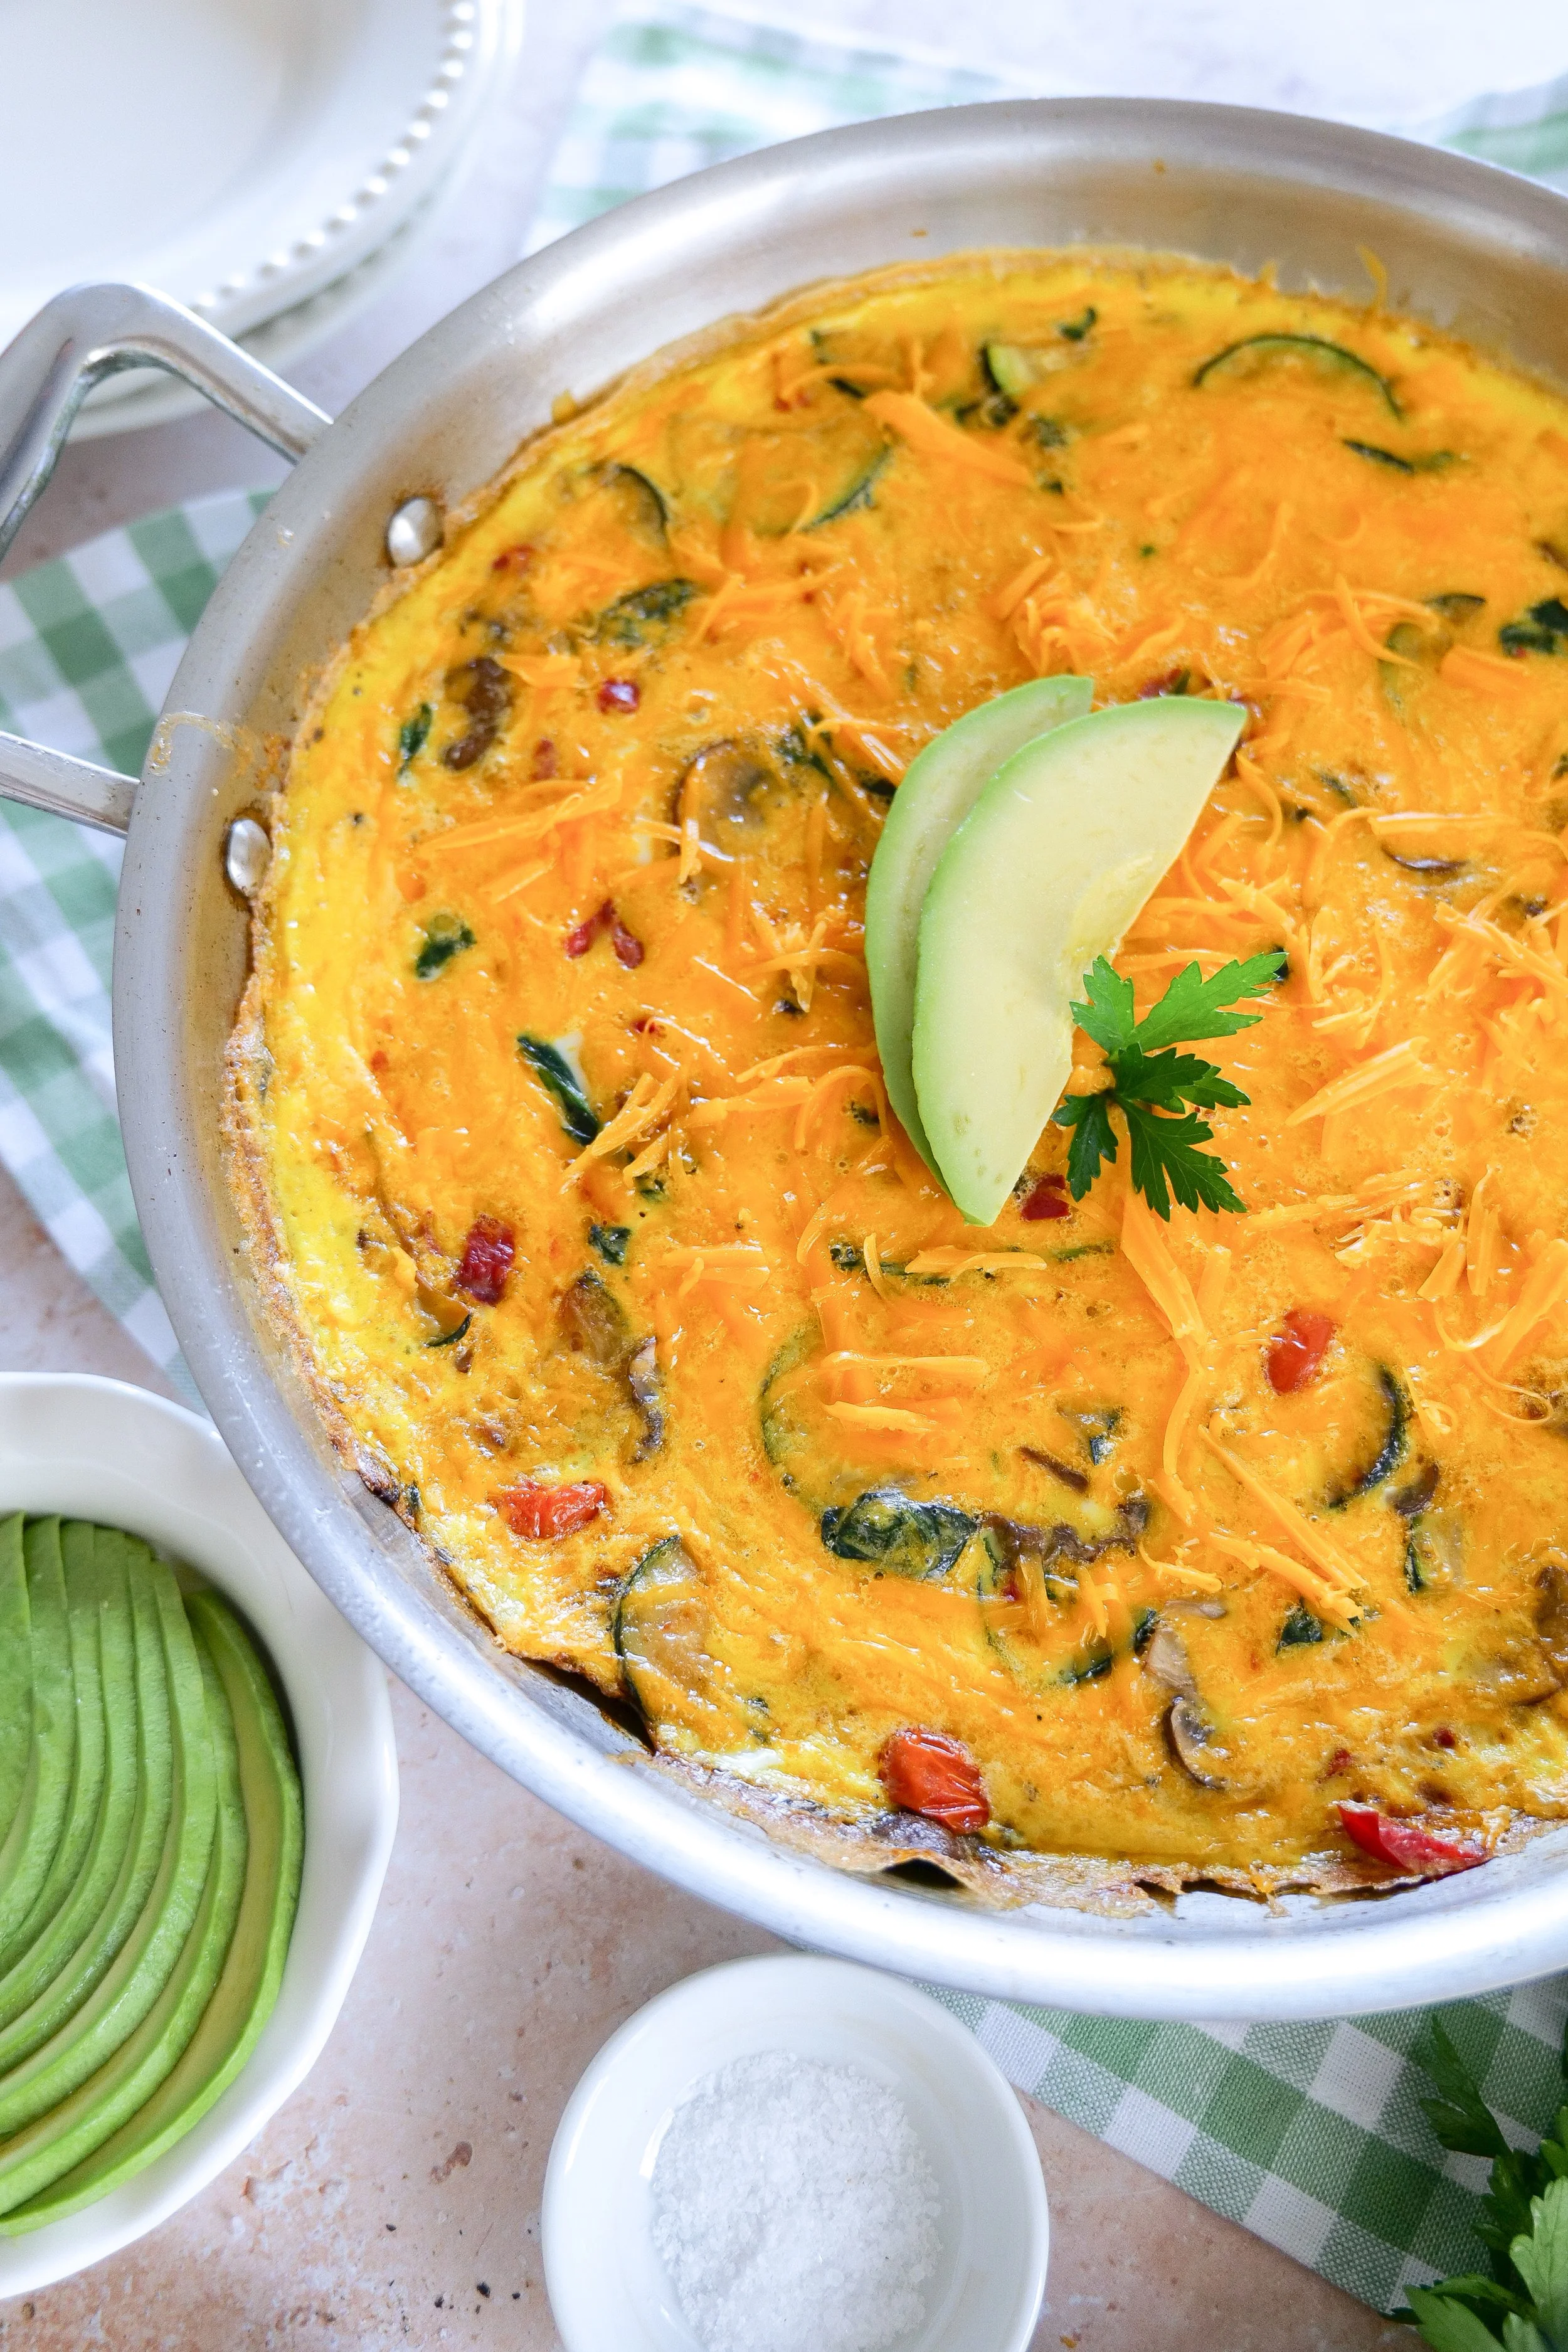
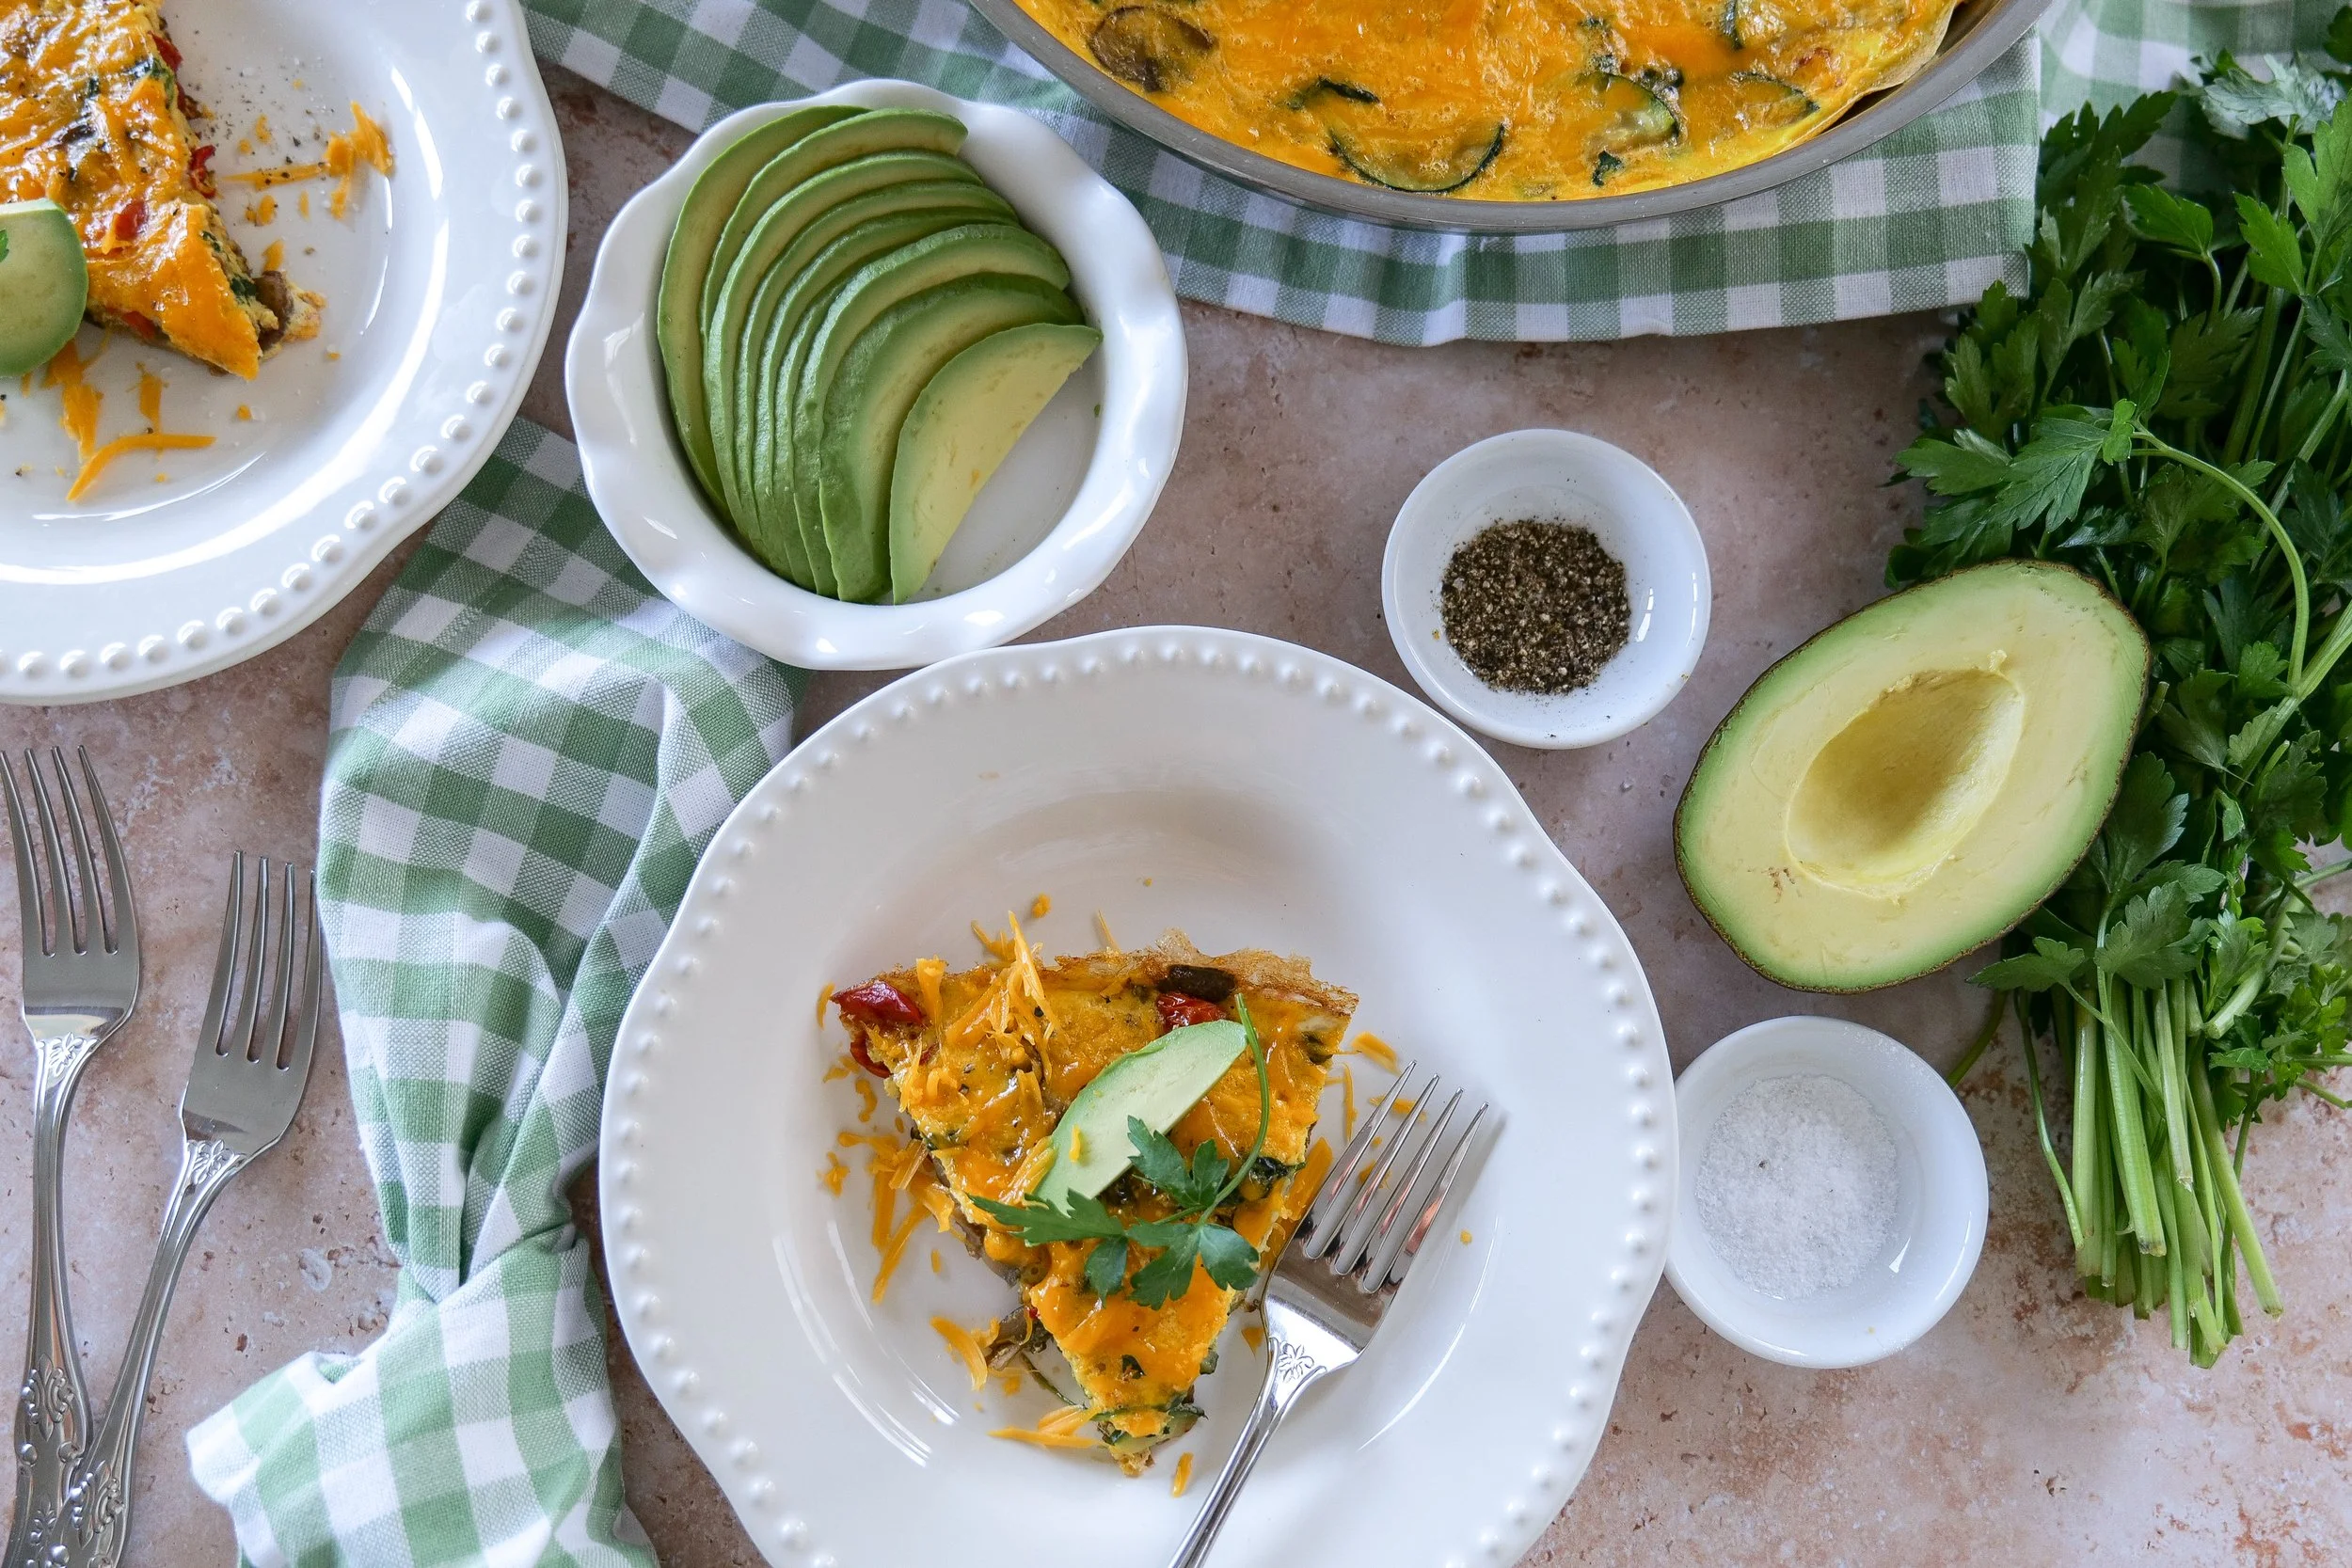
• Summer Veggie Frittata

This easy shrimp boil recipe is everything summer entertaining should be—simple, flavorful, beautiful, and meant to be shared. Whether you're hosting a holiday gathering or a casual dinner with friends, it's a recipe that brings everyone together around the table.

From Amanda's Kitchen

Some recipes become more than just dinner—they become traditions.

That's exactly why I created these From Amanda's Kitchen printable recipe cards. Whether you're planning a summer gathering, hosting family for the weekend, or saving your favorite recipes in a binder, my hope is that these cards become part of the memories you make around your own table.

Because the best recipes aren't just made—they're shared, celebrated, and passed down from one kitchen to another.

Save or print the recipe card below so it's always ready for your next gathering.

Large serving platter filled with shrimp boil ingredients for a summer gathering.
Homemade seafood boil recipe featuring shrimp, potatoes, corn, and smoked sausage.
Traditional summer shrimp boil served family-style for outdoor entertaining.
Close-up of juicy shrimp, buttery corn, and smoked sausage in a classic shrimp boil.
Classic shrimp boil recipe featured as part of the Americana Summer recipe series.
Shrimp boil dinner styled for a casual summer party with patriotic entertaining details.

Bacon Wrapped California Hot Dog Recipe

There’s just something about summertime and hot dogs that feels nostalgic in the best way. From beach days and backyard BBQs to fireworks and late summer evenings, hot dogs are one of those classic American foods that instantly bring people together. After how much you all loved my Chicago hot dog recipe, I knew I had to continue the All American Series with a coastal-inspired twist — this bacon wrapped California hot dog recipe.

↓ Skip to Recipe
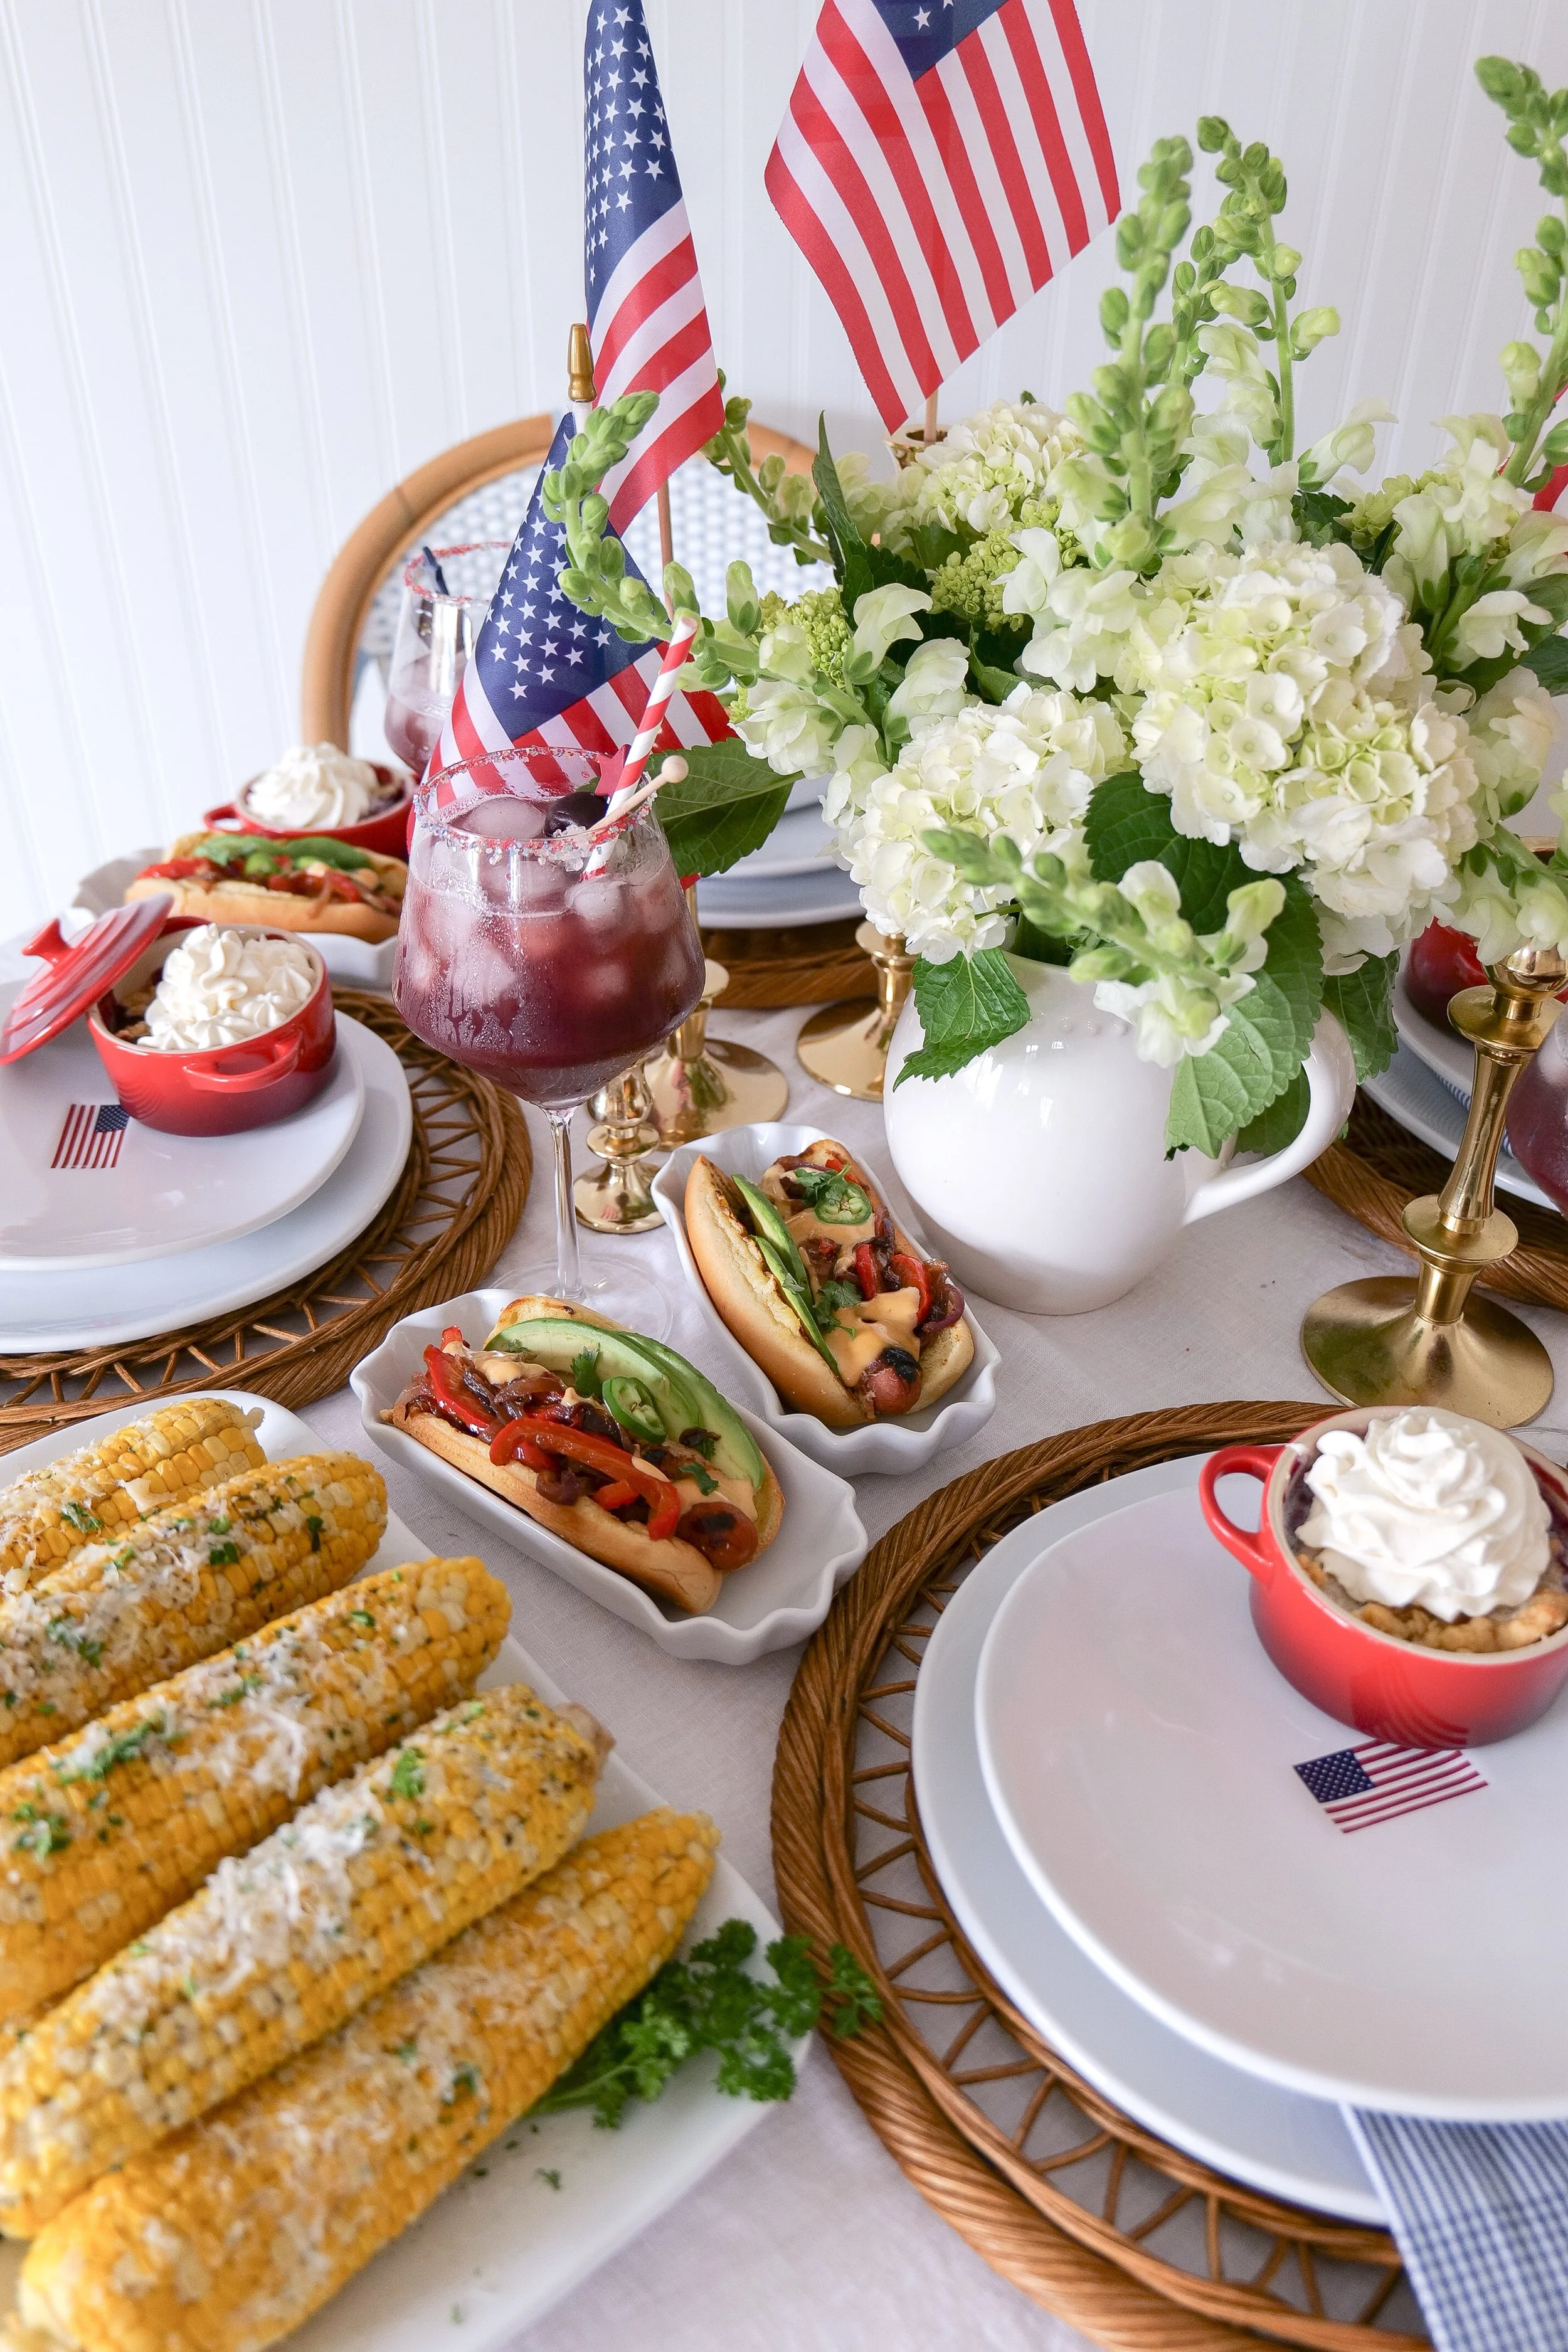
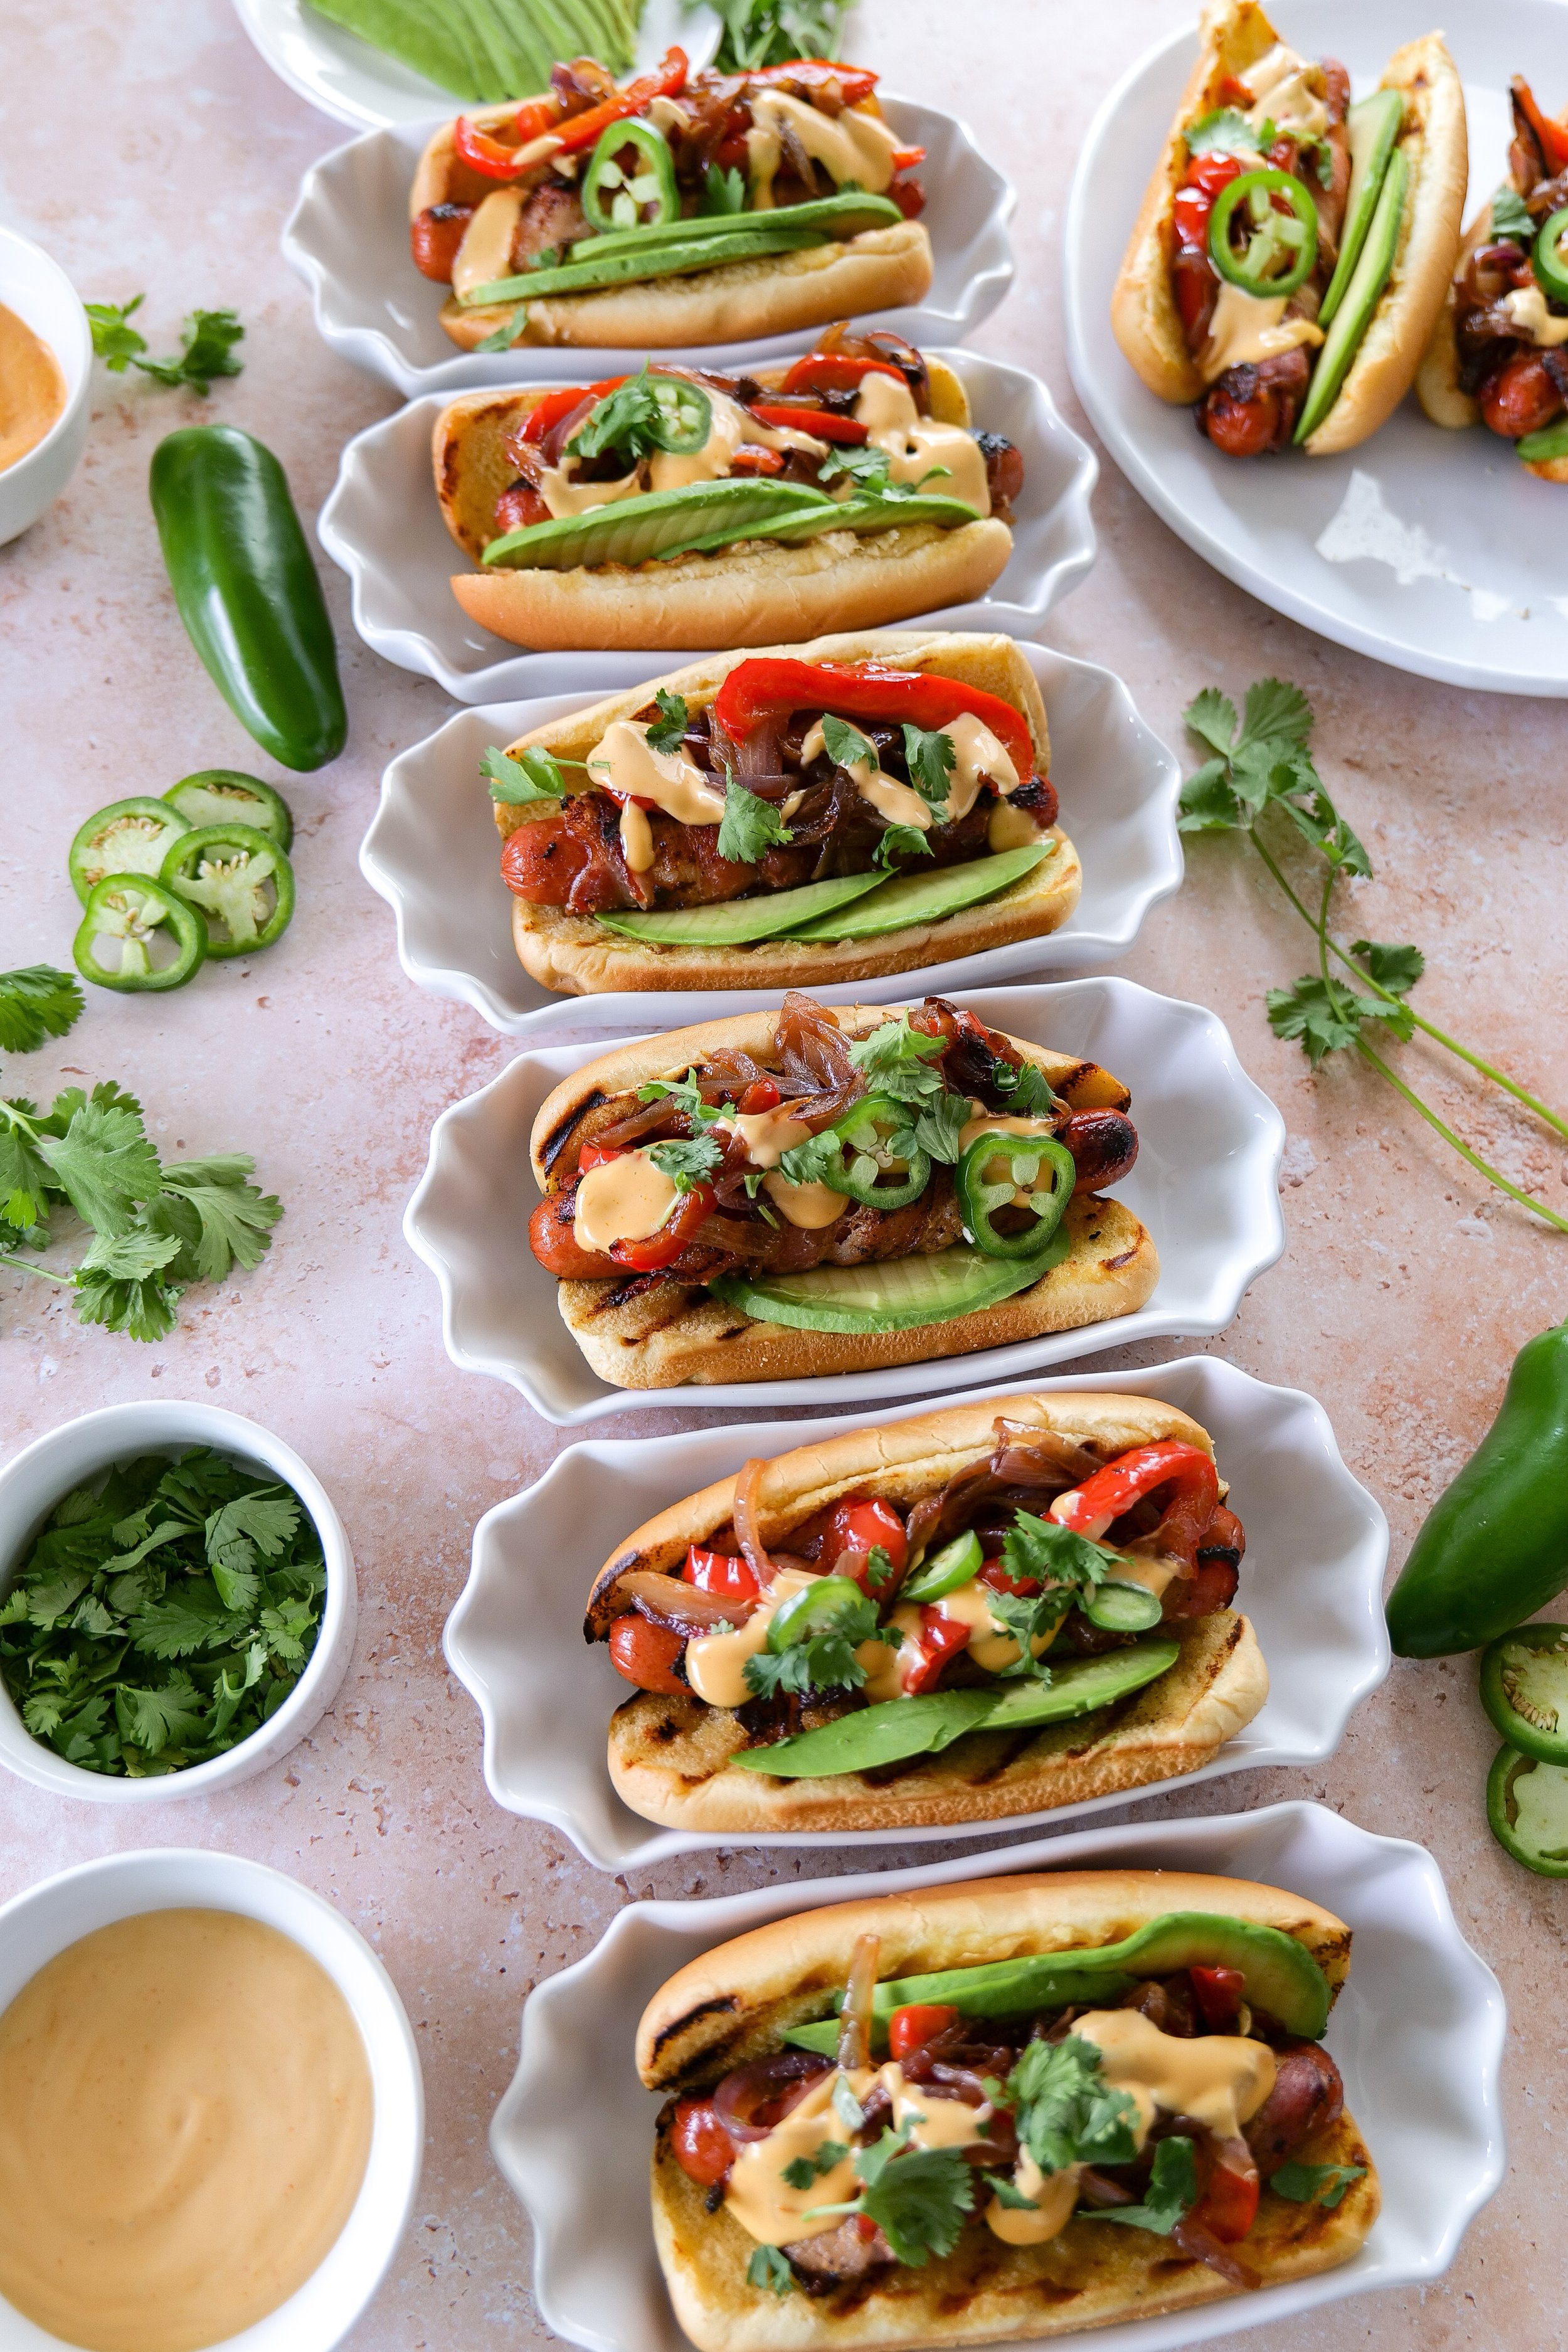
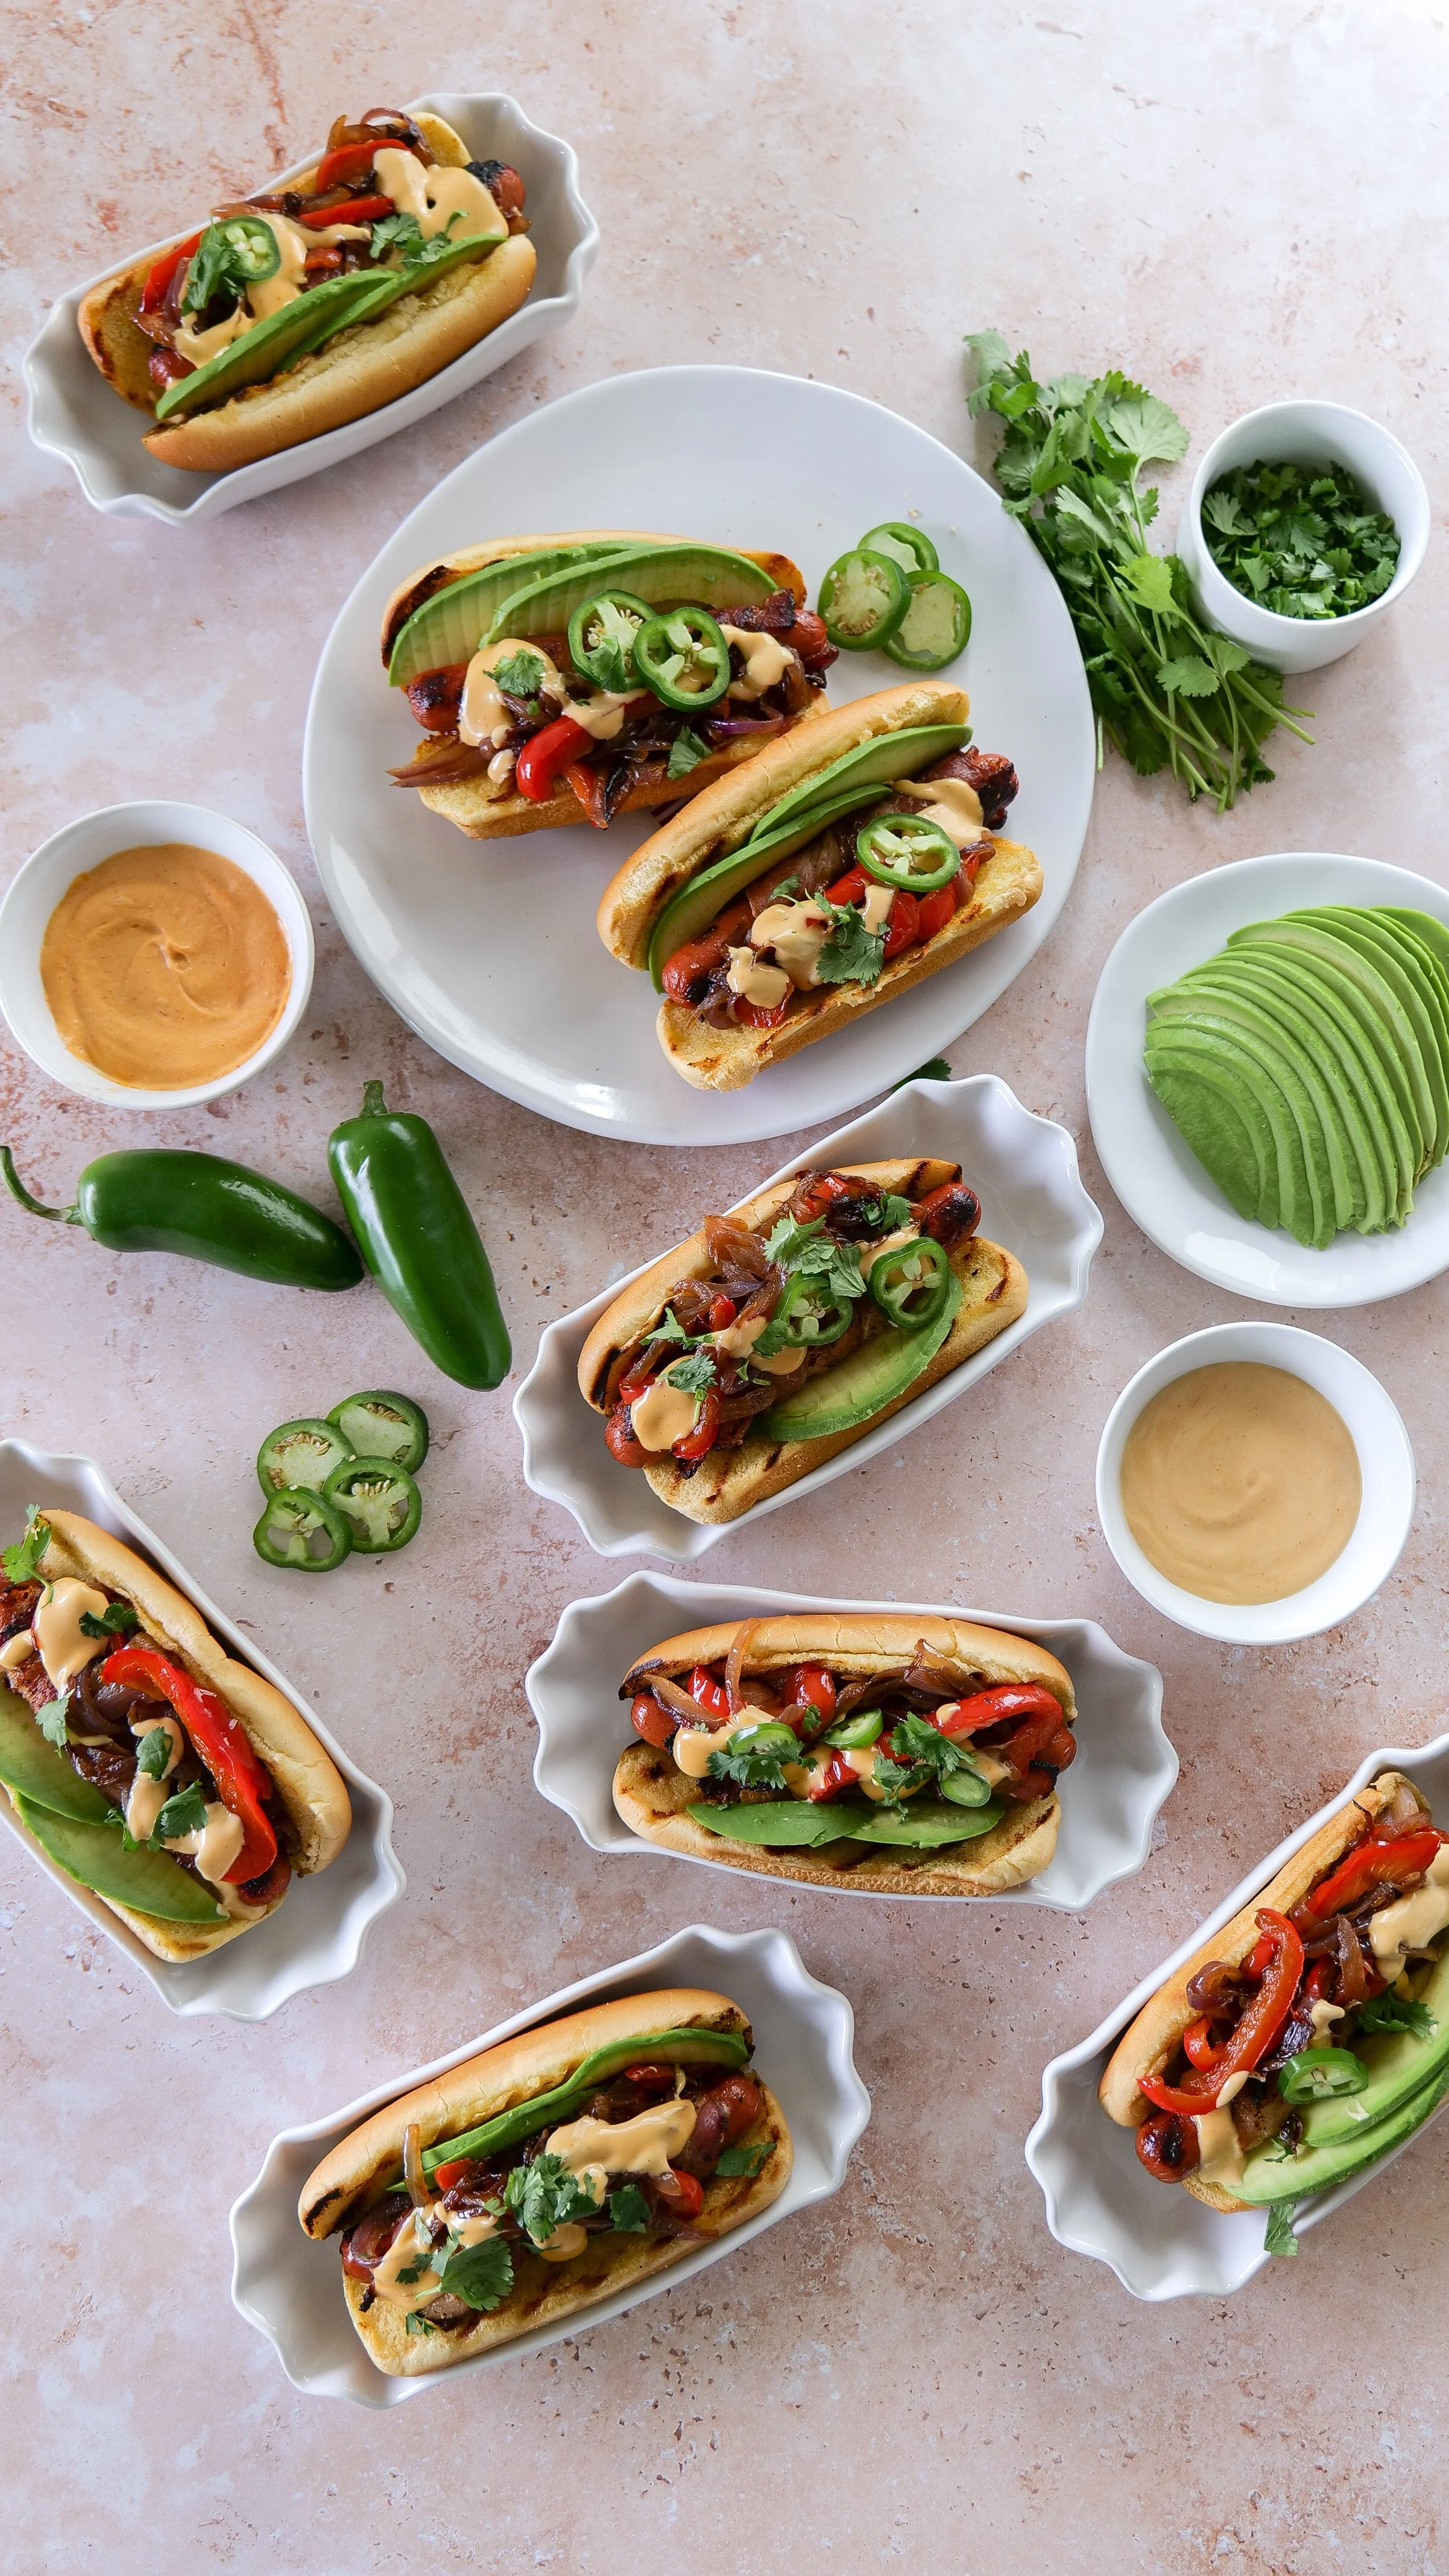
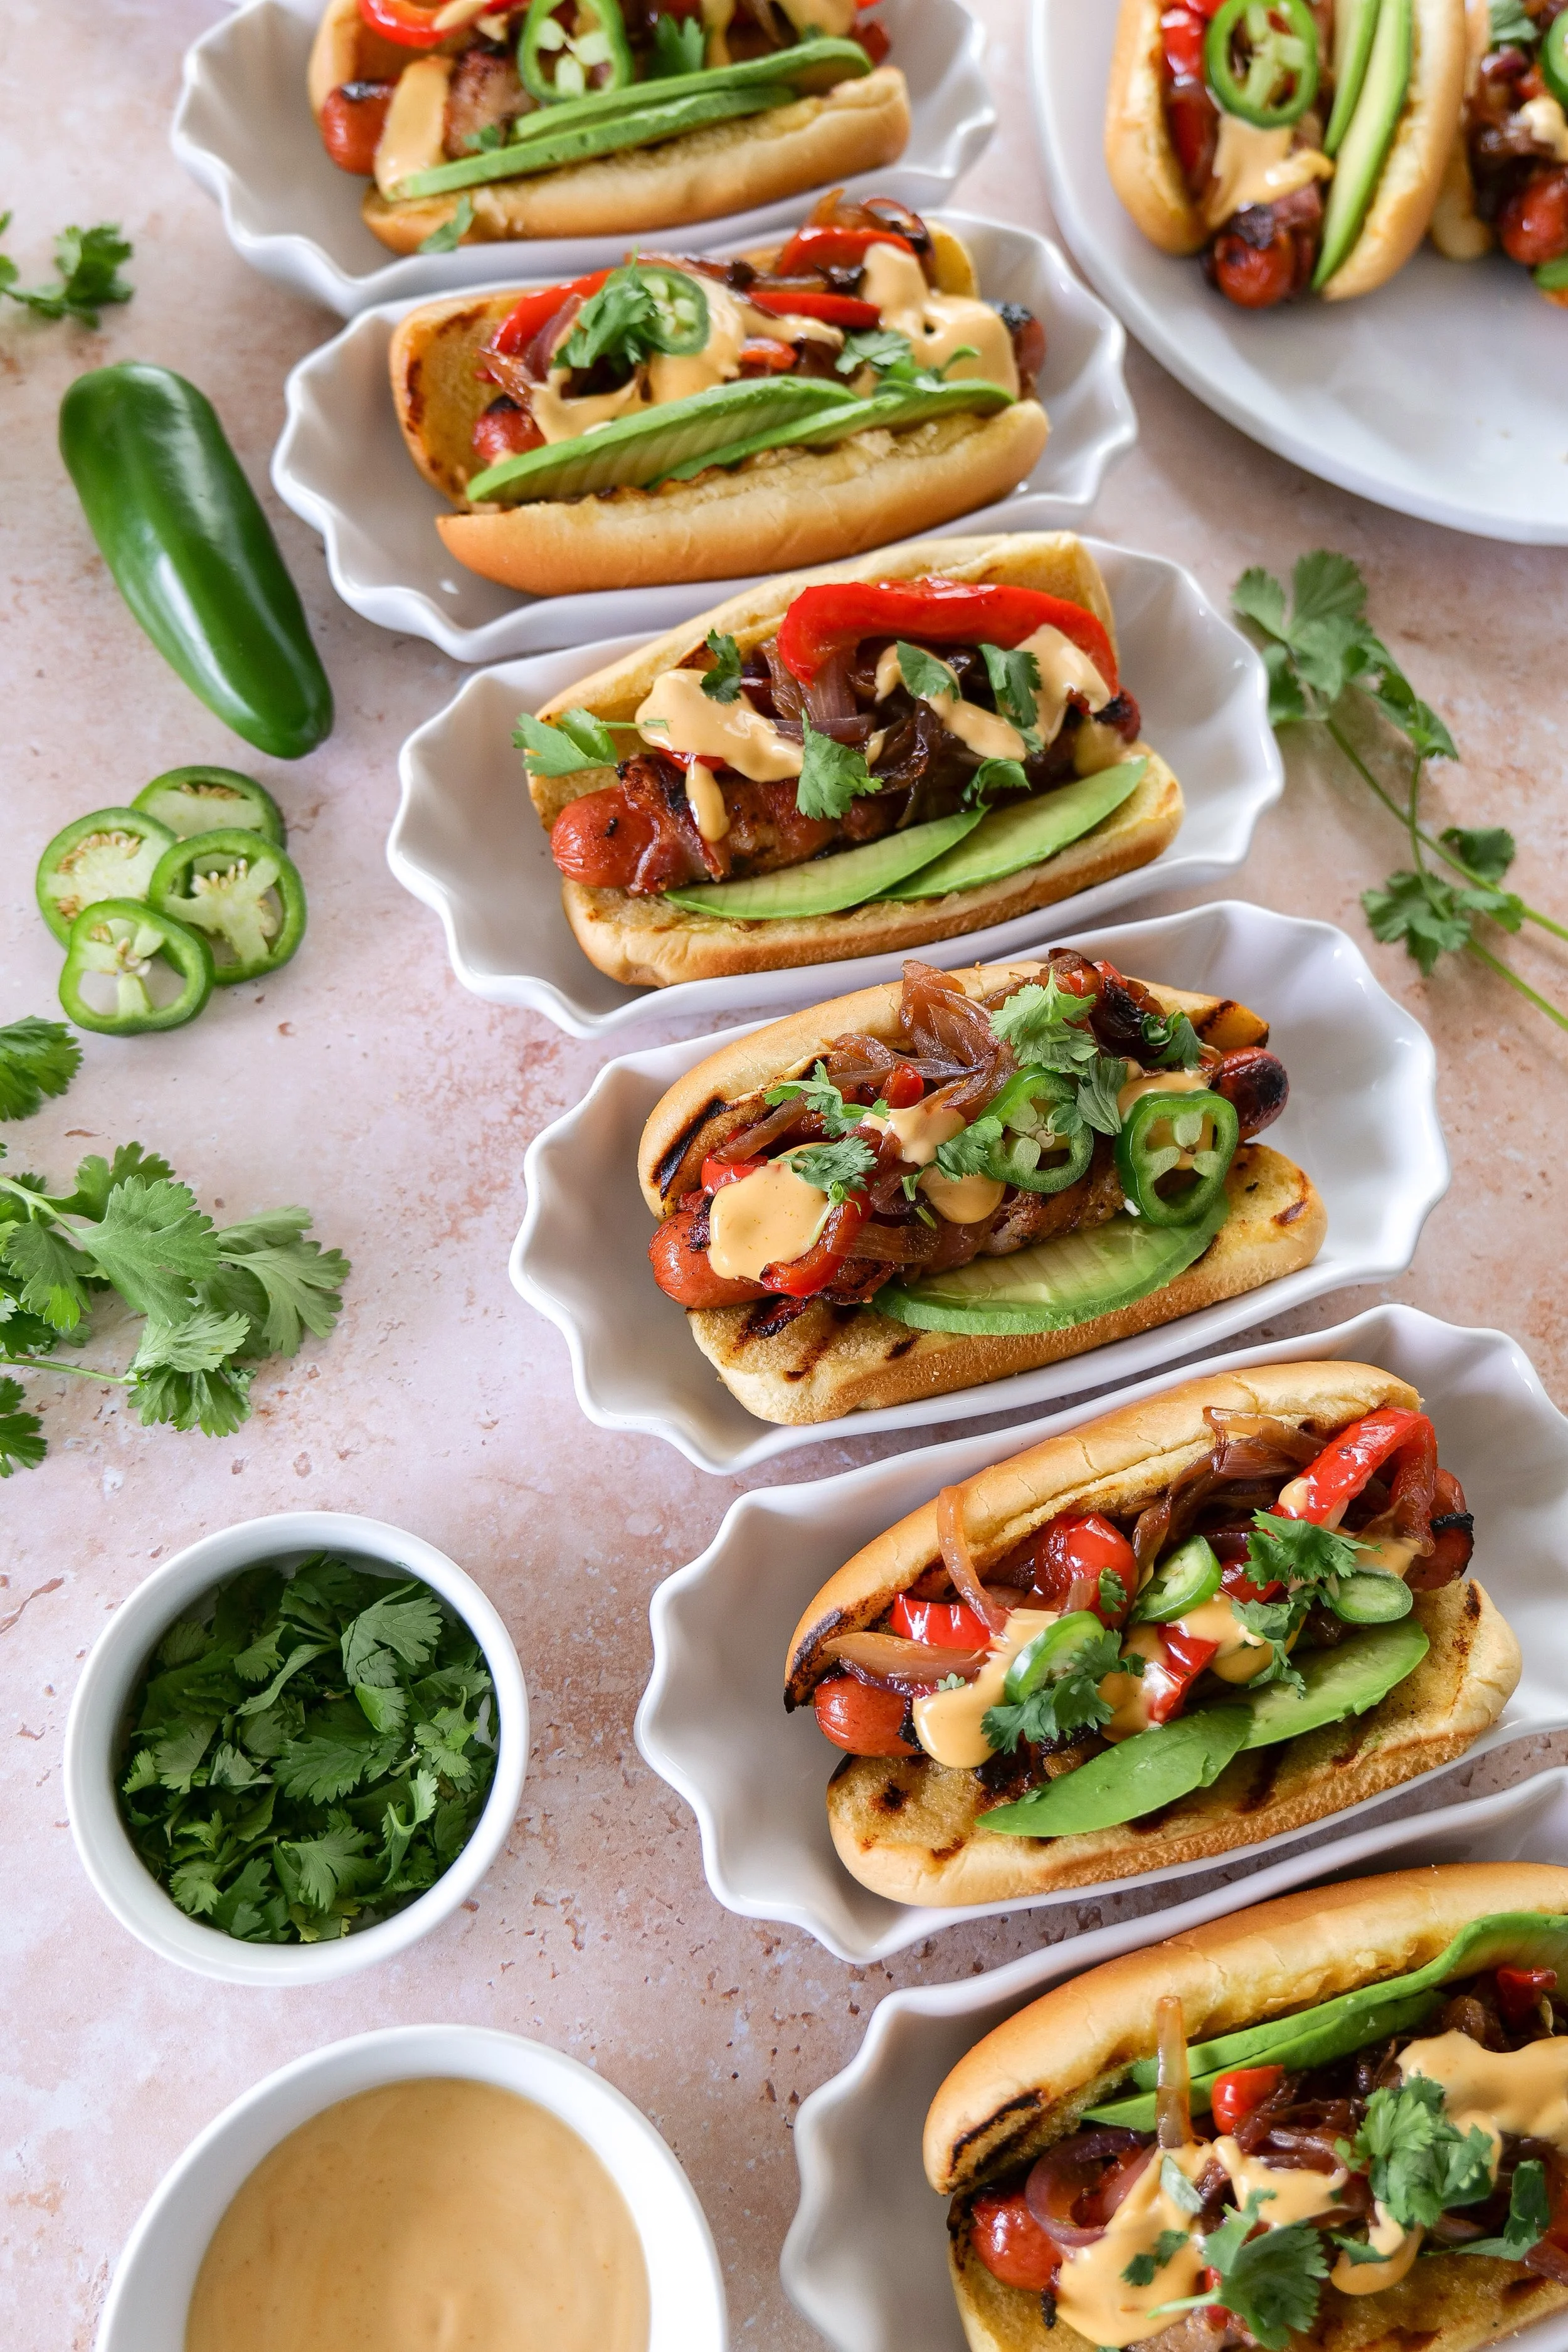
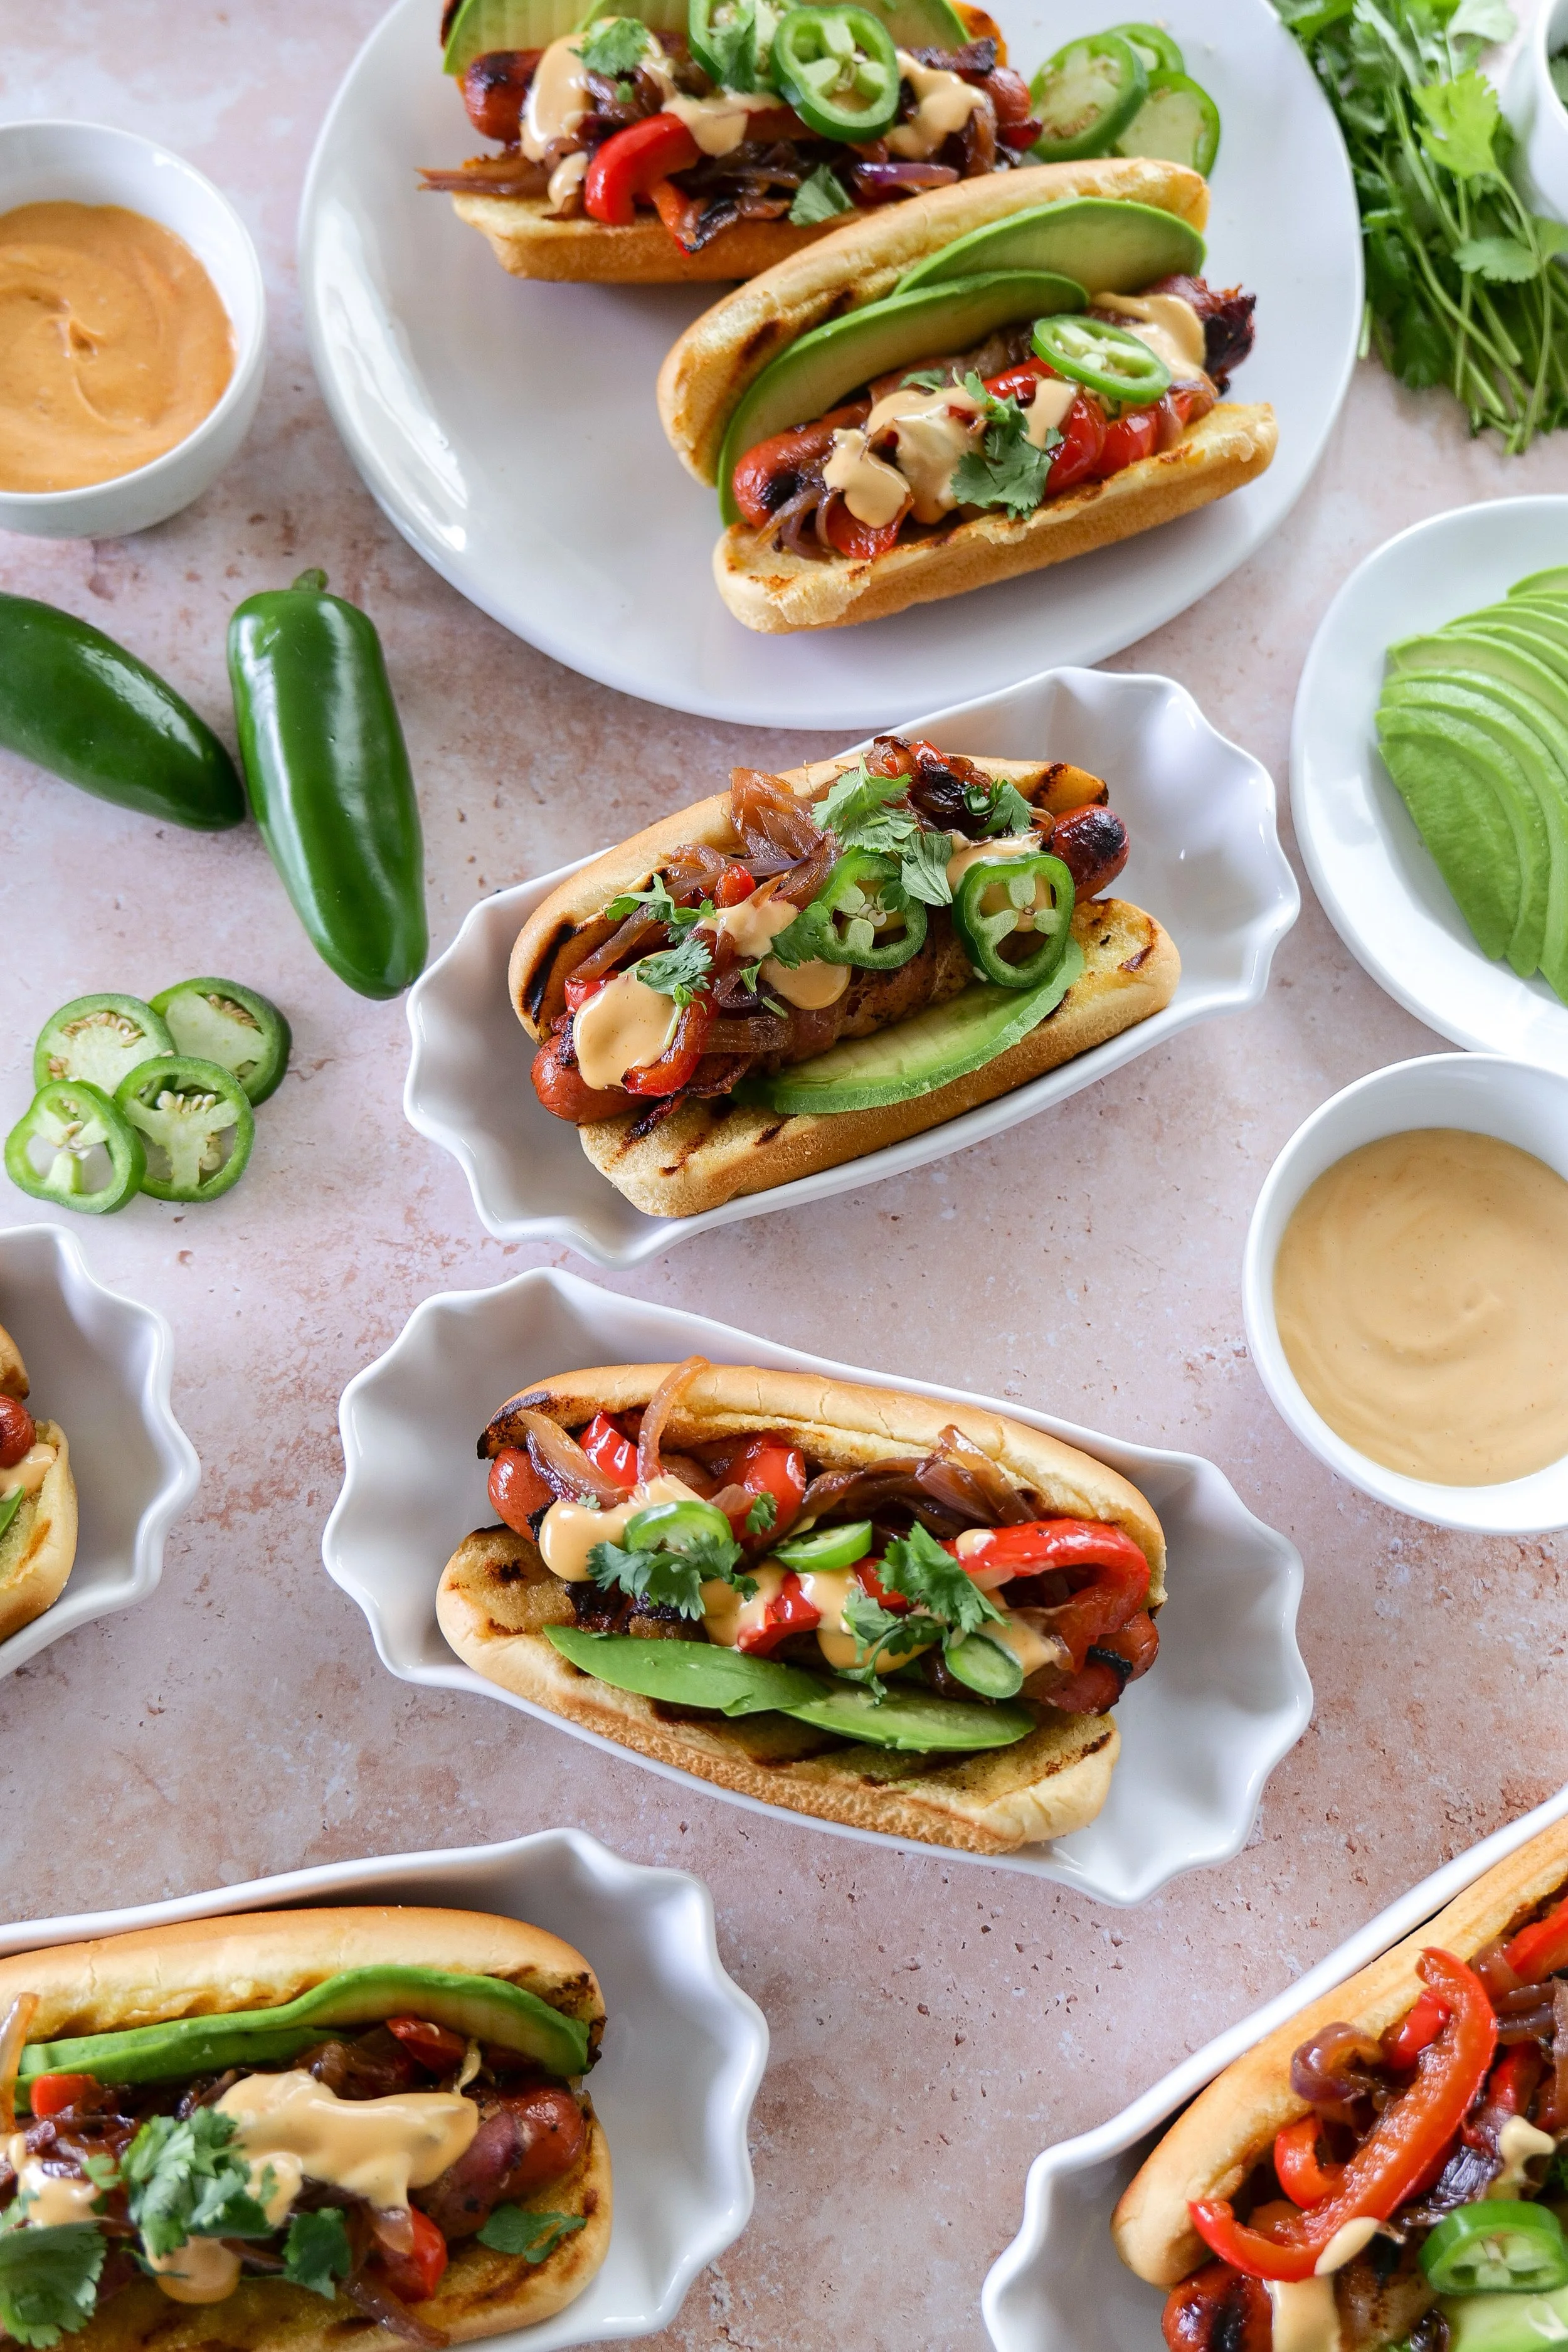
Holiday cookout food including bacon-wrapped hot dogs
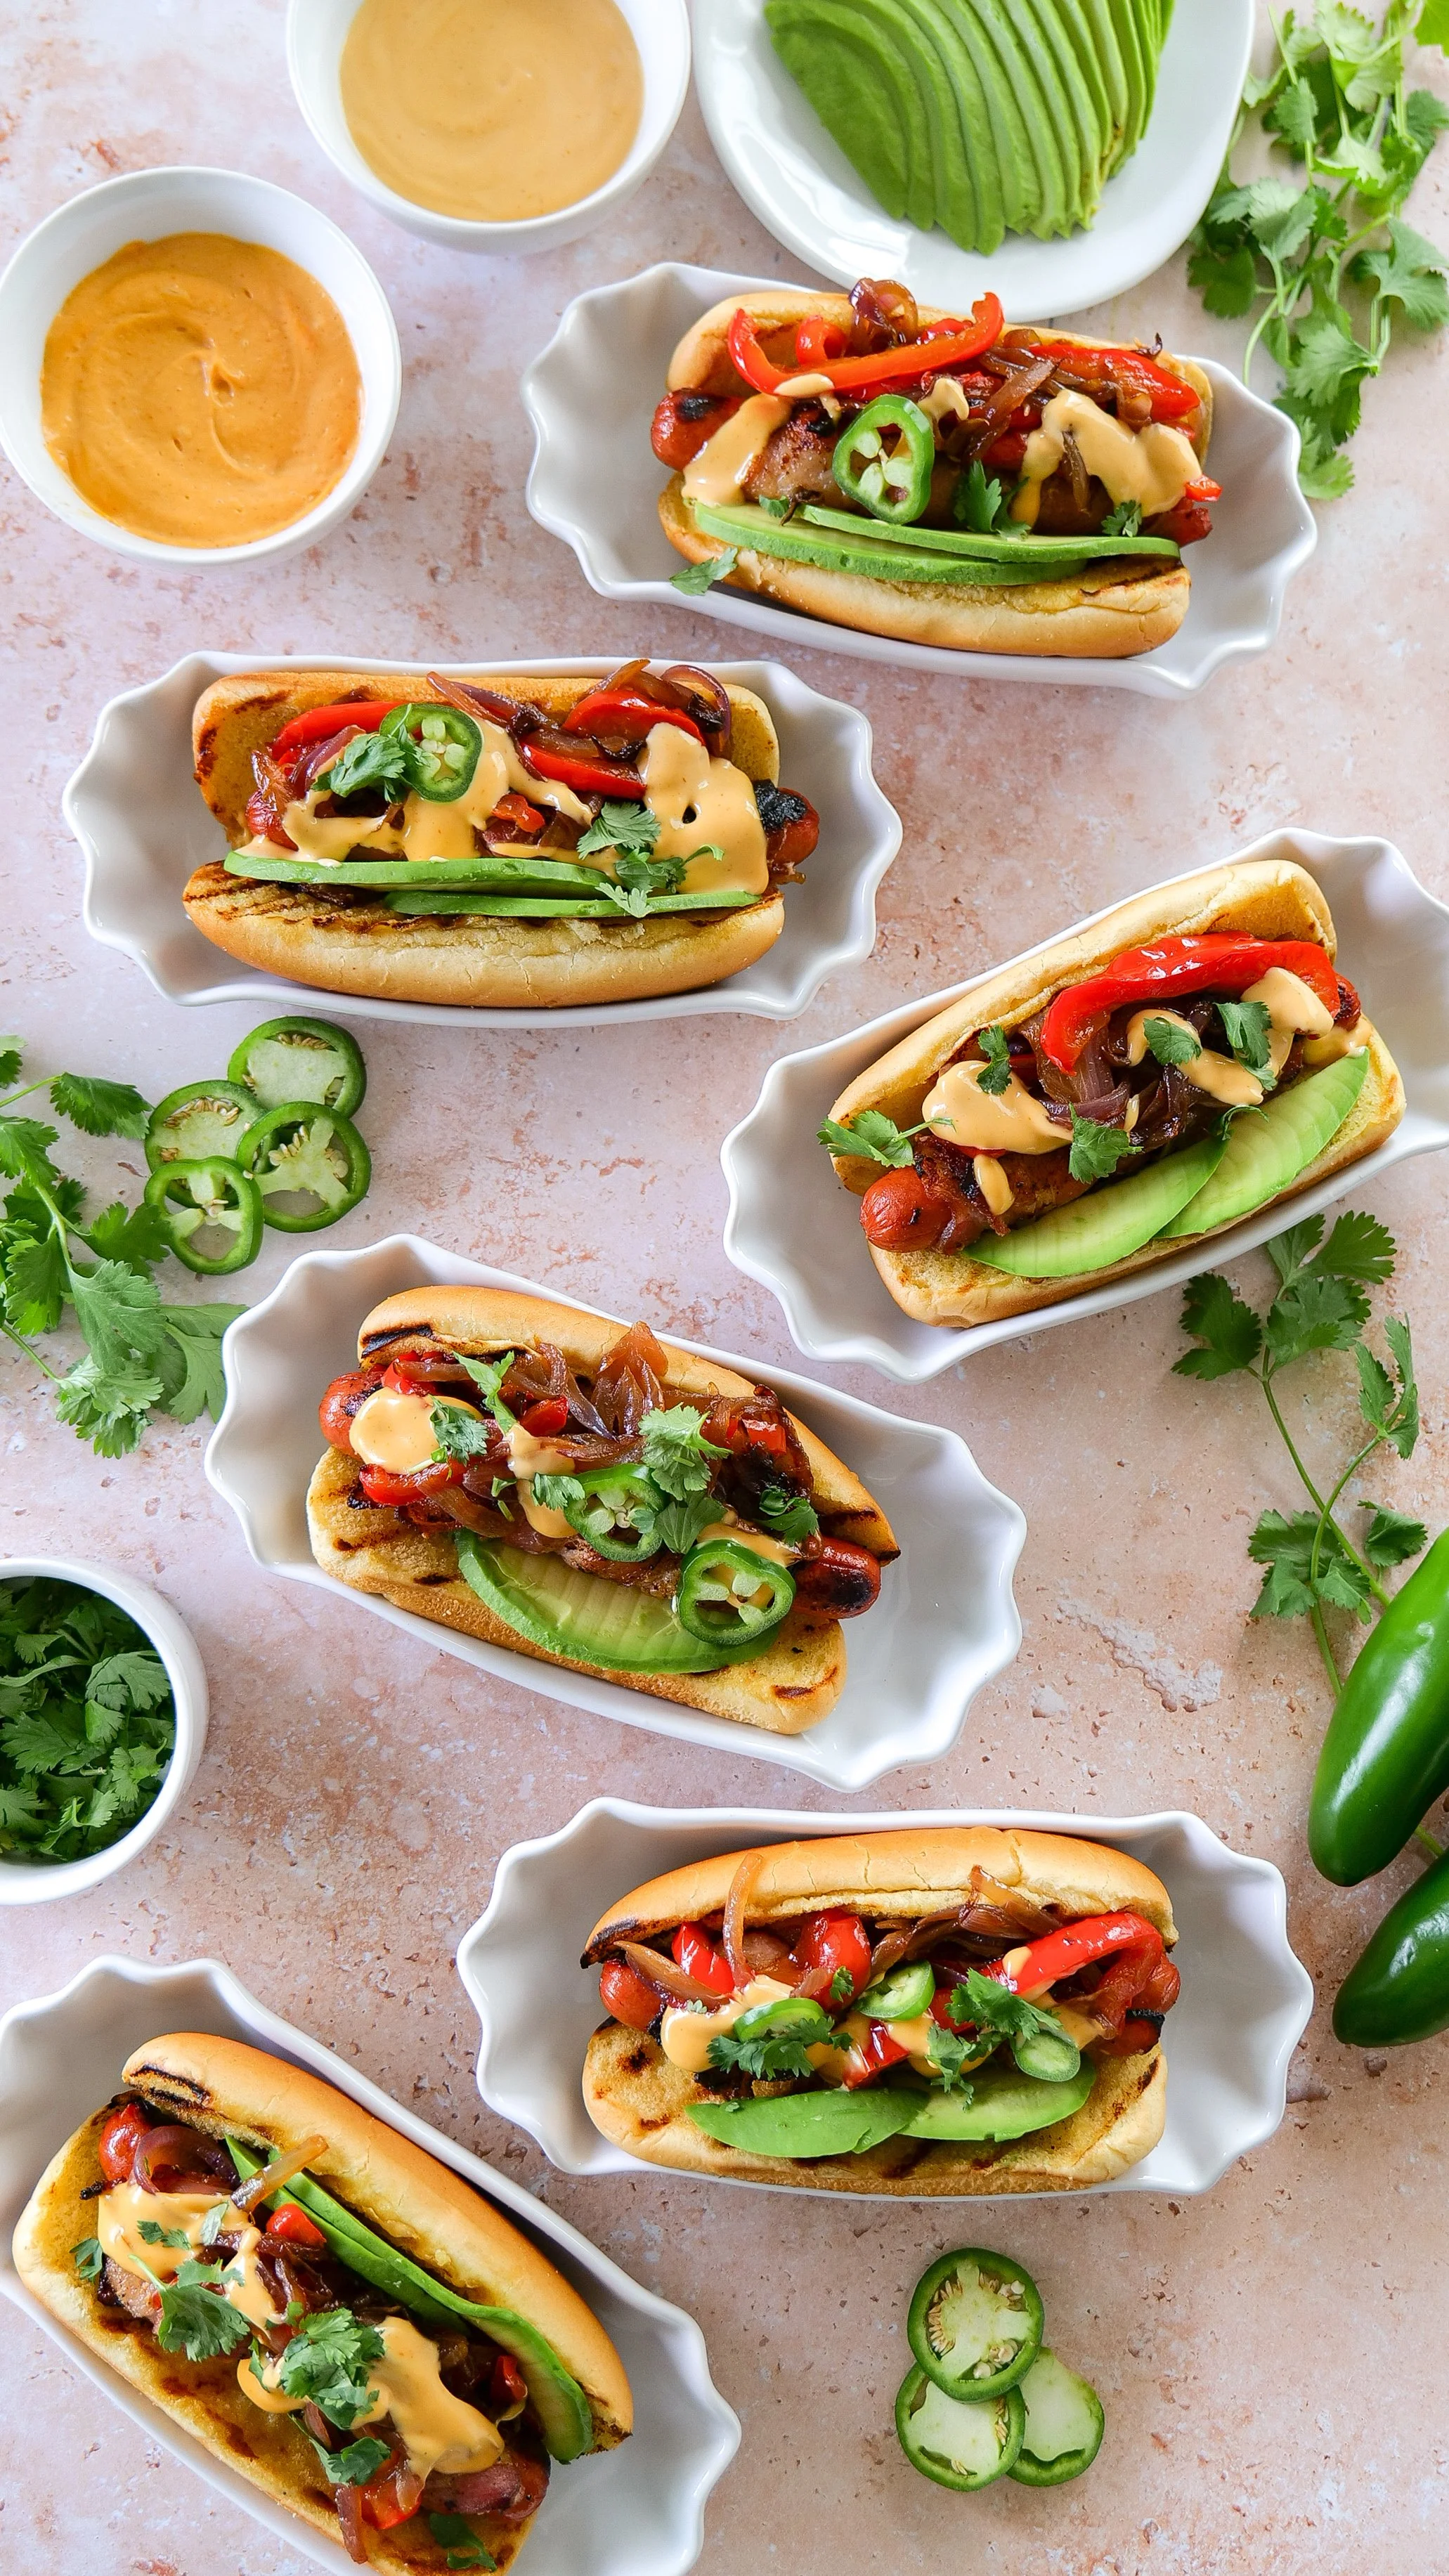
Easy Americana hot dogs wrapped in crispy bacon
Bacon-wrapped hot dogs cooked until golden and crispy
Bacon-wrapped hot dogs for a holiday weekend meal
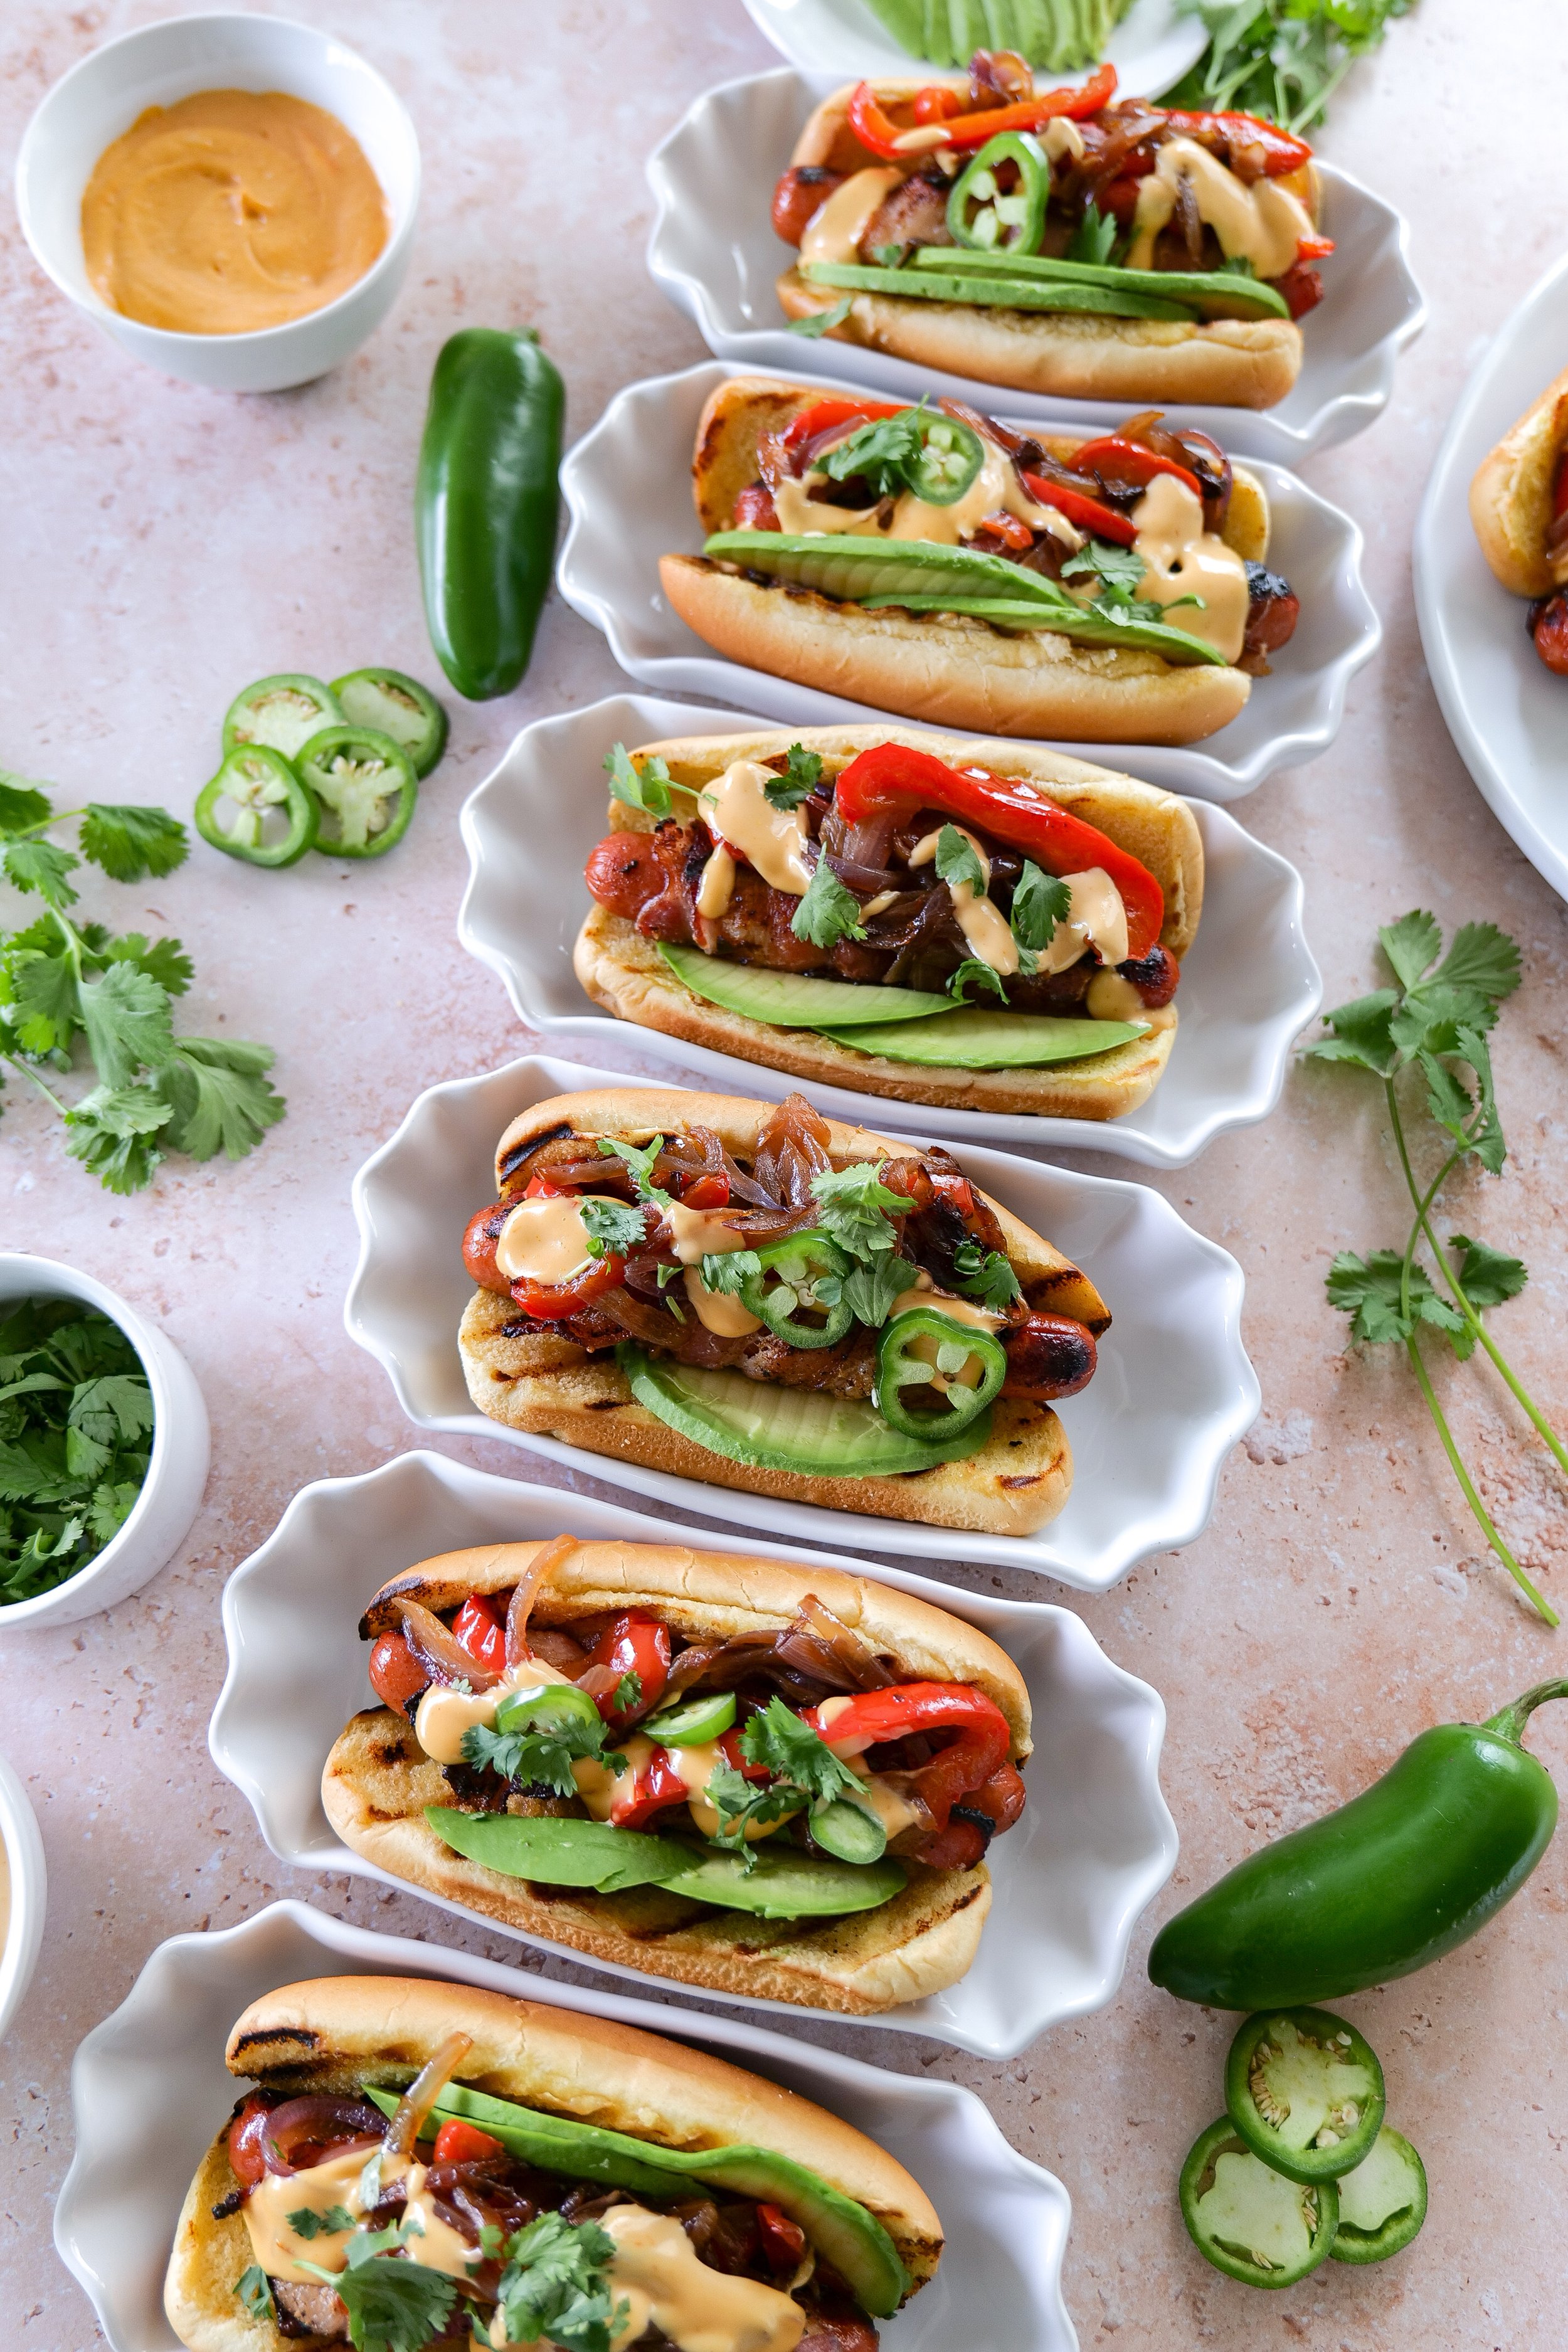
Summer hot dog recipe perfect for holiday gatherings

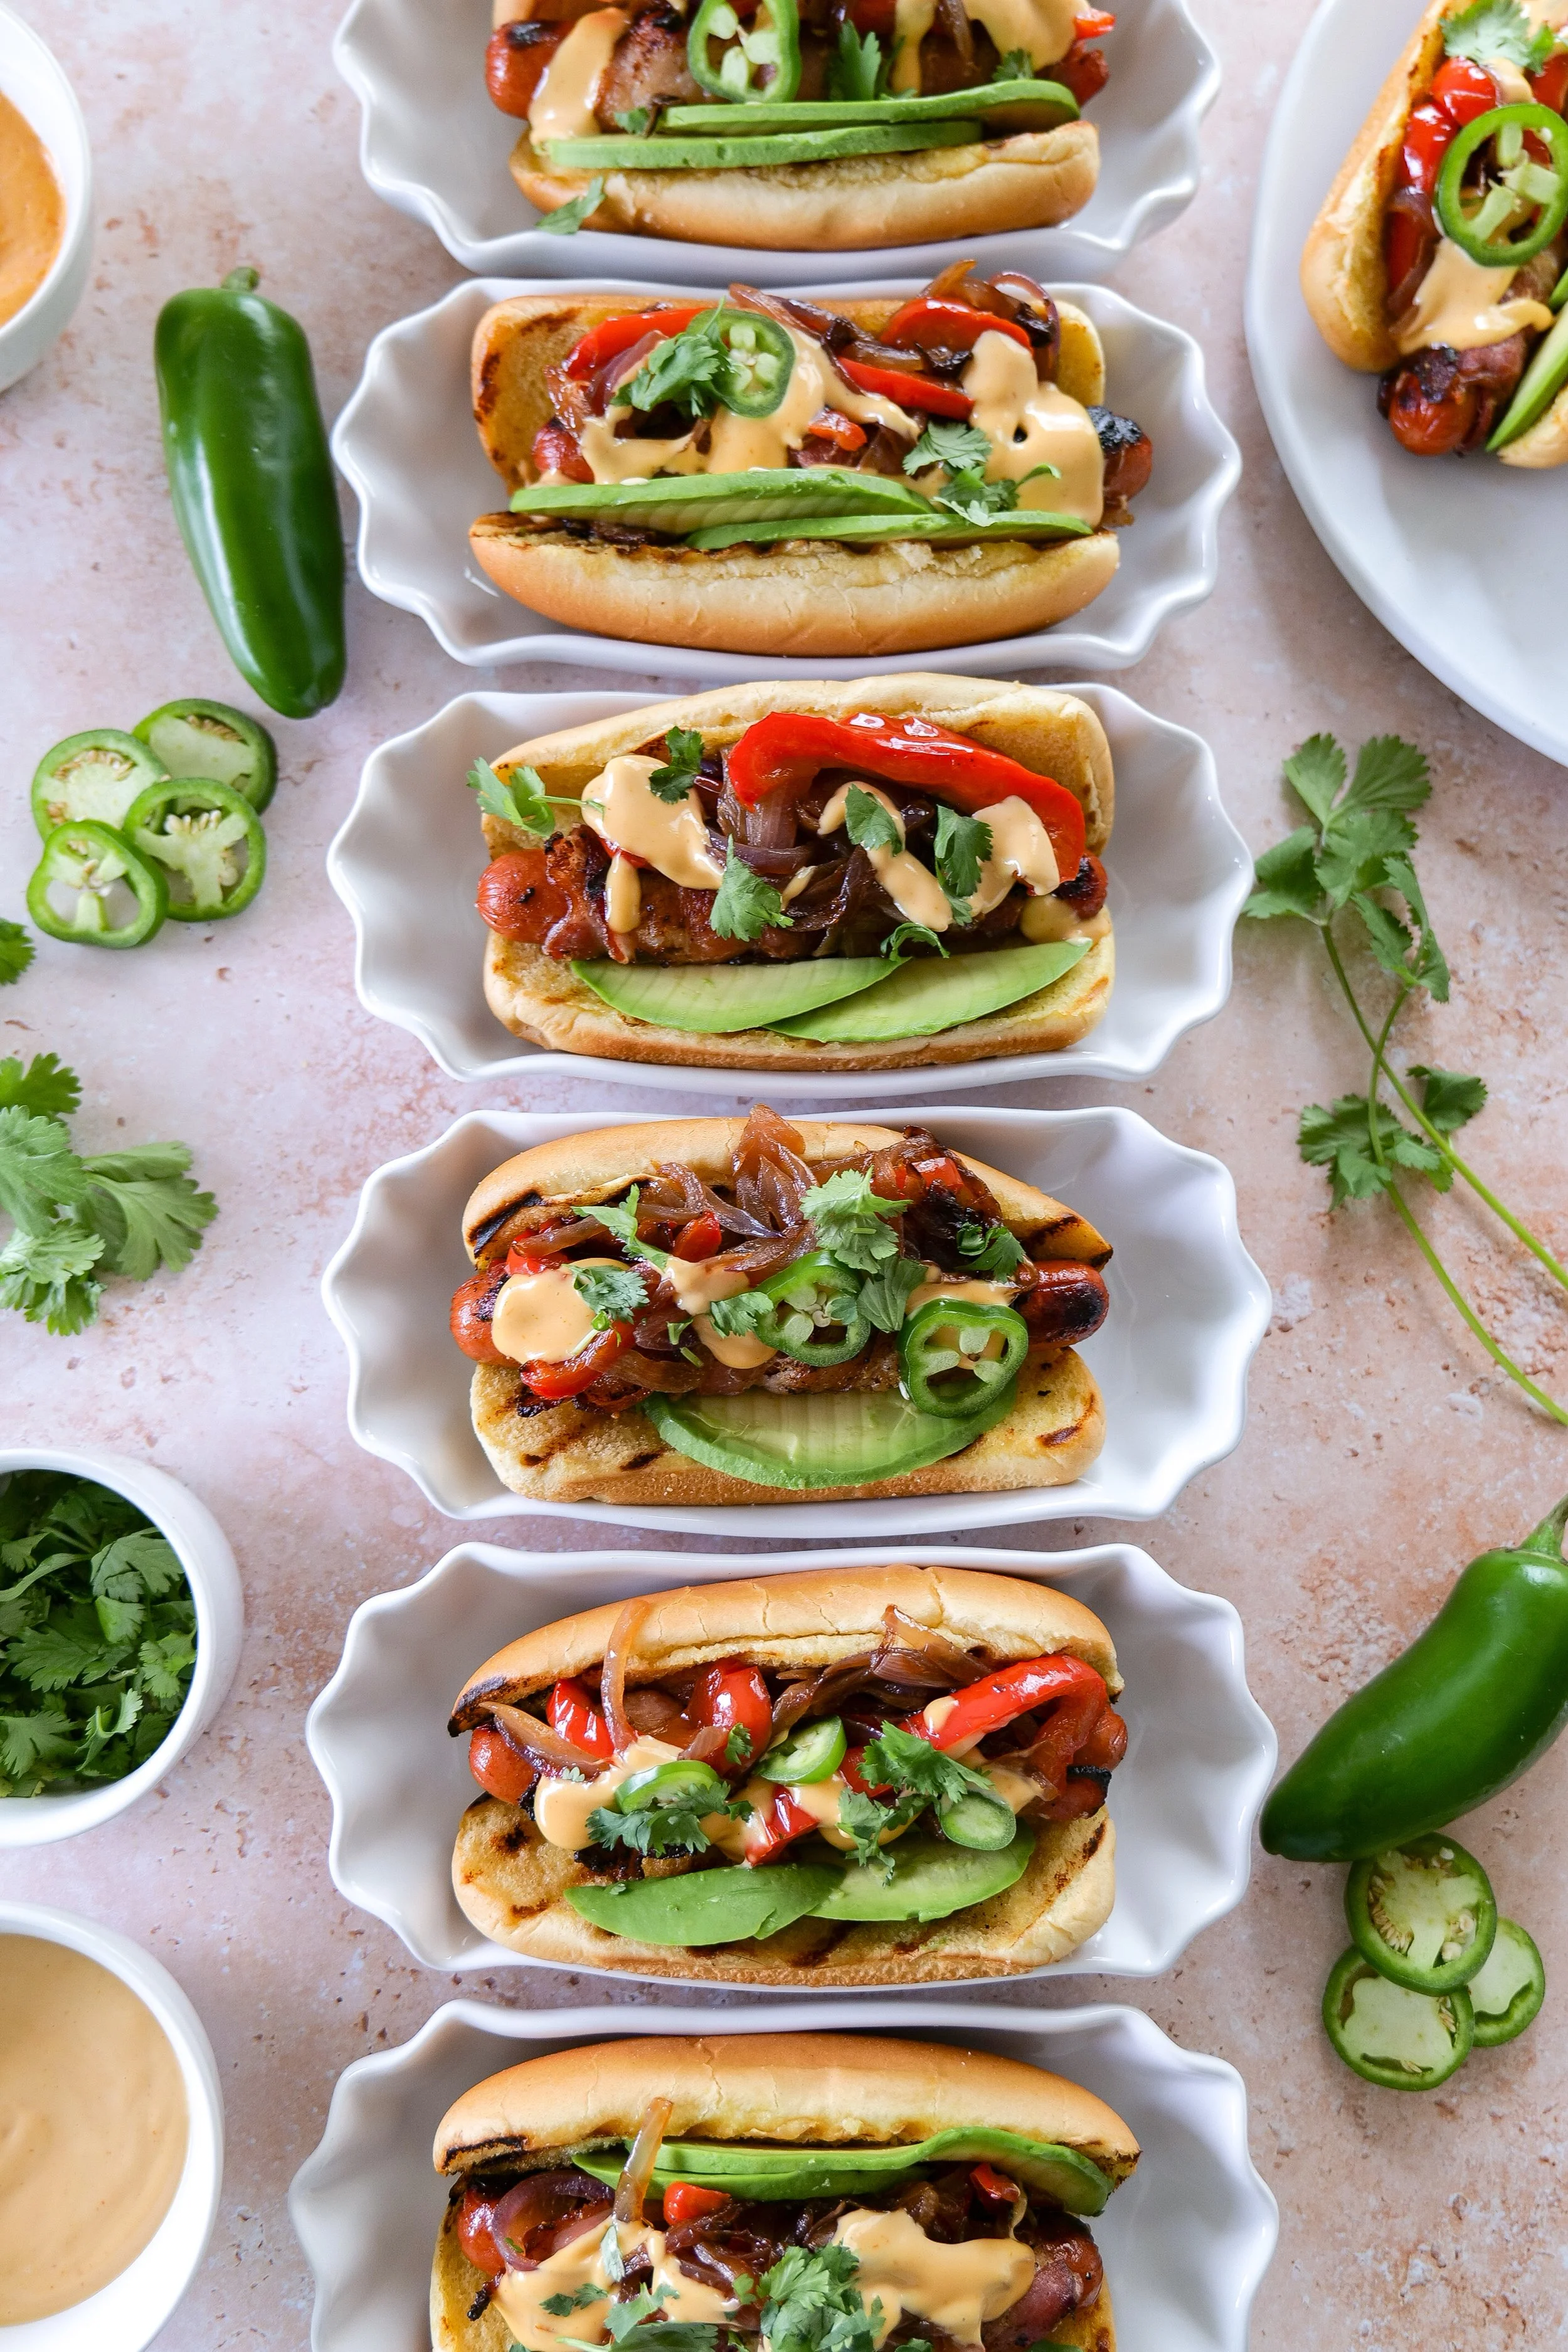
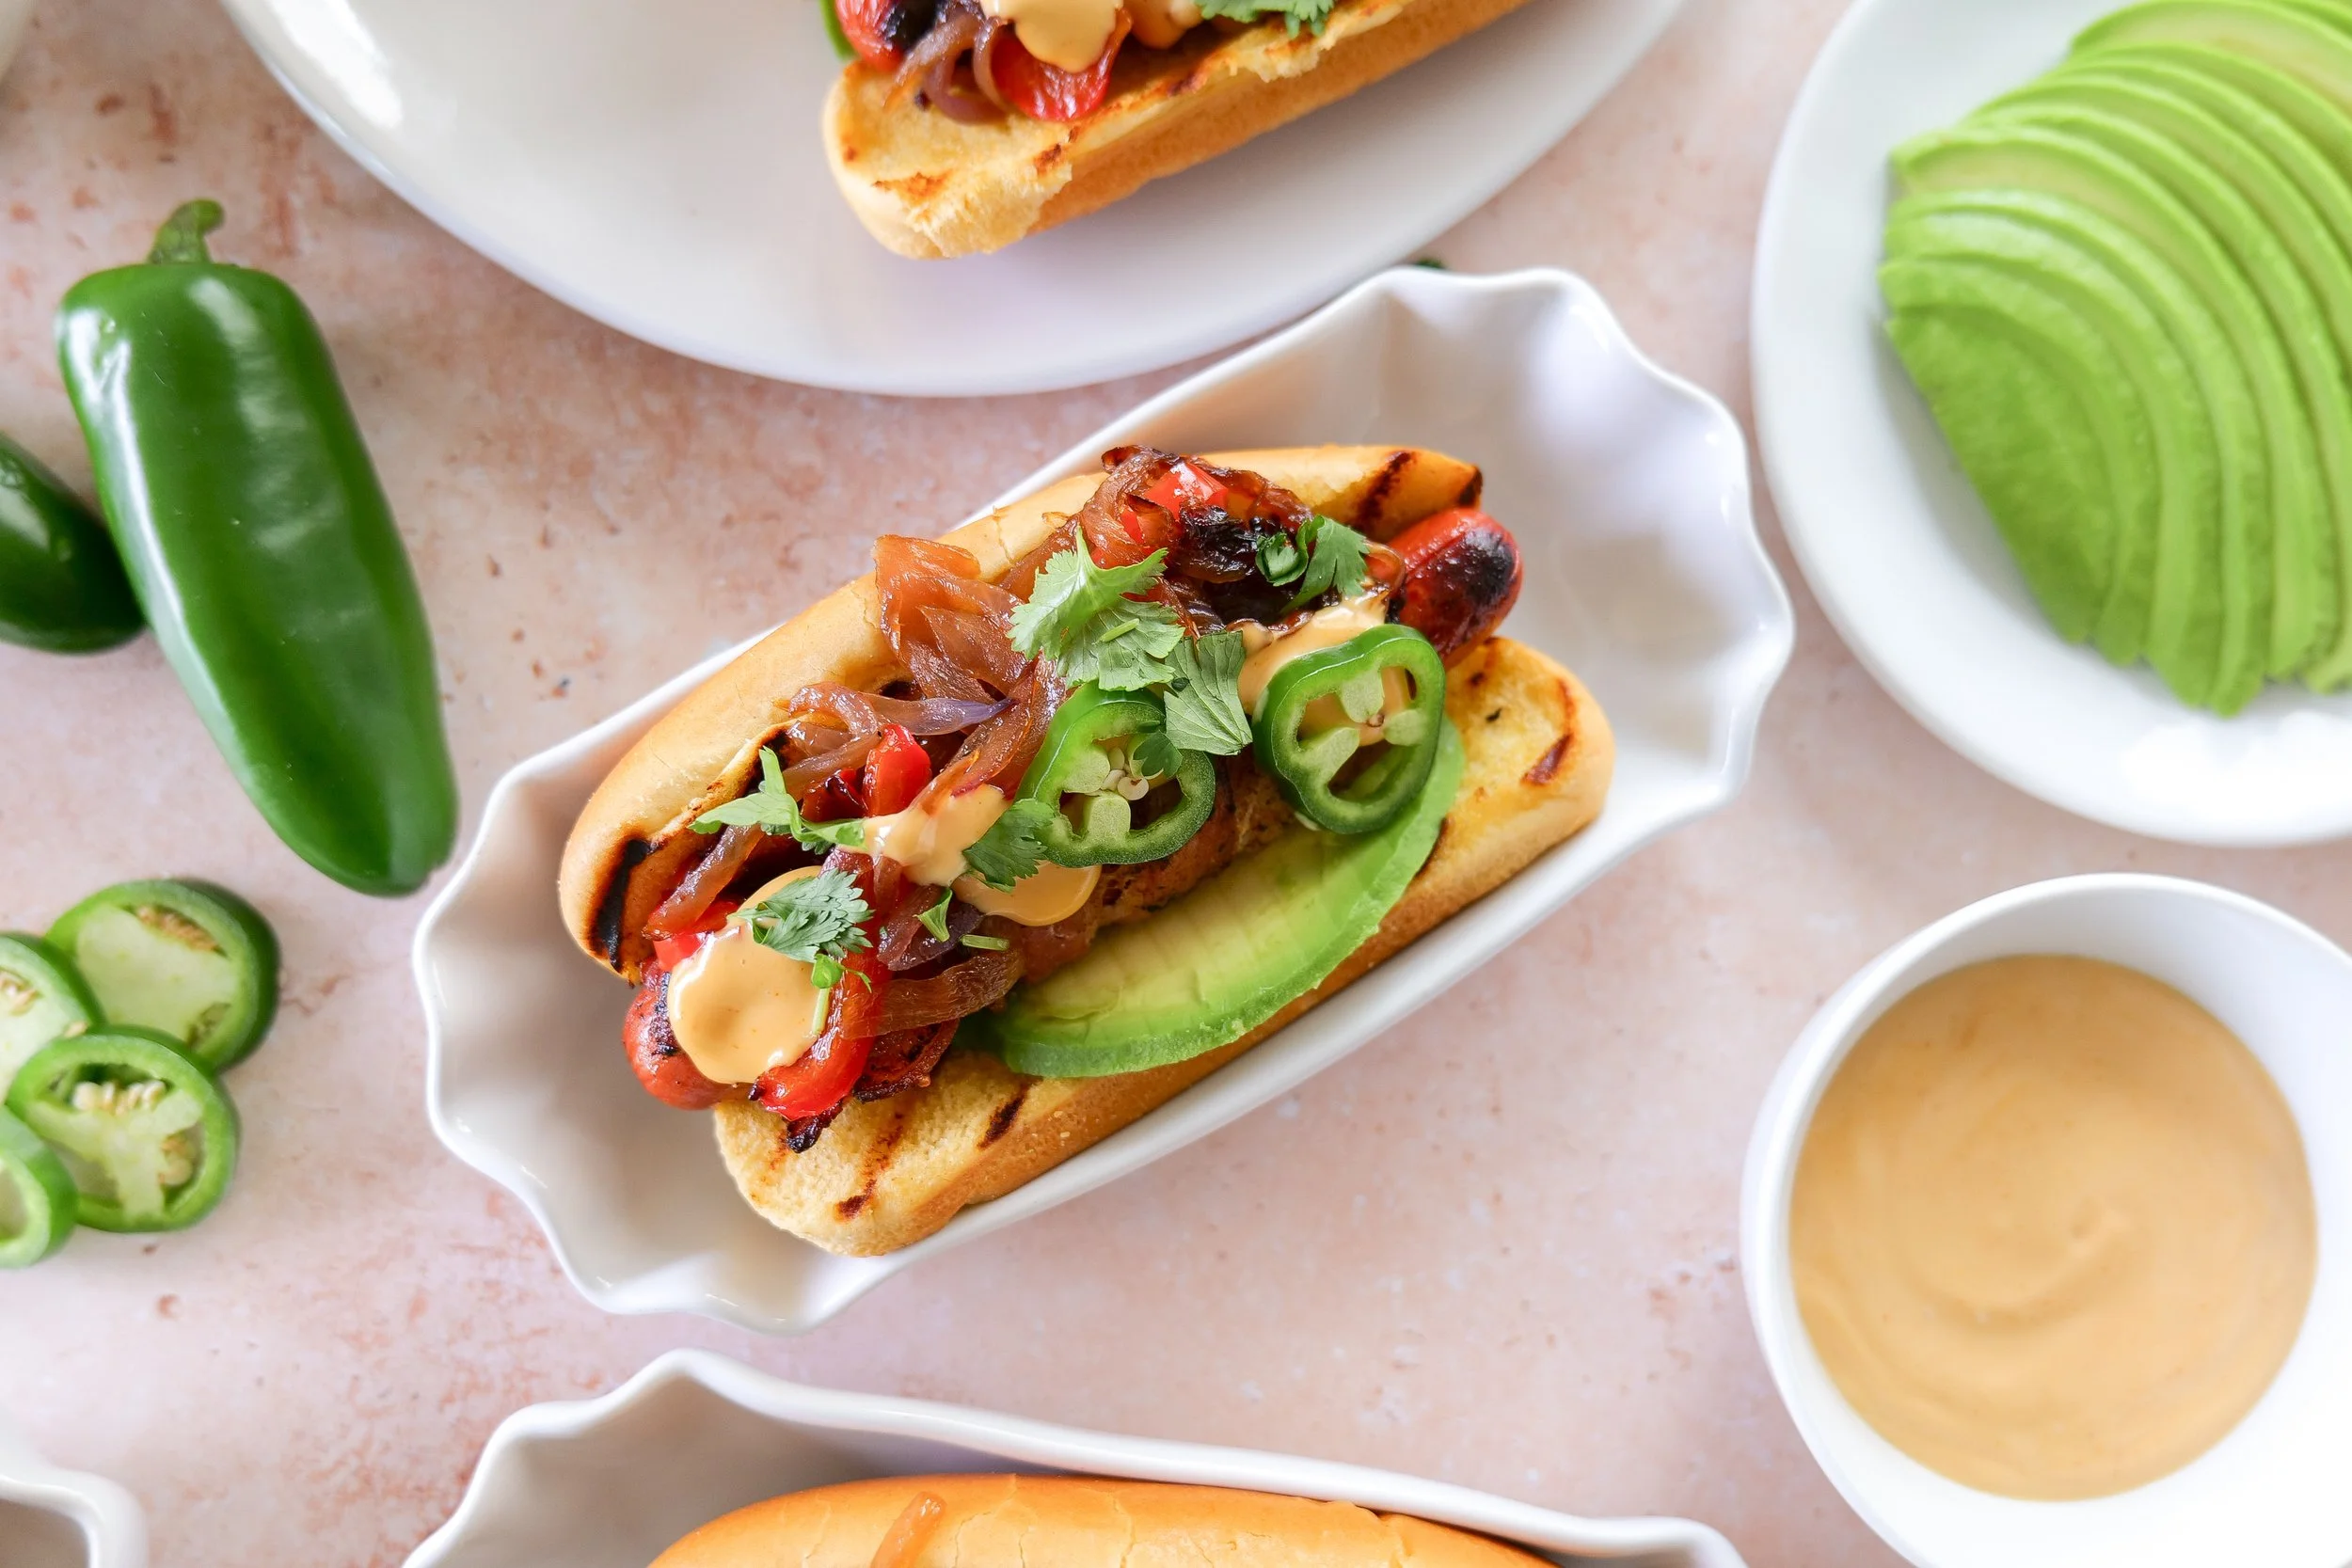
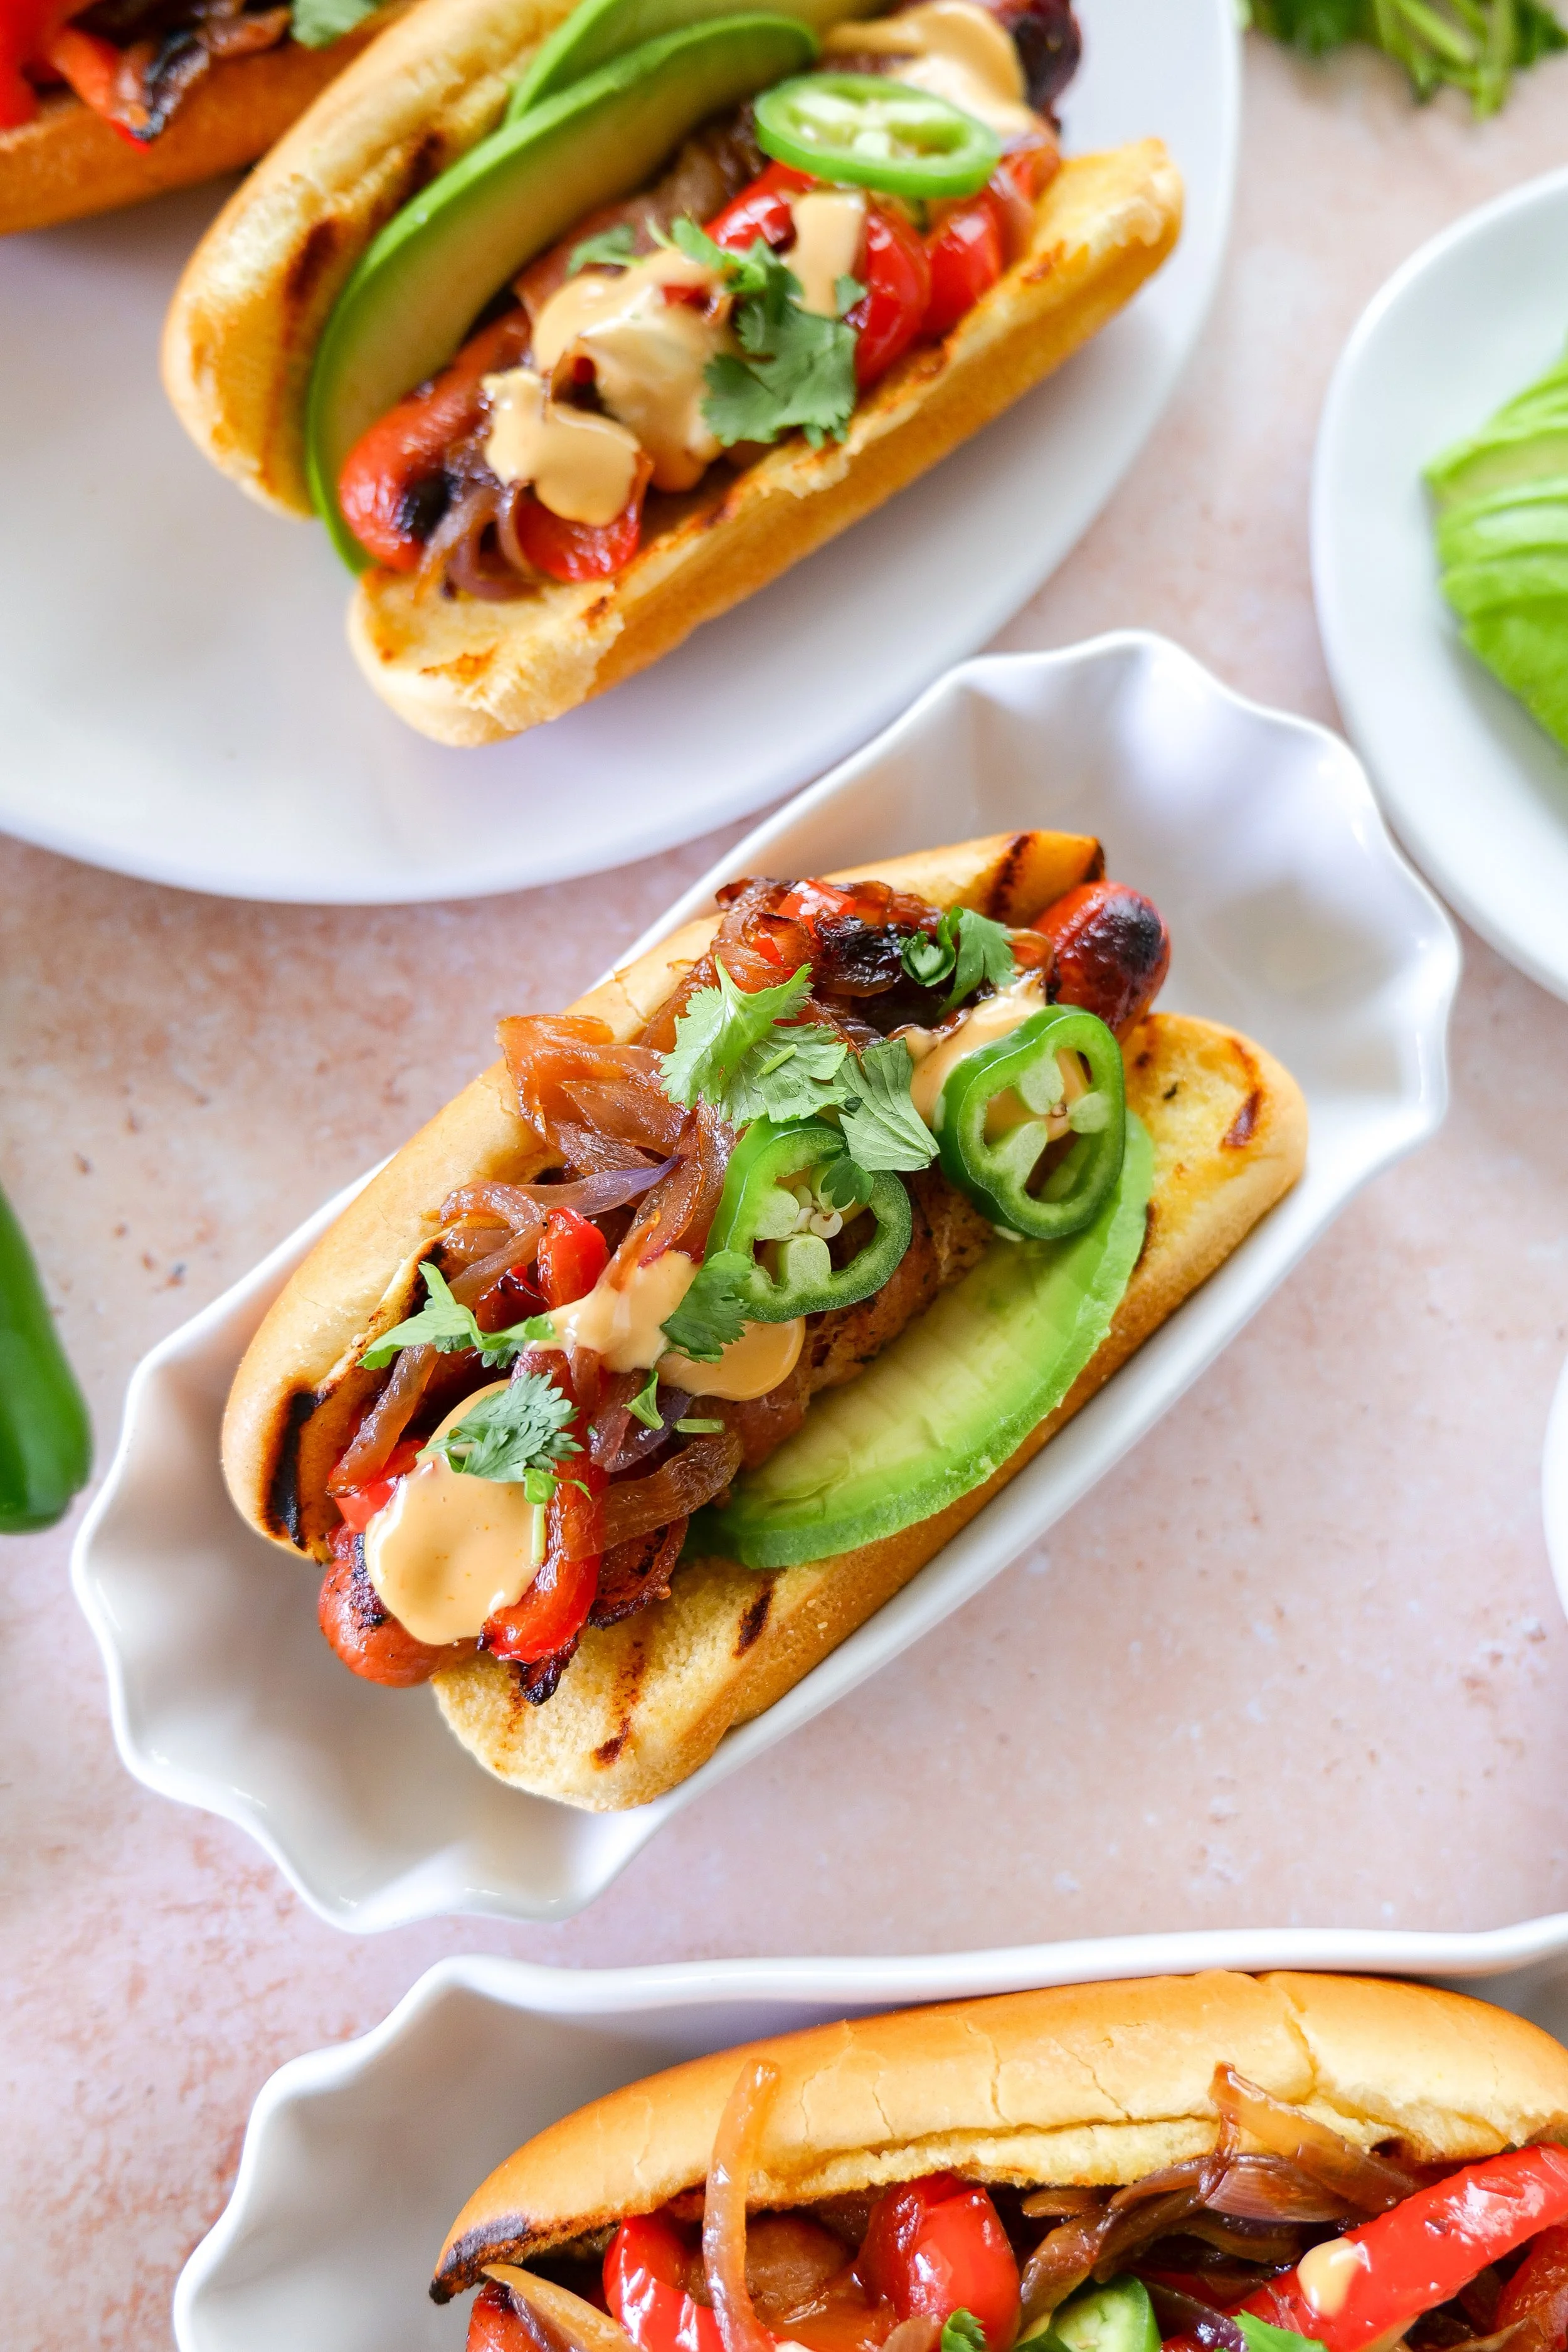
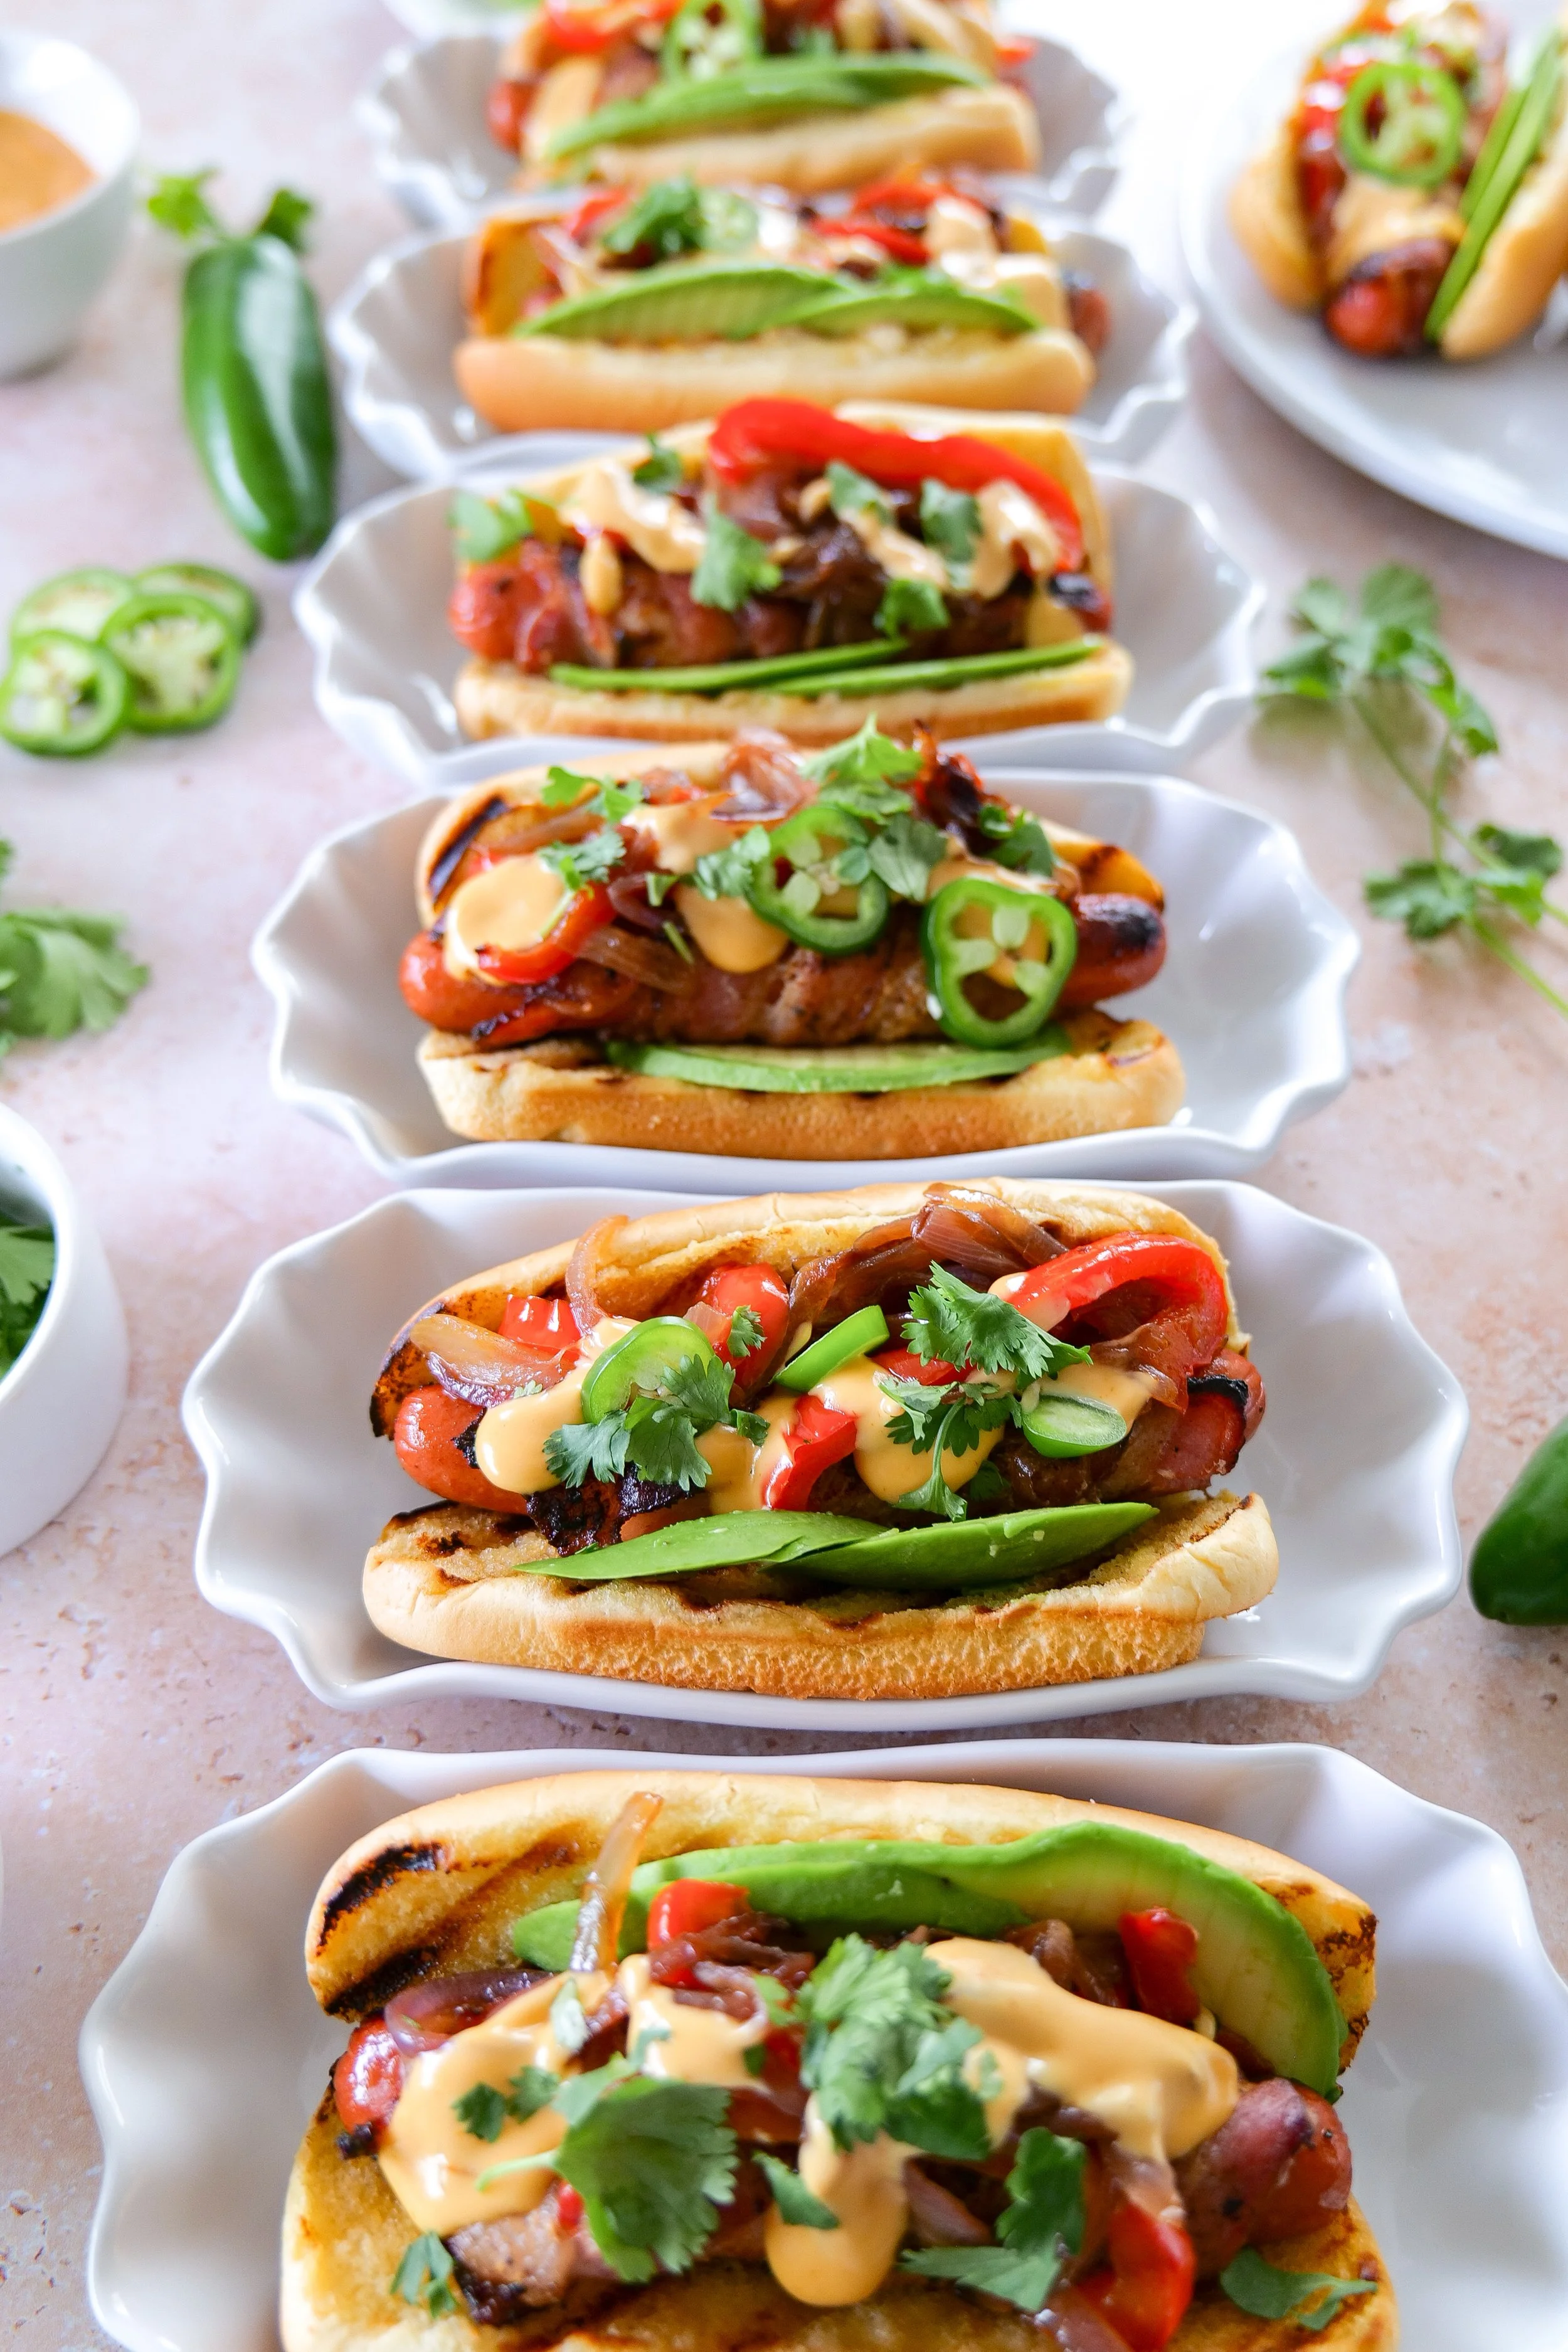
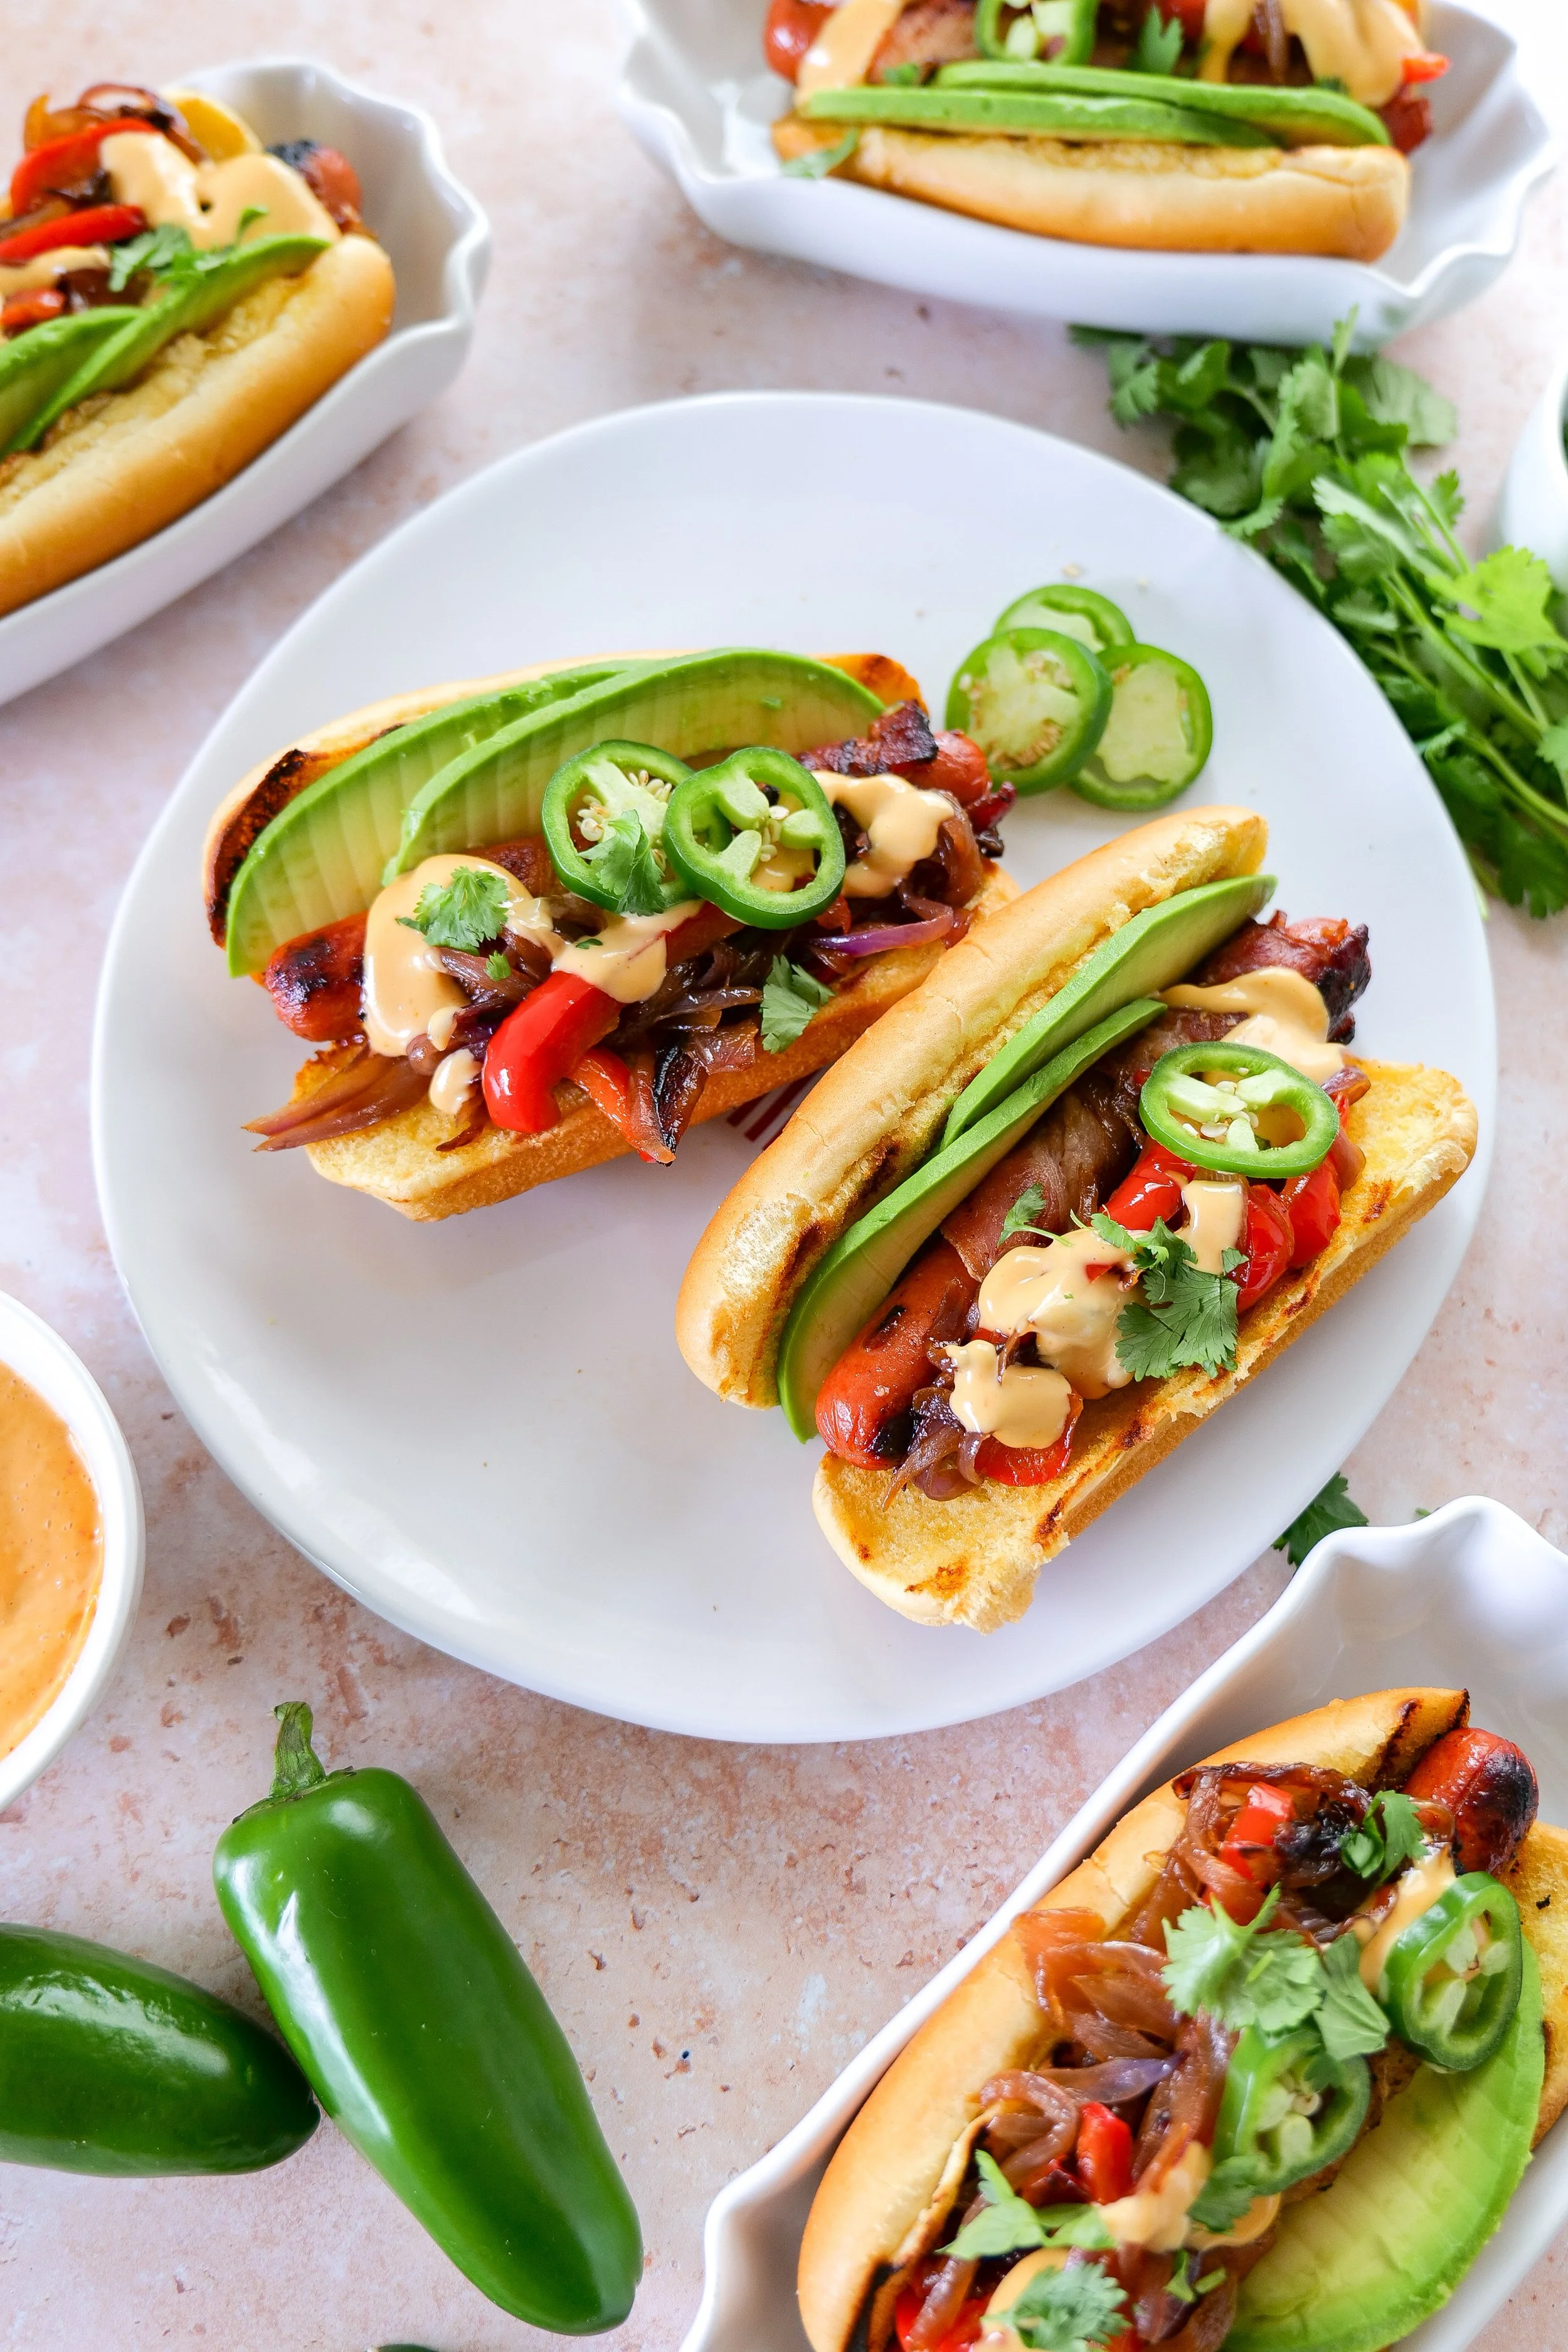
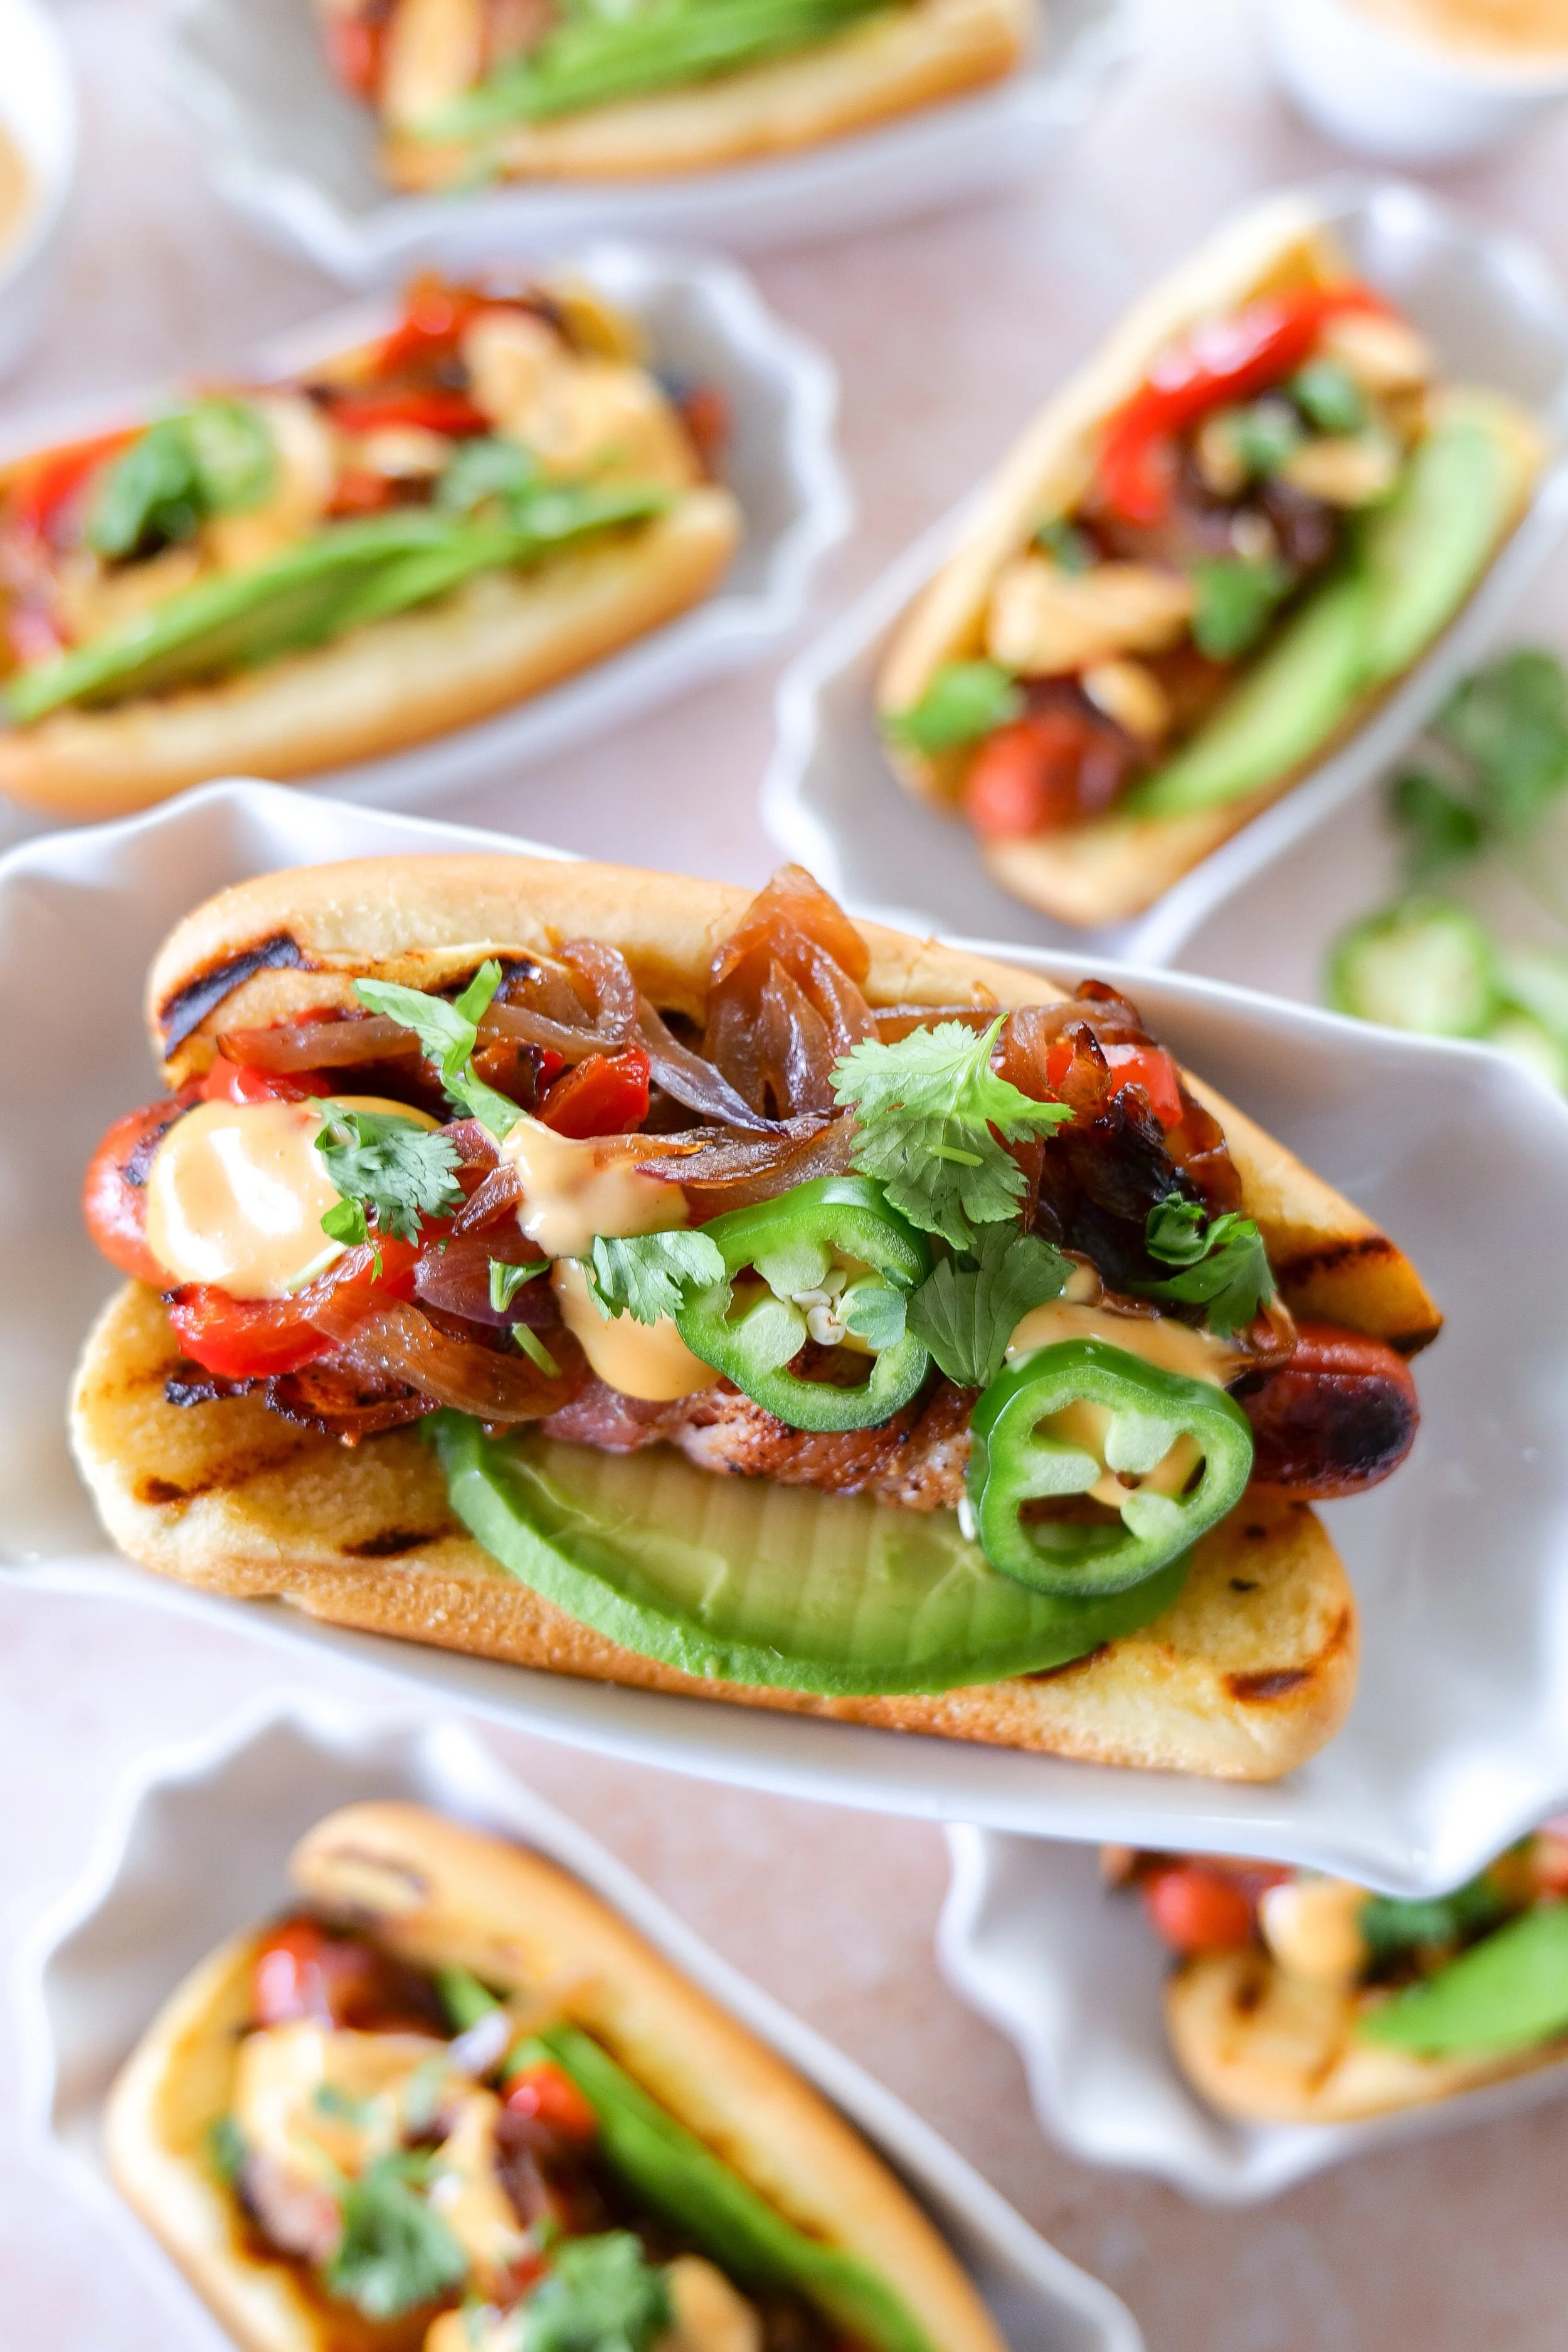
My husband spent his college years in Southern California grabbing bacon wrapped hot dogs from late-night street vendors in Long Beach and San Diego, and to this day he swears this is the only way to make the perfect hot dog. Crispy bacon wrapped around grilled all-beef hot dogs, topped with creamy avocado, grilled onions and peppers, and served on buttery toasted buns — they’re smoky, savory, and packed with fresh California-inspired flavor.

These easy California hot dogs are perfect for summer cookouts, beach-inspired dinners, backyard BBQs, and casual summer entertaining. They feel nostalgic and elevated all at once, which makes them such a fun addition to this All American Summer series.

If you love summer grilling season as much as we do, you can browse my Summer Grilling Essentials collection for all of my favorite hot dog toppings trays, grilling tools, serving pieces, and backyard BBQ favorites used throughout our All American Summer series.

If you love Americana-inspired entertaining and cozy summer hosting, be sure to browse my American Summer Hosting collection filled with backyard BBQ ideas, patriotic hosting inspiration, and summer entertaining favorites. You can also shop my All American Mama collection for timeless summer style, hosting finds, and classic Americana-inspired favorites.

Bacon-wrapped hot dog served in a toasted bun
Family-style hot dog dinner served for summer entertaining
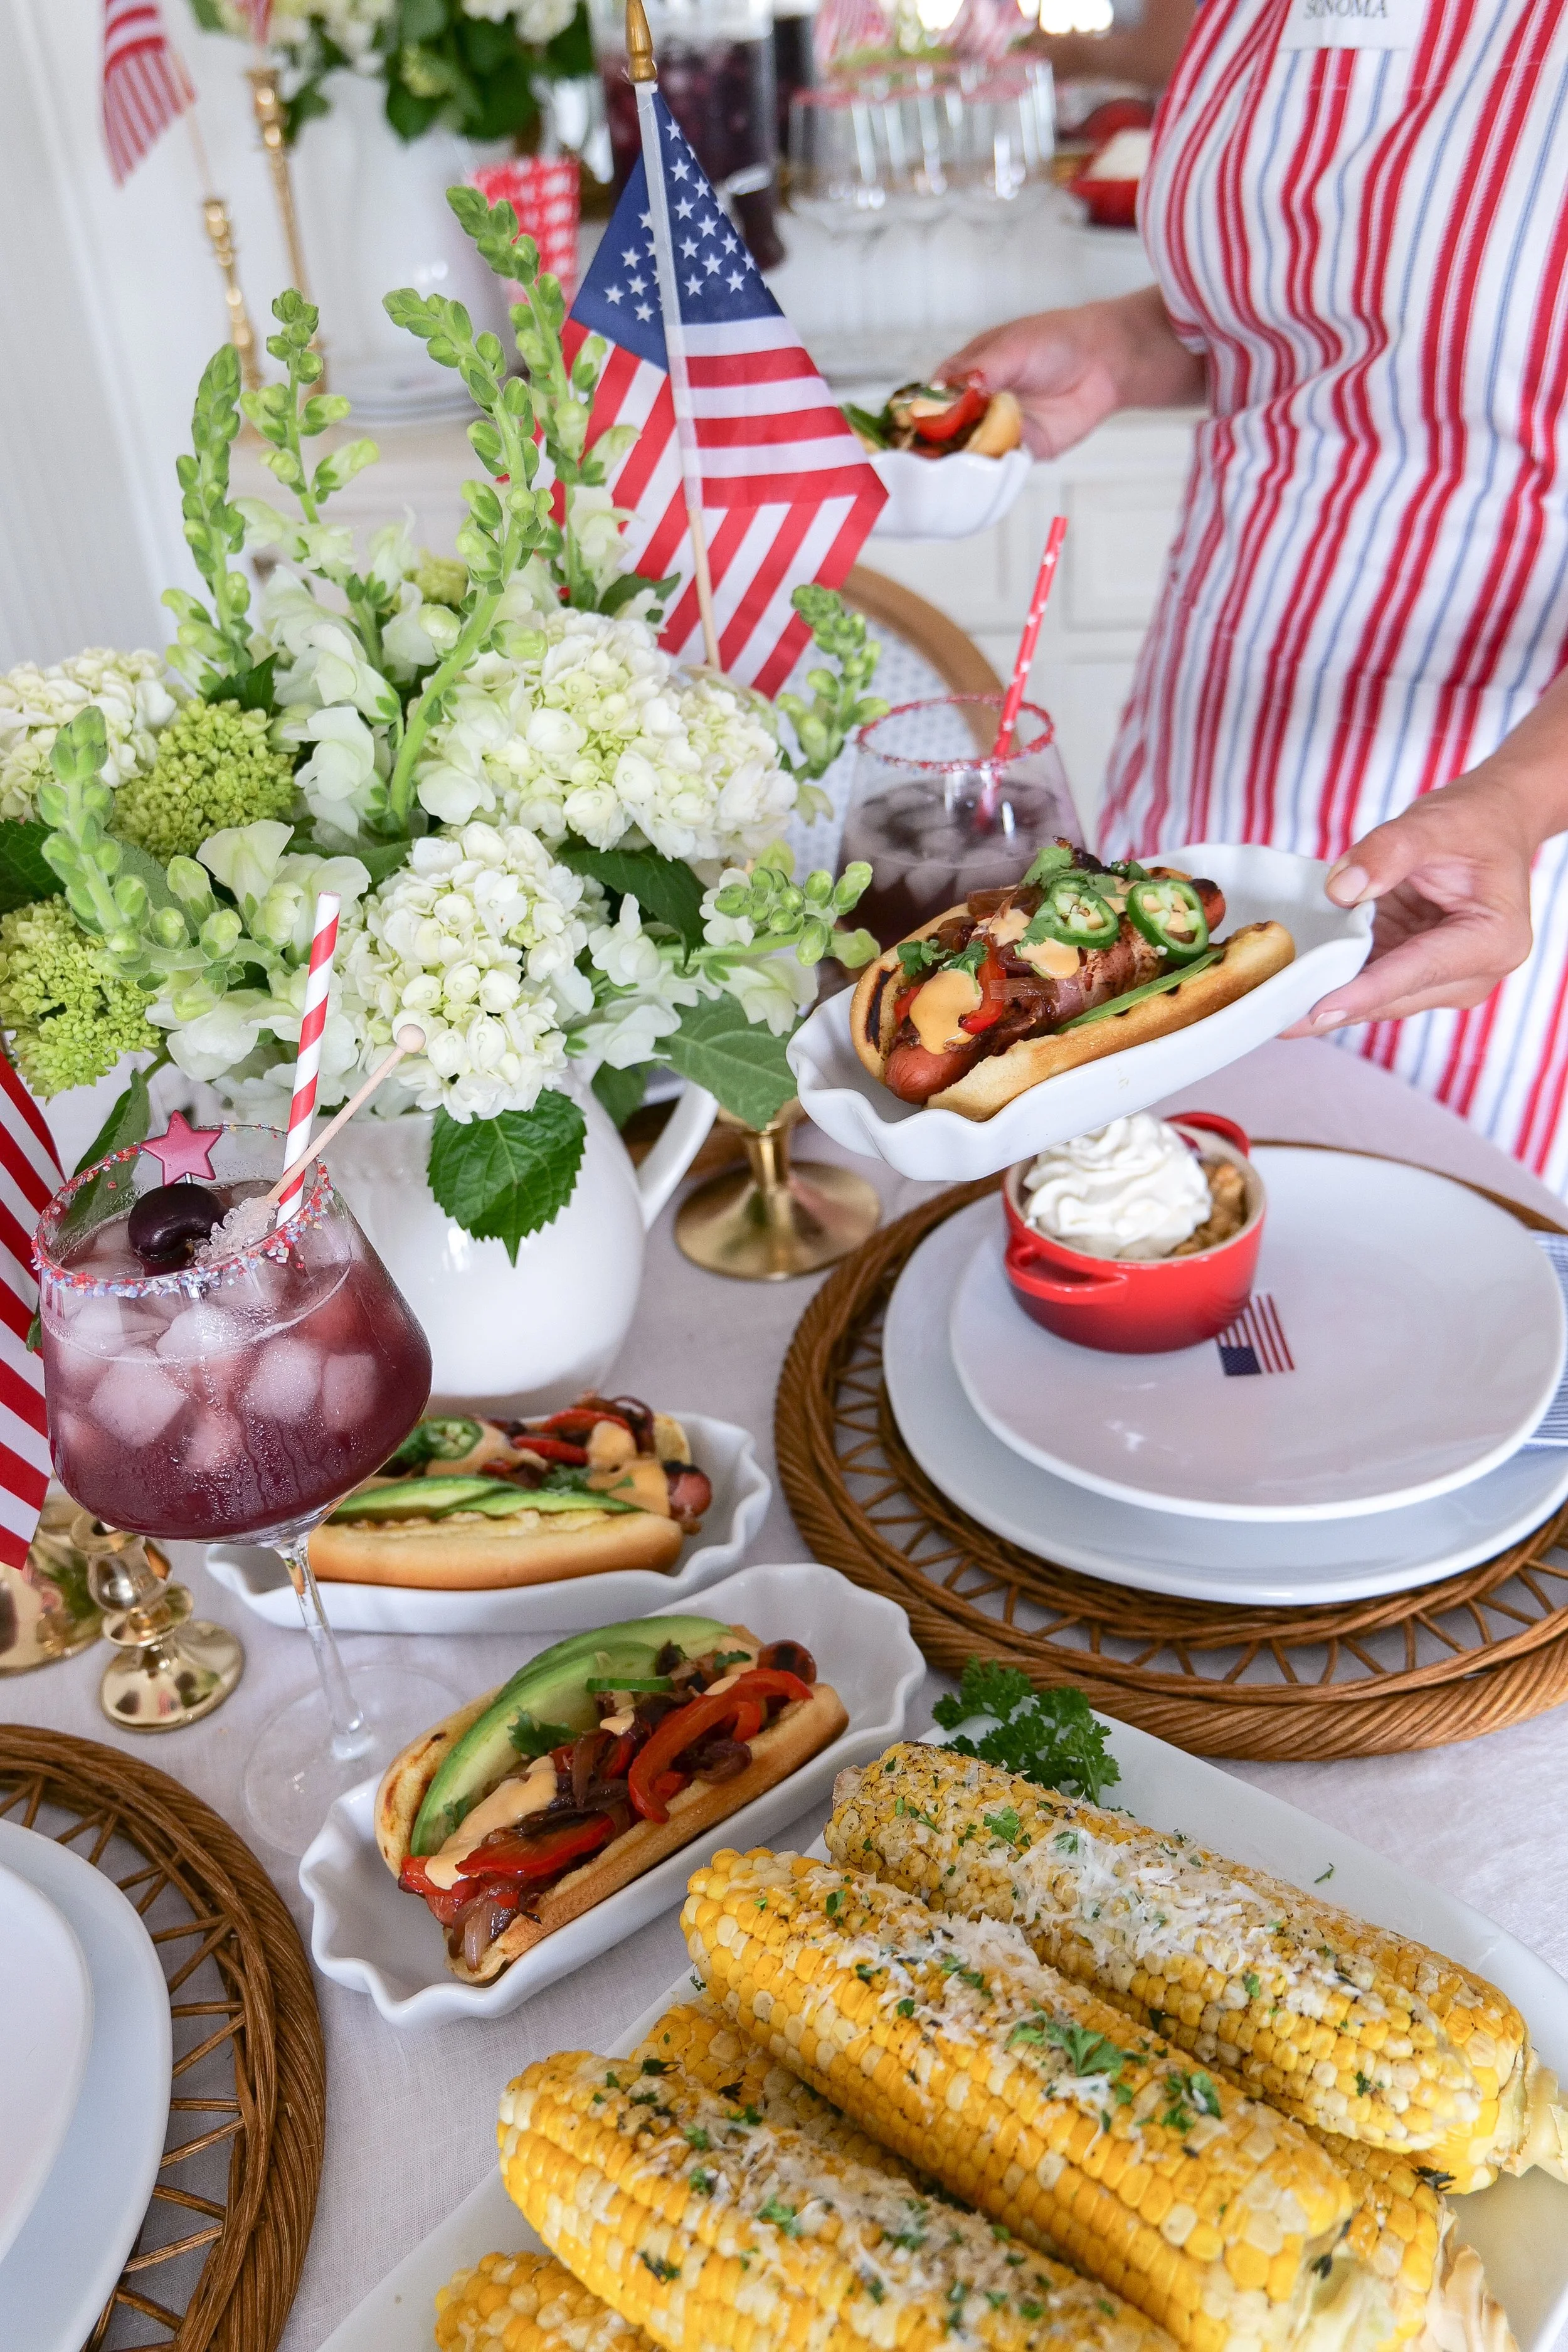
Bacon-wrapped hot dogs displayed on a Fourth of July tablescape
Patriotic summer meal featuring bacon-wrapped hot dogs
Fourth of July hot dogs served for summer celebrations

Why You’ll Love These Bacon Wrapped California Hot Dog

This California hot dog recipe is one of those easy summer dinners you’ll find yourself making all season long.

  • Crispy bacon wrapped around juicy hot dogs

  • Loaded with fresh California-inspired toppings

  • Perfect for summer BBQs and cookouts

  • Easy to customize for guests and gatherings

  • Packed with nostalgic coastal summer flavor

  • Great for casual entertaining

  • The ultimate All American summer dinner idea

Whether you’re grilling for family, hosting friends by the pool, or planning a laid-back summer dinner, these bacon wrapped hot dogs always disappear fast.

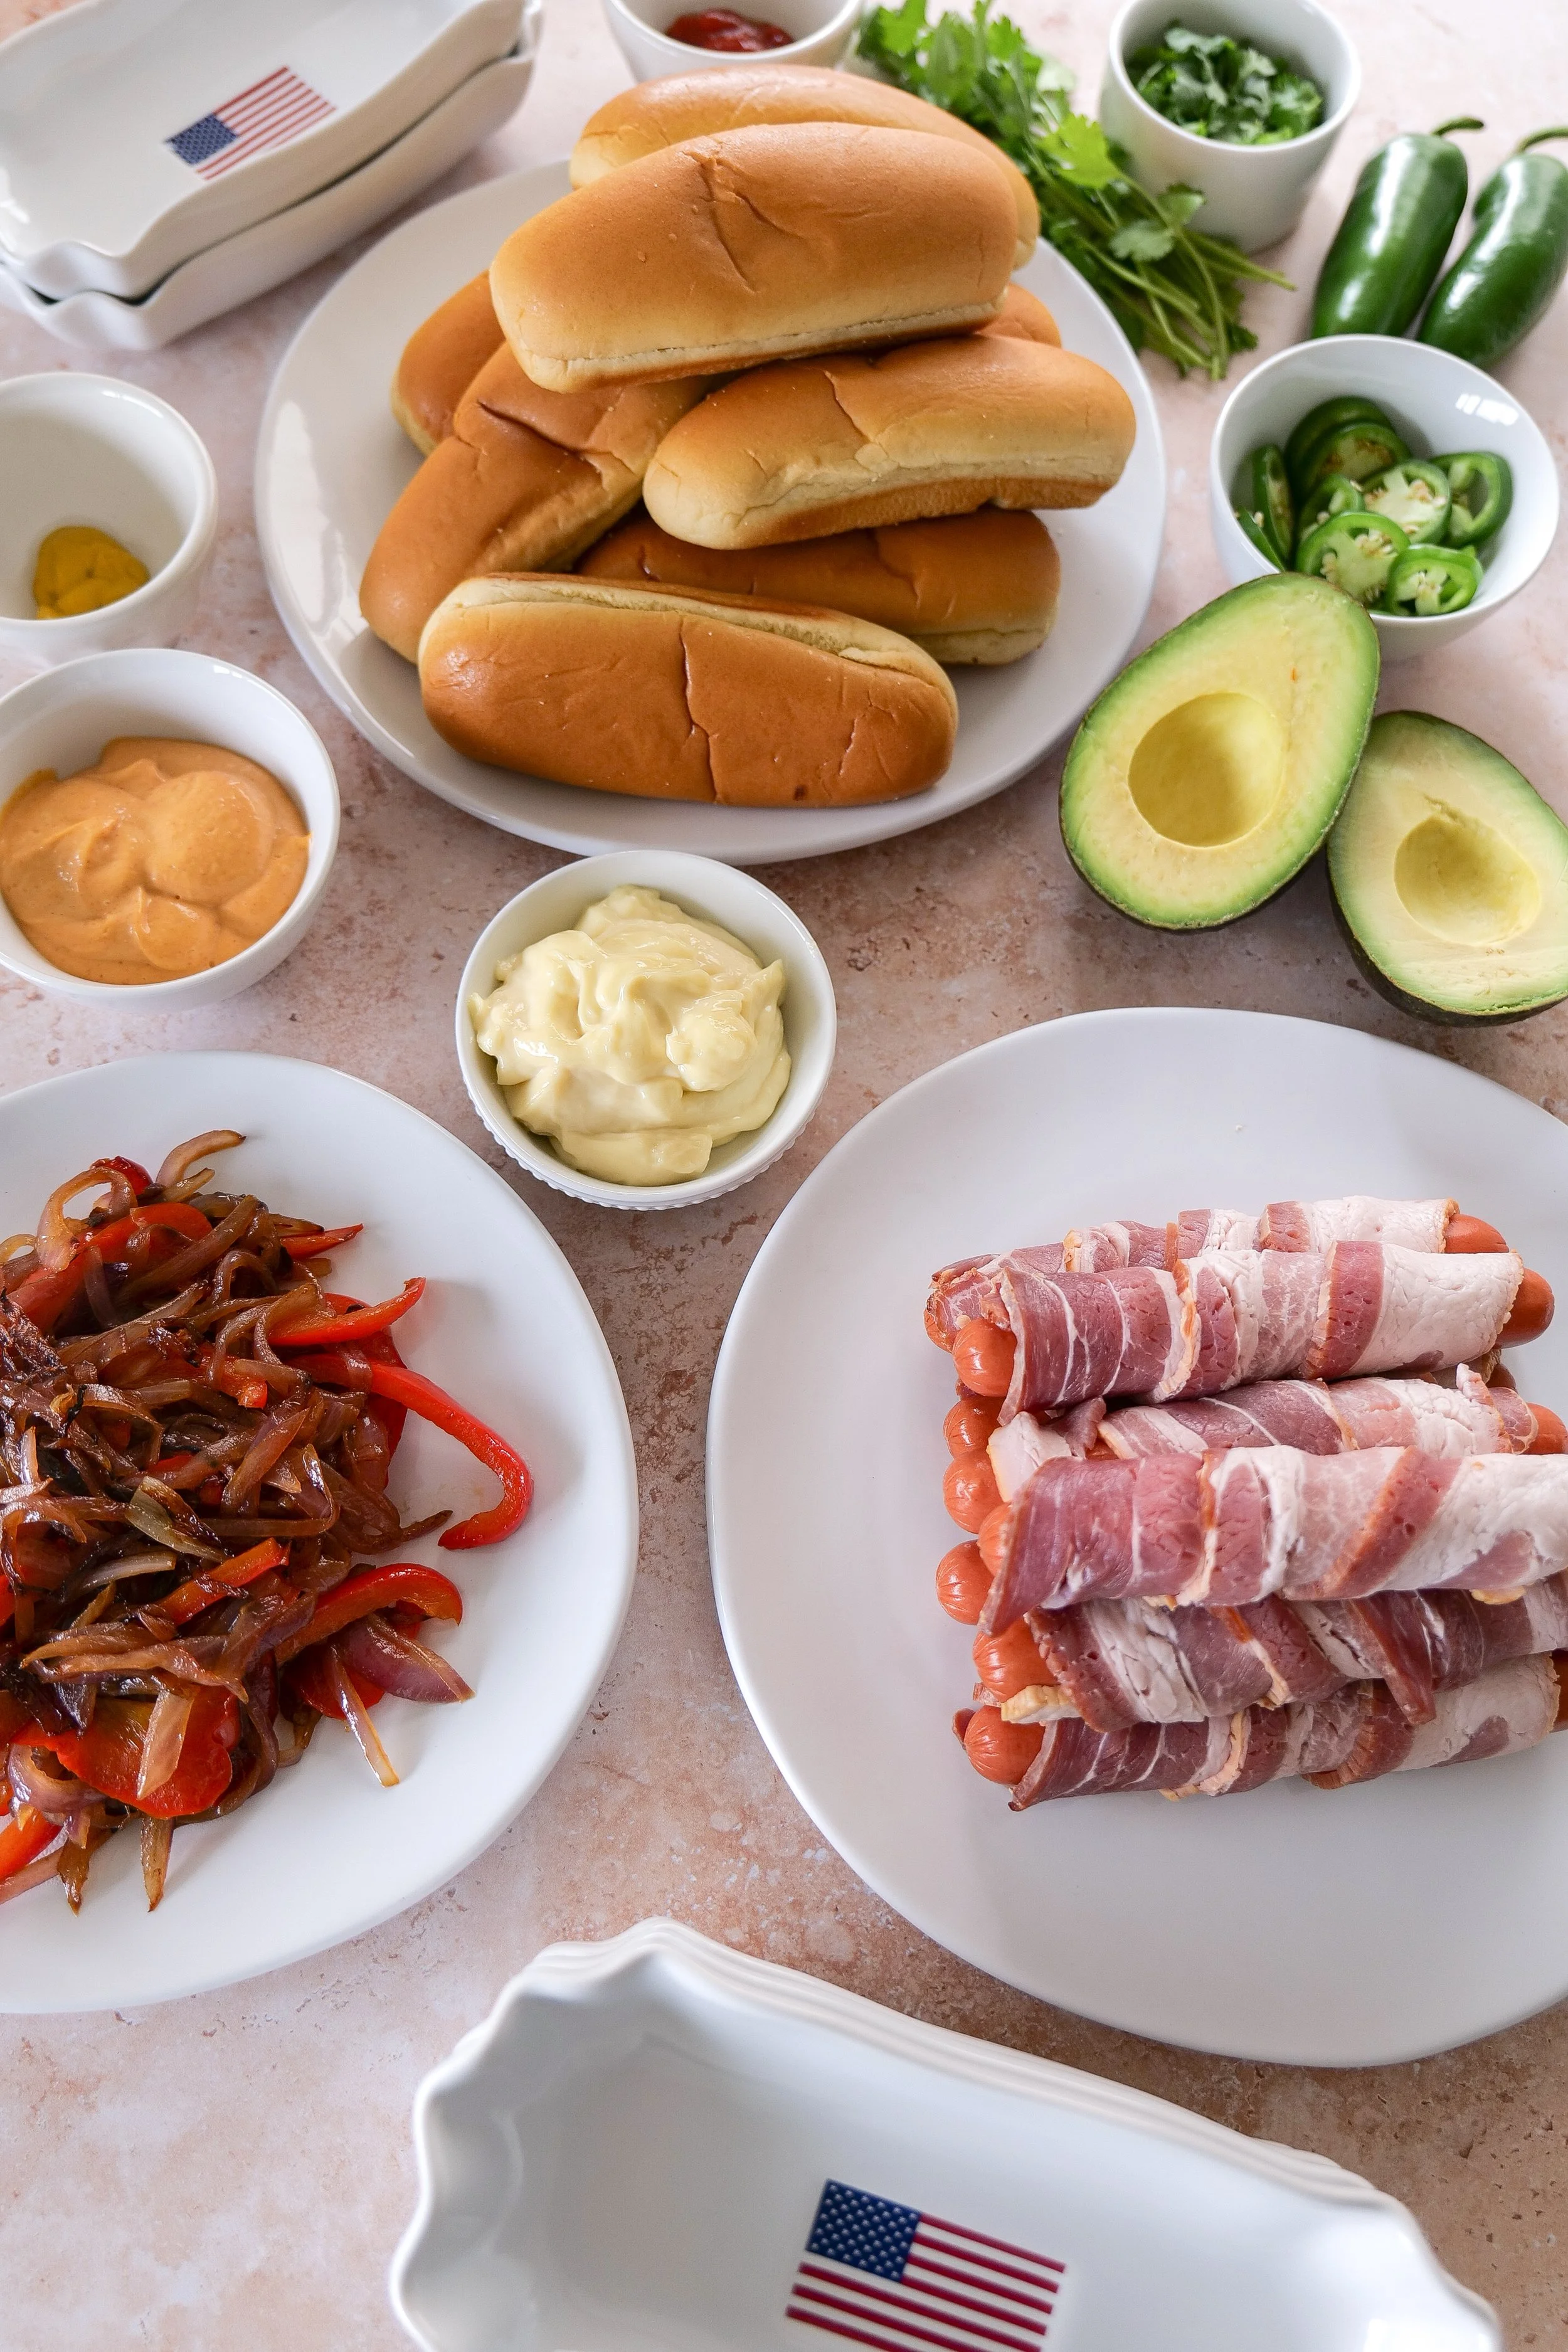
Ingredients for bacon-wrapped hot dogs
Hot dogs served for summer entertaining and family gatherings
California bacon-wrapped hot dogs served for summer entertaining

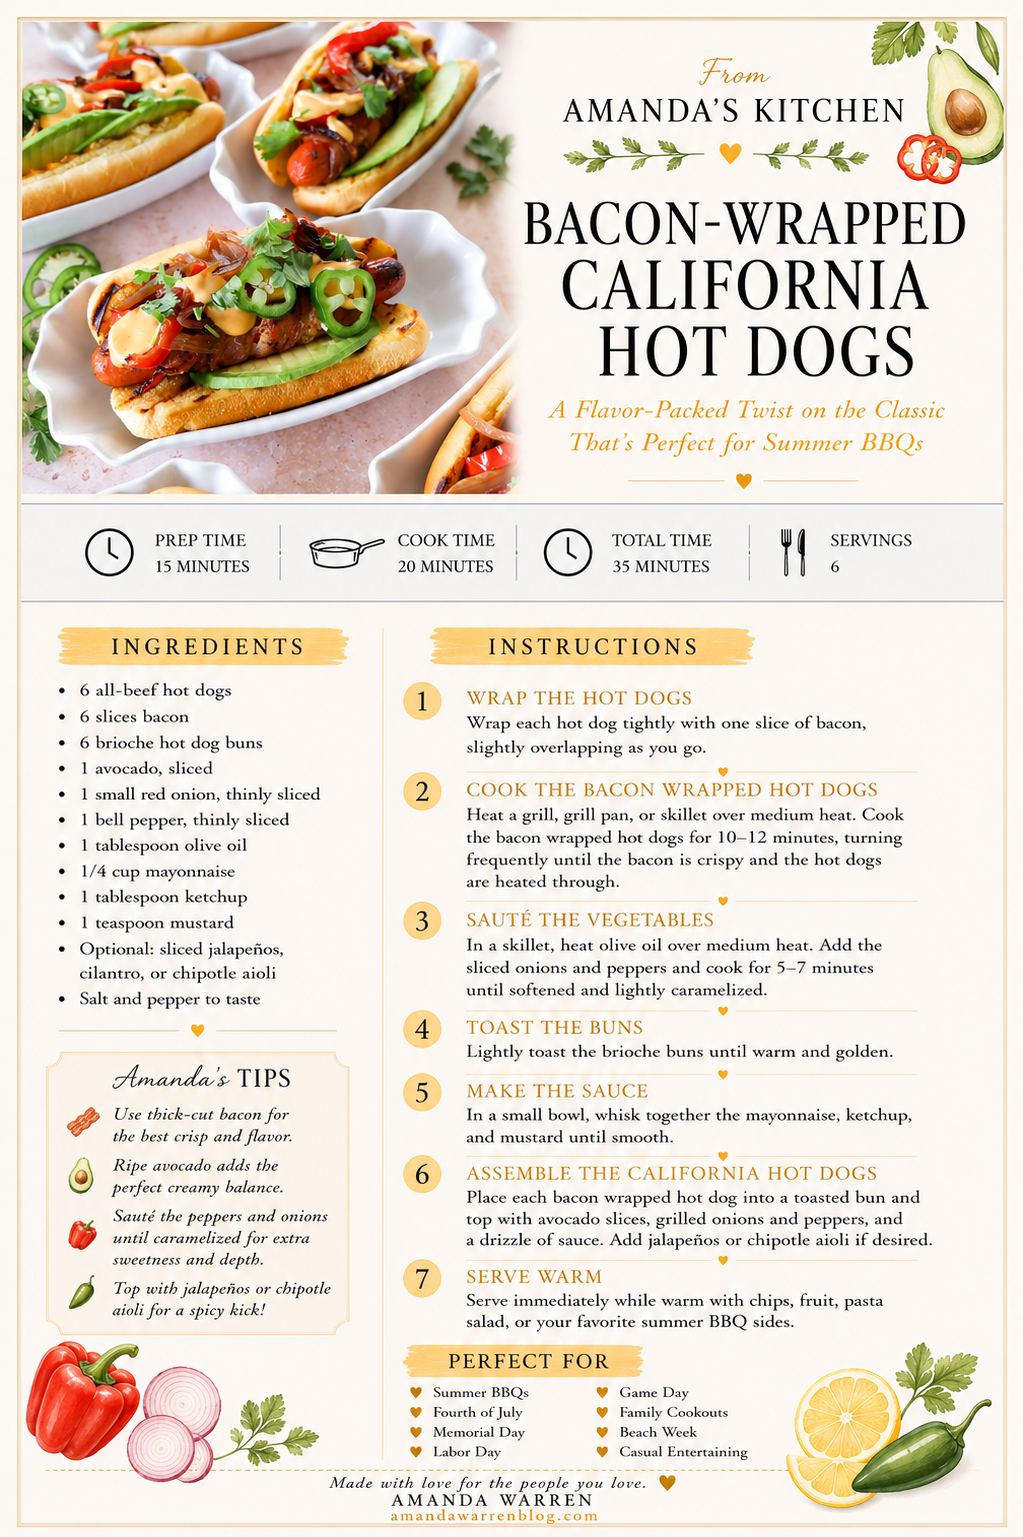
Ingredients

  • 6 all-beef hot dogs

  • 6 slices bacon

  • 6 brioche hot dog buns

  • 1 avocado, sliced

  • 1 small red onion, thinly sliced

  • 1 bell pepper, thinly sliced

  • 1 tablespoon olive oil

  • 1/4 cup mayonnaise

  • 1 tablespoon ketchup

  • 1 teaspoon mustard

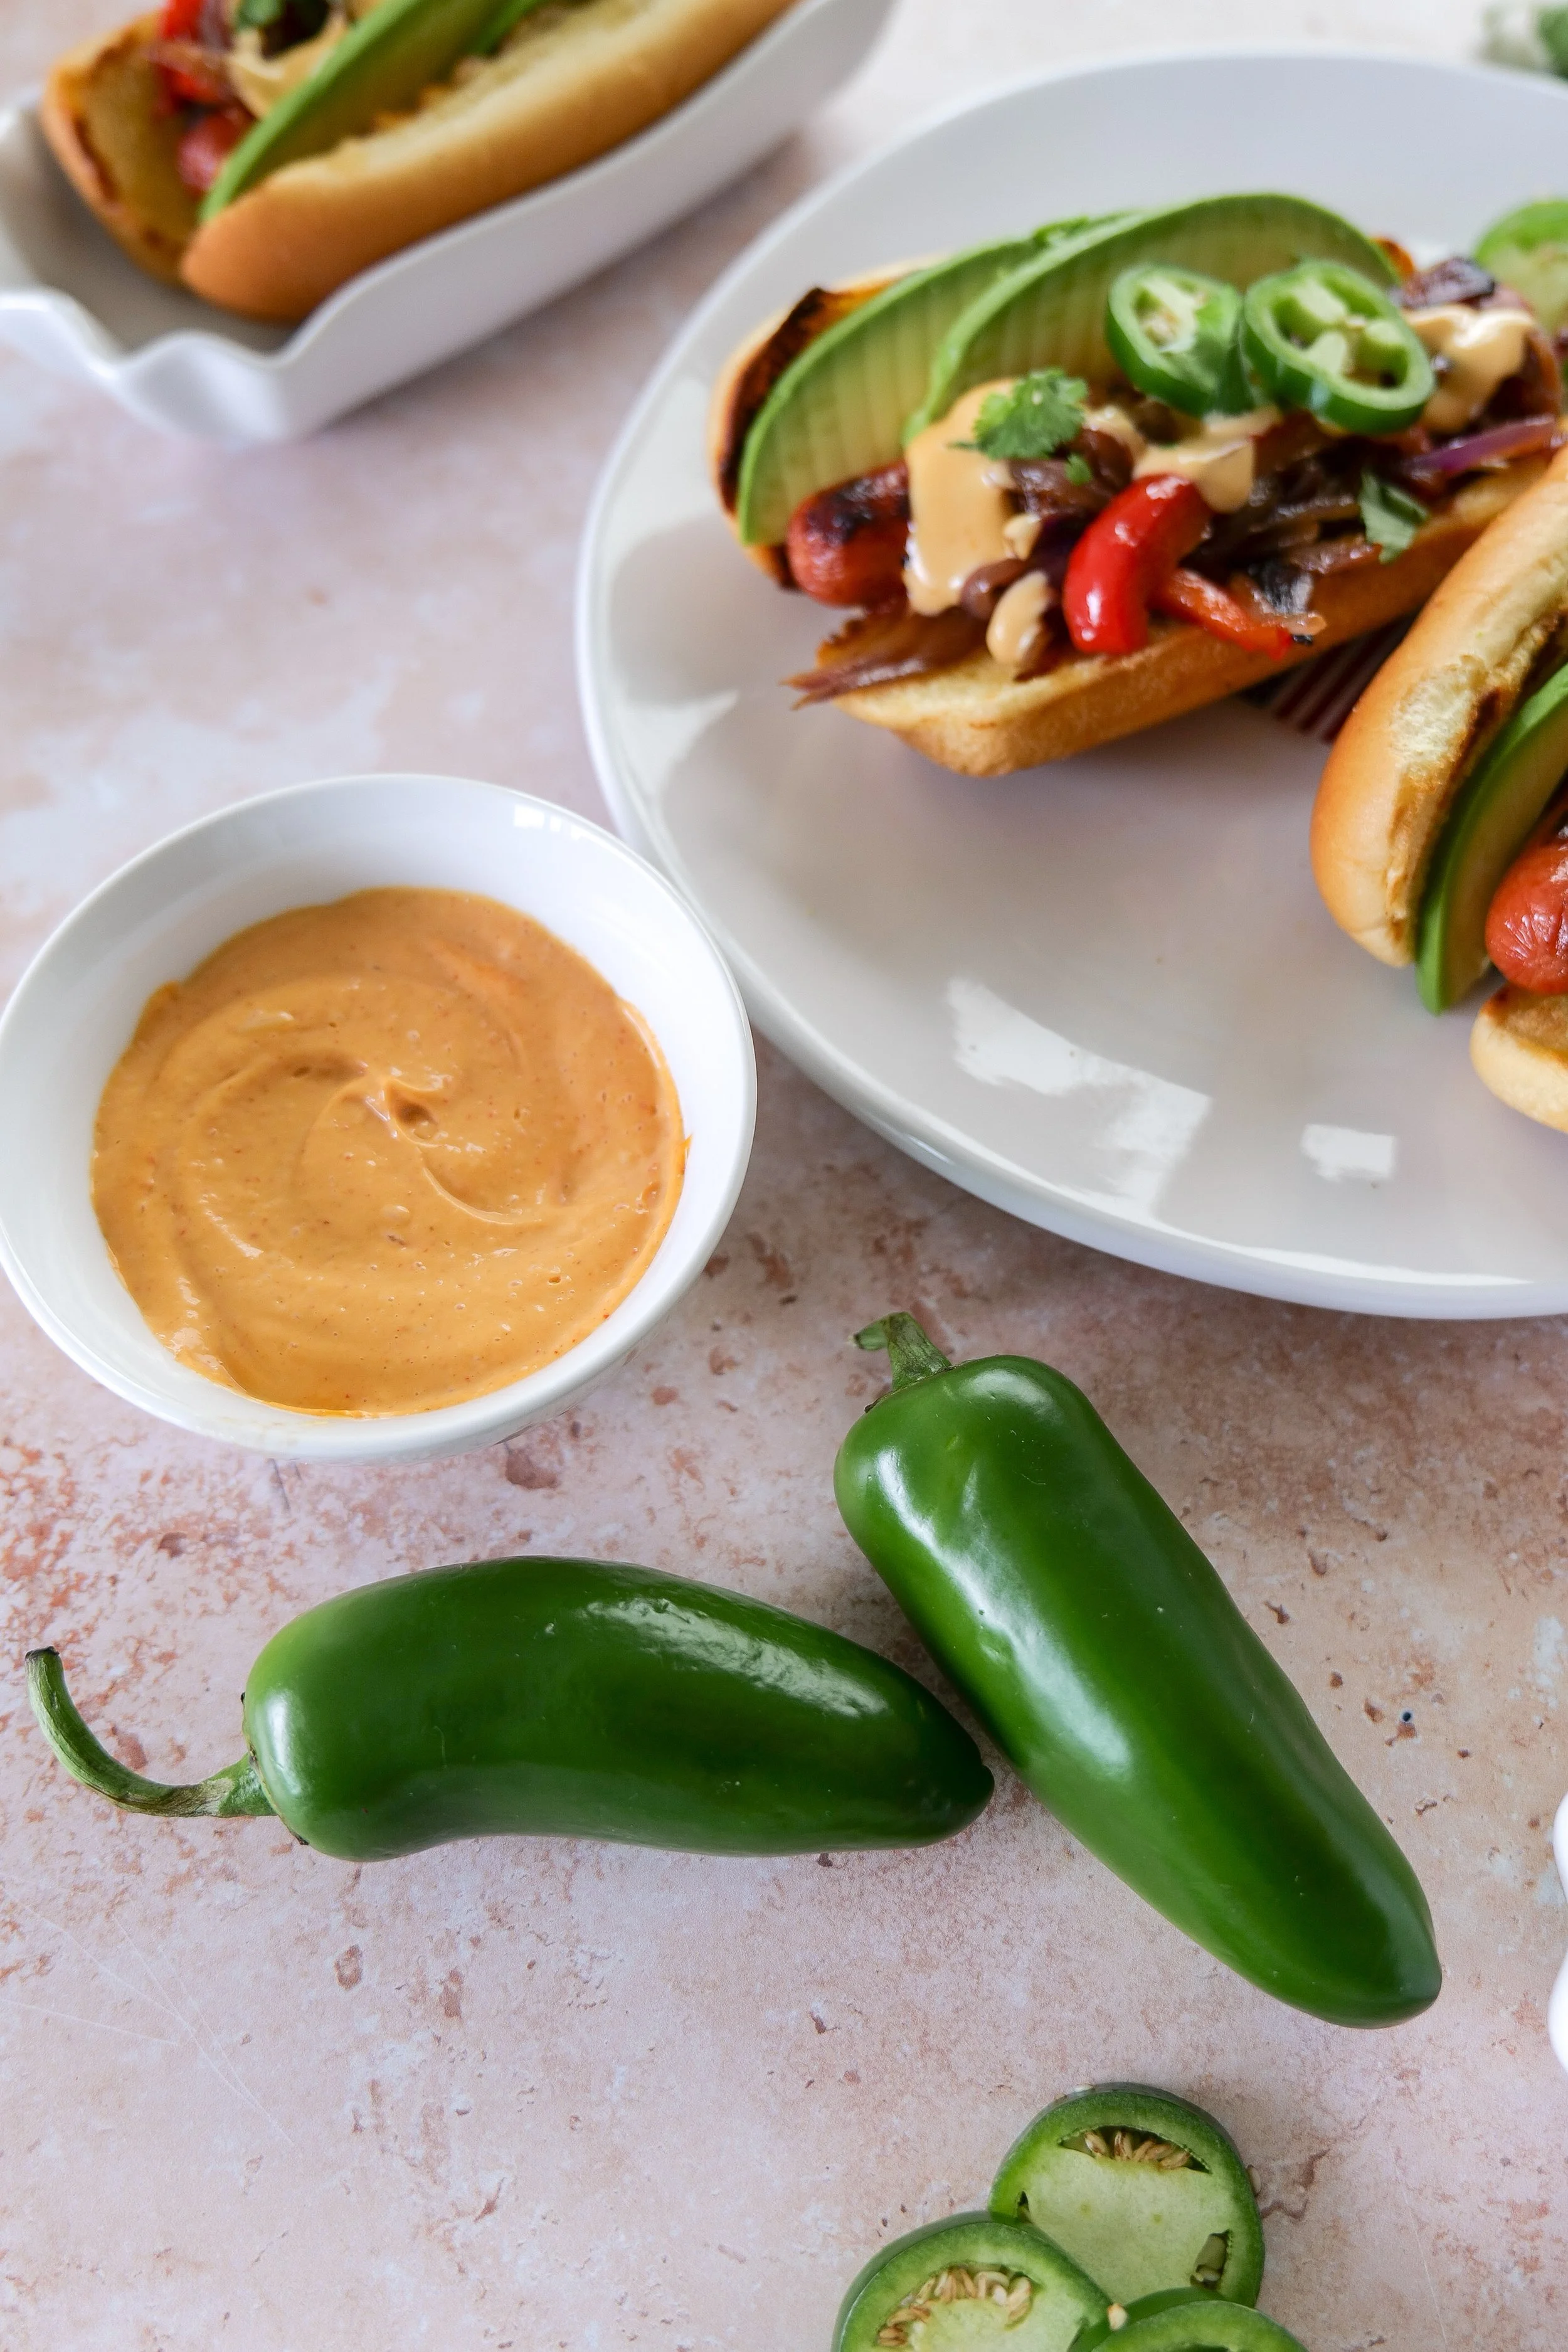
  • Optional: sliced jalapeños, cilantro, or chipotle aioli

  • Salt and pepper to taste

Instructions

1. Wrap the Hot Dogs

Wrap each hot dog tightly with one slice of bacon, slightly overlapping as you go.

2. Cook the Bacon Wrapped Hot Dogs

Heat a grill, grill pan, or skillet over medium heat. Cook the bacon wrapped hot dogs for 10–12 minutes, turning frequently until the bacon is crispy and the hot dogs are heated through.

3. Sauté the Vegetables

In a skillet, heat olive oil over medium heat. Add the sliced onions and peppers and cook for 5–7 minutes until softened and lightly caramelized.

4. Toast the Buns

Lightly toast the brioche buns until warm and golden.

5. Make the Sauce

In a small bowl, whisk together the mayonnaise, ketchup, and mustard until smooth.

6. Assemble the California Hot Dogs

Place each bacon wrapped hot dog into a toasted bun and top with avocado slices, grilled onions and peppers, and a drizzle of sauce. Add jalapeños or chipotle aioli if desired.

I linked our favorite grilling accessories, serving boards, hot dog trays, and summer BBQ essentials in my Summer Grilling Essentials collection to make summer hosting feel easy and elevated.

7. Serve Warm

Serve immediately while warm with chips, fruit, pasta salad, or your favorite summer BBQ sides.

What to Serve with California Hot Dogs

These bacon wrapped hot dogs pair perfectly with all your favorite summer sides.

Serve them with:

  • Pasta salad

  • Watermelon slices

  • Corn on the cob

  • French fries

  • Fresh fruit salad

  • Lemonade or iced tea

  • Potato salad

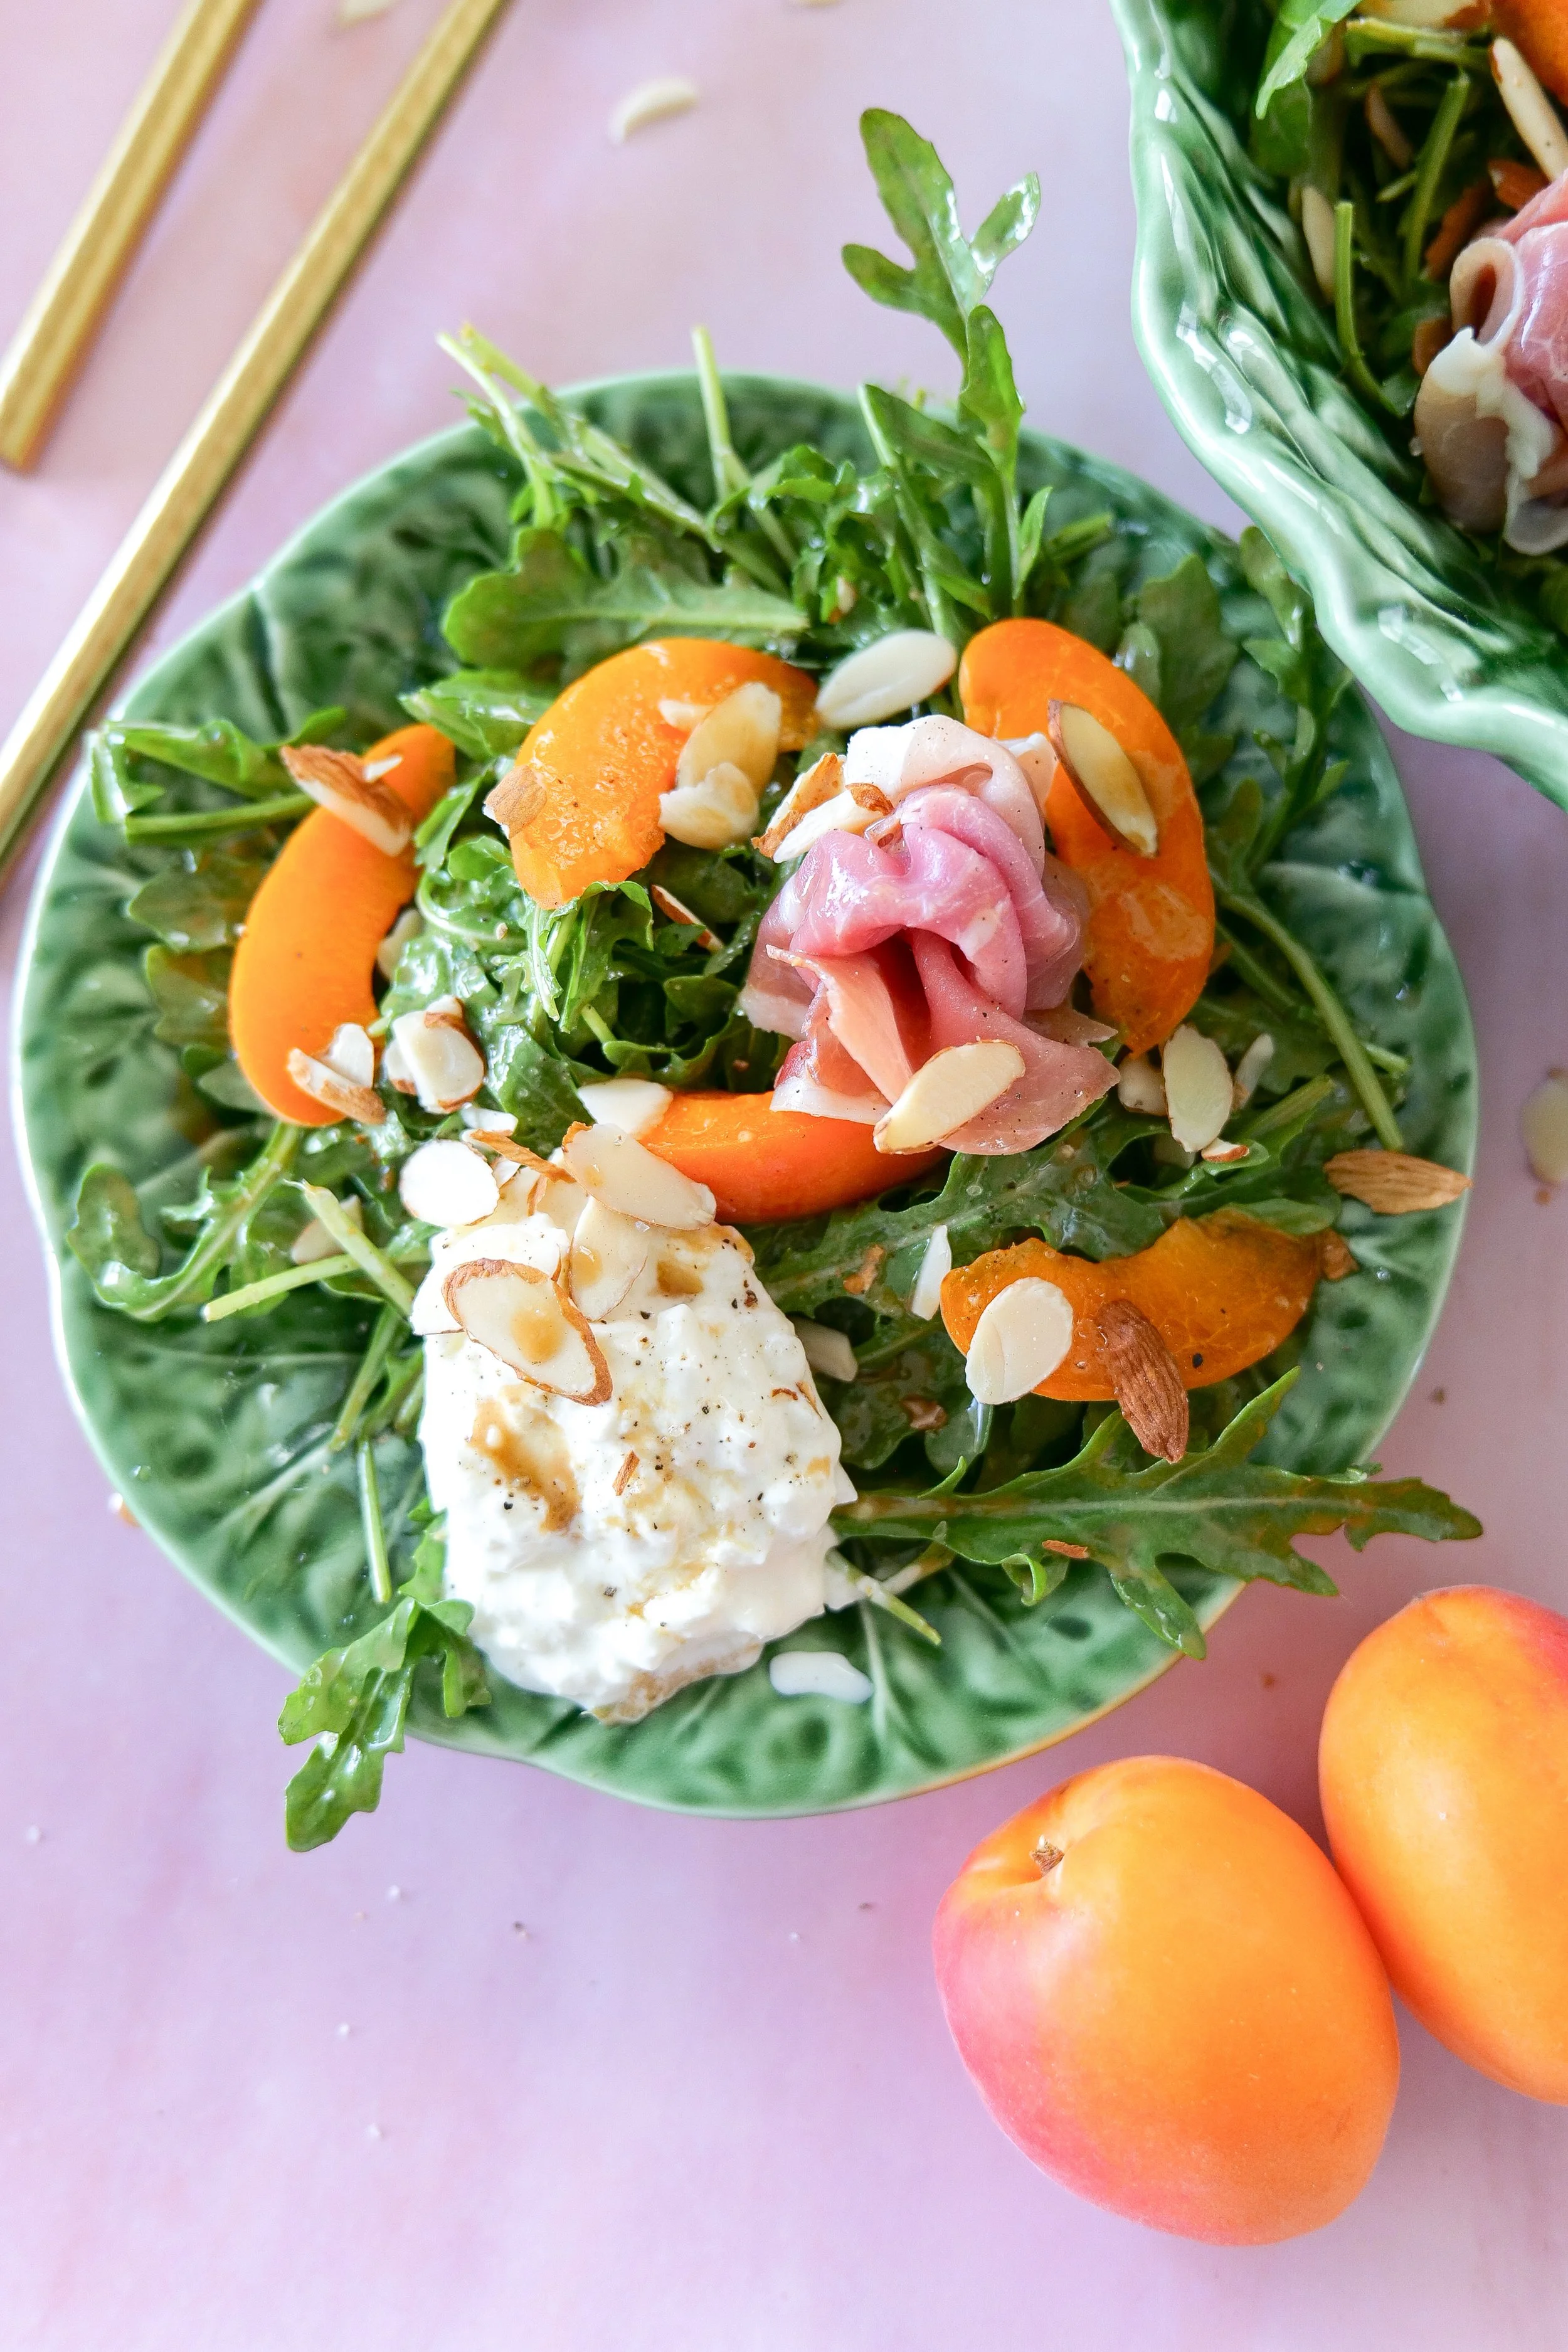
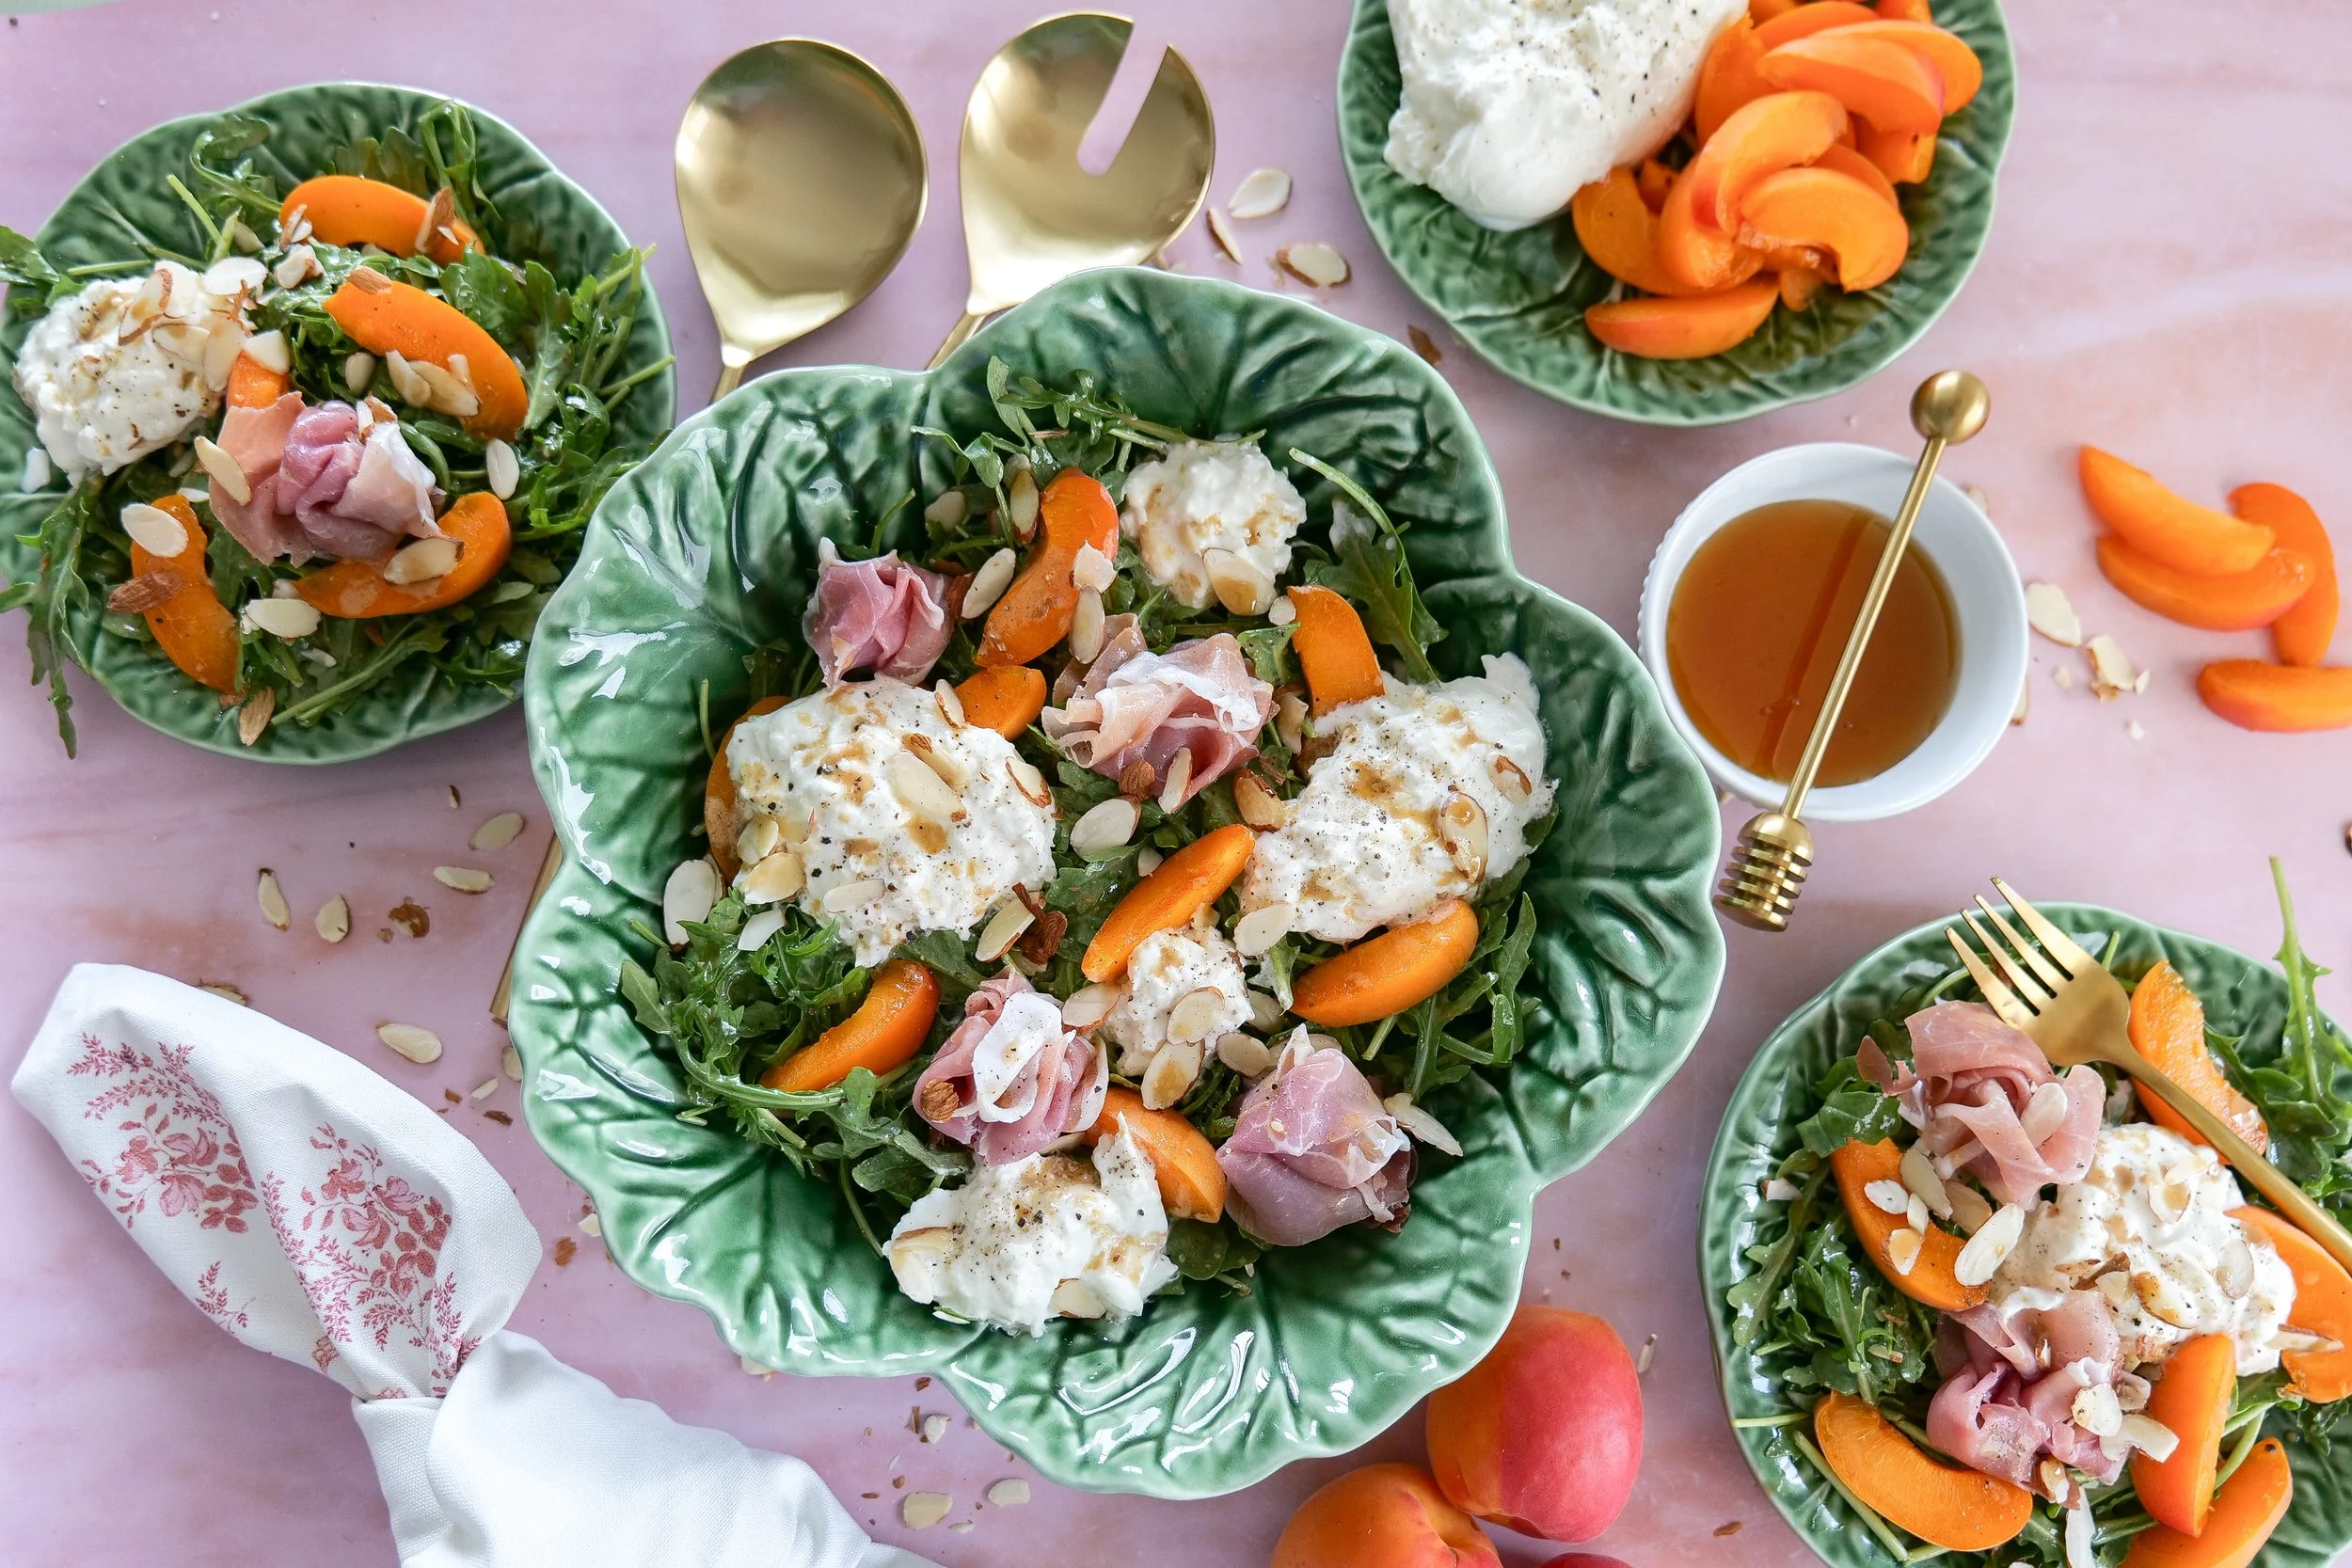
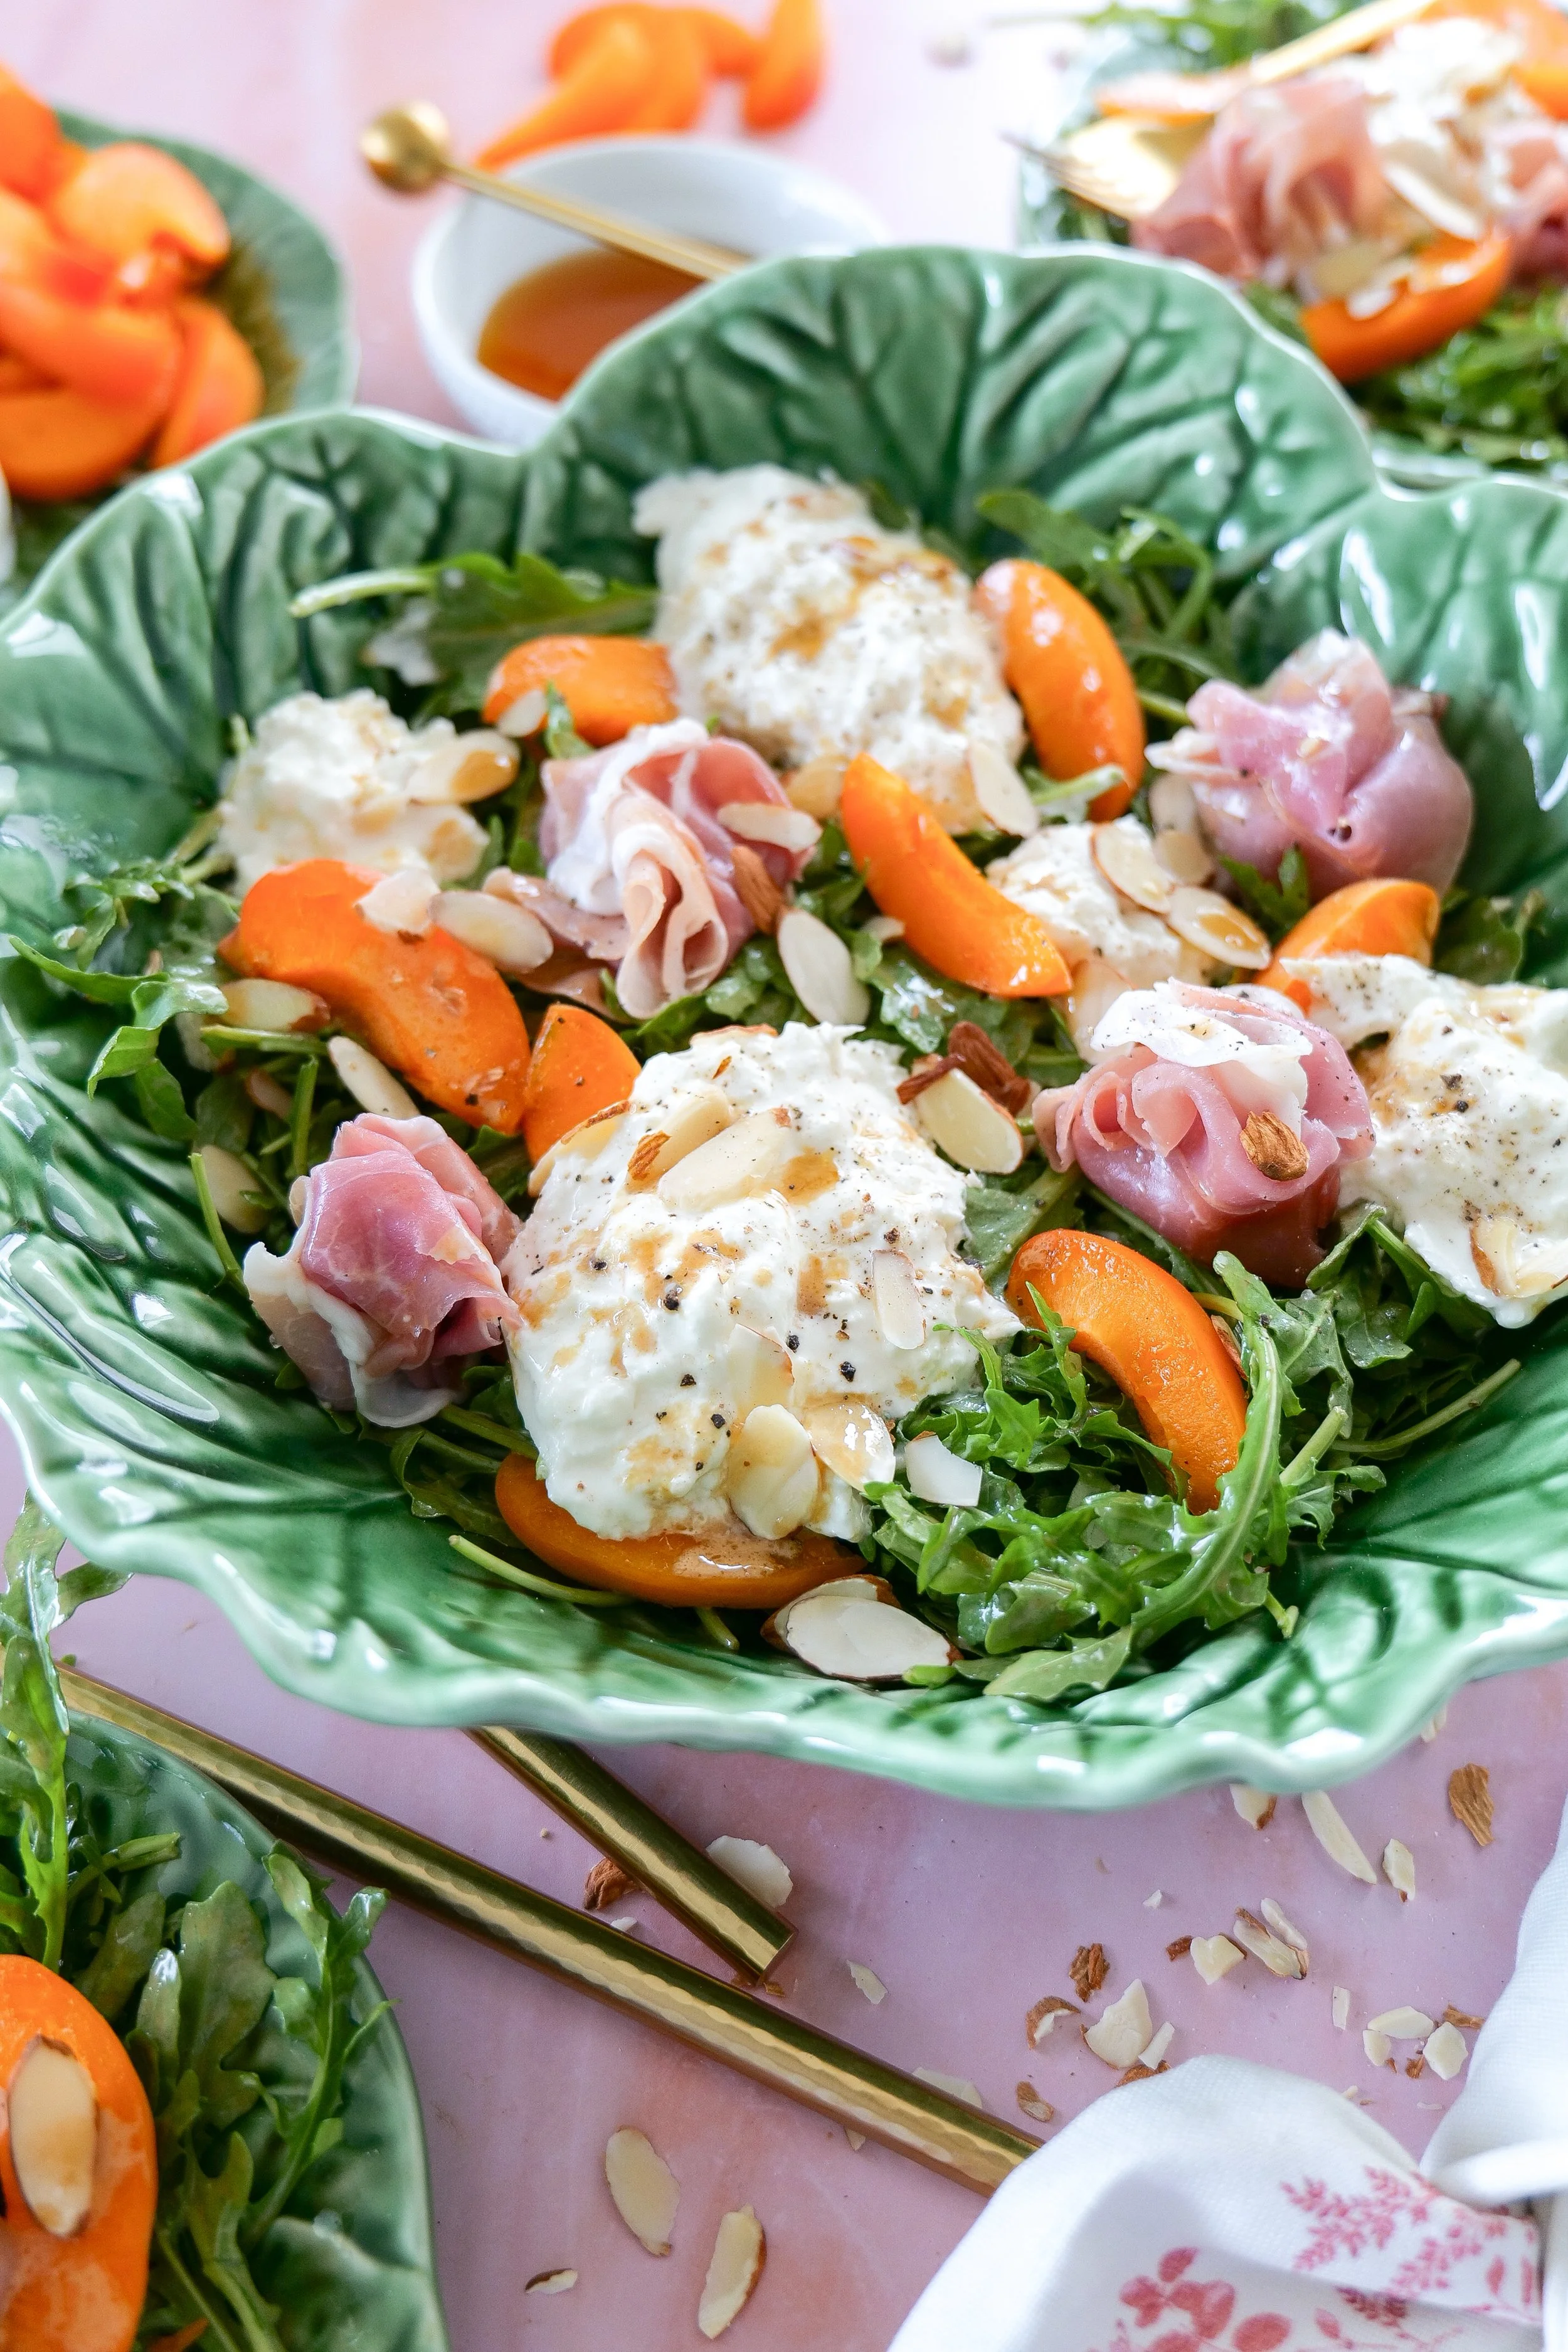
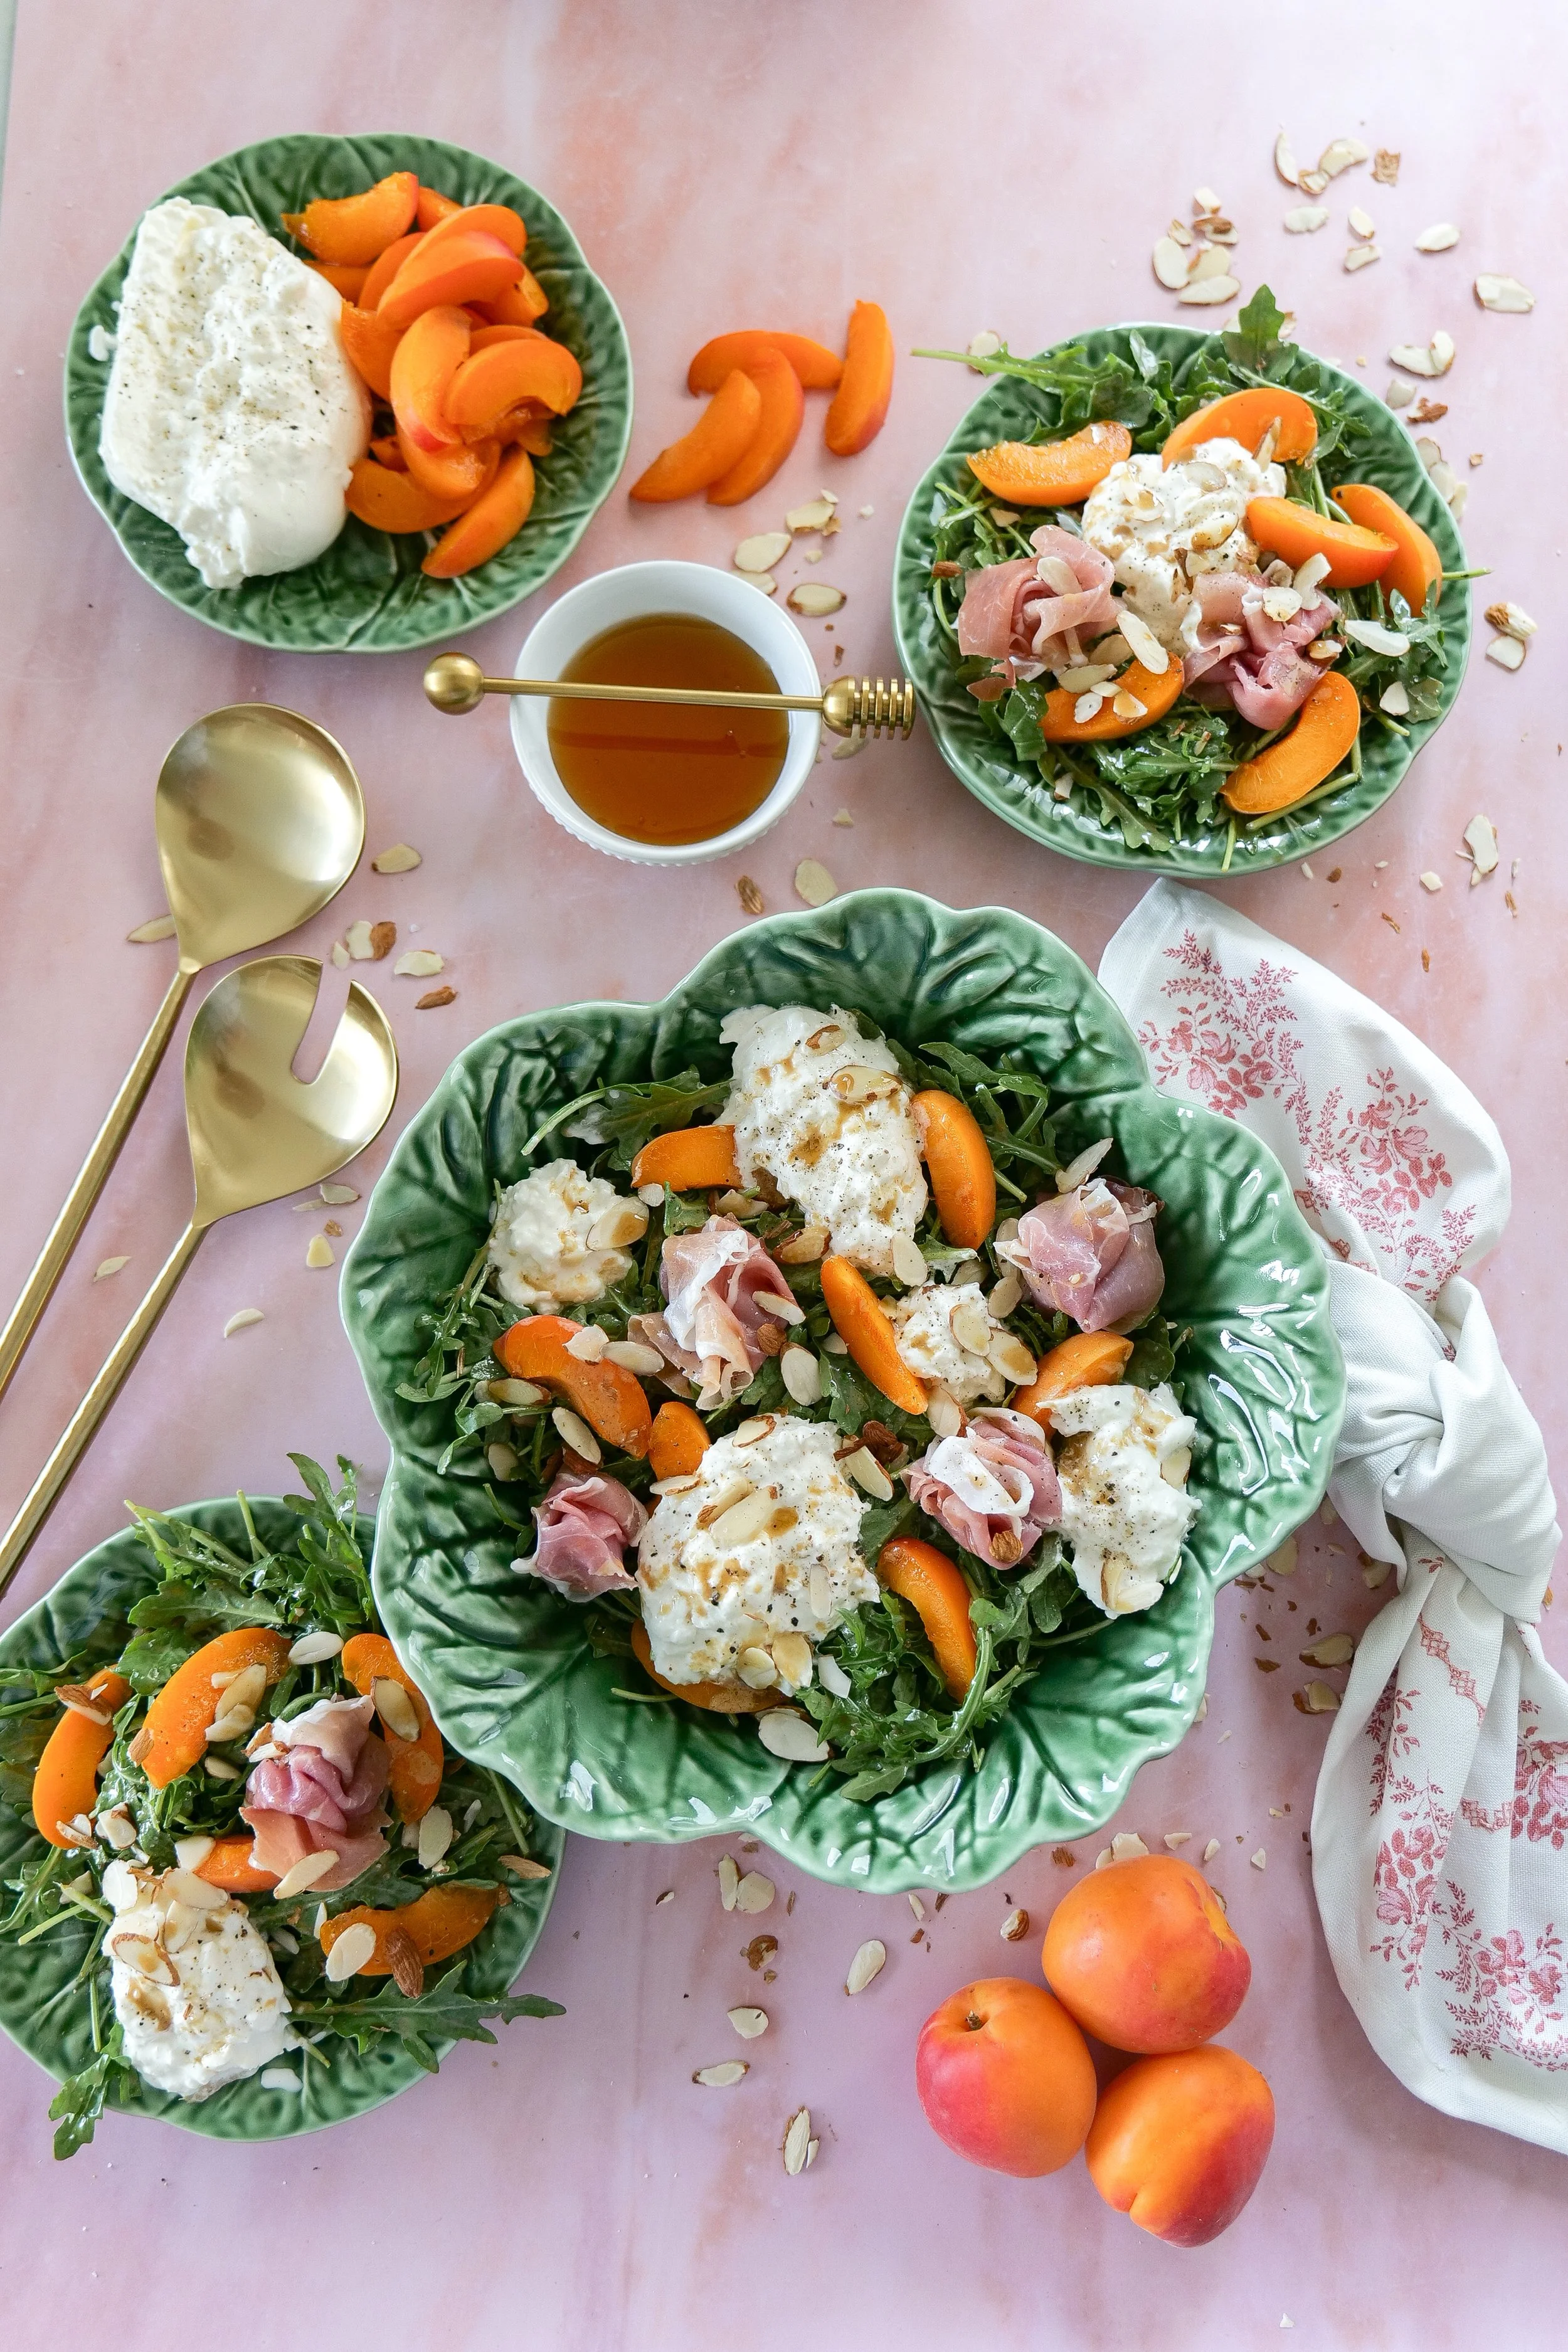
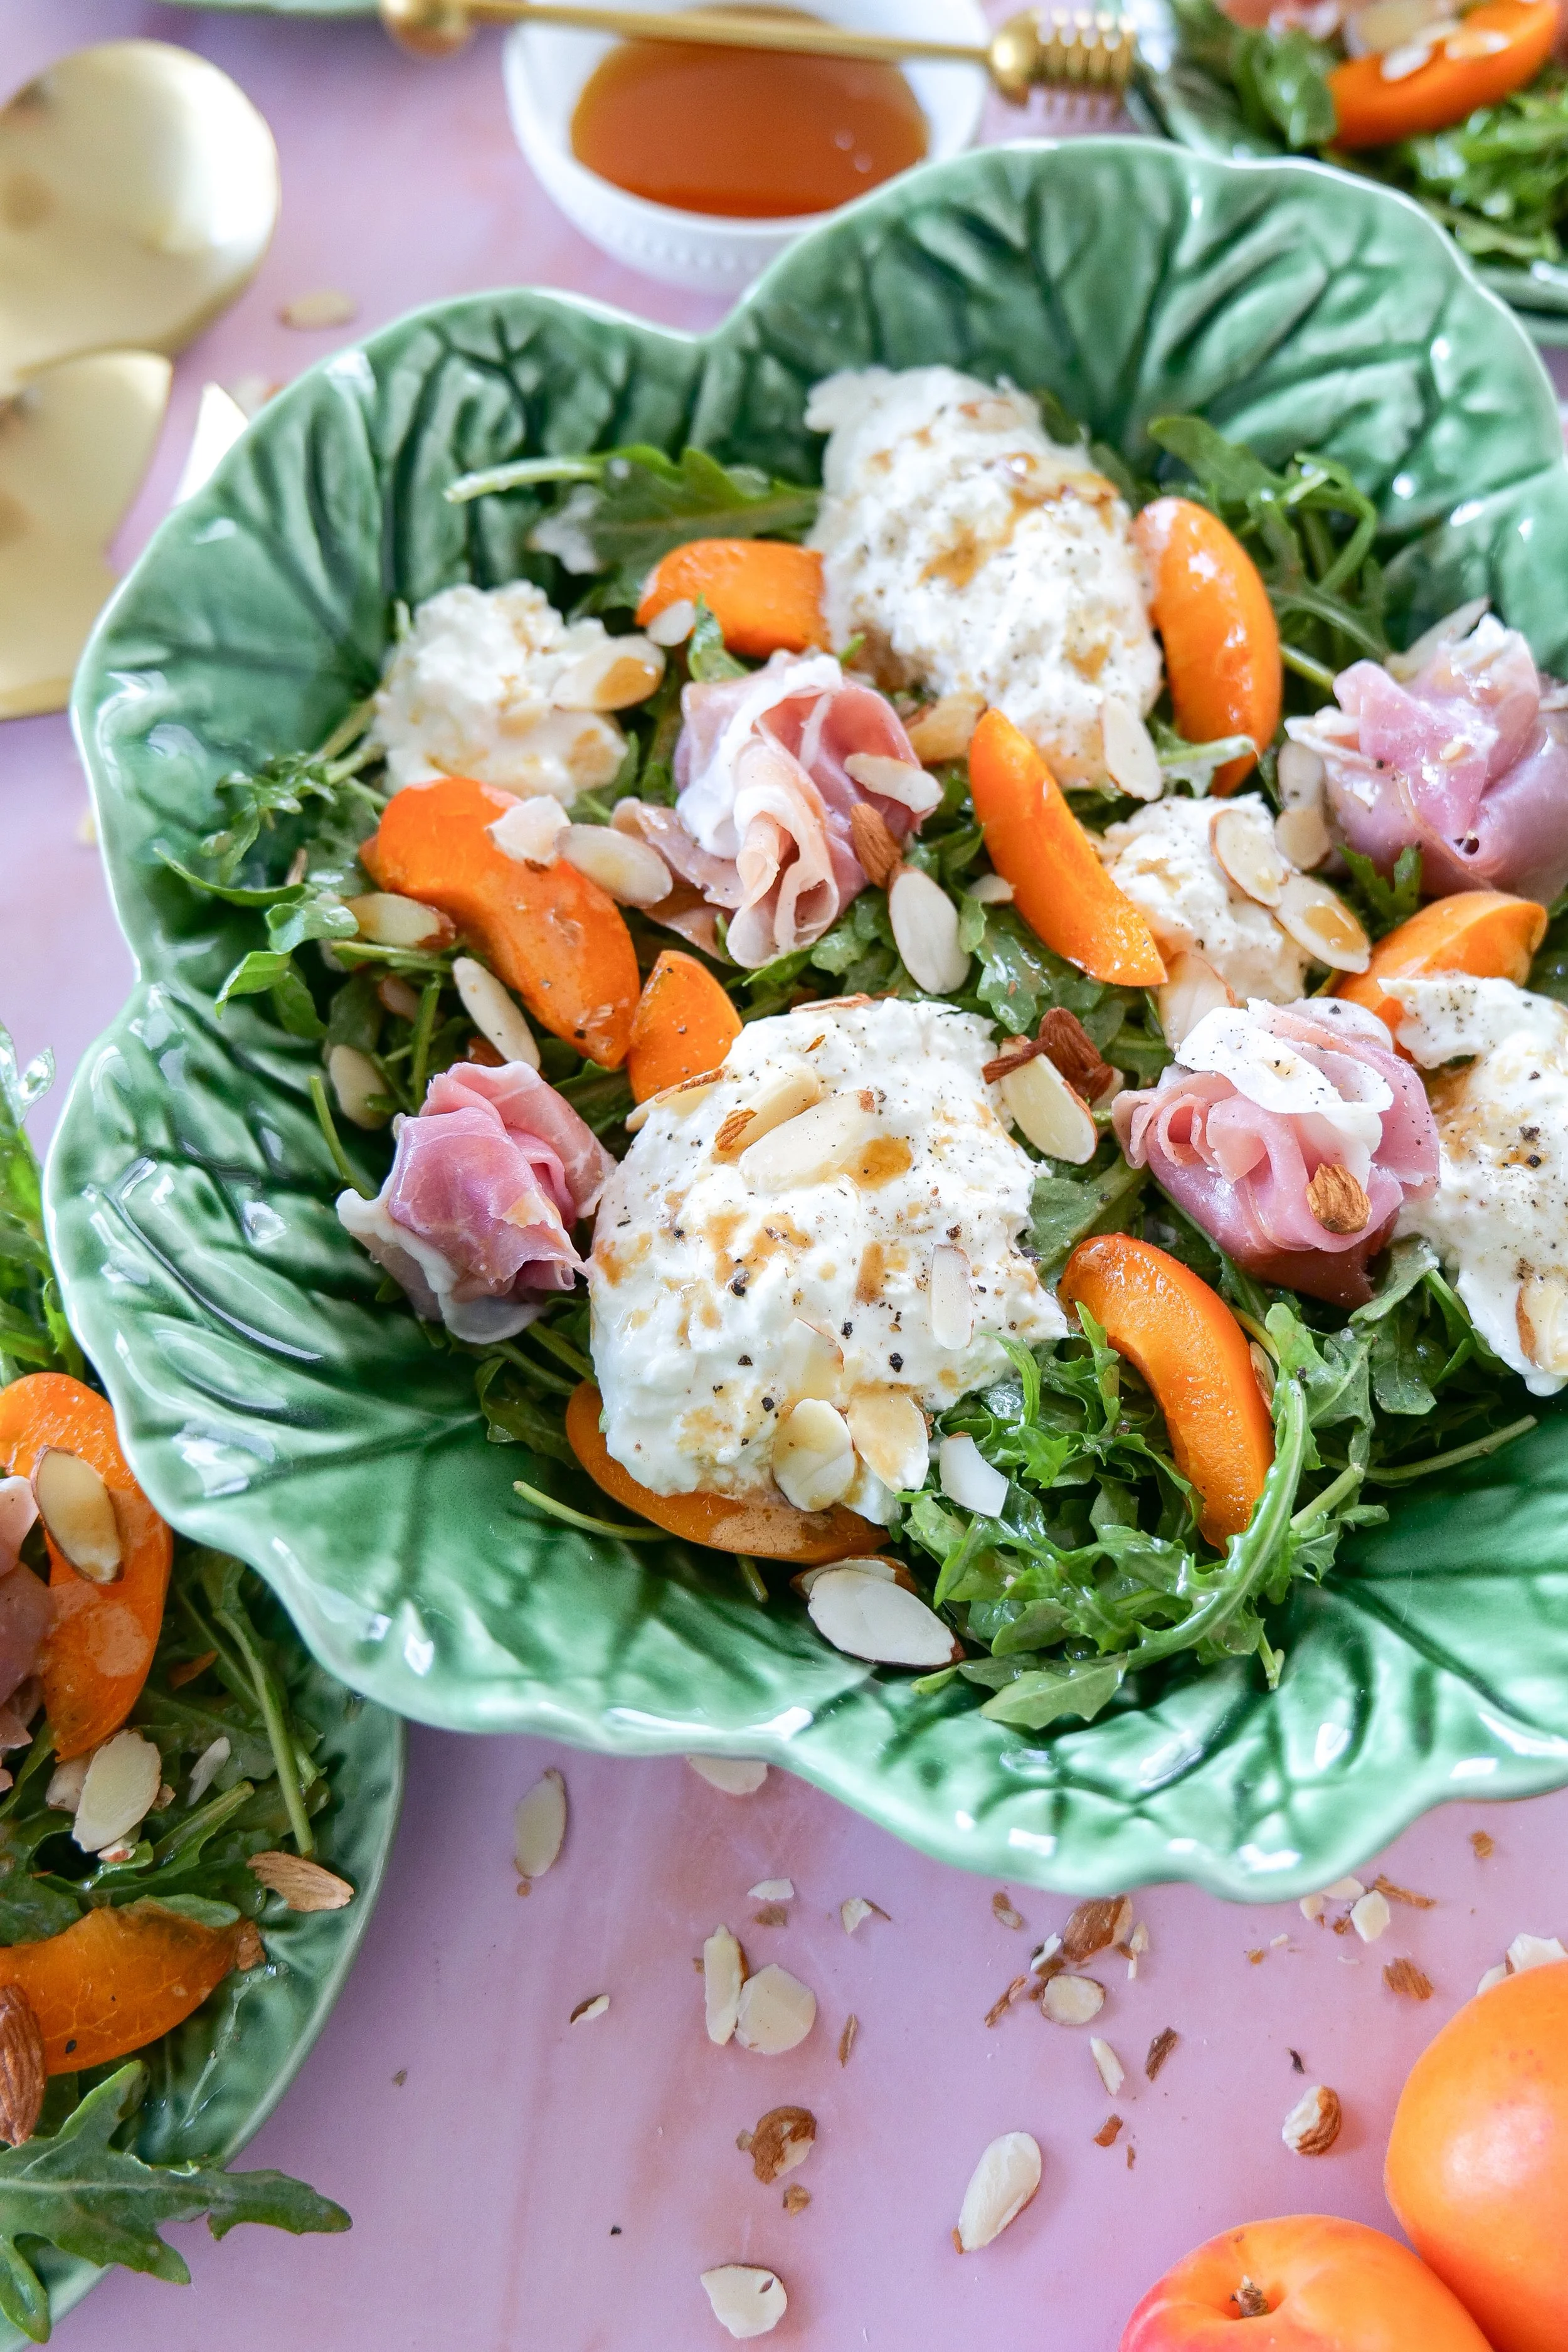
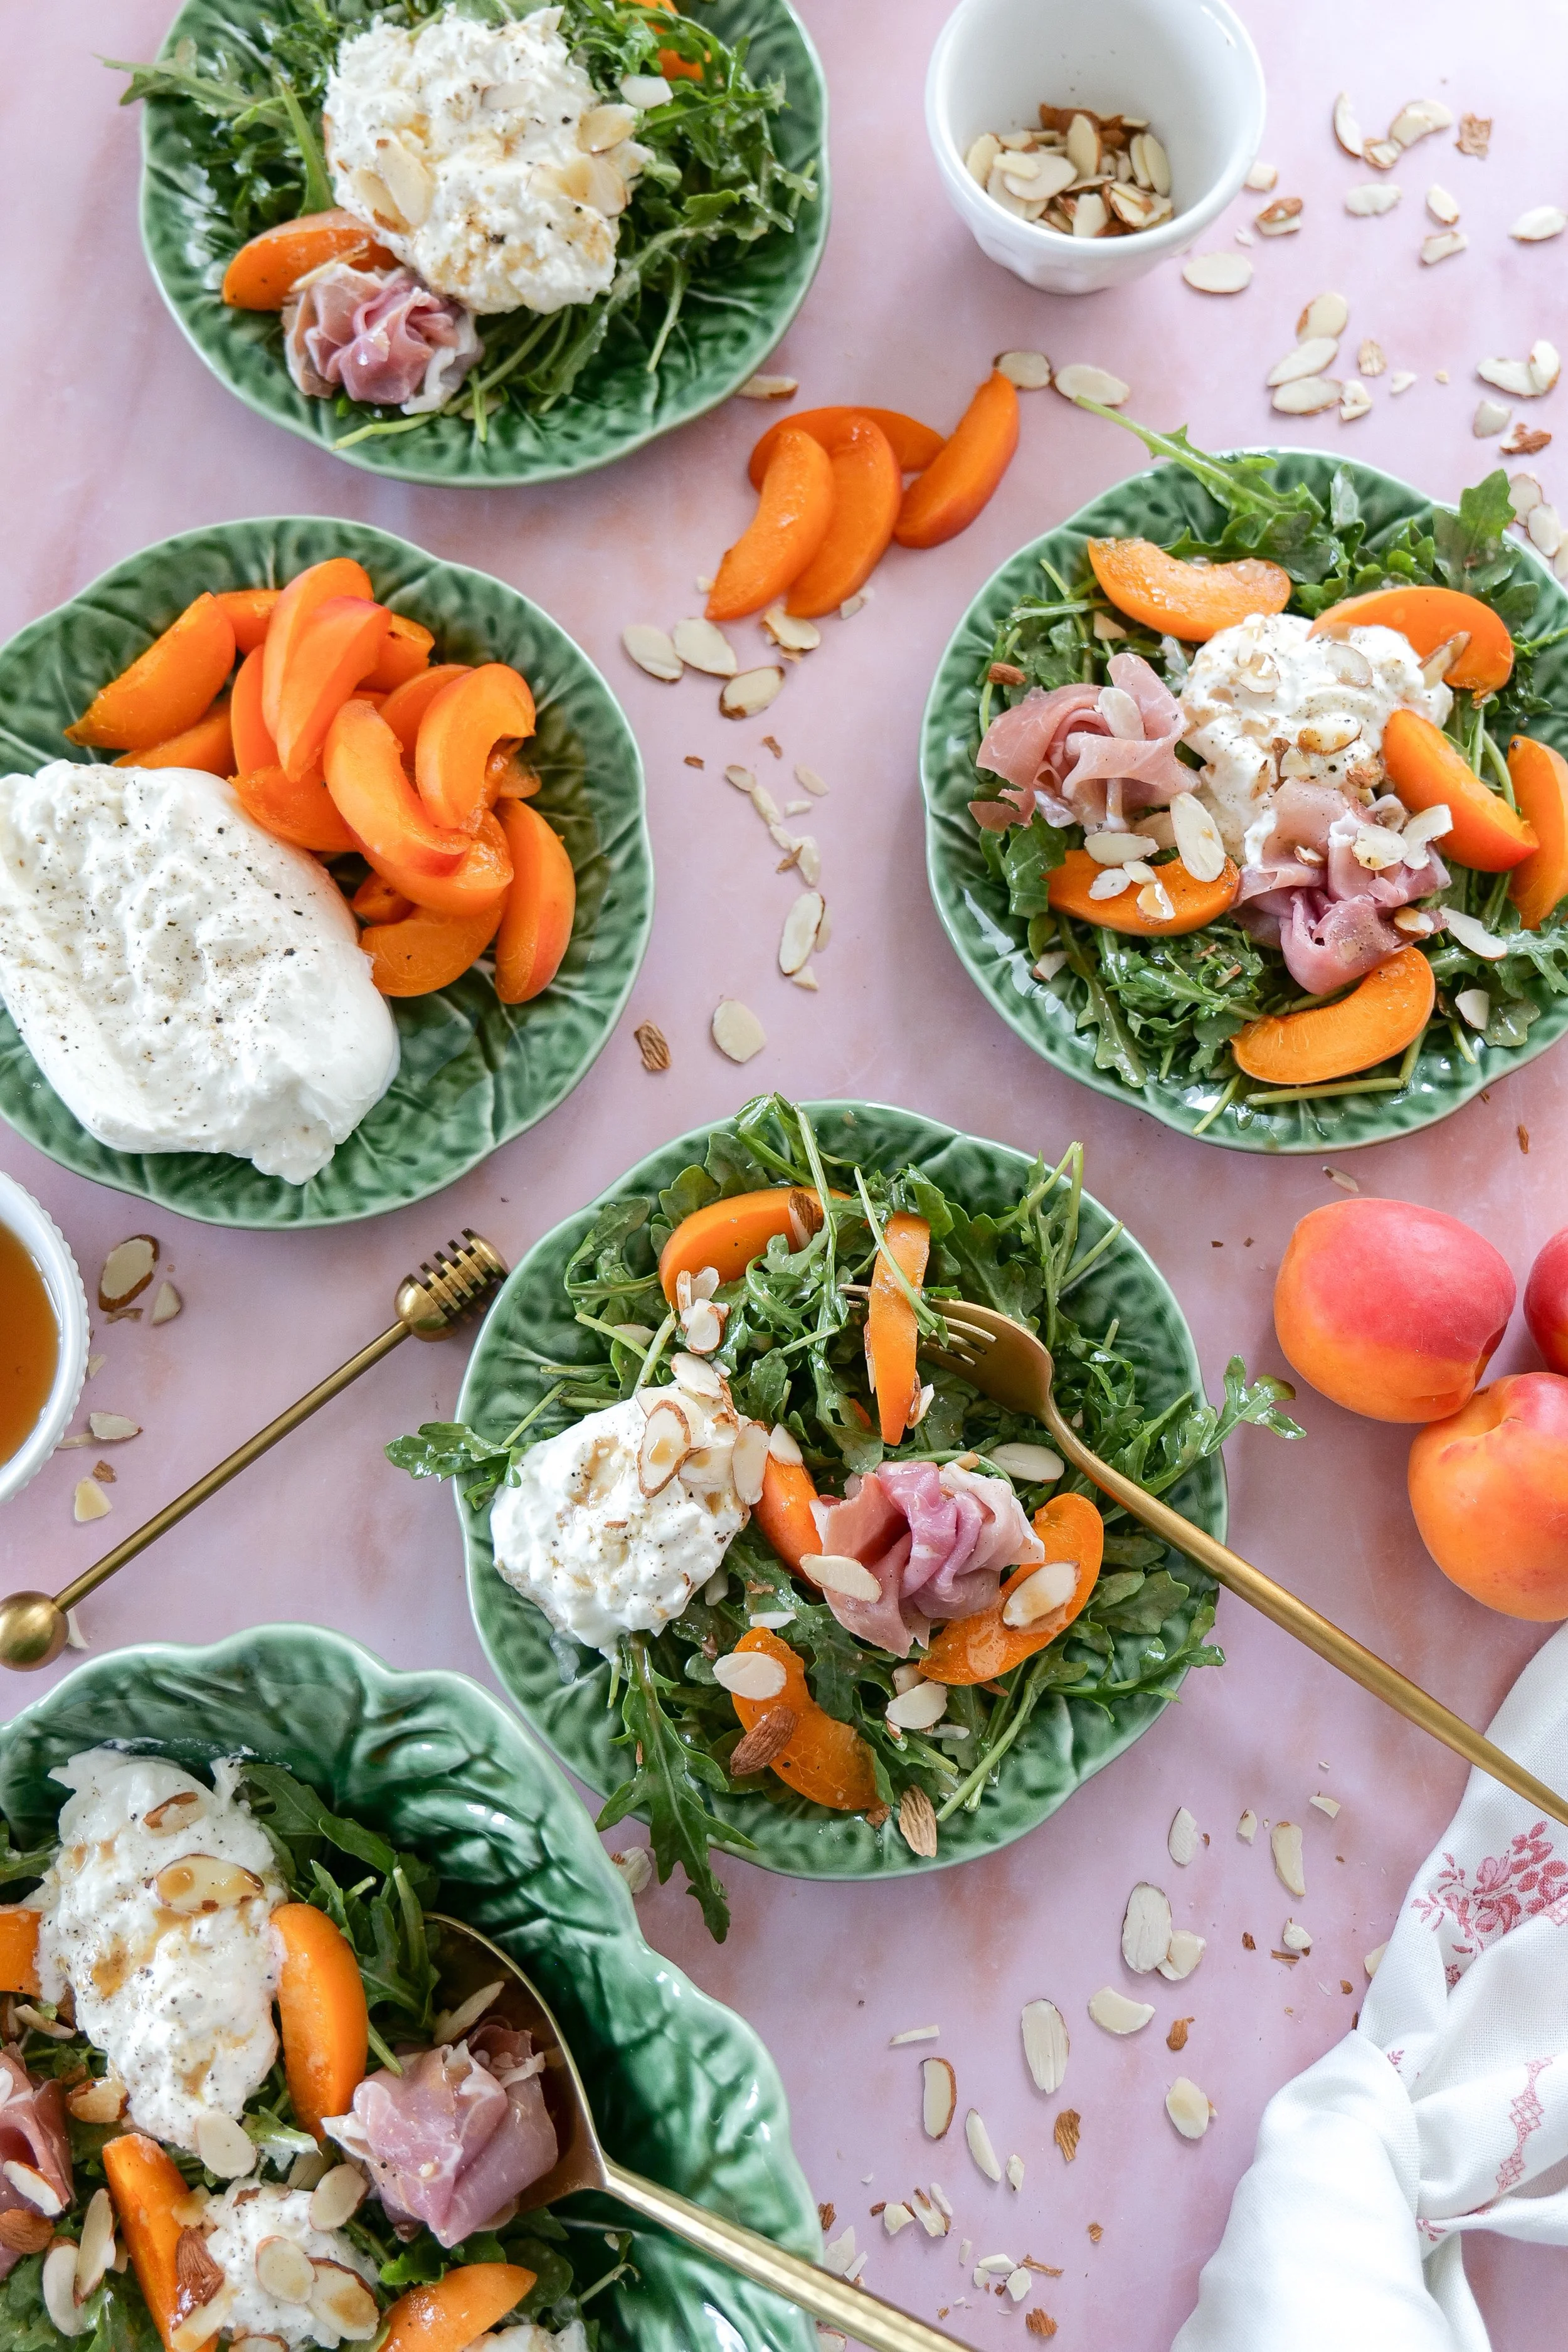
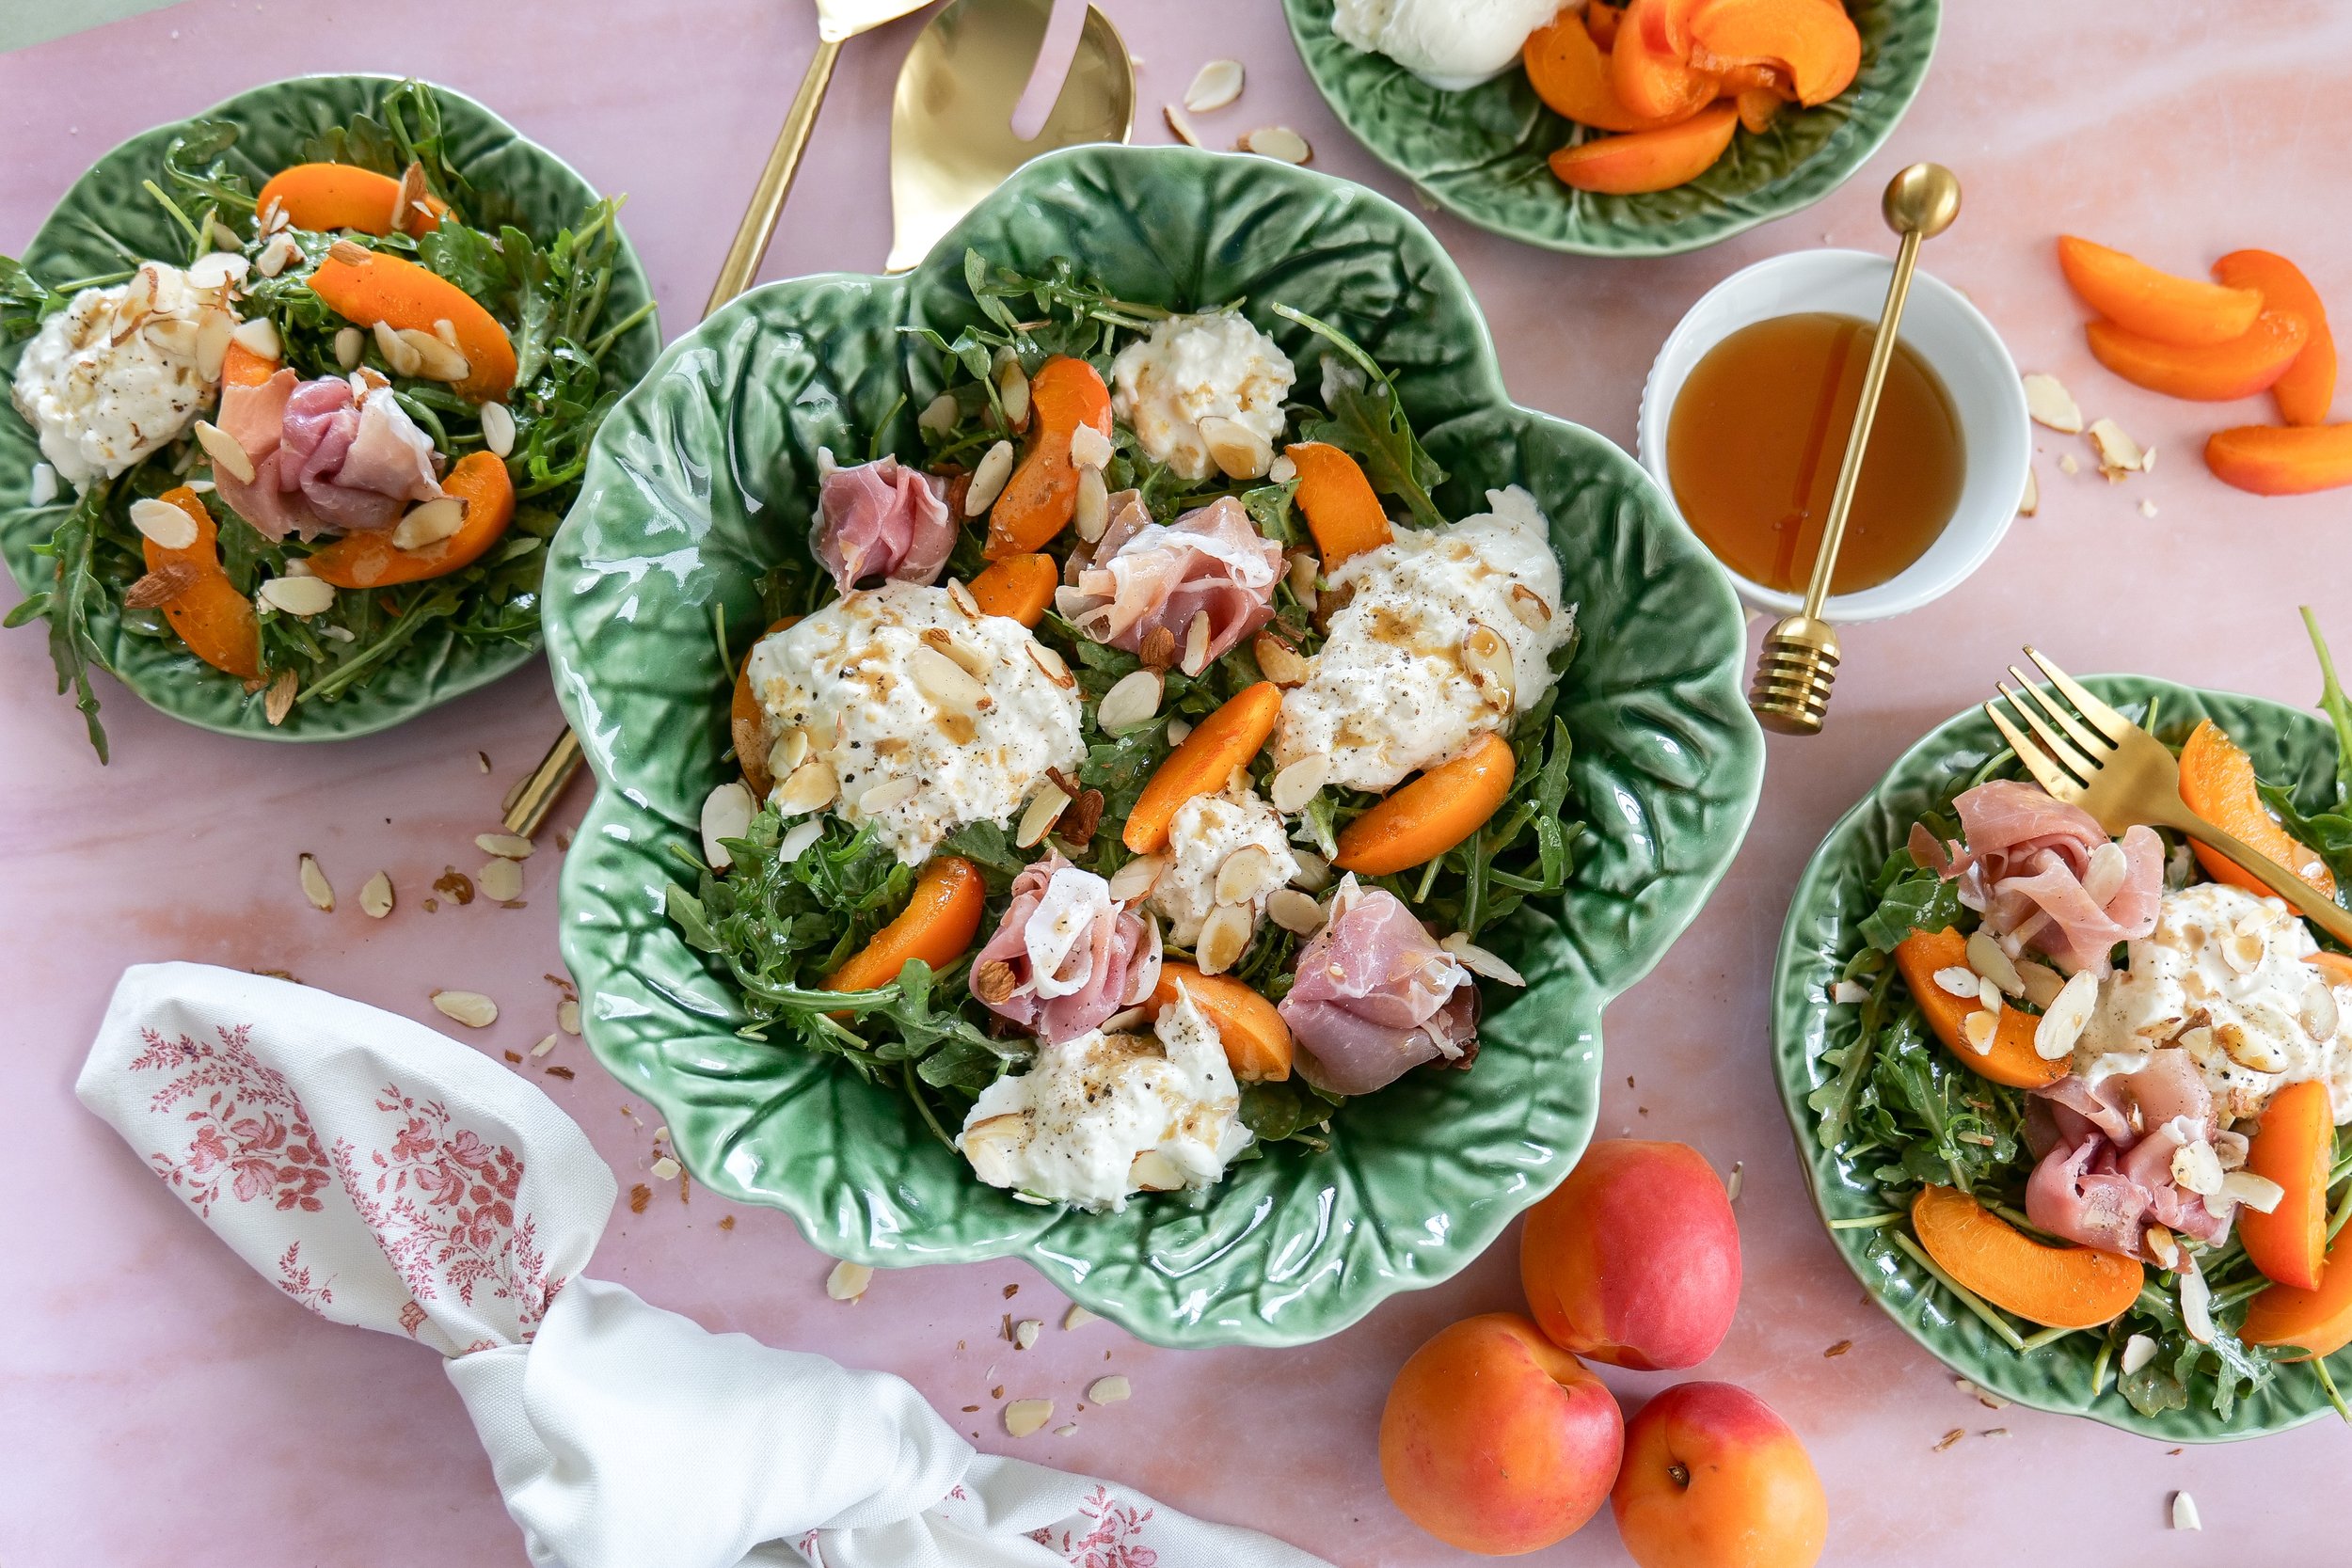
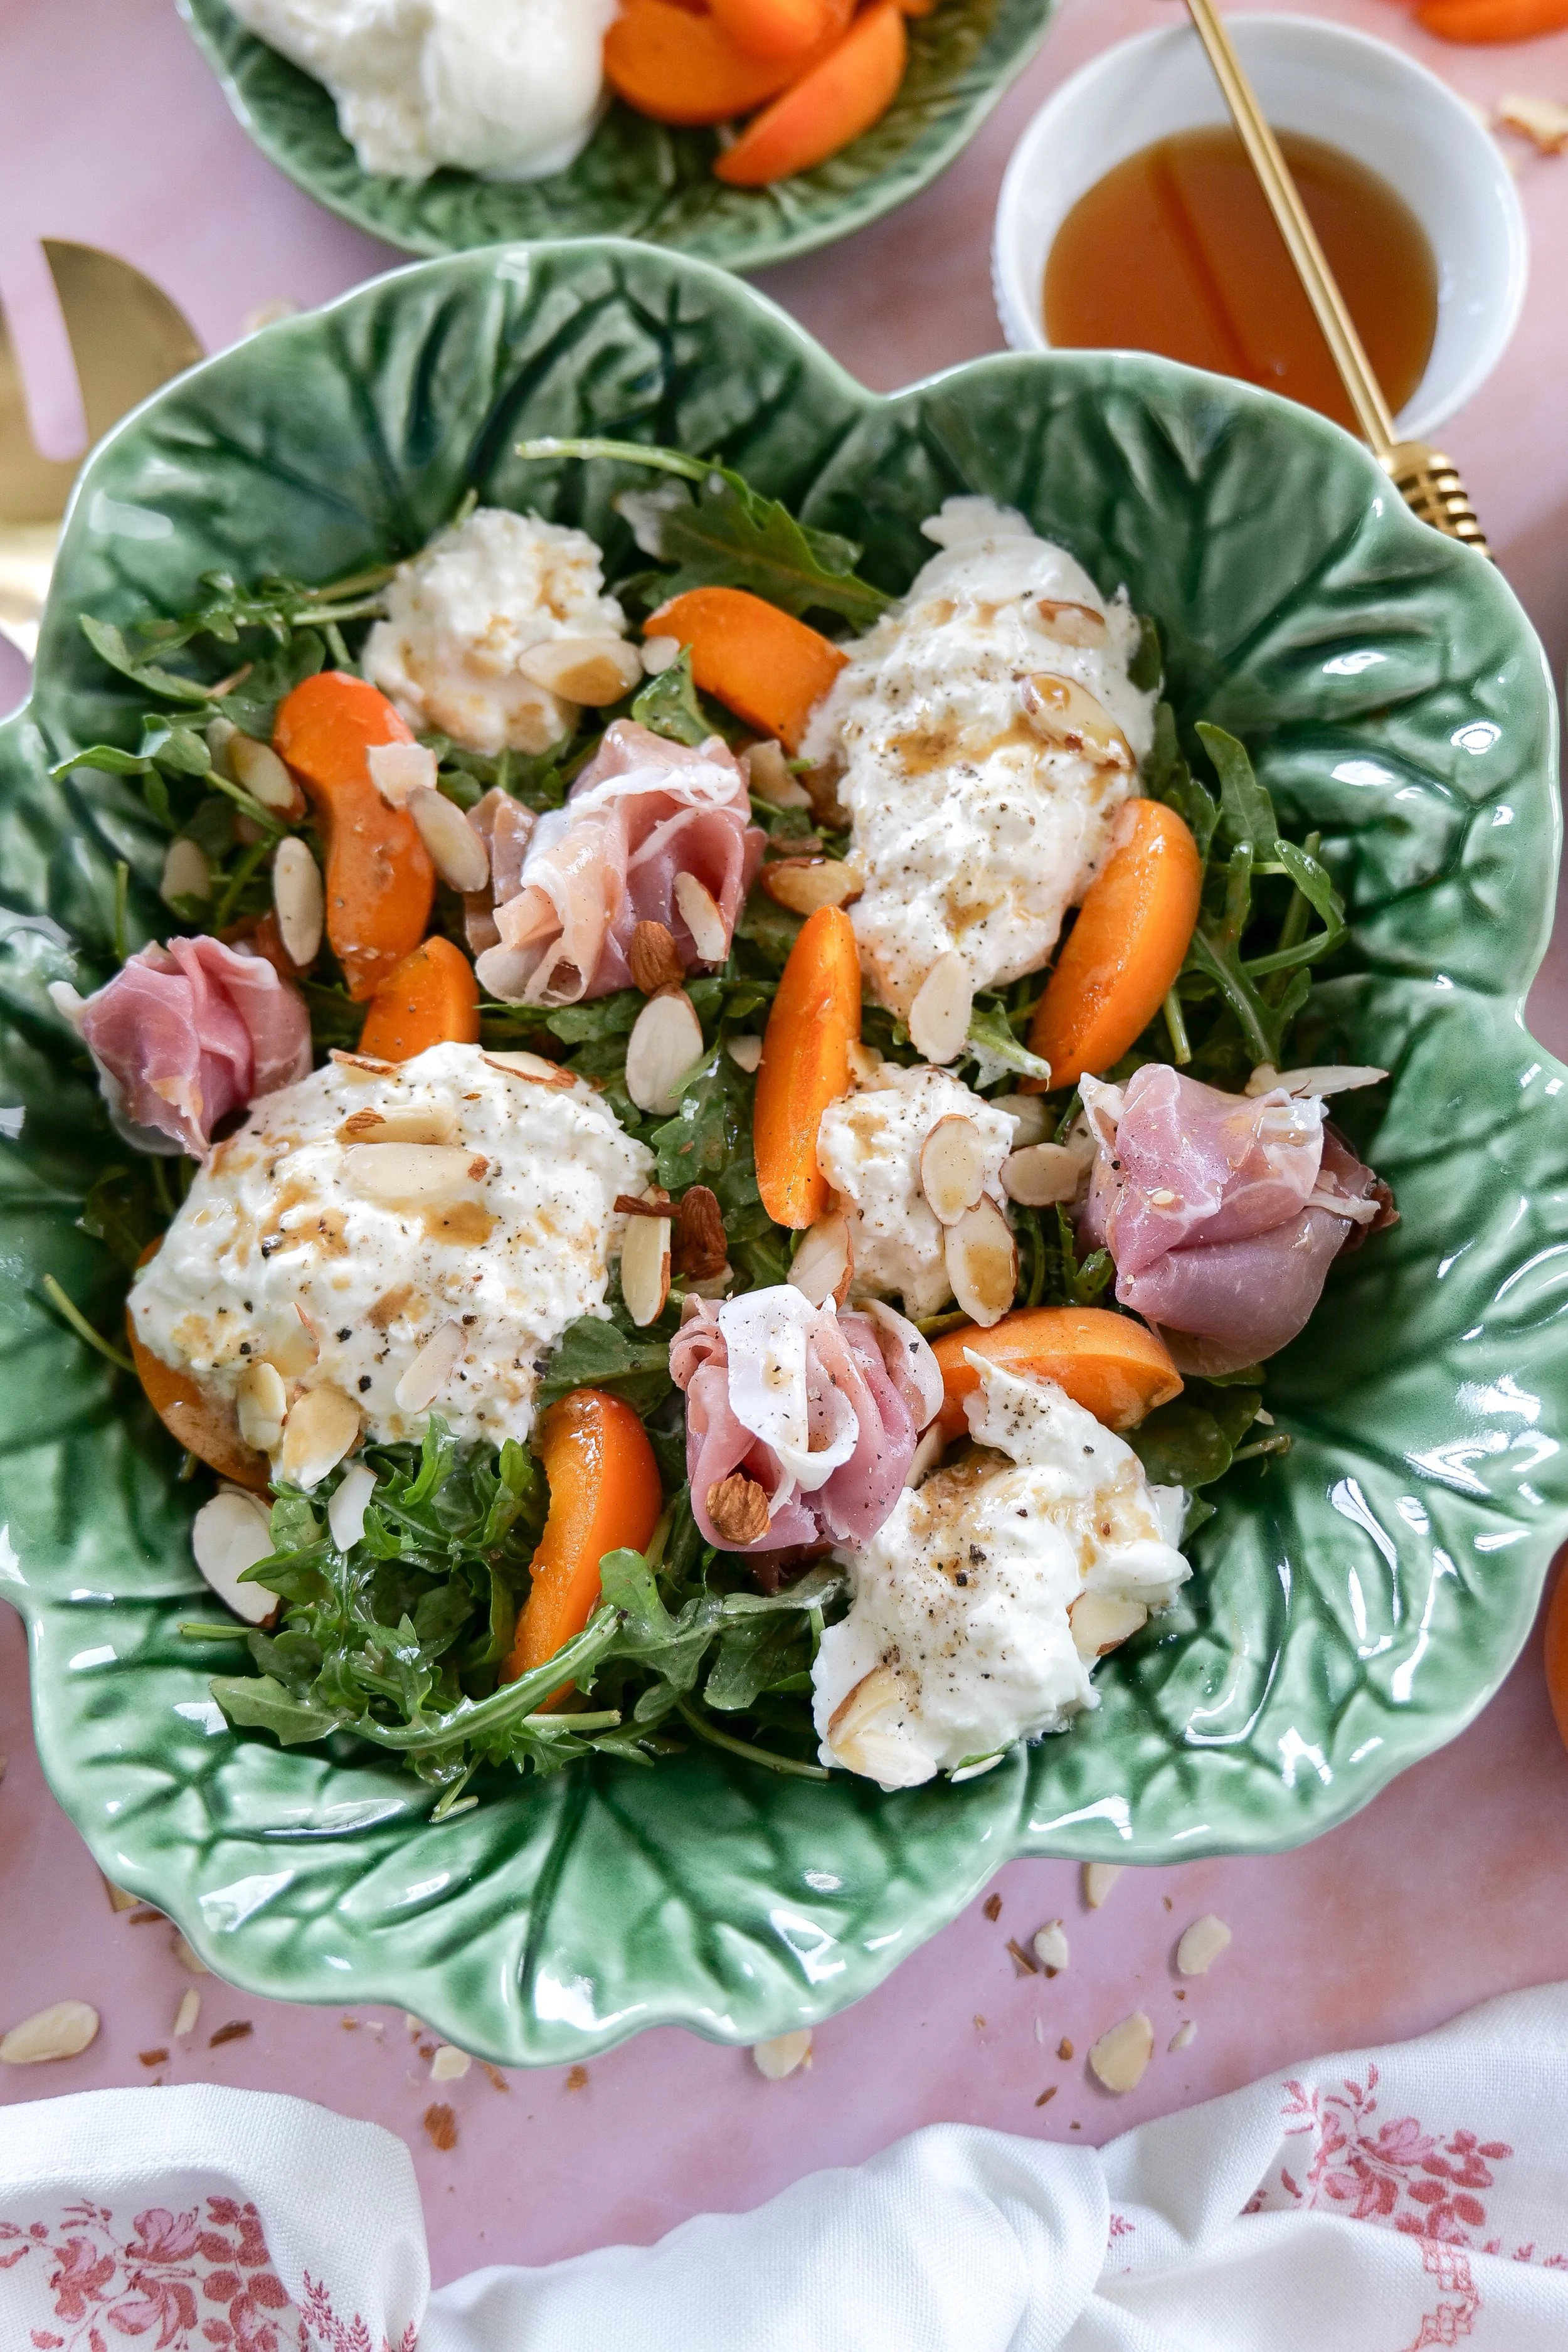
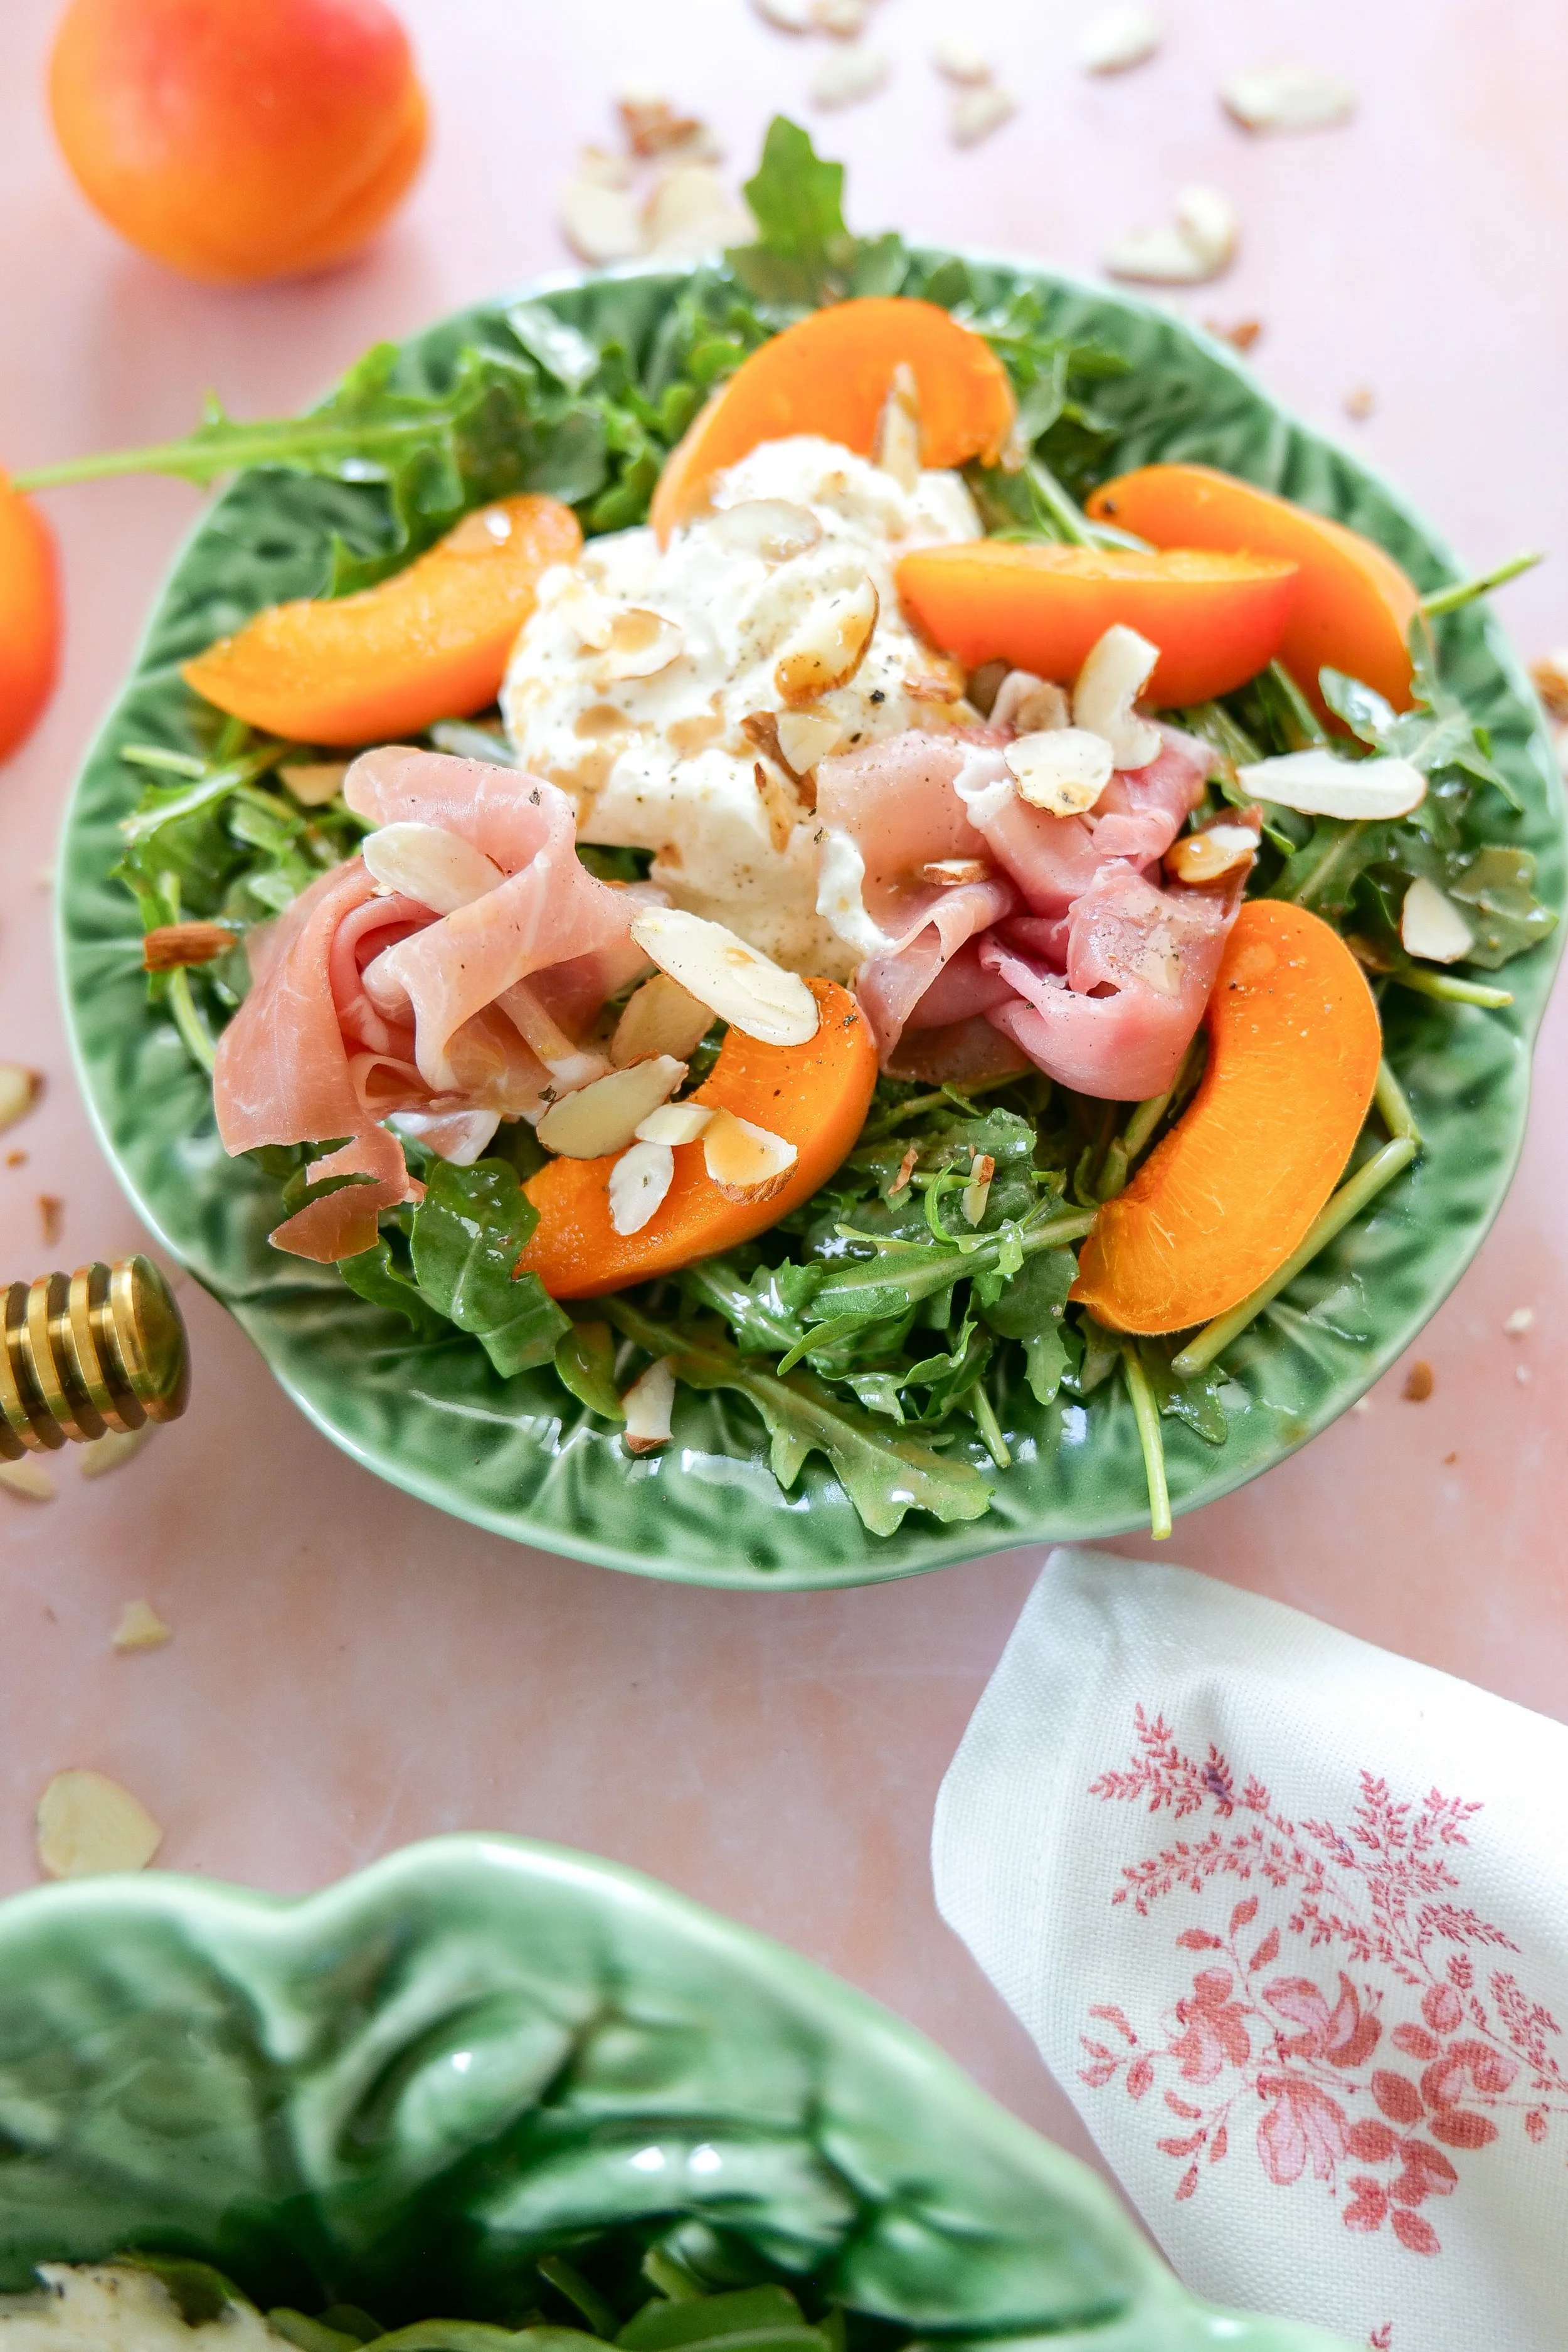
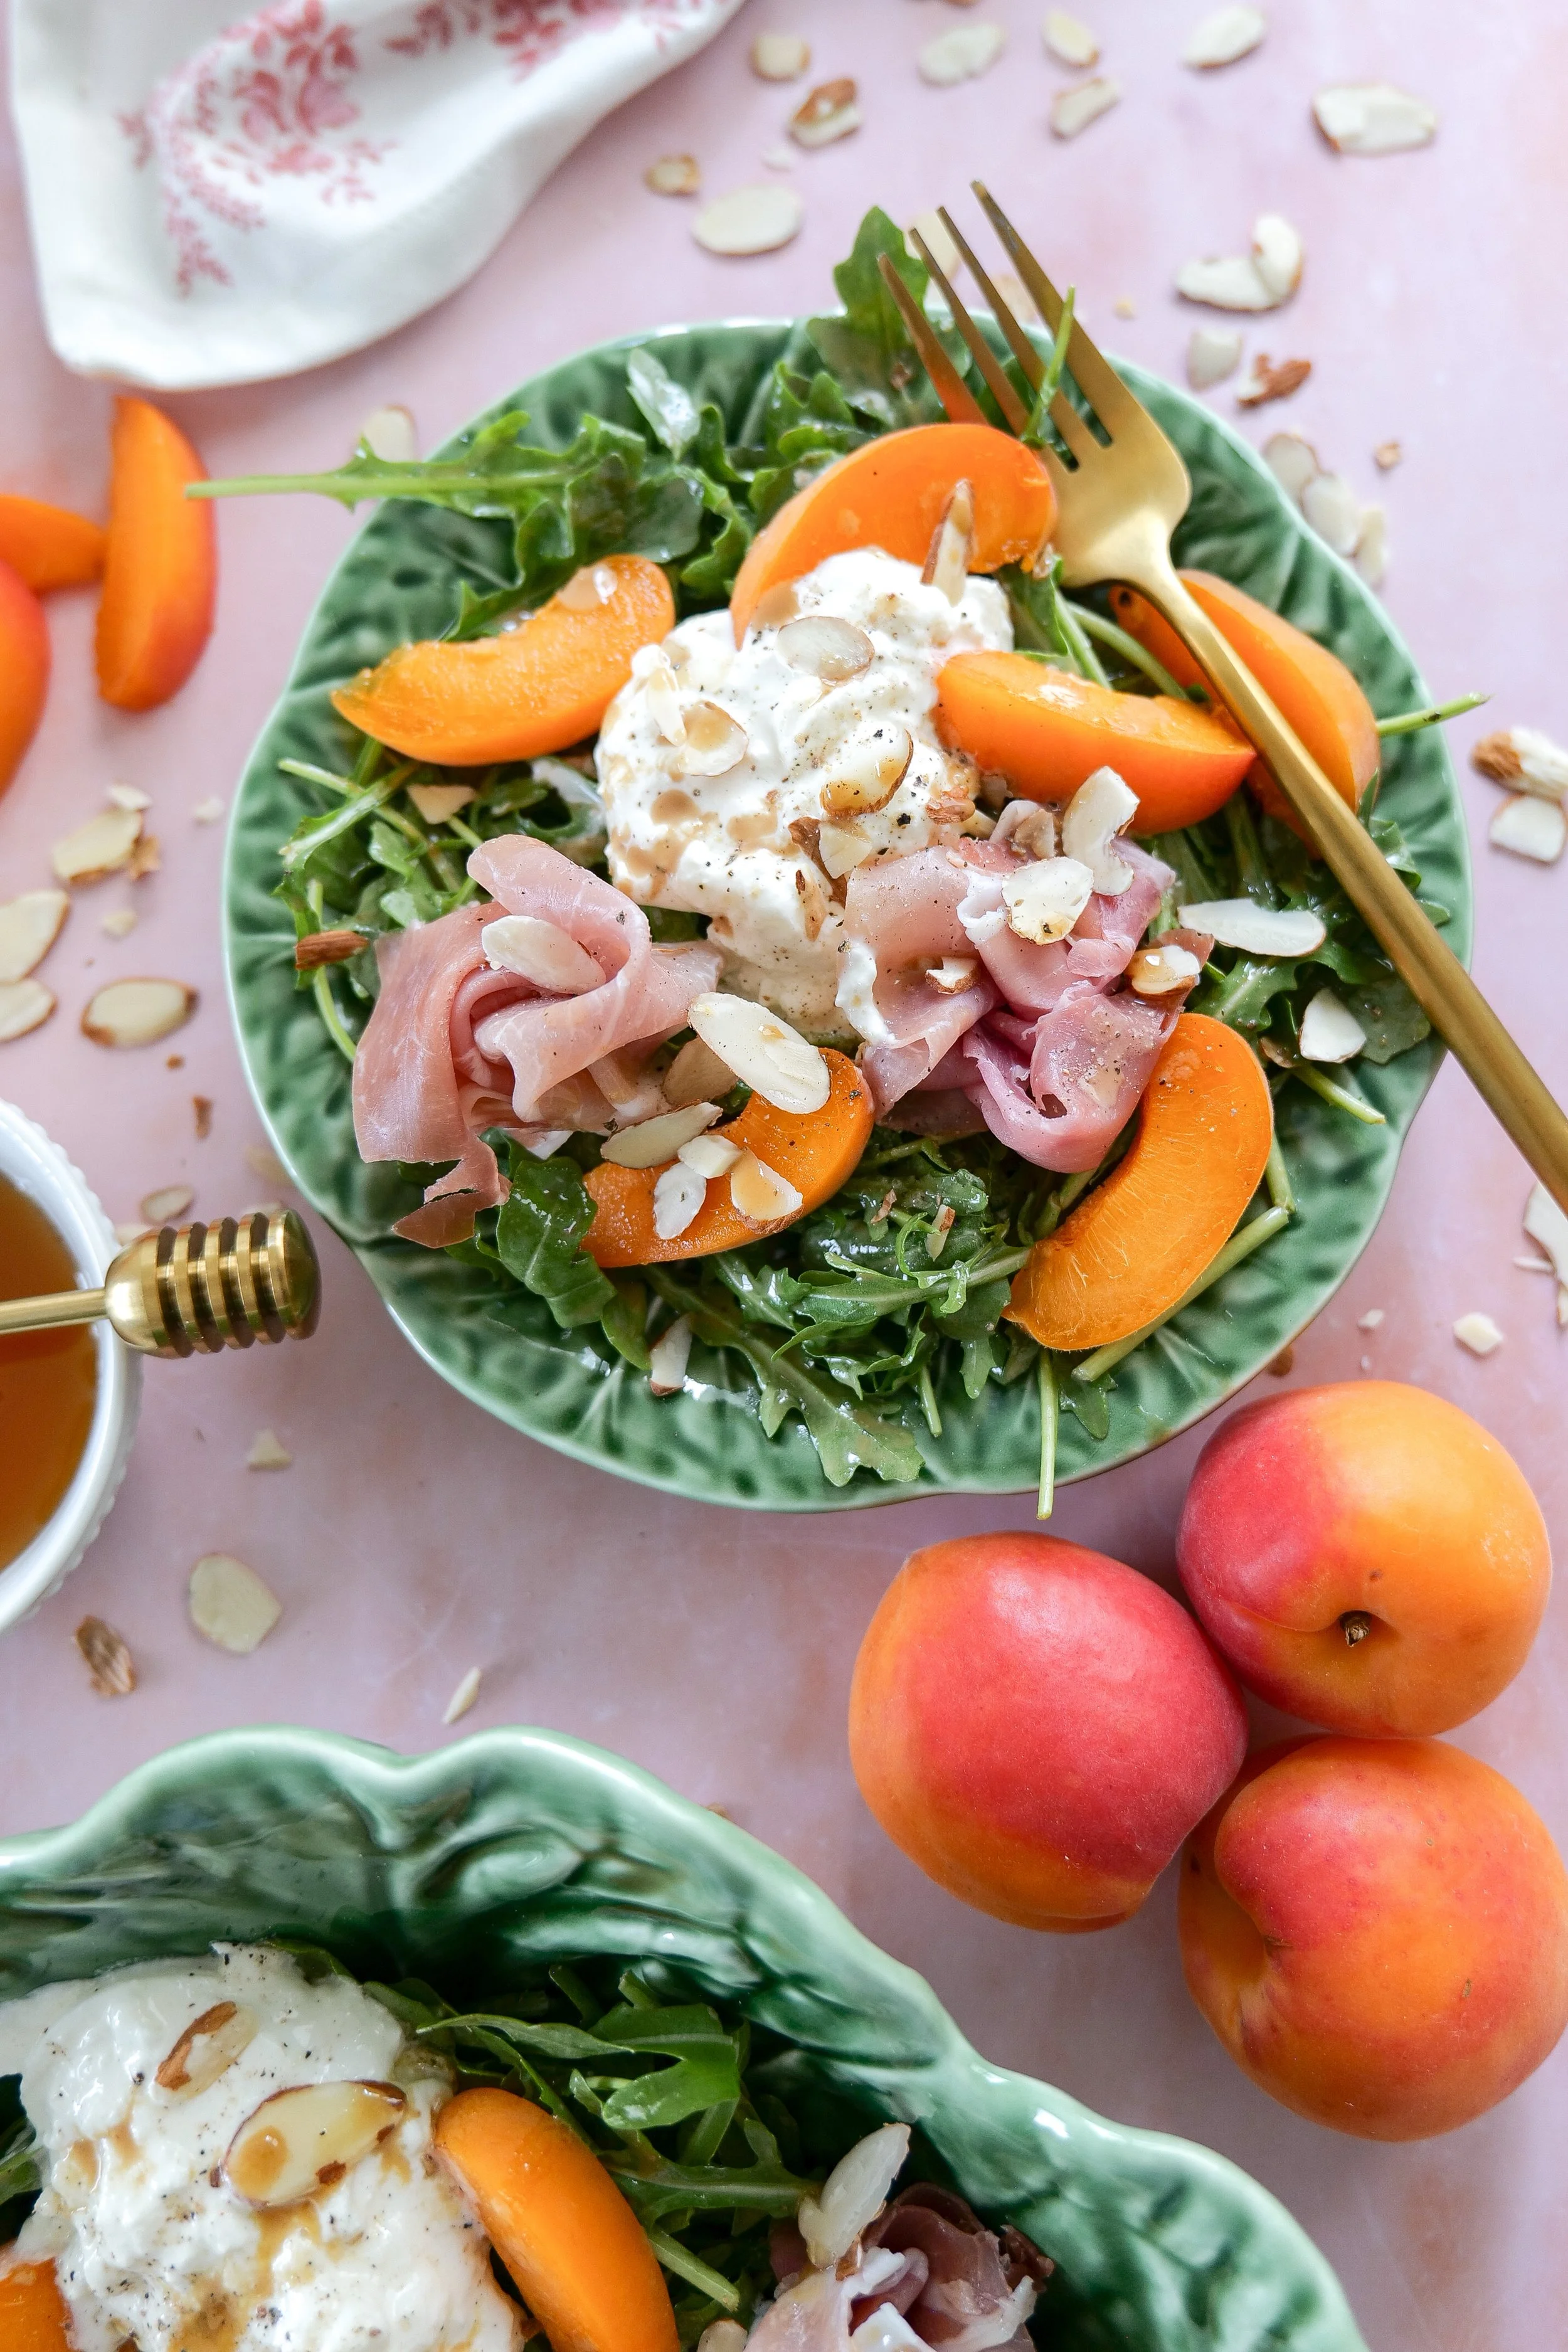
If you’re building a full All American summer menu, these pair perfectly with my Mini Cherry Cobblers for Summer Parties & 4th of July, Apricot Burrata Arugula Salad with Prosciutto & Honey Balsamic Dressing, and 4th of July Fruit Pizza Recipe.

Bacon-wrapped hot dogs topped with fresh garnishes
Americana summer tablescape featuring bacon-wrapped hot dogs
California summer recipe featuring bacon-wrapped hot dogs

Tips for the Best Bacon Wrapped Hot Dogs

  • Use thin-cut bacon so it crisps evenly

  • Turn the hot dogs often while cooking

  • Toast the buns for the best texture

  • Use ripe avocado for creamy flavor

  • Serve immediately while hot and crispy

Easy Variations to Try

Spicy California Dog

Add jalapeños and chipotle aioli for extra heat.

Beachside BBQ Dog

Top with barbecue sauce and crispy onions.

Guacamole California Dog

Swap sliced avocado for fresh homemade guacamole.

Turkey Dog Version

Use turkey hot dogs for a lighter option.

Frequently Asked Questions

What makes a California hot dog different?

California hot dogs are known for fresh toppings like avocado, grilled vegetables, flavorful sauces, and often bacon-wrapped hot dogs inspired by Southern California street food.

Can I make these ahead of time?

You can prep the toppings and sauce ahead of time, then cook the hot dogs fresh before serving.

What are the best buns for California hot dogs?

Brioche buns work beautifully because they’re soft, buttery, and perfect for elevated summer entertaining.

Can I cook bacon wrapped hot dogs indoors?

Yes! A grill pan or skillet works perfectly.

Are these good for summer parties?

Absolutely. They’re easy to customize and perfect for backyard BBQs, pool parties, and summer entertaining.

Looking for More All American Summer Recipes?

If you’re loving this Americana-inspired summer series, be sure to check out:

And don’t forget to browse my Summer Grilling Essentials, American Summer Hosting, All American Mama, and Cozy Baking Essentials collections for even more summer inspiration, hosting favorites, and cozy Americana finds.

From Amanda's Kitchen

Some recipes become staples because they're easy. Others become favorites because they're tied to the people and memories we cherish most.

That's exactly why I created these From Amanda's Kitchen printable recipe cards. Whether you're planning a backyard barbecue, celebrating a summer holiday, or simply gathering around the grill with family, my hope is that these recipes become part of your own traditions.

Because the best recipes aren't just made—they're shared, celebrated, and passed down from one kitchen to another.

Save or print the recipe card below so it's ready for your next summer cookout.

Easy bacon-wrapped hot dog recipe with crispy bacon
California-style bacon-wrapped hot dogs with classic toppings
Homemade bacon-wrapped hot dogs ready for serving
Close-up of a crispy bacon-wrapped hot dog
Bacon-wrapped hot dogs arranged on a serving platter
California-inspired hot dogs for a summer cookout
Family-friendly bacon-wrapped hot dog recipe
Crispy bacon-wrapped hot dog fresh from the grill
Easy cookout recipe featuring bacon-wrapped hot dogs
California-style bacon-wrapped hot dogs for outdoor dining
Summer hosting main course featuring bacon-wrapped hot dogs
Americana Summer recipe featuring California bacon-wrapped hot dogs

Brown Butter Herb Corn on the Cob (Easy Stovetop Summer Recipe)

There’s something about corn on the cob during the summertime that instantly feels nostalgic. From backyard BBQs and pool days to fireworks and late summer dinners outside, corn on the cob is one of those classic American side dishes that always belongs on the table.

Americana summer corn recipe for holiday entertaining
↓ Skip to Recipe
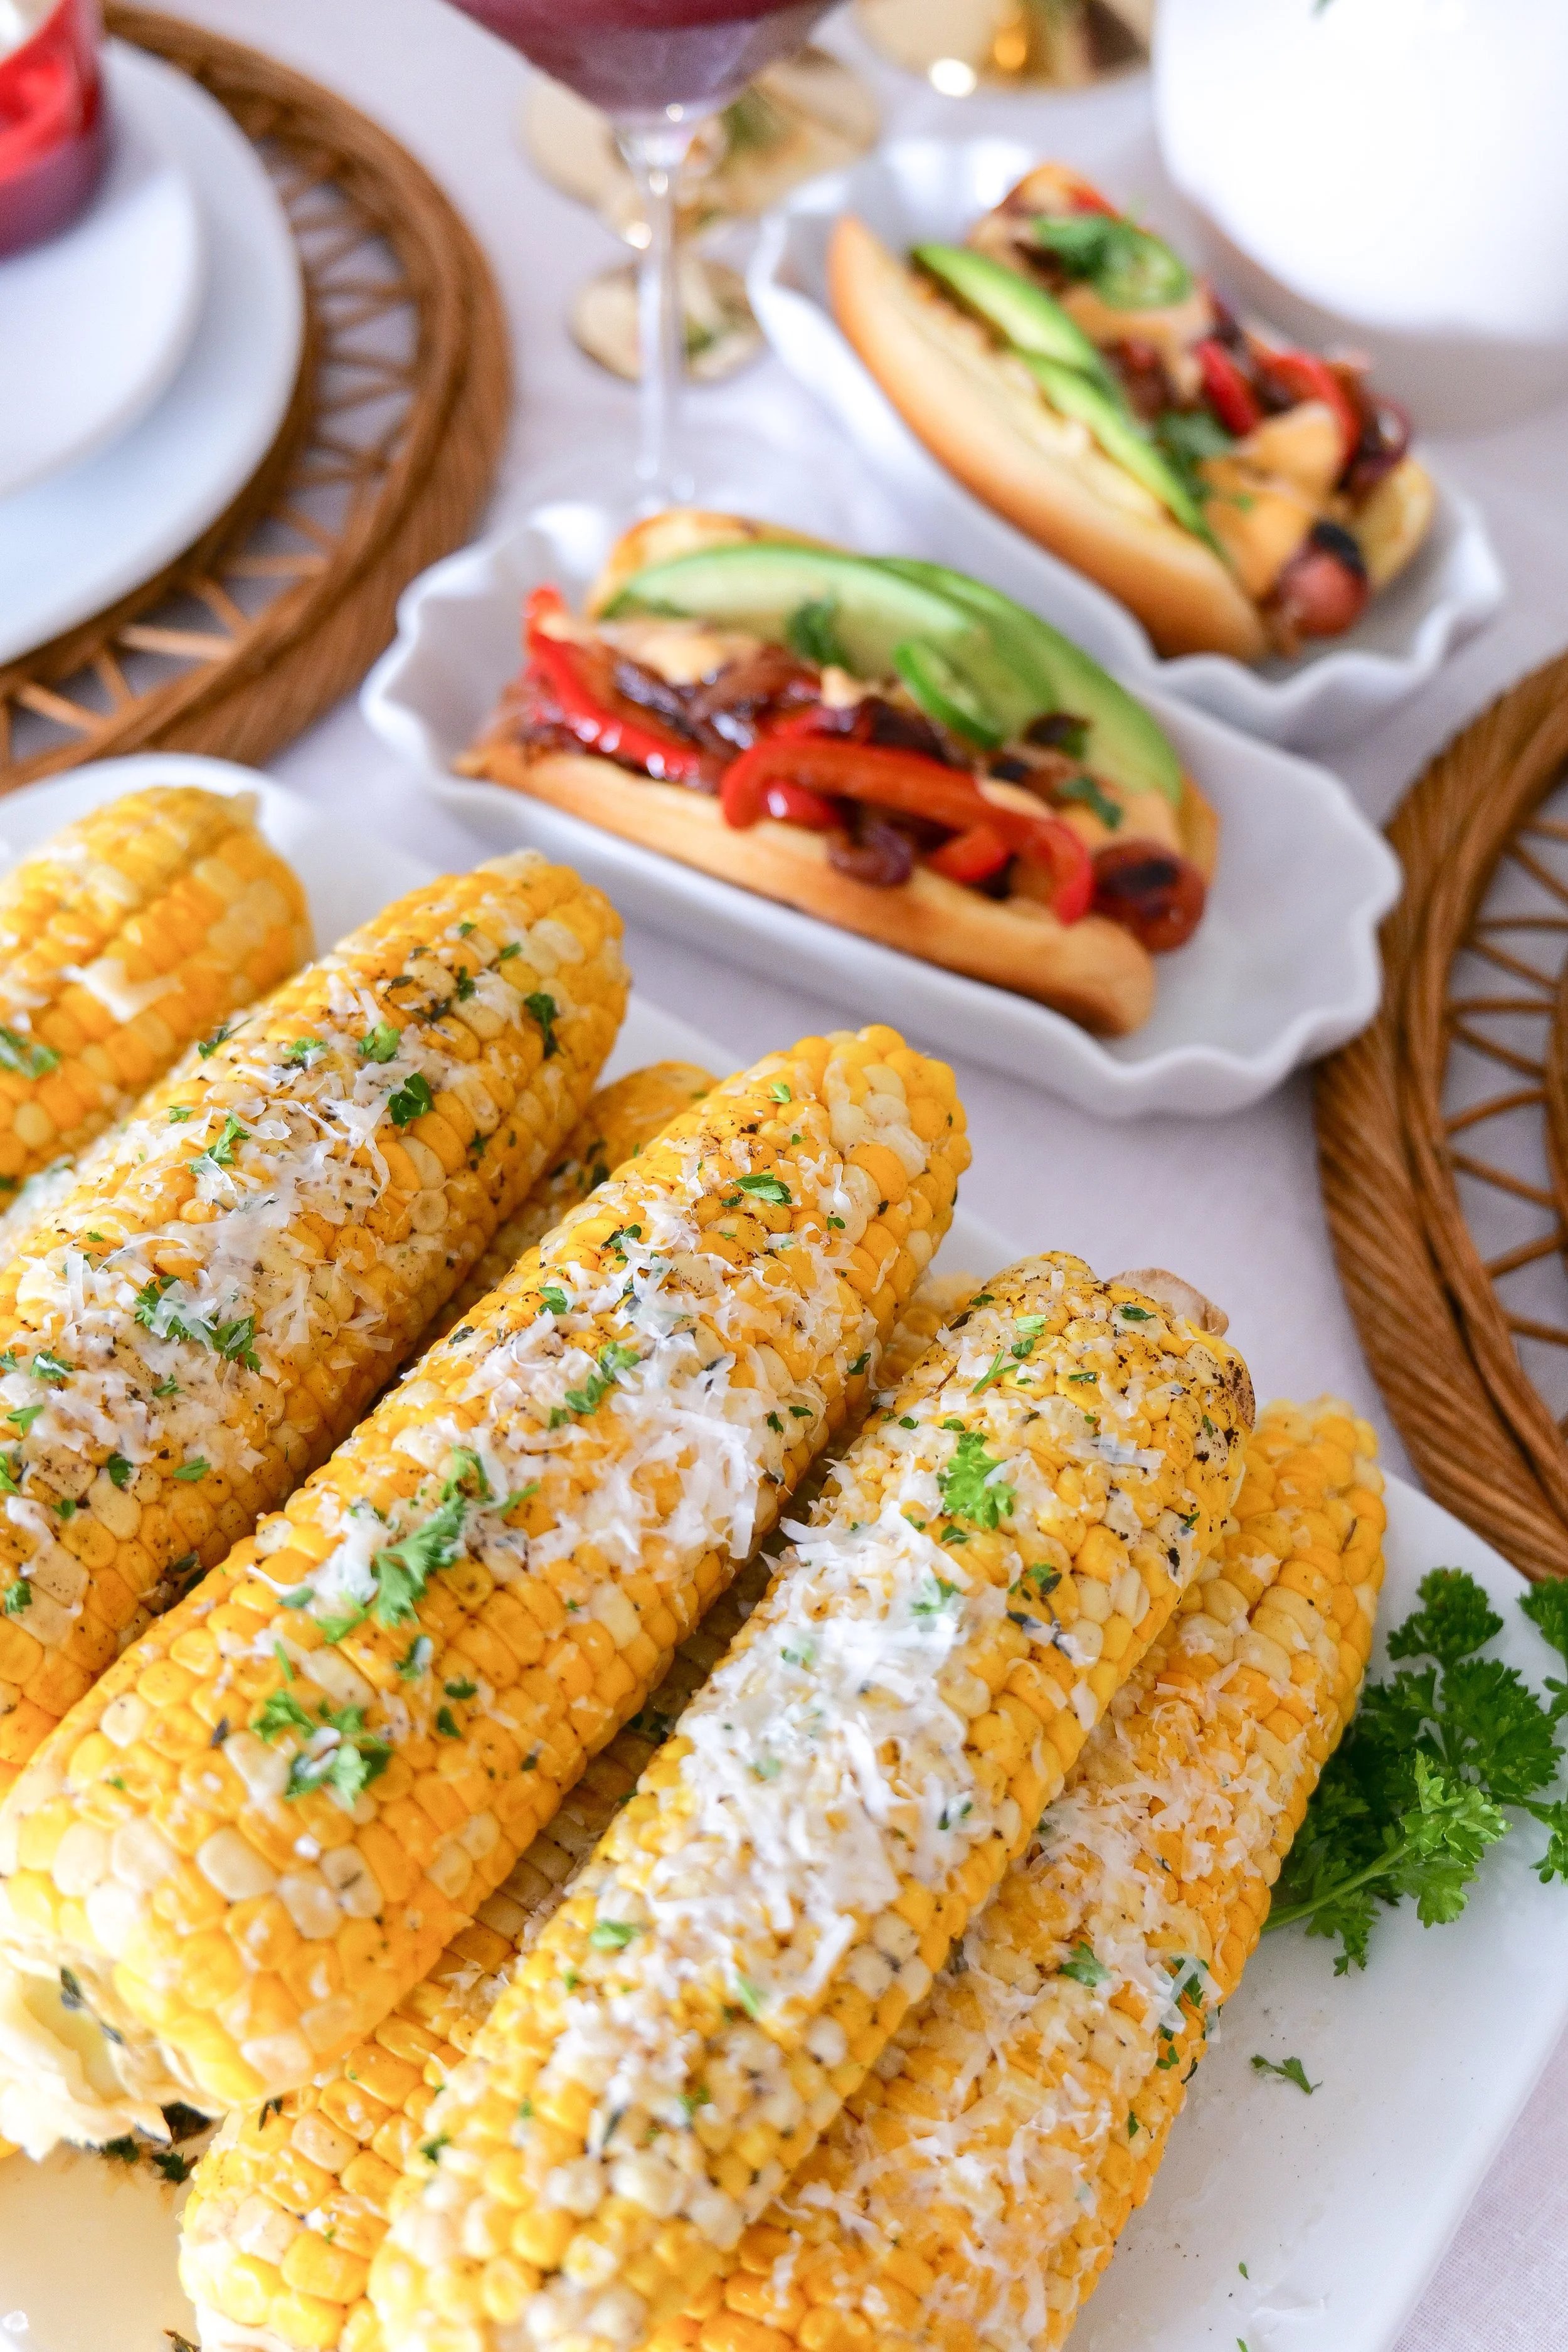
Homemade corn on the cob brushed with brown butter
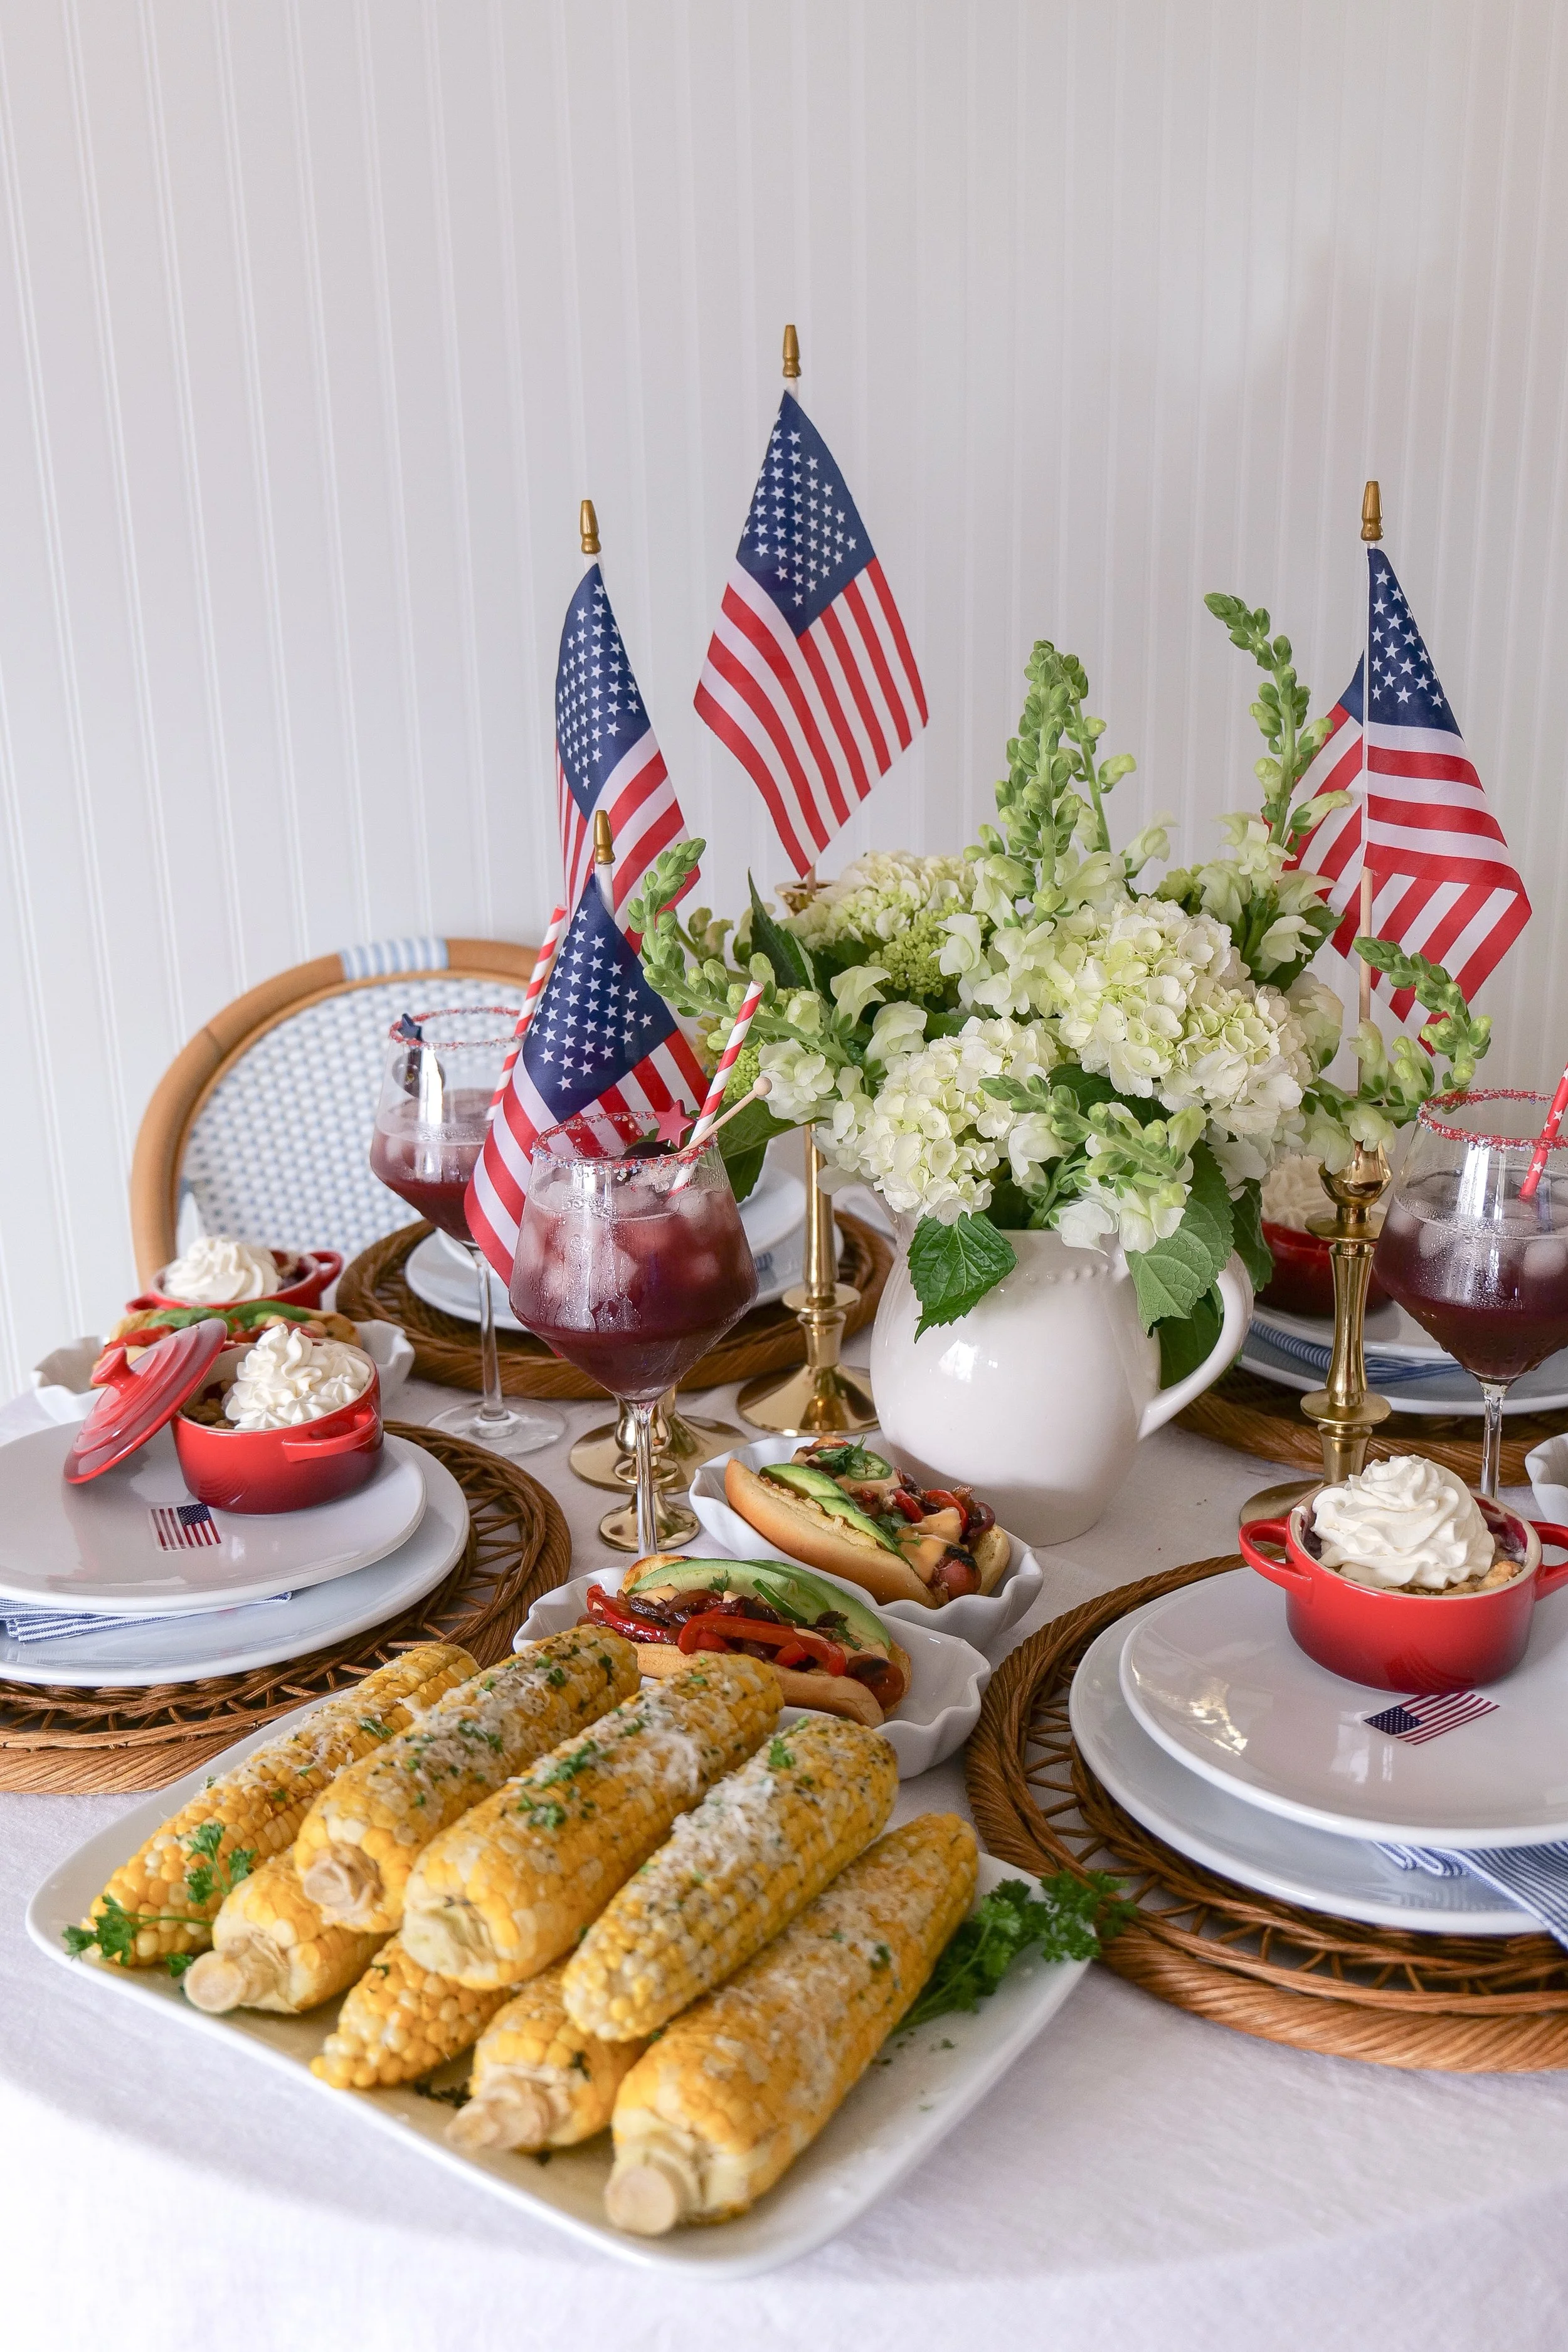
Corn on the cob displayed on a patriotic Fourth of July tablescape
Americana-inspired tablescape featuring fresh corn on the cob
Summer hostess holding corn on the cob during Americana entertaining
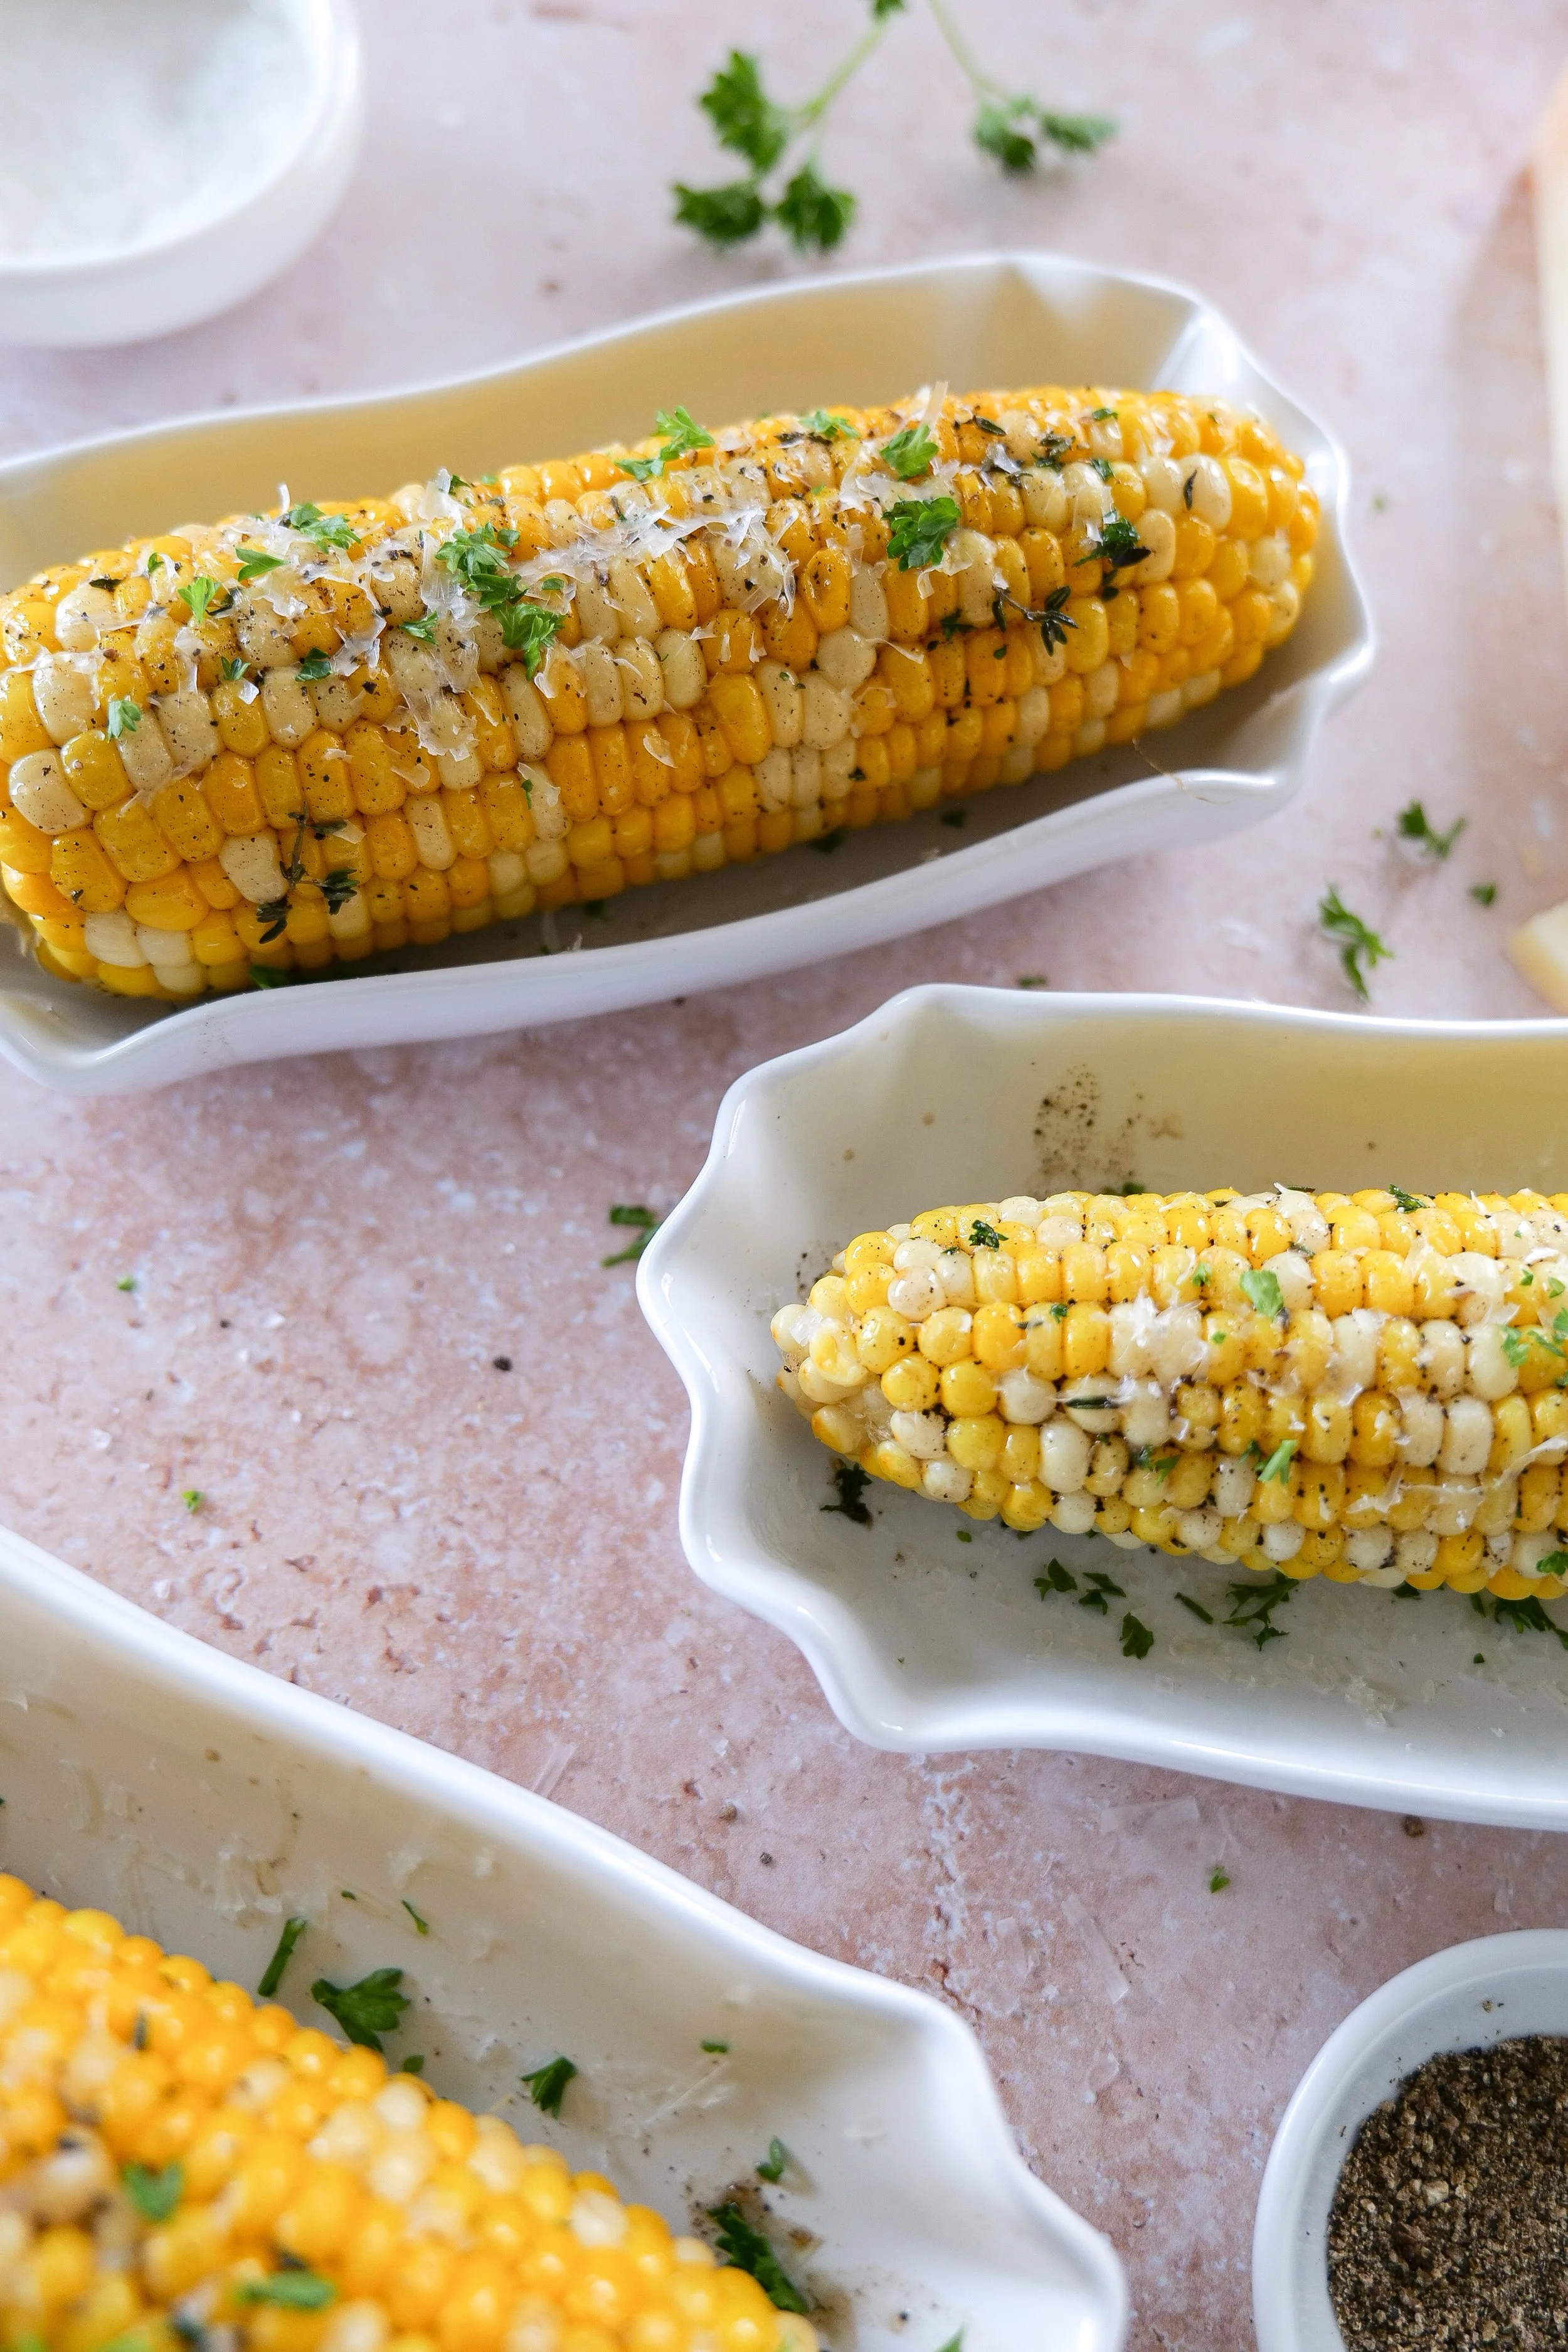
Close-up of corn on the cob coated in brown butter
Amanda holding freshly cooked corn on the cob for a summer gathering

Growing up, my family grew sweet corn for over 100 years, so fresh summer corn has always felt deeply tied to home for me. I still remember my dad walking through the door carrying a brown paper bag overflowing with freshly picked sweet corn straight from the fields, ready to be brought to the table for dinner that night. Those simple summer evenings are some of my favorite memories, and this brown butter herb corn on the cob recipe brings back all of those cozy nostalgic feelings every single time I make it.

As part of my All American Summer series, I wanted to elevate the classic just a little with this brown butter herb corn on the cob recipe — rich, buttery, simple, and perfect for summer entertaining.

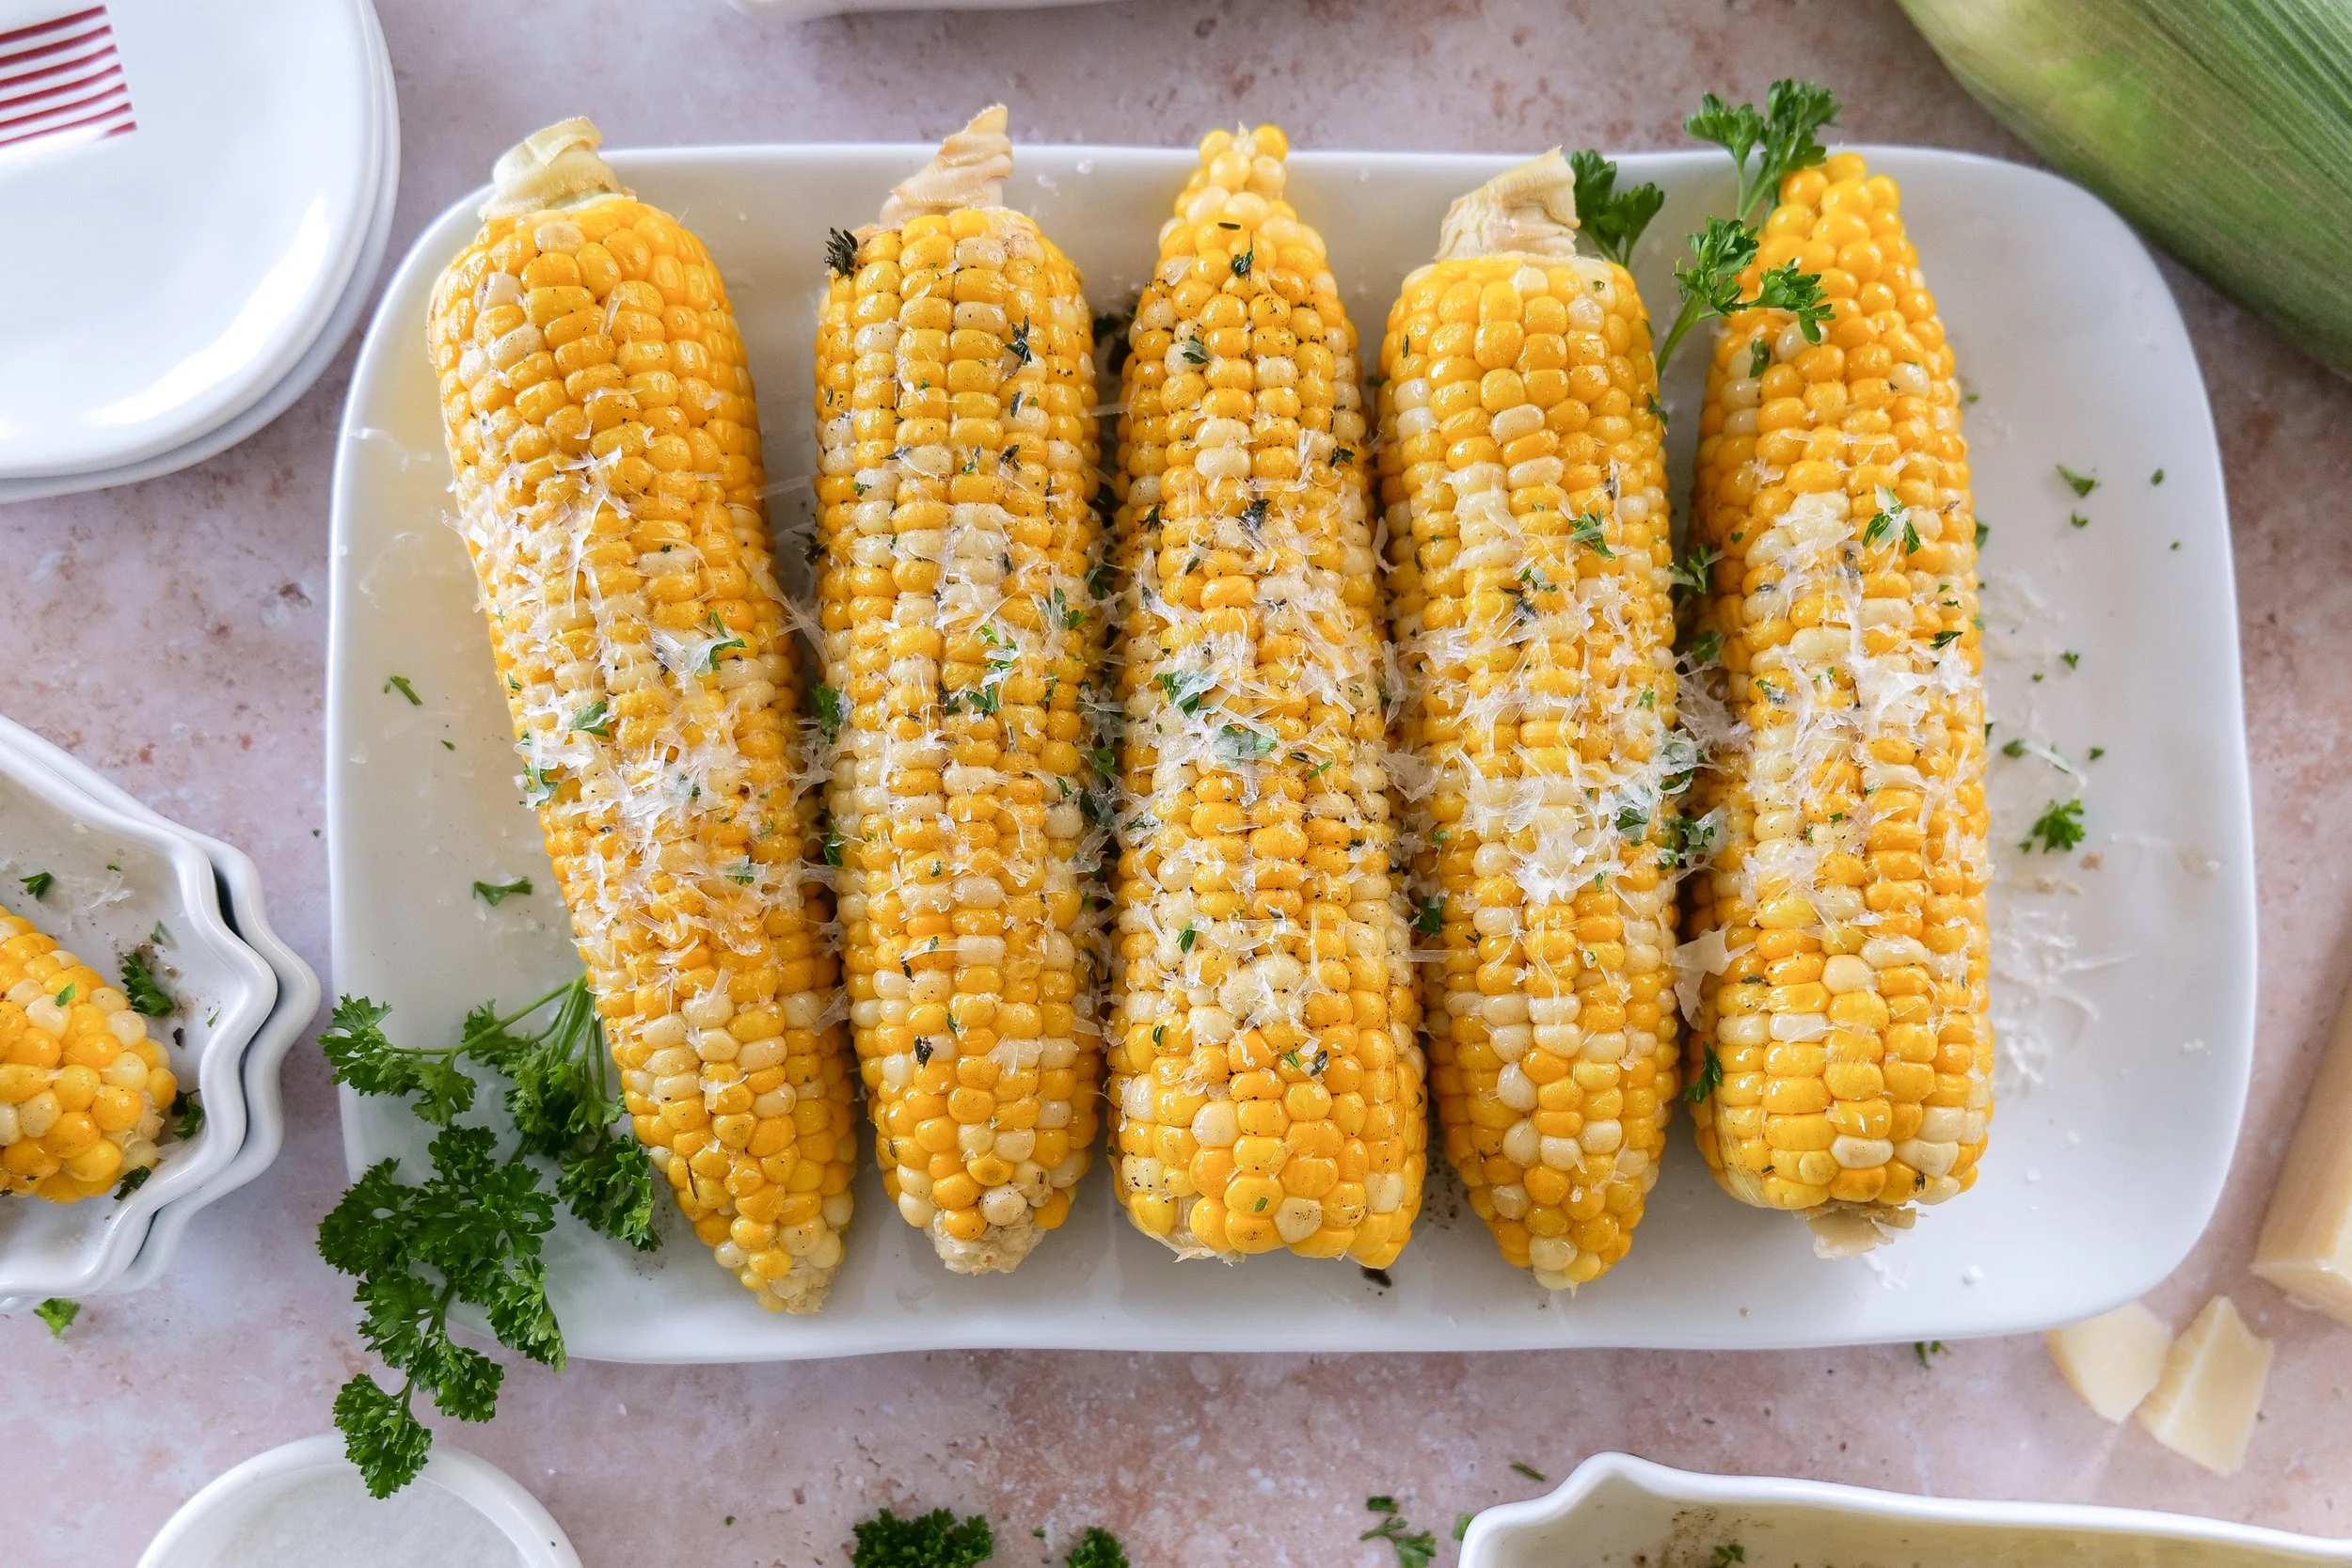
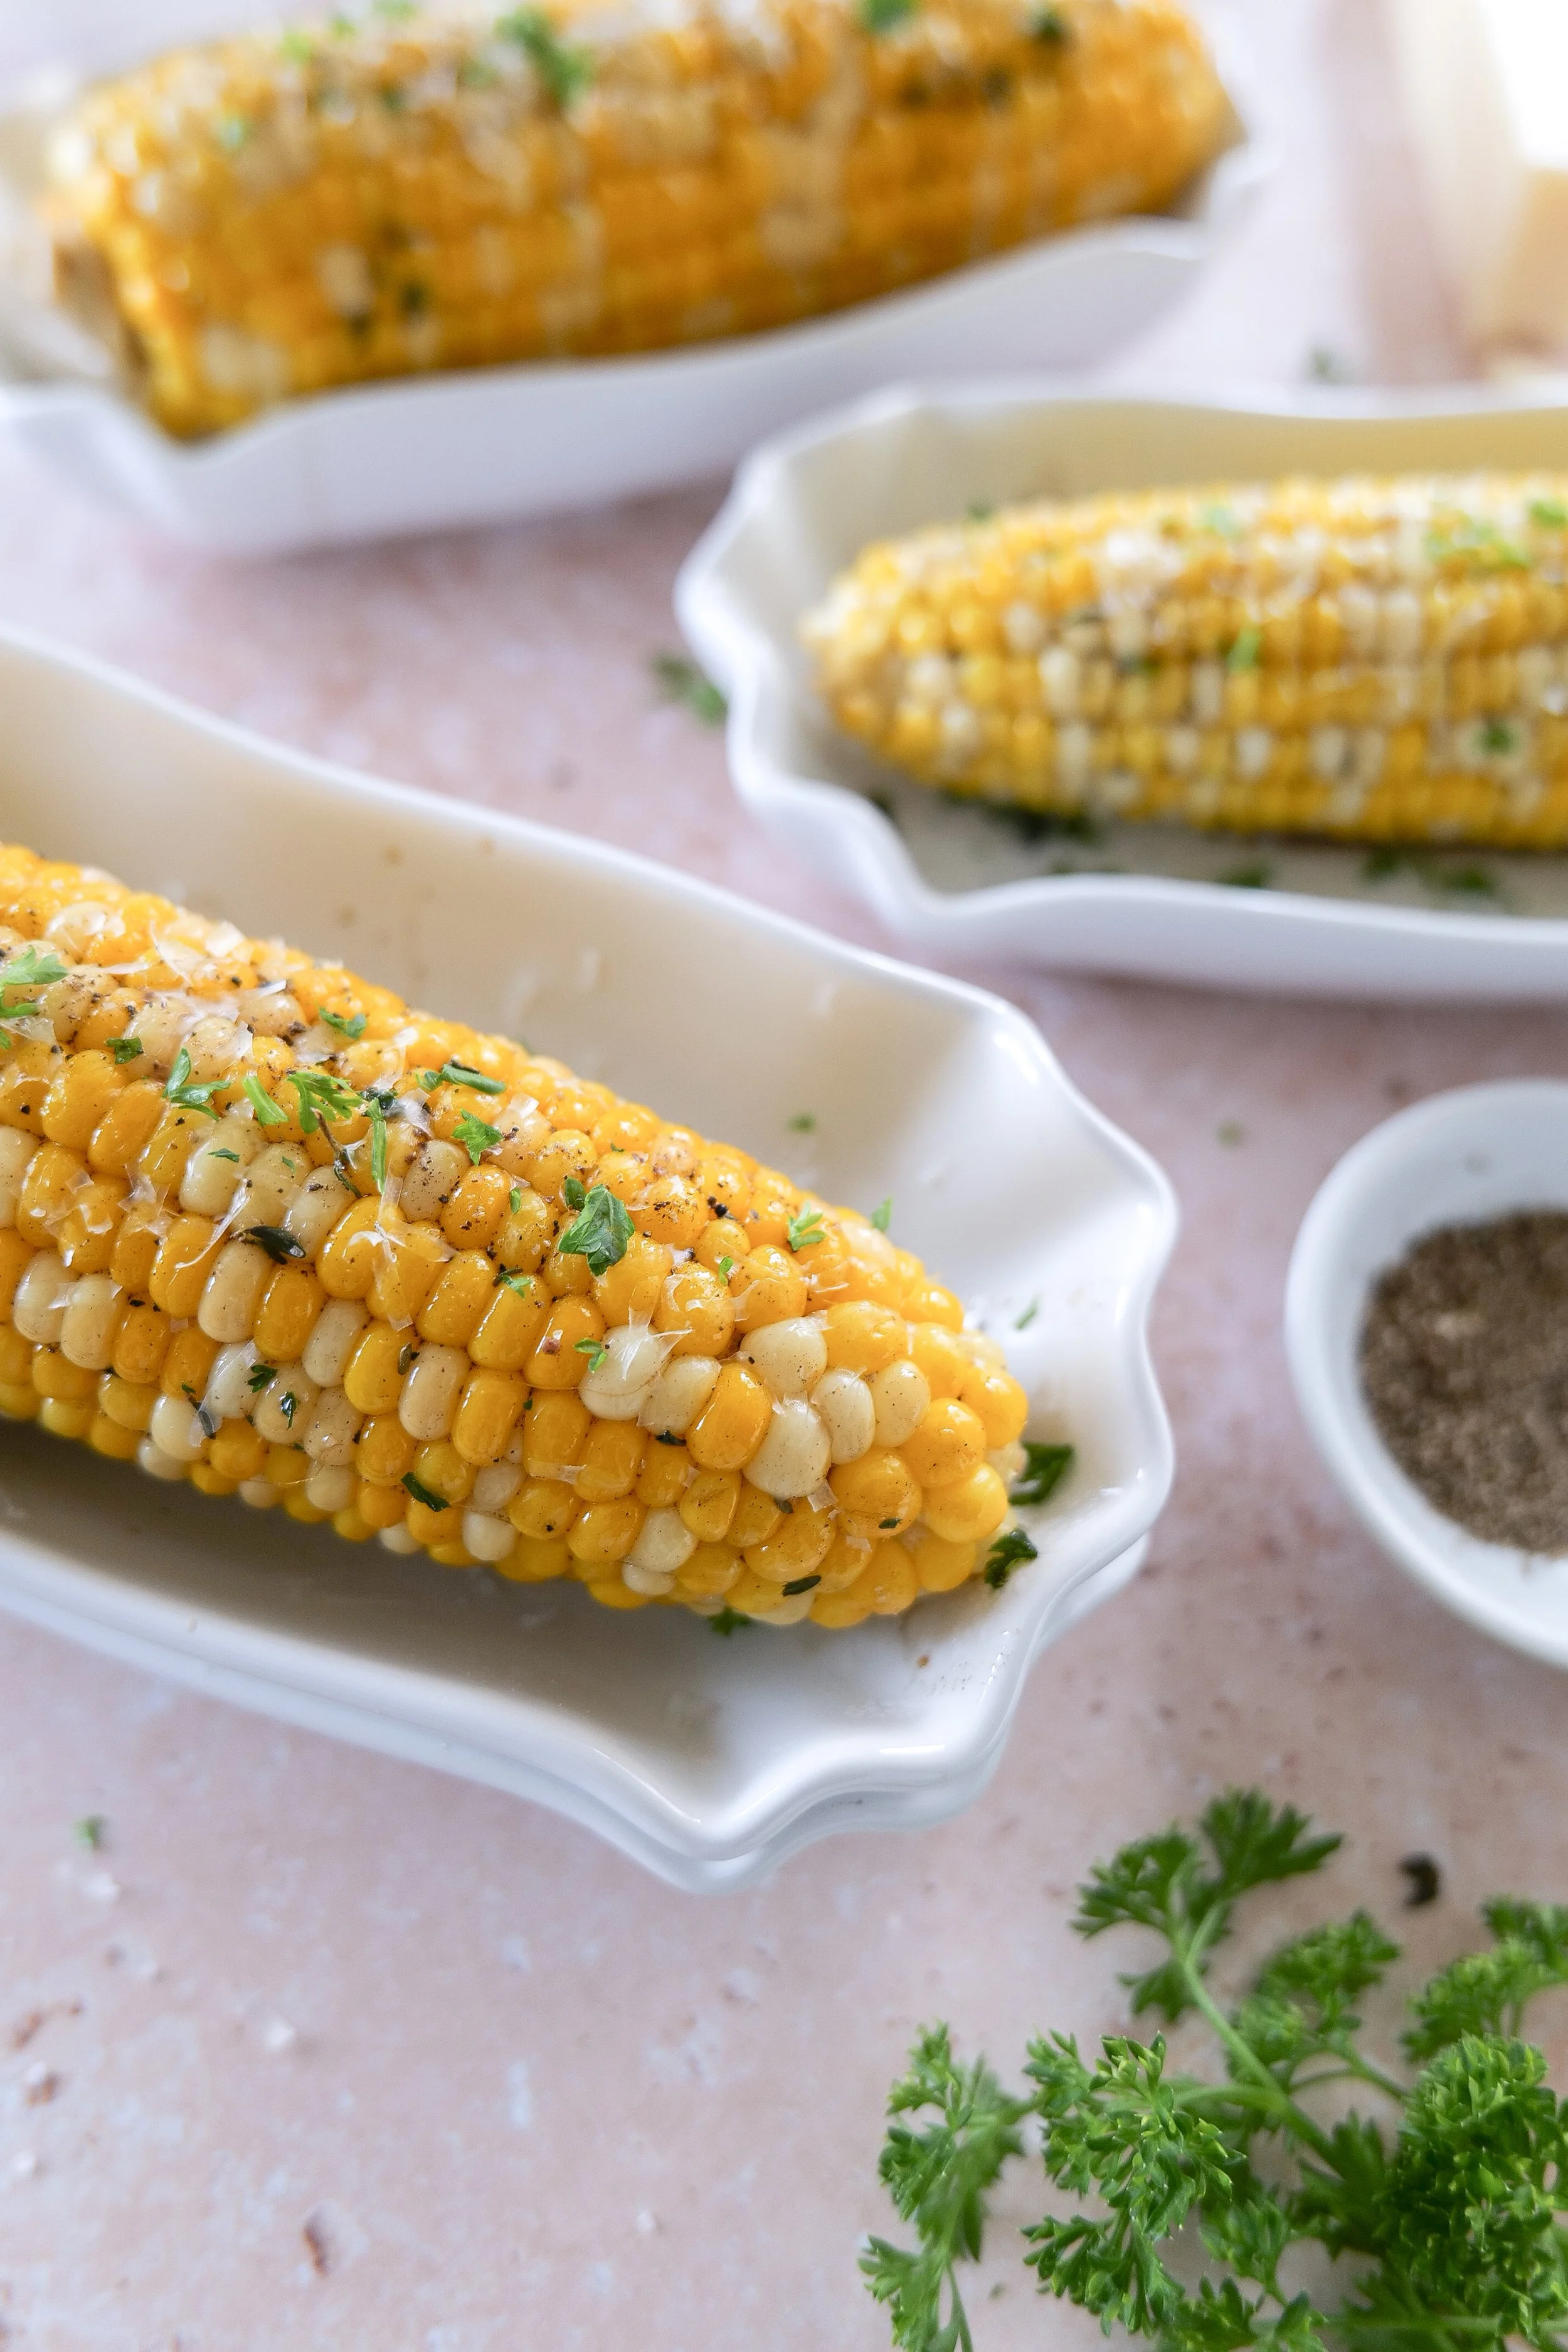
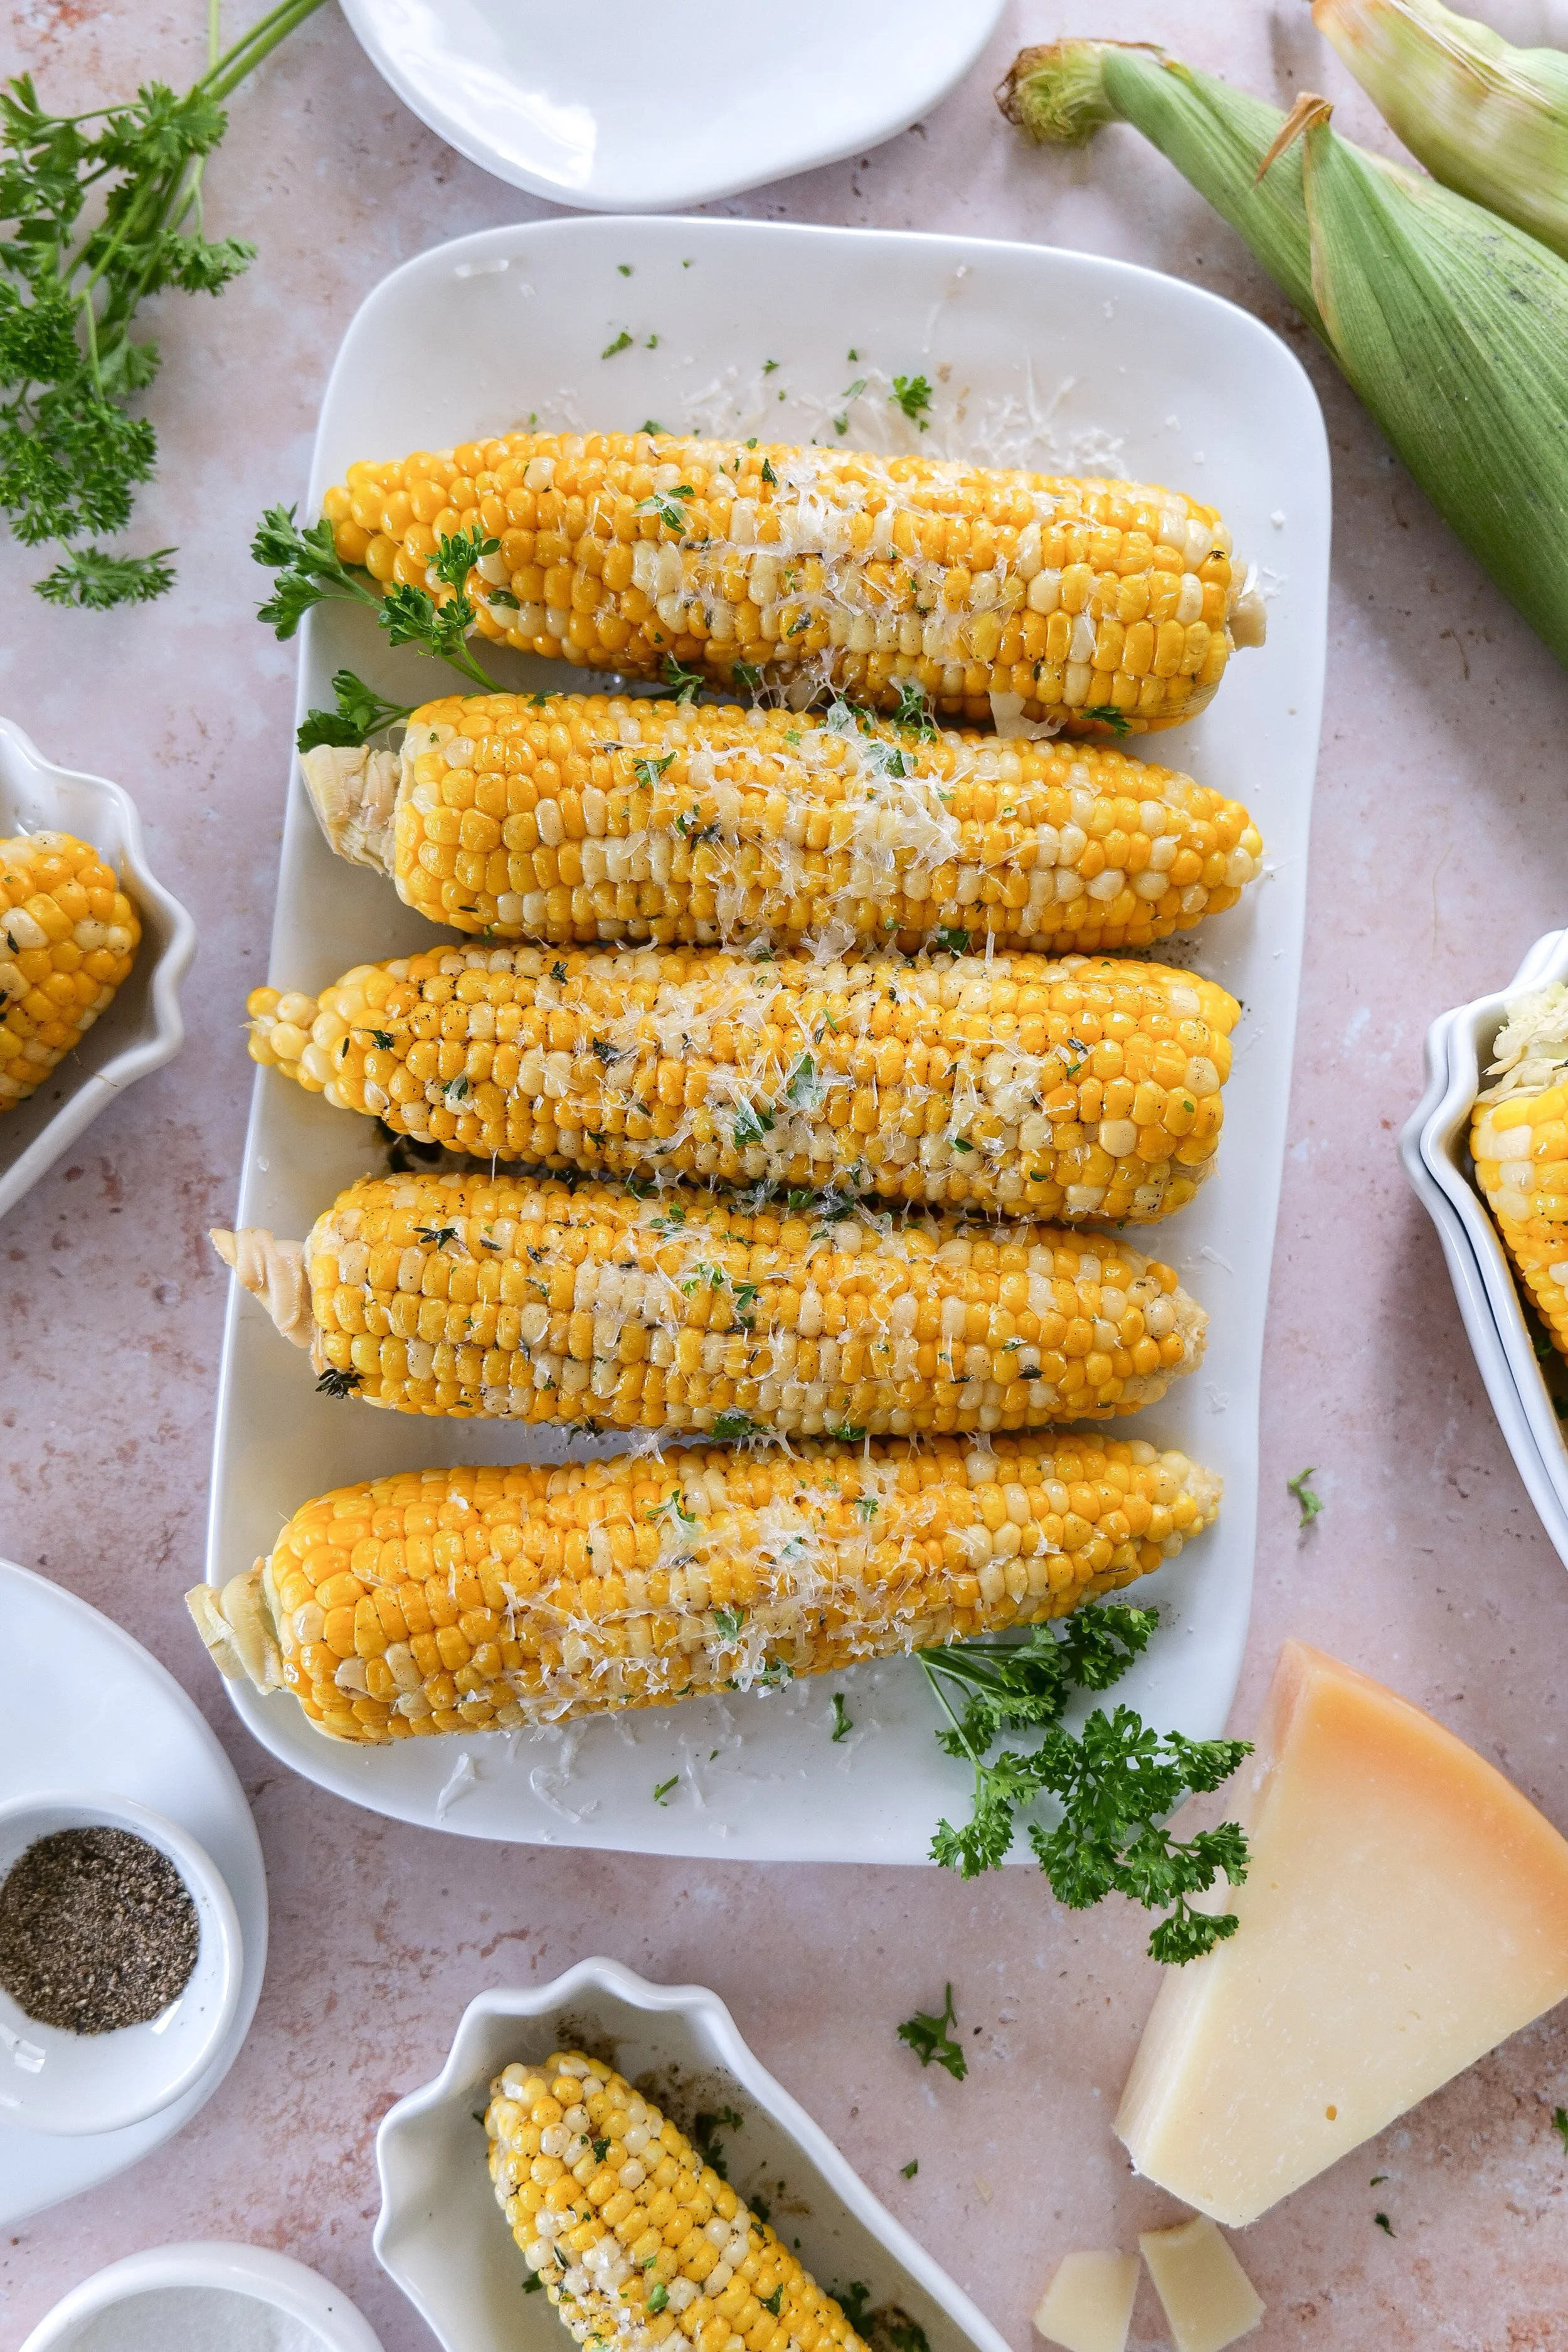
This easy stovetop corn on the cob is coated in warm brown butter and finished with fresh herbs and flaky sea salt for the ultimate cozy summer side dish. It’s simple enough for weeknight dinners but beautiful enough for summer parties, cookouts, and holiday hosting.

If you love nostalgic summer recipes and cozy Americana-inspired entertaining, be sure to browse my American Summer Hosting collection filled with patriotic hosting ideas, backyard BBQ inspiration, and summer tablescape favorites. I also linked my favorite serving pieces, cookware, and summer kitchen finds in my Cozy Baking Essentials collection along with all of our favorite grilling and BBQ pieces in my Summer Grilling Essentials collection.

Why You’ll Love This Brown Butter Herb Corn on the Cob

This brown butter herb corn recipe is one of those easy summer side dishes you’ll make all season long.

  • Quick and easy stovetop recipe

  • Rich brown butter flavor

  • Perfect for summer BBQs and cookouts

  • Pairs with almost any grilled dinner

  • Beautiful for summer entertaining

  • Family-friendly and crowd-pleasing

  • Simple ingredients with elevated flavor

Whether you’re planning a casual backyard dinner or a full summer hosting menu, this easy corn on the cob recipe fits perfectly into any Americana-inspired table.

Brown butter corn on the cob served on a summer table
Easy corn on the cob recipe with melted brown butter
Fourth of July side dish idea featuring buttered corn

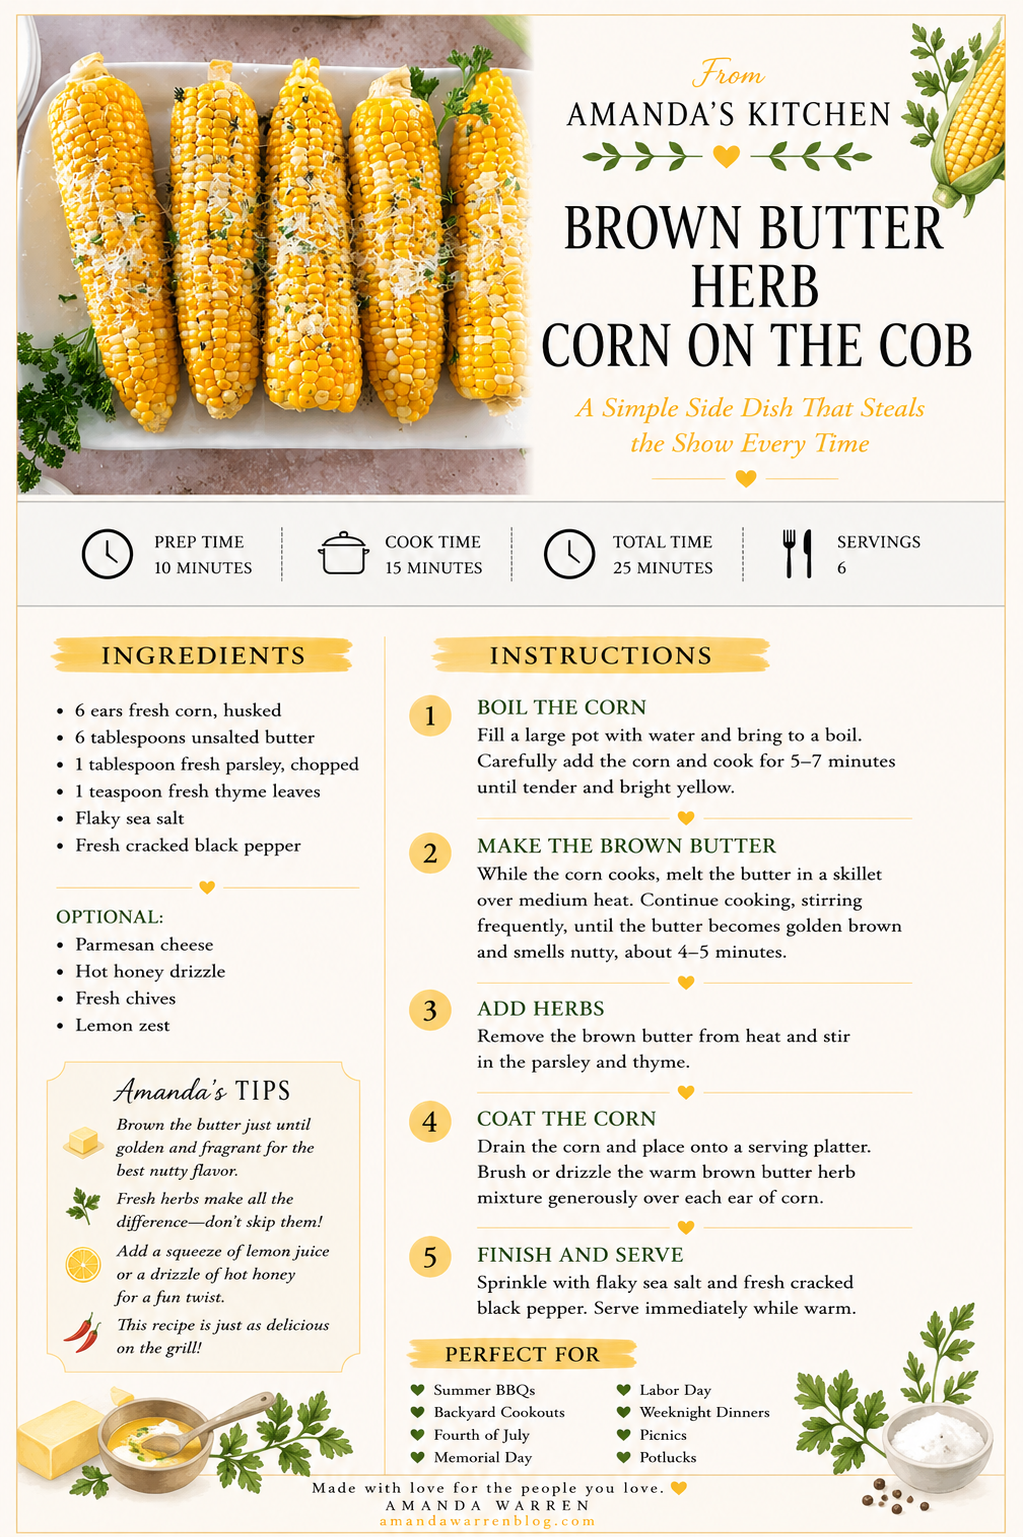
Ingredients

  • 6 ears fresh corn, husked

  • 6 tablespoons unsalted butter

  • 1 tablespoon fresh parsley, chopped

  • 1 teaspoon fresh thyme leaves

  • Flaky sea salt

  • Fresh cracked black pepper

Optional:

  • Parmesan cheese

  • Hot honey drizzle

  • Fresh chives

  • Lemon zest

Instructions

1. Boil the Corn

Fill a large pot with water and bring to a boil. Carefully add the corn and cook for 5–7 minutes until tender and bright yellow.

2. Make the Brown Butter

While the corn cooks, melt the butter in a skillet over medium heat. Continue cooking, stirring frequently, until the butter becomes golden brown and smells nutty, about 4–5 minutes.

3. Add Herbs

Remove the brown butter from heat and stir in the parsley and thyme.

4. Coat the Corn

Drain the corn and place onto a serving platter. Brush or drizzle the warm brown butter herb mixture generously over each ear of corn.

5. Finish and Serve

Sprinkle with flaky sea salt and fresh cracked black pepper. Serve immediately while warm.

Corn on the cob served during a Fourth of July celebration
Corn on the cob topped with rich brown butter
Red white and blue tablescape styled with corn on the cob
Corn on the cob served on a holiday entertaining table

What to Serve with Brown Butter Herb Corn on the Cob

This easy corn on the cob recipe pairs perfectly with all your favorite summer meals.

Serve it with:

  • Hot dogs

  • Hamburgers

  • Pulled pork sandwiches

  • BBQ chicken

  • Slow cooker baked beans

  • Pasta salad

  • Watermelon and fresh fruit

  • Summer desserts and cobblers

For the ultimate All American Summer menu, pair this corn recipe with my Chicago Hot Dog Recipe, Bacon Wrapped California Hot Dog Recipe, and Easy Slow Cooker Baked Beans with Bacon.

Tips for the Best Corn on the Cob

  • Use fresh summer corn for the sweetest flavor

  • Don’t overcook the corn or it can become chewy

  • Watch the butter carefully while browning

  • Serve immediately for the best texture and flavor

  • Finish with flaky salt for an elevated touch

Easy Variations to Try

Hot Honey Corn

Drizzle with hot honey for a sweet and spicy twist.

Parmesan Herb Corn

Top with freshly grated parmesan cheese and extra herbs.

Garlic Brown Butter Corn

Add minced garlic to the butter during the last minute of cooking.

Spicy Cajun Corn

Sprinkle with Cajun seasoning for a smoky kick.

Frequently Asked Questions

How long should I boil corn on the cob?

Fresh corn typically cooks in 5–7 minutes once the water is boiling.

What is brown butter?

Brown butter is butter that’s cooked until the milk solids toast, creating a rich, nutty flavor.

Can I make this ahead of time?

Corn is best served fresh, but you can prepare the brown butter ahead and reheat before serving.

What herbs work best with corn on the cob?

Parsley, thyme, chives, basil, and cilantro all pair beautifully with corn.

Is stovetop corn better than grilled?

Both are delicious, but stovetop corn stays extra juicy and tender.

Looking for More All American Summer Recipes?

If you’re loving this Americana-inspired summer series, be sure to check out:

And don’t forget to browse my American Summer Hosting, Summer Grilling Essentials, Cozy Baking Essentials, and All American Mama collections for even more summer entertaining inspiration and cozy Americana finds.

From Amanda's Kitchen

The best recipes are often the simplest ones—the ones that become part of every family gathering, backyard barbecue, and summer dinner year after year.

That's exactly why I created these From Amanda's Kitchen printable recipe cards. Whether you're planning a cookout, hosting friends, or adding another favorite to your recipe binder, I hope this recipe brings people together around your table.

Because the best recipes aren't just made—they're shared, celebrated, and passed down from one kitchen to another.

Save or print the recipe card below so it's always ready for your next summer gathering.

Summer corn side dish perfect for backyard gatherings
Summer hosting table featuring corn on the cob and seasonal decor
Family-style serving platter filled with corn on the cob
Corn on the cob recipe for summer entertaining
Patriotic summer table featuring brown butter corn on the cob
Buttery corn on the cob recipe for summer cookouts
Fresh summer corn recipe made with simple ingredients
Americana summer tablescape featuring brown butter corn on the cob
Lifestyle photo featuring homemade corn on the cob for family entertaining

Easy Mini Cherry Cobblers for Summer Parties & 4th of July

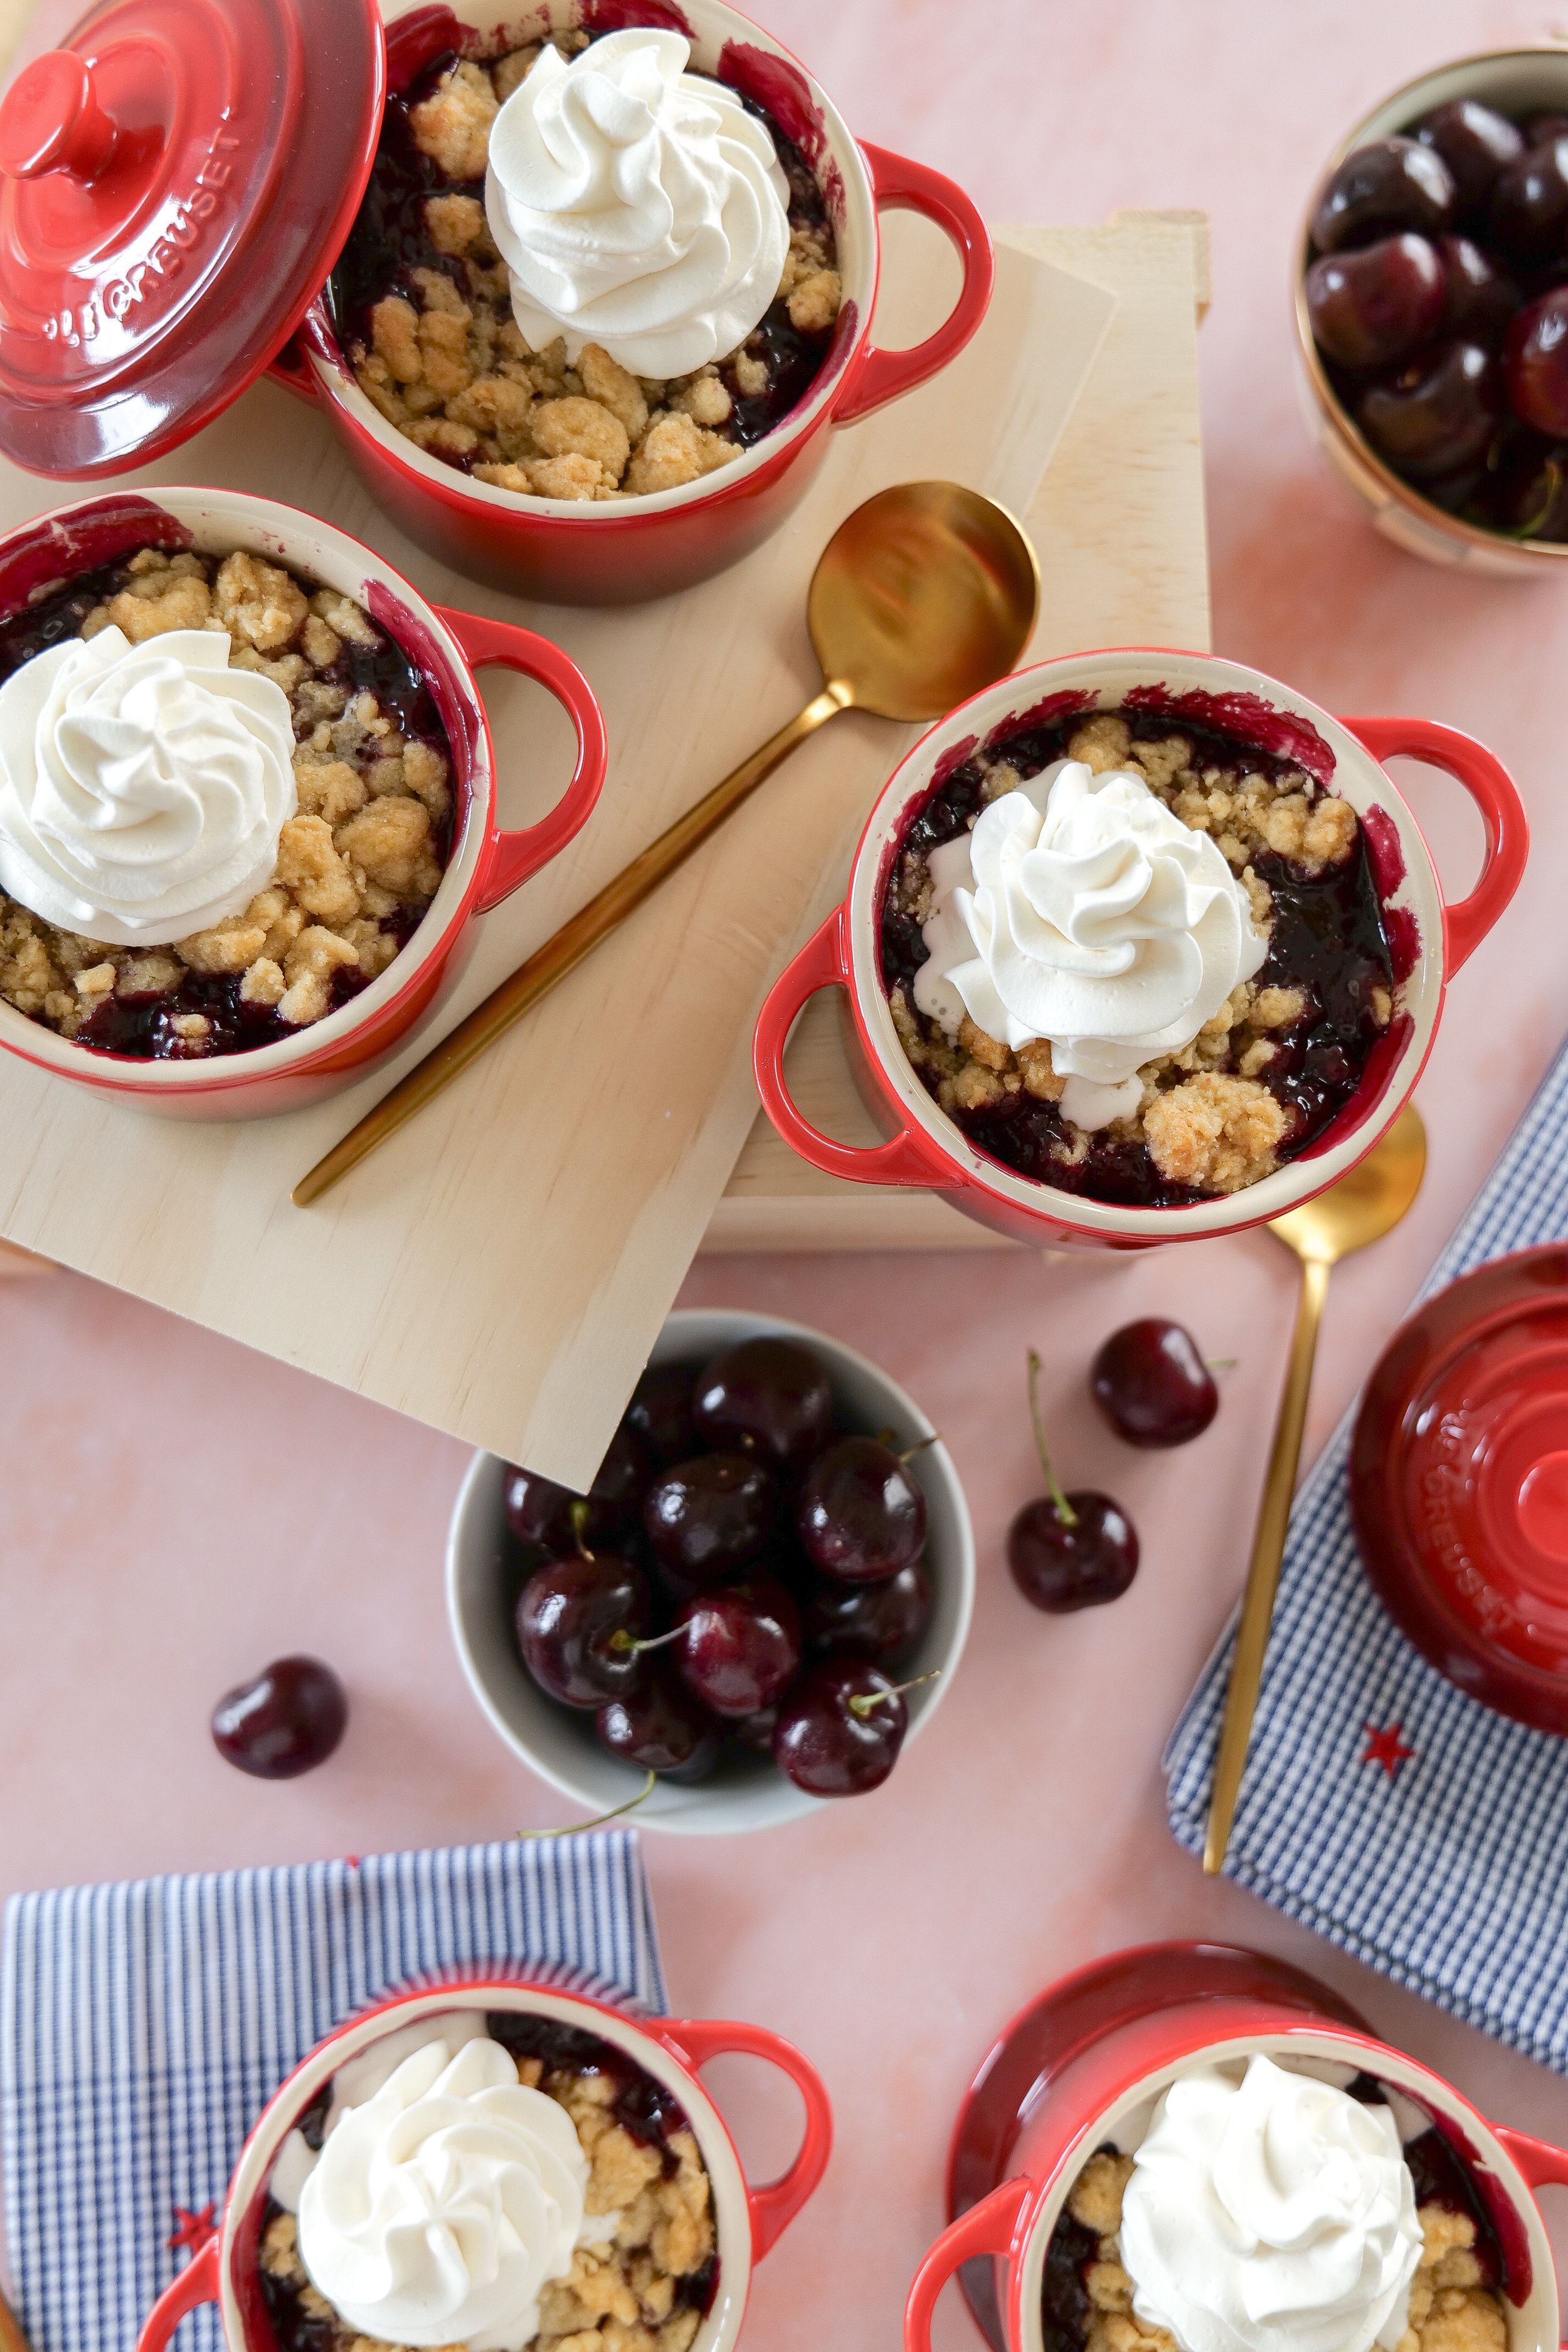
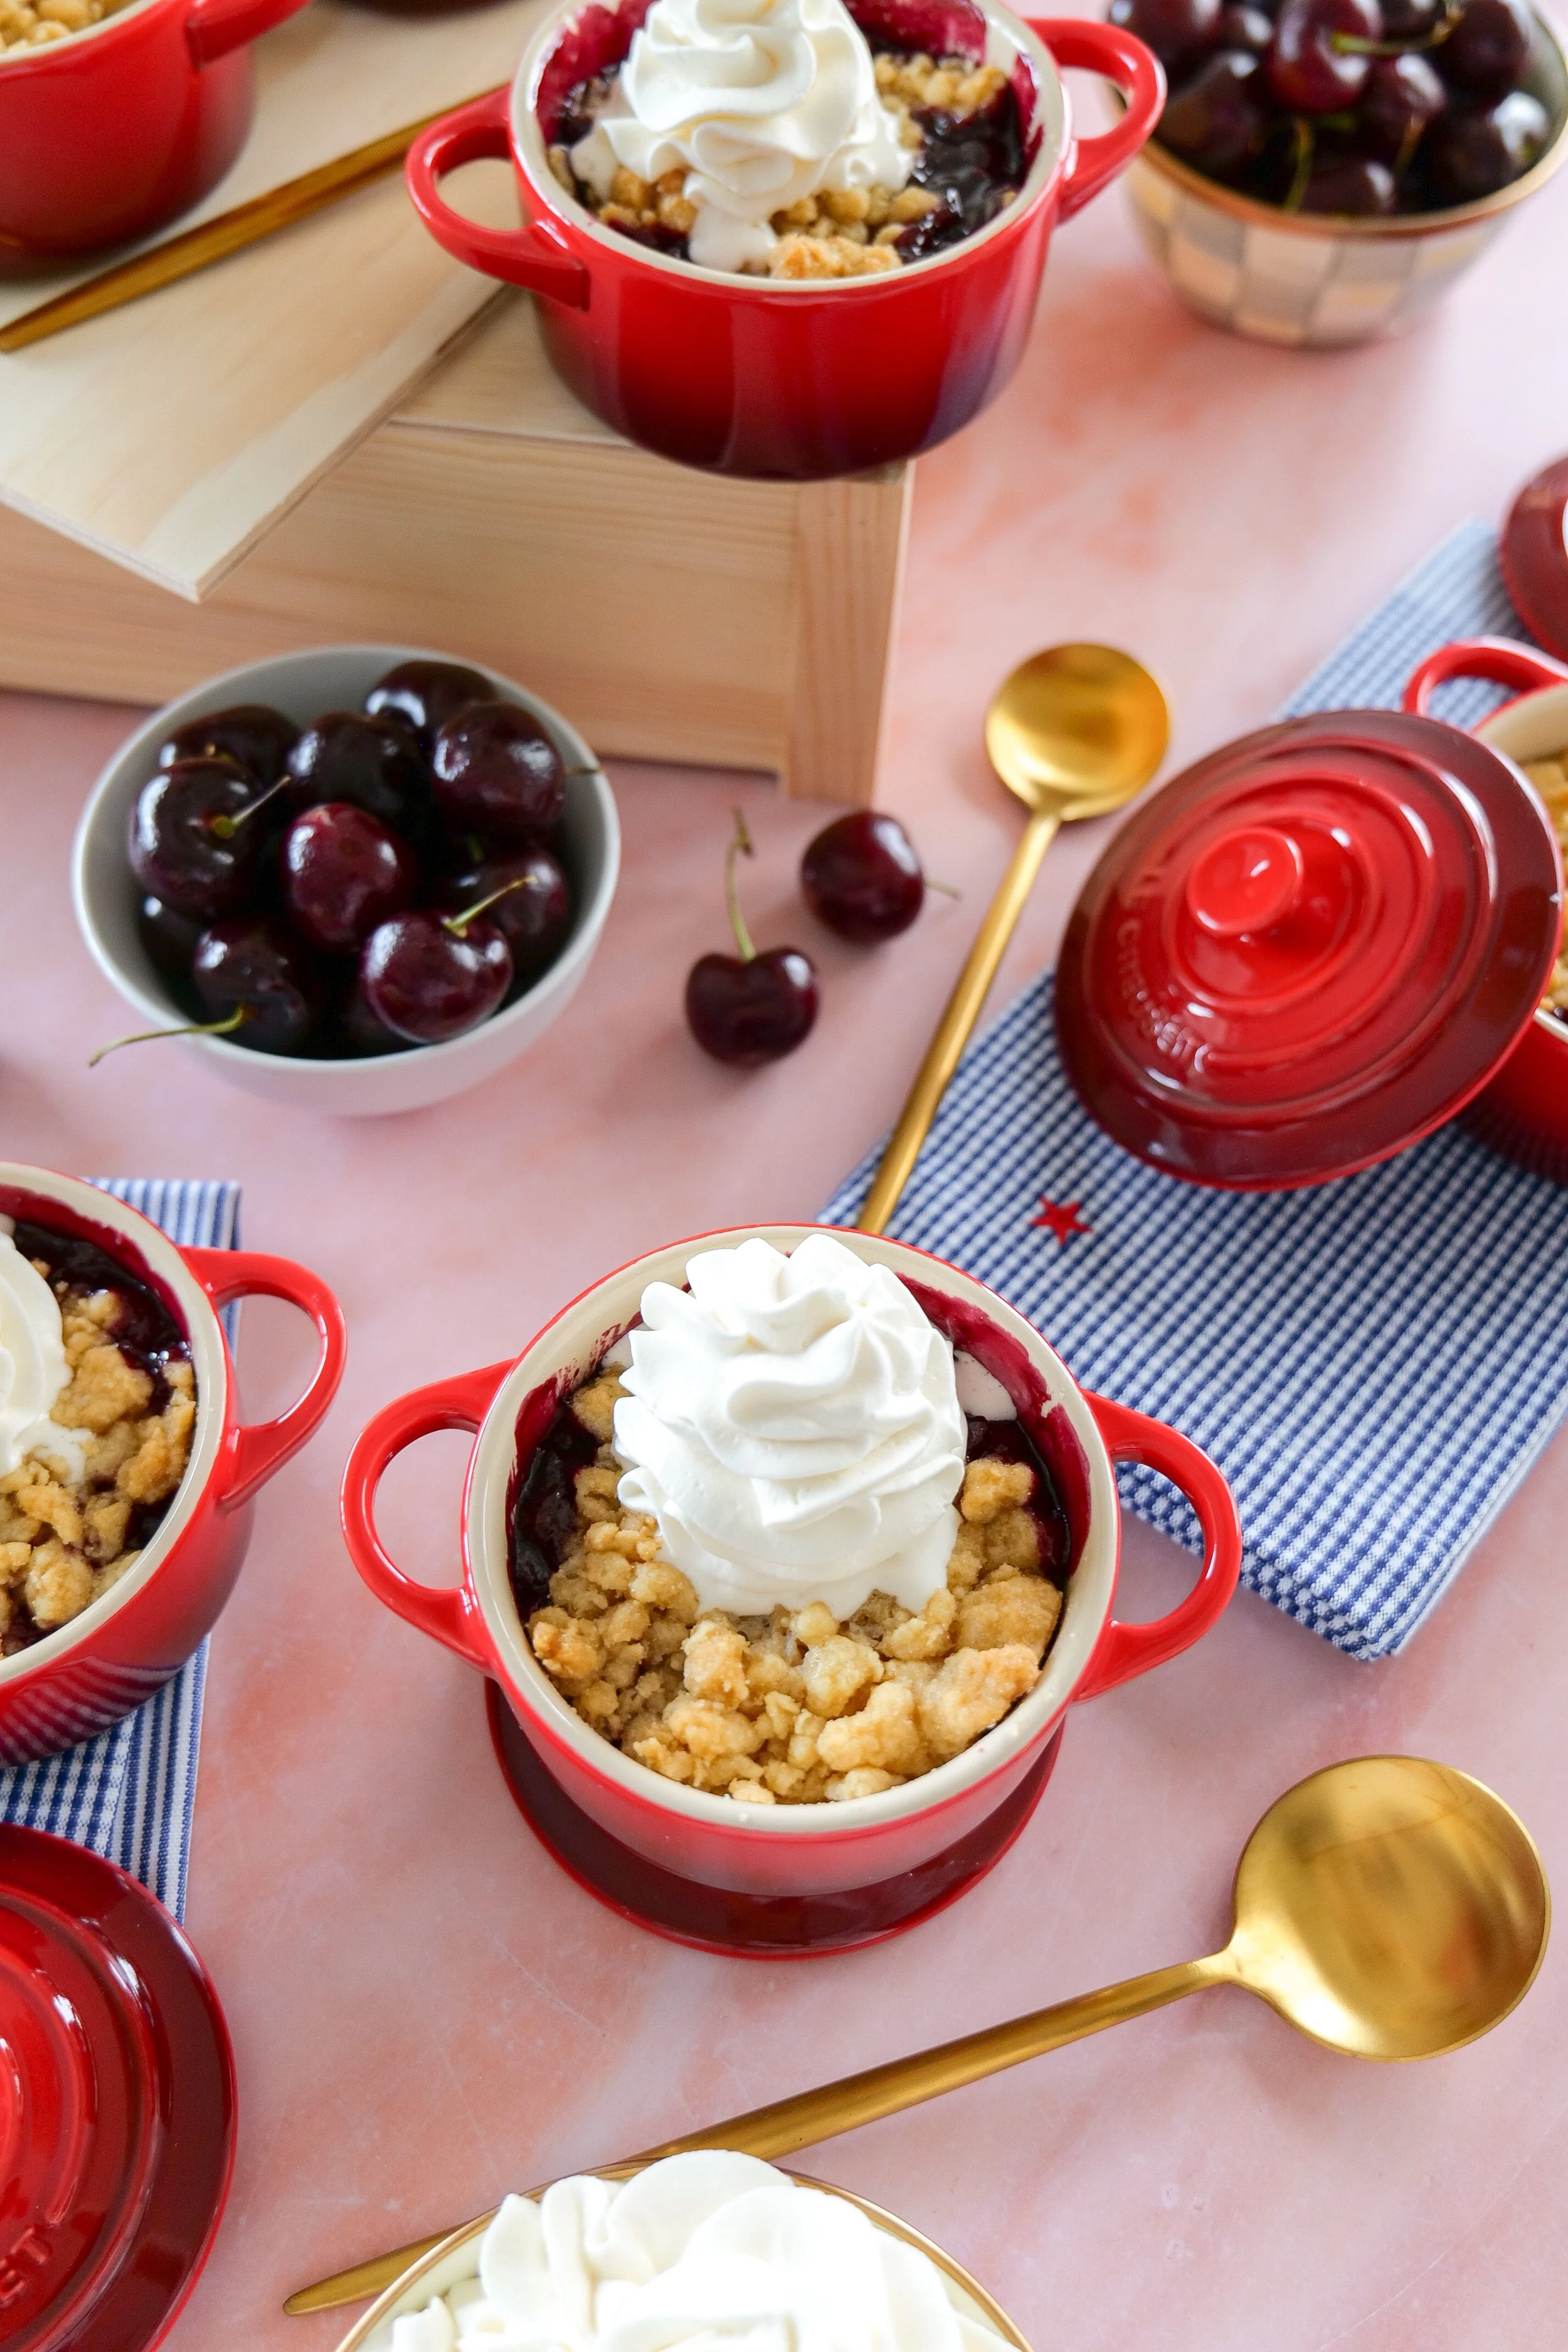
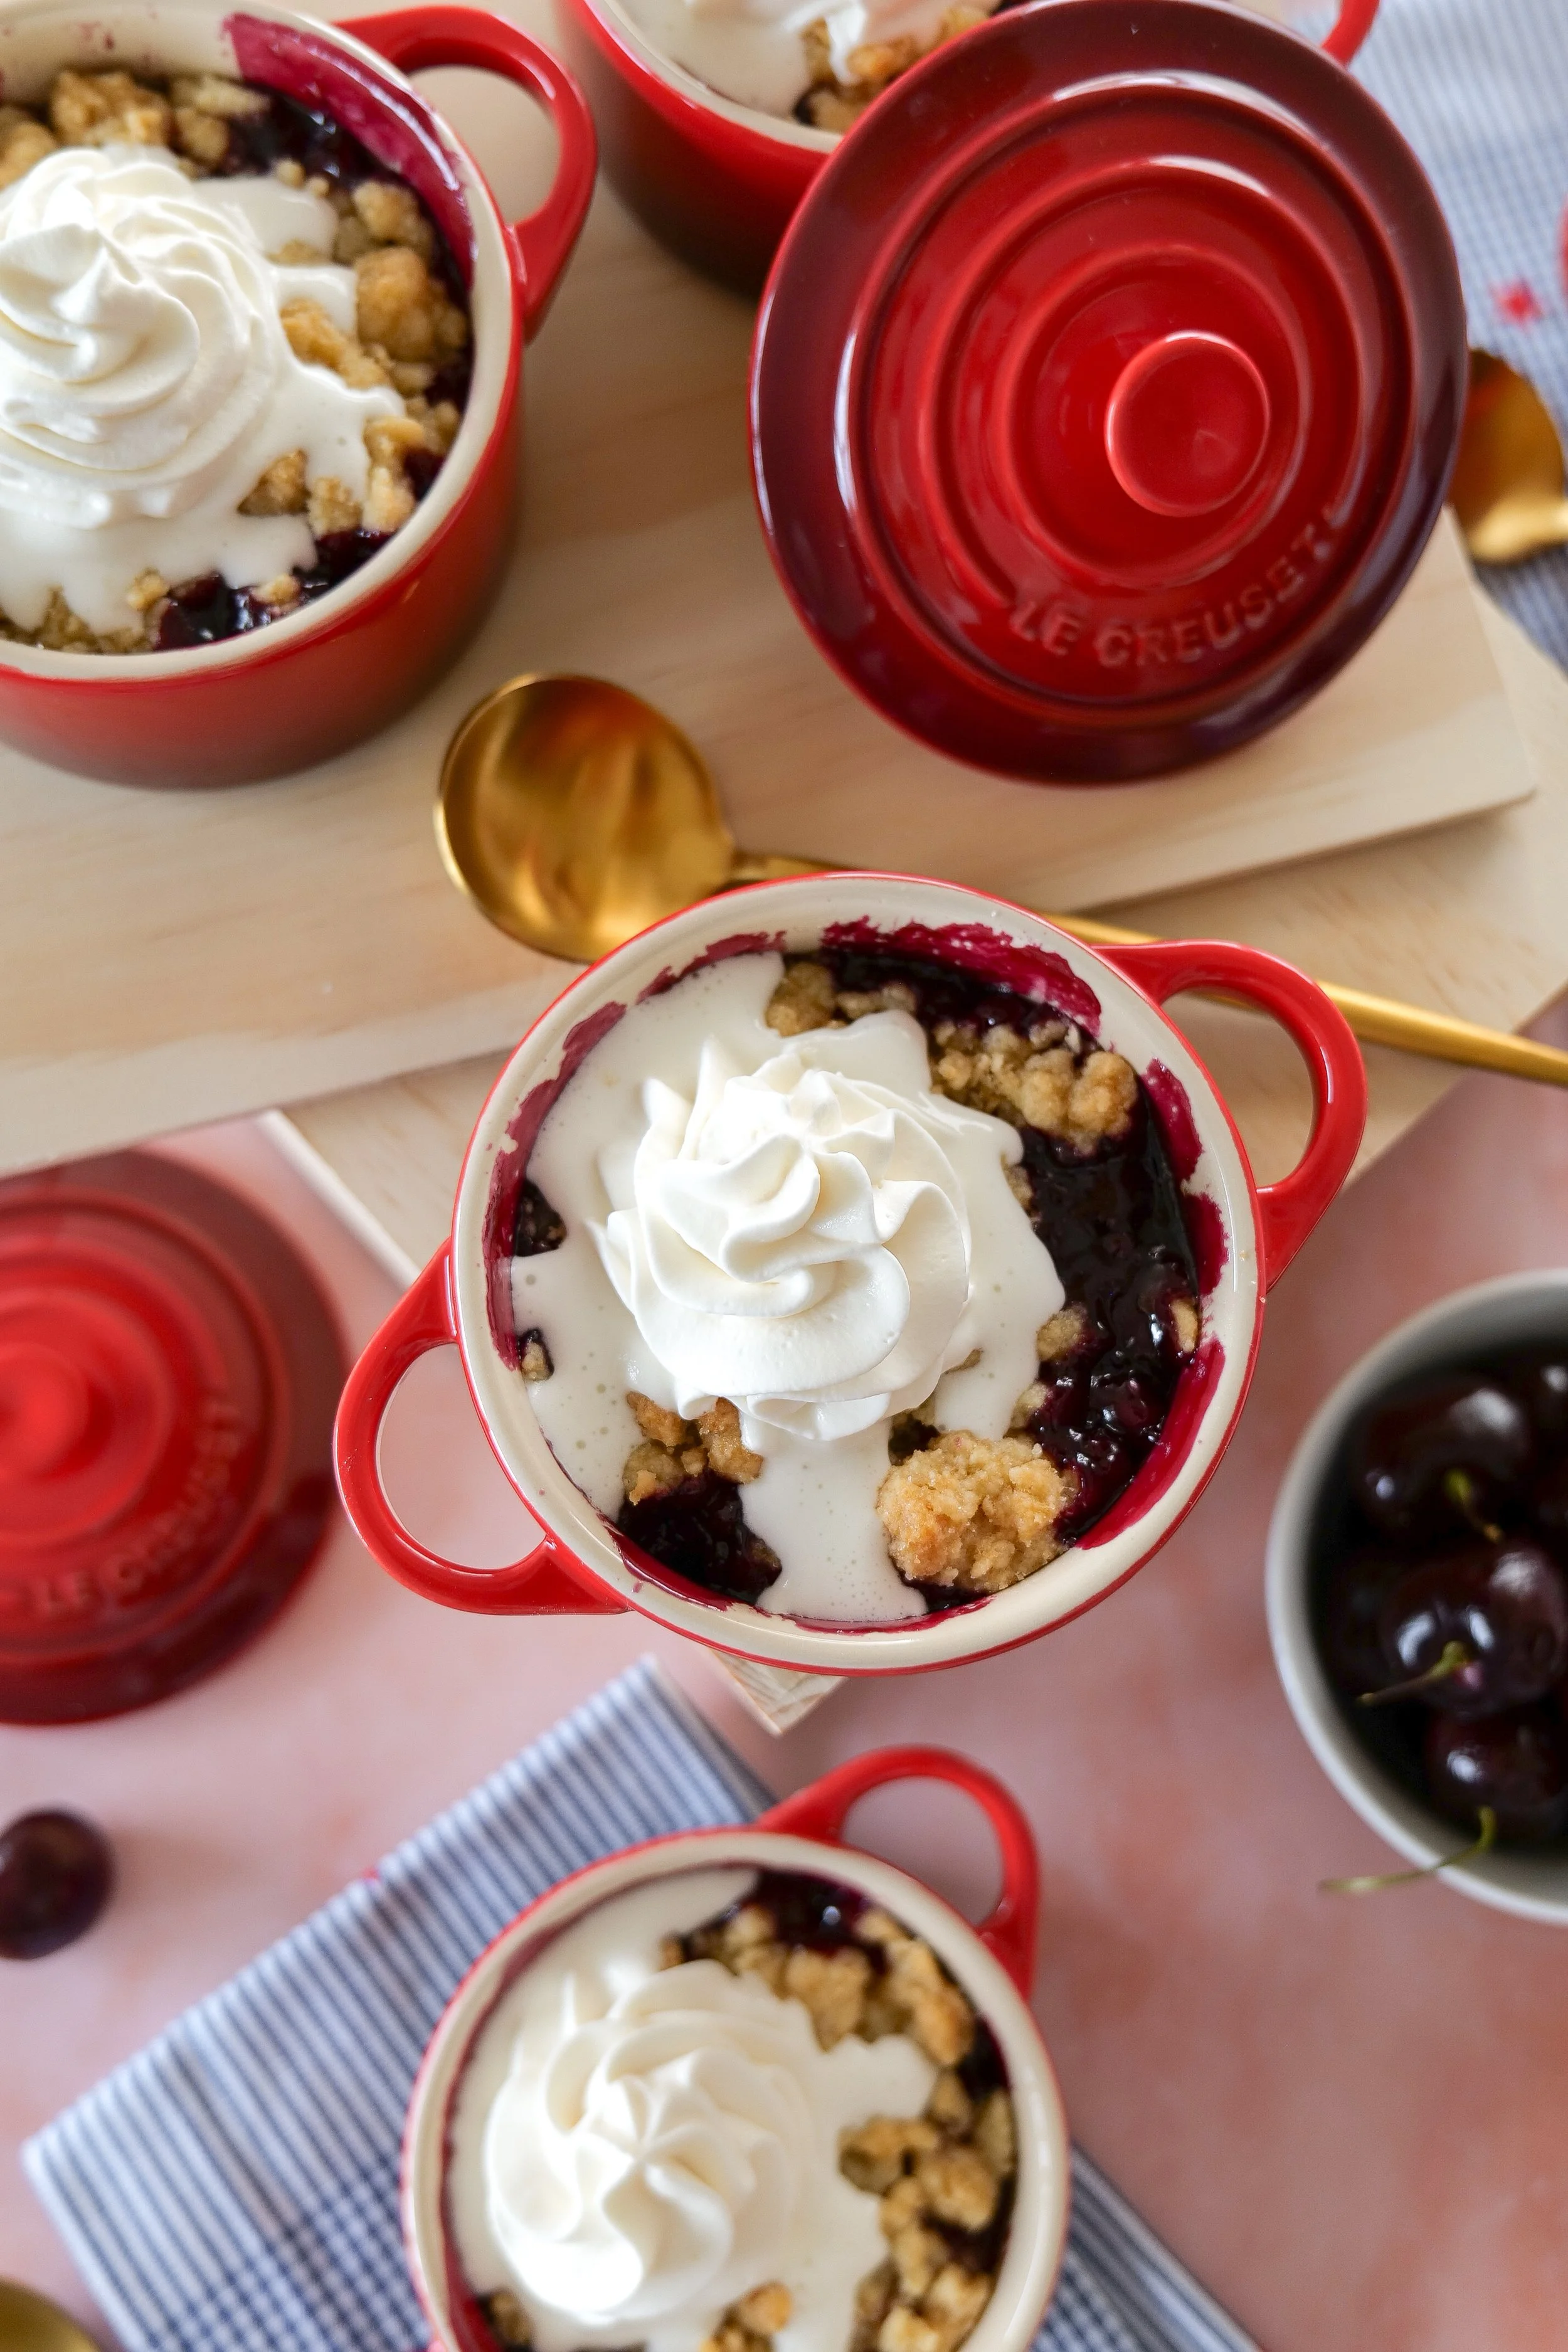
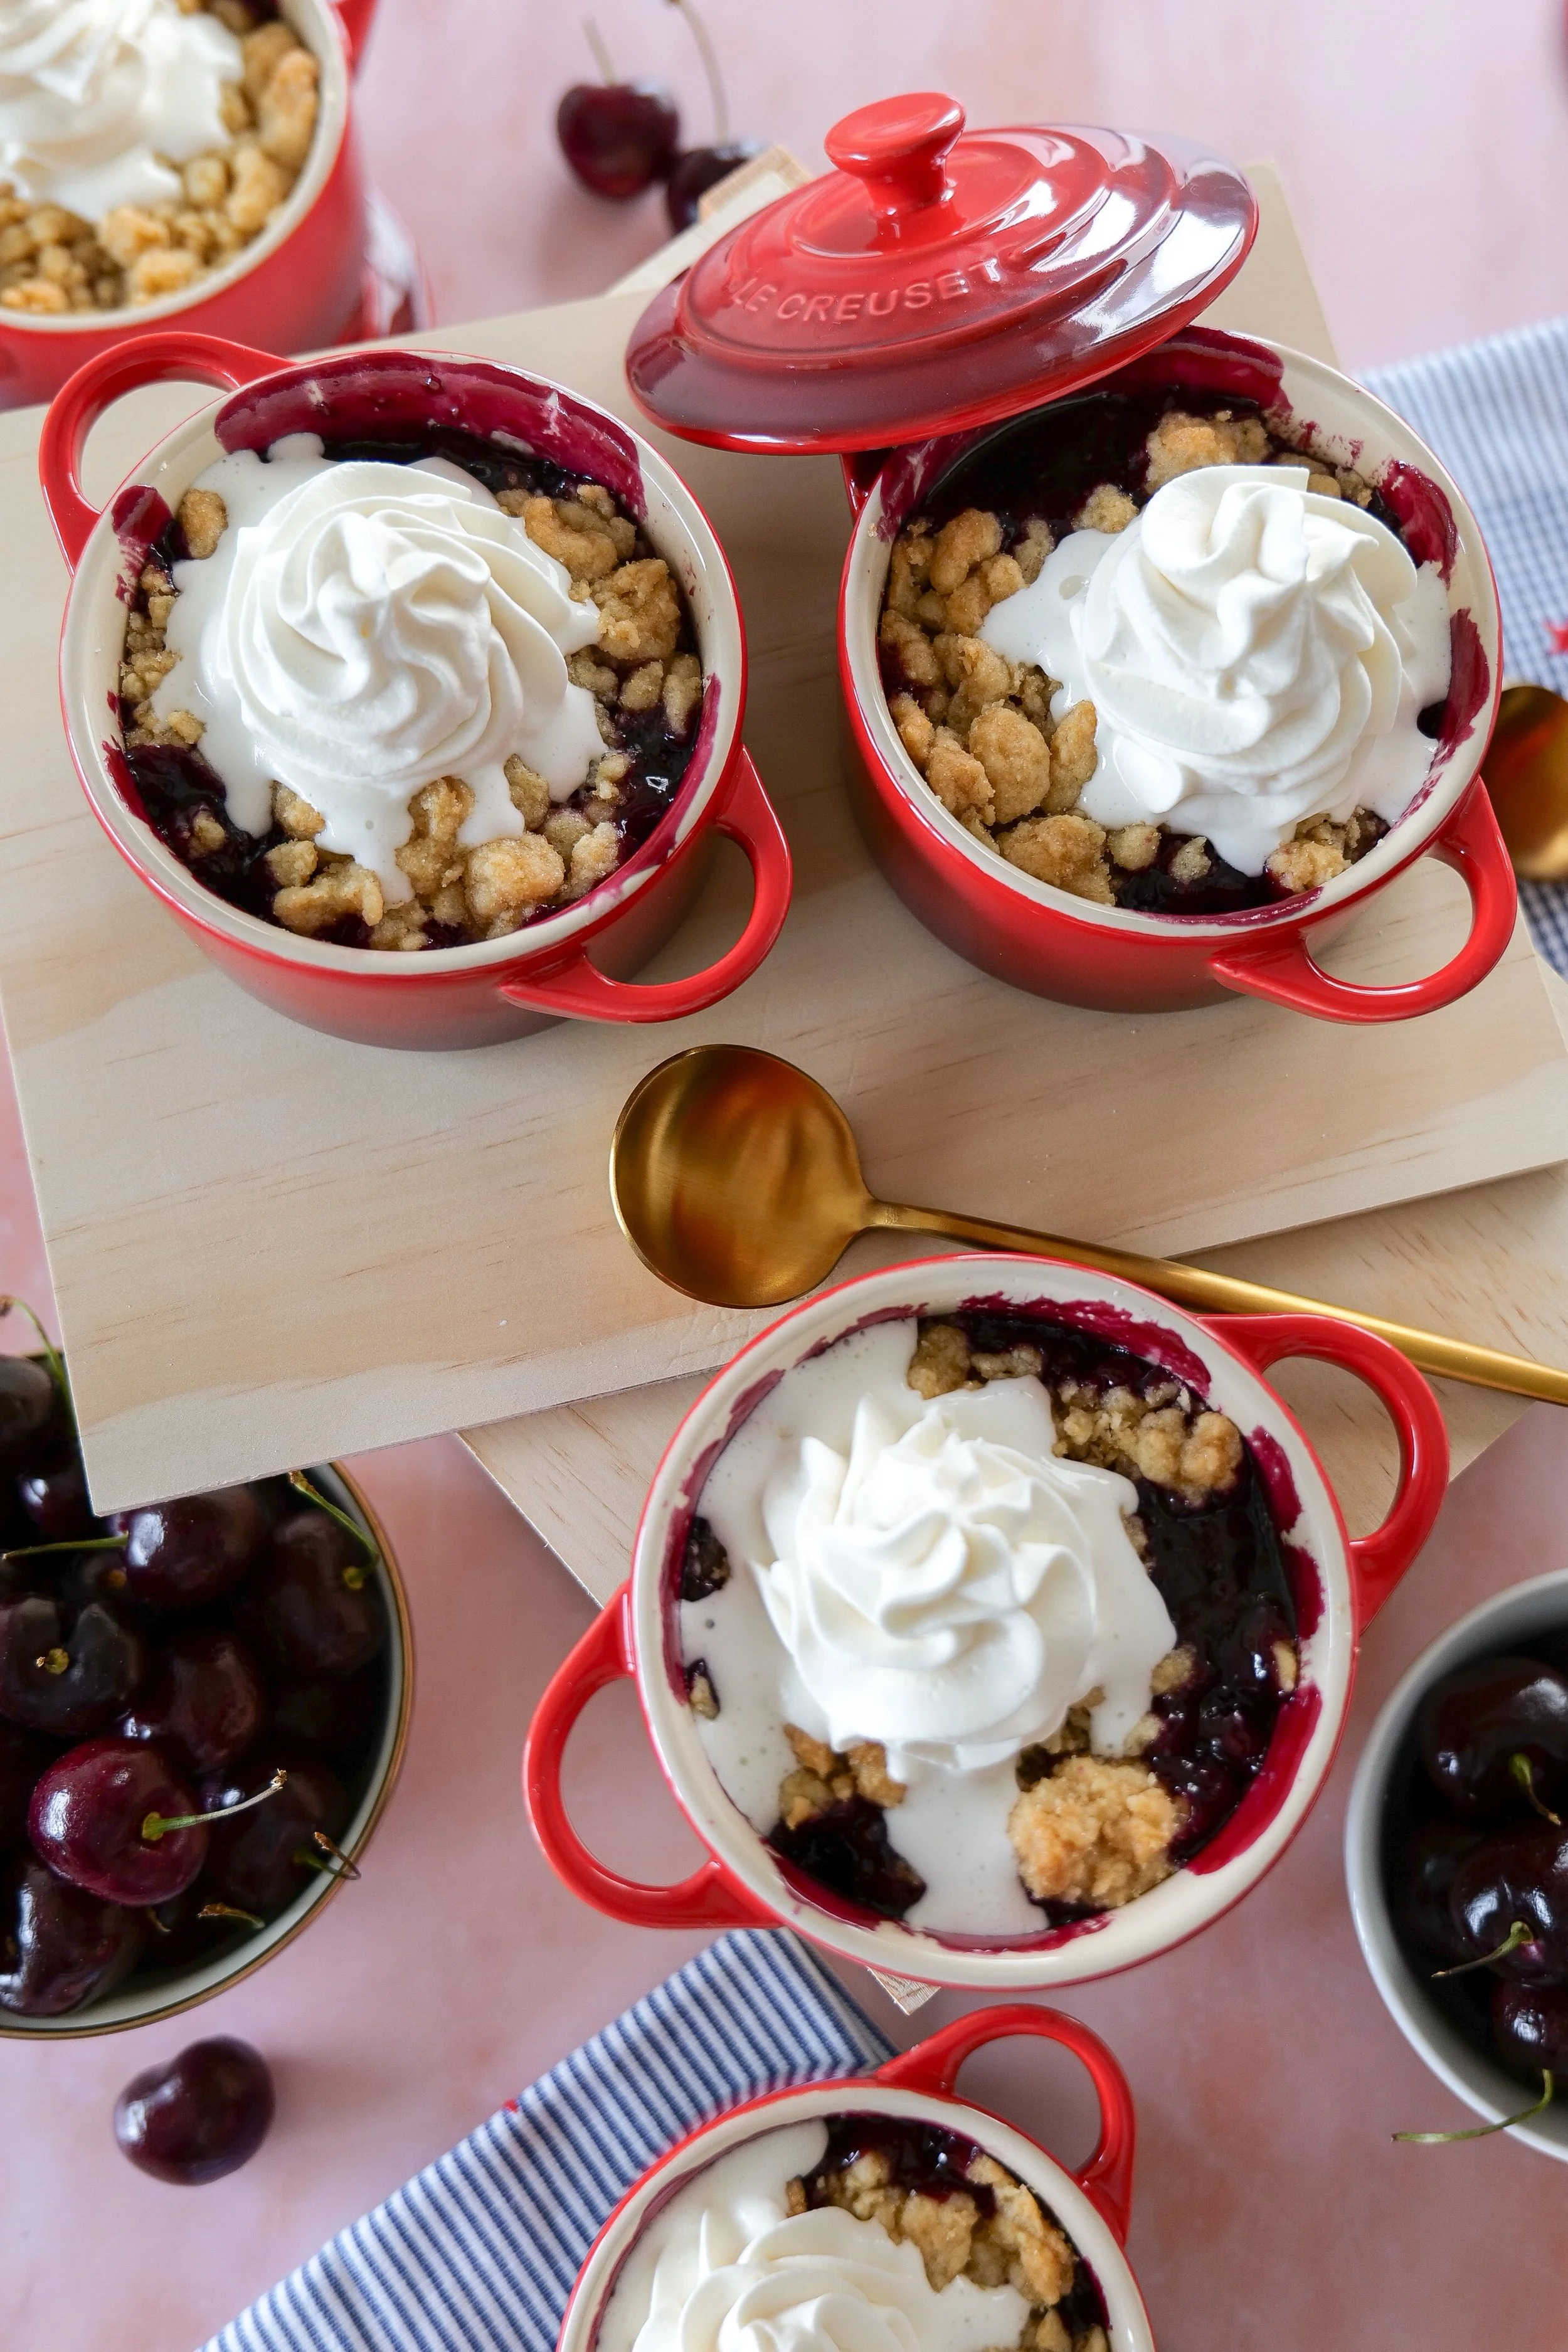
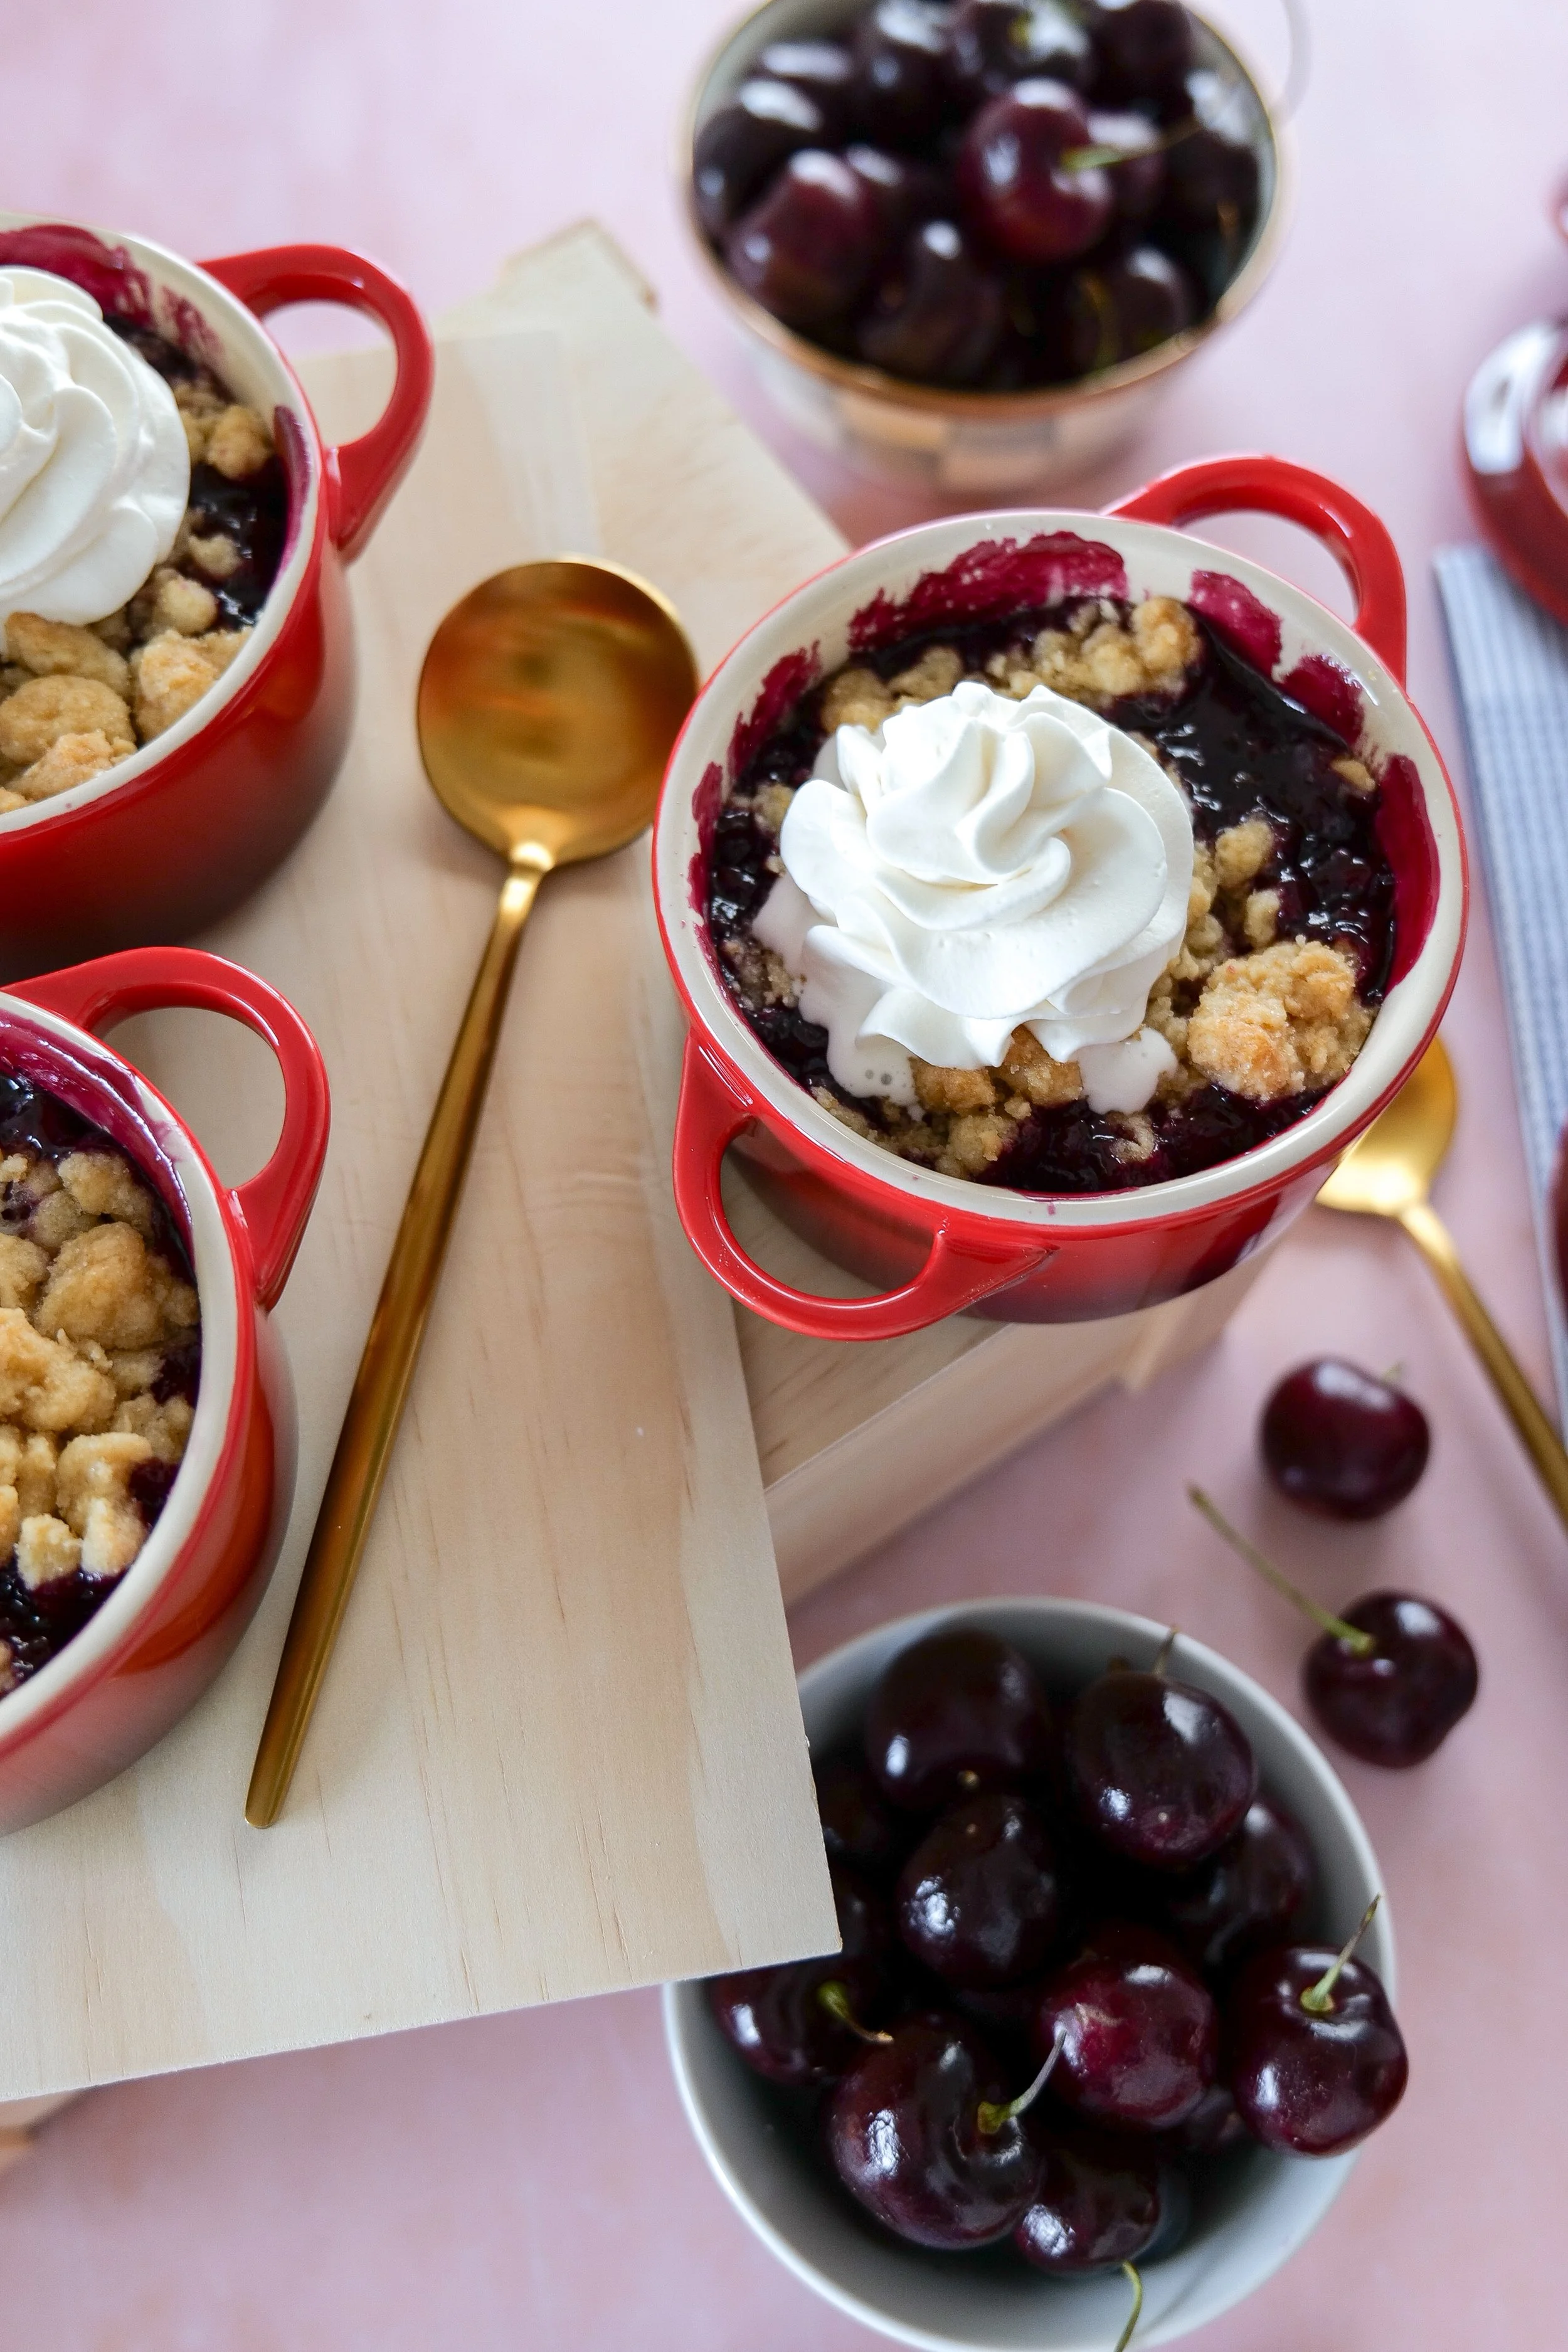
There’s something so nostalgic about a warm cobbler baking during the summertime. From backyard BBQs and late-night fireworks to slow evenings gathered around the table, this easy mini cherry cobbler recipe captures everything cozy and classic about an All American summer. Made with fresh seasonal cherries and baked in individual red mini cocottes, these mini cobblers are the perfect patriotic dessert for the 4th of July, summer parties, and casual summer entertaining.

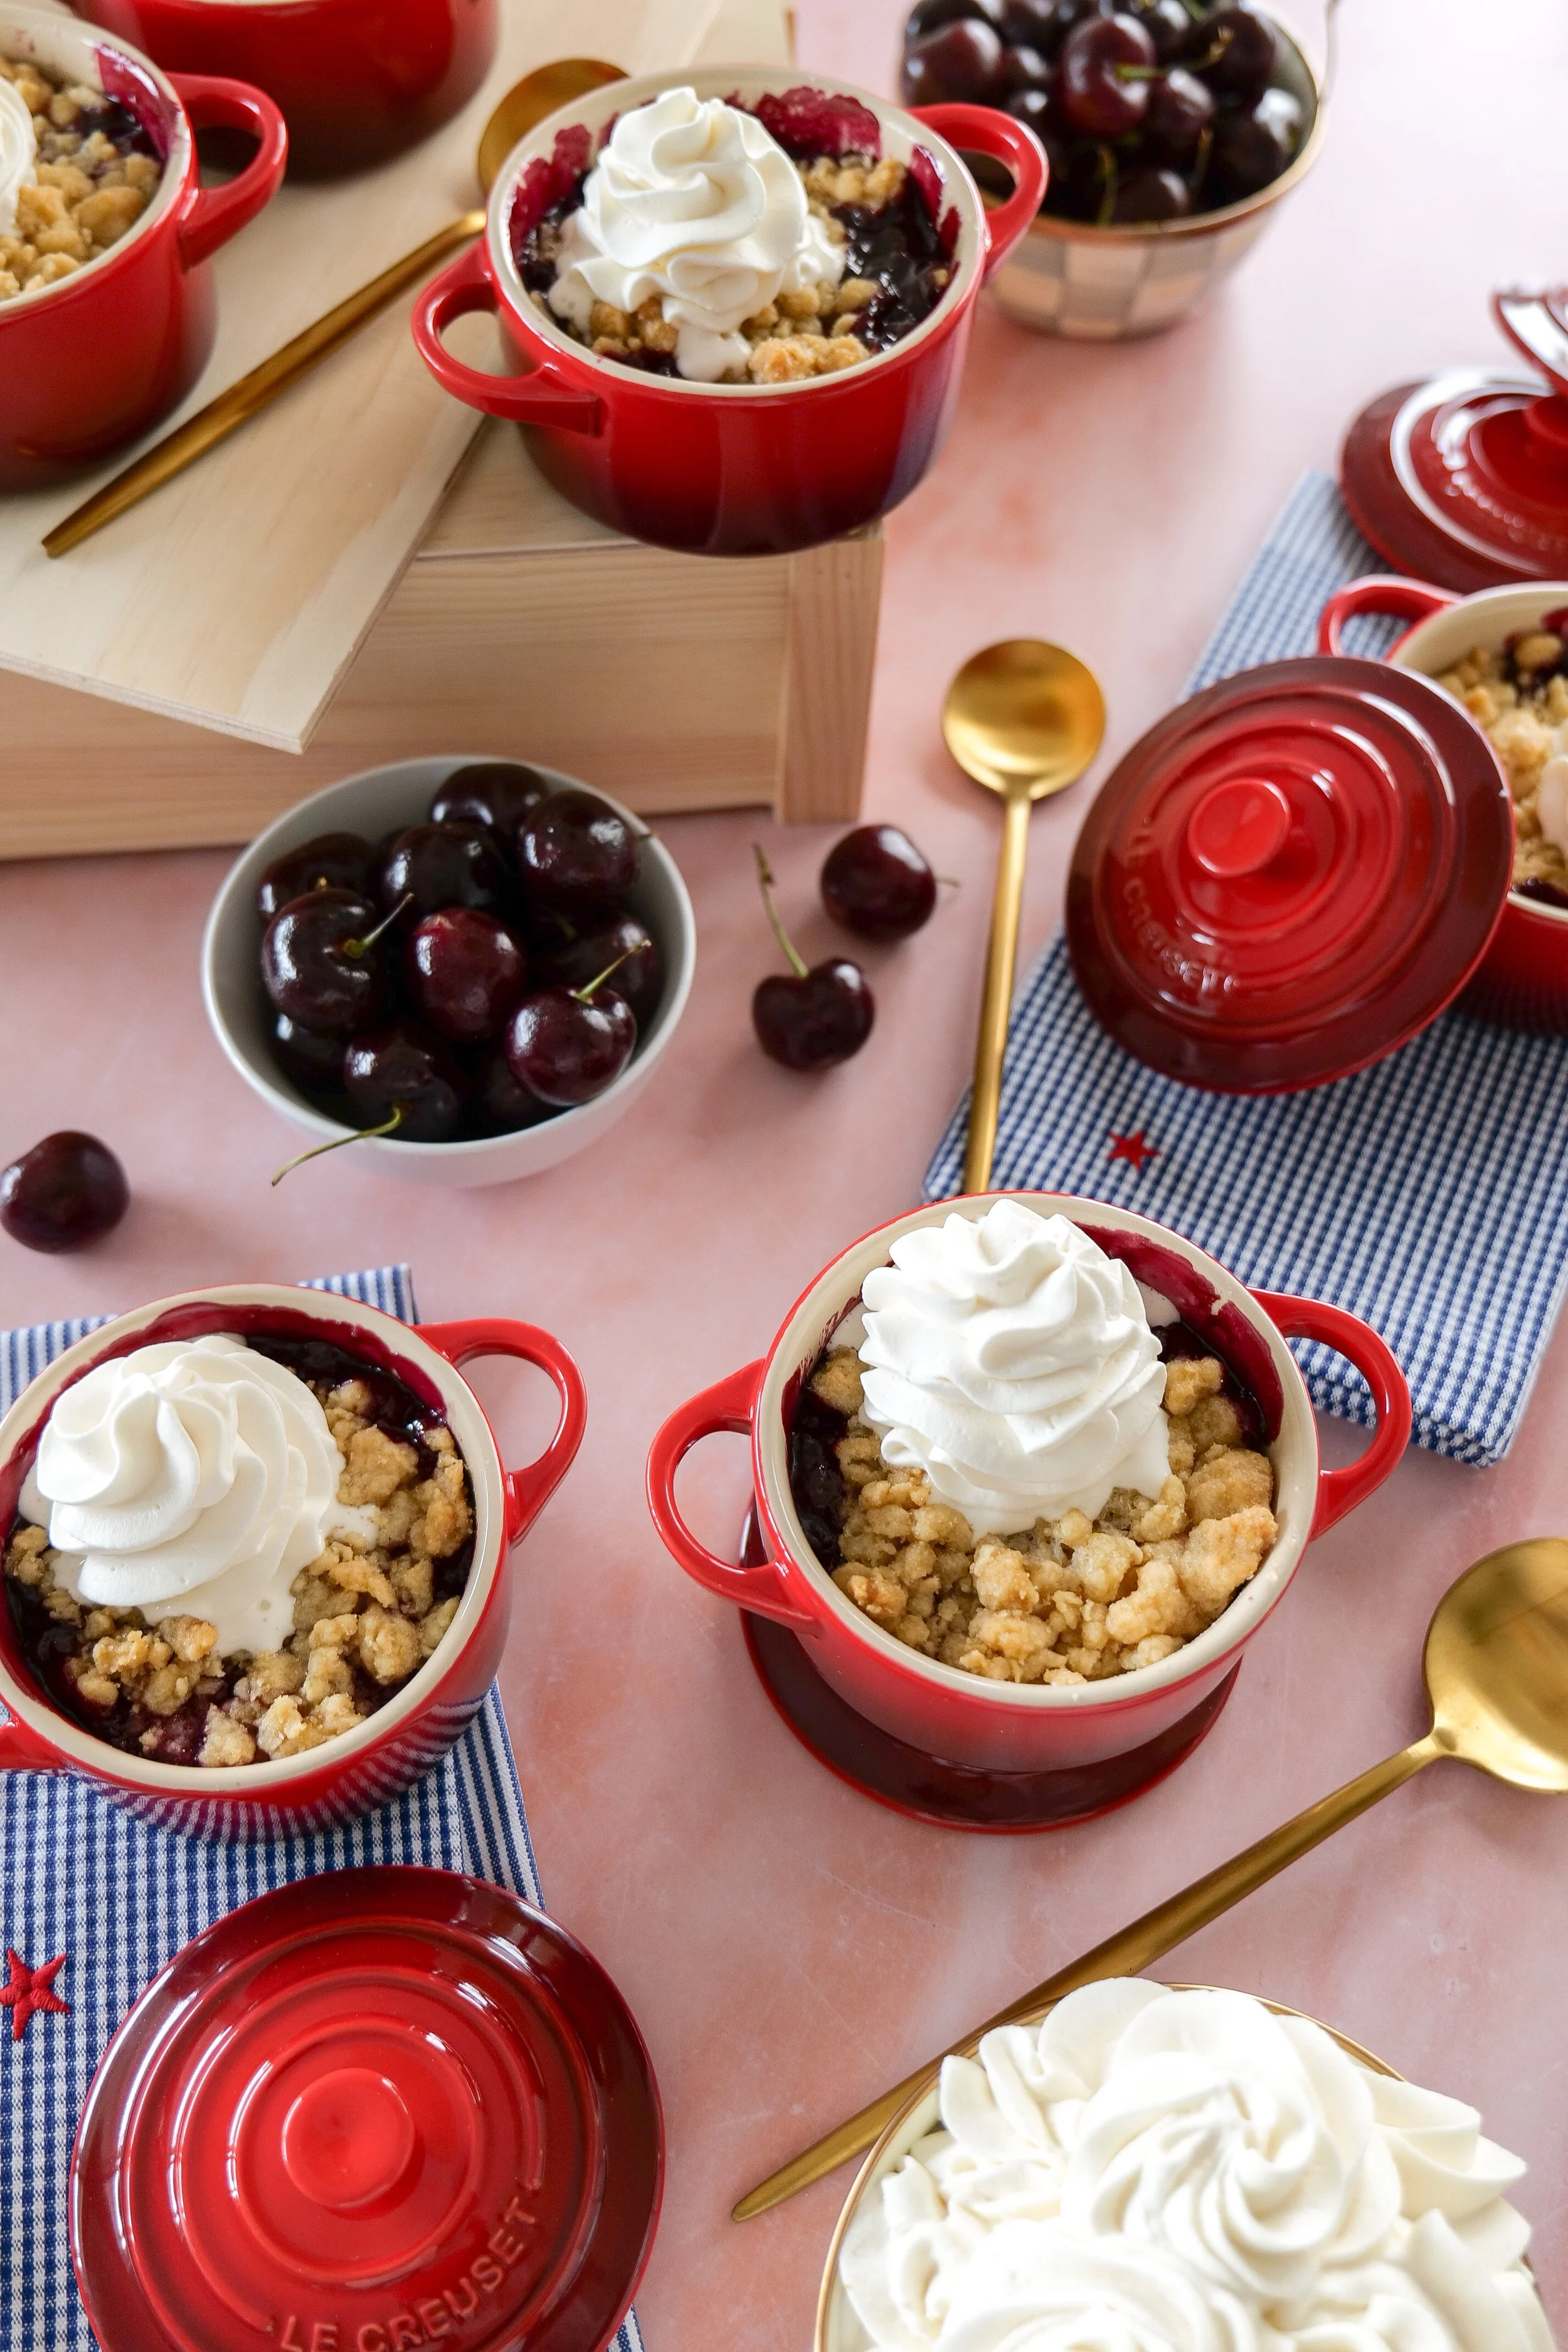
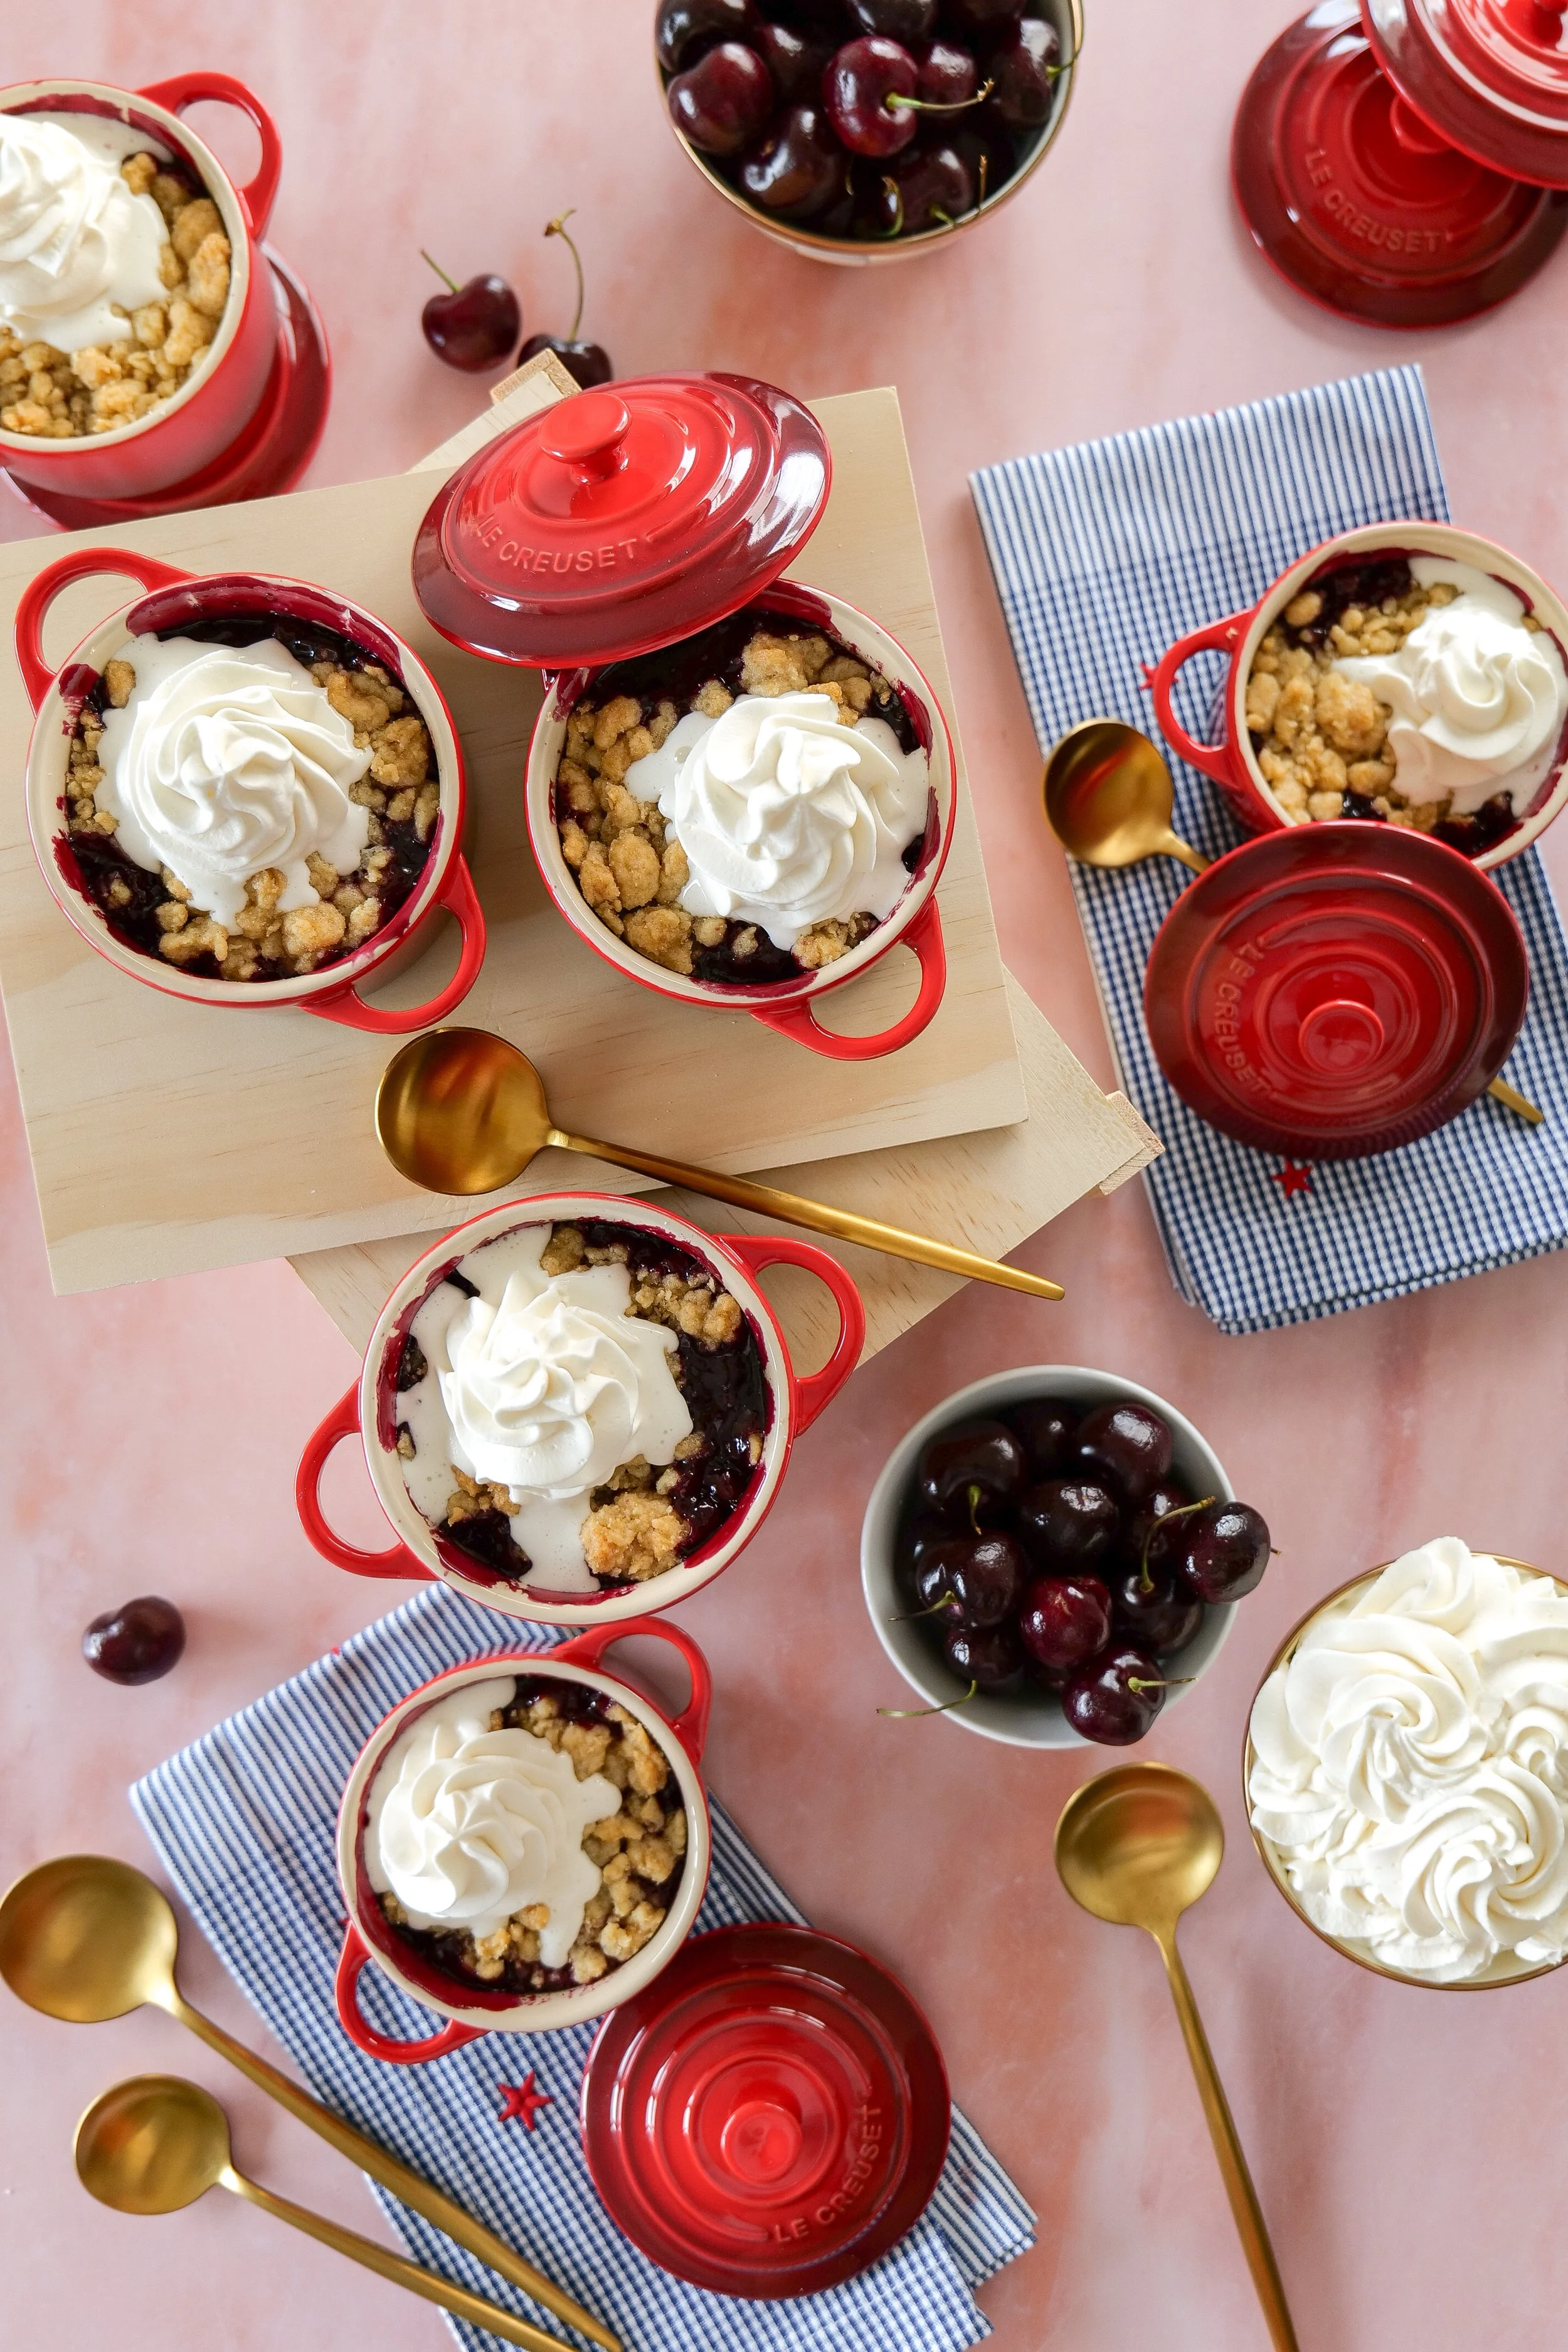
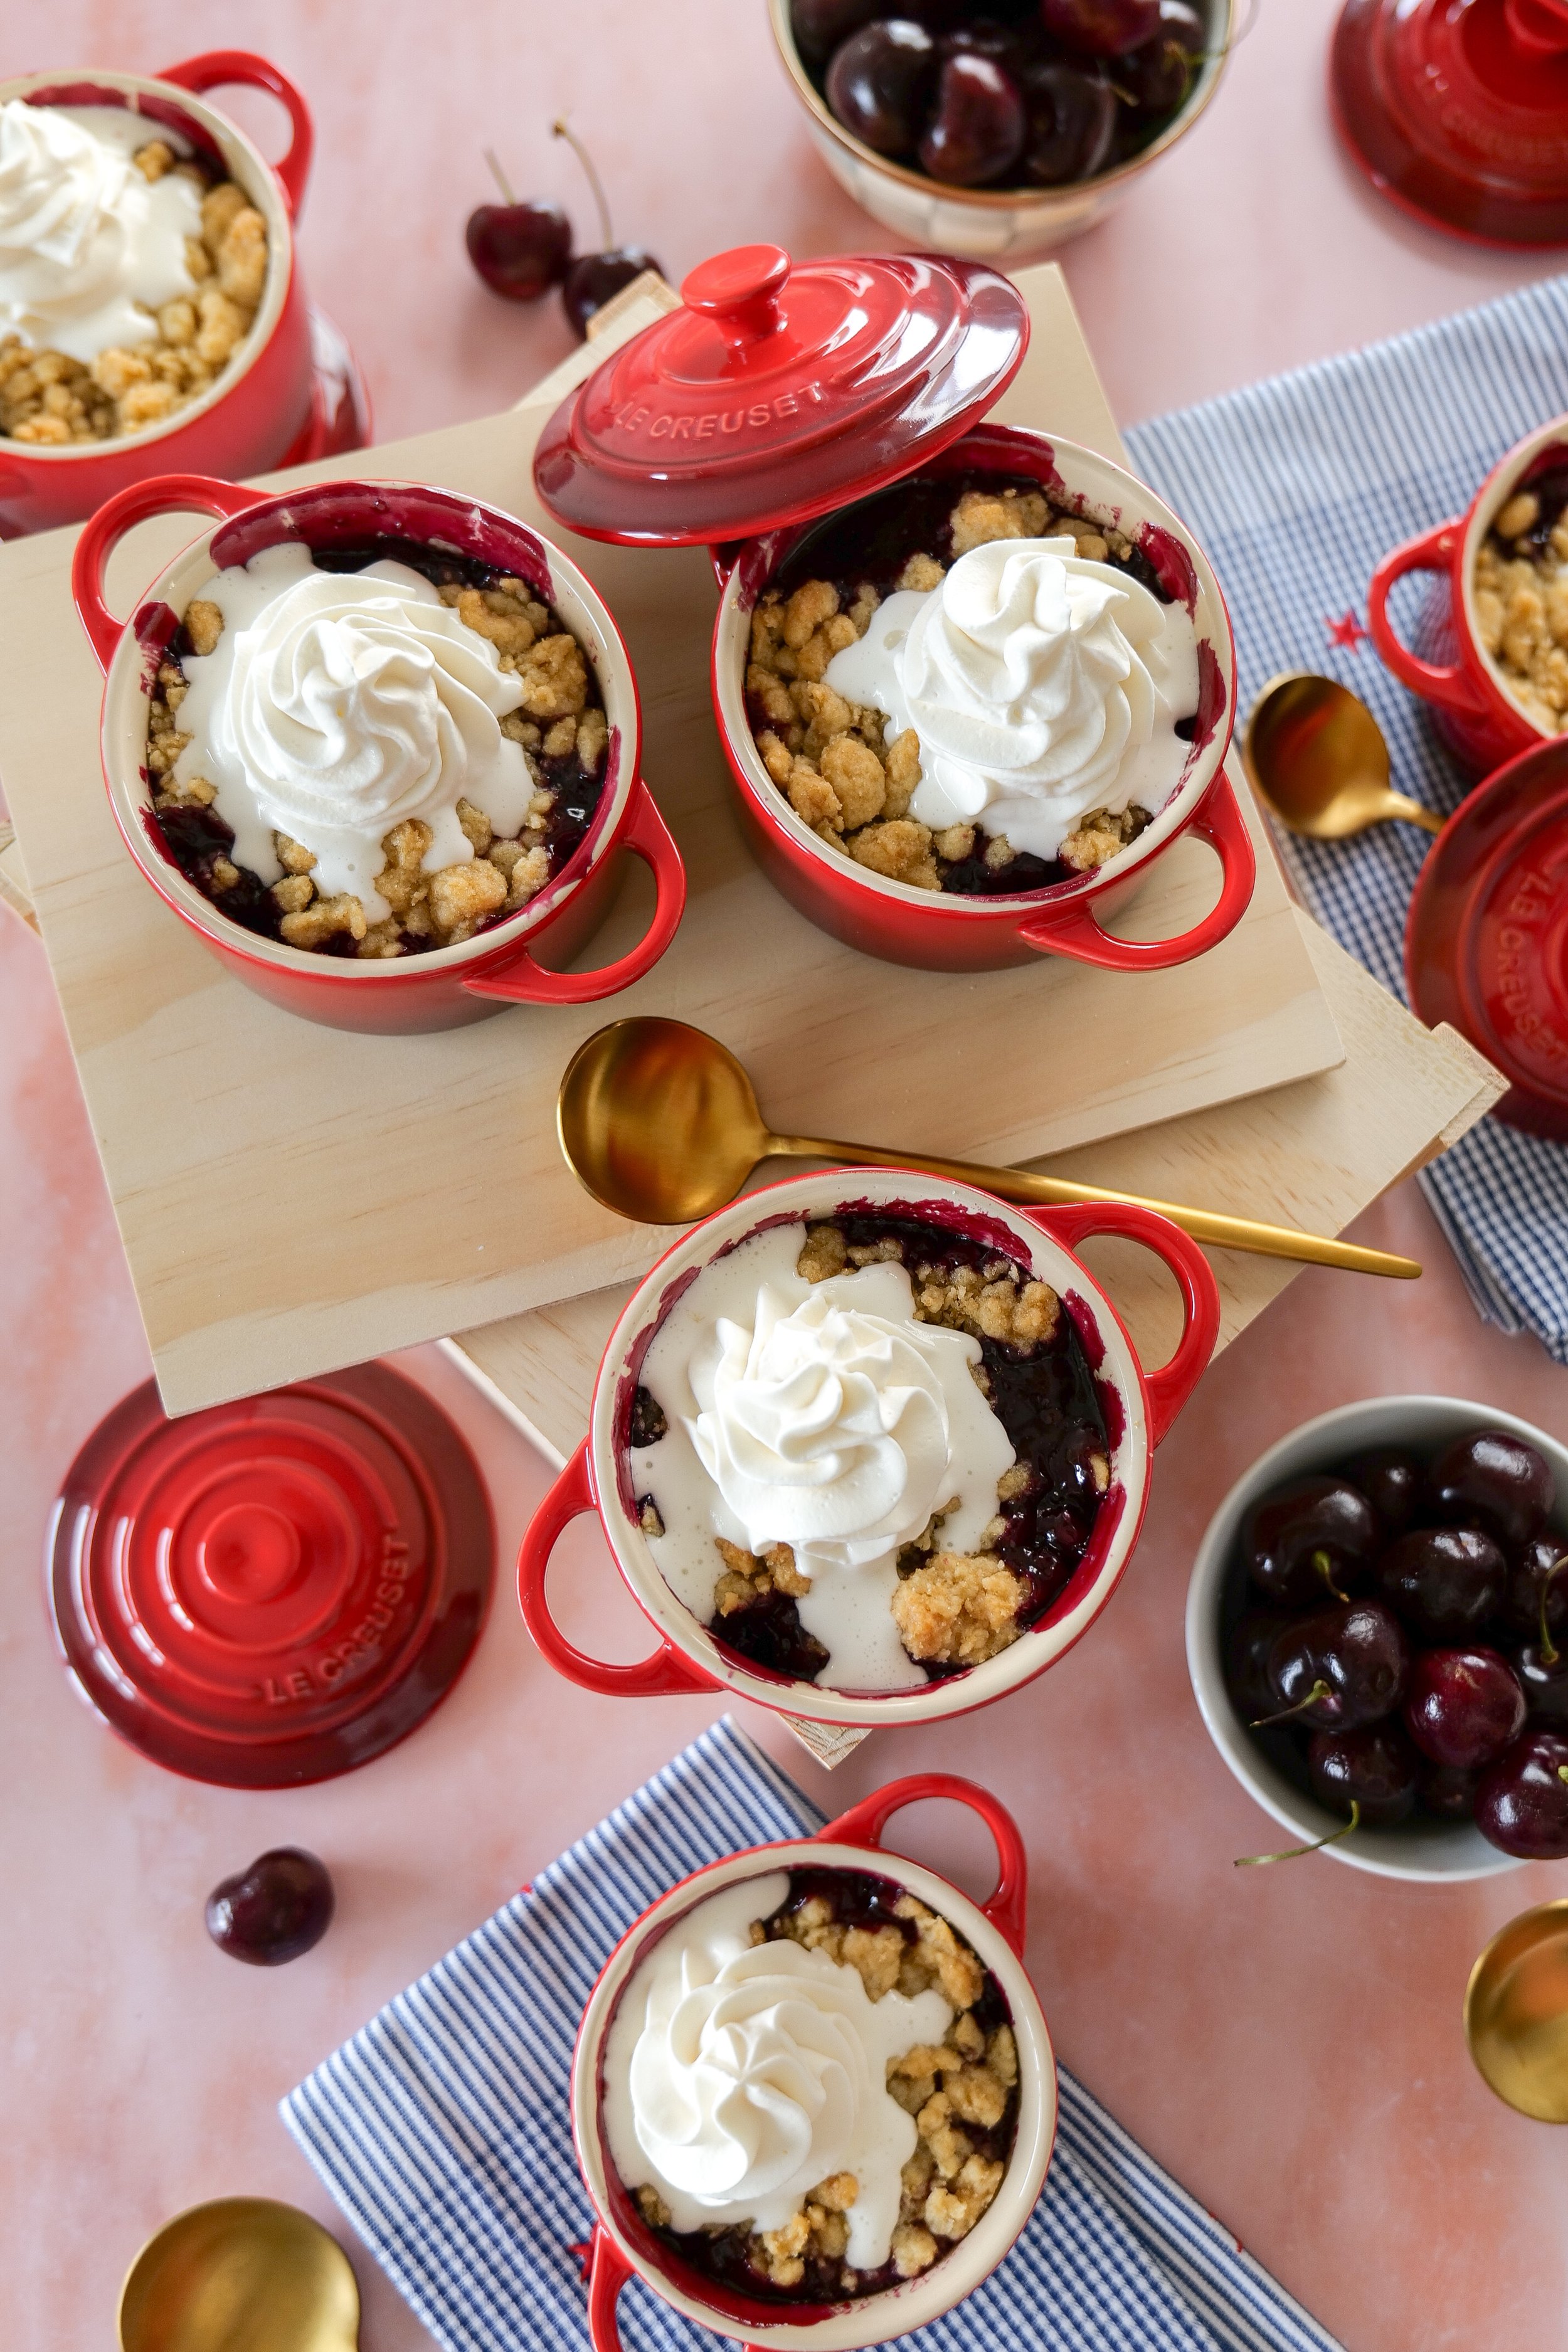
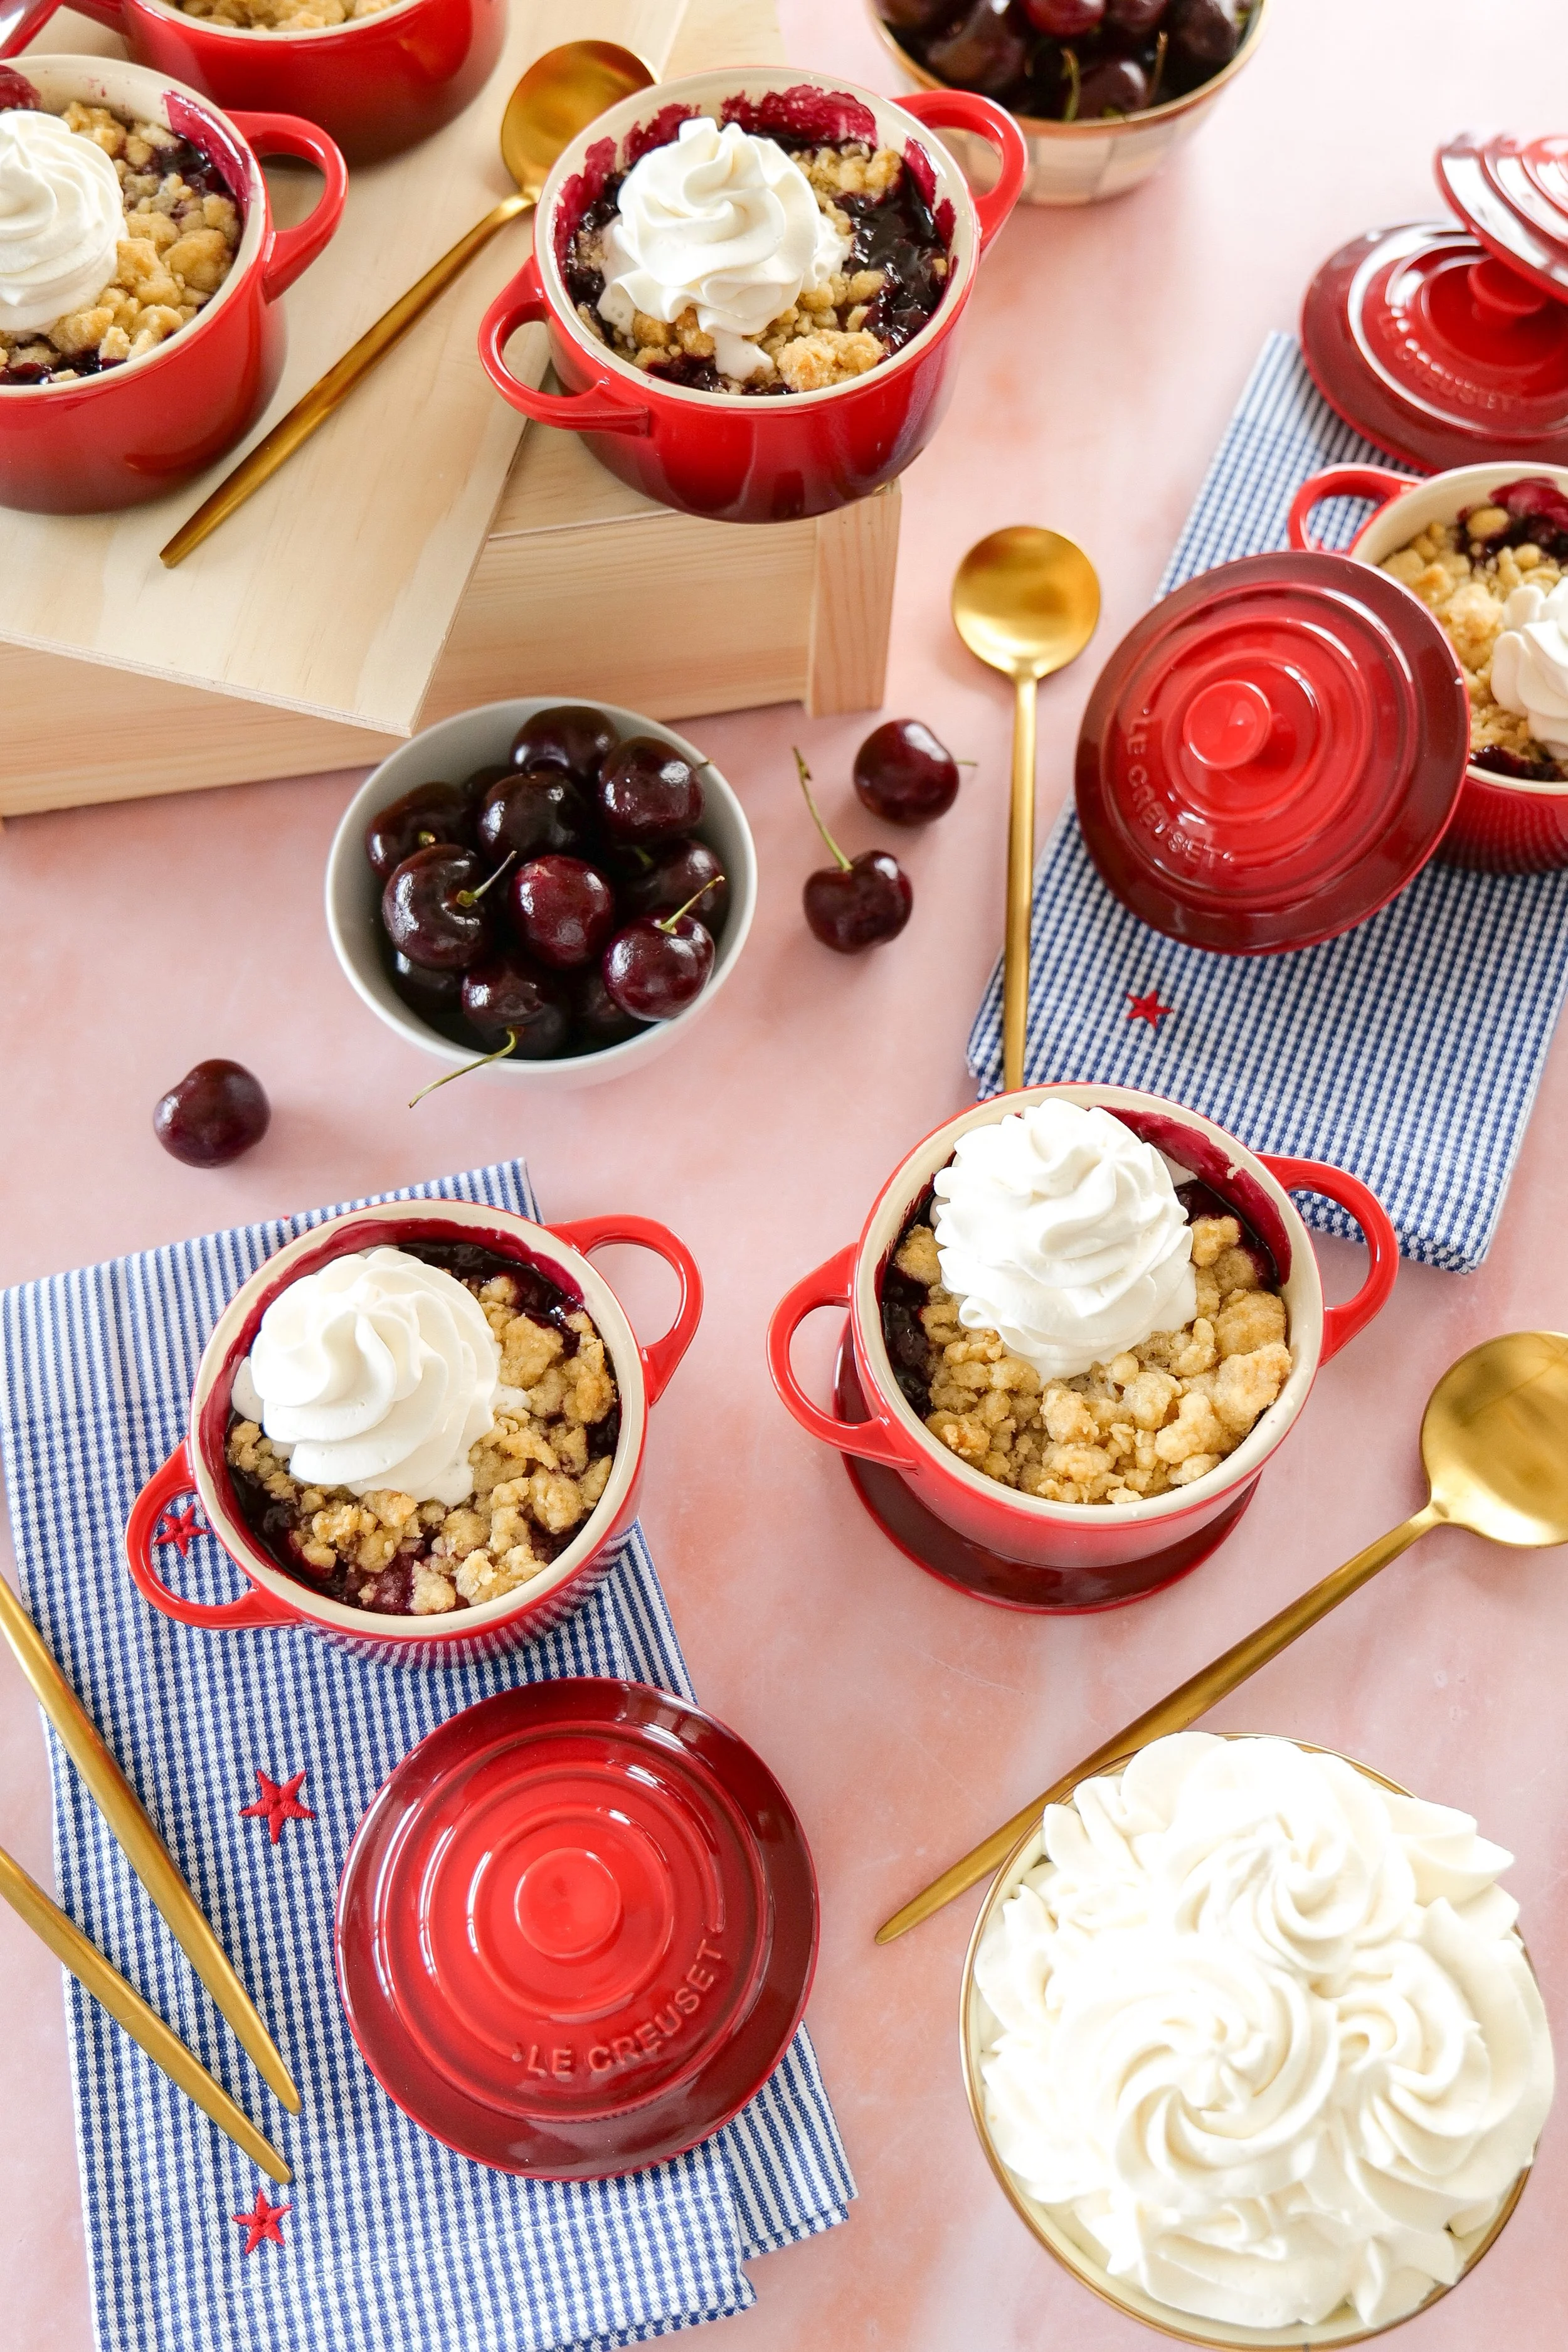
Homemade cherry cobbler recipe for summer entertaining
Mini cobbler dessert idea for parties and celebrations
Rustic cherry cobbler recipe with a golden baked crust
Easy mini cherry cobbler recipe baked in individual ramekins
Individual Fourth of July desserts served in mini baking dishes

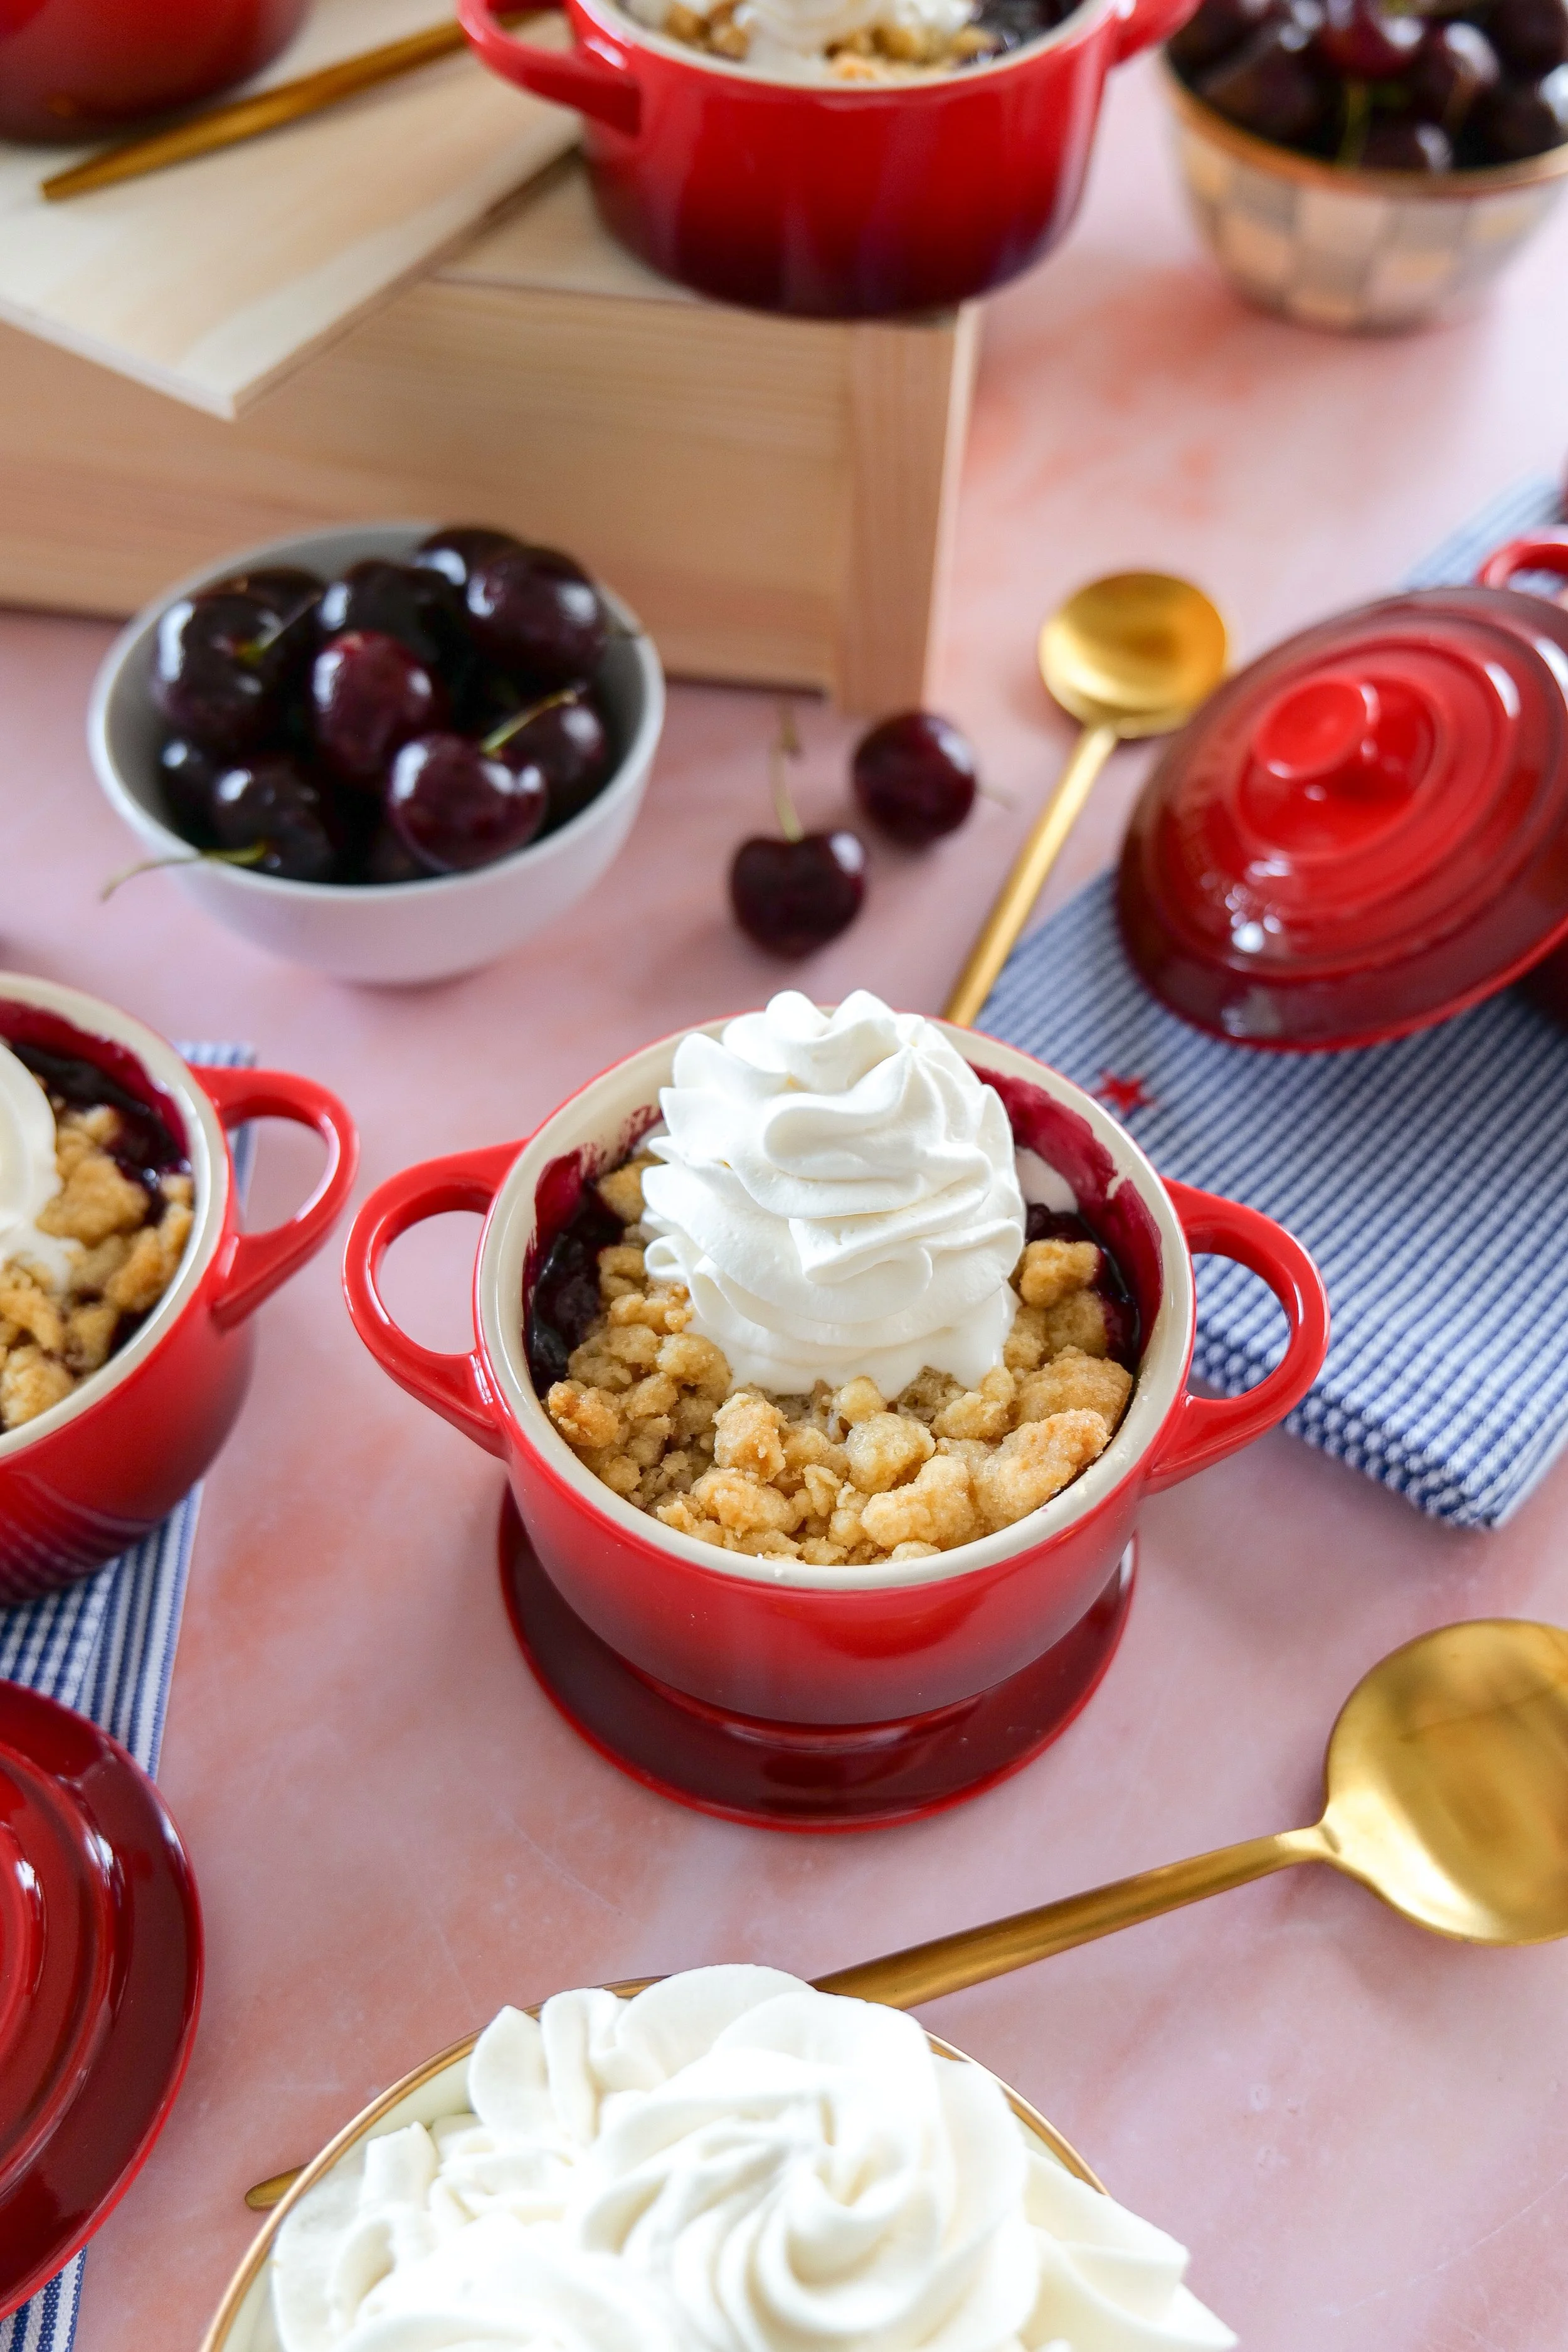
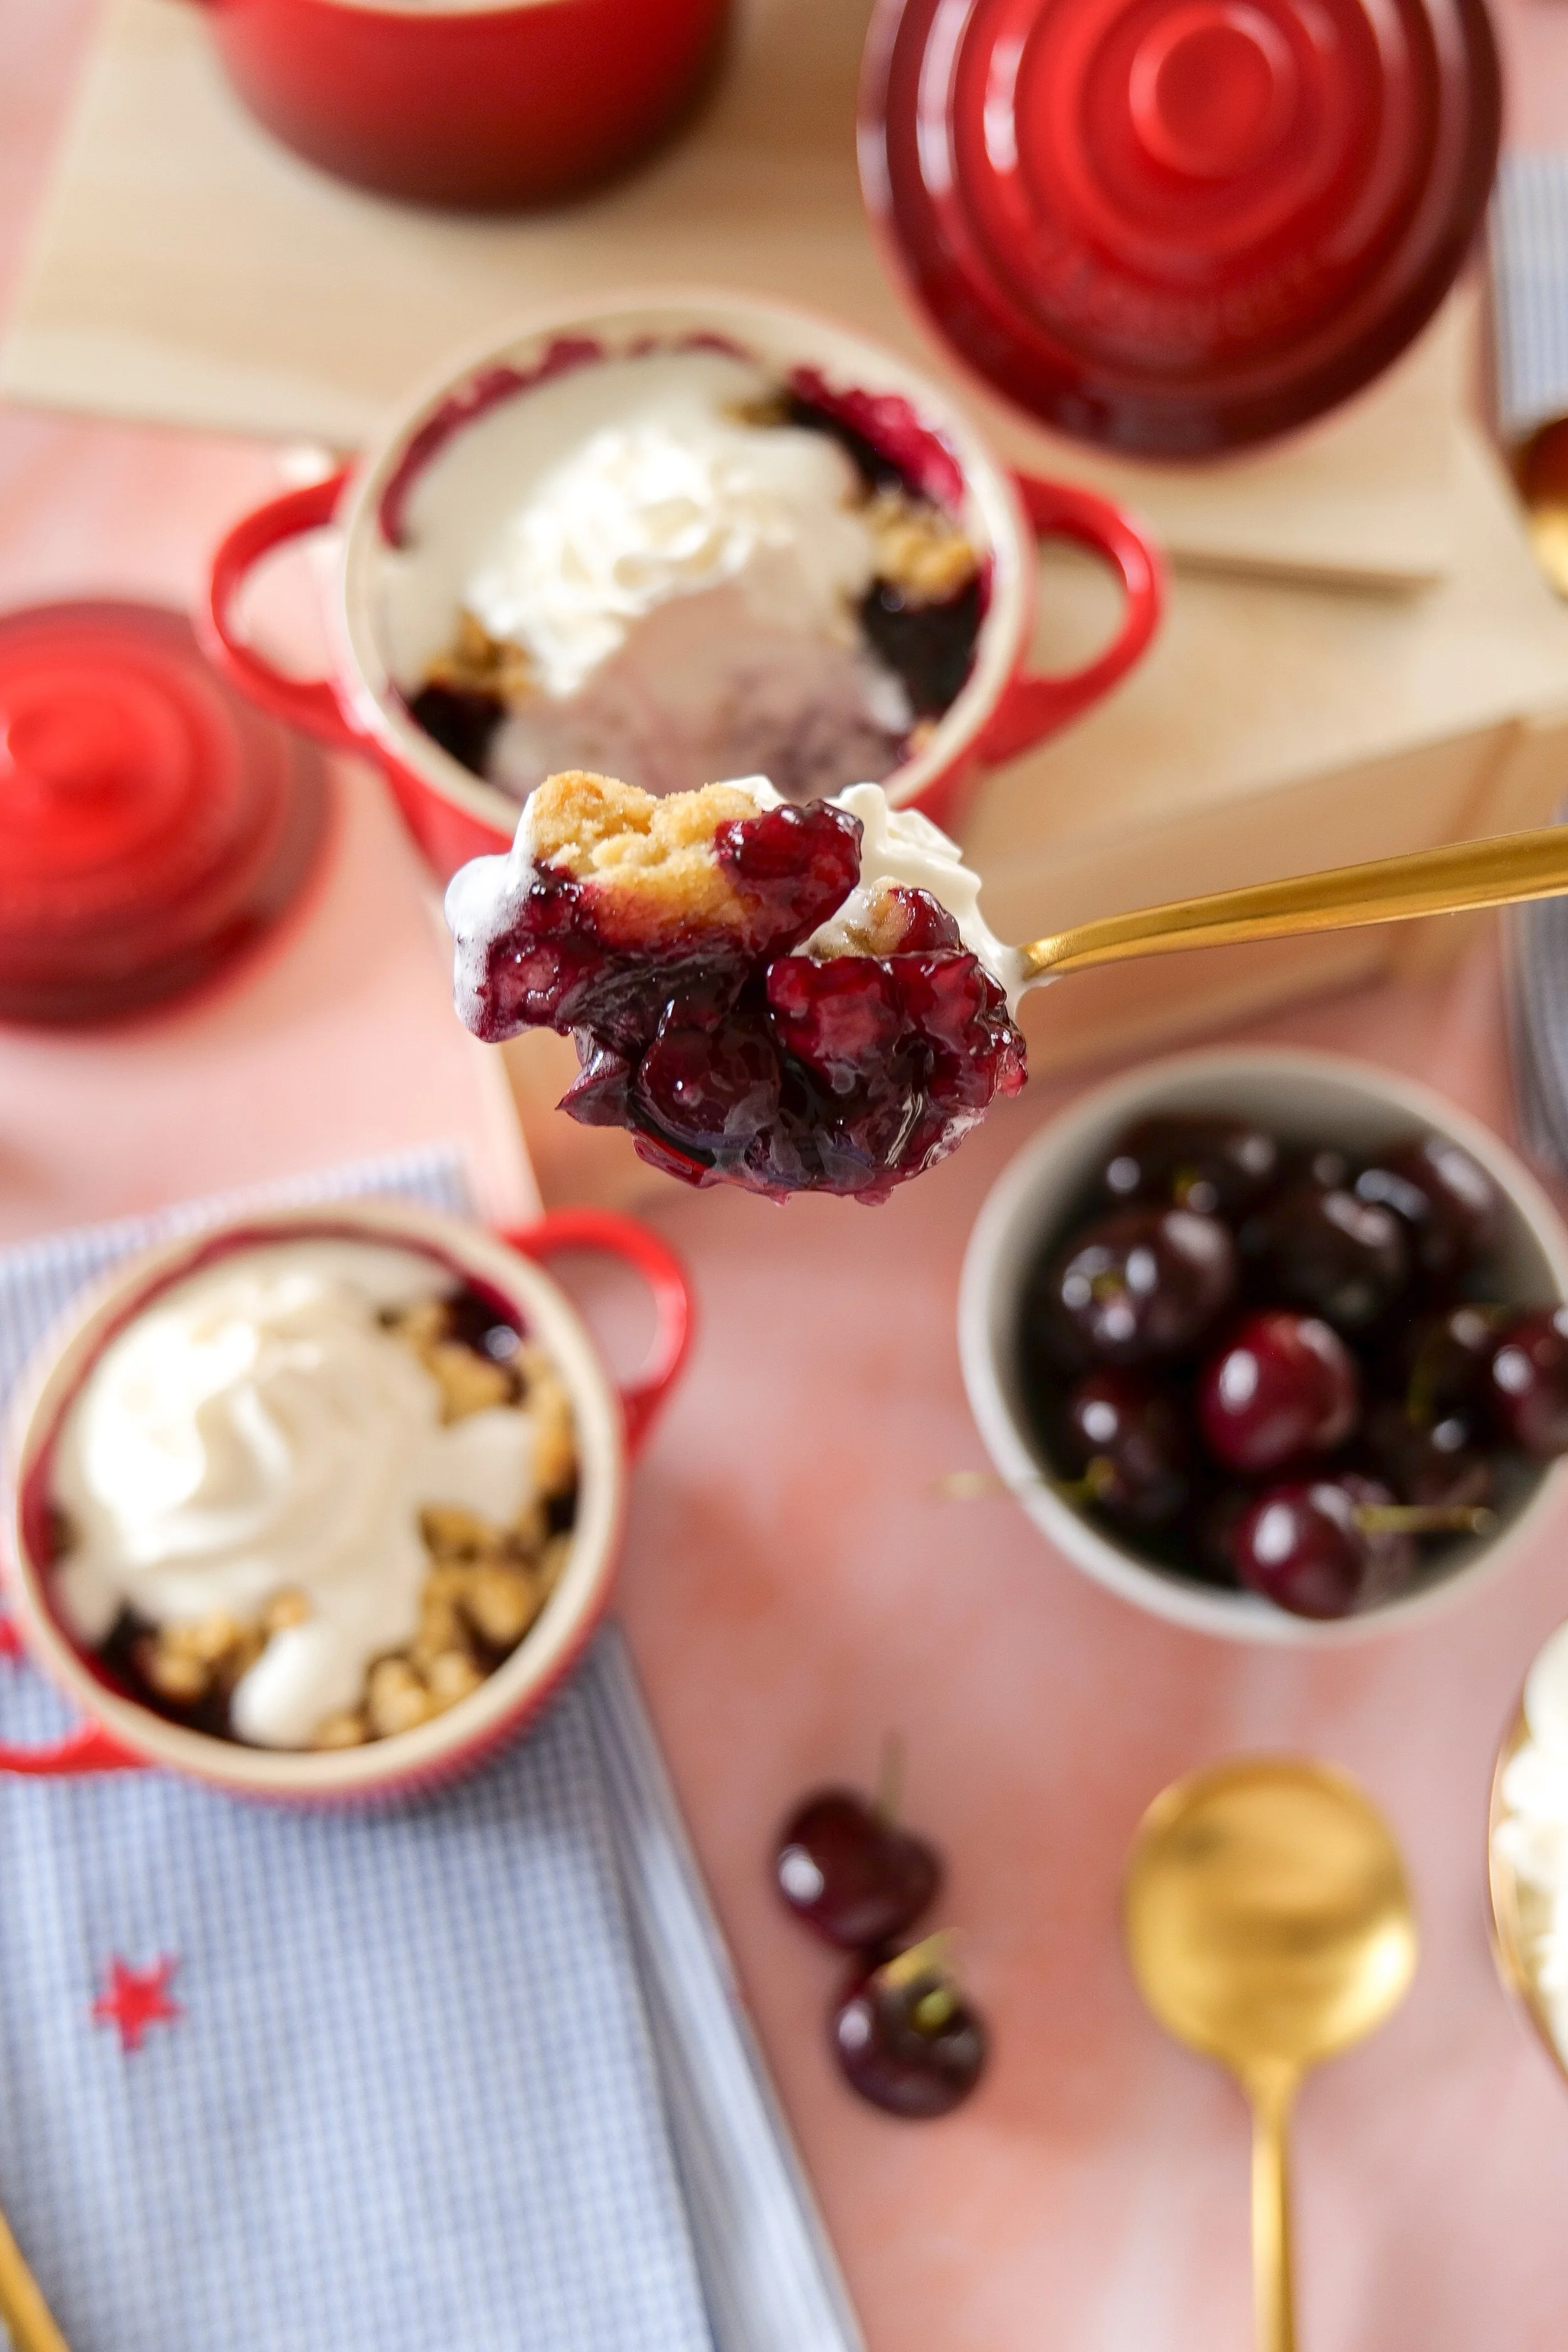
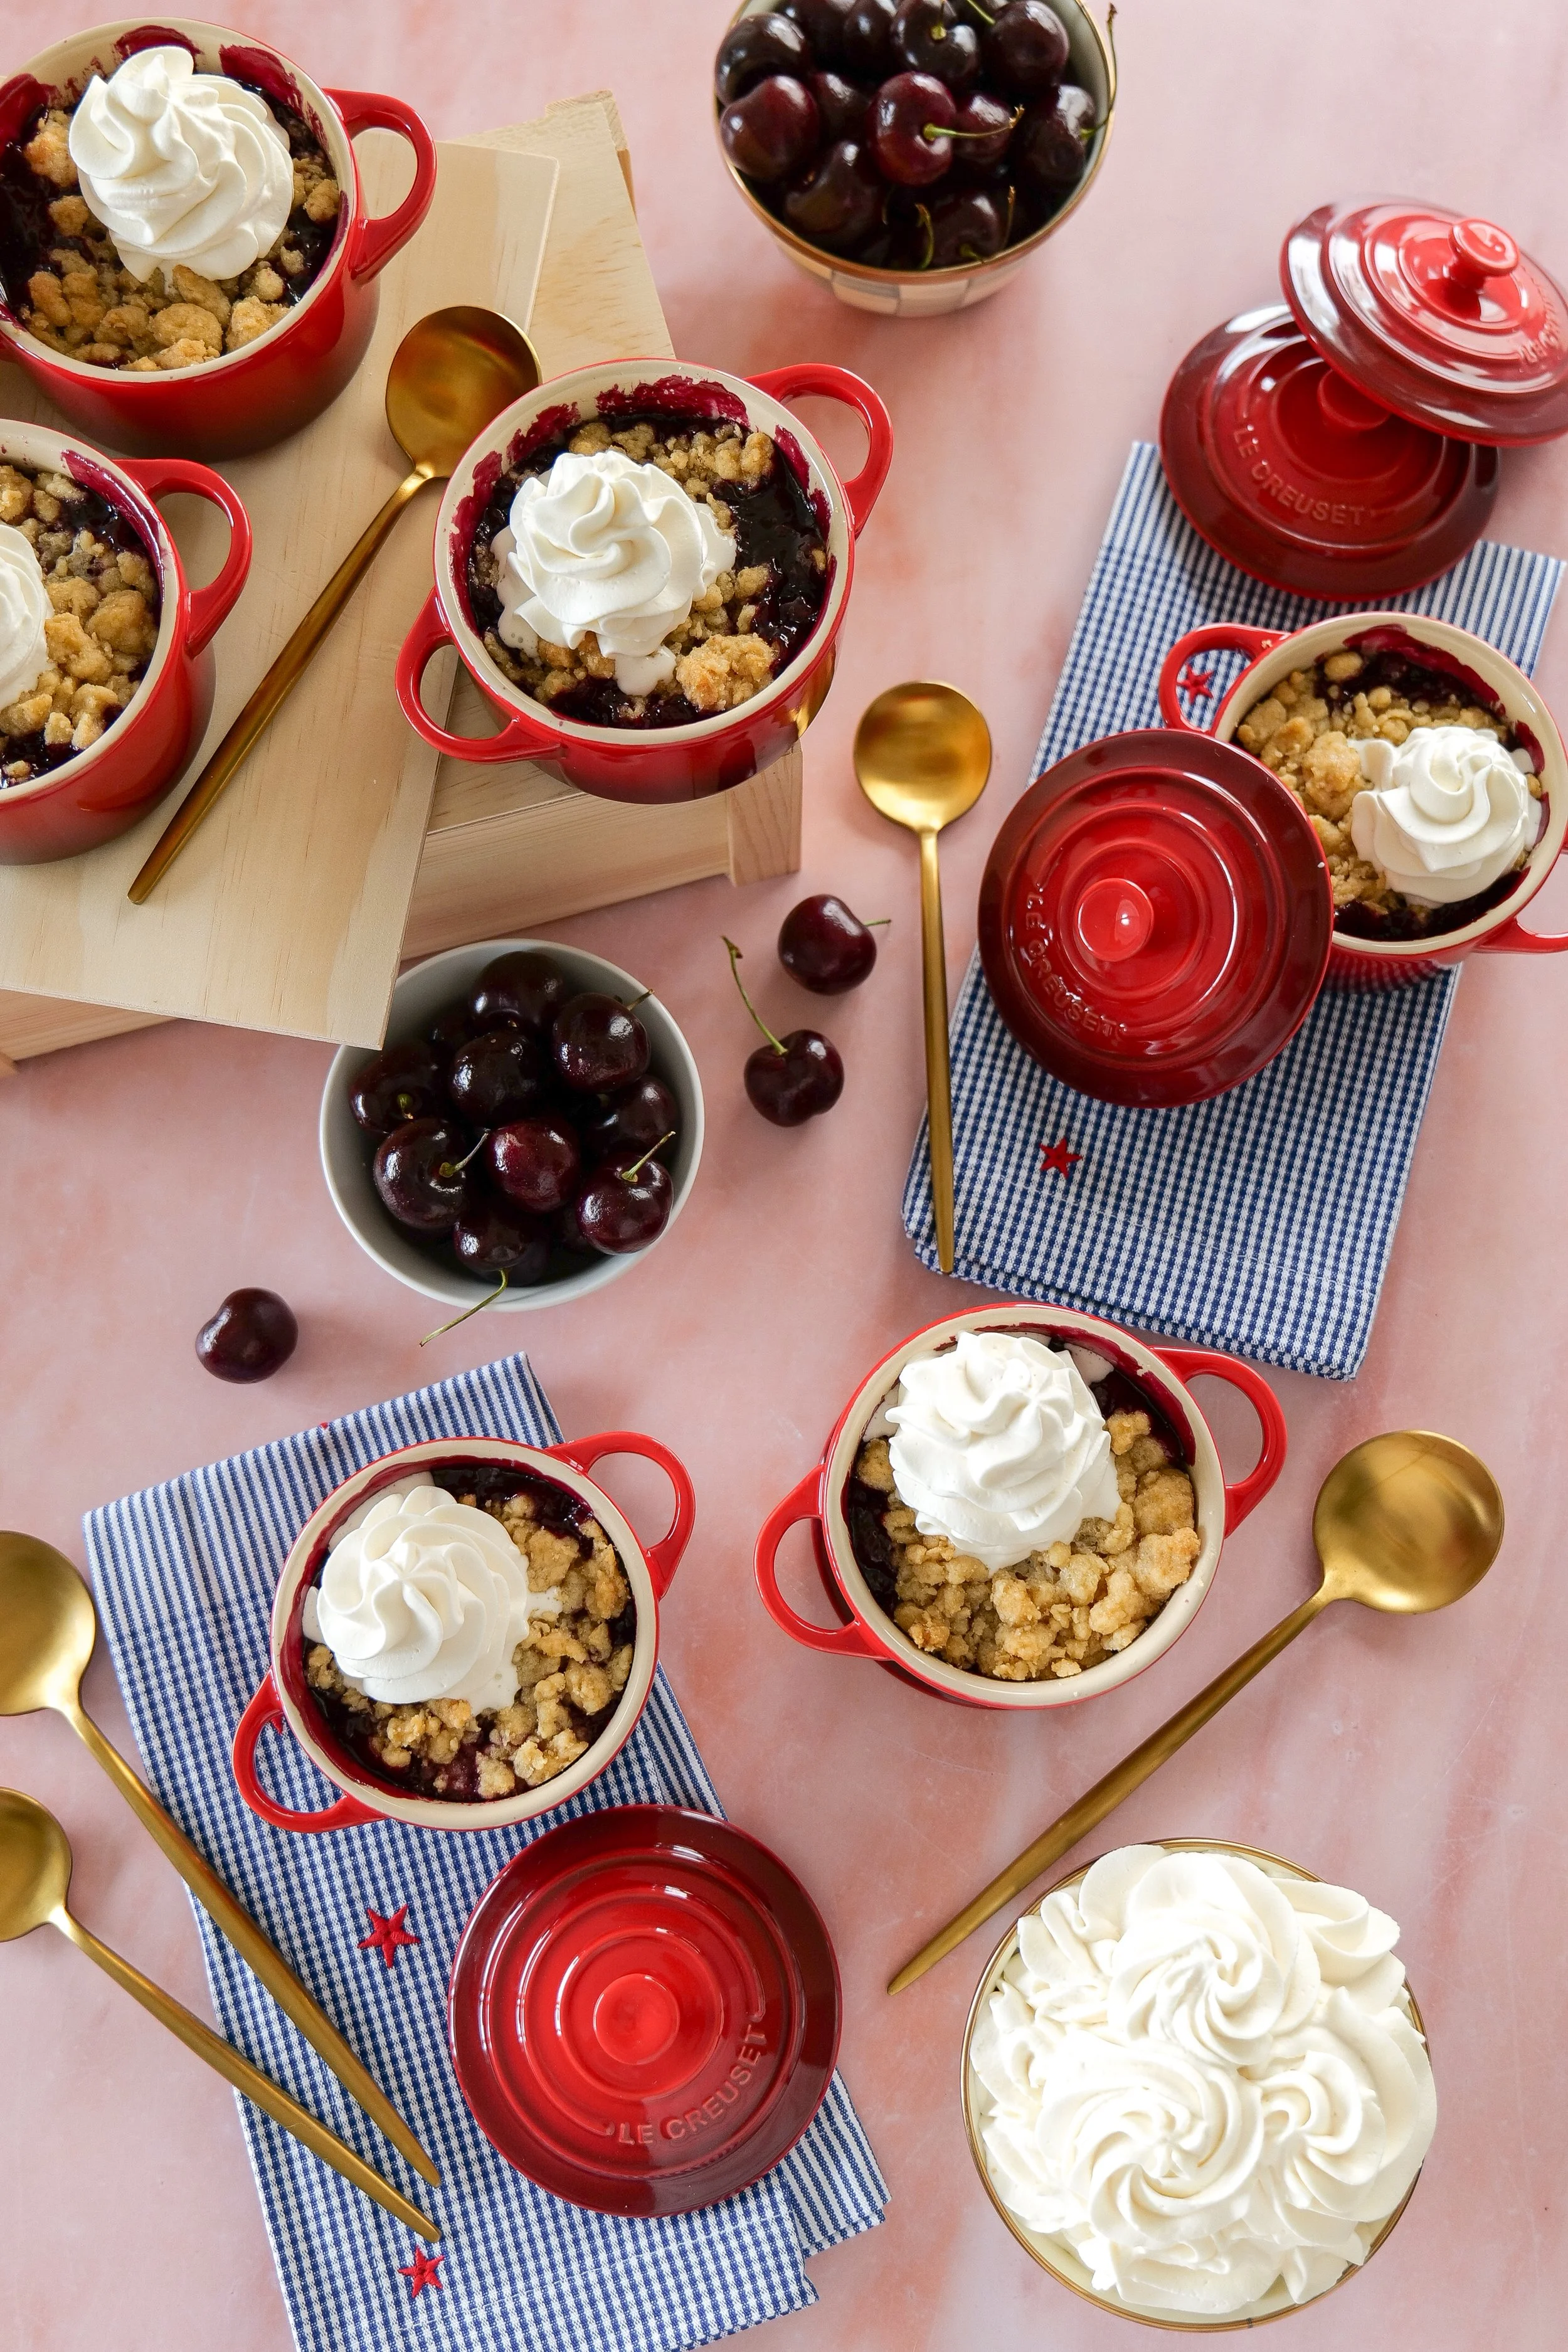
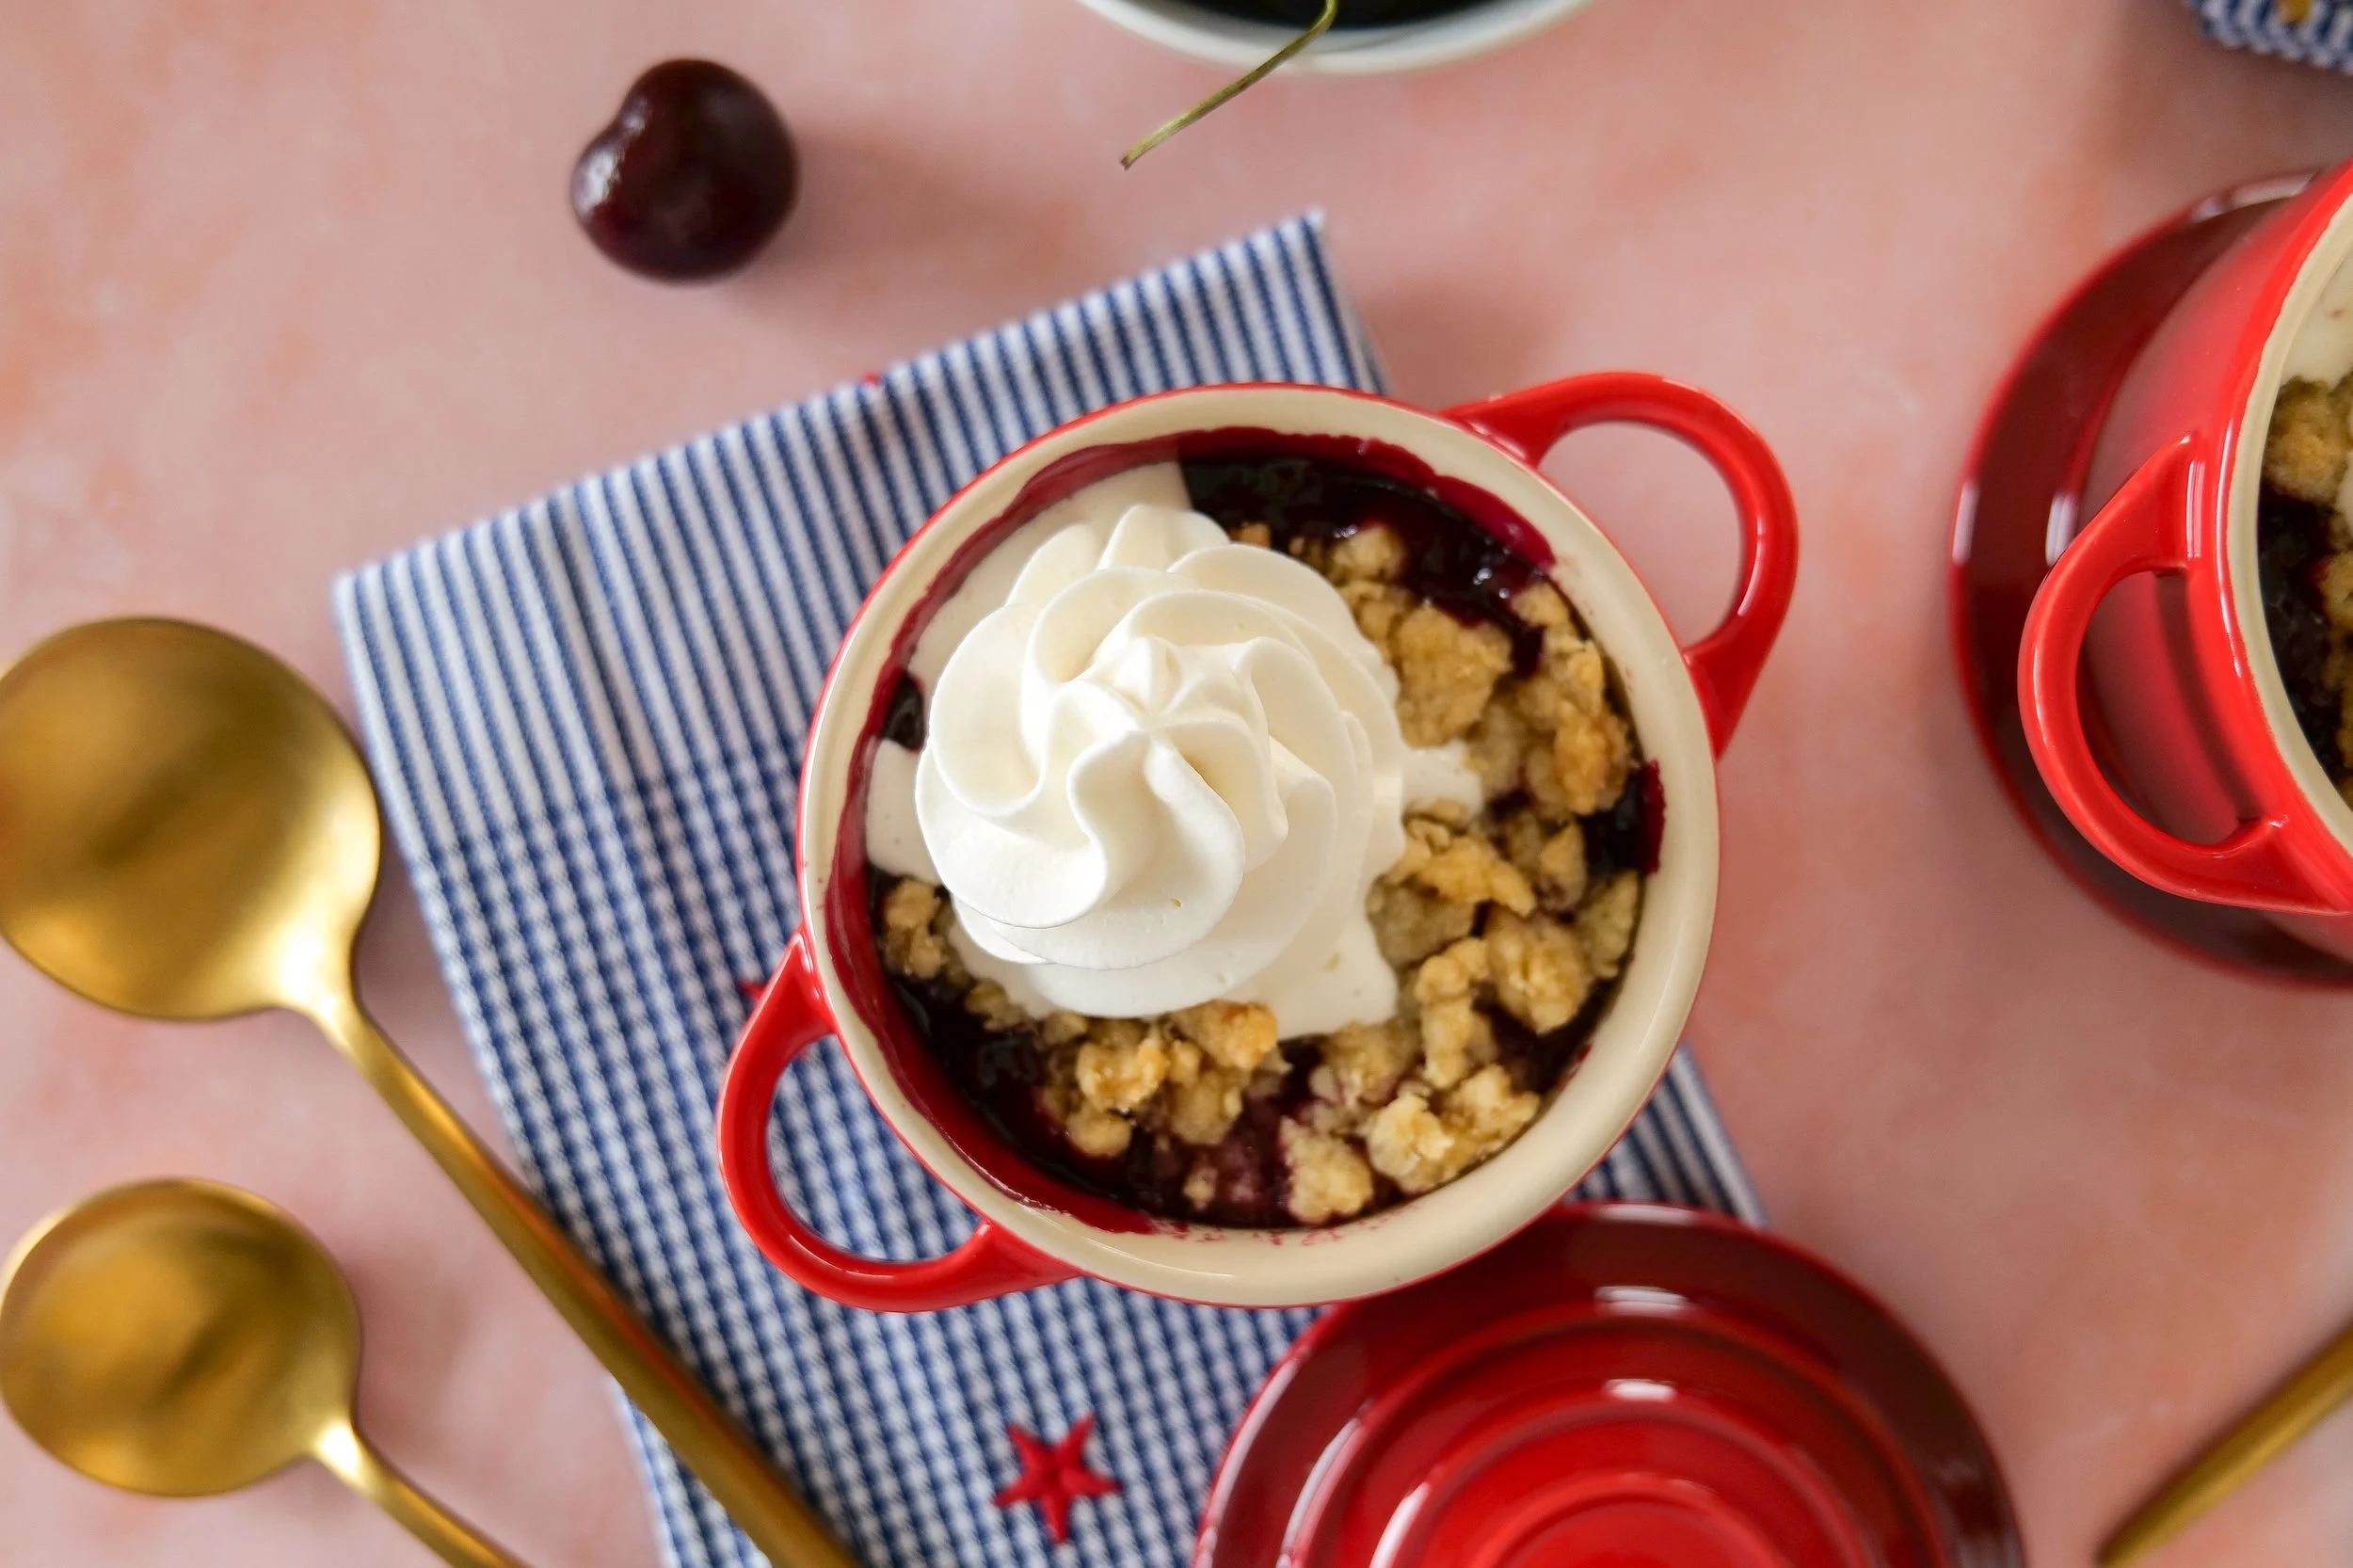
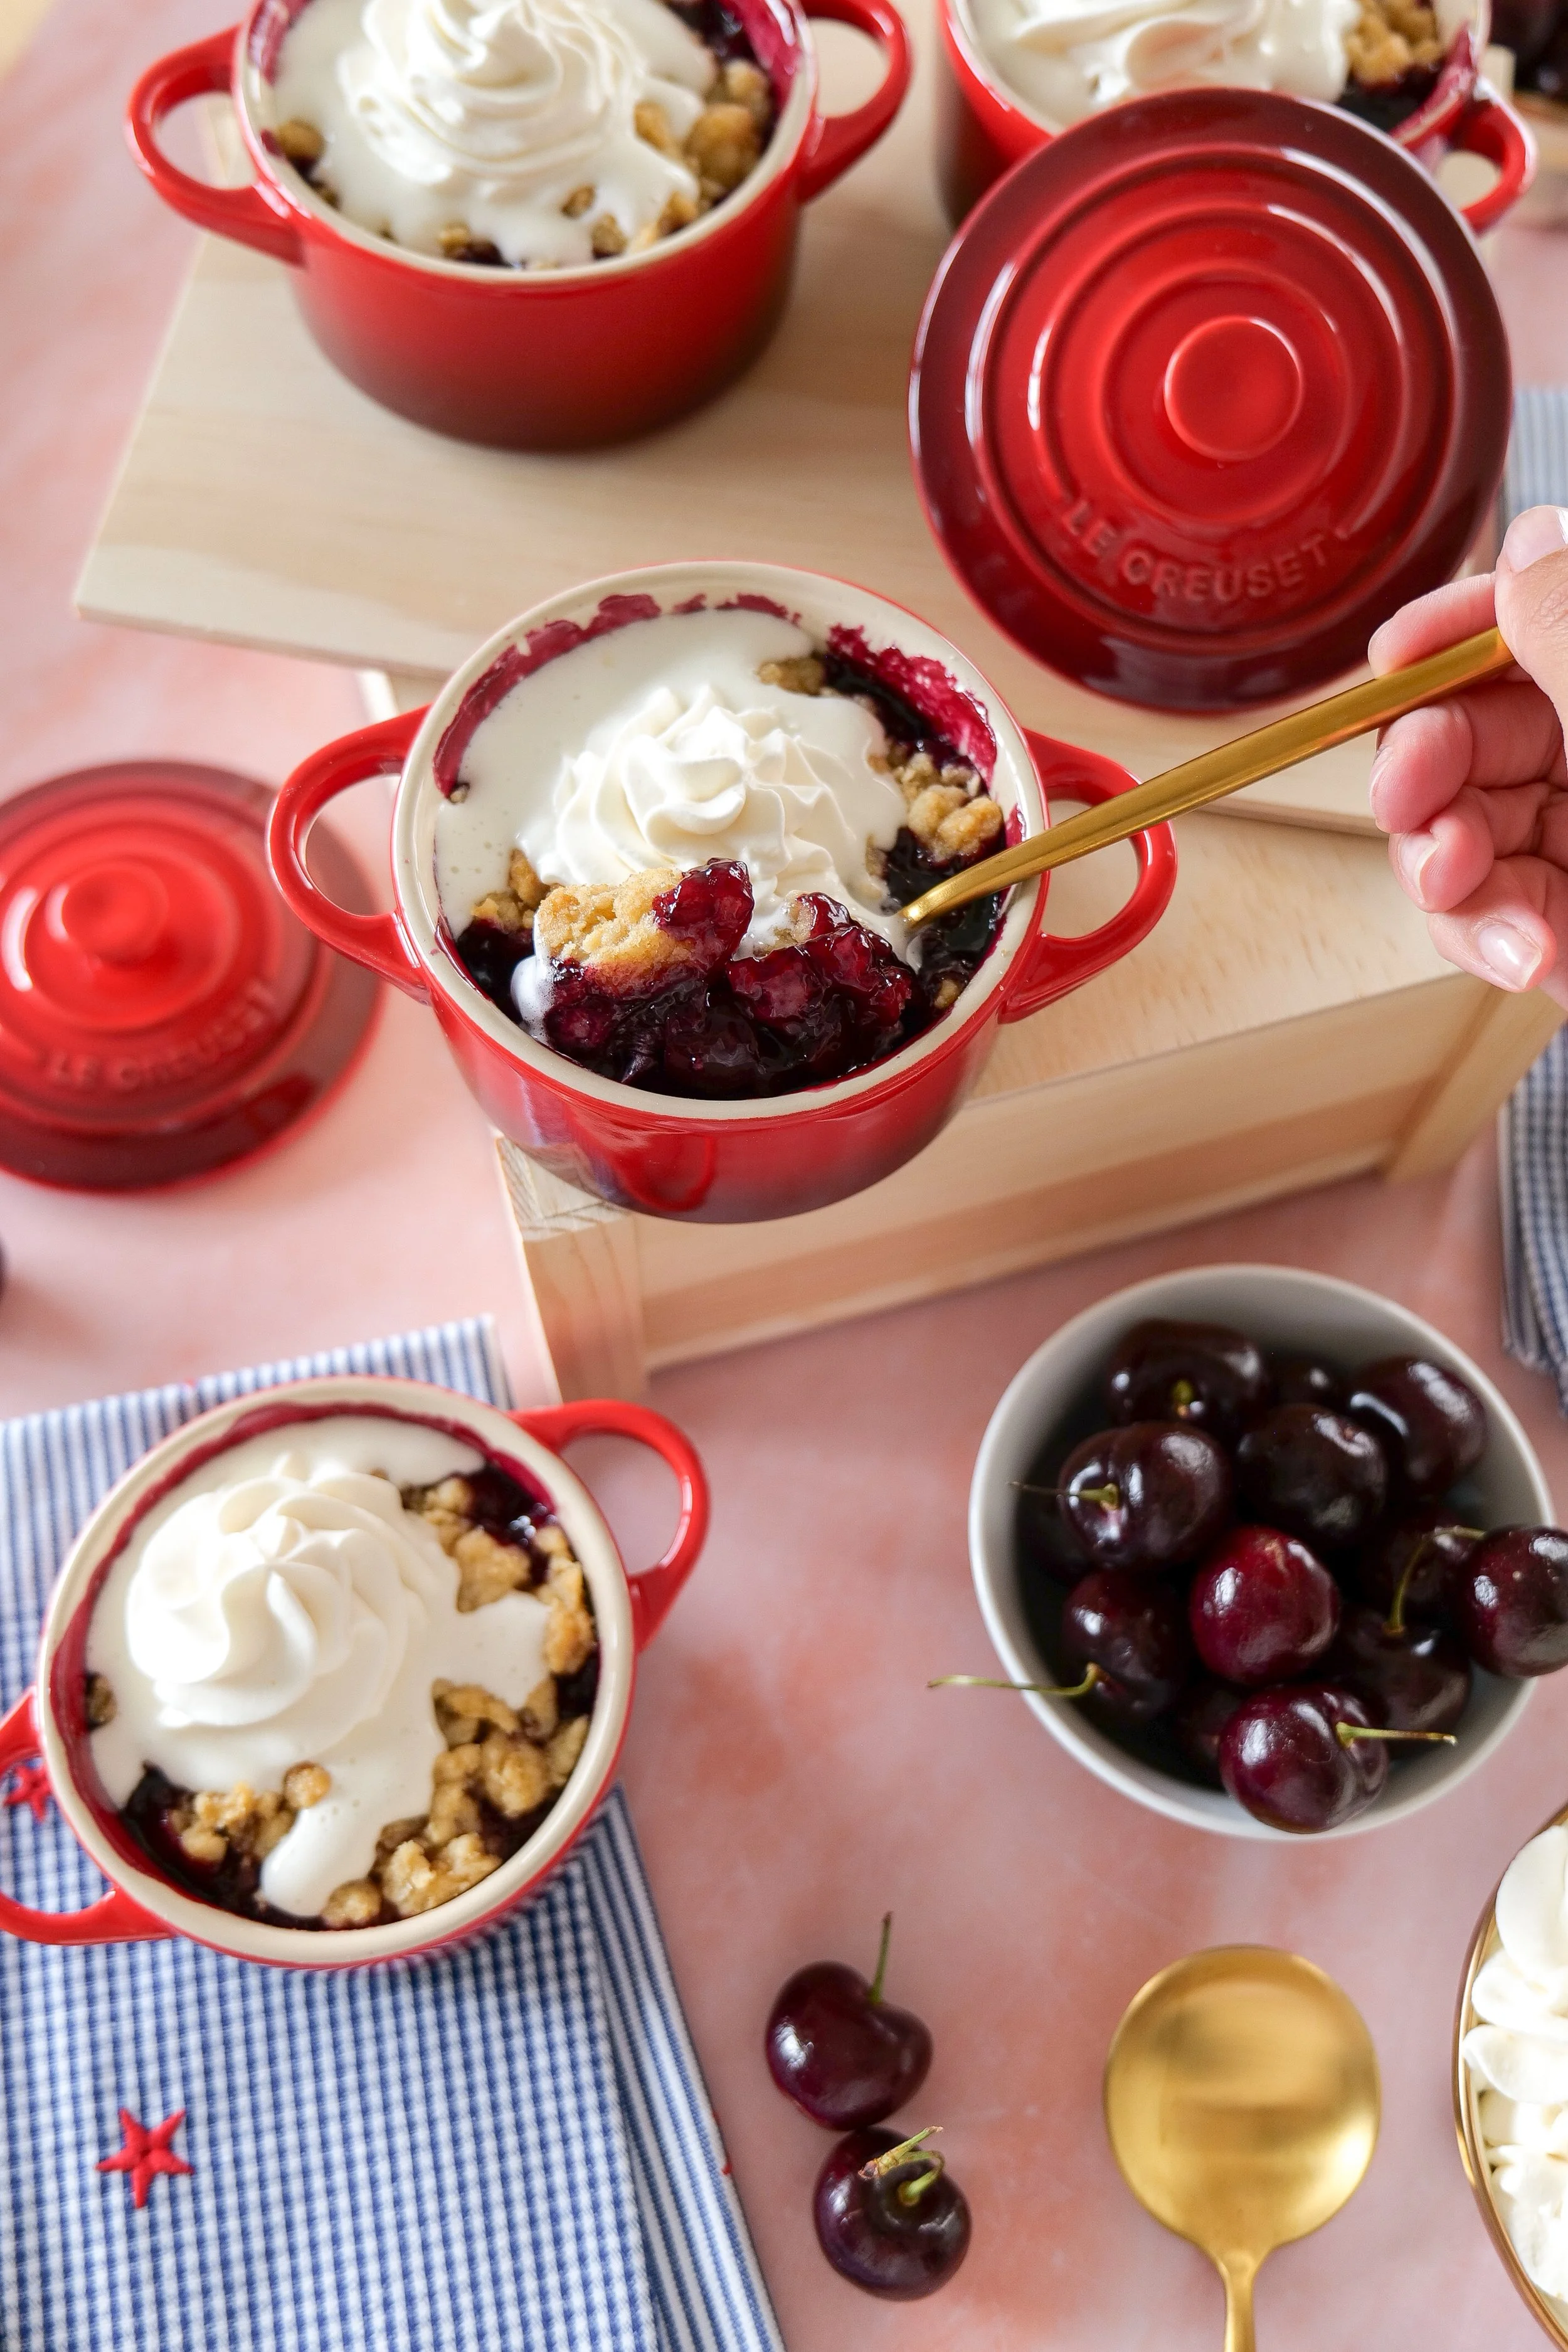
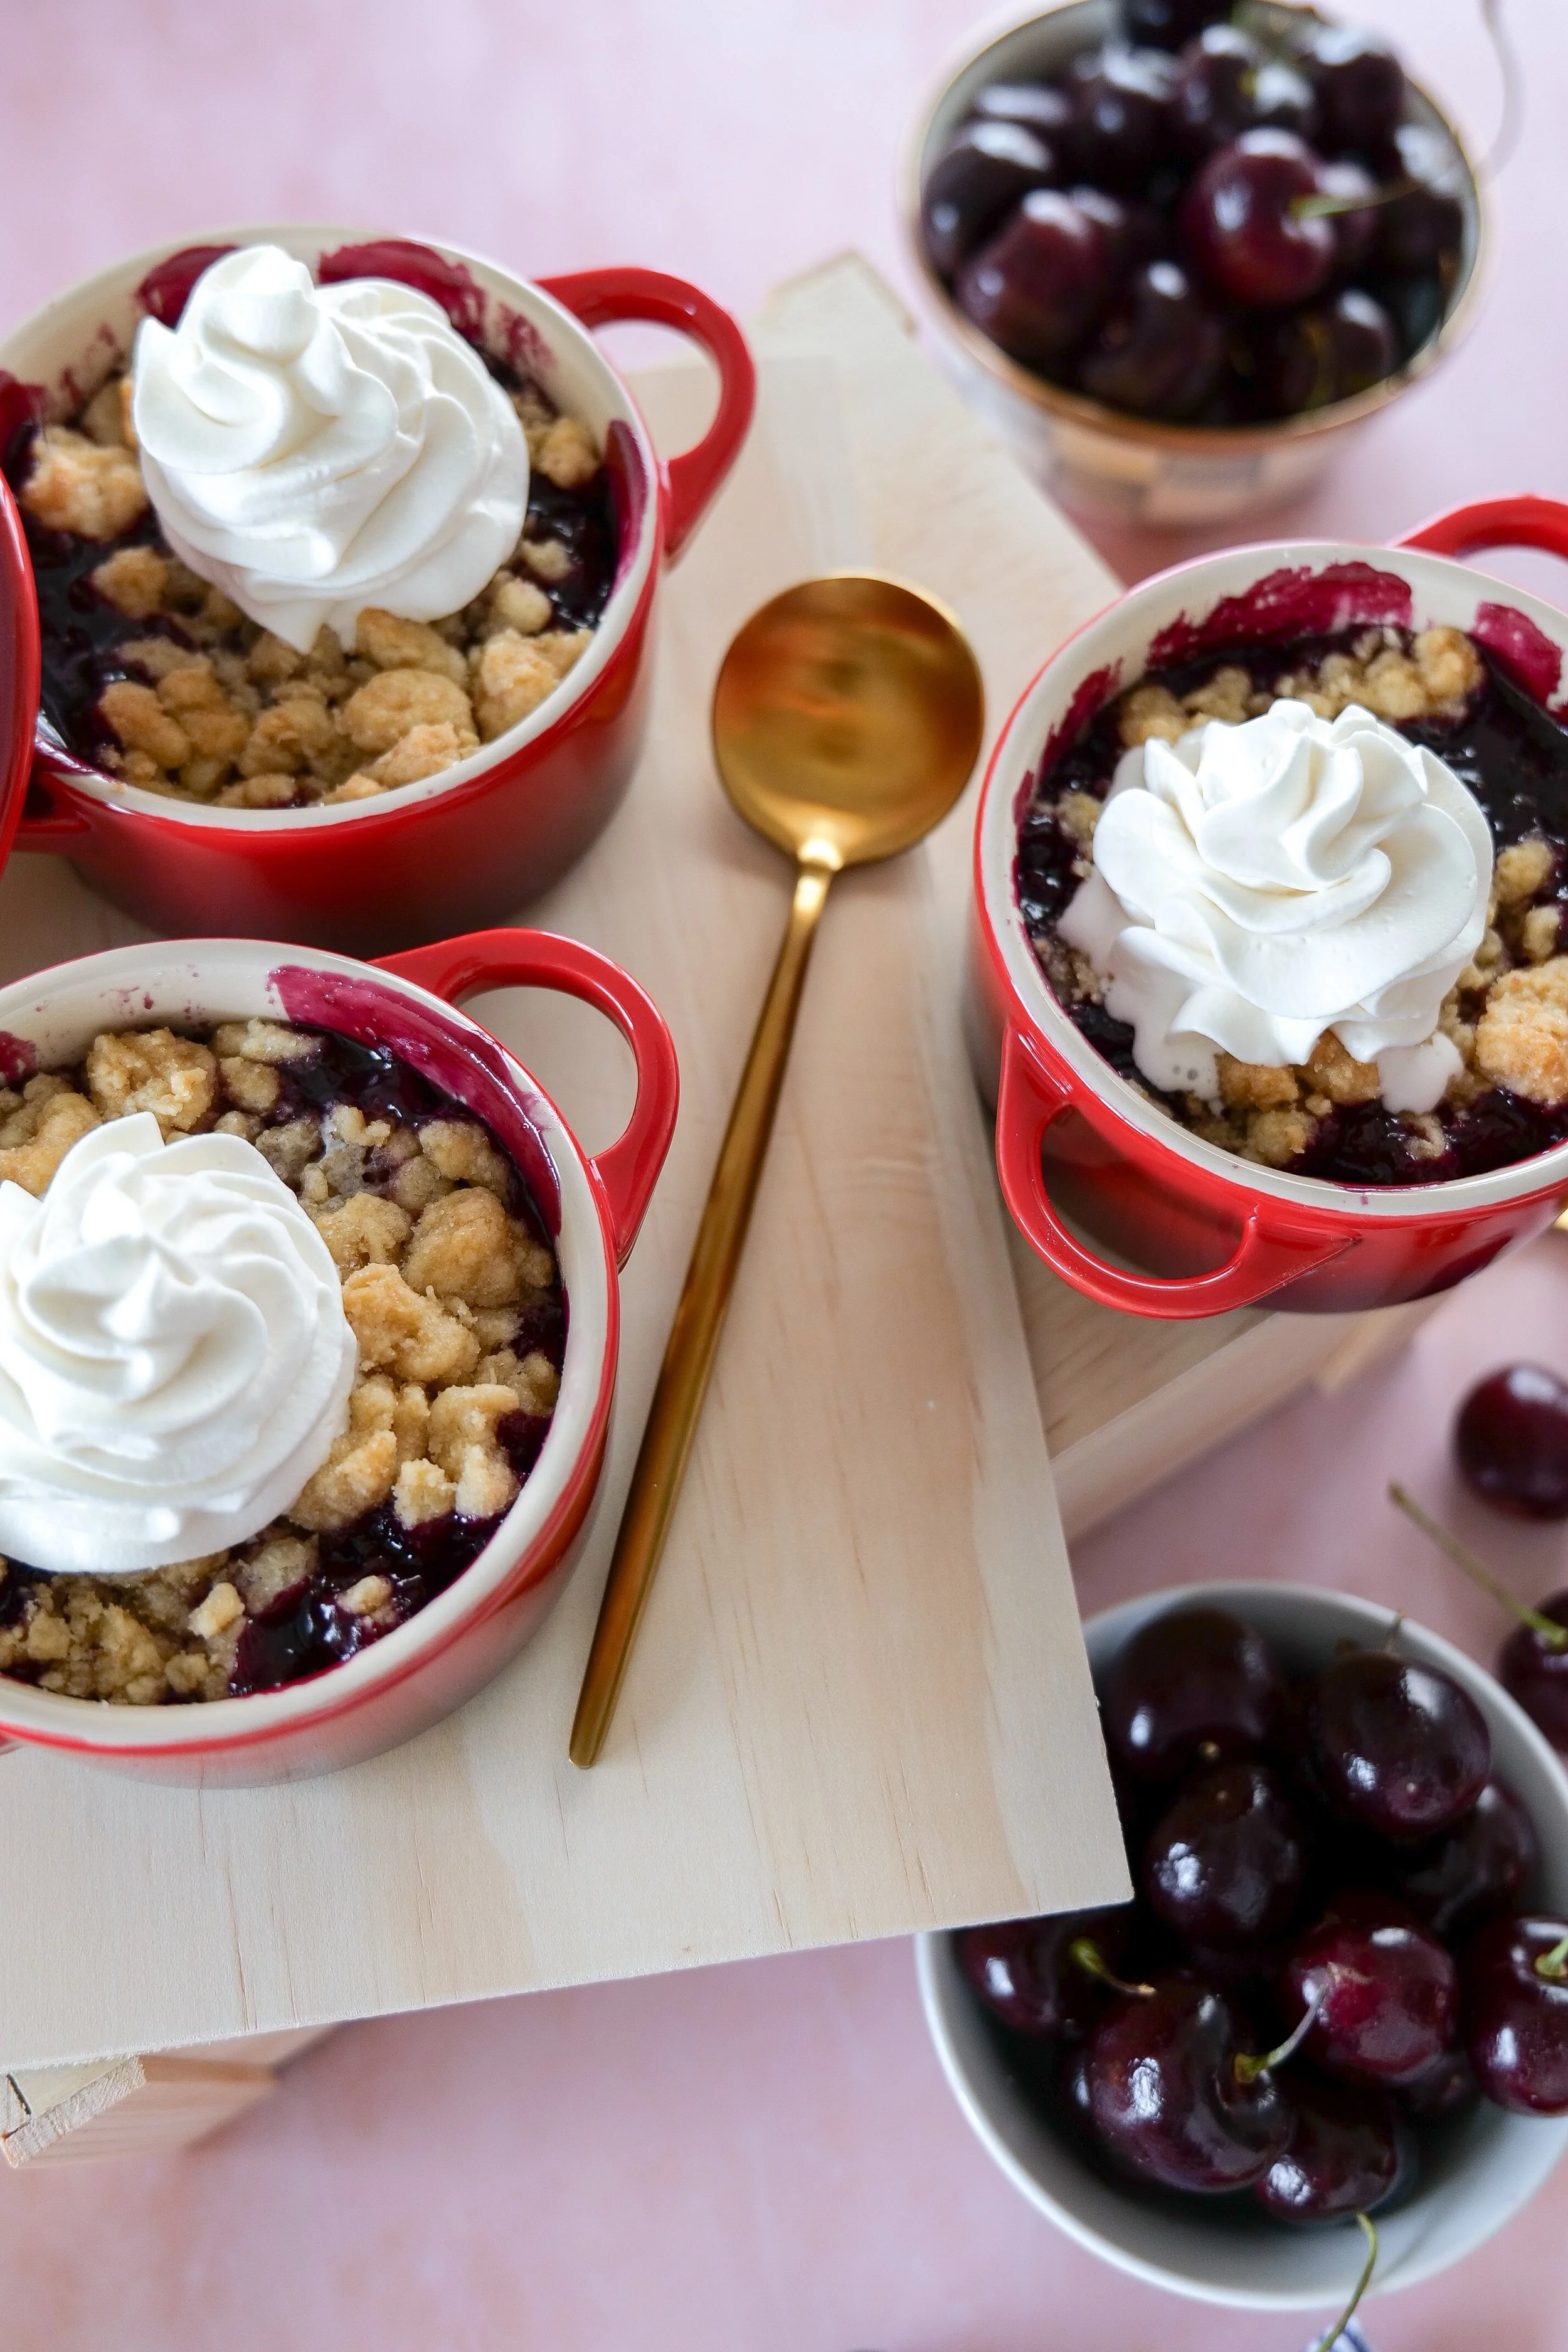
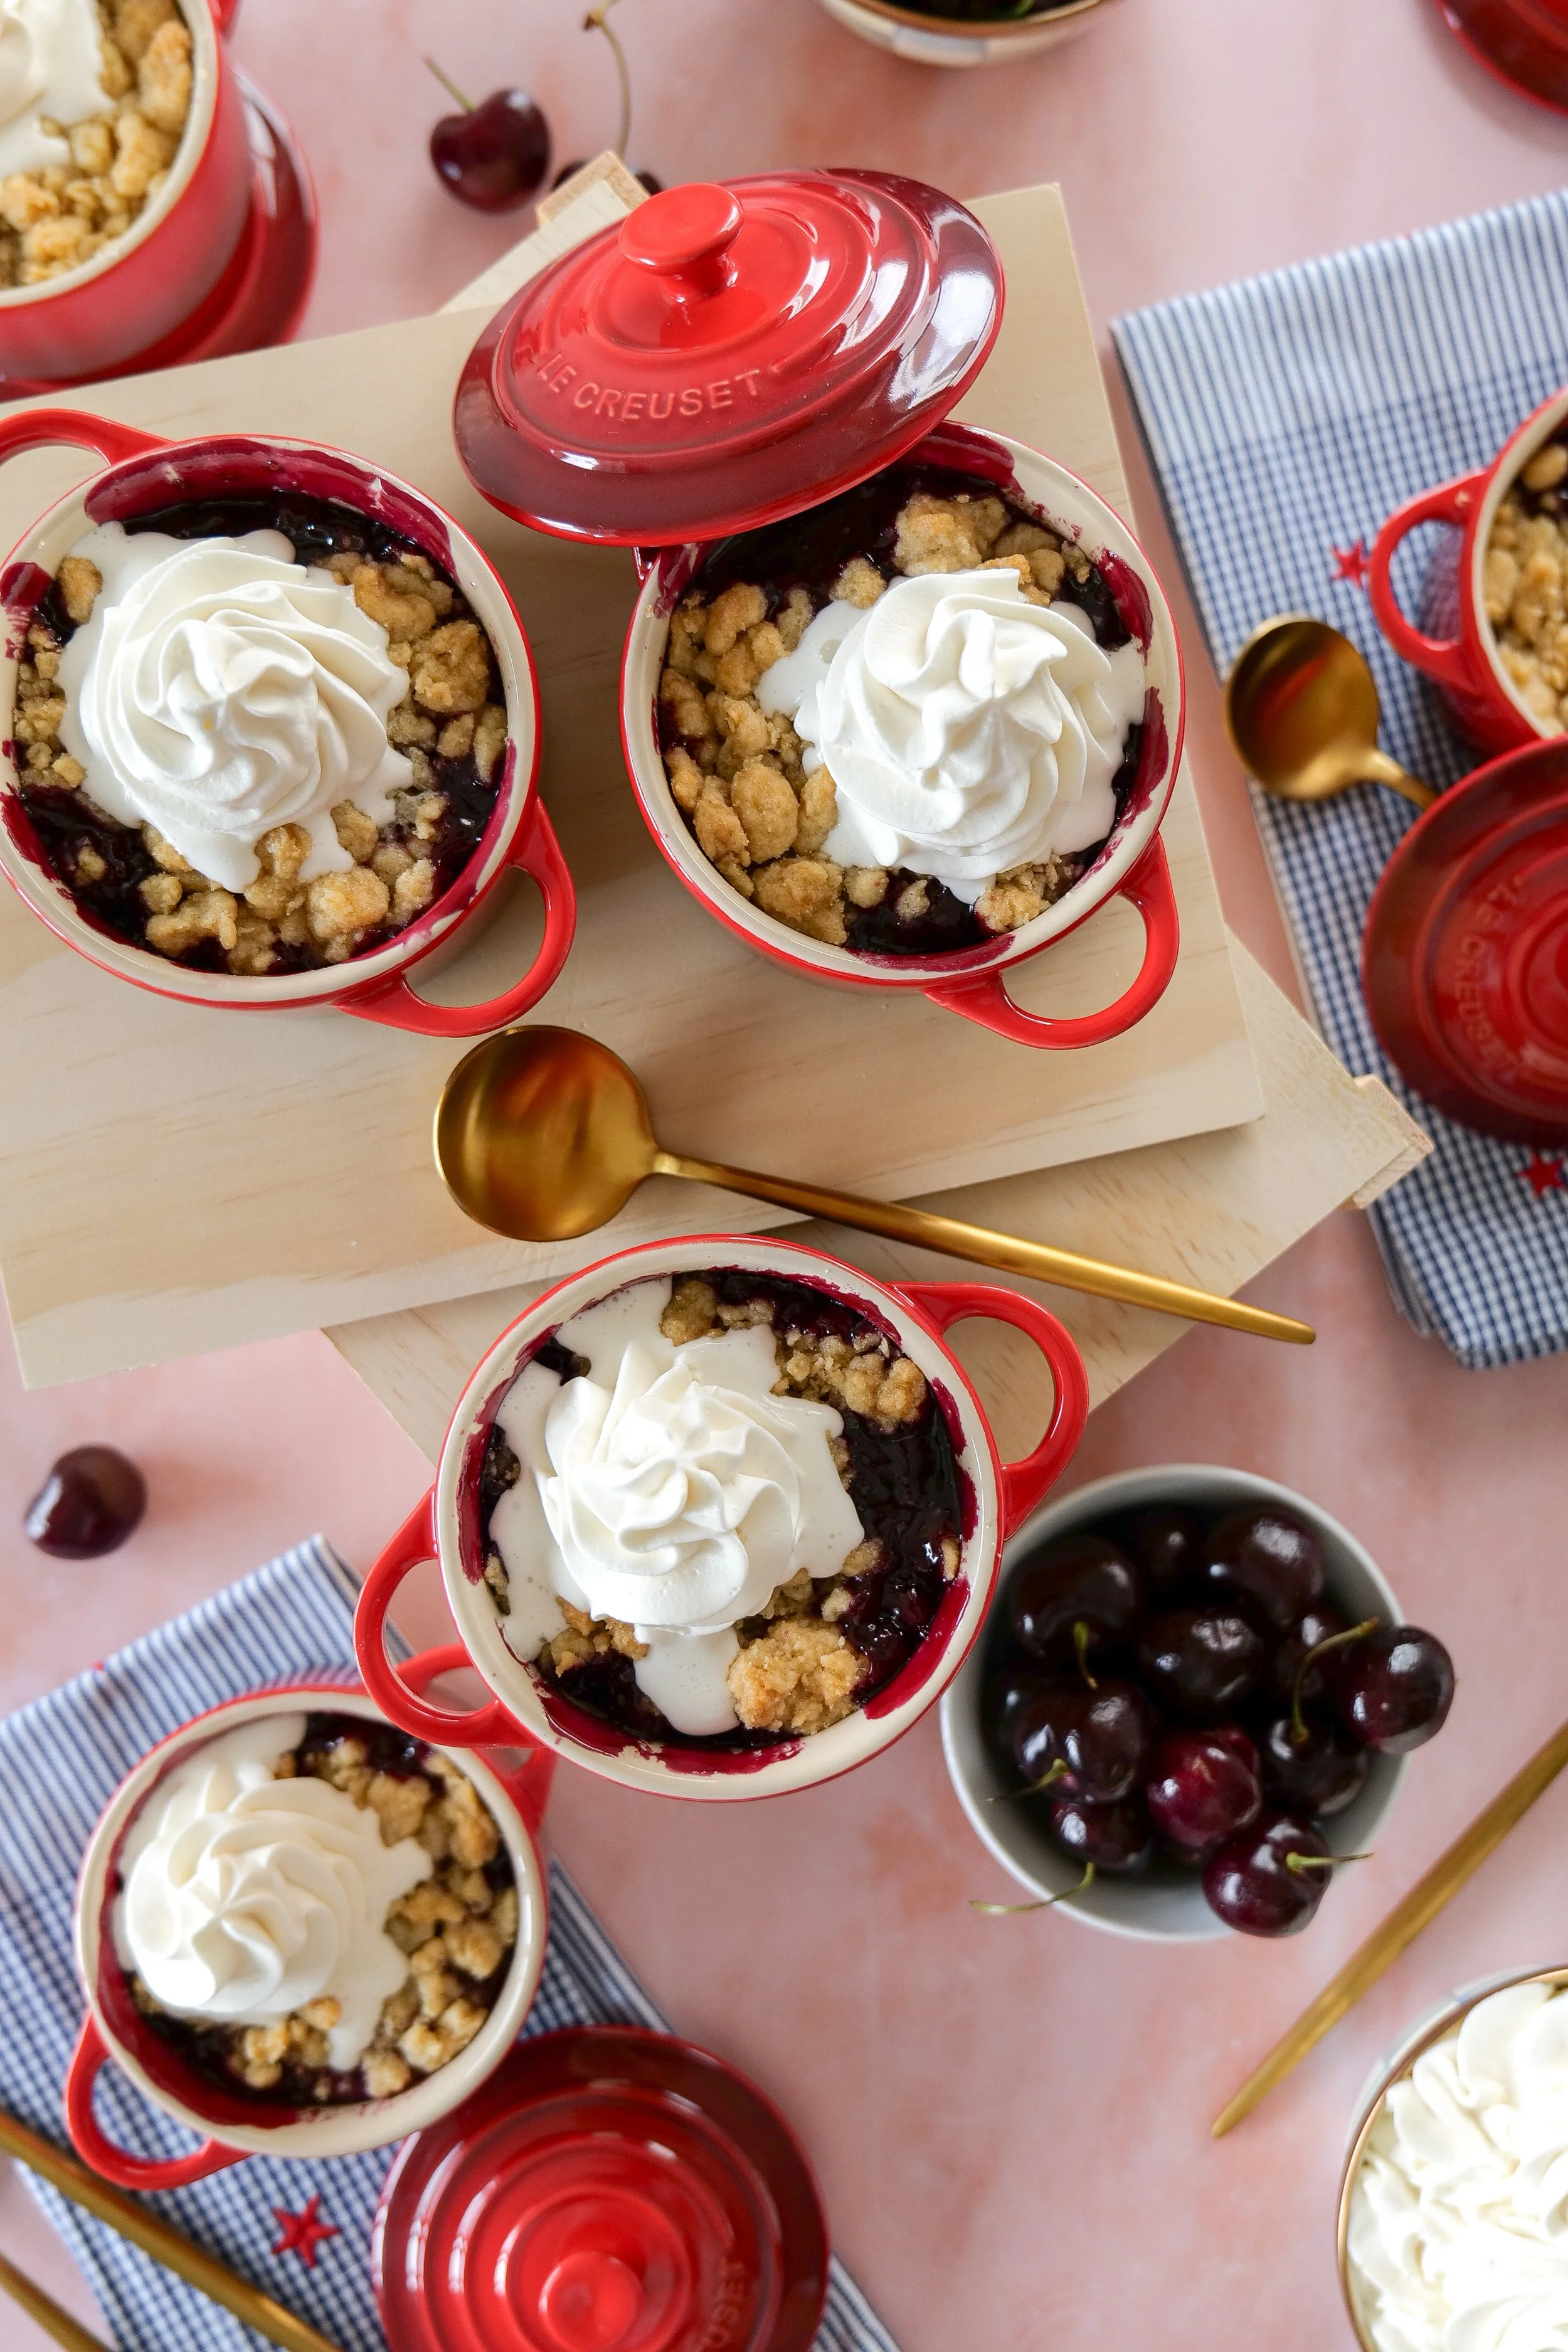
I baked these mini cherry cobblers in my red mini Le Creuset dishes for the sweetest little individual desserts that feel elevated while still being incredibly simple to make. Served warm with melting vanilla ice cream, they’re one of those easy summer desserts guests always remember.

If you love nostalgic fruit desserts, you’ll also love my Perfect Peach Cobbler Recipe for another cozy summer baking favorite.

For more summer entertaining inspiration, browse my American Summer Hosting collection filled with patriotic hosting ideas, tablescape inspiration, and summer entertaining favorites. And if you love creating cozy moments in the kitchen, my Cozy Baking Essentials shelf includes all my favorite baking staples, kitchen decor, and seasonal cookware used throughout my recipes.

Why You’ll Love This Mini Cherry Cobbler

This mini cherry cobbler recipe is one of those easy summer desserts you’ll find yourself making all season long. Here’s why they’re perfect for summer entertaining:

  • Individual servings make them ideal for parties and backyard BBQs

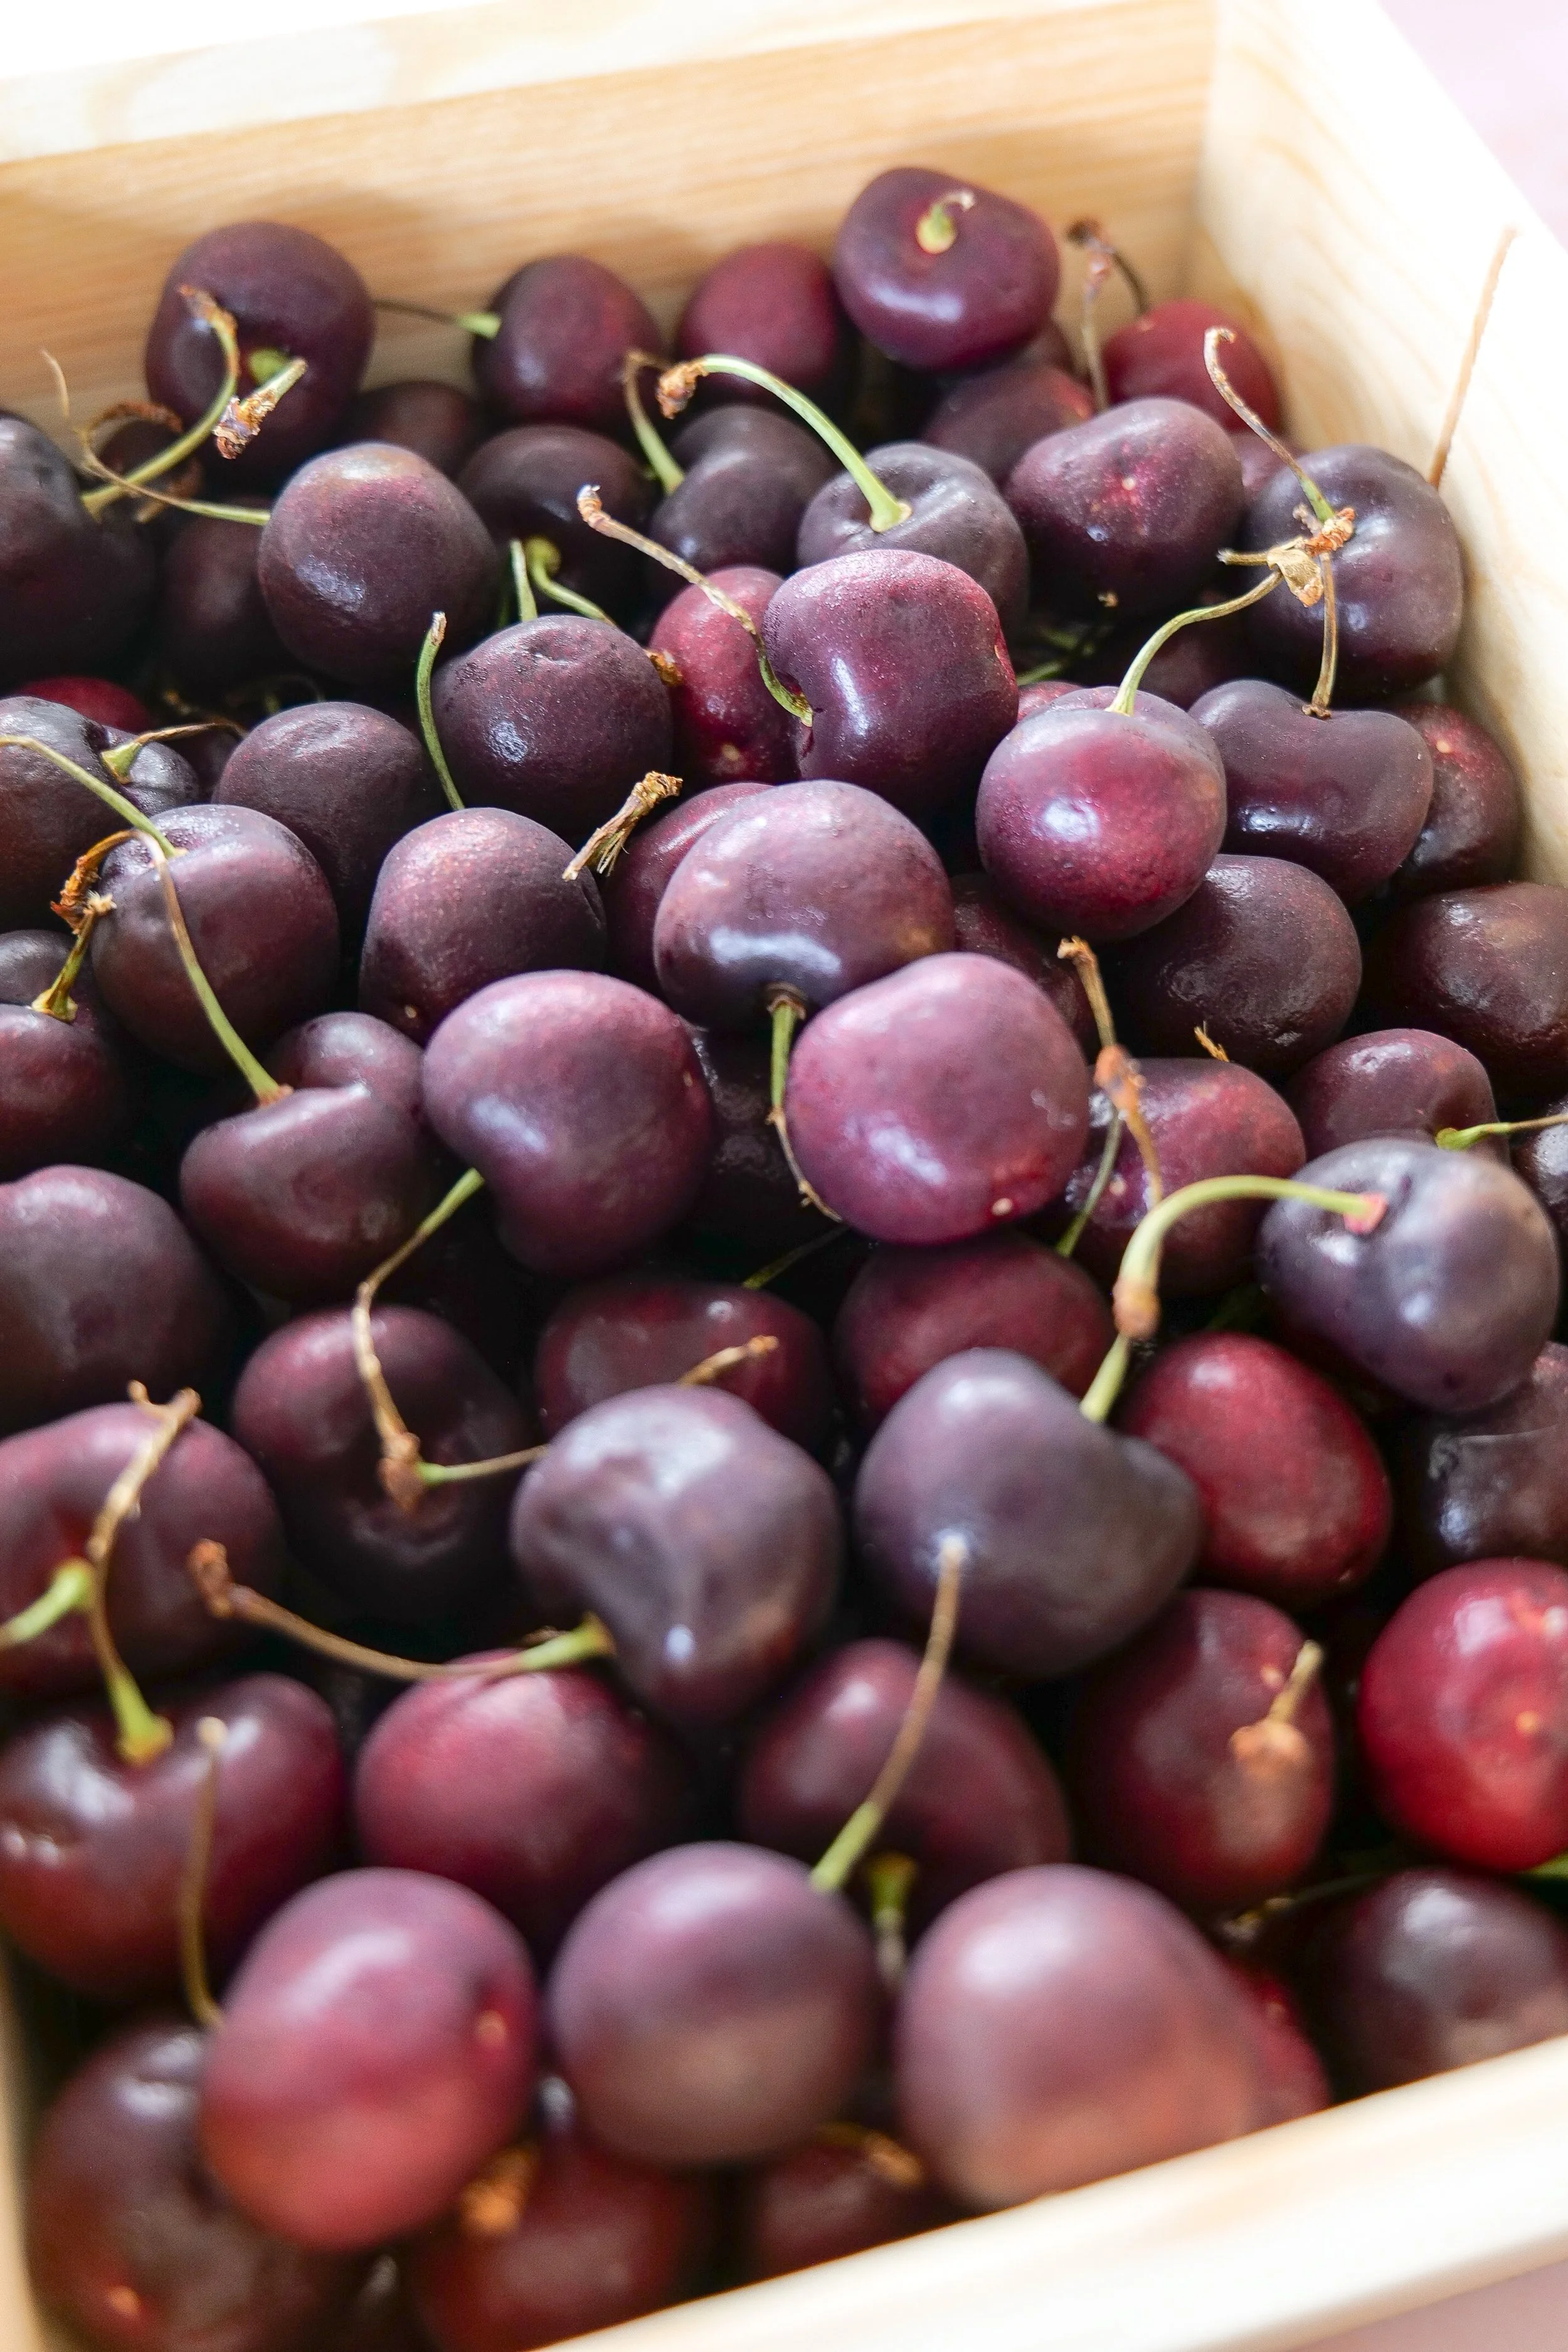
  • Made with fresh summer cherries for the best seasonal flavor

  • Cozy, nostalgic, and perfect for an Americana-inspired summer

  • Beautiful presentation in mini cocottes or ramekins

  • Easy to prep ahead for gatherings and holidays

  • Delicious served warm with vanilla ice cream or whipped cream

  • The perfect patriotic dessert for the 4th of July

These fresh cherry cobblers are simple enough for casual weeknights yet beautiful enough for holiday hosting.

Easy cherry cobbler baked in individual ramekins
Summer dessert featuring sweet cherries and cobbler topping
Easy summer baking recipe made with sweet cherries
Americana summer cherry cobbler served for holiday entertaining

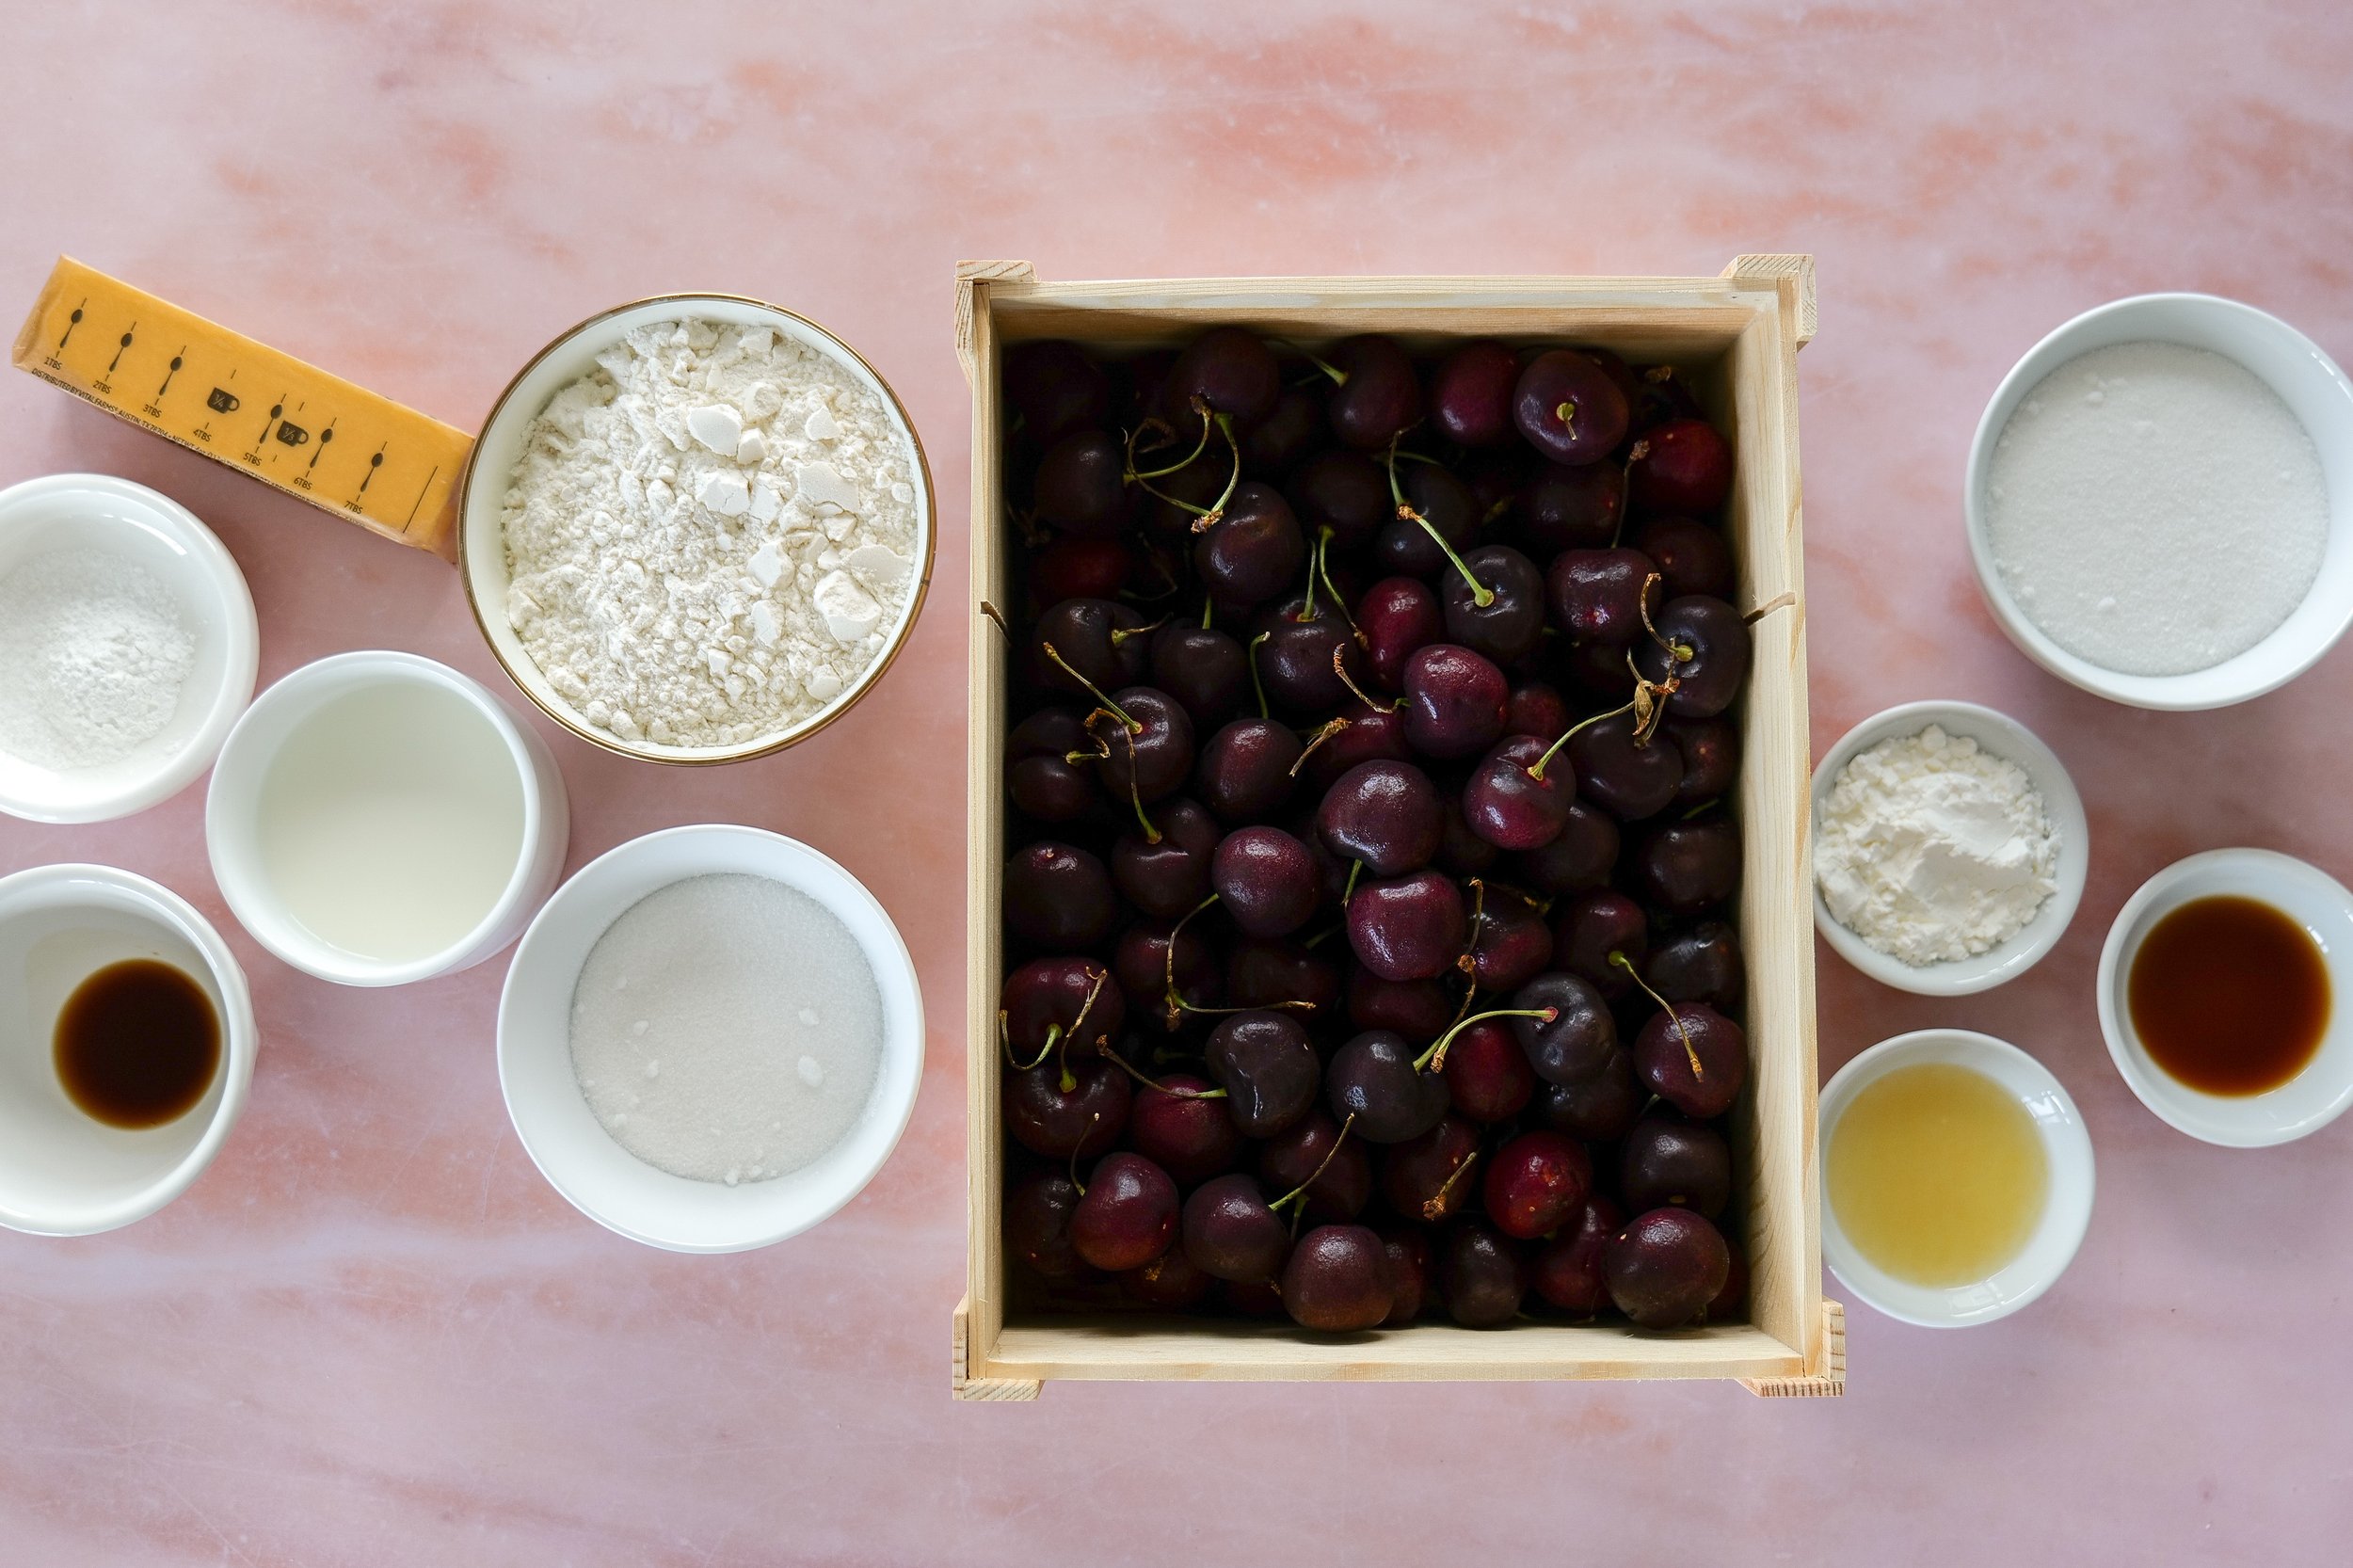
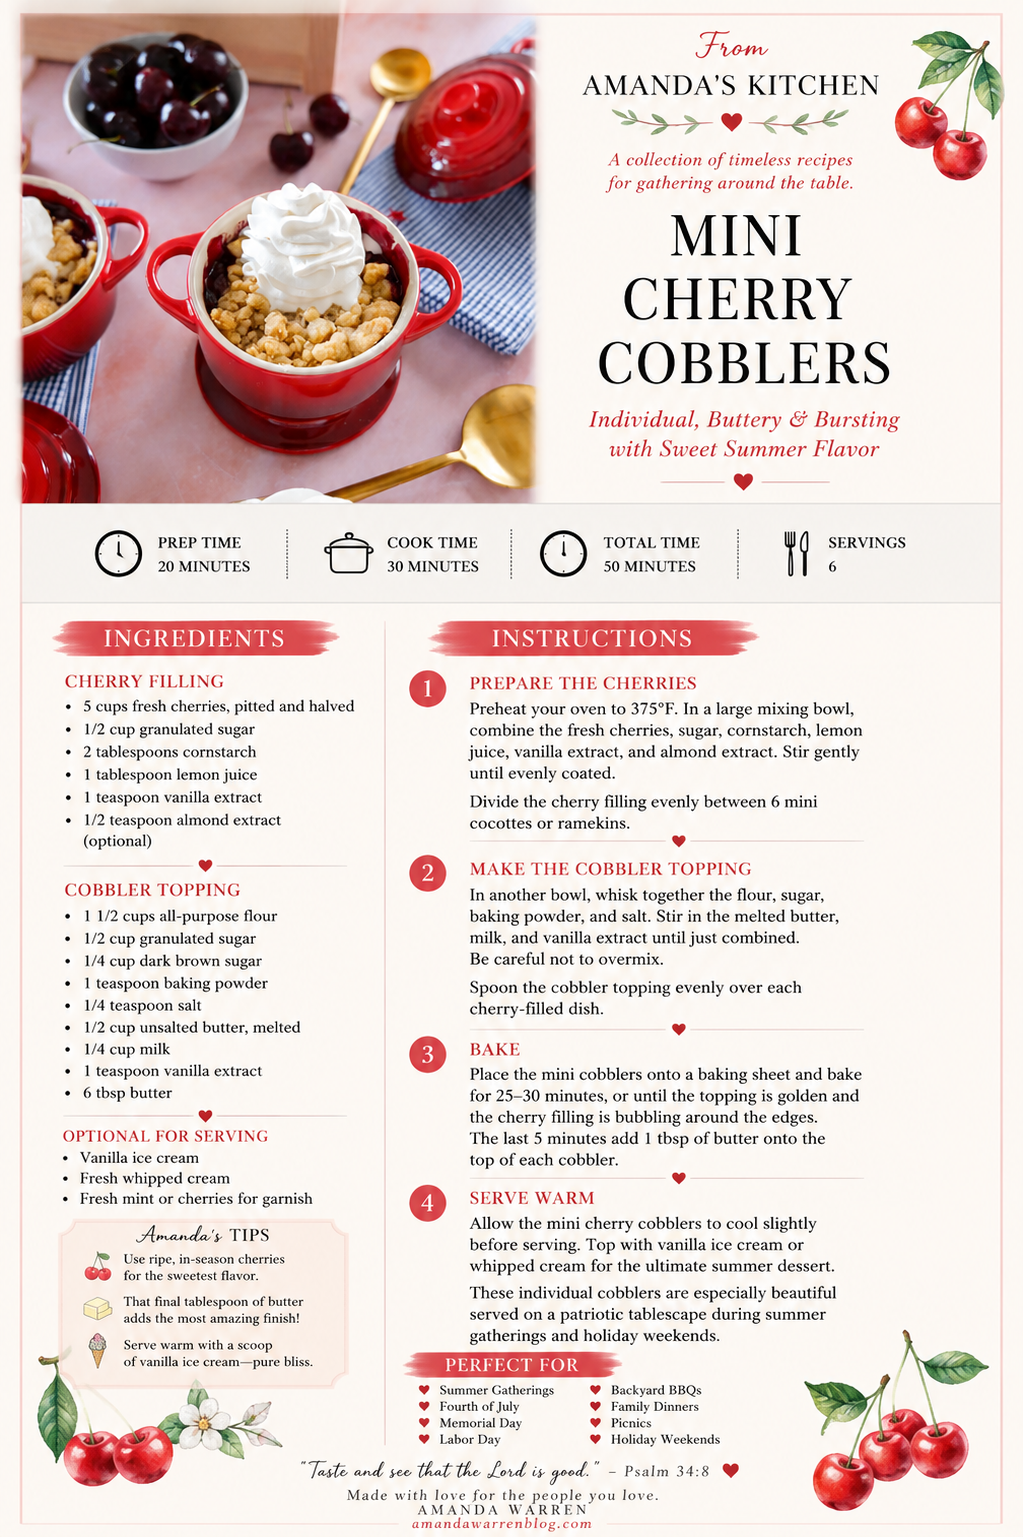
Ingredients

Cherry Filling

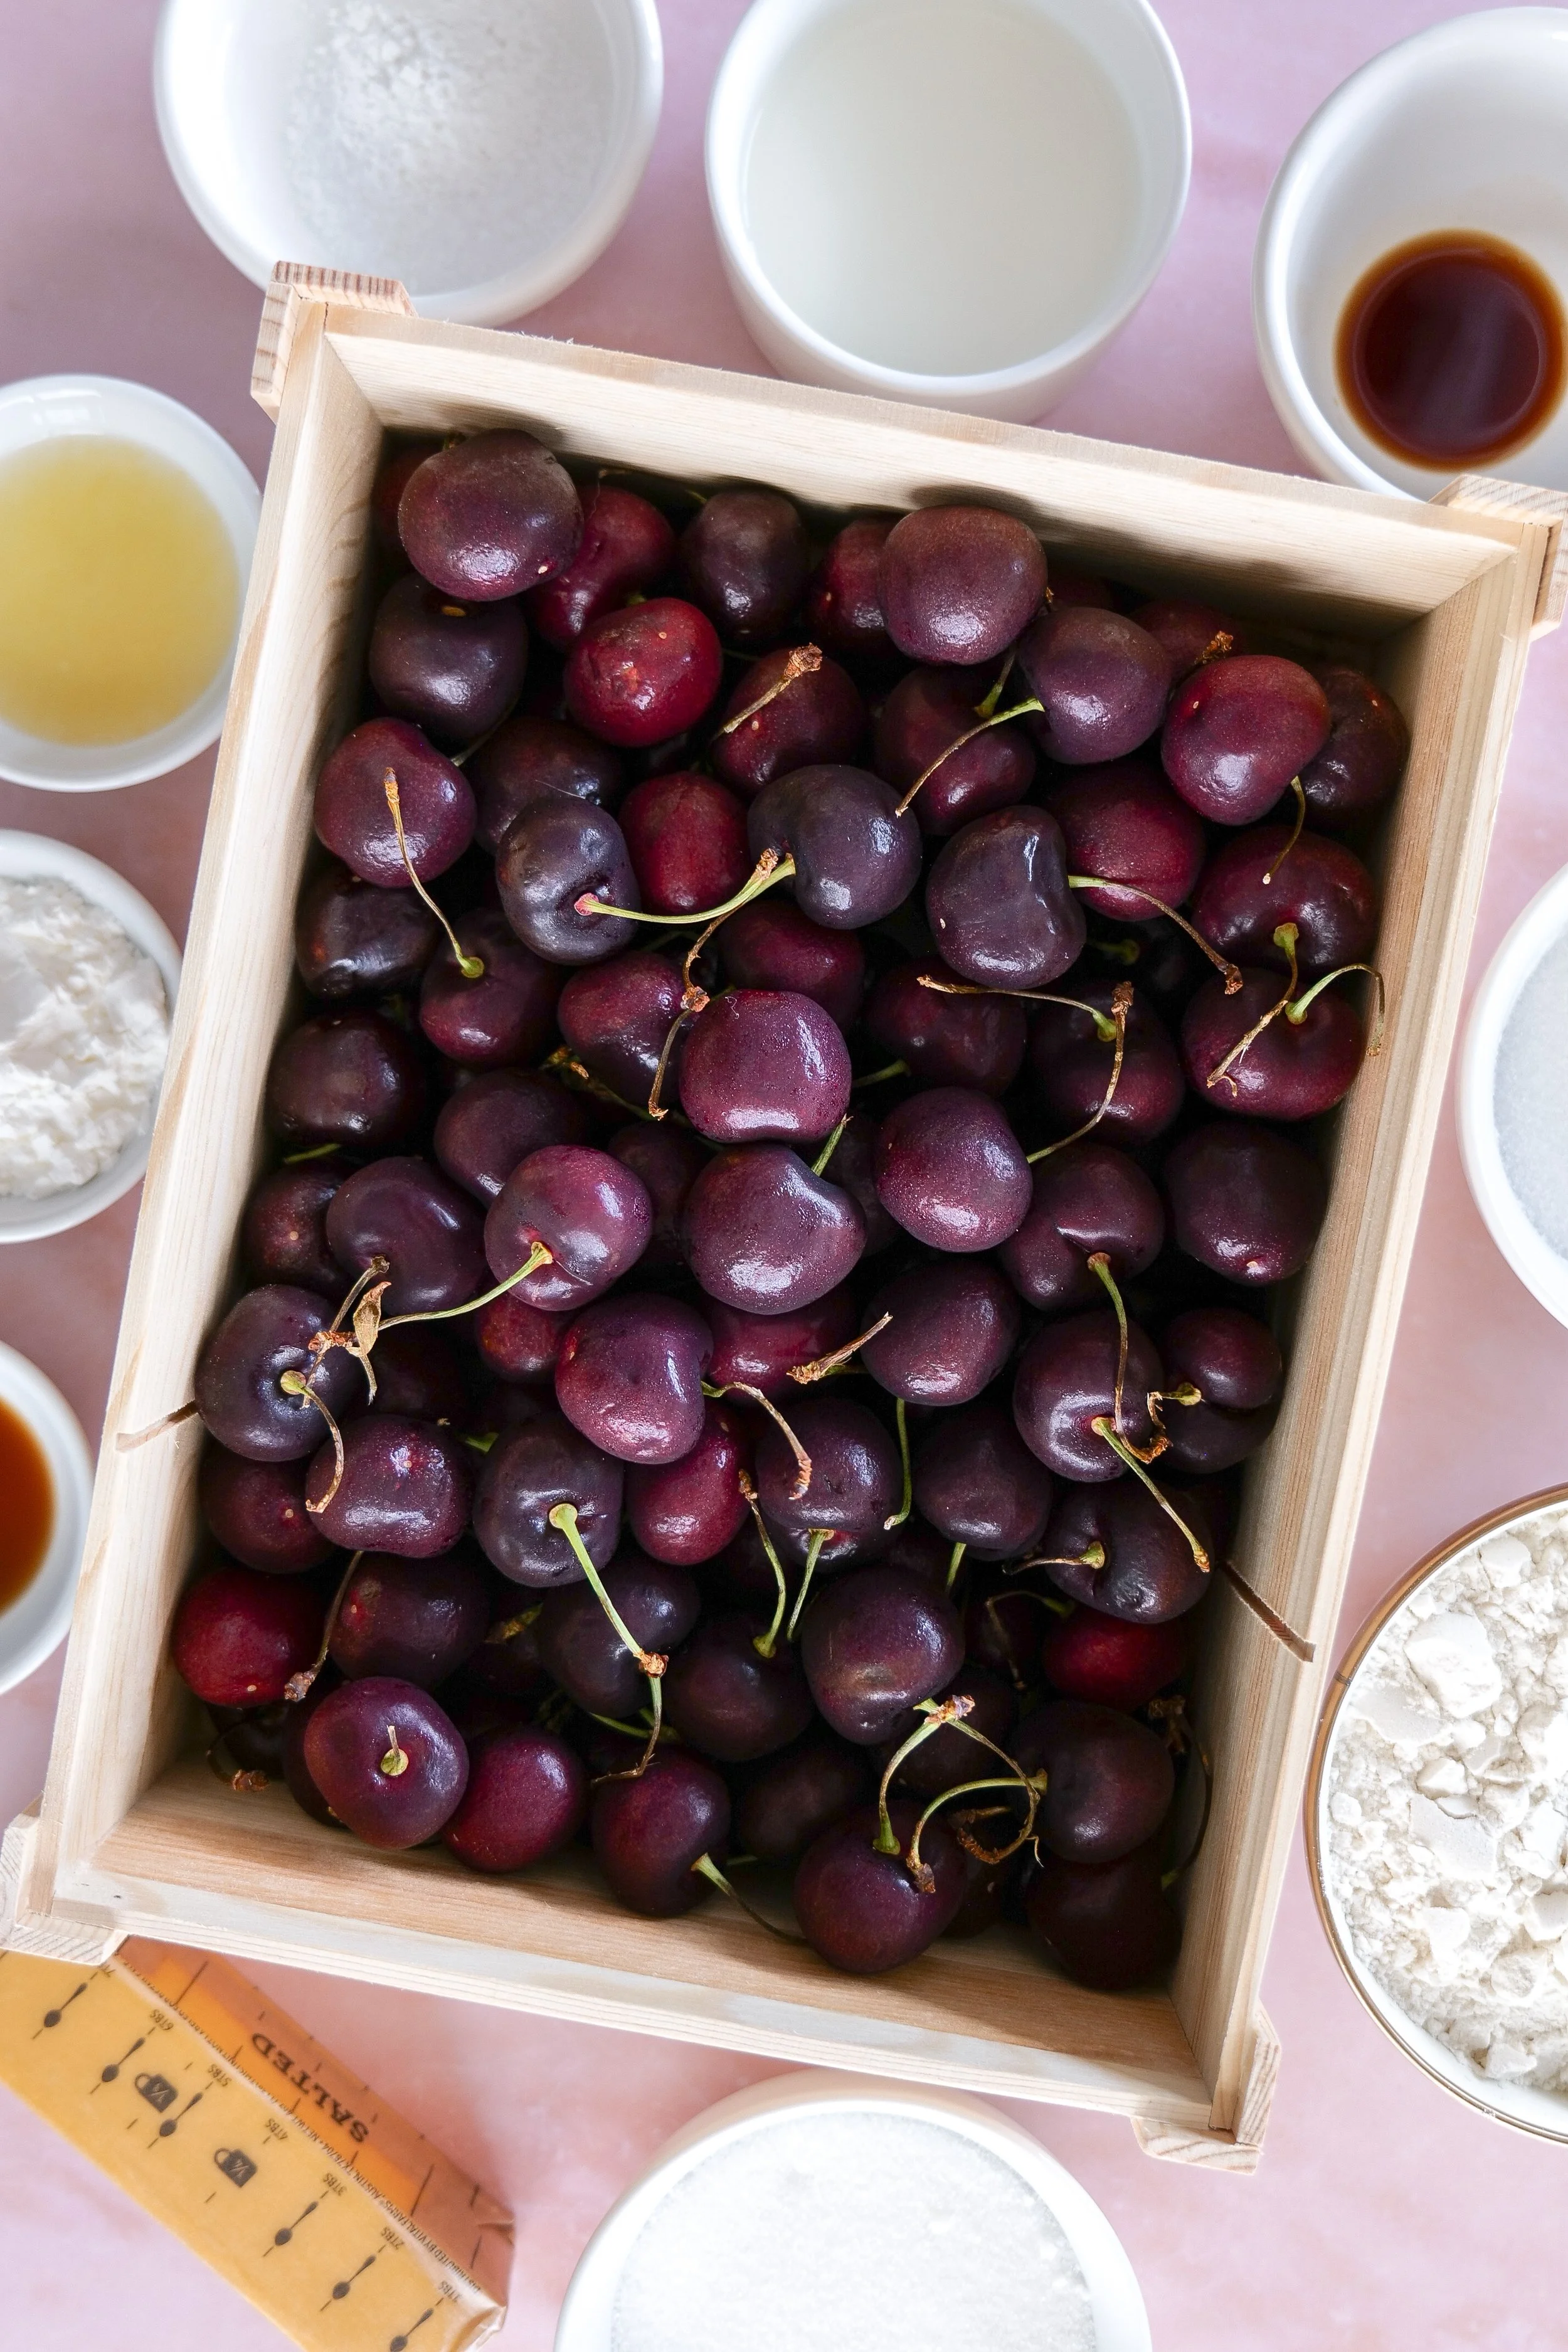
  • 5 cups fresh cherries, pitted and halved

  • 1/2 cup granulated sugar

  • 2 tablespoons cornstarch

  • 1 tablespoon lemon juice

  • 1 teaspoon vanilla extract

  • 1/2 teaspoon almond extract (optional)

Cobbler Topping

  • 1 1/2 cup all-purpose flour

  • 1/2 cup granulated sugar

  • 1/4 cup dark brown sugar

  • 1 teaspoon baking powder

  • 1/4 teaspoon salt

  • 1/2 cup unsalted butter, melted

  • 1/4 cup milk

  • 1 teaspoon vanilla extract

  • 6 tbsp butter

Optional for Serving

  • Vanilla ice cream

  • Fresh whipped cream

  • Fresh mint or cherries for garnish

Instructions

1. Prepare the Cherries

Preheat your oven to 375°F. In a large mixing bowl, combine the fresh cherries, sugar, cornstarch, lemon juice, vanilla extract, and almond extract. Stir gently until evenly coated.

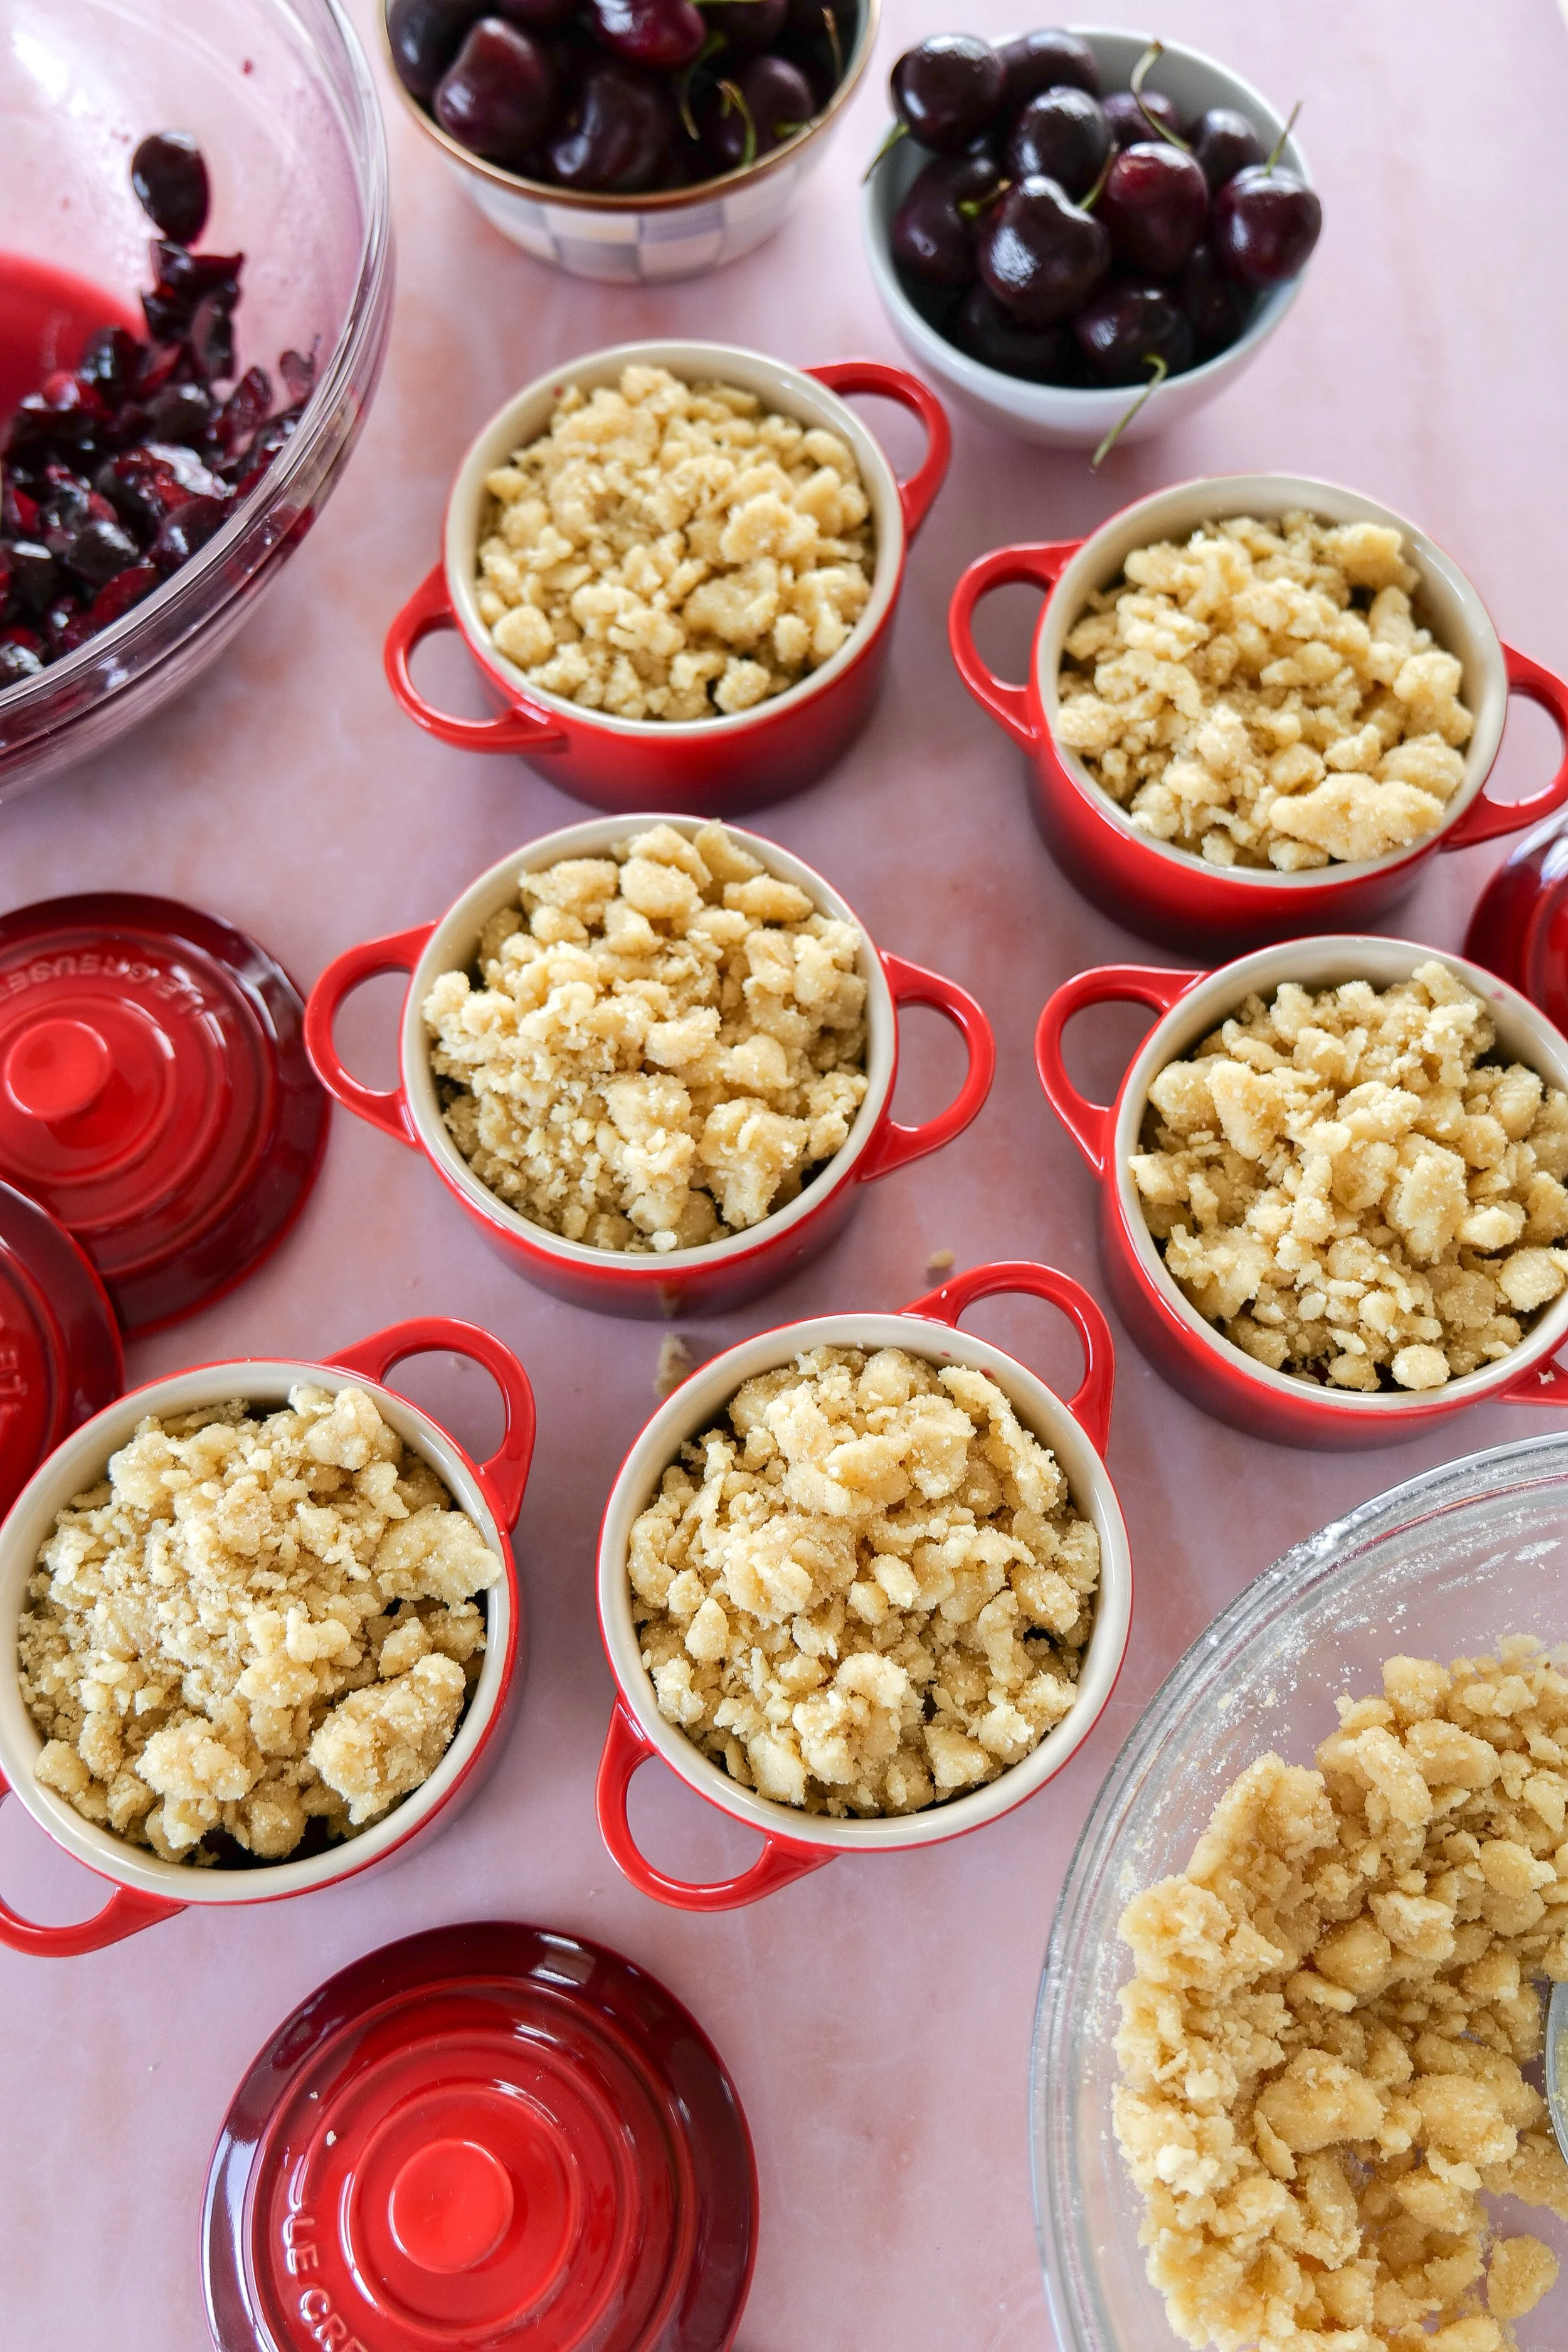
Divide the cherry filling evenly between 6 mini cocottes or ramekins.

2. Make the Cobbler Topping

In another bowl, whisk together the flour, sugar, baking powder, and salt. Stir in the melted butter, milk, and vanilla extract until just combined. Be careful not to overmix.

Spoon the cobbler topping evenly over each cherry-filled dish.

3. Bake

Place the mini cobblers onto a baking sheet and bake for 25–30 minutes, or until the topping is golden and the cherry filling is bubbling around the edges. The last 5 minutes add 1 tbsp of butter onto the top of each cobbler.

4. Serve Warm

Allow the mini cherry cobblers to cool slightly before serving. Top with vanilla ice cream or whipped cream for the ultimate summer dessert.

These individual cobblers are especially beautiful served on a patriotic tablescape during summer gatherings and holiday weekends.
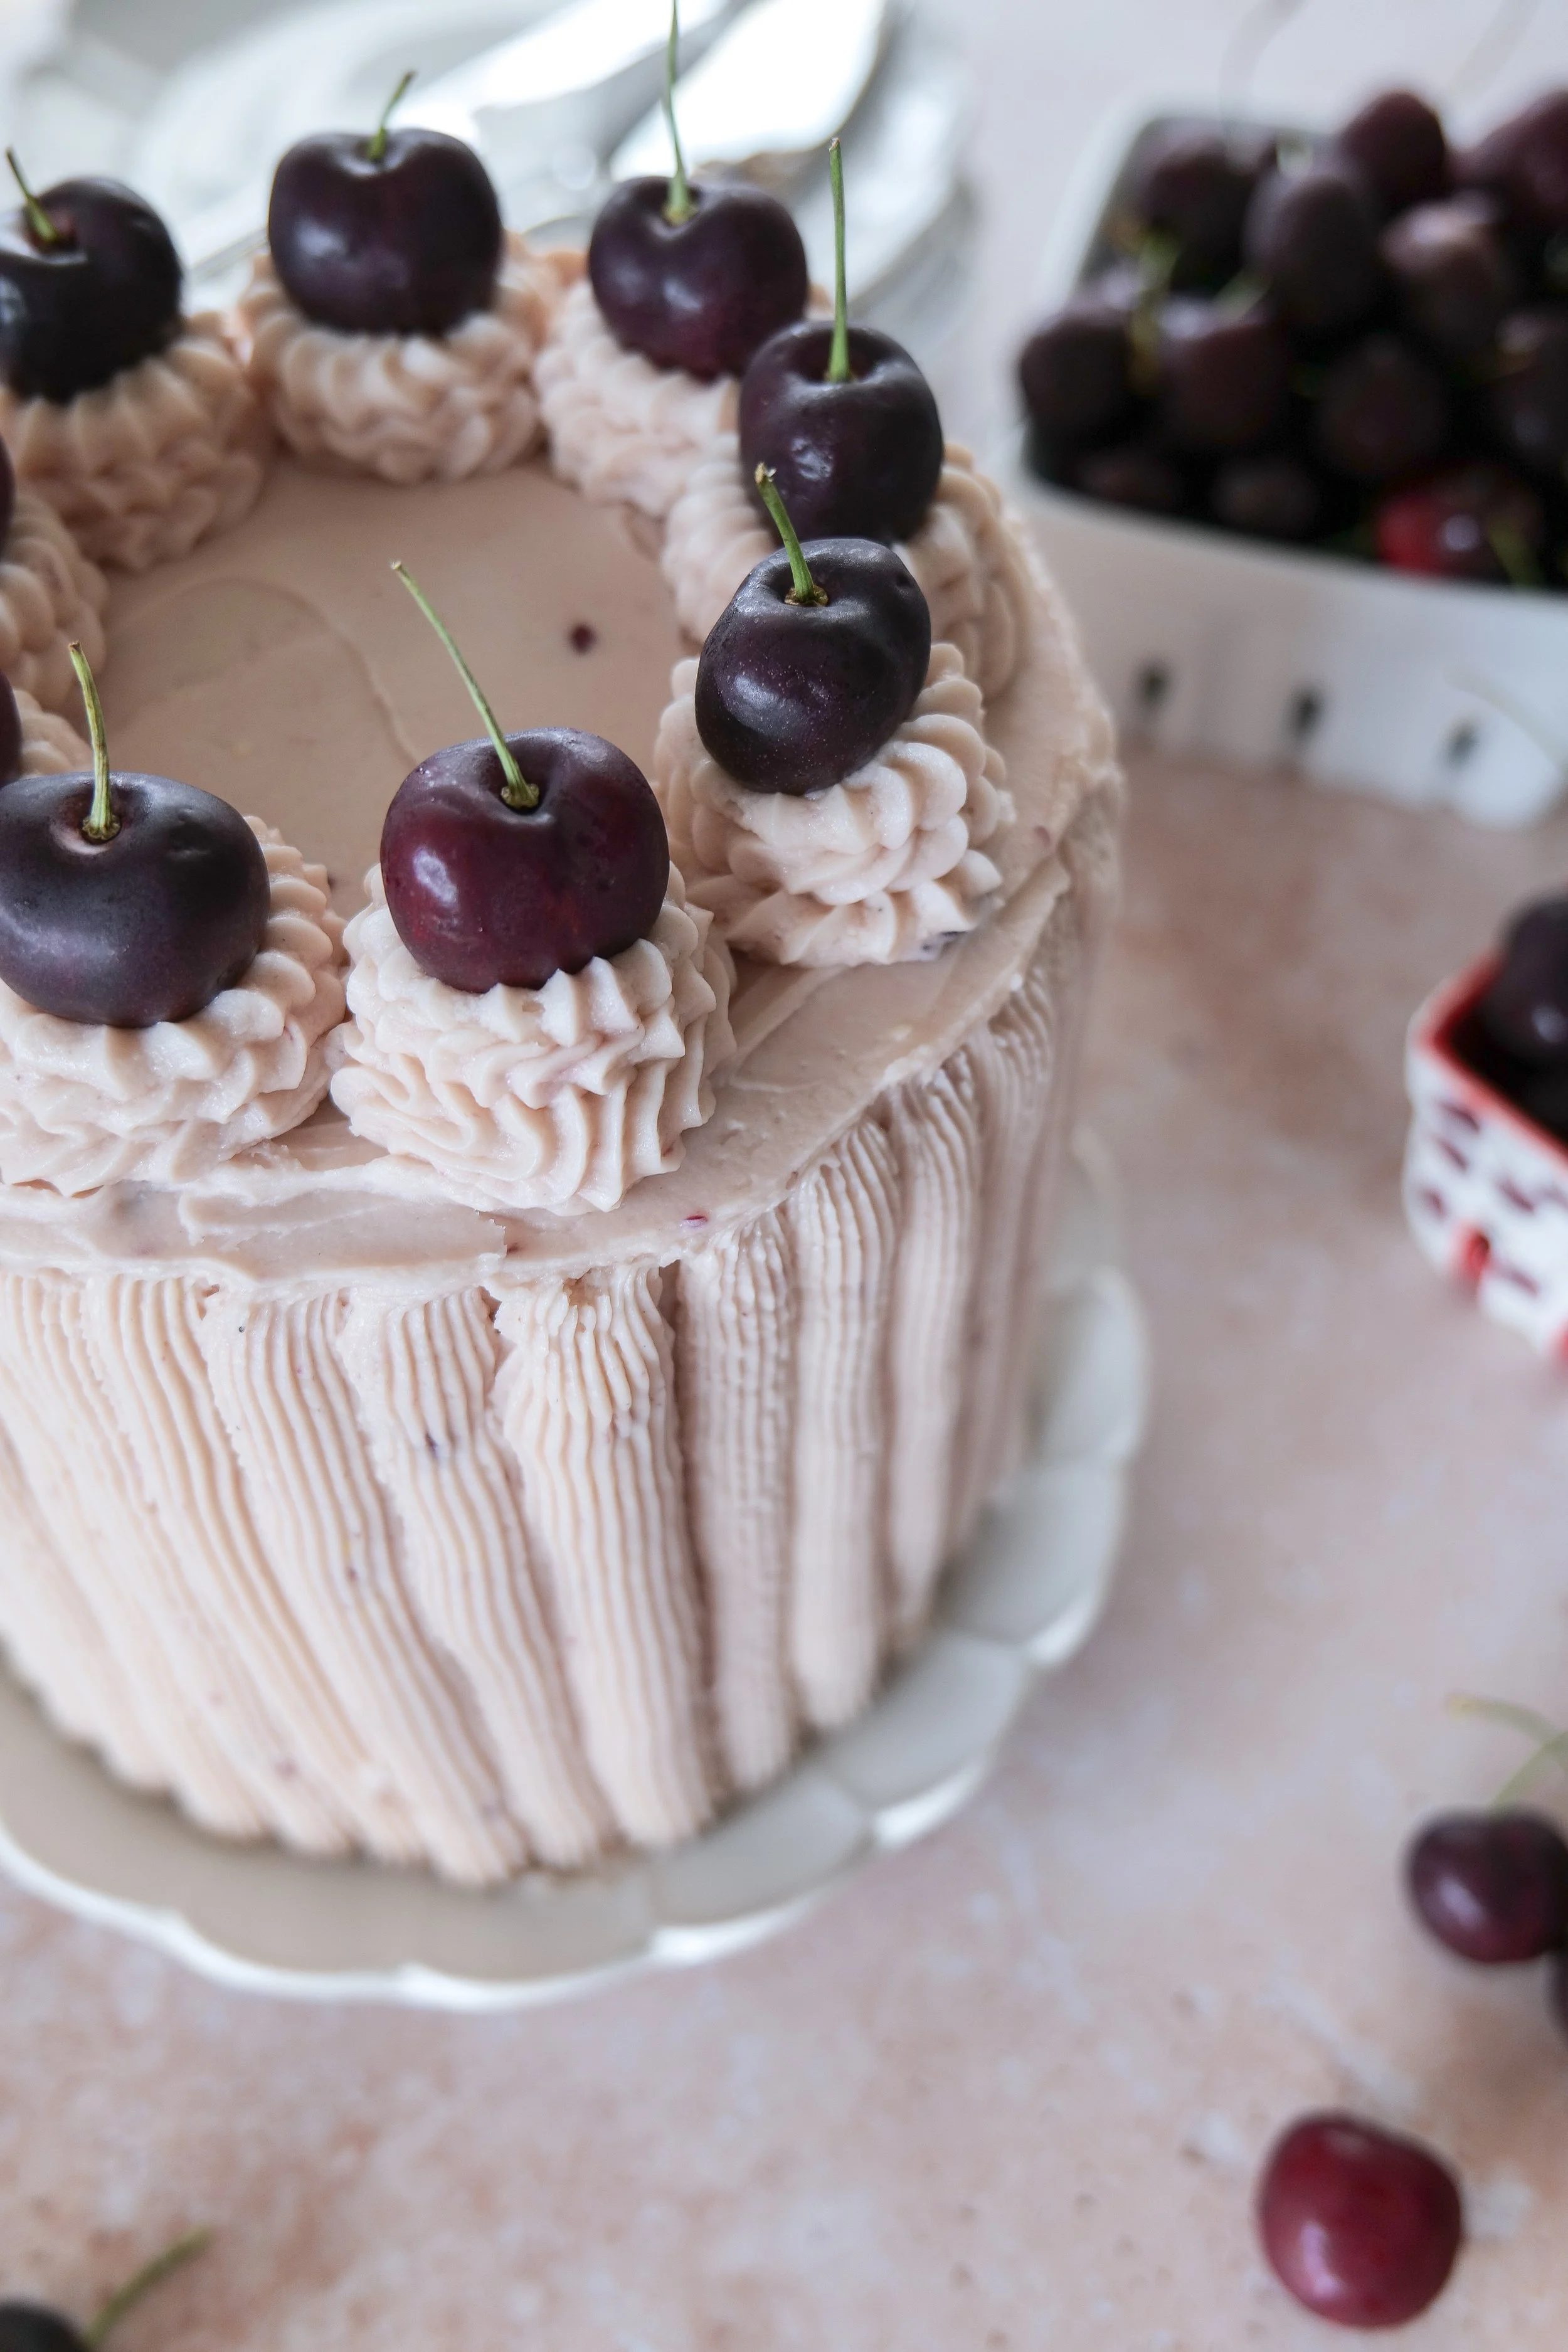
If you’re styling your own Americana-inspired summer table, you can find more favorites in my All American Mama collection filled with timeless summer style, cozy hosting inspiration, and classic Americana finds.
What to Serve with Mini Cherry Cobblers

These mini cobblers pair beautifully with so many summer favorites. Serve them alongside:

  • Vanilla bean ice cream

  • Fresh whipped cream

  • Iced coffee or cold brew

  • Summer charcuterie boards

  • Fresh fruit and berries

  • Backyard BBQ favorites

For more nostalgic summer dessert ideas, don’t miss my Berry Custard Puff Pastry Tart and my 4th of July Fruit Pizza Recipe — both perfect for summer entertaining and patriotic celebrations.

Tips for the Best Cherry Cobbler

If you want your mini cherry cobblers to turn out perfectly every time, keep these simple tips in mind:

  • Use fresh cherries for the best flavor and texture

  • Don’t overmix the topping or it can become dense

  • Bake until the filling is bubbling and the topping is golden brown

  • Place ramekins on a baking sheet to catch any bubbling juices

  • Let the cobblers cool slightly before serving

Patriotic cherry cobbler dessert perfect for Fourth of July celebrations
Cherry cobbler styled for Americana summer entertaining
Warm cherry cobbler served with vanilla ice cream
Red white and blue dessert idea featuring homemade cherry cobbler

Easy Variations to Try

One of the best things about this easy cherry cobbler recipe is how customizable it can be.

Mixed Berry Cherry Cobbler

Add blueberries or blackberries for a patriotic red, white, and blue summer dessert.

Gluten-Free Version

Swap the all-purpose flour for your favorite 1:1 gluten-free baking flour.

Cast Iron Cherry Cobbler

Instead of mini ramekins, bake the cobbler in a cast iron skillet for a rustic family-style dessert.

Almond Cherry Cobbler

Add sliced almonds and extra almond extract for a richer cherry flavor.

Frequently Asked Questions

Can I use frozen cherries?

Yes! Frozen cherries work well in this recipe. Just thaw and drain excess liquid before using.

Can mini cherry cobblers be made ahead of time?

Absolutely. You can prepare the filling and topping ahead, then bake just before serving.

How do I store leftover cobbler?

Store leftover cobblers covered in the refrigerator for up to 3 days.

What are the best cherries for cobbler?

Sweet cherries like Bing cherries work beautifully for fresh cherry cobbler recipes.

Can I bake these in ramekins?

Yes! Any small oven-safe ramekins or mini baking dishes will work perfectly.

Looking for More Summer Recipes?

If you love cozy summer baking and nostalgic Americana-inspired recipes, be sure to check out:

And don’t forget to browse my American Summer Hosting, Cozy Baking Essentials, and All American Mama collections for even more summer inspiration.

From Amanda's Kitchen

A collection of timeless recipes for gathering around the table.

Some recipes become family favorites because they remind us that the sweetest moments in life are often the simplest ones.

That's exactly why I created these From Amanda's Kitchen printable recipe cards. Whether you're baking for a holiday weekend, sharing dessert with neighbors, or saving recipes to pass down one day, my hope is that these cards become part of the memories you make around your own table.
Because the best recipes aren't just made—they're shared with the people we love, celebrated through every season, and passed from one kitchen to another.

Save or print the recipe card below so it's always ready for your next gathering.

Individual cherry cobblers topped with golden brown crust
Mini fruit cobblers served in small baking dishes
Cozy cherry cobbler recipe perfect for summer evenings
Cherry cobbler dessert styled for summer entertaining
Fourth of July cherry dessert for summer gatherings
Homemade cherry cobbler with a buttery golden topping
Cherry cobbler topped with a scoop of vanilla ice cream

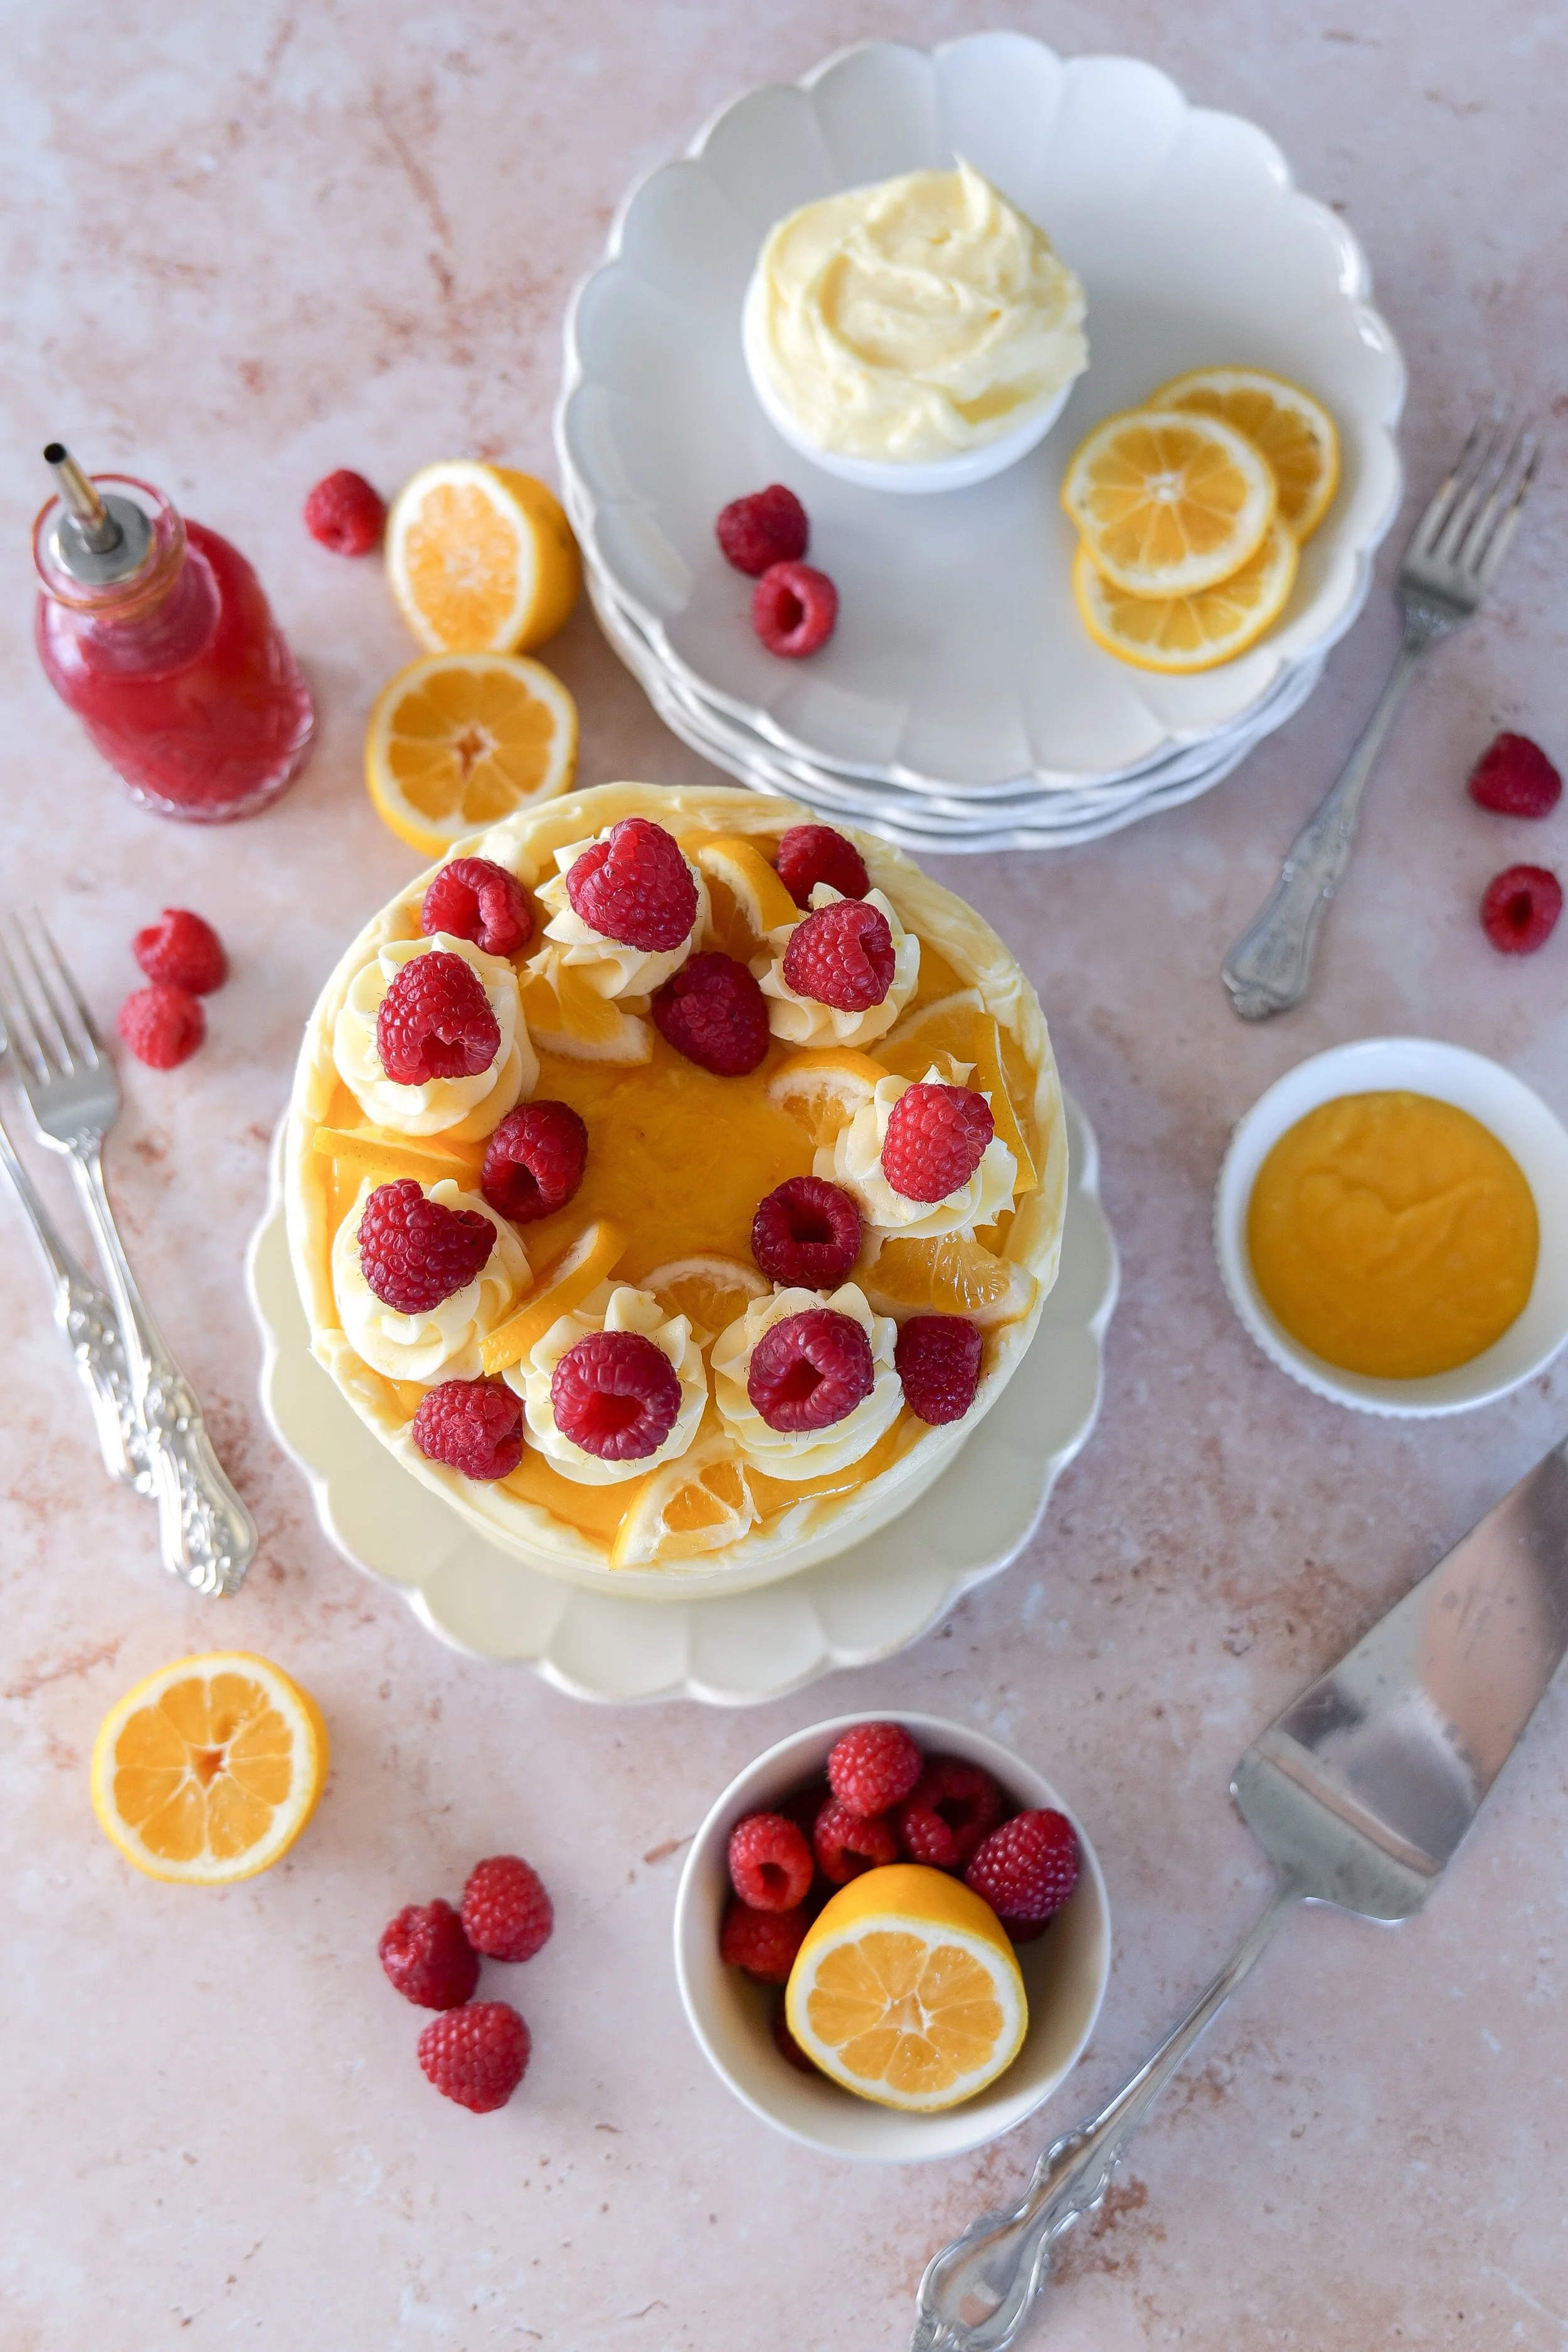
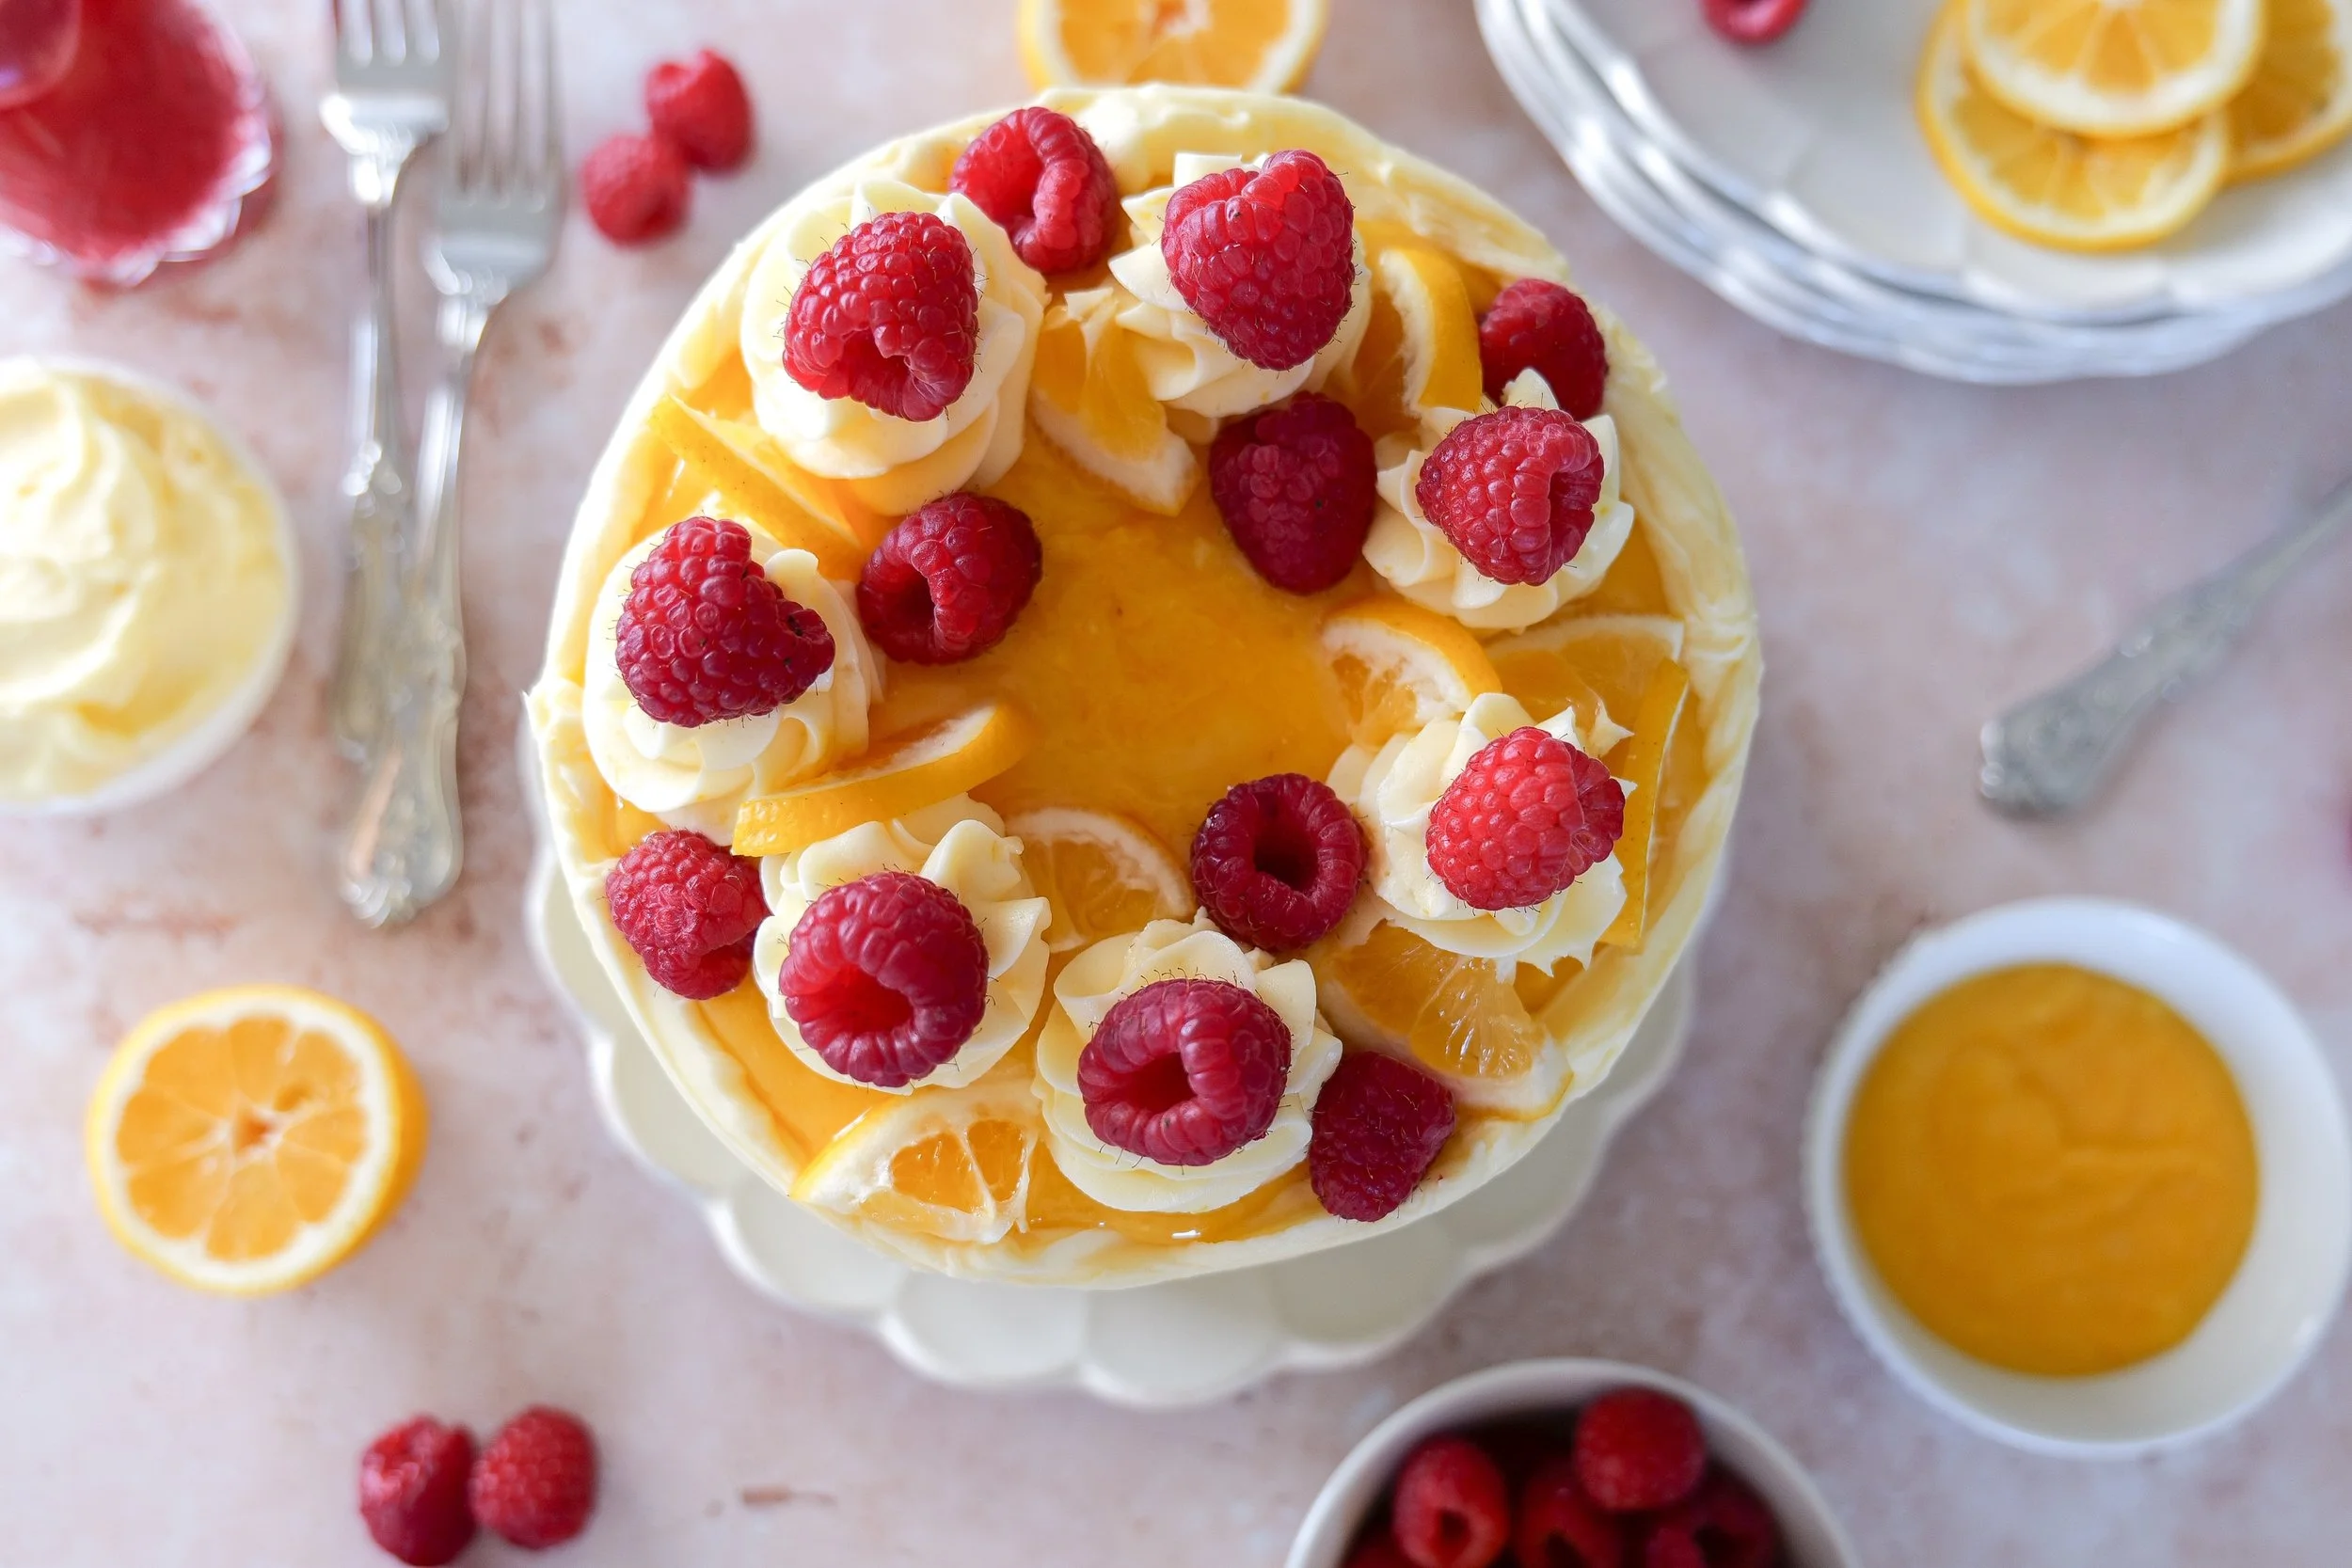
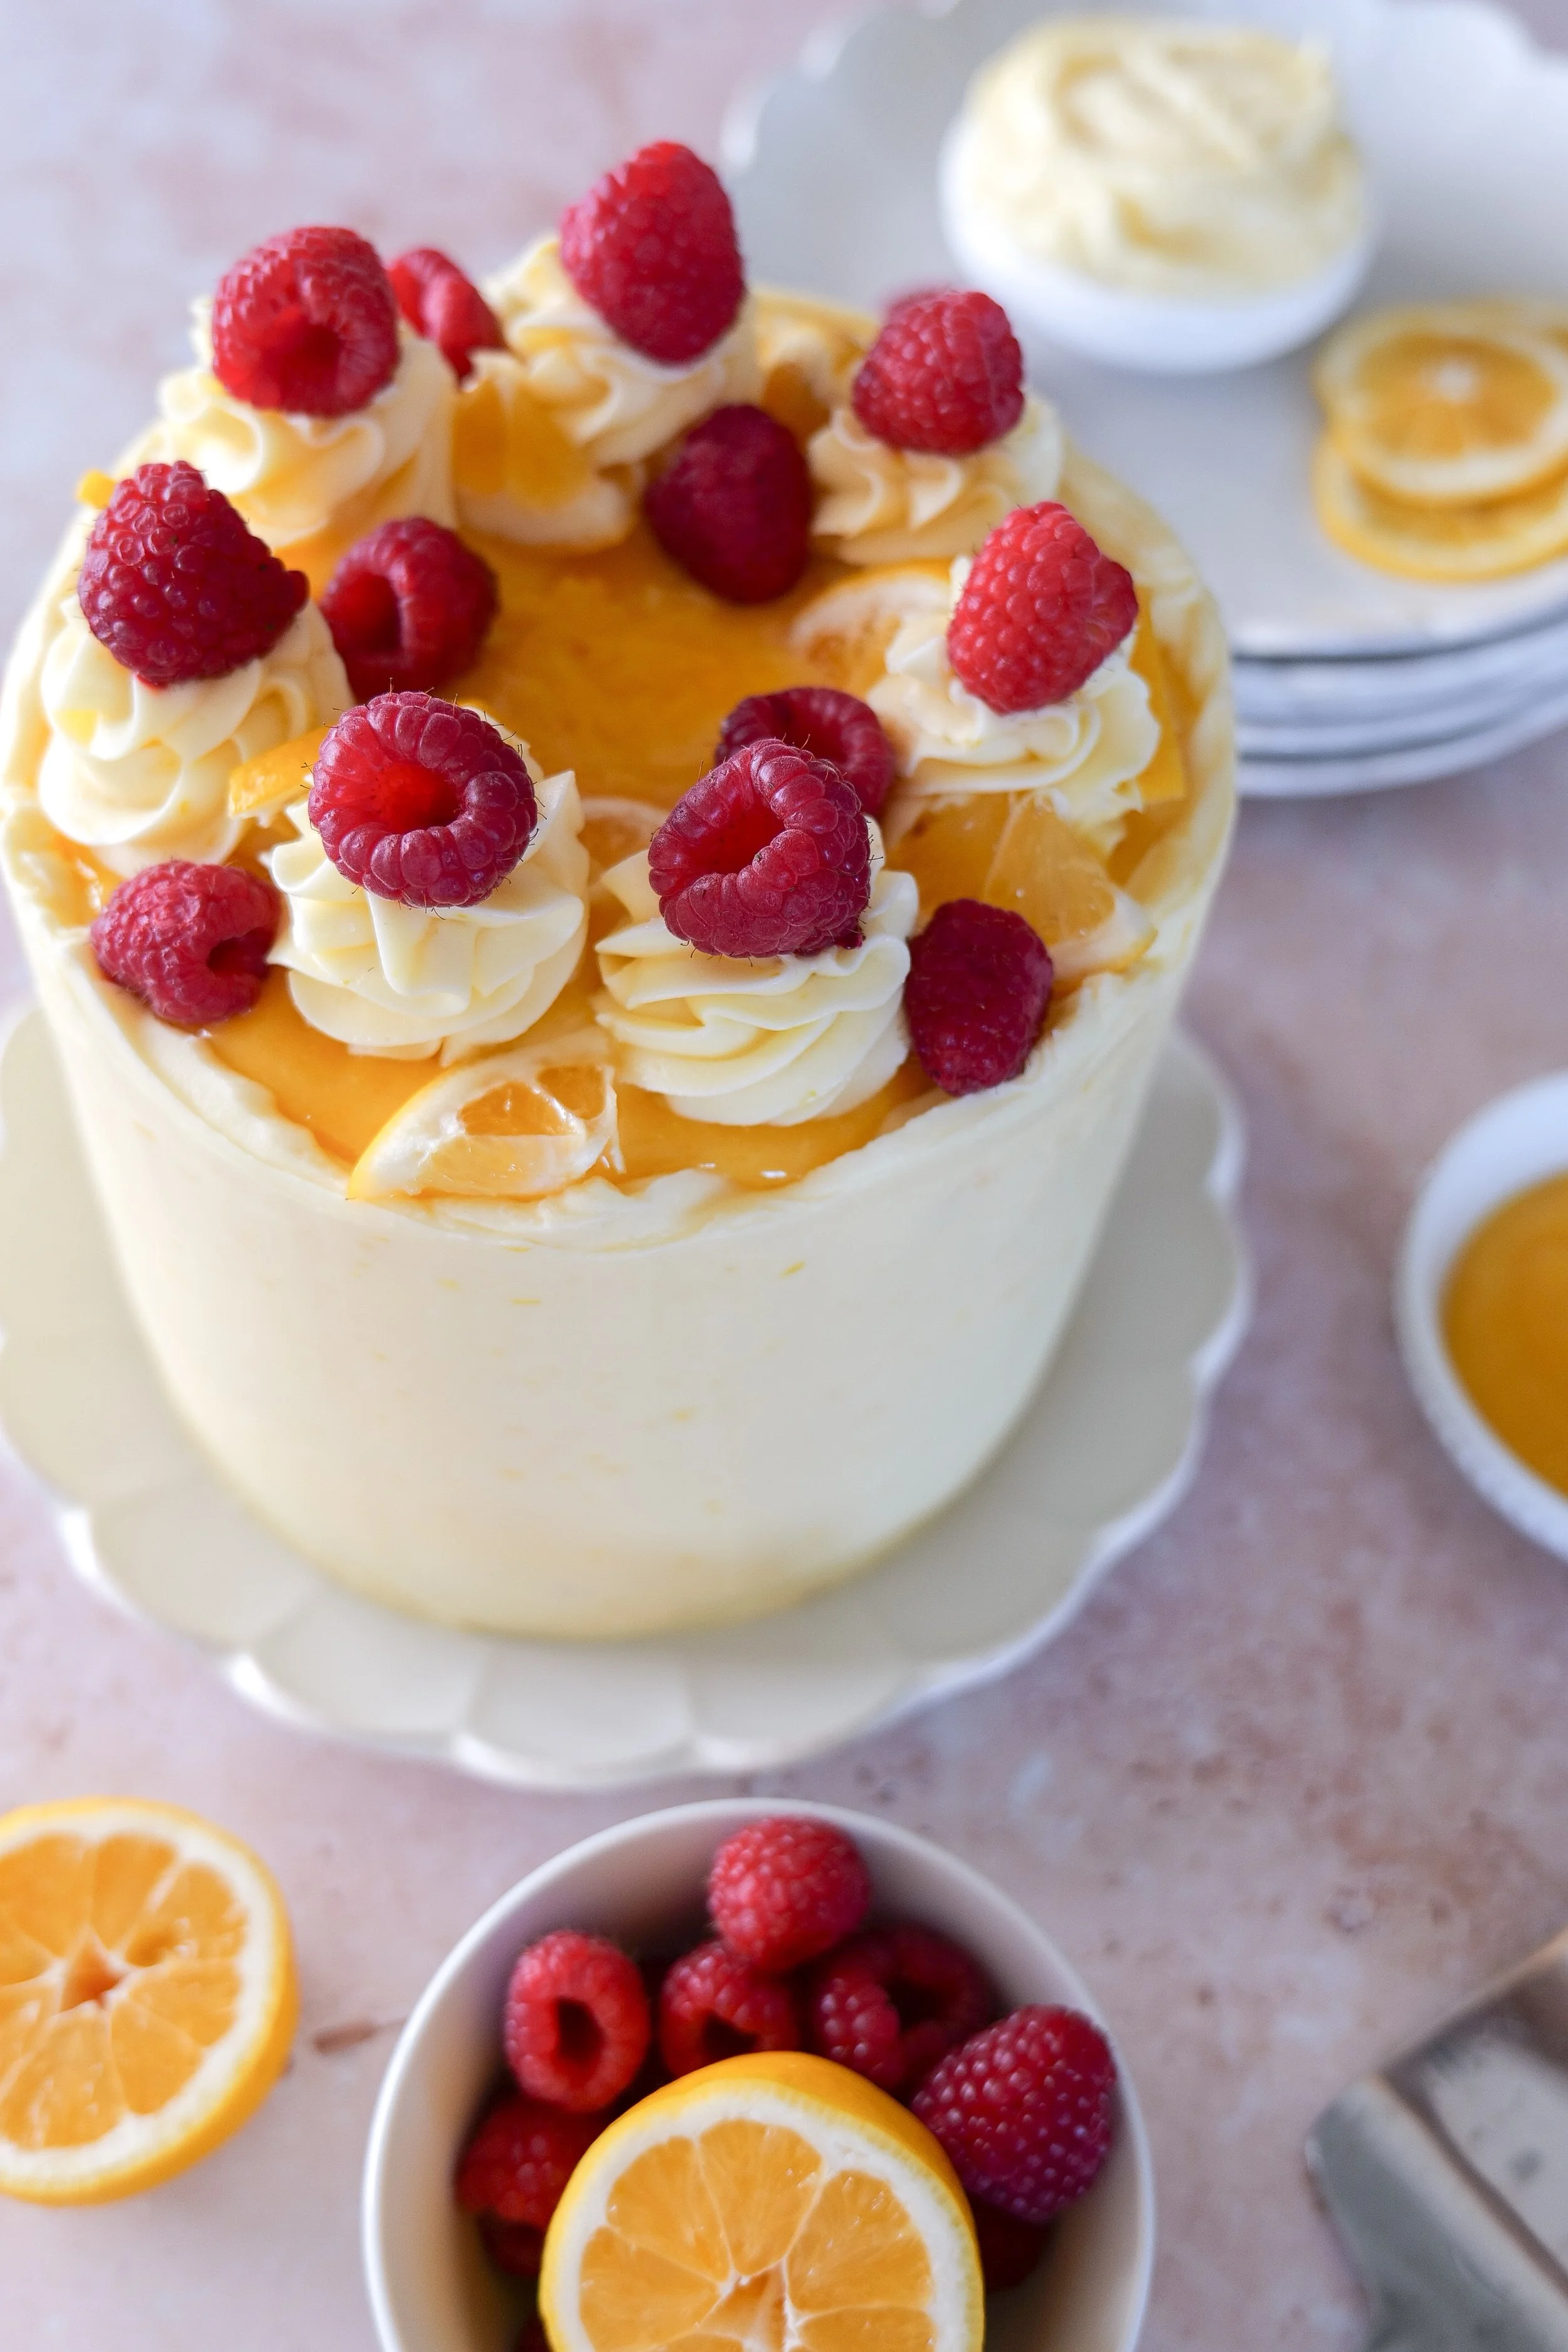
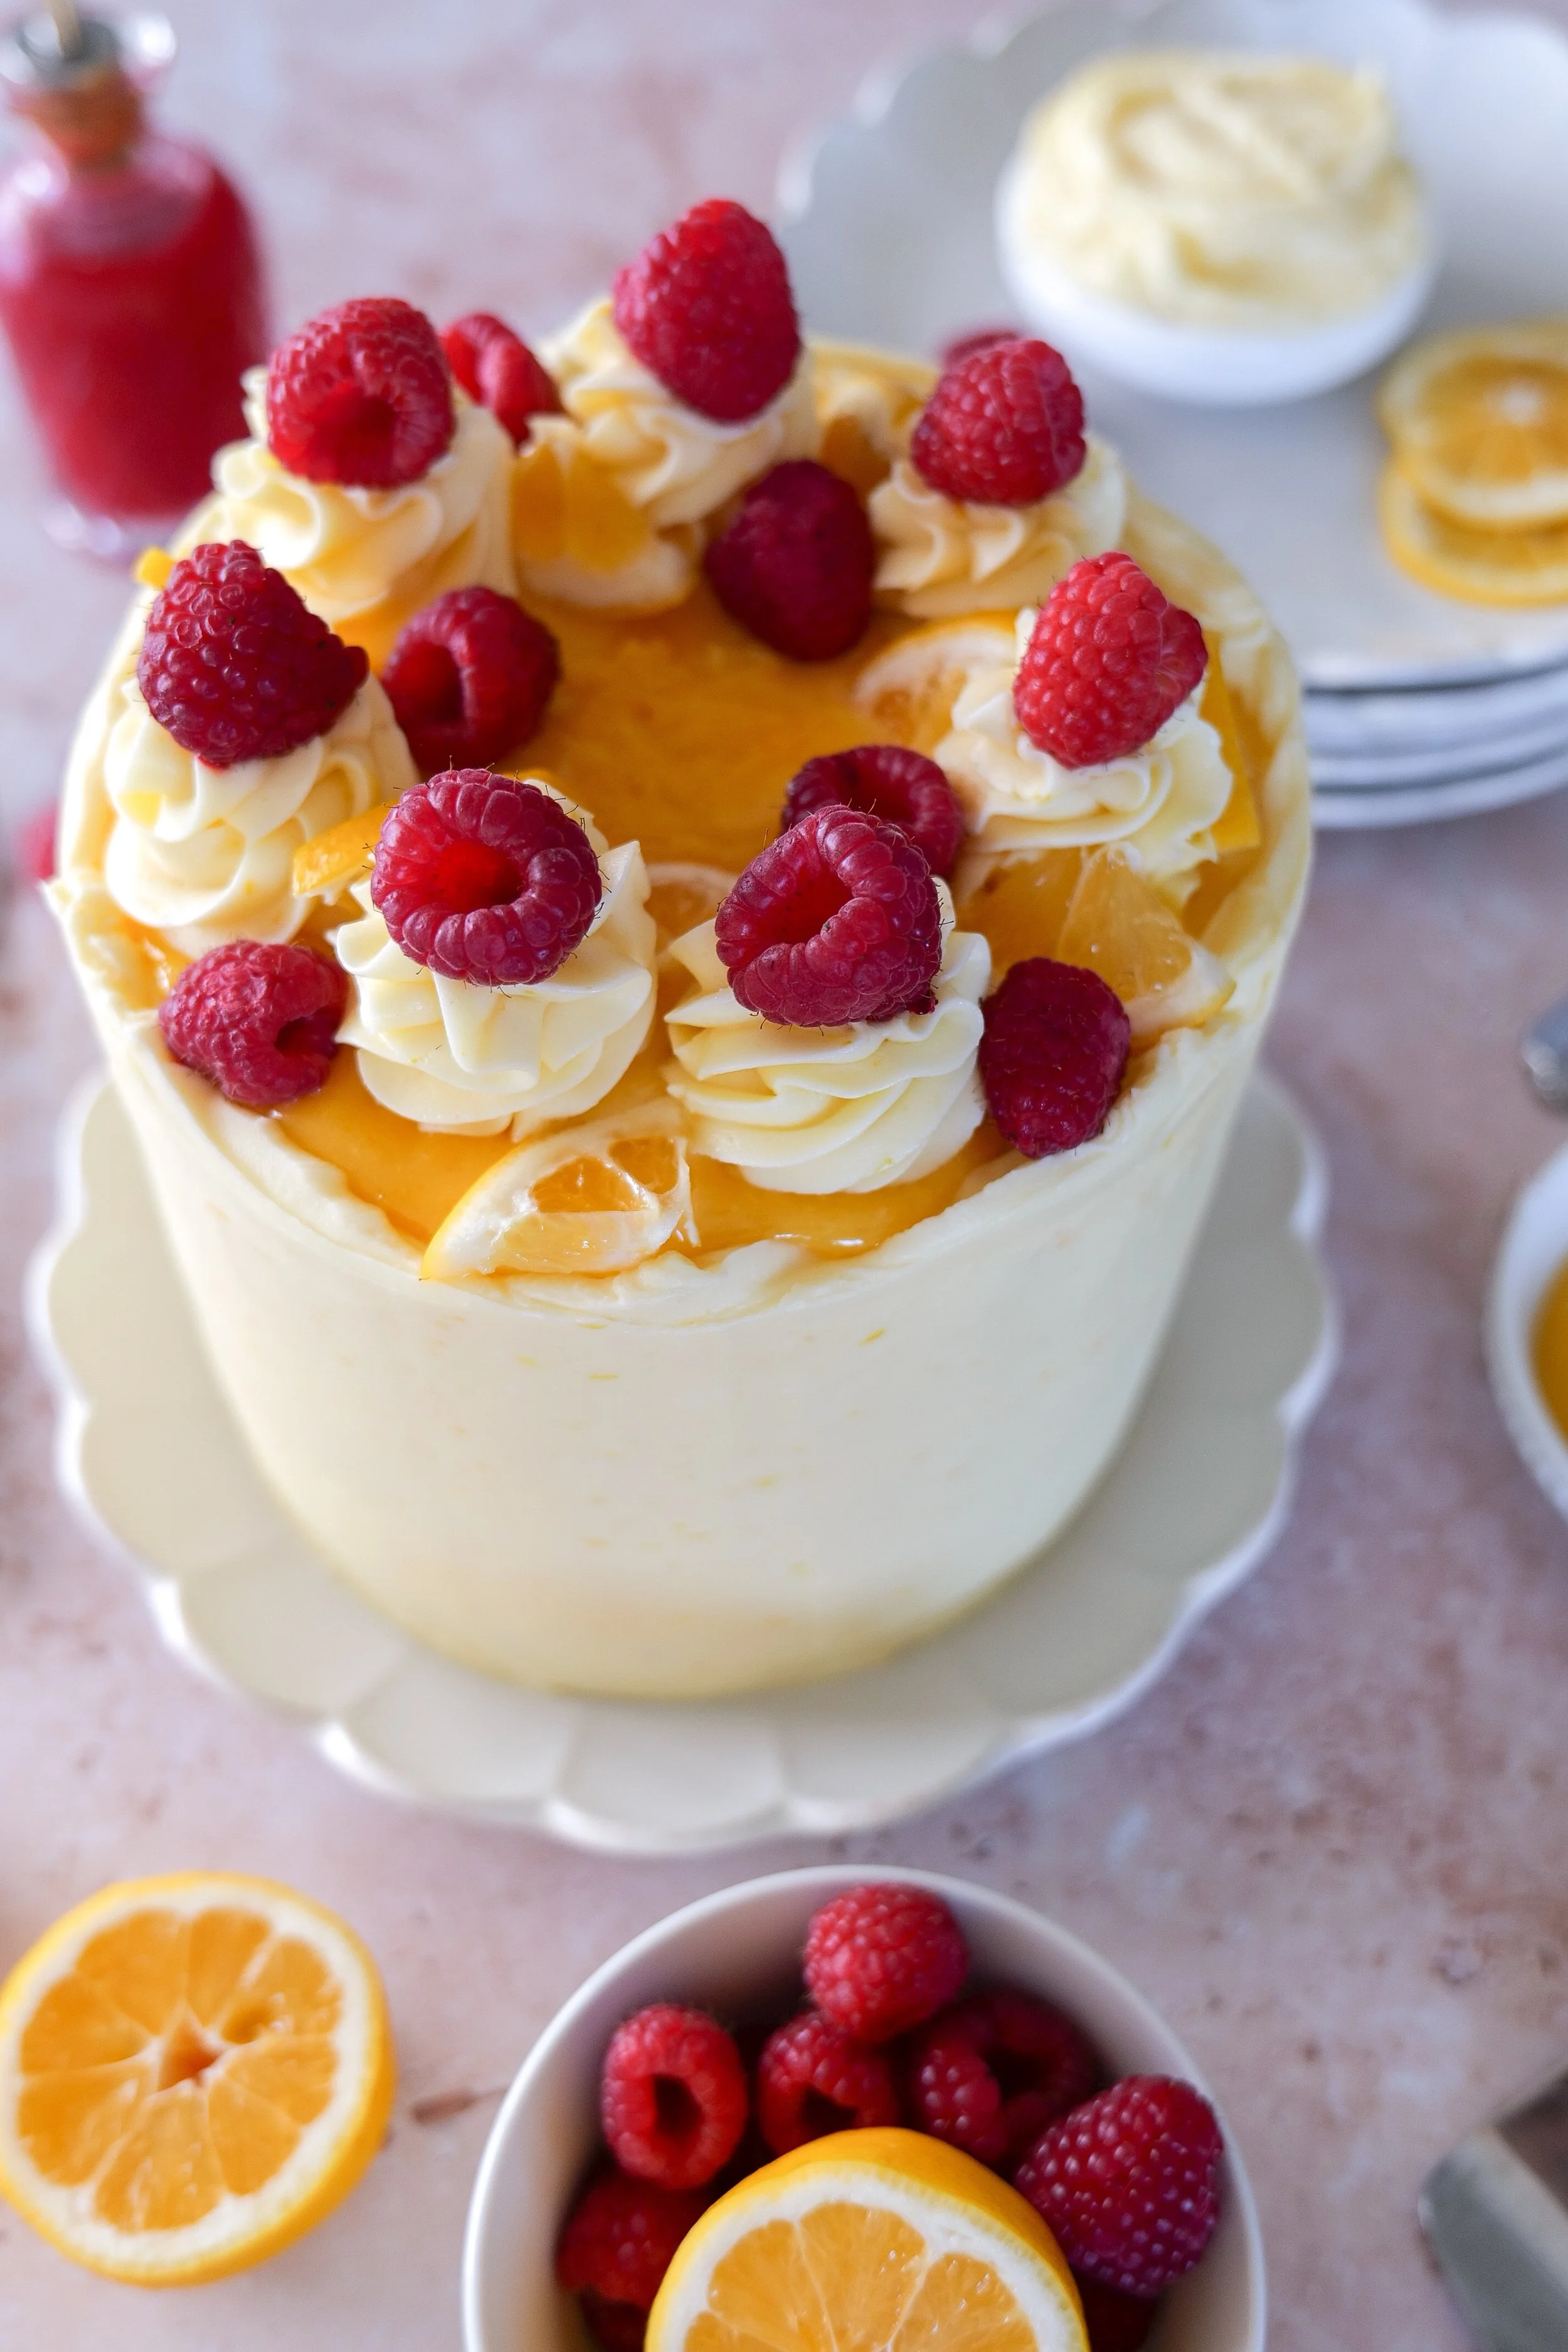
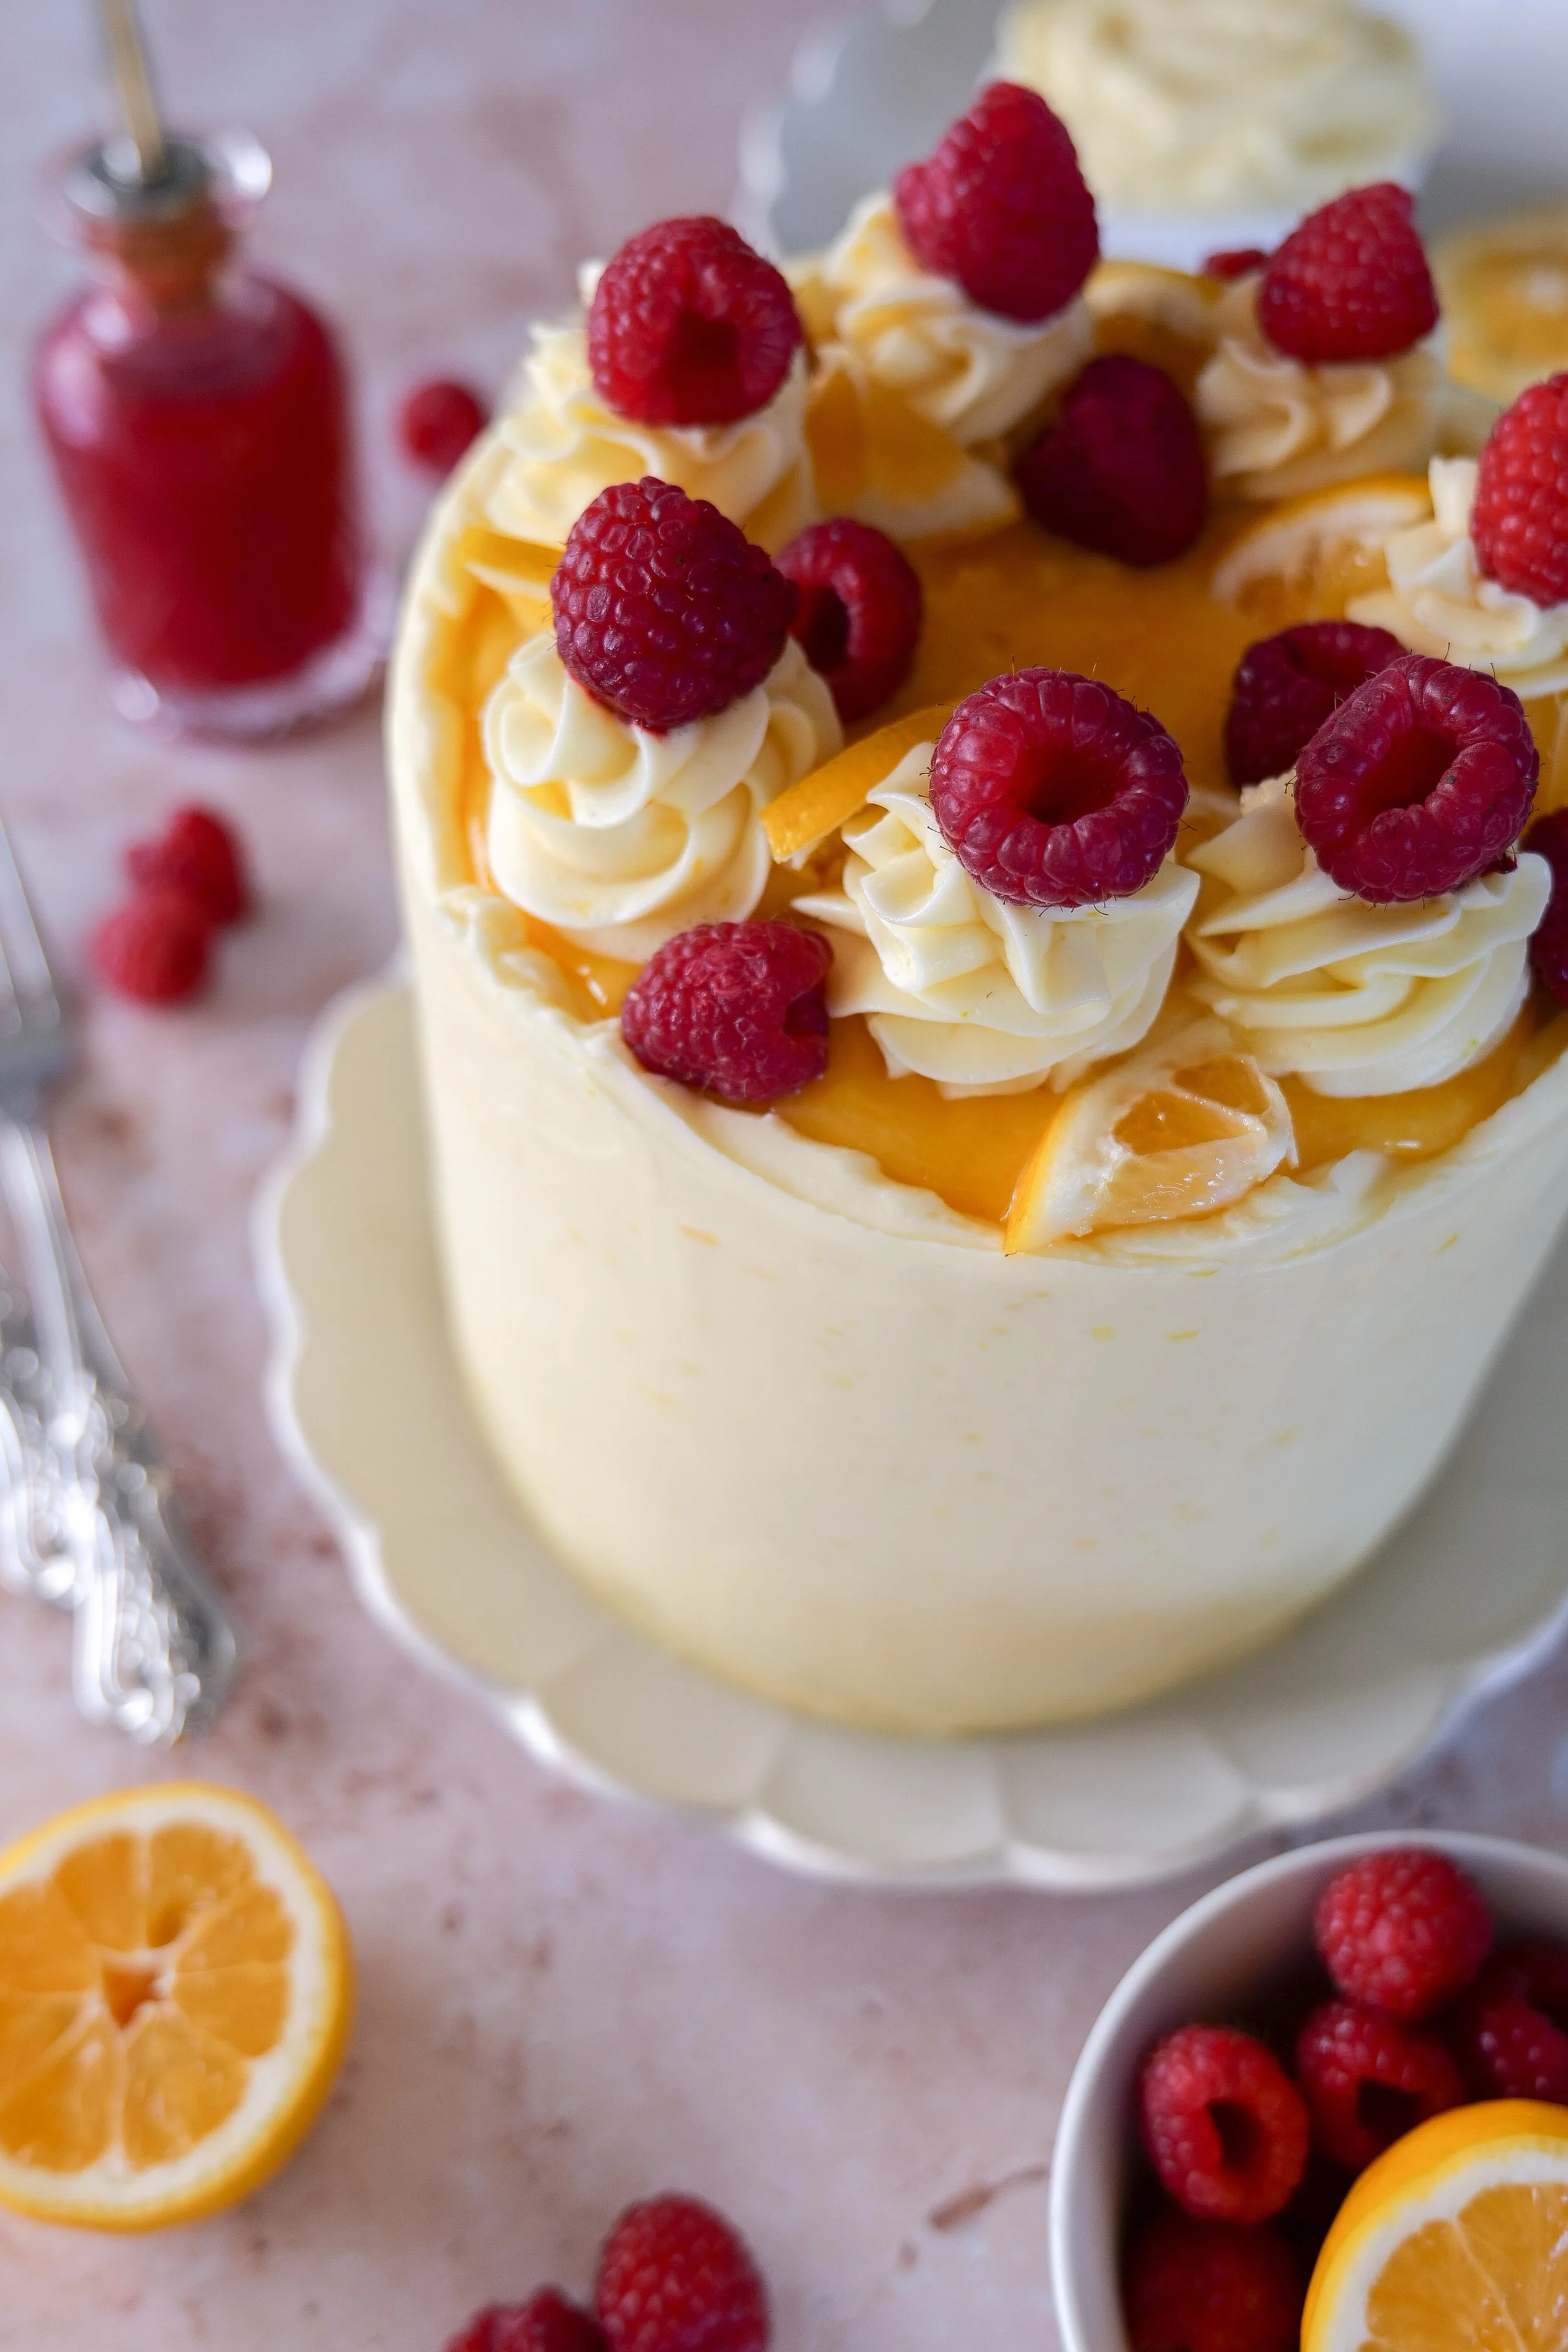
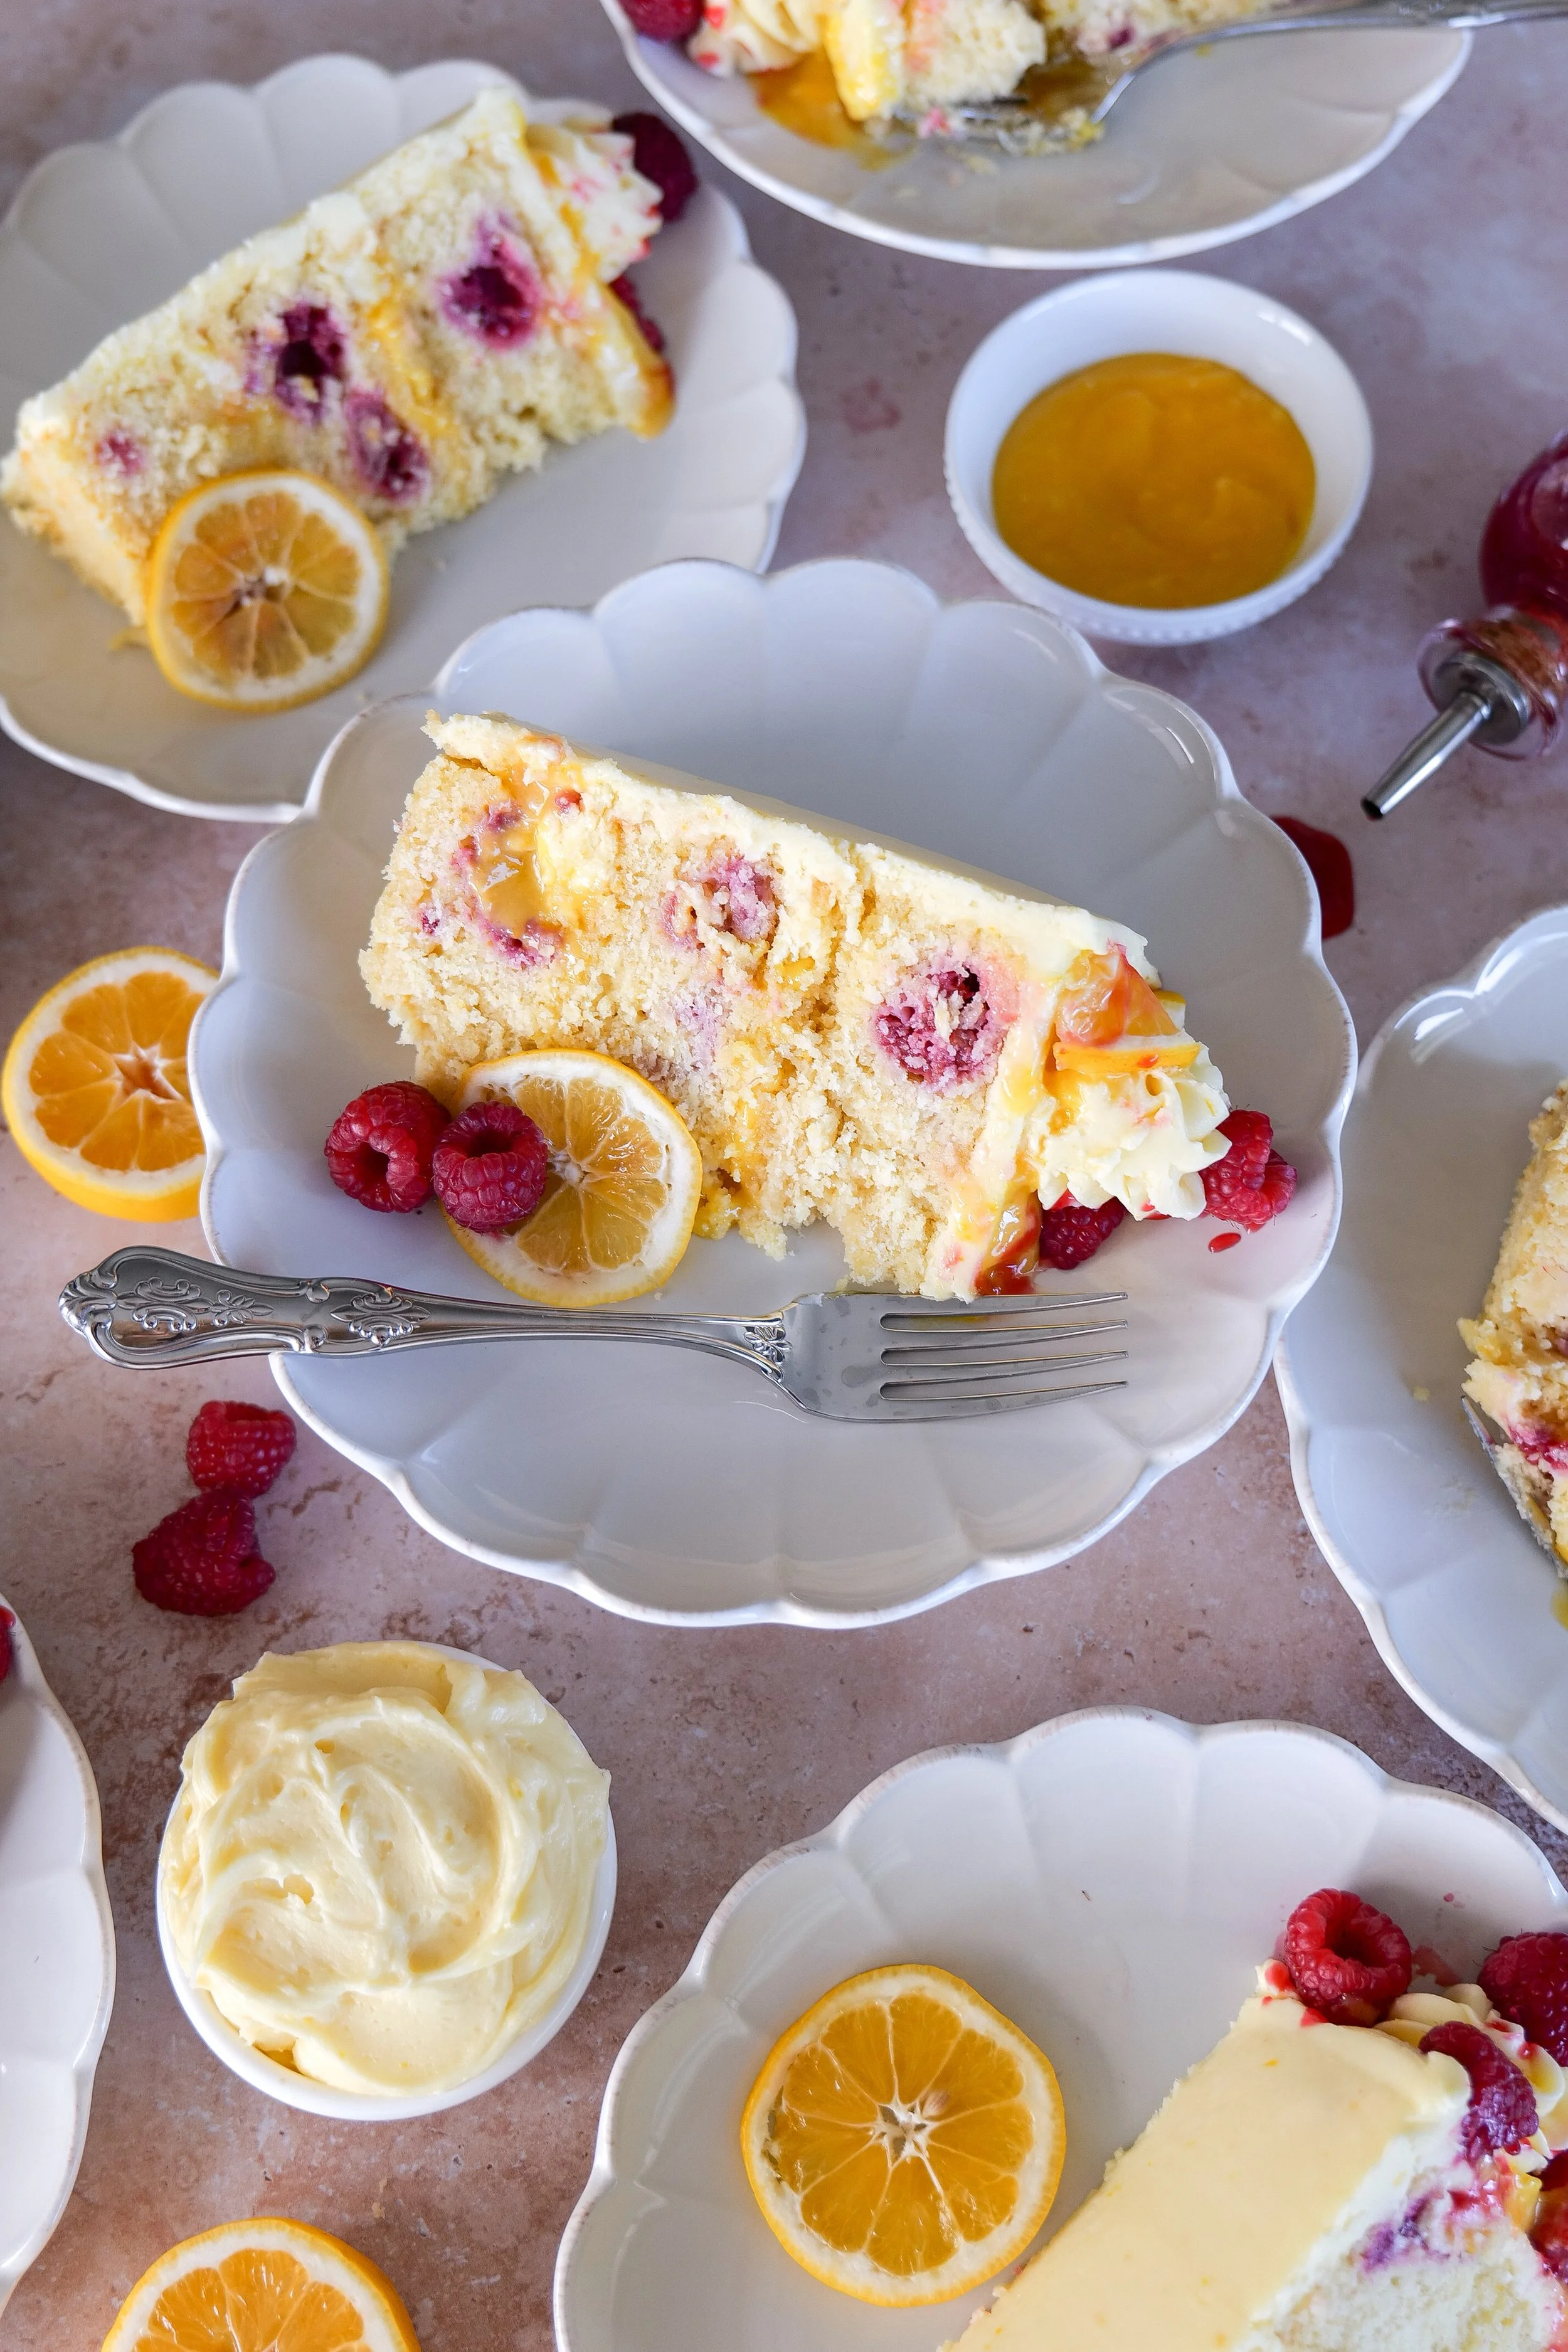
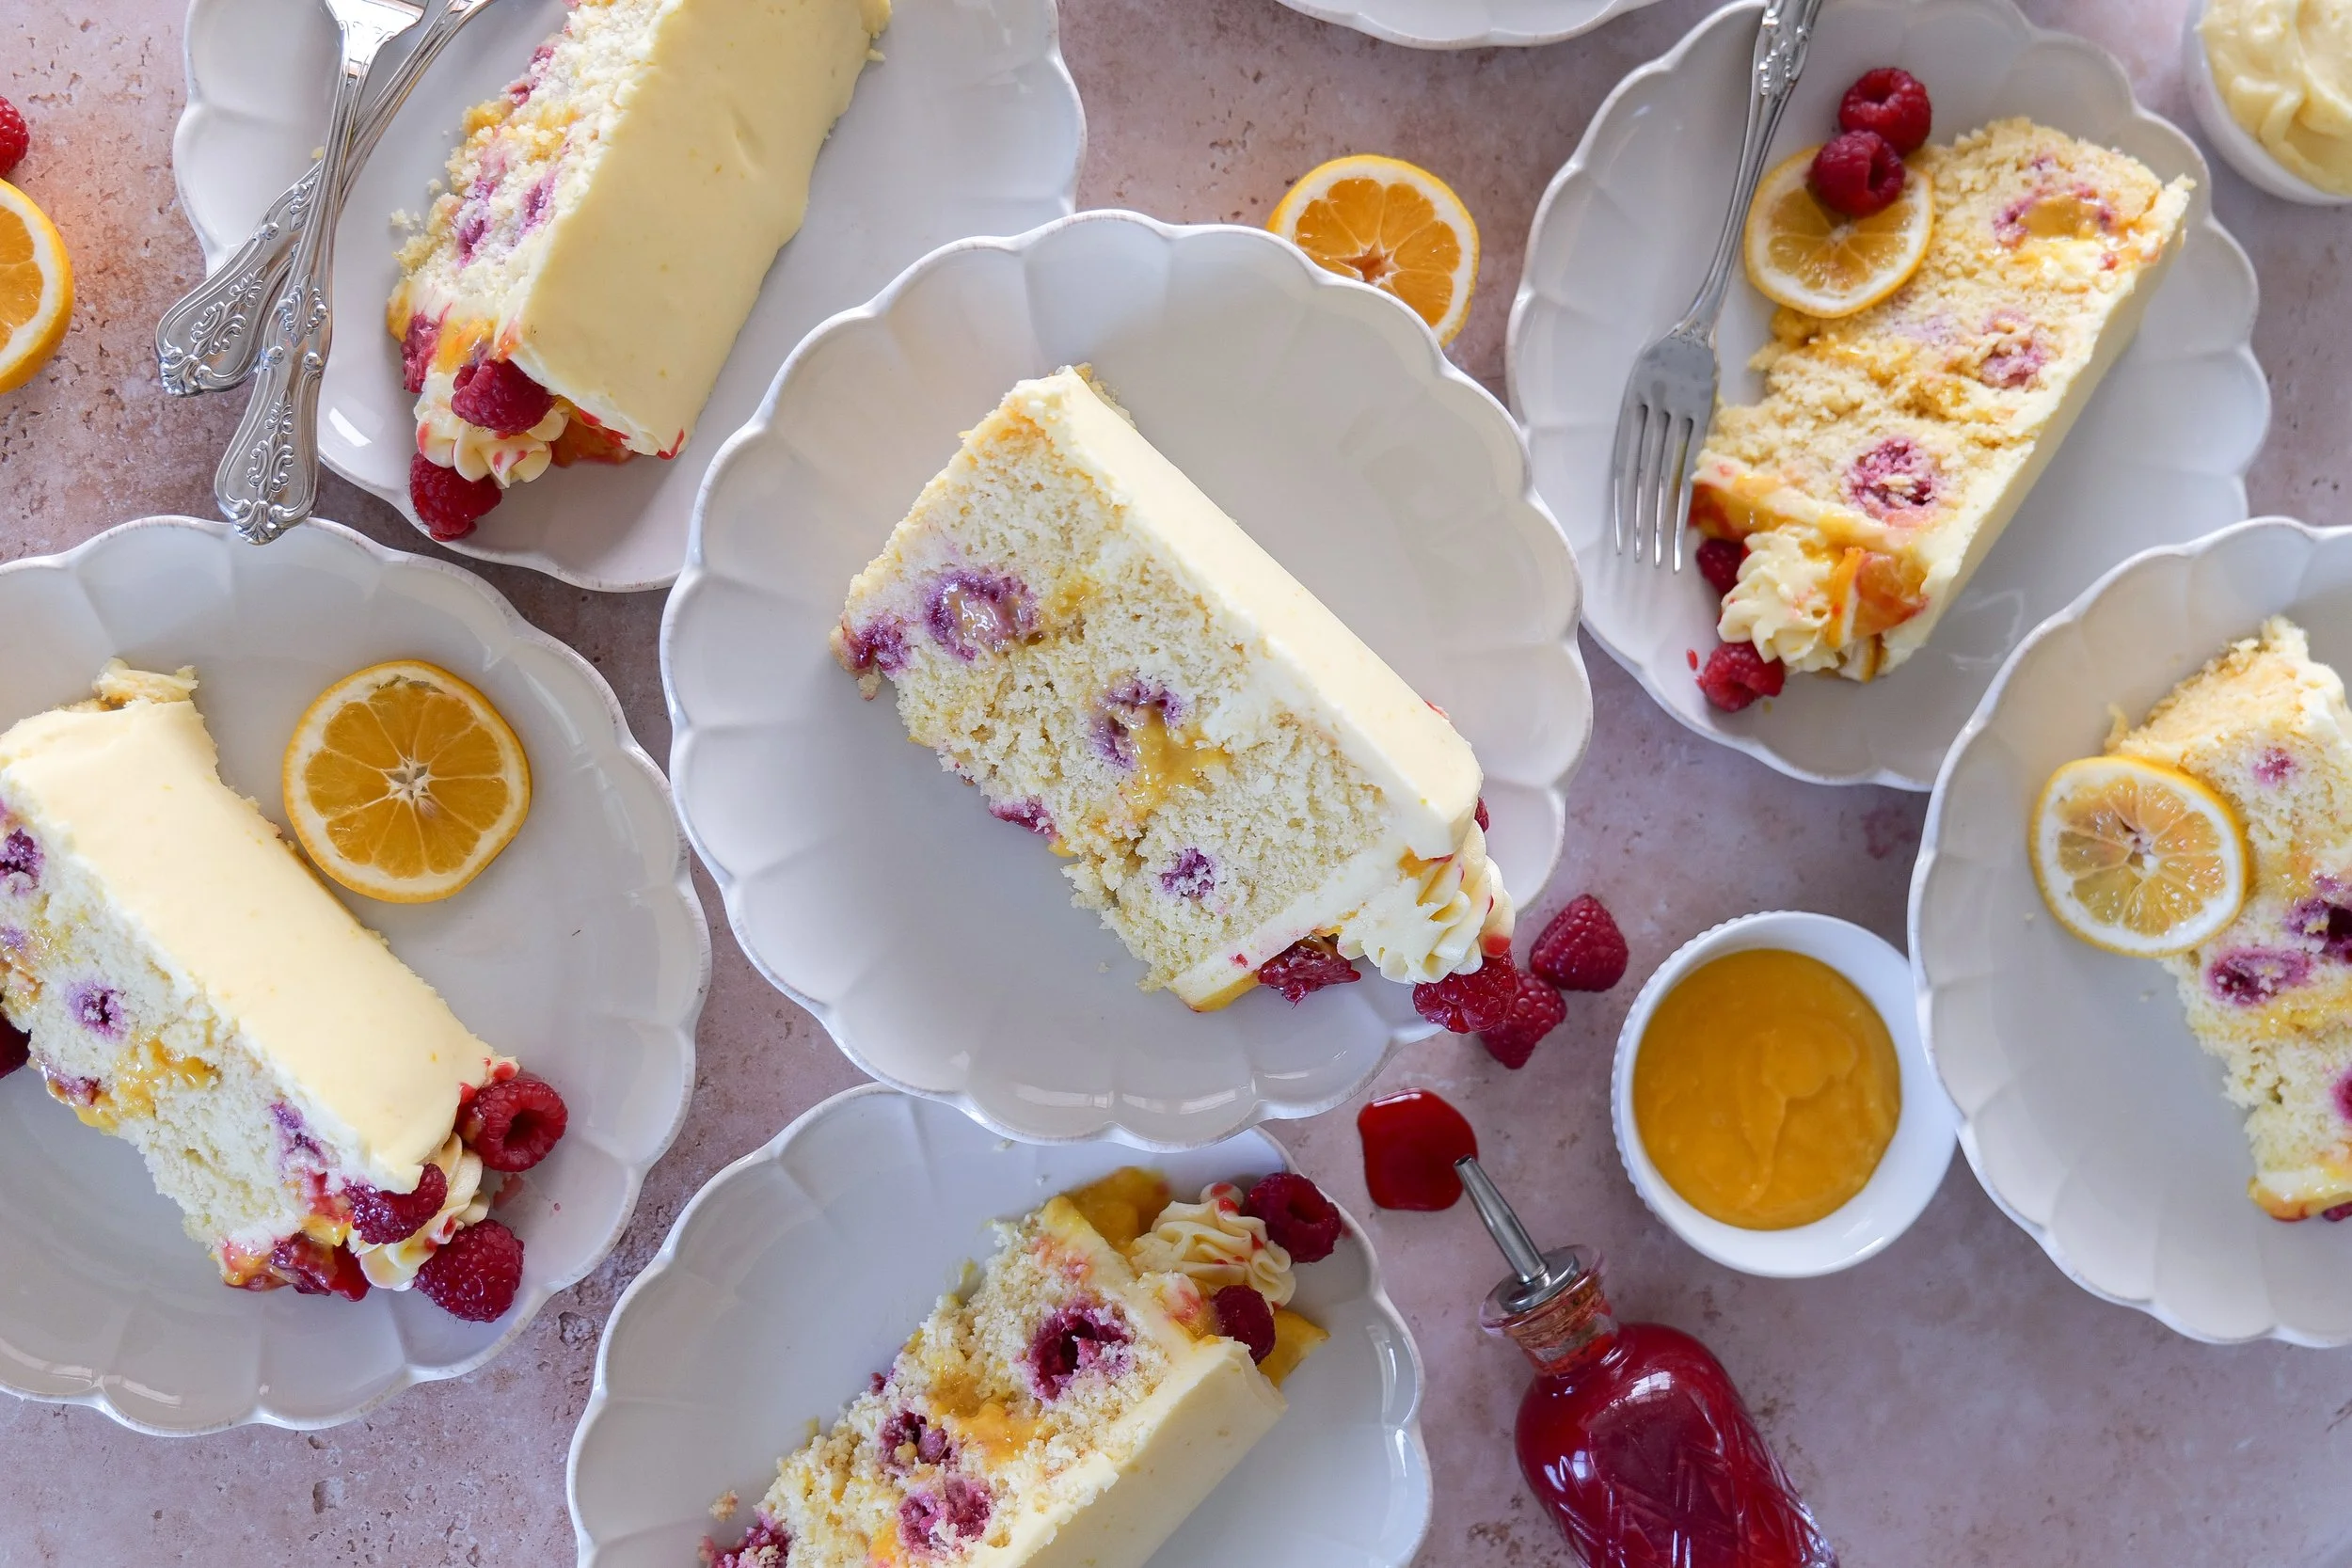
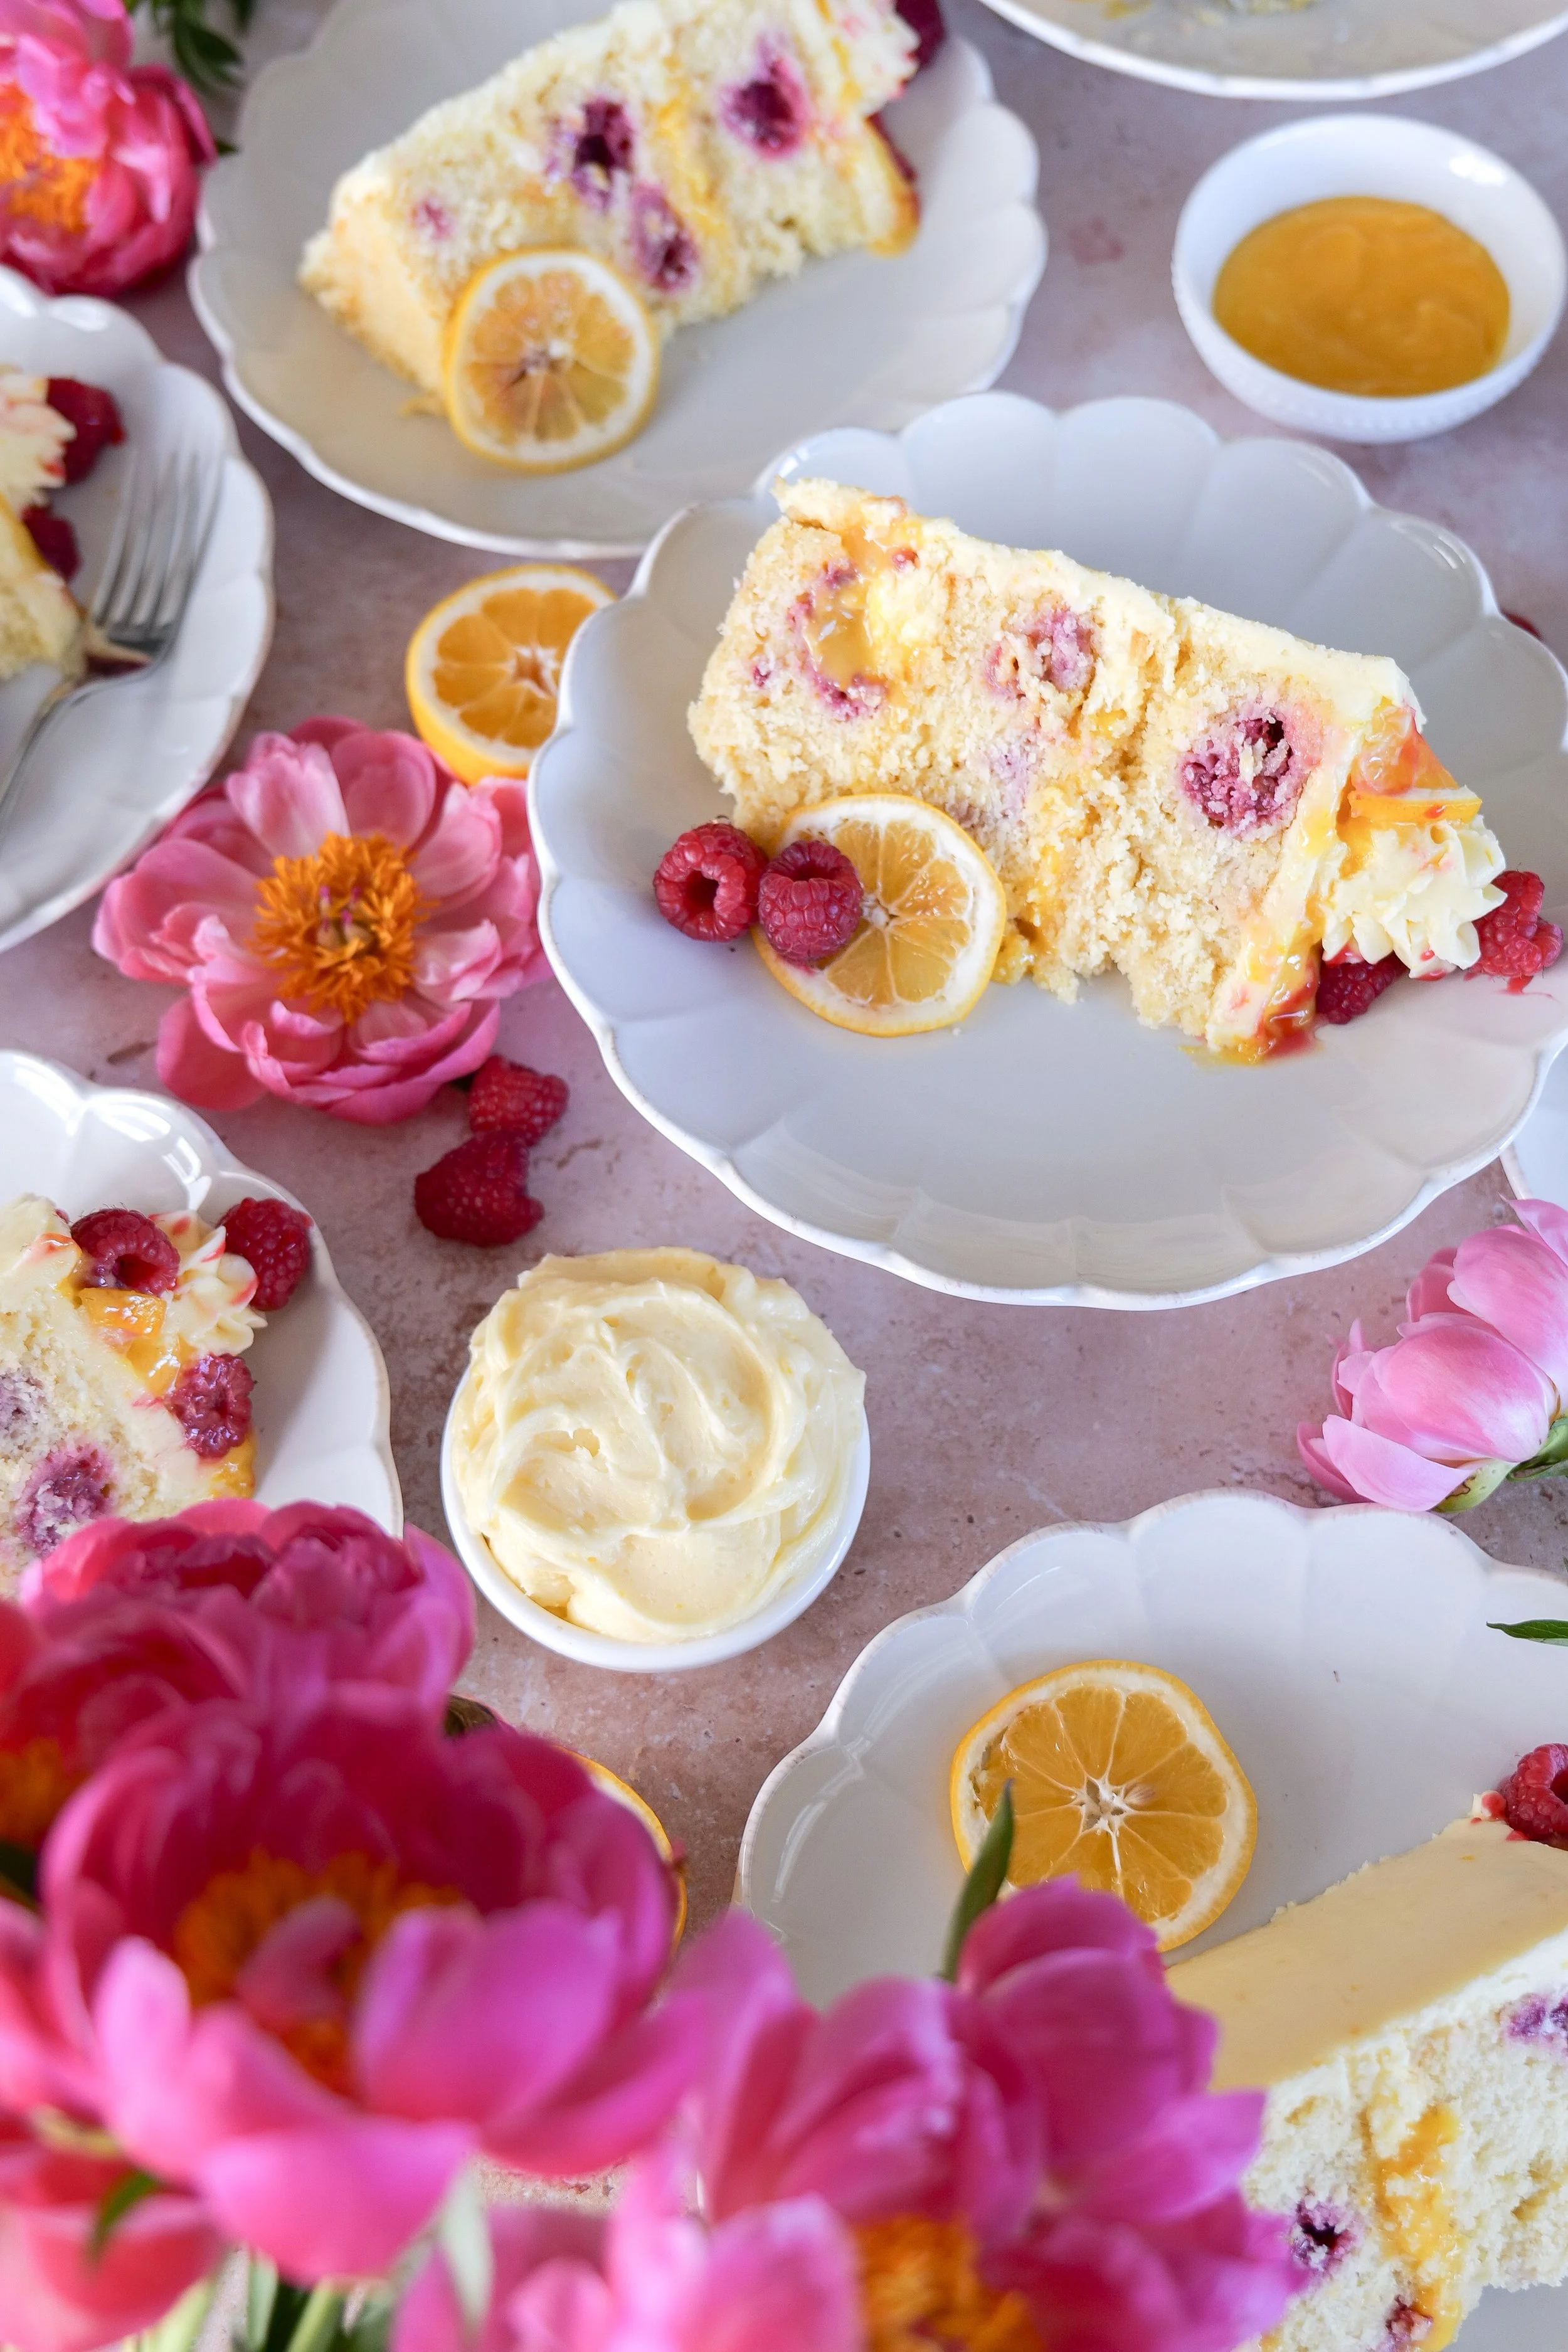
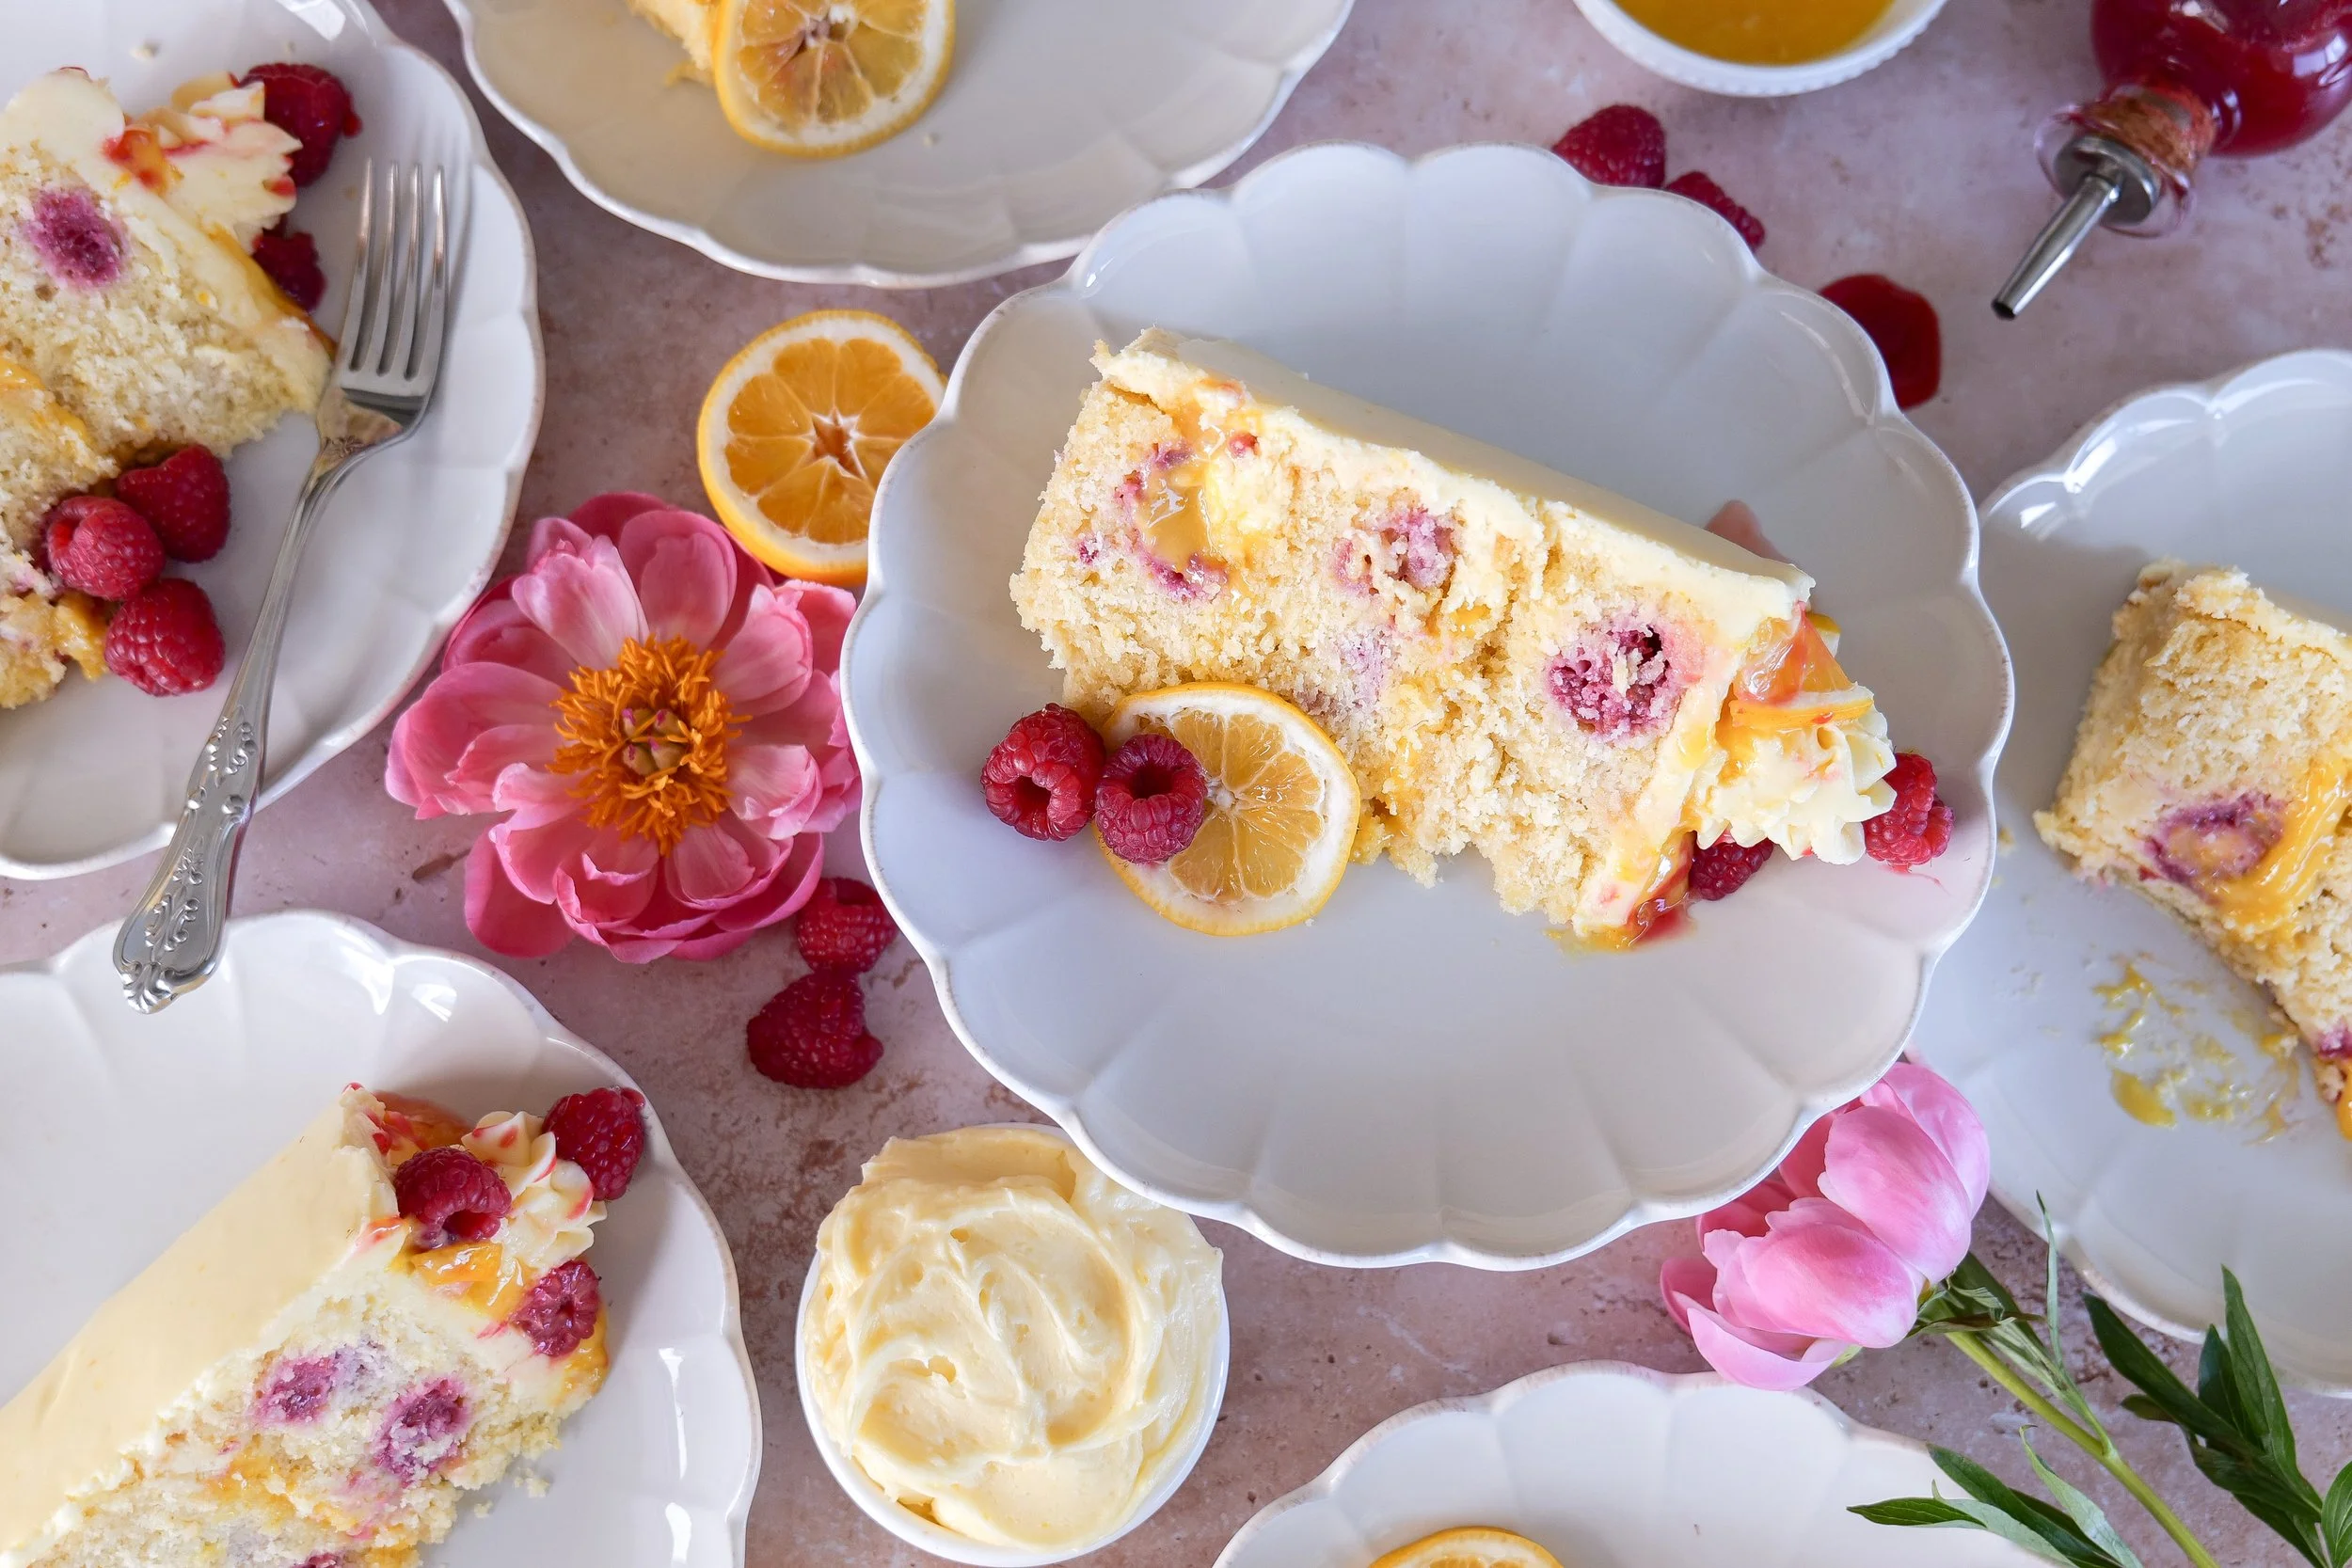
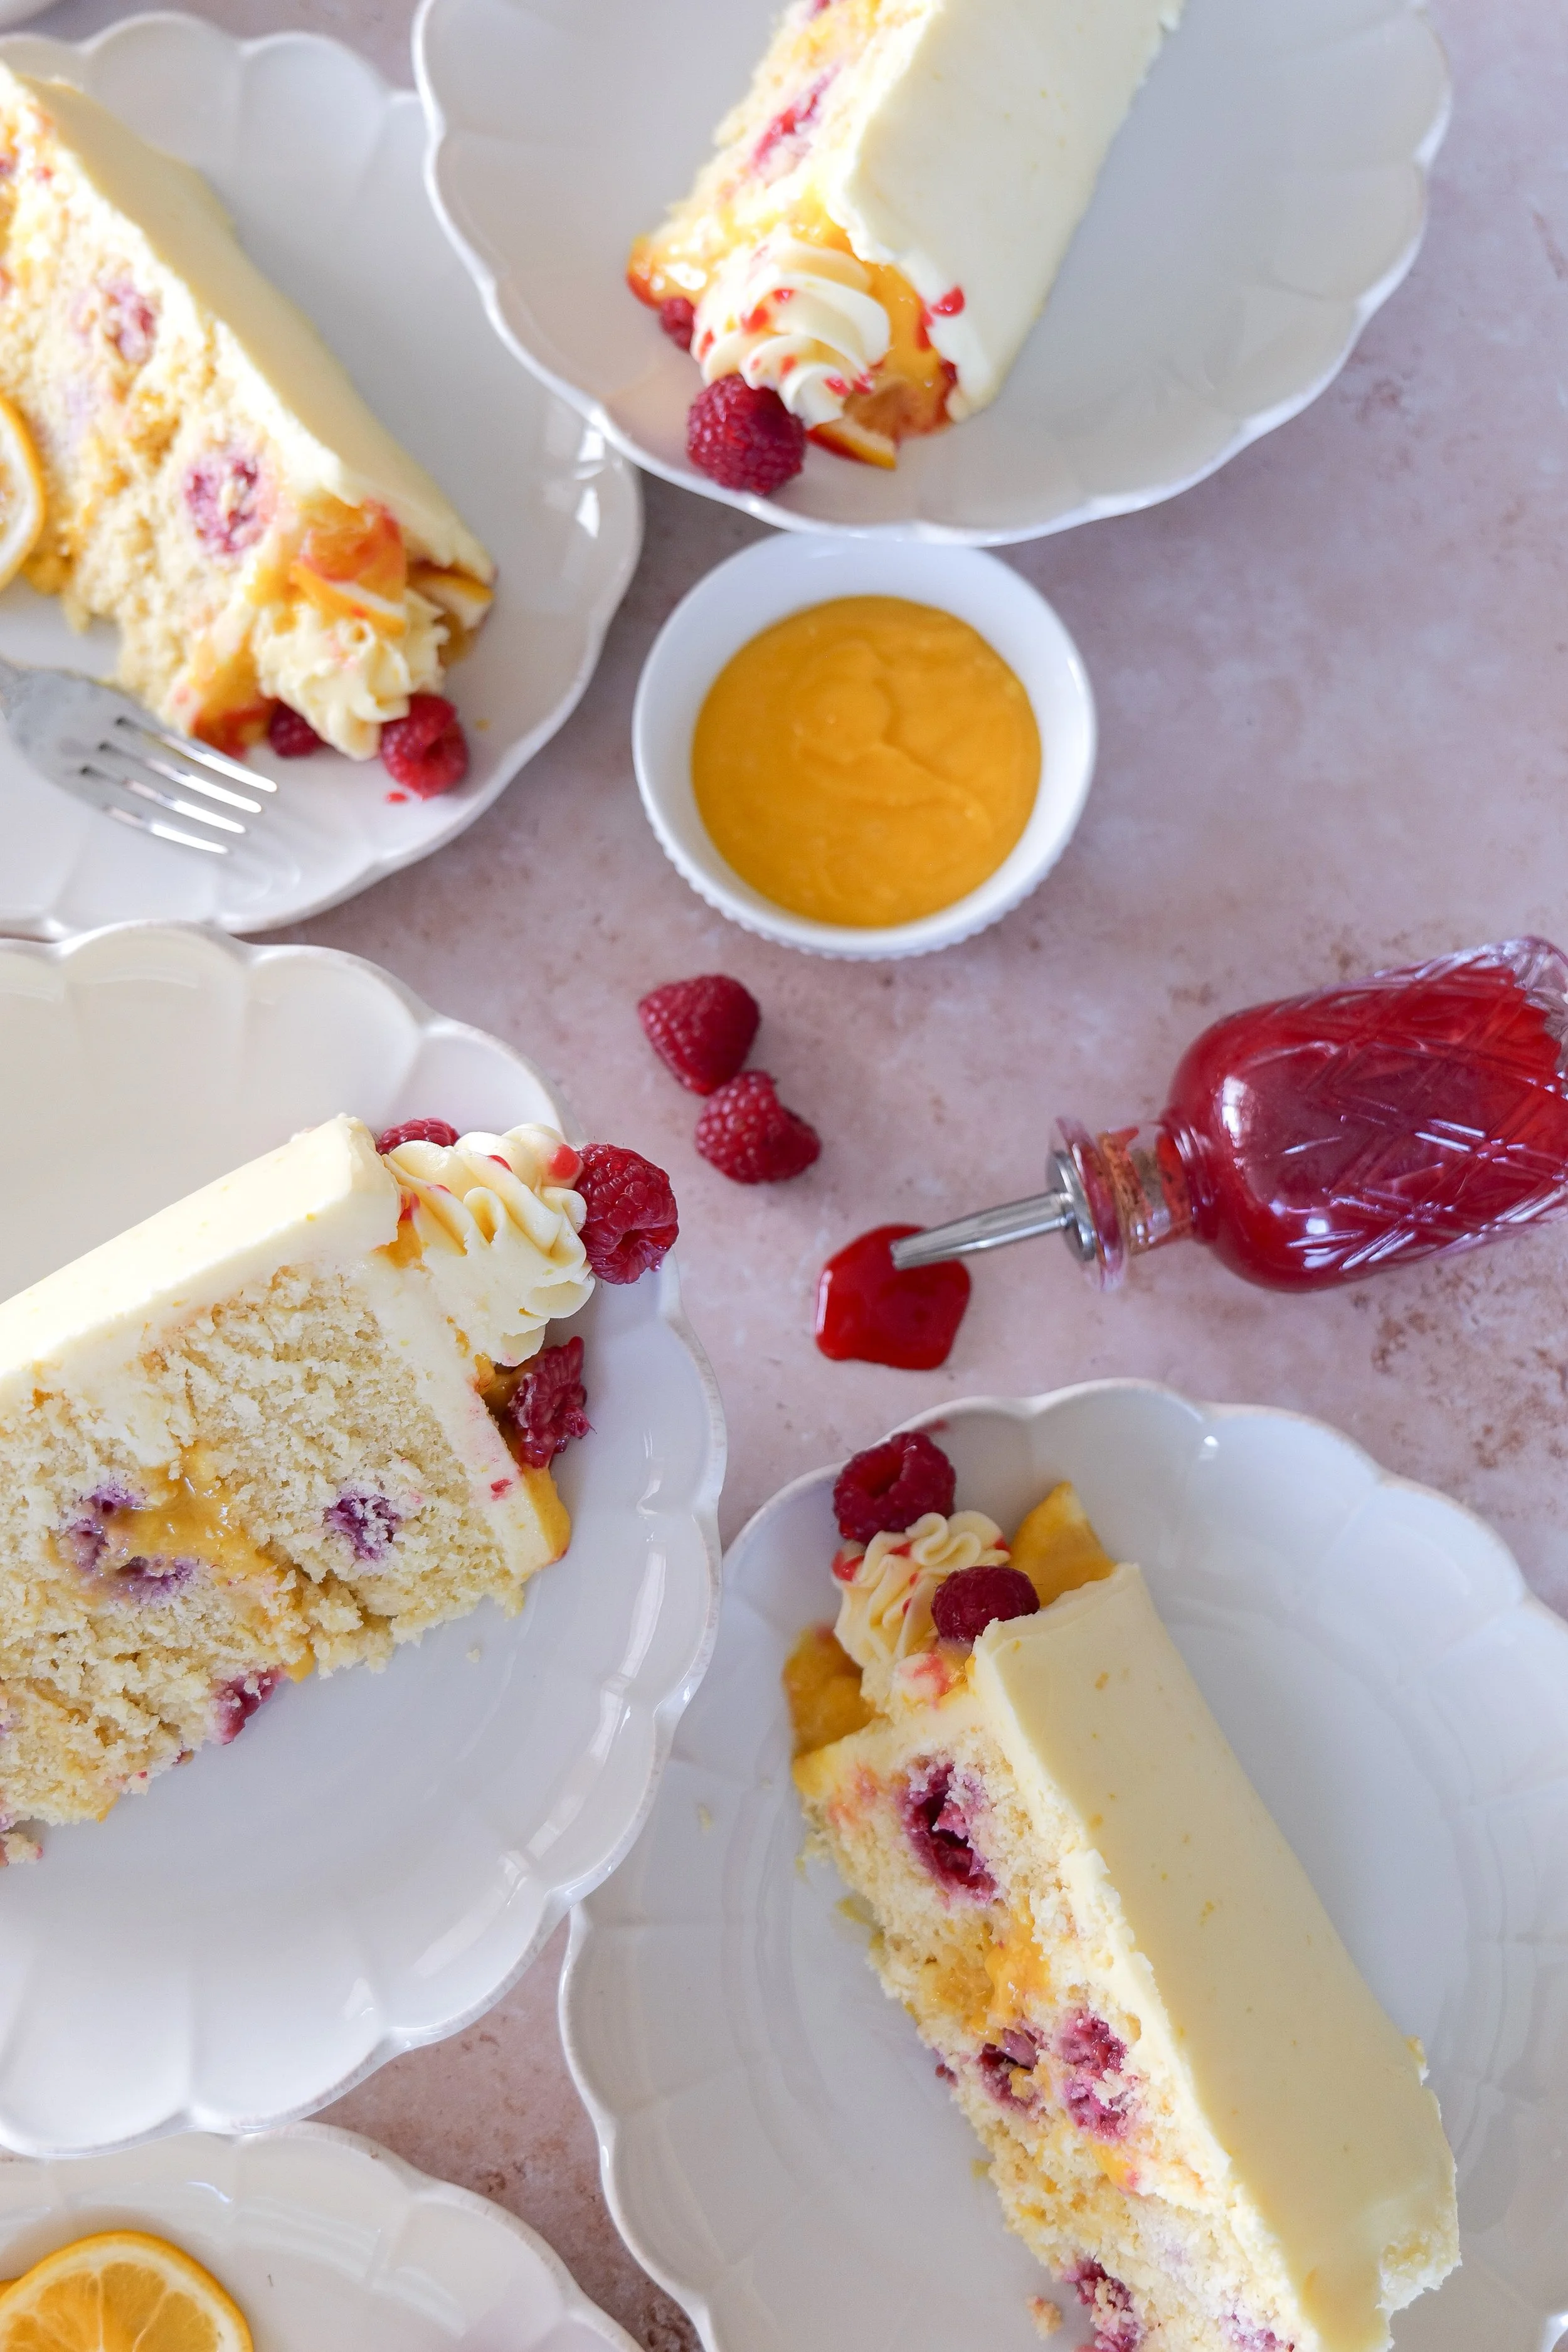
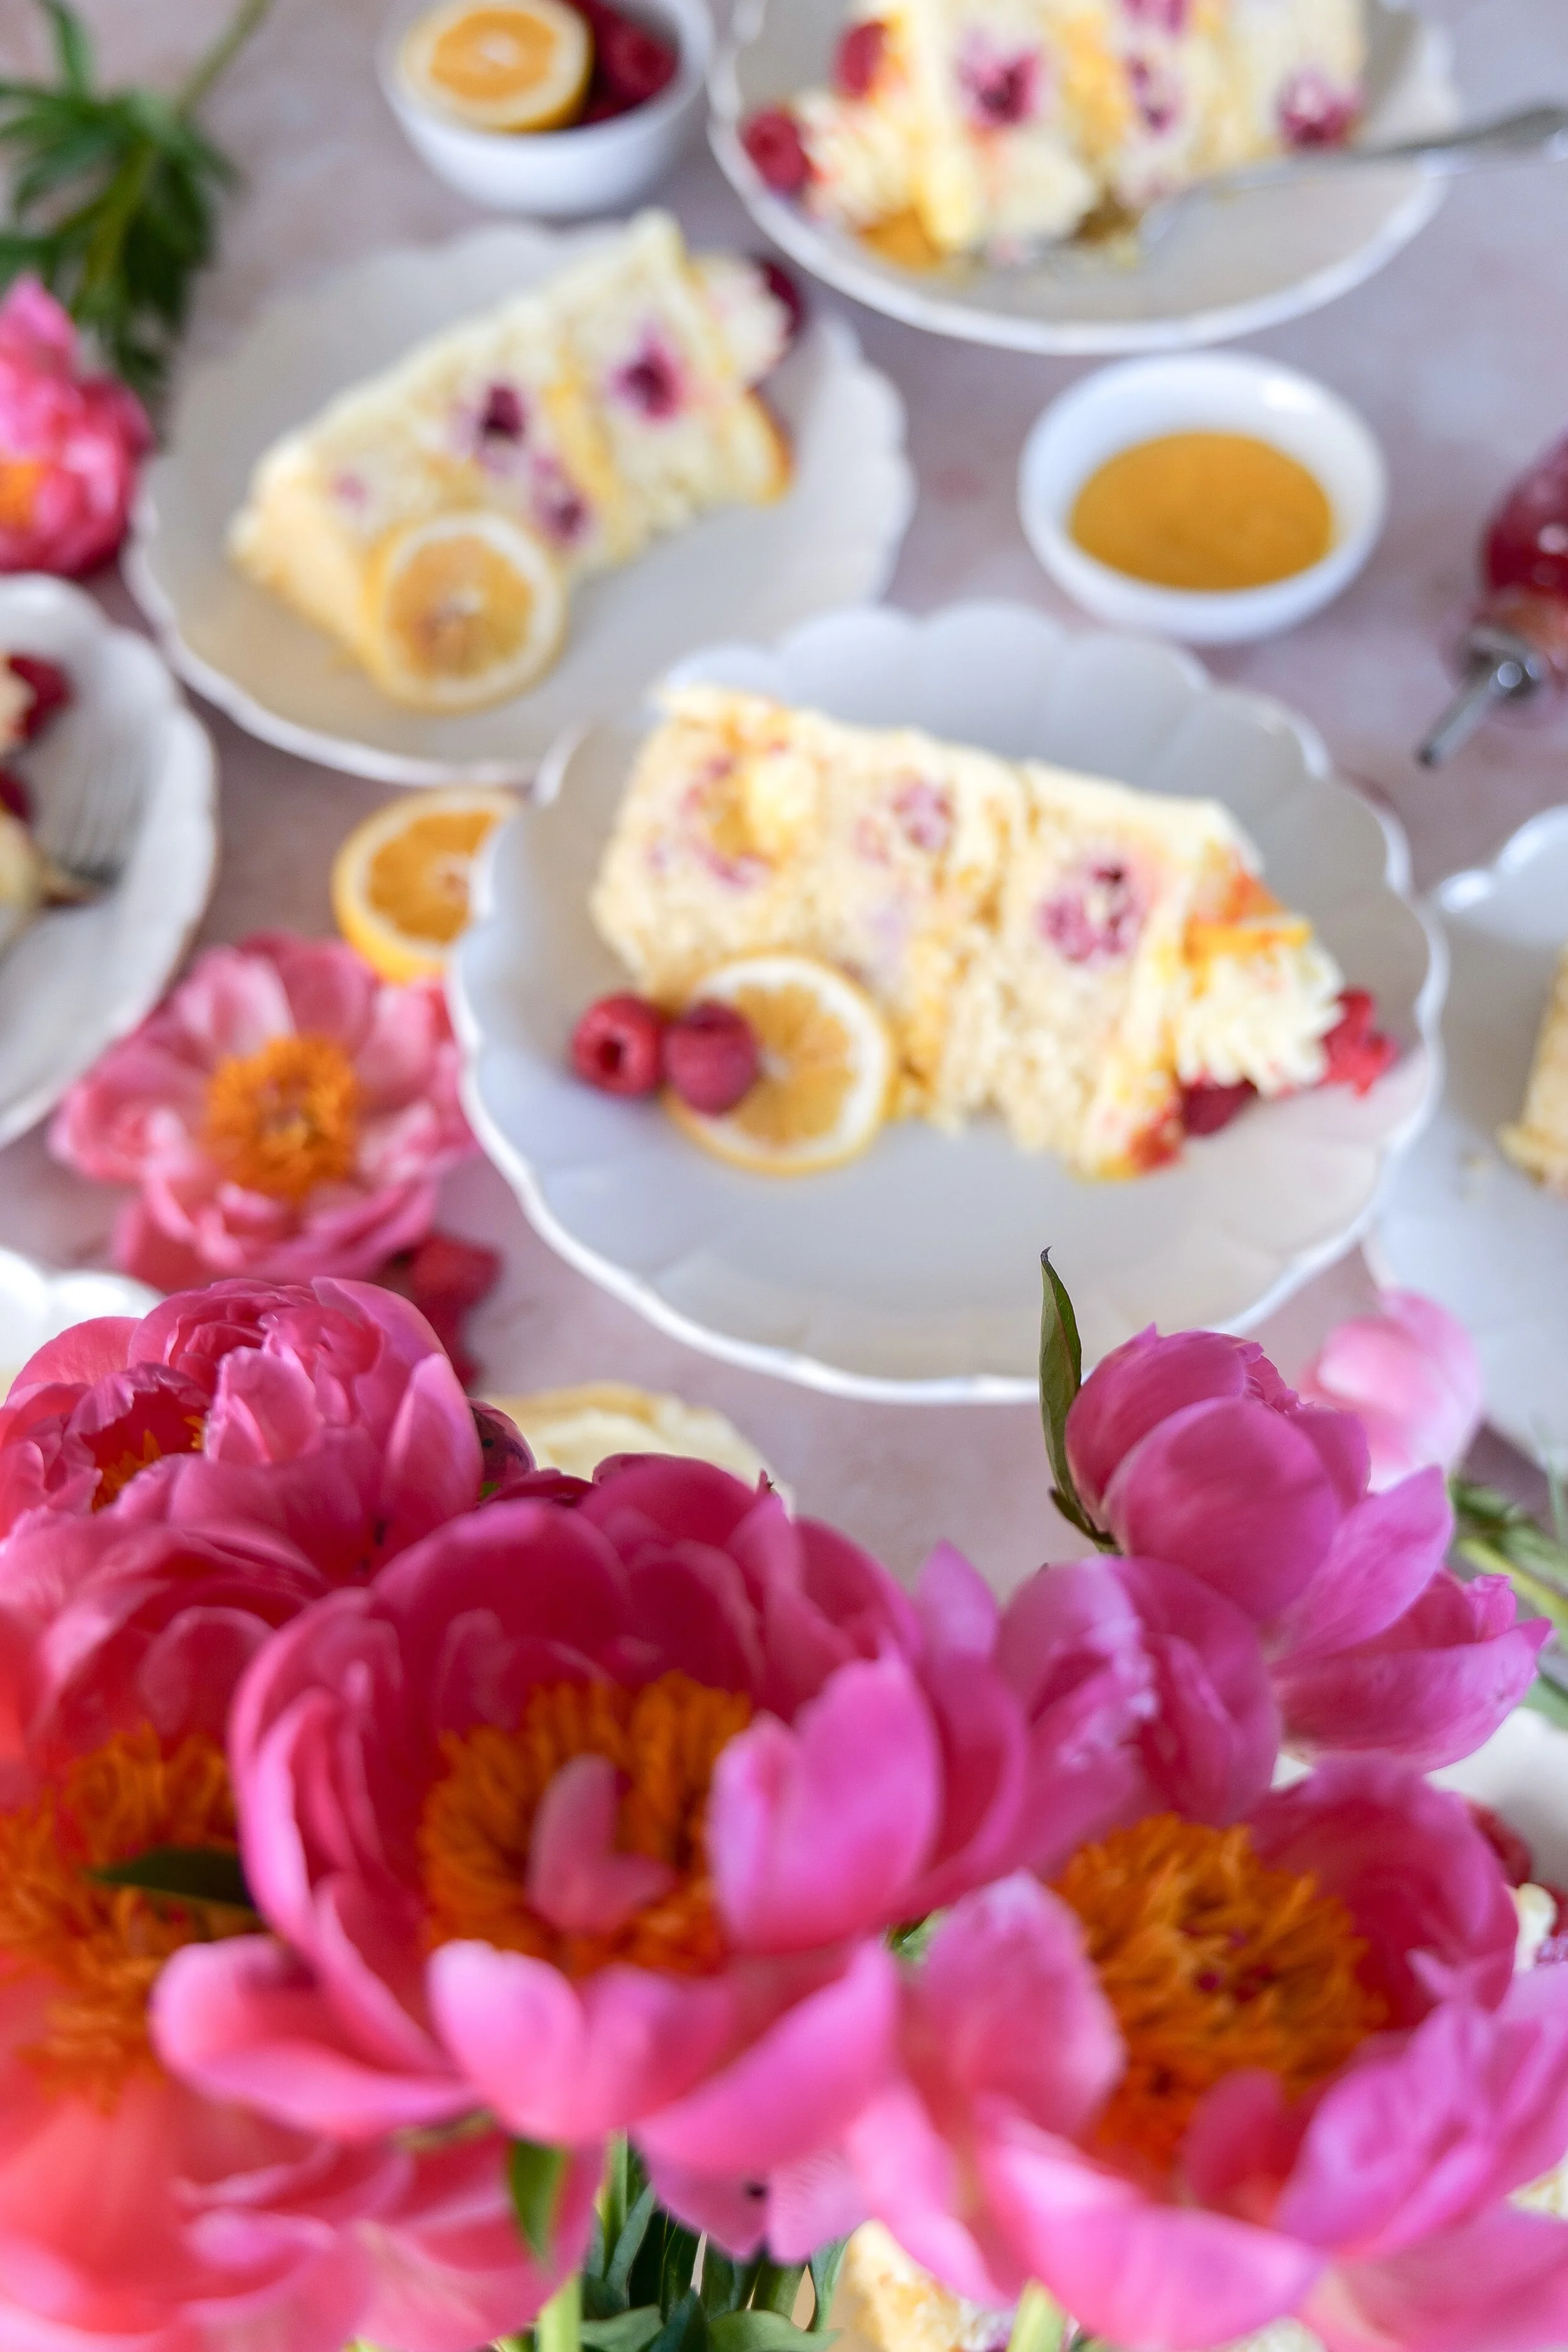
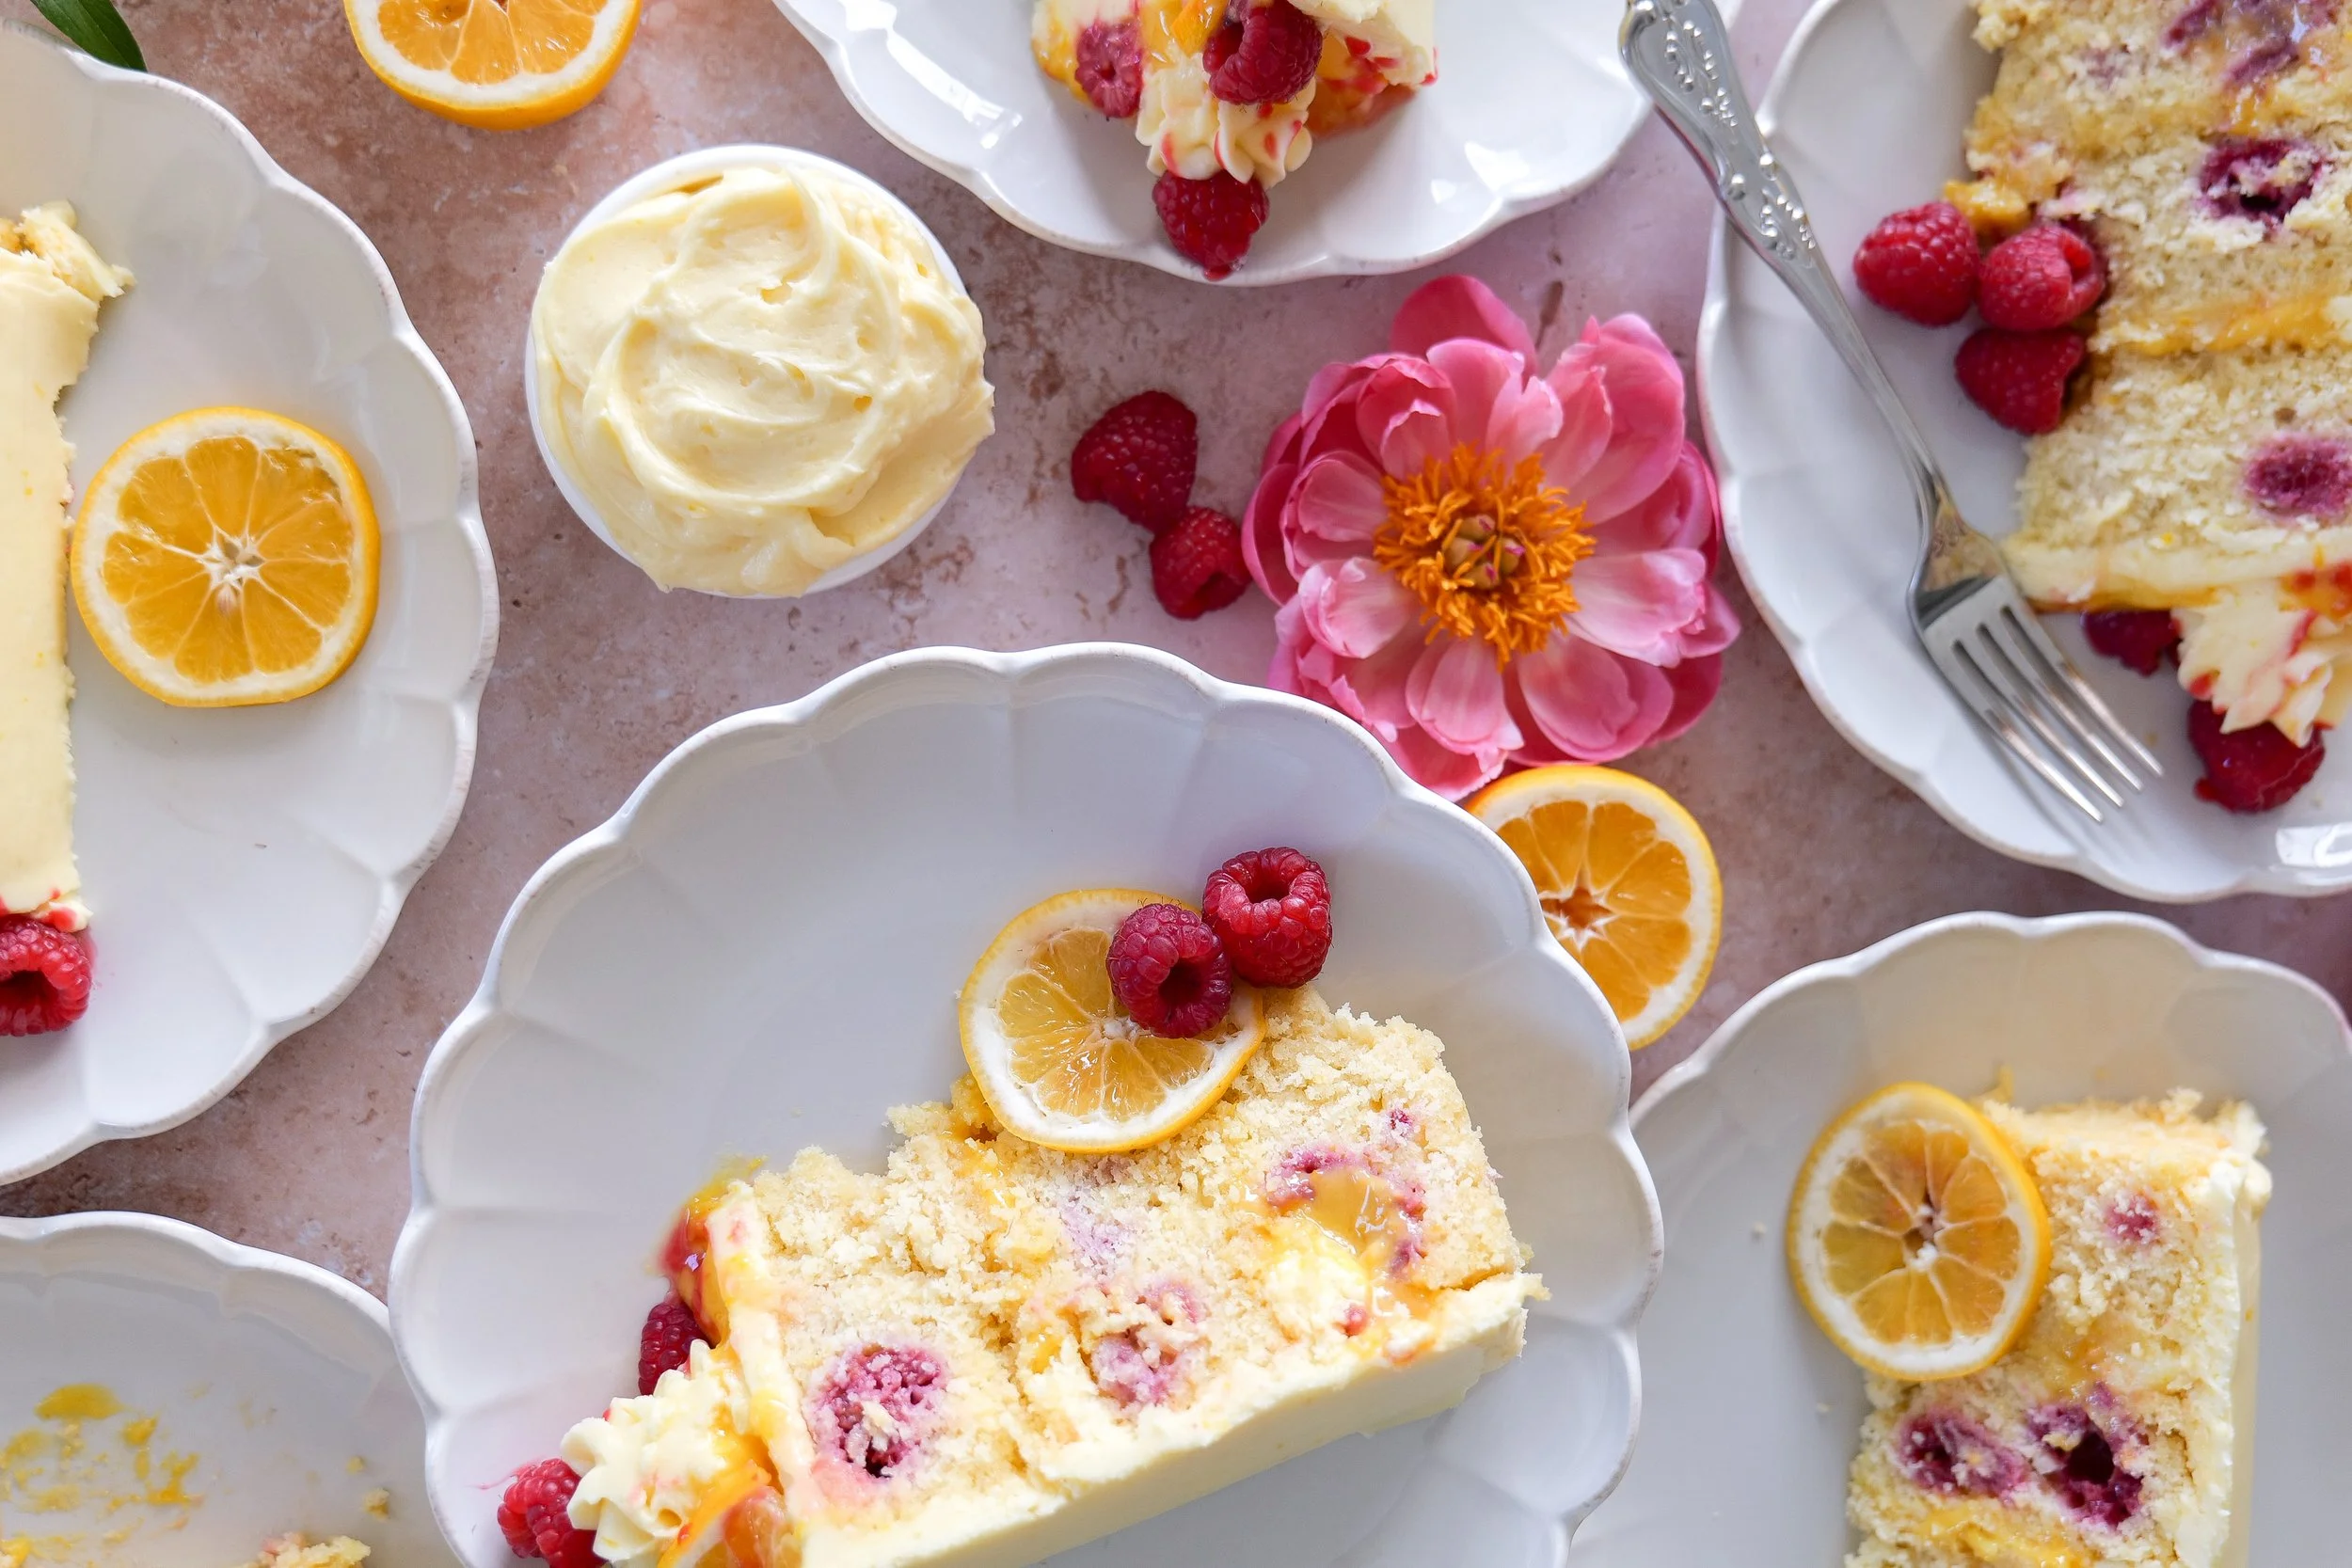
Lemon Raspberry Cake with Lemon Curd Filling

This lemon raspberry cake is a soft, bakery-style layer cake made with bright lemon cake layers, fresh raspberries baked throughout, silky lemon curd filling, and a glossy raspberry drizzle. It’s light, vibrant, and perfectly balanced between sweet and tart — the kind of cake that feels elegant enough for celebrations but simple enough to bake at home.

↓ Skip to Recipe
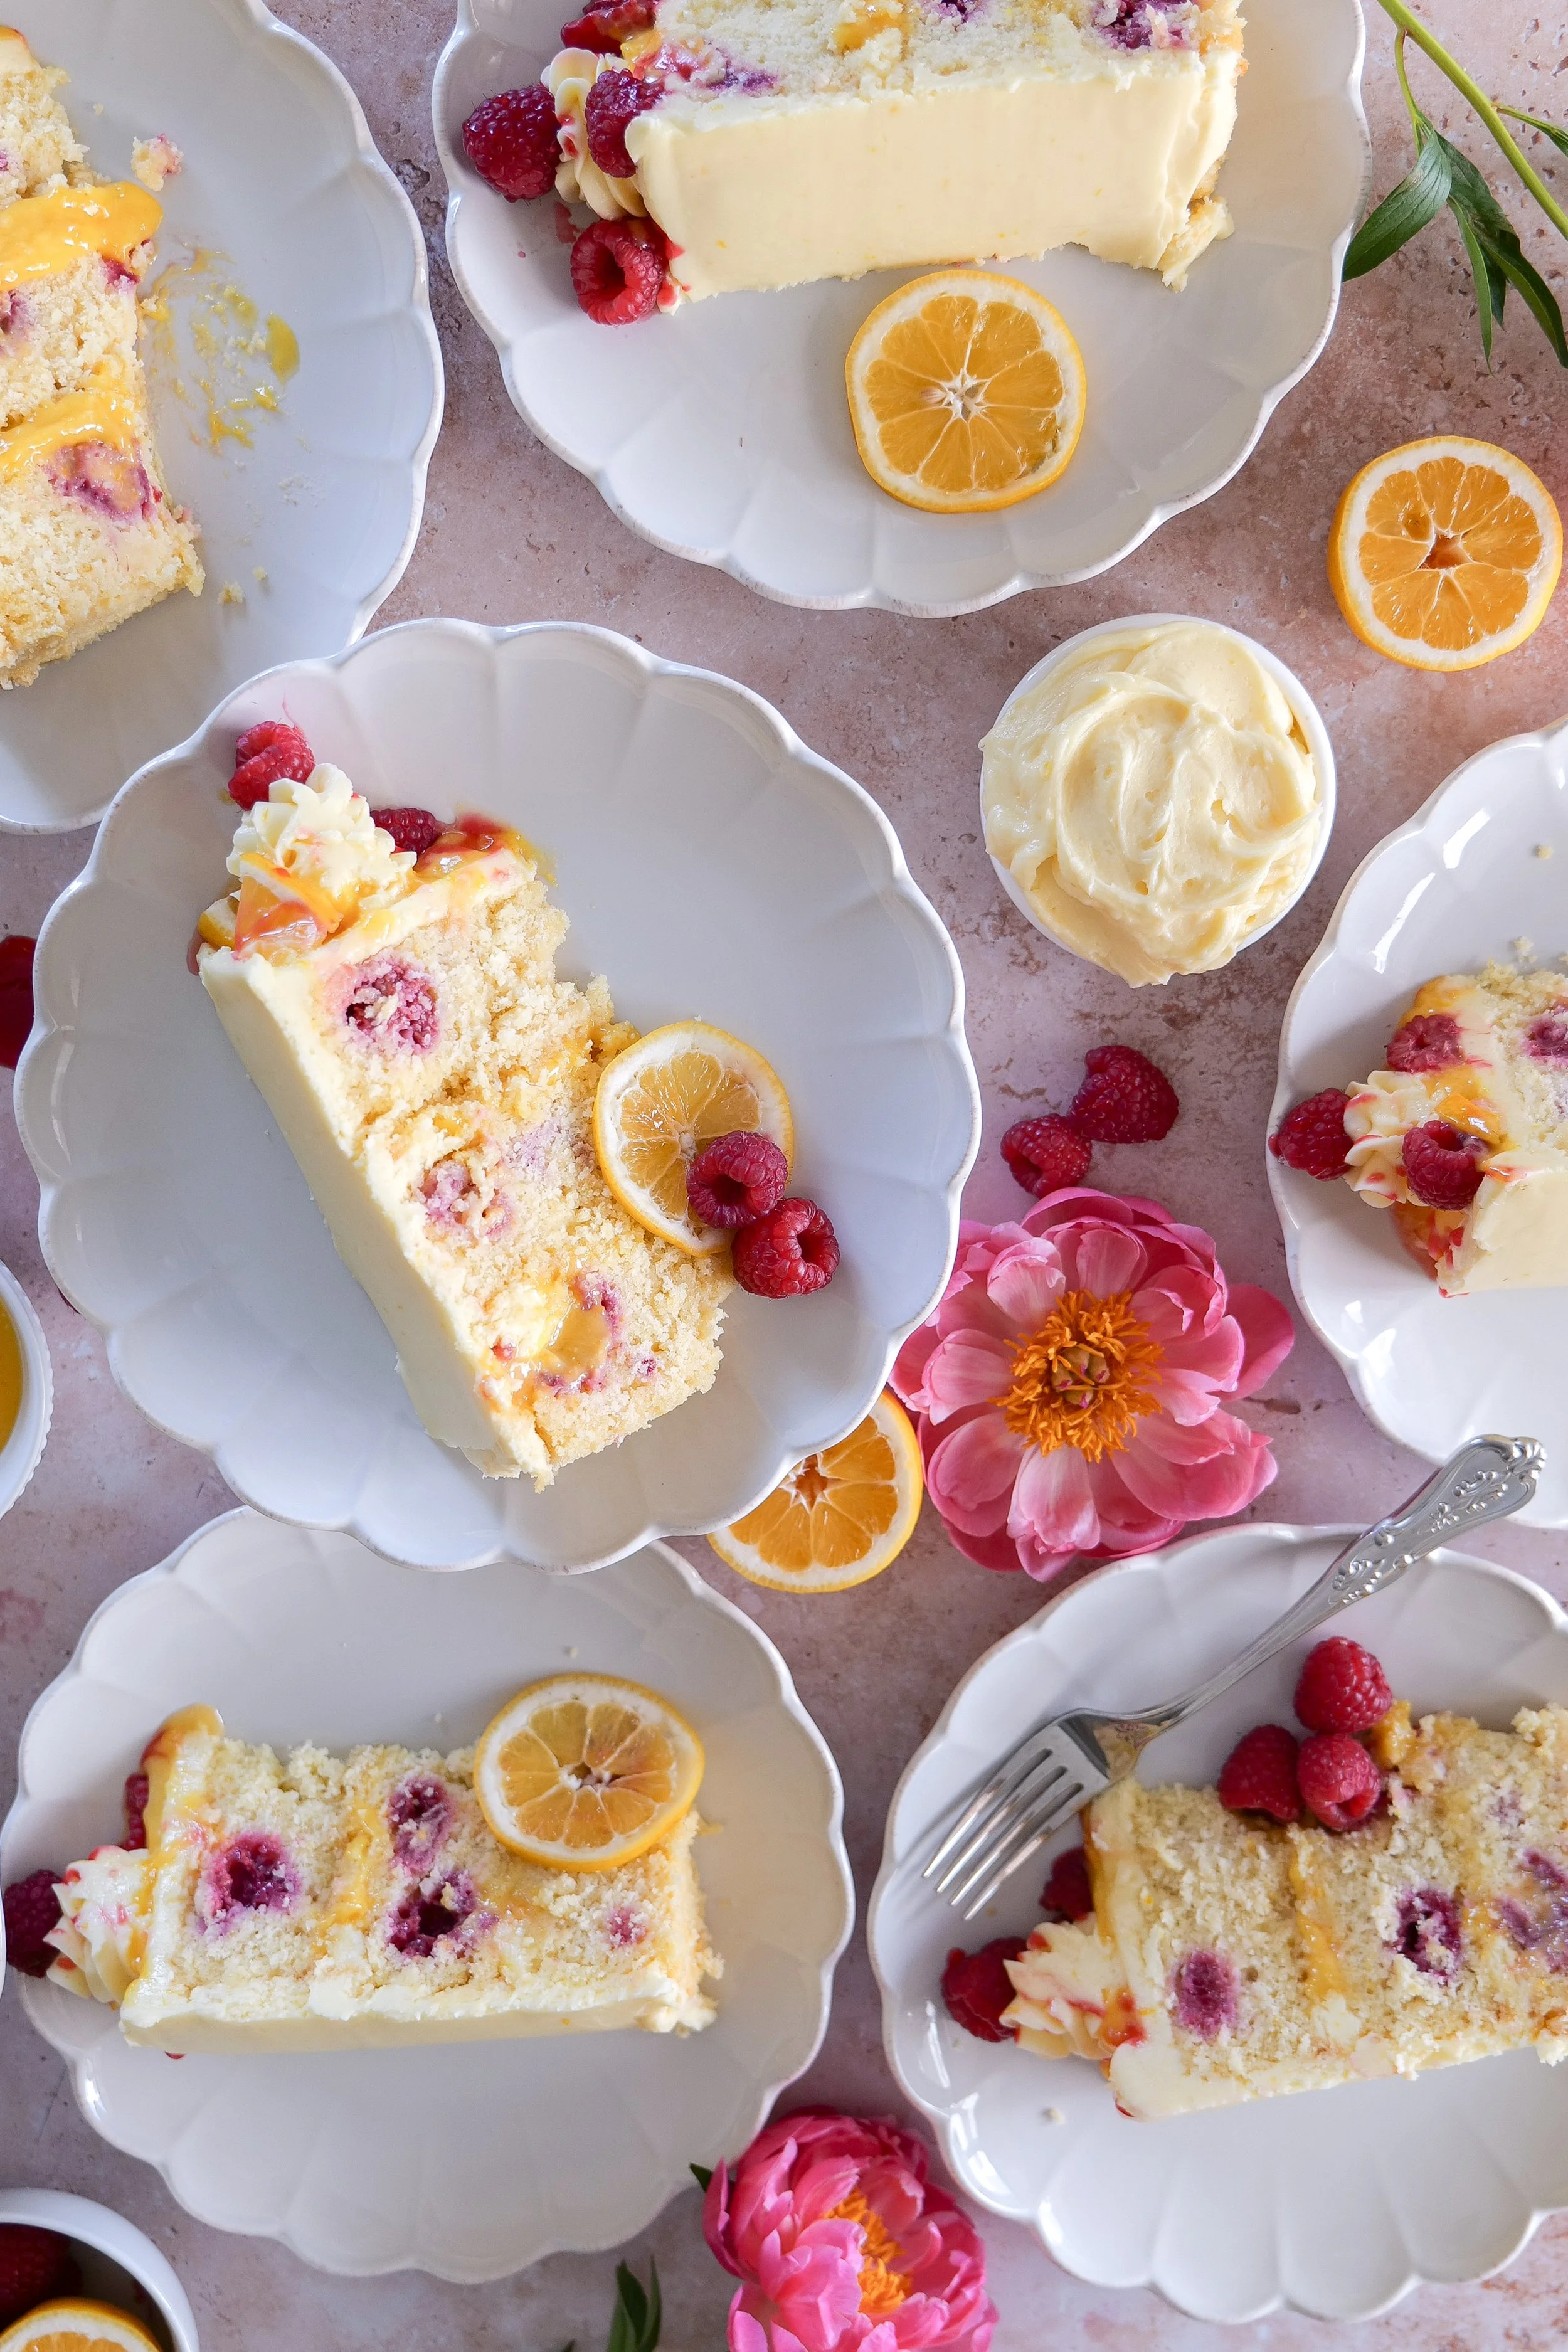
Berry lemon layer cake with fresh raspberries and lemon frosting.
Lemon raspberry cake layered with lemon curd filling and fresh raspberries.
Lemon cake topped with fresh raspberries and creamy frosting.
Bright lemon raspberry cake decorated with fresh berries and lemon zest.

Lemon and raspberry is one of the most timeless flavor combinations in baking. The citrus adds brightness while the raspberries bring natural sweetness and little bursts of fruit in every slice.

This is a true bakery-style cake that looks as beautiful as it tastes — soft layers, creamy filling, and a fresh summer finish.

Why You’ll Love This Lemon Raspberry Cake

This cake is:

  • bakery-style but easy to make at home

  • bright, fresh, and perfect for summer baking

  • filled with real fruit flavor in every layer

  • visually stunning for celebrations and gatherings

  • balanced between sweet, tart, and creamy textures

It’s the kind of cake that consistently feels special without being overly complicated.

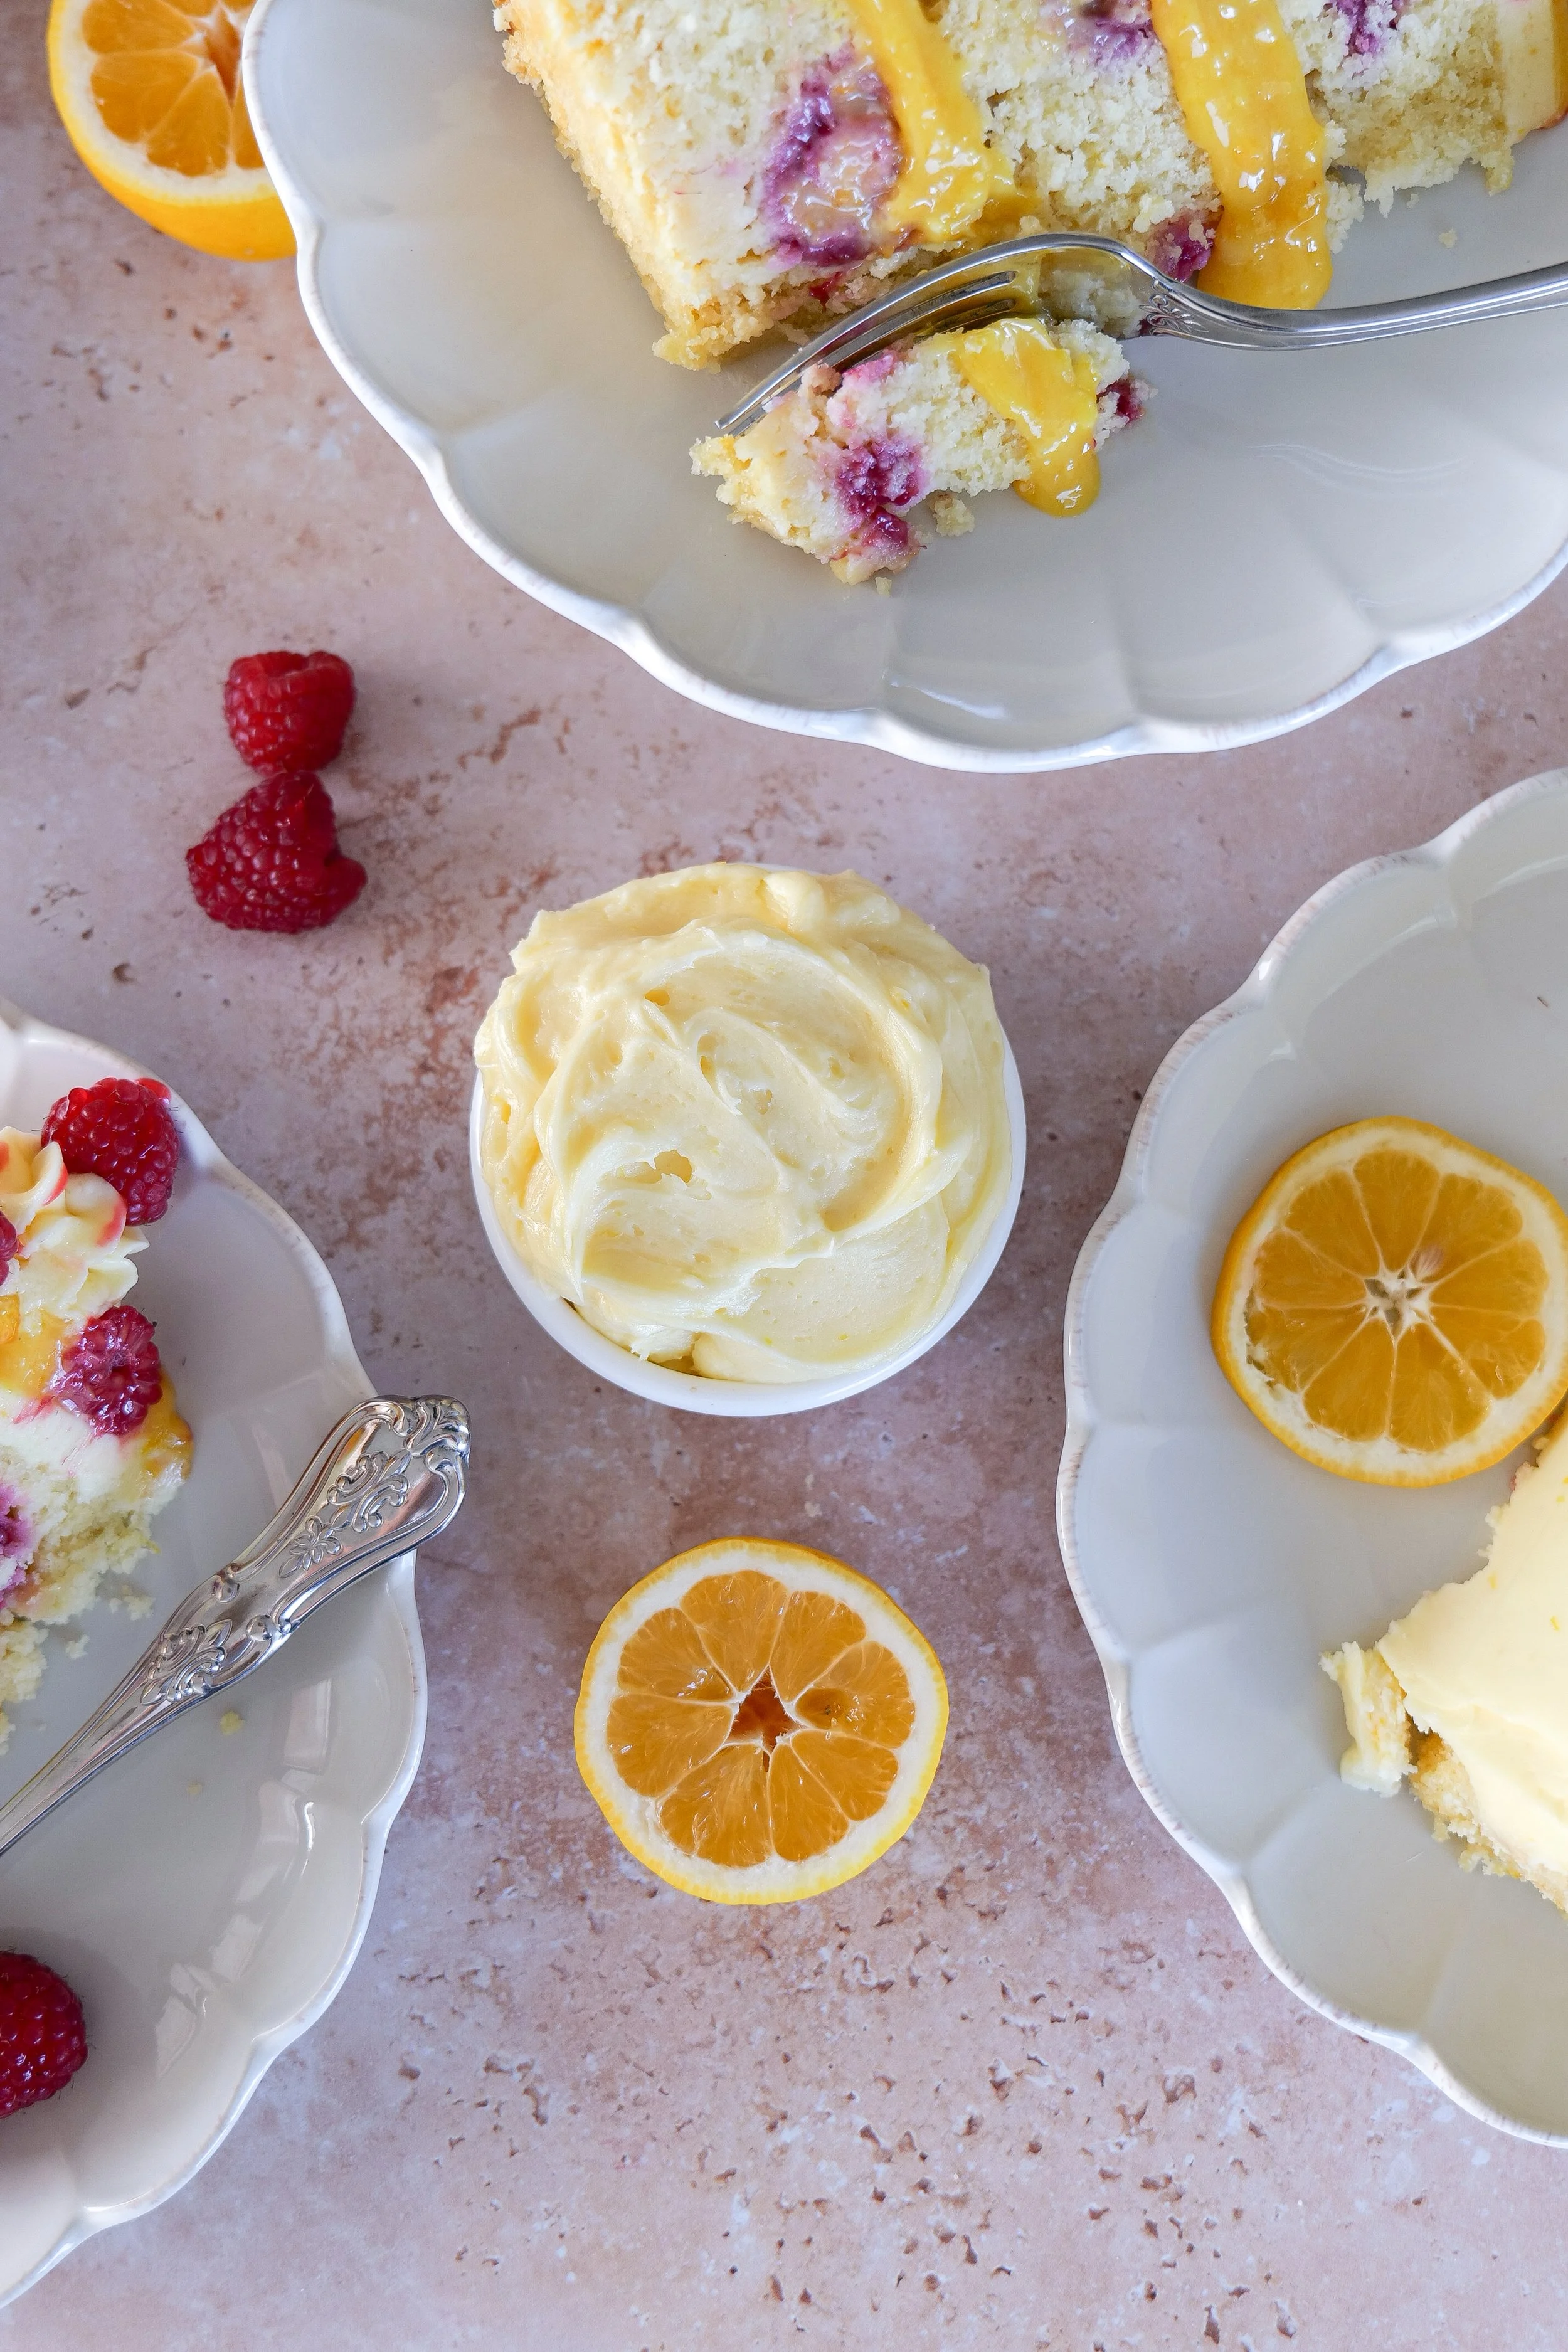
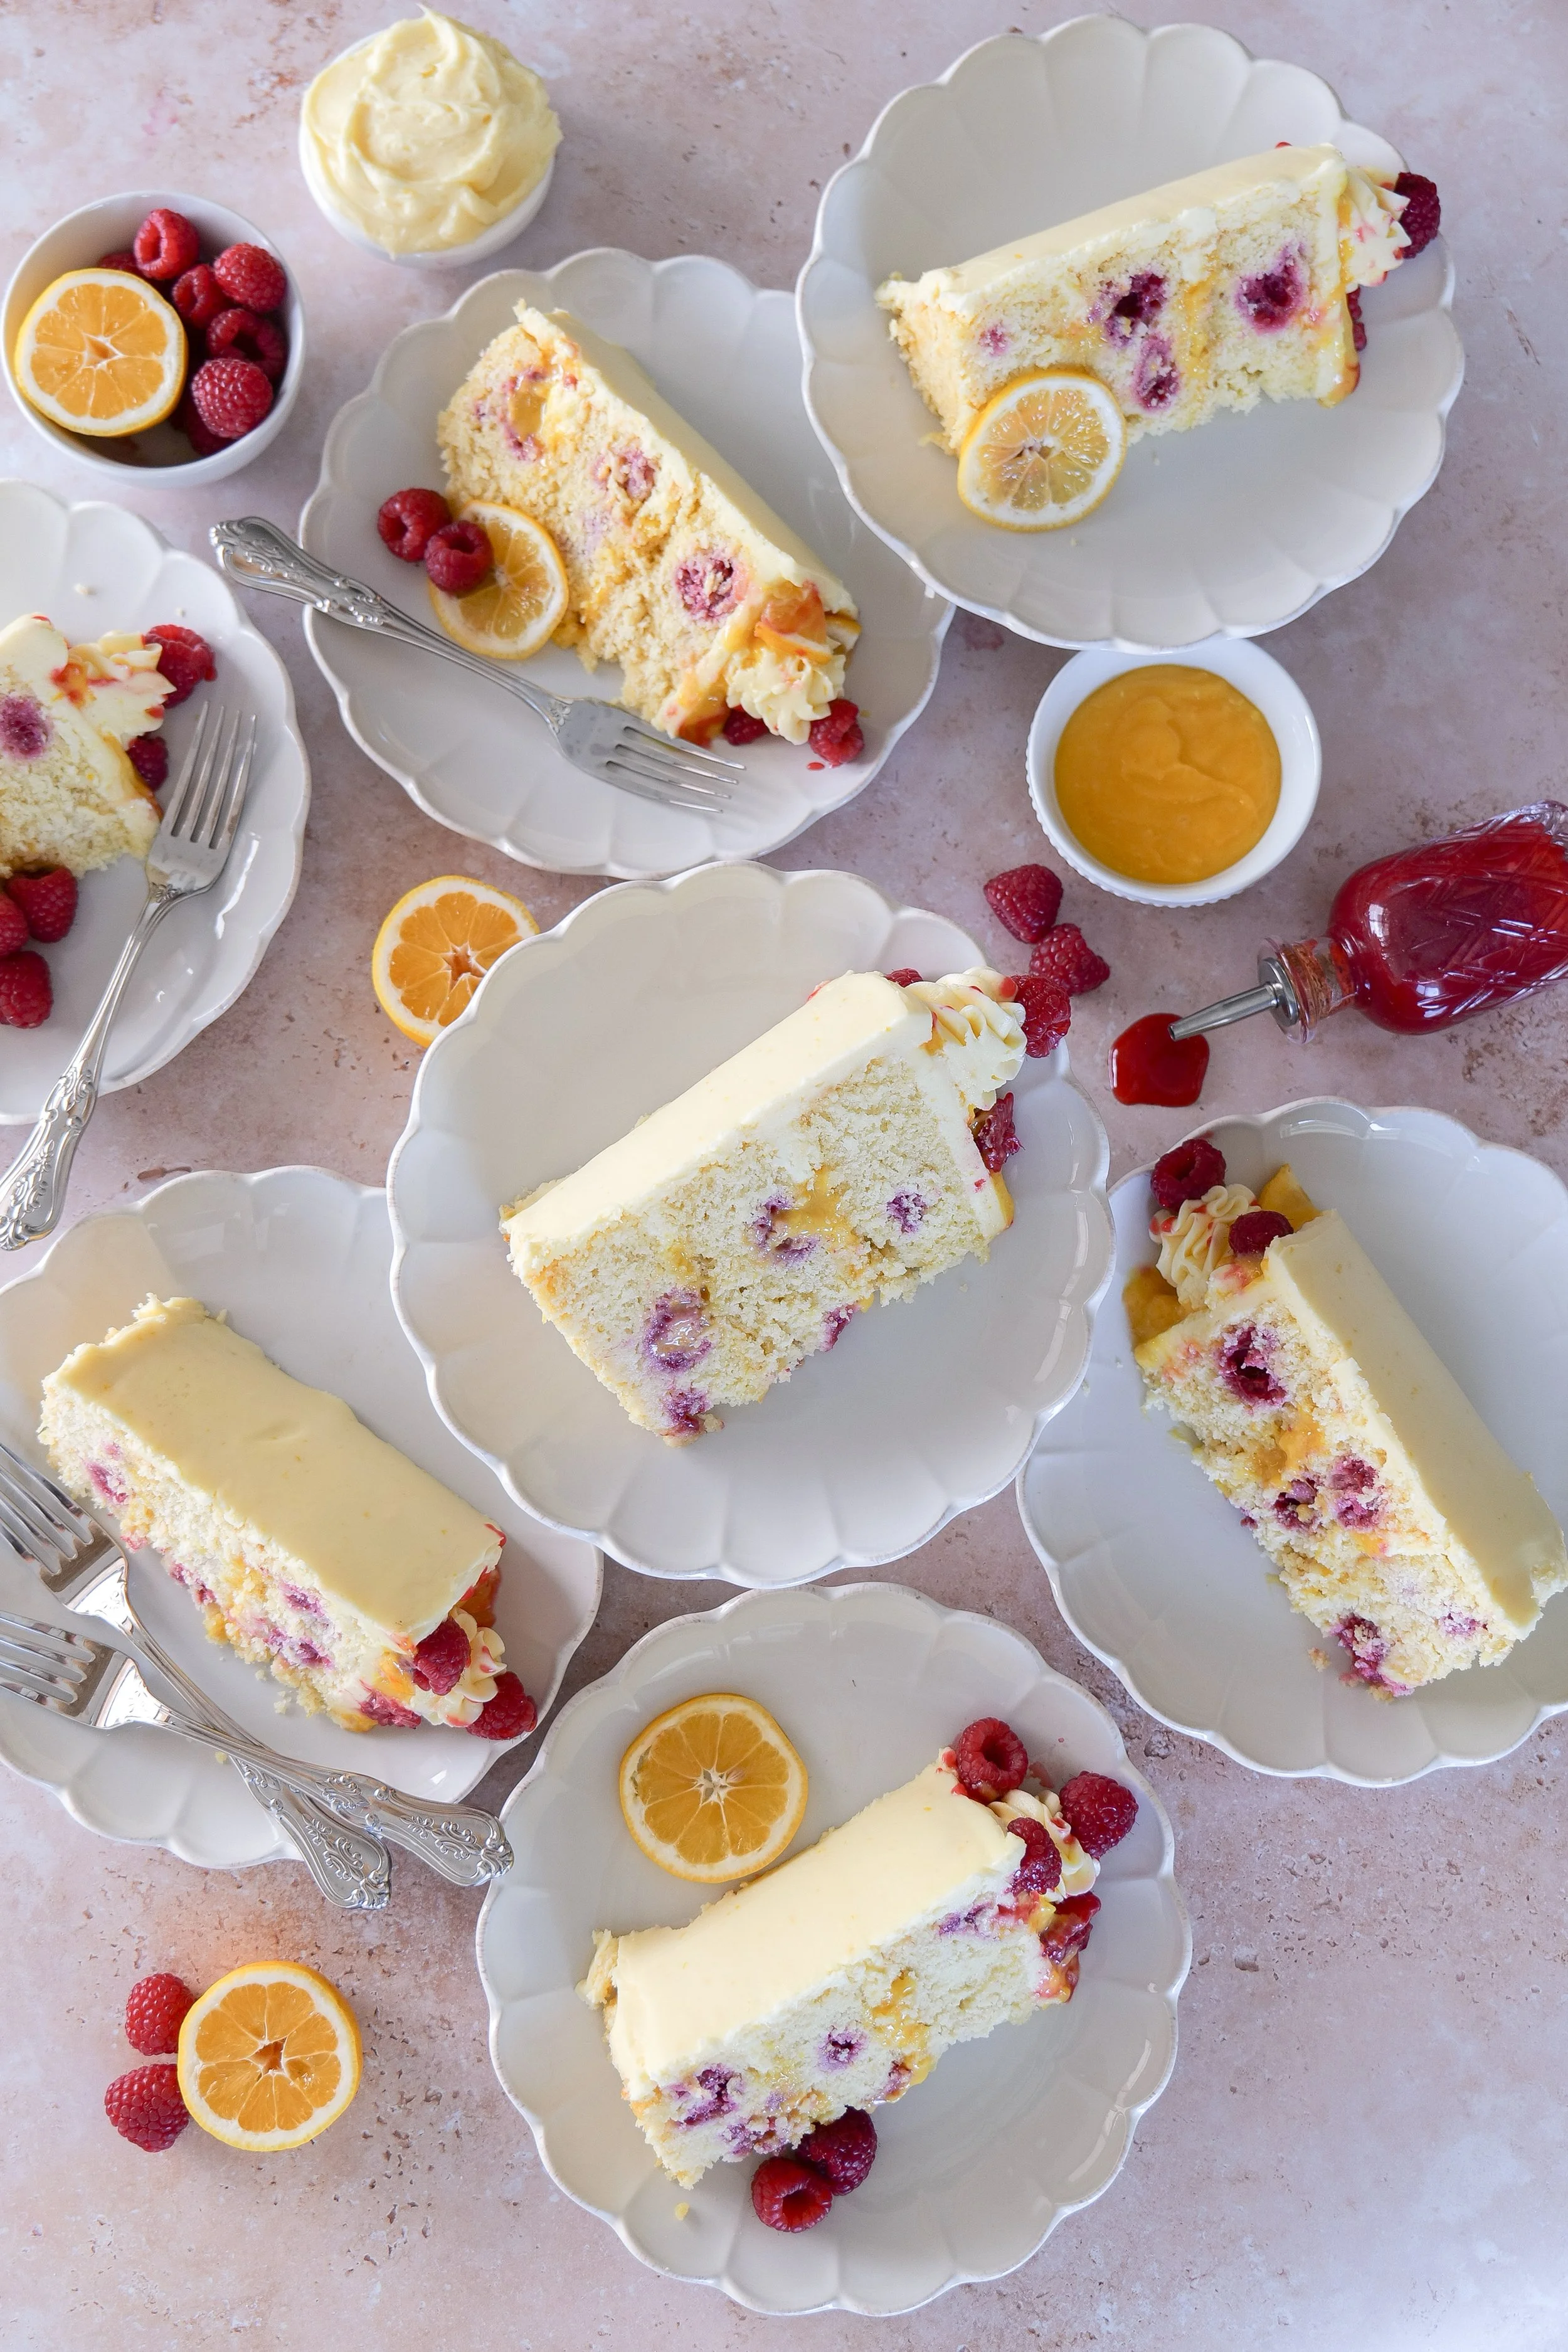
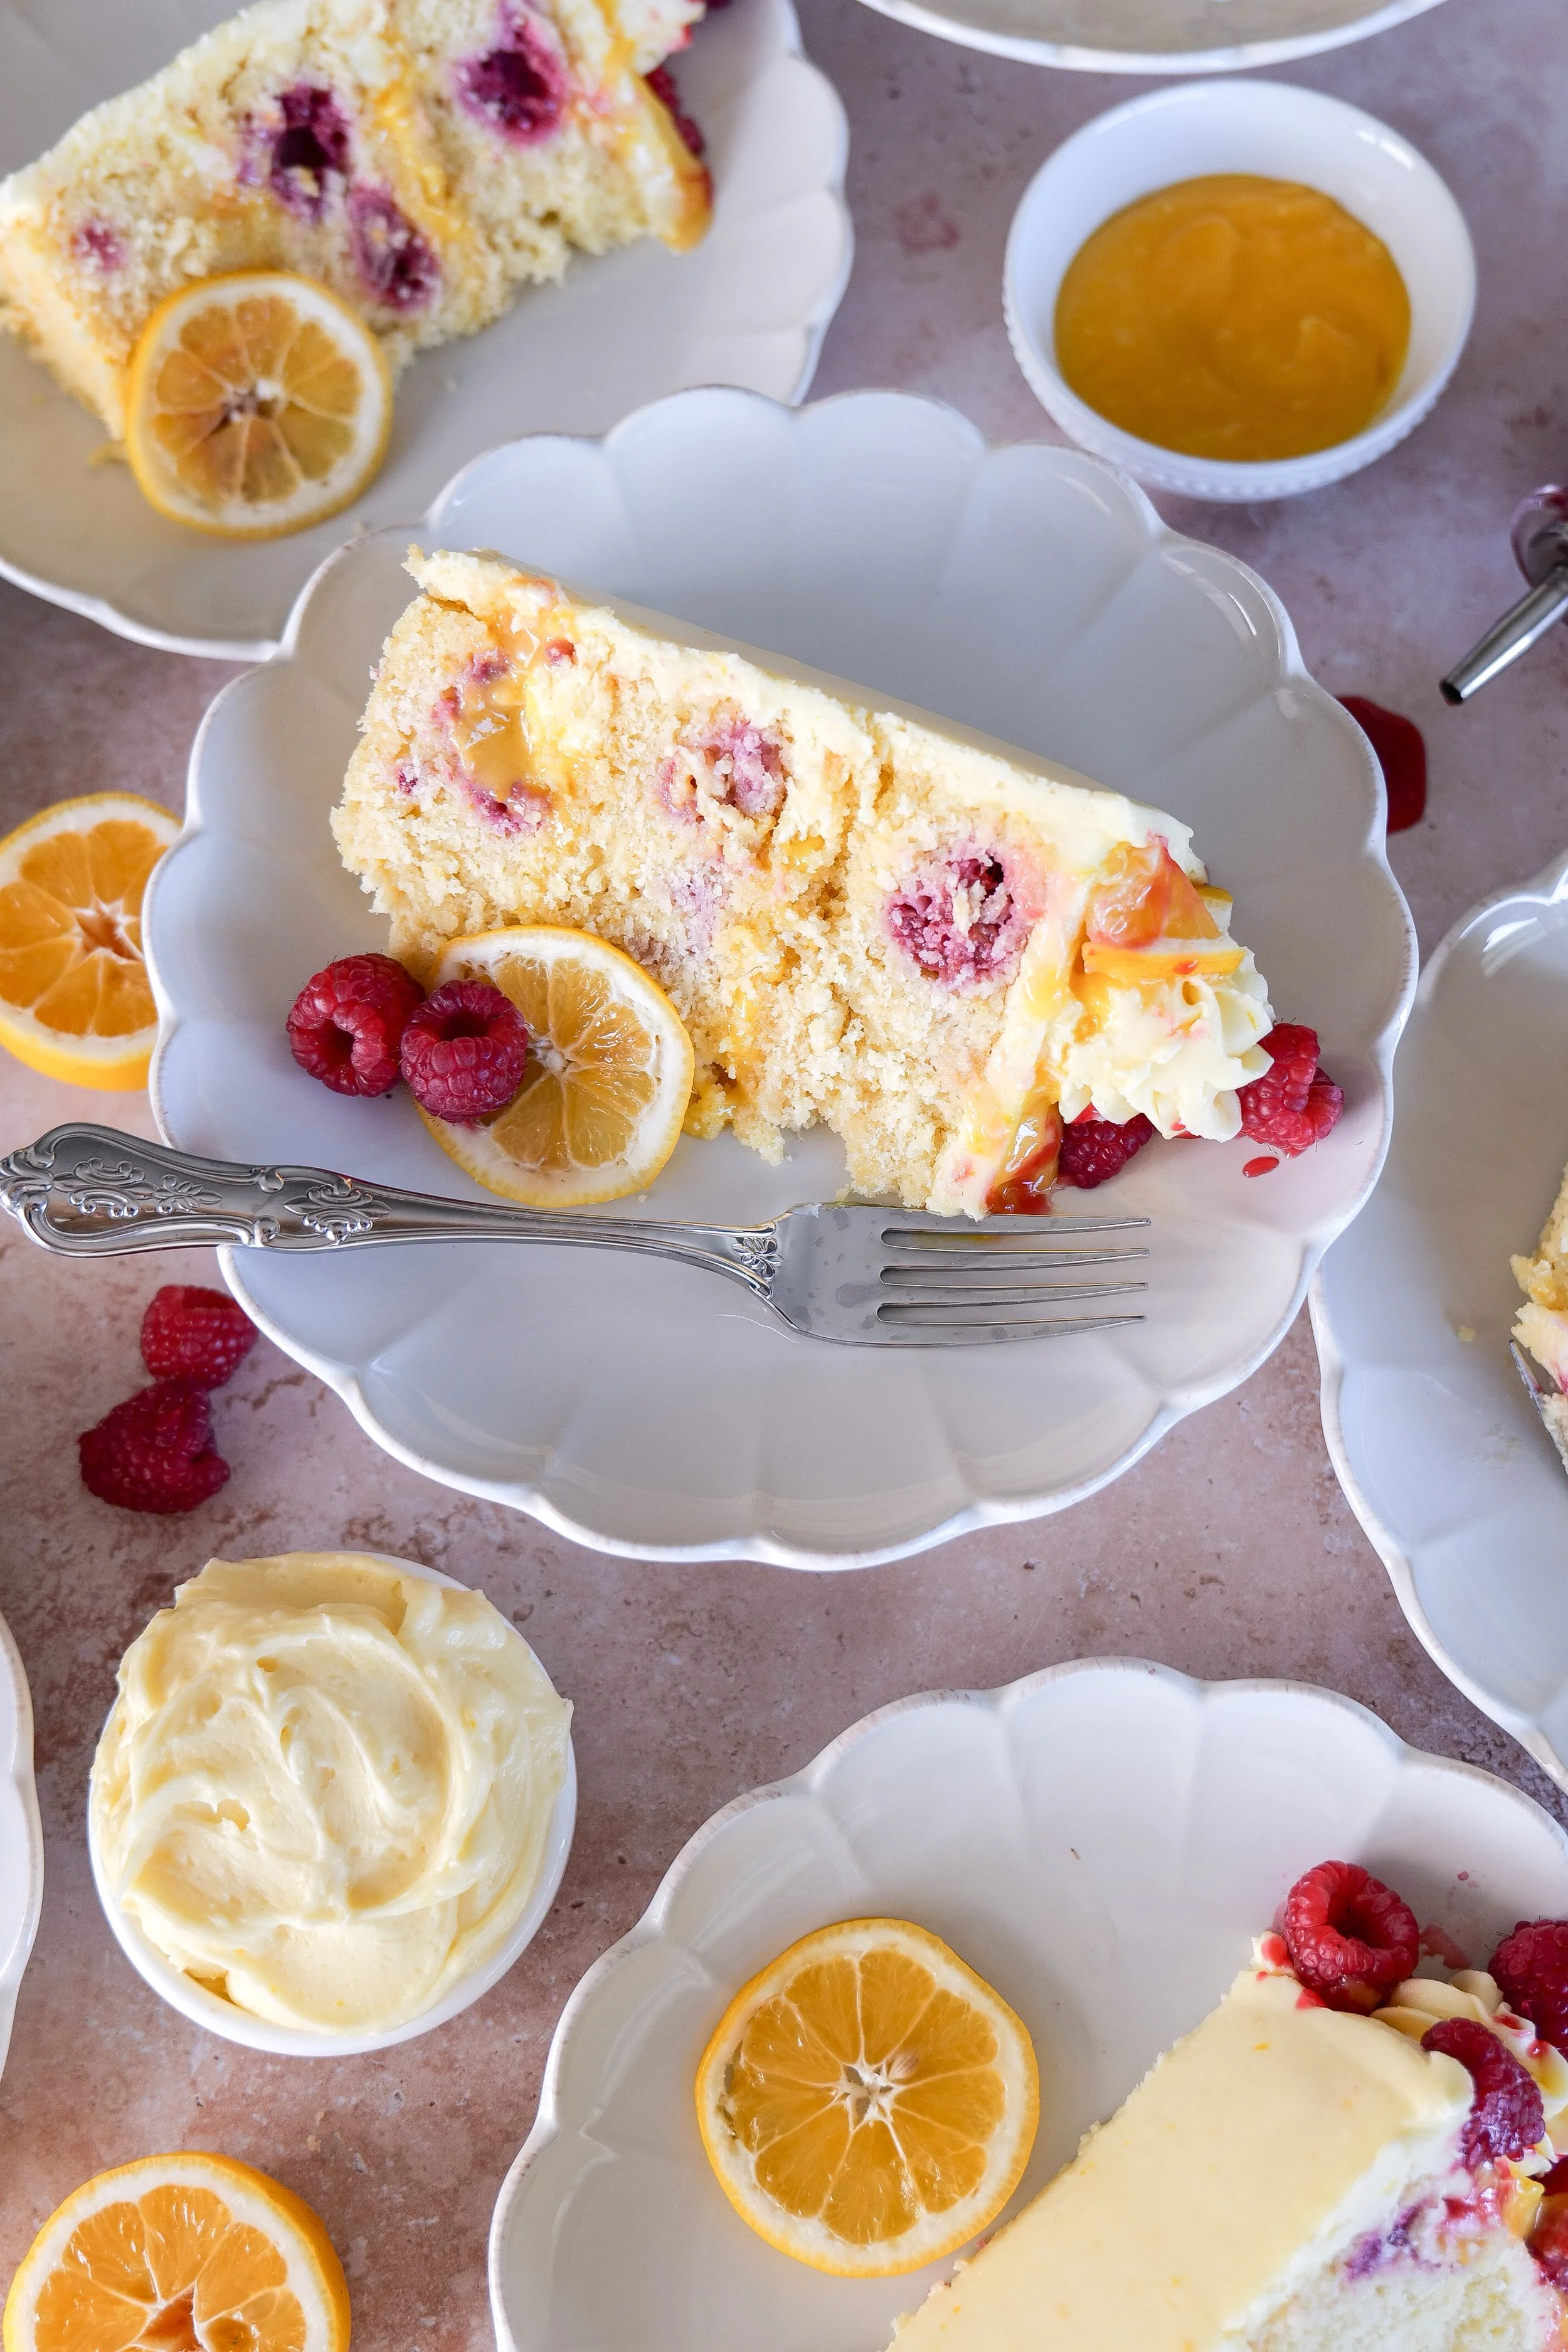
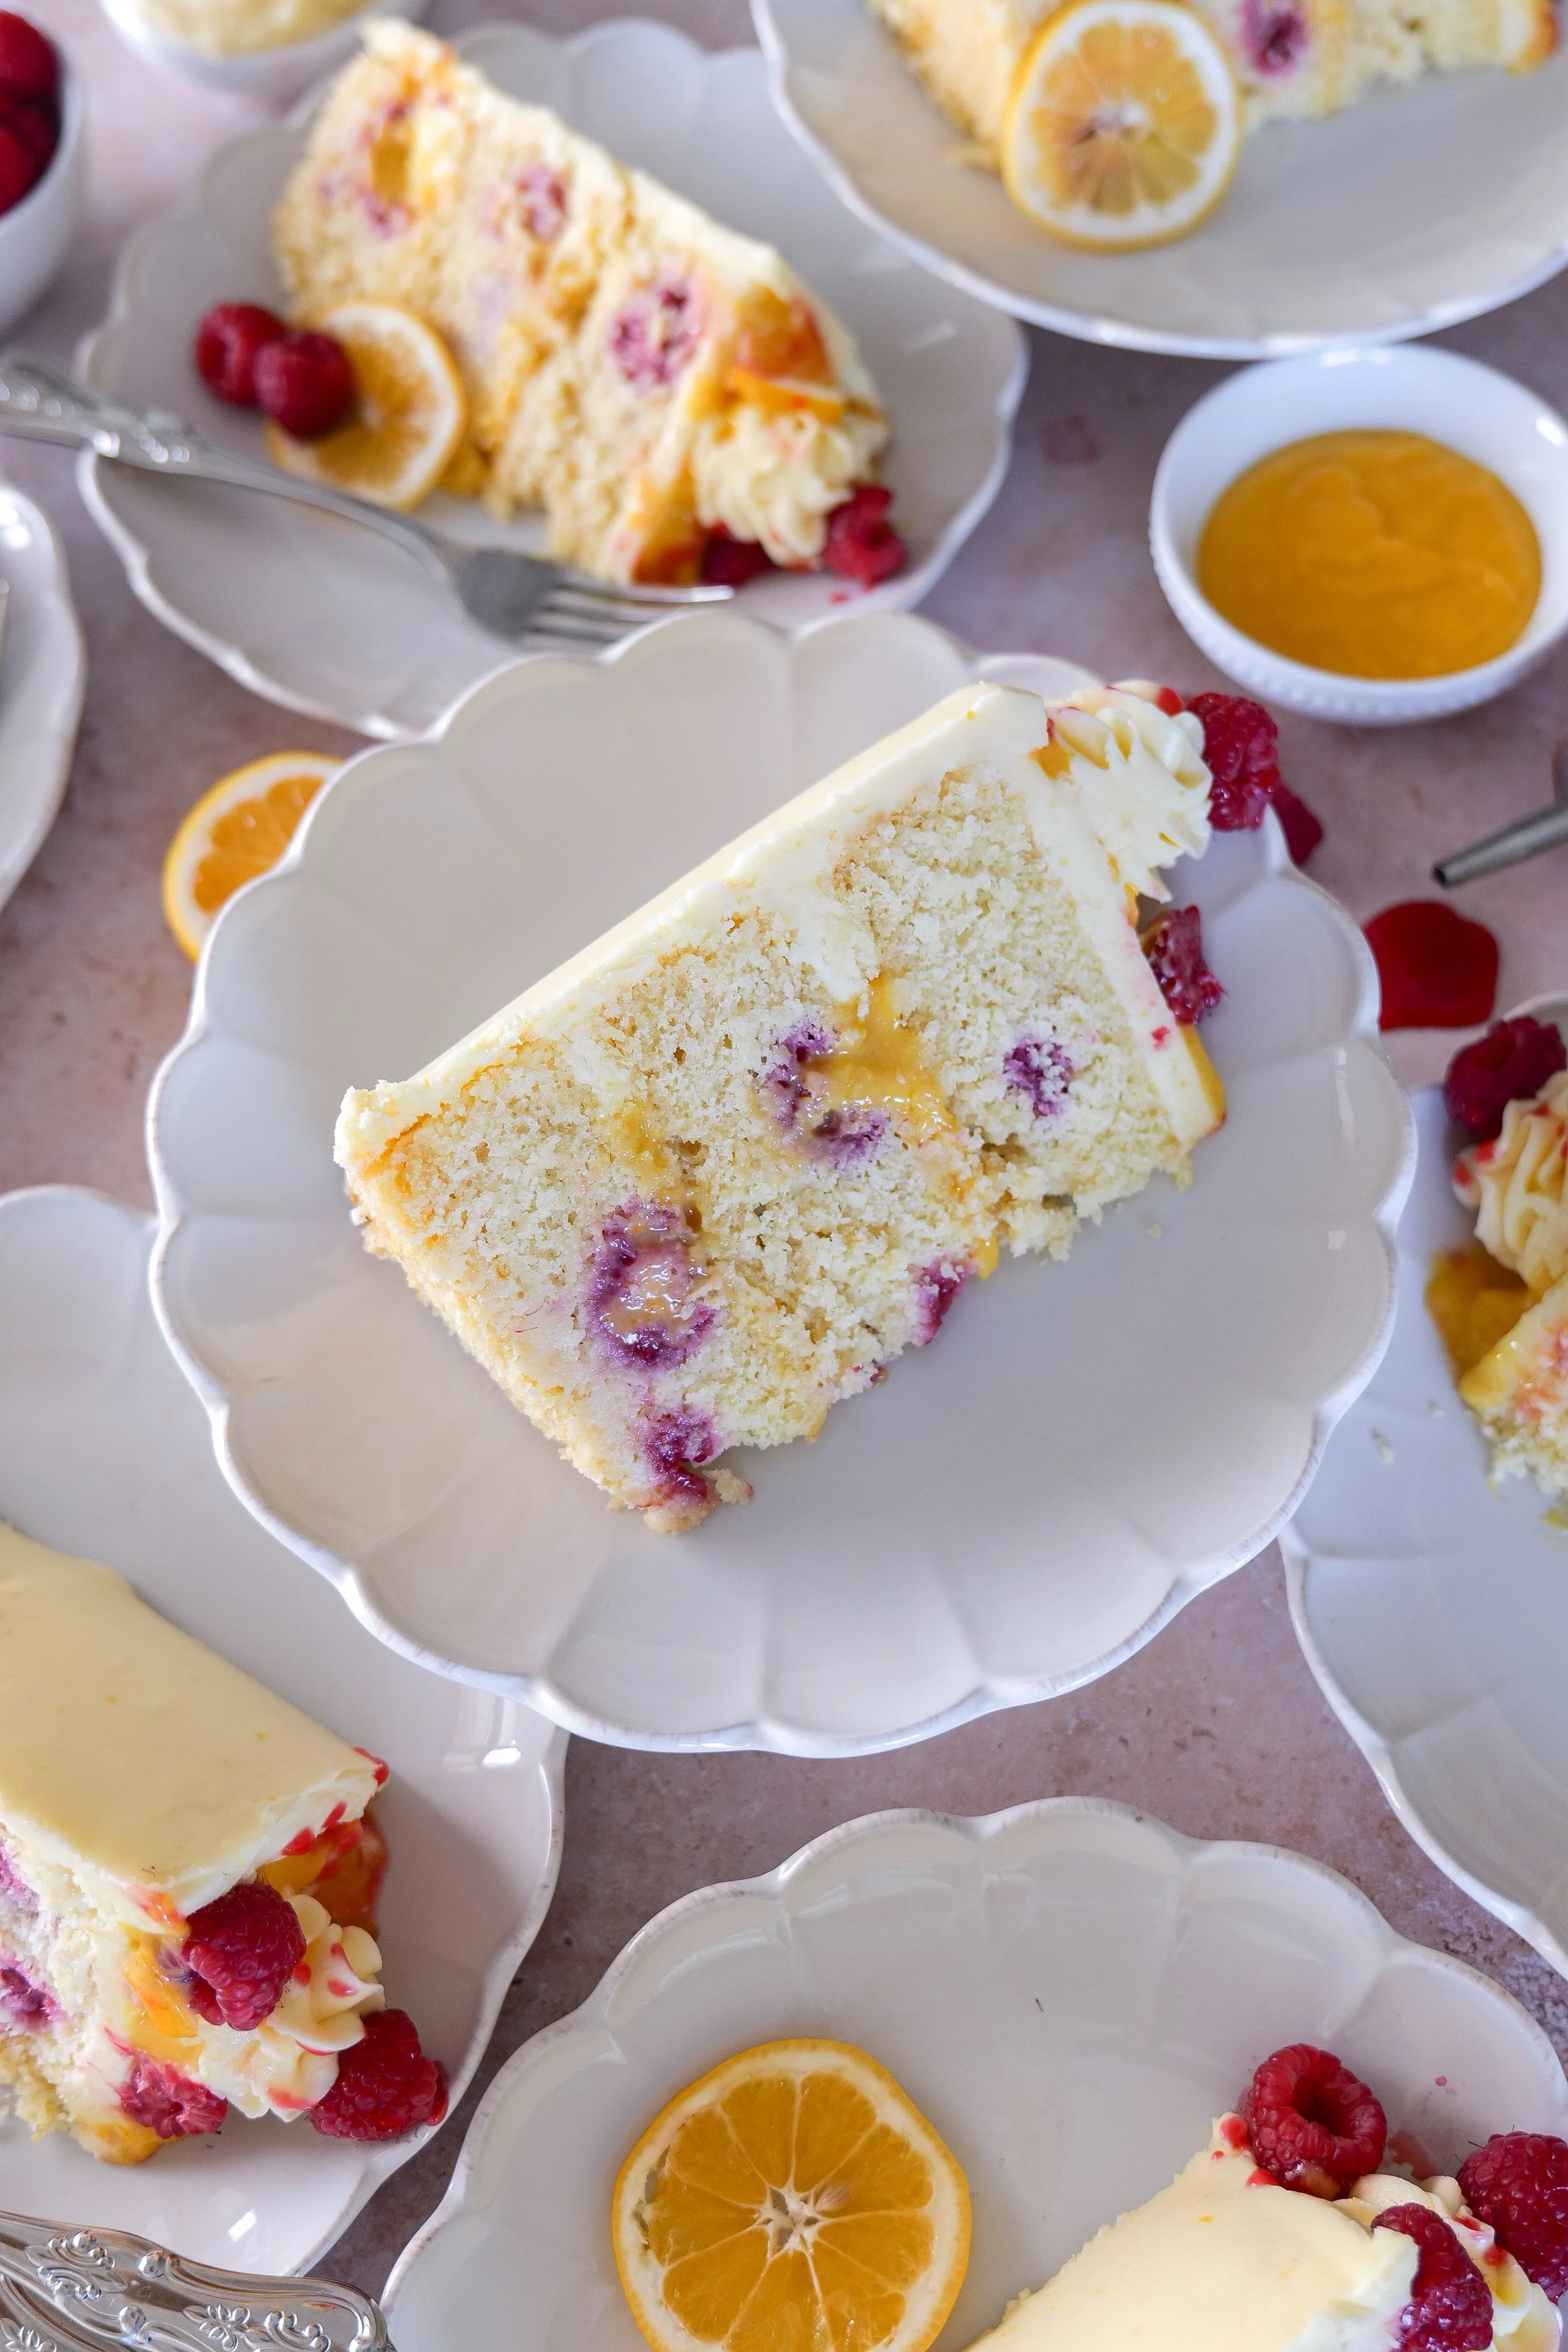
Slice of lemon raspberry cake showing lemon curd and raspberry layers.
Lemon curd raspberry cake with soft vanilla layers and buttercream frosting.

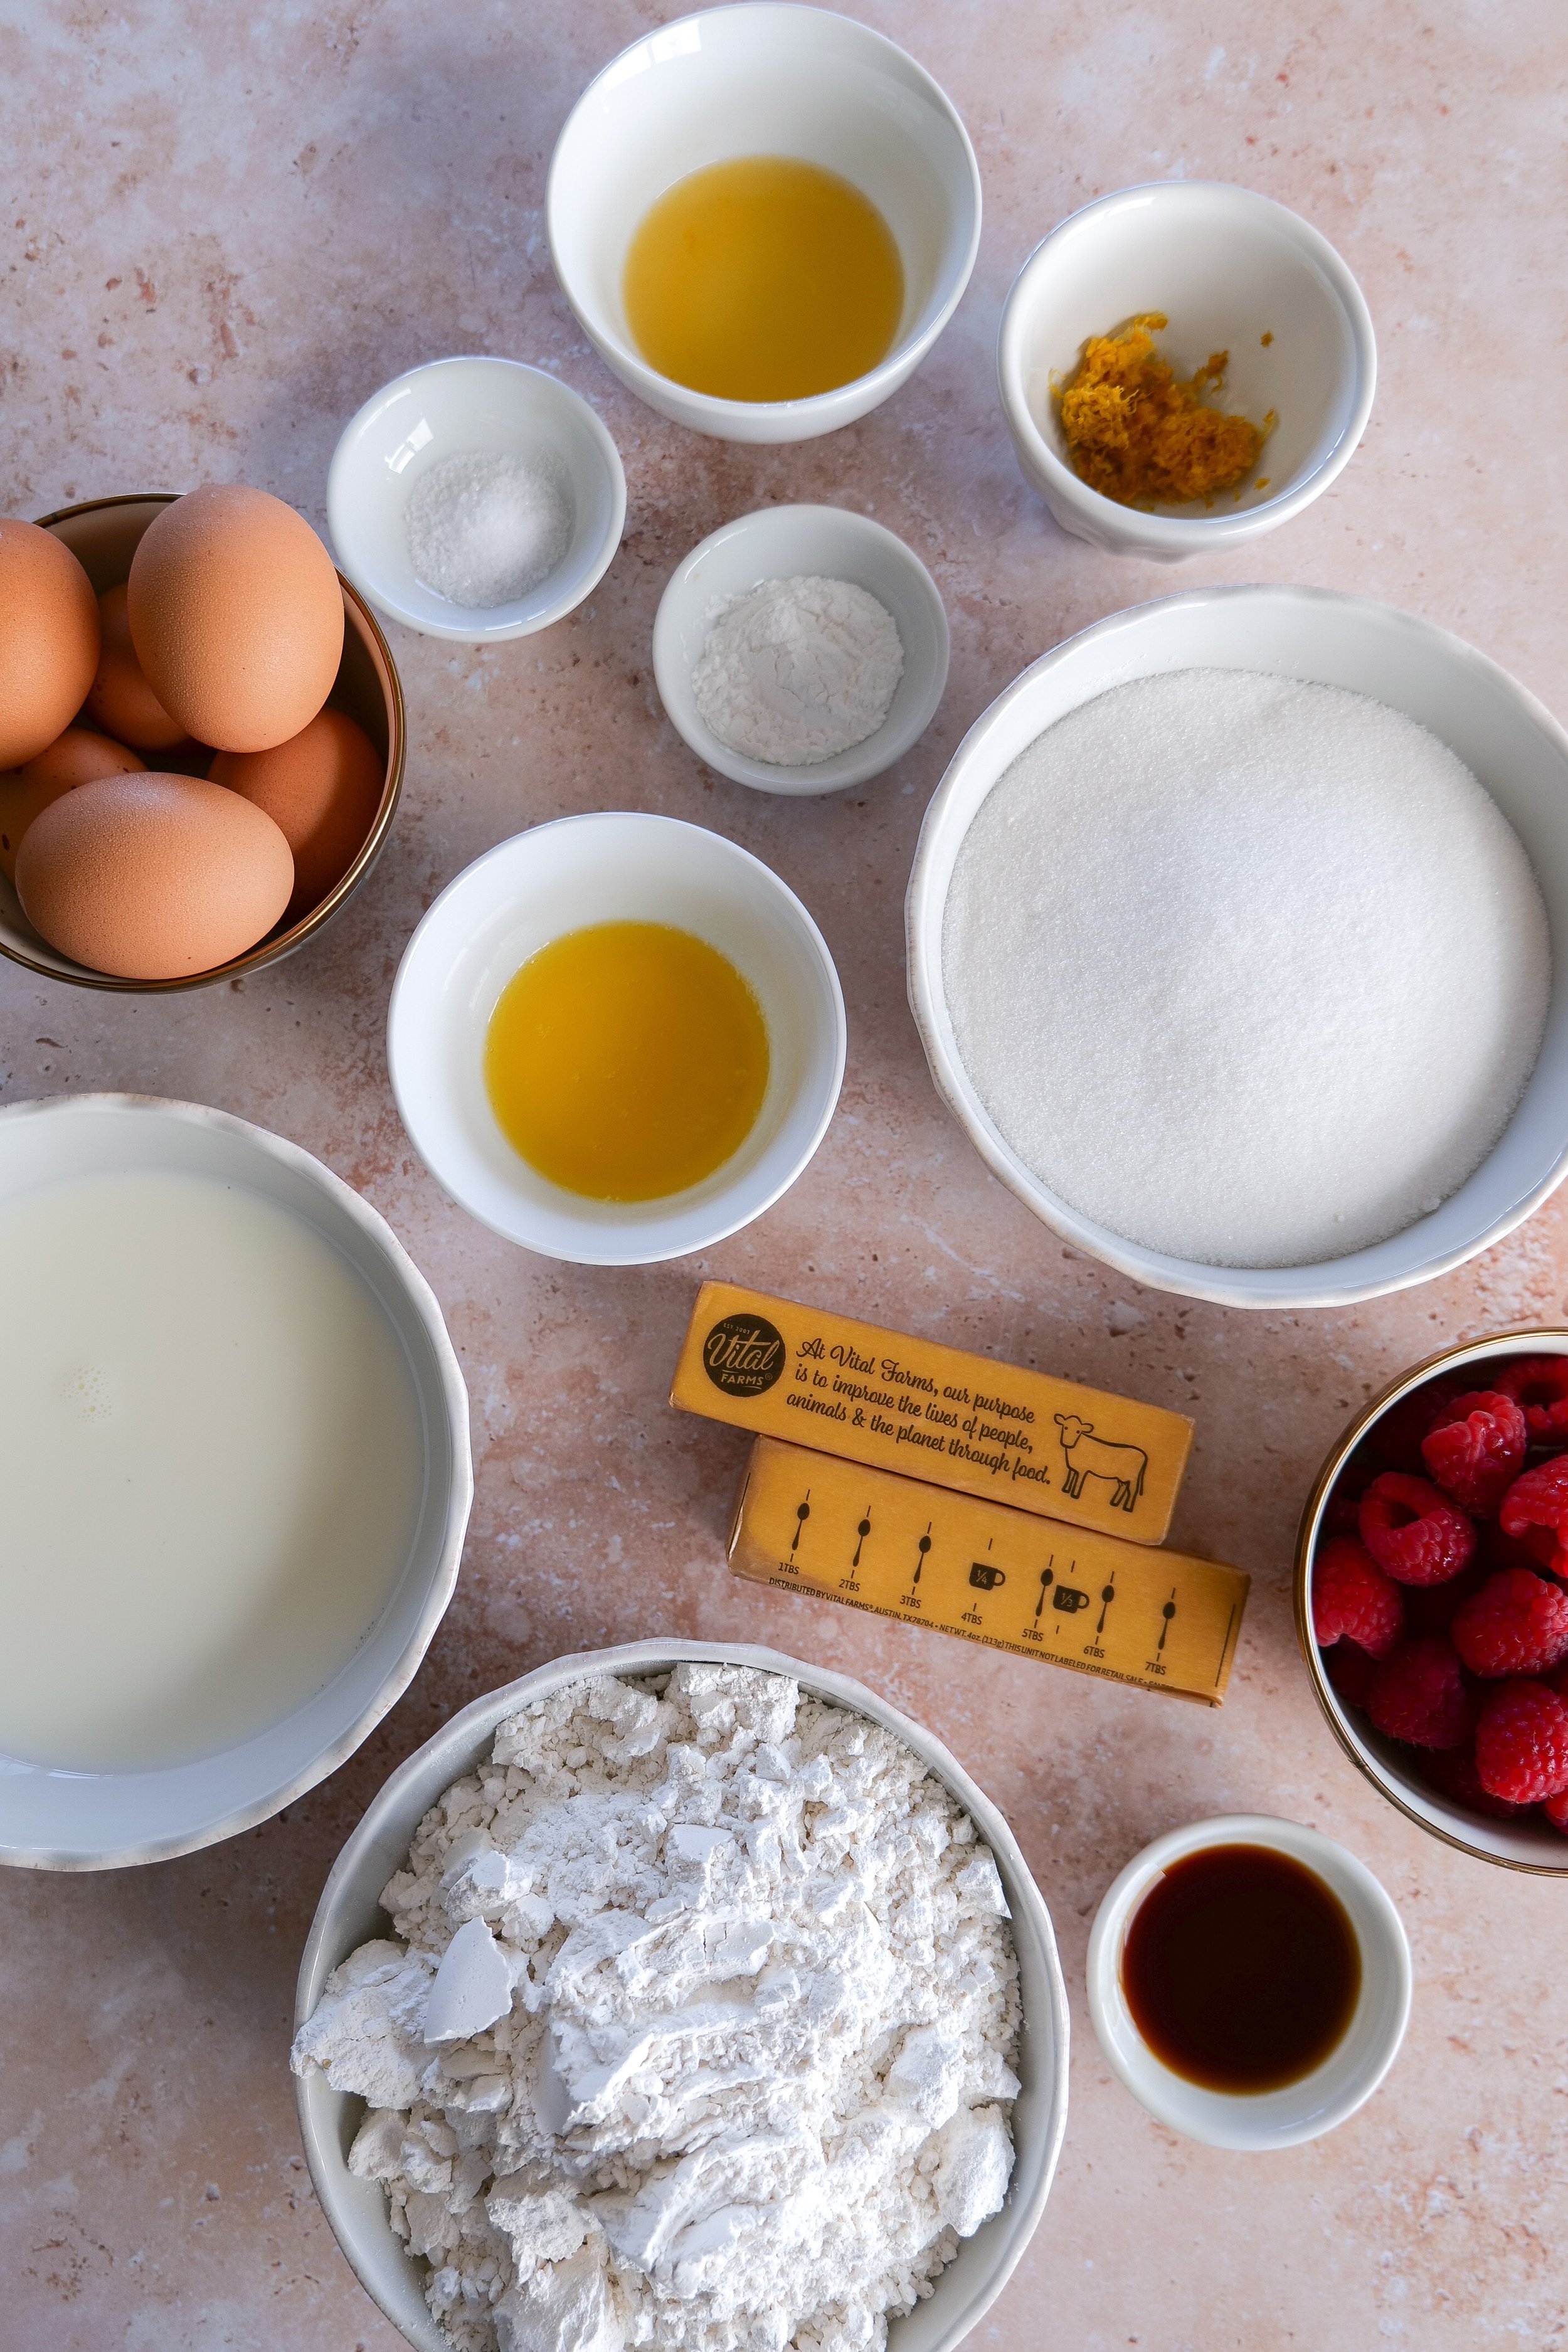
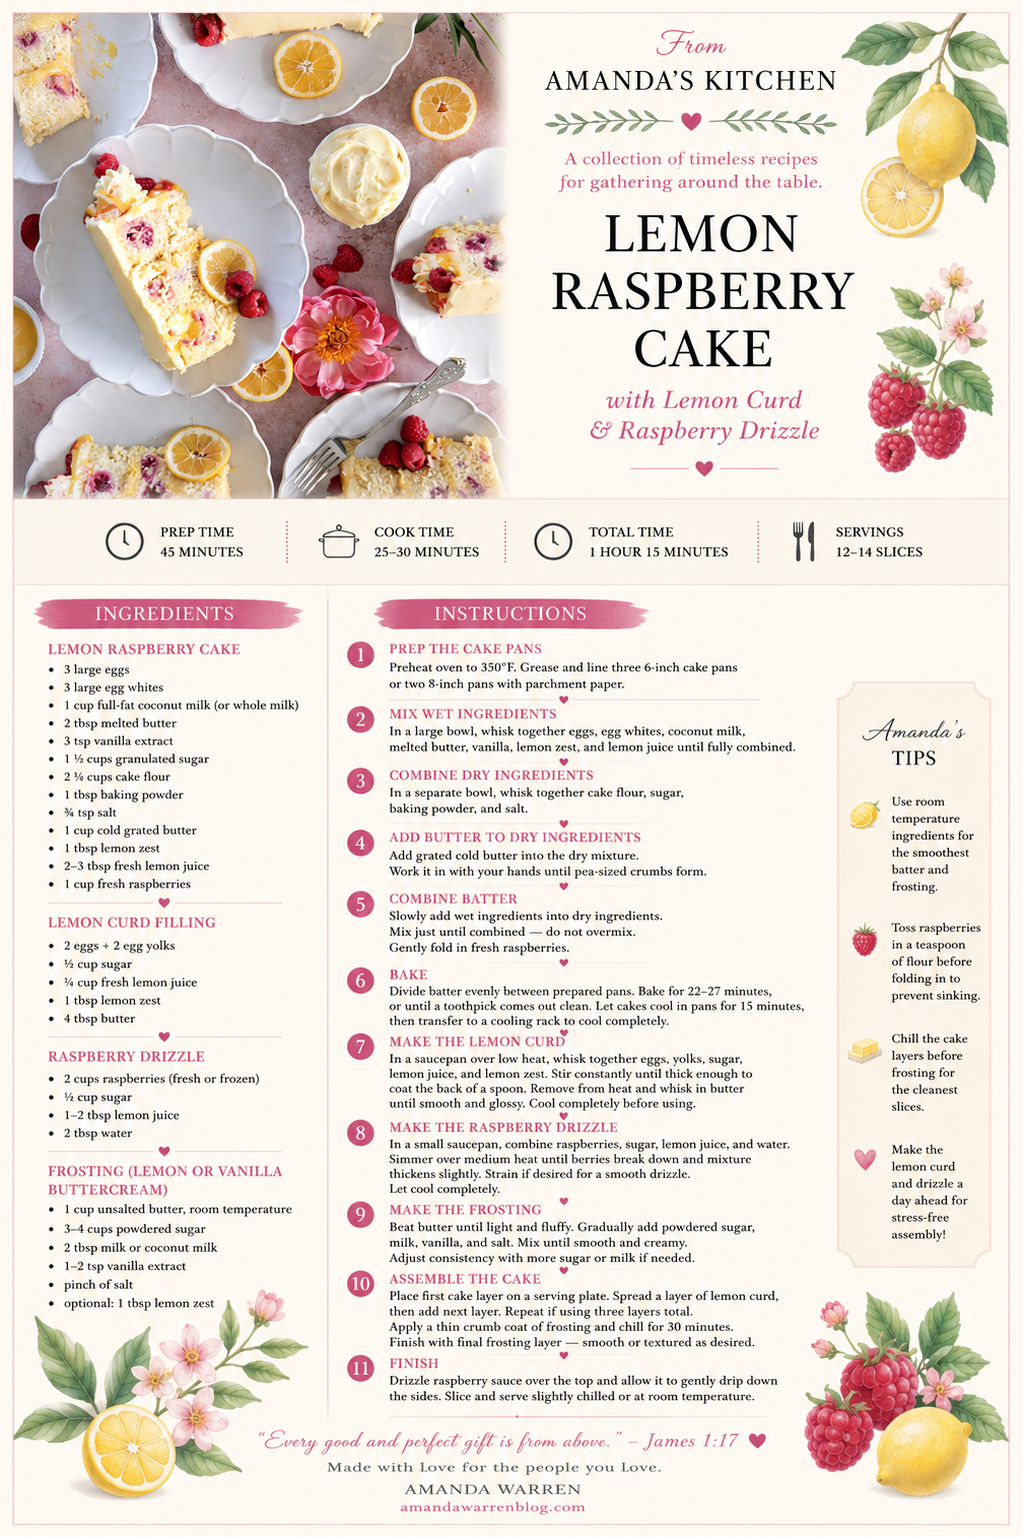
Ingredients

Lemon Raspberry Cake

  • 3 large eggs

  • 3 large egg whites

  • 1 cup full-fat coconut milk (or whole milk)

  • 2 tbsp melted butter

  • 3 tsp vanilla extract

  • 1 ½ cups granulated sugar

  • 2 ¼ cups cake flour

  • 1 tbsp baking powder

  • ¾ tsp salt

  • 1 cup cold grated butter

  • 1 tbsp lemon zest

  • 2–3 tbsp fresh lemon juice

  • 1 cup fresh raspberries

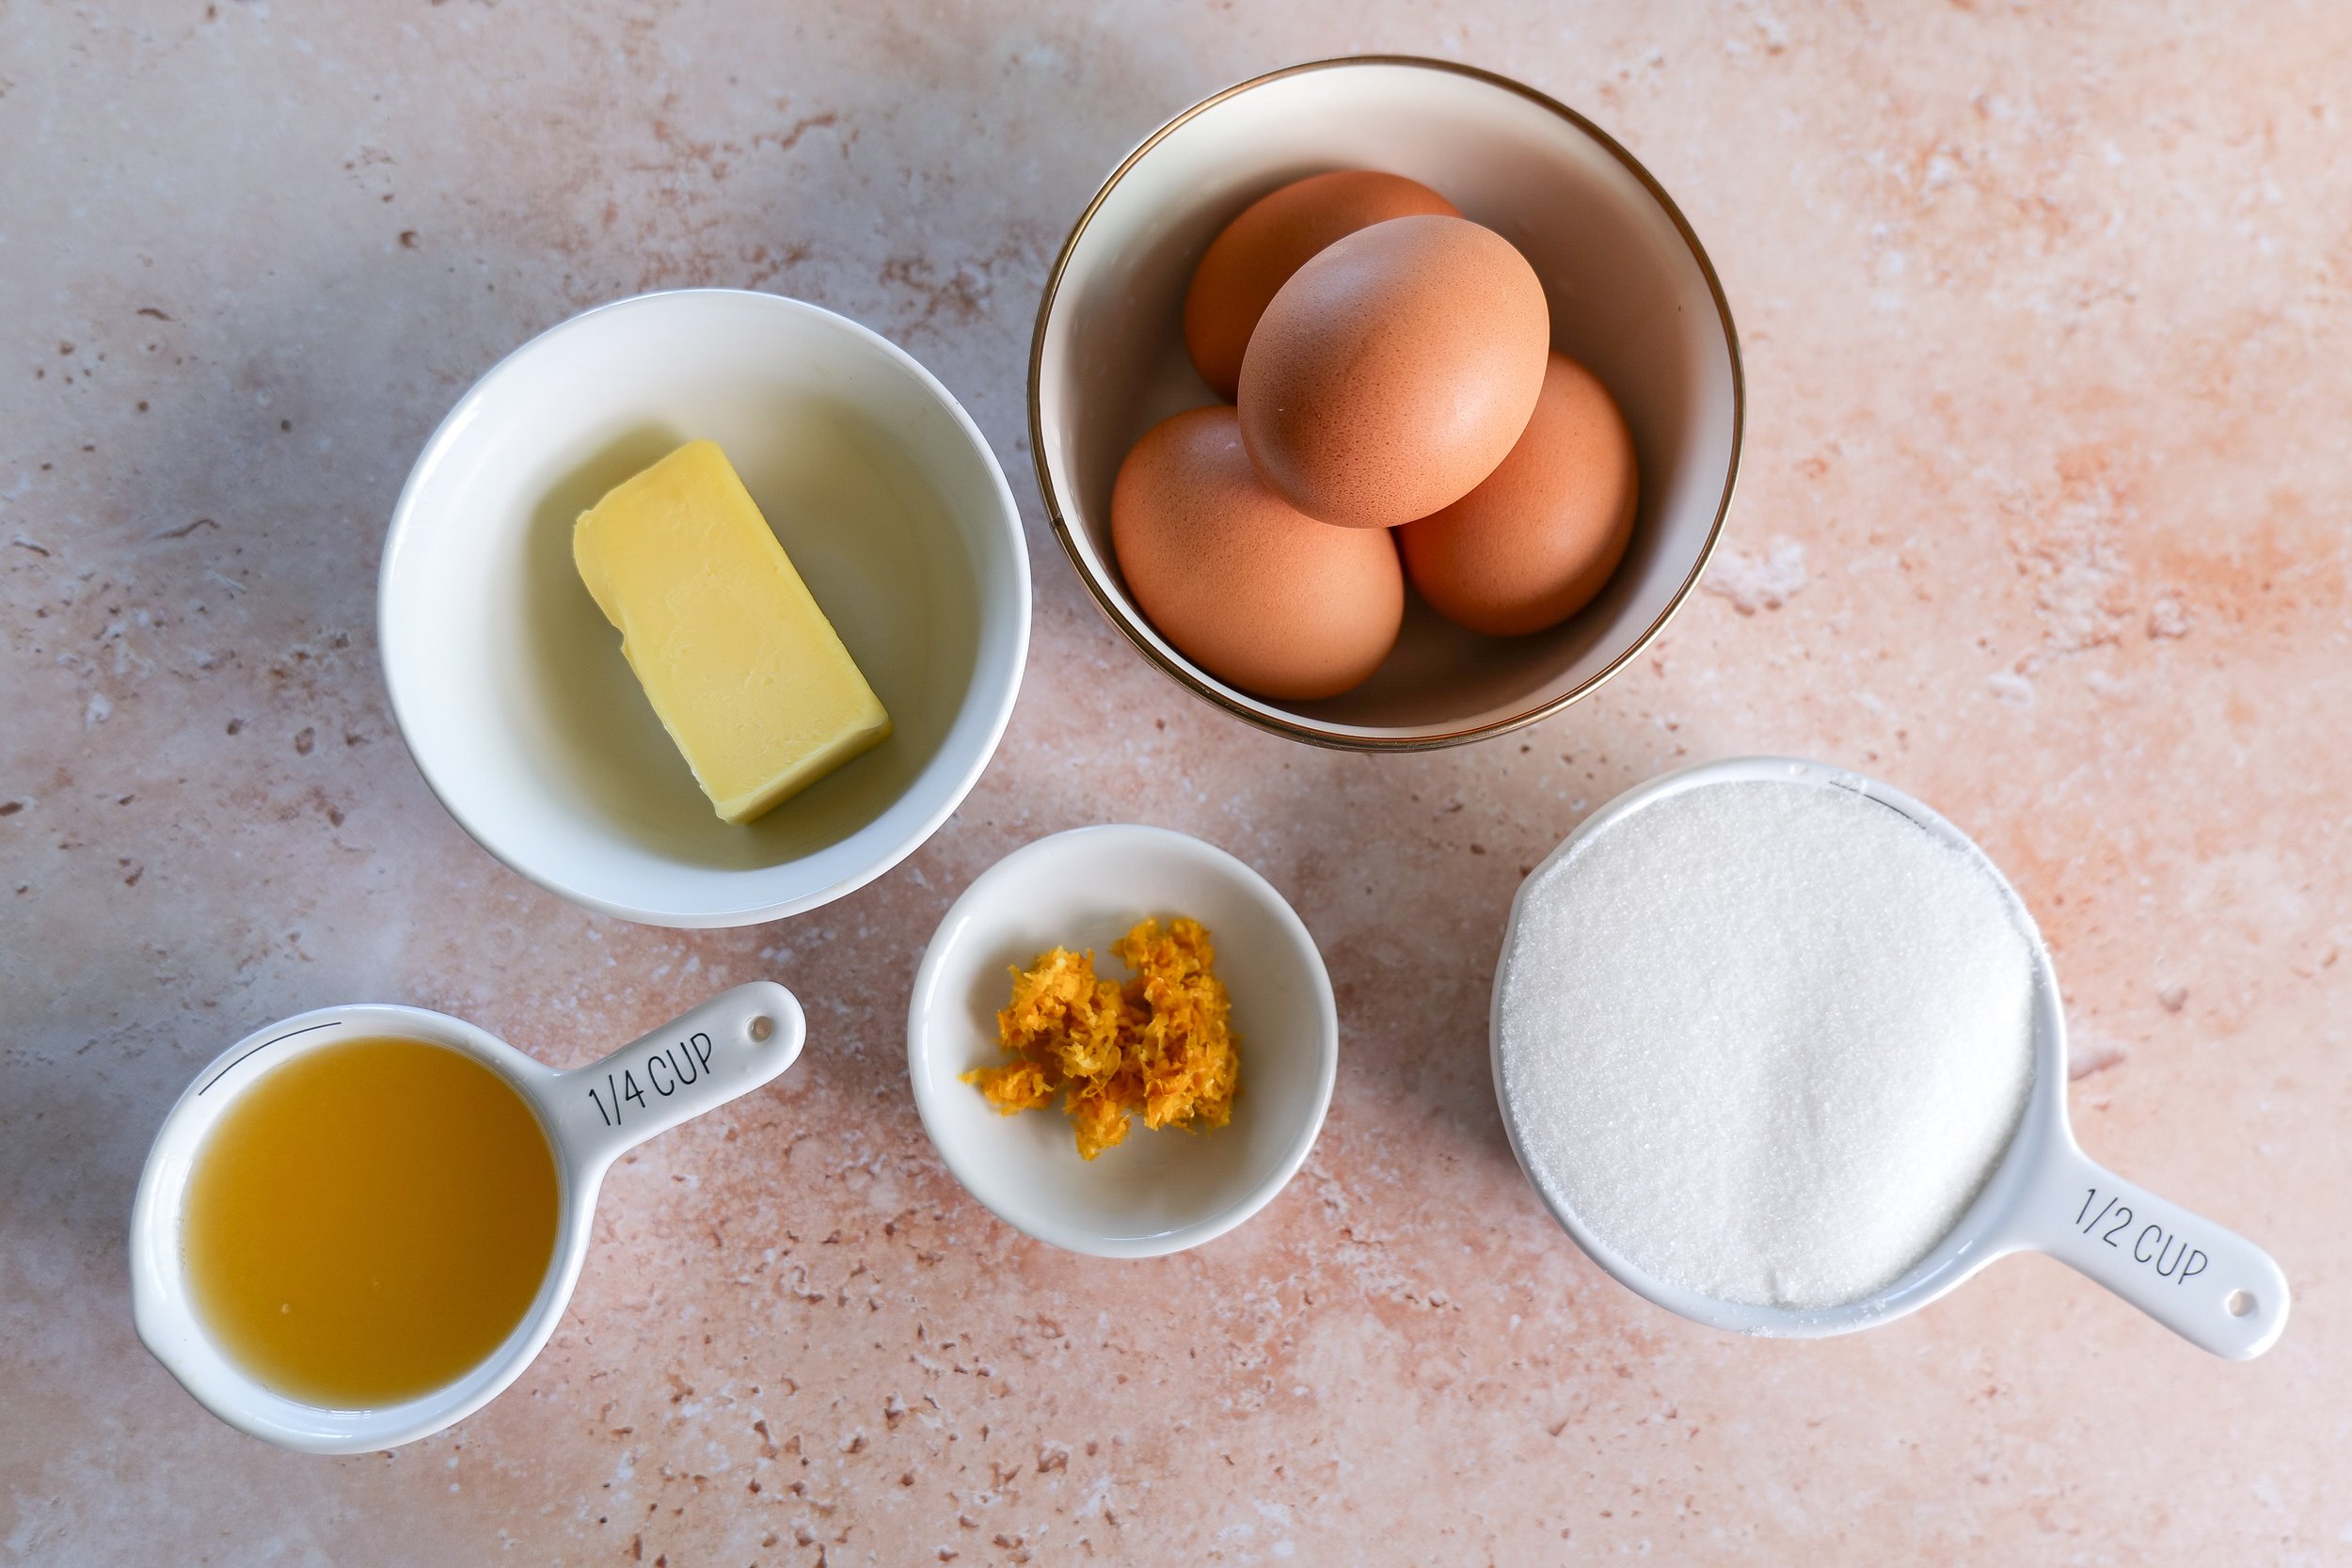
Lemon Curd Filling

  • 2 eggs + 2 egg yolks

  • ½ cup sugar

  • ¼ cup fresh lemon juice

  • 1 tbsp lemon zest

  • 4 tbsp butter

Homemade lemon raspberry cake with lemon curd filling and buttercream.

Raspberry Drizzle

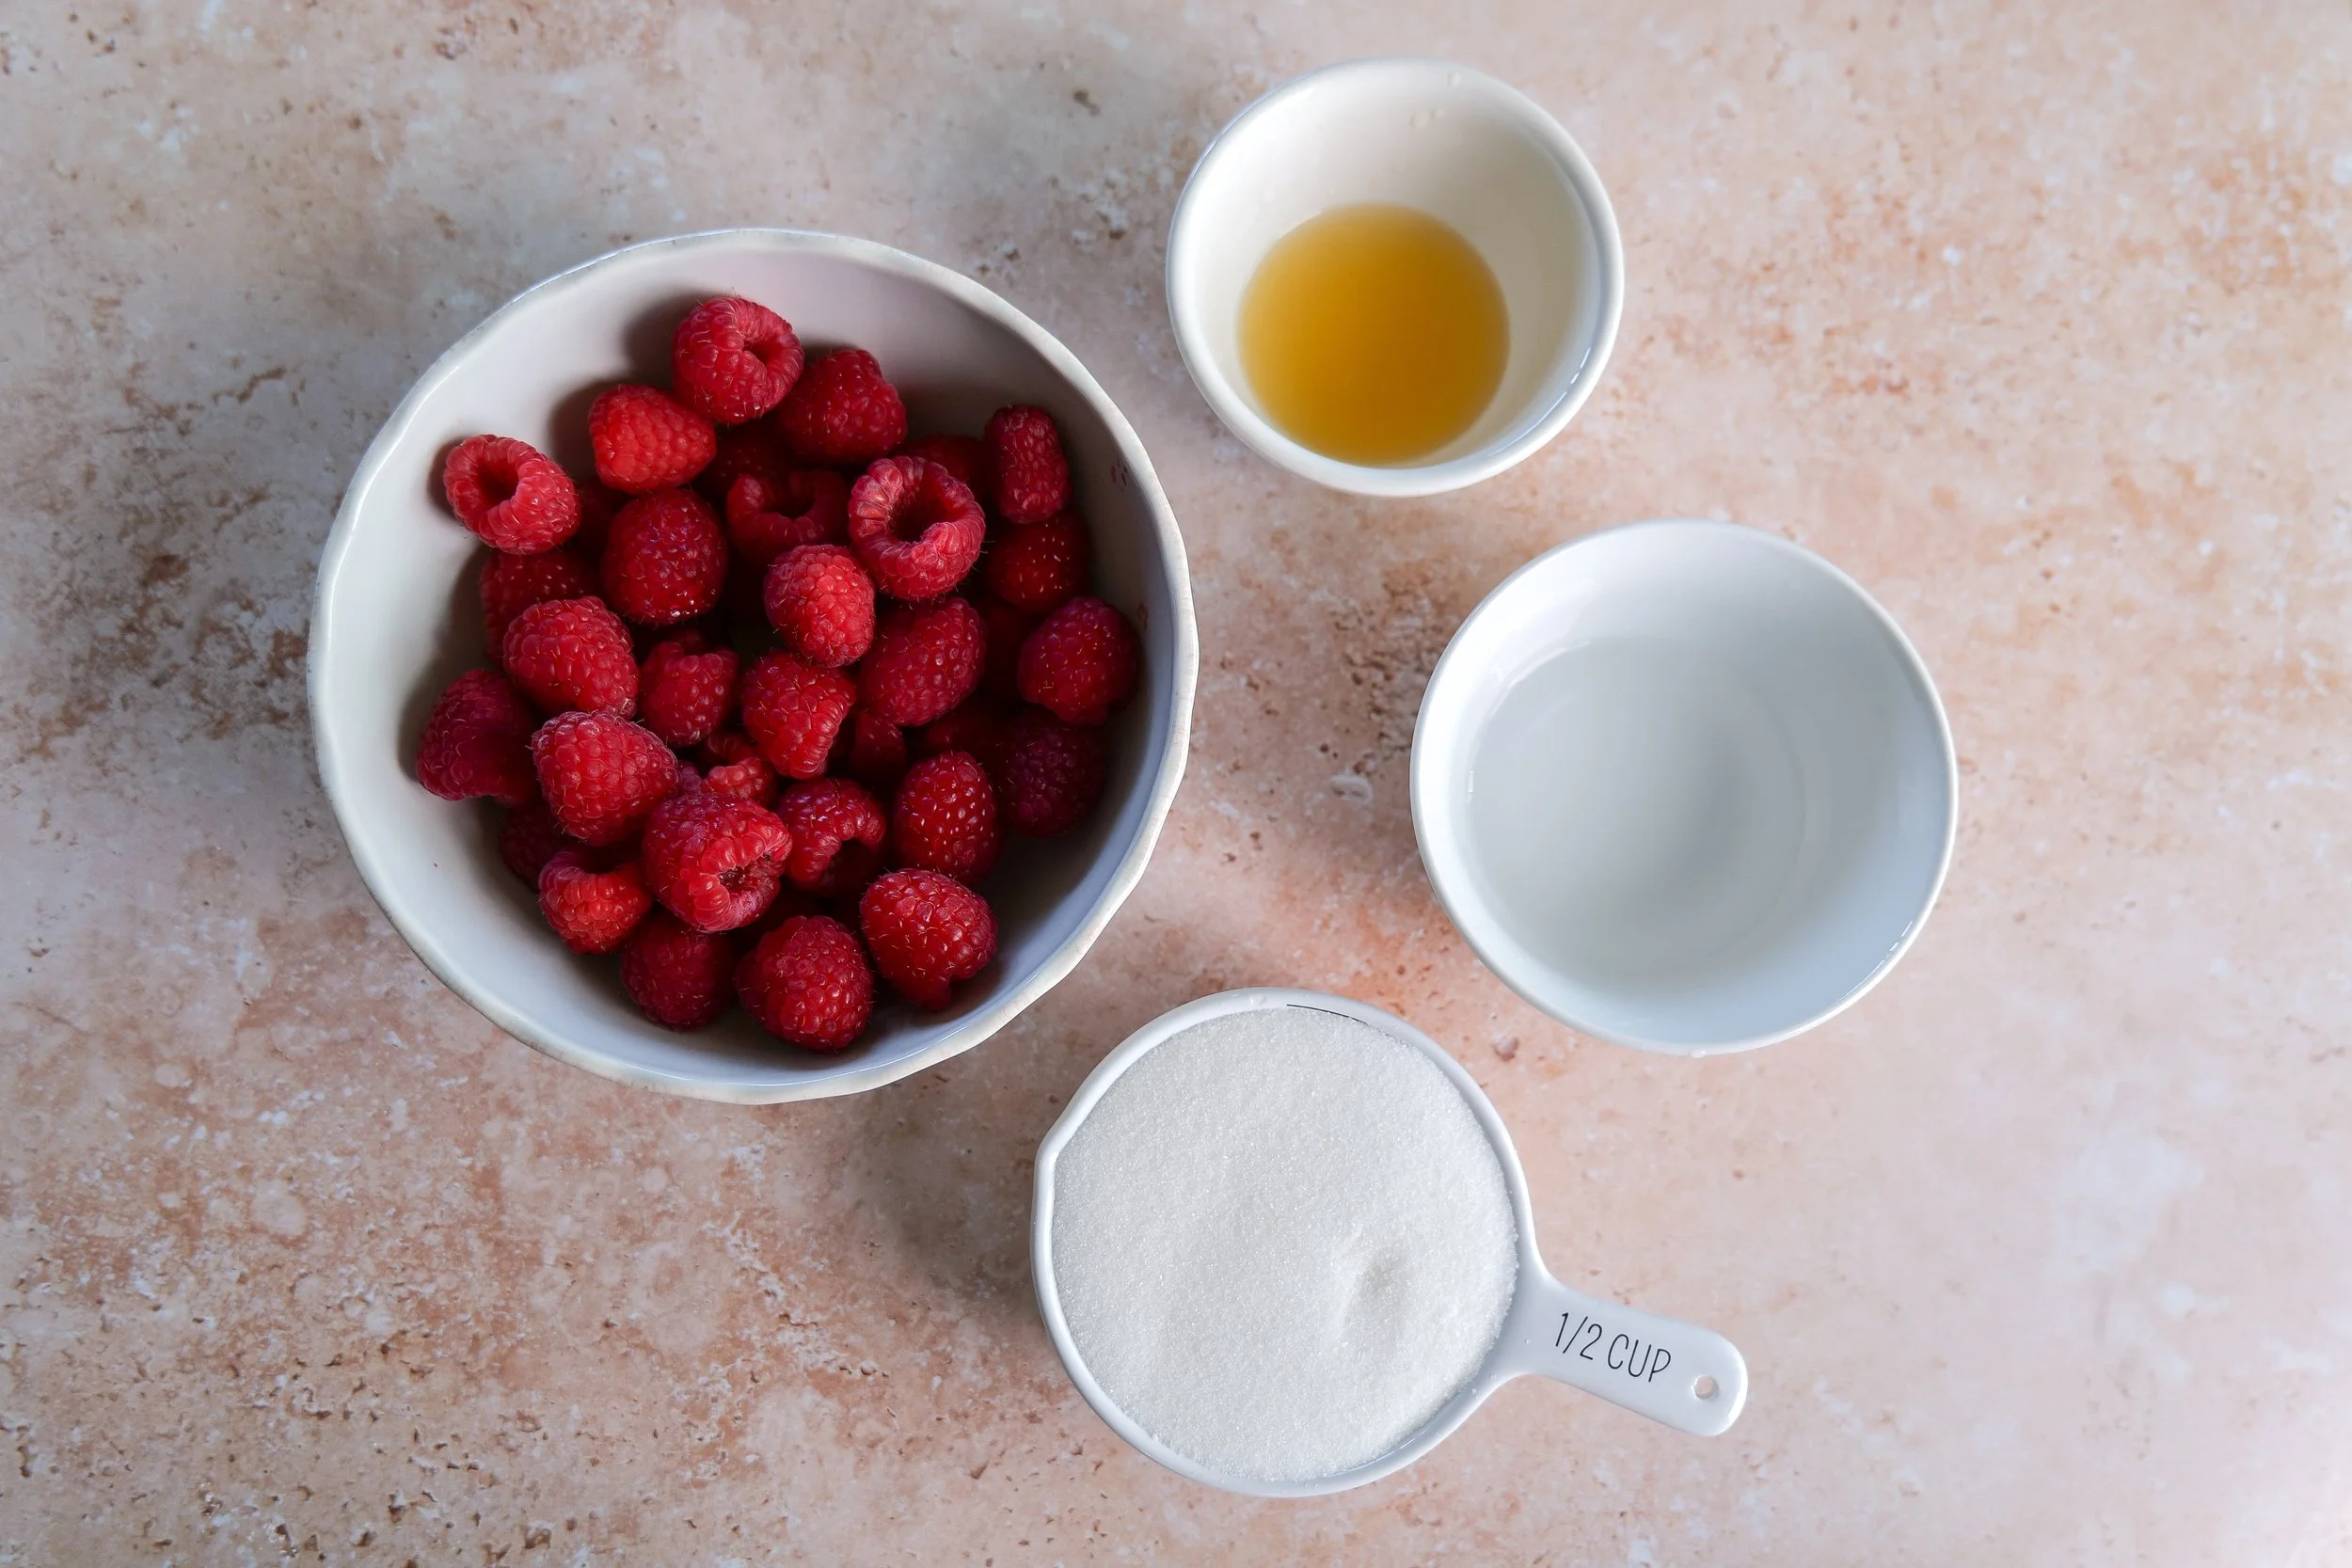
  • 2 cups raspberries (fresh or frozen)

  • ½ cup sugar

  • 1–2 tbsp lemon juice

  • 2 tbsp water

Lemon curd raspberry layer cake with fluffy vanilla sponge.

Frosting (Lemon or Vanilla Buttercream)

  • 1 cup unsalted butter, room temperature

  • 3–4 cups powdered sugar

  • 2 tbsp milk or coconut milk

  • 1–2 tsp vanilla extract

  • pinch of salt

  • optional: 1 tbsp lemon zest

Instructions

1. Prep the Cake Pans

Preheat oven to 350°F. Grease and line three 6-inch cake pans or two 8-inch pans with parchment paper.

2. Mix Wet Ingredients

In a large bowl, whisk together eggs, egg whites, coconut milk, melted butter, vanilla, lemon zest, and lemon juice until fully combined.

3. Combine Dry Ingredients

In a separate bowl, whisk together cake flour, sugar, baking powder, and salt.

4. Add Butter to Dry Ingredients

Add grated cold butter into the dry mixture. Work it in with your hands until pea-sized crumbs form.

5. Combine Batter

Slowly add wet ingredients into dry ingredients. Mix just until combined — do not overmix.

Gently fold in fresh raspberries.

6. Bake

Divide batter evenly between prepared pans. Bake for 22–27 minutes, or until a toothpick comes out clean.

Let cakes cool in pans for 15 minutes, then transfer to a cooling rack to cool completely.

7. Make the Lemon Curd

In a saucepan over low heat, whisk together eggs, yolks, sugar, lemon juice, and lemon zest.

Stir constantly until thick enough to coat the back of a spoon.

Remove from heat and whisk in butter until smooth and glossy.

Cool completely before using.

8. Make the Raspberry Drizzle

In a small saucepan, combine raspberries, sugar, lemon juice, and water.

Simmer over medium heat until berries break down and mixture thickens slightly.

Strain if desired for a smooth drizzle. Let cool completely.

9. Make the Frosting

Beat butter until light and fluffy. Gradually add powdered sugar, milk, vanilla, and salt.

Mix until smooth and creamy. Adjust consistency with more sugar or milk if needed.

10. Assemble the Cake

Place first cake layer on a serving plate.

Spread a layer of lemon curd, then add next layer.

Repeat if using three layers total.

Apply a thin crumb coat of frosting and chill for 30 minutes.

Finish with final frosting layer — smooth or textured as desired.

11. Finish

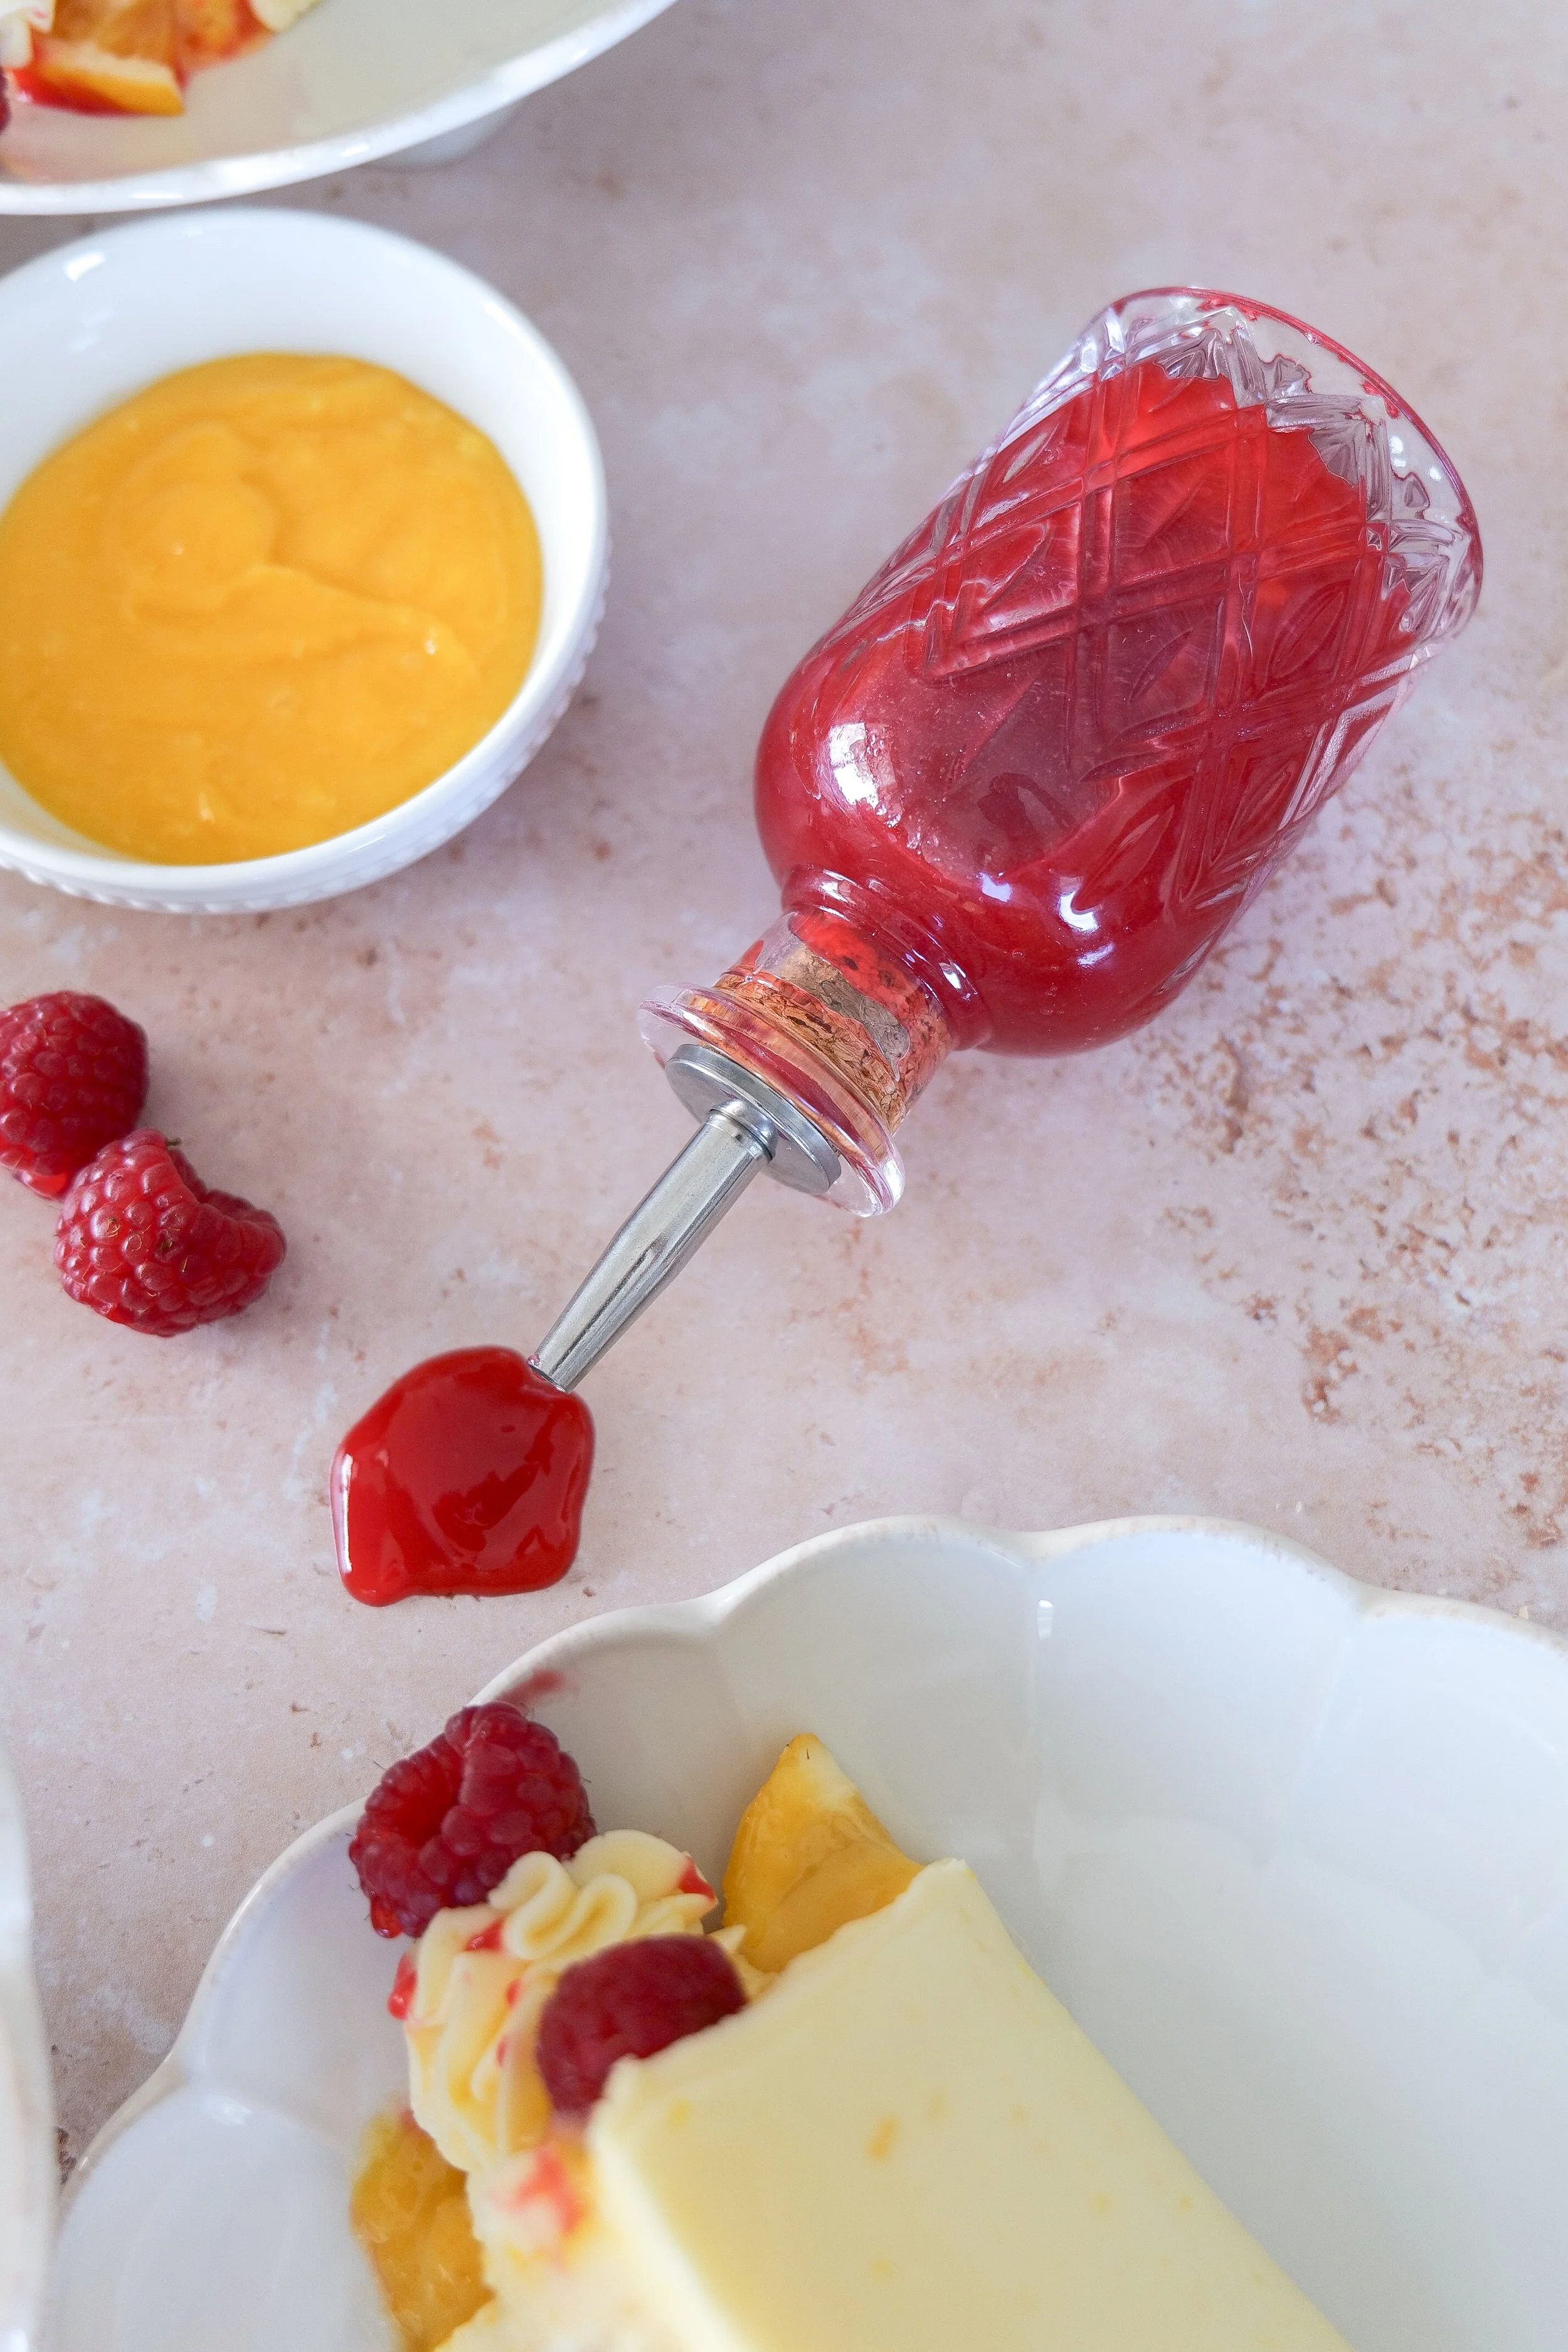
Drizzle raspberry sauce over the top and allow it to gently drip down the sides.

Slice and serve slightly chilled or at room temperature.

Spring lemon raspberry cake perfect for celebrations and gatherings.
Raspberry lemon layer cake filled with lemon curd and fresh berries.
Lemon curd layer cake with fresh raspberries and fluffy frosting.
Elegant lemon raspberry cake decorated with berries and frosting.

Tips for the Best Lemon Raspberry Cake

  • Toss raspberries lightly in flour before folding into batter

  • Don’t overmix once raspberries are added

  • Fully cool lemon curd before assembling

  • Chill cake before slicing for cleaner layers

  • Add raspberry drizzle right before serving

Frequently Asked Questions

Can I use frozen raspberries?

Yes — add them frozen directly into the batter.

Can I make this cake ahead of time?

Yes, bake layers a day ahead and assemble before serving.

What frosting works best?

Vanilla buttercream or lemon buttercream both work beautifully.

Shop This Recipe + My Cozy Favorites

If you loved this lemon raspberry cake and want to recreate the cozy baking moment at home, I’ve rounded up a few of my favorite essentials I use when making cakes like this.

These are the kinds of pieces that make baking feel easier, more beautiful, and a little more intentional — from mixing tools to cozy kitchen staples I reach for all the time.

🍰 Cozy Baking Essentials

These are my go-to baking tools for creating bakery-style cakes at home — the pieces I use whenever I’m making layered cakes, curds, or anything that feels a little extra special.

👉 Shop Cozy Baking Essentials:
https://your-shopmy-link-here

🍋 Cake + Kitchen Favorites

These are the exact types of tools I rely on when making cakes like this lemon raspberry layer cake — simple, reliable, and used in almost every recipe I share.

👉 Shop Cake + Kitchen Favorites:
https://your-shopmy-link-here

☕ Cozy Coffee Bar + Hosting Details

Small, cozy pieces that make everyday baking and hosting moments feel special — perfect for slow mornings, coffee + cake moments, and styling your kitchen.

👉 Shop Cozy Coffee Bar:
https://your-shopmy-link-here

Looking for More Bakery-Style Cakes?

If you love elegant, bakery-inspired layer cakes, you might also enjoy:

This cake sits beautifully in my monthly baking series — each one inspired by seasonal flavors, simple celebration moments, and classic bakery-style techniques that feel timeless, fresh, and always a little special.

From Amanda's Kitchen

A collection of timeless recipes for gathering around the table.

Some recipes mark a season, while others become part of the celebrations we'll always remember.

This Lemon Raspberry Cake is one of those recipes for me. Bright lemons, sweet raspberries, silky lemon curd, and a buttery cake come together to create a dessert that feels just as beautiful as it tastes.

That's exactly why I created these From Amanda's Kitchen printable recipe cards. Whether you're baking for a birthday, Mother's Day, Easter brunch, a baby shower, or simply celebrating the people you love, my hope is that this recipe becomes one you'll return to year after year.

Because the best recipes aren't just baked—they become part of our stories, our celebrations, and the memories we make around the table.

Save or print the recipe card below so it's always ready for your next special occasion.

Raspberry lemon dessert cake with soft sponge and buttercream frosting.
Lemon layer cake with raspberry filling and lemon curd center.
Lemon cake topped with fresh raspberries and powdered sugar.
Raspberry filled lemon cake with soft sponge layers and frosting.
Lemon cake showing creamy lemon curd filling between layers.
Close-up lemon cake slice with raspberries and lemon curd filling.
Homemade raspberry lemon cake with layered sponge and frosting.
Lemon raspberry cake with smooth buttercream frosting and berries.
Festive lemon raspberry cake perfect for birthdays and celebrations.

Blueberry & Apricot Streusel Muffins (Bakery-Style, Moist & Easy Recipe)

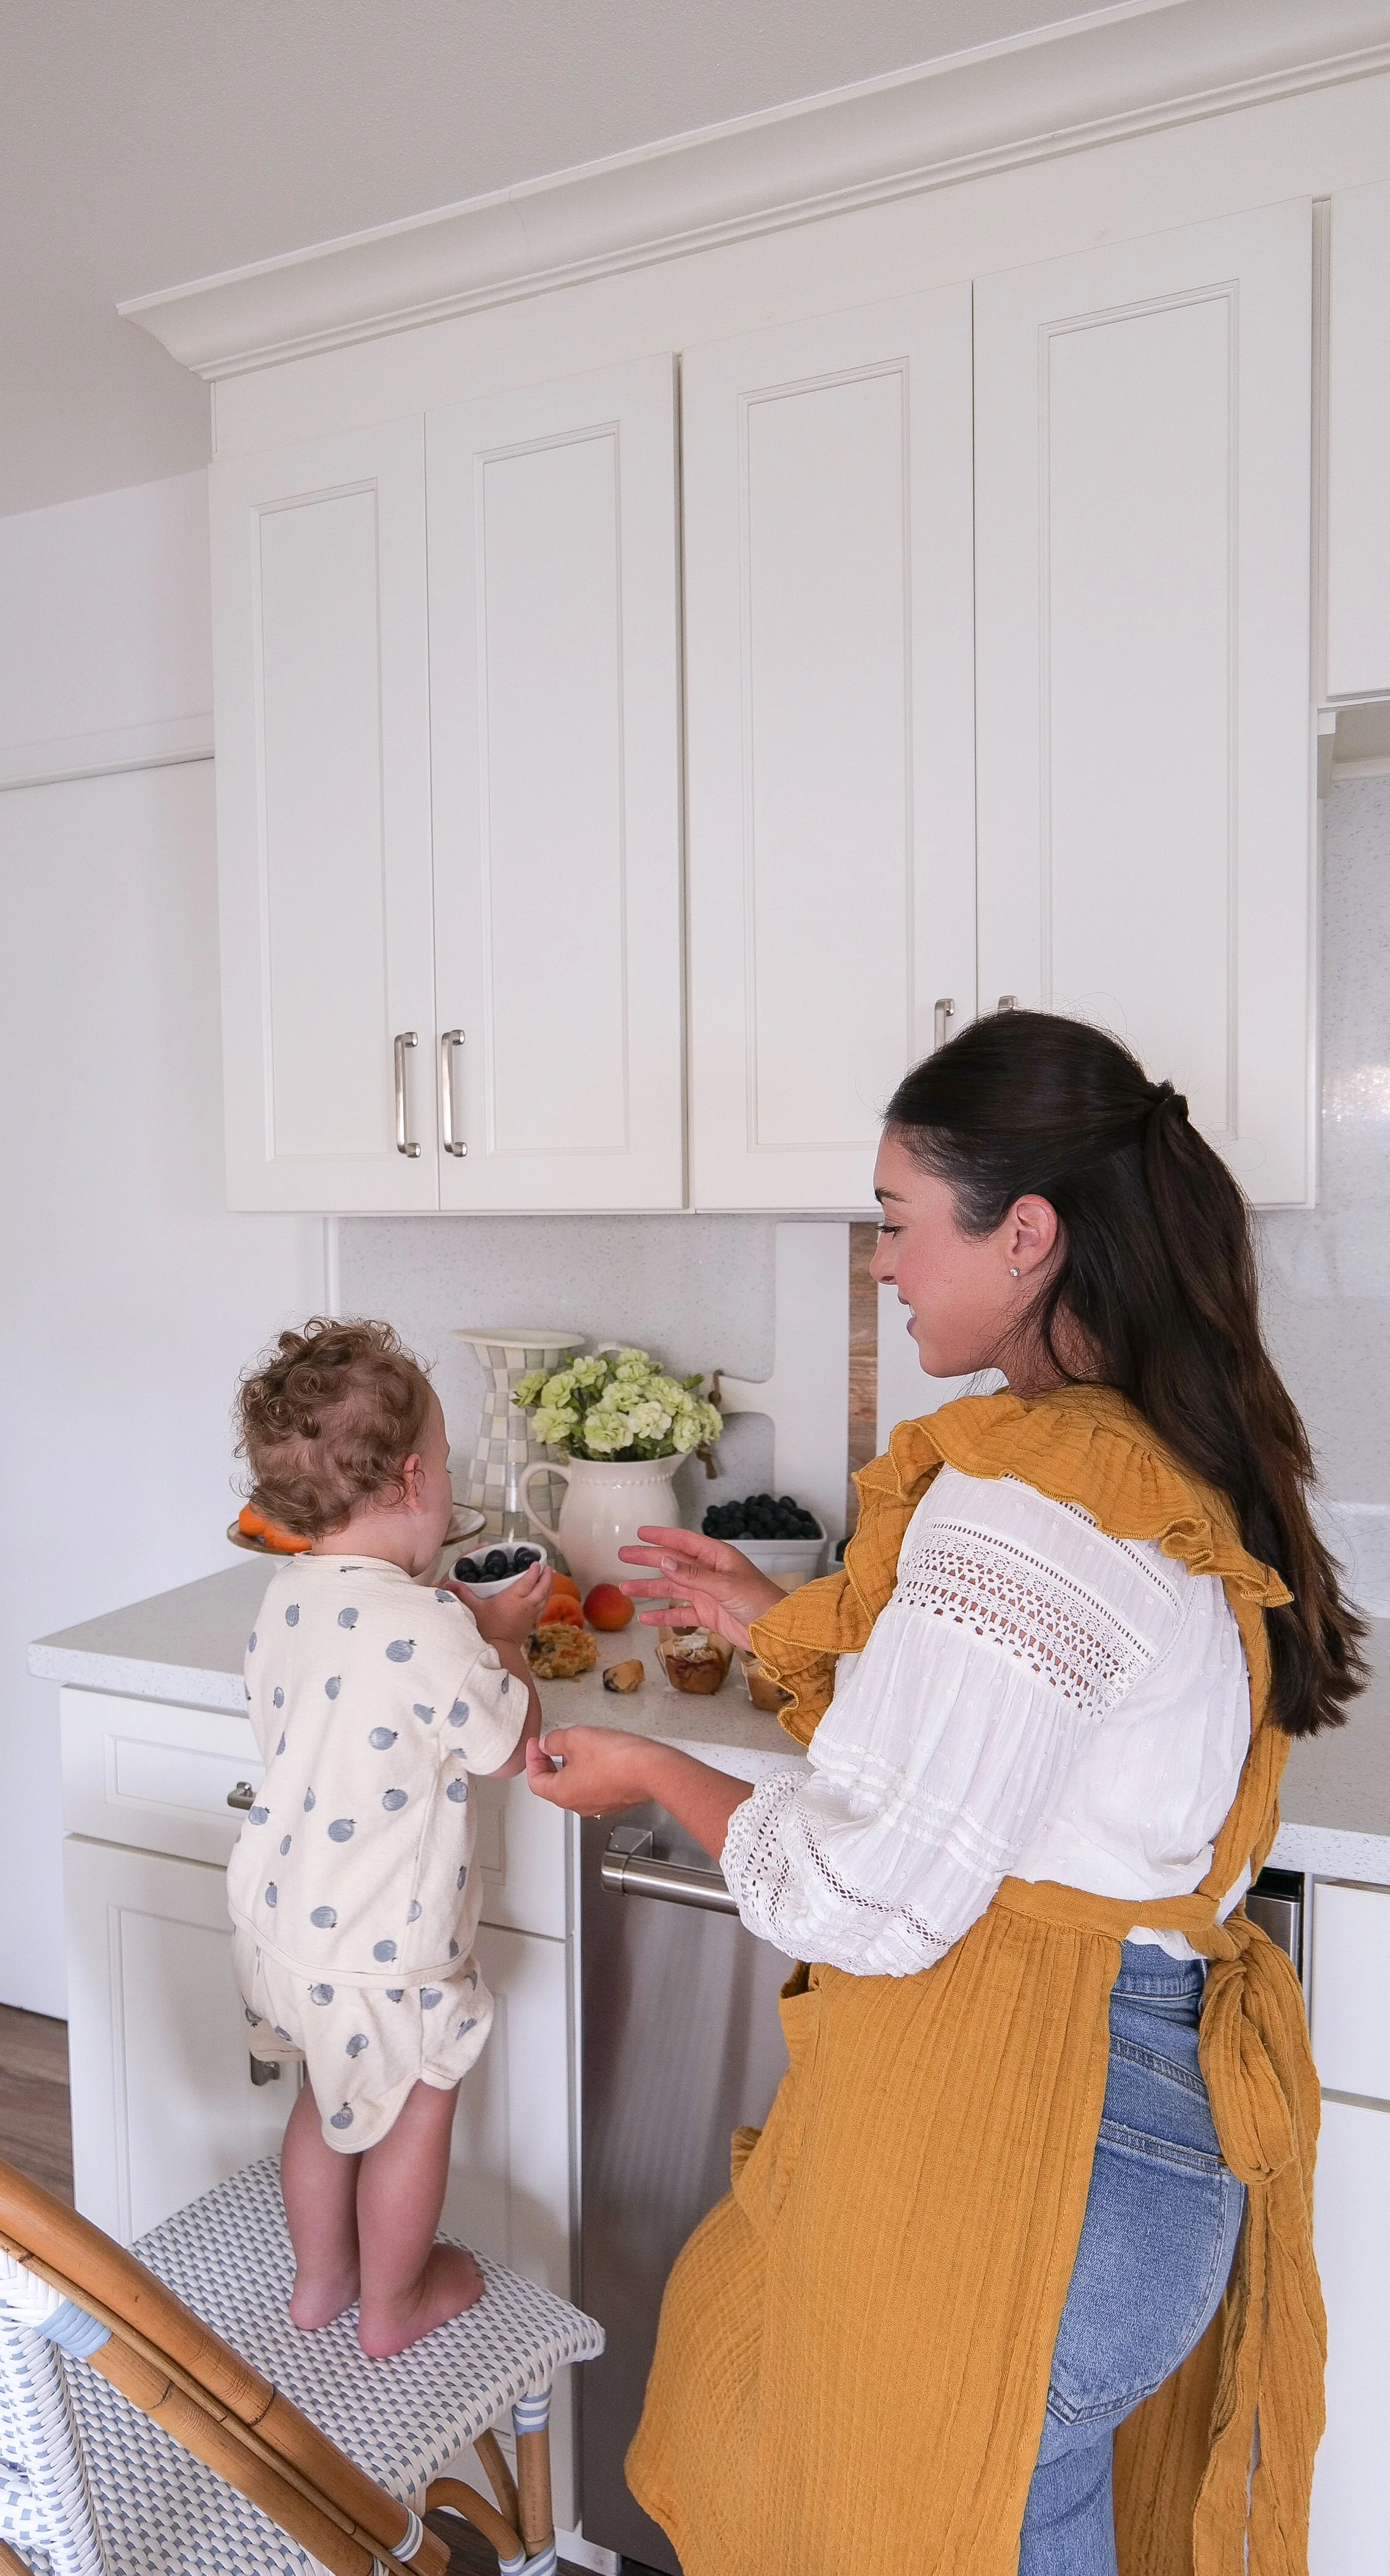
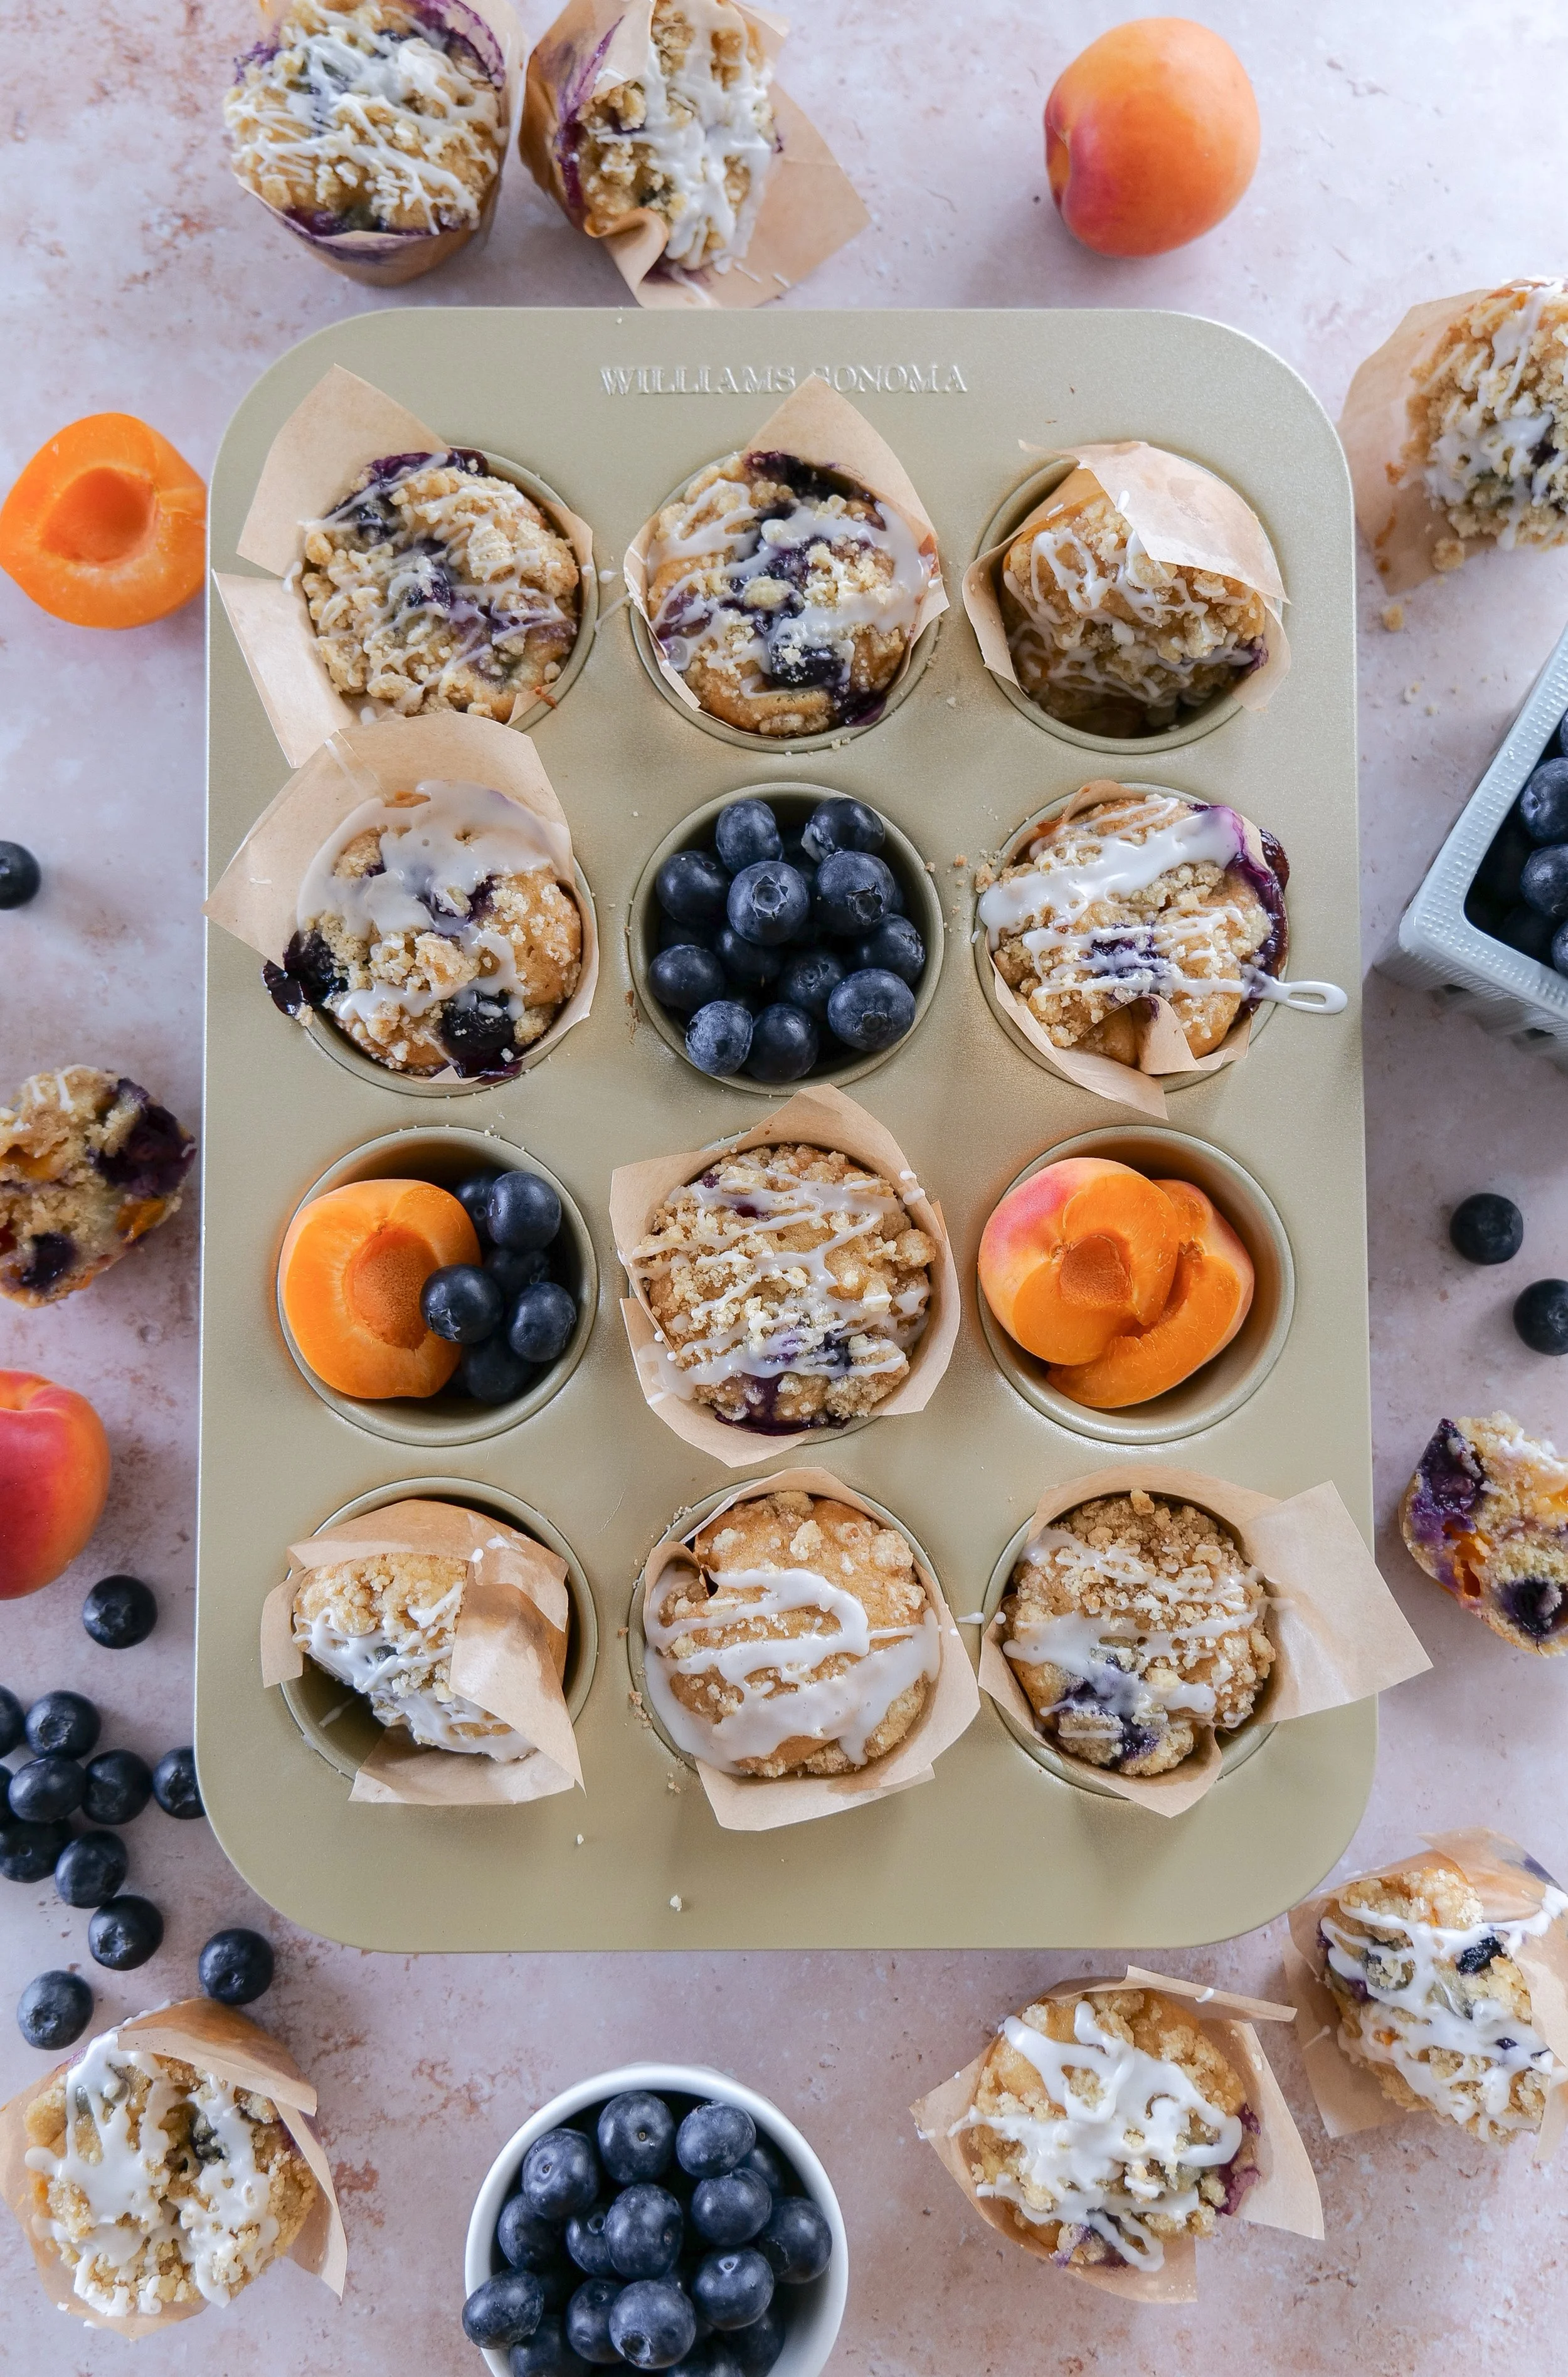
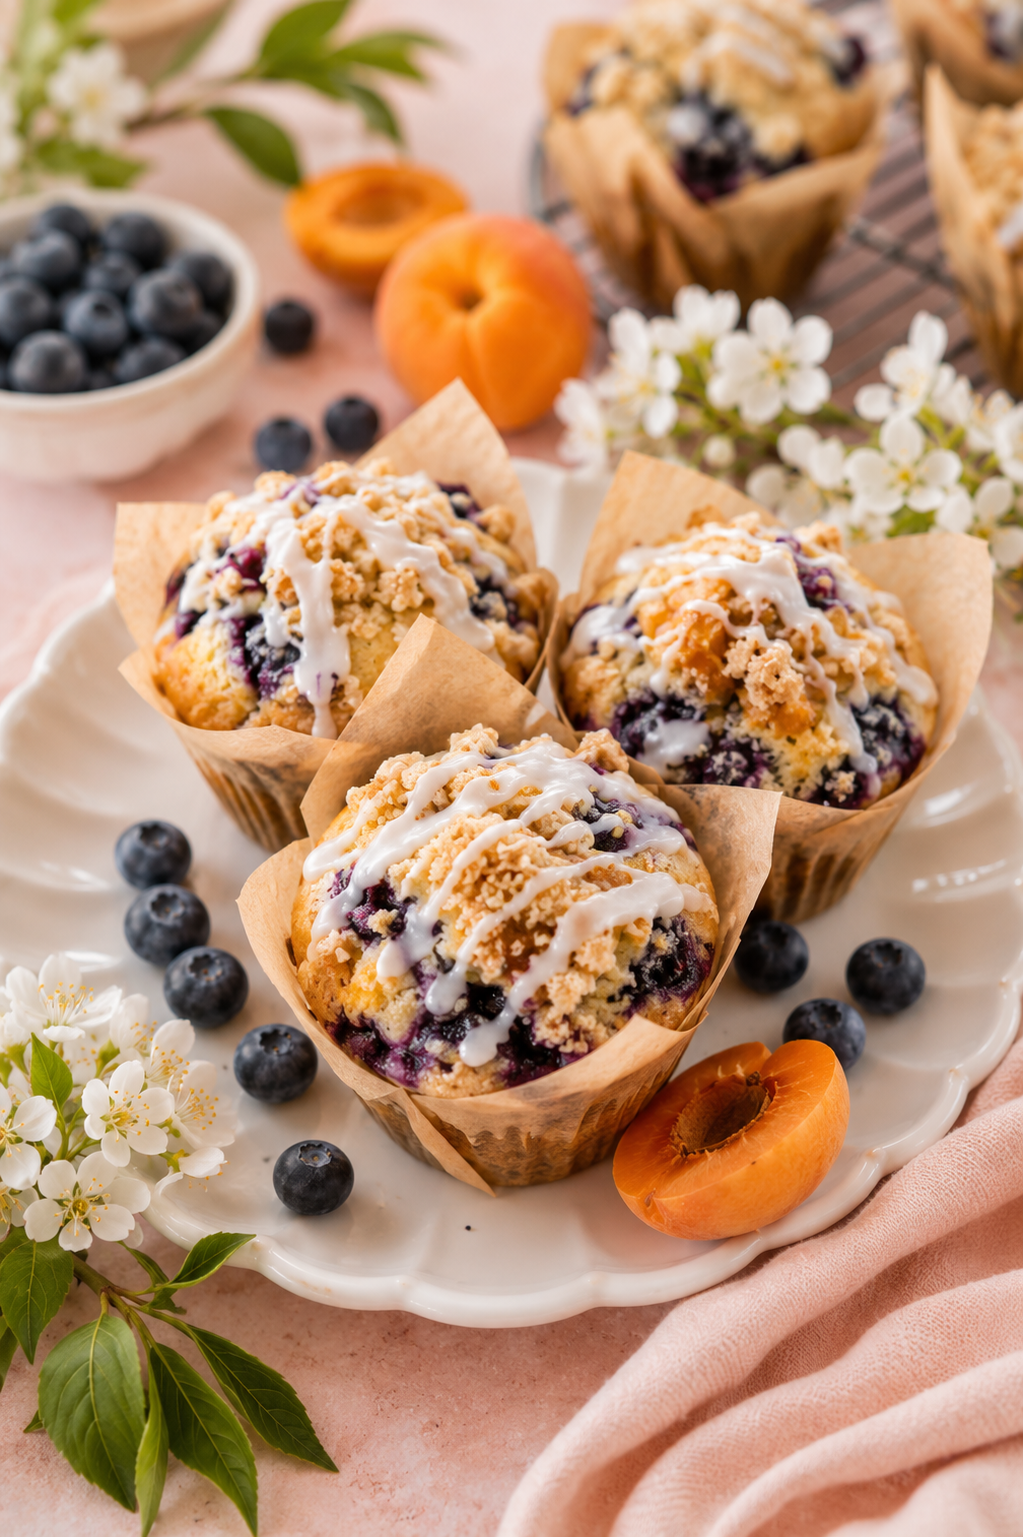
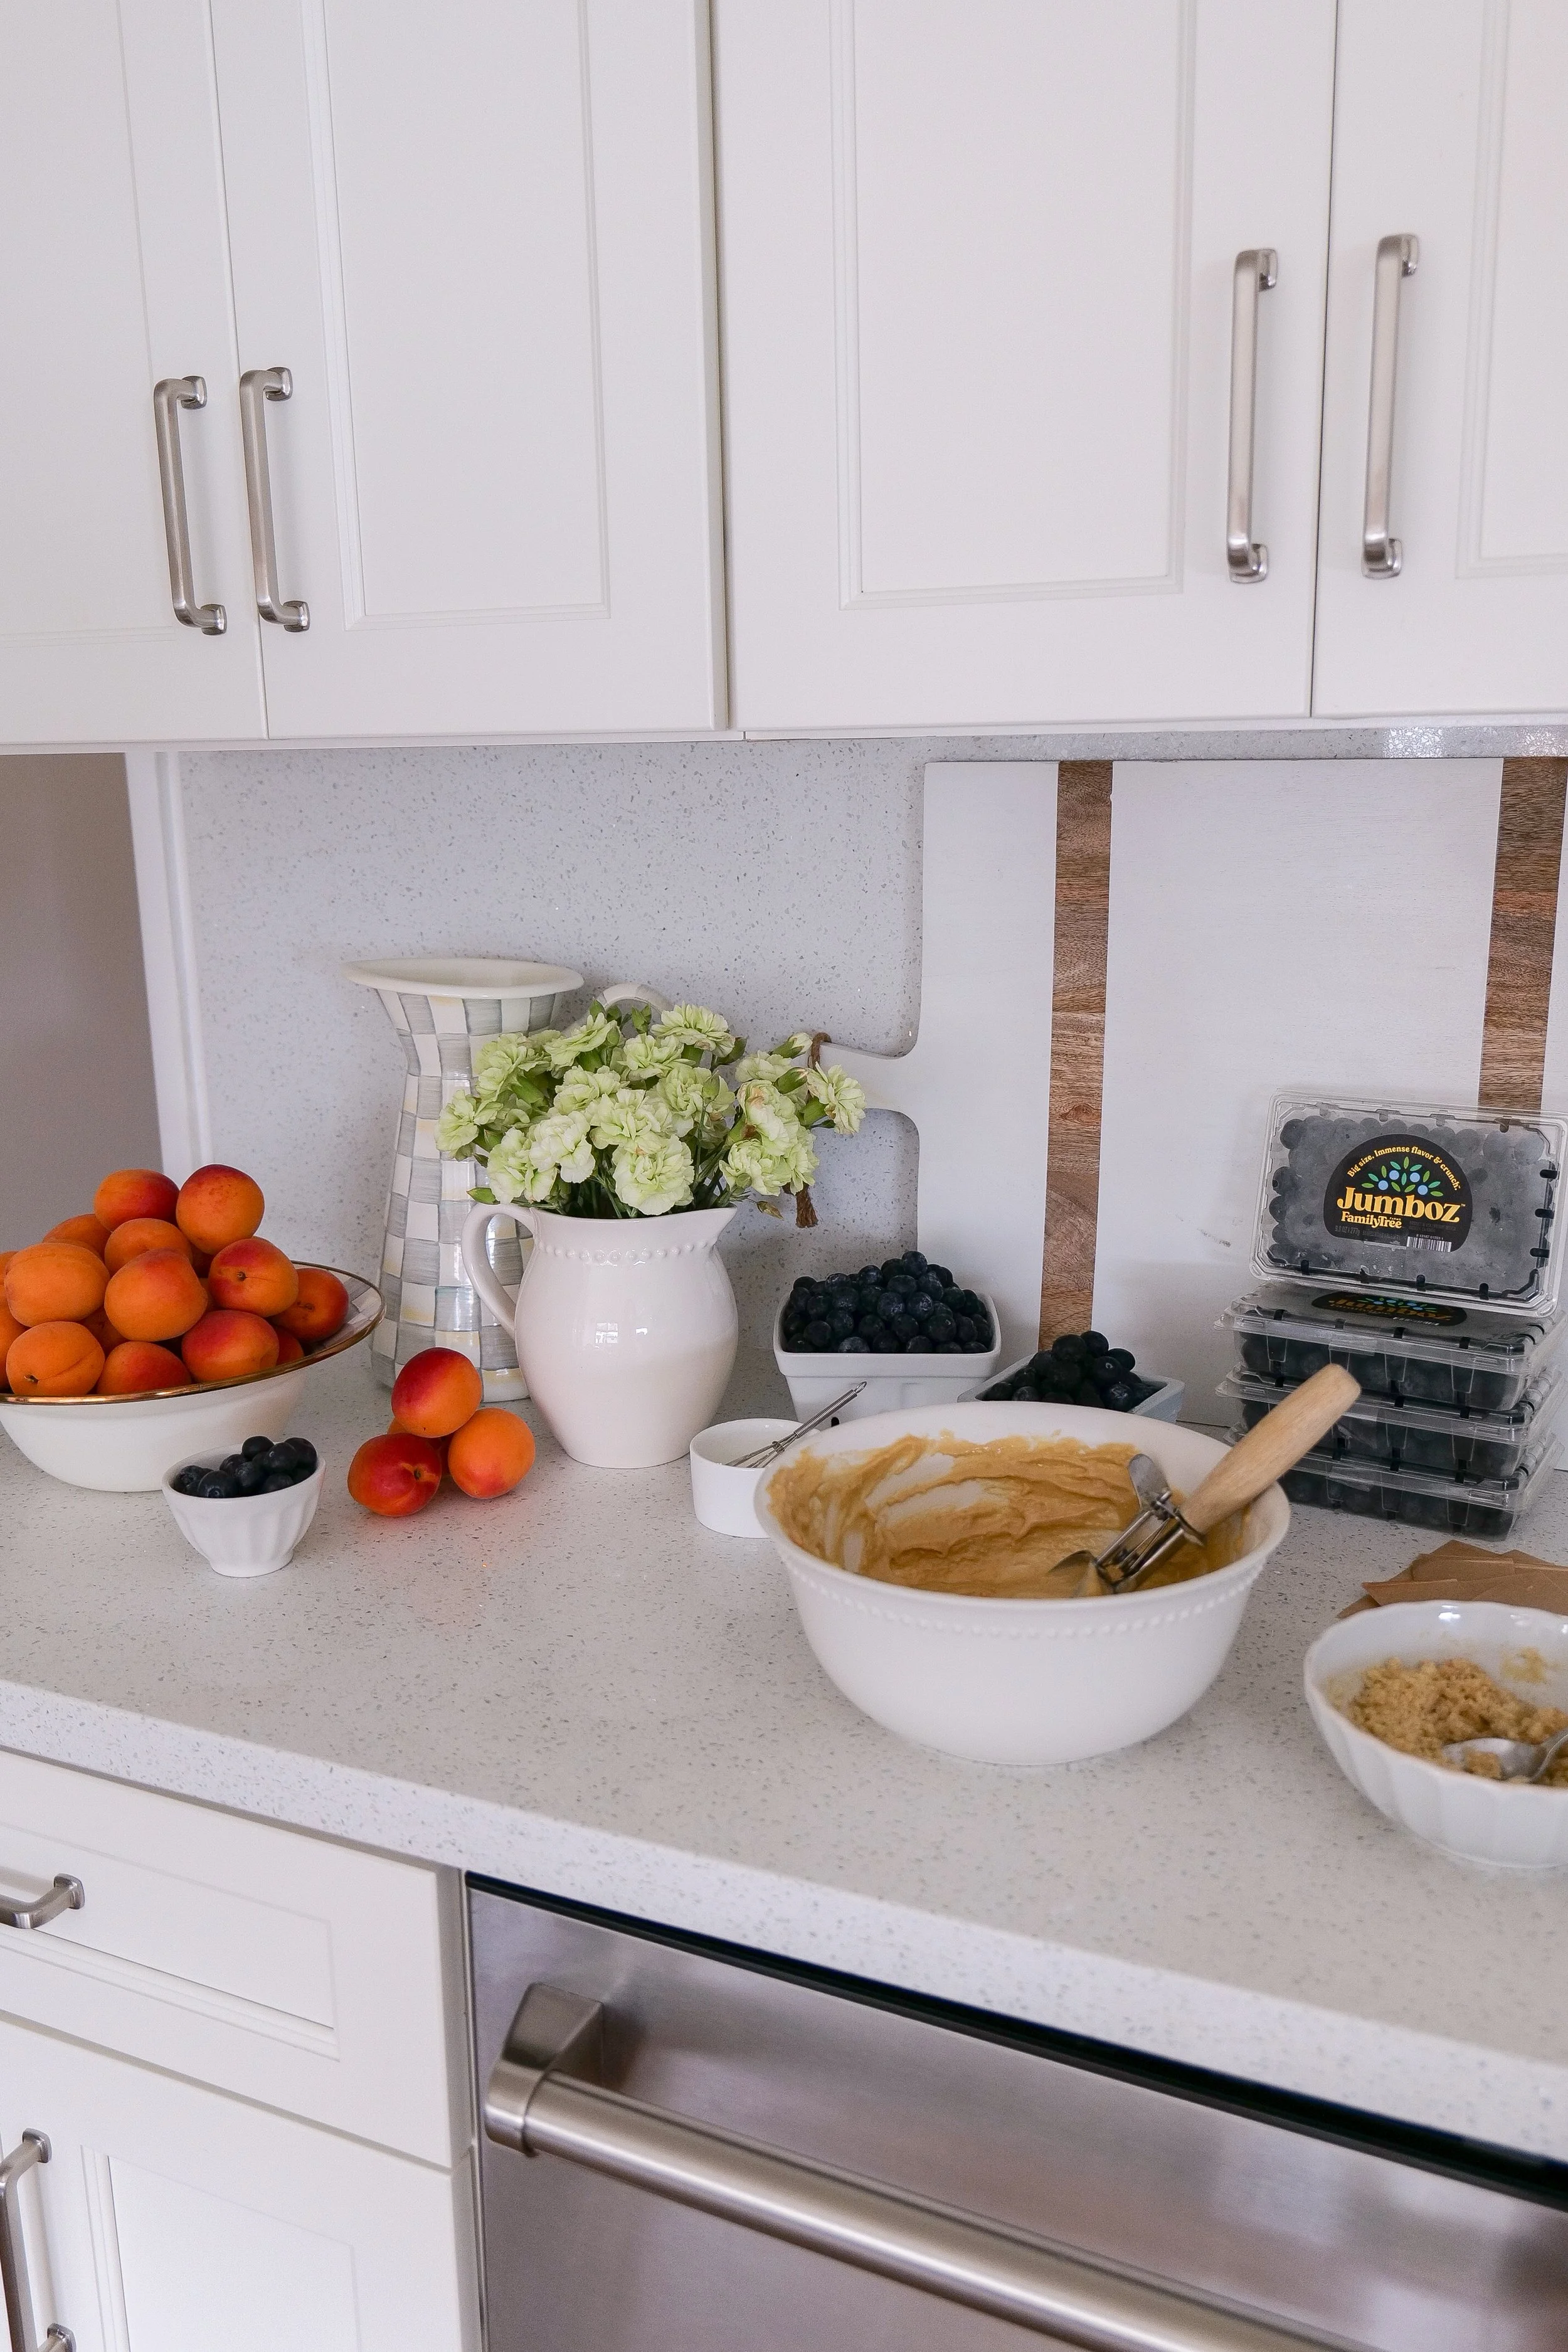
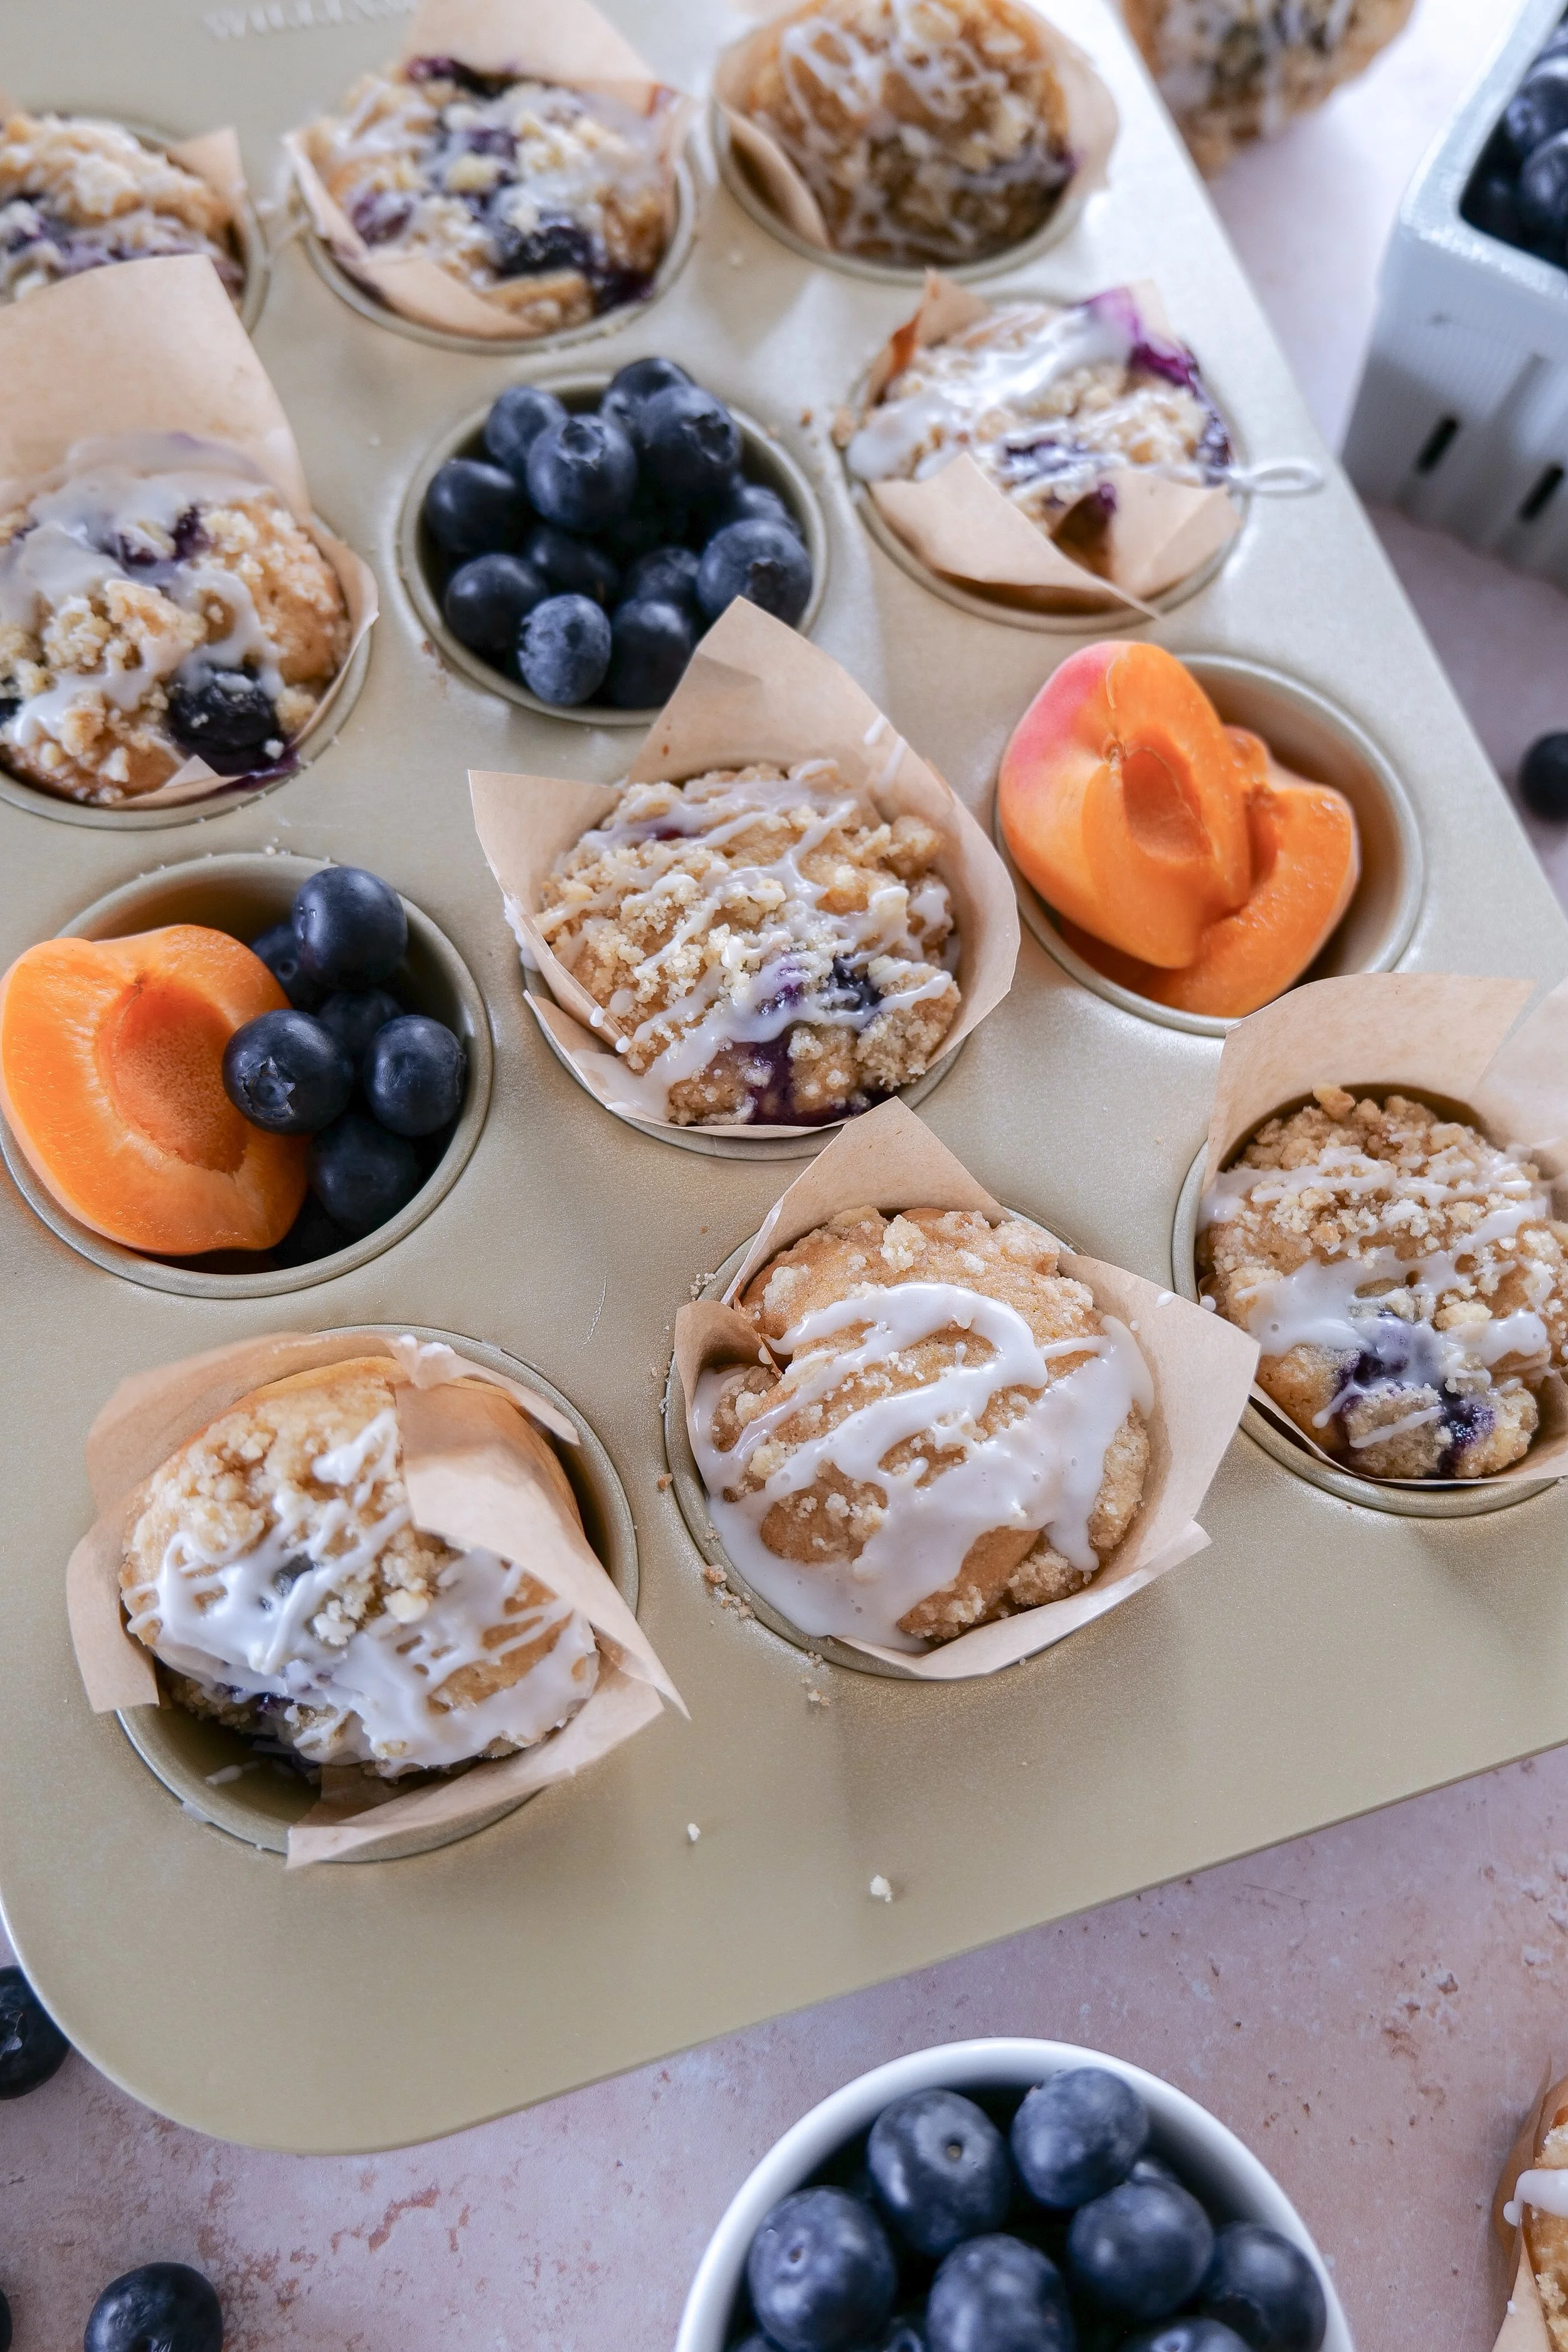
These Blueberry & Apricot Streusel Muffins are soft, moist, and bursting with juicy blueberries and sweet apricots in every bite. Topped with a buttery streusel crumble and simple icing drizzle, they're the perfect bakery-style muffin for breakfast, brunch, meal prep, or an afternoon coffee break.

↓ Skip to Recipe

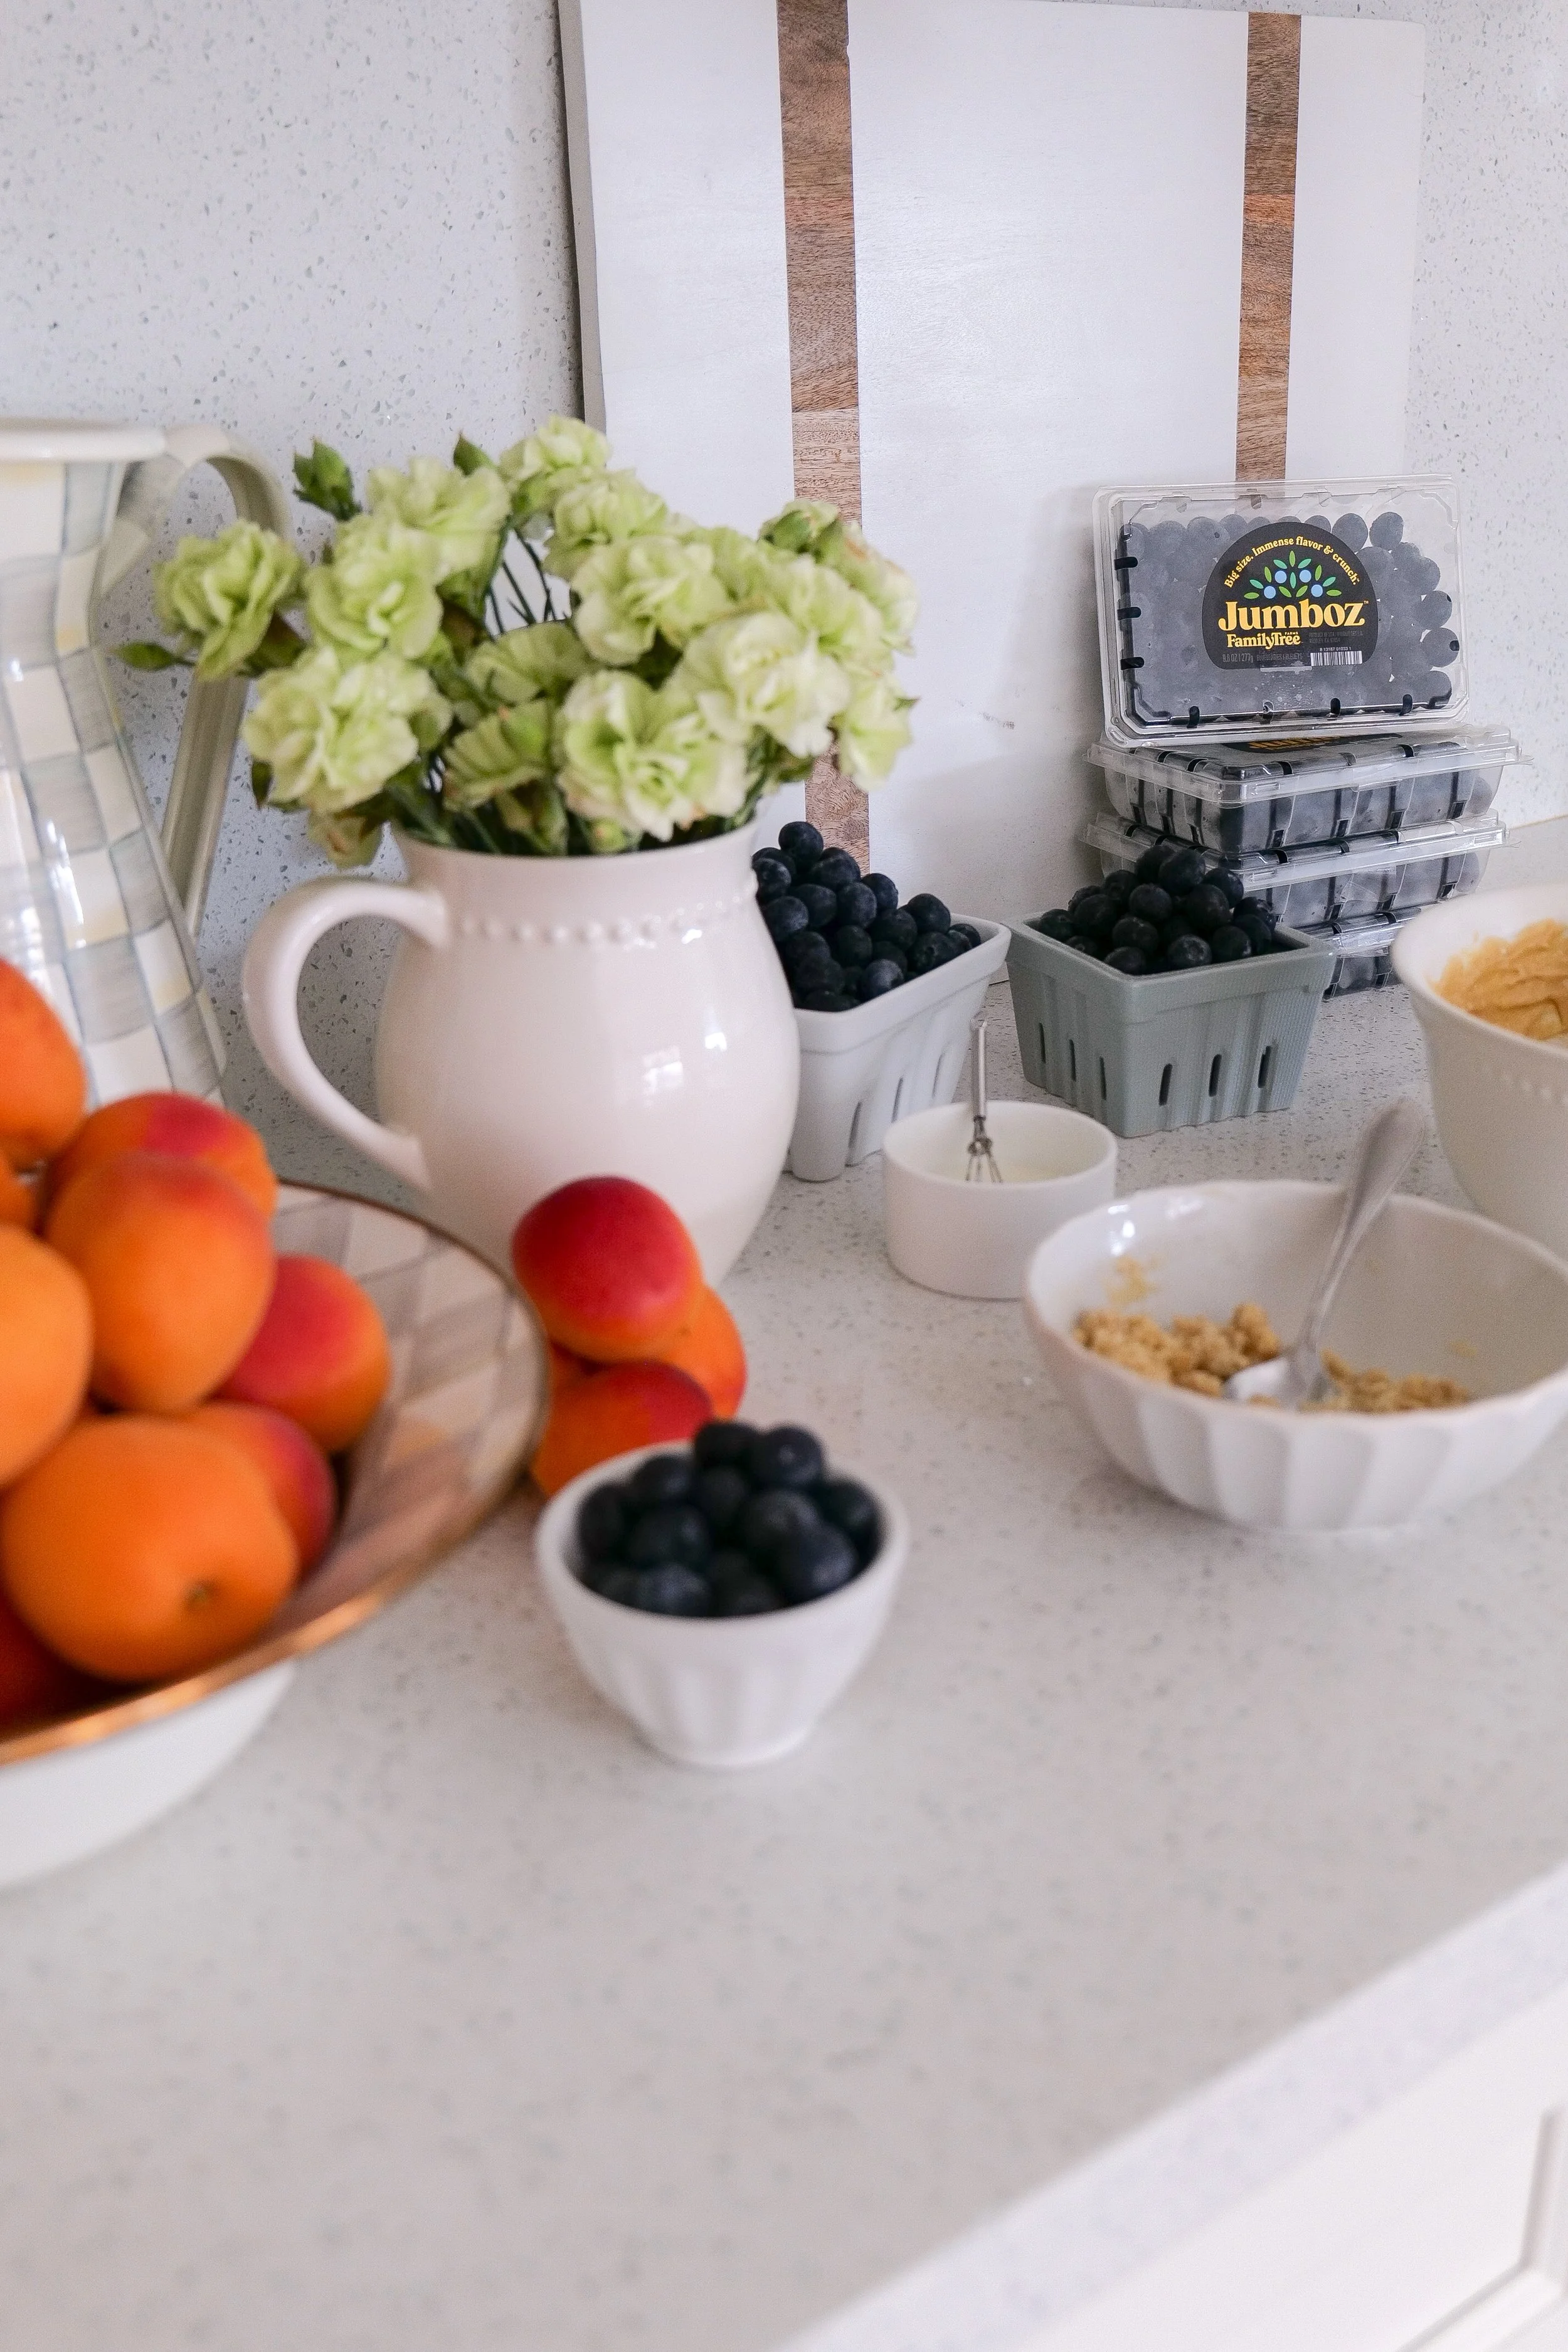
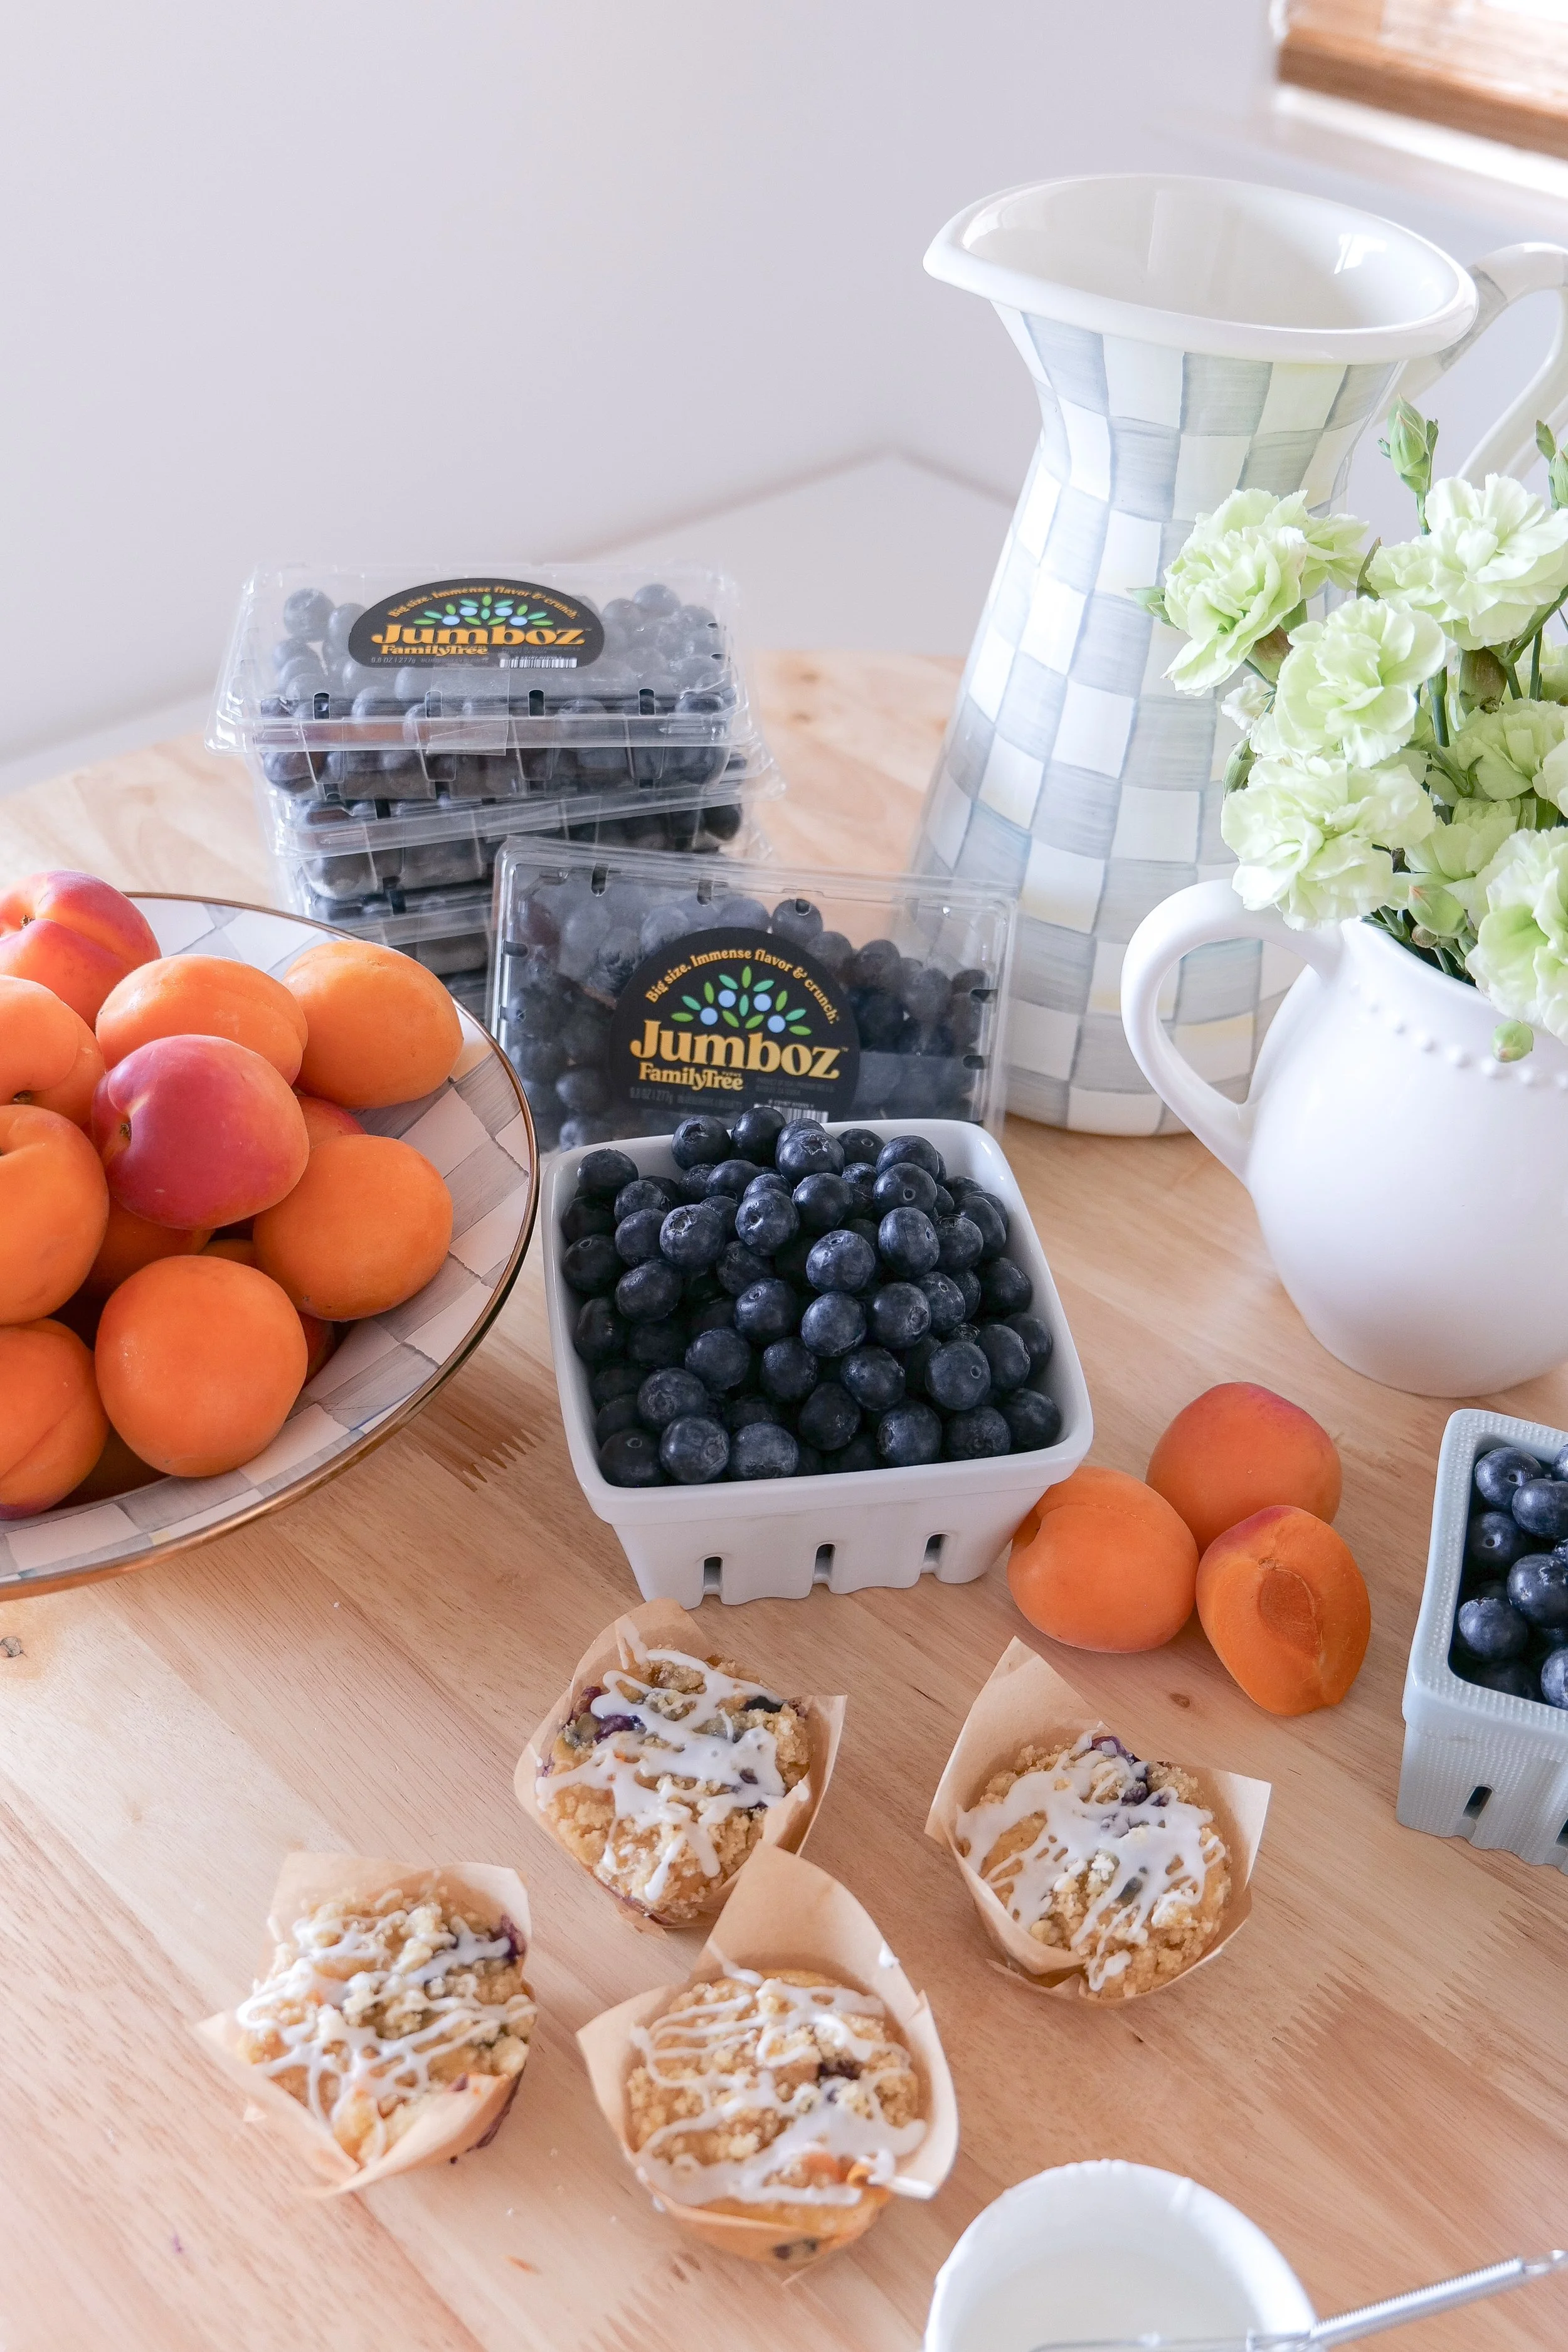
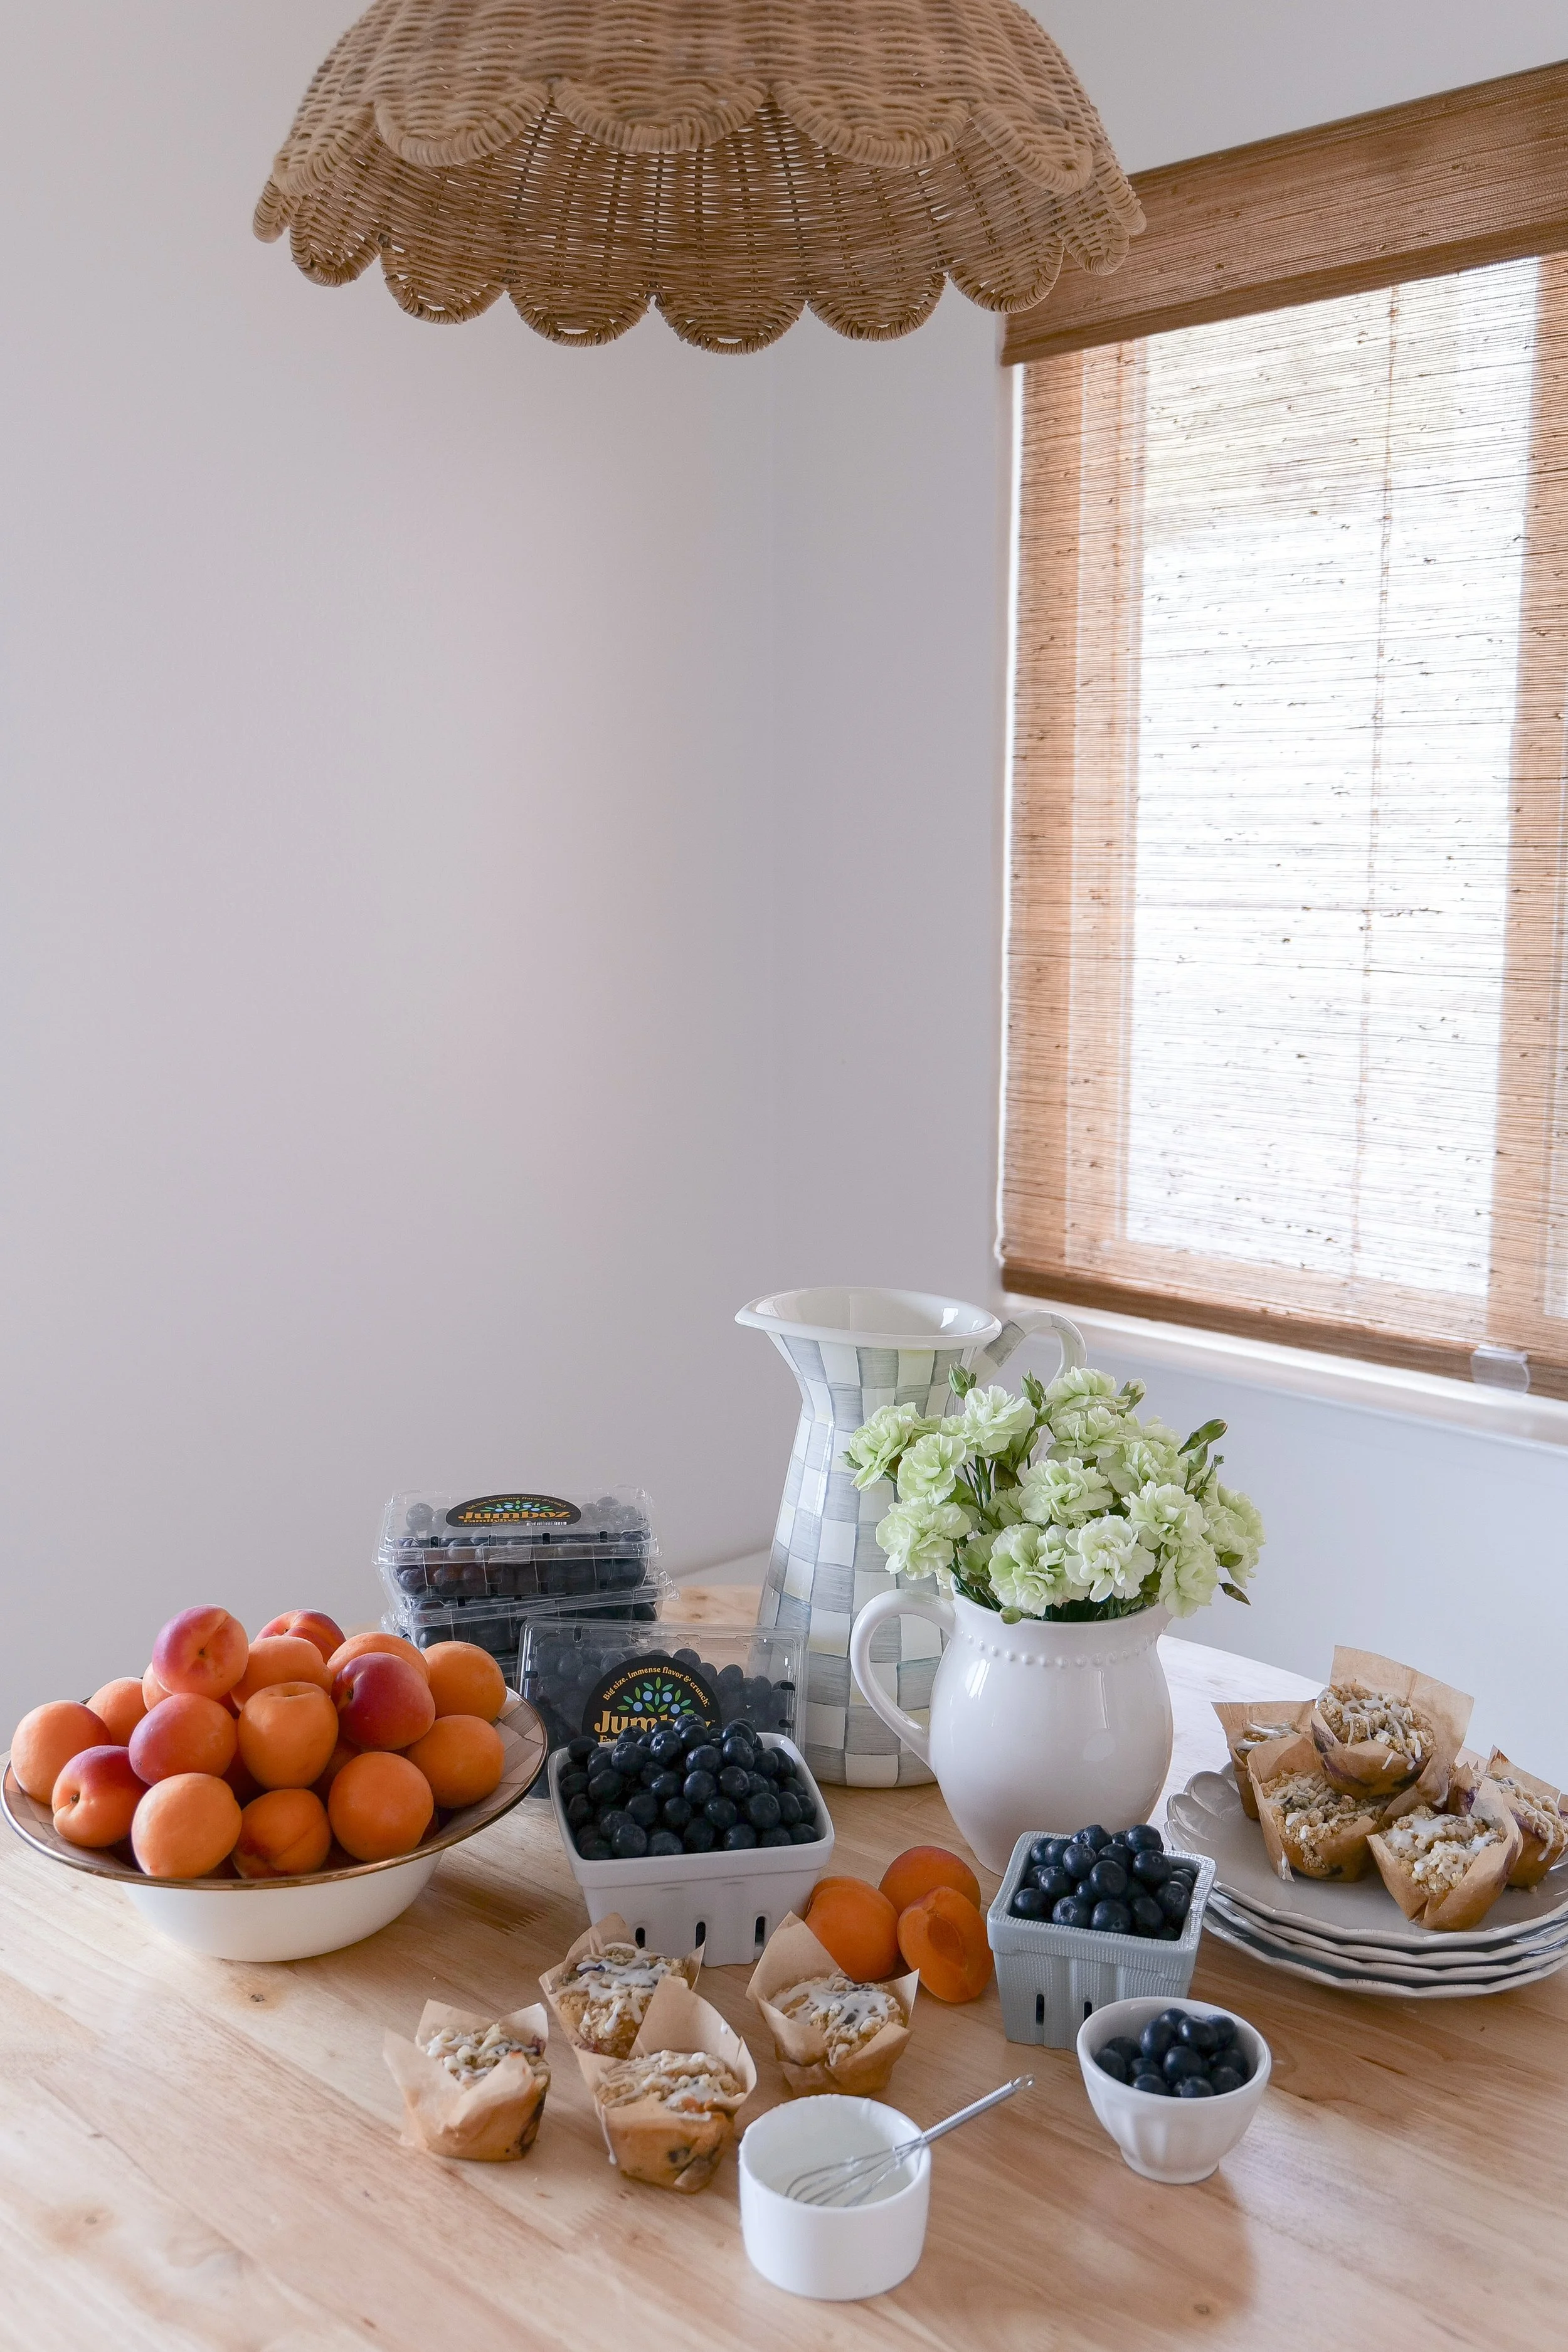
Made with premium fruit from Family Tree Farms, this easy muffin recipe comes together quickly and delivers the perfect balance of tender crumb, fresh fruit, and crunchy topping. If you love homemade bakery-style muffins, this recipe is sure to become a favorite.

Blueberry apricot streusel muffins with a buttery crumb topping fresh from the oven.
Bakery-style blueberry apricot muffins topped with golden streusel.
Moist blueberry apricot muffins filled with fresh fruit and topped with crumb topping.
Blueberry apricot crumb muffins with a sweet buttery streusel topping.

Why You’ll Love These Blueberry & Apricot Streusel Muffins

These muffins are soft, fluffy, and packed with real fruit in every bite. The combination of sweet blueberries and tangy apricots from Family Tree Farms makes them extra flavorful and bakery-worthy.

✔ Moist bakery-style texture
✔ Real fruit in every bite
✔ Crunchy streusel topping
✔ Easy 30–40 minute recipe

Homemade blueberry apricot muffins cooling after baking.
Easy fruit muffin recipe made with blueberries and apricots.

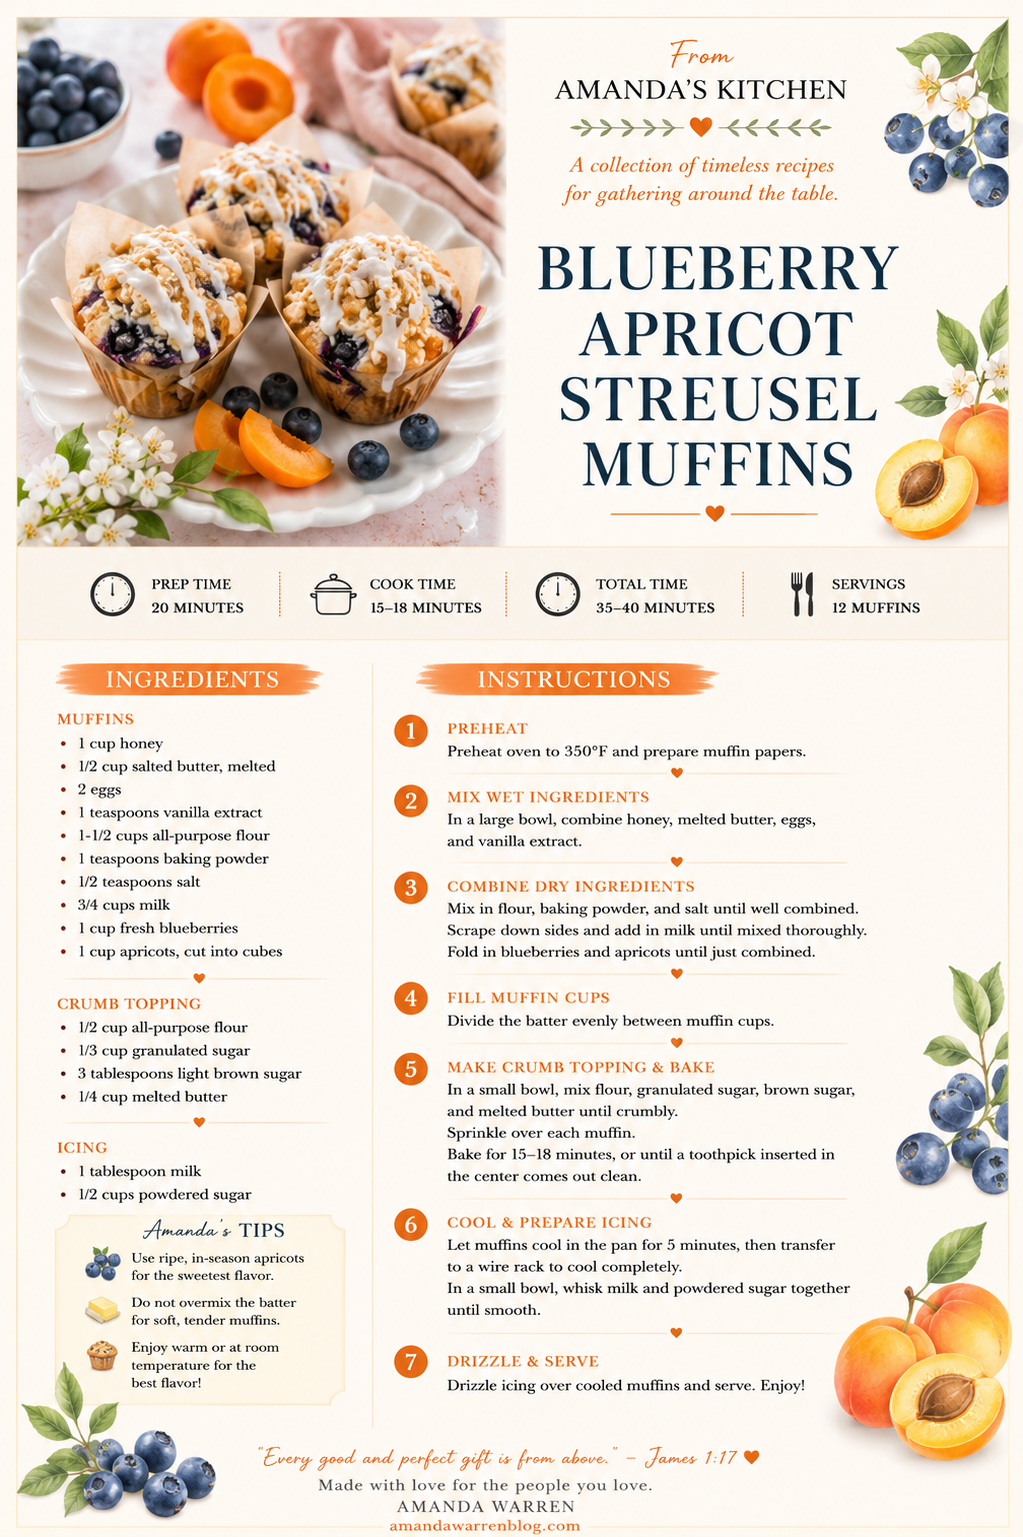
Ingredients

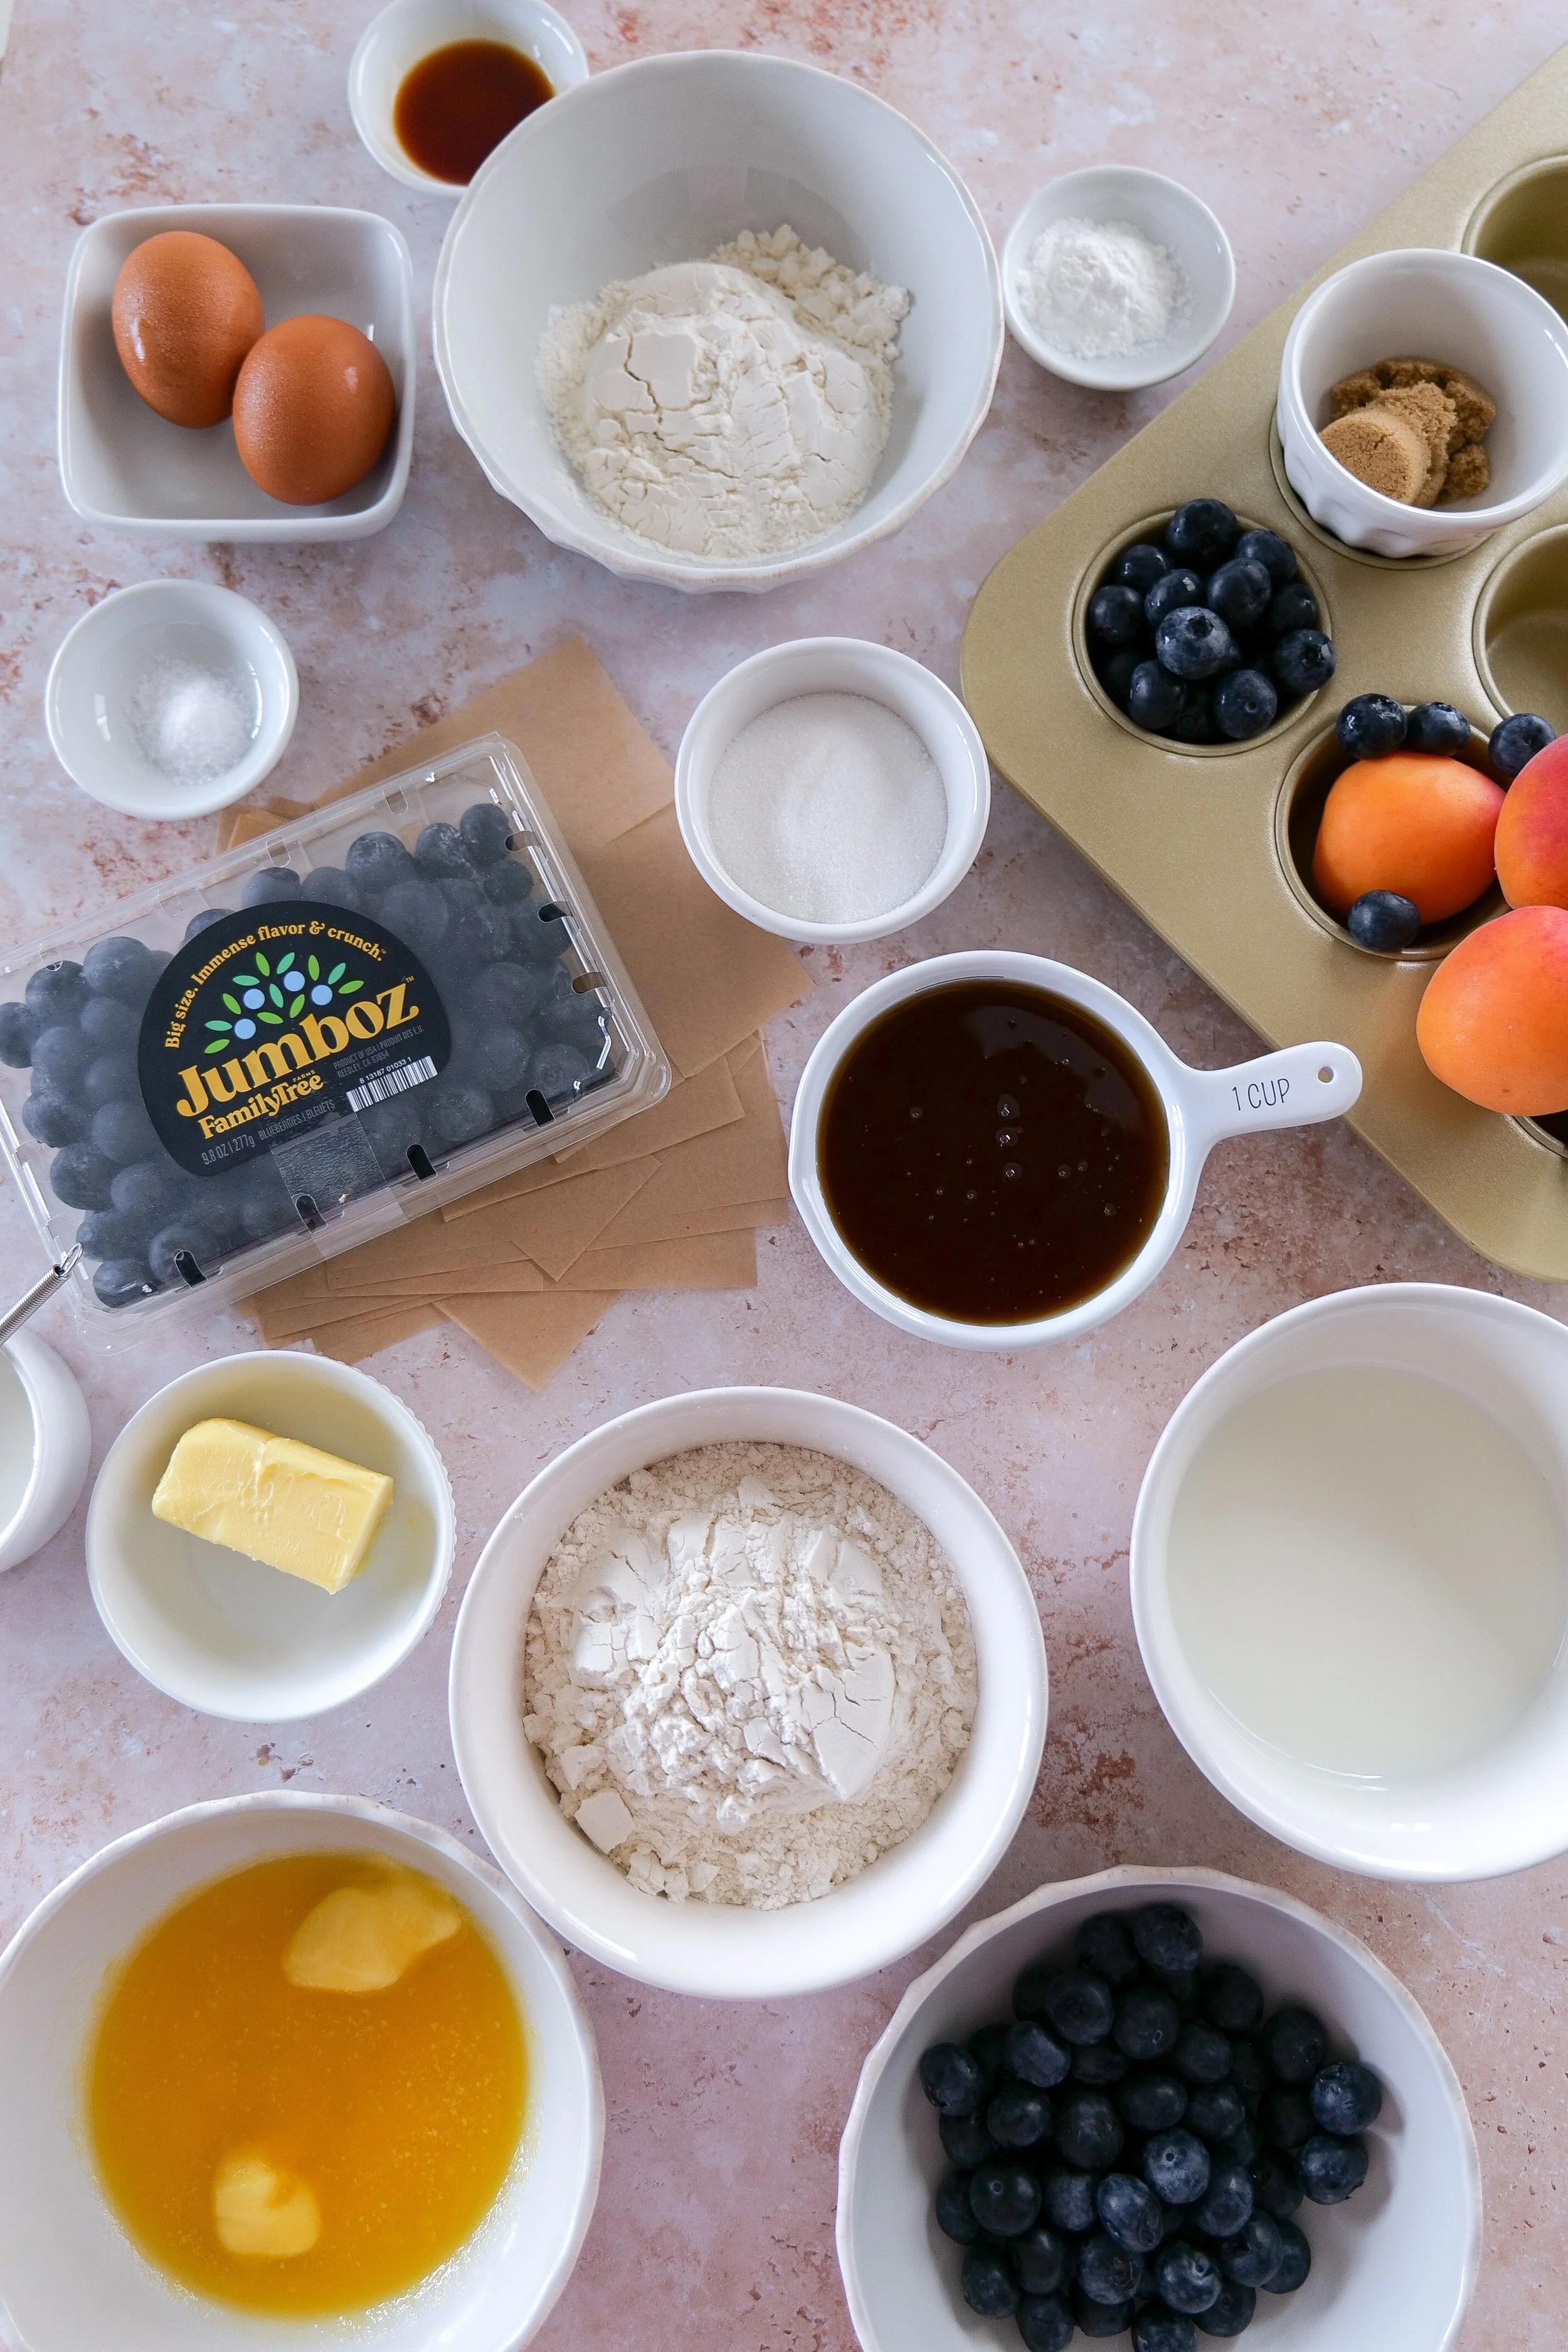
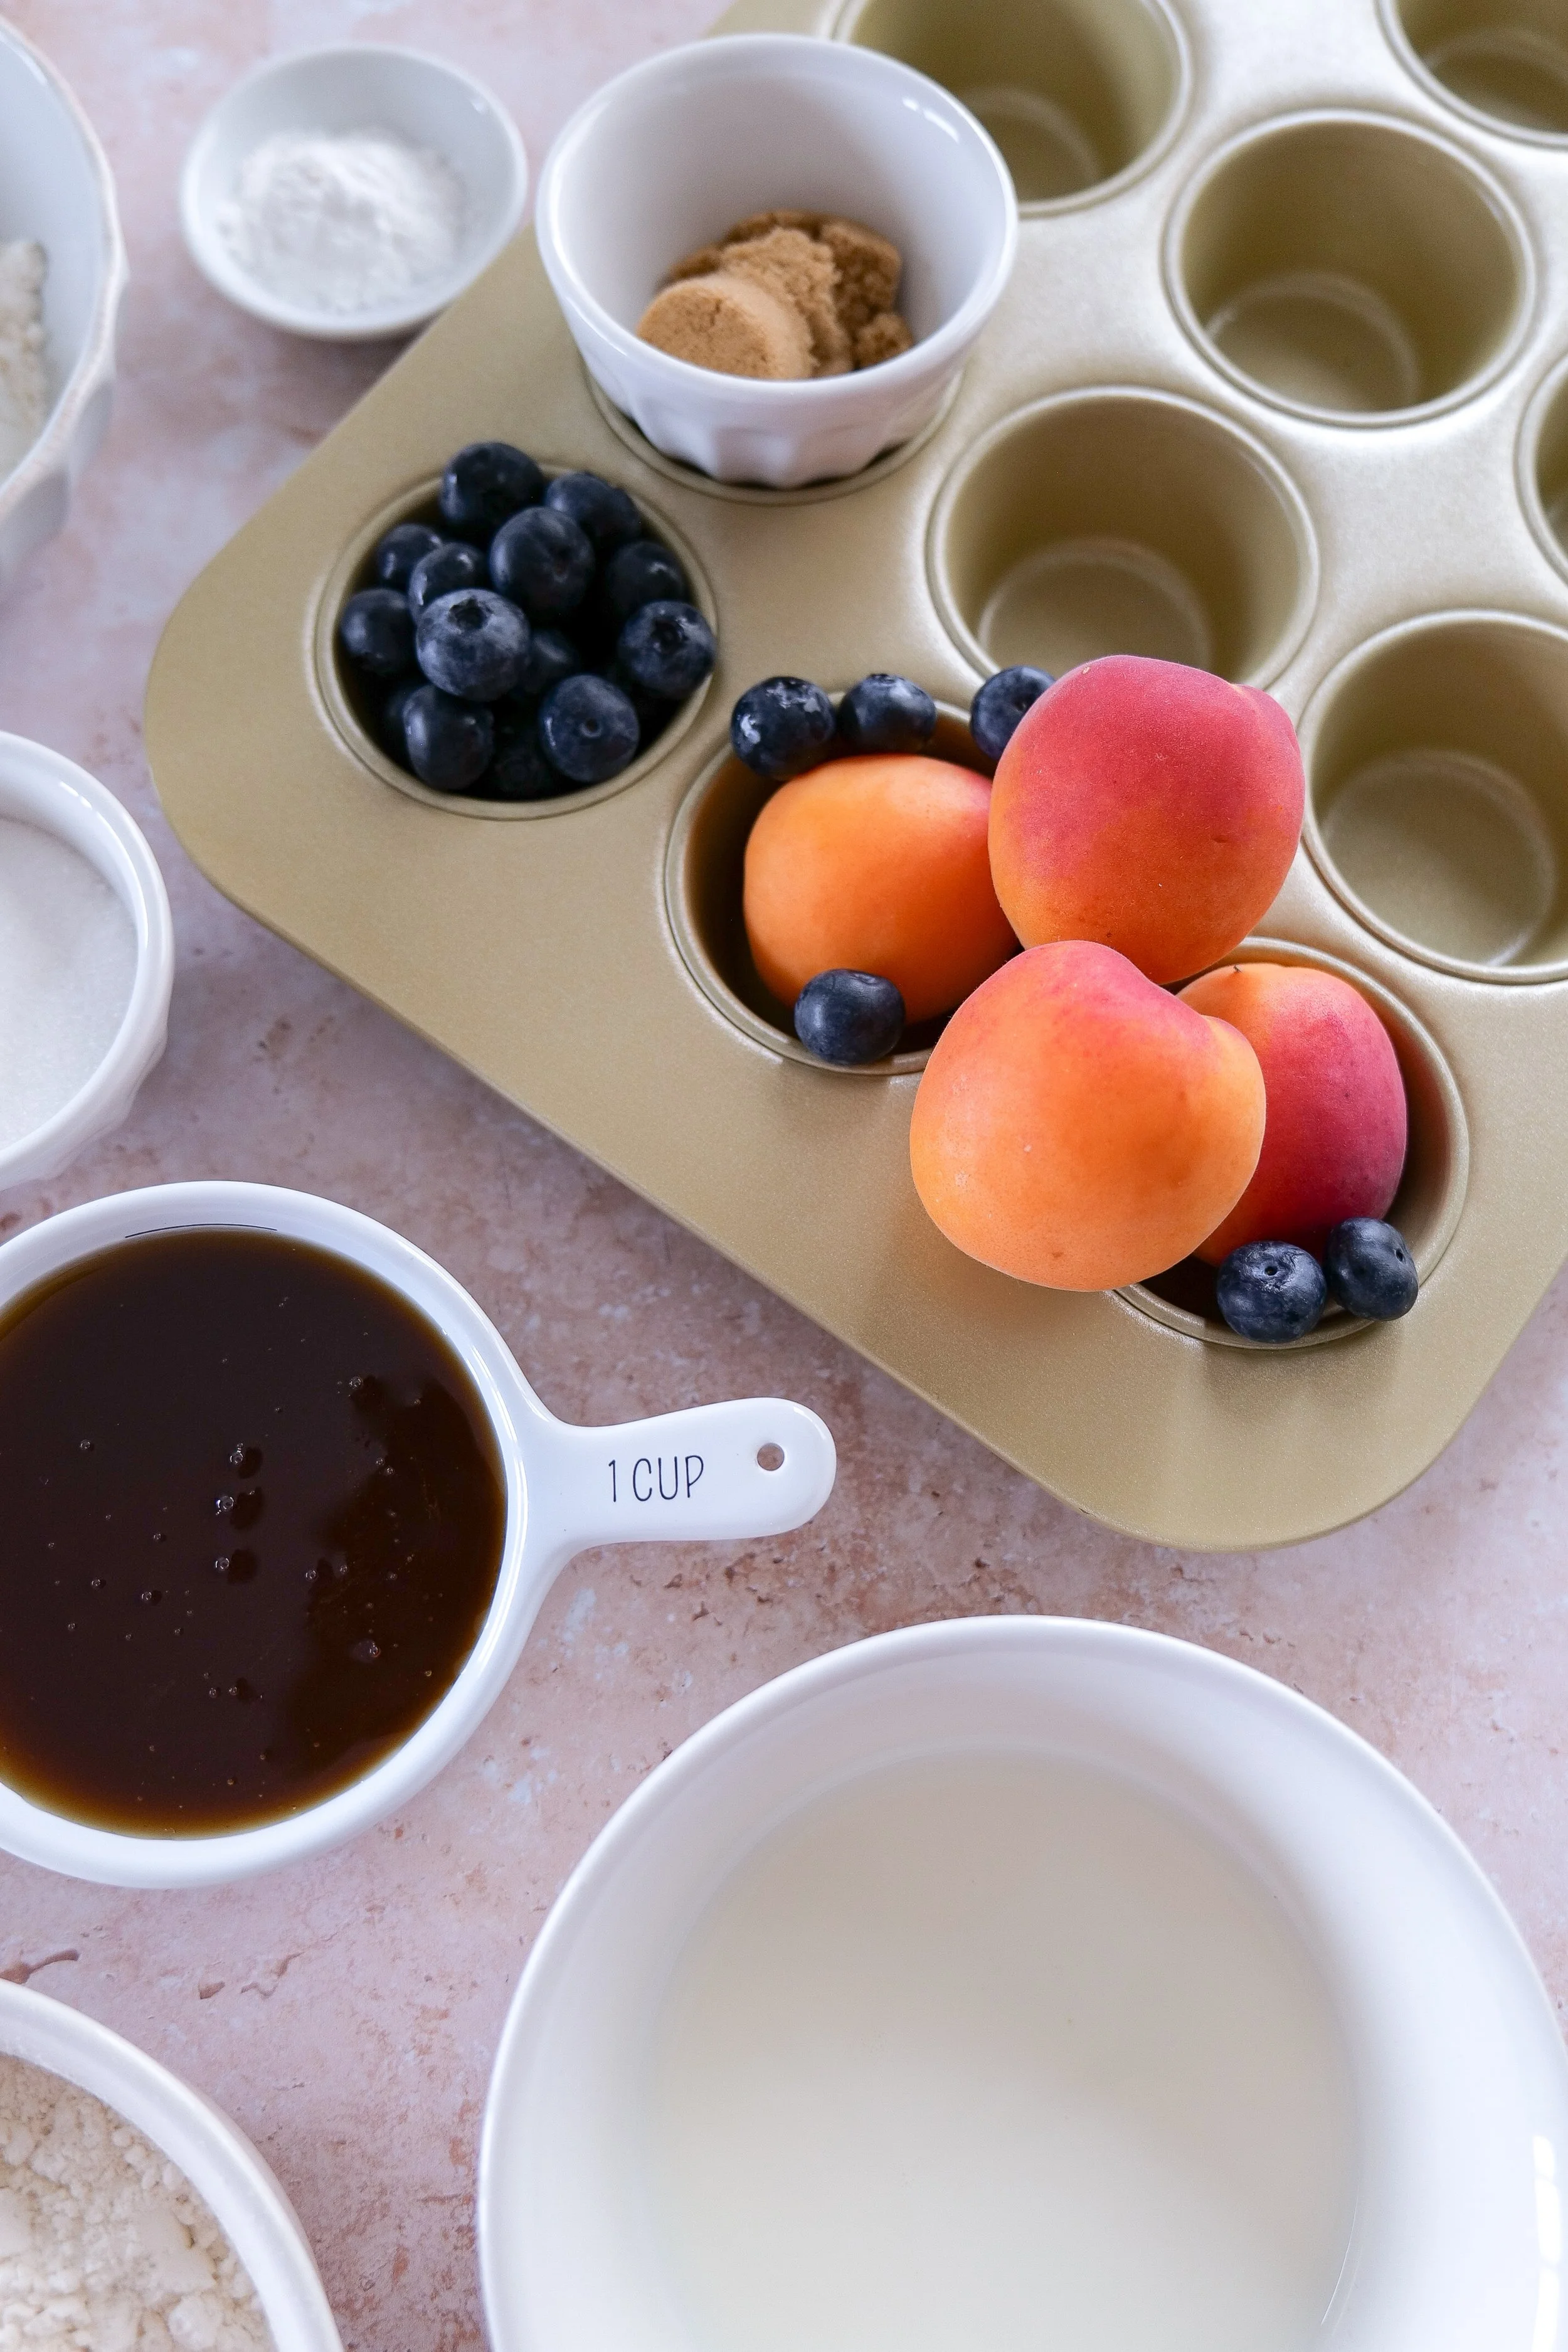
1 cup honey

1/2 cup salted butter, melted

2 eggs

1 teaspoons vanilla extract

1-1/2 cups all-purpose flour

1 teaspoons baking powder

1/2 teaspoons salt

3/4 cups milk

1 Cup of fresh blueberries

1 Cup Apricot, cut into cubes

Crumb Topping & Icing:

1/2 cup all-purpose flour

1/3 cup granulated sugar

3 tablespoons light brown sugar

1/4 cup melted butter

1 tablespoons milk

1/2 cups powder sugar

Instructions:

1. Preheat oven to 350 degrees and prepare muffin papers.

2. In a large bowl combine honey, melted butter, eggs, and vanilla.

3. Mix in Flour, Baking Powder and Salt until well combined. Scrape down sides and add in Milk until mixed thoroughly. Add blueberries & apricots, stir together

4. Divide batter evenly between muffin cups.

5. Make crumb topping by adding flour, sugar, brown sugar, and butter until fully incorporated together to a crumble mixture. Add to top of each muffin and place in oven. Bake for 15 min or until a toothpick inserted comes out clean.

6. Cool and prepare icing. Blend together milk & powdered sugar and drizzle over cooled muffins! Serve & Enjoy!


Love baking from scratch? Here are some of my favorite baking tools, kitchen essentials, and coffee bar favorites that make cozy mornings and weekend baking even sweeter.

Baking Tips for Perfect Muffins

These small adjustments make a big difference:

✔ Don’t overmix the batter

Overmixing leads to dense muffins instead of soft, bakery-style texture.

✔ Use quality fruit

Fresh apricots from Family Tree Farms give a natural sweetness and improve overall flavor.

✔ Toss fruit in flour

This helps distribute fruit evenly throughout the muffins.

✔ Chill your streusel (optional)

Cold butter in the streusel creates a crispier, more bakery-like topping.

✔ Add extra streusel if desired

If you love texture, don’t be shy — more crumb topping = more crunch.

Breakfast streusel muffins served with coffee for a cozy morning.
Blueberry Apricot Streusel Muffins Recipe

What to Serve With Blueberry & Apricot Streusel Muffins

These bakery-style muffins pair perfectly with:

• Fresh fruit salad

• Greek yogurt

• Scrambled eggs

• A hot cup of coffee

• Matcha lattes

• Cold brew coffee

• Breakfast casseroles

• Brunch charcuterie boards

Whether you're hosting brunch or enjoying a quiet morning at home, these muffins make a delicious addition to any breakfast spread.

Variations & Substitutions

You can easily customize this recipe:

Fruit swaps:

  • Peaches instead of apricots

  • Raspberries instead of blueberries

  • Mixed berries for a classic version

Dairy-free option:

  • Use plant-based milk

  • Replace butter with coconut oil or vegan butter

Healthier version:

  • Reduce sugar slightly

  • Add oats to the streusel for extra texture

Storage Instructions

These muffins store beautifully:

  • Room temperature: 2–3 days in an airtight container

  • Refrigerator: up to 1 week

  • Freezer: up to 2 months

To reheat, warm in the microwave for 10–15 seconds or in a low oven until soft.

More Cozy Baking Recipes You'll Love

If you love homemade muffins and bakery-style treats, be sure to check out these reader-favorite baking recipes:

Frequently Asked Questions

Can I use frozen fruit?

Yes. Add it directly from frozen — do not thaw, or it may make the batter too wet.

Why did my muffins sink in the middle?

Common reasons include:

  • overmixing the batter

  • underbaking

  • too much liquid in the mixture

What makes these muffins bakery-style?

It’s the combination of:

  • proper mixing technique

  • high-quality fruit from Family Tree Farms

  • rich streusel topping

  • balanced moisture and structure

Can I make these ahead of time?

Yes — in fact, they taste even better the next day as flavors settle.

Final Thoughts

These bakery-style blueberry apricot streusel muffins are everything a homemade bakery-style muffin should be: soft, moist, flavorful, and topped with a buttery crumble that adds the perfect finishing touch.

Using fresh apricots from Family Tree Farms takes this recipe to another level, giving each bite natural sweetness and vibrant flavor.

Once you make them, they’re almost guaranteed to become a repeat recipe in your kitchen.

From Amanda's Kitchen

A collection of timeless recipes for gathering around the table.

Some recipes become favorites because they're simple enough for everyday mornings but special enough to share with the people you love.

These Blueberry Apricot Streusel Muffins are exactly that kind of recipe. Filled with fresh fruit, topped with a buttery crumb topping, and finished with a sweet drizzle, they're just as perfect for a slow Saturday breakfast as they are for sharing with neighbors, brunch guests, or family gathered around the table.

That's exactly why I created these From Amanda's Kitchen printable recipe cards. My hope is that these recipes become more than something you bake—they become part of the memories you create and the traditions you pass down.

Because the best recipes aren't just made—they're shared with love, one table at a time.

Save or print the recipe card below so it's always ready for your next brunch, coffee date, or cozy weekend morning.

Blueberry apricot muffins served on a brunch table.
Split blueberry apricot muffin showing juicy fruit and tender crumb.
Young child enjoying a homemade blueberry apricot streusel muffin during breakfast.

Easy Slow Cooker Baked Beans with Bacon

There’s something about a slow cooker full of baked beans during the summertime that instantly feels nostalgic. Whether it’s backyard BBQs, fireworks, pool days, or long evenings gathered around the table, baked beans are one of those classic American side dishes that always make an appearance. As part of my All American Summer series, I wanted to share our favorite slow cooker baked beans recipe — smoky, sweet, rich, and packed with crispy bacon.

↓ Skip to Recipe
Comfort food bean recipe perfect for family dinners and cookouts
Homemade BBQ beans simmering in a slow cooker for maximum flavor
Easy Fourth of July side dish made with homemade slow cooker baked beans
Homemade crockpot beans served as an easy side dish for family gatherings

These easy slow cooker baked beans are made with a blend of beans, brown sugar, molasses, bacon, and savory seasonings that slowly cook together for the ultimate cozy summer BBQ side dish. They’re hearty, flavorful, incredibly easy to prep, and perfect for feeding a crowd during summer entertaining.

If you love nostalgic Americana-inspired recipes and cozy summer hosting, be sure to browse my American Summer Hosting collection filled with patriotic hosting ideas, backyard BBQ inspiration, and classic summer entertaining favorites. I also linked our favorite serving bowls, slow cooker essentials, and summer kitchen finds in my Cozy Baking Essentials collection and all of our favorite BBQ and grilling pieces in my Summer Grilling Essentials collection.

Why You’ll Love These Slow Cooker Baked Beans

This slow cooker baked beans recipe is one of those easy summer recipes you’ll make again and again.

  • Easy prep with simple pantry ingredients

  • Perfect for summer BBQs and cookouts

  • Smoky, sweet, and packed with flavor

  • Great for feeding a crowd

  • The perfect side dish for hot dogs, burgers, and pulled pork

  • Easy to make ahead for parties and holidays

  • Slow cooker friendly for stress-free entertaining

These baked beans with bacon are cozy, nostalgic, and perfect for any summer gathering.

Classic crockpot cookout recipe featuring rich and flavorful baked beans
Hearty bean side dish recipe served warm for dinner and entertaining
Potluck baked beans with bacon served in a white casserole dish
Holiday cookout side recipe perfect for Memorial Day and Labor Day

Ingredients

  • 12 oz bacon

  • 3 cloves garlic, minced

  • 1 (15 oz) can kidney beans

  • 1 (15 oz) can northern white beans

  • 1 (15 oz) can pinto beans

  • 1 yellow onion, diced

  • 1/4 cup coconut aminos

  • 1/2 cup ketchup

  • 1/4 cup molasses

  • 1/2 tablespoon yellow mustard

  • 1 tablespoon Worcestershire sauce

  • 1/2 cup dark brown sugar

Instructions

1. Cook the Bacon

Using a 4-quart slow cooker insert or large skillet over medium heat, cook the bacon until crispy. Remove the bacon and set aside on a paper towel-lined plate.

2. Sauté the Onion

Add the diced onion to the bacon grease and cook until soft and translucent, about 5 minutes. Stir in the minced garlic and cook for another minute until fragrant.

3. Chop the Bacon

While the onions cook, roughly chop the cooked bacon into bite-sized pieces.

4. Combine Ingredients

Add the chopped bacon back into the pan along with the kidney beans, northern beans, pinto beans, coconut aminos, ketchup, molasses, mustard, Worcestershire sauce, and brown sugar. Stir until everything is fully combined.

5. Slow Cook

Transfer the mixture to the slow cooker base and cook on low for 5–7 hours until thick, rich, and flavorful.

6. Serve

Serve warm alongside your favorite summer BBQ recipes, grilled hot dogs, burgers, ribs, or pulled pork sandwiches.

What to Serve with Slow Cooker Baked Beans

These easy baked beans pair perfectly with all your favorite summer cookout recipes.

Serve them with:

  • Hot dogs

  • Hamburgers

  • Pulled pork sandwiches

  • Grilled corn on the cob

  • Pasta salad

  • Watermelon

  • Coleslaw

  • Potato salad

For the ultimate All American Summer menu, pair these beans with my Chicago Hot Dog Recipe, Bacon Wrapped California Hot Dog Recipe, and Mini Cherry Cobblers for Summer Parties & 4th of July.

Tips for the Best Slow Cooker Baked Beans

  • Cook the bacon until crispy for the best texture

  • Let the beans cook low and slow so the flavors fully develop

  • Stir once or twice during cooking if possible

  • Use dark brown sugar for deeper flavor

  • Serve warm for the best texture and richness

Easy Variations to Try

Spicy Baked Beans

Add jalapeños or a dash of hot sauce for extra heat.

Maple Bacon Beans

Swap part of the molasses for maple syrup.

Smoky BBQ Beans

Add your favorite barbecue sauce for extra smoky flavor.

Vegetarian Version

Skip the bacon and use olive oil instead.

Sweet and savory baked beans made with bacon and three types of beans

Frequently Asked Questions

Can I make baked beans ahead of time?

Yes! These slow cooker baked beans actually taste even better the next day.

How do I store leftovers?

Store leftover baked beans in an airtight container in the refrigerator for up to 4 days.

Can I freeze baked beans?

Absolutely. Let them cool completely before freezing in airtight containers.

What are the best beans for baked beans?

A mix of kidney, northern, and pinto beans gives these homemade baked beans the perfect texture and flavor.

Are slow cooker baked beans good for parties?

They’re one of the best summer BBQ side dishes because they’re easy to make ahead and perfect for serving a crowd.

Looking for More All American Summer Recipes?

If you’re loving this Americana-inspired summer series, be sure to check out:

And don’t forget to browse my American Summer Hosting, Summer Grilling Essentials, Cozy Baking Essentials, and All American Mama collections for even more summer entertaining inspiration and cozy Americana finds.
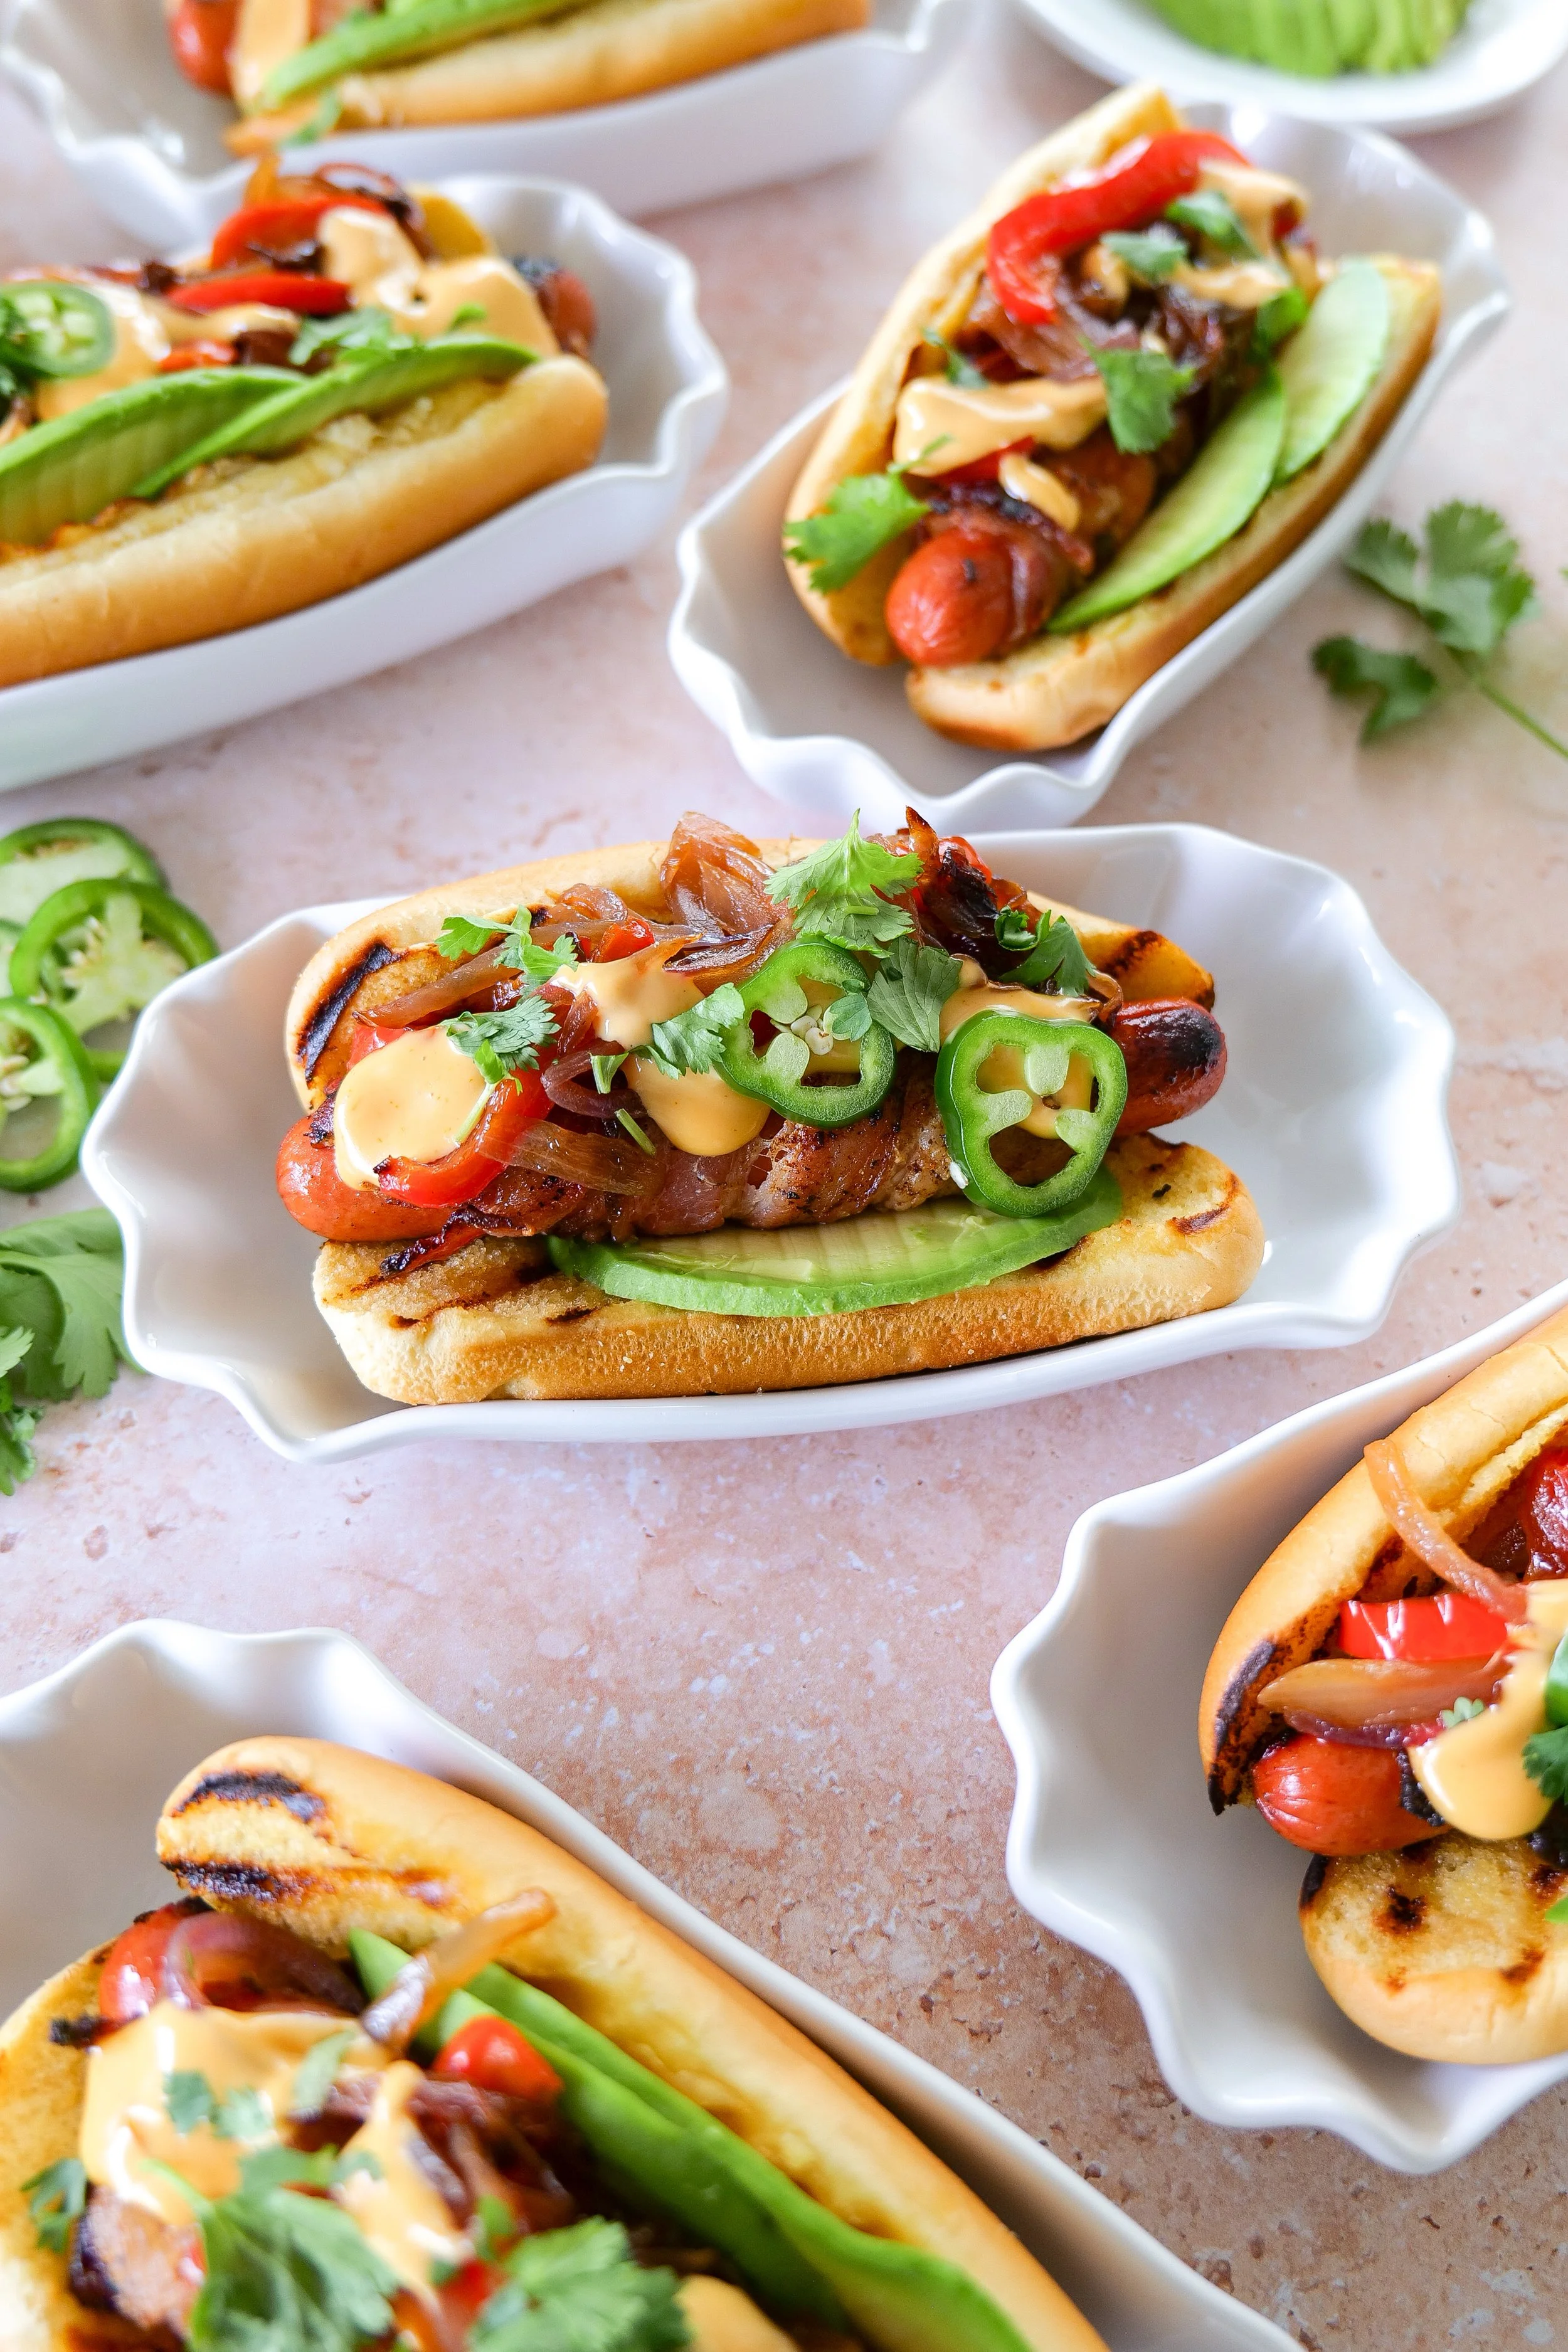
From Amanda's Kitchen

A collection of timeless recipes for gathering around the table.

Some recipes quietly become the ones everyone asks for at every barbecue, family reunion, and holiday cookout.

These Slow Cooker Baked Beans are one of those recipes. Rich, smoky, perfectly sweet, and slow cooked with crispy bacon, they're the kind of side dish that always disappears first and somehow tastes even better the next day.

That's exactly why I created these From Amanda's Kitchen printable recipe cards. Whether you're hosting a backyard barbecue, celebrating a holiday weekend, or simply cooking dinner for the people you love, my hope is that these recipes become part of your family's traditions for years to come.

Because the best recipes aren't just served—they bring people together around the table.

Save or print the recipe card below so it's always ready for your next cookout or family gathering.

Slow cooker three bean bake made with bacon and a sweet homemade sauce
BBQ beans topped with crispy bacon for a summer cookout
Backyard cookout baked beans made in a slow cooker with bacon
Slow cooked beans recipe ideal for feeding a crowd at parties and potlucks
All-American BBQ side dish served alongside hot dogs and burgers
Slow cooker summer entertaining recipe for easy hosting and gatherings
Summer hosting side dish perfect for backyard barbecues and celebrations
Bacon baked beans recipe perfect for football tailgates and game day parties
Family barbecue beans recipe made with bacon, molasses, and brown sugar

Slow Cooker Italian Meatballs (Easy Crockpot Meatballs in Marinara Sauce)

There’s something incredibly comforting about a slow cooker meal that simmers all day and fills your home with the smell of garlic, herbs, and rich tomato sauce.

These Slow Cooker Italian Meatballs are tender, flavorful, and made with a blend of Italian sausage, ground beef, Parmesan cheese, garlic, and herbs — all slow-cooked in marinara sauce until perfectly juicy and rich.

↓ Skip to Recipe
Slow cooker Italian meatballs simmering in marinara sauce served warm in a white bowl
Crockpot Italian meatballs served as a cozy family dinner with marinara sauce
Easy slow cooker meatball recipe cooking in a crockpot with rich tomato sauce
Italian sausage meatballs cooking in a crockpot filled with marinara sauce

This is one of those easy family dinner recipes that feels like it took all day, but requires very little hands-on time. Whether you’re serving them over pasta, stuffing them into a toasted sub roll, or enjoying them with crusty bread, they always deliver that classic Italian comfort food flavor.

Why You’ll Love These Slow Cooker Italian Sausage Meatballs

  • Easy dump-and-cook slow cooker dinner

  • Juicy, tender homemade meatballs

  • Rich marinara flavor that develops all day

  • Perfect for busy weeknights or family dinners

  • Freezer-friendly and great for meal prep

  • Works for pasta, subs, or party appetizers

Homemade Italian meatballs in marinara sauce served over pasta
Slow cooker meatballs served over spaghetti with fresh Parmesan cheese
Italian meatballs served over pasta for an easy family dinner
Crockpot meatballs simmering in marinara sauce for a comforting dinner

Description

Tender, juicy slow cooker Italian meatballs made with ground beef, Italian sausage, Parmesan, garlic, and herbs simmered in rich marinara sauce for an easy family dinner.

Prep Time

20 minutes

Cook Time

4–6 hours

Total Time

4 hours 20 minutes

Yield

6–8 servings

Ingredients

Meatballs

  • 1 lb ground beef

  • 2 lbs Italian sausage

  • 2 eggs

  • 1 cup breadcrumbs

  • ½ cup Parmesan cheese

  • 1 small onion, finely chopped

  • 2 cloves garlic, minced

  • 1/3 cup fresh parsley, chopped

  • 1 tsp salt

  • ½ tsp black pepper

  • 1 tsp dried oregano

  • 1 tsp dried basil

  • ½ tsp red pepper flakes (optional)

Sauce

  • 3–4 cups marinara sauce (homemade or high-quality store-bought)

  • 2 tbsp olive oil or butter (for browning)

How to Make Slow Cooker Italian Meatballs

1. Mix the Meatball Mixture

In a large bowl, combine ground beef, Italian sausage, eggs, breadcrumbs, Parmesan, onion, garlic, parsley, salt, pepper, oregano, basil, and red pepper flakes. Mix gently until just combined. Do not overmix.

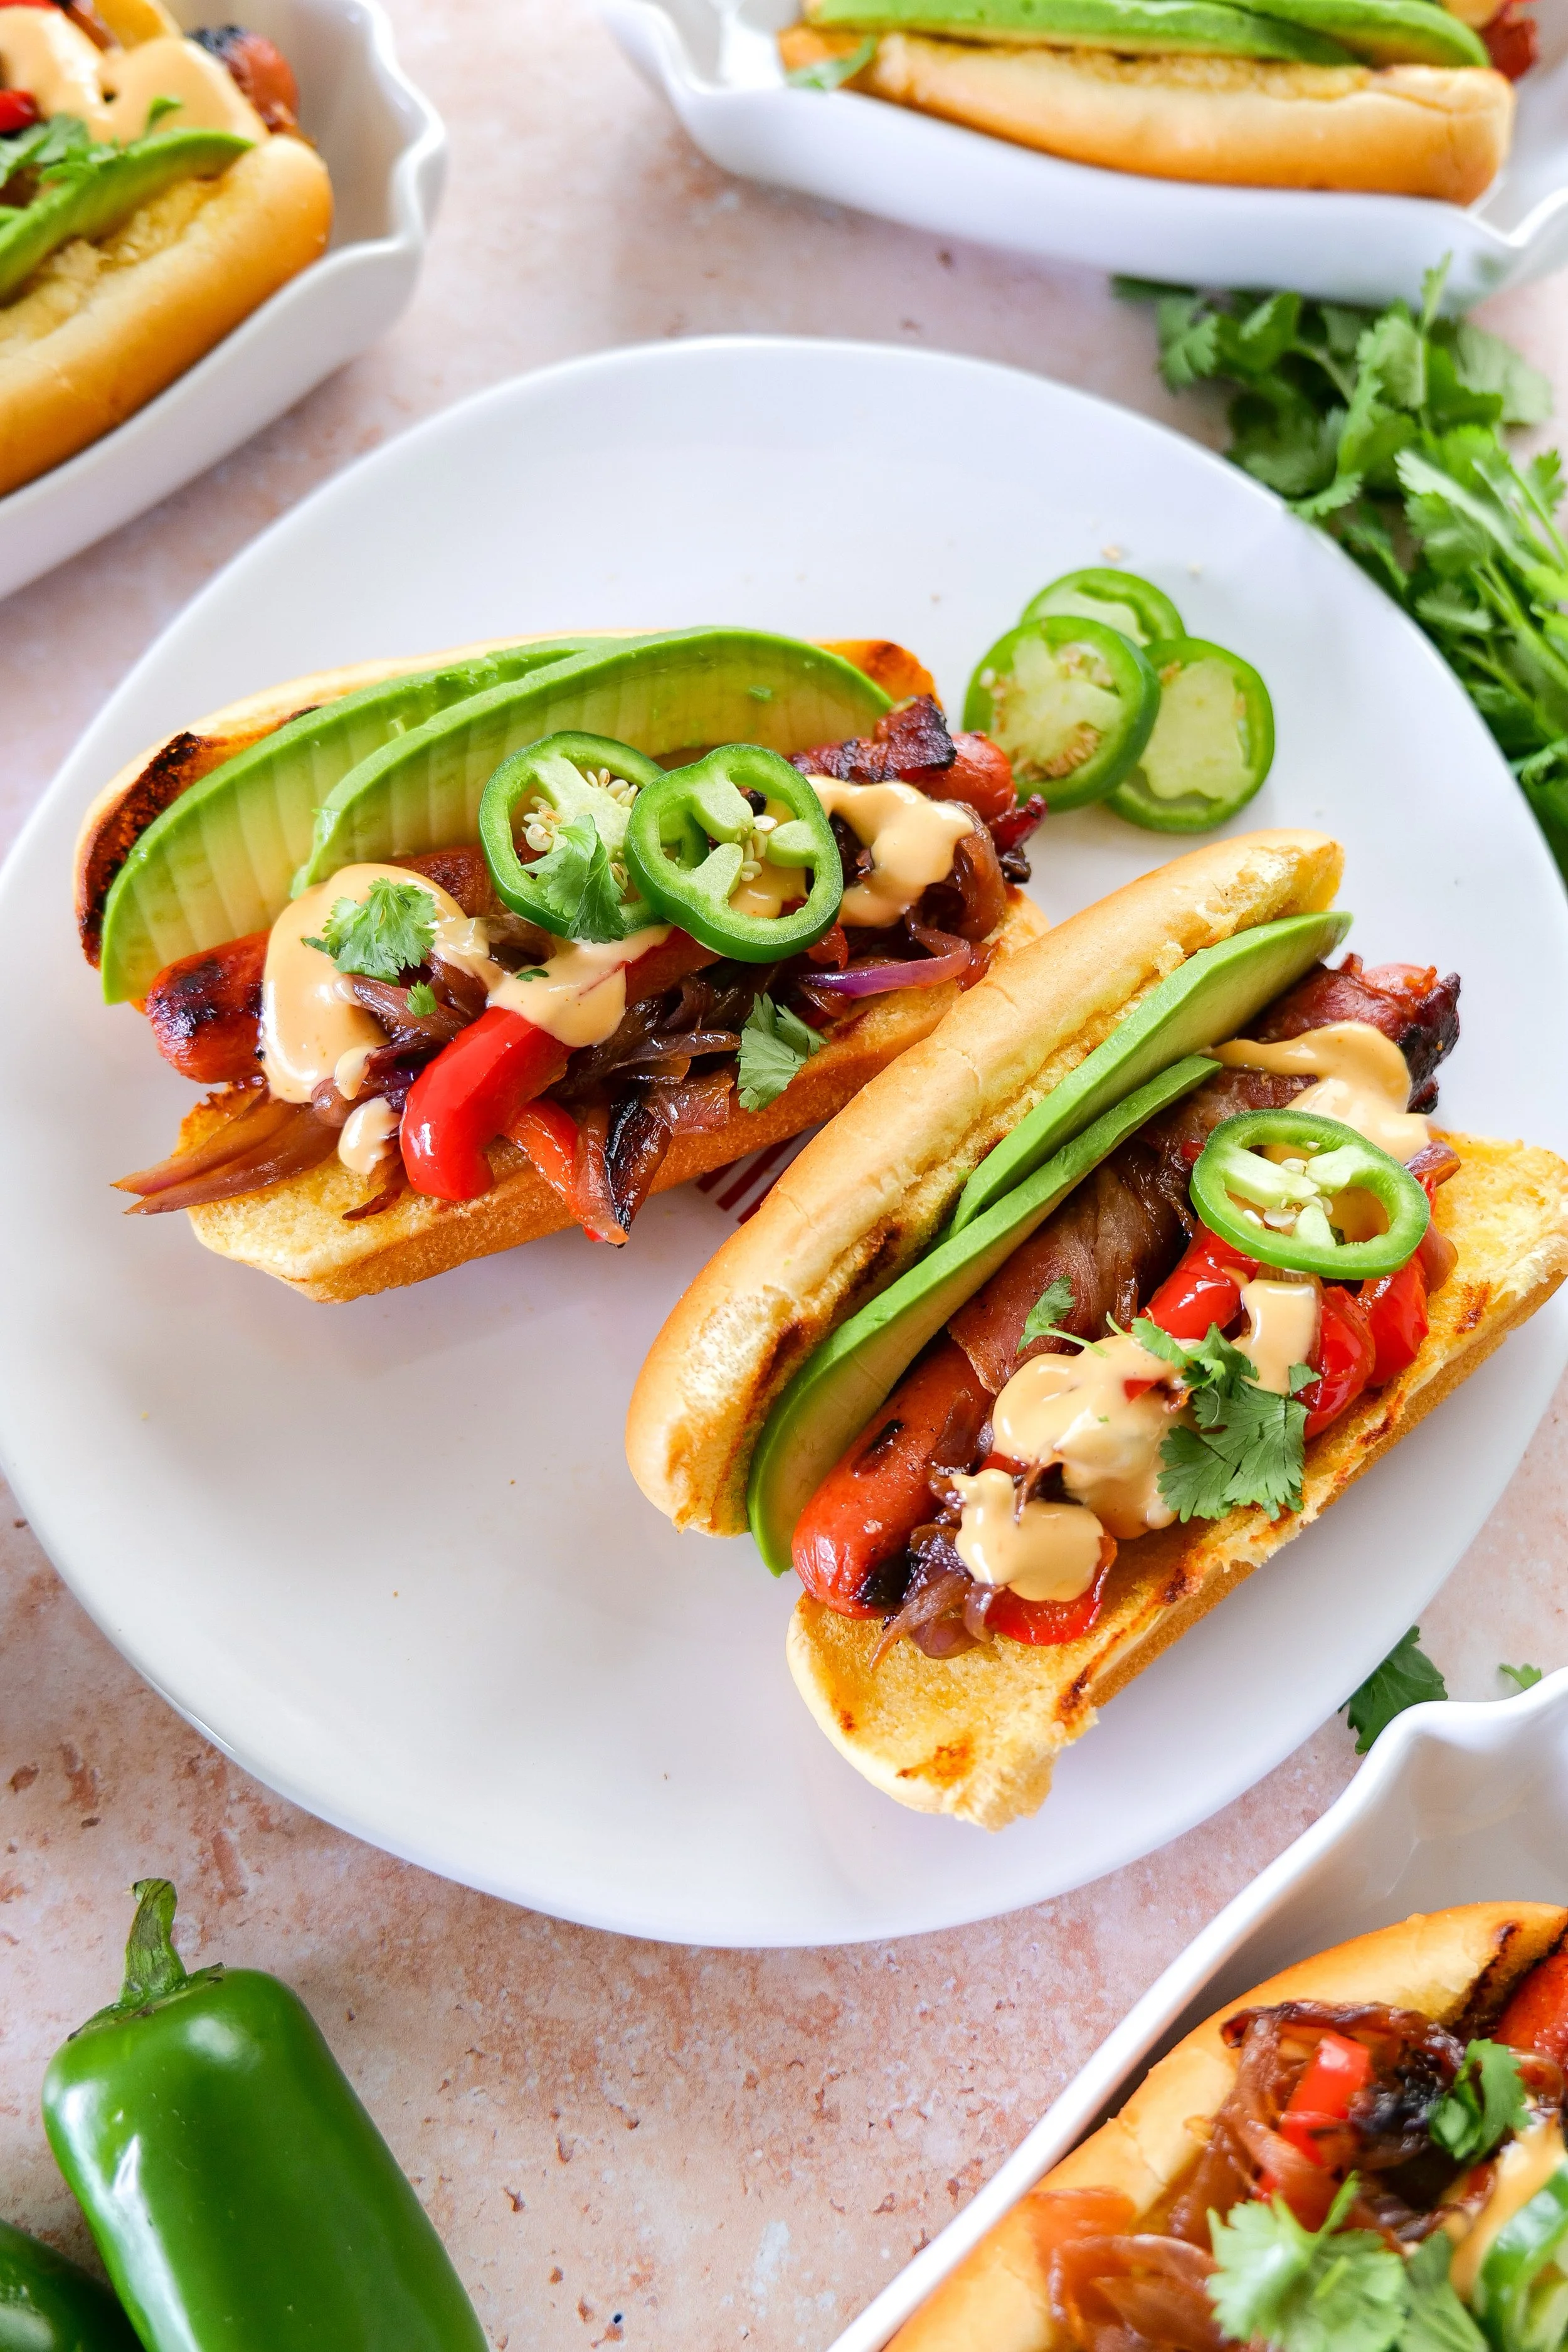
2. Shape the Meatballs

Roll mixture into evenly sized 1.5-inch meatballs and place on a tray.

3. Brown the Meatballs (Recommended Step)

Heat olive oil in a large skillet or stovetop slow cooker pan over medium-high heat. Brown meatballs on all sides until golden for extra flavor and texture.

4. Slow Cook

Transfer meatballs to the slow cooker and pour marinara sauce over the top.

Cook on LOW for 4–6 hours, or until meatballs are tender and fully cooked (internal temperature 165°F).

5. Serve

Serve over spaghetti, rigatoni, creamy polenta, or in toasted sub rolls. Top with Parmesan and fresh parsley.

What to Serve with Italian Meatballs

These meatballs pair well with:

  • Spaghetti or pasta

  • Garlic bread or crusty Italian bread

  • Creamy polenta

  • Simple green salad

  • Roasted vegetables

Storage and Freezing

Allow meatballs to cool completely before storing.

  • Refrigerator: up to 4 days

  • Freezer: up to 3 months

For best results, freeze meatballs with sauce in airtight containers or freezer bags.

Frequently Asked Questions

Can I make these slow cooker meatballs without browning them first?

Yes. You can skip browning and add the raw meatballs directly to the slow cooker. However, browning adds extra flavor and helps the meatballs hold their shape better.

Can I use frozen meatballs instead of homemade?

Yes, frozen meatballs work well in this recipe. Simply add them directly to the slow cooker with marinara sauce and cook on LOW for 4–6 hours until heated through.

How do I know when the meatballs are done?

The meatballs are fully cooked when they reach an internal temperature of 165°F and are tender throughout.

Can I make this recipe ahead of time?

Yes. You can prepare and shape the meatballs up to 24 hours in advance and store them covered in the refrigerator until ready to cook.

What is the best way to serve slow cooker Italian meatballs?

These meatballs are delicious served over pasta, in toasted sub rolls, with creamy polenta, or alongside garlic bread and a simple salad.

Shop My Family Dinner Favorites

If you love easy, cozy dinners like these slow cooker Italian meatballs, I’ve rounded up my go-to kitchen essentials for everyday cooking. These are the kitchen tools I use constantly for easy family dinners like this one. Shop Family Dinner Favorites

Includes:

  • slow cooker essentials

  • everyday cookware I use constantly

  • dinner serving pieces

  • meal prep tools for busy nights

More Cozy Dinner Recipes You’ll Love

If you enjoy easy family-style dinners like this recipe, you might also like:

Italian-Inspired Dinners

Chicken Favorites

Save this recipe for your next easy family dinner night.

From Amanda's Kitchen

A collection of timeless recipes for gathering around the table.

There are certain meals that instantly make a house feel like home.

For me, it's a pot of Italian meatballs slowly simmering in rich marinara sauce. The smell fills the kitchen, everyone seems to gather a little earlier, and somehow dinner becomes about more than just the food.

That's exactly why I created these From Amanda's Kitchen printable recipe cards. Whether you're making Sunday dinner, serving friends around the table, or freezing a batch for busy weeknights, my hope is that these recipes become part of your family's traditions for years to come.

Because some of the very best conversations happen around a bowl of pasta.

Save or print the recipe card below so it's always ready for your next family dinner.

Juicy Italian meatballs served in marinara sauce for a family dinner recipe
Easy weeknight slow cooker dinner featuring Italian meatballs in tomato sauce
Crockpot Italian sausage meatballs simmering slowly in marinara sauce
Slow cooker comfort food meatballs served with marinara sauce and herbs
Italian meatballs browned and slow cooked in marinara sauce for extra flavor
Parmesan topped Italian meatballs served in marinara sauce
Italian meatballs garnished with fresh parsley in marinara sauce
Crockpot dinner idea featuring Italian meatballs simmered in tomato sauce
Family style Italian meatball dinner served with pasta and marinara sauce

Apricot Burrata Arugula Salad with Prosciutto & Honey Balsamic Dressing

This apricot burrata arugula salad with prosciutto and honey balsamic dressing is fresh, creamy, sweet, salty, and full of elevated summer flavor. Made with juicy fresh apricots, creamy burrata cheese, peppery arugula, delicate prosciutto, toasted almond slices, and a homemade honey balsamic dressing, this beautiful summer salad feels straight from a cozy coastal café or winery lunch.

Summer Hosting Essentials

I linked some of my favorite serving pieces, entertaining finds, and elevated summer hosting essentials I love using for recipes like this in my Summer Hosting Essentials collection.

↓ Skip to Recipe
Apricot burrata arugula salad topped with prosciutto and sliced almonds.
Fresh summer apricot salad with creamy burrata and arugula.
Burrata salad with ripe apricots, prosciutto, and honey balsamic dressing.
Homemade apricot arugula salad recipe for summer entertaining.
Prosciutto burrata salad with fresh apricots and toasted almonds.

If you love fresh seasonal salads, easy summer entertaining recipes, or restaurant-style meals at home, this apricot burrata salad is the perfect combination of elegant and effortless. If you love fresh burrata recipes, you may also enjoy my Melon Burrata Salad Recipe.

The creamy burrata paired with sweet apricots, salty prosciutto, crunchy almonds, and rich honey balsamic dressing creates a flavor combination that feels luxurious while still being incredibly simple to make.

If you love elevated summer recipes, you may also enjoy my Apricot Puff Pastry Turnovers with Honey Glaze & Sliced Almonds and Personal Pear Tarts recipes.

Apricot Burrata Salad Recipe

  • Prep Time: 15 minutes

  • Total Time: 15 minutes

  • Servings: 4

  • Category: Salad / Lunch / Summer Recipes

  • Flavor: Fresh, creamy, sweet & savory

Save this apricot burrata salad recipe for summer lunches, brunch gatherings, wine nights, and cozy entertaining at home.

Why You’ll Love This Apricot Burrata Salad

This summer burrata salad is:

  • fresh and flavorful

  • sweet and savory

  • easy yet elevated

  • beautiful for entertaining

  • perfect for warm weather

  • packed with seasonal ingredients

  • restaurant-quality while simple to make

The combination of creamy burrata, ripe apricots, peppery arugula, salty prosciutto, toasted almonds, and honey balsamic dressing creates the ultimate cozy summer salad. If you enjoy fresh summer salads, you may also love my Pear & Walnut Salad with Honey Mustard Dressing.

Why This Recipe Works

  • Burrata adds rich creamy texture

  • Fresh apricots bring juicy sweetness

  • Arugula balances with peppery flavor

  • Prosciutto adds salty savory contrast

  • Toasted almonds create crunch

  • Honey balsamic dressing ties everything together beautifully

Every ingredient adds a different texture and flavor, creating a balanced summer salad that feels elegant and satisfying.

Summer Apricot Salad Recipe

Fresh apricots are one of the best summer fruits for salads because they add natural sweetness, vibrant color, and juicy texture. Paired with creamy burrata and salty prosciutto, this fresh apricot salad feels light, luxurious, and perfect for warm weather meals.

This salad is ideal for:

  • summer lunches

  • brunch spreads

  • winery-inspired meals

  • dinner parties

  • outdoor entertaining

  • girls lunches

  • coastal-inspired gatherings

If you love cozy summer fruit recipes, you may also enjoy my Brown Butter Peach Pie with Crumble Topping & Caramel Drizzle and Melon Burrata Salad Recipe.

Apricot salad drizzled with homemade honey balsamic dressing.
Summer burrata salad with arugula, apricots, and sliced prosciutto.
Fresh apricot salad served with creamy burrata cheese and greens.
Cozy summer salad recipe with burrata, apricots, and arugula.
Bakery-style summer salad with stone fruit and creamy burrata.

Ingredients for Apricot Burrata Arugula Salad

Salad

  • 5 oz arugula

  • 2 burrata balls

  • 4–5 fresh apricots, sliced

  • 4–6 slices prosciutto

  • ¼ cup sliced almonds, toasted

  • Fresh basil (optional)

Honey Balsamic Dressing

  • 3 tablespoons olive oil

  • 1 tablespoon mayonnaise

  • 2 tablespoons balsamic vinegar

  • 1 tablespoon honey

  • 1 teaspoon Dijon mustard

  • Salt and pepper to taste

How to Make Apricot Burrata Salad

Step 1: Make the Honey Balsamic Dressing

In a small bowl or jar, whisk together:

  • olive oil

  • balsamic vinegar

  • honey

  • Dijon mustard

  • salt and pepper

Set aside.

Step 2: Prepare the Salad Base

Arrange arugula on a large serving platter or bowl.

Top with:

  • sliced apricots

  • torn prosciutto

  • toasted almond slices

This salad pairs beautifully with light summer meals like my Southwestern Chop Salad Recipe or Grilled Chicken Mexican Street Corn & Cucumber Salad.

Step 3: Add the Burrata

Place burrata on top of the salad and gently tear slightly open.

The creamy burrata creates a rich luxurious texture throughout the salad.

Step 4: Finish & Serve

Drizzle generously with honey balsamic dressing.

Top with:

  • additional almonds

  • fresh basil

  • cracked black pepper

Serve immediately with crusty bread, crostini, or chilled white wine.

Tips for the Best Burrata Salad

Use Ripe Fresh Apricots

Ripe apricots create the best sweetness and texture.

Toast the Almonds

Toasting adds richer flavor and crunch.

Serve Immediately

Burrata salads are best fresh after assembling.

Use Good Quality Burrata

Creamy fresh burrata makes a huge difference in flavor and texture.

Apricot prosciutto salad with honey balsamic glaze and almonds.
Summer salad with prosciutto, burrata, apricots, and arugula.
Elevated summer salad recipe with burrata and seasonal apricots.
Stone fruit burrata salad with arugula and prosciutto slices.

Why Burrata Salads Are So Popular

Burrata salads have become increasingly popular because they combine creamy cheese, fresh seasonal produce, and elevated flavors in a simple but beautiful way. Burrata pairs especially well with fruit like peaches, apricots, berries, and tomatoes, making it perfect for cozy summer entertaining and restaurant-style meals at home.

The combination of sweet fruit, creamy cheese, salty prosciutto, and flavorful dressings creates balanced dishes that feel elegant while still being approachable. For more elevated salad inspiration, try my Fully Loaded Iceberg Wedge Salad or Shaved Brussel Sprout Salad with Apples, Goat Cheese & Candied Pecans.

Frequently Asked Questions

Can I substitute peaches for apricots?

Yes! Peaches work beautifully in this salad.

What is burrata?

Burrata is a soft Italian cheese with a creamy center similar to fresh mozzarella.

Can I make this salad ahead of time?

You can prep ingredients ahead, but assemble right before serving for best texture.

What pairs well with apricot burrata salad?

This salad pairs beautifully with wine, crostini, grilled chicken, or fresh sourdough bread.

Other Cozy Summer Recipes

If you love elevated summer recipes and bakery-style dishes, you may also enjoy:

Final Thoughts on This Apricot Burrata Salad

This apricot burrata arugula salad with prosciutto and honey balsamic dressing is everything a cozy summer recipe should be — fresh, creamy, flavorful, beautiful, and effortlessly elevated.

The sweet apricots, creamy burrata, salty prosciutto, crunchy almonds, and rich honey balsamic dressing create a restaurant-quality salad perfect for warm summer days, winery-inspired lunches, and cozy entertaining at home.

Whether you’re hosting brunch, planning a girls lunch, or simply craving a fresh seasonal recipe, this apricot burrata salad is sure to become a summer favorite.

Save This Recipe

Whether you're planning ahead for a special occasion or adding a new favorite to your recipe collection, I've included a printable recipe card below so it's easy to save, print, and share with the people you love.

Printable Apricot Burrata Arugula Salad recipe card featuring fresh apricots, creamy burrata cheese, peppery arugula, prosciutto, toasted almonds, and a homemade honey balsamic dressing in an elegant cookbook-style design by Amanda Warren.
Easy burrata salad recipe perfect for brunch or summer dinners.
Elegant summer entertaining salad with apricots and burrata cheese.
Homemade burrata arugula salad topped with fresh apricots.
Fresh arugula salad with apricots, burrata, and sliced almonds.
Apricot brunch salad with creamy burrata and honey dressing.
Easy apricot salad recipe perfect for summer hosting and brunch.
Burrata salad topped with honey balsamic dressing and almonds.

Fluffy Blueberry Sourdough Discard Pancakes

These fluffy blueberry sourdough discard pancakes are soft, buttery, perfectly golden, and packed with juicy blueberries in every bite. If you’re looking for the best sourdough discard pancake recipe, these cozy homemade pancakes are the perfect way to use extra sourdough starter while creating a warm bakery-style breakfast everyone will love. Save these blueberry sourdough discard pancakes for cozy weekend breakfasts, summer brunches, and slow mornings at home.

Fluffy Blueberry Sourdough Discard Pancakes

Cozy Baking Essentials

If you love cozy homemade breakfasts and bakery-style recipes, I linked some of my favorite bakeware, kitchen tools, and timeless kitchen pieces I use for recipes like these in my Cozy Baking Essentials collection.

↓ Skip to Recipe
Homemade sourdough discard blueberry pancakes with a soft fluffy texture.
Fluffy blueberry sourdough discard pancakes with maple syrup.
Golden brown sourdough discard pancakes filled with fresh blueberries
Easy blueberry sourdough pancakes served warm for a cozy breakfast recipe
Bakery-style blueberry pancakes made with sourdough starter discard.
Fluffy homemade blueberry pancakes served with butter and syrup.

With crisp buttery edges, soft fluffy centers, and bursts of fresh blueberries throughout, these homemade blueberry pancakes feel comforting, nostalgic, and elevated all at once. Whether you’re making a slow weekend breakfast, cozy brunch at home, or searching for easy sourdough discard recipes, this recipe is one you’ll want to make again and again. If you love cozy bakery-style breakfast recipes, you may also love our Homemade Blueberry Streusel Loaf for the perfect café-inspired pairing.

Blueberry Sourdough Pancake Recipe

  • Prep Time: 10 minutes

  • Cook Time: 15 minutes

  • Total Time: 25 minutes

  • Servings: 4–6

  • Category: Breakfast

  • Flavor: Buttery, fluffy, cozy

Save this blueberry sourdough discard pancake recipe for your next cozy breakfast morning, slow weekend brunch, or summer blueberry baking day.

Why You’ll Love These Blueberry Sourdough Pancakes

These fluffy sourdough pancakes are:

  • soft and buttery

  • perfectly fluffy

  • packed with juicy blueberries

  • easy to make with sourdough discard

  • lightly sweetened with honey

  • perfect for cozy mornings

  • delicious with maple syrup or whipped butter

The sourdough discard adds the perfect subtle tangy flavor while creating incredibly soft bakery-style pancakes.

What Is Sourdough Discard?

Sourdough discard is the portion of sourdough starter removed before feeding your starter with fresh flour and water. Instead of throwing it away, sourdough discard can be used in delicious recipes like pancakes, muffins, waffles, quick breads, cookies, and more.

Using sourdough discard in recipes adds subtle tangy flavor, soft texture, and helps reduce food waste in the kitchen. It’s one of the easiest ways to create cozy homemade baked goods while making the most of your sourdough starter.

These blueberry sourdough discard pancakes are one of my favorite easy sourdough discard breakfast recipes because they turn out incredibly fluffy, soft, and full of fresh blueberry flavor.

Why This Sourdough Pancake Recipe Works

  • Sourdough discard adds depth and flavor

  • Honey creates subtle natural sweetness

  • Blueberries keep the pancakes juicy and fresh

  • Melted butter adds rich bakery-style flavor

  • Resting the batter creates extra fluffy pancakes

  • Perfect balance of sweet and tangy flavors

These homemade sourdough pancakes feel cozy, elevated, and perfect for slow mornings at home.

Fresh blueberry sourdough pancakes perfect for a cozy brunch at home.
Sourdough discard breakfast pancakes topped with maple syrup and blueberries.
Homemade blueberry pancakes with sourdough discard and melted butter.

Ingredients for Blueberry Sourdough Discard Pancakes

  • 75 g sourdough starter discard

  • 200 g all-purpose flour

  • 225 g milk

  • 50 g butter, melted

  • 40 g honey

  • 2 eggs

  • 8 g baking powder

  • 3 g salt

  • 6 g vanilla extract

  • 1 cup blueberries

How to Make Blueberry Sourdough Pancakes

Step 1: Mix the Wet Ingredients

In a large bowl, whisk together:

  • sourdough starter discard

  • milk

  • melted butter

  • honey

  • eggs

  • vanilla extract

Whisk until smooth and fully combined.

Step 2: Combine the Dry Ingredients

In a separate bowl, whisk together:

  • flour

  • baking powder

  • salt

This helps evenly distribute the ingredients for soft fluffy pancakes.

Step 3: Make the Pancake Batter

Gradually add the dry ingredients into the wet ingredients, gently stirring until just combined.

Be careful not to overmix — a few lumps are perfectly fine and help keep the pancakes light and fluffy.

Step 4: Rest the Batter

Let the pancake batter rest for 5–10 minutes.

This simple step helps hydrate the flour and creates extra fluffy sourdough discard pancakes.

Step 5: Cook the Pancakes

Heat a lightly greased non-stick skillet or griddle over medium heat.

Pour about ¼ cup of pancake batter onto the skillet for each pancake.

Instead of mixing all the blueberries directly into the batter, place blueberries onto each pancake after pouring the batter onto the skillet. This helps evenly distribute the blueberries throughout the pancakes and keeps them from sinking.

Cook until bubbles begin forming on the surface, about 2–3 minutes.

Flip and continue cooking for another 1–2 minutes until golden brown and fluffy.

Step 6: Serve Warm

Serve warm with:

  • maple syrup

  • whipped butter

  • fresh blueberries

  • powdered sugar

  • warm blueberry syrup

These cozy blueberry pancakes pair perfectly with coffee drinks like a homemade blueberry muffin latte for the ultimate bakery-style breakfast at home. These fluffy blueberry pancakes are perfect for slow mornings alongside cozy brunch favorites like Peach Coffee Cake with Crumble Topping.

Tips for the Best Sourdough Discard Pancakes

Don’t Overmix the Batter

Overmixing can make pancakes dense instead of fluffy.

Add Blueberries While Cooking

Placing blueberries directly onto the pancakes while cooking helps evenly distribute them.

Let the Batter Rest

Resting the batter helps create soft fluffy pancakes.

Cook Over Medium Heat

Medium heat allows the pancakes to cook evenly without burning.

Why Sourdough Discard Recipes Are So Popular

Sourdough discard recipes have become increasingly popular because they help reduce food waste while adding incredible flavor and texture to homemade baked goods. From pancakes and muffins to cookies and breads, sourdough discard creates soft texture, subtle tanginess, and cozy bakery-style flavor in everyday recipes.

If you love baking with sourdough discard, you may also enjoy:

Frequently Asked Questions

Can I use frozen blueberries?

Yes! Frozen blueberries work well for this recipe.

What is sourdough discard?

Sourdough discard is the portion of sourdough starter removed before feeding.

Can I freeze these pancakes?

Absolutely. Allow them to cool completely before freezing.

Can I make these pancakes ahead of time?

Yes! Reheat in the toaster or oven for easy breakfasts throughout the week.

Other Cozy Breakfast Recipes

If you love cozy homemade breakfasts and bakery-style recipes, you may also enjoy:

Final Thoughts on These Blueberry Sourdough Discard Pancakes

These fluffy blueberry sourdough discard pancakes are everything a cozy homemade breakfast should be — buttery, soft, comforting, and packed with fresh blueberry flavor. The sourdough discard adds incredible depth while helping create perfectly fluffy pancakes with golden crisp edges.

Whether you’re trying to use extra sourdough discard or simply craving a warm homemade breakfast, this easy blueberry pancake recipe is one you’ll come back to all year long.

Save This Recipe

Whether you're planning ahead for a special occasion or adding a new favorite to your recipe collection, I've included a printable recipe card below so it's easy to save, print, and share with the people you love.

Printable Blueberry Sourdough Discard Pancakes recipe card featuring fluffy homemade pancakes made with sourdough starter discard, fresh blueberries, butter, maple syrup, and an elegant cookbook-inspired design by Amanda Warren.
Blueberry pancakes stacked on a plate with maple syrup drizzle.
Easy sourdough pancake recipe with juicy blueberries folded into the batter.
Blueberry brunch pancakes with fluffy texture and fresh summer berries.
Cozy sourdough discard blueberry pancakes for a slow morning breakfast.
Fresh blueberry breakfast pancakes with golden edges and fluffy centers.
Homemade sourdough discard pancakes with blueberries and warm maple syrup.
Soft fluffy blueberry sourdough pancakes perfect for brunch or breakfast.

Easy Summer Veggie Frittata Recipe (Healthy, Quick & Gluten-Free Breakfast)

If you’re searching for an easy summer veggie frittata recipe packed with fresh seasonal produce, this healthy breakfast dish is one you’ll make again and again. Made with colorful vegetables like zucchini, tomatoes, and spinach, this gluten-free frittata is light, flavorful, and perfect for breakfast, brunch, or even a quick summer dinner.

Frittatas are one of the easiest meals you can make, yet they feel elevated enough for a weekend brunch or casual gathering. This easy frittata recipe comes together in just 30 minutes, uses minimal ingredients, and is naturally gluten-free and low in carbs—making it perfect for a variety of diets.

↓ Skip to Recipe
Easy summer veggie frittata recipe with zucchini tomatoes spinach and fresh herbs
Gluten-free brunch recipe with spinach zucchini tomatoes and eggs

Why You’ll Love This Summer Veggie Frittata Recipe

This easy summer veggie frittata recipe is the perfect way to use fresh seasonal produce while creating a healthy, satisfying meal the whole family will love. Whether you’re planning a relaxed weekend brunch, prepping breakfasts for the week, or looking for a quick summer dinner, this versatile dish comes together with simple ingredients and minimal effort.

Here’s why this healthy frittata recipe is a favorite:

  • Quick and easy to make in just 30 minutes

  • Packed with fresh summer vegetables and flavor

  • Naturally gluten-free and low carb

  • Perfect for breakfast, brunch, lunch, or dinner

  • Great for meal prep and easy leftovers

  • Easily customizable with your favorite vegetables, cheeses, or proteins

  • A beautiful brunch recipe for summer gatherings and entertaining

Light, colorful, and incredibly versatile, this vegetable frittata is one of those recipes you’ll find yourself making all season long.

Baked vegetable frittata with fresh summer ingredients and cheese
Seasonal vegetable frittata recipe for breakfast brunch or meal prep
Summer brunch frittata recipe served fresh from the oven in a cast iron skillet

Ingredients

To make this flavorful vegetable frittata, you’ll need:

  • 8 large eggs

  • 1/4 cup whole milk

  • 1 medium zucchini, cut in half & thinly sliced

  • 1/2 red bell pepper, diced

  • 1/4 red onion, diced

  • 1 cup fresh spinach

  • 1 cup of cherry tomatoes, halved

  • 1 cup of sliced mushrooms

  • 1 cup shredded cheddar cheese

  • 2 tablespoons olive oil

  • Salt and pepper to taste

  • Fresh basil or parsley (optional, for garnish)

These ingredients highlight the best of summer produce, but one of the great things about a vegetable frittata recipe is how flexible it is—you can easily swap in whatever you have on hand.

Summer farmers market frittata made with seasonal produce and herbs

Instructions

1. Preheat and Prepare

Start by preheating your oven to 375°F (190°C). In a mixing bowl, whisk together the eggs, milk, salt, and pepper until fully combined.

2. Sauté the Vegetables

Heat olive oil in an oven-safe skillet over medium heat. Add the sliced onion and bell pepper, cooking for 2–3 minutes until softened. Stir in the zucchini and cook for another 3–4 minutes until the zucchini is just tender.

3. Add Spinach and Tomatoes

Add the spinach, mushrooms and cherry tomatoes to the skillet. Cook until the spinach wilts and everything is evenly combined.

4. Add the Egg Mixture

Pour the egg mixture over the vegetables, making sure it spreads evenly. Sprinkle half the cheese into the egg mixture and vegetables, then top with the remaining cheese..

5. Cook and Bake

Let the frittata cook on the stovetop for 2–3 minutes, just until the edges begin to set. Then transfer the skillet to the oven and bake for 10–12 minutes, or until the center is fully set and the top is lightly golden.

6. Cool and Serve

Remove from the oven and allow it to cool slightly before slicing. Garnish with fresh herbs for a bright, fresh finish.


Whether you’re cooking for yourself, your family, or guests, this healthy brunch idea delivers every time.

What to Serve with a Vegetable Frittata

This healthy frittata recipe pairs beautifully with a variety of sides. For a balanced meal, try serving it with:

  • A simple green salad with vinaigrette

  • Fresh fruit or a berry bowl

  • Avocado toast or whole-grain bread

It’s versatile enough to serve for breakfast, brunch, lunch, or even a light dinner.

Tips for the Best Summer Frittata

If you want your frittata to turn out perfectly every time, keep these tips in mind:

  • Use an oven-safe skillet, like cast iron, for seamless stovetop-to-oven cooking

  • Don’t overcook the eggs—they should be just set for the best texture

  • Cut vegetables evenly so they cook at the same rate

  • Add delicate herbs at the end to preserve their flavor

Healthy summer breakfast recipe with fresh vegetables and eggs
Zucchini veggie frittata with eggs tomatoes and melted cheese
Homemade summer frittata baked in a cast iron skillet

Easy Variations to Try

This easy summer brunch recipe is incredibly customizable depending on what vegetables and proteins you have on hand. One of the best things about this quick breakfast recipe is how customizable it is:

  • Dairy-Free Option: Skip the cheese or use a plant-based version

  • Protein Boost: Add cooked chicken, turkey sausage, or smoked salmon

  • Mediterranean Twist: Include olives, feta cheese, and sun-dried tomatoes

  • Farmers Market Version: Toss in corn, asparagus, or mushrooms

Frequently Asked Questions

Can I make a frittata ahead of time?
Yes! This is a great meal prep option. Store it in an airtight container in the fridge for up to 4 days.

How do I reheat frittata?
Reheat slices in the microwave or in a low-temperature oven until warmed through.

Can I freeze a frittata?
You can freeze it, though the texture may change slightly. Wrap individual slices for easy reheating.

What makes a frittata different from an omelet?
A frittata is cooked slowly and finished in the oven, while an omelet is cooked quickly and folded on the stovetop.

Looking for more ideas? Check out these quick breakfast ideas for busy mornings:

Save This Recipe

Whether you're planning ahead for a special occasion or adding a new favorite to your recipe collection, I've included a printable recipe card below so it's easy to save, print, and share with the people you love.

Printable Summer Veggie Frittata recipe card featuring eggs, zucchini, spinach, mushrooms, tomatoes, cheddar cheese, and fresh avocado in an elegant cookbook-inspired layout by Amanda Warren.
Easy summer veggie frittata recipe made with zucchini tomatoes spinach and fresh herbs
Healthy gluten-free vegetable frittata baked with fresh summer vegetables
Fresh veggie frittata topped with herbs and seasonal produce
Savory summer frittata recipe perfect for brunch or light dinners
Easy vegetable frittata breakfast recipe perfect for busy mornings
Spinach and tomato frittata with fluffy eggs and fresh basil
Easy meal prep frittata recipe for healthy weekday breakfasts
Low carb frittata recipe packed with fresh summer vegetables
Healthy brunch idea featuring a colorful summer vegetable frittata
Easy egg frittata recipe with zucchini spinach tomatoes and cheese

Apricot Puff Pastry Turnovers with Honey Glaze & Sliced Almonds

These apricot puff pastry turnovers with honey glaze and sliced almonds are flaky, buttery, golden, and filled with sweet apricot flavor in every bite. Made with crisp puff pastry, warm apricot filling, delicate honey glaze, and toasted sliced almonds, these bakery-style pastries feel elegant yet incredibly easy to make at home.

↓ Skip to Recipe
Apricot Puff Pastry Turnovers with Honey Glaze & Sliced Almonds
ingredients for Apricot Puff Pastry Turnovers
Apricot Puff Pastry Turnovers with honey glaze and sliced almonds served on white dish plates

If you love cozy homemade pastries, easy puff pastry desserts, or café-inspired baking recipes, these homemade apricot turnovers are the perfect sweet treat for brunch, slow mornings, summer gatherings, or afternoon coffee breaks. If you love bakery-style fruit pastries, you may also enjoy my Berry Custard Puff Pastry Tart and Personal Pear Tarts recipes.

With layers of flaky pastry, glossy honey glaze, and soft sweet apricots, these turnovers feel straight from a cozy European bakery.

Apricot Puff Pastry Turnovers Recipe

  • Prep Time: 20 minutes

  • Bake Time: 20–25 minutes

  • Total Time: 45 minutes

  • Servings: 8 turnovers

  • Category: Dessert / Breakfast Pastry

  • Flavor: Buttery, flaky, lightly sweet

Save this apricot puff pastry turnover recipe for cozy summer baking, brunch gatherings, and easy bakery-style desserts at home.

Why You’ll Love These Apricot Puff Pastry Turnovers

These homemade apricot turnovers are:

  • flaky and buttery

  • easy to make with store-bought puff pastry

  • lightly sweet with fresh apricot flavor

  • topped with warm honey glaze

  • finished with sliced almonds for bakery-style texture

  • beautiful for brunch spreads

  • perfect with coffee or tea

The honey glaze and almonds give these pastries an elevated homemade bakery feel while still being incredibly simple to make. These pastries pair perfectly with a cozy homemade Blueberry Muffin Latte for the ultimate café-inspired breakfast at home.

Why This Recipe Works

  • Puff pastry creates buttery flaky layers

  • Apricots bake into a soft jammy filling

  • Honey glaze adds warmth and sweetness

  • Sliced almonds bring texture and crunch

  • Store-bought pastry keeps the recipe easy

  • Perfect balance of cozy and elegant flavors

These puff pastry apricot turnovers feel impressive while still being approachable for beginner bakers.

Fresh Apricot Dessert Recipe

Fresh apricots create the perfect sweet and slightly tart filling for these homemade puff pastry turnovers. During apricot season, ripe juicy apricots bake beautifully into soft golden pastry for the ultimate cozy summer dessert.

Paired with honey glaze and sliced almonds, these flaky apricot pastries feel warm, comforting, and bakery-inspired. If you enjoy baking with fresh summer fruit, you may also love my Personal Pear Tarts and Berry Custard Puff Pastry Tart recipes.

Cozy Baking Essentials

If you love cozy baking recipes and bakery-style treats, I linked my favorite bakeware, serving pieces, and kitchen essentials I use for recipes like these in my Cozy Baking Essentials shelf.

Apricot Puff Pastry Turnovers with honey glaze and sliced almonds arranged on a baking tray
Golden brown apricot puff pastry turnovers topped with honey glaze on elegant white plates
Golden brown apricot puff pastry turnovers topped with honey glaze and sliced almonds on a tray
Freshly baked Apricot Puff Pastry Turnovers with flaky layers, honey drizzle, and almonds
Homemade apricot turnovers with puff pastry, honey glaze, and sliced almonds cooling on a tray

Ingredients for Apricot Puff Pastry Turnovers

Turnovers

  • 1 sheet puff pastry, thawed

  • 4–5 fresh apricots, diced

  • ¼ cup granulated sugar

  • 1 tablespoon cornstarch

  • 1 teaspoon vanilla extract

  • 1 egg, beaten (for egg wash)

  • ¼ cup sliced almonds

Honey Glaze

  • 1 cup powdered sugar

  • 1–2 tablespoons milk

  • 1 tablespoon honey

  • ½ teaspoon vanilla extract

How to Make Apricot Puff Pastry Turnovers

Step 1: Prepare the Apricot Filling

In a bowl, combine:

  • diced apricots

  • sugar

  • cornstarch

  • vanilla extract

Stir until evenly coated and set aside.

Step 2: Prepare the Puff Pastry

Preheat oven to 400 degrees.

Lightly flour your surface and unfold the puff pastry sheet. Cut into 4 equal squares, then cut again diagonally if you prefer smaller turnovers.

Step 3: Fill the Turnovers

Spoon apricot filling into the center of each pastry square, leaving space around the edges.

Fold the pastry over to create triangles and press edges with a fork to seal.

Brush the tops with beaten egg wash.

Sprinkle sliced almonds over the tops.

Step 4: Bake

Place turnovers on a parchment-lined baking sheet.

Bake for 20–25 minutes or until golden brown, puffed, and flaky.

Allow turnovers to cool slightly before glazing.

Step 5: Make the Honey Glaze

In a small bowl, whisk together:

  • powdered sugar

  • milk

  • honey

  • vanilla extract

Drizzle over warm turnovers.

Flaky Apricot Puff Pastry Turnovers with sliced almonds arranged on white serving plate
Close-up of Apricot Puff Pastry Turnovers garnished with honey glaze and toasted sliced almonds
tray of Apricot Puff Pastry Turnovers with sweet honey glaze and crunchy almond topping

Tips for the Best Puff Pastry Turnovers

Keep Puff Pastry Cold

Cold pastry creates the flakiest layers.

Don’t Overfill

Too much filling can leak during baking.

Use Fresh Ripe Apricots

Fresh apricots create the best sweet flavor and texture.

Let Cool Slightly Before Glazing

Warm pastries help the honey glaze settle beautifully without melting completely off.

Why Puff Pastry Desserts Are So Popular

Puff pastry desserts have become incredibly popular because they create bakery-style pastries with minimal effort. Store-bought puff pastry makes it easy to create flaky, golden homemade desserts that feel elegant, cozy, and perfect for entertaining.

From fruit turnovers to breakfast pastries and sweet tarts, puff pastry recipes are loved for their buttery layers and beautiful presentation.

Summer Hosting Essentials

I also linked some of my favorite serving pieces, entertaining finds, and elevated summer hosting essentials I love using for brunches, gatherings, and cozy summer dinners in my Summer Hosting Essentials shelf.

Frequently Asked Questions

Can I use canned apricots?

Fresh apricots work best, but canned apricots can also be used if drained well.

Can I use frozen puff pastry?

Yes! Just allow it to thaw before unfolding.

Can I make these turnovers ahead of time?

Yes. Bake ahead and glaze before serving for best texture.

Can I freeze apricot turnovers?

Absolutely. Freeze after baking and reheat in the oven before serving.

Other Cozy Bakery-Style Recipes

If you love cozy homemade baking and bakery-inspired desserts, you may also enjoy:

Final Thoughts on These Apricot Puff Pastry Turnovers

These apricot puff pastry turnovers with honey glaze and sliced almonds are everything a cozy bakery-style pastry should be — flaky, buttery, golden, and filled with warm sweet apricot flavor.

The combination of crisp puff pastry, soft fruit filling, delicate honey glaze, and crunchy almonds creates a beautiful homemade dessert perfect for summer mornings, brunch tables, or cozy afternoons with coffee.

Whether you’re looking for an easy puff pastry dessert or a beautiful seasonal baking recipe, these homemade apricot turnovers are sure to become a favorite.

Save This Recipe

Whether you're planning ahead for a special occasion or adding a new favorite to your recipe collection, I've included a printable recipe card below so it's easy to save, print, and share with the people you love.

Printable Apricot Puff Pastry Turnovers recipe card featuring flaky golden puff pastry filled with fresh apricots, topped with honey glaze and sliced almonds in an elegant cookbook-inspired design by Amanda Warren.
Apricot Puff Pastry Turnovers ingredients
Homemade apricot turnovers drizzled with honey glaze and served on white dish plates
Flaky apricot-filled puff pastry turnovers brushed with honey glaze and sprinkled with almonds
Apricot Puff Pastry Turnovers baked until golden and topped with honey glaze and sliced almonds
Freshly baked apricot puff pastry turnovers presented on white plates with sliced almonds
Sweet apricot puff pastry turnovers with glossy honey glaze and sliced almonds served on a tray

Brown Butter Peach Pie with Crumble Topping & Caramel Drizzle

This brown butter peach pie with crumble topping and caramel drizzle is the ultimate cozy summer dessert. This cozy brown butter peach pie tastes like summer wrapped in a warm buttery crumble topping with rich caramel drizzle in every bite. Filled with juicy cinnamon peaches, flaky pie crust, and bakery-style brown butter flavor, this homemade peach pie is the perfect cozy summer dessert for gatherings, holidays, and slow weekends at home.

↓ Skip to Recipe
Brown butter peach pie with crumble topping and homemade caramel sauce on the side
Slice of brown butter peach pie topped with buttery crumble and served with homemade caramel sauce
brown butter peach pie ingredients
Fresh brown butter peach pie with golden crumble topping and a side of caramel sauce
Homemade brown butter peach pie

Brown Butter Peach Pie Recipe

  • Prep Time: 20 minutes

  • Bake Time: 45–60 minutes

  • Total Time: 1 hour 15 minutes

  • Servings: 8

  • Category: Dessert

  • Flavor: Cozy, buttery, peachy

There’s nothing better than a homemade peach pie fresh from the oven during late summer — especially when it’s made with sweet juicy peaches, rich brown butter crumble topping, and warm homemade caramel drizzle. This brown butter peach pie is cozy, buttery, perfectly sweet, and feels like the kind of dessert straight out of a charming countryside bakery.

The combination of bubbling cinnamon peaches, flaky pie crust, buttery crumble topping, and silky caramel sauce creates the ultimate comforting dessert for summer gatherings, holidays, and cozy weekends at home. If you’re searching for the best peach pie recipe with crumble topping, this easy peach pie recipe is irresistibly delicious and surprisingly simple to make. If you love classic cozy desserts, you may also love our A Taste of Heaven: Deliciously Easy Apple Pie! recipe filled with warm nostalgic flavors.

Save this brown butter peach pie recipe for your next summer gathering, holiday dessert table, or cozy weekend baking day.

Why You’ll Love This Brown Butter Peach Pie

This peach crumble pie is everything you want in a homemade dessert:

  • Warm cinnamon peach filling

  • Rich nutty brown butter crumble

  • Flaky golden pie crust

  • Easy homemade caramel drizzle

  • Bakery-style flavor with simple ingredients

  • Perfect summer dessert recipe

  • Cozy and nostalgic with an elevated twist

The browned butter gives this homemade peach pie incredible depth and richness while the crumble topping bakes into the most buttery golden texture.

Why This Peach Pie Recipe Works

  • Brown butter adds rich caramelized flavor

  • Crumble topping creates the perfect buttery texture

  • Fresh peaches keep the filling juicy and flavorful

  • Cinnamon adds warm cozy depth

  • Flaky pie crust balances the soft peach filling perfectly

  • Homemade caramel drizzle gives this pie a bakery-style finish

This peach pie with crumble topping is the perfect balance of comforting homemade flavor and elevated dessert presentation.

What Makes Brown Butter So Special?

Brown butter completely transforms this peach pie recipe. As butter cooks, the milk solids caramelize and develop a warm nutty flavor that pairs beautifully with fresh peaches and cinnamon.

It adds:

  • rich caramel-like flavor

  • bakery-style depth

  • warm buttery notes

  • extra cozy flavor

Combined with sweet peaches and homemade crumble topping, it creates one of the most delicious peach desserts ever. If you enjoy rich bakery-style desserts with decadent flavor, you may also love our Indulge in This Deliciously Sweet Chocolate Espresso Cream Pie Recipe.

Fresh Peach Pie Recipe

Fresh peaches create the best texture and flavor for this homemade peach pie recipe. During peach season, ripe juicy peaches bake beautifully with the brown butter crumble topping and caramel drizzle for the ultimate cozy summer dessert.

This fresh peach pie is the perfect combination of sweet fruit filling, buttery crumble topping, flaky pie crust, and rich caramelized flavor.

brown butter peach pie with crisp crumble topping and rich homemade caramel sauce
Brown butter peach pie served warm with crunchy crumble topping
brown butter peach pie featuring juicy peaches and crumble topping

Ingredients for Brown Butter Peach Pie

Peach Filling

  • 5 cups fresh peaches, peeled and sliced

  • ¾ cup granulated sugar

  • 1½ tablespoons flour

  • 1 teaspoon cinnamon

Brown Butter Crumble Topping

  • ½ cup dark brown sugar

  • ½ cup granulated sugar

  • 1 cup all-purpose flour

  • ½ cup salted brown butter

Pie Crust

  • 1 store-bought pie crust or homemade pie crust

Optional Homemade Caramel Sauce

  • 1 cup granulated sugar

  • 6 tablespoons salted butter, room temperature

  • ½ cup heavy whipping cream, room temperature

How to Make Brown Butter Peach Pie

Step 1: Prepare the Peach Filling

Preheat your oven to 350 degrees.

Peel and slice the fresh peaches, then add them to a large mixing bowl. Toss the peaches with granulated sugar, flour, and cinnamon until evenly coated. Set aside while preparing the crumble topping.

Step 2: Brown the Butter

In a small heavy-bottomed saucepan, melt a stick of salted butter over medium heat, stirring frequently. Continue cooking until the butter turns golden brown and develops a warm nutty aroma.

Remove from heat and allow the browned butter to cool slightly.

The brown butter is what gives this peach crumble pie its rich bakery-style flavor and irresistible depth.

Step 3: Make the Crumble Topping

In a medium bowl, whisk together:

  • dark brown sugar

  • granulated sugar

  • flour

Pour in the slightly cooled brown butter and stir until buttery crumbs form.

This crumble topping bakes into the most delicious golden crisp layer over the peaches.

Step 4: Assemble the Pie

Fit the pie crust into your pie plate.

Pour the peach filling into the crust, then generously sprinkle the crumble topping evenly over the peaches.

Cover the pie loosely with foil and place in the oven.

Bake for 15 minutes covered.

Remove the foil and continue baking for 30–45 additional minutes or until:

  • the crumble topping is golden brown

  • the peaches are soft and bubbling

  • the pie smells warm and caramelized

Tip: Place a cookie sheet underneath the pie pan to catch any bubbling juices.

Step 5: Make the Homemade Caramel Drizzle

While the pie bakes, prepare the optional caramel sauce.

Add granulated sugar to a stainless-steel saucepan over medium heat. Stir continuously with a silicone spatula until clumps begin to form and eventually melt into a smooth amber-colored caramel.

This process usually takes about 8–10 minutes.

Carefully whisk in the butter chunks until fully combined.

Slowly pour in the heavy whipping cream while whisking continuously. Once incorporated, allow the caramel to boil for 1 minute.

Remove from heat and let cool slightly before transferring to a glass jar.

As the caramel cools, it will thicken into the perfect consistency for drizzling over warm peach pie. For another creamy and indulgent dessert idea, don’t miss our Discover the Ultimate Banana Cream Pie Recipe with an Irresistible Biscoff Cookie Crust.

Tips for the Best Peach Crumble Pie

Use Fresh Ripe Peaches

Fresh seasonal peaches give the best sweetness and texture.

Don’t Skip the Brown Butter

This adds the warm nutty flavor that makes this pie extra special.

Let the Pie Cool Slightly

Allowing the pie to rest helps the filling set properly before slicing.

Serve Warm

This fresh peach dessert tastes incredible served warm with:

  • vanilla ice cream

  • whipped cream

  • caramel drizzle

  • or all three together

This pie also makes the perfect summer dessert alongside bright citrus treats like our A Deliciously Sweet Treat: Mini Key Lime Pies with Splenda.

Close-up of brown butter peach pie

Frequently Asked Questions

Can I use frozen peaches?

Yes! Just thaw and drain them well before using.

What’s the best pie crust for peach pie?

Both homemade and store-bought pie crusts work beautifully in this recipe.

How do I store leftover peach pie?

Store covered in the refrigerator for up to 4 days.

Can I make the caramel sauce ahead of time?

Absolutely. Store the caramel in the refrigerator and gently warm before serving.

Other Delicious Pies & Peach Desserts

Looking for more cozy pie recipes and homemade dessert inspiration? Here are a few favorite fruit pies, cream pies, and classic baked desserts perfect for holidays, summer gatherings, and everyday baking:

Final Thoughts on This Brown Butter Peach Pie

This brown butter peach pie with crumble topping and caramel drizzle is the perfect combination of cozy comfort and elevated homemade baking. Between the juicy cinnamon peaches, buttery brown butter crumble, flaky pie crust, and warm caramel sauce, every bite feels rich, nostalgic, and irresistibly delicious.

Whether you’re baking for a summer gathering, holiday dessert table, or simply craving something warm and comforting, this peach dessert recipe is guaranteed to become a favorite. And if you love fruity desserts with a bright citrus twist, be sure to check out our Zesty Twist on a Classic: Unveiling the Ultimate Cranberry Key Lime Pie Recipe!

Save This Recipe

Whether you're planning ahead for a special occasion or adding a new favorite to your recipe collection, I've included a printable recipe card below so it's easy to save, print, and share with the people you love.

Printable Brown Butter Peach Pie recipe card featuring fresh peach pie with a buttery brown butter crumble topping, homemade caramel drizzle, and an elegant cookbook-inspired design by Amanda Warren.
ingredients for brown butter peach pie
brown butter peach pie with buttery crumble topping
Golden brown butter peach pie with crumb topping and homemade caramel sauce in a small bowl

One Pot Marry Me Tortellini (Easy 30-Minute Family Dinner)

If you're looking for an easy family dinner that feels a little extra special without requiring hours in the kitchen, this One Pot Marry Me Tortellini is the recipe to make. Creamy, comforting, and packed with flavor from Parmesan cheese, spinach, and sun-dried tomatoes, it's a cozy weeknight meal that comes together in just one pot and about 30 minutes.

↓ Skip to Recipe
Warm creamy One Pot Marry Me Tortellini being served for a shared meal
Freshly cooked One Pot Marry Me Tortellini placed on the table
Family-style serving of One Pot Marry Me Tortellini with Parmesan on top

The "Marry Me" recipe trend has become incredibly popular over the last few years, and after one bite, it's easy to understand why. The combination of a rich cream sauce, savory Parmesan, tender cheese tortellini, and flavorful sun-dried tomatoes creates a restaurant-worthy dish that feels both comforting and elevated.

One of my favorite things about this recipe is how versatile it is. It works beautifully for busy weeknights, casual entertaining, date nights at home, or anytime you're craving a cozy bowl of pasta without a sink full of dishes afterward. Since everything cooks in one pot, cleanup is almost as easy as making the meal itself.

Whether you're adding this to your weekly meal rotation or saving it for a special dinner at home, this creamy tortellini recipe is one you'll find yourself making again and again.

Why You'll Love This One Pot Marry Me Tortellini

  • Ready in about 30 minutes

  • Only one pot to clean

  • Rich and creamy without being complicated

  • Perfect for family dinners and entertaining

  • Easy to customize with protein or additional vegetables

  • Makes fantastic leftovers

One Pot Marry Me Tortellini being served on the table in a large skillet
One Pot Marry Me Tortellini being spooned onto plates at a cozy dinner table

Ingredients

  • 1 tablespoon butter

  • 3 cloves garlic, minced

  • 2 cups fresh spinach

  • 7 oz jar sun-dried tomatoes (in oil)

  • 20 oz cheese tortellini

  • 1/4 tsp red pepper flakes

  • 1 teaspoon Italian seasoning

  • Sea salt & black pepper (to taste)

  • 2–4 tablespoons all-purpose flour

  • 1 cup heavy cream

  • 1/2 cup grated Parmesan cheese

  • 4 cups vegetable broth

Instructions

  1. Sauté the base
    Melt butter in a large pan over medium heat. Add garlic and cook until fragrant. Stir in sun-dried tomatoes (with oil), red pepper flakes, Italian seasoning, flour, salt, and pepper.

  2. Build the sauce
    Pour in vegetable broth and bring to a gentle boil, stirring continuously.

  3. Cook the pasta
    Add tortellini and let it cook directly in the broth until tender and the liquid begins to thicken.

  4. Make it creamy
    Stir in heavy cream, Parmesan, and spinach. Mix well after each addition.

  5. Finish & serve
    Simmer until the sauce becomes rich and creamy. Serve with extra Parmesan on top.

What Makes This "Marry Me" Tortellini So Good?

The secret to this recipe is the balance of flavors. The richness of the cream sauce is complemented by savory Parmesan cheese, while sun-dried tomatoes add a slightly sweet and tangy bite. Fresh spinach brings color and freshness, and the cheese tortellini makes the dish hearty enough to serve as a complete meal.

Unlike many pasta recipes that require multiple pots and pans, everything comes together in one skillet or Dutch oven, making it ideal for busy evenings when you want something homemade without spending all night in the kitchen.

What to Serve with Marry Me Tortellini

This creamy tortellini is filling enough to enjoy on its own, but it also pairs beautifully with a few simple sides.

Some of my favorite options include:

  • Garlic bread

  • Homemade focaccia

  • A crisp Caesar salad

  • Mixed greens with balsamic vinaigrette

  • Roasted broccoli

  • Roasted asparagus

  • Grilled chicken

  • Italian sausage

If you're feeding a crowd, pairing this tortellini with a salad and warm bread creates an easy meal that feels restaurant-worthy without much effort.

Shop My Family Dinner Favorites

These are the kitchen essentials I use constantly for easy family dinners like this One Pot Marry Me Tortellini. From weeknight pasta recipes to slow cooker meals and cozy comfort food favorites, these are the tools I reach for again and again.

Shop My Family Dinner Favorites

Some of my most-used kitchen essentials include:

  • Everyday sauté pan

  • Dutch oven

  • Wooden cooking utensils

  • Parmesan grater

  • Mixing bowls

  • Large serving bowls

  • Weeknight cooking favorites

serving One Pot Marry Me Tortellini straight from the pan onto dinner plates
One Pot Marry Me Tortellini being served fresh from the pot

Frequently Asked Questions

Can I use frozen tortellini?

Yes. Frozen tortellini works well in this recipe. Simply add a few extra minutes to the cooking time and stir occasionally to ensure even cooking.

Can I add protein?

Absolutely. Grilled chicken, Italian sausage, shrimp, or rotisserie chicken are all delicious additions.

Can I make Marry Me Tortellini ahead of time?

Yes. Store leftovers in an airtight container in the refrigerator for up to three days. When reheating, add a splash of cream, milk, or chicken broth to loosen the sauce.

What vegetables can I add?

Spinach, kale, mushrooms, zucchini, and bell peppers all work beautifully in this recipe.

Can I use fresh tomatoes instead of sun-dried tomatoes?

Yes. Cherry tomatoes make a great substitute and create a slightly lighter flavor profile.

More Cozy Dinner Recipes You'll Love

If you enjoy easy family dinners, you might also love:

Easy Oven Baked Drumsticks

A simple family-friendly dinner that's packed with flavor and perfect for busy weeknights.

Delicious and Easy Chorizo One Pan Dinner

One pan, minimal cleanup, and tons of flavor.

Apple-Glazed Chicken Thighs: A Fall Dinner Everyone Will Love

Sweet, savory, and perfect for cozy evenings at home.

Herb Chicken and Jasmine Rice with Creamy Tzatziki Sauce

A fresh and flavorful dinner that's simple enough for weeknights.

Slow Cooker Italian Sausage Meatballs in Marinara Sauce

A comforting slow cooker recipe that's always a crowd favorite.

Storage & Leftovers

Store leftover tortellini in an airtight container in the refrigerator for up to three days.

To reheat, warm gently on the stovetop or in the microwave with a splash of cream, milk, or broth to help bring the sauce back to its creamy consistency.

Save This Recipe

Whether you're planning ahead for a special occasion or adding a new favorite to your recipe collection, I've included a printable recipe card below so it's easy to save, print, and share with the people you love.

Printable One-Pot Marry Me Tortellini recipe card featuring creamy cheese tortellini with spinach, sun-dried tomatoes, Parmesan, and a rich garlic cream sauce ready in 20 minutes.
One Pot Marry Me Tortellini with spinach and tomatoes being served warm at the table
Creamy One Pot Marry Me Tortellini served family-style at the dinner table
One Pot Marry Me Tortellini served in a pan with plates ready at the table

Matcha Strawberry Cake with Brown Butter (Soft & Easy Recipe)

There’s a very specific kind of cake that feels like it belongs in a quiet, sunlit kitchen—the kind you make just because the afternoon feels slow and you want something beautiful to come out of it. This is that cake.

Cozy Baking Essentials

I linked some of my favorite bakeware, kitchen tools, and cozy kitchen pieces I love using for homemade cakes, slow baking days, and bakery-inspired recipes like this in my Cozy Baking Essentials collection.

↓ Skip to Recipe

If you’ve ever thought matcha desserts were too bitter or too “green,” this matcha brown butter cake will completely change your mind. The brown butter softens everything into something warm and nutty, while the fresh strawberry filling adds a bright, naturally sweet contrast that makes each bite feel balanced and light.

It’s soft, a little unexpected, and honestly… hard to stop slicing.

Matcha Strawberry Cake featuring vibrant green tea cake layers, fresh strawberry filling, and piped matcha frosting
matcha strawberry cake with green tea sponge layers and fresh strawberry filling
ingredients for Matcha Strawberry Cake
diced strawberries, white sugar and lemon juice

Why You’ll Love This Matcha Strawberry Cake

  • Soft, tender crumb with a rich brown butter depth

  • Balanced matcha flavor (not overpowering or bitter)

  • Fresh strawberry filling that adds natural sweetness

  • A unique but approachable dessert that feels elevated

  • Perfect for spring gatherings, tea days, or slow weekends

What Does Matcha Taste Like in Cake?

Matcha has a naturally earthy, slightly grassy flavor—but when paired with brown butter and sugar, it transforms.

In this cake, the matcha tastes:

  • Smooth and mellow

  • Lightly floral

  • Warmed by the nutty richness of browned butter

The result is a cake that feels cozy rather than sharp or bitter.

matcha strawberry cake featuring a green tea frosting and a strawberry topping
Slices of matcha strawberry cake with brown butter frosting and fresh strawberries
Soft matcha strawberry with creamy frosting and strawberries
Homemade matcha strawberry cake slices topped with fresh strawberries

Ingredients You’ll Need

For the Matcha Brown Butter Cake

  • 1 cup unsalted butter

  • 1 1/2 cups granulated sugar

  • 3 large eggs

  • 3 egg whites

  • 1 tablespoon vanilla extract

  • 2 teaspoons culinary-grade matcha powder

  • 2 1/4 cups all-purpose flour

  • 1 tablespoon baking powder

  • 3/4 teaspoon salt

  • 1 cup heavy cream

Frosting:

  • 1 cup butter

  • 8 oz cream cheese

  • 4 cups powdered sugar

  • 1 tbsp. heavy cream

  • 1 tsp. vanilla

For the Fresh Strawberry Filling

  • 2 cups fresh strawberries, finely chopped

  • ¼ cup sugar (adjust based on sweetness)

  • 1 tablespoon lemon juice

  • 1 tablespoon cornstarch + 2 tablespoons water

How to Make Matcha Brown Butter Cake

Step 1: Brown the Butter

  • In a light-colored pan over medium heat, melt the butter. Stir continuously as it foams, then deepens into a golden brown with a nutty aroma.

  • Once you see brown bits forming at the bottom, remove from heat immediately. Let it cool slightly.

Tip: This step is where most of the flavor comes from—don’t rush it.

Step 2: Mix the Batter

  • In a bowl, whisk together flour, matcha powder, baking powder, and salt.

  • In another bowl, combine the browned butter and sugar until smooth. Add eggs one at a time, then mix in vanilla.

  • Alternate adding dry ingredients and milk, starting and ending with the flour mixture. Mix until just combined.

Step 3: Bake

  • Pour the batter into an oiled cake pan and bake at 350°F (175°C) for 30–35 minutes, or until a toothpick comes out clean.

  • Let the cake cool completely before assembling.

Step 4: Make Fresh Strawberry Filling

  • In a saucepan over medium heat, combine strawberries, sugar, and lemon juice. Cook until the berries release their juices and soften.

  • Stir in the cornstarch slurry and cook until thickened to a jam-like consistency.

  • Cool completely before spreading.

Step 7: Make the Frosting

  • Blend together all frosting ingredients until well combined. (butter and cream cheese should be room temp if not heat in microwave for 30 sec at a time)

  • You can add more heavy cream or powdered sugar depending on desired consistency. I sometimes also double the recipe to a thick layer on the outside.

Step 6: Assemble the Cake

  • Pipe frosting around the edge of the cake.

  • Spread a generous layer of the strawberry filling between the layers, then gently place the top layer over it.

  • Frost the remaining cake & decorate as desired.

matcha strawberry cake

Tips for the Best Matcha Cake

  • Use culinary-grade matcha for baking (ceremonial can be too delicate)

  • Don’t skip cooling the brown butter—it affects texture

  • Avoid overmixing to keep the cake soft

  • Taste your strawberries before adding sugar to adjust sweetness

How to Store

  • Store covered at room temperature for up to 1 day

  • Refrigerate for up to 3 days (bring to room temp before serving)

  • The strawberry filling keeps the cake moist over time

Can You Make This Ahead?

Yes—and it actually gets better.

You can:

  • Bake the cake layers a day ahead

  • Make the strawberry filling in advance

  • Assemble a few hours before serving for best texture

Final Thoughts

This matcha brown butter cake with fresh strawberry filling is one of those recipes that feels quietly impressive—but in the best, most approachable way. It’s not overly sweet or overly rich—just soft, fragrant, and beautifully balanced in a way that keeps you coming back for another slice.

If you’ve ever been unsure about matcha, this might be the cake that changes everything. The earthy flavor pairs effortlessly with the sweetness of fresh strawberries and the warmth of brown butter, creating something truly special.

It’s the kind of dessert you make when you want something a little different… but still comforting enough to feel like home.

More Cake Recipes You’ll Love

If you enjoyed this matcha brown butter cake, here are a few more flavorful and unique cake recipes to try next:

Each one brings its own twist, whether you’re craving something fruity, rich, or a little indulgent.

If you give this recipe a try, I’d love to hear how it turned out—leave a comment, share it with a friend, or save it for later so you can come back to it anytime.

Cozy Baking & Coffee Bar Essentials

This matcha strawberry cake is exactly the kind of bake I love making when I’m in the mood for something beautiful, cozy, and just a little elevated. I always find that having a small baking and coffee setup in the kitchen makes the whole experience feel even more special — whether I’m baking for a celebration or just enjoying a slow afternoon at home.

A few of my go-to essentials for creating that cozy baking and coffee bar moment include:

  • Stand mixer or hand mixer for easy baking

  • Mixing bowls in neutral or ceramic tones

  • Measuring cups and spoons for everyday baking

  • Baking sheets and cake pans

  • Cooling racks for layered cakes

  • Coffee maker or espresso machine

  • Milk frother for lattes and matcha drinks

  • Neutral mugs and glassware for serving

This is the kind of setup that makes it easy to move from baking something sweet to enjoying a slow coffee moment right in the same space.

Save This Recipe

Whether you're planning ahead for a special occasion or adding a new favorite to your recipe collection, I've included a printable recipe card below so it's easy to save, print, and share with the people you love.

Homemade matcha strawberry cake with strawberry filling spread on top
Layered matcha strawberry cake slices with fluffy frosting and strawberry filling
Green tea matcha strawberry cake slices served with fresh strawberries and buttercream
Moist matcha strawberry cake slices with brown butter frosting on a dessert plate
Matcha strawberry cake topped with fresh strawberry filling