Brown Butter Orange Pecan Christmas Morning Rolls with Vanilla Bean Glaze

Soft, fluffy homemade cinnamon rolls filled with rich brown butter, warm cinnamon, fresh orange zest, and toasted pecans, then finished with a sweet vanilla bean glaze. These are the kind of Christmas morning cinnamon rolls that turn a simple breakfast into a family tradition.

There's something about Christmas morning that makes even the simplest moments feel a little more special. The excitement of little feet running toward the Christmas tree, coffee brewing in the kitchen, wrapping paper scattered across the floor, and something warm and homemade baking in the oven.

As our little family grows, I've been thinking more about the traditions I want to create for our children. Not necessarily anything elaborate, but those familiar little things they'll remember year after year. The recipes we make together, the smells that remind them of home, and the moments that eventually become their favorite childhood memories.

These Brown Butter Orange Pecan Christmas Morning Cinnamon Rolls are one of those recipes.

I wanted to take everything we love about a classic homemade cinnamon roll and make it feel just a little more special for the holidays. The brown butter adds a rich, nutty flavor, fresh orange zest brings the perfect touch of brightness, and toasted pecans add a little crunch to every soft, buttery swirl.

And then there's the vanilla bean glaze. It's sweet, creamy, and melts beautifully into the warm rolls.

The best part? You can prepare these the night before, so Christmas morning can be spent enjoying your family instead of spending hours in the kitchen.
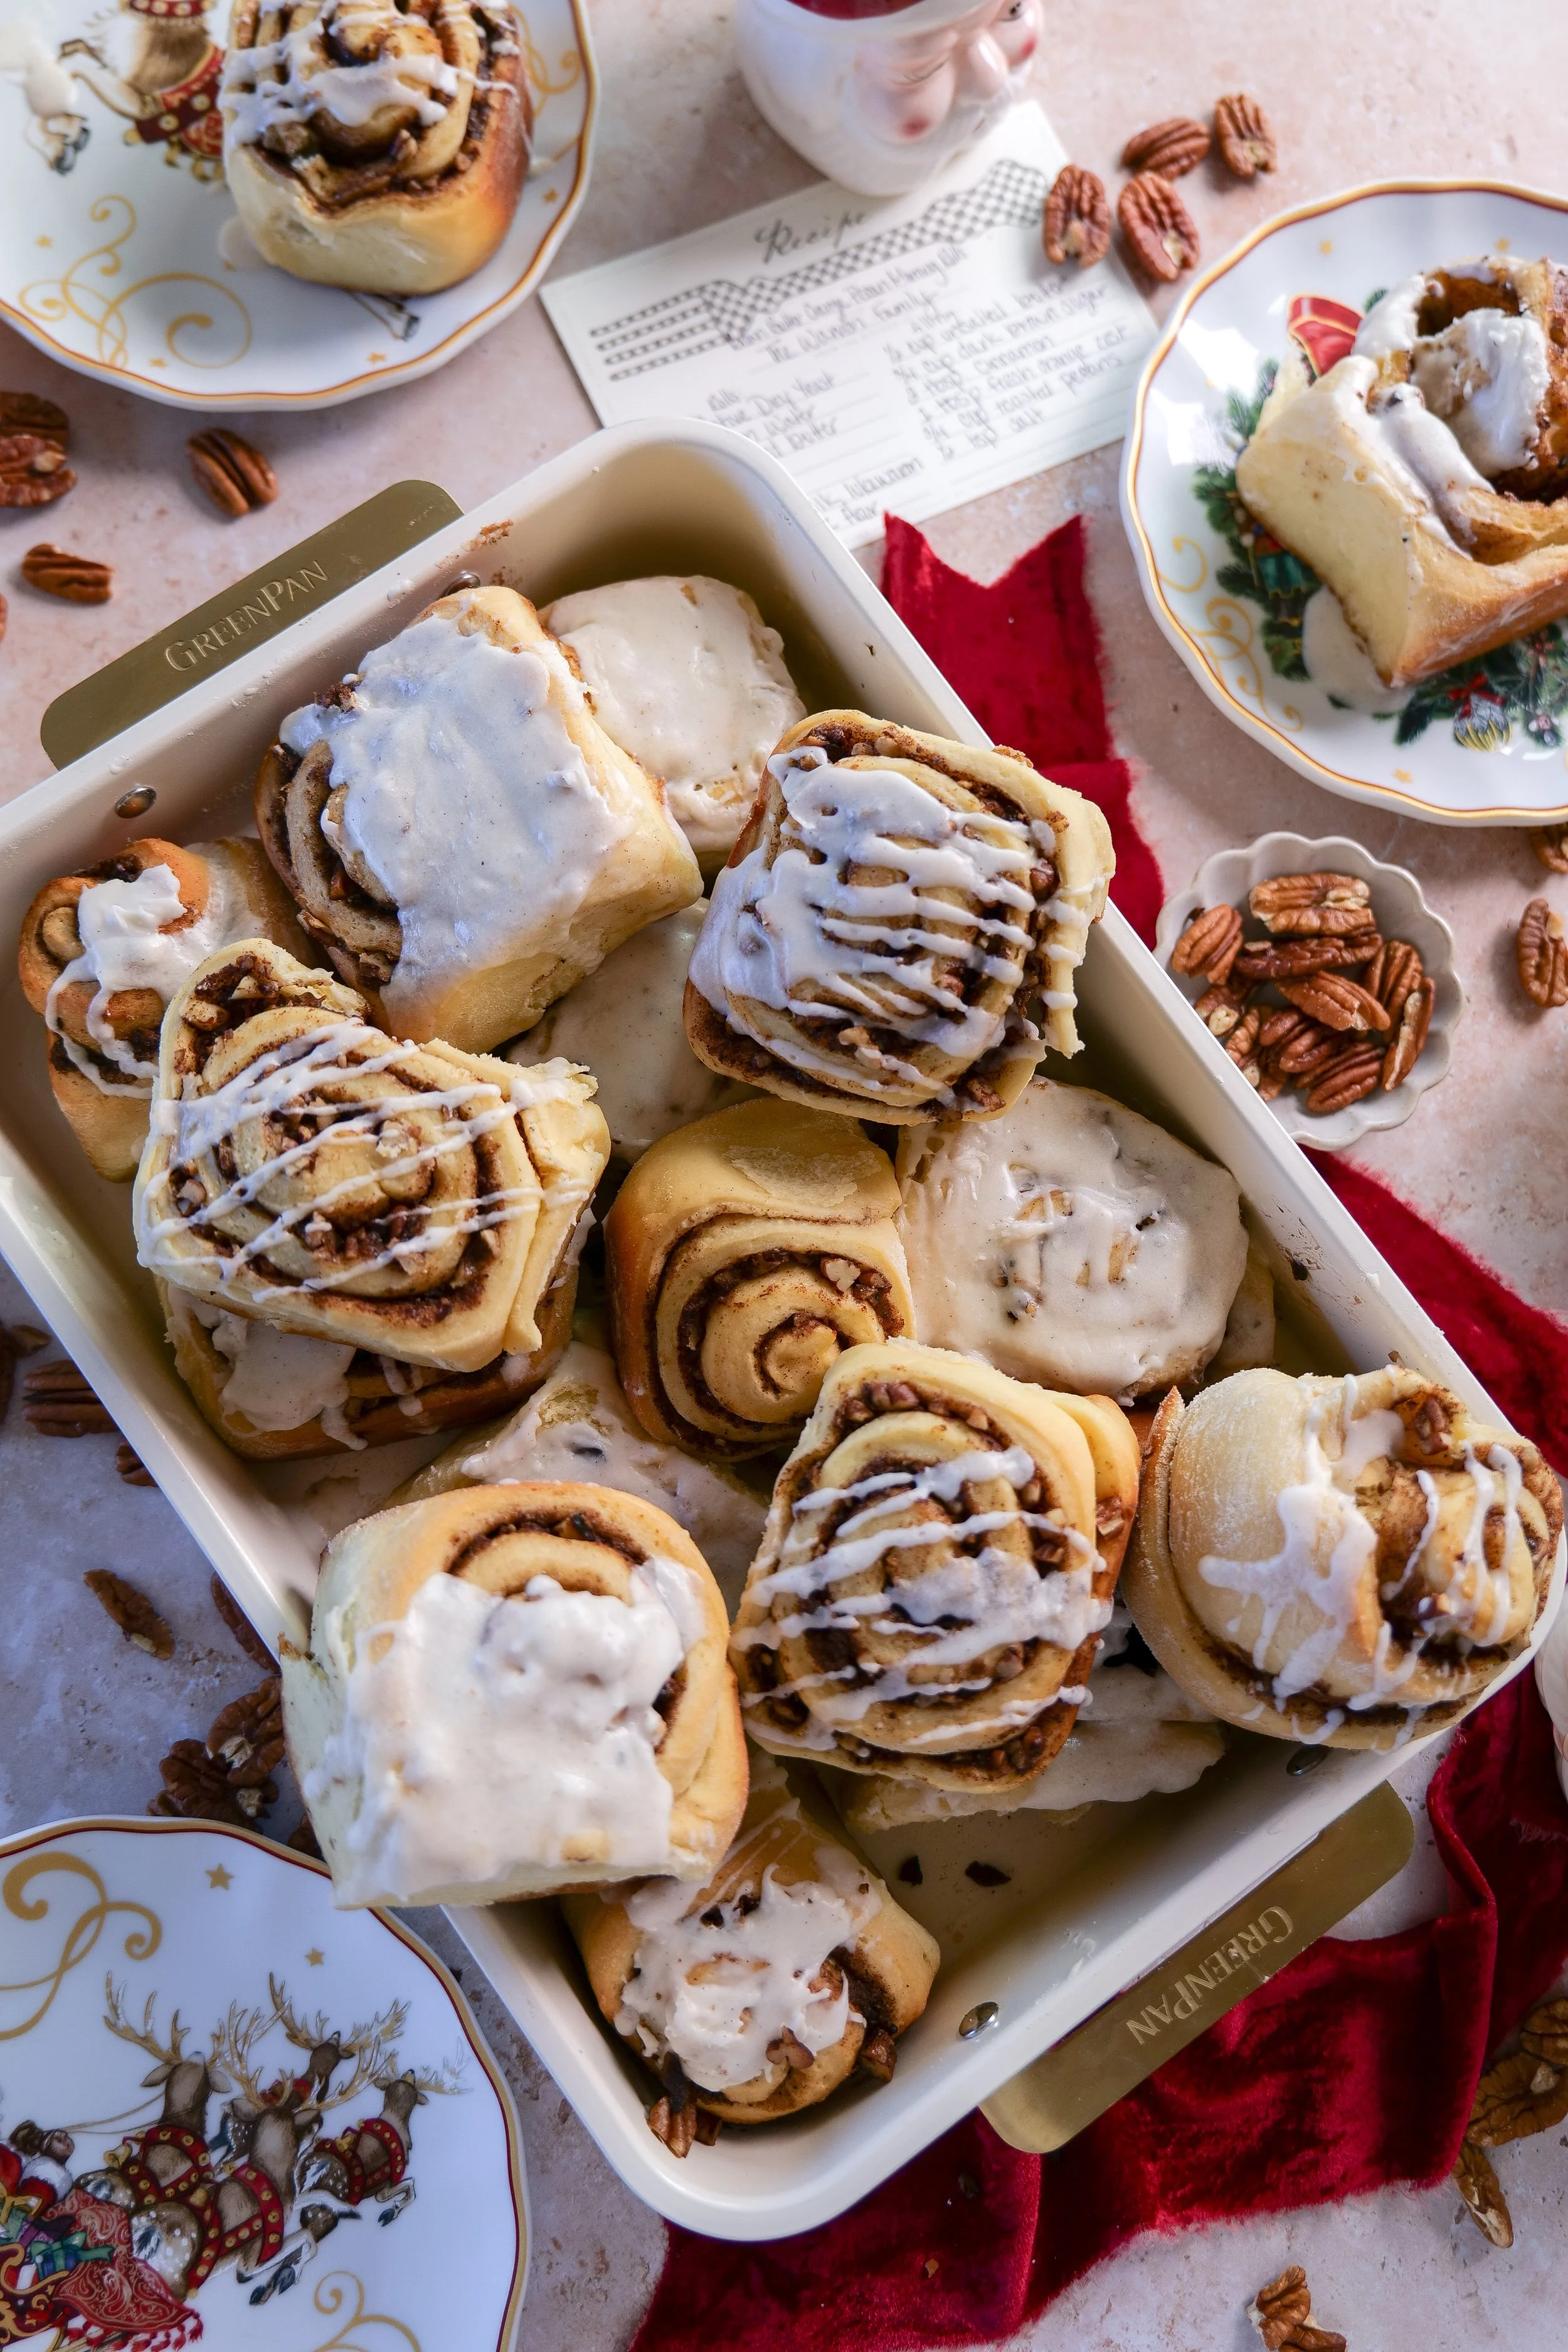
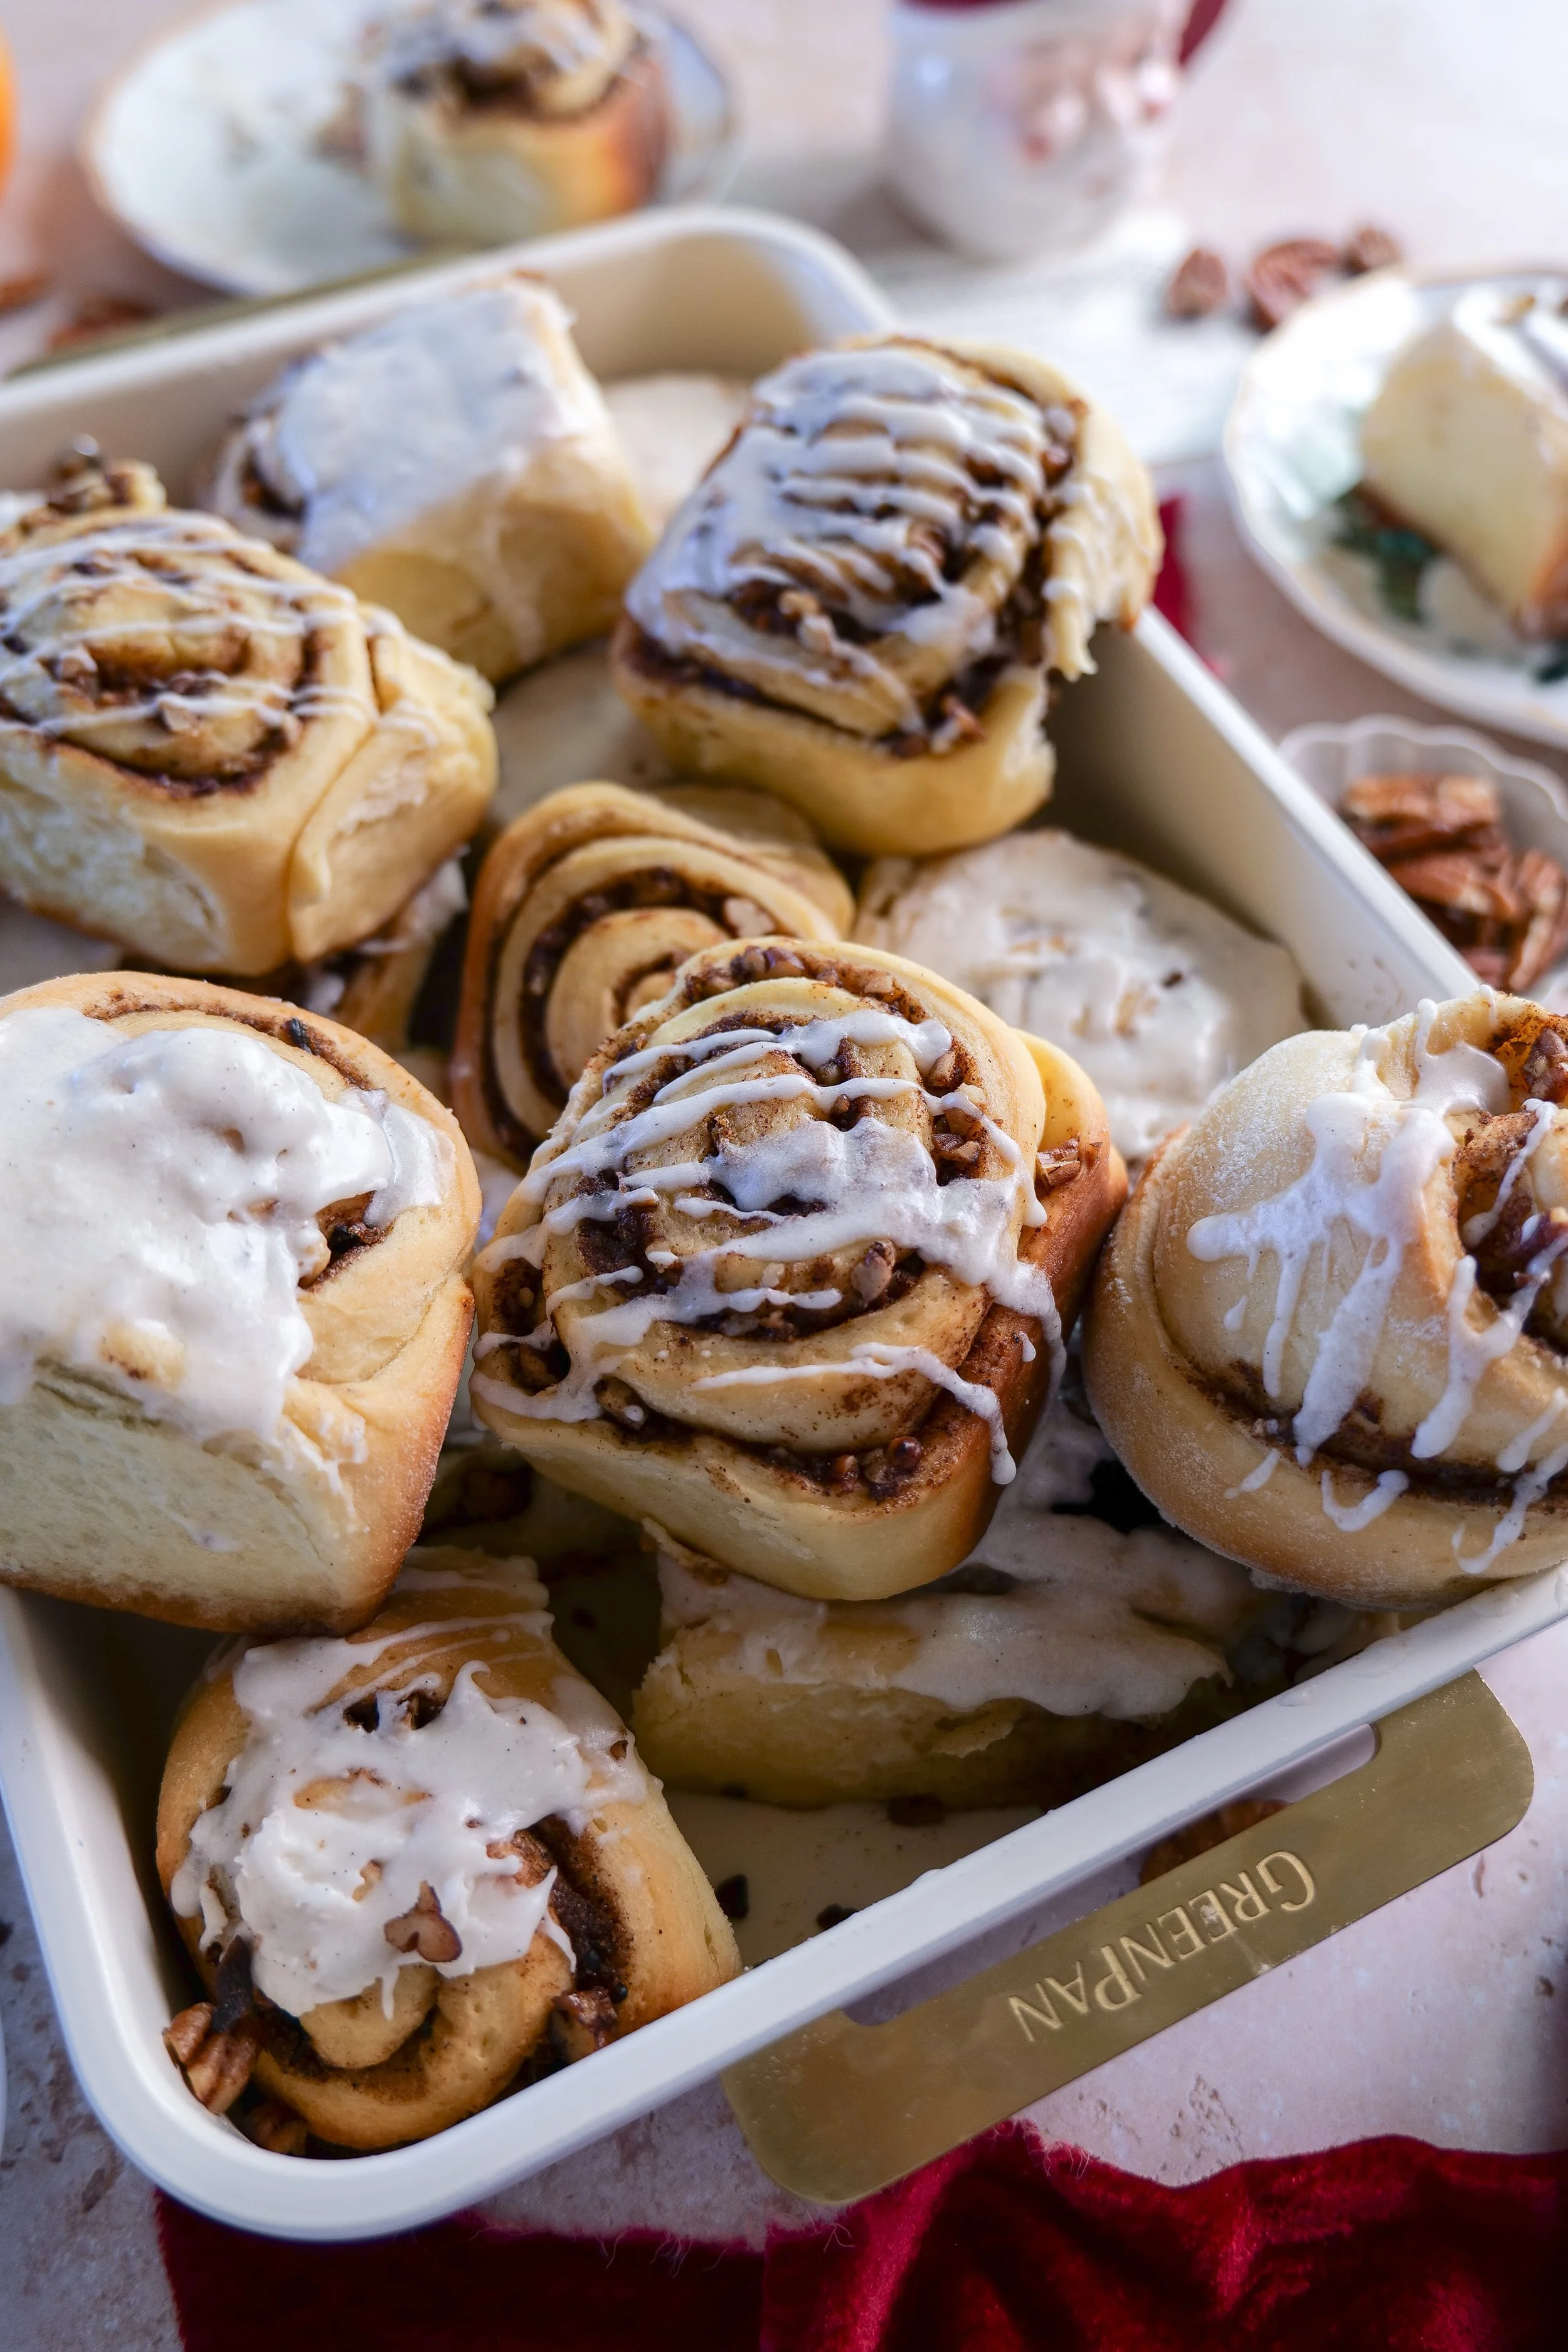
Freshly baked brown butter orange pecan cinnamon rolls topped with creamy vanilla bean glaze.

Why You'll Love These Christmas Morning Cinnamon Rolls

There's nothing quite like homemade cinnamon rolls, especially during the holidays. Here's what makes this recipe one you'll want to save.

Rich, nutty brown butter. Browning the butter gives the filling a deeper, almost caramel-like flavor that makes these rolls taste extra special.

A little fresh orange zest. The orange adds a beautiful brightness that pairs perfectly with cinnamon, brown sugar, and pecans without overpowering the rolls.

Soft, fluffy homemade dough. These rolls bake up beautifully tender with plenty of buttery cinnamon swirls.

Toasted pecans in every bite. They add just enough texture and a delicious nutty flavor.

A beautiful vanilla bean glaze. Sweet and creamy with those little specks of real vanilla bean.

Perfect for making ahead. You can prepare the rolls on Christmas Eve and bake them fresh the next morning.
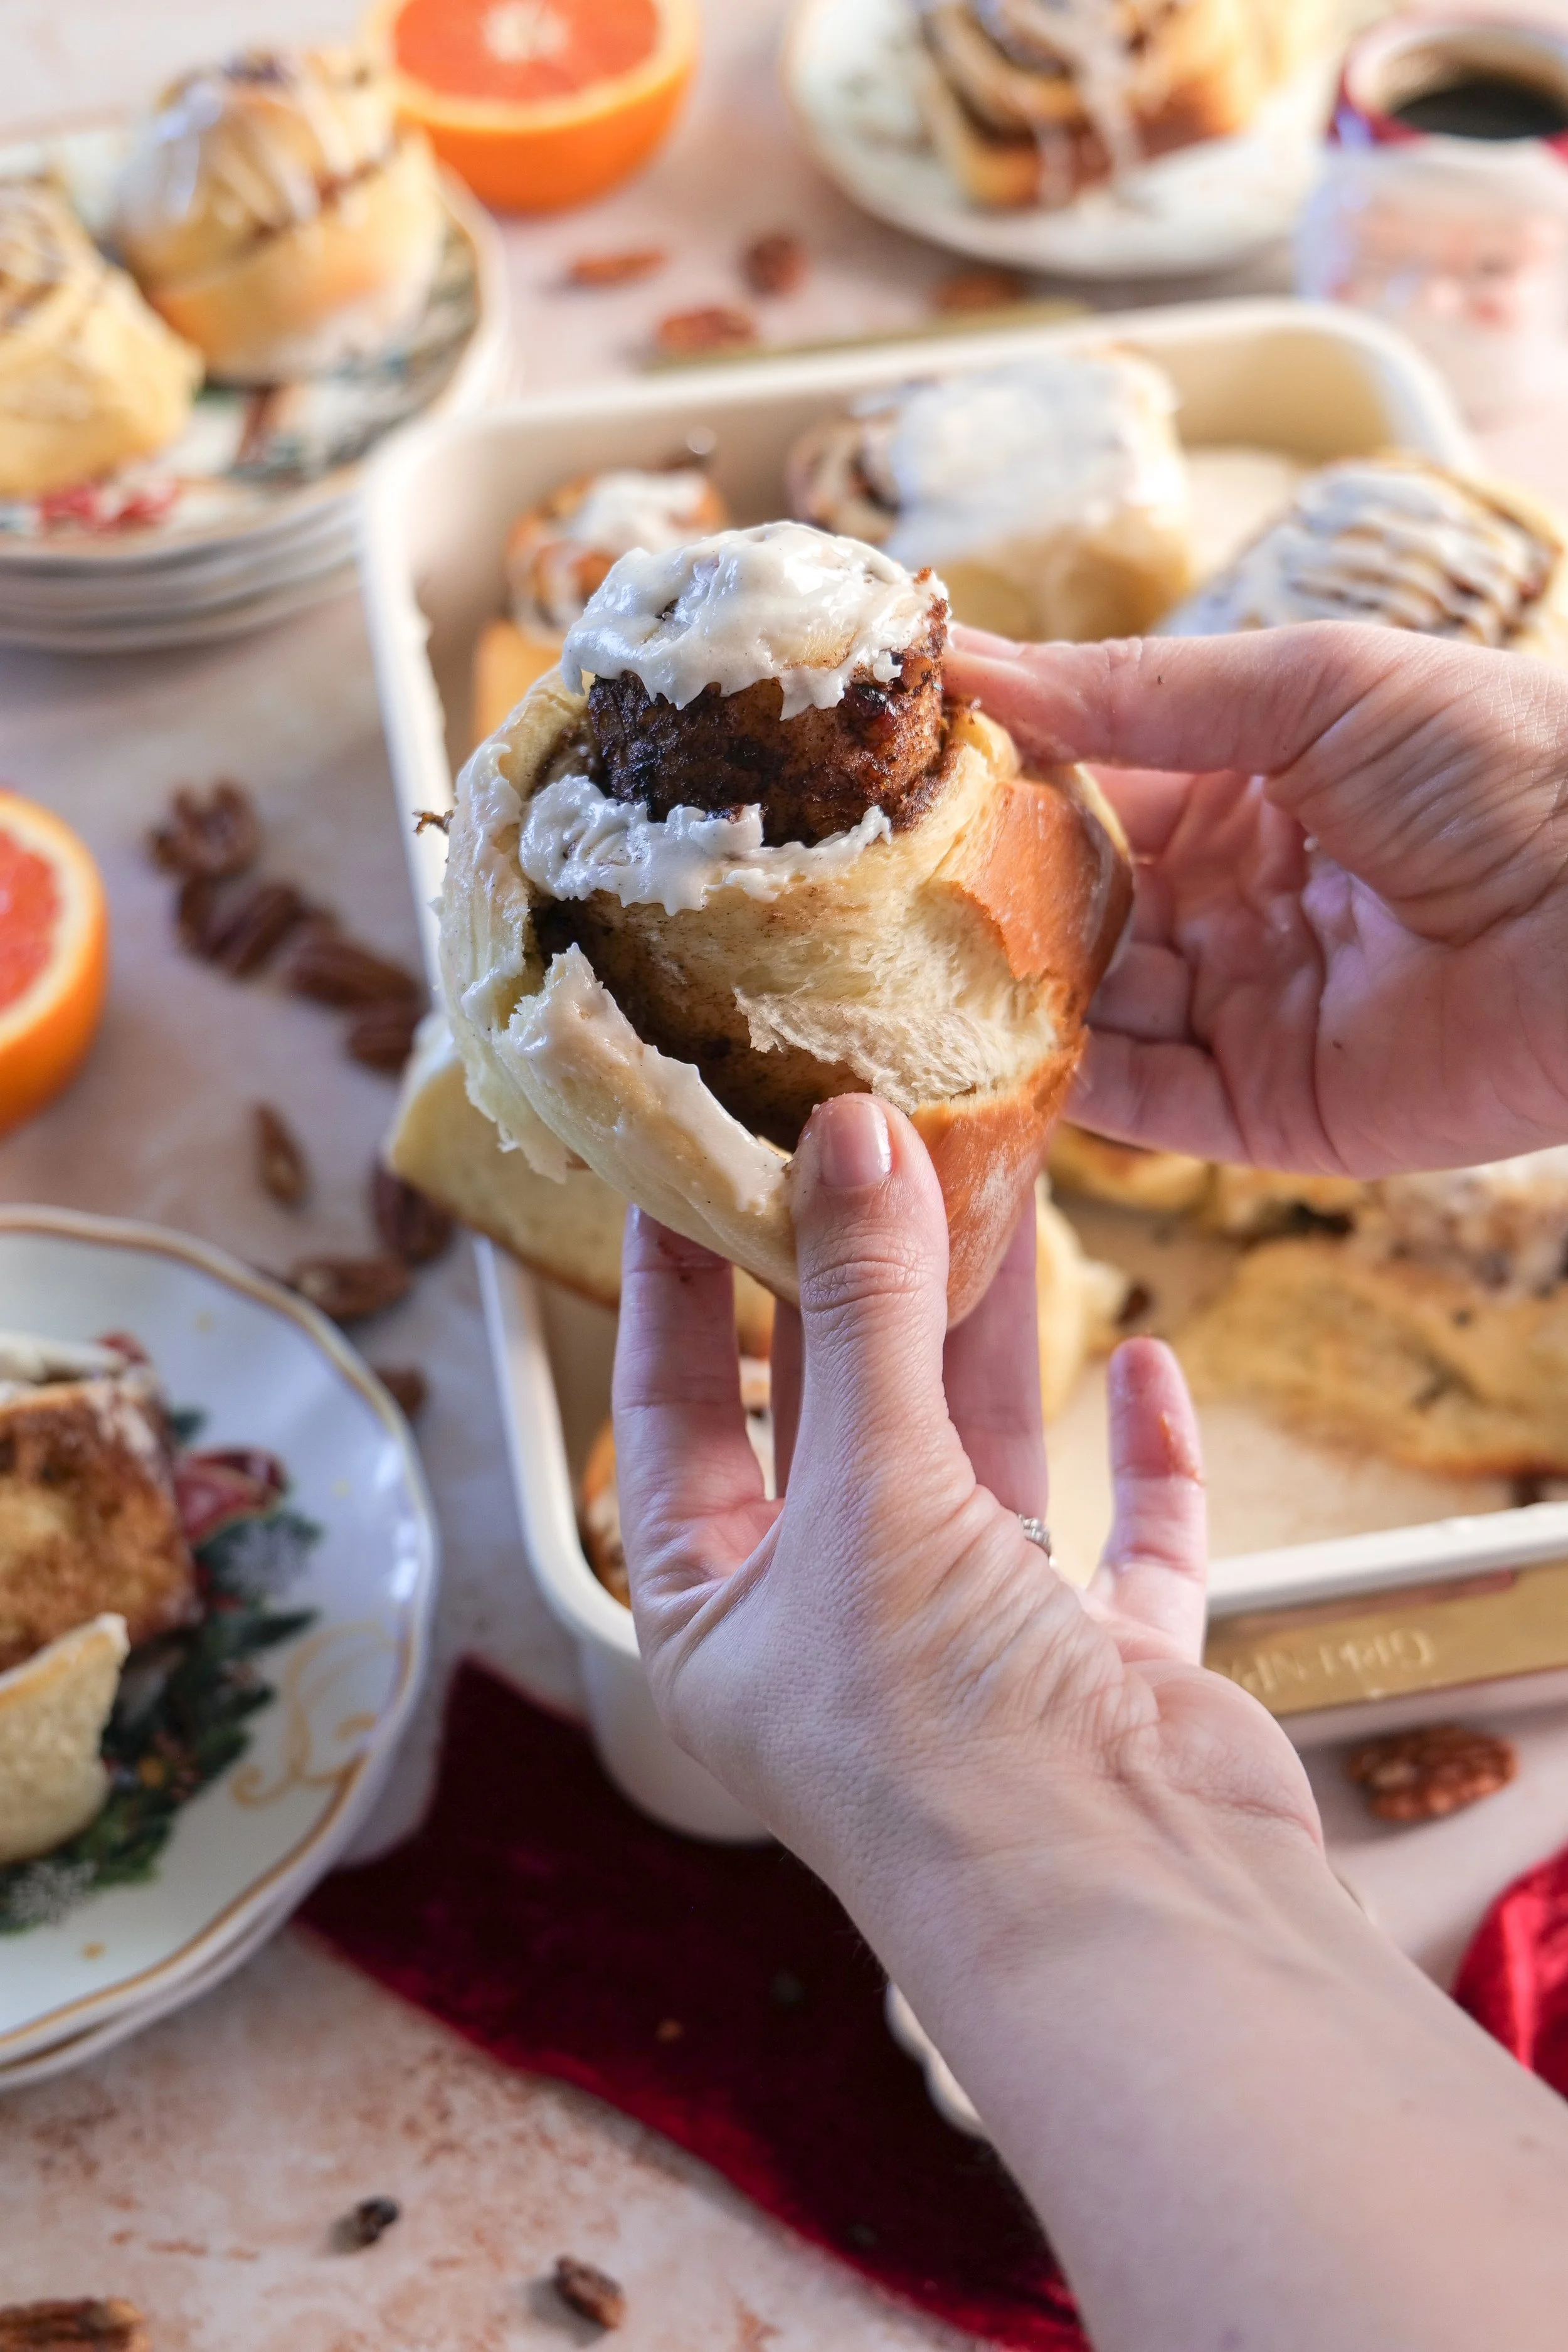
Close-up of soft orange pecan cinnamon rolls with swirls of cinnamon filling and vanilla bean glaze.

Ingredients You'll Need

One of my favorite things about homemade cinnamon rolls is that they're made with ingredients you probably already have in your kitchen. A few special touches are what make these perfect for Christmas morning.

For the Homemade Cinnamon Roll Dough

All-purpose flour: Creates the structure of the dough while keeping the rolls soft and tender.

Active dry yeast: Helps the dough rise and gives the cinnamon rolls their beautiful, fluffy texture.

Whole milk: Adds richness and moisture to the dough.

Granulated sugar: Sweetens the dough and helps activate the yeast.

Unsalted butter: Makes the dough wonderfully soft and buttery.

Egg: Adds richness and helps create a tender texture.

Warm water and salt: Help activate the yeast and balance the sweetness.

For the Brown Butter Orange Pecan Filling

Unsalted butter: The star of the filling! Browning it creates a rich, nutty flavor that makes these cinnamon rolls especially delicious.

Dark brown sugar: Adds sweetness with a deep, caramel-like flavor.

Ground cinnamon: Gives the rolls their classic warm and cozy flavor.

Fresh orange zest: Adds a bright citrus note that feels perfect for Christmas.

Toasted pecans: Bring a little crunch and delicious roasted flavor.

Salt: Balances the sweetness and enhances the filling.

For the Vanilla Bean Glaze

Powdered sugar: Creates the sweet, smooth base of the glaze.

Heavy cream: Makes the glaze rich and beautifully pourable.

Vanilla bean paste: Adds a wonderful vanilla flavor and those pretty little vanilla bean specks.

Fresh orange juice: Just a splash ties the glaze back to the orange zest in the filling.
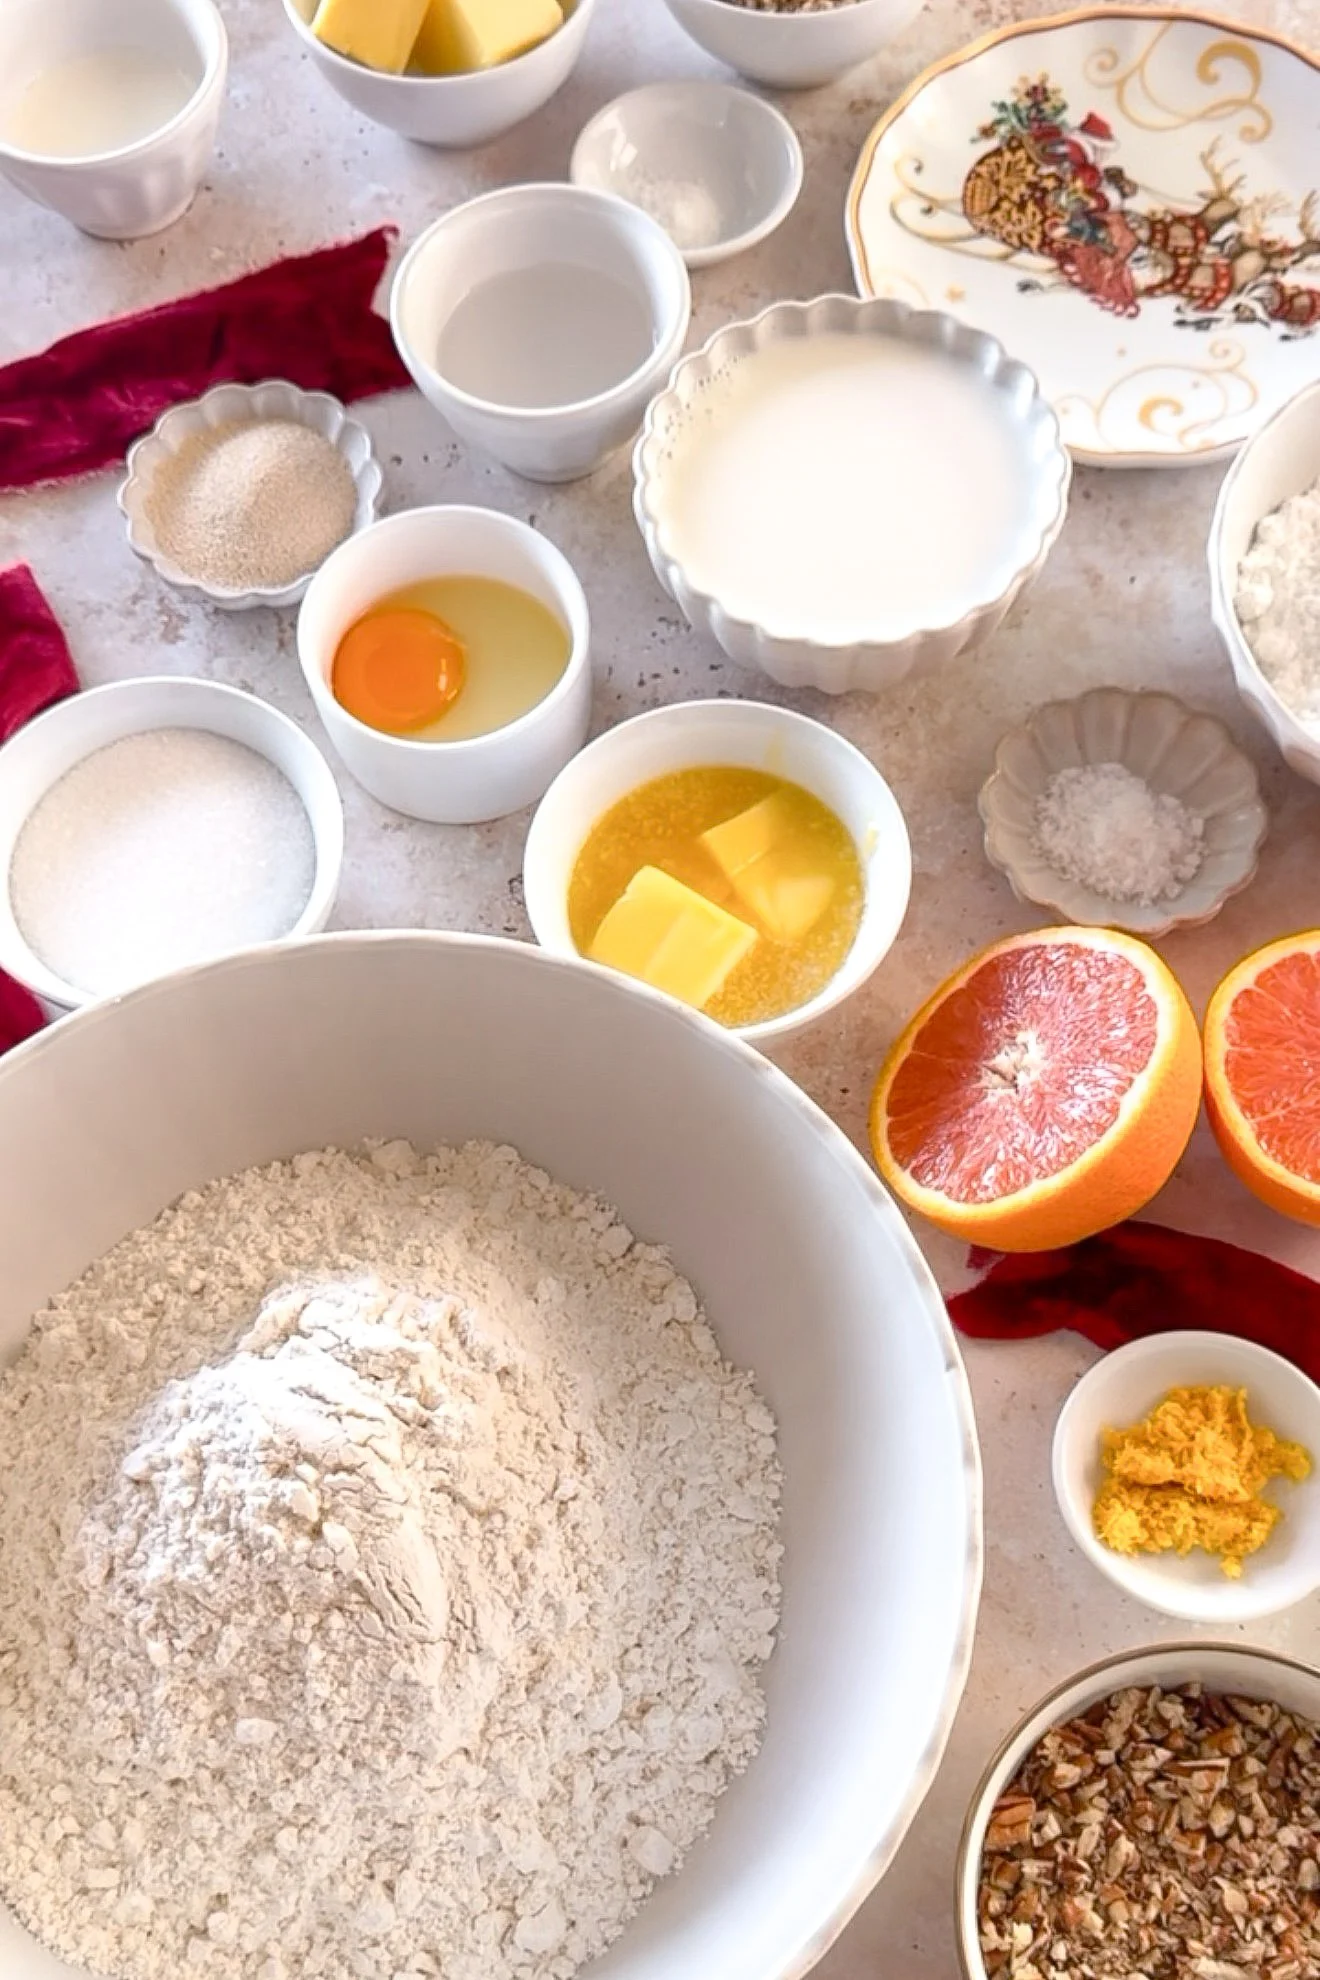
Ingredients for homemade orange cinnamon rolls, including flour, butter, cinnamon, oranges, and pecans.

How to Make Brown Butter Orange Pecan Cinnamon Rolls

Homemade cinnamon rolls take a little patience, but they're surprisingly simple to make. And once you've tasted them warm from the oven, I promise the extra effort feels worth it.

Step 1: Make the Cinnamon Roll Dough

Start by activating the yeast in warm water with a little sugar until it becomes foamy.

In a large mixing bowl, combine the remaining sugar, softened butter, egg, salt, and warm milk. Add the yeast mixture and gradually mix in the flour until a soft dough forms.

Knead the dough until it's smooth and elastic, then transfer it to a lightly greased bowl.

Cover and allow it to rise in a warm place until doubled in size.

Amanda's Tip: The dough should feel soft and slightly tacky. Avoid adding too much extra flour, which can make your cinnamon rolls dense instead of fluffy.
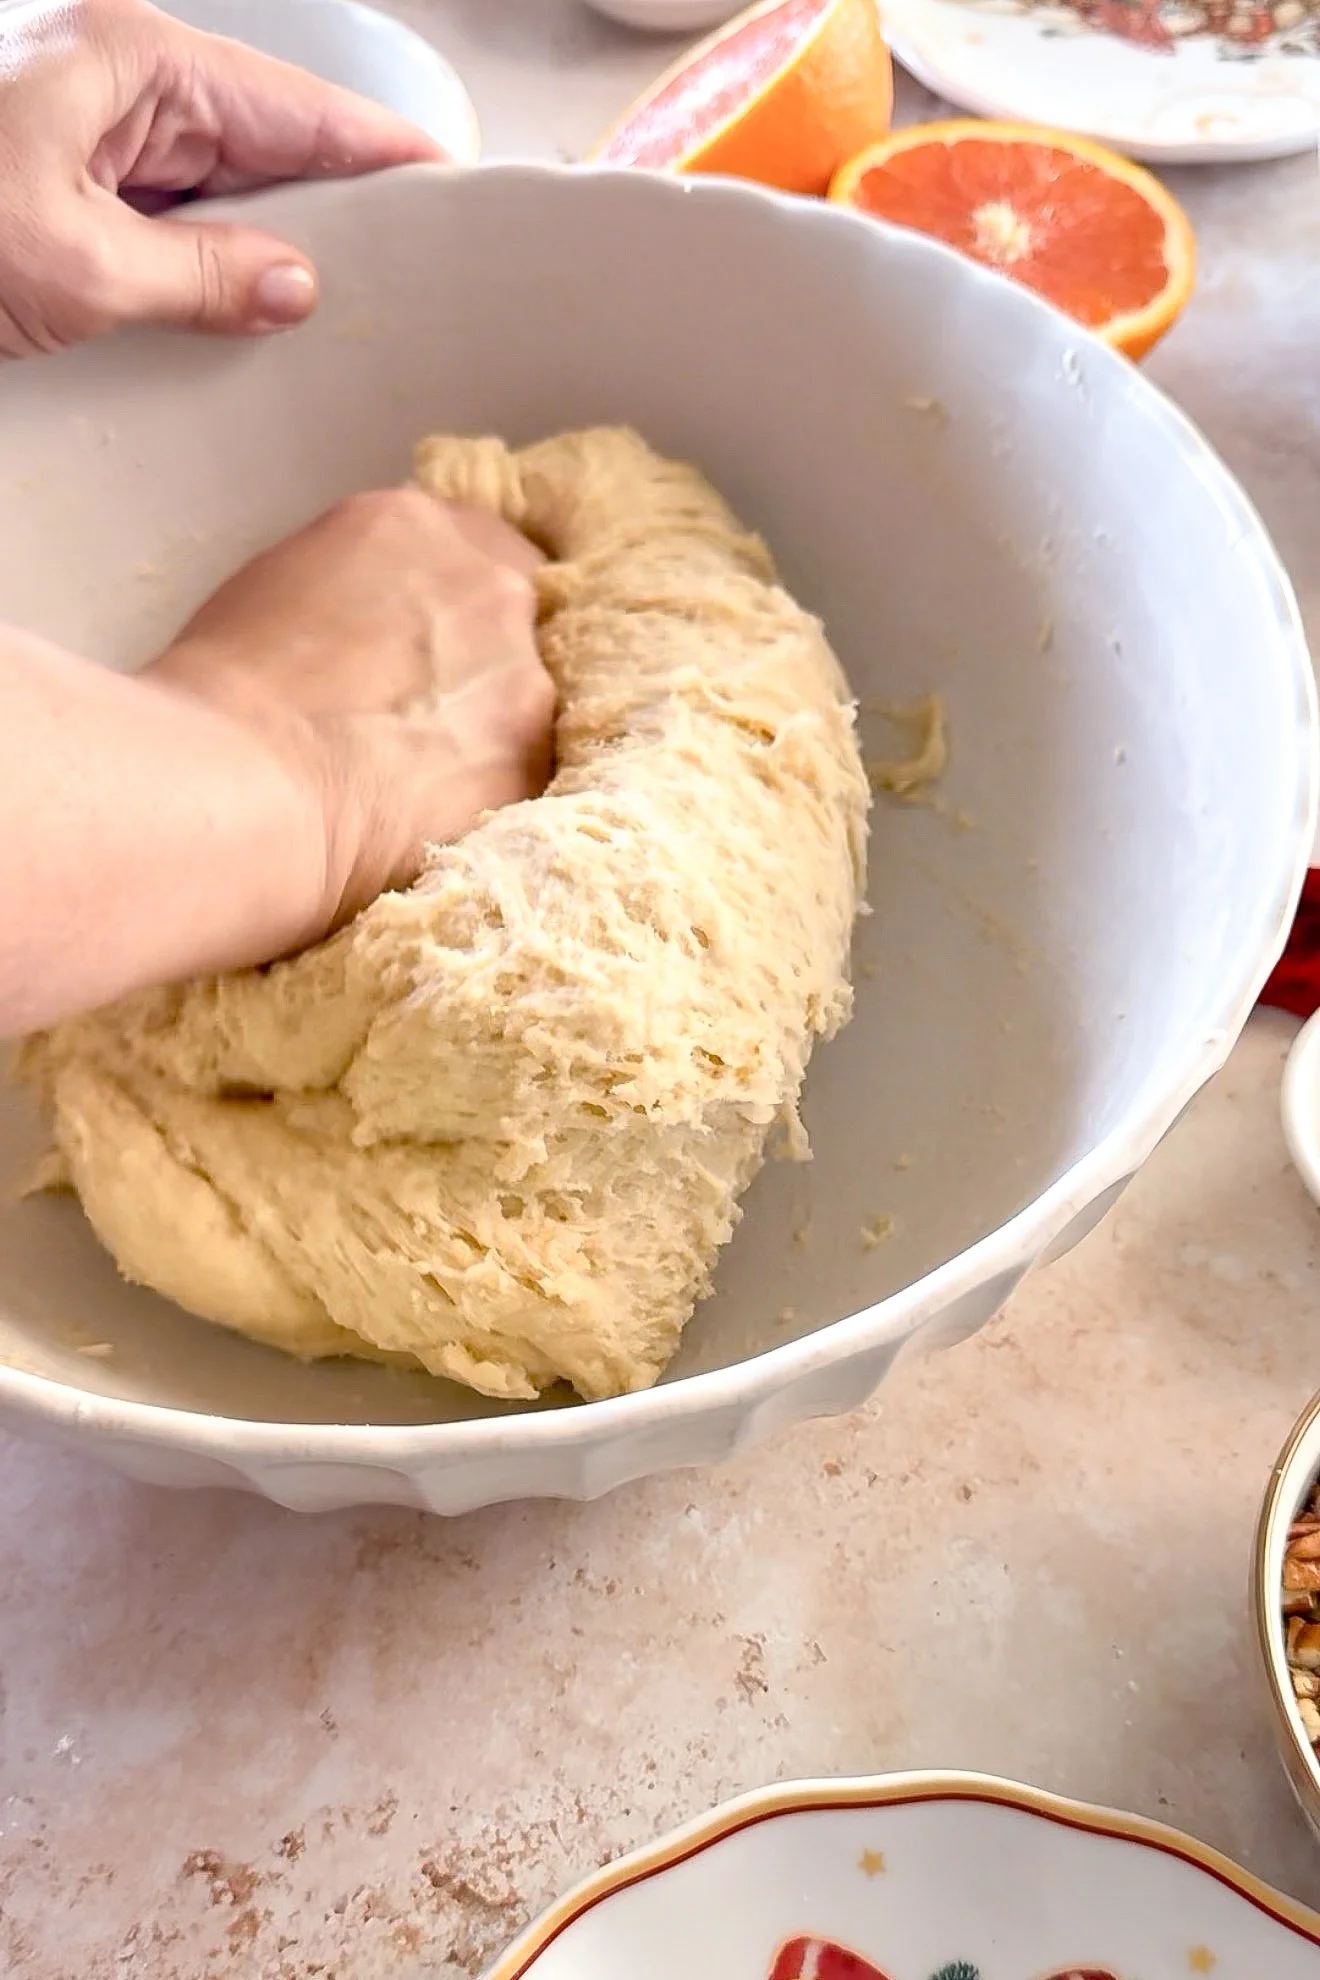
Soft homemade cinnamon roll dough being prepared for orange pecan cinnamon rolls.
Homemade cinnamon roll dough rolled into a rectangle before adding the brown butter filling.

Step 2: Brown the Butter

While the dough rises, prepare the brown butter.

Melt the butter in a light-colored saucepan over medium heat, stirring frequently as it begins to foam.

After a few minutes, you'll notice the milk solids turning golden brown and the butter developing a delicious, nutty aroma.

As soon as it reaches that beautiful golden color, remove it from the heat and transfer it to a heat-safe bowl.

Allow the butter to cool until it's thickened and spreadable.

This is one of my favorite steps because it adds so much flavor to the finished cinnamon rolls.
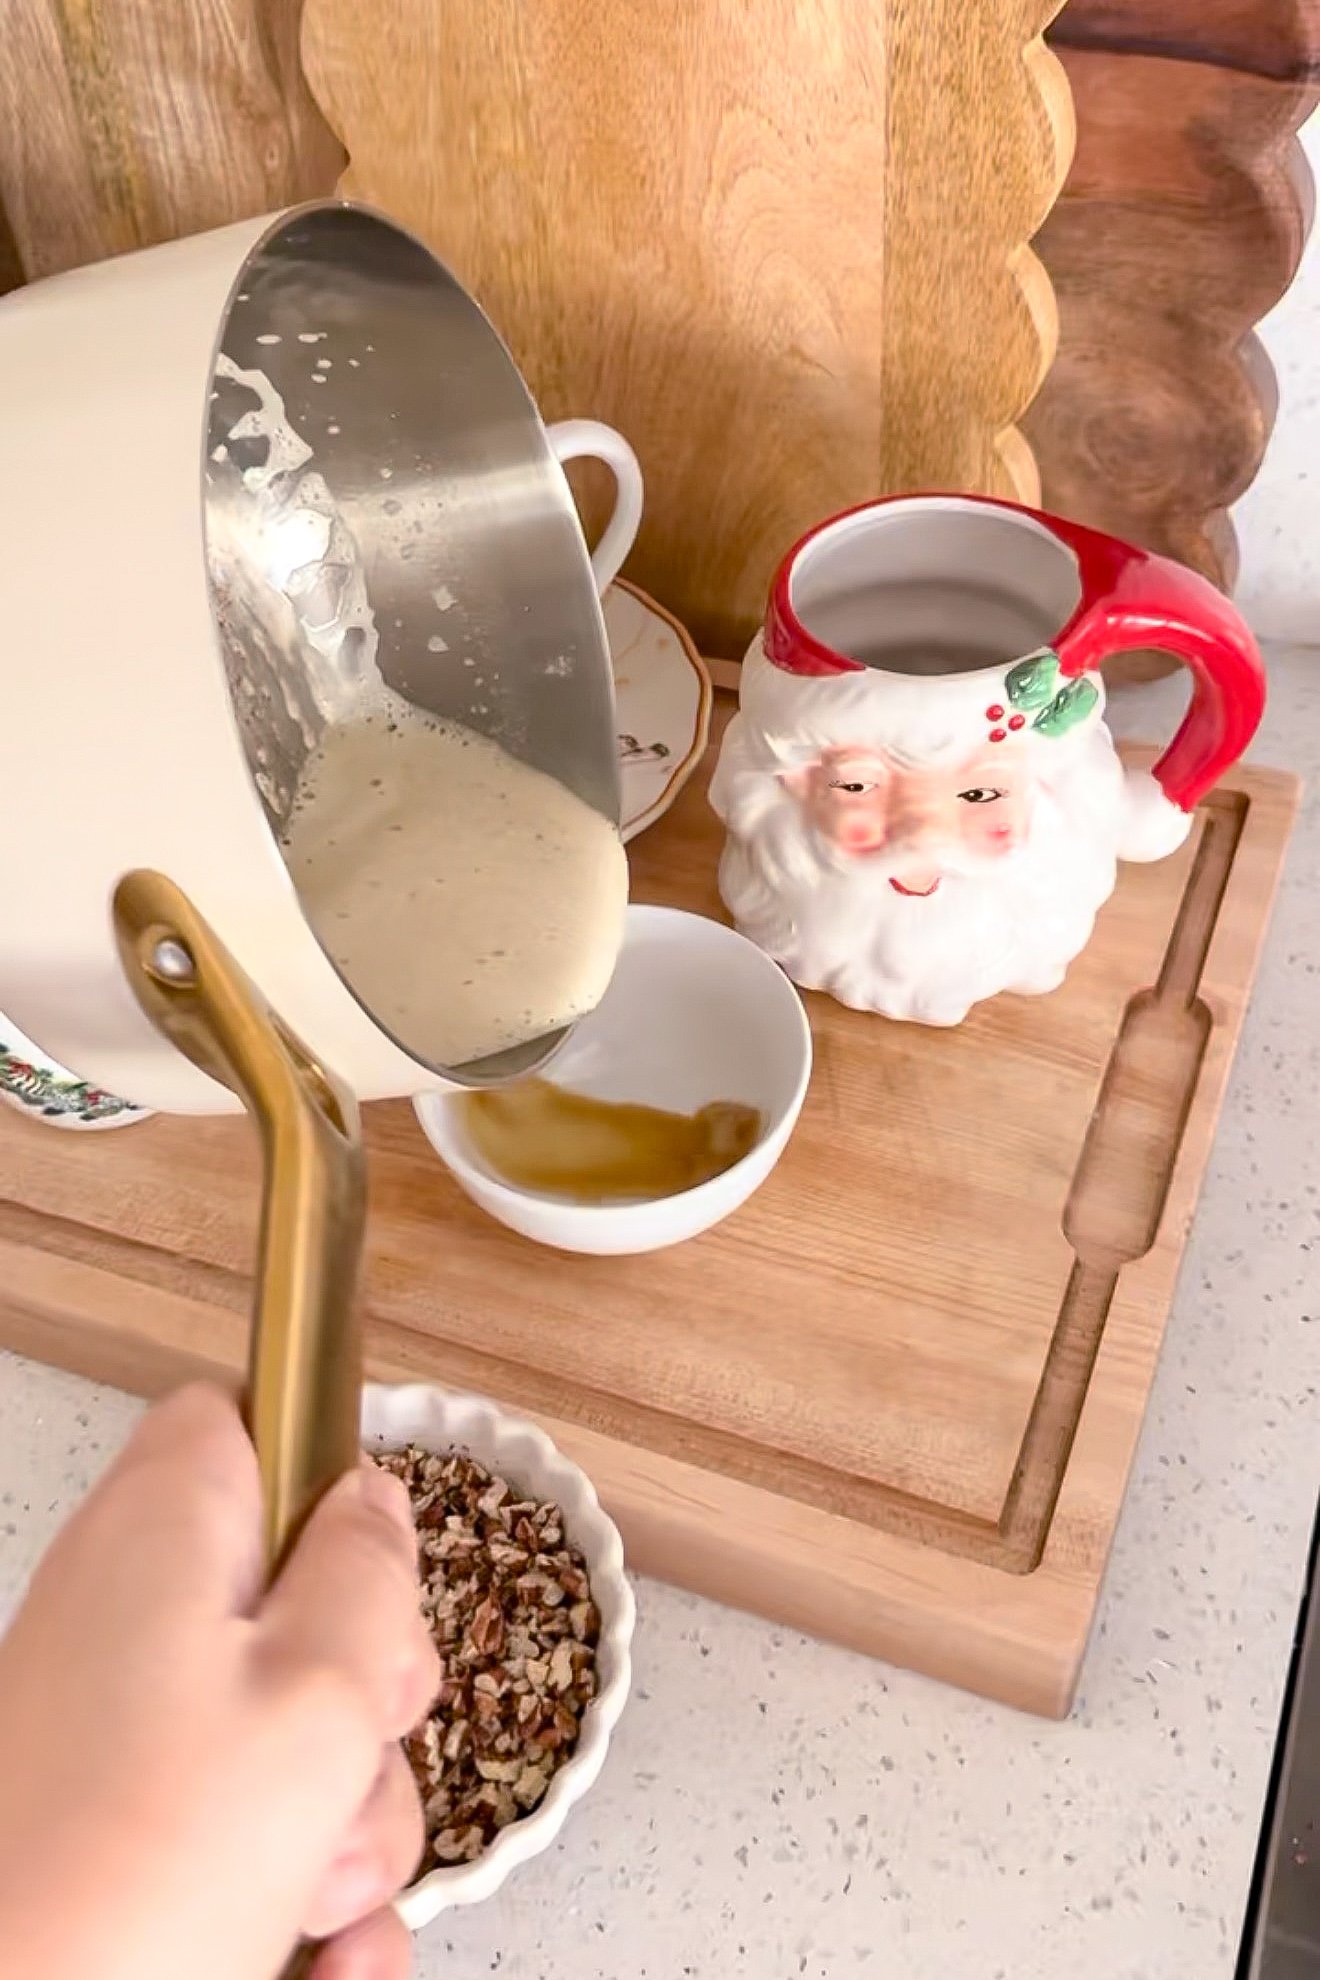
Golden brown butter in a saucepan, prepared for the orange pecan cinnamon roll filling.

Step 3: Prepare the Orange Pecan Filling

In a small bowl, combine the dark brown sugar, ground cinnamon, fresh orange zest, finely chopped toasted pecans, and salt.

The orange zest makes this filling smell absolutely wonderful before it even goes into the oven.

Cinnamon roll dough covered with brown butter, cinnamon sugar, orange zest, and chopped pecans.

Step 4: Roll, Fill, and Shape the Cinnamon Rolls

Once the dough has doubled in size, gently punch it down and transfer it to a lightly floured surface.

Roll the dough into a large rectangle.

Spread the cooled brown butter evenly over the dough, leaving a small border around the edges.

Sprinkle the orange pecan cinnamon sugar mixture over the butter, gently pressing it into the dough.

Starting at the long edge, roll the dough tightly into a log.

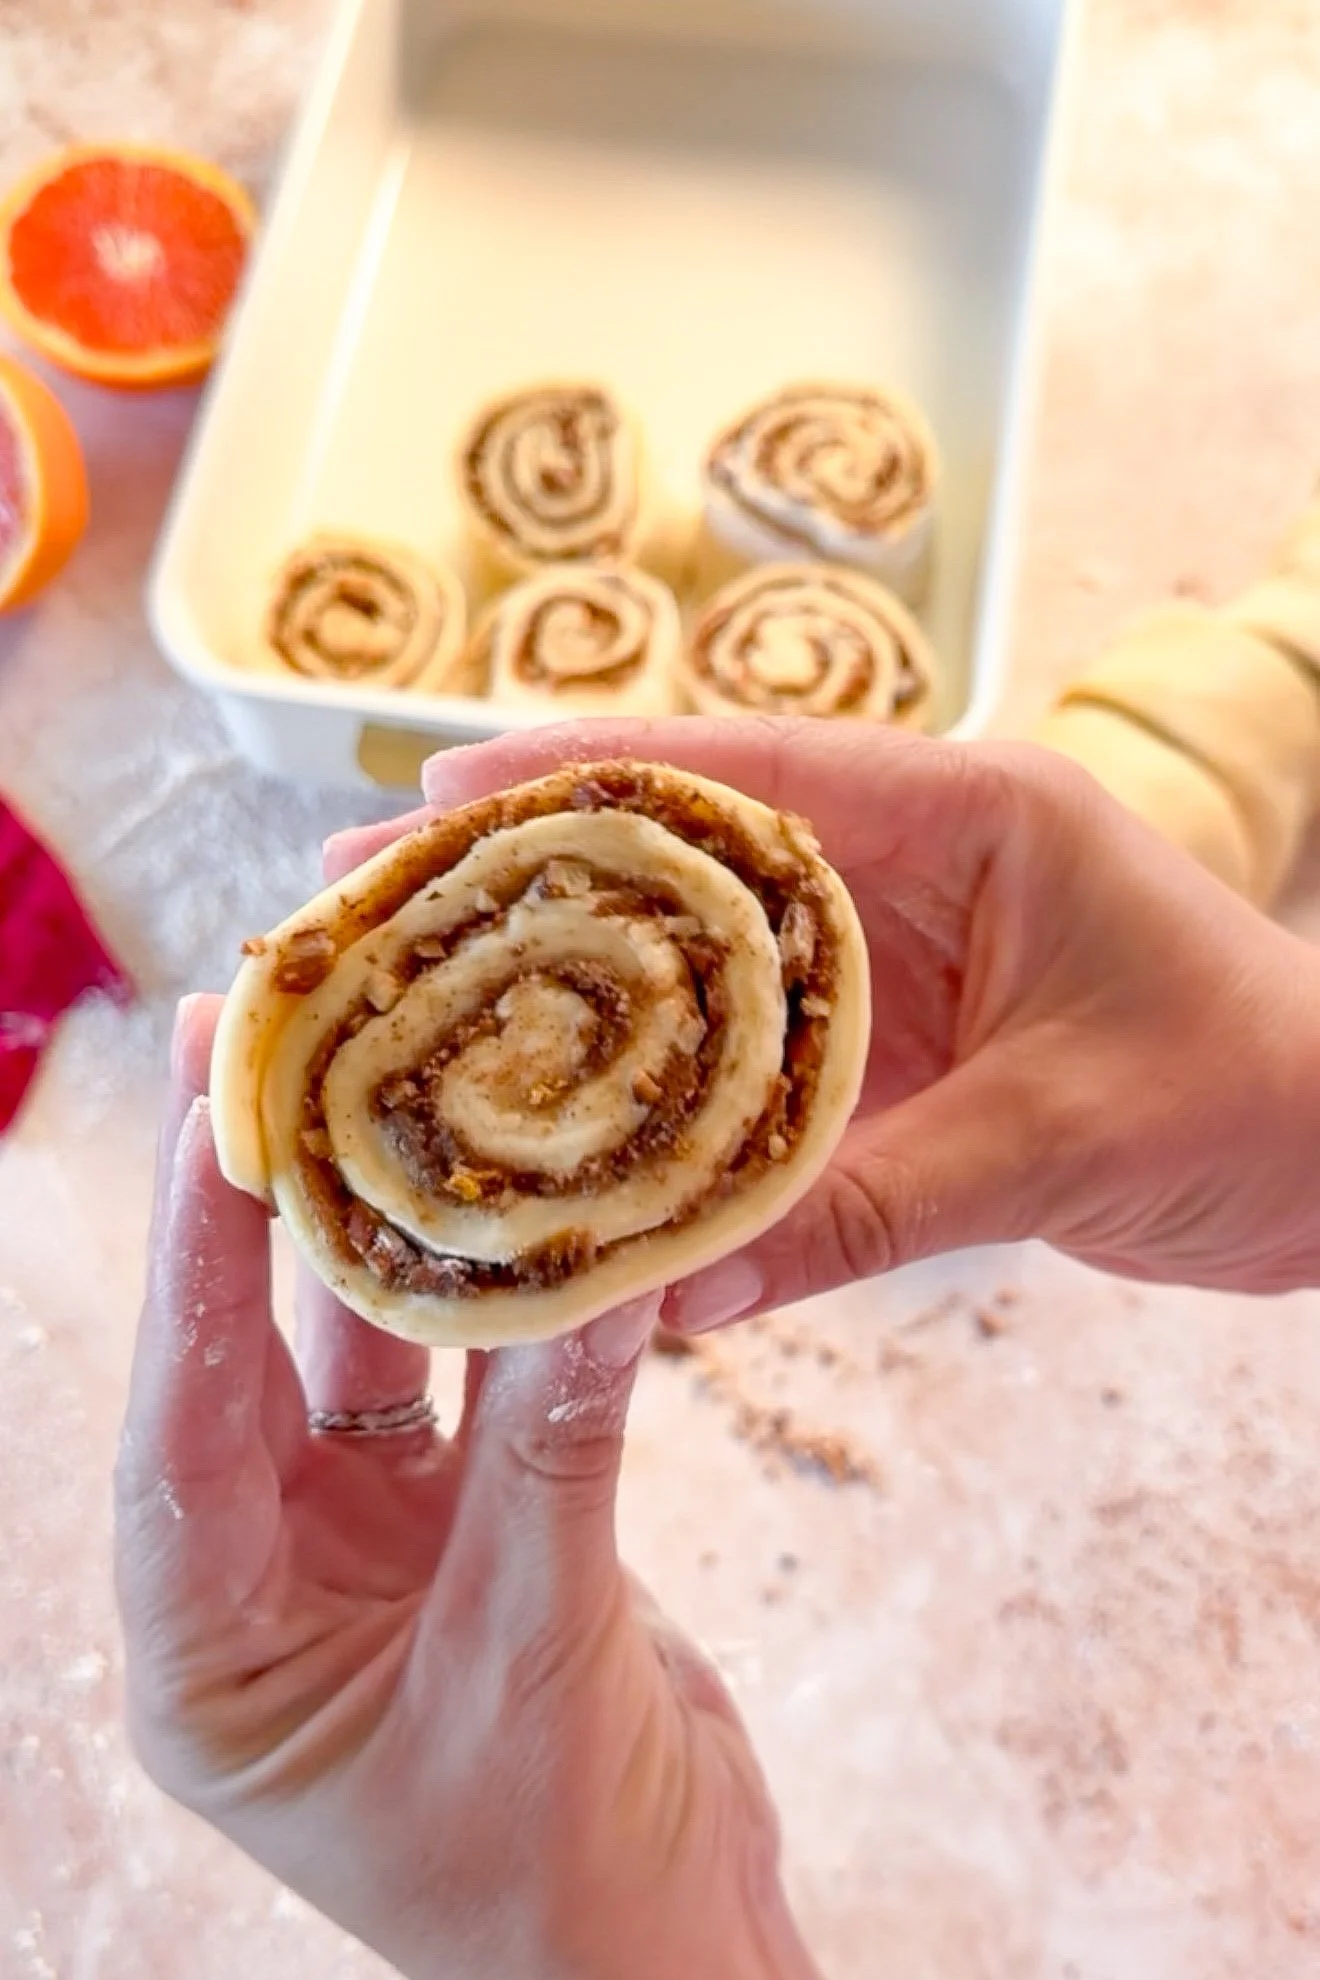
Cut into 12 evenly sized cinnamon rolls using a sharp knife or unflavored dental floss.
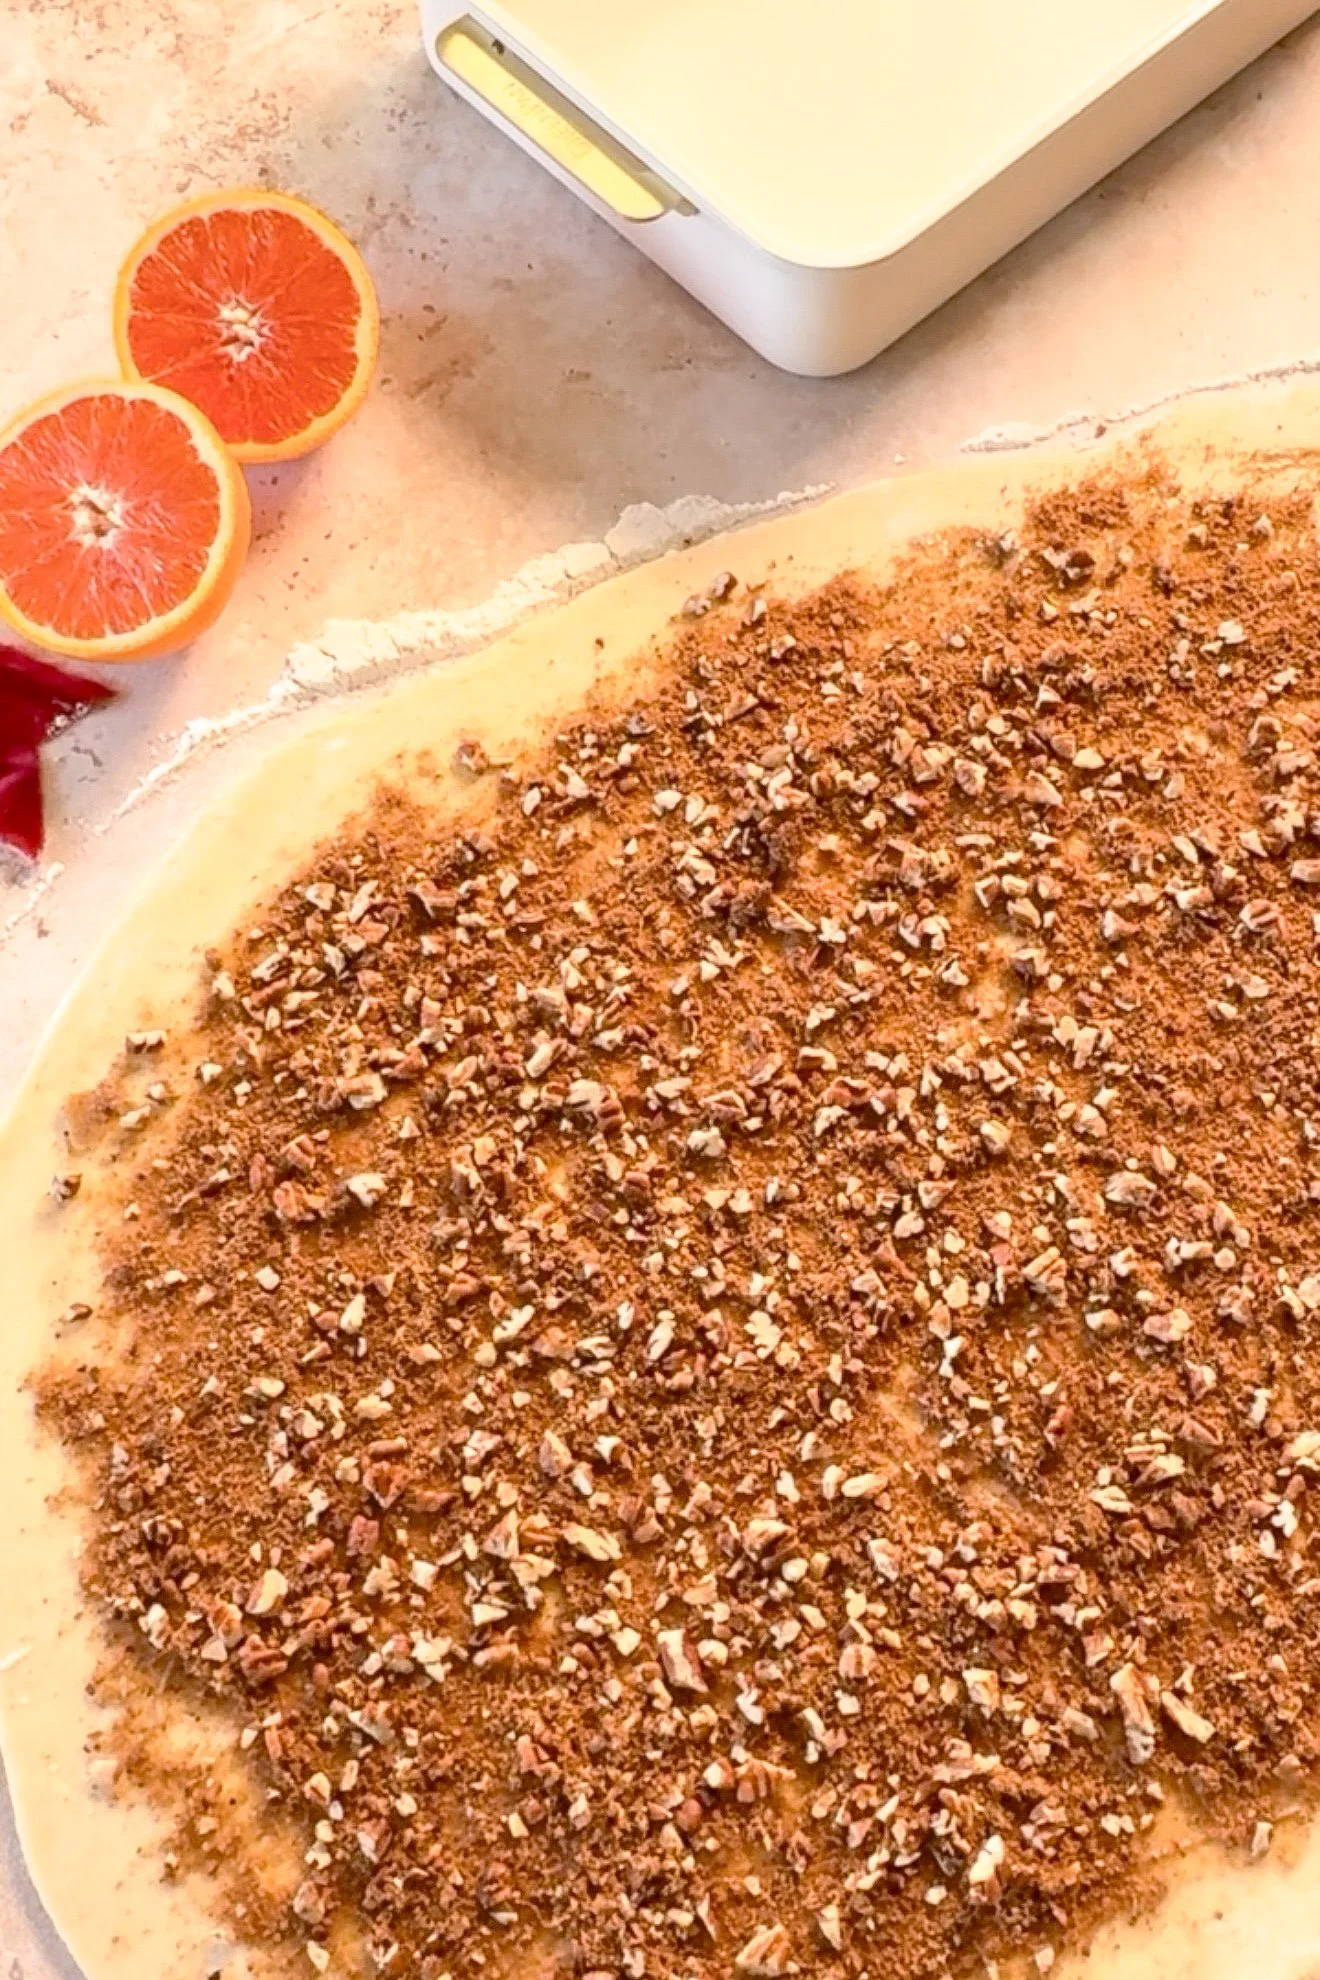
Filled cinnamon roll dough sliced into individual orange pecan cinnamon rolls.
Unbaked orange pecan cinnamon rolls arranged in a baking dish before rising and baking.

Step 5: Let the Cinnamon Rolls Rise

Arrange the cinnamon rolls in a lightly buttered baking dish, leaving a little room between each roll.

Cover loosely and allow them to rise until noticeably puffy.

This second rise helps create those beautifully soft, fluffy layers.

For an extra-rich finish, you can pour a little warm heavy cream over the risen rolls just before baking.
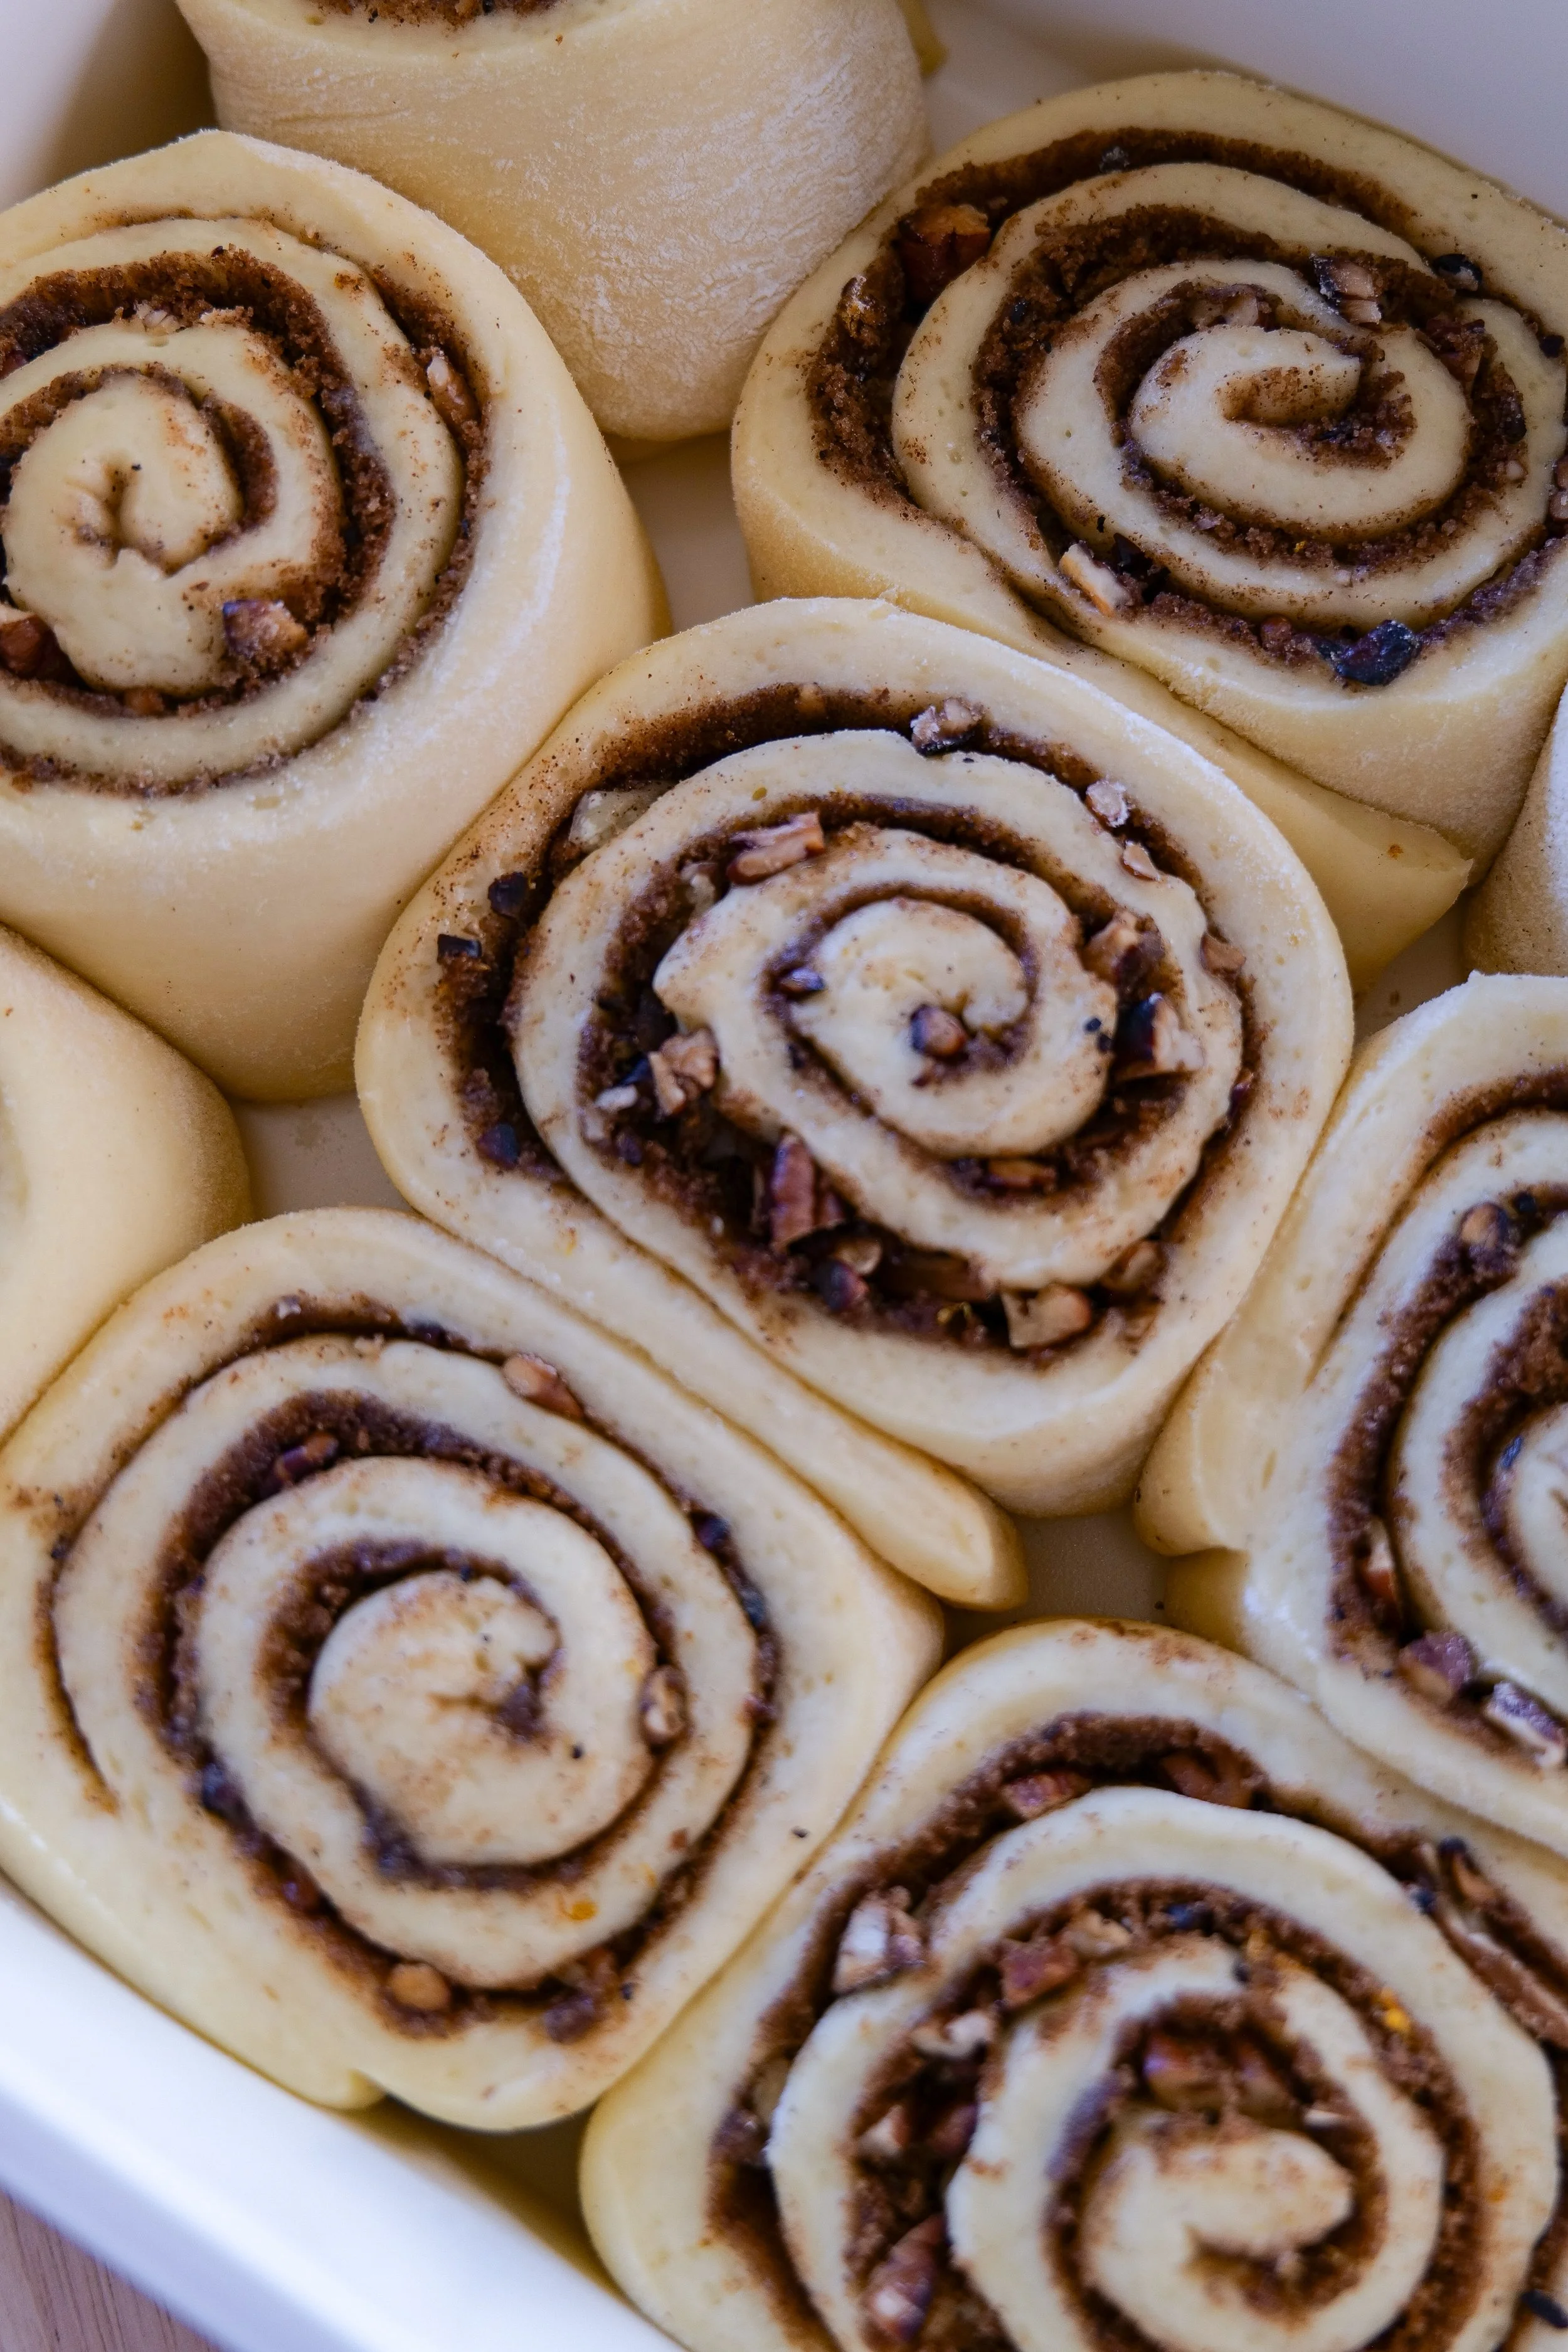
Unbaked orange pecan cinnamon rolls arranged in a baking dish before rising and baking.

Step 6: Bake Until Golden

Bake the cinnamon rolls in a preheated oven until the tops are lightly golden and the centers are fully baked.

Your kitchen will smell like brown butter, cinnamon, and fresh orange.

Allow the rolls to cool for a few minutes before adding the glaze.
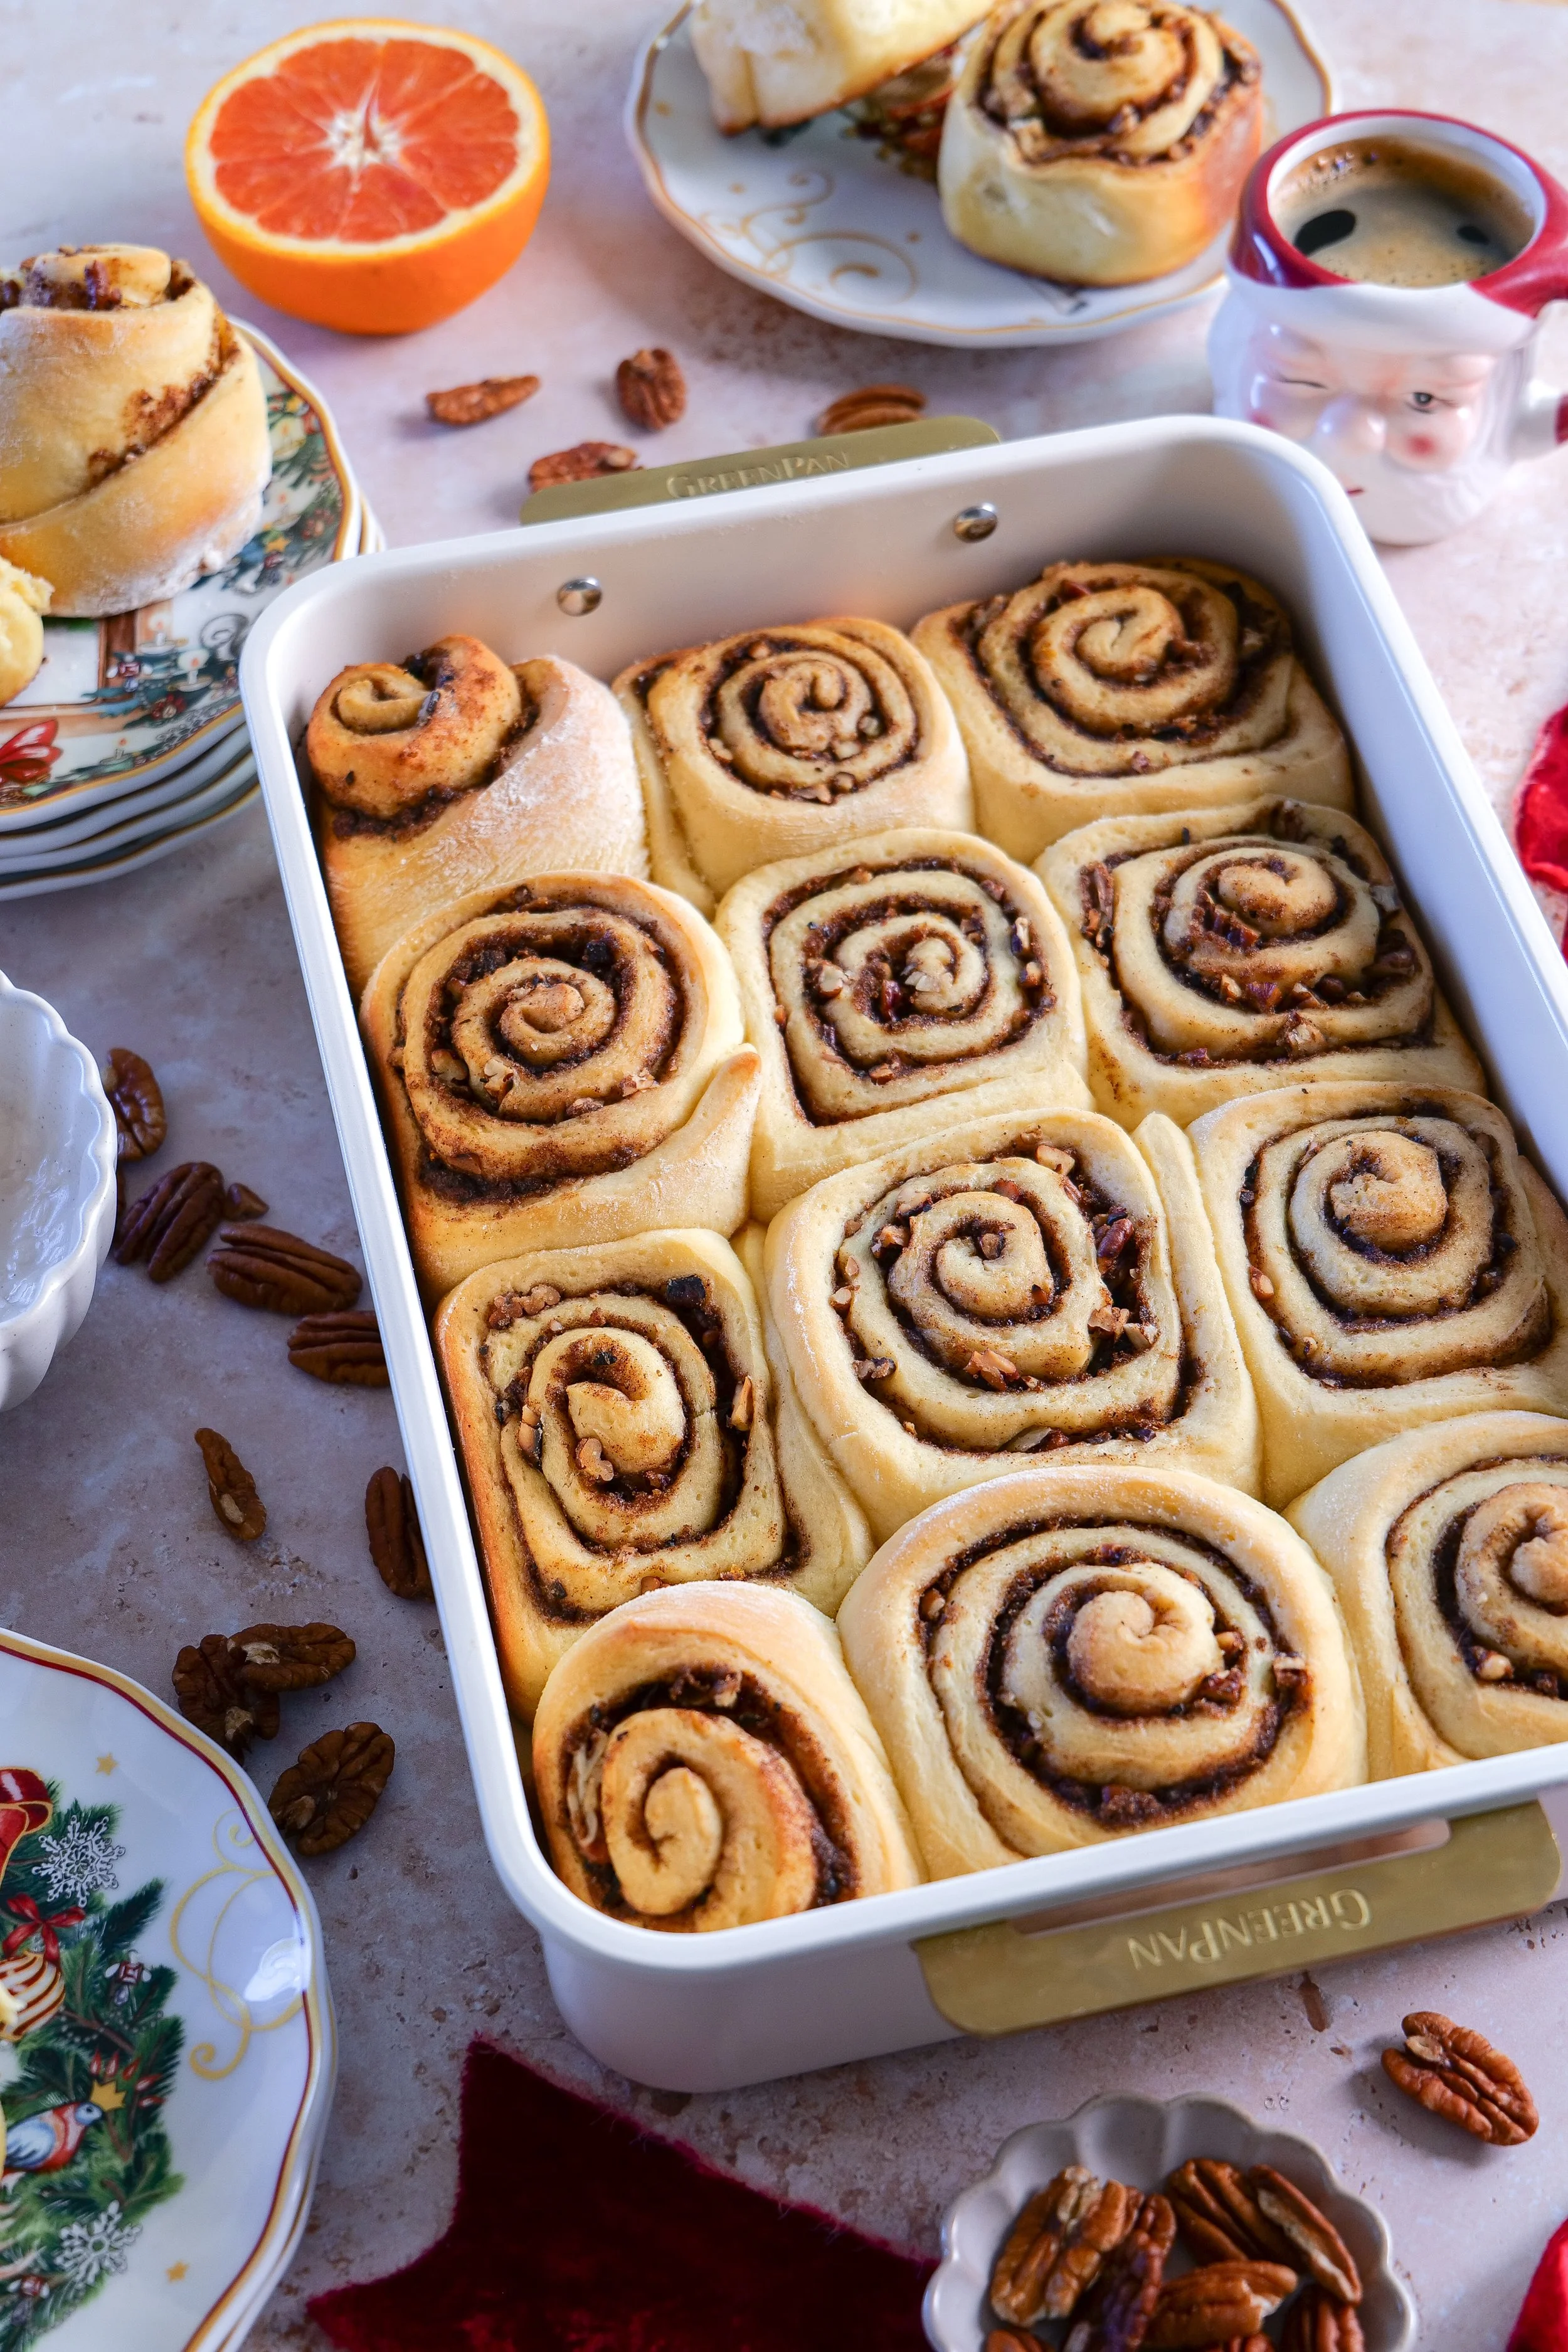
Golden brown homemade orange pecan cinnamon rolls fresh from the oven before glazing.

Step 7: Finish with Vanilla Bean Glaze

While the rolls cool slightly, whisk together the powdered sugar, heavy cream, vanilla bean paste, and fresh orange juice.

Adjust the consistency with a little additional cream until the glaze is smooth and pourable.

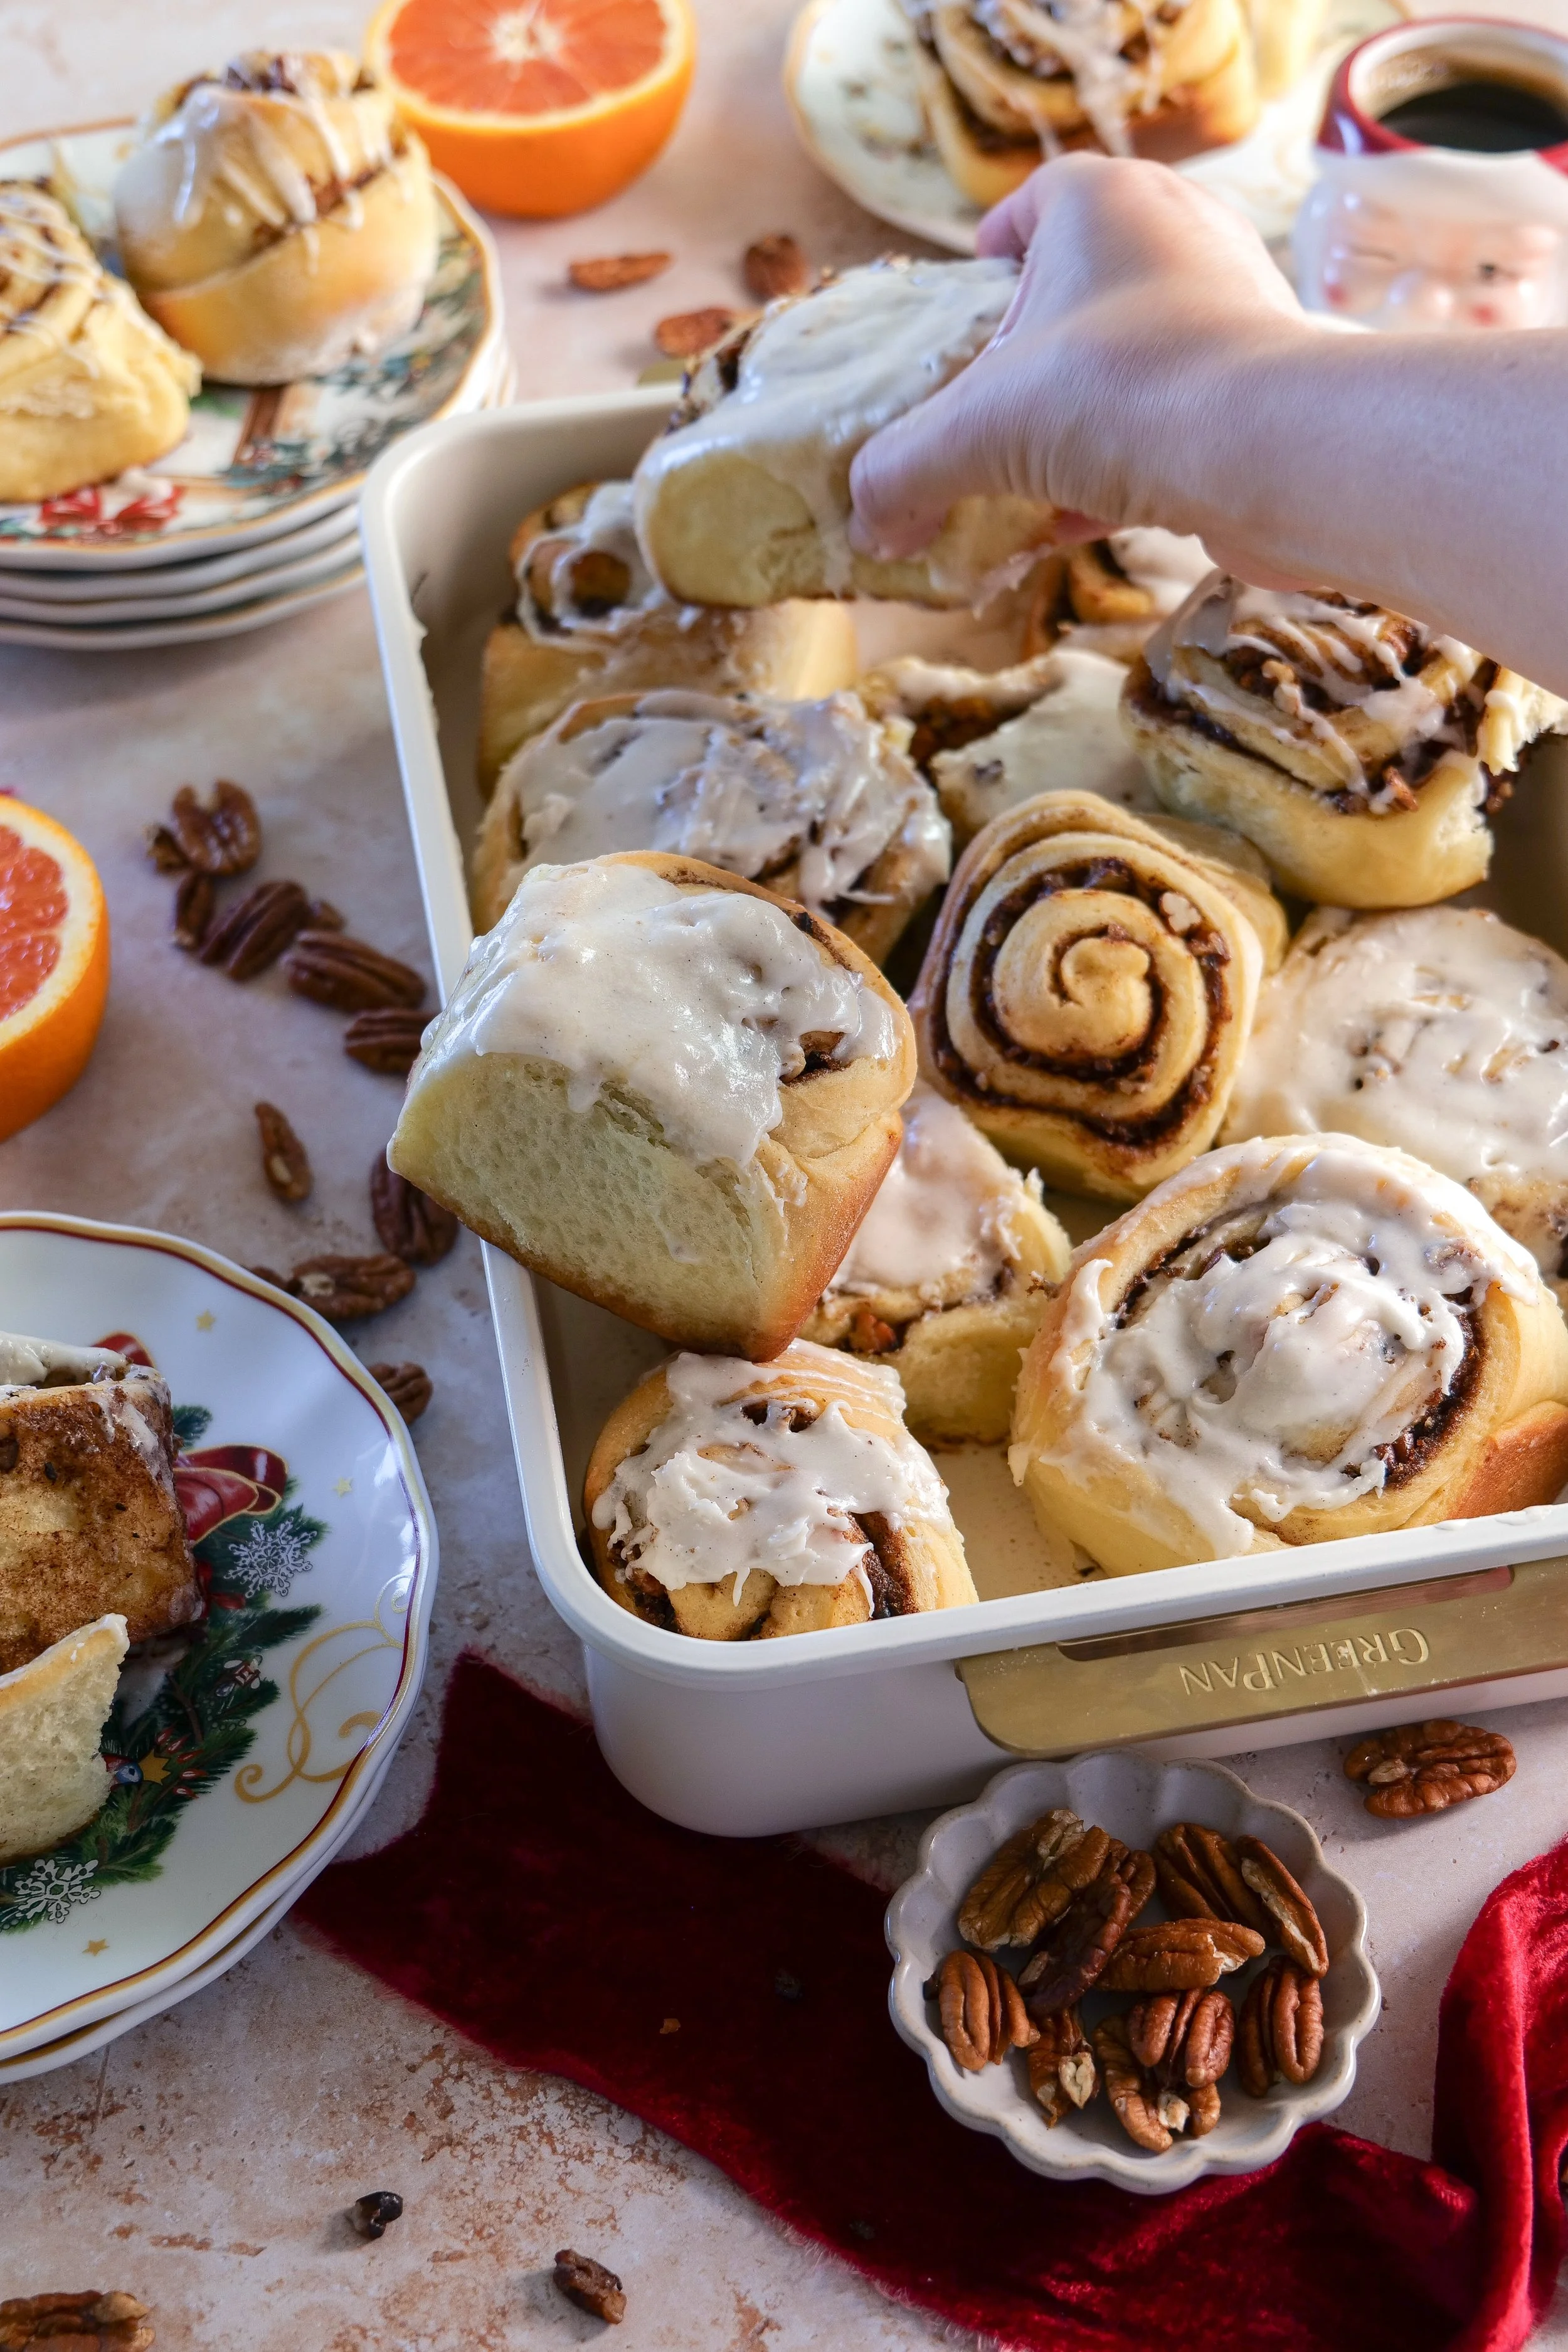
Drizzle generously over the warm cinnamon rolls, allowing it to melt into all those beautiful swirls.

Serve warm with a cup of coffee and enjoy!
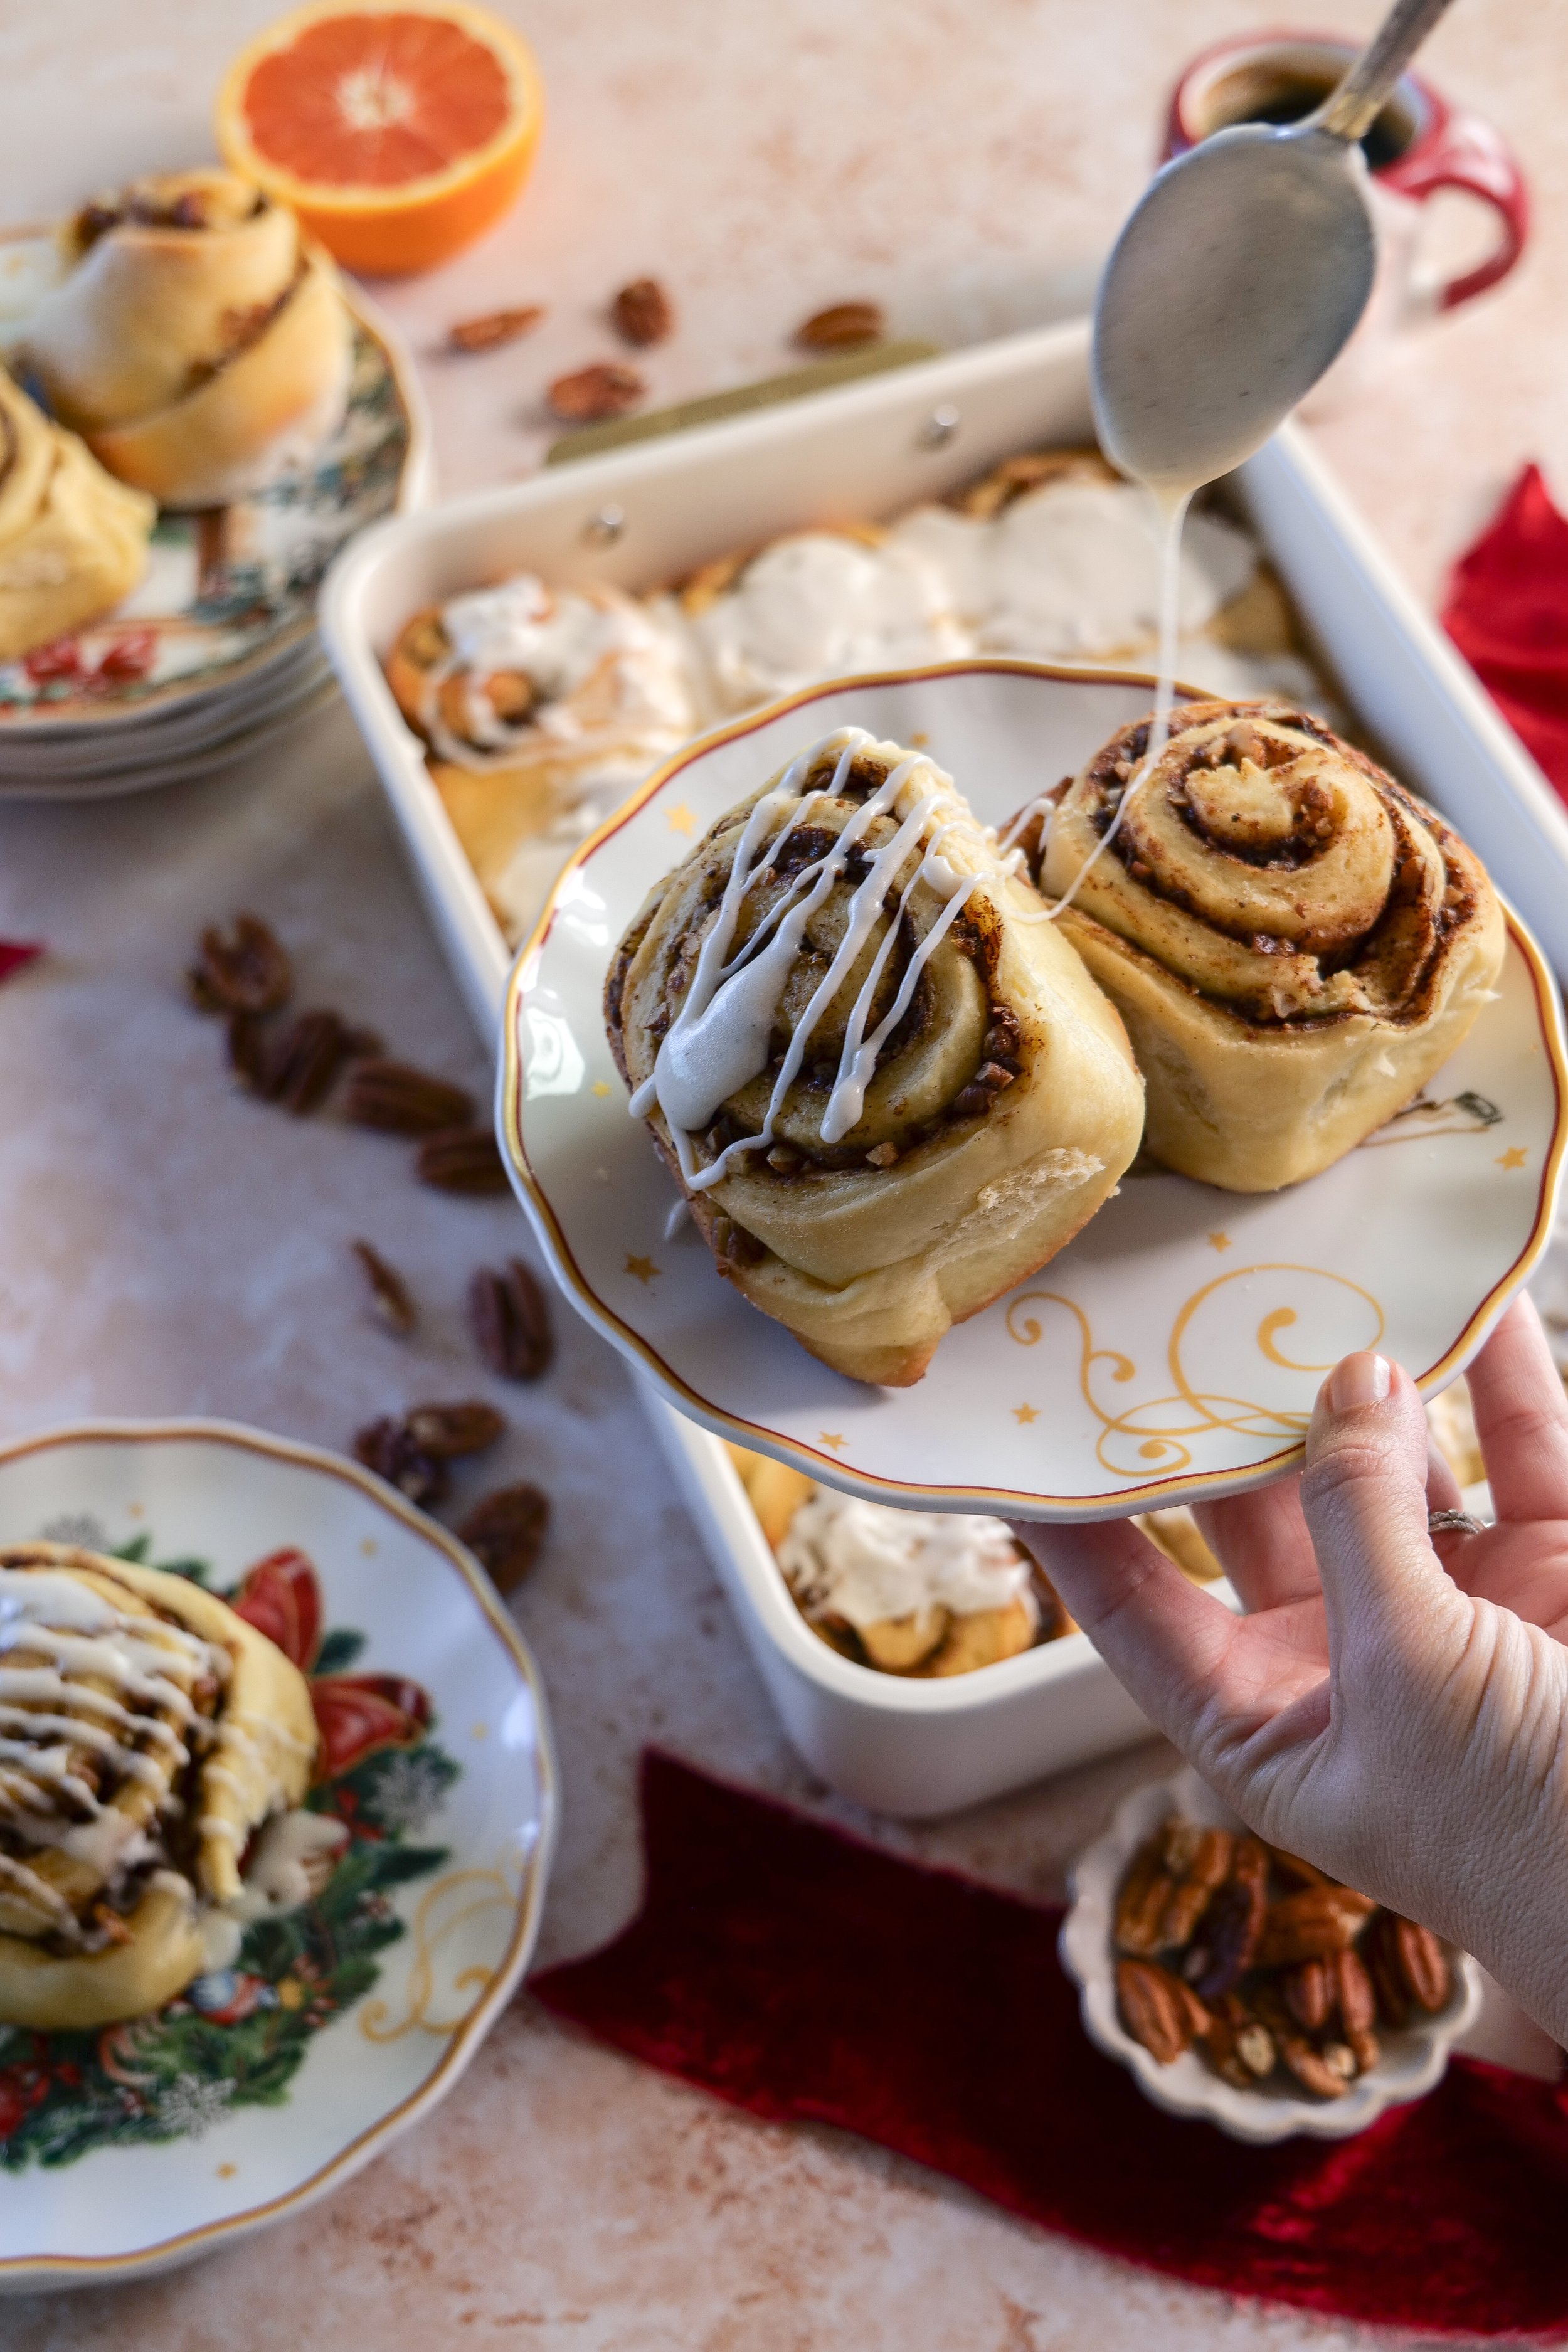
Vanilla bean glaze being drizzled over warm brown butter orange pecan cinnamon rolls.

How to Make These Cinnamon Rolls the Night Before

If there's one thing I love about a Christmas morning recipe, it's being able to prepare most of it ahead of time.

And these cinnamon rolls are perfect for that.

On Christmas Eve, prepare the dough, allow it to complete its first rise, and assemble the cinnamon rolls as directed.

Arrange them in your baking dish, cover tightly, and place them in the refrigerator overnight before the second rise.

On Christmas morning, remove the rolls from the refrigerator and allow them to sit at room temperature until noticeably puffy. Depending on the temperature of your kitchen, this may take approximately 60–90 minutes.

Then bake as directed and prepare the vanilla bean glaze while they're in the oven.

You'll have warm, homemade cinnamon rolls ready for Christmas breakfast without having to start from scratch that morning.
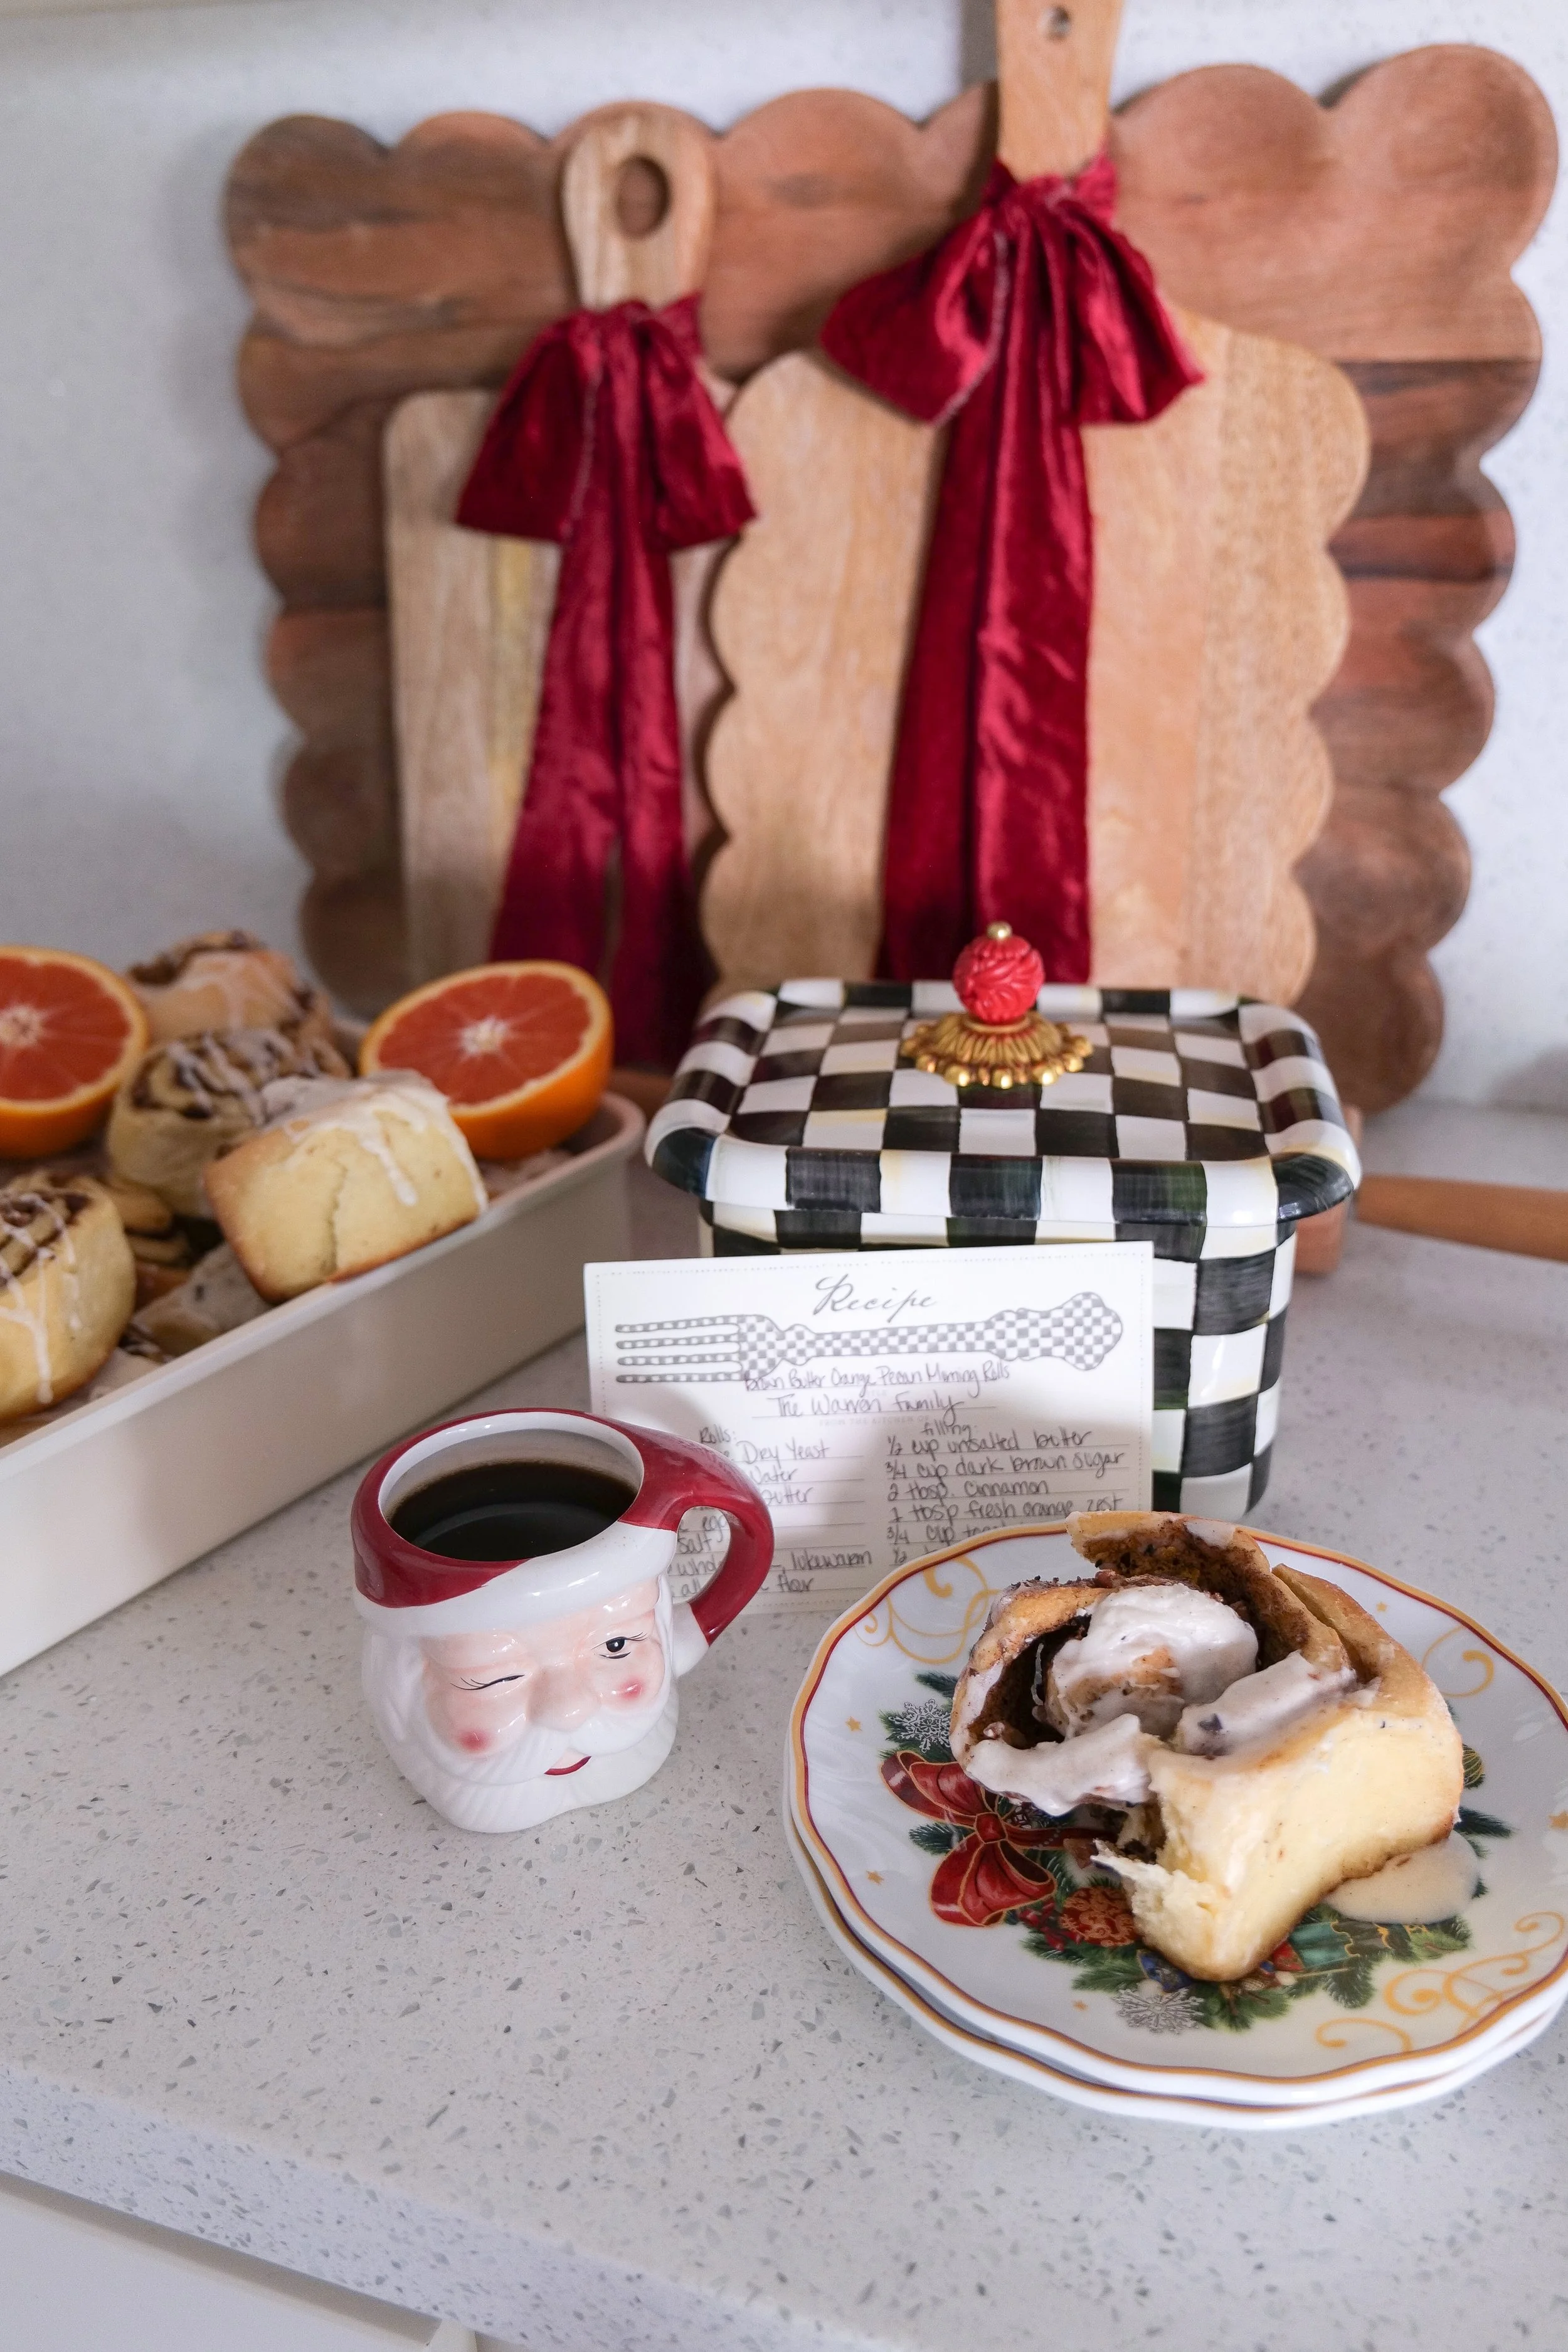
Homemade orange pecan cinnamon rolls served with vanilla bean glaze for Christmas morning breakfast.

Amanda's Tips for the Best Homemade Cinnamon Rolls

Don't rush the rising time. The dough needs time to rise properly to create soft, fluffy cinnamon rolls.

Use fresh orange zest. Freshly grated zest has a brighter flavor than dried orange peel and makes a beautiful difference in the filling.

Watch your brown butter closely. It can go from perfectly golden to burnt very quickly. Remove it from the heat as soon as it smells nutty and the milk solids turn golden brown.

Toast your pecans first. Toasting brings out their natural flavor and adds a little extra crunch.

Use a sharp knife or dental floss to cut the rolls. This helps preserve their round shape and beautiful swirls.

Glaze while the rolls are warm. Allow them to cool for just a few minutes so the glaze melts slightly into the rolls without disappearing completely.

Make them your own. If your family prefers cinnamon rolls without nuts, simply leave out the pecans. The brown butter and orange filling is delicious on its own.

Frequently Asked Questions

Can I make these cinnamon rolls ahead of time?

Yes! Prepare the rolls through shaping, cover, and refrigerate overnight. The next morning, allow them to rise until puffy before baking.

Can I make these without pecans?

Absolutely. Simply leave out the pecans for a classic brown butter orange cinnamon roll.

Can I use light brown sugar instead of dark brown sugar?

Yes. Dark brown sugar gives the filling a richer flavor, but light brown sugar works beautifully too.

What if I don't have vanilla bean paste?

You can substitute pure vanilla extract in the same amount. The glaze will still be delicious, although it won't have the pretty vanilla bean specks.

How should I store leftover cinnamon rolls?

Store cooled cinnamon rolls in an airtight container in the refrigerator for up to 4 days. Warm gently before serving.

Can I freeze these cinnamon rolls?

Yes! I recommend freezing the baked cinnamon rolls without glaze. Wrap tightly and freeze for up to 2 months. Thaw, warm, and finish with freshly prepared vanilla bean glaze.

More Recipes You'll Love

If you love making something special for breakfast or sharing homemade baked treats with your family, there are a few more recipes from my kitchen I think you'll enjoy.

My Blueberry Peach Bread is one of those simple, comforting recipes that's perfect for slow mornings with a cup of coffee.

For something you can prepare with very little effort, try my Cinnamon Roll Casserole, the taste of with cozy cinnamon rolls made even more simple.

And if you're anything like me and love baking with brown butter, my Brown Butter Oatmeal Cookies are another favorite to make and share.

Shop My Kitchen

There's something so special about bringing a beautiful baking dish straight from the oven to the breakfast table, especially during the holidays.

For this recipe, I used my GreenPan baking essentials to make everything from browning the butter to baking the cinnamon rolls.

I've gathered some of my favorite kitchen pieces below, along with a few essentials that make homemade baking a little easier.

Save This Recipe for Christmas Morning

Some recipes are made once, and others become the ones you look forward to making year after year.

I hope these Brown Butter Orange Pecan Christmas Morning Cinnamon Rolls become one of those recipes in your home.

Save this recipe to Pinterest, print a copy for your family recipe box, or share it with someone who loves a cozy Christmas morning breakfast.

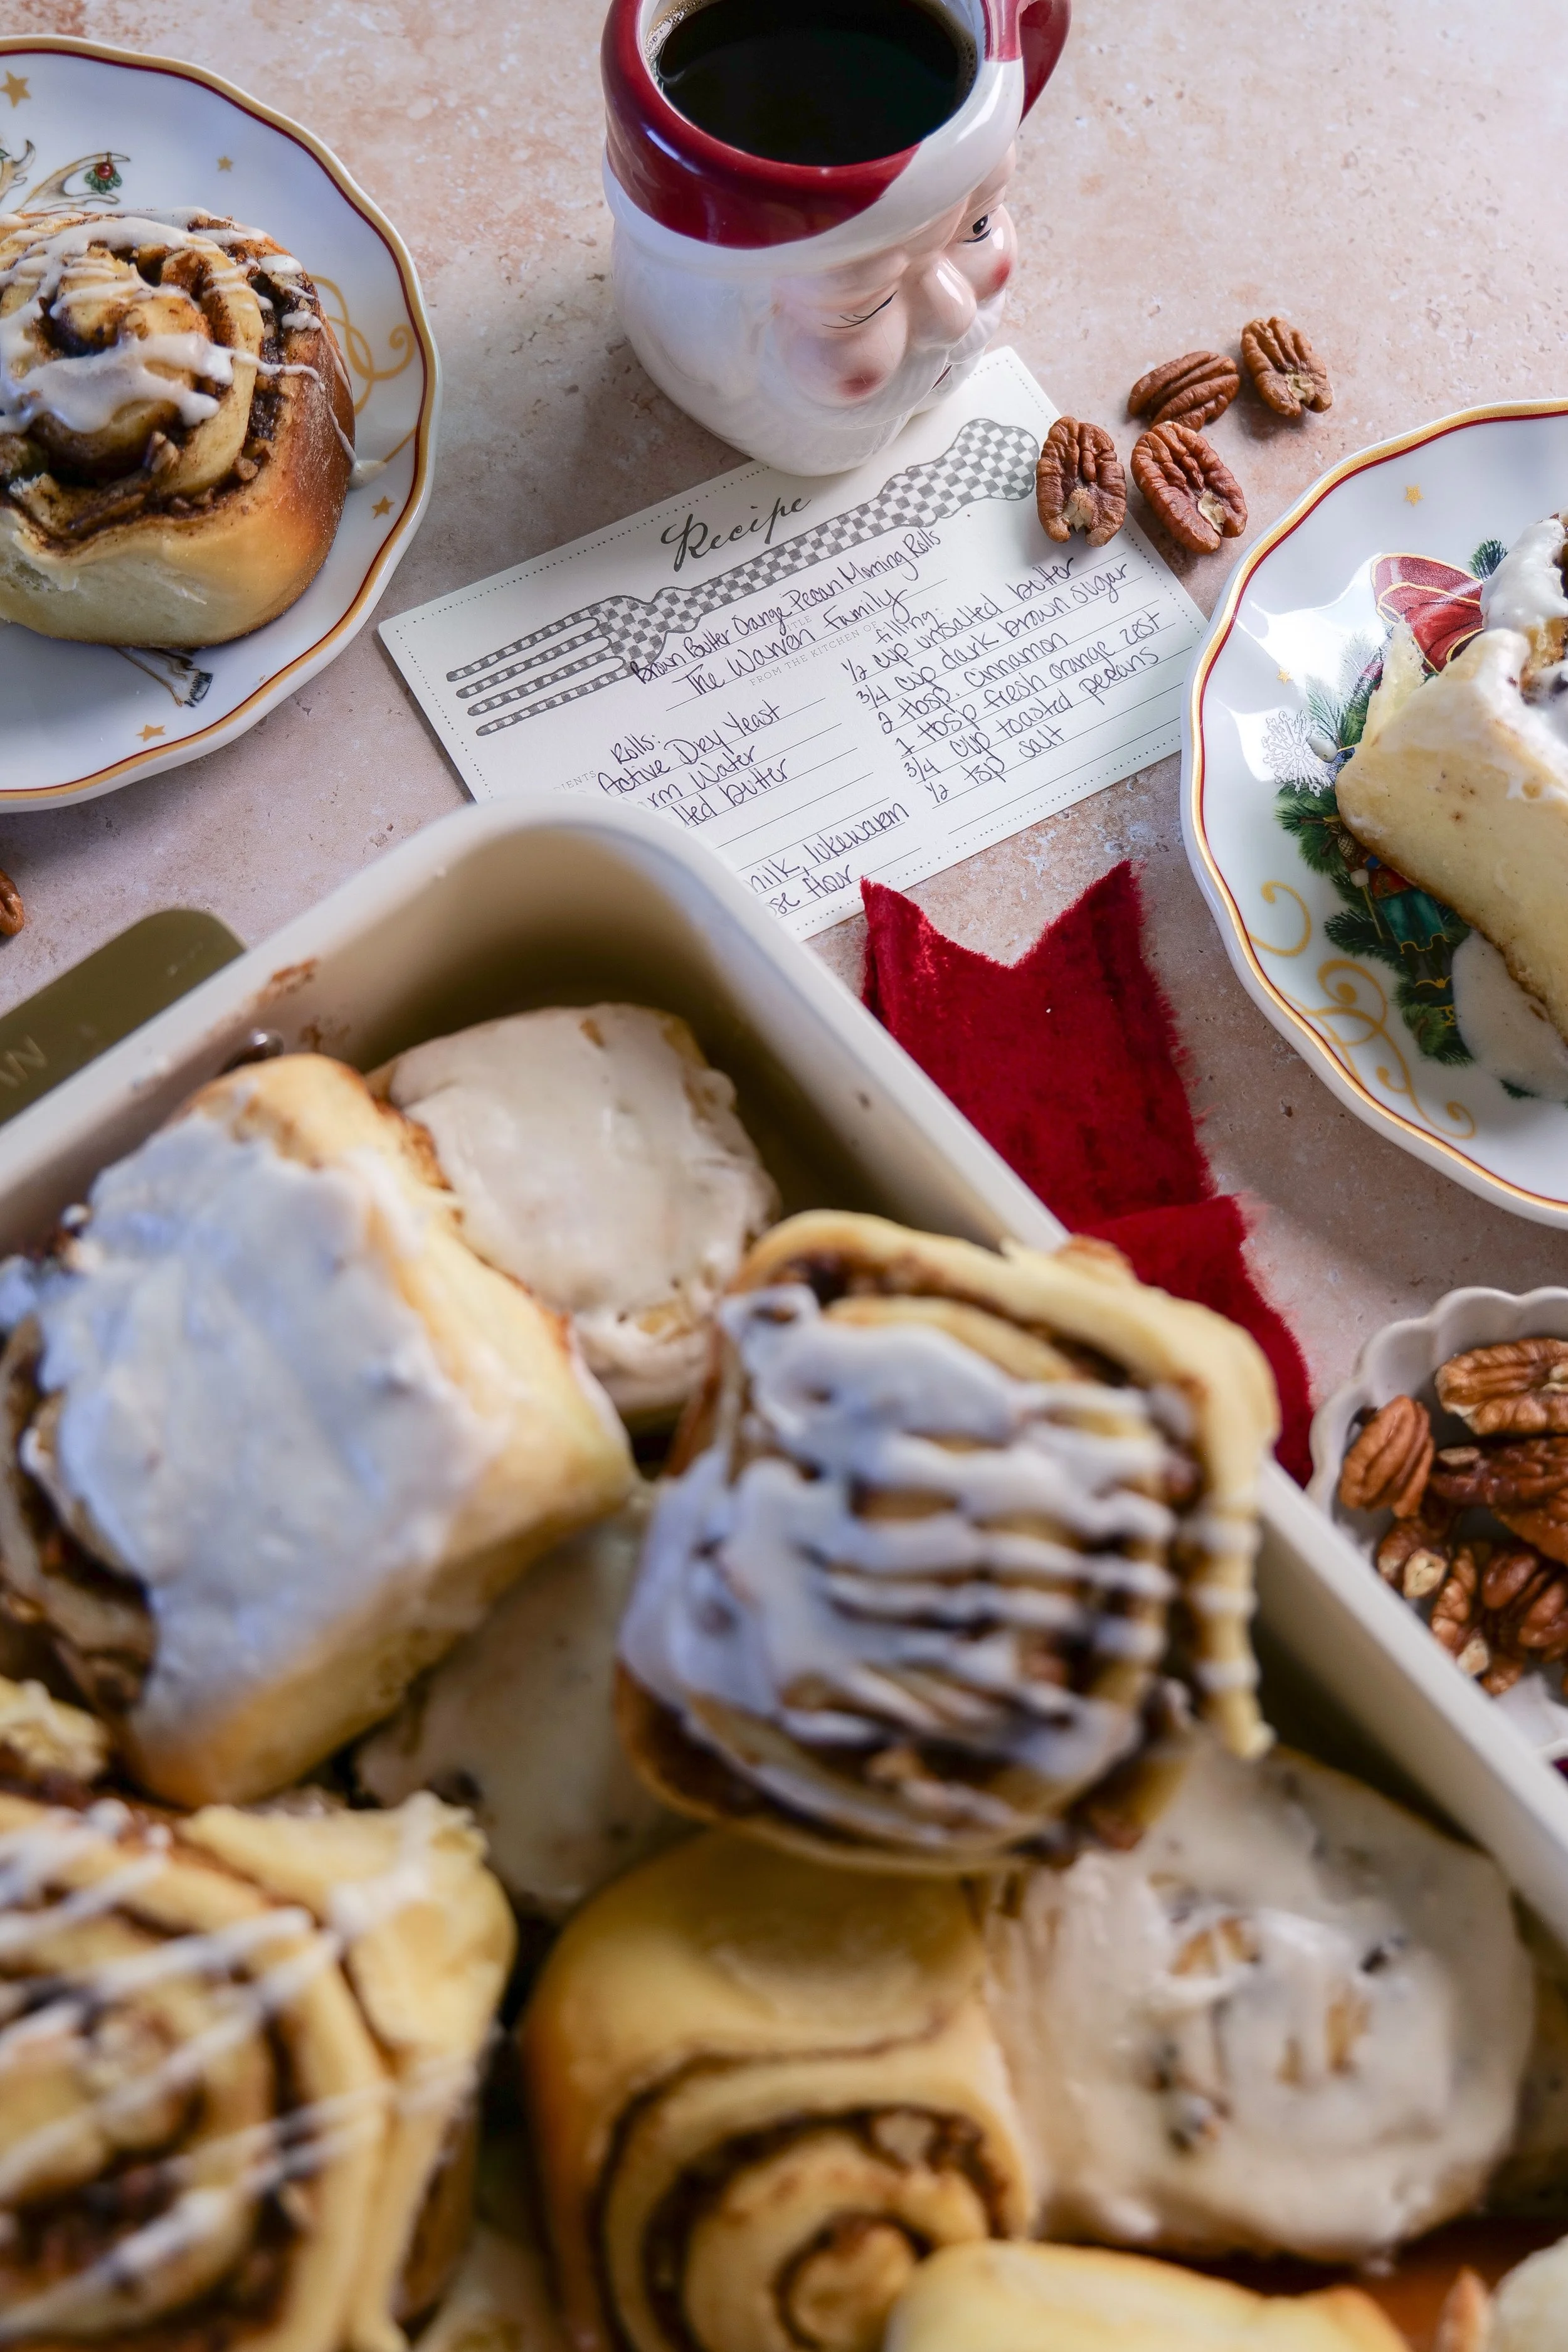
Brown butter orange pecan cinnamon rolls recipe card featuring homemade cinnamon rolls with vanilla bean glaze and Christmas morning baking instructions.

Brown Butter Orange Pecan Christmas Morning Cinnamon Rolls with Vanilla Bean Glaze

Soft, fluffy homemade cinnamon rolls filled with nutty brown butter, cinnamon, fresh orange zest, and toasted pecans, finished with a sweet vanilla bean glaze. Perfect for Christmas morning or a cozy holiday breakfast.

Prep Time: 30 minutes
Rise Time: Approximately 2–3 hours
Cook Time: 25–30 minutes
Total Time: Approximately 3–4 hours
Servings: 12 cinnamon rolls

Ingredients

For the Cinnamon Roll Dough

  • 4½ teaspoons active dry yeast (2 packets)

  • ¼ cup warm water (105–110°F)

  • ½ cup granulated sugar

  • ½ cup unsalted butter, softened

  • 1 large egg

  • 1 teaspoon salt

  • 1 cup whole milk, lukewarm

  • 4 cups all-purpose flour, plus more as needed for dusting

For the Brown Butter Orange Pecan Filling

  • ½ cup unsalted butter

  • ¾ cup dark brown sugar, packed

  • 2 tablespoons ground cinnamon

  • 1 tablespoon fresh orange zest

  • ¾ cup toasted pecans, finely chopped

  • ¼ teaspoon salt

For the Vanilla Bean Glaze

  • 1½ cups powdered sugar

  • 3 tablespoons heavy cream, plus more as needed

  • 1 teaspoon vanilla bean paste

  • 1 teaspoon fresh orange juice

Optional

  • ⅓ cup warm heavy cream, to pour over the rolls before baking

Instructions

Make the Cinnamon Roll Dough

  1. In a small bowl, combine the active dry yeast, warm water, and a pinch of the measured granulated sugar. Let sit for 5–10 minutes, until foamy.

  2. In a large mixing bowl, combine the remaining granulated sugar, softened butter, egg, salt, and lukewarm whole milk.

  3. Add the activated yeast mixture and gradually mix in the flour until a soft dough forms.

  4. Knead for approximately 7–9 minutes, until the dough is smooth and elastic. The dough should be soft and slightly tacky.

  5. Transfer the dough to a lightly greased bowl, cover, and allow to rise in a warm place for 1½–2 hours, or until doubled in size.

Prepare the Brown Butter Filling

  1. While the dough rises, melt the butter in a light-colored saucepan over medium heat, stirring frequently.

  2. Continue cooking until the butter foams and the milk solids turn golden brown. Immediately transfer to a heat-safe bowl and allow to cool until thickened and spreadable.

  3. In a separate bowl, combine the dark brown sugar, cinnamon, orange zest, toasted pecans, and salt.

Assemble the Cinnamon Rolls

  1. Once the dough has doubled in size, gently punch it down and transfer it to a lightly floured surface.

  2. Roll the dough into a rectangle approximately 16 × 12 inches.

  3. Spread the cooled brown butter evenly over the dough, leaving a small border around the edges.

  4. Sprinkle the orange pecan cinnamon sugar mixture evenly over the butter, gently pressing it into the dough.

  5. Starting at the long edge, roll the dough tightly into a log. Cut into 12 evenly sized rolls.

  6. Arrange the rolls in a lightly buttered 9 × 13-inch baking dish. Cover loosely and allow to rise for 30–45 minutes, or until noticeably puffy.

Overnight Christmas Morning Option

After shaping the cinnamon rolls and arranging them in your buttered 9 × 13-inch baking dish, cover tightly and refrigerate overnight (approximately 8–12 hours) instead of allowing them to complete their second rise at room temperature.

On Christmas morning, remove the rolls from the refrigerator and let them sit covered at room temperature for approximately 60–90 minutes, or until noticeably puffy. They may need longer if your kitchen is cool.

Once risen, preheat the oven to 350°F and continue with the baking instructions as written.

Bake the Cinnamon Rolls

  1. Preheat the oven to 350°F.

  2. If desired, pour ⅓ cup warm heavy cream evenly over the risen rolls just before baking.

  3. Bake for 25–30 minutes, or until the tops are lightly golden and the centers are fully baked. The center dough should reach approximately 190°F.

  4. Remove from the oven and allow to cool for 5–10 minutes.

Make the Vanilla Bean Glaze

  1. In a medium bowl, whisk together the powdered sugar, heavy cream, vanilla bean paste, and fresh orange juice until smooth.

  2. Add additional heavy cream, one teaspoon at a time, until the glaze reaches your desired consistency.

  3. Drizzle the vanilla bean glaze generously over the warm cinnamon rolls and serve immediately.

Amanda's Tip

Make them the night before! After shaping the cinnamon rolls and placing them in the baking dish, cover tightly and refrigerate overnight instead of completing the second rise.

On Christmas morning, remove the rolls from the refrigerator and allow them to sit at room temperature for approximately 60–90 minutes, or until visibly puffy.

Bake as directed, then finish with the vanilla bean glaze.

It's one of my favorite ways to make Christmas morning feel a little easier while still serving something homemade and special.
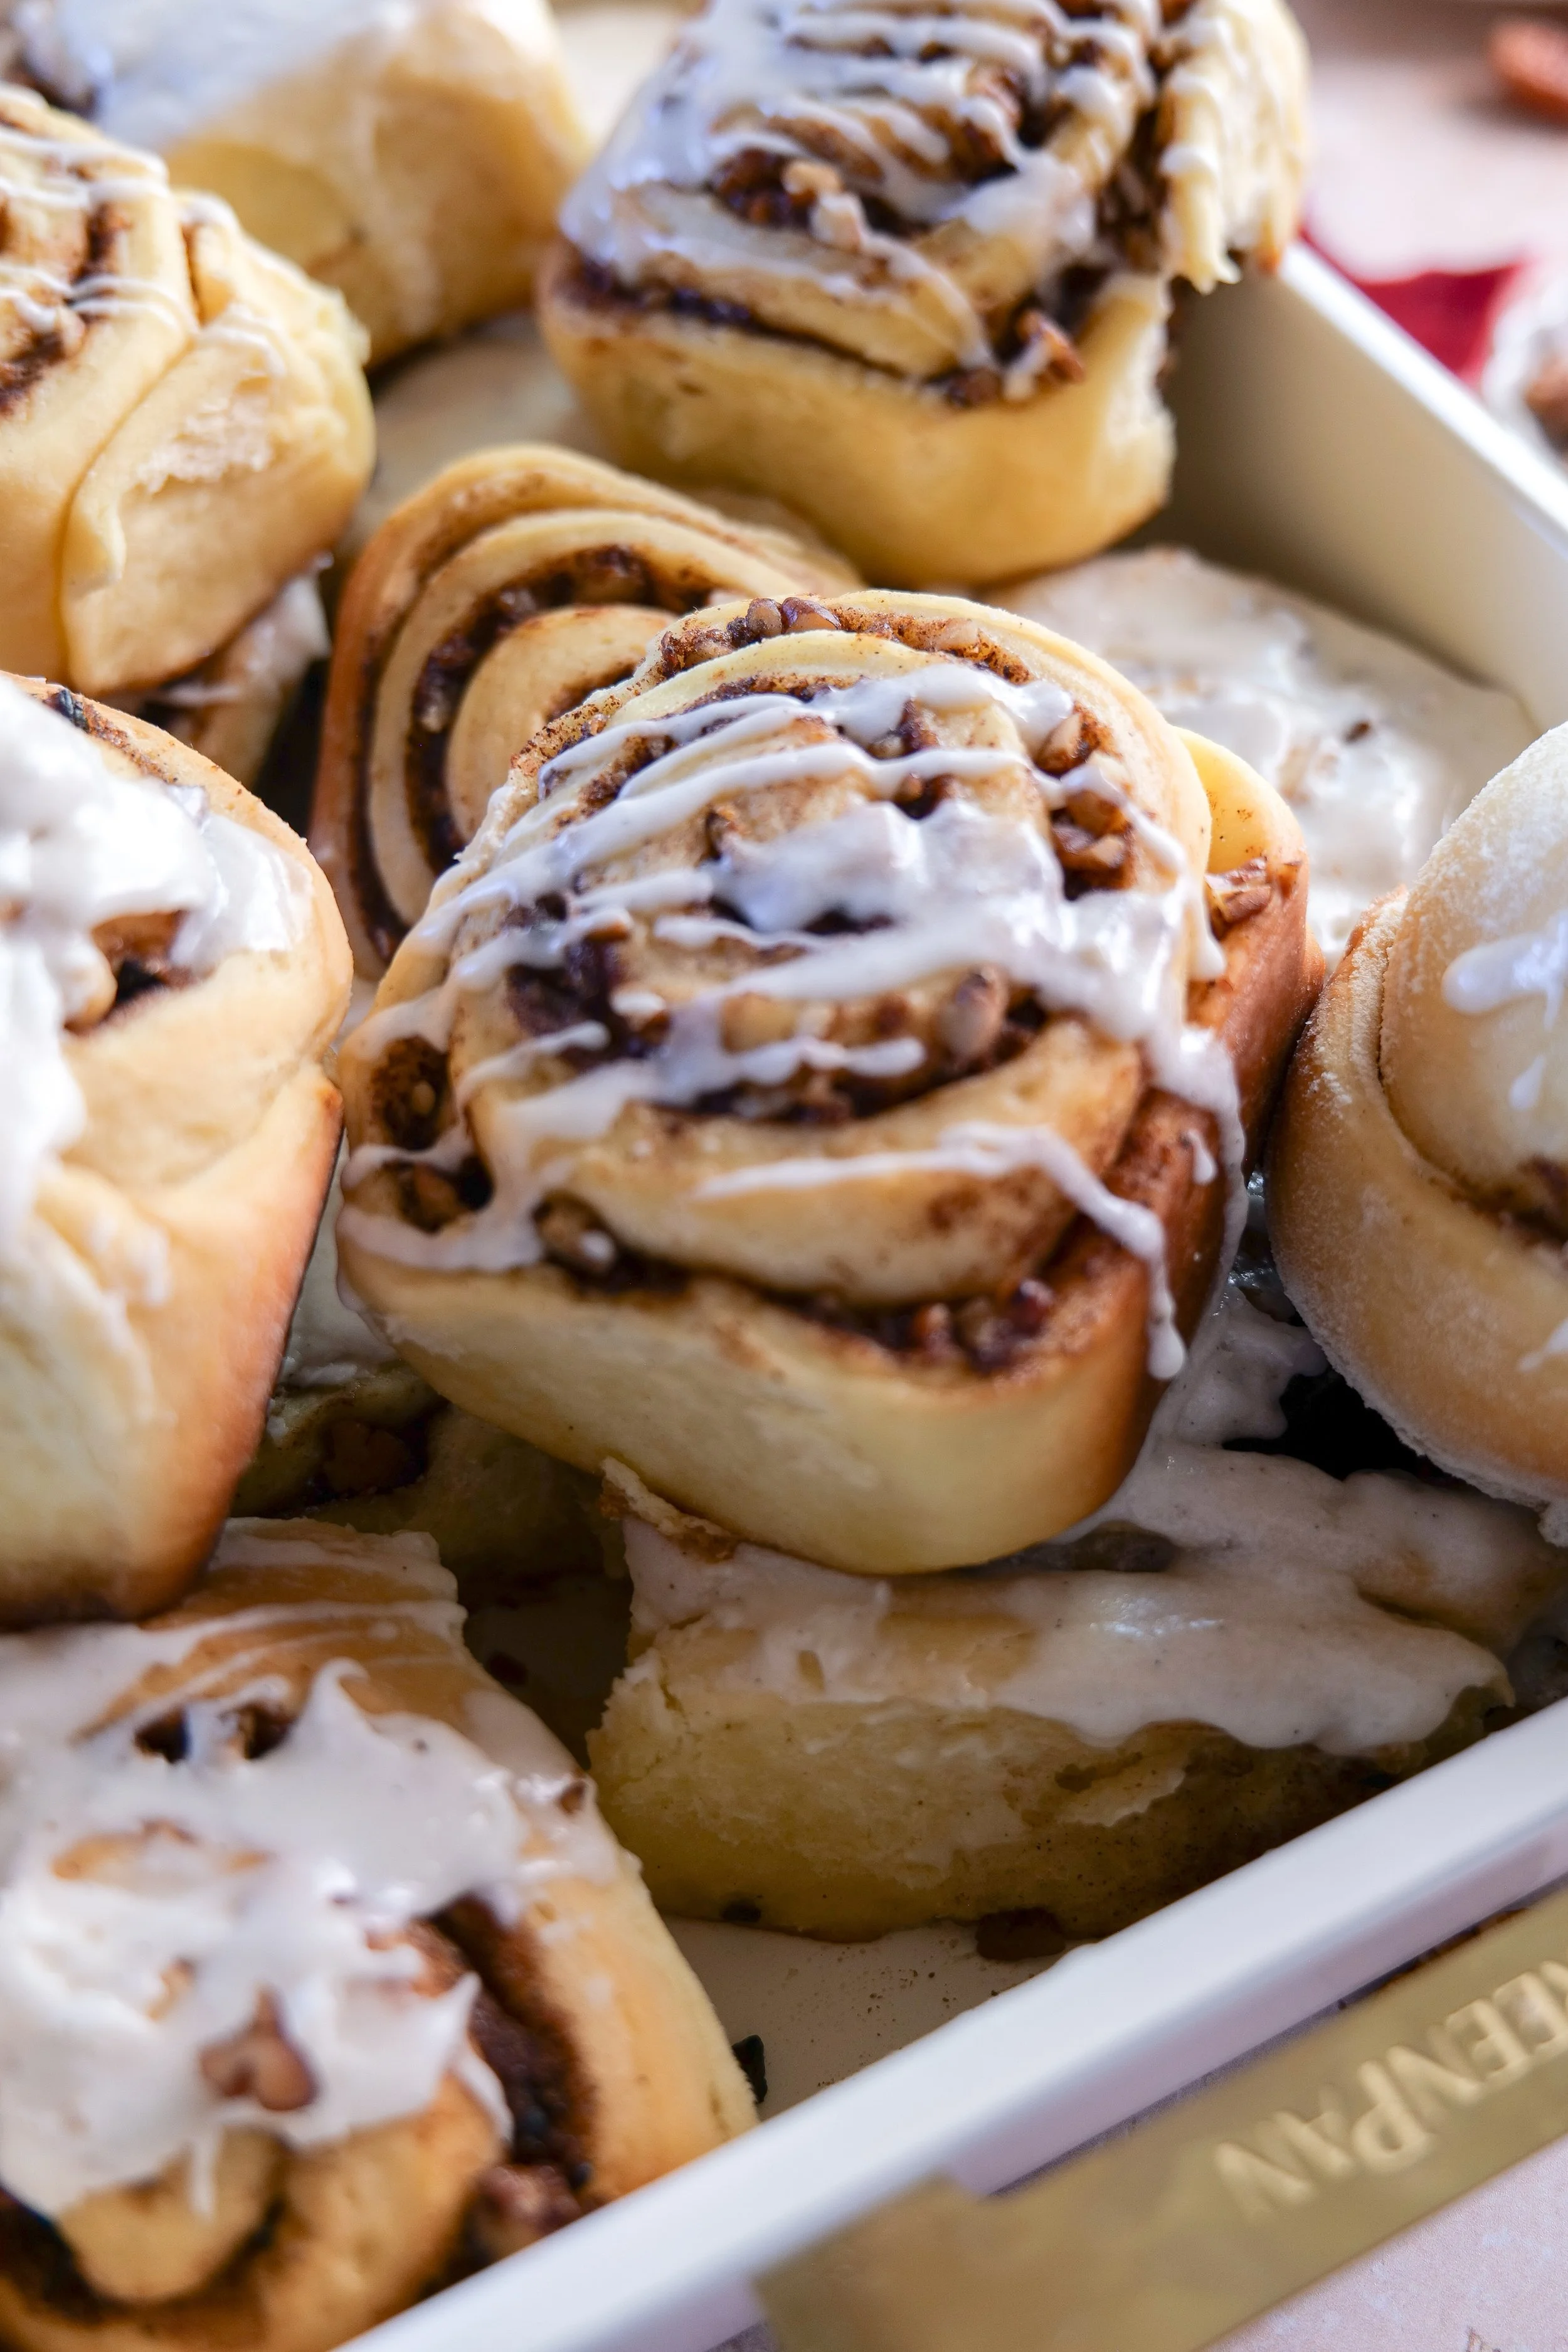
Freshly baked brown butter orange pecan cinnamon rolls topped with vanilla bean glaze.

A Note From Amanda

The older I get, the more I realize that some of the sweetest holiday memories come from the simplest traditions.

A favorite recipe, a familiar smell coming from the kitchen, everyone still in their pajamas, and the excitement of Christmas morning unfolding around us.

I love thinking about the recipes my children will remember from growing up. The ones they'll ask for every year, the ones they'll eventually help make, and maybe even the ones they'll carry into their own homes someday.

I hope these cinnamon rolls become one of those special traditions for your family, too.

Made with love for the people you love.

Amanda
Close-up of soft orange pecan cinnamon rolls with cinnamon swirls and creamy vanilla bean glaze.
Homemade orange pecan cinnamon rolls with vanilla bean glaze ready to serve for Christmas morning breakfast.
Vanilla bean glaze covering the cinnamon swirls of homemade brown butter orange pecan rolls.

Brown Butter Herb Corn on the Cob (Easy Stovetop Summer Recipe)

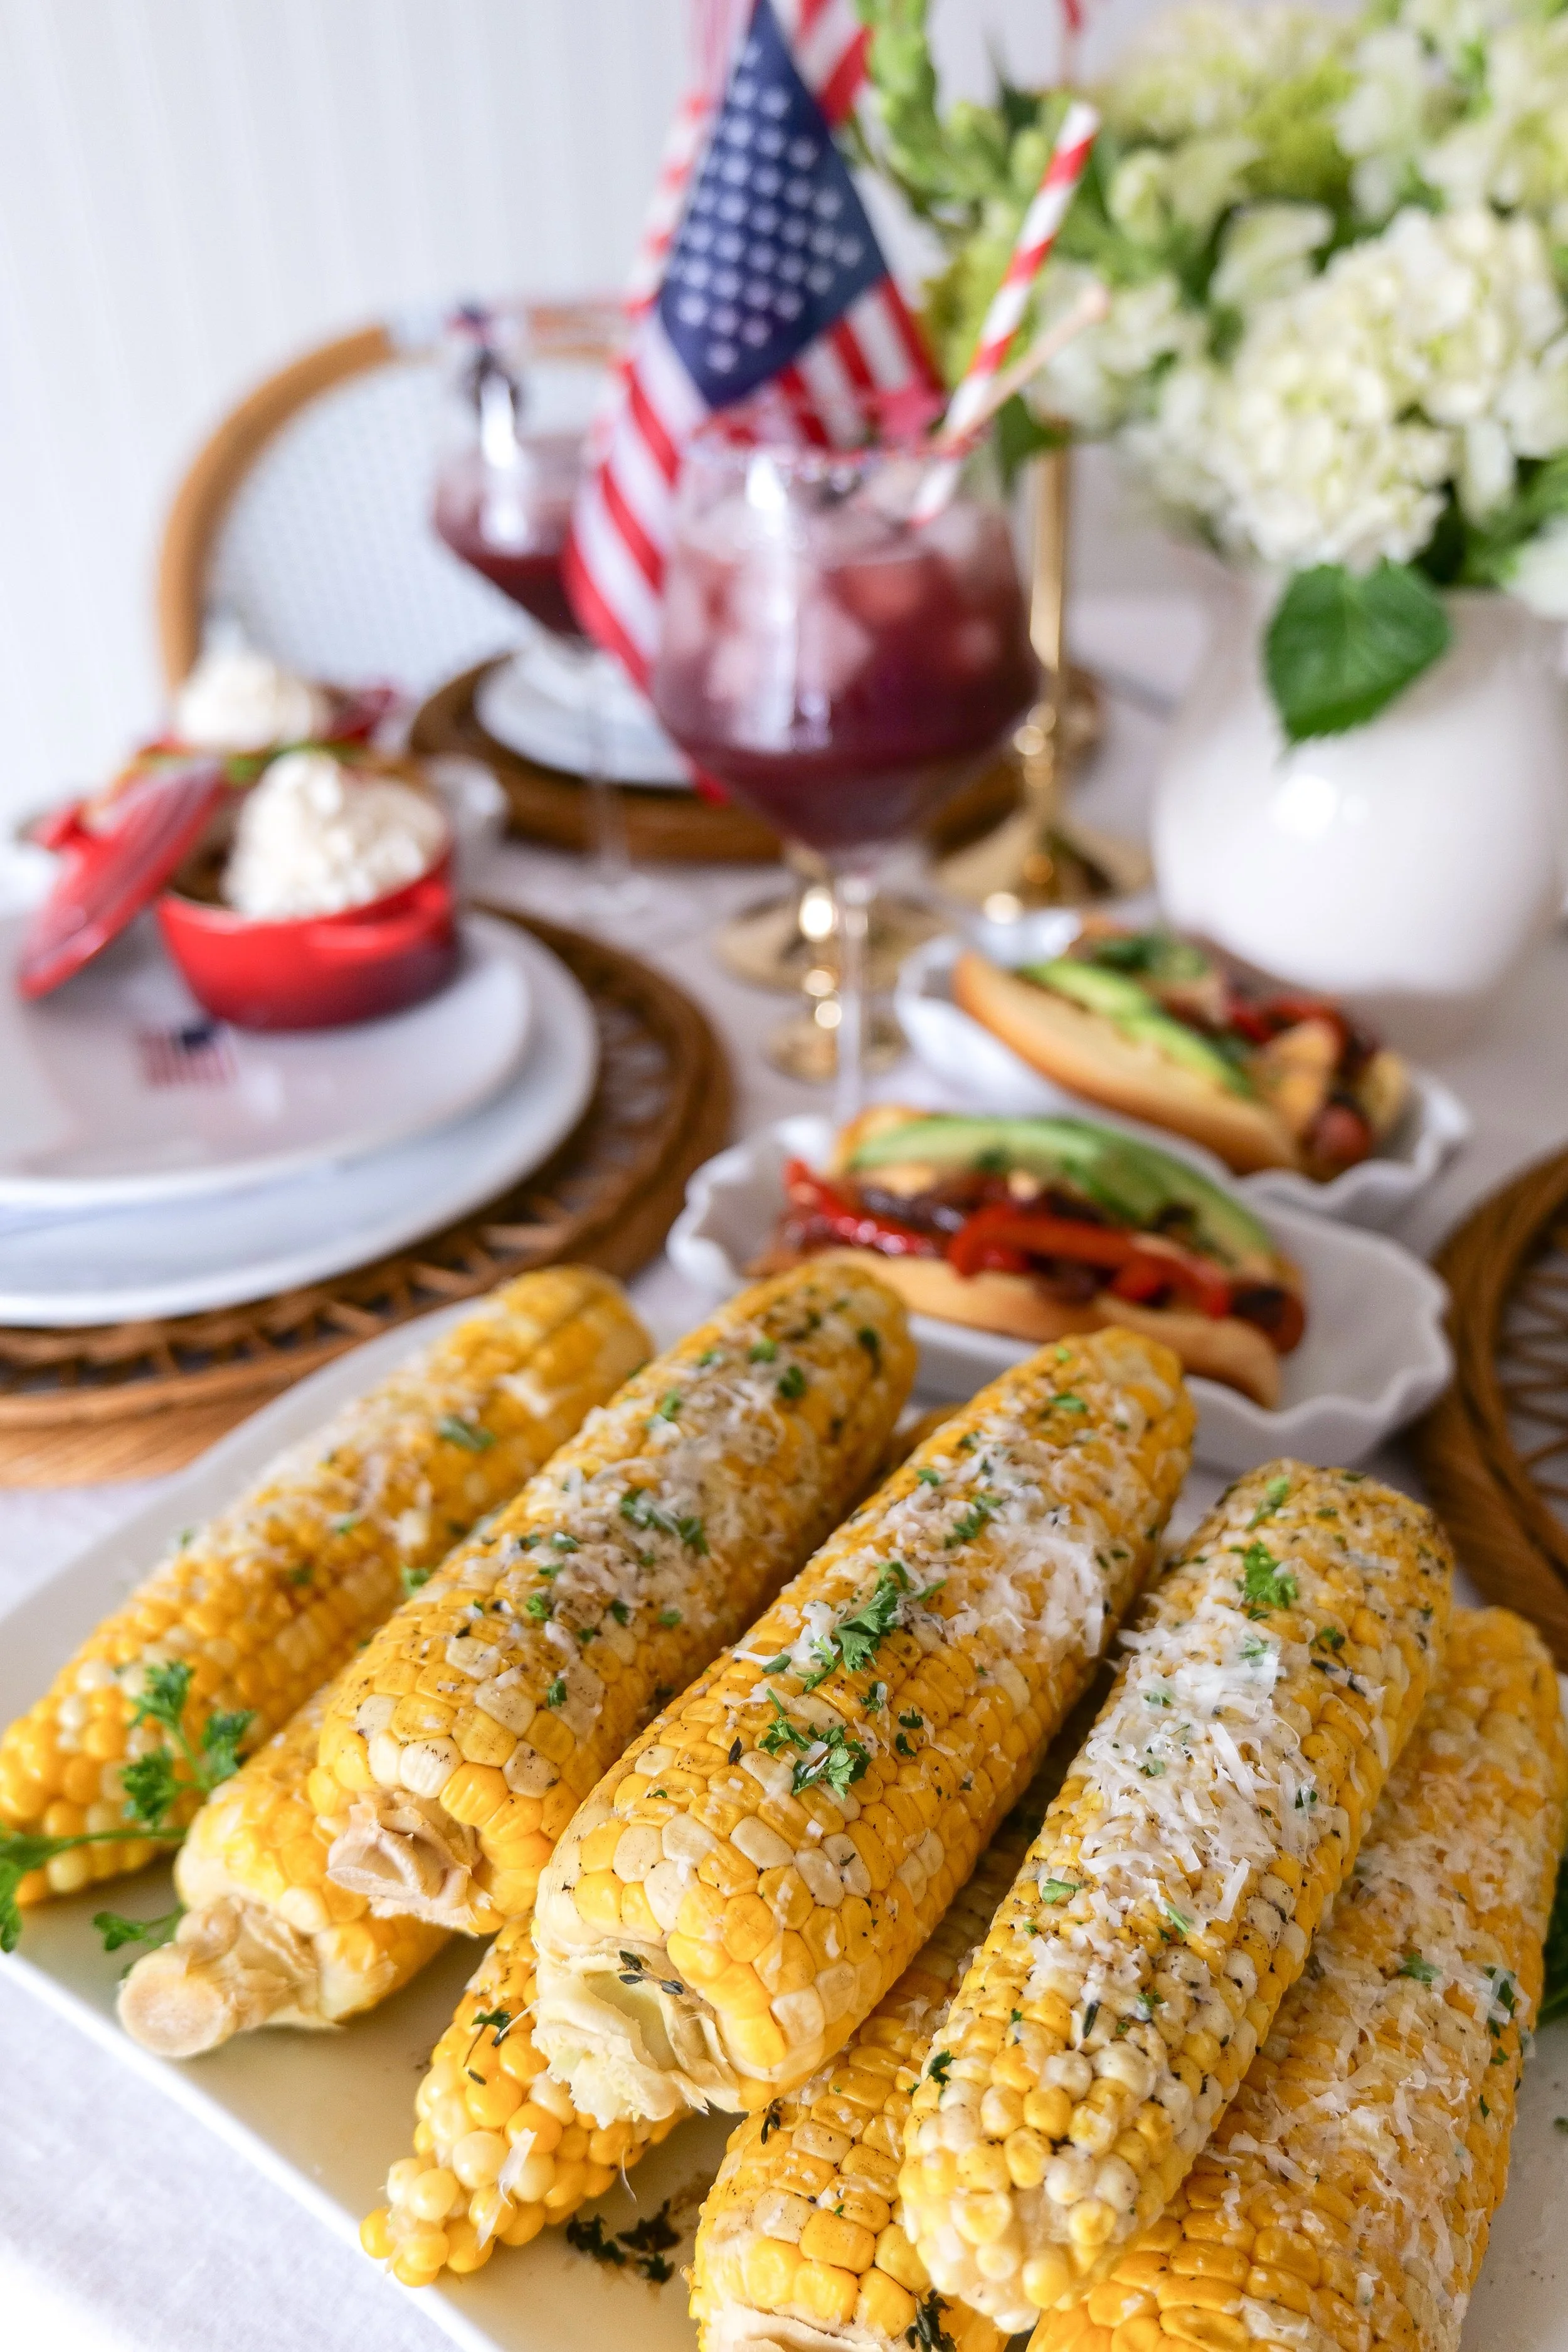
There’s something about corn on the cob during the summertime that instantly feels nostalgic. From backyard BBQs and pool days to fireworks and late summer dinners outside, corn on the cob is one of those classic American side dishes that always belongs on the table.

Americana summer corn recipe for holiday entertaining
↓ Skip to Recipe
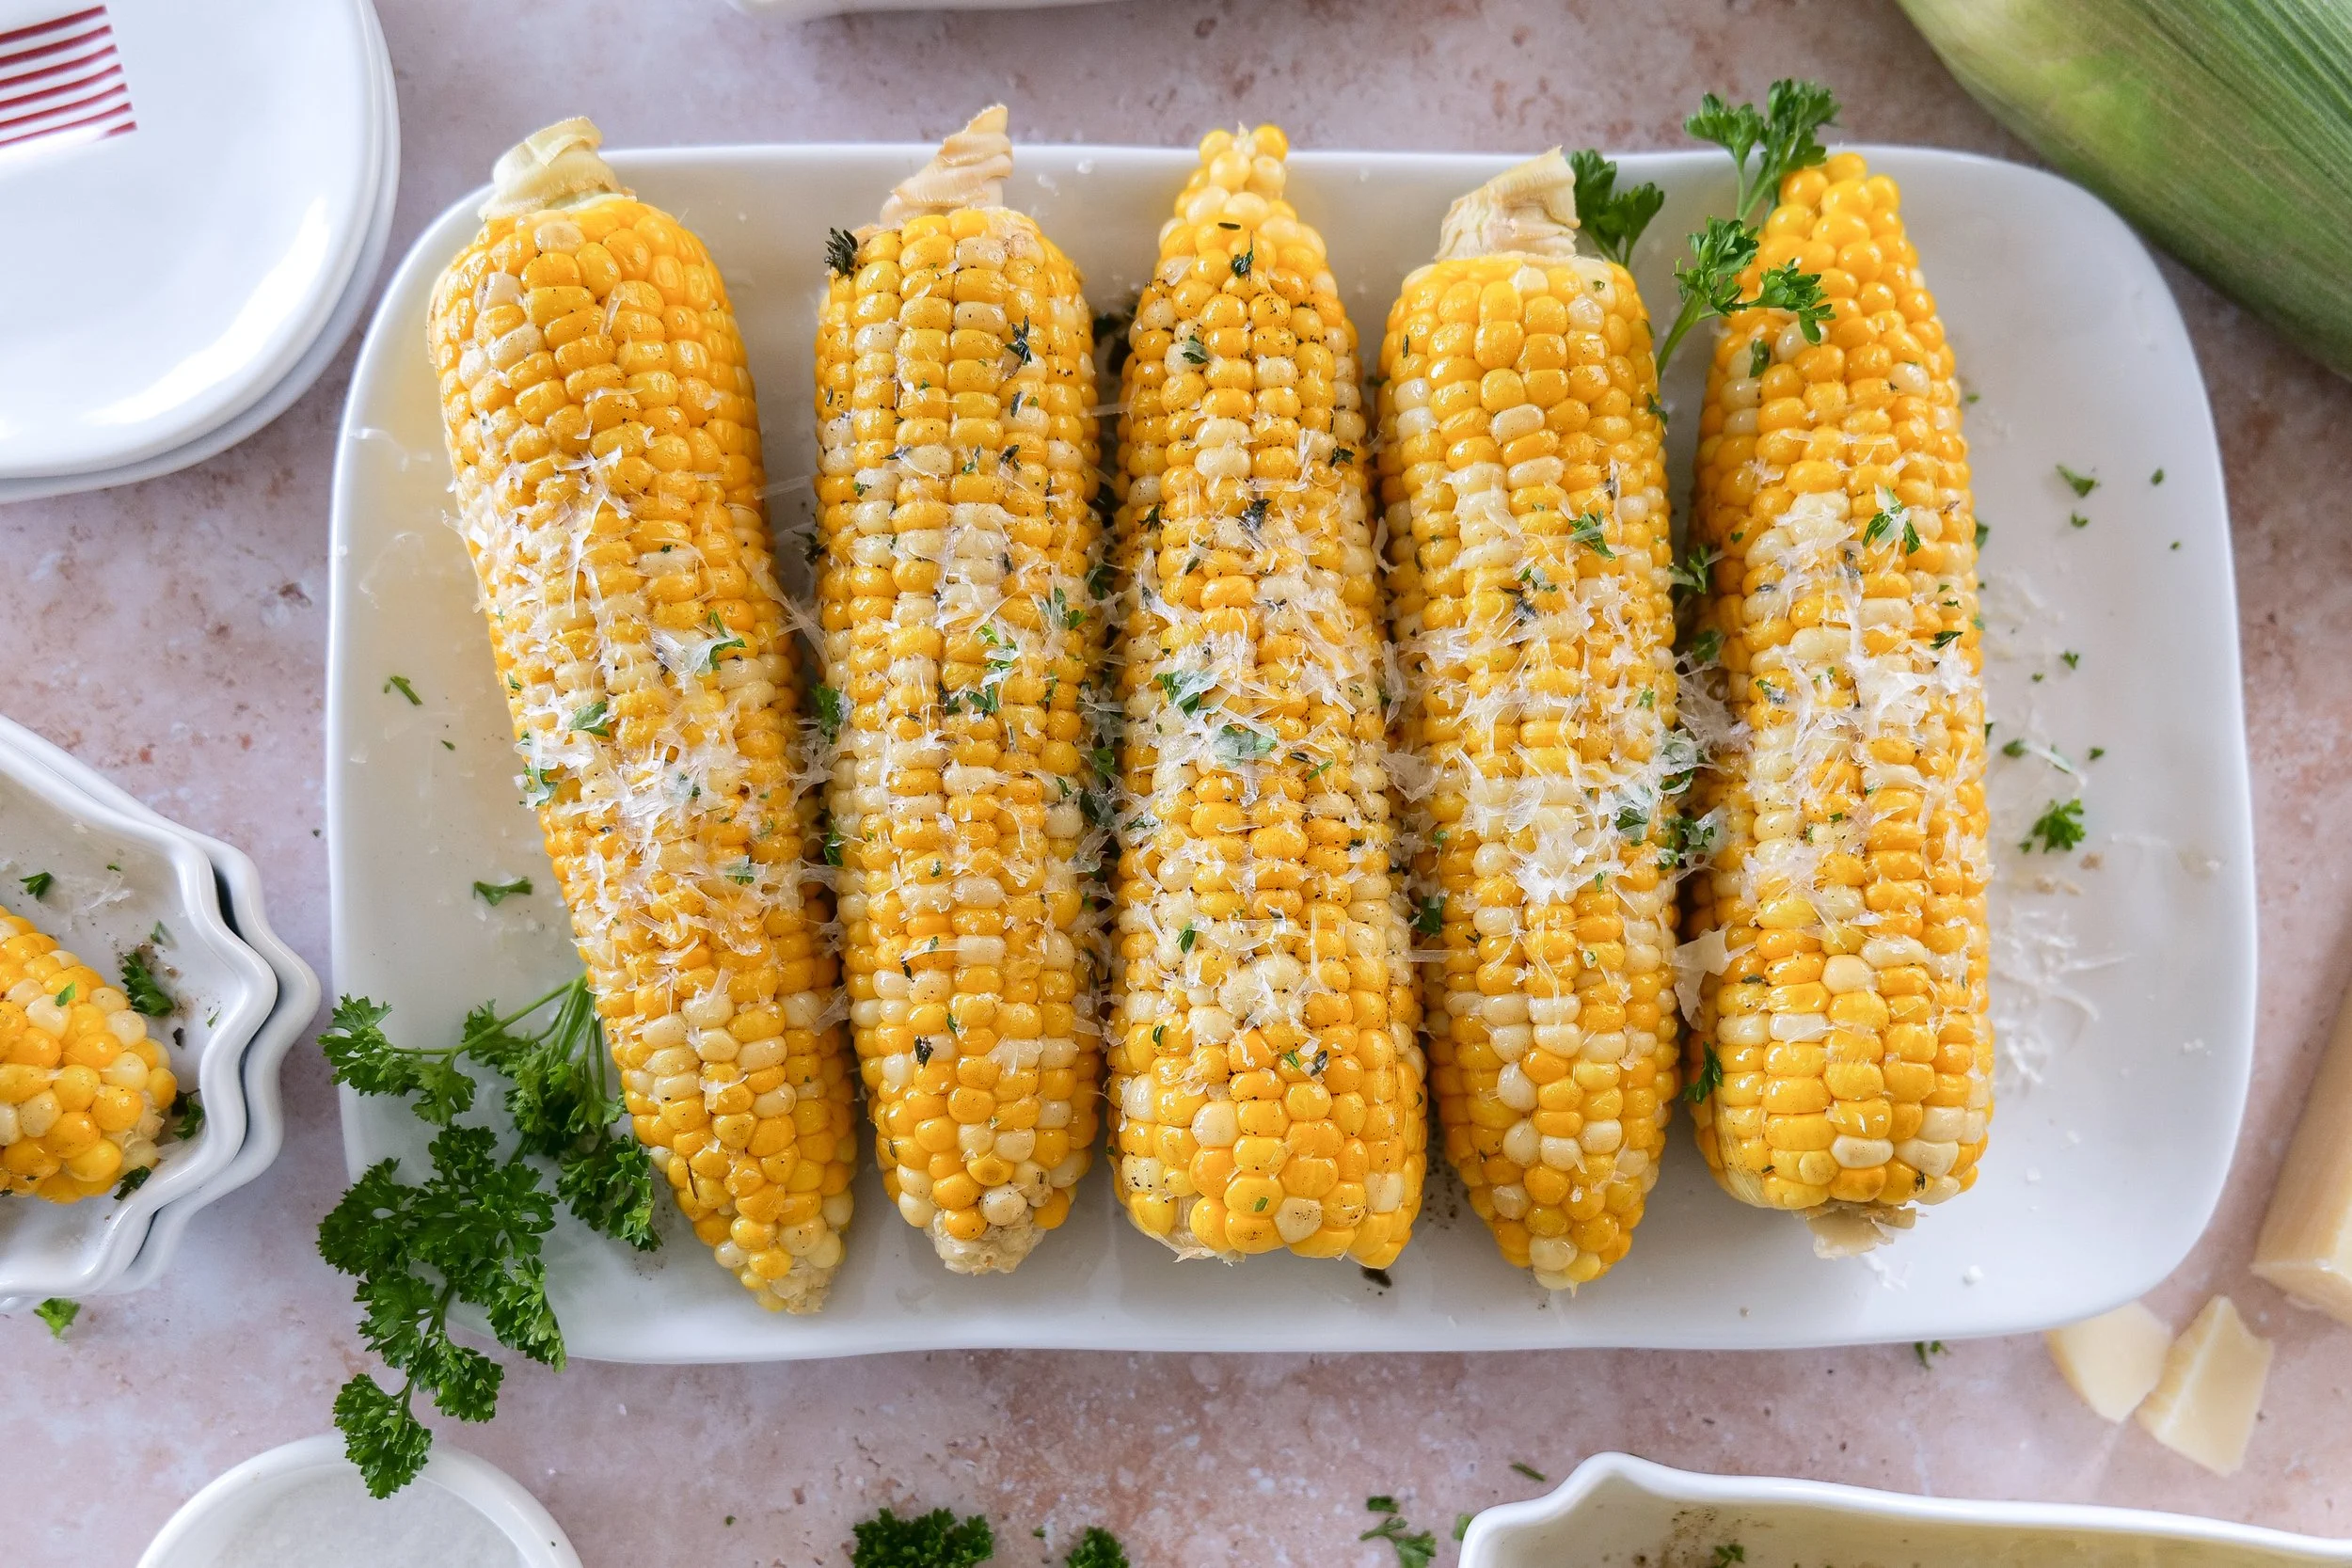
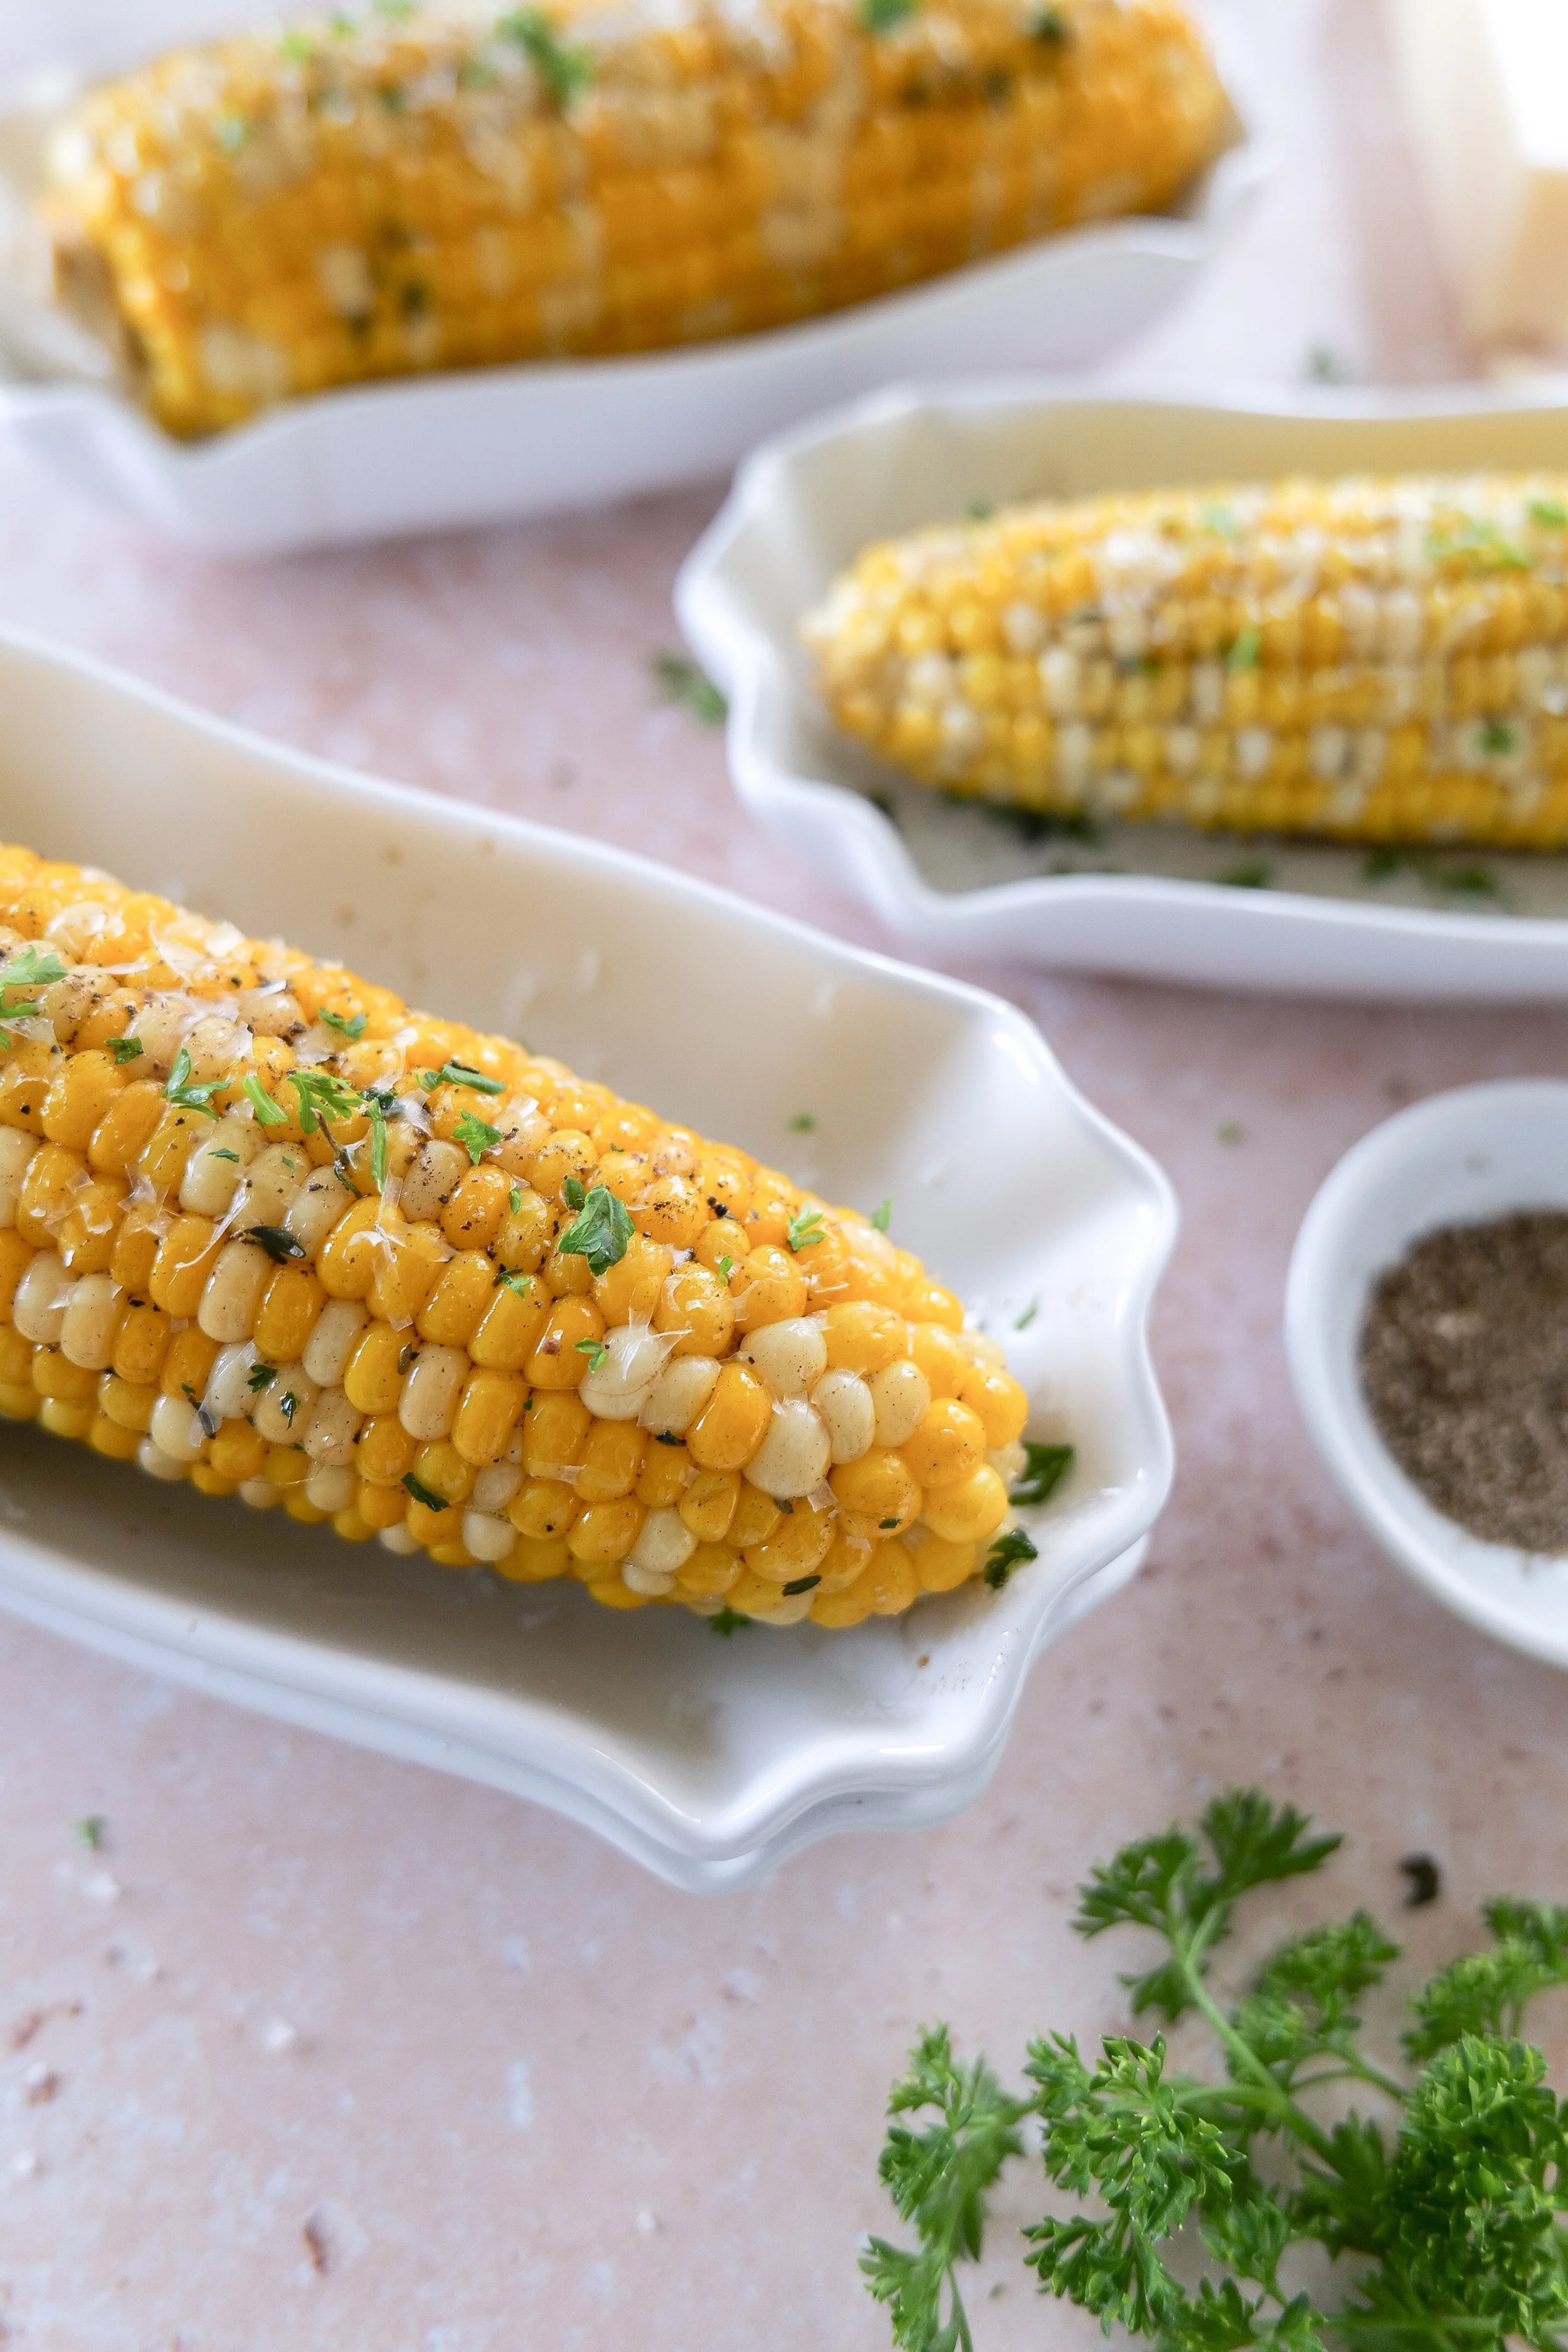
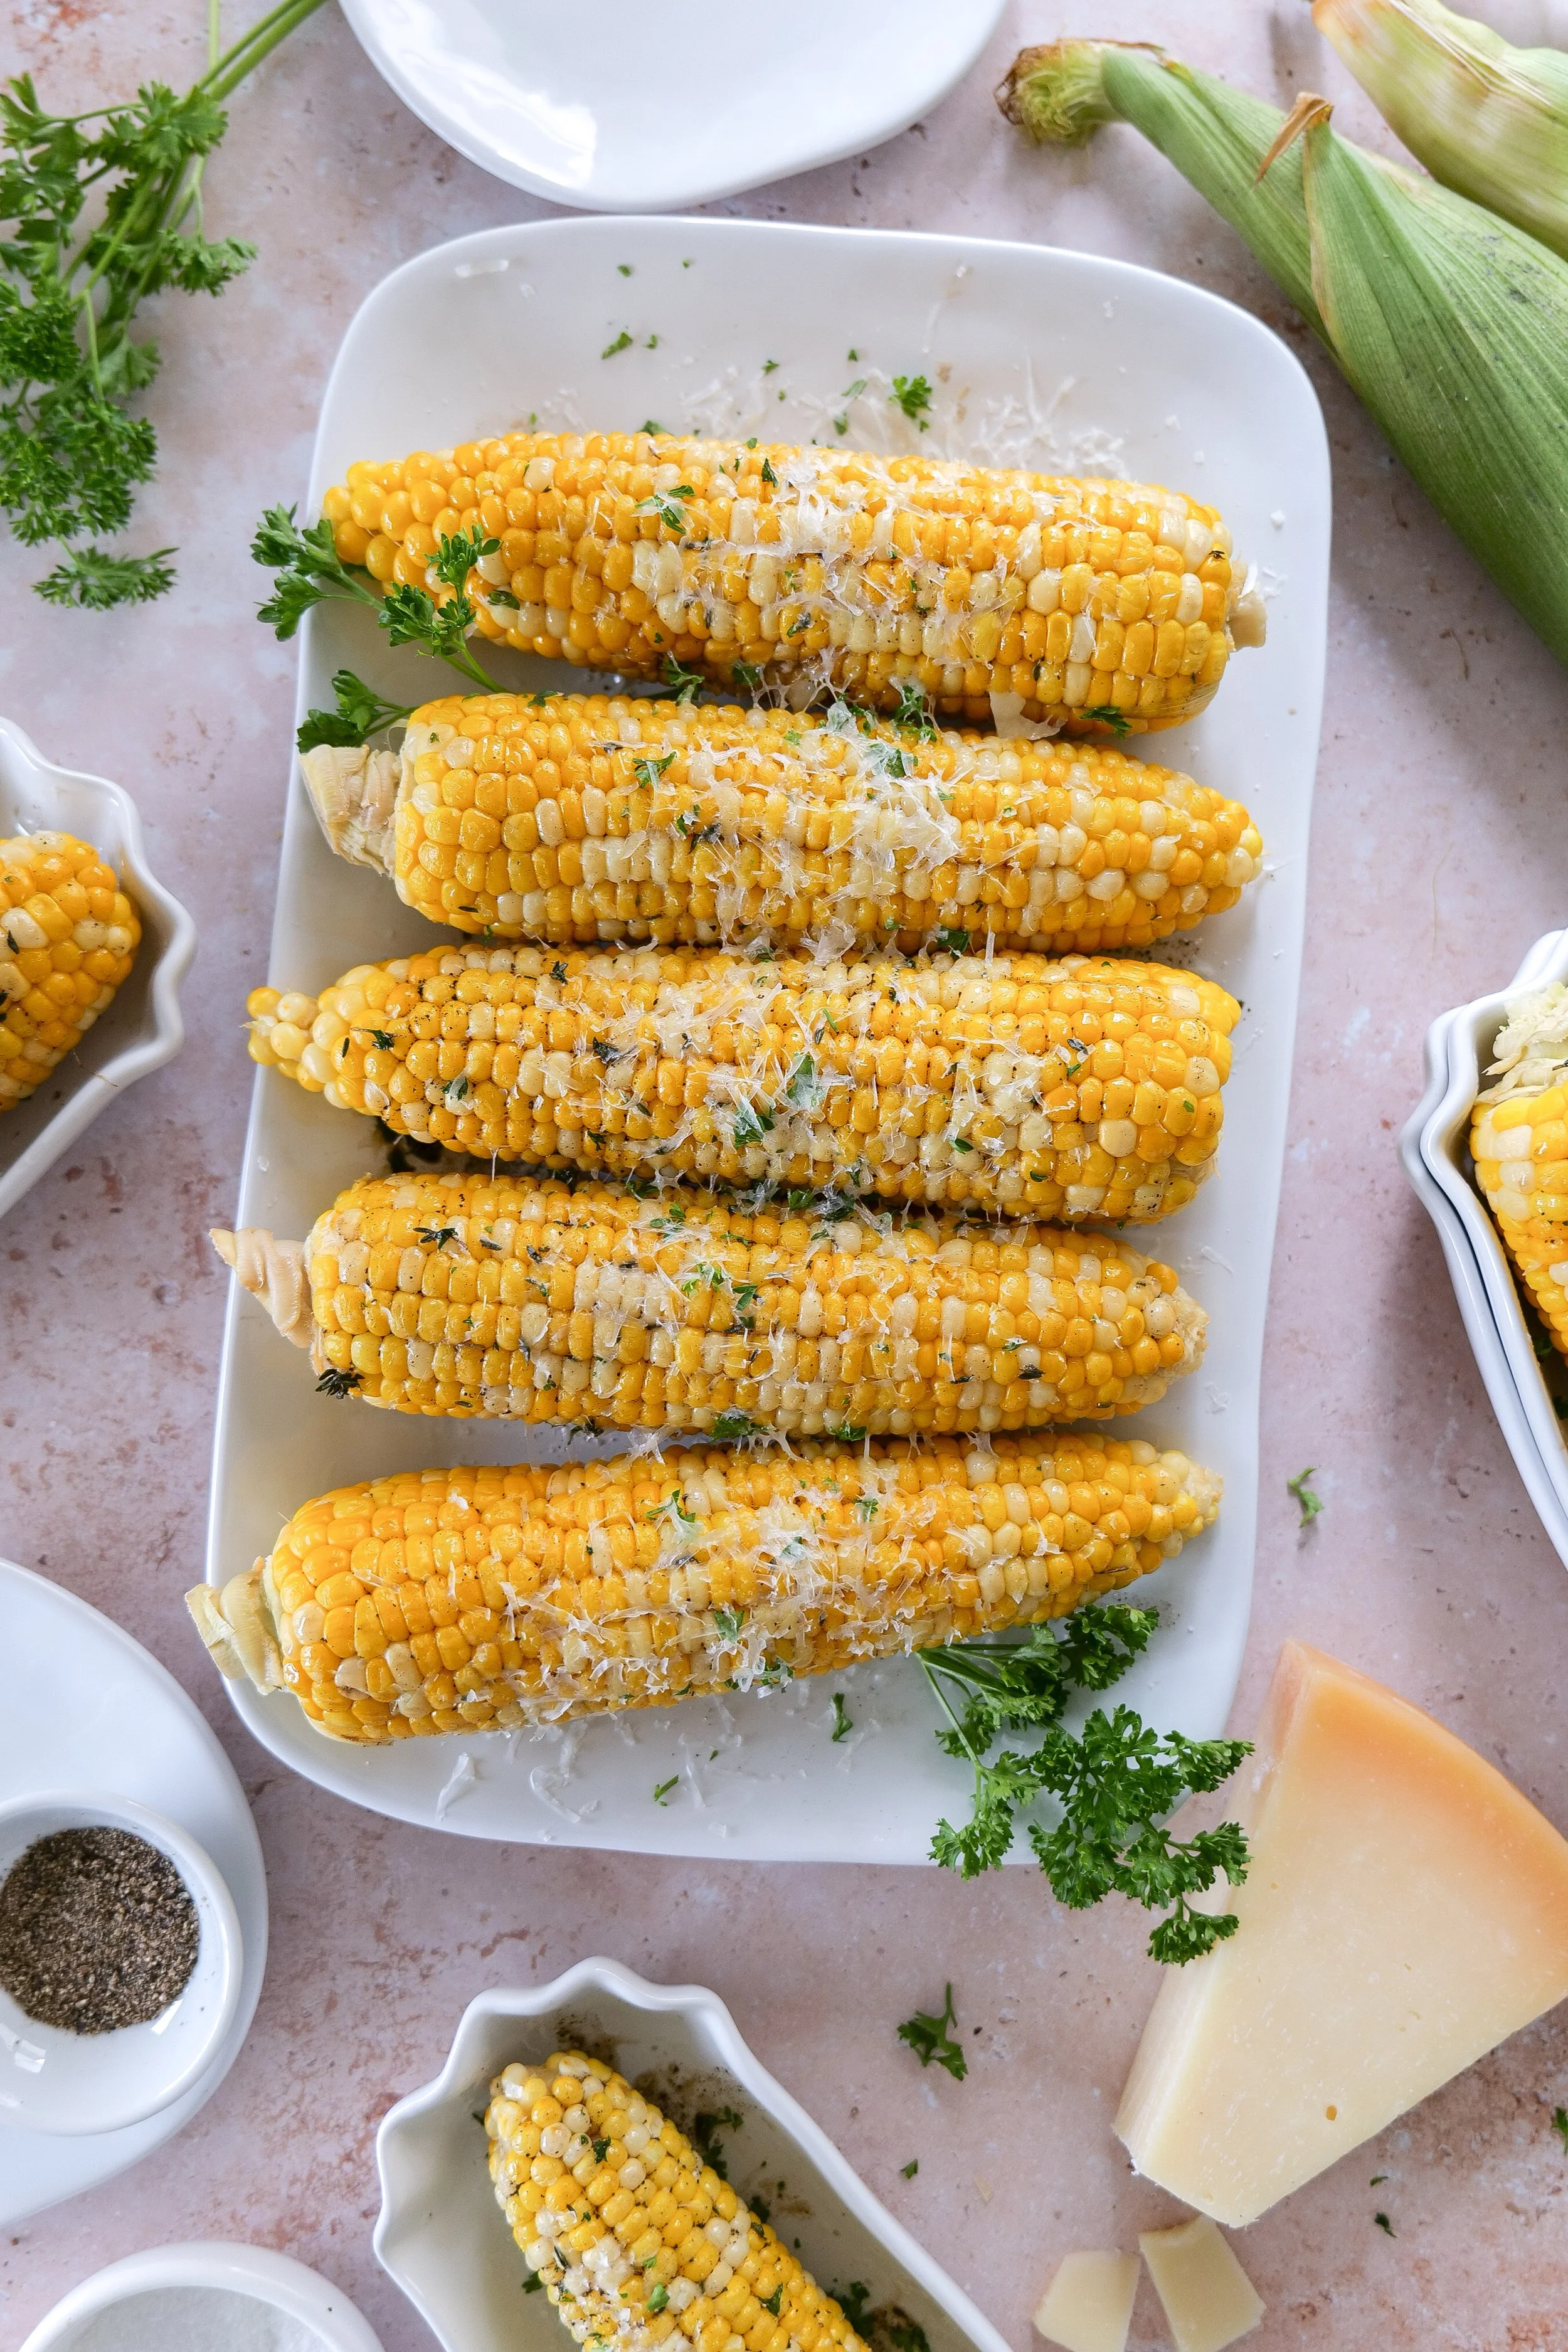
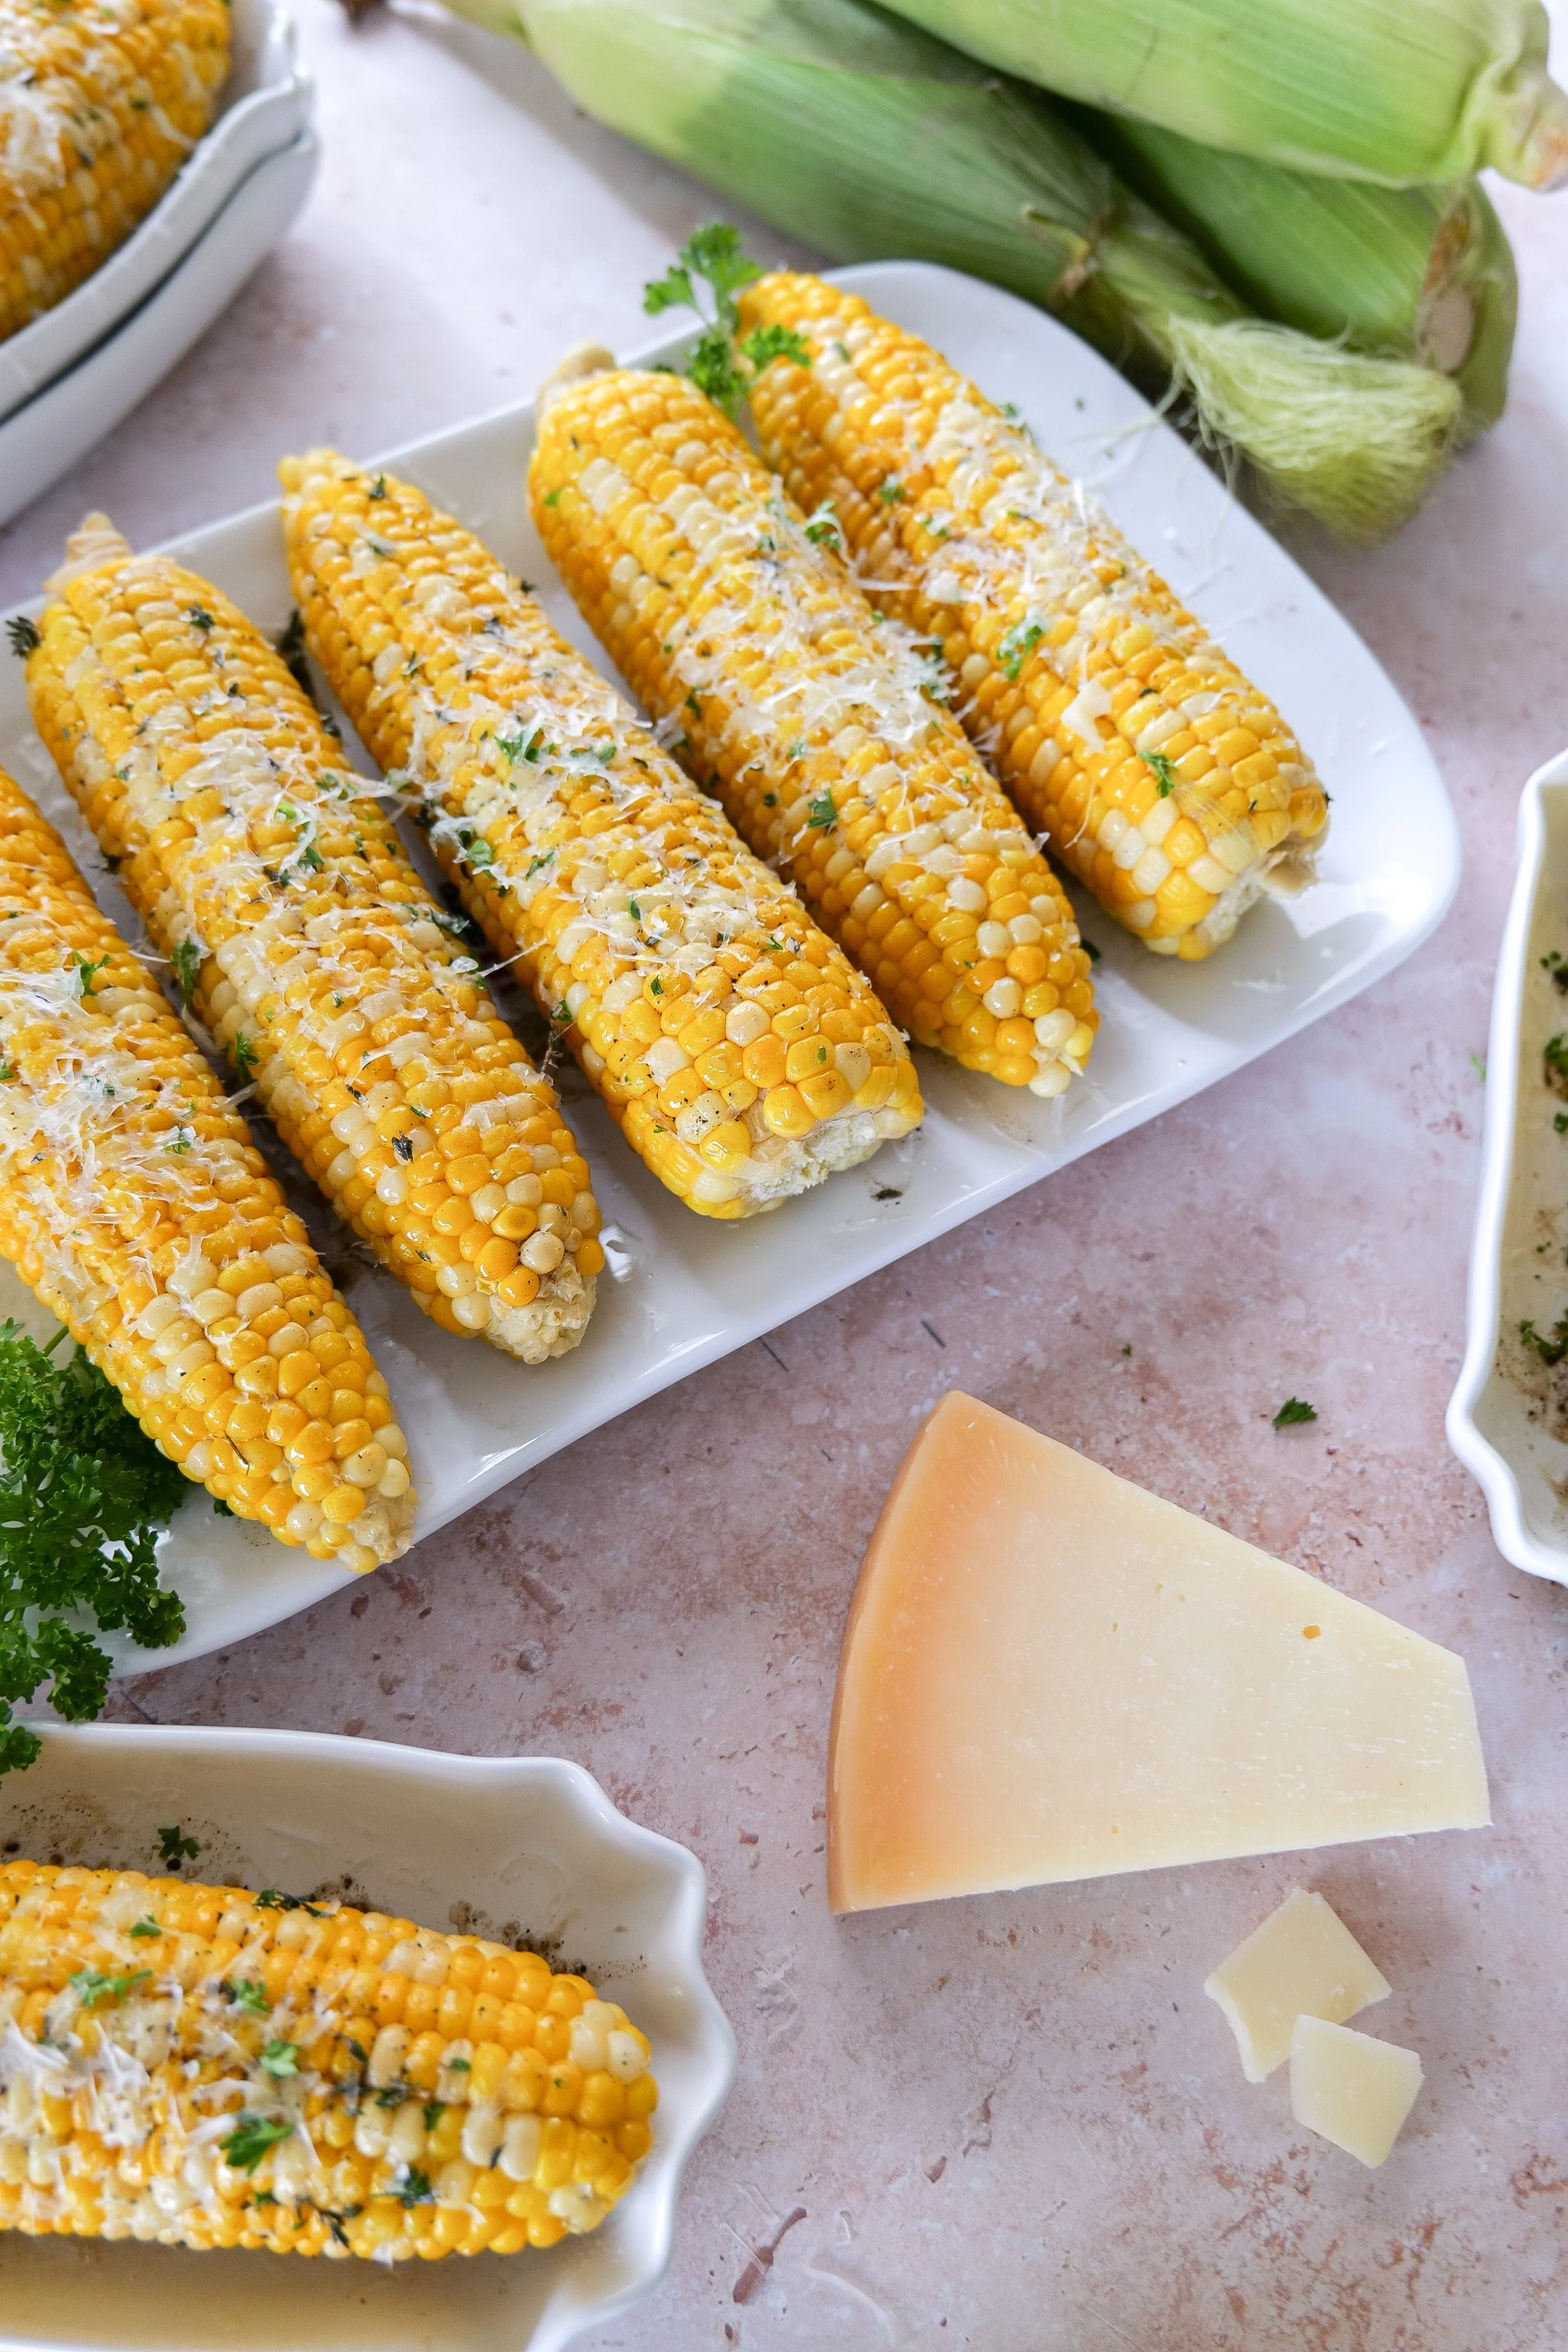
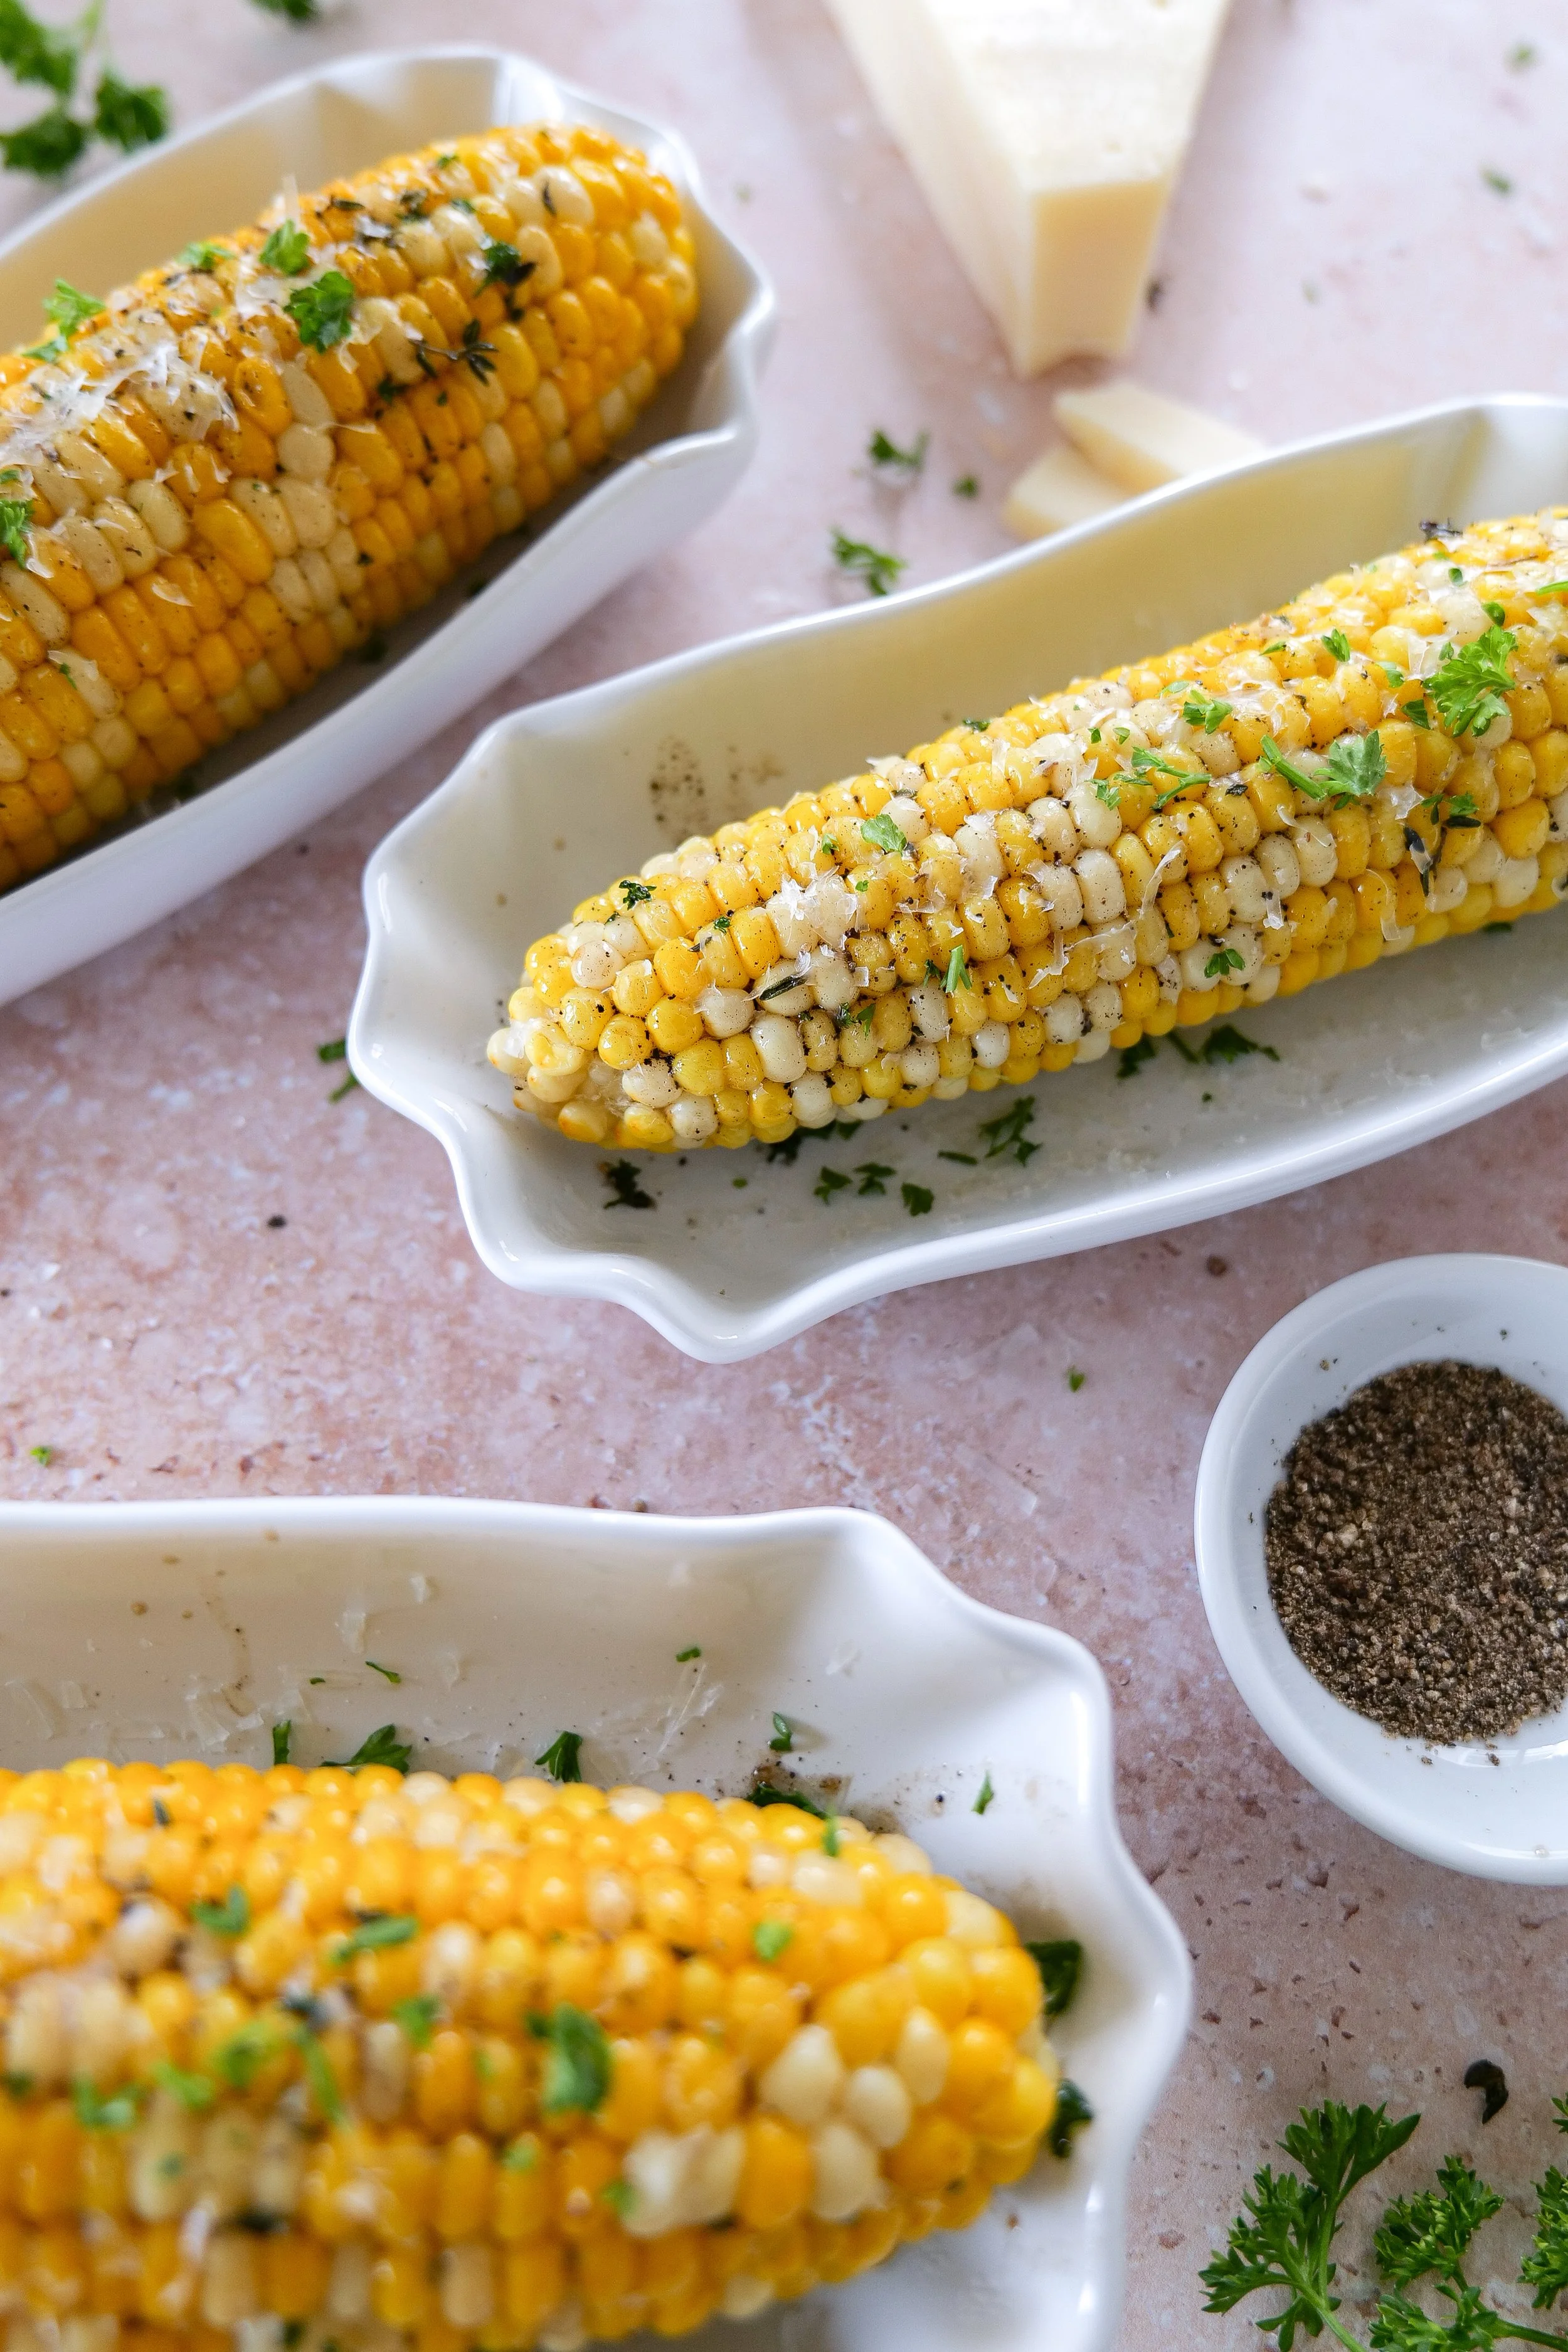
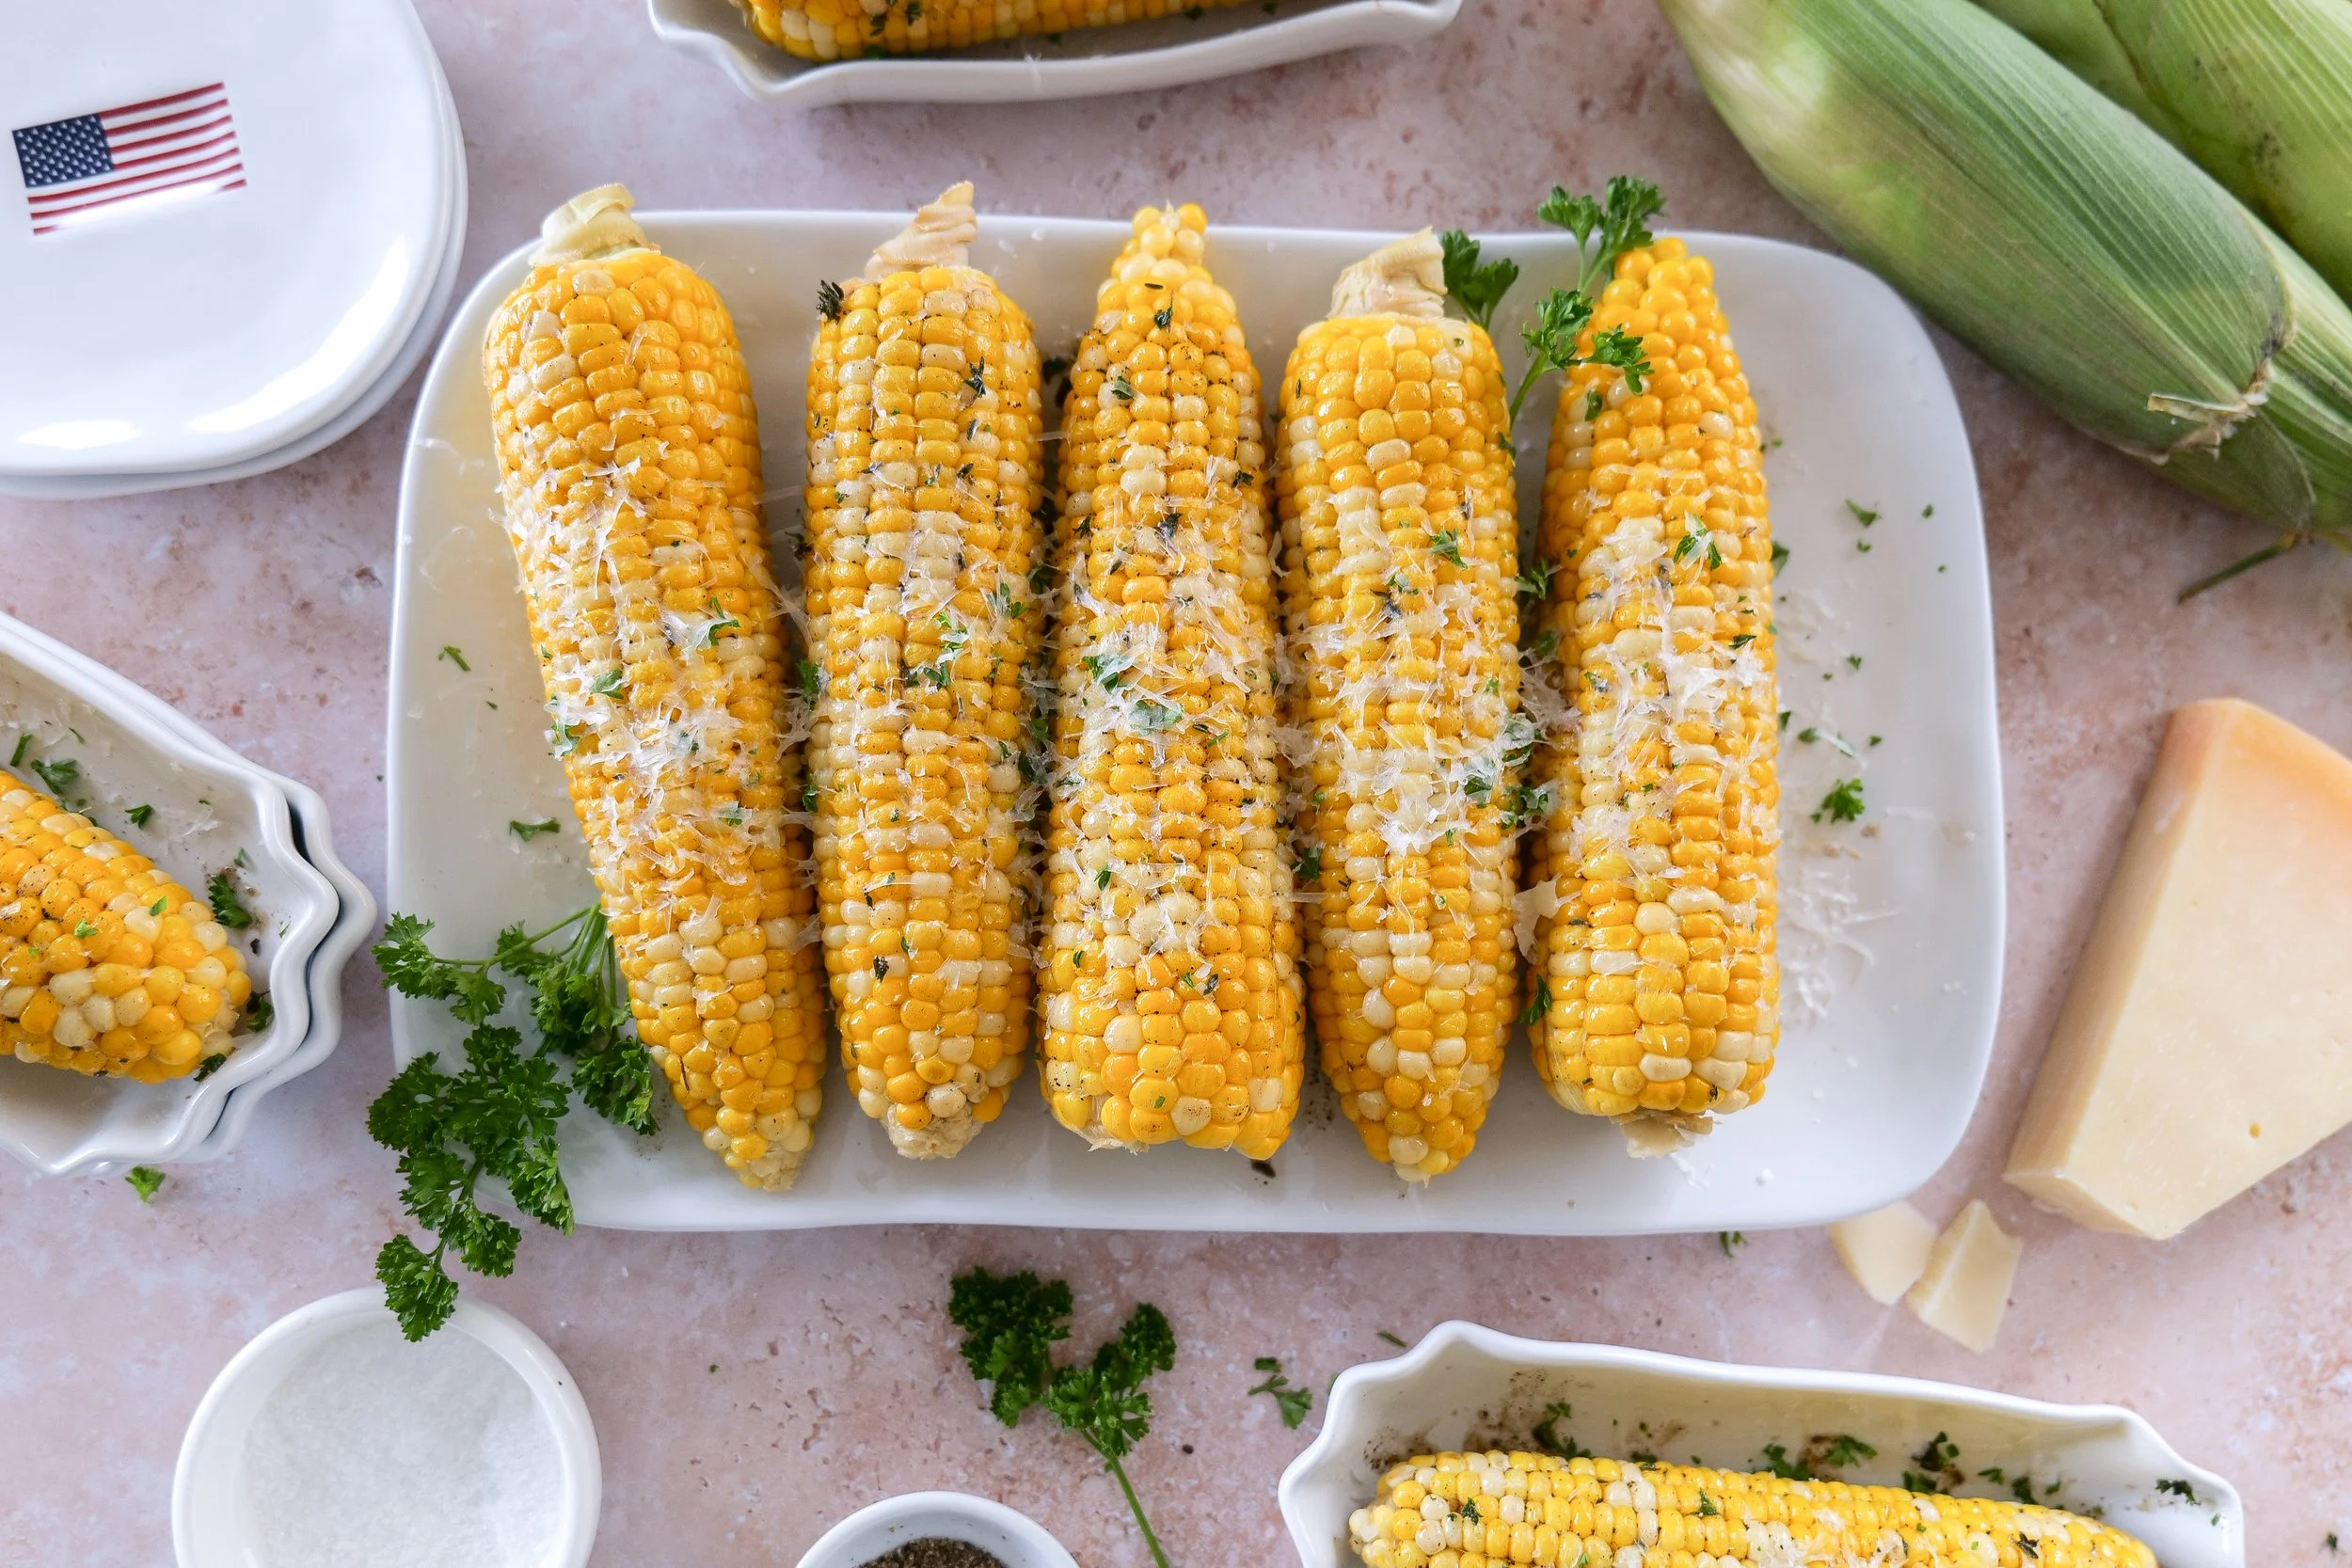
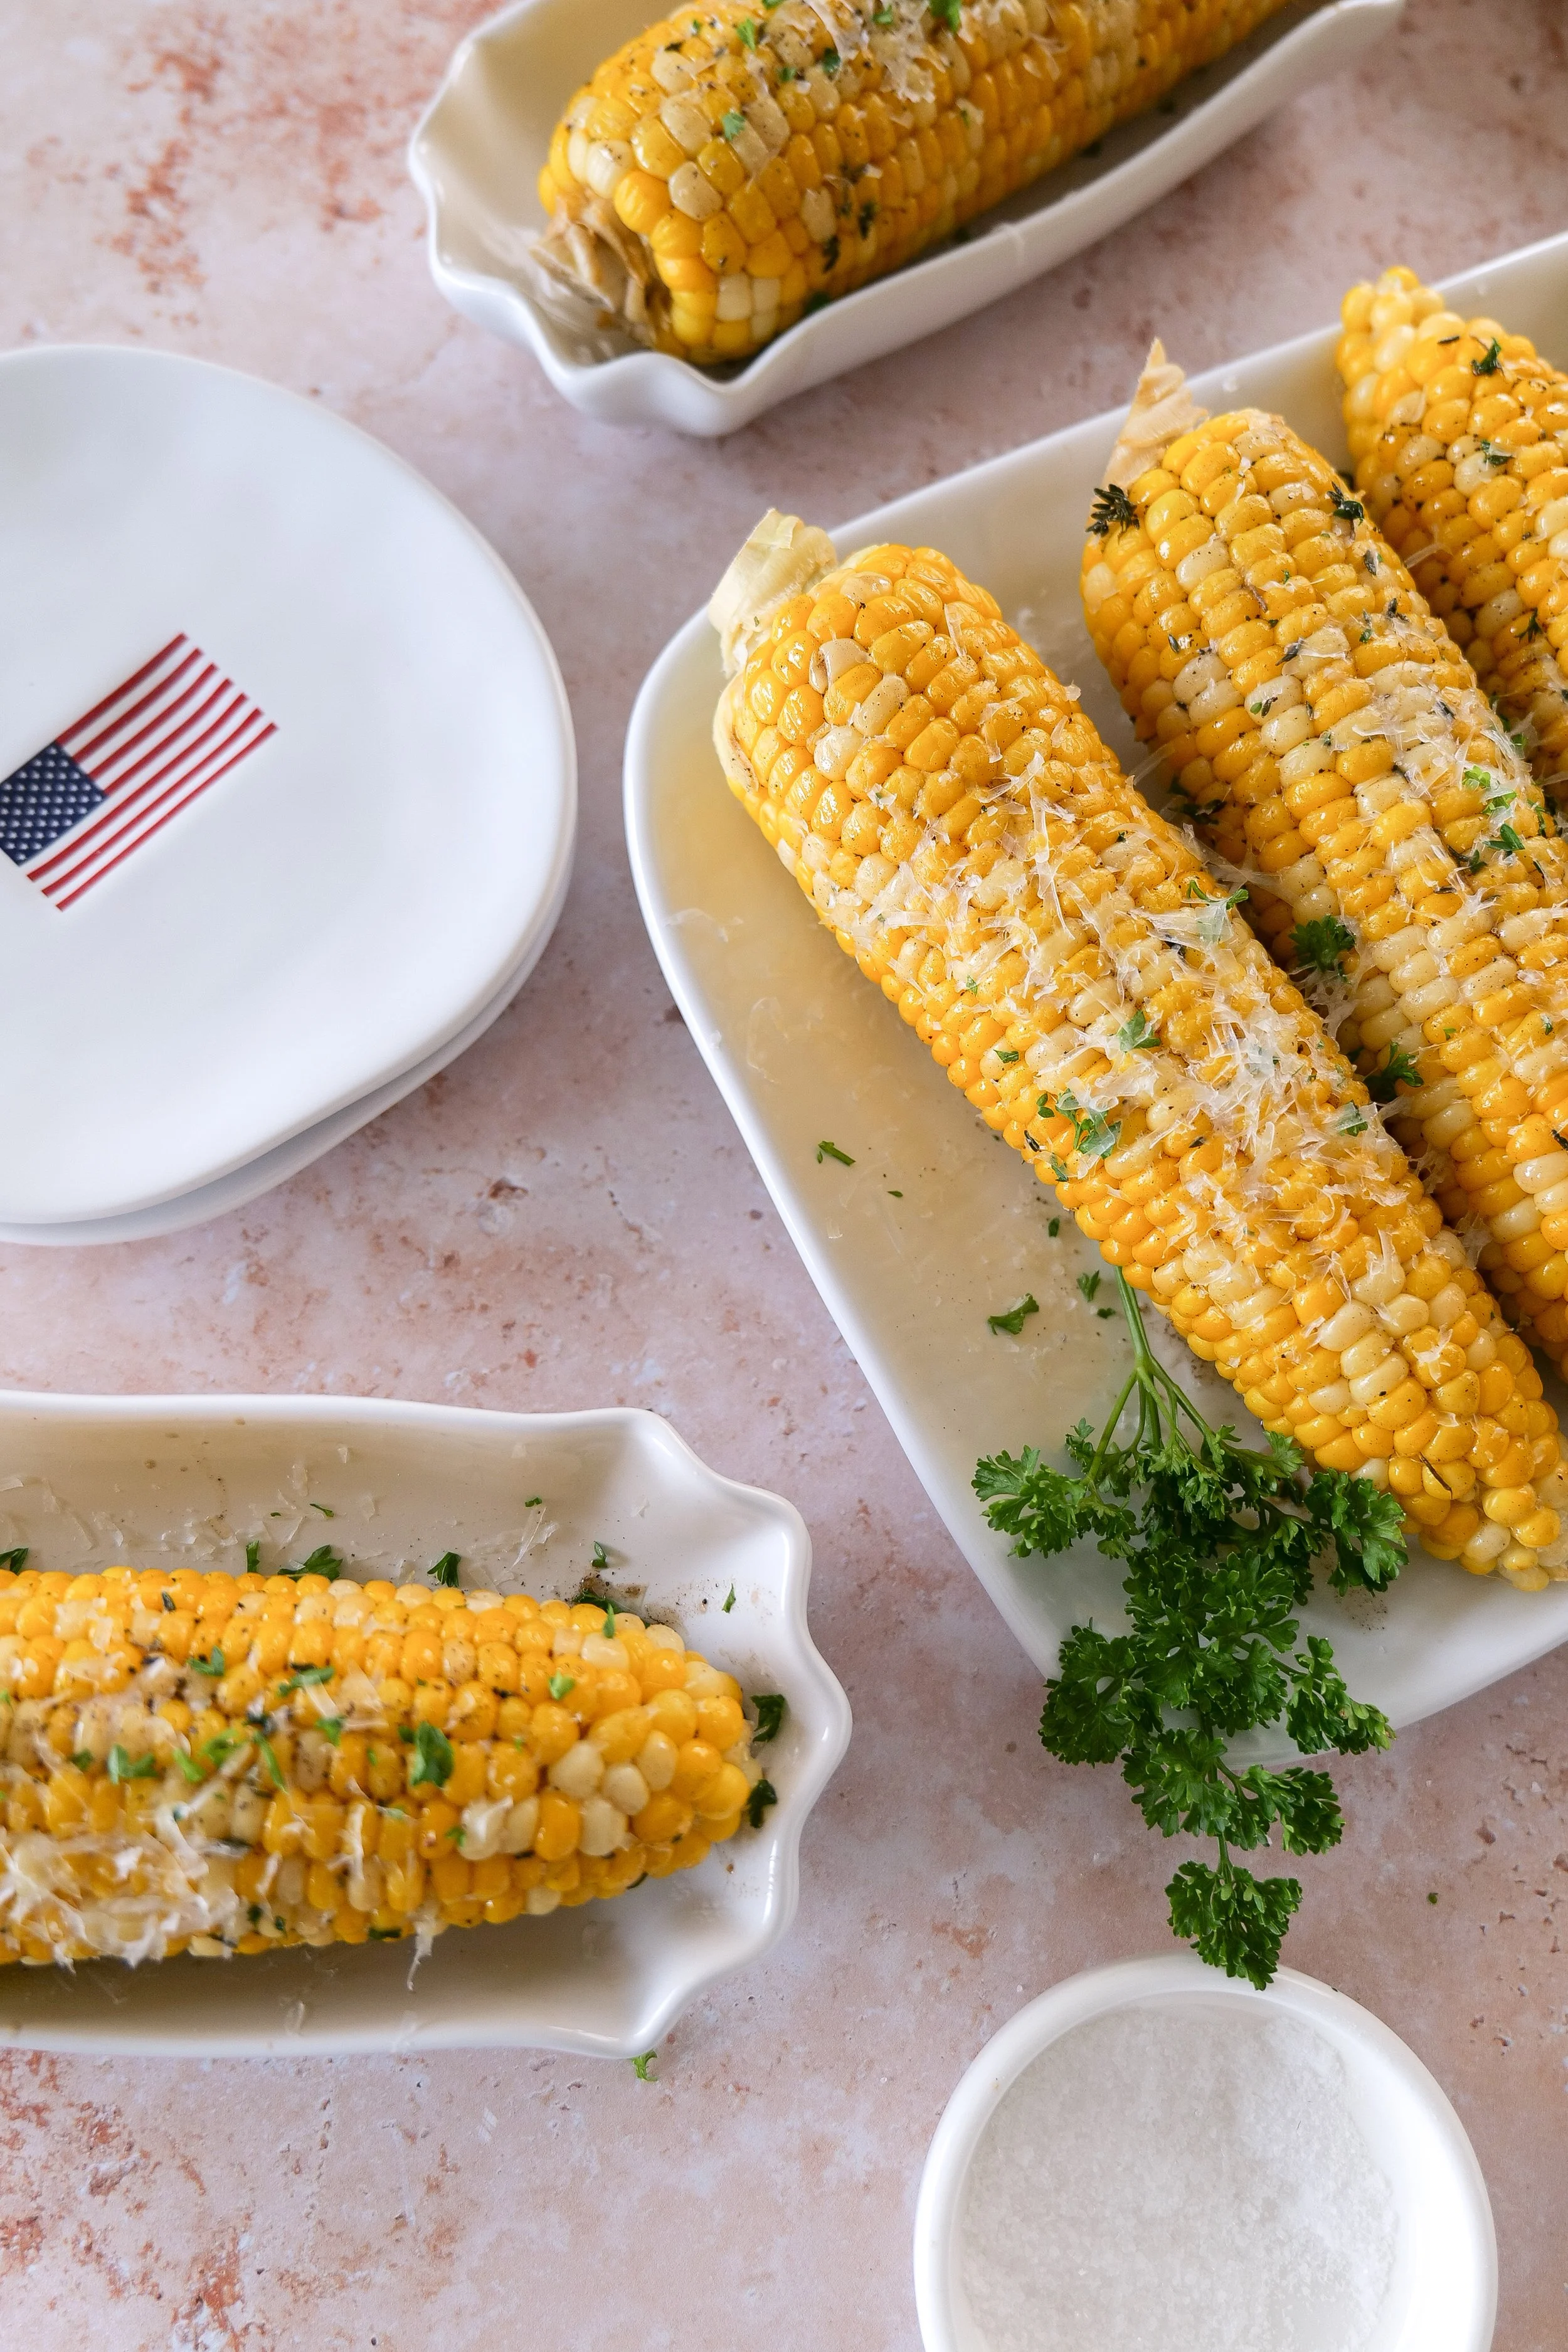
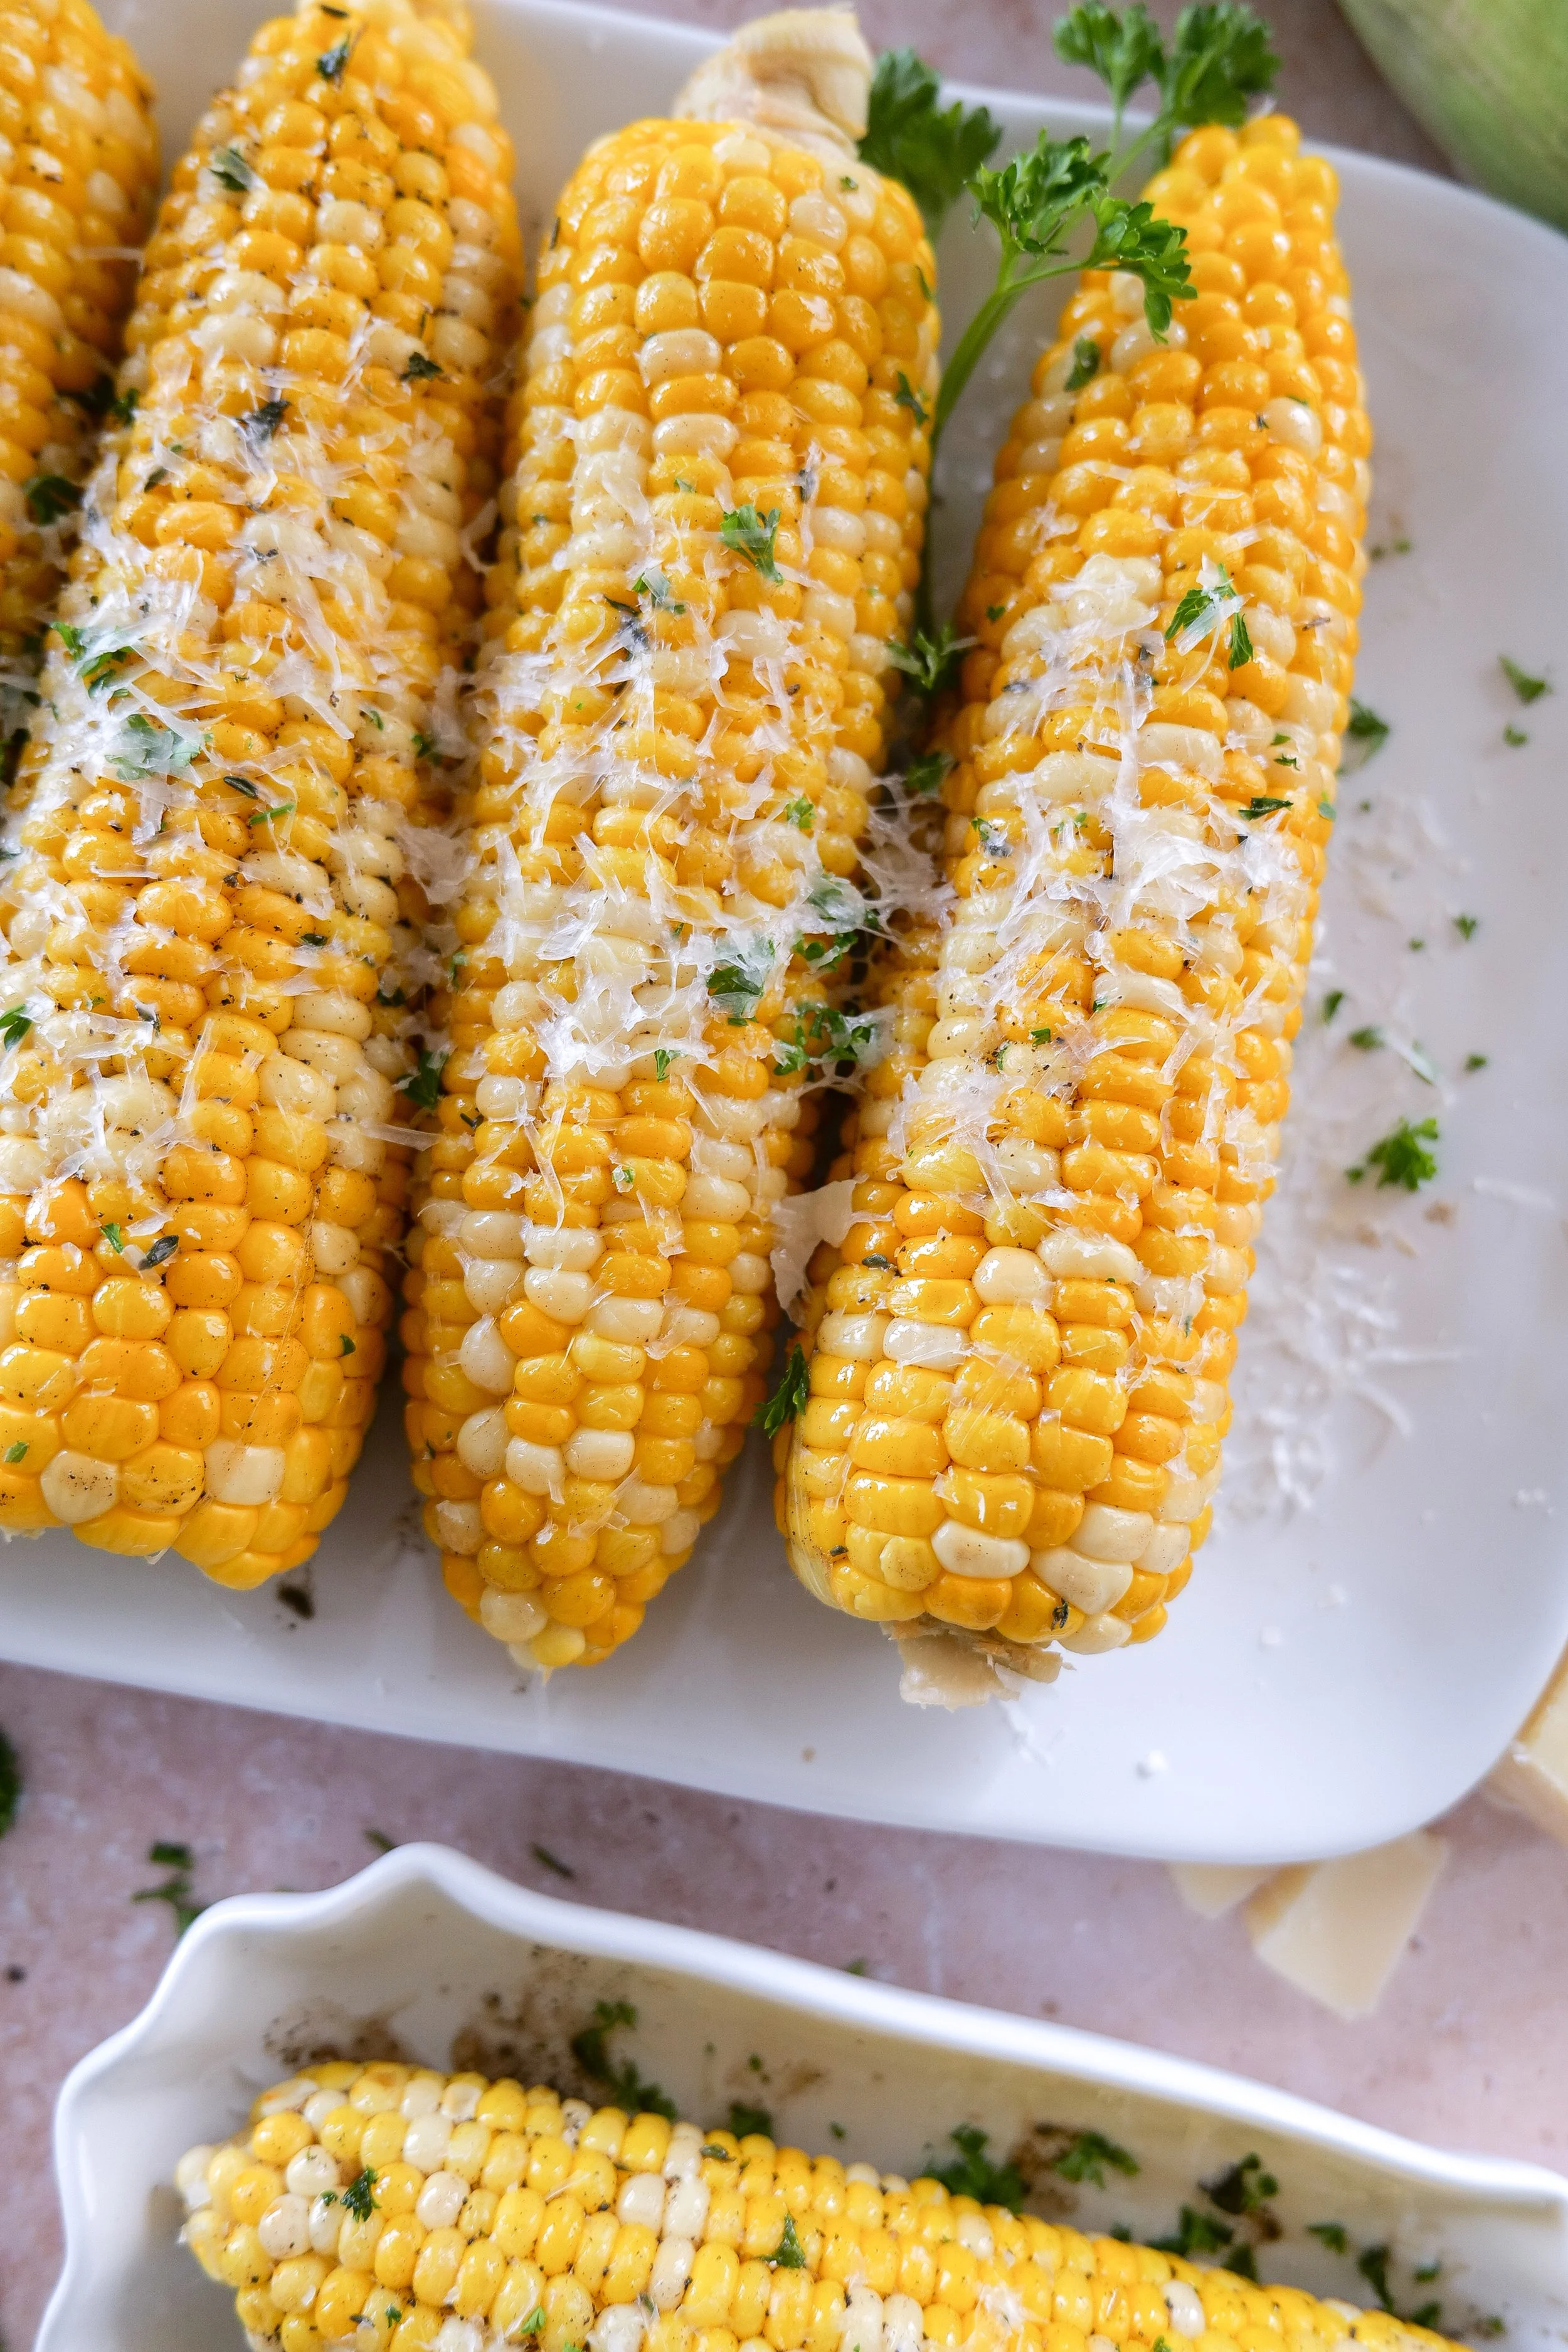
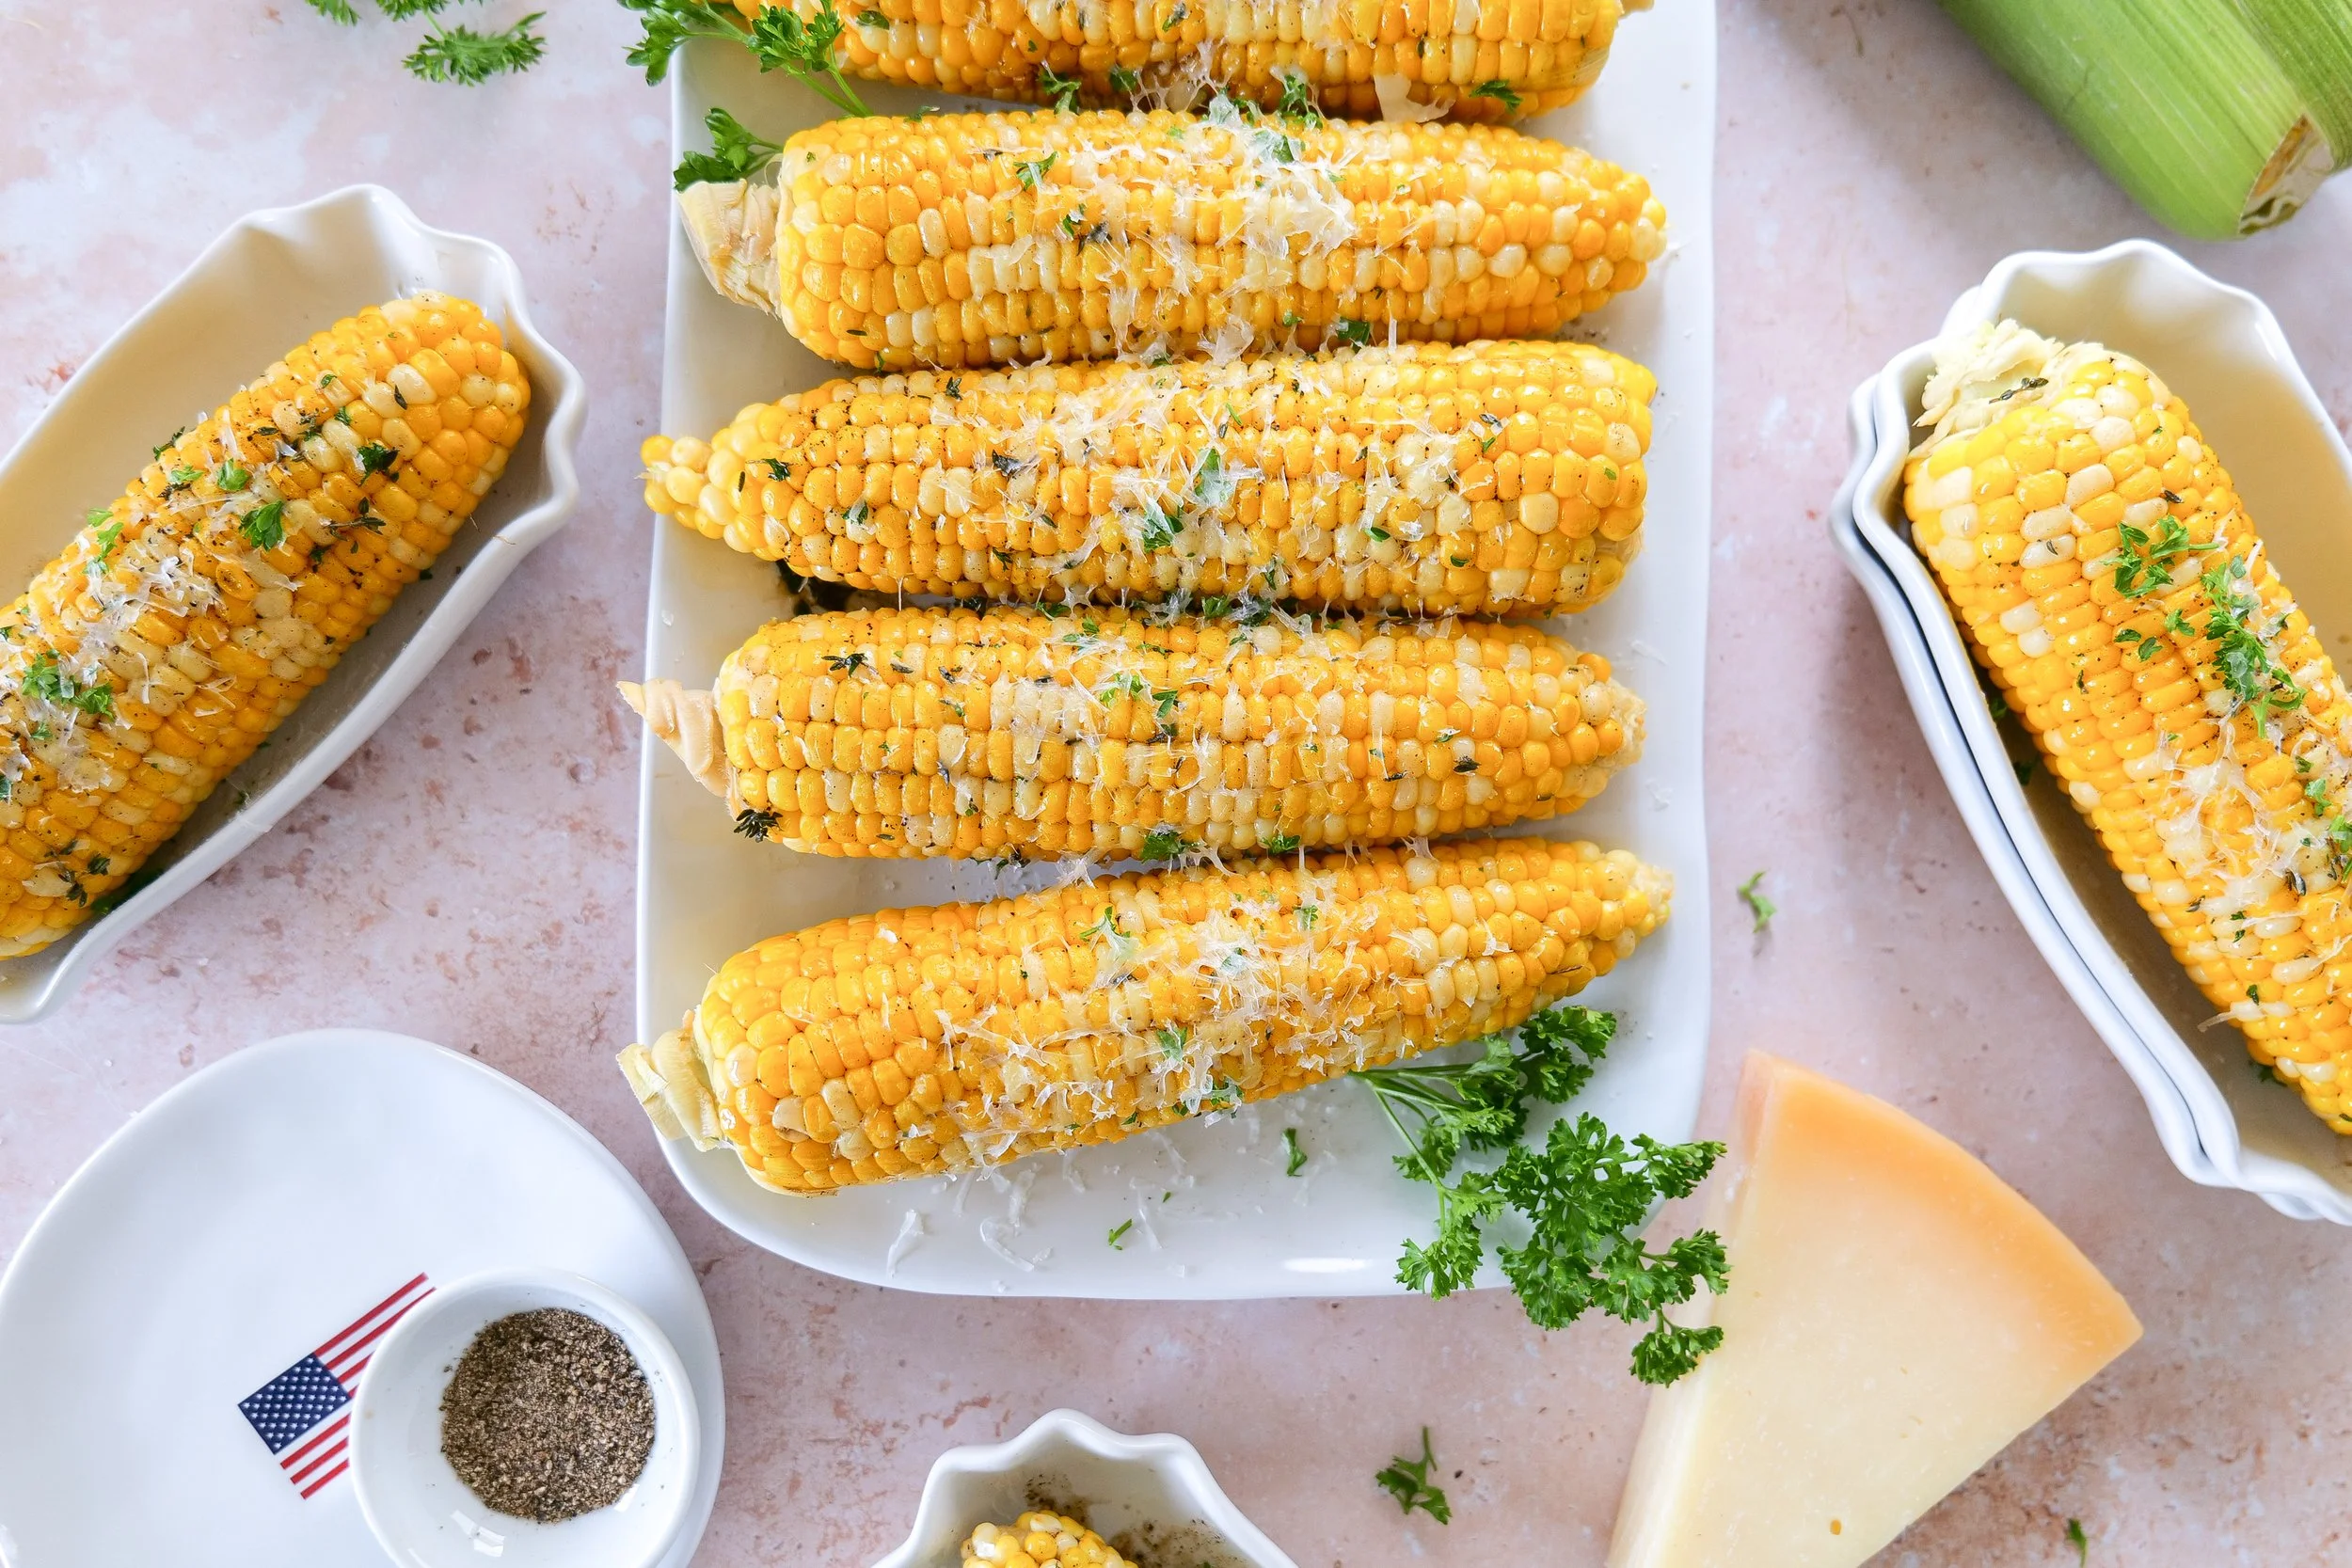
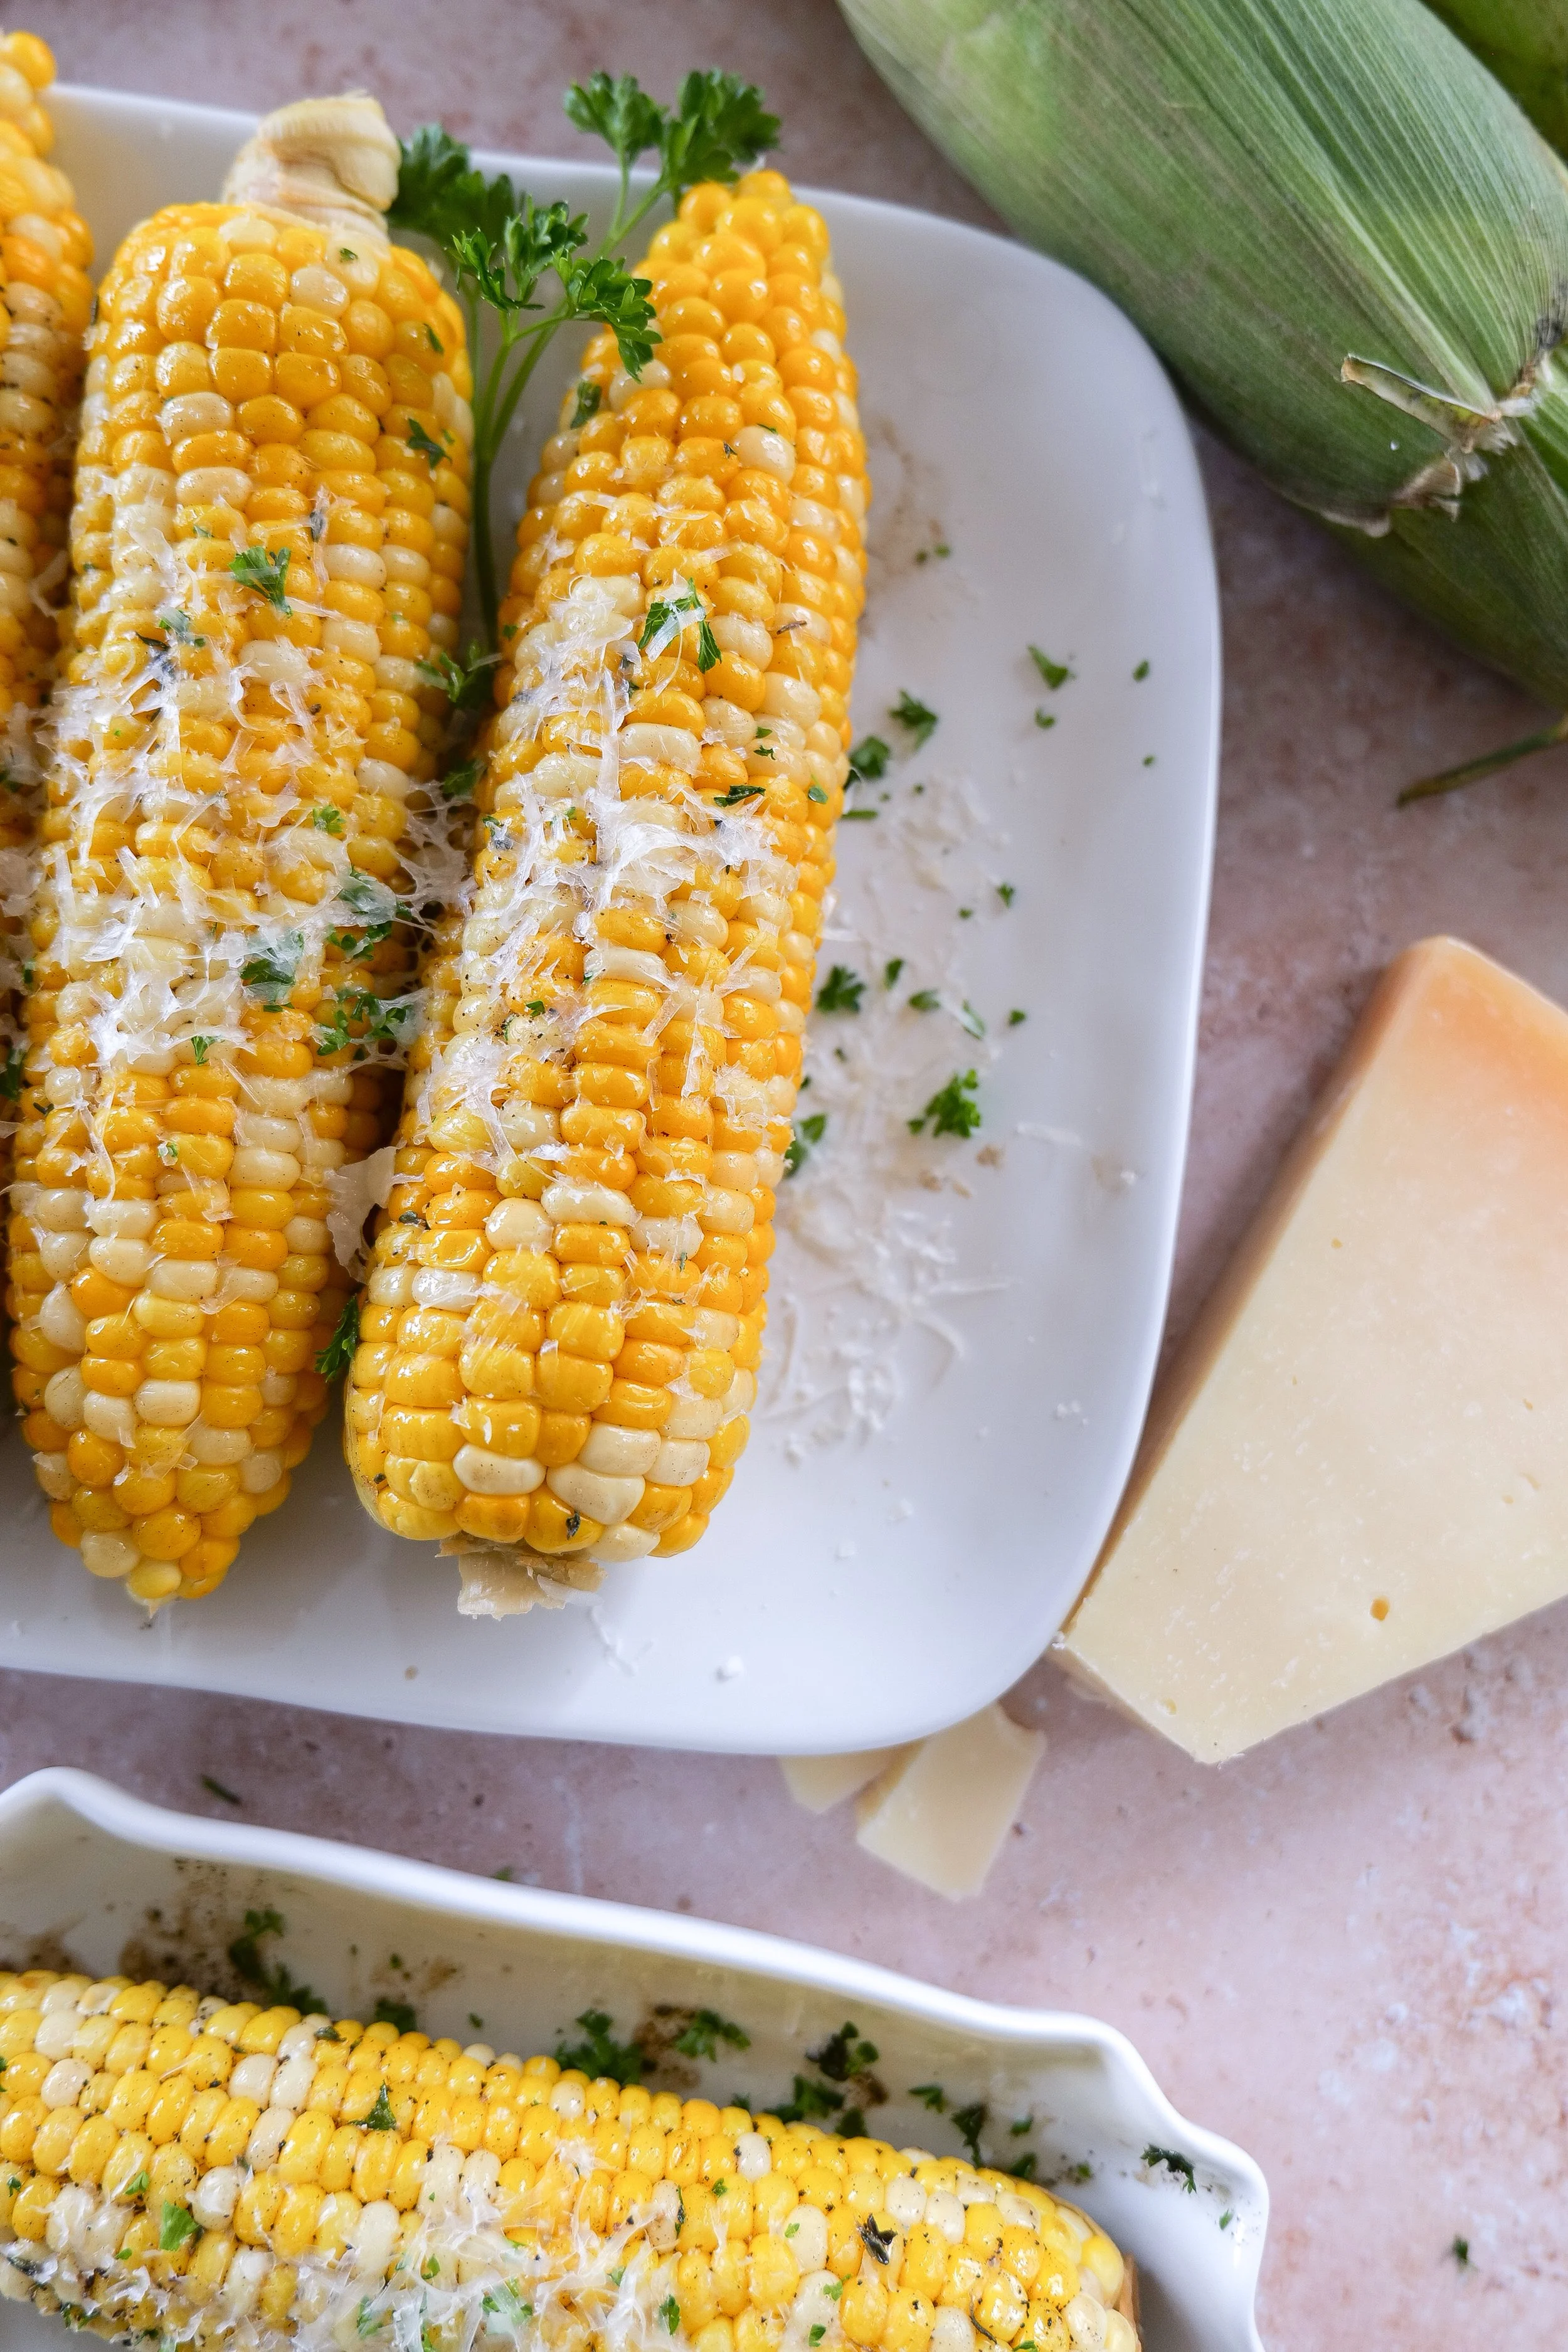
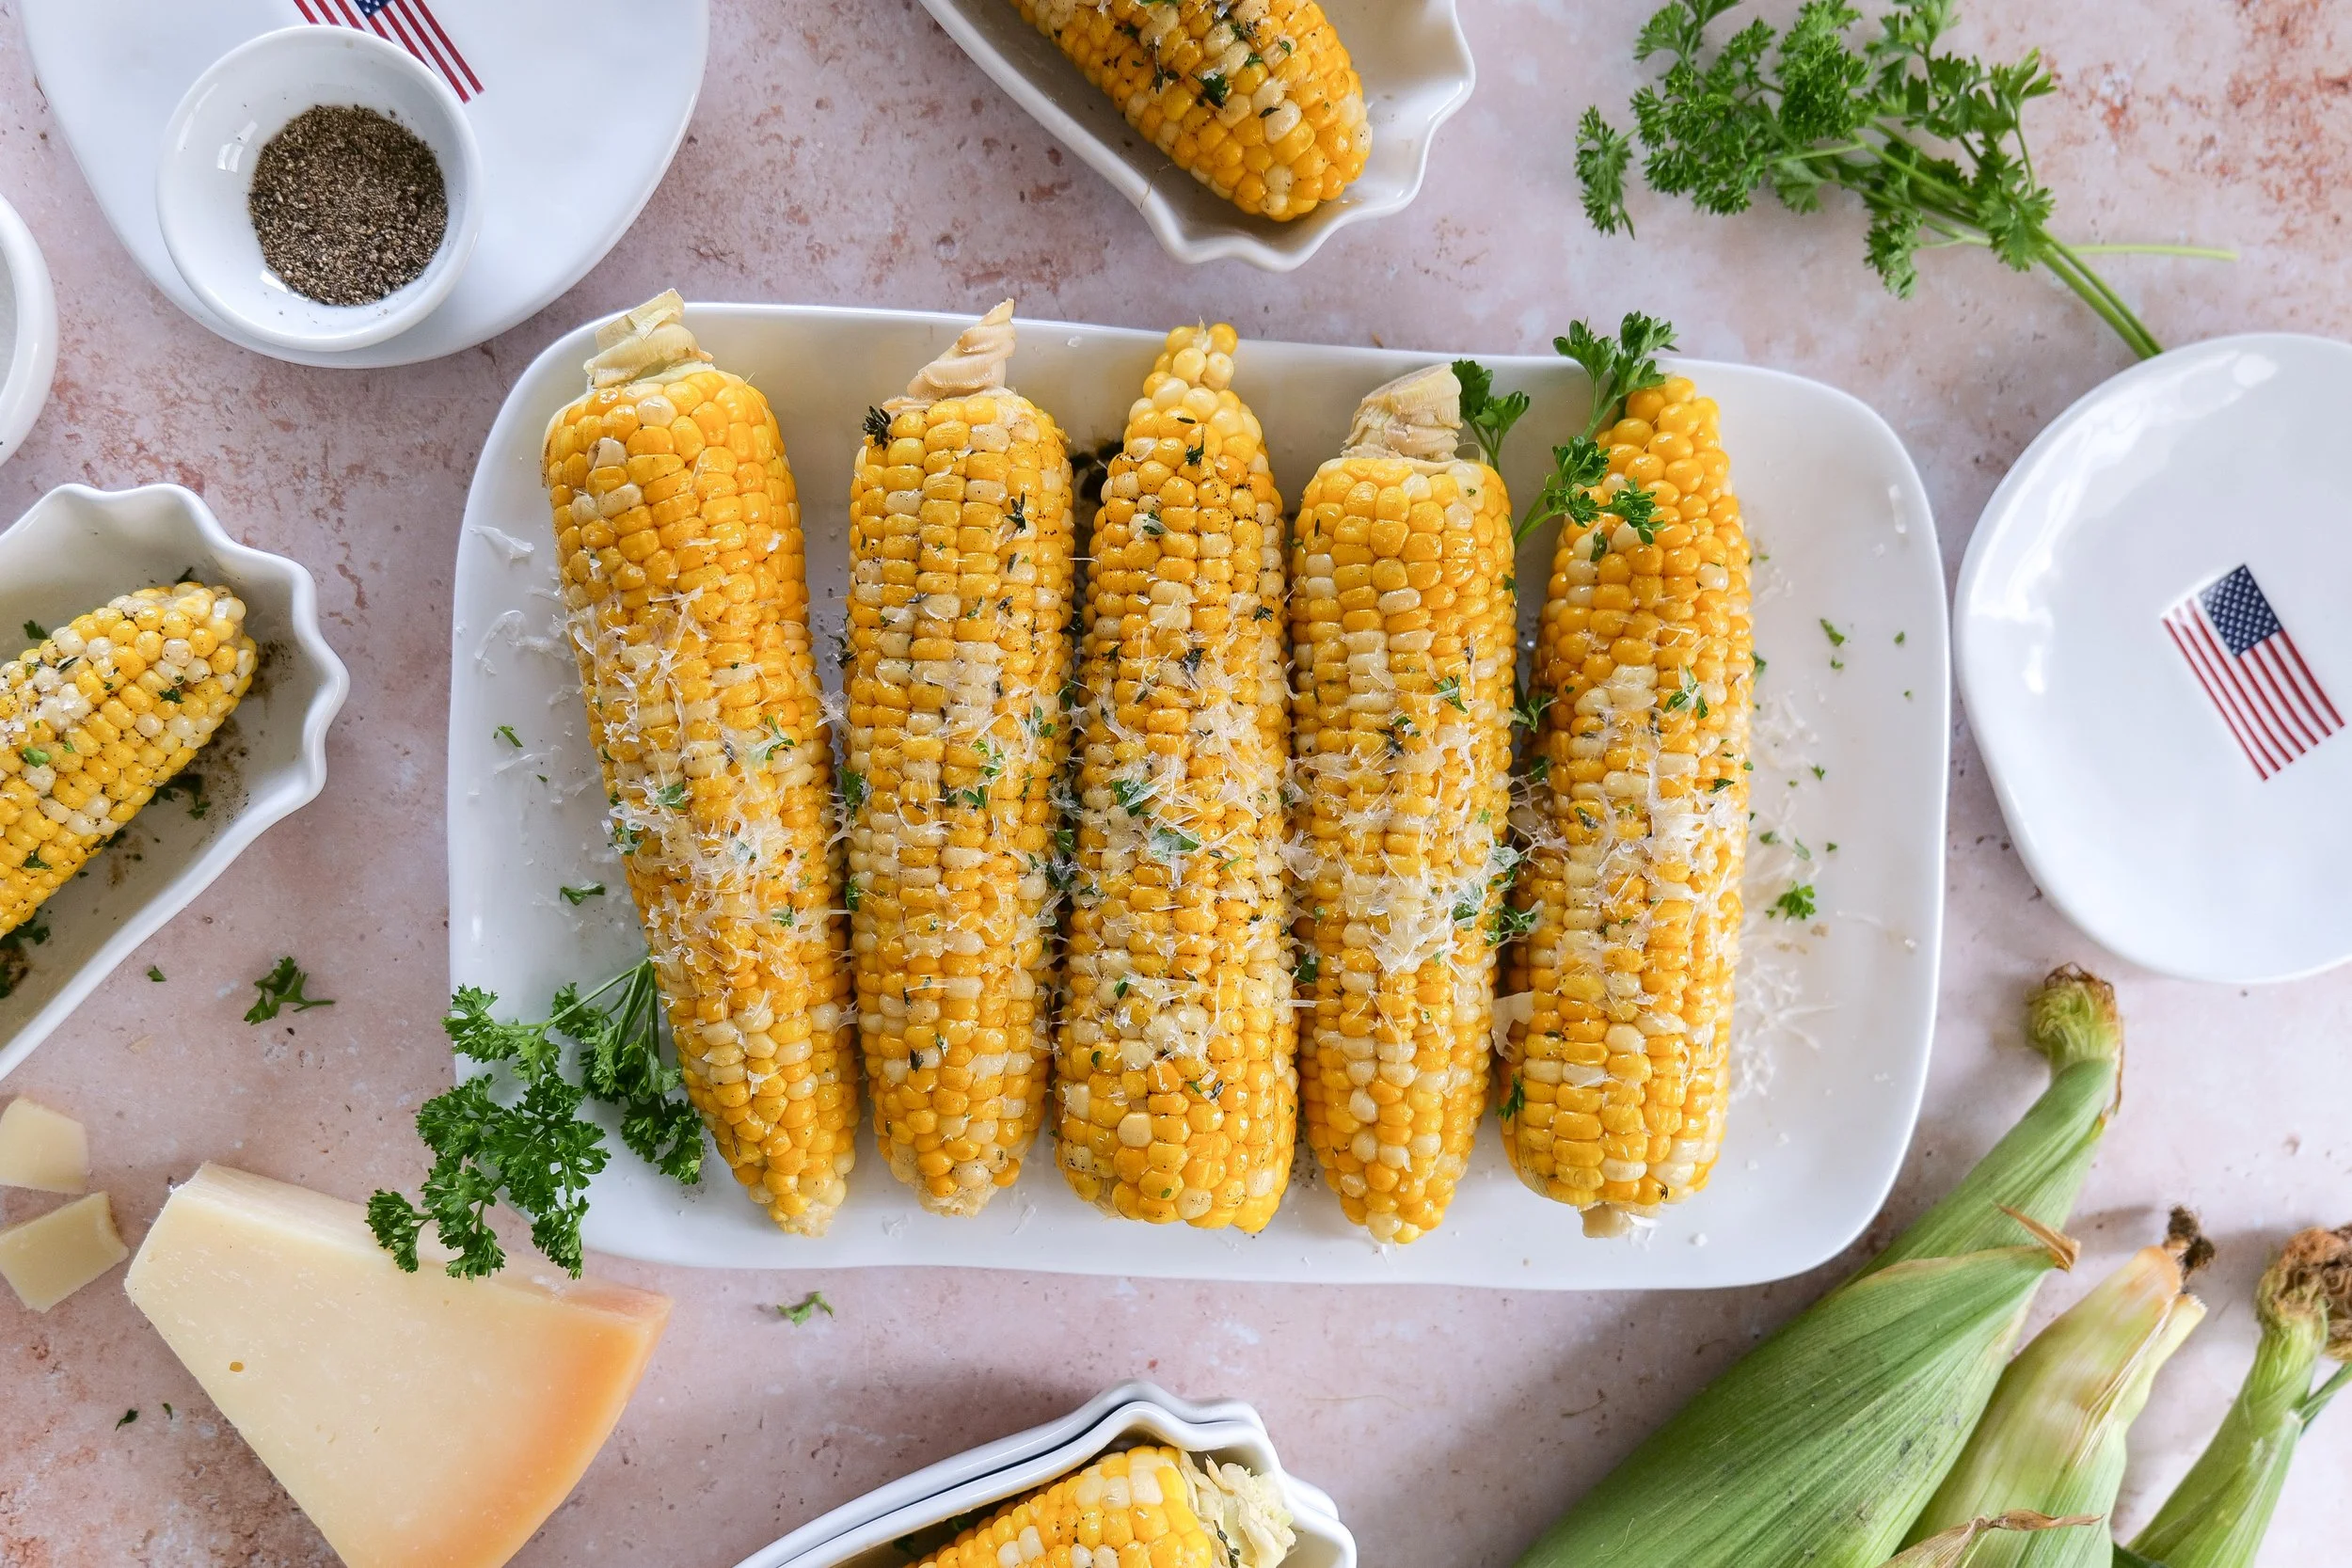
Homemade corn on the cob brushed with brown butter
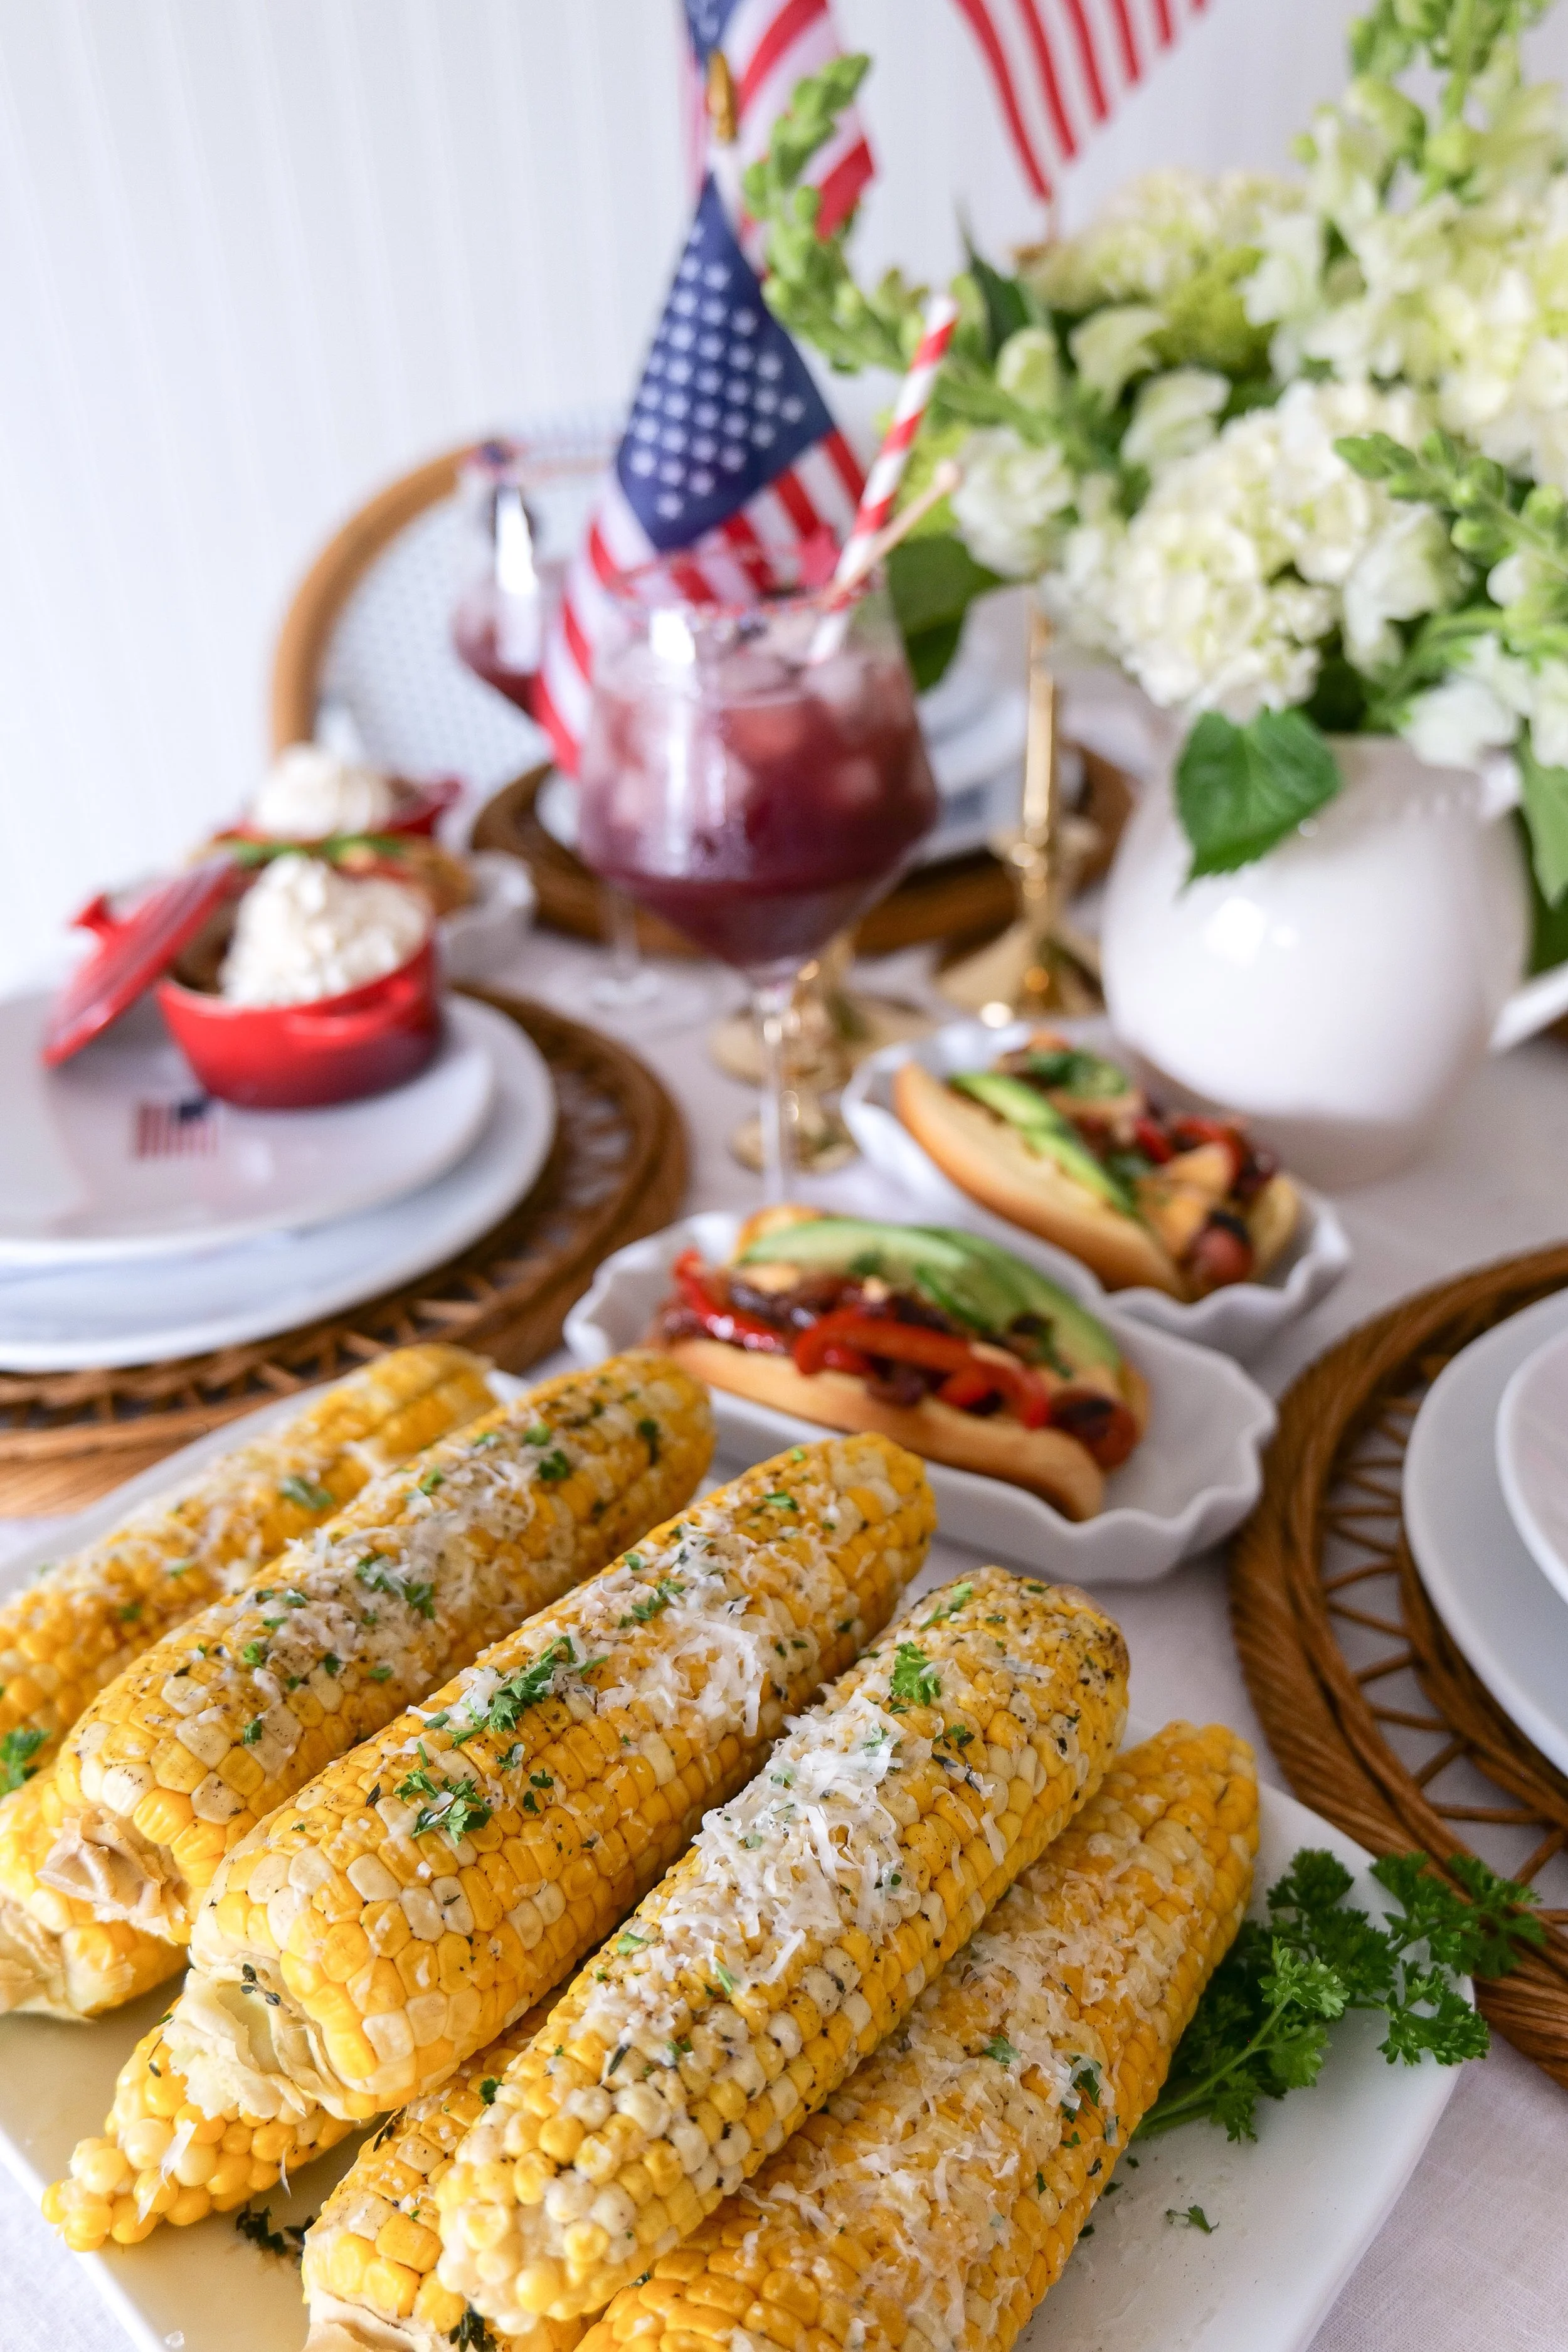
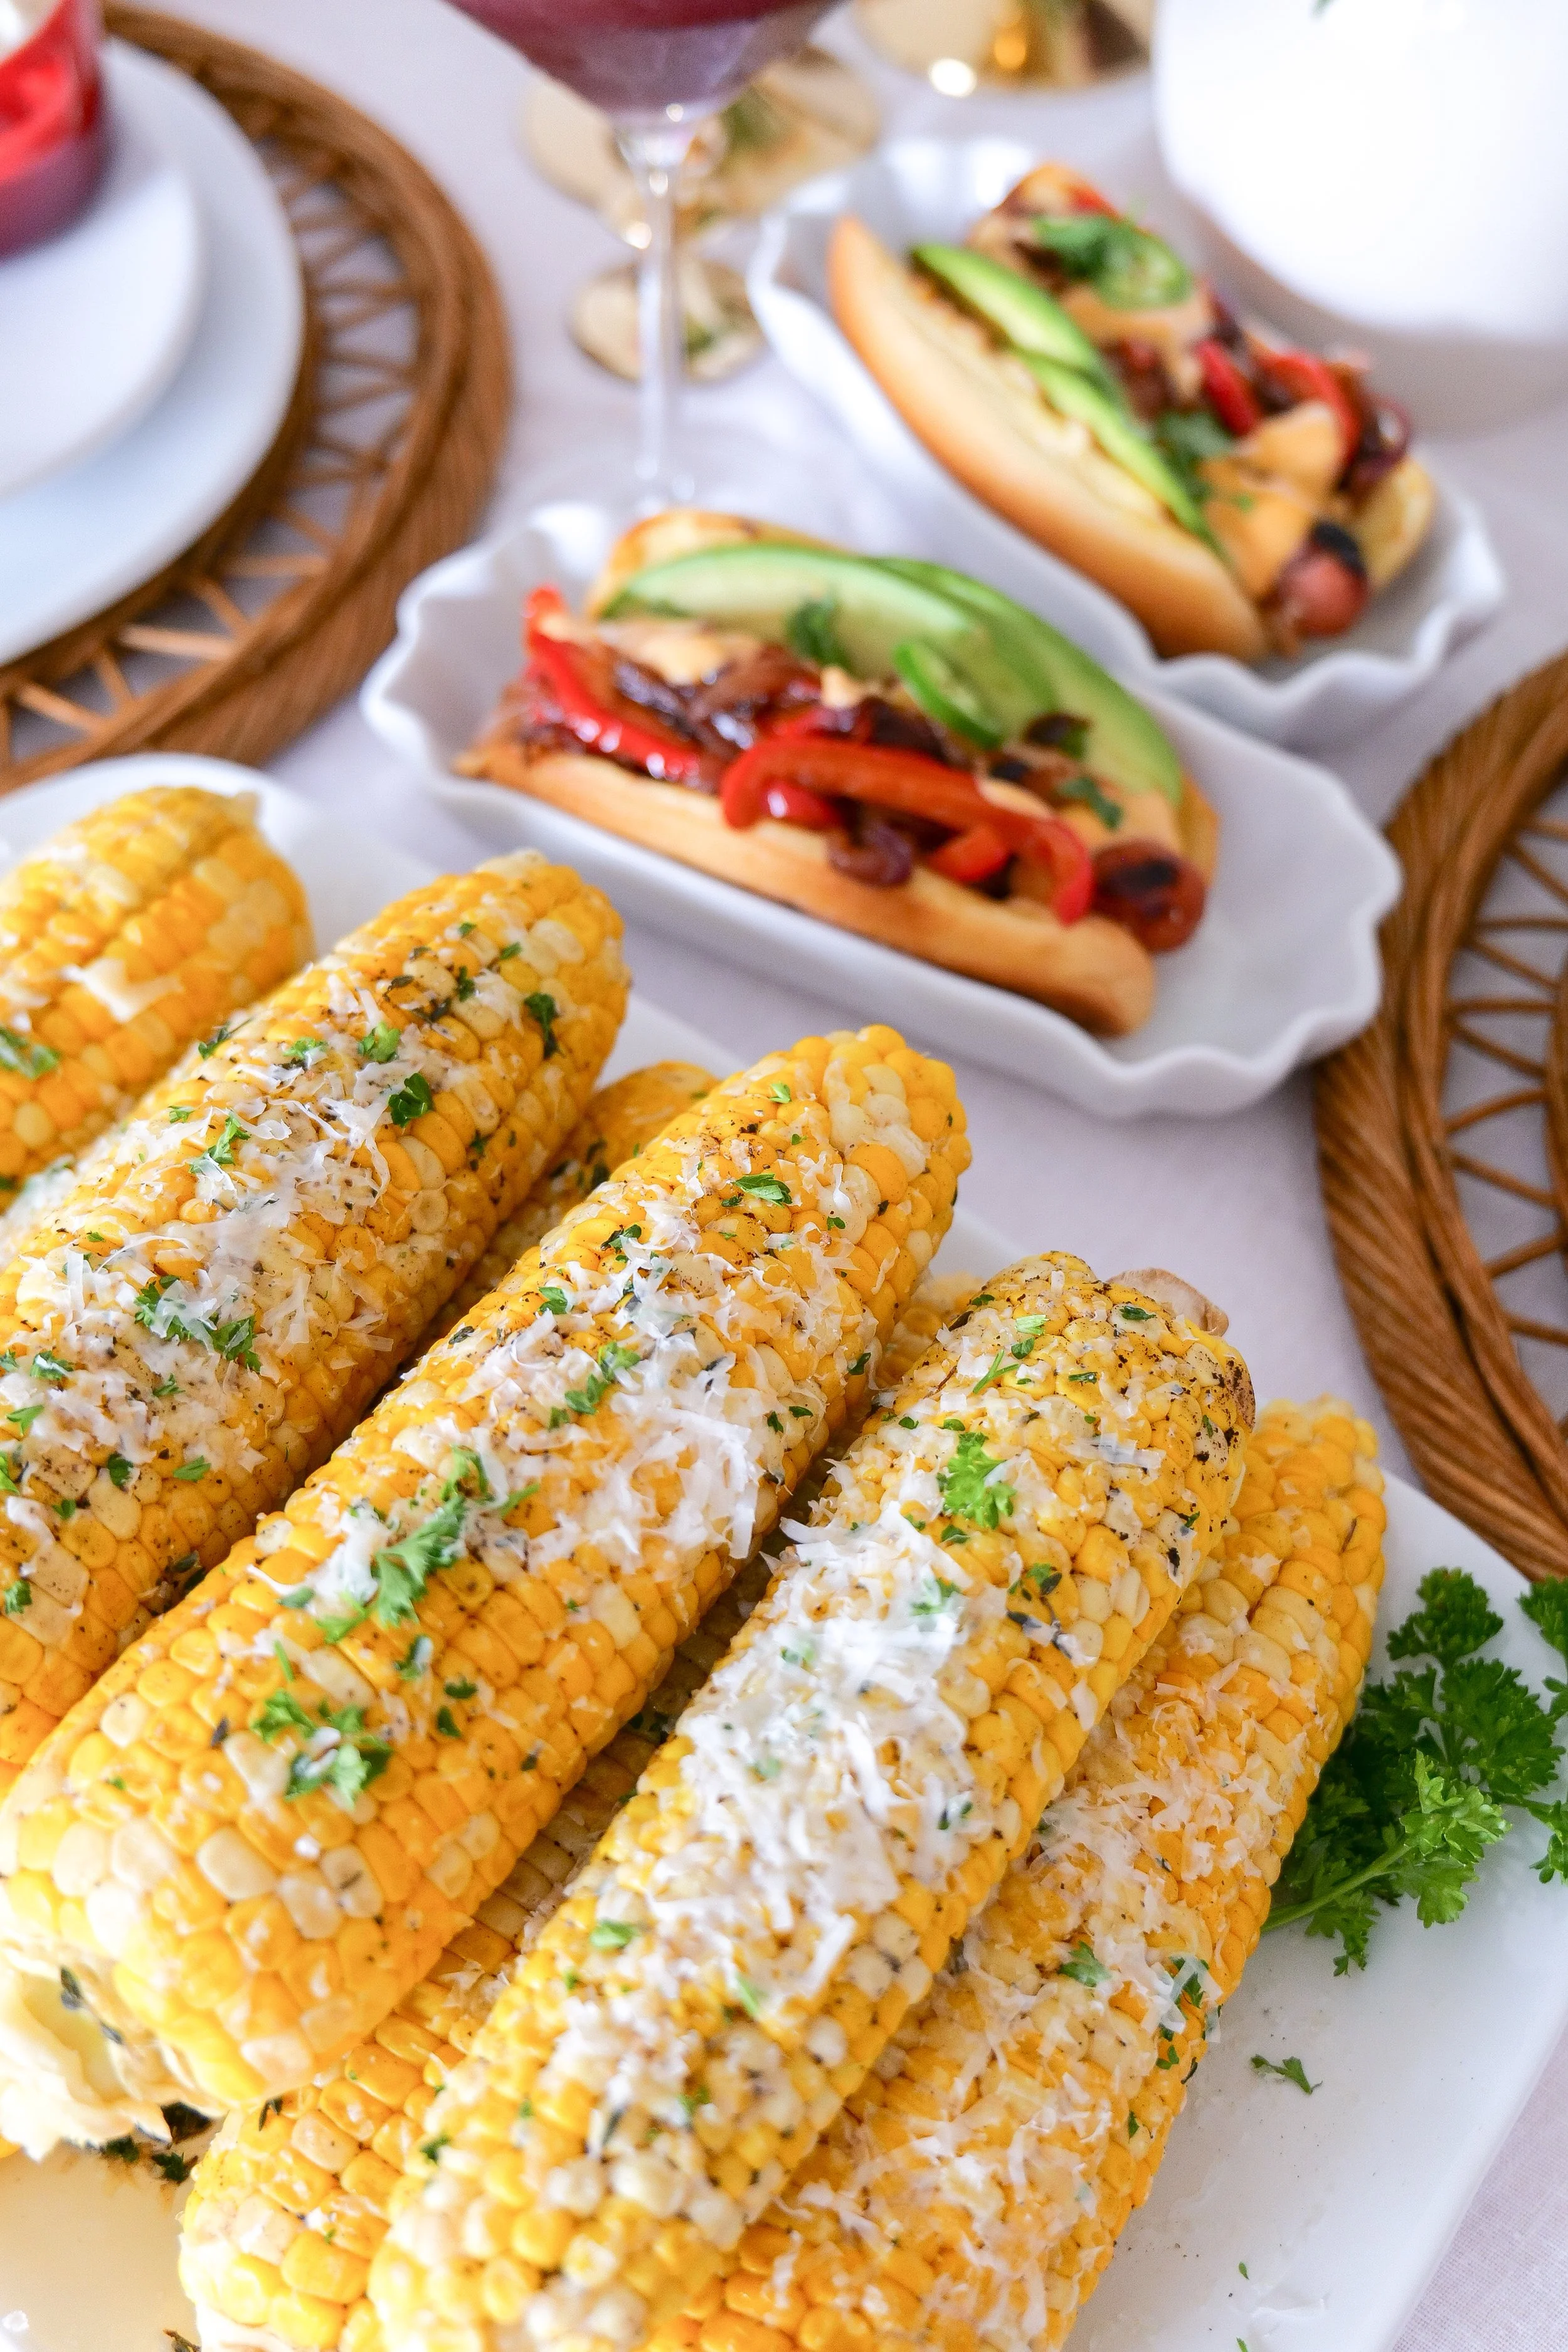
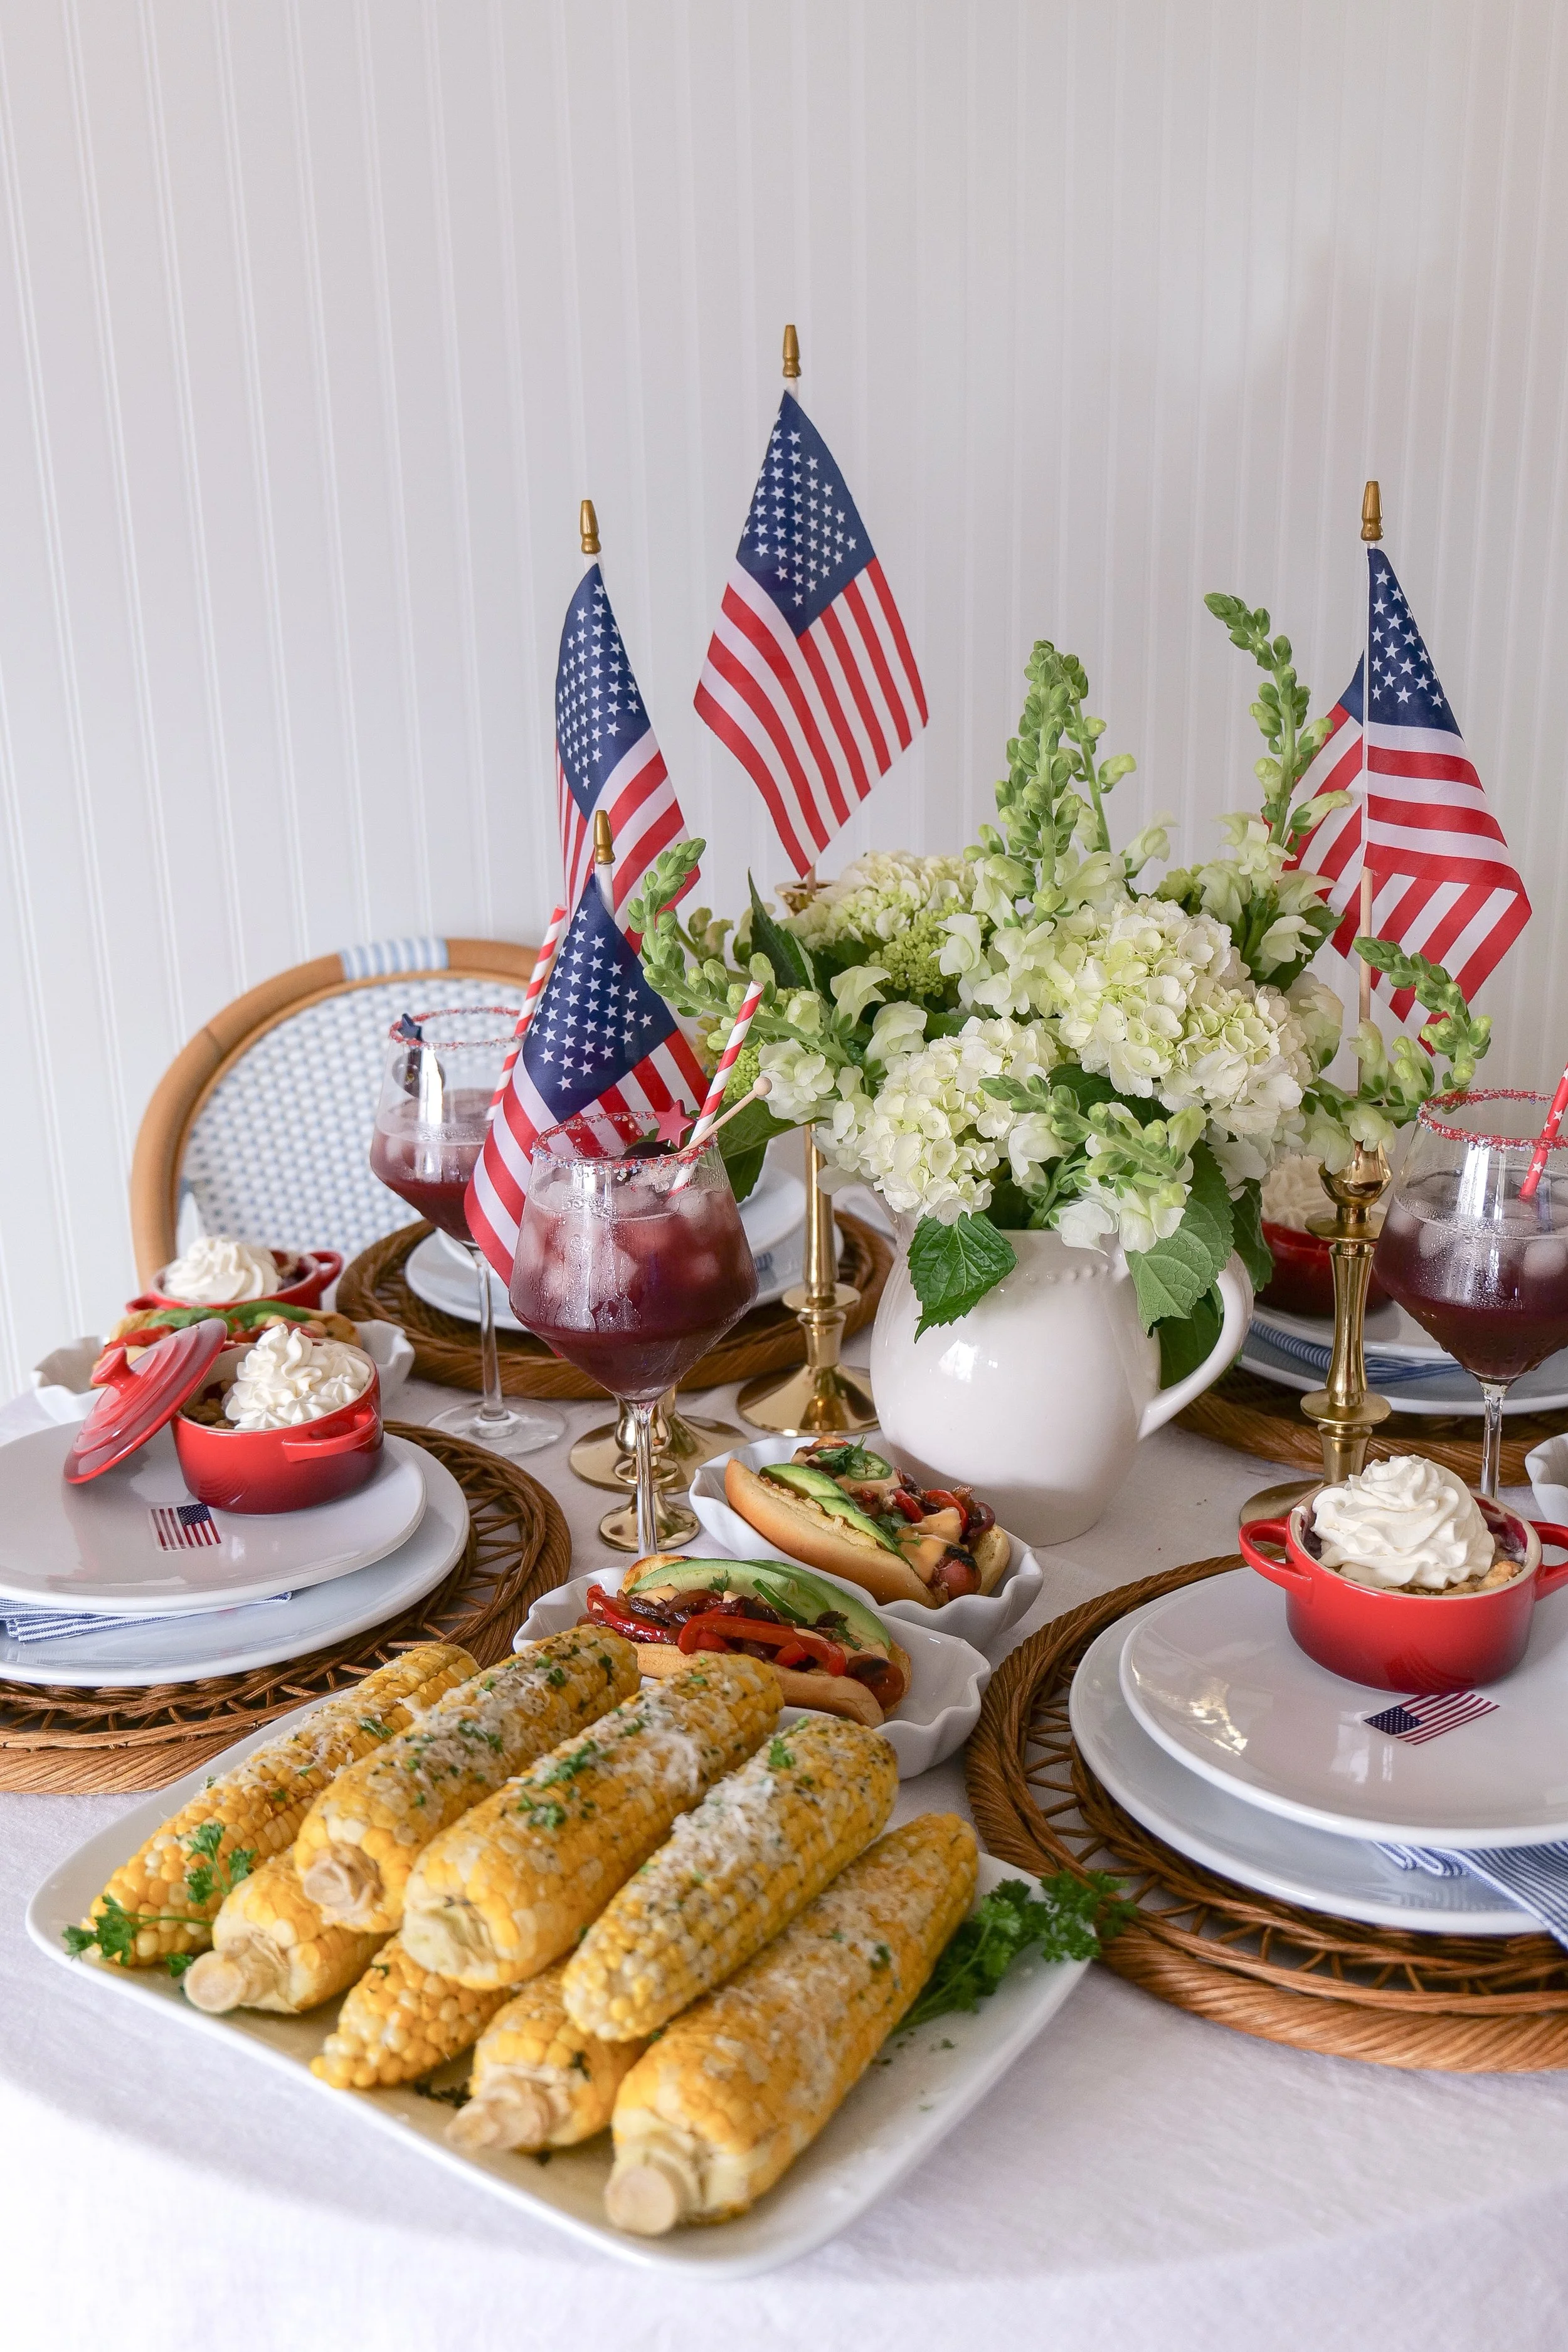
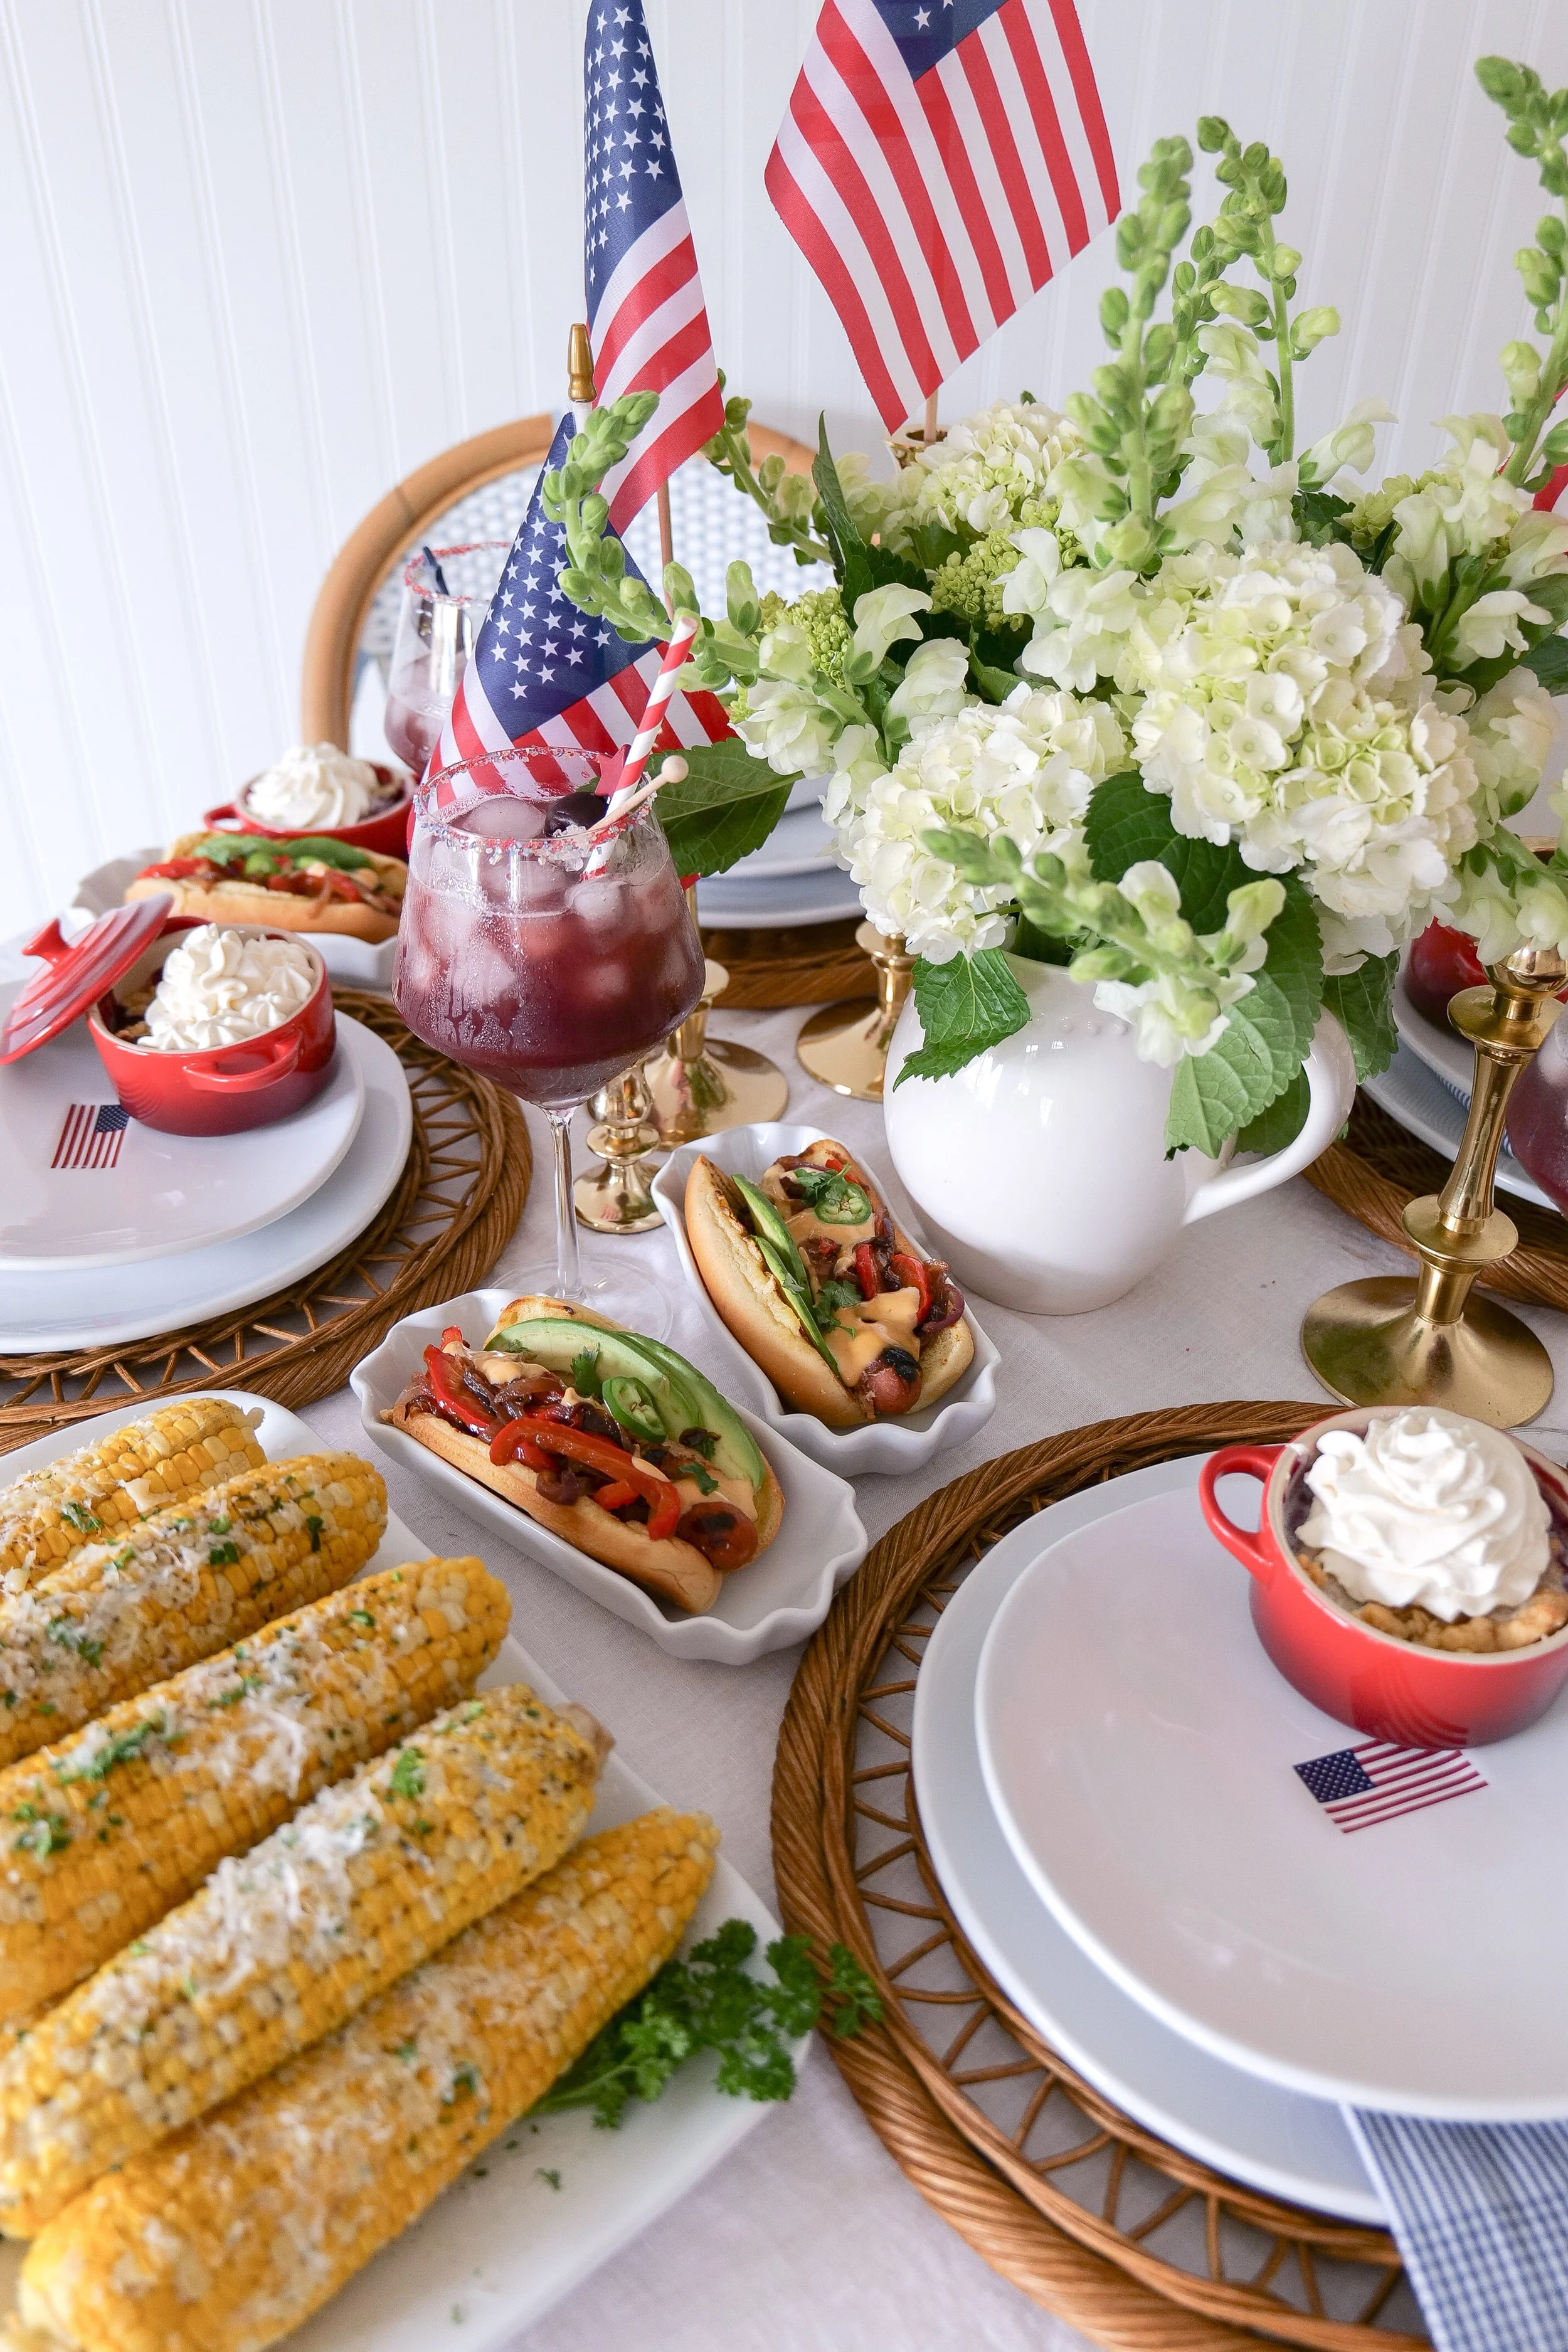
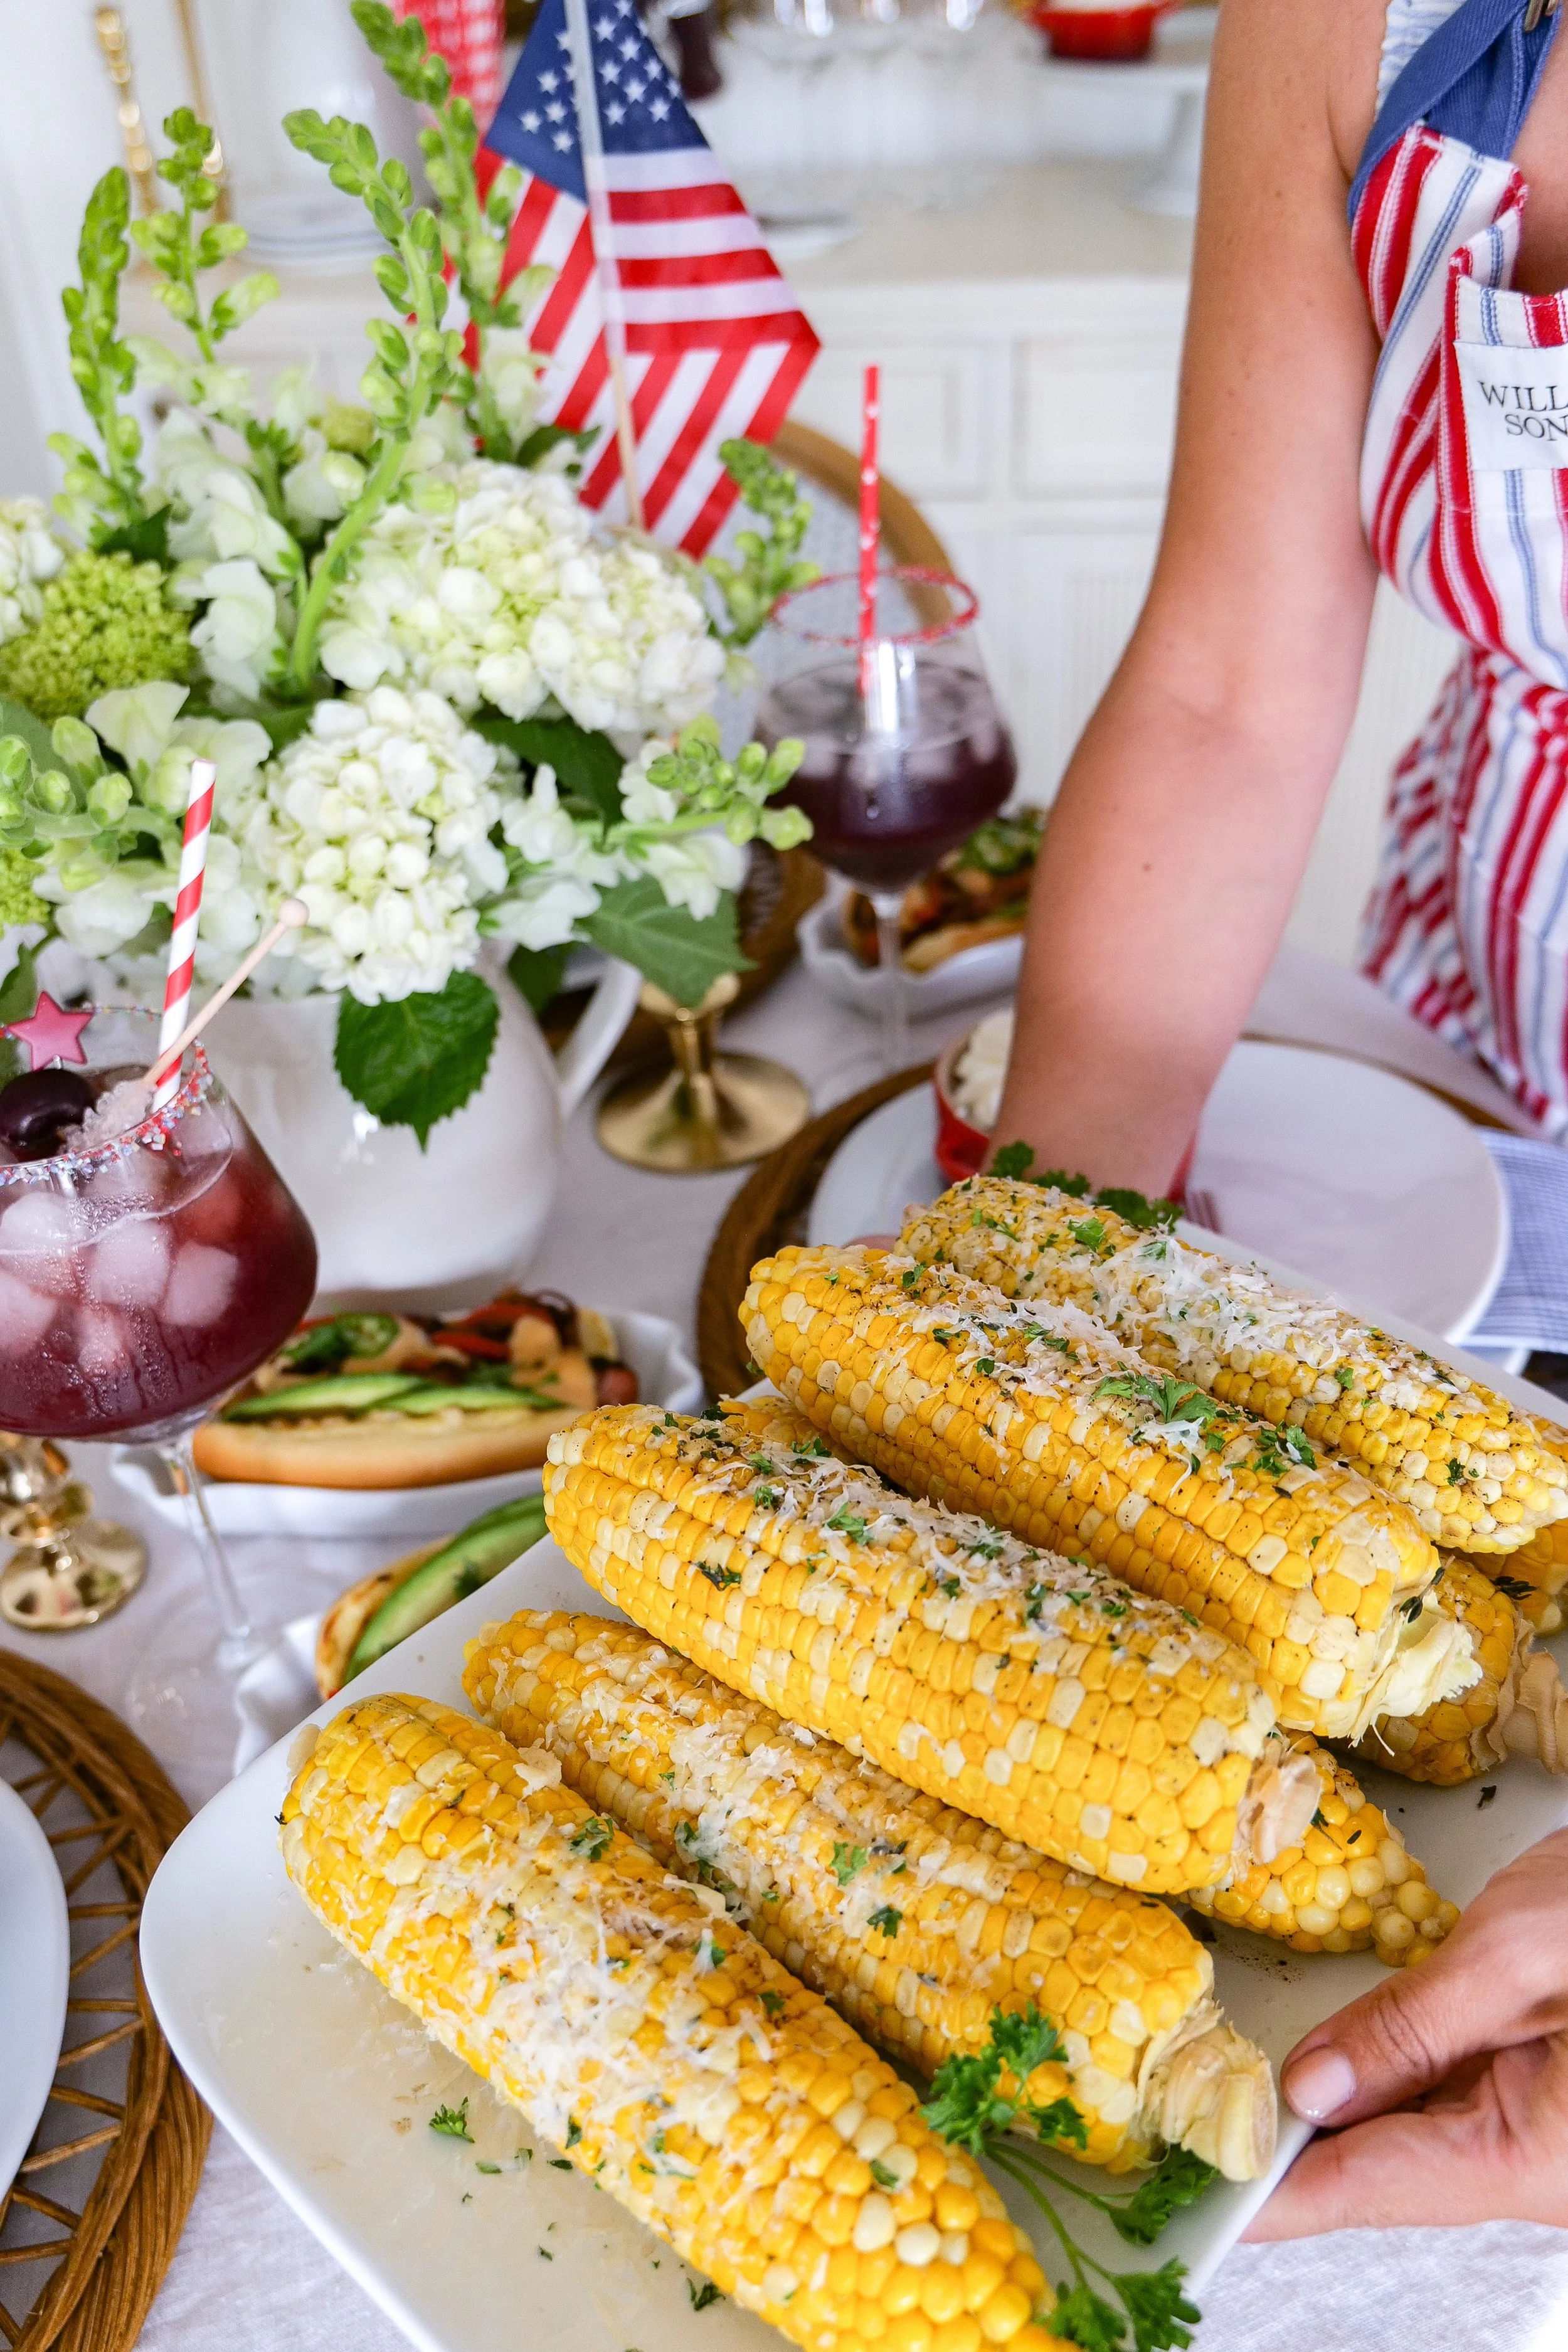
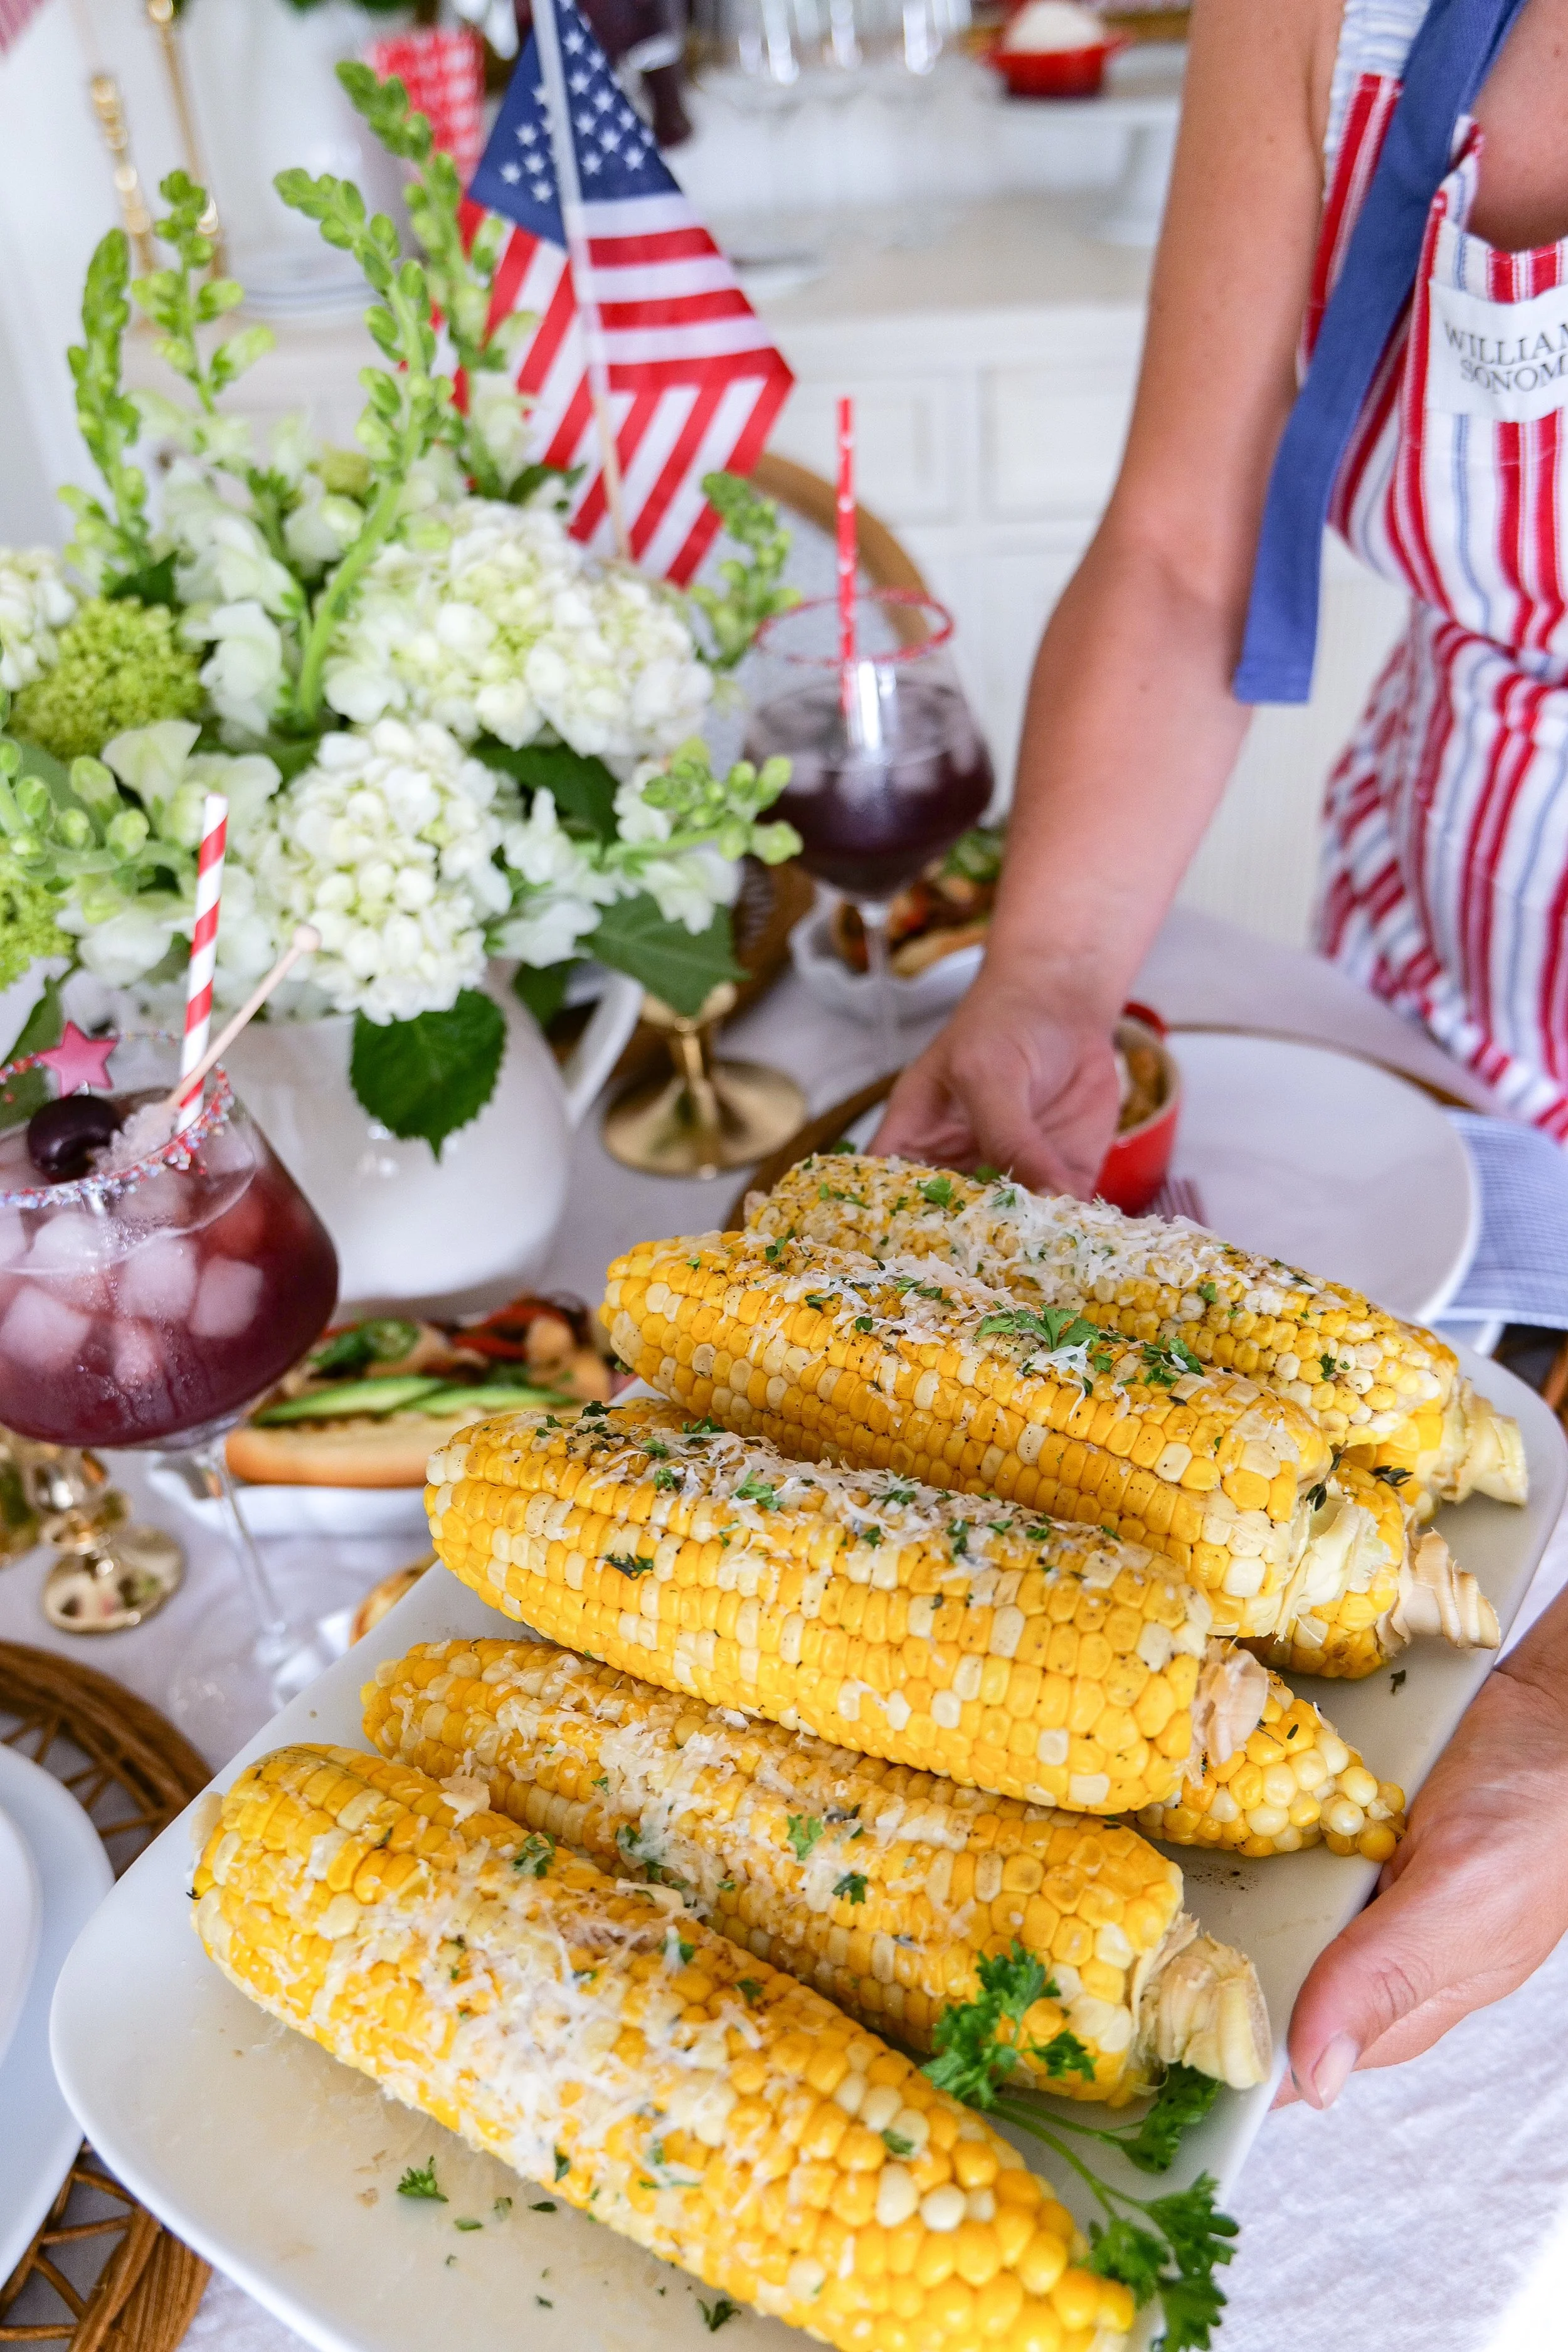
Corn on the cob displayed on a patriotic Fourth of July tablescape
Americana-inspired tablescape featuring fresh corn on the cob
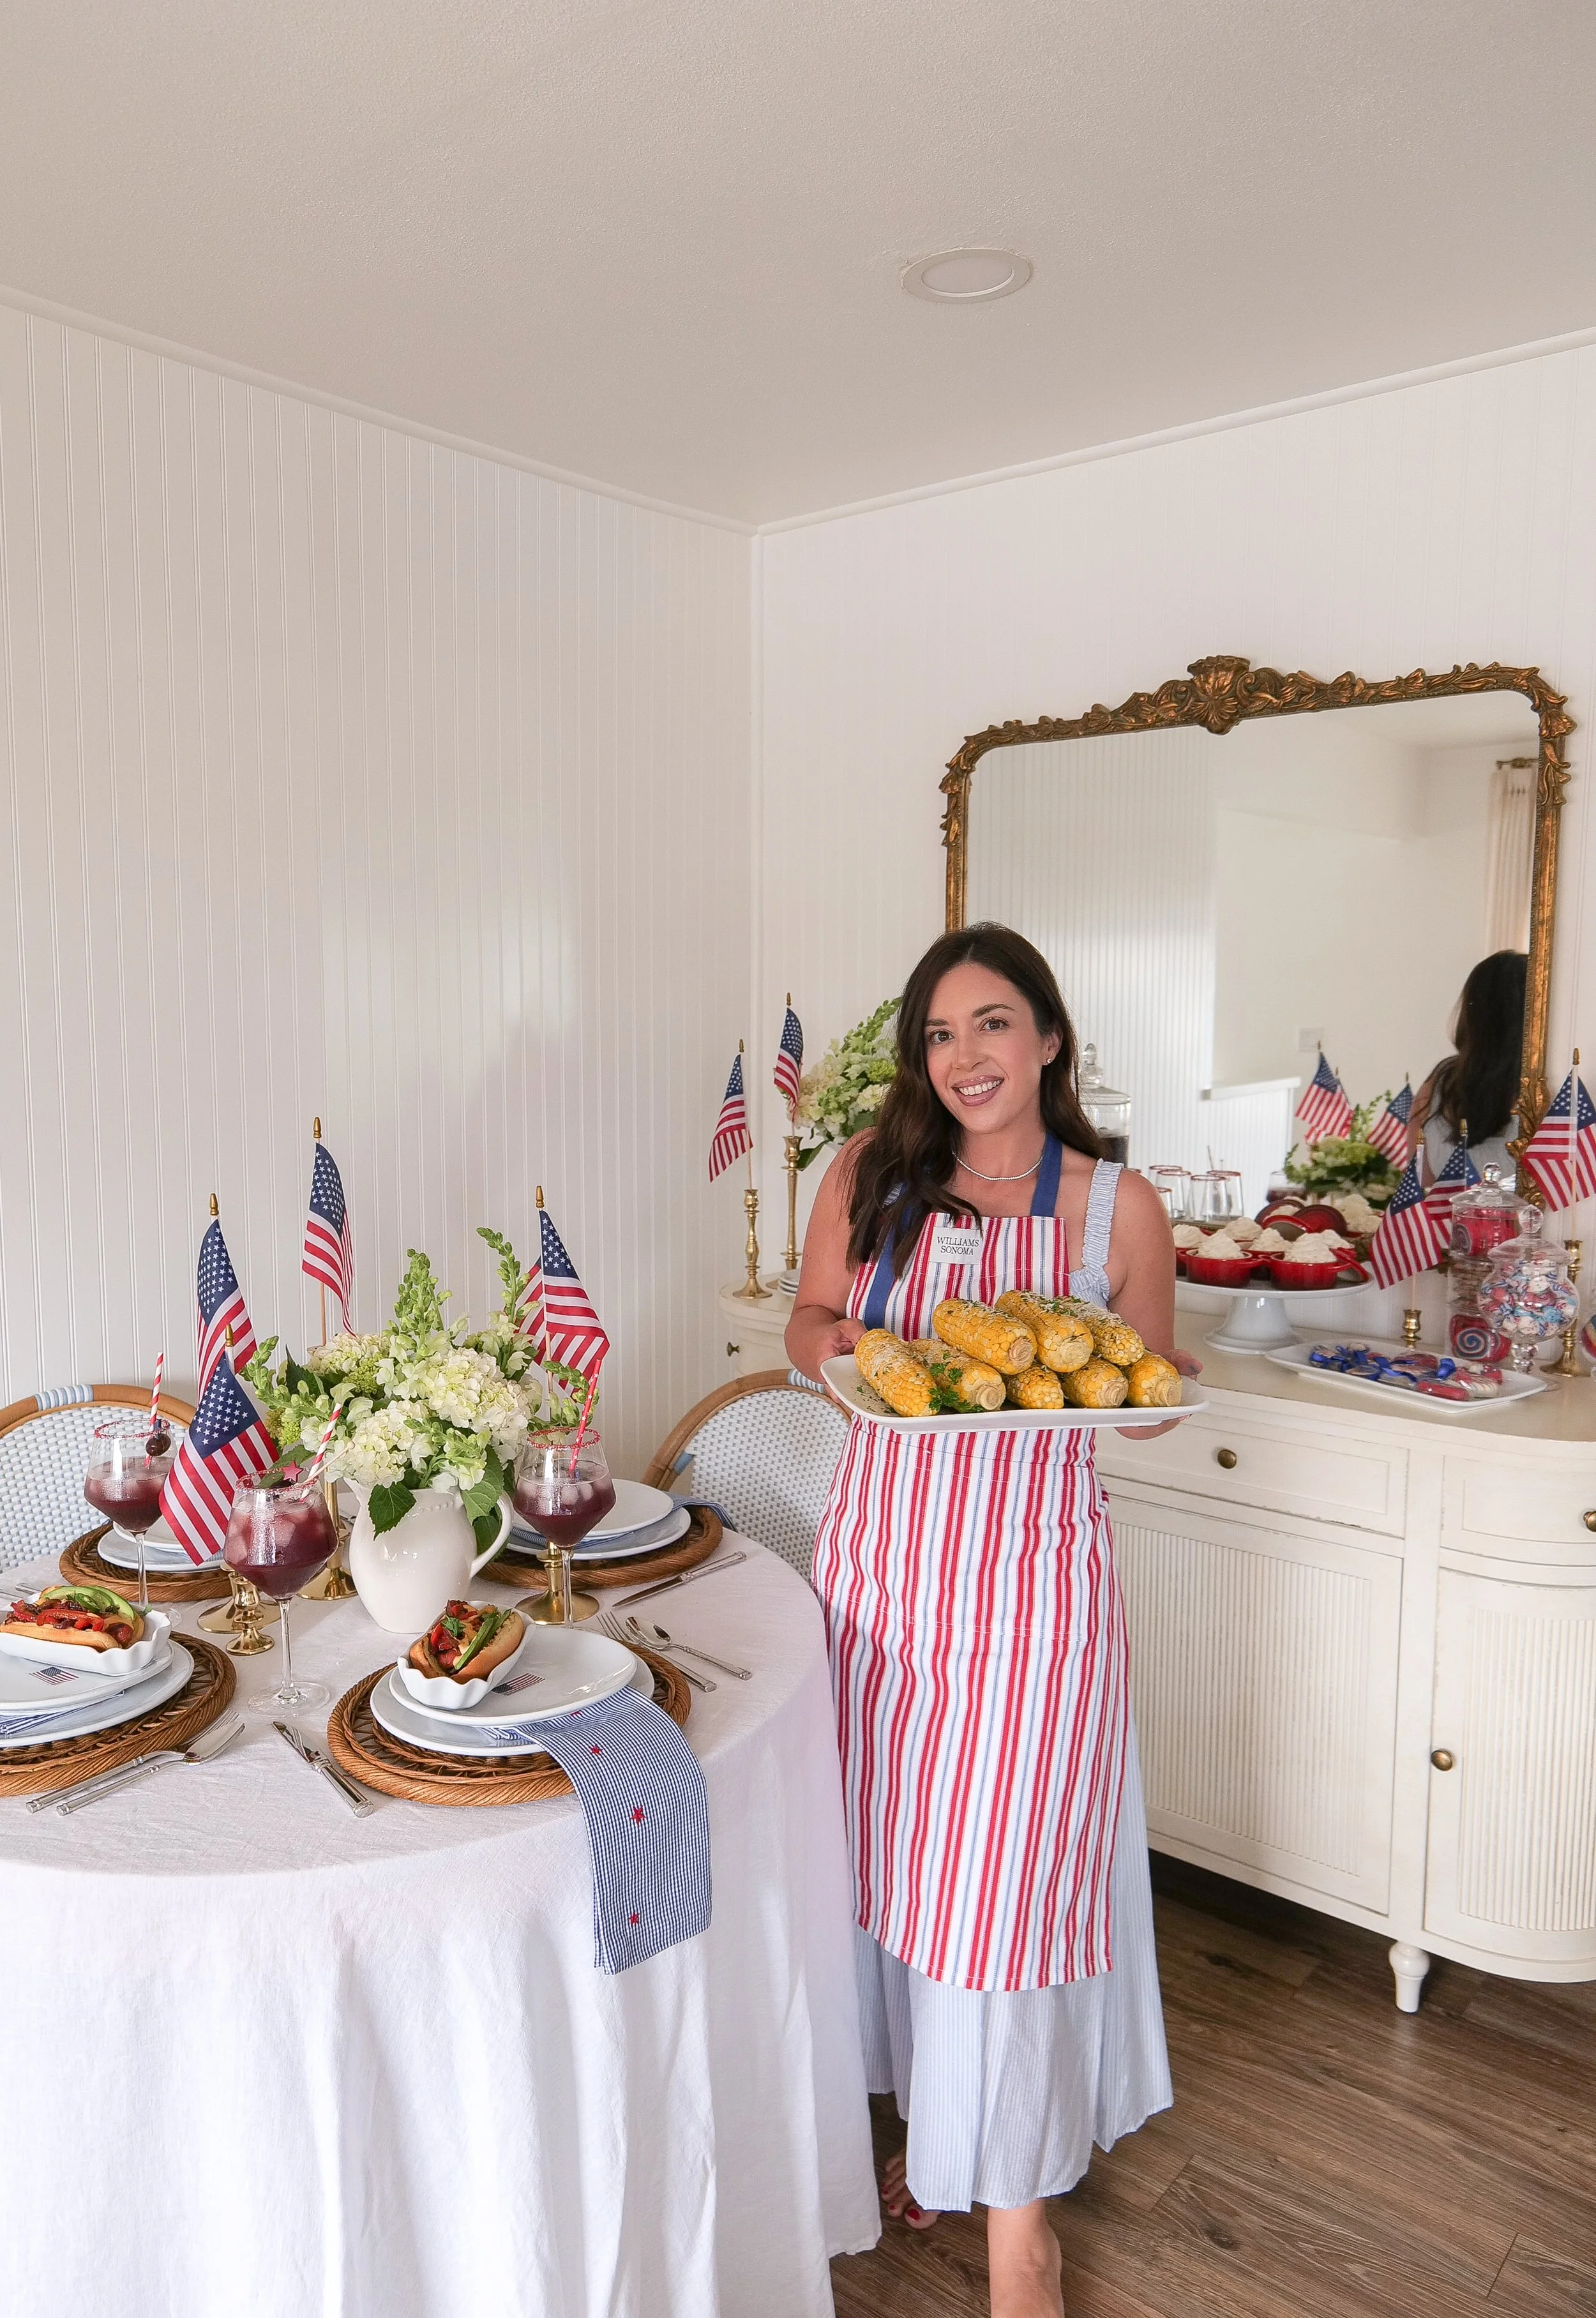
Summer hostess holding corn on the cob during Americana entertaining
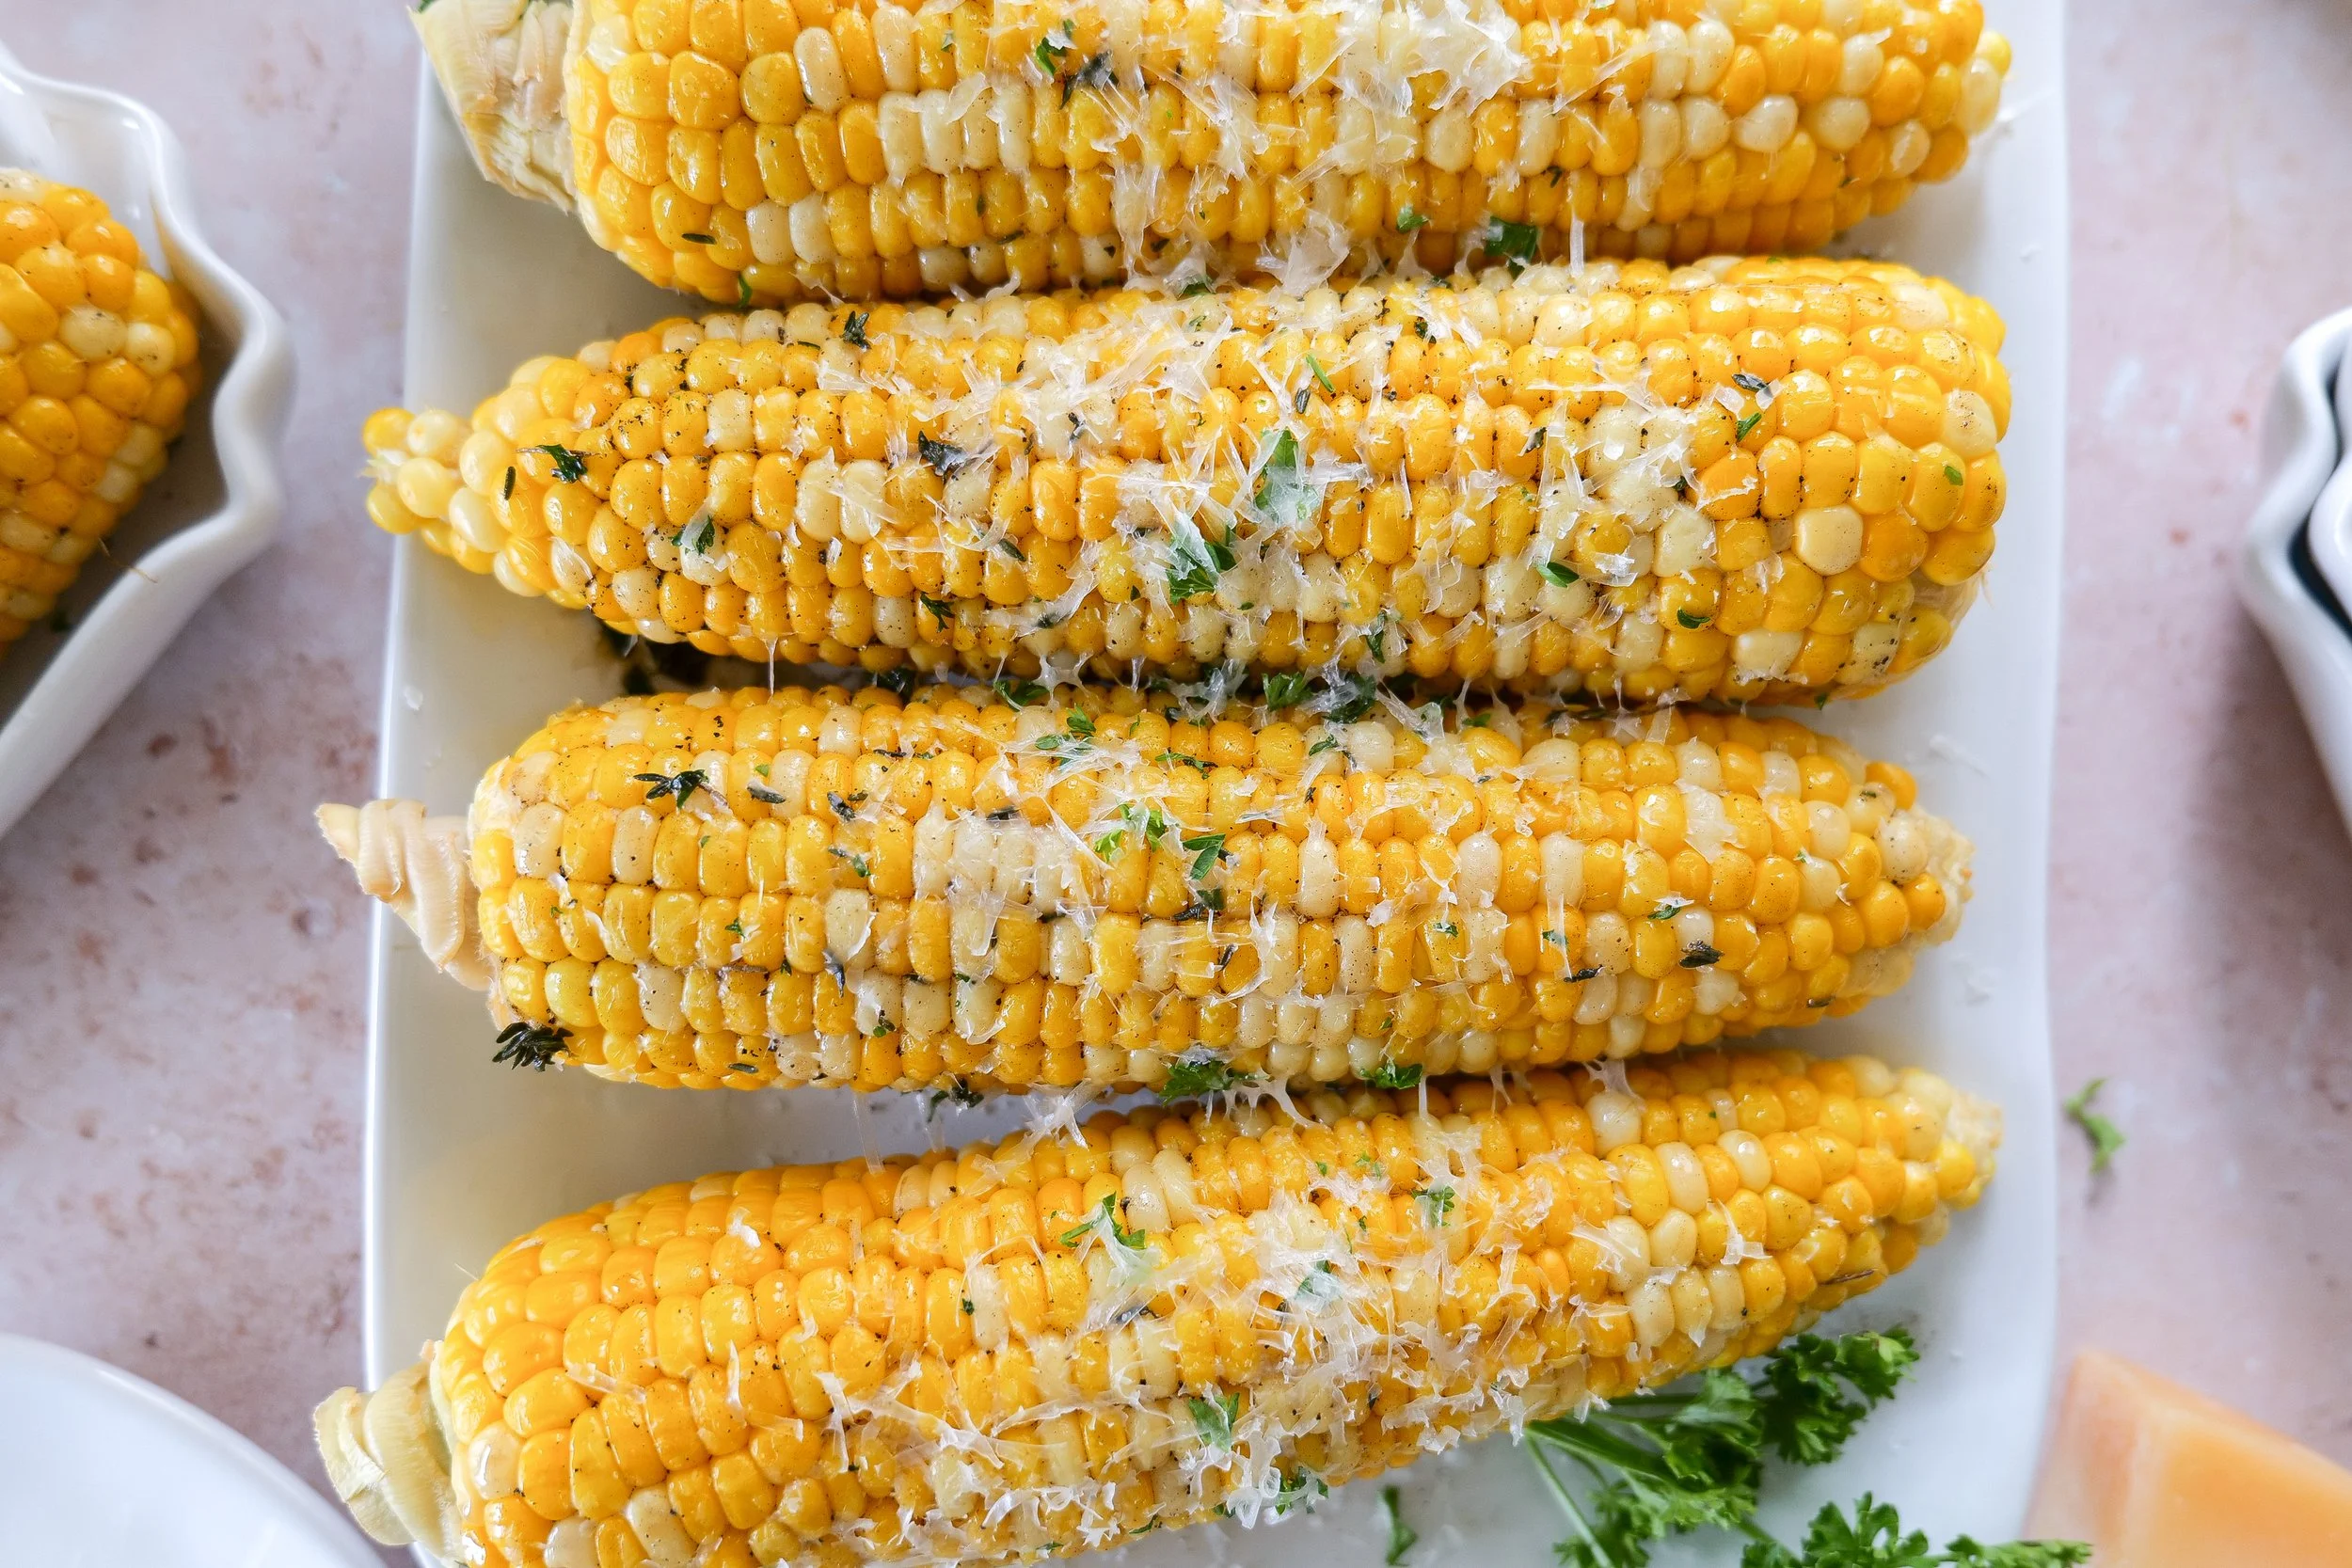
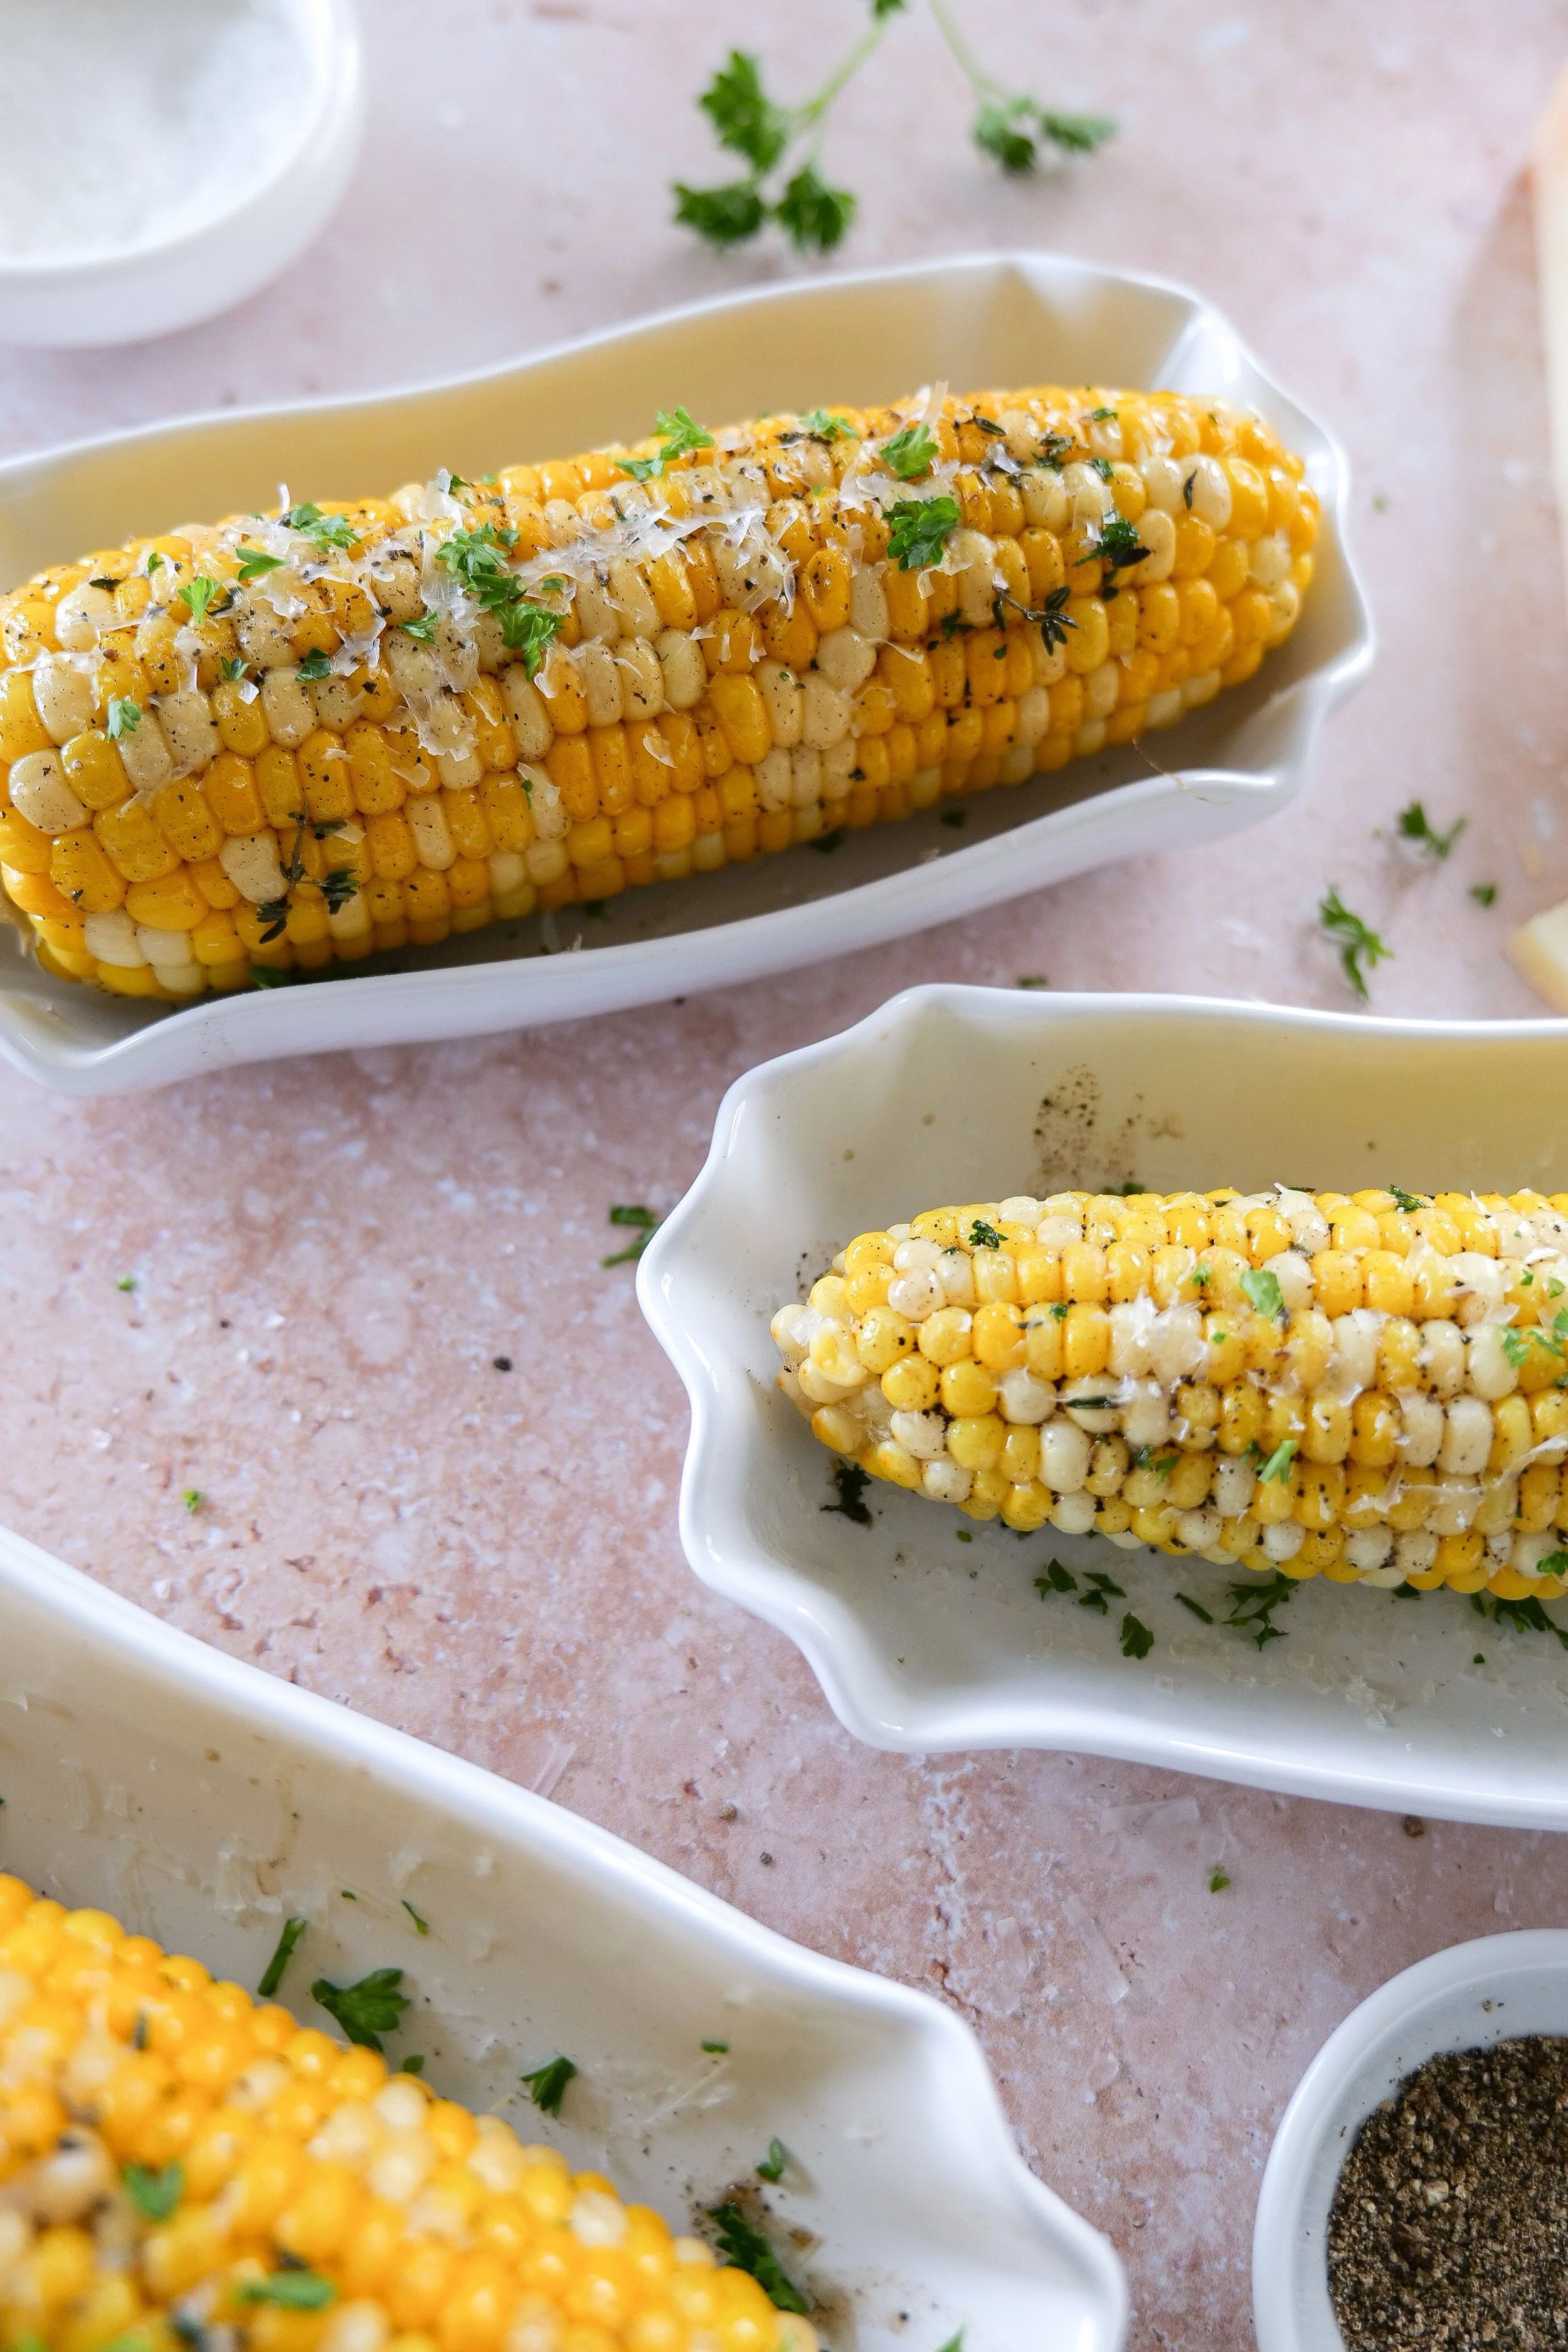
Close-up of corn on the cob coated in brown butter
Amanda holding freshly cooked corn on the cob for a summer gathering
Growing up, my family grew sweet corn for over 100 years, so fresh summer corn has always felt deeply tied to home for me. I still remember my dad walking through the door carrying a brown paper bag overflowing with freshly picked sweet corn straight from the fields, ready to be brought to the table for dinner that night. Those simple summer evenings are some of my favorite memories, and this brown butter herb corn on the cob recipe brings back all of those cozy nostalgic feelings every single time I make it.

As part of my All American Summer series, I wanted to elevate the classic just a little with this brown butter herb corn on the cob recipe — rich, buttery, simple, and perfect for summer entertaining.

This easy stovetop corn on the cob is coated in warm brown butter and finished with fresh herbs and flaky sea salt for the ultimate cozy summer side dish. It’s simple enough for weeknight dinners but beautiful enough for summer parties, cookouts, and holiday hosting.

If you love nostalgic summer recipes and cozy Americana-inspired entertaining, be sure to browse my American Summer Hosting collection filled with patriotic hosting ideas, backyard BBQ inspiration, and summer tablescape favorites. I also linked my favorite serving pieces, cookware, and summer kitchen finds in my Cozy Baking Essentials collection along with all of our favorite grilling and BBQ pieces in my Summer Grilling Essentials collection.

Why You’ll Love This Brown Butter Herb Corn on the Cob

This brown butter herb corn recipe is one of those easy summer side dishes you’ll make all season long.

  • Quick and easy stovetop recipe

  • Rich brown butter flavor

  • Perfect for summer BBQs and cookouts

  • Pairs with almost any grilled dinner

  • Beautiful for summer entertaining

  • Family-friendly and crowd-pleasing

  • Simple ingredients with elevated flavor

Whether you’re planning a casual backyard dinner or a full summer hosting menu, this easy corn on the cob recipe fits perfectly into any Americana-inspired table.

Brown butter corn on the cob served on a summer table
Easy corn on the cob recipe with melted brown butter
Fourth of July side dish idea featuring buttered corn

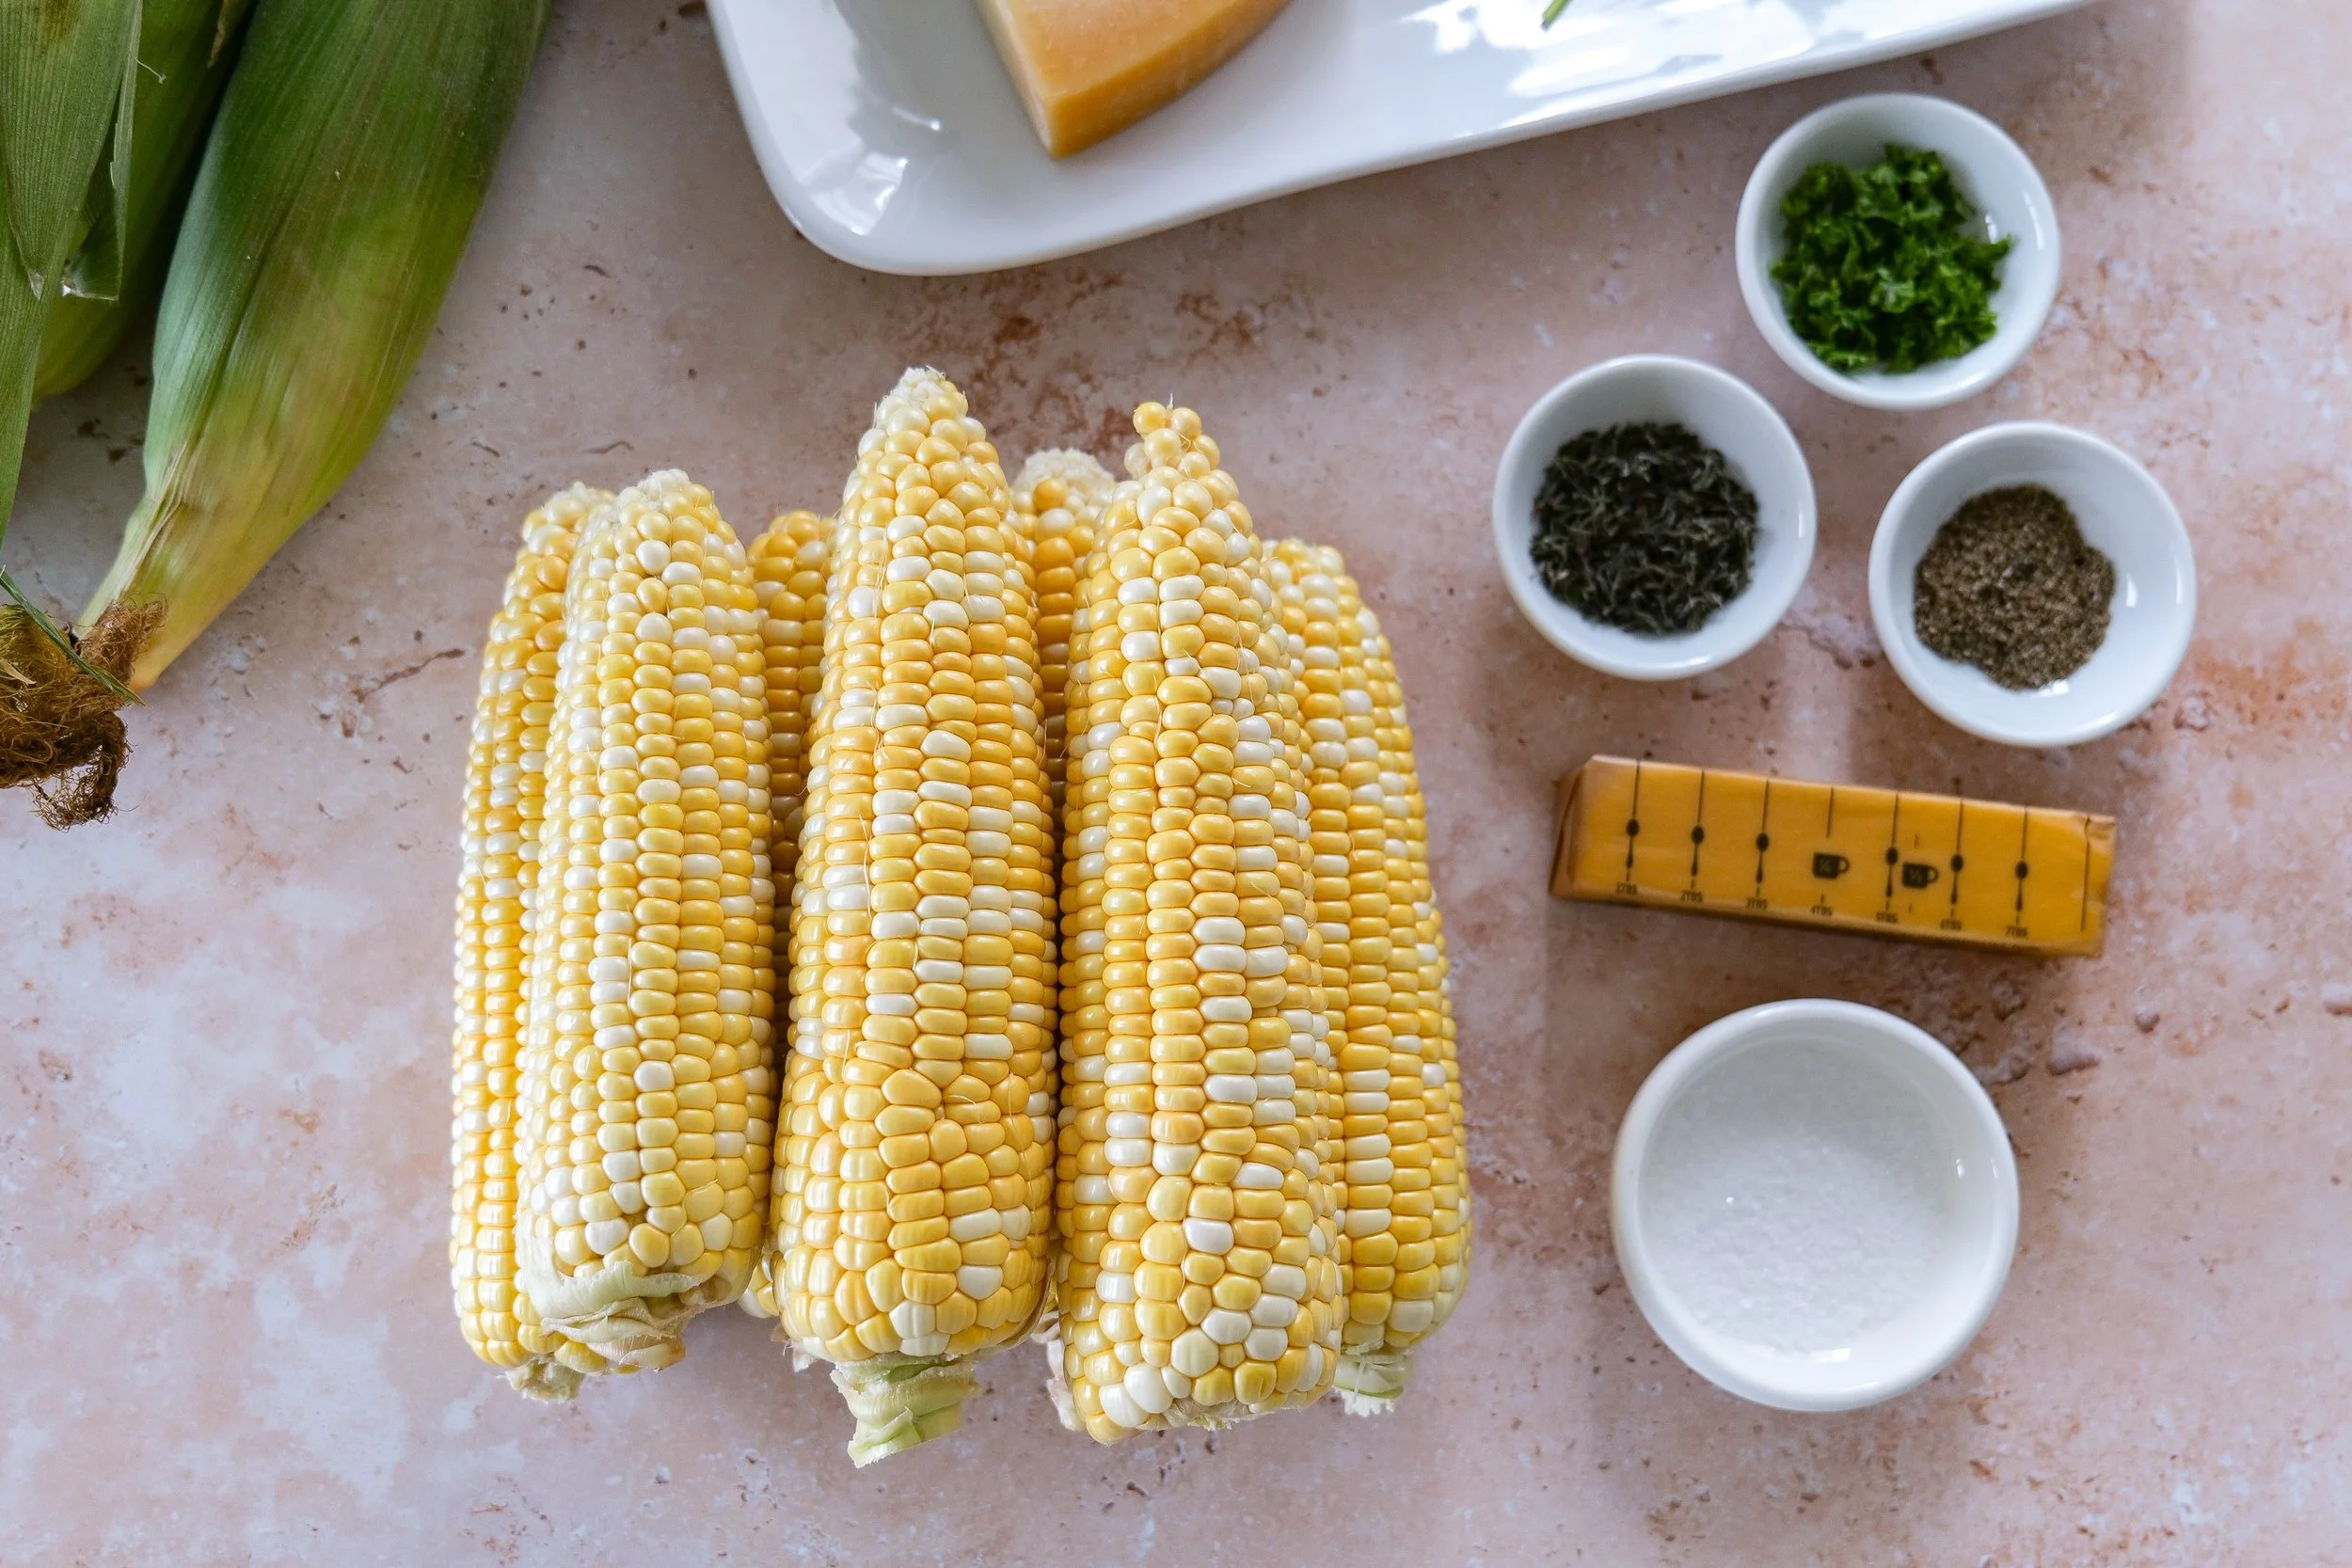
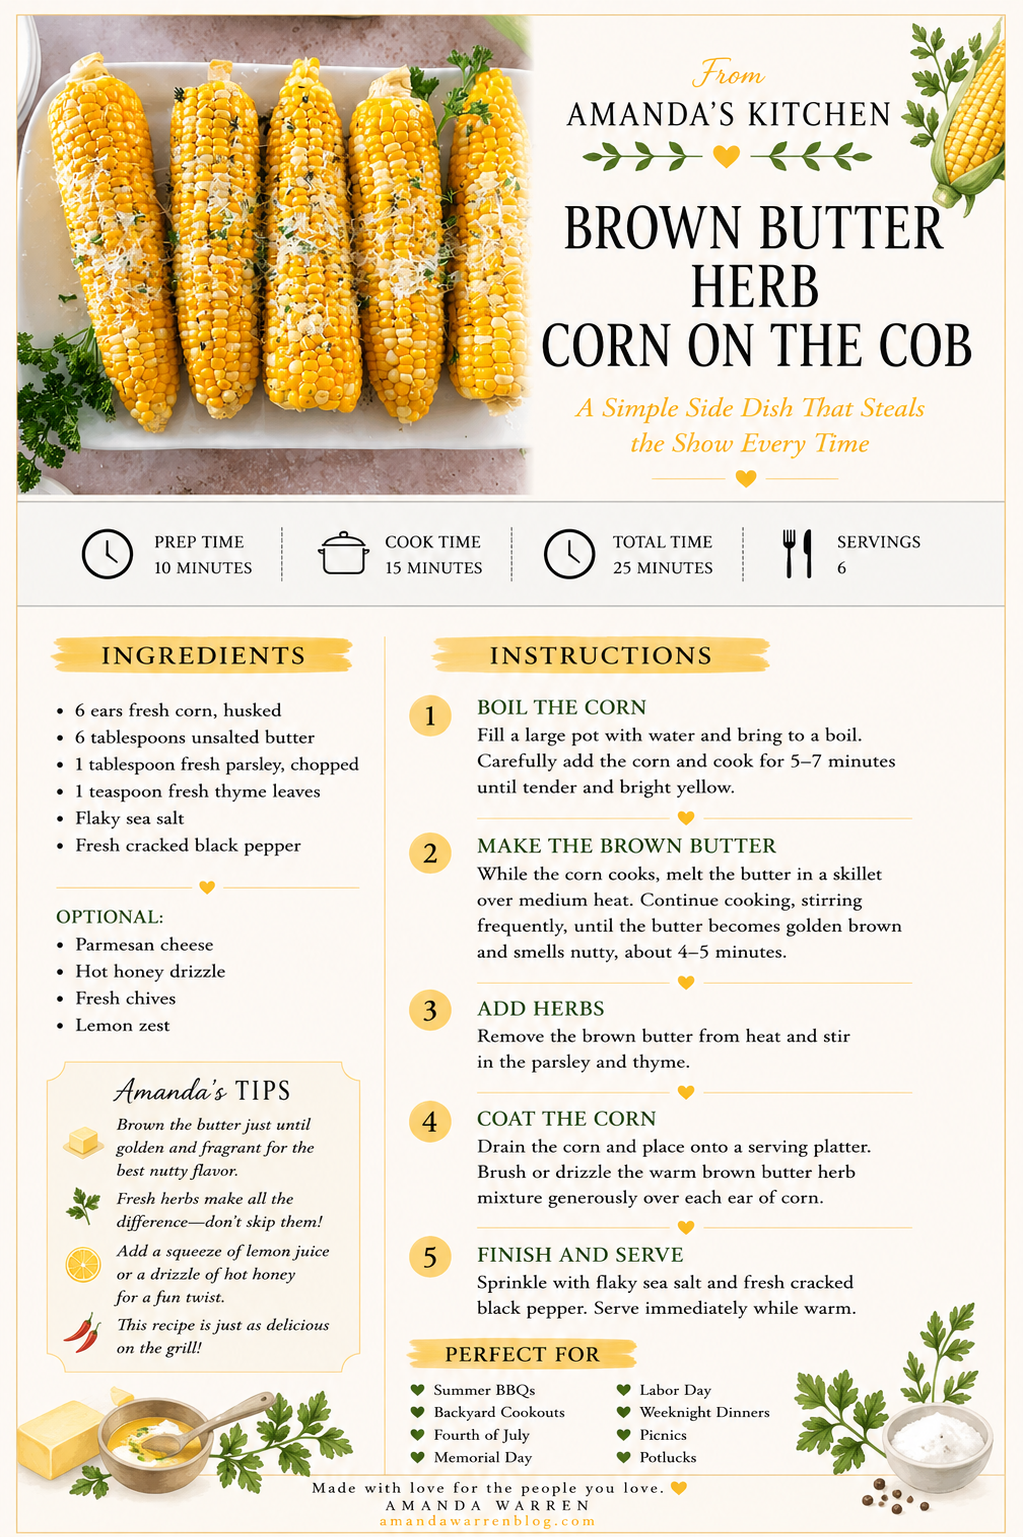
Ingredients

  • 6 ears fresh corn, husked

  • 6 tablespoons unsalted butter

  • 1 tablespoon fresh parsley, chopped

  • 1 teaspoon fresh thyme leaves

  • Flaky sea salt

  • Fresh cracked black pepper

Optional:

  • Parmesan cheese

  • Hot honey drizzle

  • Fresh chives

  • Lemon zest

Instructions

1. Boil the Corn

Fill a large pot with water and bring to a boil. Carefully add the corn and cook for 5–7 minutes until tender and bright yellow.

2. Make the Brown Butter

While the corn cooks, melt the butter in a skillet over medium heat. Continue cooking, stirring frequently, until the butter becomes golden brown and smells nutty, about 4–5 minutes.

3. Add Herbs

Remove the brown butter from heat and stir in the parsley and thyme.

4. Coat the Corn

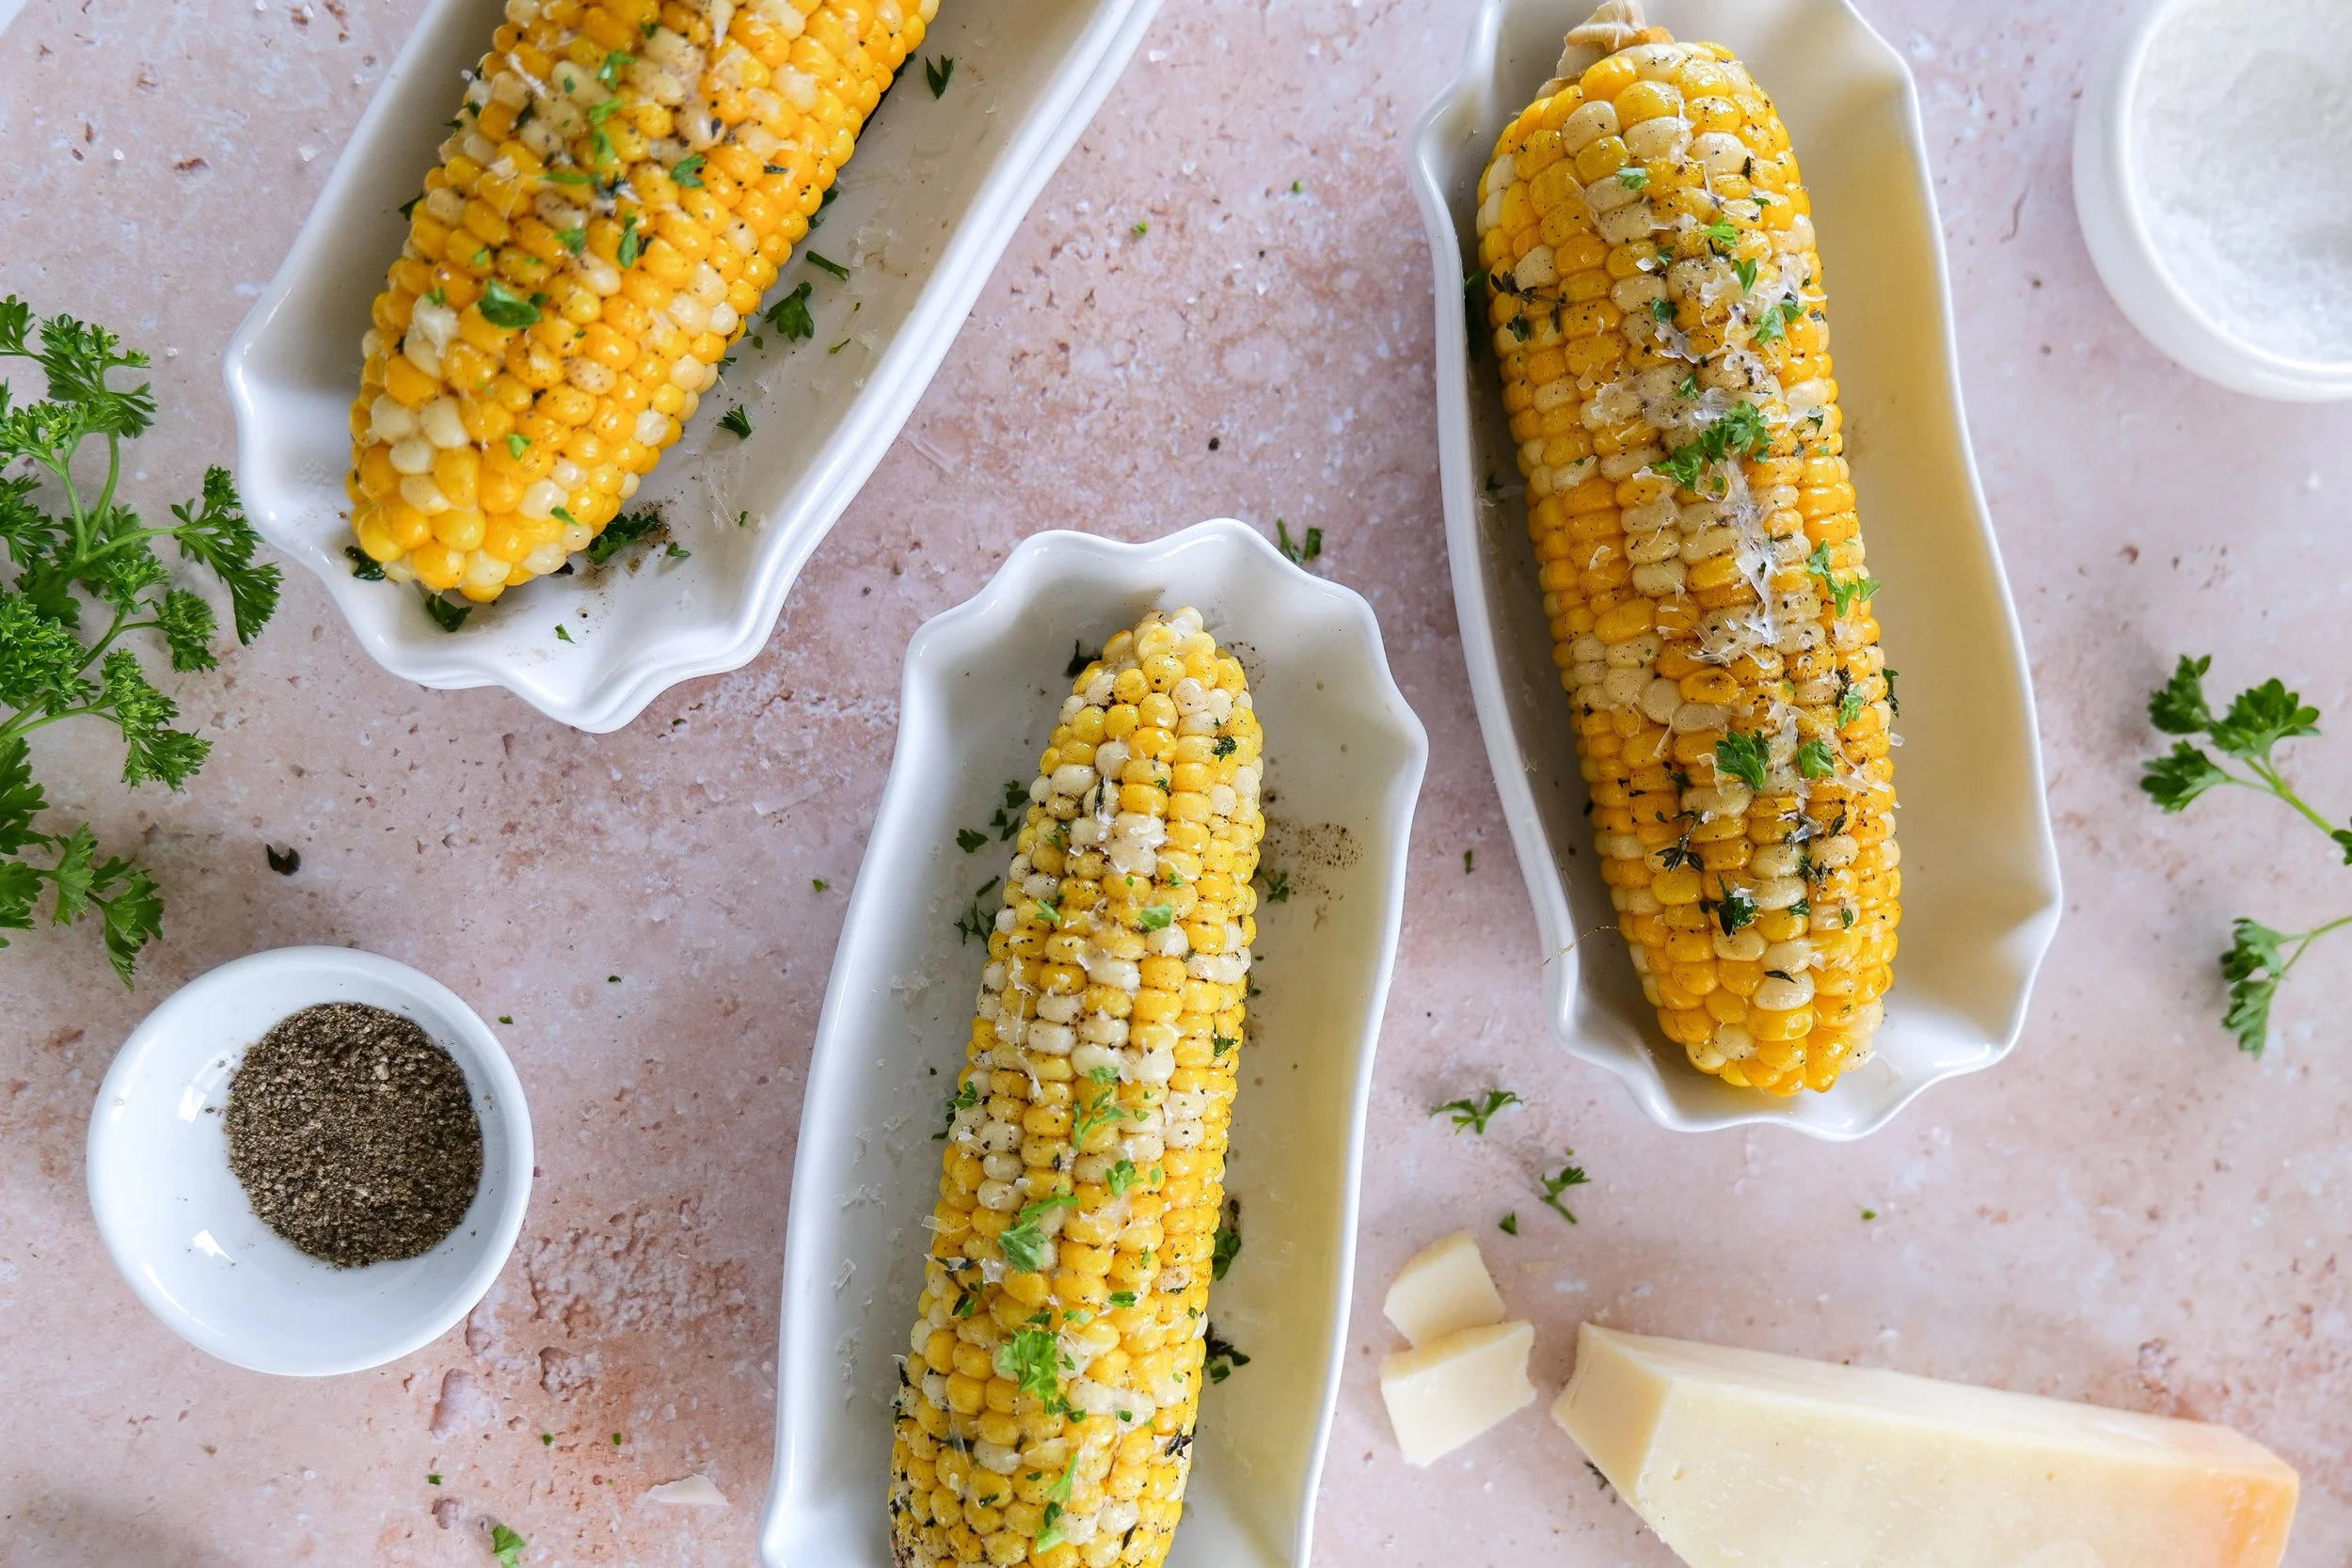
Drain the corn and place onto a serving platter. Brush or drizzle the warm brown butter herb mixture generously over each ear of corn.

5. Finish and Serve

Sprinkle with flaky sea salt and fresh cracked black pepper. Serve immediately while warm.

Corn on the cob served during a Fourth of July celebration
Corn on the cob topped with rich brown butter
Red white and blue tablescape styled with corn on the cob
Corn on the cob served on a holiday entertaining table

What to Serve with Brown Butter Herb Corn on the Cob

This easy corn on the cob recipe pairs perfectly with all your favorite summer meals.

Serve it with:

  • Hot dogs

  • Hamburgers

  • Pulled pork sandwiches

  • BBQ chicken

  • Slow cooker baked beans

  • Pasta salad

  • Watermelon and fresh fruit

  • Summer desserts and cobblers

For the ultimate All American Summer menu, pair this corn recipe with my Chicago Hot Dog Recipe, Bacon Wrapped California Hot Dog Recipe, and Easy Slow Cooker Baked Beans with Bacon.

Tips for the Best Corn on the Cob

  • Use fresh summer corn for the sweetest flavor

  • Don’t overcook the corn or it can become chewy

  • Watch the butter carefully while browning

  • Serve immediately for the best texture and flavor

  • Finish with flaky salt for an elevated touch

Easy Variations to Try

Hot Honey Corn

Drizzle with hot honey for a sweet and spicy twist.

Parmesan Herb Corn

Top with freshly grated parmesan cheese and extra herbs.

Garlic Brown Butter Corn

Add minced garlic to the butter during the last minute of cooking.

Spicy Cajun Corn

Sprinkle with Cajun seasoning for a smoky kick.

Frequently Asked Questions

How long should I boil corn on the cob?

Fresh corn typically cooks in 5–7 minutes once the water is boiling.

What is brown butter?

Brown butter is butter that’s cooked until the milk solids toast, creating a rich, nutty flavor.

Can I make this ahead of time?

Corn is best served fresh, but you can prepare the brown butter ahead and reheat before serving.

What herbs work best with corn on the cob?

Parsley, thyme, chives, basil, and cilantro all pair beautifully with corn.

Is stovetop corn better than grilled?

Both are delicious, but stovetop corn stays extra juicy and tender.

Looking for More All American Summer Recipes?

If you’re loving this Americana-inspired summer series, be sure to check out:

And don’t forget to browse my American Summer Hosting, Summer Grilling Essentials, Cozy Baking Essentials, and All American Mama collections for even more summer entertaining inspiration and cozy Americana finds.

From Amanda's Kitchen

The best recipes are often the simplest ones—the ones that become part of every family gathering, backyard barbecue, and summer dinner year after year.

That's exactly why I created these From Amanda's Kitchen printable recipe cards. Whether you're planning a cookout, hosting friends, or adding another favorite to your recipe binder, I hope this recipe brings people together around your table.

Because the best recipes aren't just made—they're shared, celebrated, and passed down from one kitchen to another.

Save or print the recipe card below so it's always ready for your next summer gathering.

Summer corn side dish perfect for backyard gatherings
Summer hosting table featuring corn on the cob and seasonal decor
Family-style serving platter filled with corn on the cob
Corn on the cob recipe for summer entertaining
Patriotic summer table featuring brown butter corn on the cob
Buttery corn on the cob recipe for summer cookouts
Fresh summer corn recipe made with simple ingredients
Americana summer tablescape featuring brown butter corn on the cob
Lifestyle photo featuring homemade corn on the cob for family entertaining

Brown Butter Pumpkin Chocolate Chip Oatmeal Pizookie

There are few desserts better than a warm skillet cookie straight from the oven, especially when brown butter, pumpkin, oats, and melty chocolate are involved. This one has crisp edges, a soft and gooey center, and all of those cozy fall flavors in one big cookie made for sharing.

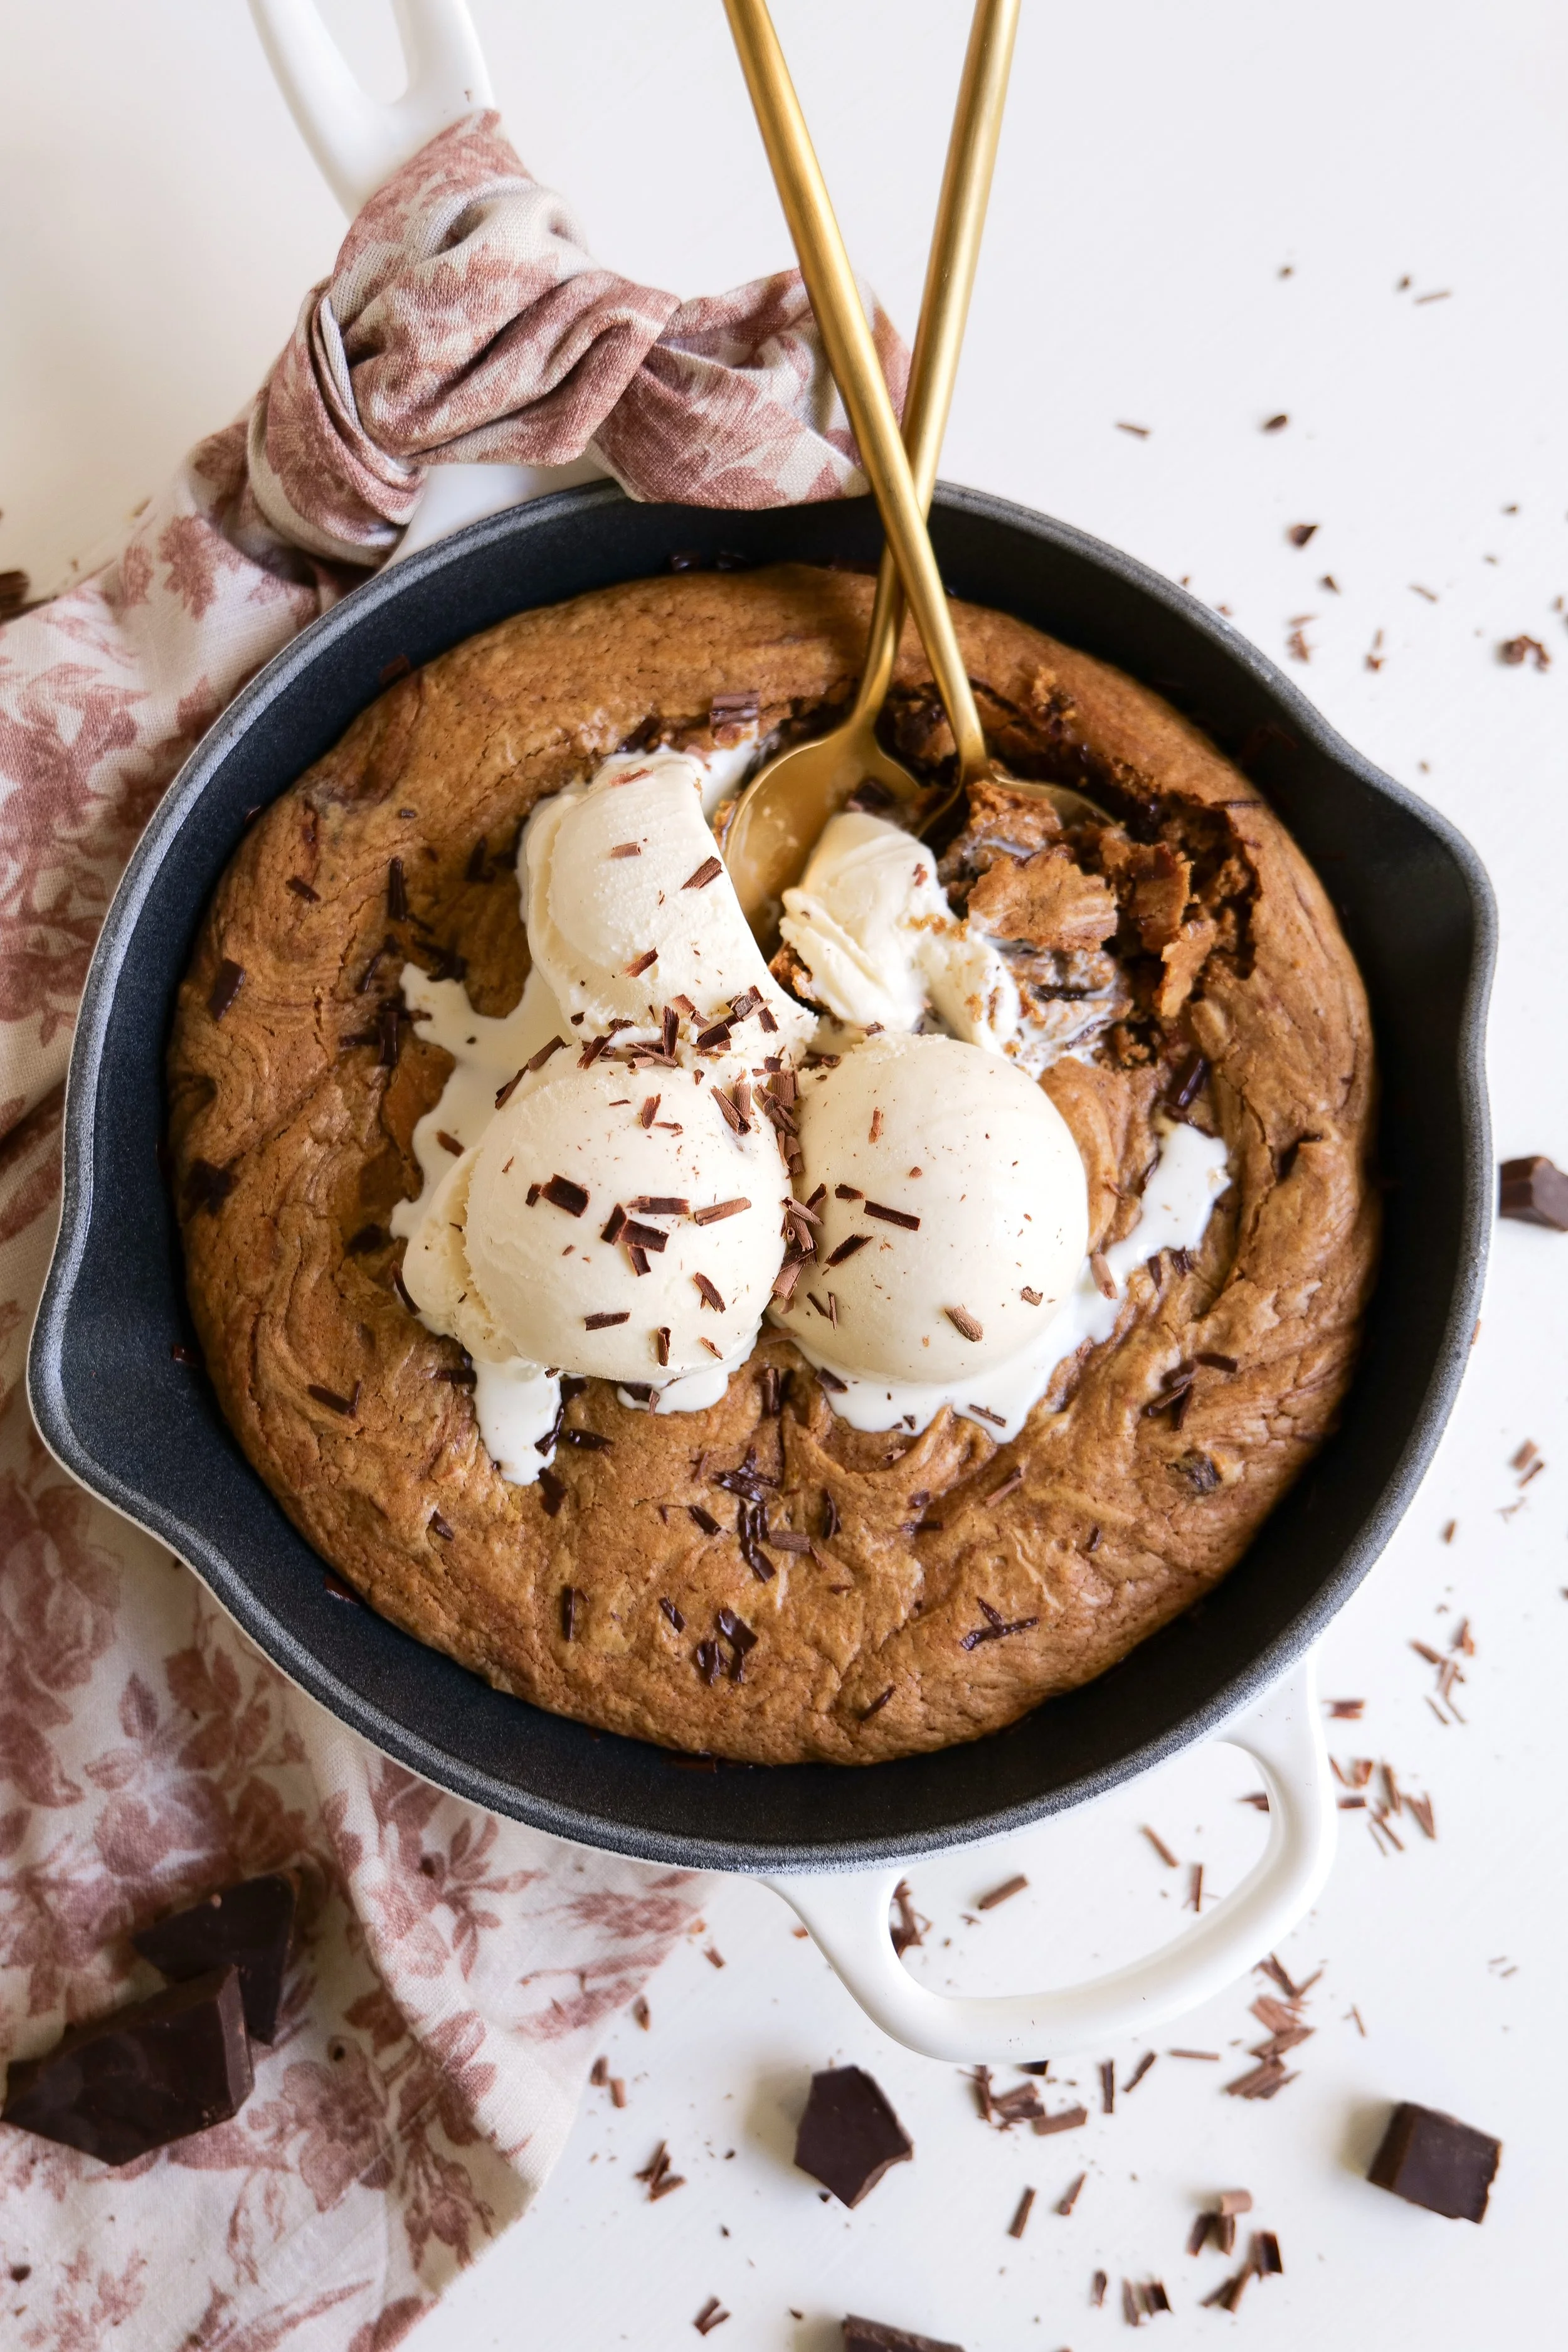
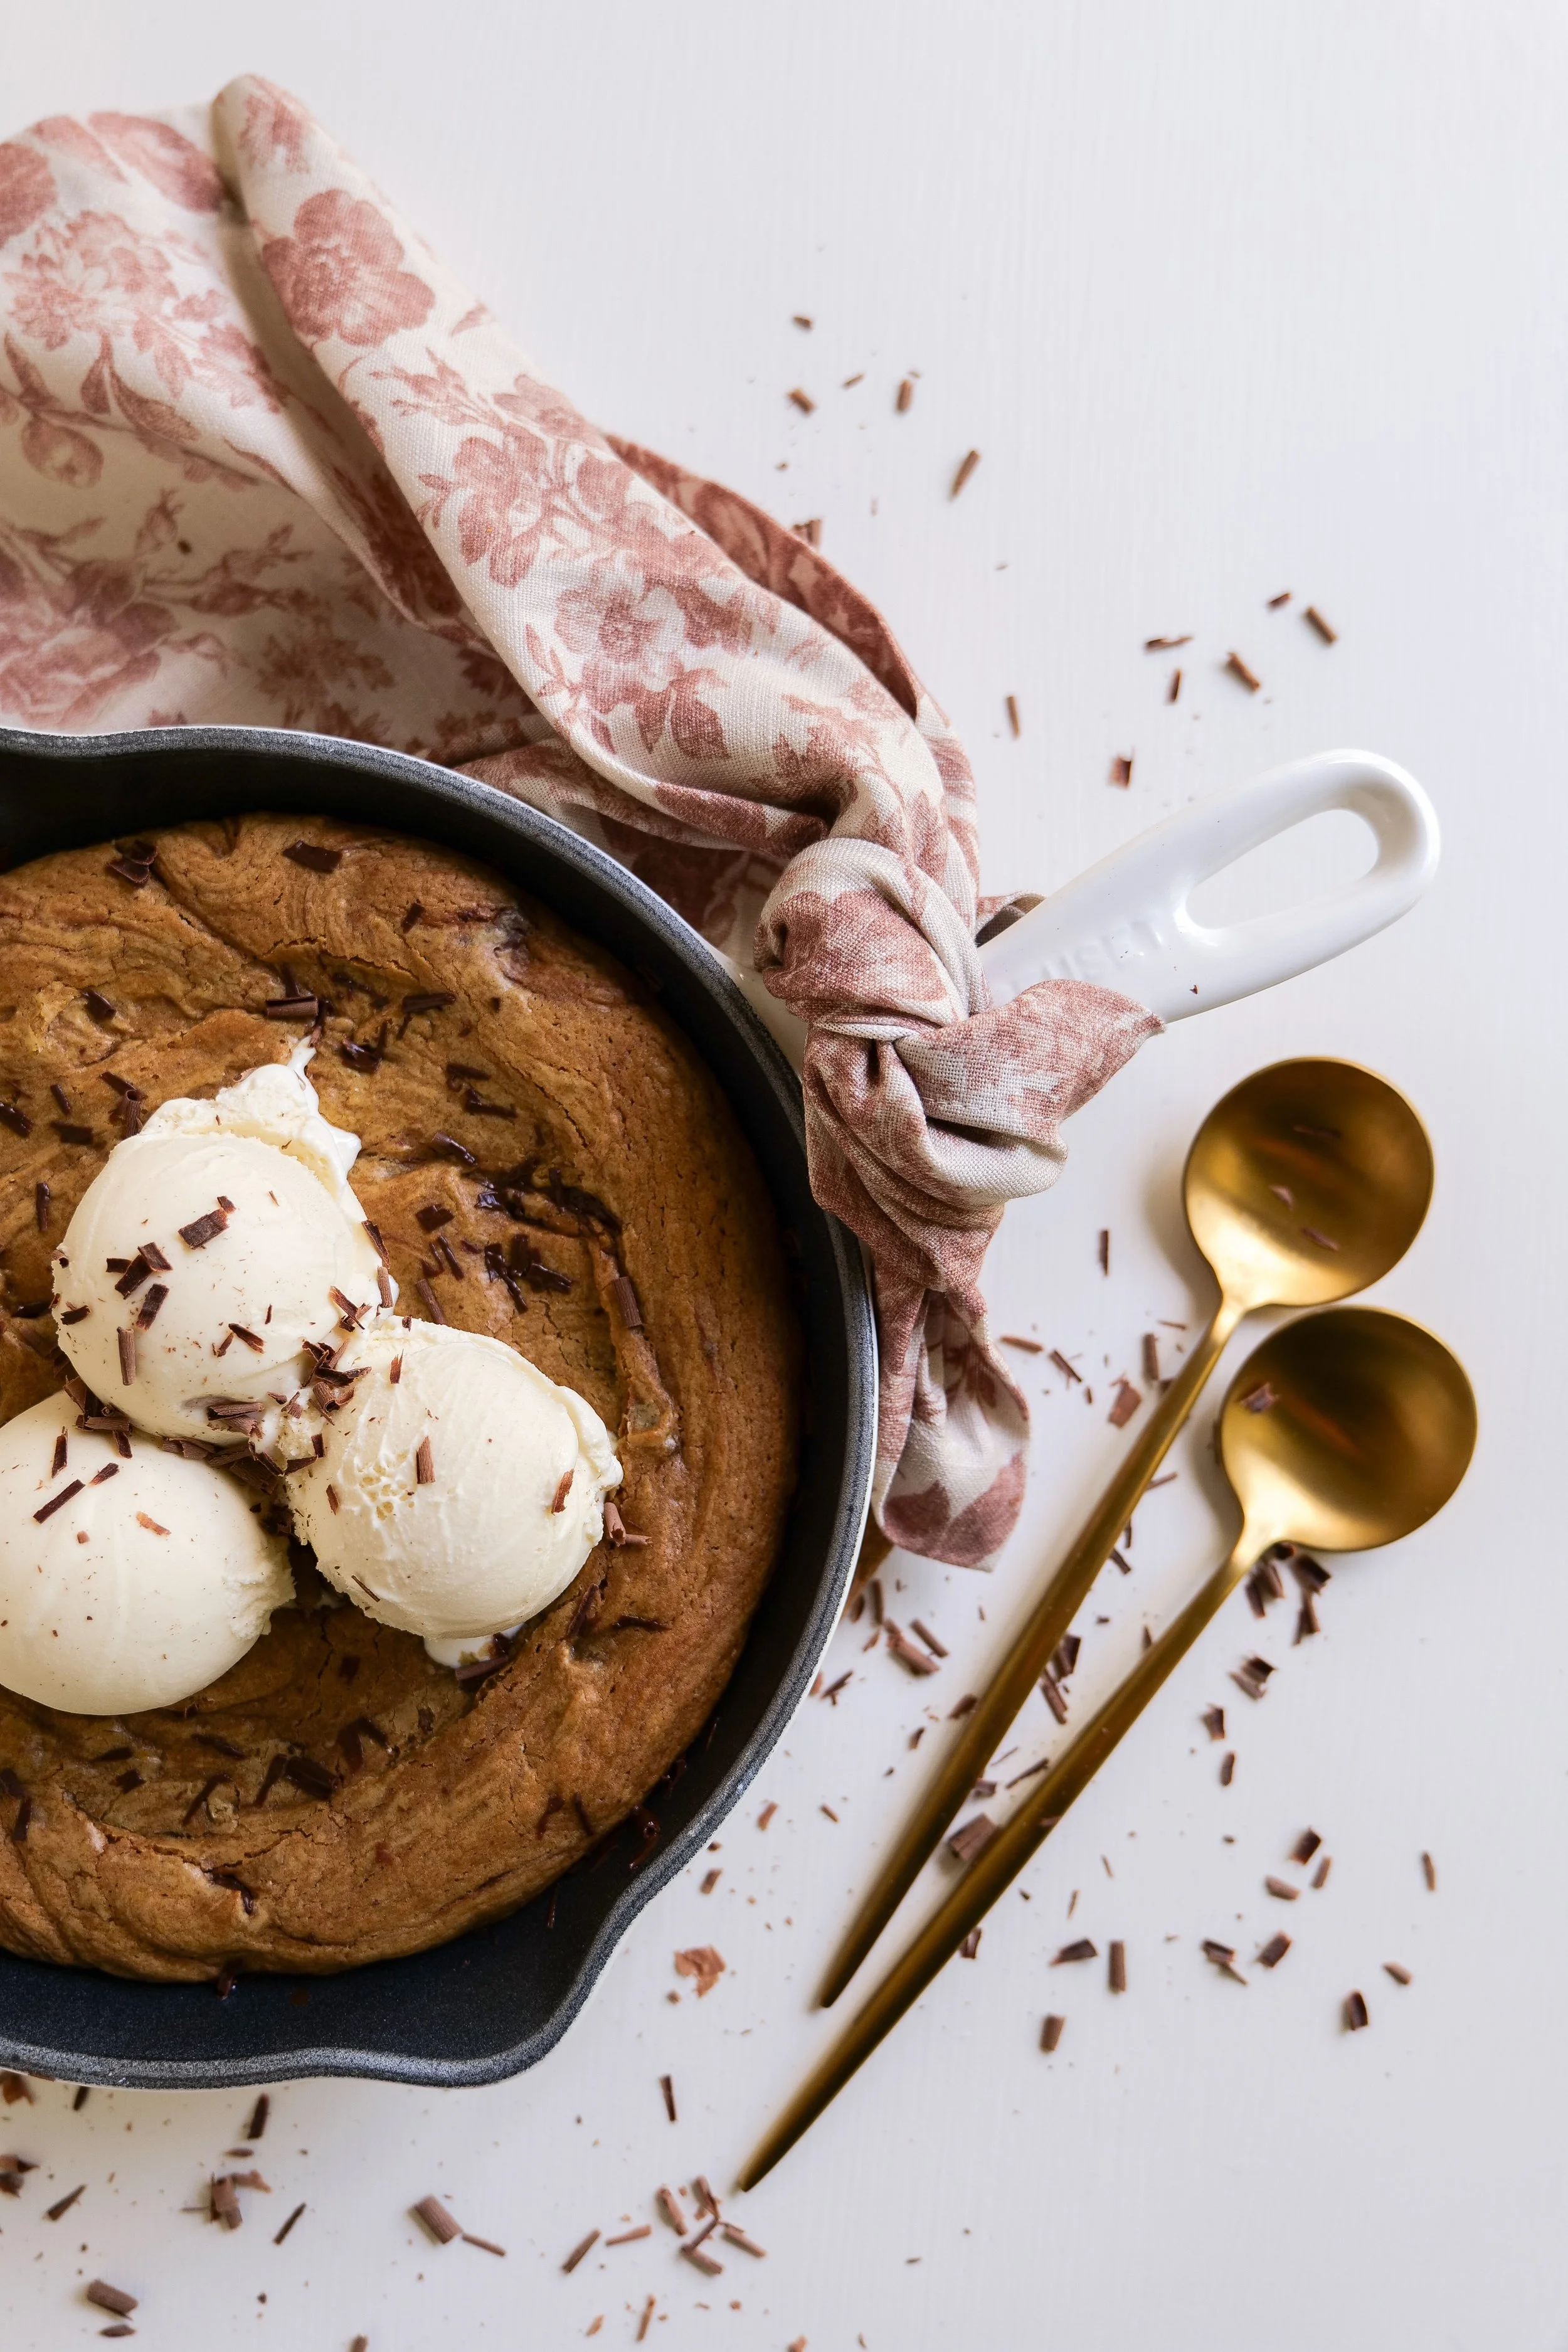
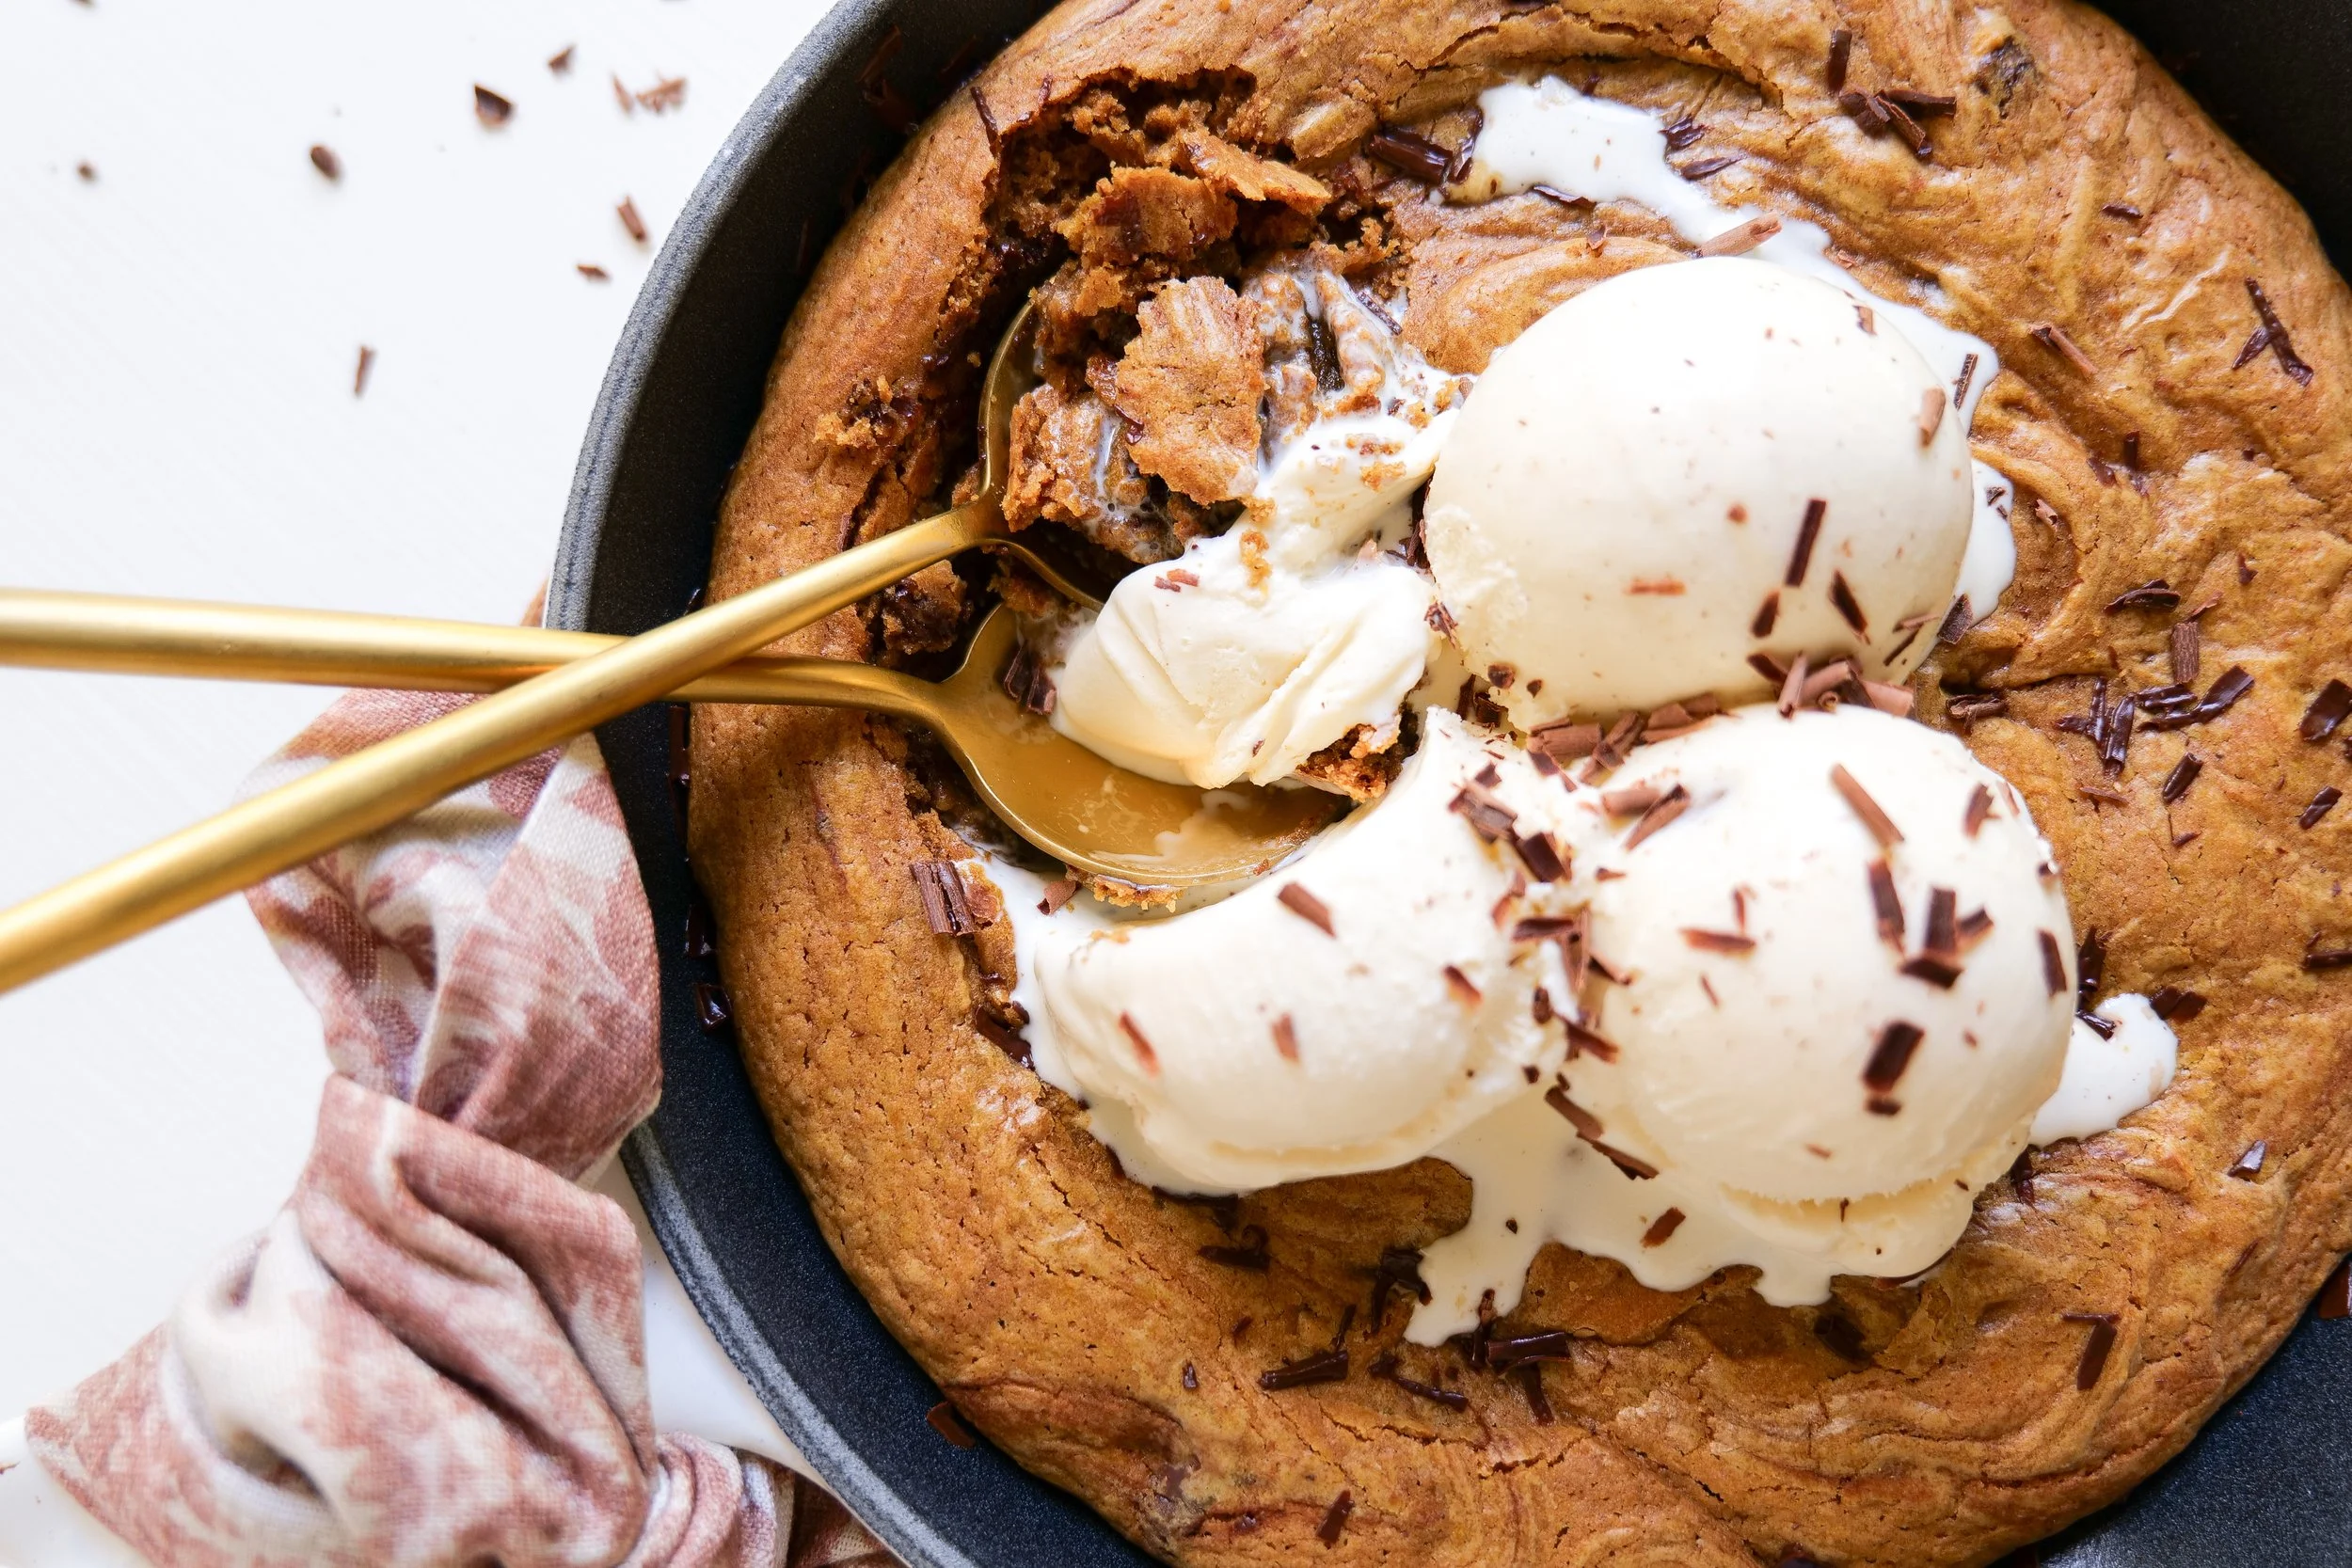
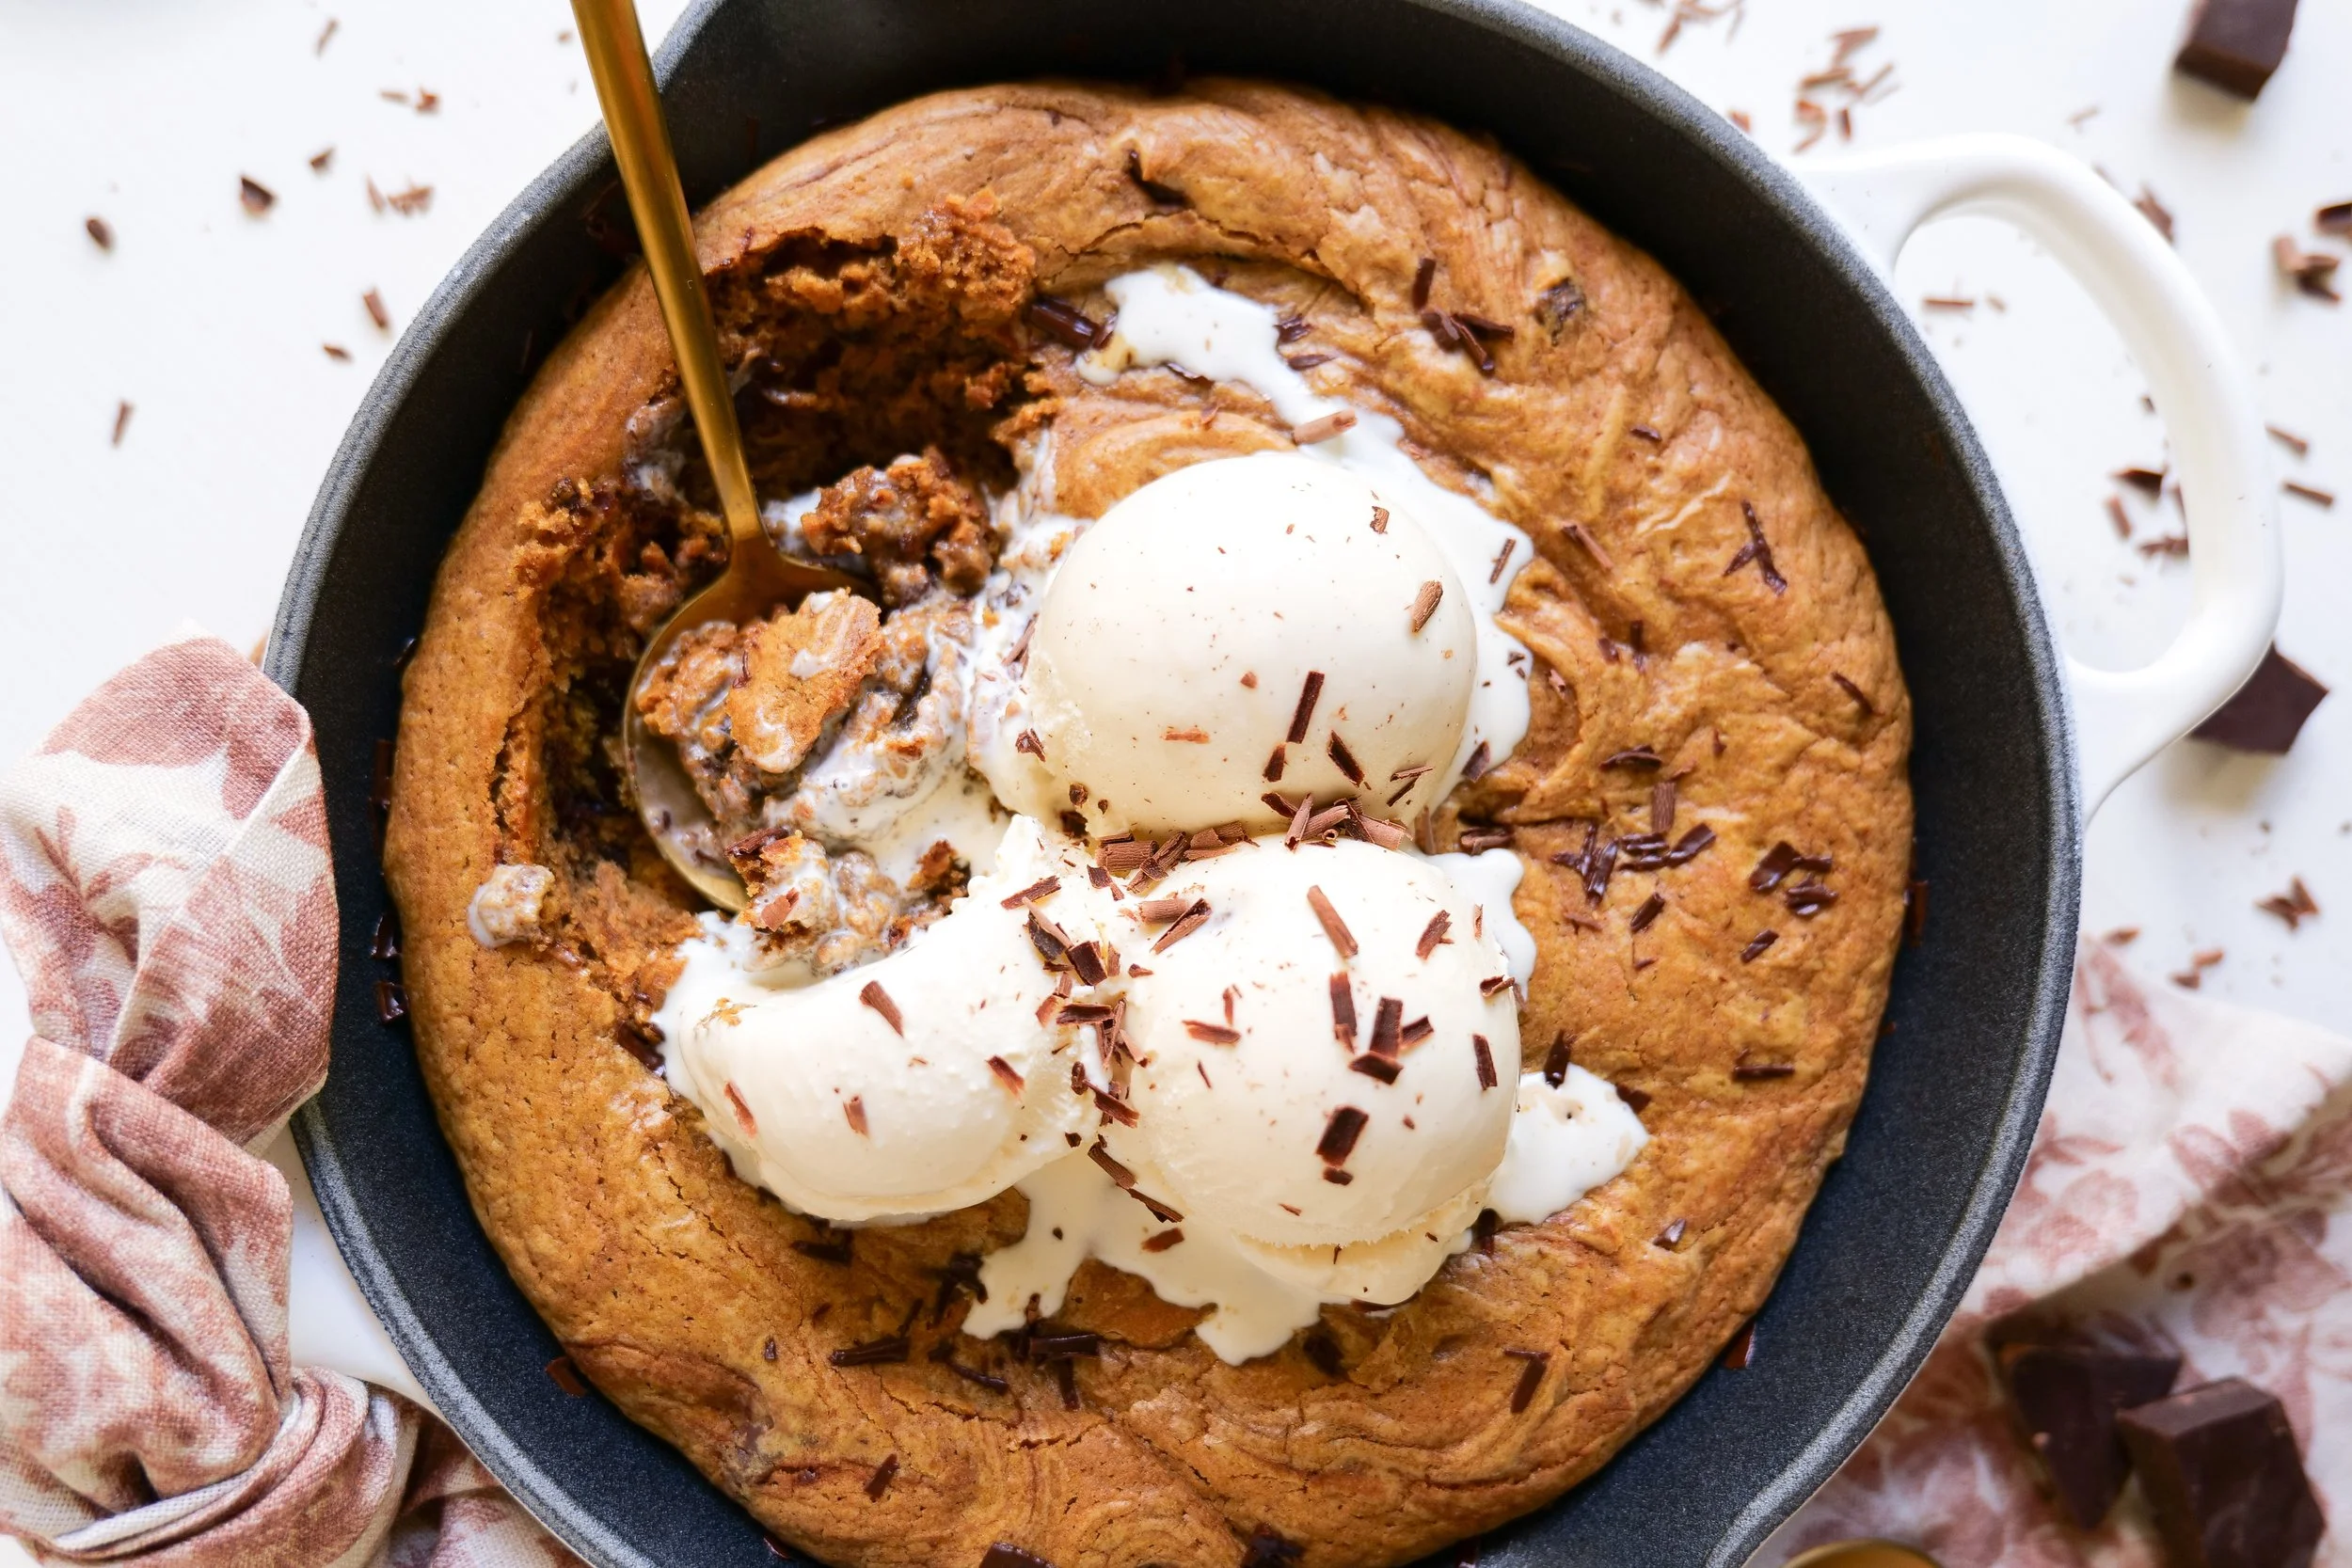
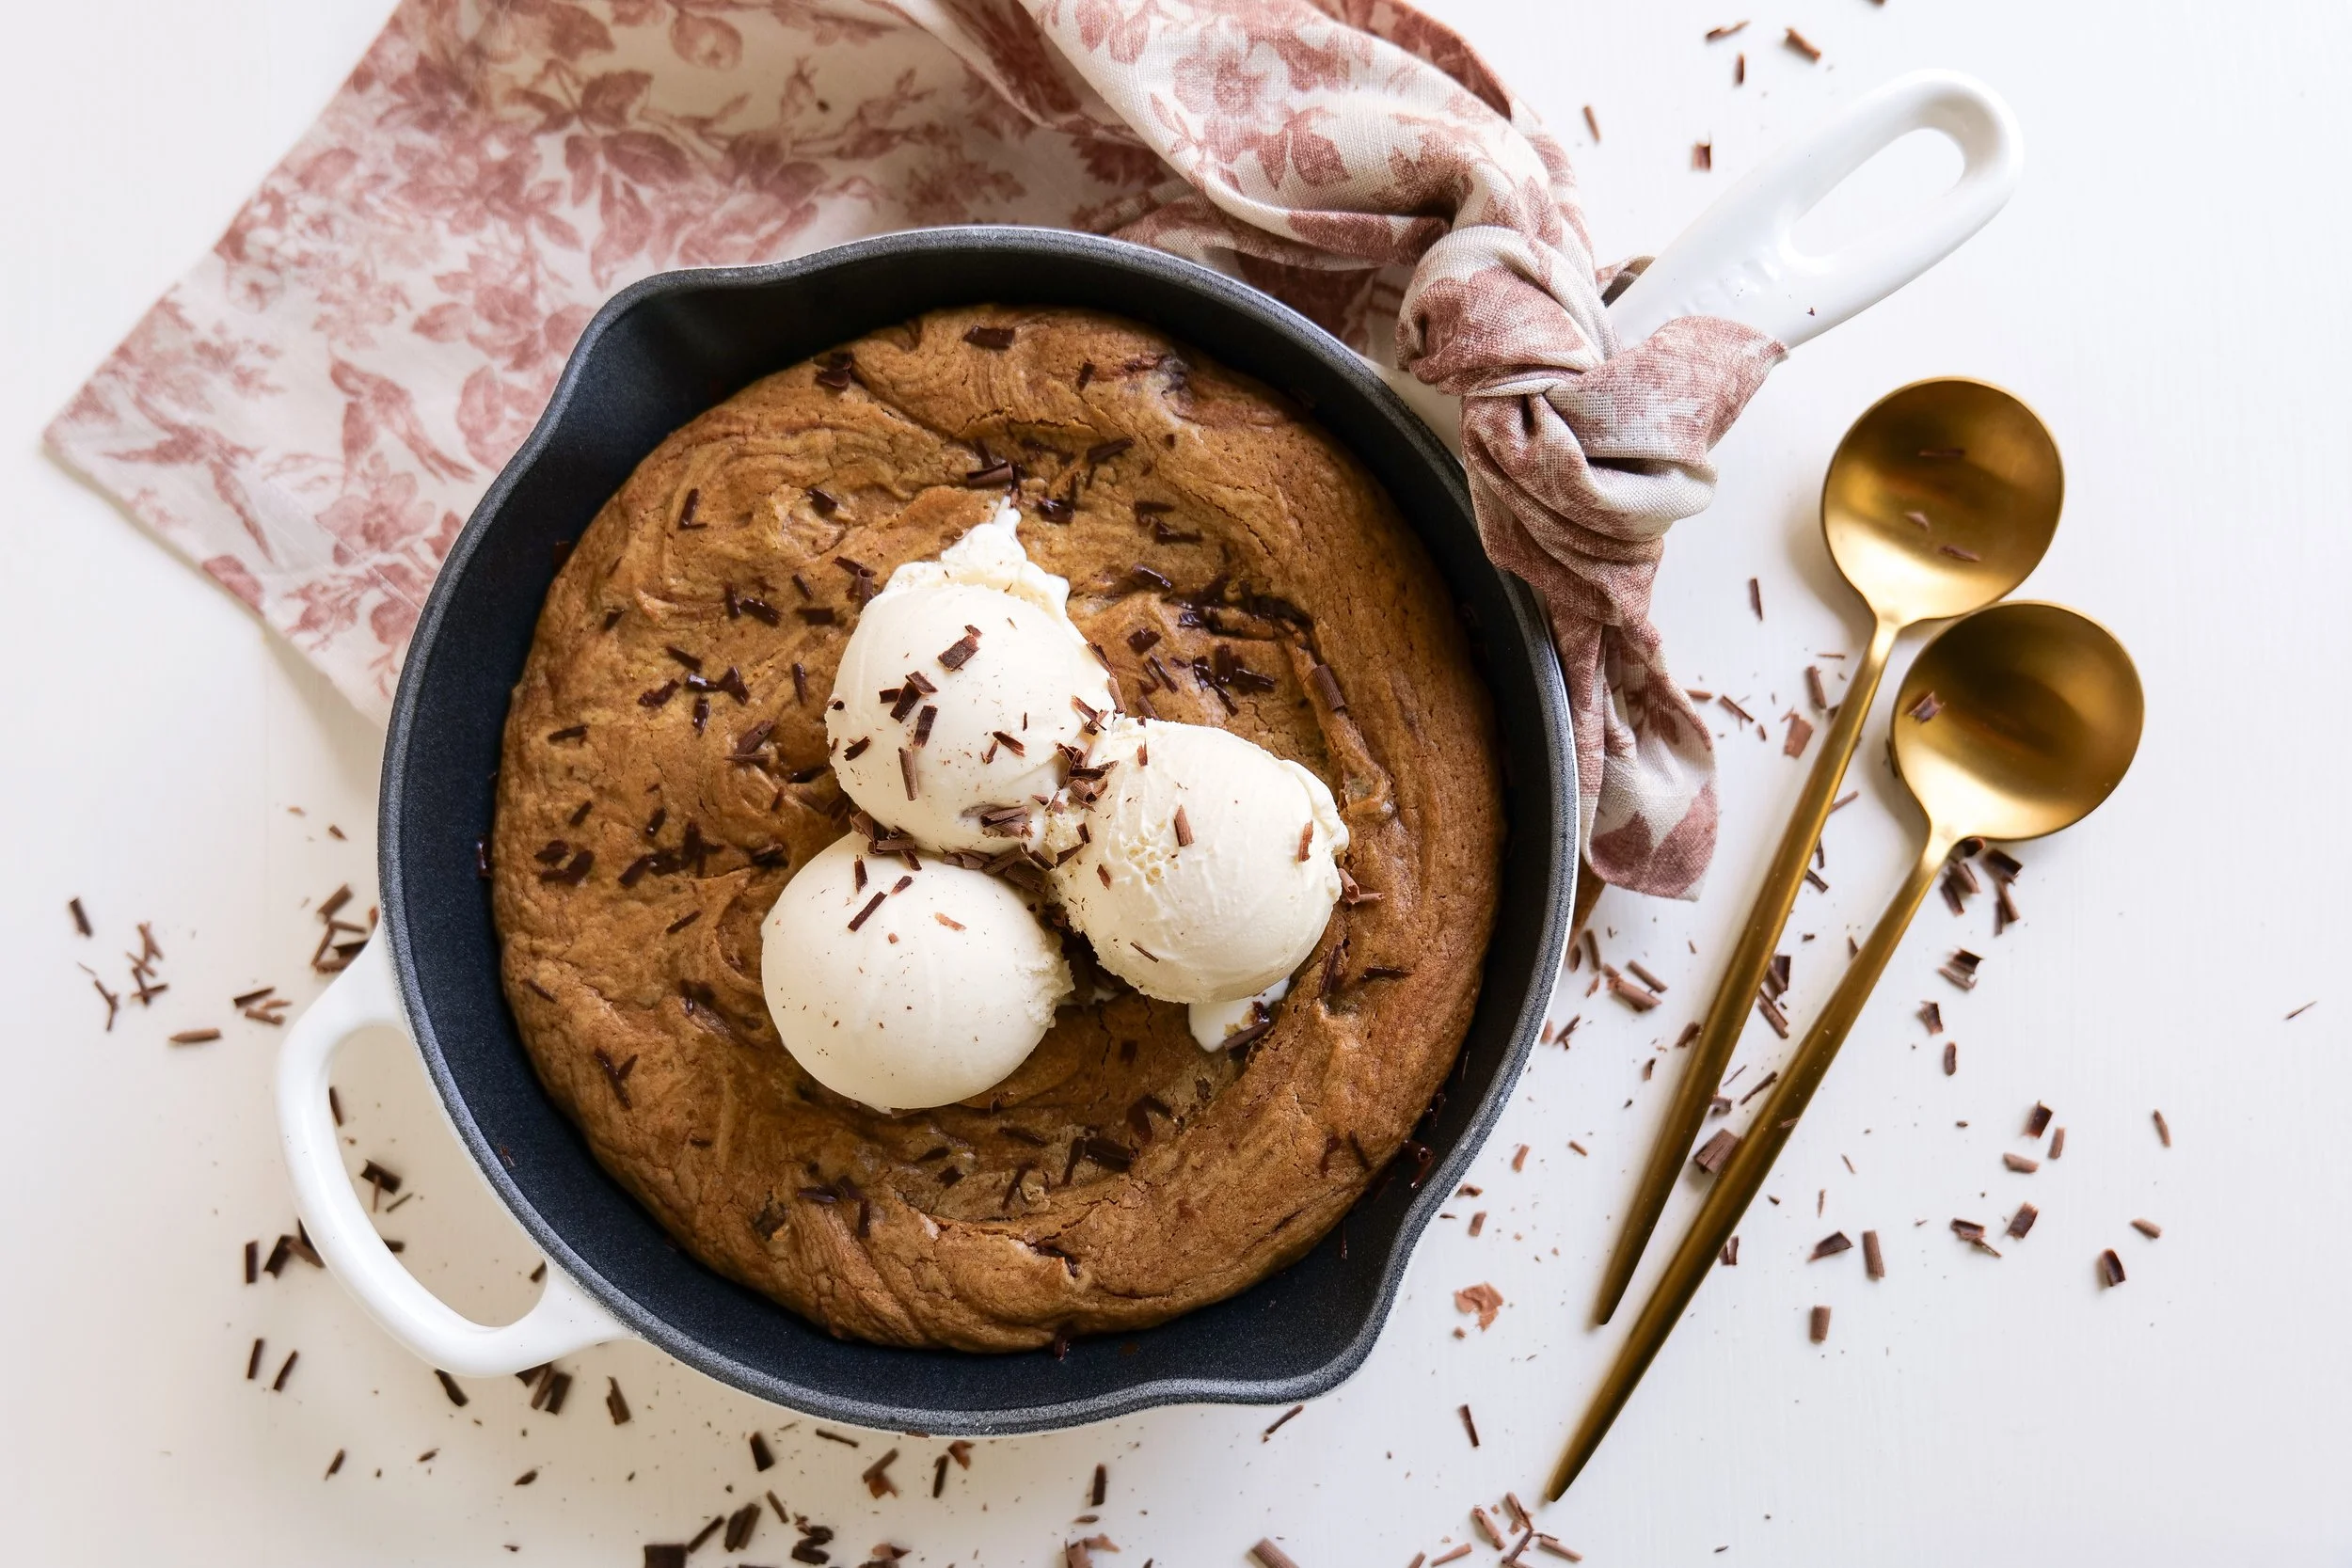
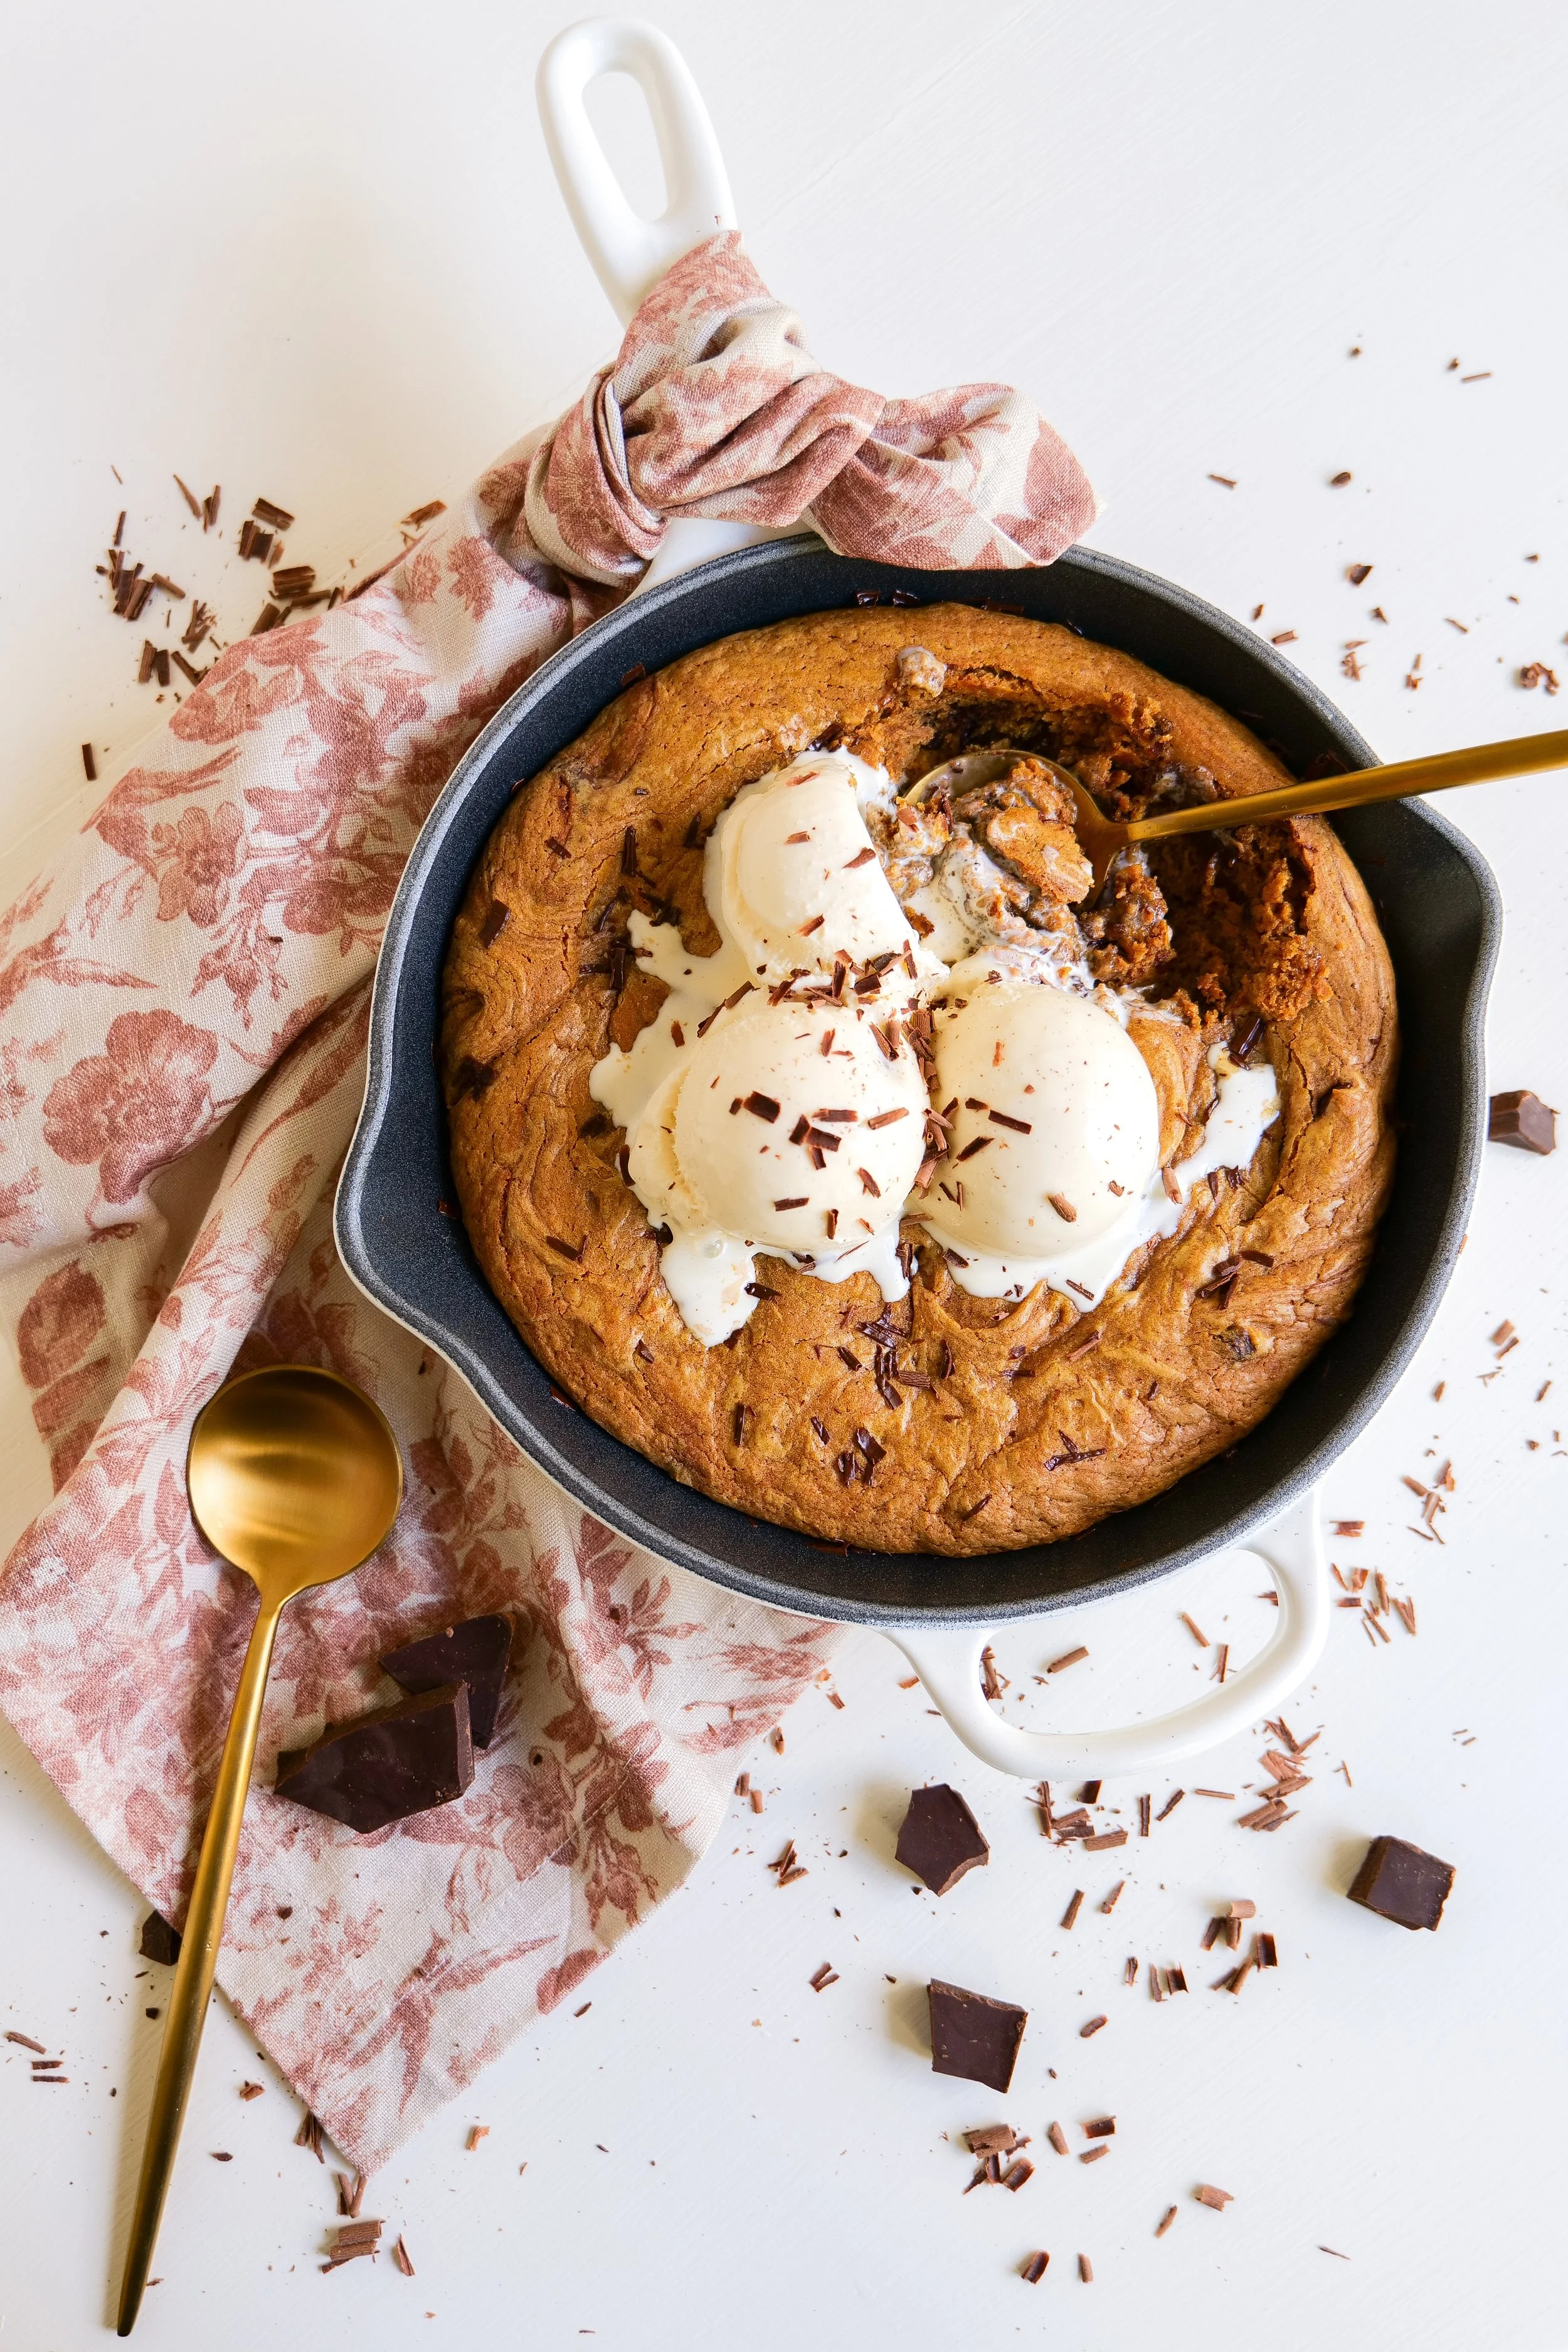
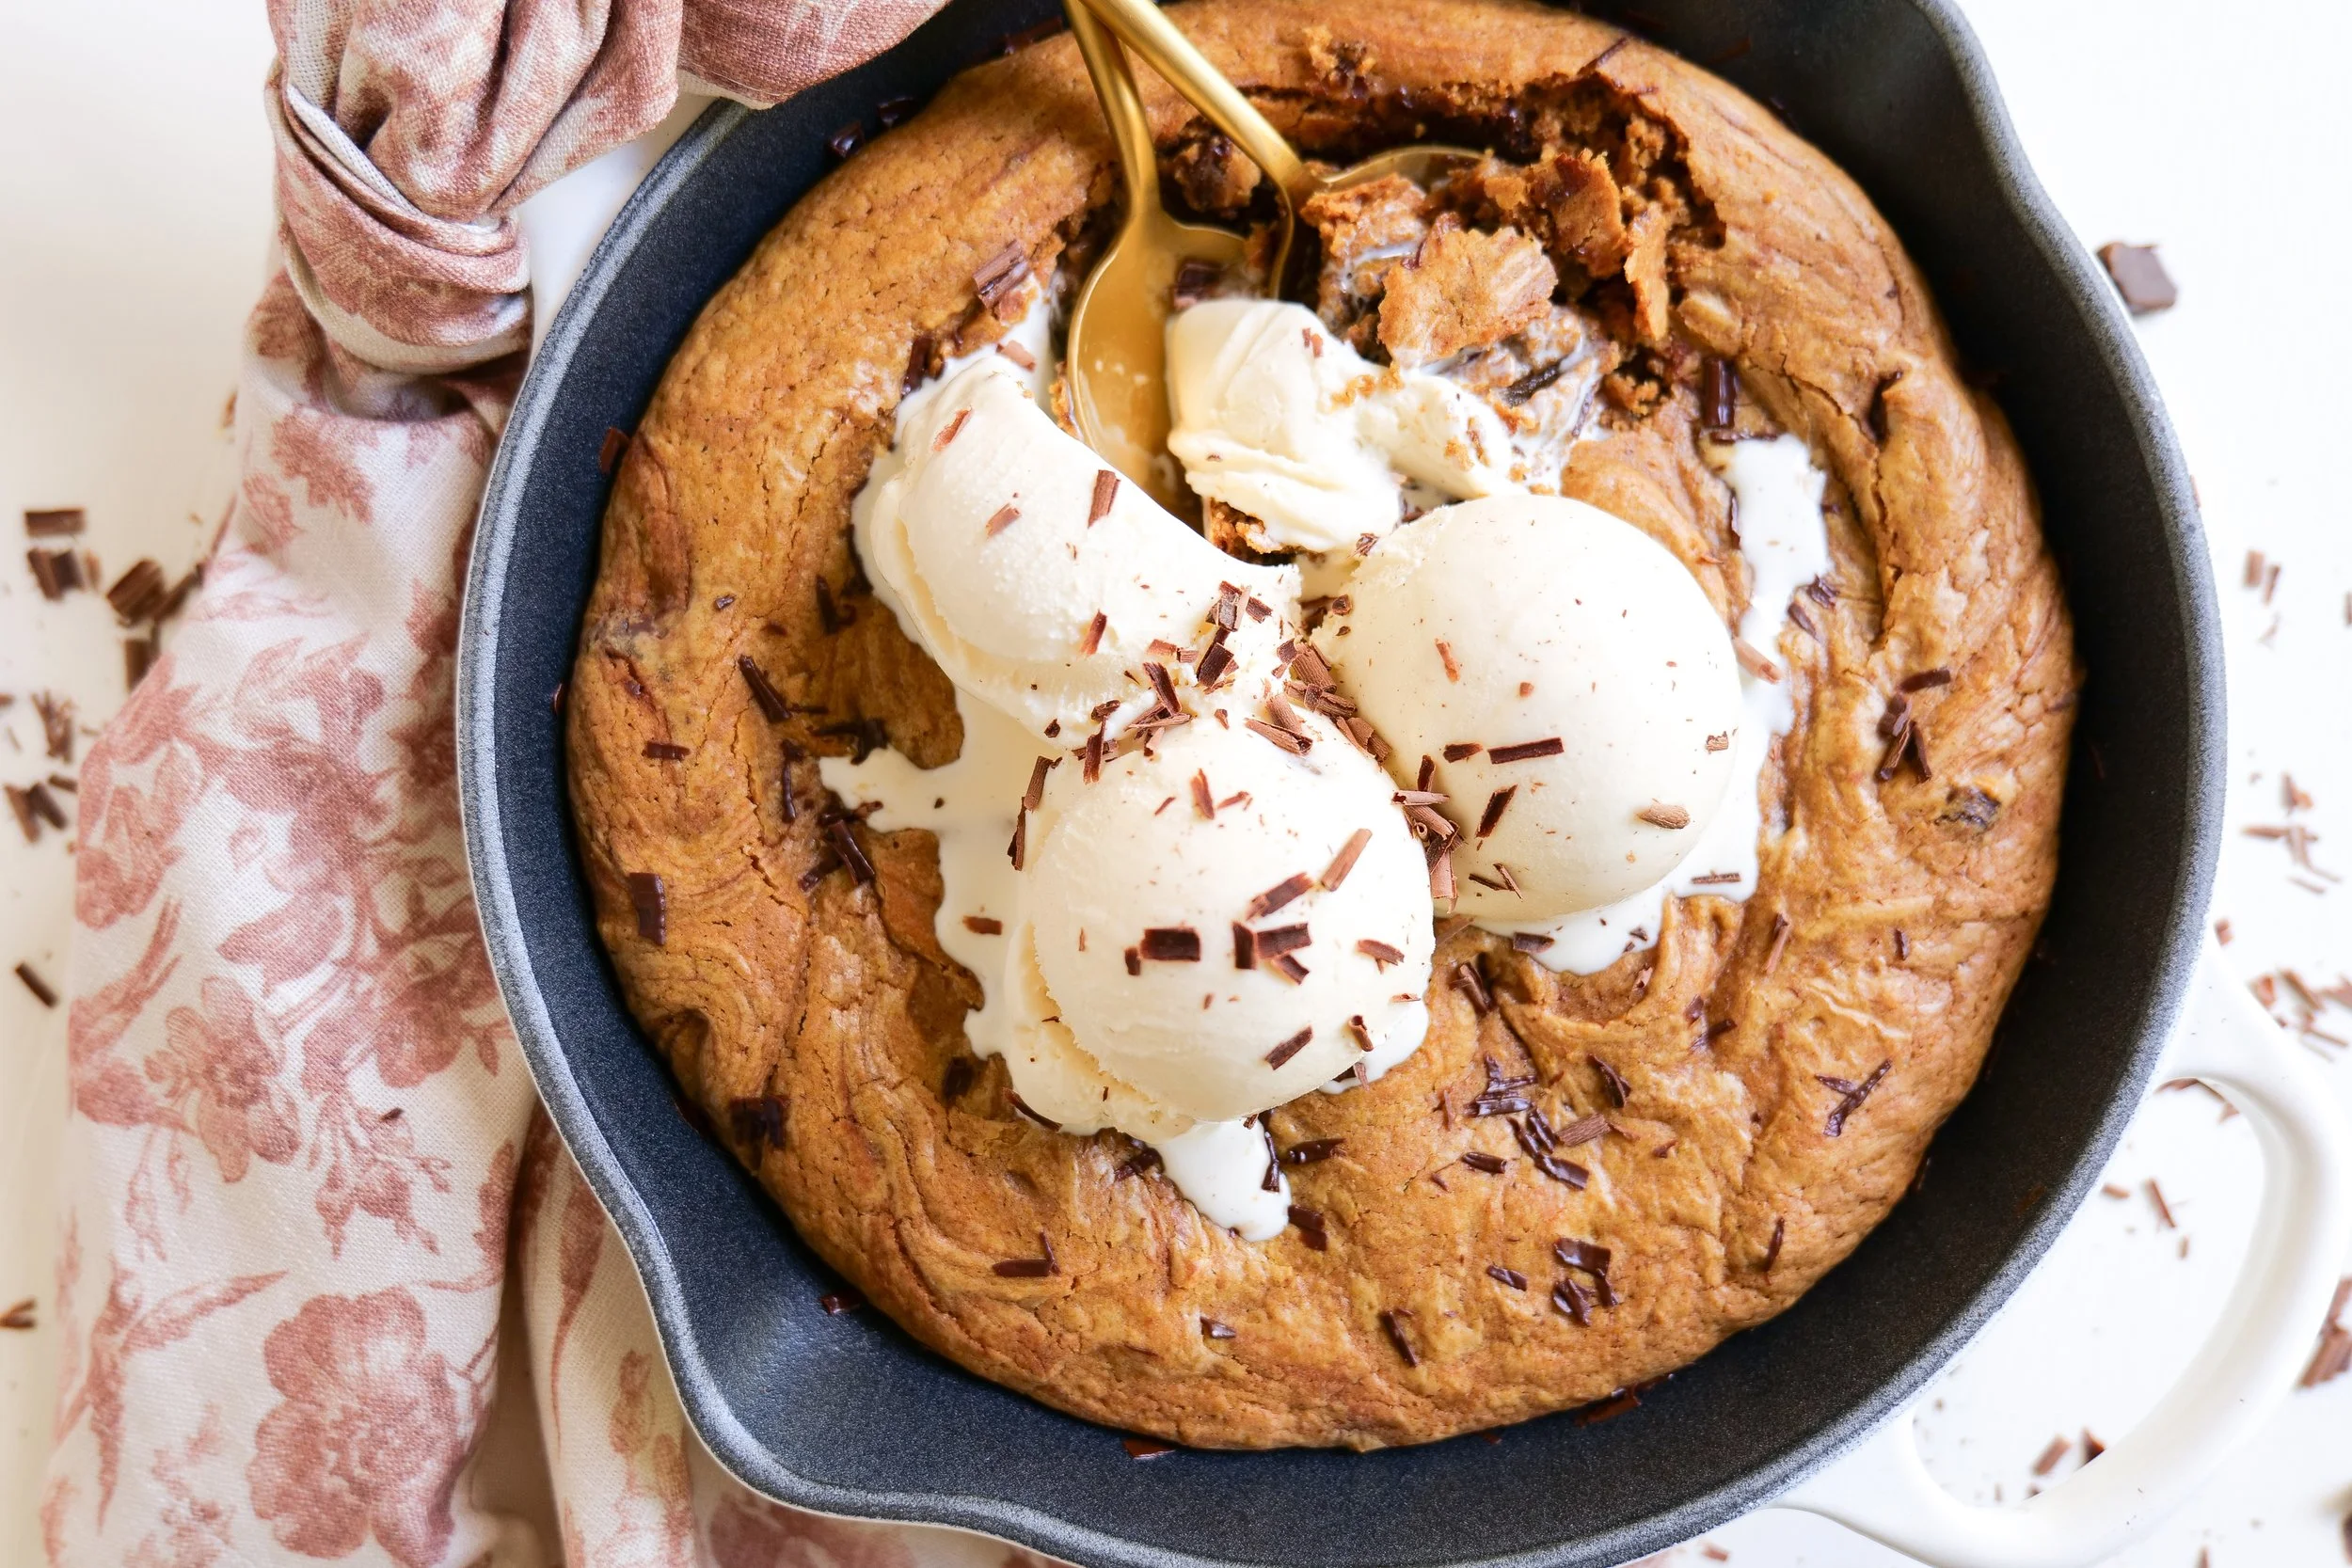
Brown butter pumpkin chocolate chip oatmeal pizookie baked in a skillet and topped with vanilla ice cream

This is one of those desserts I start craving as soon as fall baking begins. Brown butter has always been one of my favorite flavors to bake with, and pairing it with pumpkin and chocolate just makes sense.

The oats give the cookie a little more texture and chew, while the pumpkin keeps the center soft. Then everything is baked together in a cast-iron skillet so you get those golden edges and the warm, gooey middle that makes a skillet cookie so good.

Serve it warm from the oven with vanilla ice cream melting into the center and a little extra chopped chocolate over the top. Everyone can grab a spoon and dig in, or you can slice it into wedges and serve it individually.

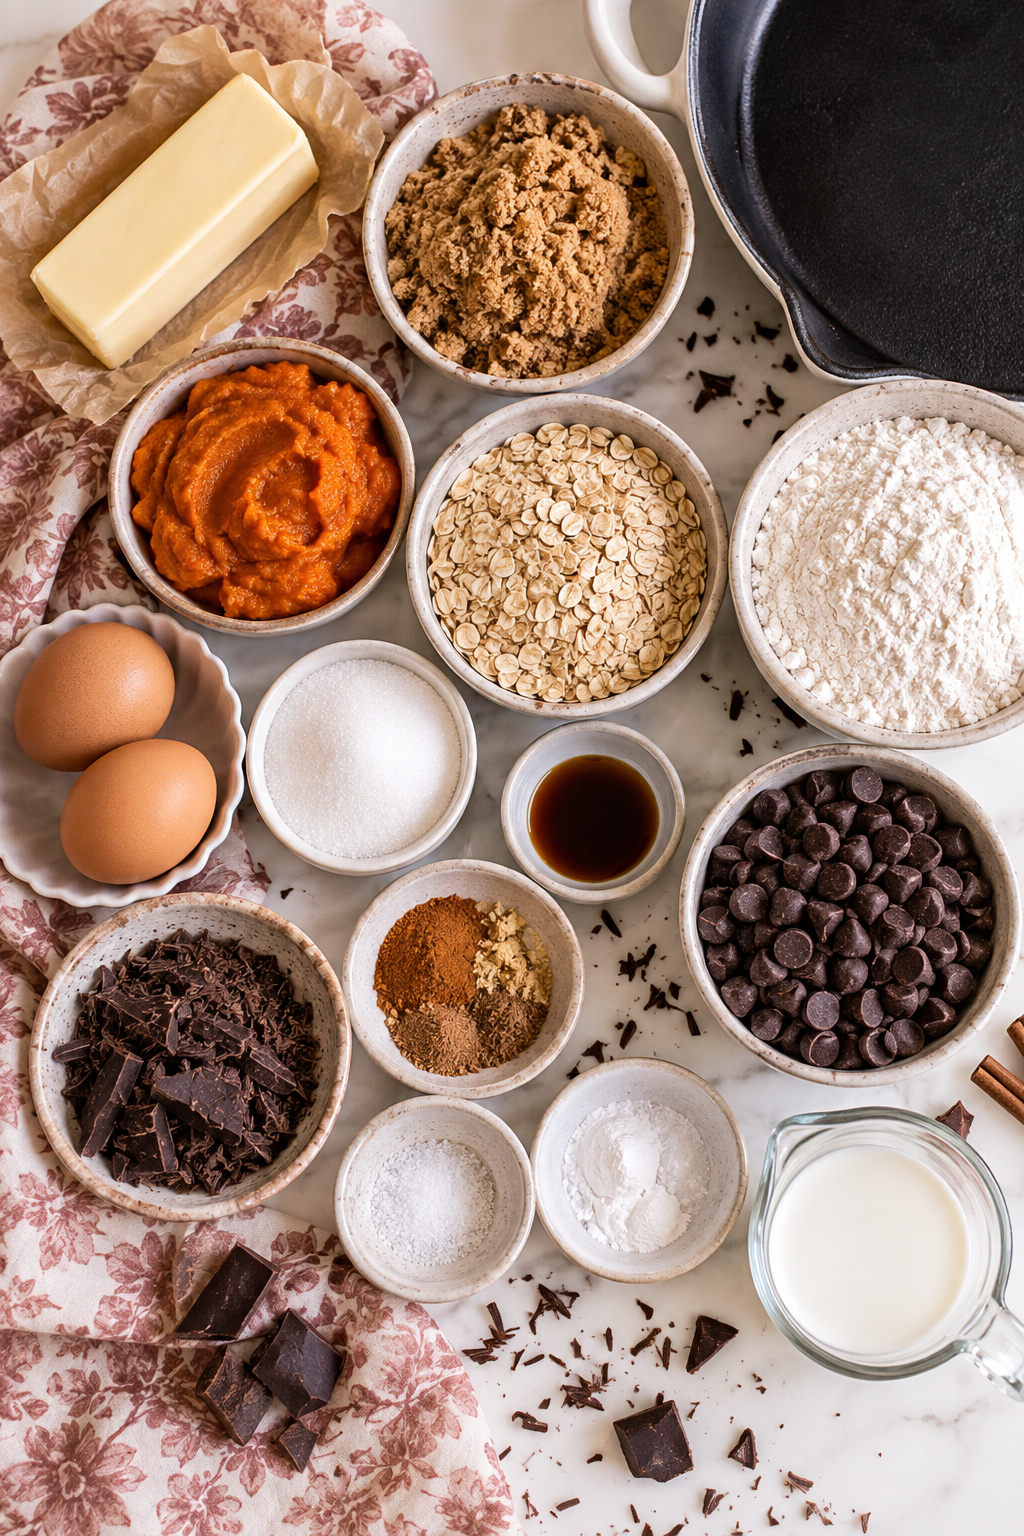
Ingredients for making a brown butter pumpkin chocolate chip oatmeal skillet cookie

Ingredients You'll Need

For the Brown Butter Pumpkin Oatmeal Skillet Cookie

  • 1/2 cup unsalted butter, browned and slightly cooled

  • 1/2 cup granulated sugar

  • 1/4 cup dark brown sugar, packed

  • 1/2 teaspoon pure vanilla extract

  • 1 large egg

  • 1/4 cup pumpkin puree

  • 1 1/4 cups all-purpose flour

  • 2 1/2 teaspoons baking powder

  • 1/2 teaspoon sea salt

  • 1/2 cup old-fashioned rolled oats

  • 1/2 cup chocolate chips or chopped chocolate

For Serving

  • Vanilla ice cream

  • Chopped or shaved chocolate, optional

  • Flaky sea salt, optional

Browned butter in a saucepan for pumpkin chocolate chip oatmeal pizookie

How to Make a Pumpkin Chocolate Chip Skillet Cookie

1. Brown the Butter

Add the butter to a light-colored saucepan or skillet over medium heat.

Let it melt completely, then continue cooking as it begins to foam. Stir or swirl the pan frequently. The milk solids will begin turning golden brown and you'll notice that unmistakable toasted, nutty smell.

As soon as the butter is golden brown, remove it from the heat and transfer it to a mixing bowl so it doesn't continue cooking in the hot pan.

Let the brown butter cool slightly before making the cookie dough.

Brown butter was one of the things I loved most about the original recipe—the nutty flavor works especially well with pumpkin and chocolate.

2. Mix the Wet Ingredients

Preheat your oven to 375°F.

Add the granulated sugar and dark brown sugar to the slightly cooled brown butter and mix until combined.

Add the vanilla, egg, and pumpkin puree and mix again until smooth.

Make sure your butter has had a chance to cool before adding the egg. It can still be warm, but you don't want it piping hot.

3. Add the Dry Ingredients

Add the all-purpose flour, baking powder, and sea salt. Mix just until the flour is incorporated. Once you add the flour, avoid overmixing the dough so the finished skillet cookie stays soft.

4. Fold in the Oats and Chocolate

Fold in the old-fashioned oats and chocolate chips or chopped chocolate.

I love chopped chocolate here because you get a mix of little chocolate flecks and bigger melted pockets throughout the cookie, but chocolate chips work just as well.

The oats are important too. They give this cookie more chew and texture against the soft pumpkin center.

Pumpkin oatmeal cookie dough mixed with chocolate chips for a skillet cookie

5. Bake in the Skillet

Transfer the cookie dough to a cast-iron skillet and gently press it into an even layer.

Bake at 375°F for about 20 minutes, or until the edges are golden and set but the center is still soft.

Don't wait for the center to look completely firm before pulling it from the oven. The skillet stays hot and the cookie will continue setting as it rests.

That slightly underdone-looking center is what gives you the warm, gooey texture you want.

6. Add the Ice Cream

Let the skillet cookie cool for a few minutes—just enough that your ice cream doesn't disappear immediately.

Add scoops of vanilla ice cream right into the center and finish with chopped or shaved chocolate.

Then serve it while everything is still warm.

Pumpkin chocolate chip oatmeal cookie dough pressed into a cast iron skillet before baking

The Secret Is the Brown Butter

If you're tempted to skip browning the butter and just use melted butter, don't.

Brown butter is what gives this dessert so much of its flavor.

As the butter cooks, the milk solids toast and develop that deep, almost caramel-like nuttiness. Pair that with dark brown sugar, pumpkin, and chocolate and you get a skillet cookie that tastes much more interesting than a standard chocolate chip cookie.

The biggest thing to watch is the color. There's a fairly short window between beautifully browned butter and burnt butter.

Once you see those little golden-brown flecks at the bottom and smell that nutty aroma, take it off the heat.

Freshly baked pumpkin chocolate chip oatmeal skillet cookie with golden edges

Why Add Pumpkin to a Skillet Cookie?

Pumpkin does two things here: it gives the cookie that unmistakable fall flavor, but it also adds moisture.

That's part of what makes the center of this skillet cookie so soft.

Make sure you're using pure pumpkin puree, not pumpkin pie filling. Pumpkin pie filling already contains sugar and spices and will change the recipe.

And because we're only using 1/4 cup, you'll have pumpkin left in the can—which sounds like a very good excuse to make another pumpkin recipe.

Why Oatmeal Works So Well Here

I love the contrast that oats give this cookie.

Without them, pumpkin can make cookie dough especially soft. Old-fashioned rolled oats add chew and structure without taking away that gooey skillet-cookie center.

I would stick with old-fashioned rolled oats rather than instant oats. They give you a much better texture in the finished cookie.

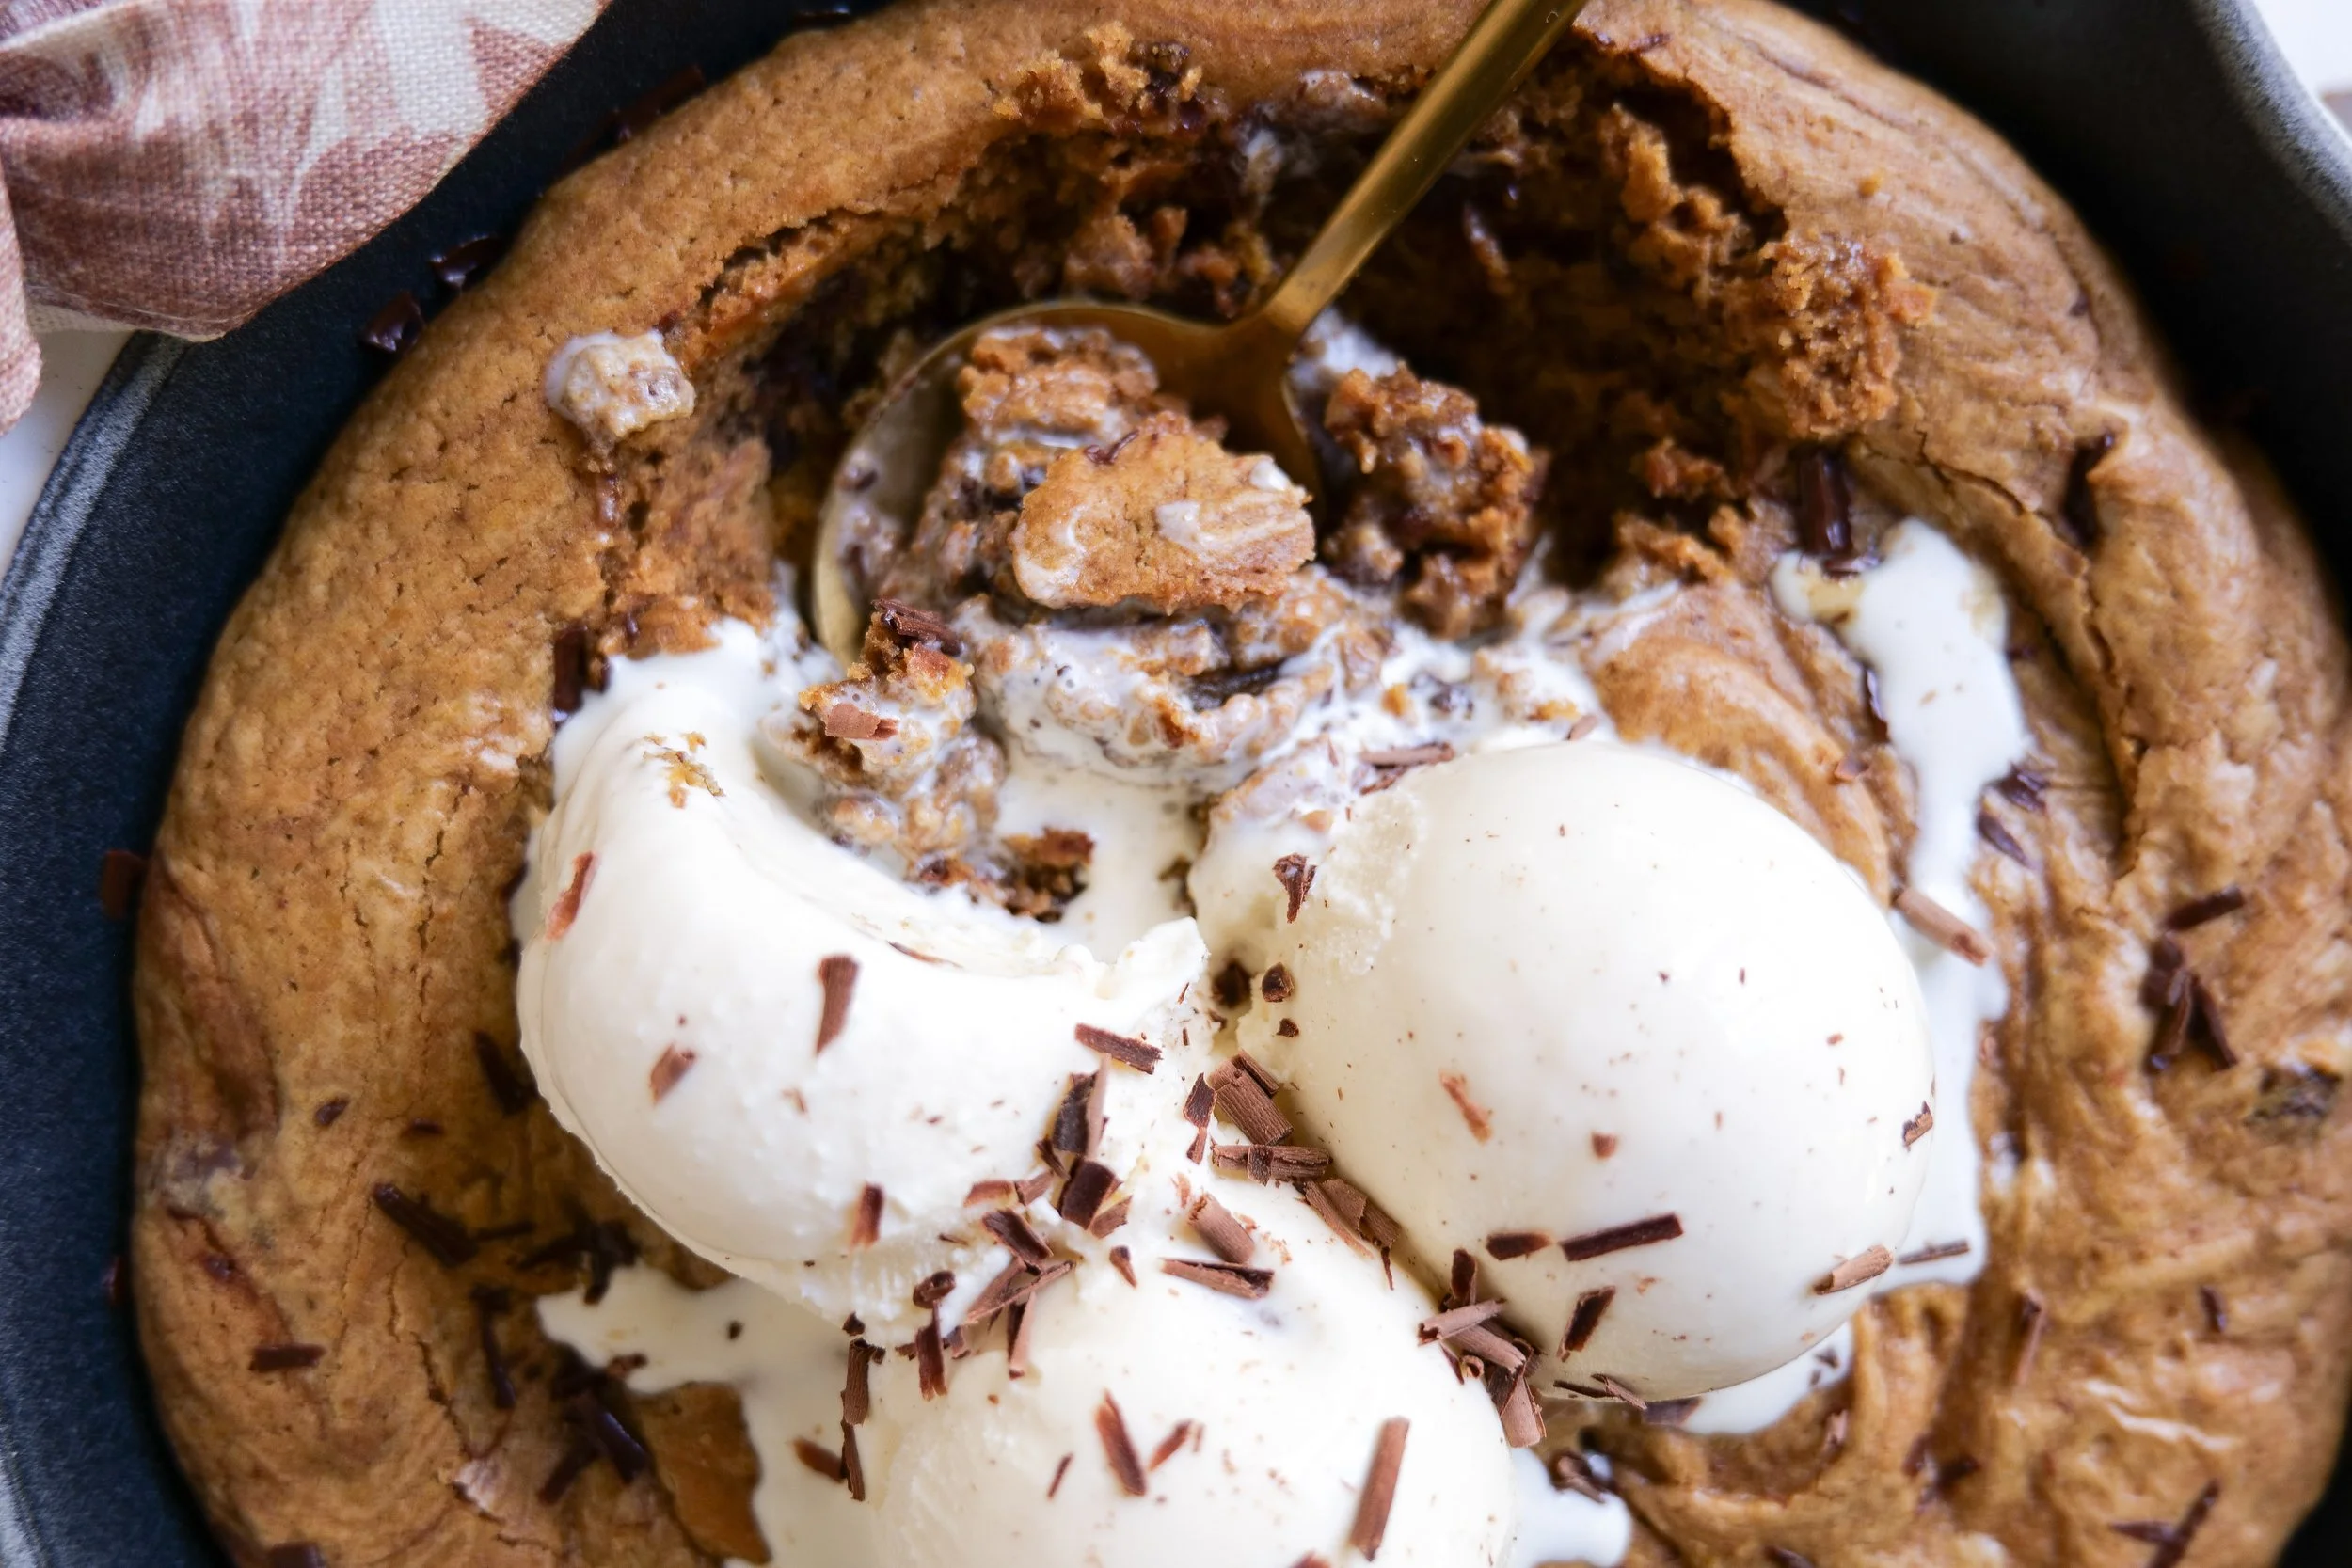
Warm pumpkin chocolate chip pizookie topped with scoops of vanilla ice cream

How Do You Know When a Skillet Cookie Is Done?

This is probably the most important part of the recipe because you don't want to overbake it.

Look at the edges rather than waiting for the center.

The outside should look set and lightly golden, while the center can still look soft when you remove the skillet from the oven.

Remember that cast iron retains a lot of heat. Your cookie doesn't stop cooking the second you take it out of the oven.

If you bake it until the entire center looks completely done, you're much more likely to lose that gooey texture by the time you serve it.

What Size Skillet Should I Use?

For this recipe, I use a 9-inch cast-iron skillet. The size matters because it gives the cookie enough thickness to stay soft and gooey in the center while the edges become golden and crisp.

If you use a larger skillet, the dough will spread into a thinner layer and may bake more quickly. A smaller skillet will create a thicker cookie and may require additional baking time.

For the texture you see in my photos, I recommend sticking with a 9-inch skillet.

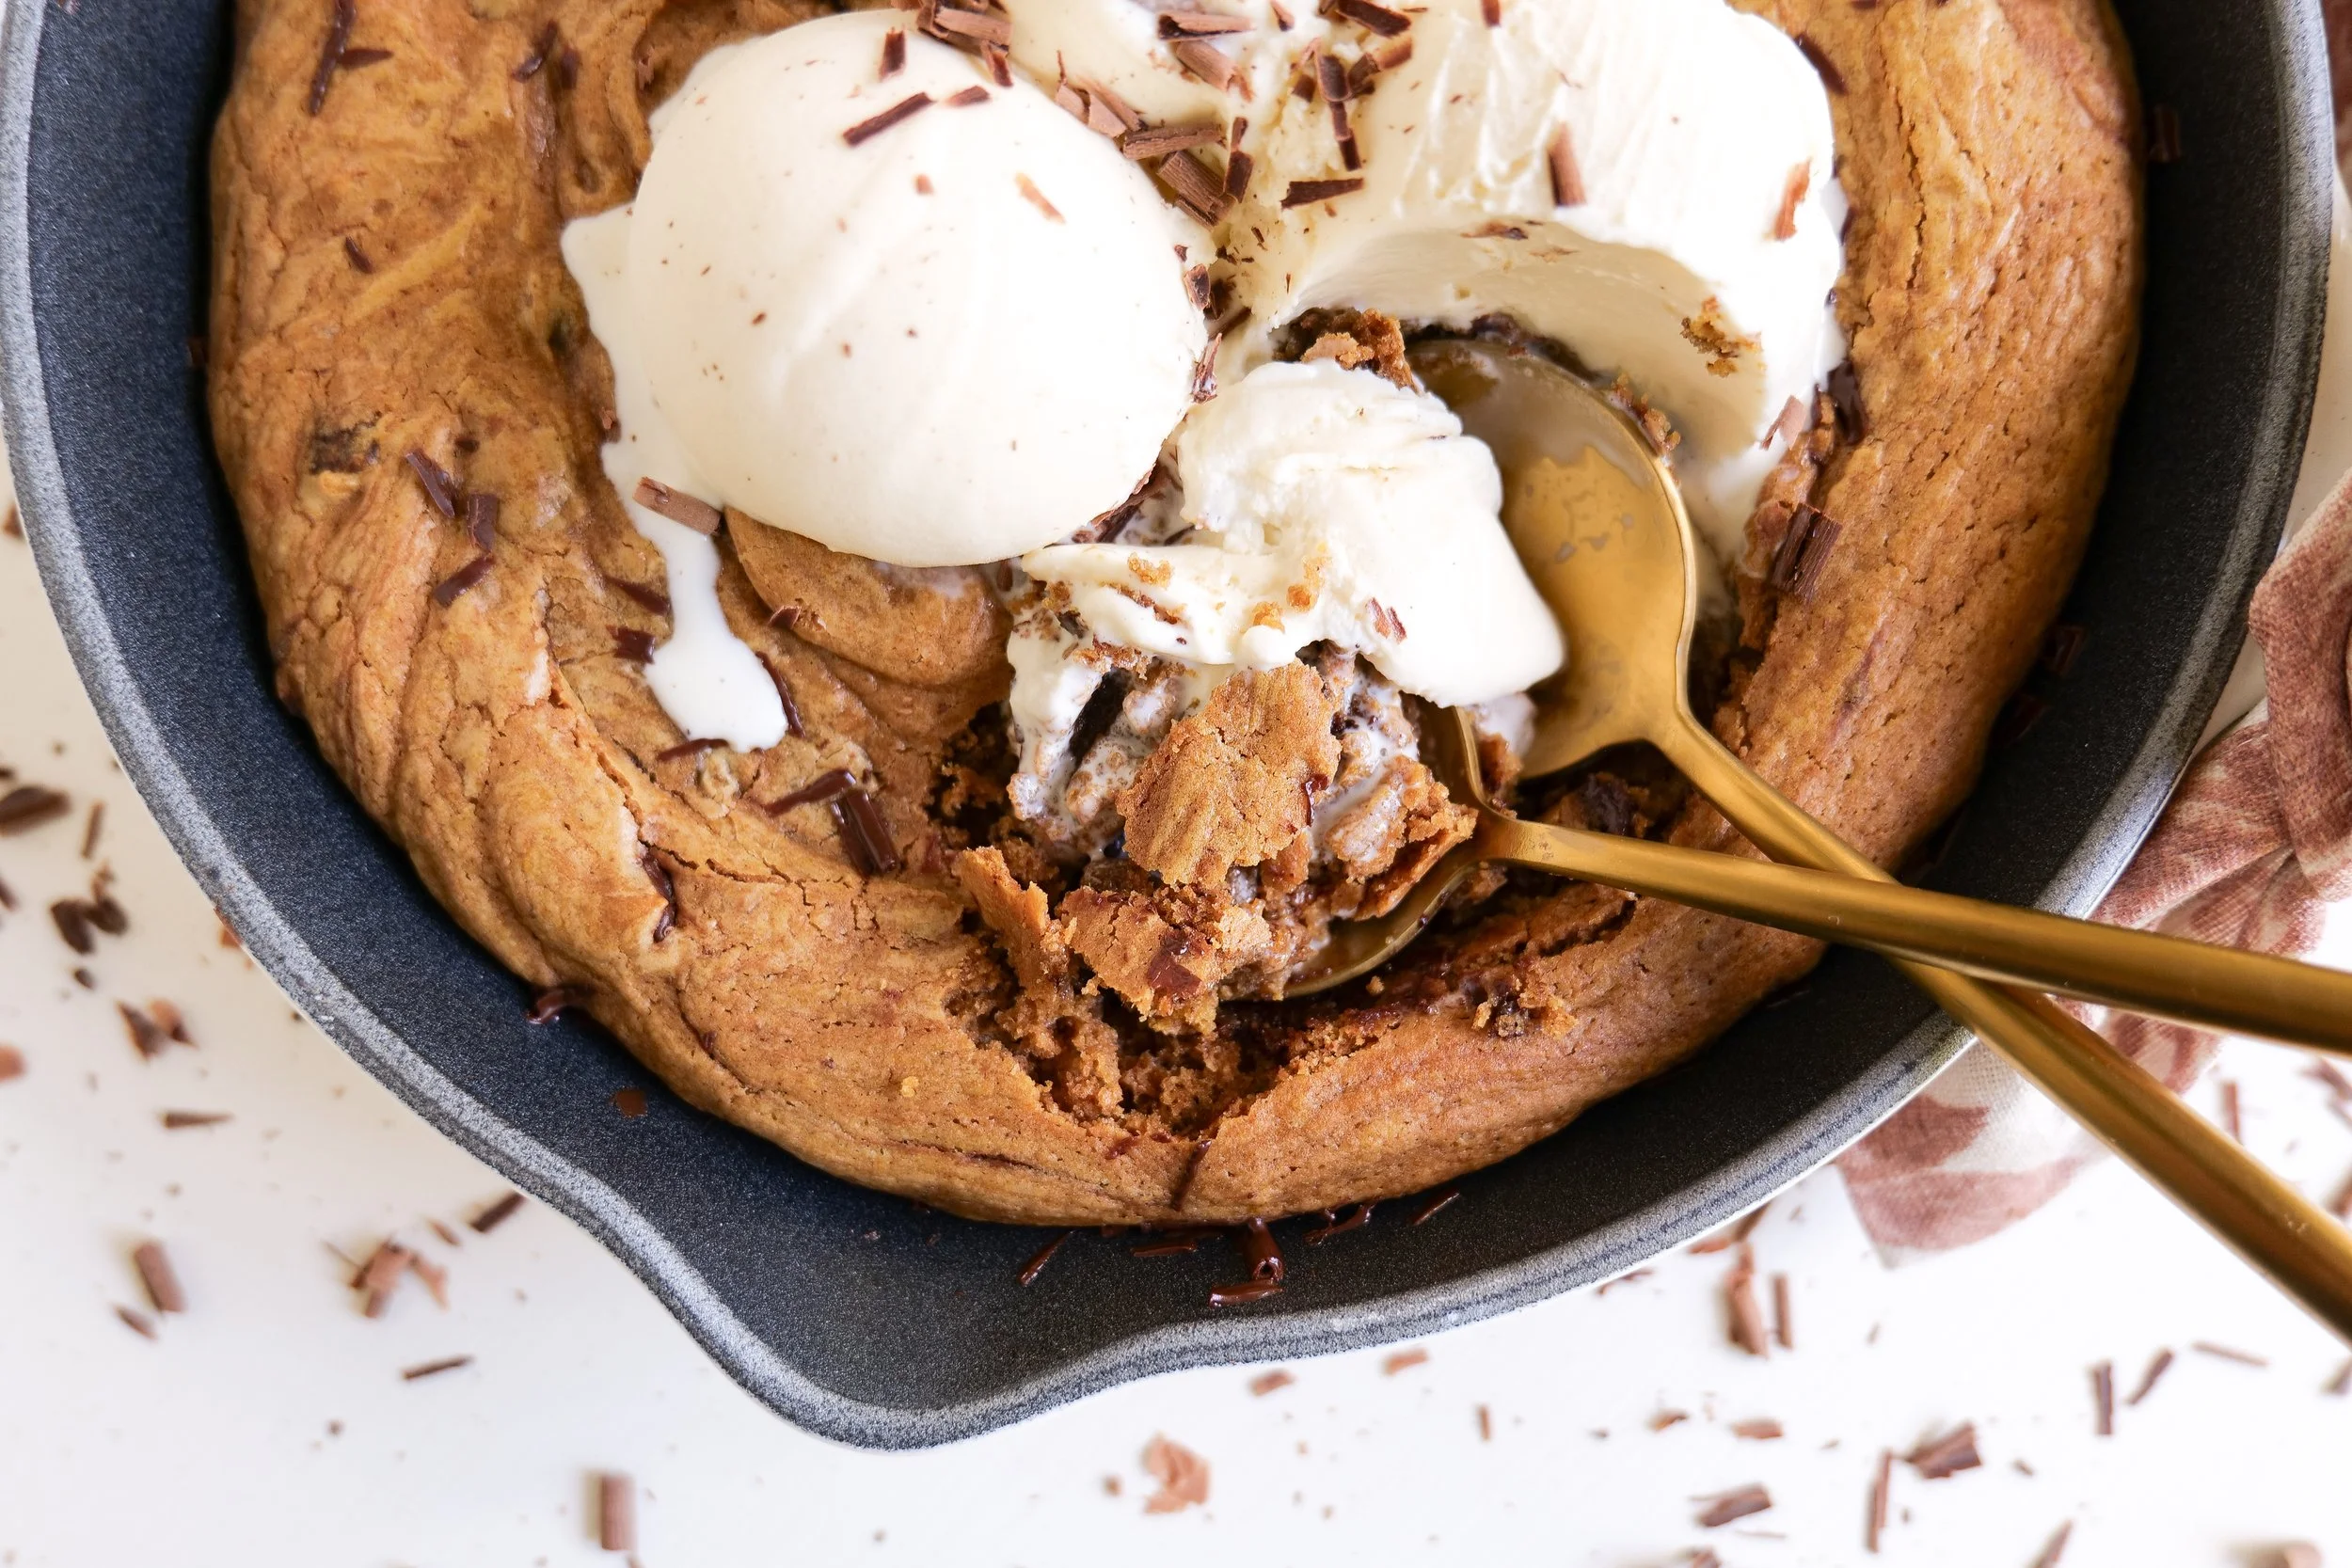
Gooey center of a brown butter pumpkin oatmeal pizookie with melted chocolate

The Best Chocolate for a Pumpkin Skillet Cookie

You can absolutely use regular chocolate chips, but chopped chocolate is my favorite for this one.

Chopping a chocolate bar gives you uneven pieces. Some melt into big pools while all those tiny chocolate shards work their way through the dough.

Milk chocolate will make the dessert sweeter, while semisweet or dark chocolate gives you a little more contrast against the pumpkin and brown sugar.

You could even use a combination.

The original recipe intentionally gave the option of chocolate chips or chunks of chocolate, so I'd keep that flexibility.

What to Serve on Top

Vanilla ice cream. Always.

The contrast between the warm skillet cookie and cold vanilla ice cream is what makes this dessert so much fun.

A few chocolate shavings over the top make it especially pretty, and I love the idea of a tiny pinch of flaky sea salt if you're someone who likes that salty-sweet combination.

You could also drizzle a little caramel sauce over the top, but I don't think this cookie needs much. There are already so many good flavors happening between the brown butter, pumpkin, oats, and chocolate.

Warm pumpkin skillet cookie served with vanilla ice cream for an easy fall dessert

Can I Make This Ahead?

This is one recipe I really love fresh from the oven.

You can prepare some of the components ahead—brown the butter earlier in the day, measure your dry ingredients, and chop the chocolate—but I would bake the cookie shortly before you plan to serve it.

That way everyone gets the crisp edges, soft center, melted chocolate, and cold ice cream together.

How to Store Leftover Skillet Cookie

If you somehow have leftovers, let the cookie cool completely before storing it.

Cover the skillet tightly or transfer individual pieces to an airtight container and refrigerate for up to 3–4 days, which is also how the original recipe was stored.

To reheat an individual serving, microwave it for about 20–30 seconds, just until warm.

You can also warm leftovers in a 350°F oven for about 5–7 minutes.

Add fresh vanilla ice cream after reheating rather than storing the cookie with the ice cream on top.

Pumpkin chocolate chip pizookie with a soft gooey center and vanilla ice cream

Can I Add Nuts?

Absolutely.

Chopped pecans or walnuts would be especially good with the brown butter and pumpkin.

I'd fold them into the dough along with the chocolate and oats. Just keep in mind that adding too many extras can change the texture of the cookie, so I'd keep it to a small handful.

For me, though, the original chocolate-and-oat version is exactly what I want when I'm making this.

A Fall Dessert Made for Sharing

There is something about putting one warm skillet in the middle of the table that feels so much more fun than serving individual cookies.

It's casual. Everyone can grab a spoon. The ice cream starts melting into all of those little pockets of chocolate, and suddenly no one is particularly worried about making perfect slices.

That's exactly the kind of dessert I love for a cozy night at home, but it's also such an easy one to bring out after dinner when you have friends or family over.

Brown butter pumpkin oatmeal skillet cookie with melted chocolate and vanilla ice cream

Shop My Baking Favorites

These are the kitchen pieces I reach for again and again when I'm baking—from a good cast-iron skillet and mixing bowls to the tools that make brown butter and cookie dough easier.

More Fall Baking Recipes to Make Next

Pumpkin Molasses Cookies

Soft, warmly spiced pumpkin cookies that belong on the fall baking list every year.

Brown Butter Maple Pecan Chocolate Chunk Cookies

If the brown butter is your favorite part of this skillet cookie, make these next.

Brown Butter Caramel Pretzel Cookies

Another brown butter cookie, this time with that salty-sweet combination of caramel and pretzels.

Ready to Make It?

This Brown Butter Pumpkin Chocolate Chip Oatmeal Skillet Cookie is everything I want in a fall dessert: warm brown butter, pumpkin, chewy oats, plenty of chocolate, crisp edges, and a soft center.

And the vanilla ice cream melting into the top might just be the best part.

Make it for a cozy night at home, bring the skillet straight to the table, and serve it while it's still warm.

Brown butter pumpkin chocolate chip oatmeal pizookie recipe card with ingredients and instructions

A Note From Amanda
Fall baking is one of those little things that makes home feel especially good to me.

It's the smell of brown butter on the stove, pumpkin waiting in the fridge for whatever we're making next, and something warm coming out of the oven when everyone is home.

This skillet cookie isn't meant to be perfect or fancy. It's meant to go right in the middle of the table with a few scoops of ice cream and enough spoons for everyone.
And I think those are usually the desserts we remember most anyway.

“Taste and see that the Lord is good.”
Psalm 34:8

Made with love for the people you love.