Cranberry Pistachio Layer Cake with Vanilla Bean Mascarpone Frosting
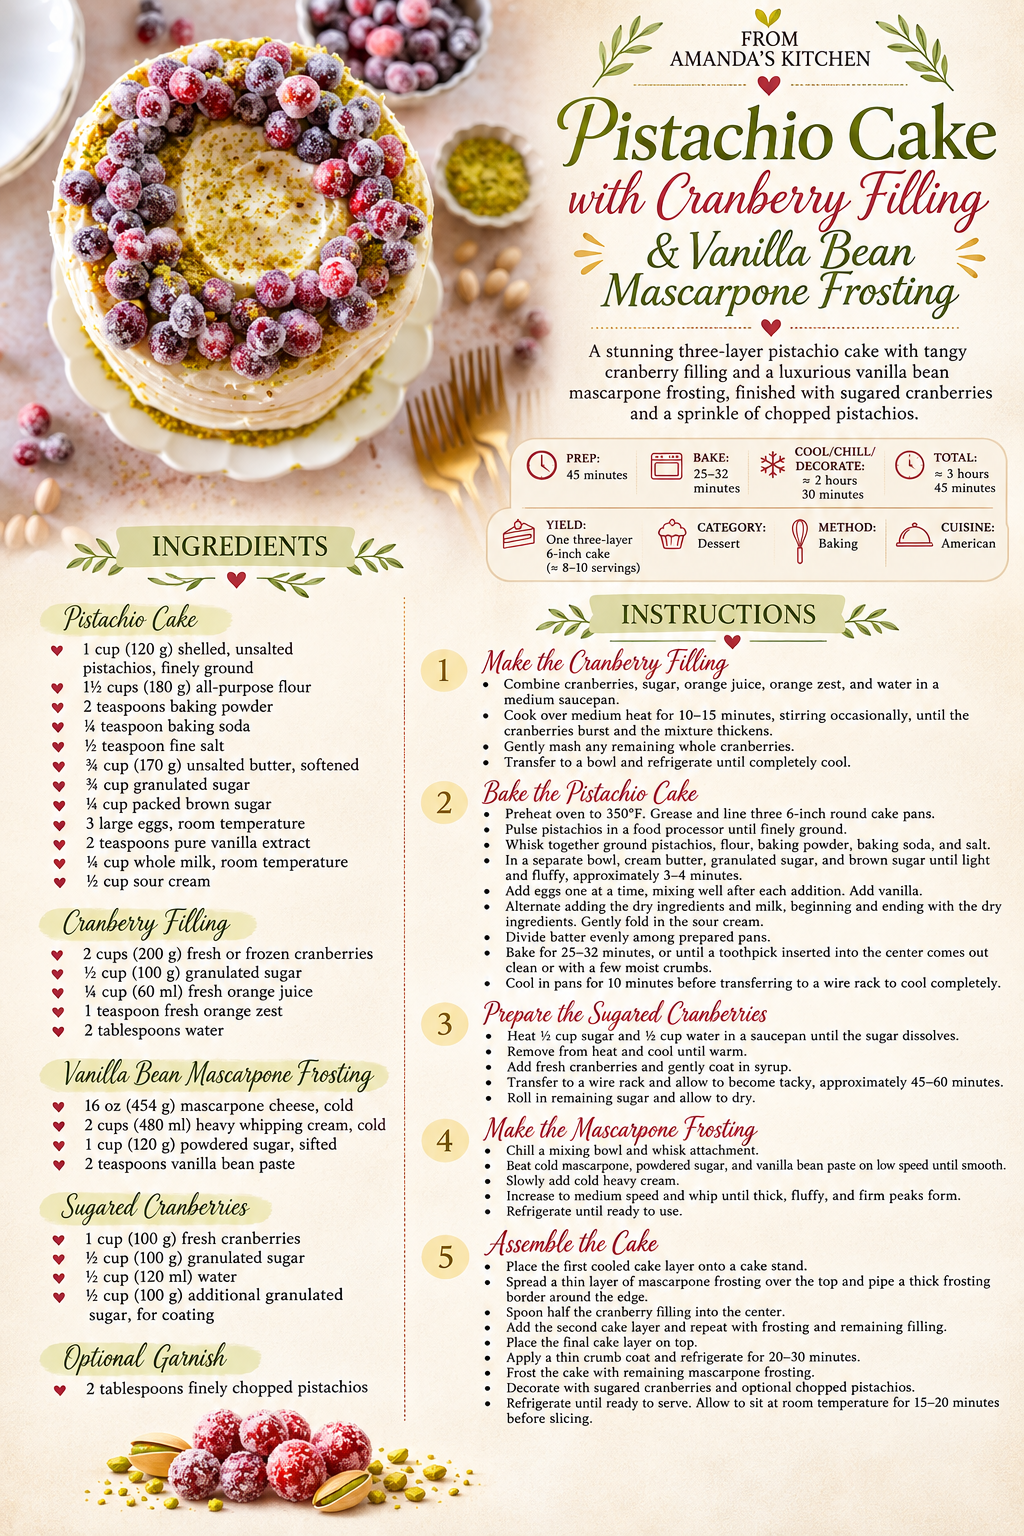
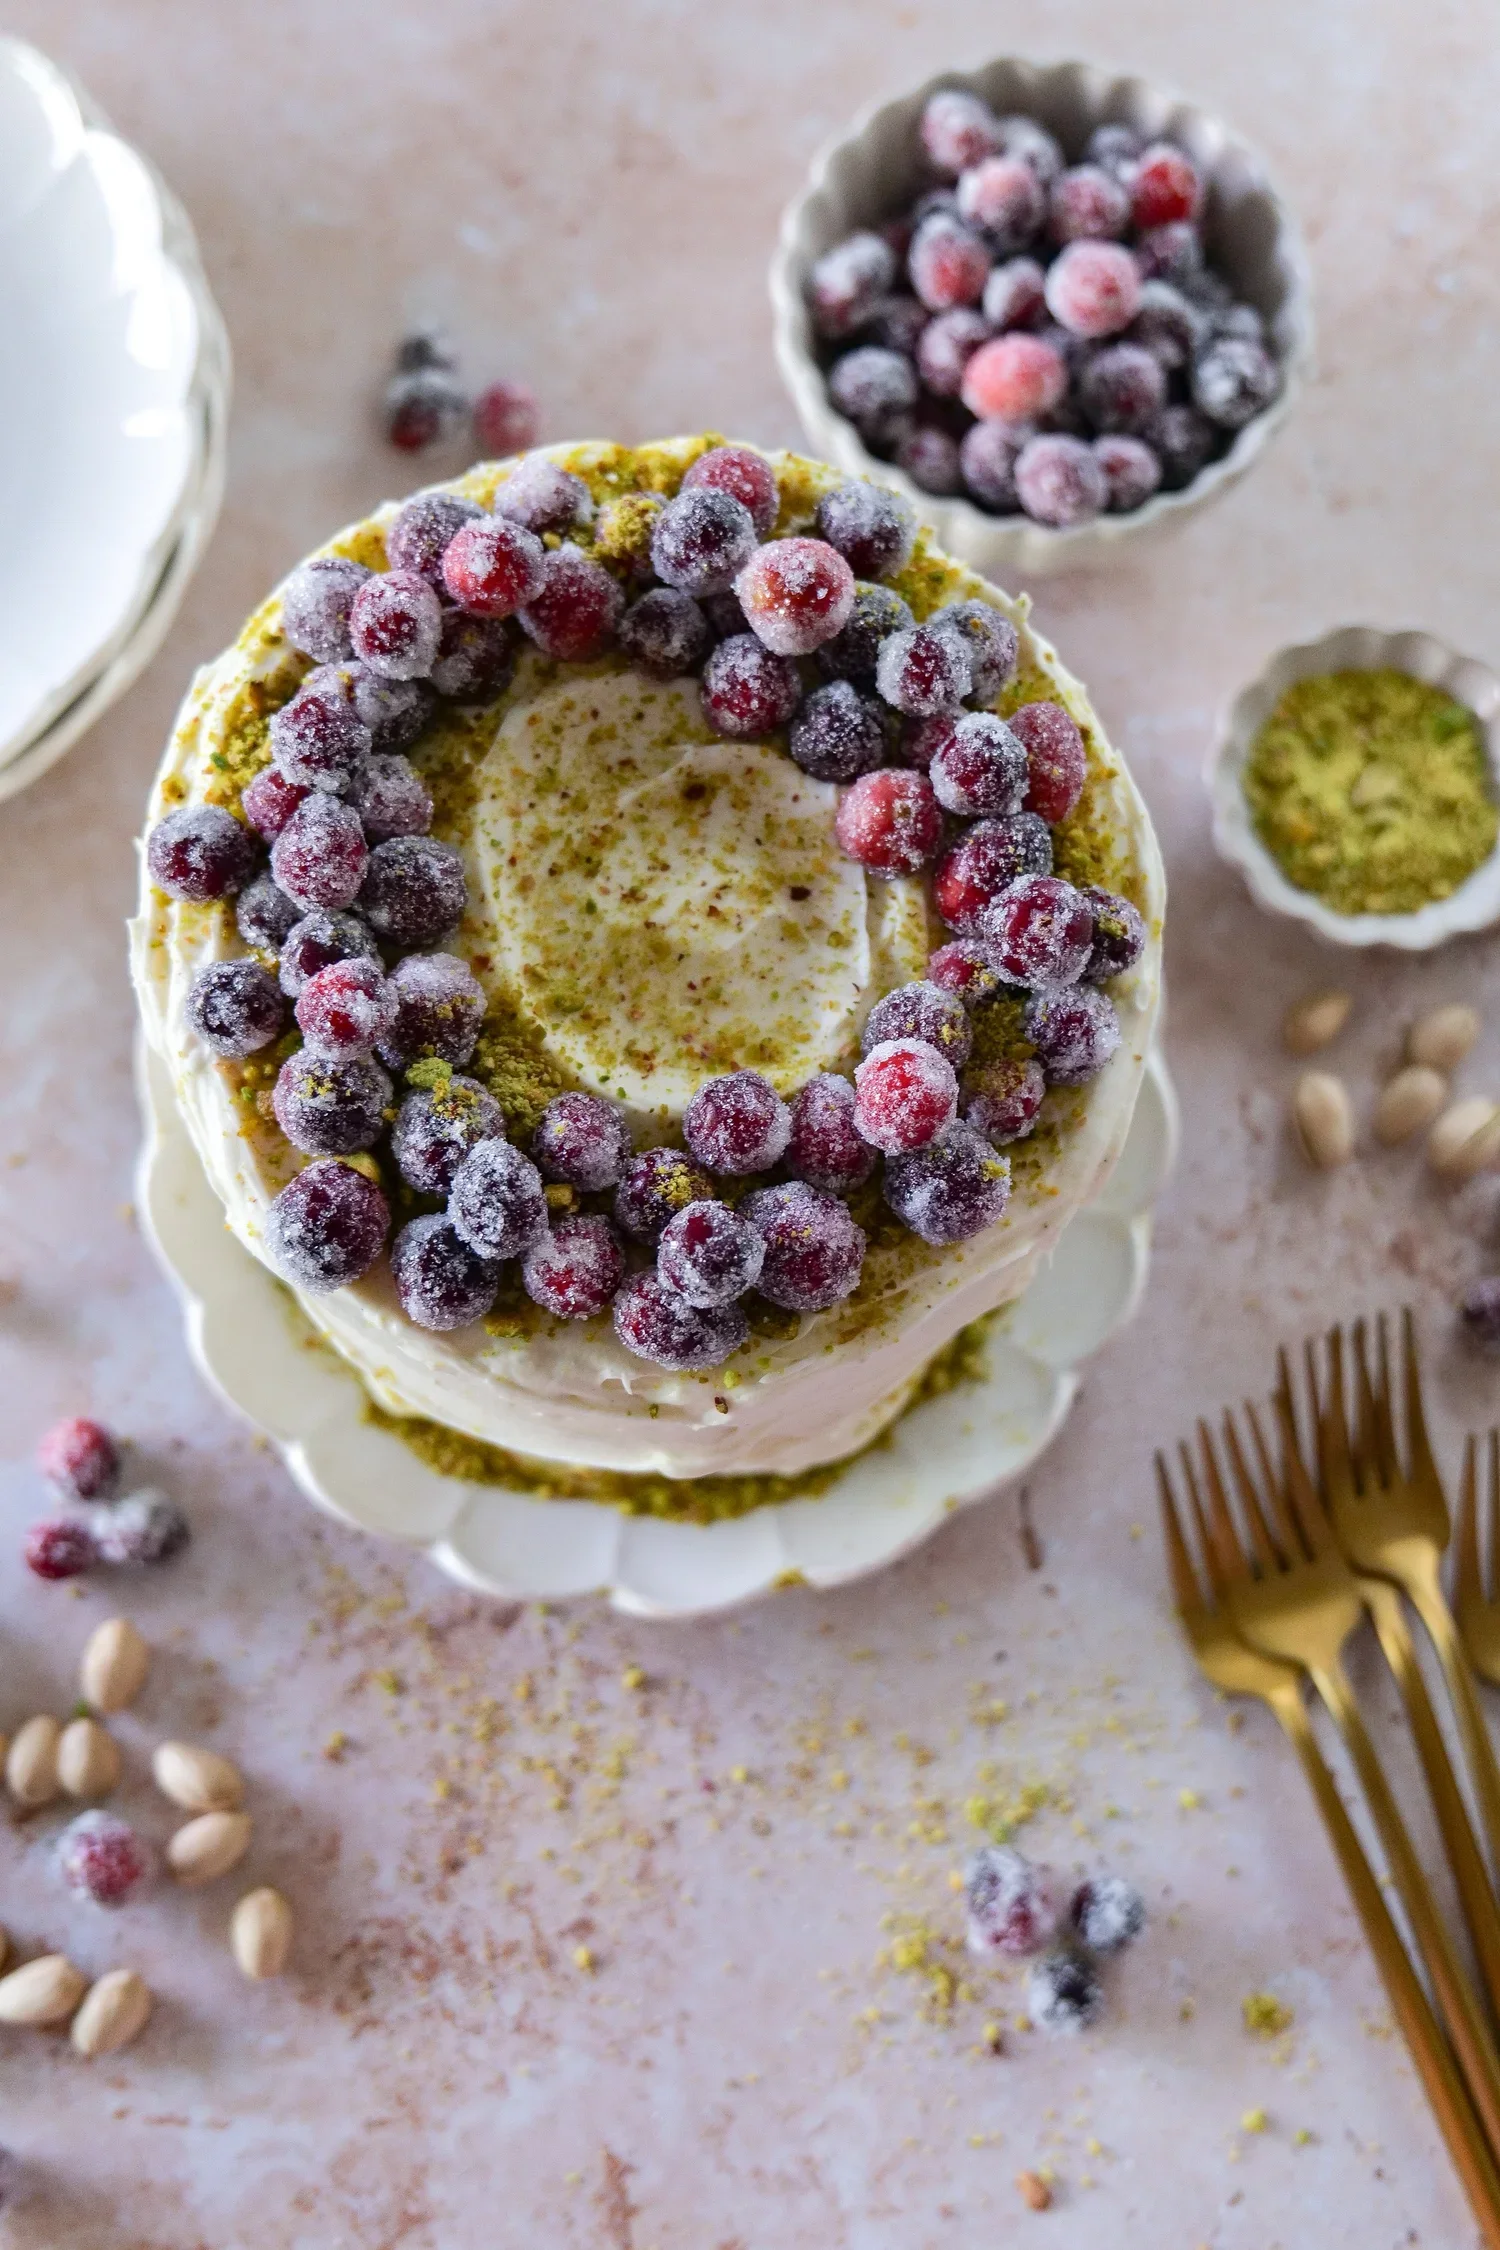
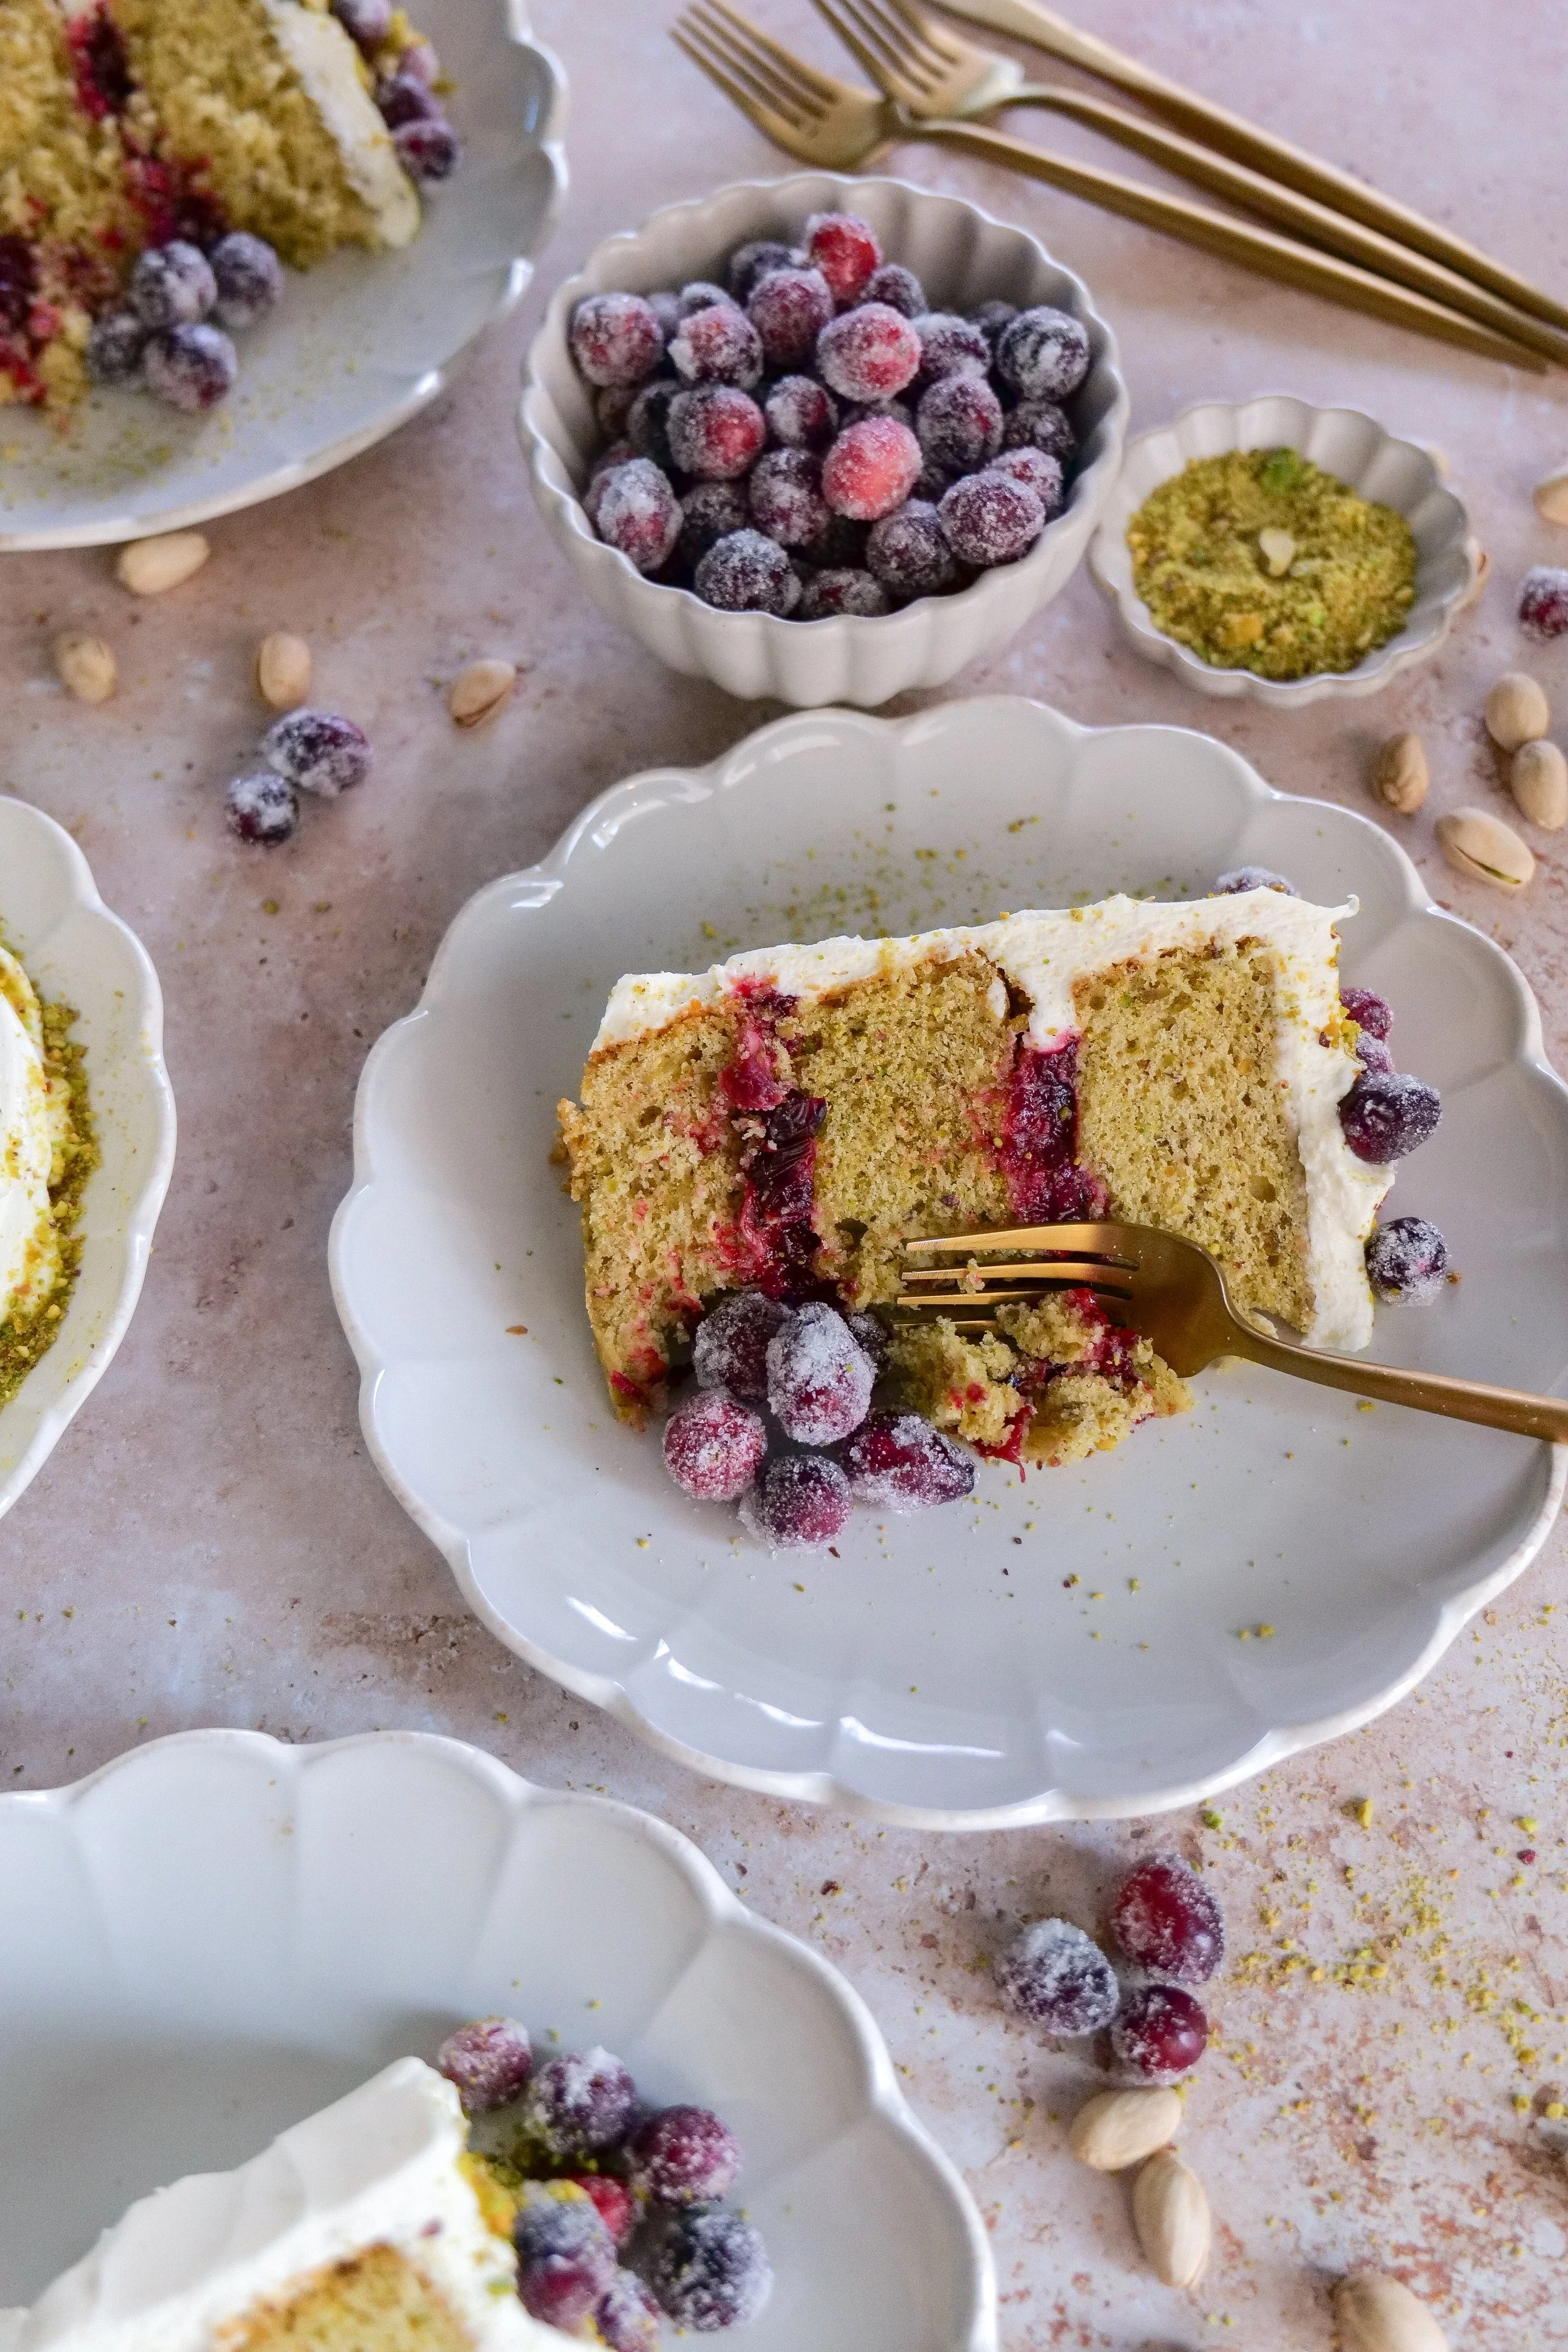
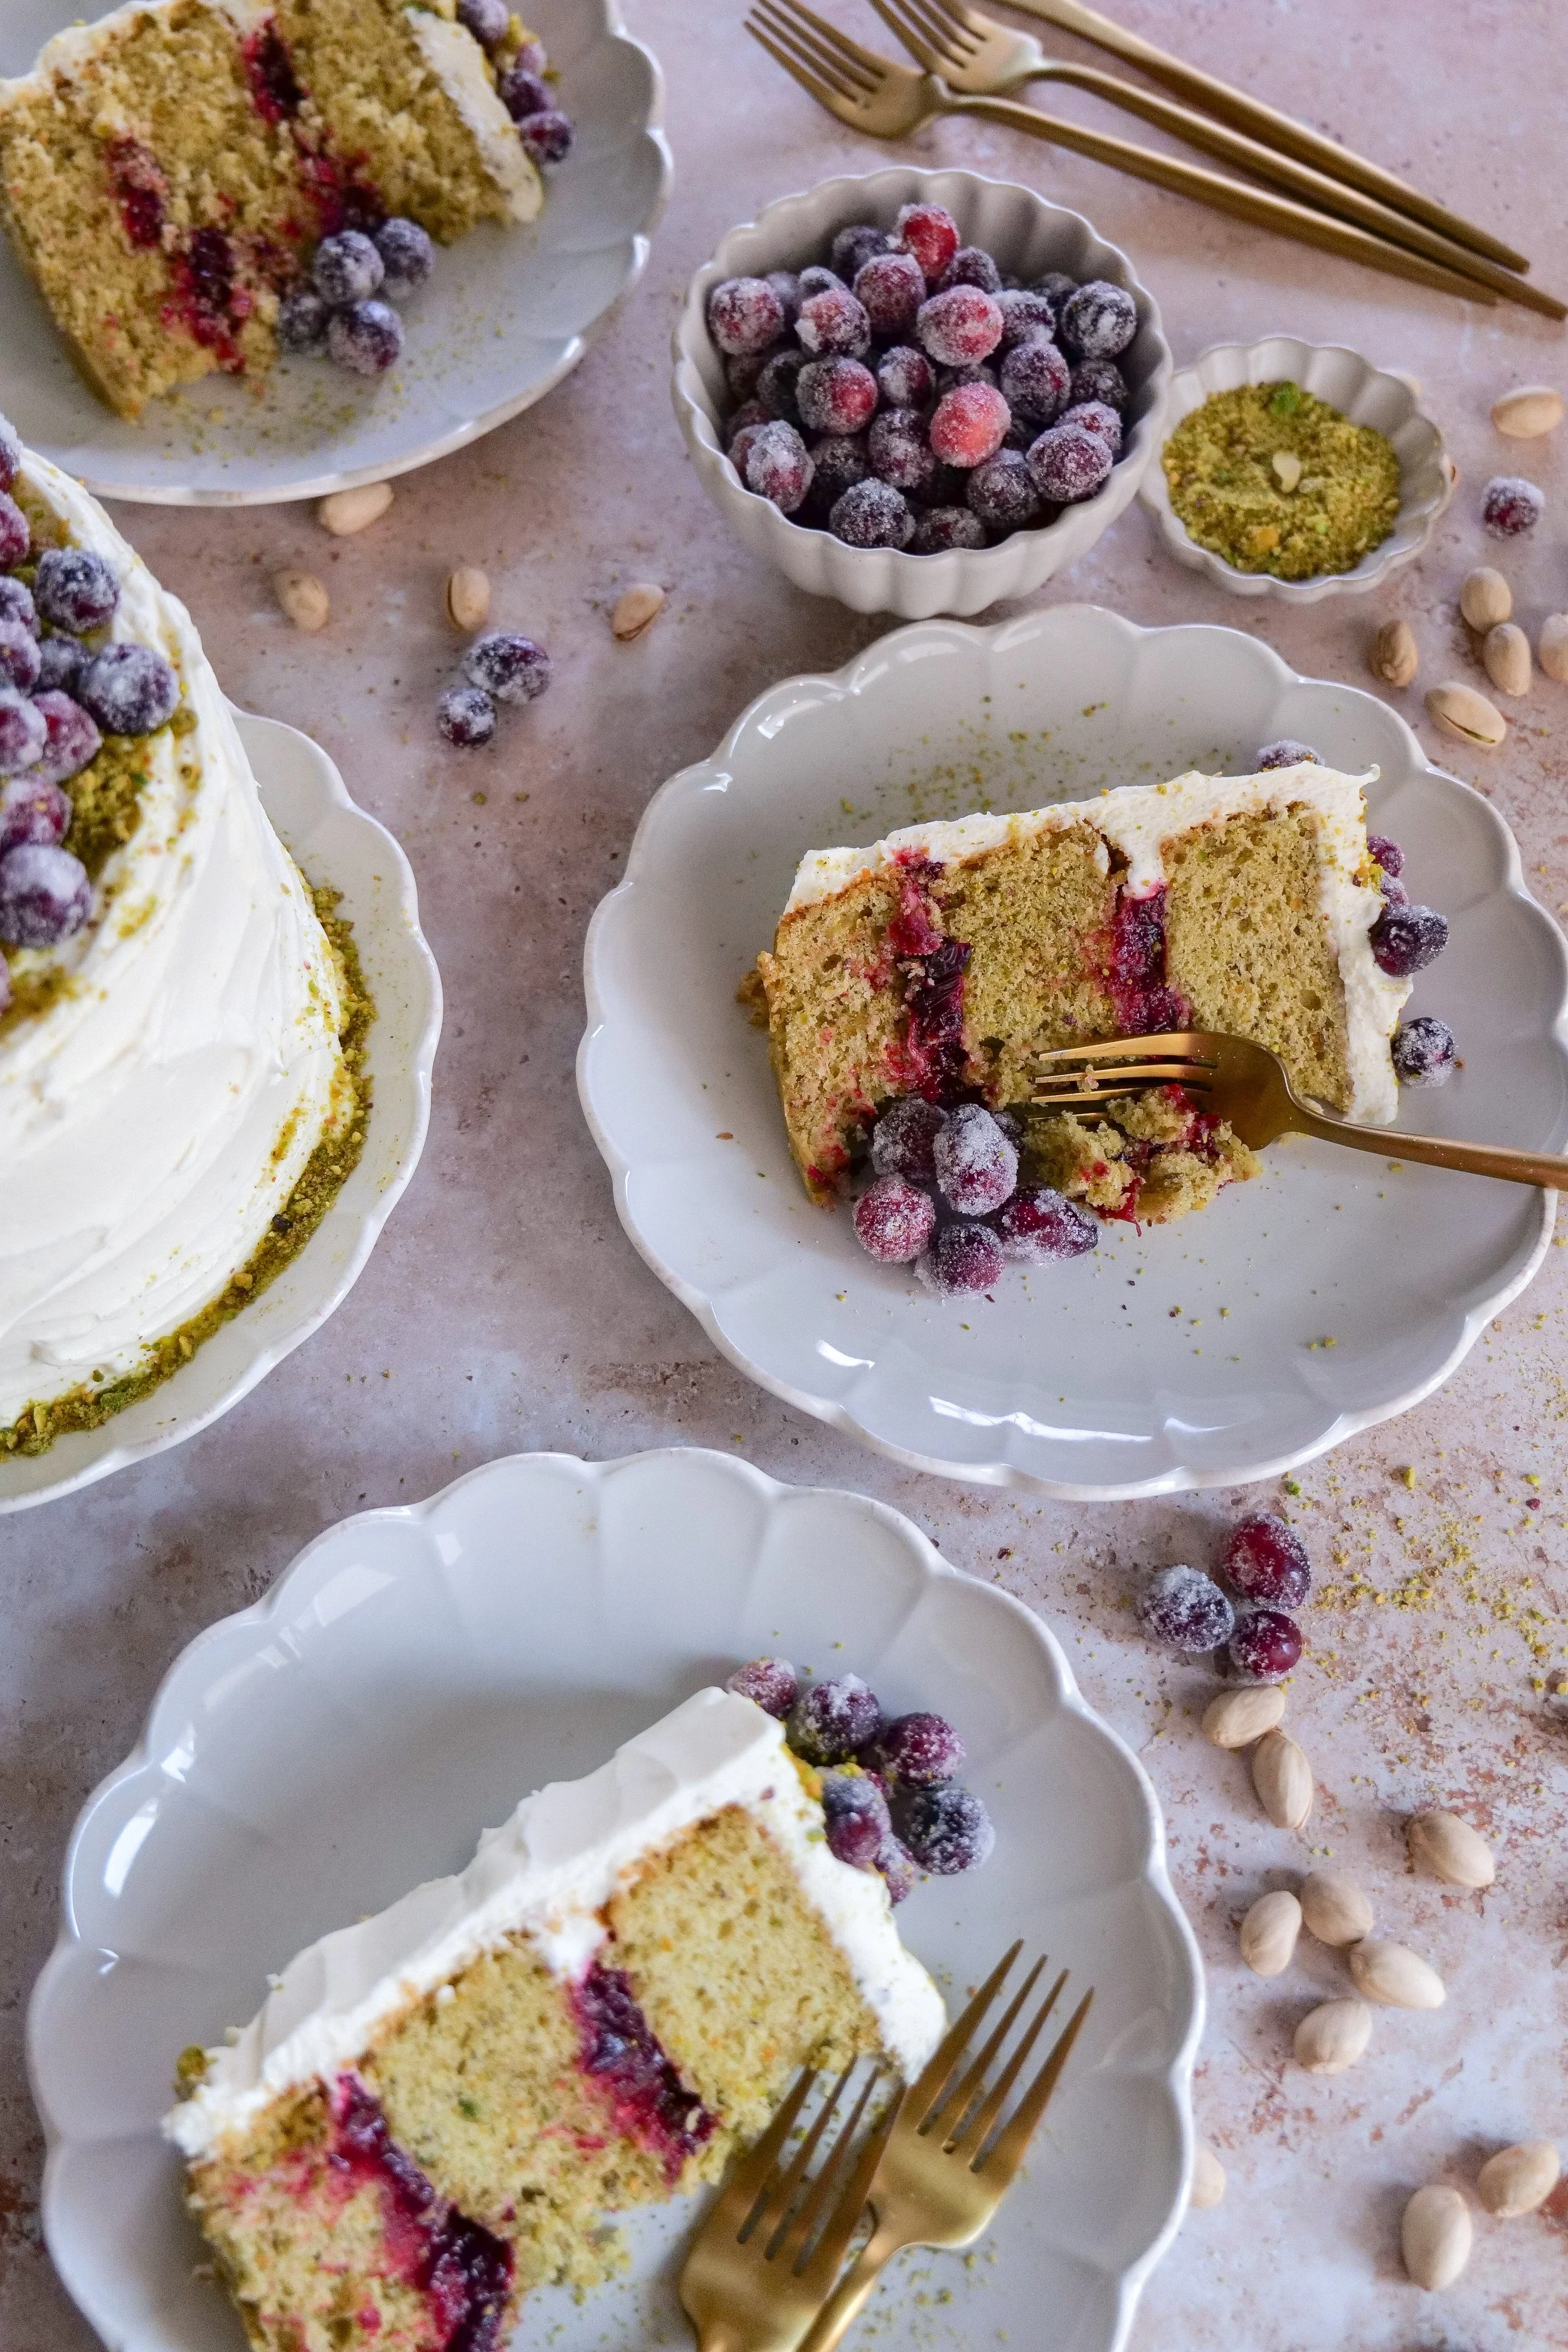
/This Cranberry Pistachio Layer Cake is the perfect combination of sweet, tart, and nutty flavors. Made with soft, buttery pistachio cake layers, a homemade cranberry filling, and silky vanilla bean mascarpone frosting, it's a beautiful dessert for the holiday season. Finished with sparkling sugared cranberries and chopped pistachios, this cake is just as delicious as it is beautiful.
I originally created this cake to celebrate Amelia turning eleven months old, but I loved how beautifully the flavors came together for the season. The tart cranberries balance the richness of the pistachios, while the light mascarpone frosting adds just the right amount of sweetness. It's a wonderful cake for Thanksgiving, Christmas, or any special occasion.
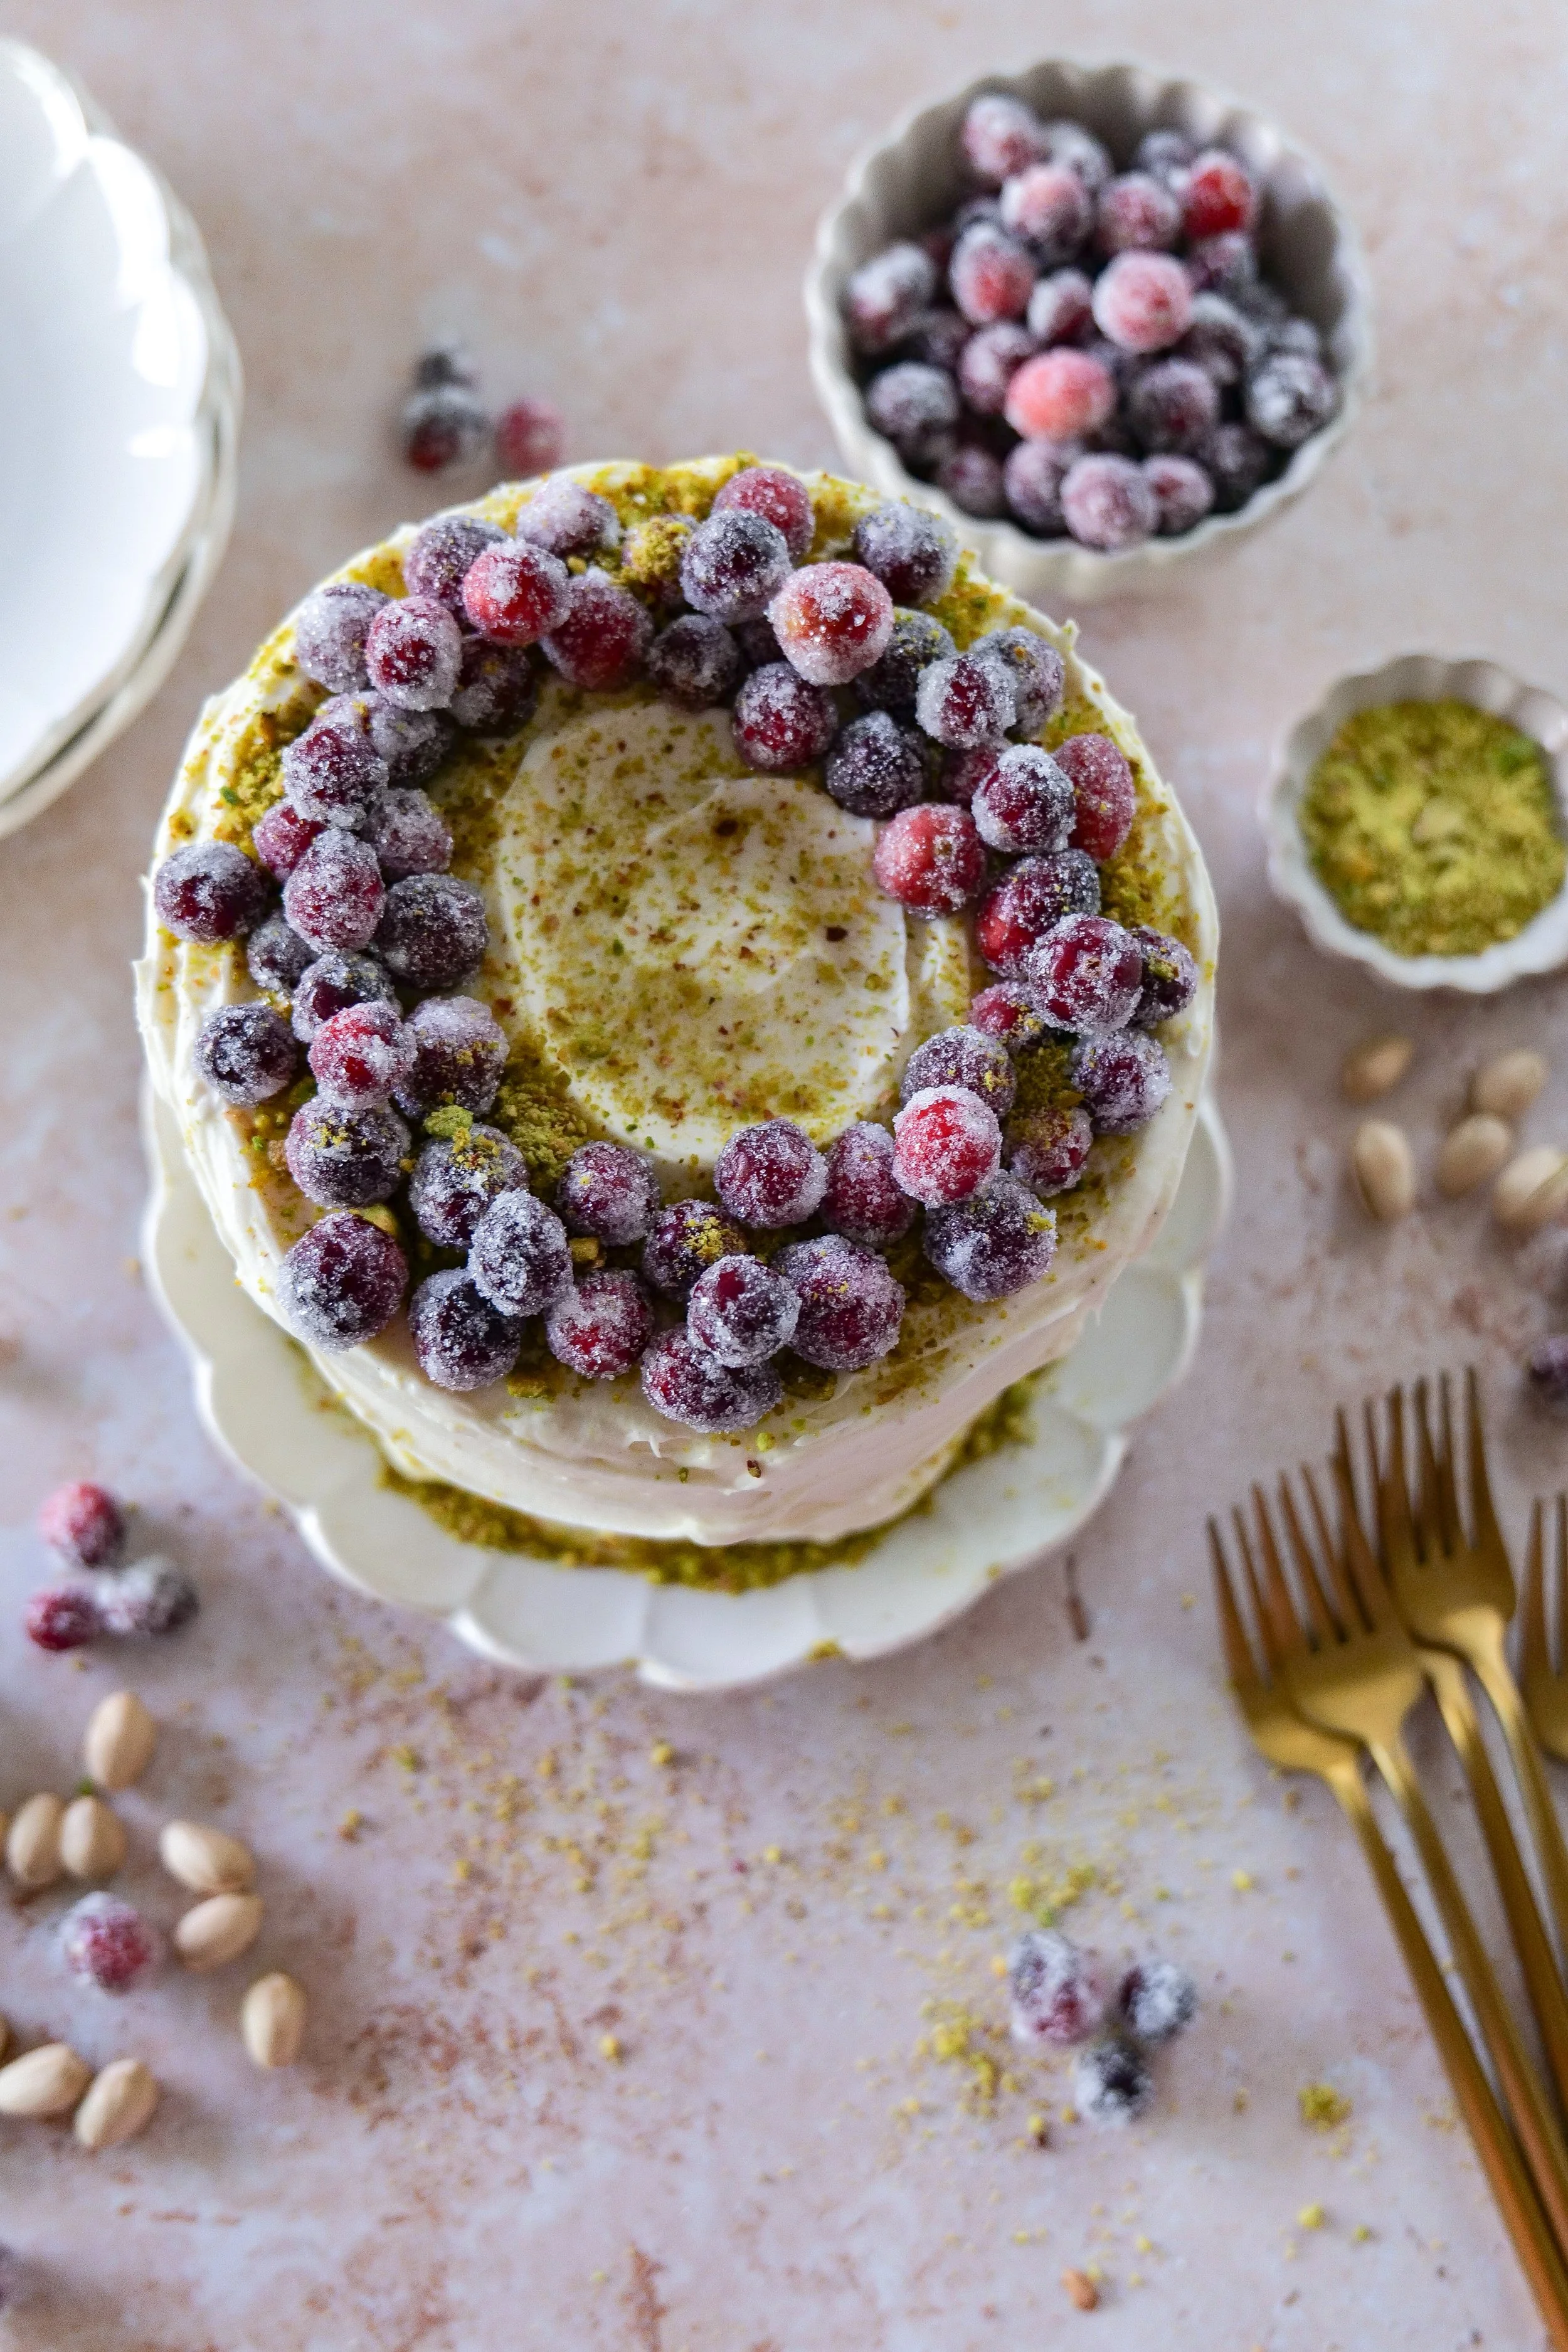
Why You'll Love This Cranberry Pistachio Cake
There are so many reasons to love this cake, especially during the fall and winter months!
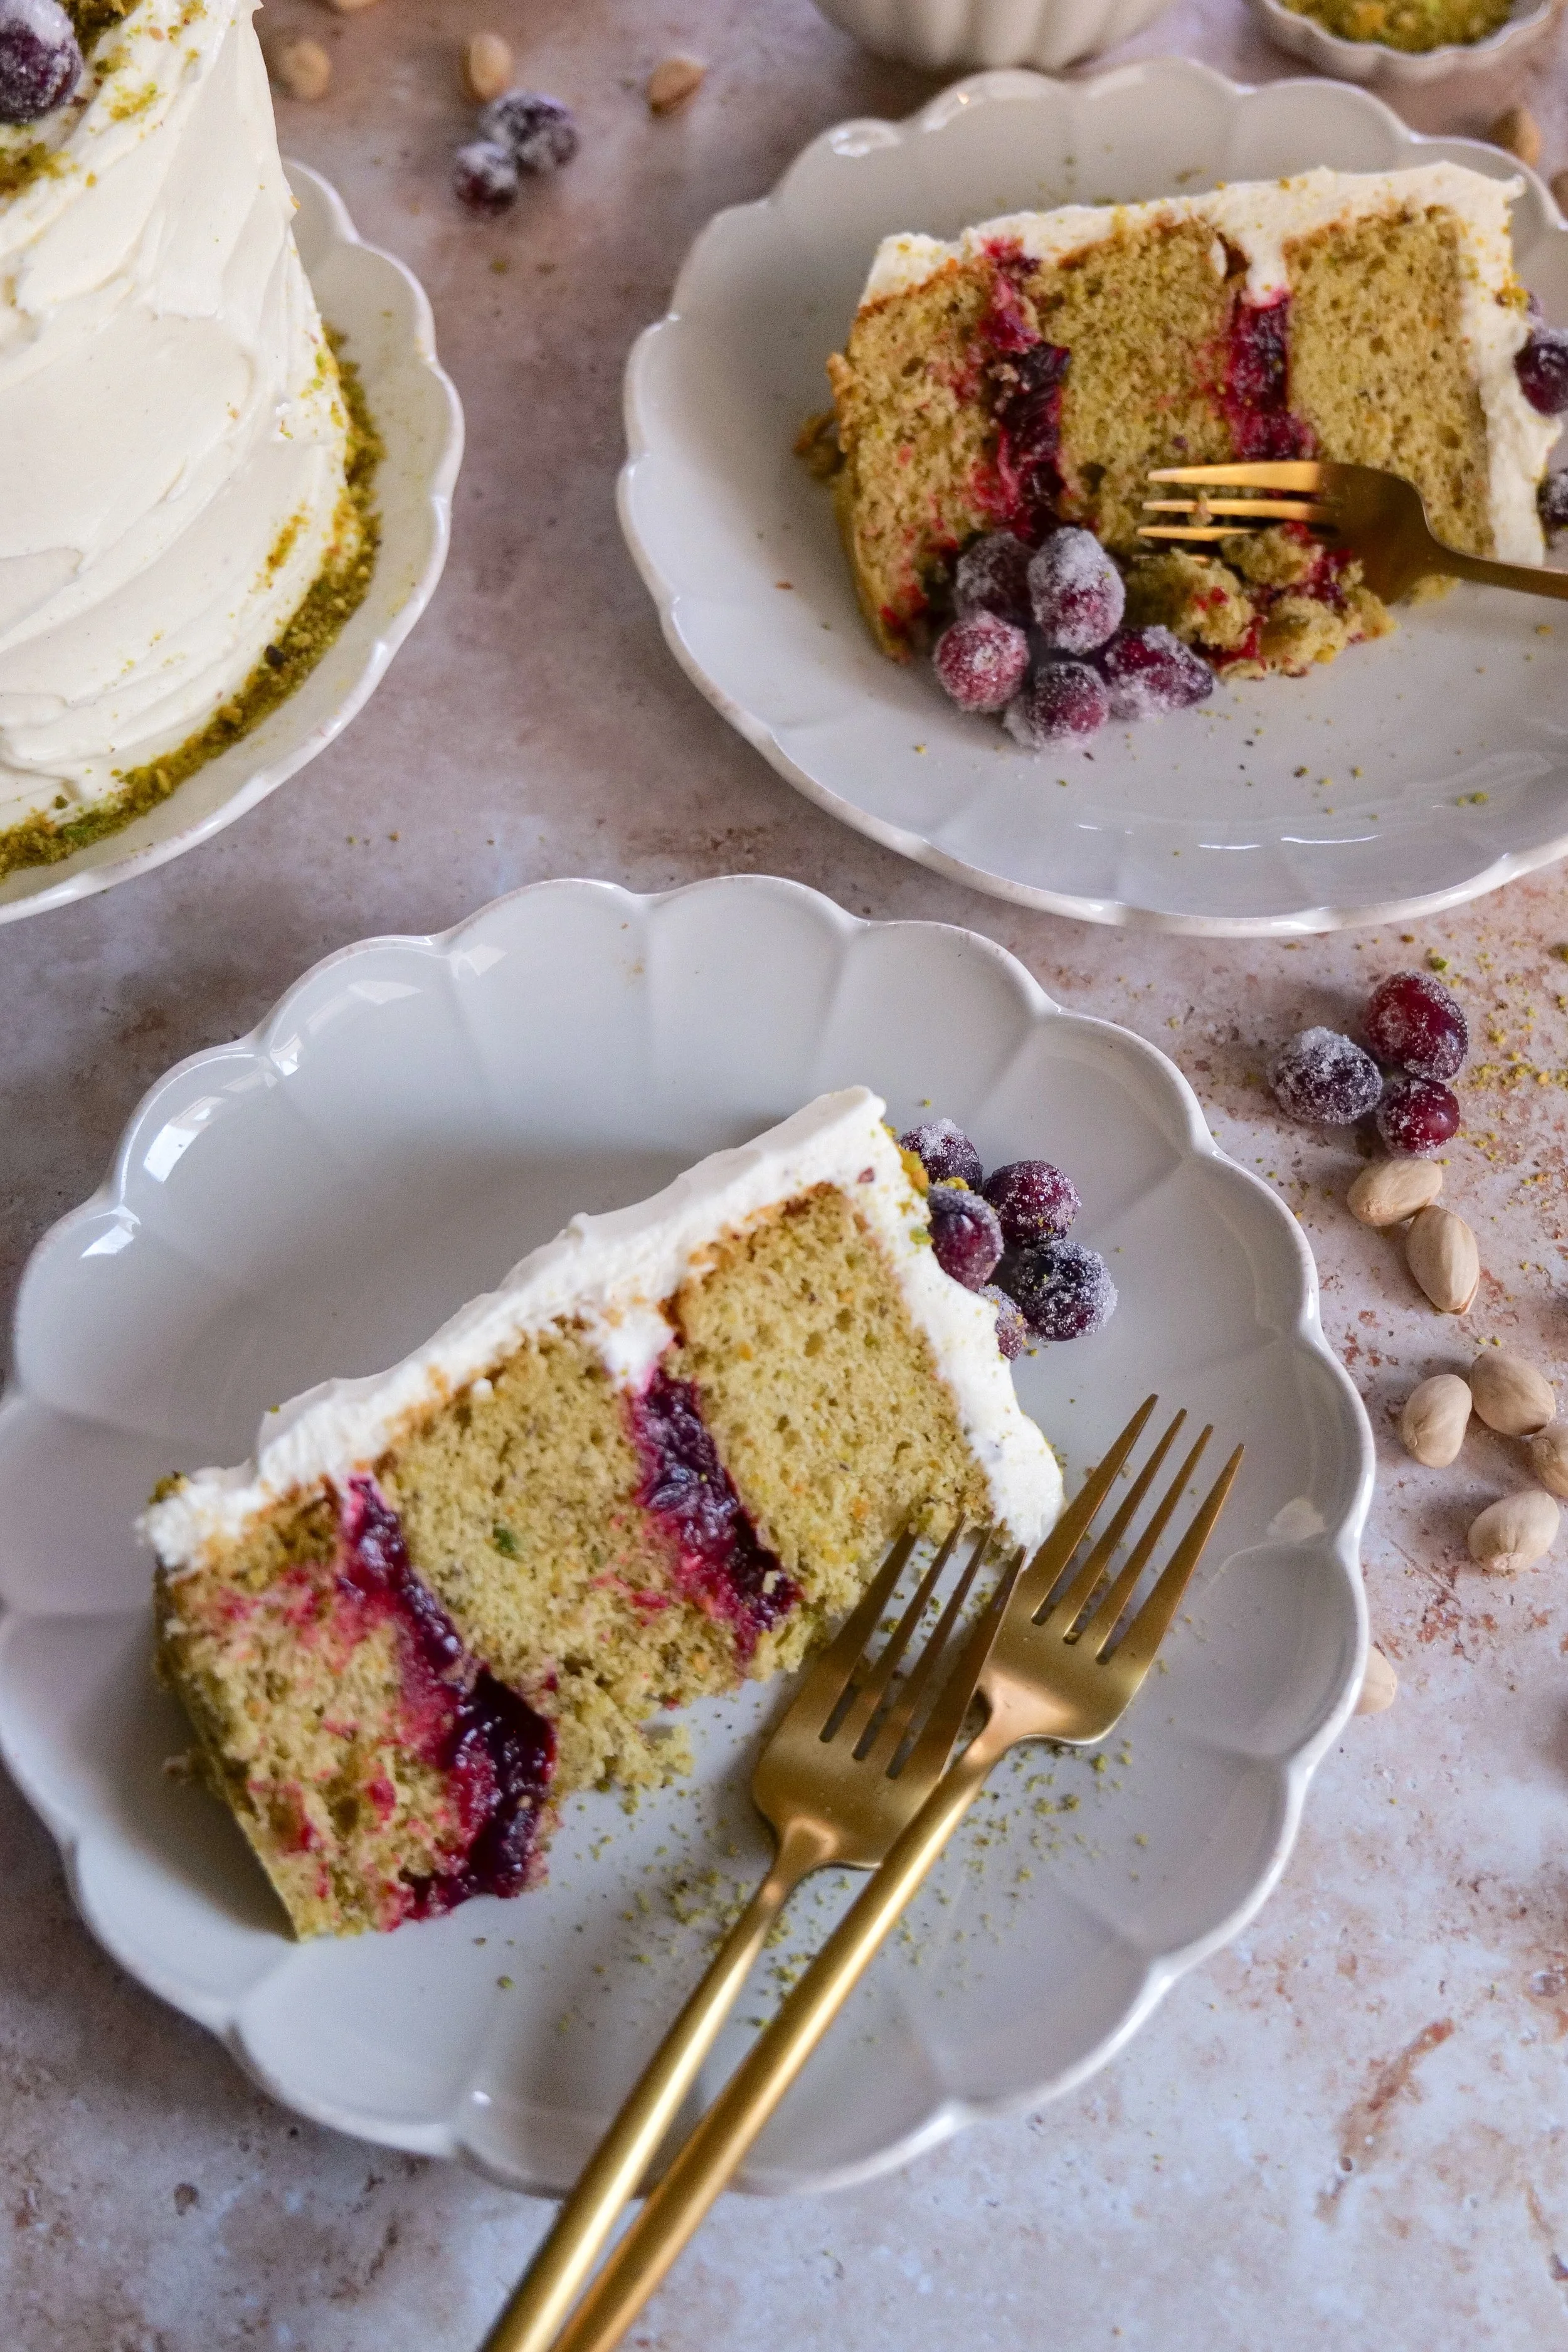
The perfect balance of sweet and tart. The nutty pistachio cake pairs beautifully with the tart cranberry filling and delicate vanilla bean mascarpone frosting.
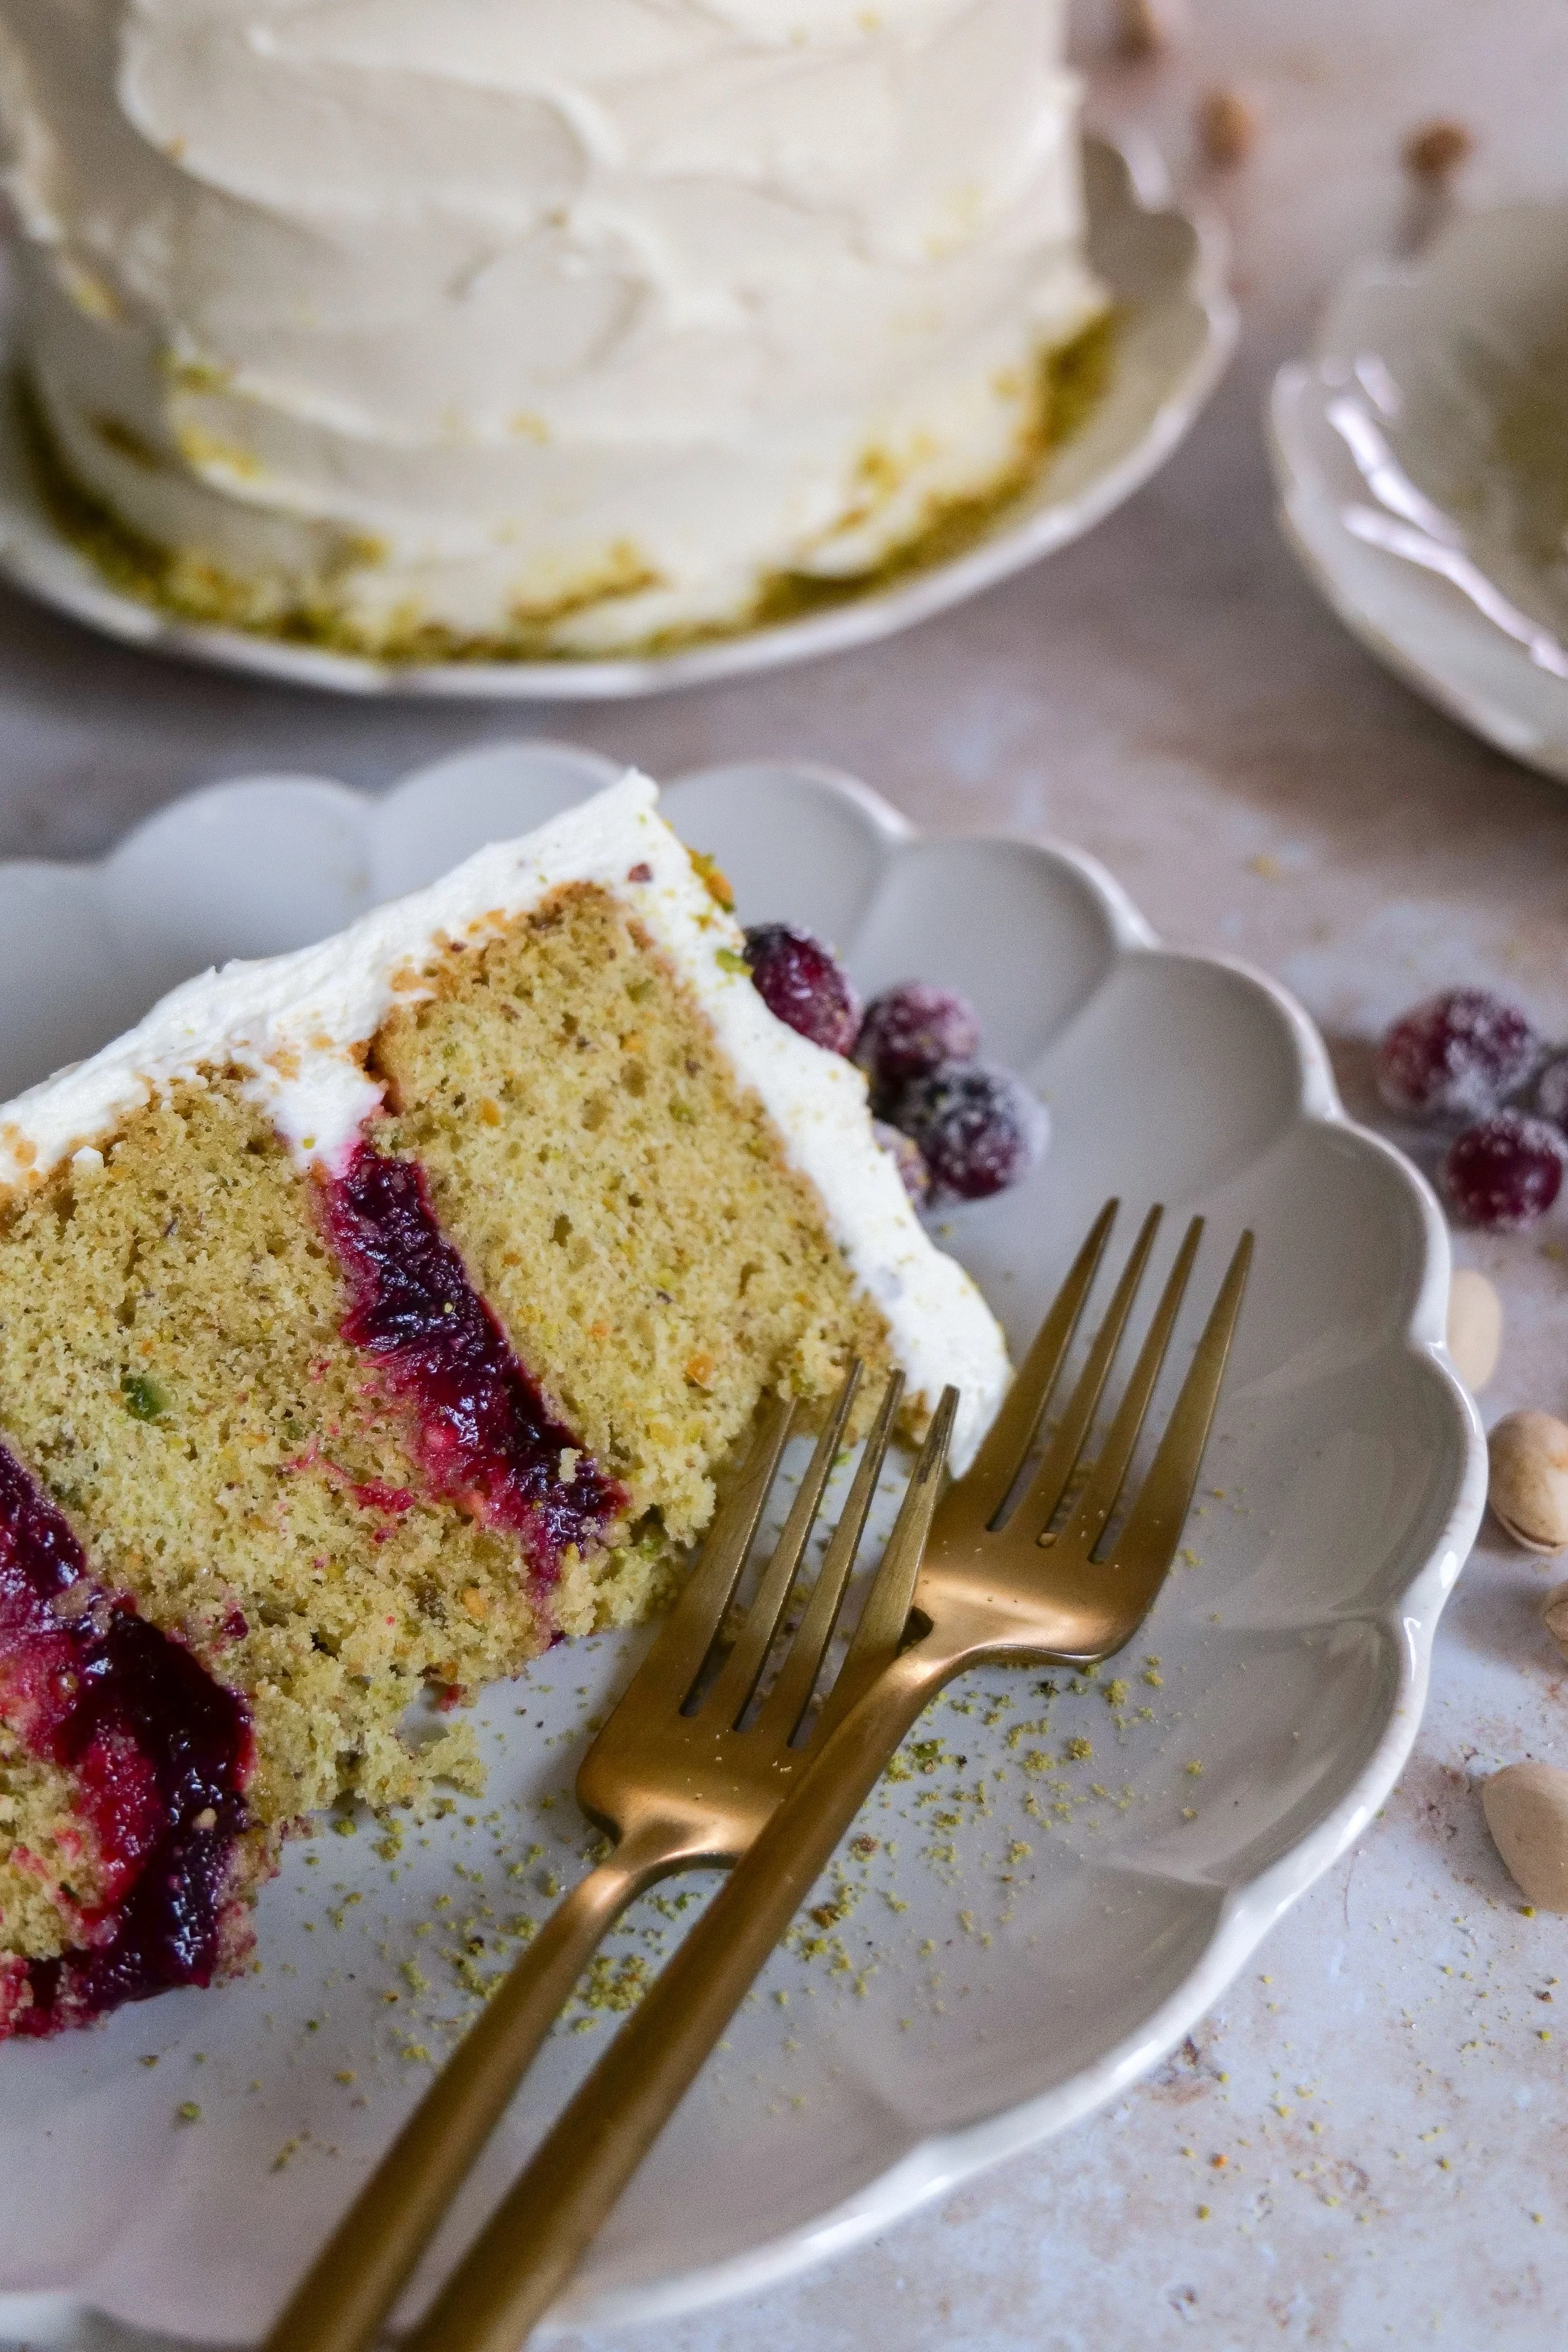
Soft, buttery cake layers. Finely ground pistachios, sour cream, and butter create a moist, tender cake with a beautiful crumb.
Homemade cranberry filling. Fresh cranberries, orange juice, and sugar cook into a thick, jam-like filling that adds just the right amount of tartness.
Light and creamy frosting. Mascarpone creates a silky frosting that's less sweet than traditional American buttercream.
Beautiful for the holidays. The natural colors of pistachios and cranberries make this cake a lovely centerpiece for Thanksgiving or Christmas.
Easy to prepare ahead. The cake layers and cranberry filling can be made in advance, making this a wonderful recipe for entertaining.
Ingredients You'll Need
This cake has four components: the pistachio cake, homemade cranberry filling, vanilla bean mascarpone frosting, and sparkling sugared cranberries. Each one is simple to prepare, and together they create a beautiful holiday dessert.
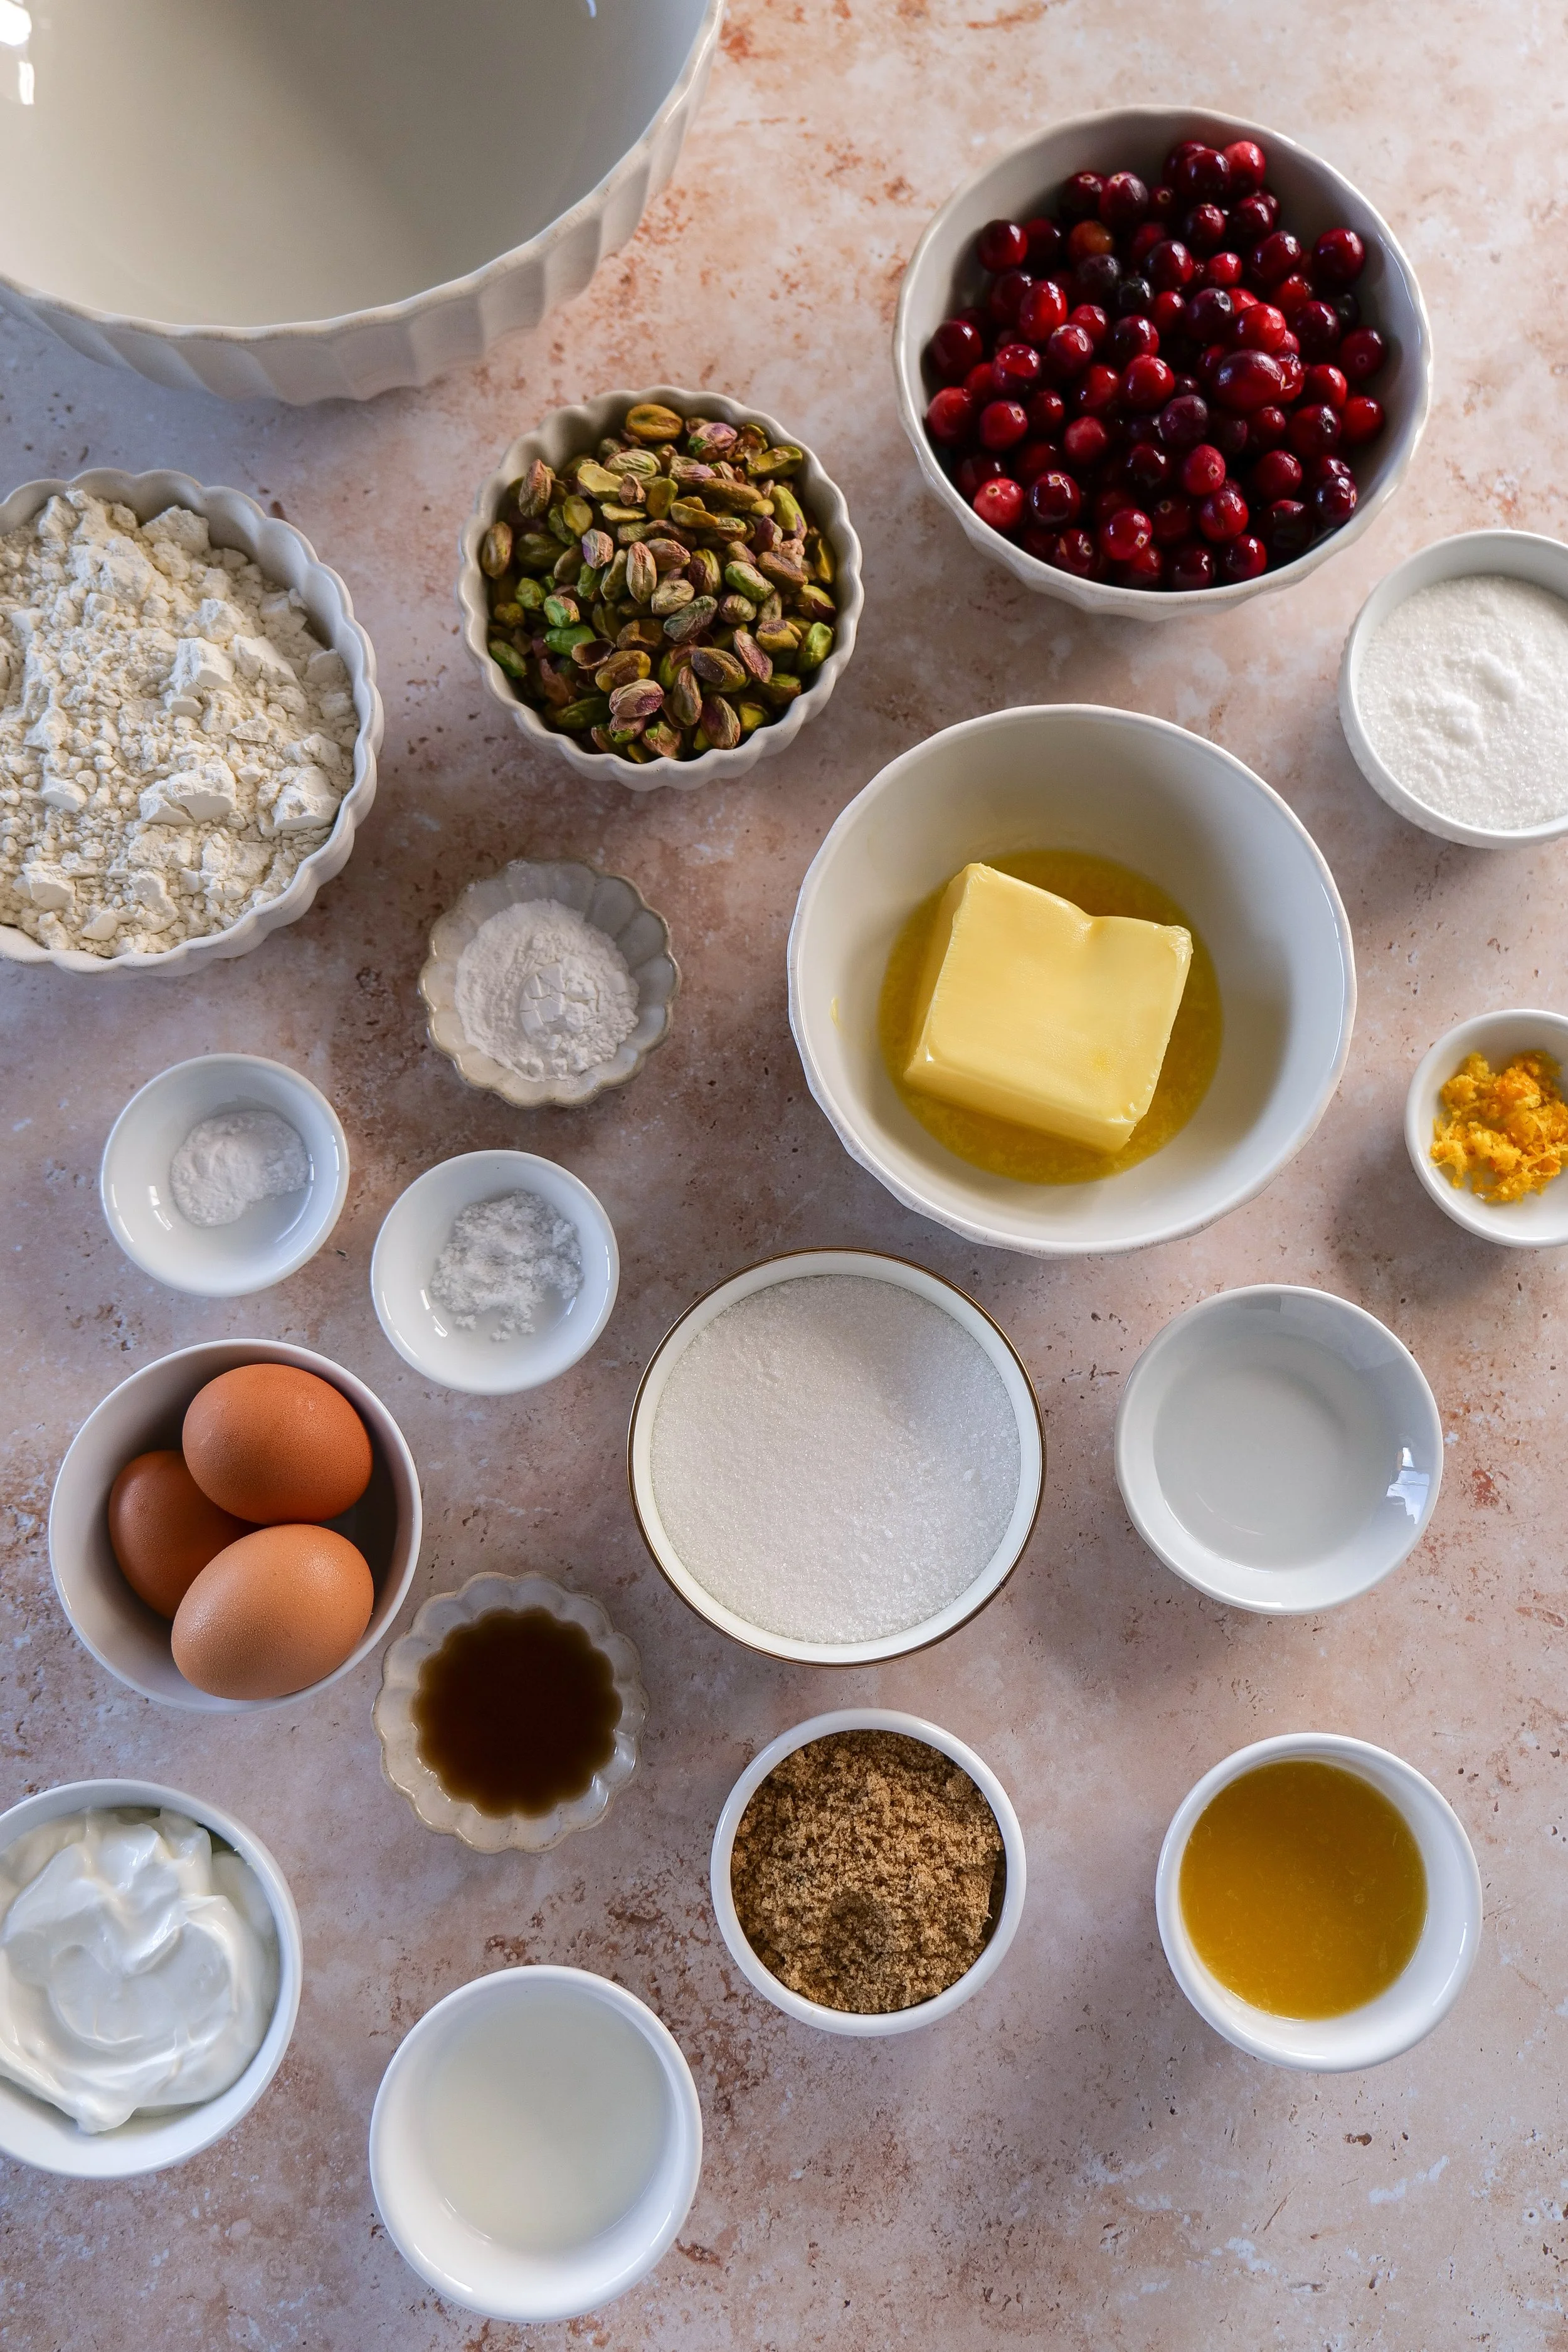
For the Pistachio Cake
Pistachios: Use shelled, unsalted pistachios that have been finely ground. They give the cake its signature nutty flavor and naturally subtle green color.
All-Purpose Flour: Provides structure while keeping the cake layers soft and tender.
Unsalted Butter: Adds richness and creates a beautiful buttery crumb. Make sure it's softened before mixing.
Granulated and Brown Sugar: A combination of both sugars adds sweetness, moisture, and a little extra depth of flavor.
Eggs: Help give the cake structure and richness. Room-temperature eggs incorporate more evenly into the batter.
Sour Cream: Keeps the cake wonderfully moist and tender.
Whole Milk: Adds moisture and helps bring the batter together.
Vanilla Extract: Complements the natural flavor of the pistachios.
Baking Powder, Baking Soda, and Salt: Help the cake rise and balance the sweetness.
For the Cranberry Filling
Fresh or Frozen Cranberries: Both work beautifully! Cranberries provide the bright, tart flavor that balances the sweet cake and frosting.
Granulated Sugar: Sweetens the filling while allowing the natural tartness of the cranberries to come through.
Fresh Orange Juice and Zest: Adds brightness and enhances the cranberry flavor.
Water: Helps the cranberries soften and break down while cooking.
For the Vanilla Bean Mascarpone Frosting
Mascarpone Cheese: Creates a rich, smooth frosting with a delicate flavor.
Heavy Whipping Cream: Whips with the mascarpone to create a light, fluffy texture.
Powdered Sugar: Adds sweetness without overpowering the other flavors.
Vanilla Bean Paste: Gives the frosting a beautiful vanilla flavor and those lovely little vanilla bean specks.
For the Sugared Cranberries
Fresh Cranberries: Use fresh cranberries for the garnish so they hold their shape.
Granulated Sugar and Water: Create a simple syrup to coat the cranberries.
Additional Granulated Sugar: Gives the cranberries their sparkling, frosted appearance.
Optional Chopped Pistachios: Add a little around the top or base of the cake for extra color and texture.
Amanda's Tips for the Perfect Cranberry Pistachio Cake
Finely grind the pistachios. The finer the pistachios, the softer the cake's texture. Be careful not to process them into a paste.
Use room-temperature cake ingredients. Softened butter, room-temperature eggs, and milk help the batter mix evenly and create tender cake layers.
Don't overmix the batter. Once the flour is added, mix just until everything is incorporated. Overmixing can create a dense cake.
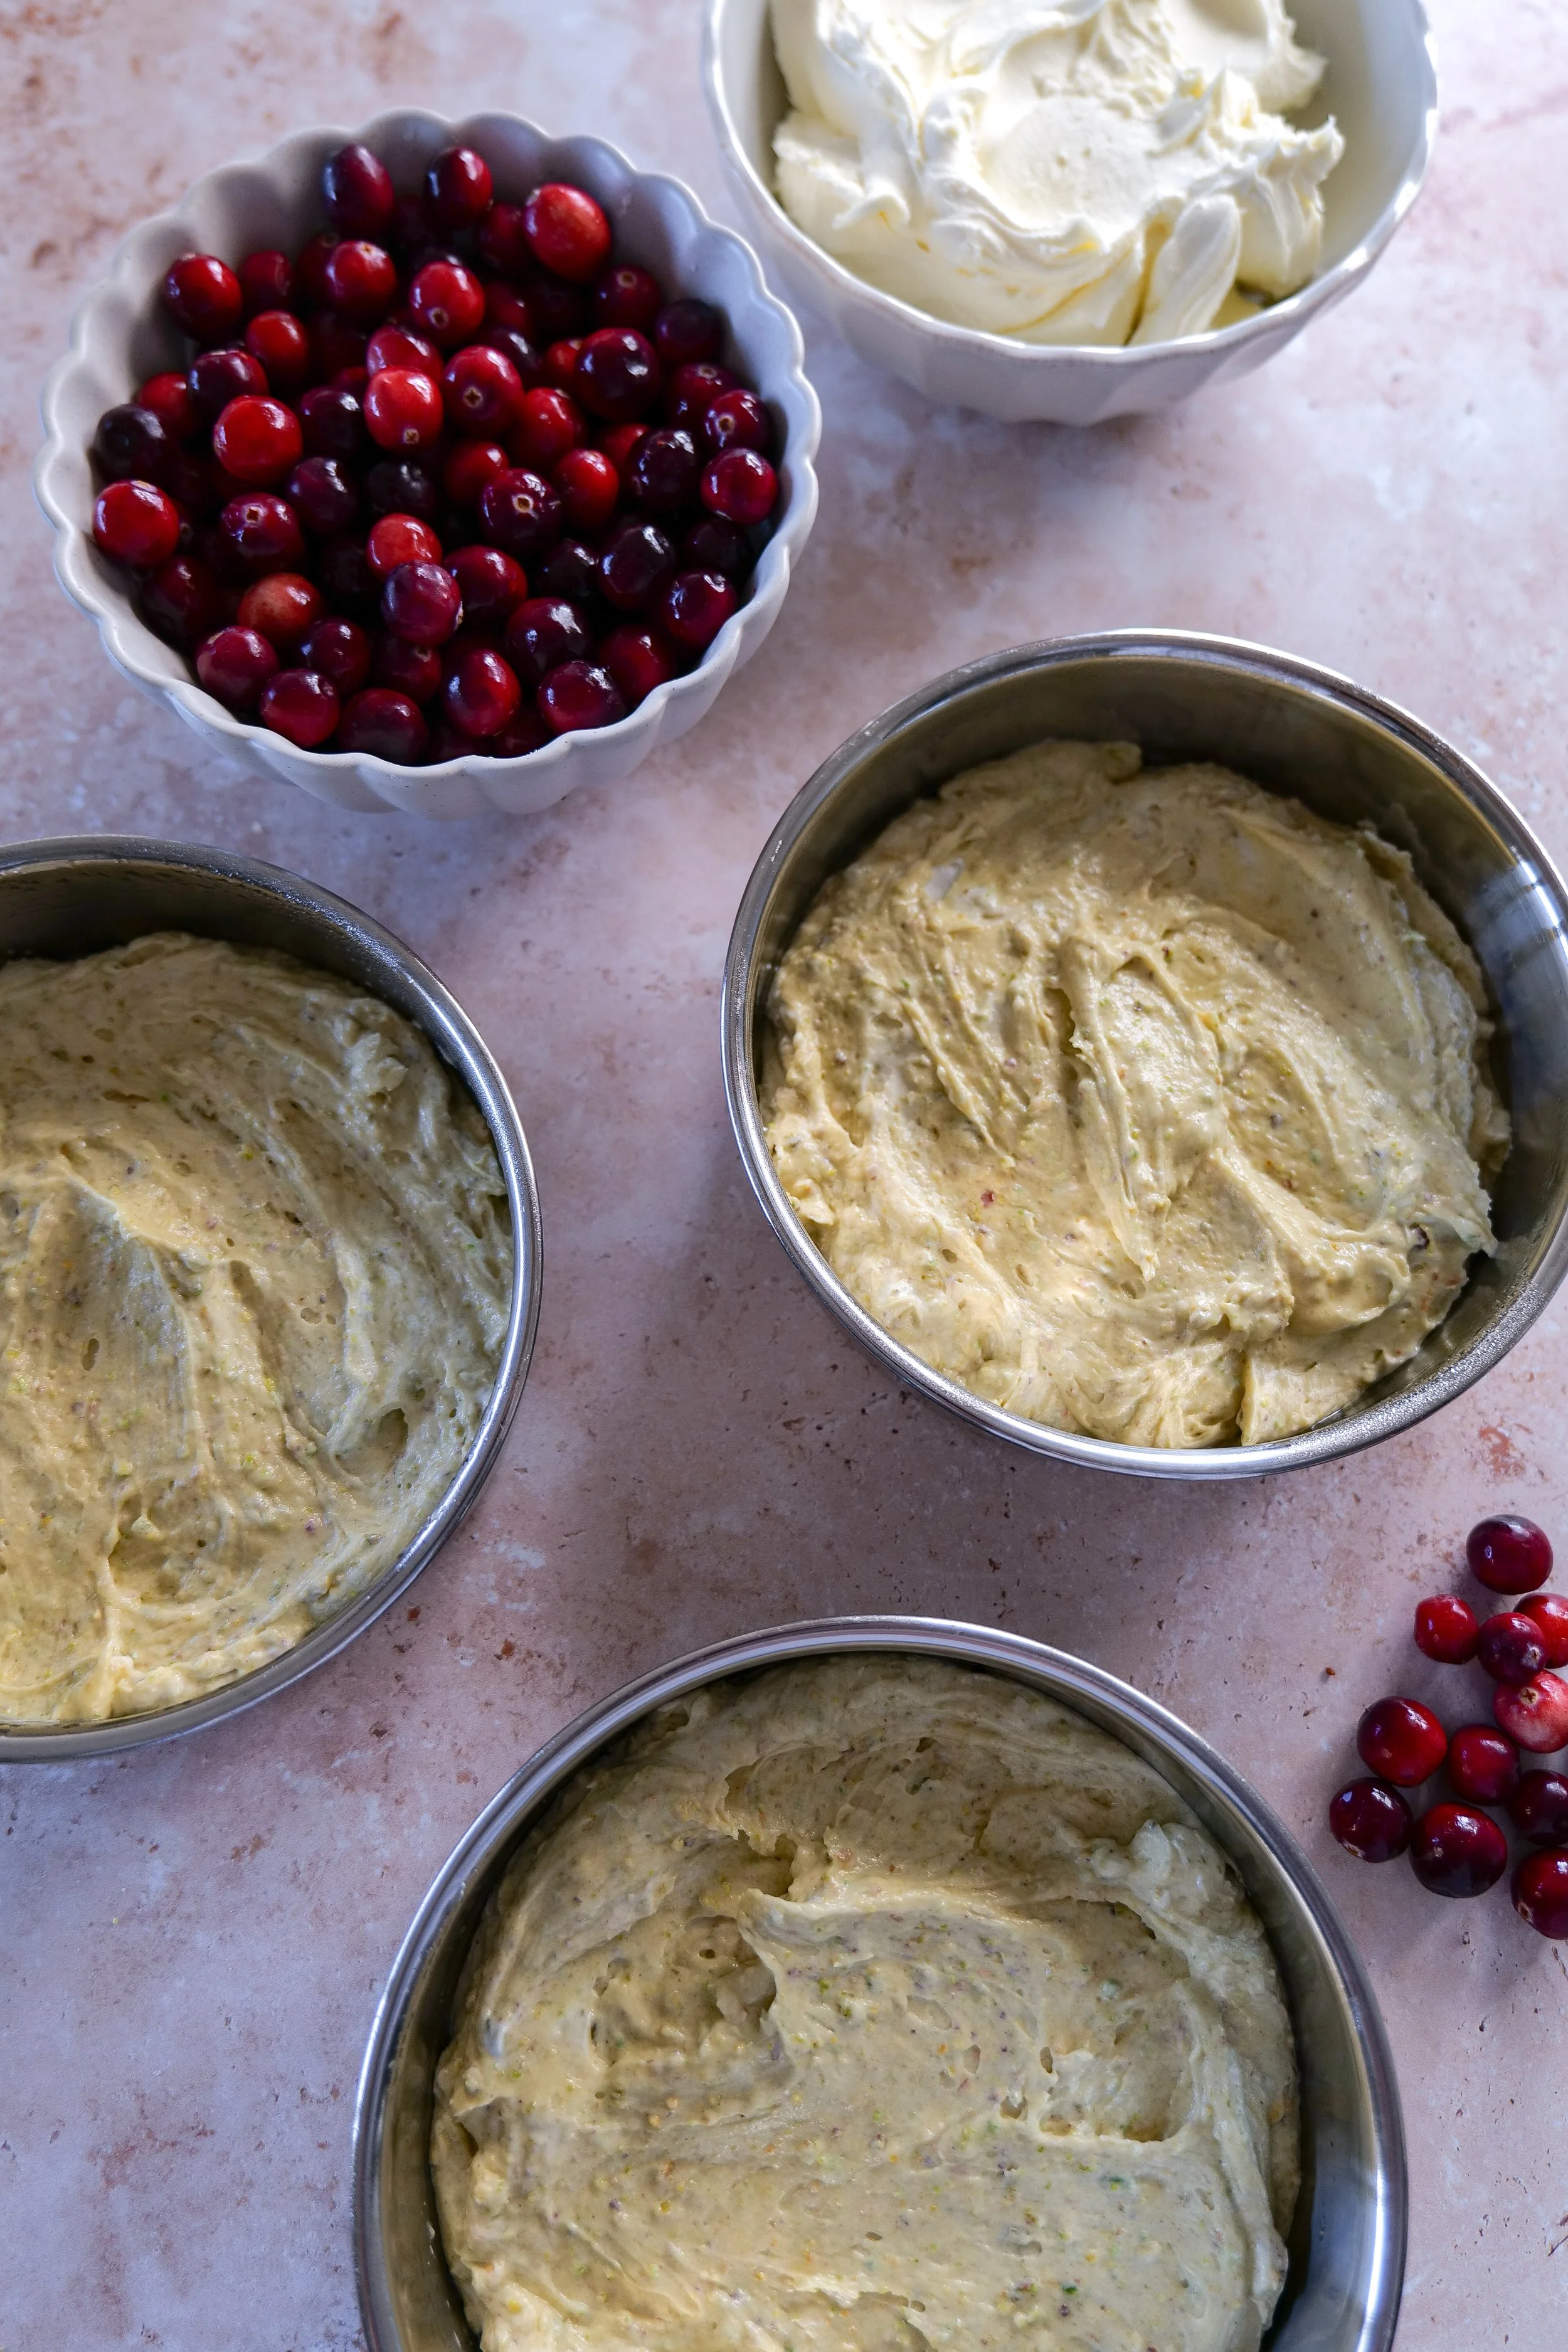
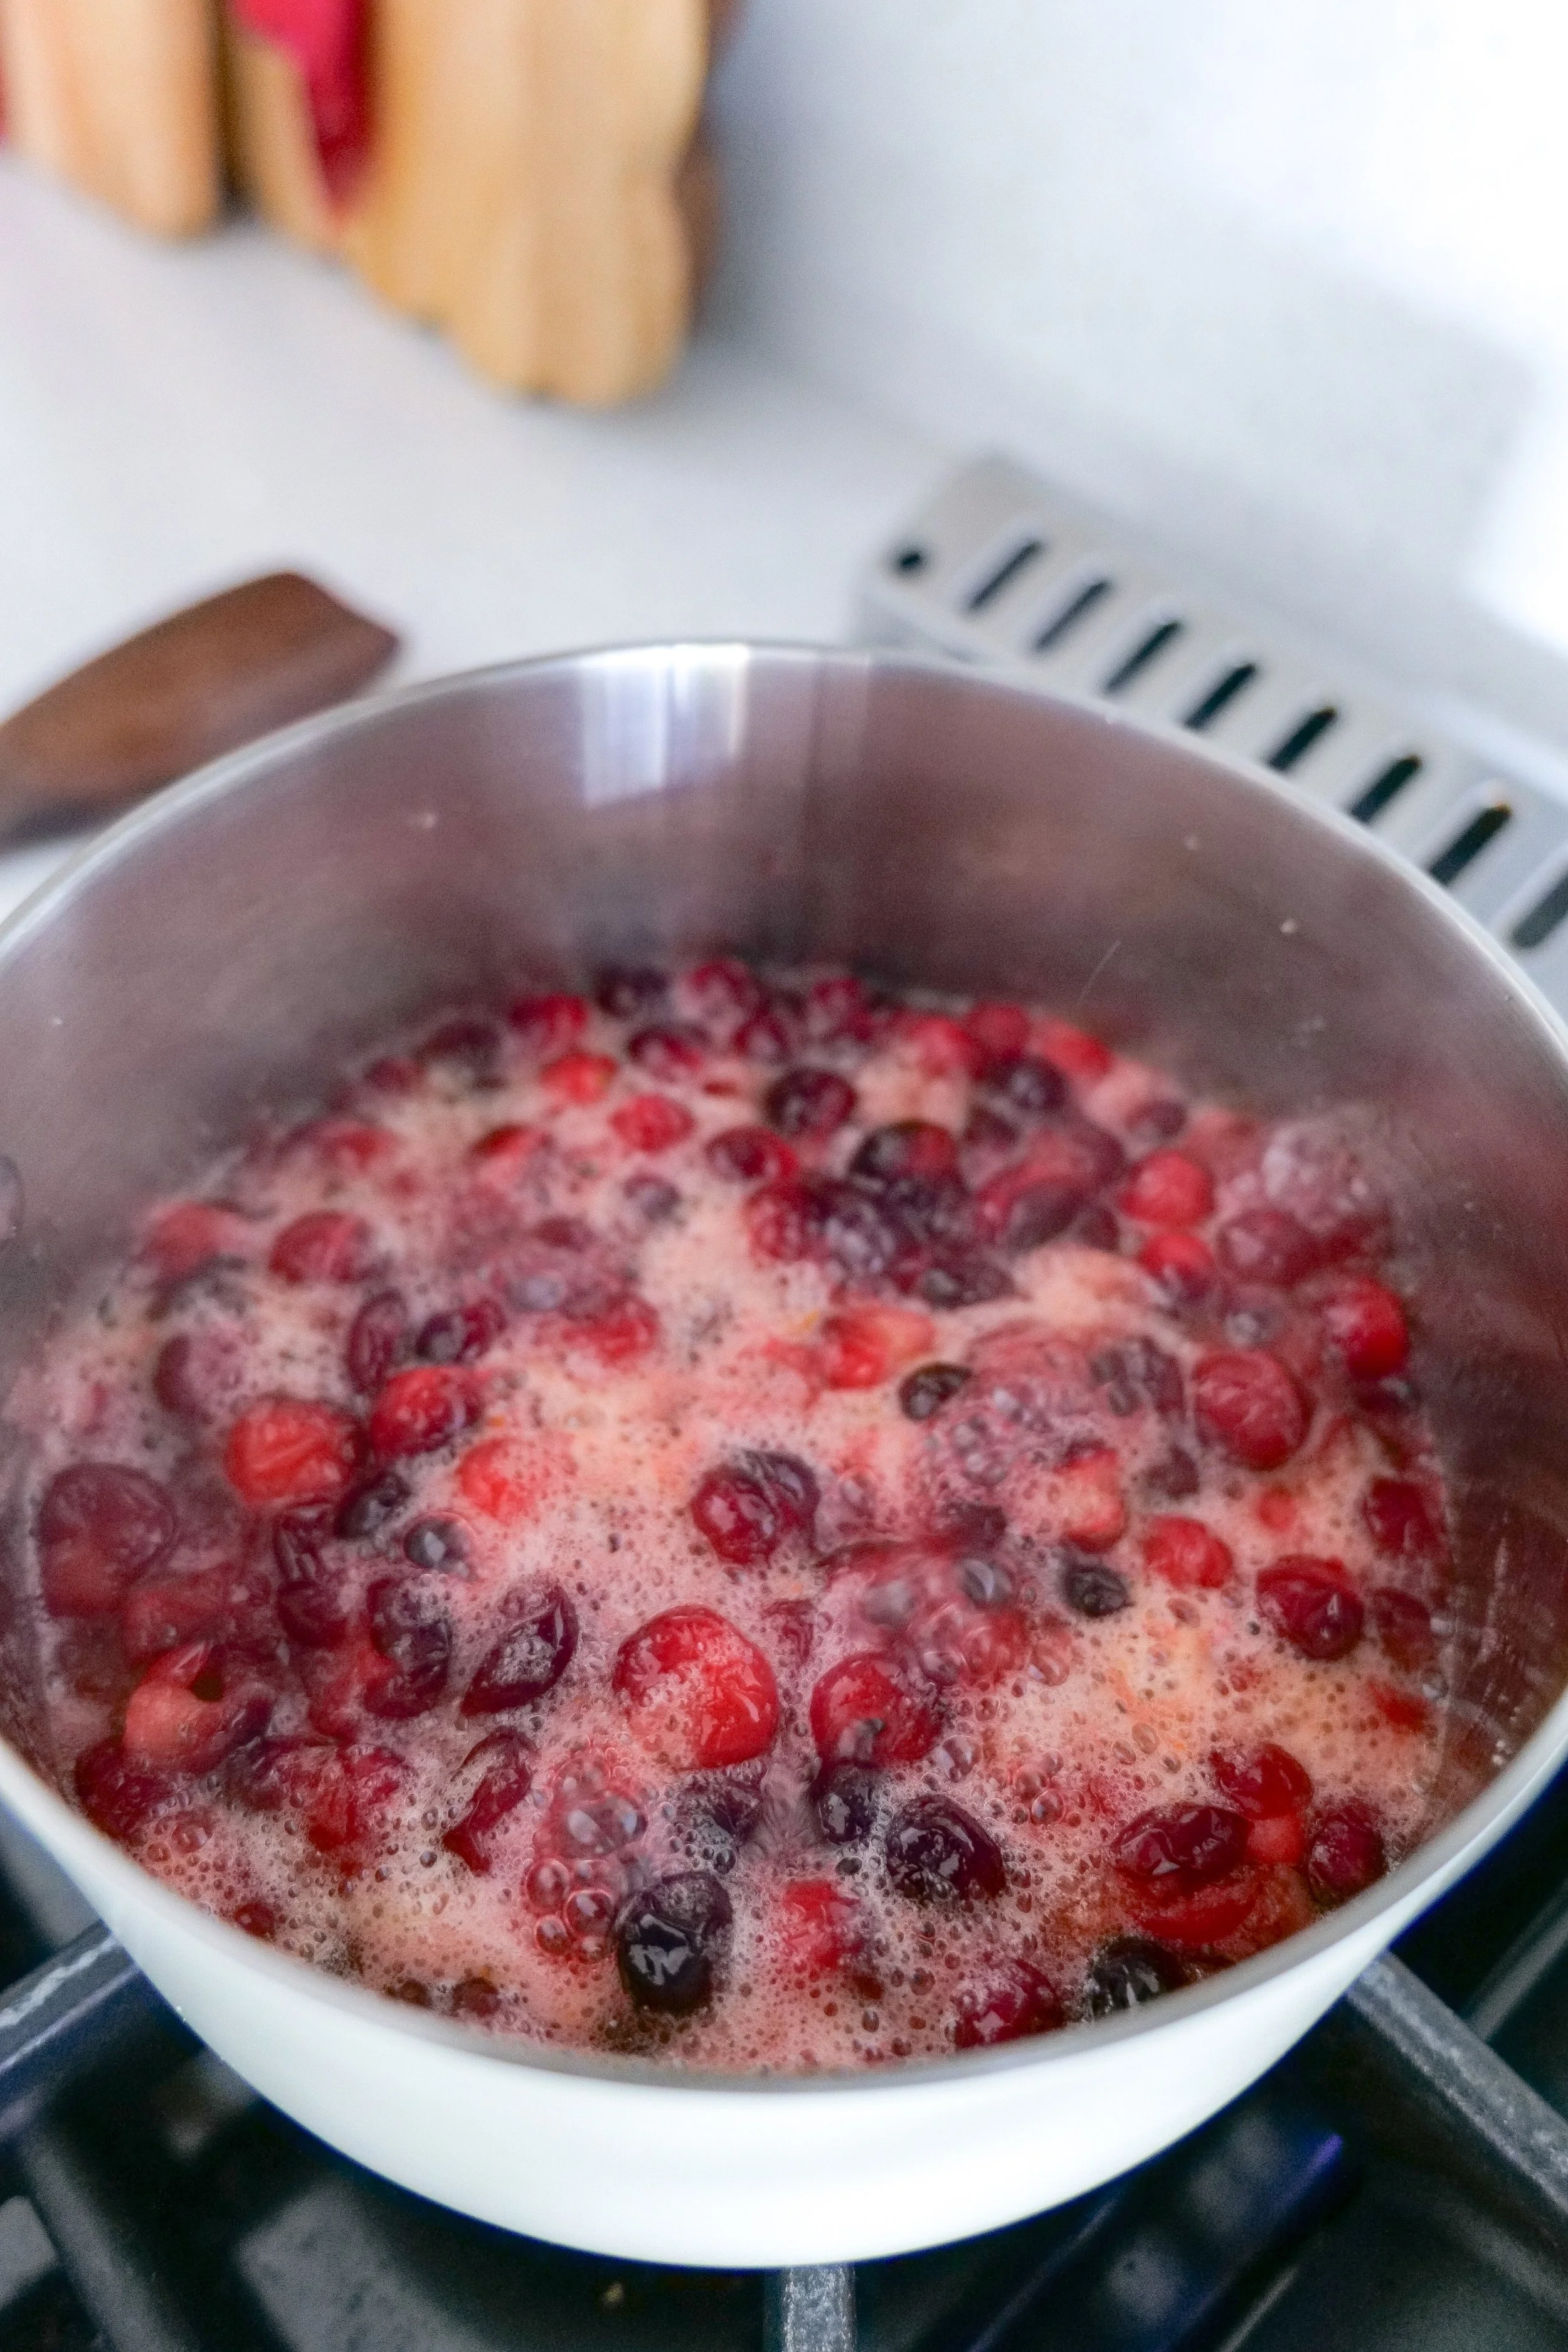
Make the cranberry filling ahead. I recommend preparing it at least a few hours in advance, or even the evening before. It needs to be completely cool before assembling the cake.
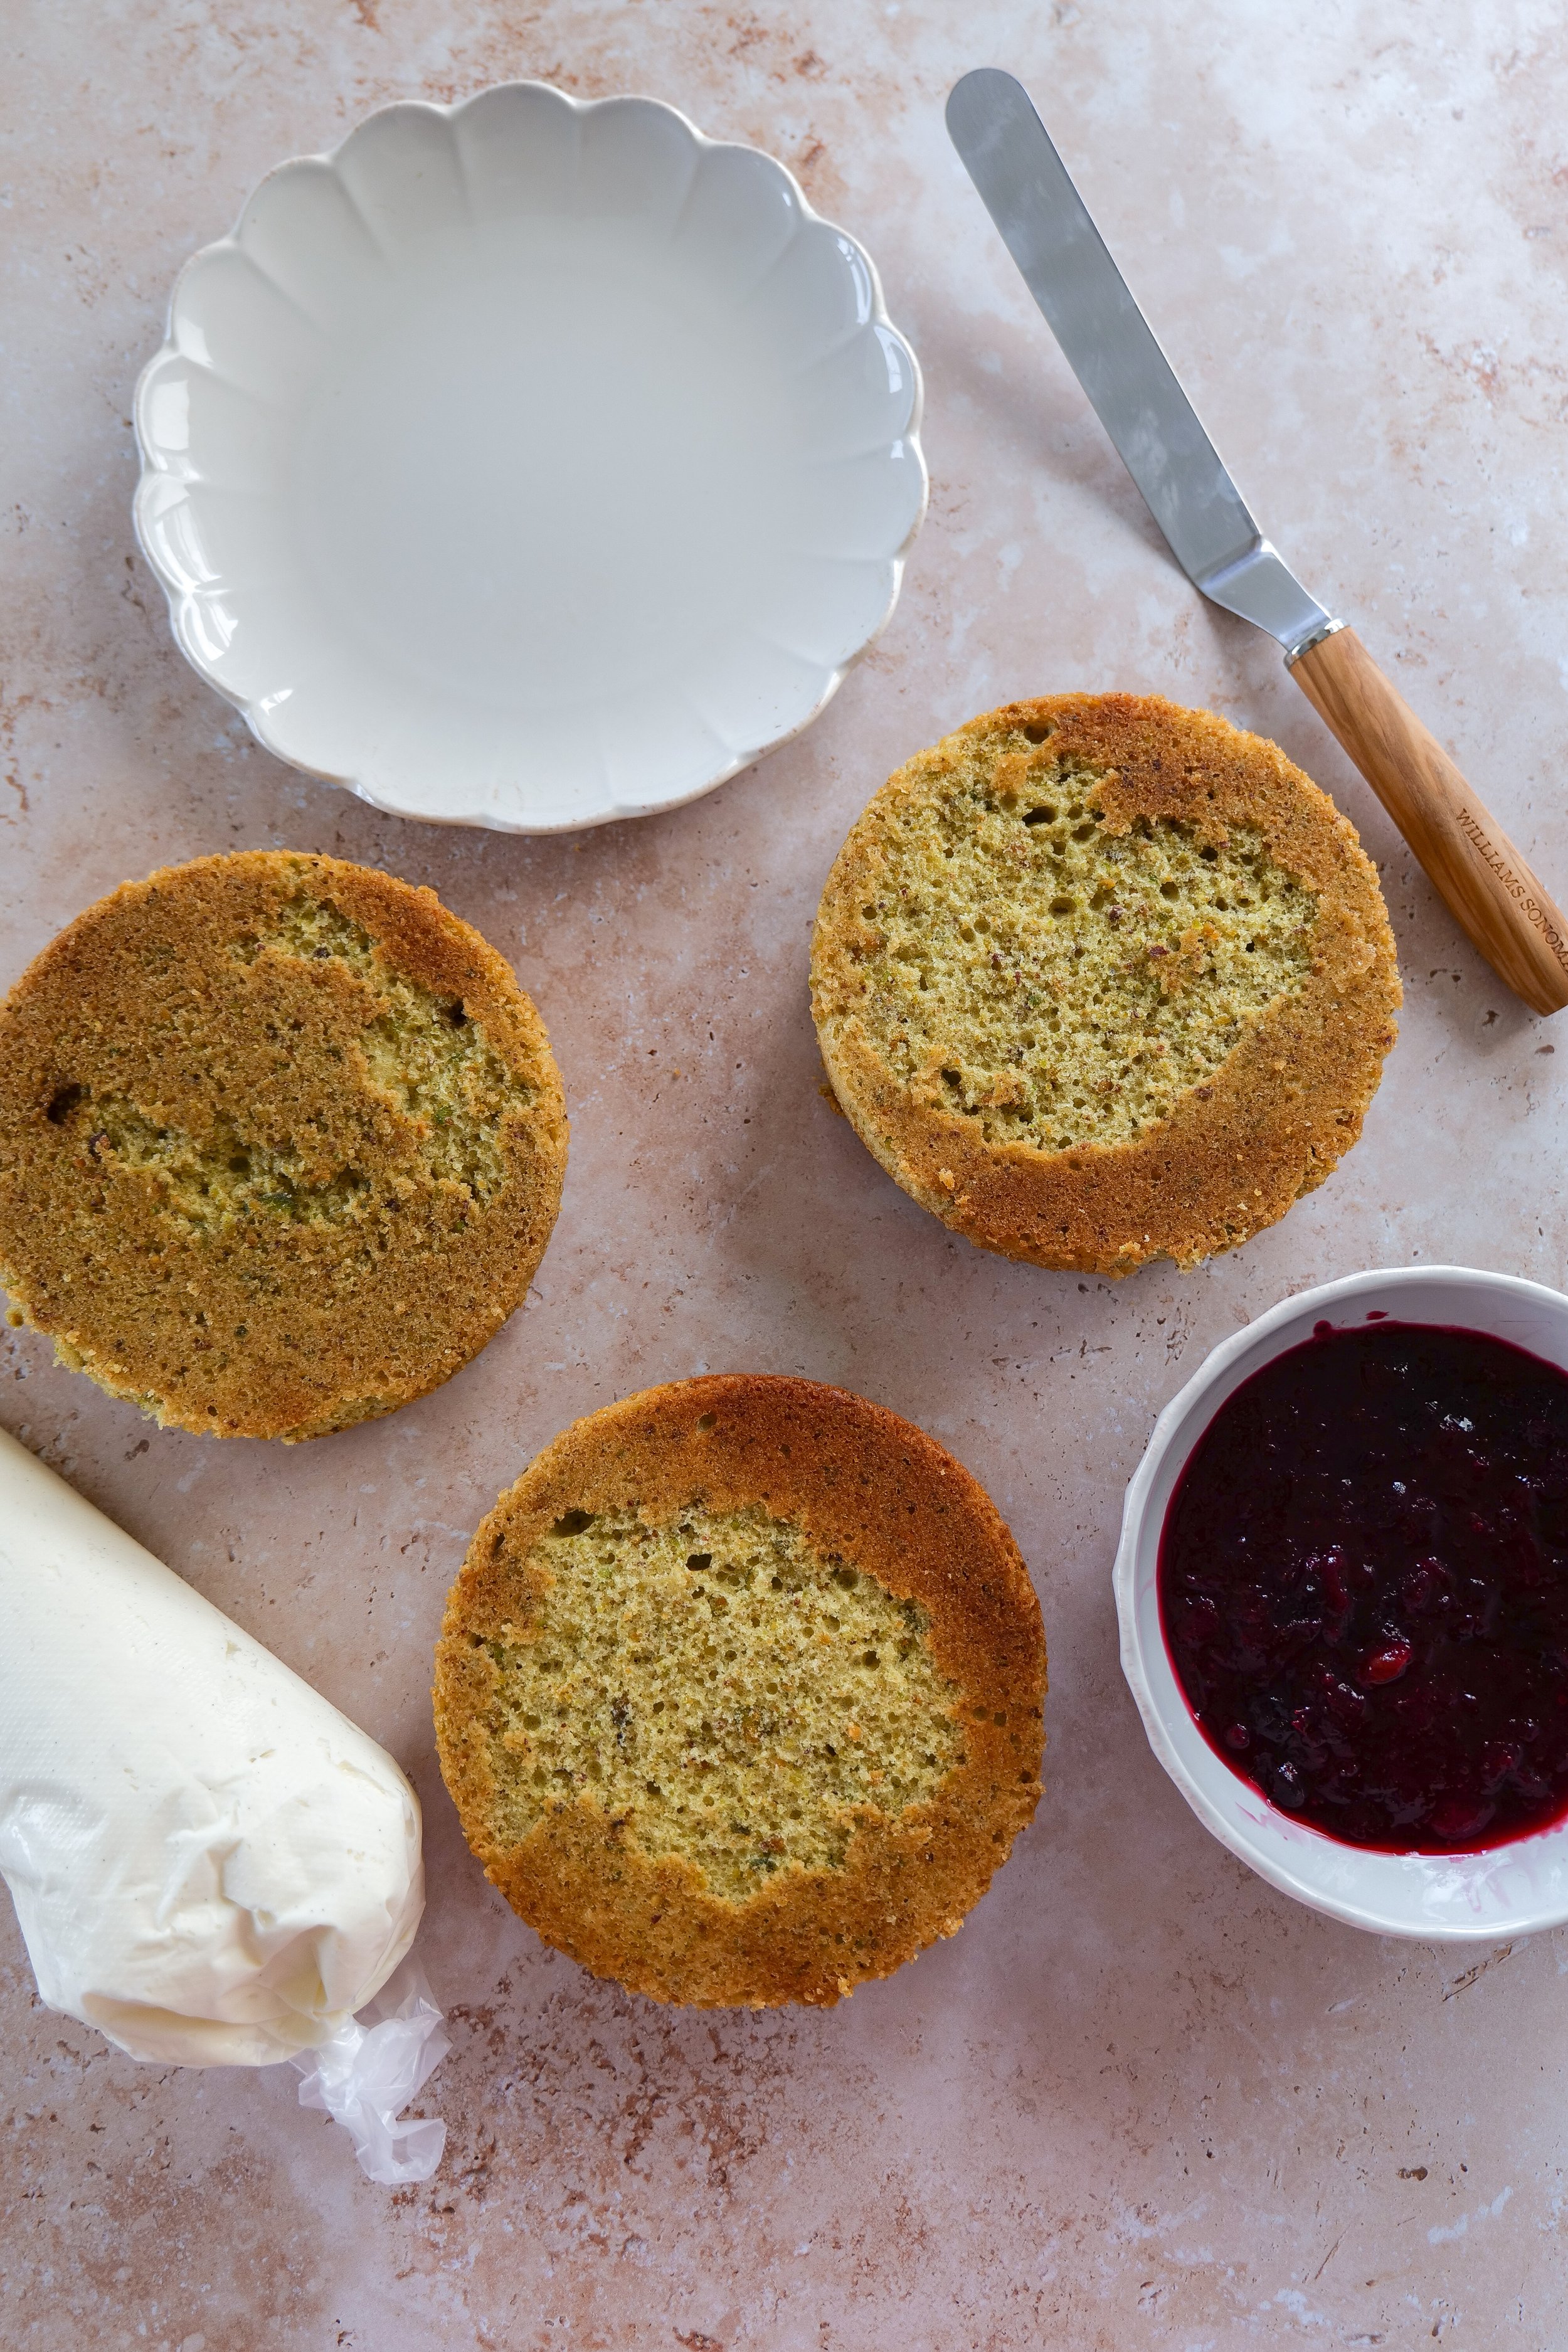
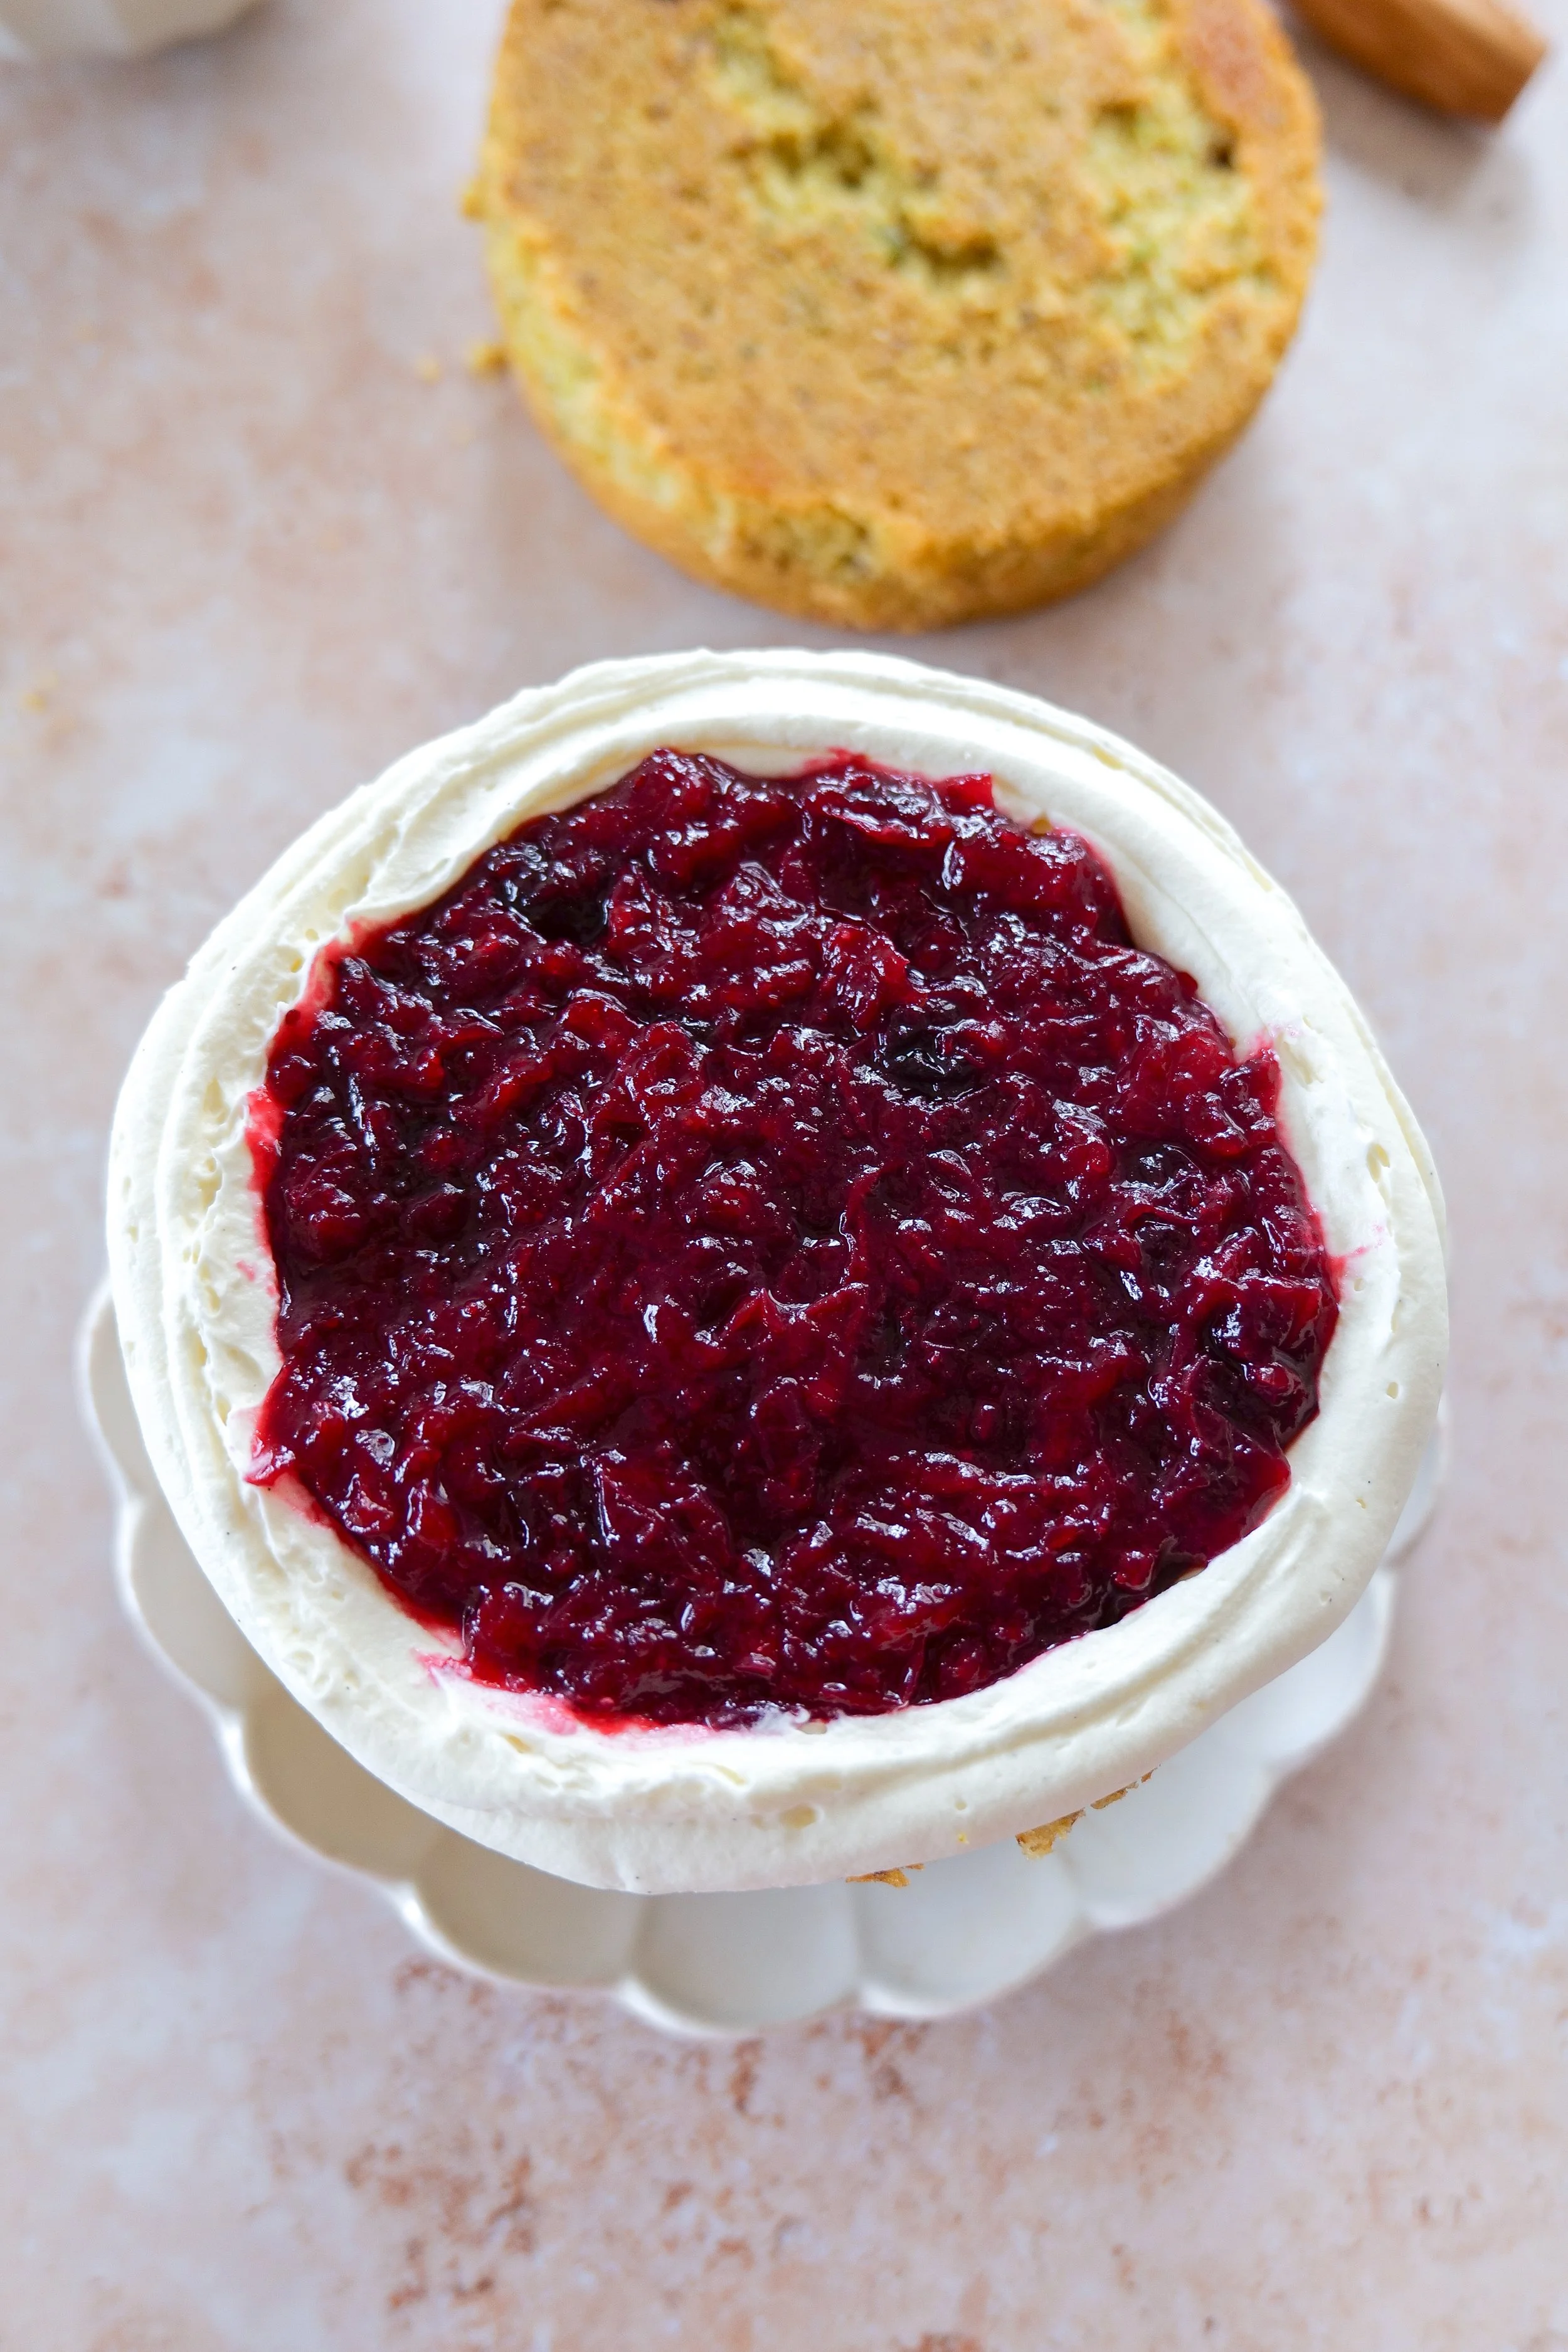
Use a frosting border. Piping a ring of mascarpone frosting around each cake layer keeps the cranberry filling in place and creates beautiful, defined layers when sliced.
Keep the frosting cold. Mascarpone frosting is softer than traditional buttercream. Refrigerating the cake between decorating steps helps keep everything stable.
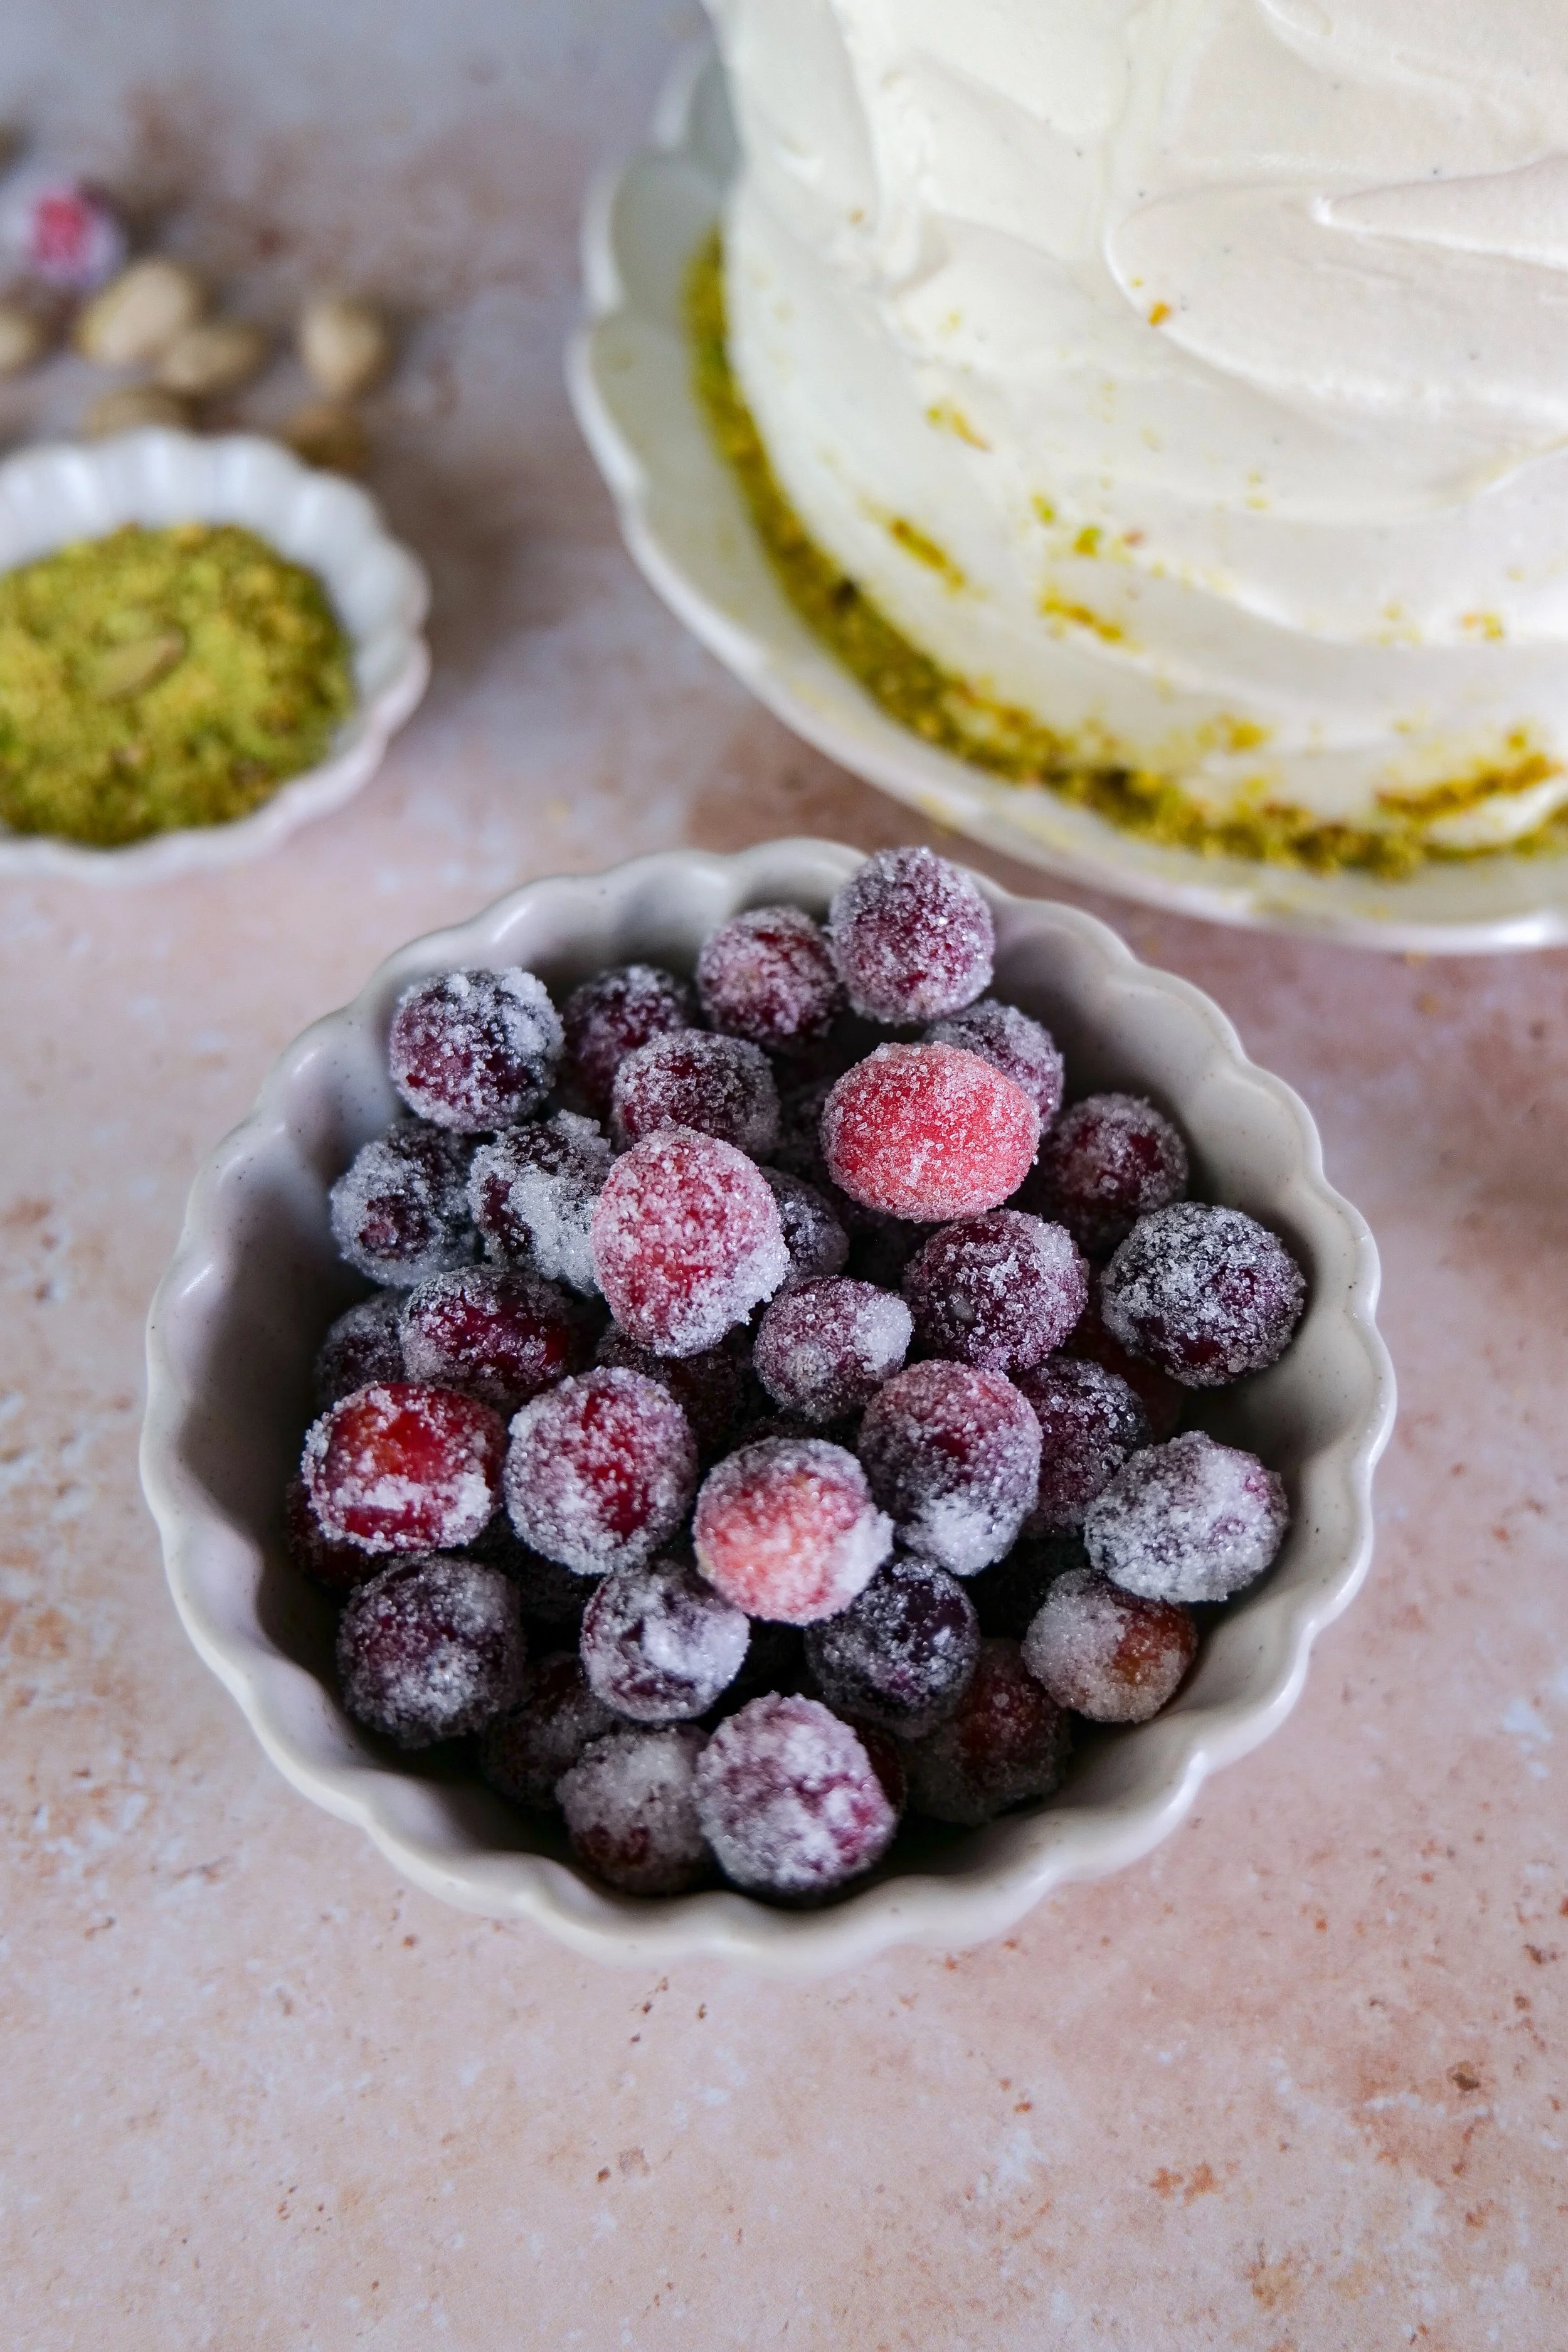
Add the sugared cranberries just before serving. The sugar coating can absorb moisture over time, so adding them at the end keeps them looking beautifully frosted.
Chill before slicing. For the prettiest slices, refrigerate the assembled cake until firm and use a sharp knife, wiping it clean between cuts.
Can You Make Cranberry Pistachio Cake Ahead of Time?
Absolutely! This is a wonderful cake to prepare ahead, especially when you're hosting a holiday gathering.
1–2 days before serving: Bake the pistachio cake layers. Once completely cool, wrap them tightly and refrigerate.
Up to 3 days before serving: Prepare the cranberry filling and store it in an airtight container in the refrigerator.
The day before serving: Assemble and frost the cake. Keep it covered in the refrigerator.
The day of serving: Finish decorating with sugared cranberries and chopped pistachios.
Because the frosting contains mascarpone and heavy cream, the finished cake should remain refrigerated until shortly before serving.
Frequently Asked Questions
Can I use frozen cranberries?
Yes! Frozen cranberries work beautifully for the filling, and there's no need to thaw them first.
For the sugared cranberry garnish, I recommend using fresh cranberries because they hold their shape and texture better.
Does pistachio cake naturally turn green?
Yes, although the color is usually much softer than the bright green pistachio cakes you might see in bakeries.
Finely ground pistachios give the cake a delicate, muted green color that varies depending on the type of pistachios used.
Can I make this cake in 8-inch pans?
Yes! You can divide the batter between two 8-inch round cake pans instead of three 6-inch pans.
The layers will be thinner, so begin checking for doneness around 25 minutes and adjust the baking time as needed.
Can I substitute cream cheese for mascarpone?
Mascarpone gives this frosting its signature mild flavor and silky texture.
Cream cheese can be used in a separately adjusted frosting recipe, but a direct substitution will change both the flavor and consistency.
How do I store leftover cranberry pistachio cake?
Store leftover cake covered in the refrigerator for up to three days.
For the best texture, allow individual slices to sit at room temperature for approximately 15–20 minutes before serving.
Can I freeze this cake?
The unfrosted pistachio cake layers freeze beautifully.
Wrap each completely cooled layer tightly in plastic wrap, followed by foil, and freeze for up to two months.
Thaw in the refrigerator before assembling. I recommend making the mascarpone frosting fresh rather than freezing the fully frosted cake.
Can I make this cake without pistachios?
Because pistachios contribute to both the flavor and structure of this cake, removing them would require adjustments to the batter.
For a nut-free variation, I recommend using a separately tested vanilla cake recipe with the cranberry filling and mascarpone frosting.
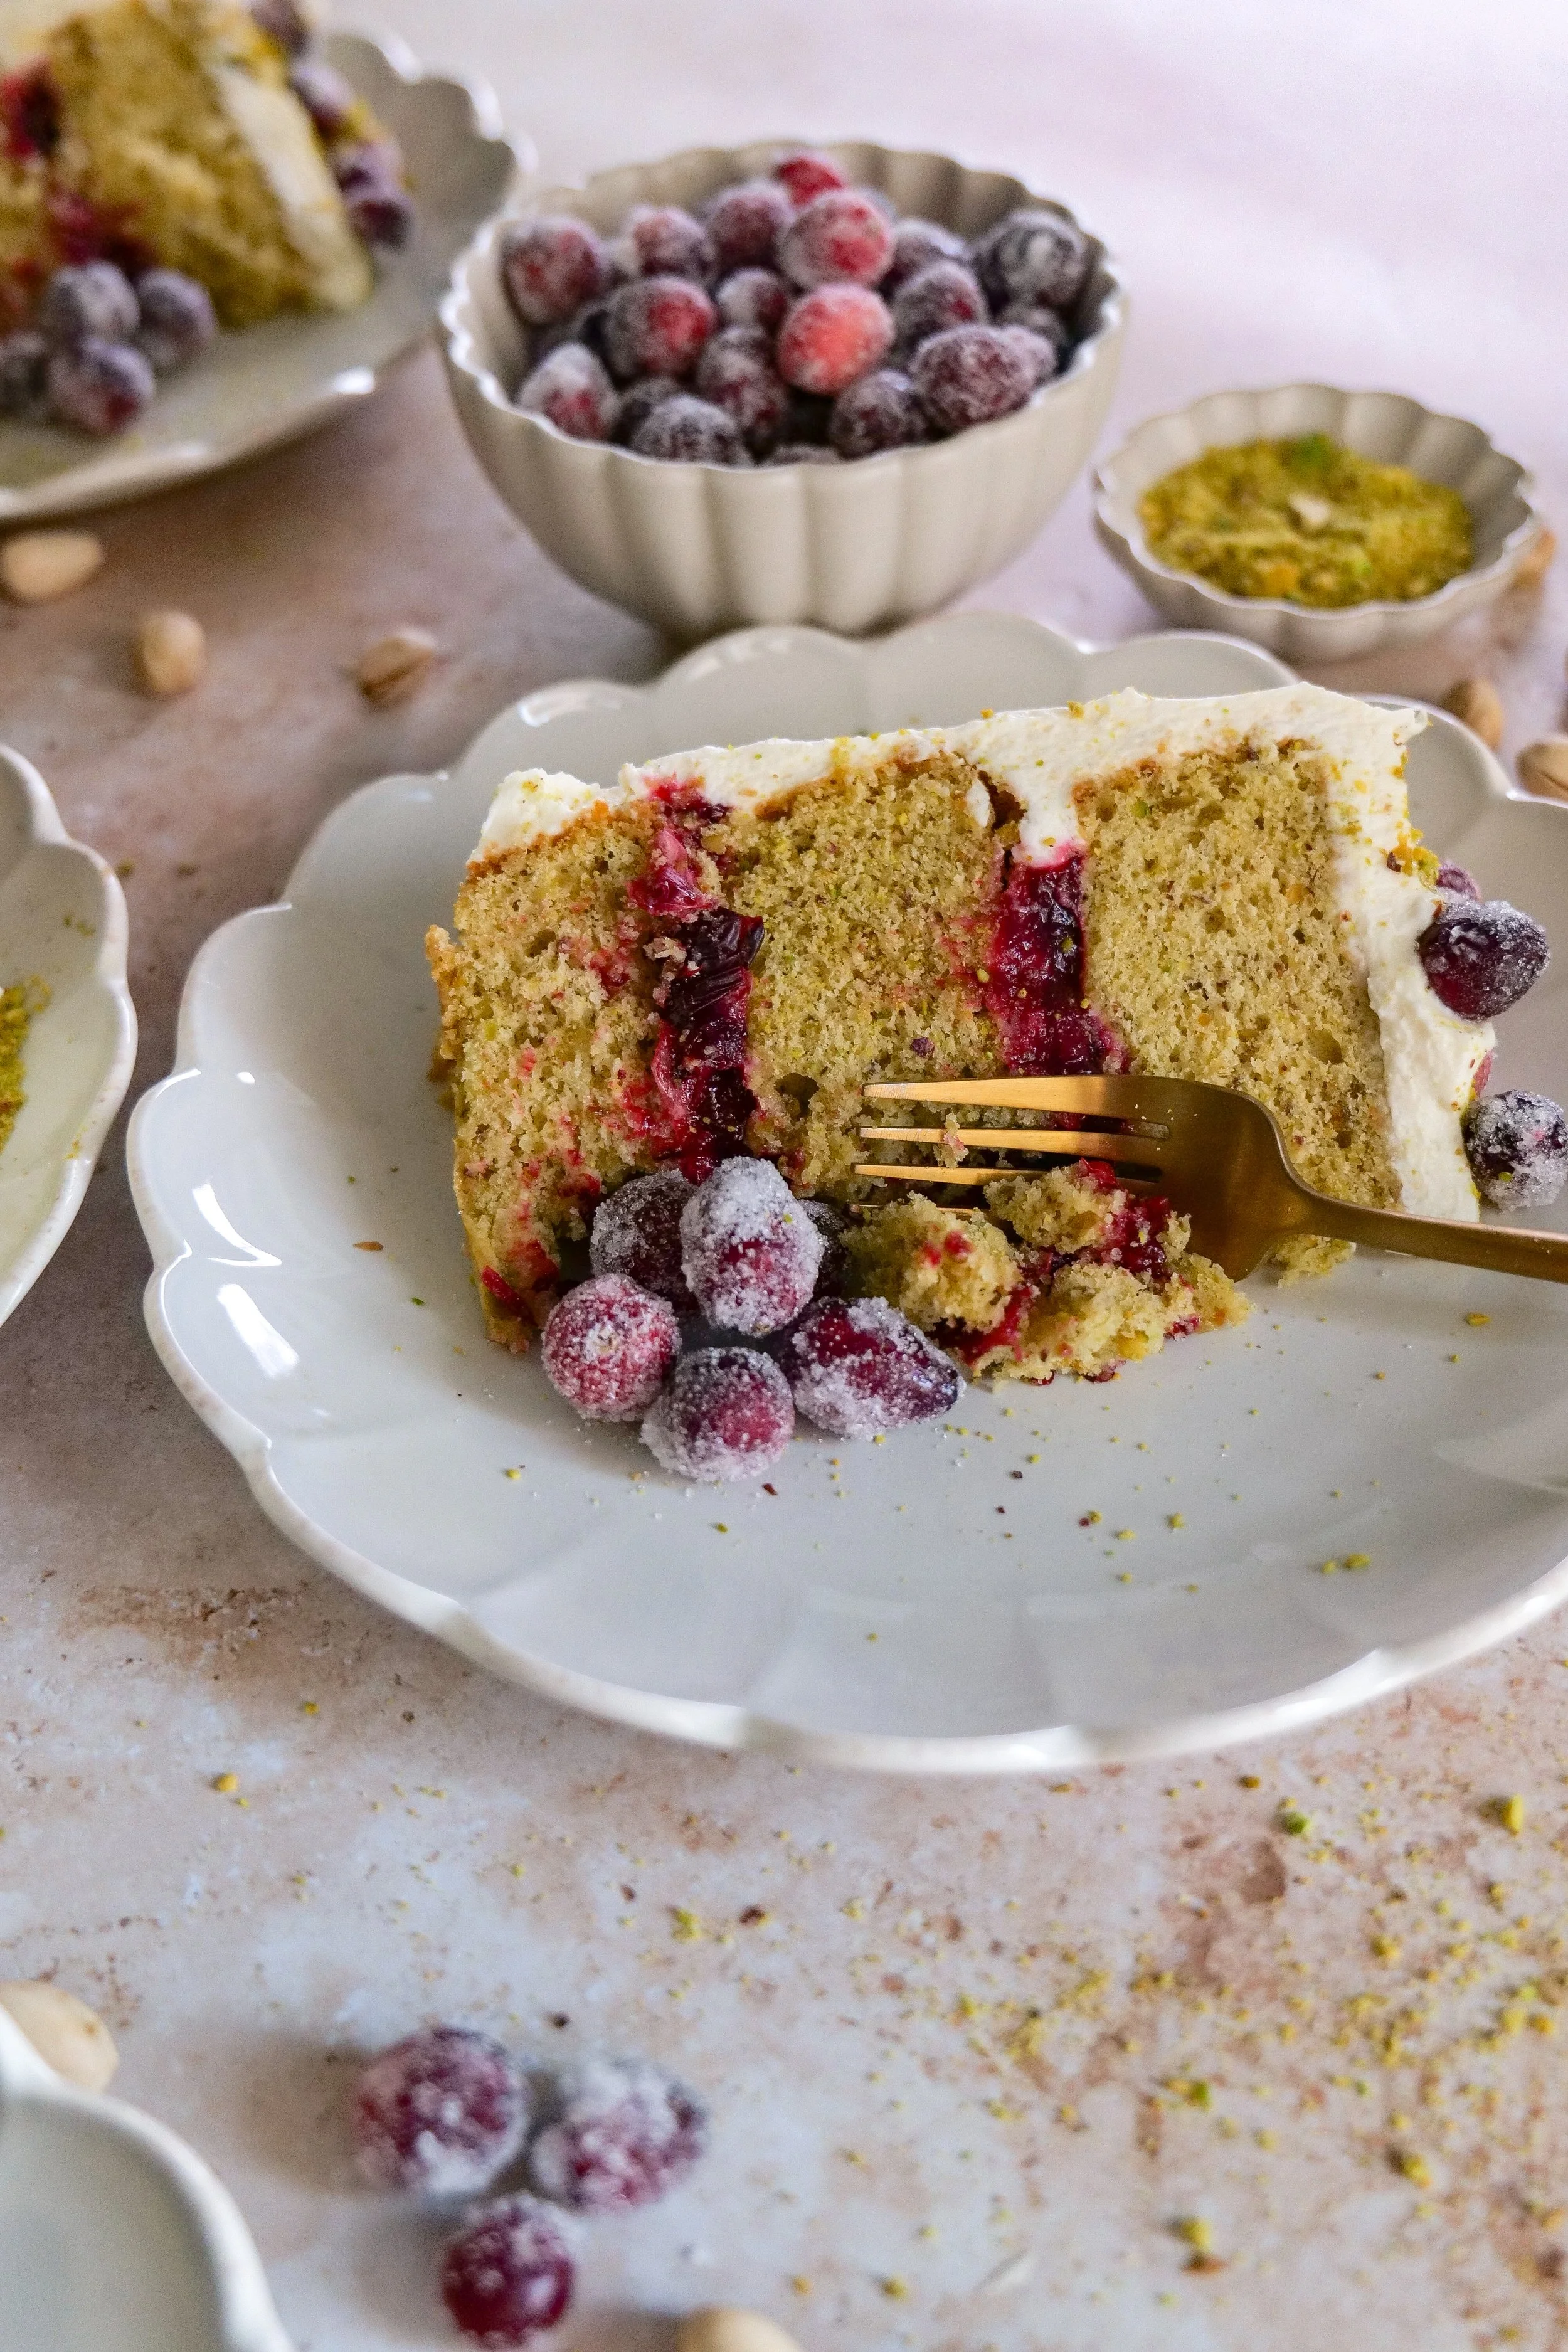
Cranberry Pistachio Layer Cake with Vanilla Bean Mascarpone Frosting
A soft, buttery pistachio layer cake filled with sweet-tart homemade cranberry filling, frosted with fluffy vanilla bean mascarpone cream, and decorated with sparkling sugared cranberries. A beautiful dessert for Thanksgiving, Christmas, and special celebrations.
Prep Time: 45 minutes
Bake Time: 25–32 minutes
Additional Cooling, Chilling & Decorating: Approximately 2 hours 30 minutes, with some steps overlapping
Total Time: Approximately 3 hours 45 minutes
Yield: One three-layer 6-inch cake, approximately 8–10 servings
Category: Dessert
Method: Baking
Cuisine: American
Ingredients
Pistachio Cake
1 cup (120 g) shelled, unsalted pistachios, finely ground
1½ cups (180 g) all-purpose flour
2 teaspoons baking powder
¼ teaspoon baking soda
½ teaspoon fine salt
¾ cup (170 g) unsalted butter, softened
¾ cup granulated sugar
¼ cup packed brown sugar
3 large eggs, room temperature
2 teaspoons pure vanilla extract
¼ cup whole milk, room temperature
½ cup sour cream
Cranberry Filling
2 cups (200 g) fresh or frozen cranberries
½ cup (100 g) granulated sugar
¼ cup (60 ml) fresh orange juice
1 teaspoon fresh orange zest
2 tablespoons water
Vanilla Bean Mascarpone Frosting
16 oz (454 g) mascarpone cheese, cold
2 cups (480 ml) heavy whipping cream, cold
1 cup (120 g) powdered sugar, sifted
2 teaspoons vanilla bean paste
Sugared Cranberries
1 cup (100 g) fresh cranberries
½ cup (100 g) granulated sugar
½ cup (120 ml) water
½ cup (100 g) additional granulated sugar, for coating
Optional Garnish
2 tablespoons finely chopped pistachios
Instructions
Make the Cranberry Filling
Combine cranberries, sugar, orange juice, orange zest, and water in a medium saucepan.
Cook over medium heat for 10–15 minutes, stirring occasionally, until the cranberries burst and the mixture thickens.
Gently mash any remaining whole cranberries.
Transfer to a bowl and refrigerate until completely cool.
Bake the Pistachio Cake
Preheat oven to 350°F. Grease and line three 6-inch round cake pans.
Pulse pistachios in a food processor until finely ground.
Whisk together ground pistachios, flour, baking powder, baking soda, and salt.
In a separate bowl, cream butter, granulated sugar, and brown sugar until light and fluffy, approximately 3–4 minutes.
Add eggs one at a time, mixing well after each addition. Add vanilla.
Alternate adding the dry ingredients and milk, beginning and ending with the dry ingredients. Gently fold in the sour cream.
Divide batter evenly among prepared pans.
Bake for 25–32 minutes, or until a toothpick inserted into the center comes out clean or with a few moist crumbs.
Cool in pans for 10 minutes before transferring to a wire rack to cool completely.
Prepare the Sugared Cranberries
Heat ½ cup sugar and ½ cup water in a saucepan until the sugar dissolves.
Remove from heat and cool until warm.
Add fresh cranberries and gently coat in syrup.
Transfer to a wire rack and allow to become tacky, approximately 45–60 minutes.
Roll in remaining sugar and allow to dry.
Make the Mascarpone Frosting
Chill a mixing bowl and whisk attachment.
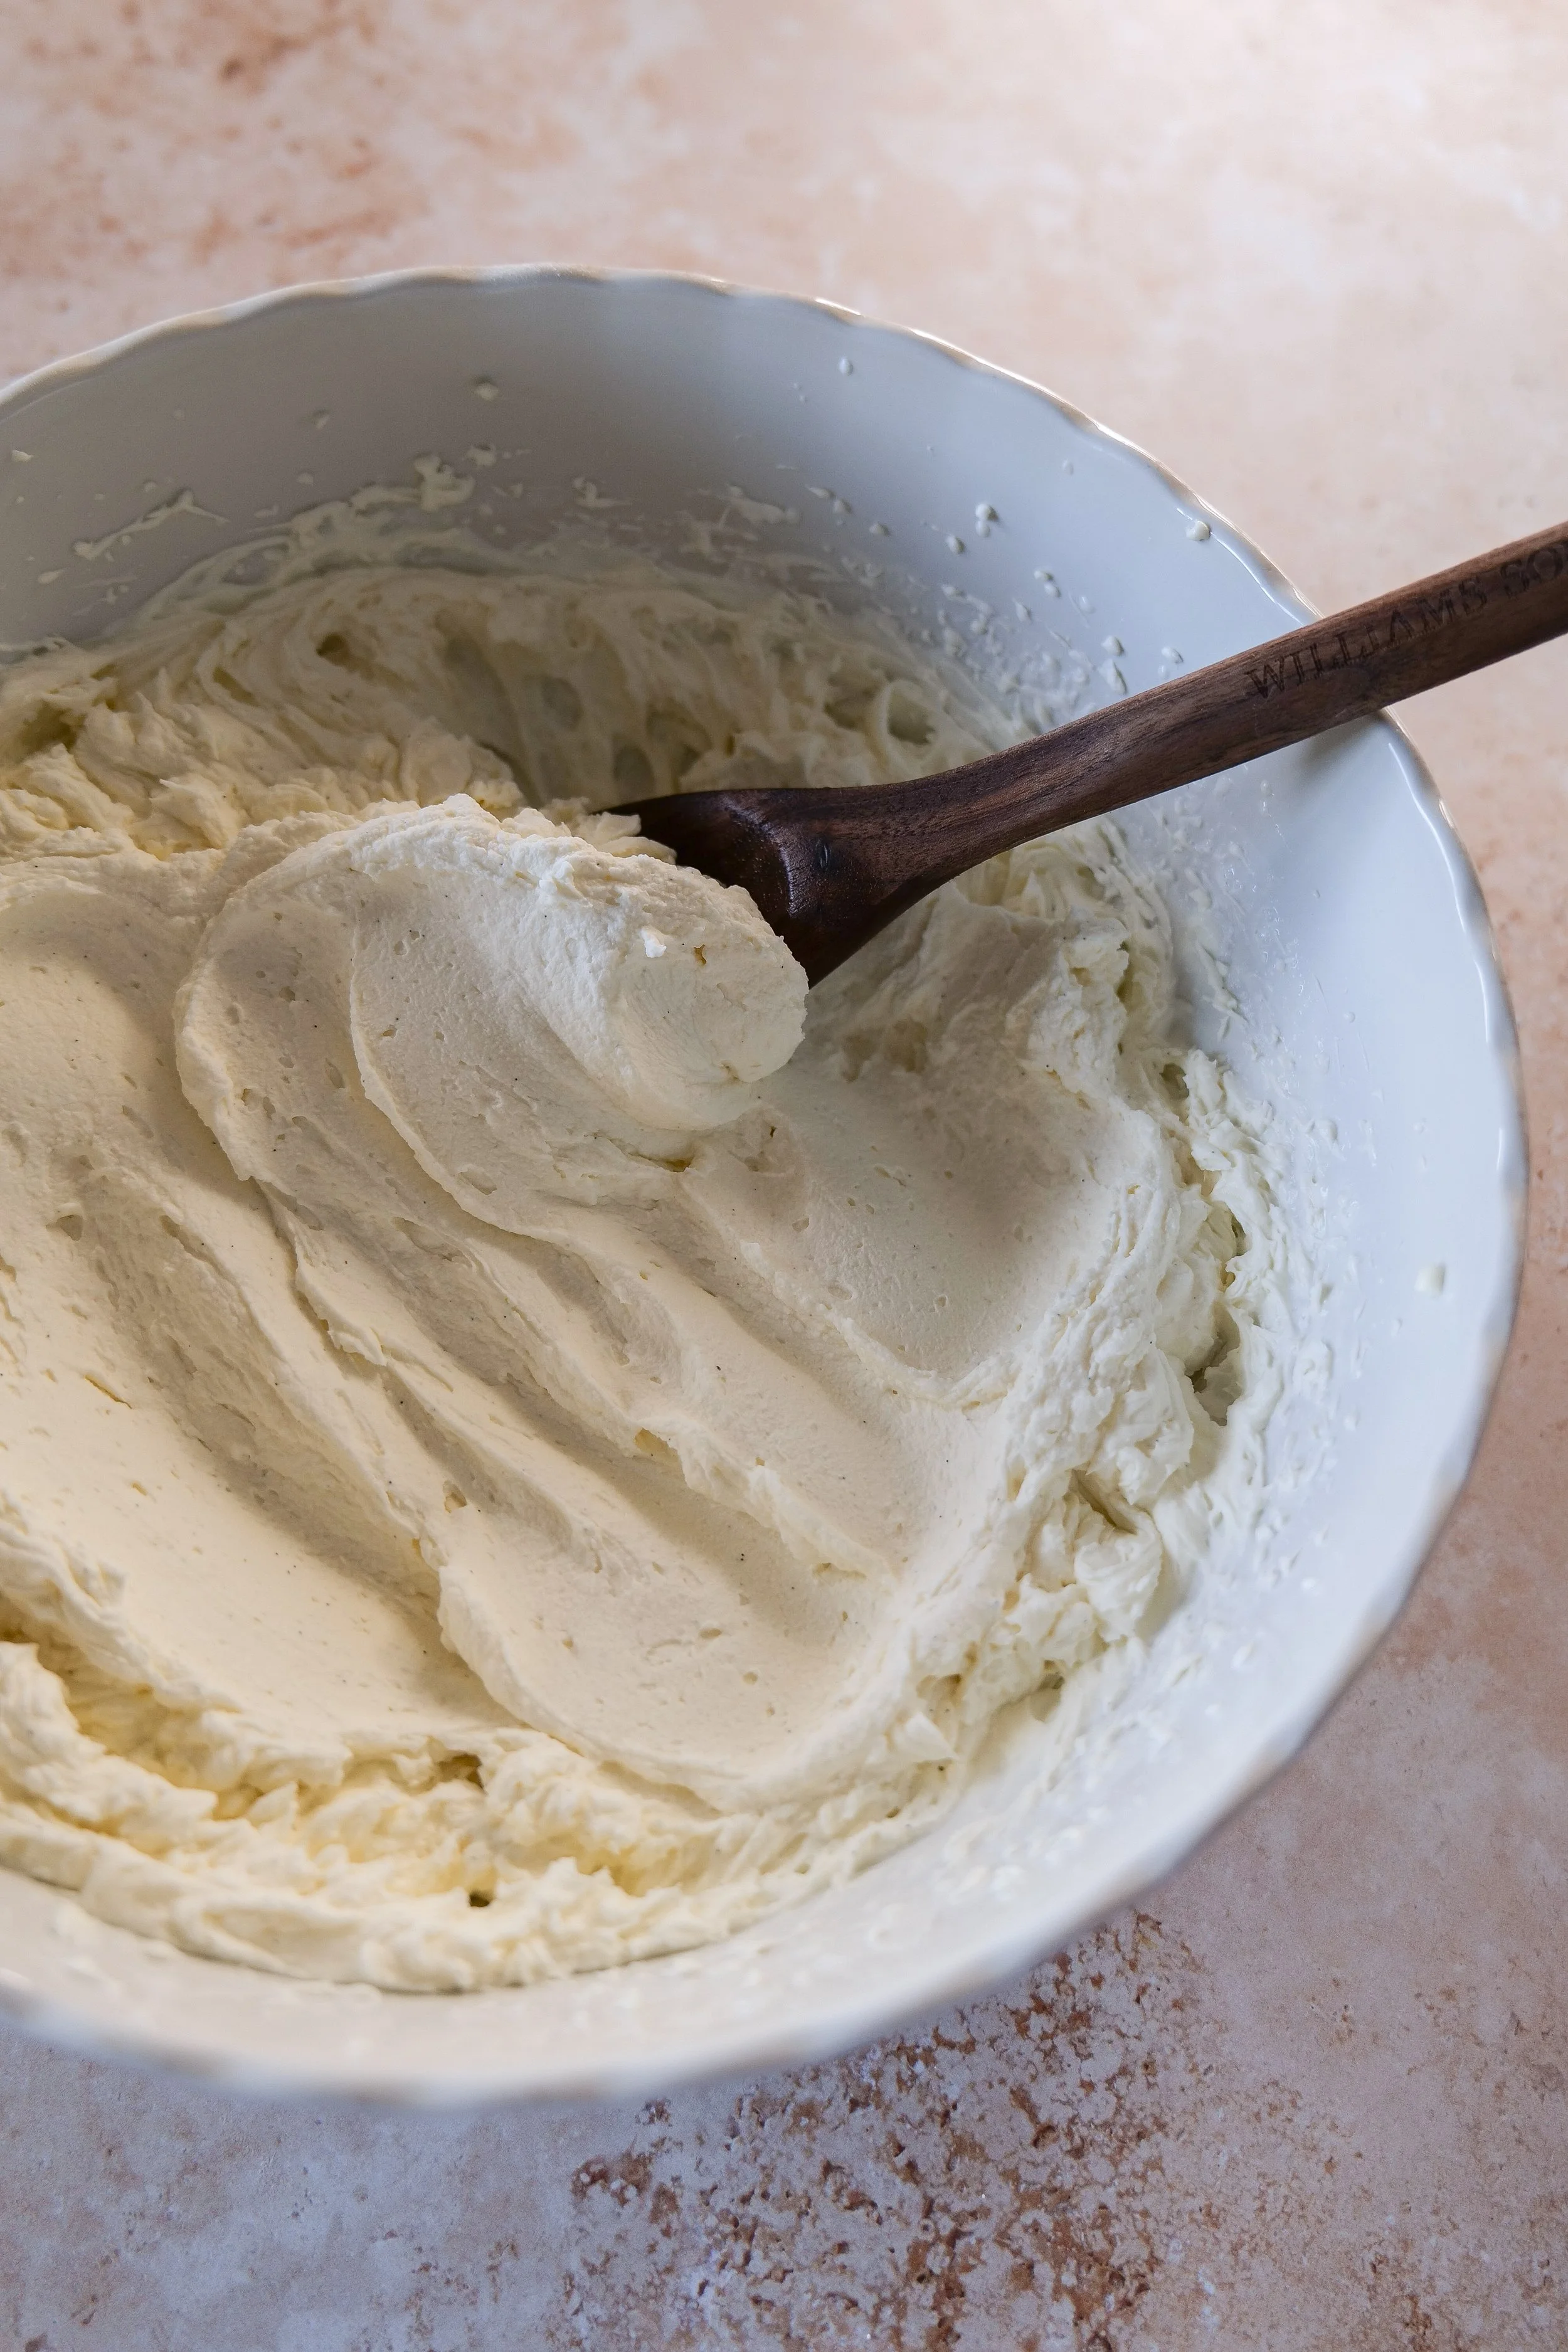
Beat cold mascarpone, powdered sugar, and vanilla bean paste on low speed until smooth.
Slowly add cold heavy cream.
Increase to medium speed and whip until thick, fluffy, and firm peaks form.
Refrigerate until ready to use.
Assemble the Cake
Place the first cooled cake layer onto a cake stand.
Spread a thin layer of mascarpone frosting over the top and pipe a thick frosting border around the edge.
Spoon half the cranberry filling into the center.
Add the second cake layer and repeat with frosting and remaining filling.
Place the final cake layer on top.
Apply a thin crumb coat and refrigerate for 20–30 minutes.
Frost the cake with remaining mascarpone frosting.
Decorate with sugared cranberries and optional chopped pistachios.
Refrigerate until ready to serve. Allow to sit at room temperature for 15–20 minutes before slicing.
Recipe Notes
Make Ahead: Prepare the cranberry filling up to three days in advance. Cake layers can be baked one to two days ahead and refrigerated.
Frozen Cranberries: Frozen cranberries work well for the filling. Use fresh cranberries for the sugared garnish.
Cake Pan Alternative: Two 8-inch round pans may be used instead of three 6-inch pans. Adjust baking time as needed.
Storage: Store the assembled cake covered in the refrigerator for up to three days.
Frosting: Keep mascarpone and heavy cream cold, and avoid overwhipping.
Decorating: Add sugared cranberries shortly before serving for the prettiest finish.
Serving Young Children: Whole sugared cranberries and chopped pistachios are decorative garnishes and should be removed from servings for babies and young children because they can pose a choking hazard.
More Cake Recipes You'll Love
If you enjoy baking homemade layer cakes, here are a few more recipes from my kitchen to try!
Orange Olive Oil Cake with Mascarpone Cream & Fresh Fall Fruit
A beautifully moist orange olive oil cake finished with mascarpone cream and fresh seasonal fruit. Another wonderful dessert for fall gatherings.
Get the Orange Olive Oil Cake Recipe
Brown Butter Pear Cake
A cozy seasonal cake made with brown butter, sweet pears, and creamy mascarpone frosting.
Tuxedo Layer Cake
A beautiful celebration cake with rich chocolate and vanilla flavors.
Neapolitan Layer Cake
Inspired by the classic combination of strawberry, vanilla, and chocolate.
Strawberry Champagne Cake
A delicate strawberry champagne layer cake that's perfect for spring celebrations and special occasions.
Shop My Cake Baking Essentials
Having the right baking tools makes preparing and decorating homemade layer cakes so much easier!
I've gathered some of my favorite cake pans, decorating tools, mixing essentials, and serving pieces in my Cake Baking Essentials collection.
A few favorites I use for recipes like this include:
6-Inch Round Cake Pans: Perfect for creating beautiful, tall layer cakes.
Spatula: Makes spreading frosting and smoothing the sides so much easier.
Piping Bags and Decorating Tips: Great for creating frosting borders and decorative details.
Cake Stand: A beautiful way to display your finished cake.
Cake Baking Essentials
Let's Make This Cranberry Pistachio Cake!
Whether you're baking for the holidays or celebrating something special, I hope you love this cranberry pistachio cake as much as we do! The combination of tender pistachio cake, tart cranberry filling, and creamy vanilla bean mascarpone frosting is such a lovely seasonal treat.
You'll find the complete printable recipe below, including all ingredient measurements, baking instructions, and my favorite tips for making it turn out beautifully.