Caramelized Onion & Mushroom Chicken Thighs

A Cozy One-Pan Chicken Dinner

There are certain dinners that feel a little special without requiring an entire afternoon in the kitchen, and these Caramelized Onion & Mushroom Chicken Thighs are exactly that.

Bone-in, skin-on chicken thighs are seasoned simply and seared until the skin is beautifully golden and crisp. In the same skillet, thinly sliced onions slowly caramelize before mushrooms, fresh rosemary, thyme, and broth are added to create a rich, savory pan sauce.

Everything comes together in one skillet, allowing all of those browned bits from the chicken to become part of the sauce. The result is tender, juicy chicken surrounded by buttery mushrooms and sweet caramelized onions that taste like something you might order at a cozy little restaurant.

Serve it over creamy mashed potatoes, buttered noodles, or rice to soak up every bit of the sauce. Add a simple green vegetable or salad and you have a comforting family dinner that feels just as appropriate for a weeknight as it does for Sunday dinner with family.
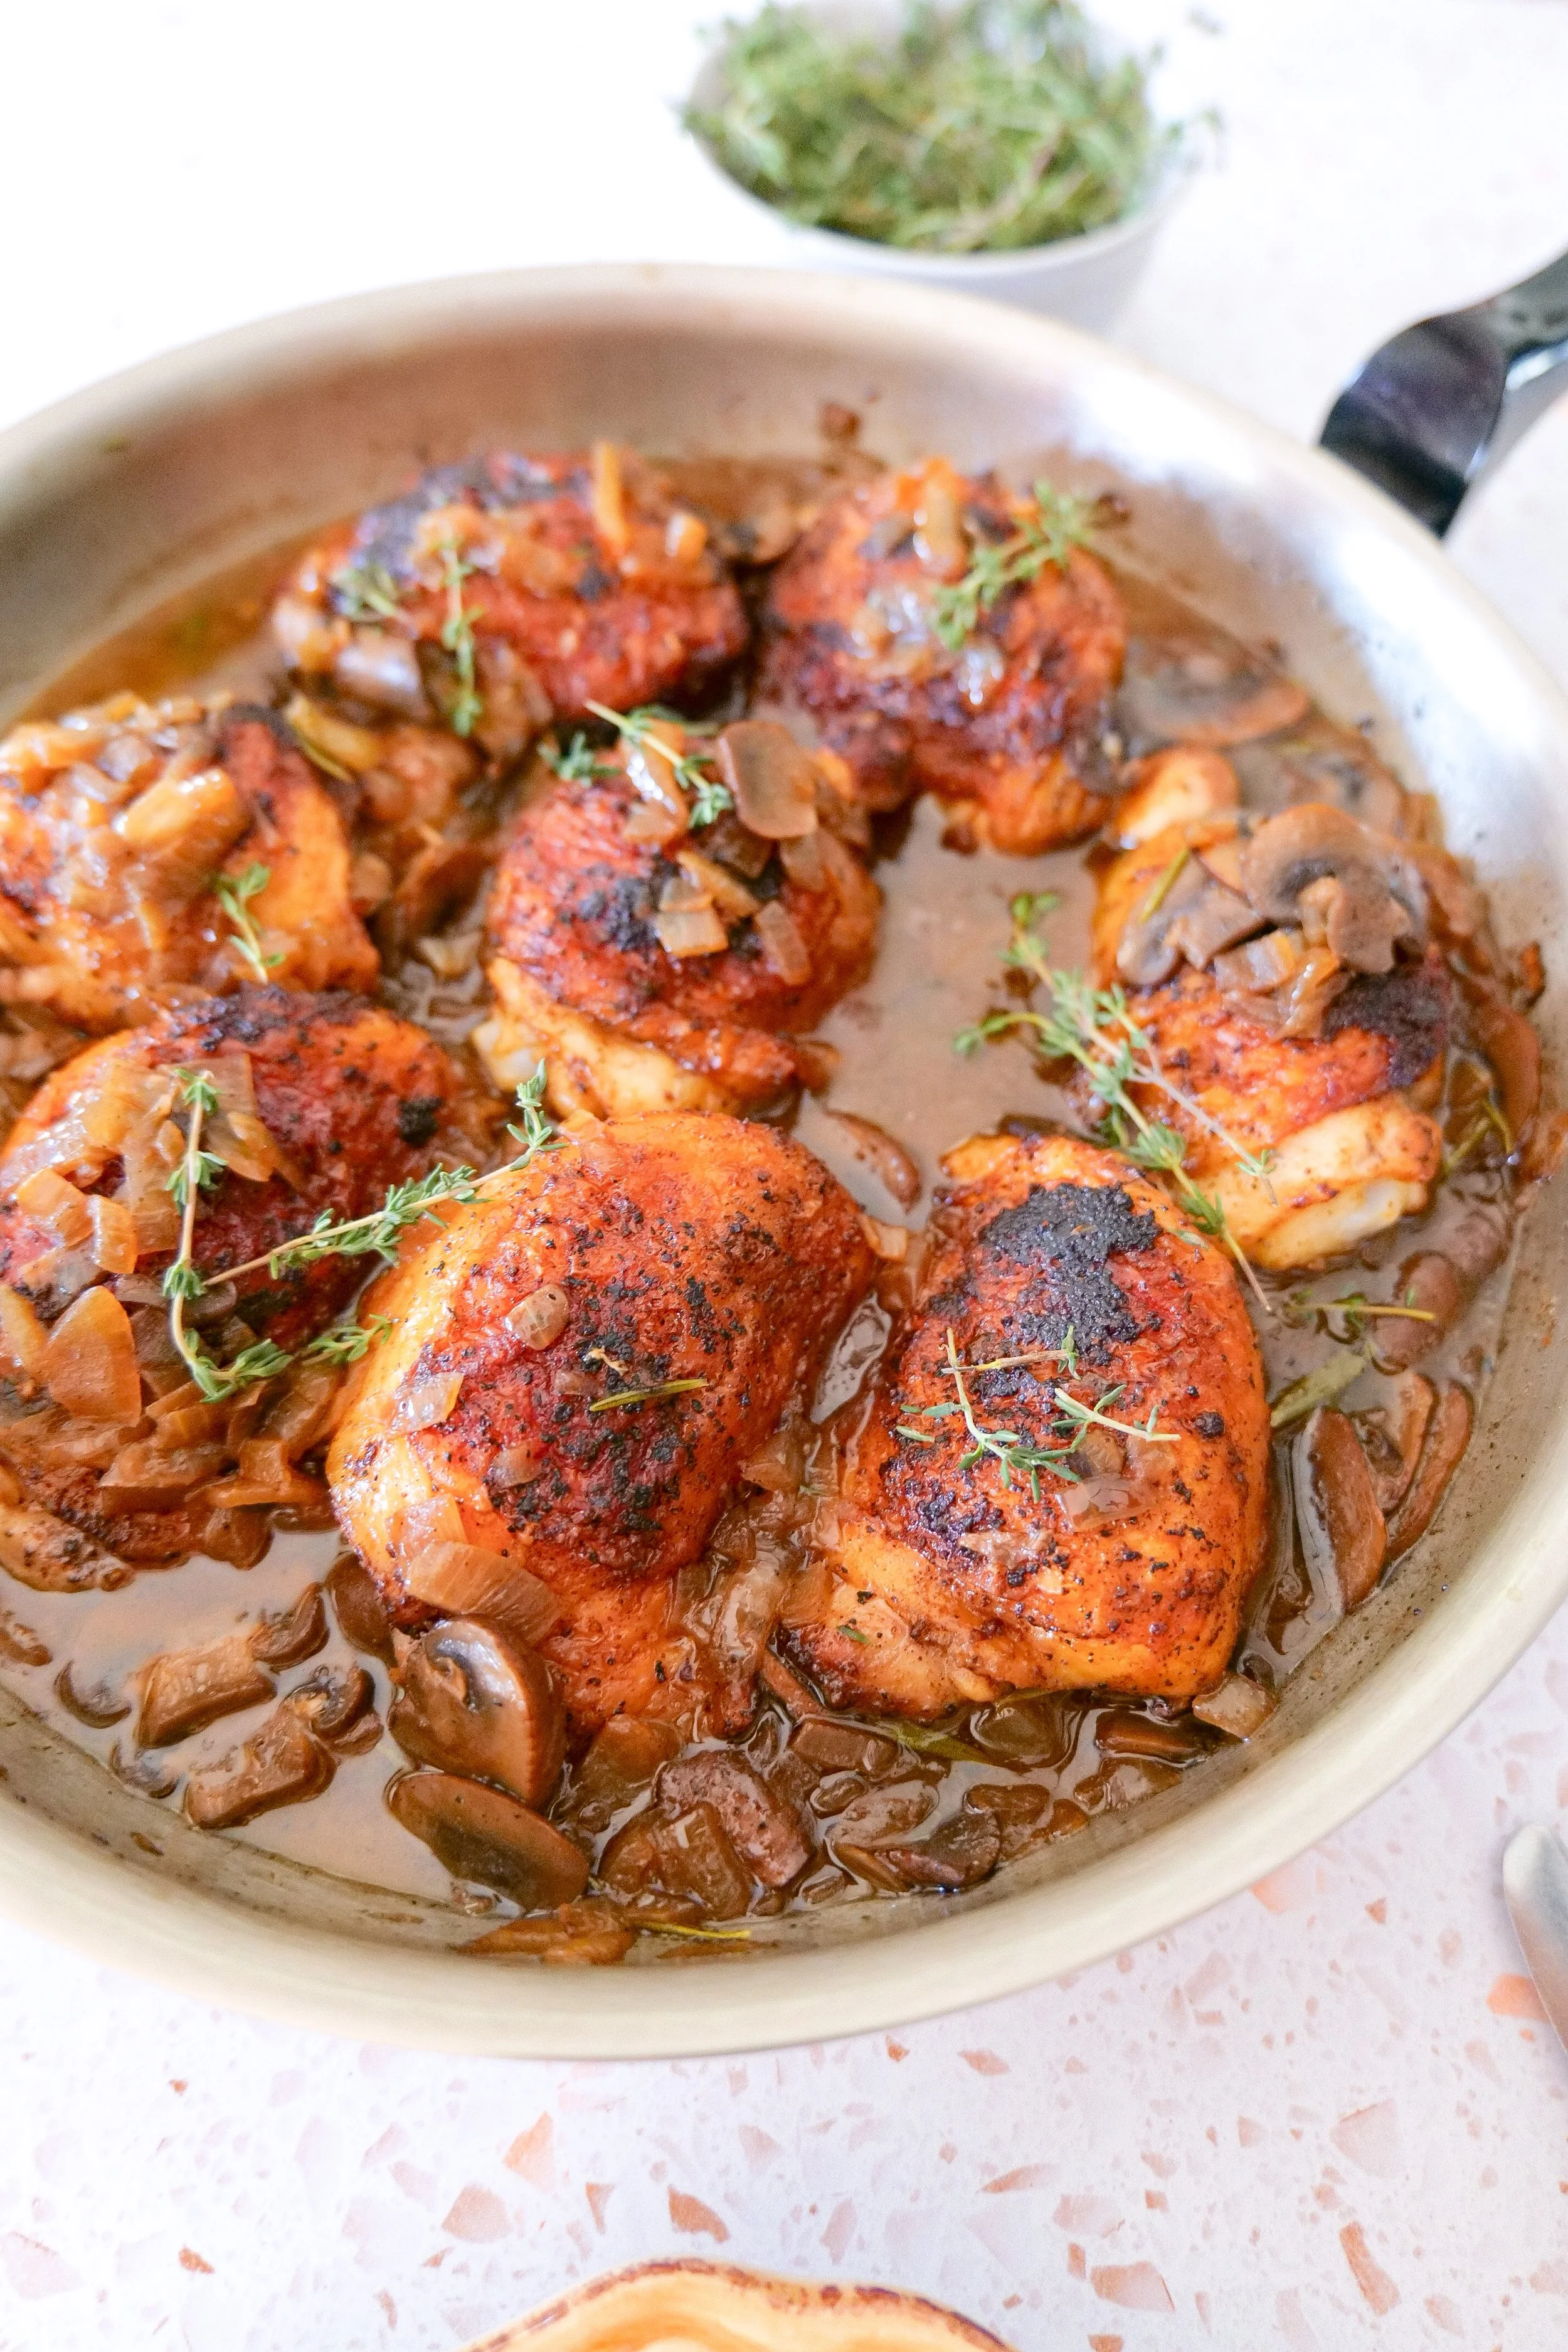
Bone-in chicken thighs with caramelized onions, mushrooms, rosemary and a savory skillet pan sauce.

Why You'll Love This Recipe

This is one of those recipes that takes simple ingredients and turns them into something incredibly comforting.

You'll love it because it's:

  • Made primarily in one skillet

  • Full of rich, savory flavor

  • Made with simple ingredients

  • Perfect for cozy fall and winter dinners

  • Easy enough for a weeknight

  • Beautiful enough to serve when entertaining

  • Delicious with mashed potatoes, rice, or noodles

  • Made with bone-in chicken thighs that stay wonderfully juicy

  • Finished with an easy pan sauce rather than a heavy cream sauce

The combination of crispy chicken, sweet onions, earthy mushrooms, and fresh herbs makes every bite feel much more special than the amount of work involved.
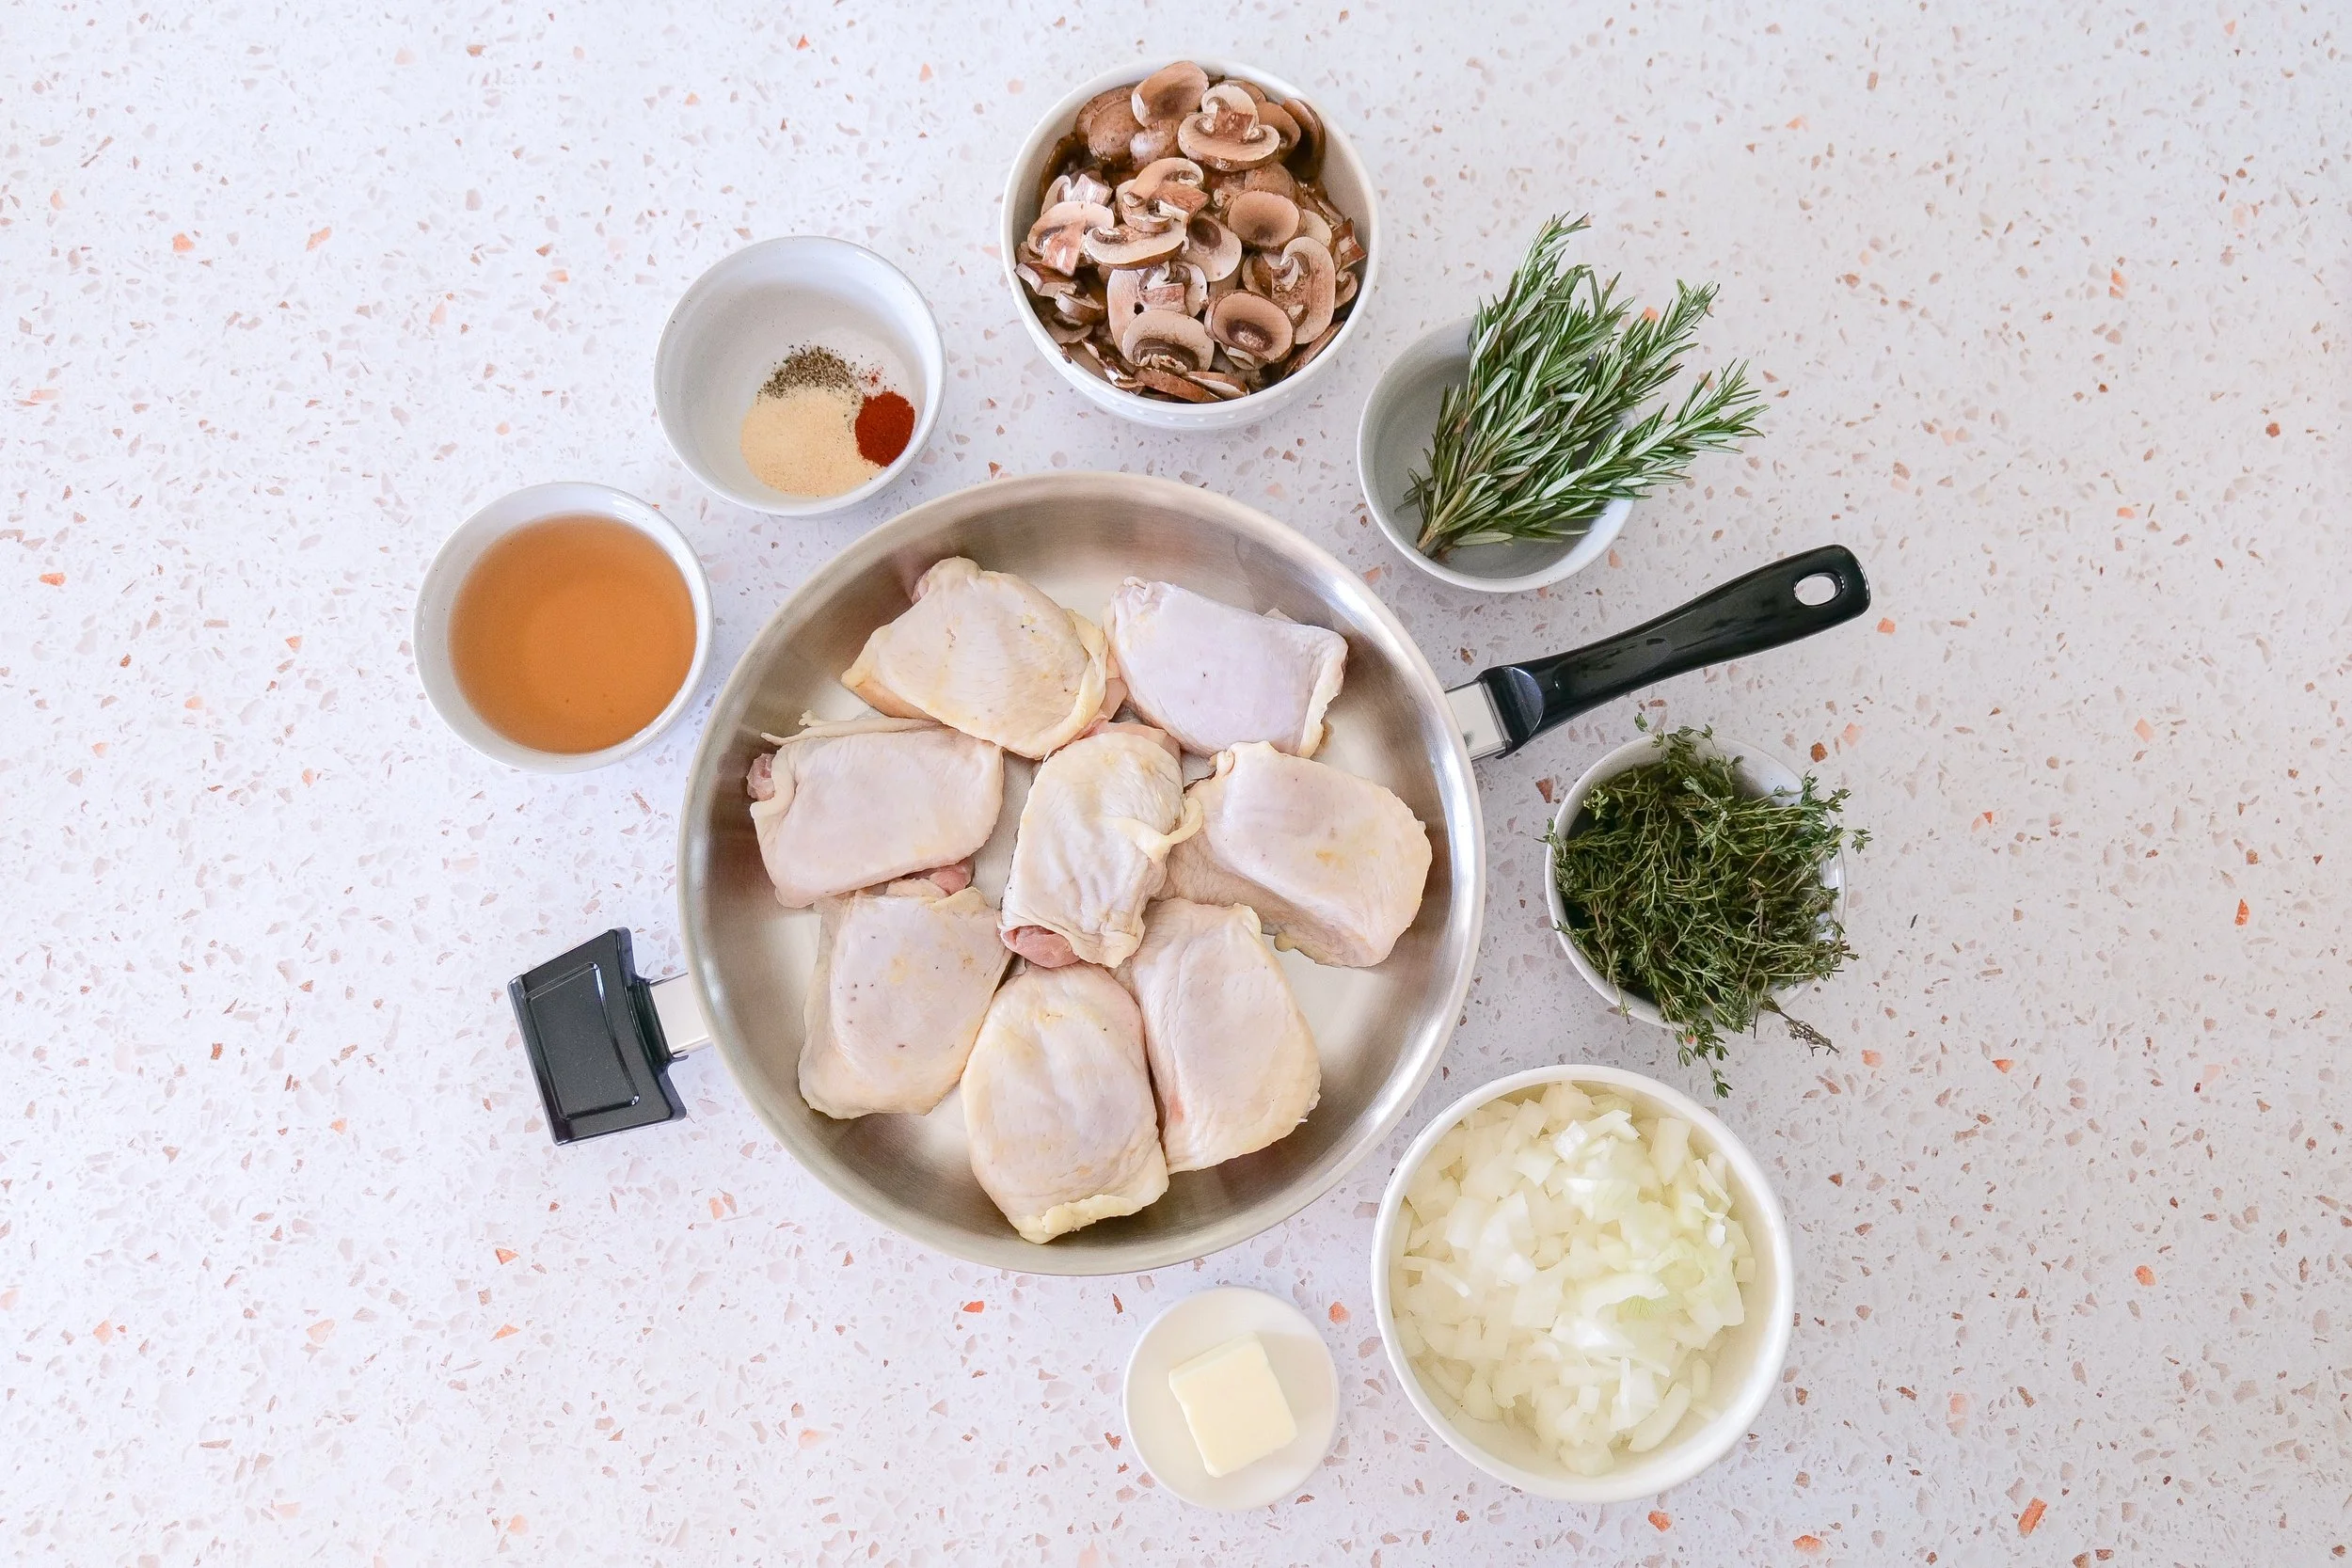
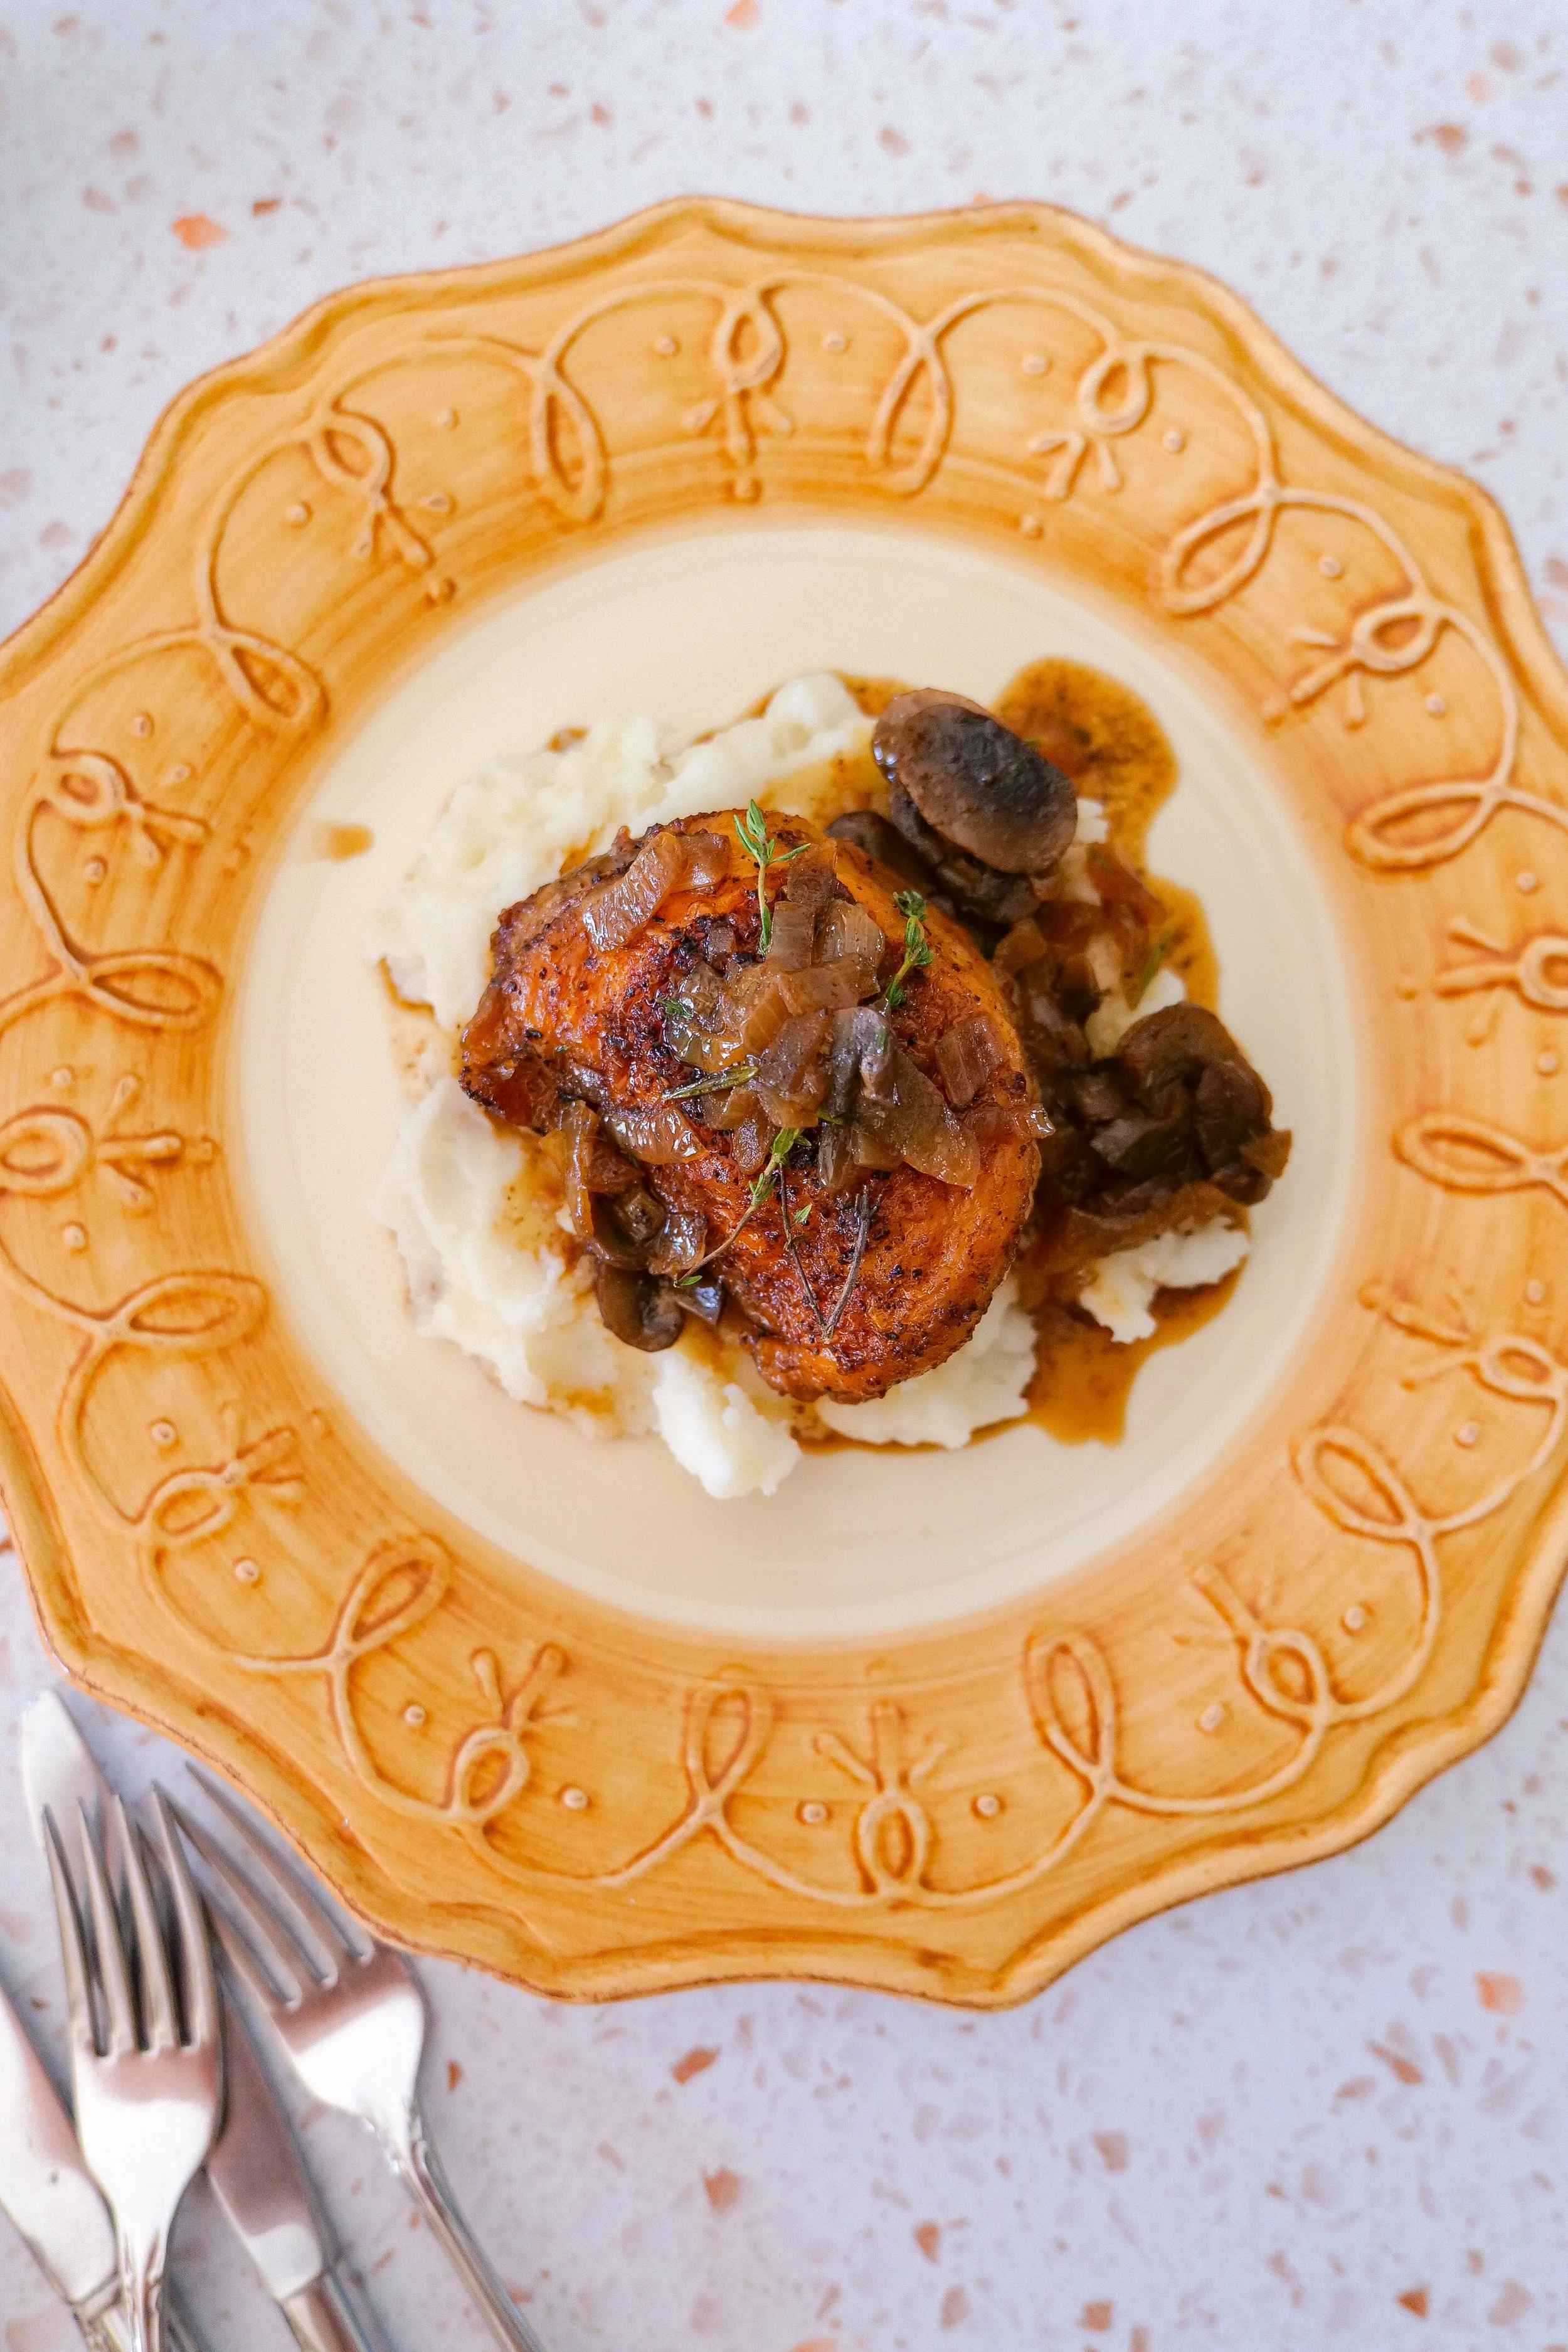
Ingredients for caramelized onion and mushroom chicken thighs with fresh herbs and seasonings.
Golden skillet chicken thighs served with sautéed brown mushrooms and caramelized onions.

Why Chicken Thighs Work So Well

Bone-in, skin-on chicken thighs are perfect for skillet recipes like this because they stay tender and juicy as they cook.

Searing them skin-side down also creates a beautifully crisp exterior while leaving behind flavorful browned bits in the skillet.

Don't clean that pan.

Those little browned pieces are exactly what you want when you begin cooking the onions. As you add the butter, onions, mushrooms, and broth, all of that flavor works its way into the sauce.
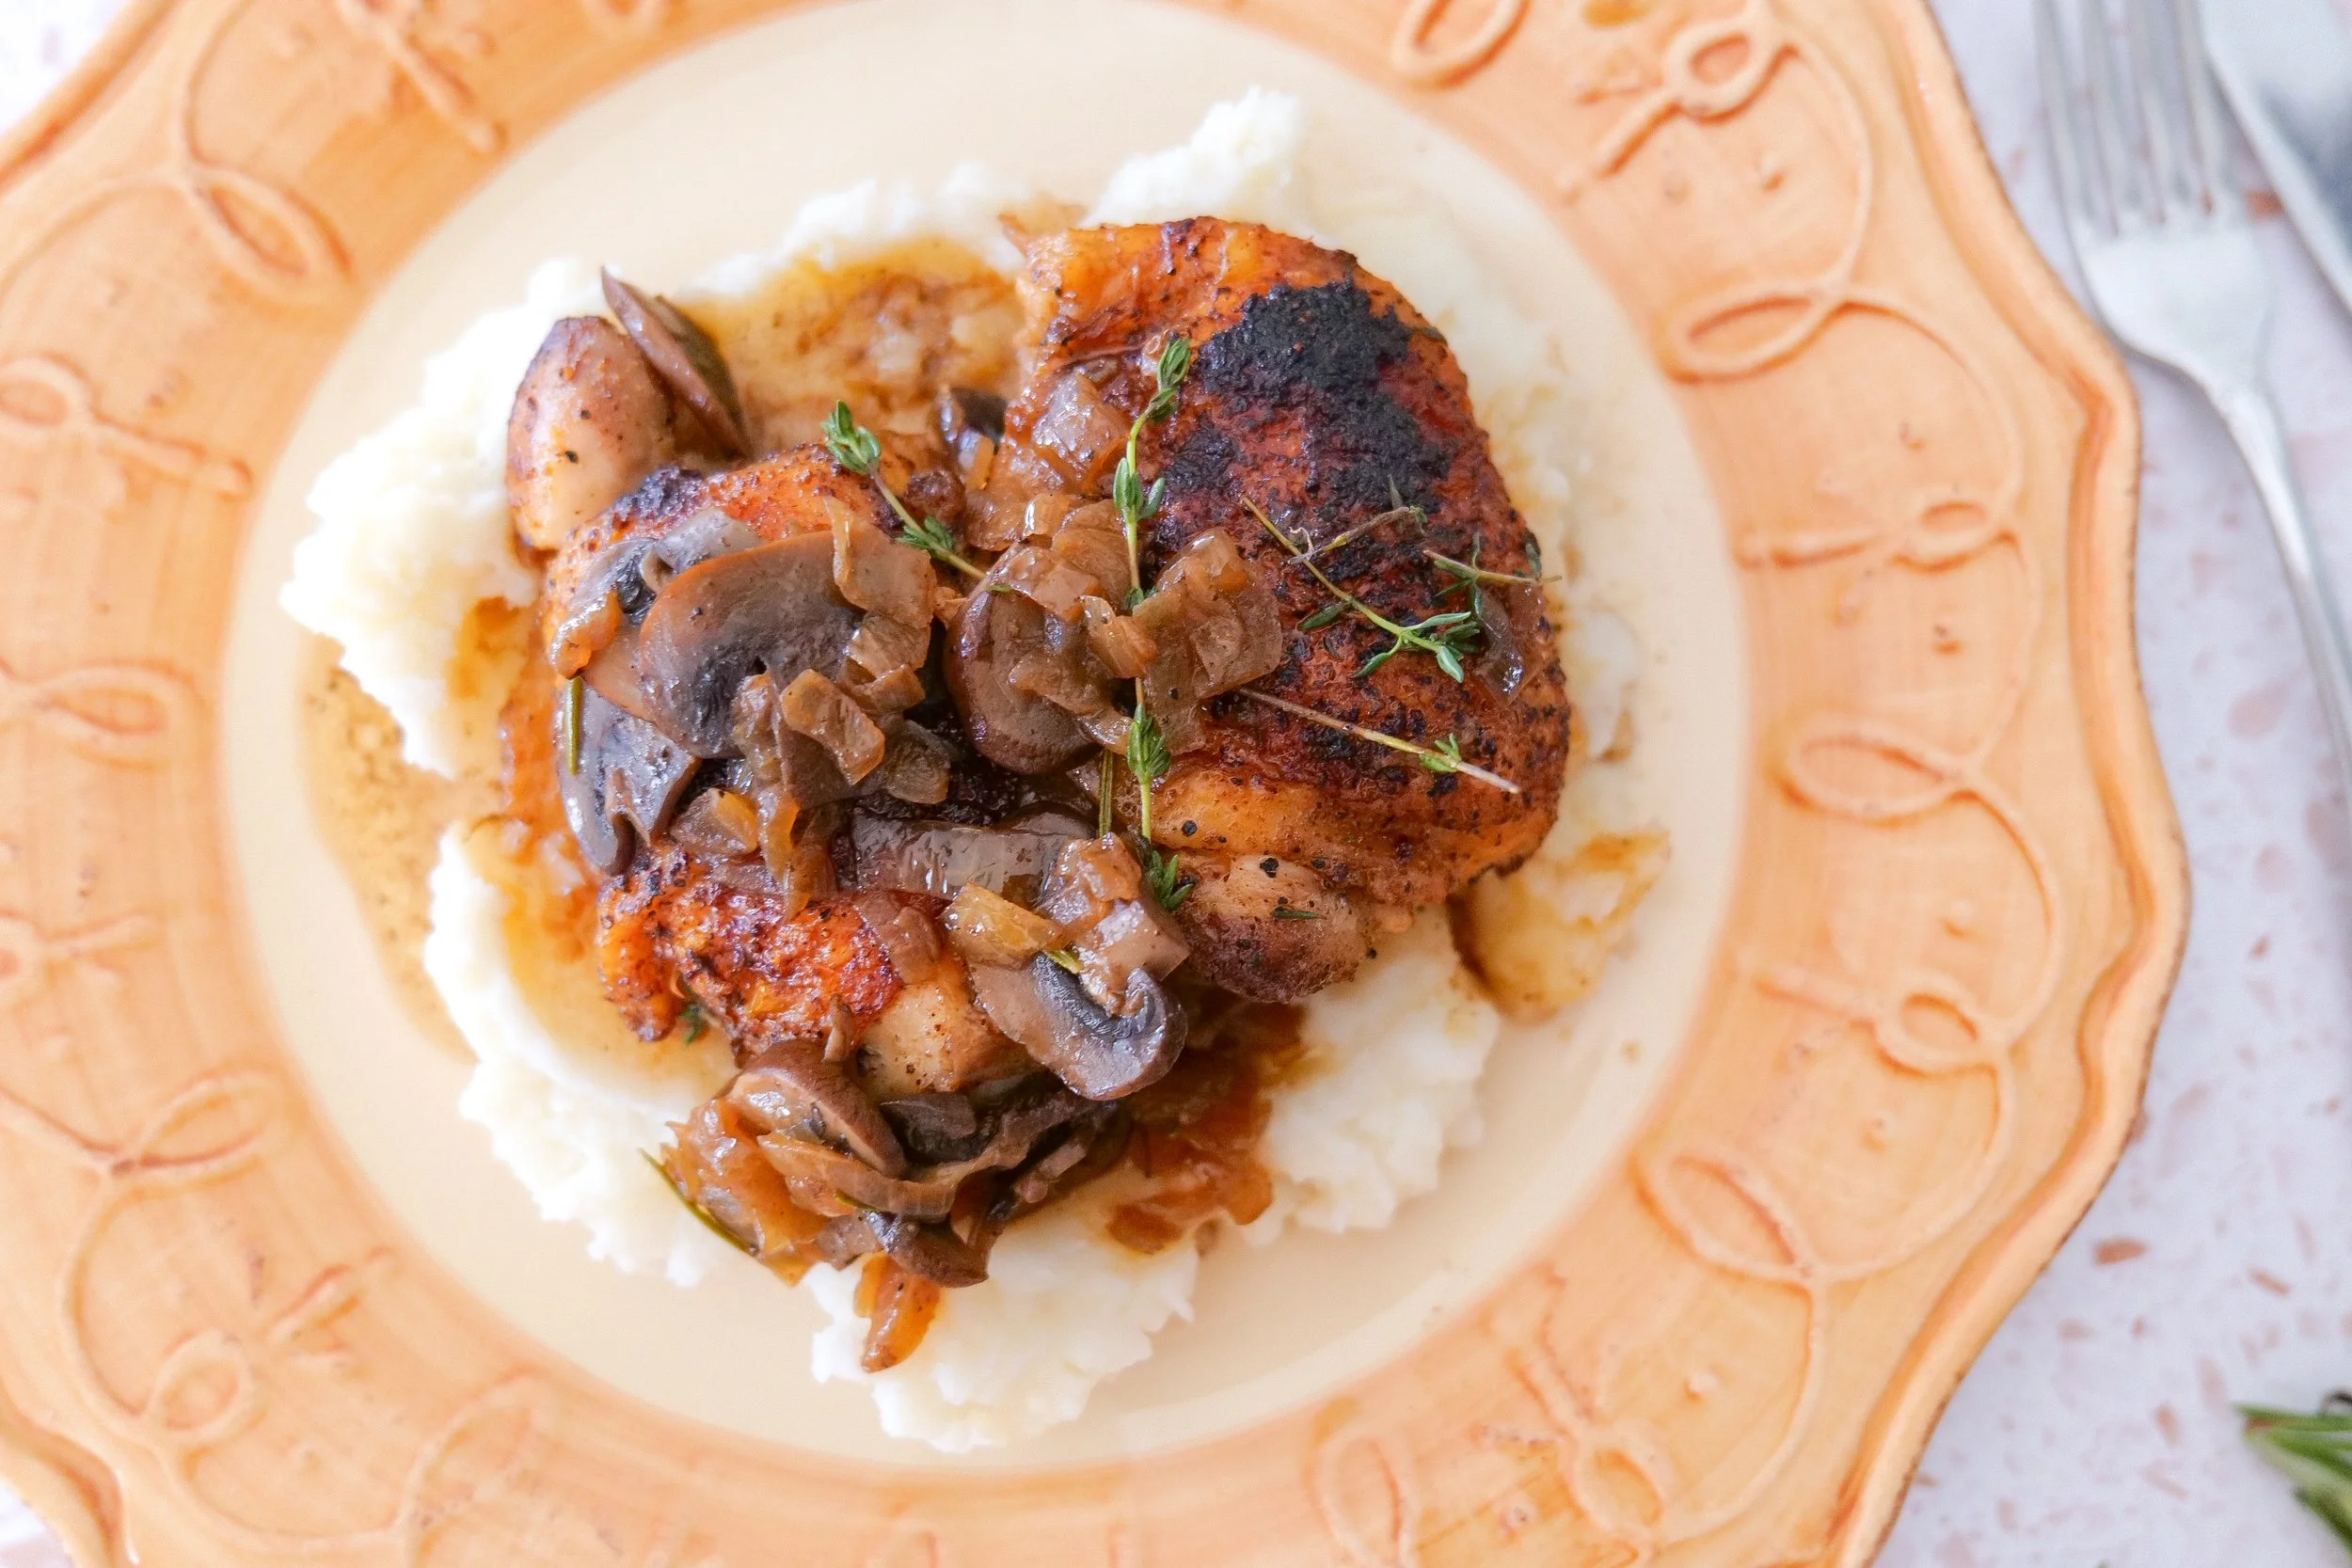
Crispy bone-in chicken thighs surrounded by savory mushrooms and onions.

Ingredient Notes

Chicken Thighs

I use bone-in, skin-on chicken thighs for the best flavor and texture. Pat them very dry before seasoning so the skin can become crisp when it hits the hot skillet.

Onion

Use one large onion sliced thinly. Giving the onion enough time to slowly turn golden brings out its natural sweetness and creates much more flavor than simply sautéing it for a few minutes.

Mushrooms

I like brown mushrooms, such as cremini or baby bella mushrooms, because they have a slightly deeper flavor than white button mushrooms.

Butter

Butter helps brown the chicken and gives the onions and mushrooms a rich flavor. The recipe uses 4 tablespoons total, divided between the chicken and vegetables.

Fresh Rosemary & Thyme

Fresh herbs give the pan sauce that cozy, savory flavor that works so beautifully with chicken and mushrooms.

Vegetable Broth

Broth loosens all of the flavorful browned bits from the skillet and creates the simple sauce surrounding the chicken.
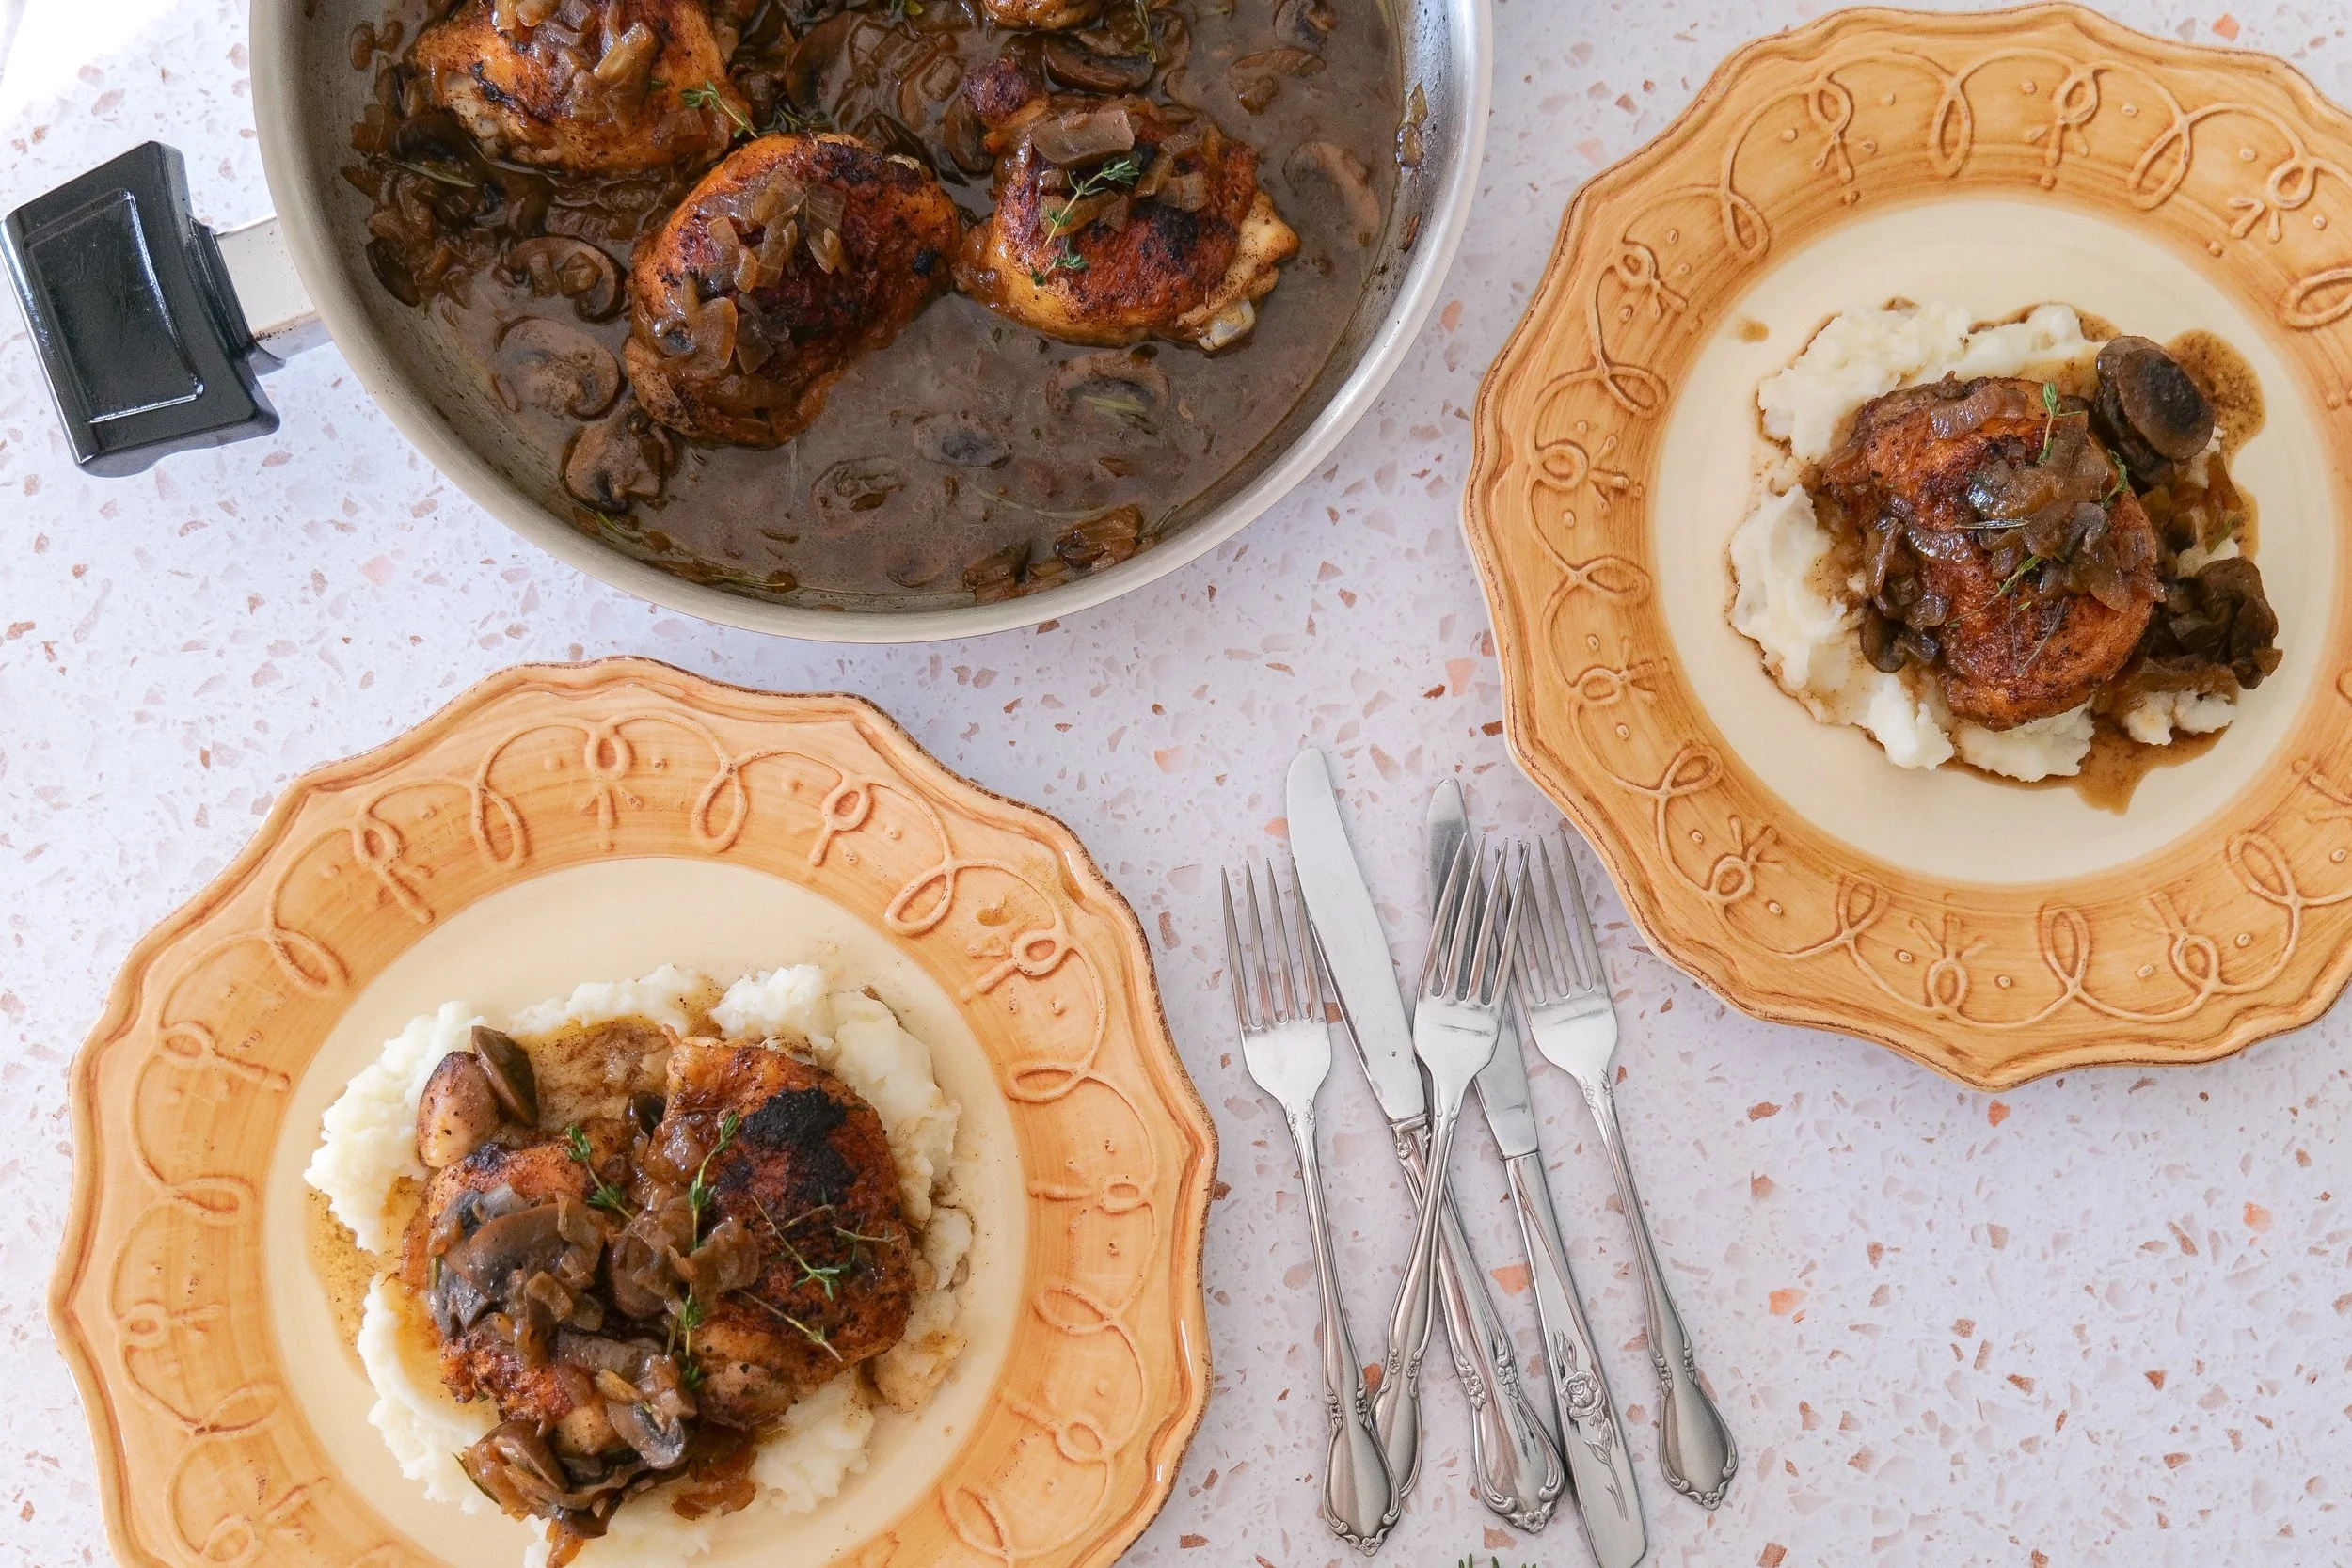
Mushroom chicken thighs in a skillet with caramelized onions and fresh herbs.

Kitchen Tools

You don't need many tools for this dinner, which is another reason I love it.

  • Large stainless steel or oven-safe skillet

  • Sharp chef's knife

  • Cutting board

  • Small bowl for seasoning

  • Tongs

  • Wooden spoon

  • Meat thermometer

I've linked some of the pans, knives, utensils, and other everyday pieces I use most often in my Kitchen Essentials shelf.

SHOP MY KITCHEN ESSENTIALS

Caramelized Onion & Mushroom Chicken Thighs Recipe

Prep Time: 15 minutes
Cook Time: Approximately 45 minutes
Total Time: Approximately 1 hour
Servings: 6

Ingredients

  • 6–8 bone-in, skin-on chicken thighs

  • 1 teaspoon sea salt

  • ½ teaspoon freshly ground black pepper

  • 1 teaspoon onion powder

  • 1 teaspoon garlic powder

  • ¼ teaspoon paprika

  • 4 tablespoons salted butter, divided

  • 1 large onion, thinly sliced

  • 8 ounces brown mushrooms, sliced

  • 2 sprigs fresh rosemary

  • 2 sprigs fresh thyme

  • 1 cup vegetable broth

  • 1 teaspoon dried thyme

  • Olive oil, if needed

  • Fresh thyme, for garnish

Instructions

Step 1: Prepare the Chicken

Heat a large skillet over medium-high heat.

While the skillet heats, pat the chicken thighs thoroughly dry with paper towels. Removing as much surface moisture as possible is one of the keys to achieving beautifully crisp skin.

In a small bowl, combine the sea salt, black pepper, onion powder, garlic powder, and paprika.

Season the chicken generously on both sides.

Step 2: Sear the Chicken

Add 2 tablespoons of salted butter to the hot skillet and allow it to melt.

Place the chicken thighs skin-side down in the skillet, being careful not to overcrowd the pan. Work in batches if necessary.

Leave the chicken undisturbed for approximately 5–7 minutes. When the skin has developed a deep golden crust, it should release easily from the skillet.

Flip and sear the second side for another 5–7 minutes.

Transfer the chicken to a plate and loosely cover while you prepare the onions and mushrooms.

The chicken does not need to be completely cooked through at this point.

Step 3: Caramelize the Onion

Reduce the heat to medium-low and add the remaining 2 tablespoons of butter to the same skillet.

Use a wooden spoon to gently loosen the flavorful browned bits left behind from the chicken.

Add the thinly sliced onion.

Cook for approximately 15 minutes, stirring regularly, until the onion becomes soft, golden, and caramelized.

If the skillet begins to look dry, add a small drizzle of olive oil.

Step 4: Add the Mushrooms & Herbs

Add the sliced mushrooms, rosemary sprigs, fresh thyme sprigs, and dried thyme.

Cook until the mushrooms soften and begin to brown, approximately 5–7 minutes.

Step 5: Make the Pan Sauce

Pour in the vegetable broth.

Use your wooden spoon to scrape the bottom of the skillet so all of those flavorful browned bits become part of the sauce.

Bring the mixture to a gentle simmer and cook for approximately 5 minutes.

Step 6: Finish the Chicken

Return the chicken thighs to the skillet, nestling them into the onions and mushrooms while keeping as much of the crispy skin above the liquid as possible.

Continue cooking gently until the thickest part of each chicken thigh reaches a safe internal temperature of 165°F.

Depending on the size of your chicken thighs and how far they cooked during searing, this will generally take another 10–15 minutes.

Spoon some of the sauce over the chicken as it cooks, avoiding the crispy skin when possible.

Step 7: Serve

Remove the rosemary and thyme stems.

Taste the sauce and adjust the salt and pepper if needed.

Serve the chicken warm with plenty of caramelized onions, mushrooms, and pan sauce spooned around it.

Finish with fresh thyme if desired.

Enjoy!

Amanda's Quick Tips

  • Pat the chicken completely dry before seasoning.

  • Don't move the chicken while the skin is searing.

  • If it sticks to the skillet, give it another minute before trying to flip it.

  • Don't rush the onions; their slow caramelization is where so much of the flavor develops.

  • Cook mushrooms until their moisture has released and they begin to brown.

  • Keep the crispy chicken skin mostly above the sauce.

  • Always use the internal temperature rather than cooking time alone to determine when chicken is done.
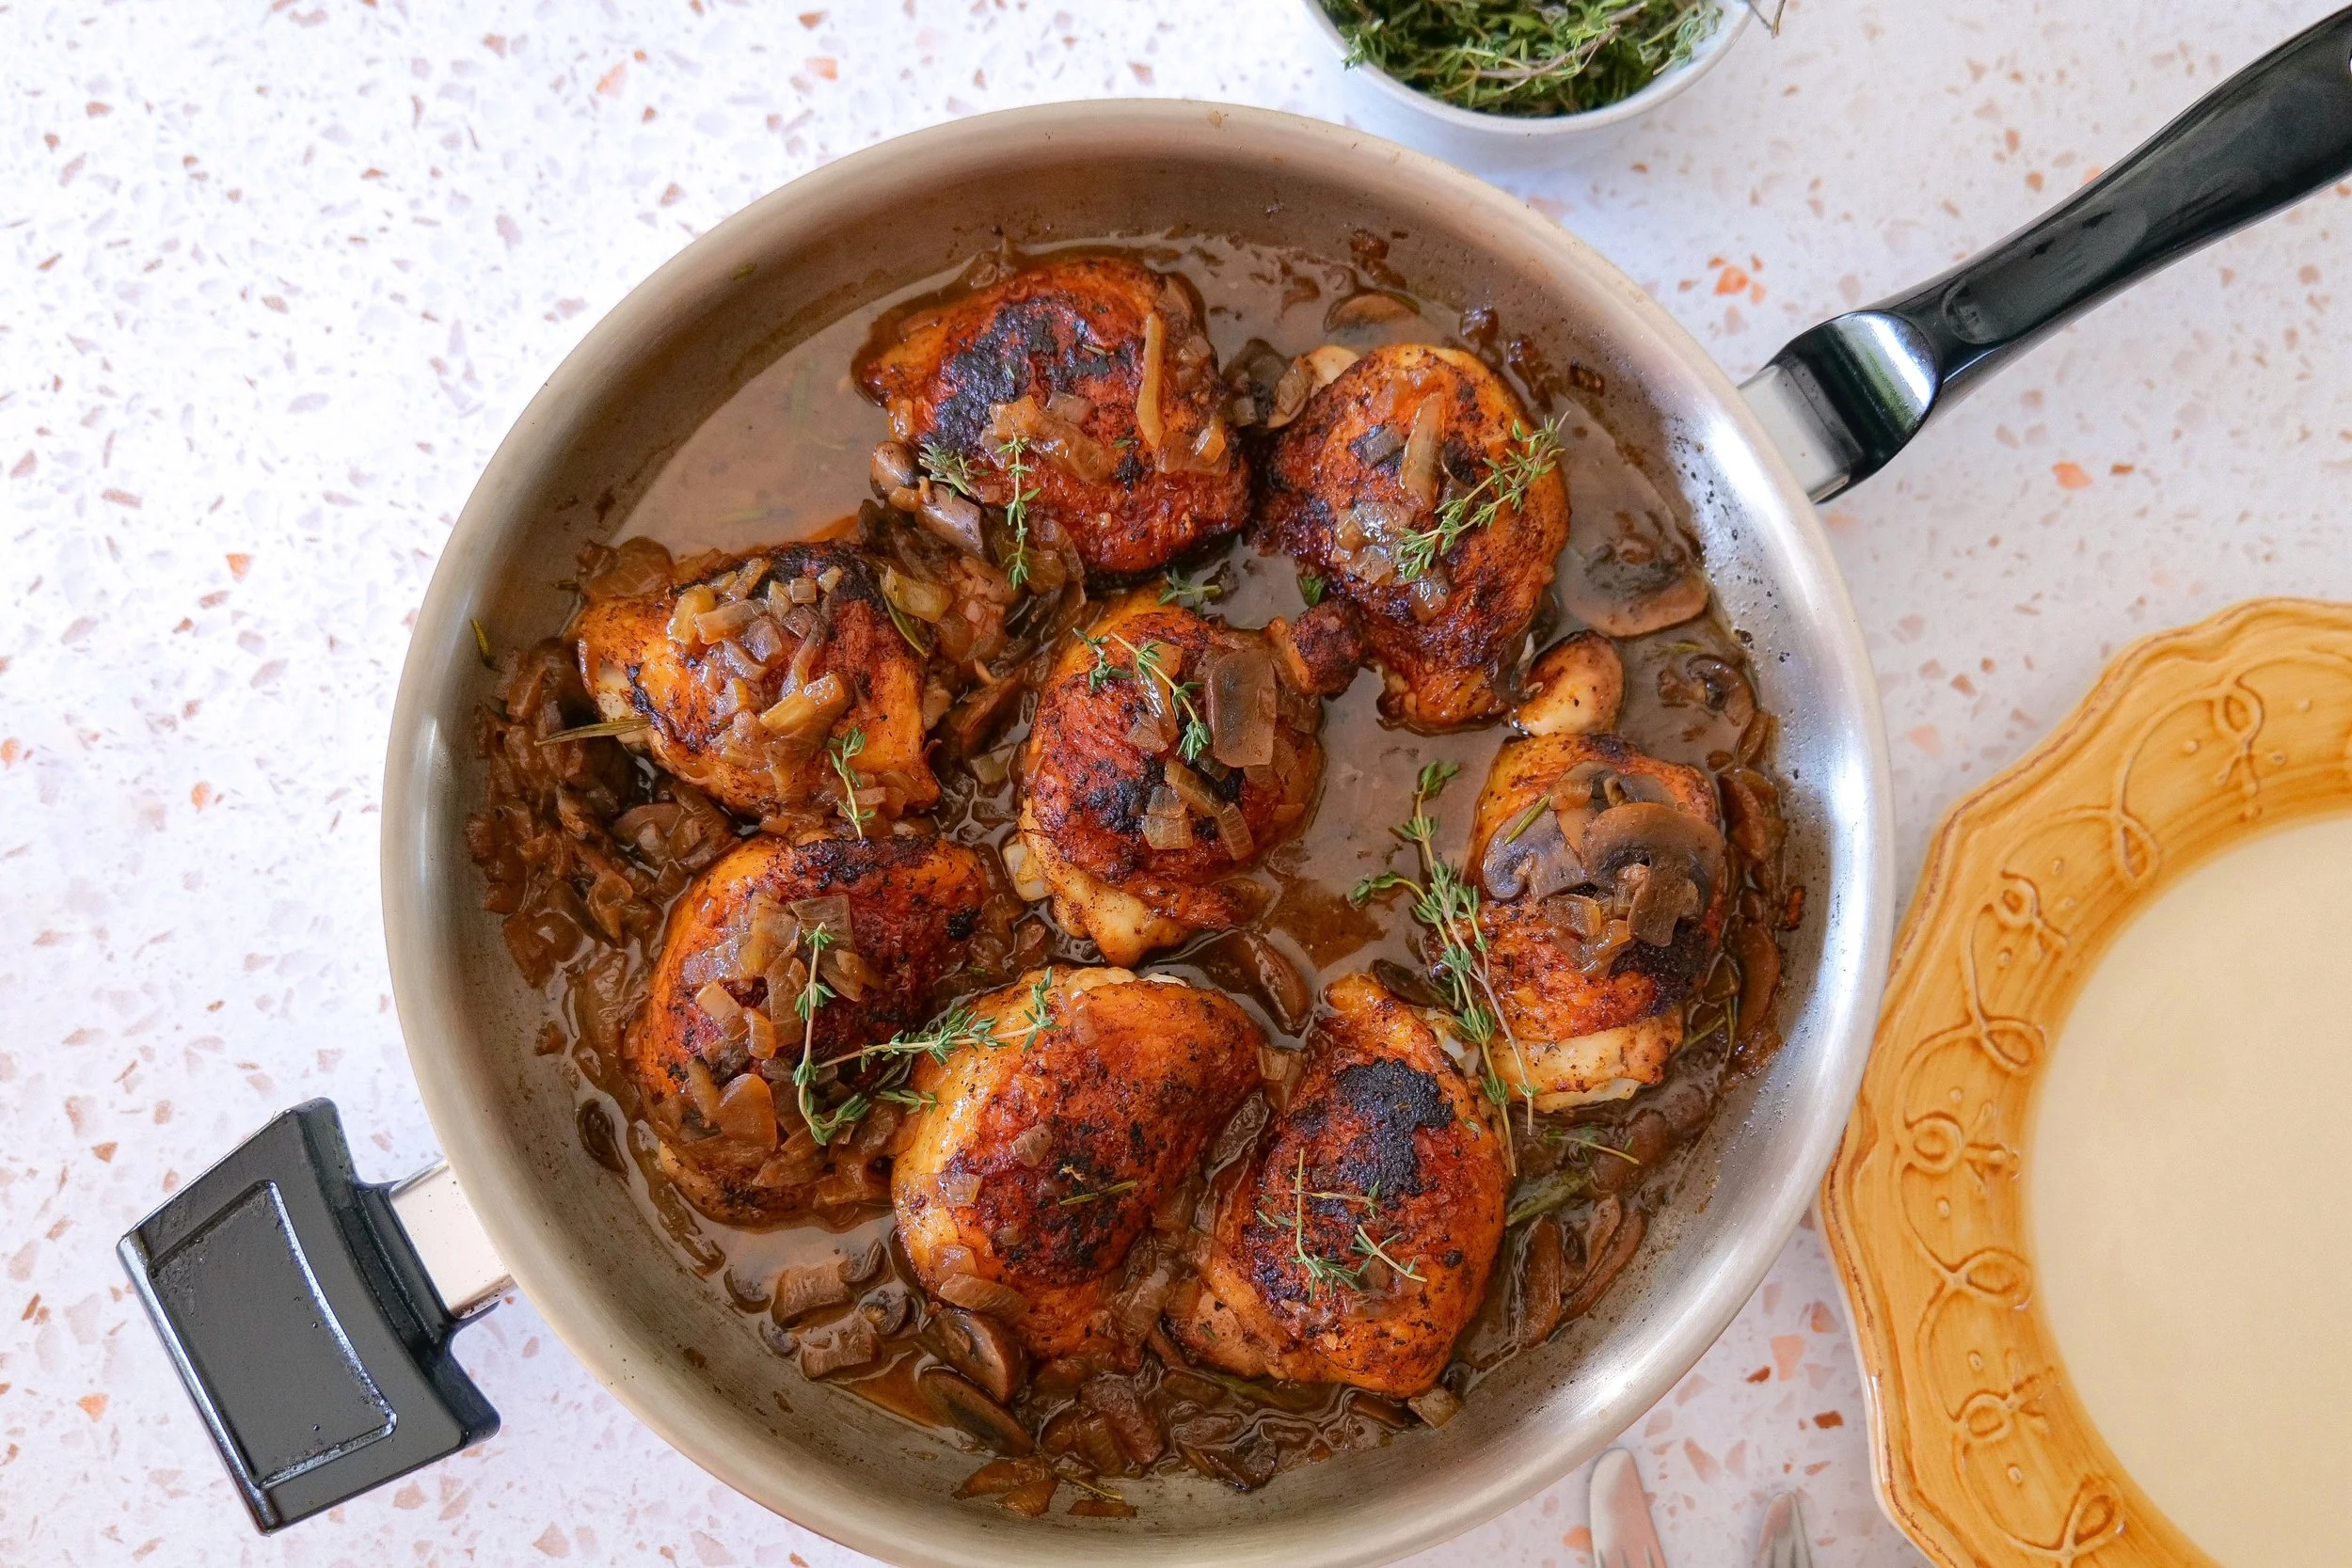
Savory skillet chicken thighs with golden skin, mushrooms and onions.

How to Get Crispy Chicken Thigh Skin

The difference between good skillet chicken and really good skillet chicken often comes down to the skin.

First, make sure your chicken is dry. Moisture creates steam, which works against browning.

Next, make sure the skillet is hot before adding the chicken.

Once the chicken goes into the pan, resist the temptation to move it around. Let it develop a crust.

One of my favorite tricks when cooking with stainless steel is simply waiting. If your chicken is firmly stuck to the skillet when you try to flip it, it often hasn't developed its crust yet. Give it another minute and try again.

Finally, when the chicken returns to the sauce, keep the skin above the liquid as much as possible so you don't lose all of that beautiful texture you just created.
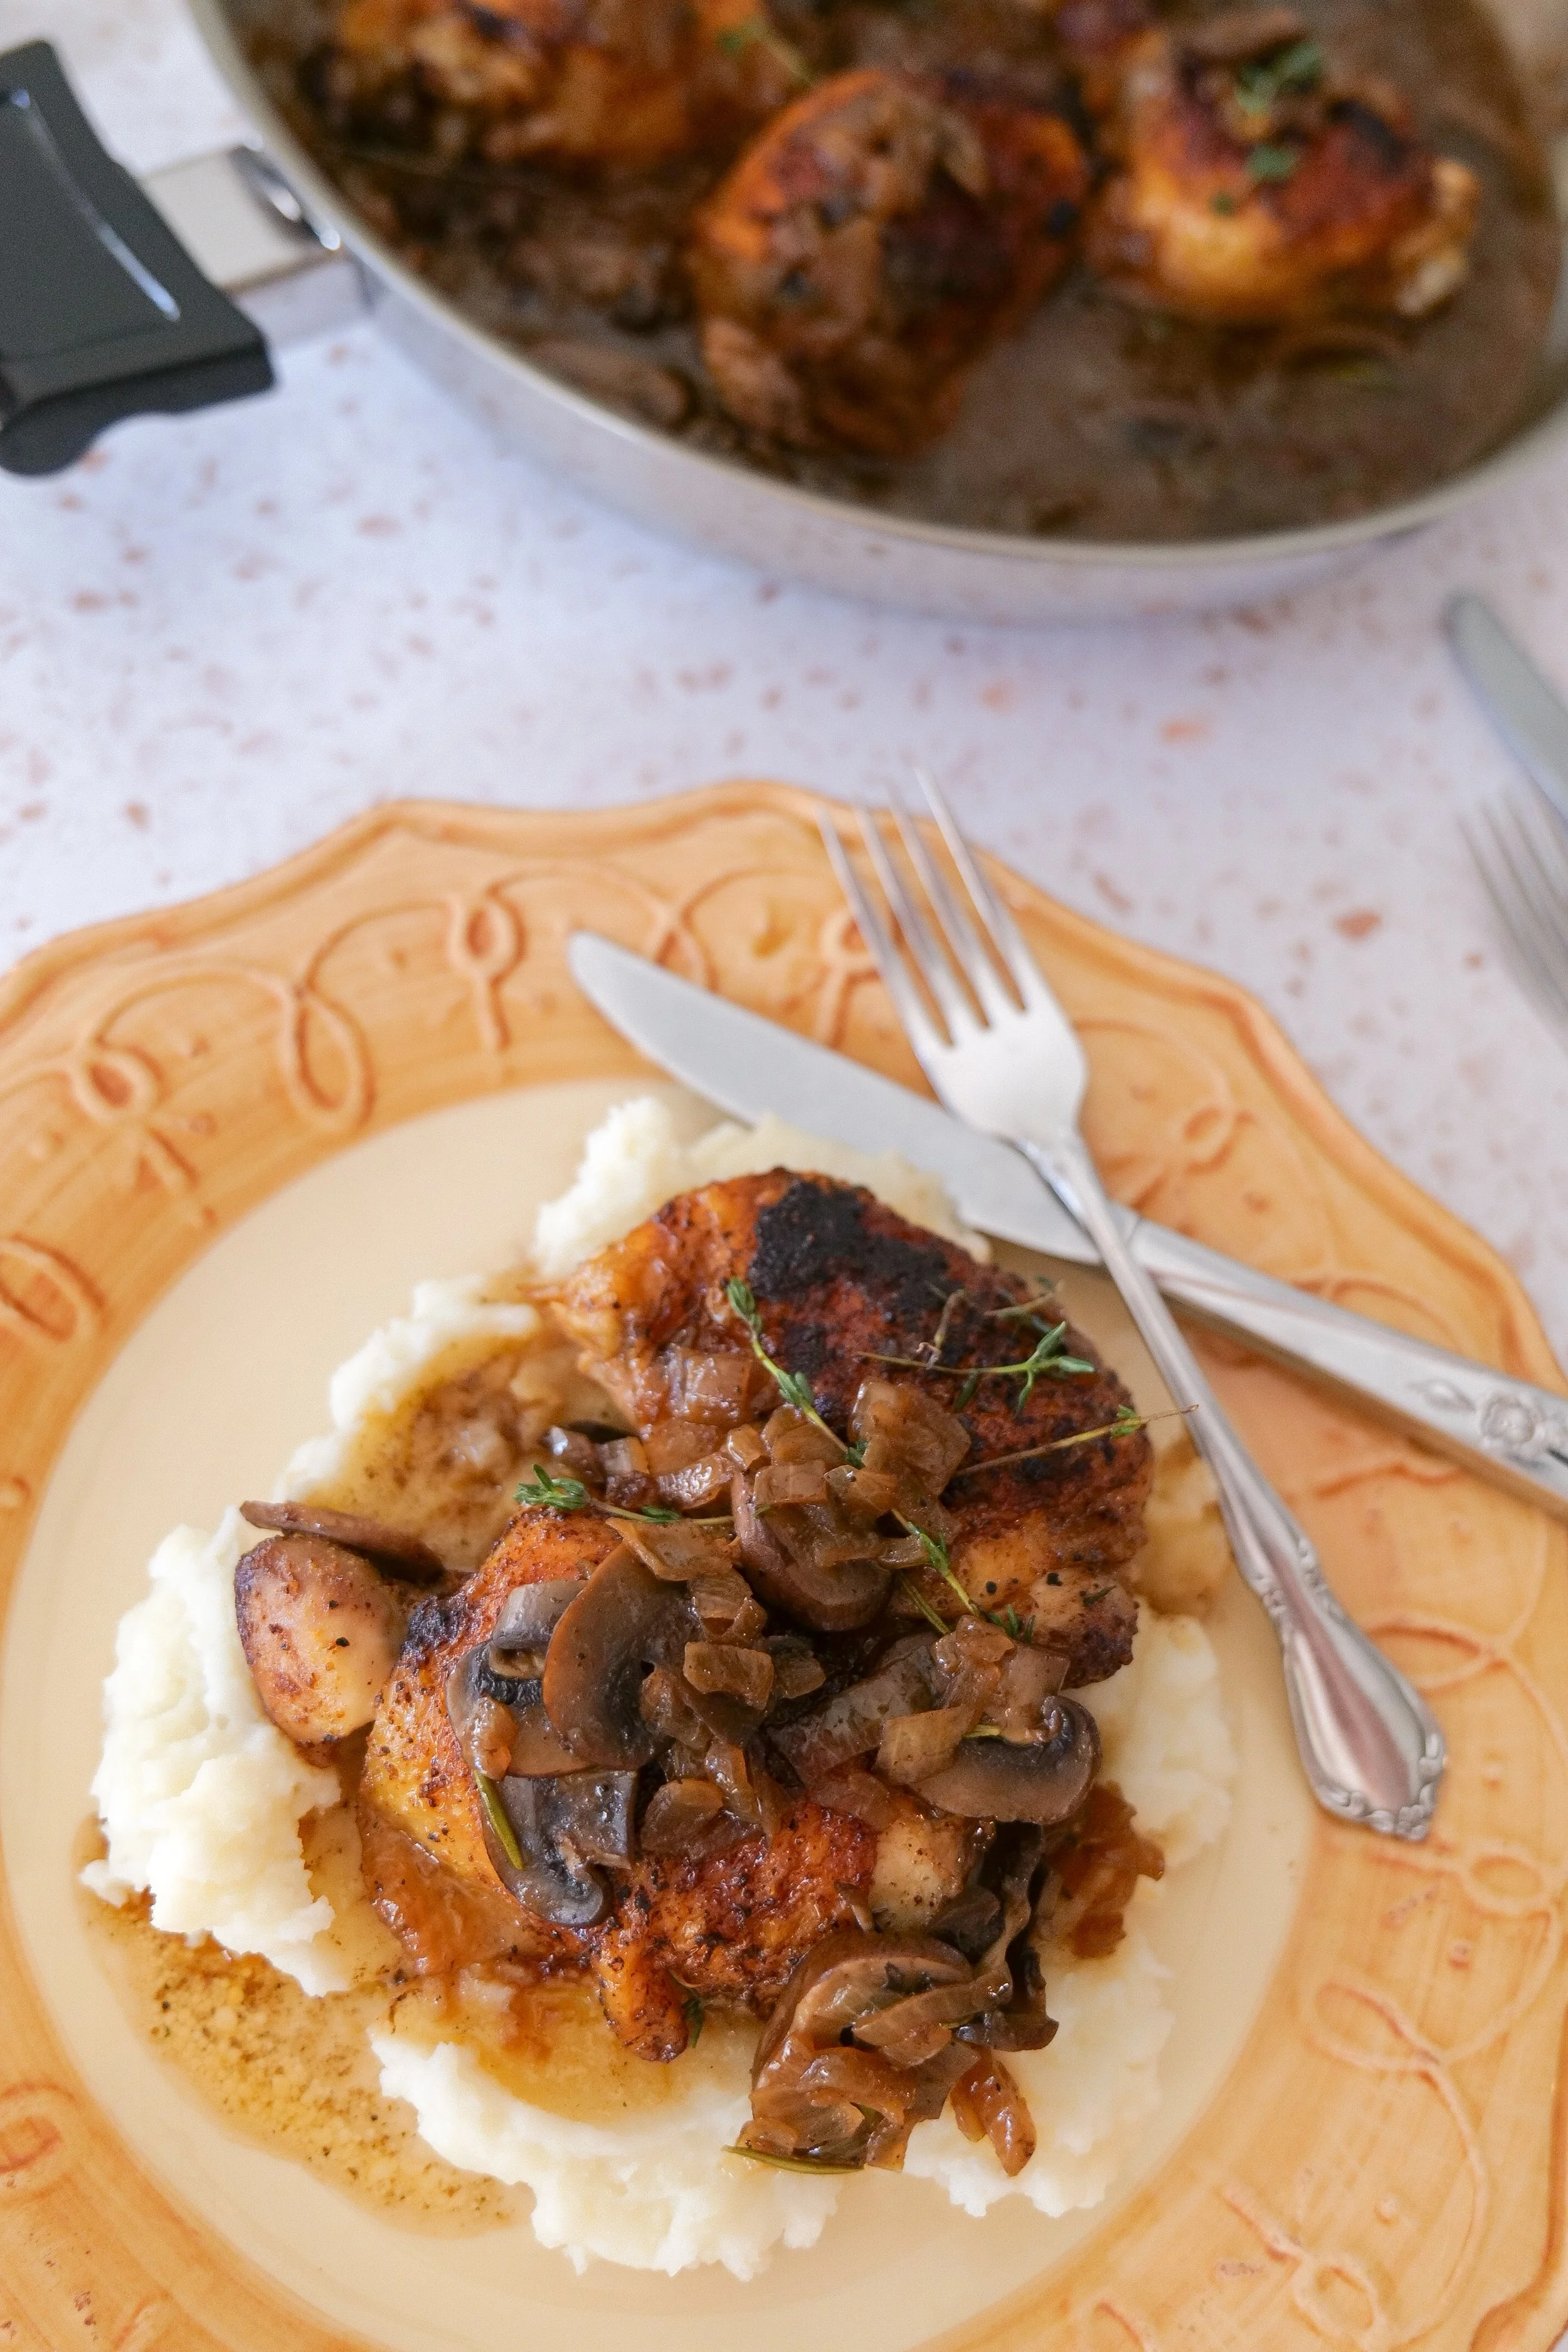
Juicy chicken thighs topped with sweet caramelized onions and sautéed mushrooms.

How to Caramelize Onions for Chicken

Caramelized onions aren't difficult, but they do require a little patience.

Keep the heat around medium-low and allow the onions to cook gradually rather than trying to brown them quickly over high heat.

Stir them regularly so they cook evenly and pick up the browned bits from the chicken.

You'll know they're ready when they're soft, deeply golden, and noticeably sweeter than when they went into the pan.

Those 15 minutes make a huge difference in the finished dish, so this is one step I wouldn't rush.
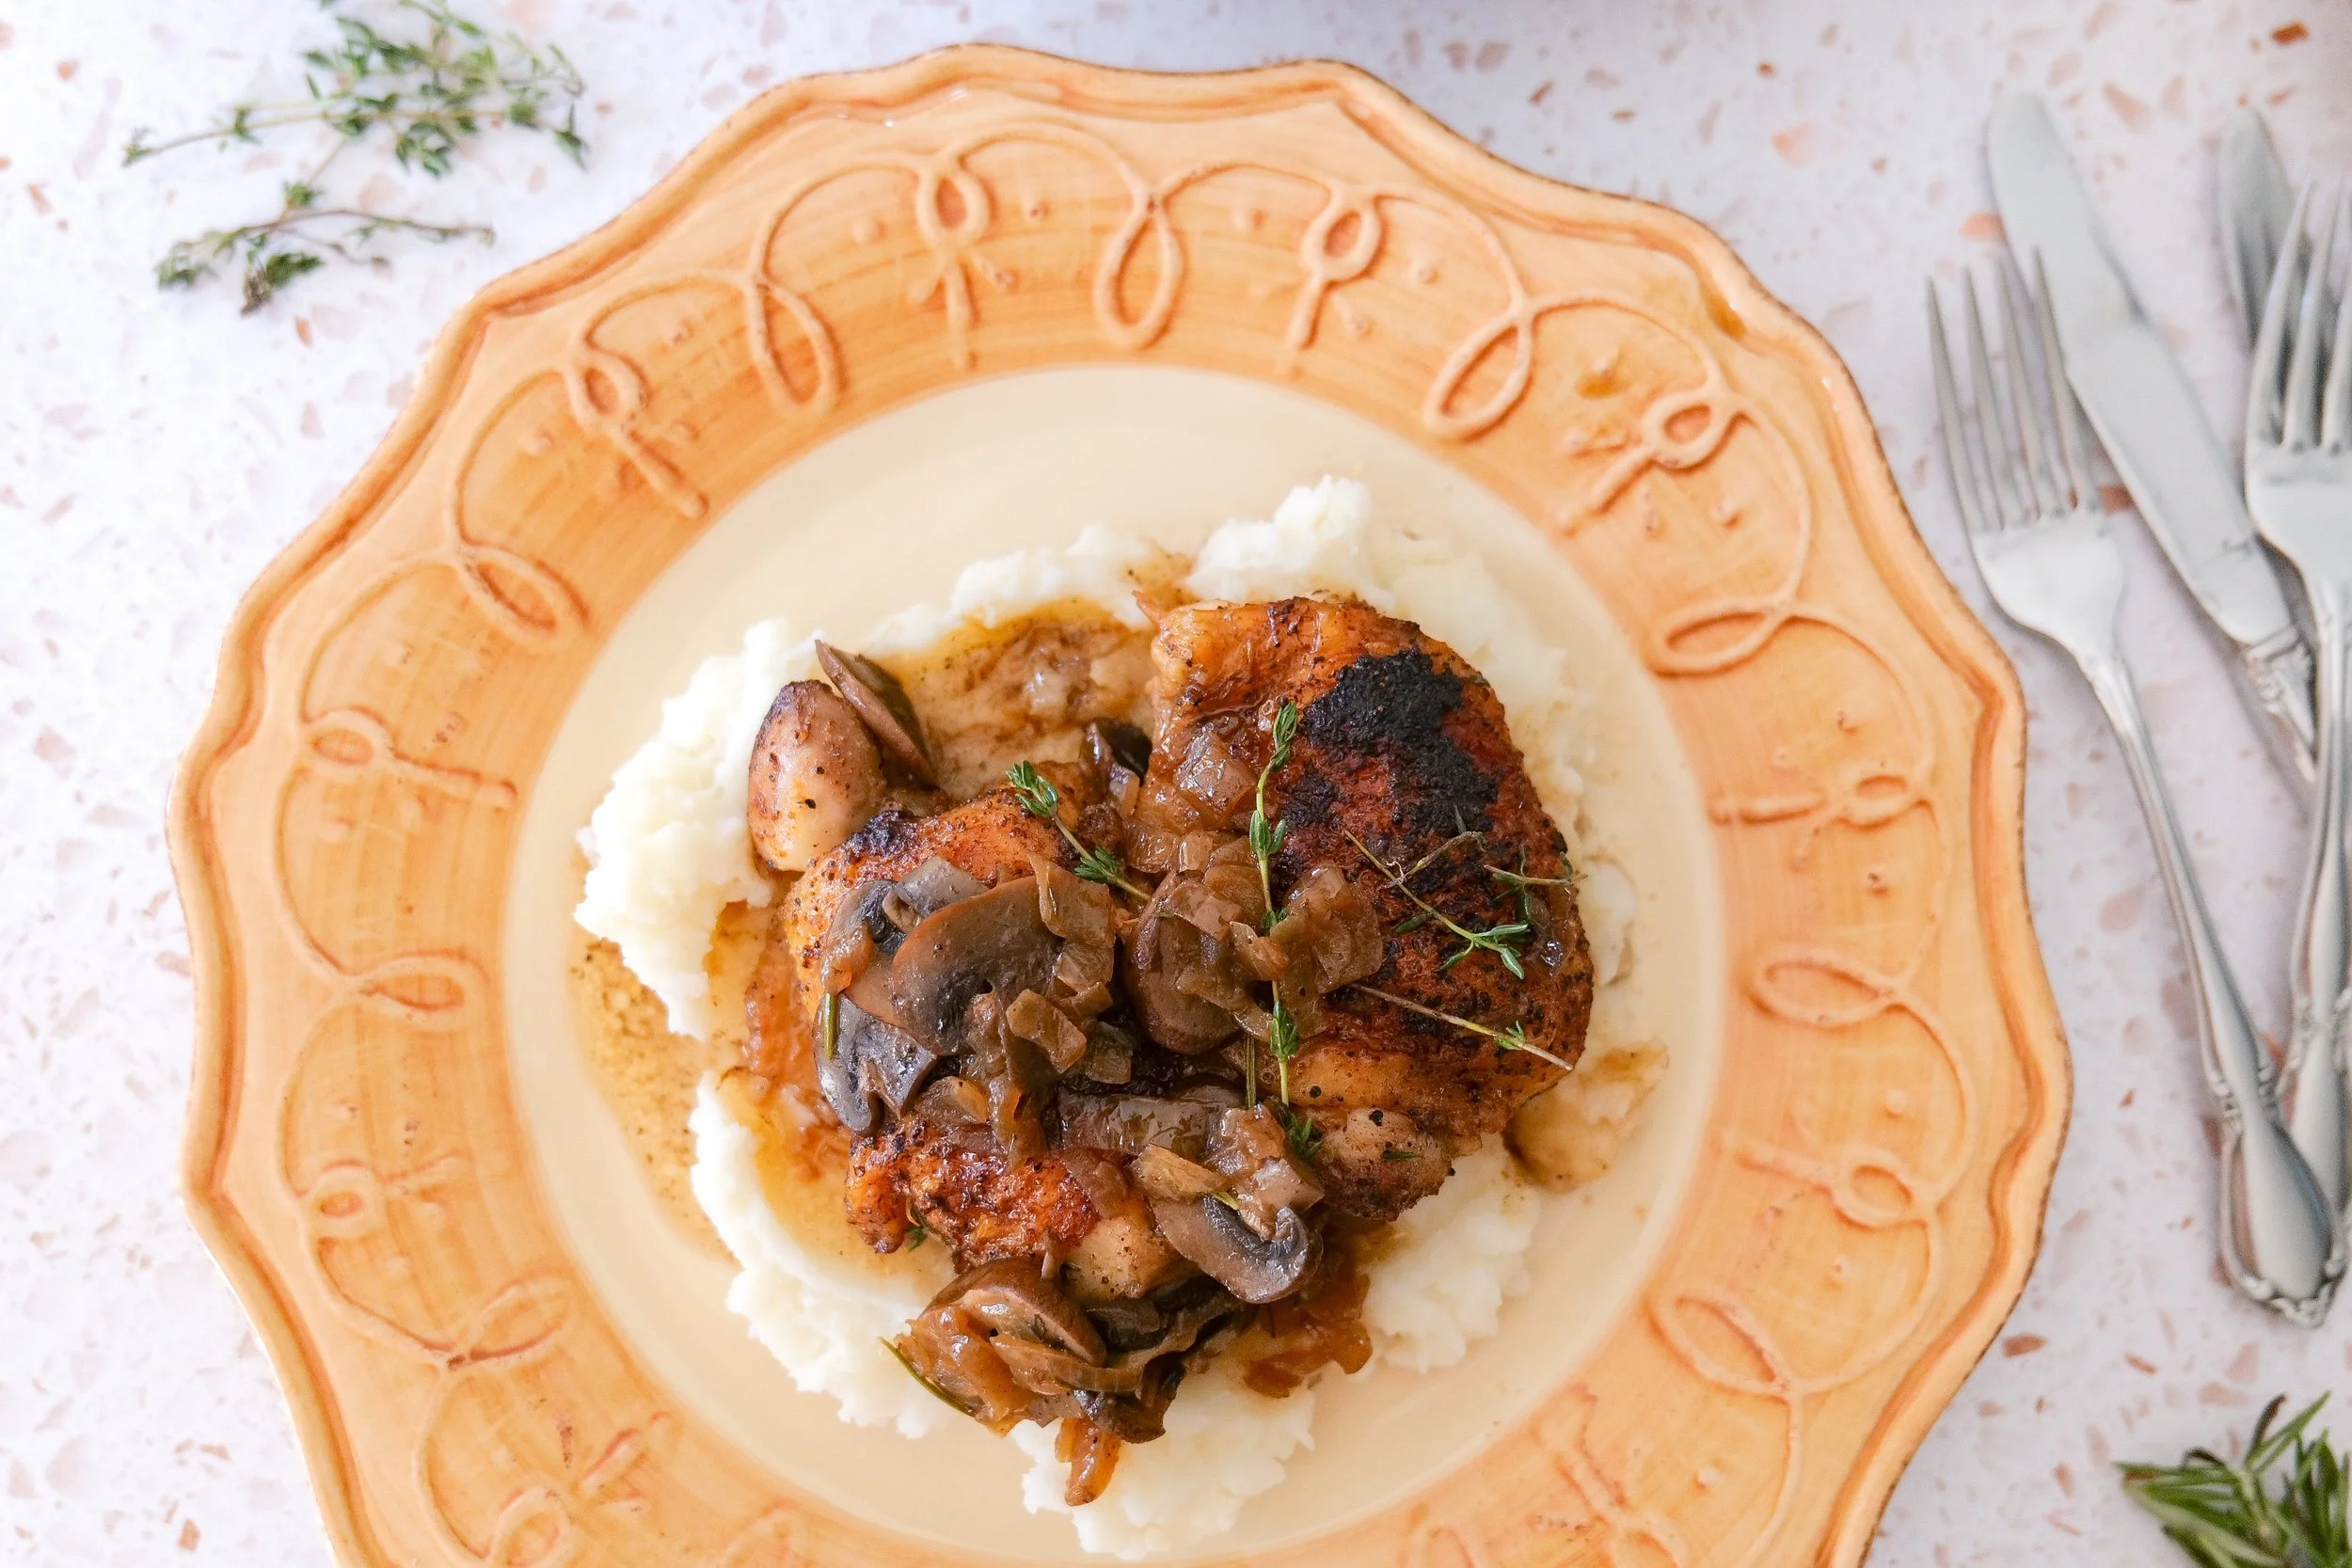
One-pan mushroom chicken thighs served in a savory herb pan sauce.

Amanda's Tips

Don't Overcrowd the Skillet

If your chicken thighs don't comfortably fit without touching, sear them in batches. Overcrowding lowers the temperature of the pan and can cause the chicken to steam instead of brown.

Give the Mushrooms Time to Brown

Just like the chicken, mushrooms develop more flavor when they're given time to brown.

Use a Meat Thermometer

Chicken thighs vary considerably in size, which makes an internal temperature much more reliable than an exact cooking time.

Taste Your Sauce at the End

The chicken, butter, and broth all contribute salt to the final sauce. Wait until everything has cooked together before deciding whether it needs more seasoning.

Can I Use Boneless Chicken Thighs?

Yes.

Boneless, skinless chicken thighs can be used, but they'll cook more quickly and you won't get the same crispy-skin element.

Sear them until browned and begin checking their internal temperature earlier when you return them to the skillet.

If you have the choice, I prefer bone-in, skin-on thighs for this particular recipe because their richness works beautifully with the caramelized onions and mushrooms.

Easy Variations

Creamy Mushroom Chicken

After the chicken is fully cooked, remove it briefly and stir a splash of heavy cream into the sauce. Simmer gently until slightly thickened, then return the chicken to the skillet.

Garlic Mushroom Chicken

Add 2–3 cloves of minced garlic during the final minute of cooking the mushrooms.

White Wine Mushroom Chicken

Replace part of the broth with a dry white wine. Allow the wine to simmer for a few minutes before adding the remaining broth.

Extra Herb Chicken

Add additional rosemary and thyme for a more pronounced herb flavor.

Parmesan Mushroom Chicken

Finish the mushrooms and onions with freshly grated Parmesan just before serving.

What to Serve with Caramelized Onion & Mushroom Chicken

The sauce is one of the best parts of this recipe, so I especially love sides that can soak it up.

Try serving it with:

  • Creamy mashed potatoes

  • Buttered egg noodles

  • Steamed rice

  • Roasted potatoes

  • Creamy polenta

  • Crusty bread

  • Roasted asparagus

  • Green beans

  • Roasted broccoli

  • Simple arugula salad

  • Mixed greens with lemon vinaigrette

For a particularly cozy dinner, mashed potatoes and a simple green vegetable would be my first choice.
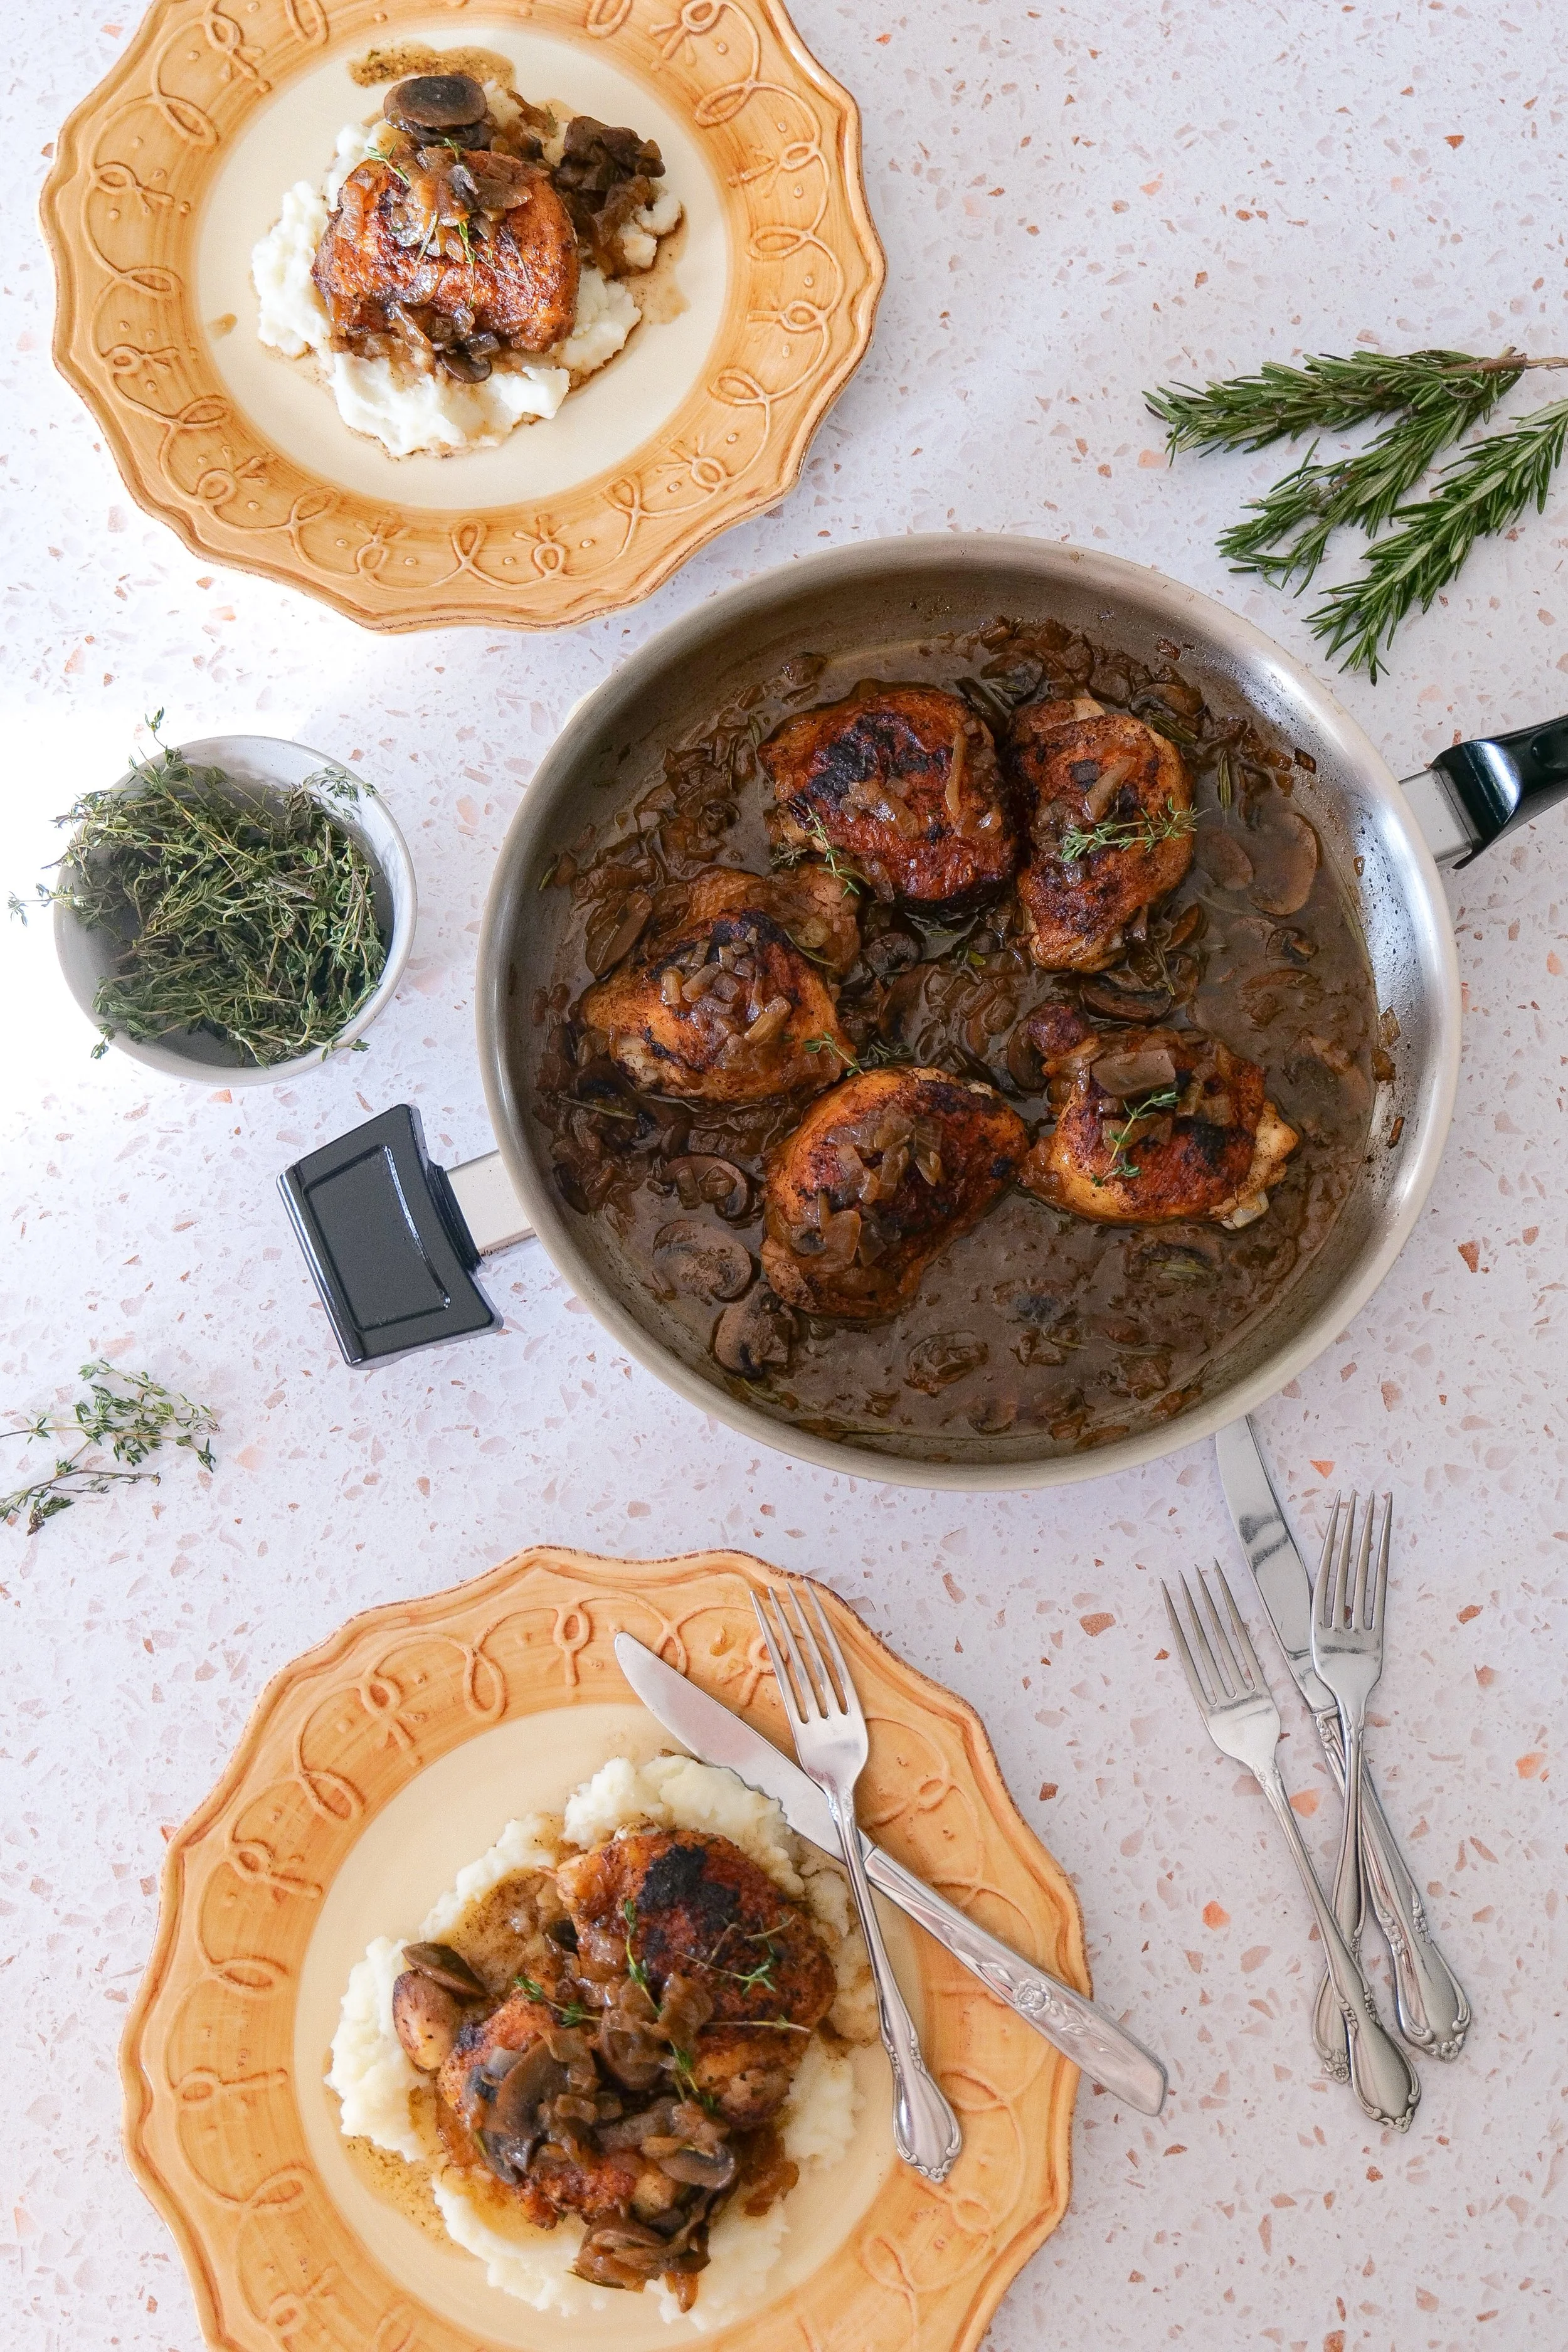
Easy skillet mushroom chicken dinner made with bone-in chicken thighs and caramelized onions.

Make Ahead Tips

You can slice the onions and mushrooms and mix the seasoning blend earlier in the day to make dinner prep faster.

I prefer cooking the chicken fresh so the skin stays as crisp as possible.

If you're making the entire meal ahead, store the chicken and sauce together and use the reheating method below.

How to Store Leftovers

Allow leftovers to cool before transferring them to an airtight container.

Store in the refrigerator for up to 3–4 days.

For longer storage, the cooked chicken and sauce can be frozen in an airtight freezer-safe container for up to 3 months.

Keep in mind that mushrooms may have a slightly softer texture after freezing and reheating.

How to Reheat Chicken Thighs

For the best texture, place the chicken and sauce in an oven-safe dish, cover loosely with foil, and warm in a 350°F oven until heated through.

You can remove the foil toward the end of reheating to help the chicken skin regain some of its texture.

Individual portions can also be reheated gently on the stovetop.

Frequently Asked Questions

What mushrooms are best with chicken thighs?

Cremini or baby bella mushrooms are my first choice because their deeper, earthy flavor works particularly well with caramelized onions and chicken.

Can I use white mushrooms?

Absolutely. White button mushrooms will also work.

Can I use chicken breasts?

You can, although you'll need to adjust the cooking time carefully because chicken breasts are leaner and can dry out more easily.

Do I have to use bone-in chicken thighs?

No. Boneless thighs work, but bone-in, skin-on chicken thighs give this recipe its best flavor and texture.

How do I know when chicken thighs are done?

Use an instant-read thermometer inserted into the thickest portion of the chicken without touching the bone. Chicken is safe once it reaches 165°F.

Why is my chicken skin not crispy?

The most common causes are excess moisture on the chicken, a skillet that wasn't hot enough, overcrowding, or moving the chicken before a crust had time to form.

How long does it take to caramelize the onions?

For this recipe, plan on approximately 15 minutes. We're looking for soft, deeply golden onions rather than the much darker onions used in something like French onion soup.

Can I make this dairy-free?

Yes. Replace the butter with your preferred cooking oil or dairy-free butter.

Can I make the sauce creamy?

Yes. A splash of heavy cream added at the end creates a delicious creamy mushroom sauce.

What should I serve with mushroom chicken thighs?

Mashed potatoes, rice, noodles, polenta, or crusty bread are especially good because they soak up the pan sauce.
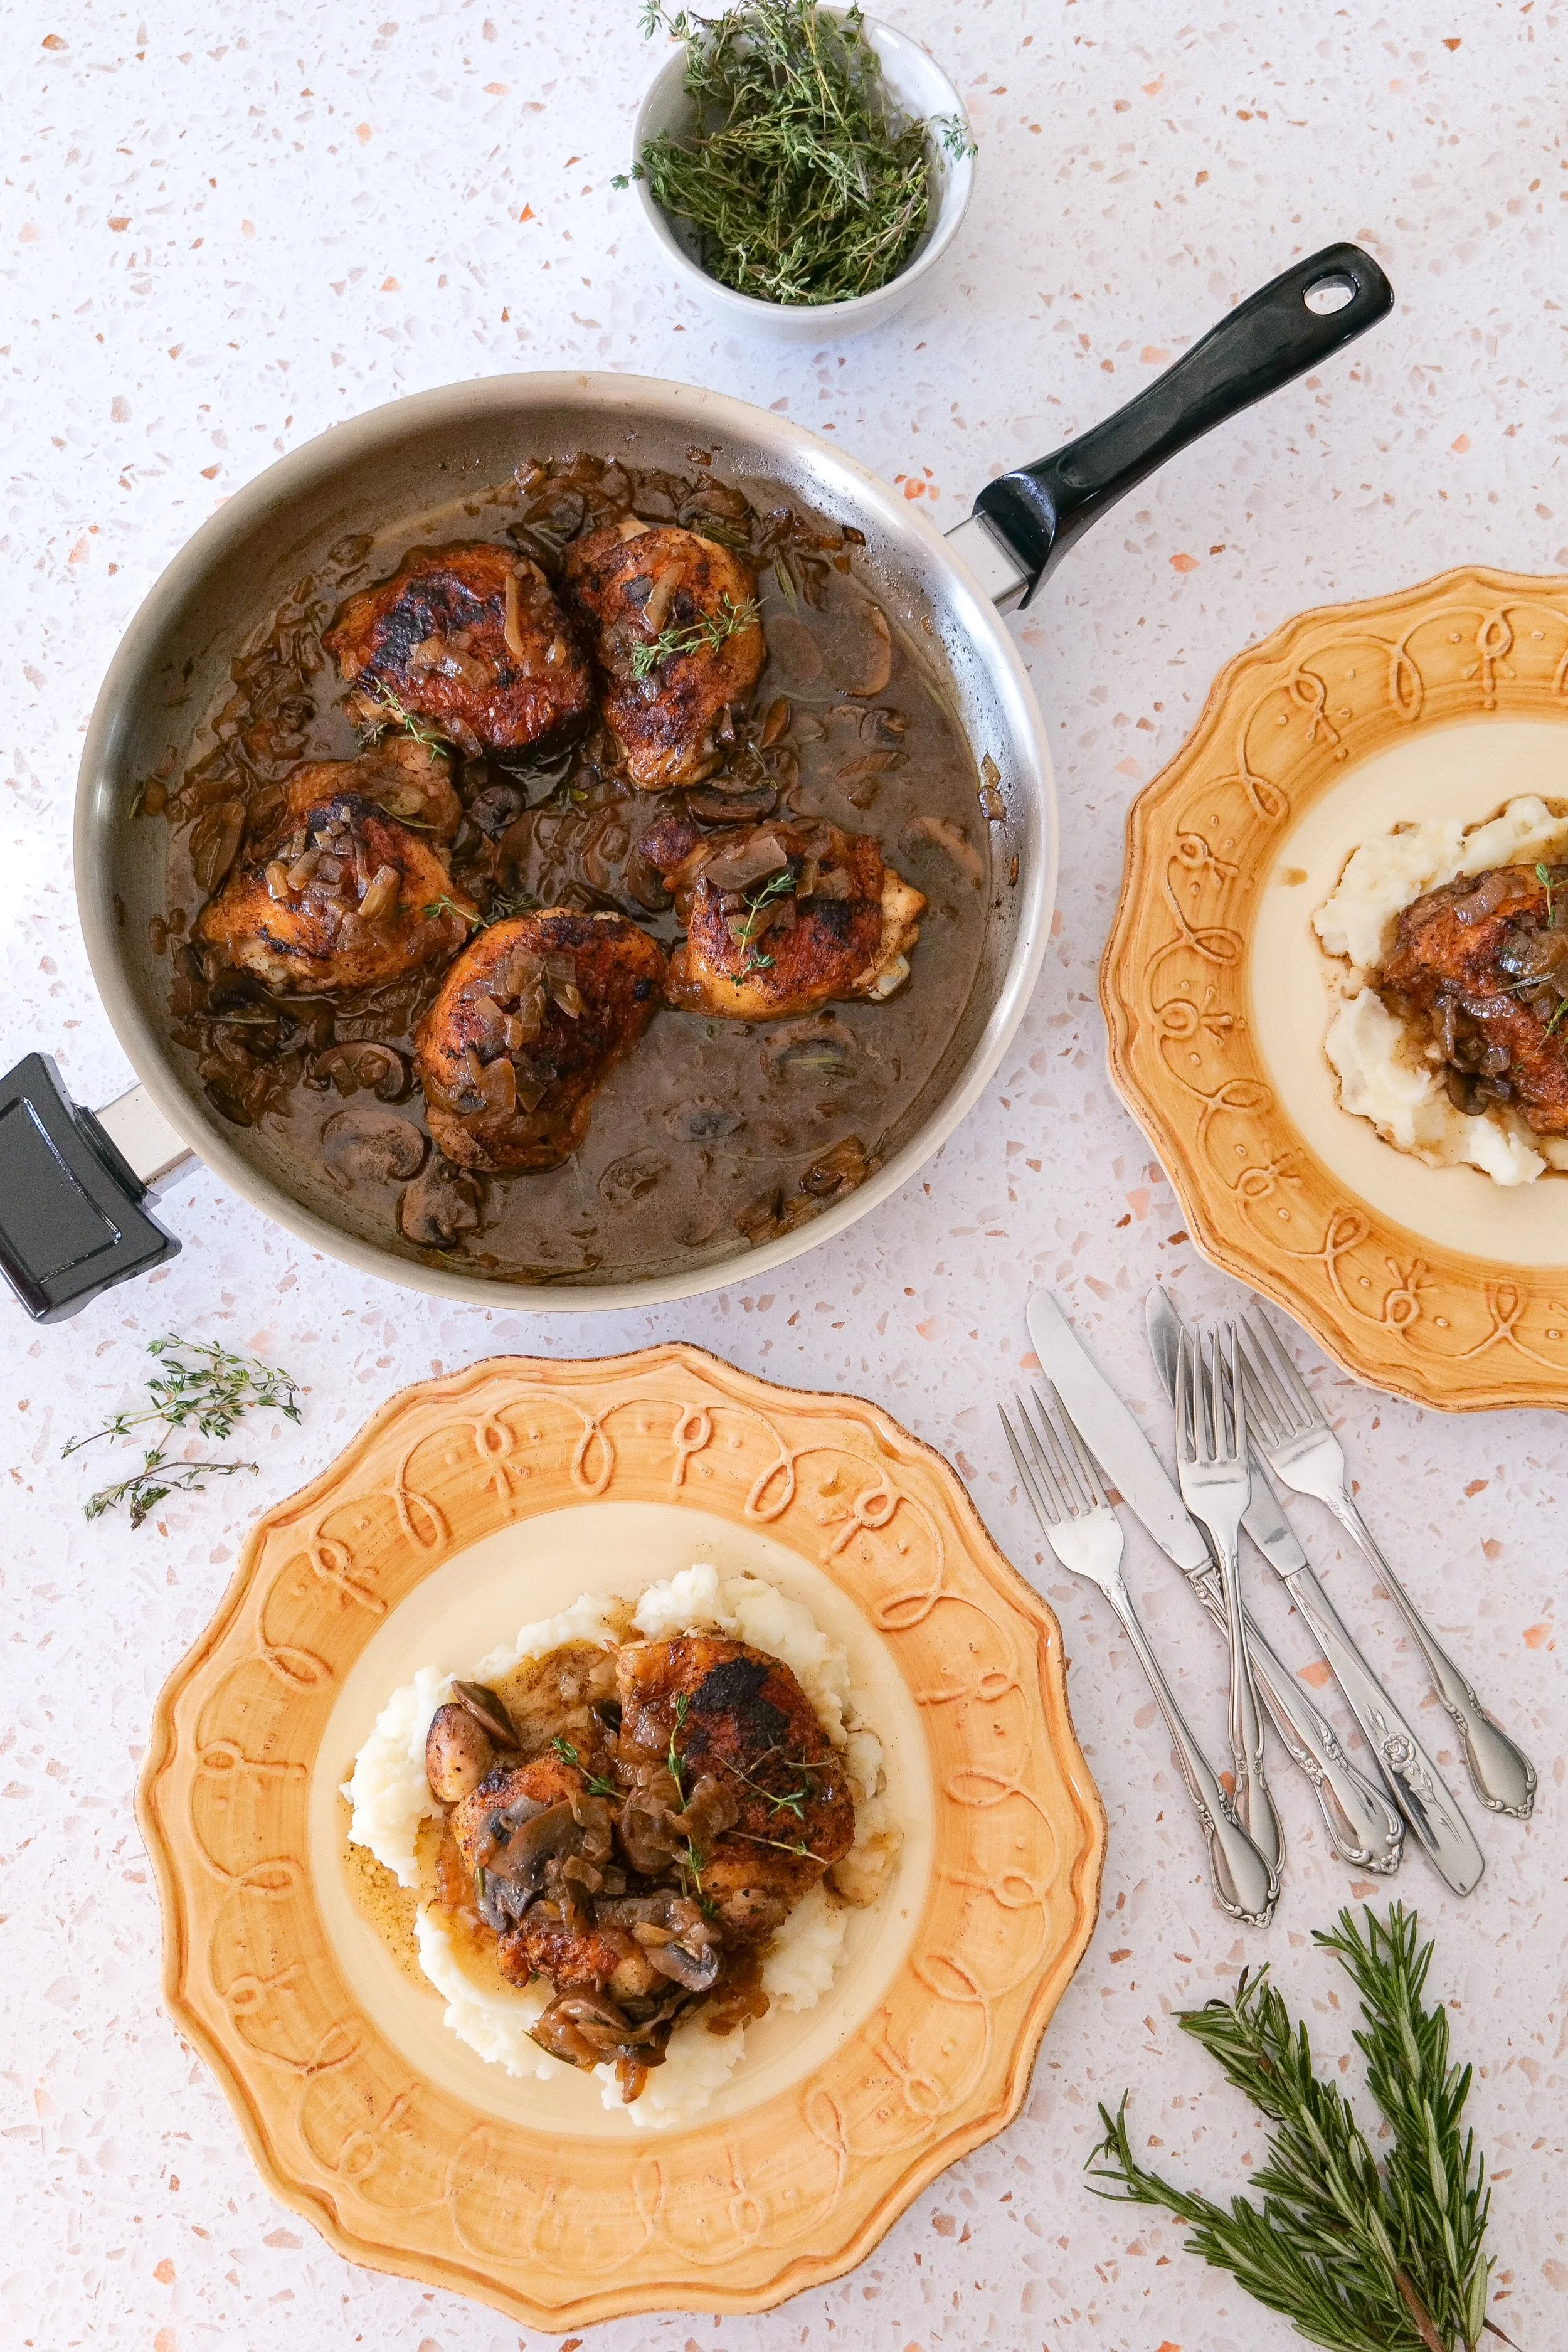
Golden chicken thighs with caramelized onions, brown mushrooms, rosemary, and thyme in a savory skillet sauce.

More Cozy Dinner Recipes You'll Love

If you enjoyed these Caramelized Onion & Mushroom Chicken Thighs, you may also enjoy these comforting recipes from Amanda's Kitchen:

Easy Skillet Chicken Pot Pie with Biscuits

A cozy one-pan chicken dinner topped with golden, flaky biscuits.

Apple-Glazed Chicken Thighs

Another simple chicken thigh dinner with a sweet and savory seasonal glaze.

Creamy Chicken & Mushroom Couscous Soup

Perfect if you love the chicken and mushroom combination in this recipe.

Italian Penicillin Soup

A warm, comforting soup that's perfect for cooler evenings.

Italian Lasagna Soup

All of the cozy flavors of lasagna in an easy soup.

Slow Cooker Pulled Pork

An easy make-ahead dinner that's perfect for busy weeks and feeding a crowd.

Shop My Kitchen Favorites

I've gathered the cookware, knives, serving pieces, and everyday kitchen essentials I reach for when making recipes like this in my Kitchen Essentials shelf.

SHOP MY KITCHEN ESSENTIALS

Save This Recipe

Whether you're looking for a cozy weeknight dinner or something a little special to make for family and friends, save these Caramelized Onion & Mushroom Chicken Thighs for the next time you're craving a warm, savory skillet dinner.

I've included my printable From Amanda's Kitchen recipe card below so you can save it, print it, and come back to the recipe whenever you need it.
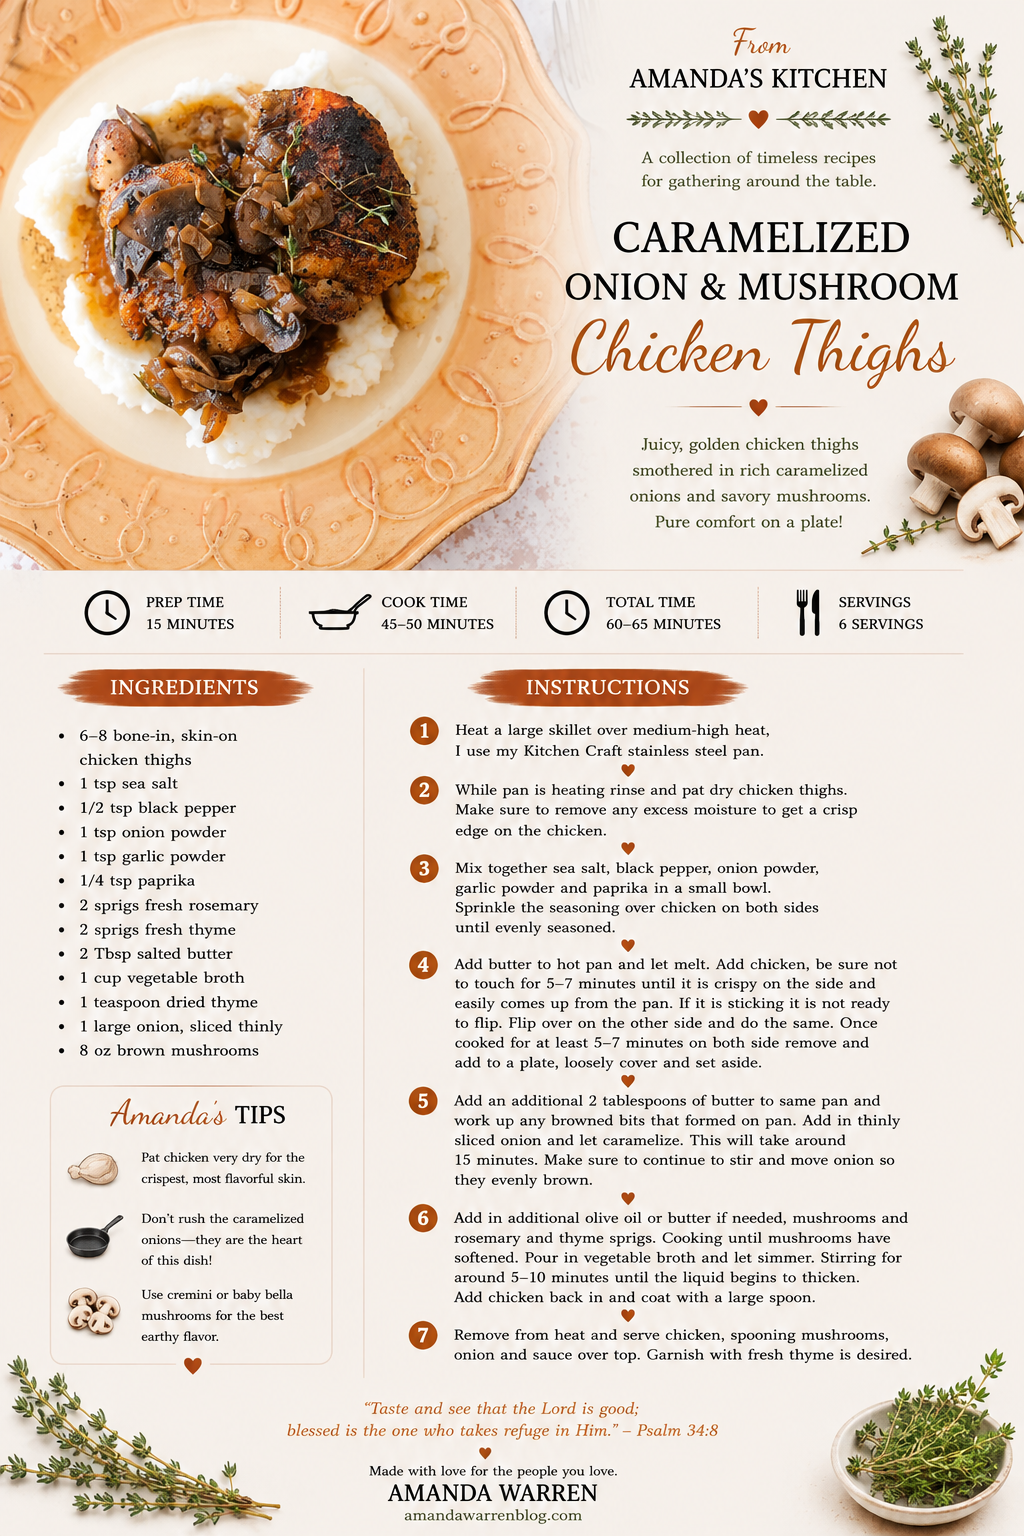
Printable recipe card for caramelized onion and mushroom chicken thighs from Amanda's Kitchen.

A Note From Amanda

Some of my favorite dinners are the ones that turn simple ingredients into something that feels a little more special.

Chicken, onions, and mushrooms aren't complicated ingredients, but giving each one the time to develop its flavor completely changes the finished dish. The crispy chicken, sweet onions, earthy mushrooms, and warm herbs make this one of those meals that feels comforting from the moment it starts cooking.

I hope this becomes one of those recipes you pull out on cool evenings when you want something warm on the table and everyone gathered around it.

"Taste and see that the Lord is good."
Psalm 34:8

Made with love for the people you love.
Easy Skillet Chicken Pot Pie with Biscuits

There's something so comforting about a warm chicken pot pie simmering away at the end of a long day. Creamy, hearty, and filled with tender chicken and vegetables, it's one of those timeless dinners that instantly makes a house feel like home.

This Easy Stovetop Chicken Pot Pie with Biscuit Topping has everything you love about the classic recipe without all the extra work. Instead of making a traditional pie crust, buttery biscuits bake until perfectly golden over a rich, creamy chicken filling. It's a simple one-pan dinner that's cozy enough for Sunday supper but easy enough for busy weeknights.

Whether you're cooking for your family on a chilly evening or looking for a comforting meal to add to your weekly dinner rotation, this recipe is one you'll come back to again and again.

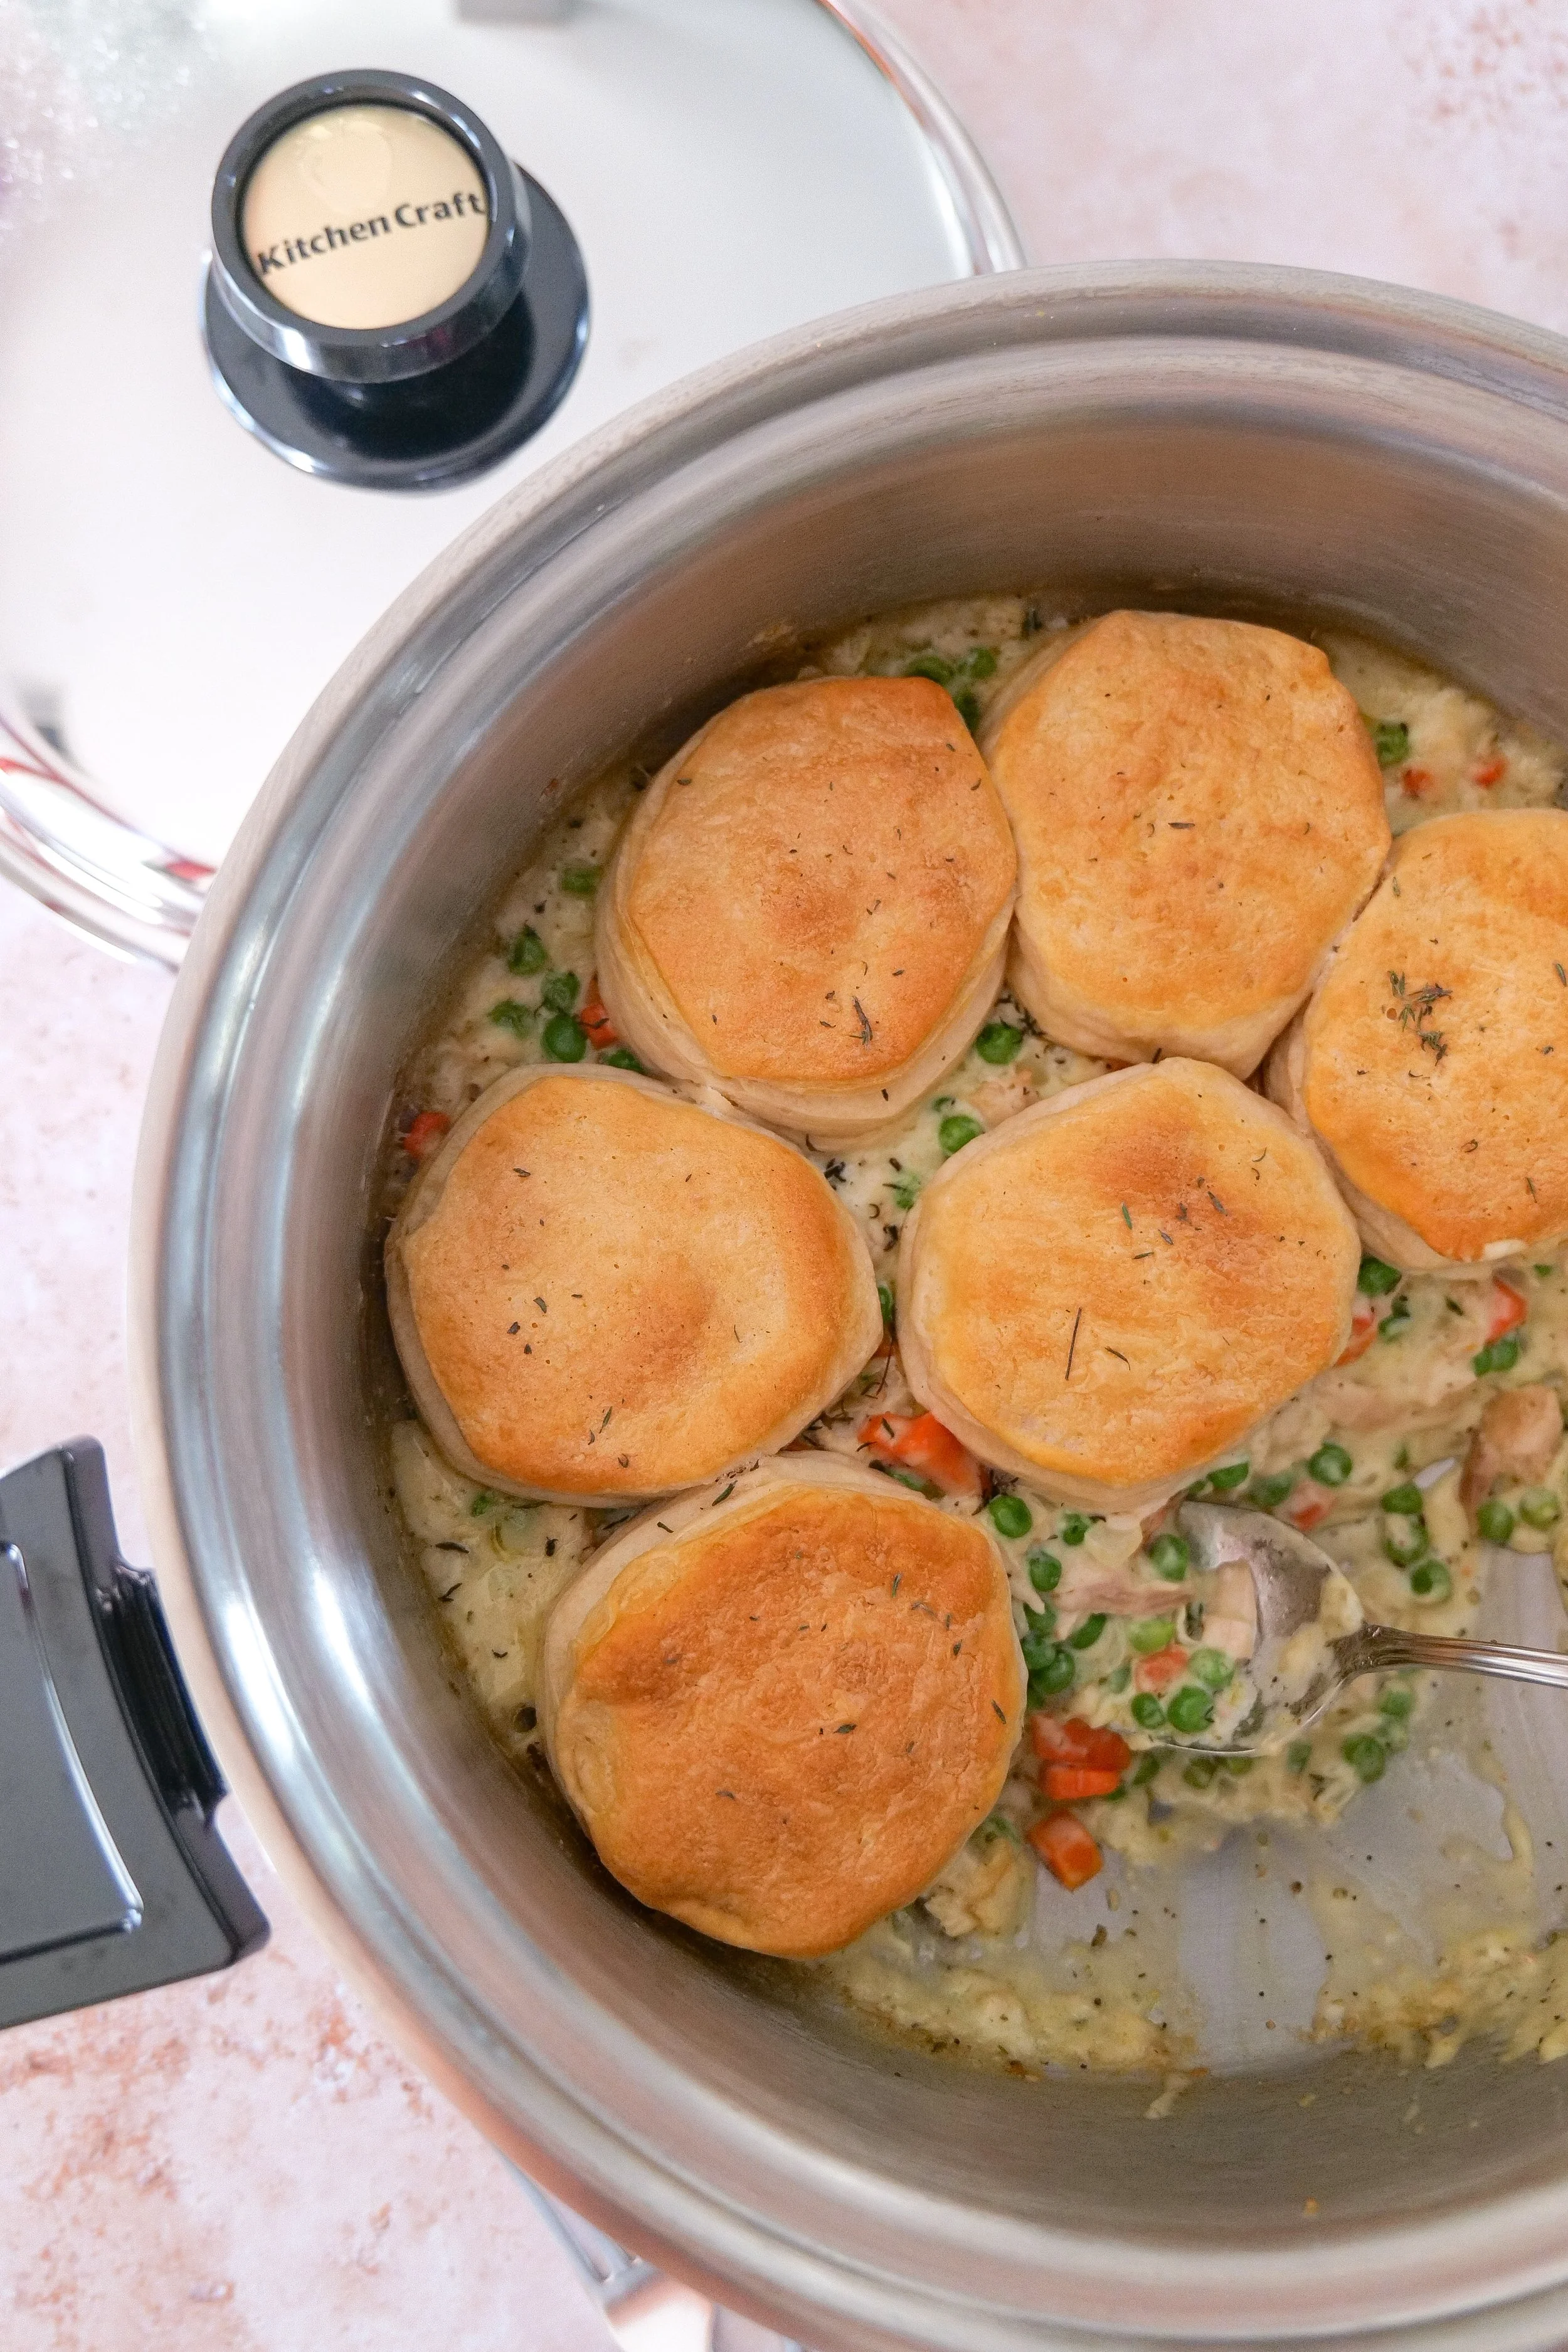
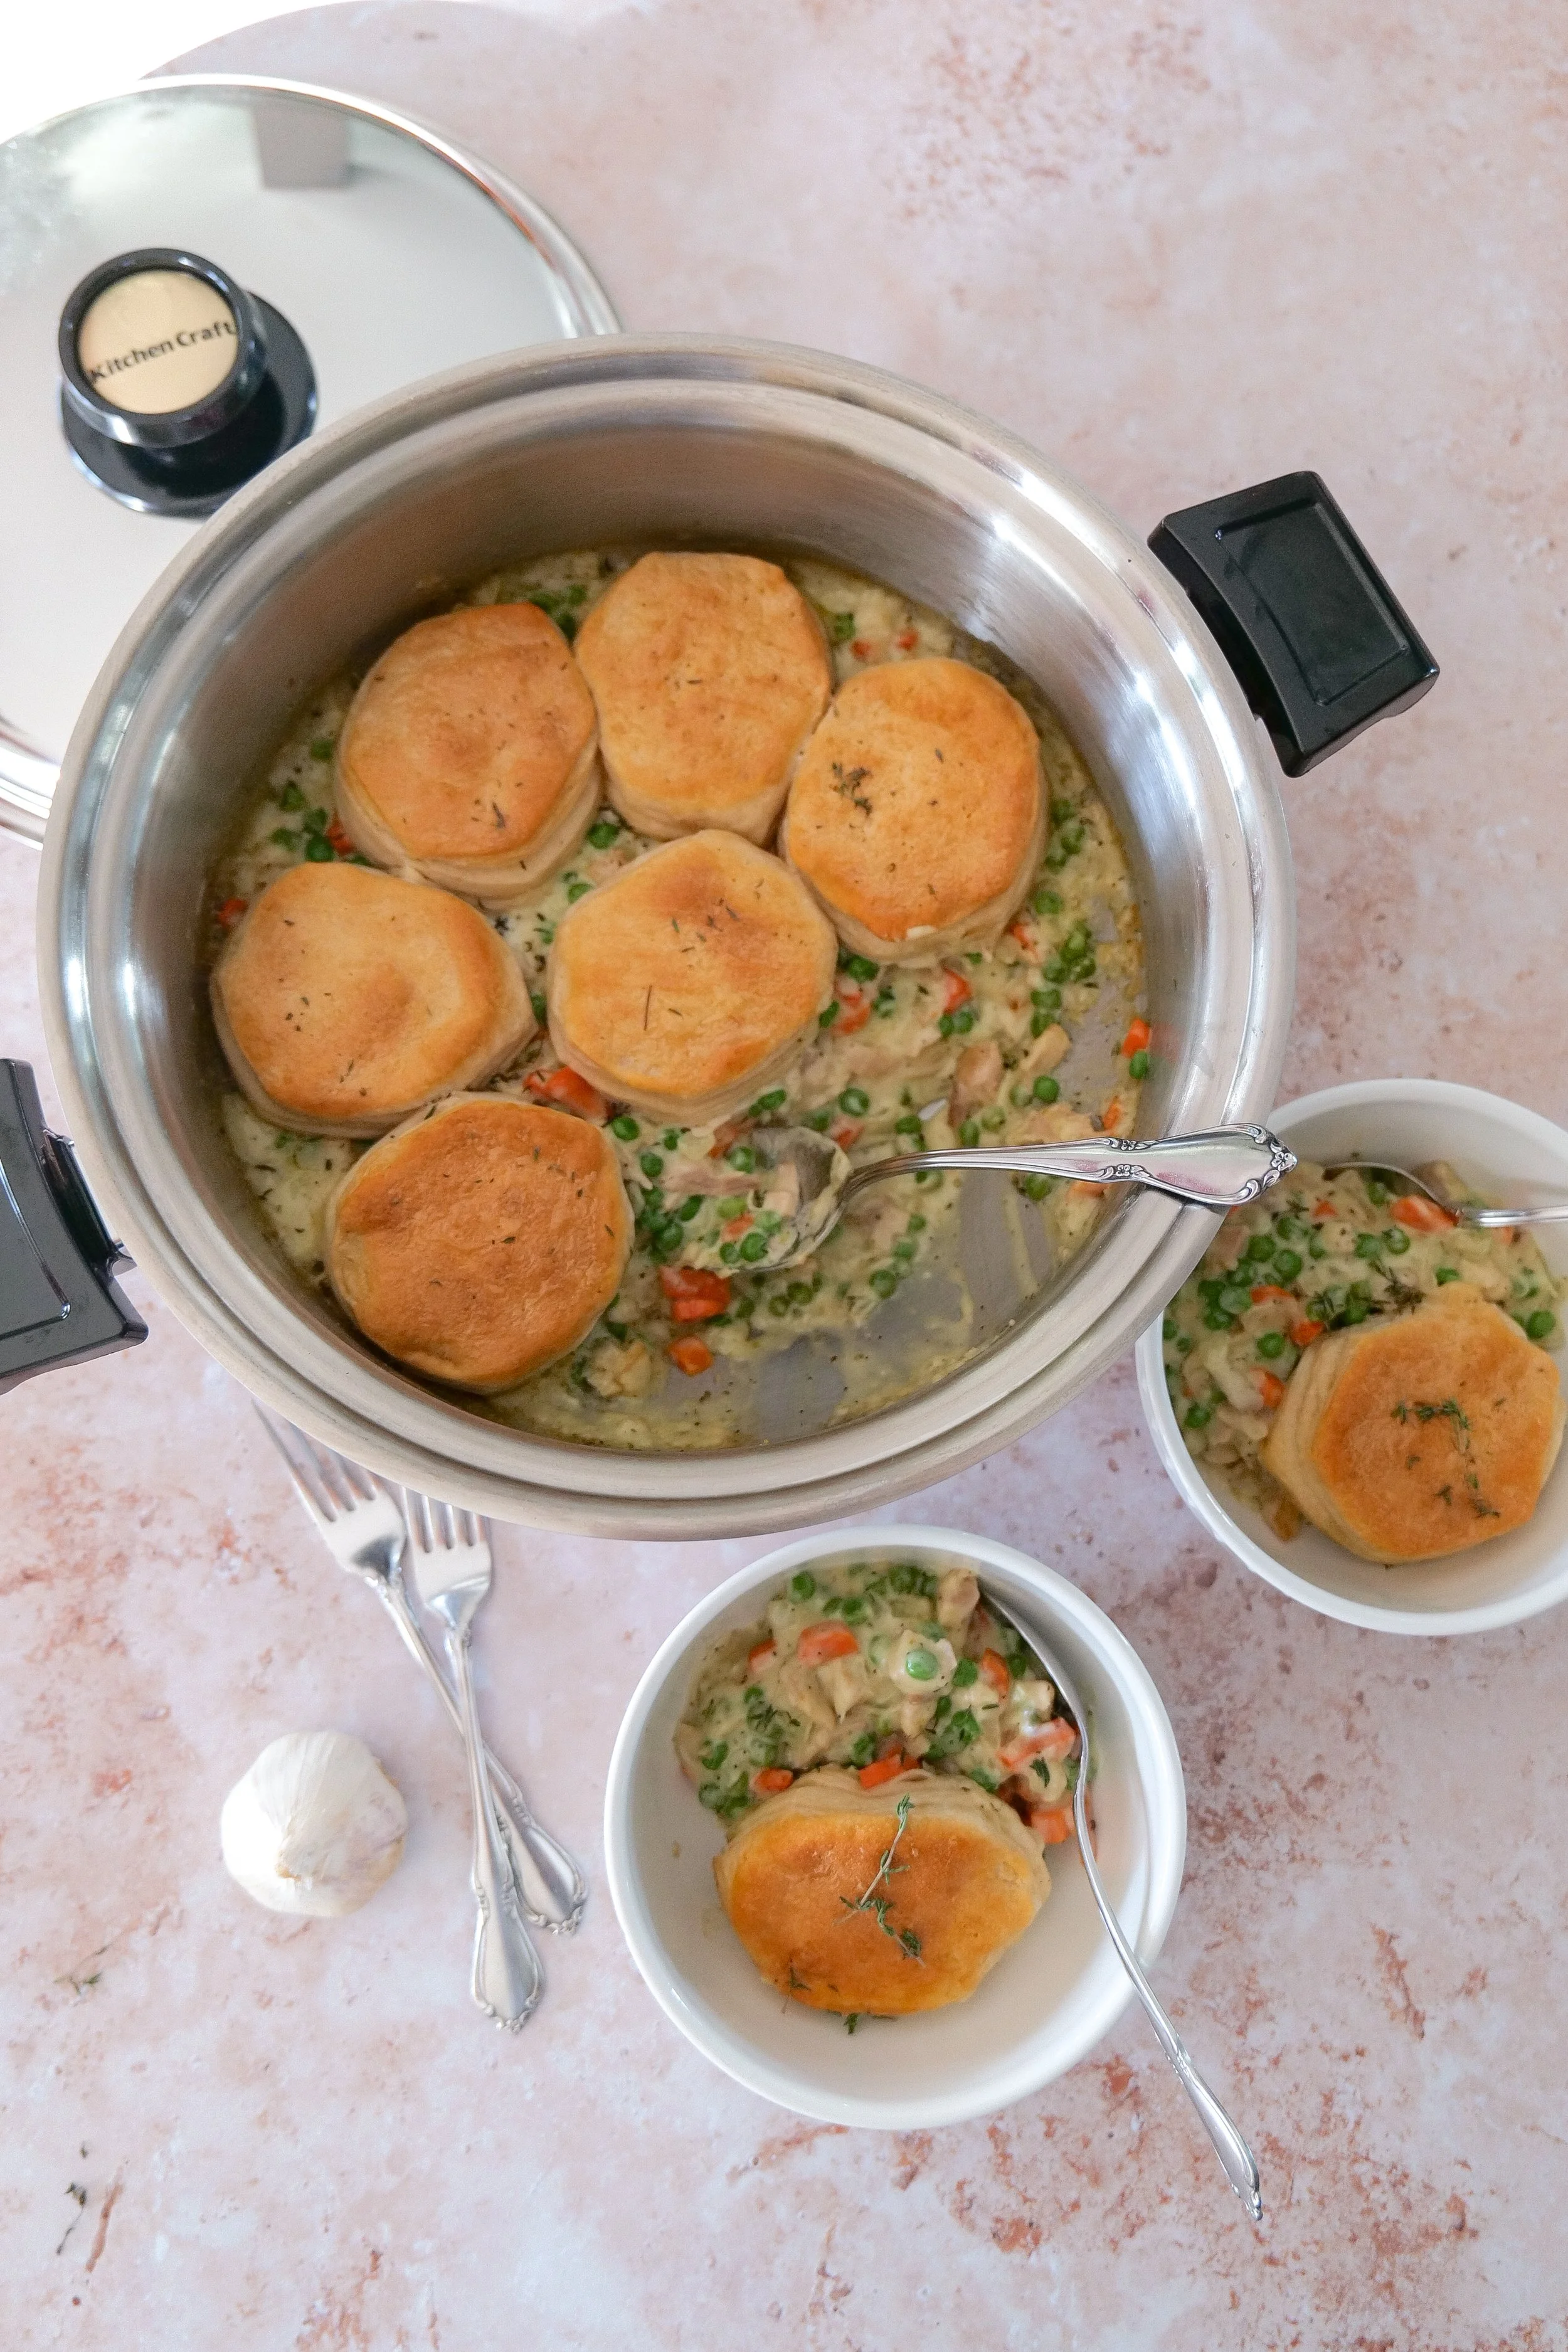
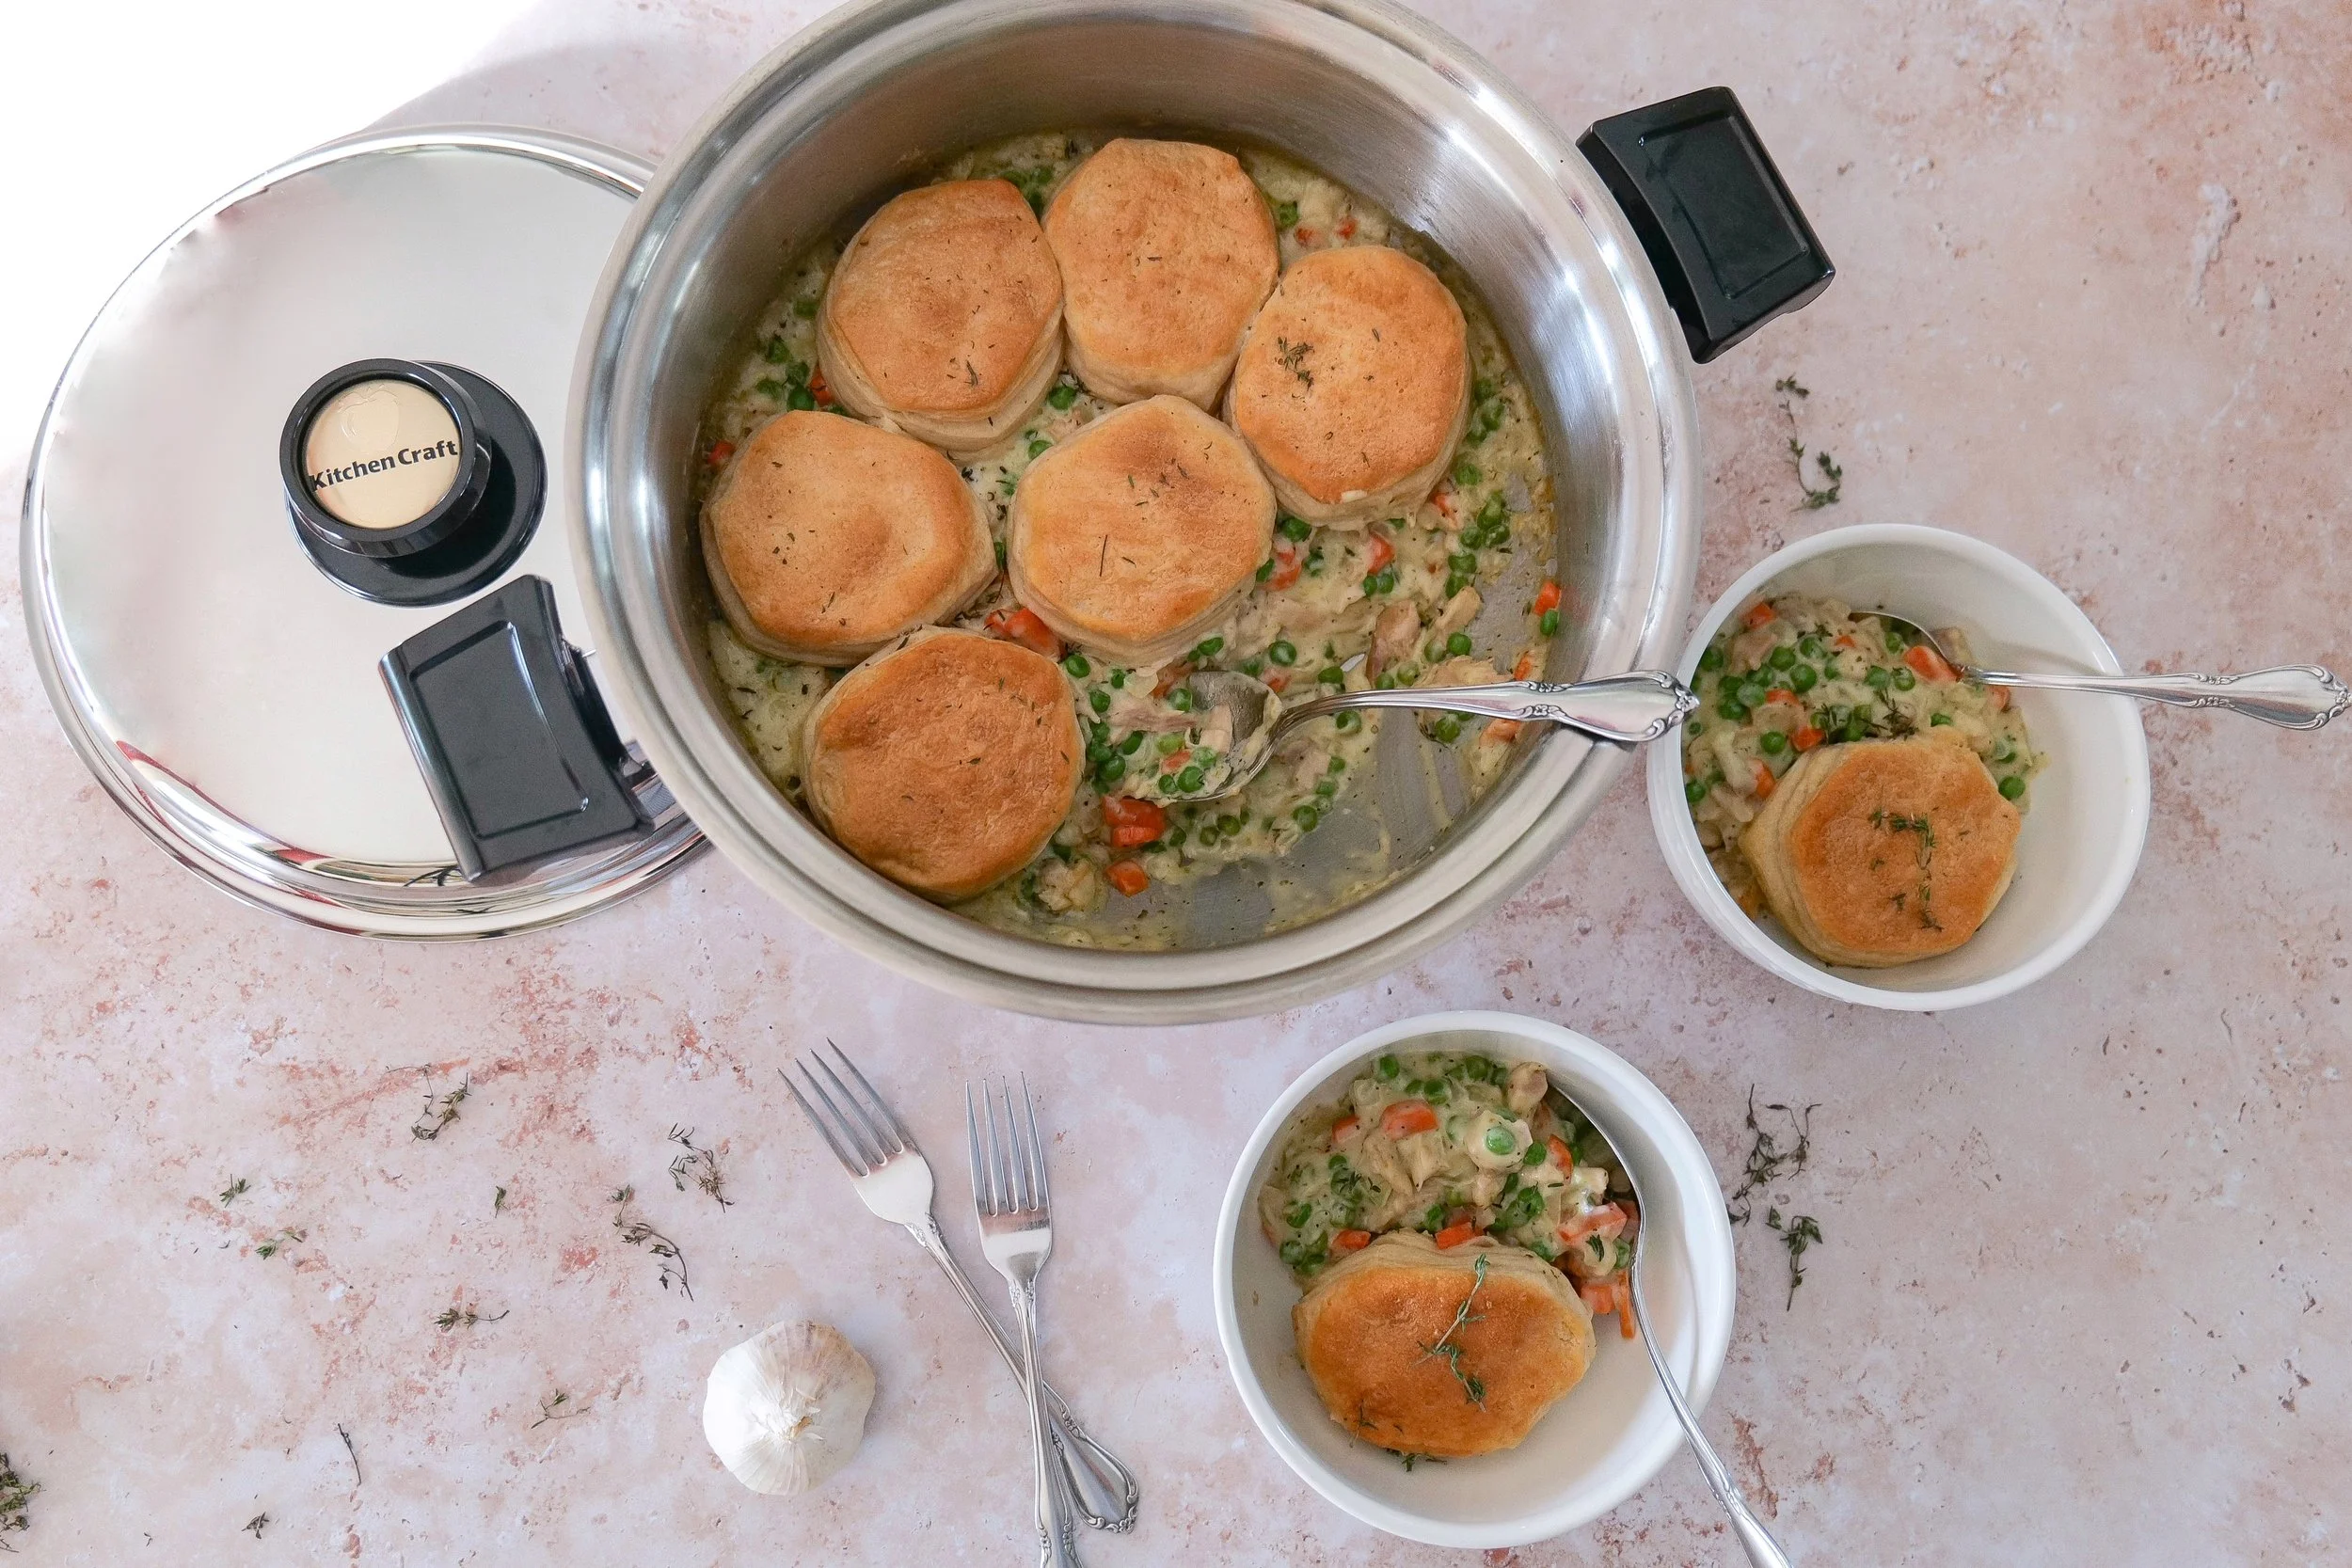
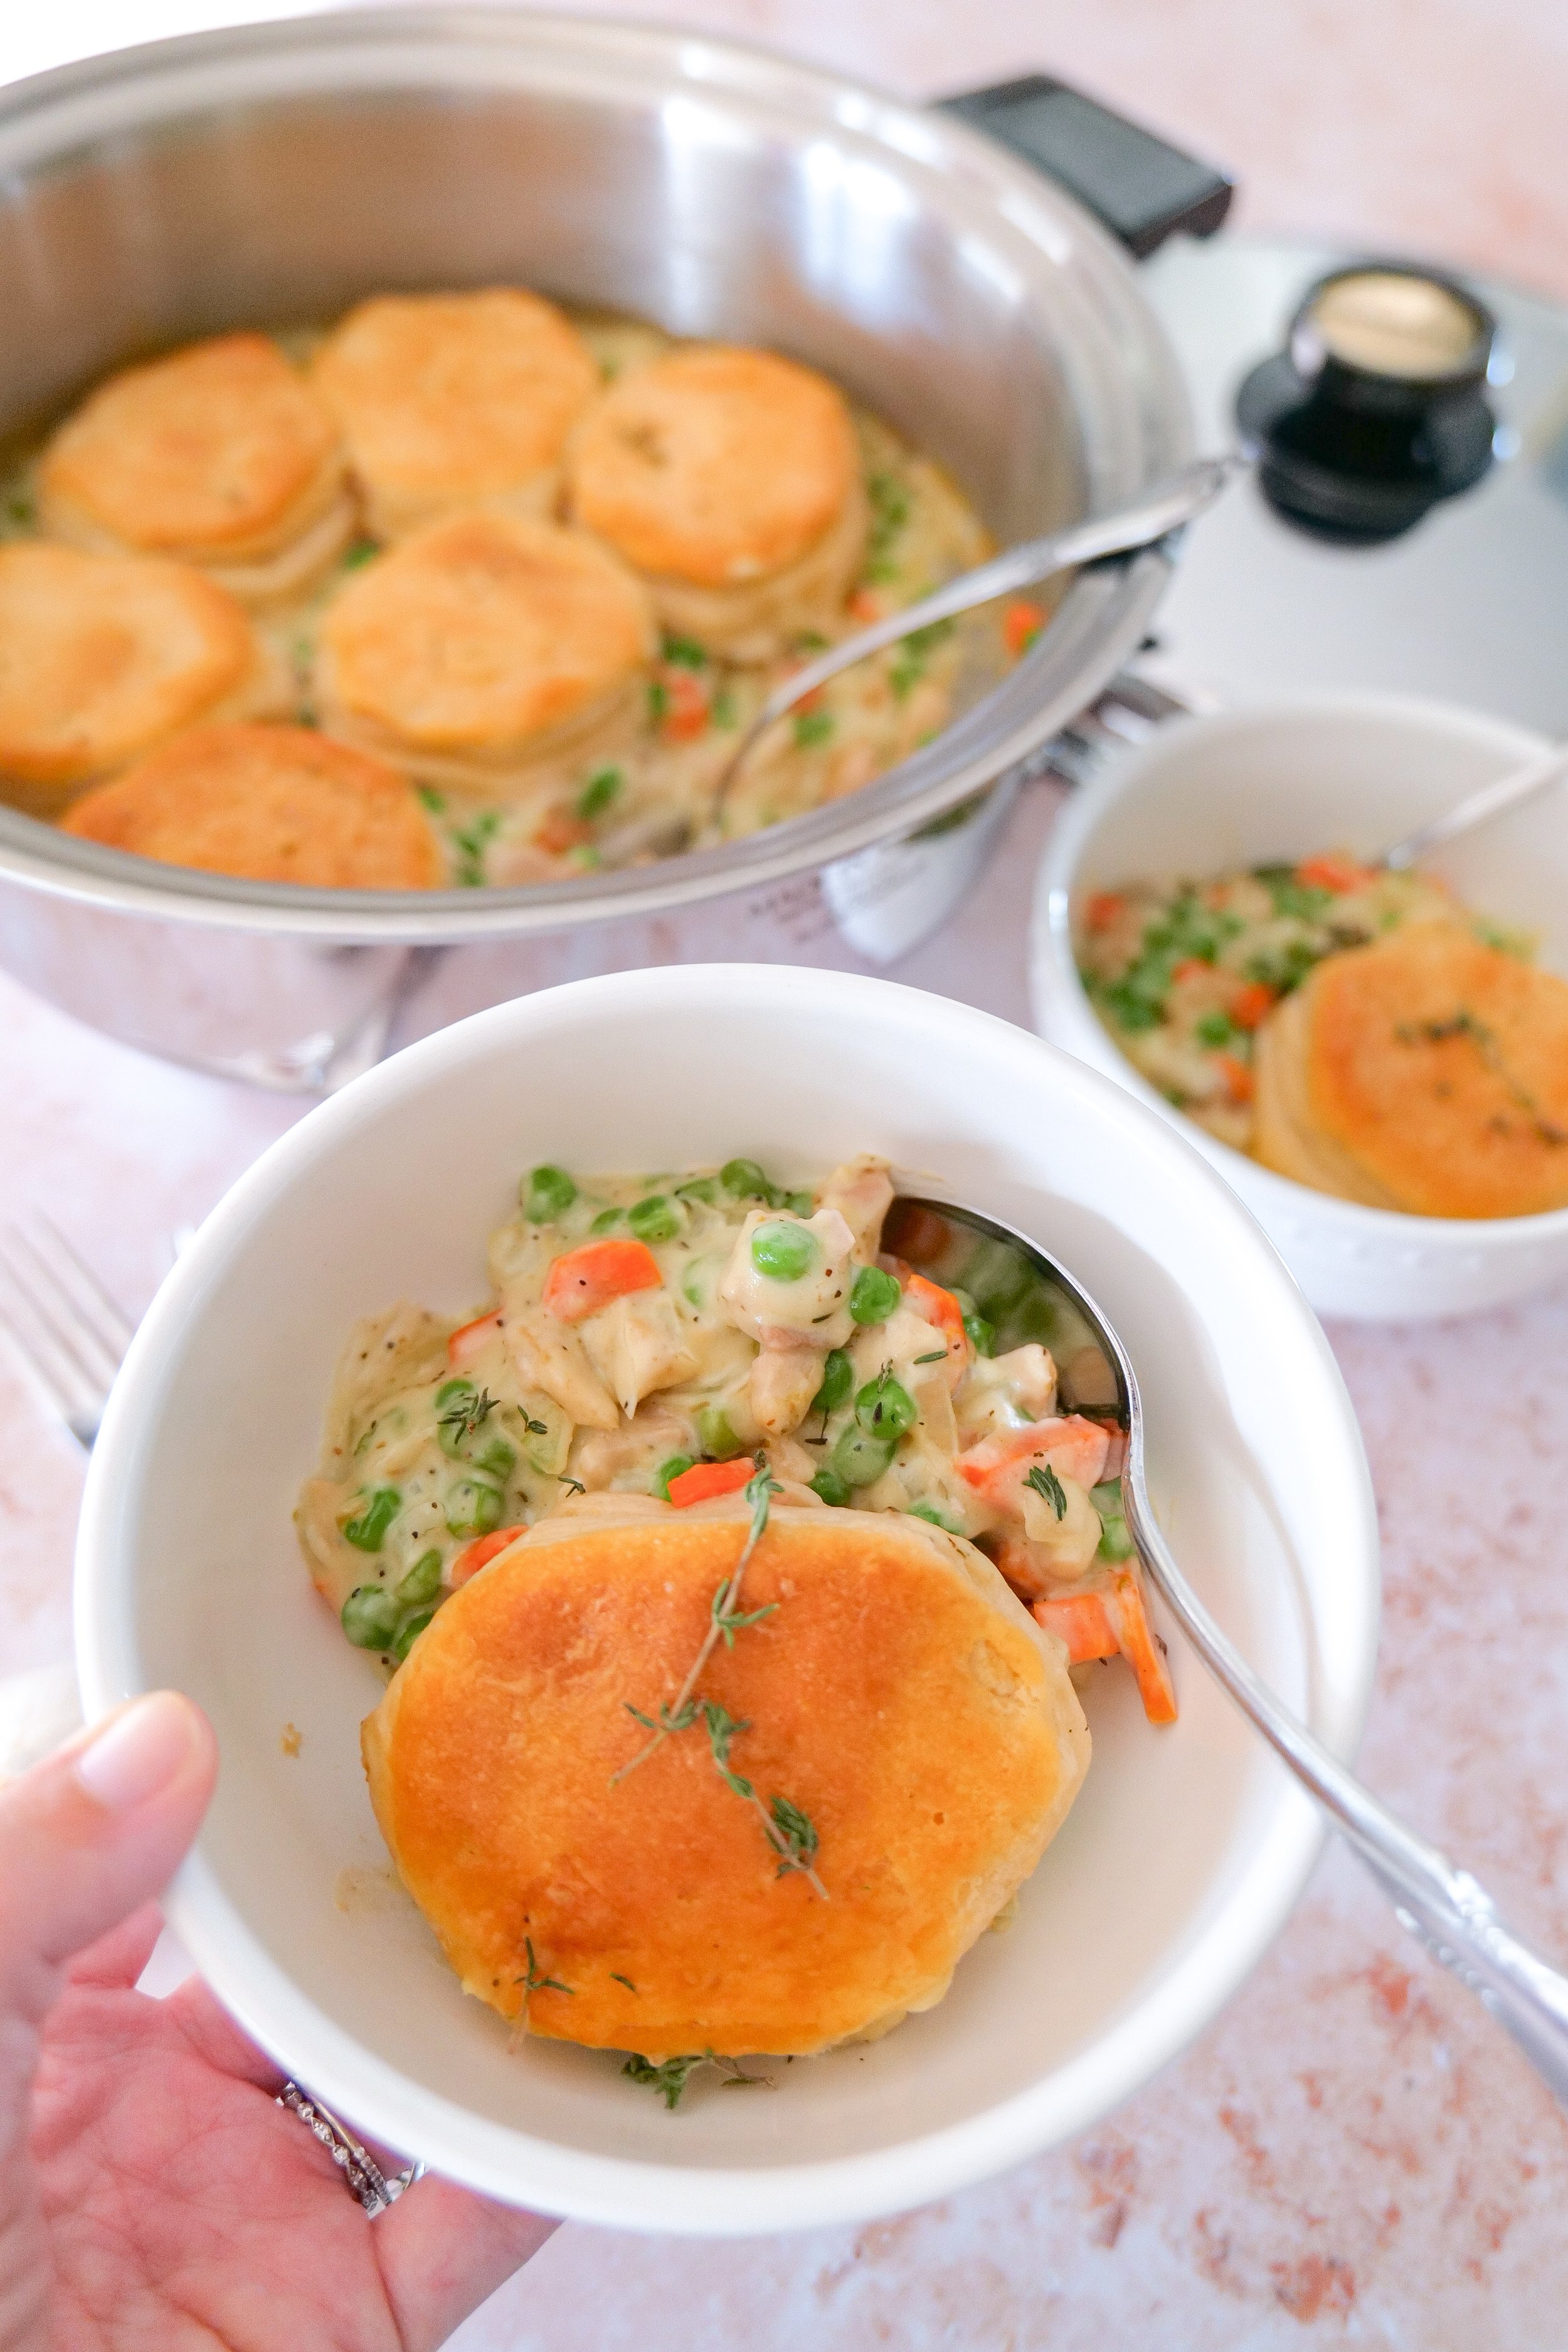
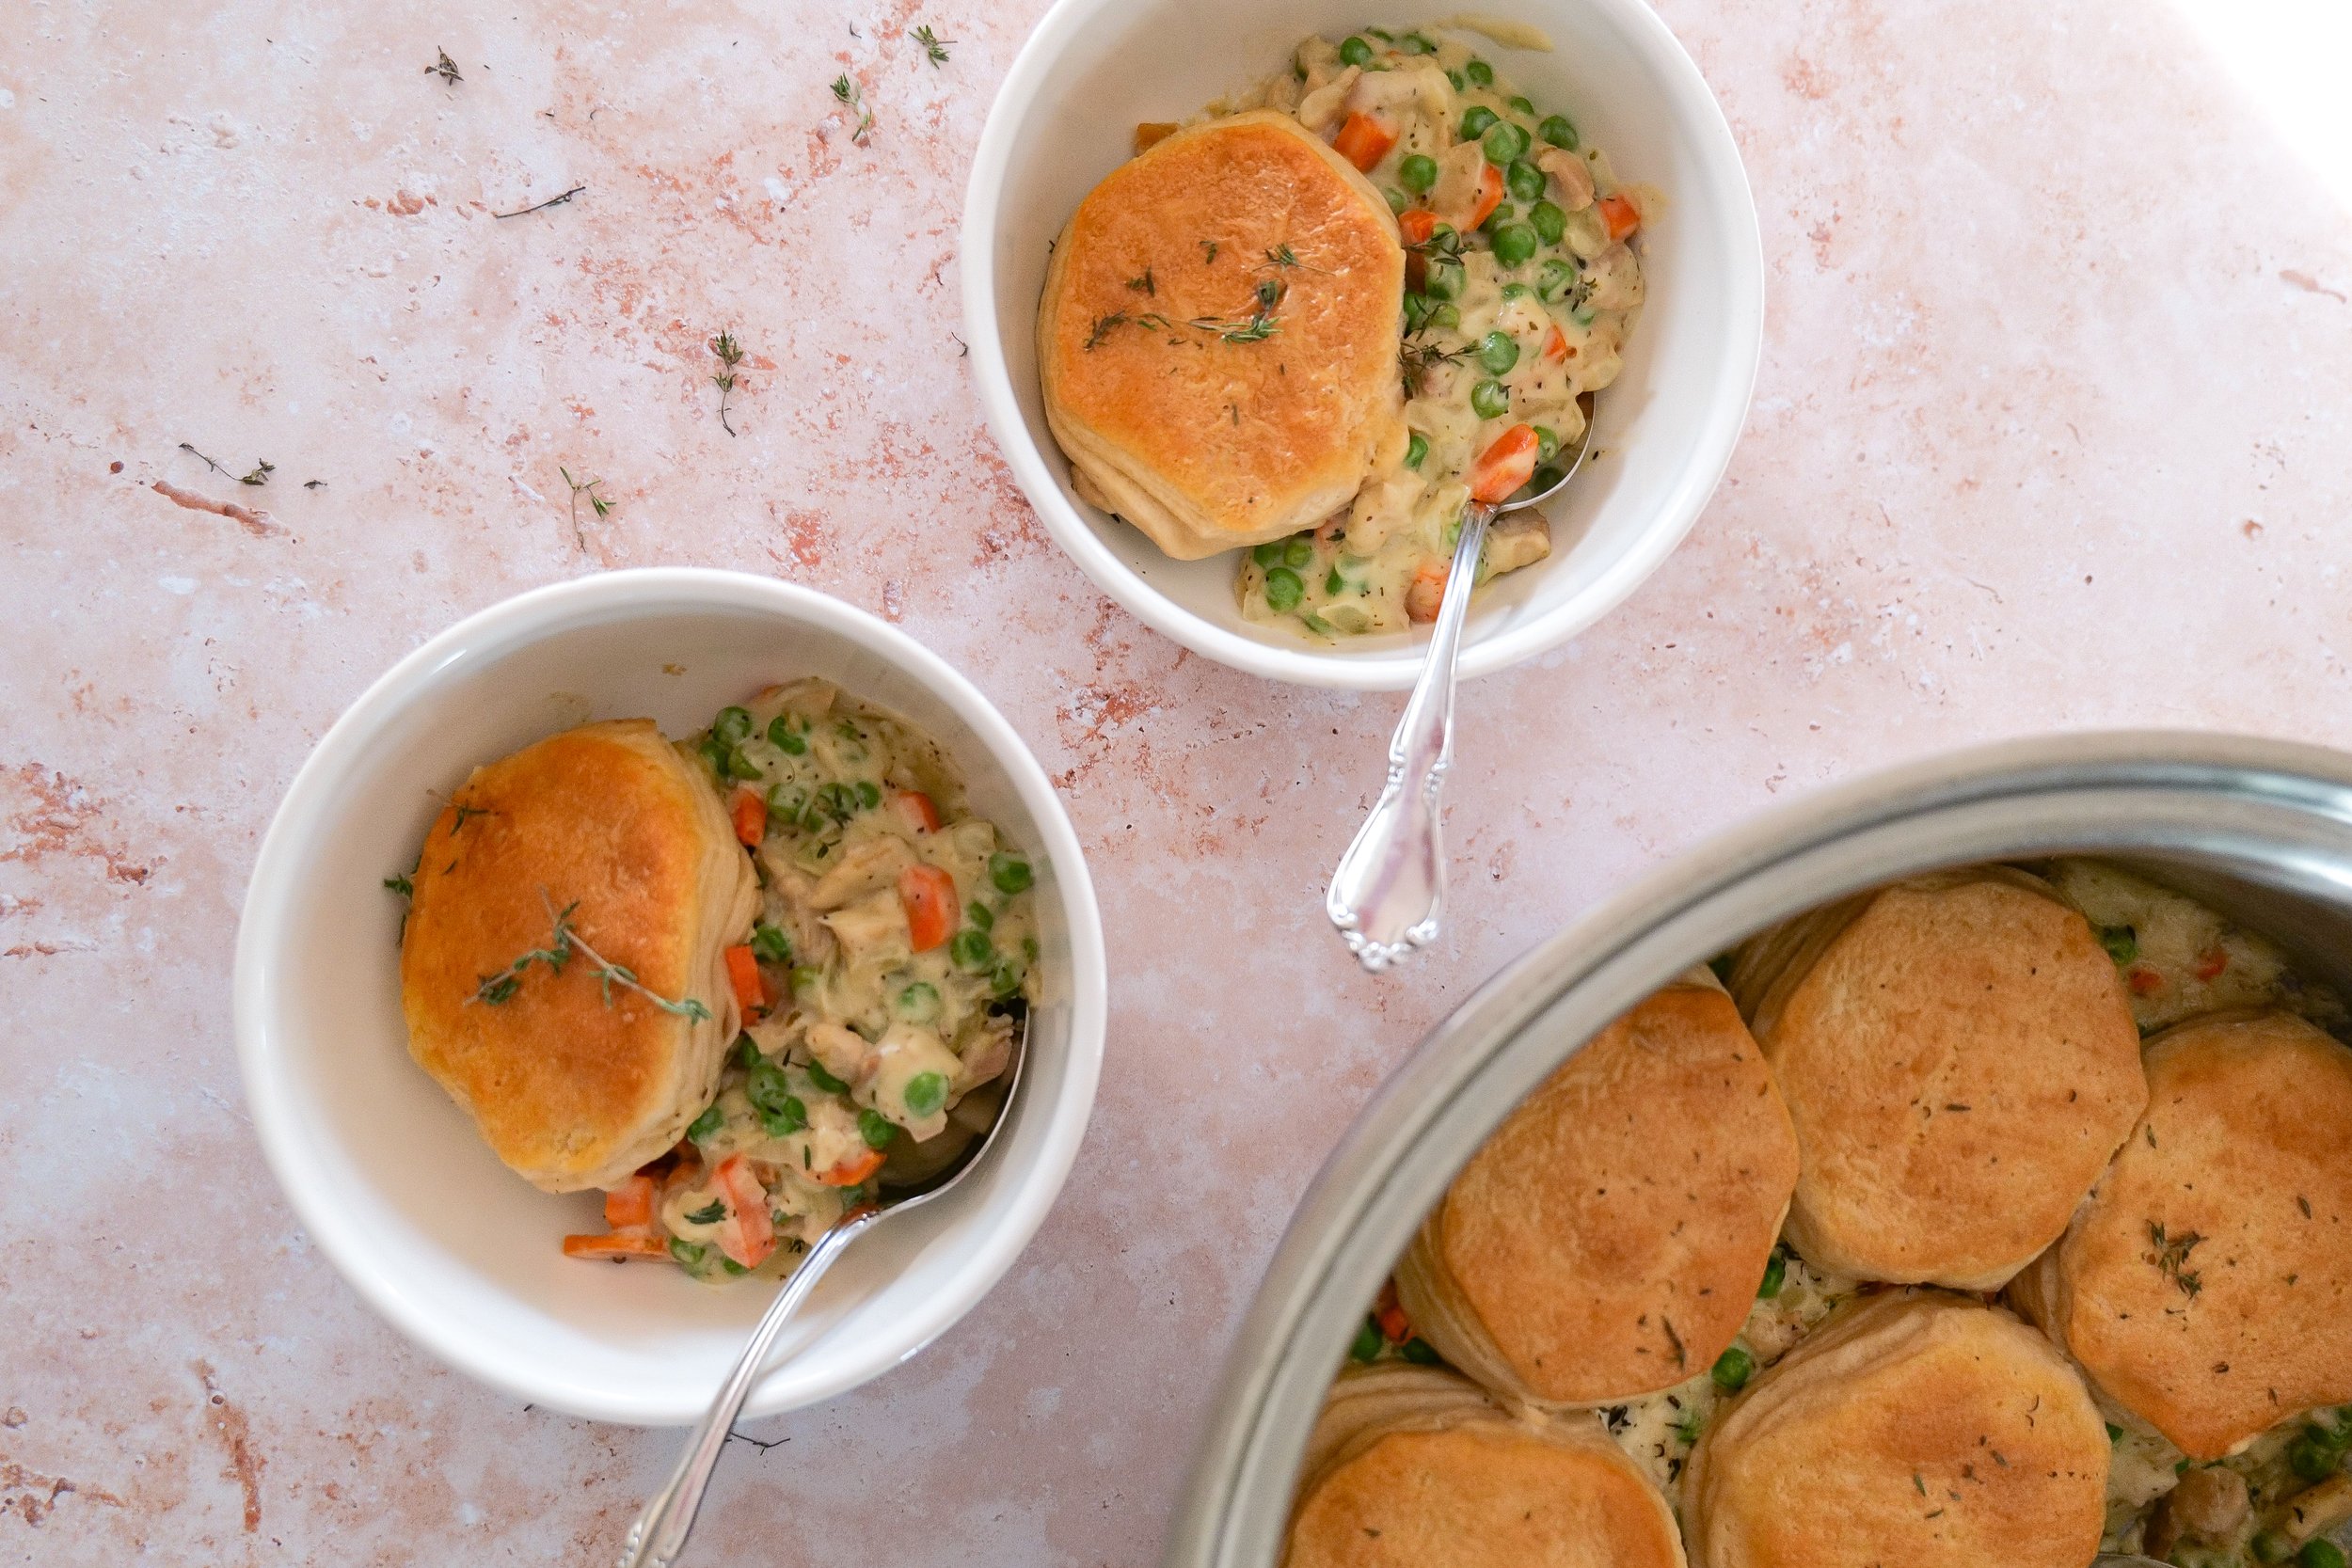
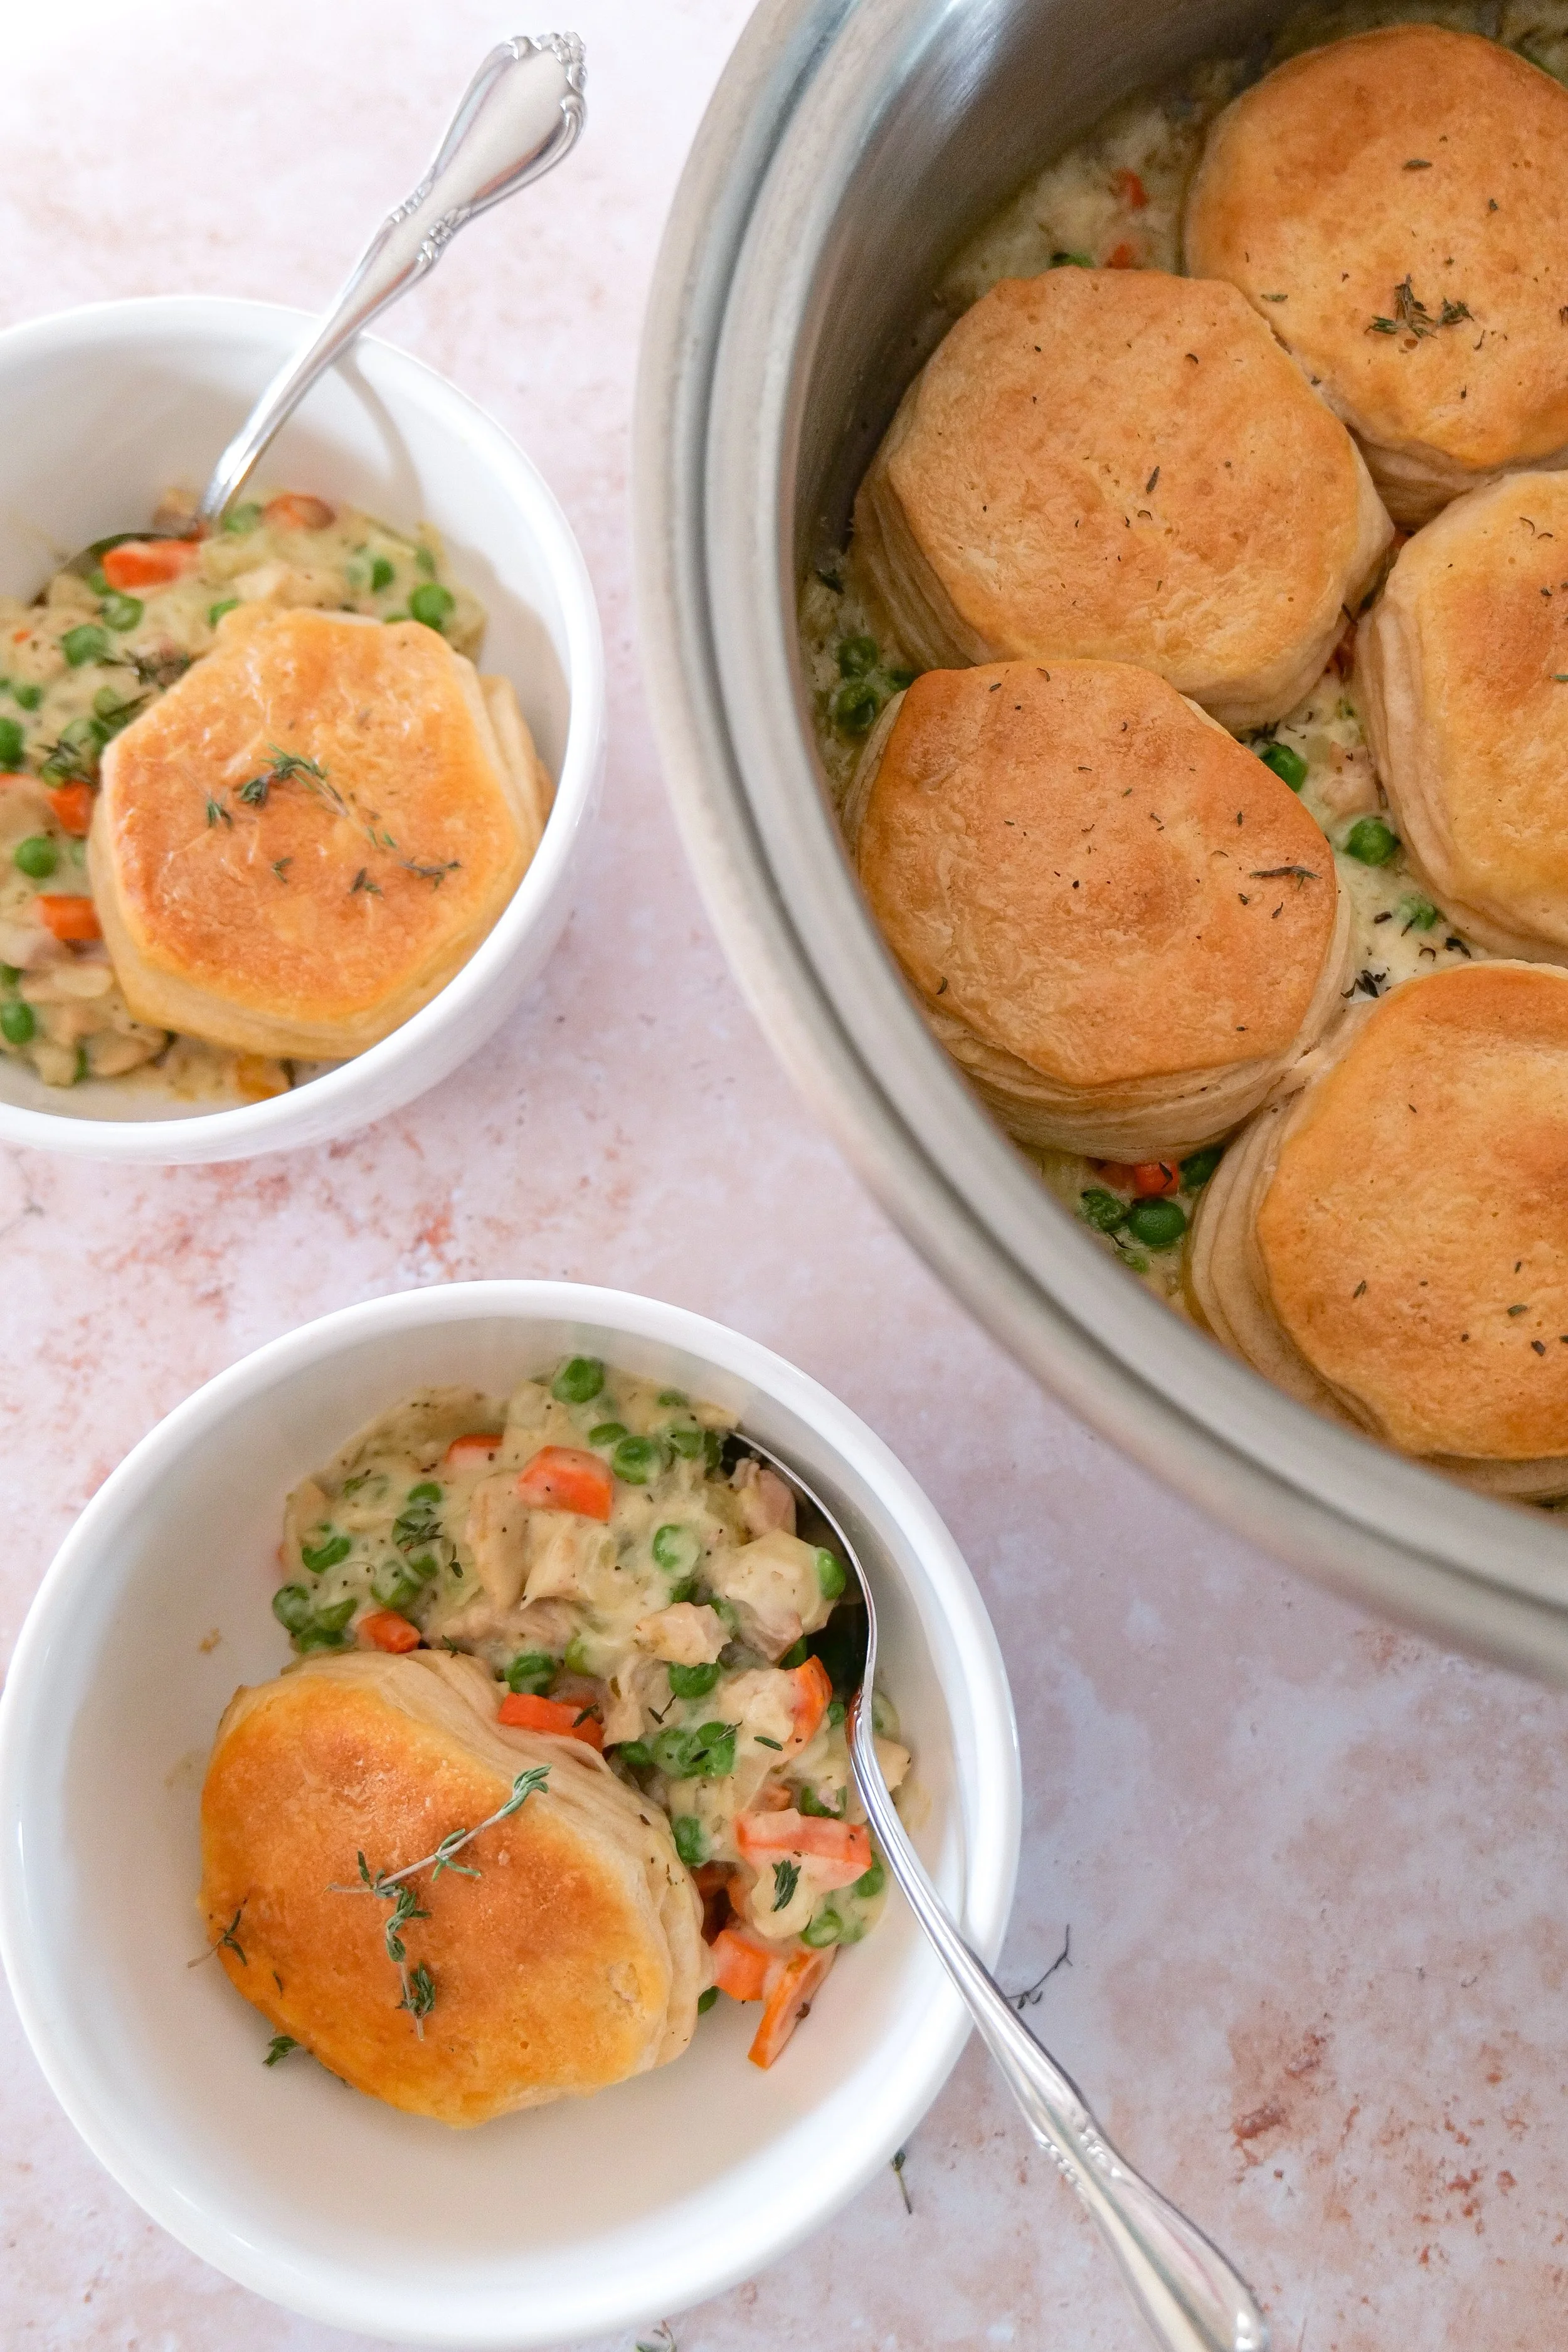
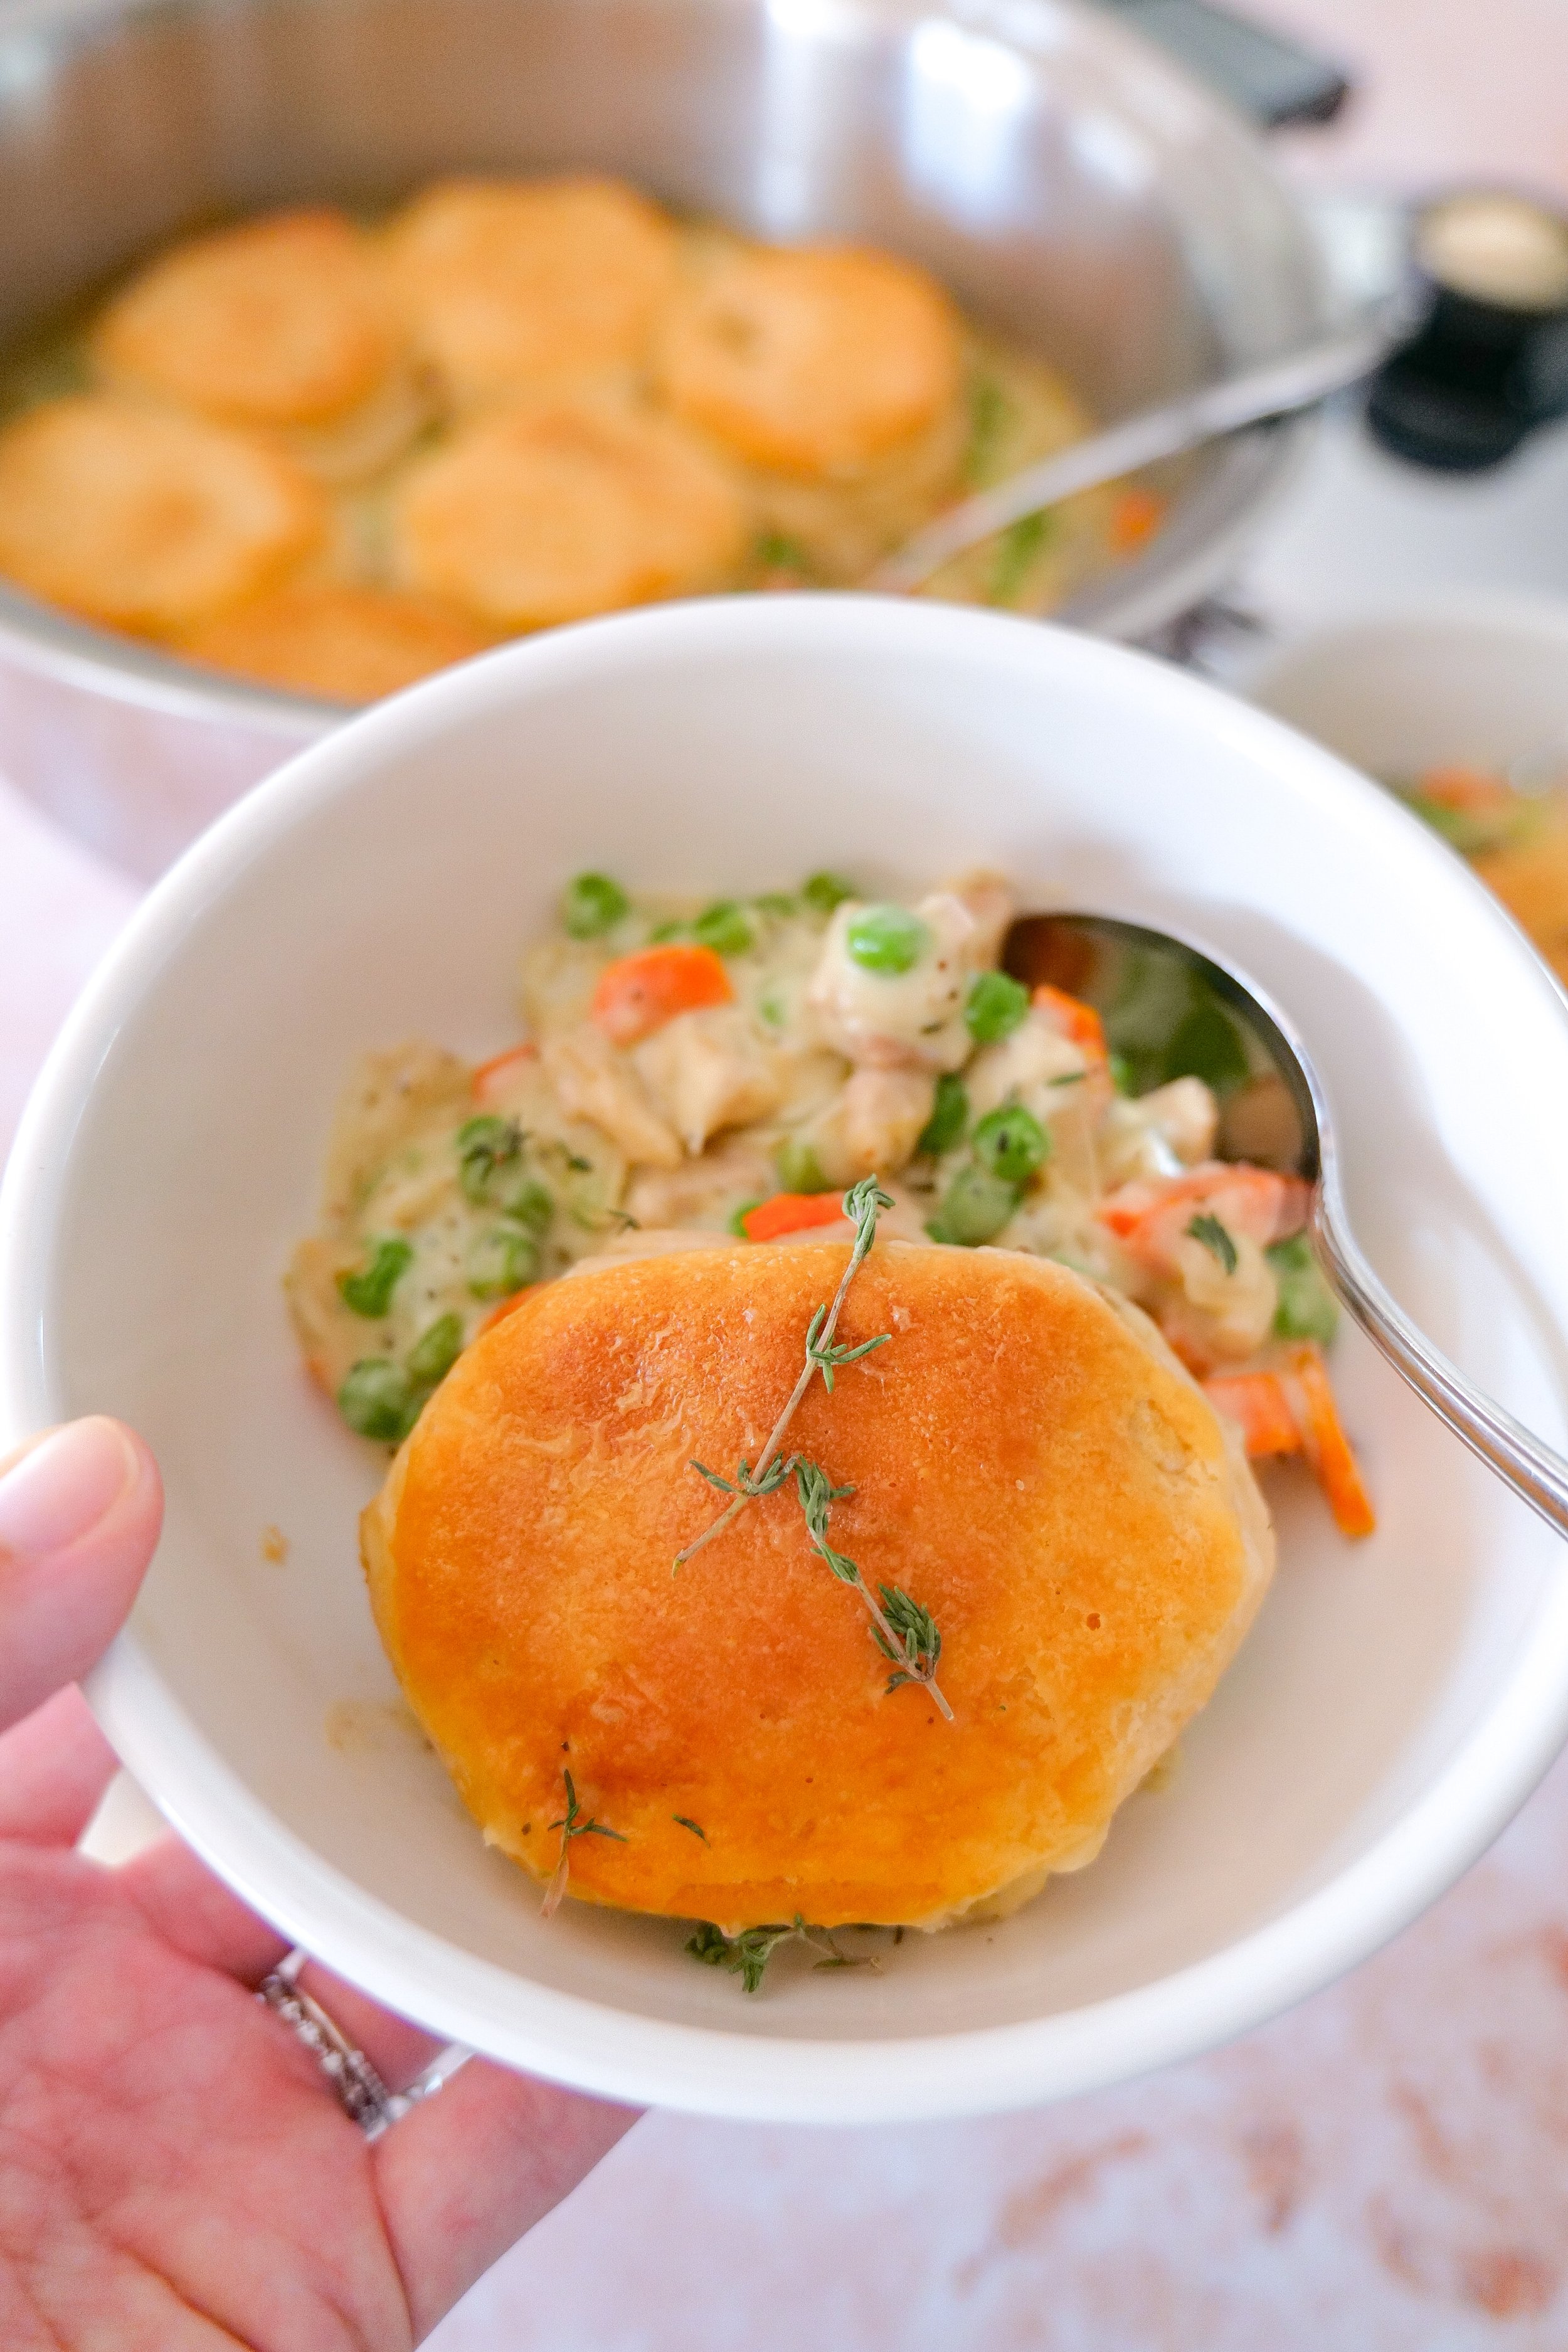
Easy skillet chicken pot pie with flaky golden biscuits baked over a creamy chicken and vegetable filling in a cast iron skillet.
Creamy homemade chicken pot pie filling with tender chicken, carrots, peas, garlic, and herbs simmering in a skillet.
Fresh ingredients for skillet chicken pot pie including chicken, carrots, onion, garlic, peas, broth, cream, herbs, and refrigerated biscuits.

Why You'll Love This Recipe

  • Ready in about 45 minutes

  • Made with simple pantry staples

  • Rich, creamy, and packed with flavor

  • Family-friendly comfort food

  • One-pan dinner for easy cleanup

  • Perfect for cozy fall and winter evenings

  • Easy to customize with your favorite vegetables

  • Great for leftovers

Kitchen Tools You'll Need

  • Large oven-safe skillet or cast iron skillet

  • Wooden spoon

  • Sharp chef's knife

  • Cutting board

  • Measuring cups and spoons

  • Pastry brush (for brushing the biscuits with cream and butter)

Diced chicken browning in butter as the first step for making an easy skillet chicken pot pie.

Ingredient Notes

One of my favorite things about this recipe is how flexible it is.

Chicken: Boneless, skinless chicken breasts work wonderfully, but rotisserie chicken is a fantastic shortcut when you're short on time.

Vegetables: Carrots, onions, peas, and garlic create the classic chicken pot pie flavor. Frozen peas make this recipe even easier.

Cream: Heavy cream creates an extra rich filling, while half & half is a lighter option that still delivers a wonderfully creamy texture.

Broth: Vegetable broth works beautifully, but chicken broth adds even more savory flavor if you have it on hand.

Biscuits: Refrigerated biscuits make this recipe incredibly simple, but homemade buttermilk biscuits are equally delicious if you have a little extra time.

How to Make Stovetop Chicken Pot Pie

Begin by melting the butter in a large oven-safe skillet over medium-high heat. Add the diced chicken and cook until lightly browned on all sides.

Next, stir in the diced onion, carrots, and garlic. Cook for about 5 minutes, or until the onions become translucent and the carrots begin to soften.

Sprinkle the flour evenly over the chicken and vegetables, stirring constantly for one minute to cook out the raw flour flavor.

Slowly whisk in the broth, followed by the heavy cream, thyme, rosemary, sea salt, and black pepper. Allow the filling to simmer for 3–5 minutes until thickened into a rich, creamy sauce.

Stir in the frozen peas before topping the filling with refrigerated biscuits. Brush each biscuit with a little heavy cream before transferring the skillet to a 350°F oven.

Bake for 20–25 minutes, or until the biscuits are beautifully golden brown and cooked through. Brush the warm biscuits with melted butter and finish with a sprinkle of flaky sea salt before serving.

Creamy chicken pot pie filling cooking in a skillet after adding broth, cream, herbs, and vegetables.

The Best Biscuits for Chicken Pot Pie

One of the best parts of this recipe is the buttery biscuit topping.

You can use refrigerated biscuits for a quick weeknight dinner, or make homemade biscuits if you have extra time. Buttermilk biscuits are always a favorite, while flaky layered biscuits create an especially beautiful presentation.

For something a little different, try cheddar biscuits or herb biscuits for extra flavor. Gluten-free biscuits also work well if needed.

Ingredients

  • 2 tablespoons salted butter

  • 2 cups boneless, skinless chicken breasts, diced

  • 1 medium yellow onion, diced

  • 2 cloves garlic, minced

  • 4 medium carrots, peeled and diced

  • 2 cups frozen peas

  • 1 teaspoon dried thyme

  • 1 teaspoon dried rosemary

  • ½ teaspoon fine sea salt

  • ½ teaspoon freshly ground black pepper

  • ¼ cup all-purpose flour

  • 2 cups chicken broth

  • 1 cup heavy cream or half-and-half

  • 1 (16.3-ounce) can refrigerated flaky biscuits

  • Heavy cream, for brushing the biscuits

  • 2 tablespoons melted butter, for brushing

  • Flaky sea salt, for finishing (optional)

Instructions

  1. Heat a large oven-safe skillet over medium-high heat. Melt the butter, then add the diced chicken. Cook until lightly browned on all sides.

  2. Add the diced onion, carrots, and minced garlic. Sauté for about 5 minutes, or until the onions are translucent and the carrots begin to soften.

  3. Sprinkle the flour over the chicken and vegetables. Stir constantly for 1 minute, making sure the flour is fully incorporated.

  4. Slowly pour in the broth, then stir in the heavy cream (or half & half), thyme, rosemary, sea salt, and black pepper. Bring to a gentle simmer and cook for 3–5 minutes, stirring frequently, until the sauce thickens.

  5. Stir in the frozen peas until evenly combined. Arrange the biscuits over the top of the filling and brush each biscuit with a little heavy cream.

  6. Transfer the skillet to a 350°F oven and bake for 20–25 minutes, or until the biscuits are golden brown and cooked through.

  7. Remove from the oven, brush the warm biscuits with melted butter, sprinkle with flaky sea salt, and serve immediately.

I linked all of my favorite skillets, Dutch ovens, measuring cups, and everyday cooking tools in my Kitchen Essentials shelf.

Flaky refrigerated biscuits arranged on top of creamy chicken pot pie filling before baking.

Amanda's Tips

  • Rotisserie chicken is a wonderful shortcut that saves time without sacrificing flavor.

  • Taste the filling before adding the biscuits and adjust the seasoning as needed.

  • If the sauce becomes too thick, stir in a splash of broth.

  • Don't overcrowd the biscuits—leave a little room for them to rise.

  • For extra golden biscuits, brush them with heavy cream before baking.

  • Finish with melted butter and flaky sea salt for bakery-style biscuits.

  • If you love easy comfort food, don't miss my Chorizo One Pan Dinner for another simple weeknight meal.

Easy Variations

This recipe is easy to customize based on what you have on hand.

  • Swap the chicken for leftover turkey after Thanksgiving.

  • Add mushrooms for extra richness.

  • Stir in frozen corn or green beans.

  • Use cheddar biscuits for a cheesy twist.

  • Add fresh parsley before serving.

  • Make it with homemade biscuits for a completely from-scratch dinner.

Storage & Reheating

Store leftovers in an airtight container in the refrigerator for up to 3 days.

To reheat, warm gently on the stovetop over medium-low heat, adding a splash of broth or cream if needed to loosen the sauce.

The filling can also be frozen for up to 3 months. I recommend baking fresh biscuits when serving for the best texture.

Frequently Asked Questions

Can I use rotisserie chicken?

Absolutely! Rotisserie chicken is one of my favorite shortcuts and makes this recipe even quicker.

Can I make this ahead of time?

Yes! Prepare the filling up to one day in advance, refrigerate it, then top with biscuits and bake just before serving.

Can I freeze chicken pot pie?

Yes. Freeze the filling separately and add fresh biscuits when you're ready to bake.

Can I use homemade biscuits?

Definitely. Homemade buttermilk biscuits make this recipe extra special.

Can I substitute chicken broth?

Yes! Chicken broth adds a richer flavor, while vegetable broth keeps the recipe lighter.

What to Serve with Chicken Pot Pie

This cozy dinner pairs beautifully with:

  • A simple green salad

  • Roasted Brussels sprouts

  • Homemade applesauce

  • Fresh sourdough bread

  • Cranberry sauce during the holidays

More Cozy Recipes You'll Love

If your family loves comforting one-pan dinners, here are a few more favorites from Amanda's Kitchen:

Shop My Kitchen Favorites: Looking for the cookware and kitchen tools I use most often? Browse my favorite kitchen essentials that I reach for every day.

Save This Recipe

Whether you're planning ahead for a special occasion or adding a new favorite to your recipe collection, I've included a printable recipe card below so it's easy to save, print, and share with the people you love.
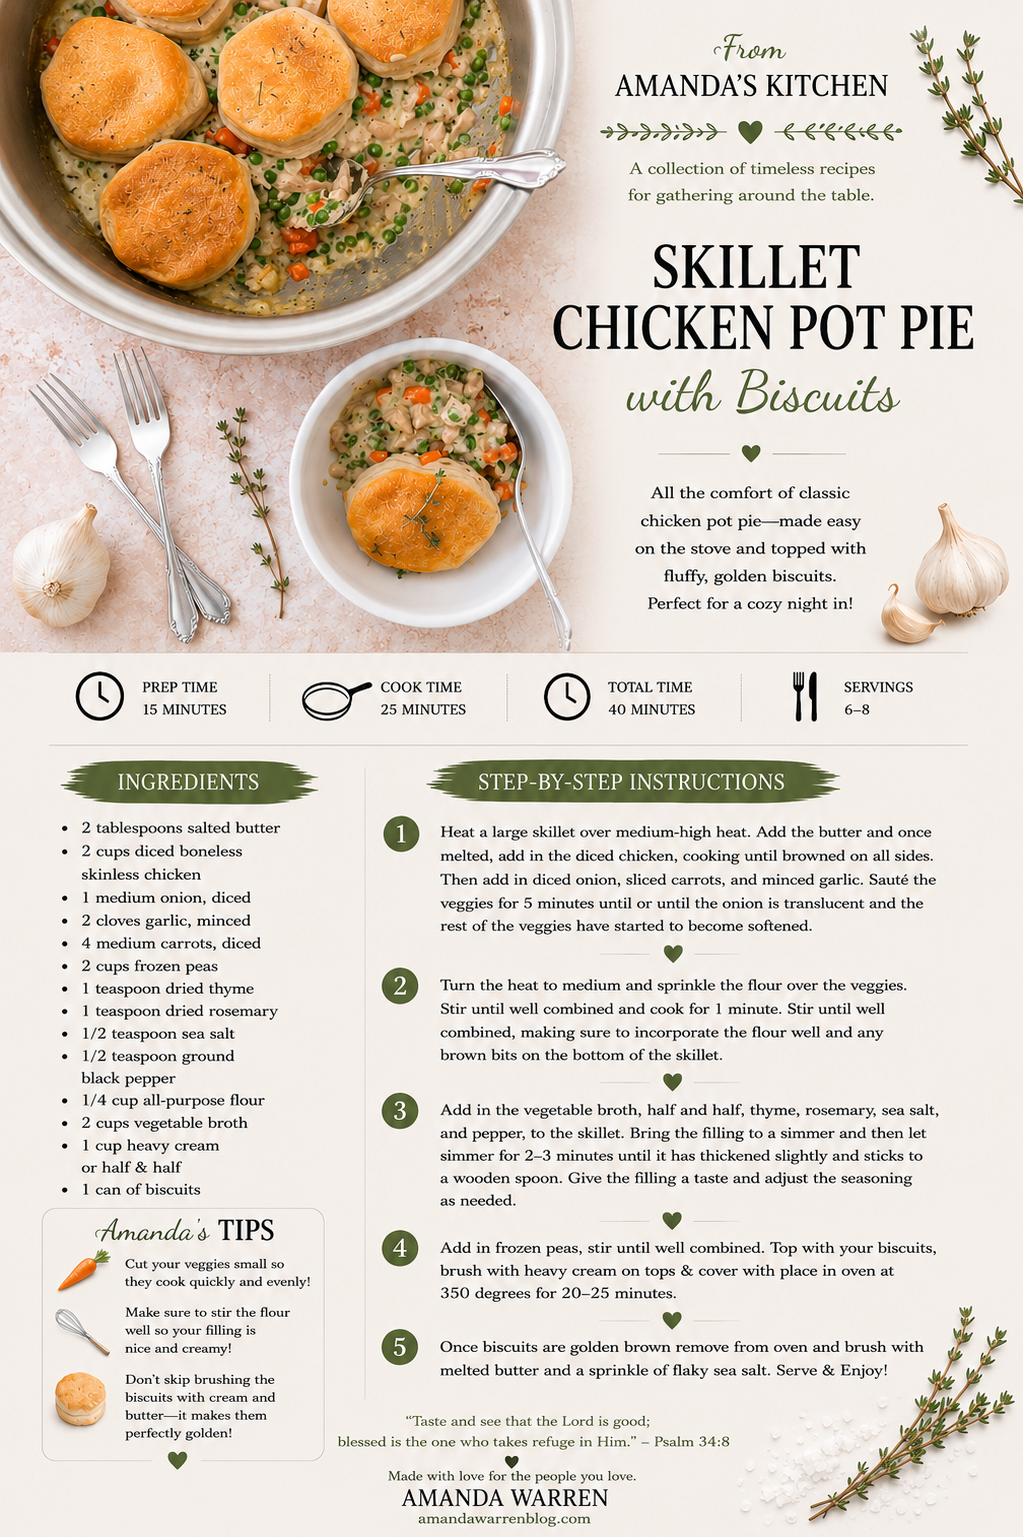
skillet chicken pot pie with biscuits recipe card
Golden brown biscuits baked over homemade chicken pot pie filling in an oven-safe skillet.
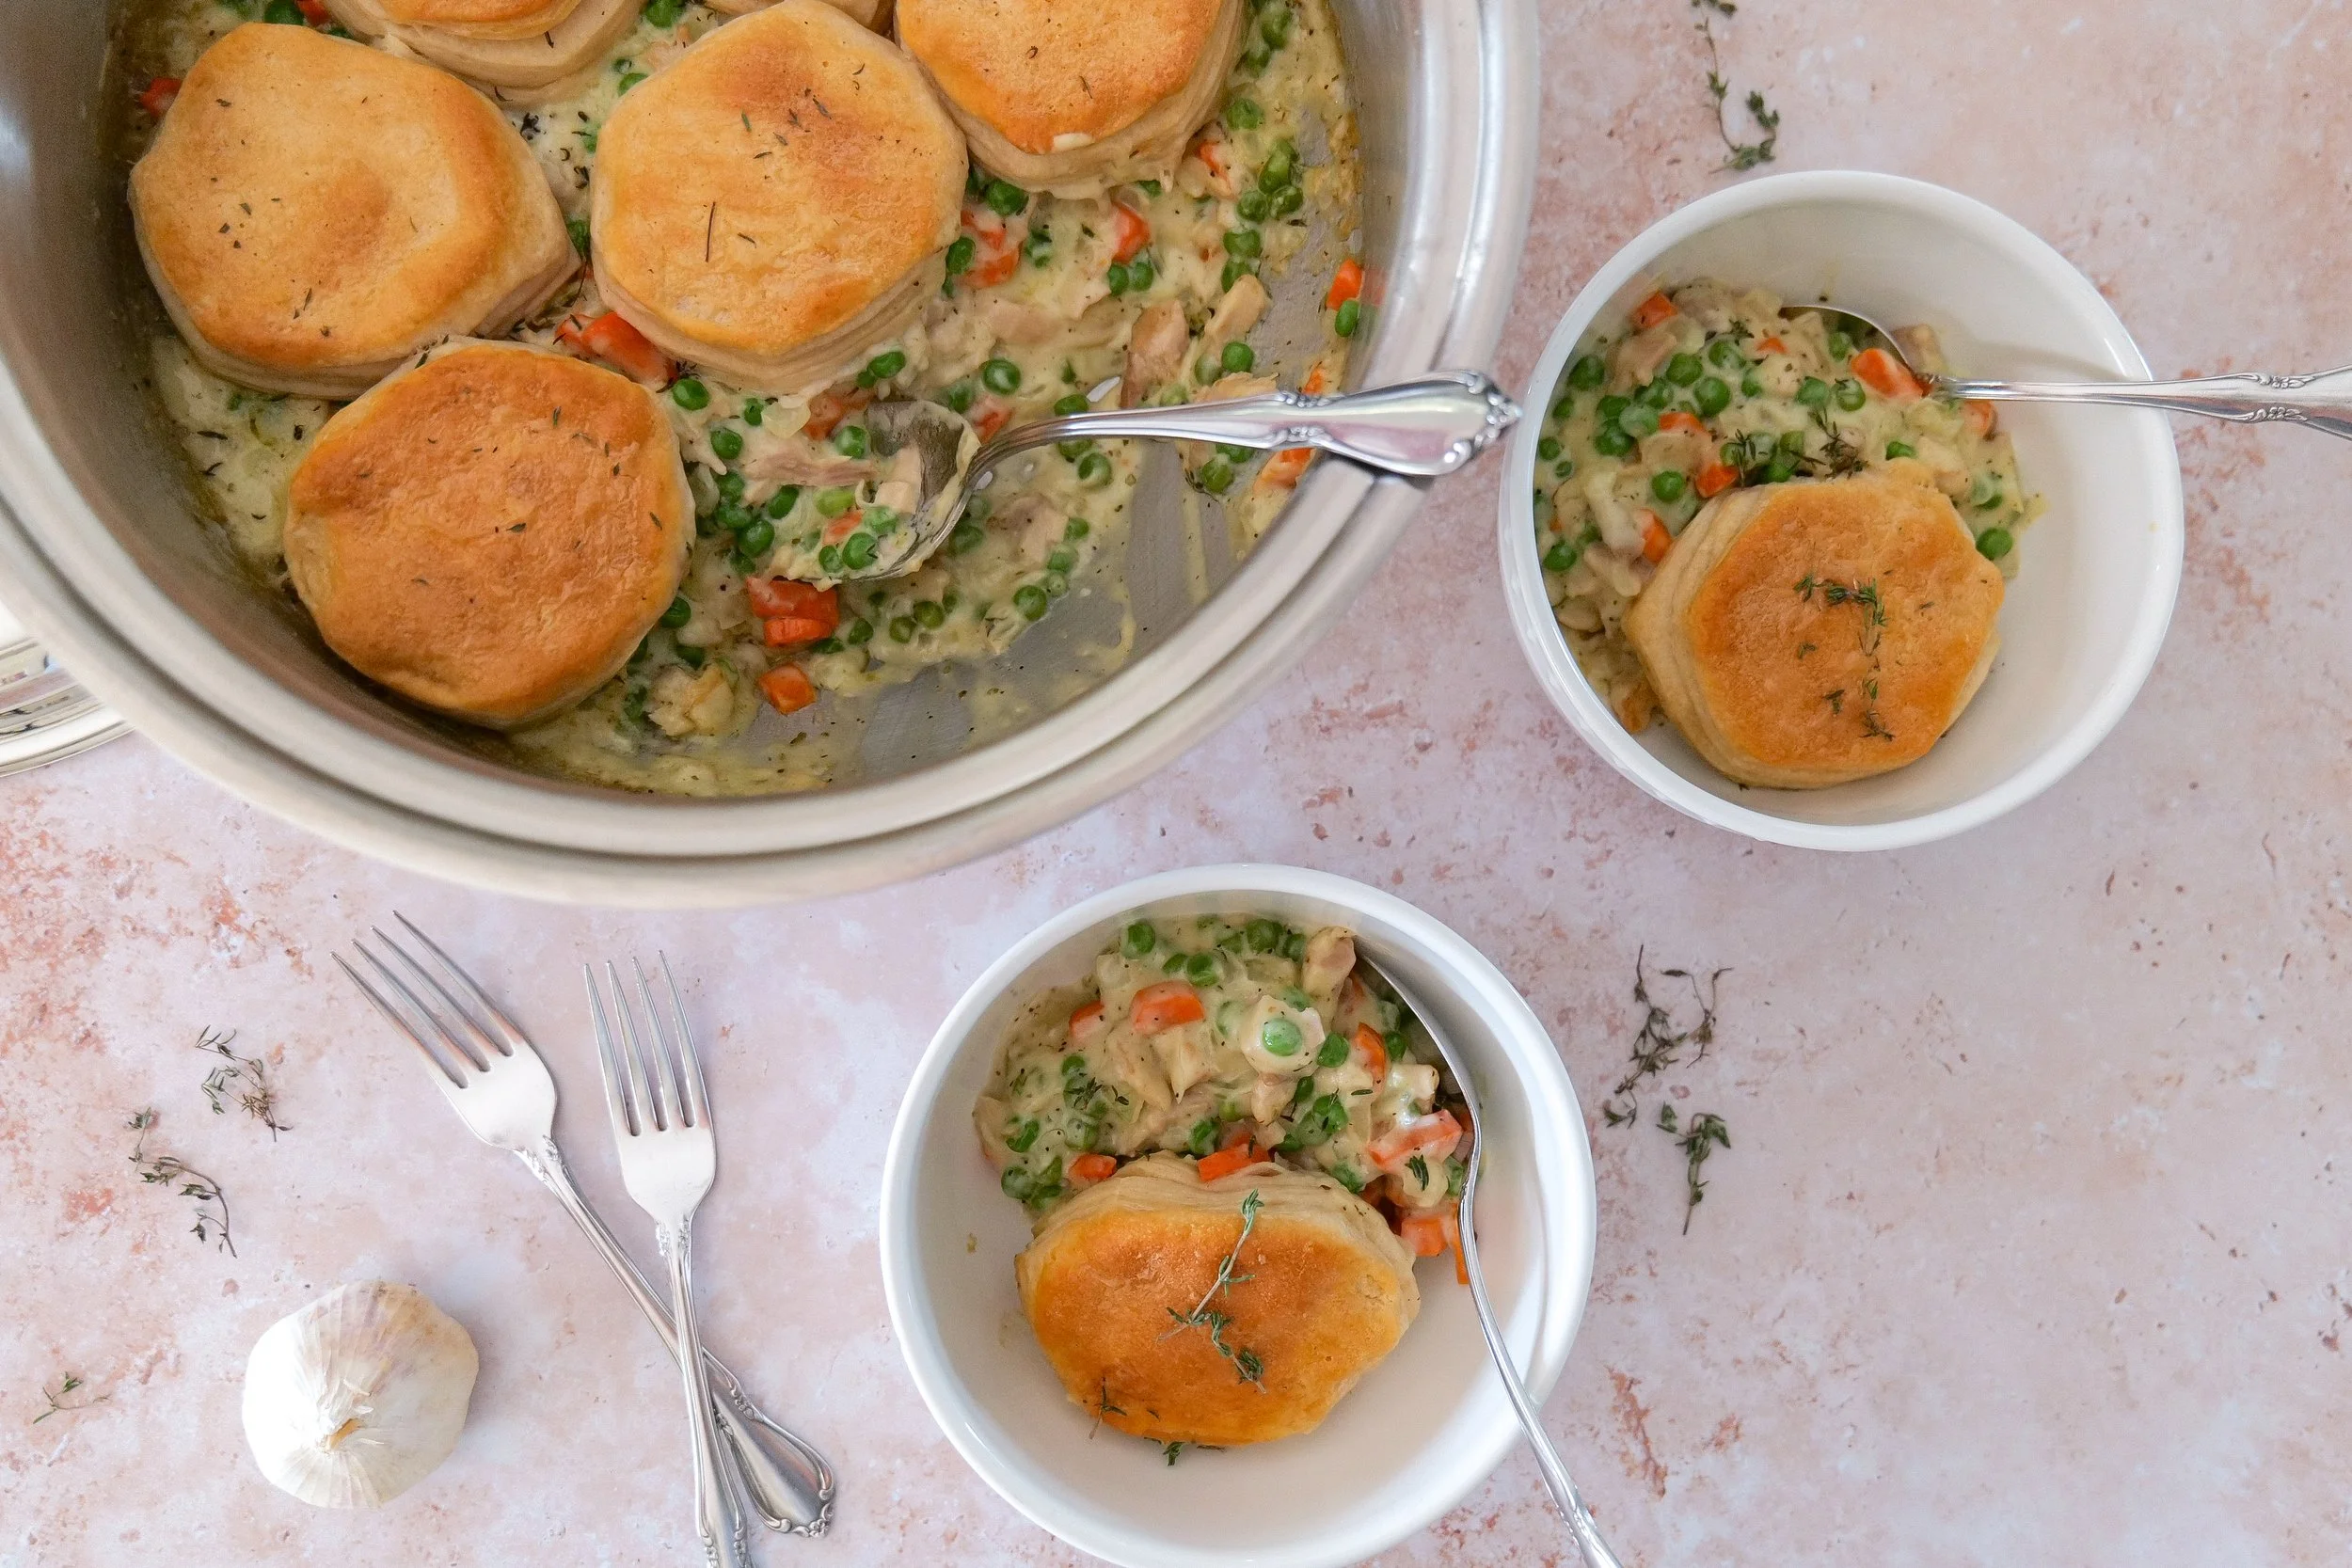
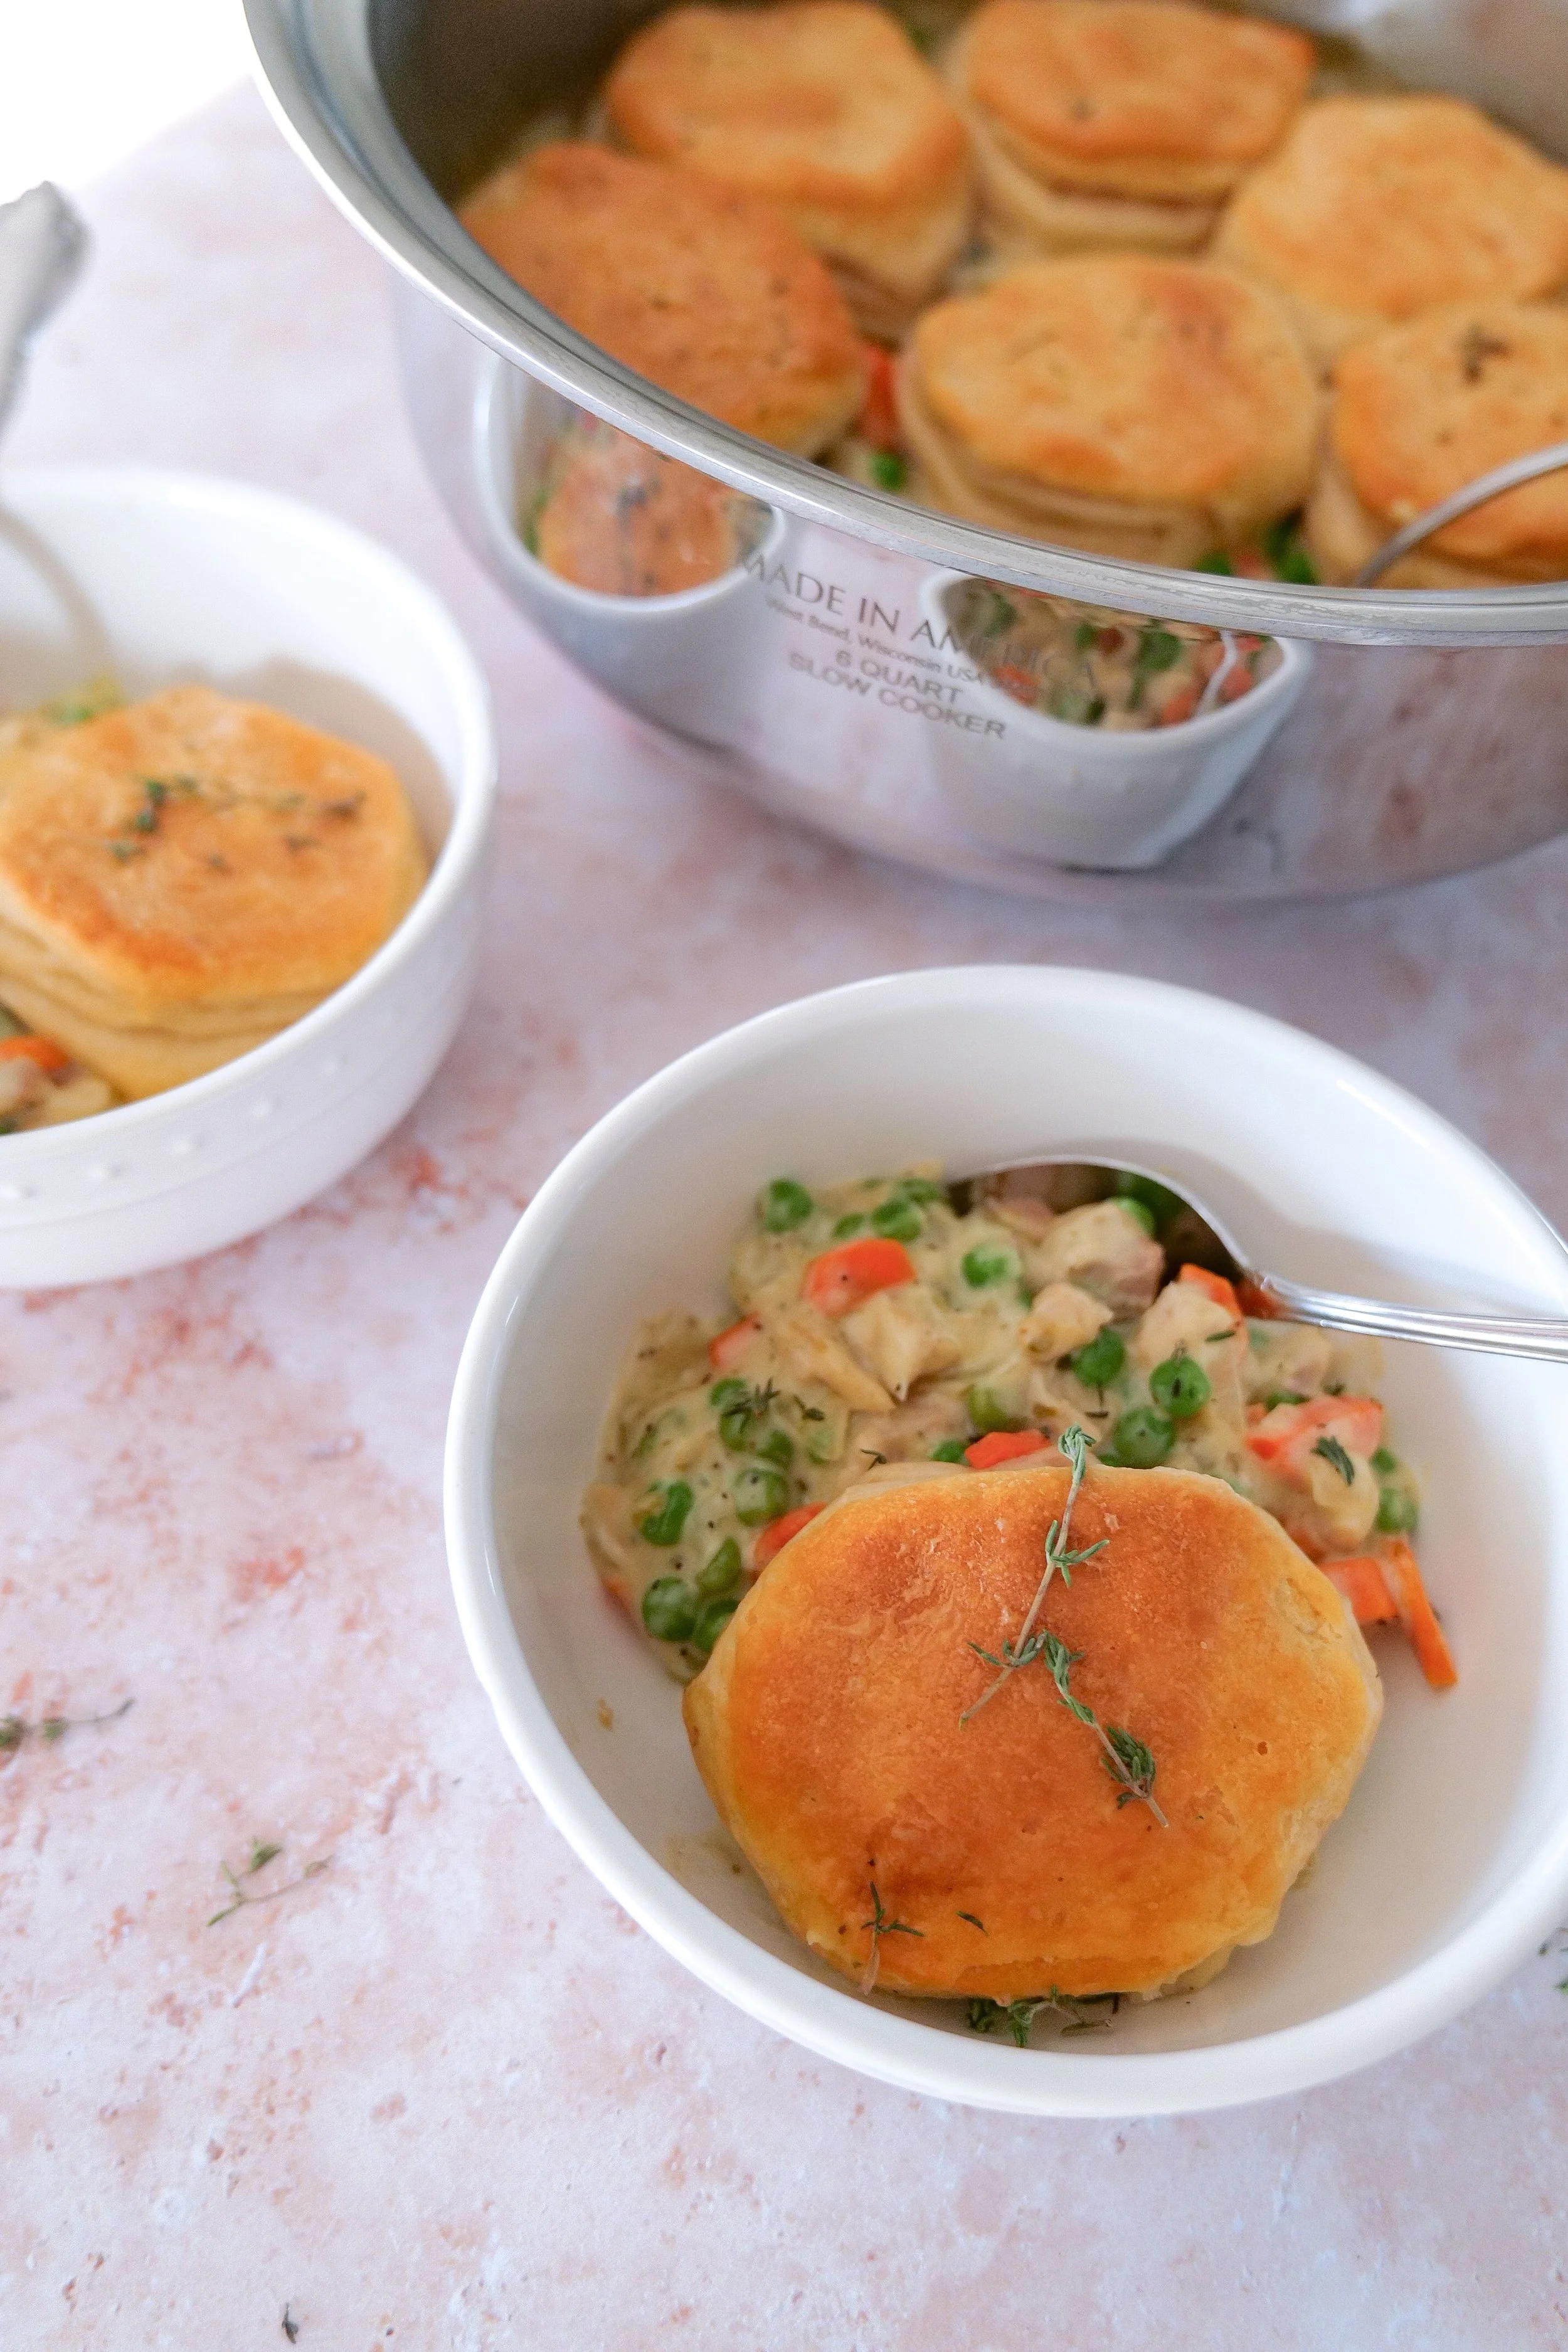
Homemade skillet chicken pot pie topped with buttery biscuits and served warm for a cozy family dinner.
One-pan chicken pot pie recipe with tender chicken, vegetables, creamy sauce, and fluffy biscuit topping.

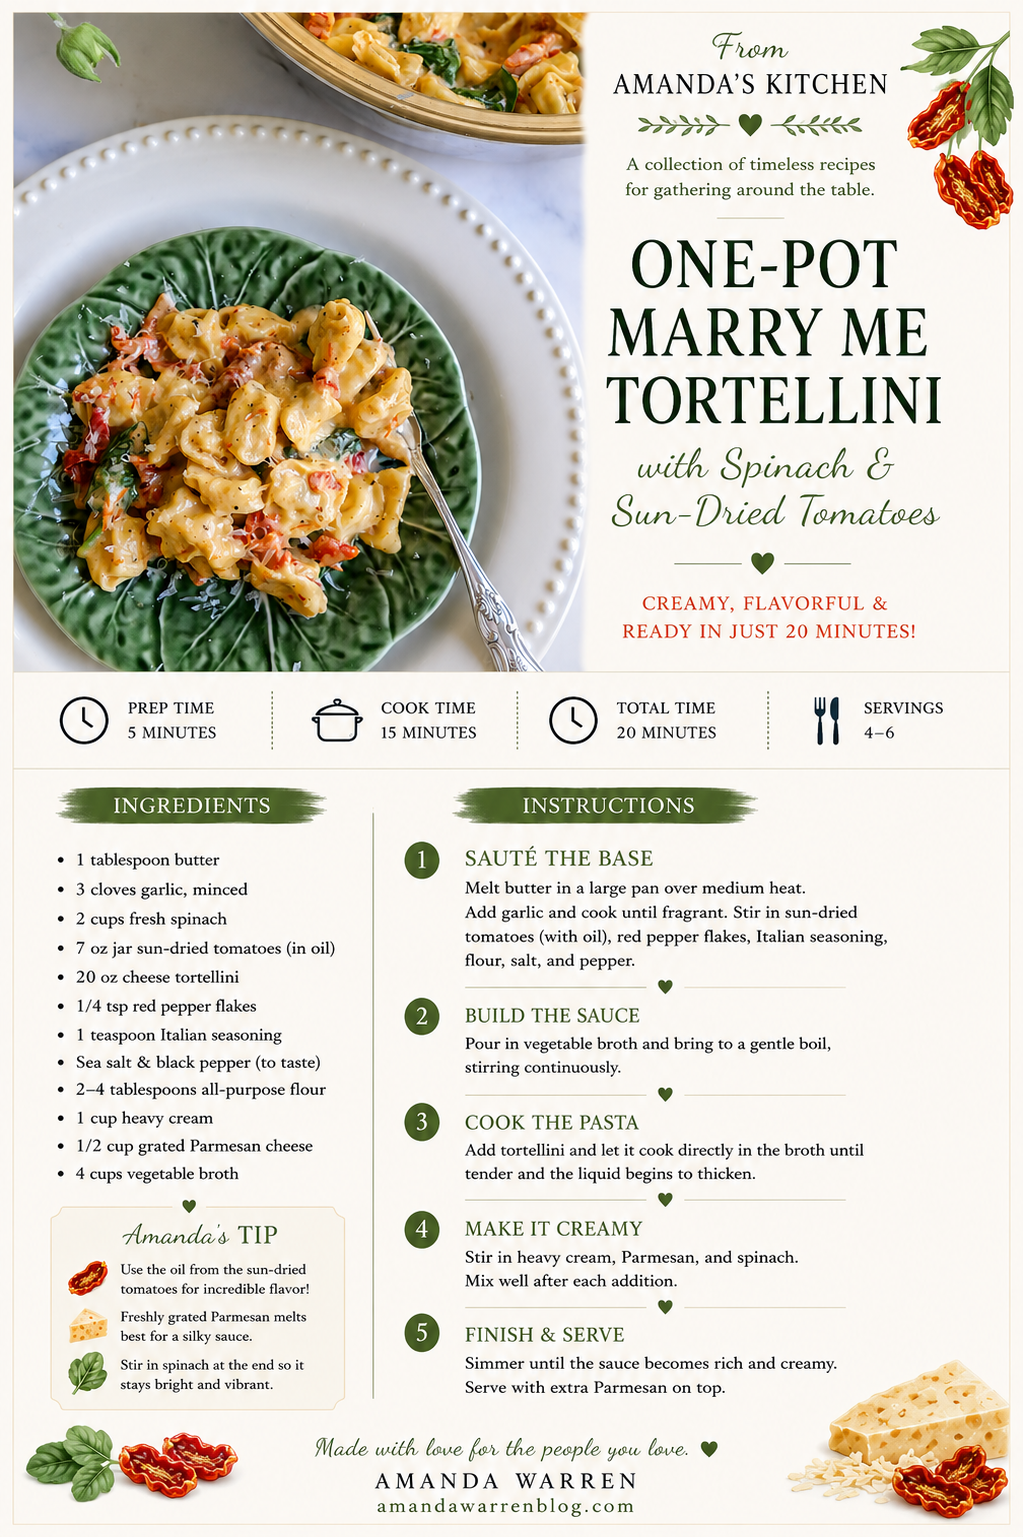
One Pot Marry Me Tortellini (Easy 30-Minute Family Dinner)

If you're looking for an easy family dinner that feels a little extra special without requiring hours in the kitchen, this One Pot Marry Me Tortellini is the recipe to make. Creamy, comforting, and packed with flavor from Parmesan cheese, spinach, and sun-dried tomatoes, it's a cozy weeknight meal that comes together in just one pot and about 30 minutes.

↓ Skip to Recipe
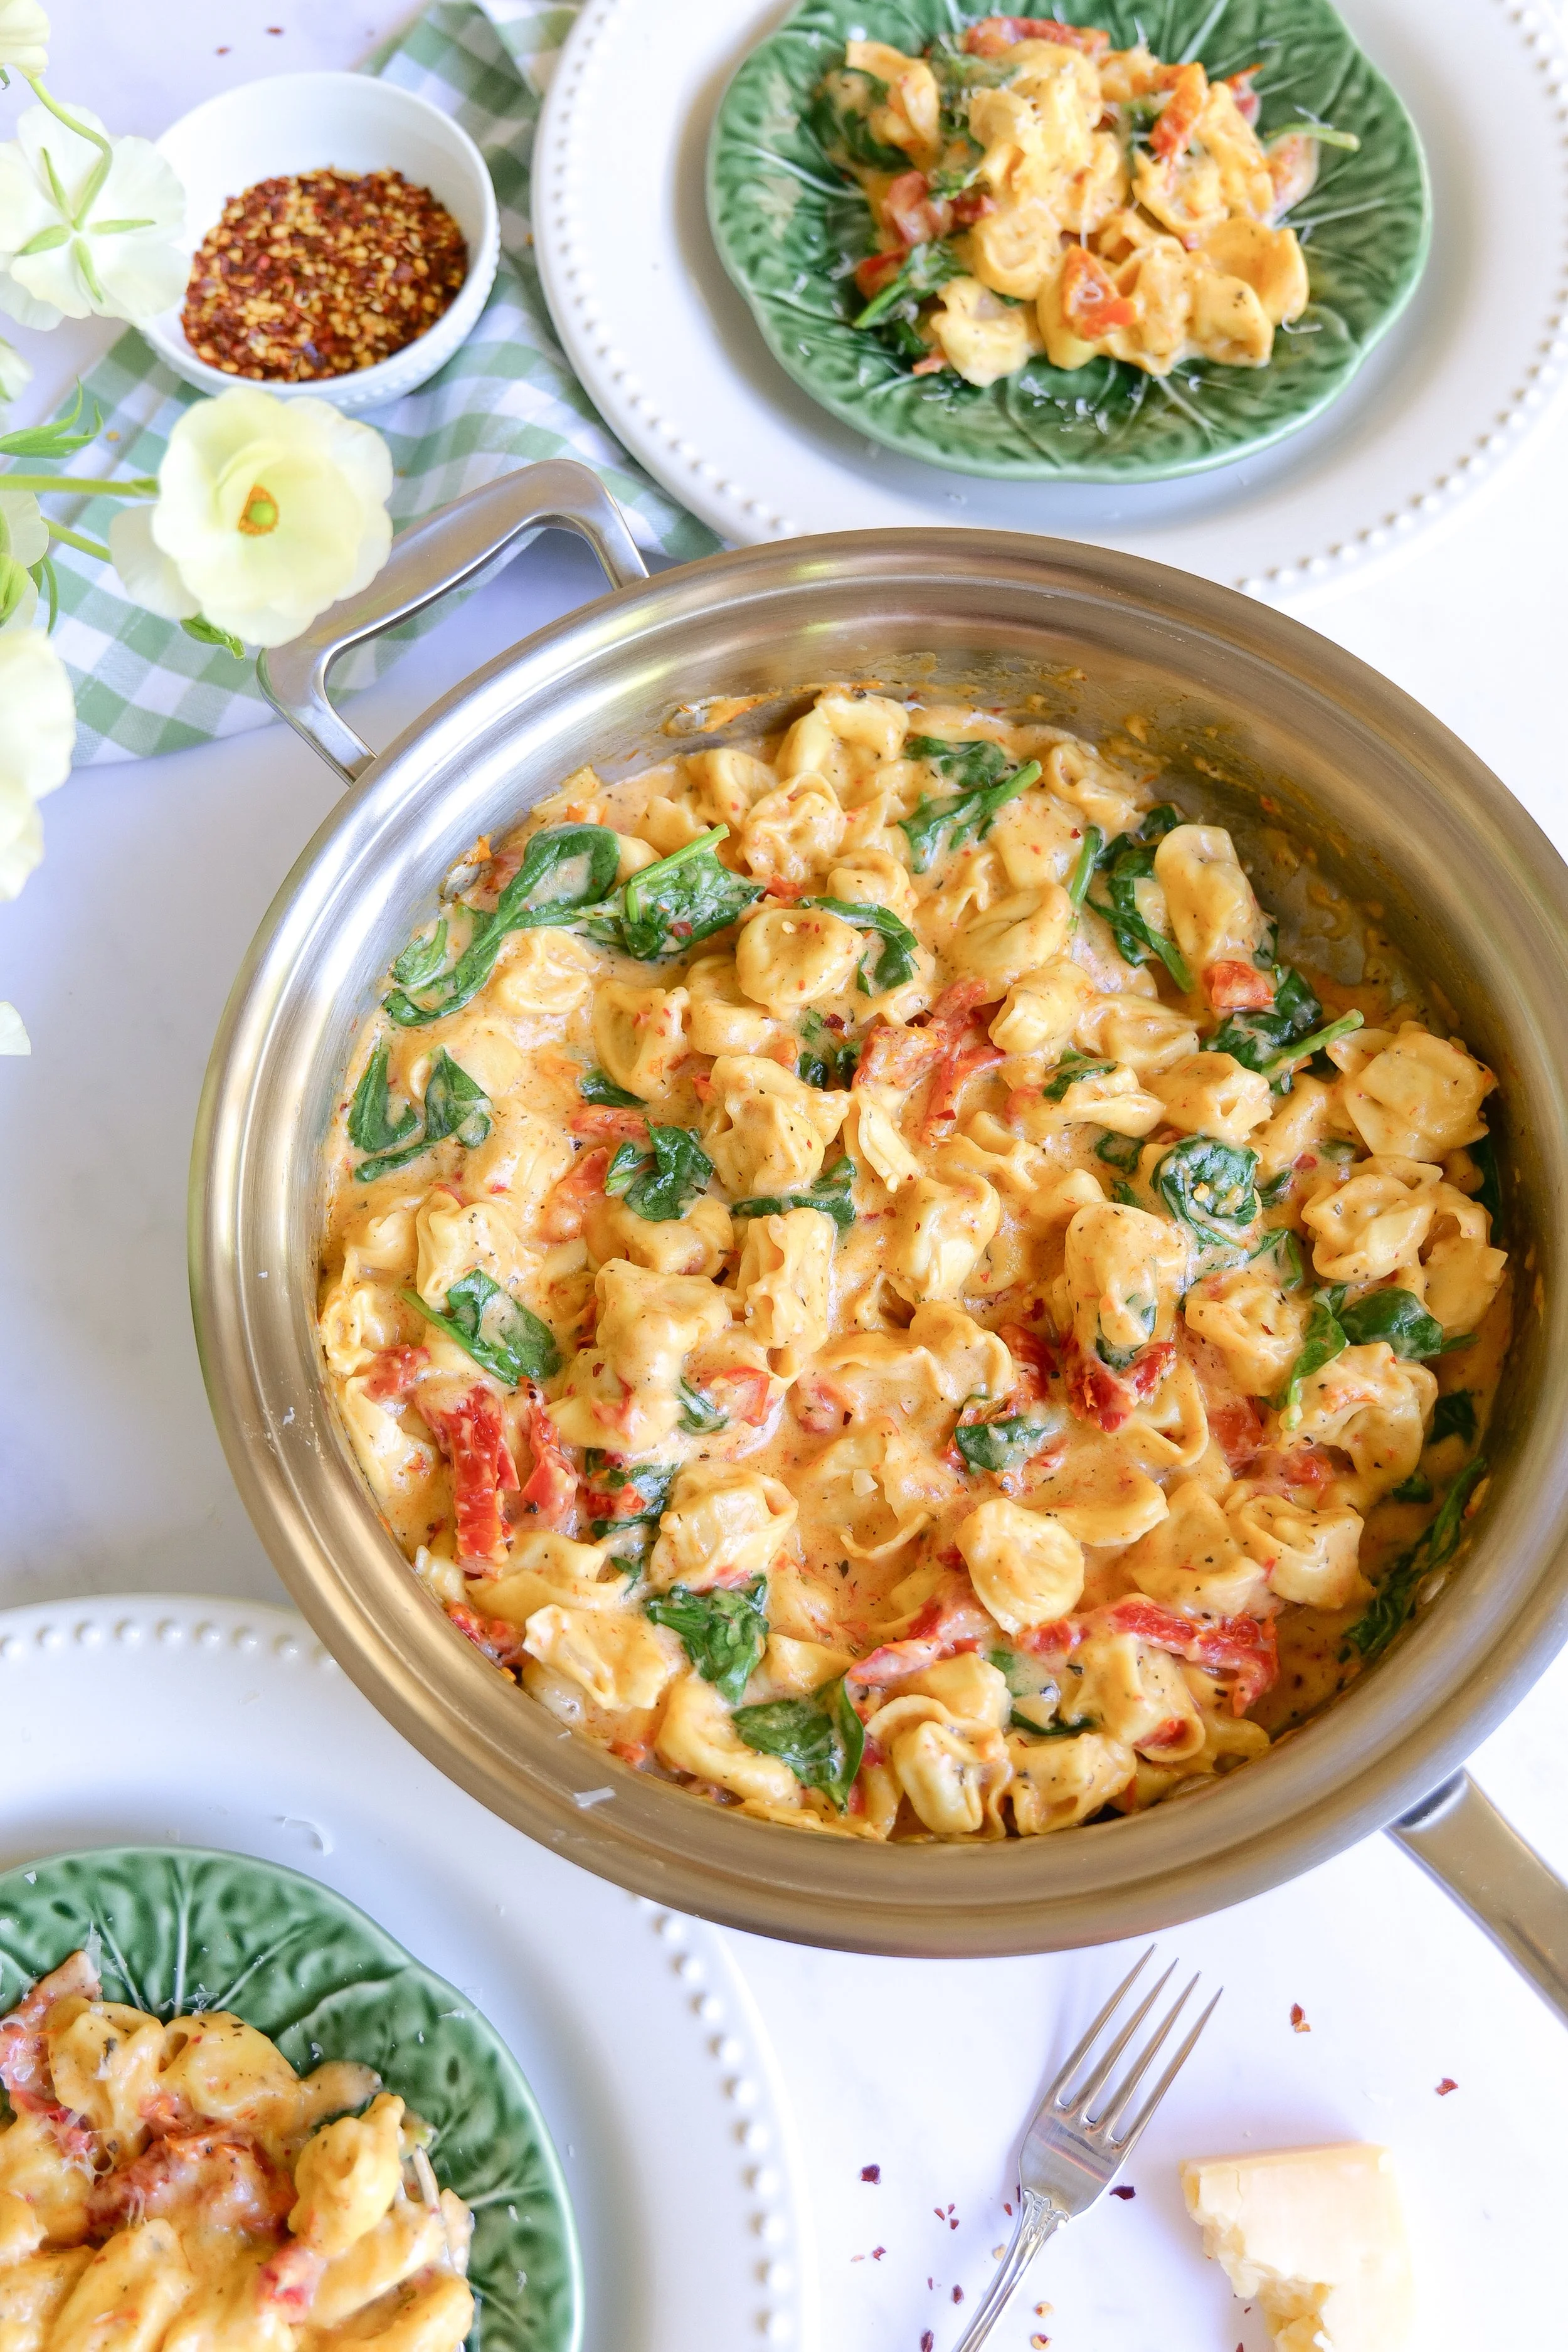
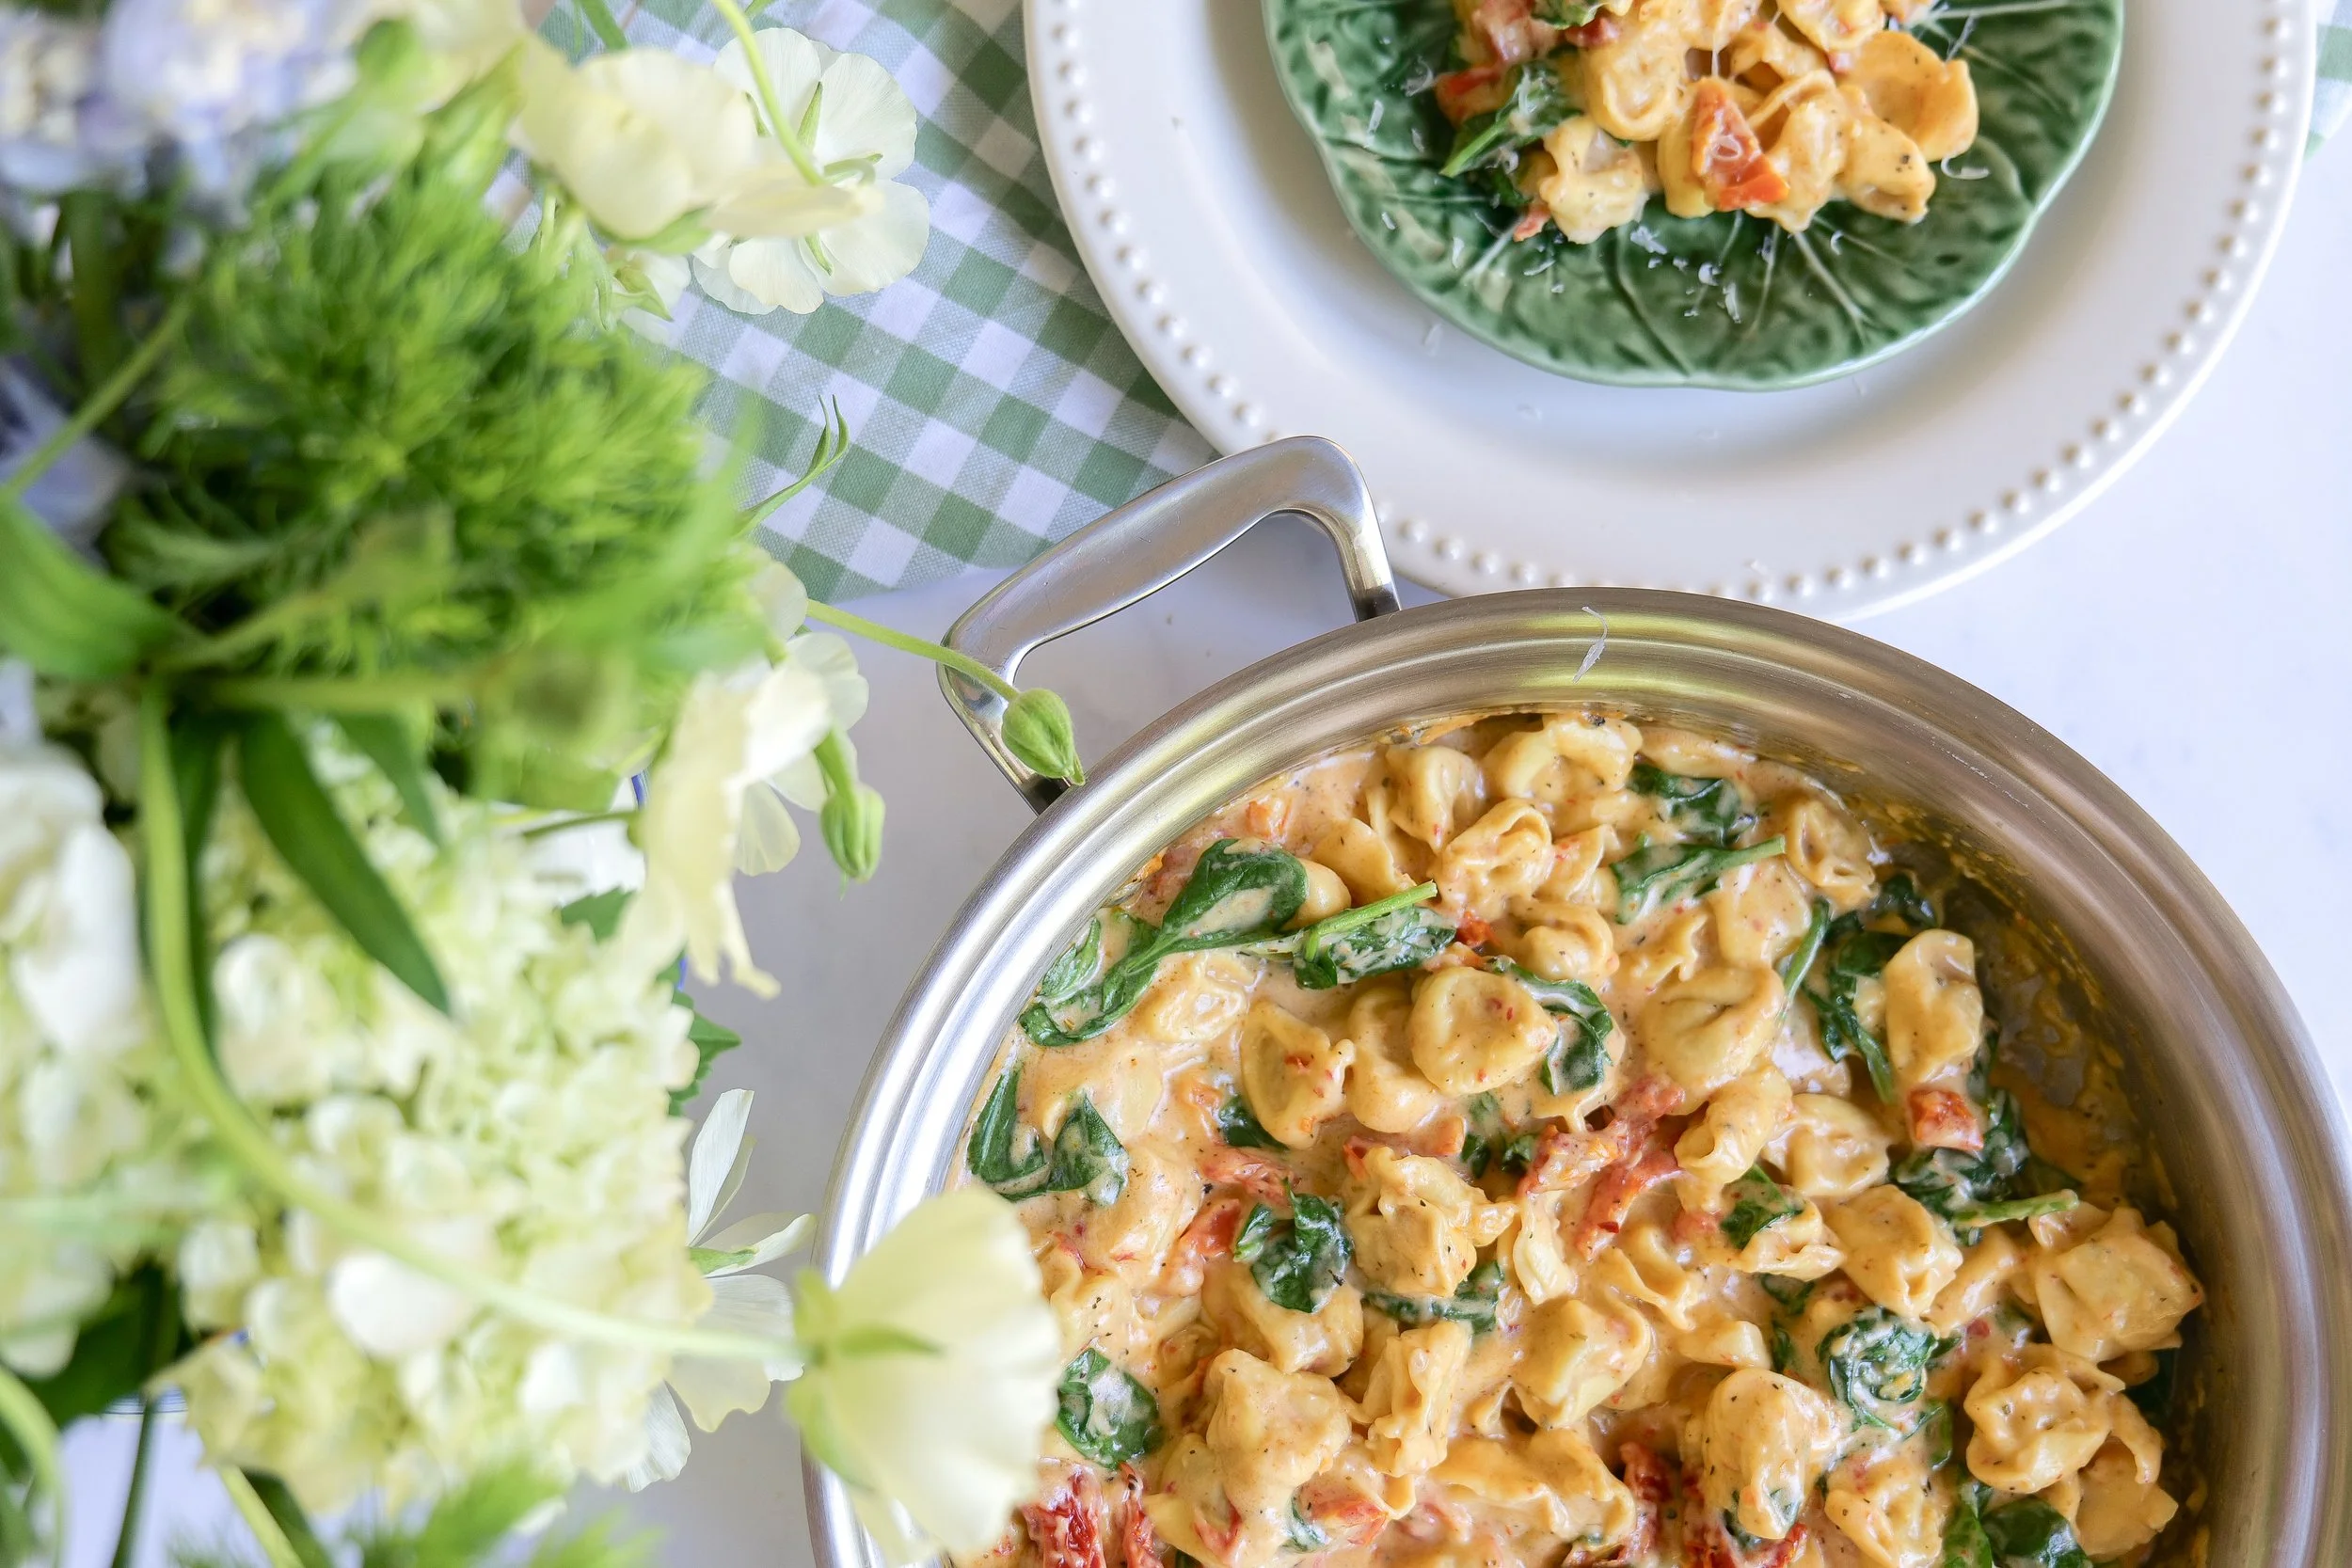
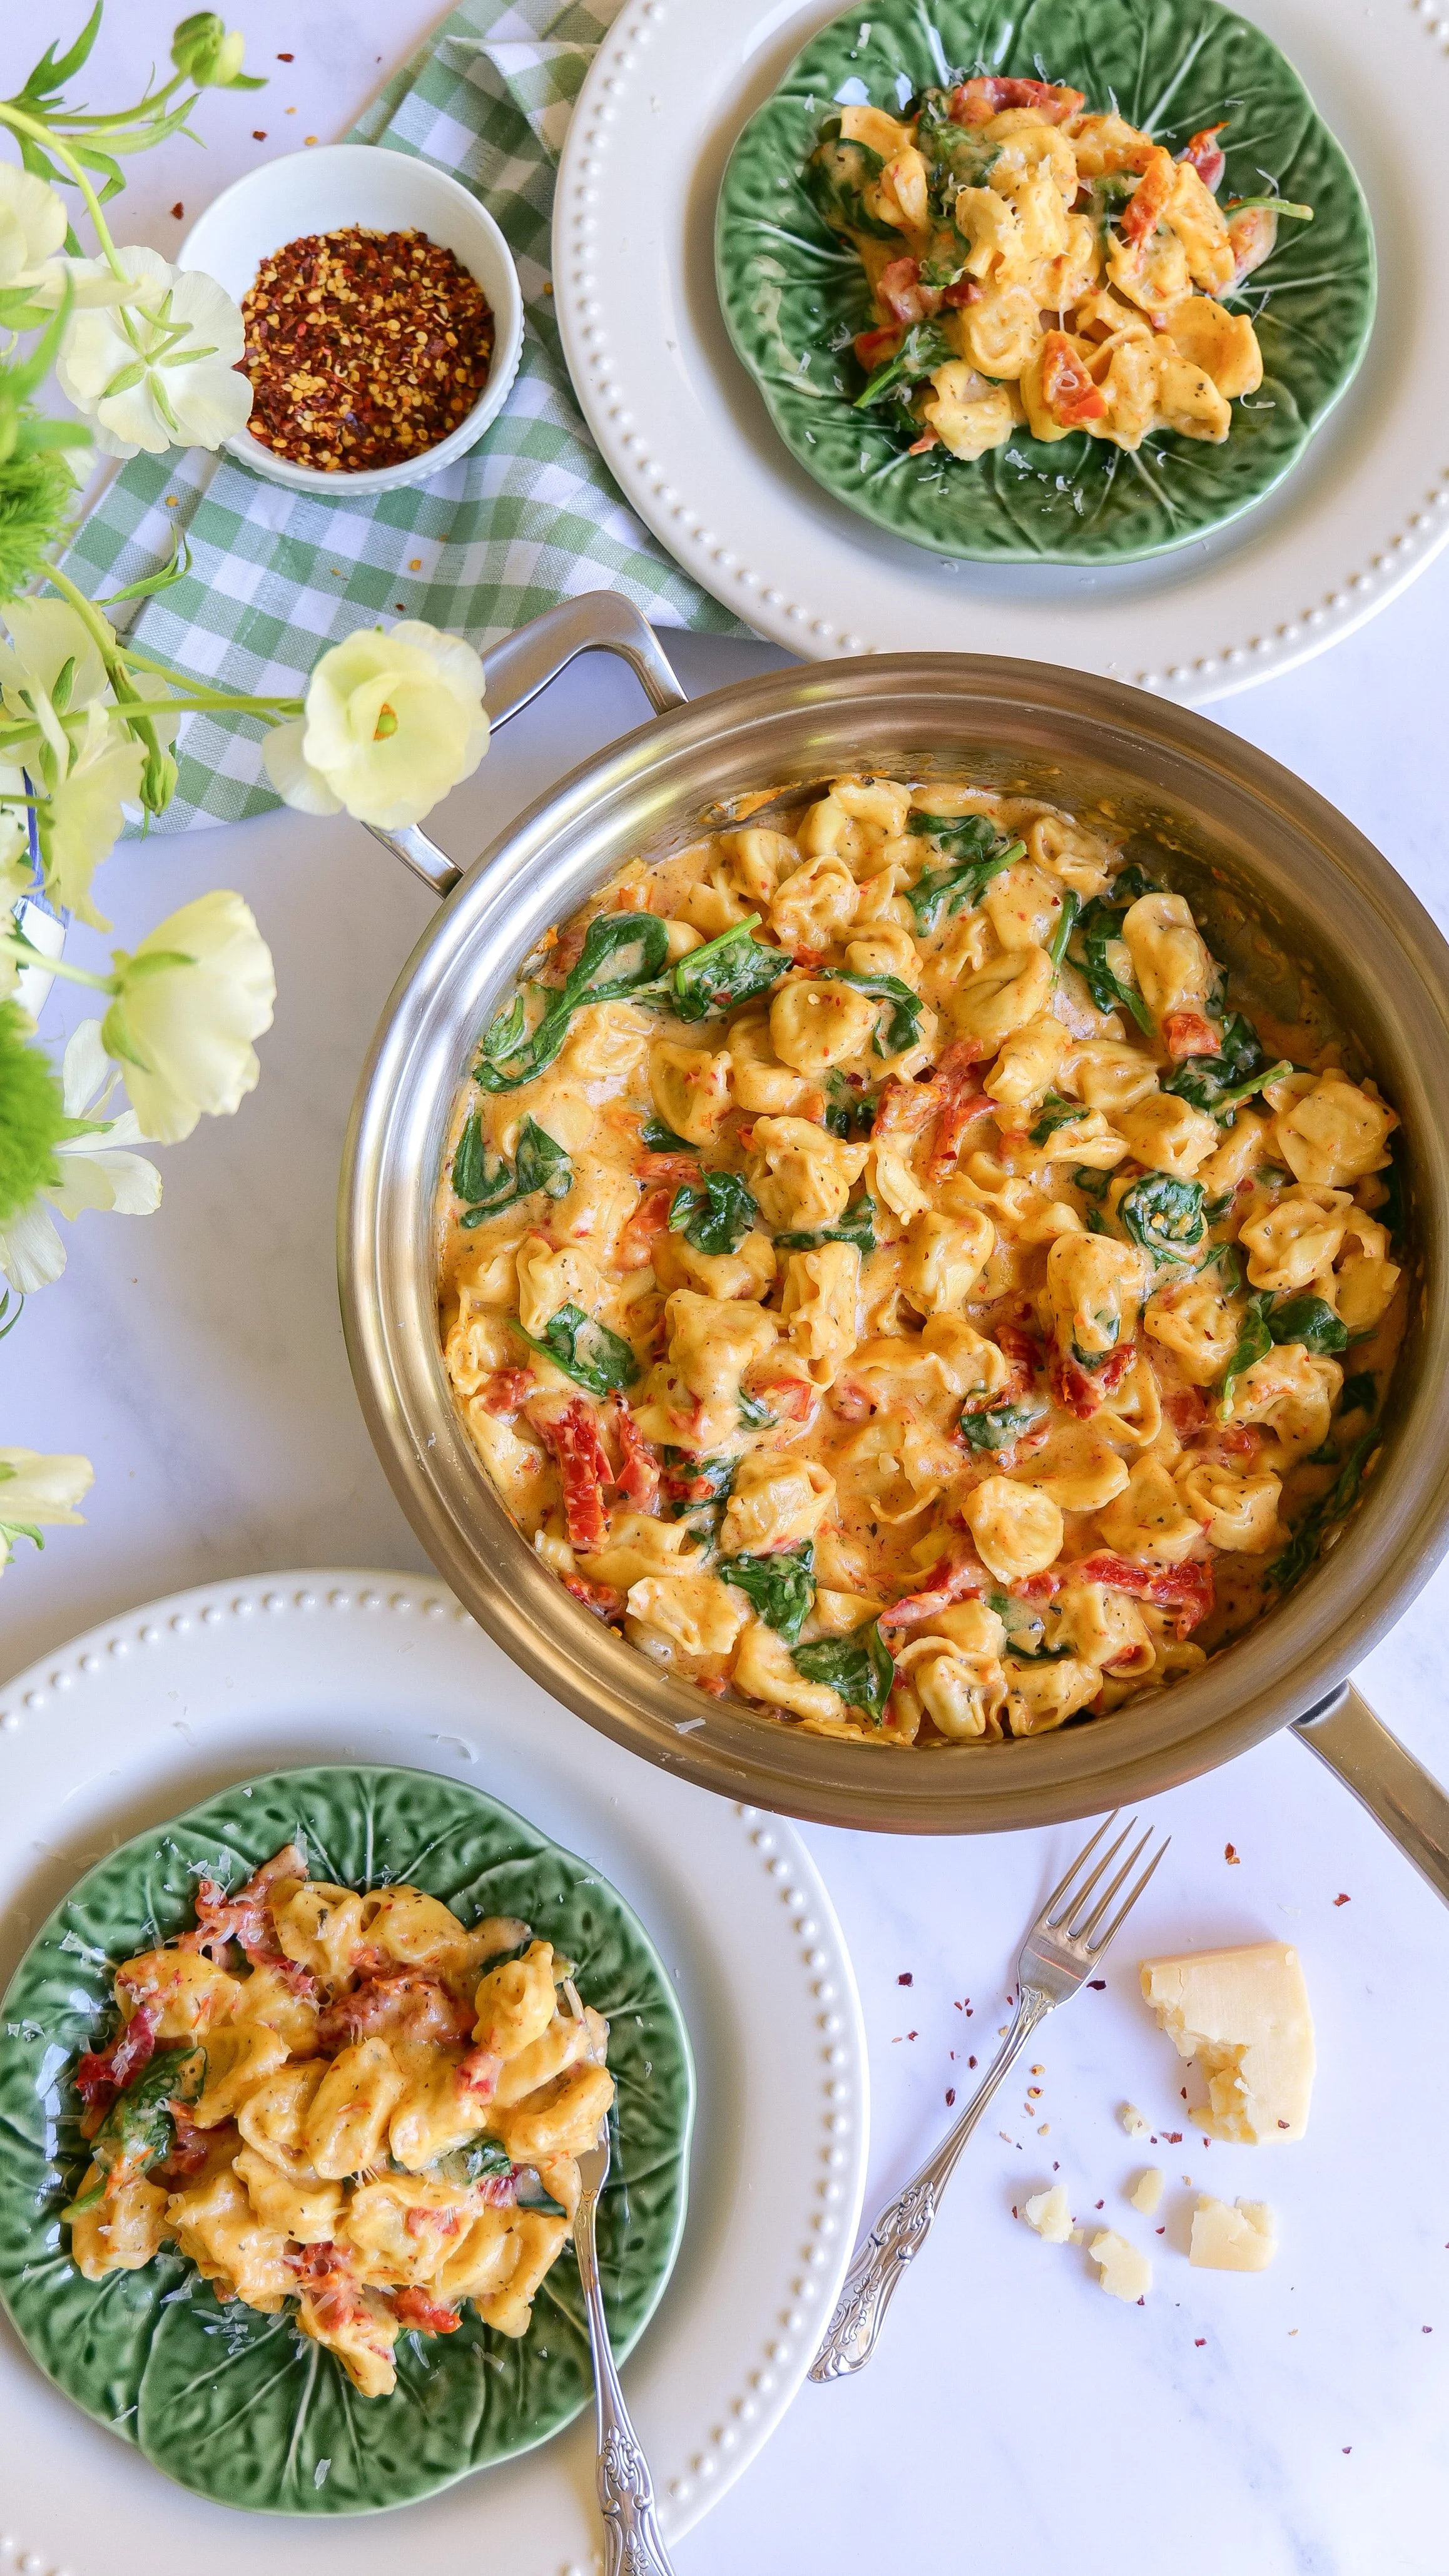
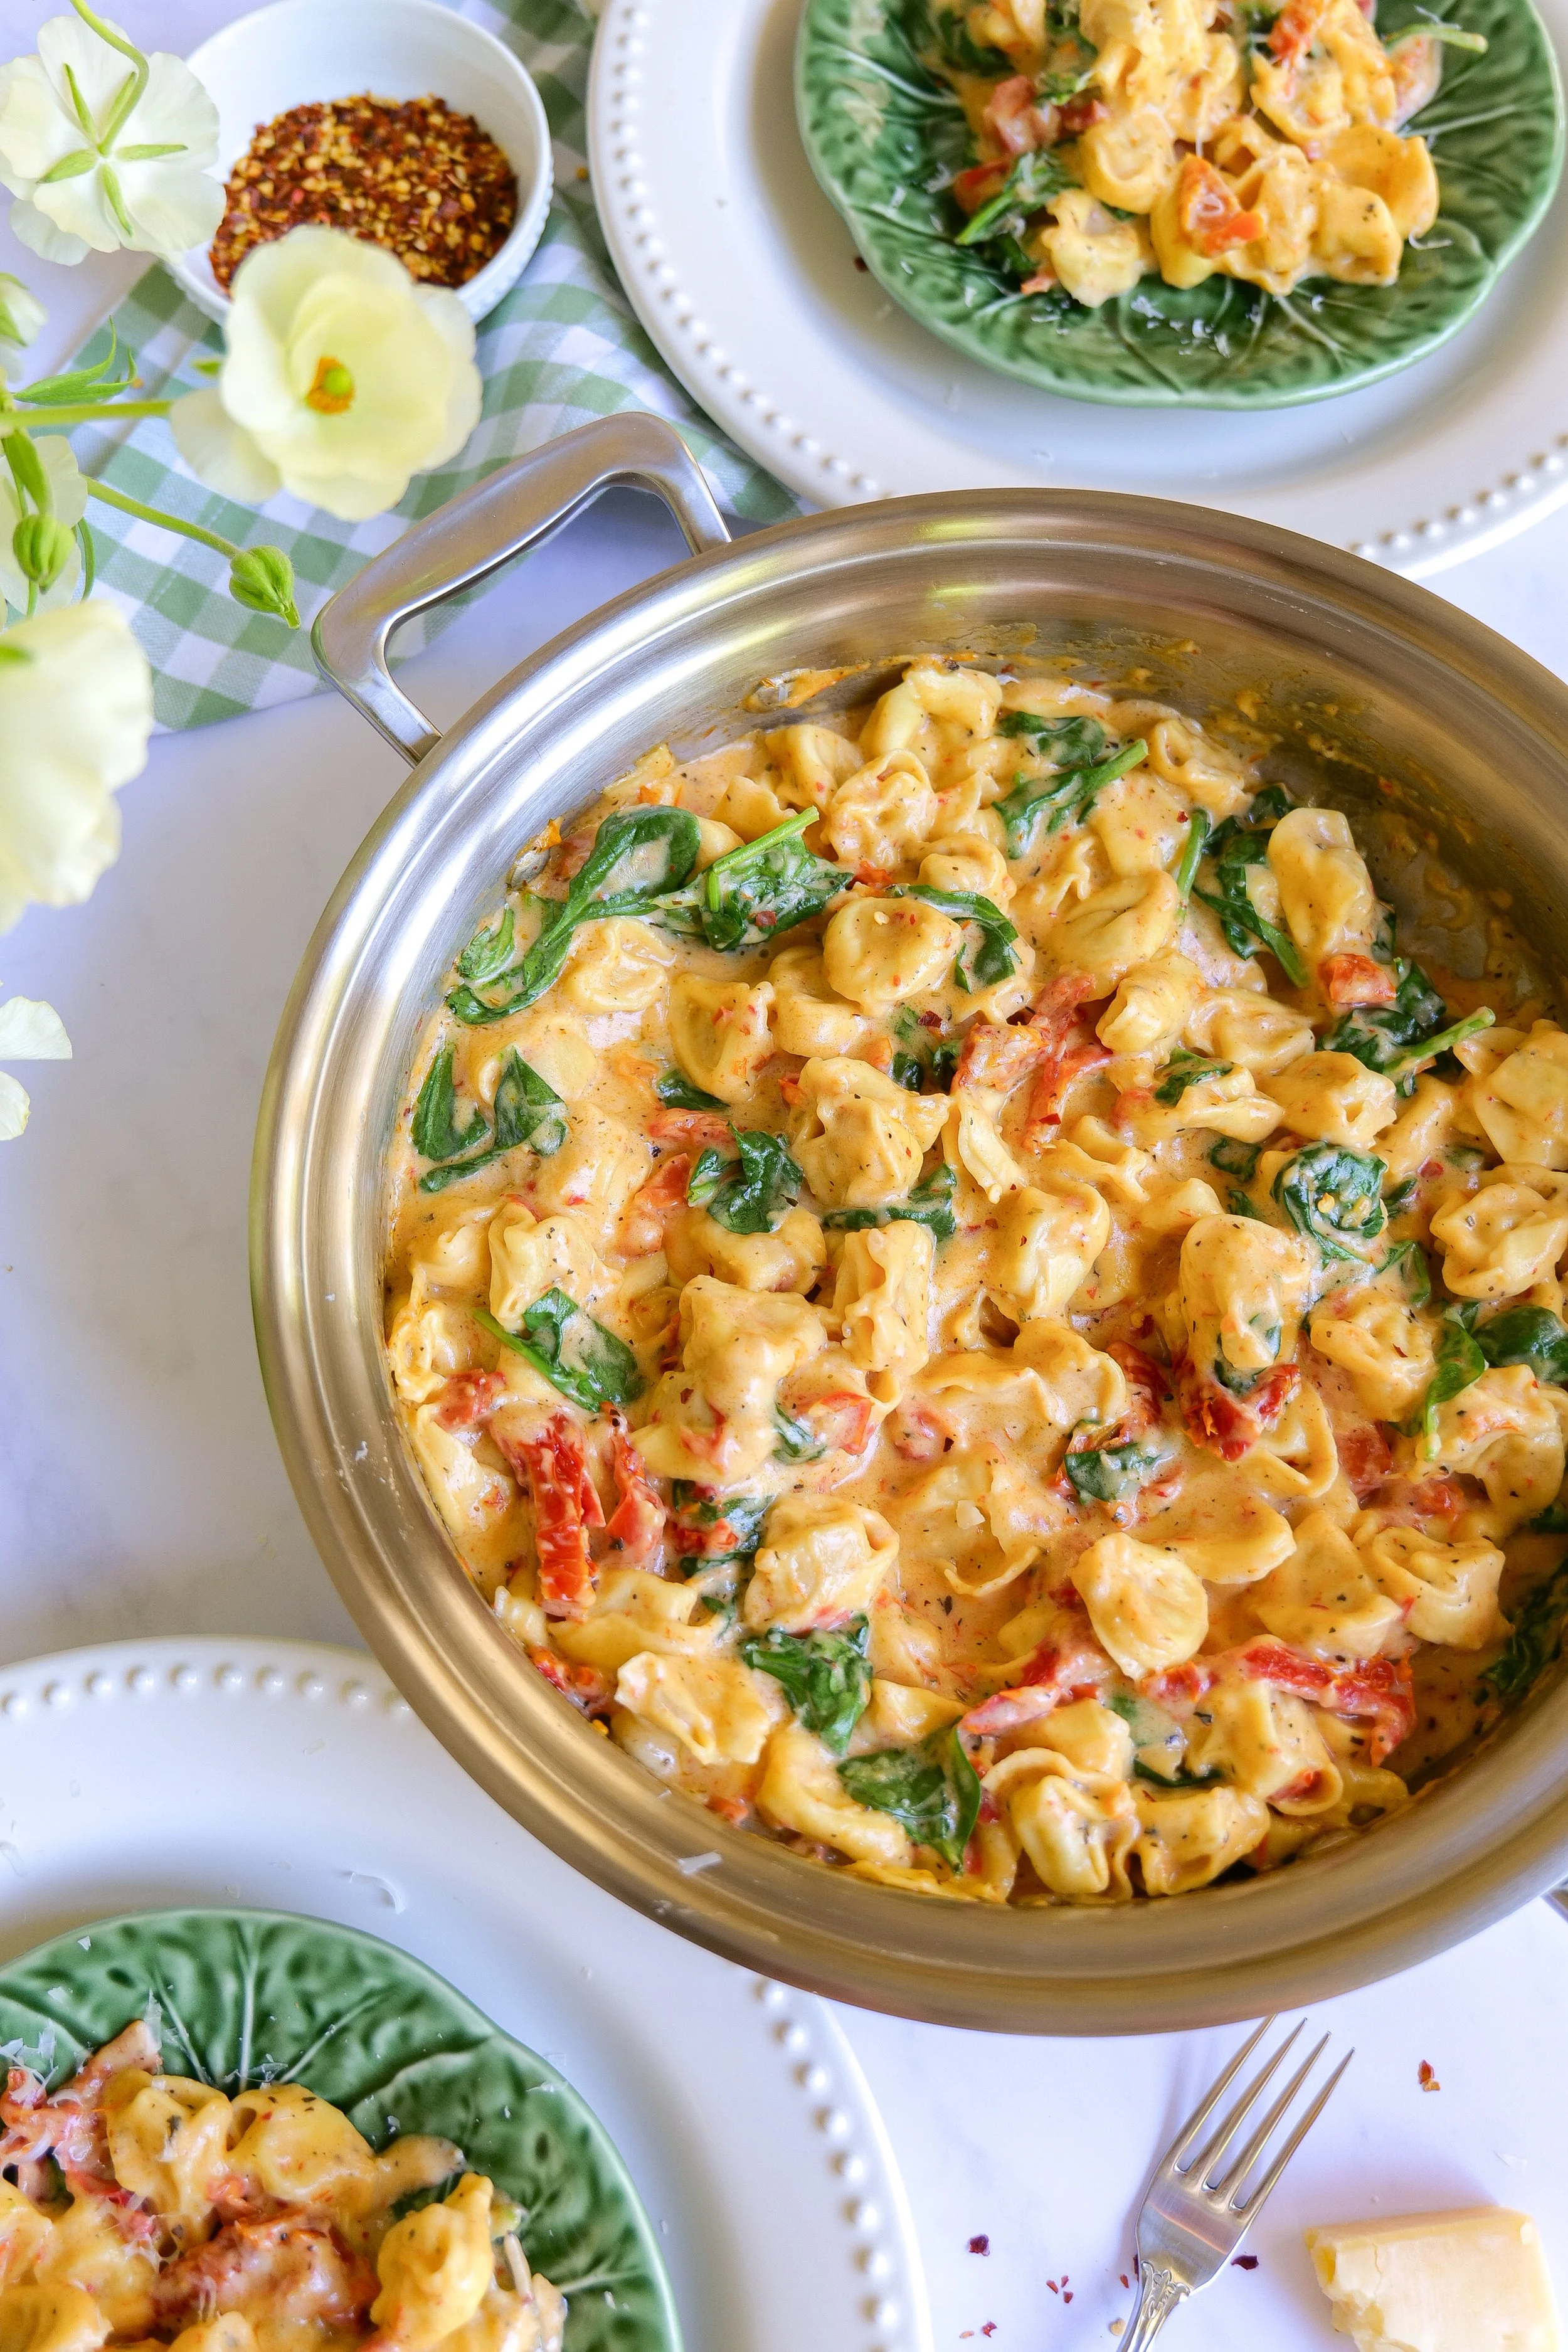
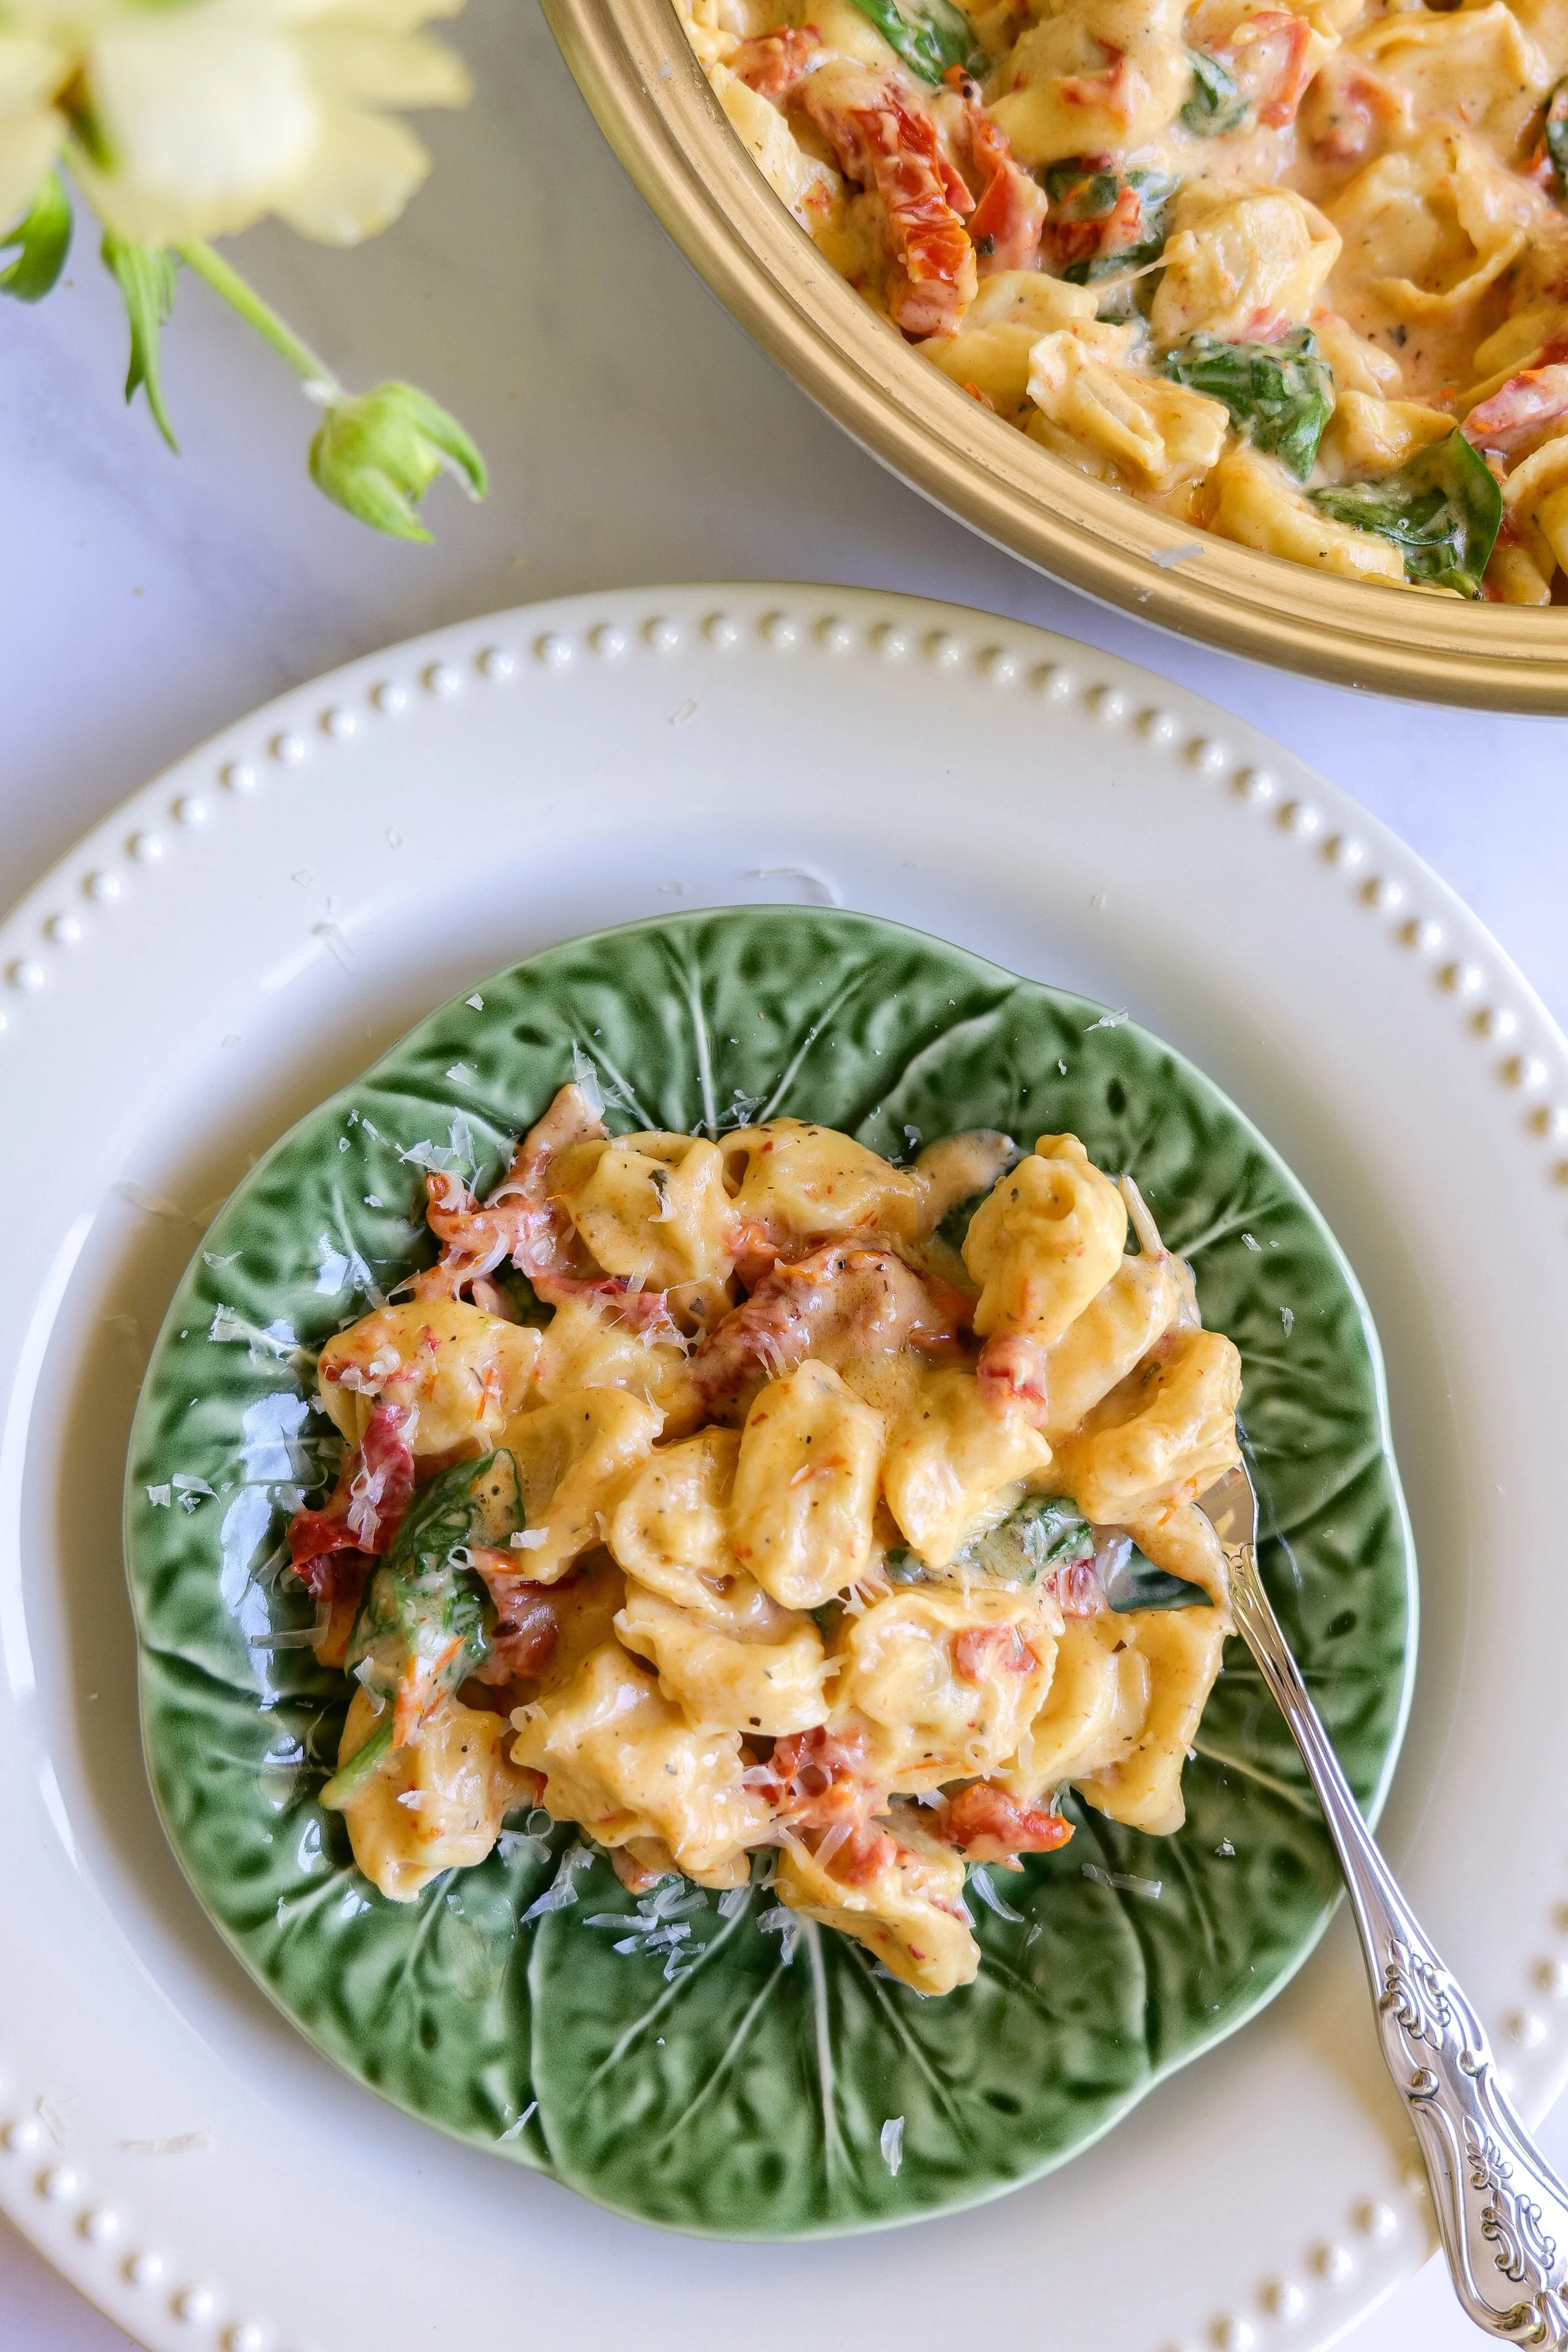
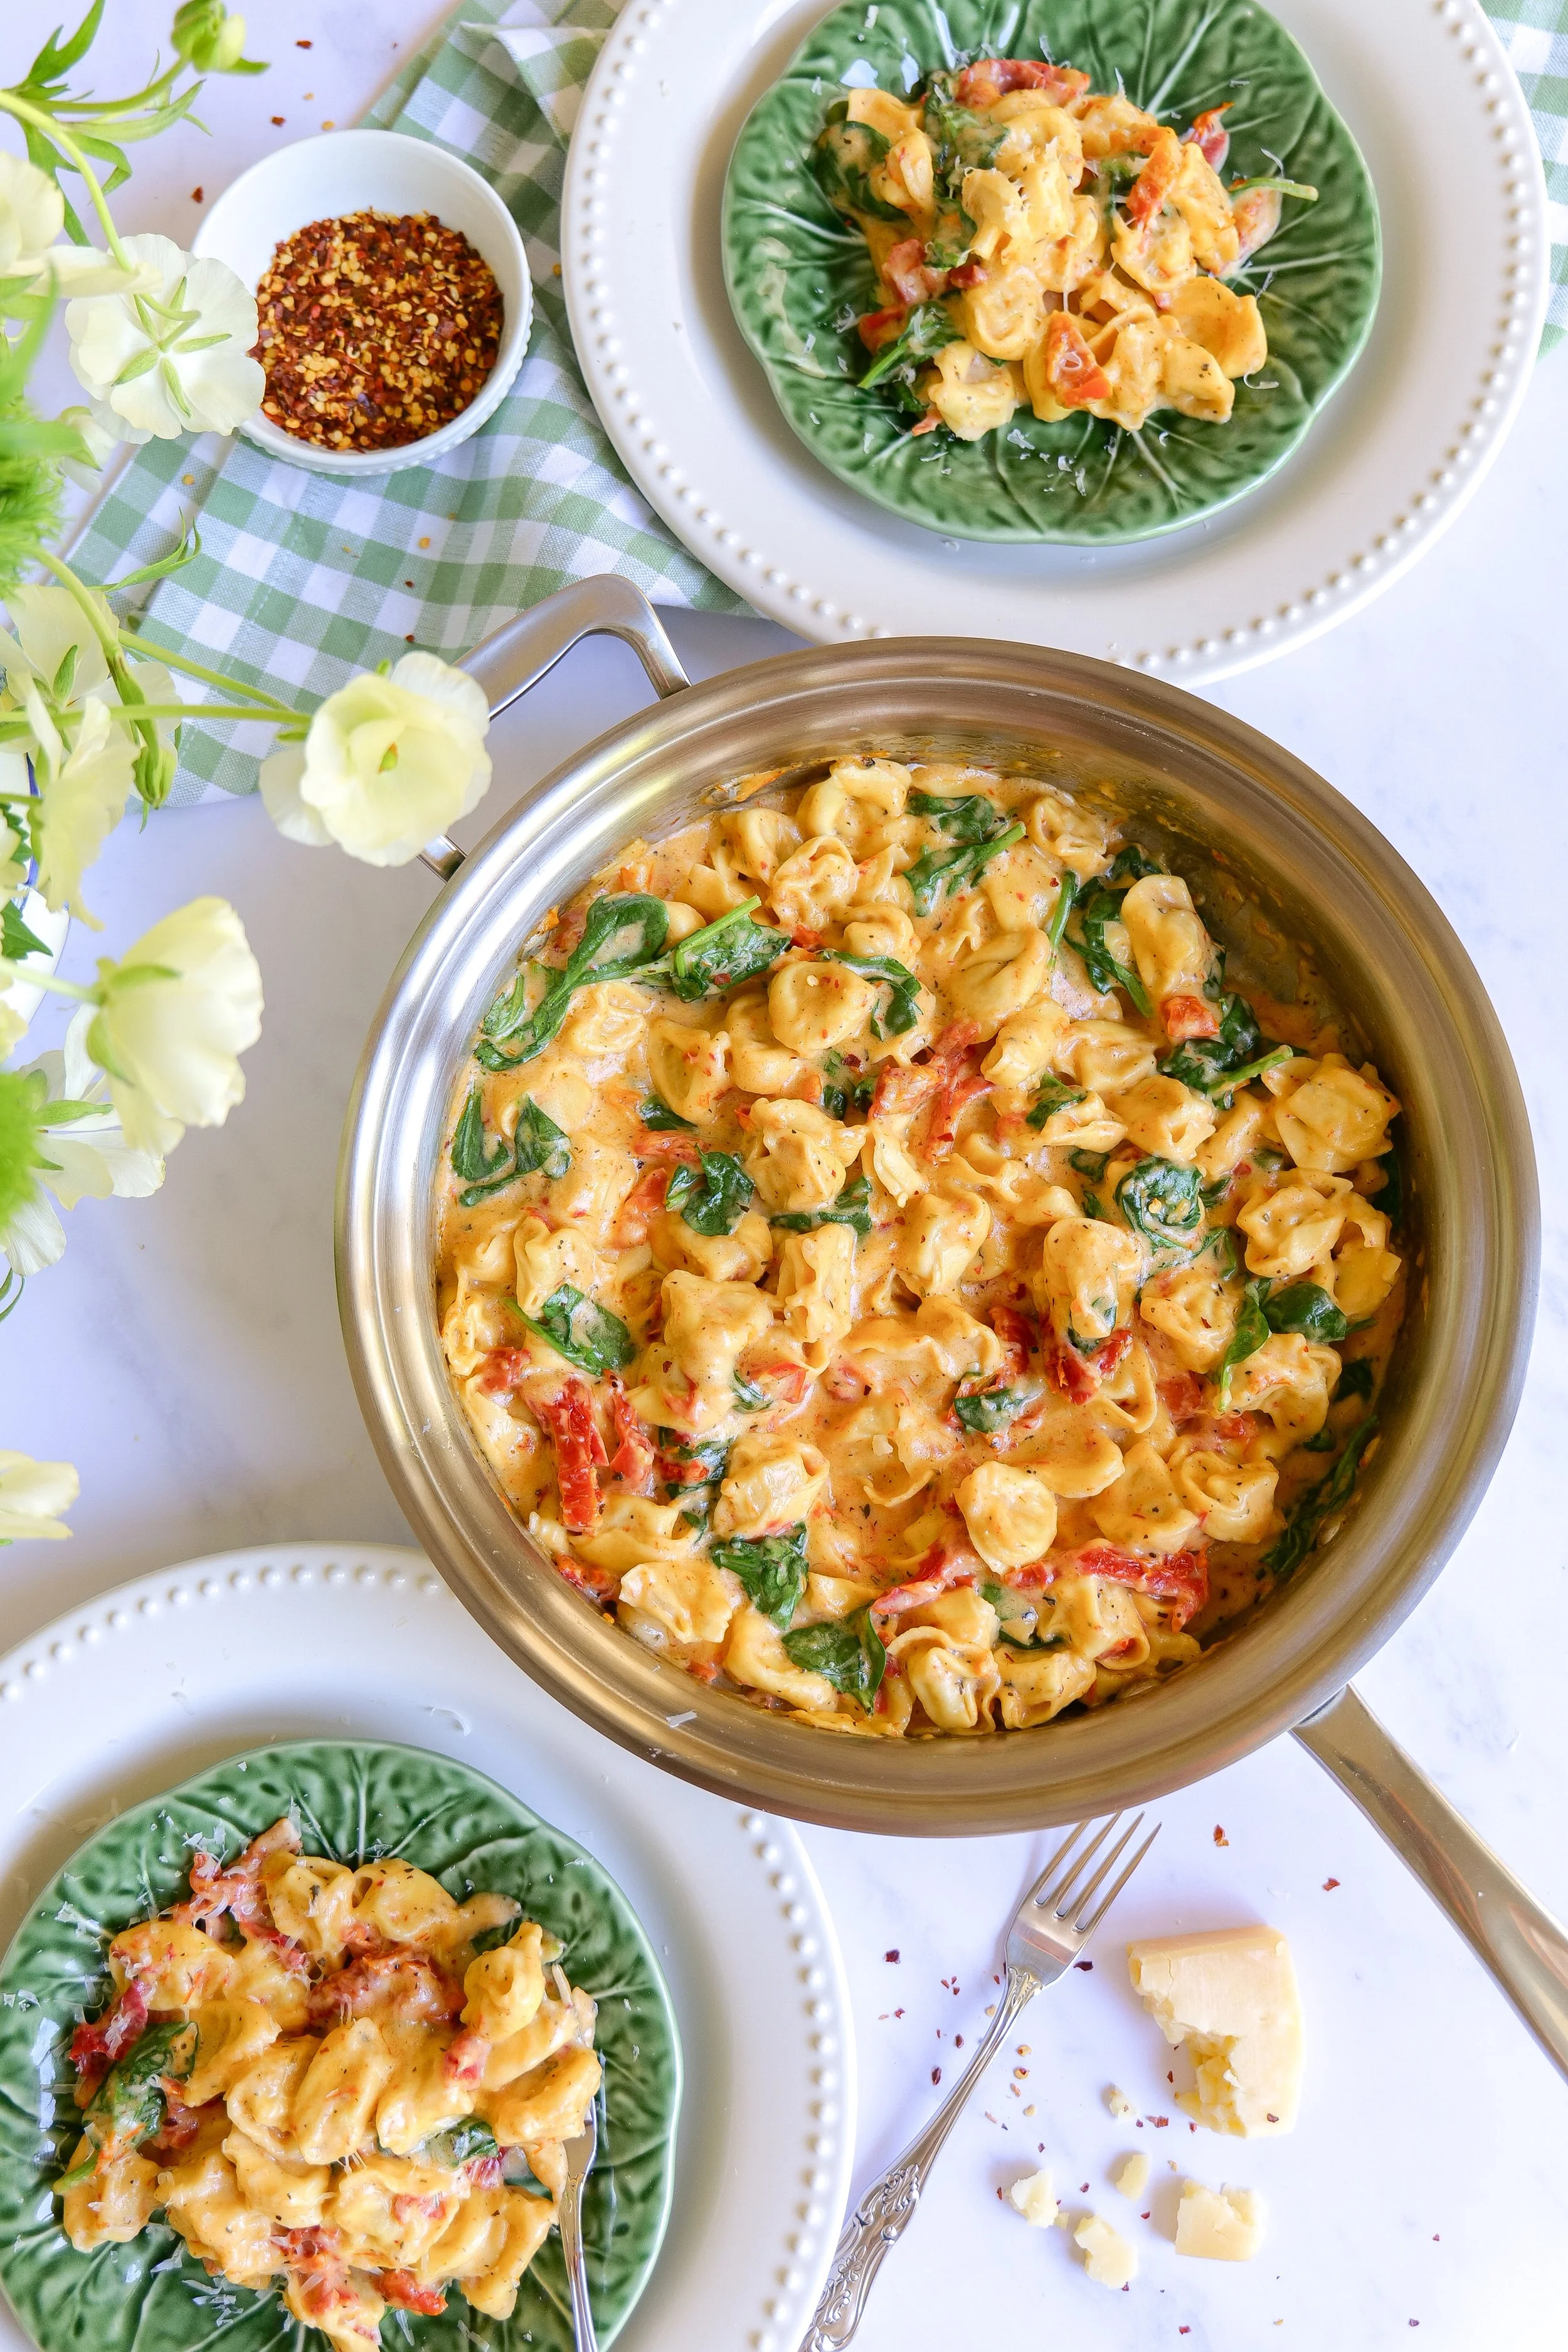
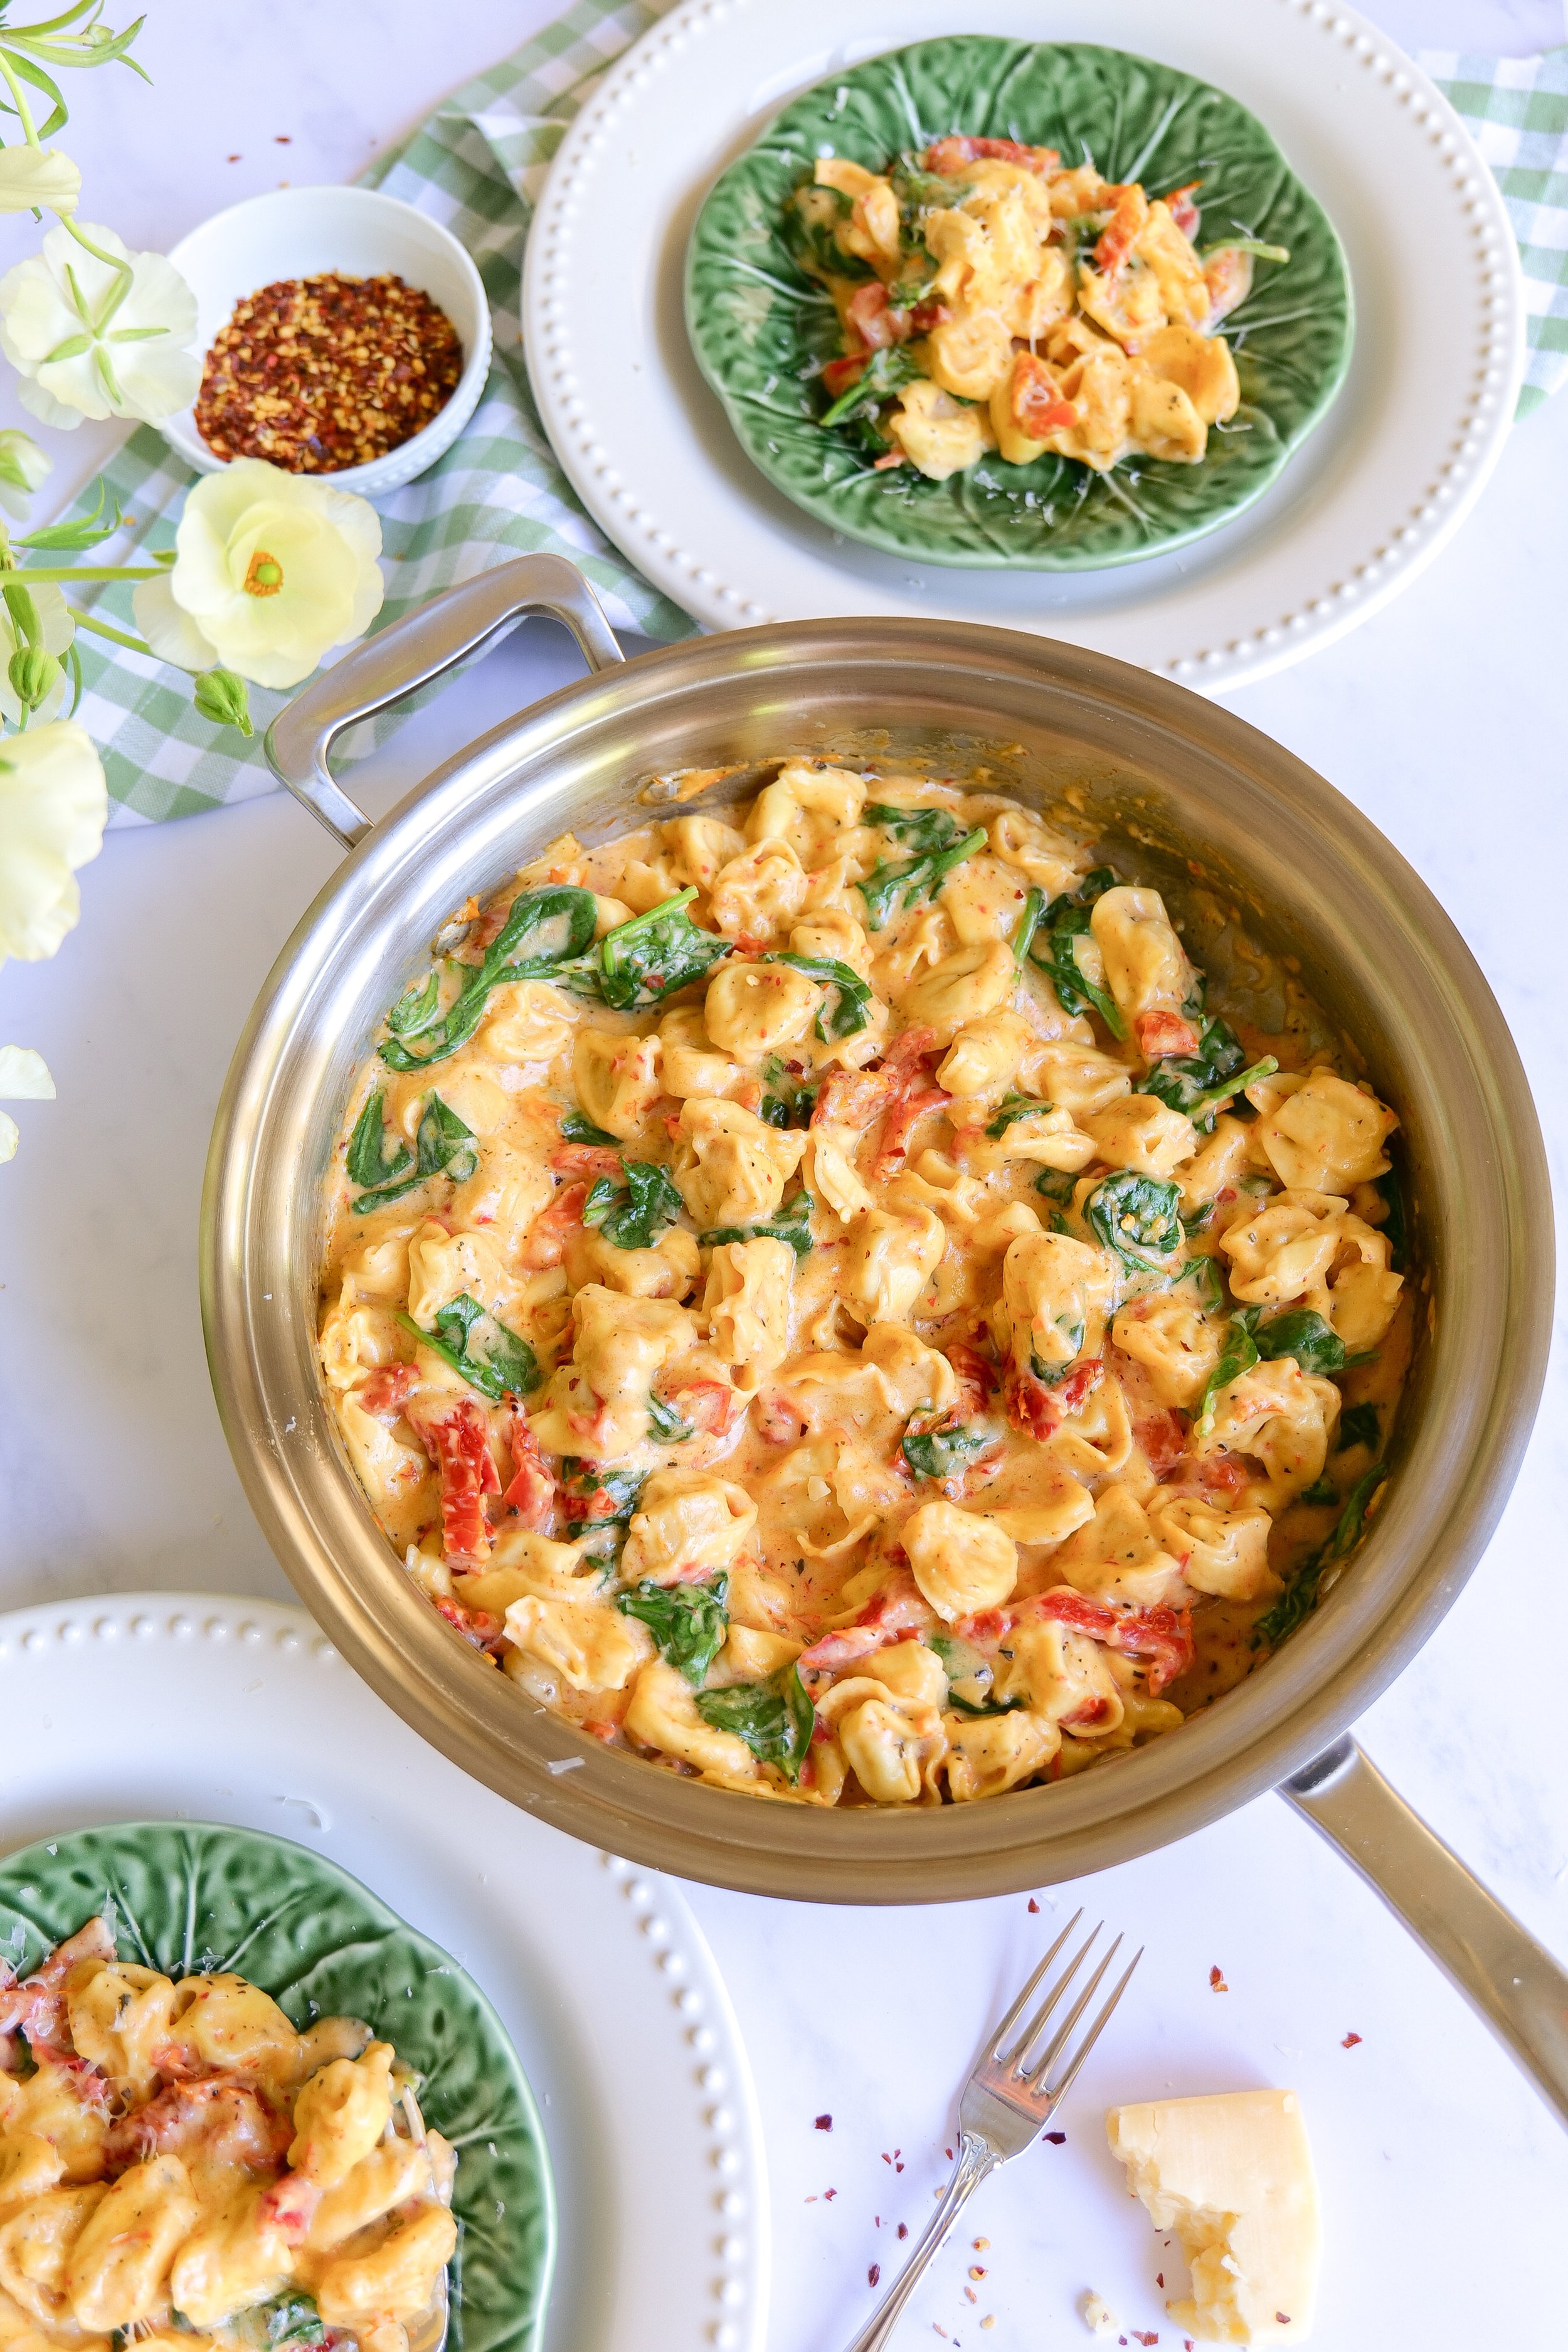
Warm creamy One Pot Marry Me Tortellini being served for a shared meal
Freshly cooked One Pot Marry Me Tortellini placed on the table
Family-style serving of One Pot Marry Me Tortellini with Parmesan on top

The "Marry Me" recipe trend has become incredibly popular over the last few years, and after one bite, it's easy to understand why. The combination of a rich cream sauce, savory Parmesan, tender cheese tortellini, and flavorful sun-dried tomatoes creates a restaurant-worthy dish that feels both comforting and elevated.

One of my favorite things about this recipe is how versatile it is. It works beautifully for busy weeknights, casual entertaining, date nights at home, or anytime you're craving a cozy bowl of pasta without a sink full of dishes afterward. Since everything cooks in one pot, cleanup is almost as easy as making the meal itself.

Whether you're adding this to your weekly meal rotation or saving it for a special dinner at home, this creamy tortellini recipe is one you'll find yourself making again and again.

Why You'll Love This One Pot Marry Me Tortellini

  • Ready in about 30 minutes

  • Only one pot to clean

  • Rich and creamy without being complicated

  • Perfect for family dinners and entertaining

  • Easy to customize with protein or additional vegetables

  • Makes fantastic leftovers

One Pot Marry Me Tortellini being served on the table in a large skillet
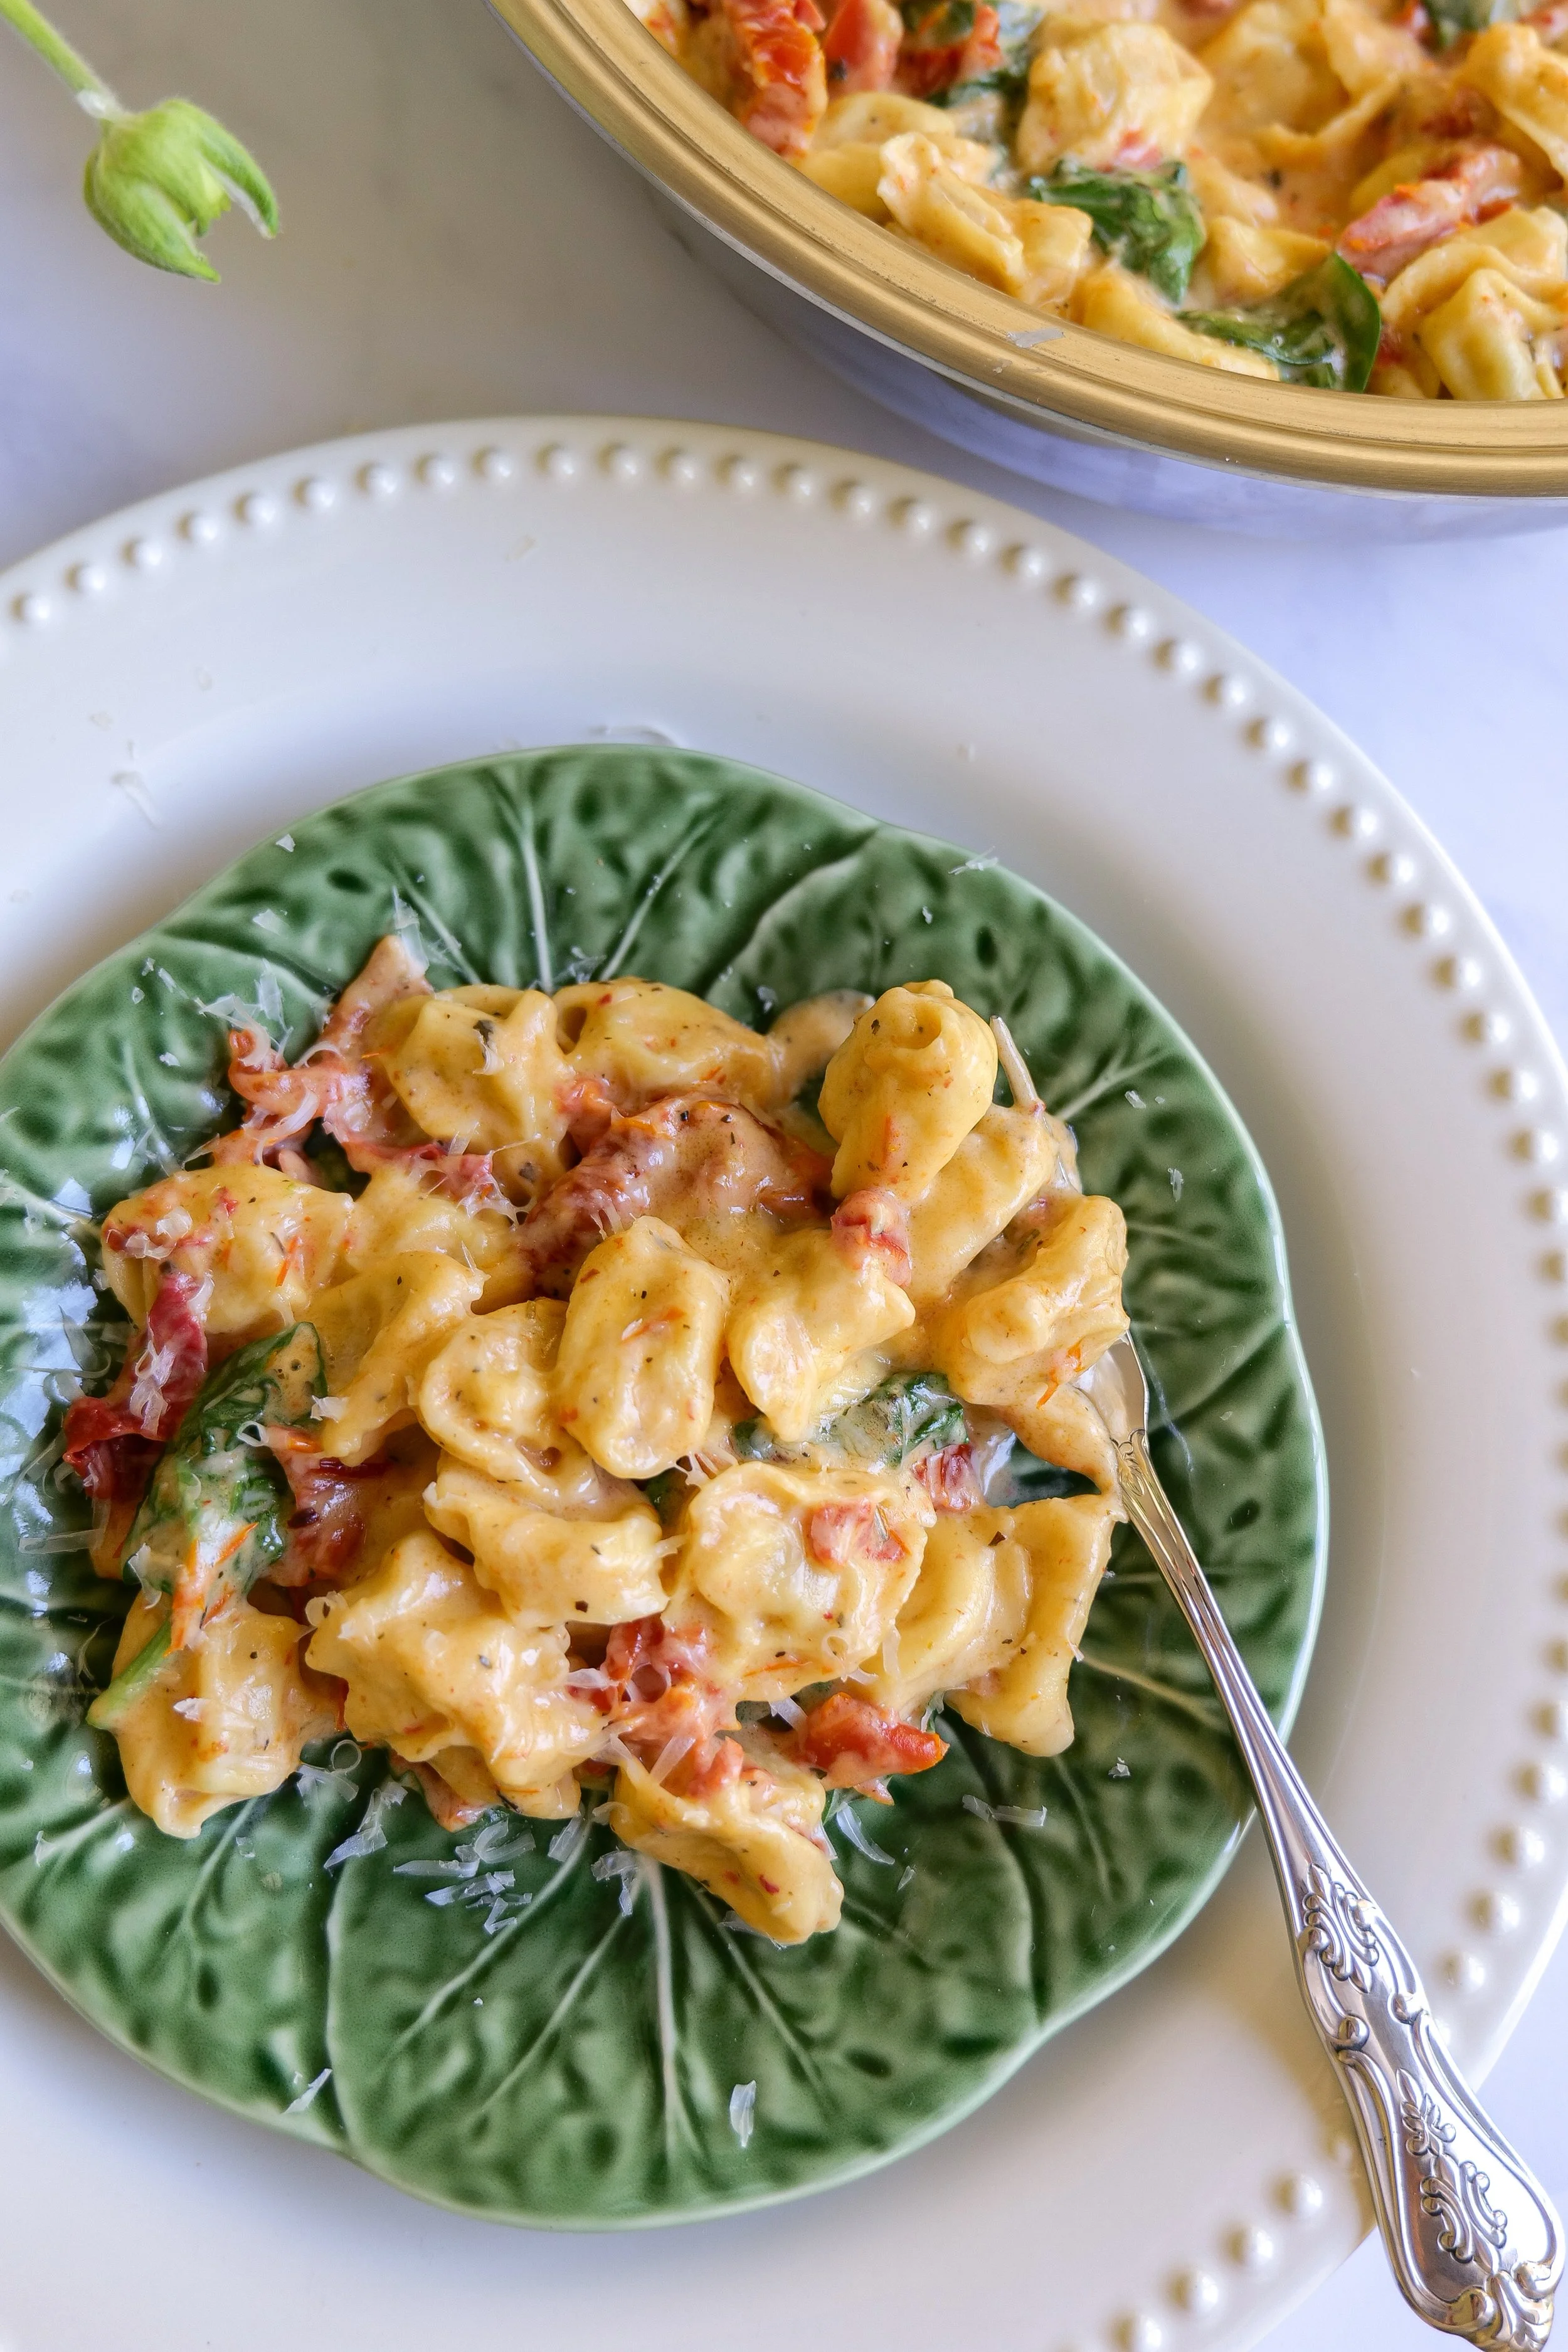
One Pot Marry Me Tortellini being spooned onto plates at a cozy dinner table

Ingredients

  • 1 tablespoon butter

  • 3 cloves garlic, minced

  • 2 cups fresh spinach

  • 7 oz jar sun-dried tomatoes (in oil)

  • 20 oz cheese tortellini

  • 1/4 tsp red pepper flakes

  • 1 teaspoon Italian seasoning

  • Sea salt & black pepper (to taste)

  • 2–4 tablespoons all-purpose flour

  • 1 cup heavy cream

  • 1/2 cup grated Parmesan cheese

  • 4 cups vegetable broth

Instructions

  1. Sauté the base
    Melt butter in a large pan over medium heat. Add garlic and cook until fragrant. Stir in sun-dried tomatoes (with oil), red pepper flakes, Italian seasoning, flour, salt, and pepper.

  2. Build the sauce
    Pour in vegetable broth and bring to a gentle boil, stirring continuously.

  3. Cook the pasta
    Add tortellini and let it cook directly in the broth until tender and the liquid begins to thicken.

  4. Make it creamy
    Stir in heavy cream, Parmesan, and spinach. Mix well after each addition.

  5. Finish & serve
    Simmer until the sauce becomes rich and creamy. Serve with extra Parmesan on top.

What Makes This "Marry Me" Tortellini So Good?

The secret to this recipe is the balance of flavors. The richness of the cream sauce is complemented by savory Parmesan cheese, while sun-dried tomatoes add a slightly sweet and tangy bite. Fresh spinach brings color and freshness, and the cheese tortellini makes the dish hearty enough to serve as a complete meal.

Unlike many pasta recipes that require multiple pots and pans, everything comes together in one skillet or Dutch oven, making it ideal for busy evenings when you want something homemade without spending all night in the kitchen.

What to Serve with Marry Me Tortellini

This creamy tortellini is filling enough to enjoy on its own, but it also pairs beautifully with a few simple sides.

Some of my favorite options include:

  • Garlic bread

  • Homemade focaccia

  • A crisp Caesar salad

  • Mixed greens with balsamic vinaigrette

  • Roasted broccoli

  • Roasted asparagus

  • Grilled chicken

  • Italian sausage

If you're feeding a crowd, pairing this tortellini with a salad and warm bread creates an easy meal that feels restaurant-worthy without much effort.

Shop My Family Dinner Favorites

These are the kitchen essentials I use constantly for easy family dinners like this One Pot Marry Me Tortellini. From weeknight pasta recipes to slow cooker meals and cozy comfort food favorites, these are the tools I reach for again and again.

Shop My Family Dinner Favorites

Some of my most-used kitchen essentials include:

  • Everyday sauté pan

  • Dutch oven

  • Wooden cooking utensils

  • Parmesan grater

  • Mixing bowls

  • Large serving bowls

  • Weeknight cooking favorites

serving One Pot Marry Me Tortellini straight from the pan onto dinner plates
One Pot Marry Me Tortellini being served fresh from the pot

Frequently Asked Questions

Can I use frozen tortellini?

Yes. Frozen tortellini works well in this recipe. Simply add a few extra minutes to the cooking time and stir occasionally to ensure even cooking.

Can I add protein?

Absolutely. Grilled chicken, Italian sausage, shrimp, or rotisserie chicken are all delicious additions.

Can I make Marry Me Tortellini ahead of time?

Yes. Store leftovers in an airtight container in the refrigerator for up to three days. When reheating, add a splash of cream, milk, or chicken broth to loosen the sauce.

What vegetables can I add?

Spinach, kale, mushrooms, zucchini, and bell peppers all work beautifully in this recipe.

Can I use fresh tomatoes instead of sun-dried tomatoes?

Yes. Cherry tomatoes make a great substitute and create a slightly lighter flavor profile.

More Cozy Dinner Recipes You'll Love

If you enjoy easy family dinners, you might also love:

Easy Oven Baked Drumsticks

A simple family-friendly dinner that's packed with flavor and perfect for busy weeknights.

Delicious and Easy Chorizo One Pan Dinner

One pan, minimal cleanup, and tons of flavor.

Apple-Glazed Chicken Thighs: A Fall Dinner Everyone Will Love

Sweet, savory, and perfect for cozy evenings at home.

Herb Chicken and Jasmine Rice with Creamy Tzatziki Sauce

A fresh and flavorful dinner that's simple enough for weeknights.

Slow Cooker Italian Sausage Meatballs in Marinara Sauce

A comforting slow cooker recipe that's always a crowd favorite.

Storage & Leftovers

Store leftover tortellini in an airtight container in the refrigerator for up to three days.

To reheat, warm gently on the stovetop or in the microwave with a splash of cream, milk, or broth to help bring the sauce back to its creamy consistency.

Save This Recipe

Whether you're planning ahead for a special occasion or adding a new favorite to your recipe collection, I've included a printable recipe card below so it's easy to save, print, and share with the people you love.
Printable One-Pot Marry Me Tortellini recipe card featuring creamy cheese tortellini with spinach, sun-dried tomatoes, Parmesan, and a rich garlic cream sauce ready in 20 minutes.
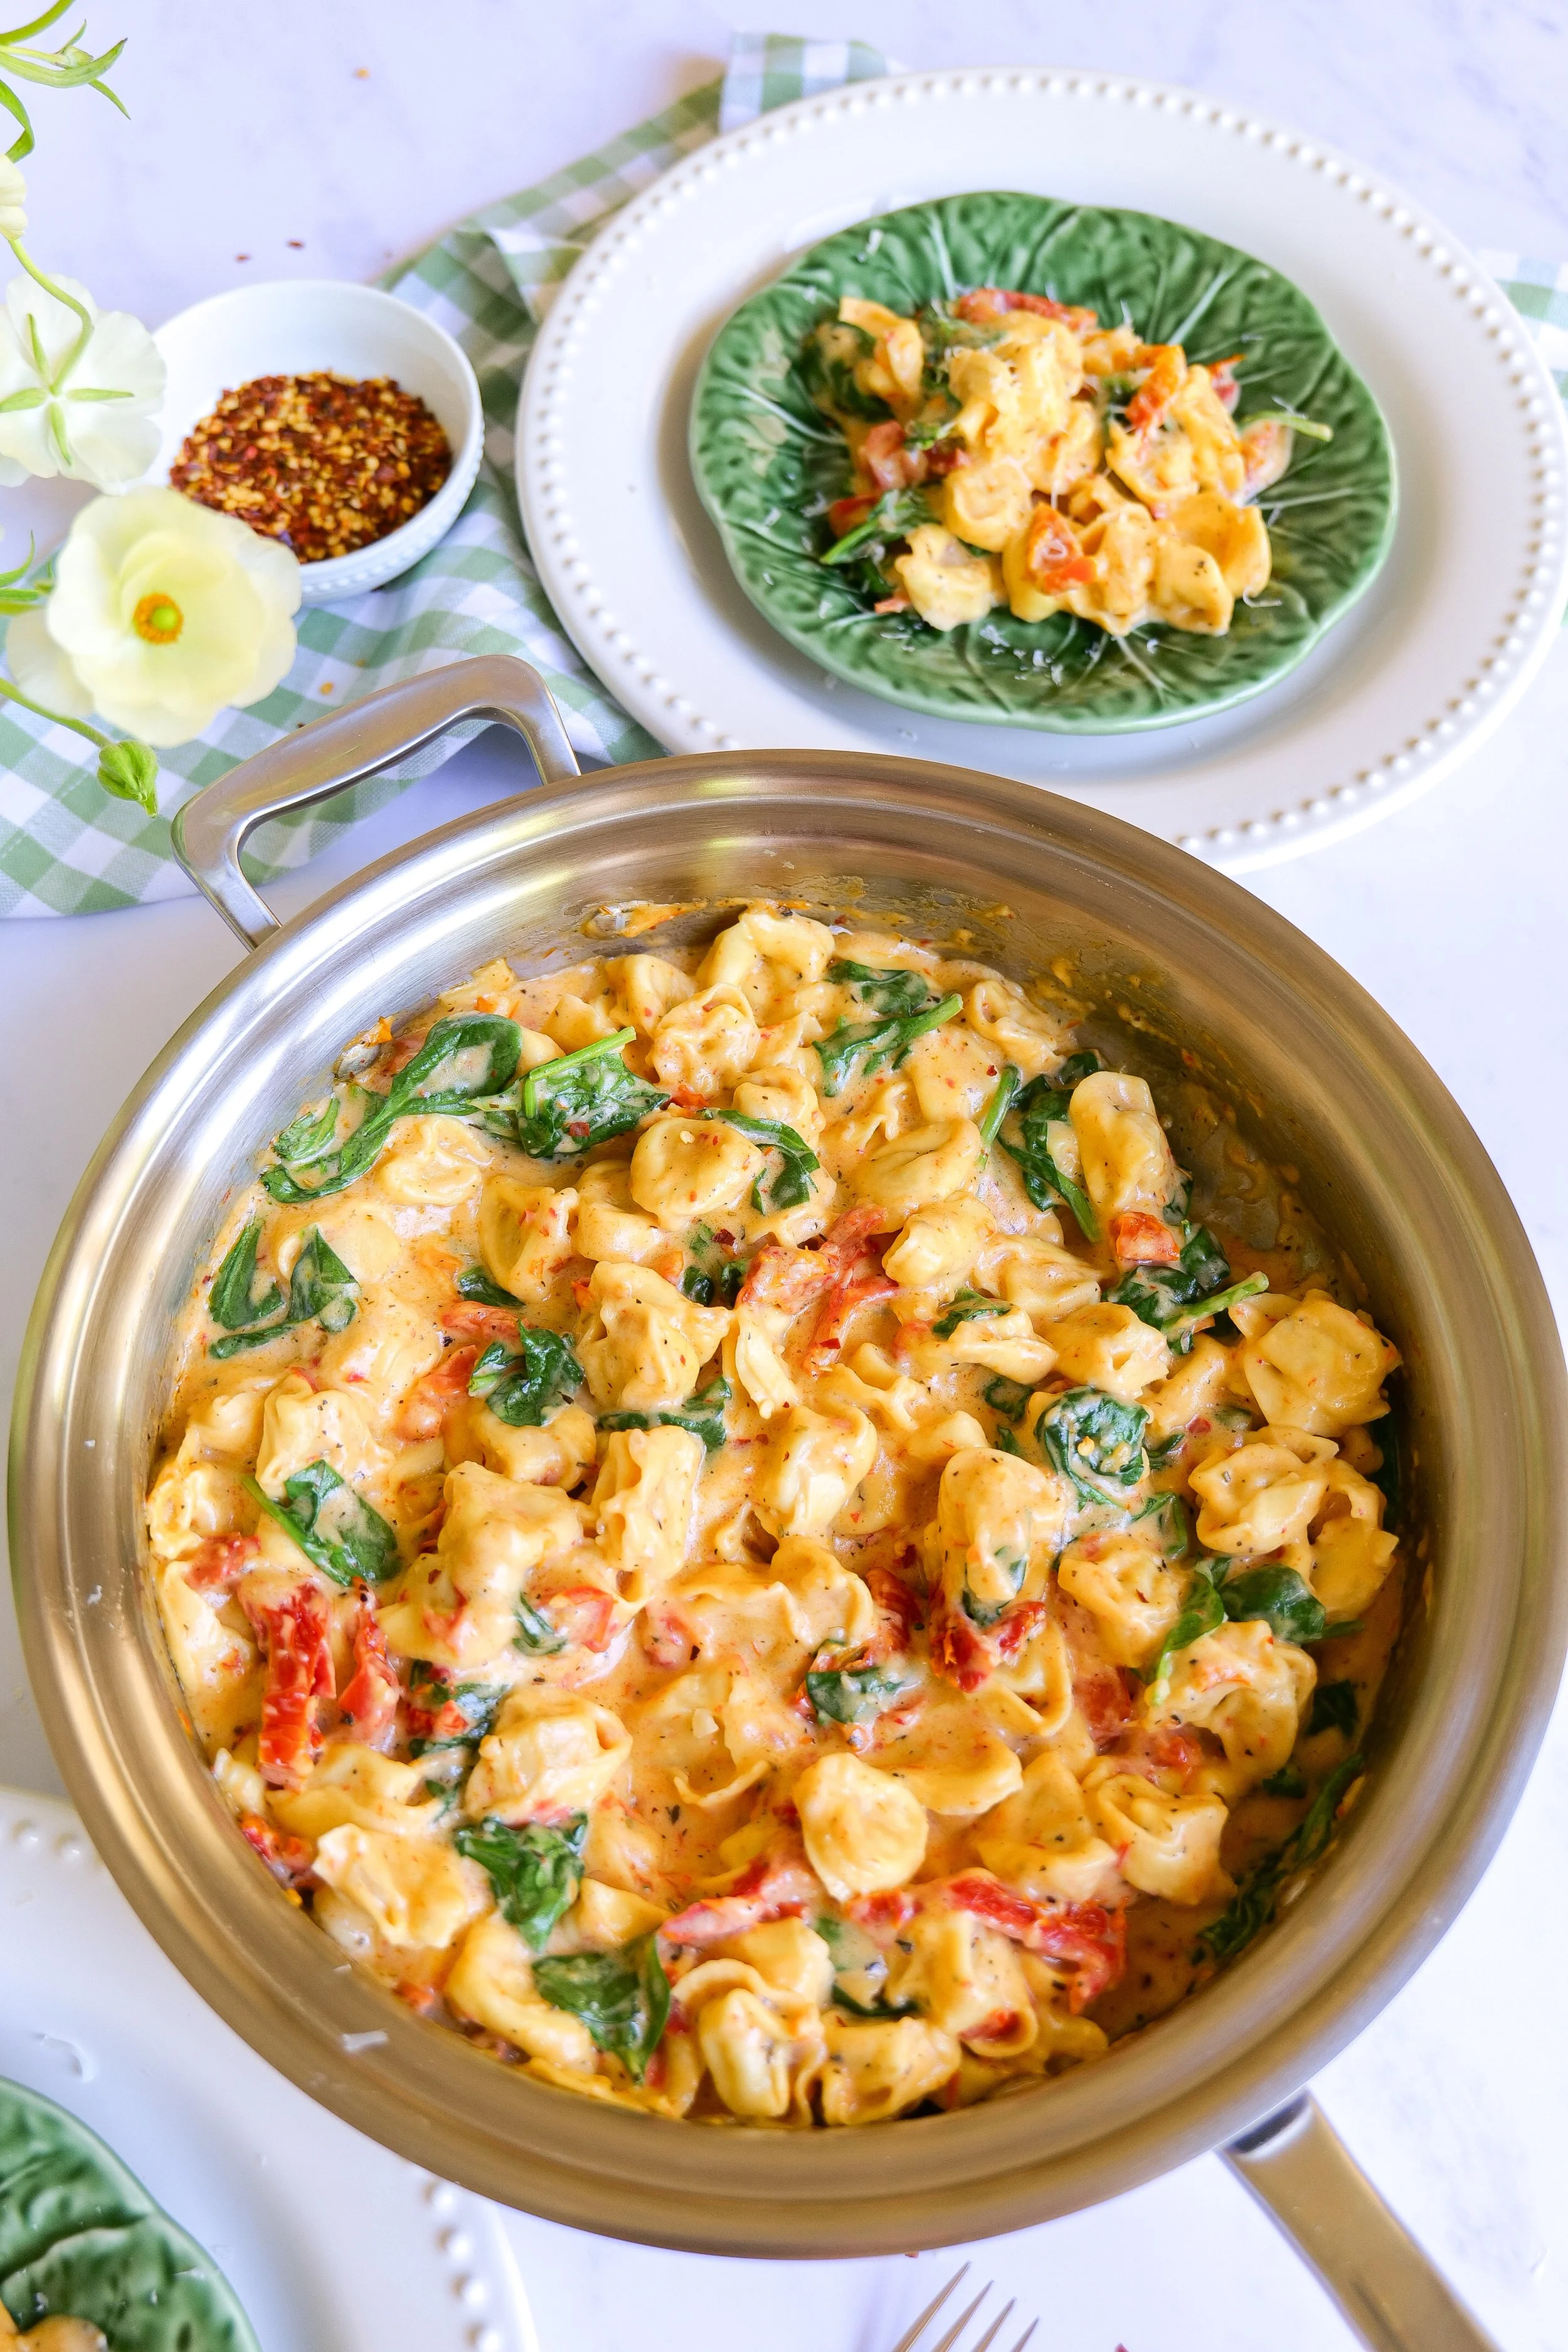
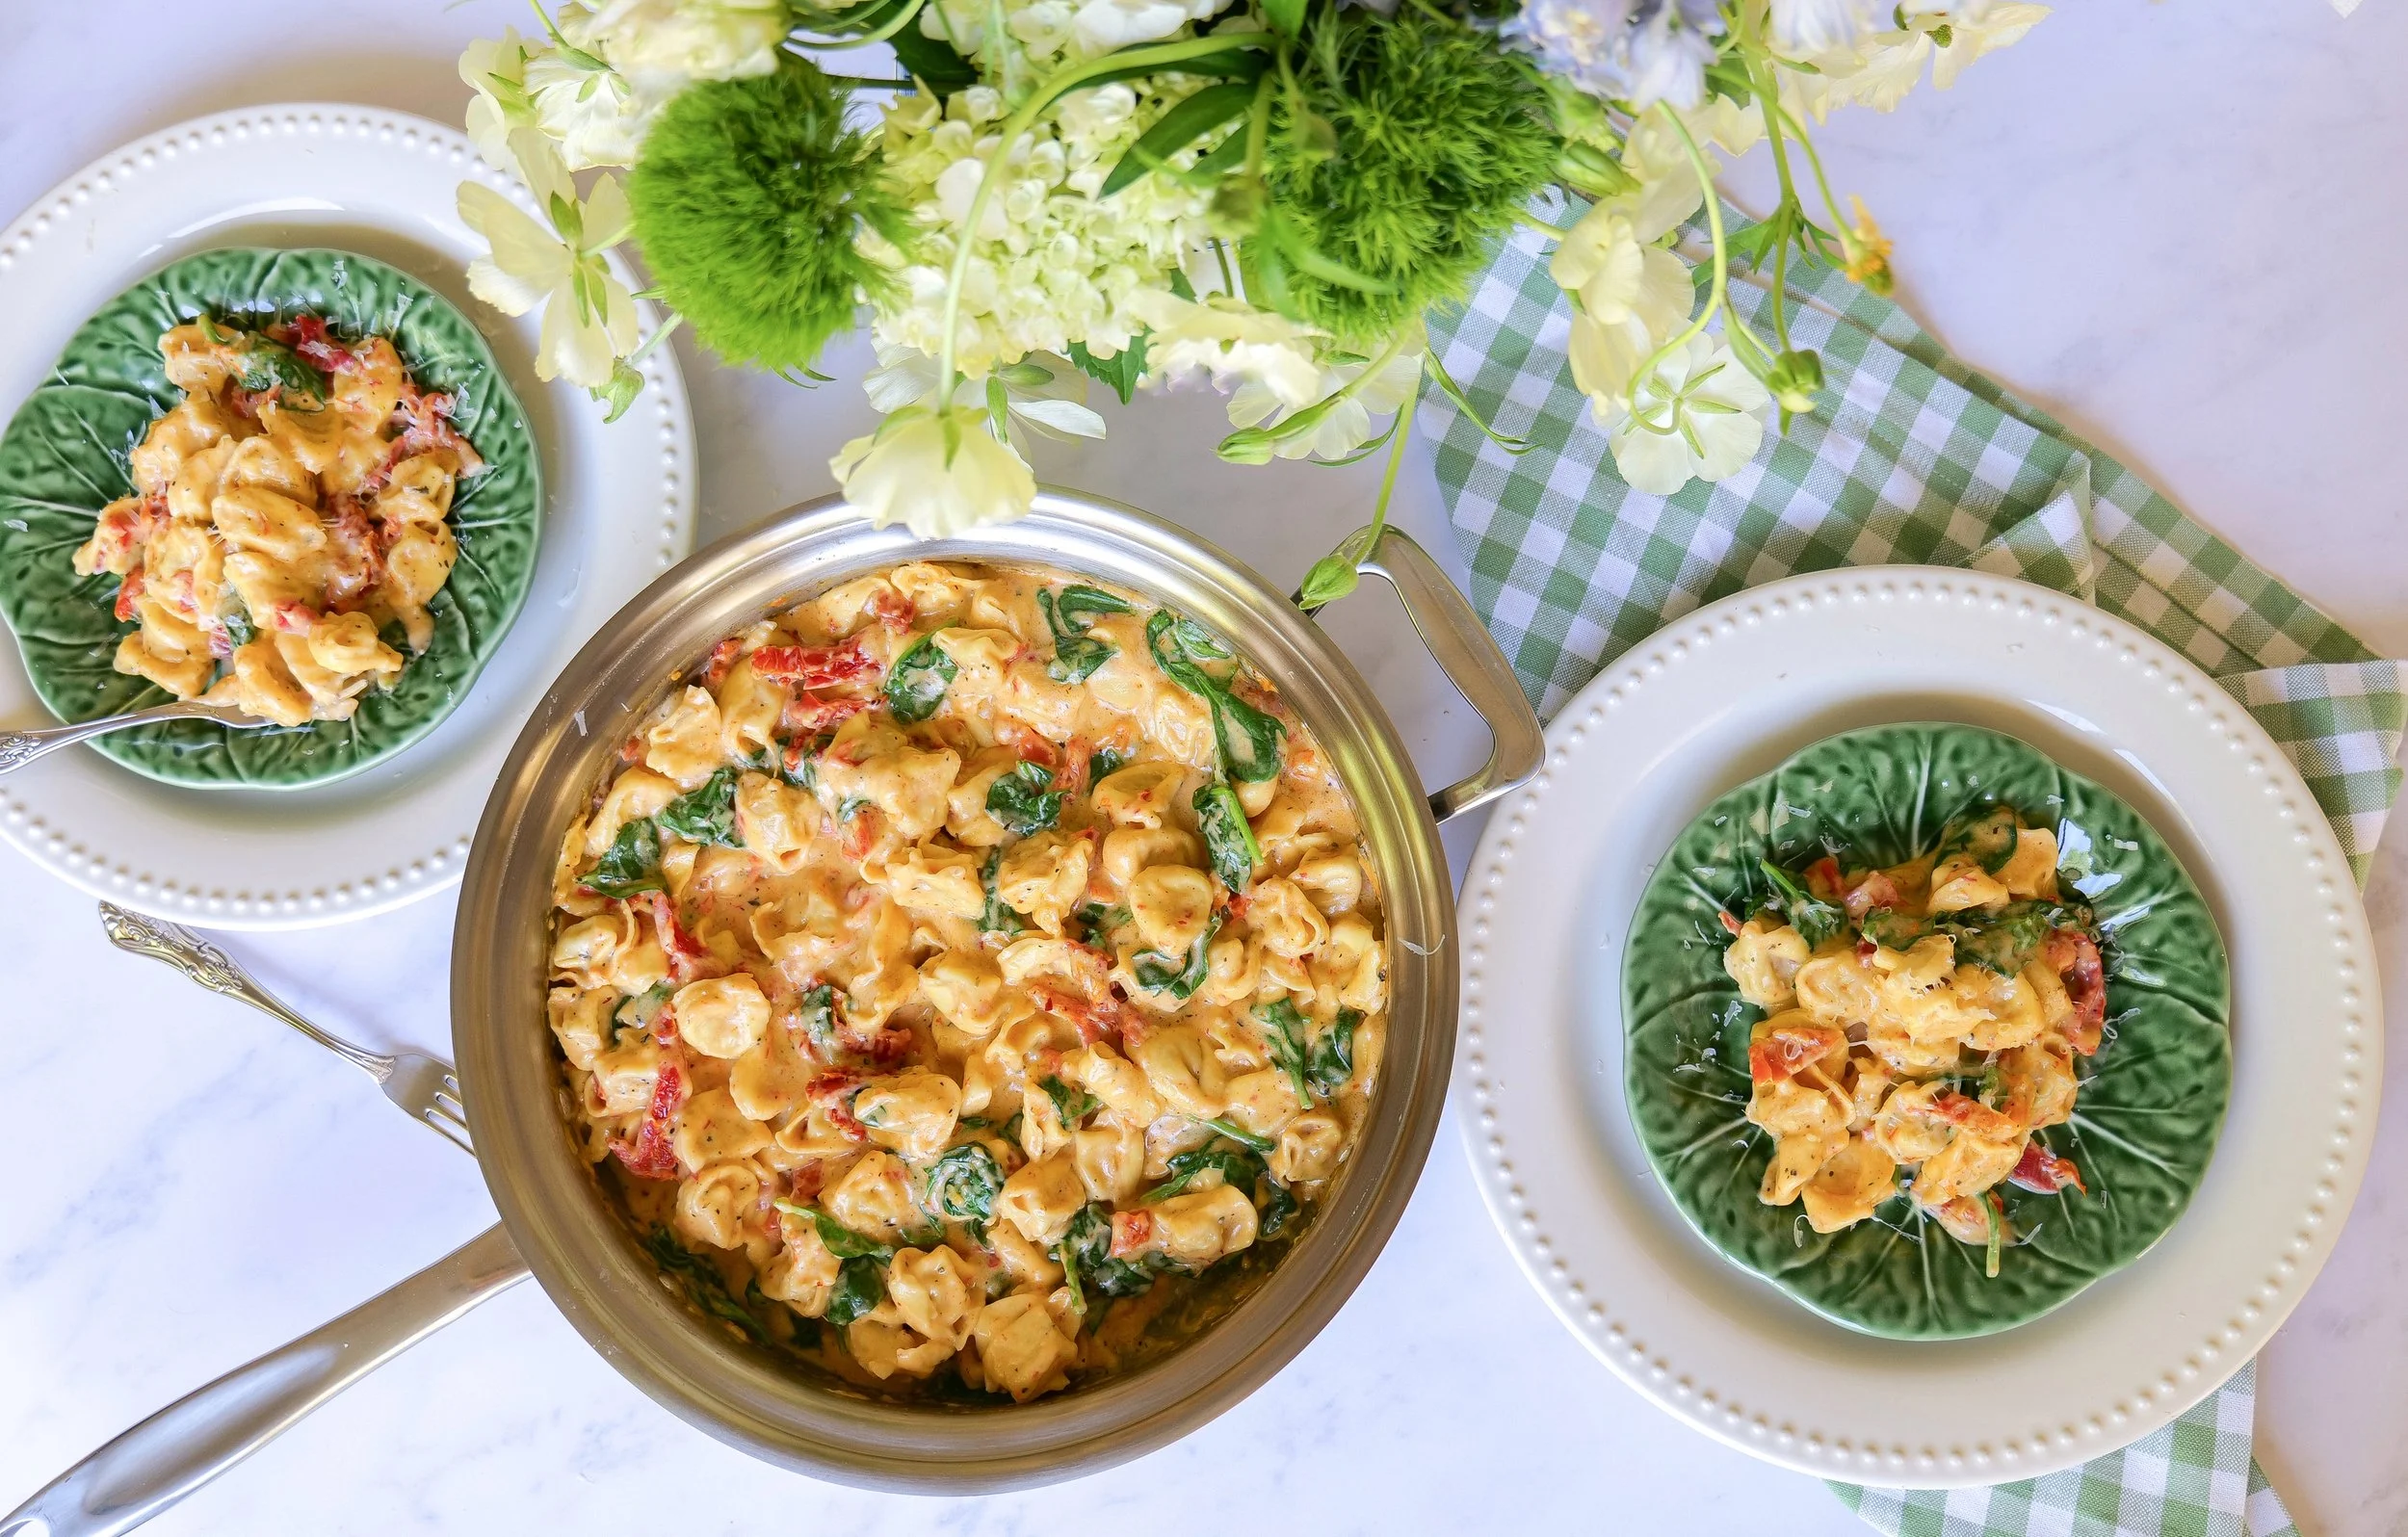
One Pot Marry Me Tortellini with spinach and tomatoes being served warm at the table
Creamy One Pot Marry Me Tortellini served family-style at the dinner table
One Pot Marry Me Tortellini served in a pan with plates ready at the table

Slow Cooker Italian Penicillin Soup with Chicken & Pastina

A Cozy Italian-Inspired Chicken Soup with Vegetables, Parmesan & Tiny Pasta

There are some recipes that simply feel like comfort in a bowl, and this Italian Penicillin Soup is one of them.

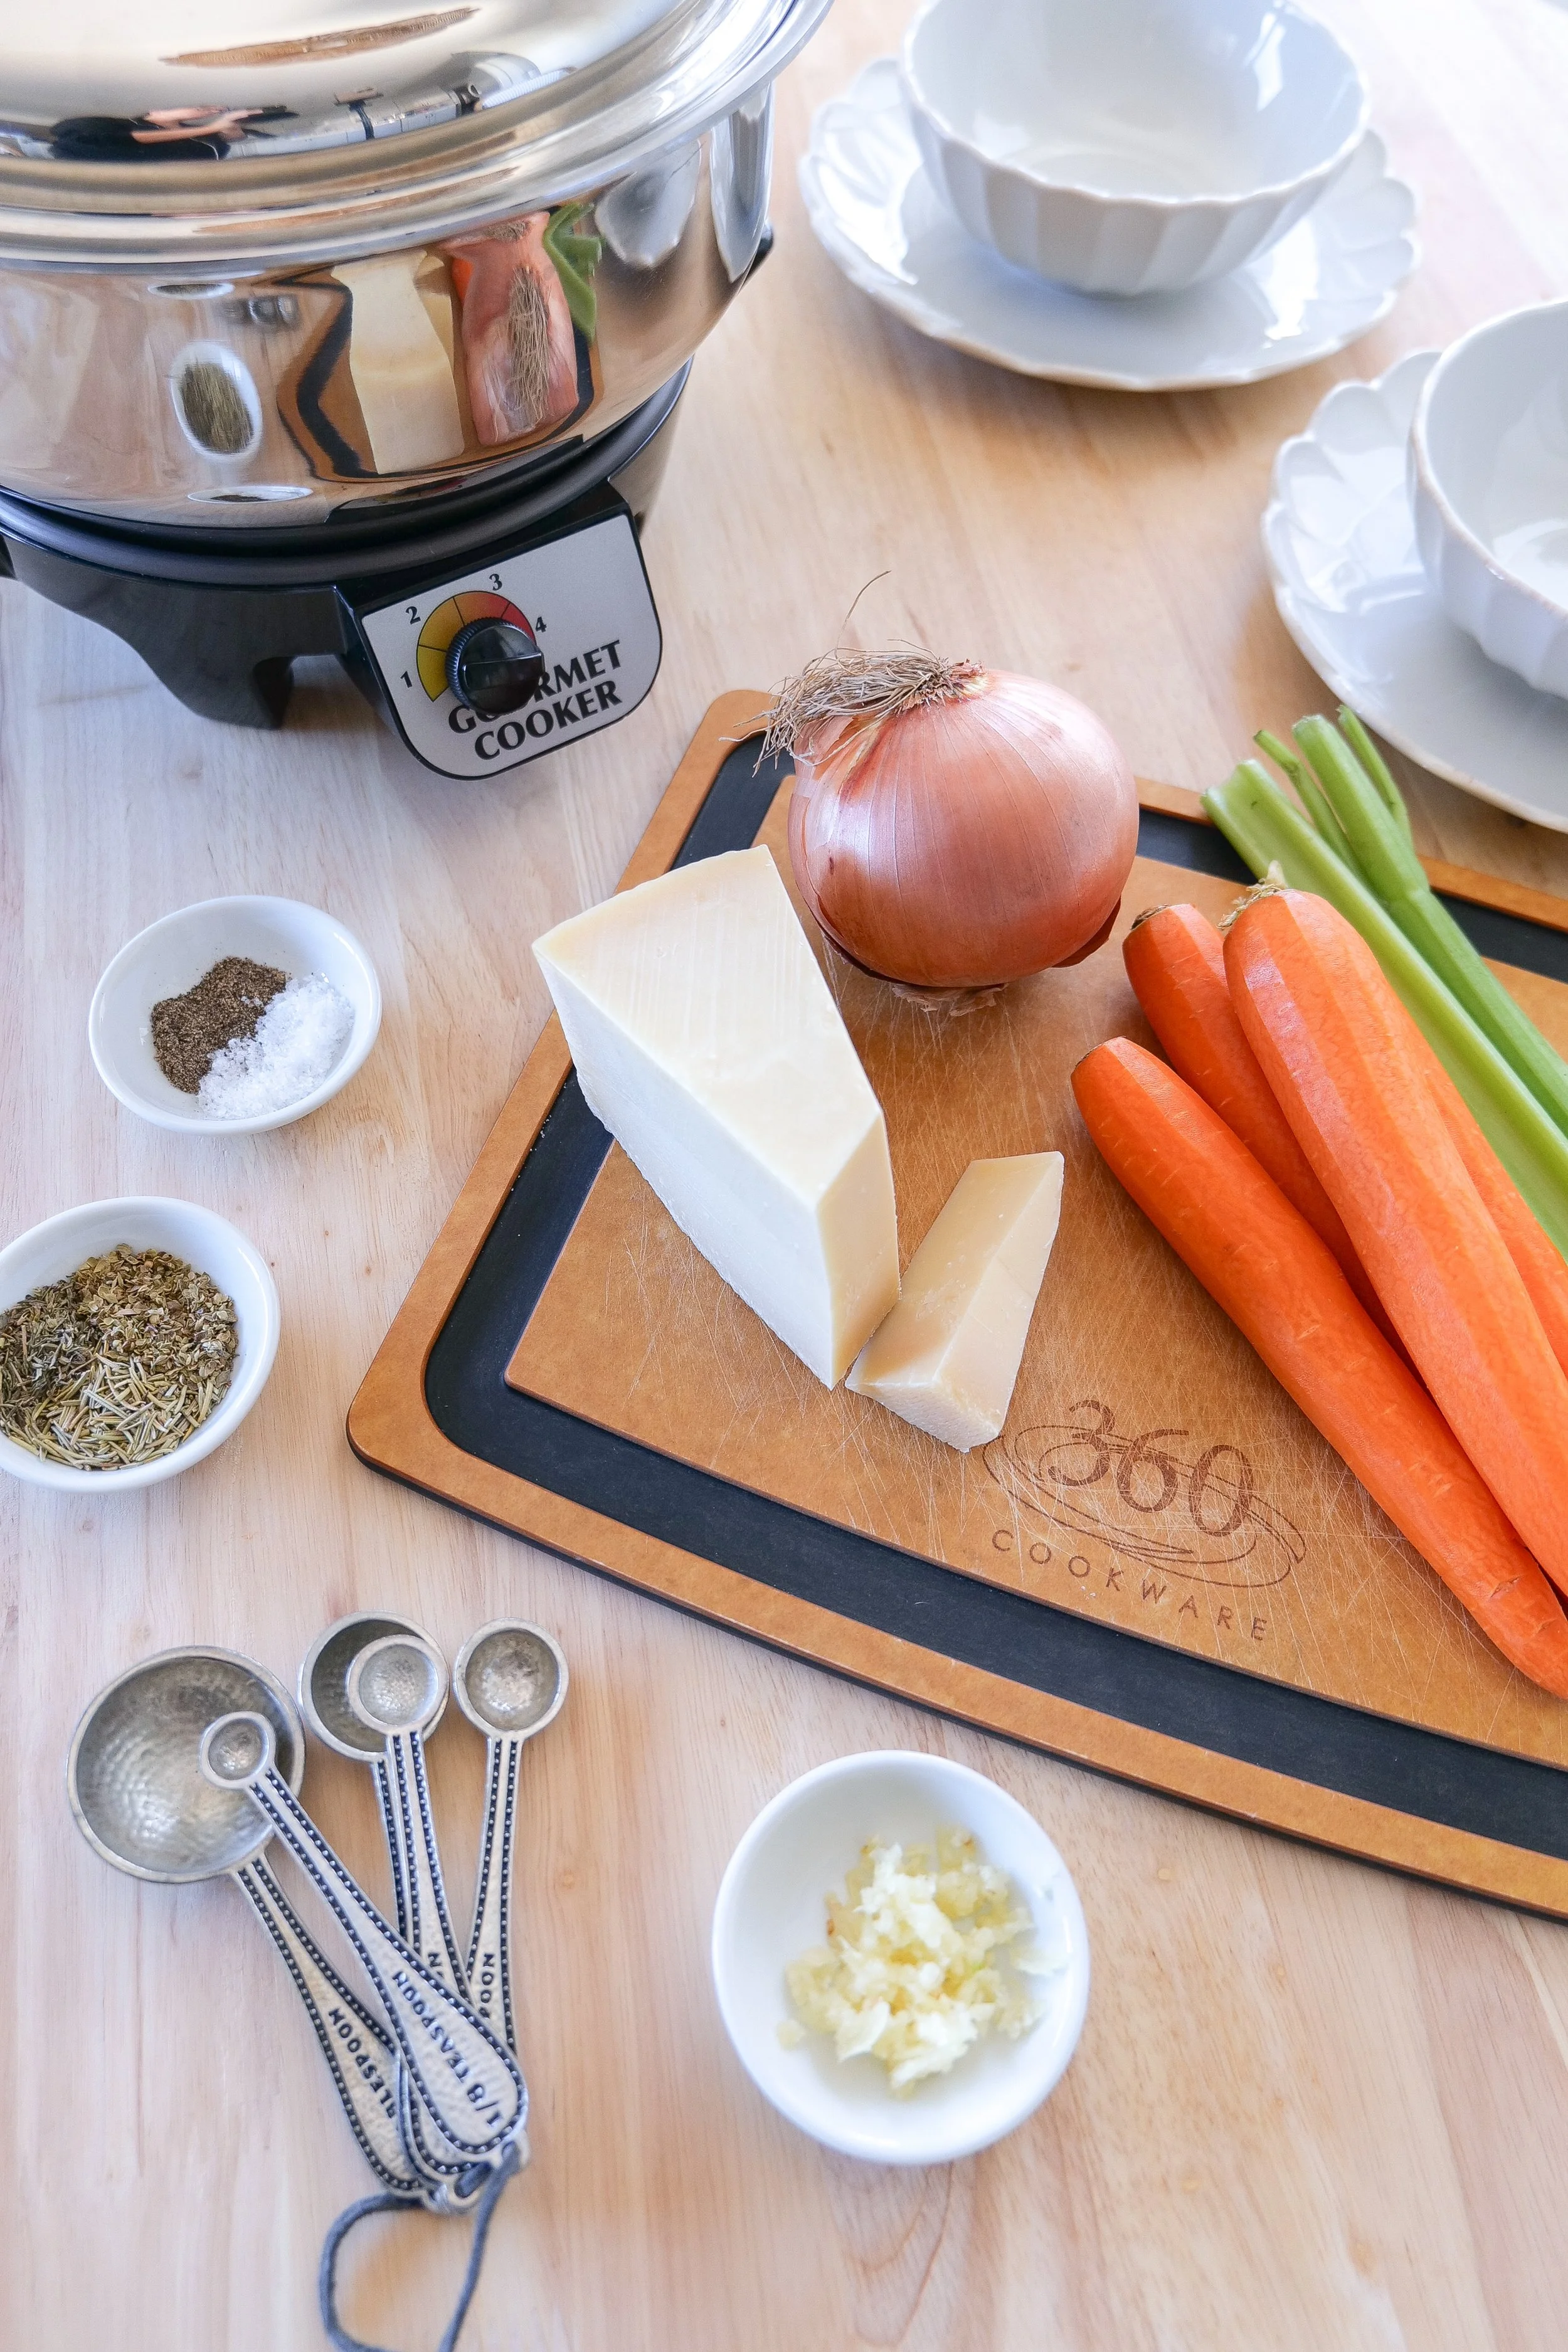
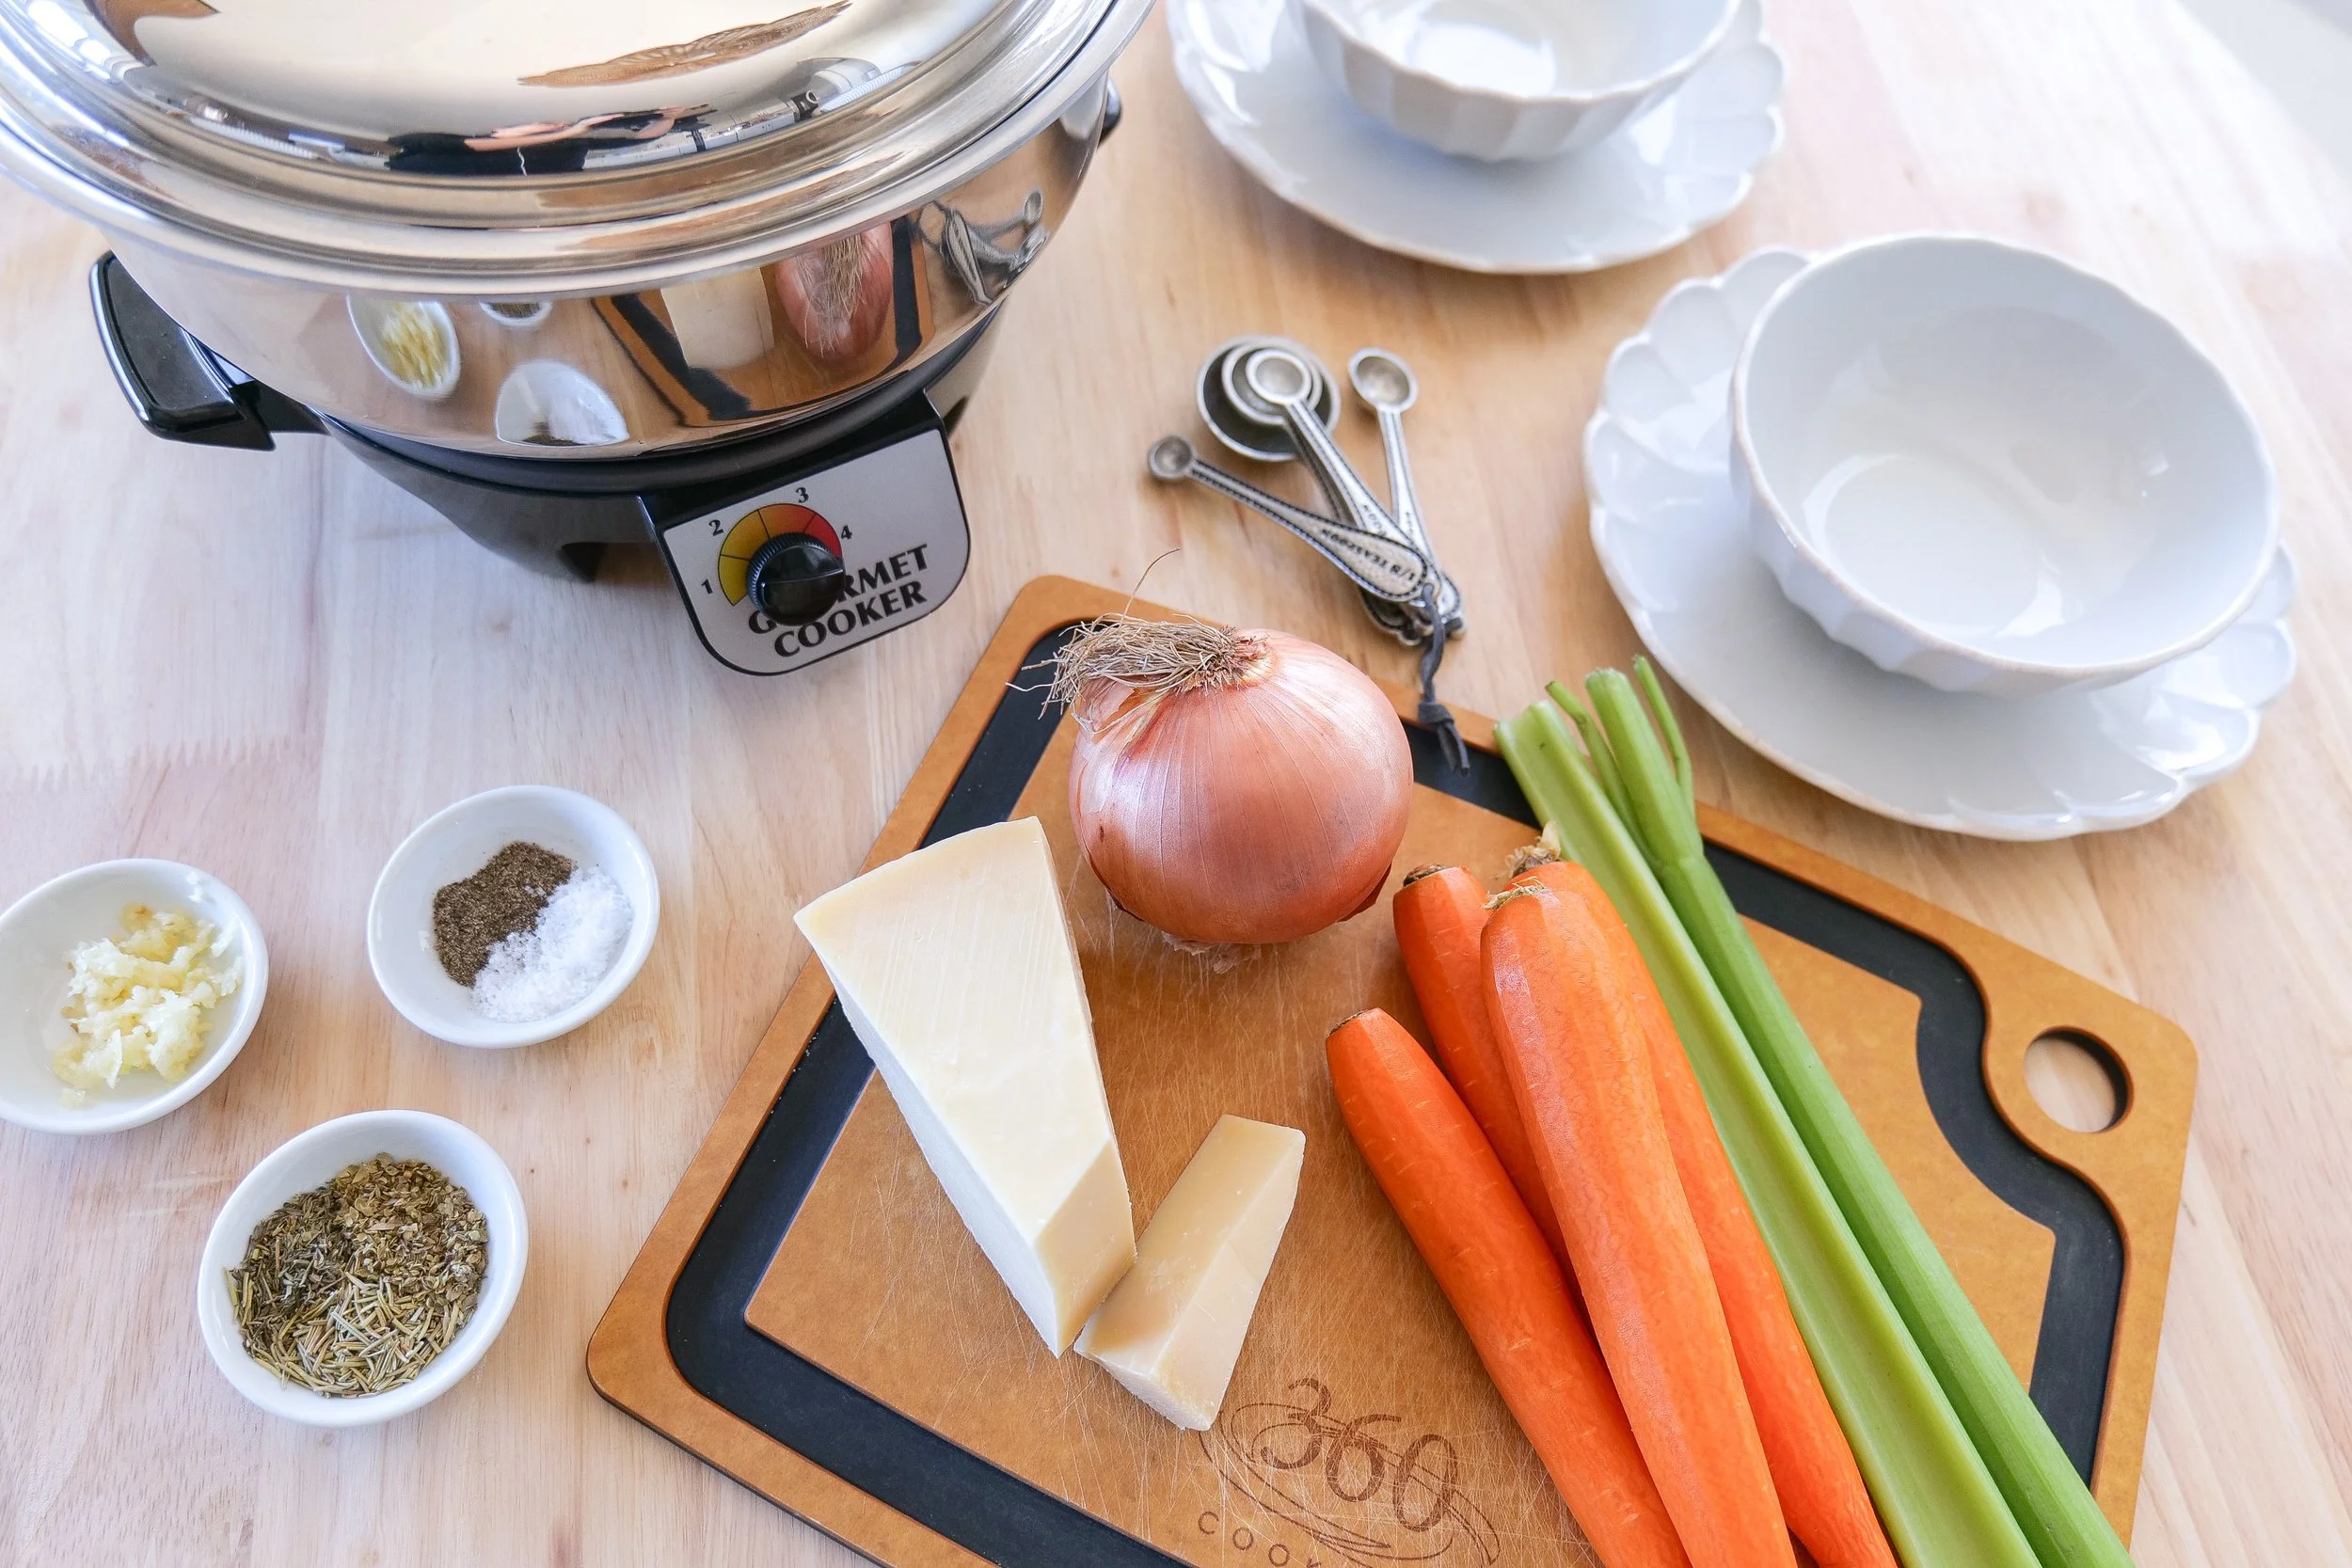
Tender chicken, carrots, celery, onion, garlic, herbs, Parmesan, and tiny pastina pasta slowly cook together in a savory chicken broth for the kind of cozy meal you want on a chilly evening or anytime you're craving something warm and homemade.

Sometimes called Italian Nonna's Penicillin Soup, this comforting chicken soup gets its nickname from generations of Italian families turning to simple bowls of chicken broth, vegetables, and tiny pasta when someone needed a little extra comfort.

My version makes the process especially easy by using the slow cooker. I brown the chicken first for additional flavor, then let the chicken, vegetables, herbs, broth, and a Parmesan rind slowly cook together. Pastina gets added toward the end so those tiny pieces of pasta can soak up all that delicious broth without becoming overcooked.

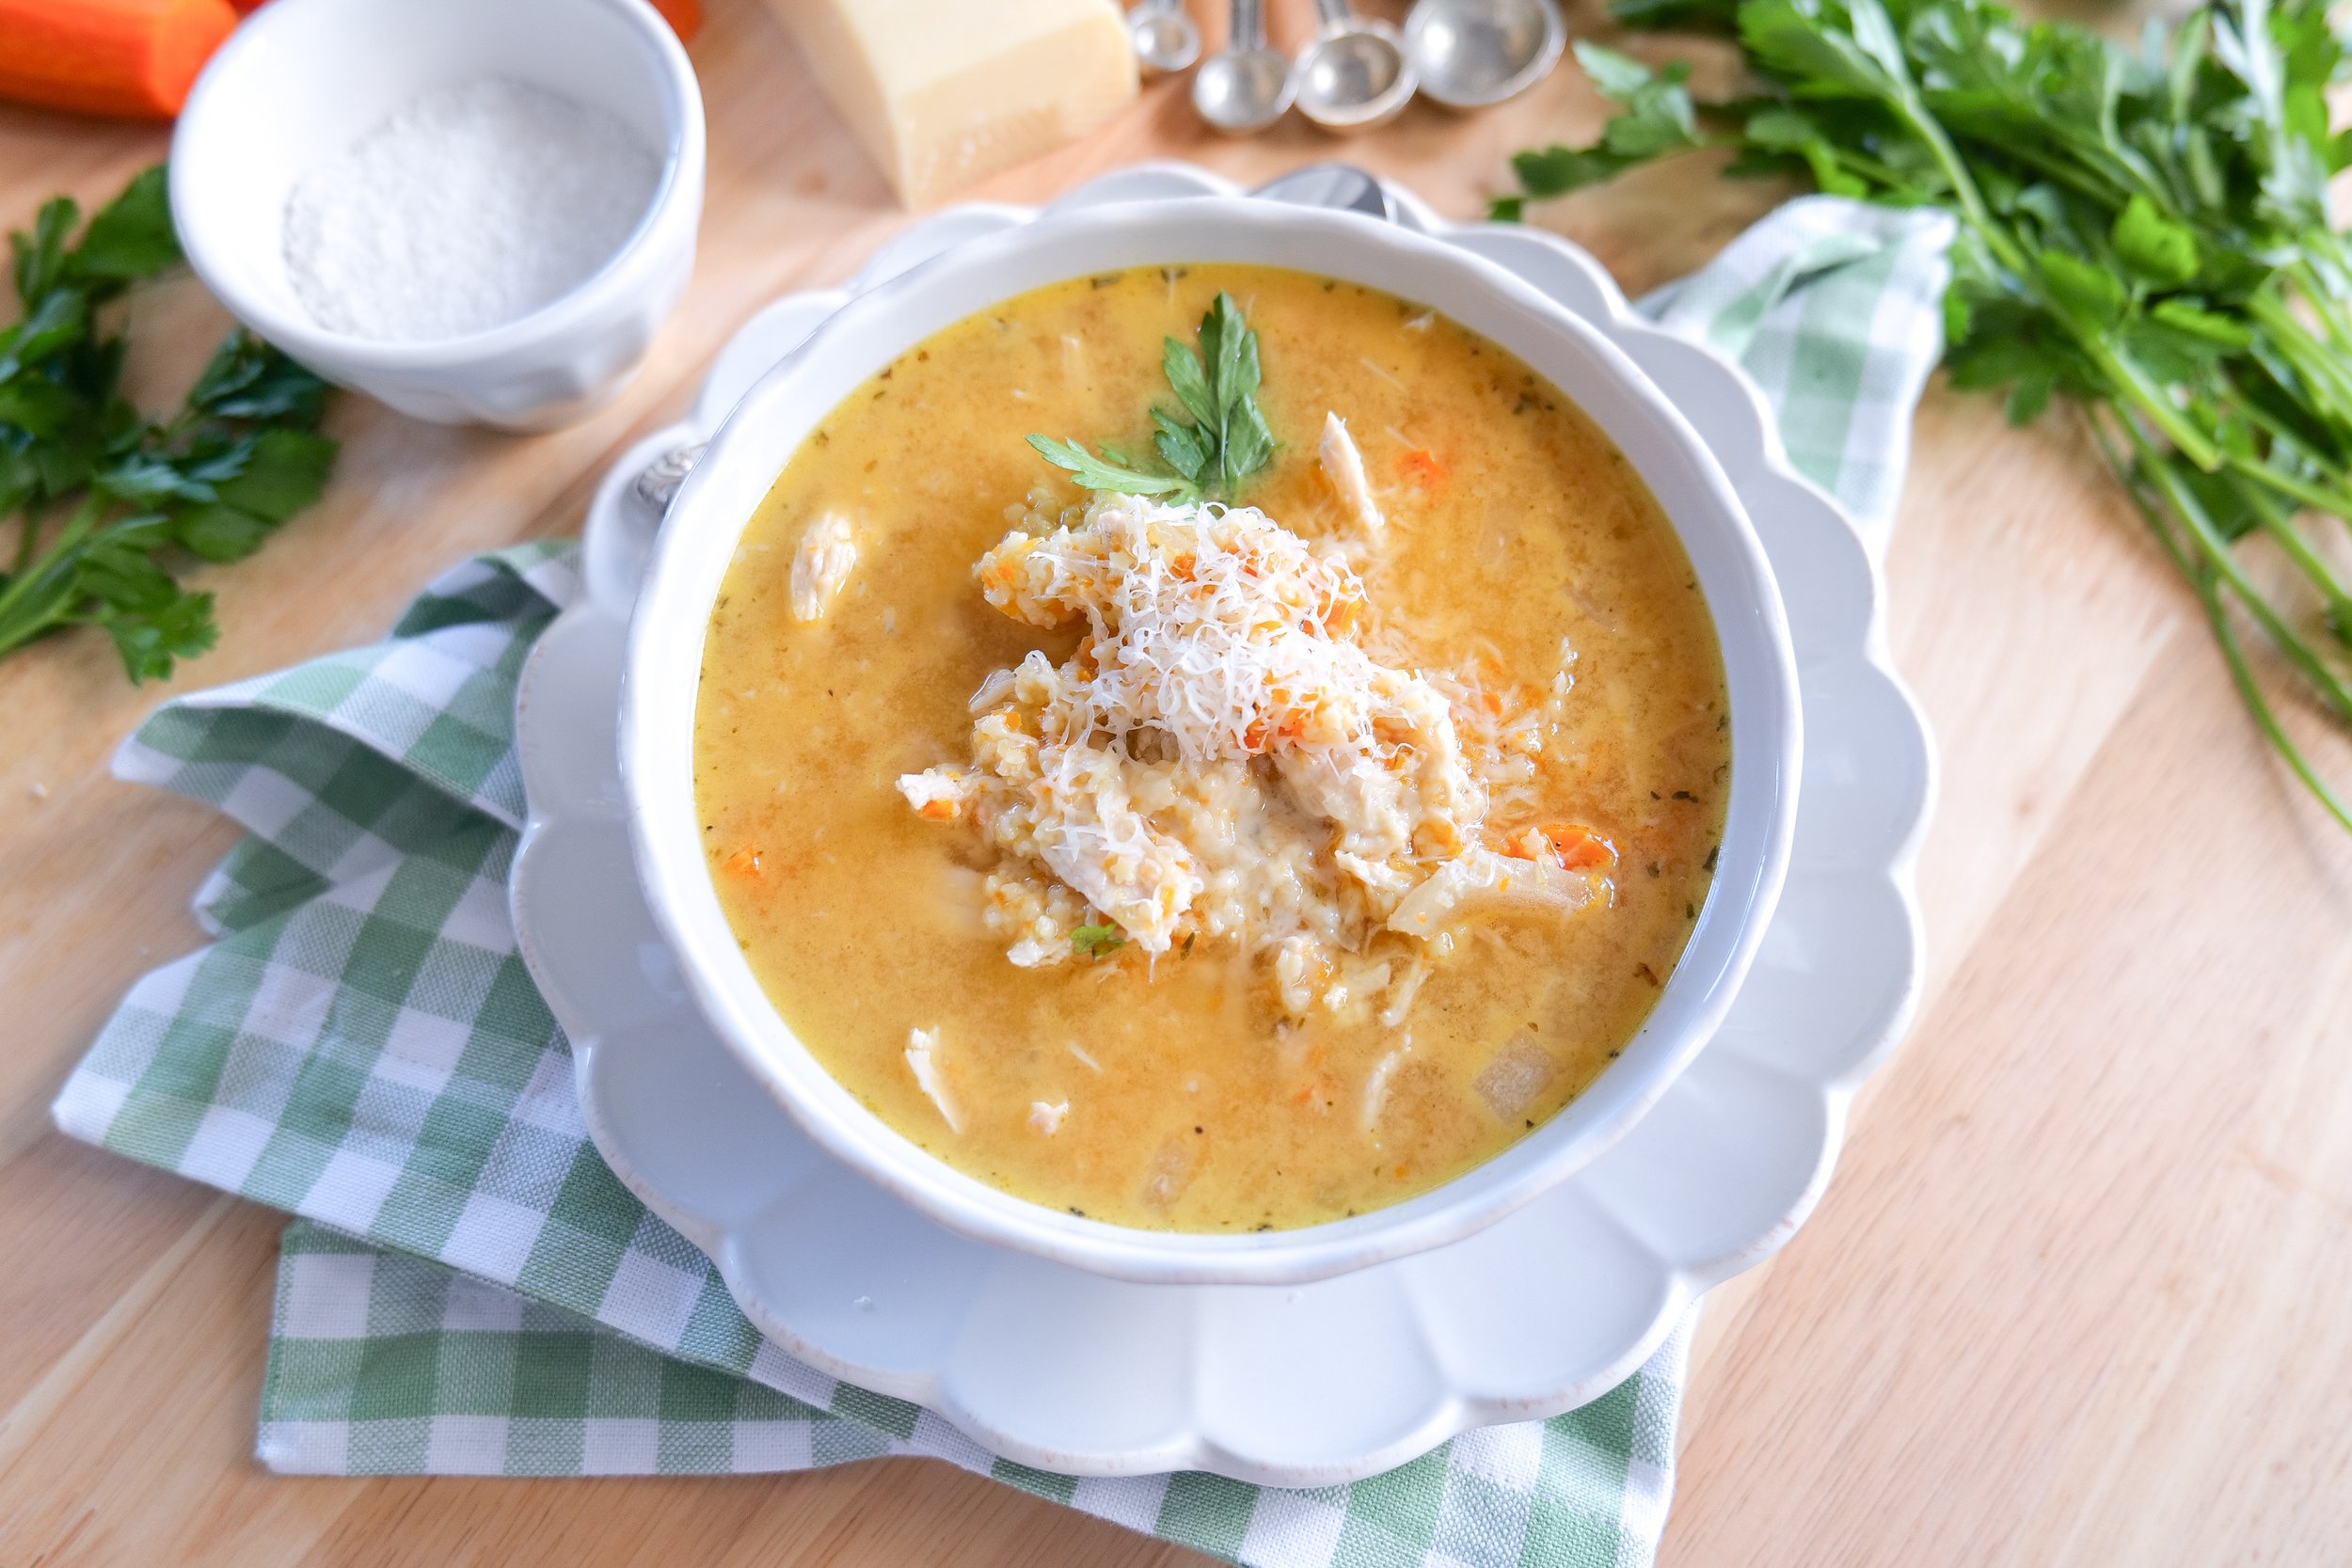
Finish each bowl with plenty of freshly grated Parmesan and a little parsley, and you have a simple, hearty soup that tastes like it has been simmering in the kitchen all day—because it has.

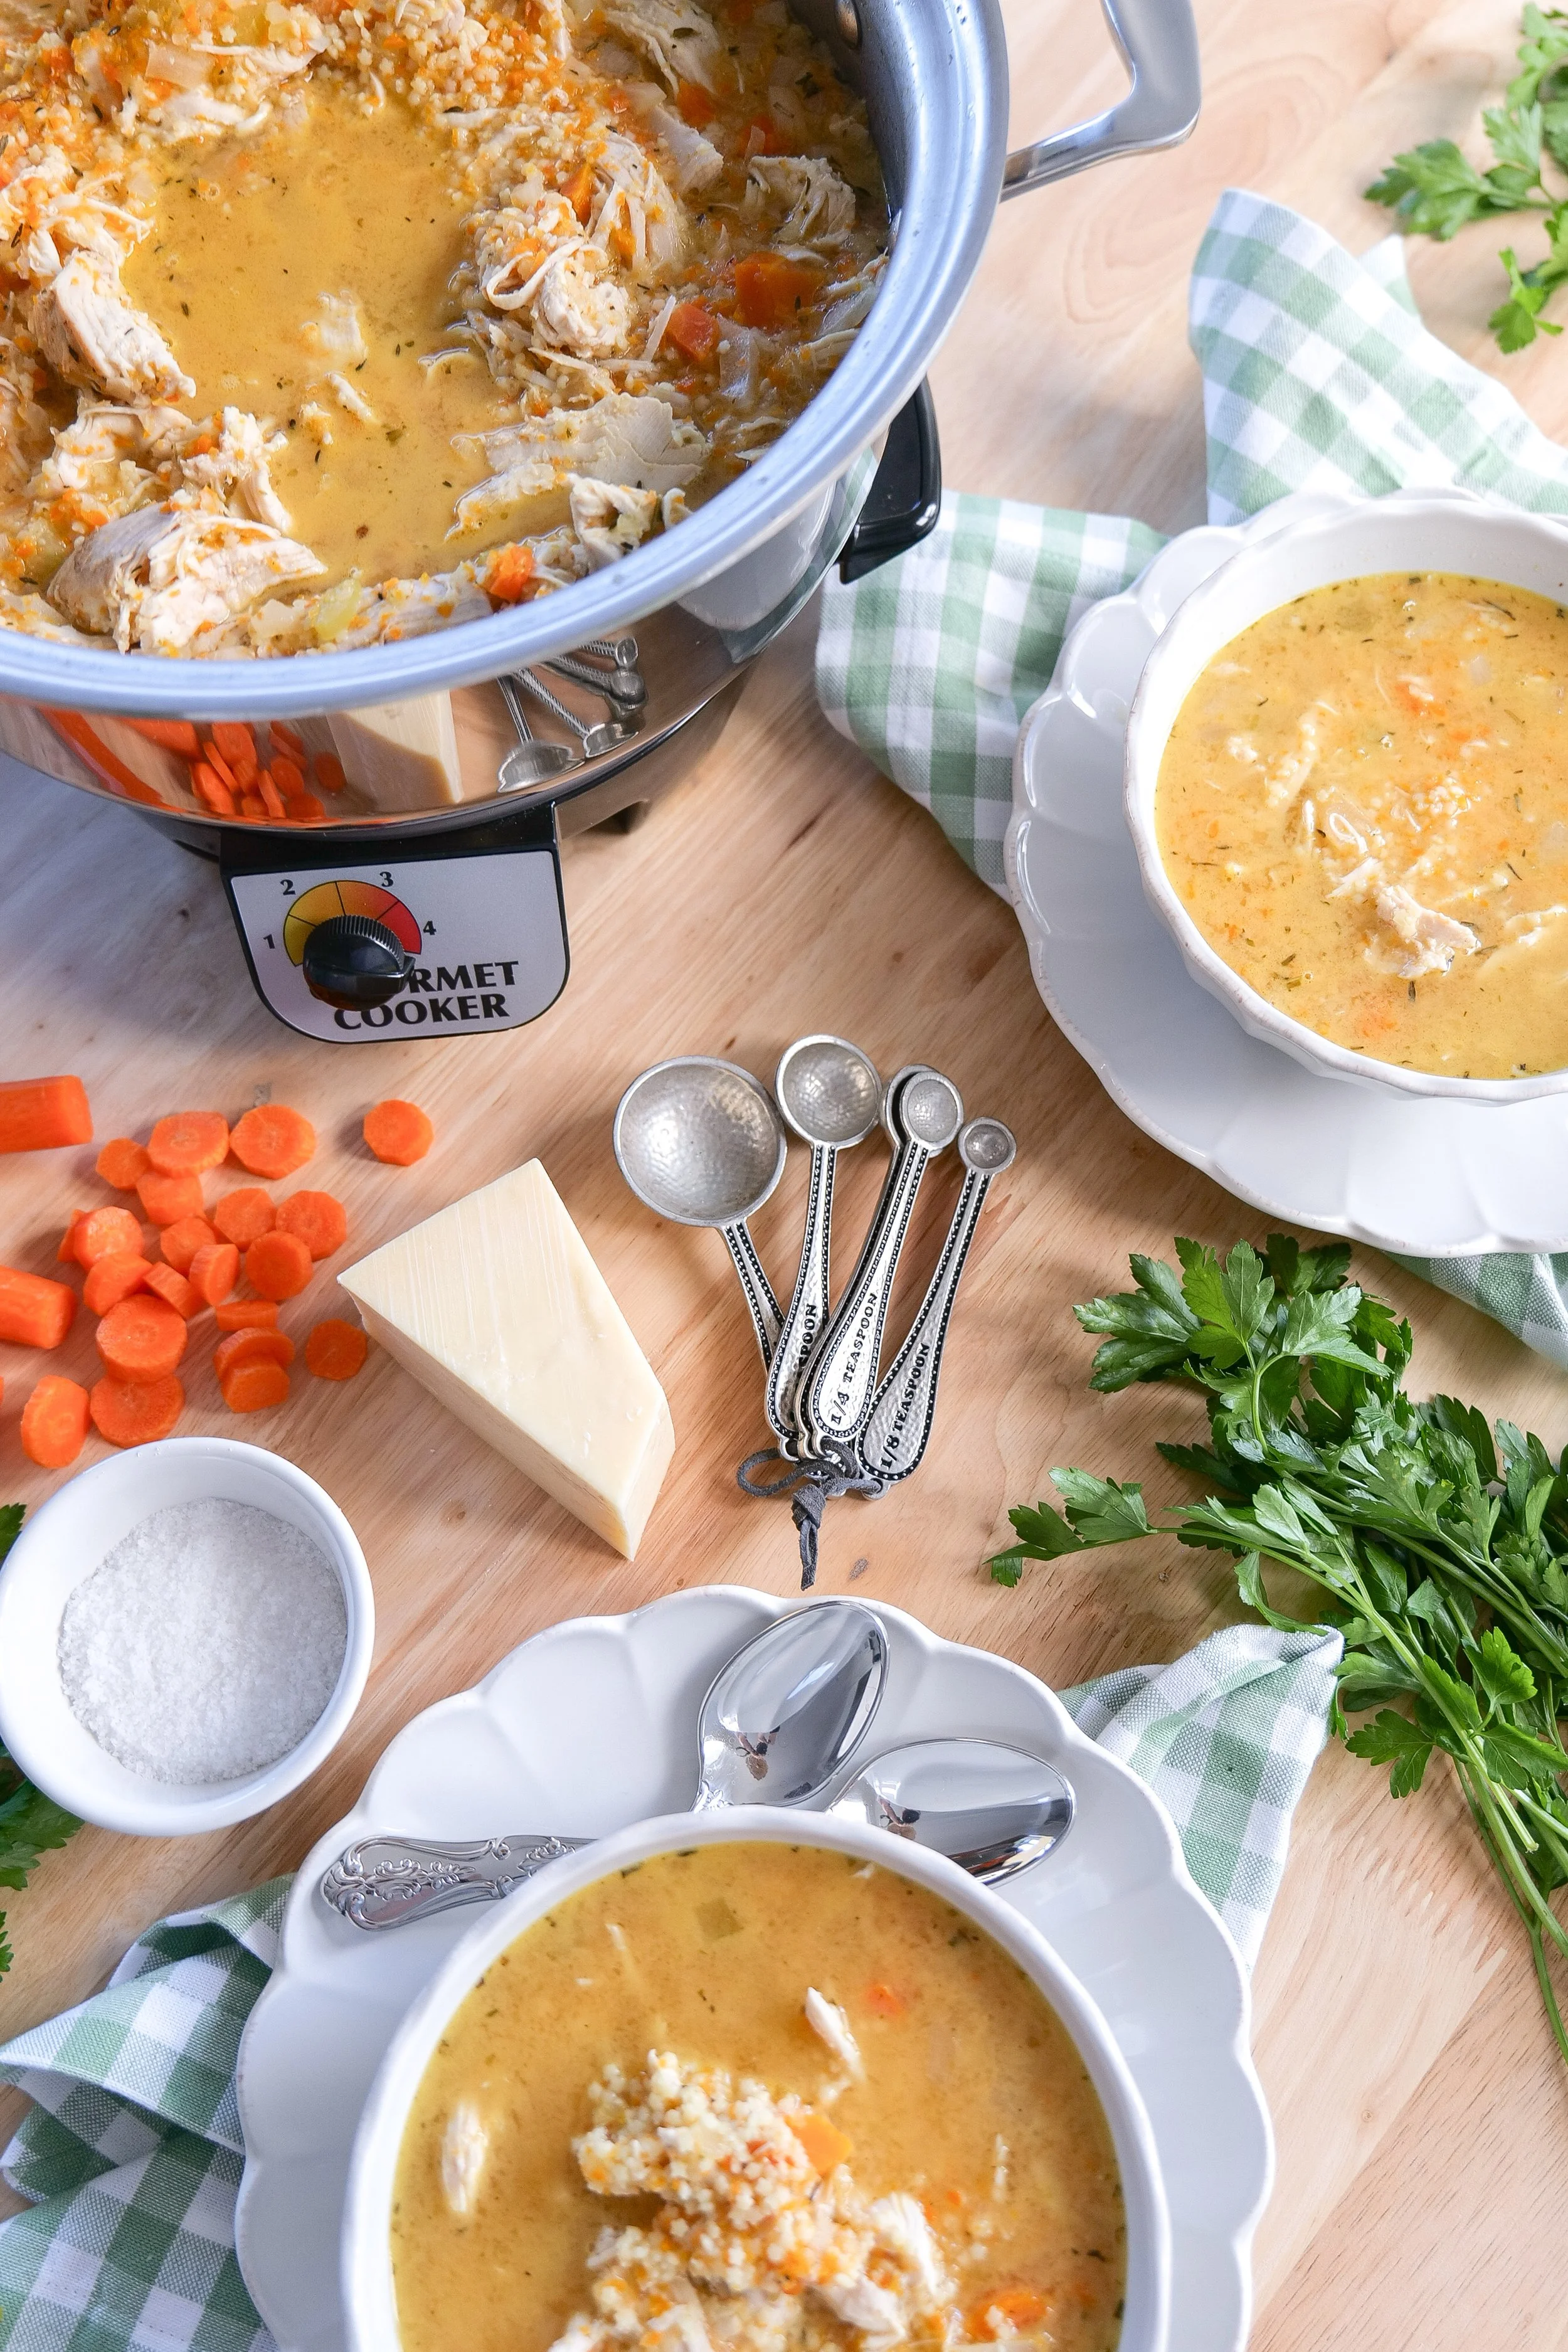
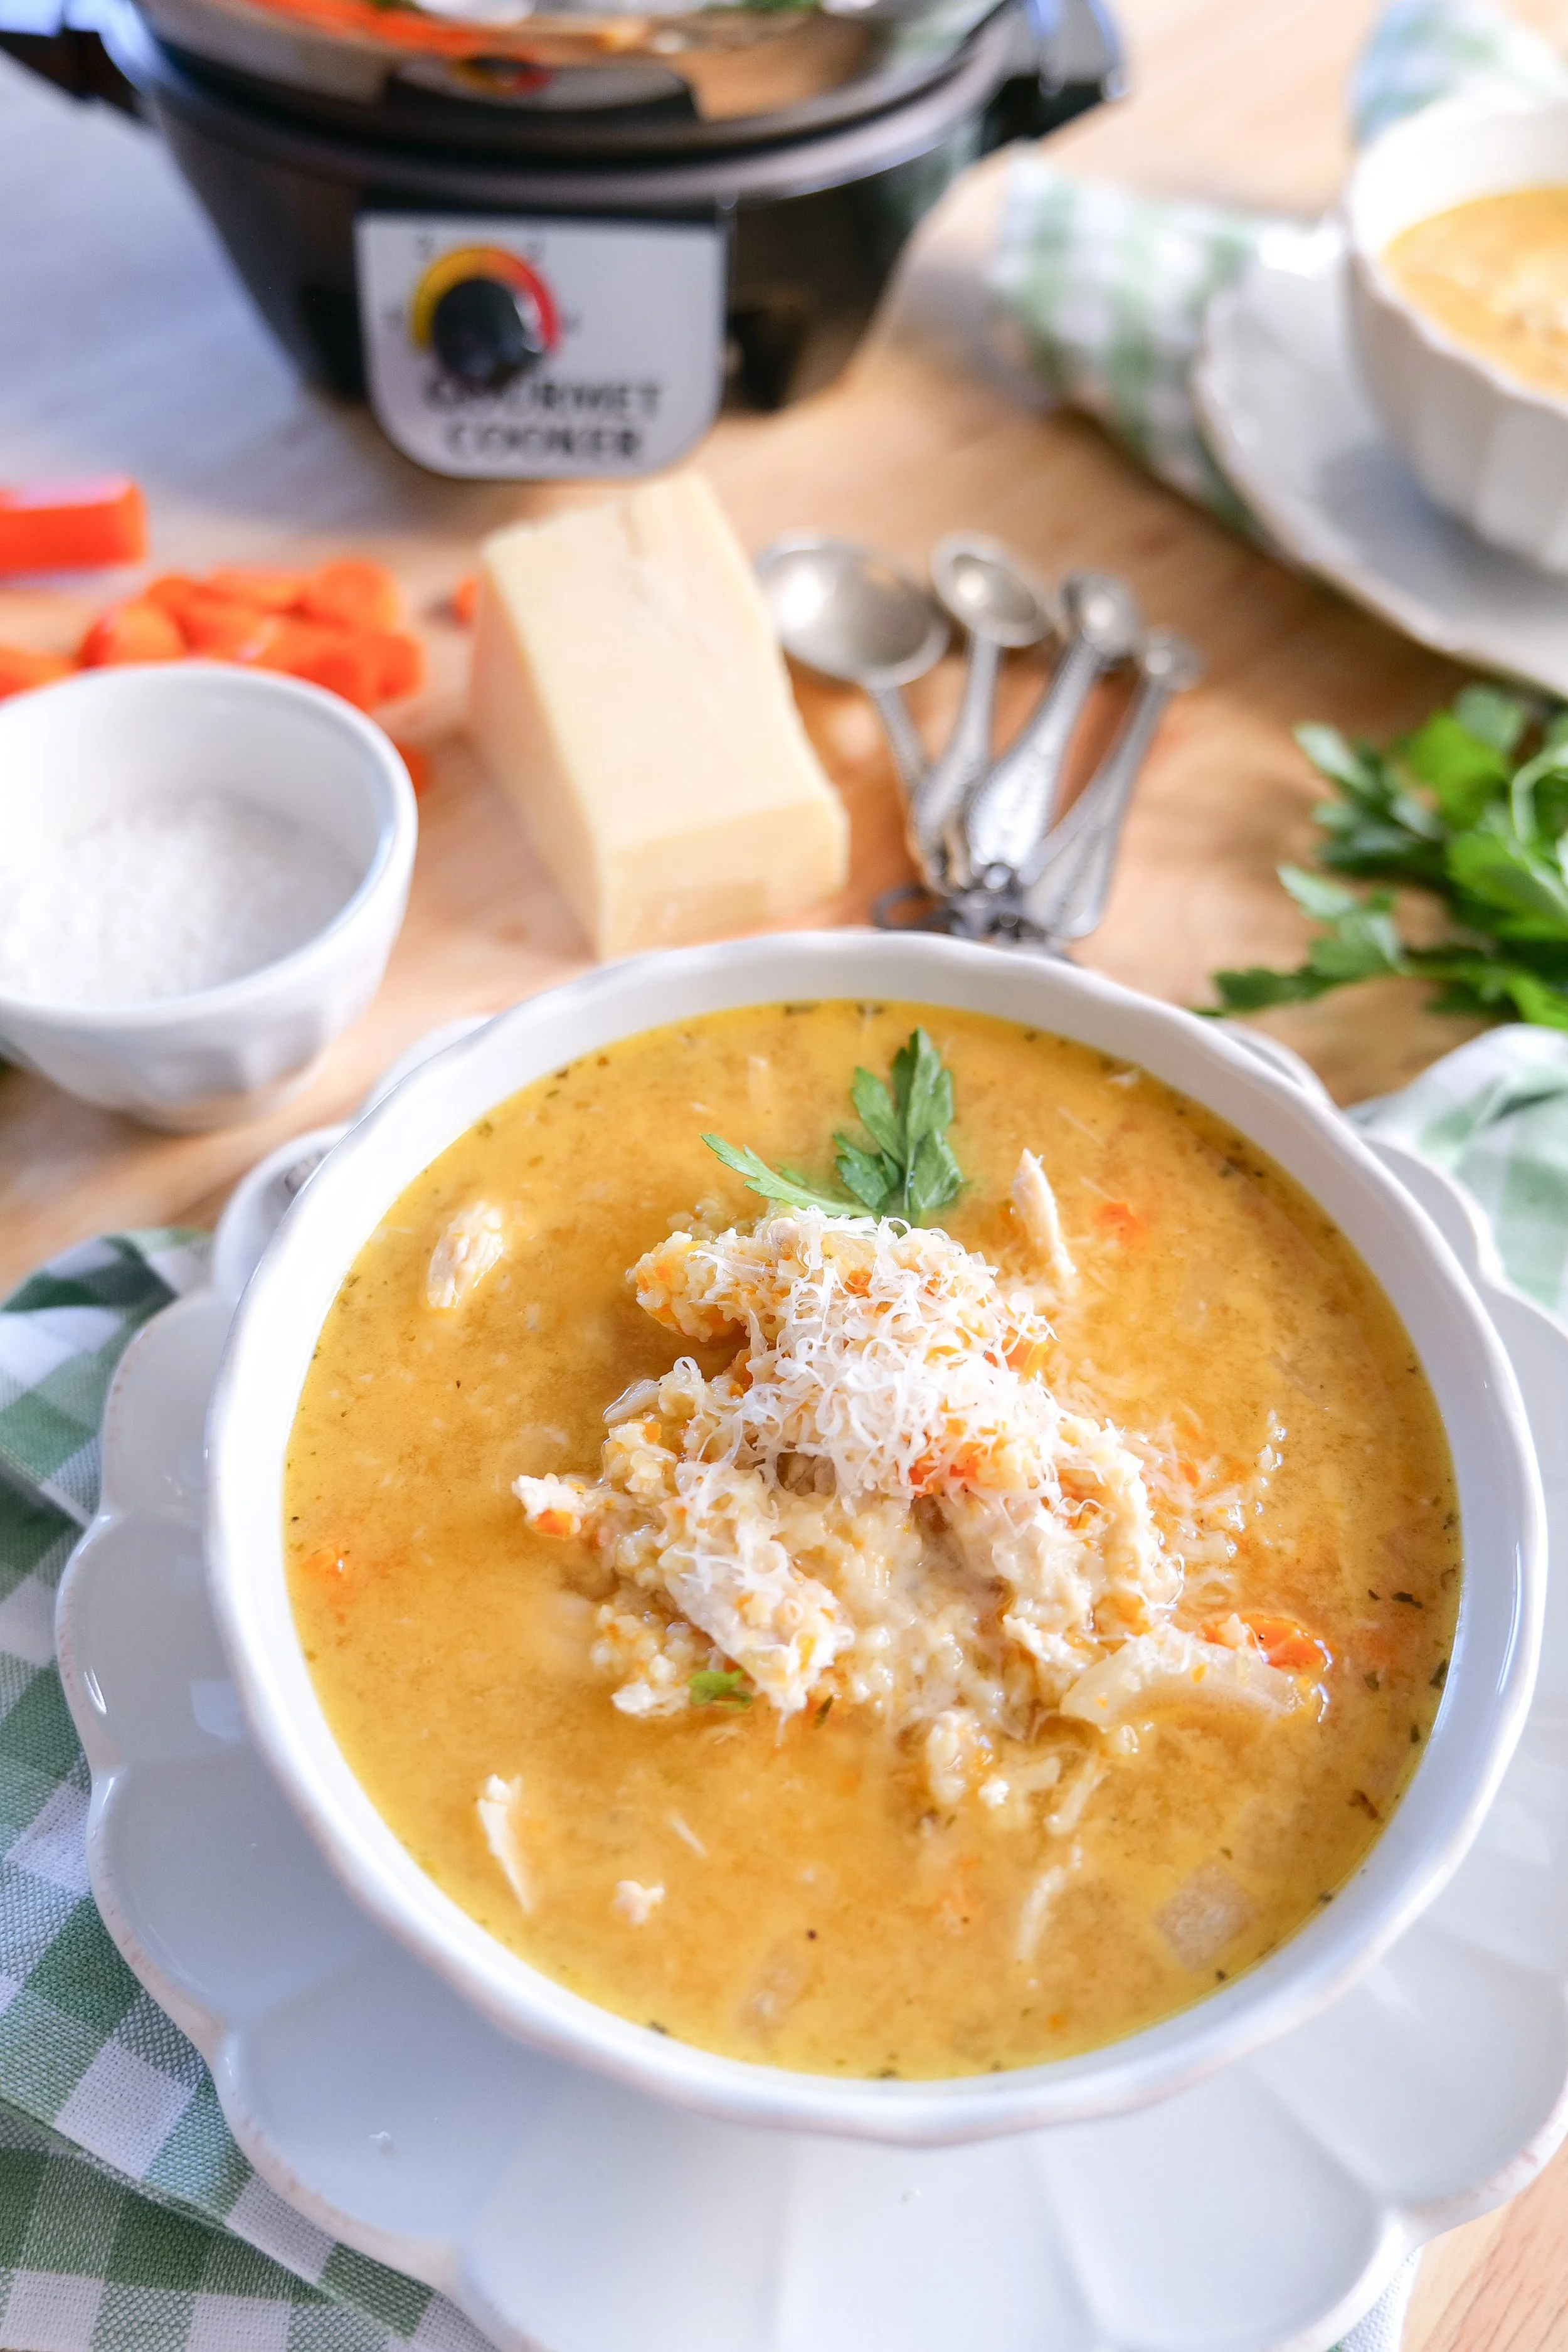
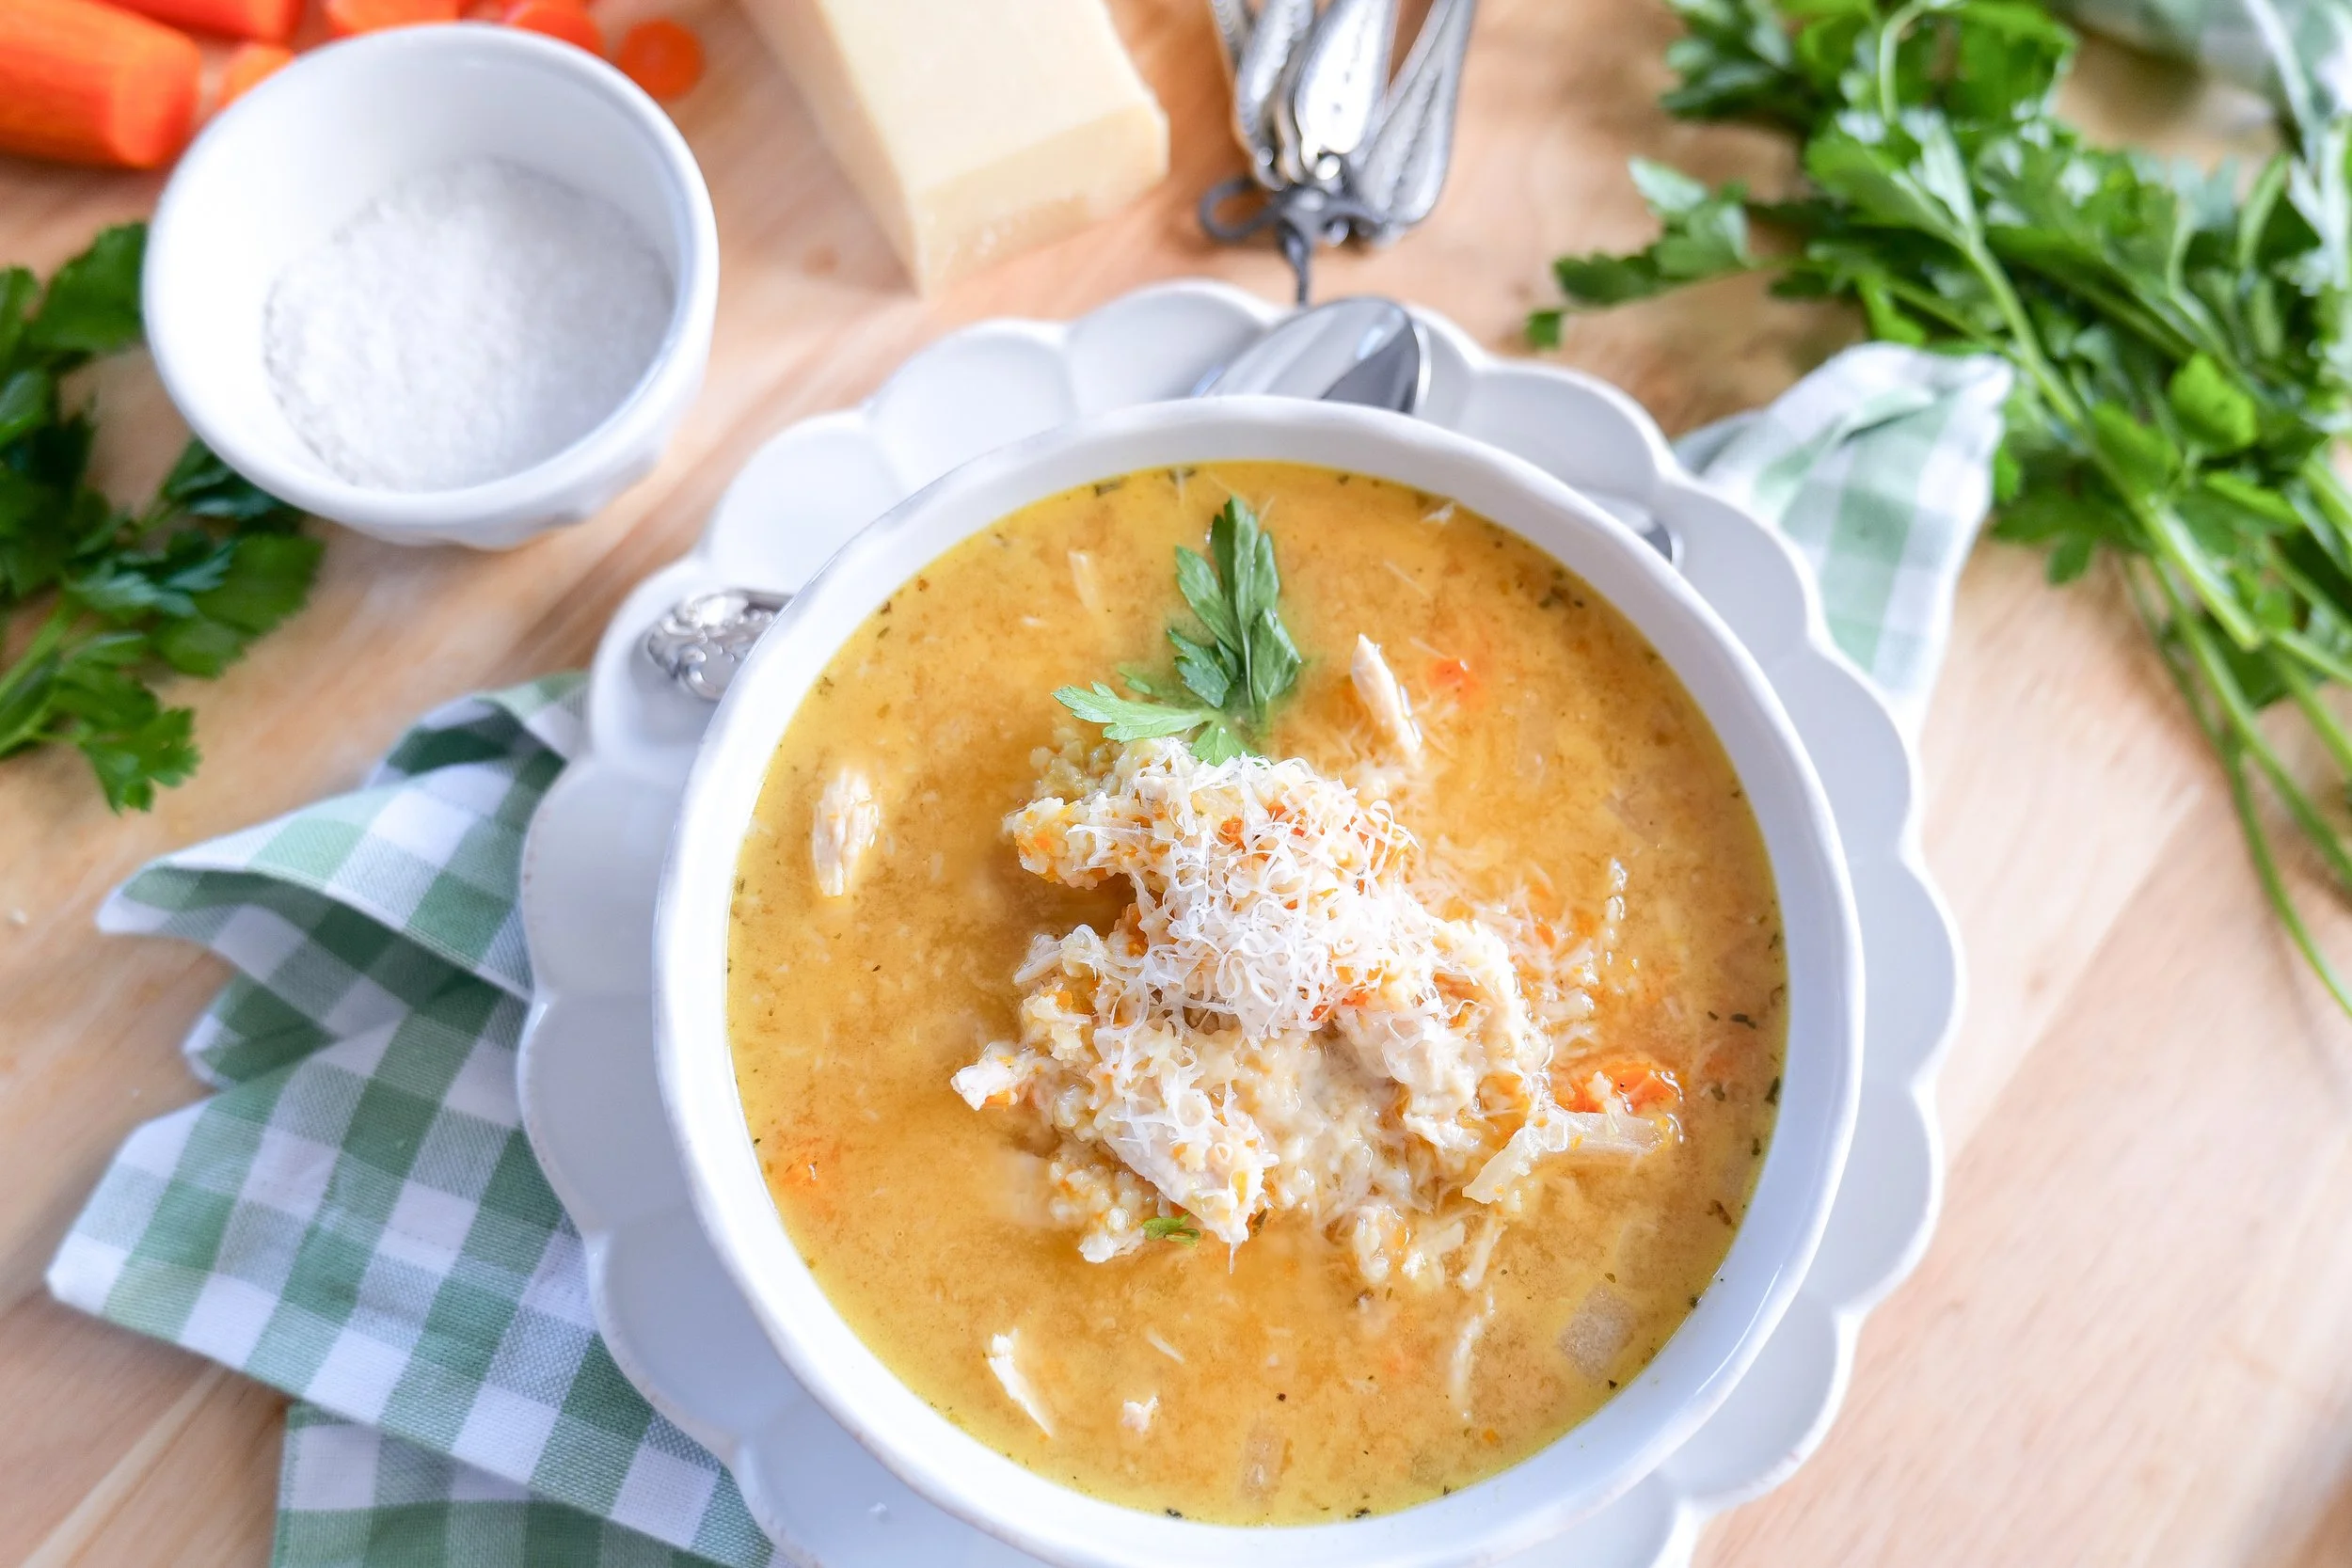
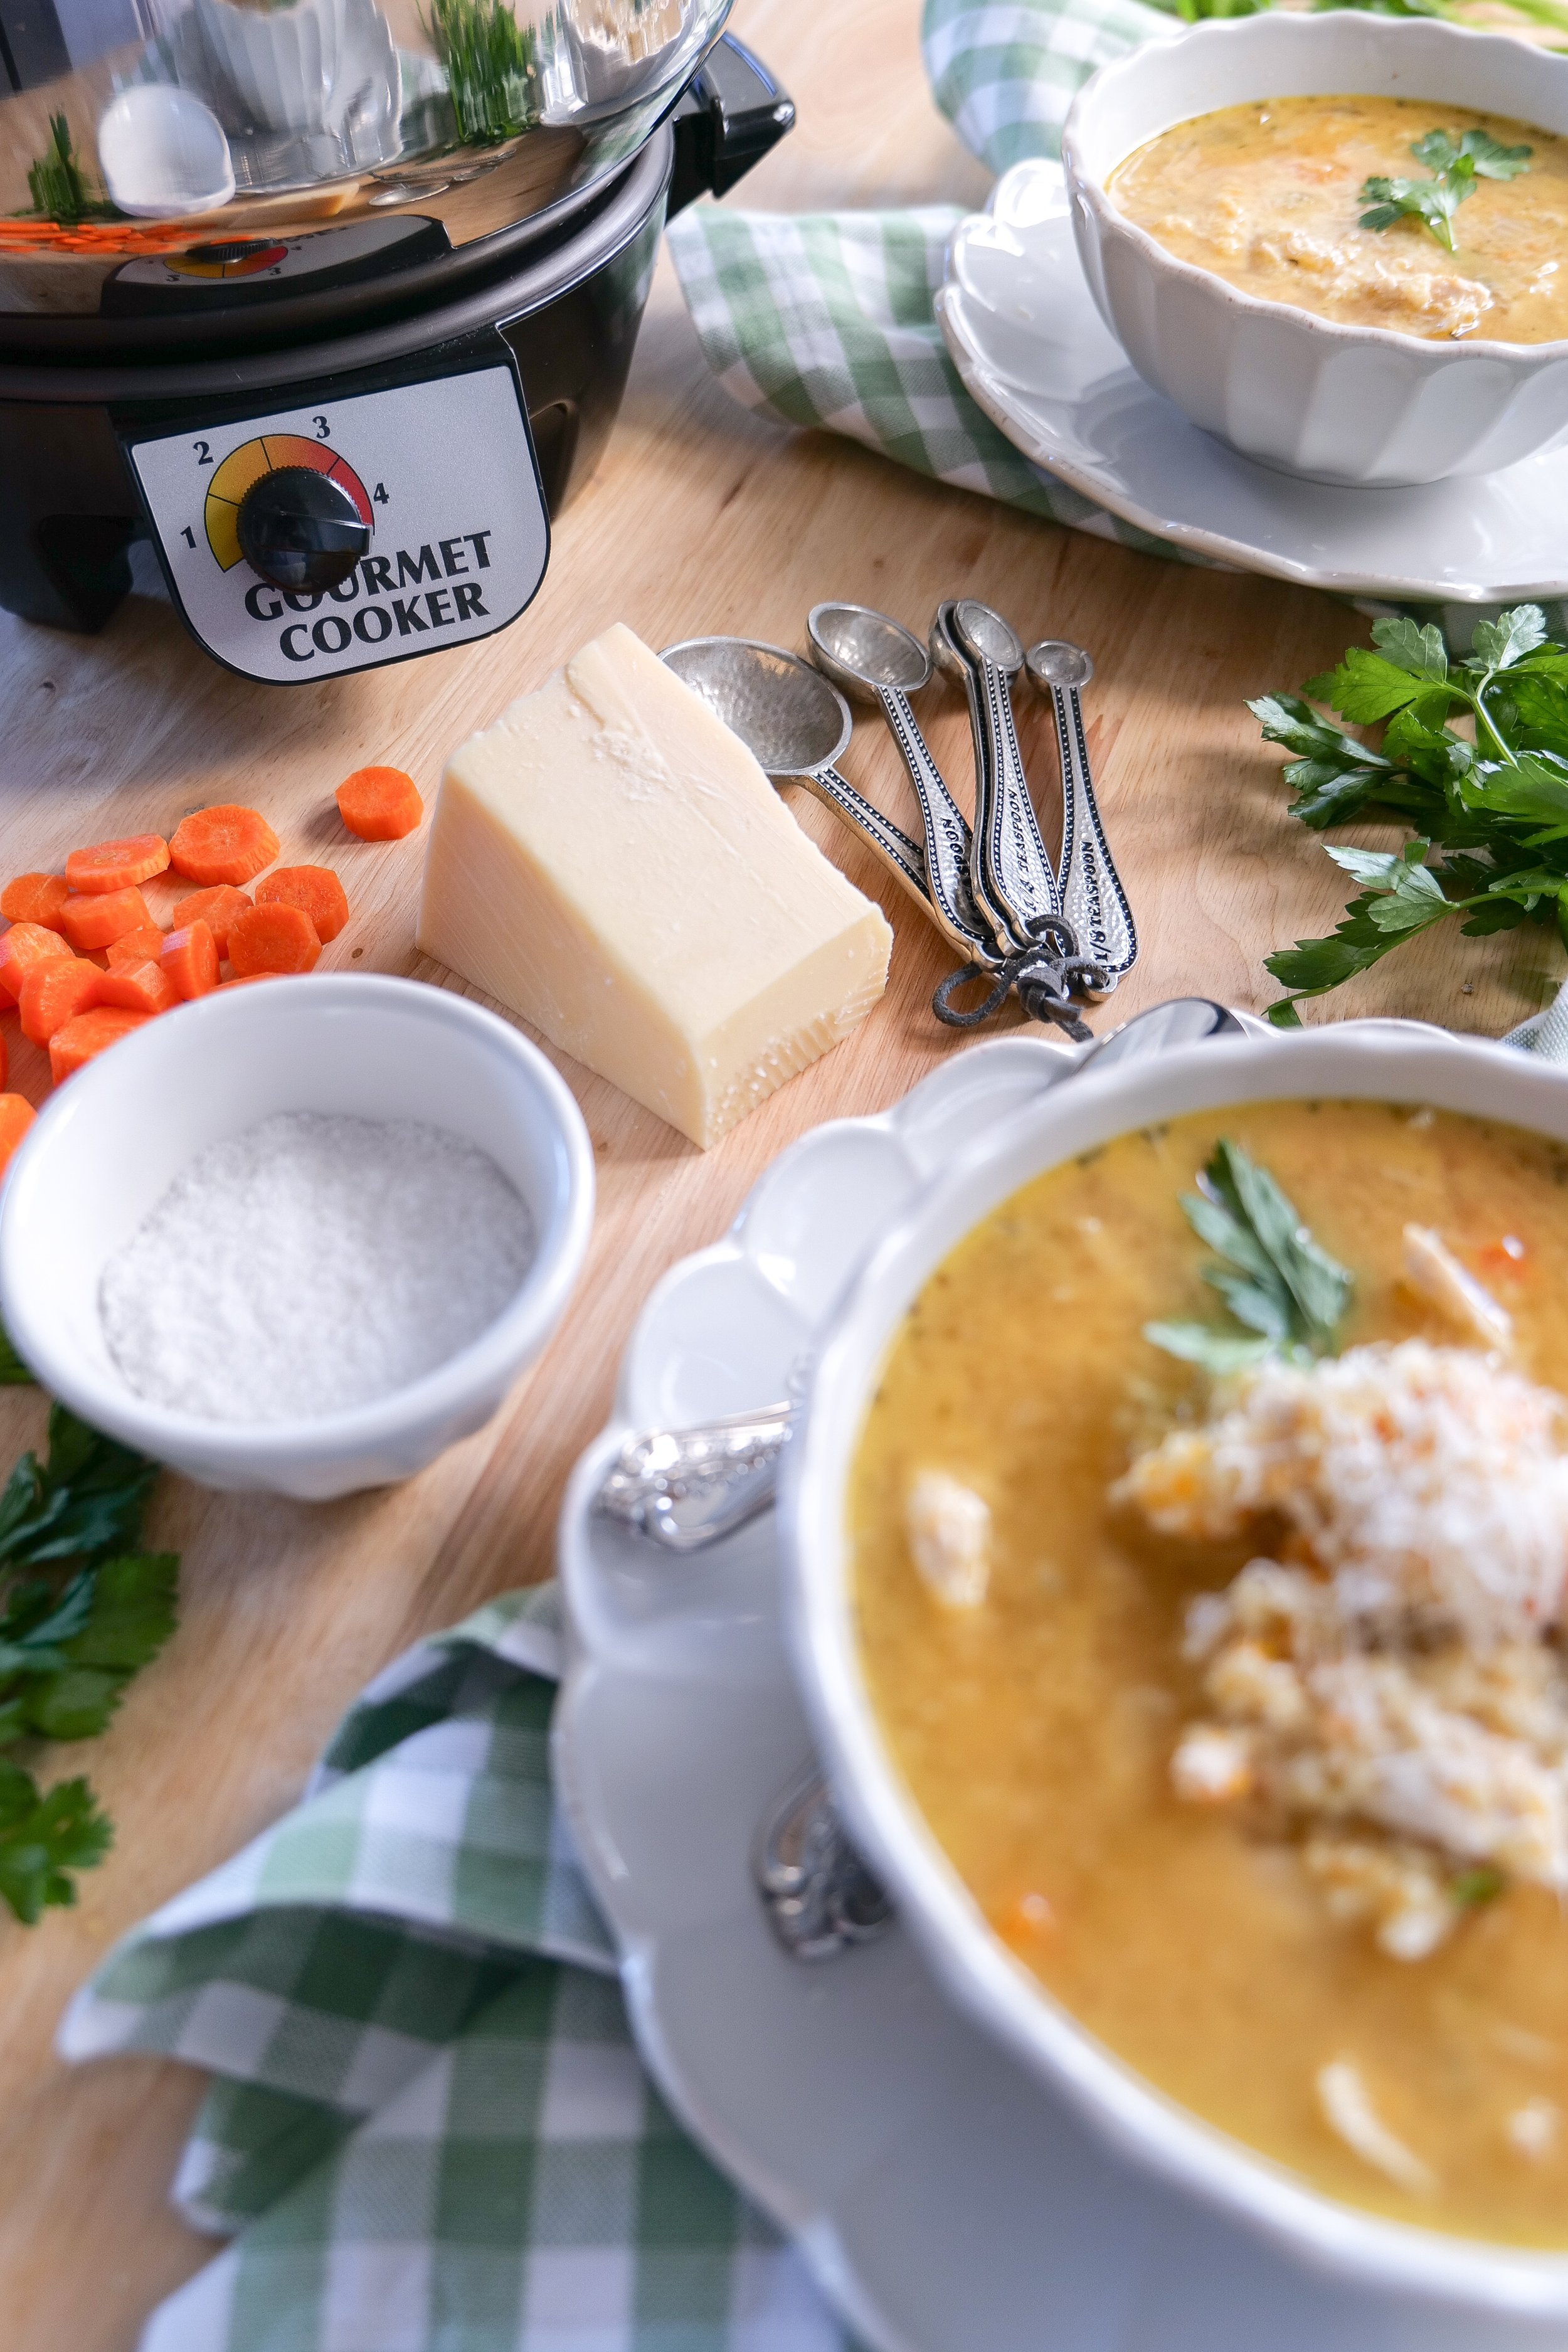
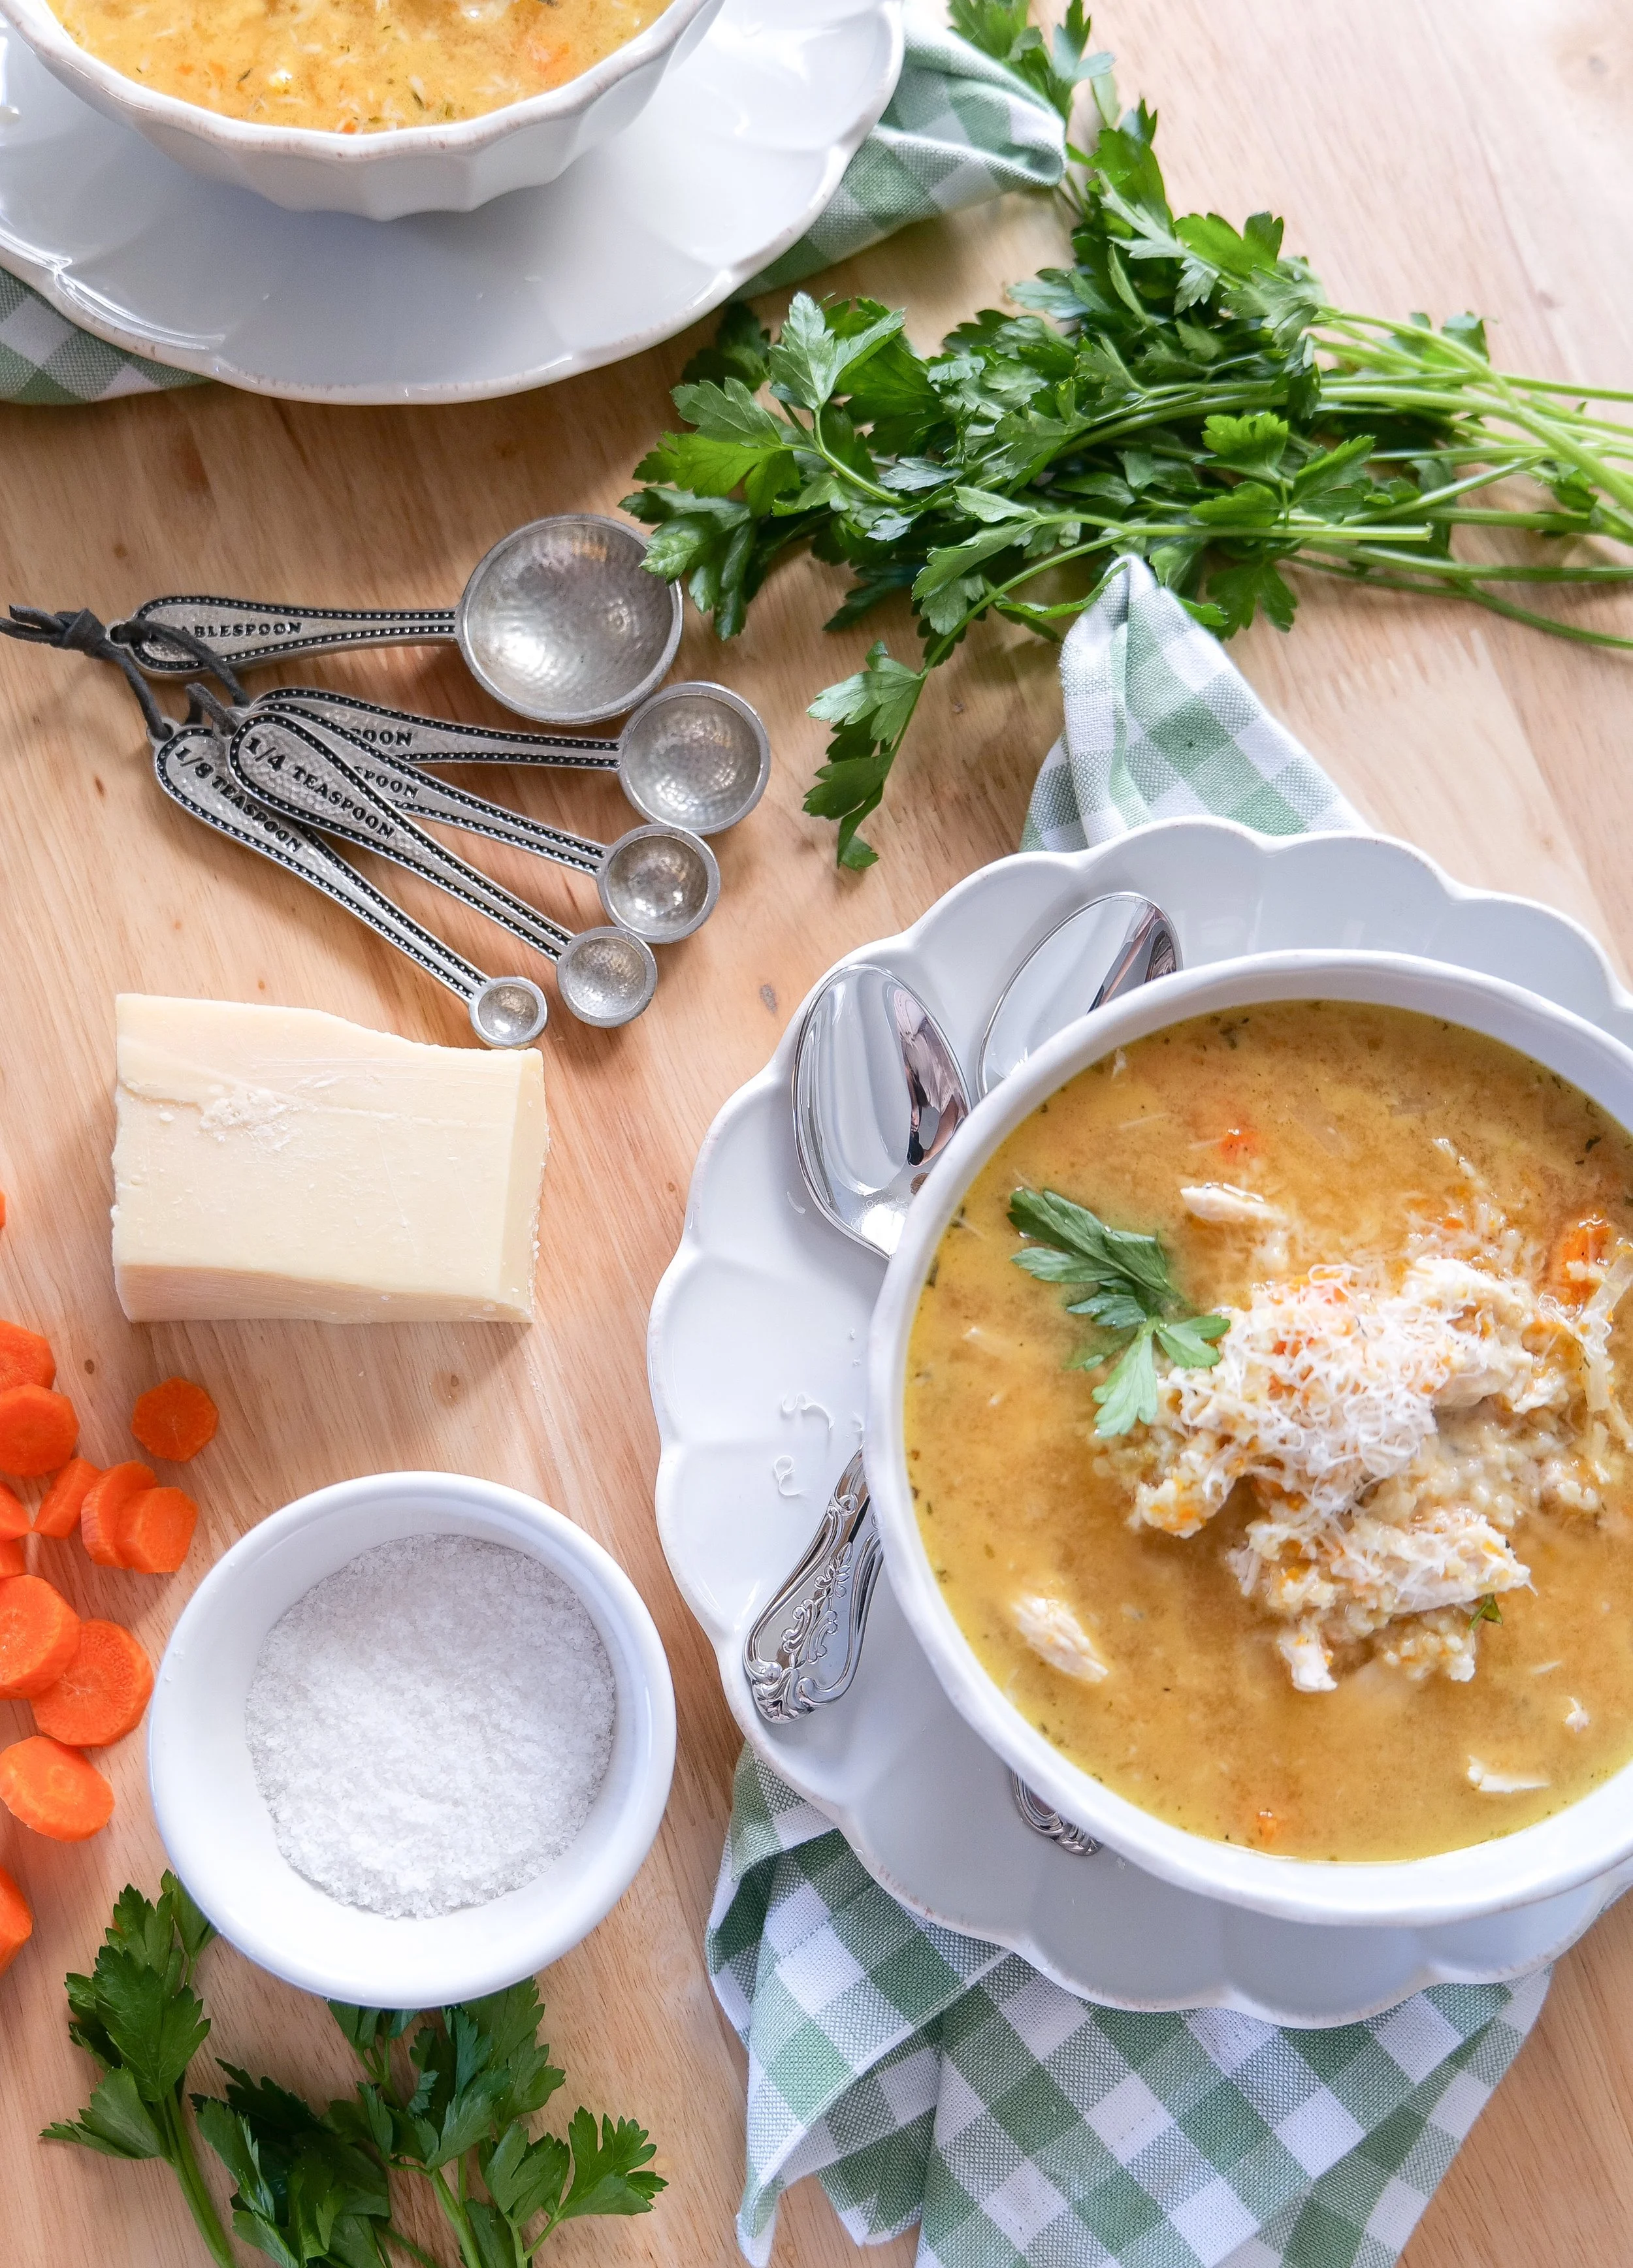
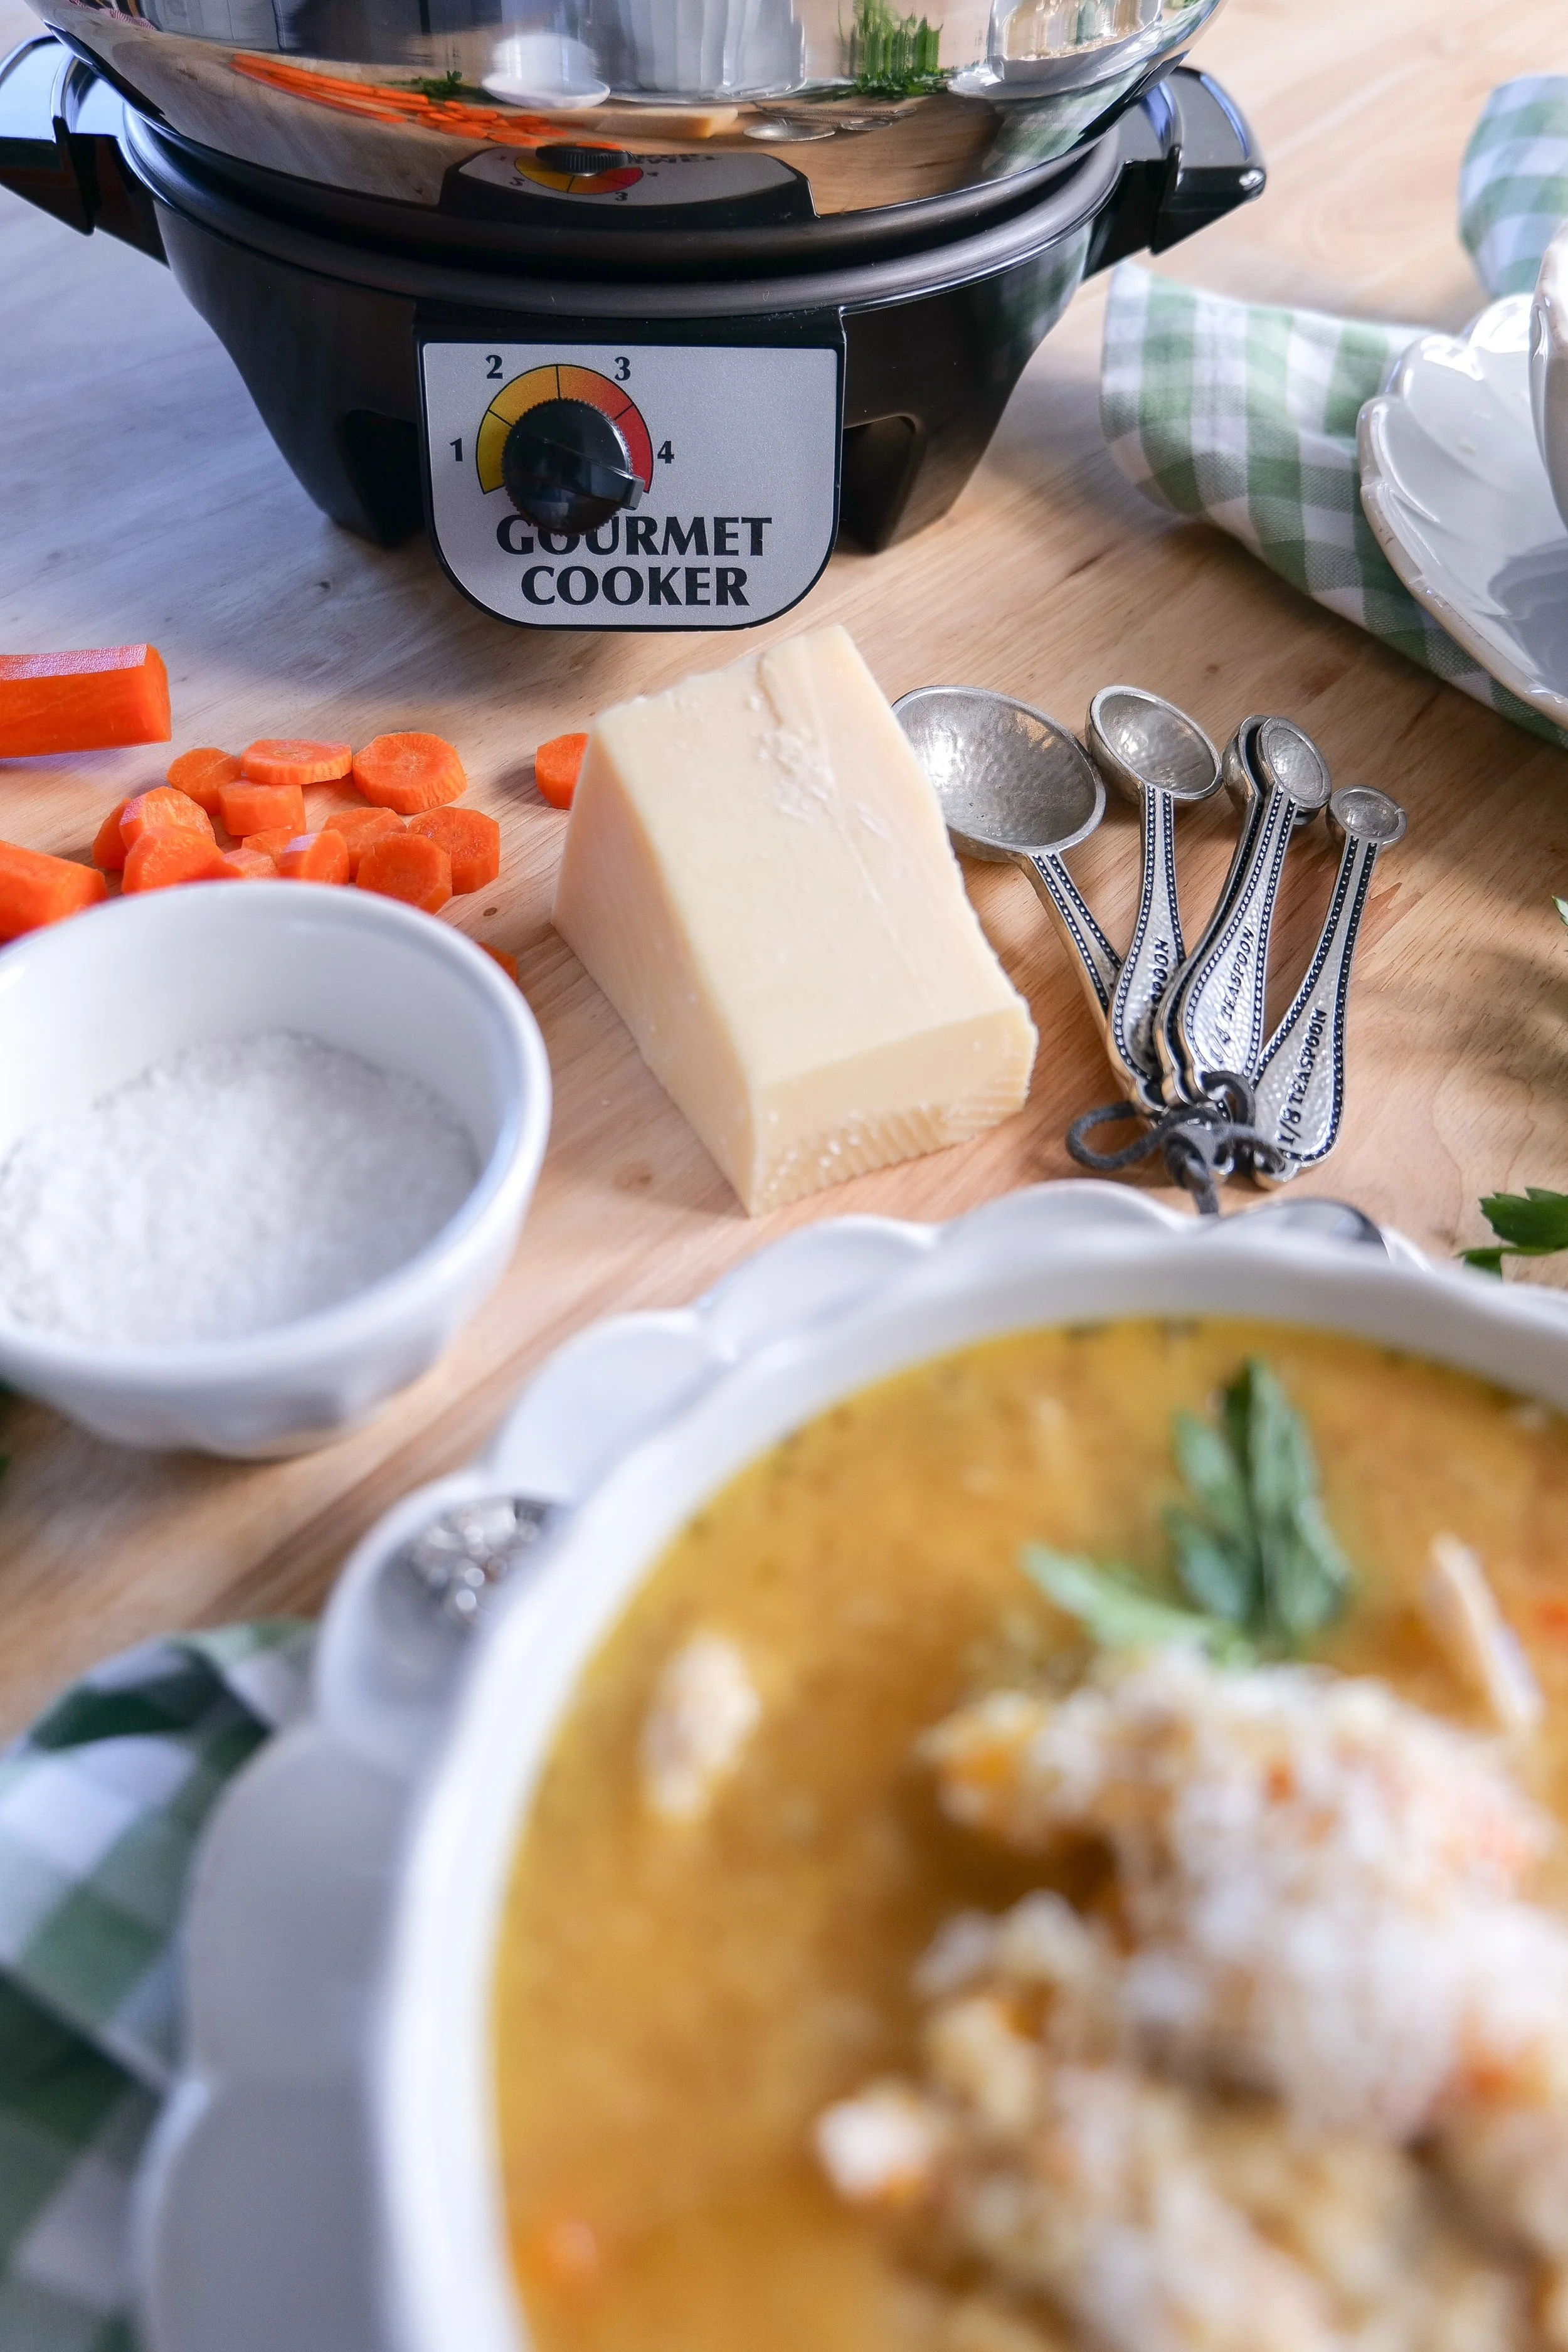
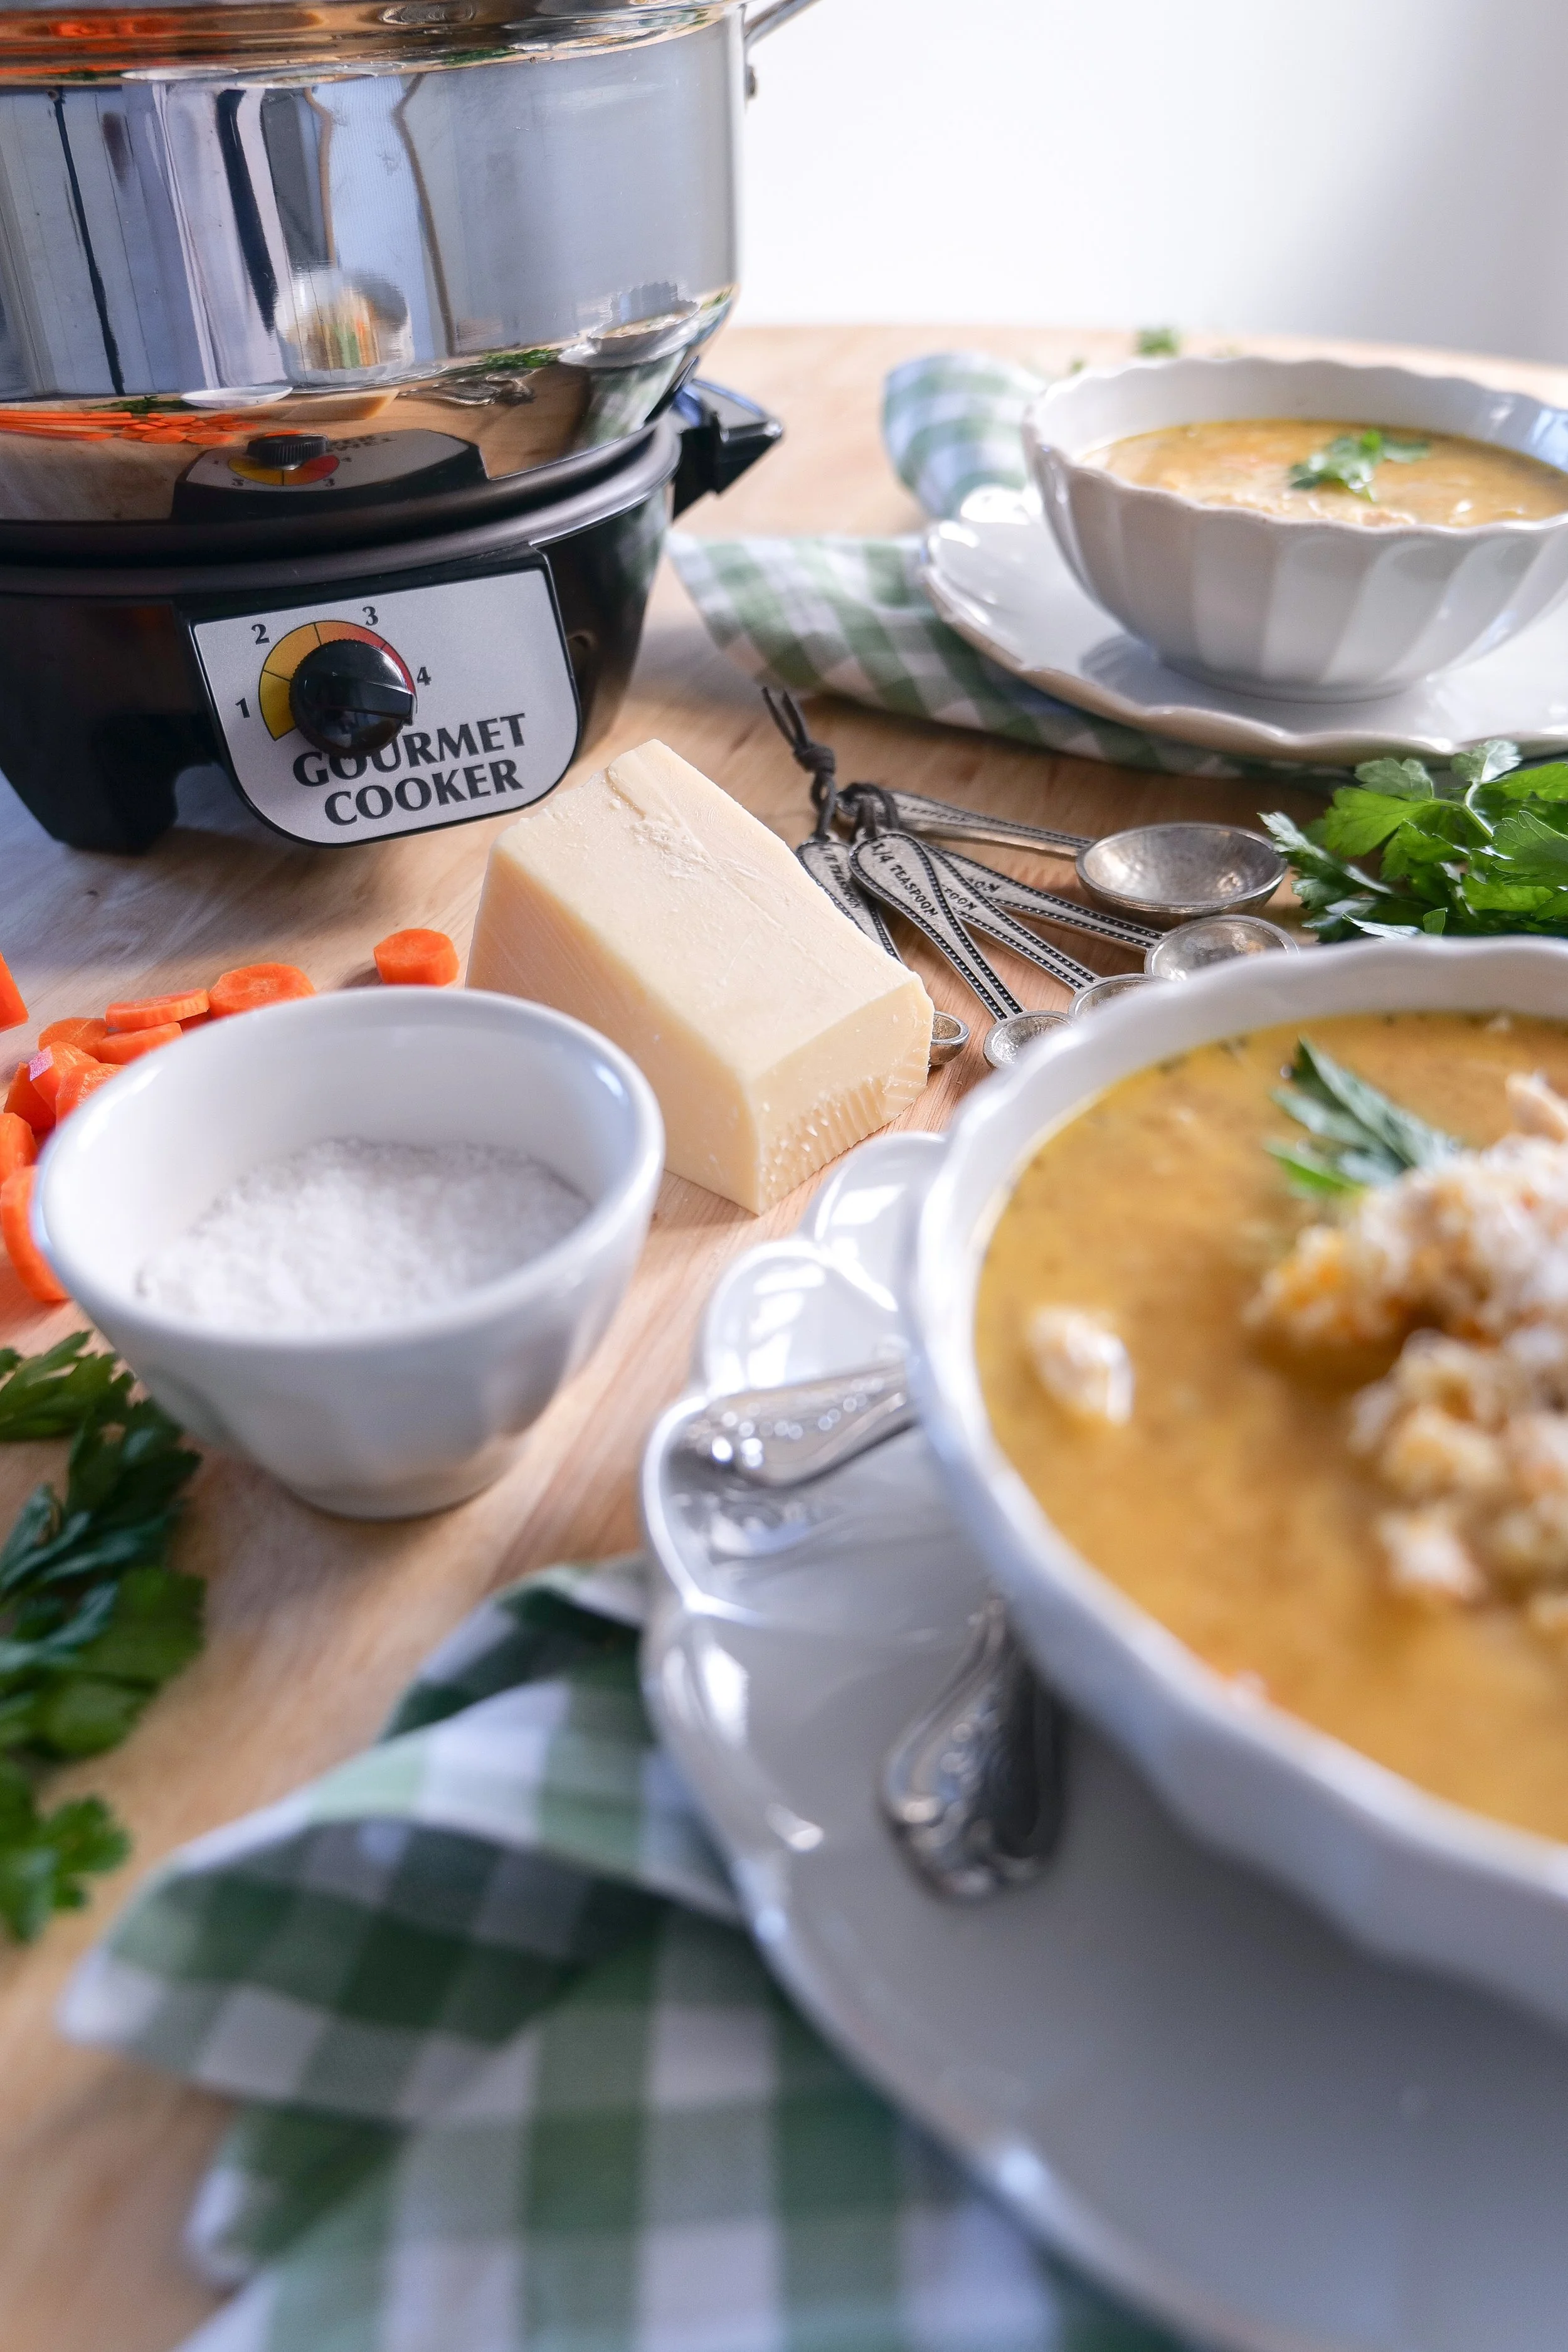
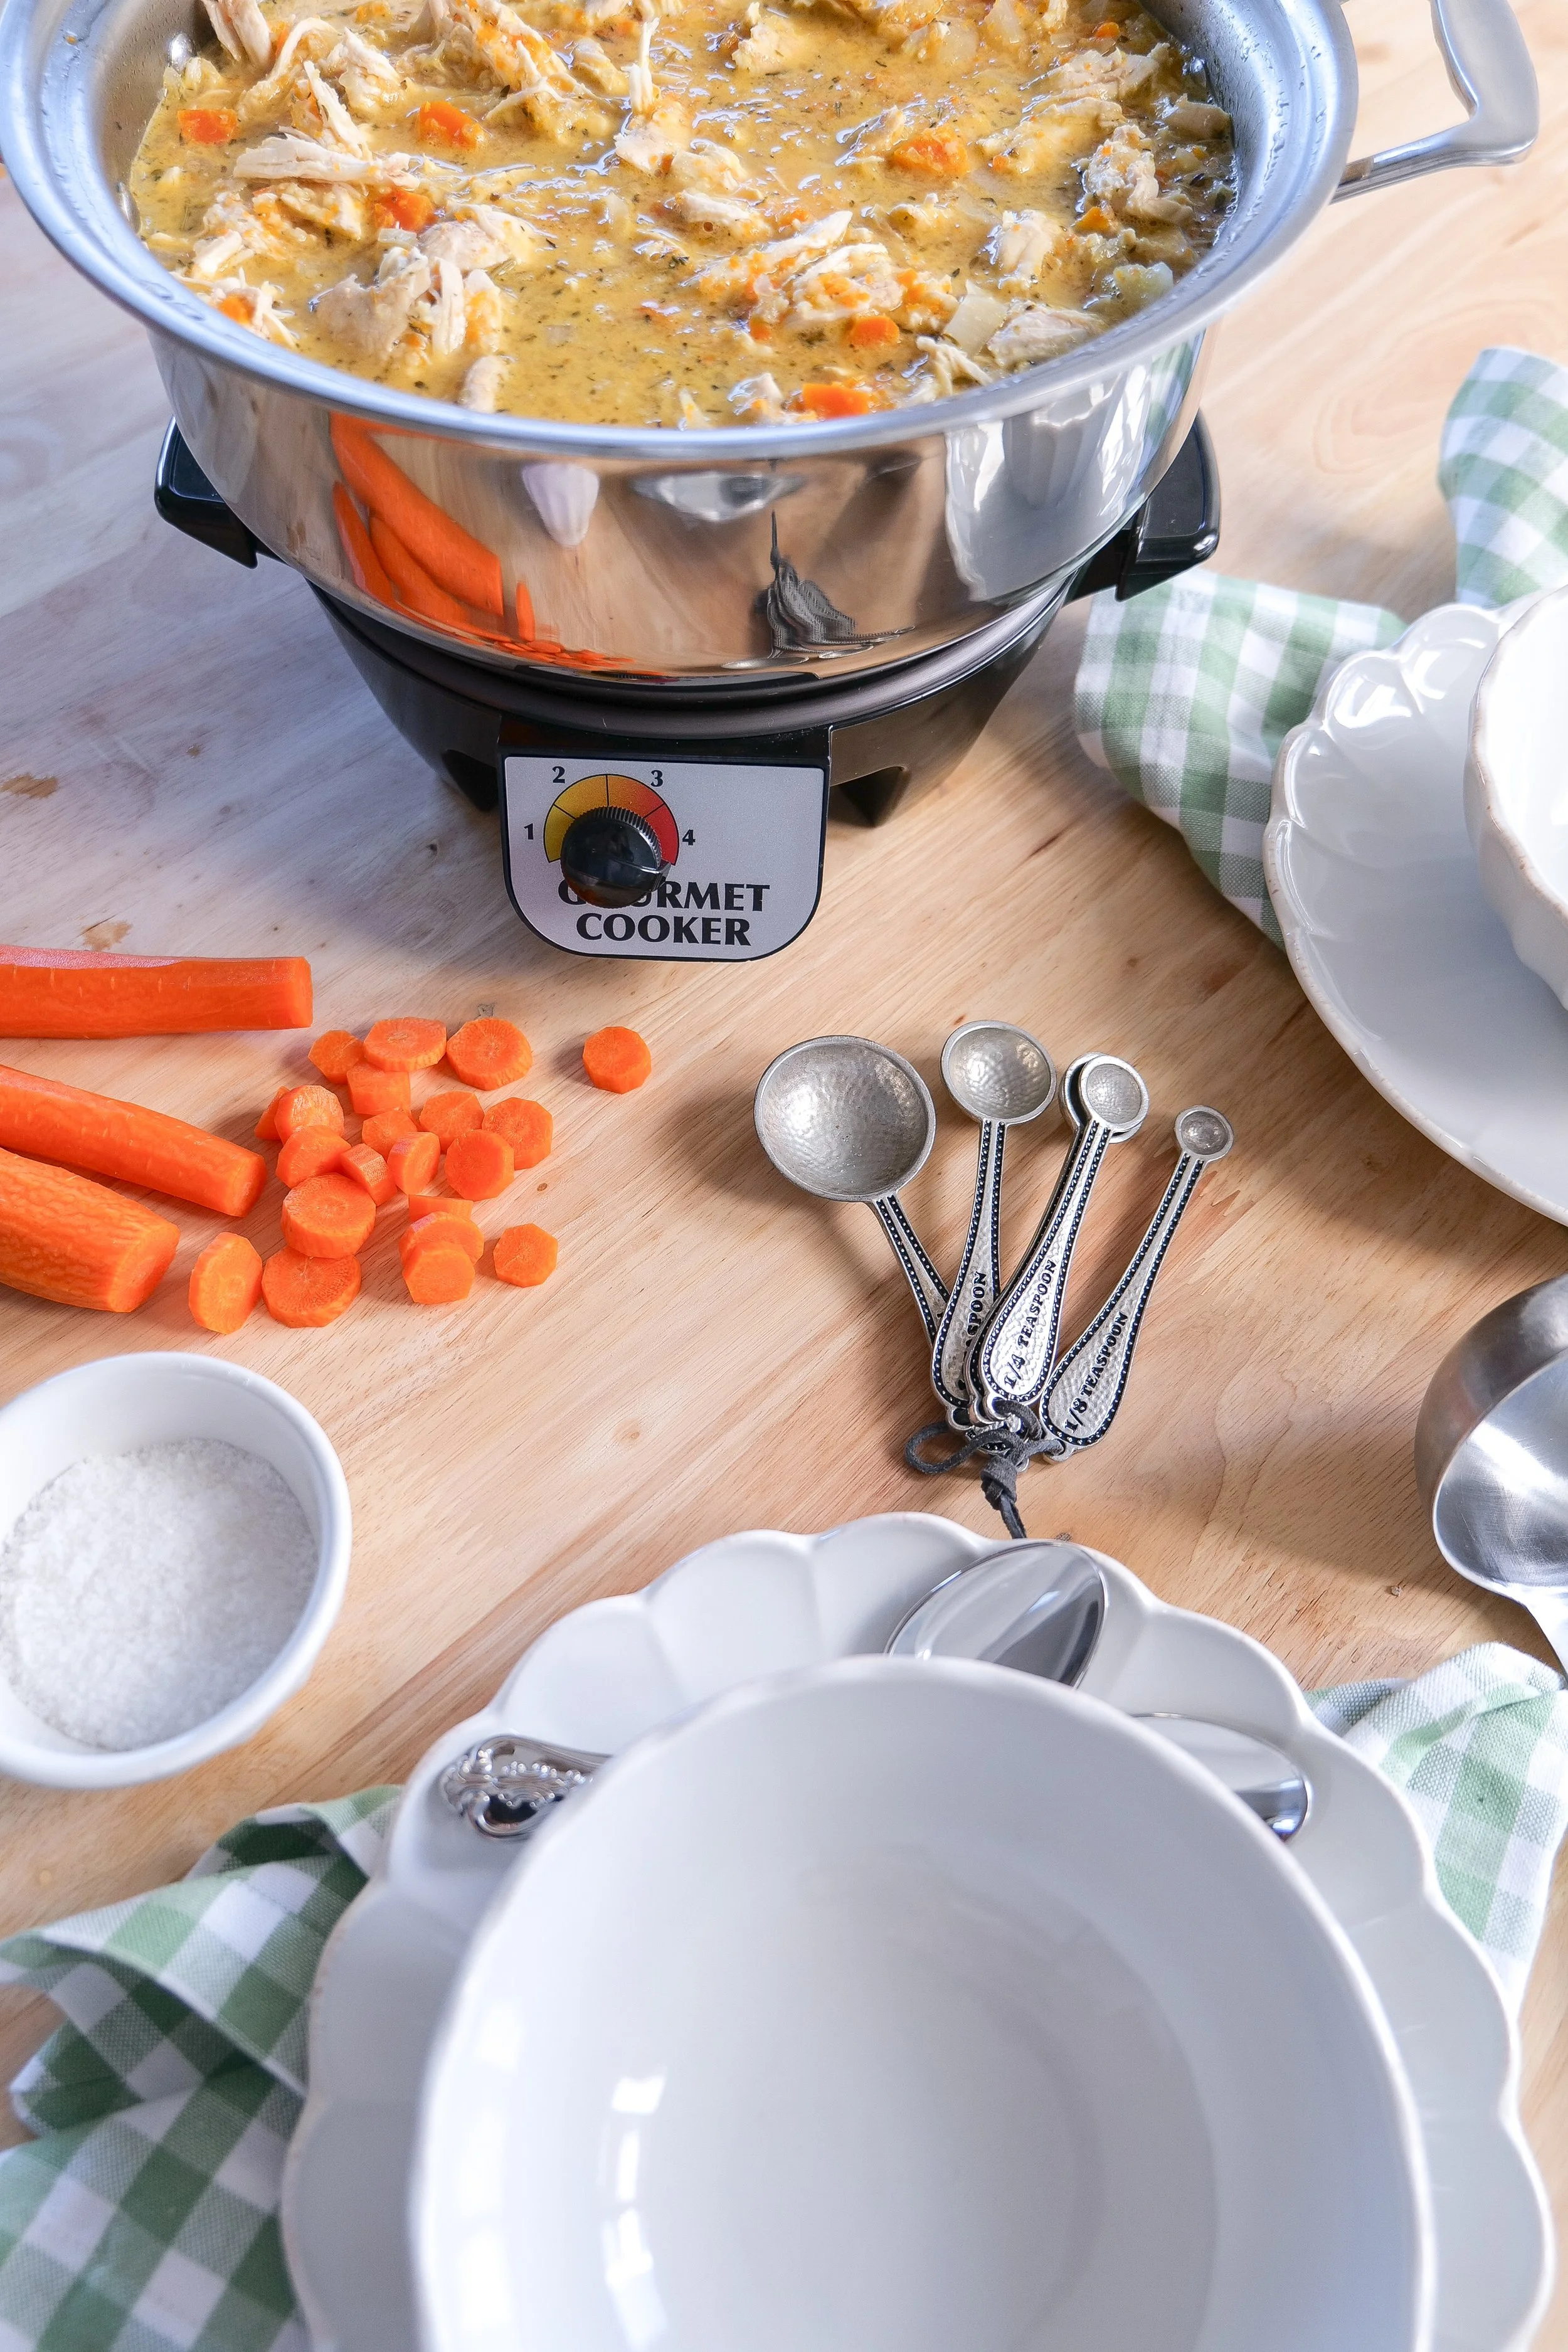
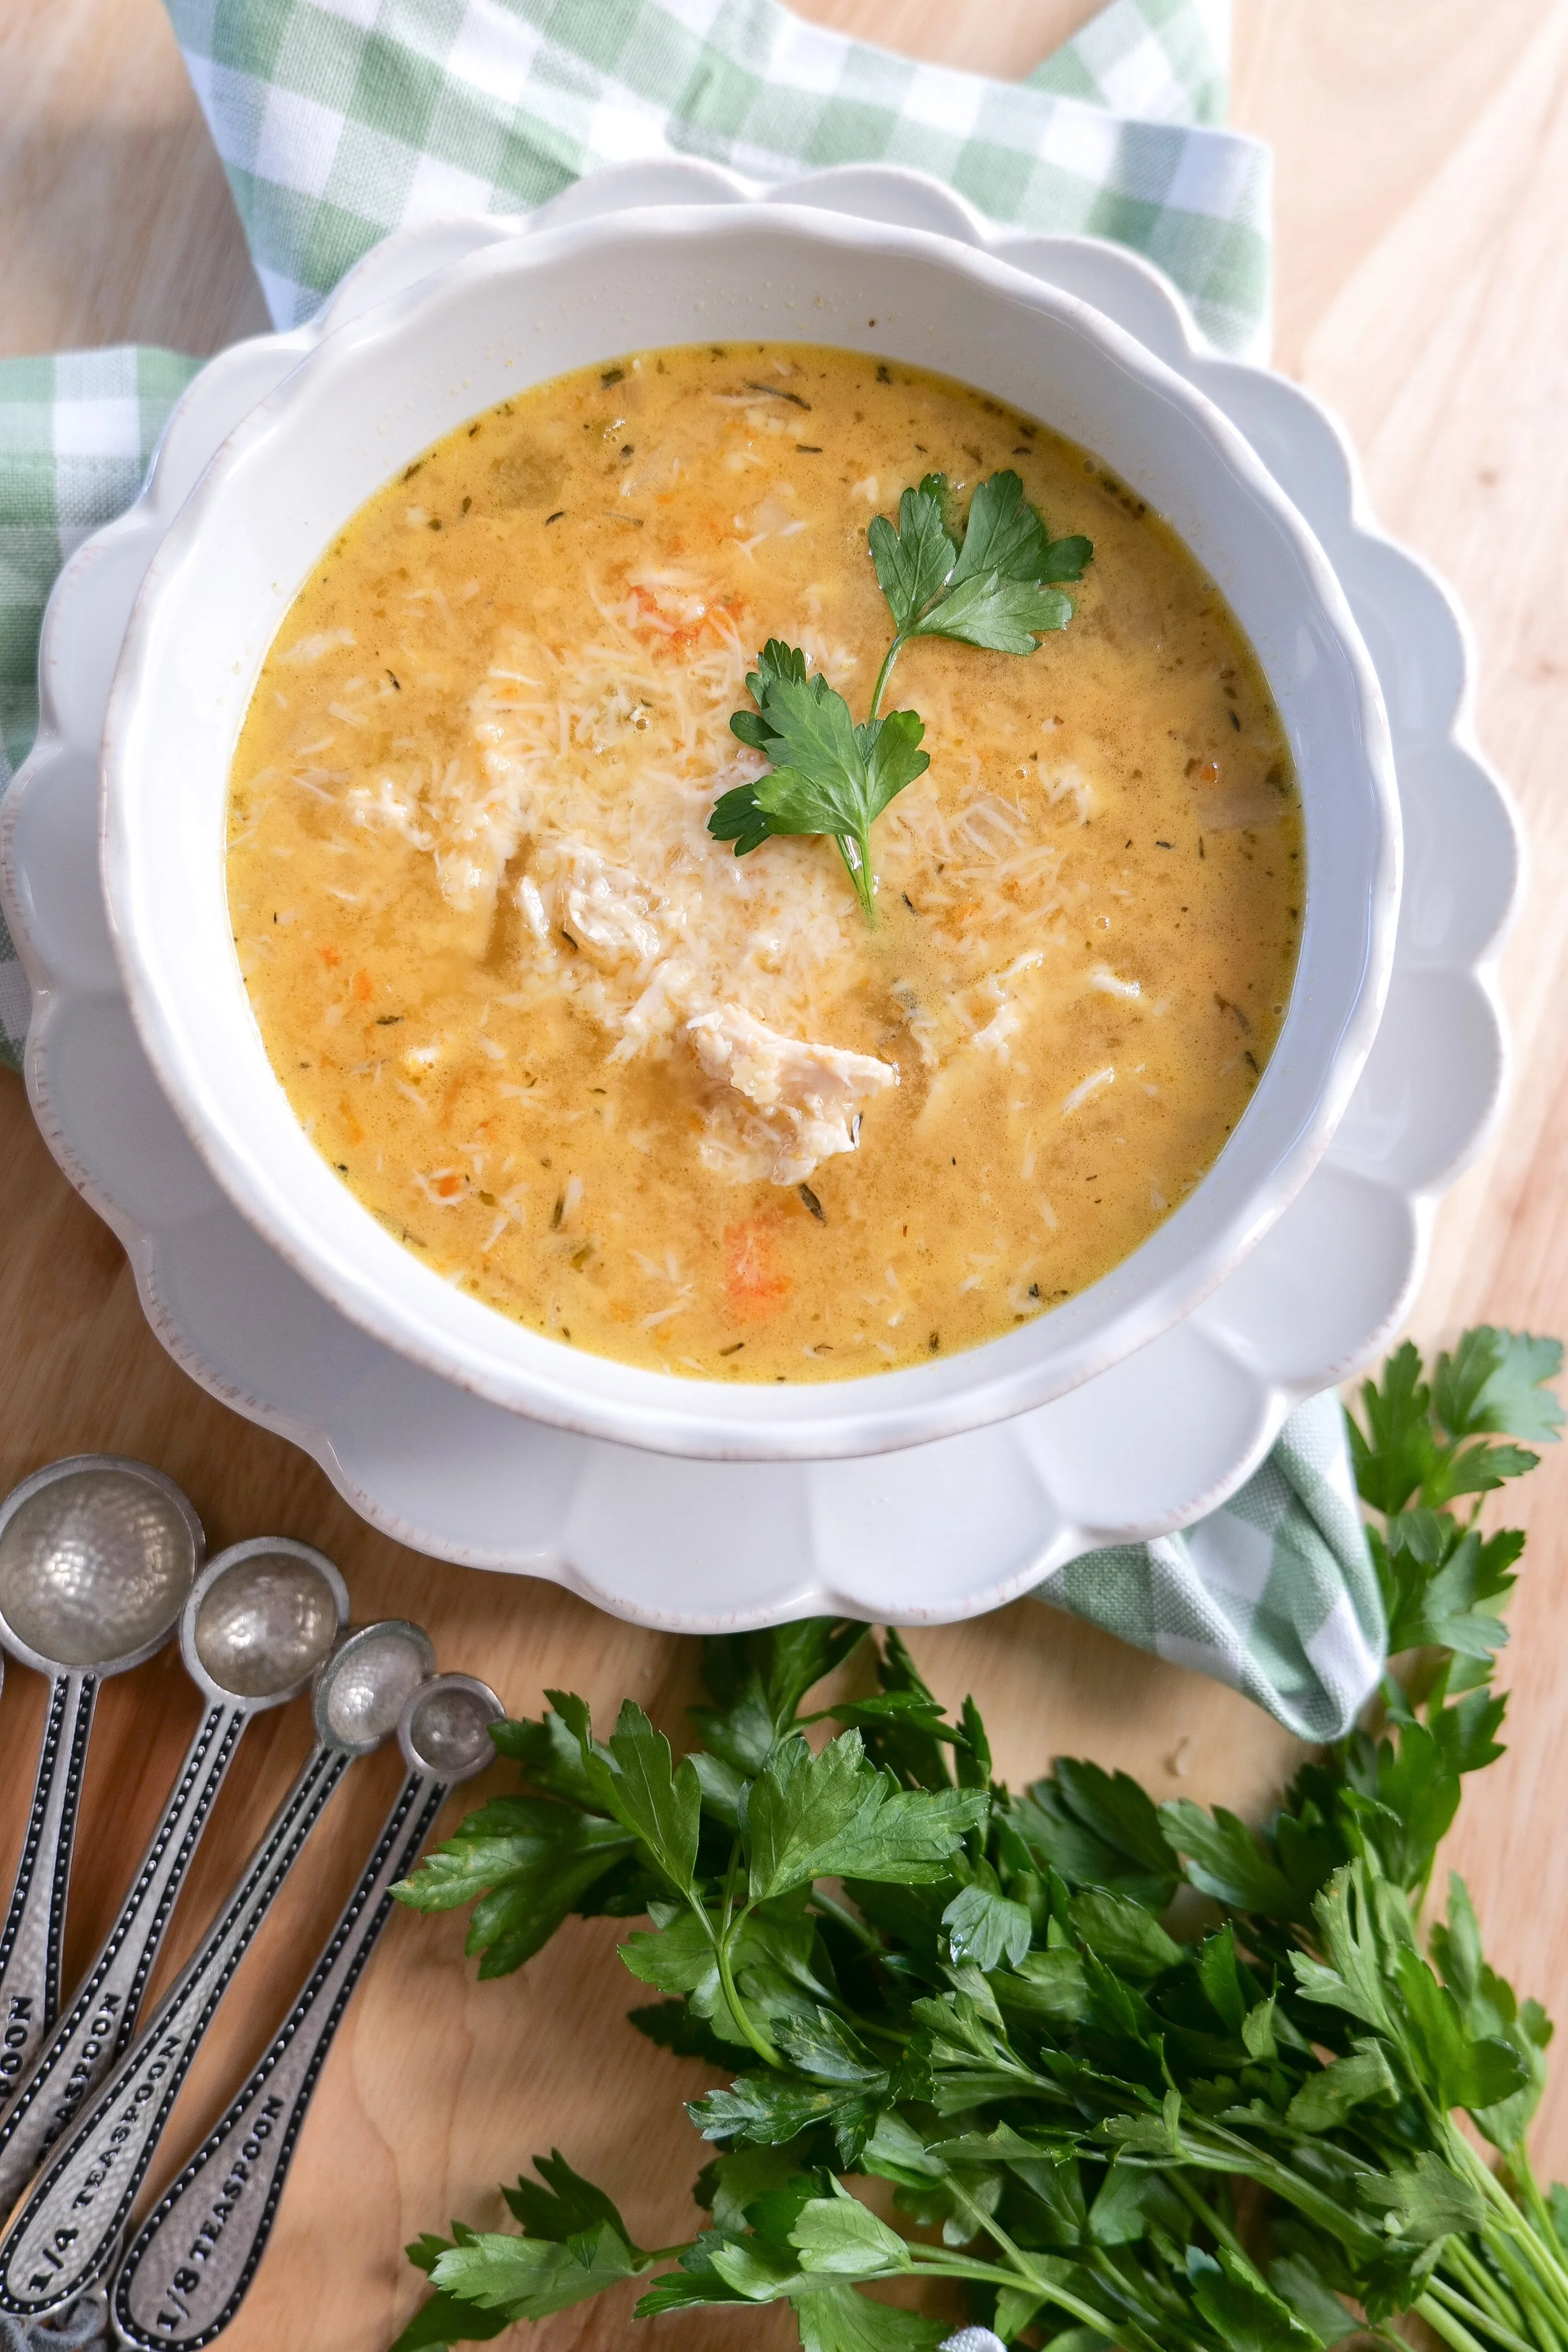
Bowl of slow cooker Italian Penicillin Soup with tender chicken, vegetables, pastina, Parmesan and fresh parsley.
↓ Skip to Recipe

What Is Italian Penicillin Soup?

Italian Penicillin Soup isn't actually medicine. It's an affectionate nickname for the type of comforting chicken soup Italian families have made for generations.

Recipes vary from family to family, but you'll commonly find a flavorful chicken broth filled with vegetables, chicken, herbs, Parmesan, and some form of small pasta.

In this version, I use pastina, which gives the soup that wonderfully cozy texture while soaking up the homemade broth.

The combination reminds me of the kind of recipe that doesn't need to be complicated to be memorable. It's simple food made with good ingredients and given enough time to develop plenty of flavor.

Homemade Italian Penicillin Soup filled with shredded chicken, vegetables and tiny pastina pasta.
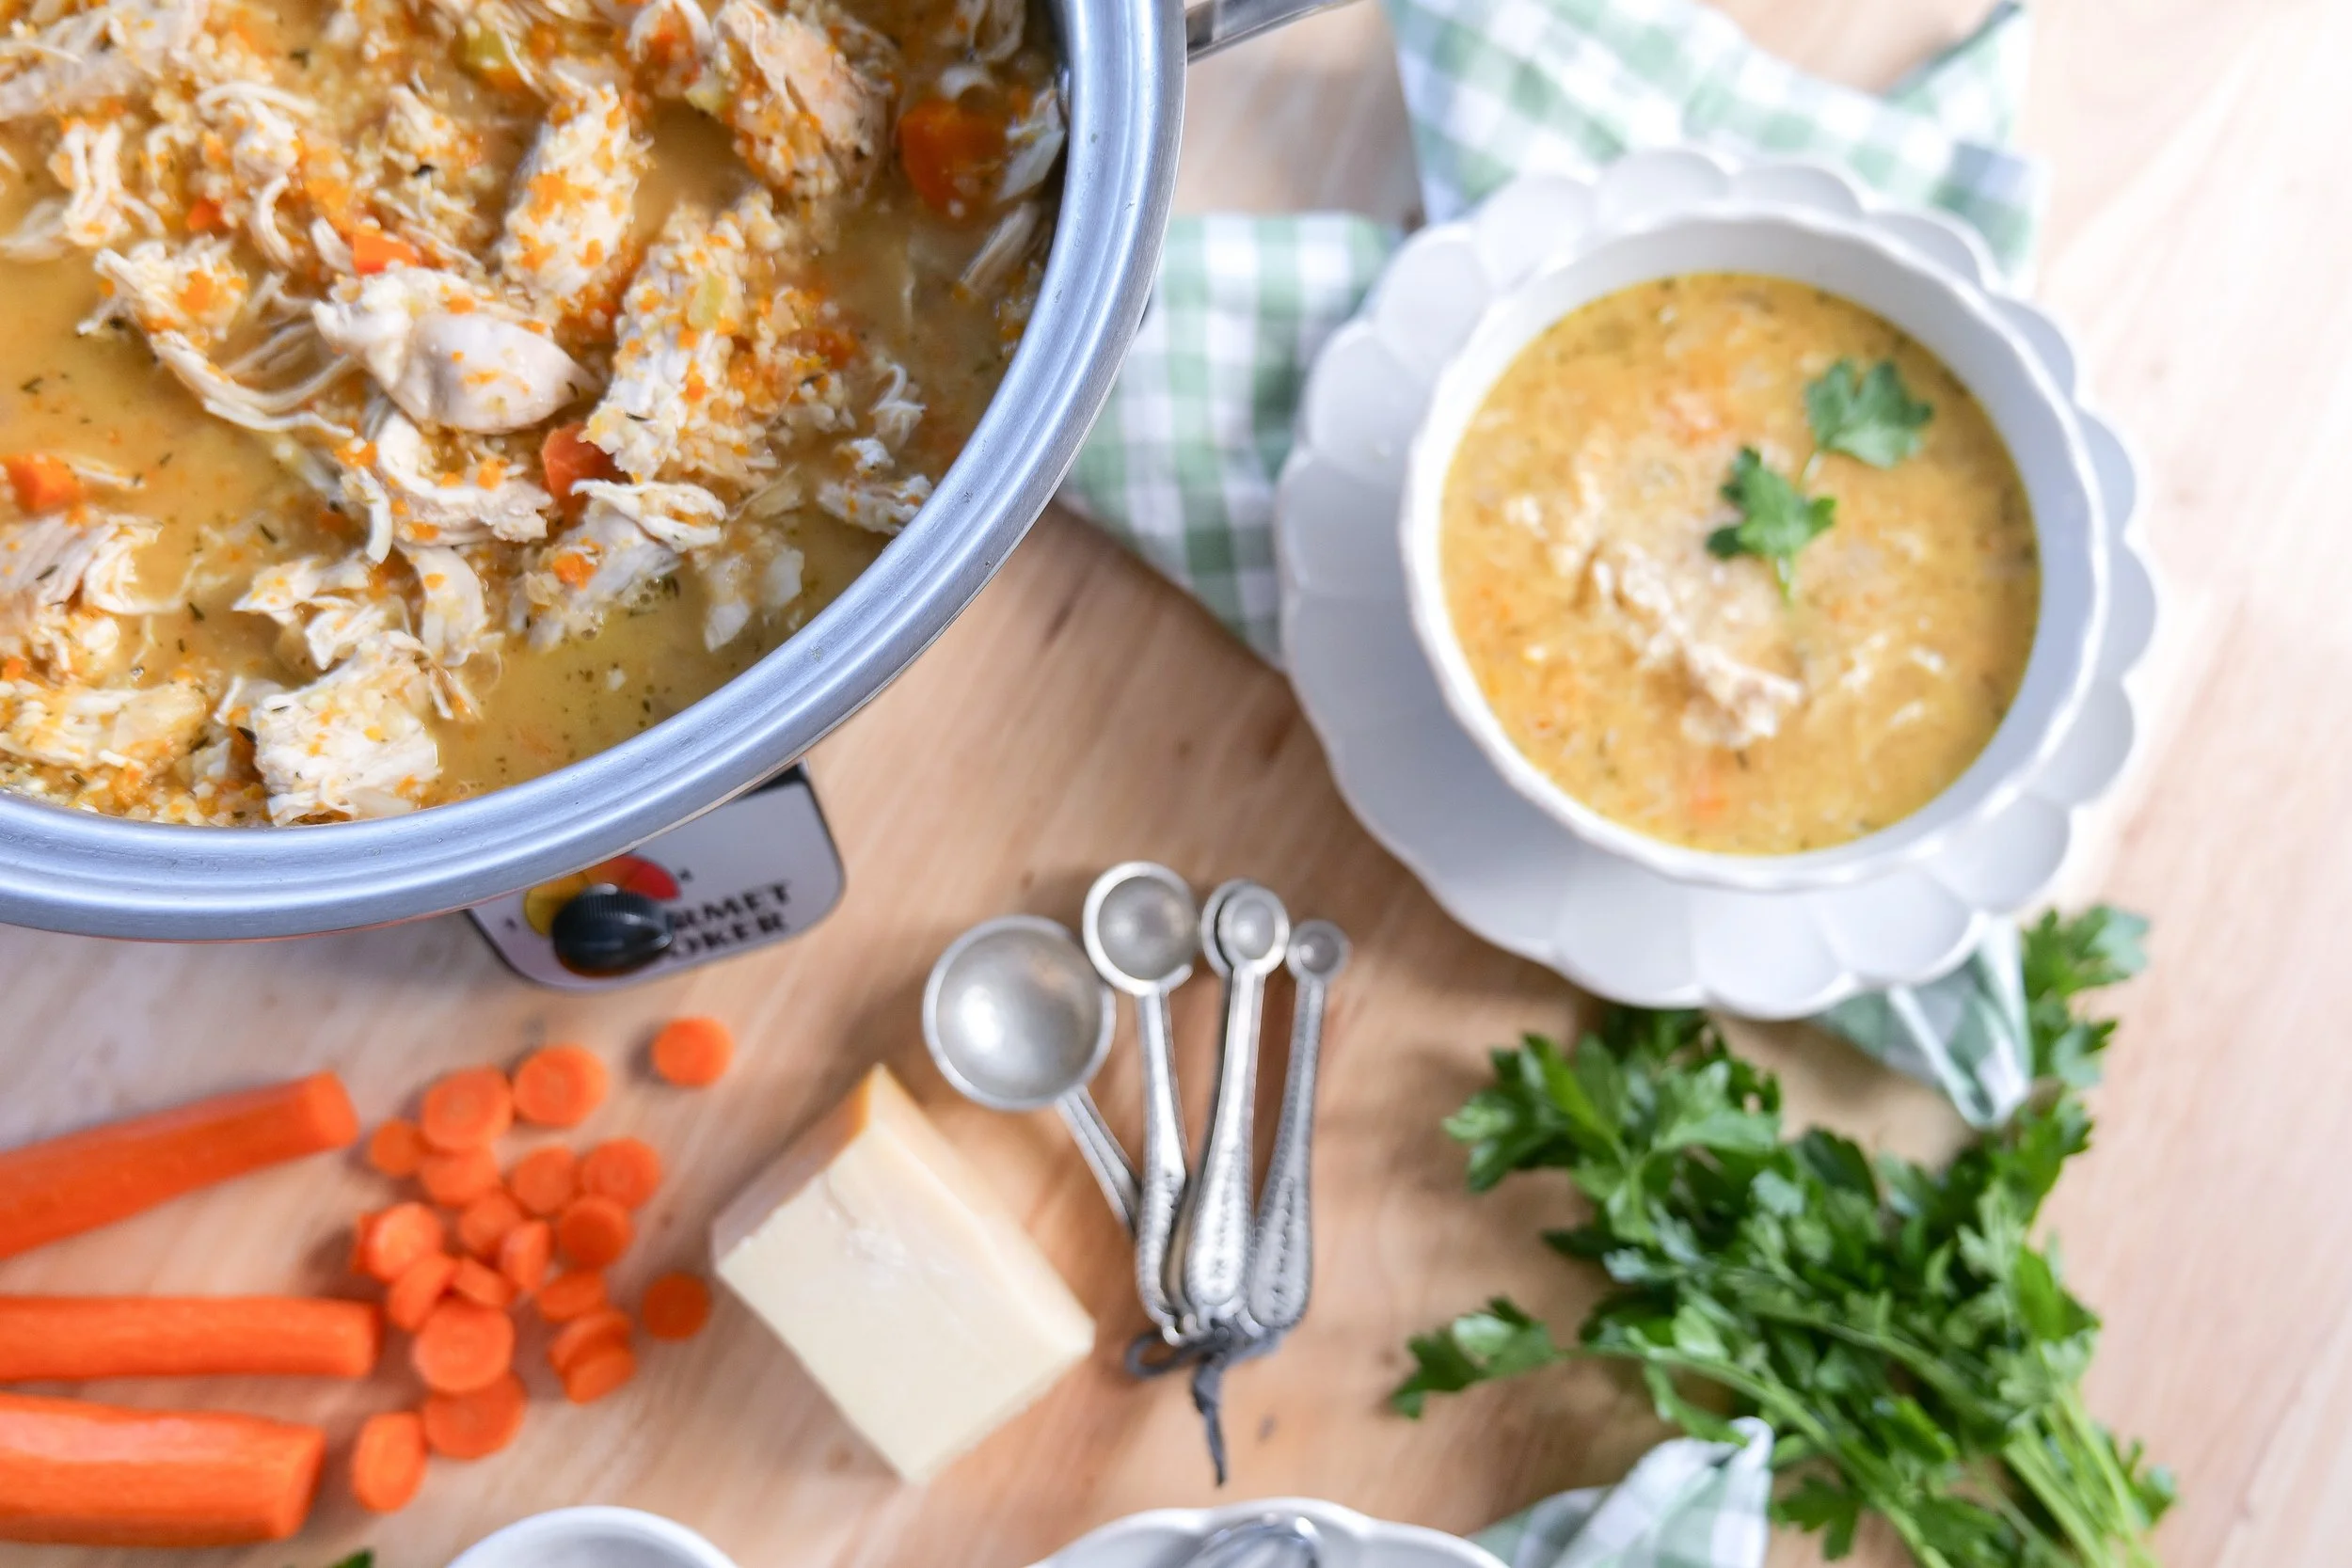
Cozy Italian chicken pastina soup finished with freshly grated Parmesan and parsley.

Why You'll Love This Italian Penicillin Soup

This has become one of those recipes I want to make as soon as the weather cools down.

You'll love it because it's:

  • Made primarily in the slow cooker

  • Filled with chicken and vegetables

  • Cozy without being overly heavy

  • Made with simple, familiar ingredients

  • Flavored with a Parmesan rind

  • Finished with tiny pastina pasta

  • Easy to make ahead

  • Delicious for leftovers

  • Perfect for fall and winter dinners

And because everything spends a few hours cooking together, you get a much deeper flavor without needing to stand over the stove all afternoon.

Slow cooker chicken soup with vegetables, tiny pastina pasta and Parmesan cheese.

What Is Pastina?

Pastina literally means "little pasta" in Italian and refers to very small pasta shapes traditionally used in soups and simple comfort dishes.

You may find pastina in tiny stars, rounds, or other petite shapes. Stelline and acini di pepe are also great options for this soup if that's what you can find.

The small size works especially well here because the pasta cooks right in the broth toward the end of the recipe and absorbs some of its flavor.

If you're unable to find something labeled specifically as pastina, don't worry. Just look for a very small pasta shape.

Homemade Italian Penicillin Soup served warm with chicken, vegetables, herbs and Parmesan.

The Secret Ingredient: A Parmesan Rind

If you've never saved your Parmesan rinds for soup, start now.

I add one Parmesan rind to the slow cooker along with the chicken broth, vegetables, and herbs. As everything slowly cooks, the rind adds another savory layer to the broth.

You aren't going to eat the rind. Once the soup has finished cooking, simply remove and discard it before shredding the chicken and adding the pastina.

It's such a simple addition, but it's one of my favorite ways to make a homemade soup taste like it has been simmering for hours.

Which, conveniently, this one has.

Italian pastina chicken soup with tender shredded chicken and vegetables in a savory broth.
Warm bowl of cozy Italian chicken soup with pastina, carrots, celery and fresh Parmesan.

Why I Brown the Chicken First

Technically, you could put everything straight into your slow cooker.

But I prefer browning the chicken first.

My slow cooker has a removable pot that can go directly onto the stovetop, so I add 1 tablespoon olive oil and brown the chicken breasts for approximately five minutes per side before adding the remaining ingredients.

That extra step creates more flavor before the slow cooking even begins.

If your slow cooker insert isn't stovetop-safe, you can brown the chicken in a separate skillet or skip this step when you need an especially easy dinner.

Easy slow cooker Italian soup made with chicken, vegetables, herbs, Parmesan and pastina.

What You'll Need

One of my favorite things about this recipe is how simple the ingredient list is.

You'll need:

Chicken

Chicken breasts cook until tender enough to shred right into the soup.

Onion, Carrots & Celery

The classic combination that gives our broth its base of flavor.

Garlic

I use four whole garlic cloves and let them slowly cook into the broth.

Chicken Broth

This creates the base of the soup.

Parmesan Rind

One of the easiest ways to add savory Parmesan flavor while the soup cooks.

Herbs

Oregano, rosemary, and basil give the broth plenty of Italian-inspired flavor.

Pastina

Tiny pasta makes every spoonful extra cozy.

Parmesan

Freshly grated Parmesan finishes each bowl.

Fresh Parsley

Optional, but beautiful for a little freshness and color right before serving.

Comforting chicken soup with tiny pastina pasta, vegetables and freshly grated Parmesan.

Making Italian Penicillin Soup in the Slow Cooker

This is where this recipe becomes especially easy.

After browning the chicken, roughly chop your vegetables. There is no need to worry about getting perfectly uniform pieces.

Add the onion, garlic, carrots, celery, seasonings, chicken broth, and Parmesan rind to the chicken.

Then let your slow cooker do the work.

I cook mine on medium, or setting 3, for approximately 2–3 hours, until the chicken is tender enough to easily shred with a fork.

Once it's ready, remove the Parmesan rind and chicken. Shred the chicken while the pastina cooks directly in the broth.

Then add the chicken back in and you're ready to serve.

I’ve gathered the slow cooker, soup pots, bowls, serving pieces and kitchen tools I reach for when making cozy recipes like this one in my Soup & Slow Cooker Essentials collection.

Slow Cooker Italian Penicillin Soup Recipe

Prep Time: Approximately 15 minutes
Cook Time: Approximately 2½–3½ hours
Servings: Approximately 6

Ingredients

  • 1 tablespoon olive oil

  • 4 large chicken breasts

  • 1 yellow or white onion, roughly chopped

  • 4 garlic cloves, whole

  • 2 carrots, roughly chopped

  • 2 celery stalks, roughly chopped

  • 6 cups chicken broth

  • 1 Parmesan rind

  • 1 teaspoon dried oregano

  • 1 teaspoon dried rosemary

  • 1 teaspoon dried basil

  • 1 teaspoon sea salt

  • 1 teaspoon black pepper

  • 1 cup pastina pasta, or another small pasta such as acini di pepe or stelline

  • ½ cup freshly grated Parmesan cheese

  • Additional salt and pepper, to taste

  • 2 tablespoons chopped fresh parsley, optional for garnish

Instructions

Step 1: Brown the Chicken

If your slow cooker has a stovetop-safe removable insert, place it over medium heat.

Add 1 tablespoon olive oil.

Add the chicken breasts and brown for approximately 5 minutes on each side.

If your slow cooker insert isn't stovetop-safe, you can complete this step in a separate skillet or skip browning and add the chicken directly to the slow cooker.

Step 2: Prepare the Vegetables

While the chicken browns, roughly chop the onion, carrots, and celery.

The vegetables don't need to be perfectly cut or uniform.

Step 3: Fill the Slow Cooker

Add the chopped onion, whole garlic cloves, carrots, celery, chicken broth, Parmesan rind, oregano, rosemary, basil, sea salt, and black pepper to the chicken.

Place the slow cooker insert onto its base.

Step 4: Slow Cook

Cook on medium, or approximately setting 3 depending on your slow cooker, for 2–3 hours, or until the chicken is completely cooked and easily shreds with a fork.

Step 5: Remove the Chicken & Parmesan Rind

Once the chicken is tender, remove the Parmesan rind and discard it.

Transfer the chicken breasts to a plate or cutting board and shred them using two forks.

Step 6: Cook the Pastina

Add the pastina directly to the broth and vegetables.

Continue cooking for approximately 20–25 minutes, or until the pasta is tender.

Step 7: Finish the Soup

Return the shredded chicken to the soup and stir everything together.

Taste and add additional salt and pepper as needed.

Step 8: Serve

Ladle the soup into bowls and finish with freshly grated Parmesan cheese and chopped parsley.

Serve warm and enjoy.

Amanda's Tips

Save your Parmesan rinds.
Whenever you finish a wedge of Parmesan, wrap the rind and save it for soups like this one.

Don't add the pastina at the beginning.
Pastina cooks quickly, so adding it toward the end keeps it from becoming overly soft.

Brown the chicken when you have time.
It adds another layer of flavor, but you can skip it when you need a true dump-and-go slow cooker dinner.

Cut the vegetables roughly.
This is rustic soup. There's no need for perfect little pieces.

Taste before adding additional salt.
Chicken broth and Parmesan can both contribute saltiness, so adjust the finished soup to your preference.

Italian Penicillin chicken soup with shredded chicken, vegetables and small pasta in savory broth.

Can I Make Italian Penicillin Soup Ahead of Time?

Absolutely.

In fact, soup is one of my favorite things to make ahead because the flavors have even more time to come together.

If you're intentionally making this for meal prep, however, I would consider cooking the pastina separately and adding it to individual portions.

Pasta continues absorbing liquid as it sits, so keeping it separate can help preserve more of that beautiful broth.

If you've already made the entire recipe together, that's completely fine too. Just expect the pastina to absorb additional broth in the refrigerator.

Homemade Italian chicken soup topped with Parmesan cheese and fresh chopped parsley.
Pastina soup with shredded chicken, carrots and celery served in a flavorful chicken broth.

How to Store Leftovers

Allow the soup to cool and transfer it to an airtight container.

Store it in the refrigerator and enjoy within approximately 3–4 days.

As the soup sits, the pastina may continue soaking up some of the broth.

When reheating, simply add a splash of additional chicken broth if you'd like to loosen the consistency.

Warm gently on the stovetop or in the microwave until heated through.

Can You Freeze Italian Penicillin Soup?

Yes, but I prefer freezing this soup without the pastina whenever possible.

Pasta can become softer after freezing, thawing, and reheating.

If you're preparing a batch specifically for the freezer, make the soup through the chicken and vegetable portion, freeze it, and add freshly cooked pastina when reheating.

Store the cooled soup in freezer-safe airtight containers, leaving a little room for expansion.

Freeze for up to approximately 3 months.

Thaw overnight in the refrigerator before reheating.

Cozy slow cooker pastina soup with chicken, vegetables and Parmesan ready to serve.

What to Serve with Italian Penicillin Soup

This soup is hearty enough to be a meal on its own, but I love serving it with something simple on the side.

Try it with:

  • Warm crusty bread

  • Garlic bread

  • Homemade focaccia

  • A simple green salad

  • Caesar salad

  • Roasted vegetables

  • Extra Parmesan for the table

And don't forget a good piece of bread for soaking up the broth at the bottom of the bowl.

Easy Variations

The beauty of a cozy chicken soup like this is that it's easy to adapt to what you already have.

Change the Pasta

Use stelline, acini di pepe, or another very small pasta in place of pastina.

Add More Vegetables

Spinach, kale, or zucchini can be added if you'd like additional vegetables.

Use Leftover Chicken

If you're starting with cooked chicken, make the broth and vegetables first and stir the shredded chicken in toward the end.

Make It Extra Lemony

Finish individual bowls with a squeeze of fresh lemon juice for a brighter flavor.

Add a Little Heat

A sprinkle of red pepper flakes is an easy addition for anyone who likes a little spice.

Frequently Asked Questions

Why is it called Italian Penicillin Soup?

It's a nickname for comforting Italian-style chicken soup traditionally associated with being cared for when you're feeling under the weather. It isn't actual medicine—the name reflects the comfort and tradition surrounding dishes like this.

What pasta is used in Italian Penicillin Soup?

I use pastina, but stelline, acini di pepe, or another very small pasta can work beautifully.

Can I make Italian Penicillin Soup without pastina?

Yes. You can omit the pasta entirely or substitute another small pasta.

Do I have to brown the chicken?

No. Browning adds flavor, but you can place the chicken directly into the slow cooker if you're short on time.

What does the Parmesan rind do?

It slowly infuses the broth with savory Parmesan flavor as the soup cooks. Remove and discard the rind before serving.

Can I cook the pastina separately?

Yes, and it's actually a great option if you're planning on storing or freezing the soup.

Can I use rotisserie chicken?

Yes. Make the broth and vegetable portion first, then stir shredded cooked chicken into the soup toward the end.

Can I freeze Italian Penicillin Soup?

Yes. For the best texture, freeze the soup without the pastina and add freshly cooked pasta when reheating.

How do I keep pastina from soaking up all the broth?

Either cook it separately or add additional chicken broth when reheating leftovers.

Is Italian Penicillin Soup the same as pastina soup?

They're closely related, and recipes vary widely by family. This version combines chicken, vegetables, herbs, Parmesan, and pastina in a slow-cooked broth.

More Cozy Soup Recipes

Slow Cooker Italian Wedding Soup

Italian Sausage, Potato & Kale Soup

Mom's Favorite Minestrone Soup

One-Pot Italian Lasagna Soup

Creamy Basil Tomato Soup

Shepherd's Pie Soup

Warm Italian comfort soup with tender chicken, tiny pasta, vegetables and fresh Parmesan.

Shop My Soup & Slow Cooker Essentials

I've gathered some of my favorite slow cookers, soup pots, bowls, ladles, and everyday kitchen pieces for making cozy recipes like this one in my Soup & Slow Cooker Essentials list.

Save This Recipe

Whether you're planning ahead for a chilly weeknight or simply adding another cozy dinner to your recipe collection, I've included a printable recipe card below so it's easy to save, print, and make again.

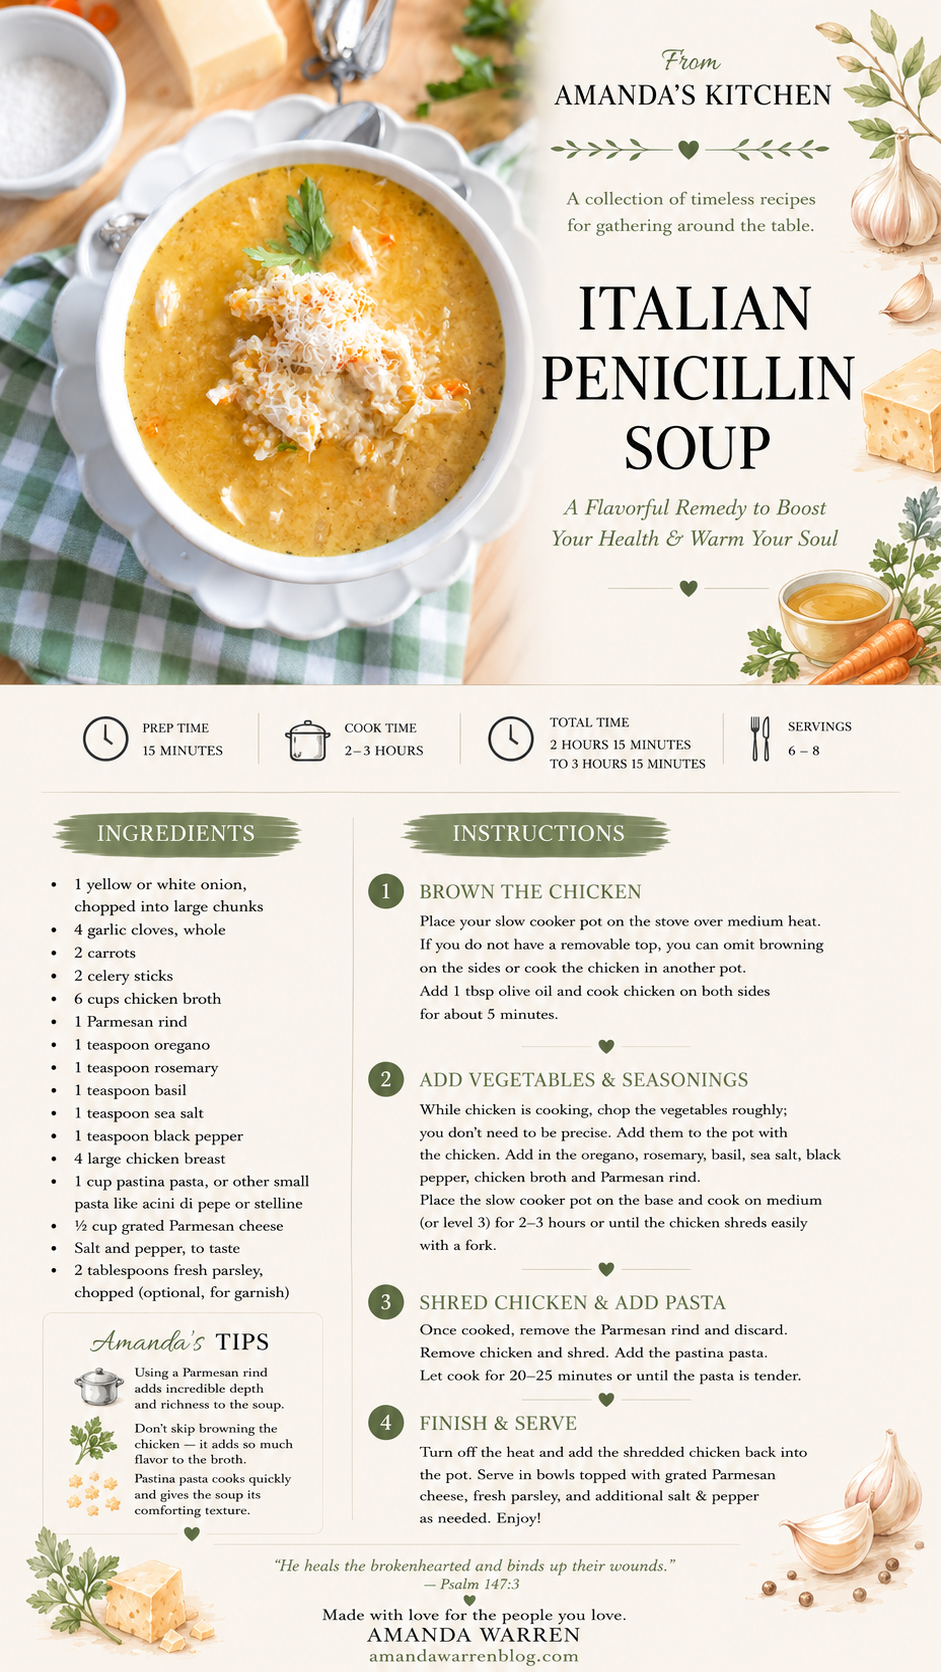
Printable Italian Penicillin Soup recipe card with chicken, vegetables, pastina, Parmesan and slow cooker instructions.

A Note From Amanda

There's something I love about recipes that spend a few hours quietly cooking in the kitchen while life happens around them.

This is one of those meals.

It's simple ingredients—chicken, vegetables, broth, Parmesan, herbs, and tiny pasta—but given a little time, they turn into something that feels especially comforting.

Serve it steaming hot with plenty of Parmesan on top, gather everyone around the table, and enjoy.

"Taste and see that the Lord is good." — Psalm 34:8

Made with love for the people you love.