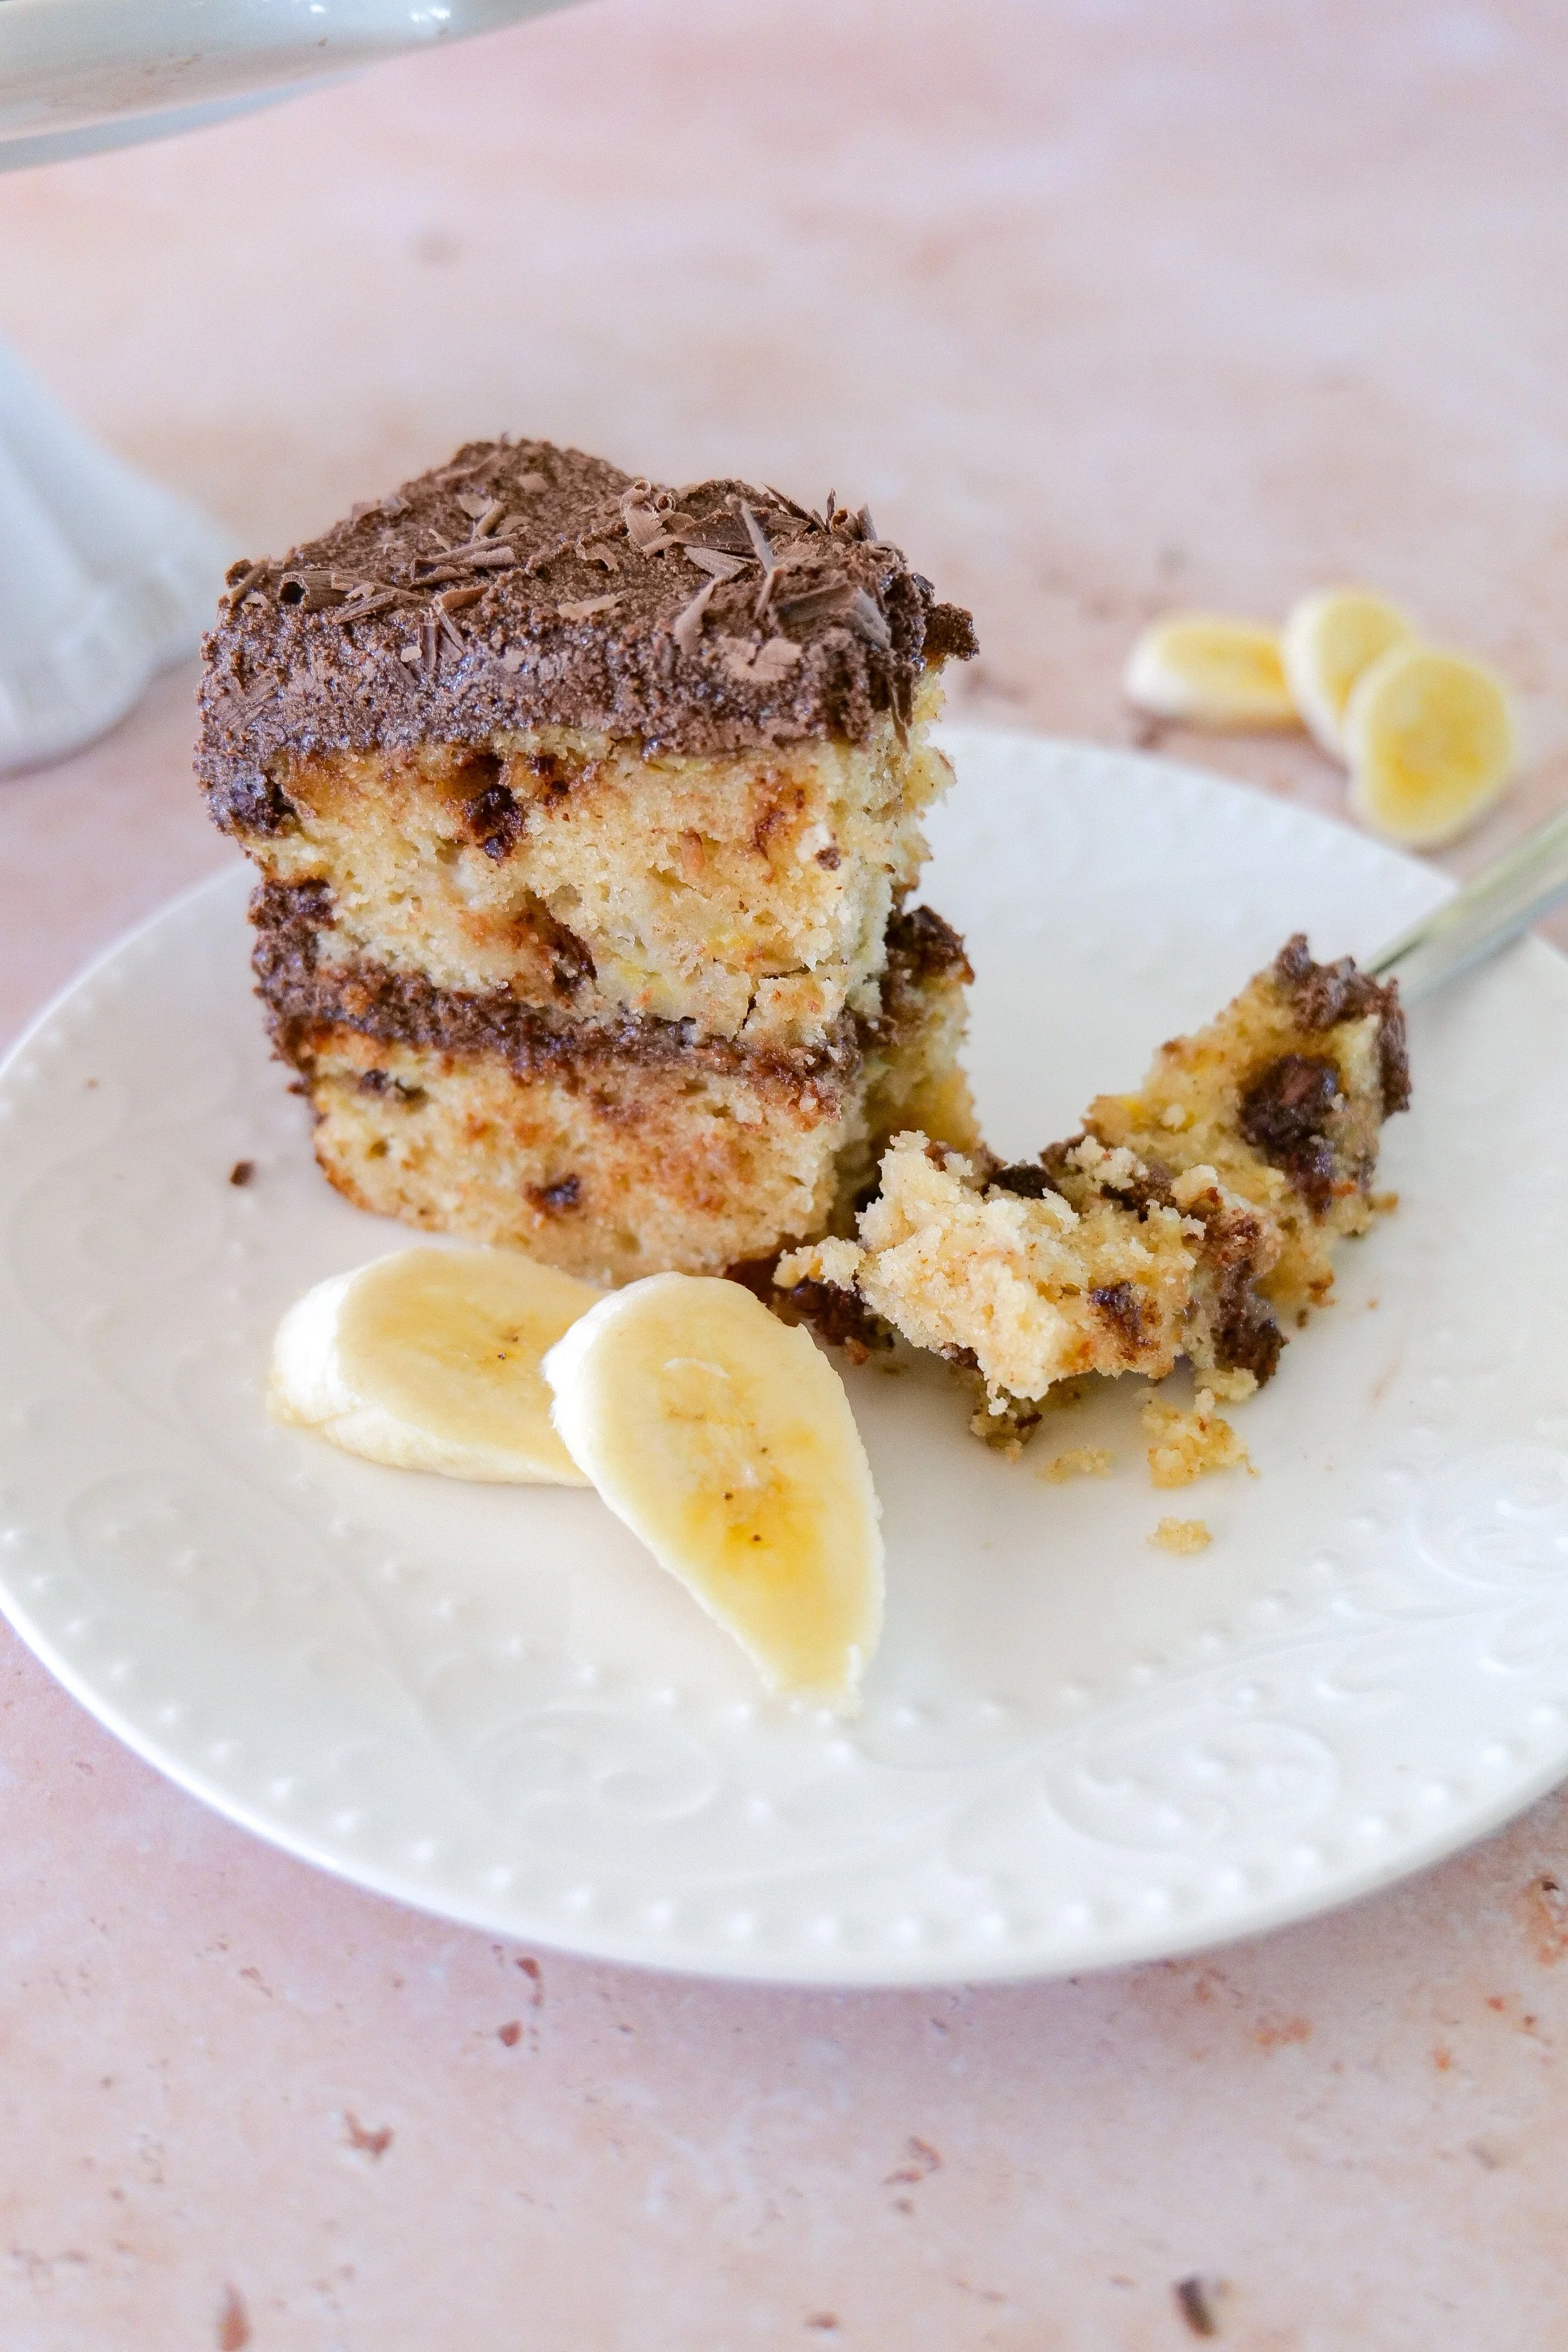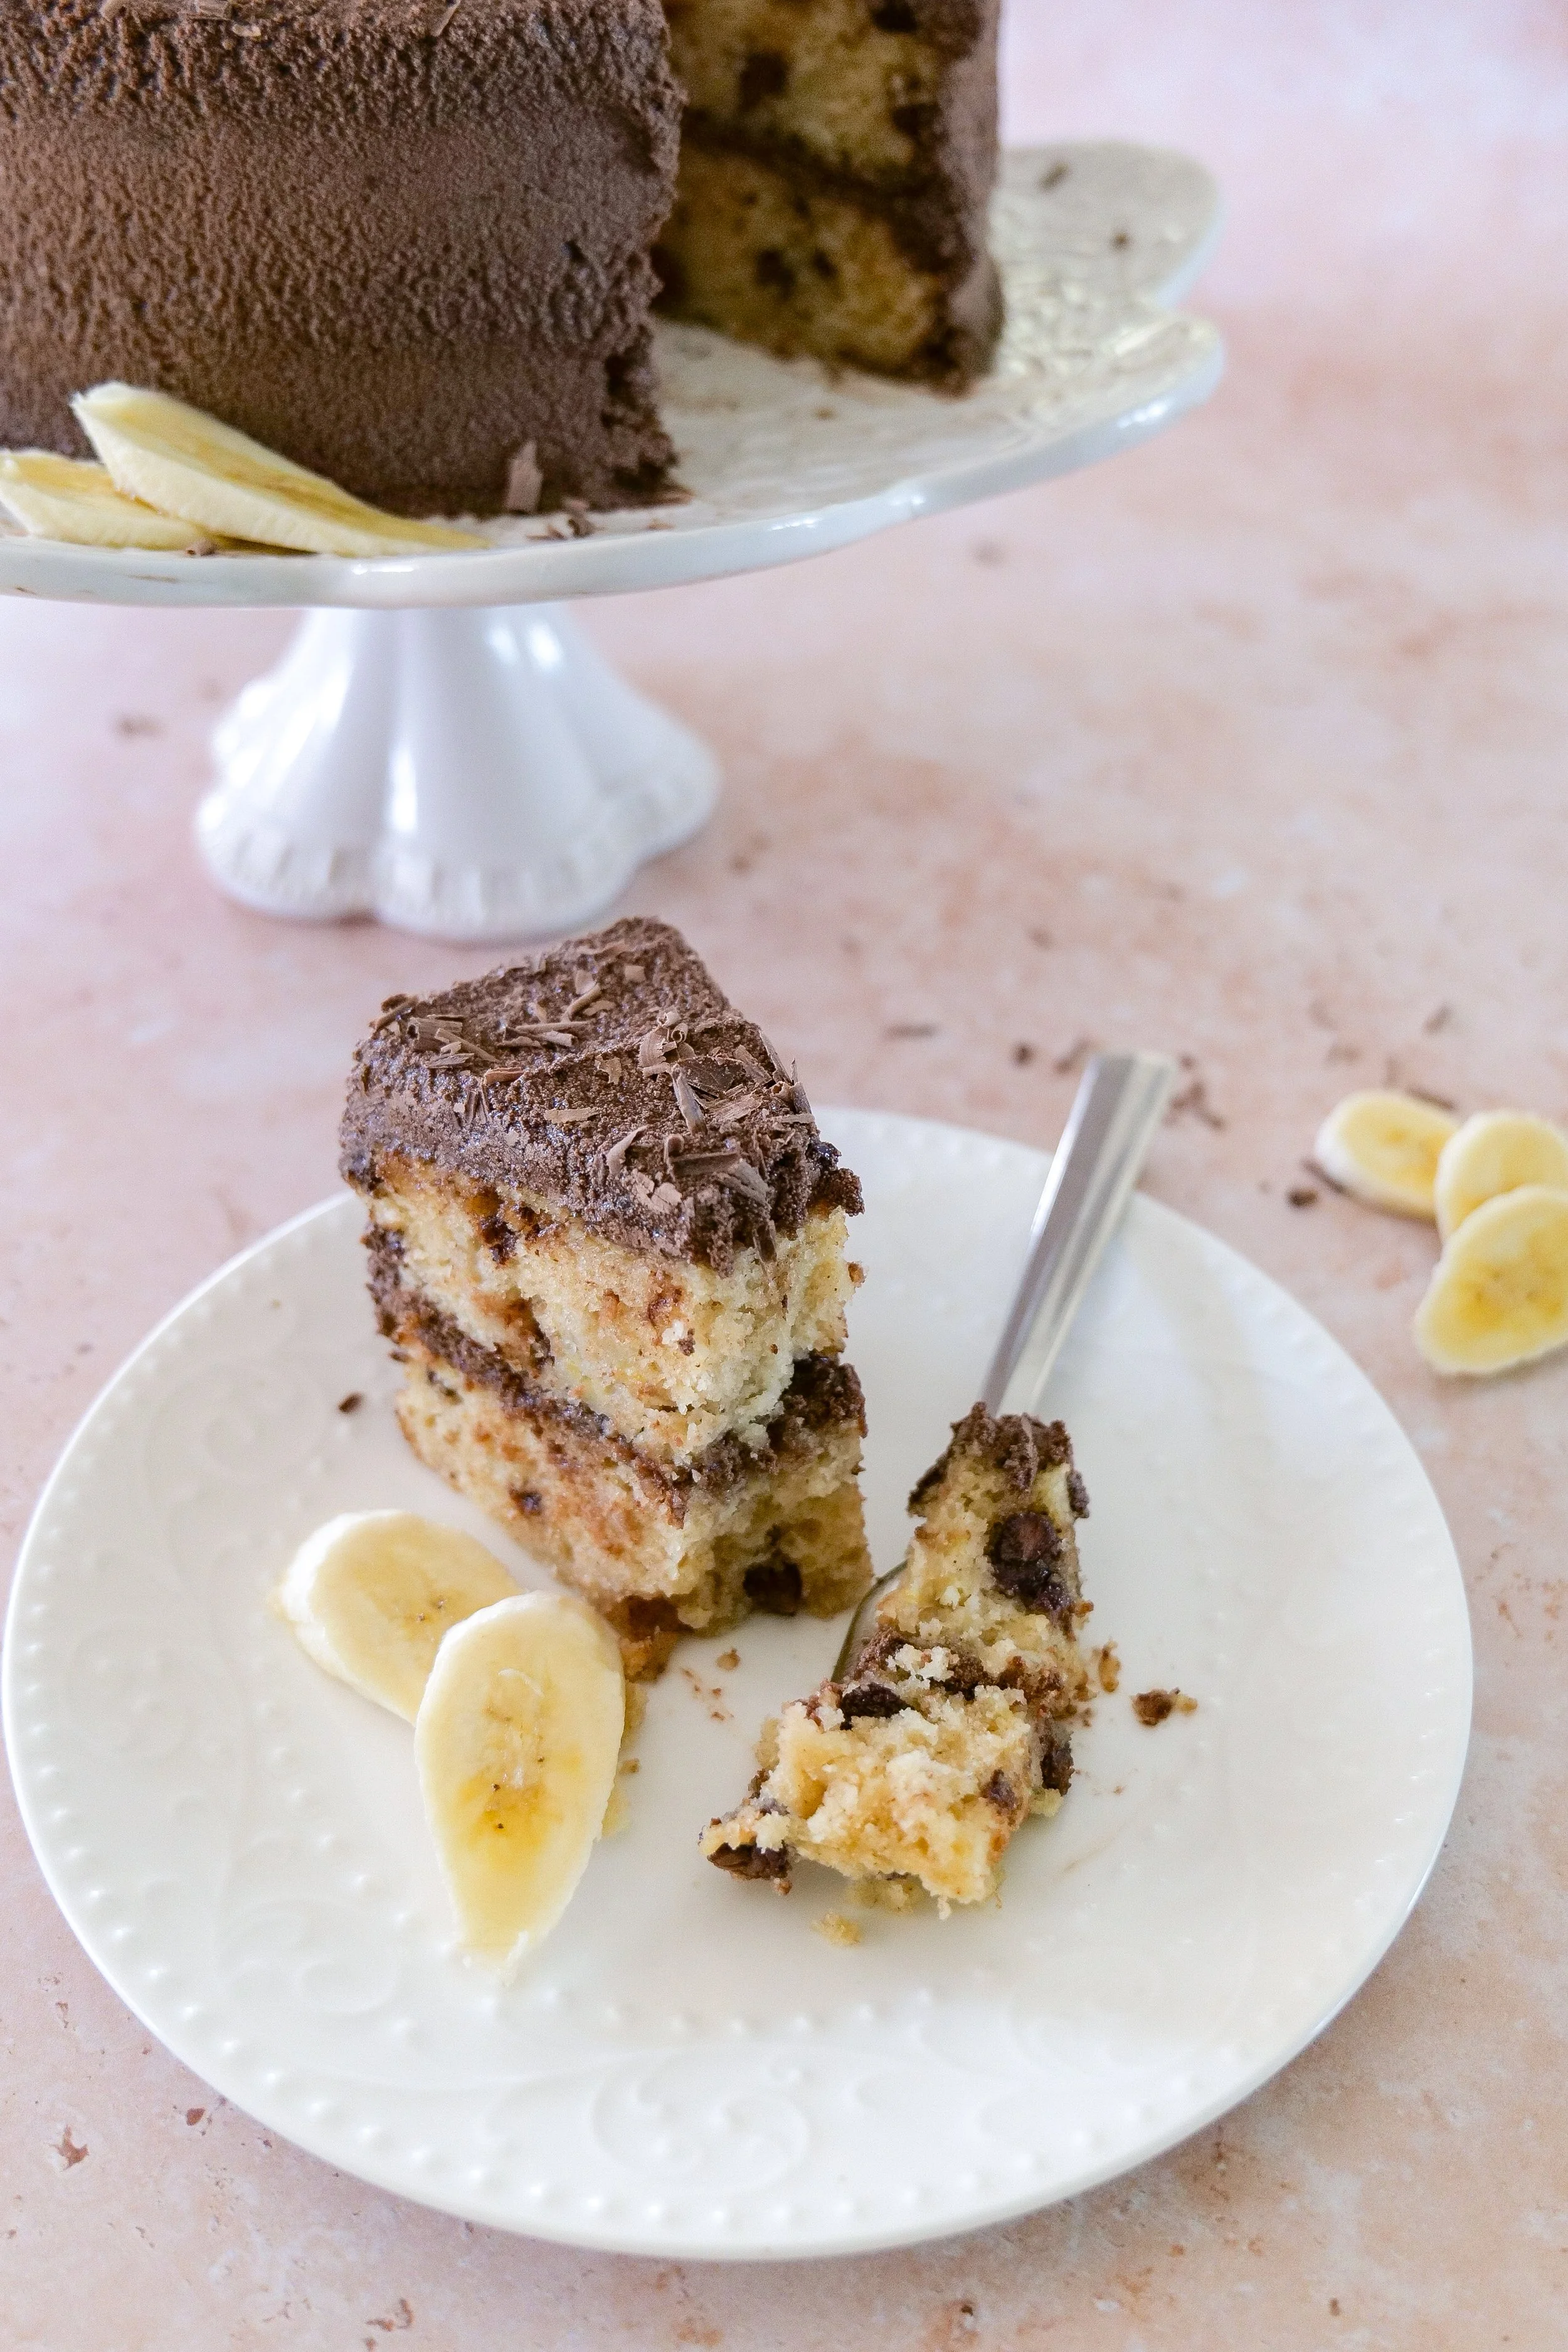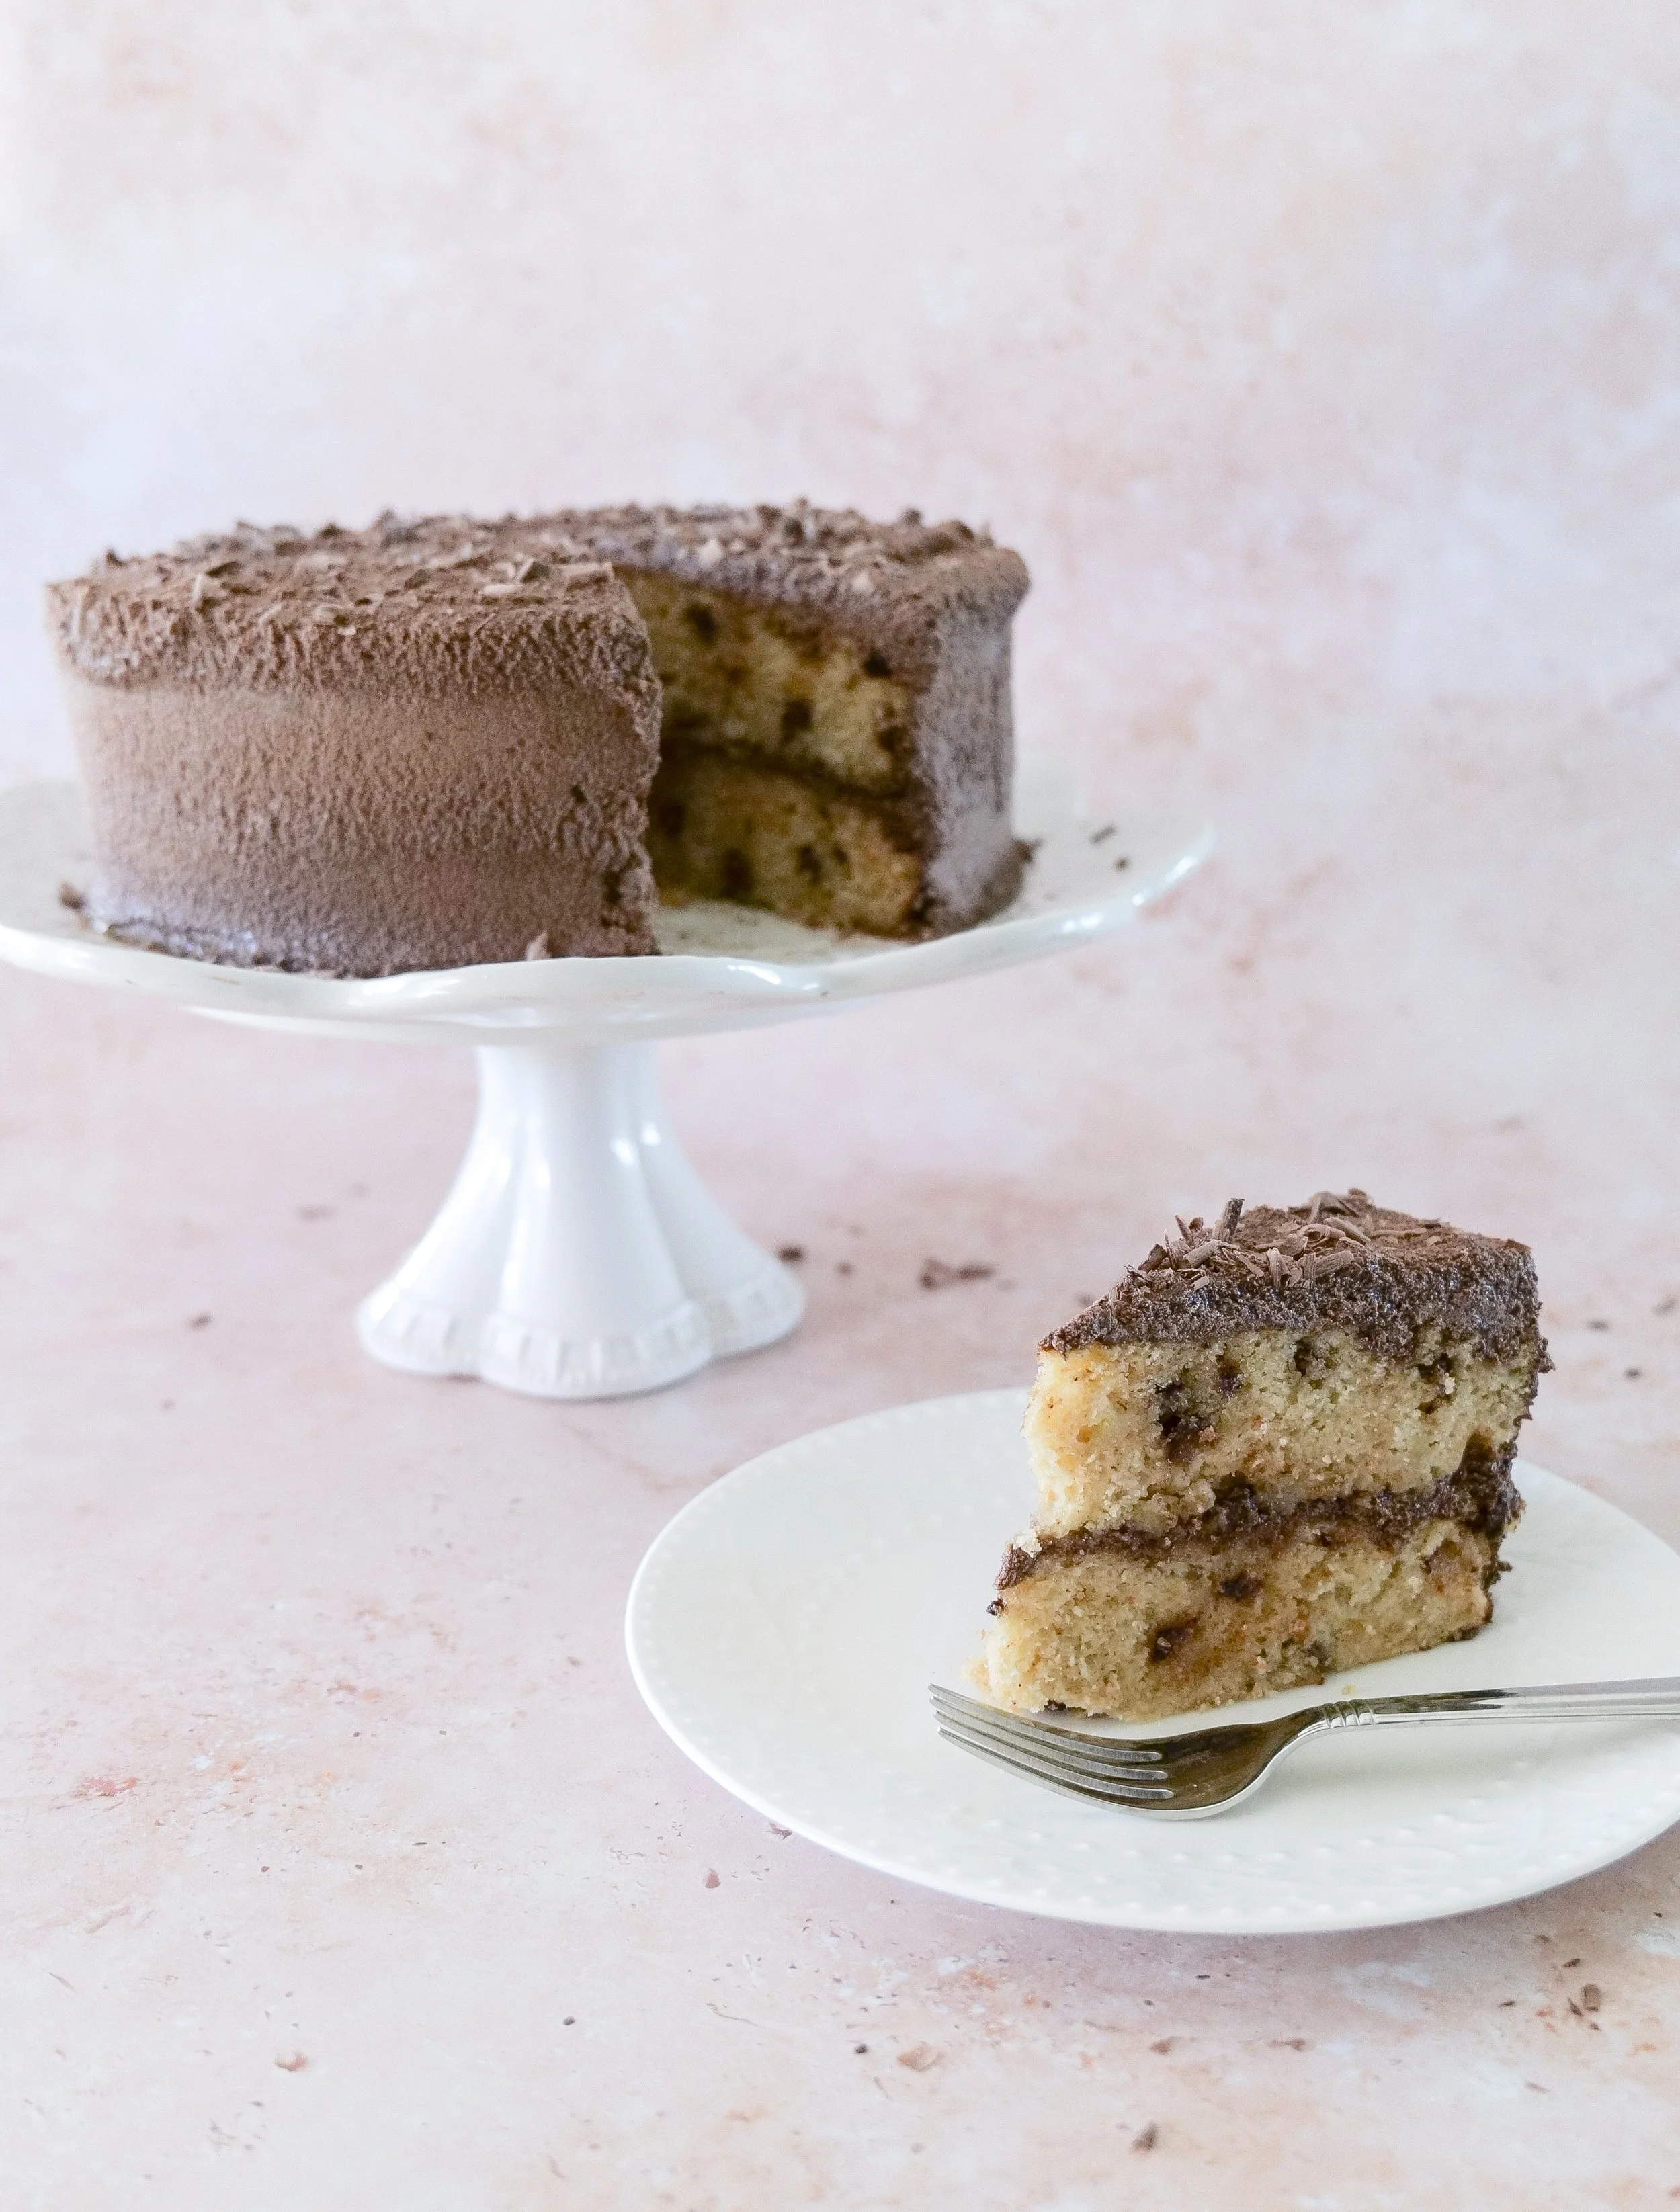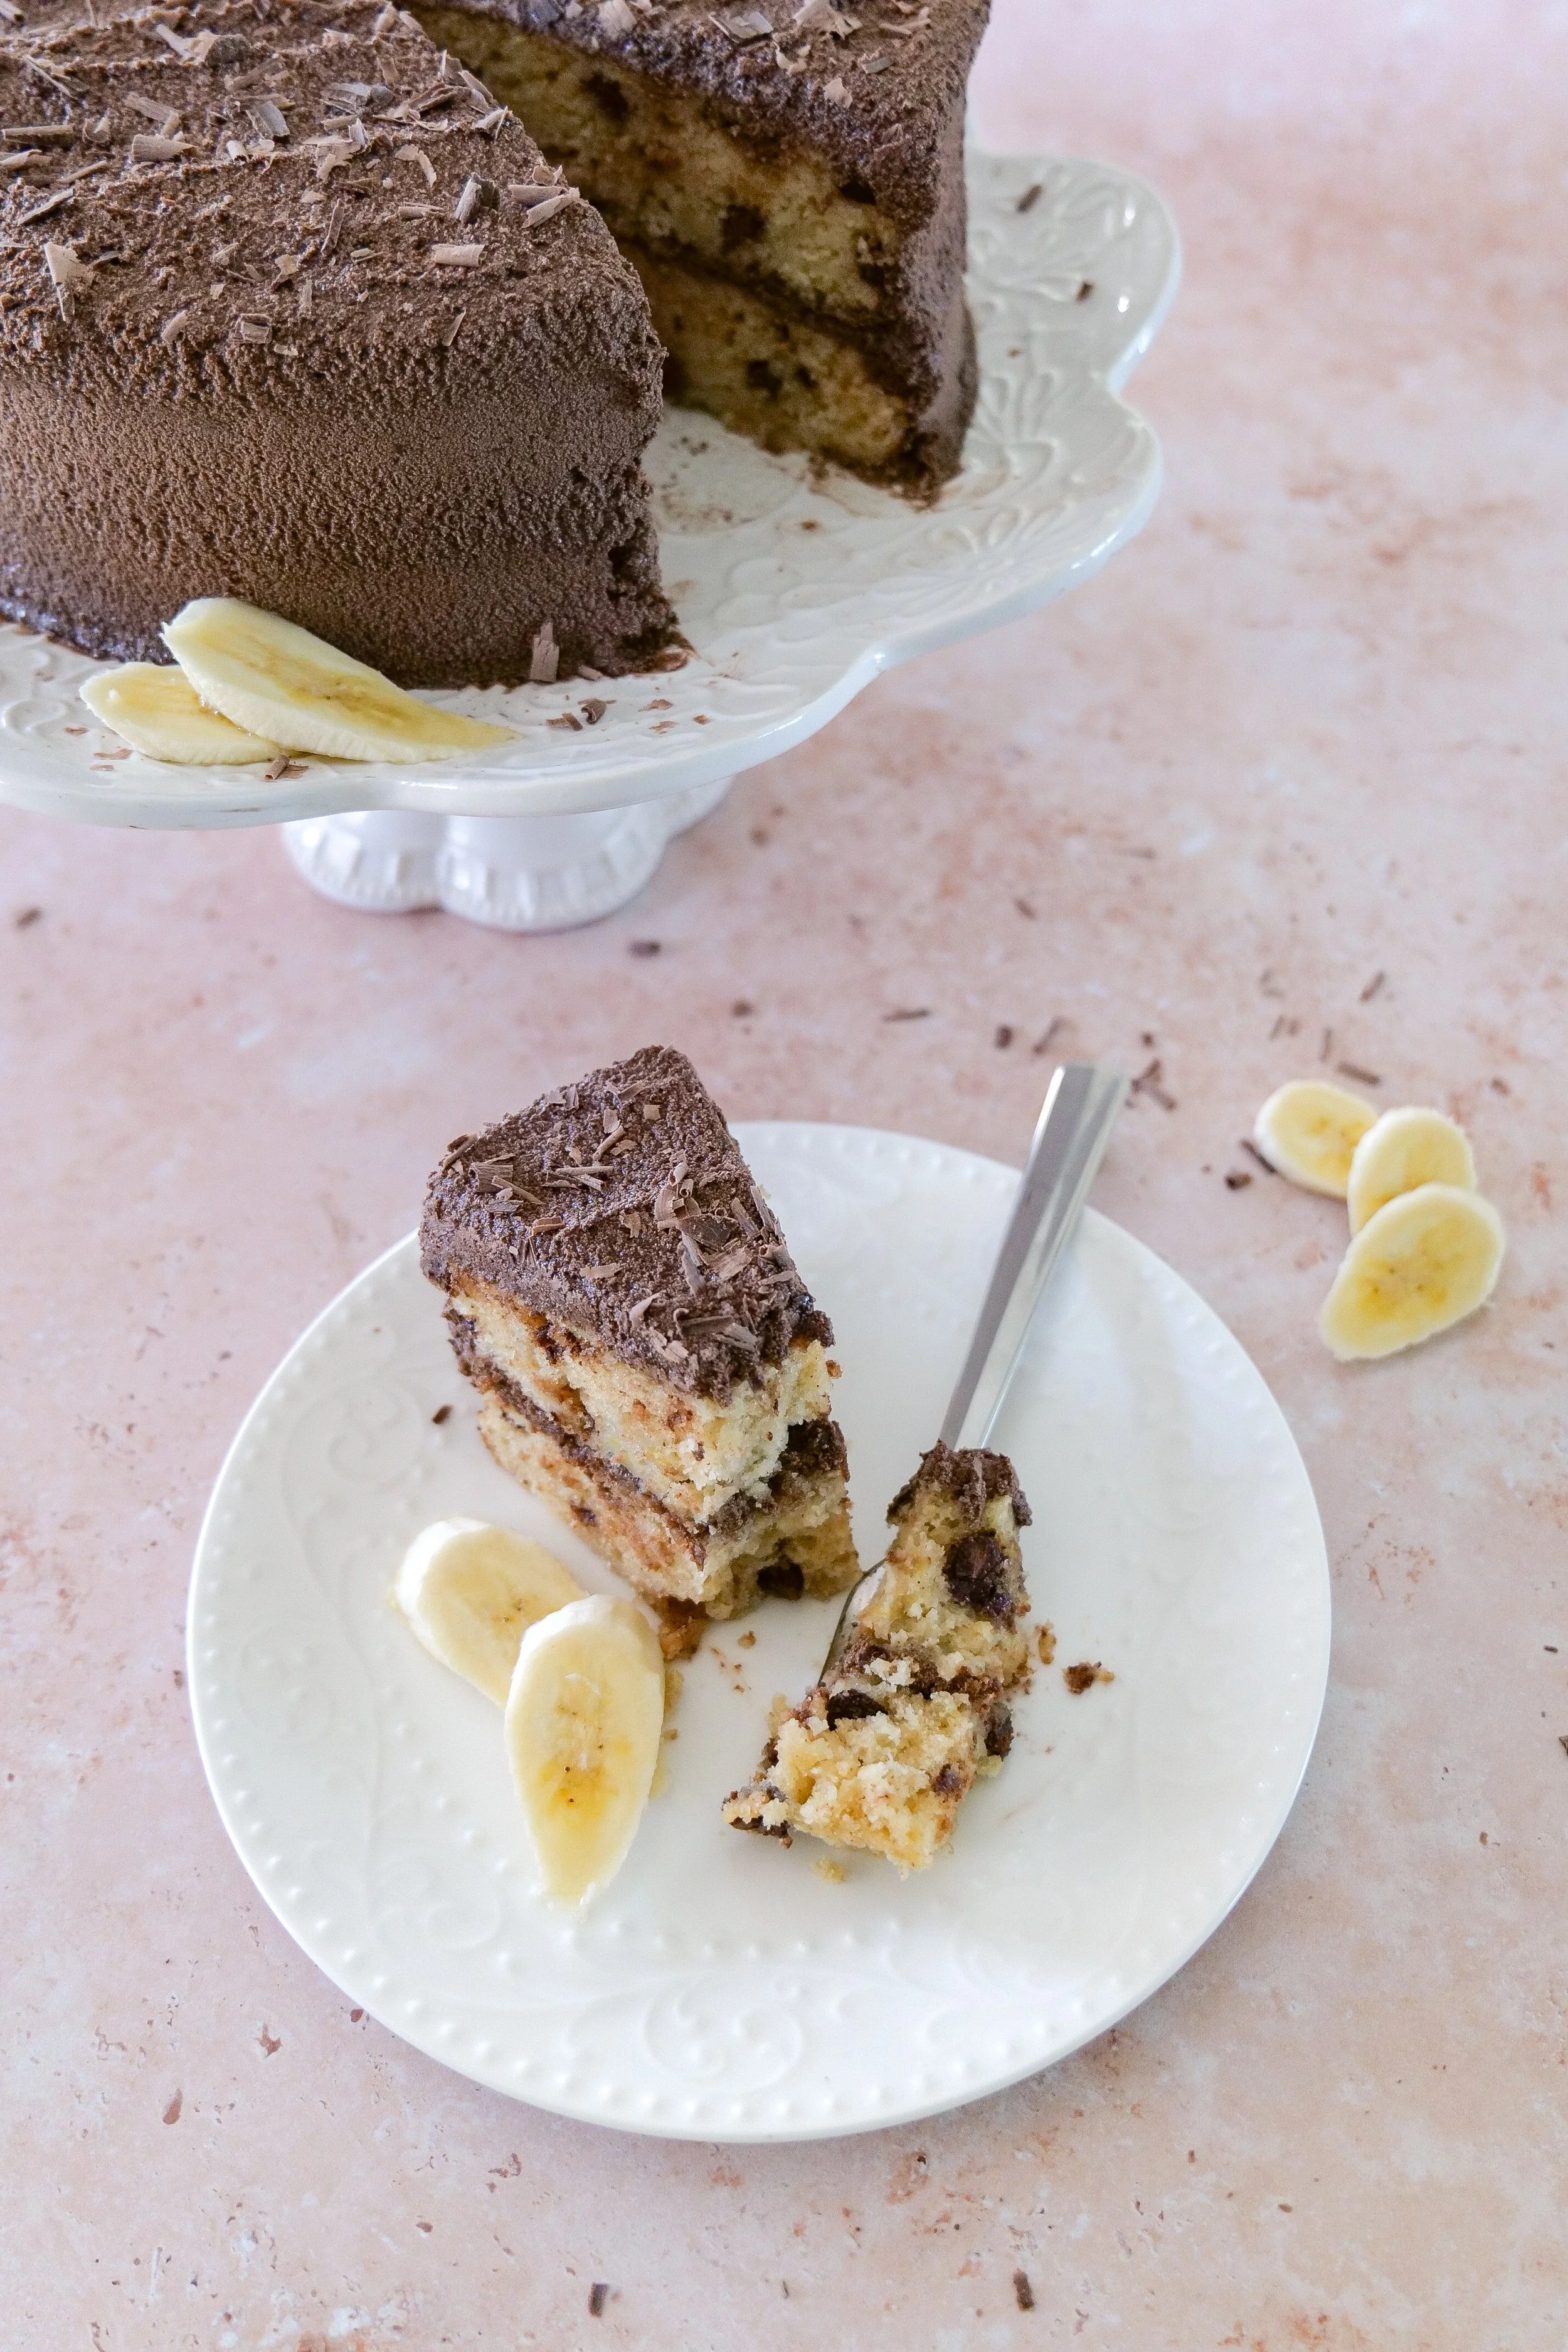
Brown Butter Pear Cake with Spiced Pear Filling & Vanilla Mascarpone Cream
/There’s something about pears that feels like the quiet beginning of fall. They’re sweet without being overly sweet, beautiful enough to decorate a cake almost entirely on their own, and one of those flavors I don’t think gets used nearly enough in baking.
For Amelia’s 10-month milestone cake, I knew I wanted pears to be the inspiration. I’ve been making a special cake each month as she grows, and I love that each one has become its own little memory of this first year.
But I also wanted this to be a cake I would make again long after her monthly milestone cakes are finished.
So this one became a Brown Butter Pear Cake with Spiced Pear Filling and Vanilla Mascarpone Cream.
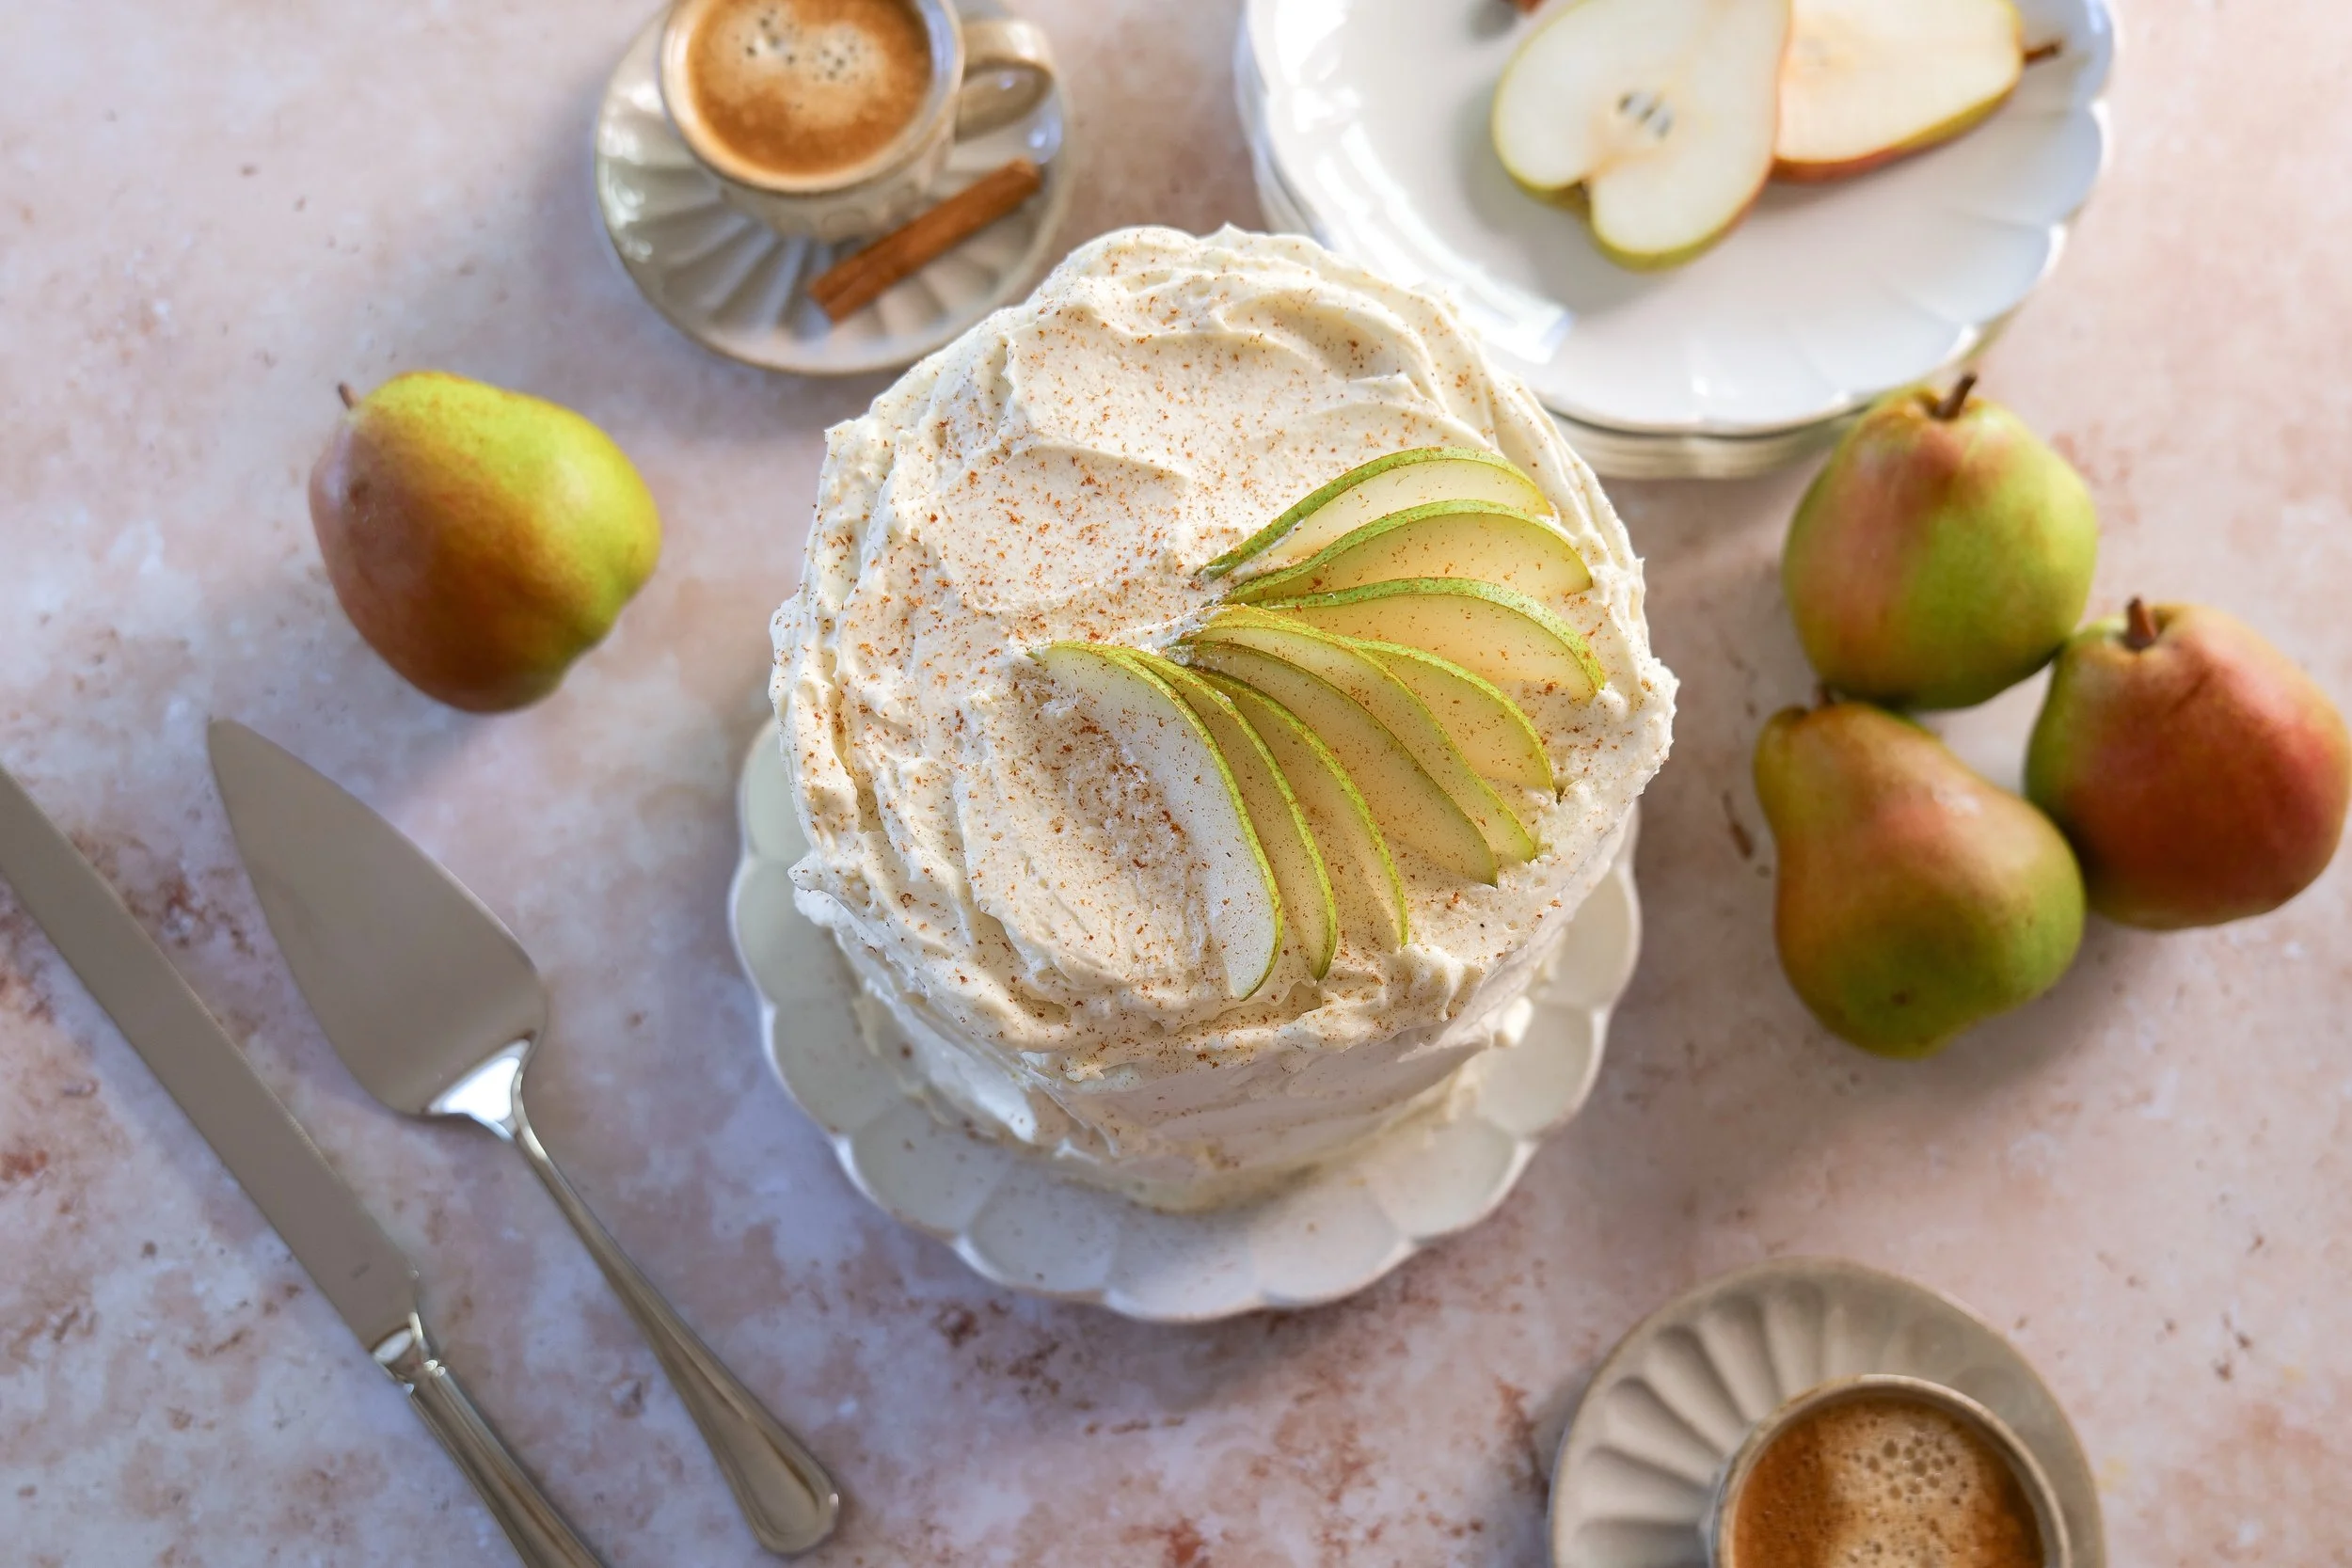
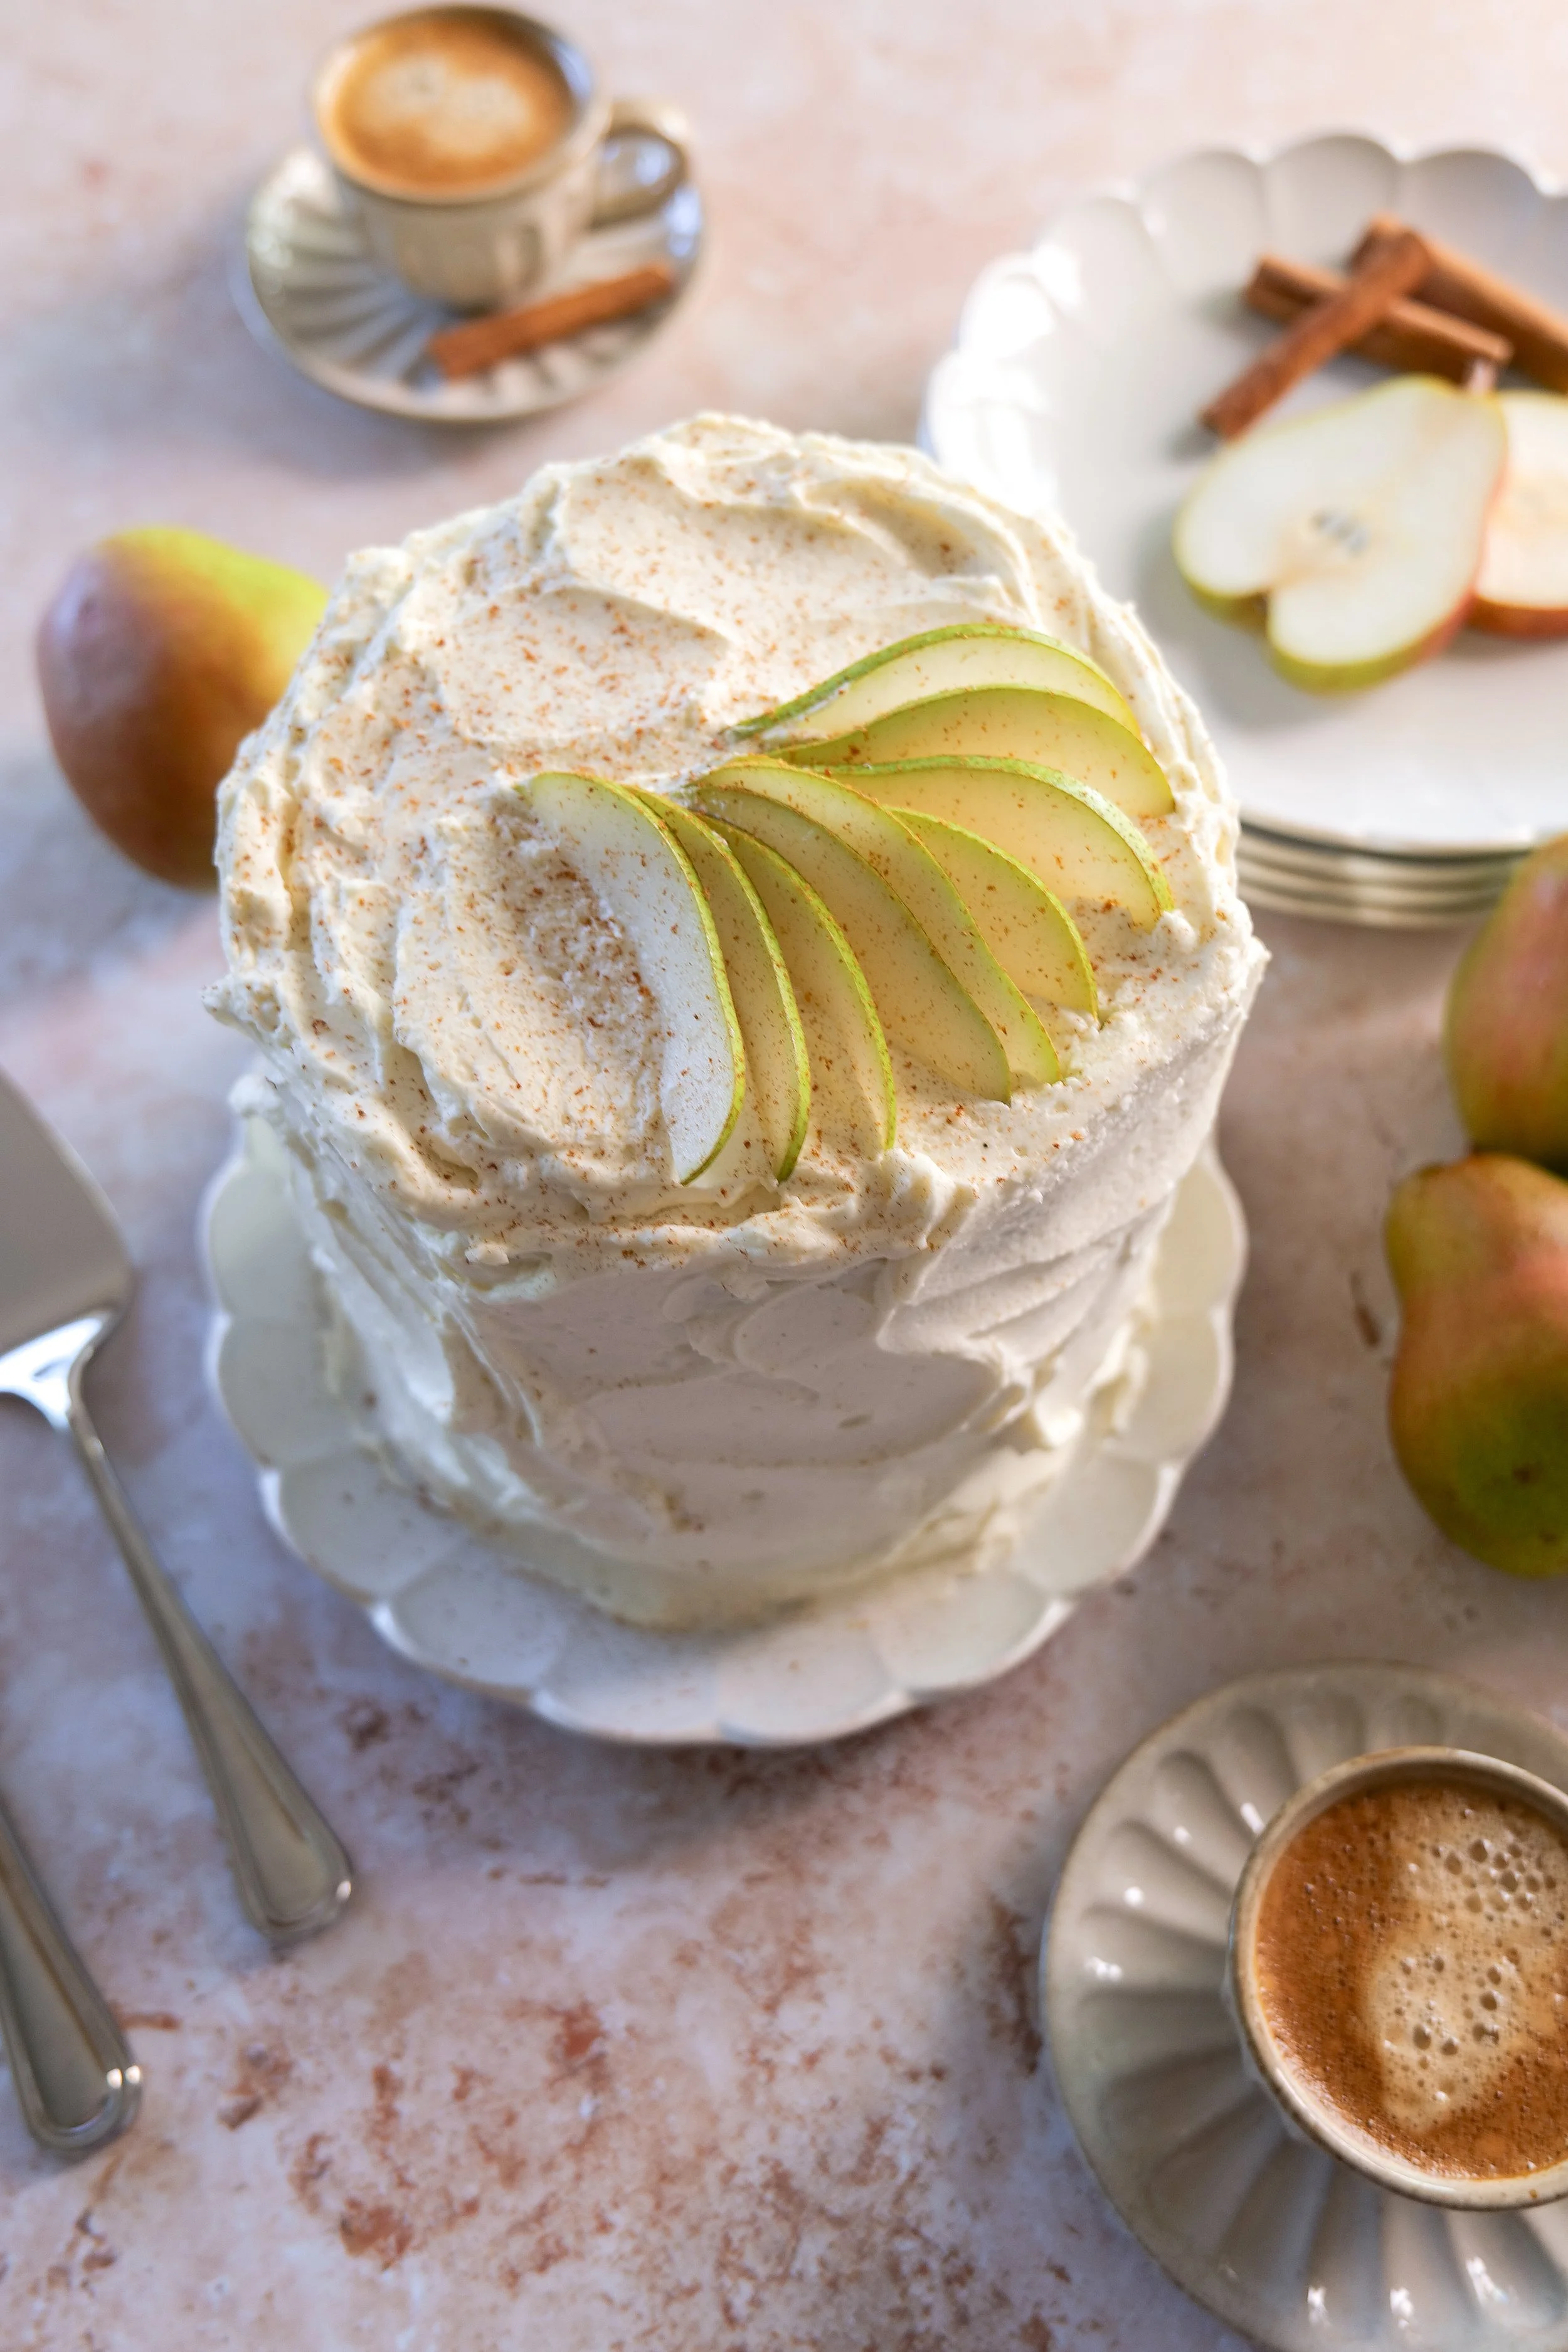
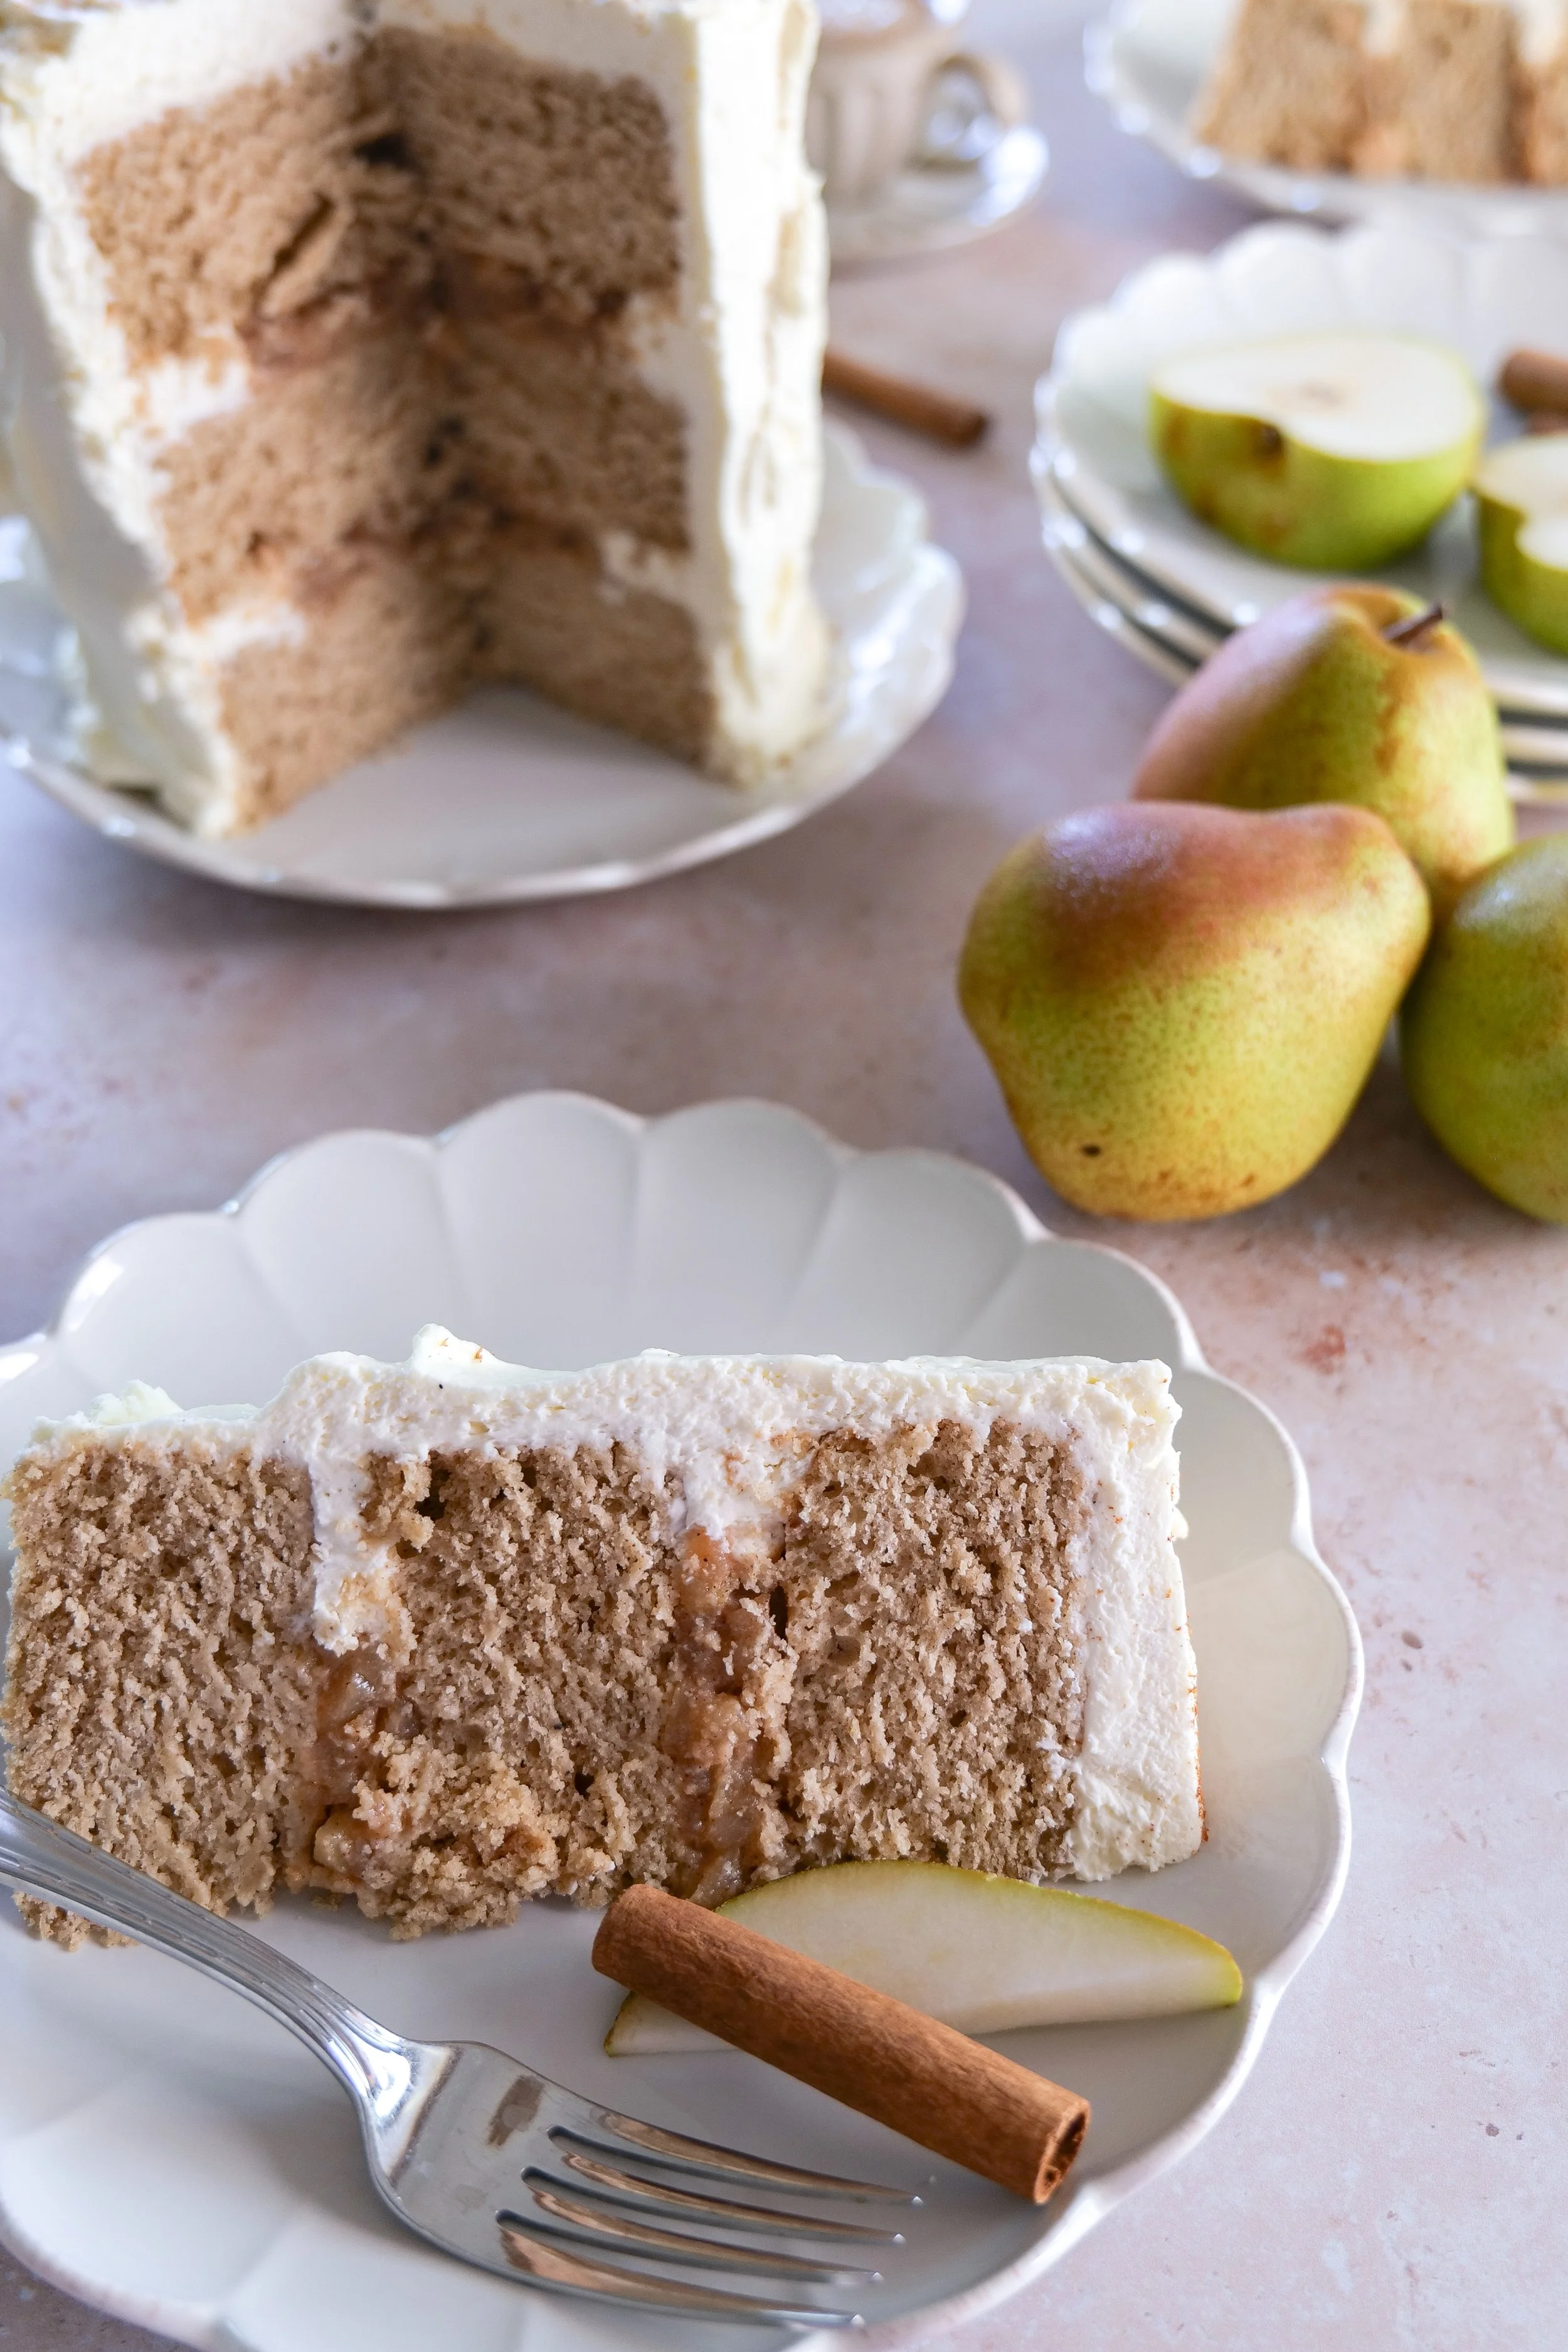
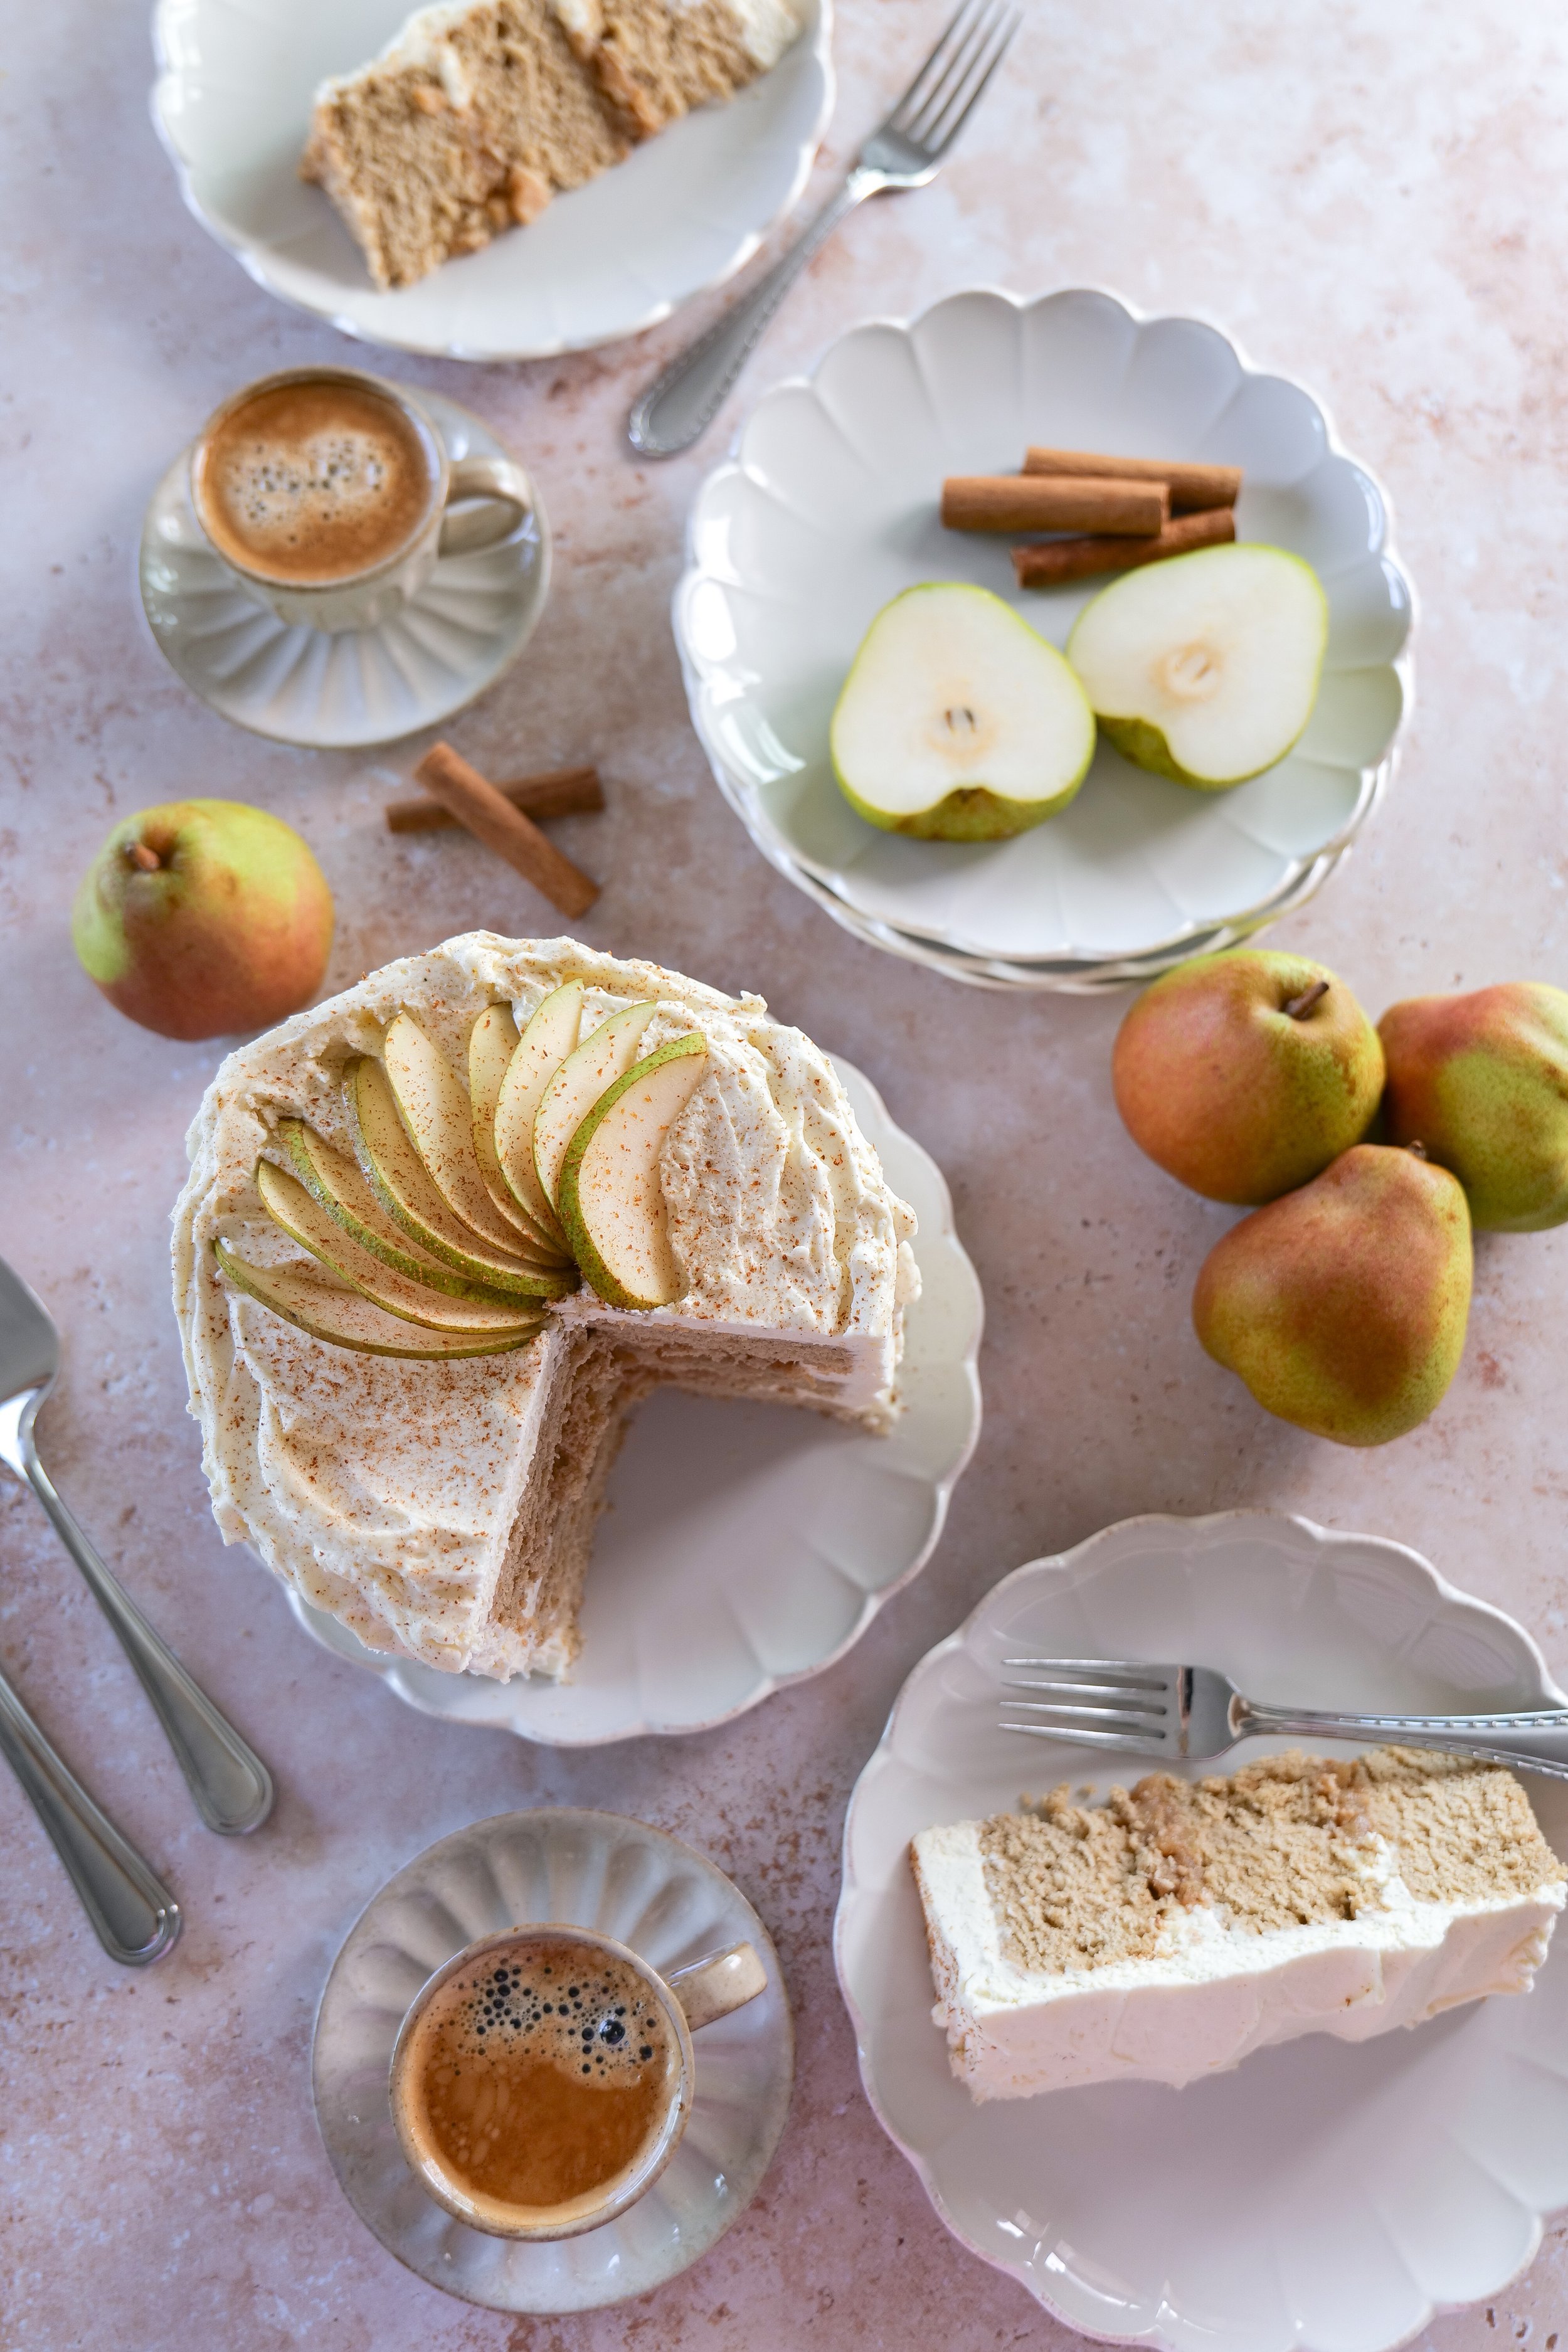
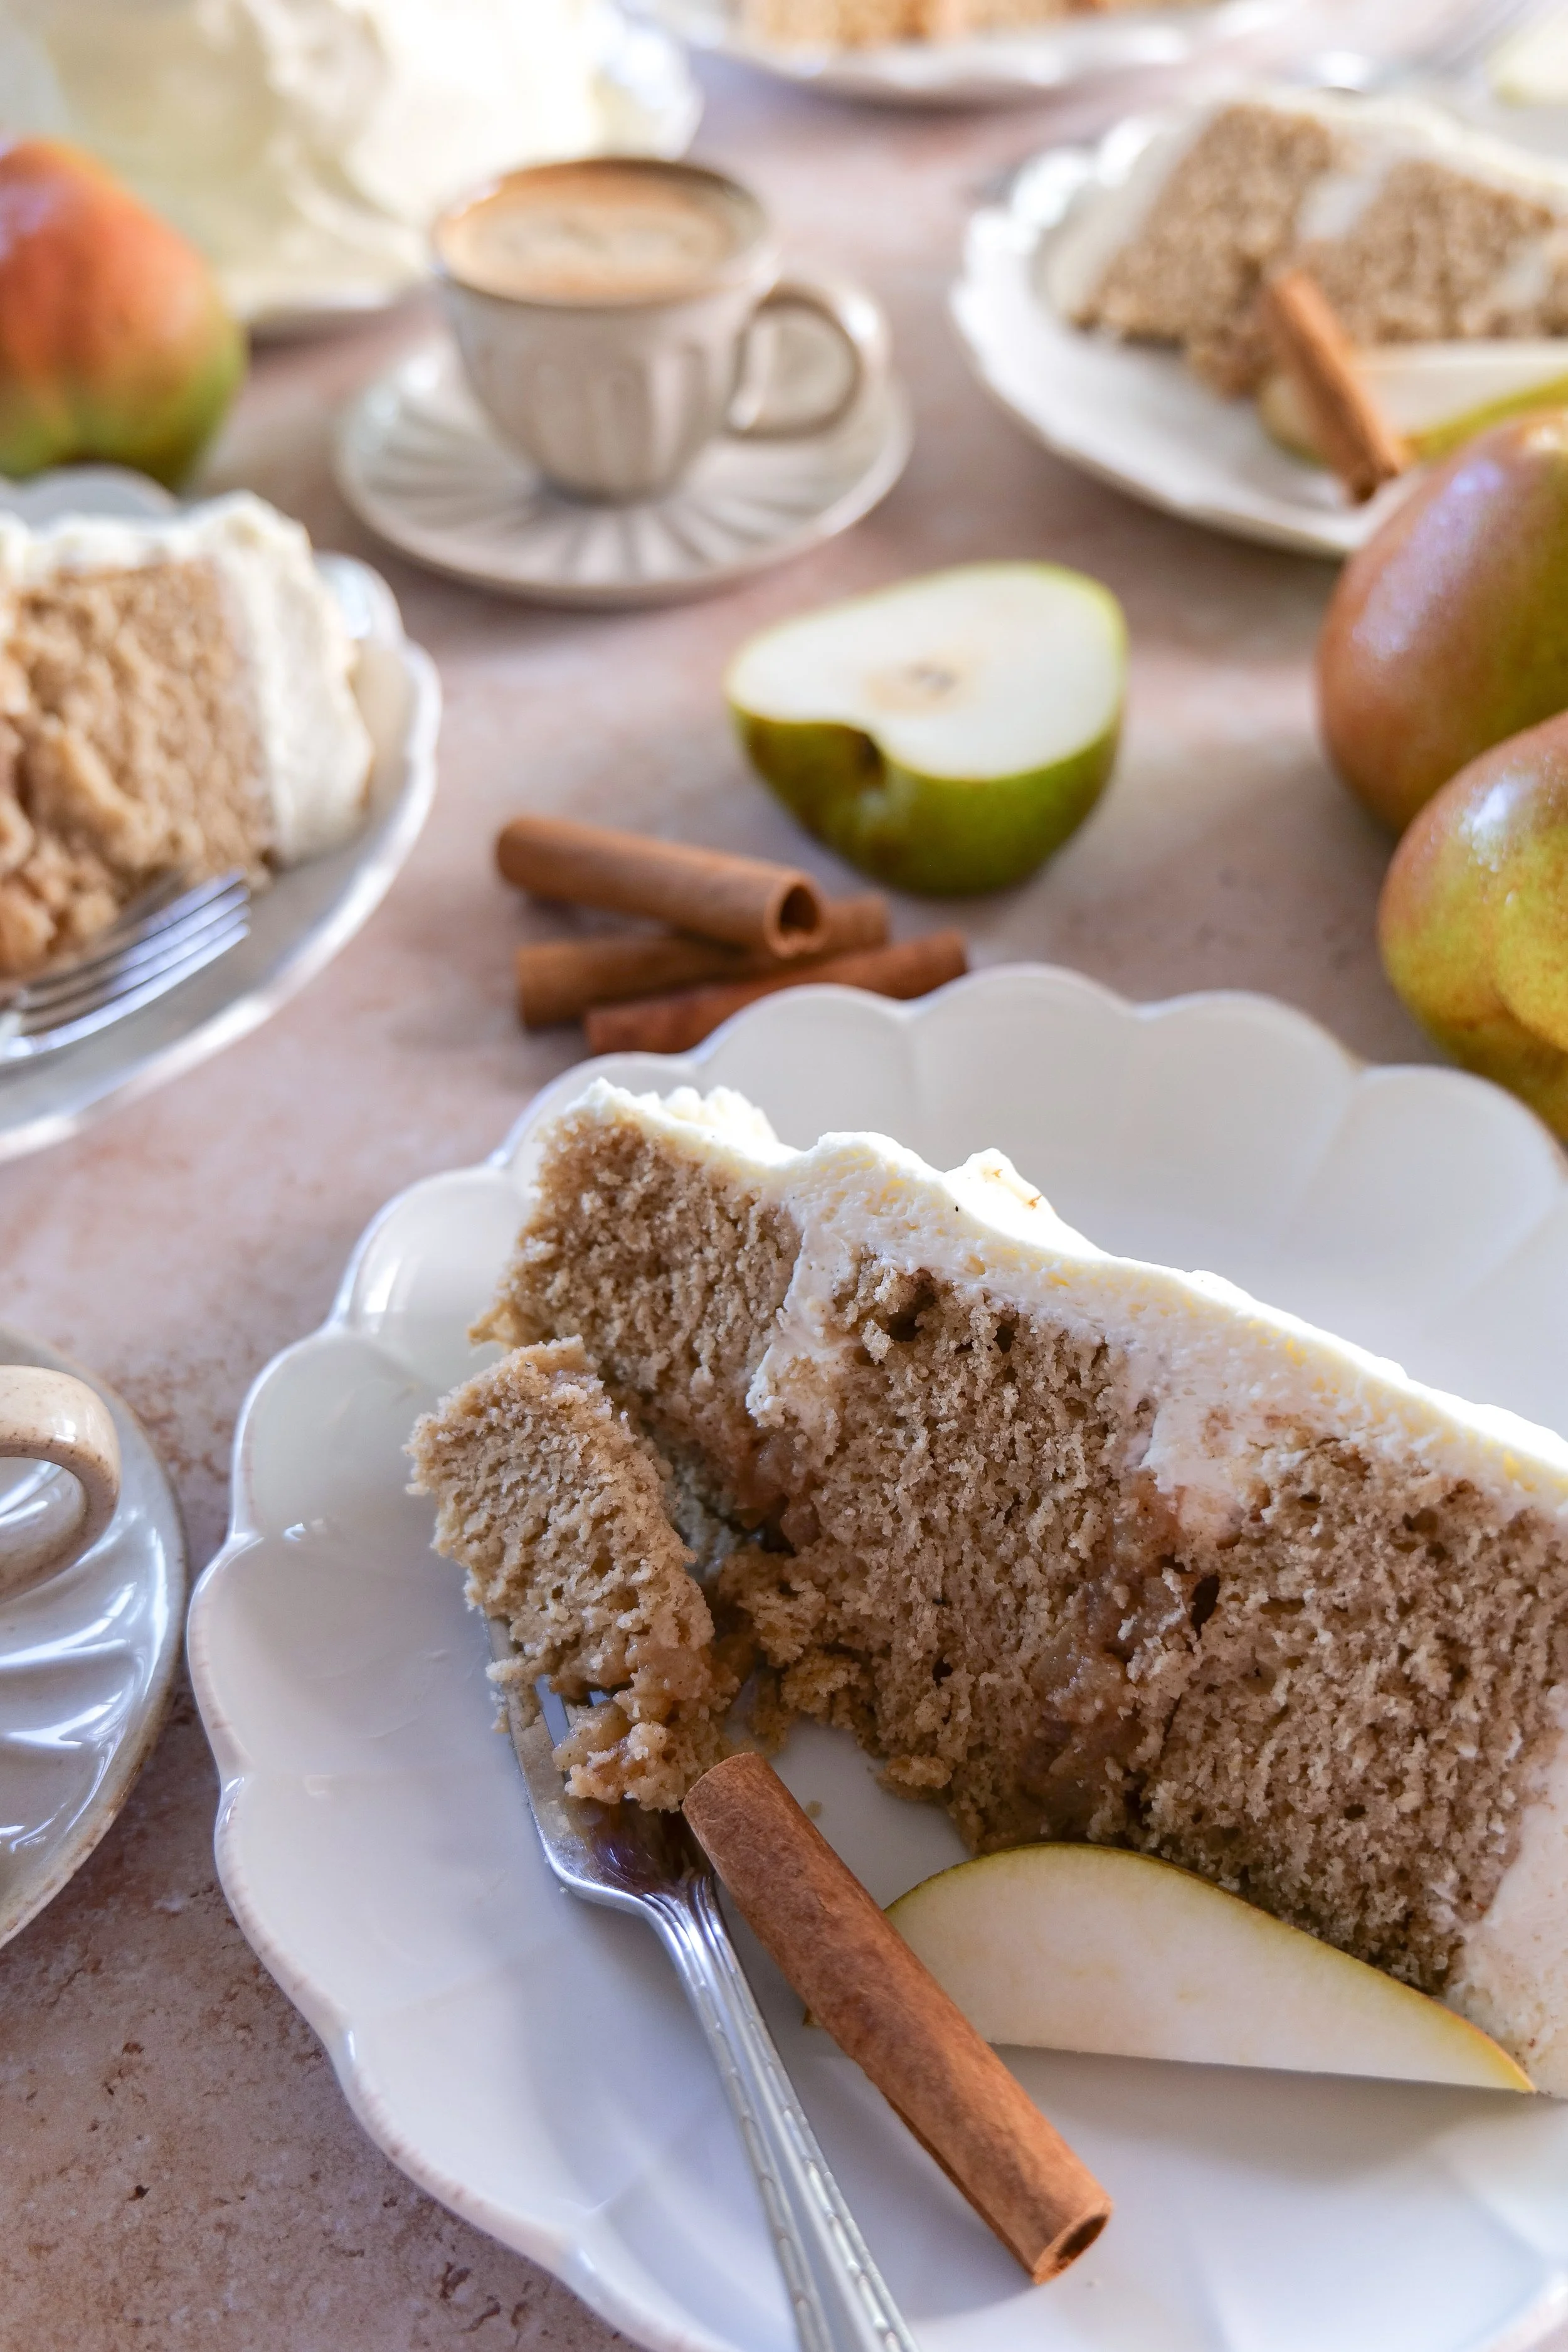
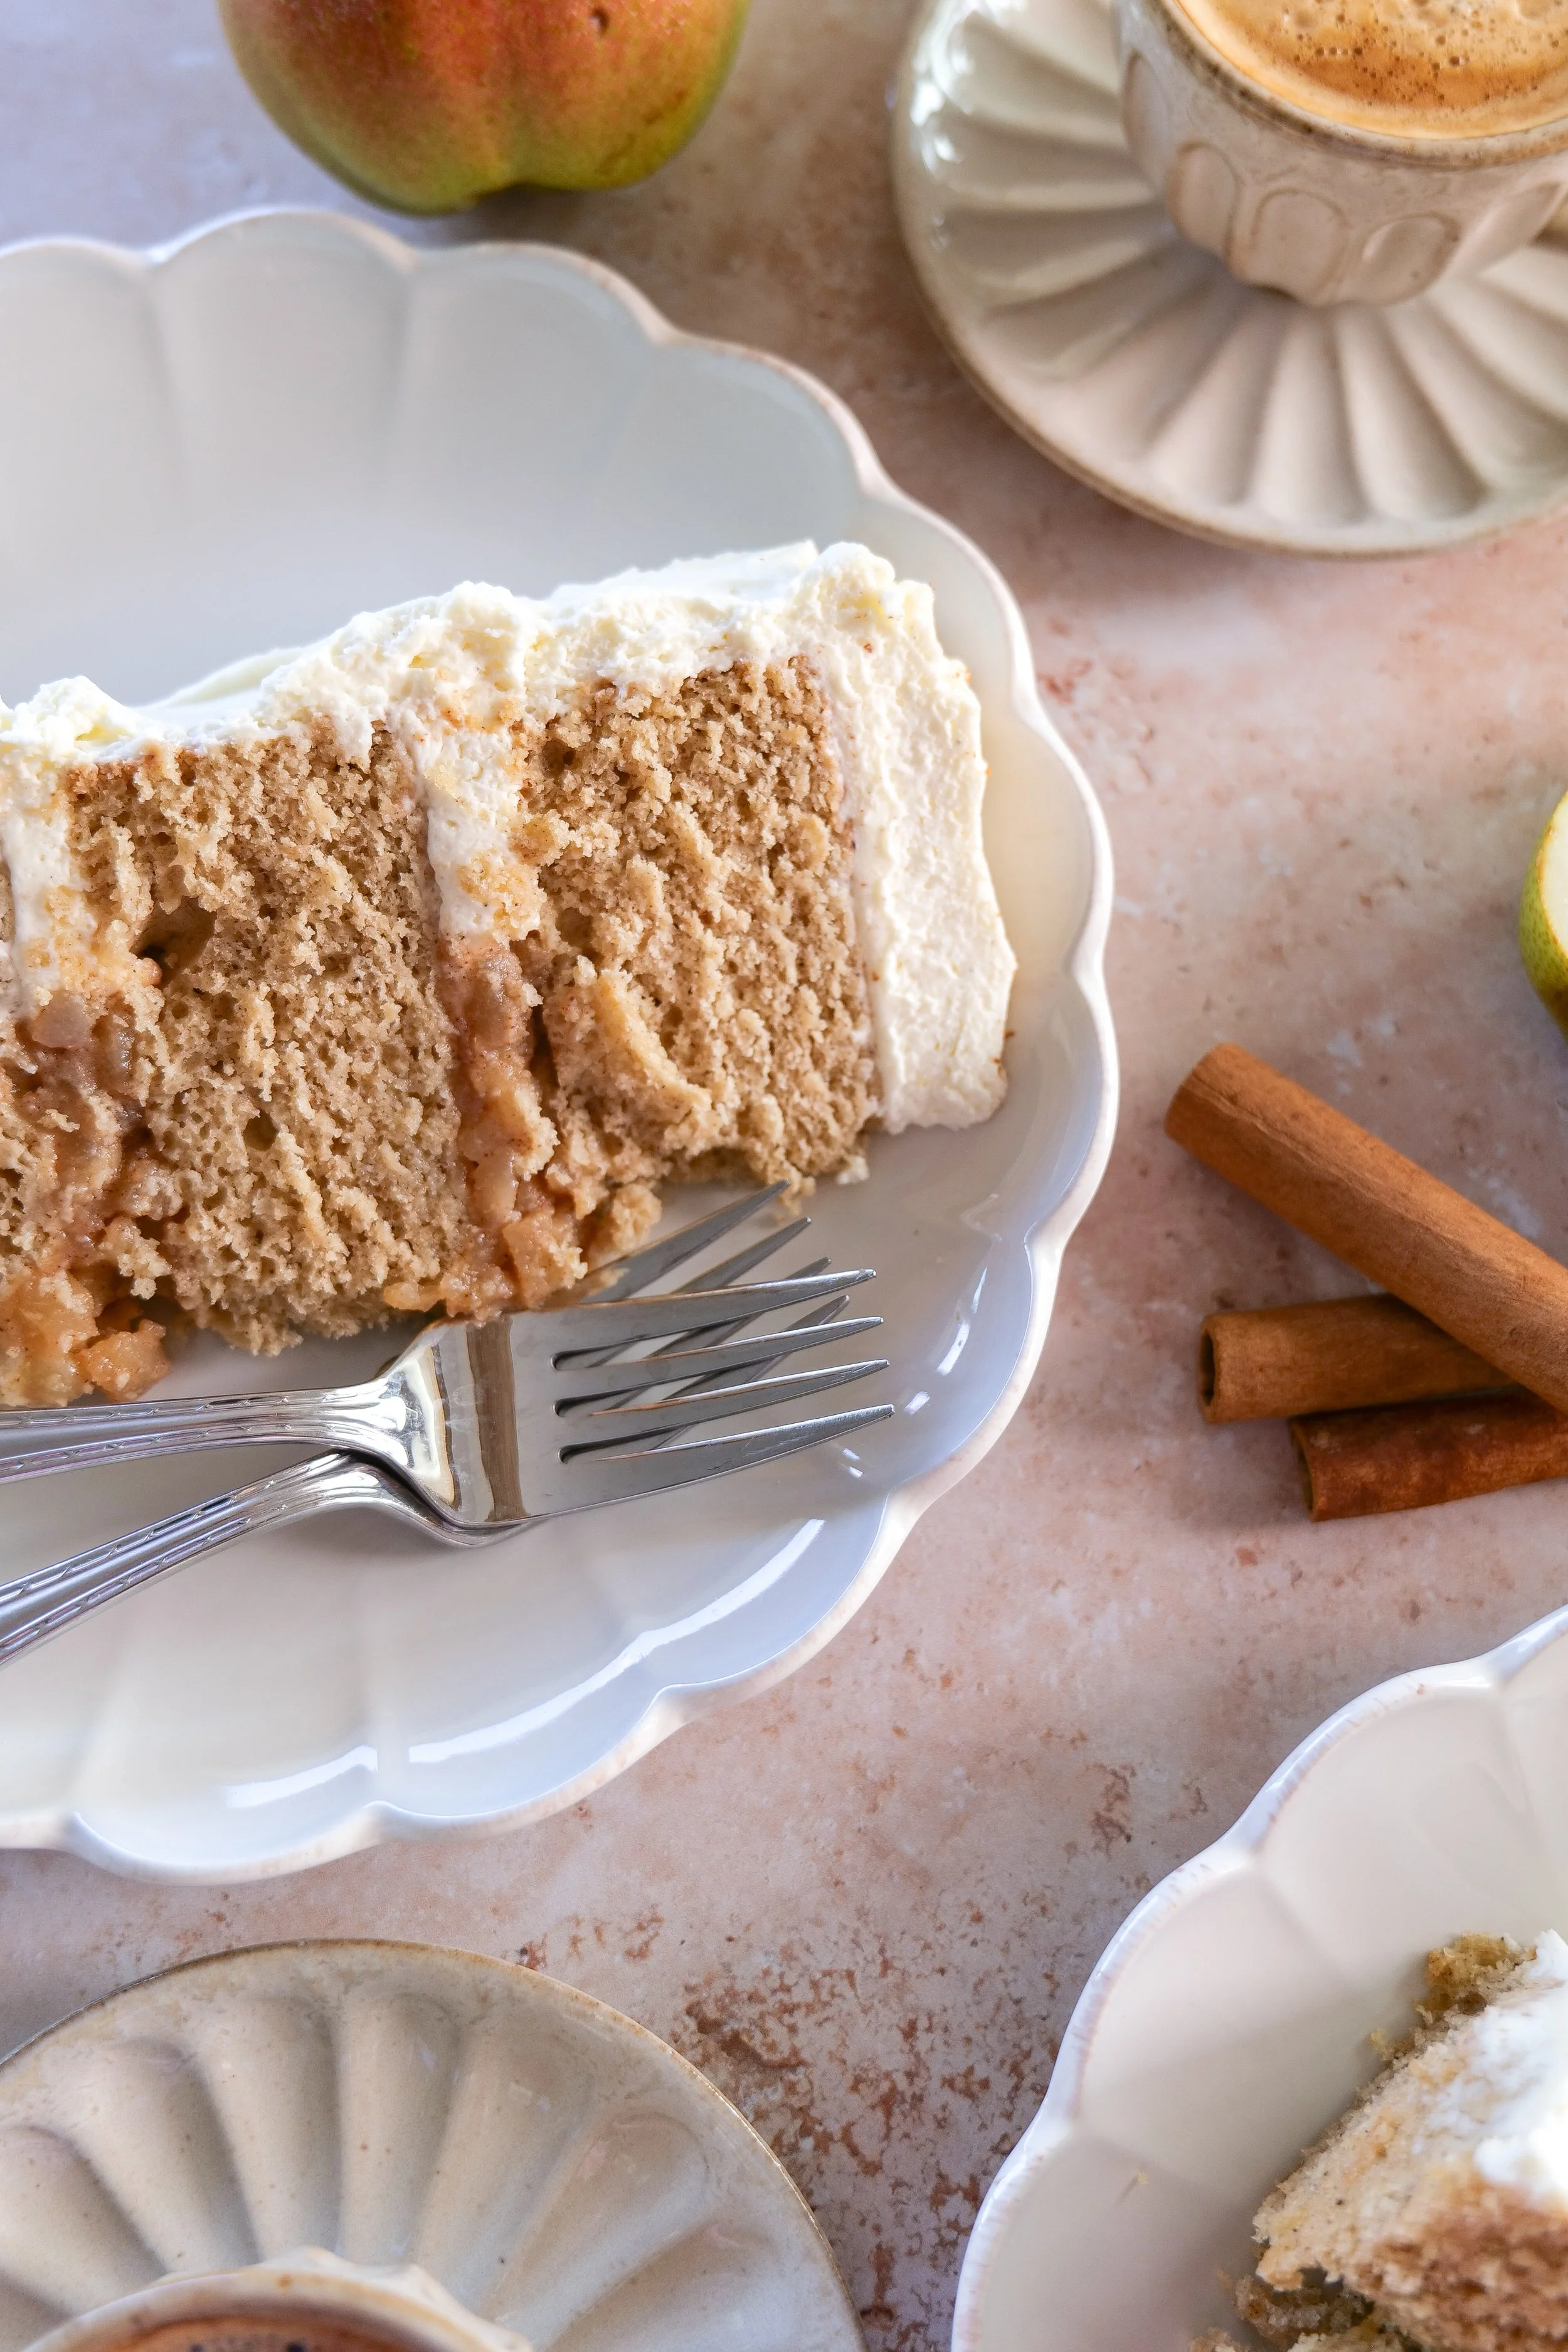
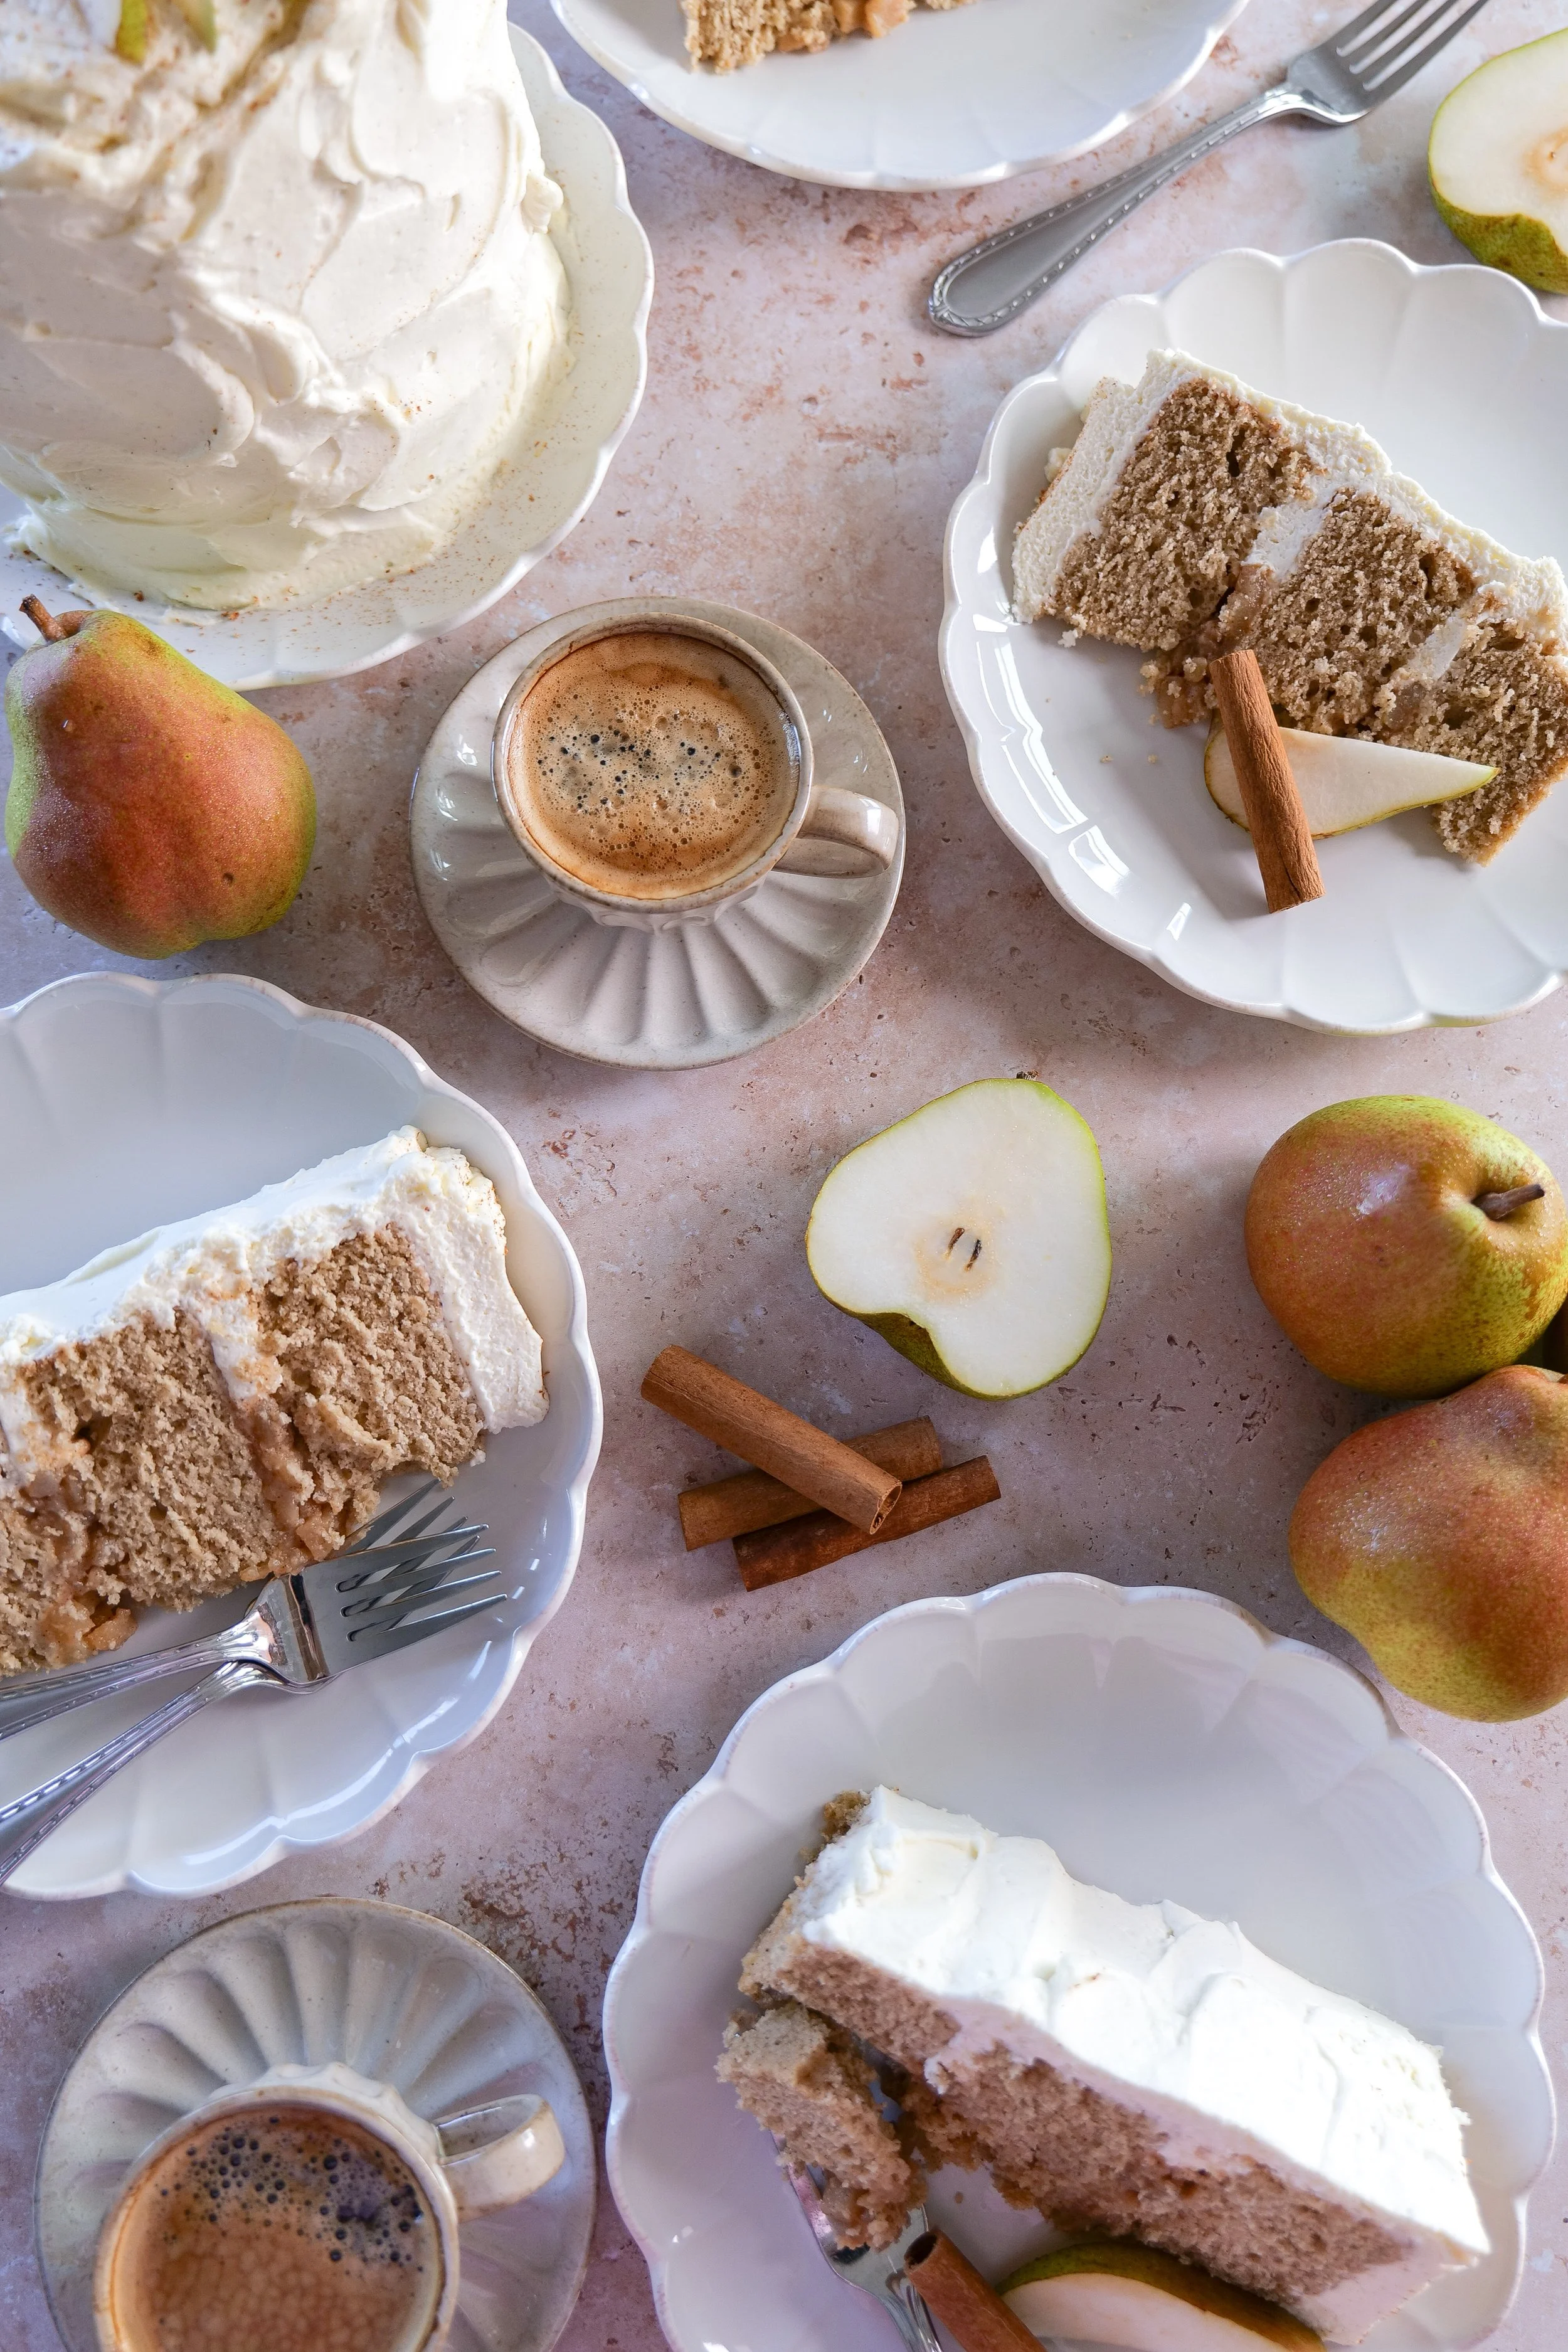
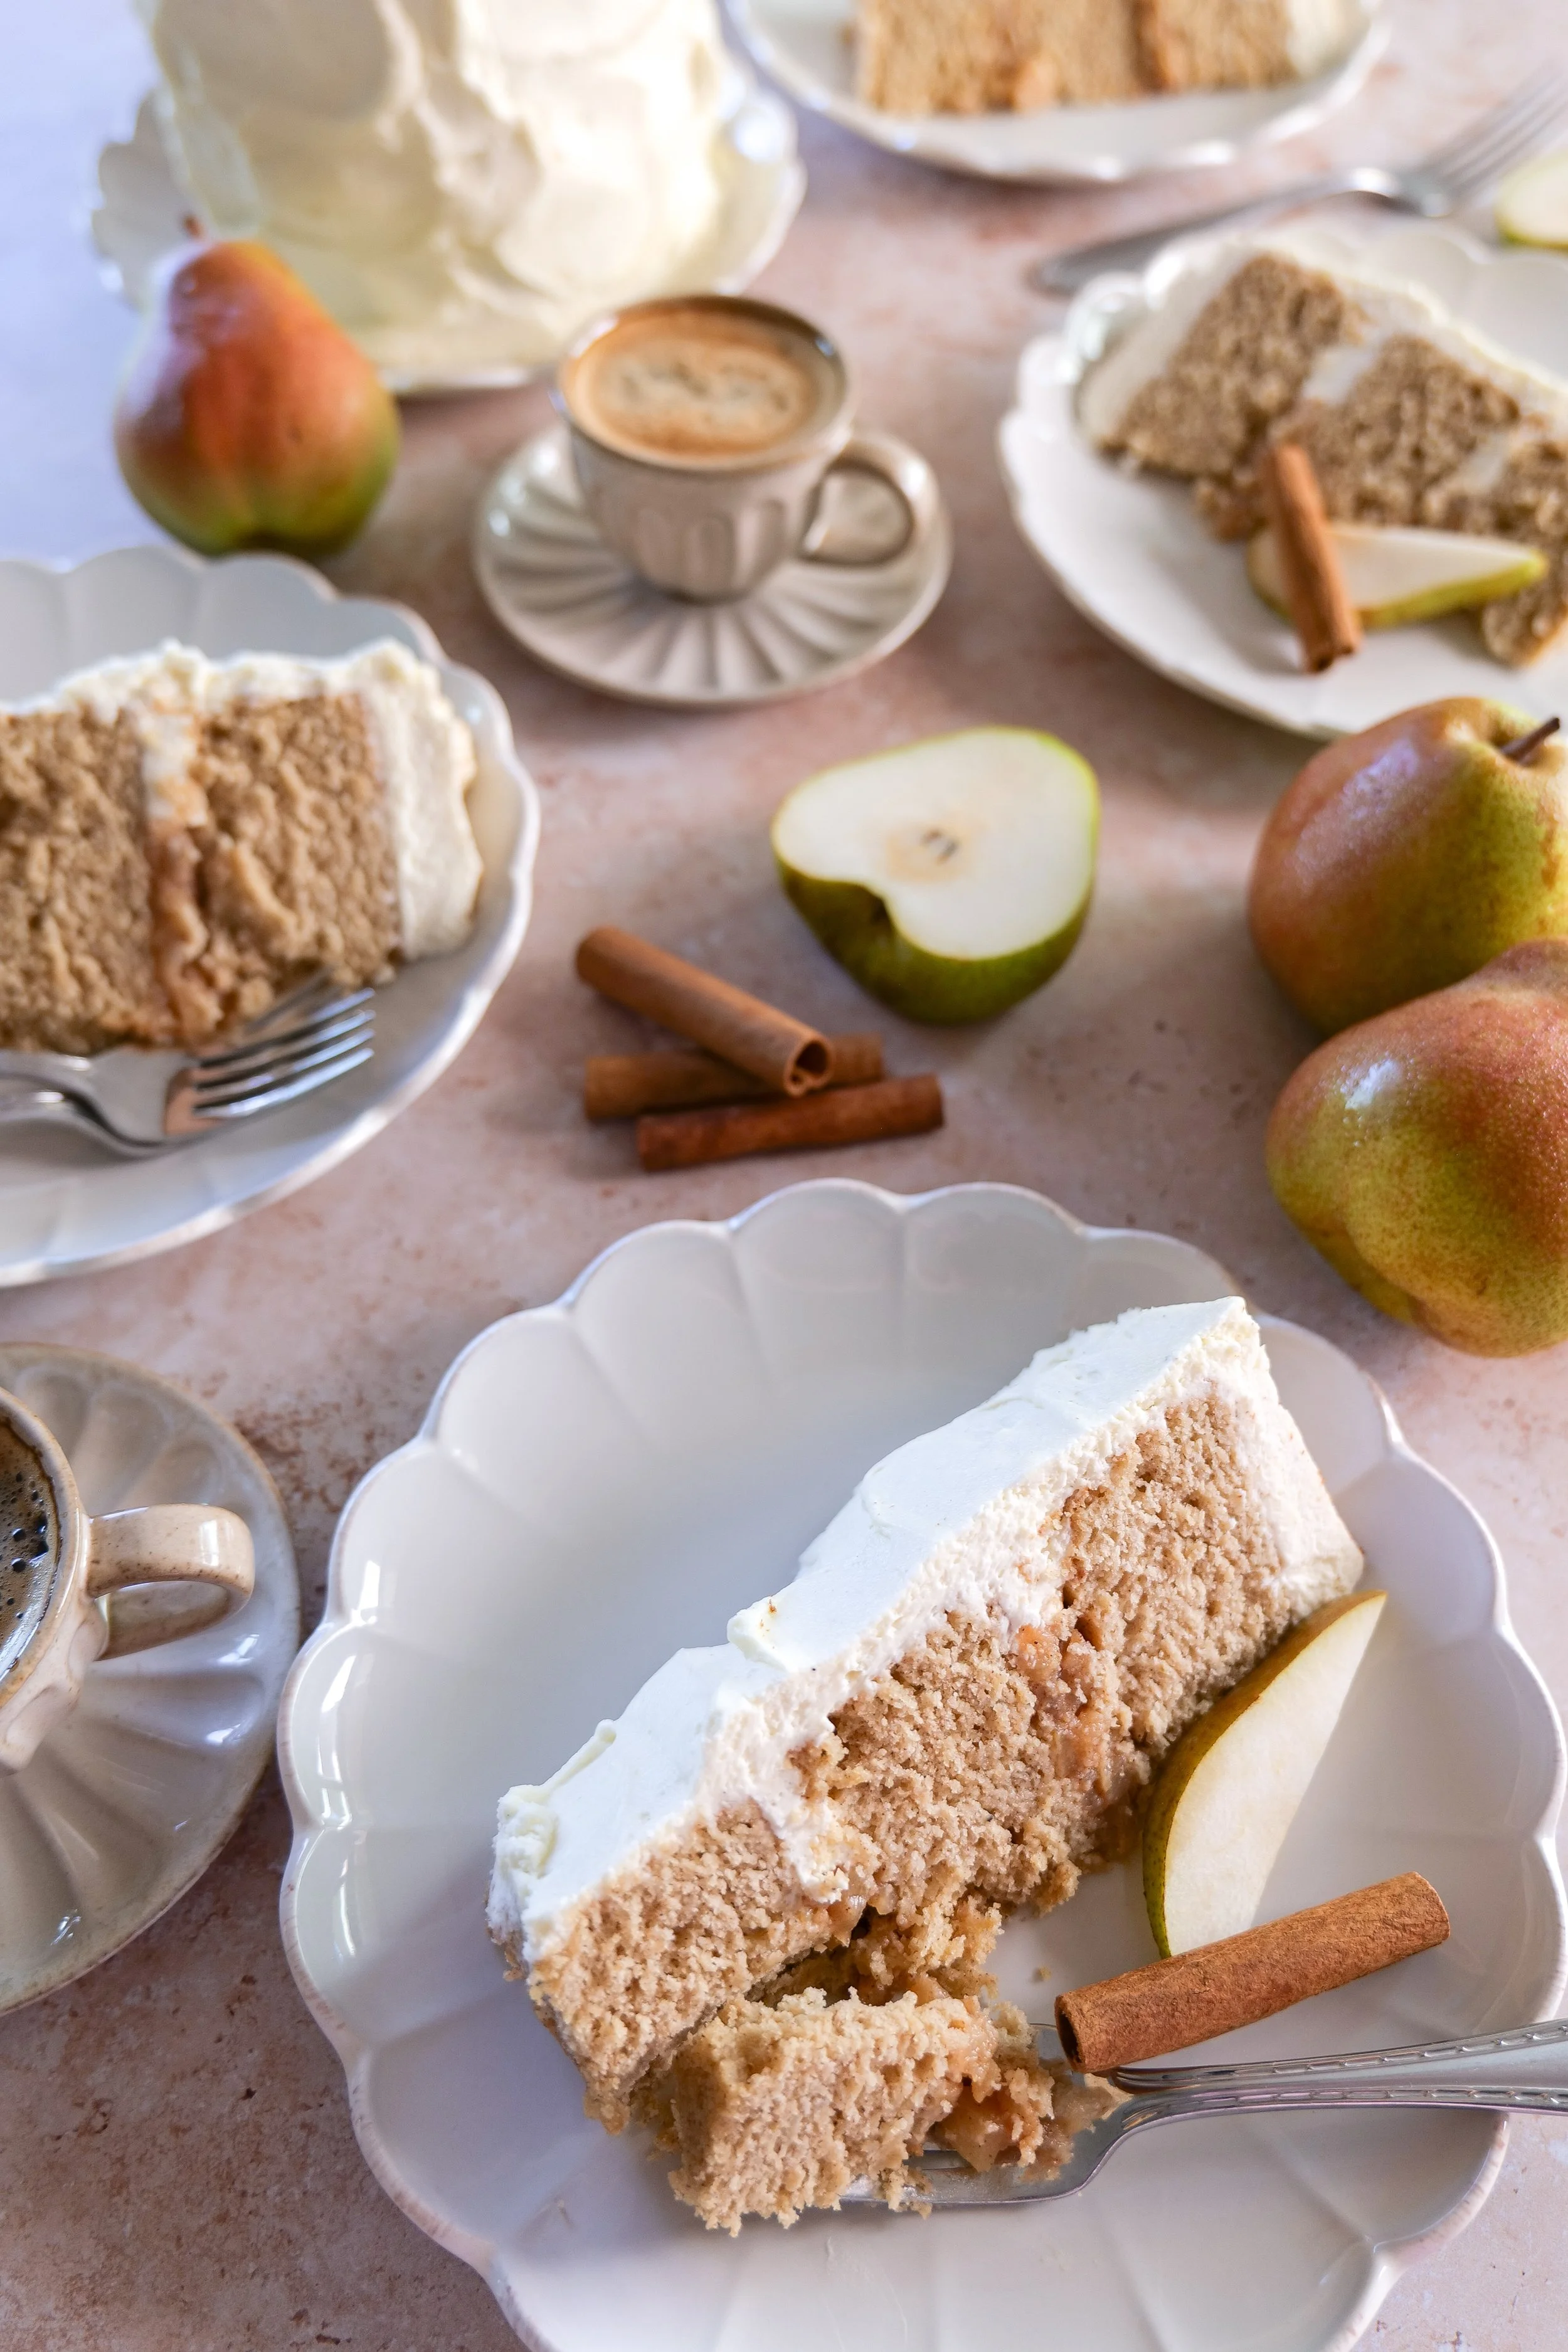
The finished cake has three soft brown butter pear cake layers with a homemade spiced pear filling tucked between them. Then the entire cake is covered in a light vanilla mascarpone cream that I added in loose, whipped swoops instead of trying to create a perfectly smooth finish.
Fresh pears on top are really all it needs.
It feels special without being overly fussy, which might be my favorite kind of cake.
Why You'll Love This Pear Cake
What I love most about this cake is that pear actually tastes like pear.
It can be such a delicate flavor that it's easy to cover it with too much cinnamon or spice. Instead, we're using fresh pear in the cake, a concentrated pear filling between the layers and fresh pear again on top.
Brown butter gives the cake a warm, toasted flavor without overwhelming the fruit, while the vanilla mascarpone cream keeps everything light.
And because the final cake is covered completely in mascarpone cream, you get a little of that creamy vanilla flavor with every bite.
It's also a beautiful cake for fall birthdays, Thanksgiving, dinner parties or any autumn gathering when you want something a little different from pumpkin and apple.
Ingredient Notes
Fresh Pears
Pears are the star of this cake, so use ripe pears that have some sweetness and flavor but aren't so soft that they're difficult to work with.
You'll use pear three ways: finely grated in the cake, diced in the filling and thinly sliced for decorating.
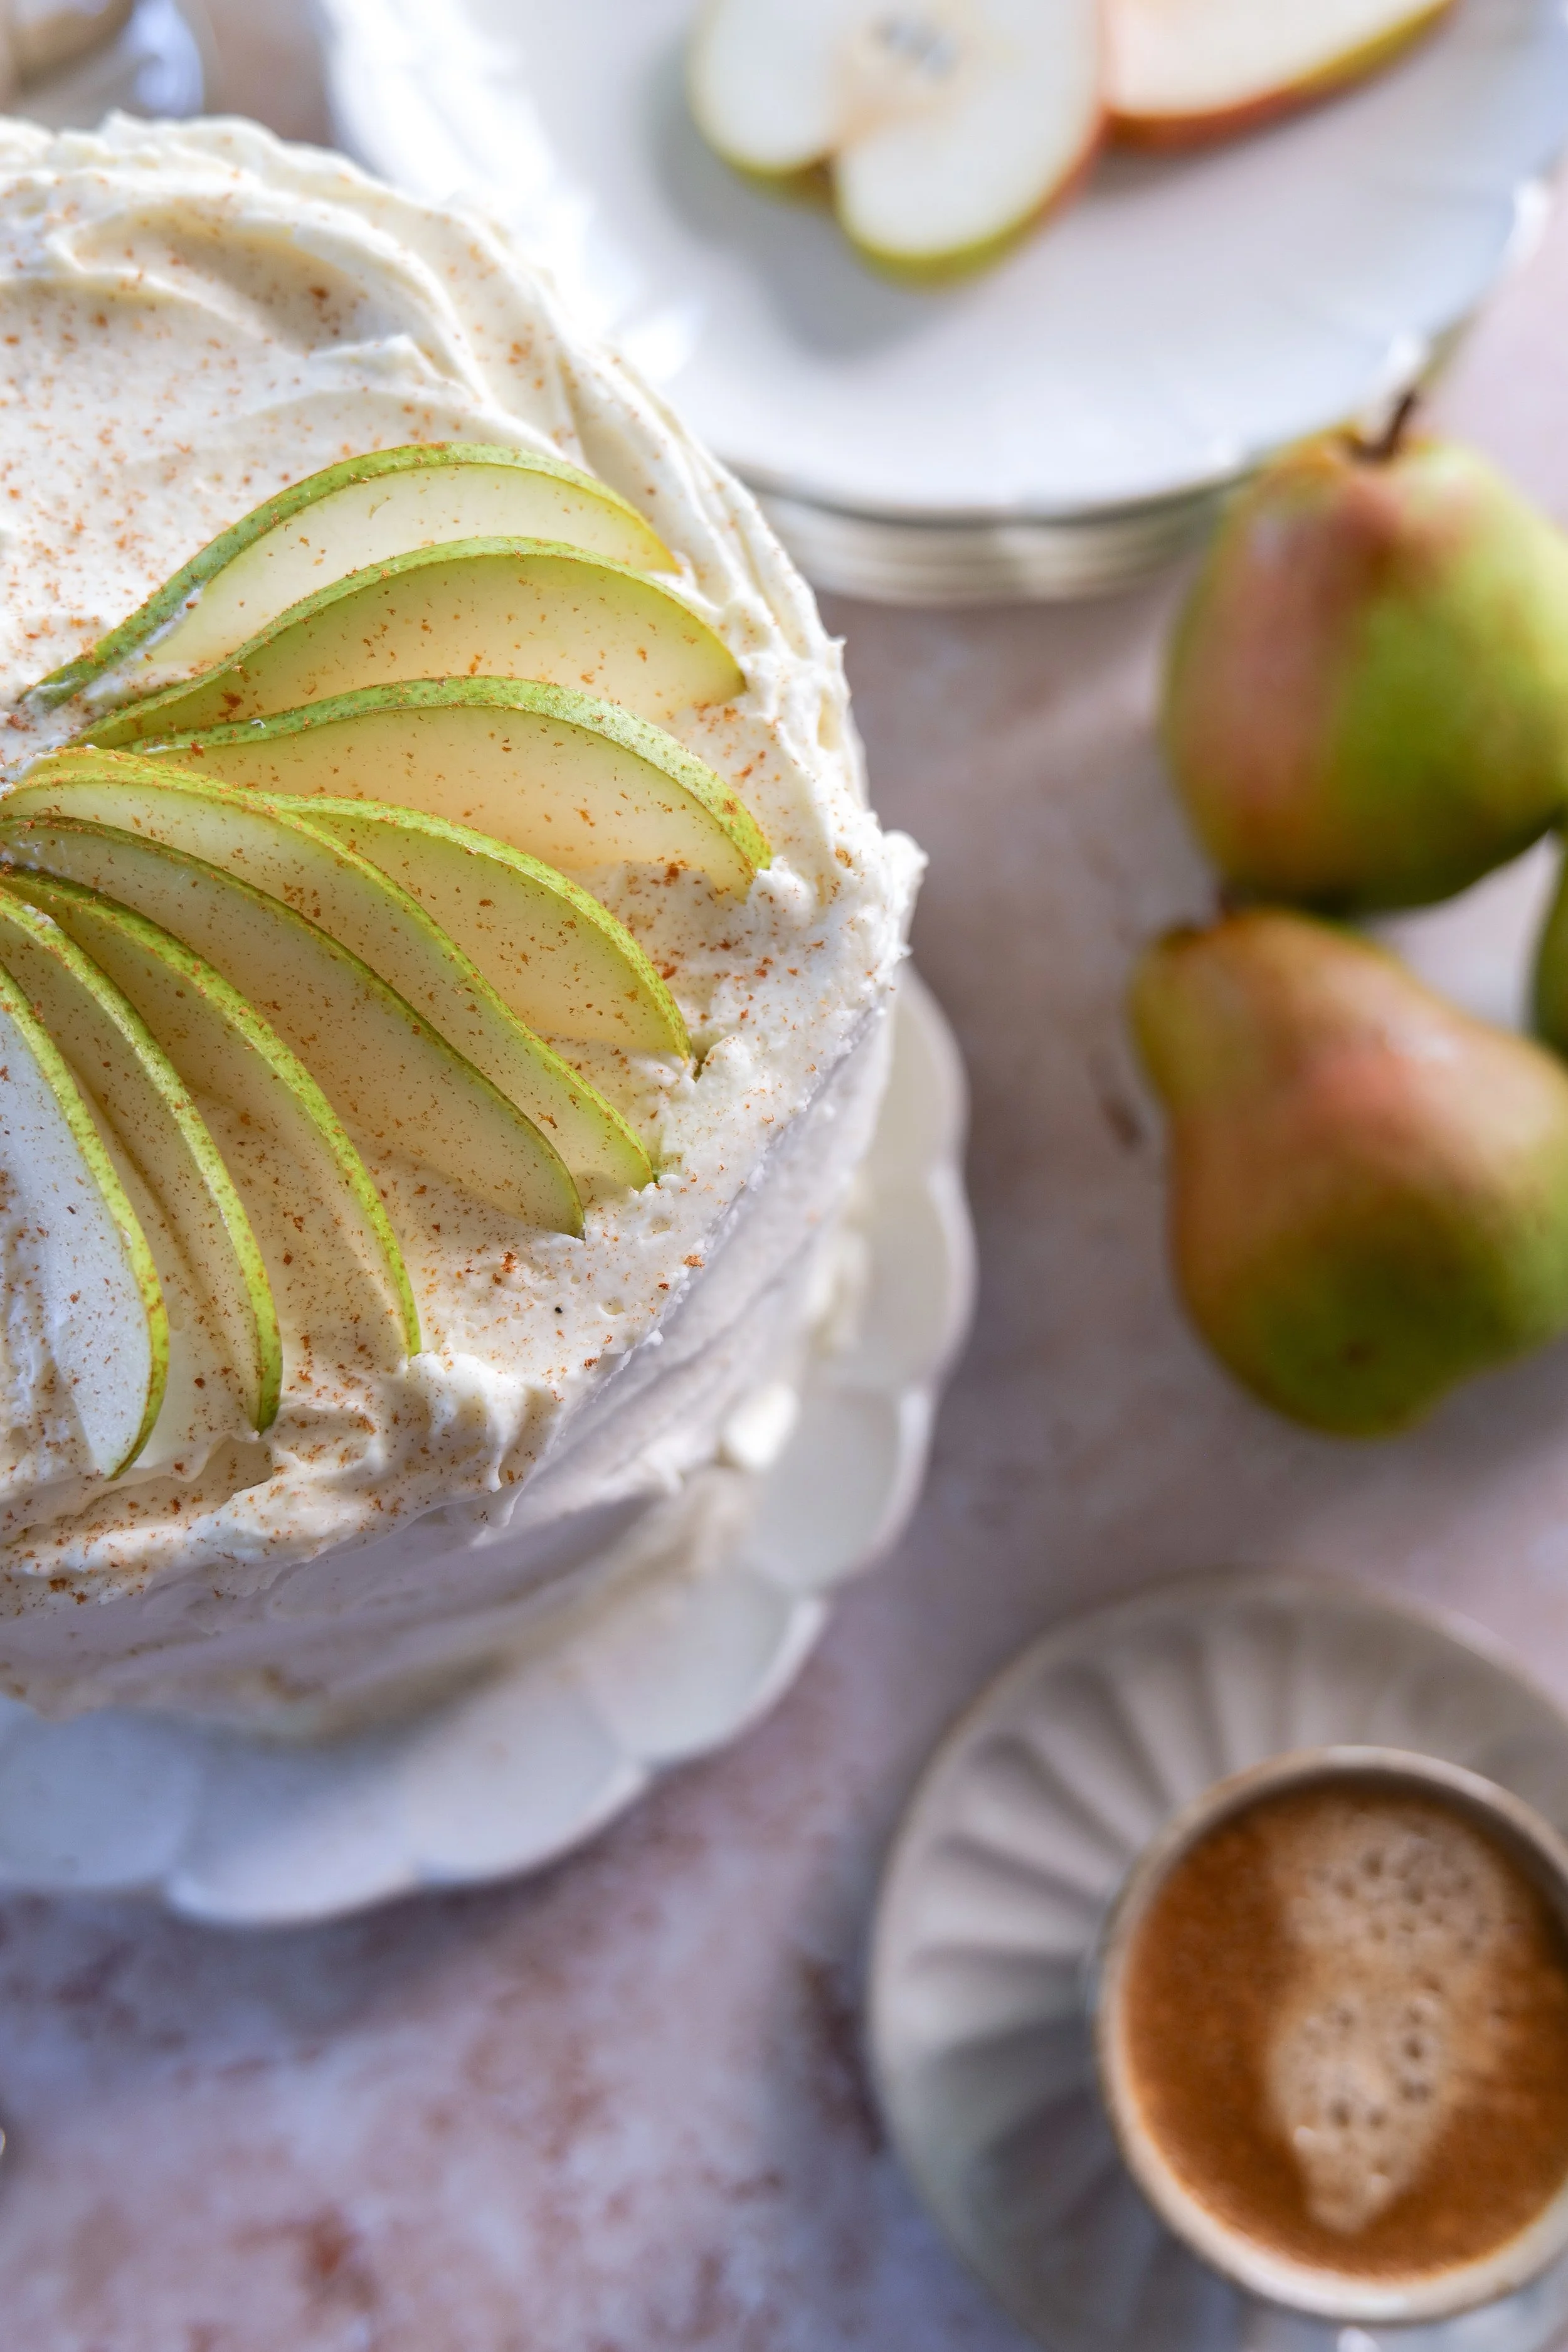
For decorating, look for the prettiest pears you can find. I love leaving the skin on because the natural green, gold or blush color is part of what makes the finished cake so beautiful.
Brown Butter
Brown butter and pear are so good together.
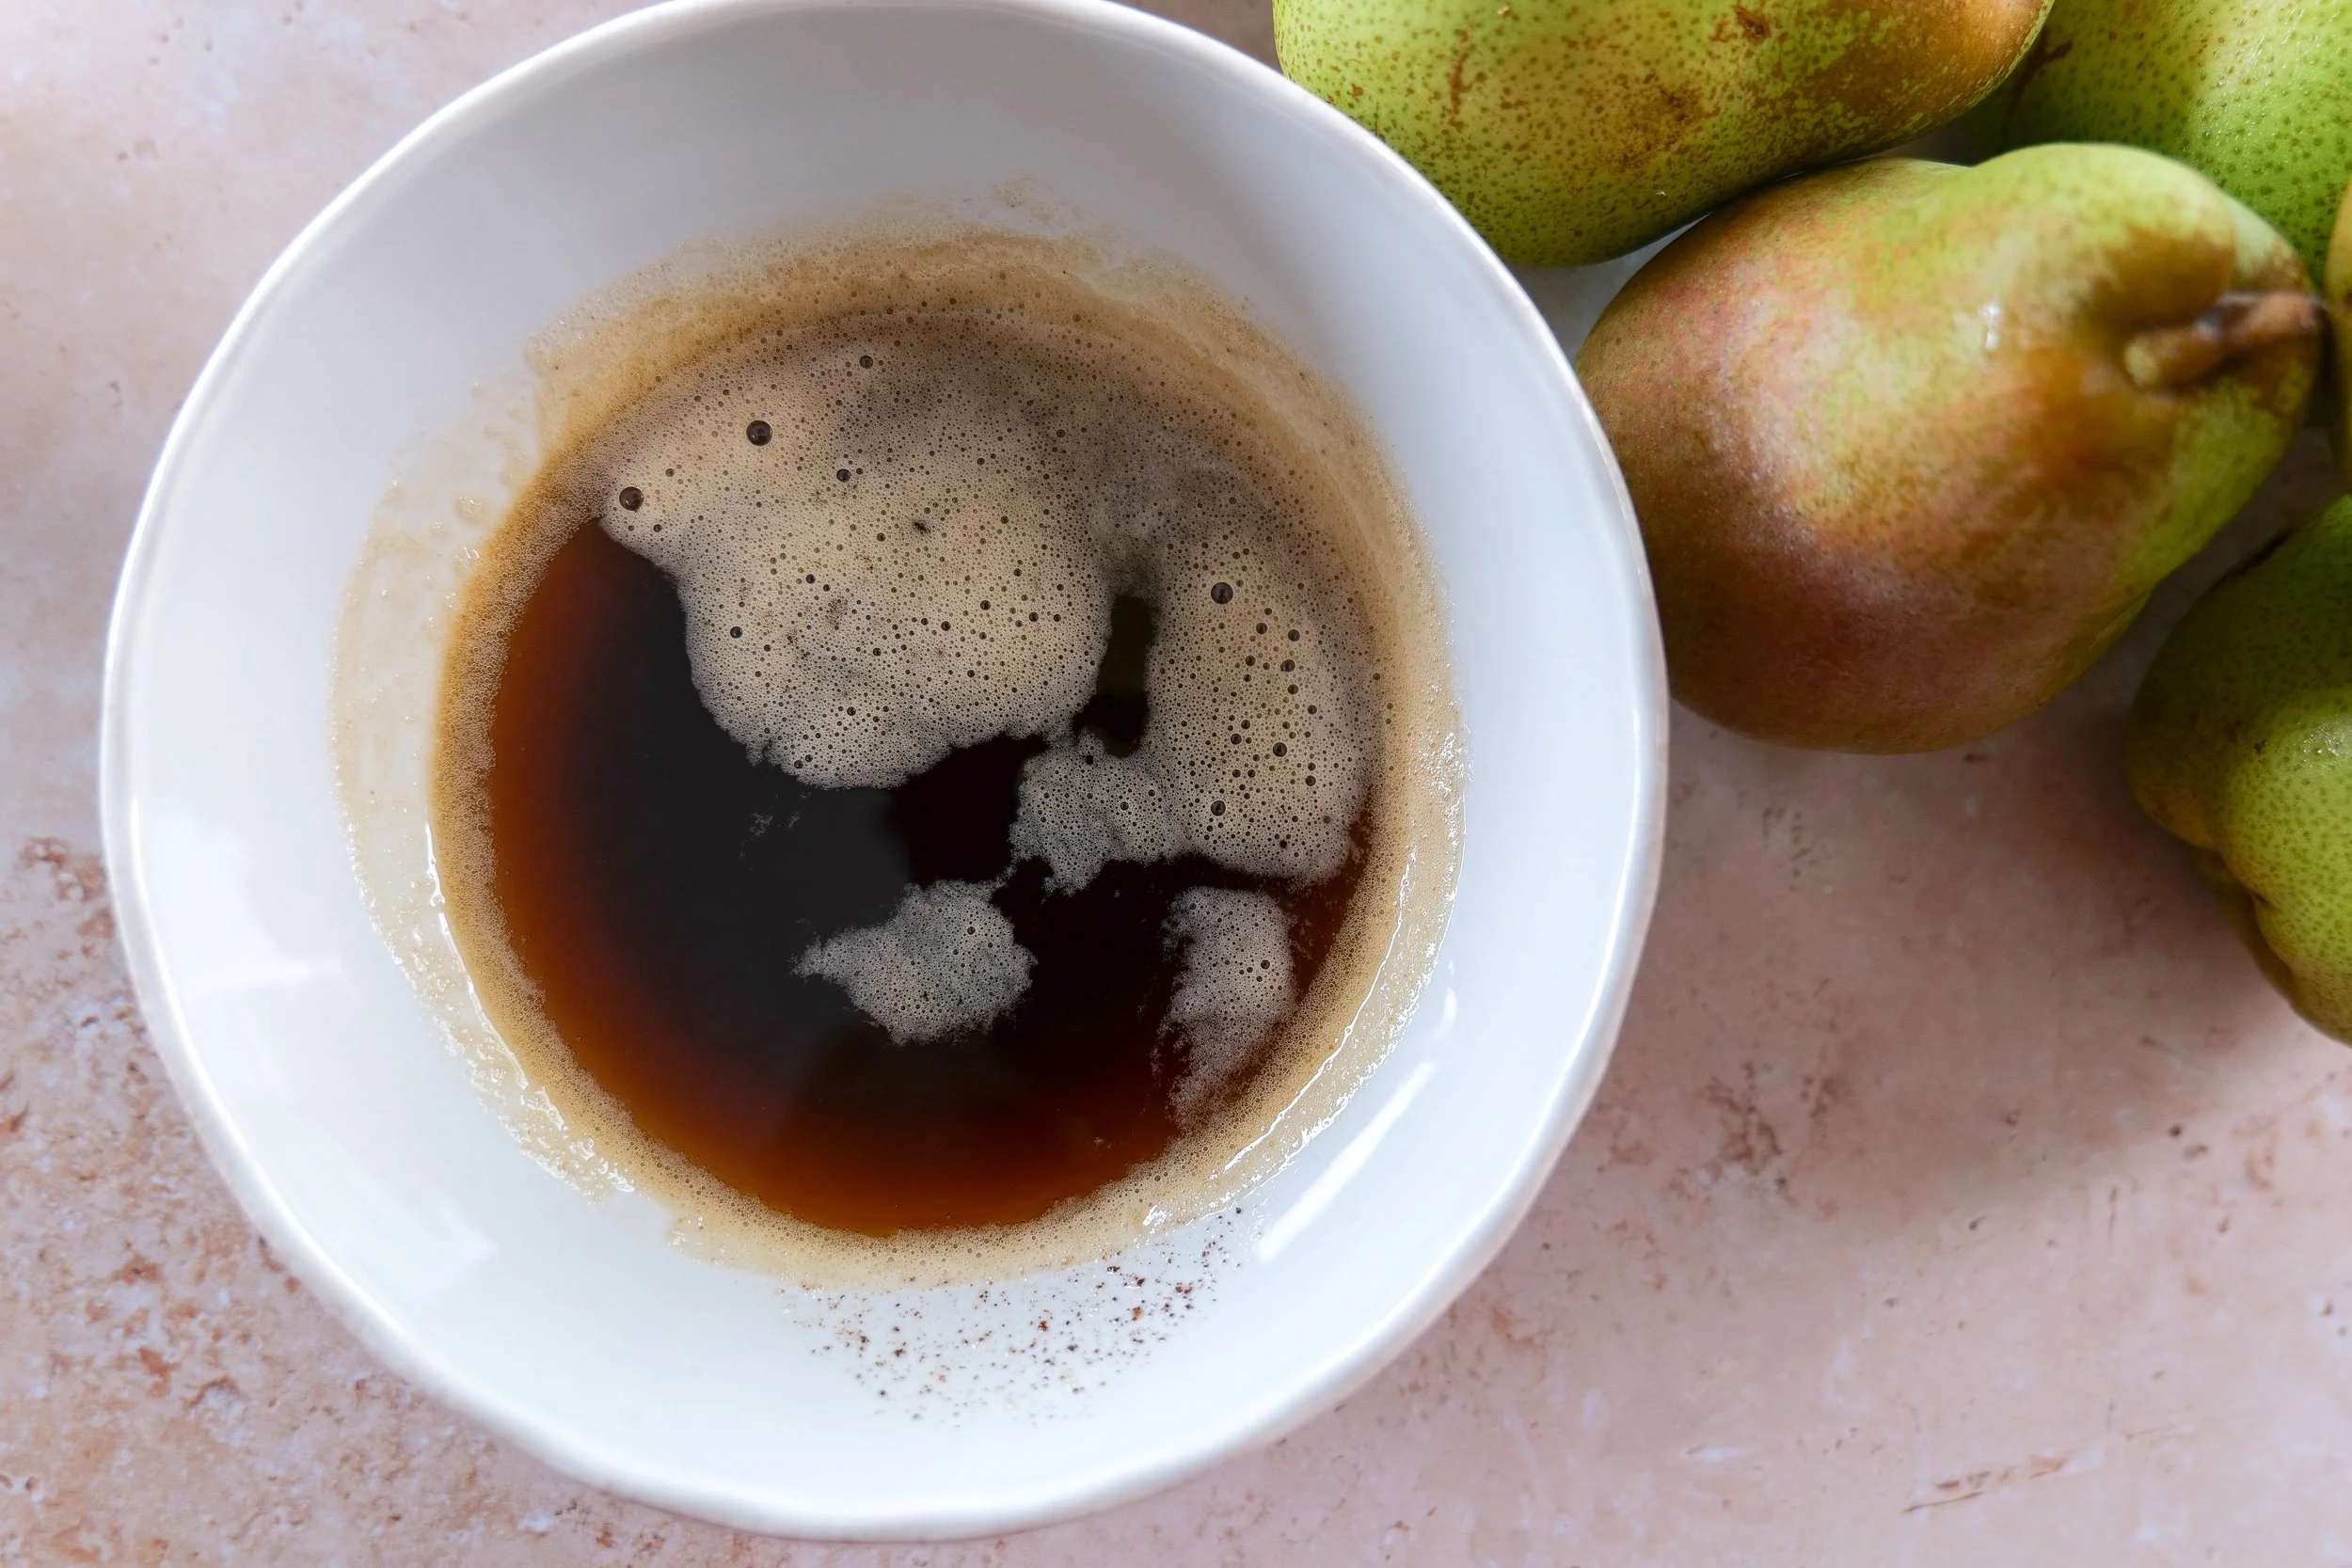
Browning the butter cooks the milk solids until they're golden and nutty, giving you so much more flavor than melted butter alone. We're using it in both the cake and pear filling so that flavor runs throughout the recipe.
The final cake recipe uses 1 cup of butter for the cake layers, which gives the larger three-layer cake plenty of that warm brown butter flavor.
Buttermilk
Buttermilk adds moisture and a slight tang that balances the sweetness of the pears and brown sugar.
Cinnamon + Cardamom
I want this to taste like pear cake, not spice cake, so even though we're adding cinnamon and cardamom, neither should overpower the pear.
They're there to add warmth and make the cake feel like fall.
Mascarpone
The mascarpone cream might be one of my favorite parts of this cake.
Instead of traditional buttercream, the cake is covered in a vanilla mascarpone cream made with 16 ounces of mascarpone and heavy whipping cream. It's rich and creamy but still light enough that it doesn't compete with the pear and brown butter.
I used it between the layers and then covered the entire outside of the cake, creating a loose, whipped design with lots of soft swoops and texture.
It doesn't need to be perfectly smooth—that's part of what makes this cake so pretty.
How to Make Brown Butter Pear Cake
1. Brown the Butter
Place the butter in a light-colored saucepan over medium heat. Allow it to melt, then continue cooking as it foams and bubbles.
Stir or swirl the pan occasionally. Once the milk solids at the bottom turn golden brown and the butter smells nutty, immediately remove it from the heat.
Pour it into a heatproof bowl, making sure to scrape in all of those browned bits.
Allow it to cool for about 15–20 minutes before adding it to the cake batter.
2. Prepare the Pear
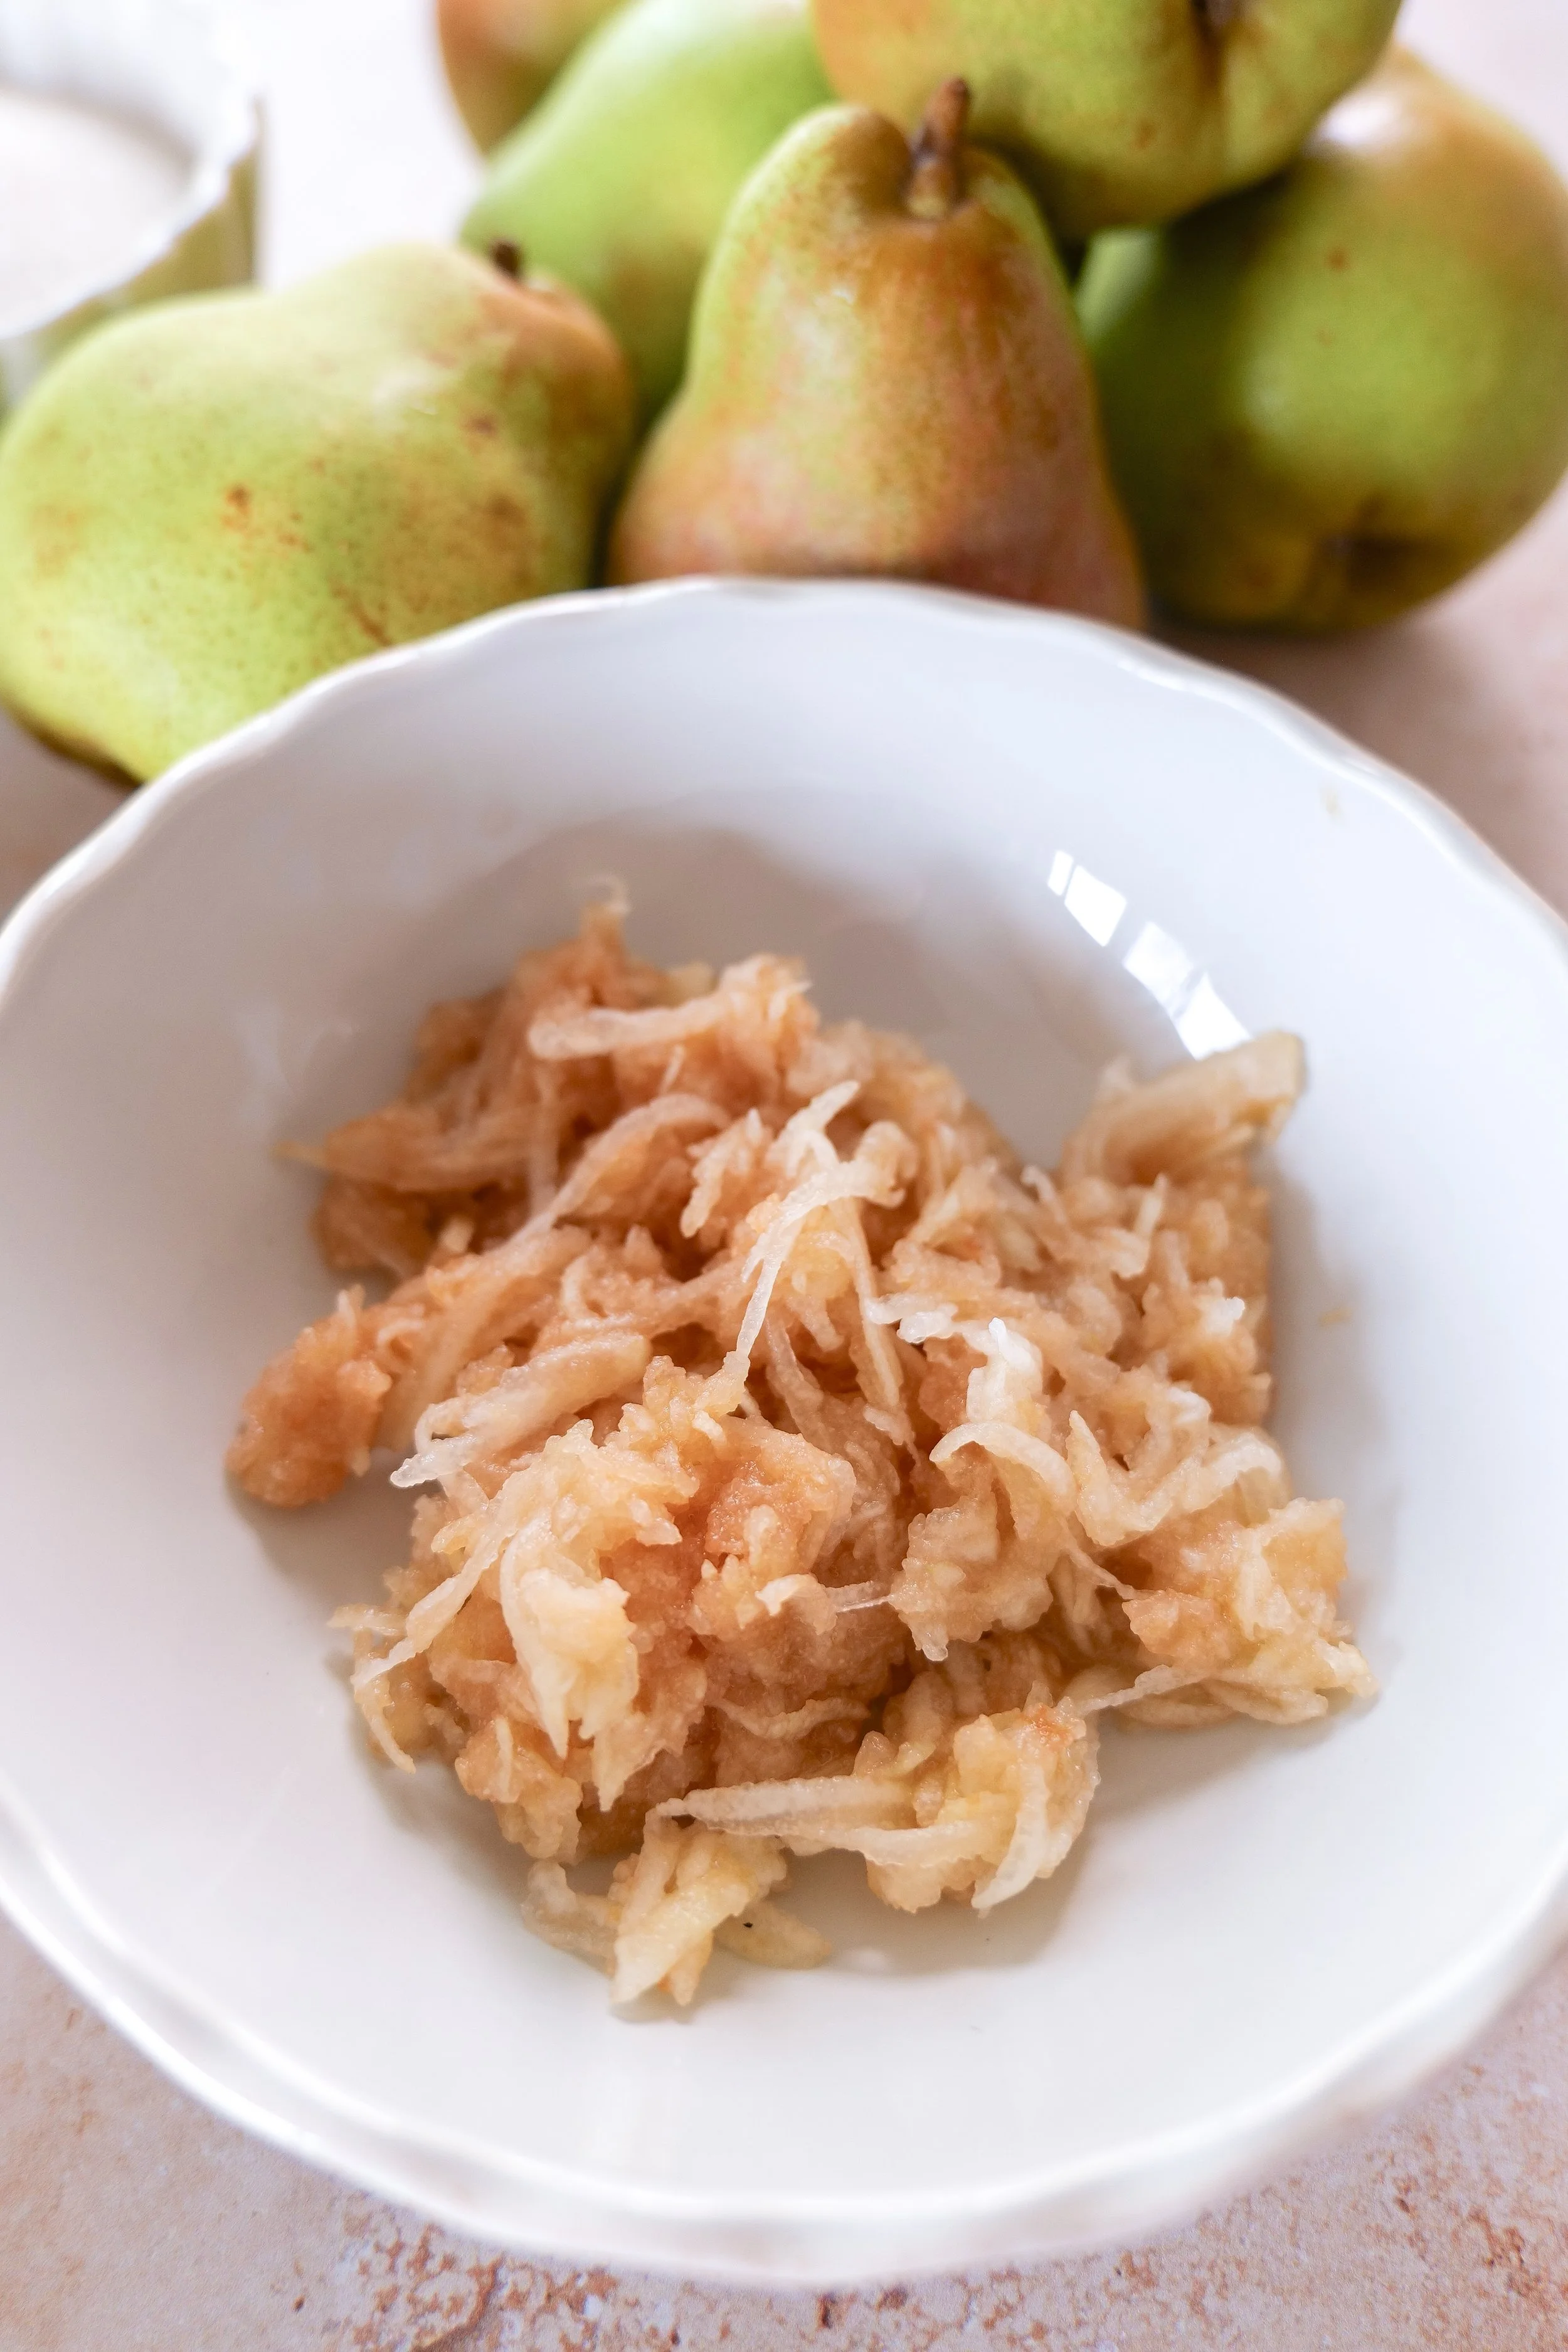
Peel and core the pears you'll be using inside the cake, then finely grate them.
You want the pear incorporated throughout the batter rather than having large chunks in the cake layers.
3. Make the Cake Batter
Whisk together the flour, baking powder, baking soda, salt, cinnamon and cardamom.
In a separate large bowl, whisk the cooled brown butter with the granulated sugar and brown sugar.
Add the eggs one at a time, whisking well after each addition, followed by the vanilla.
Fold in the grated pear.
Add approximately half of the dry ingredients, followed by the buttermilk and then the remaining dry ingredients. Mix only until everything comes together.
Don't overmix the batter.
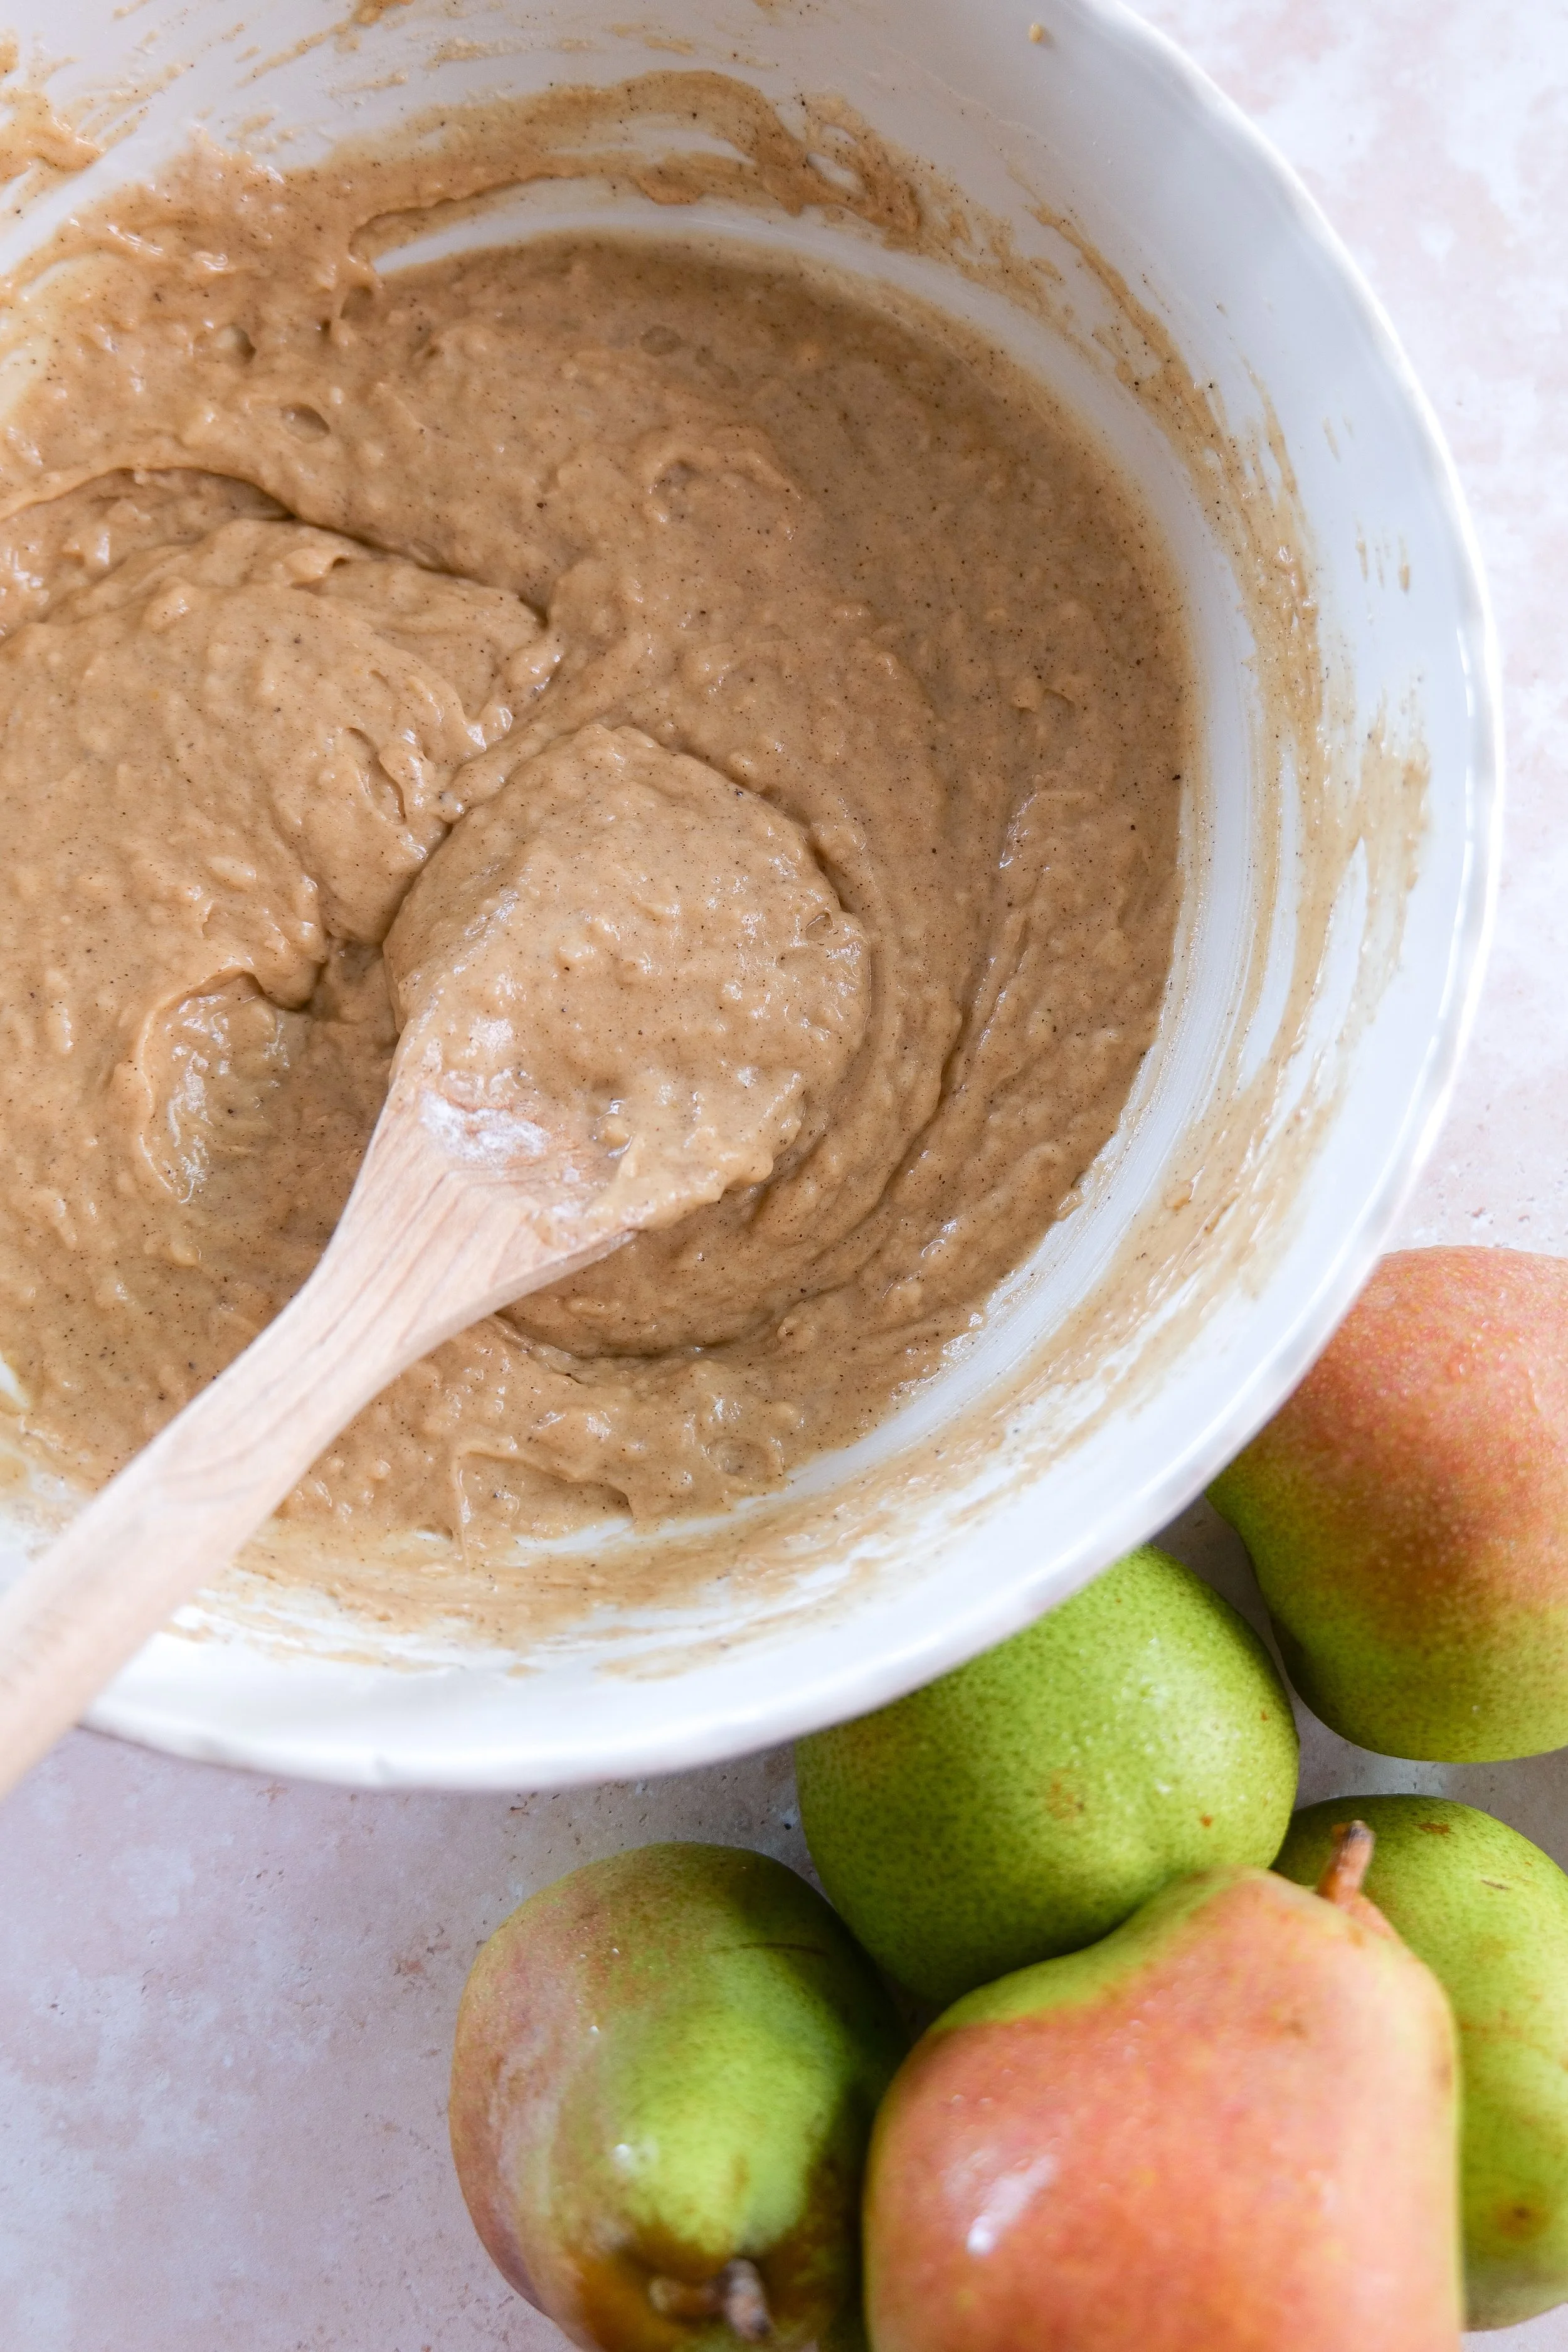
Divide it evenly between three prepared 6-inch cake pans. If you want perfectly even layers, weigh the finished batter and divide it equally between the three pans.
Bake until the centers spring back lightly and a toothpick inserted into the center comes out clean or with a few moist crumbs.
Allow the cakes to cool in the pans for about 10 minutes before turning them out onto a cooling rack.
Cool completely before assembling.
Make the Brown Butter Spiced Pear Filling
While the cakes cool, make the pear filling.
Brown the butter in a skillet, then add the finely diced pears, brown sugar, lemon juice, cinnamon and salt.
Cook over medium heat, stirring occasionally, until the pears soften and the liquid reduces into a thick, glossy, almost jammy filling.
Remove from the heat and stir in the vanilla.
Transfer the filling to a bowl and cool completely before assembling the cake.
The filling should be thick and spoonable rather than watery. This is especially important with a three-layer cake because you don't want the filling causing the layers to slide.
Make the Vanilla Mascarpone Cream
Keep the mascarpone and heavy cream cold until you're ready to use them.
Add the cold mascarpone to a large mixing bowl and beat briefly on low speed just until smooth.
Add the cold heavy whipping cream, powdered sugar, vanilla bean paste and salt.
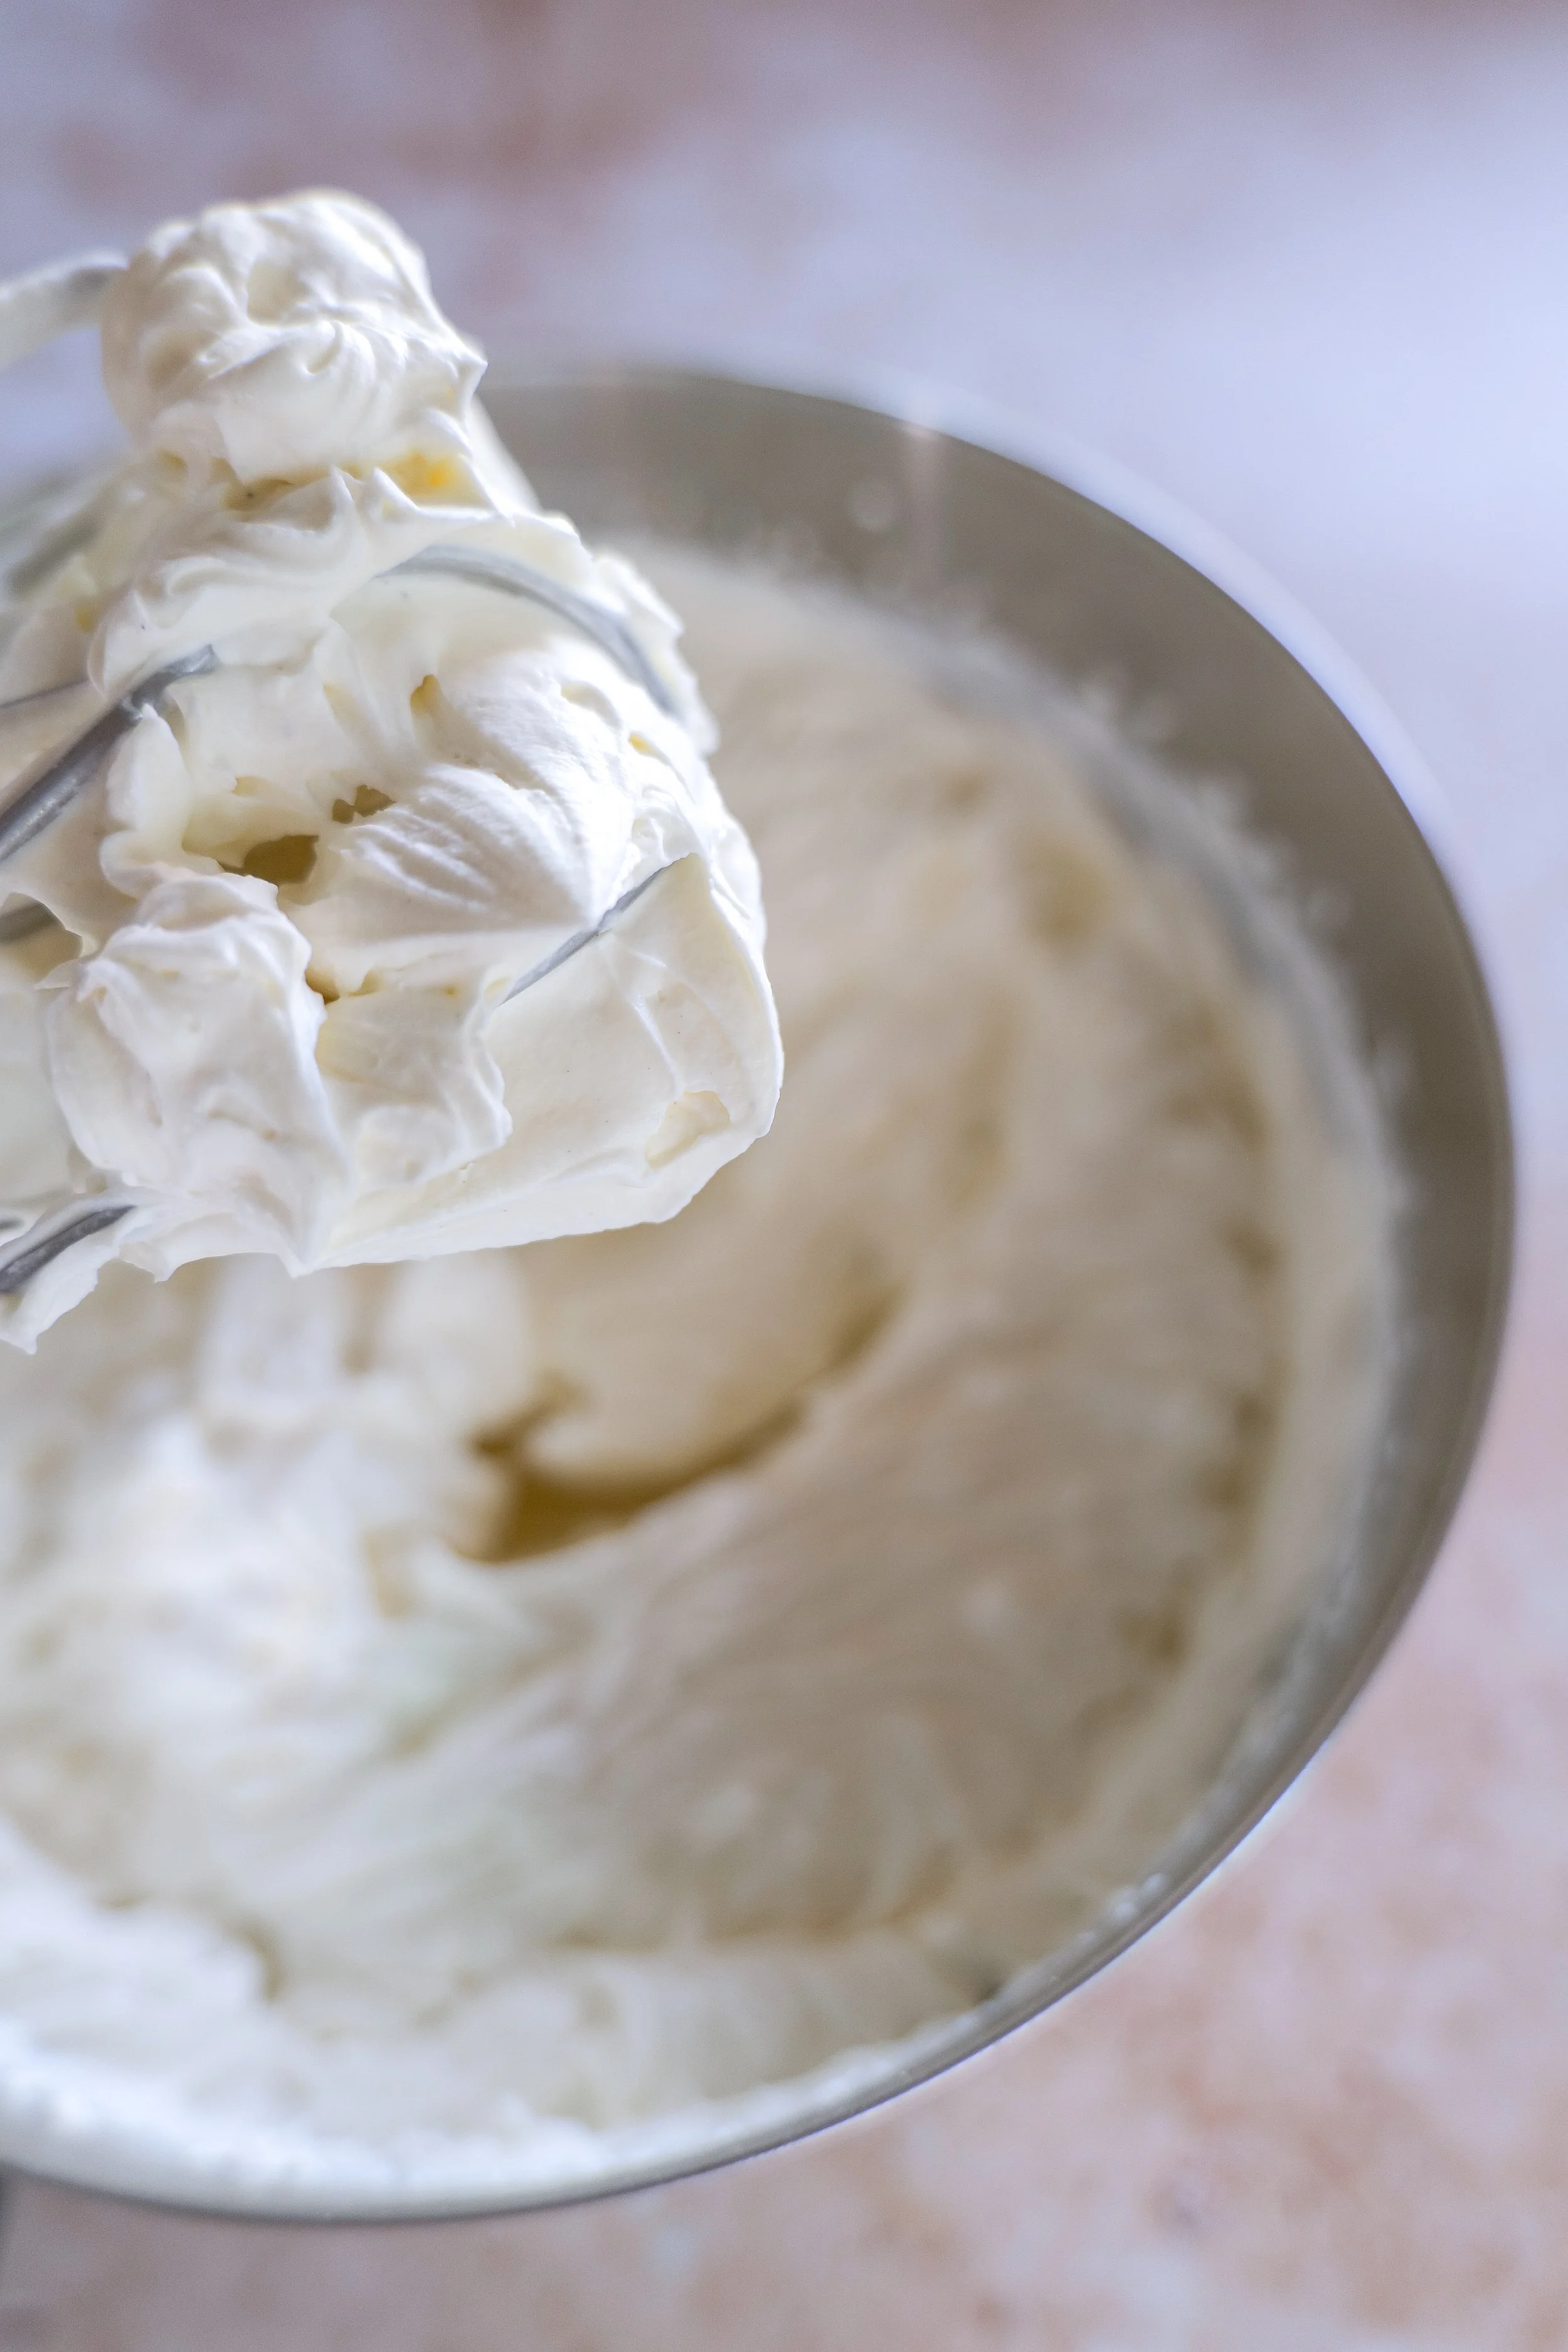
Whip on medium speed until the cream holds medium-stiff peaks and is thick enough to spread.
Stop as soon as it reaches that consistency. Mascarpone cream can be overwhipped, so don't keep mixing once it's thick and fluffy.
This recipe makes enough mascarpone cream to fill the cake and cover the entire outside in the whipped finish.
How to Assemble the Pear Layer Cake
Make sure your cake layers and pear filling are completely cool before you begin.
Place the first cake layer on your serving plate or cake stand.
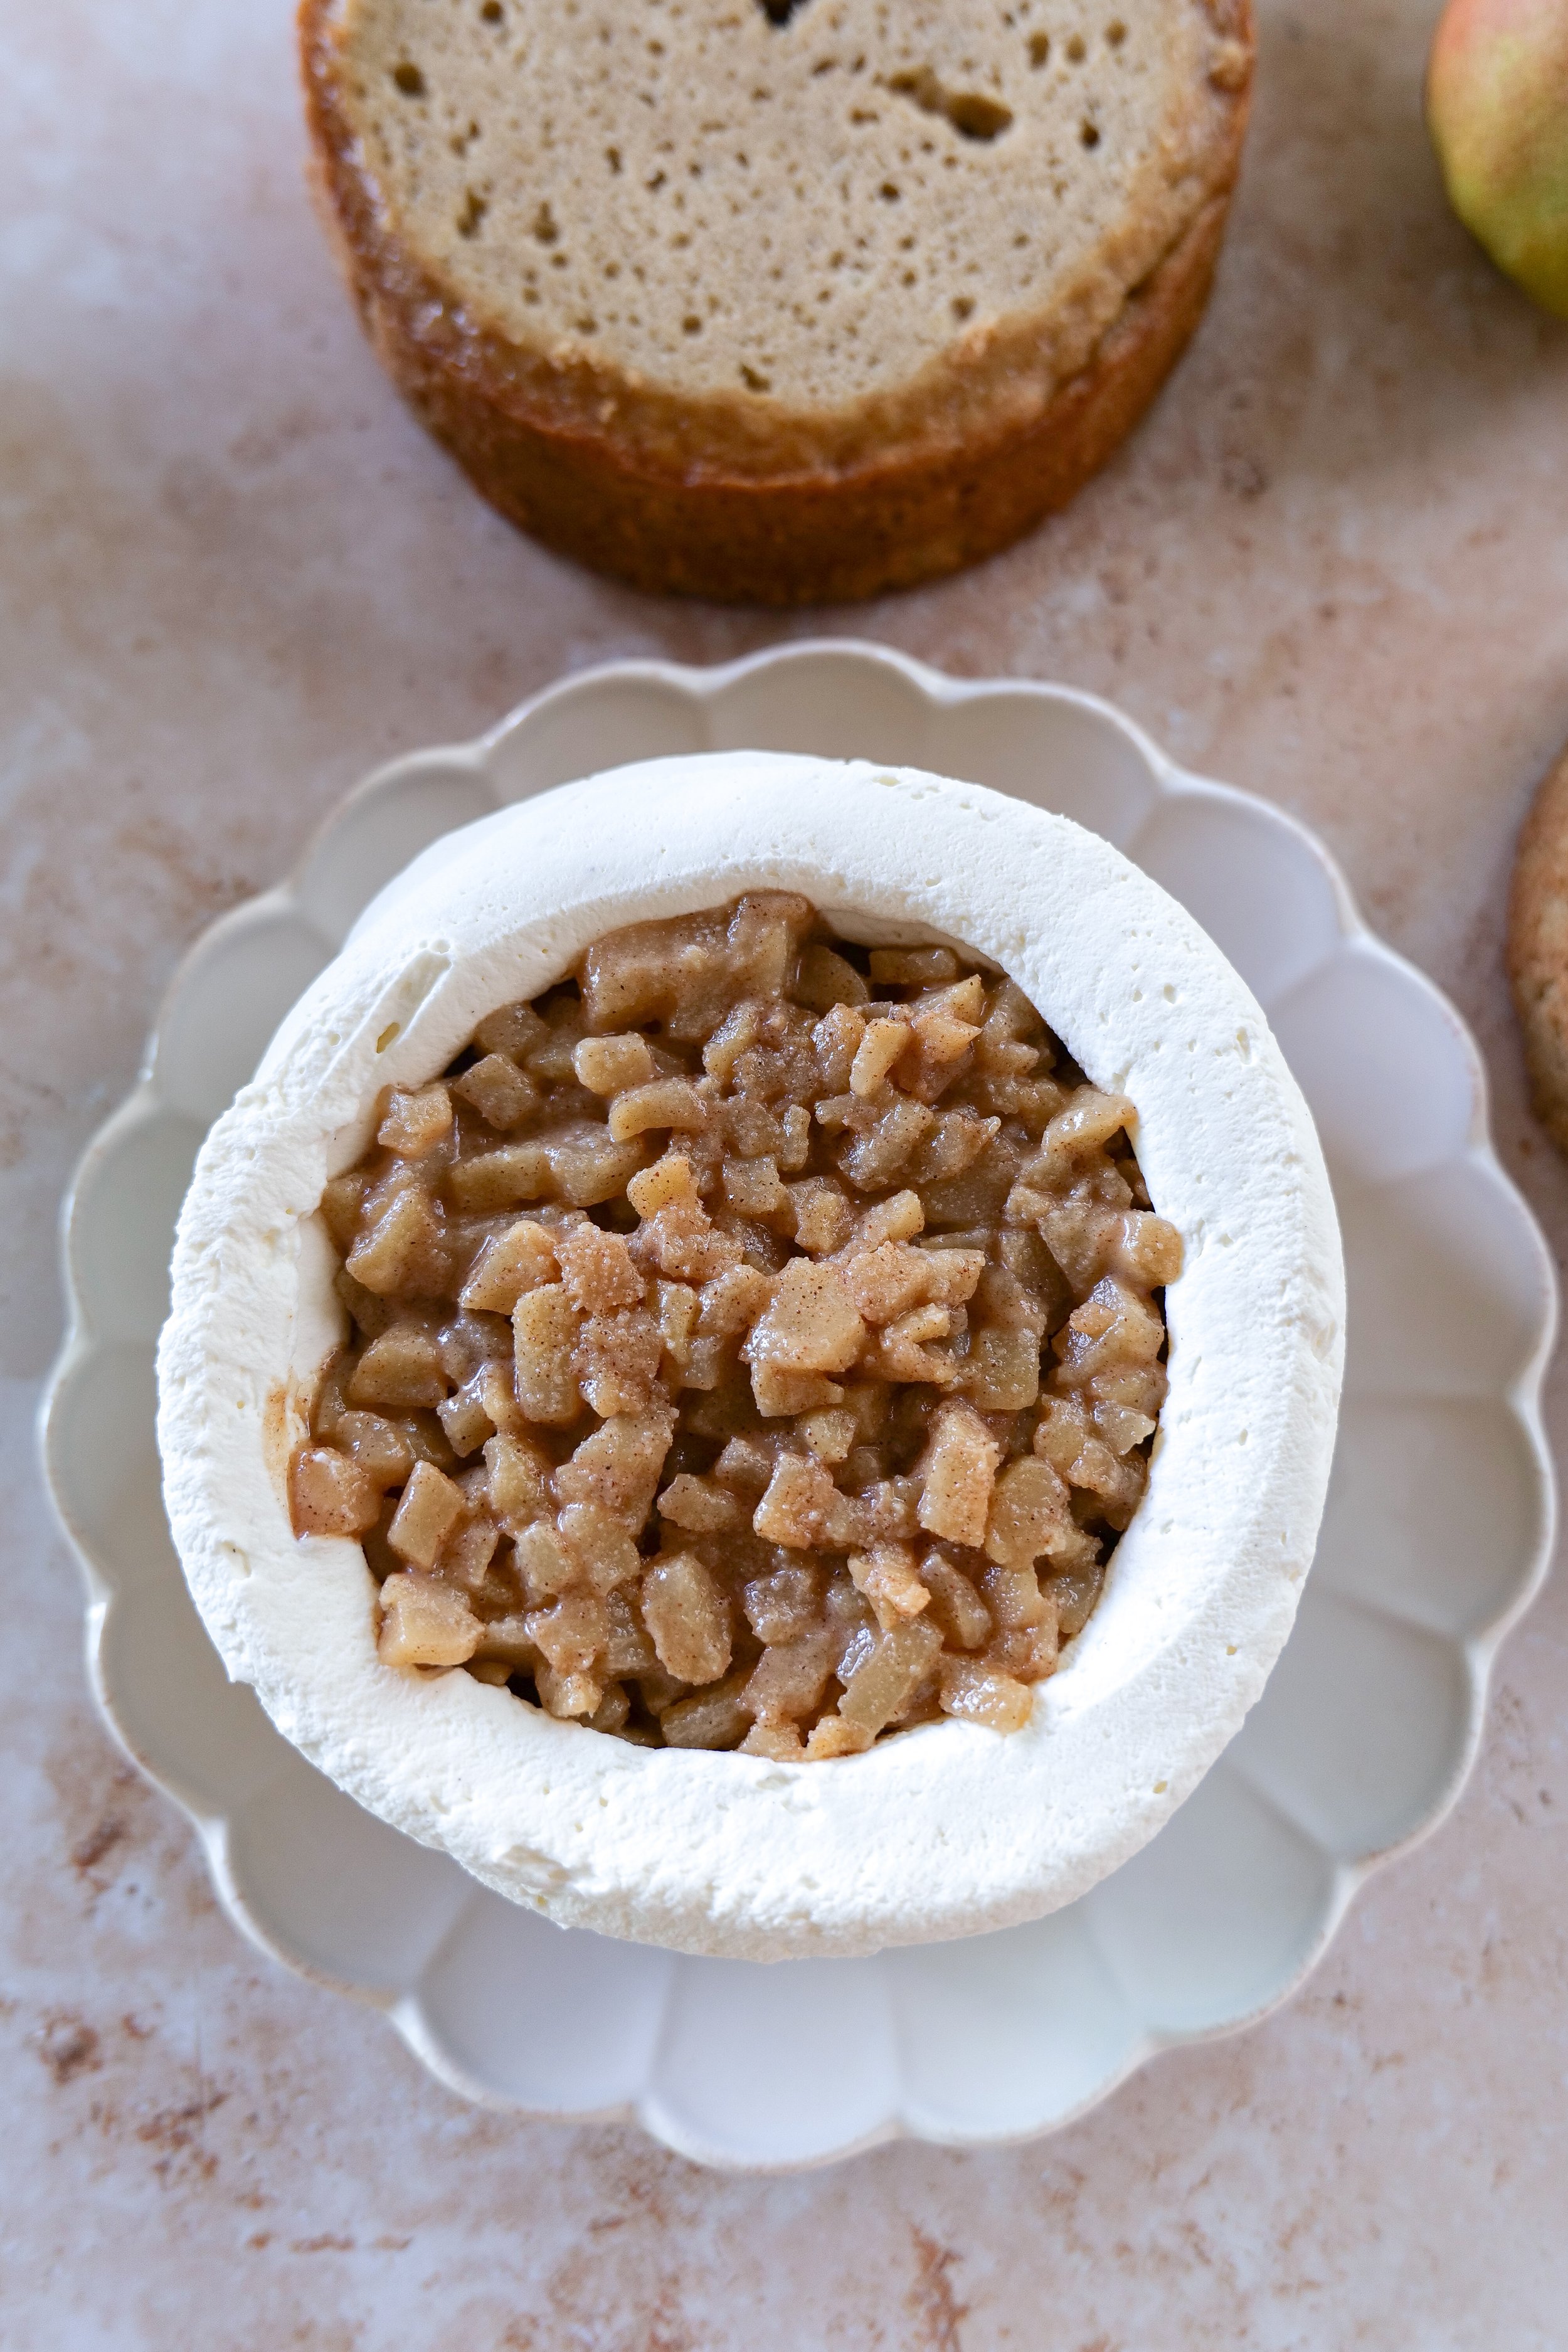
Spread vanilla mascarpone cream over the top, then create a slightly raised border of cream around the outer edge. Spoon half of the cooled pear filling into the center and gently spread it into an even layer.
Add the second cake layer.
Repeat with another layer of mascarpone cream, a raised border and the remaining pear filling.
Place the third cake layer on top.
Now cover the top and sides of the entire cake with the remaining vanilla mascarpone cream.
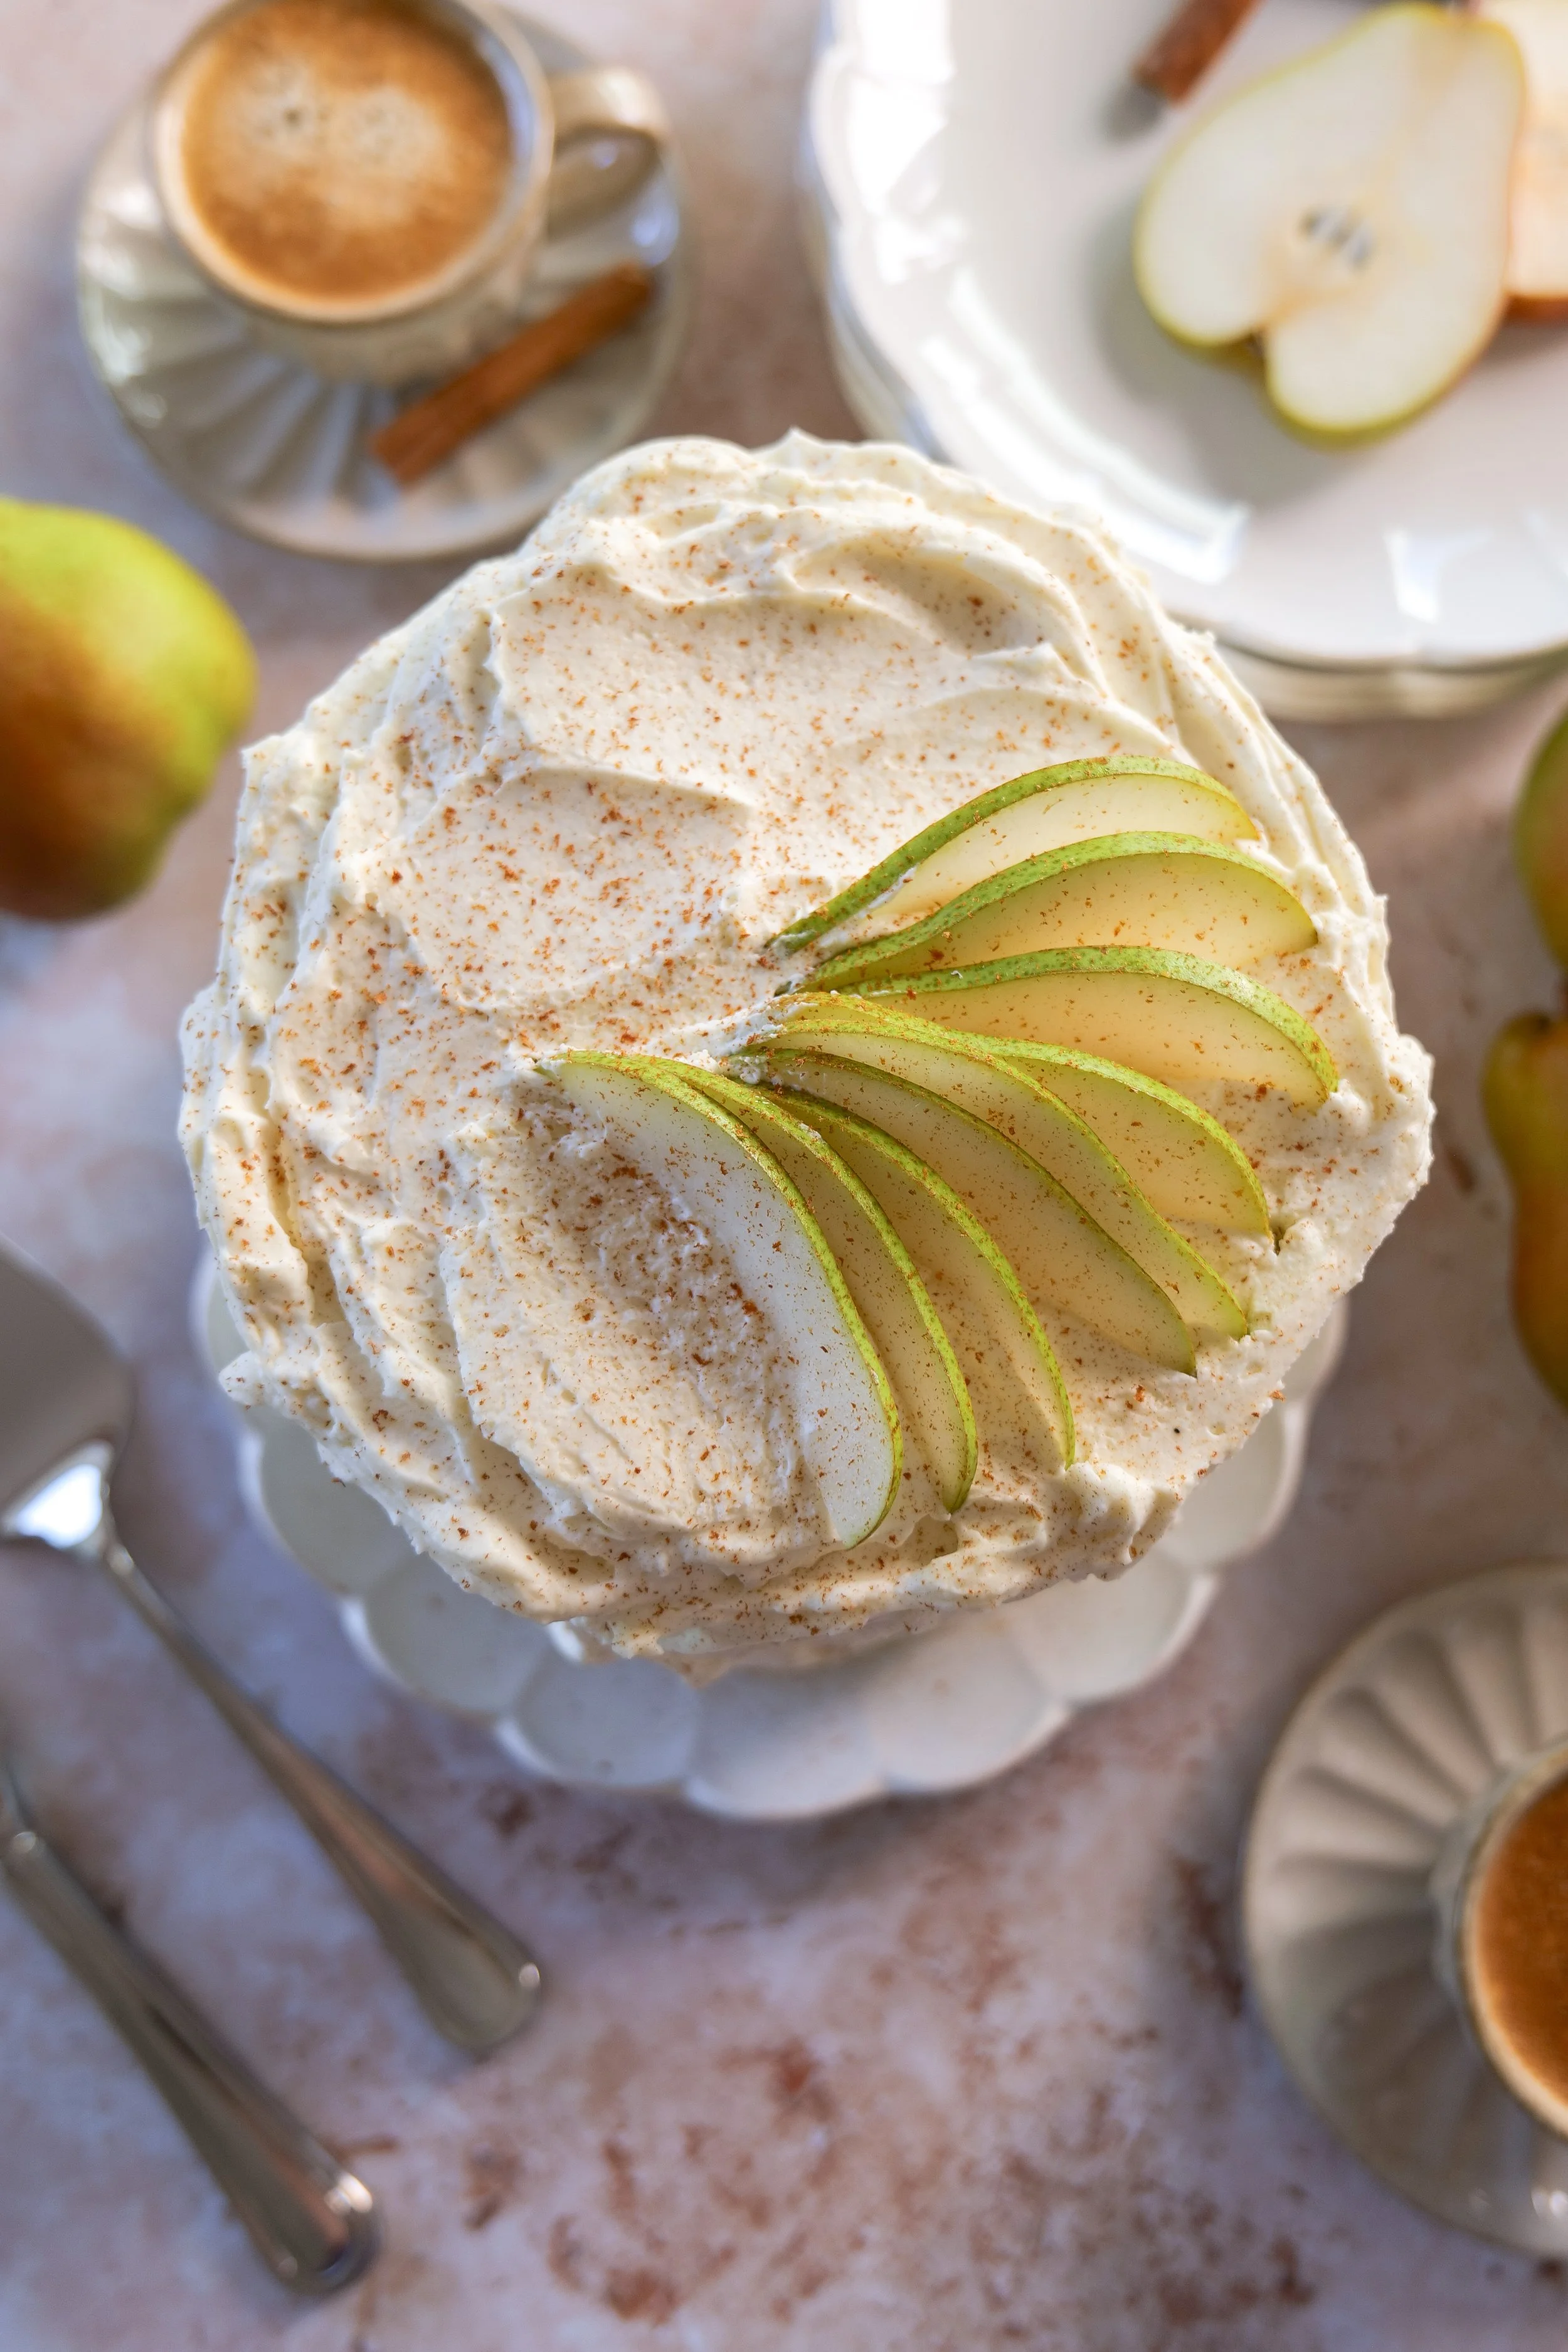
Instead of smoothing the frosting perfectly, use an offset spatula or the back of a spoon to create soft swoops and a loose, whipped texture all over the cake.
I love this finish with the pears because it feels a little more organic and relaxed than a perfectly smooth buttercream cake.
How to Decorate a Pear Cake
This cake really doesn't need much once the mascarpone cream is on.
Thinly slice fresh pears while keeping the skin intact. Gently fan the slices and arrange them over the top of the cake.
I like letting the pears follow the movement of the whipped mascarpone rather than trying to make the arrangement perfectly symmetrical.
Brush the exposed cut surfaces of the pears very lightly with fresh lemon juice to help slow browning.
And that's it.
No berries, extra fall fruit or elaborate cake decorations. Between the swooped mascarpone cream and fresh pears, there's already plenty happening while still keeping the cake elegant.
Amanda's Tips
Don't over-spice the cake. Pear is delicate, so the cinnamon and cardamom should support it rather than become the main flavor.
Don't leave the brown butter bits behind. Those little toasted milk solids have so much flavor. Scrape all of them into the bowl with the brown butter.
Cool everything completely. Warm cake or warm pear filling will soften the mascarpone cream and make a three-layer cake much harder to assemble.
Cook the filling until it's thick. You don't want excess liquid sitting between the cake layers.
Create a mascarpone border around the filling. The cream acts as a dam and helps keep the pear filling from squeezing out of the sides.
Keep the mascarpone and heavy cream cold. Both should come straight from the refrigerator.
Don't overwhip the mascarpone cream. Stop as soon as it holds medium-stiff peaks.
Embrace the whipped finish. Don't worry about getting perfectly smooth sides. Soft swoops and texture are part of the finished look.
Decorate with pears close to serving. Fresh pear slices will eventually oxidize. A light brushing of lemon juice helps, but they'll look their prettiest when freshly cut.
Can I Make This Cake Ahead?
Yes, and I actually think breaking it into steps makes layer cakes much easier.
The cake layers can be baked ahead, cooled completely and wrapped well.
The brown butter pear filling can also be made ahead and stored covered in the refrigerator.
I would make the vanilla mascarpone cream and assemble the cake closer to when you're planning to serve it.
Wait to add the fresh pears until the day you're serving or photographing the cake so they stay as fresh and beautiful as possible.
What to Serve with Pear Cake
This cake is perfect with coffee after a fall dinner, but I also think it would be beautiful served with Champagne for a celebration.
Because the cake itself isn't overly sweet and the frosting is mascarpone-based rather than traditional buttercream, it works especially well after a richer fall meal.
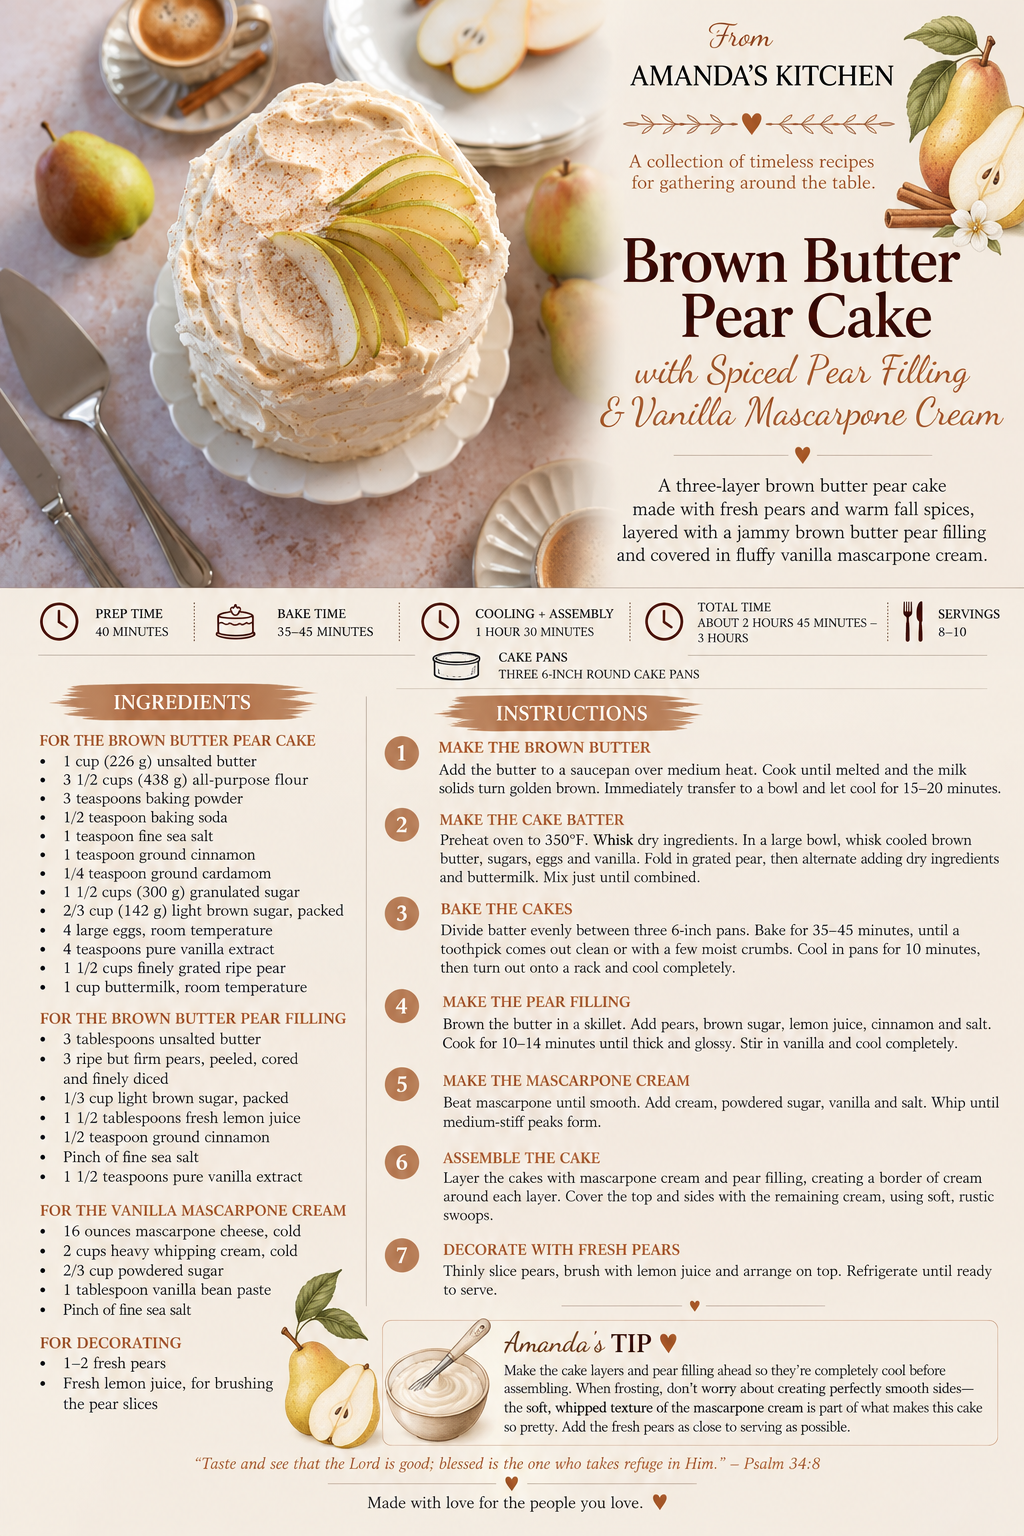
Brown Butter Pear Cake with Spiced Pear Filling & Vanilla Mascarpone Cream
A three-layer brown butter pear cake made with fresh pears and warm fall spices, layered with a jammy brown butter pear filling and covered in fluffy vanilla mascarpone cream.
Prep Time: 40 minutes
Bake Time: 35–45 minutes
Cooling + Assembly: 1 hour 30 minutes
Total Time: About 2 hours 45 minutes–3 hours
Servings: 8–10
Cake Pans: Three 6-inch round cake pans
Ingredients
For the Brown Butter Pear Cake
1 cup (226 g) unsalted butter
3 1/2 cups (438 g) all-purpose flour
3 teaspoons baking powder
1/2 teaspoon baking soda
1 teaspoon fine sea salt
1 teaspoon ground cinnamon
1/4 teaspoon ground cardamom
1 1/2 cups (300 g) granulated sugar
2/3 cup (142 g) light brown sugar, packed
4 large eggs, room temperature
4 teaspoons pure vanilla extract
1 1/2 cups finely grated ripe pear
1 cup buttermilk, room temperature
For the Brown Butter Pear Filling
3 tablespoons unsalted butter
3 ripe but firm pears, peeled, cored and finely diced
1/3 cup light brown sugar, packed
1 1/2 tablespoons fresh lemon juice
1/2 teaspoon ground cinnamon
Pinch of fine sea salt
1 1/2 teaspoons pure vanilla extract
For the Vanilla Mascarpone Cream
16 ounces mascarpone cheese, cold
2 cups heavy whipping cream, cold
2/3 cup powdered sugar
1 tablespoon vanilla bean paste
Pinch of fine sea salt
For Decorating
1–2 fresh pears
Fresh lemon juice, for brushing the pear slices
Instructions
Make the Brown Butter
Add the 1 cup butter to a light-colored saucepan over medium heat.
Cook until melted, then continue cooking as the butter begins to foam. Swirl or stir occasionally until the milk solids turn golden brown and the butter smells rich and nutty.
Immediately pour the brown butter, including all of the browned milk solids, into a heatproof bowl.
Let cool for about 15–20 minutes before making the cake batter.
Make the Brown Butter Pear Cake
Preheat the oven to 350°F. Grease three 6-inch round cake pans and line the bottoms with parchment paper.
In a medium bowl, whisk together the flour, baking powder, baking soda, salt, cinnamon and cardamom. Set aside.
In a large mixing bowl, whisk together the cooled brown butter, granulated sugar and brown sugar until well combined.
Add the eggs one at a time, whisking well after each addition. Stir in the vanilla.
Fold in the finely grated pear.
Add approximately half of the dry ingredients and gently mix just until combined.
Pour in the buttermilk and mix gently, then add the remaining dry ingredients. Mix only until no streaks of flour remain. Do not overmix.
Divide the batter evenly between the three prepared pans and smooth the tops. For the most even layers, weigh the batter and divide it equally between the pans.
Bake for approximately 35–45 minutes. Begin checking the cakes at 35 minutes. If the centers are not yet set, continue baking and check every 5 minutes until the centers spring back lightly when touched and a toothpick inserted into the center comes out clean or with a few moist crumbs.
Allow the cakes to cool in the pans for about 10 minutes.
Carefully turn the cakes onto a cooling rack, remove the parchment and cool completely before assembling.
Make the Brown Butter Pear Filling
Add the butter to a large skillet over medium heat.
Cook until the butter becomes golden brown and smells nutty.
Add the finely diced pears, brown sugar, lemon juice, cinnamon and salt.
Cook for approximately 10–14 minutes, stirring occasionally, until the pears are tender and the liquid has reduced into a thick, glossy filling.
Remove from the heat and stir in the vanilla.
Transfer to a bowl and cool completely. The filling should be thick and spoonable rather than watery.
Make the Vanilla Mascarpone Cream
Add the cold mascarpone to a large mixing bowl and beat briefly on low speed just until smooth.
Add the cold heavy whipping cream, powdered sugar, vanilla bean paste and salt.
Whip on medium speed until the mascarpone cream holds medium-stiff peaks and is thick enough to spread.
Stop mixing as soon as it reaches the desired consistency to avoid overwhipping.
Assemble the Cake
Make sure the three cake layers and pear filling are completely cool.
Place the first cake layer on a serving plate or cake stand.
Spread a layer of vanilla mascarpone cream over the top and create a slightly raised border around the outer edge.
Spoon half of the cooled pear filling into the center and gently spread it into an even layer, keeping it inside the mascarpone border.
Place the second cake layer on top.
Repeat with another layer of mascarpone cream, a raised border and the remaining pear filling.
Place the third cake layer on top.
Cover the top and sides of the cake with the remaining vanilla mascarpone cream.
Use an offset spatula or the back of a spoon to create loose, soft swoops throughout the mascarpone cream rather than smoothing the frosting completely.
Decorate with Fresh Pears
Thinly slice 1–2 fresh pears just before decorating.
Lightly brush the cut surfaces with fresh lemon juice to help slow browning.
Arrange the pear slices in overlapping fans or loose groupings across the top of the cake.
Refrigerate the finished cake until ready to serve.
Amanda's Tip
Make the cake layers and pear filling ahead so they're completely cool before assembling. When frosting, don't worry about creating perfectly smooth sides—the soft, whipped texture of the mascarpone cream is part of what makes this cake so pretty. Add the fresh pears as close to serving as possible.
Frequently Asked Questions
What are the best pears for pear cake?
Choose pears that are ripe and flavorful but still firm enough to work with. For the decorative pears especially, avoid fruit that's overly soft because you'll want to create thin, clean slices.
Do I need to peel the pears?
I recommend peeling the pears used in the cake and pear filling for the smoothest texture. Leave the skin on the pears used to decorate the cake because the natural color makes the finished cake especially pretty.
Can I make the pear filling ahead?
Yes. Make the filling ahead, let it cool completely and store it covered in the refrigerator until you're ready to assemble the cake.
How do you keep sliced pears from turning brown on a cake?
Lightly brush the cut sides with fresh lemon juice and add them as close to serving as possible. The lemon helps slow oxidation, although freshly sliced pears will always look best.
Does pear cake need to be refrigerated?
Yes. Because this cake is filled and frosted with mascarpone cream, keep the assembled cake refrigerated. For the best texture, let it sit out briefly before serving rather than serving it refrigerator-cold.
More Fall Recipes
This is where I'd connect the pear cake to the rest of my fall recipe collection.
My Brown Butter Spice Cake with Honey & Fig Jam Frosting is another beautiful fall cake, while Pumpkin Swirl Brownies and Brown Butter Pumpkin Sandwich Cookies are perfect when you're craving something a little more classic for pumpkin season.
And if you're planning an entire fall gathering rather than just dessert, start with my Fall Charcuterie Board with Baked Brie, Fig Jam & Pistachios before bringing this cake out for dessert.
Shop My Baking Favorites
These are the cake pans, mixing bowls, decorating tools and baking essentials I reach for again and again in my kitchen.
Gather Around the Table
I think what I love most about these milestone cakes is that they're becoming a little collection of Amelia's first year while also giving me an excuse to create recipes I genuinely want to make again.
For 10 months, pear felt just right—soft, sweet and perfectly suited to the beginning of fall.
And I love how this one came together: three layers of golden brown butter pear cake, spiced pear filling tucked between each one, and that soft vanilla mascarpone cream covering the entire cake in loose, whipped swoops.
Fresh pears on top were all it needed.
Ten months with our girl, celebrated the way we seem to celebrate most things around here—with cake.