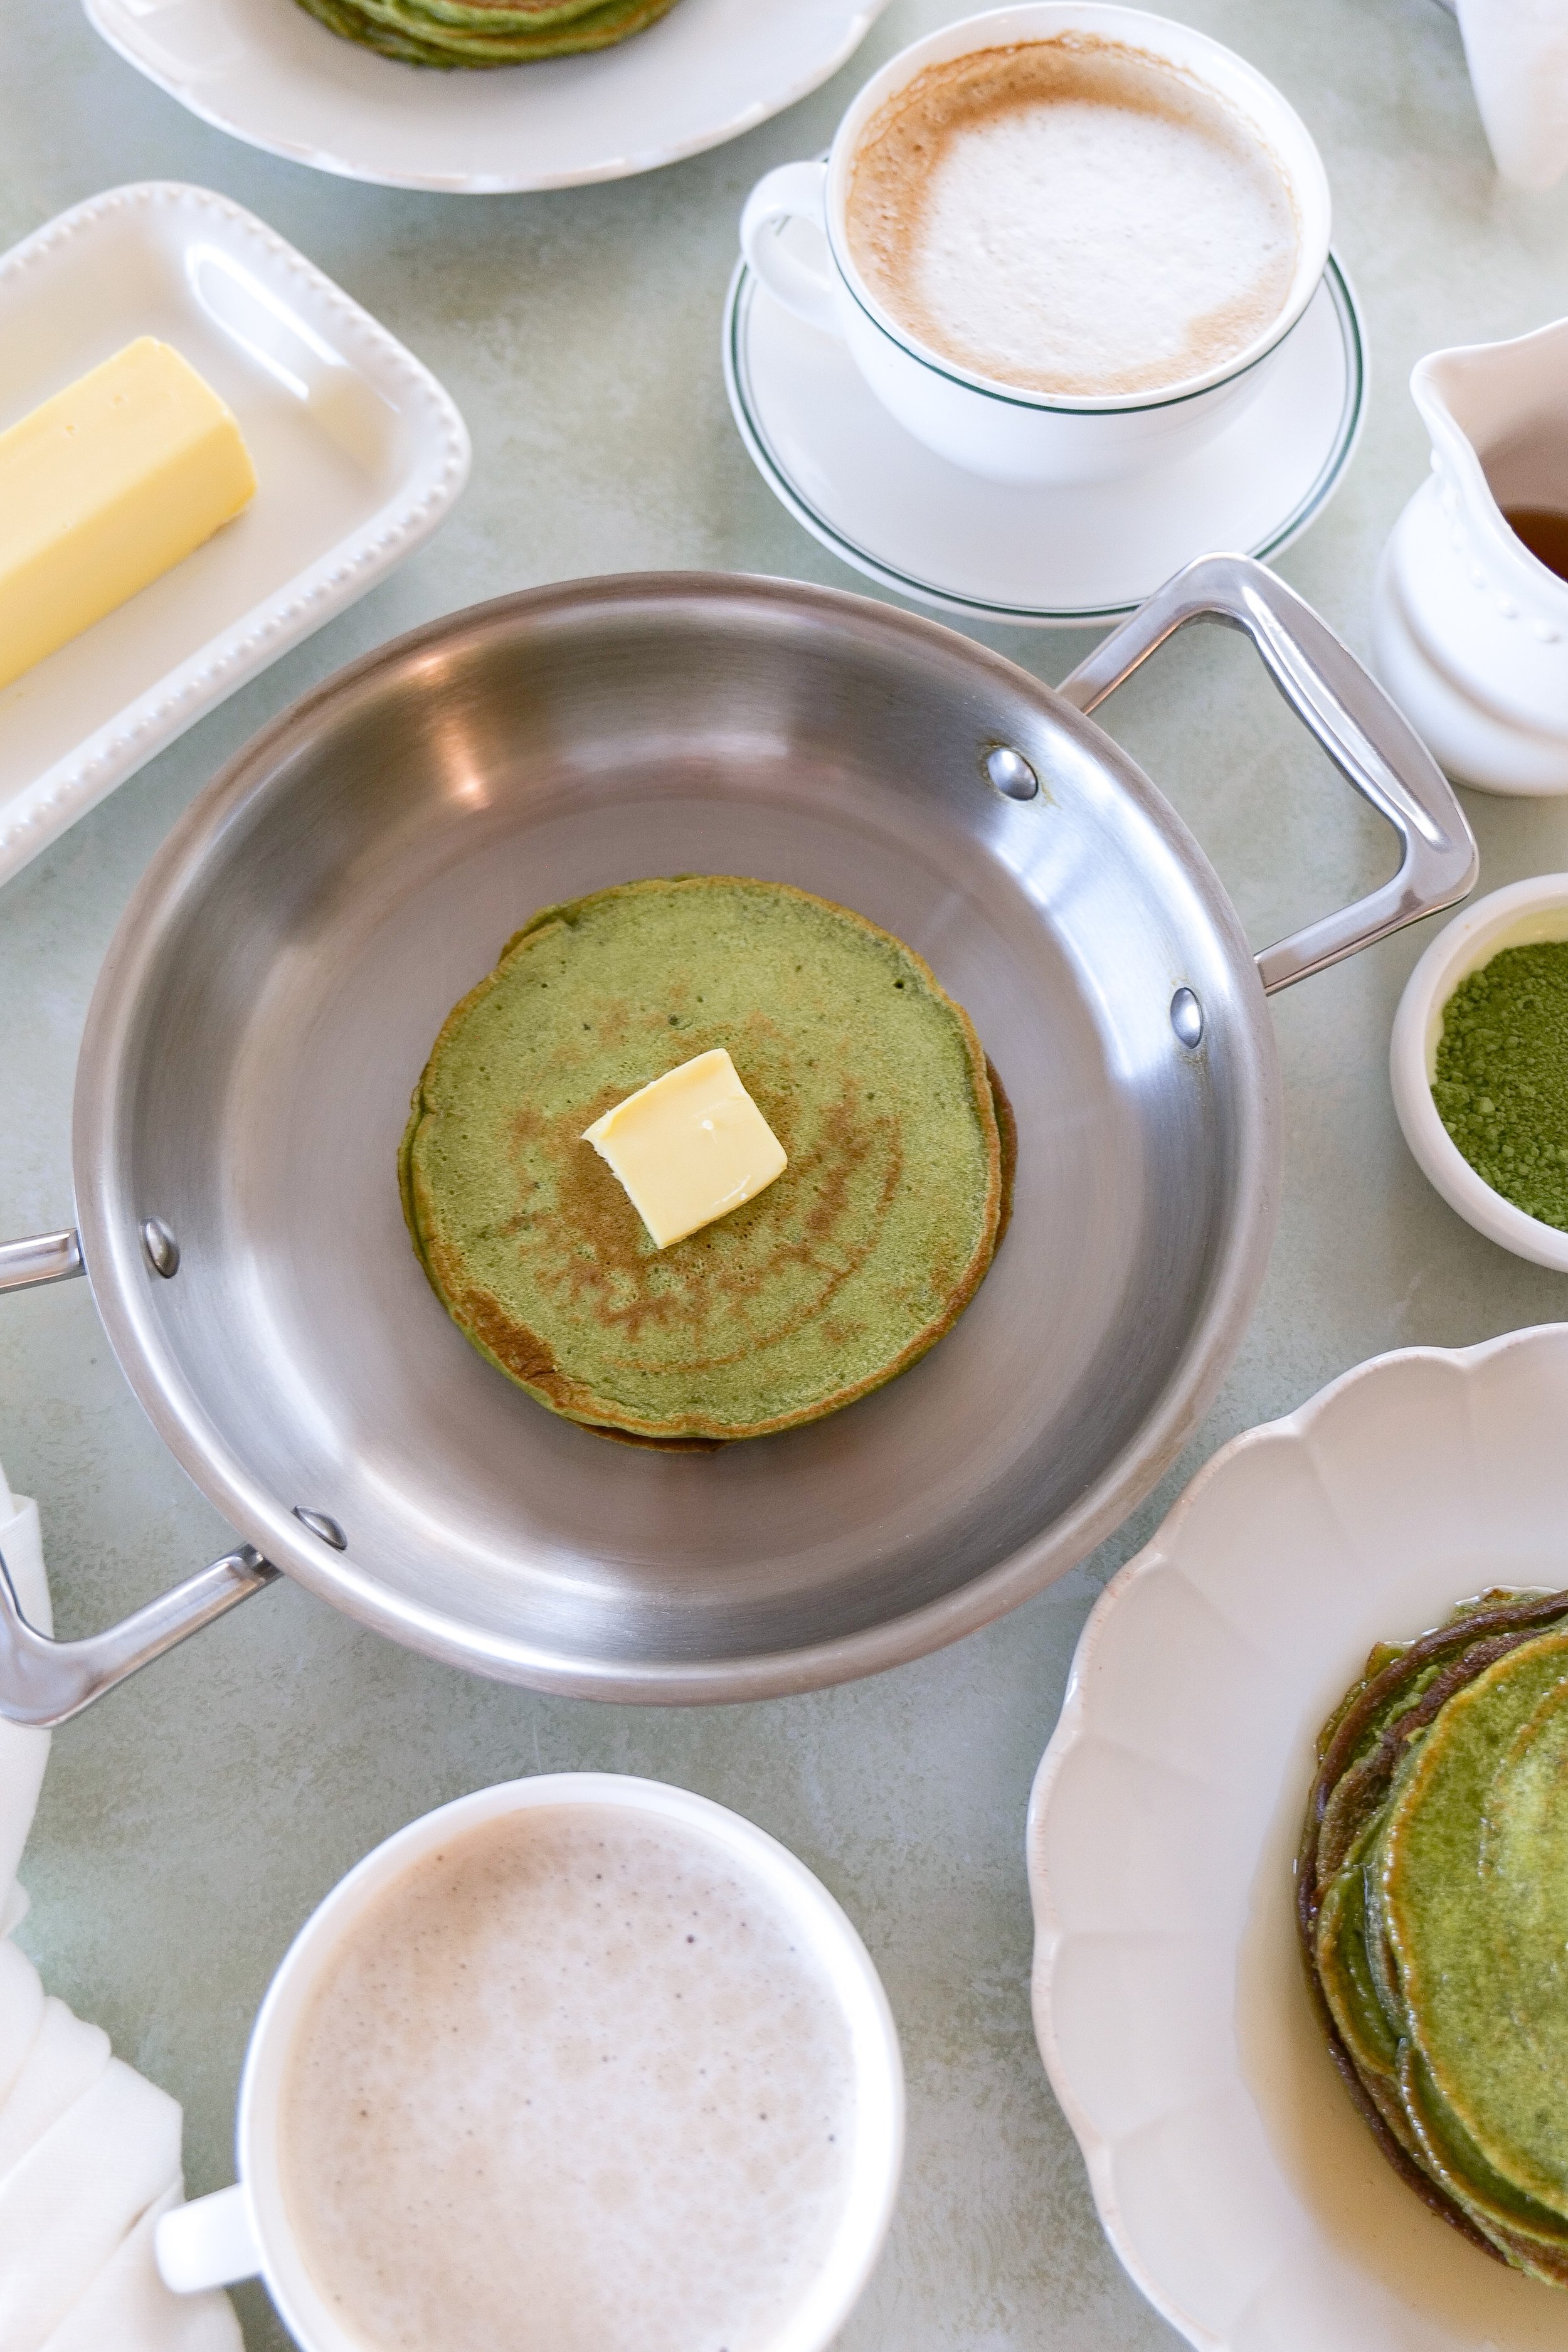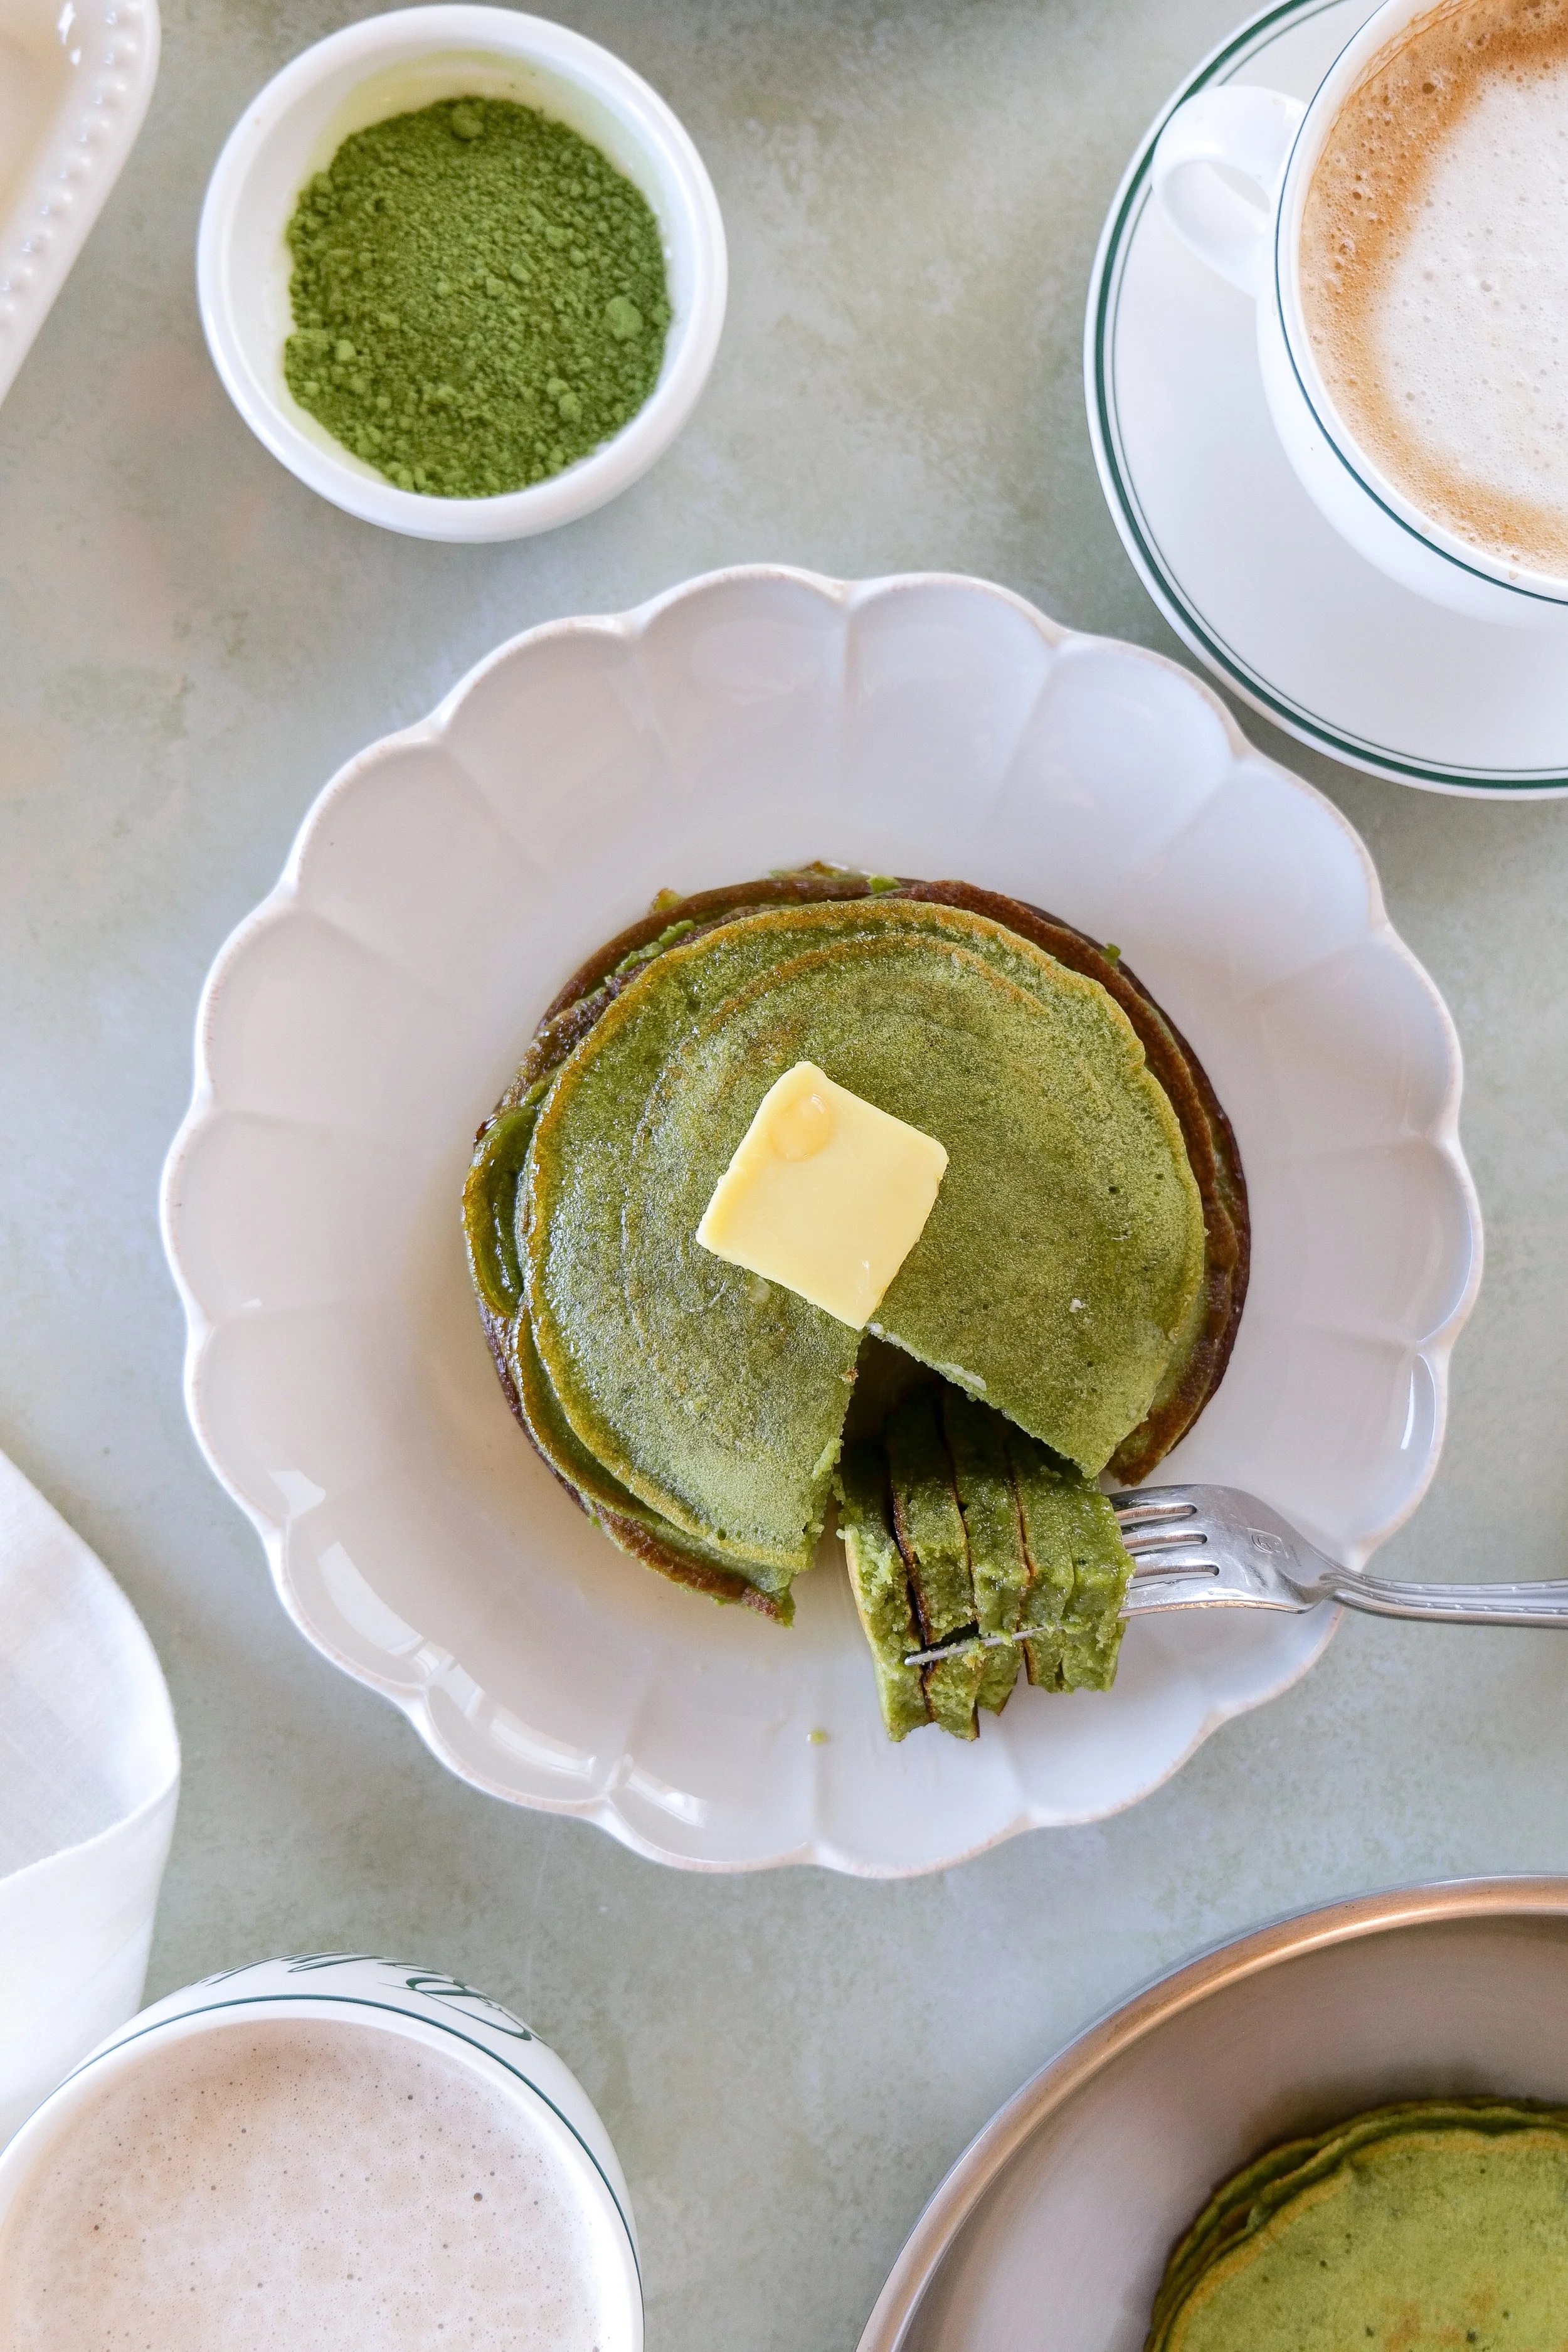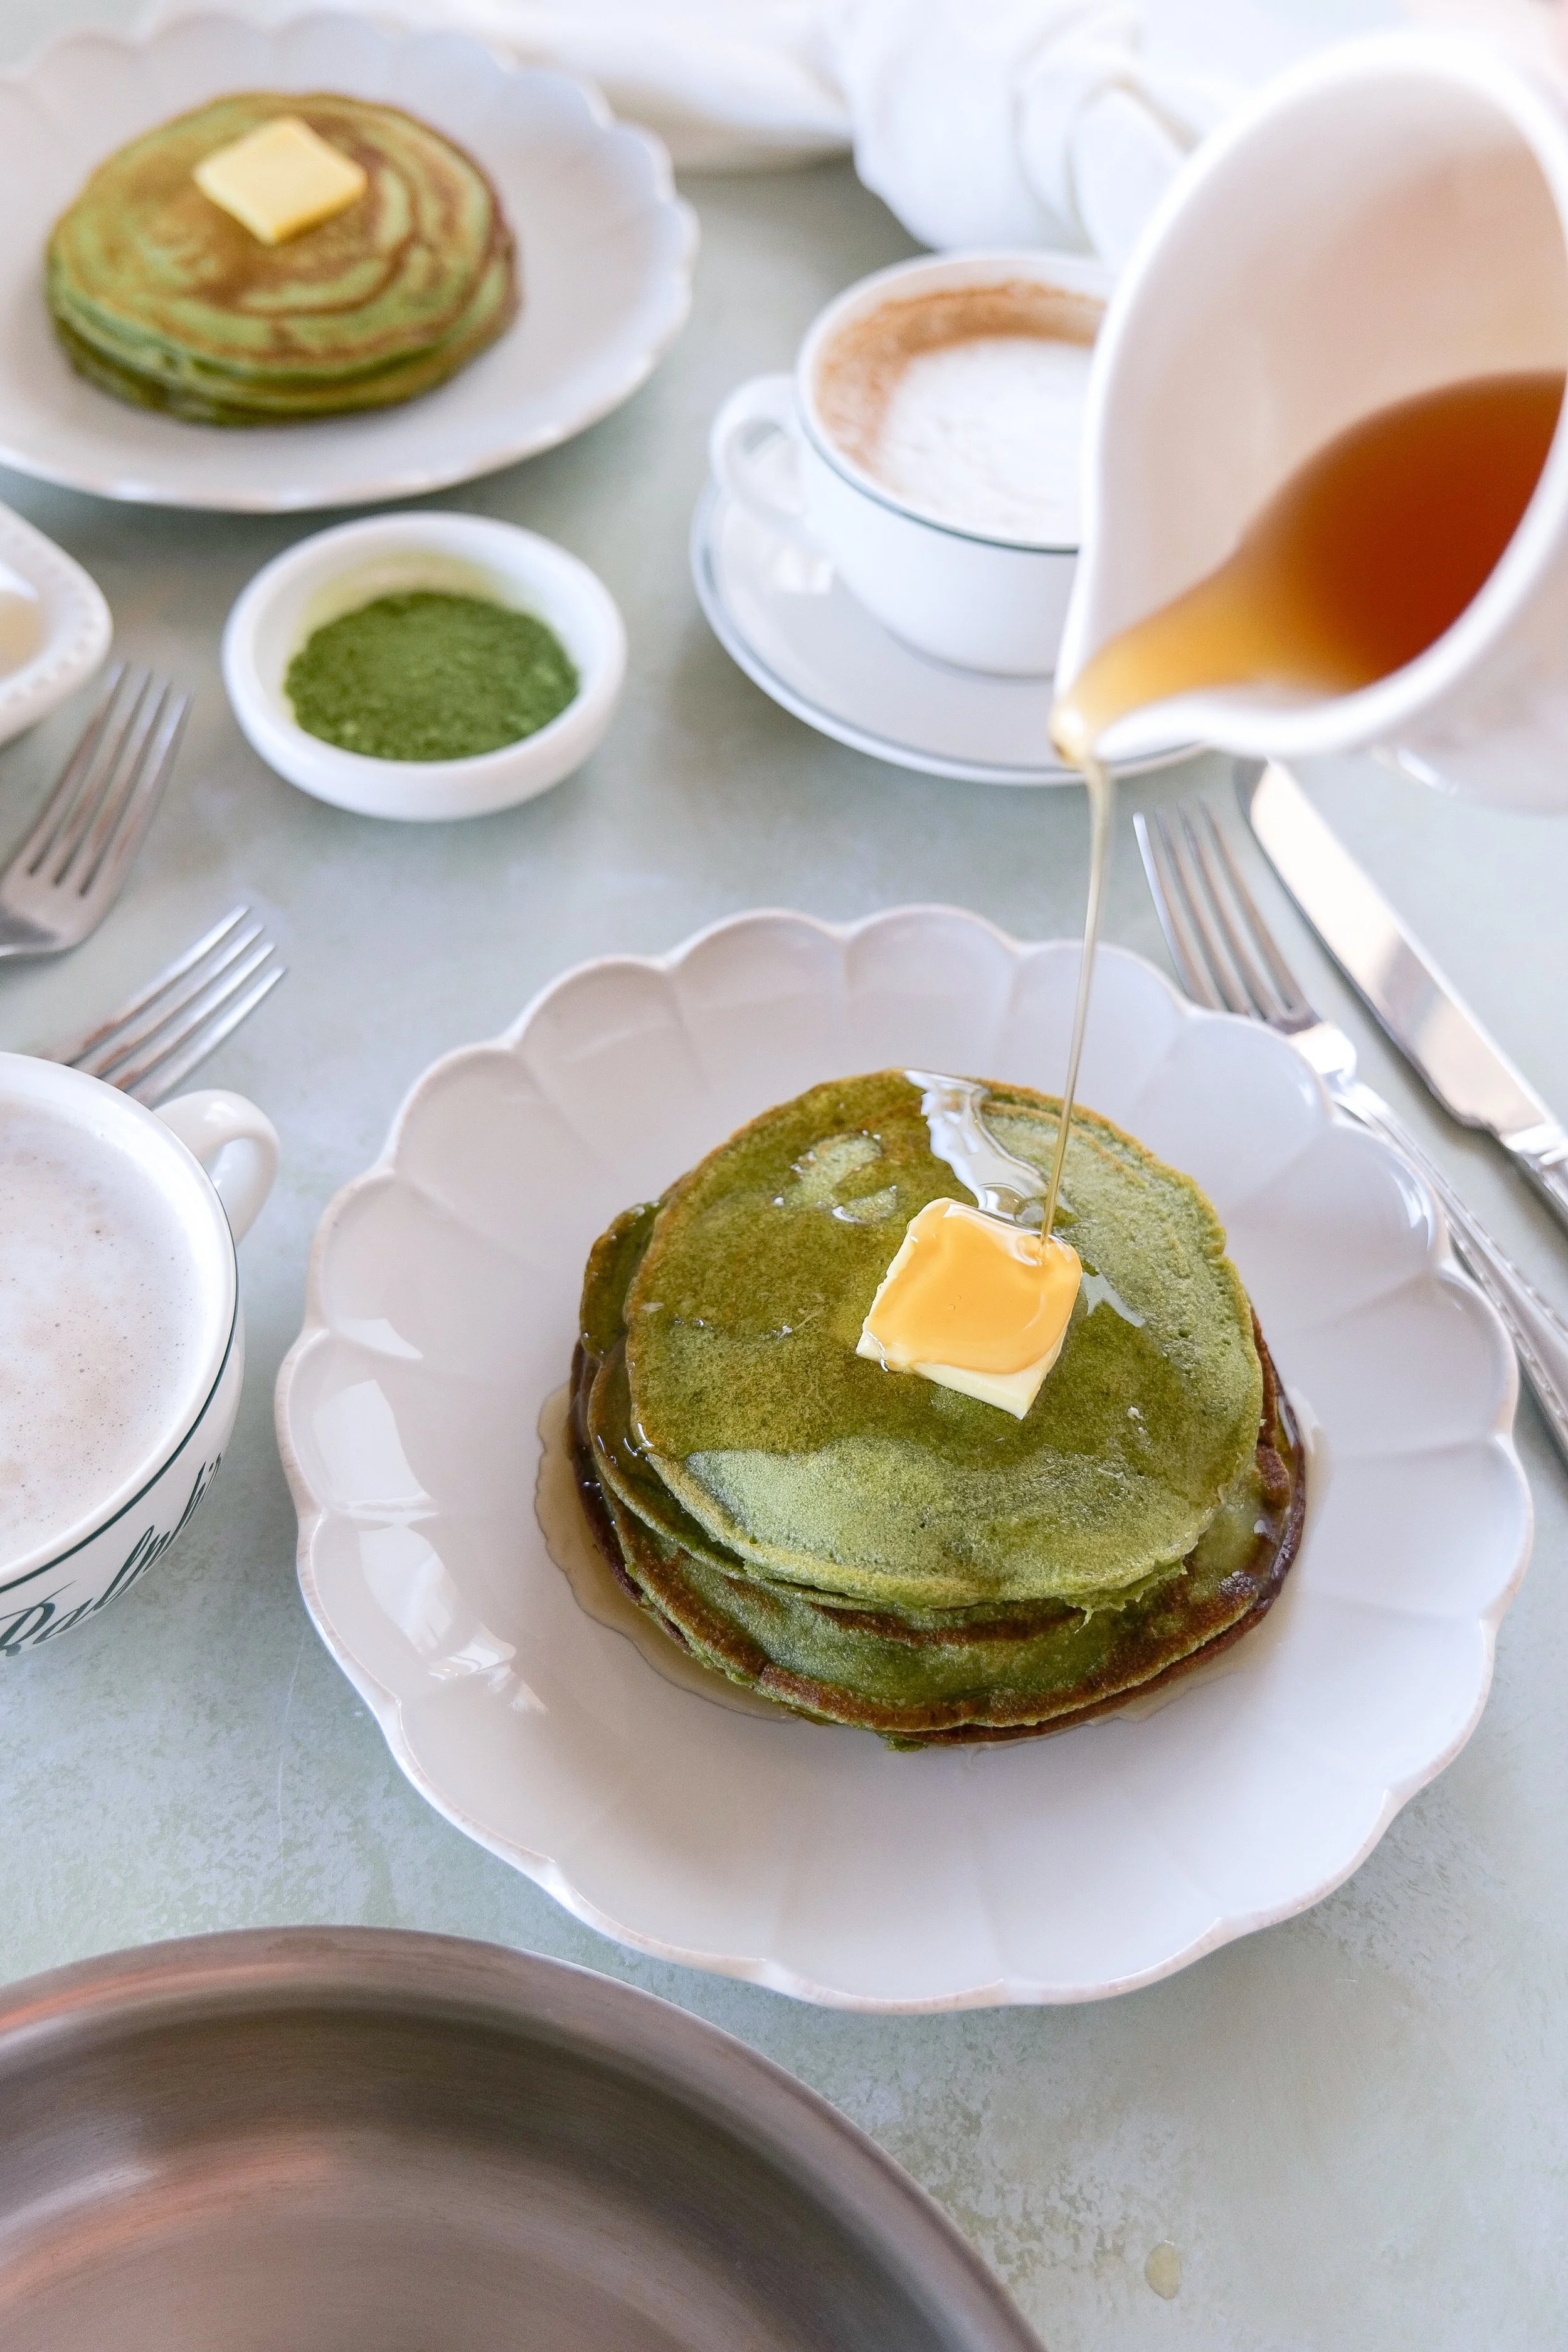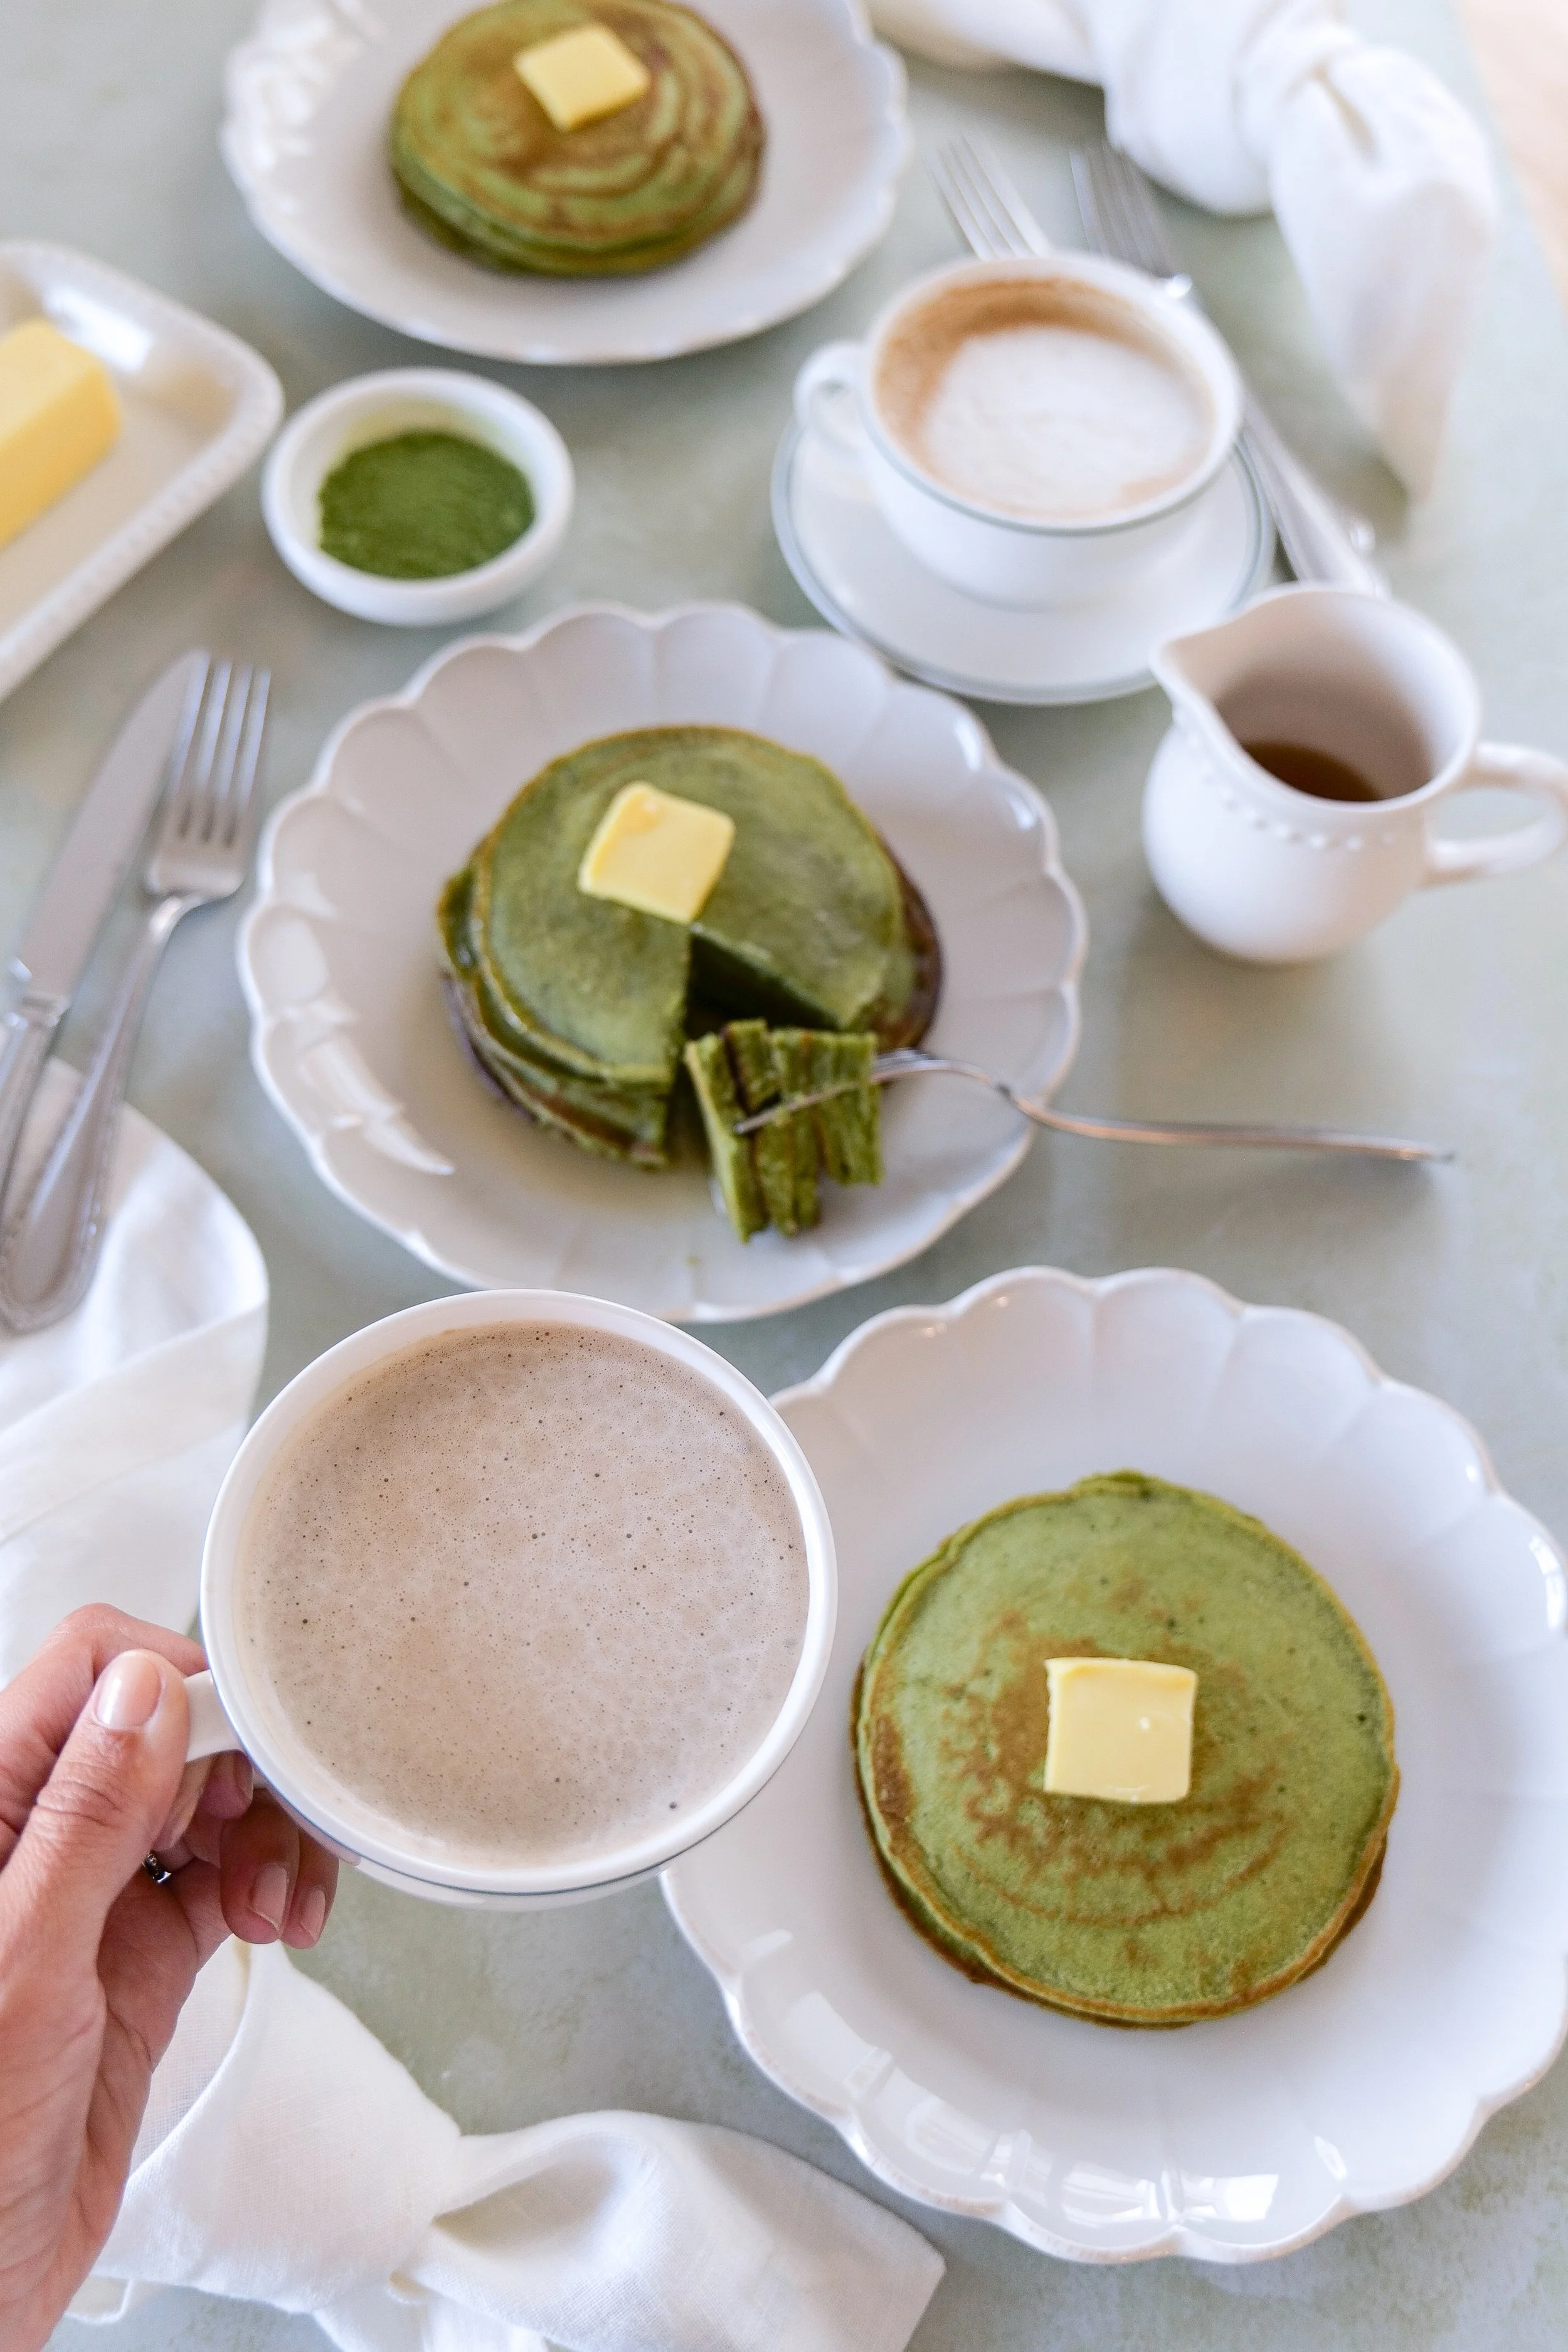
Vanilla Bean Cherry Layer Cake (The Perfect Summer Celebration Cake)

A soft vanilla bean cake layered with sweet cherry filling and finished with whipped vanilla cherry mascarpone frosting.
↓ Skip to Recipe
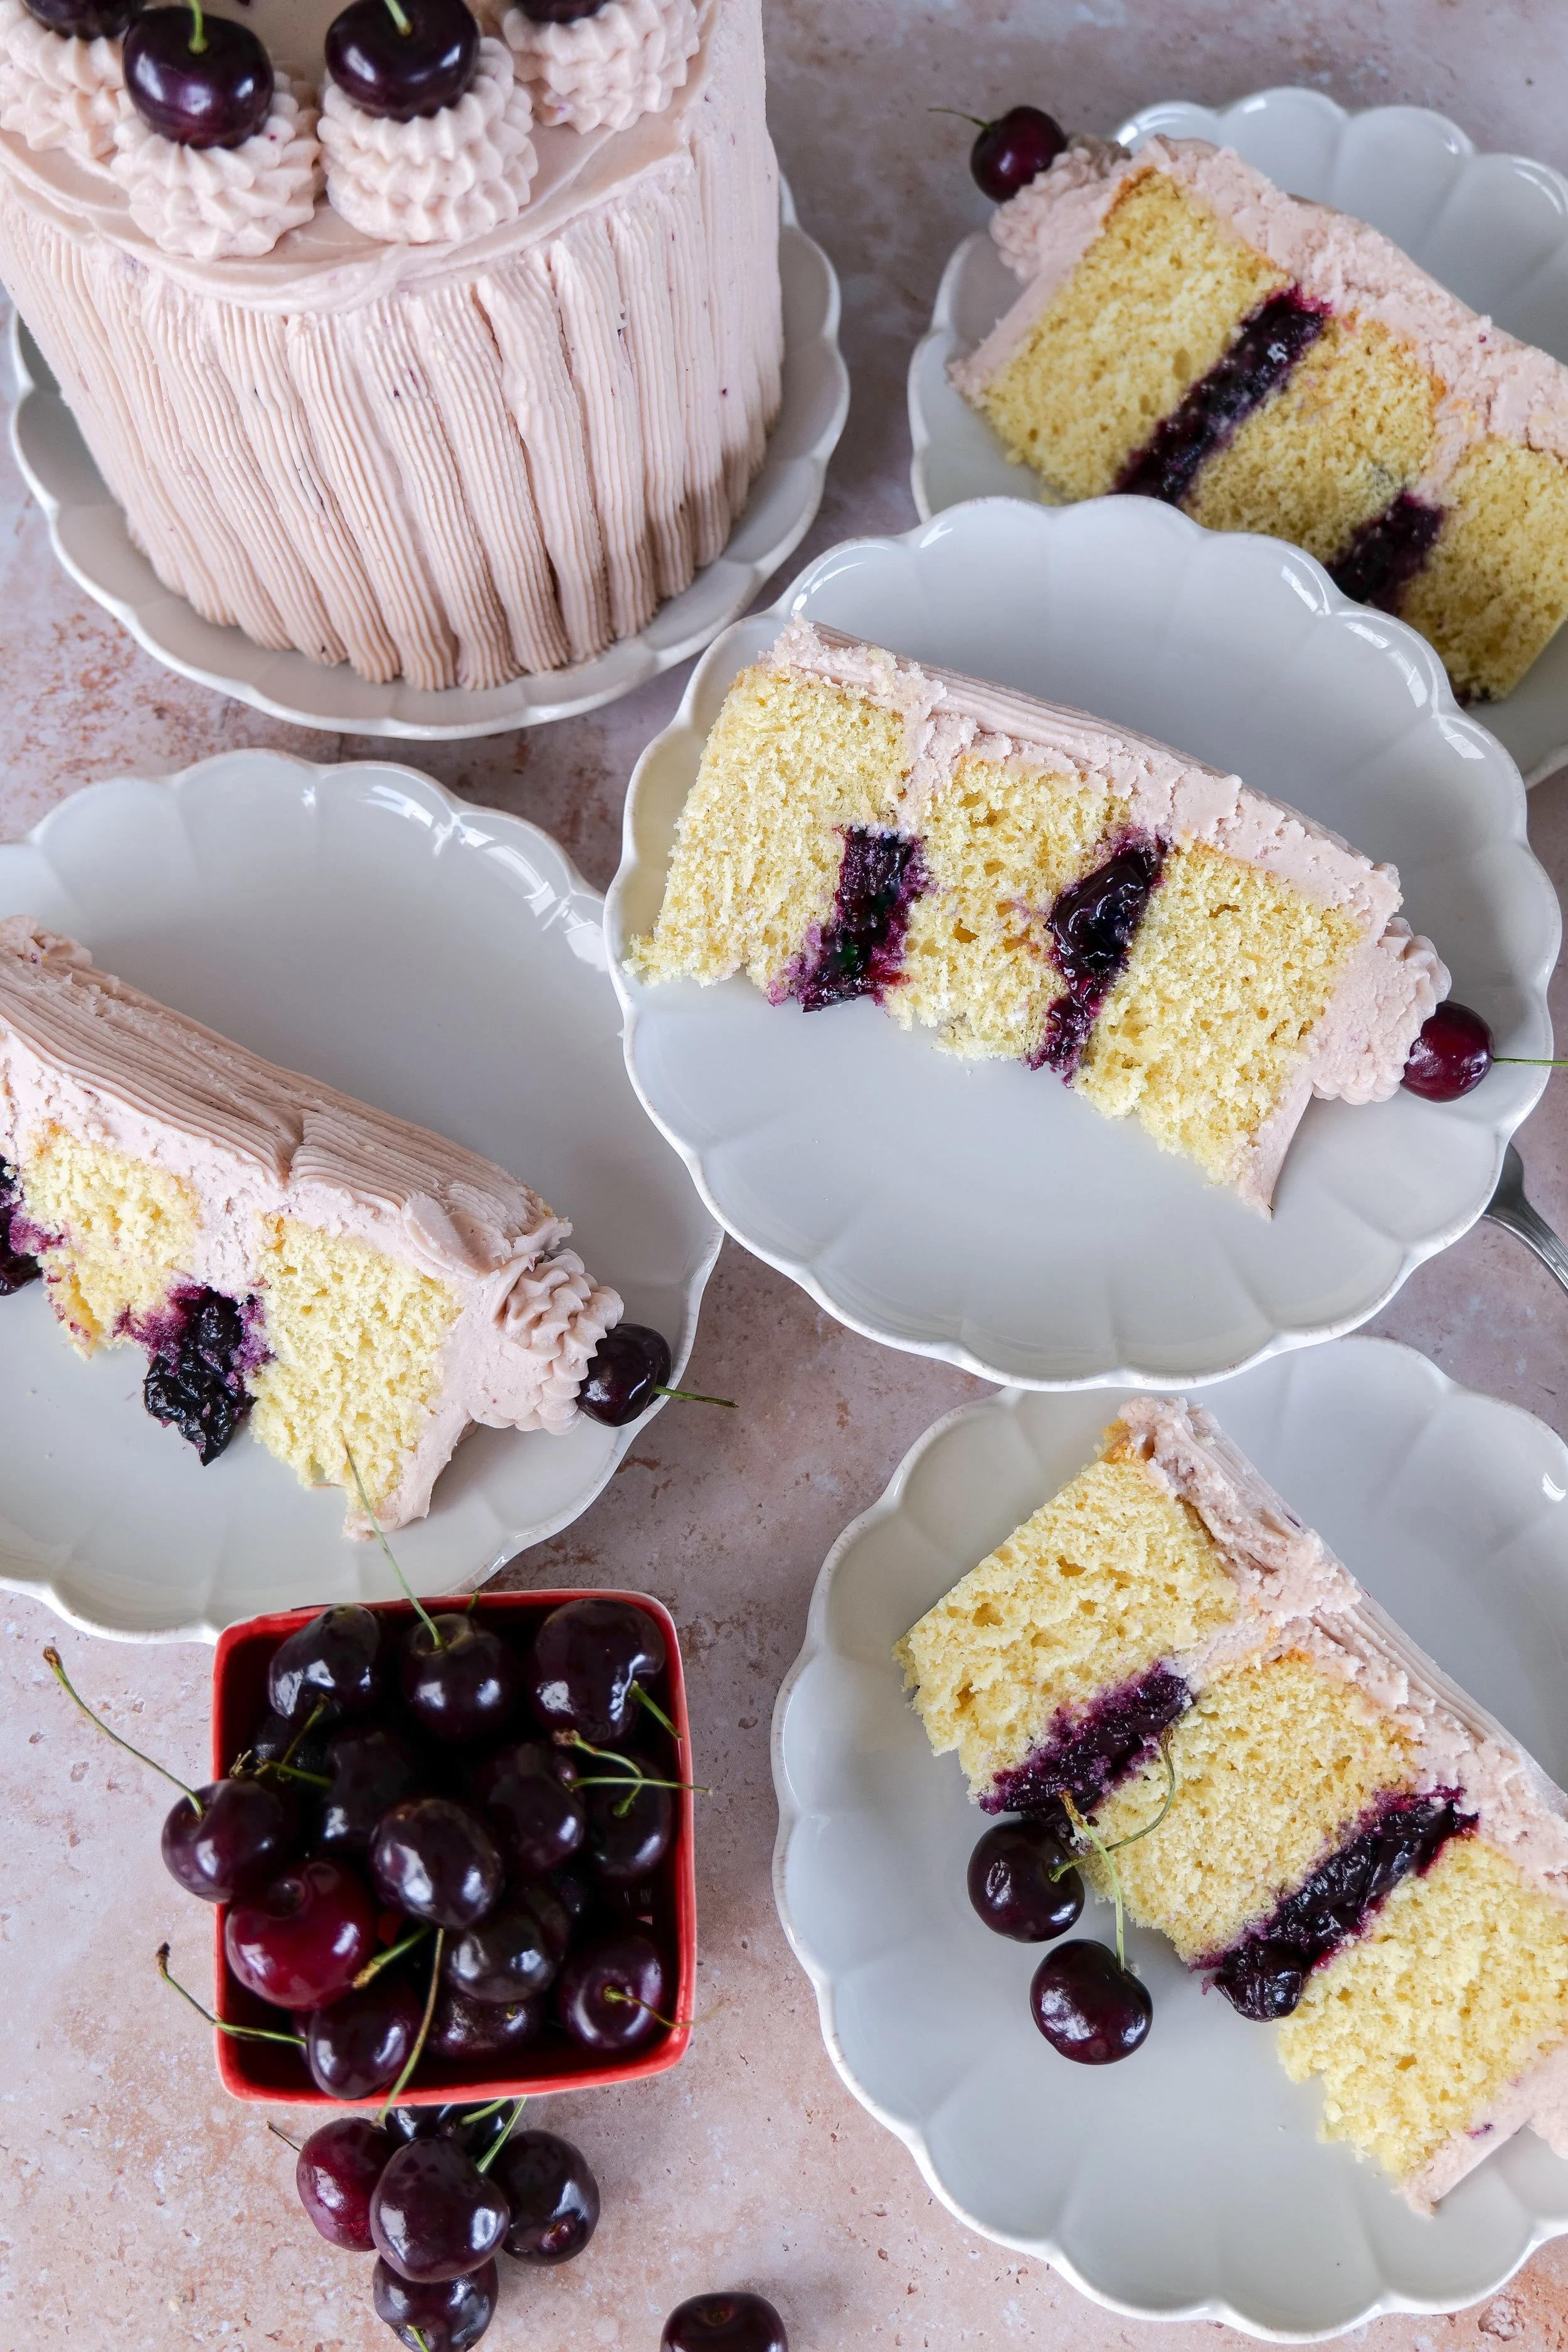
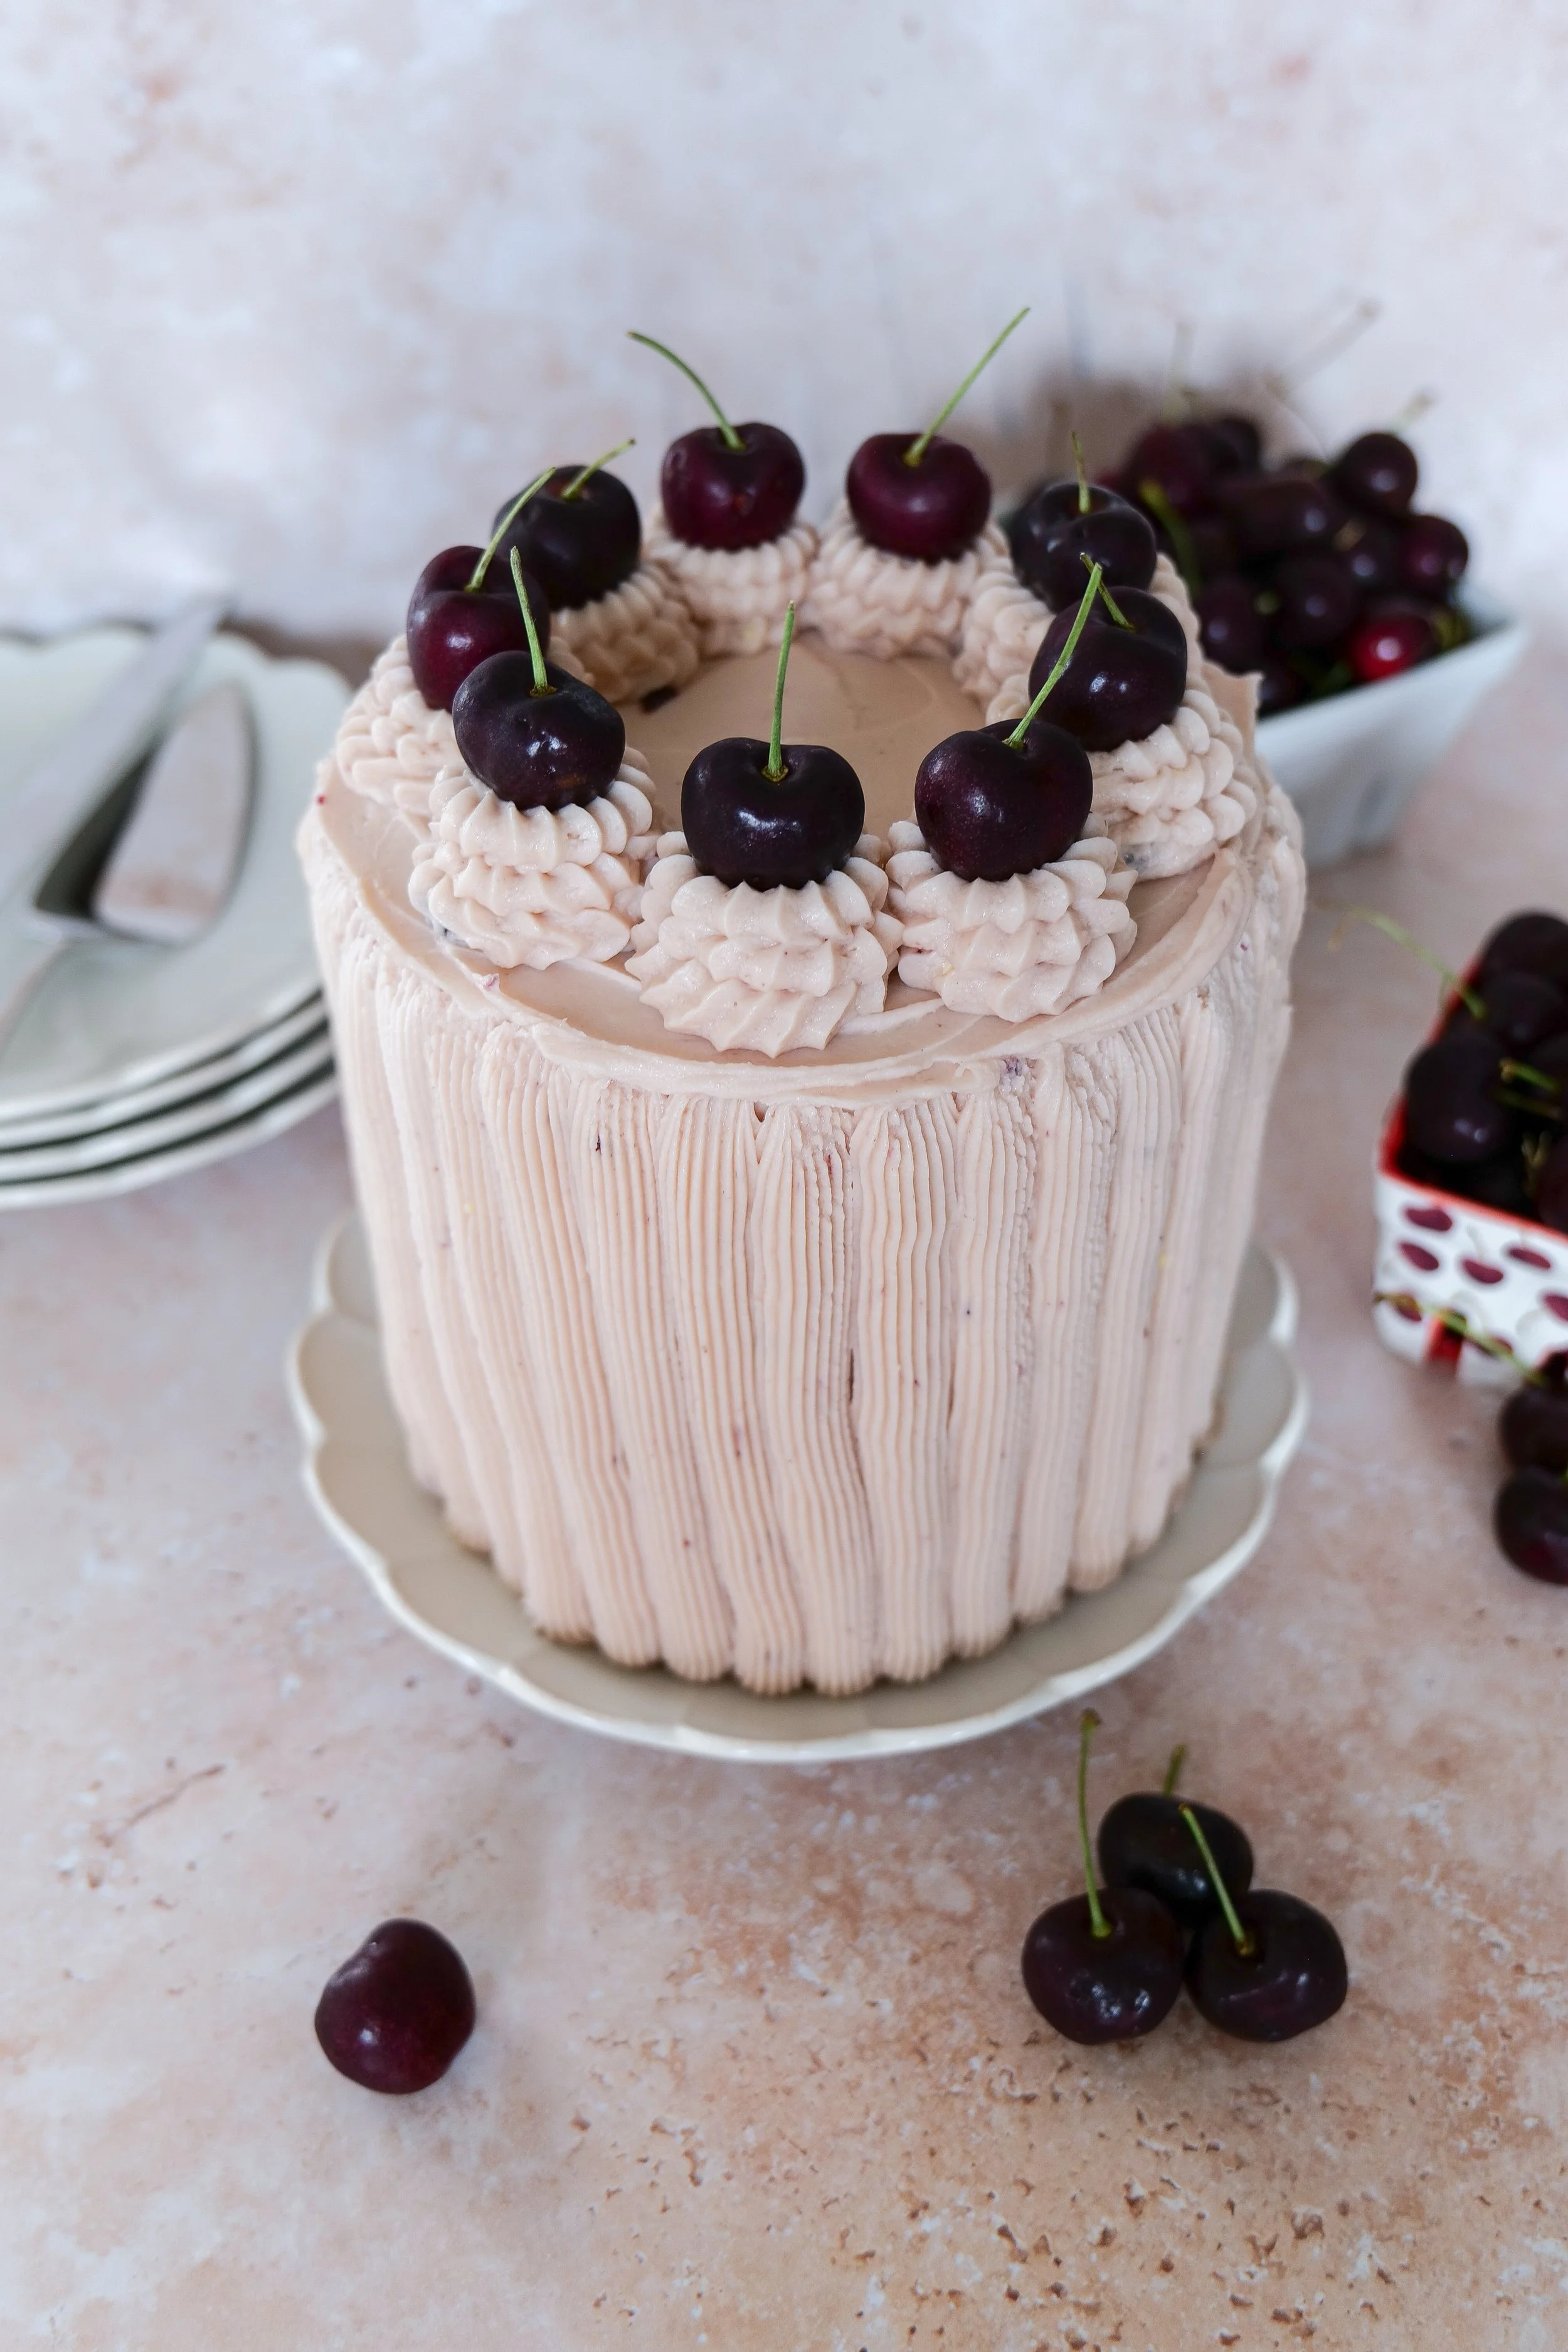
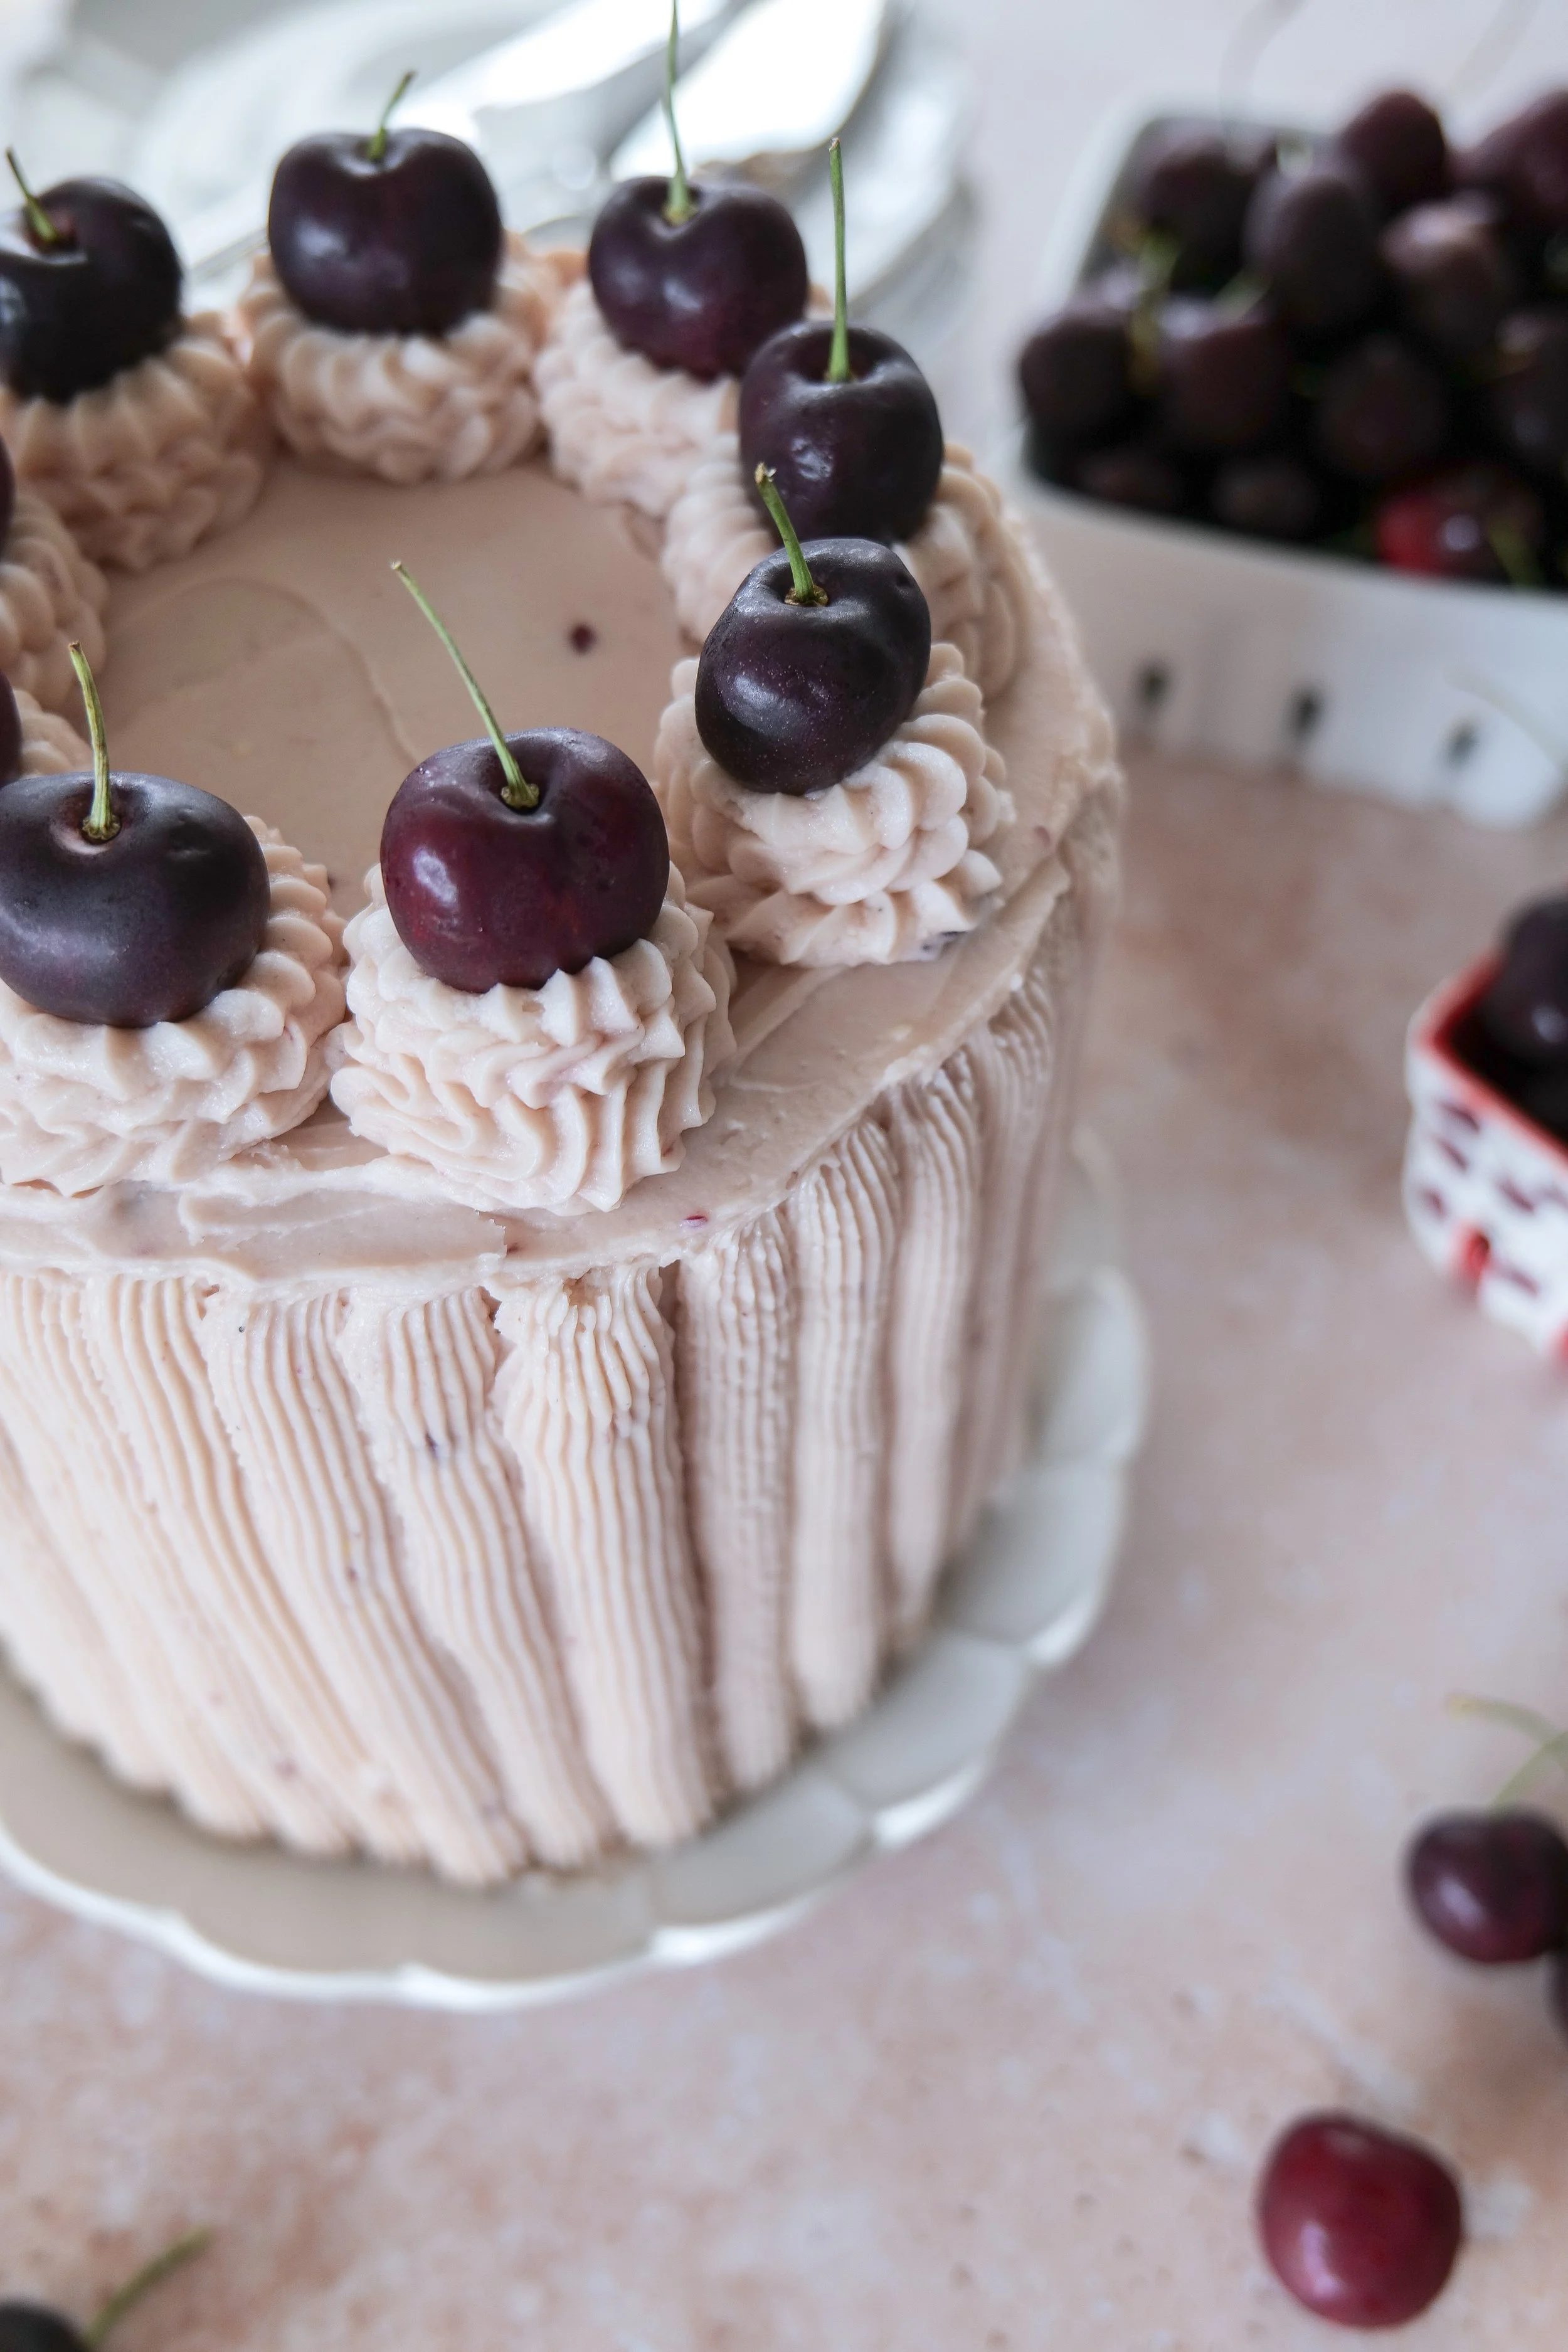
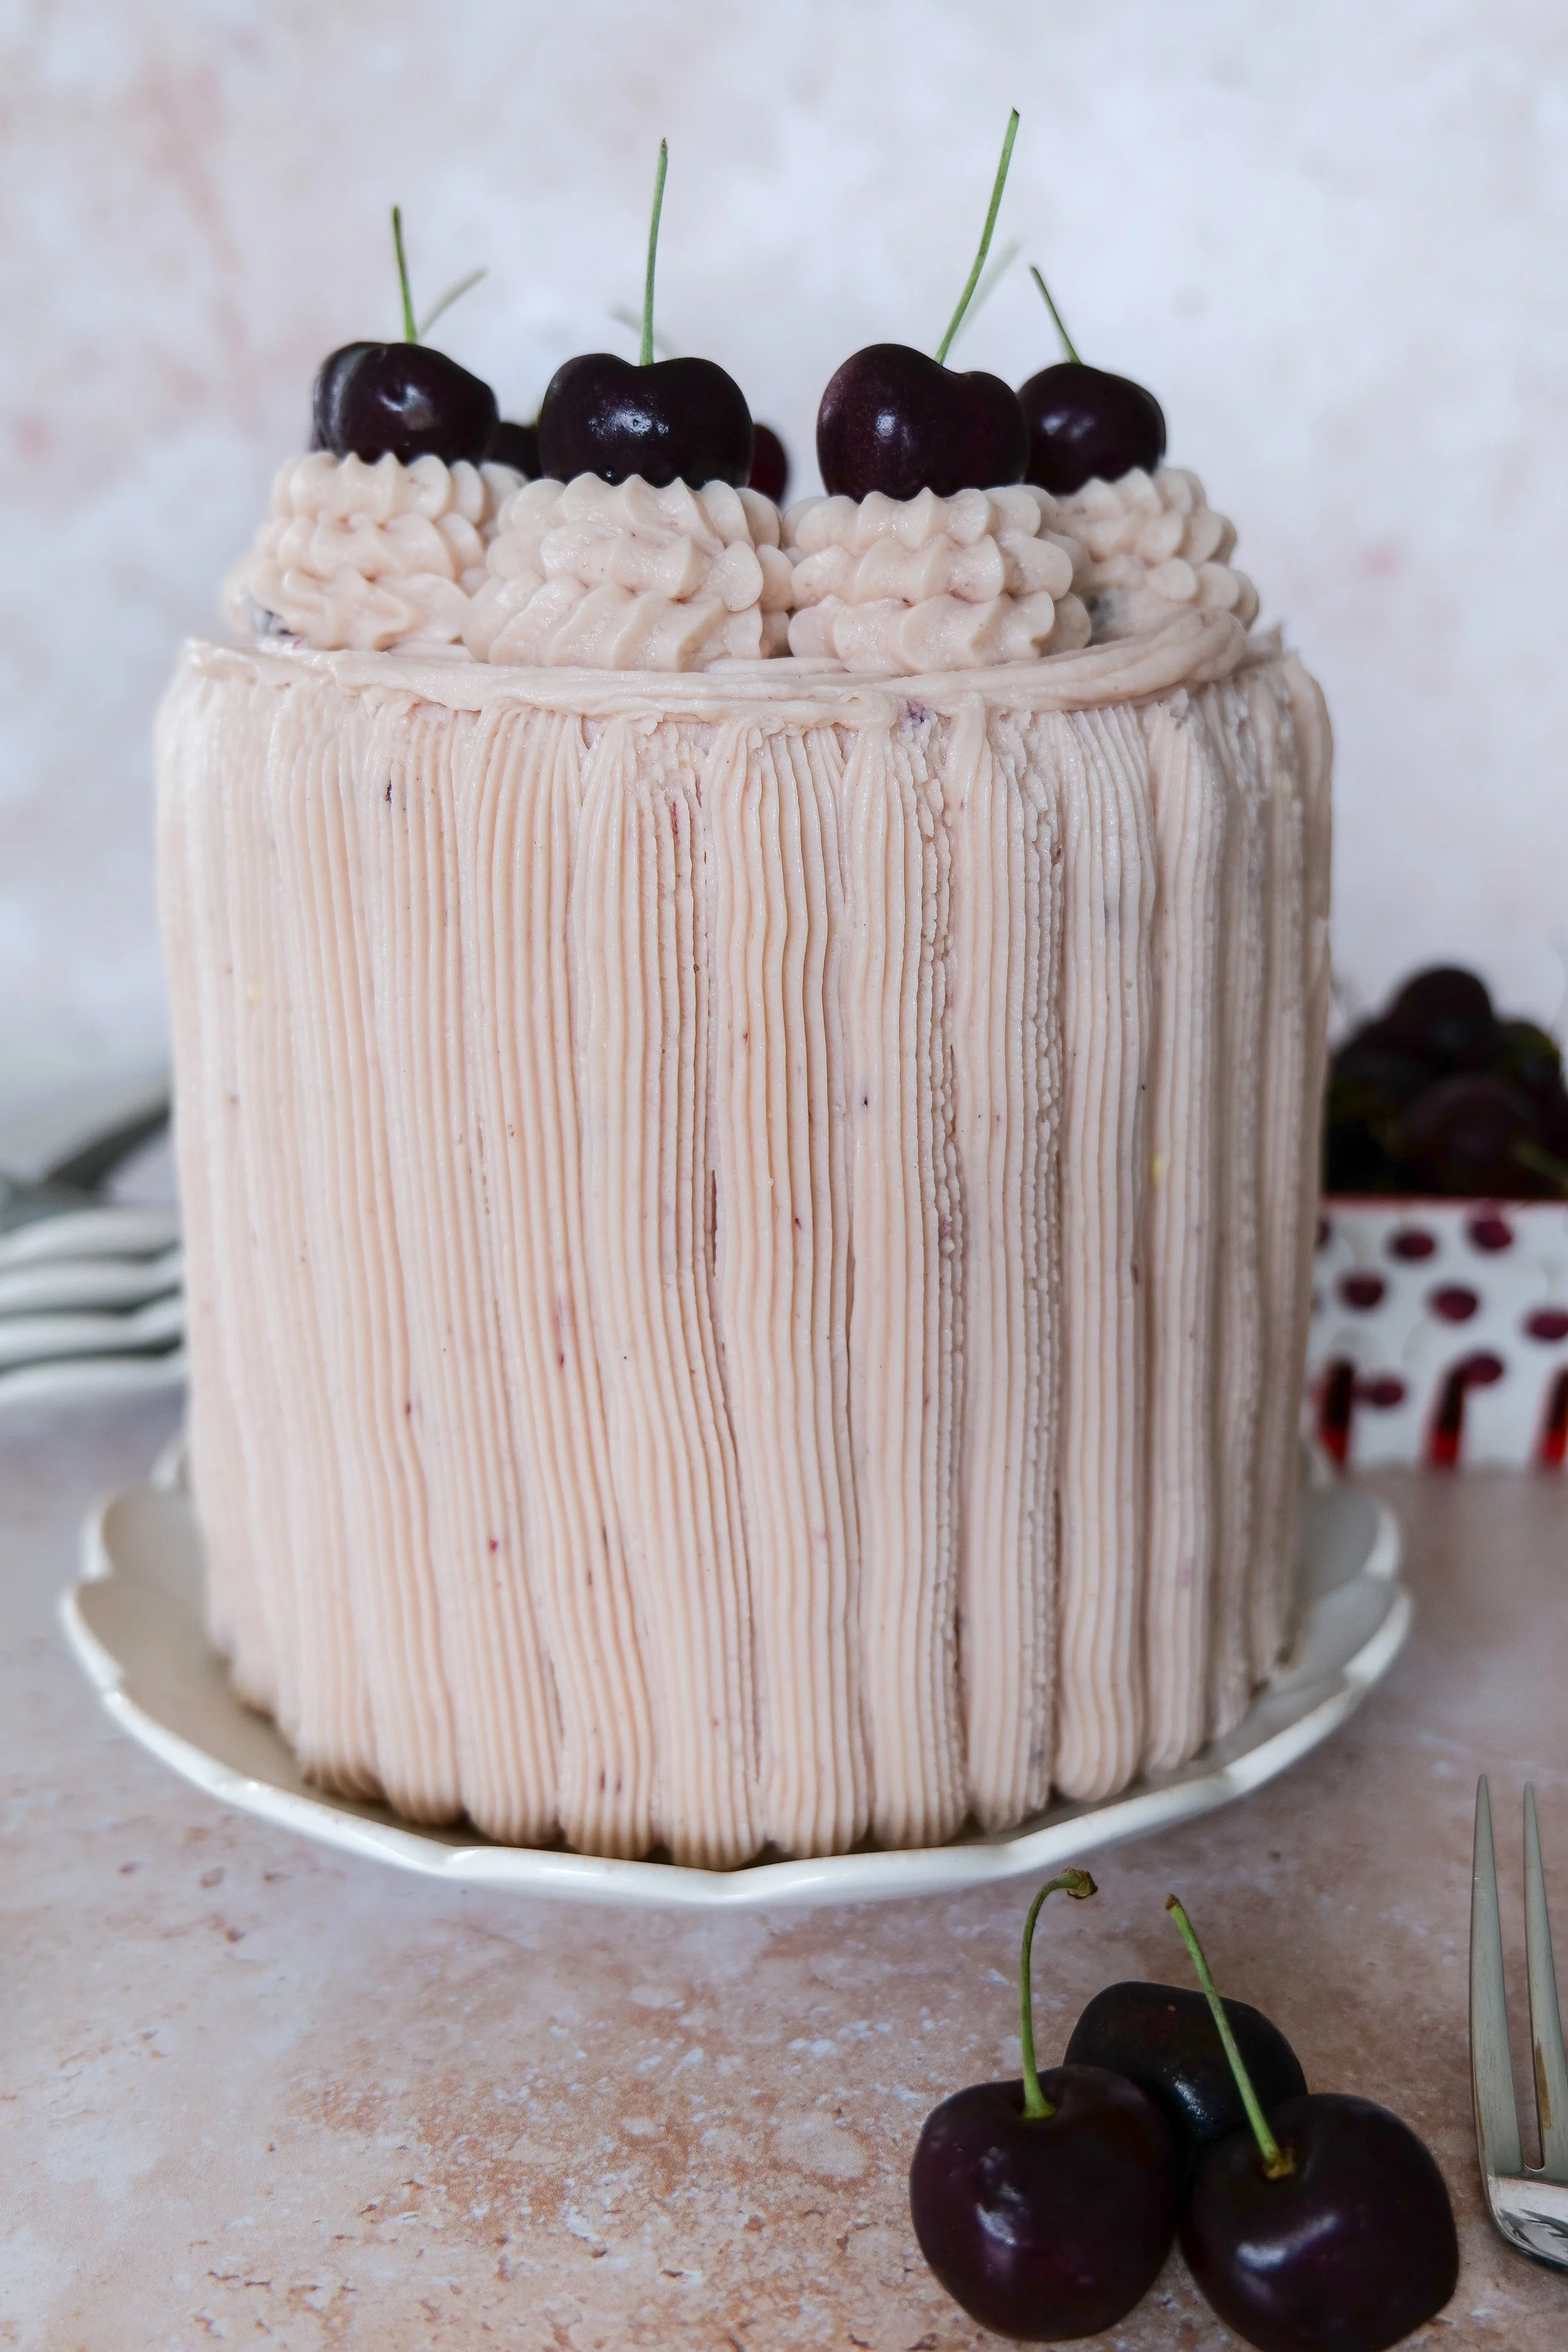
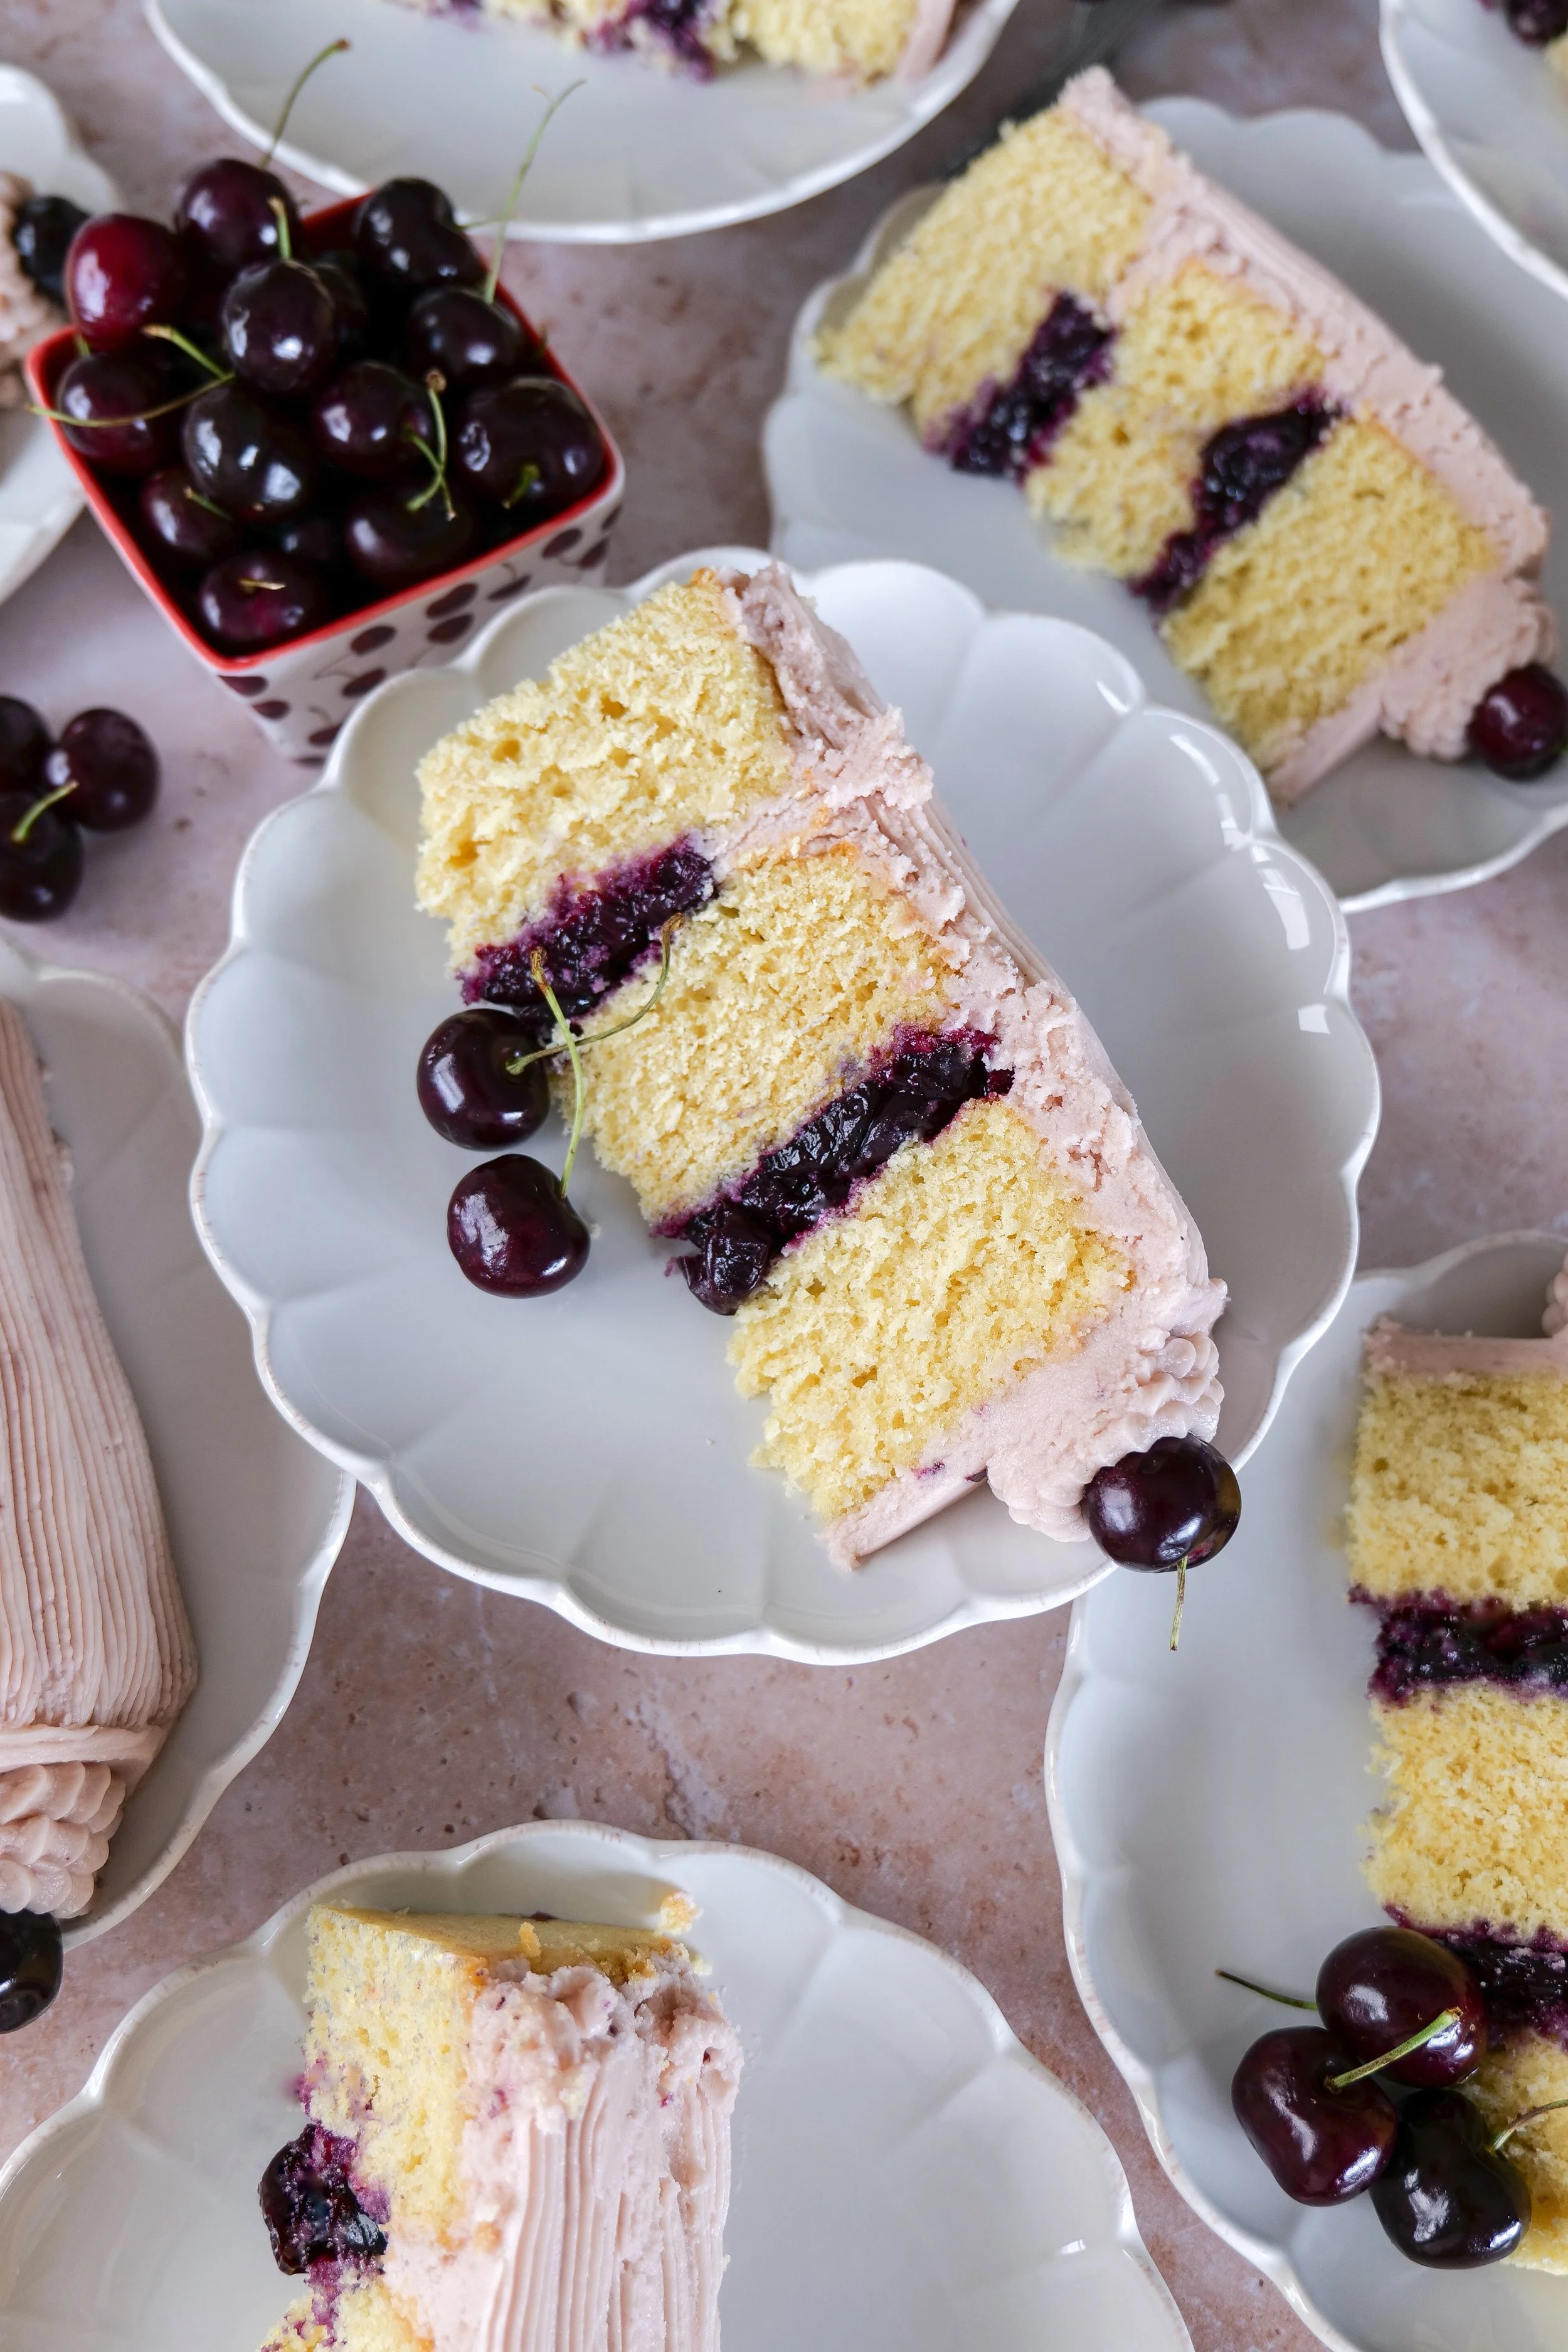
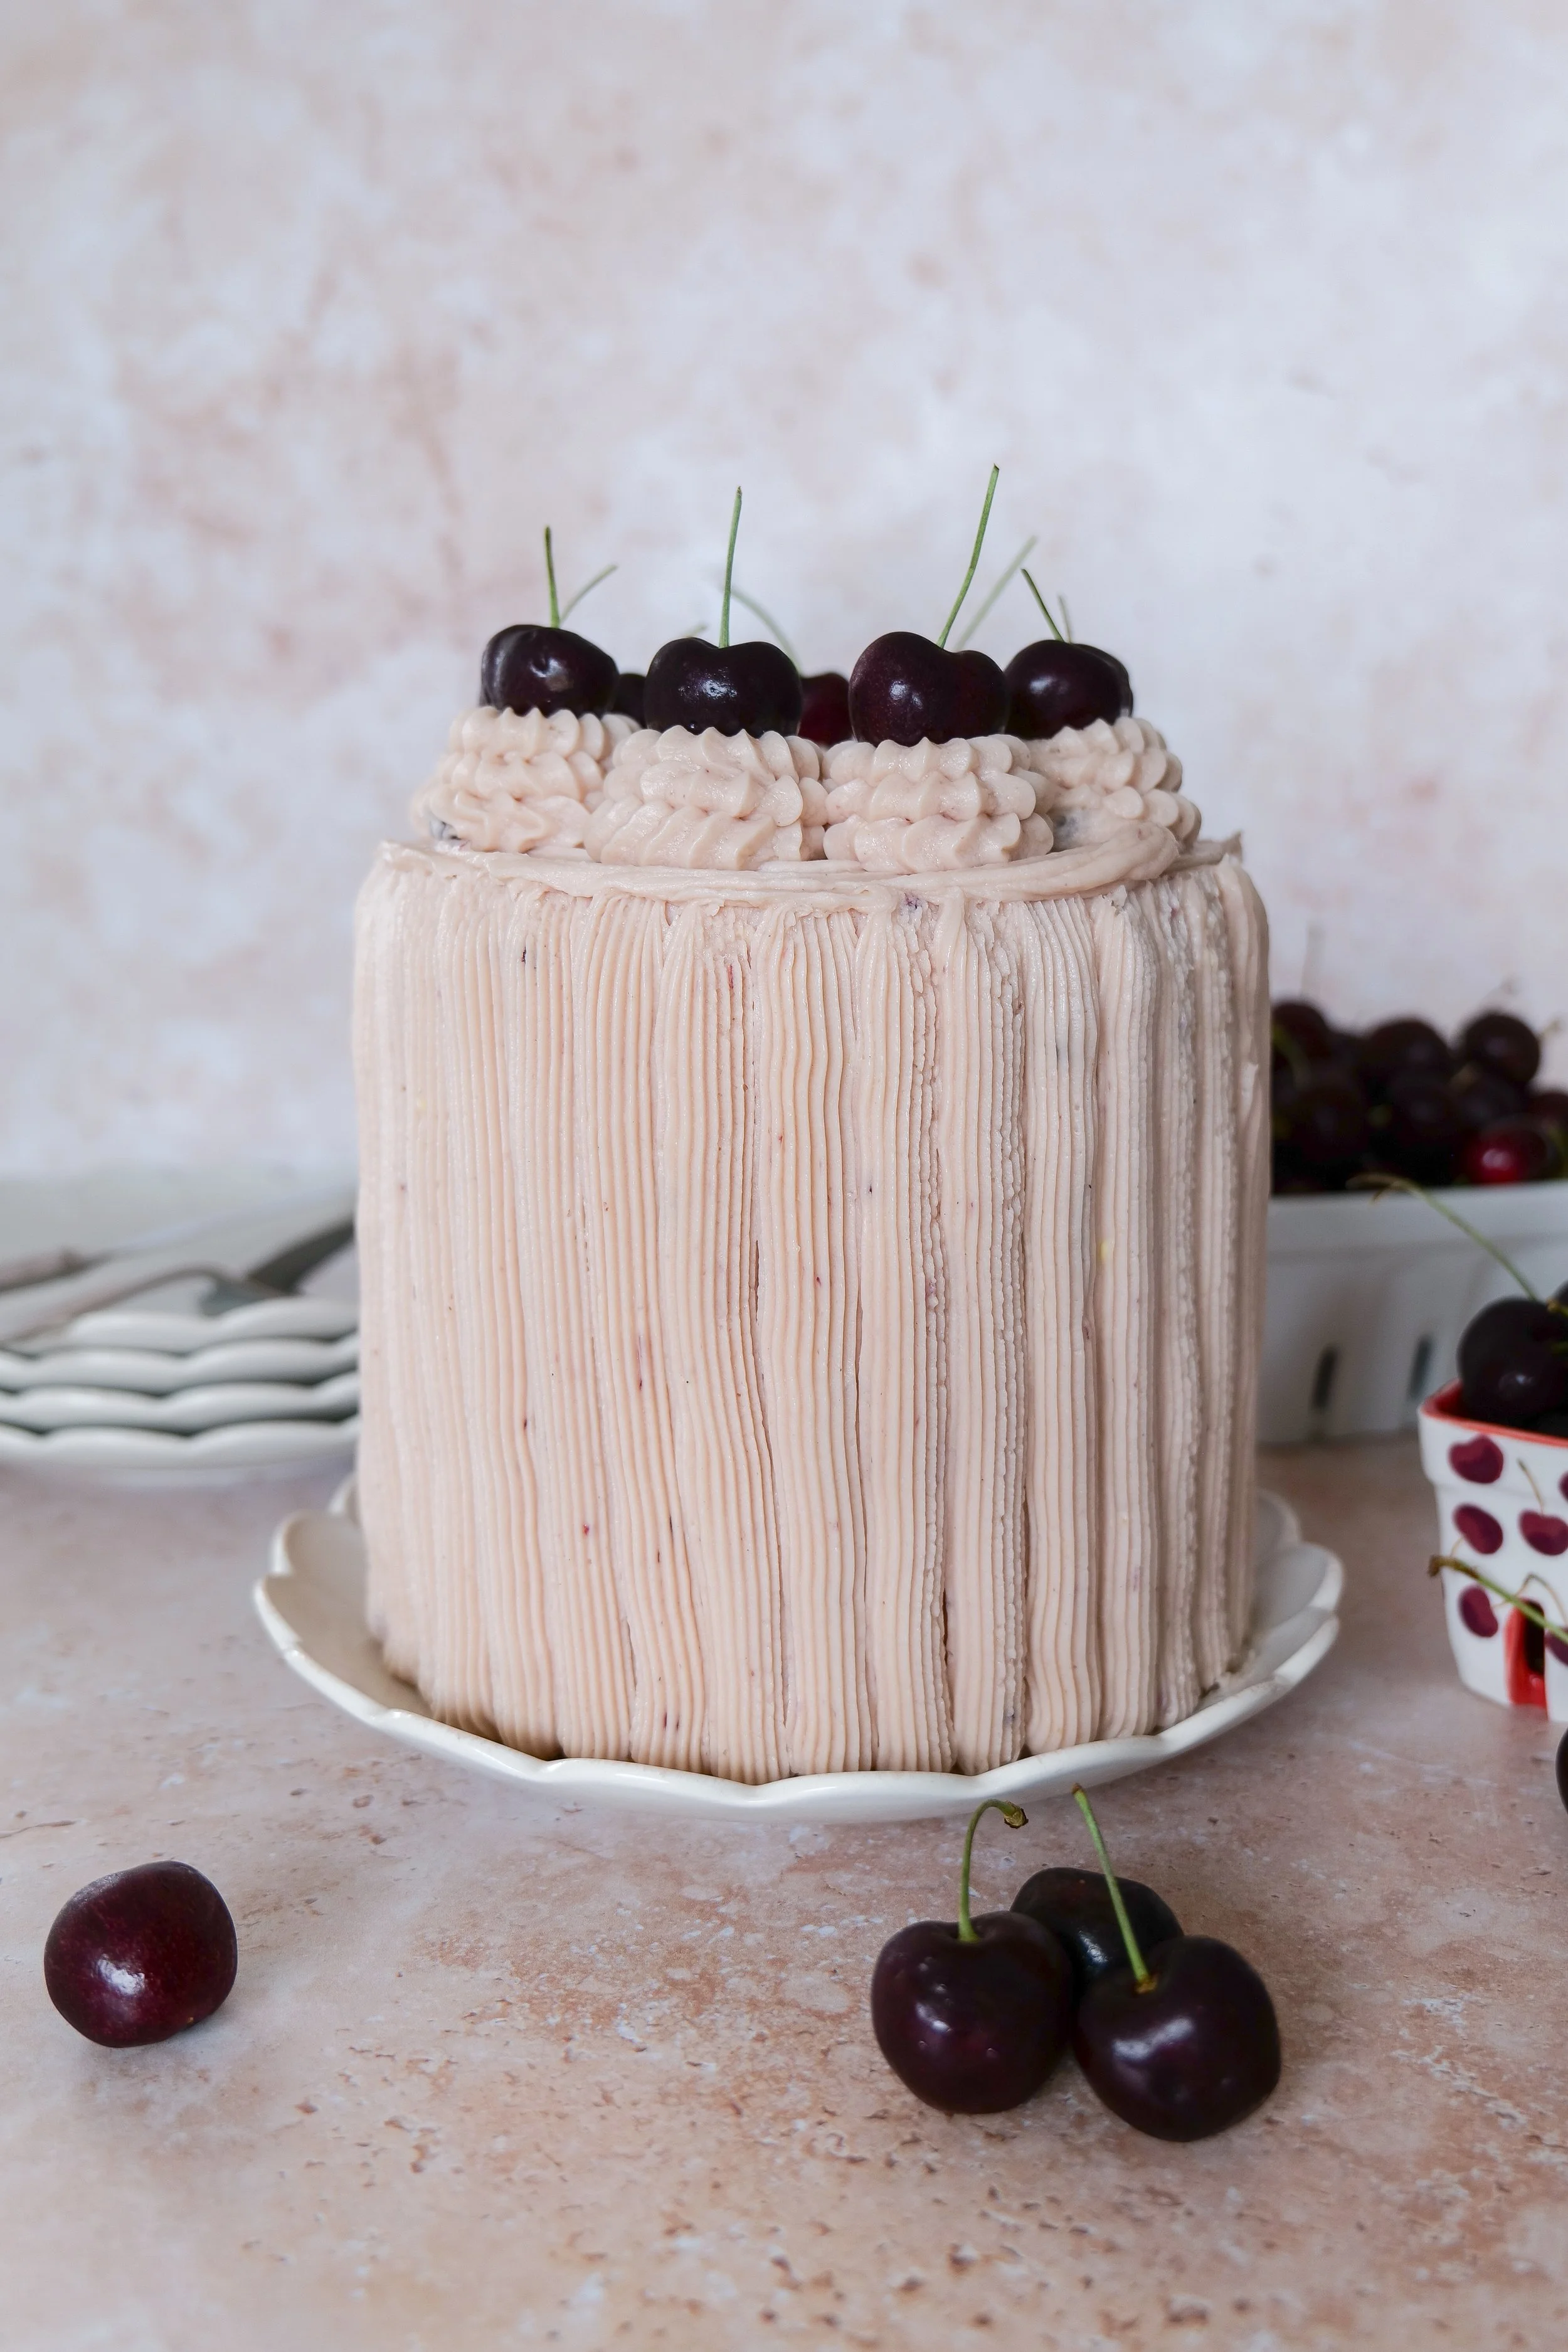
Vanilla bean cherry layer cake with pink cherry buttercream frosting and homemade cherry filling.
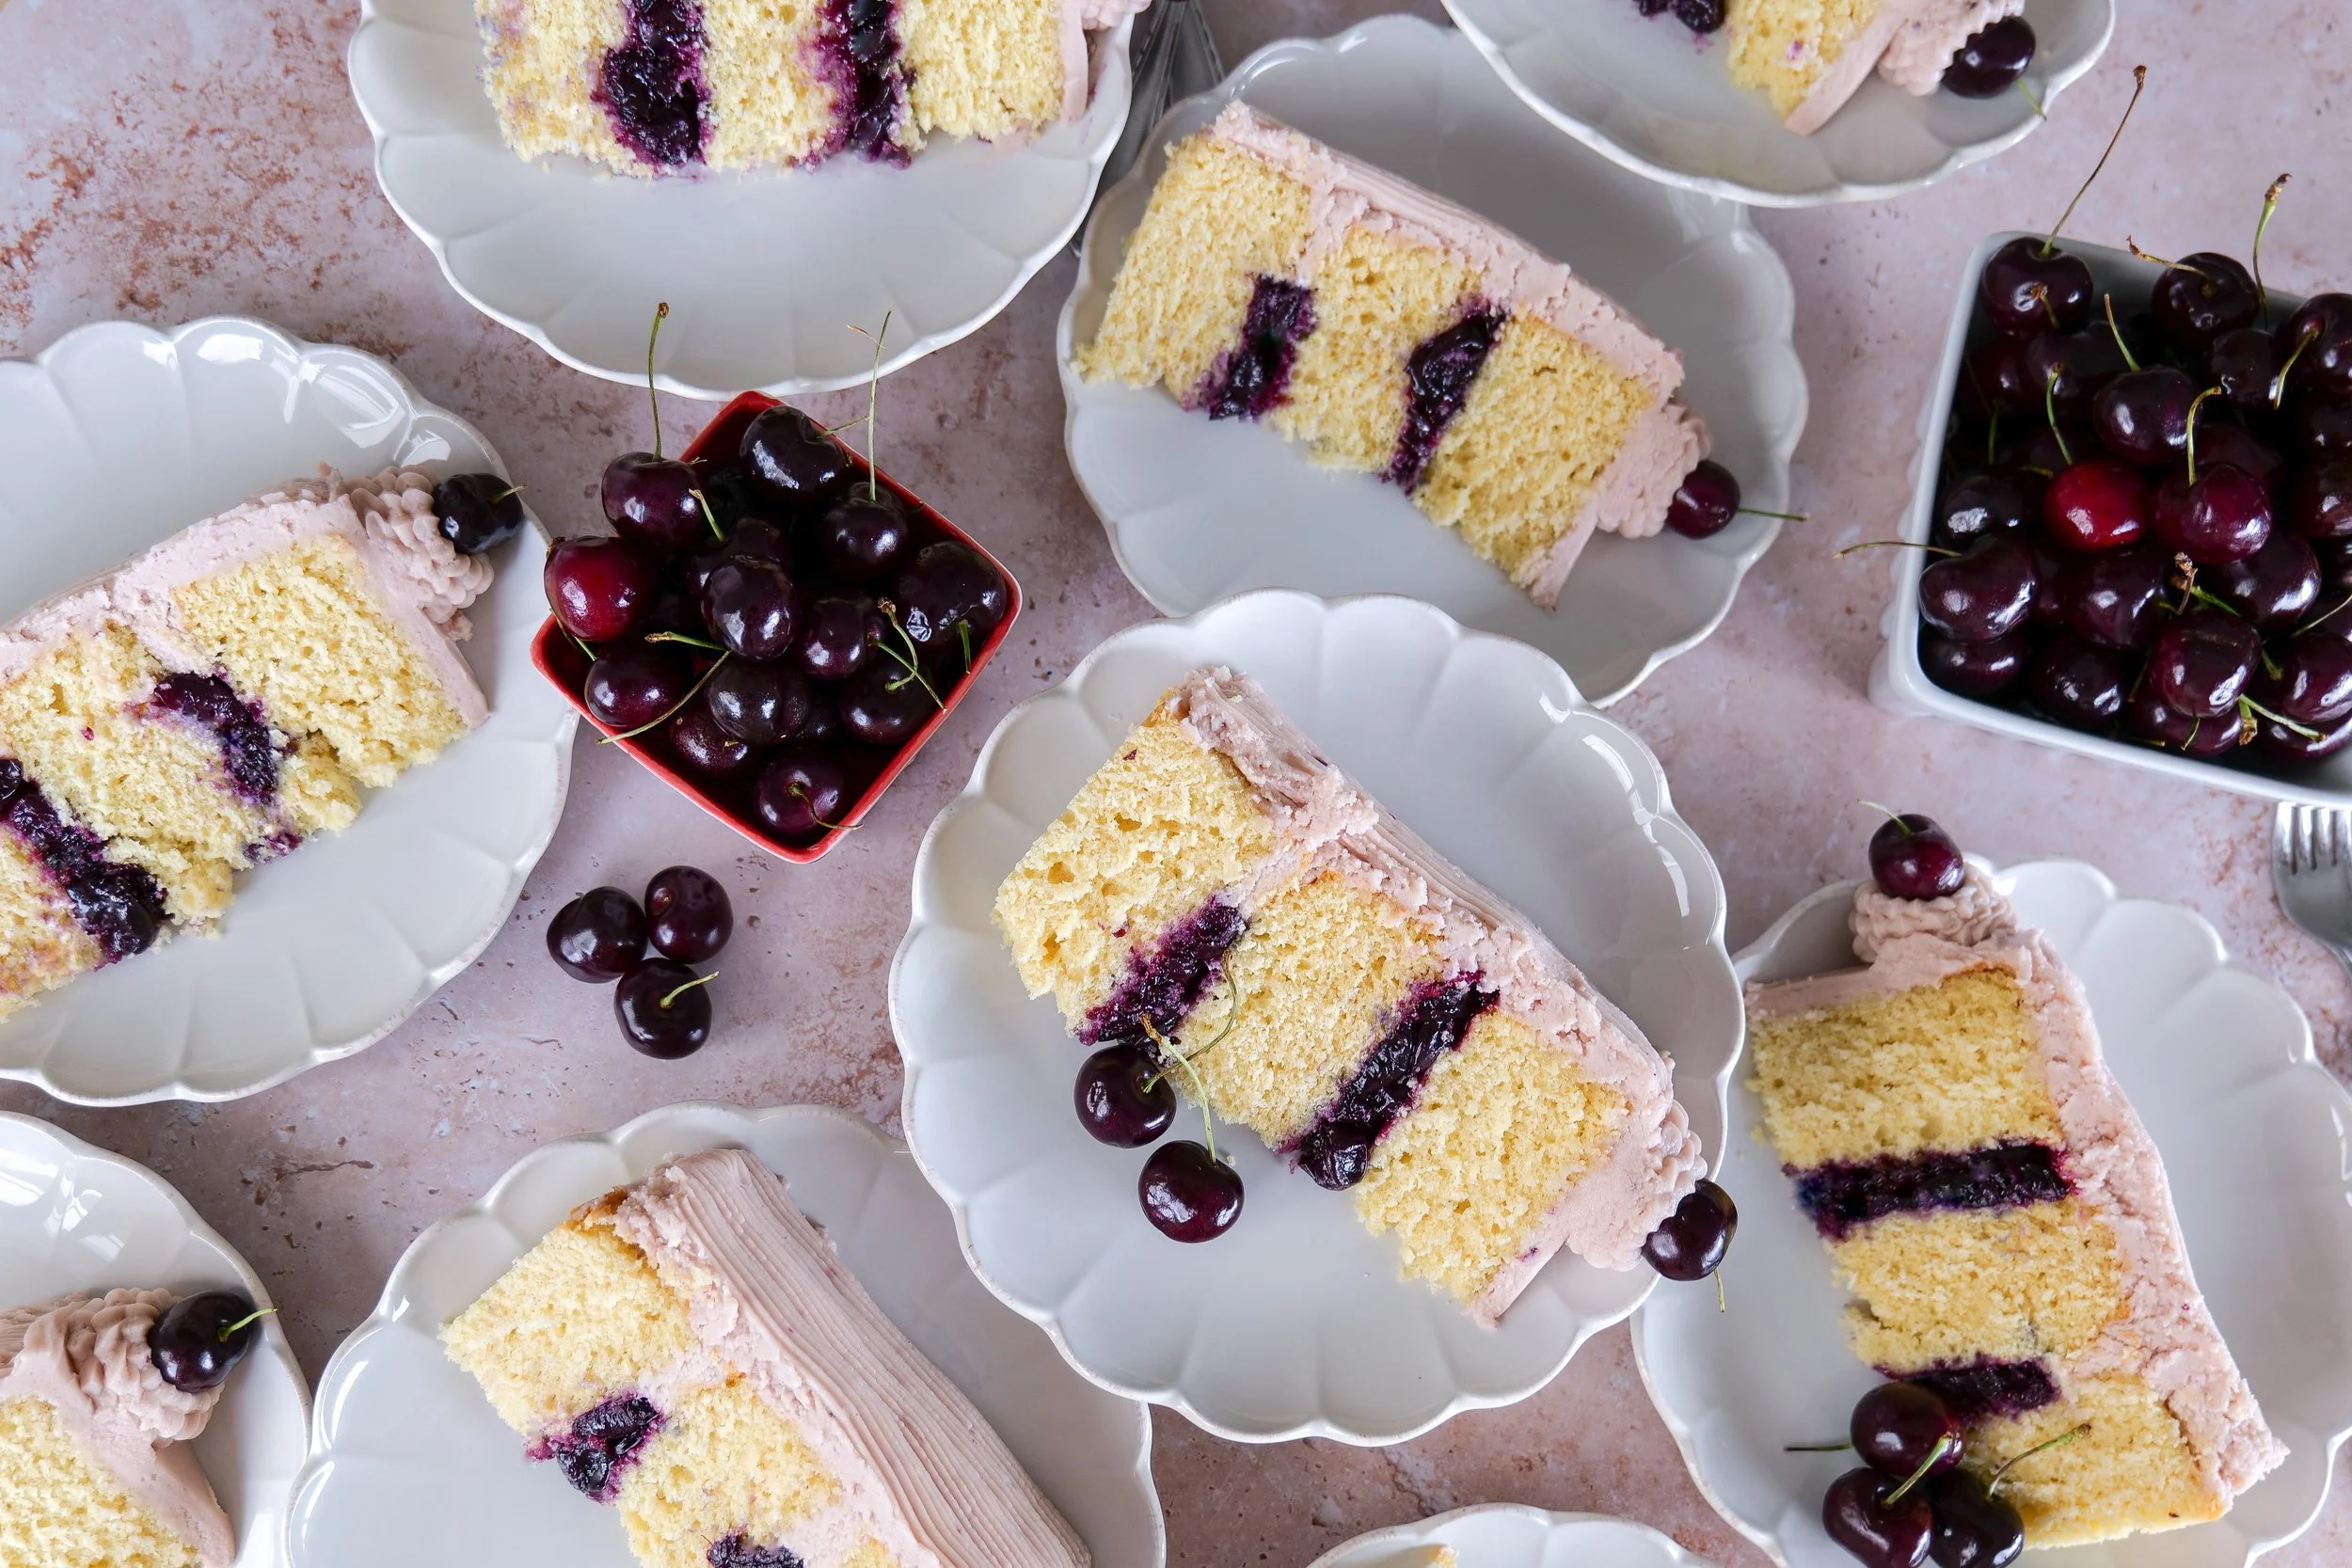
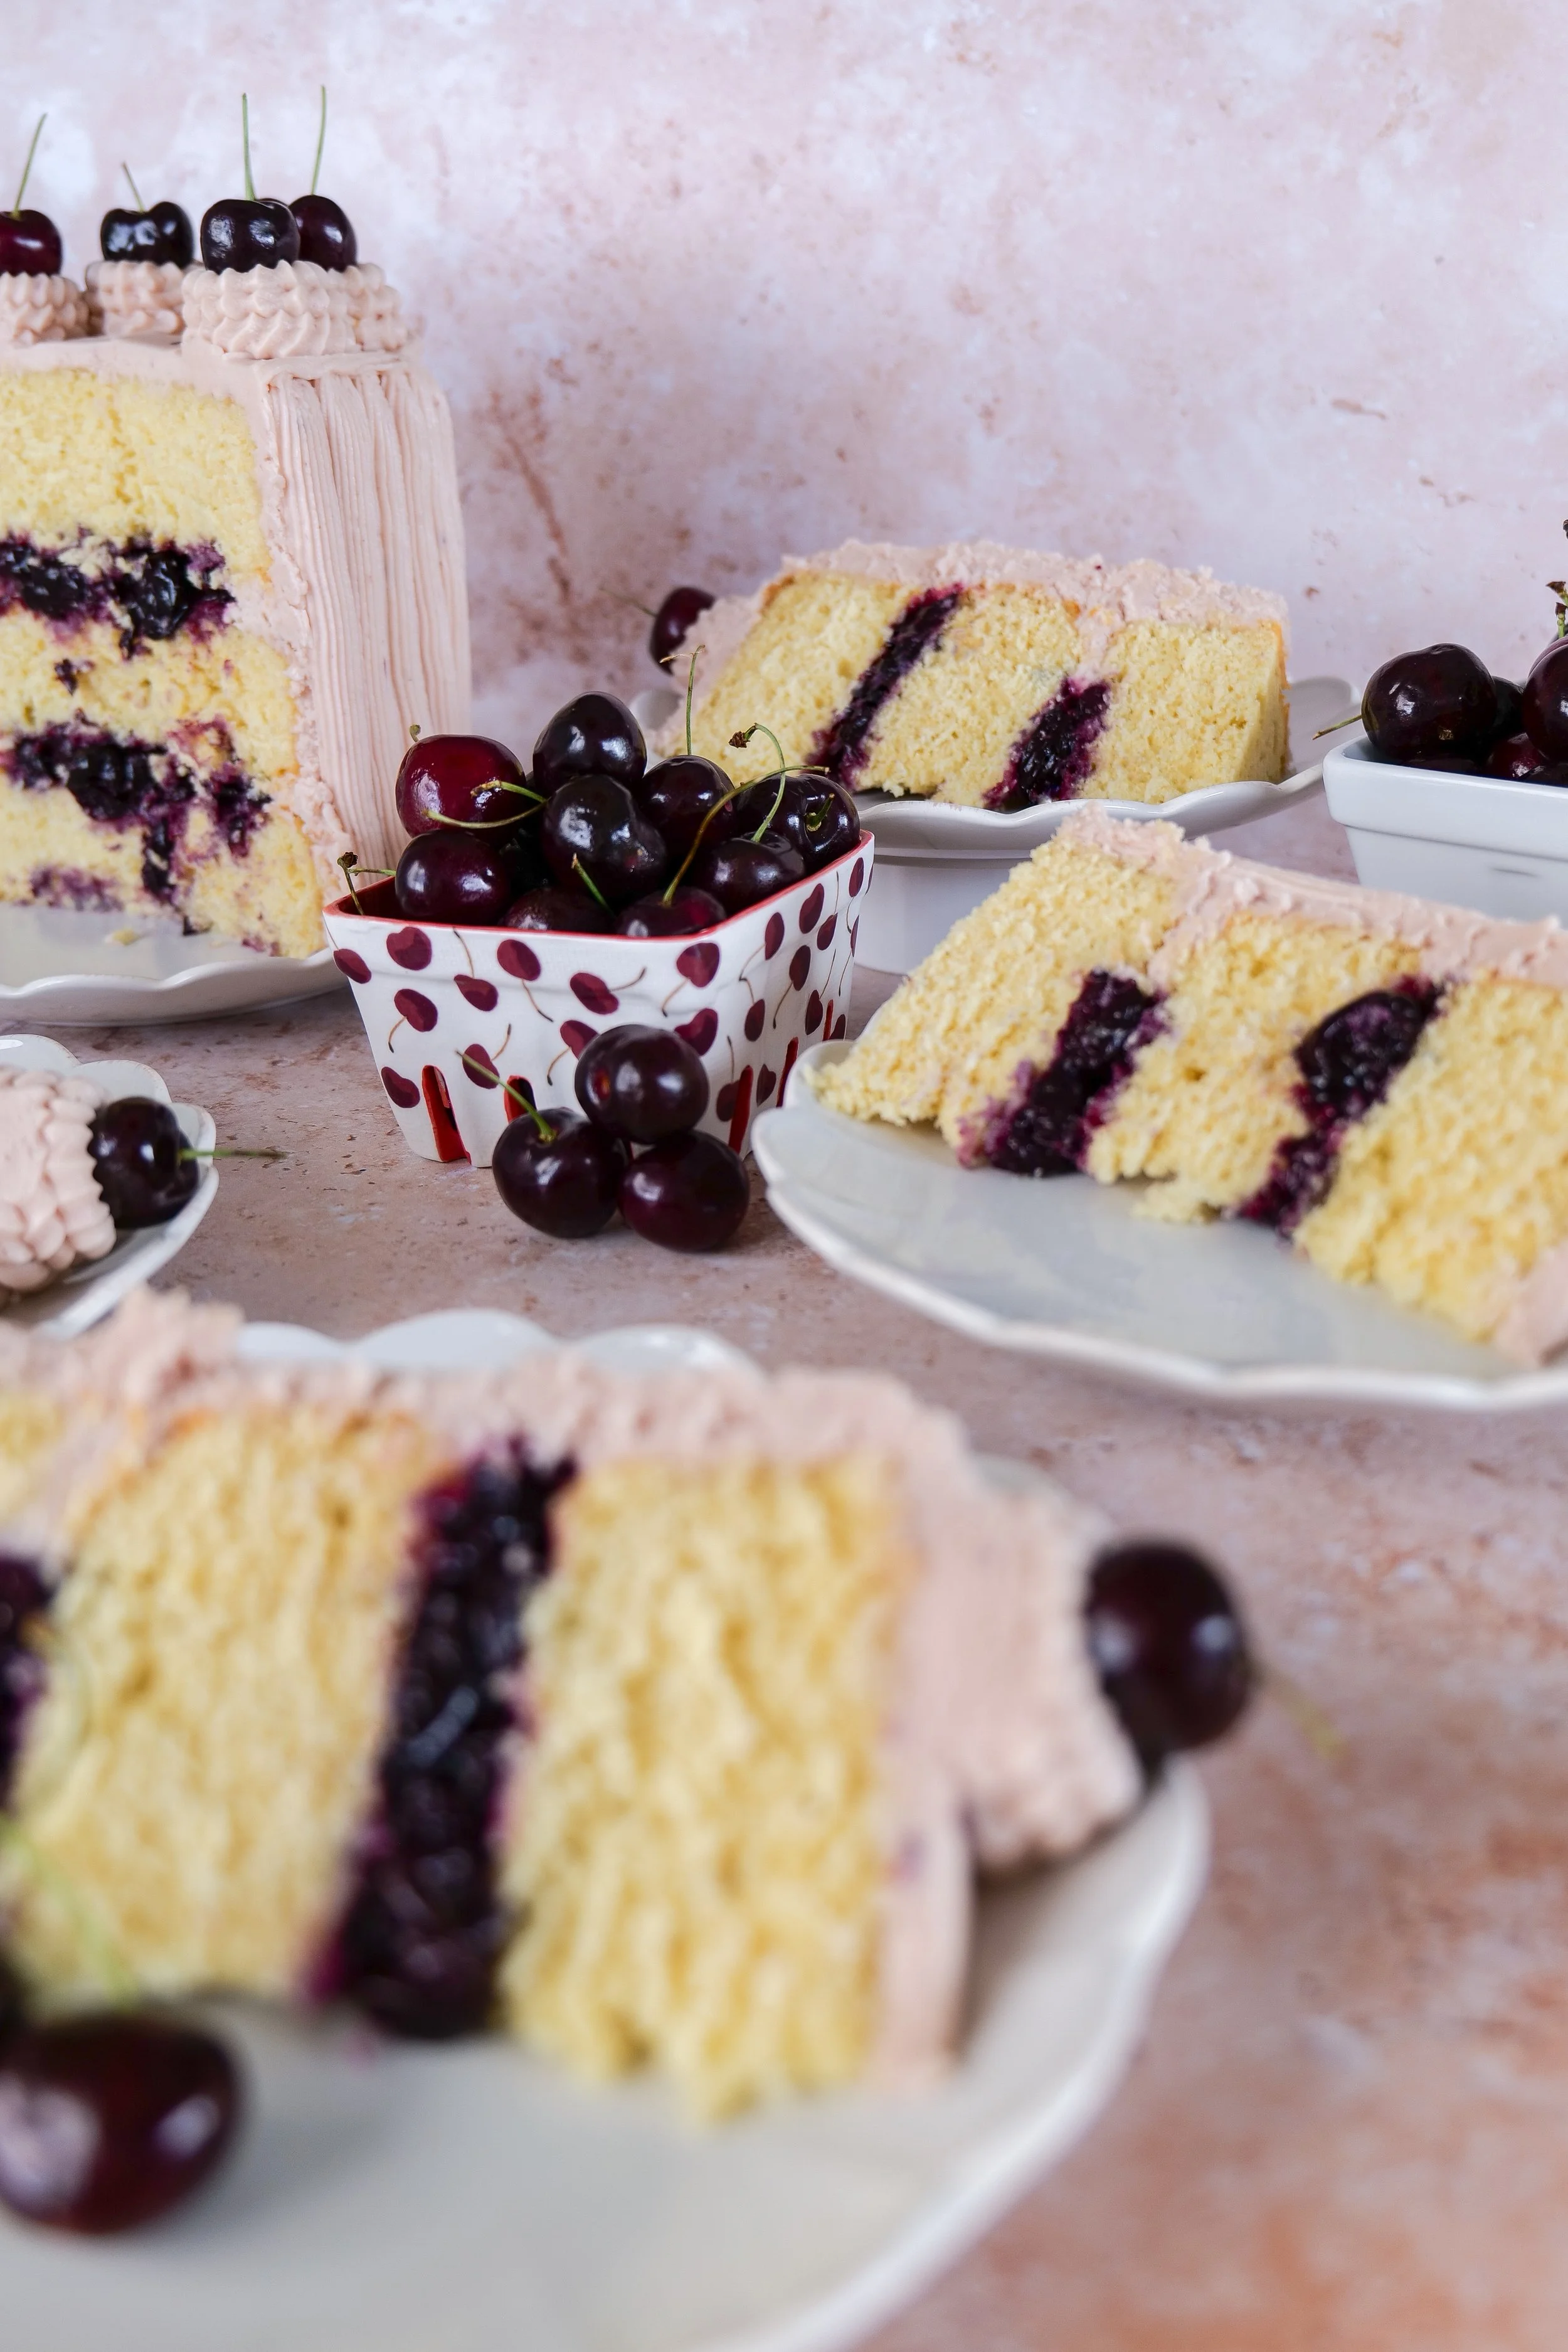
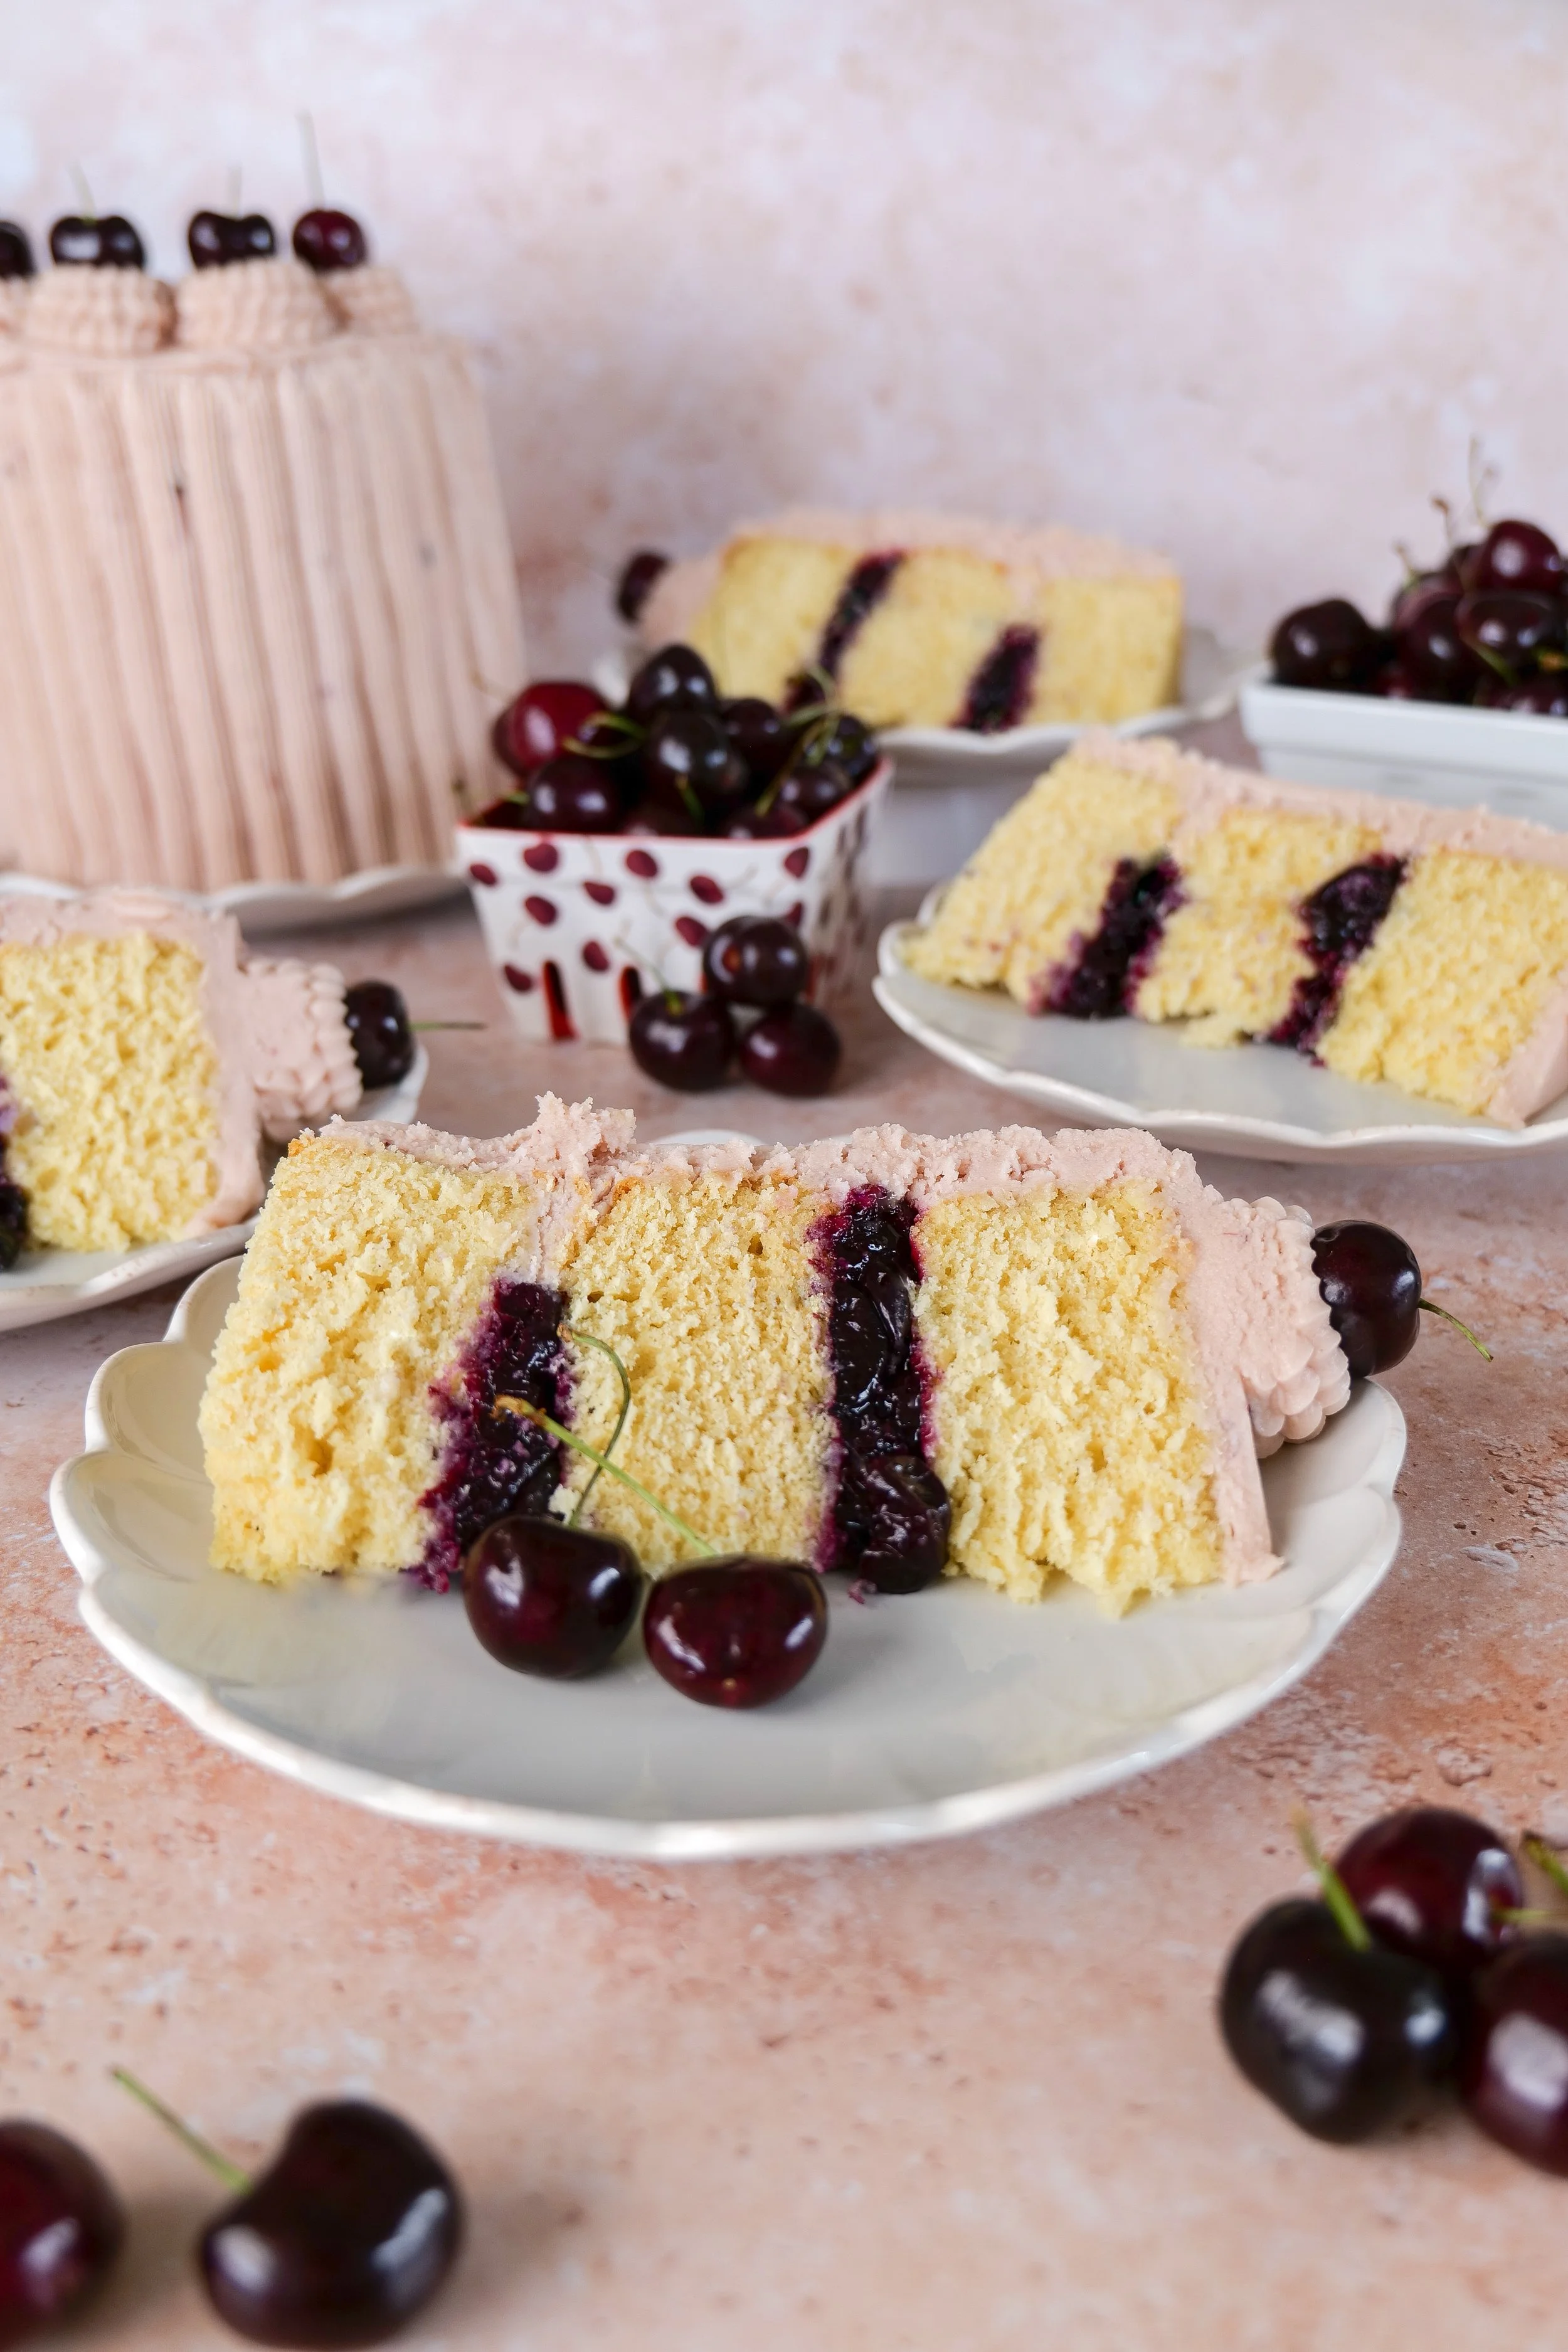
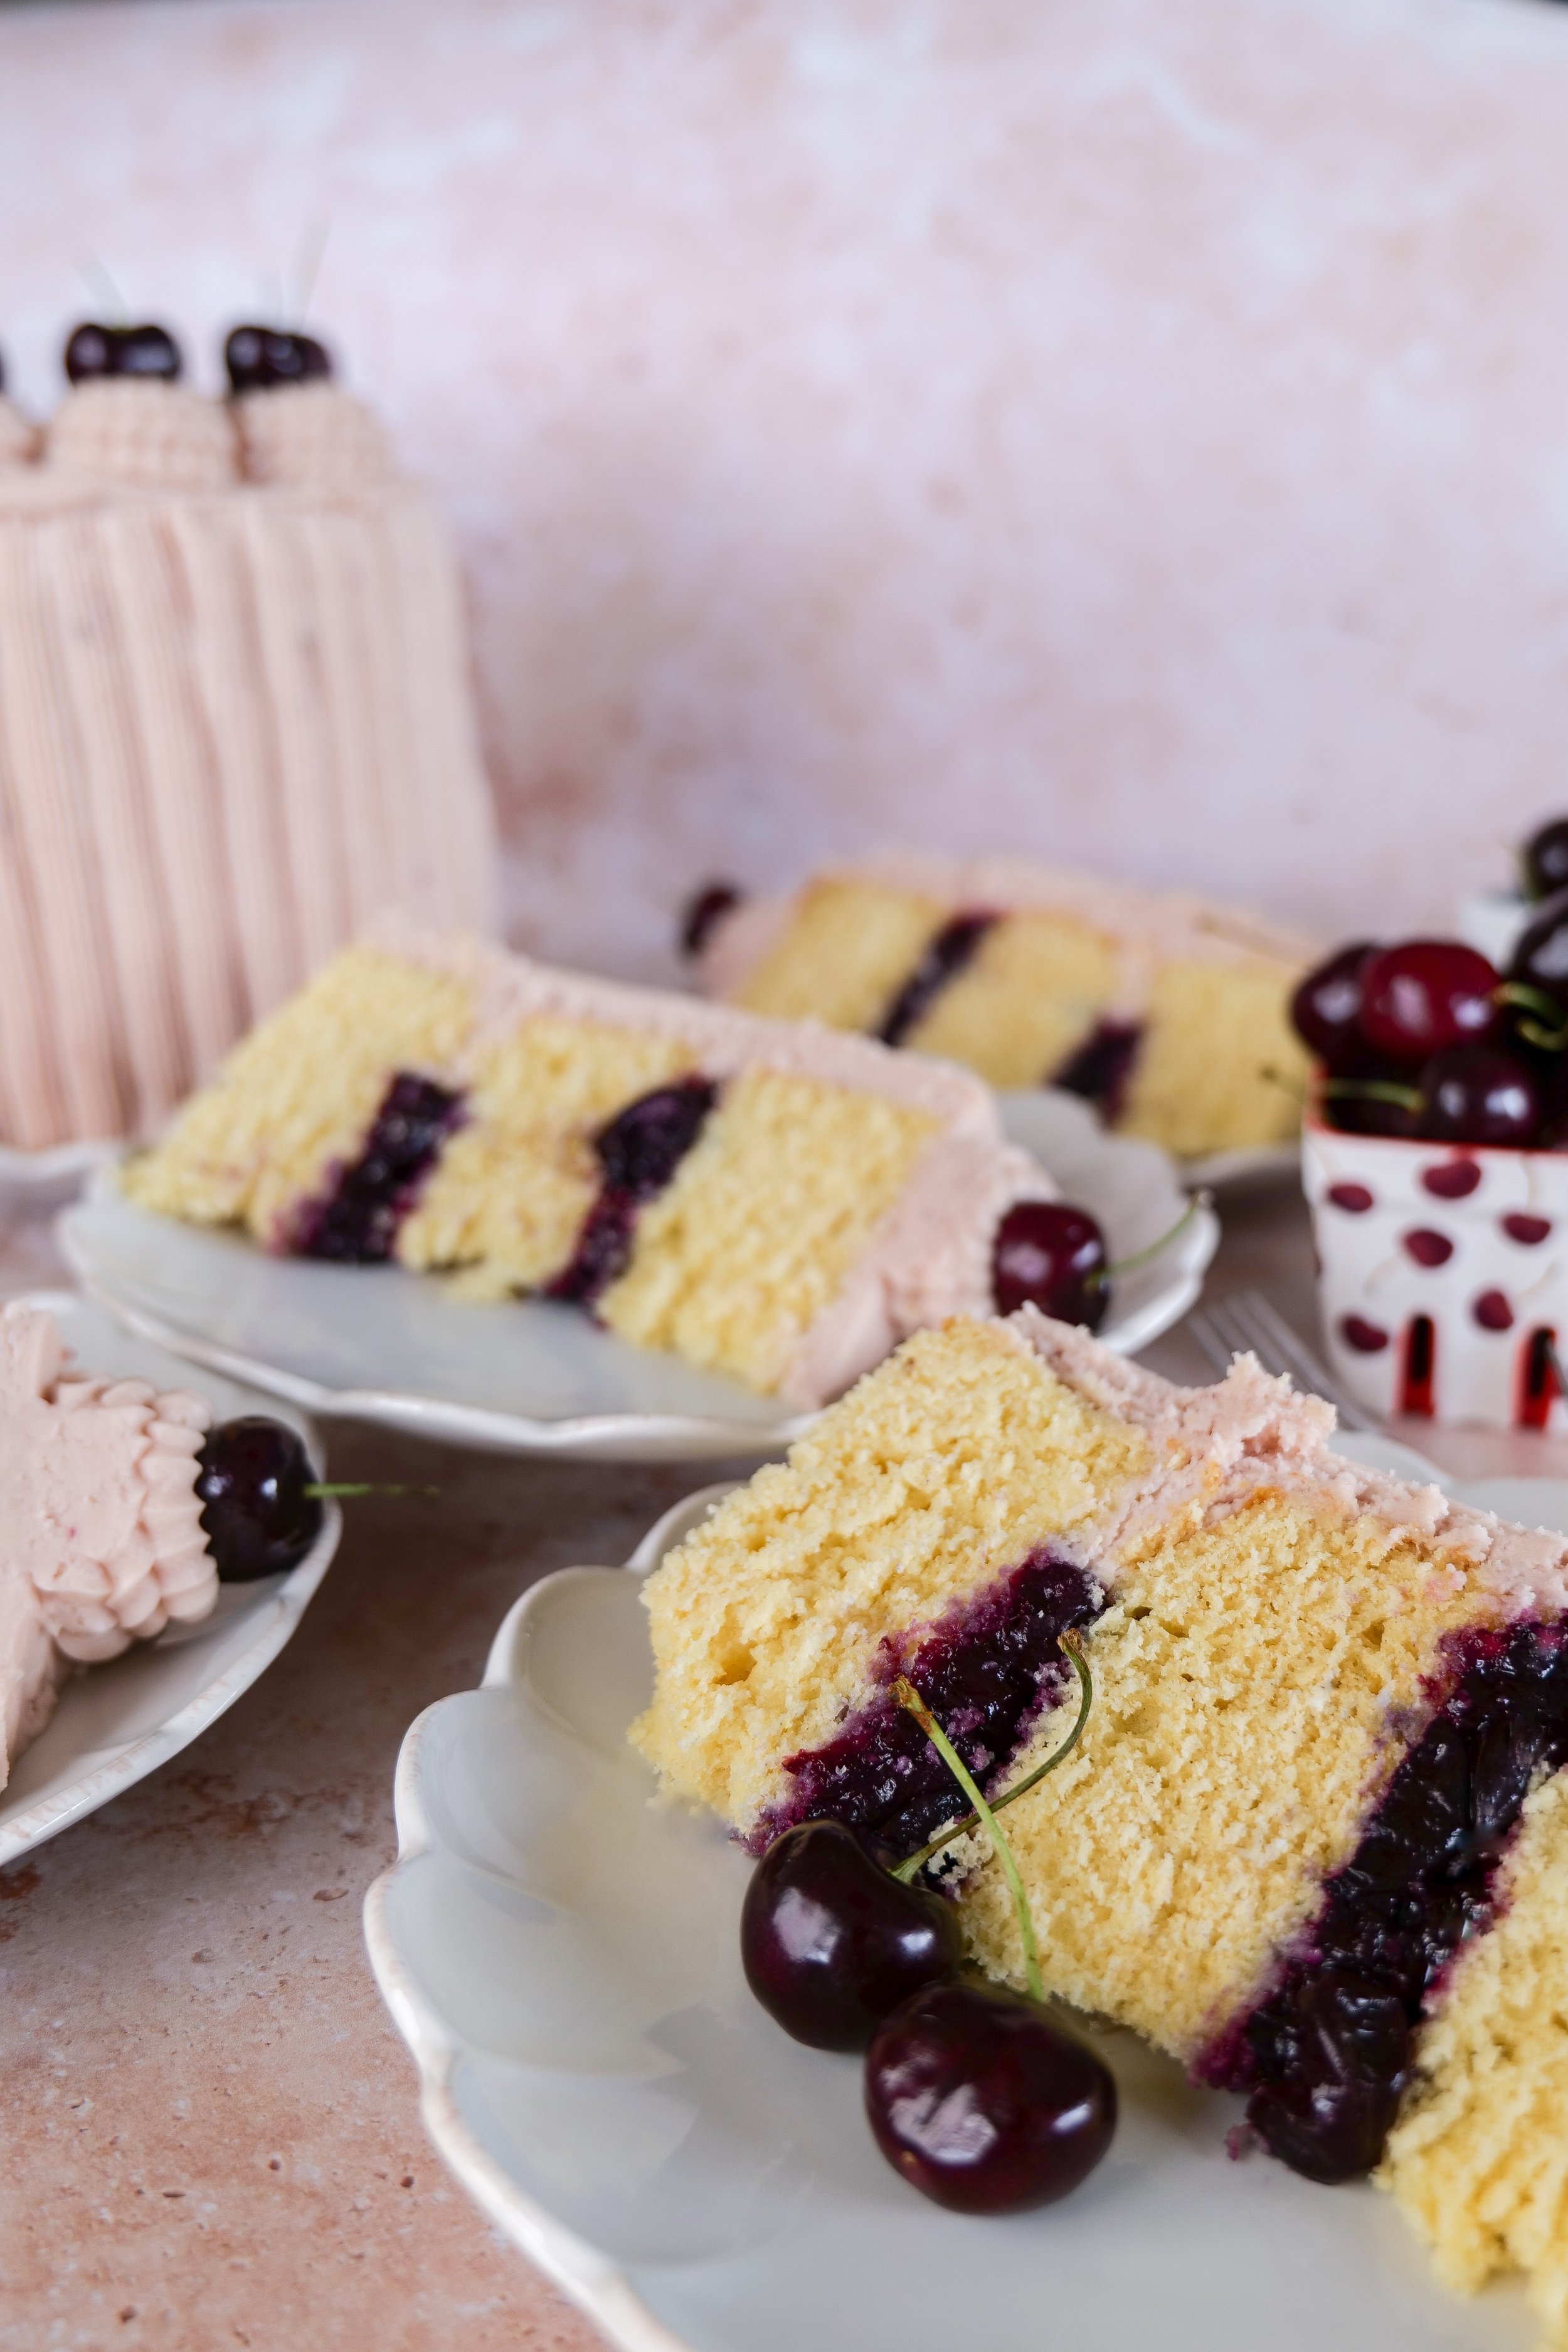
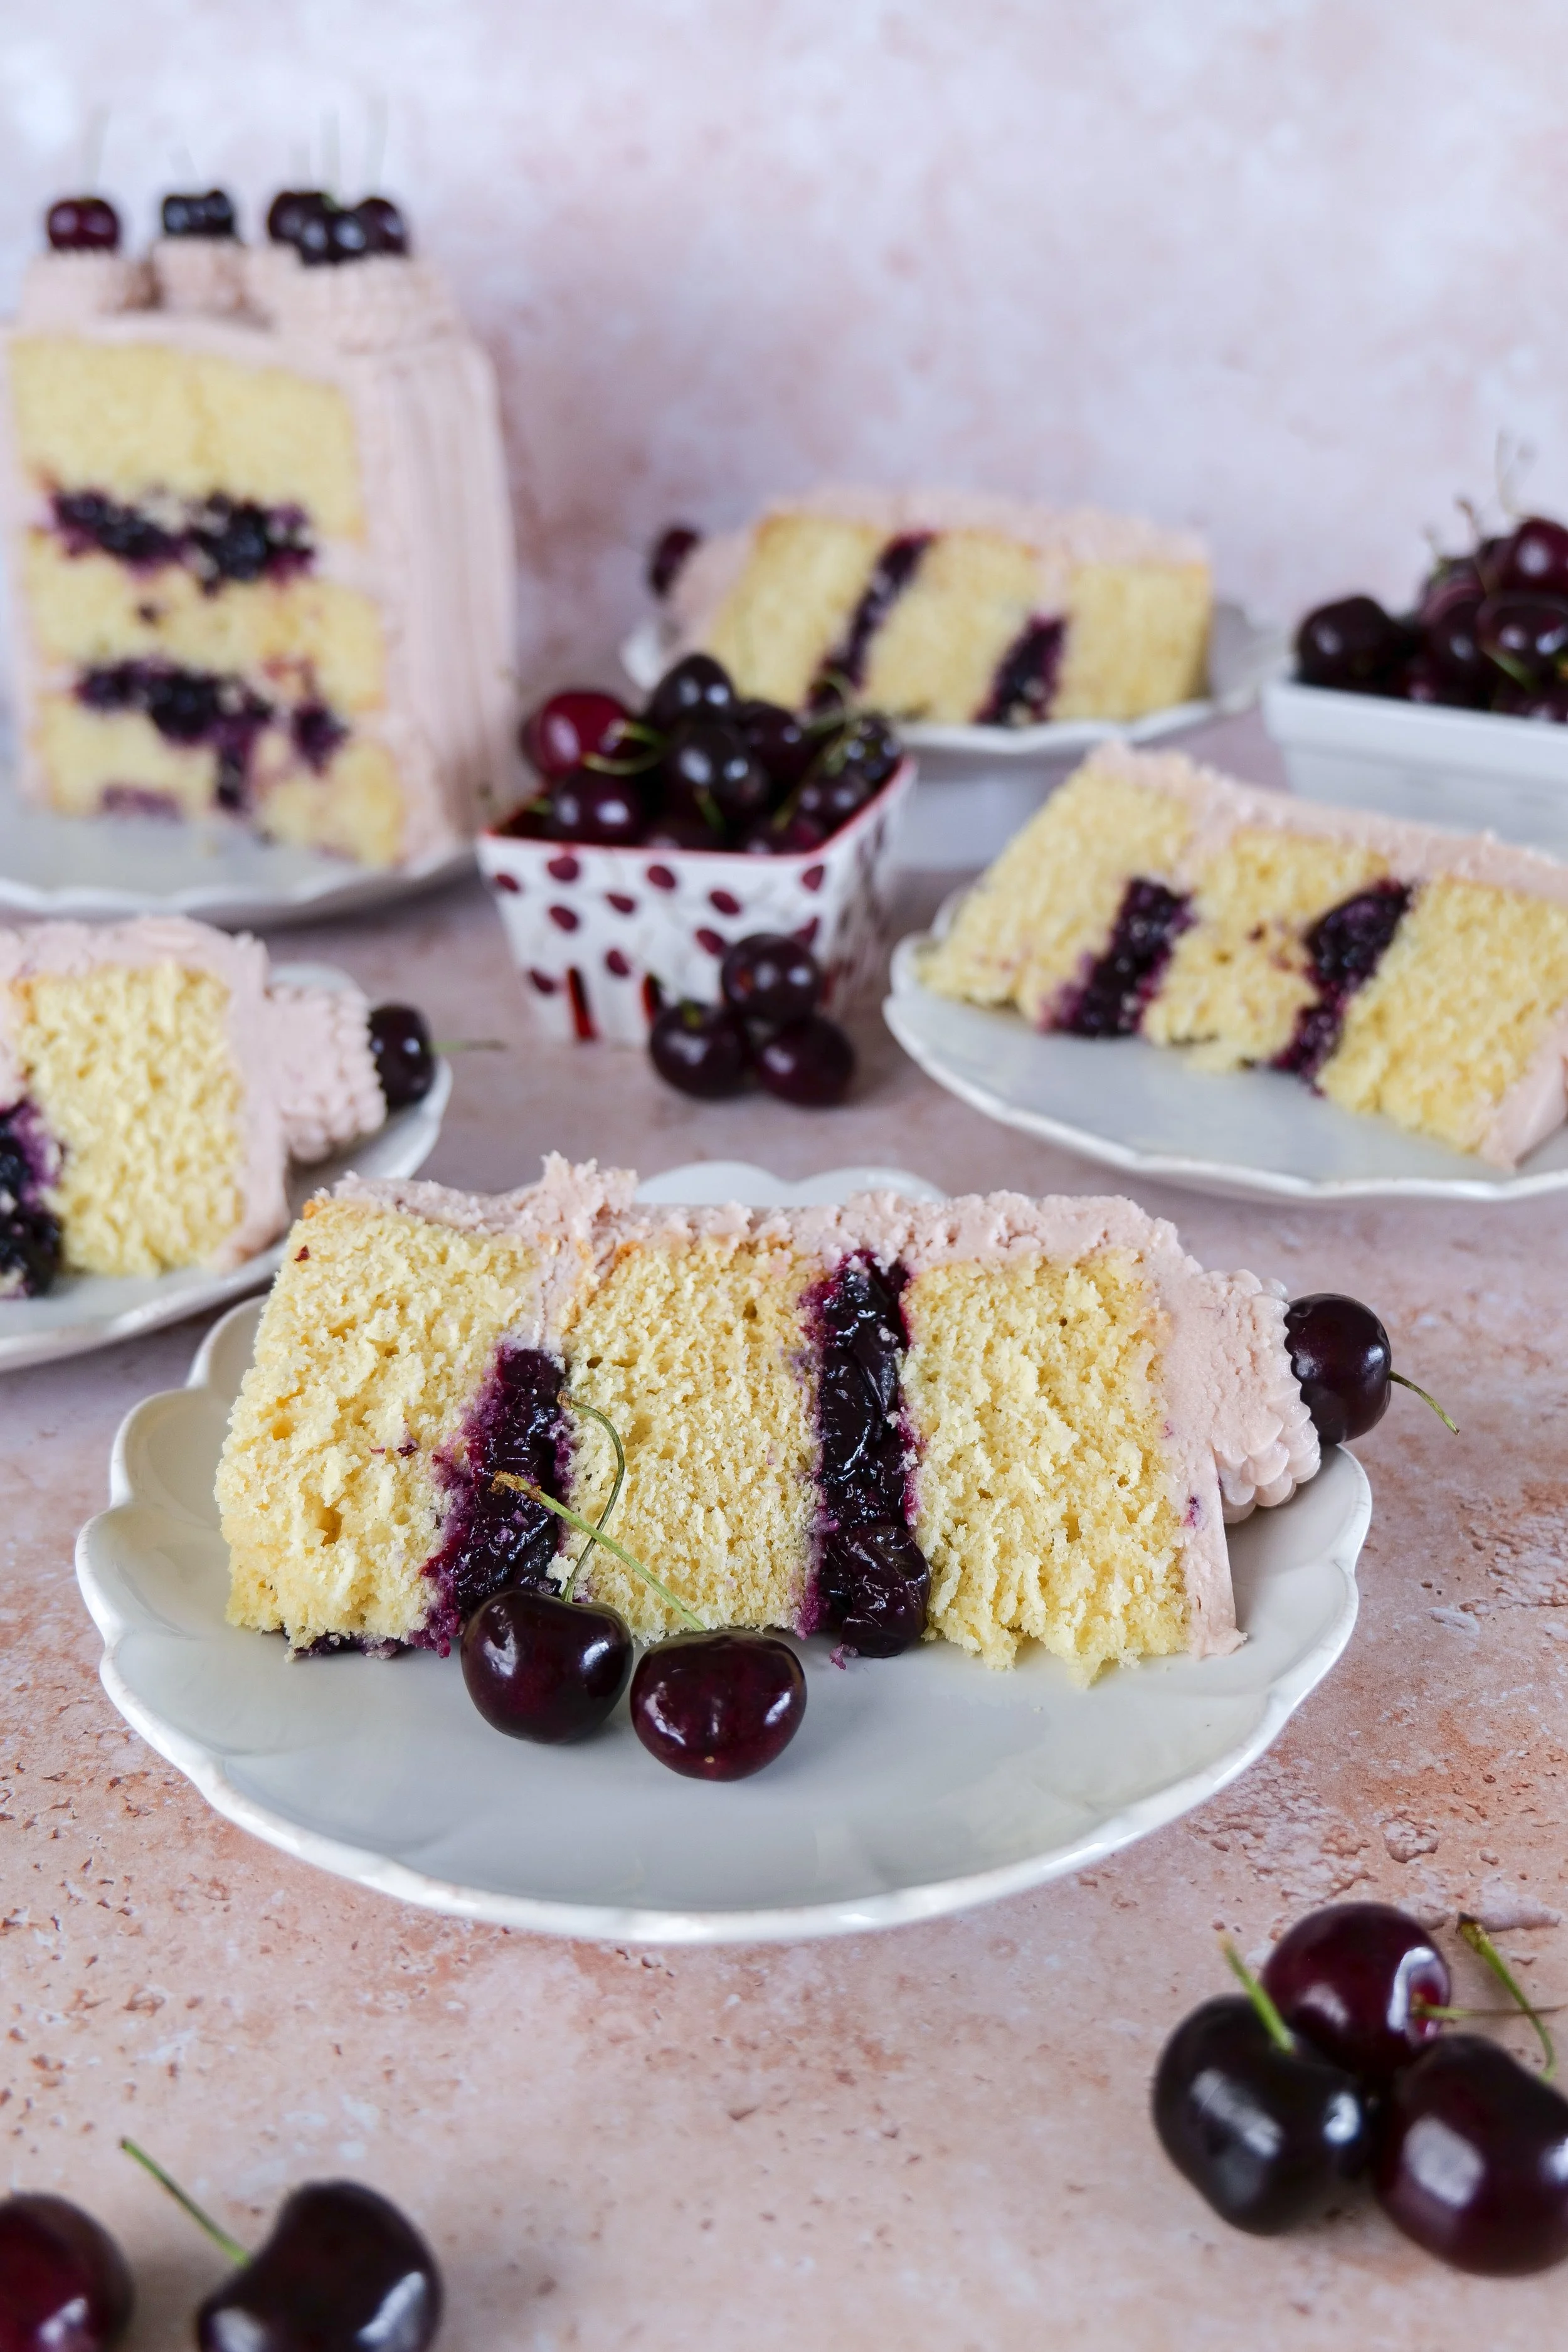
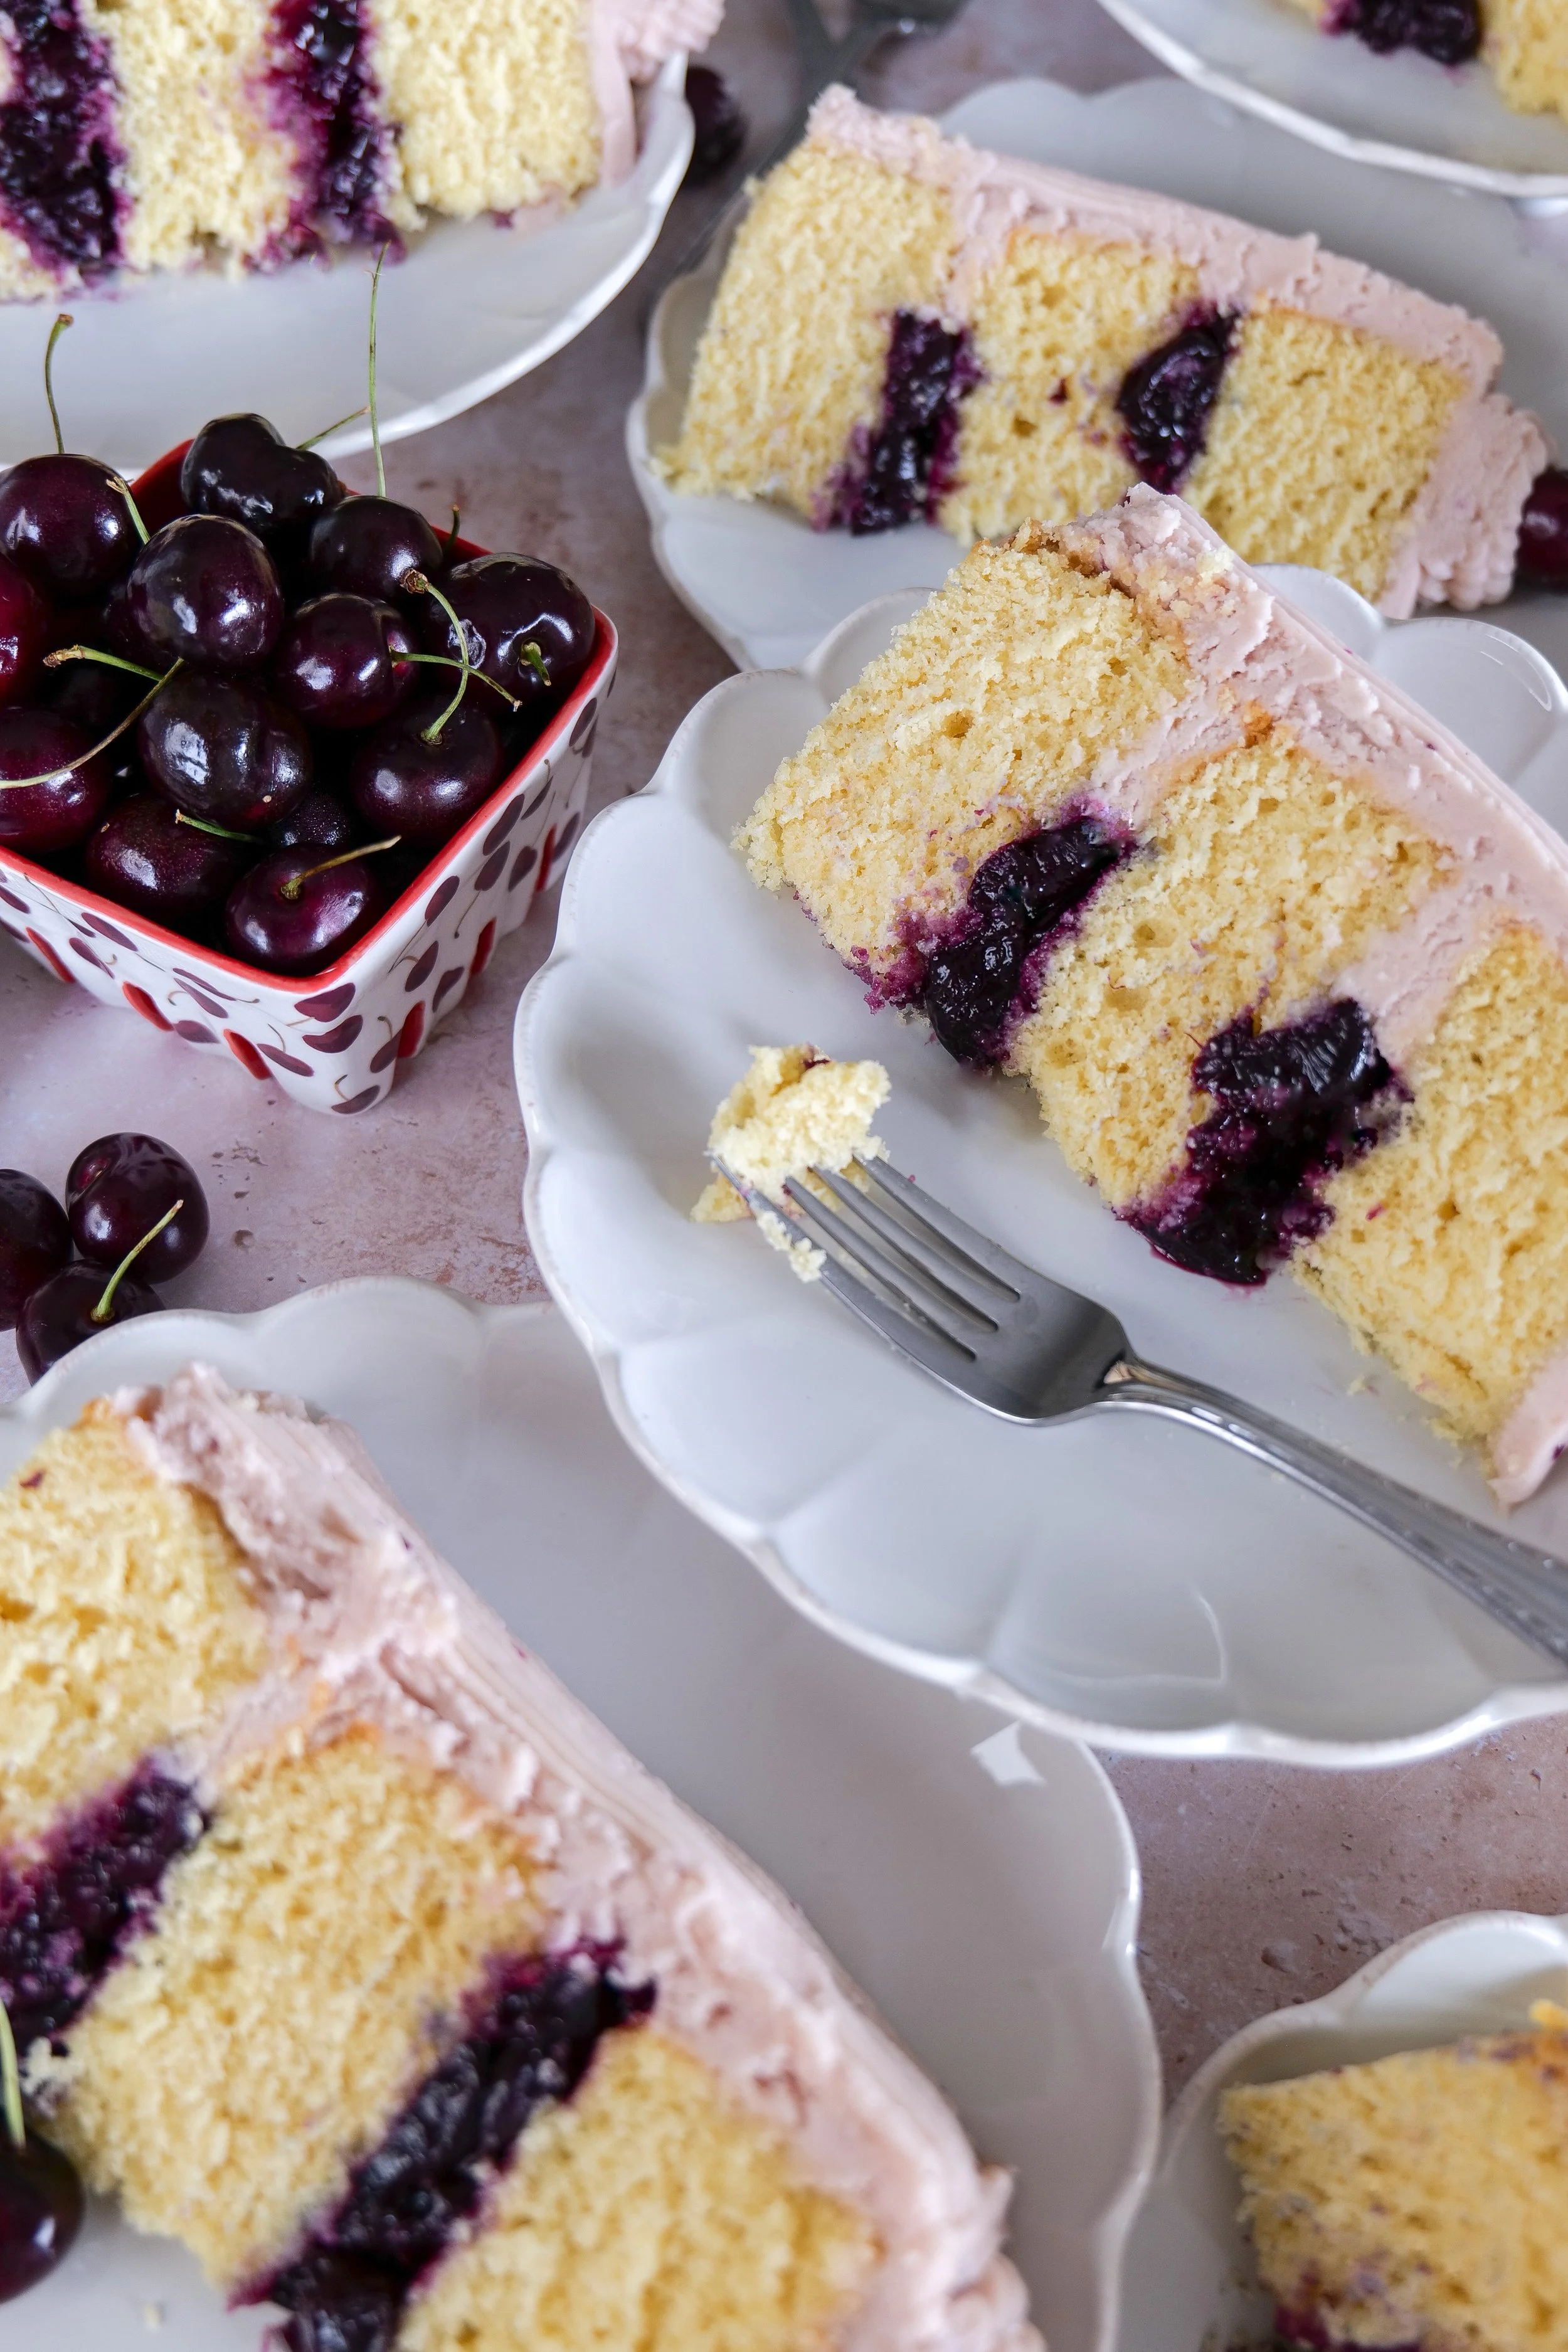
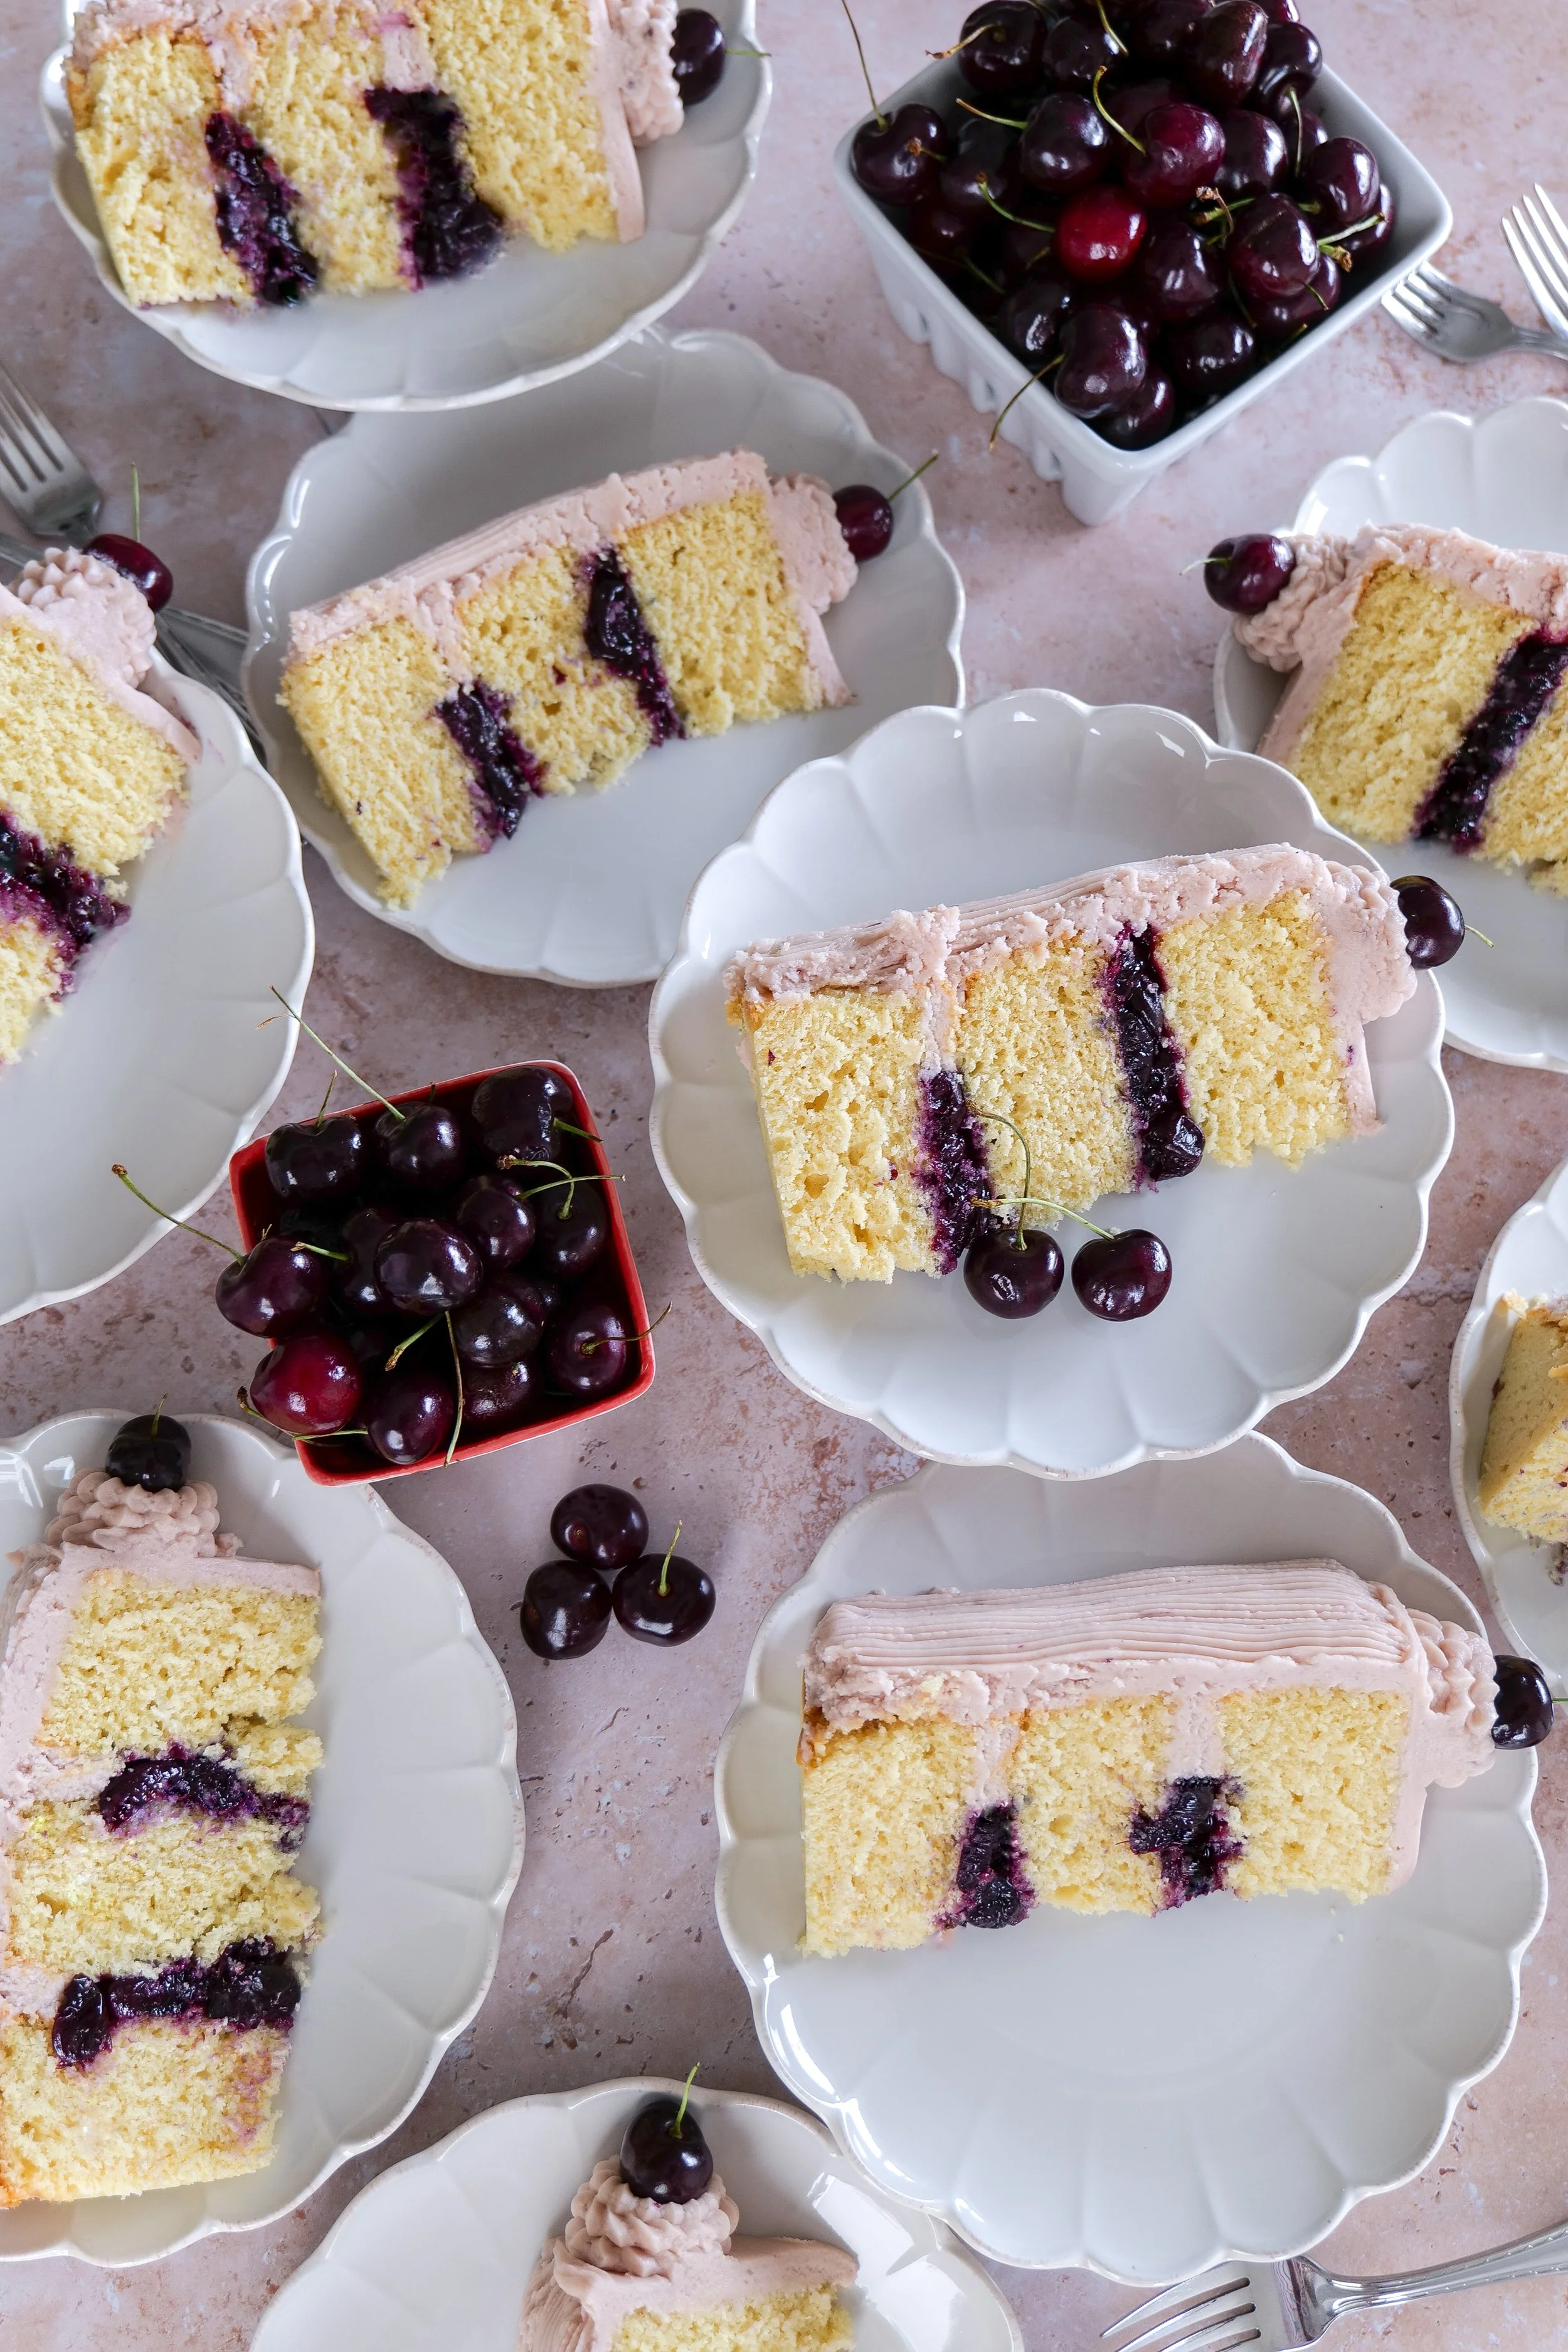
Slice of vanilla bean cherry layer cake showing fluffy vanilla cake layers and fresh cherry filling.
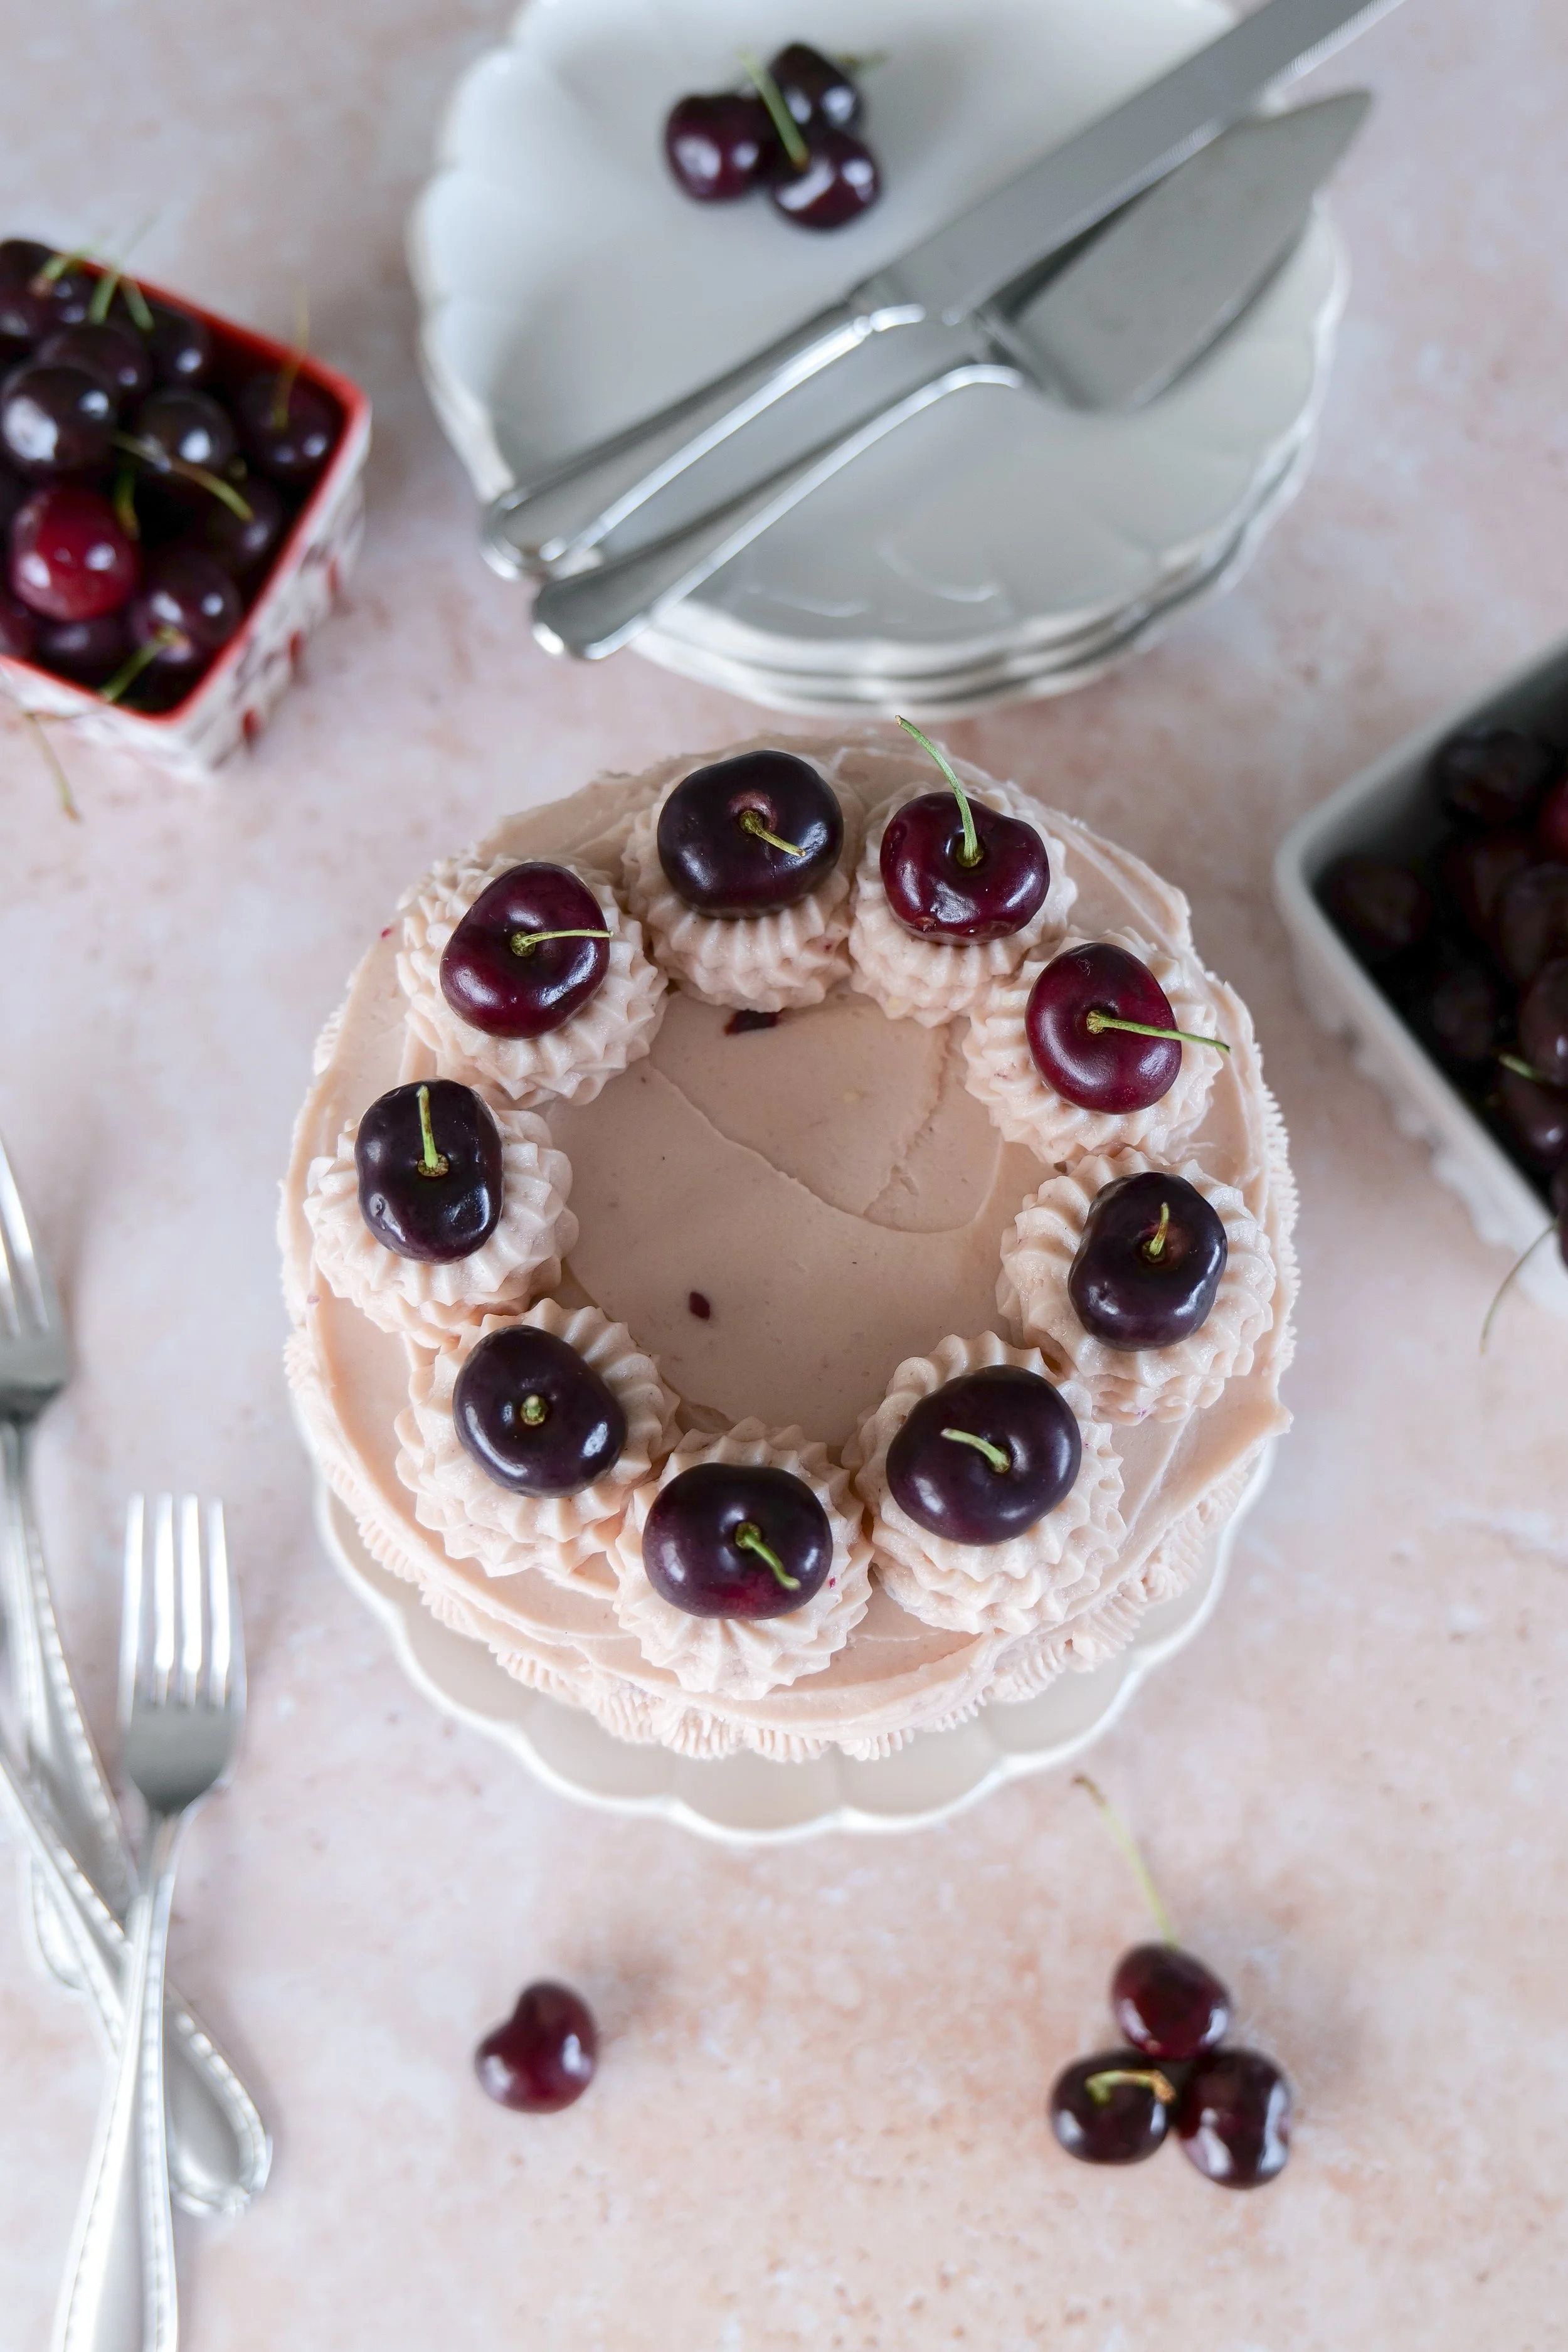
Close-up of vanilla bean cherry cake with homemade cherry filling and soft pink buttercream.

July always feels like the peak of summer.

Fresh cherries are everywhere, the light lasts just a little longer in the evenings, and everything feels slower in the best way. This month’s milestone cake is inspired by exactly that moment—the simplicity of peak cherry season.

Instead of a heavy or overly complex dessert, I wanted something light, beautiful, and centered around one clear flavor: cherry. Paired with soft vanilla bean cake layers and a whipped cherry mascarpone frosting, this cake feels like summer in its most elegant form.

It’s simple, fresh, and designed to let the cherries shine.

Homemade vanilla bean cherry layer cake decorated with fresh cherries and cherry buttercream.
Beautiful summer cherry layer cake perfect for birthdays, holidays, and celebrations.

Why You’ll Love This Cherry Layer Cake

  • Soft vanilla bean cake layers with a tender crumb

  • Homemade cherry filling made with fresh summer cherries

  • Light whipped mascarpone frosting infused with cherry syrup

  • Naturally soft pink frosting for a beautiful finish

  • Elegant but easy enough for home baking

  • Perfect for birthdays, summer gatherings, or milestone celebrations

Shop the Cherry Layer Cake

Before baking, here are the essentials used to create this cake.

Baking + Cake Essentials

Includes:

  • 8-inch cake pans

  • Stand mixer or hand mixer

  • Offset spatula

  • Cake turntable

  • Cooling racks

  • Parchment rounds

  • Piping bags (optional for decoration)

These tools help create a smooth, bakery-style finish at home.

Easy vanilla bean cherry cake recipe made with fresh cherries and creamy buttercream frosting.  7.
Slice of cherry layer cake served on a white scalloped dessert plate.
Vanilla cake frosted with naturally pink cherry buttercream and filled with homemade cherries.

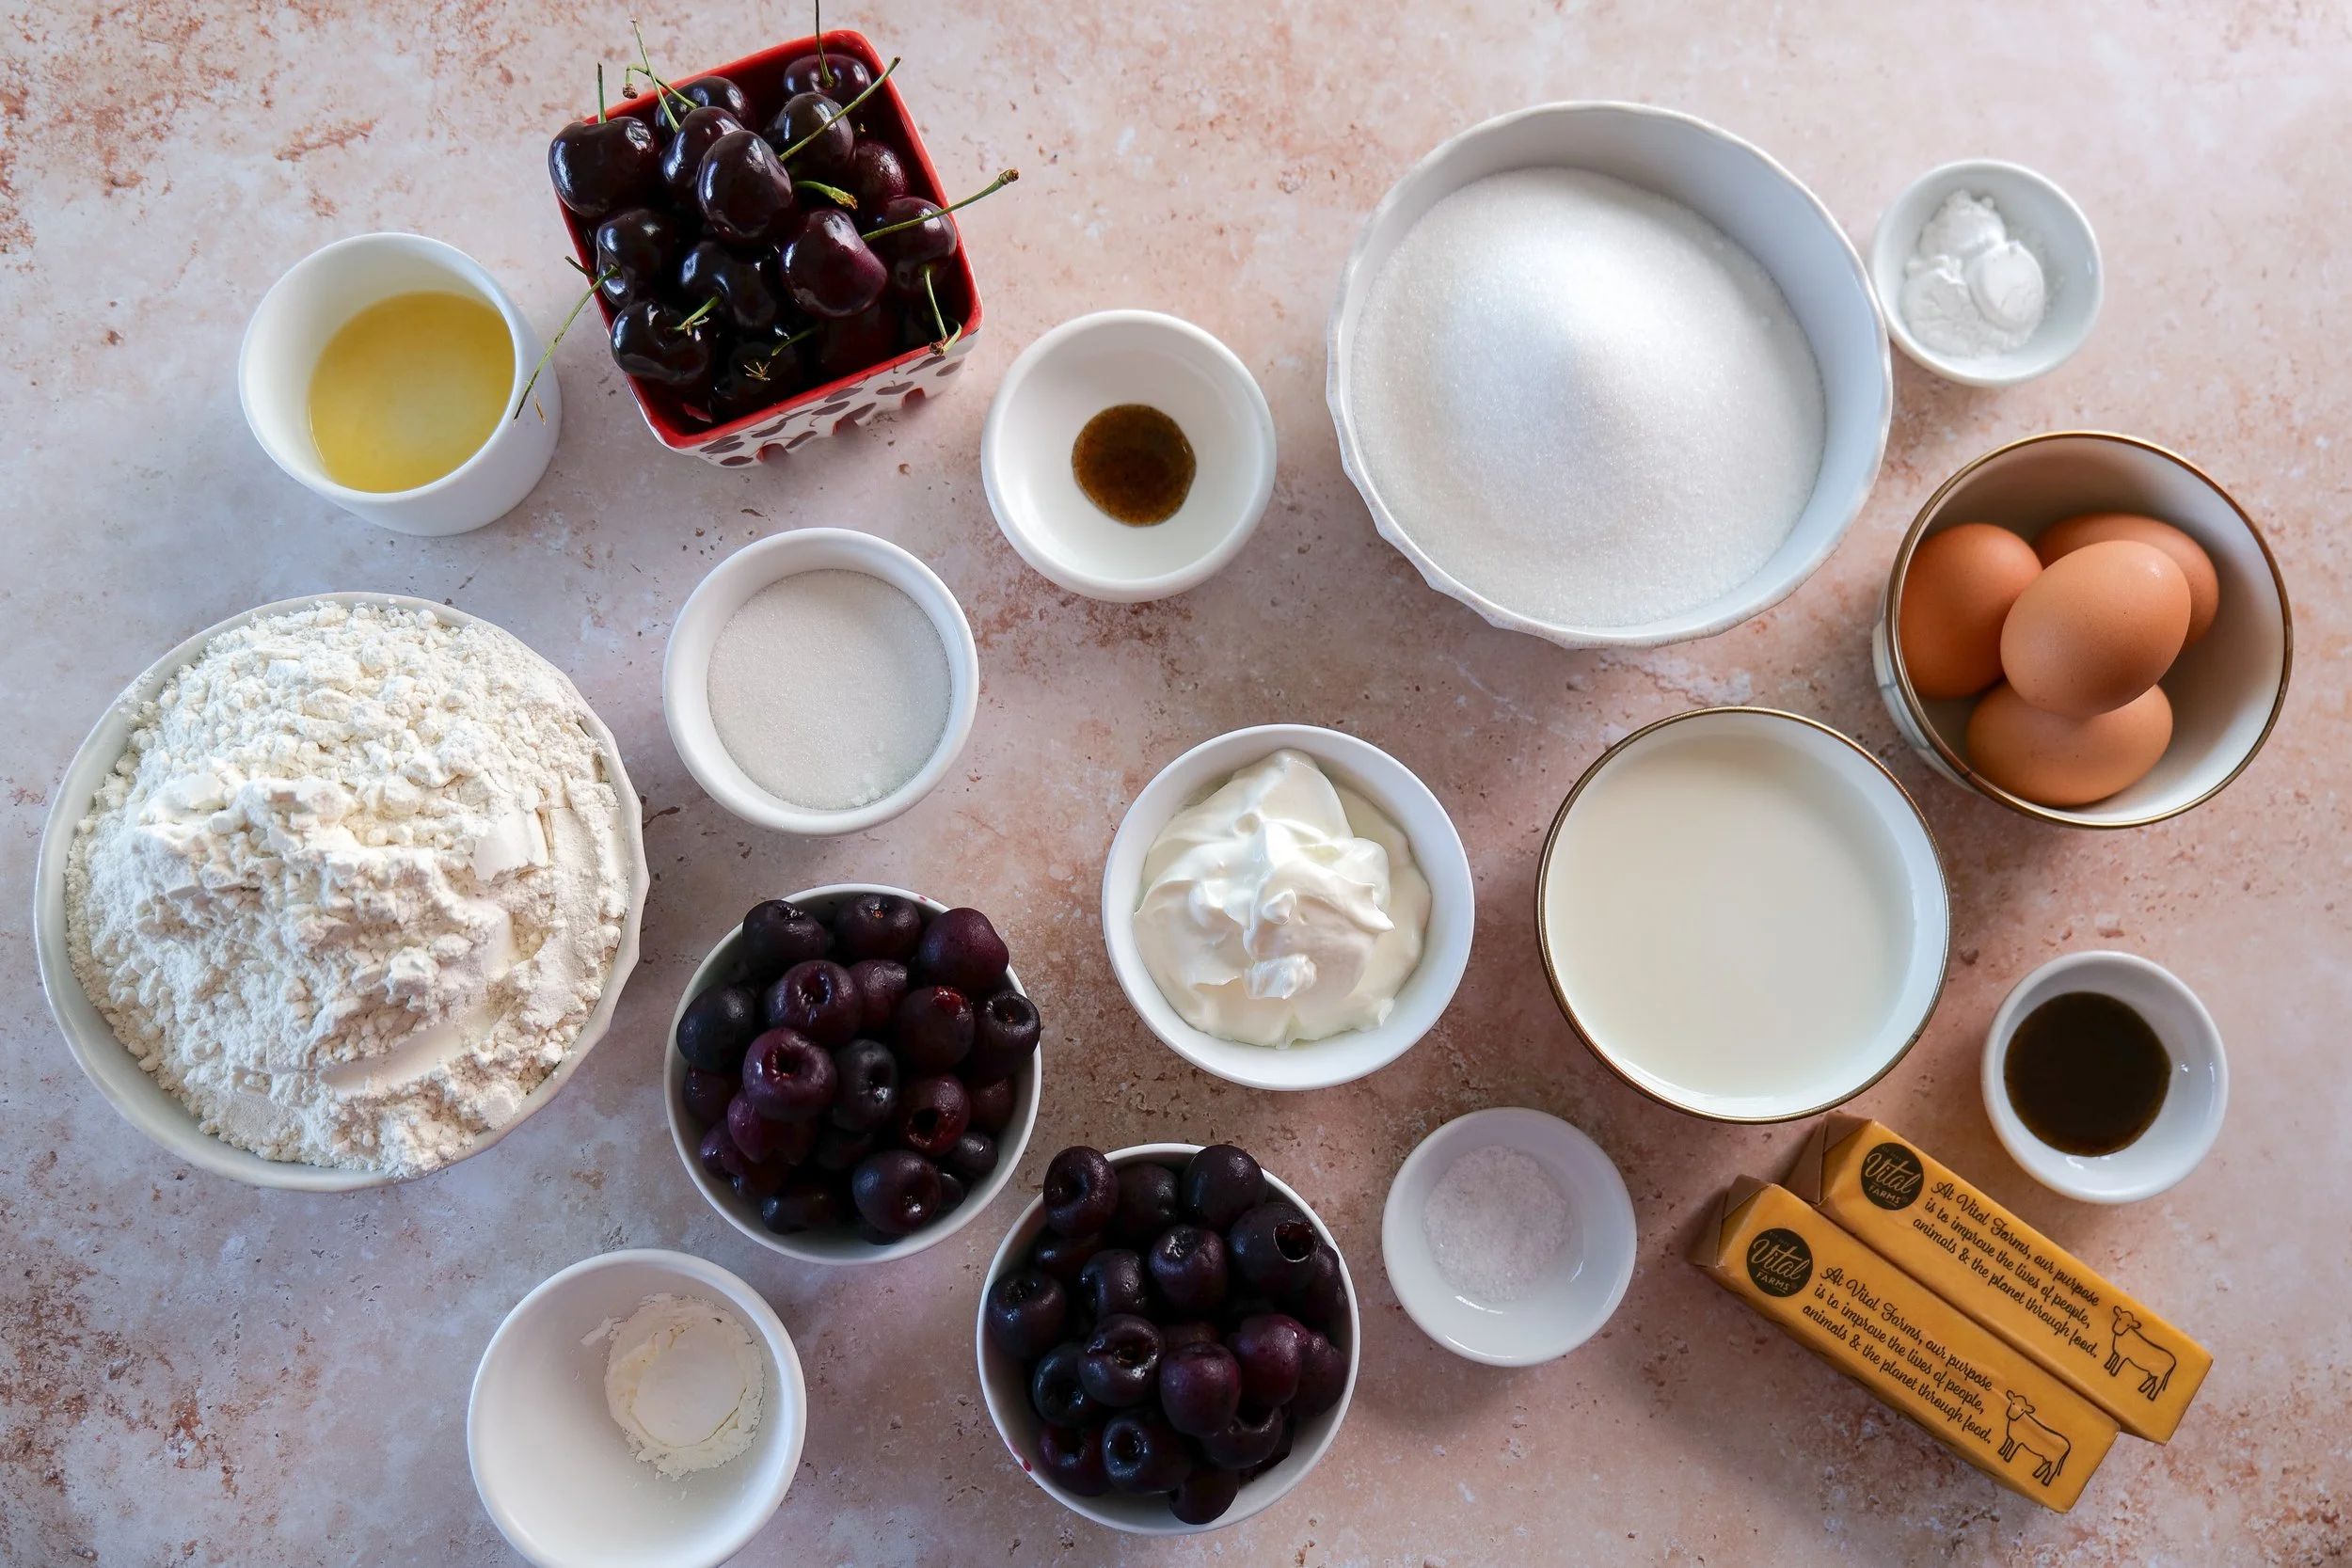
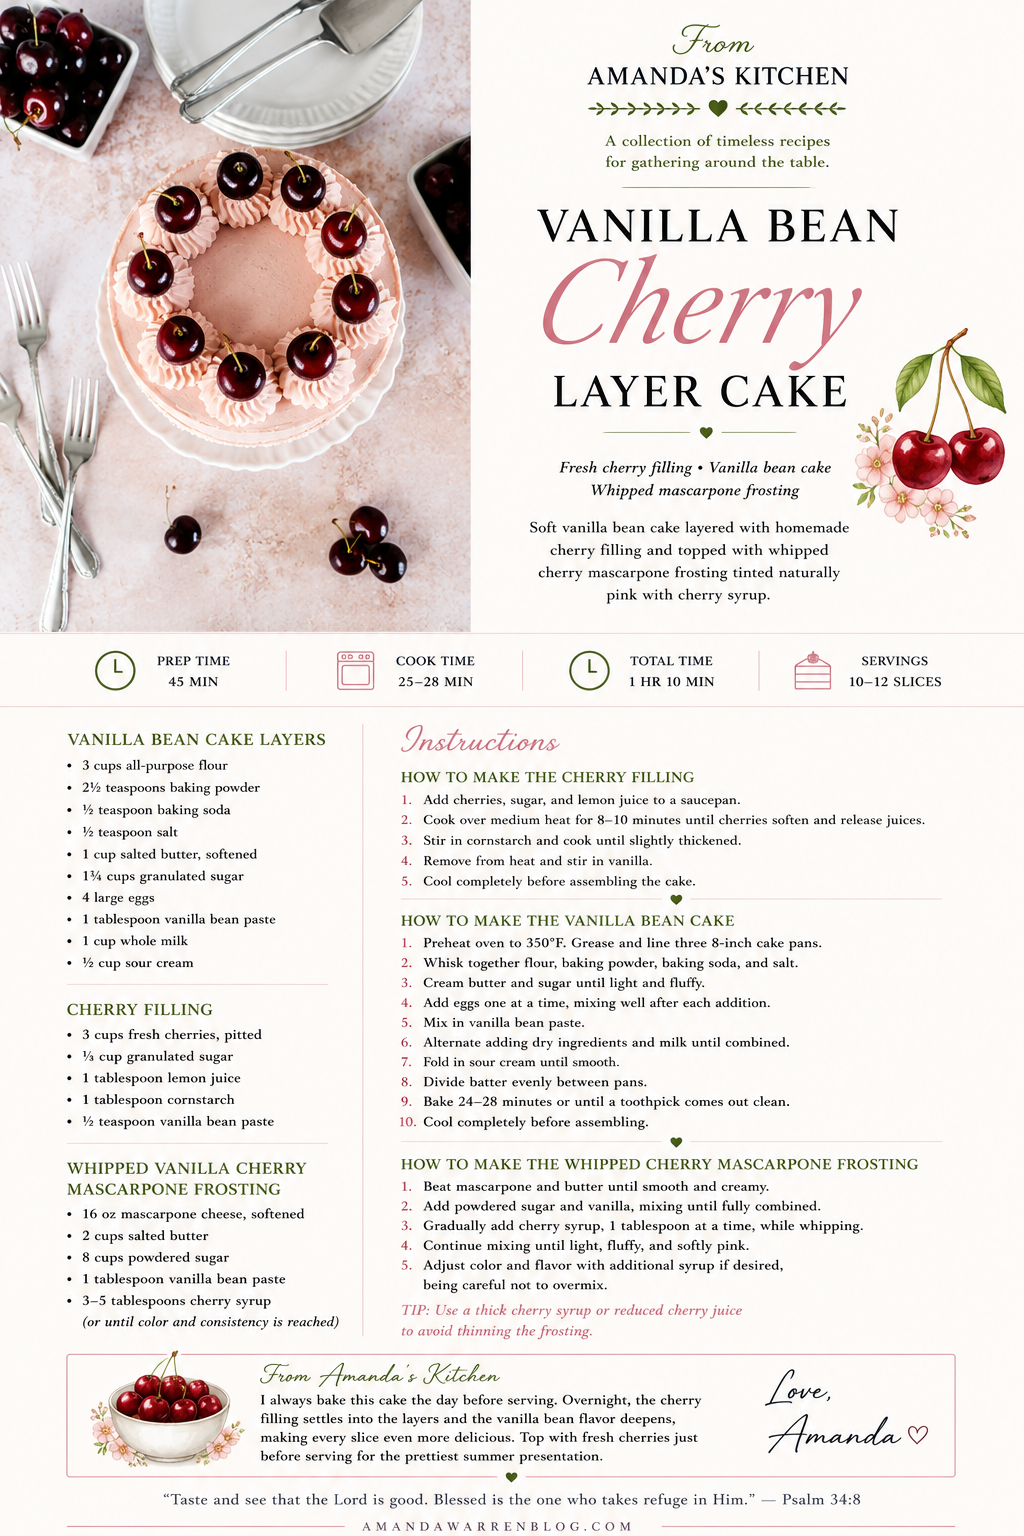
Ingredients

Vanilla Bean Cake Layers

  • 3 cups all-purpose flour

  • 2½ teaspoons baking powder

  • ½ teaspoon baking soda

  • ½ teaspoon salt

  • 1 cup salted butter, softened

  • 1¾ cups granulated sugar

  • 4 large eggs

  • 1 tablespoon vanilla bean paste

  • 1 cup whole milk

  • ½ cup sour cream

Cherry Filling

  • 3 cups fresh cherries, pitted

  • ⅓ cup granulated sugar

  • 1 tablespoon lemon juice

  • 1 tablespoon cornstarch

  • ½ teaspoon vanilla bean paste

Whipped Vanilla Cherry Mascarpone Frosting

This frosting is light, fluffy, and naturally tinted a soft pink from cherry syrup. It adds both flavor and color to the finished cake.

  • 16 oz mascarpone cheese, softened

  • 2 cups salted butter

  • 8 cups powdered sugar

  • 1 tablespoon vanilla bean paste

  • 3–5 tablespoons cherry syrup (or until color and consistency is reached)

How to Make the Cherry Filling

  1. Add cherries, sugar, and lemon juice to a saucepan.

  2. Cook over medium heat for 8–10 minutes until cherries soften and release juices.

  3. Stir in cornstarch and cook until slightly thickened.

  4. Remove from heat and stir in vanilla.

  5. Cool completely before assembling the cake.

How to Make the Vanilla Bean Cake

  1. Preheat oven to 350°F. Grease and line three 8-inch cake pans.

  2. Whisk together flour, baking powder, baking soda, and salt.

  3. Cream butter and sugar until light and fluffy.

  4. Add eggs one at a time, mixing well after each addition.

  5. Mix in vanilla bean paste.

  6. Alternate adding dry ingredients and buttermilk until combined.

  7. Fold in sour cream until smooth.

  8. Divide batter evenly between pans.

  9. Bake 24–28 minutes or until a toothpick comes out clean.

  10. Cool completely before assembling.

How to Make the Whipped Cherry Mascarpone Frosting

  1. Beat mascarpone and butter until smooth and creamy.

  2. Add powdered sugar and vanilla, mixing until fully combined.

  3. Gradually add cherry syrup, 1 tablespoon at a time, while whipping.

  4. Continue mixing until light, fluffy, and softly pink.

  5. Adjust color and flavor with additional syrup if desired, being careful not to overmix.

Tip: Use a thick cherry syrup or reduced cherry juice to avoid thinning the frosting.

Assemble the Cake

  1. Place one cake layer on a stand or plate.

  2. Pipe a border of cherry mascarpone frosting around the edge.

  3. Fill the center with cherry filling.

  4. Repeat with remaining layers.

  5. Frost the outside of the cake with whipped cherry mascarpone frosting.

  6. Smooth or texture as desired for a rustic or bakery-style finish.

  7. Top with fresh cherries if desired.

Fresh cherry cake recipe featuring vanilla bean cake layers and juicy cherry filling.

Decorating Ideas

  • Fresh cherries with stems for a natural finish

  • Soft swirls of pink frosting

  • Light, rustic textured finish for a homemade bakery look

  • Minimal decoration to highlight the natural color of the frosting

Tips for Success

  • Make sure cherry filling is fully cooled before assembling

  • Use thick cherry syrup for frosting color and stability

  • Do not overwhip mascarpone or it may loosen

  • Chill cake slightly before slicing for cleaner layers

More Cake Recipes You'll Love

This creates another internal linking hub, which Google loves for recipe sites. Since this is a cake recipe, readers are often looking for another cake to save for later.

I'd link to something like:

Shop Pairings for Summer Hosting

Shop Shelf: Summer Dessert & Hosting Pairings

Three-layer vanilla bean cake filled with fresh cherries and finished with cherry frosting.
Vanilla bean cake layered with sweet homemade cherry filling and whipped cherry buttercream.

Frequently Asked Questions

Can I use frozen cherries?

Yes. Thaw completely and drain excess liquid before cooking.

Can I make this cake ahead of time?

Yes. Bake layers a day ahead and assemble the next day for best texture.

Can I replace mascarpone frosting?

Yes. A vanilla buttercream works, but the mascarpone version keeps it lighter and less sweet.

How to Serve Vanilla Bean Cherry Cake

This vanilla bean cherry cake is delicious served:

  • with fresh whipped cream

  • alongside vanilla bean ice cream

  • topped with fresh cherries

  • with hot coffee or iced lattes

  • at birthdays, bridal showers, baby showers, and summer celebrations

From Amanda's Kitchen

Some recipes become traditions the moment they're placed on the table, and this Vanilla Bean Cherry Layer Cake is one of those recipes for our family.

The soft vanilla bean cake, homemade cherry filling, and light mascarpone frosting create a cake that's elegant enough for birthdays and celebrations, yet simple enough to make just because cherries are in season. It's the kind of dessert that invites everyone to slow down, pour another cup of coffee, and linger around the table just a little longer.

I hope this recipe finds its way into your family's celebrations for years to come. Print this recipe card, tuck it into your favorite recipe binder, and know it's being shared from my kitchen to yours.

Love, Amanda

Printable recipe card for Vanilla Bean Cake with Cherry Filling featuring soft vanilla bean cake layers, homemade fresh cherry filling, and whipped vanilla cherry mascarpone frosting. An elegant summer layer cake recipe by Amanda Warren.
Elegant homemade cherry birthday cake with fluffy vanilla layers and fresh fruit filling.
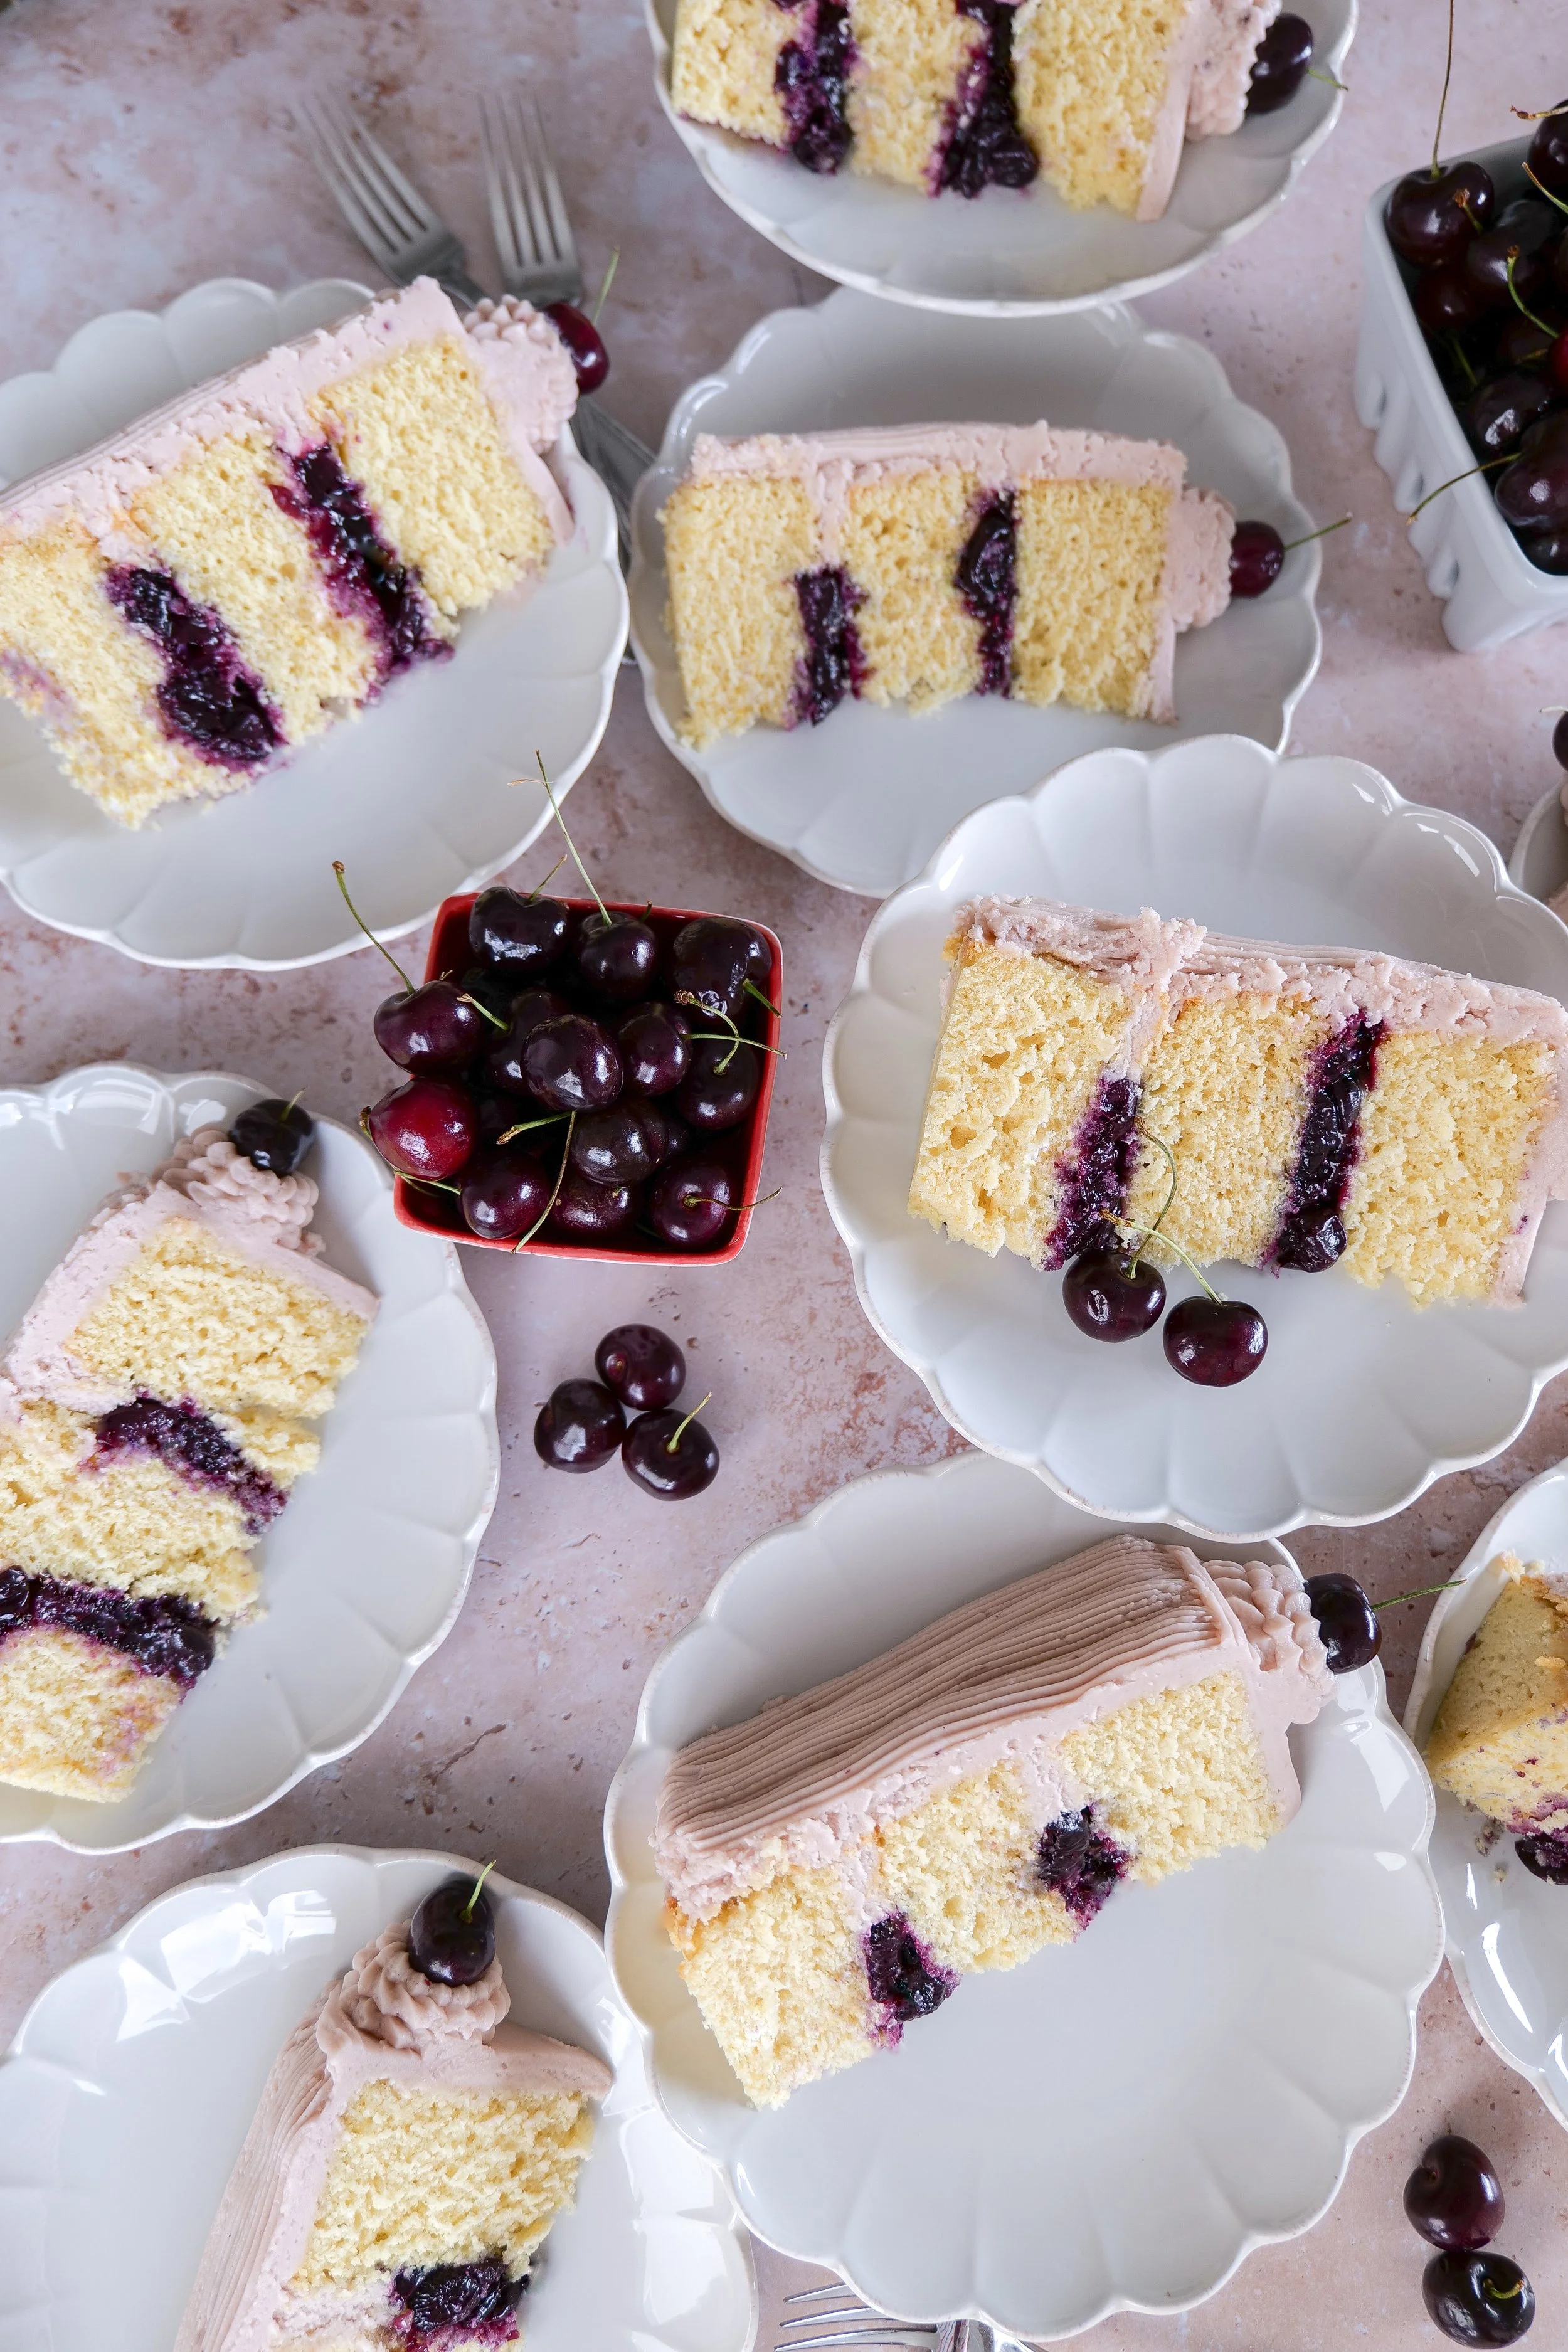
Fresh cherries styled beside slices of homemade vanilla bean cherry cake.
Cross section of vanilla bean cherry layer cake showing thick cherry filling between cake layers.
Several slices of vanilla bean cherry cake styled for summer entertaining and celebrations.
Easy homemade vanilla bean cherry layer cake recipe with fresh cherries and pink buttercream frosting.

Blueberry & Apricot Streusel Muffins (Bakery-Style, Moist & Easy Recipe)

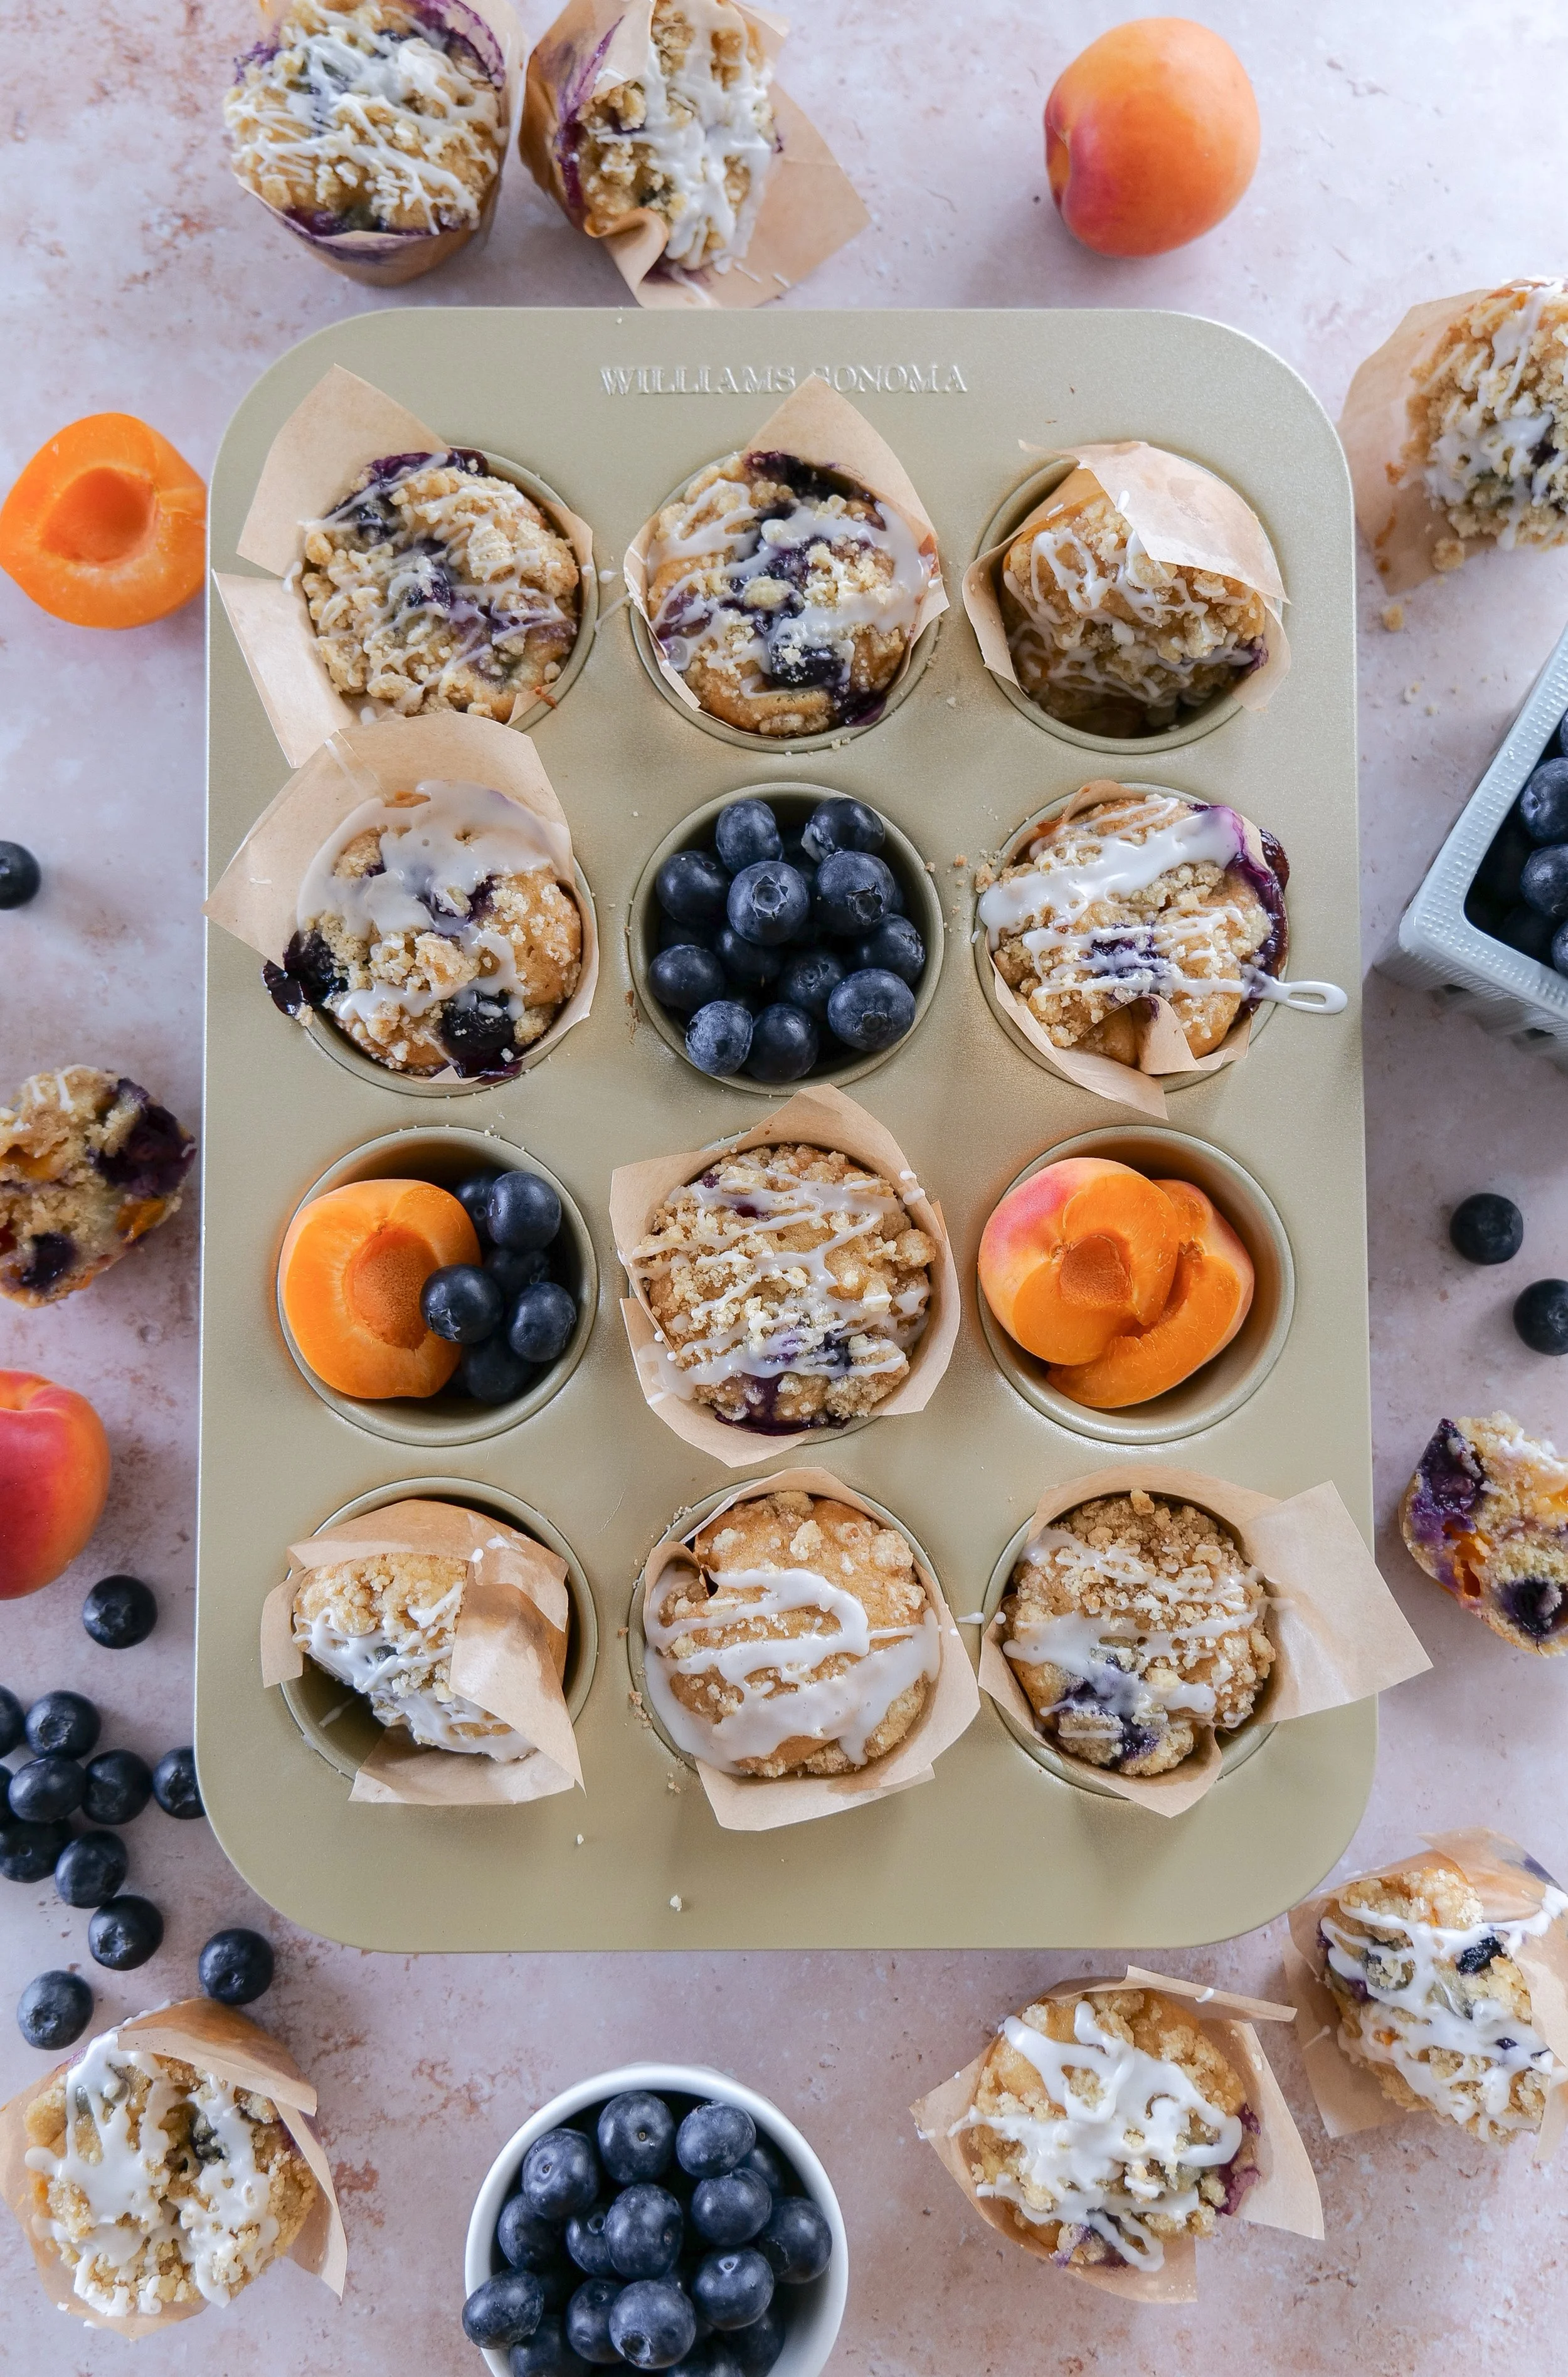
These Blueberry & Apricot Streusel Muffins are soft, moist, and bursting with juicy blueberries and sweet apricots in every bite. Topped with a buttery streusel crumble and simple icing drizzle, they're the perfect bakery-style muffin for breakfast, brunch, meal prep, or an afternoon coffee break.

↓ Skip to Recipe

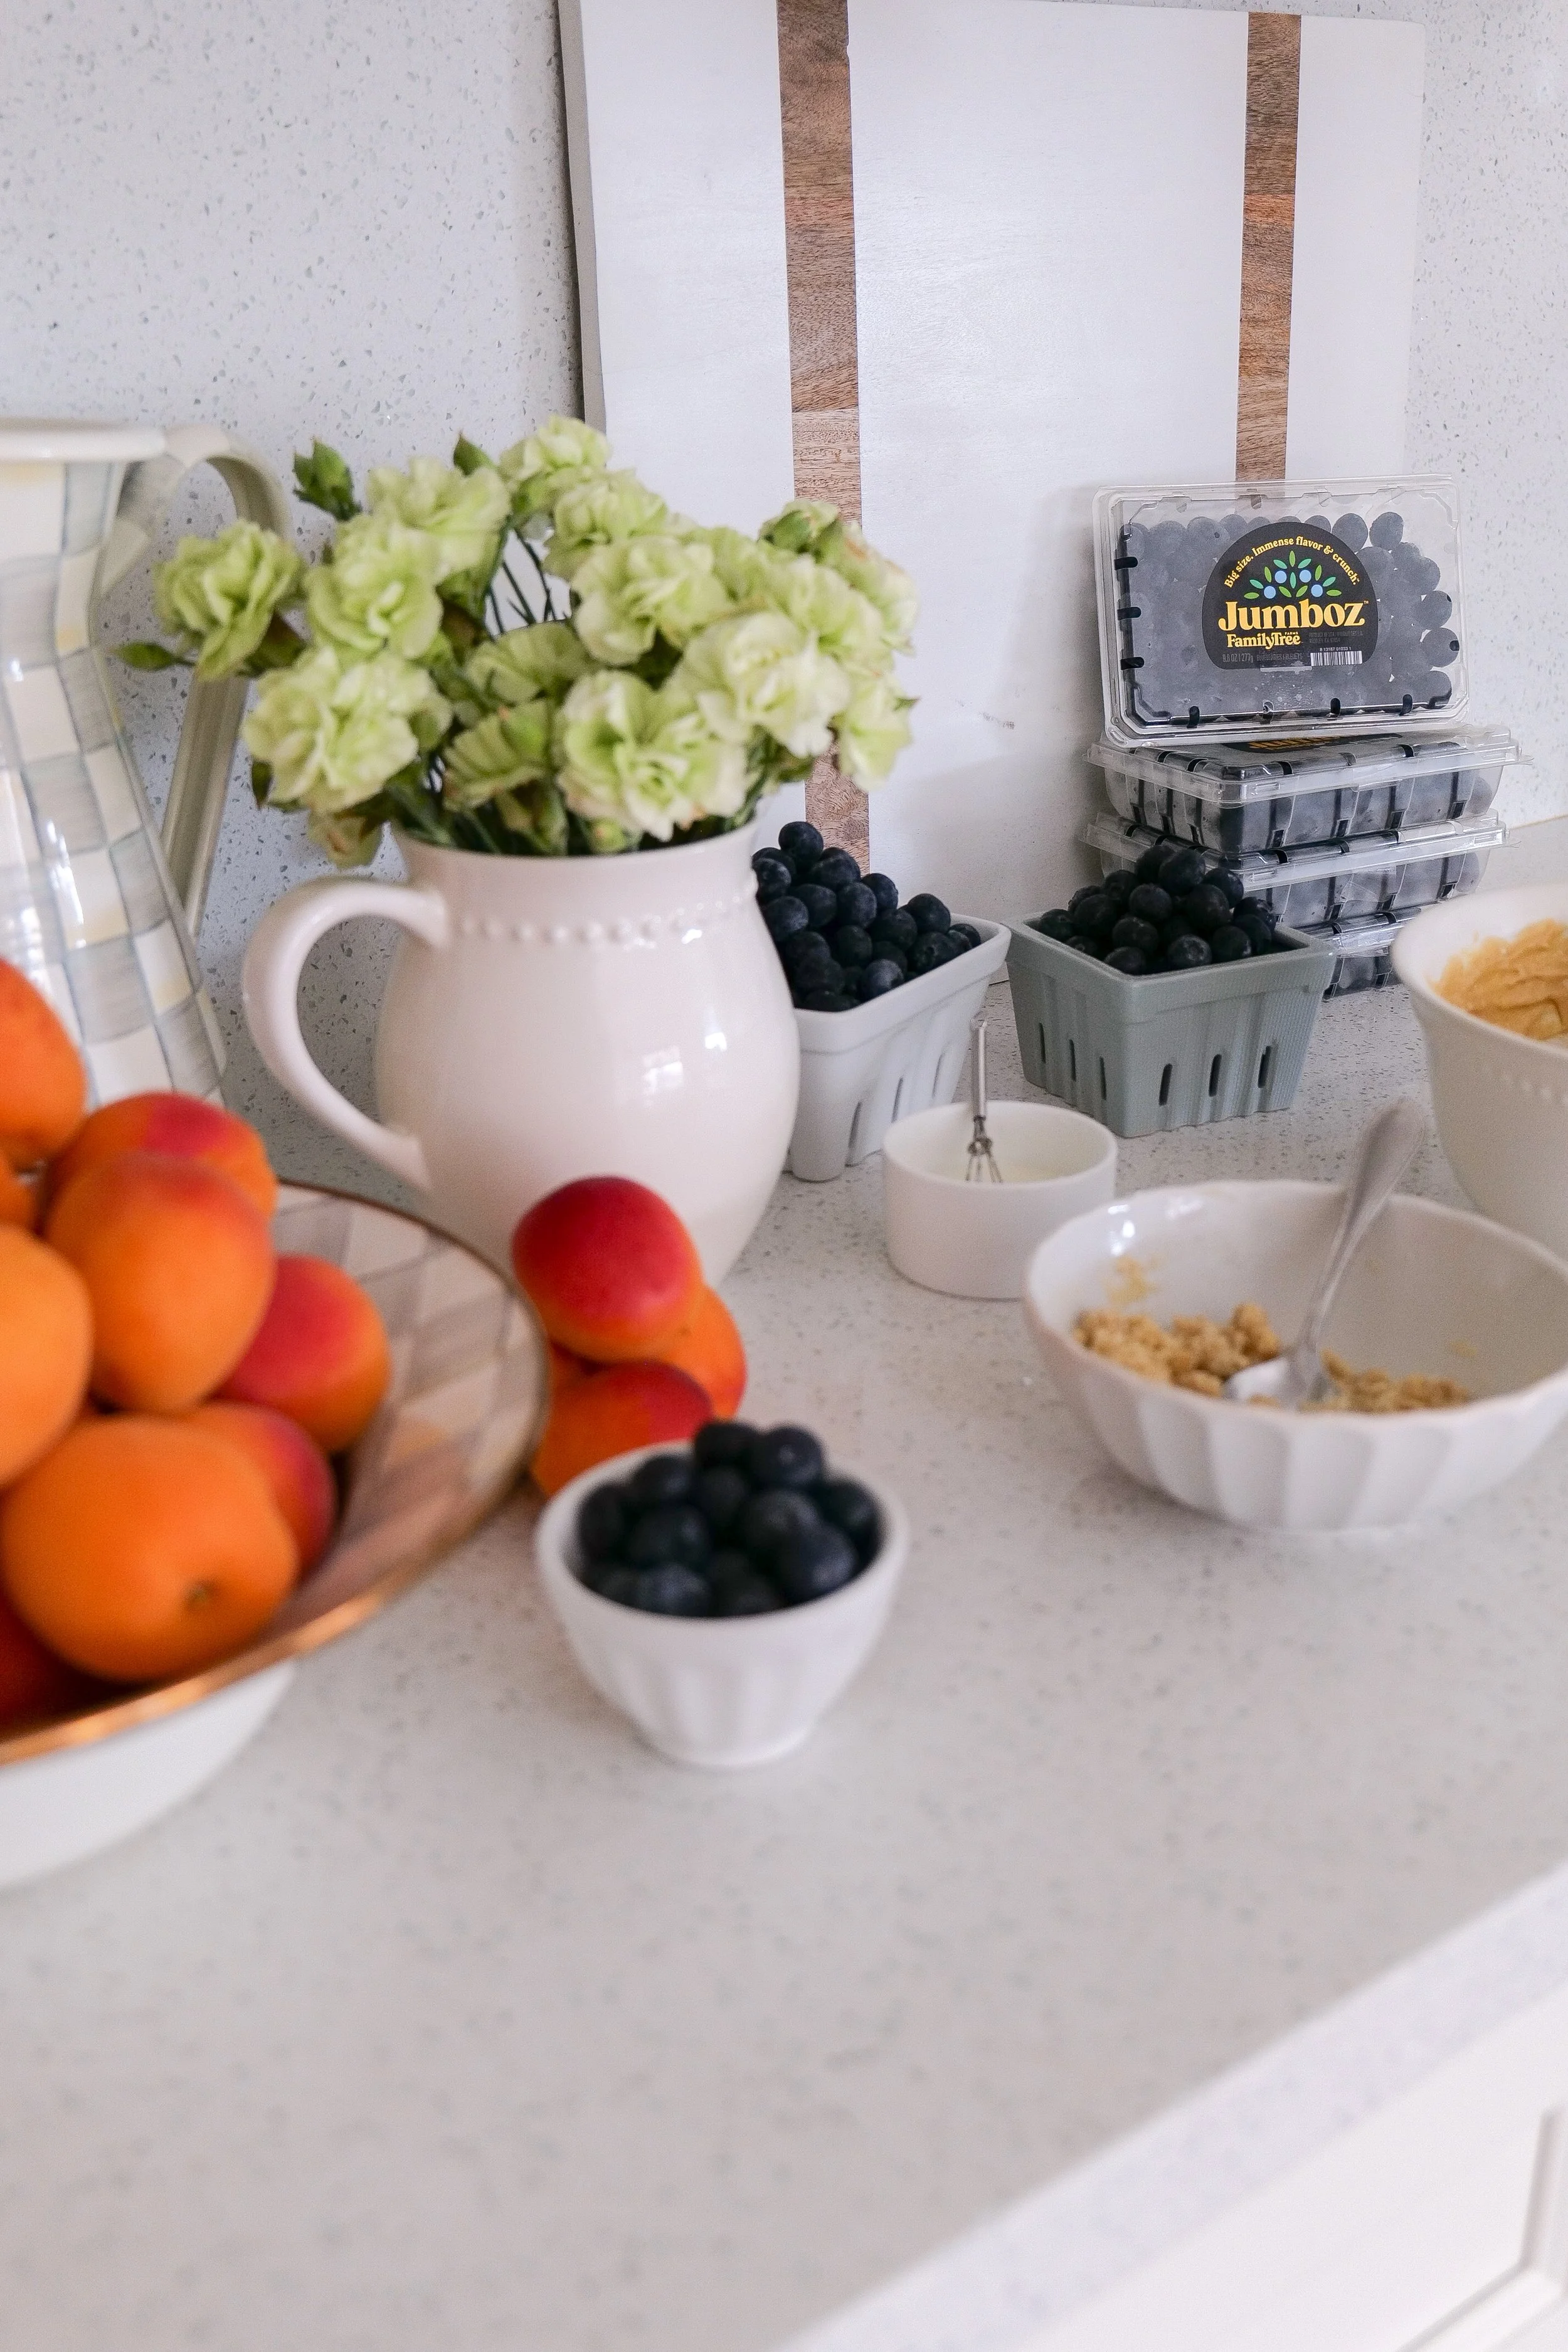
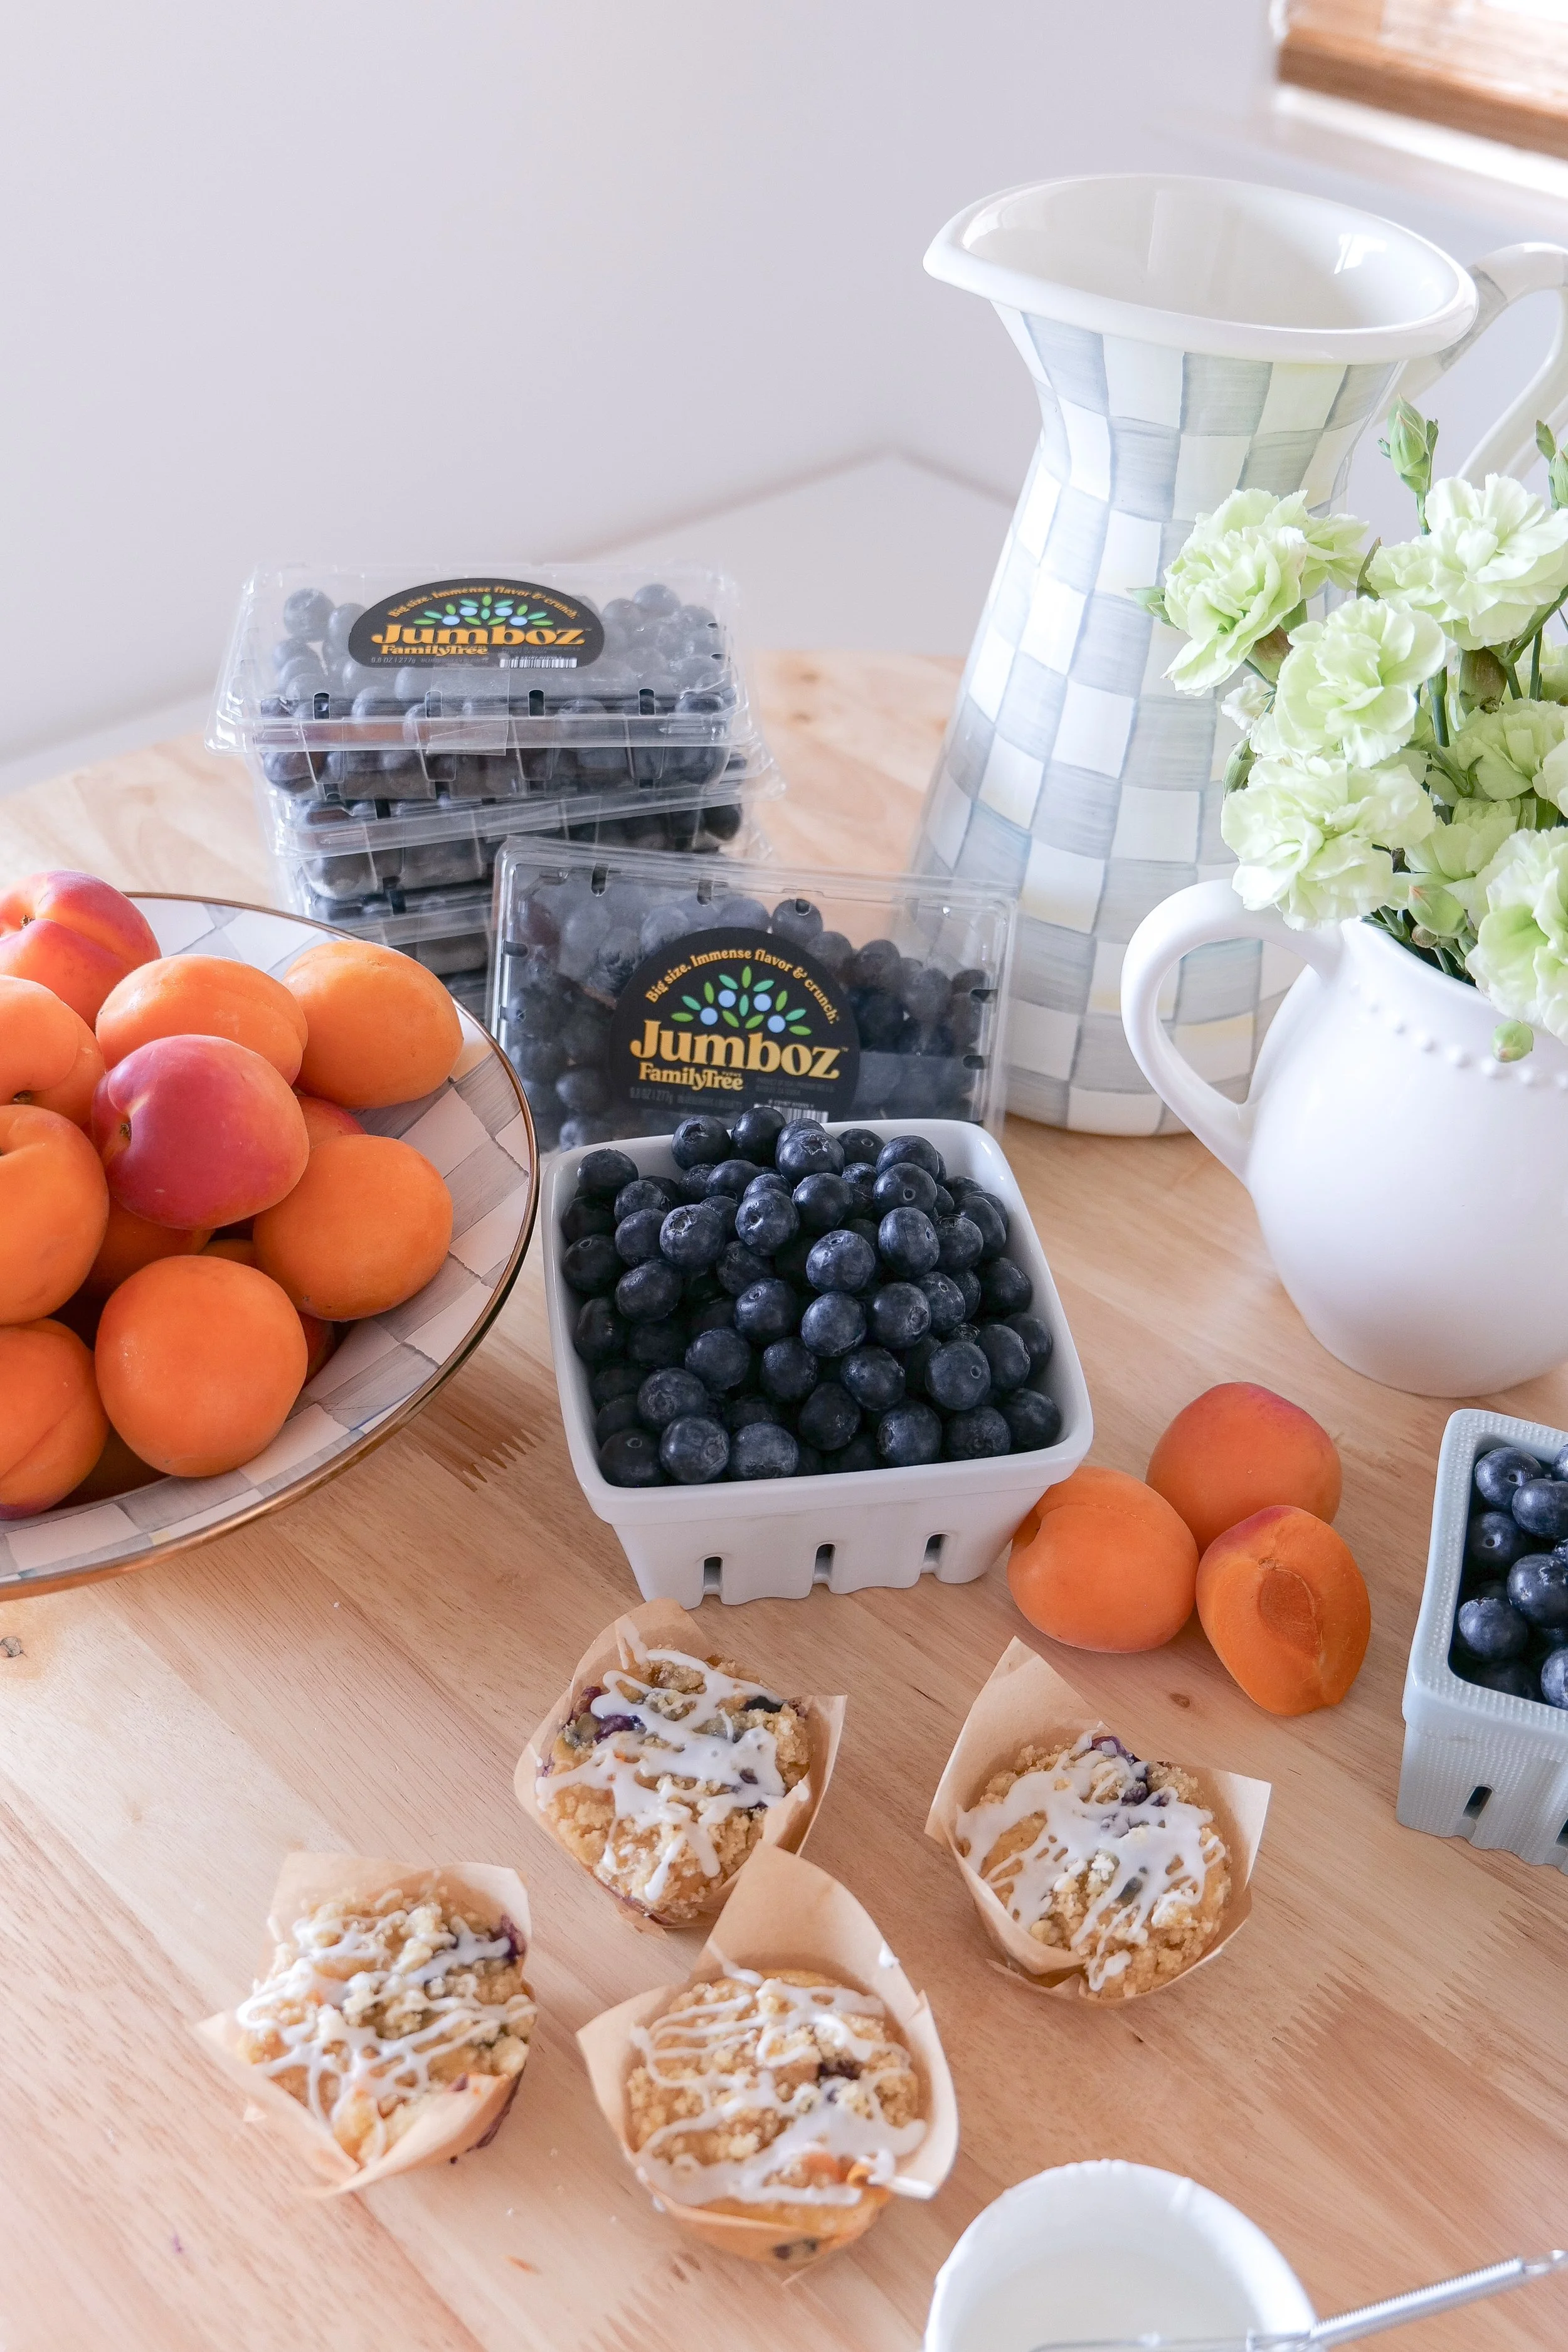
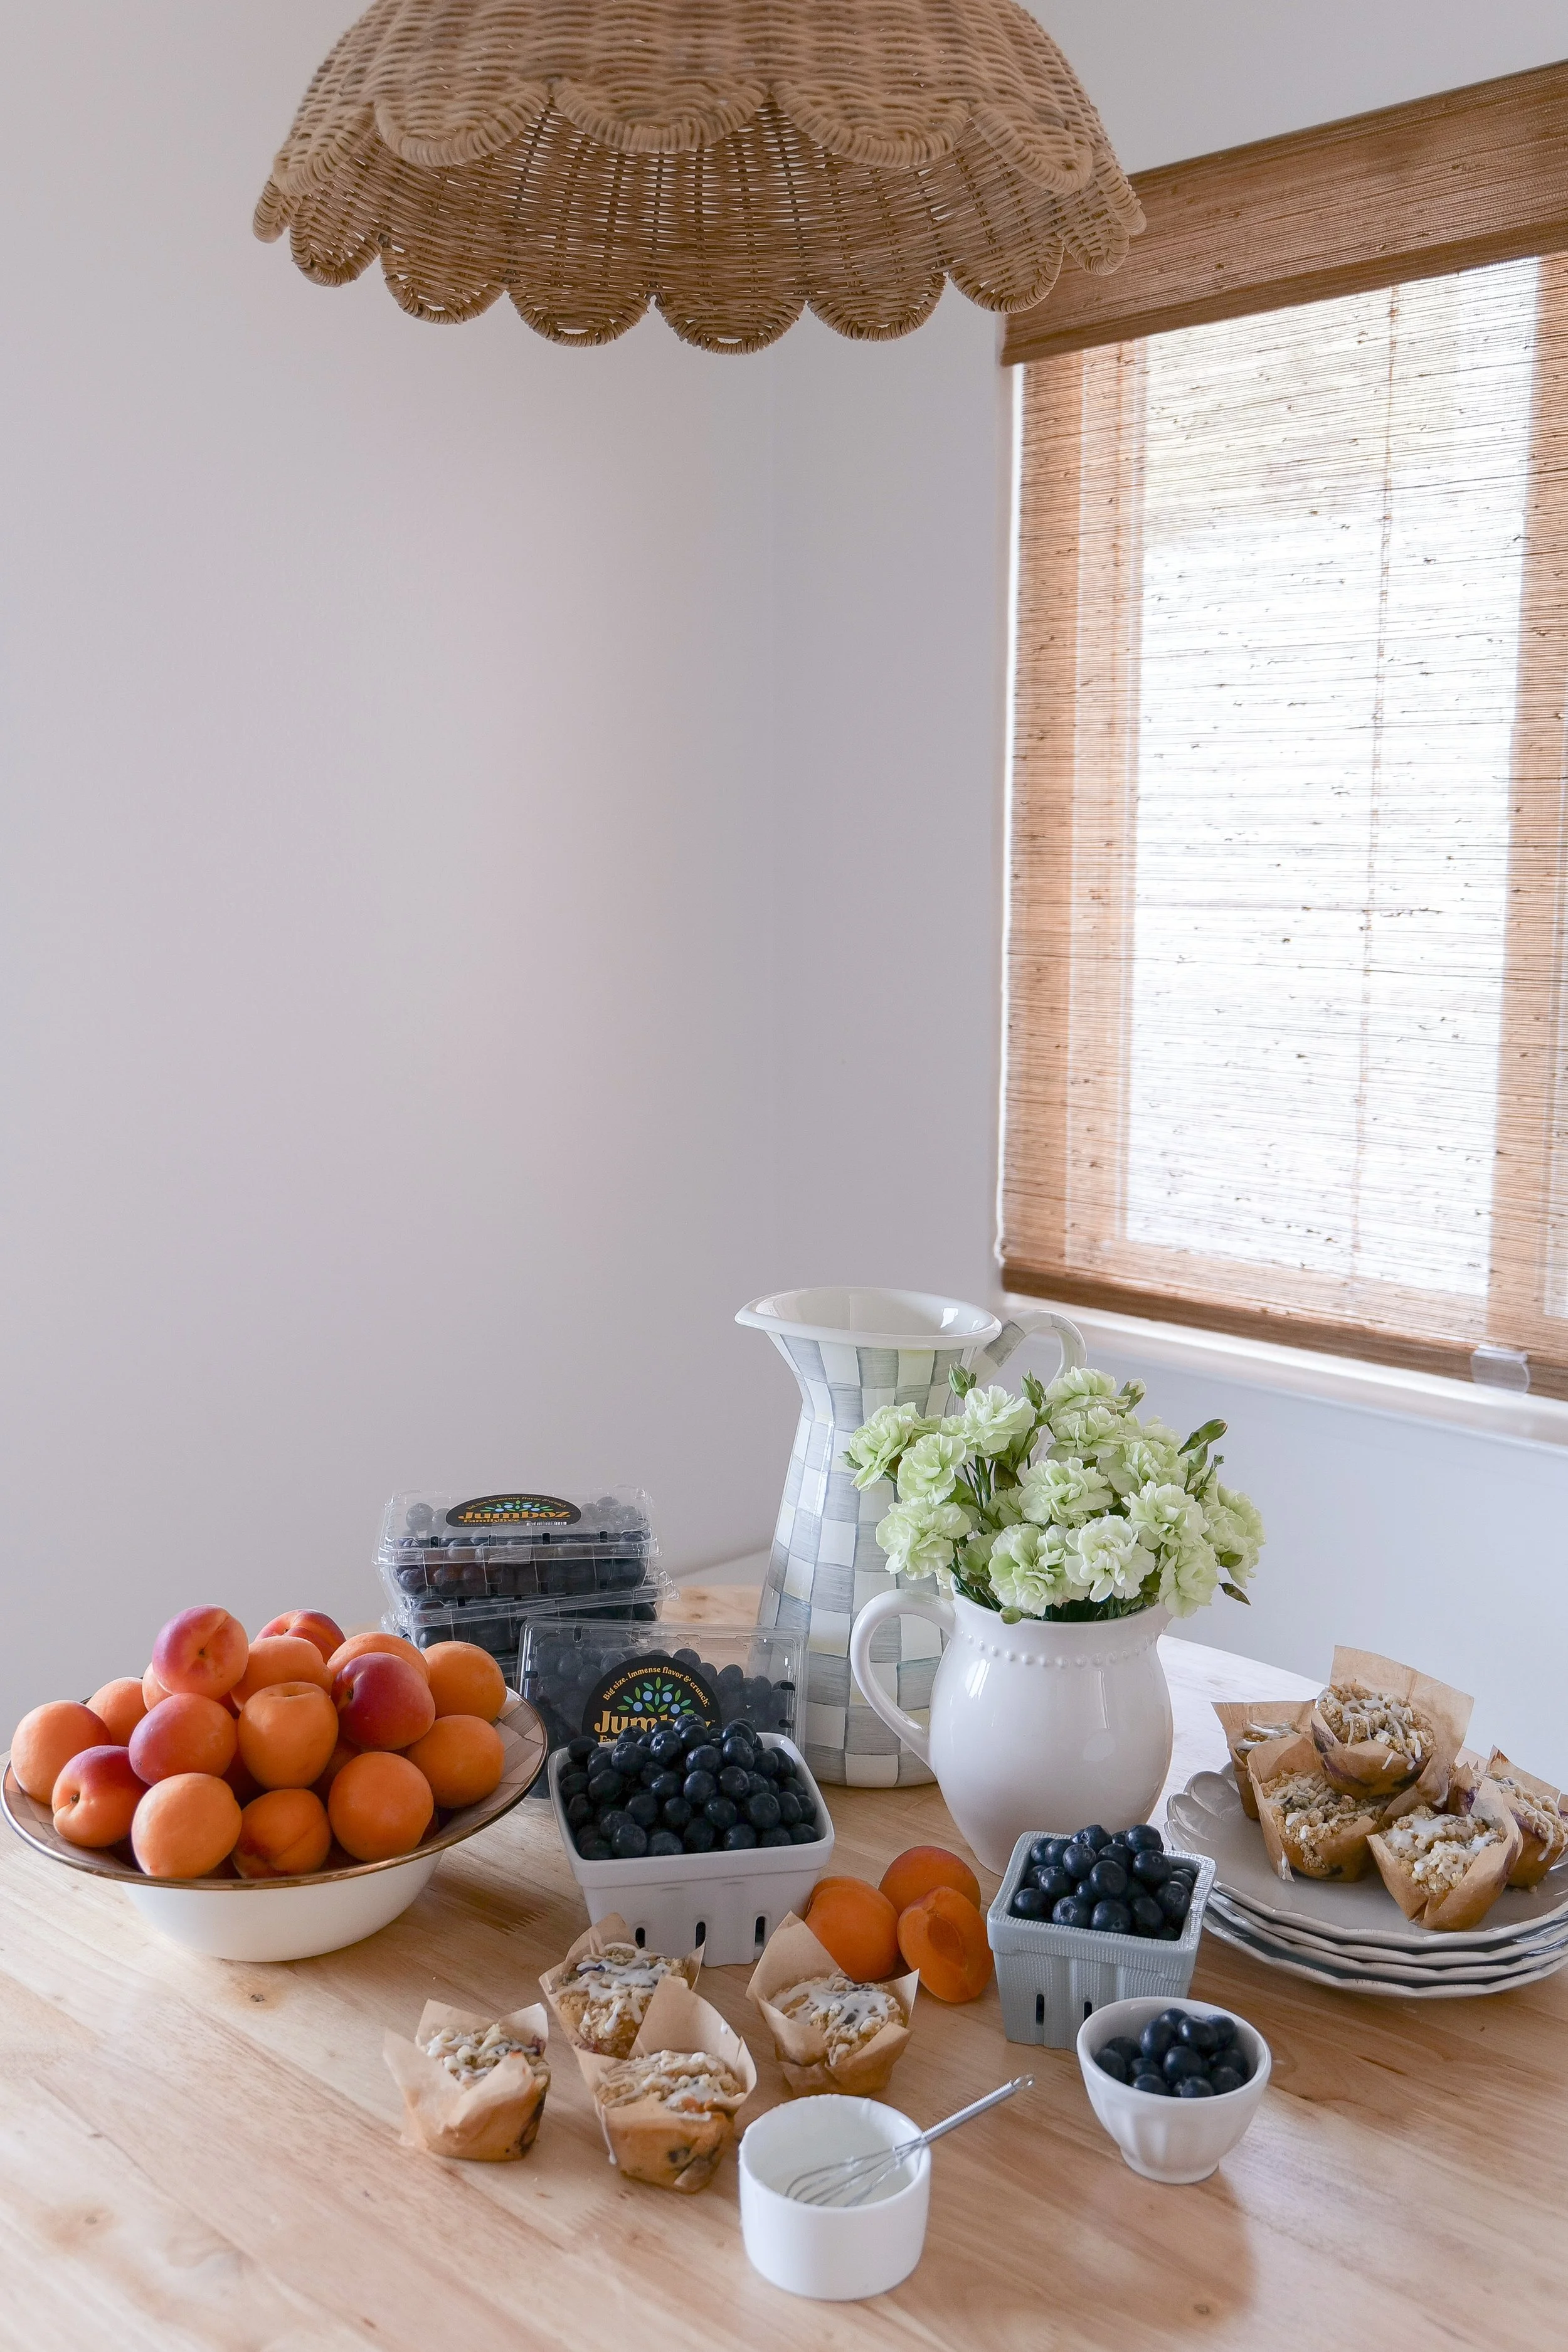
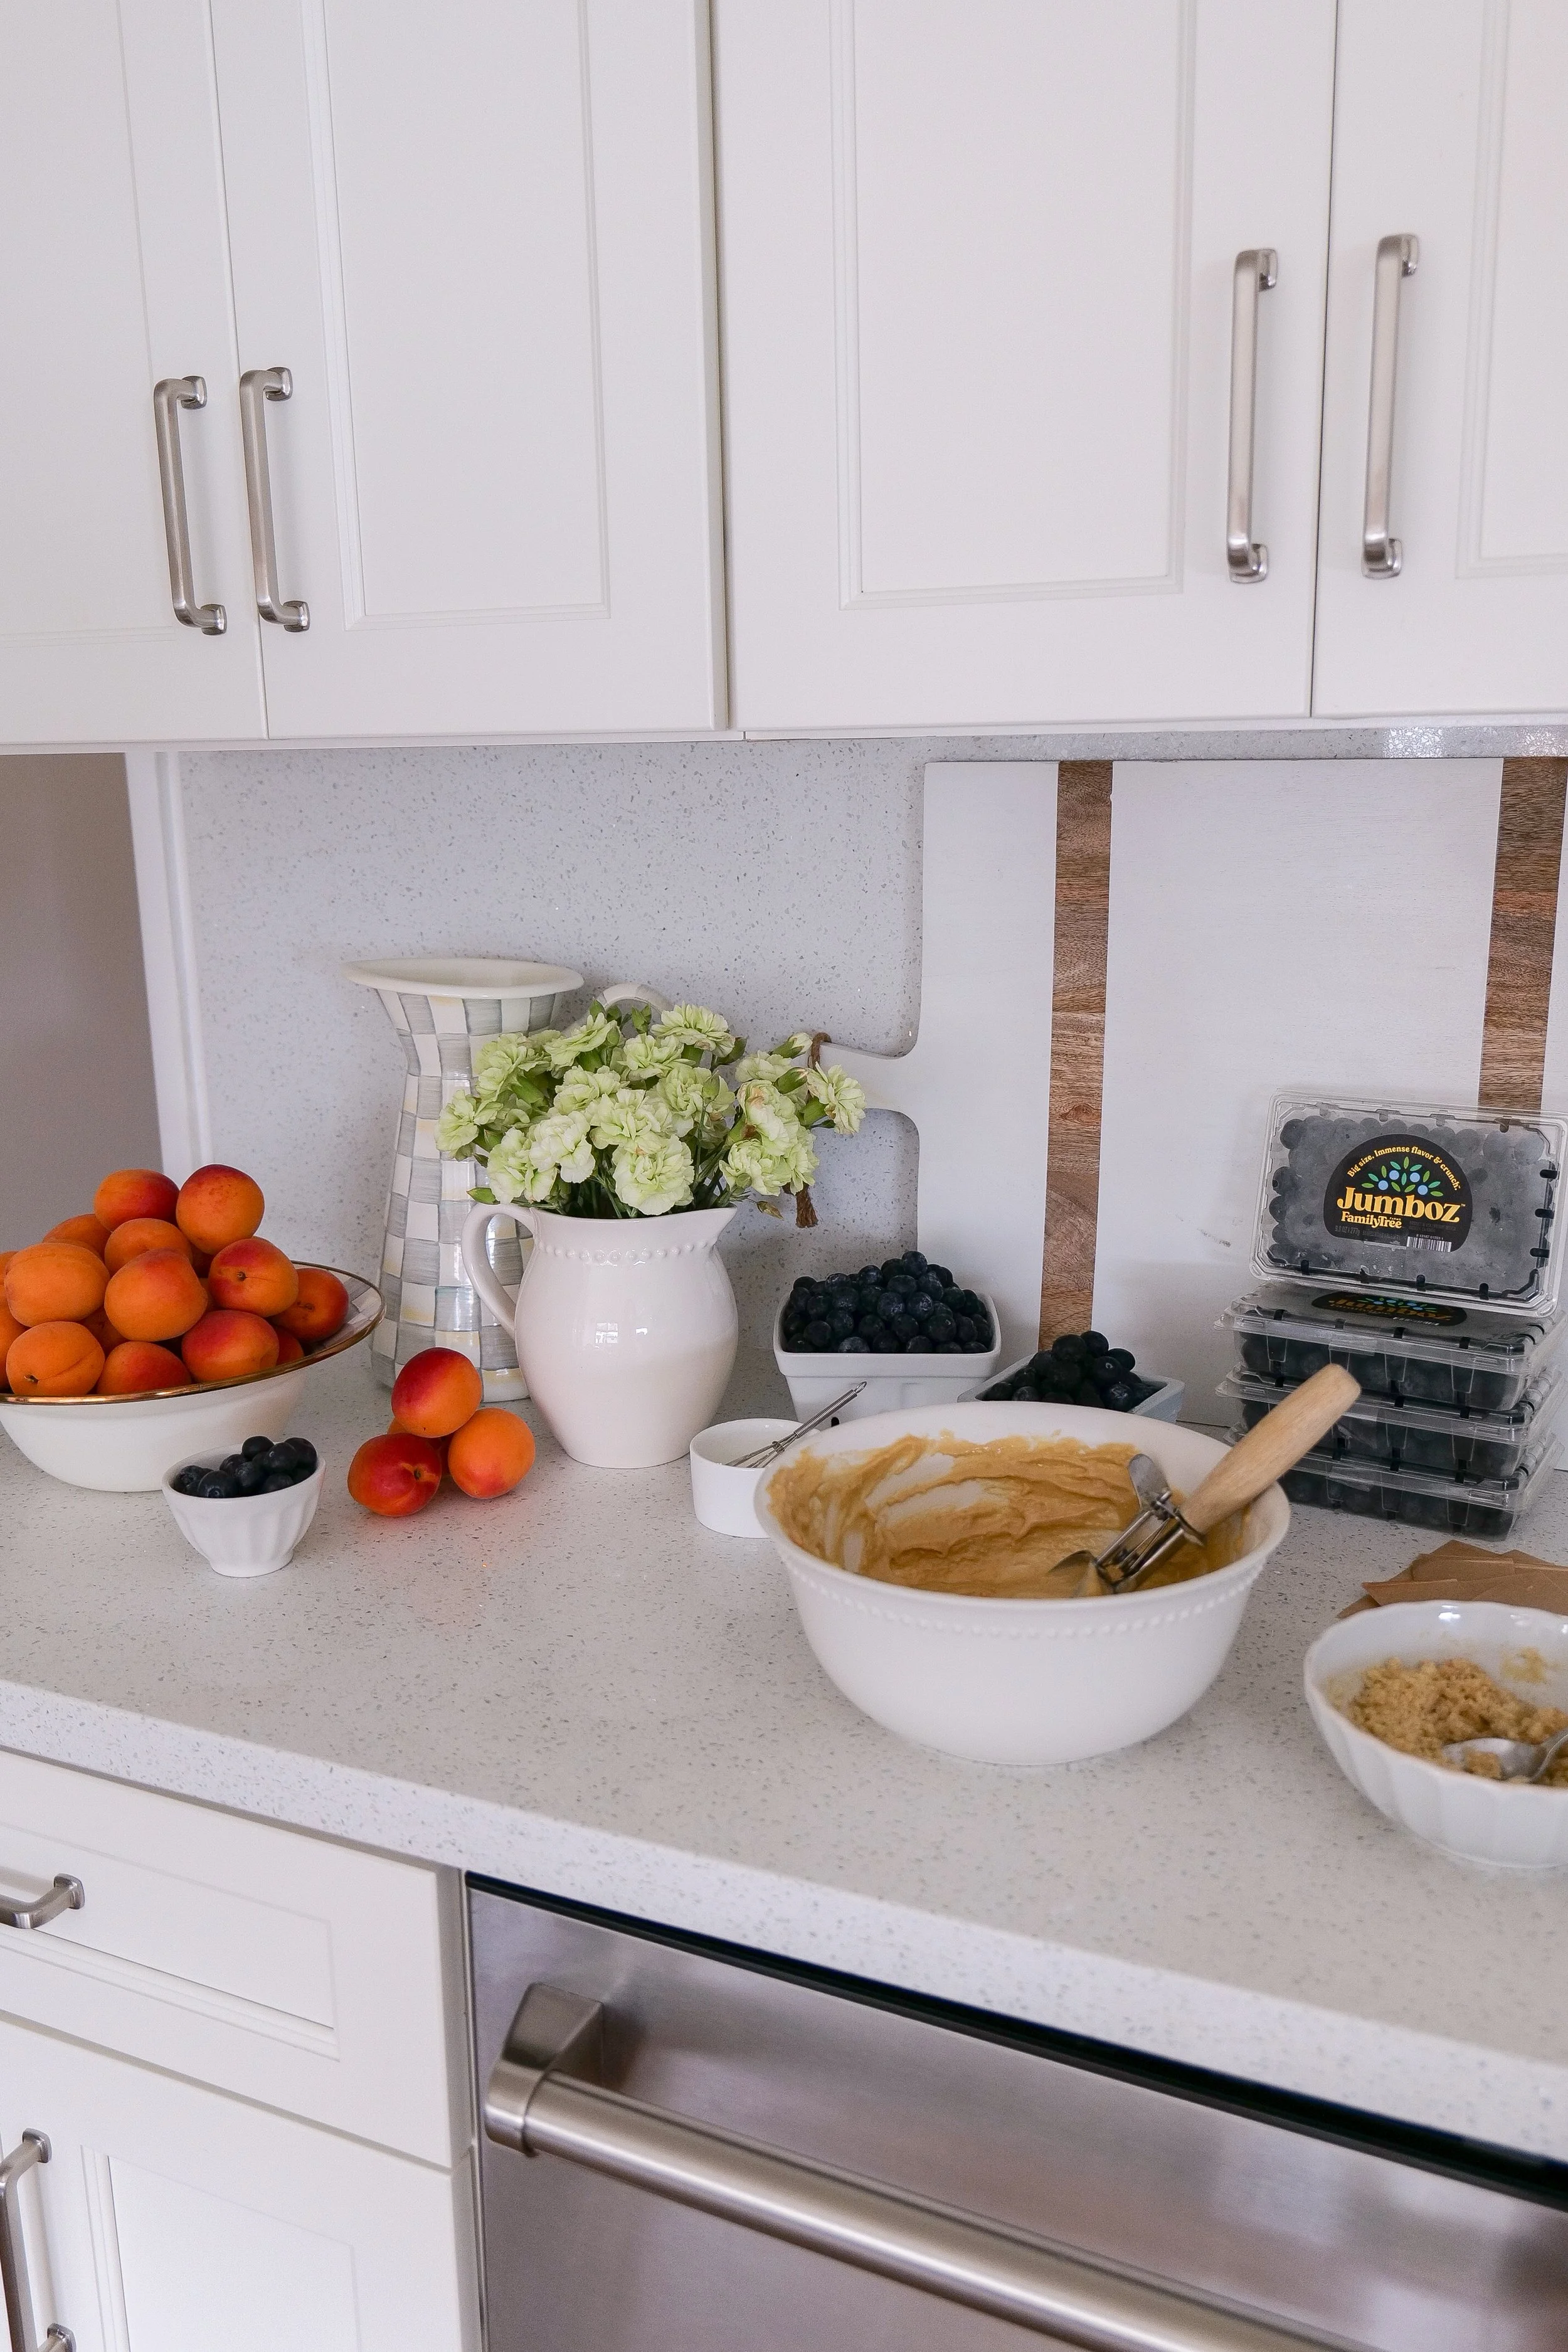
Made with premium fruit from Family Tree Farms, this easy muffin recipe comes together quickly and delivers the perfect balance of tender crumb, fresh fruit, and crunchy topping. If you love homemade bakery-style muffins, this recipe is sure to become a favorite.

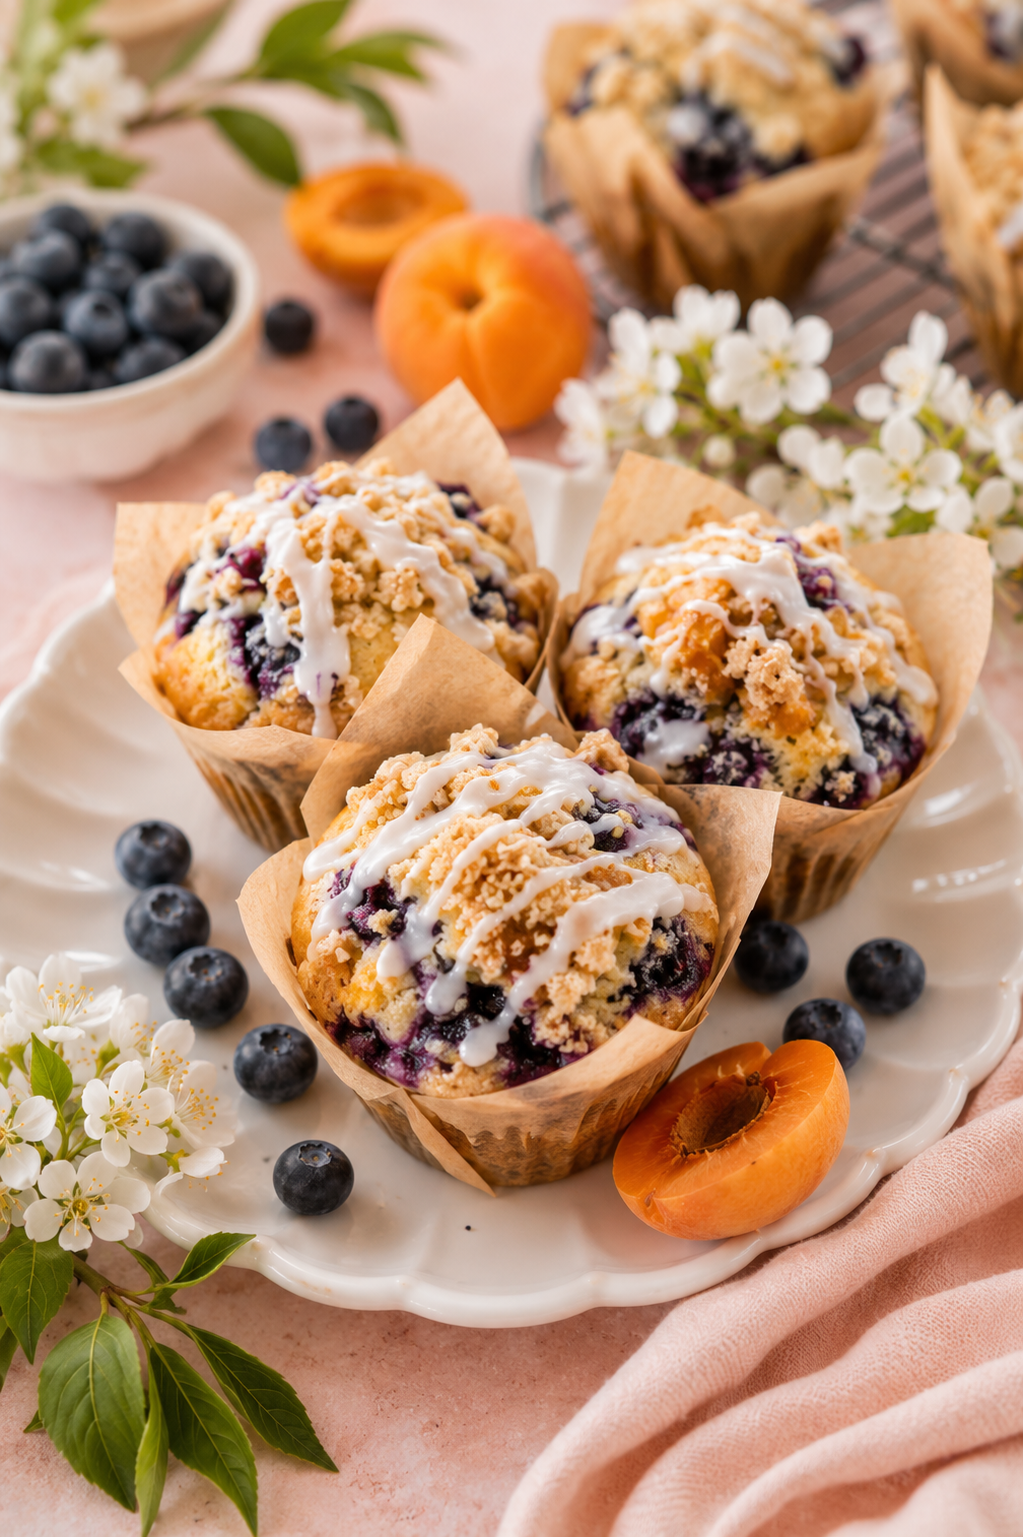
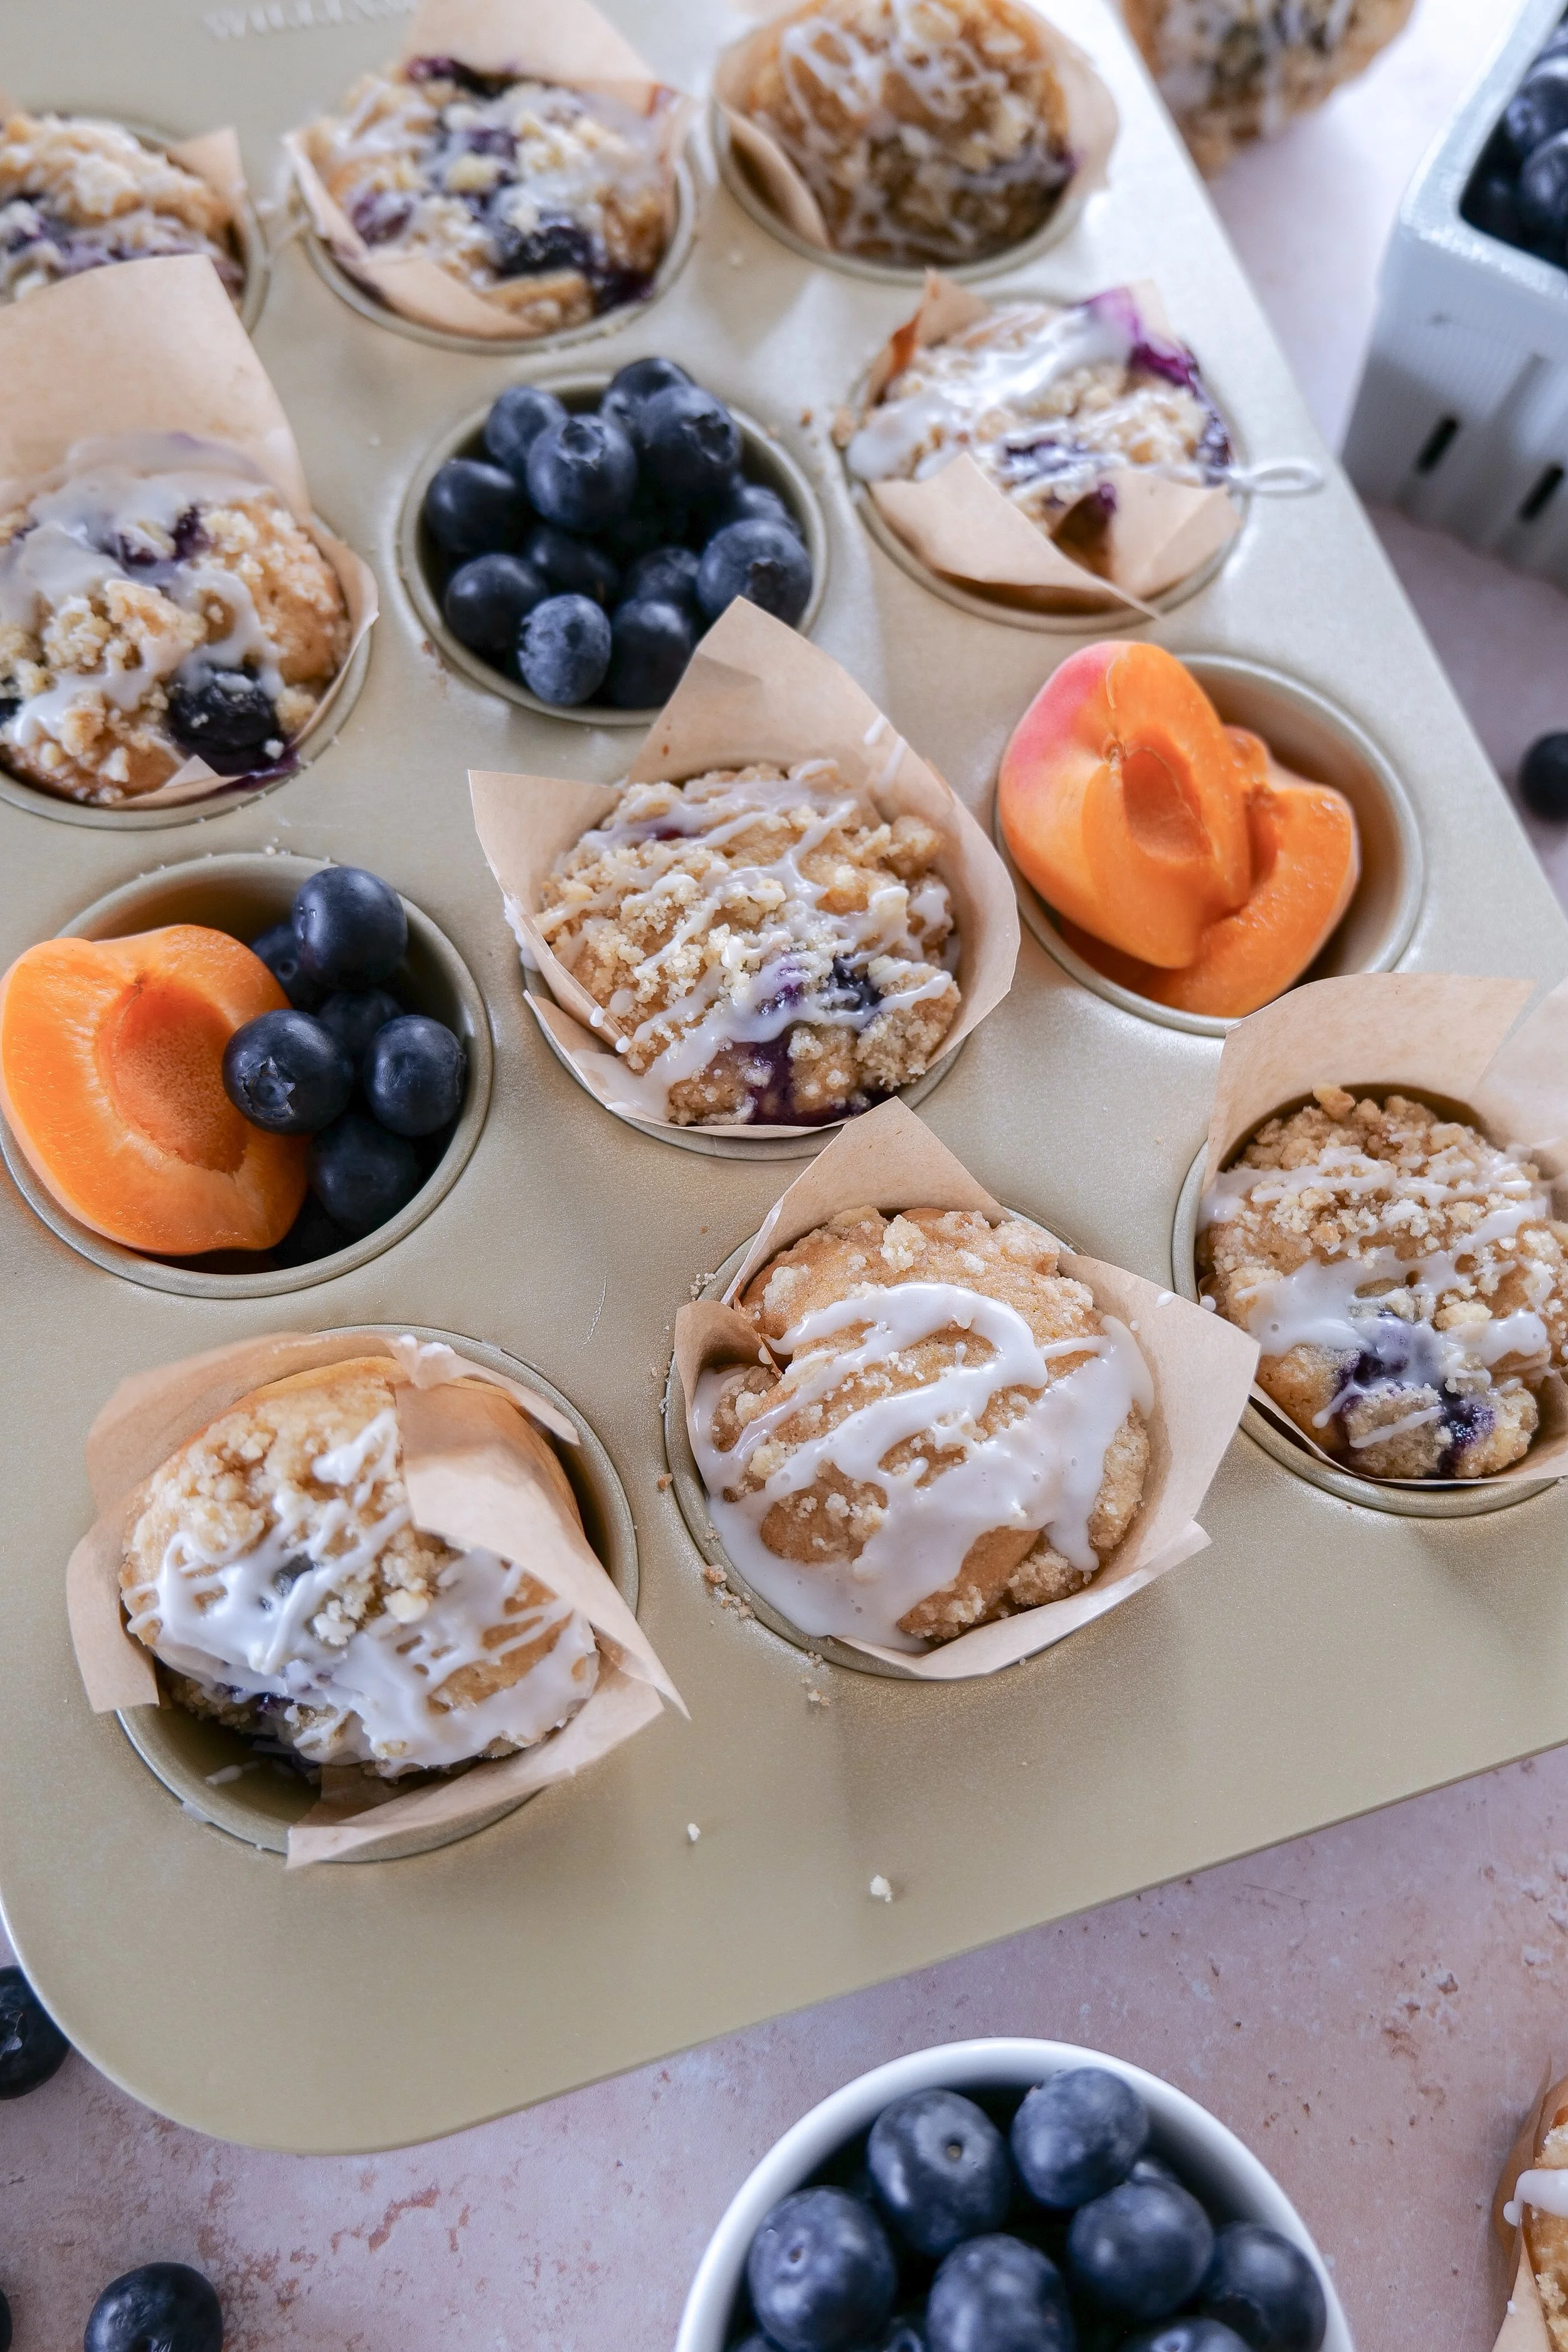
Blueberry apricot streusel muffins with a buttery crumb topping fresh from the oven.
Bakery-style blueberry apricot muffins topped with golden streusel.
Moist blueberry apricot muffins filled with fresh fruit and topped with crumb topping.
Blueberry apricot crumb muffins with a sweet buttery streusel topping.

Why You’ll Love These Blueberry & Apricot Streusel Muffins

These muffins are soft, fluffy, and packed with real fruit in every bite. The combination of sweet blueberries and tangy apricots from Family Tree Farms makes them extra flavorful and bakery-worthy.

✔ Moist bakery-style texture
✔ Real fruit in every bite
✔ Crunchy streusel topping
✔ Easy 30–40 minute recipe

Homemade blueberry apricot muffins cooling after baking.
Easy fruit muffin recipe made with blueberries and apricots.

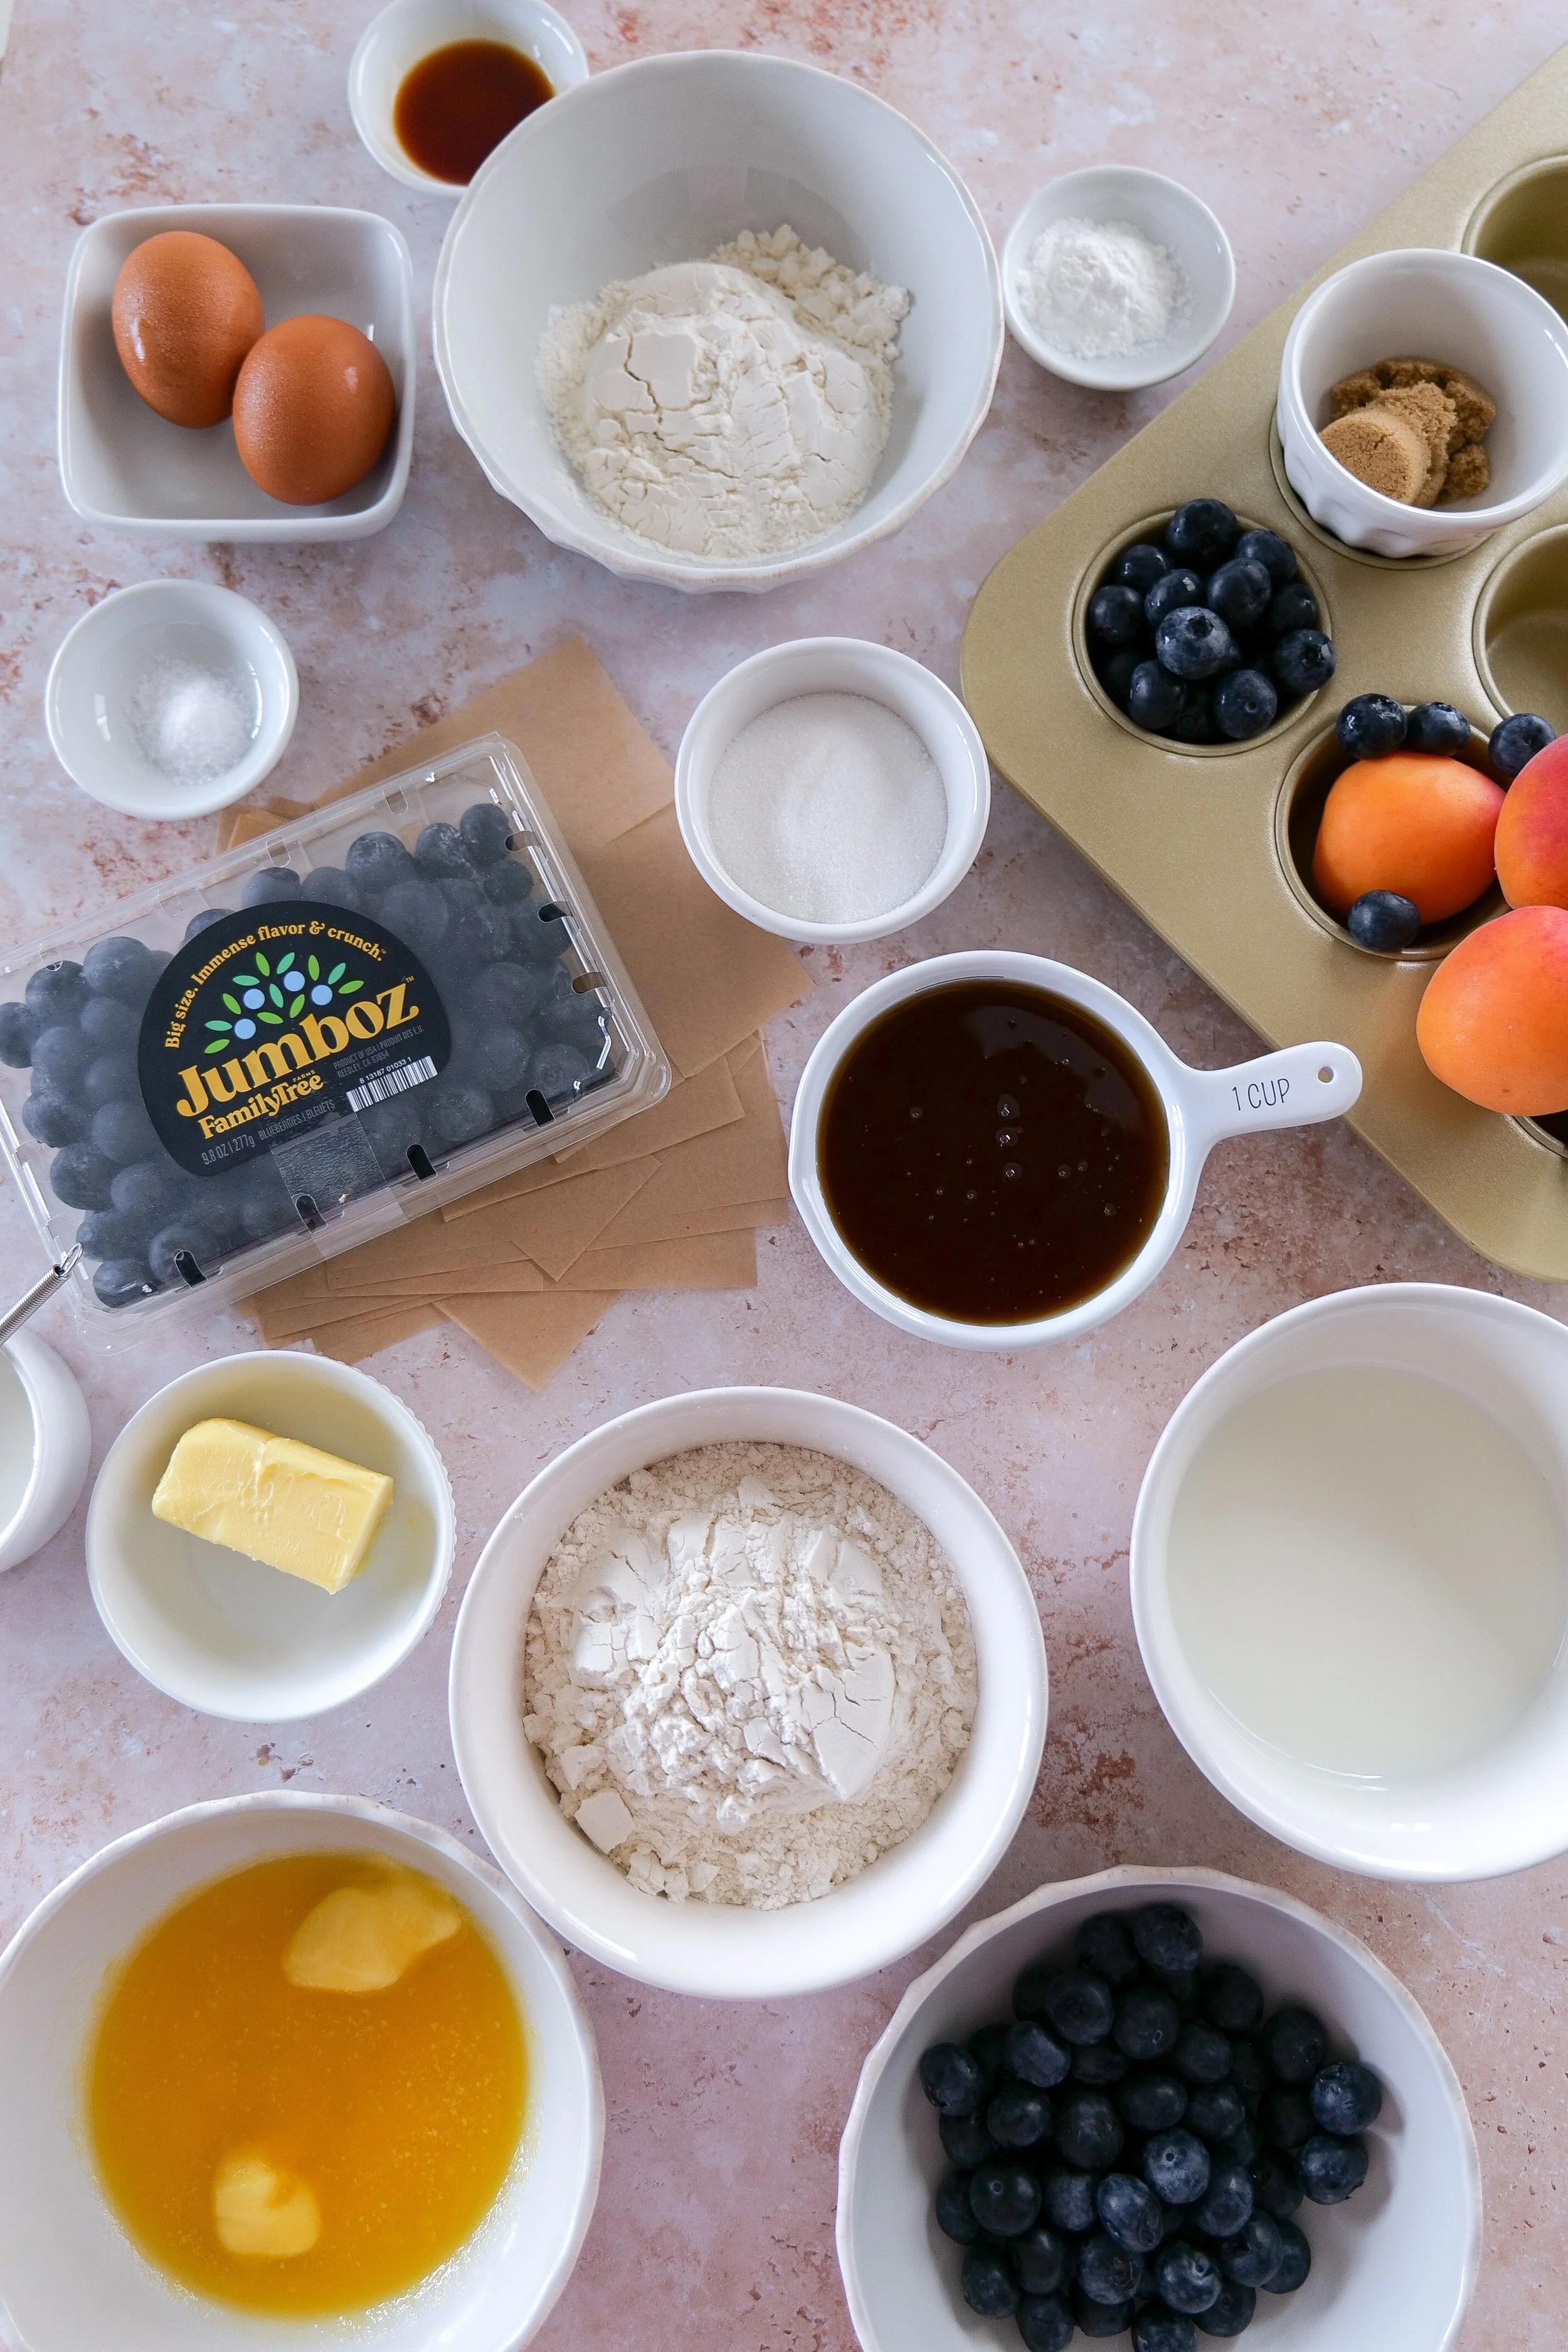
Ingredients

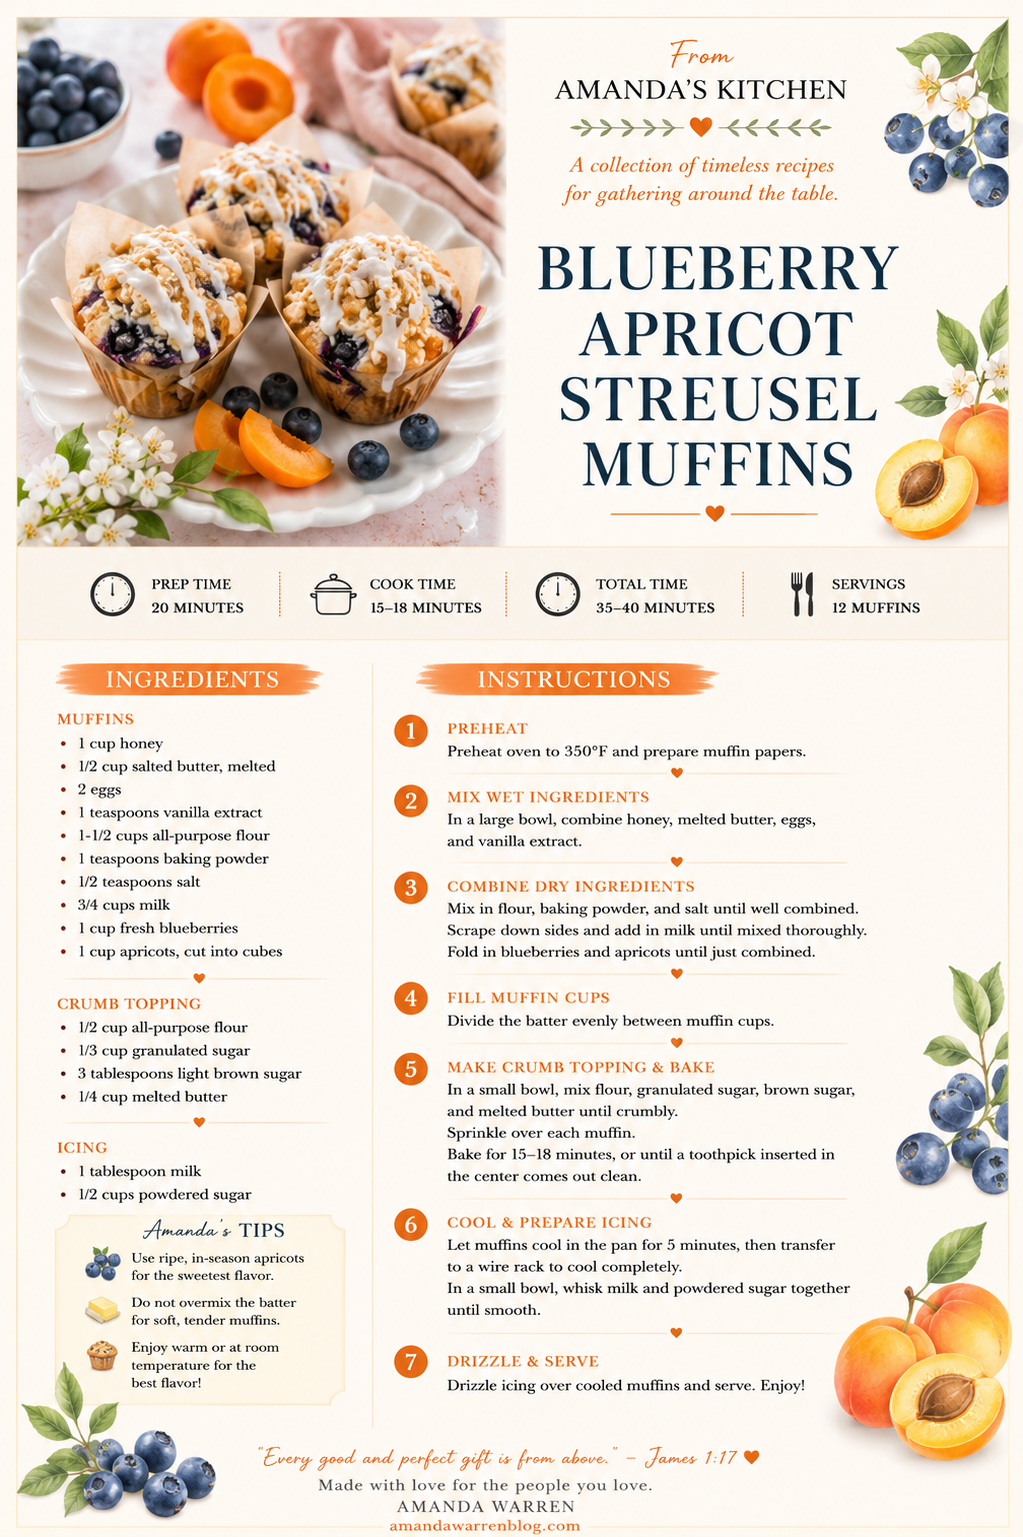
1 cup honey

1/2 cup salted butter, melted

2 eggs

1 teaspoons vanilla extract

1-1/2 cups all-purpose flour

1 teaspoons baking powder

1/2 teaspoons salt

3/4 cups milk

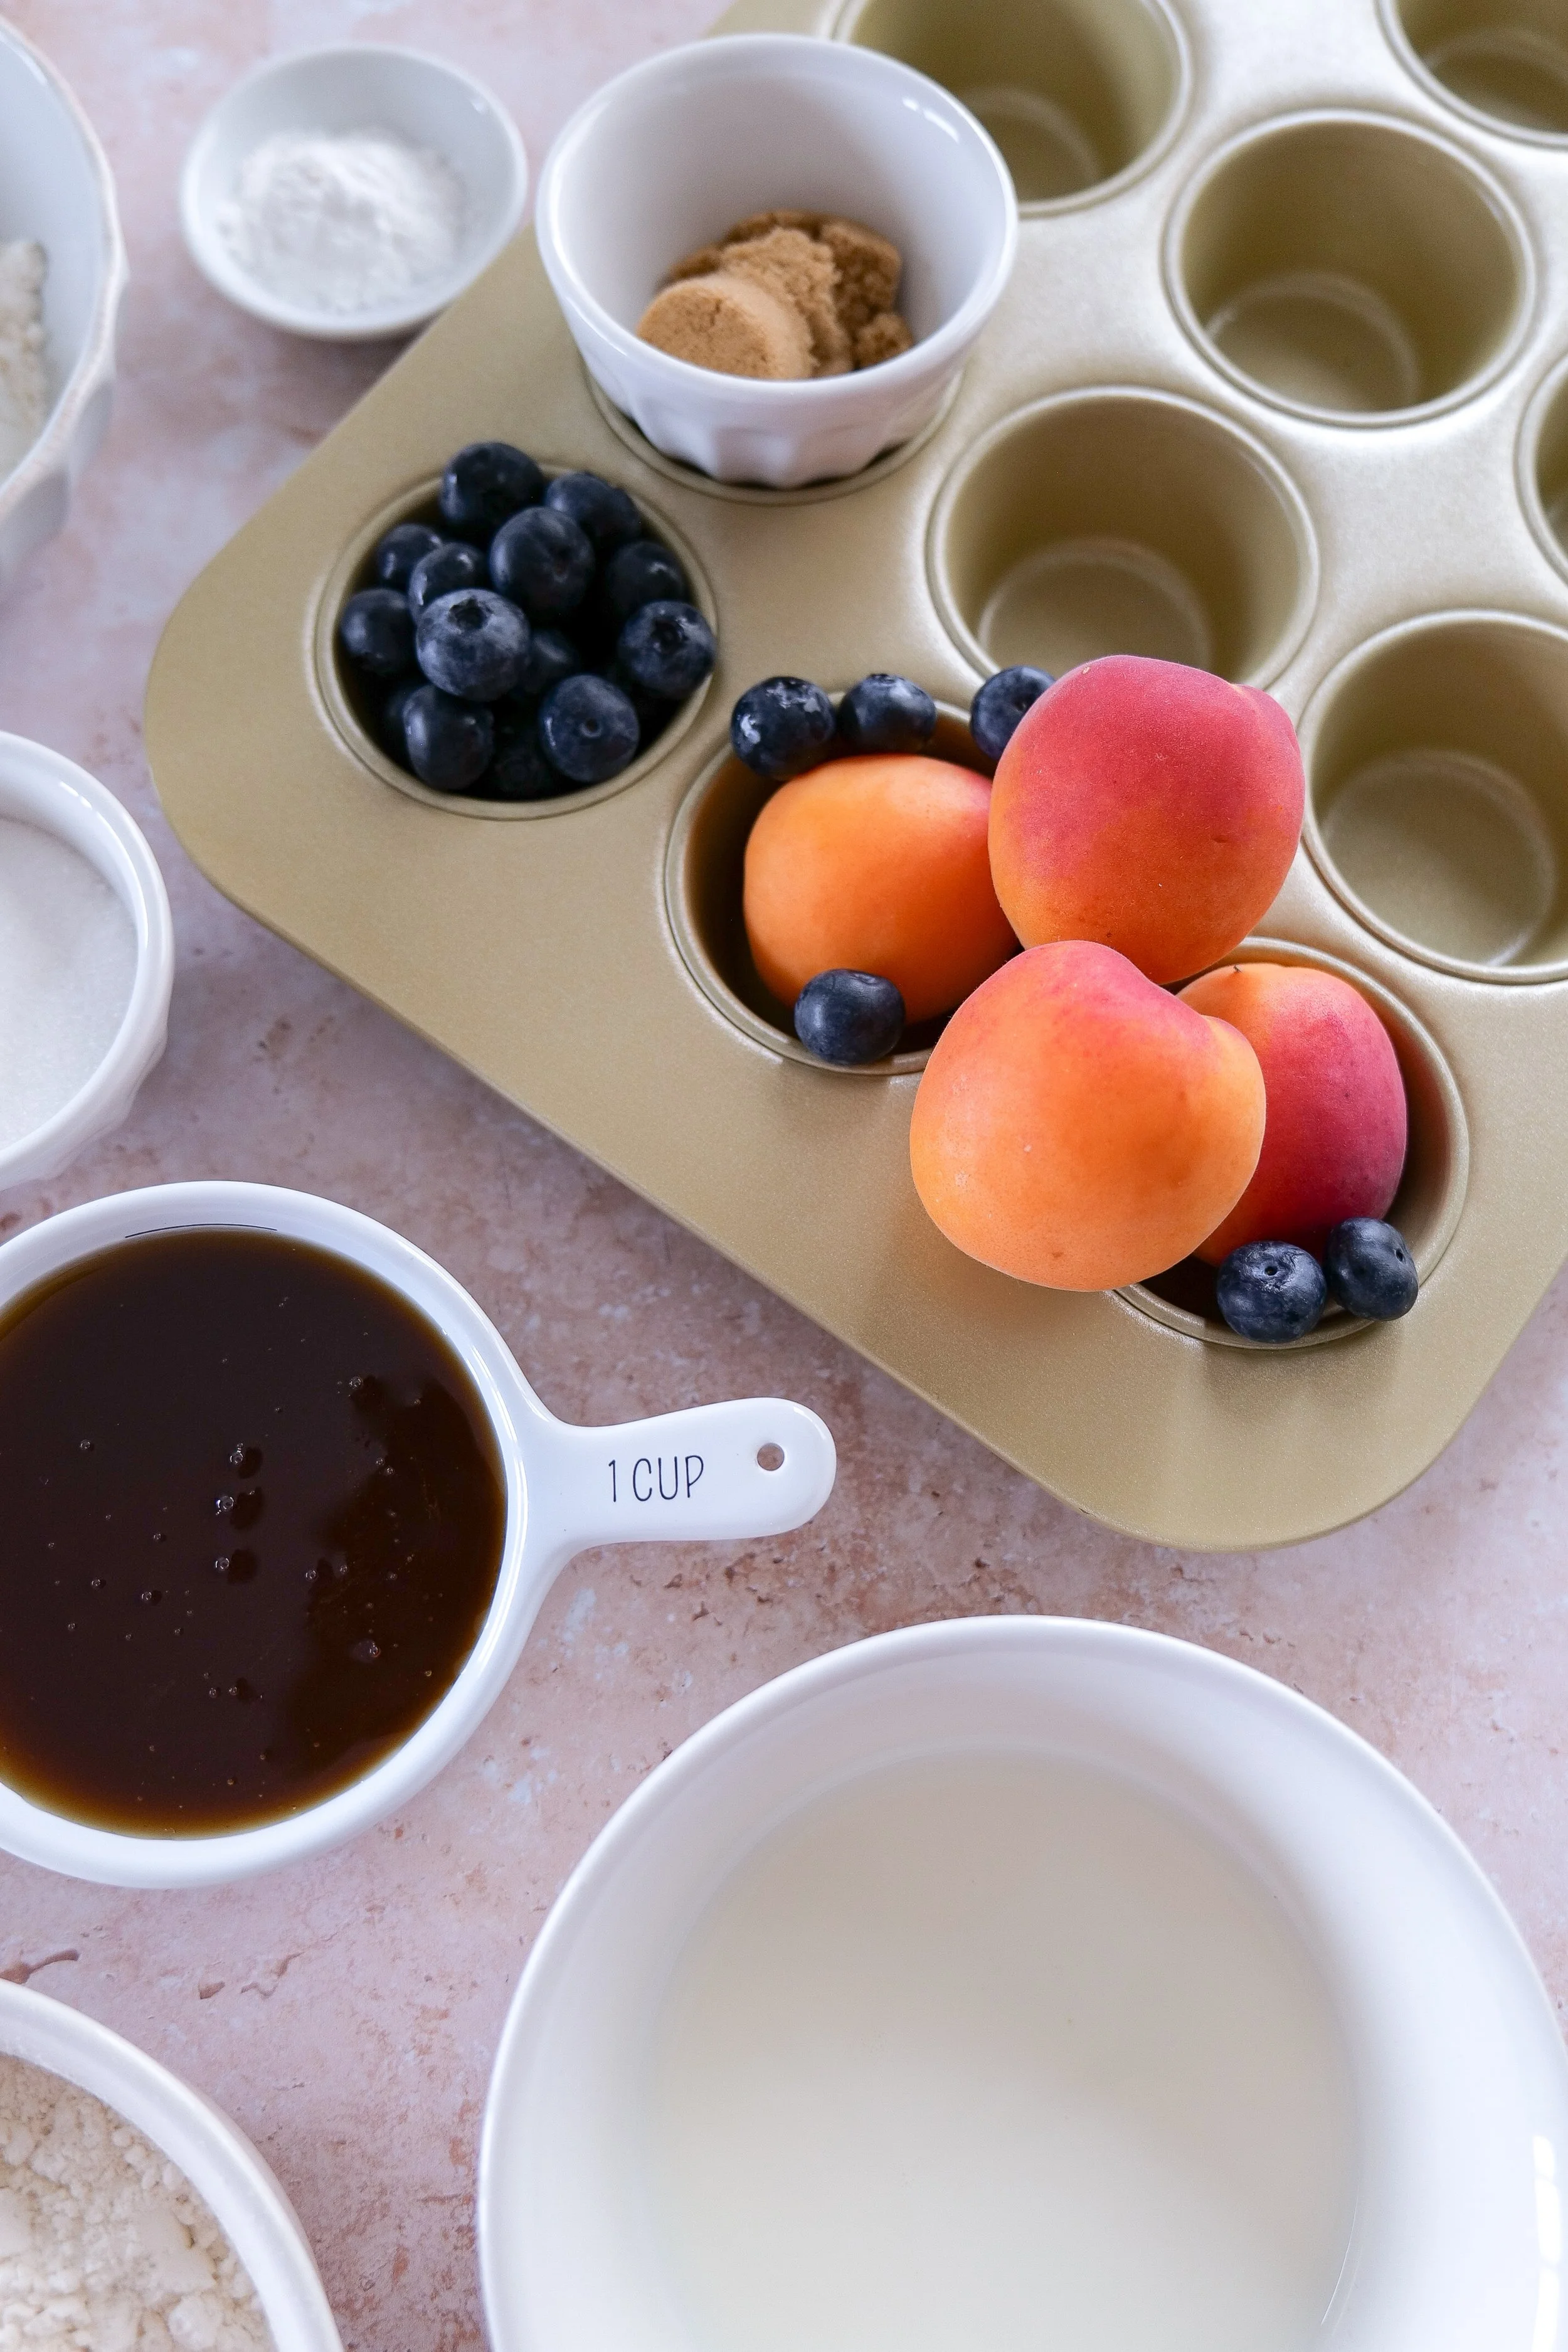
1 Cup of fresh blueberries

1 Cup Apricot, cut into cubes

Crumb Topping & Icing:

1/2 cup all-purpose flour

1/3 cup granulated sugar

3 tablespoons light brown sugar

1/4 cup melted butter

1 tablespoons milk

1/2 cups powder sugar

Instructions:

1. Preheat oven to 350 degrees and prepare muffin papers.

2. In a large bowl combine honey, melted butter, eggs, and vanilla.

3. Mix in Flour, Baking Powder and Salt until well combined. Scrape down sides and add in Milk until mixed thoroughly. Add blueberries & apricots, stir together

4. Divide batter evenly between muffin cups.

5. Make crumb topping by adding flour, sugar, brown sugar, and butter until fully incorporated together to a crumble mixture. Add to top of each muffin and place in oven. Bake for 15 min or until a toothpick inserted comes out clean.

6. Cool and prepare icing. Blend together milk & powdered sugar and drizzle over cooled muffins! Serve & Enjoy!


Love baking from scratch? Here are some of my favorite baking tools, kitchen essentials, and coffee bar favorites that make cozy mornings and weekend baking even sweeter.

Baking Tips for Perfect Muffins

These small adjustments make a big difference:

✔ Don’t overmix the batter

Overmixing leads to dense muffins instead of soft, bakery-style texture.

✔ Use quality fruit

Fresh apricots from Family Tree Farms give a natural sweetness and improve overall flavor.

✔ Toss fruit in flour

This helps distribute fruit evenly throughout the muffins.

✔ Chill your streusel (optional)

Cold butter in the streusel creates a crispier, more bakery-like topping.

✔ Add extra streusel if desired

If you love texture, don’t be shy — more crumb topping = more crunch.

Breakfast streusel muffins served with coffee for a cozy morning.
Blueberry Apricot Streusel Muffins Recipe

What to Serve With Blueberry & Apricot Streusel Muffins

These bakery-style muffins pair perfectly with:

• Fresh fruit salad

• Greek yogurt

• Scrambled eggs

• A hot cup of coffee

• Matcha lattes

• Cold brew coffee

• Breakfast casseroles

• Brunch charcuterie boards

Whether you're hosting brunch or enjoying a quiet morning at home, these muffins make a delicious addition to any breakfast spread.

Variations & Substitutions

You can easily customize this recipe:

Fruit swaps:

  • Peaches instead of apricots

  • Raspberries instead of blueberries

  • Mixed berries for a classic version

Dairy-free option:

  • Use plant-based milk

  • Replace butter with coconut oil or vegan butter

Healthier version:

  • Reduce sugar slightly

  • Add oats to the streusel for extra texture

Storage Instructions

These muffins store beautifully:

  • Room temperature: 2–3 days in an airtight container

  • Refrigerator: up to 1 week

  • Freezer: up to 2 months

To reheat, warm in the microwave for 10–15 seconds or in a low oven until soft.

More Cozy Baking Recipes You'll Love

If you love homemade muffins and bakery-style treats, be sure to check out these reader-favorite baking recipes:

Frequently Asked Questions

Can I use frozen fruit?

Yes. Add it directly from frozen — do not thaw, or it may make the batter too wet.

Why did my muffins sink in the middle?

Common reasons include:

  • overmixing the batter

  • underbaking

  • too much liquid in the mixture

What makes these muffins bakery-style?

It’s the combination of:

  • proper mixing technique

  • high-quality fruit from Family Tree Farms

  • rich streusel topping

  • balanced moisture and structure

Can I make these ahead of time?

Yes — in fact, they taste even better the next day as flavors settle.

Final Thoughts

These bakery-style blueberry apricot streusel muffins are everything a homemade bakery-style muffin should be: soft, moist, flavorful, and topped with a buttery crumble that adds the perfect finishing touch.

Using fresh apricots from Family Tree Farms takes this recipe to another level, giving each bite natural sweetness and vibrant flavor.

Once you make them, they’re almost guaranteed to become a repeat recipe in your kitchen.

From Amanda's Kitchen

A collection of timeless recipes for gathering around the table.

Some recipes become favorites because they're simple enough for everyday mornings but special enough to share with the people you love.

These Blueberry Apricot Streusel Muffins are exactly that kind of recipe. Filled with fresh fruit, topped with a buttery crumb topping, and finished with a sweet drizzle, they're just as perfect for a slow Saturday breakfast as they are for sharing with neighbors, brunch guests, or family gathered around the table.

That's exactly why I created these From Amanda's Kitchen printable recipe cards. My hope is that these recipes become more than something you bake—they become part of the memories you create and the traditions you pass down.

Because the best recipes aren't just made—they're shared with love, one table at a time.

Save or print the recipe card below so it's always ready for your next brunch, coffee date, or cozy weekend morning.

Blueberry apricot muffins served on a brunch table.
Split blueberry apricot muffin showing juicy fruit and tender crumb.
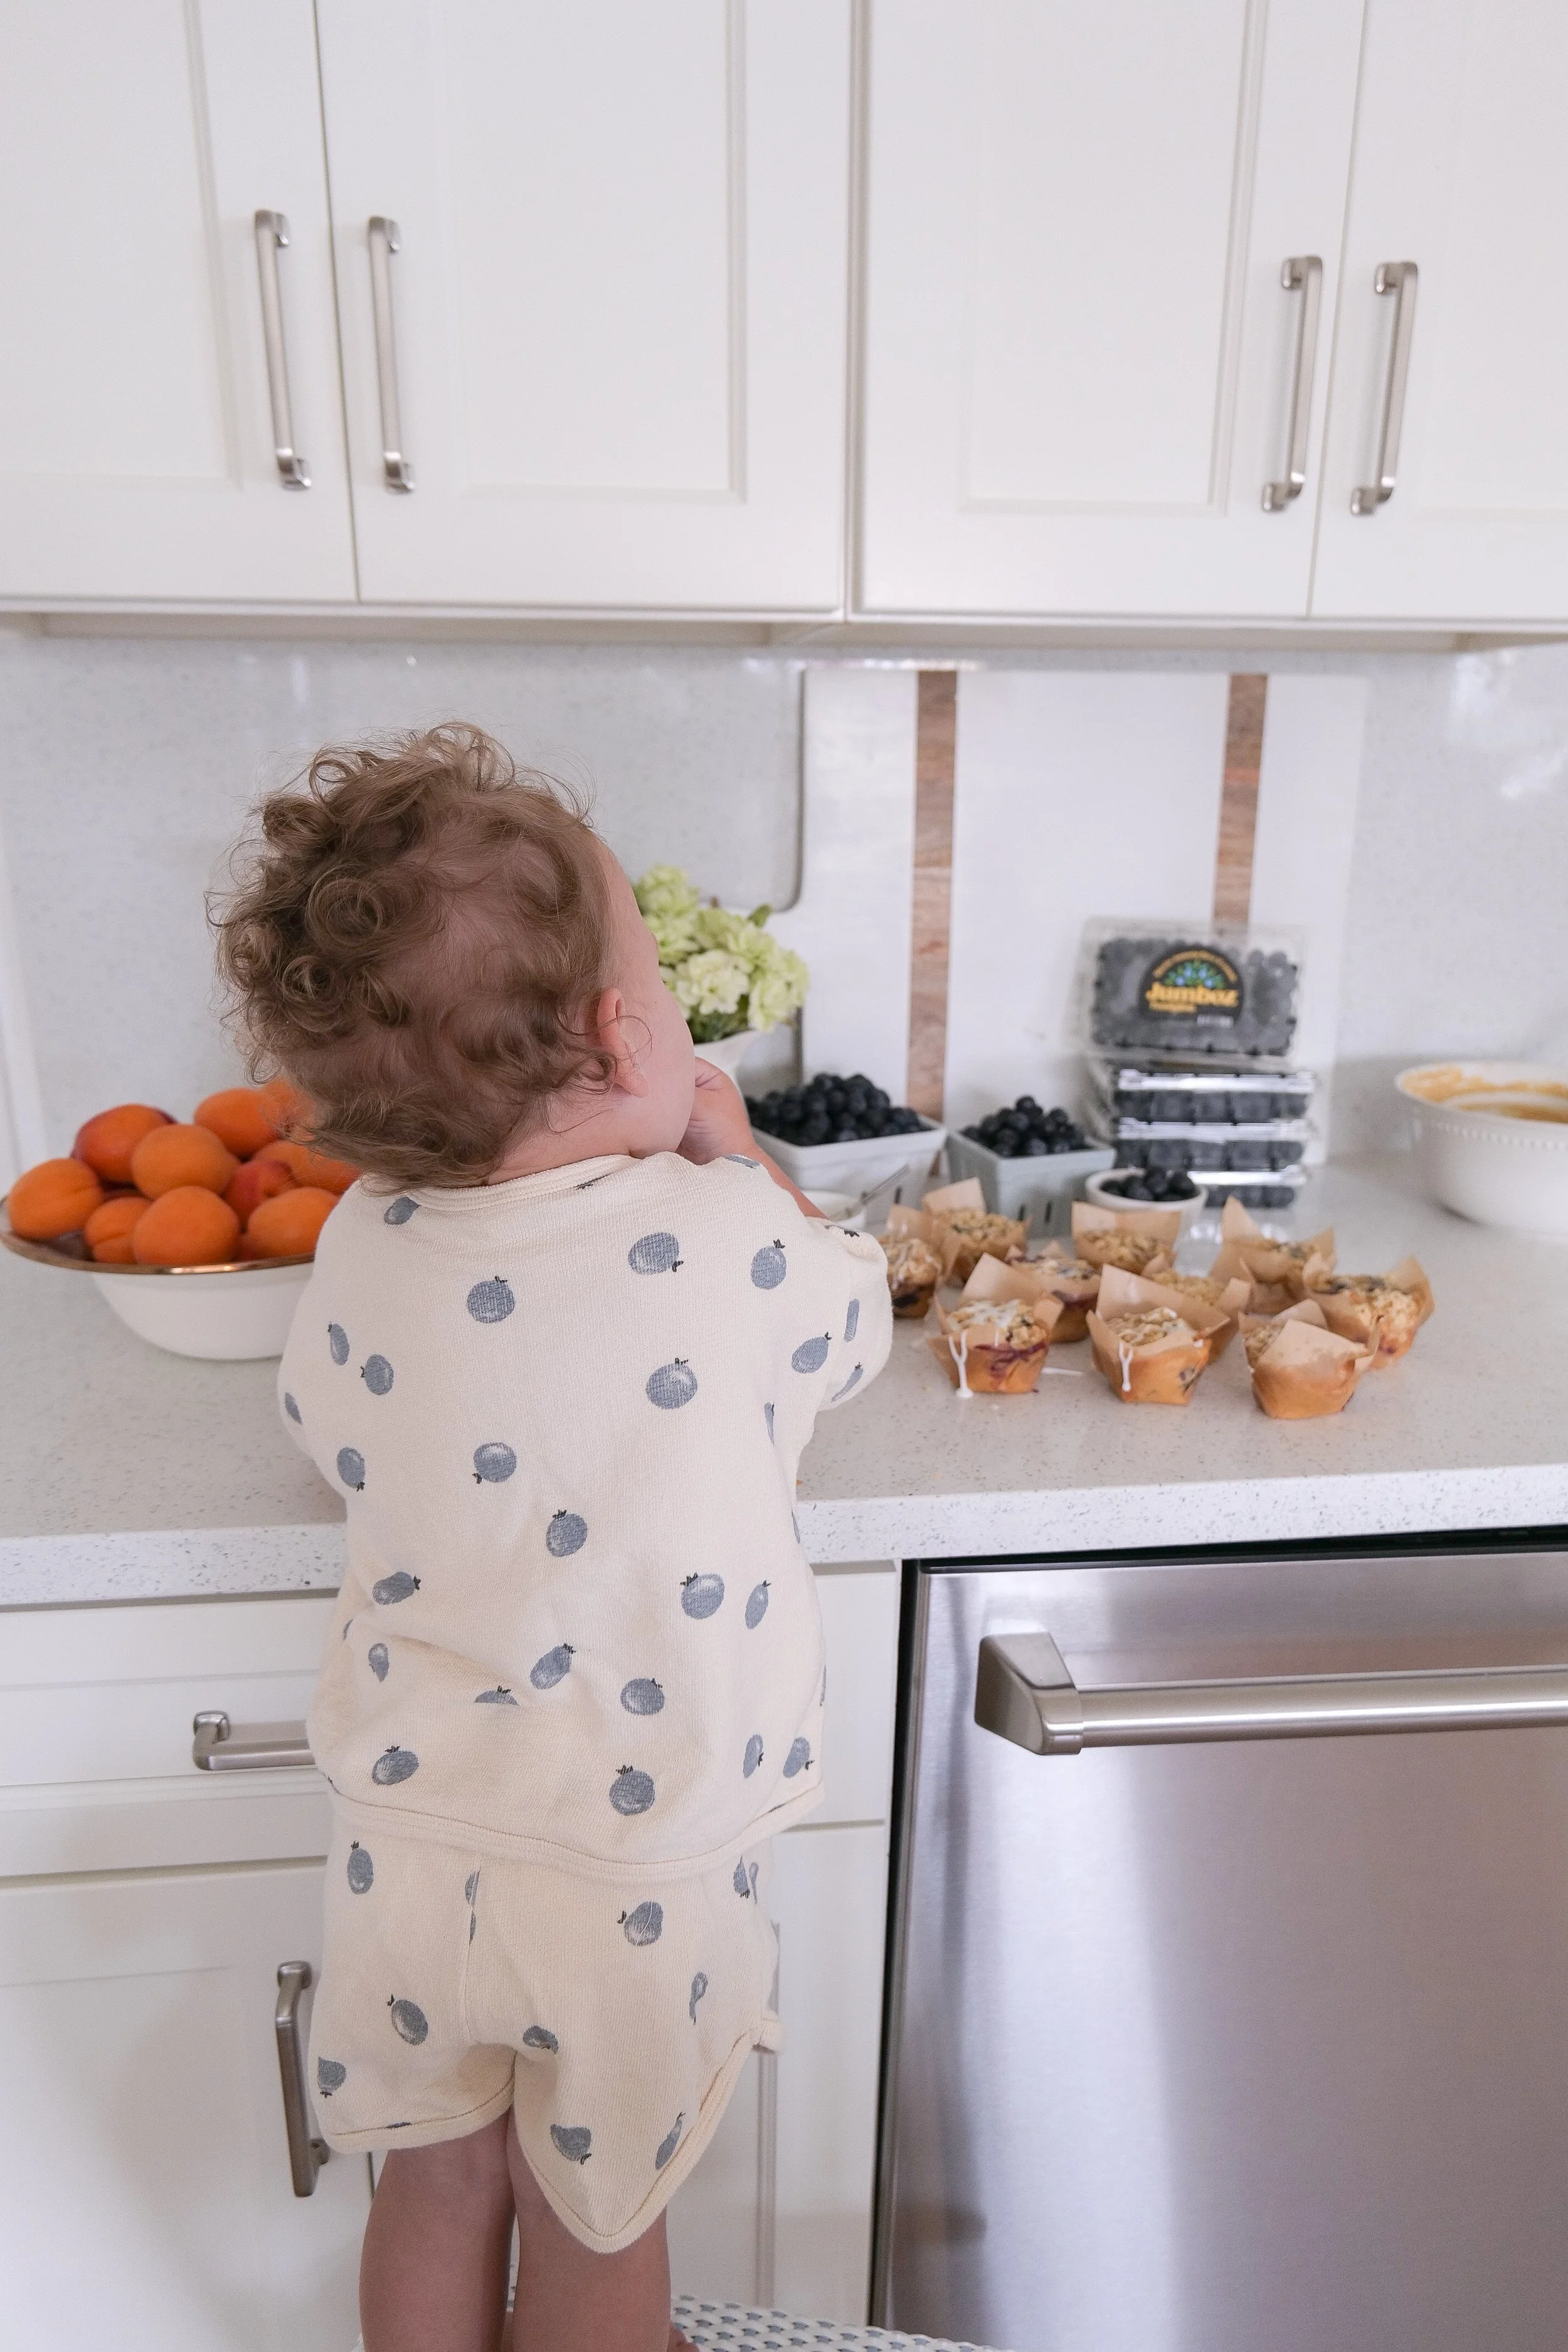
Young child enjoying a homemade blueberry apricot streusel muffin during breakfast.

Matcha Strawberry Cake with Brown Butter (Soft & Easy Recipe)

There’s a very specific kind of cake that feels like it belongs in a quiet, sunlit kitchen—the kind you make just because the afternoon feels slow and you want something beautiful to come out of it. This is that cake.

Cozy Baking Essentials

I linked some of my favorite bakeware, kitchen tools, and cozy kitchen pieces I love using for homemade cakes, slow baking days, and bakery-inspired recipes like this in my Cozy Baking Essentials collection.

↓ Skip to Recipe

If you’ve ever thought matcha desserts were too bitter or too “green,” this matcha brown butter cake will completely change your mind. The brown butter softens everything into something warm and nutty, while the fresh strawberry filling adds a bright, naturally sweet contrast that makes each bite feel balanced and light.

It’s soft, a little unexpected, and honestly… hard to stop slicing.

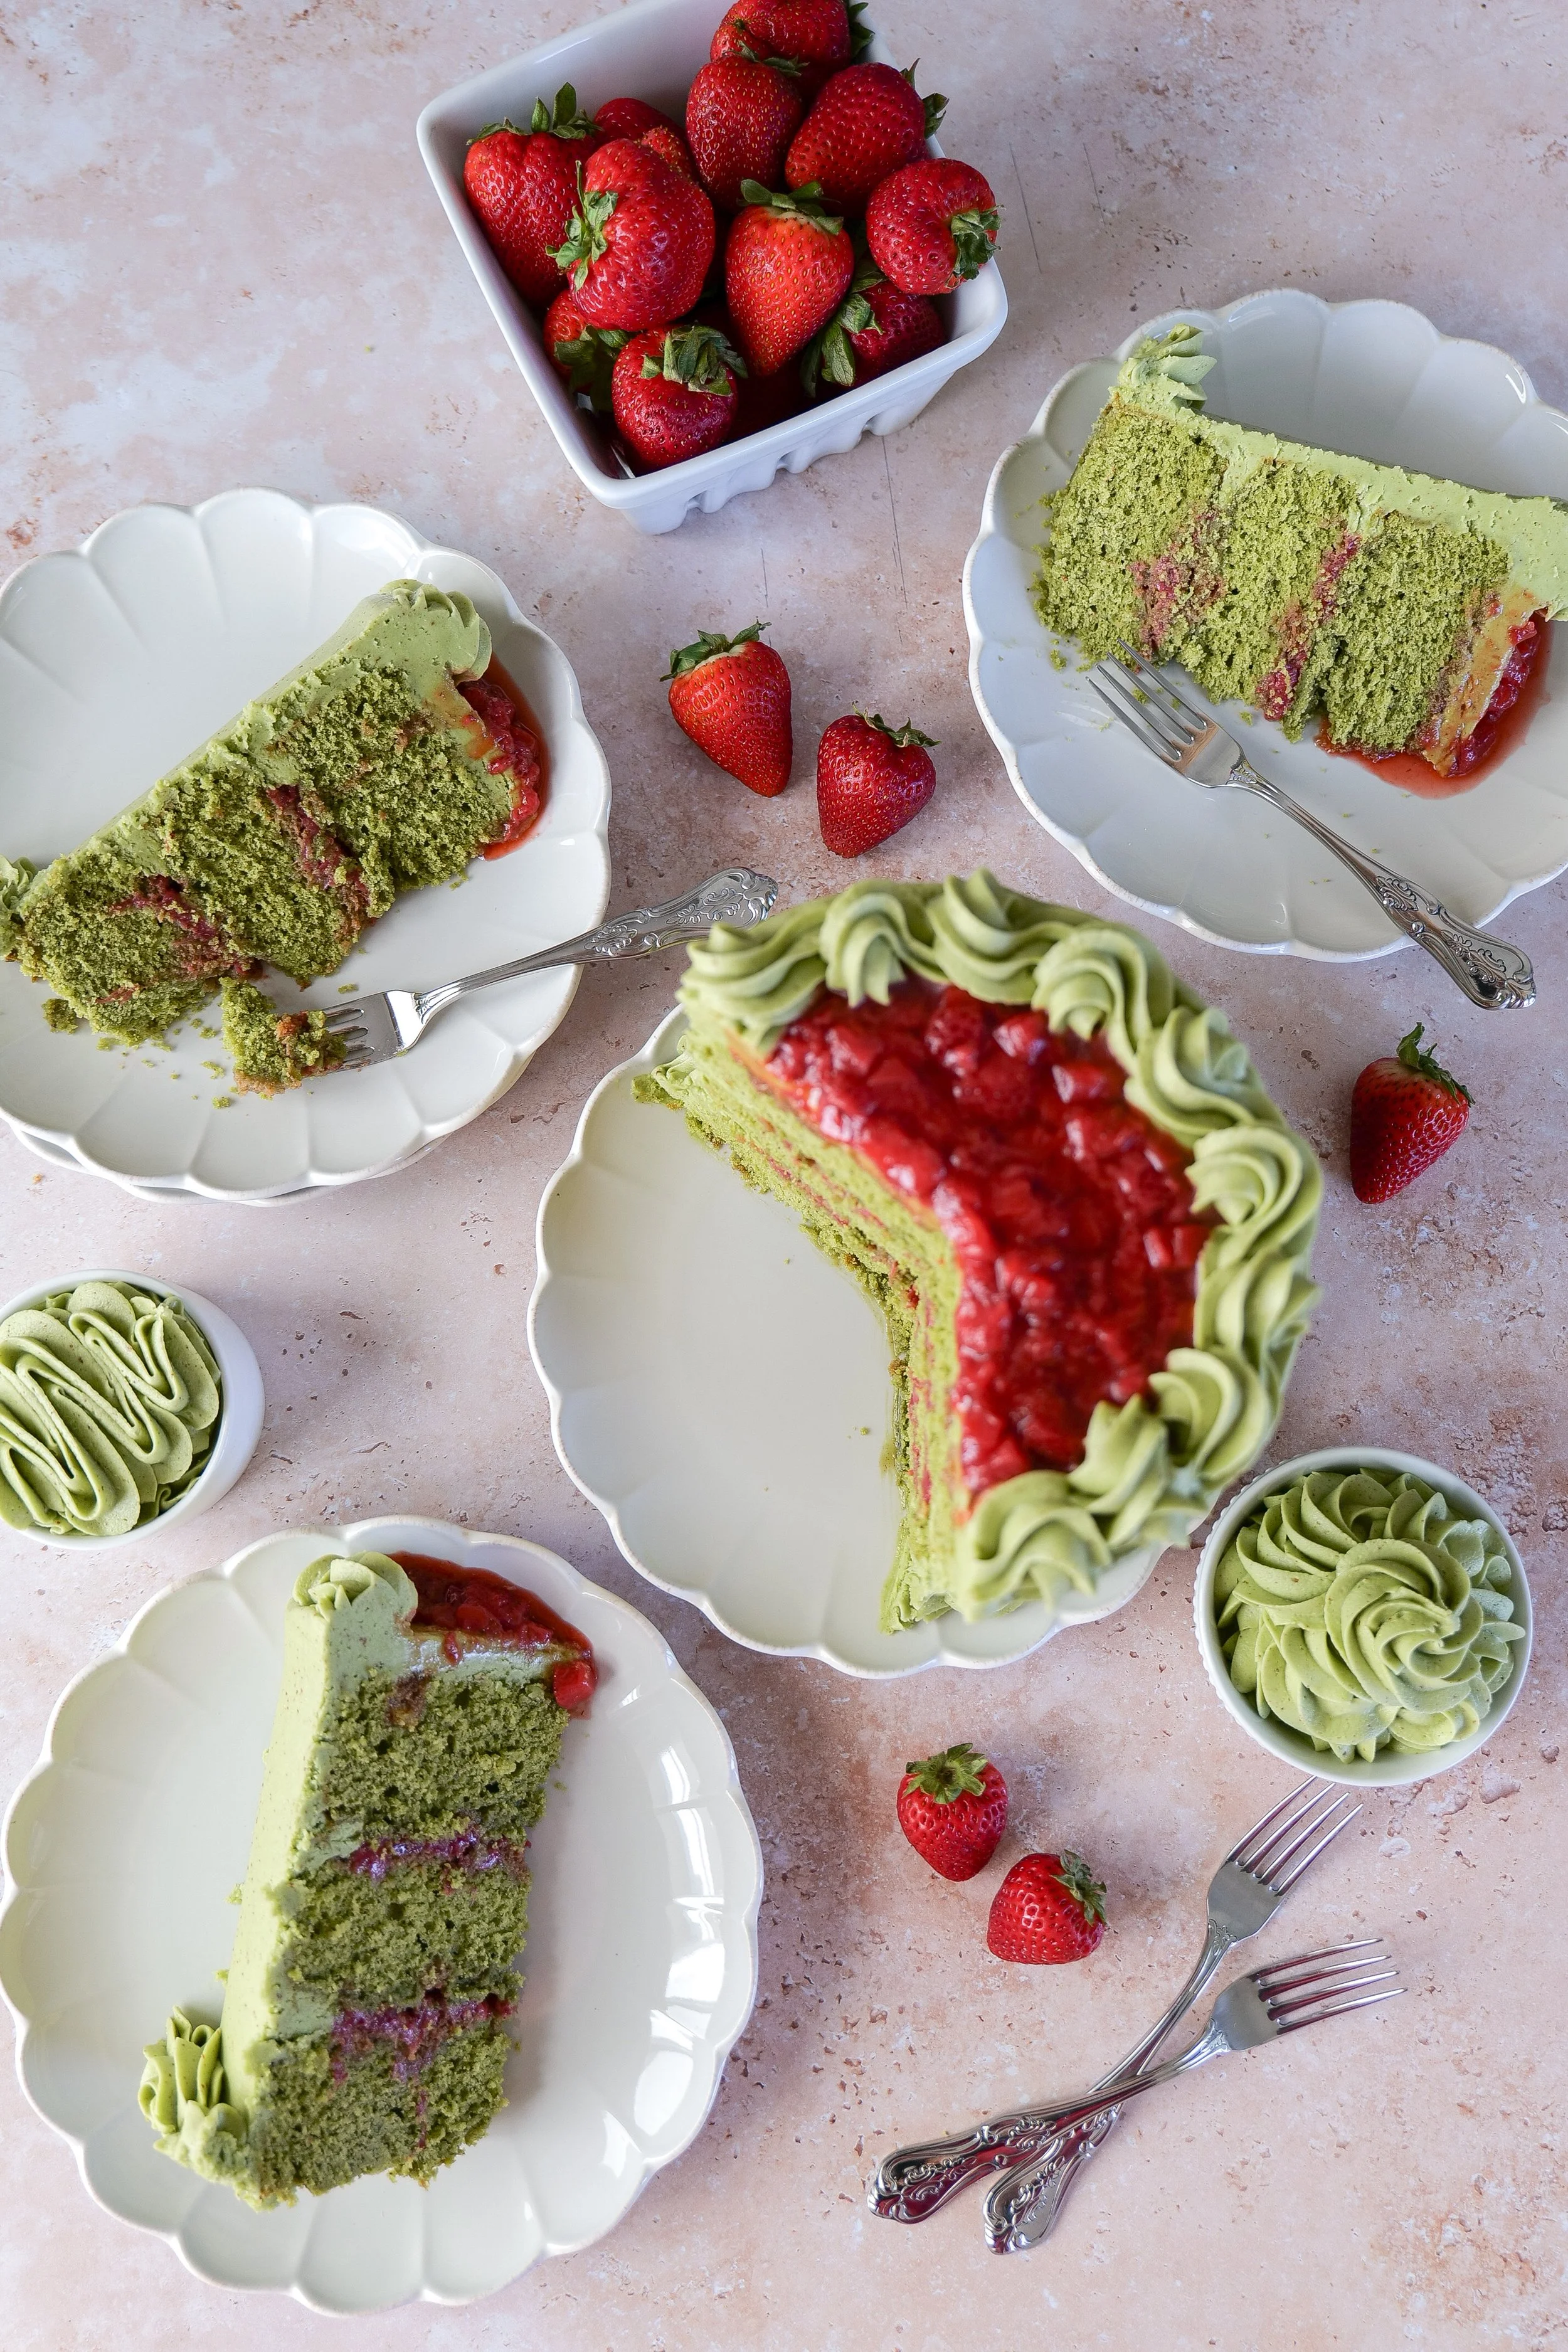
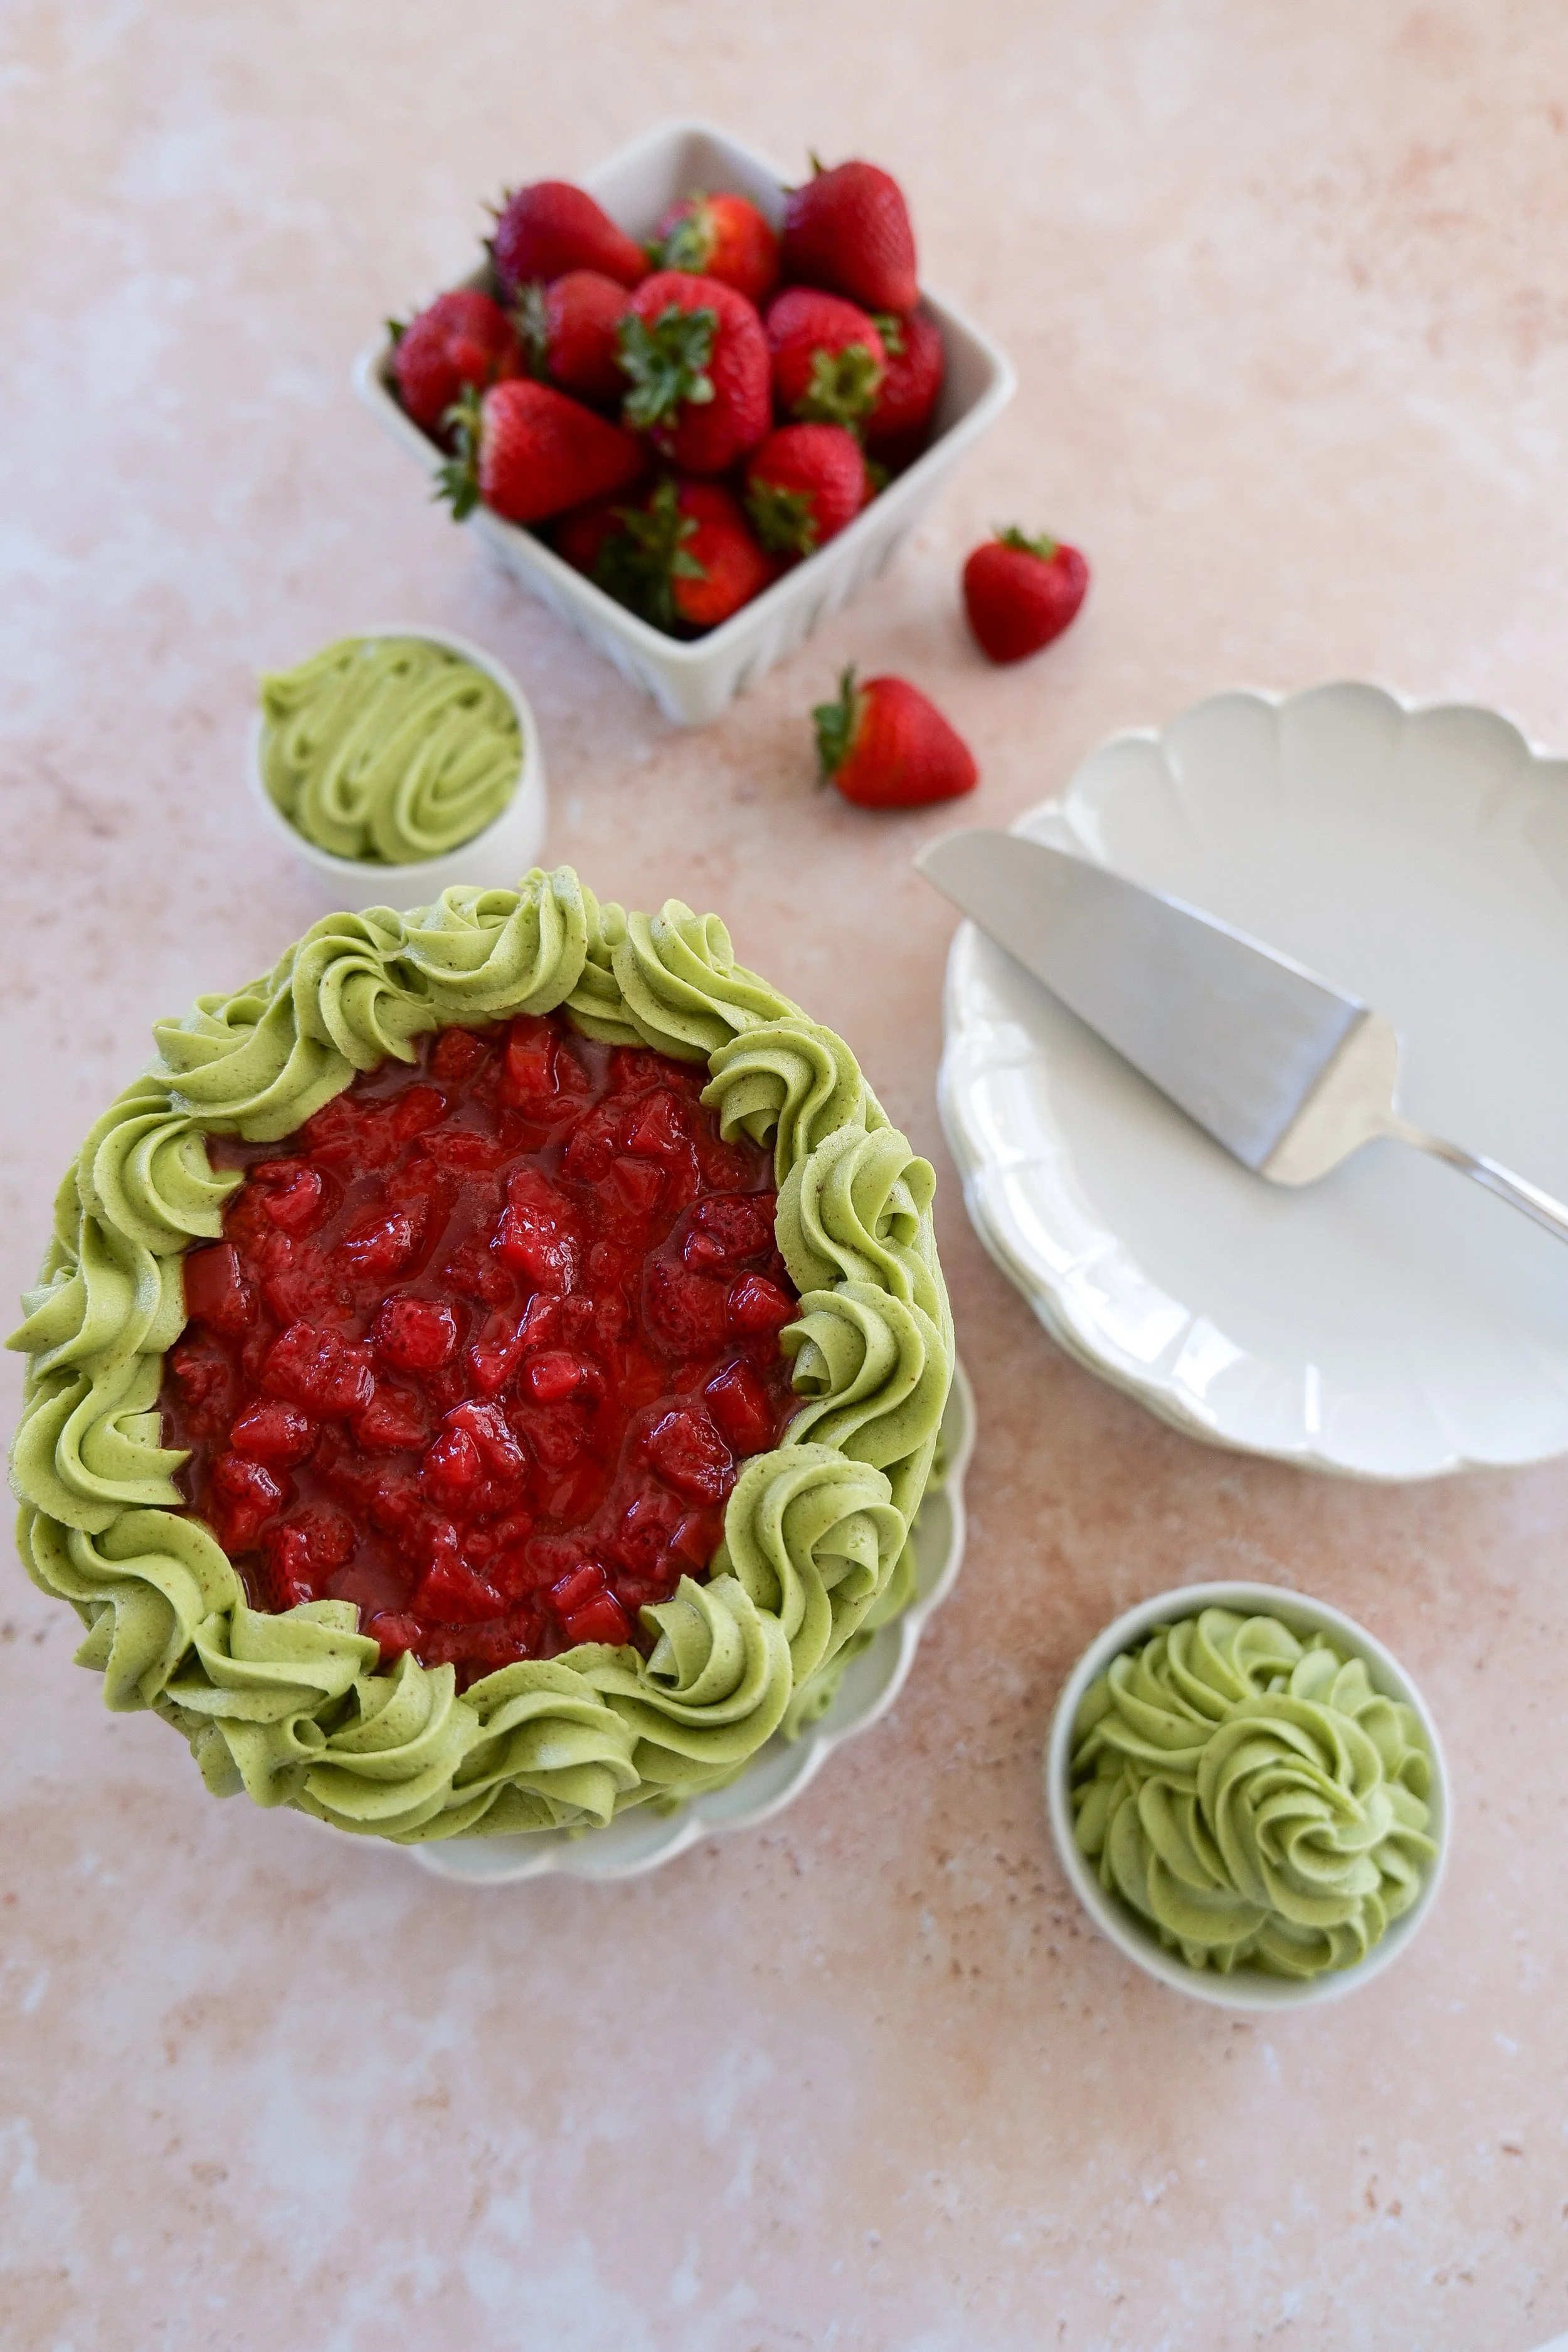
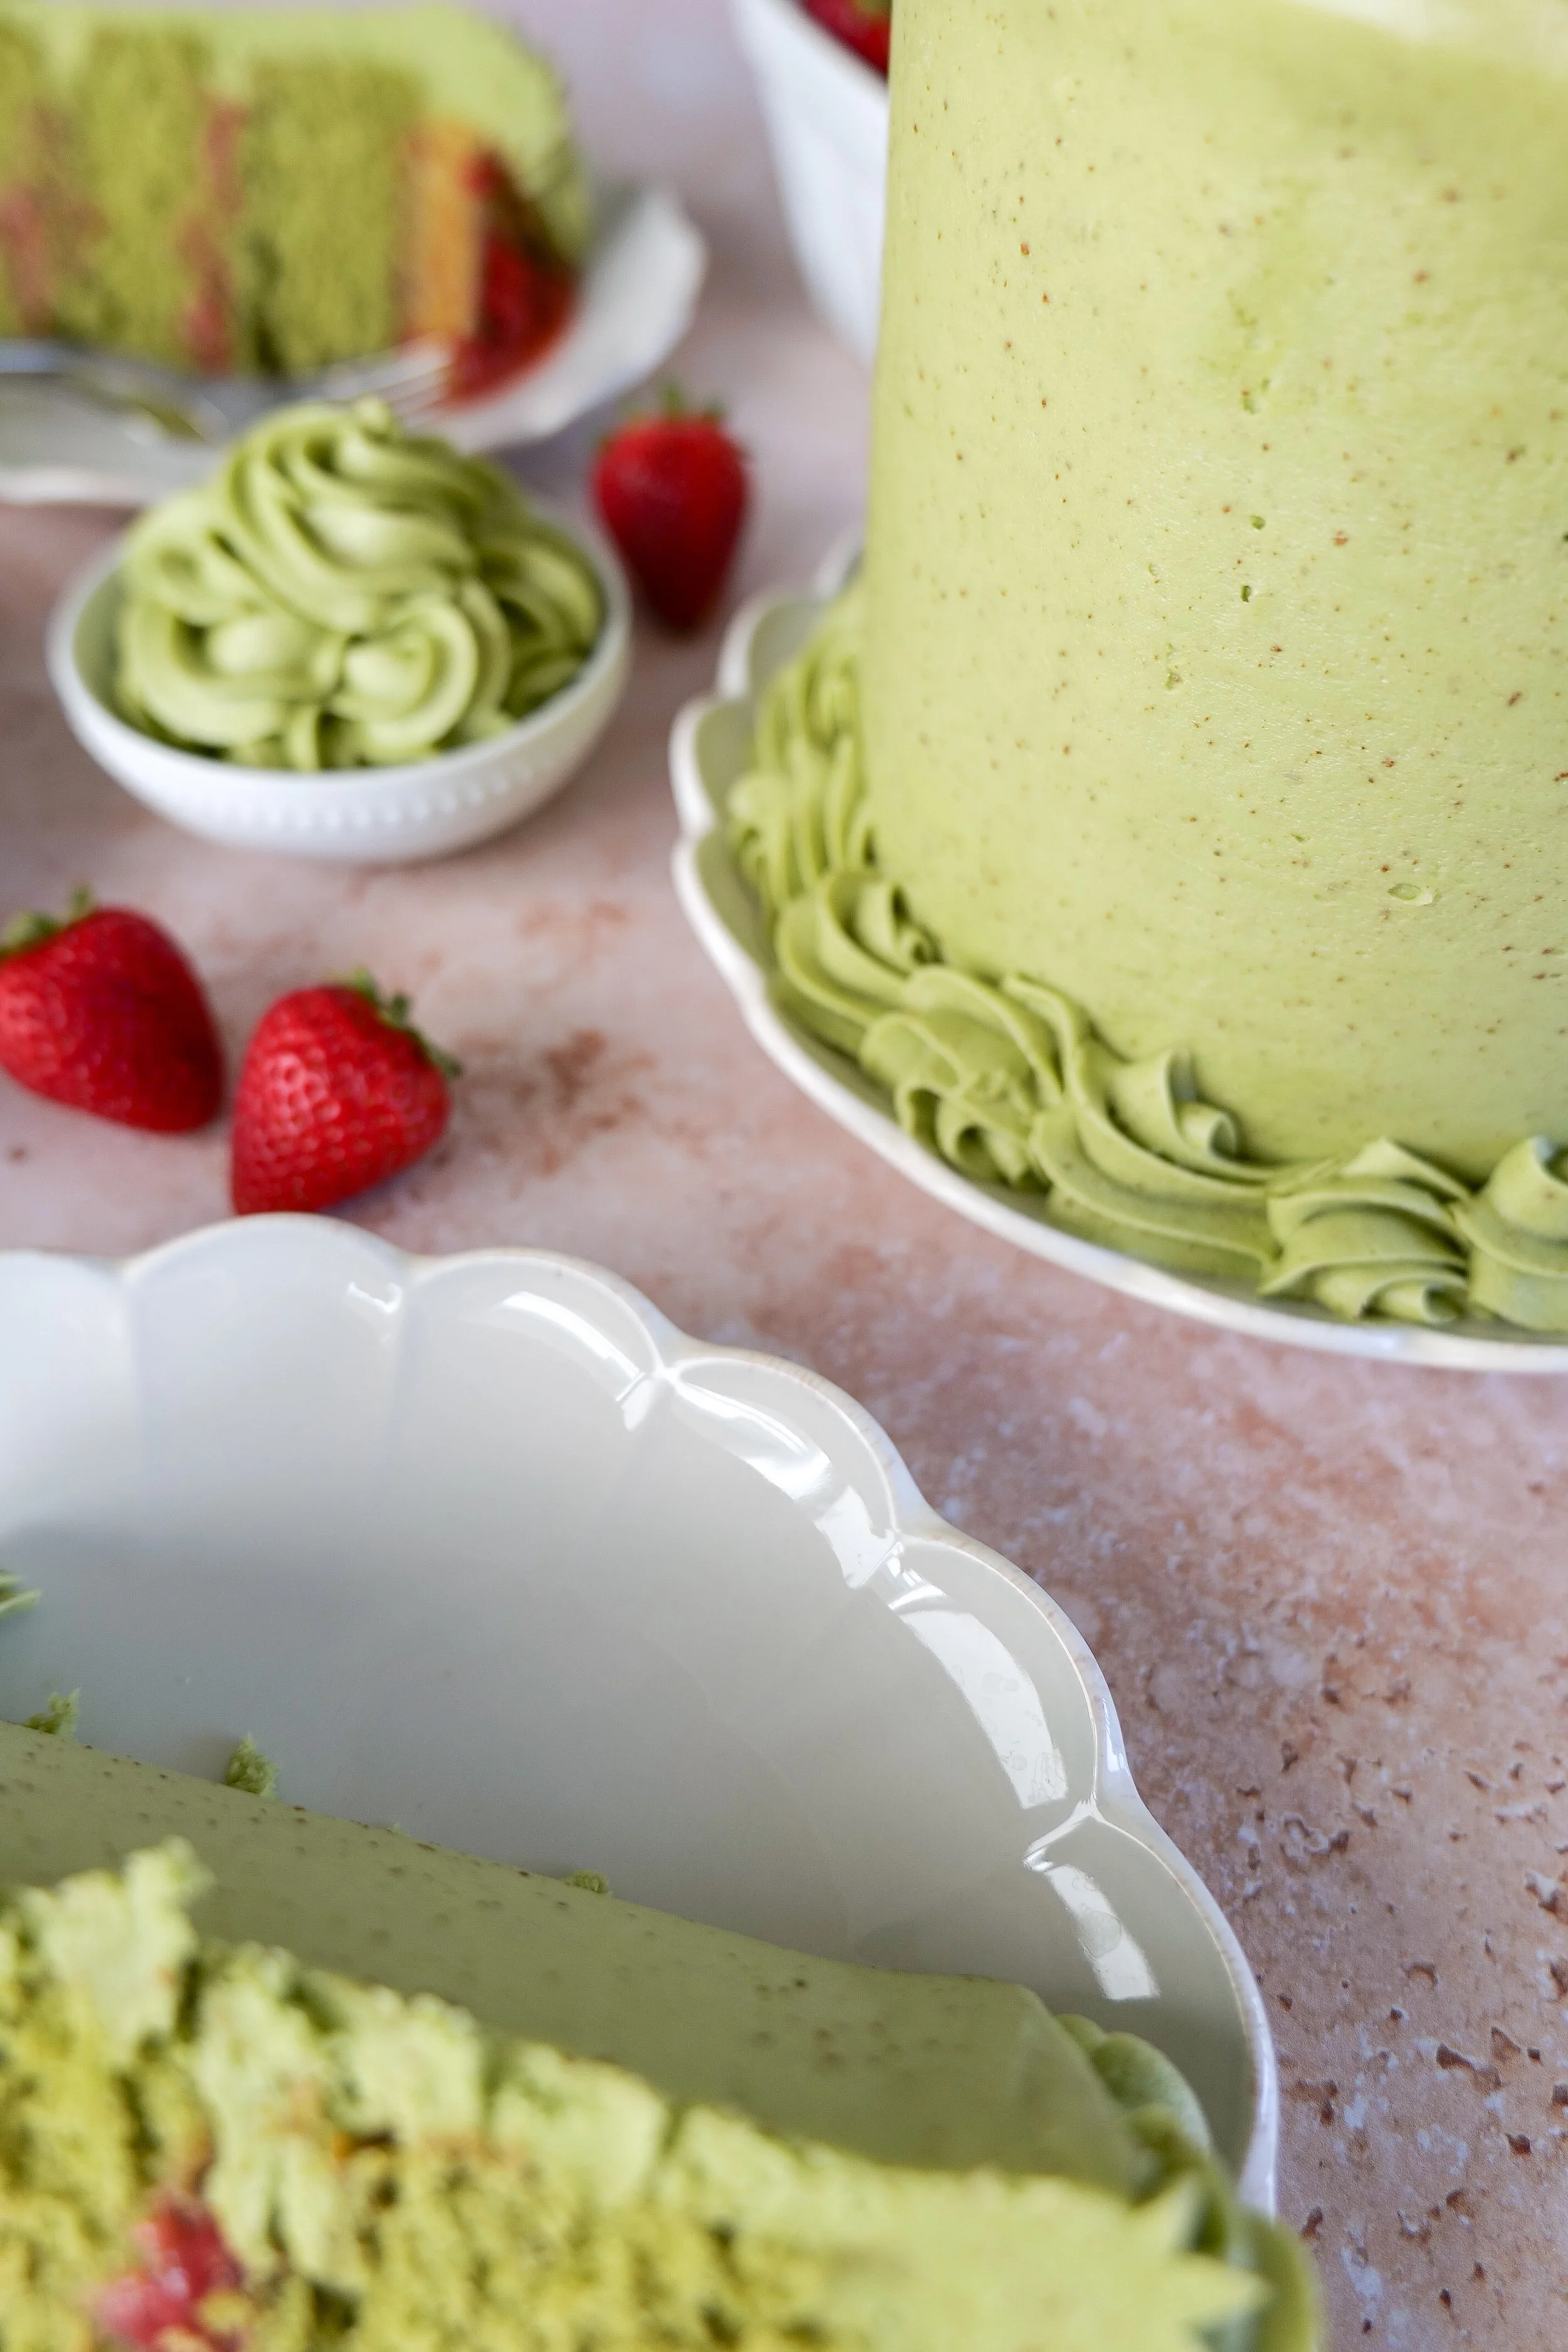
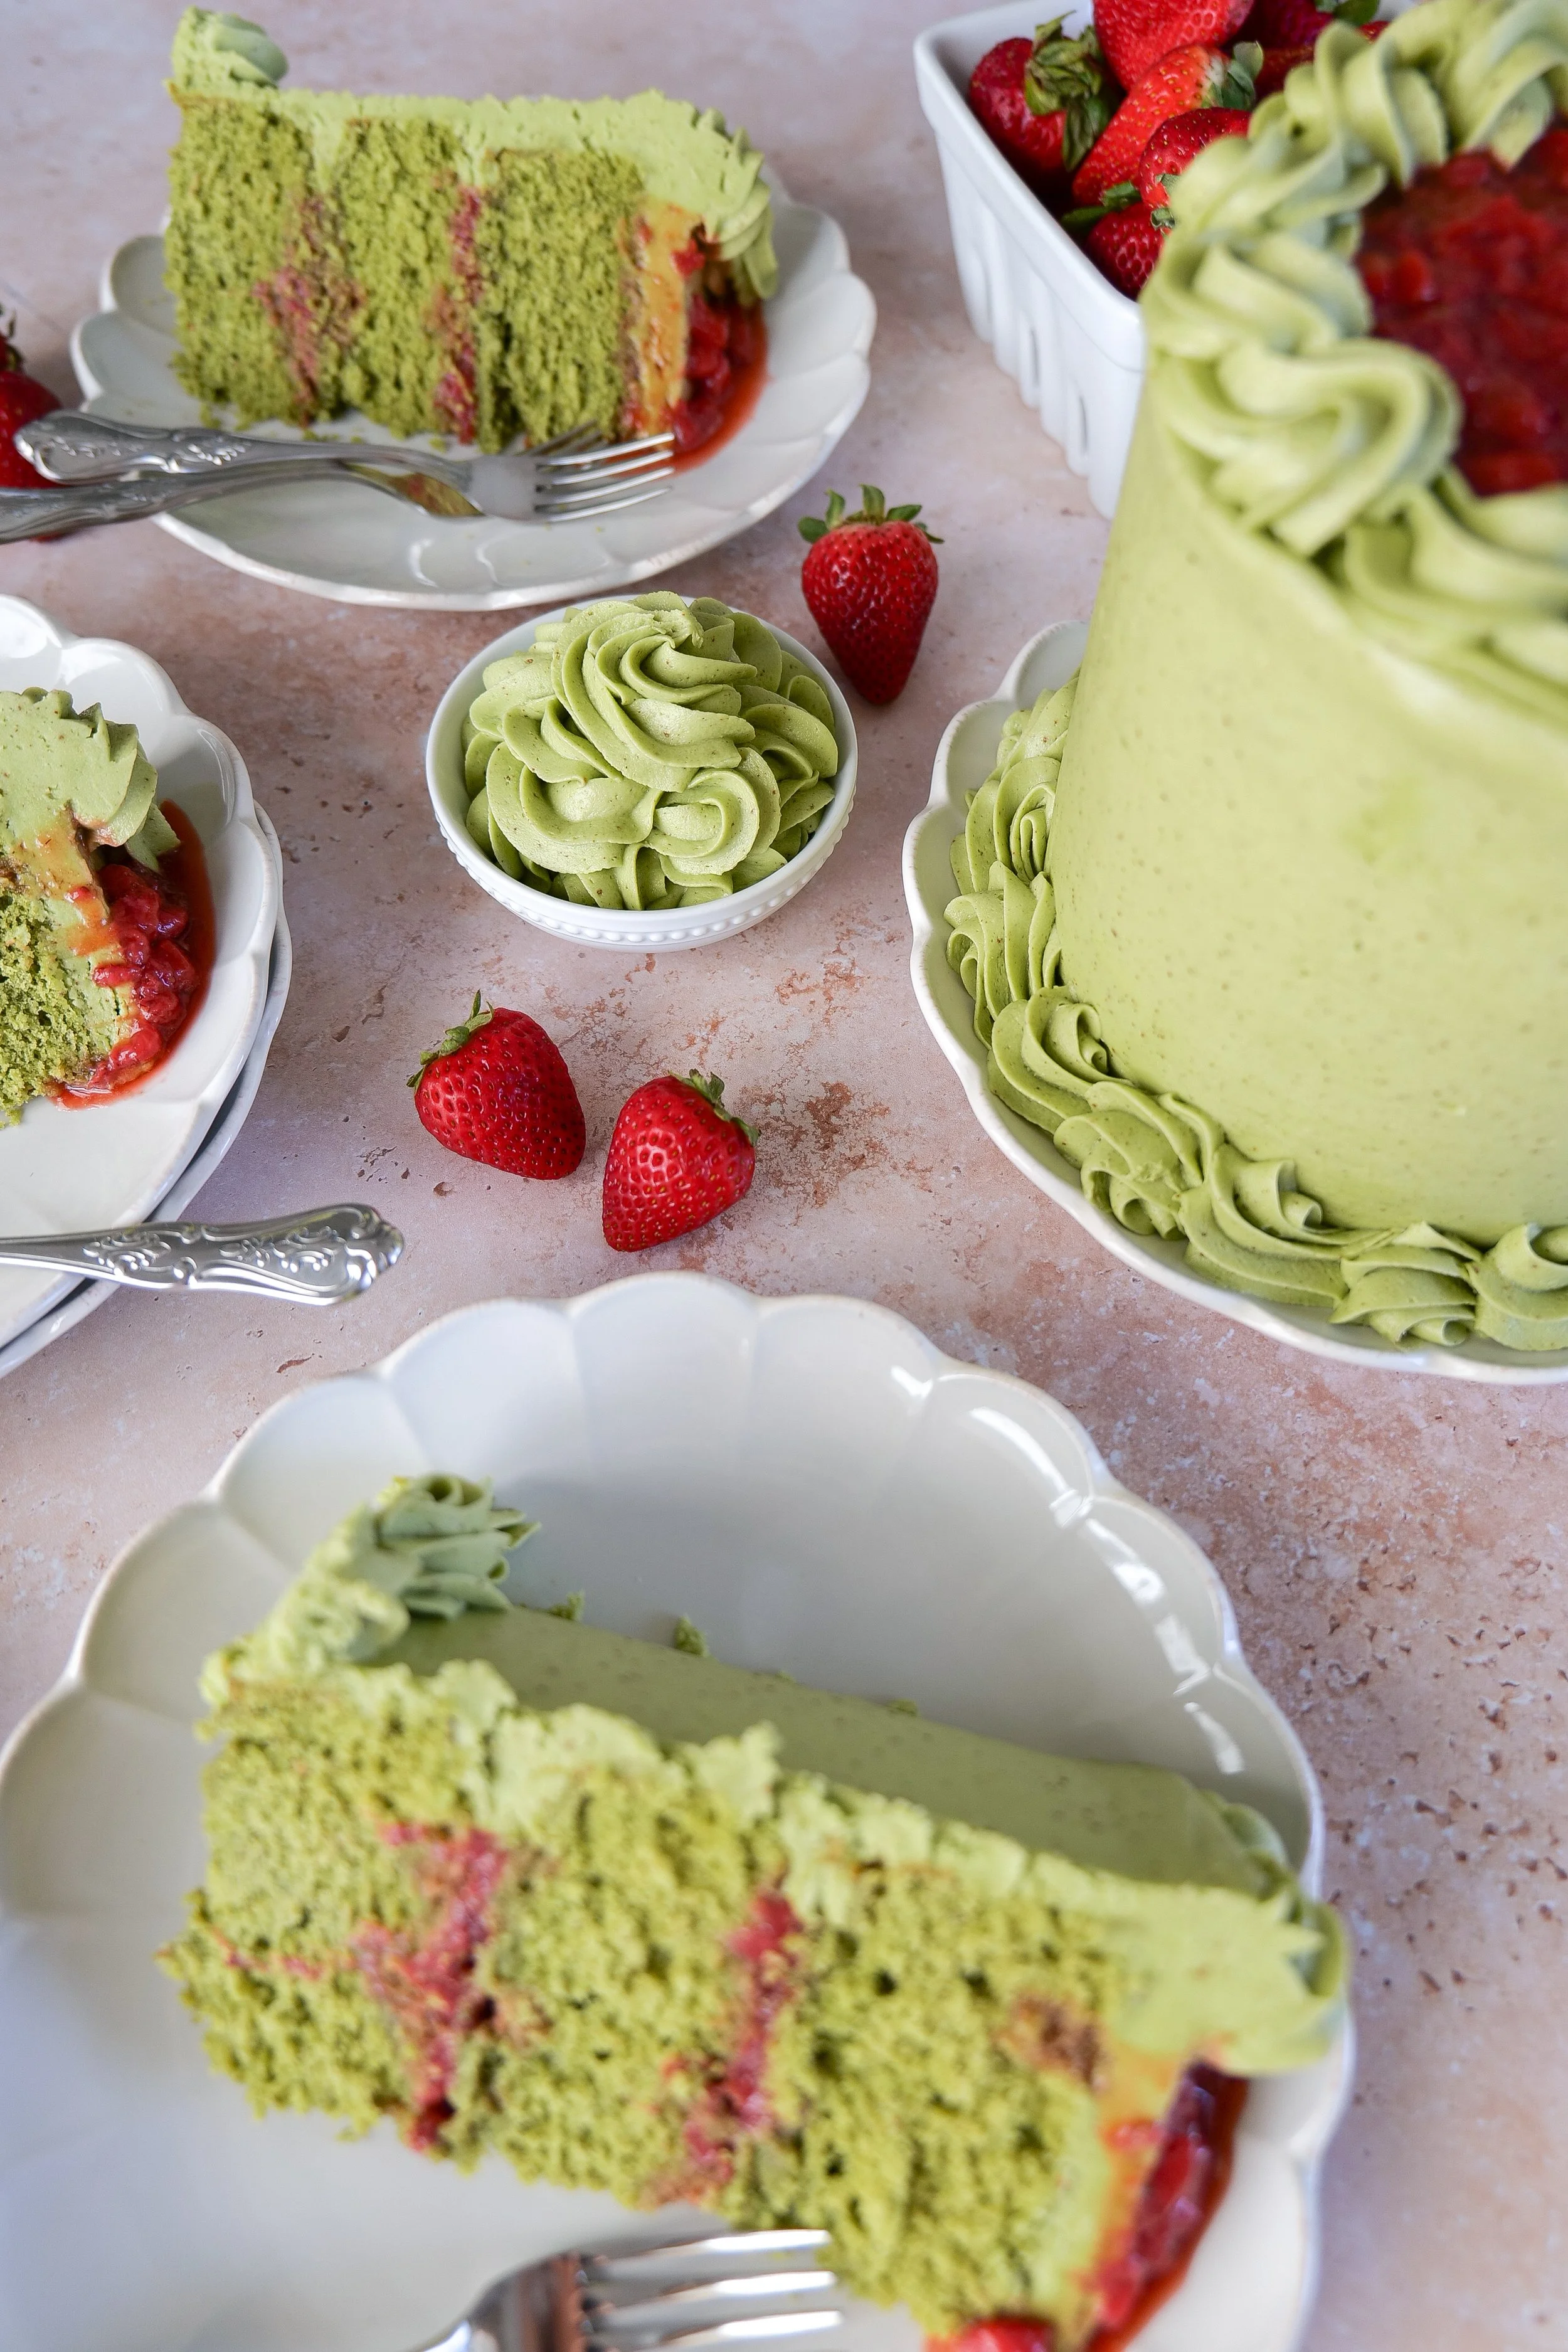
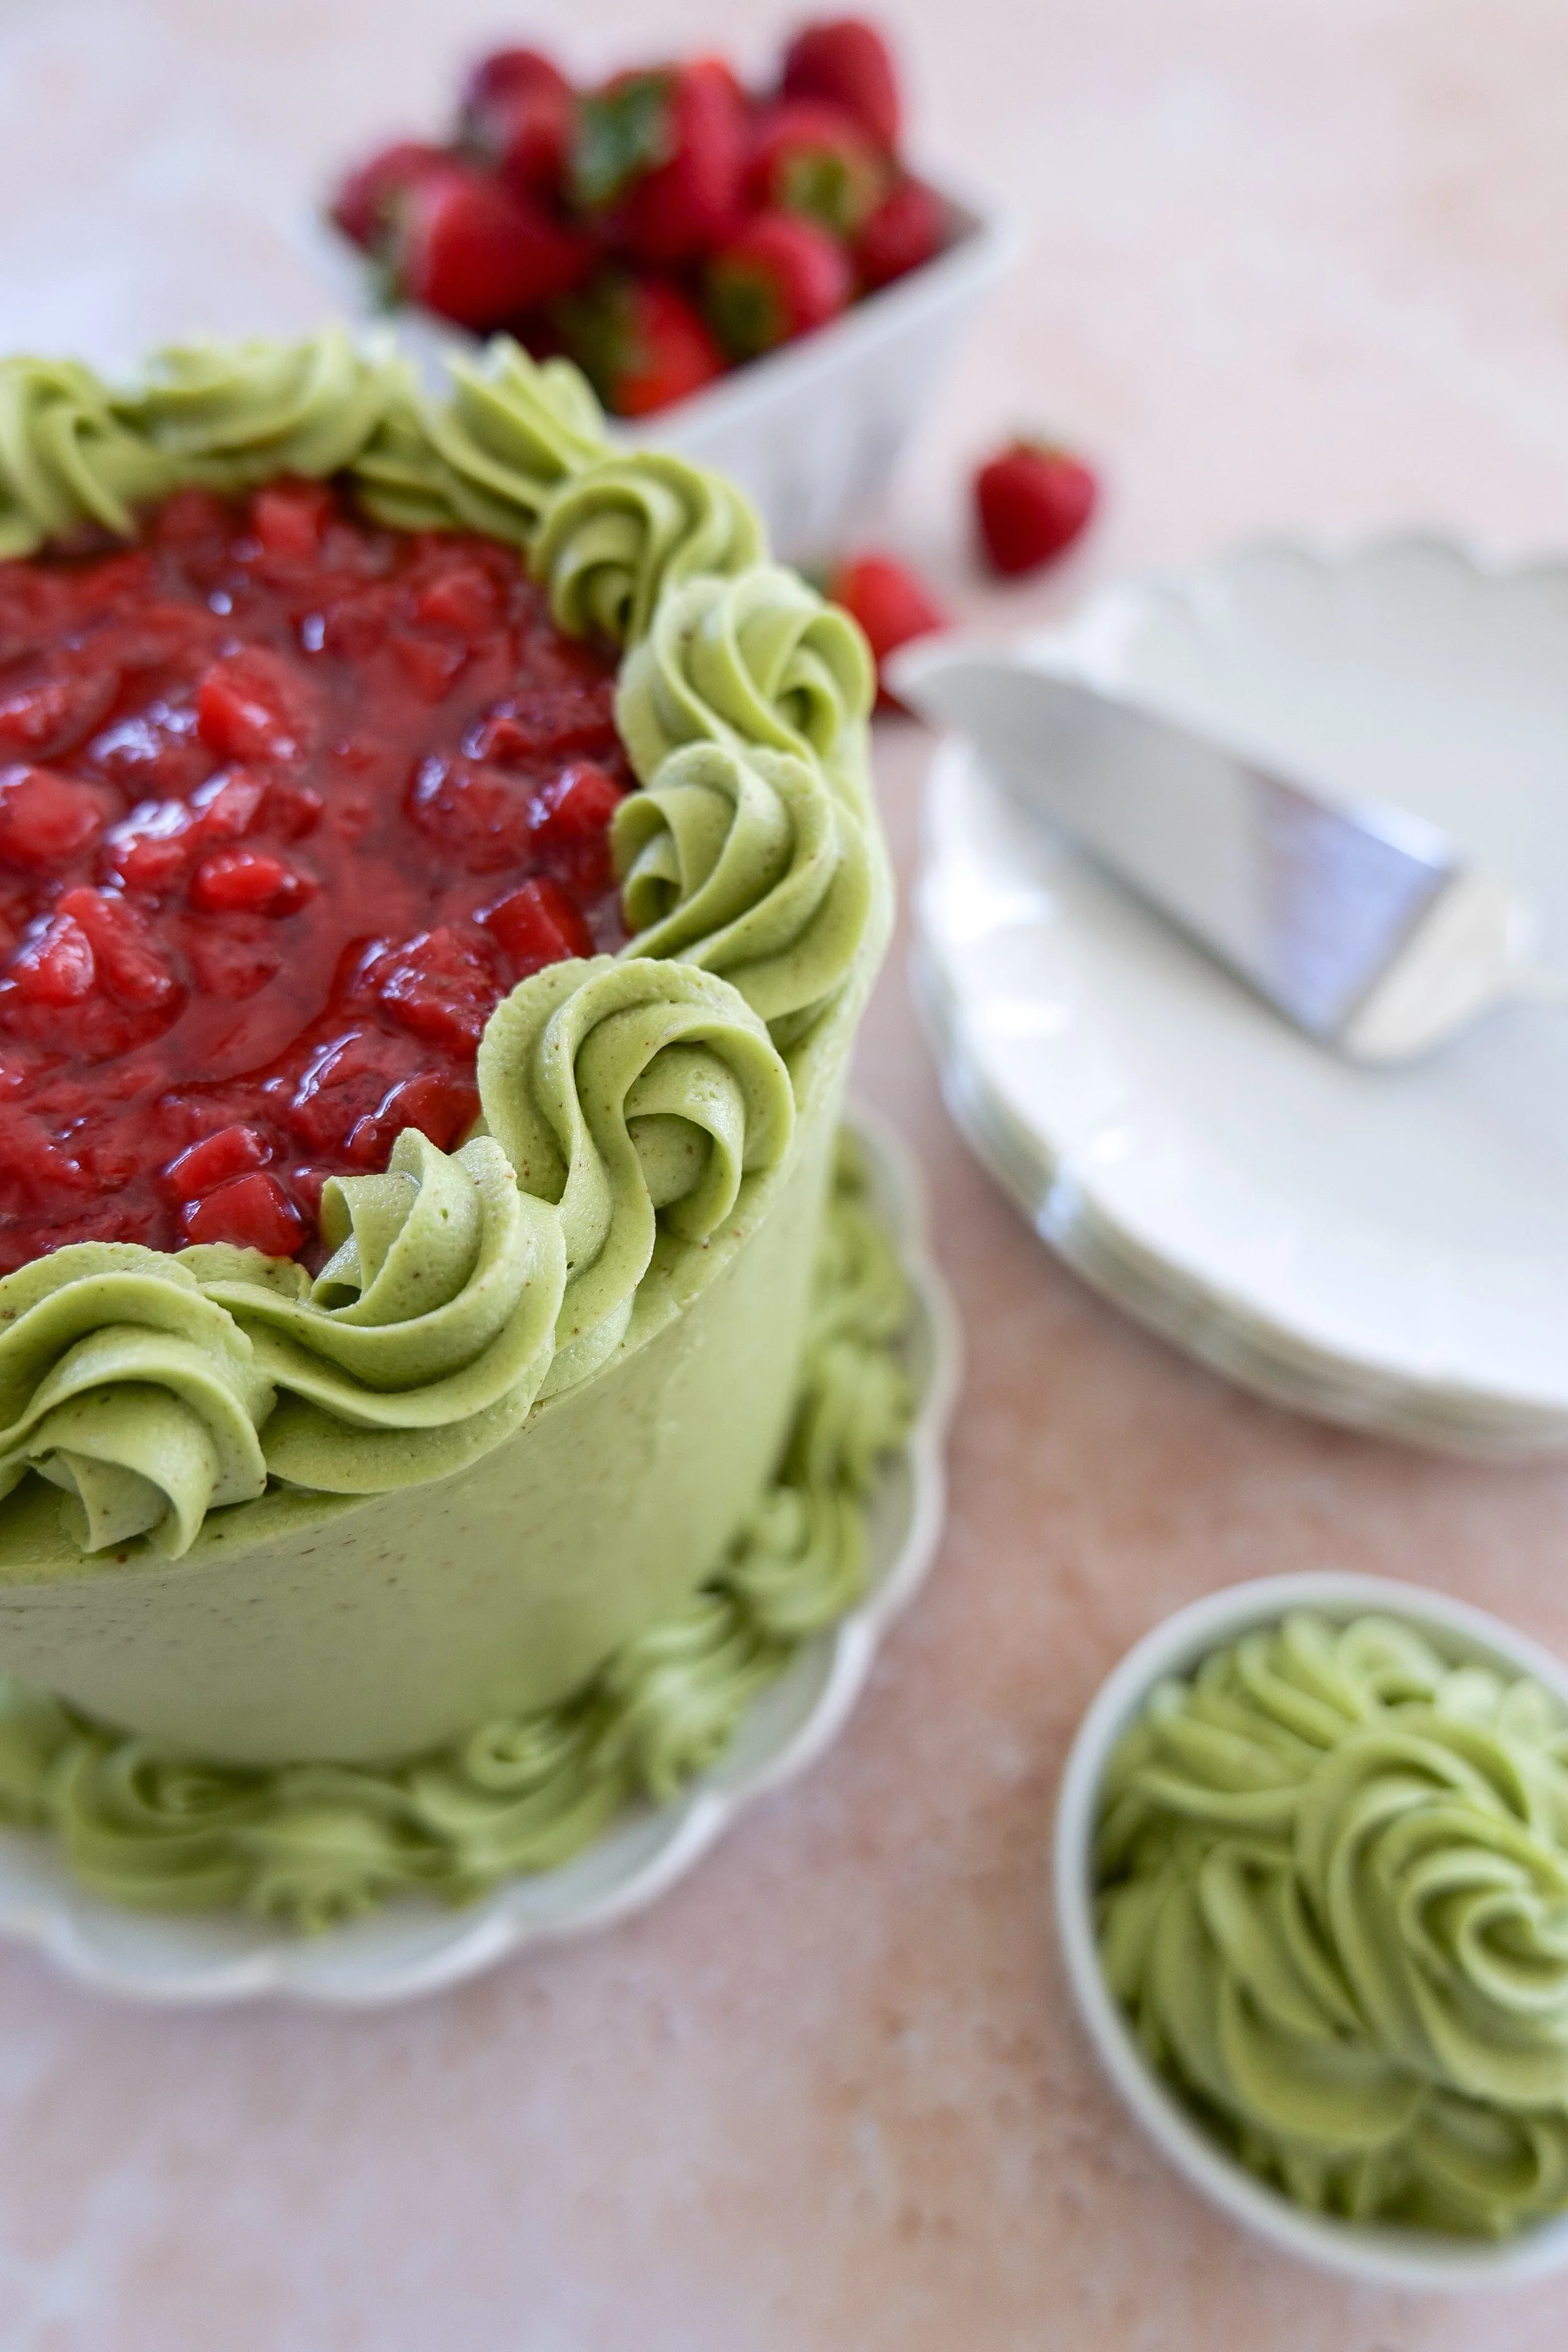
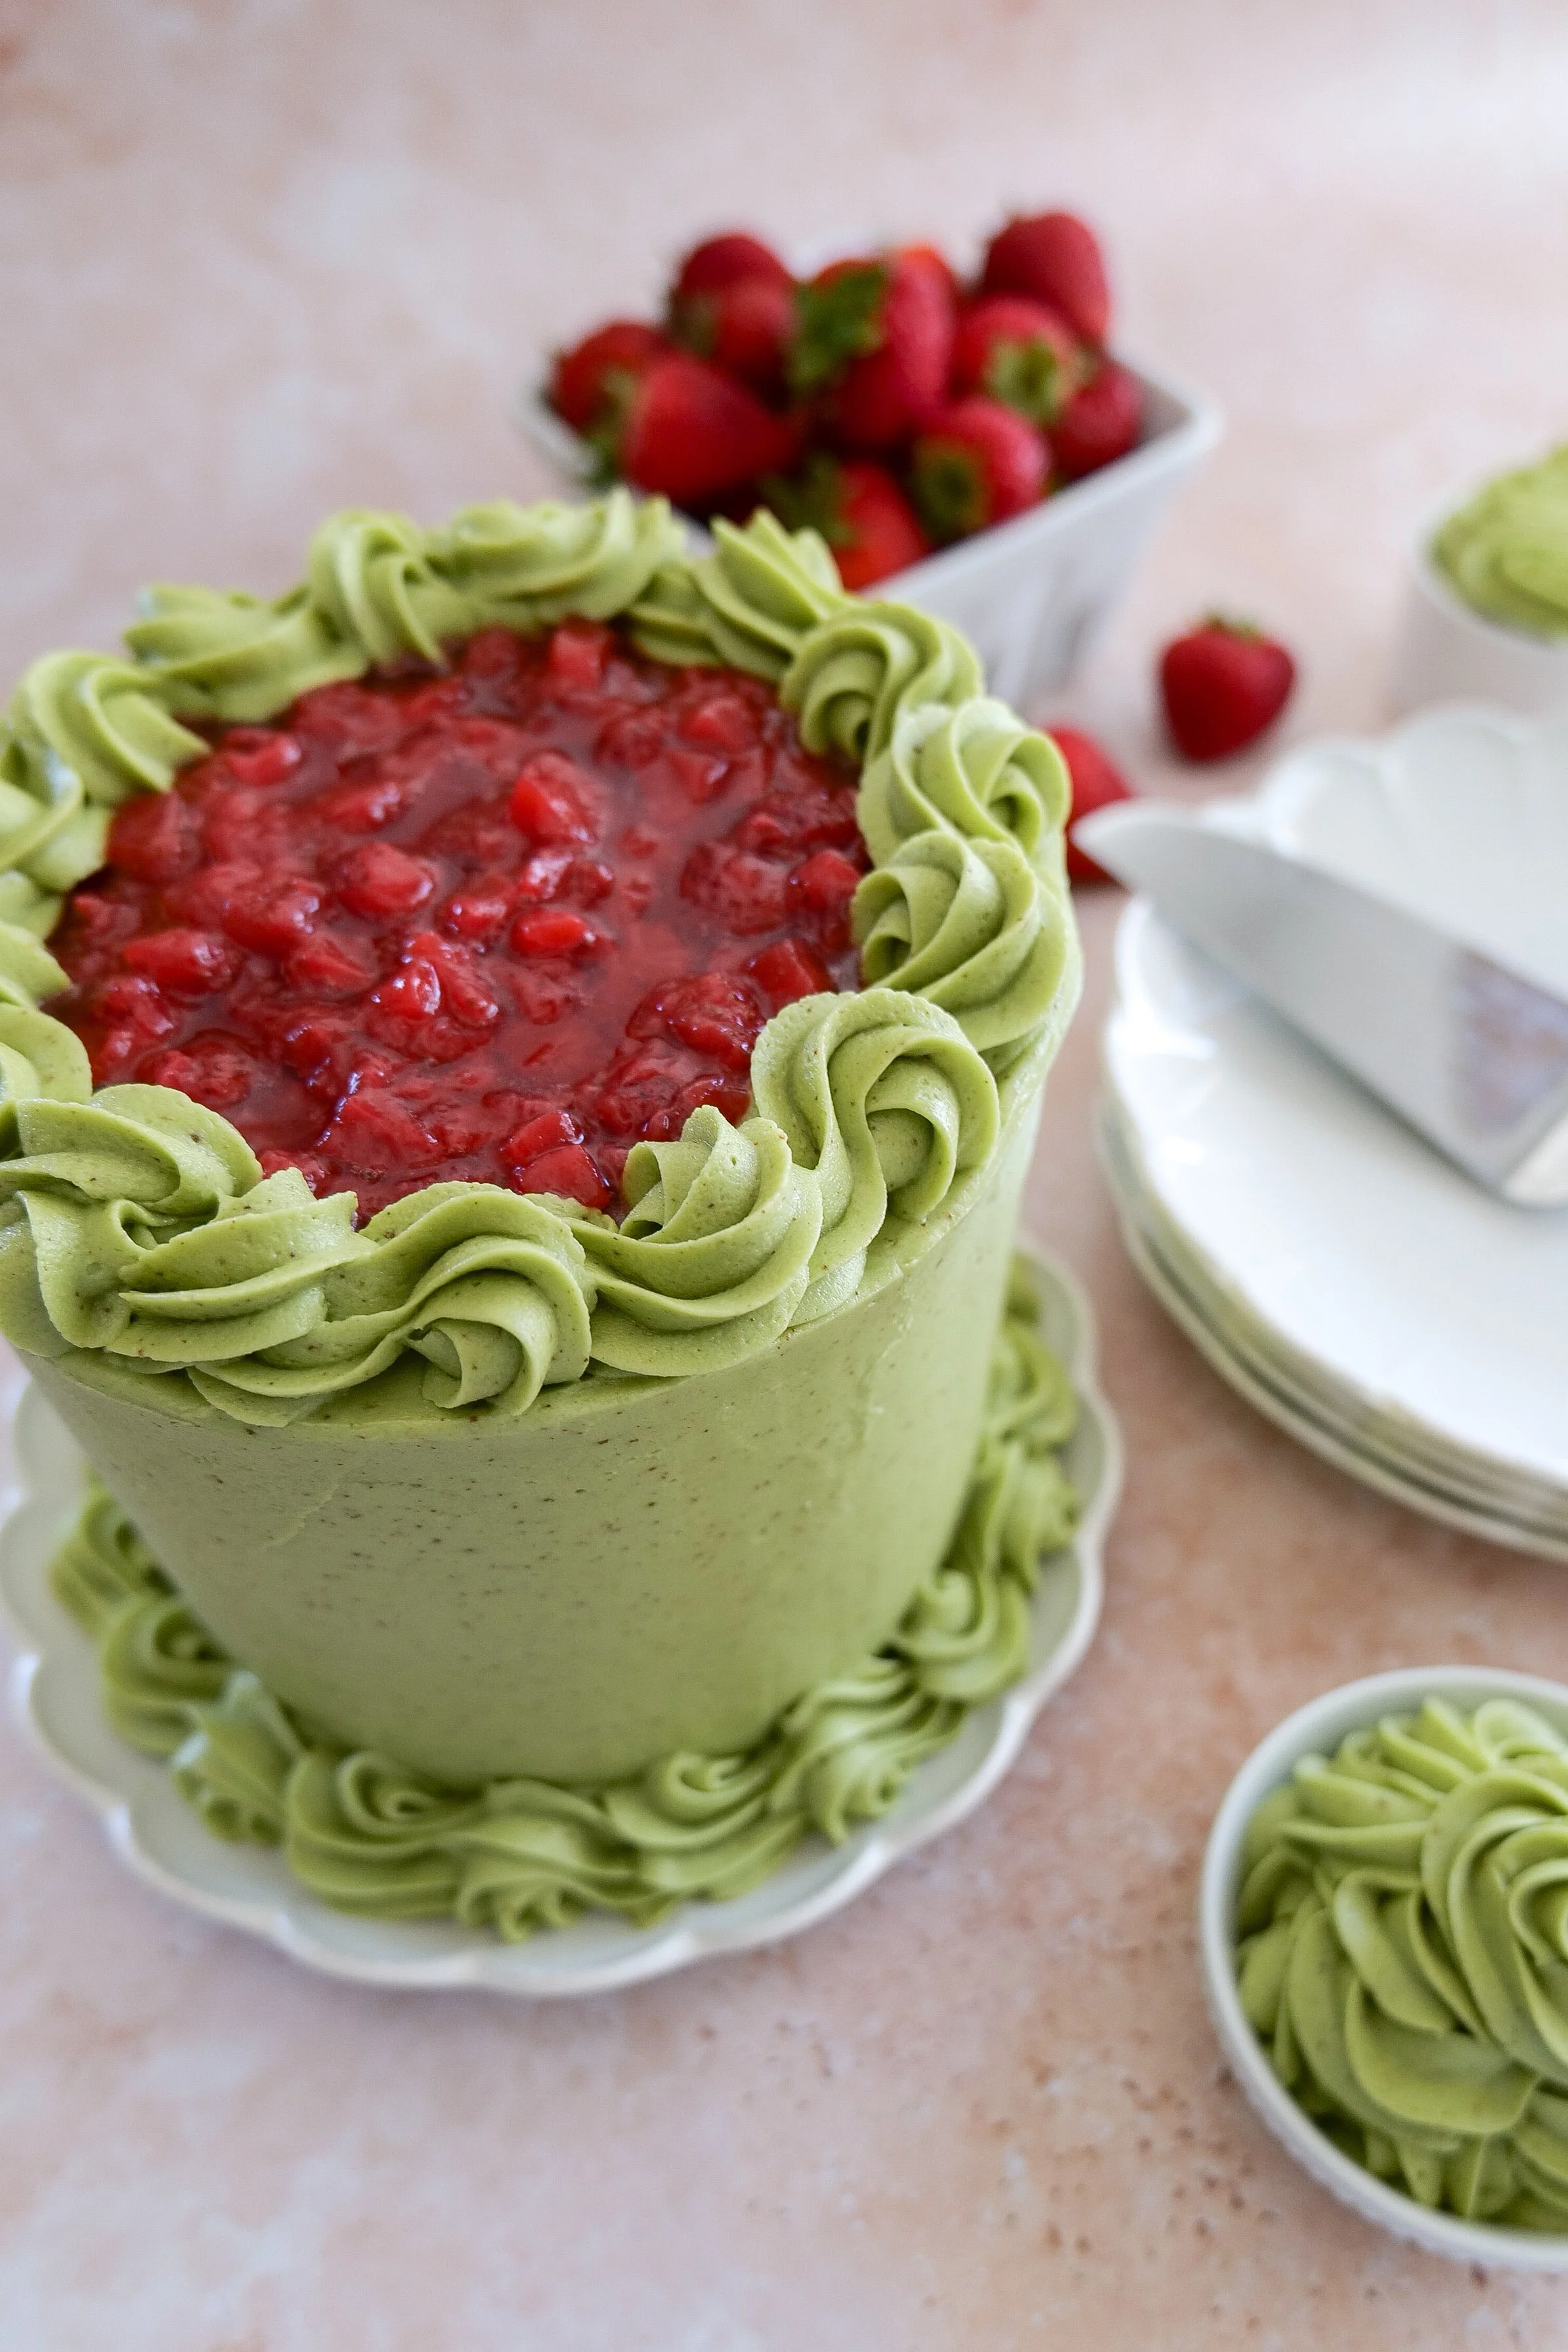
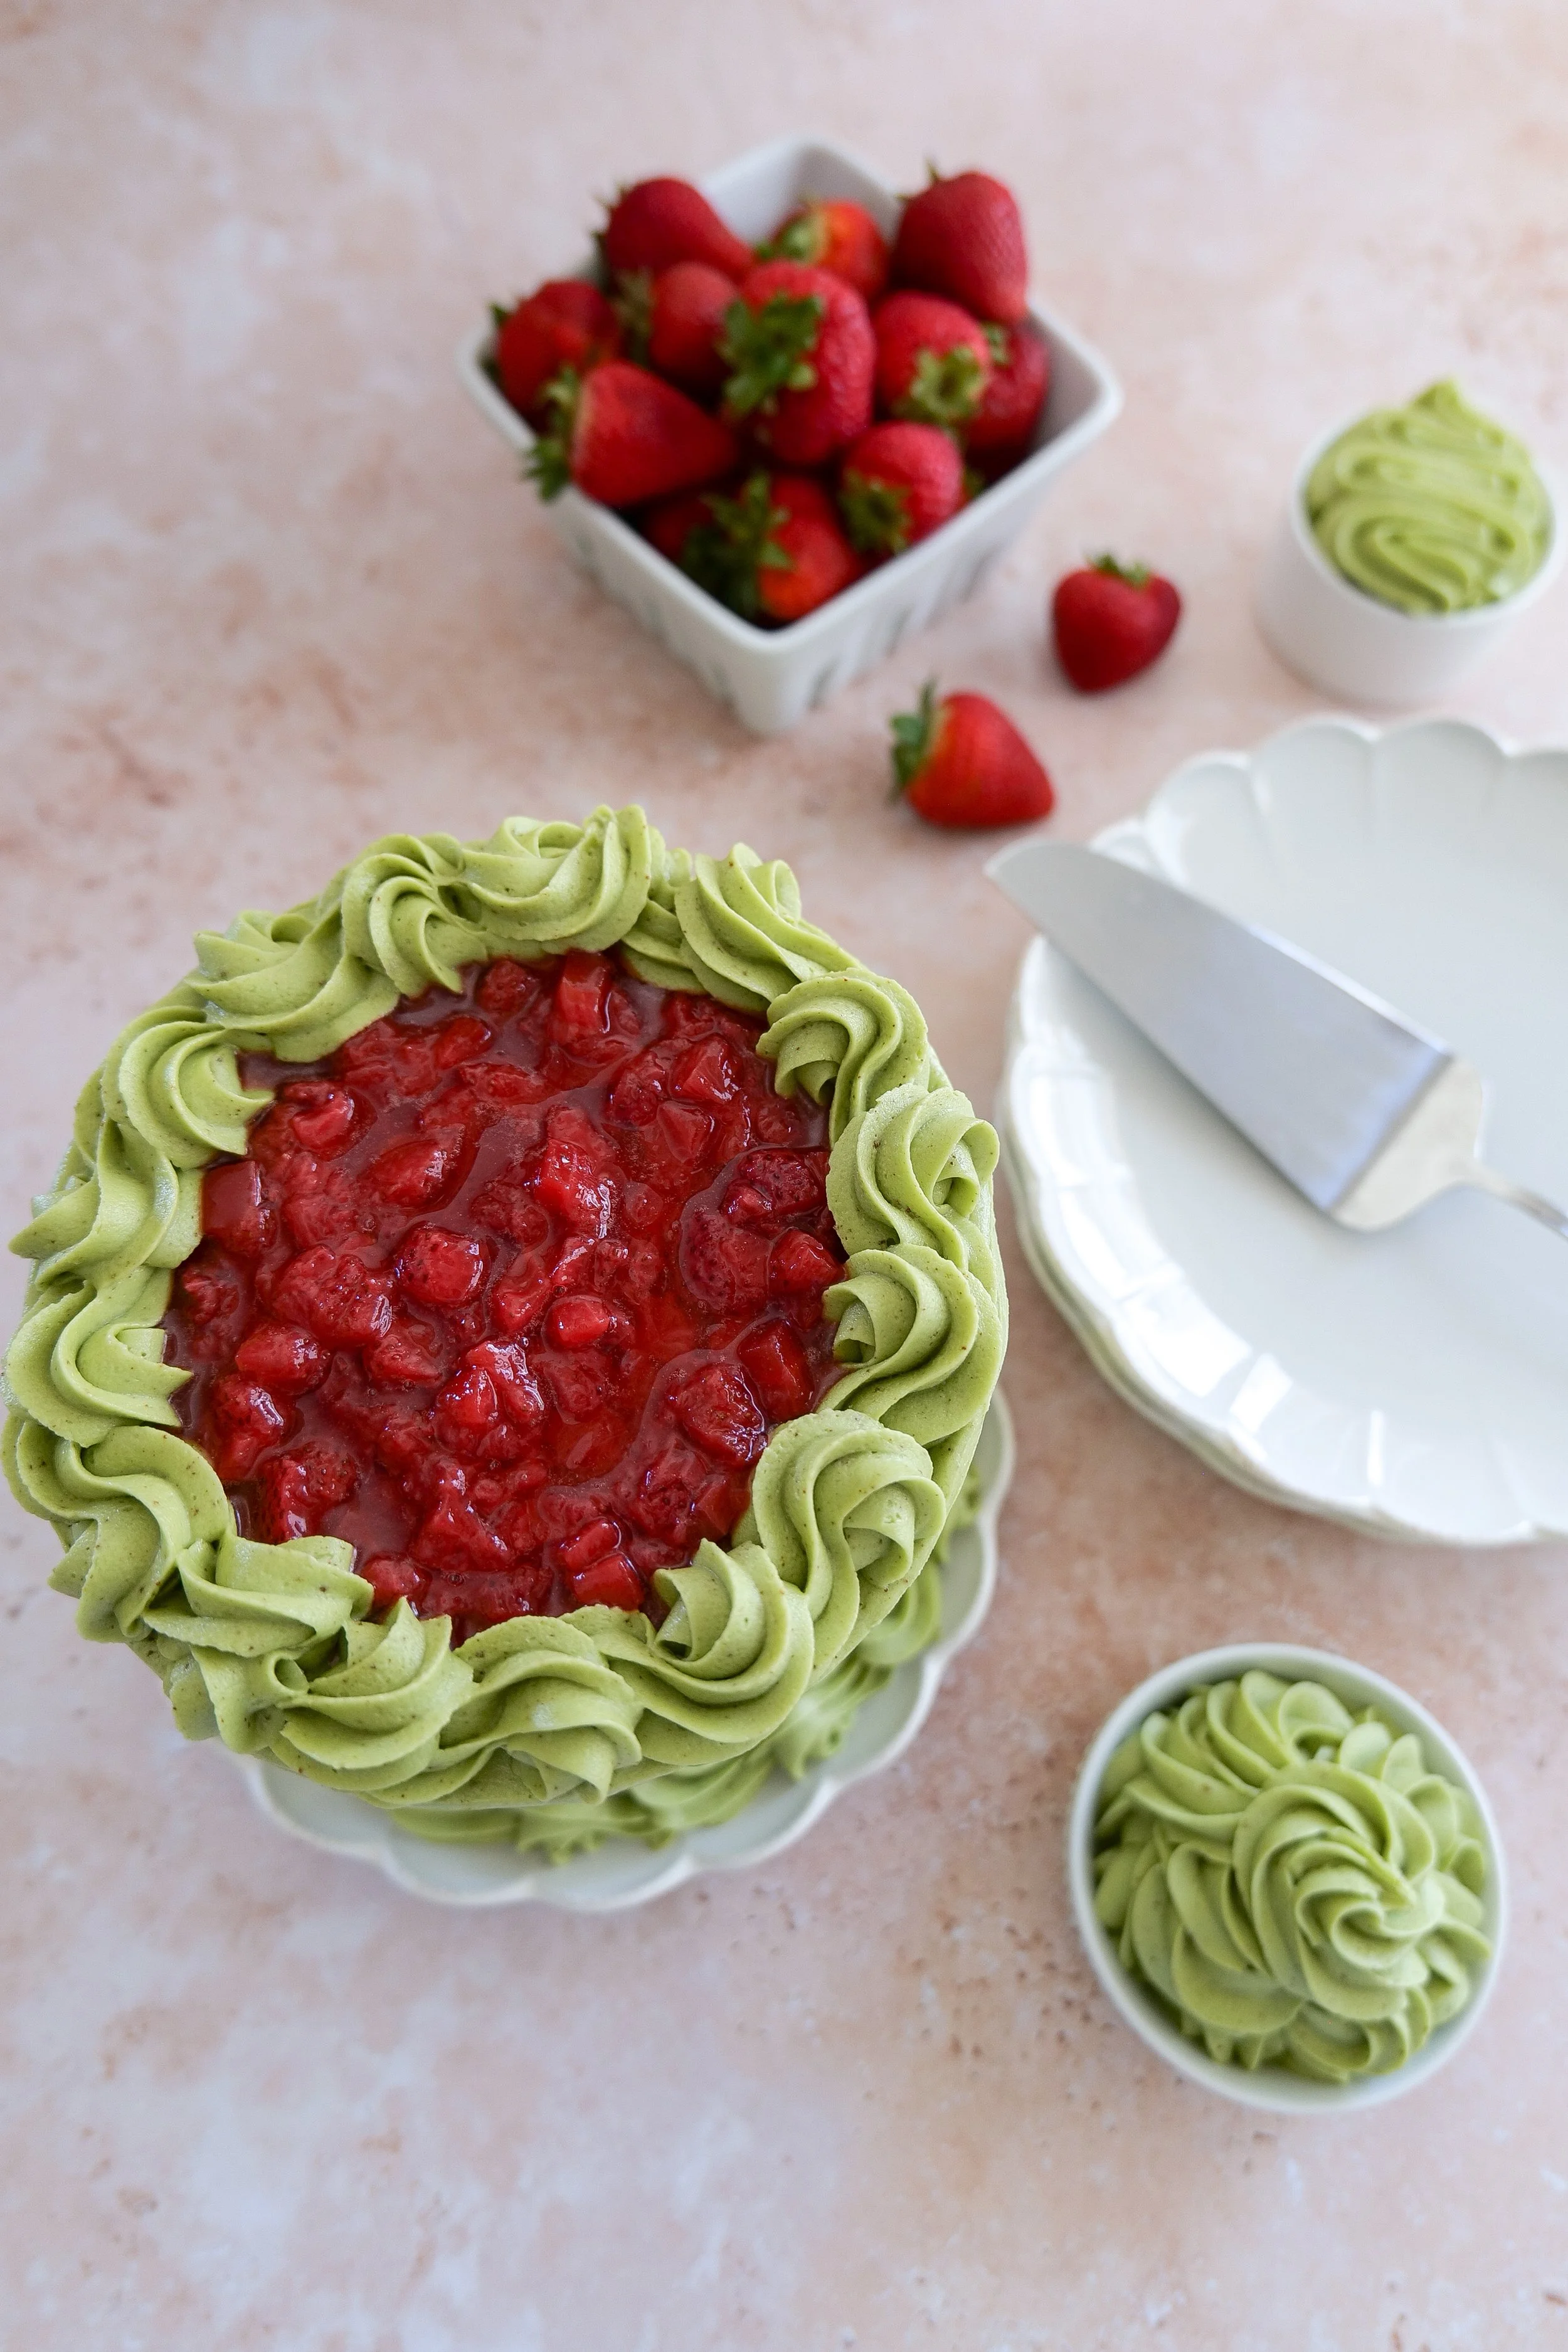
Matcha Strawberry Cake featuring vibrant green tea cake layers, fresh strawberry filling, and piped matcha frosting
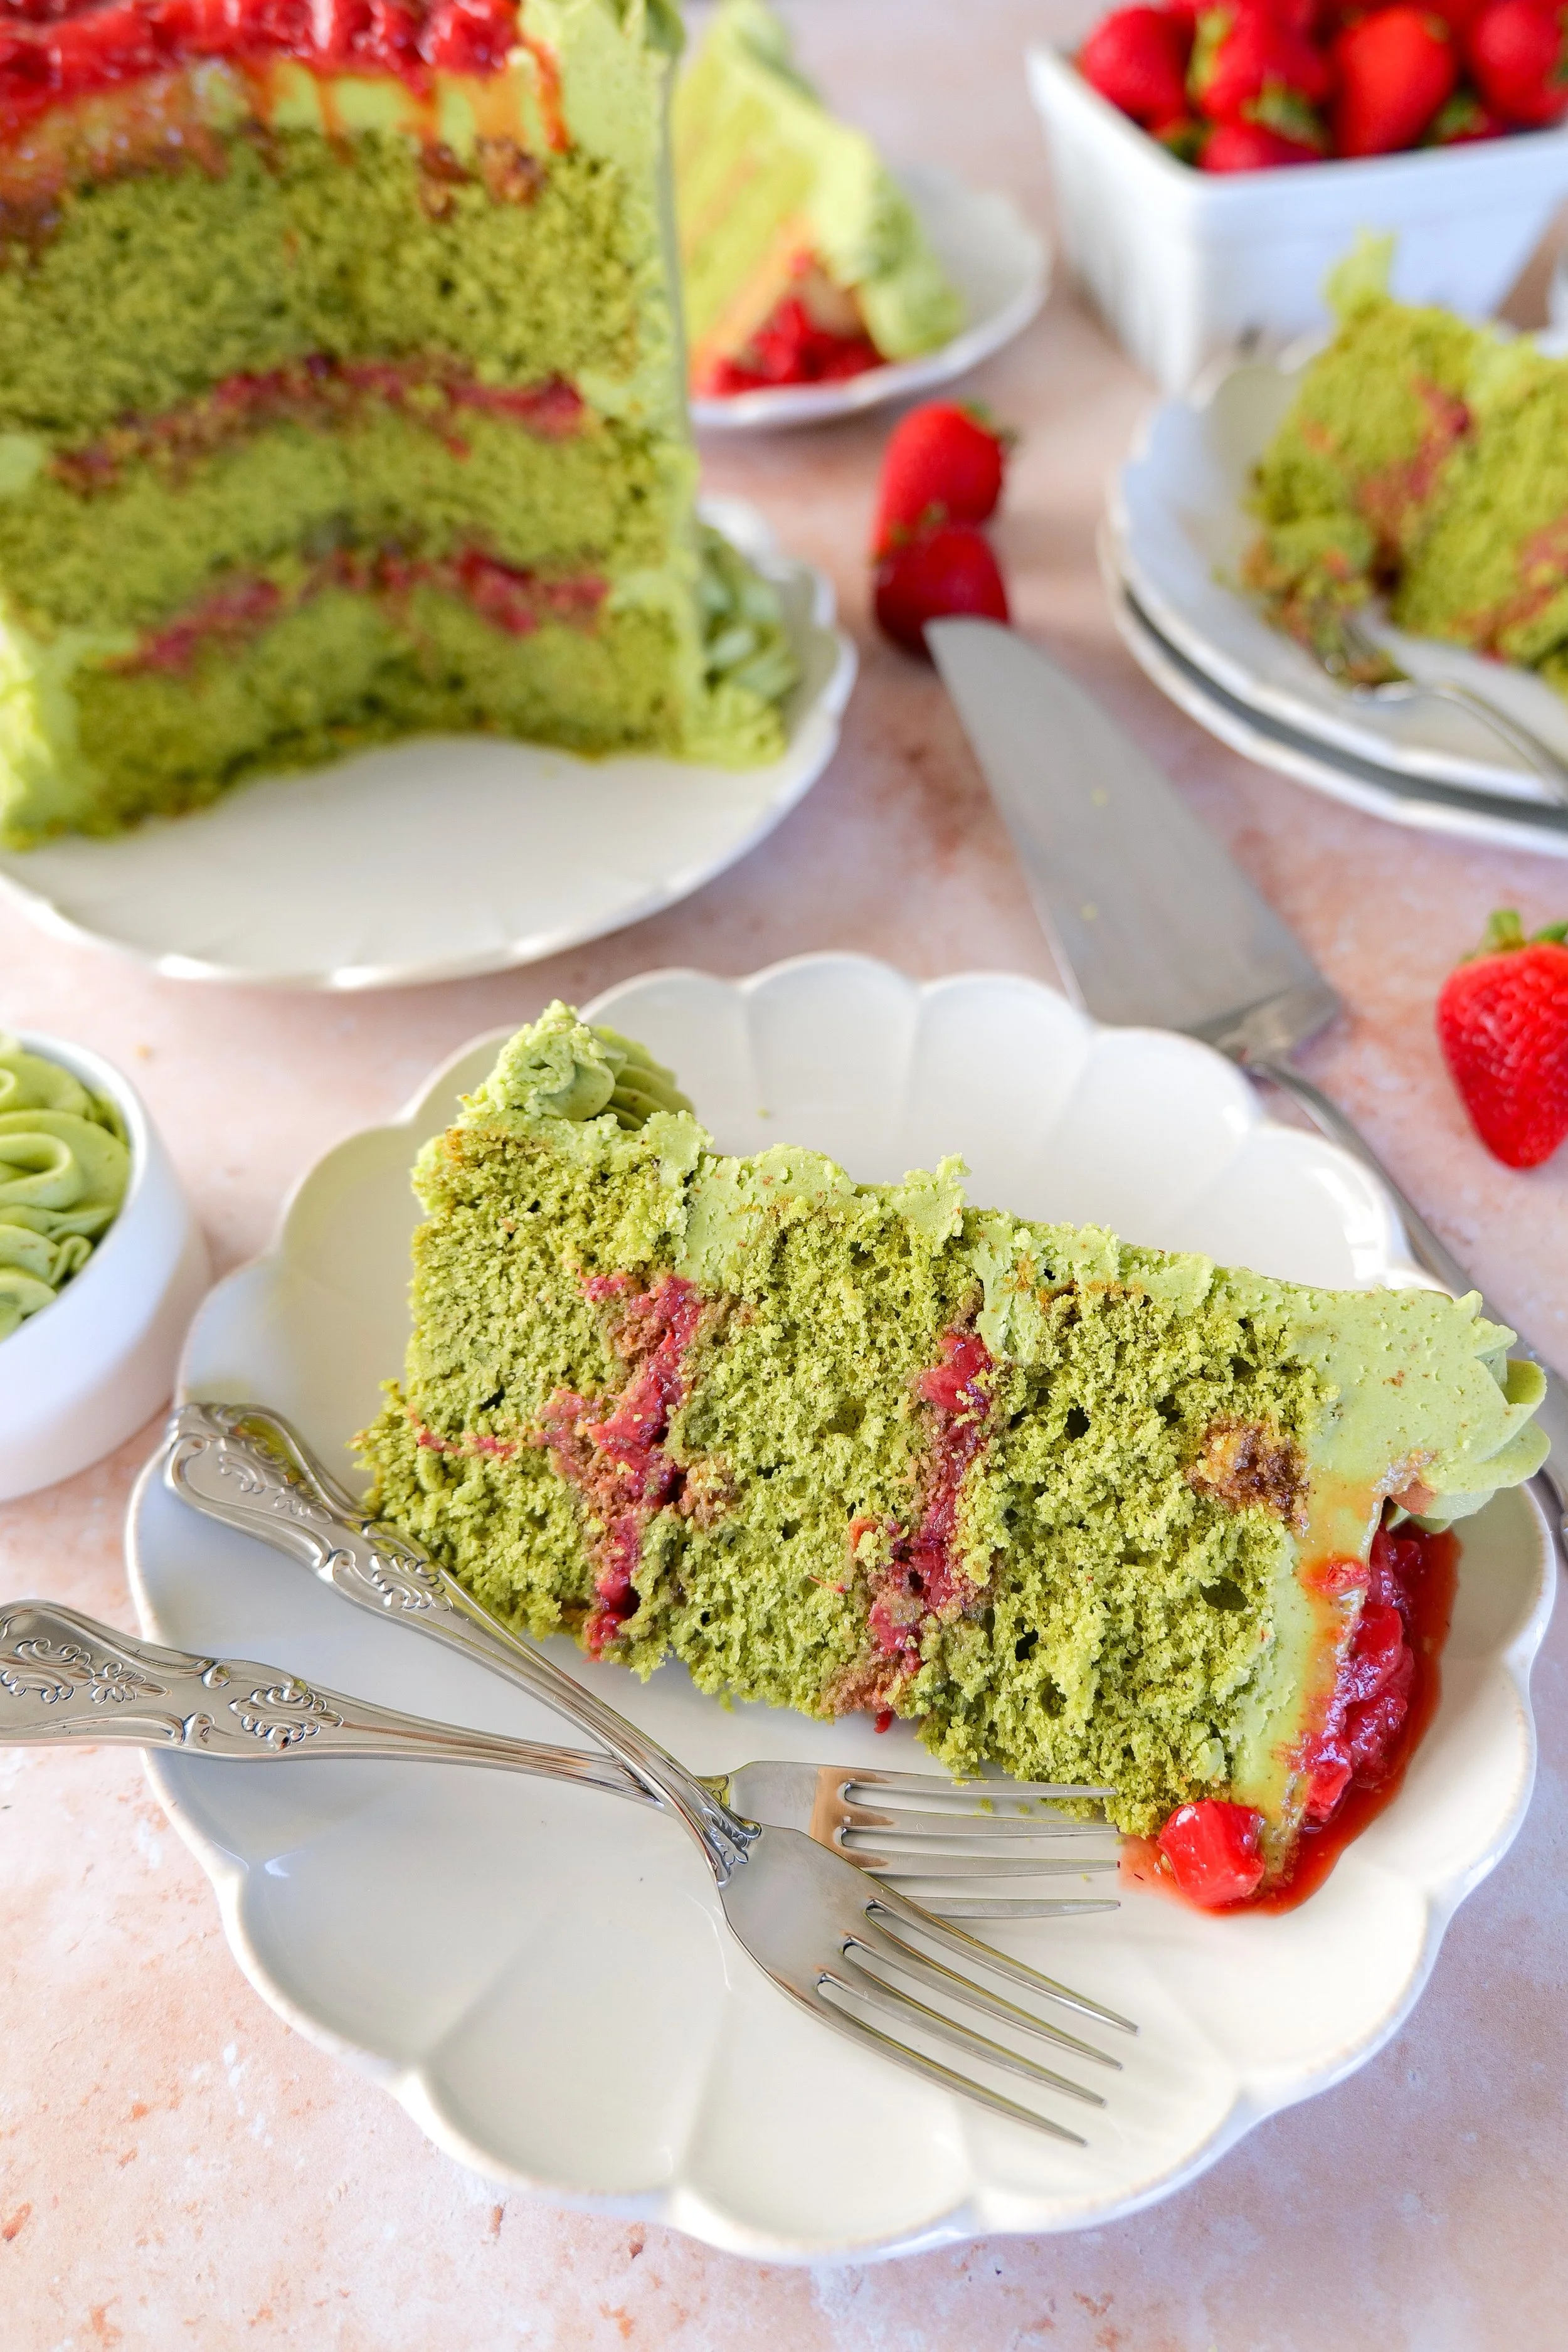
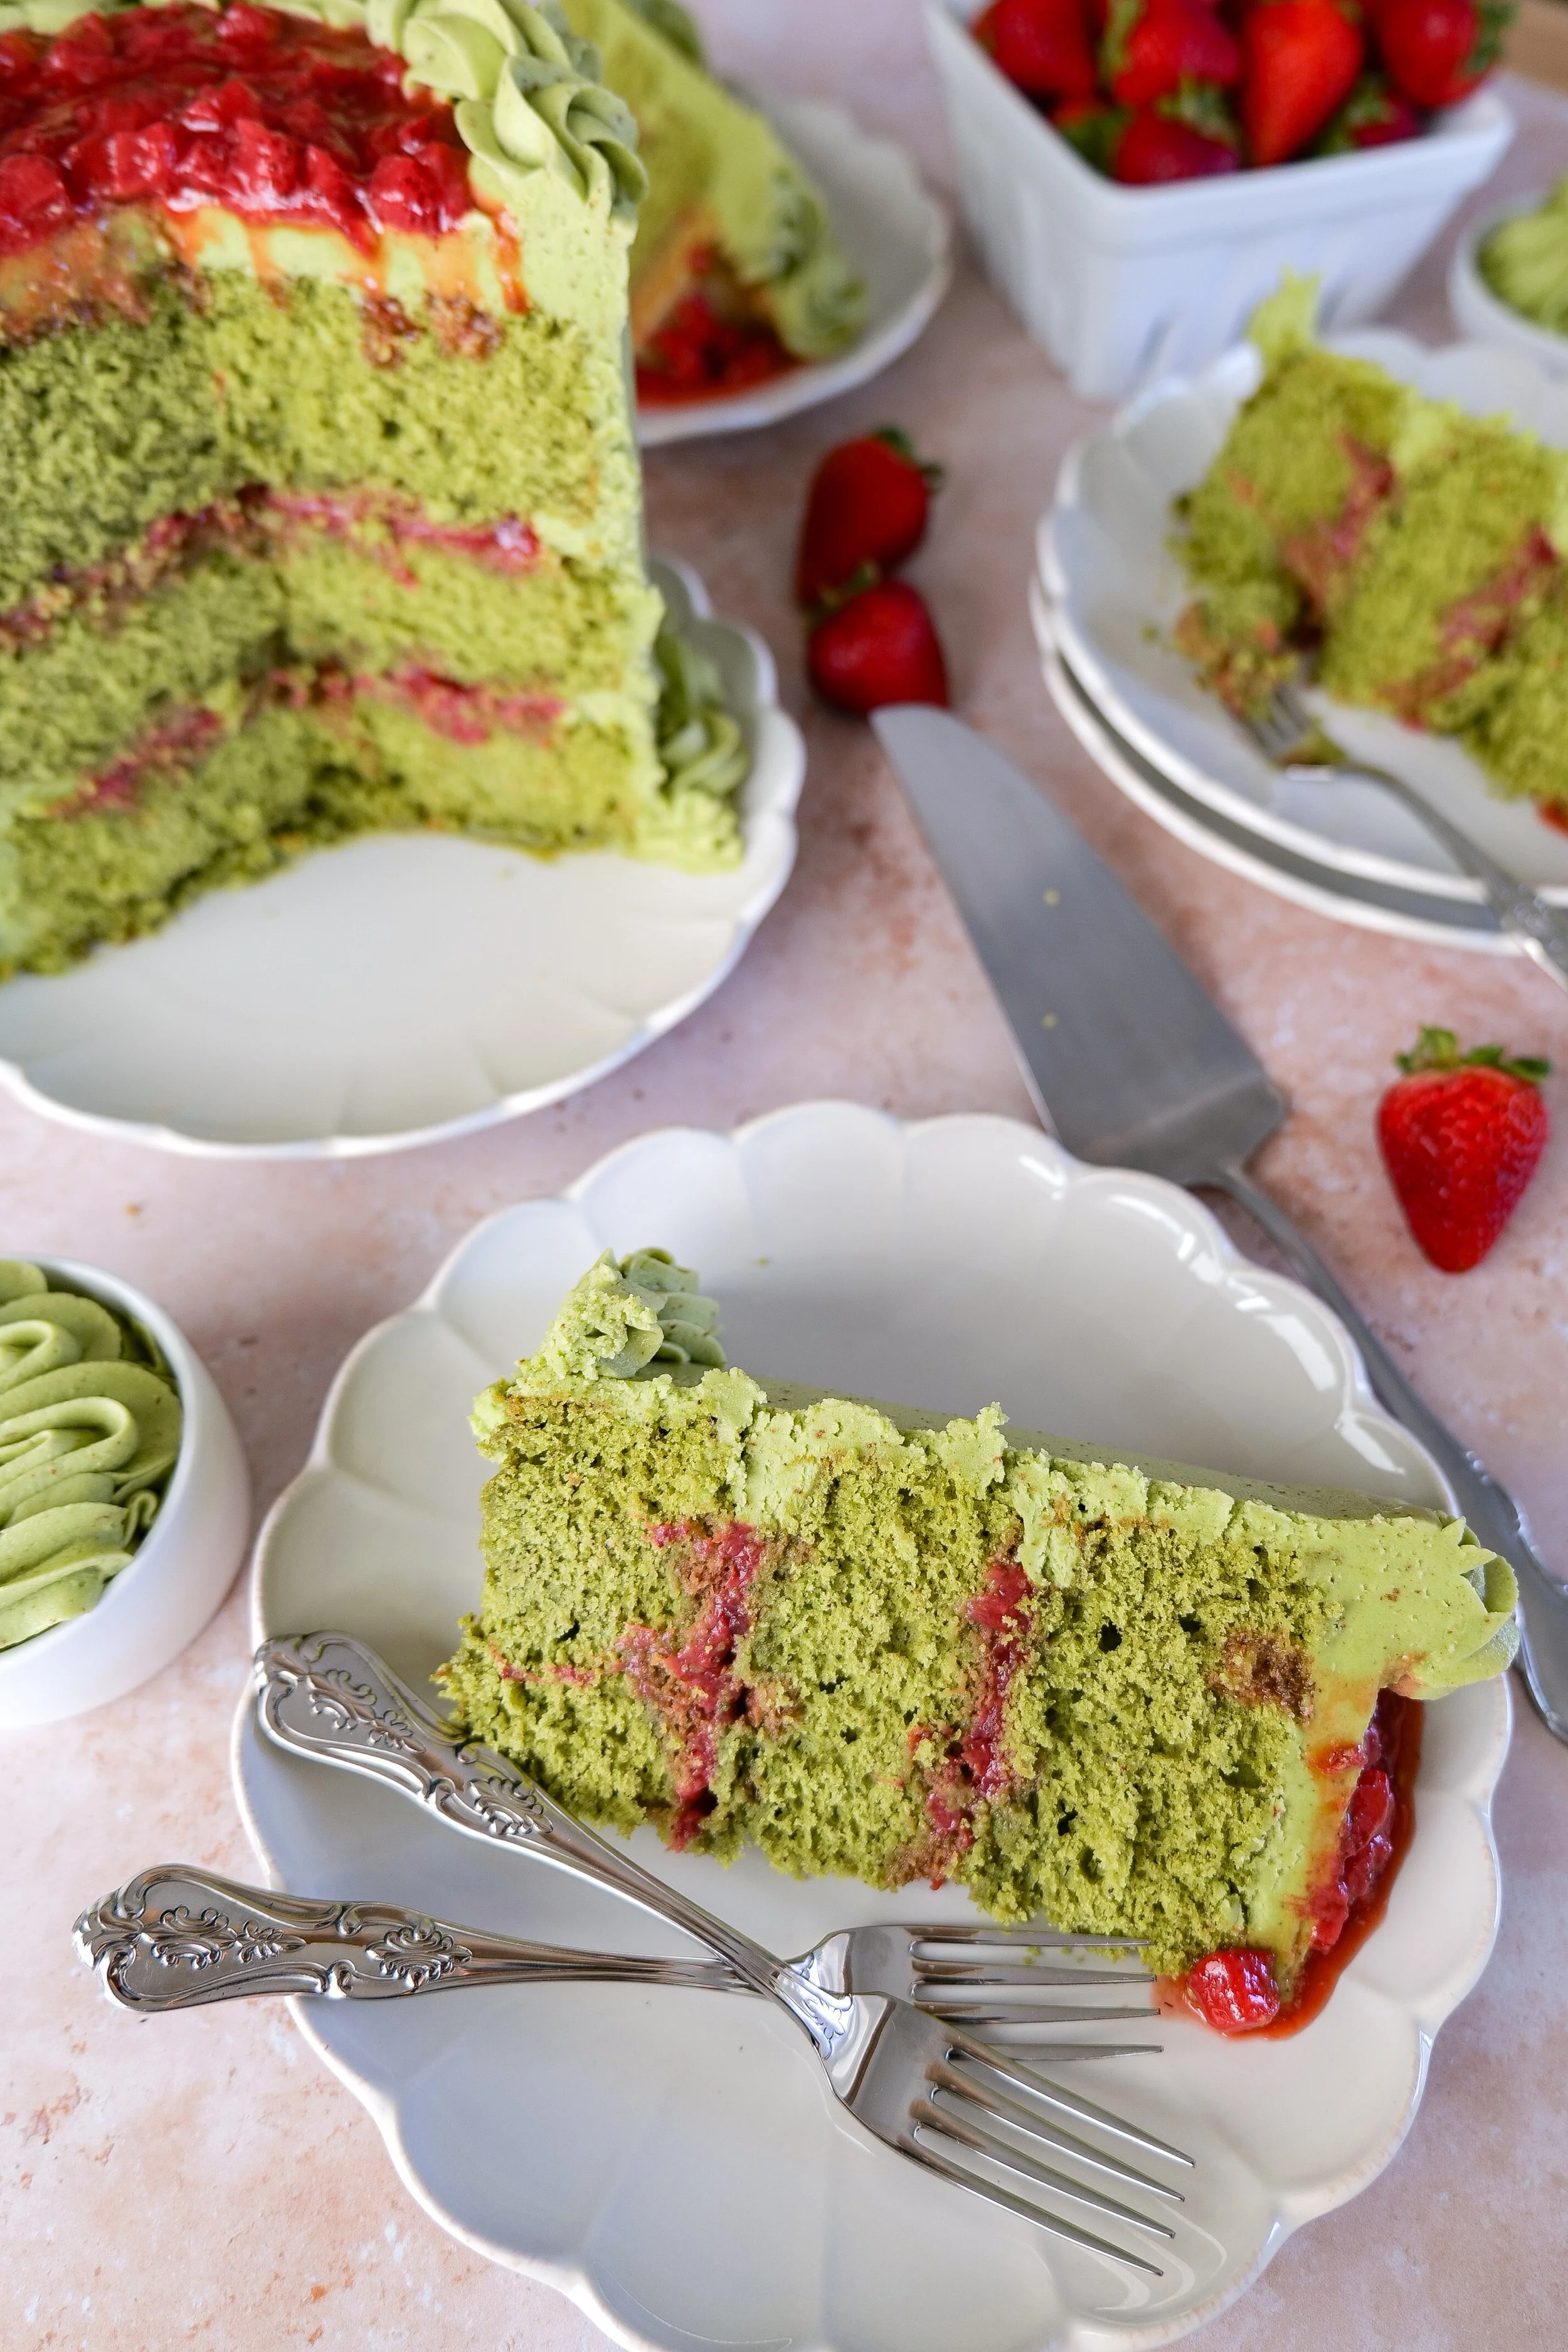
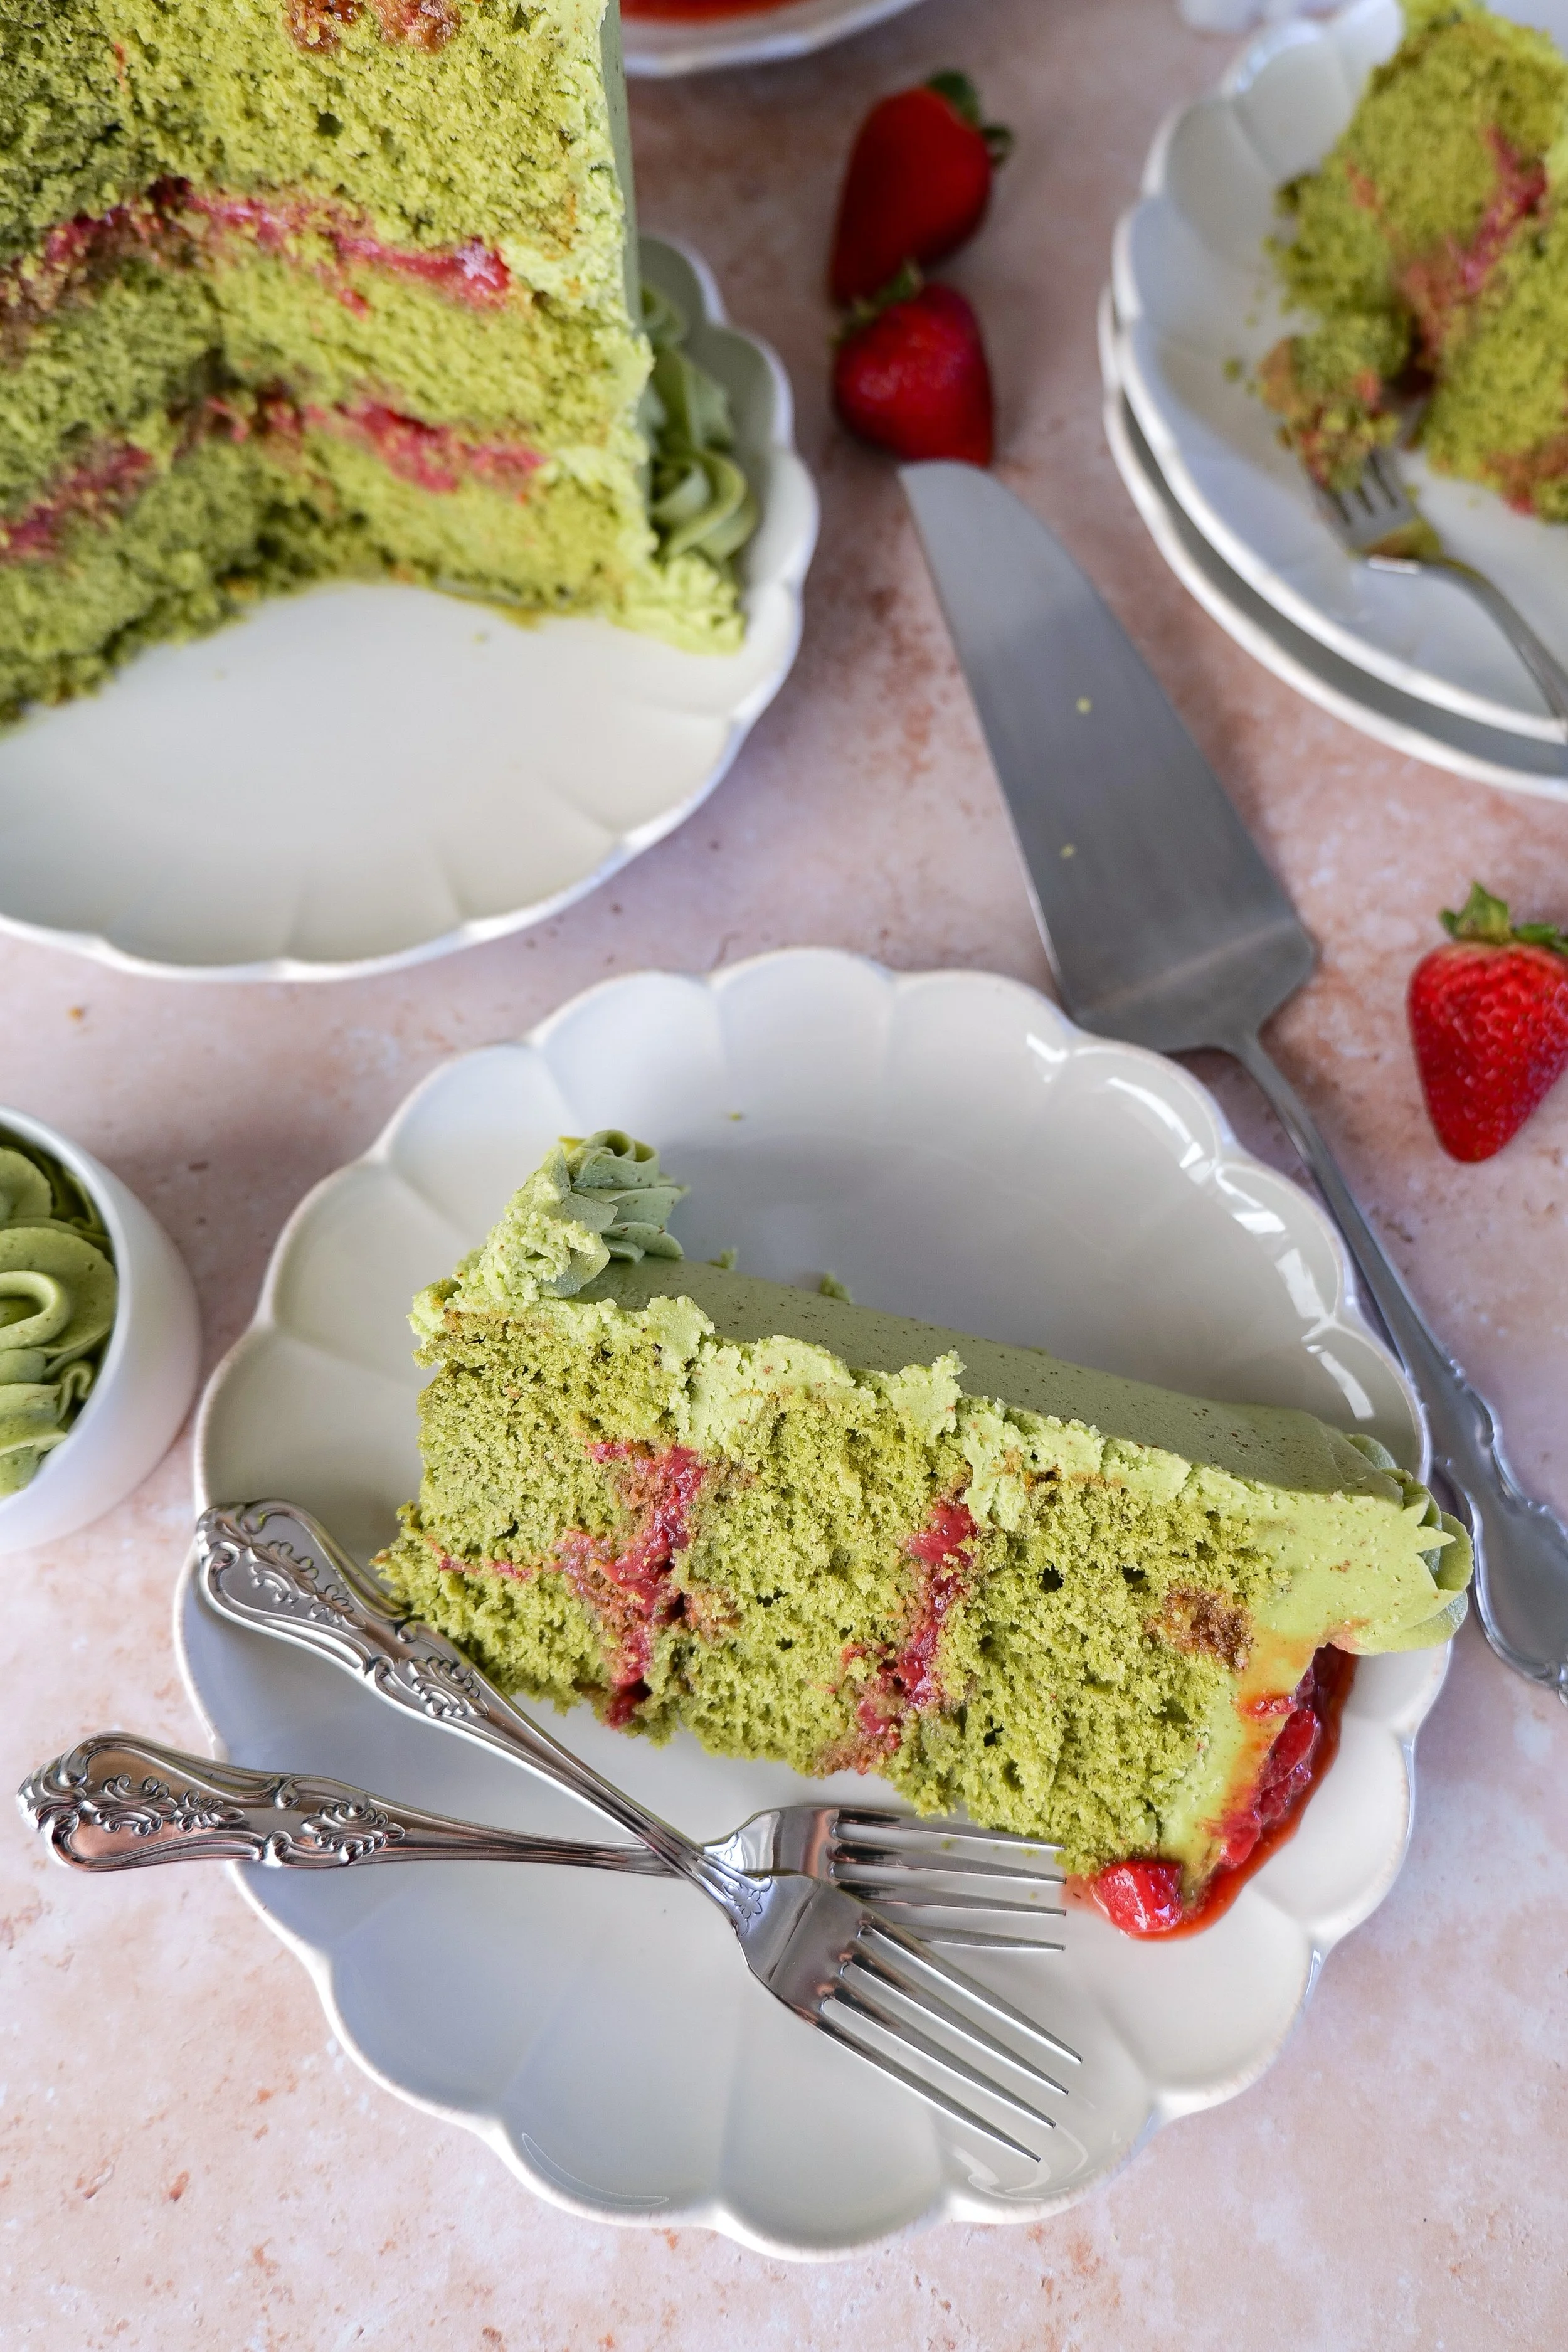
matcha strawberry cake with green tea sponge layers and fresh strawberry filling
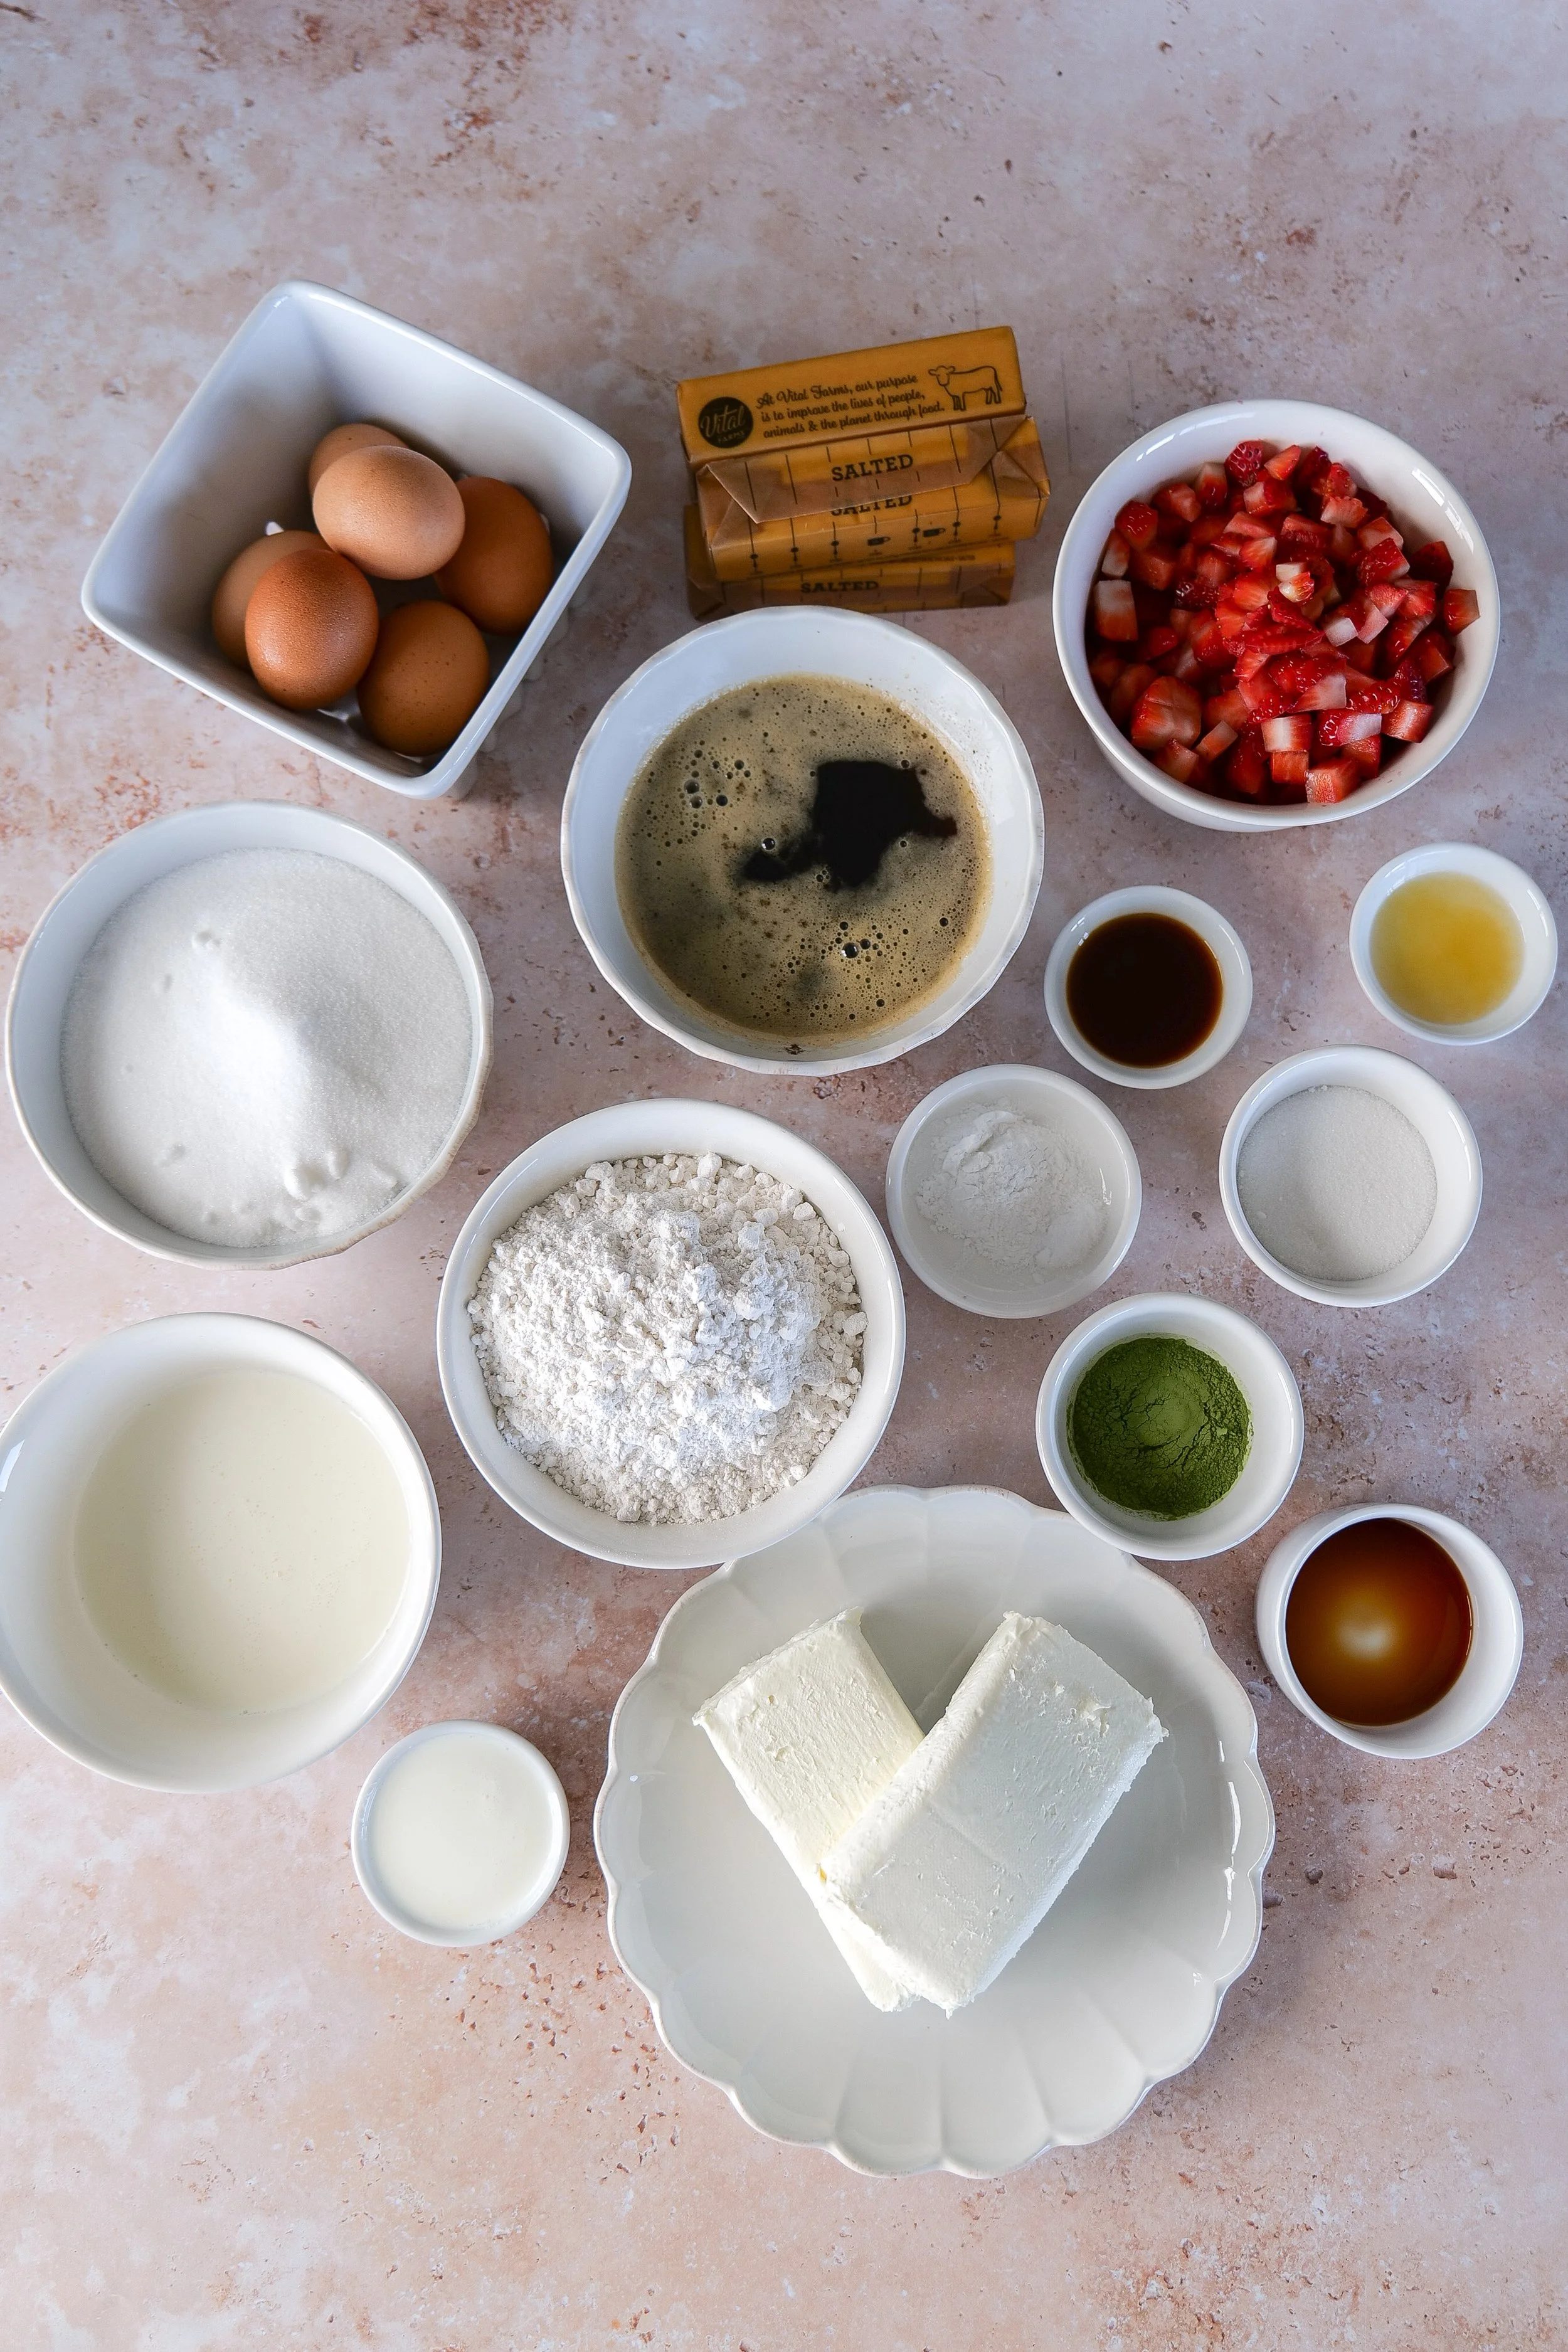
ingredients for Matcha Strawberry Cake
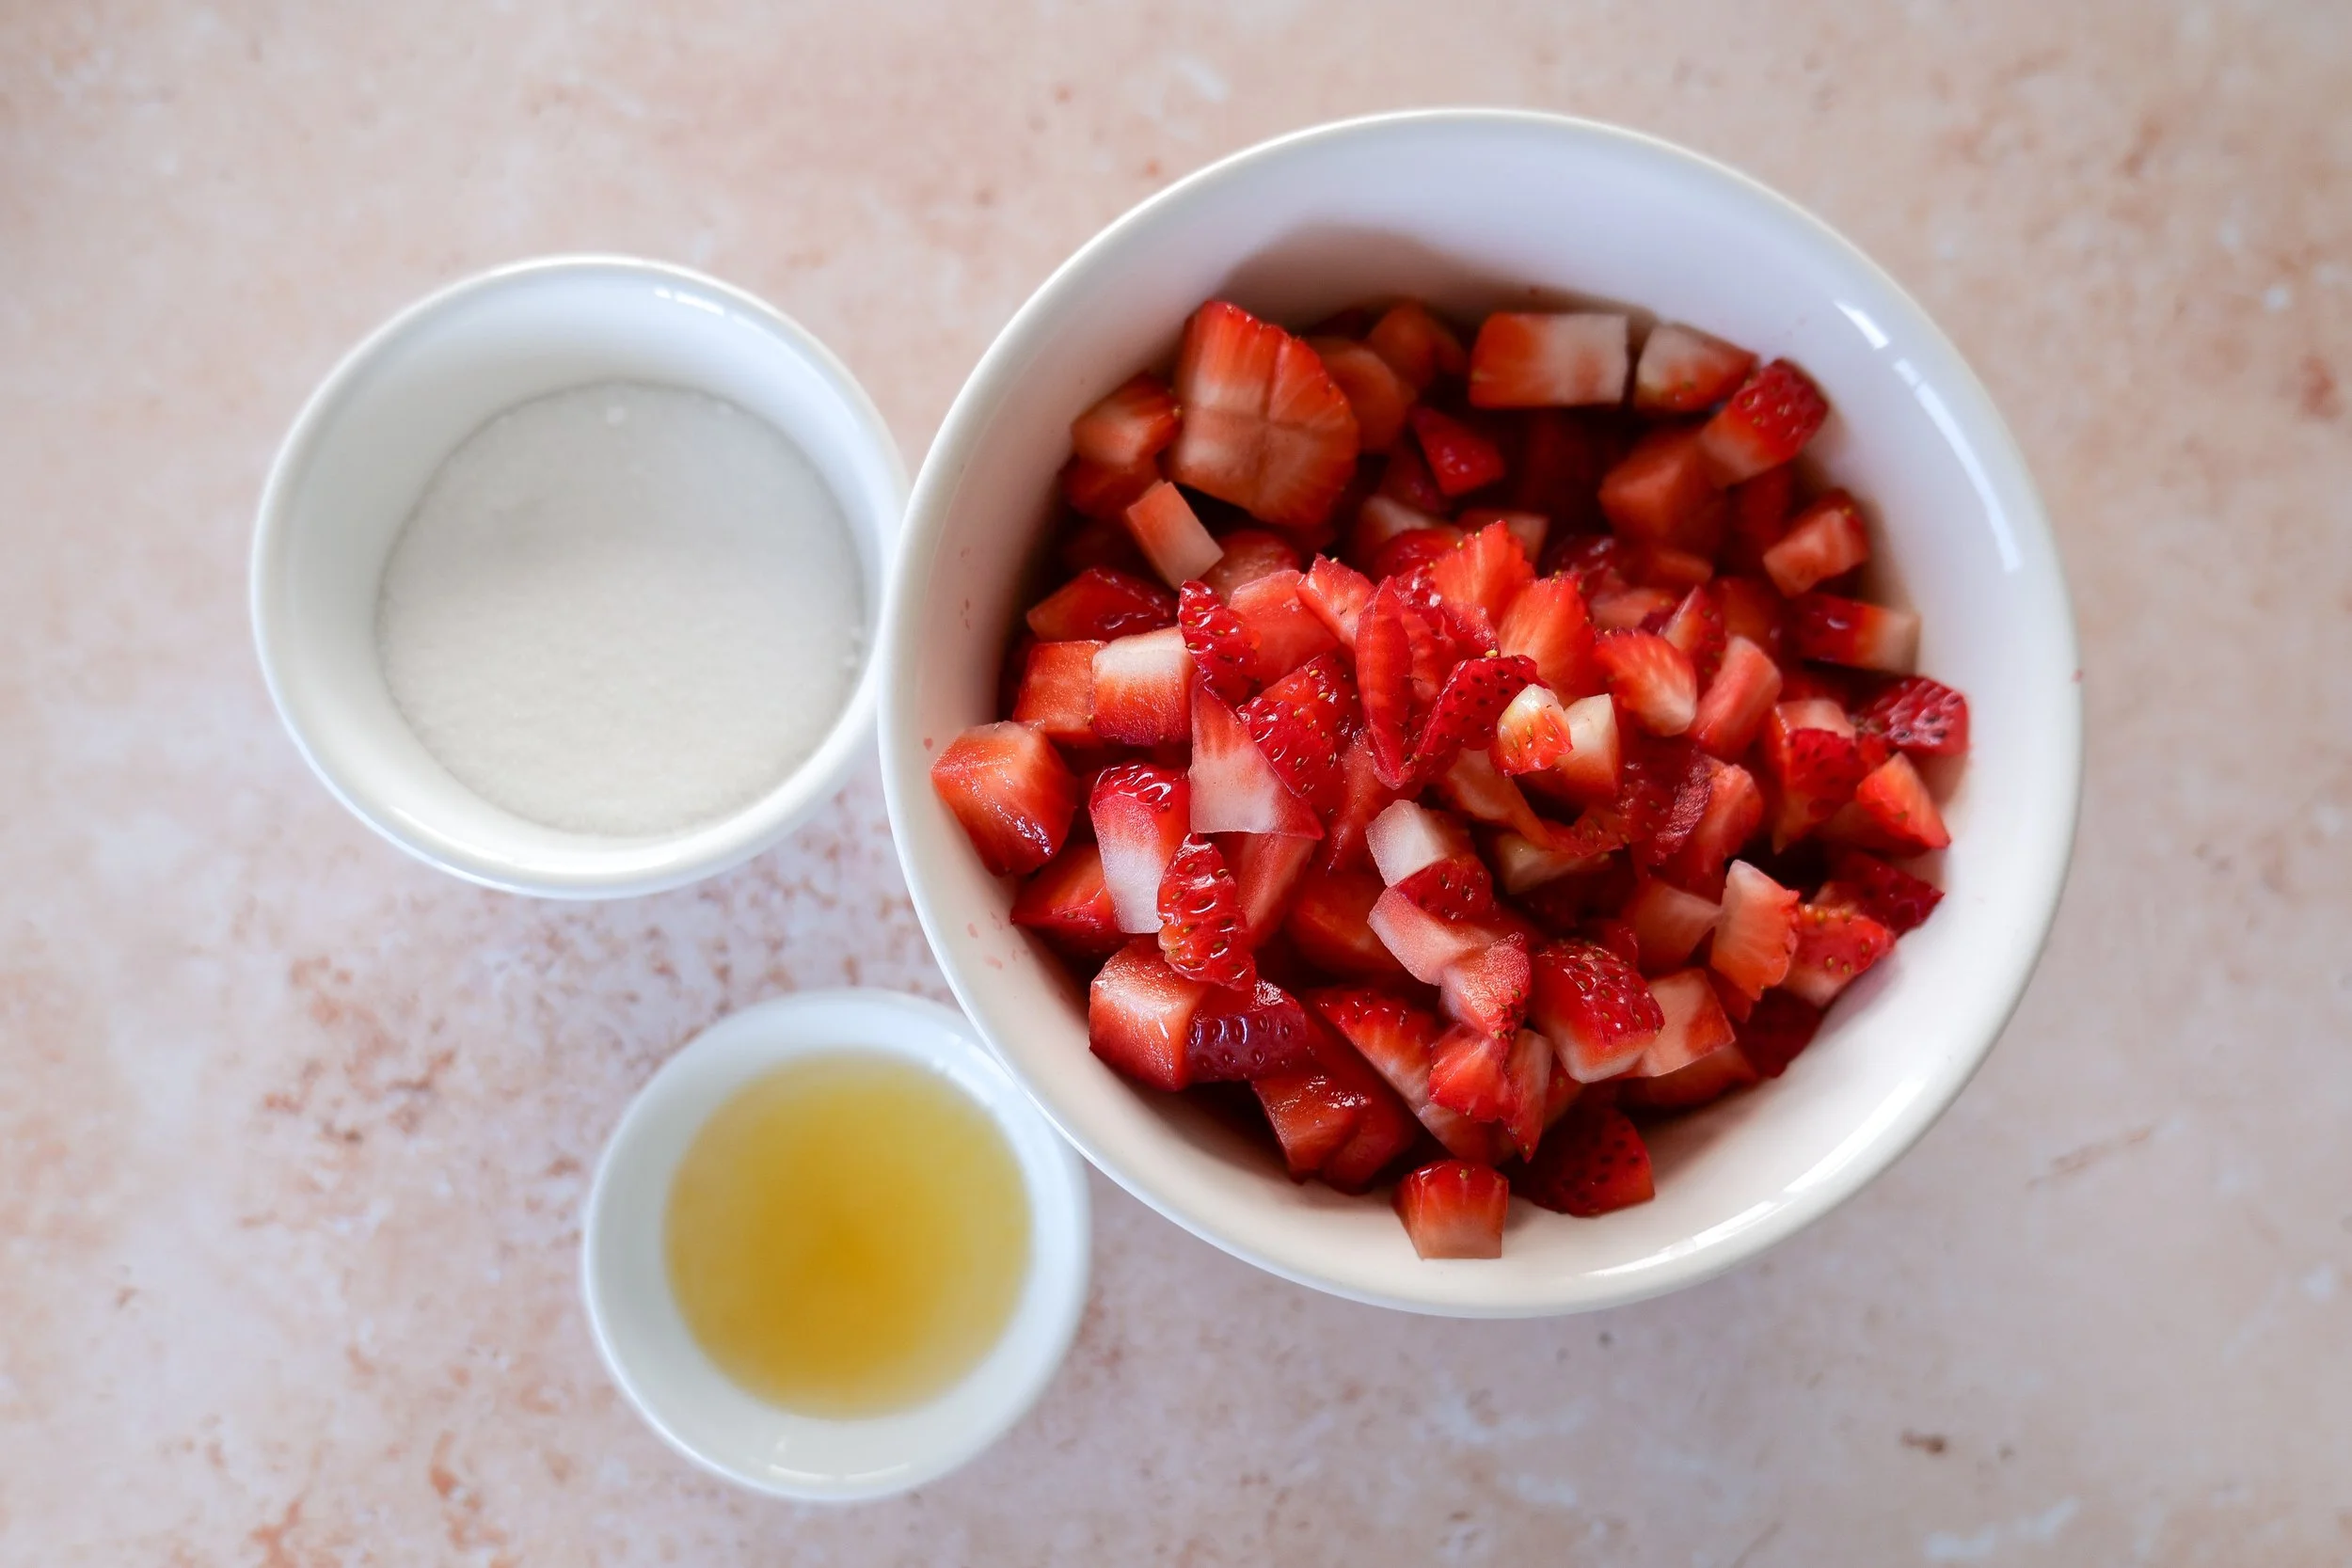
diced strawberries, white sugar and lemon juice

Why You’ll Love This Matcha Strawberry Cake

  • Soft, tender crumb with a rich brown butter depth

  • Balanced matcha flavor (not overpowering or bitter)

  • Fresh strawberry filling that adds natural sweetness

  • A unique but approachable dessert that feels elevated

  • Perfect for spring gatherings, tea days, or slow weekends

What Does Matcha Taste Like in Cake?

Matcha has a naturally earthy, slightly grassy flavor—but when paired with brown butter and sugar, it transforms.

In this cake, the matcha tastes:

  • Smooth and mellow

  • Lightly floral

  • Warmed by the nutty richness of browned butter

The result is a cake that feels cozy rather than sharp or bitter.

matcha strawberry cake featuring a green tea frosting and a strawberry topping
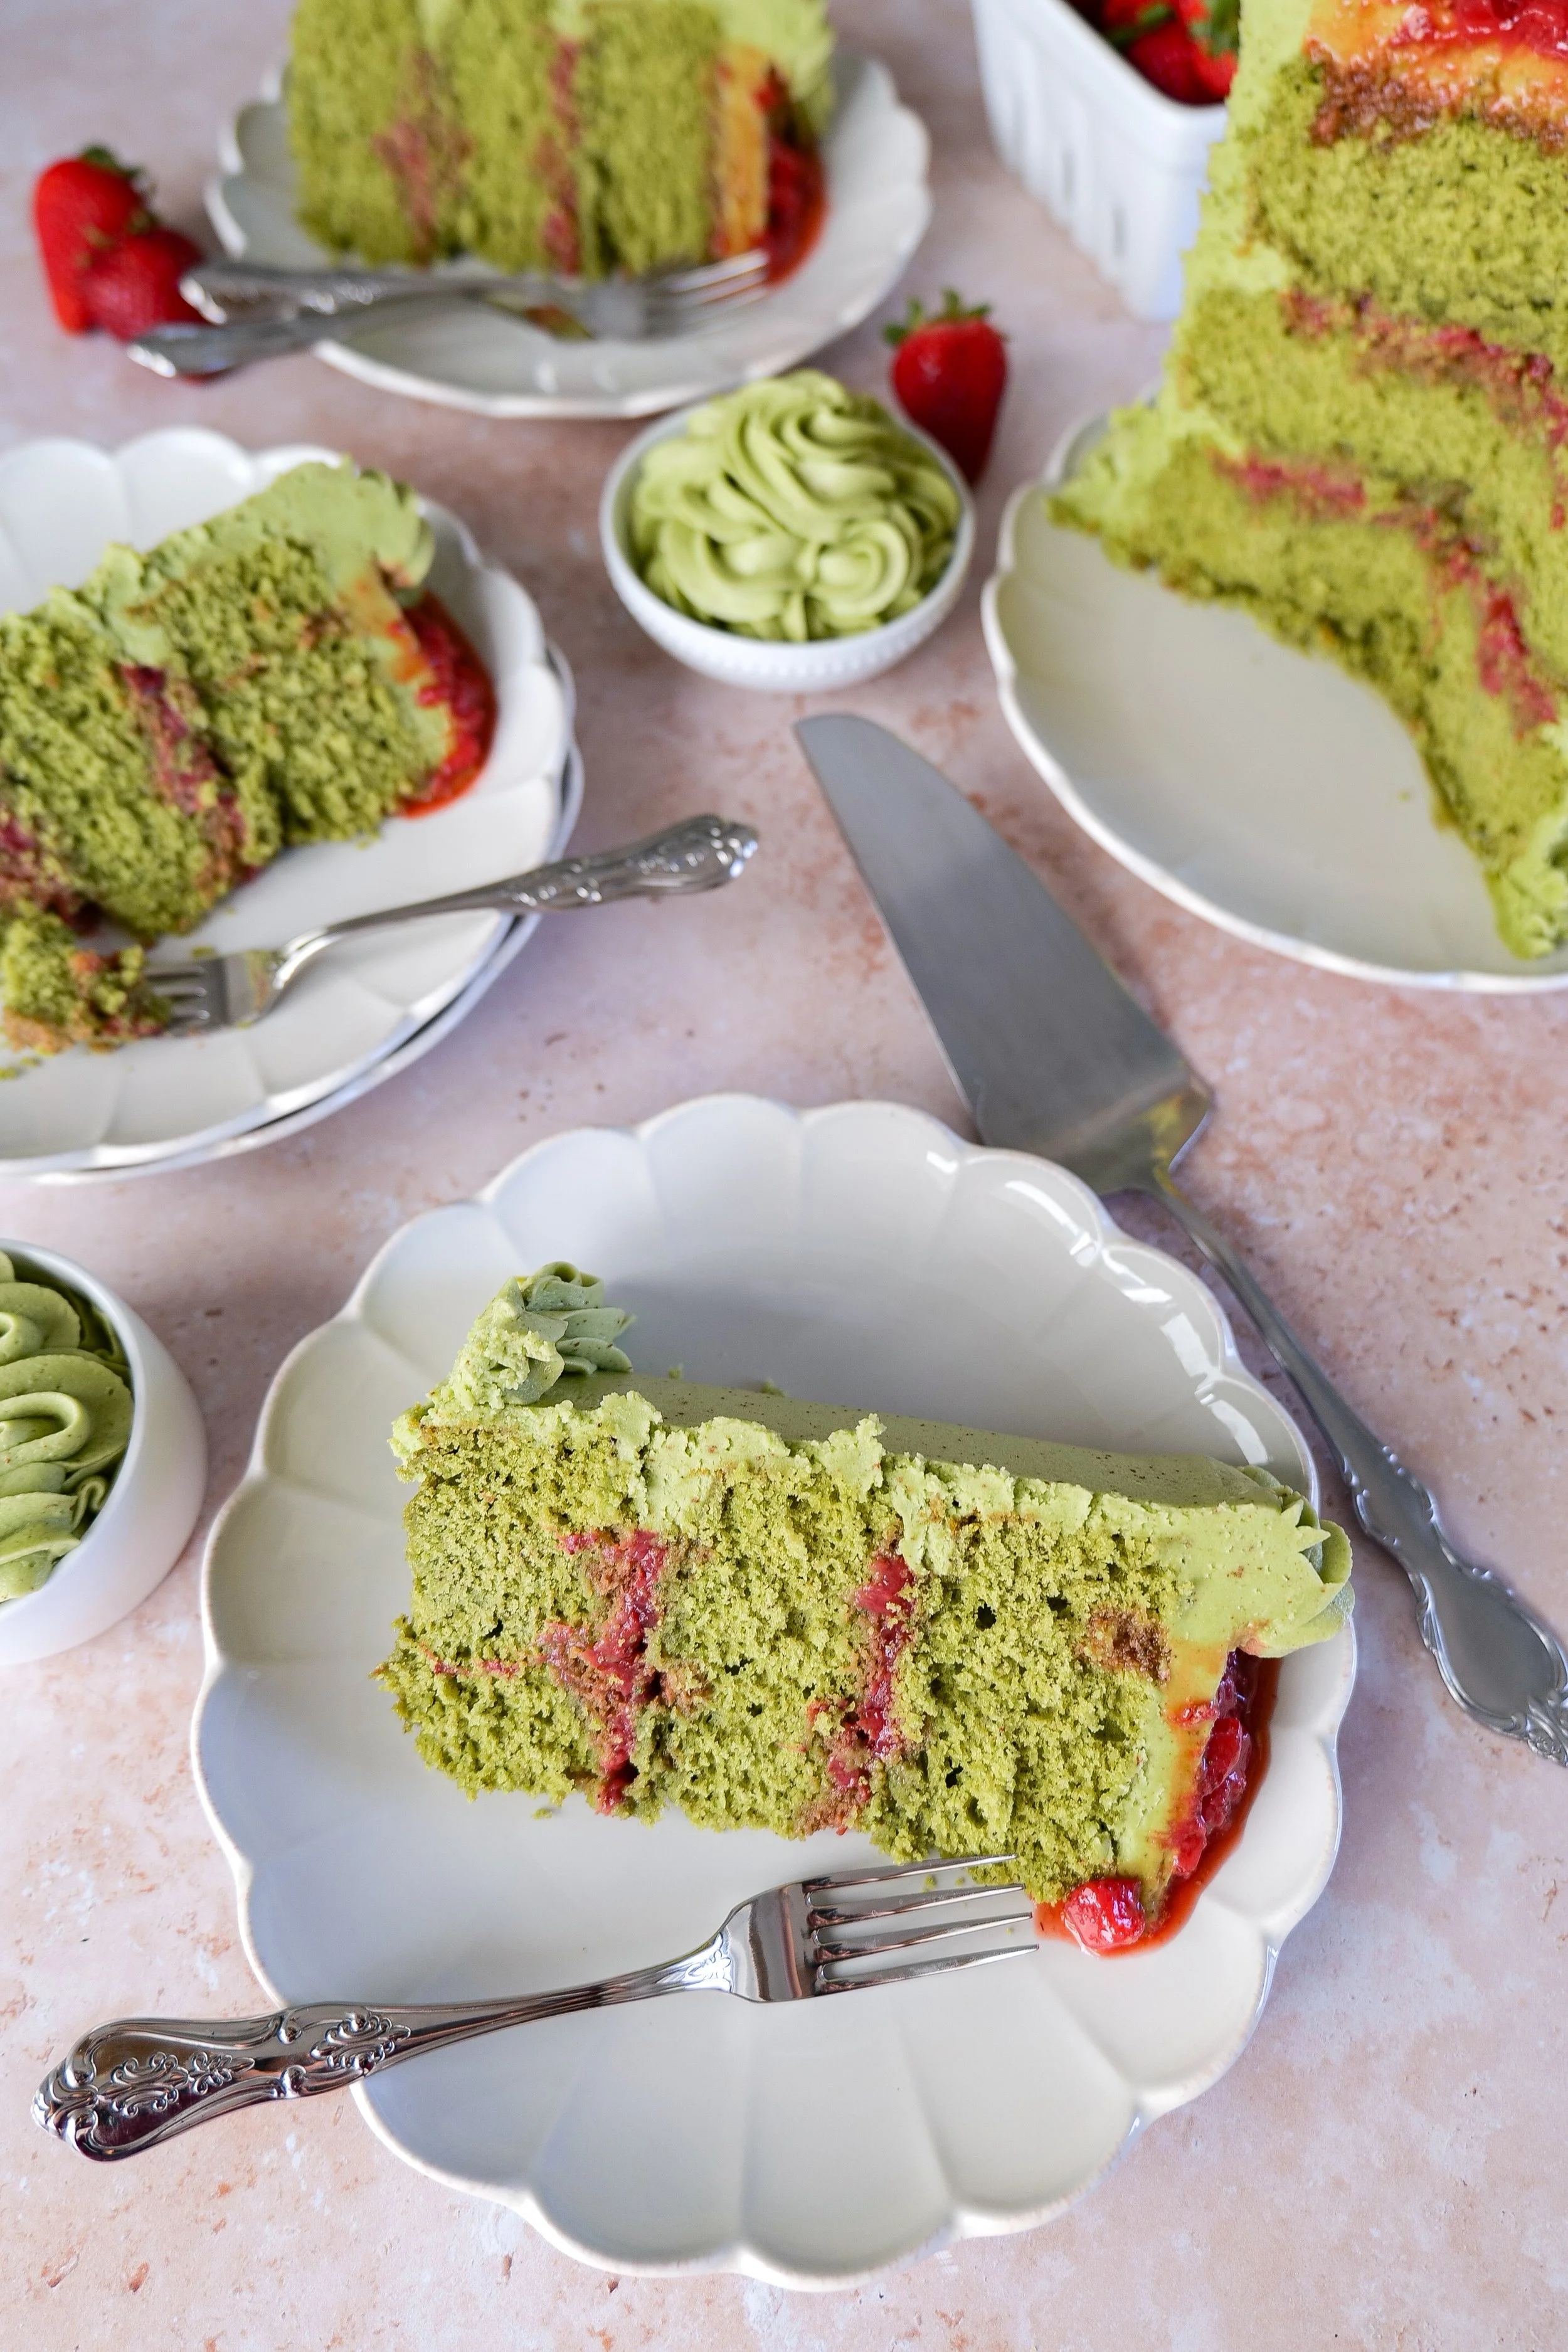
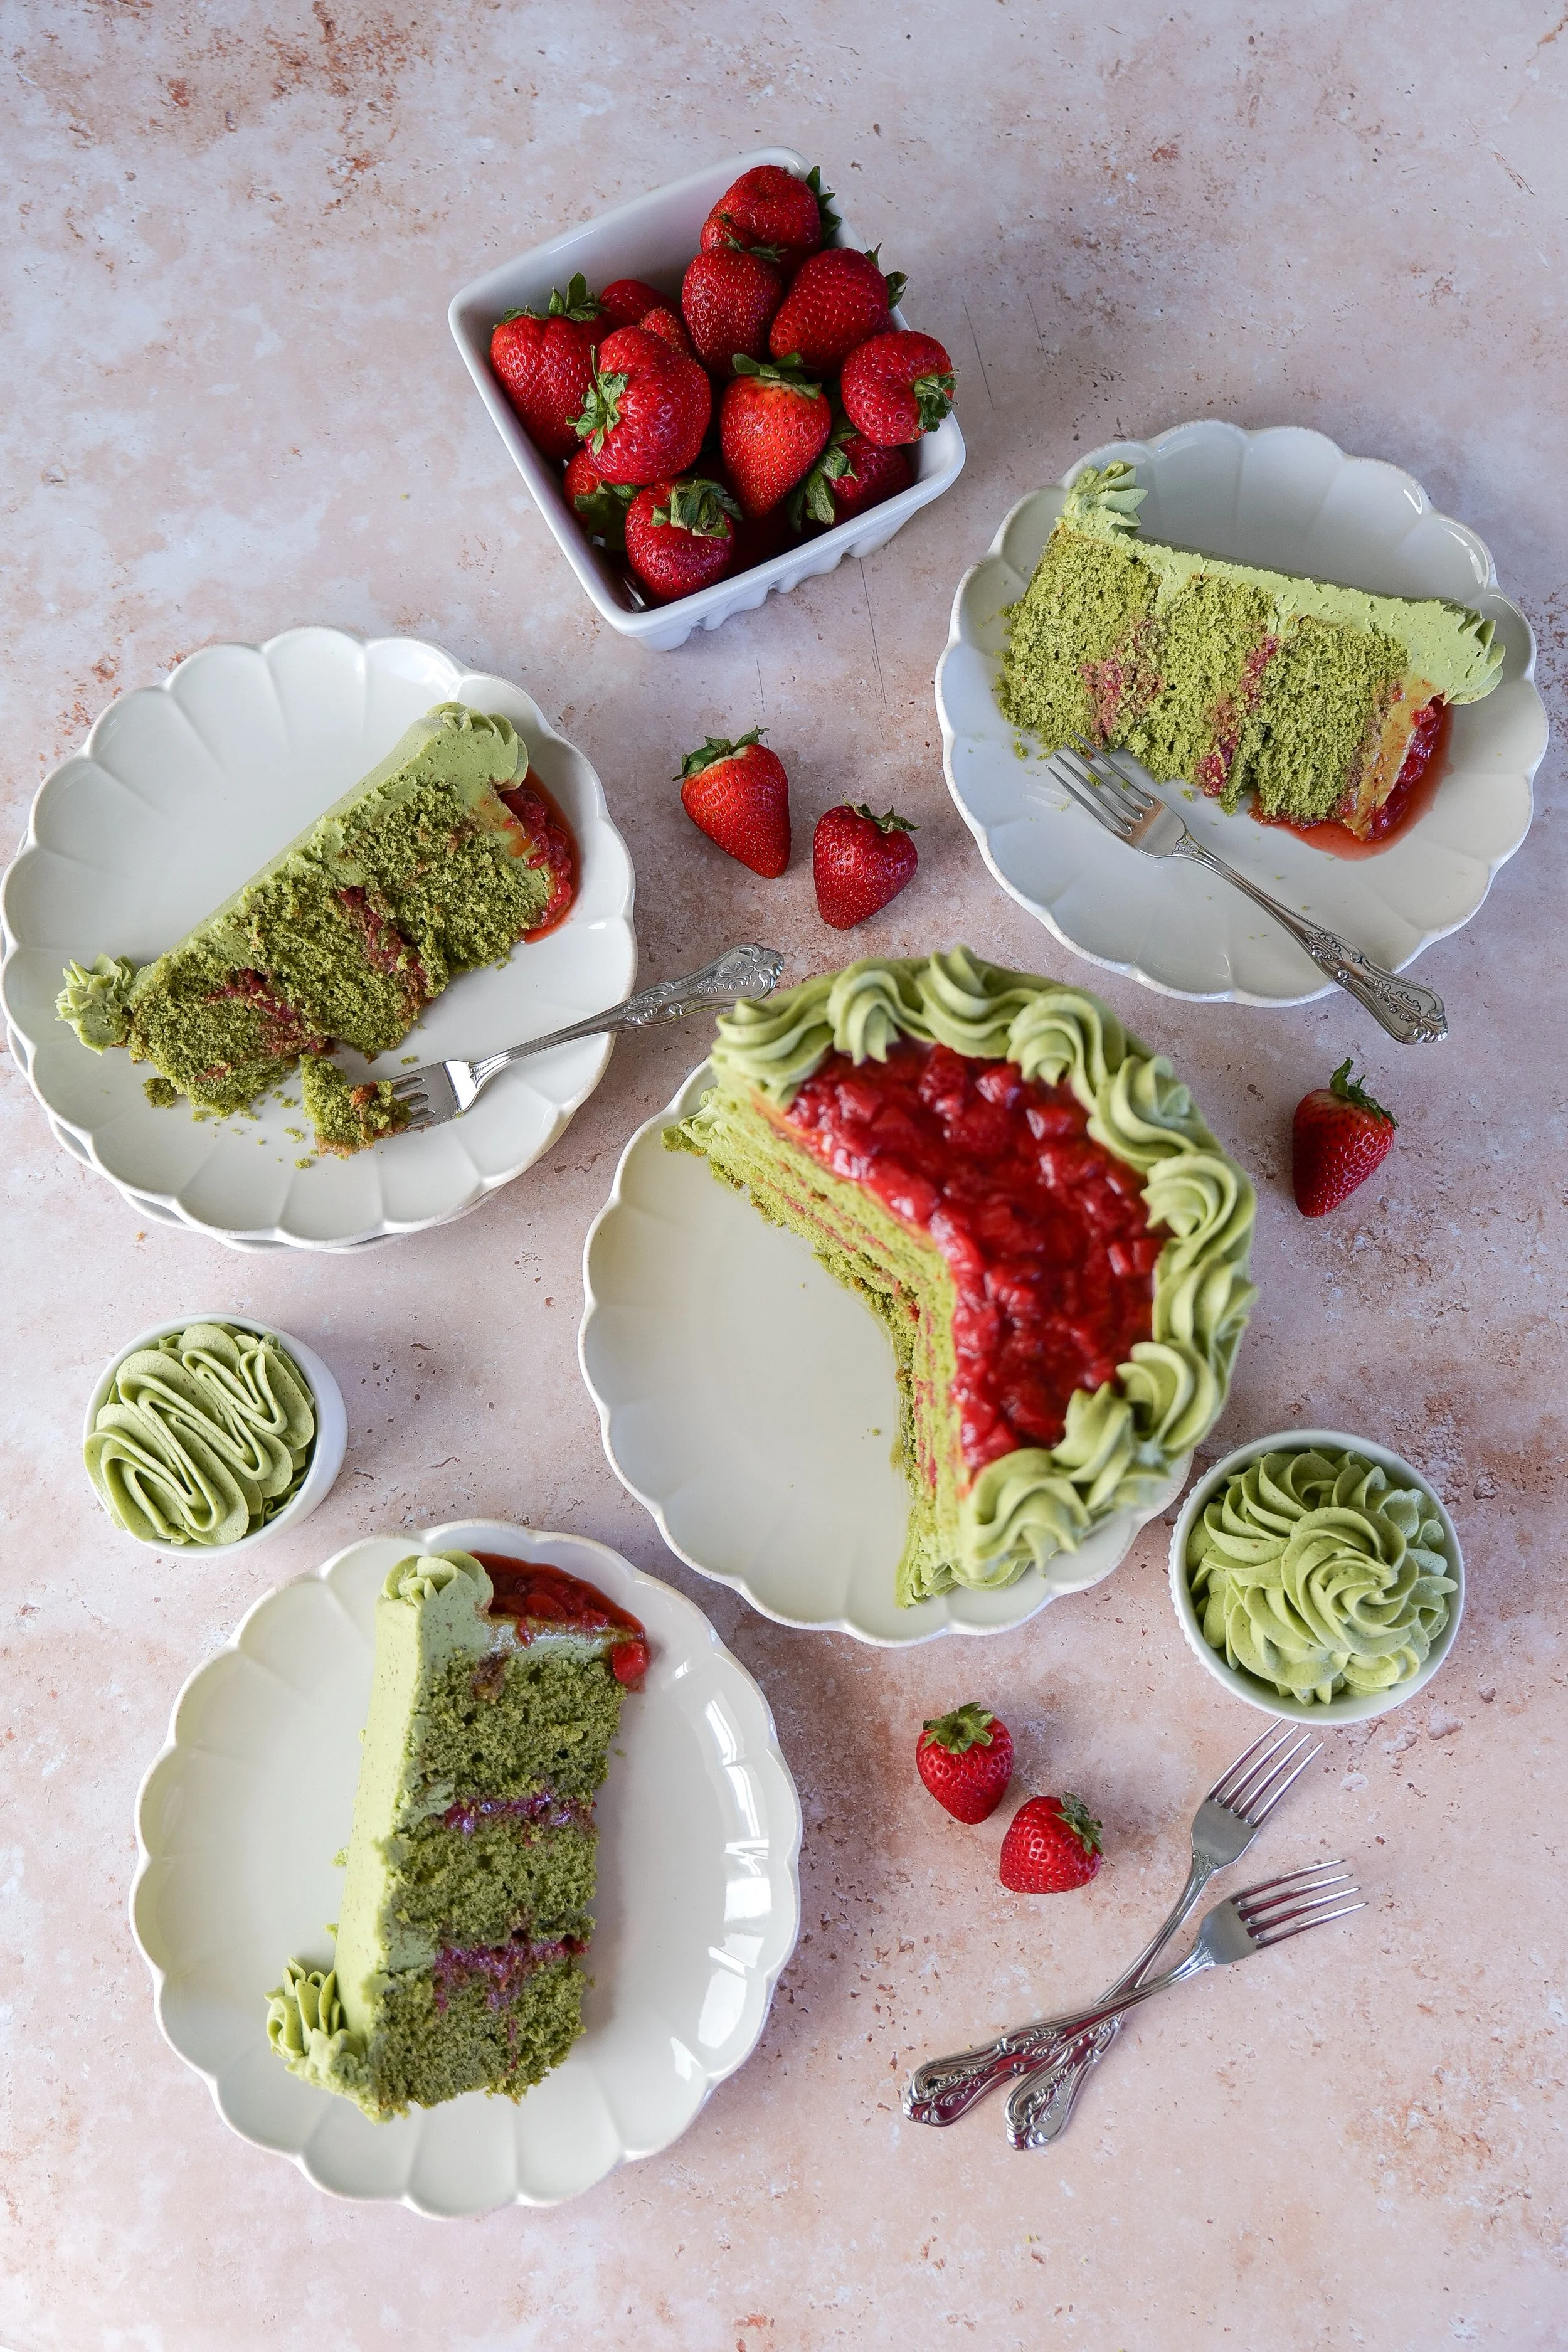
Slices of matcha strawberry cake with brown butter frosting and fresh strawberries
Soft matcha strawberry with creamy frosting and strawberries
Homemade matcha strawberry cake slices topped with fresh strawberries

Ingredients You’ll Need

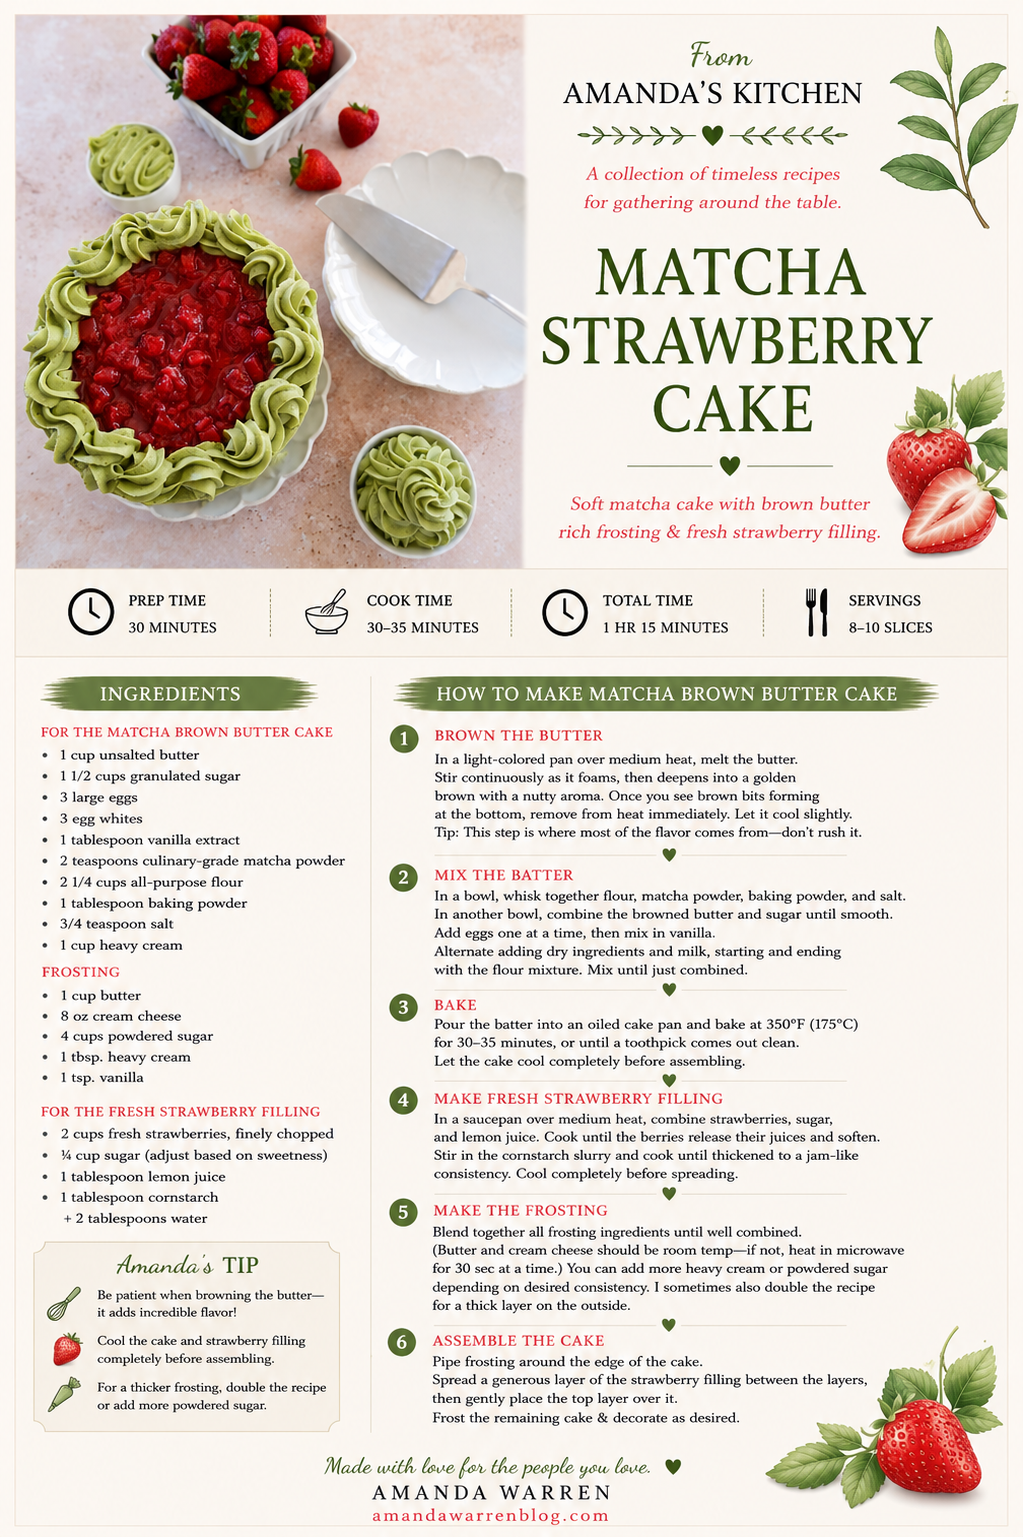
For the Matcha Brown Butter Cake

  • 1 cup unsalted butter

  • 1 1/2 cups granulated sugar

  • 3 large eggs

  • 3 egg whites

  • 1 tablespoon vanilla extract

  • 2 teaspoons culinary-grade matcha powder

  • 2 1/4 cups all-purpose flour

  • 1 tablespoon baking powder

  • 3/4 teaspoon salt

  • 1 cup heavy cream

Frosting:

  • 1 cup butter

  • 8 oz cream cheese

  • 4 cups powdered sugar

  • 1 tbsp. heavy cream

  • 1 tsp. vanilla

For the Fresh Strawberry Filling

  • 2 cups fresh strawberries, finely chopped

  • ¼ cup sugar (adjust based on sweetness)

  • 1 tablespoon lemon juice

  • 1 tablespoon cornstarch + 2 tablespoons water

How to Make Matcha Brown Butter Cake

Step 1: Brown the Butter

  • In a light-colored pan over medium heat, melt the butter. Stir continuously as it foams, then deepens into a golden brown with a nutty aroma.

  • Once you see brown bits forming at the bottom, remove from heat immediately. Let it cool slightly.

Tip: This step is where most of the flavor comes from—don’t rush it.

Step 2: Mix the Batter

  • In a bowl, whisk together flour, matcha powder, baking powder, and salt.

  • In another bowl, combine the browned butter and sugar until smooth. Add eggs one at a time, then mix in vanilla.

  • Alternate adding dry ingredients and milk, starting and ending with the flour mixture. Mix until just combined.

Step 3: Bake

  • Pour the batter into an oiled cake pan and bake at 350°F (175°C) for 30–35 minutes, or until a toothpick comes out clean.

  • Let the cake cool completely before assembling.

Step 4: Make Fresh Strawberry Filling

  • In a saucepan over medium heat, combine strawberries, sugar, and lemon juice. Cook until the berries release their juices and soften.

  • Stir in the cornstarch slurry and cook until thickened to a jam-like consistency.

  • Cool completely before spreading.

Step 7: Make the Frosting

  • Blend together all frosting ingredients until well combined. (butter and cream cheese should be room temp if not heat in microwave for 30 sec at a time)

  • You can add more heavy cream or powdered sugar depending on desired consistency. I sometimes also double the recipe to a thick layer on the outside.

Step 6: Assemble the Cake

  • Pipe frosting around the edge of the cake.

  • Spread a generous layer of the strawberry filling between the layers, then gently place the top layer over it.

  • Frost the remaining cake & decorate as desired.

matcha strawberry cake

Tips for the Best Matcha Cake

  • Use culinary-grade matcha for baking (ceremonial can be too delicate)

  • Don’t skip cooling the brown butter—it affects texture

  • Avoid overmixing to keep the cake soft

  • Taste your strawberries before adding sugar to adjust sweetness

How to Store

  • Store covered at room temperature for up to 1 day

  • Refrigerate for up to 3 days (bring to room temp before serving)

  • The strawberry filling keeps the cake moist over time

Can You Make This Ahead?

Yes—and it actually gets better.

You can:

  • Bake the cake layers a day ahead

  • Make the strawberry filling in advance

  • Assemble a few hours before serving for best texture

Final Thoughts

This matcha brown butter cake with fresh strawberry filling is one of those recipes that feels quietly impressive—but in the best, most approachable way. It’s not overly sweet or overly rich—just soft, fragrant, and beautifully balanced in a way that keeps you coming back for another slice.

If you’ve ever been unsure about matcha, this might be the cake that changes everything. The earthy flavor pairs effortlessly with the sweetness of fresh strawberries and the warmth of brown butter, creating something truly special.

It’s the kind of dessert you make when you want something a little different… but still comforting enough to feel like home.

More Cake Recipes You’ll Love

If you enjoyed this matcha brown butter cake, here are a few more flavorful and unique cake recipes to try next:

Each one brings its own twist, whether you’re craving something fruity, rich, or a little indulgent.

If you give this recipe a try, I’d love to hear how it turned out—leave a comment, share it with a friend, or save it for later so you can come back to it anytime.

Cozy Baking & Coffee Bar Essentials

This matcha strawberry cake is exactly the kind of bake I love making when I’m in the mood for something beautiful, cozy, and just a little elevated. I always find that having a small baking and coffee setup in the kitchen makes the whole experience feel even more special — whether I’m baking for a celebration or just enjoying a slow afternoon at home.

A few of my go-to essentials for creating that cozy baking and coffee bar moment include:

  • Stand mixer or hand mixer for easy baking

  • Mixing bowls in neutral or ceramic tones

  • Measuring cups and spoons for everyday baking

  • Baking sheets and cake pans

  • Cooling racks for layered cakes

  • Coffee maker or espresso machine

  • Milk frother for lattes and matcha drinks

  • Neutral mugs and glassware for serving

This is the kind of setup that makes it easy to move from baking something sweet to enjoying a slow coffee moment right in the same space.

Save This Recipe

Whether you're planning ahead for a special occasion or adding a new favorite to your recipe collection, I've included a printable recipe card below so it's easy to save, print, and share with the people you love.

Homemade matcha strawberry cake with strawberry filling spread on top
Layered matcha strawberry cake slices with fluffy frosting and strawberry filling
Green tea matcha strawberry cake slices served with fresh strawberries and buttercream
Moist matcha strawberry cake slices with brown butter frosting on a dessert plate
Matcha strawberry cake topped with fresh strawberry filling

Fluffy Matcha Sourdough Discard Pancakes (Easy Zero-Waste Breakfast Recipe)

These matcha sourdough discard pancakes are fluffy, lightly tangy, and the perfect no-waste breakfast recipe for using up extra starter. There’s something deeply satisfying about turning what would normally be “waste” into something that feels a little luxurious—and that’s exactly what these matcha sourdough discard pancakes are all about. If you’re anything like me, you’ve probably stared at that jar of sourdough discard in the fridge, wondering if you really need to keep it or if it’s just quietly judging you every time you open the door. Good news: this recipe gives it a second life, and not just any life—a vibrant, slightly earthy, fluffy stack of pancakes that feel like a small weekend celebration.

If you love baking with matcha, you’ll also love my Matcha Strawberry Cake — it’s one of my most popular recipes and a beautiful layered dessert perfect for spring and celebrations.

👉 Matcha Strawberry Cake

↓ Skip to Recipe

Why You'll Love These Matcha Sourdough Discard Pancakes

If you're looking for a creative way to use extra sourdough discard, these fluffy matcha pancakes are the perfect solution. The sourdough discard adds a subtle tang while the matcha provides a beautiful green color and earthy flavor that pairs perfectly with maple syrup, fresh berries, or whipped cream.

They're:

• A delicious way to reduce food waste

• Light, fluffy, and easy to make

• Perfect for breakfast or brunch

• Naturally packed with matcha flavor

• A fun twist on classic pancakes

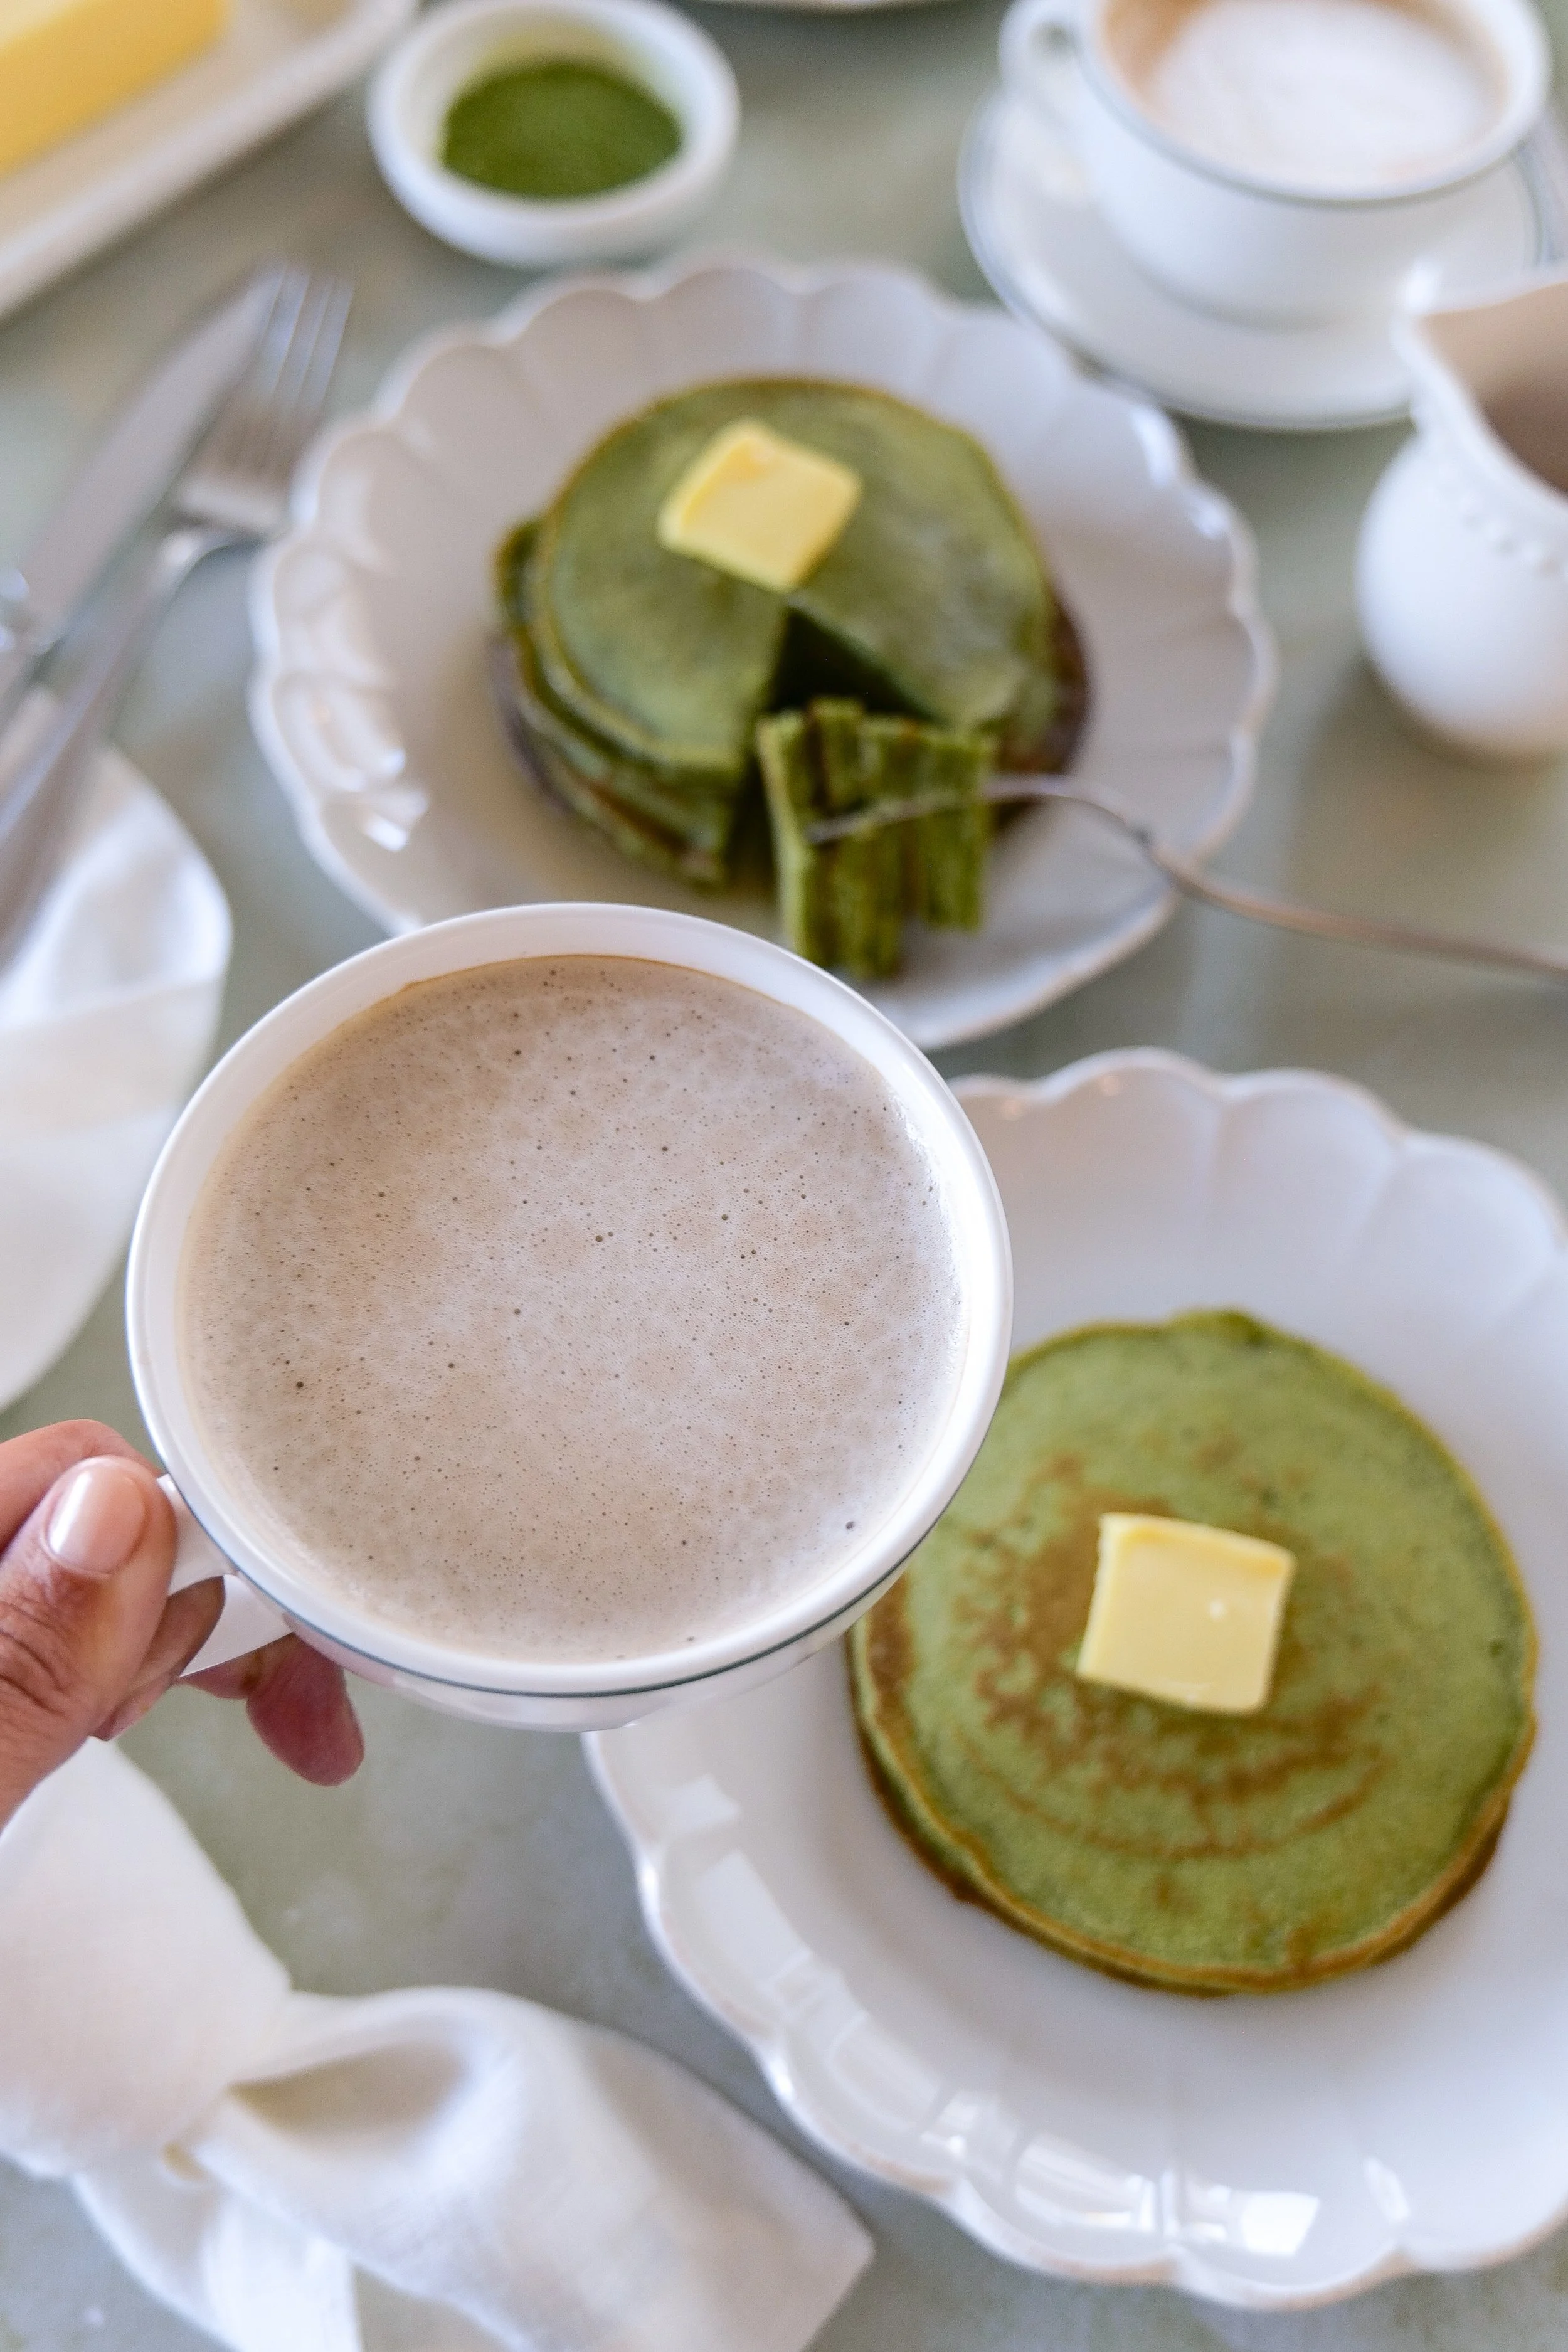
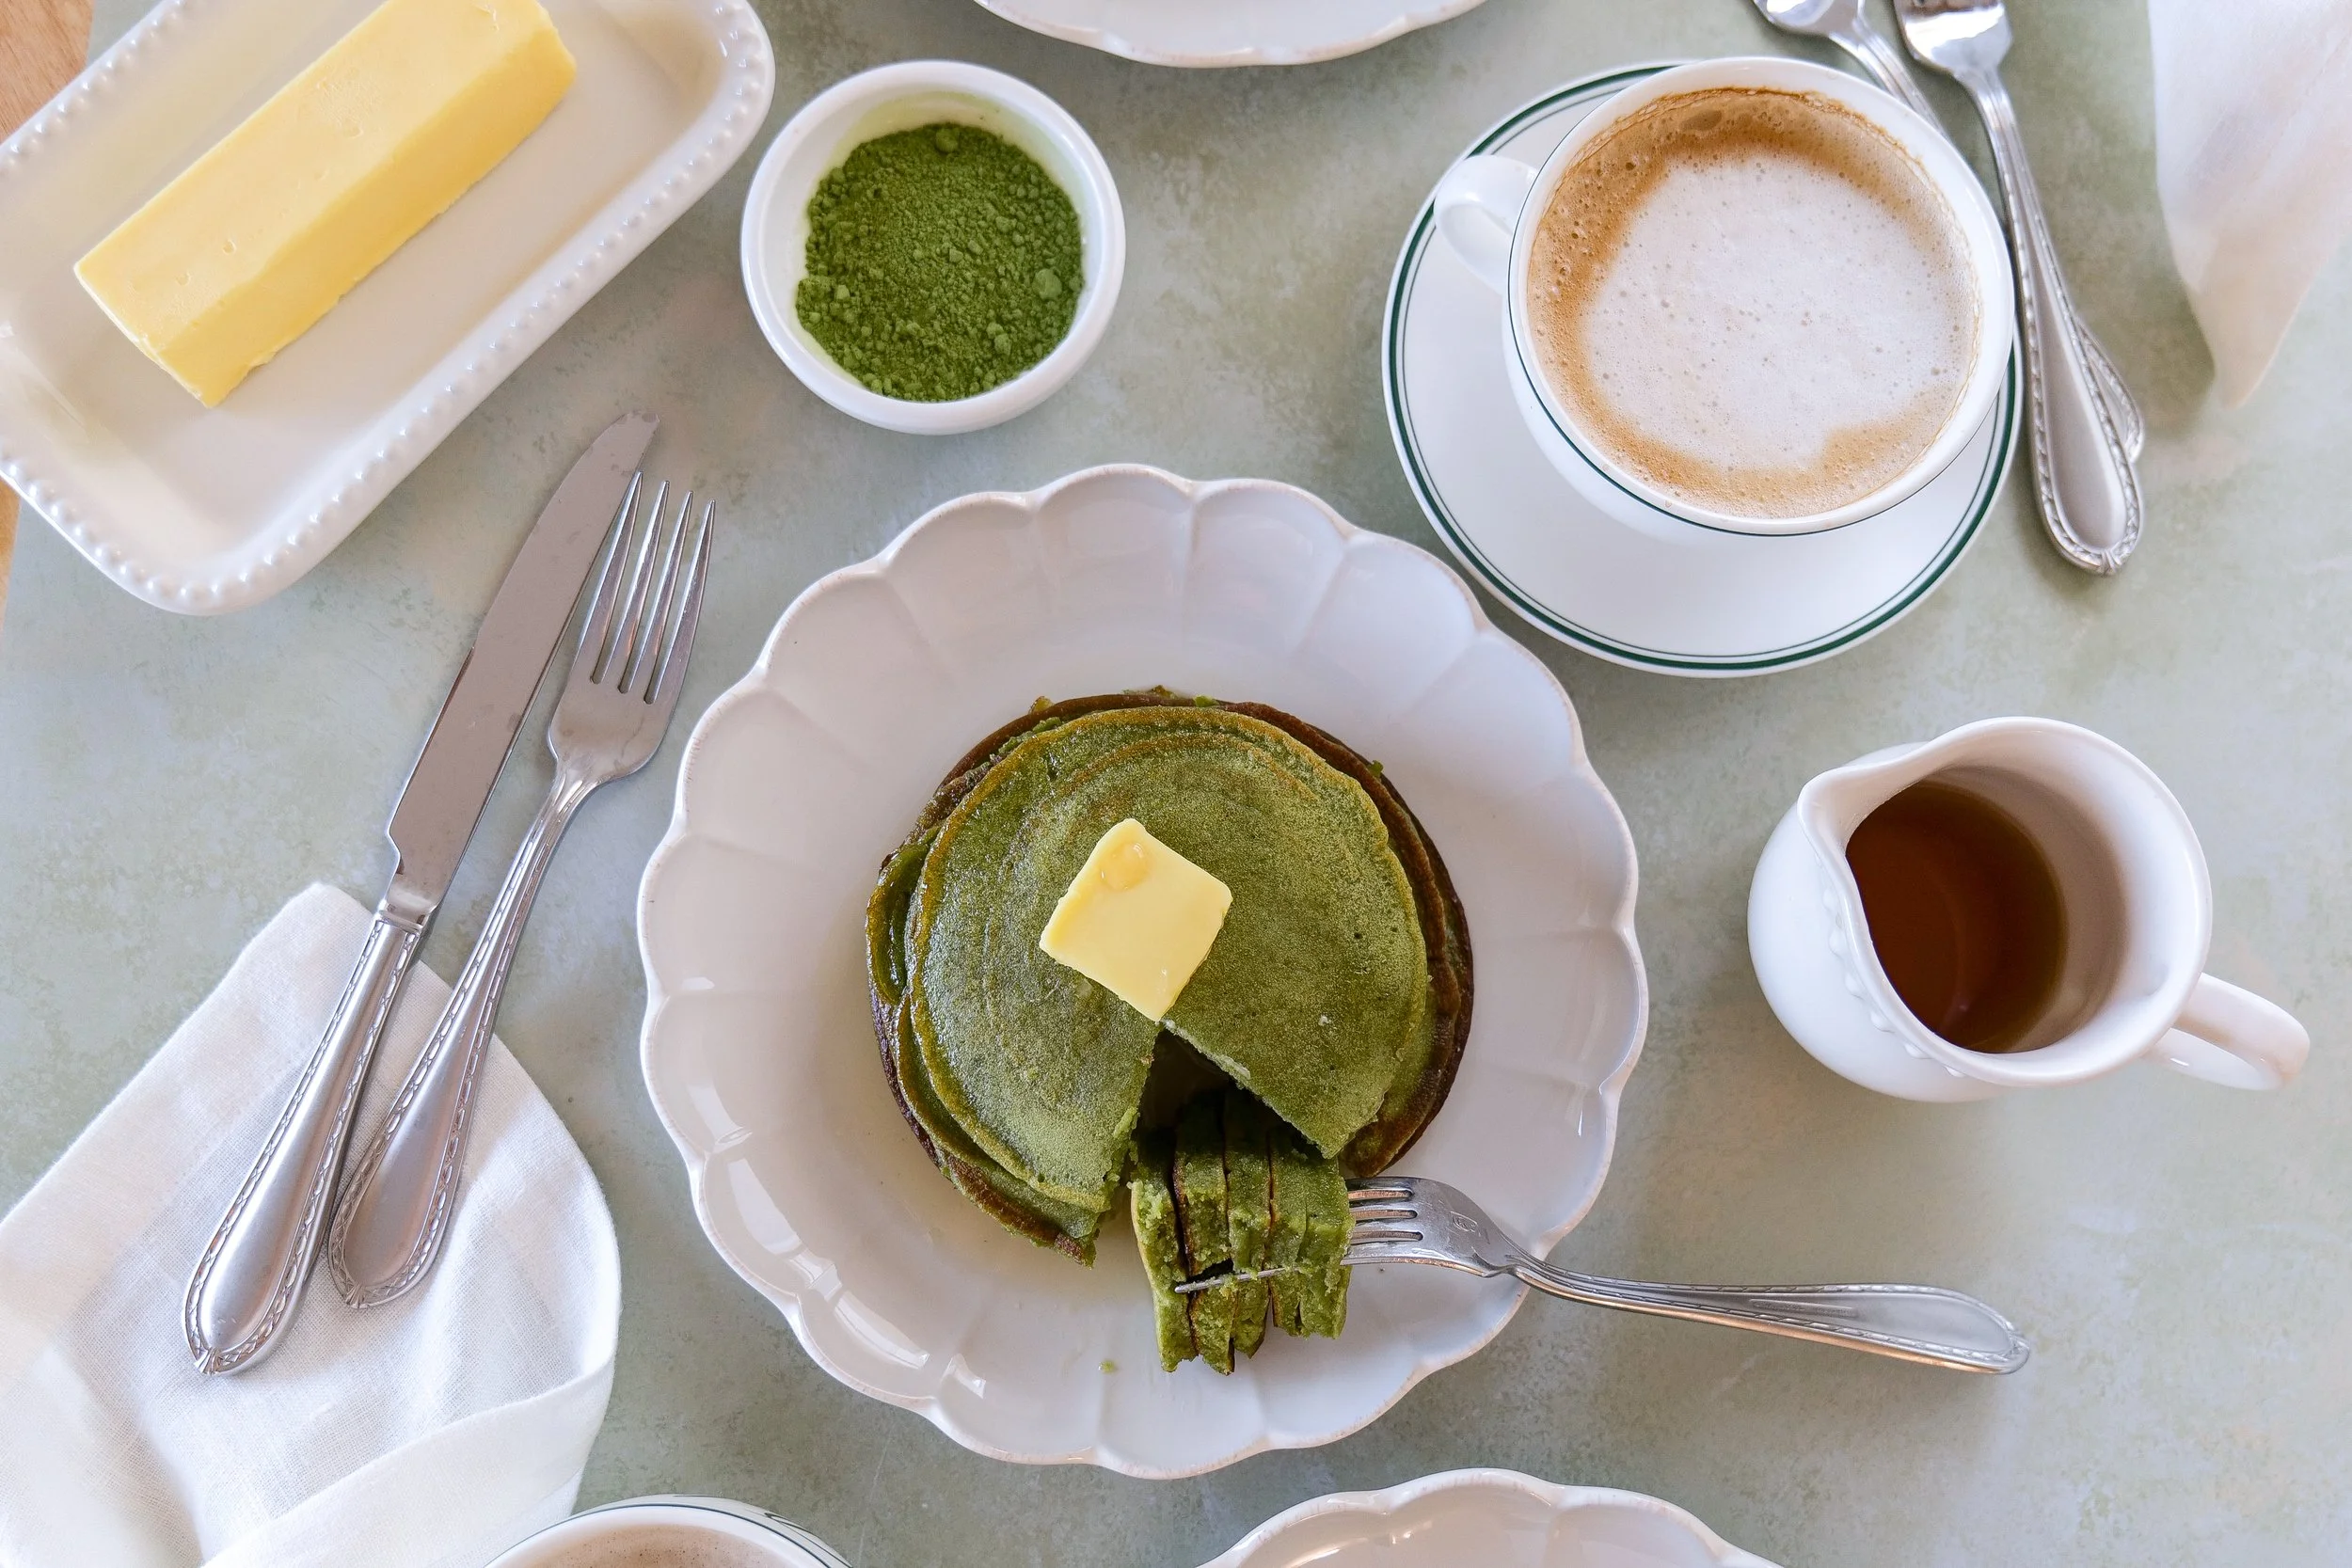
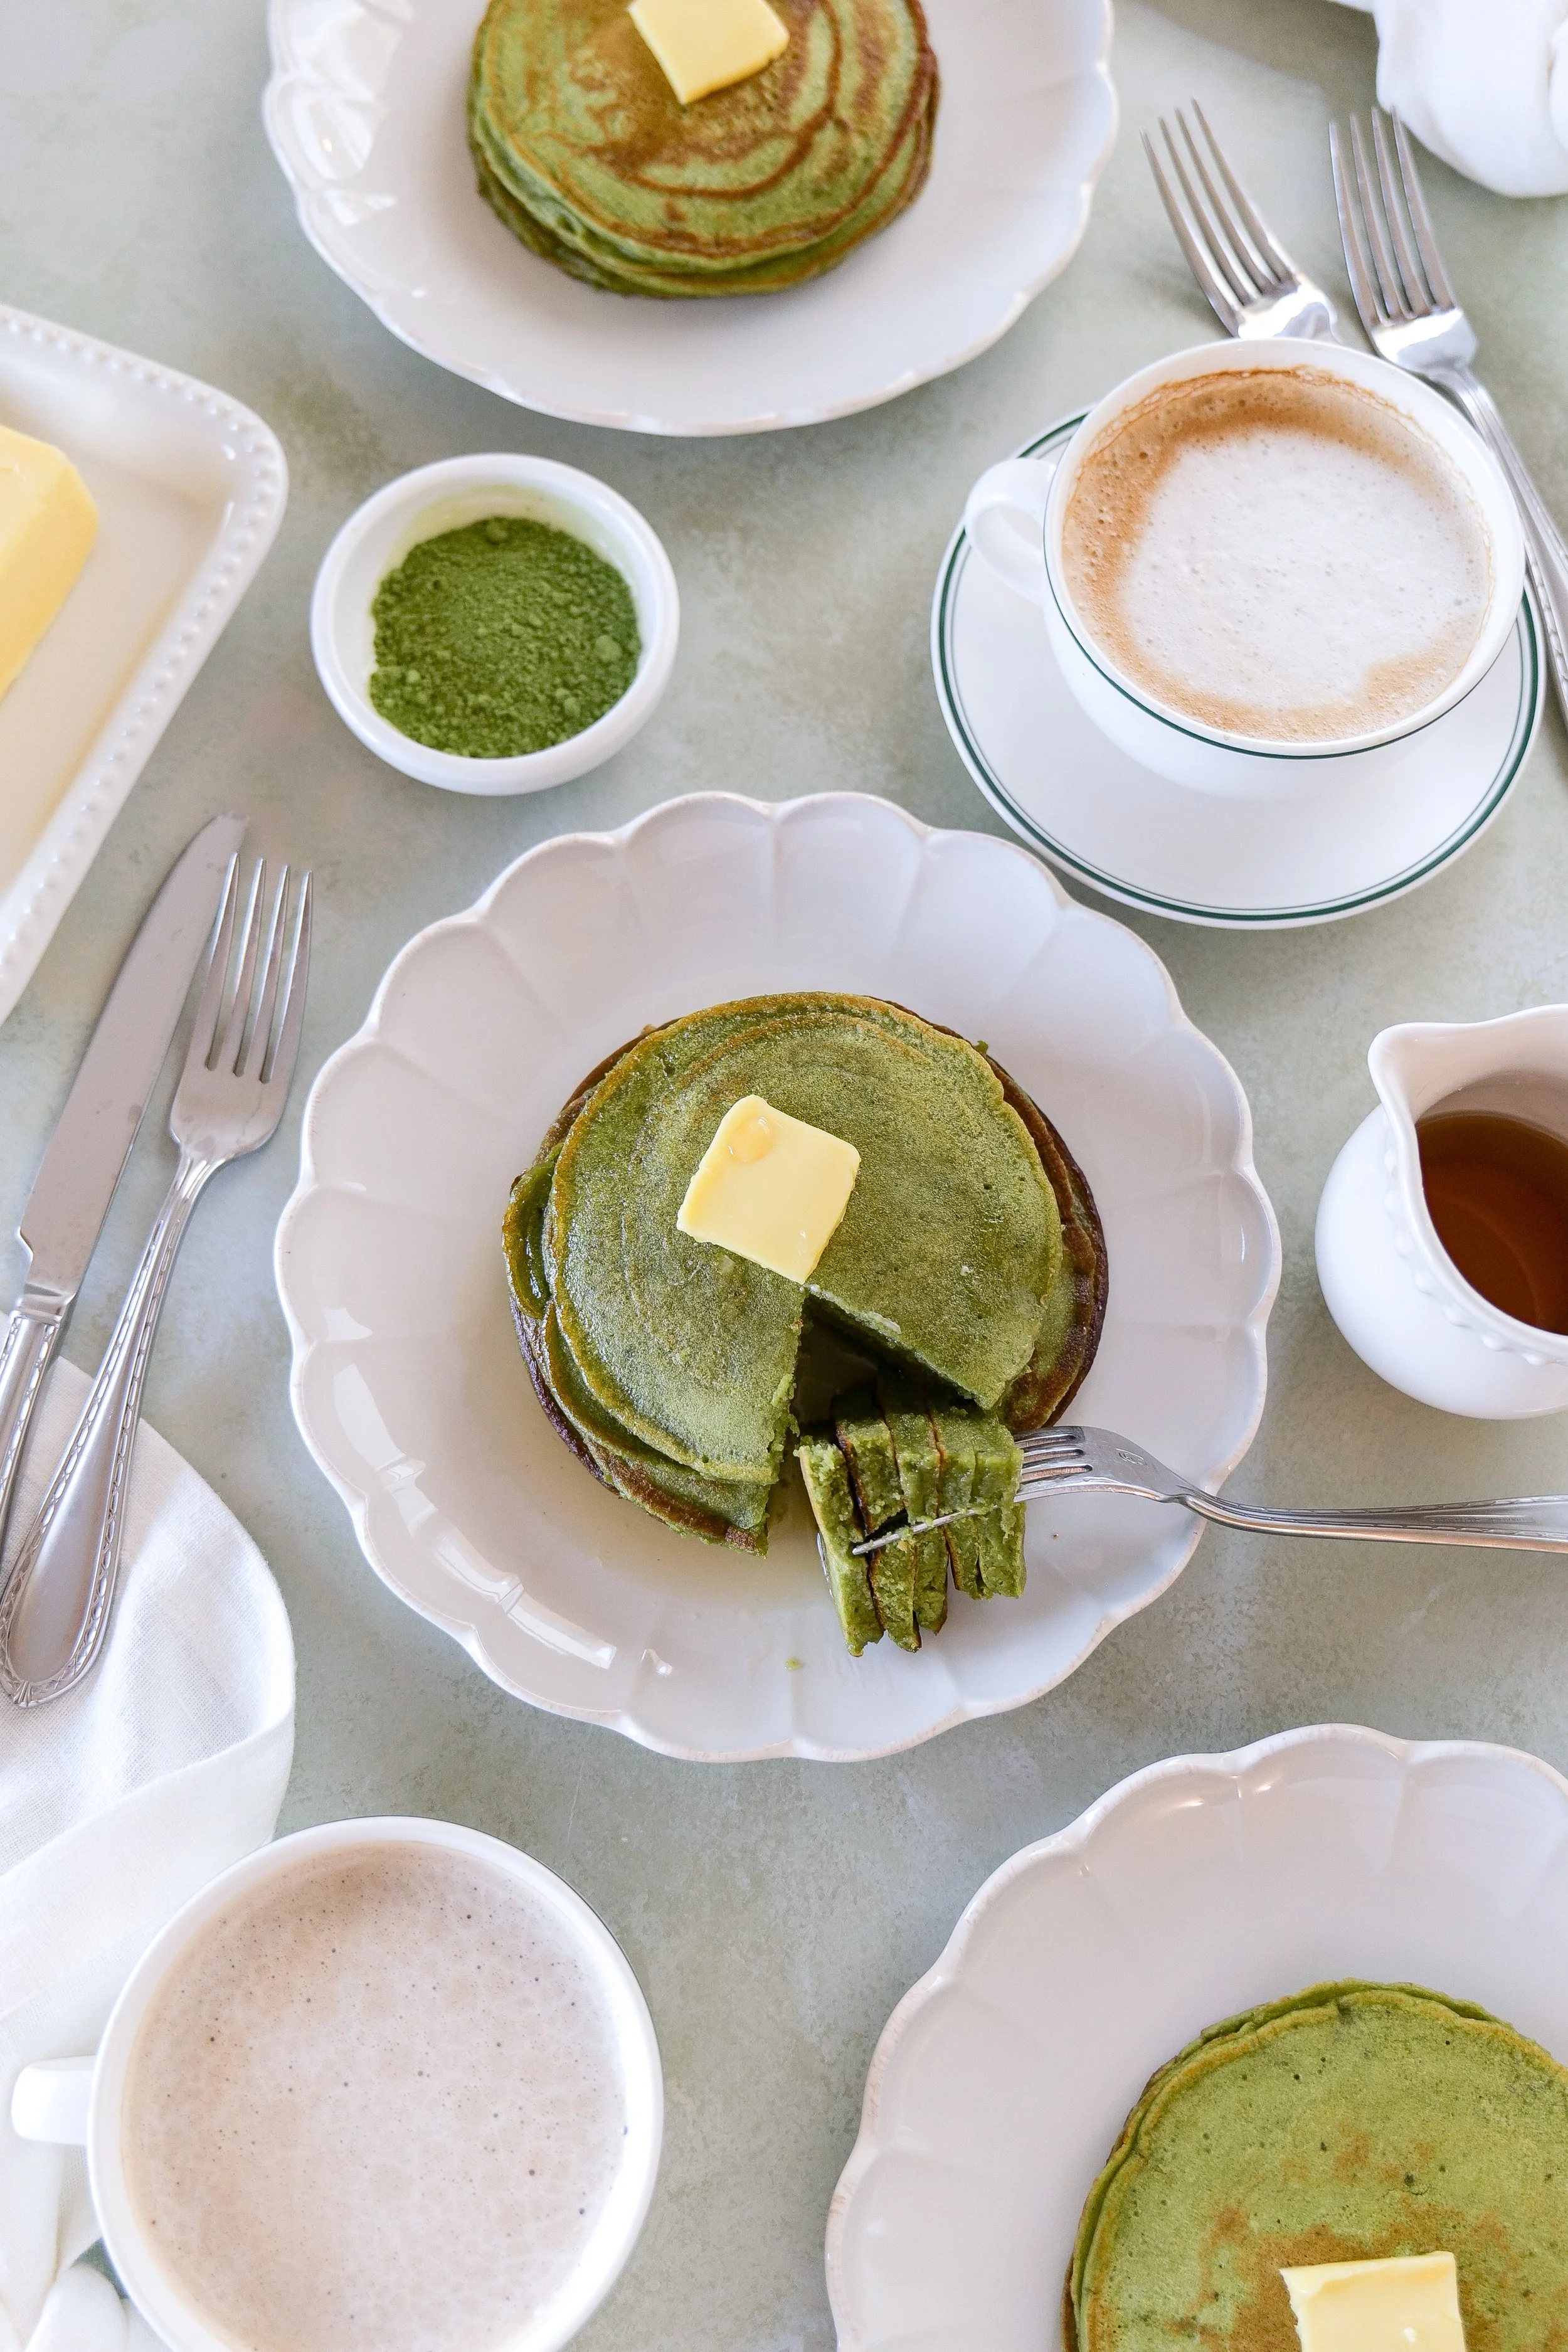
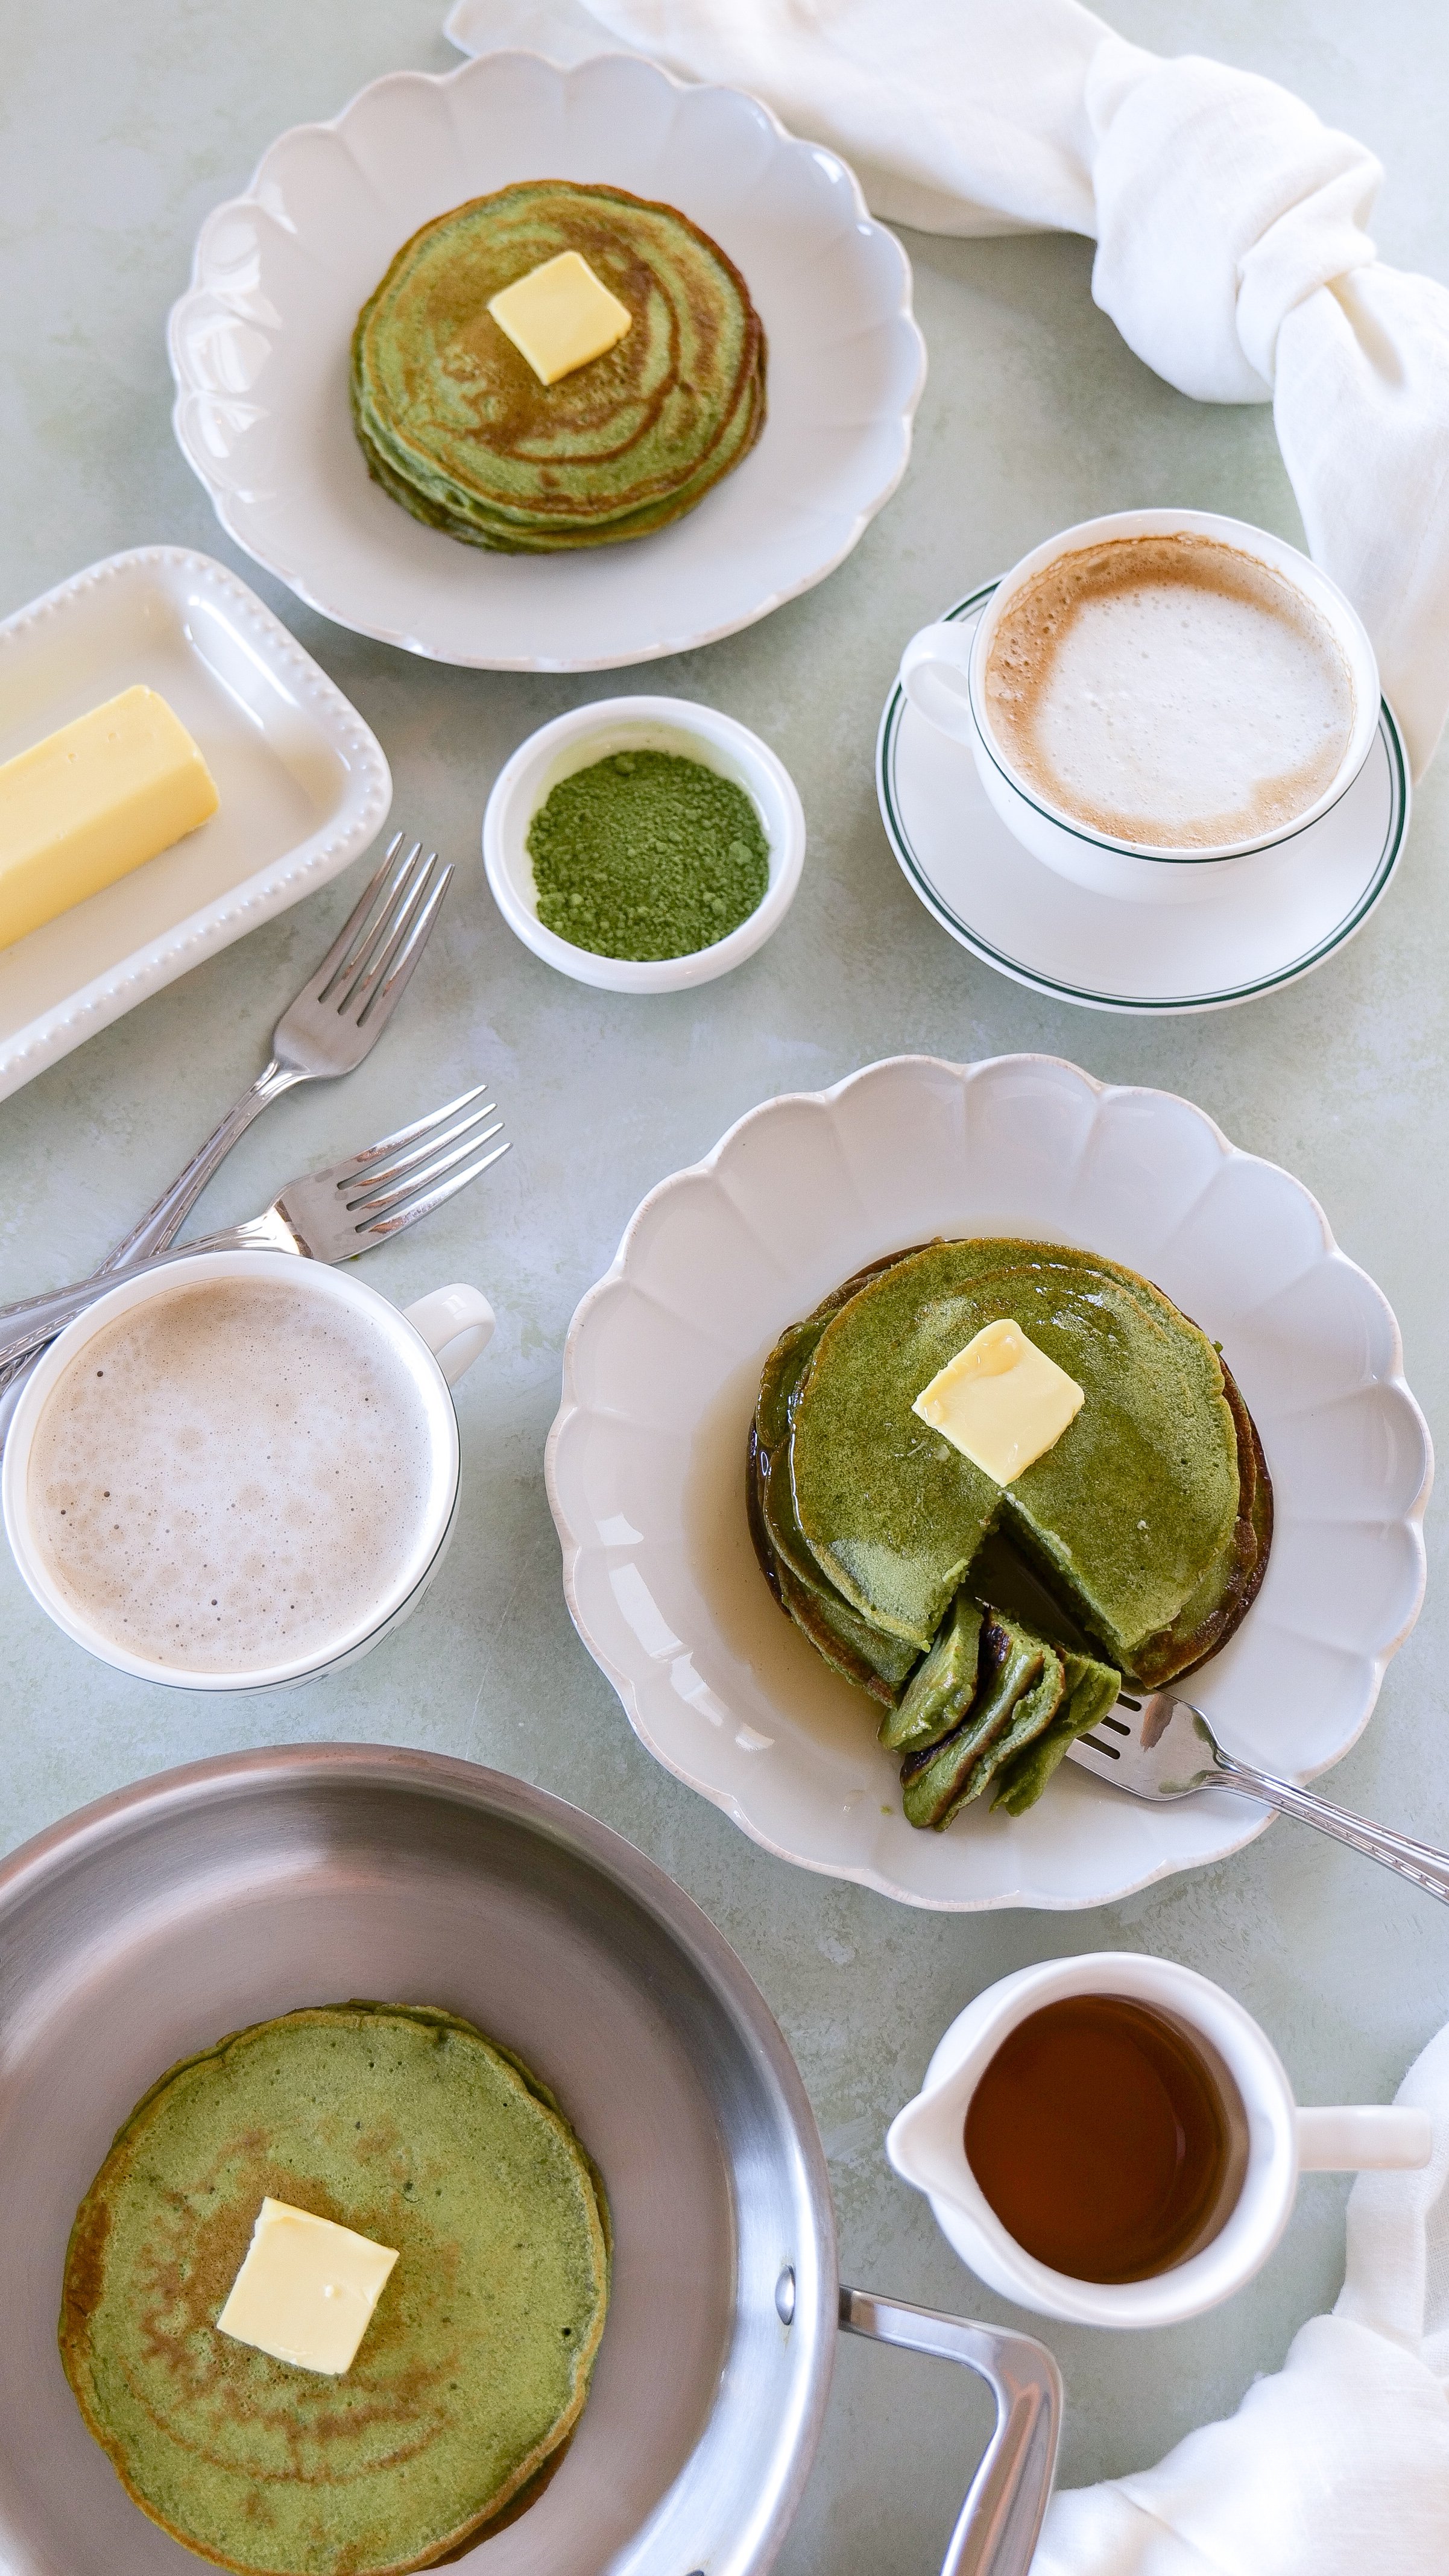
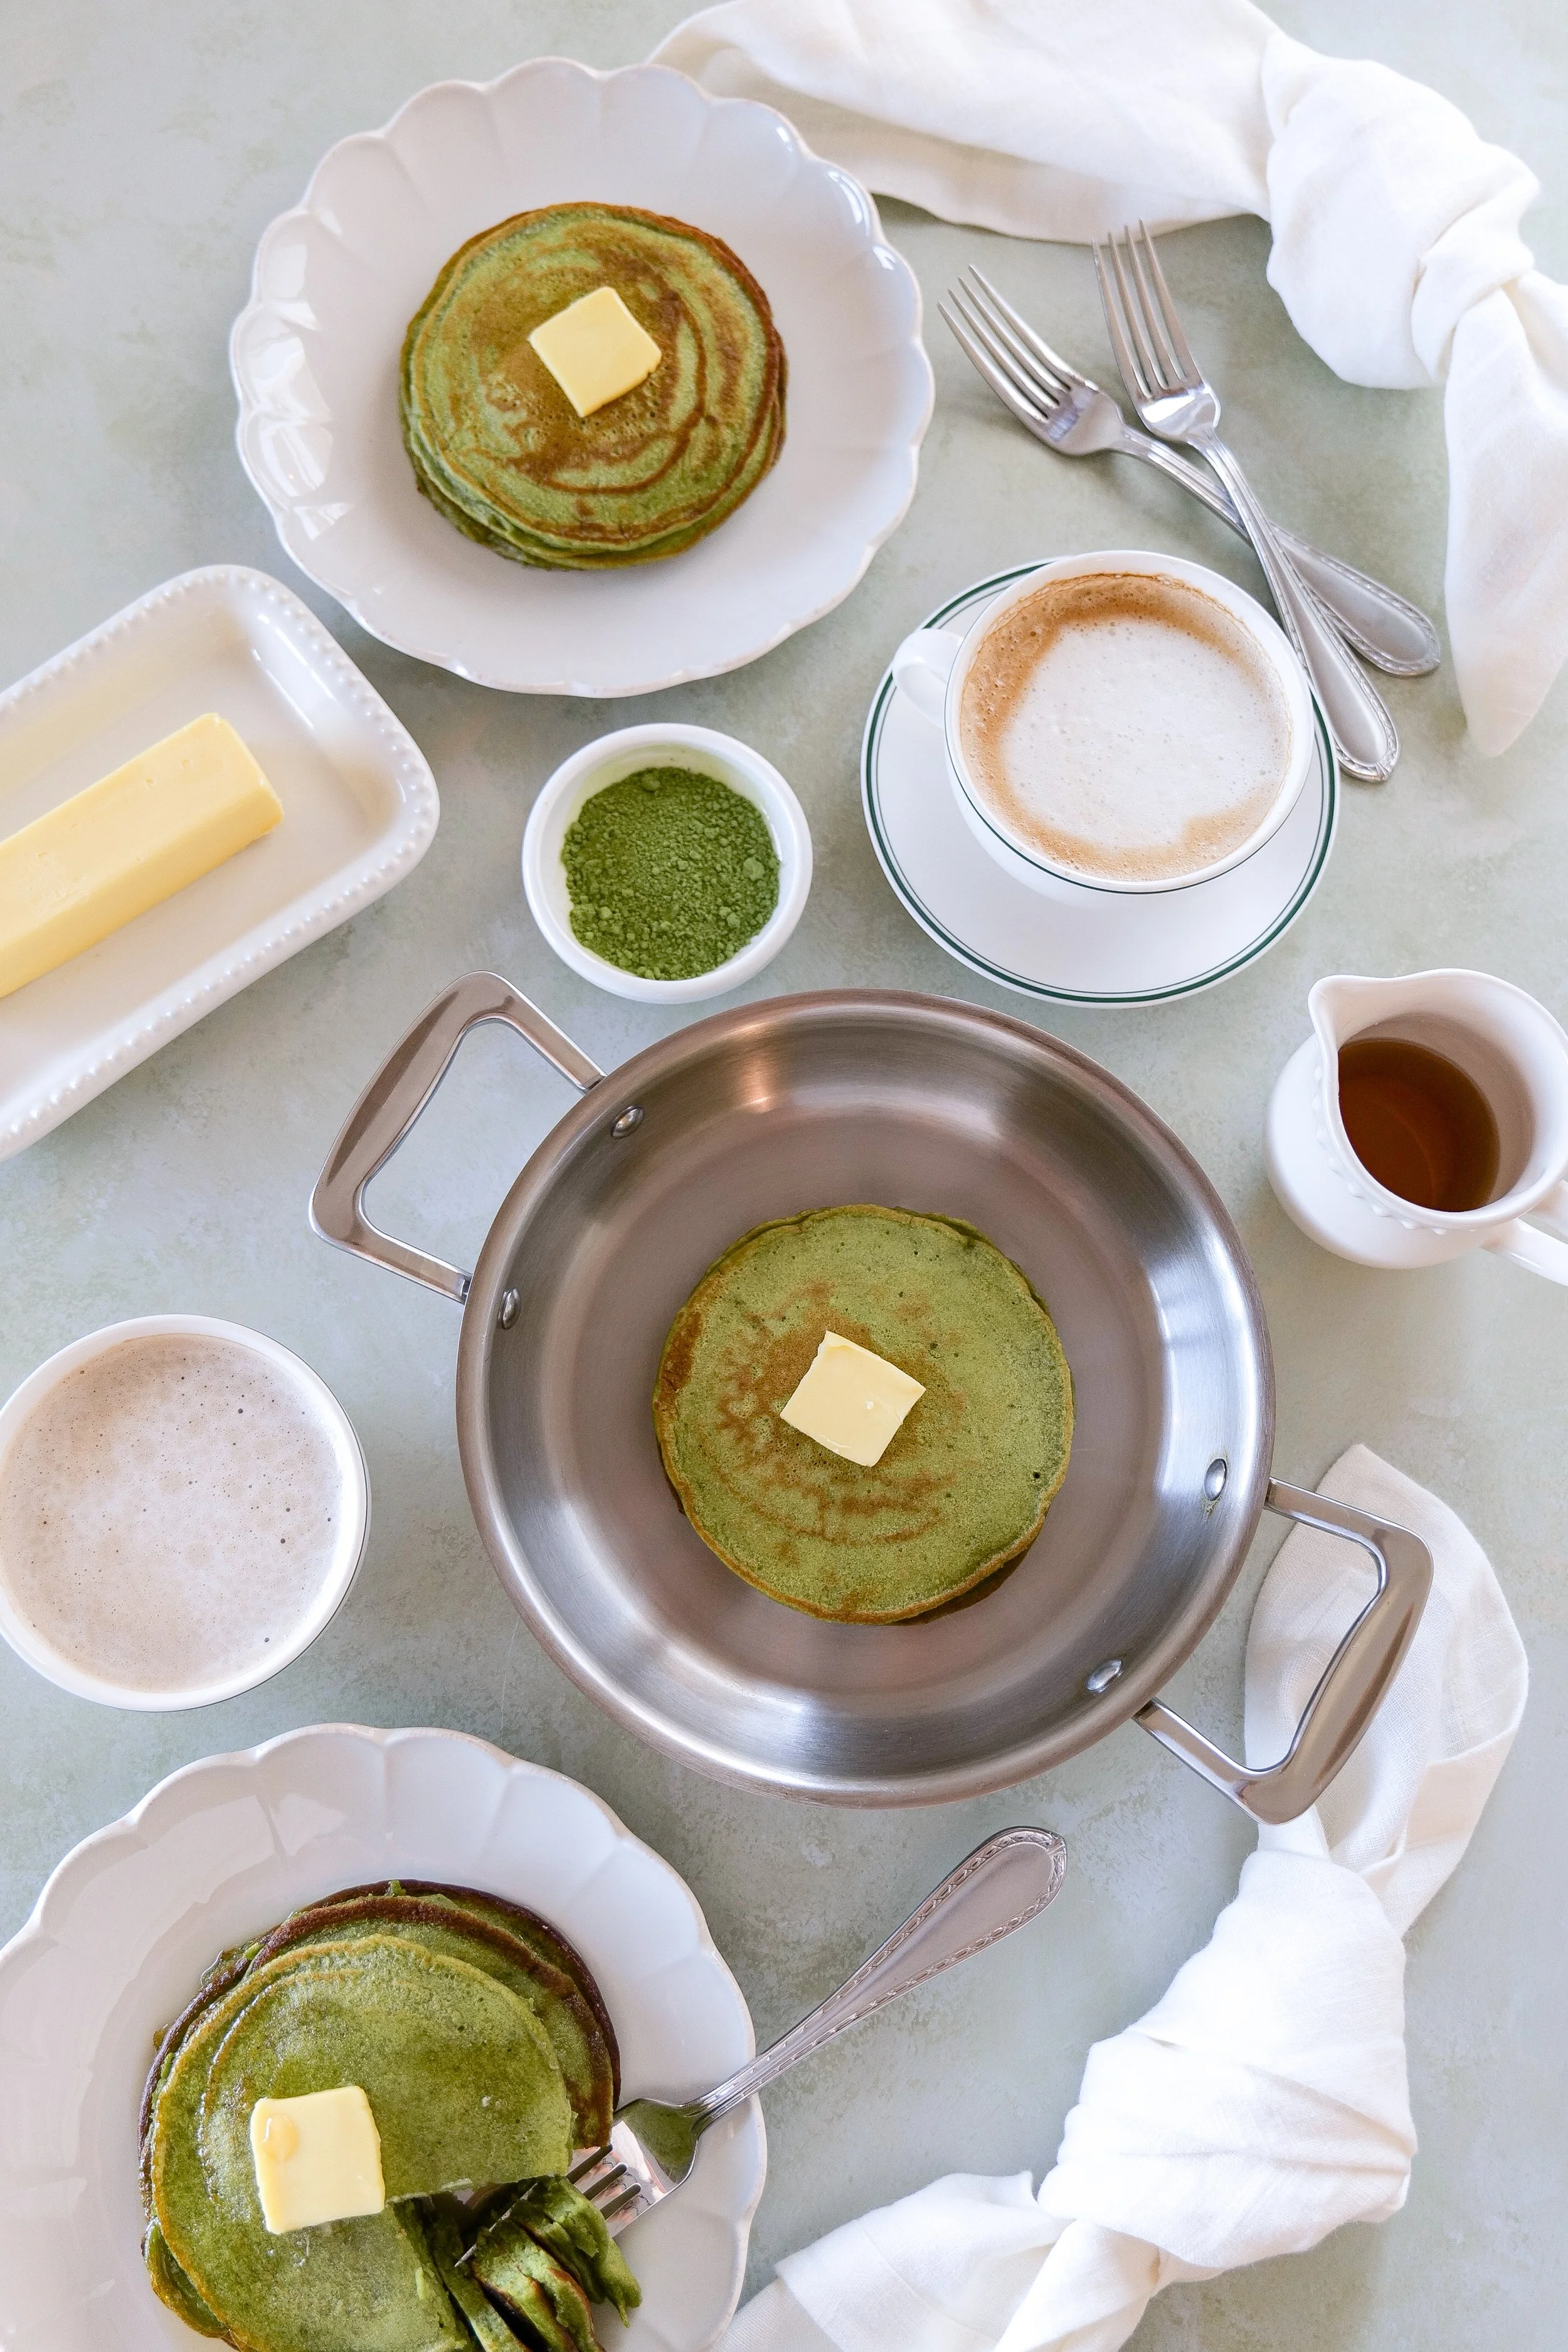
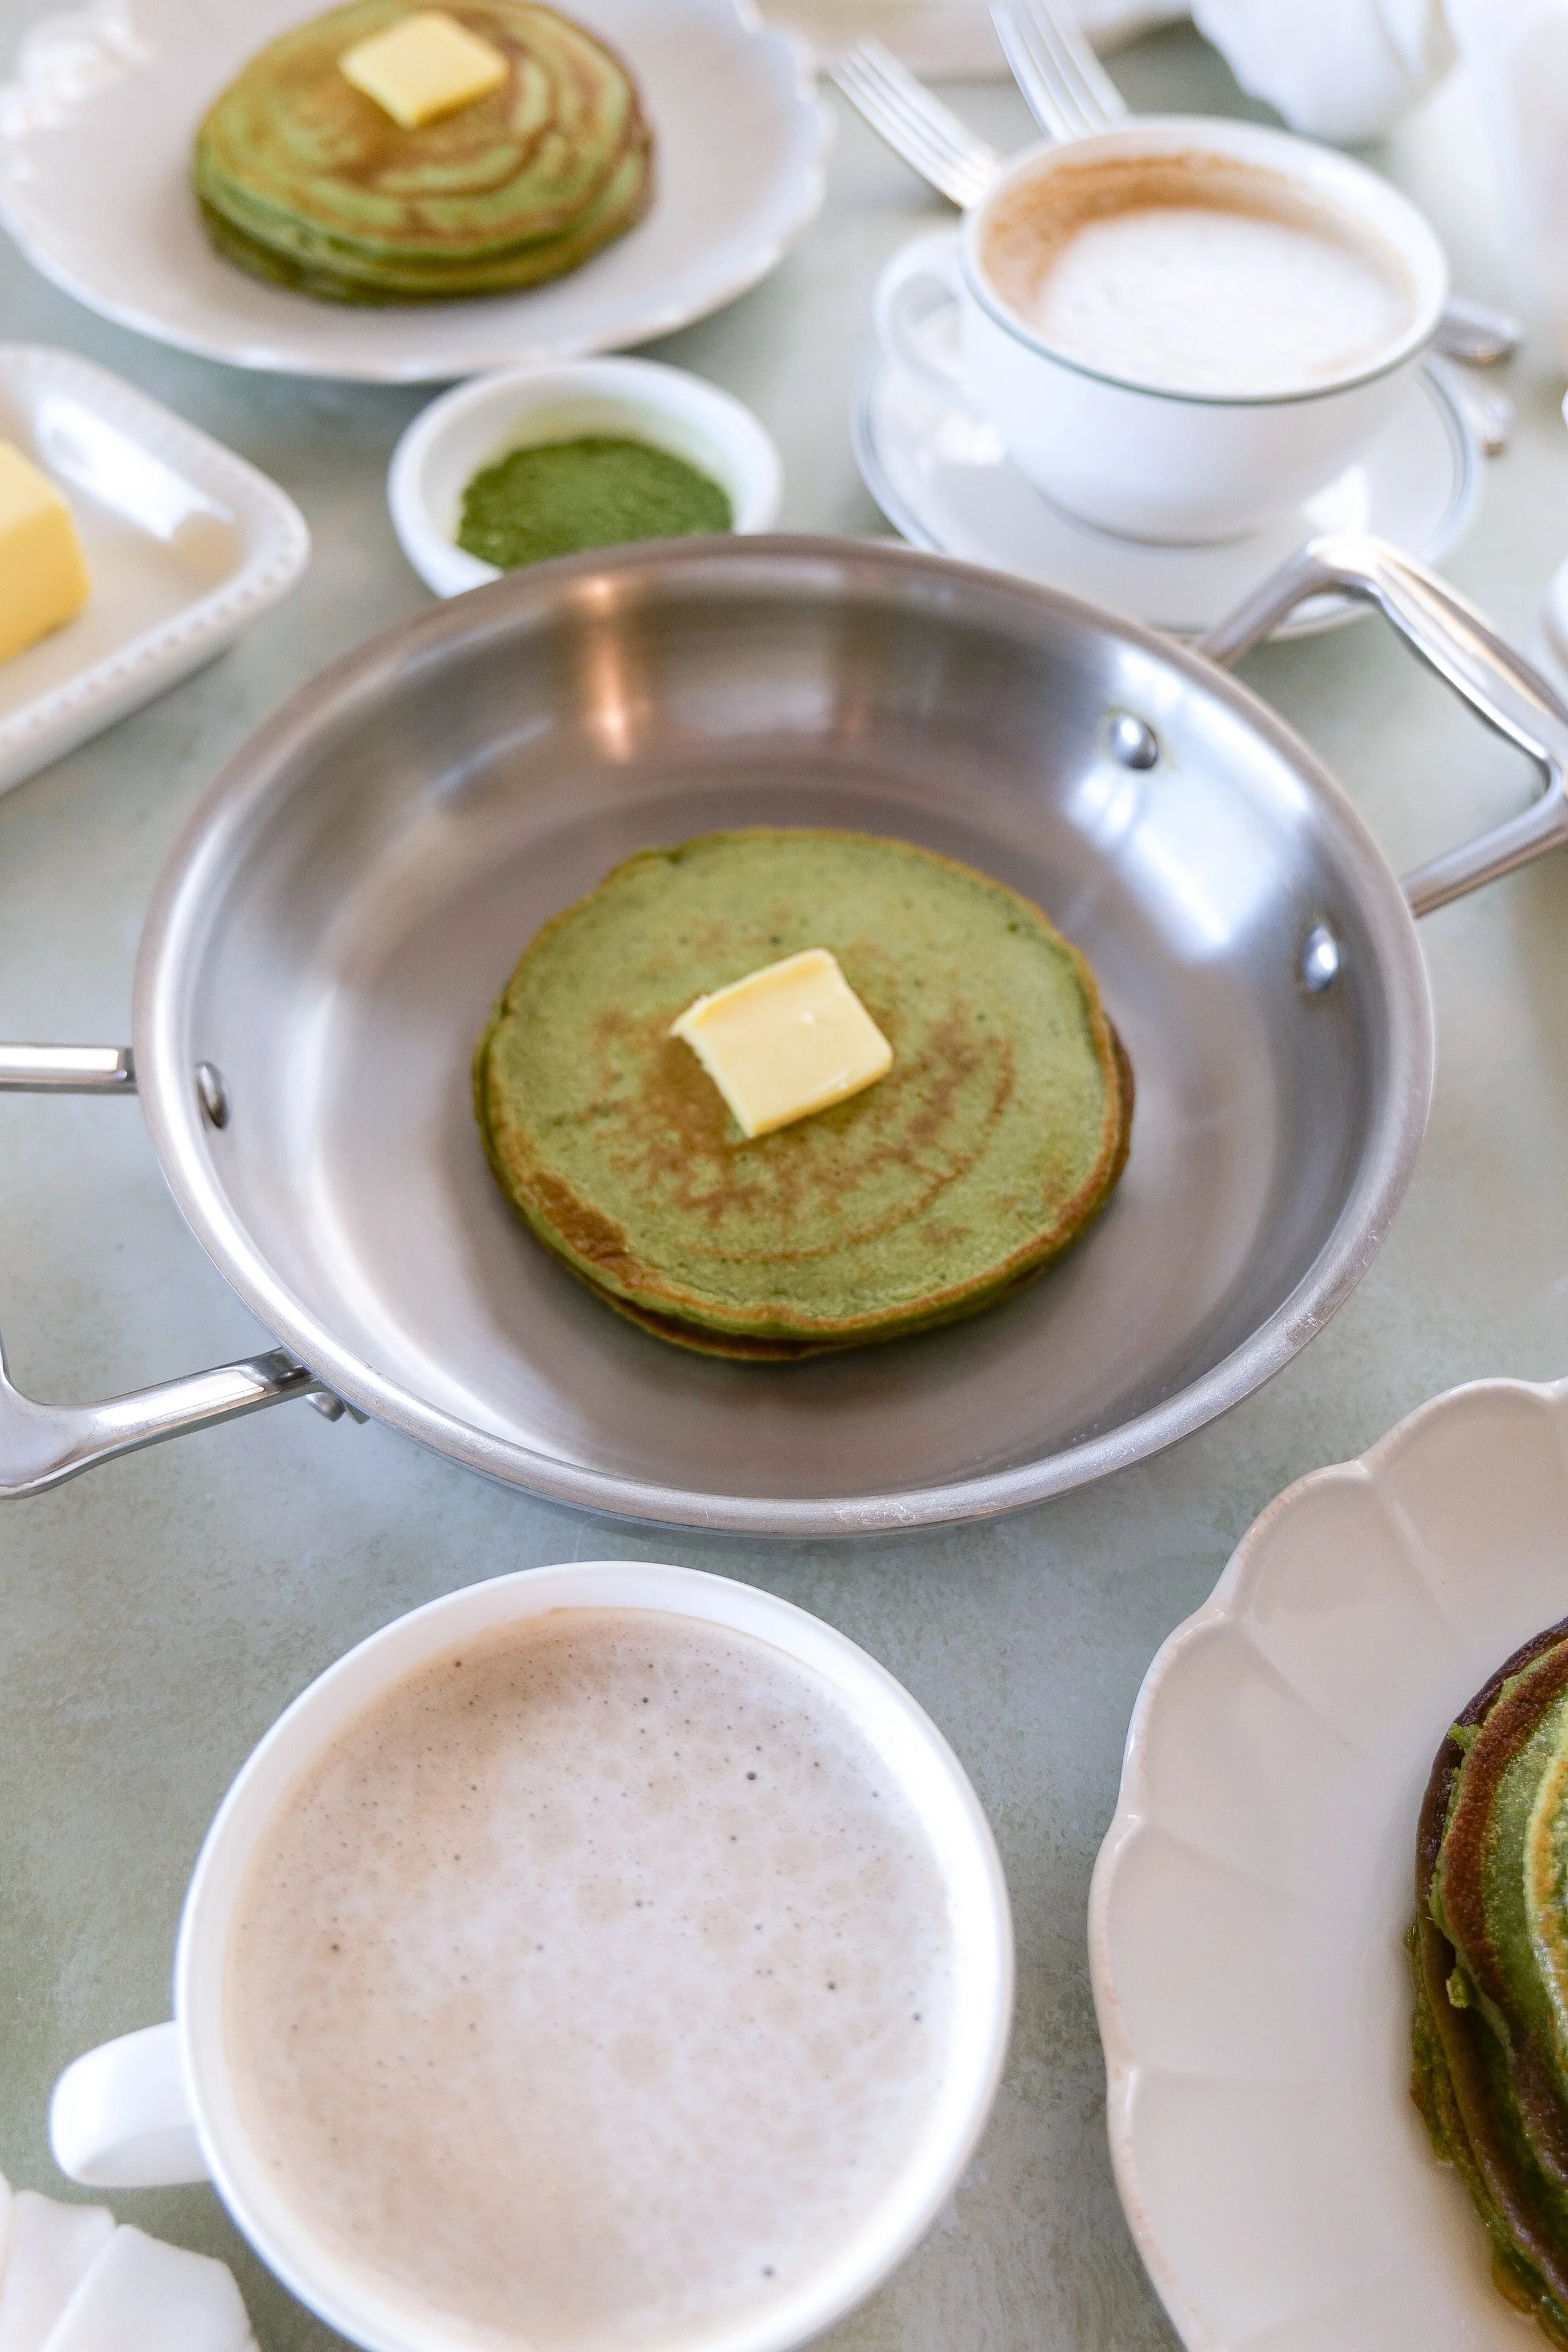
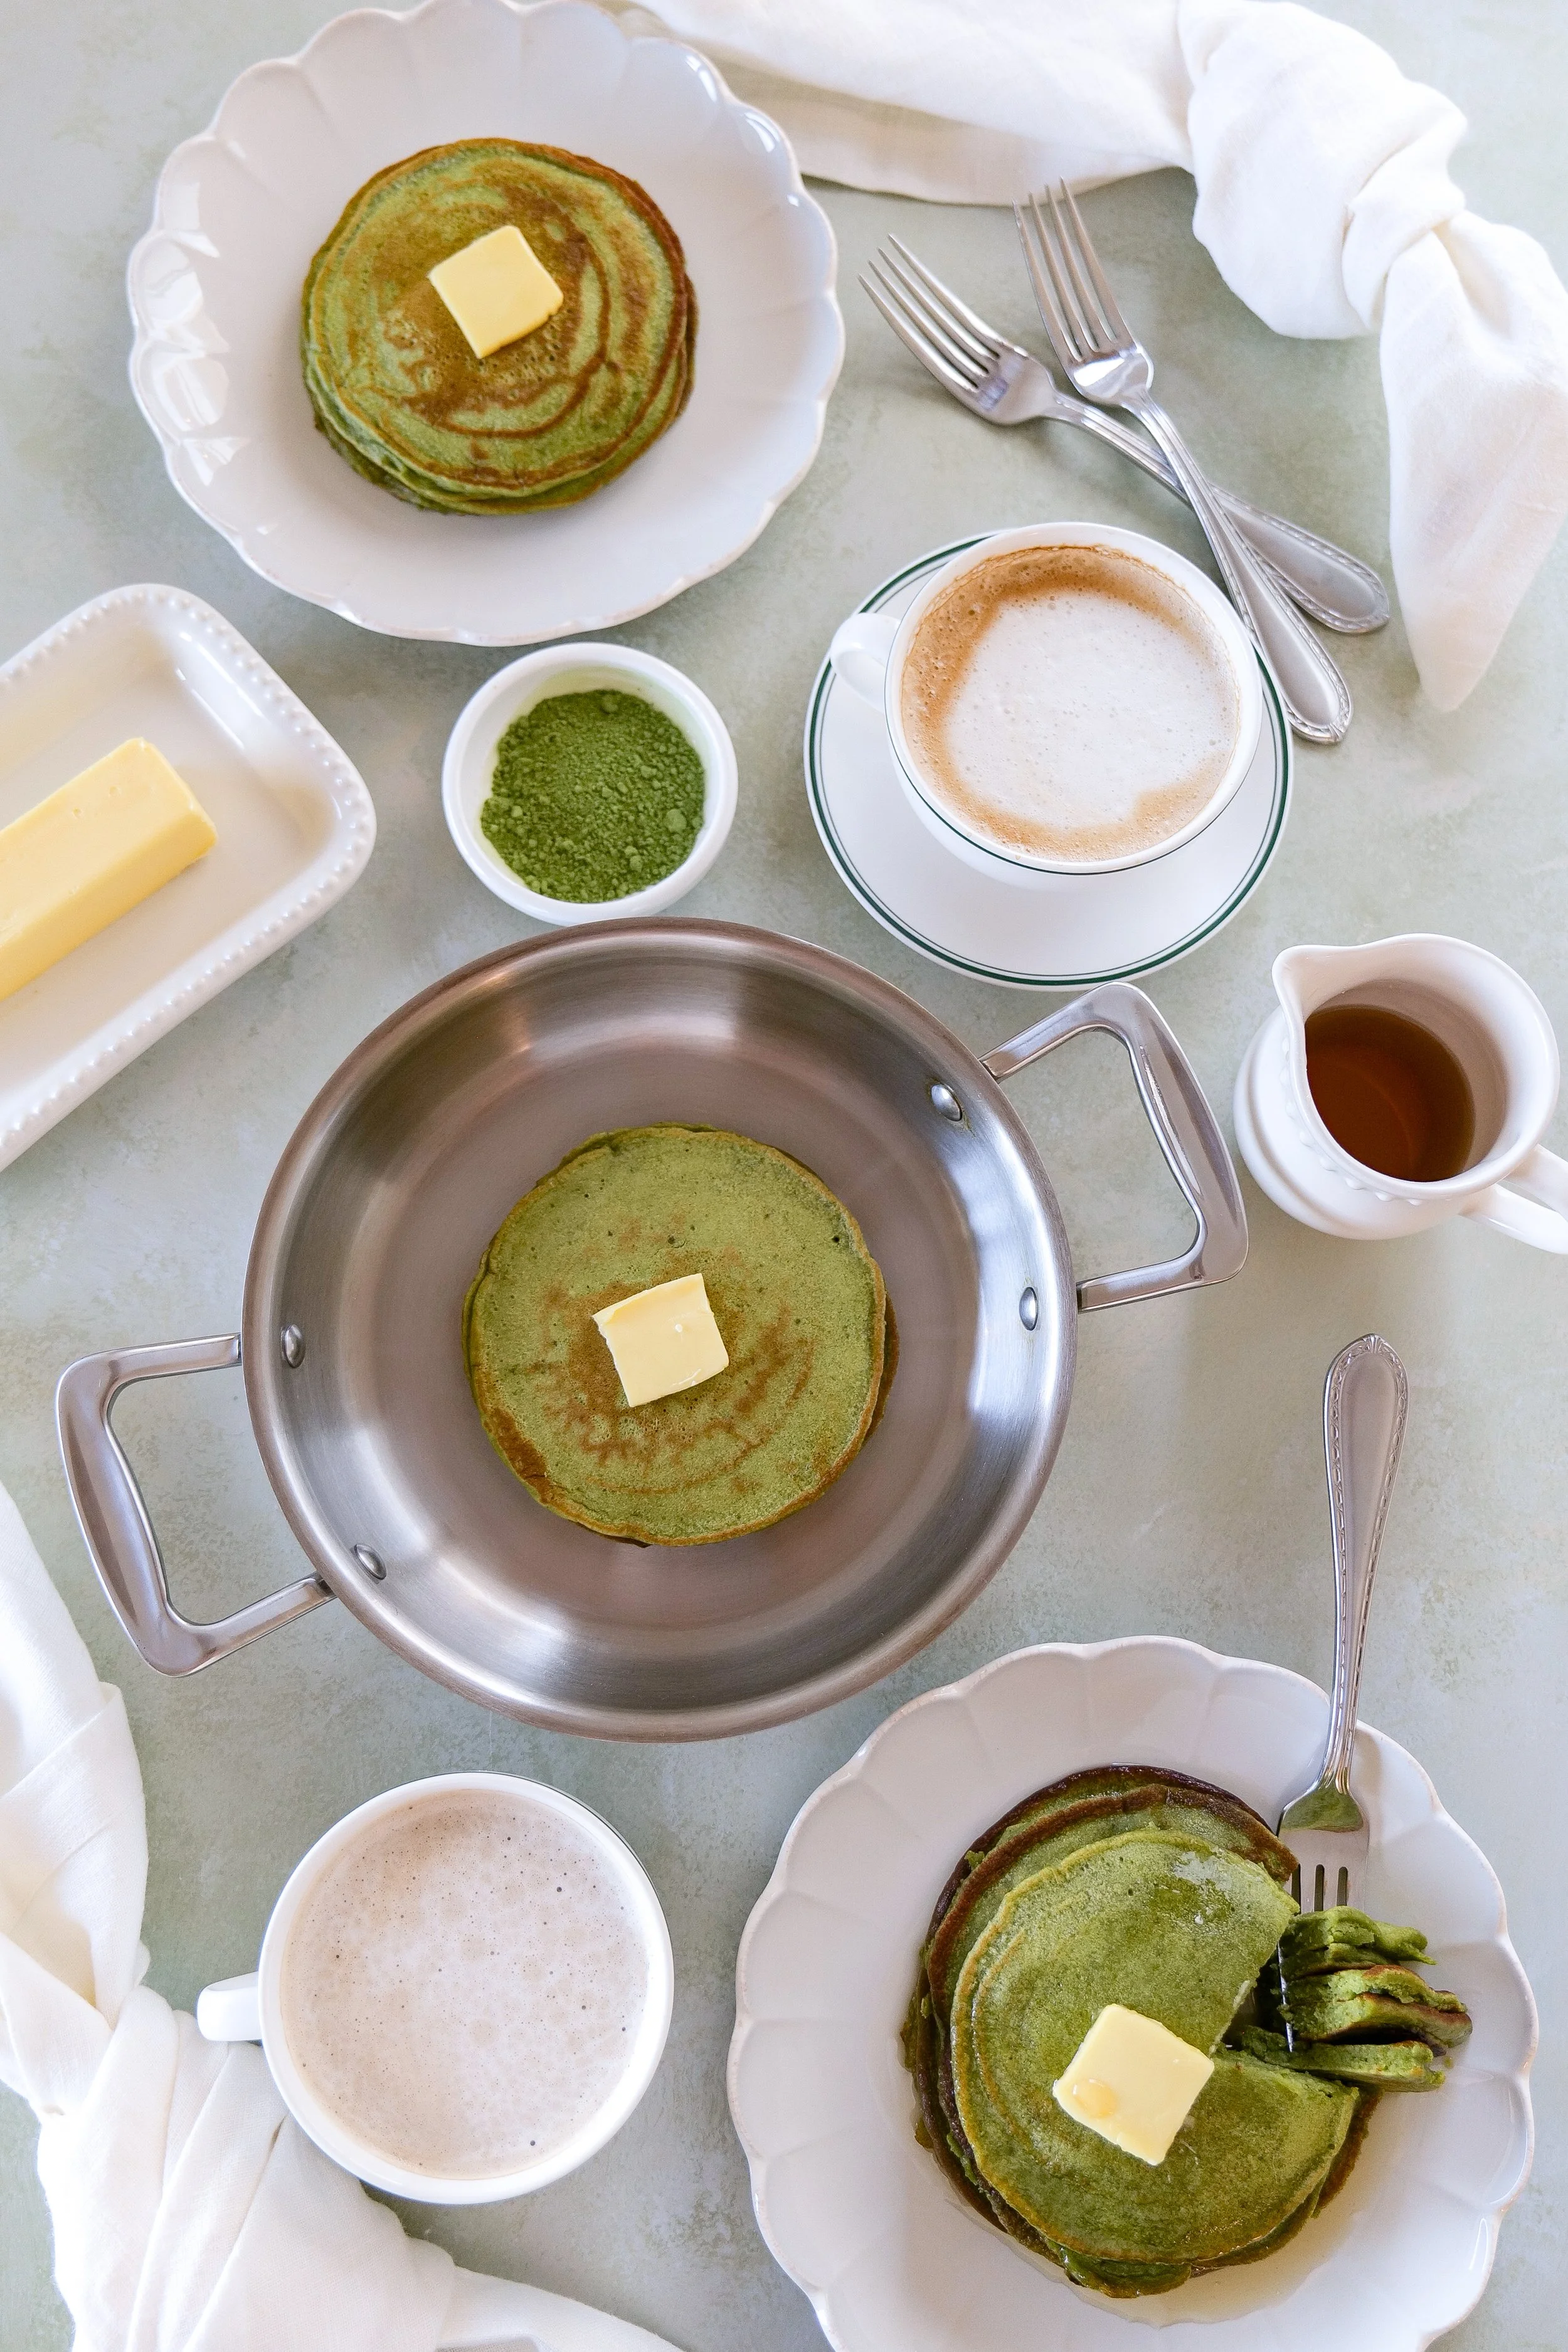
Fluffy matcha sourdough discard pancakes served with maple syrup and fresh berries for an easy zero-waste breakfast recipe.
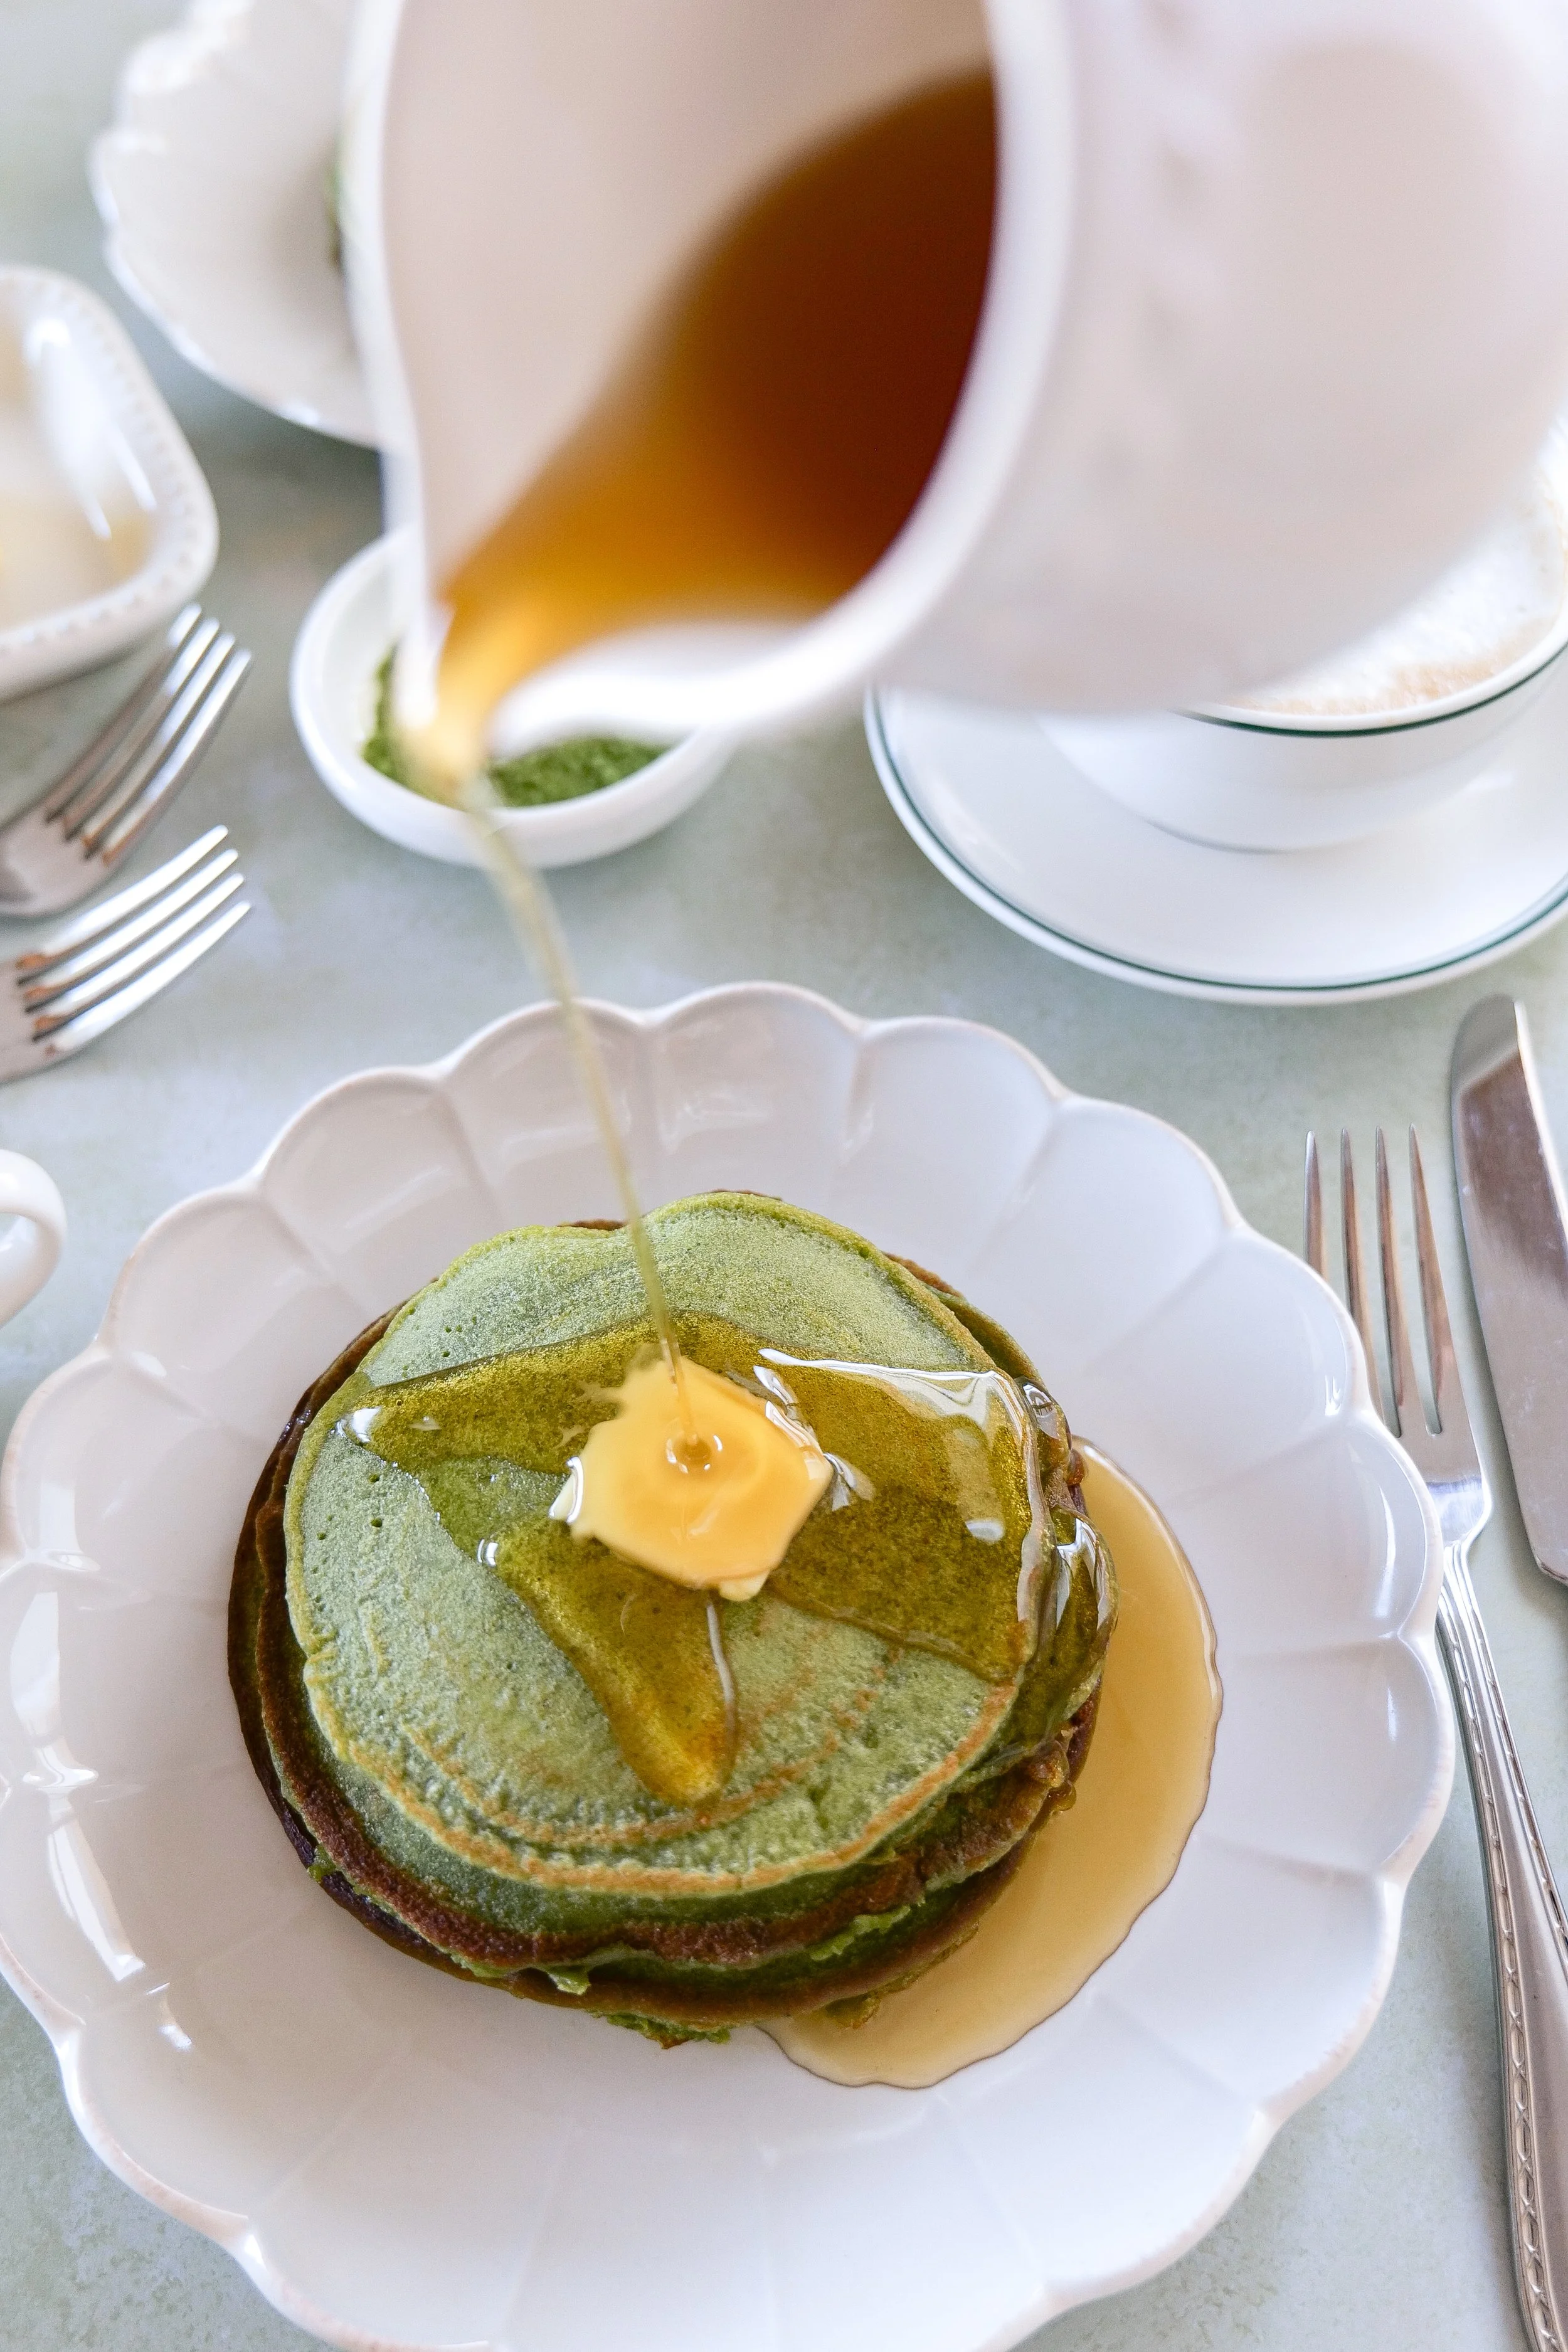
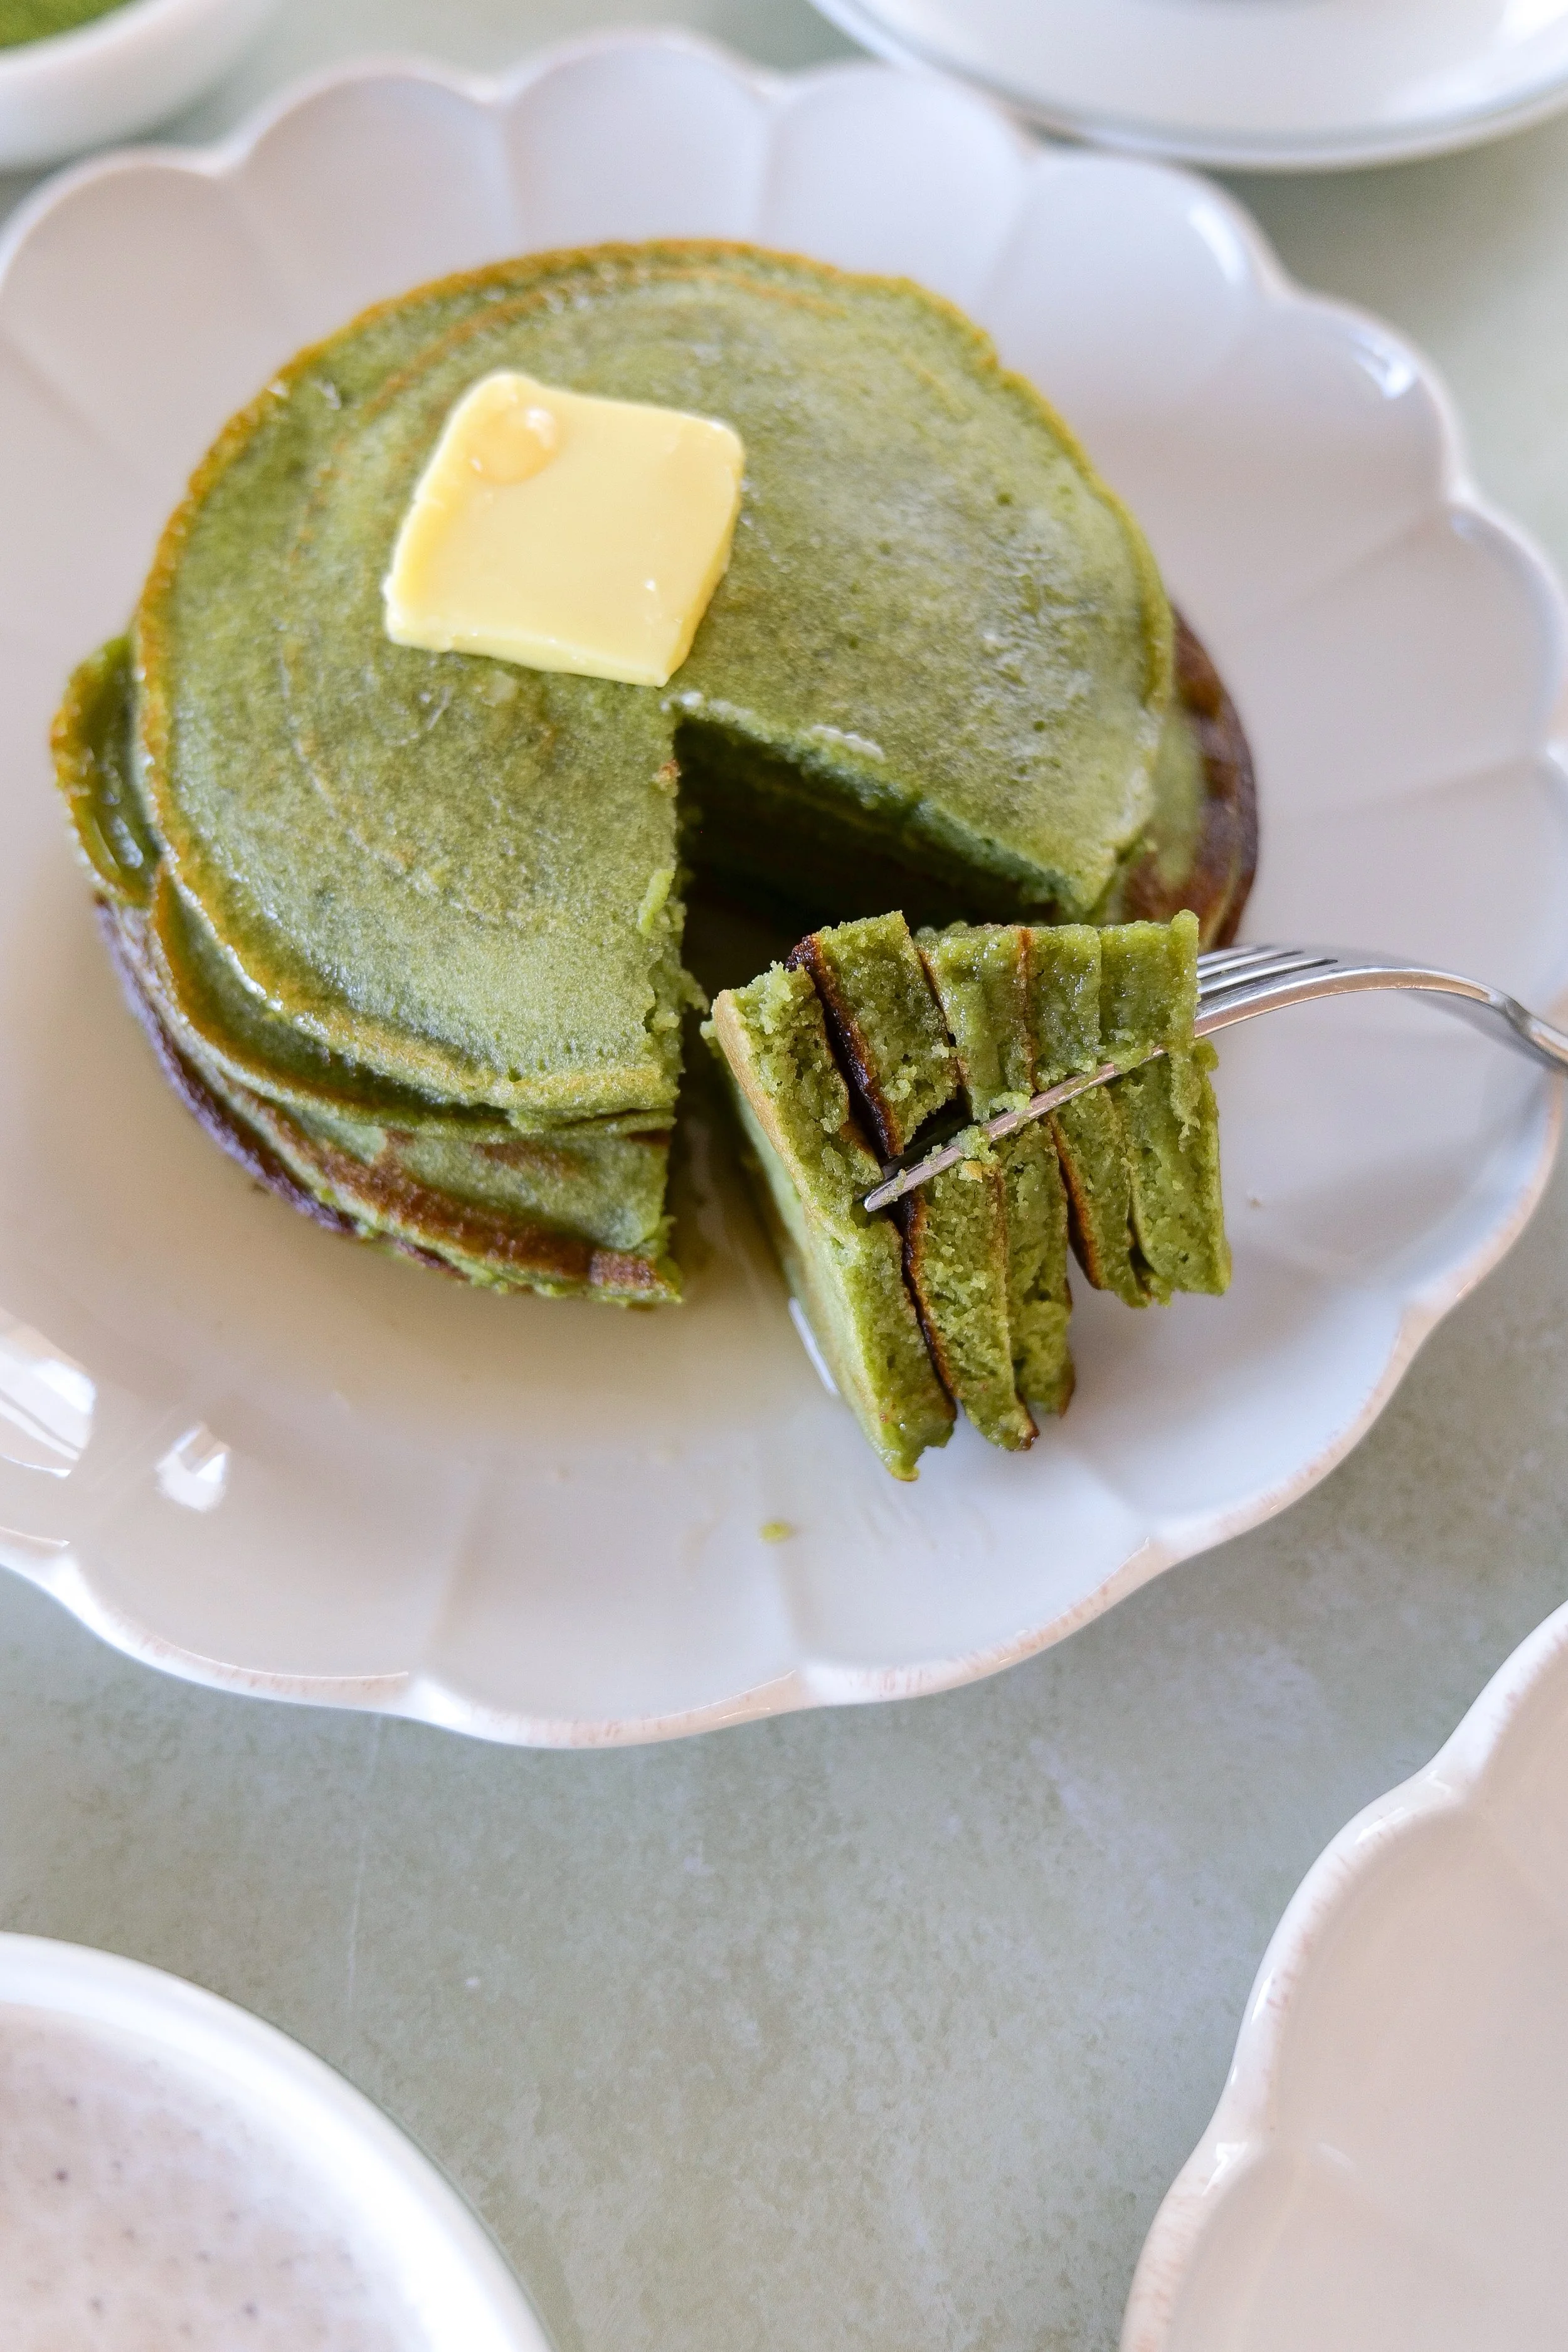
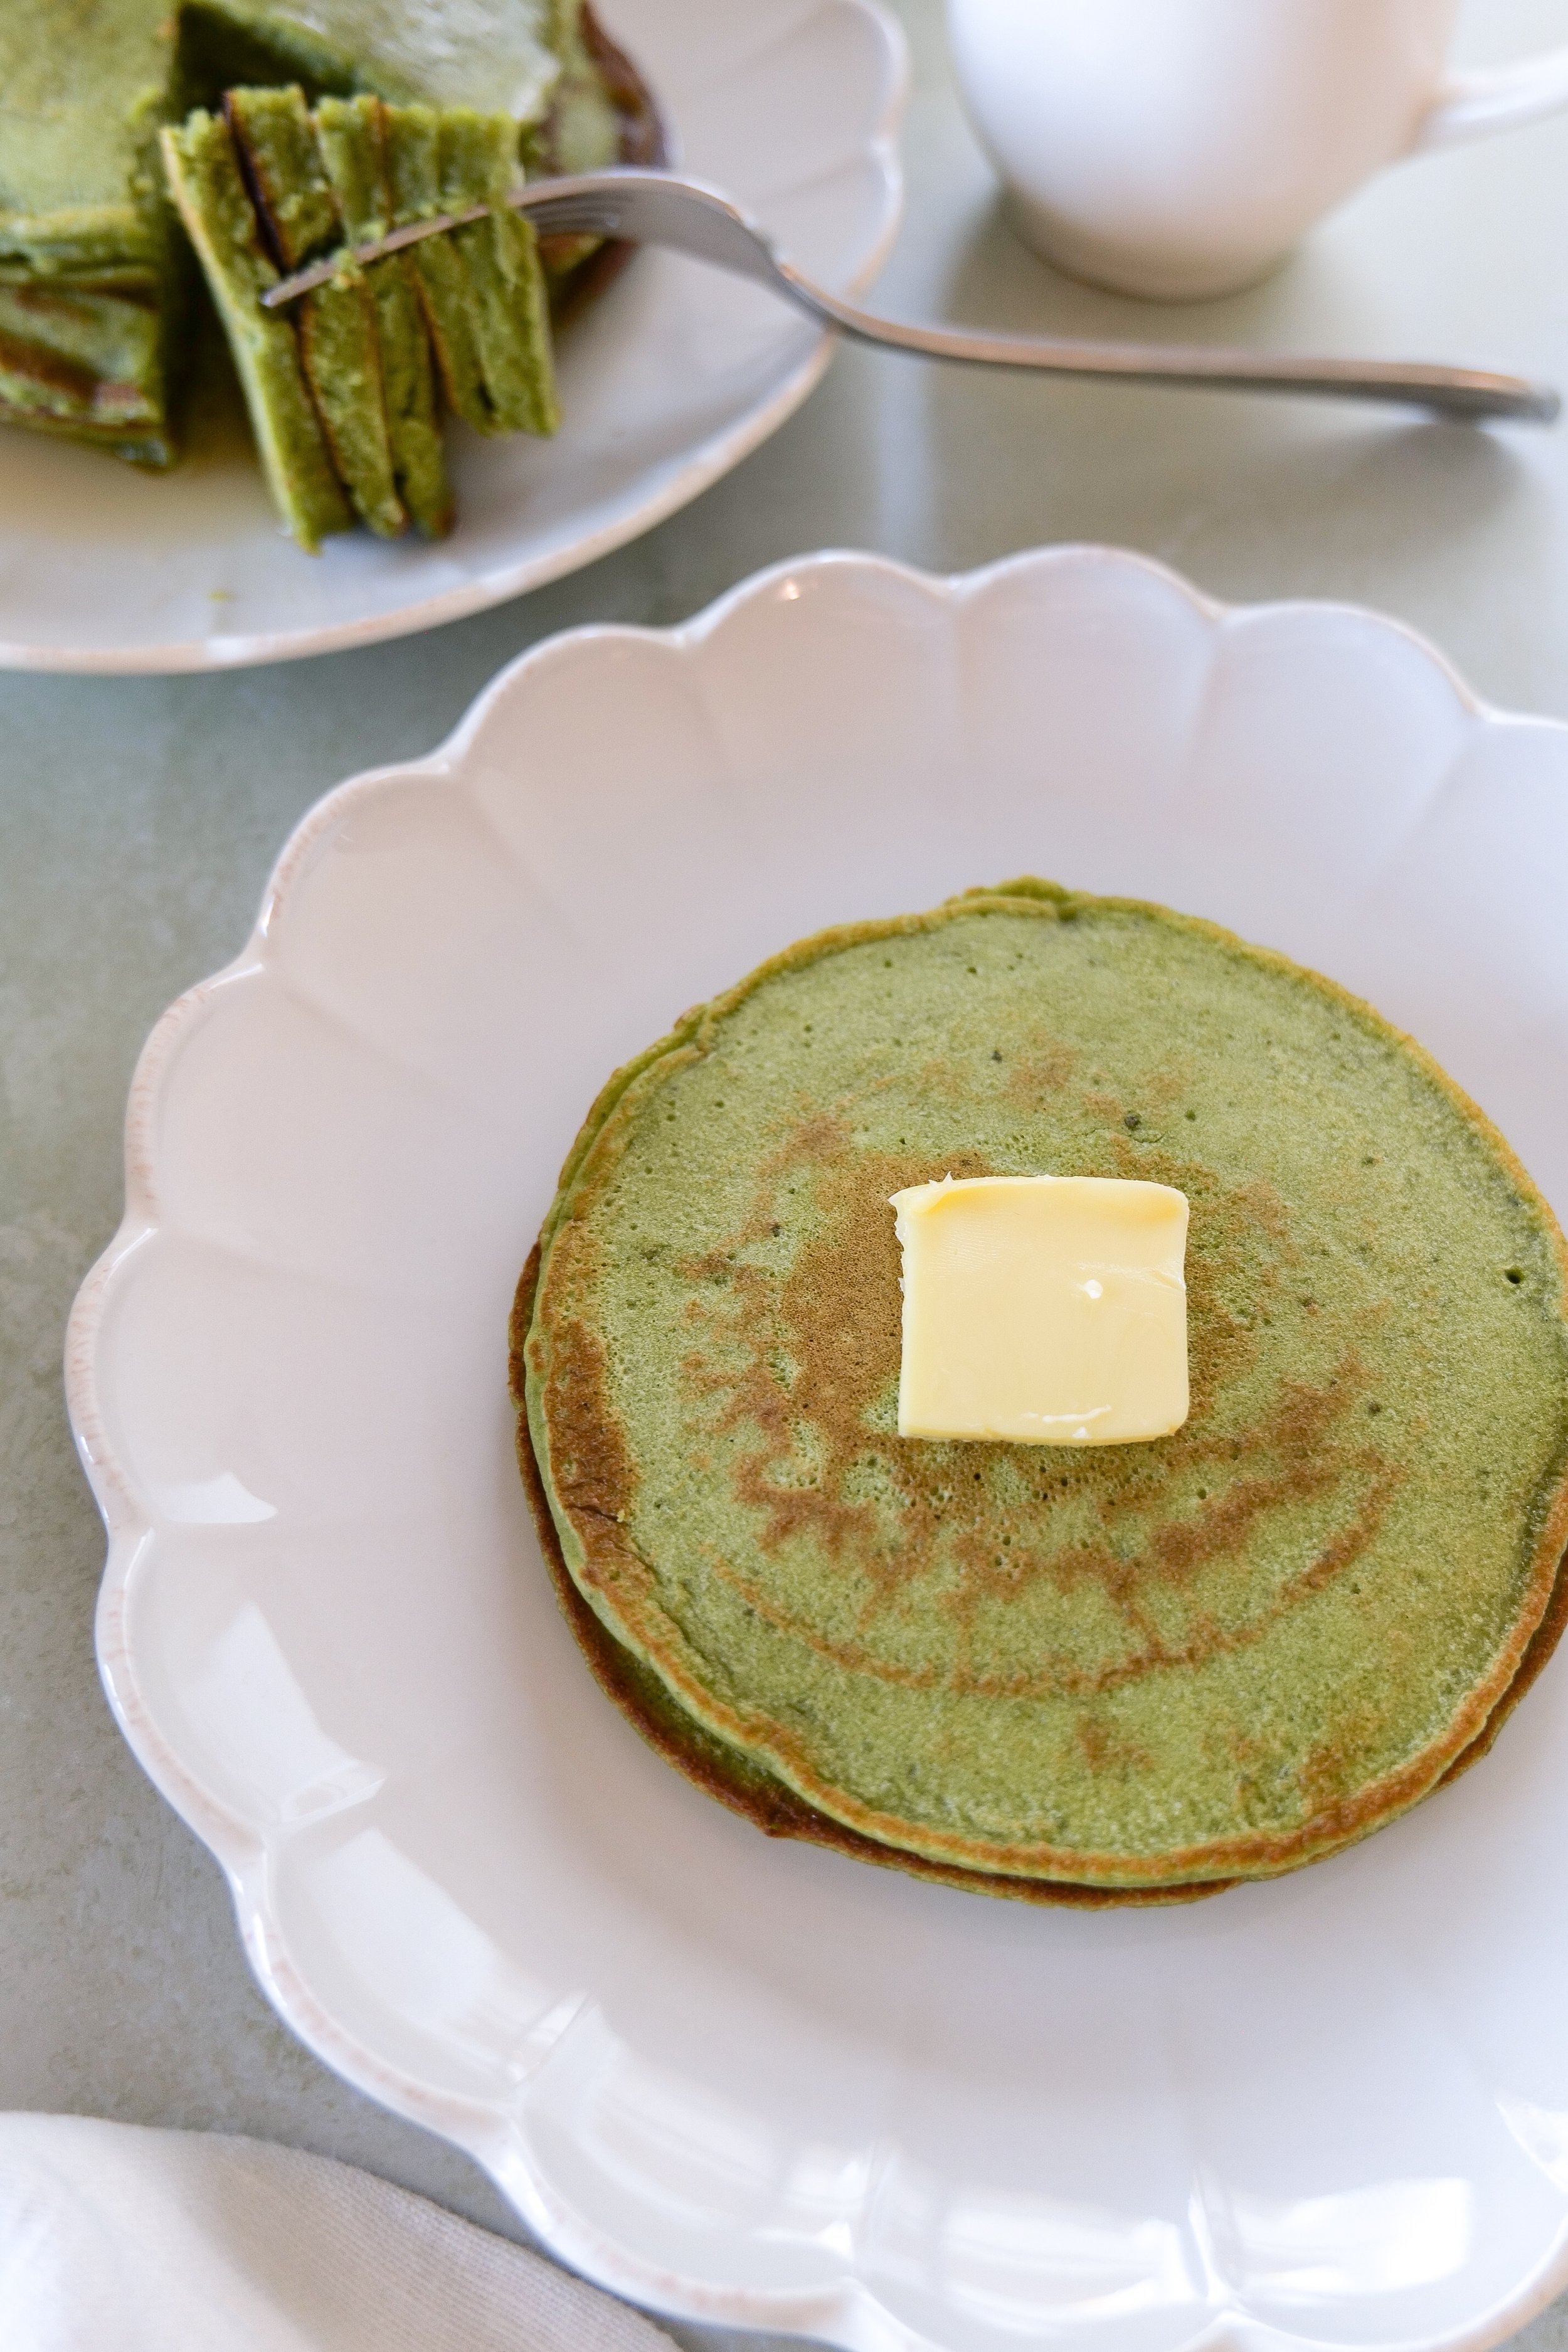
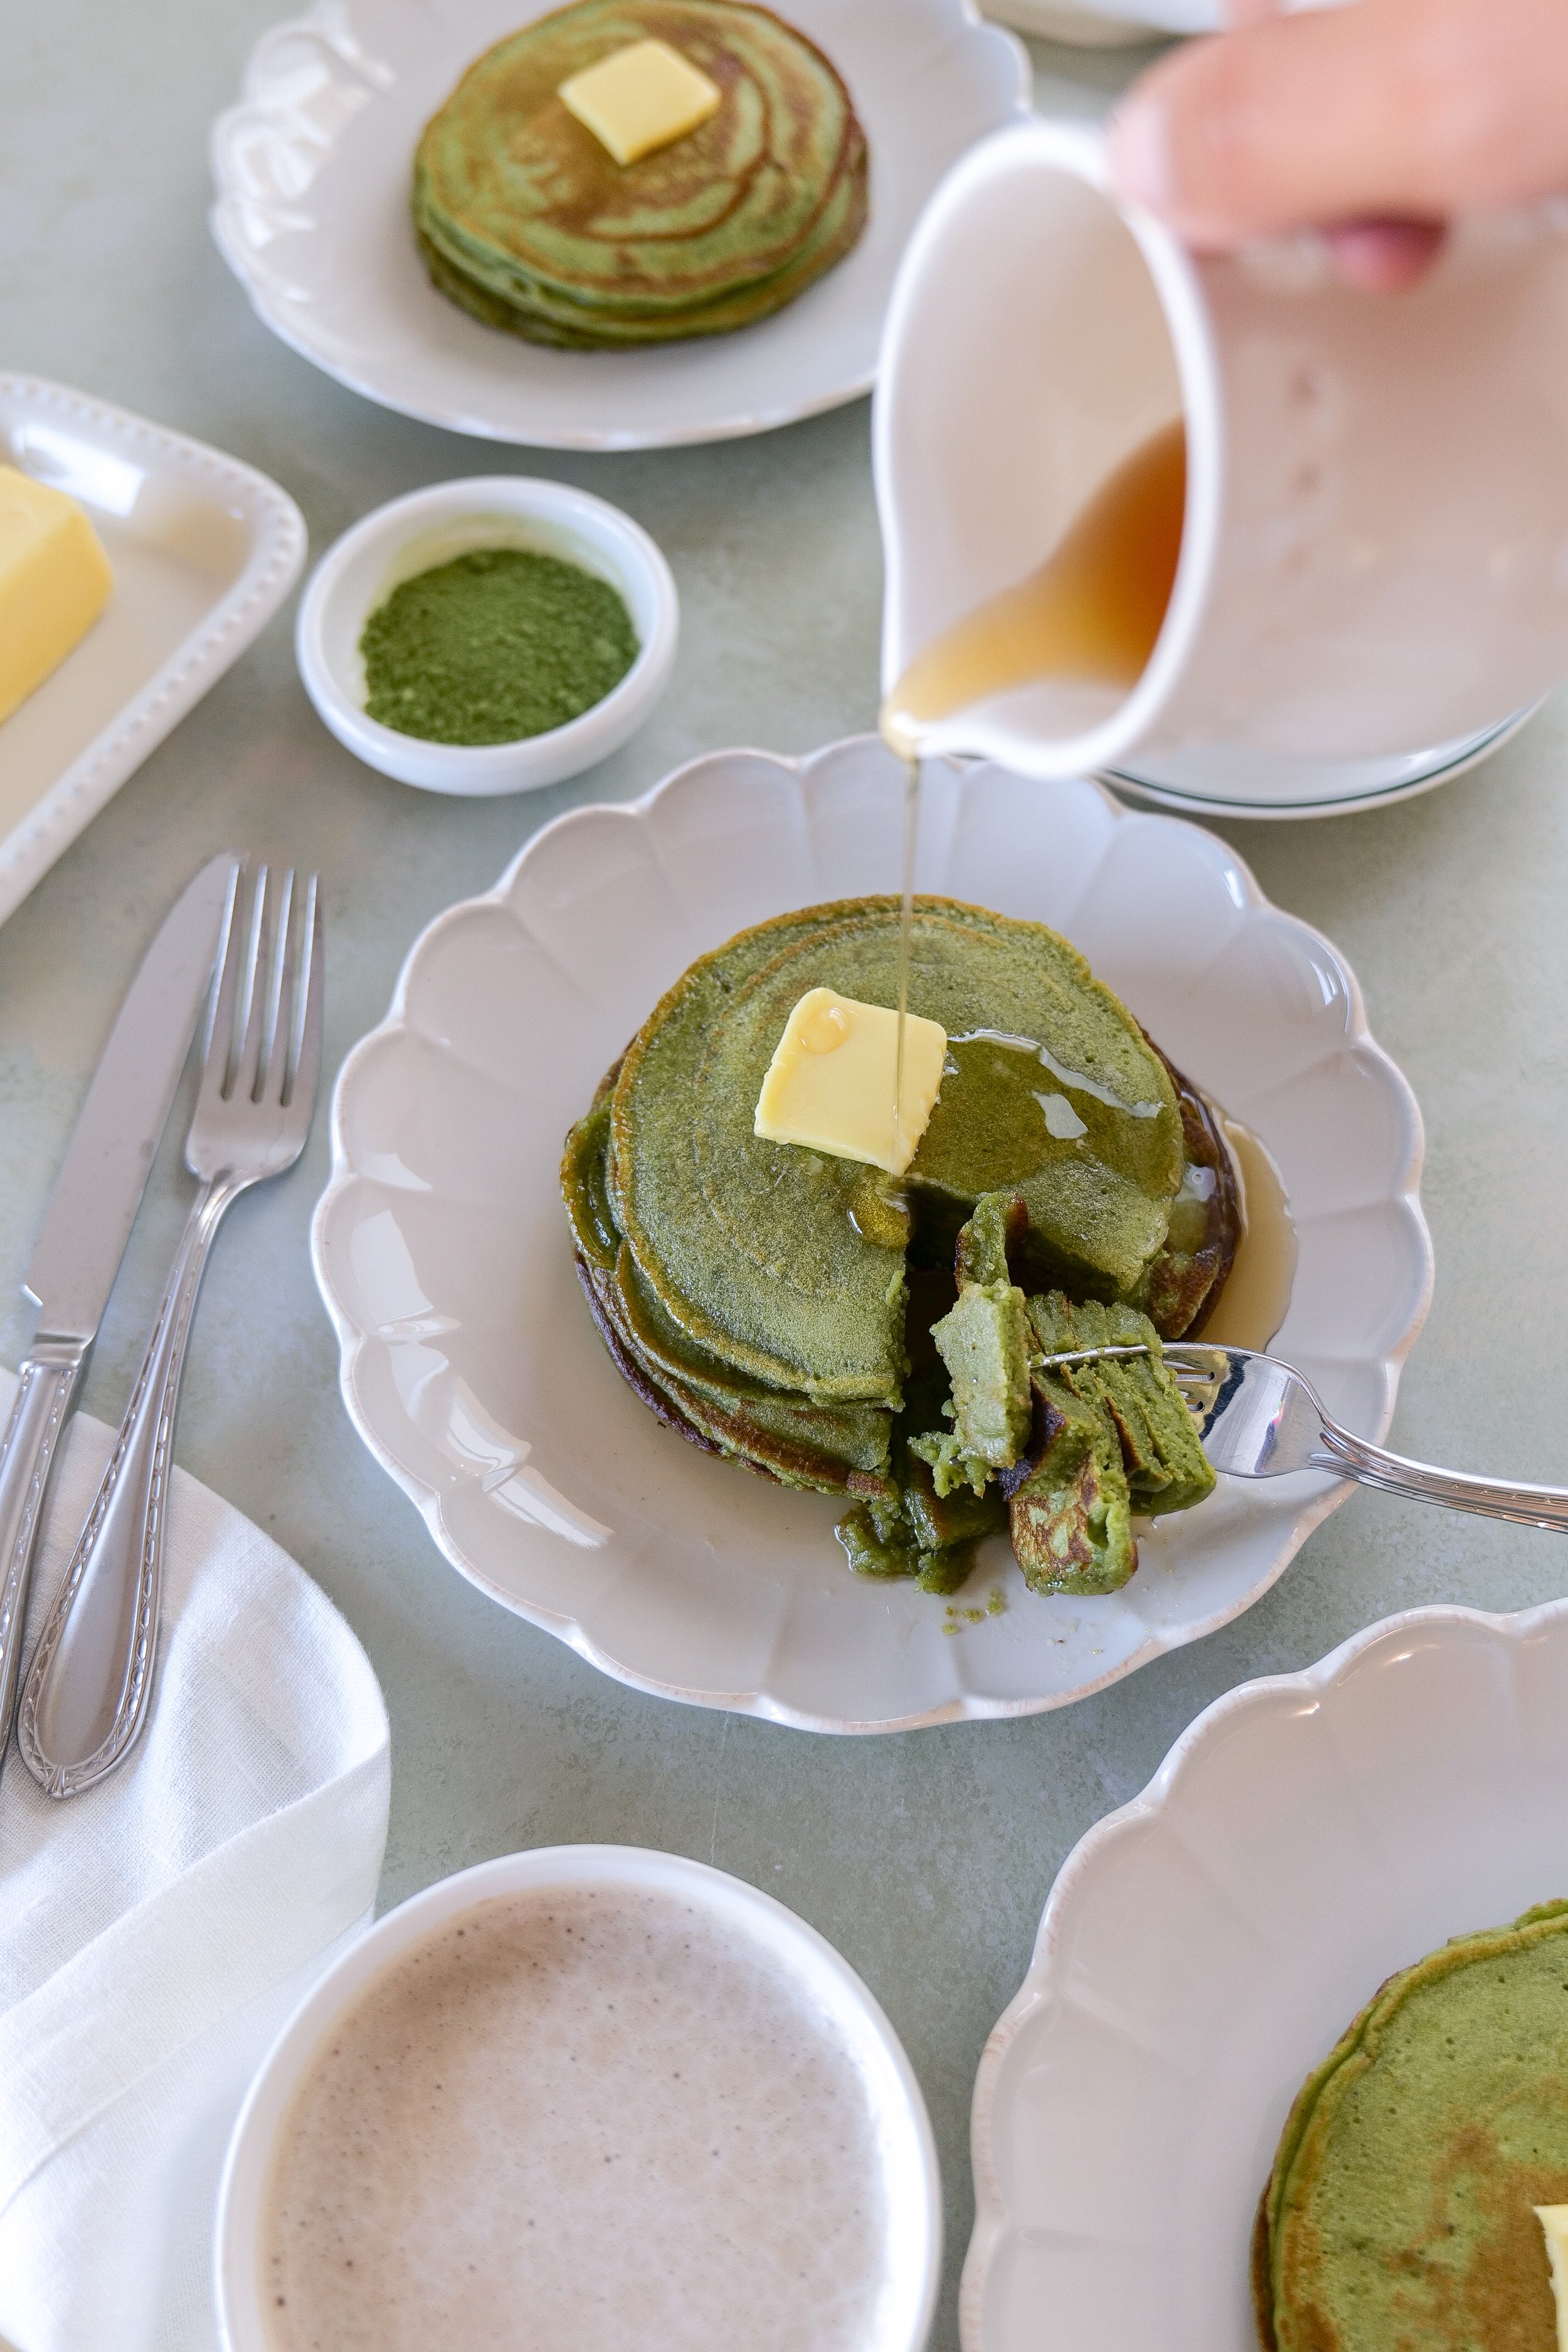
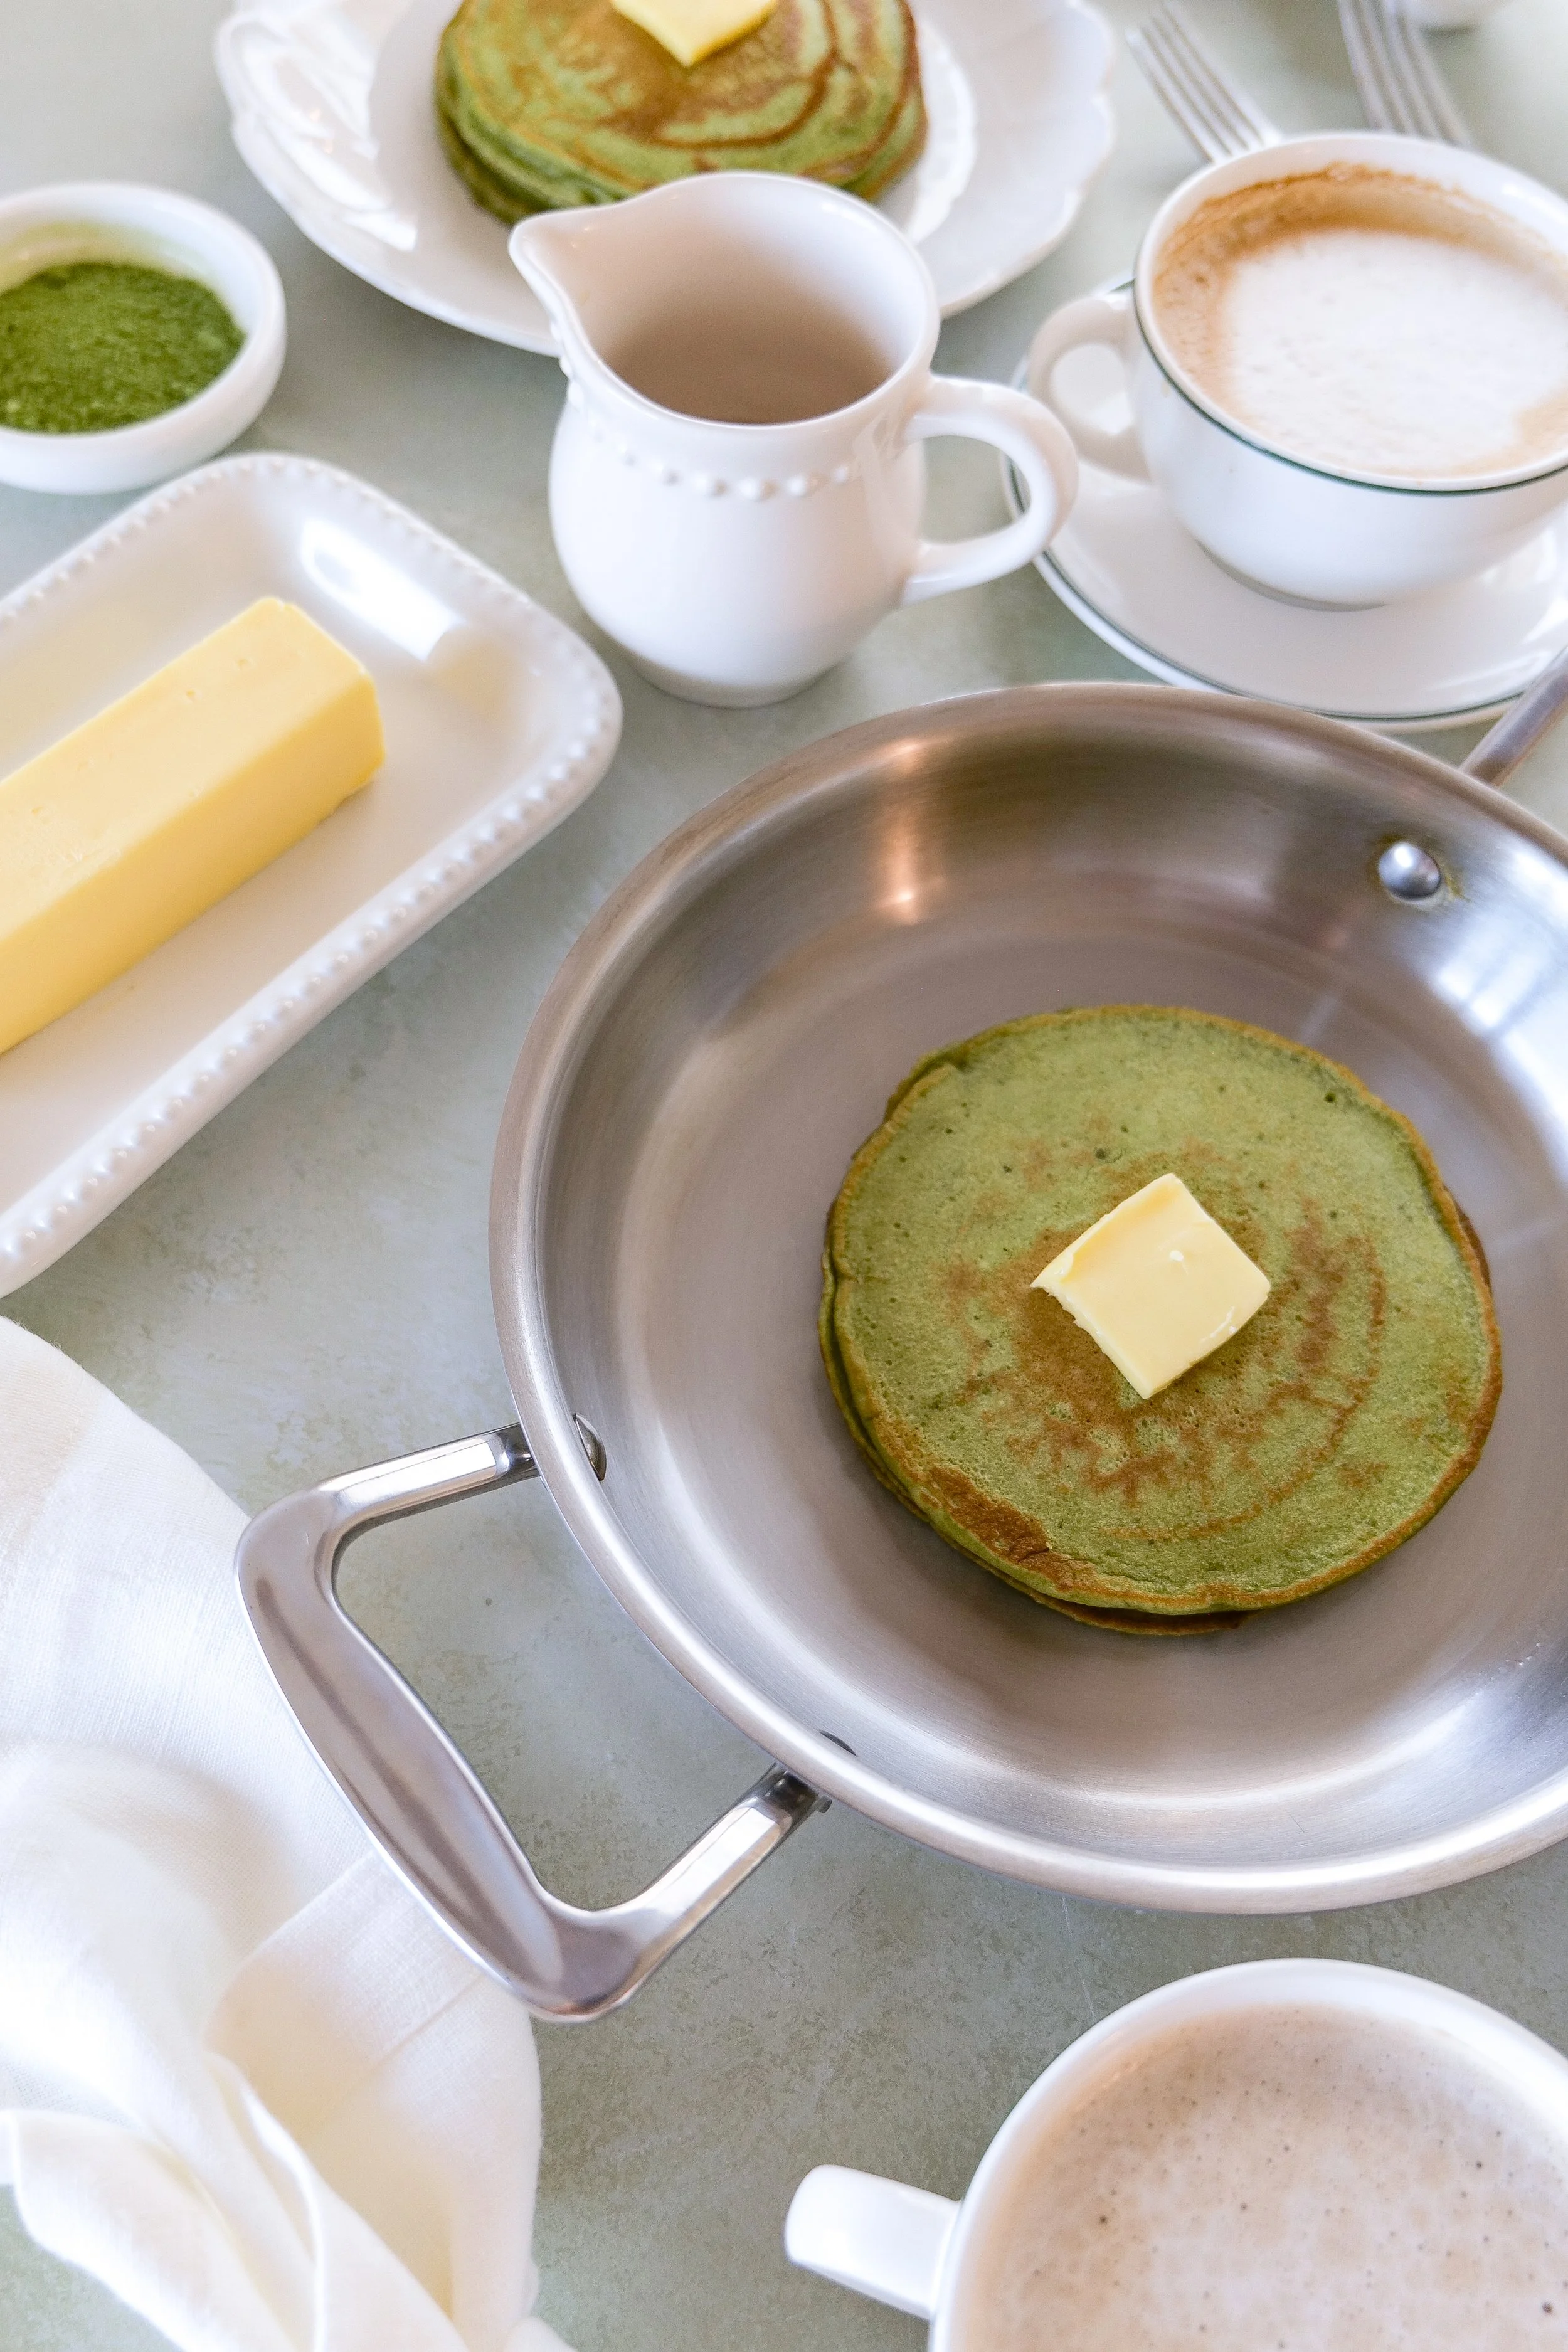
fluffy matcha sourdough discard pancakes topped with butter melting
green matcha sourdough discard pancakes with syrup drizzle
Tall stack of vibrant green sourdough discard matcha pancakes

Why You’ll Love These Matcha Sourdough Discard Pancakes

Let’s talk about the flavor first, because matcha can be a bit polarizing if you’ve only had it in overly sweet lattes. In these pancakes, it’s subtle but present. It adds a gentle bitterness that balances beautifully with the tanginess of the sourdough discard. The result isn’t “green tea pancakes” in a loud, overpowering way—it’s more nuanced than that. Think cozy, slightly nutty, and just different enough to make your breakfast feel intentional.

What I love most about this recipe is how forgiving it is. Sourdough discard already brings some acidity and complexity, so you don’t need to fuss too much to get depth of flavor. Even if your discard has been sitting for a few days, it works. In fact, that extra tang can make the pancakes even better. It’s one of those recipes where perfection isn’t the goal—resourcefulness is.

The batter comes together quickly, which is always a win in my book. You whisk together your discard, a bit of flour, milk, eggs, and just enough sweetener to round everything out. Then comes the matcha, which turns the batter this soft, earthy green that feels almost too pretty to cook. Almost. A little baking powder helps give the pancakes lift, reacting with the acidity of the discard to create that fluffy texture we’re after.

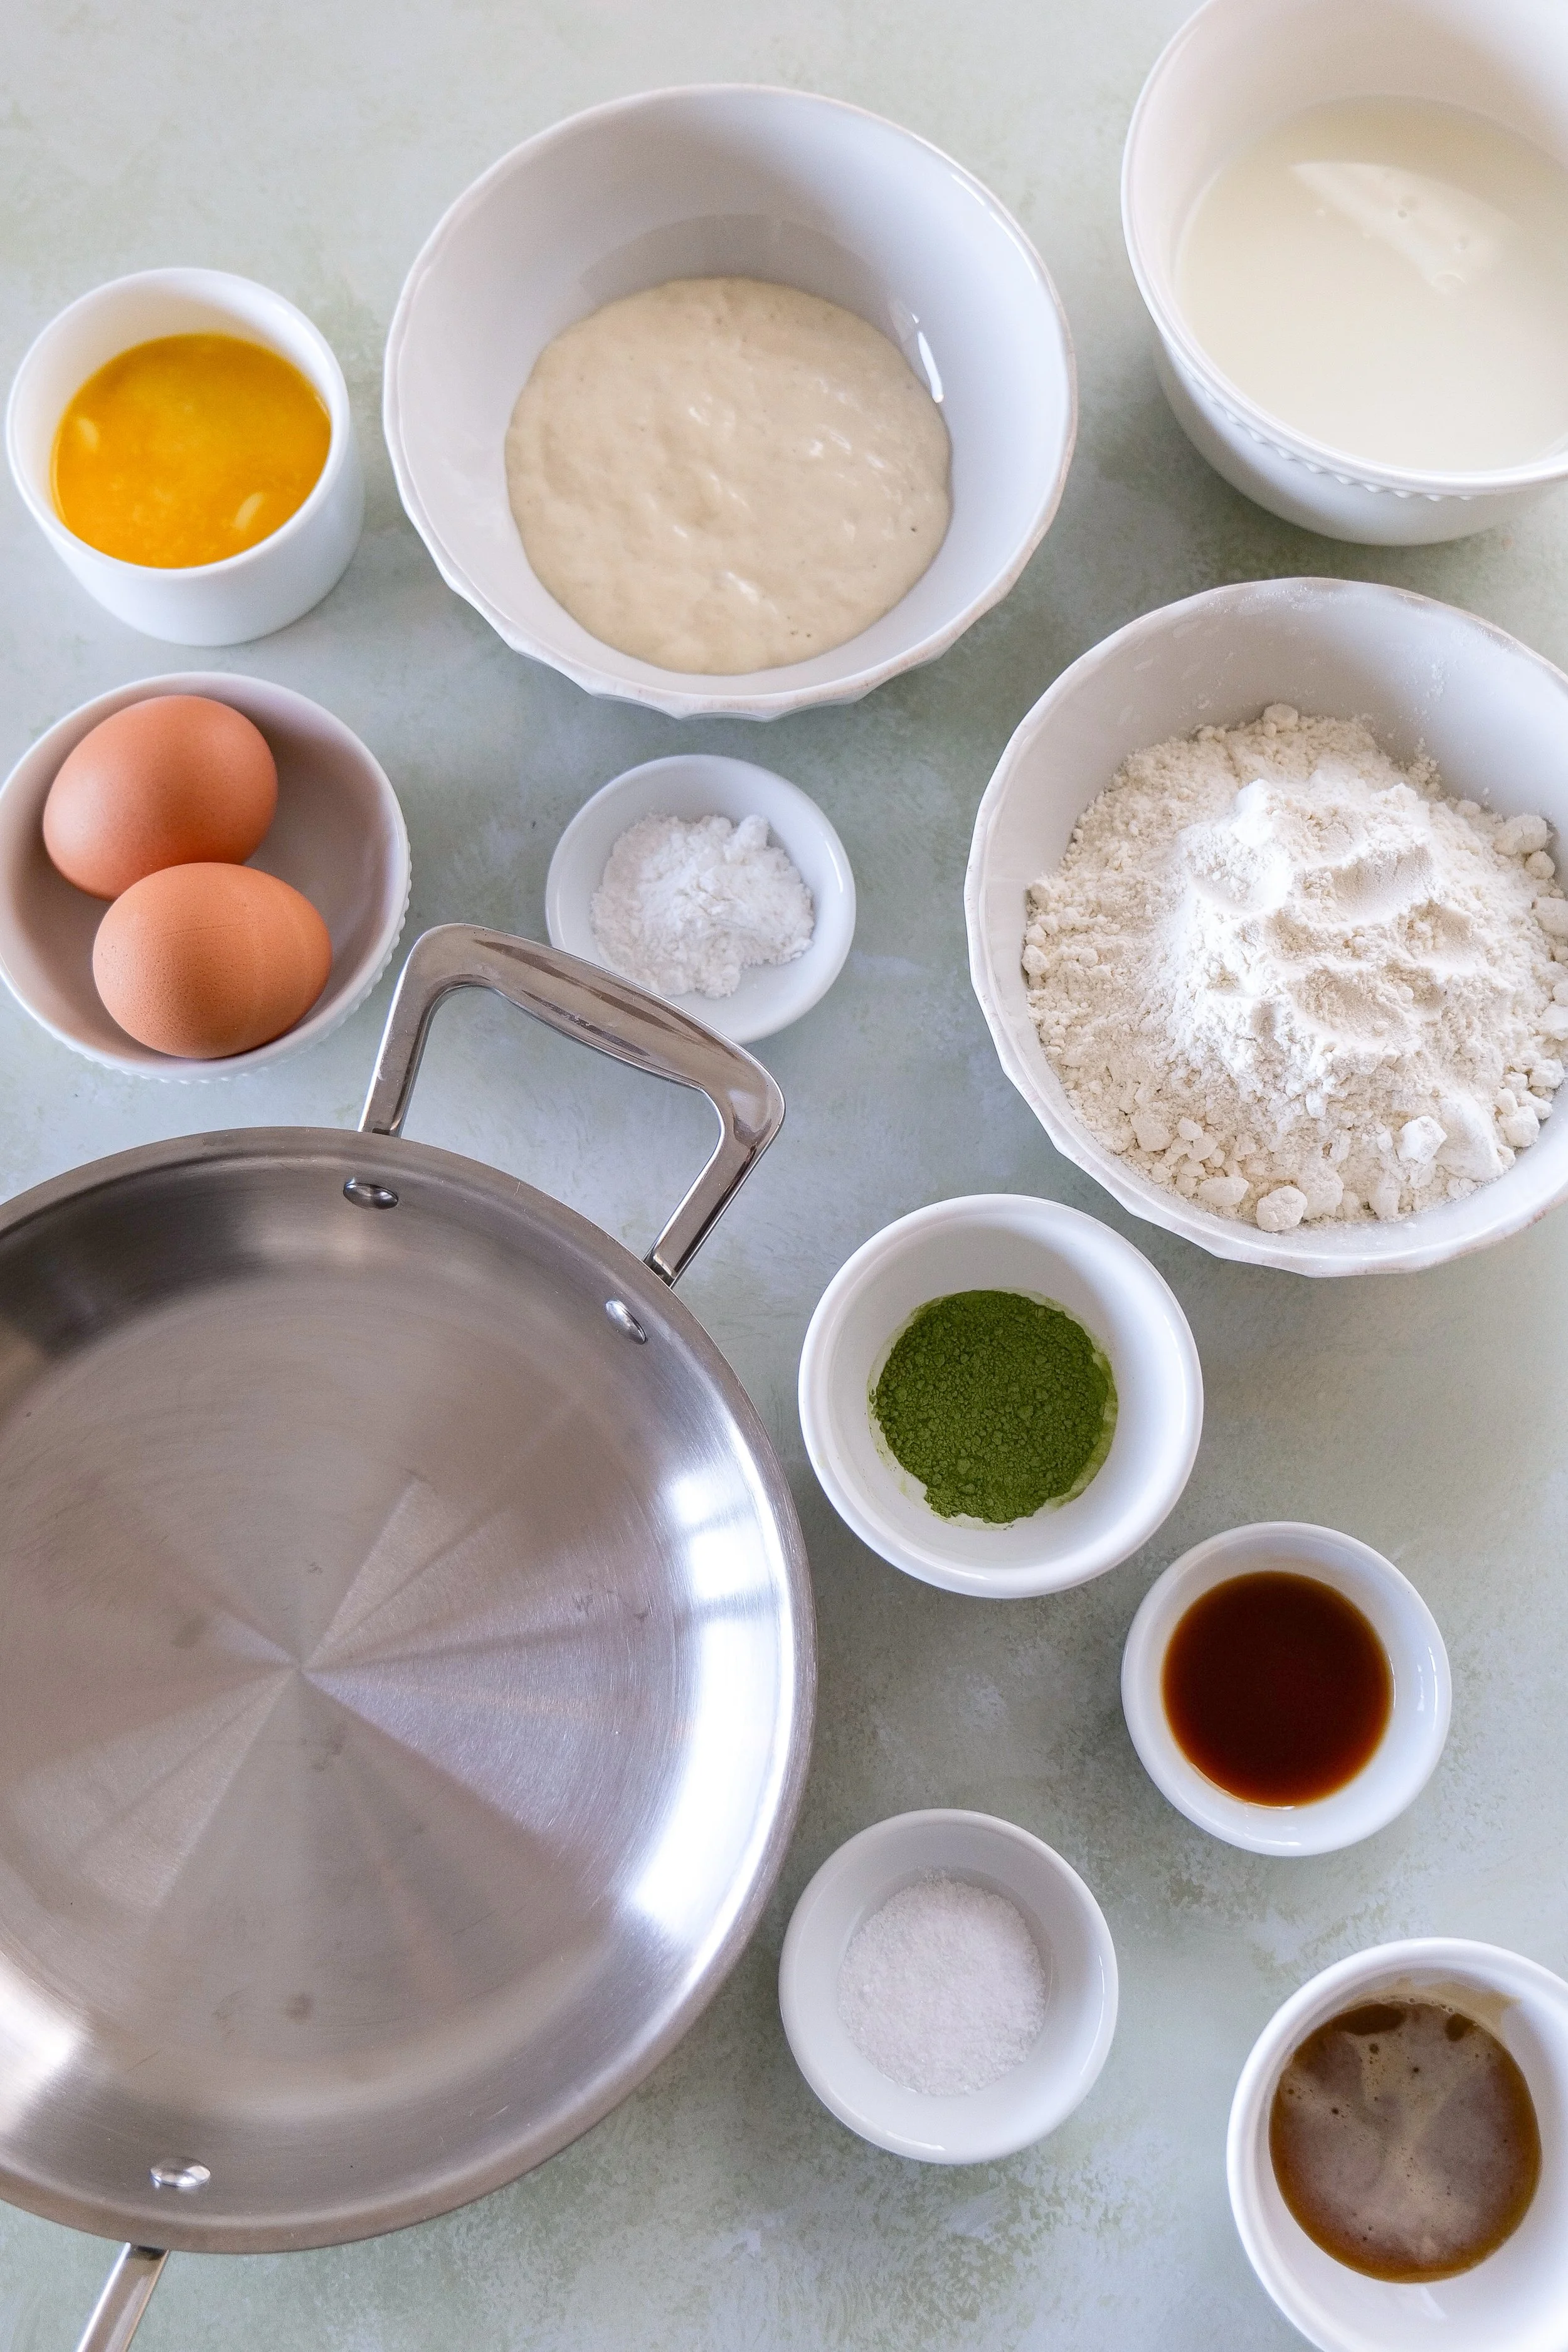
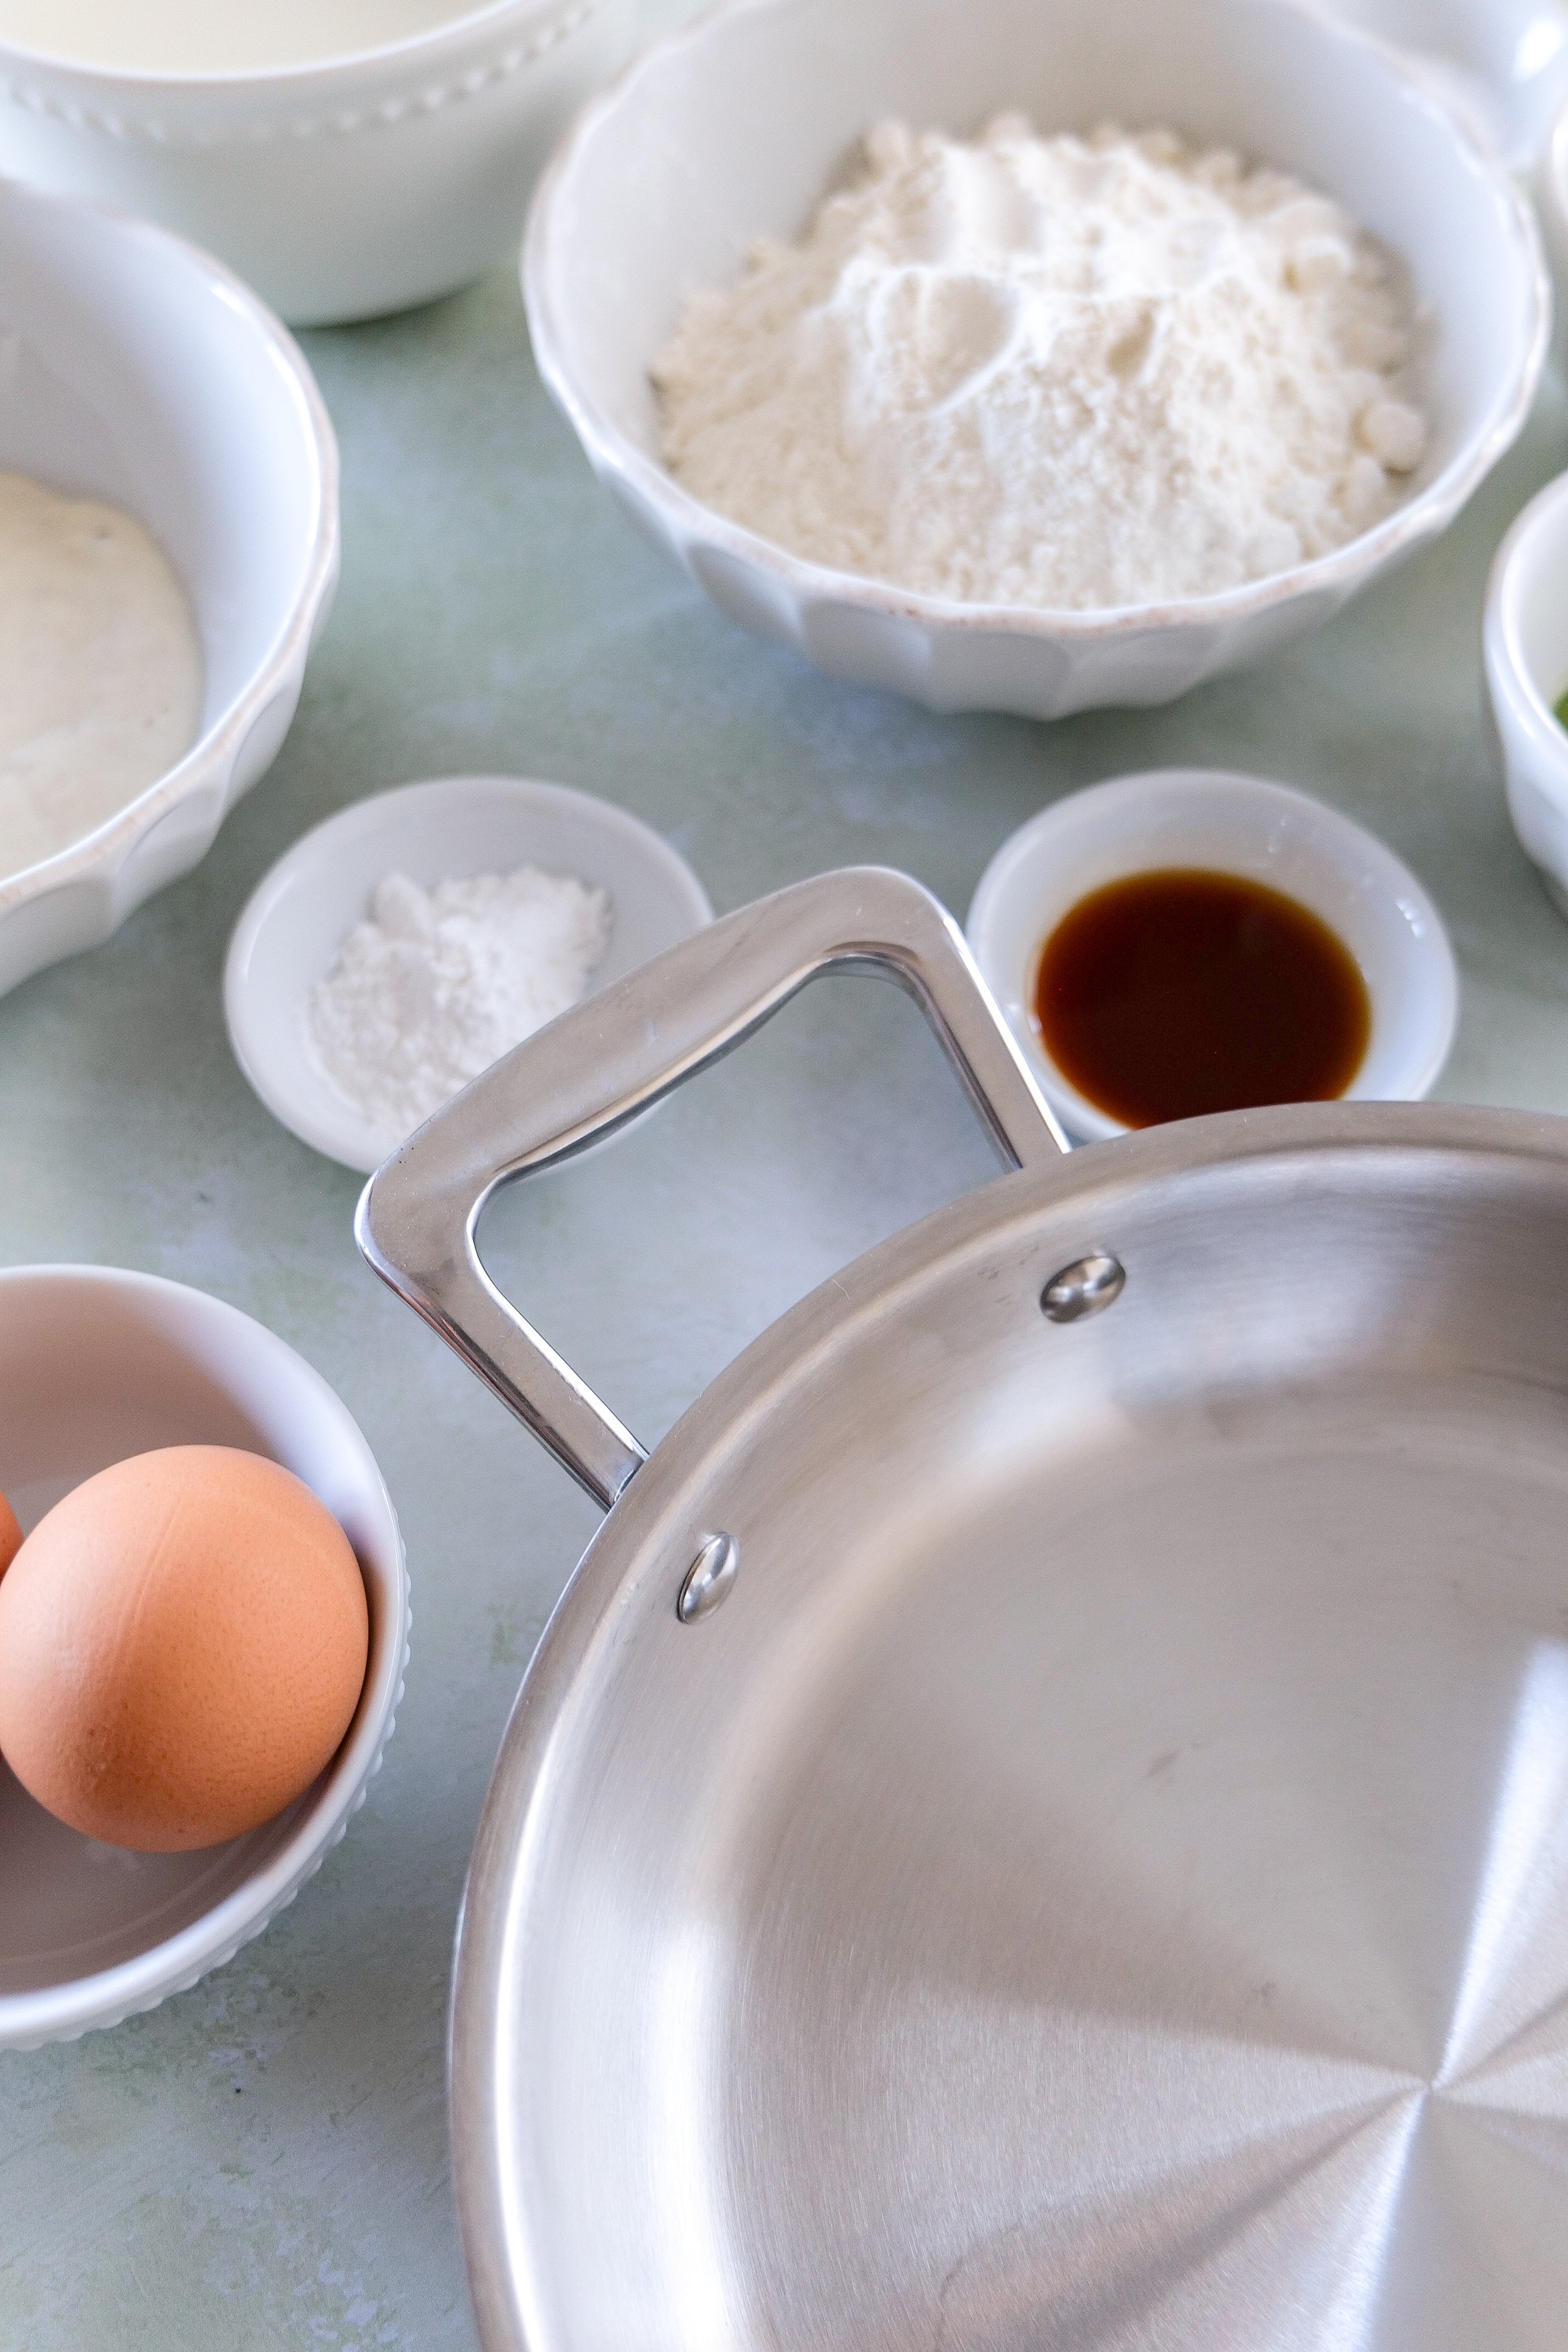
Ingredients for matcha sourdough discard pancakes including flour, matcha powder, eggs, milk, and sourdough discard on a kitchen counter
Bowl of matcha sourdough discard pancake ingredients
ingredients for matcha sourdough discard pancakes

Cooking them is where things get fun. As the batter hits the pan, you’ll notice it behaves just like classic pancake batter, but with that signature green hue. I like to keep the heat medium-low to make sure they cook through without losing their color. You’ll know they’re ready to flip when bubbles form on the surface and the edges look set—nothing groundbreaking here, just good pancake instincts.

And then there’s the stacking. I don’t know what it is about pancakes, but stacking them always feels like a small act of optimism. With these, the layers of green make it even more satisfying. They’re soft, slightly springy, and just begging for toppings.

Speaking of toppings, this is where you can really make the recipe your own. If you want to lean into the matcha vibe, a drizzle of honey or maple syrup works perfectly—something simple that doesn’t compete too much. Fresh berries add brightness, and a dollop of yogurt or whipped cream gives you that creamy contrast. If you’re feeling a little extra, a light dusting of matcha powder on top makes them look like something you’d get at a café (but better, because you made them).

a cup of coffee and a matcha sourdough discard pancakes

One thing I’ve learned from making these more than once is that they’re not just a breakfast food. They work just as well as a mid-afternoon pick-me-up or even a low-key dessert. There’s something about the matcha that makes them feel slightly more grown-up than your standard pancake stack, which I appreciate.

Also, let’s not ignore the practical win here: using sourdough discard means you’re stretching your ingredients further and reducing waste without sacrificing flavor. It’s the kind of kitchen habit that feels small but adds up over time. Plus, it gives you an excuse to keep your sourdough starter going, which—if you’ve ever named yours or felt emotionally attached to it—you’ll understand.

If you’re new to baking with matcha, this is a great place to start. It’s low pressure, adaptable, and the payoff is immediate. Worst case, you’ve made pancakes. Best case, you’ve discovered a new favorite way to use up that discard you weren’t sure what to do with.

So the next time you’re tempted to toss your sourdough discard, maybe don’t. Instead, grab your whisk, scoop out that jar, and make something that feels just a little special. These matcha sourdough discard pancakes are proof that sometimes the best recipes come from what we almost threw away.

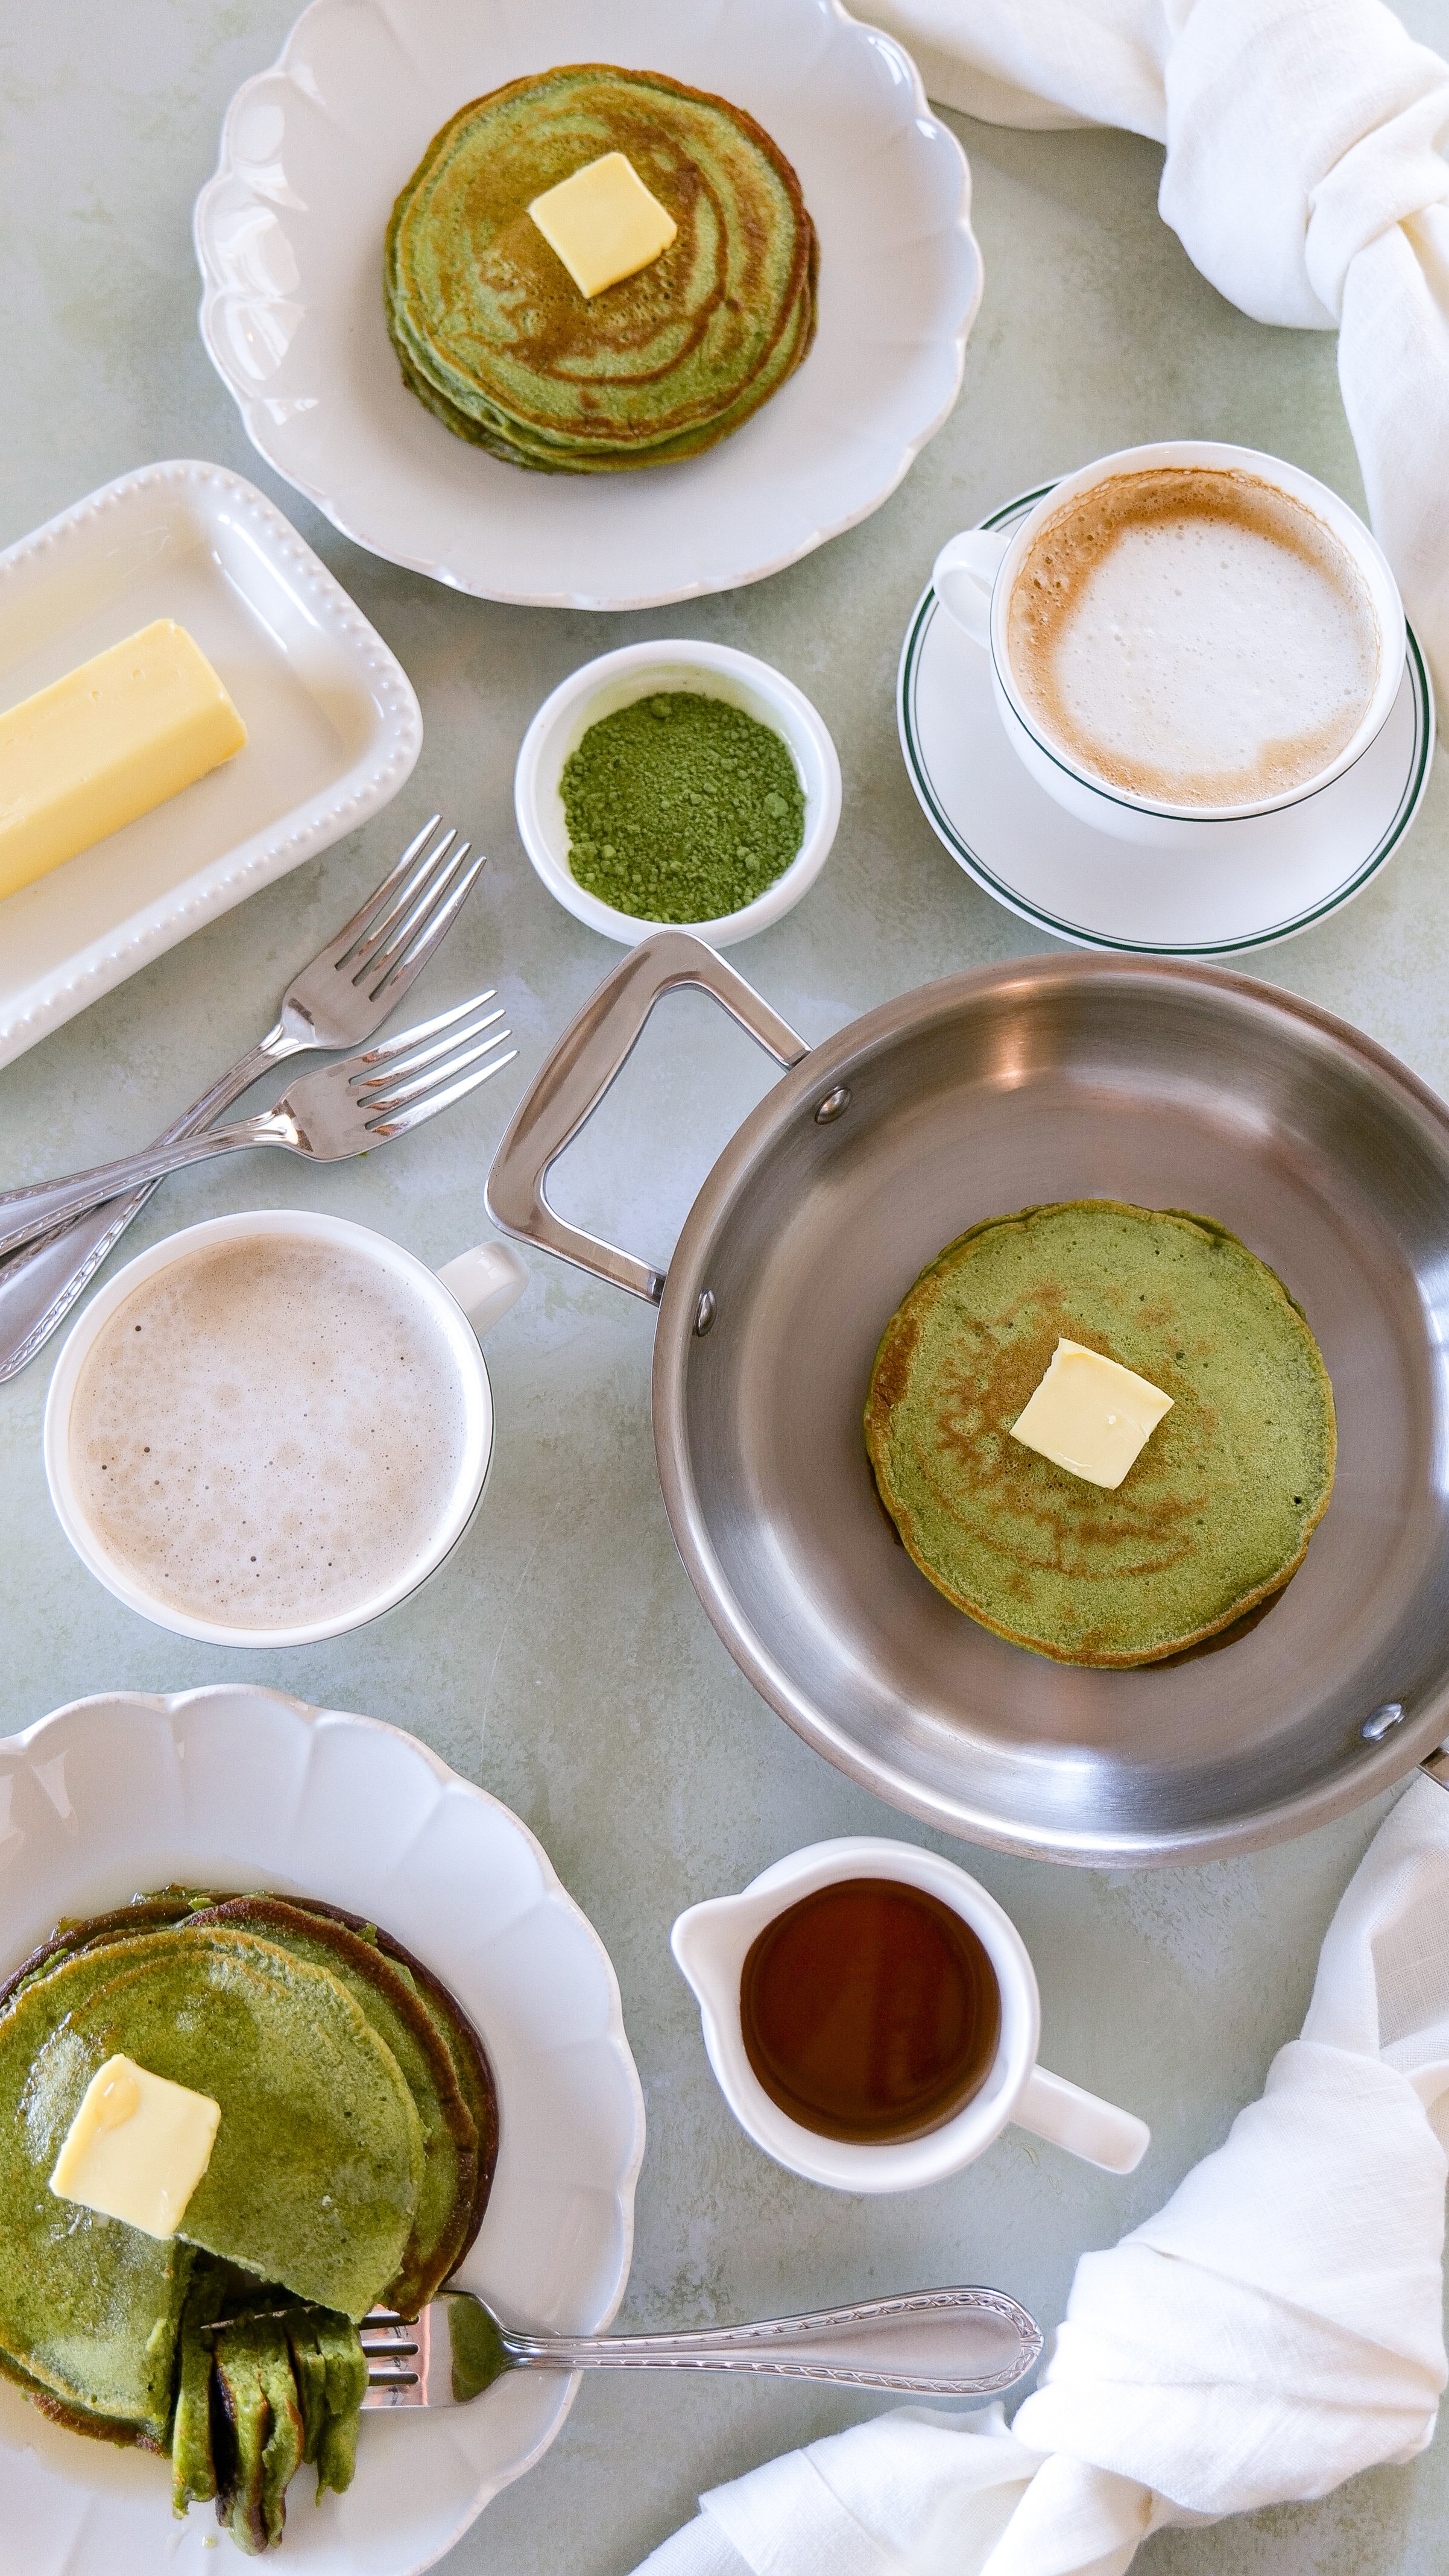
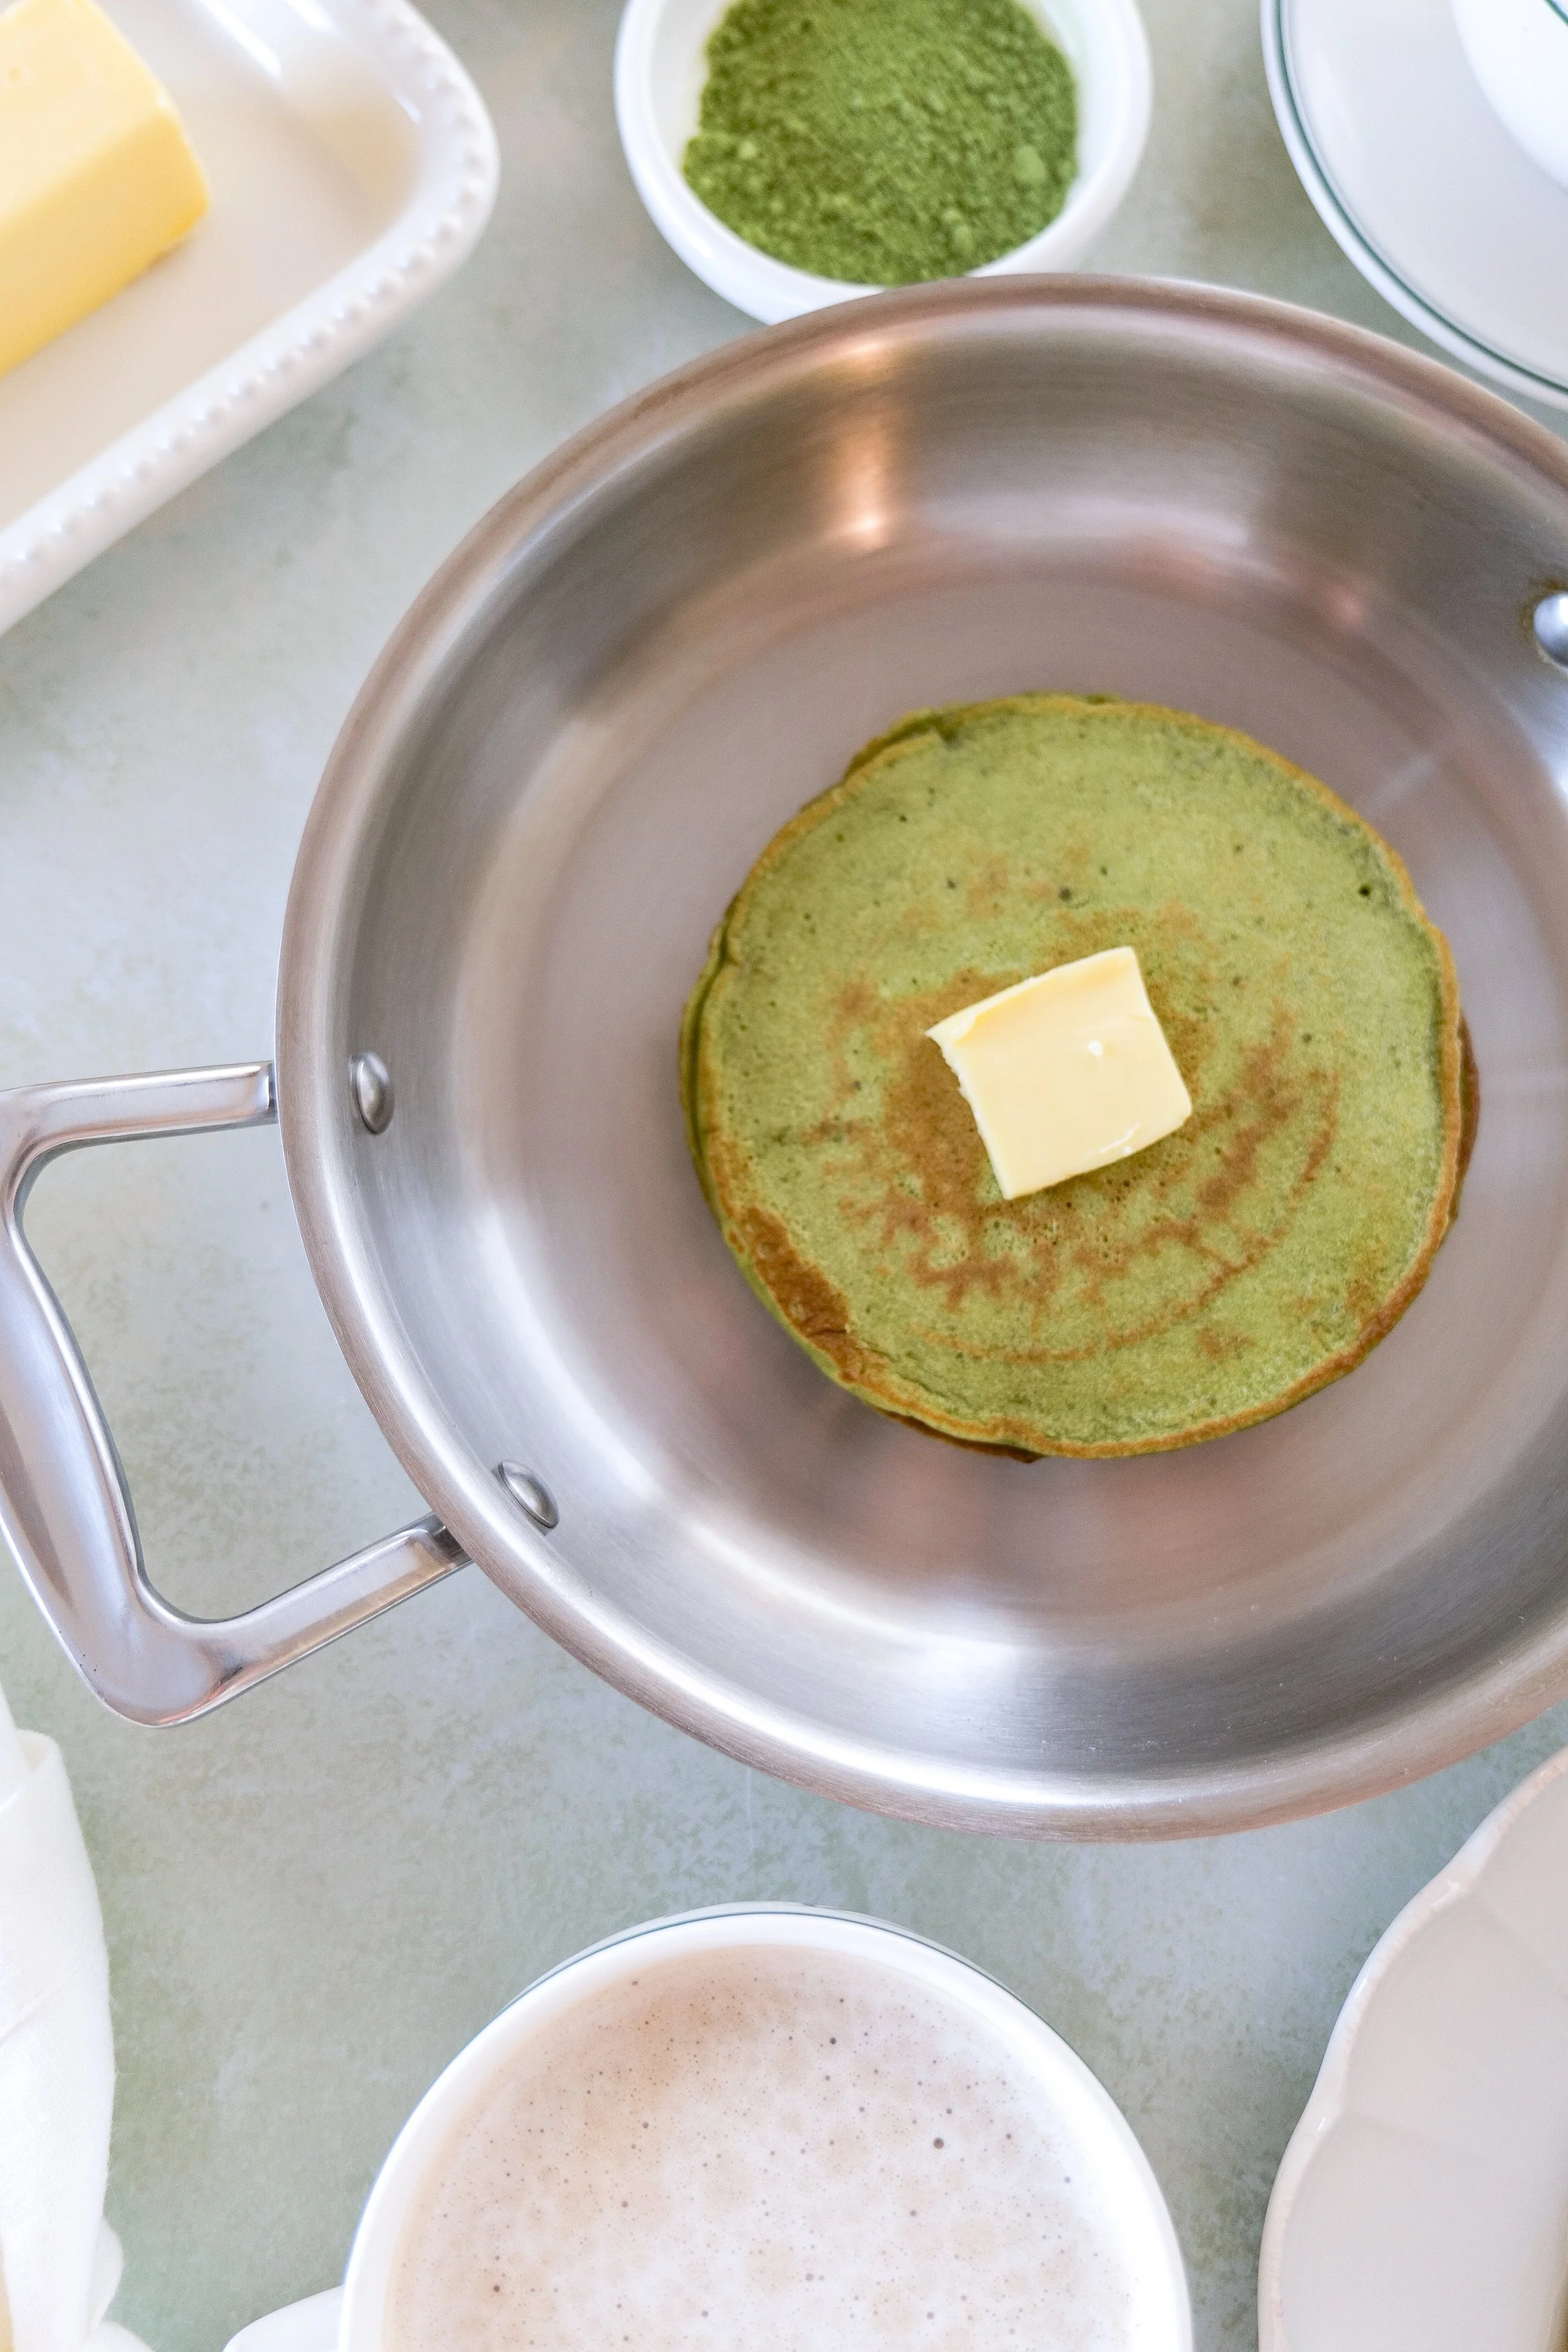
Matcha sourdough discard pancakes served with butter on top
Golden-edged fluffy matcha pancakes made with sourdough discard
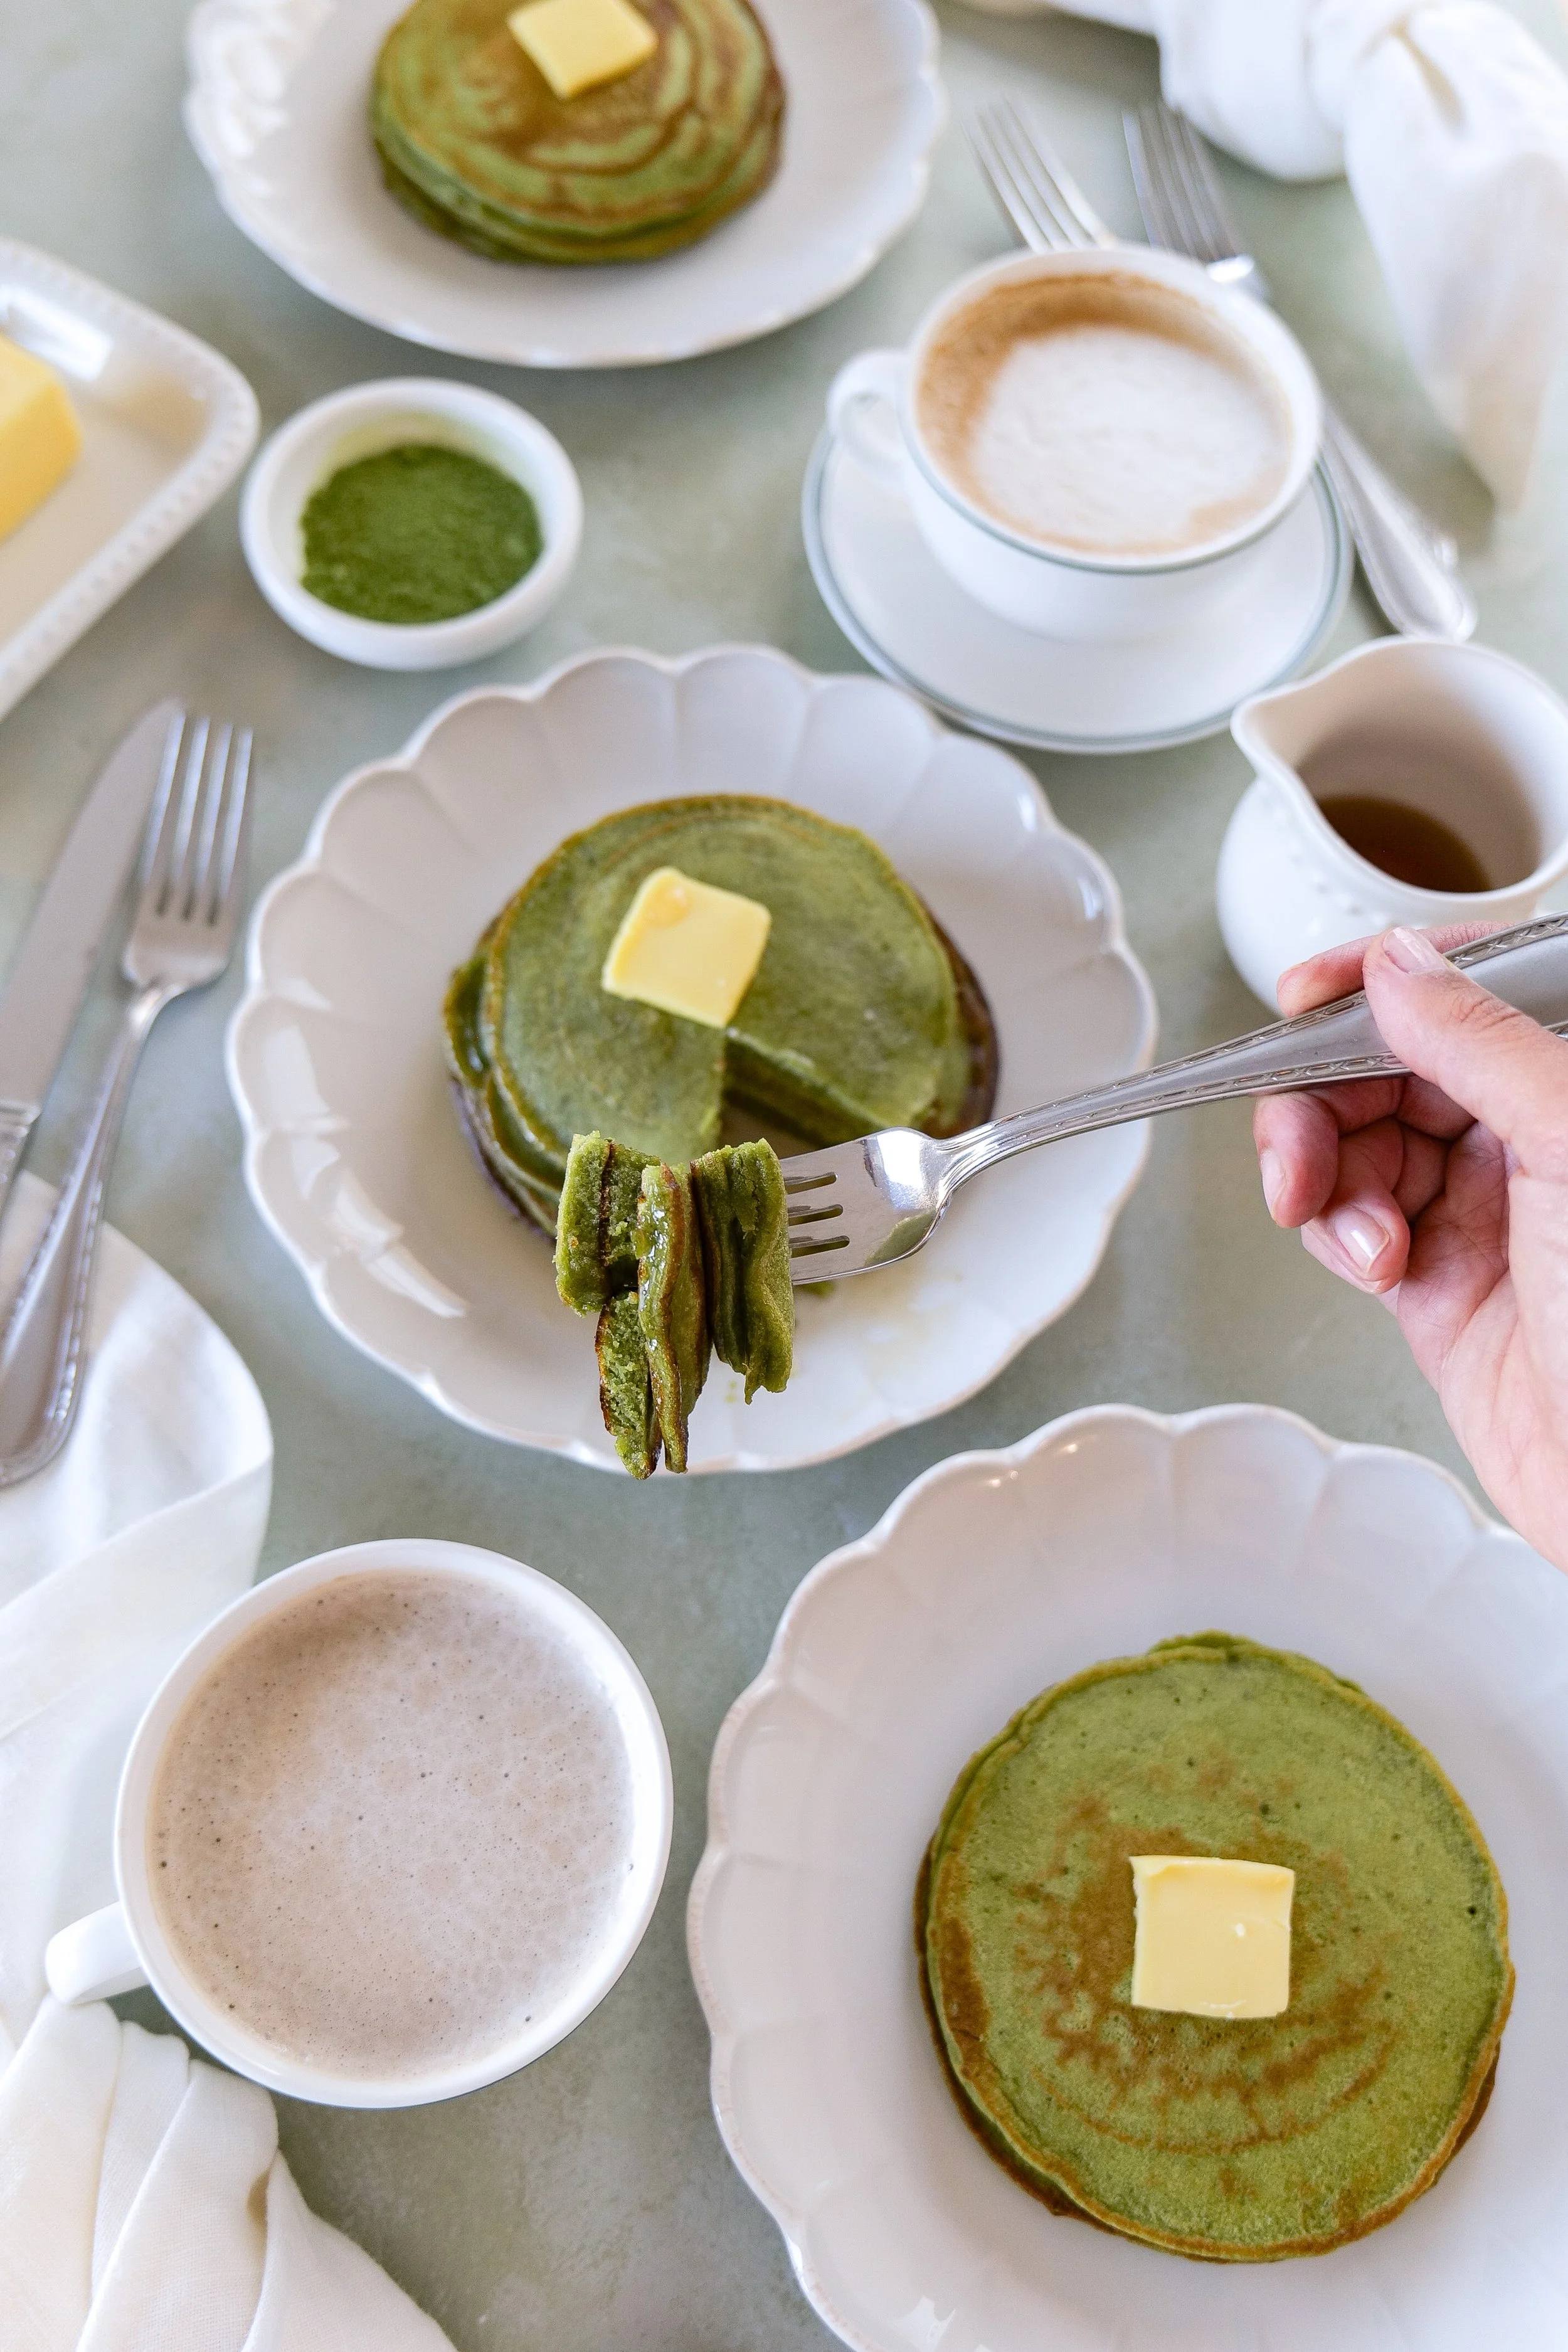
Fork cutting into soft matcha sourdough discard pancakes
Matcha sourdough discard pancakes

Quick Summary

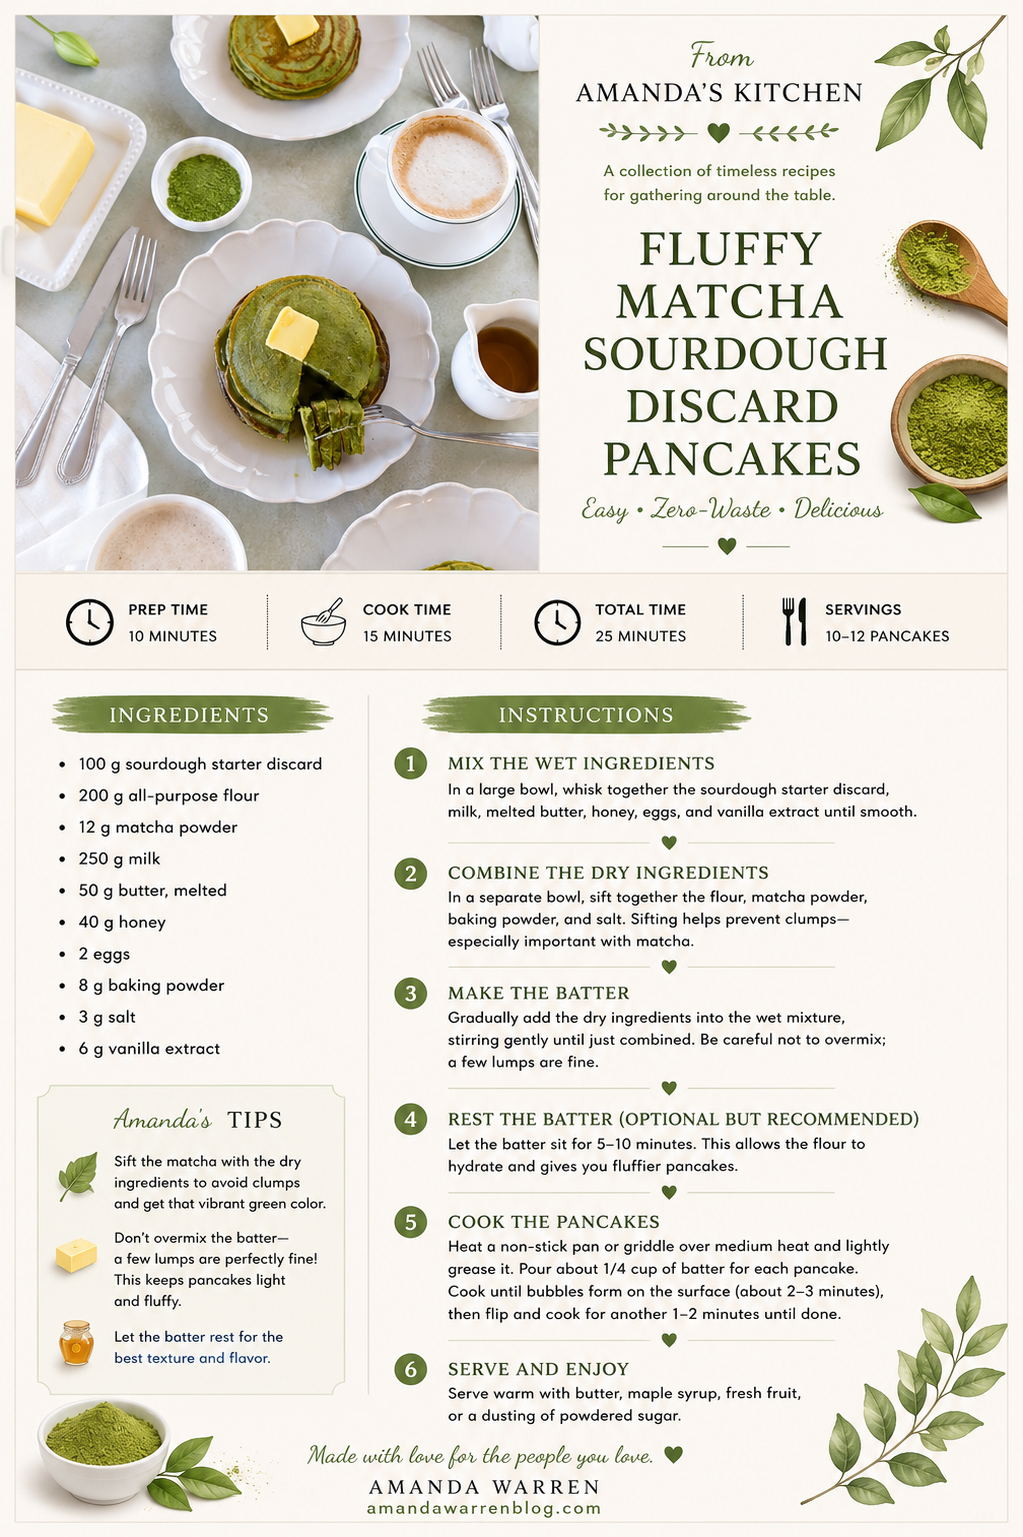
  • Prep time: 10 minutes

  • Cook time: 10 minutes

  • Total time: 20 minutes

  • Yield: ~8 pancakes

  • Key flavor: lightly sweet, earthy, tangy

  • Skill level: easy

Breakfast plate with fluffy matcha sourdough discard pancakes and butter
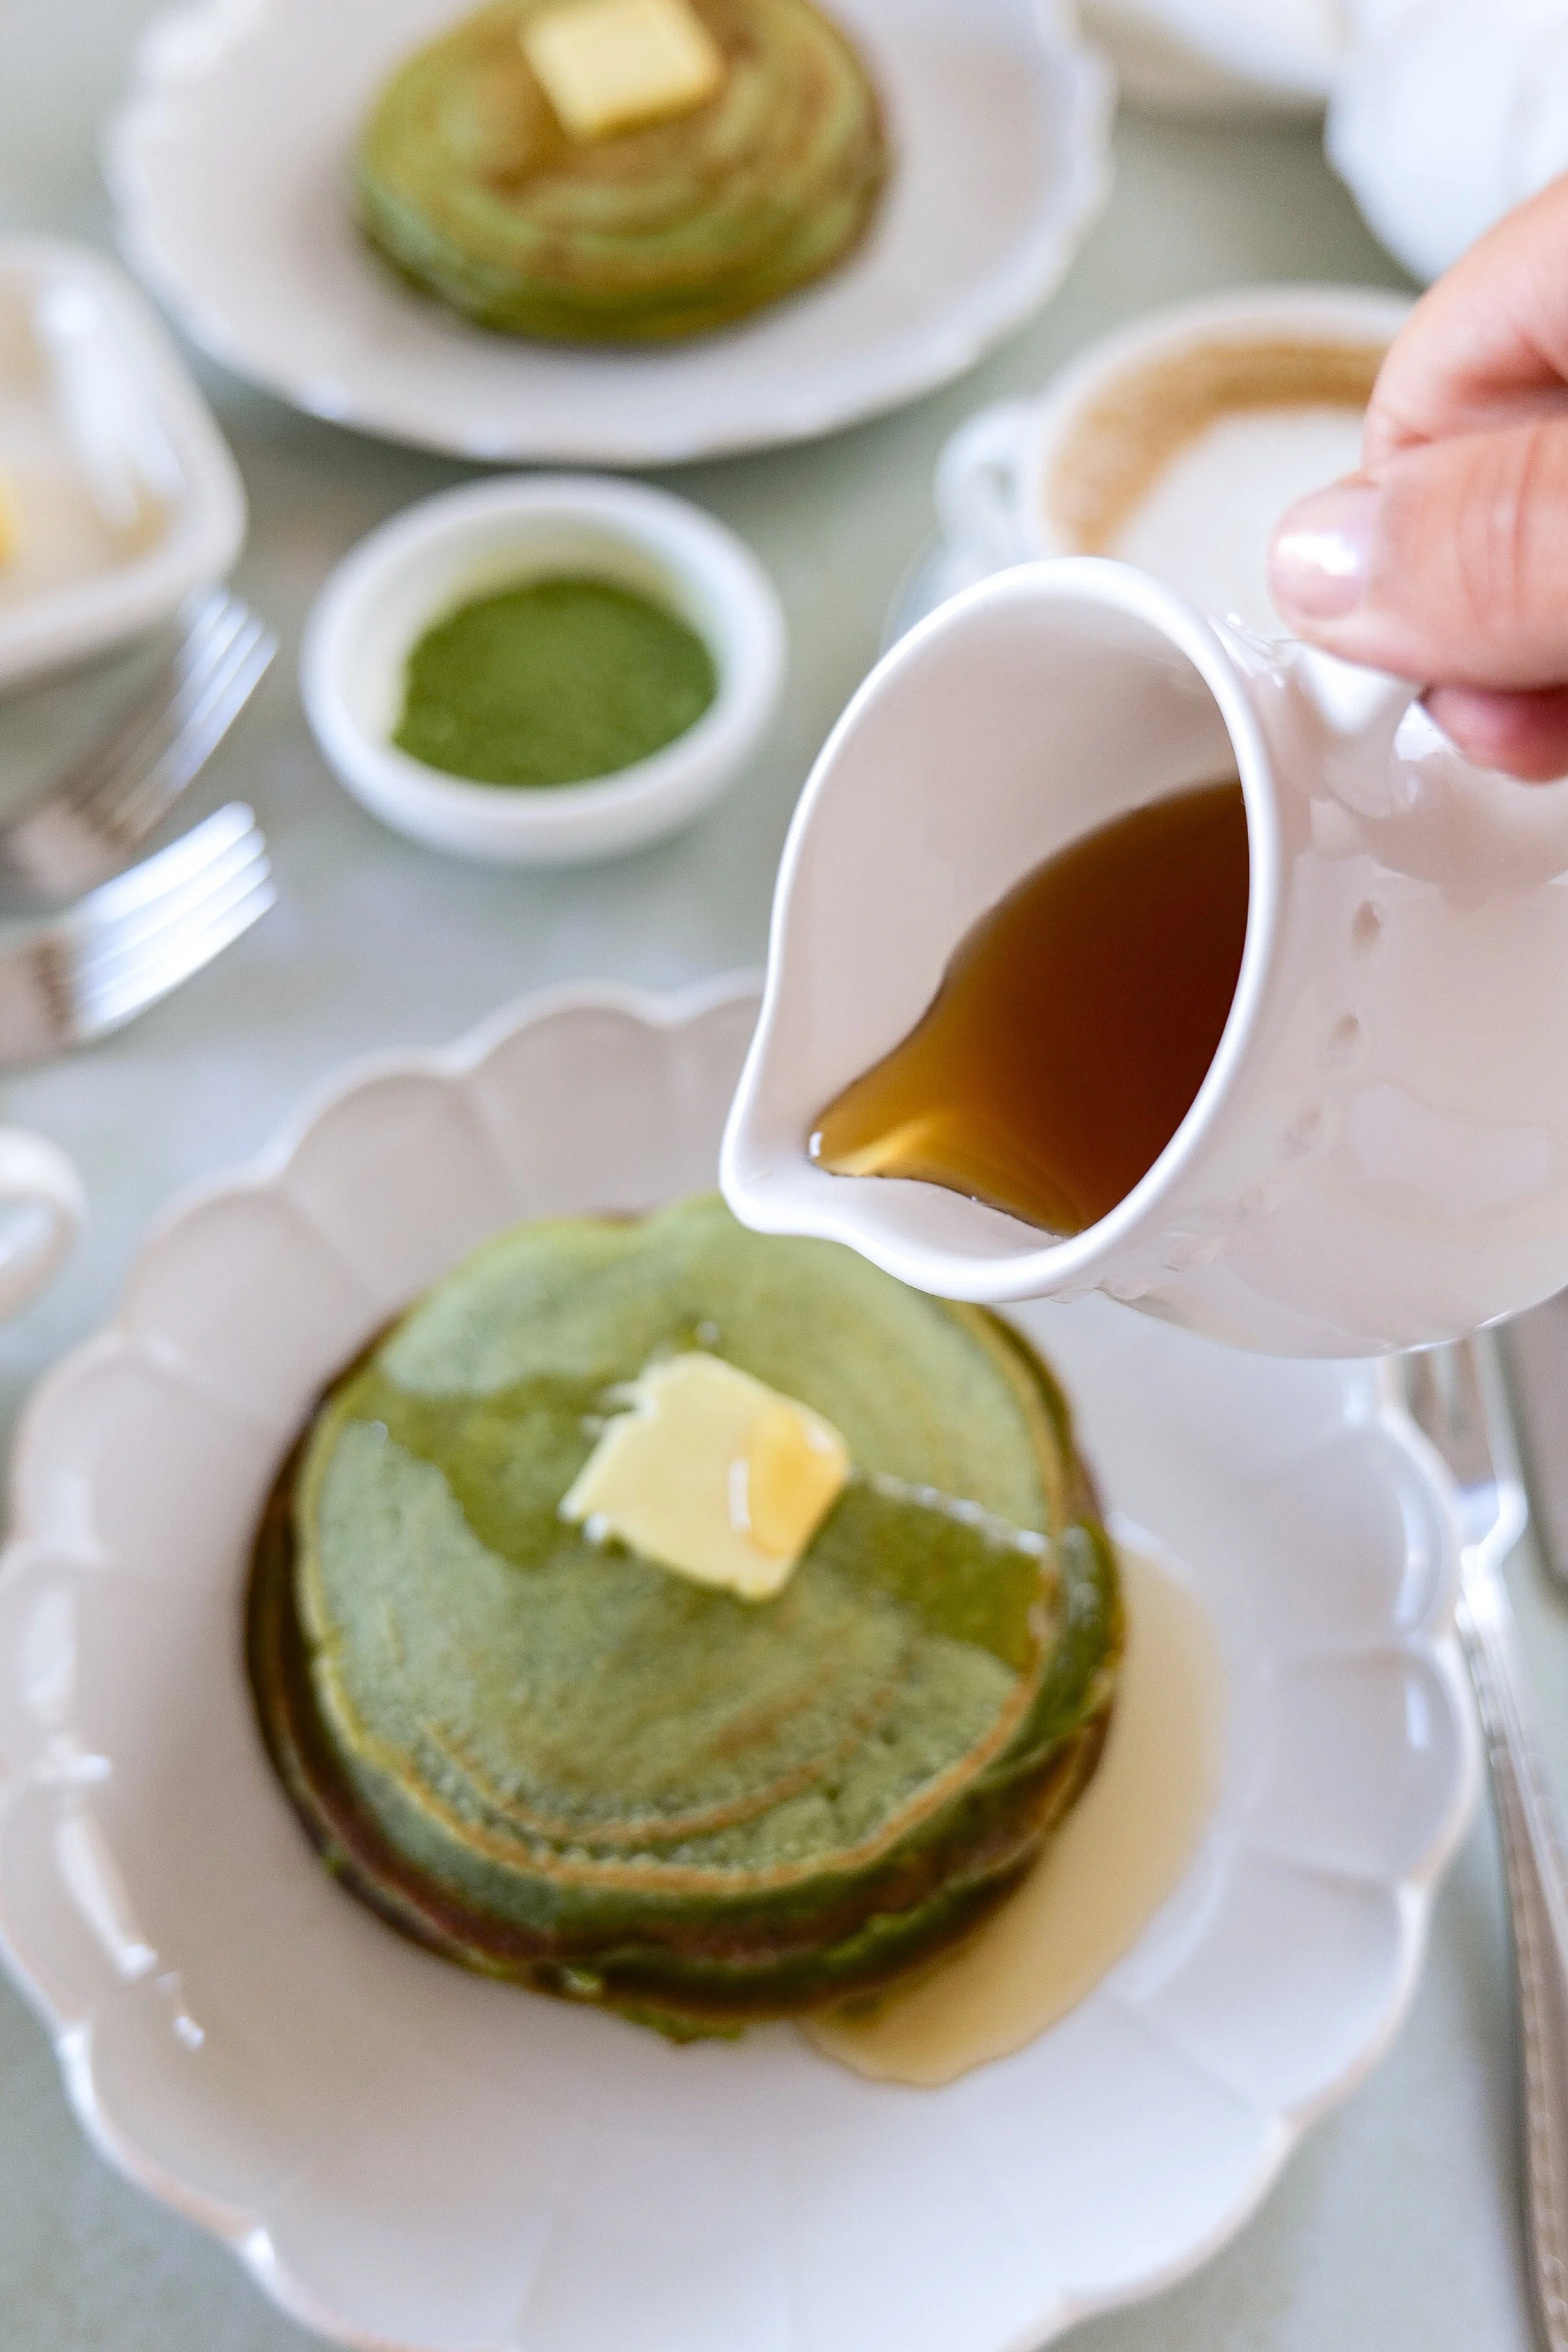
Stack of matcha sourdough discard pancakes with syrup pouring
Homemade fluffy matcha sourdough discard pancakes on ceramic plate
Matcha pancakes made with sourdough discard served for breakfast
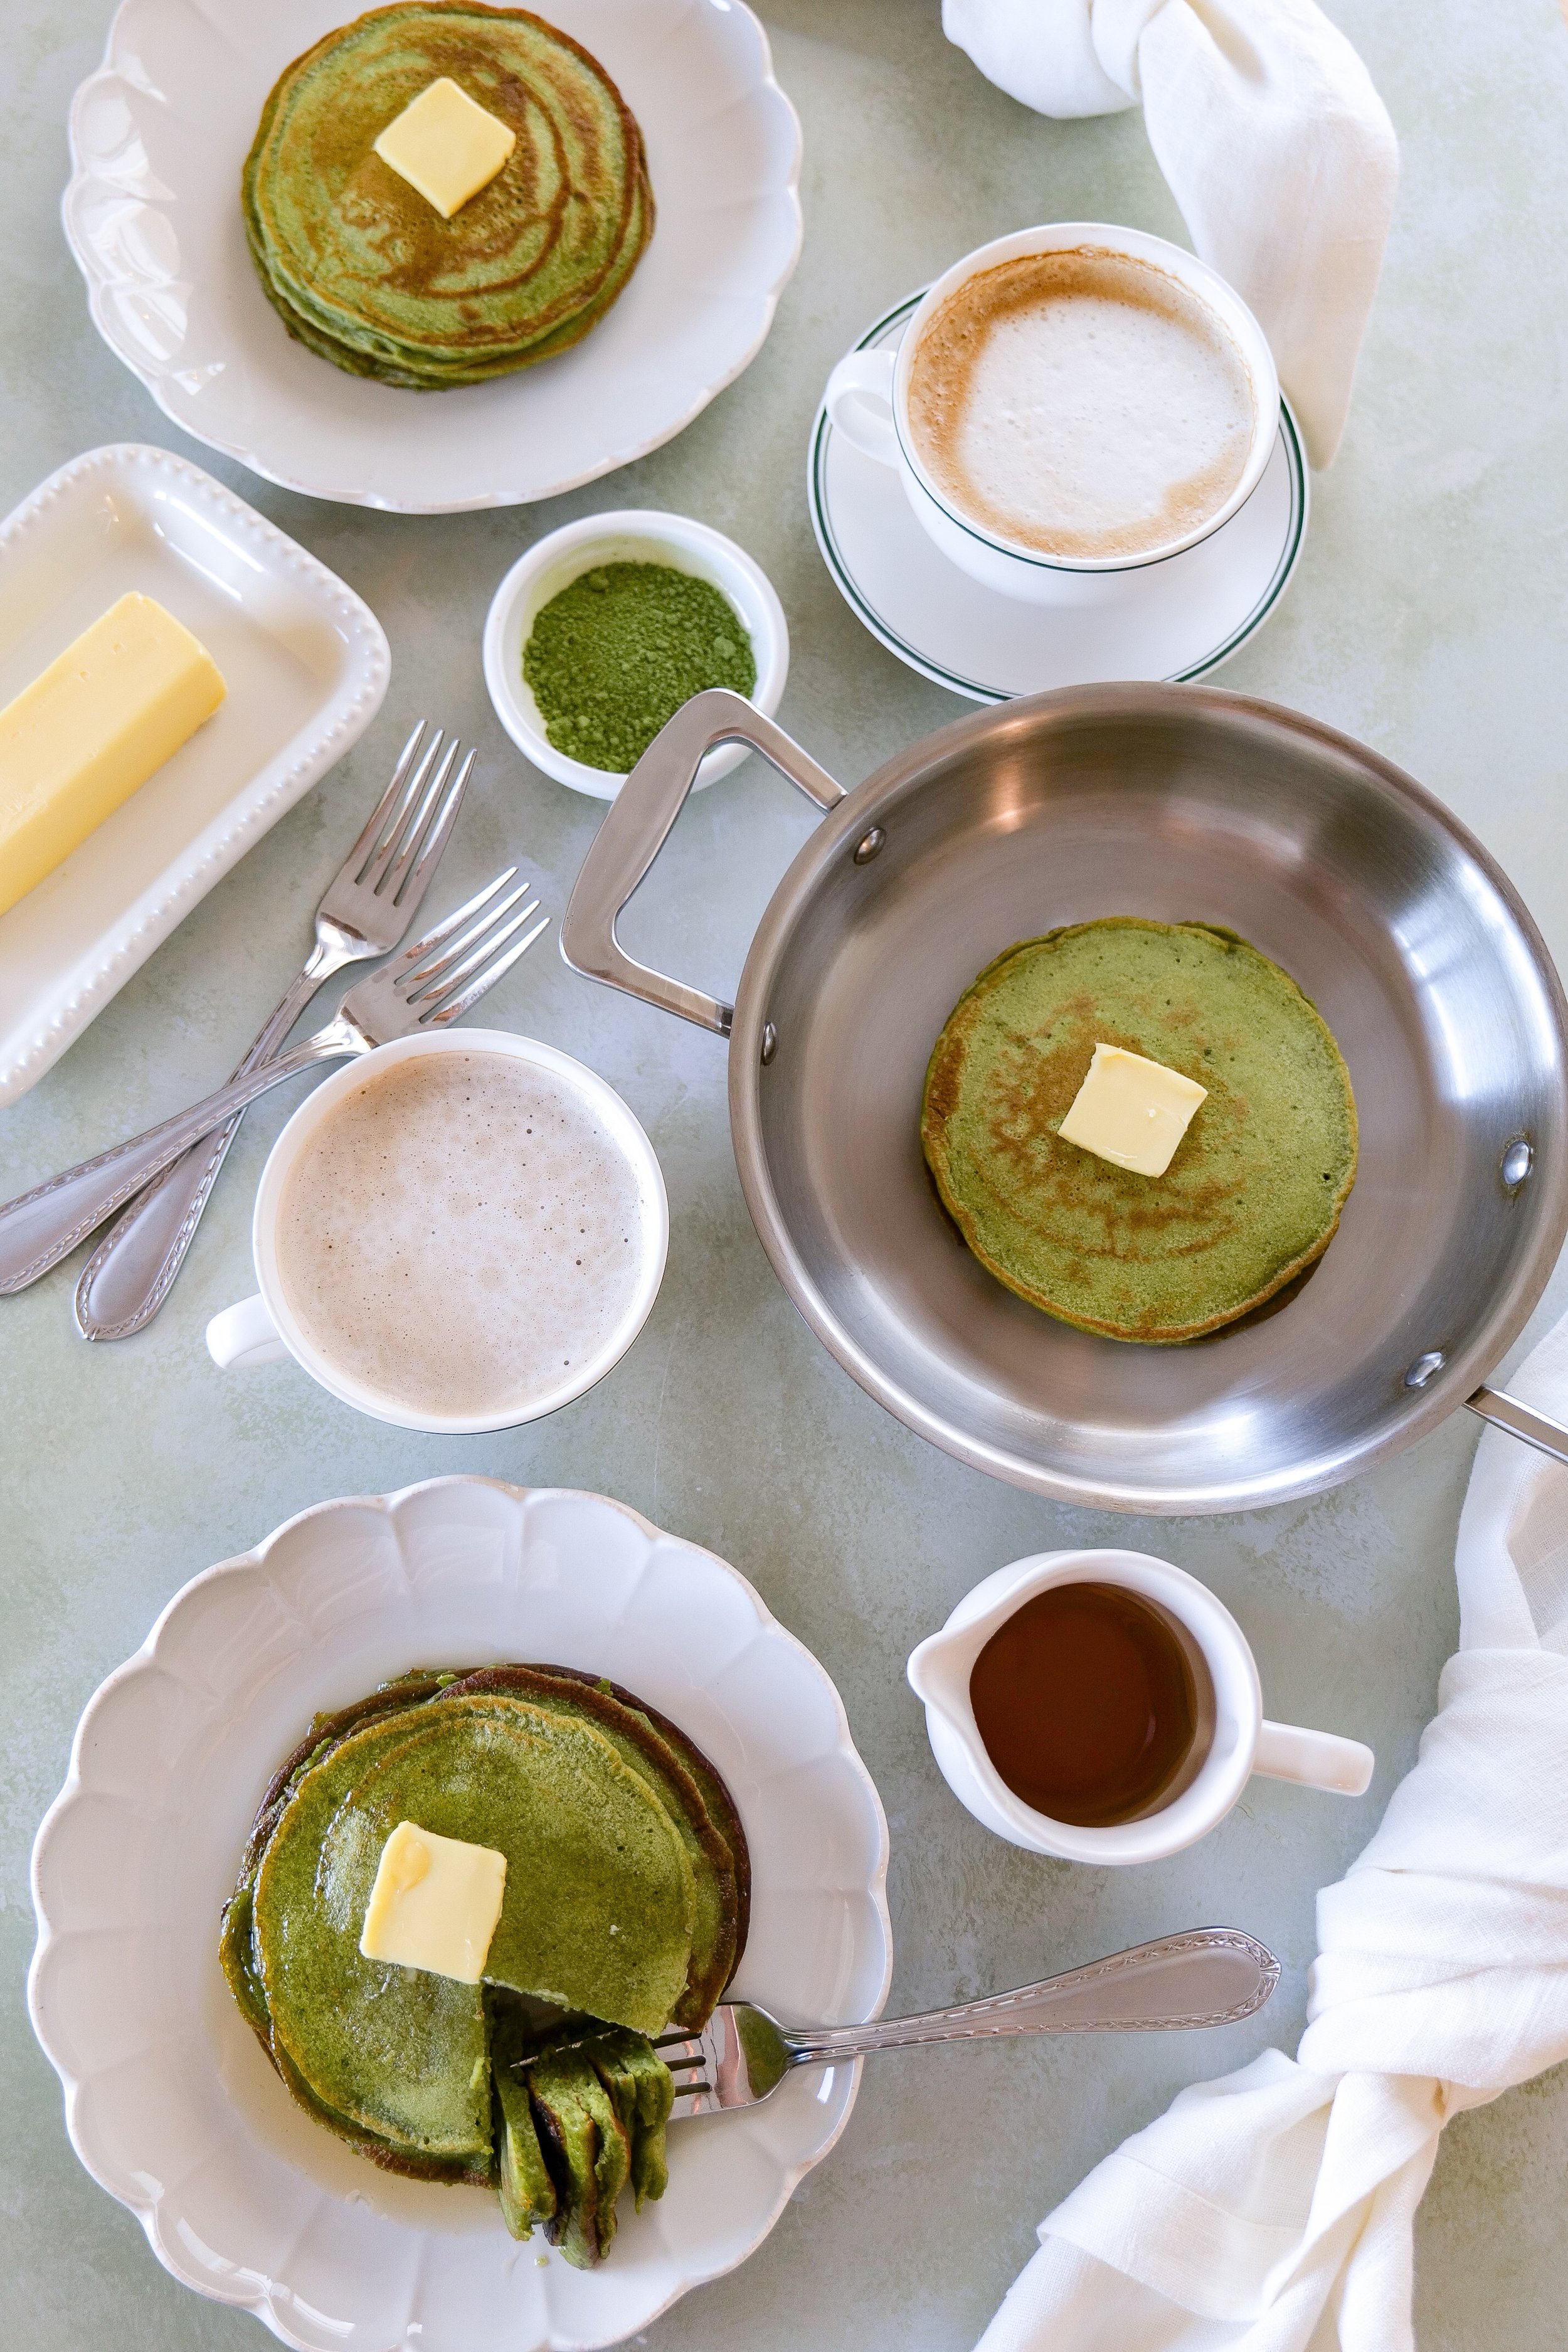
Fluffy matcha sourdough discard pancakes with coffee

Easy Weekend Brunch Ideas

If you’re planning a relaxed brunch at home, these matcha sourdough discard pancakes make a great centerpiece—but it’s always nice to have a few more options on the table. Here are some easy weekend brunch ideas that pair beautifully with a cozy morning spread:

Mix and match a couple of these with your pancakes, add fresh fruit and coffee, and you’ve got a brunch that feels thoughtful without being complicated. If you’re building out your go-to list of easy weekend brunch ideas, this is a great place to start.

Quick Summary

  • Prep time: 10 minutes

  • Cook time: 10 minutes

  • Total time: 20 minutes

  • Yield: 10-12 pancakes

  • Texture: fluffy, soft

Ingredients

  • 100 g sourdough starter discard

  • 200 g all-purpose flour

  • 12 g matcha powder

  • 250 g milk

  • 50 g butter, melted

  • 40 g honey

  • 2 eggs

  • 8 g baking powder

  • 3 g salt

  • 6 g vanilla extract

Instructions

  1. Mix the wet ingredients
    In a large bowl, whisk together the sourdough starter discard, milk, melted butter, honey, eggs, and vanilla extract until smooth.

  2. Combine the dry ingredients
    In a separate bowl, sift together the flour, matcha powder, baking powder, and salt. Sifting helps prevent clumps—especially important with matcha.

  3. Make the batter
    Gradually add the dry ingredients into the wet mixture, stirring gently until just combined. Be careful not to overmix; a few lumps are fine.

  4. Rest the batter (optional but recommended)
    Let the batter sit for 5–10 minutes. This allows the flour to hydrate and gives you fluffier pancakes.

  5. Cook the pancakes
    Heat a non-stick pan or griddle over medium heat and lightly grease it. Pour about 1/4 cup of batter for each pancake. Cook until bubbles form on the surface (about 2–3 minutes), then flip and cook for another 1–2 minutes until done.

  6. Serve and enjoy
    Serve warm with butter, maple syrup, fresh fruit, or a dusting of powdered sugar.

If you’re in a matcha baking mood, don’t miss my Matcha Strawberry Cake — a fluffy, sweet layered cake that pairs perfectly with the earthy flavor of matcha.

👉 Matcha Strawberry Cake

Shop My Matcha Baking Favorites

If you love making matcha recipes at home, these are the kitchen tools and ingredients I use most often

Baking Essentials

Cozy Coffee Bar Favorites

FAQs

Why are my sourdough discard pancakes dense?
Usually from overmixing or inactive discard. Stir just until combined and make sure your leavening is fresh.

Can I taste the sourdough in pancakes?
Slightly. It adds a mild tang that balances the sweetness but isn’t overpowering.

Does matcha lose flavor when cooked?
A bit, which is why using a good-quality matcha and enough quantity matters.

Can I make the batter ahead of time?
Yes, but cook within a few hours for best texture.

What’s the best matcha for pancakes?
Culinary-grade matcha works best—it’s more affordable and designed for baking.

Troubleshooting

  • Pancakes too bitter → too much matcha or low-quality powder

  • Flat pancakes → batter too thin or old baking powder

  • Gummy inside → heat too high, outside cooked too fast

  • Too sour → discard was very old; balance with a bit more honey

Variations

  • Vegan: swap eggs + milk for plant-based alternatives

  • Dairy-free: use oil instead of butter

  • Banana matcha pancakes: add mashed banana

  • Protein pancakes: add a scoop of vanilla protein powder

Save This Recipe

Whether you're planning ahead for a special occasion or adding a new favorite to your recipe collection, I've included a printable recipe card below so it's easy to save, print, and share with the people you love.

Soft and airy green pancakes on breakfast table
Matcha sourdough discard pancakes with butter and maple syrup topping
Close-up of fluffy pancakes showing green color
Matcha sourdough discard pancakes served with butter
Breakfast scene featuring fluffy matcha sourdough discard pancakes
green matcha pancakes made from sourdough discard batter
Light and fluffy matcha sourdough discard pancakes with butter
Cozy breakfast plate of matcha sourdough discard pancakes and coffee

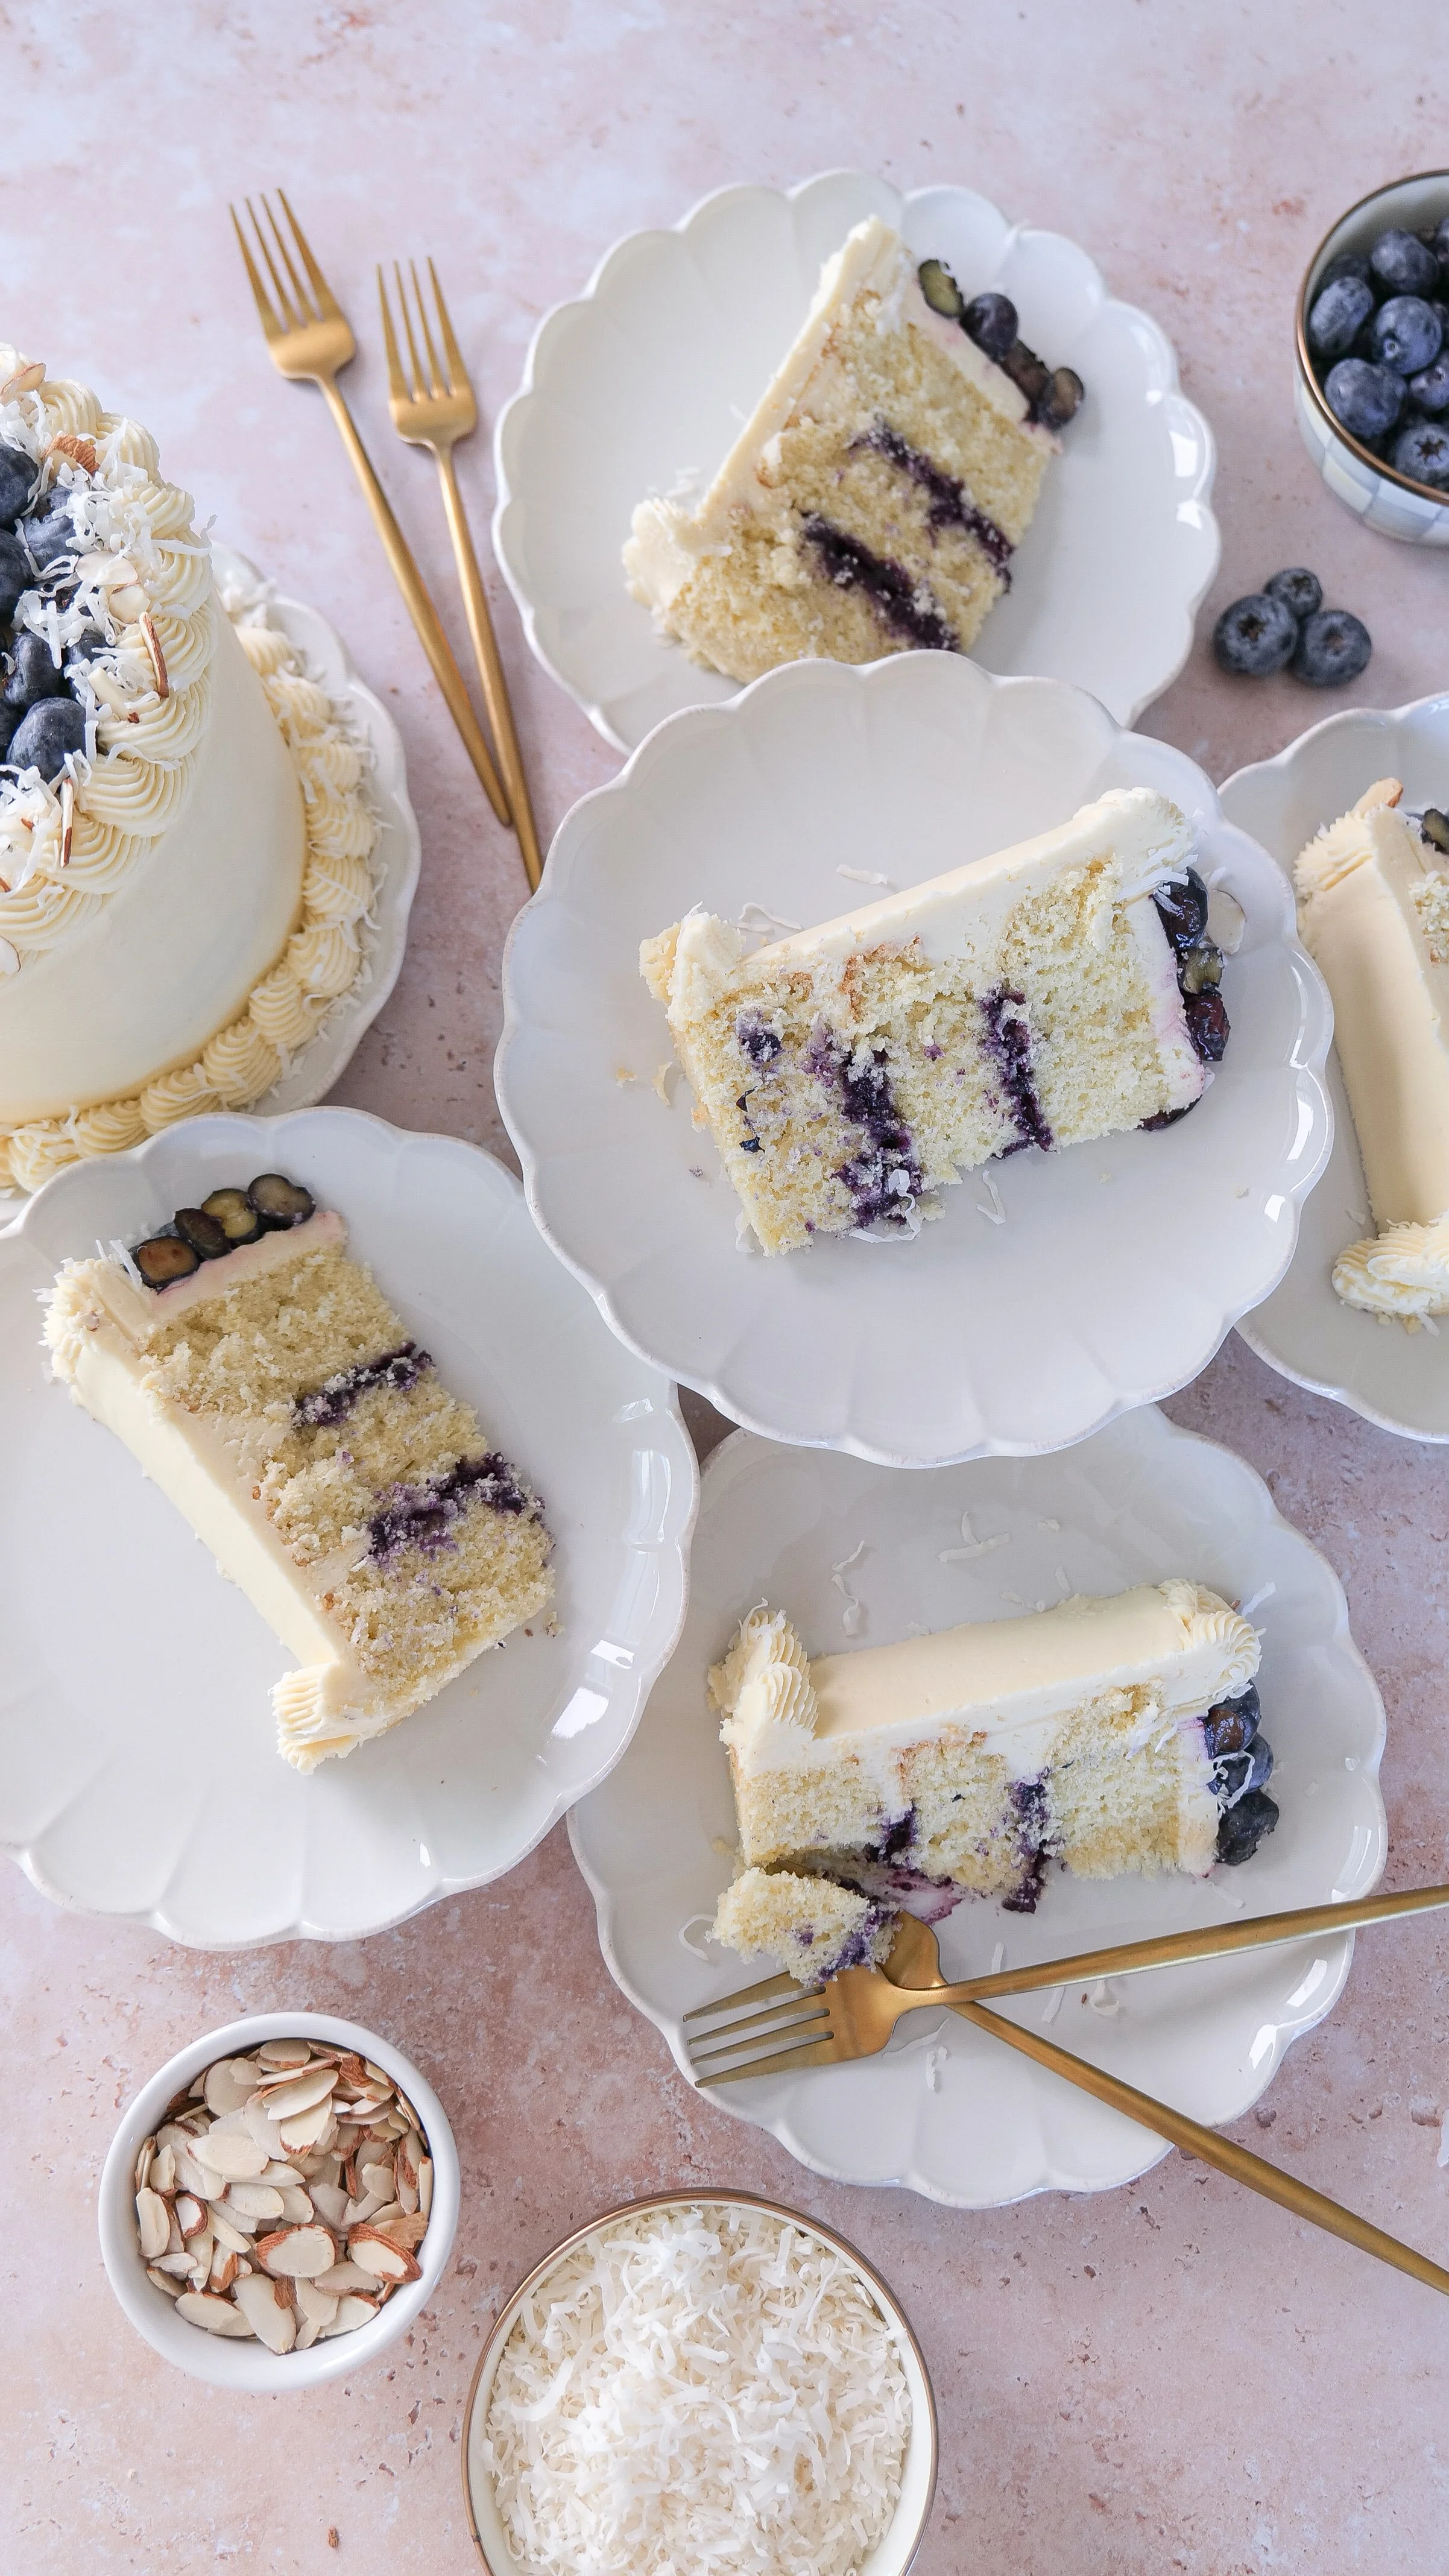
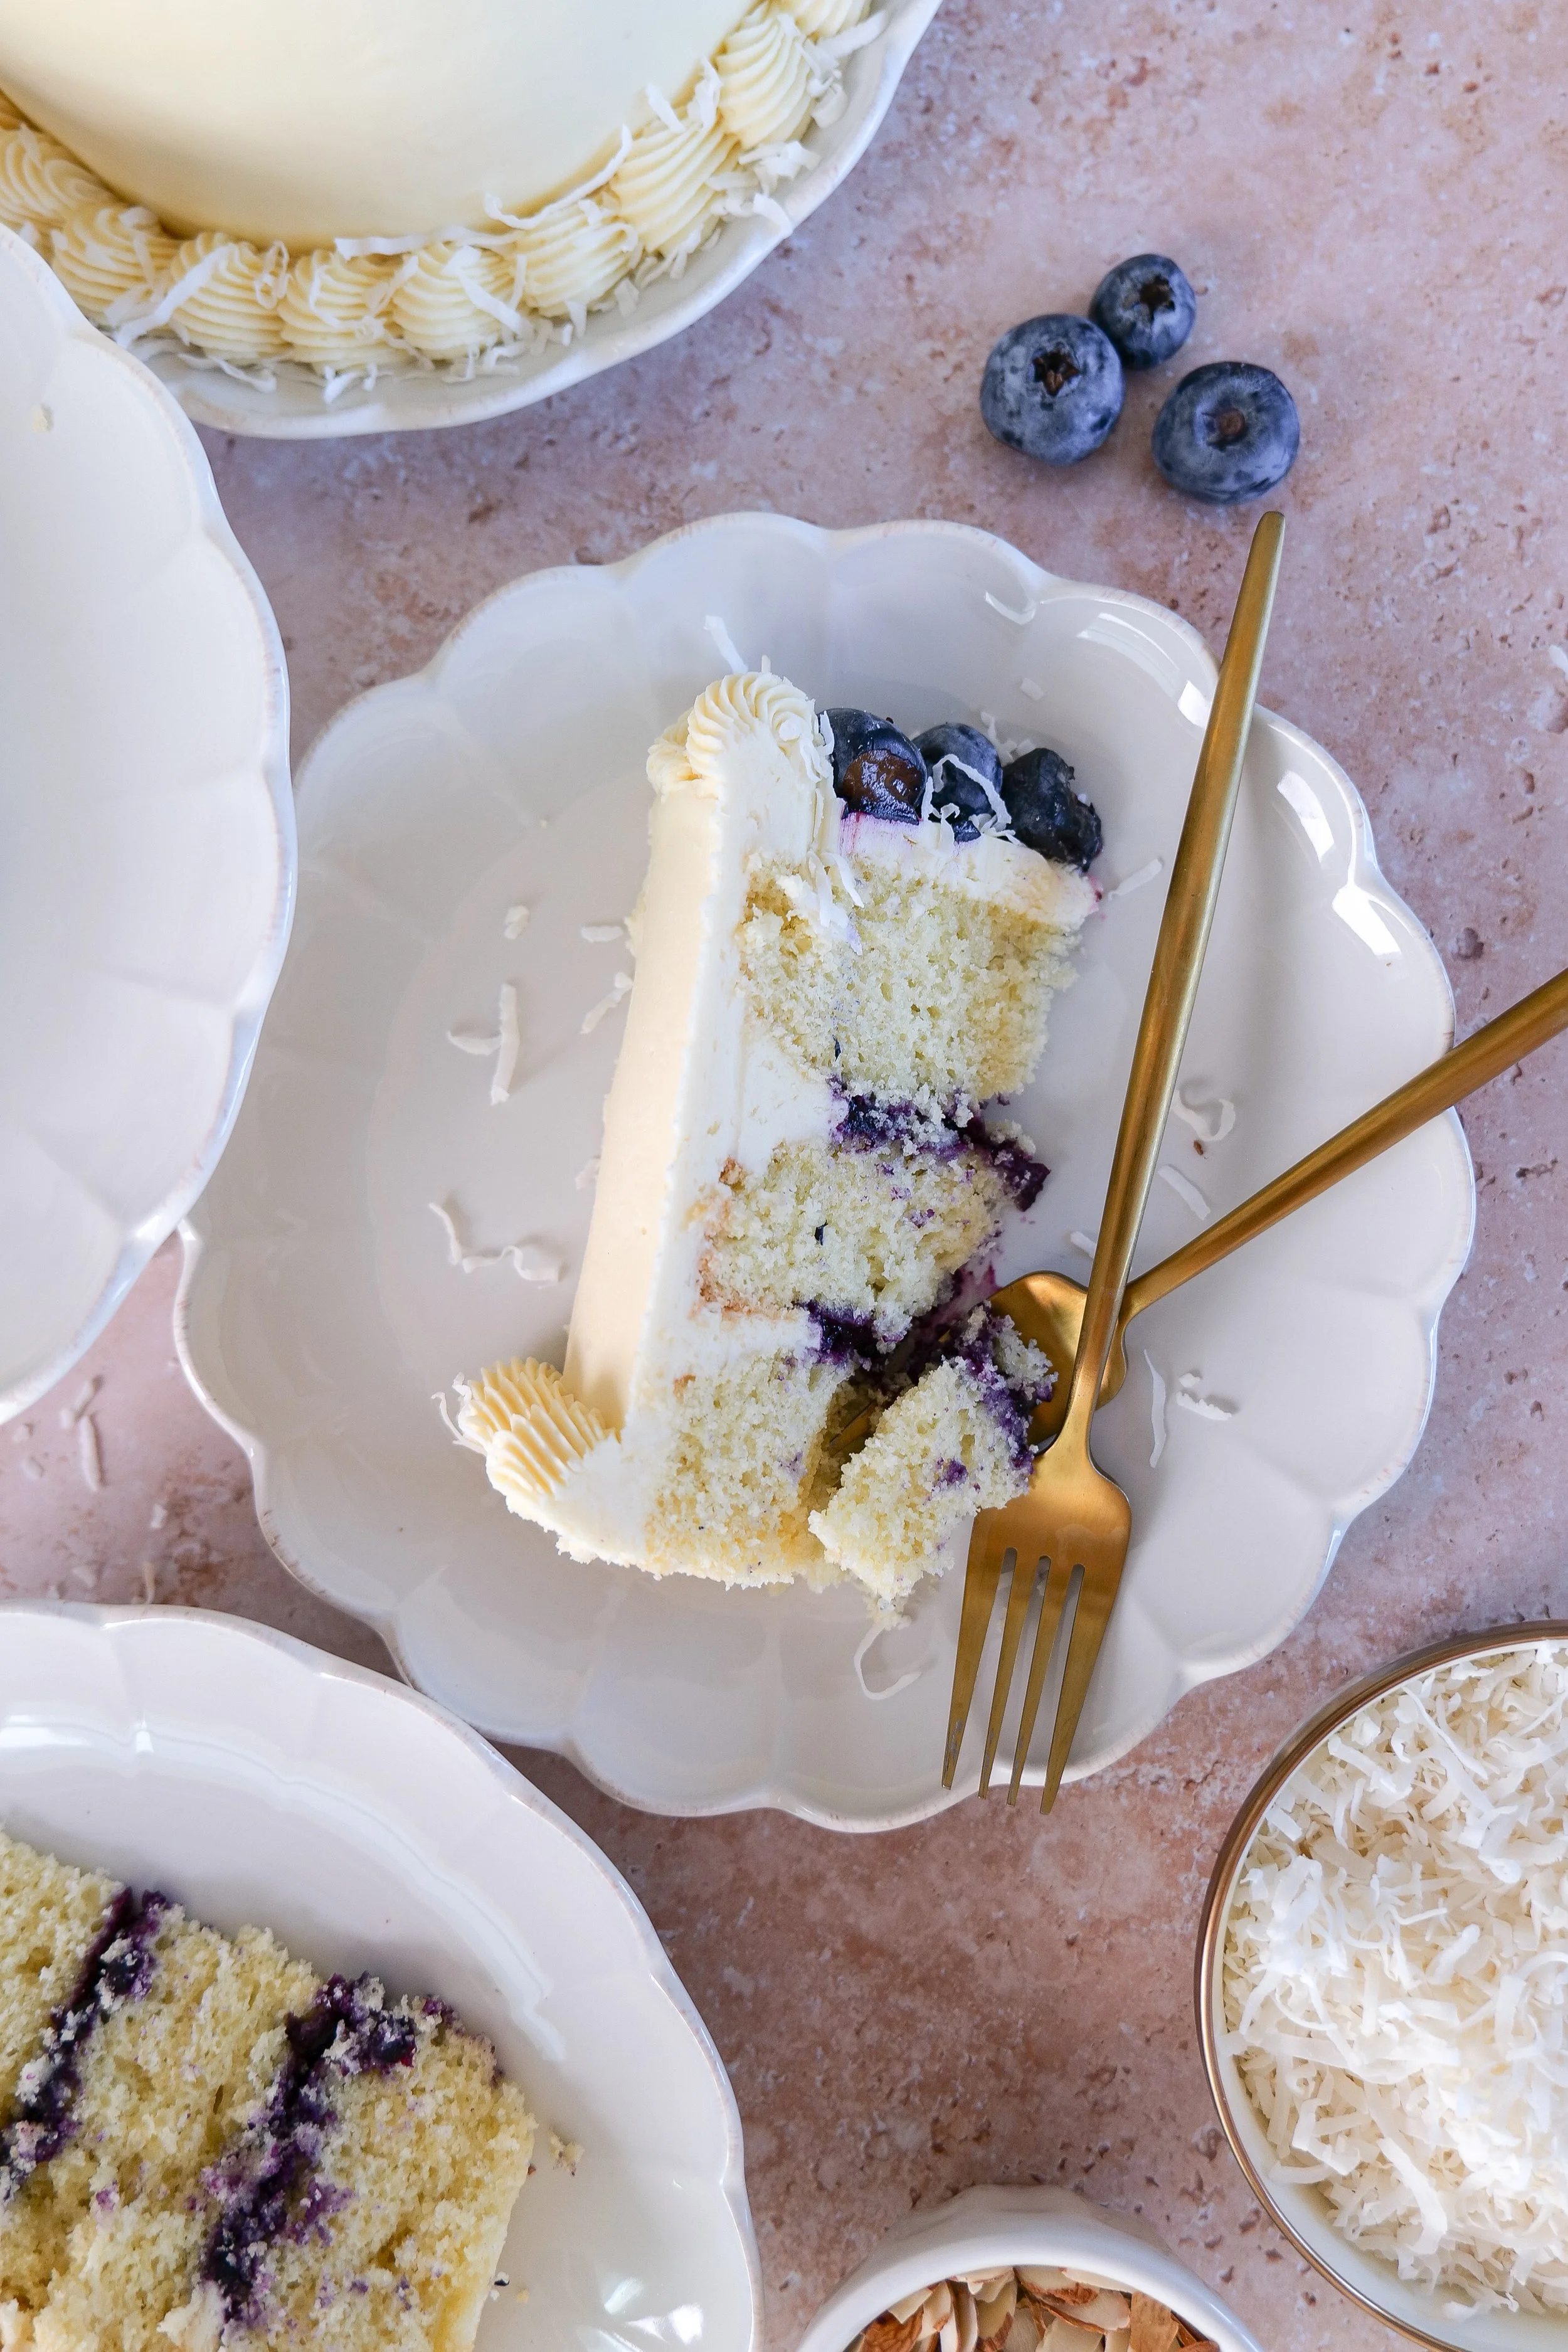
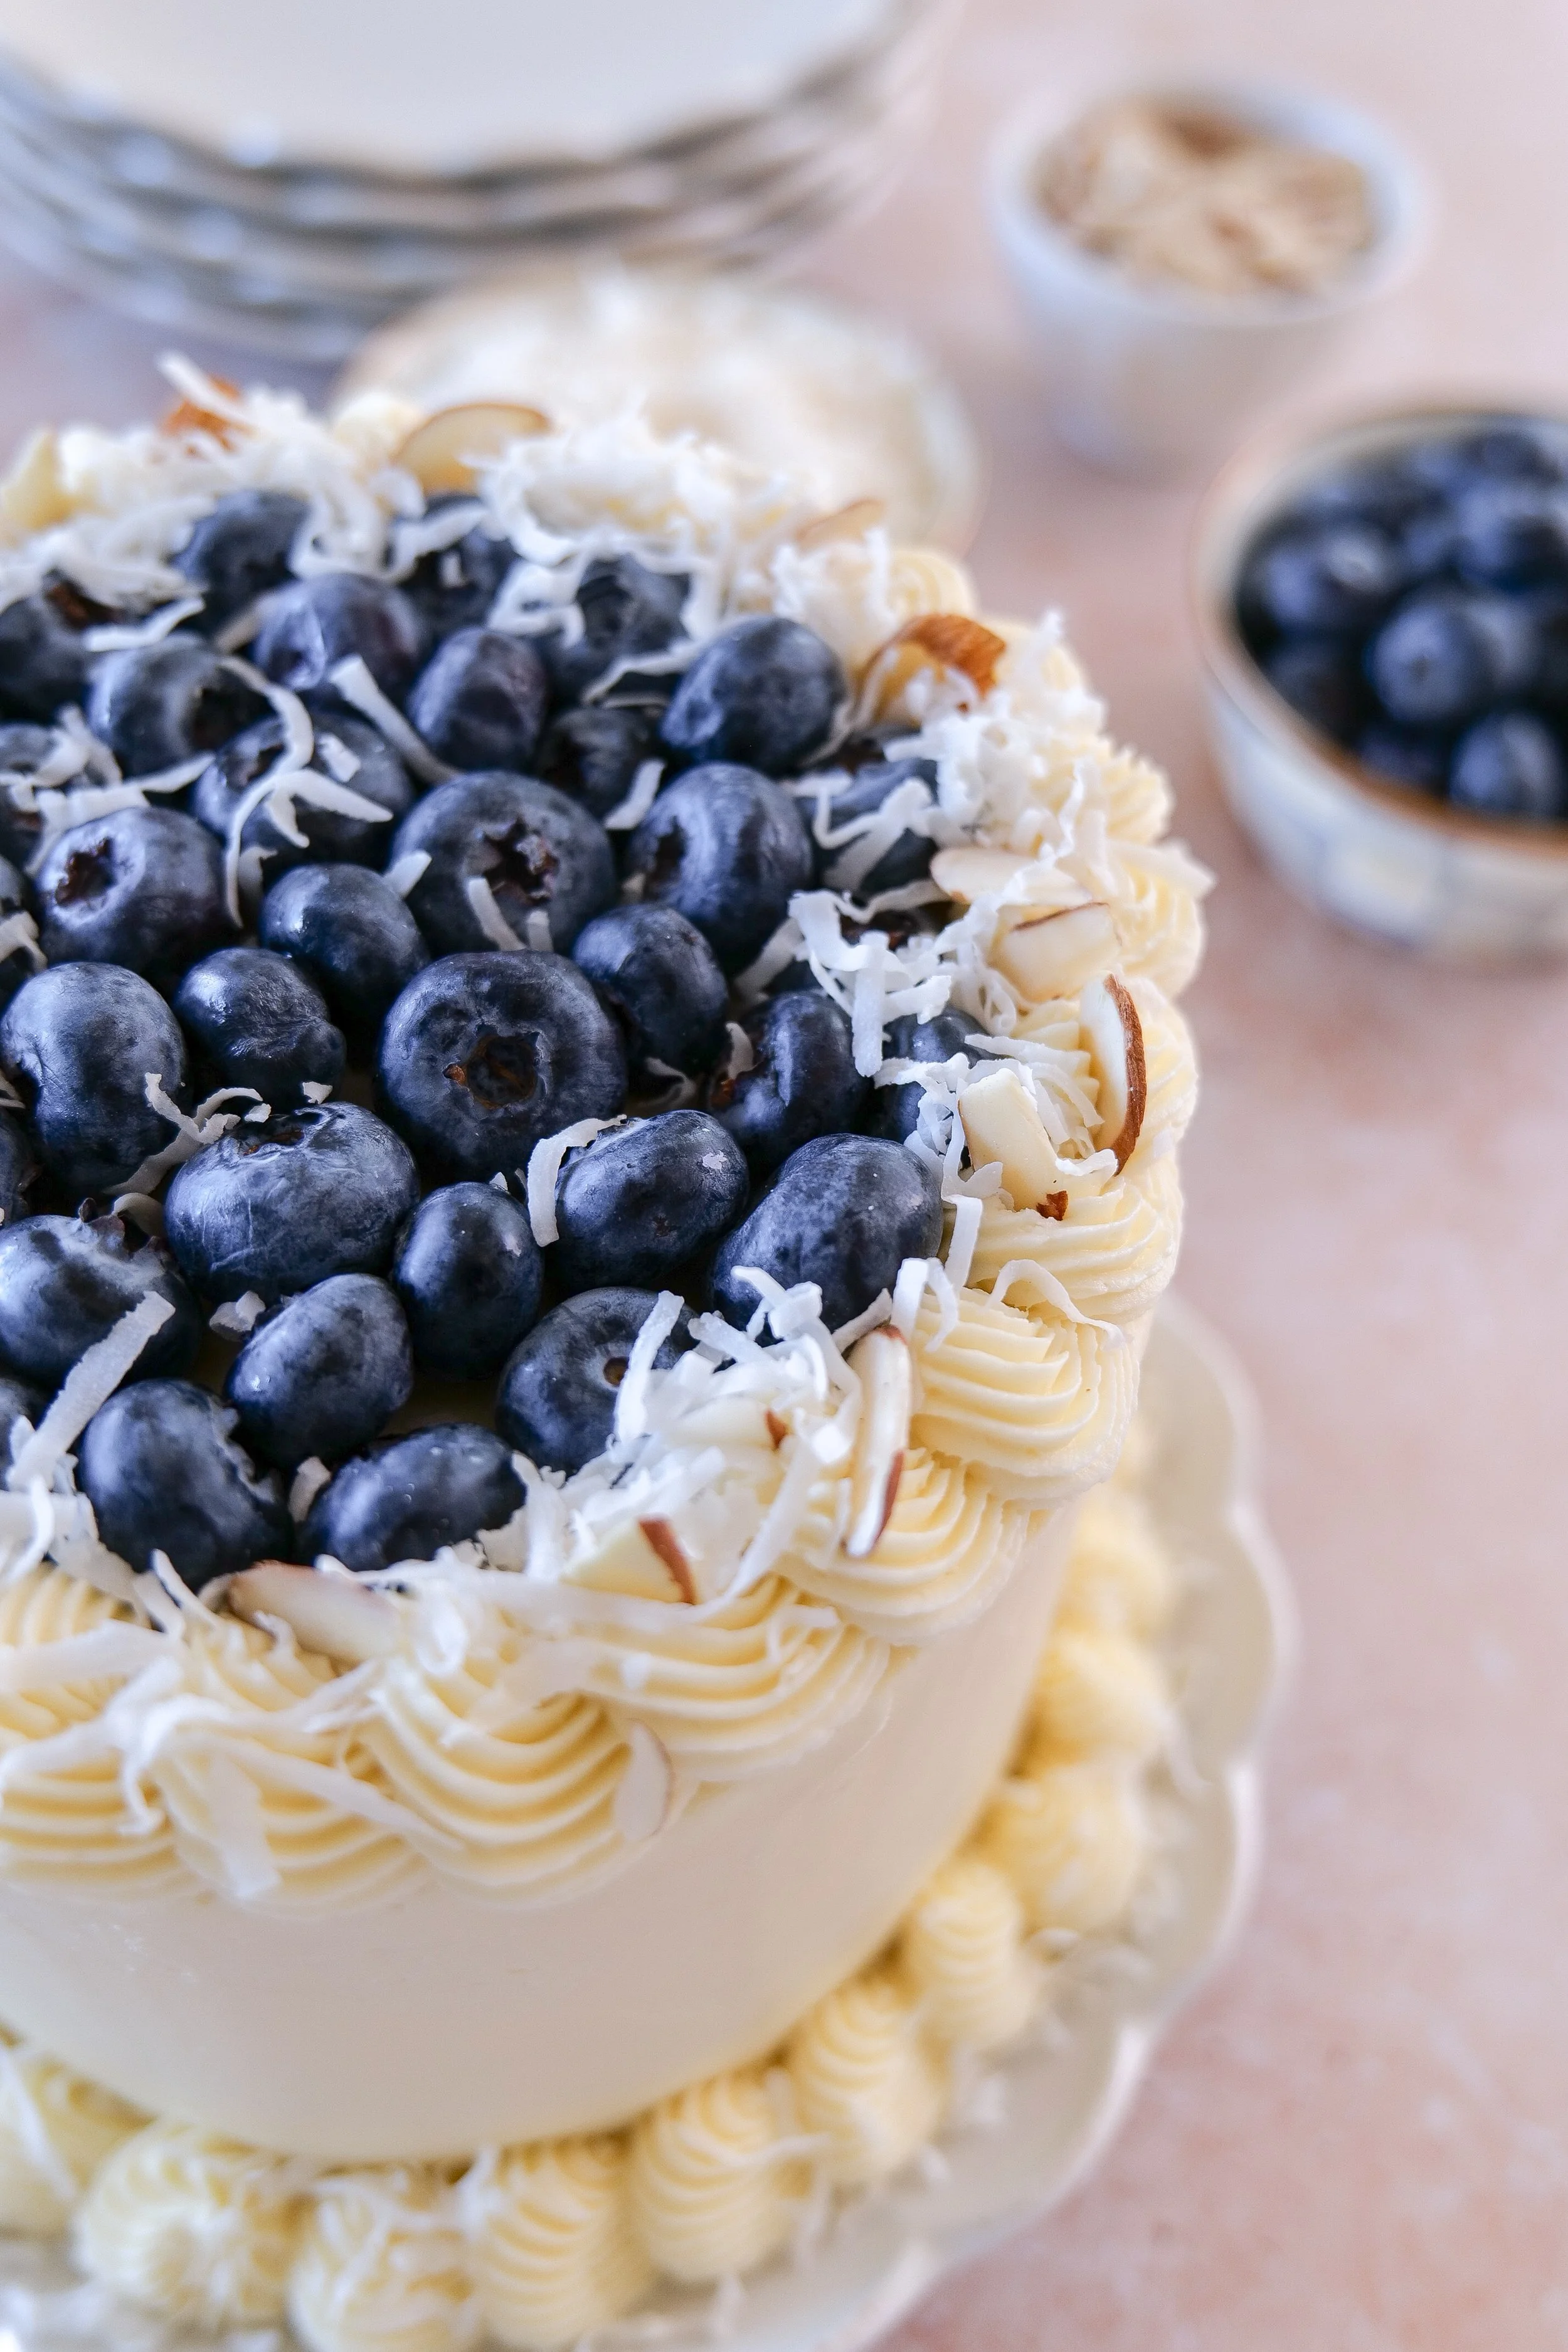
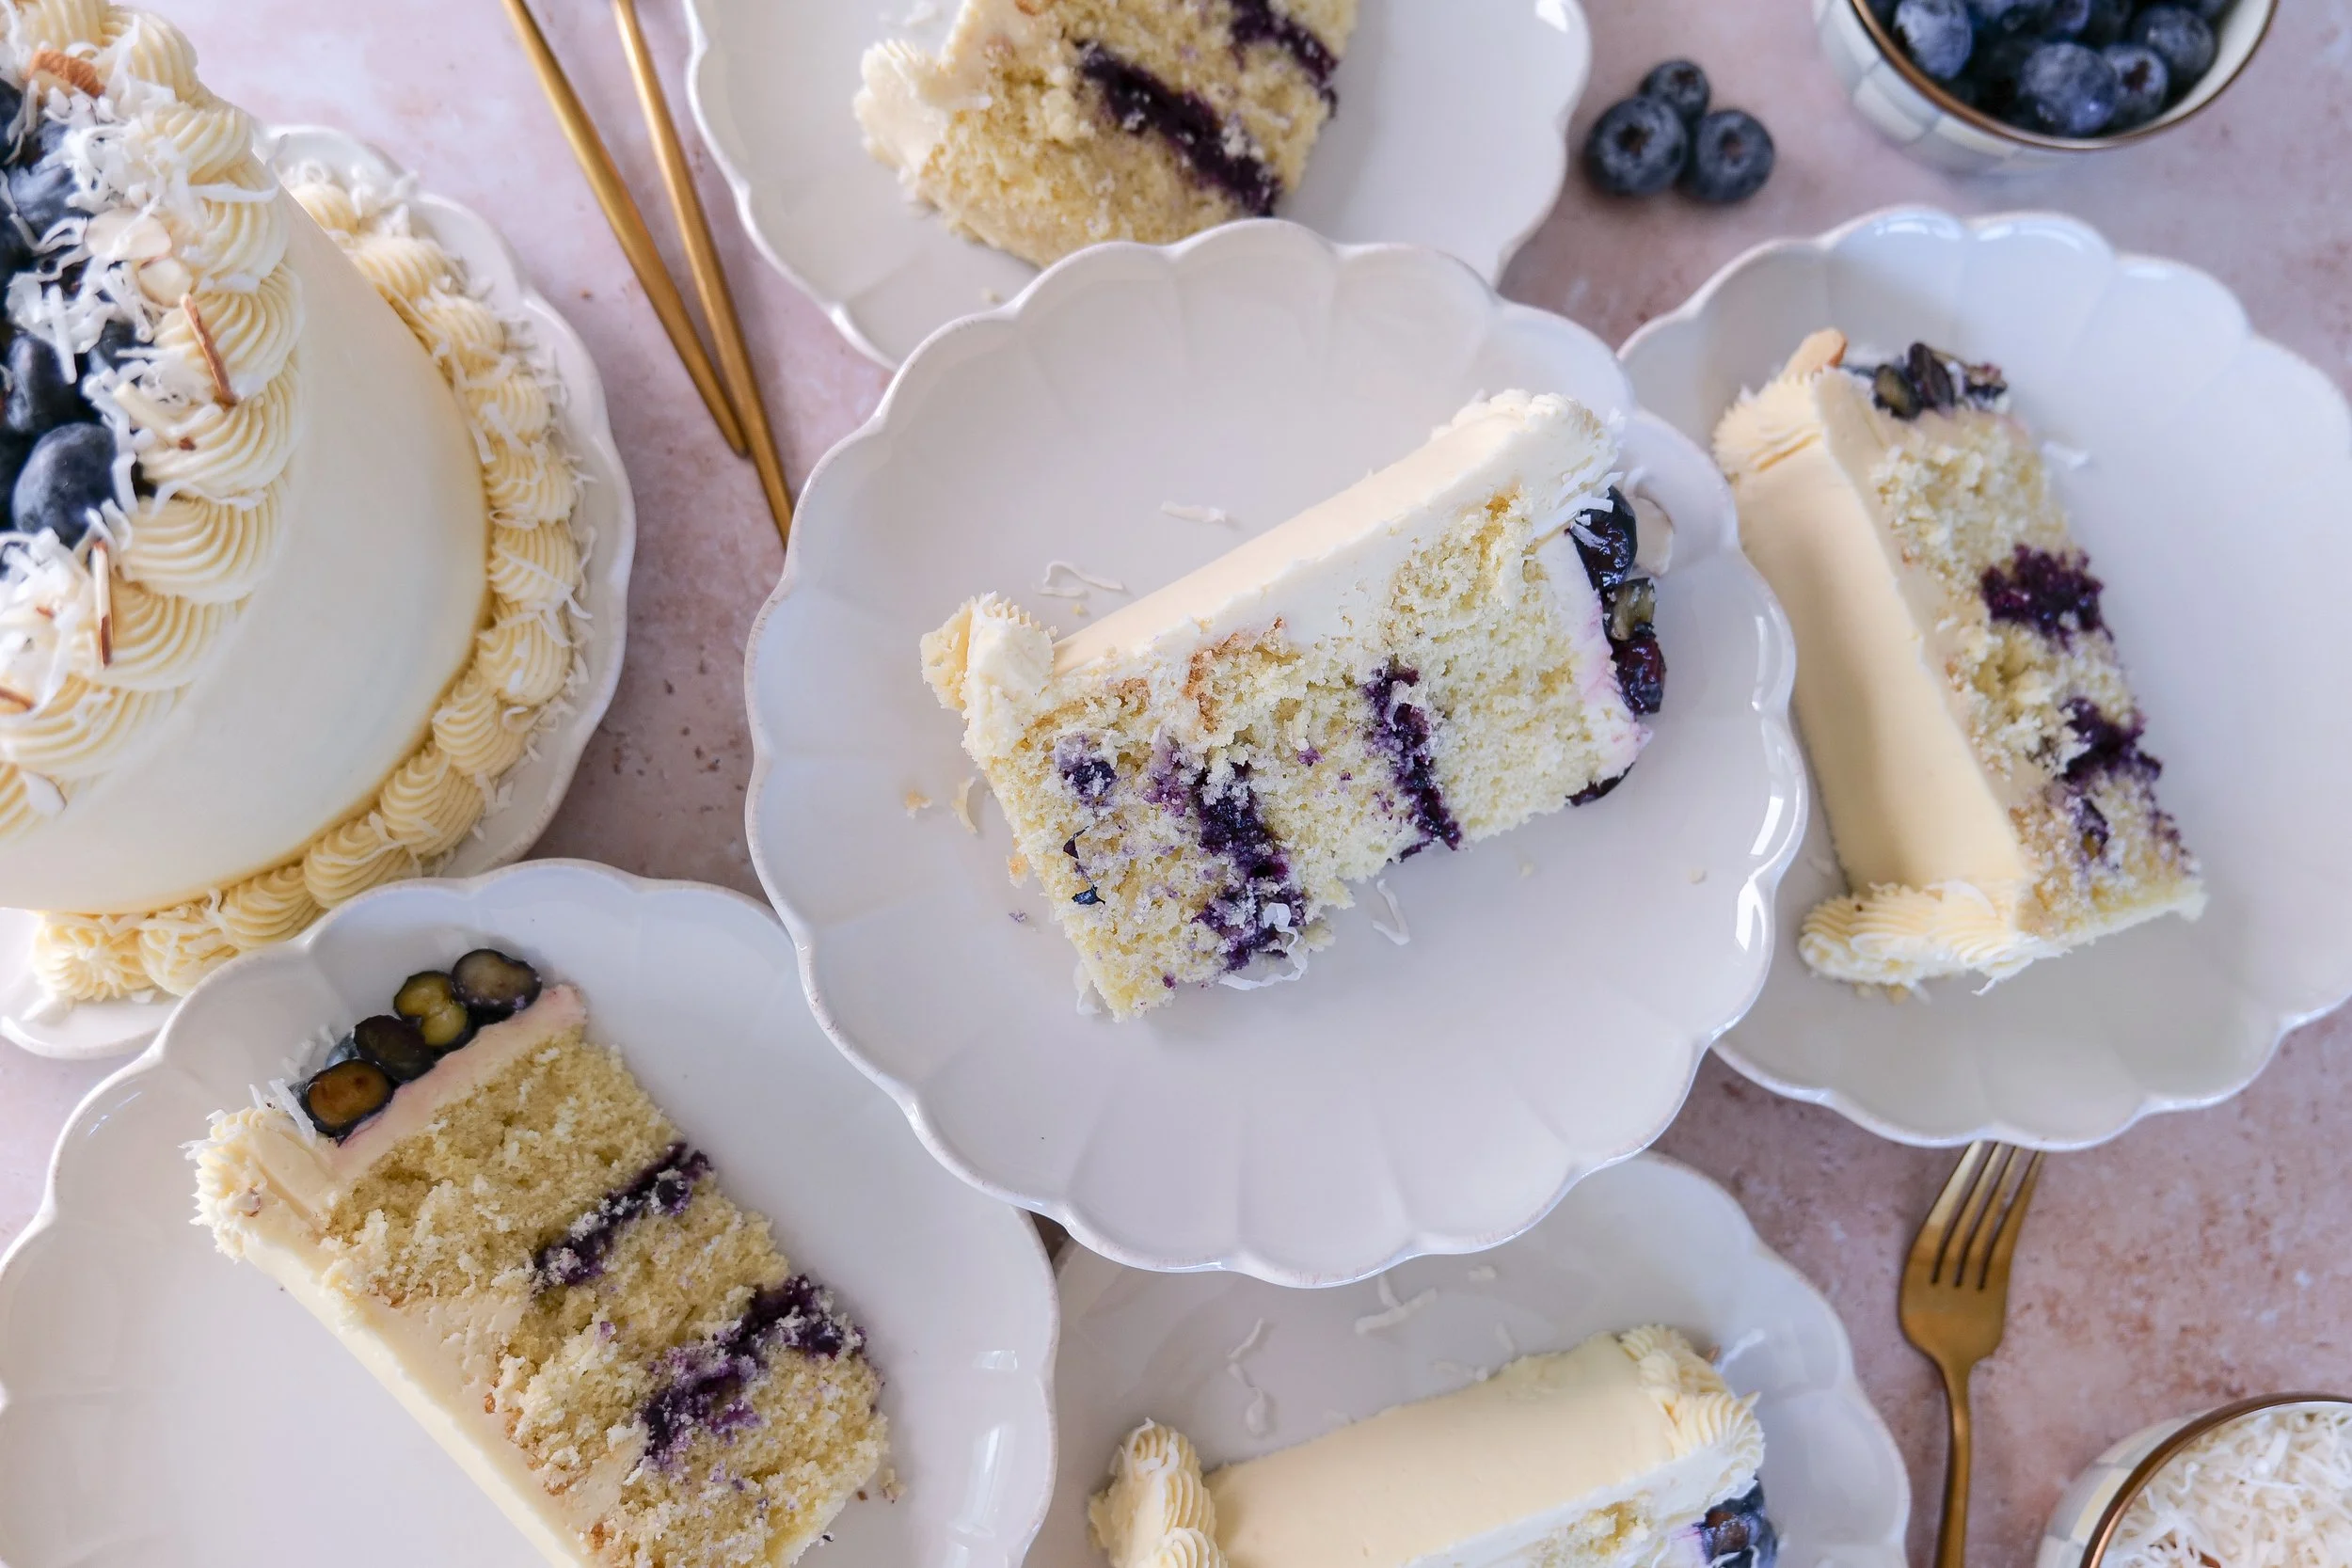
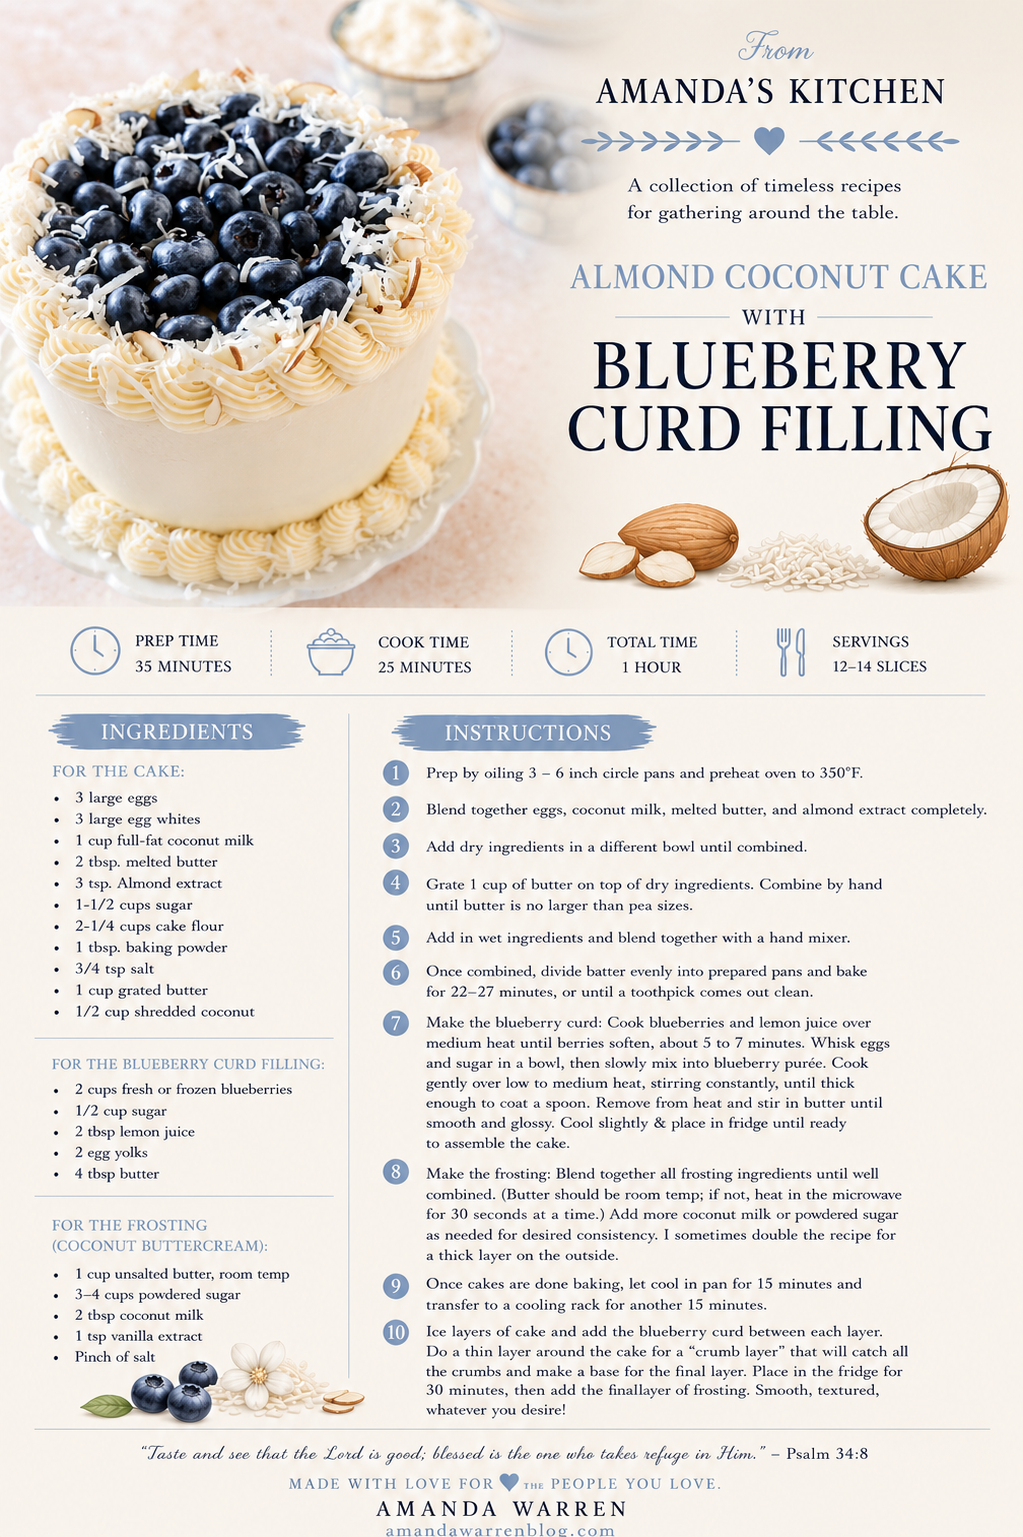
Almond Coconut Cake with Blueberry Curd Filling

This Almond Coconut Cake with Blueberry Curd Filling is soft, moist, and layered with bright blueberry flavor in every bite. The combination of tender almond cake, coconut, and homemade blueberry curd creates a beautiful bakery-style dessert that's perfect for spring celebrations, Easter brunch, baby showers, birthdays, and special occasions.

↓ Skip to Recipe

If you're looking for a unique layer cake that feels elegant yet approachable, this blueberry almond cake delivers the perfect balance of nutty flavor, fruity filling, and light sweetness. It's the kind of dessert that looks impressive on a cake stand while still being easy enough to make at home.

Why You'll Love This Almond Coconut Cake

✔ Soft and moist almond cake layers

✔ Homemade blueberry curd filling

✔ Beautiful for spring and summer celebrations

✔ Perfect for Easter, Mother's Day, and baby showers

✔ Elegant bakery-style presentation

✔ Make-ahead friendly

✔ Unique flavor combination guests always remember

Perfect For

• Easter dessert tables

• Baby showers

• Bridal showers

• Mother's Day celebrations

• Spring brunches

• Summer birthdays

• Afternoon tea parties

• Special occasion baking

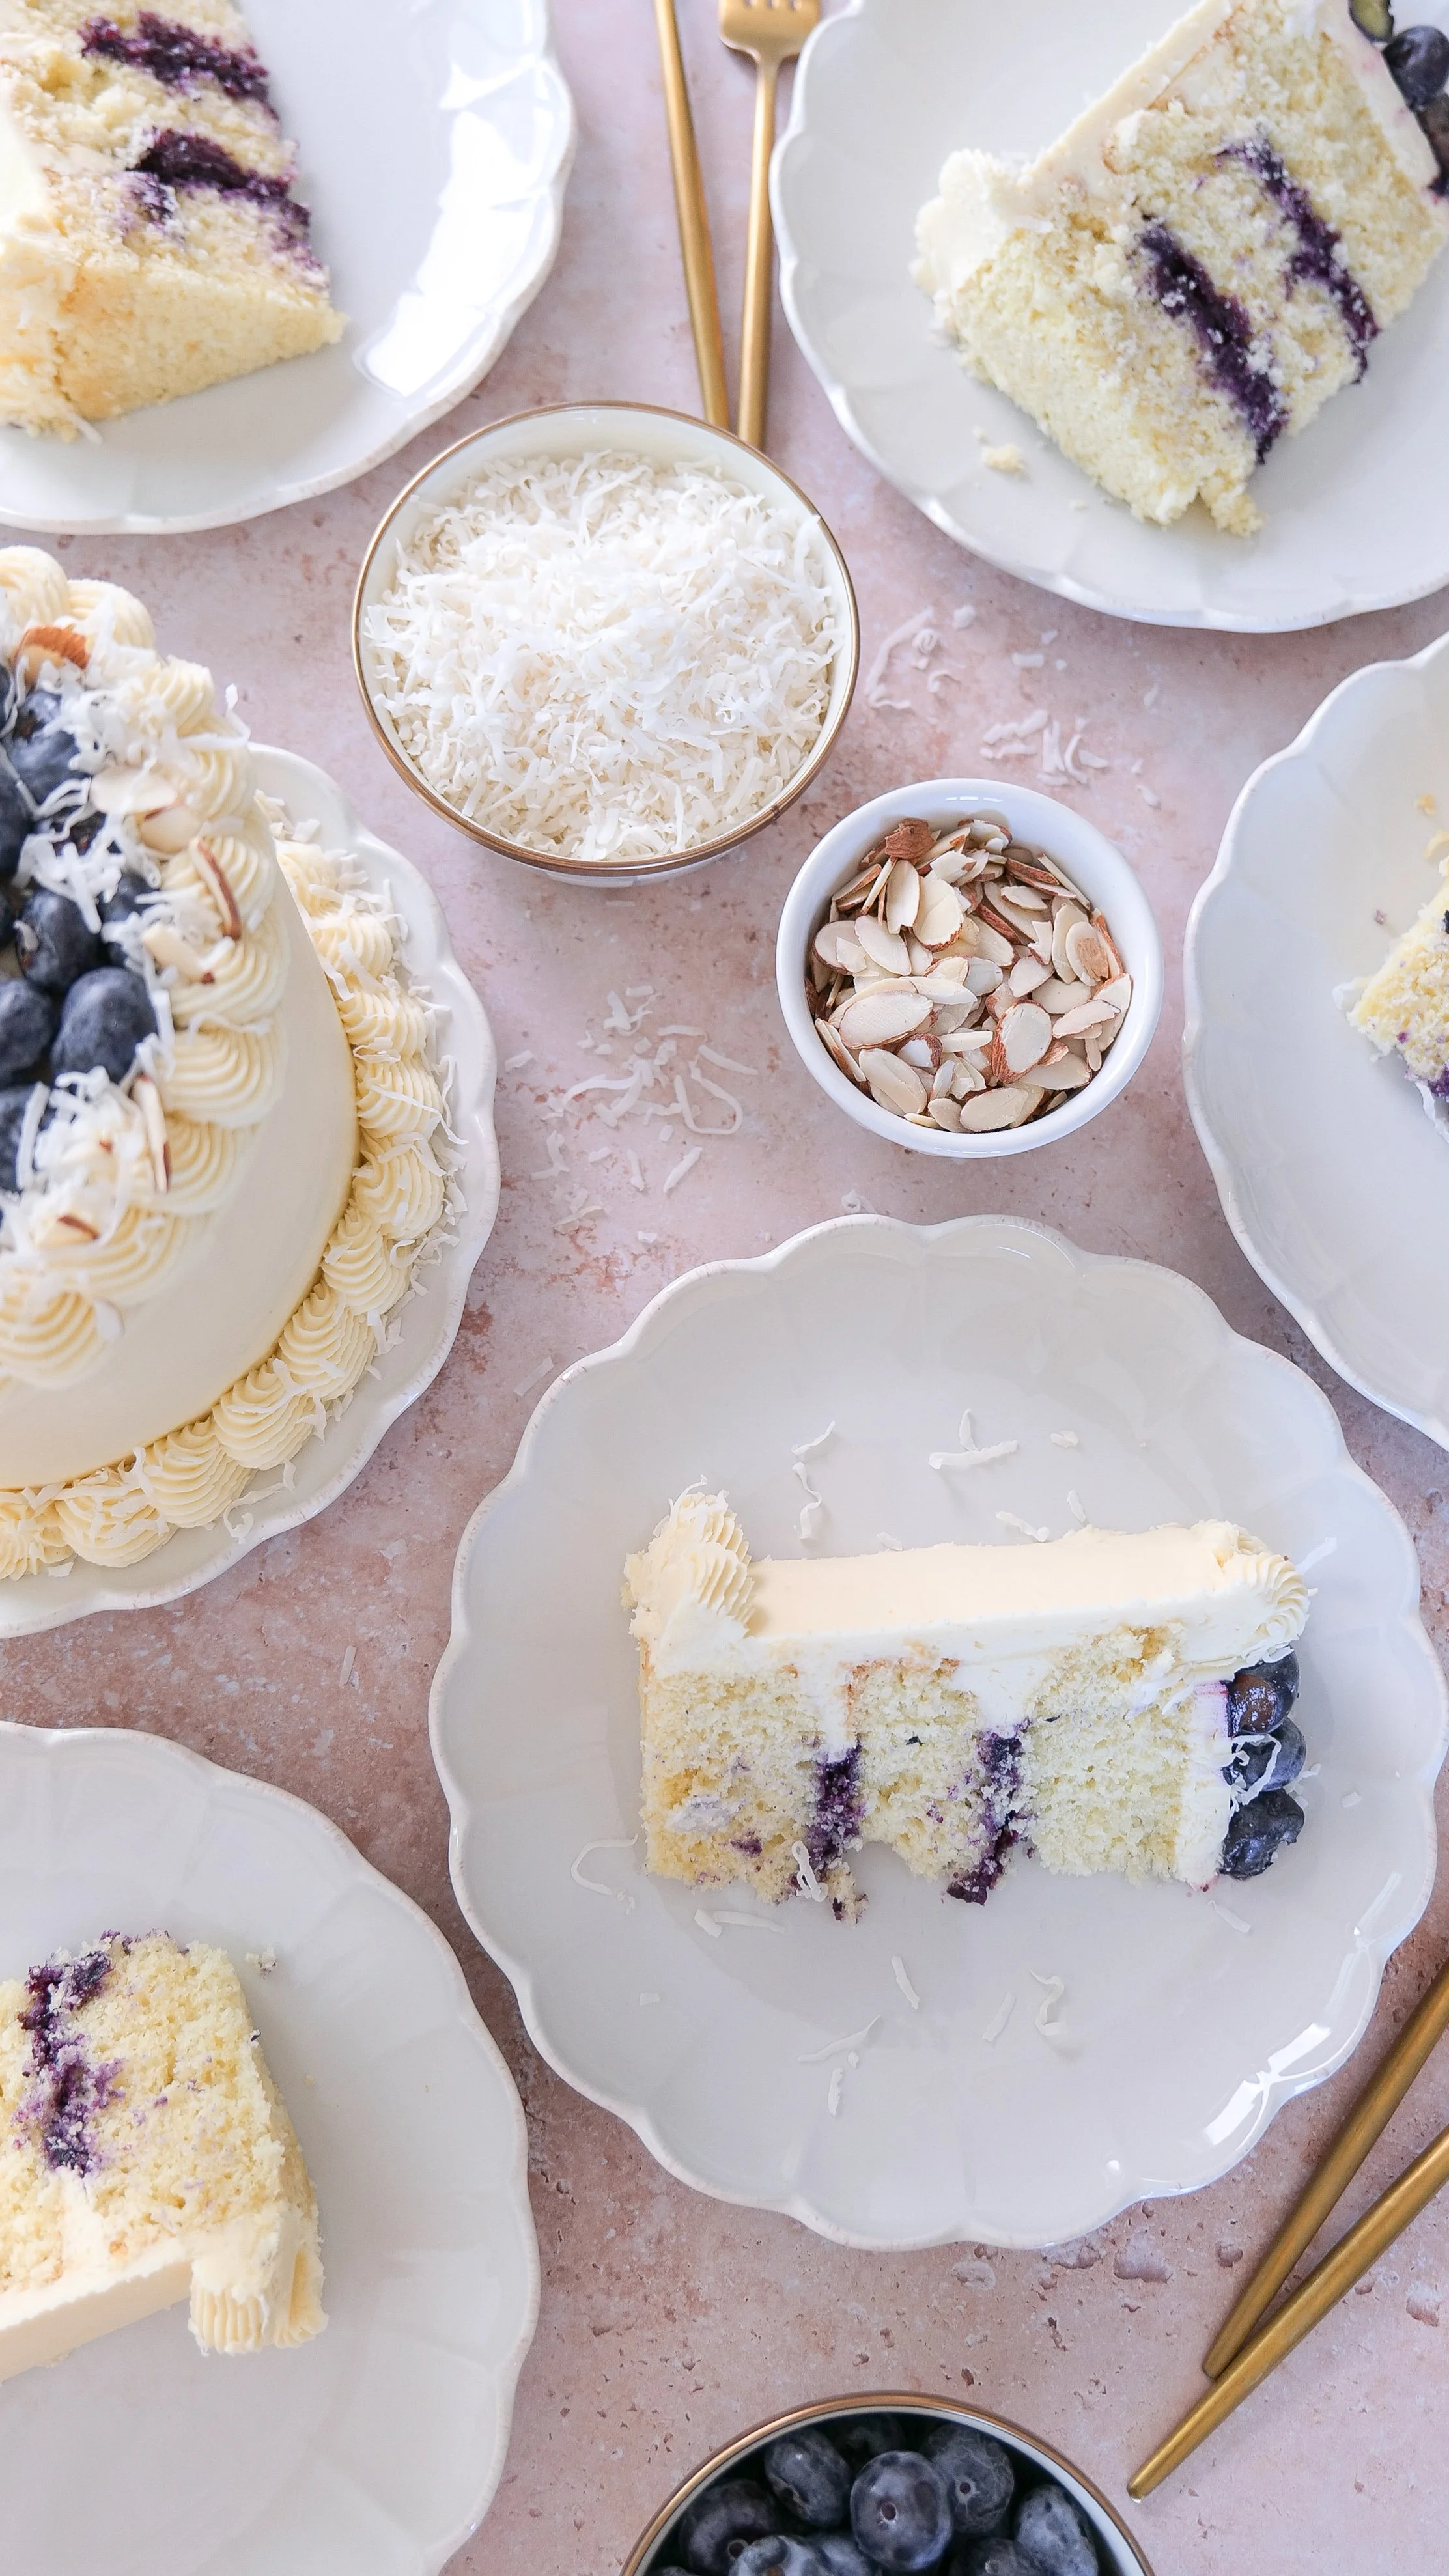
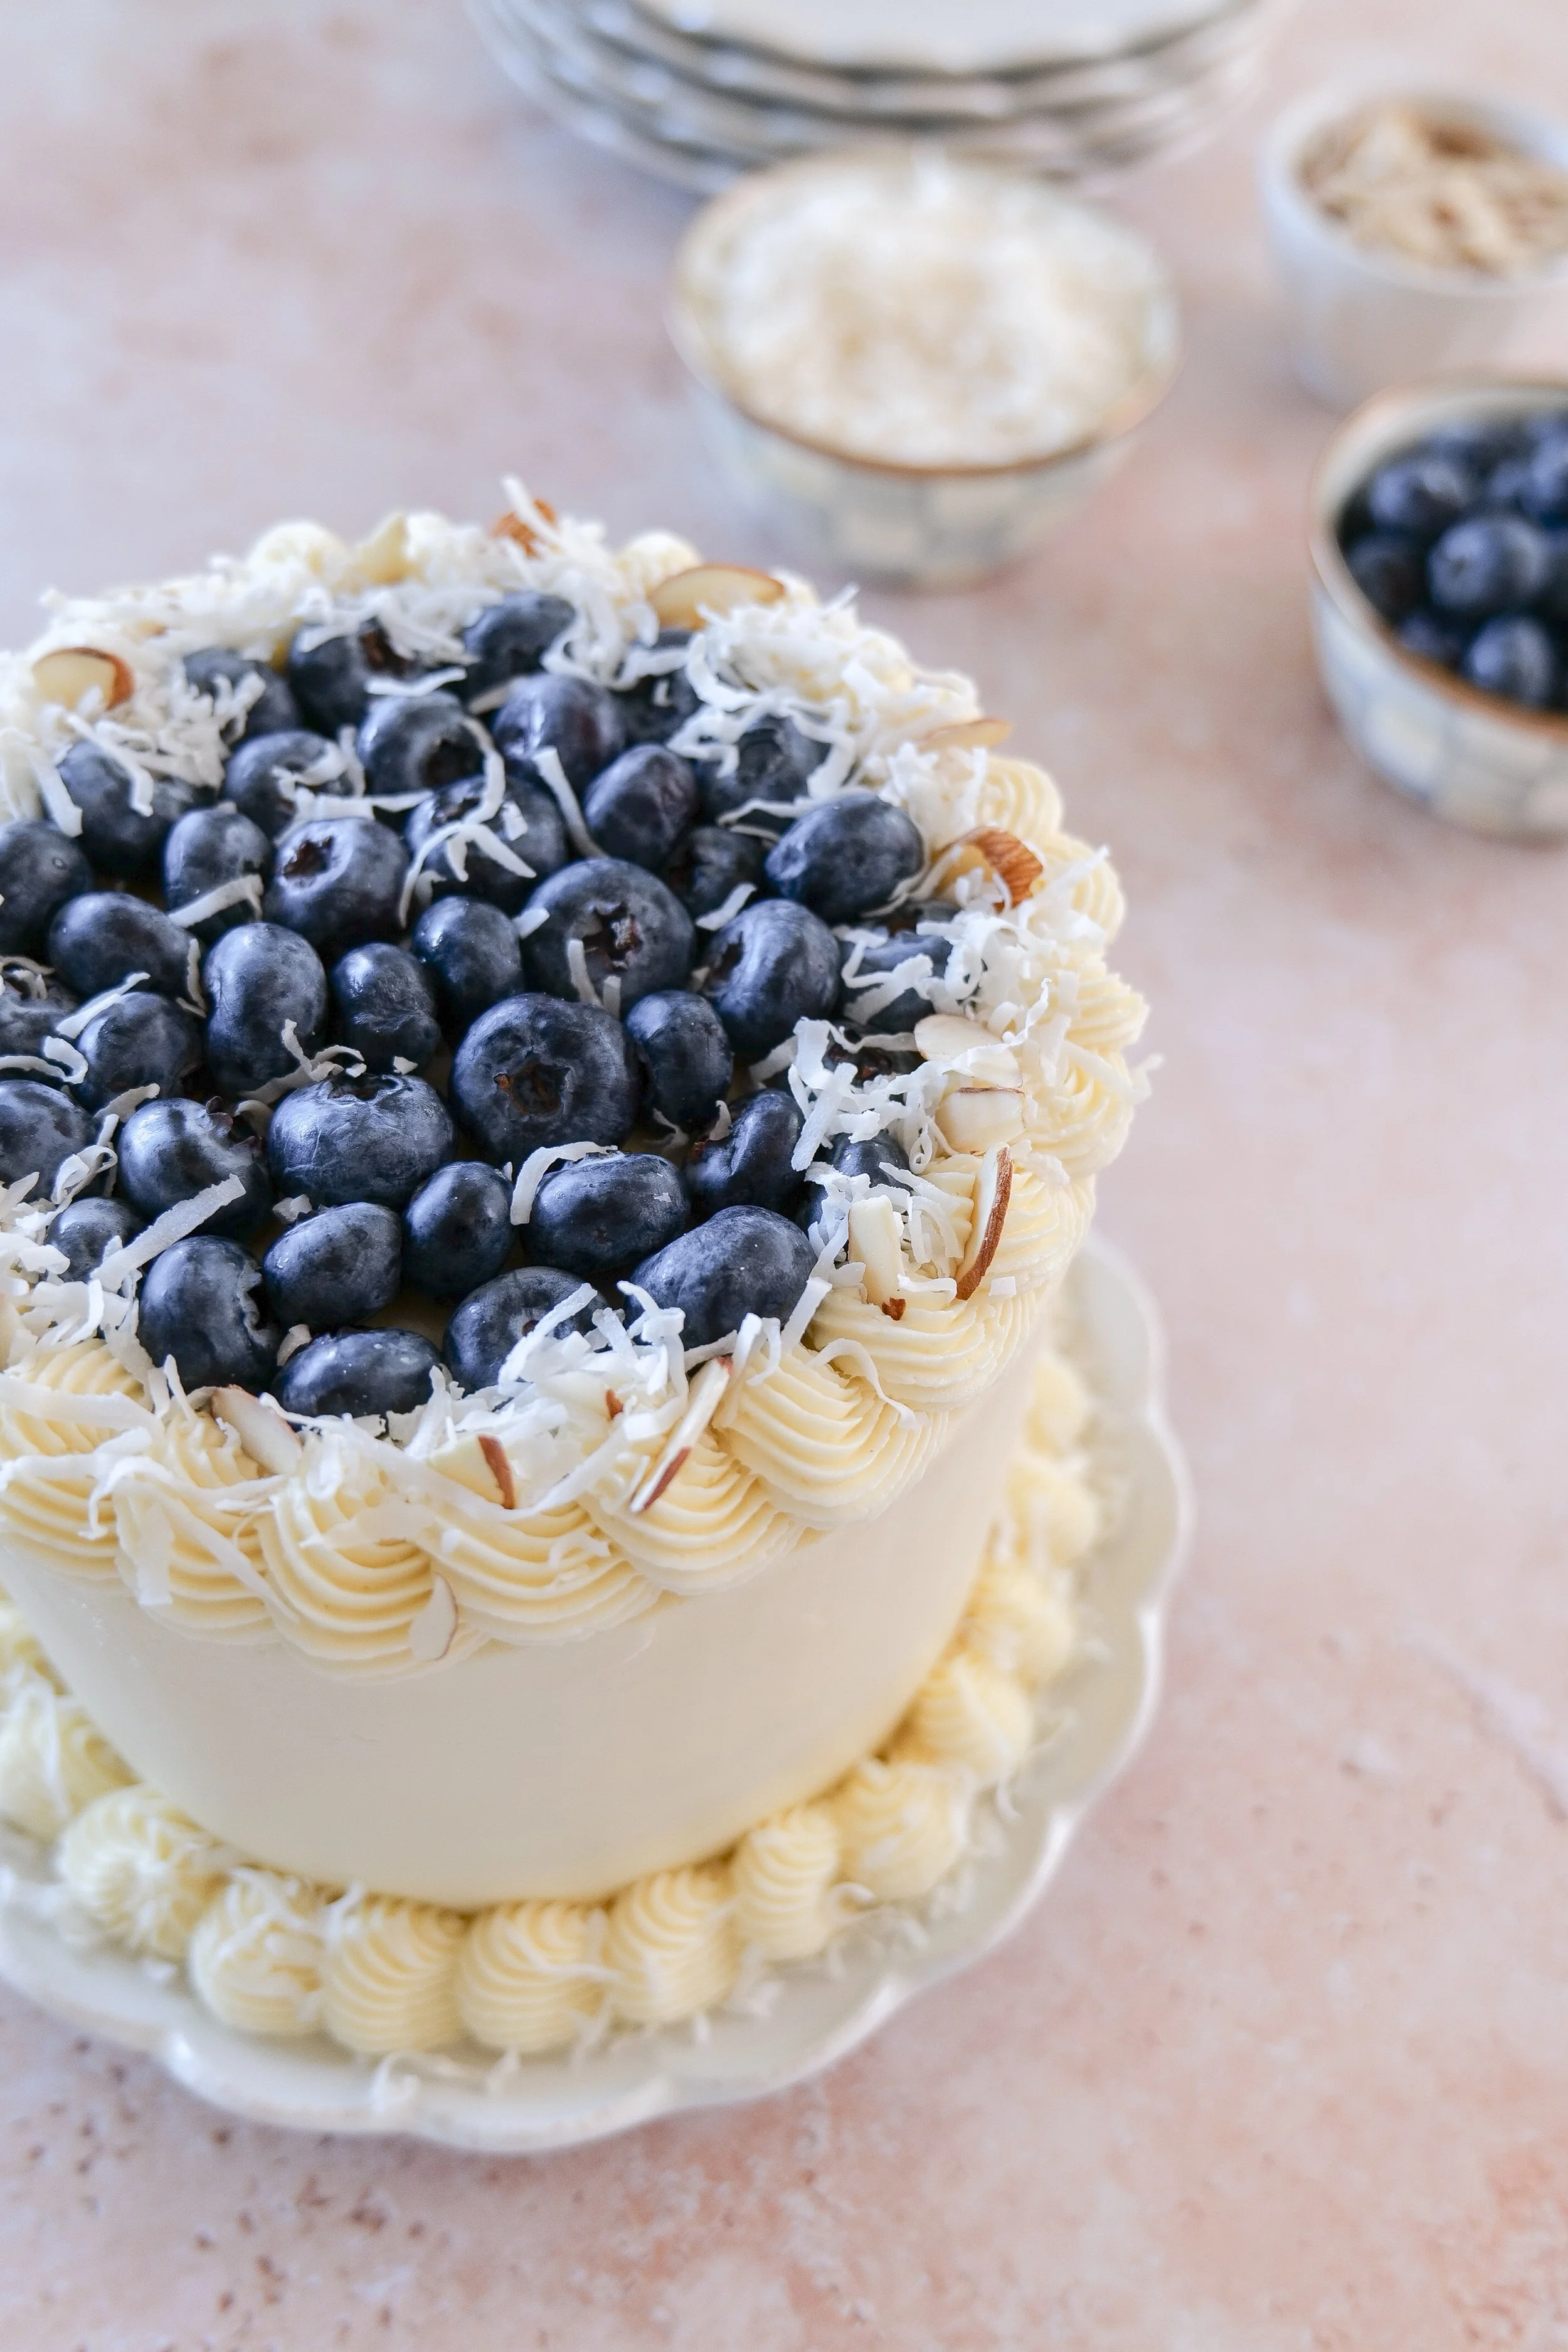
Almond coconut cake with blueberry curd filling and coconut buttercream frosting served as a spring celebration dessert.
Almond Coconut Cake with Blueberry Curd Filling
Almond coconut layer cake decorated for a spring celebration.
Homemade blueberry cake with almond and coconut flavors.

What makes this cake so memorable is the way the flavors unfold. Almond brings a subtle richness that deepens the overall profile, while coconut adds a light, almost airy sweetness that keeps each bite from feeling too heavy. Together, they create a delicate base that’s both moist and tender, with just enough texture to make it satisfying without being dense.

Then there’s the blueberry curd filling—the element that truly transforms this cake into something extraordinary. Unlike a traditional jam or compote, blueberry curd is silky, bright, and slightly tangy, with a natural sweetness that cuts through the richness of the cake. Its deep purple hue creates a striking contrast against the pale layers, giving the cake a visual appeal that feels effortlessly elegant and completely Pinterest-worthy.

Elegant spring celebration cake with blueberry curd filling.
Almond coconut cake perfect for Easter dessert tables.
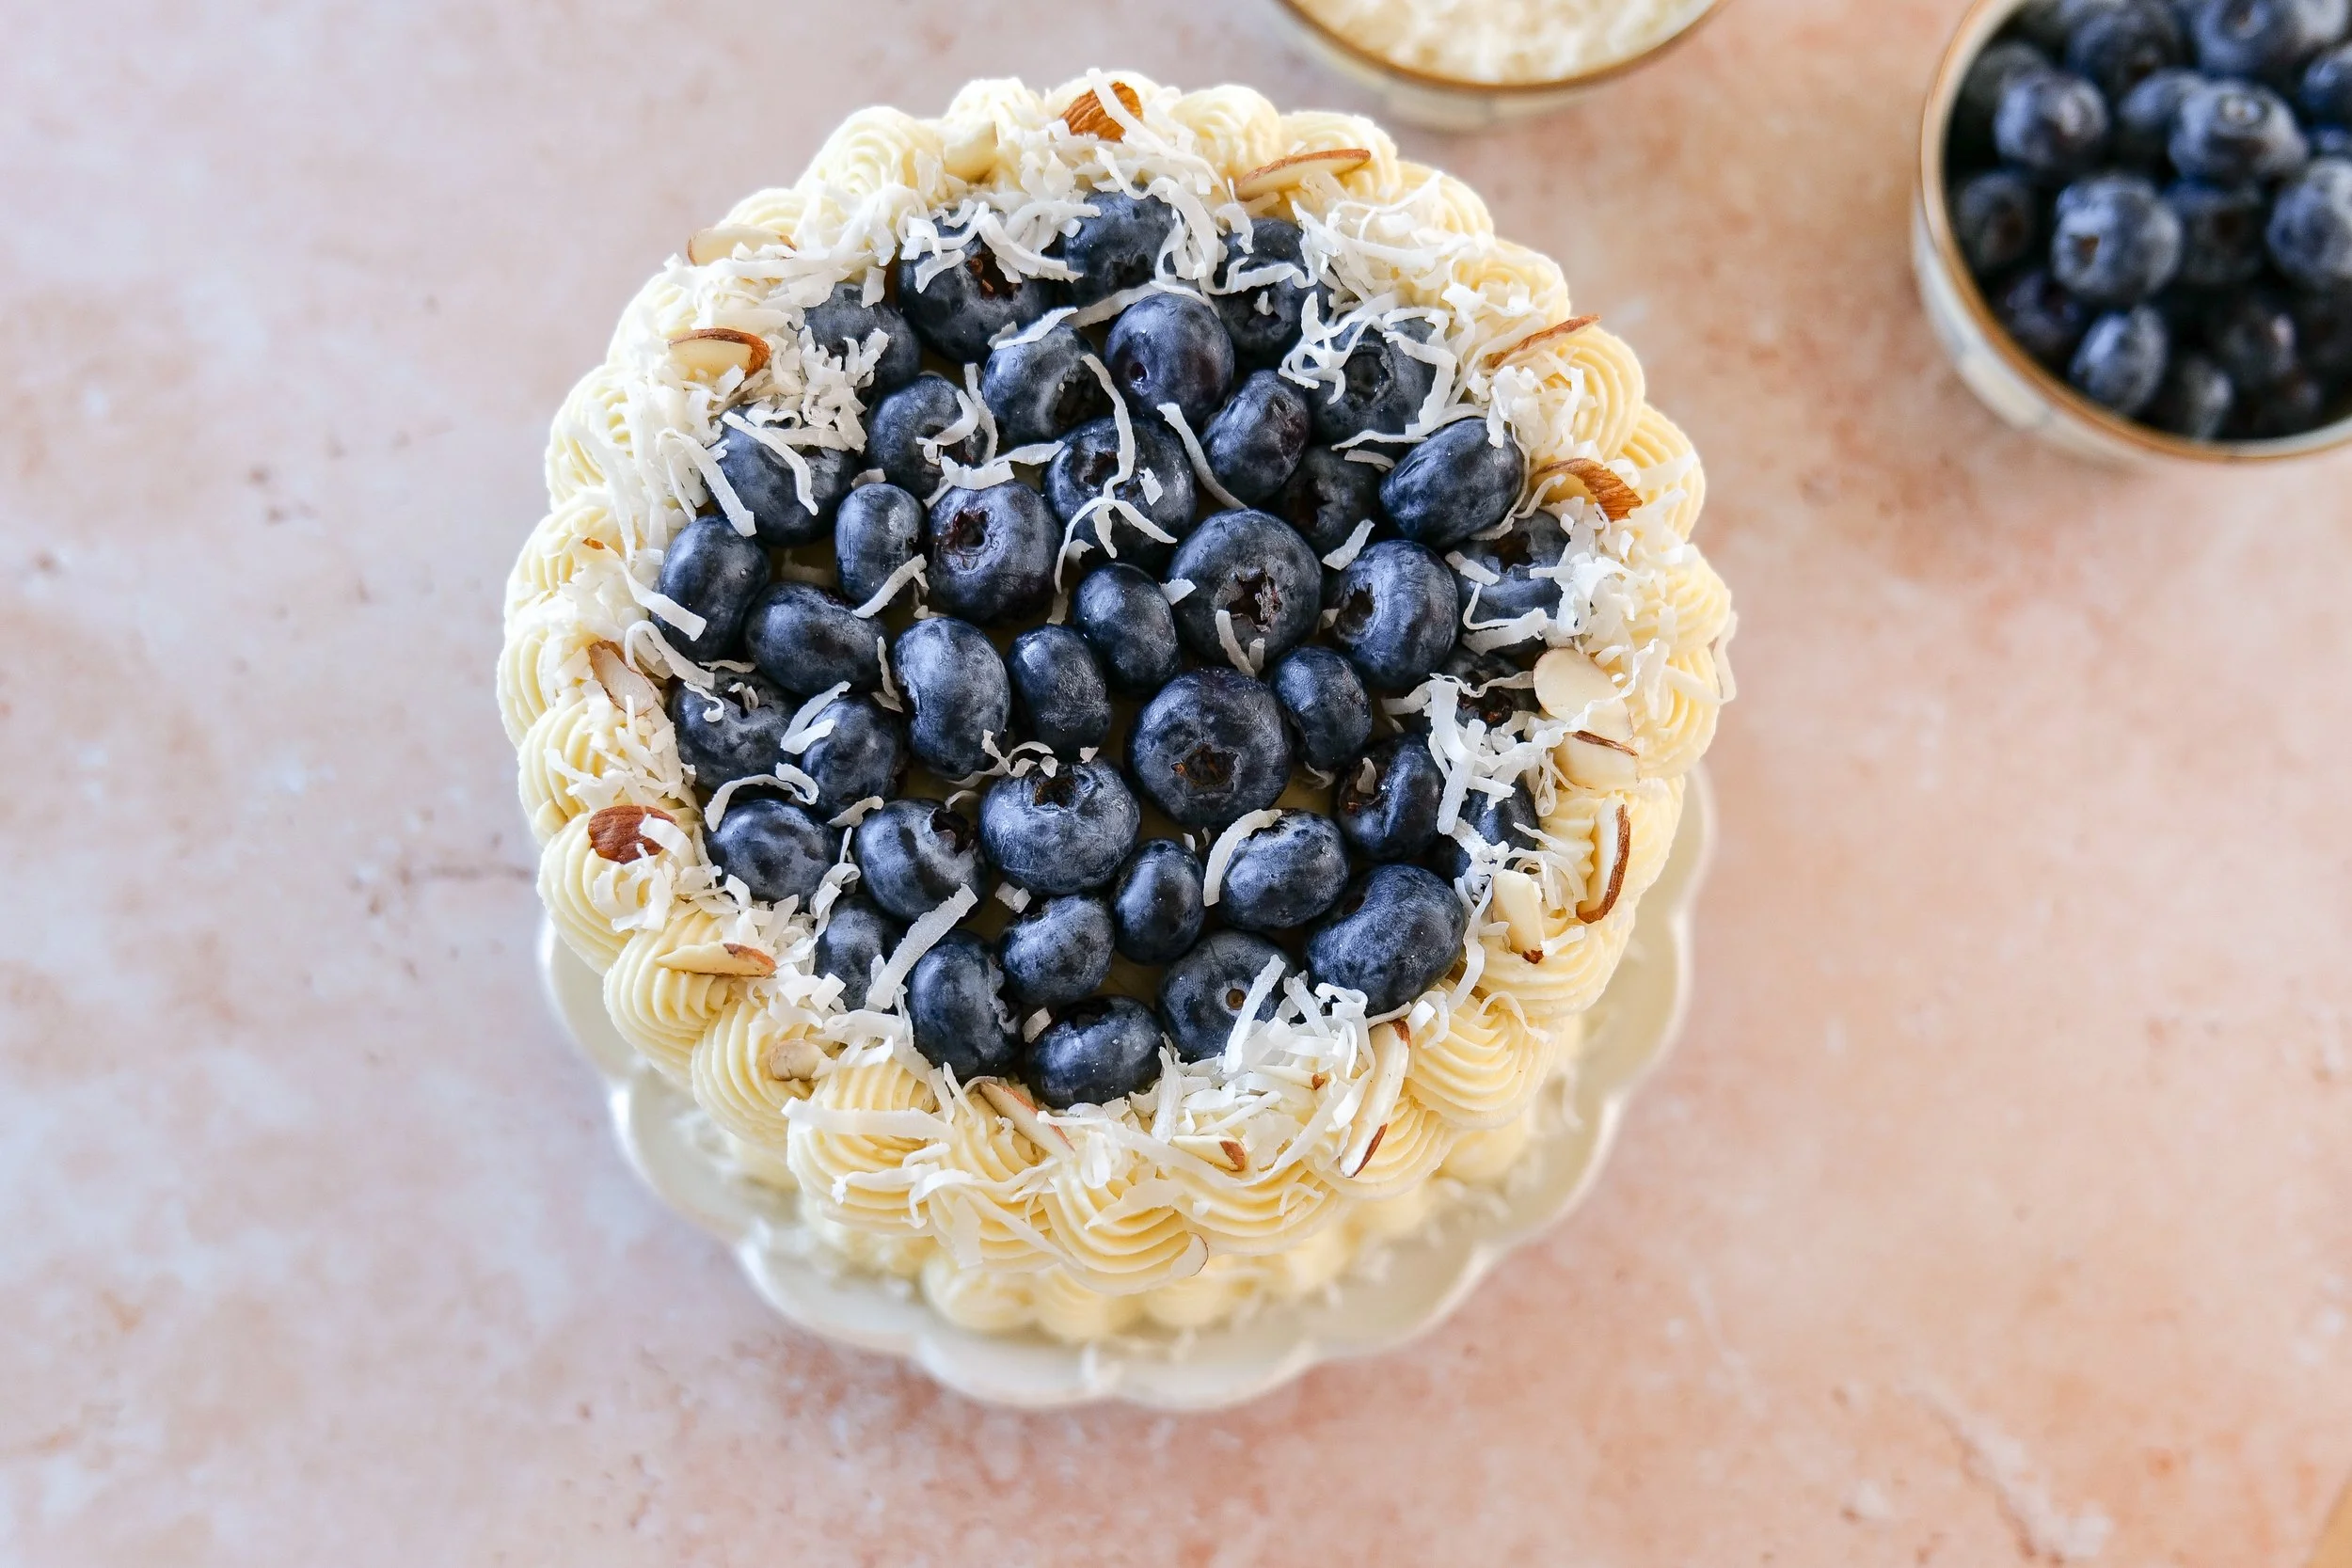
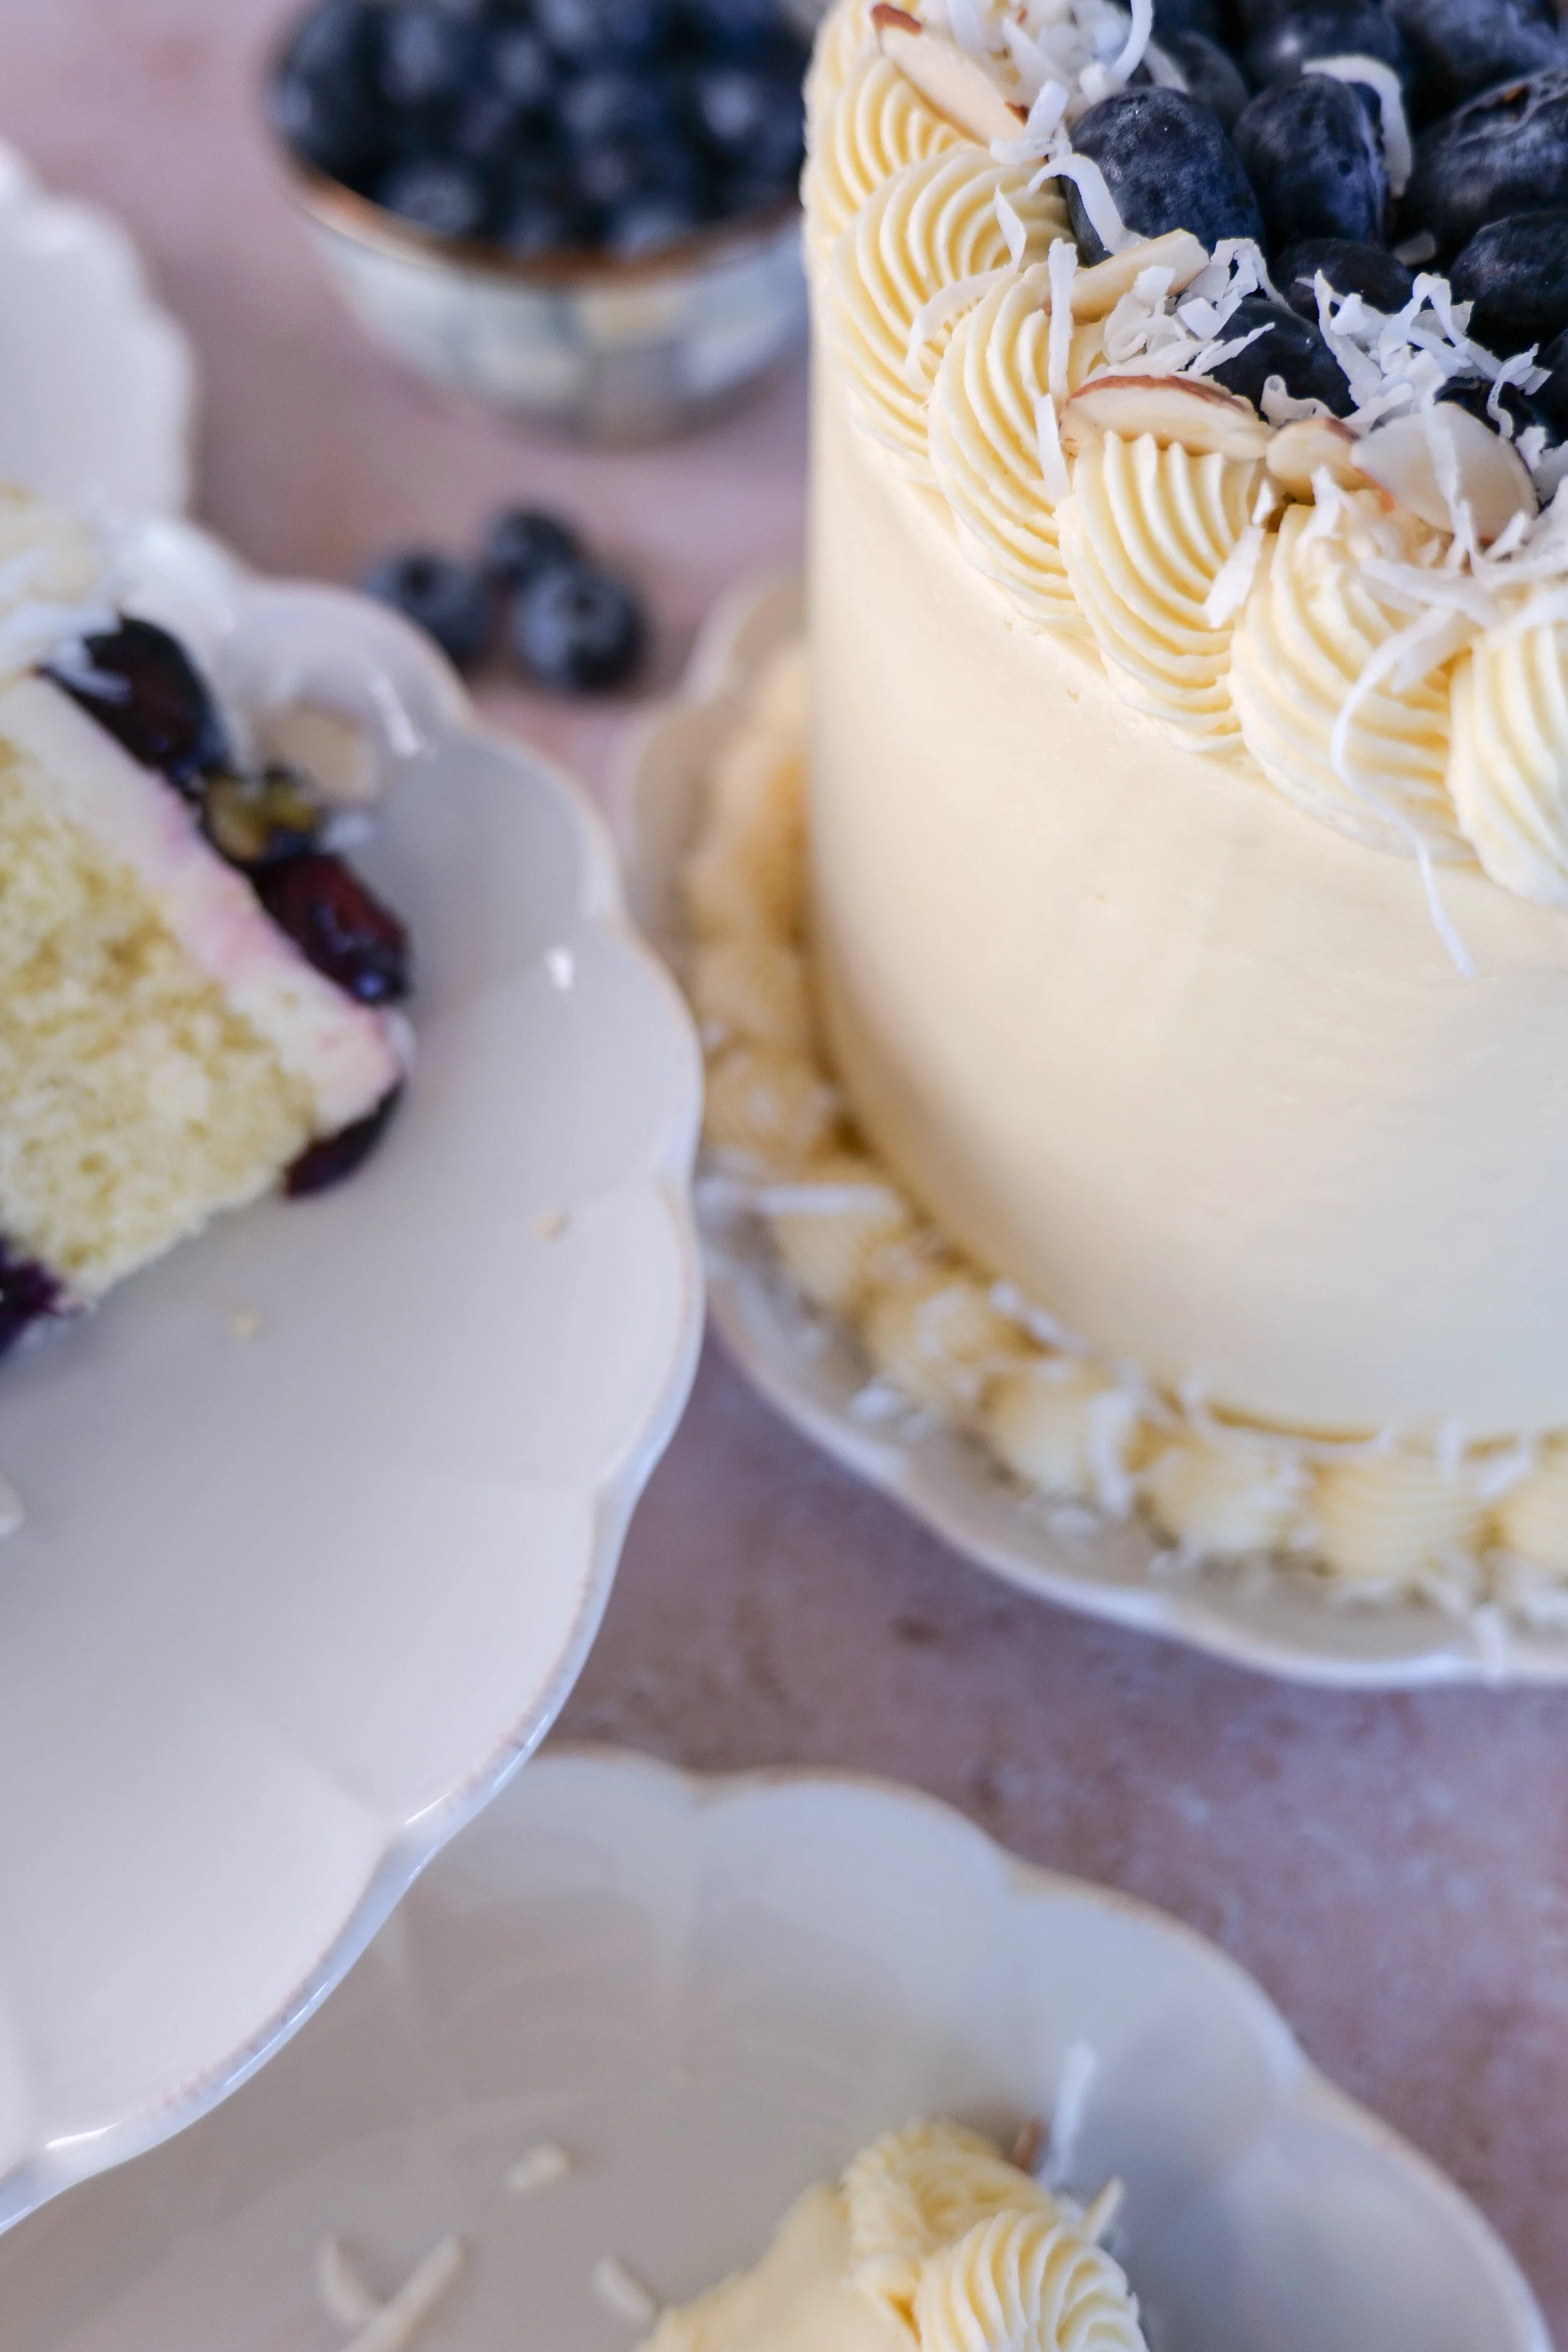
Coconut frosted cake decorated with fresh blueberries.
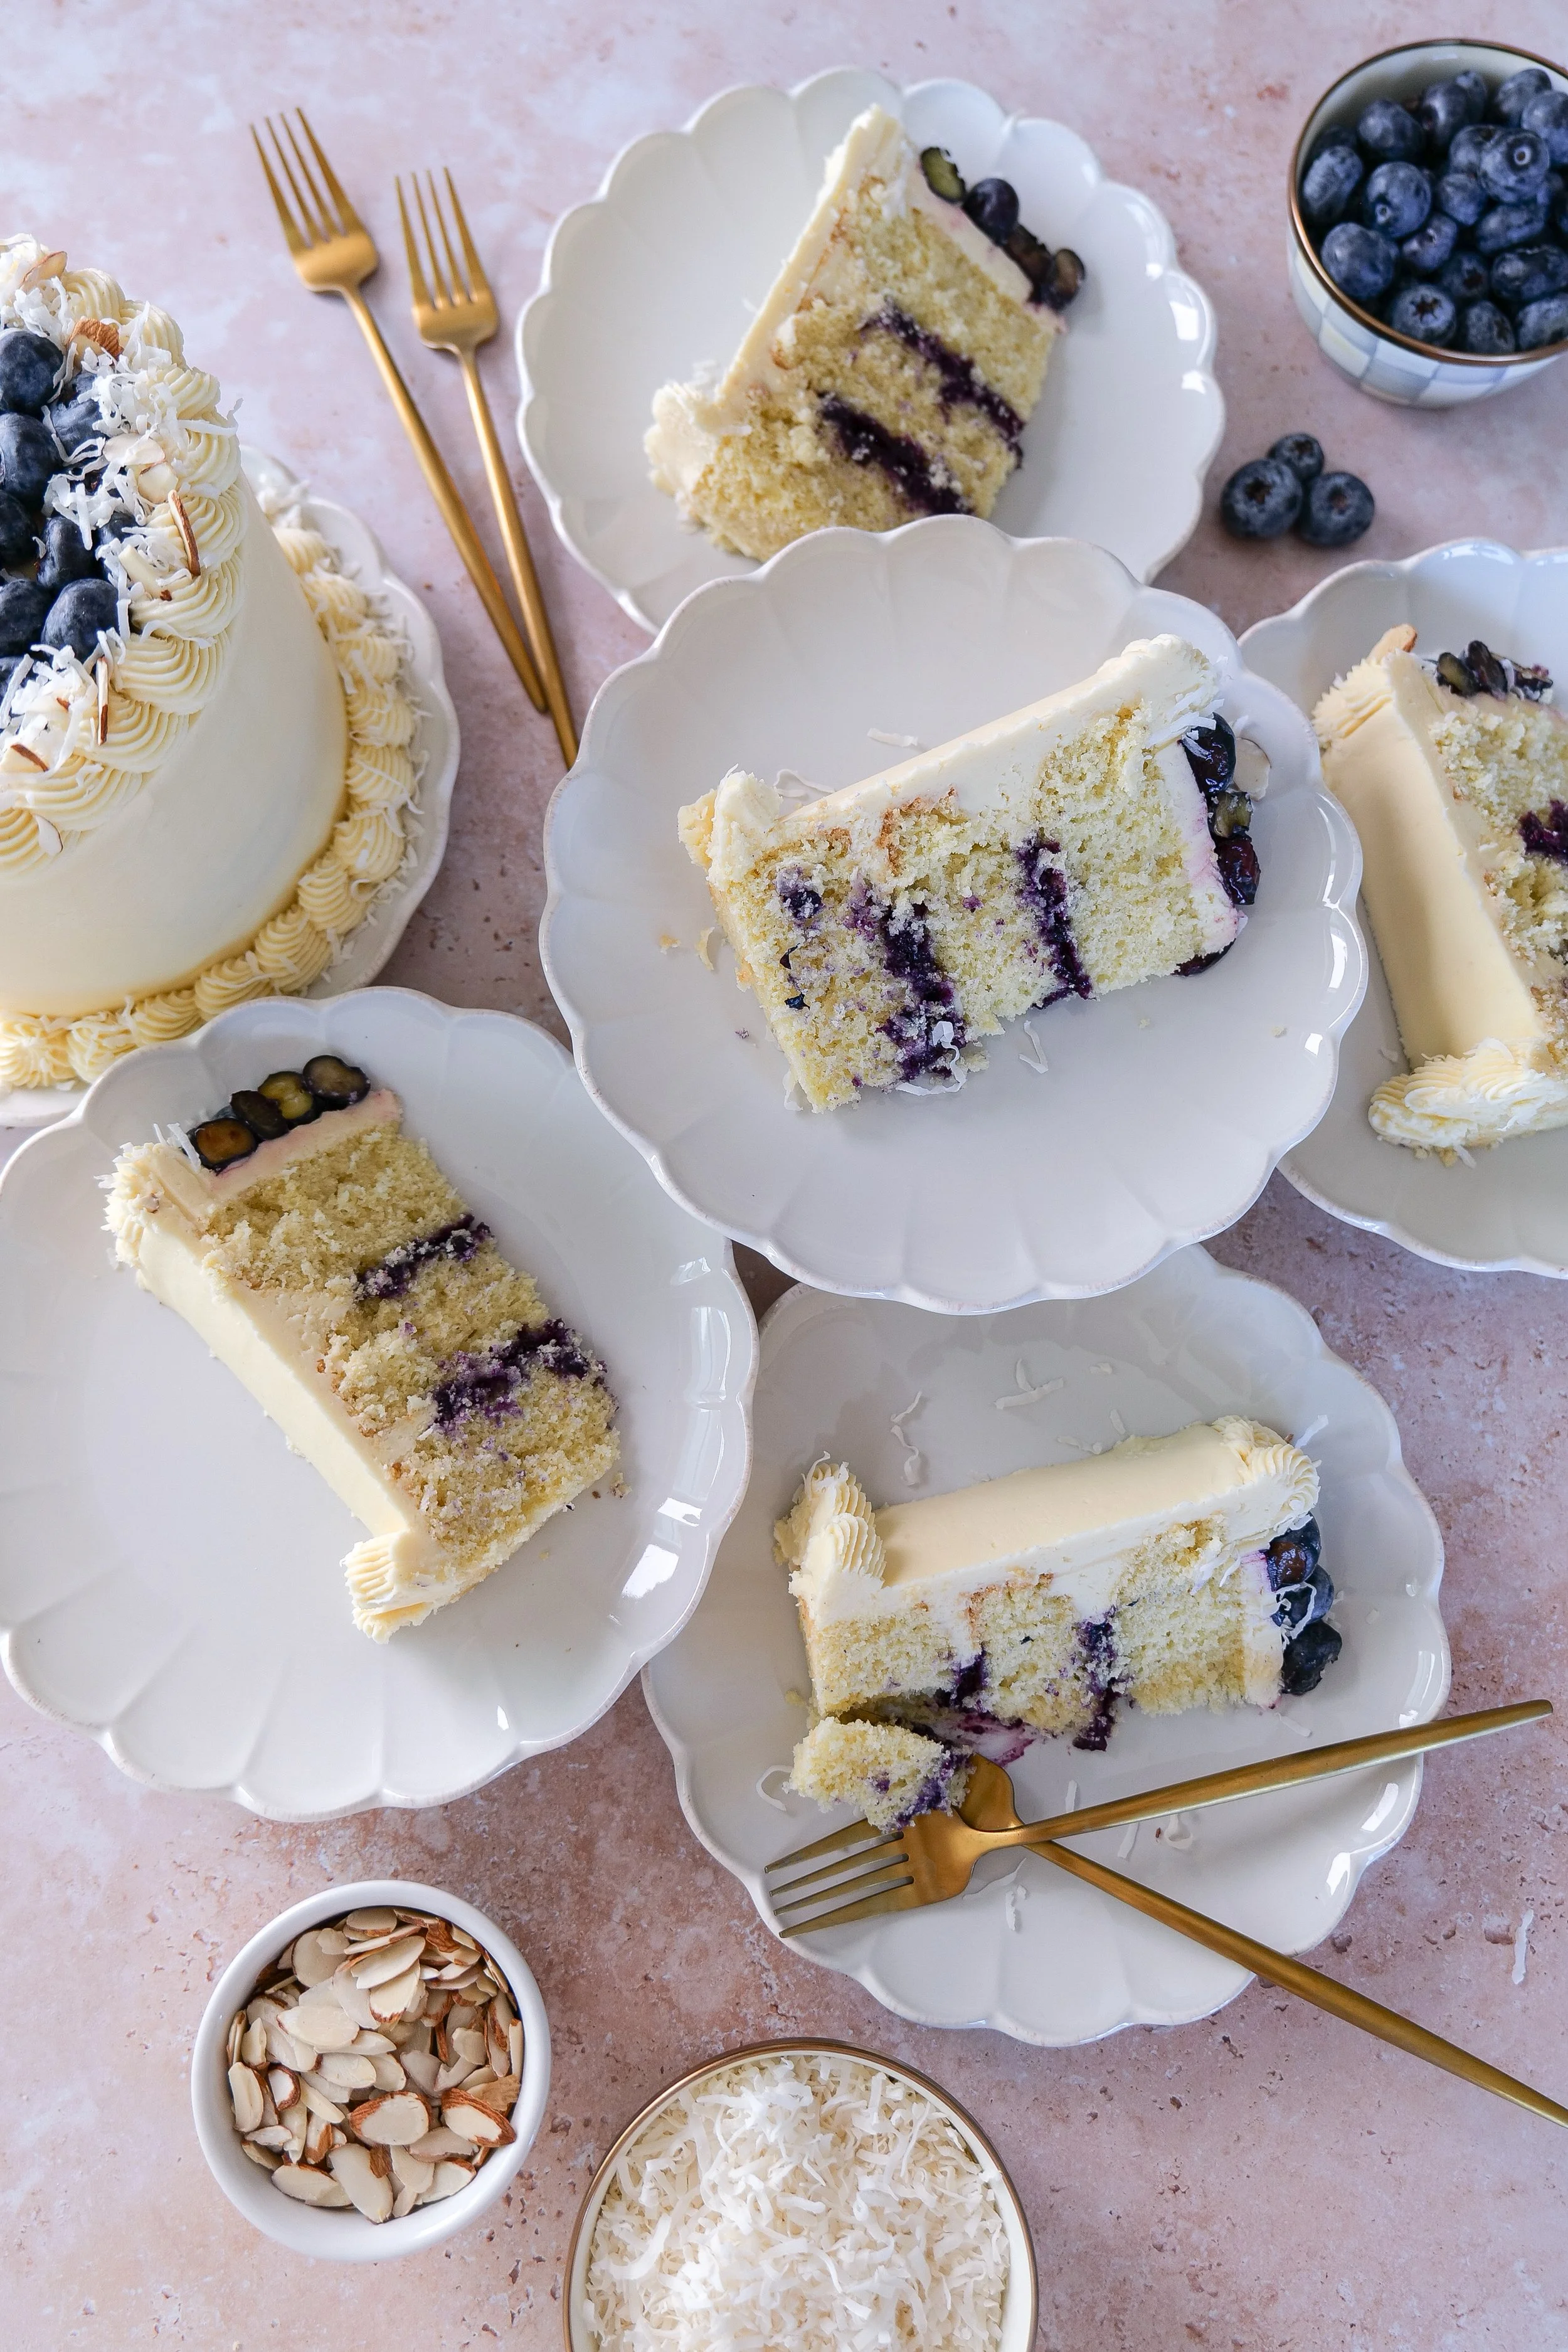
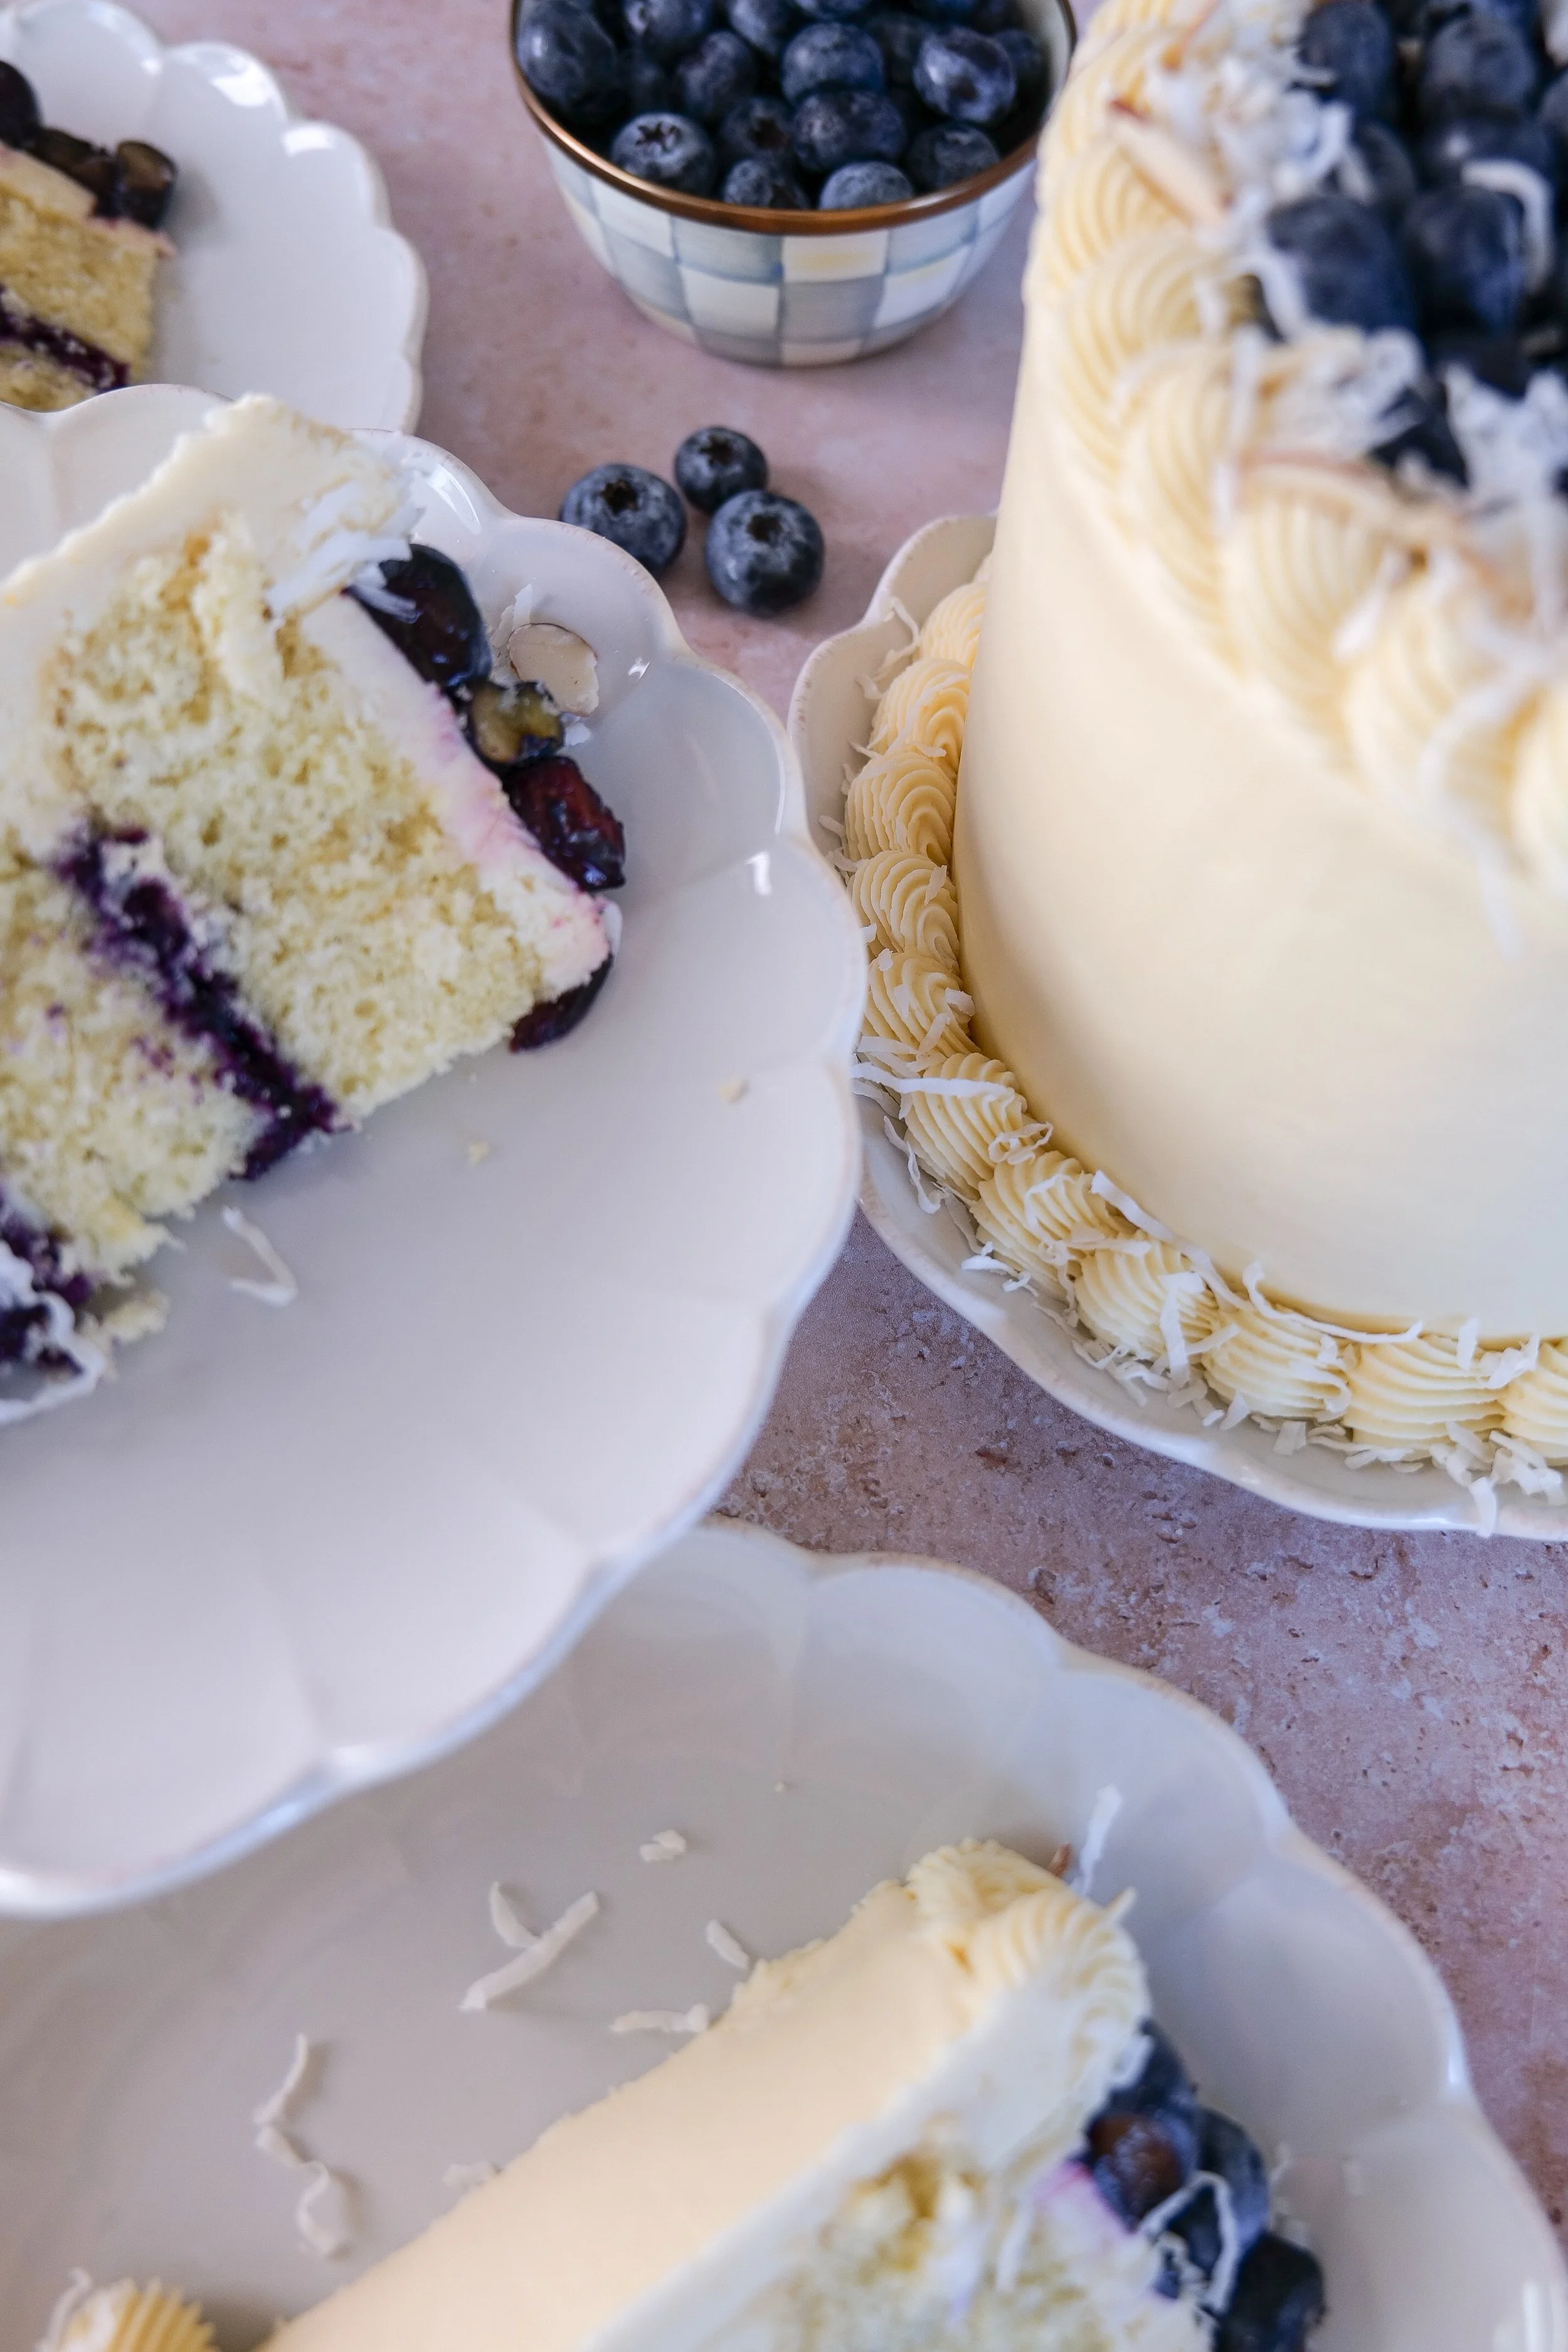
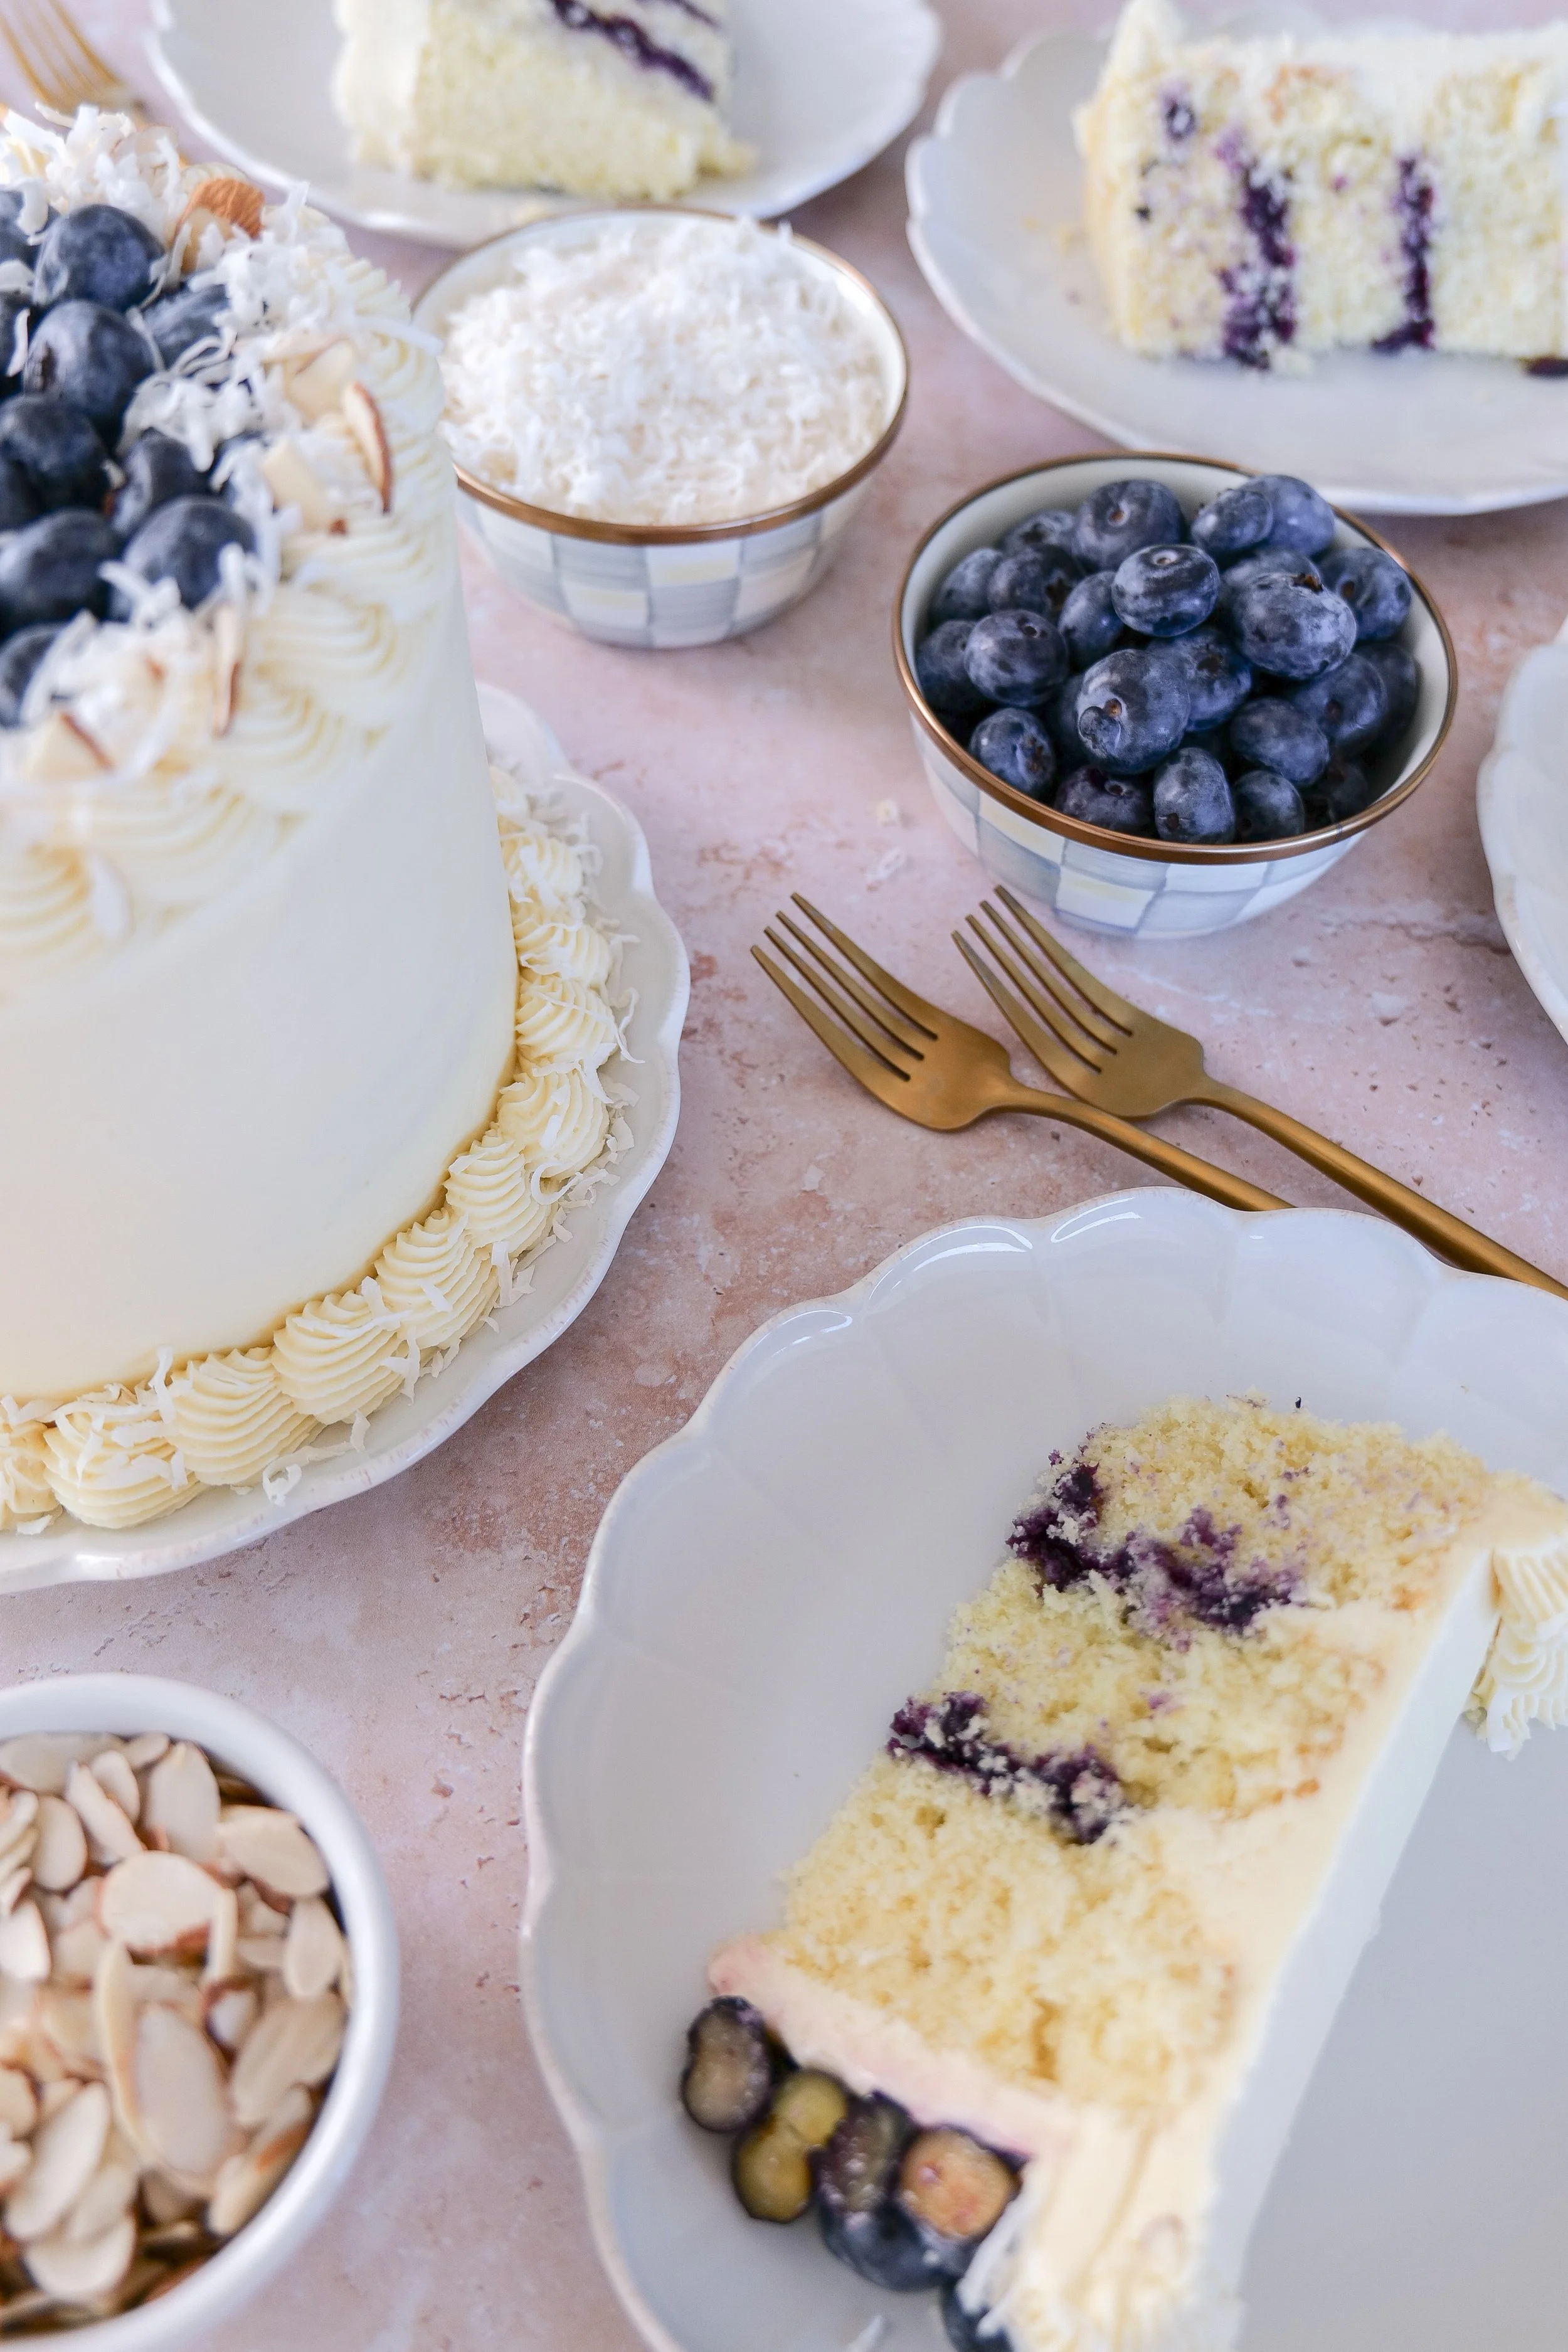
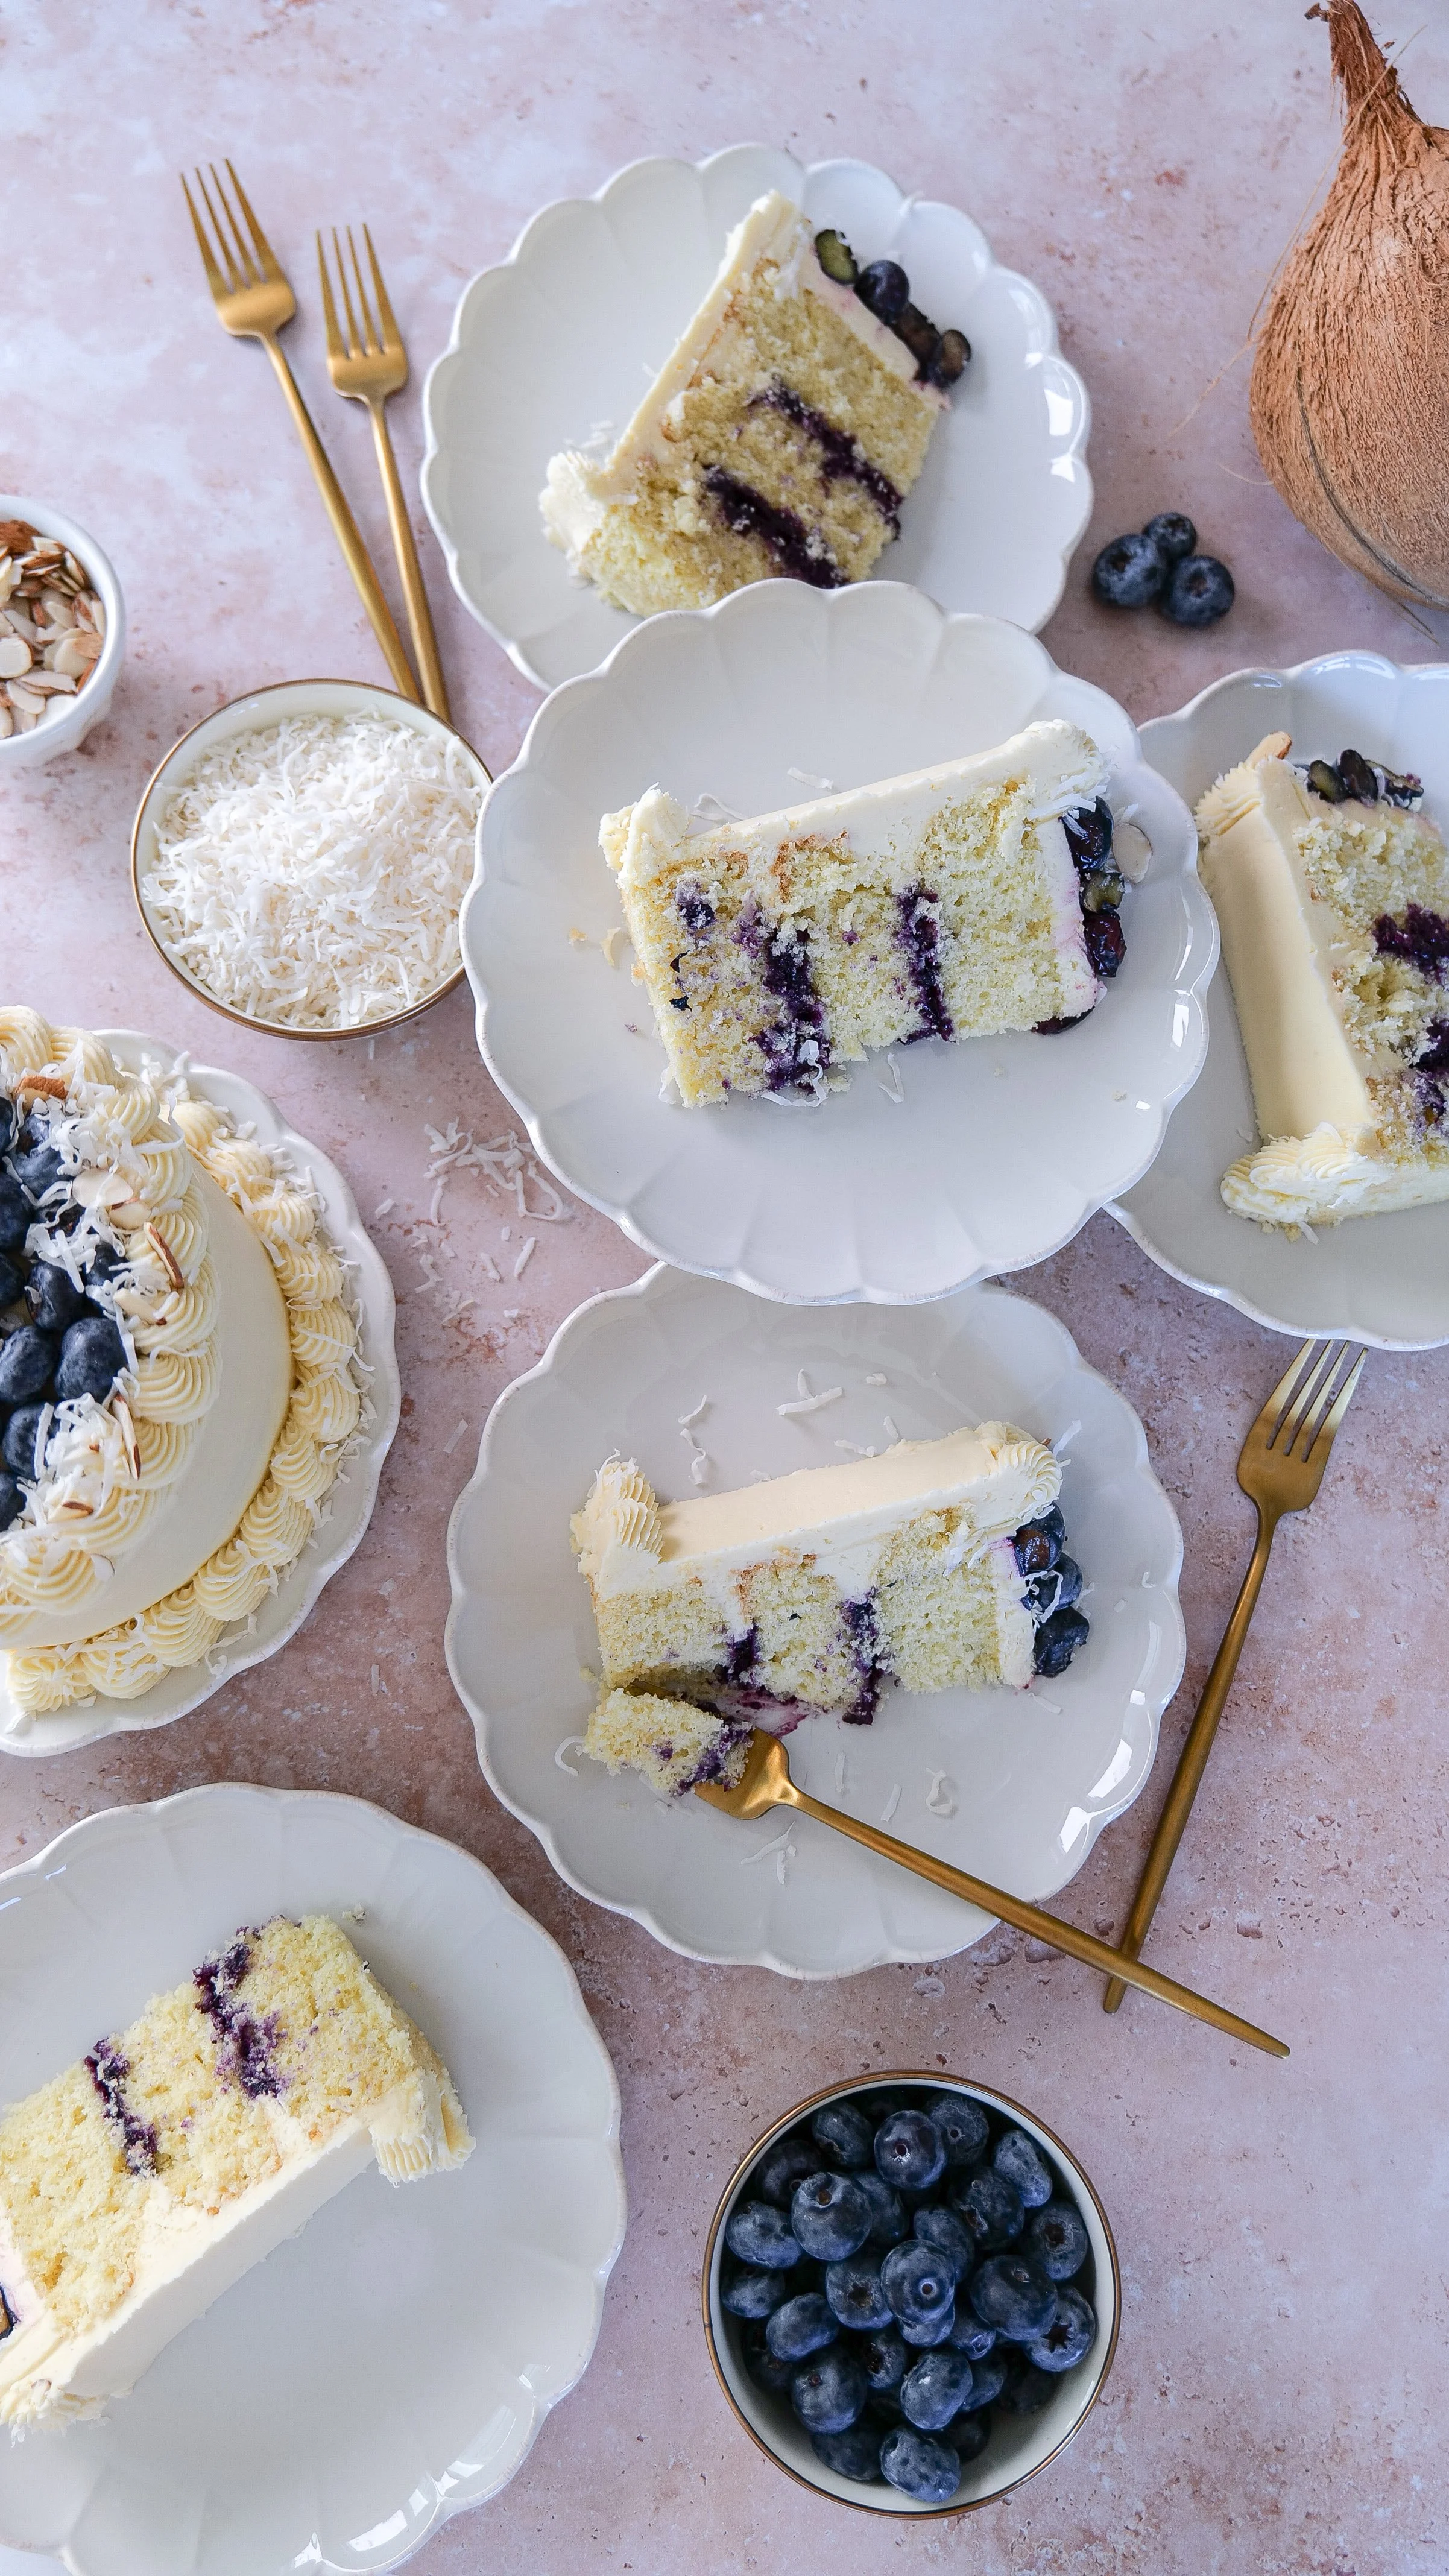
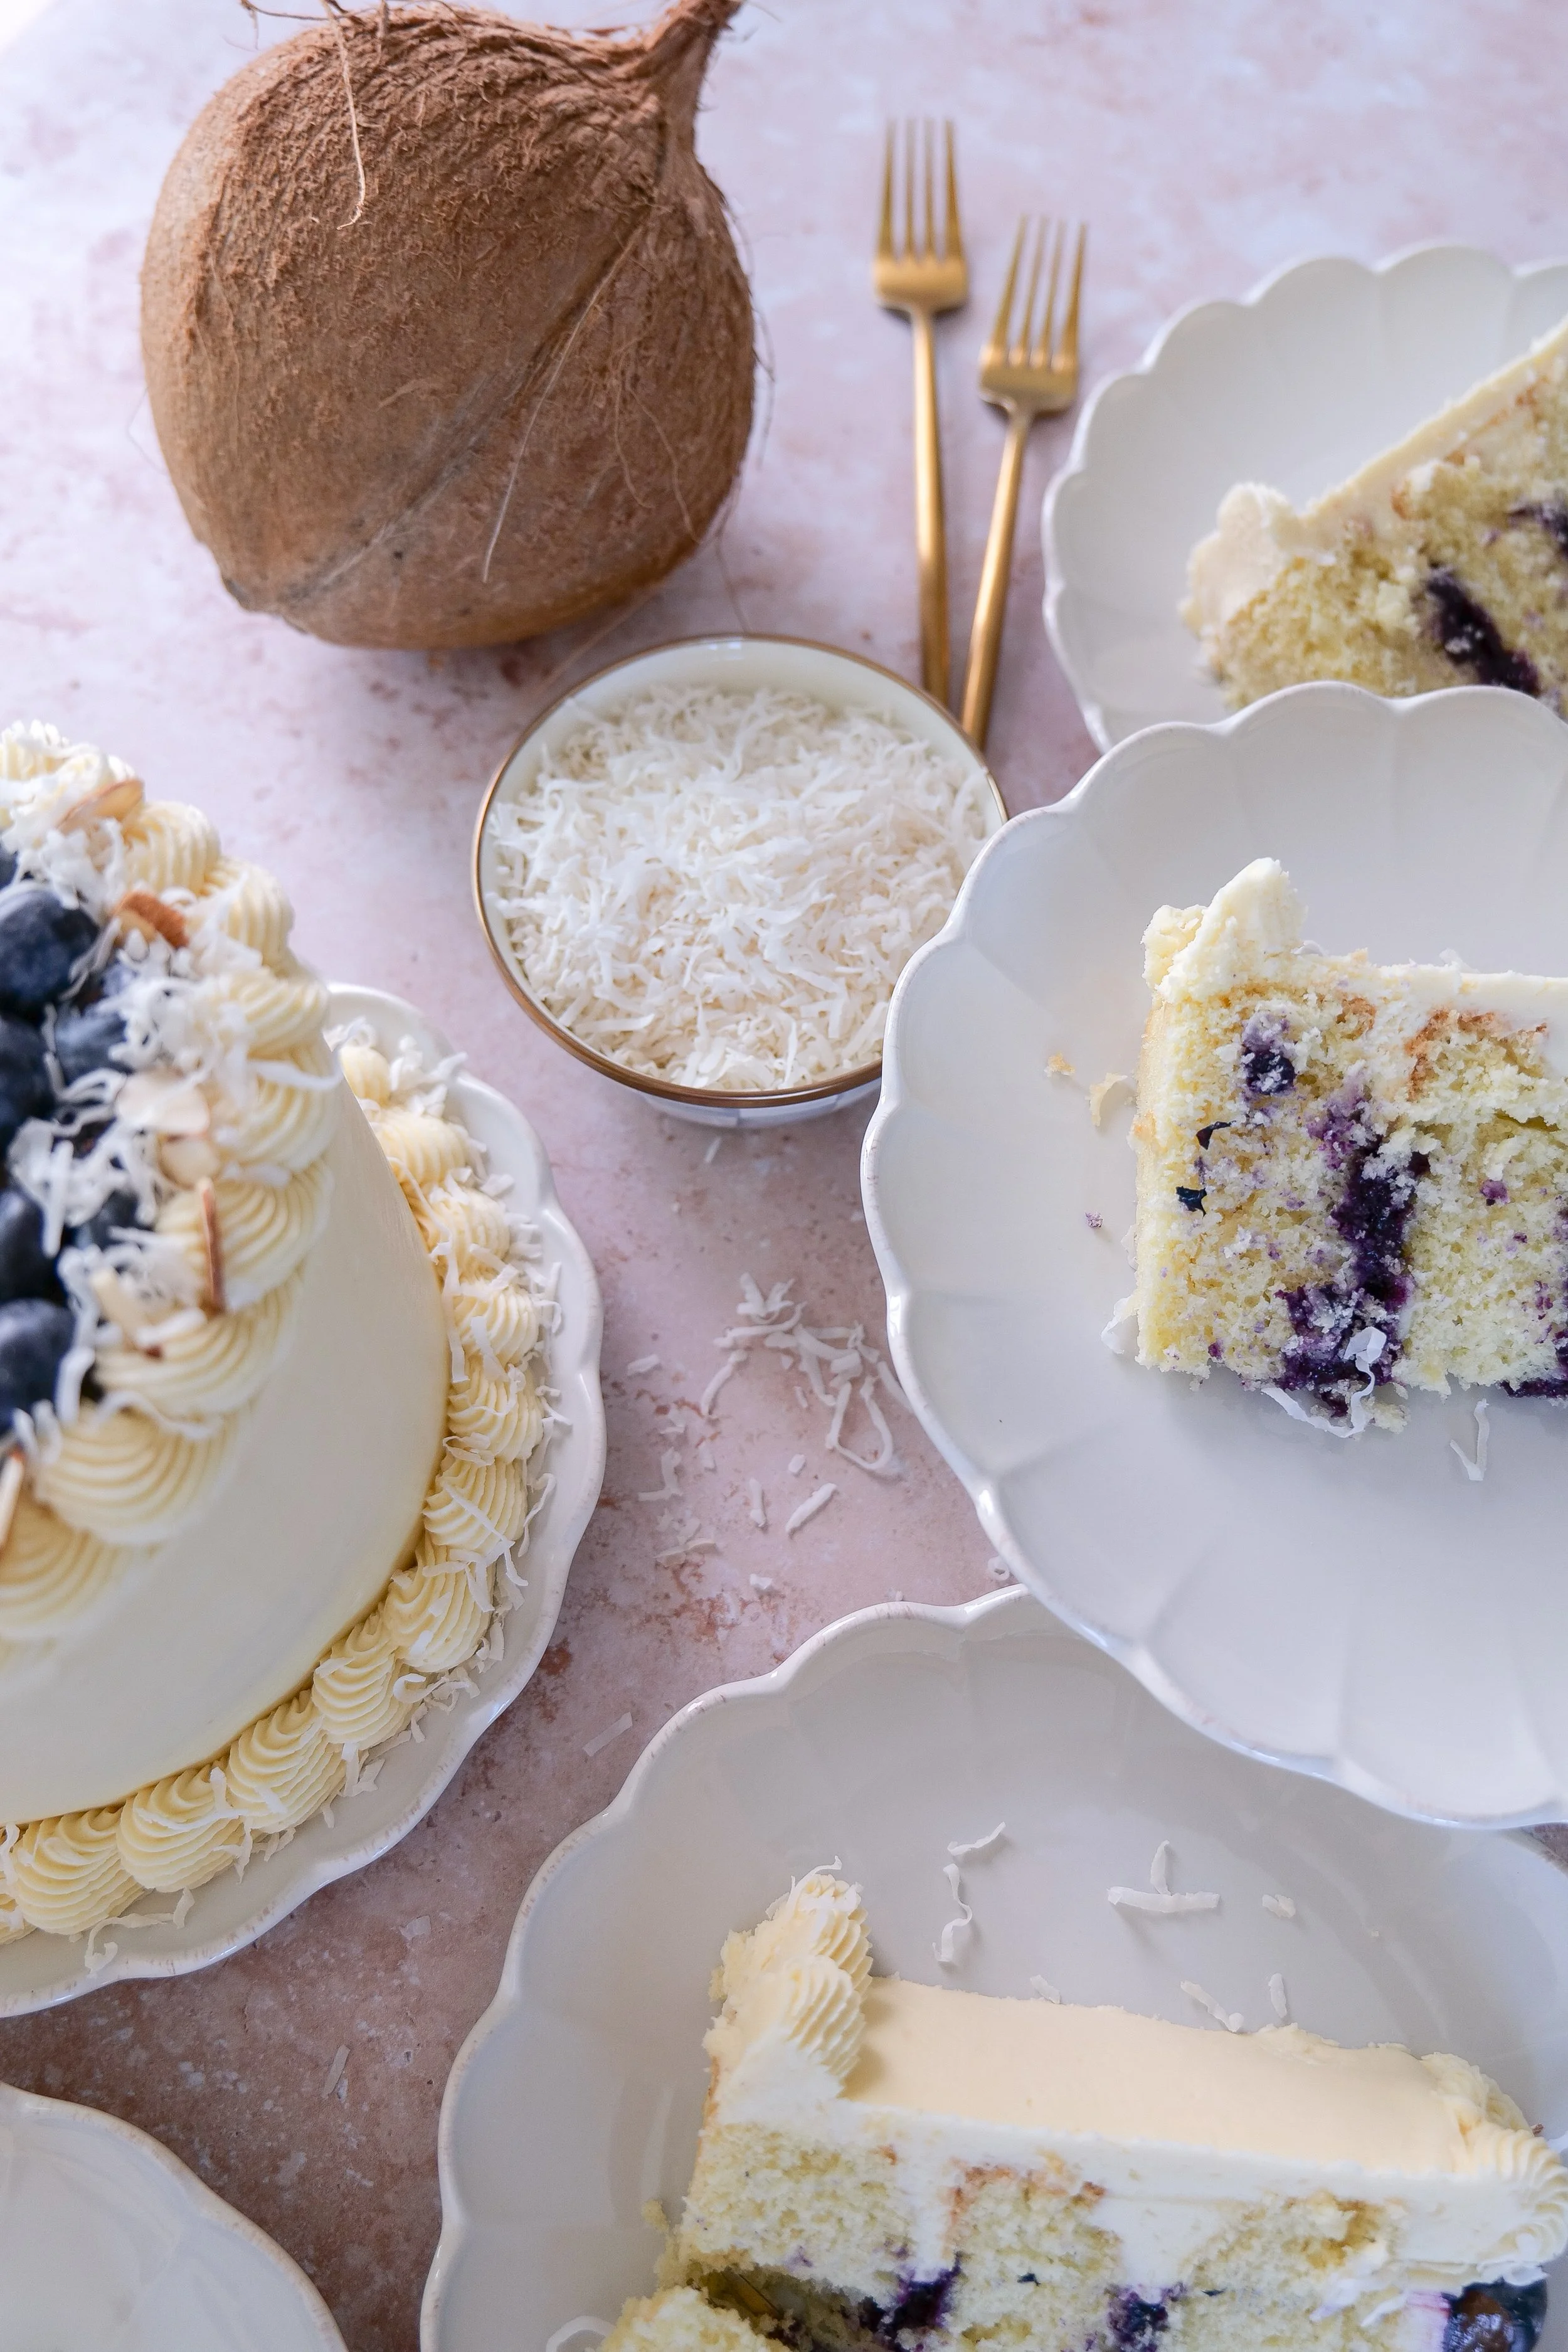
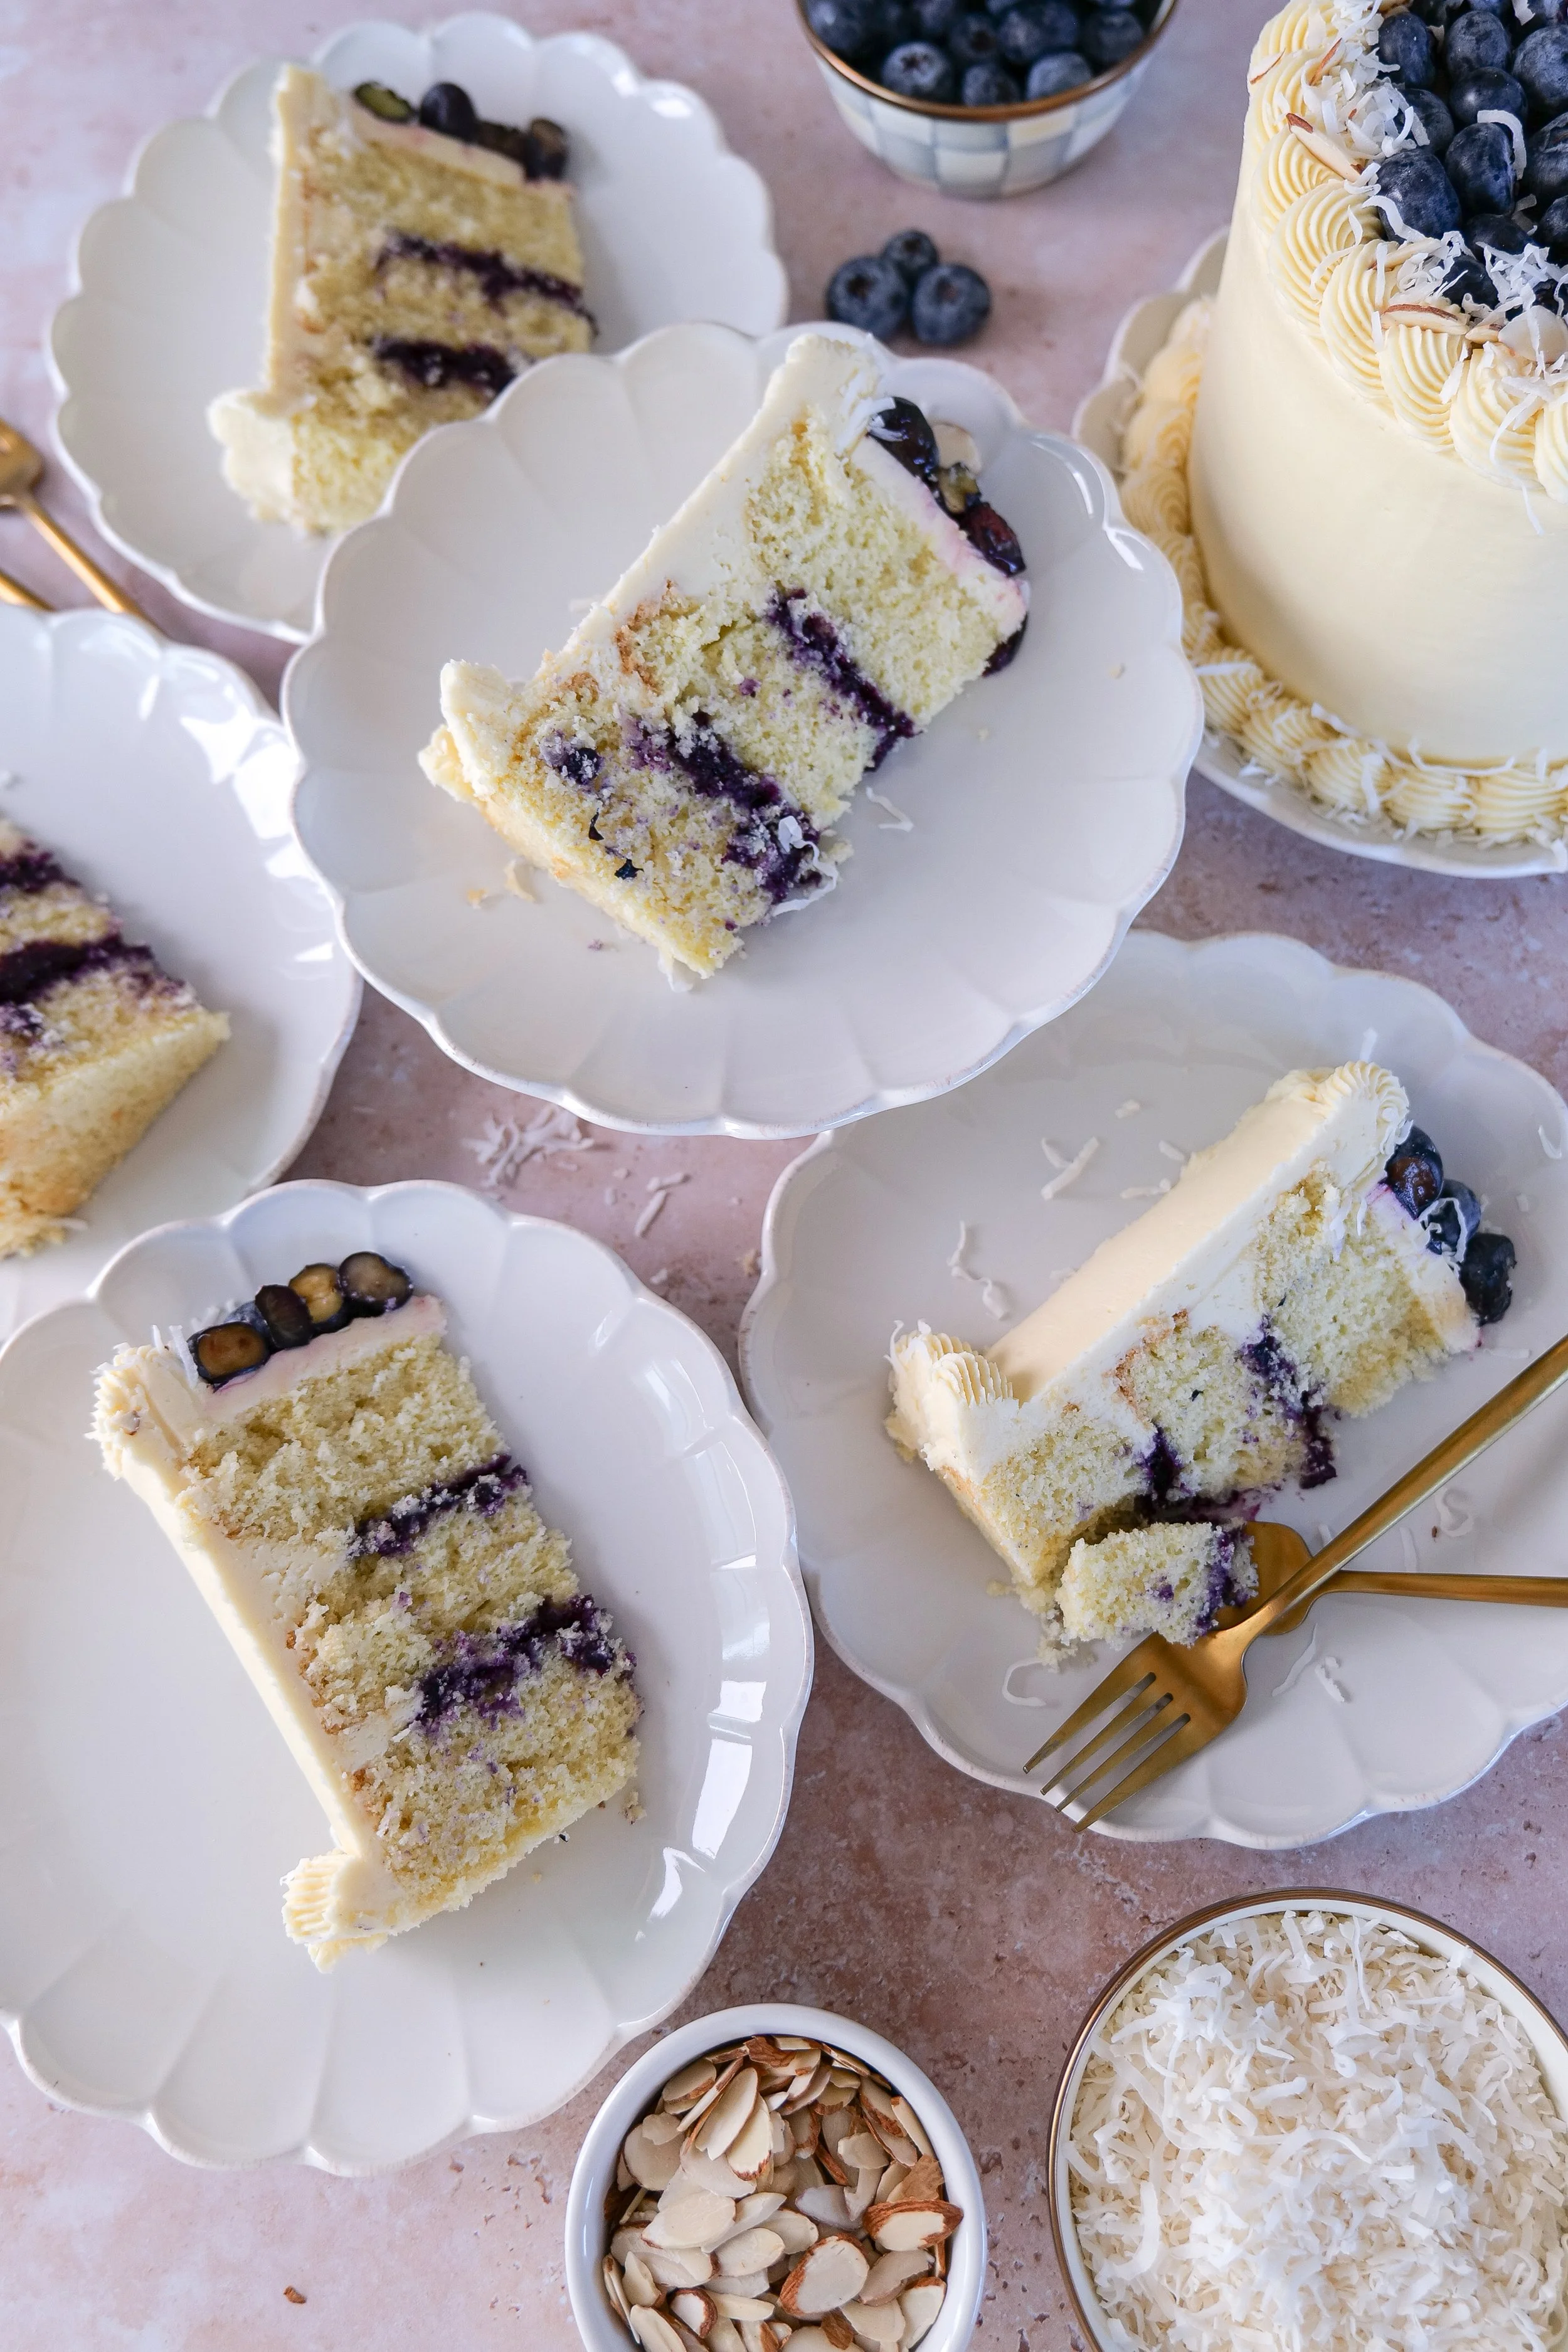
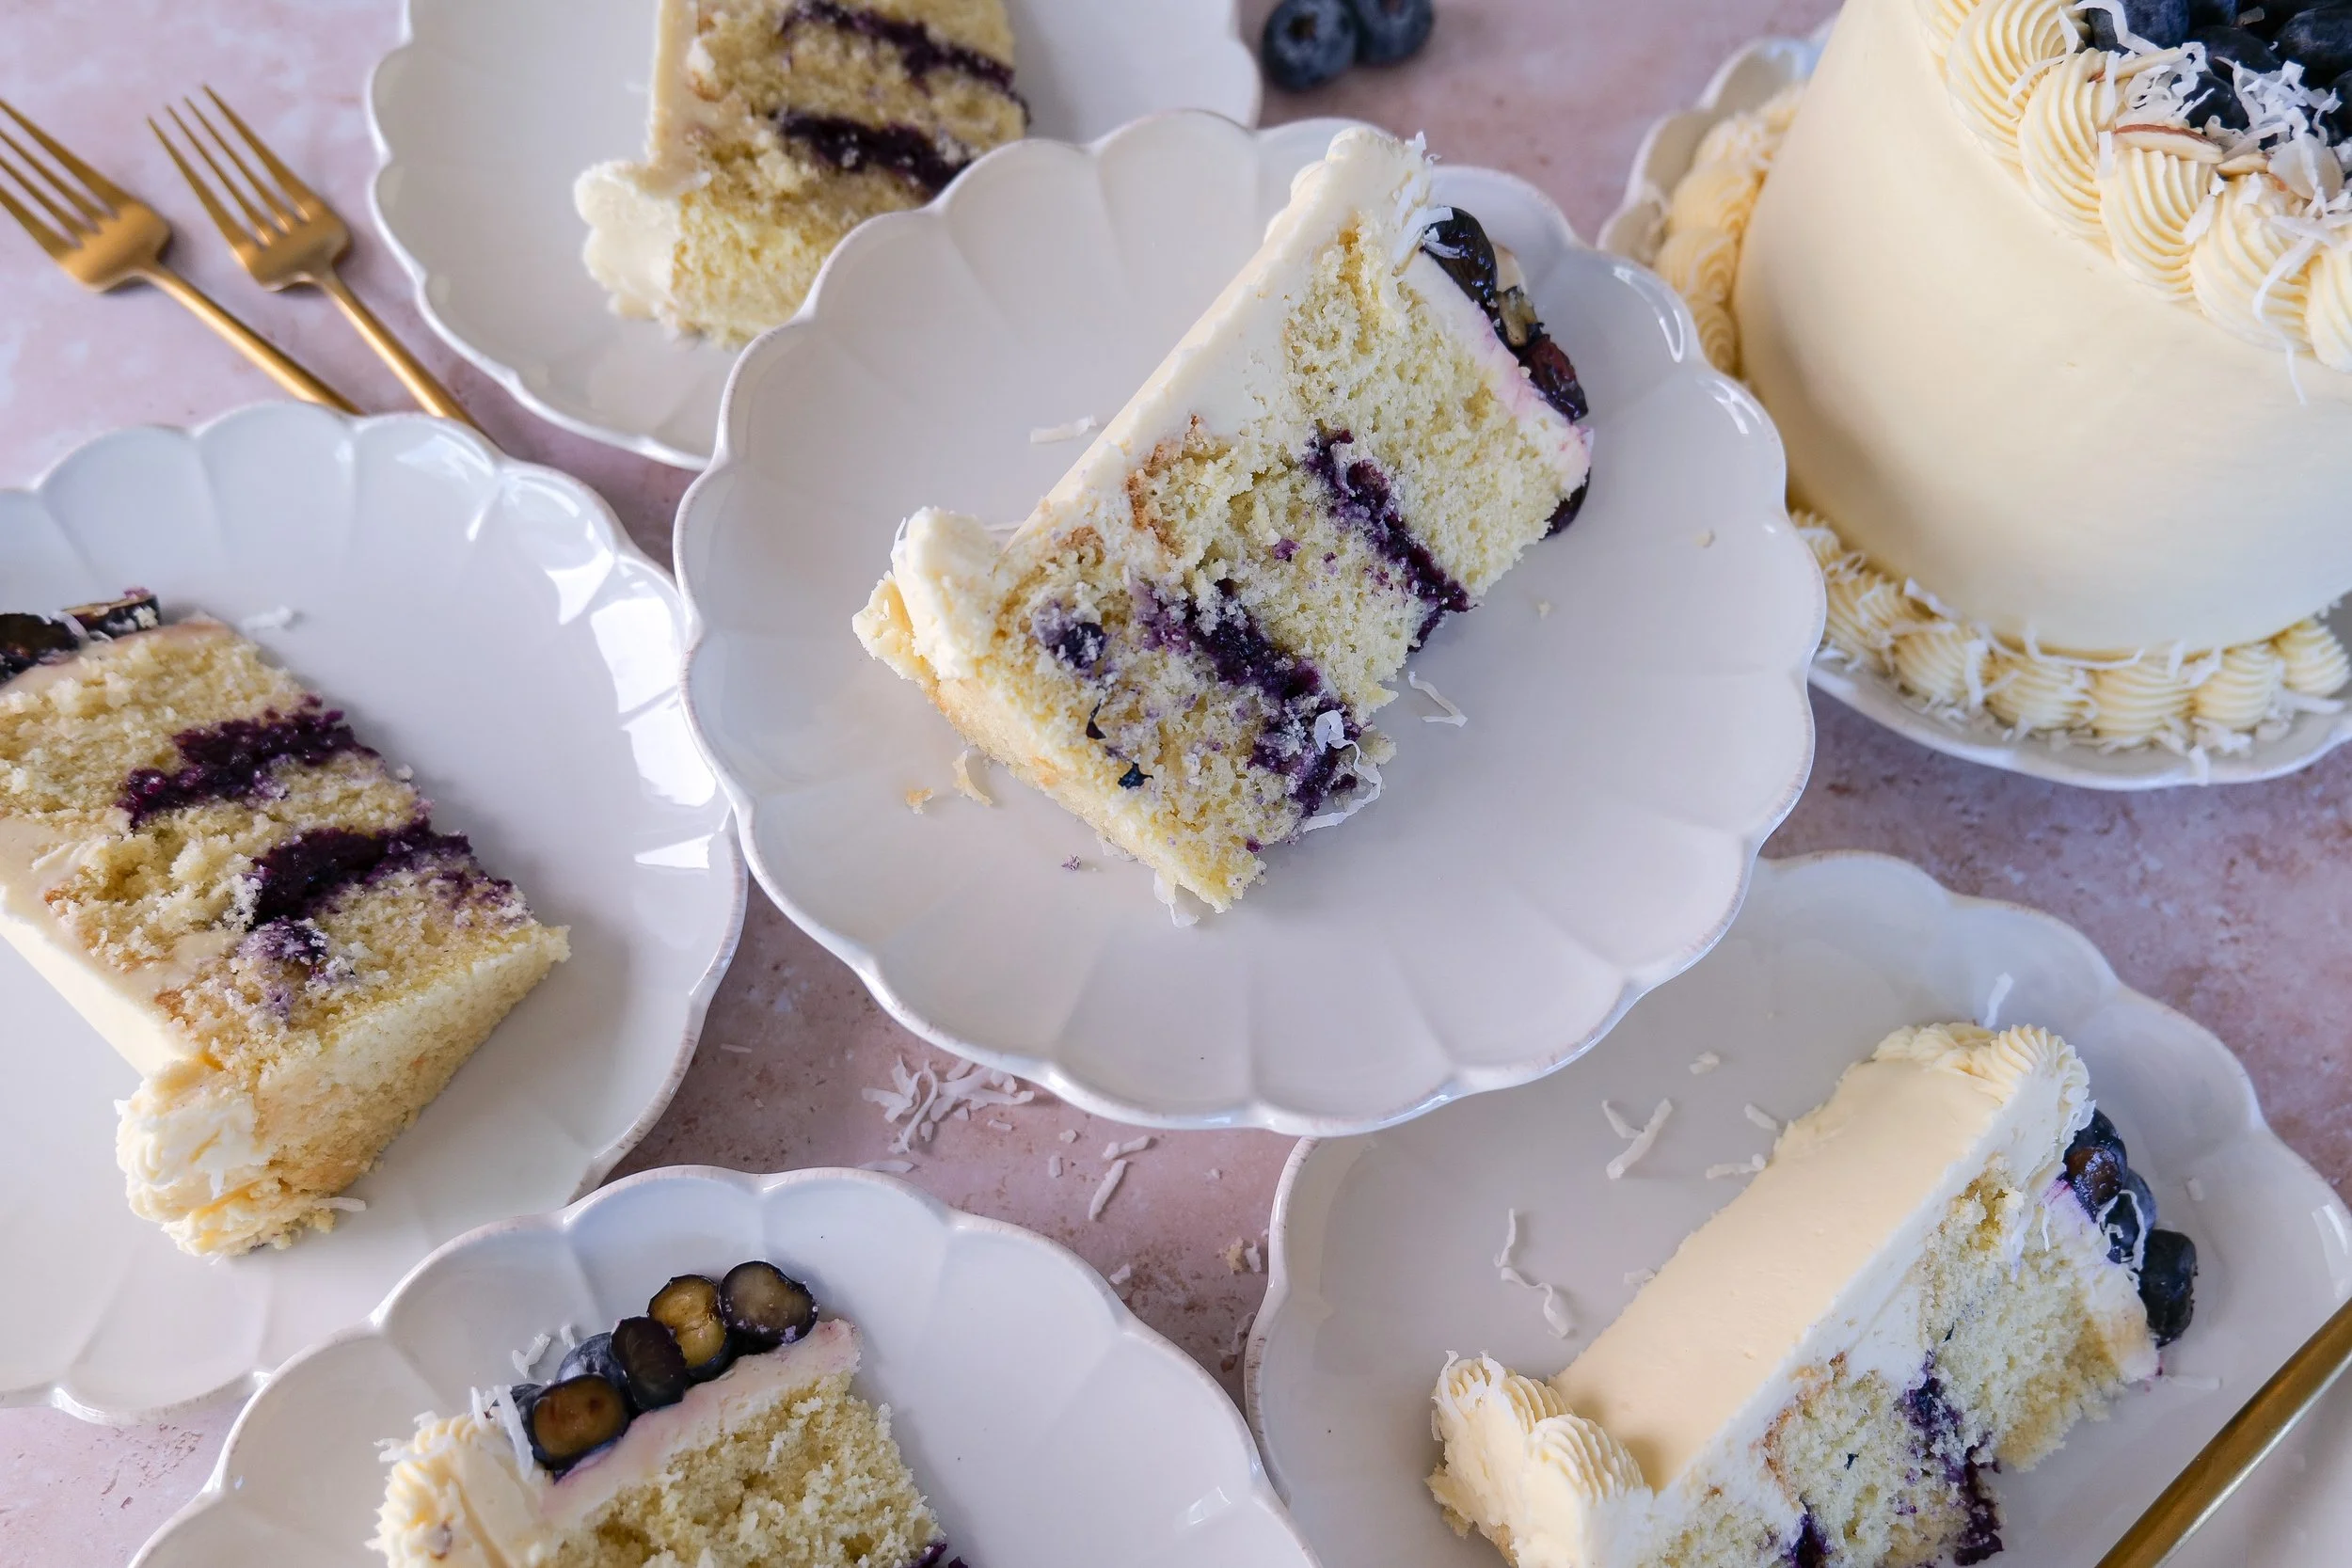
Slice of almond coconut cake showing layers of blueberry curd filling.

This combination of flavors works so well because it plays with contrast in the best possible way. The nuttiness of almond, the gentle sweetness of coconut, and the bold, fruity brightness of blueberry all complement each other without competing. Each slice feels balanced, layered, and thoughtfully composed.

Beyond flavor, there’s also something about the texture that makes this cake stand out. It’s incredibly soft without being fragile, and each layer holds together beautifully while still melting in your mouth. The coconut adds just a hint of chew, while the almond flour contributes to that signature moist crumb that keeps people coming back for another slice.

Visually, this cake is just as captivating. Whether finished with a smooth, rustic frosting or styled with a more polished look, it has a natural beauty that doesn’t require much embellishment. A scattering of fresh blueberries, a handful of toasted coconut flakes, or even a light dusting of powdered sugar is often enough to make it feel complete. It’s the kind of dessert that photographs effortlessly, making it perfect for sharing on Pinterest, Instagram, or any platform where visual storytelling matters.

Blueberry curd cake slice with moist almond cake layers.

Another reason this cake has become such a favorite is its versatility. It can be dressed up for special occasions with layered decoration and intricate finishes, or kept simple for a more casual, everyday treat. It works beautifully as a celebration cake, but it’s just as satisfying served as a weekend baking project or a centerpiece for a relaxed gathering with friends.

Seasonally, it shines brightest in spring and summer when blueberries are at their peak, but it’s by no means limited to those months. The flavors are timeless enough to bring a bit of brightness to colder days, offering a reminder of warmer seasons with every bite.

Pro Tips for the Best Cake

  • Use room temperature ingredients for smoother batter

  • Chill the cake before final frosting for cleaner layers

  • Toast coconut flakes for extra flavor and crunch

  • Don’t skip the almond extract—it elevates everything

Storage & Make-Ahead Tips

  • Store in the fridge for up to 4 days

  • Bring to room temperature before serving

  • Cake layers can be frozen for up to 2 months

  • Blueberry curd can be made 3 days in advance

Layer cake with homemade blueberry filling and coconut frosting.
Moist almond coconut cake with a soft crumb and blueberry filling.
Bakery-style almond cake with blueberry curd and coconut frosting.
Close-up of homemade blueberry curd filling between cake layers.

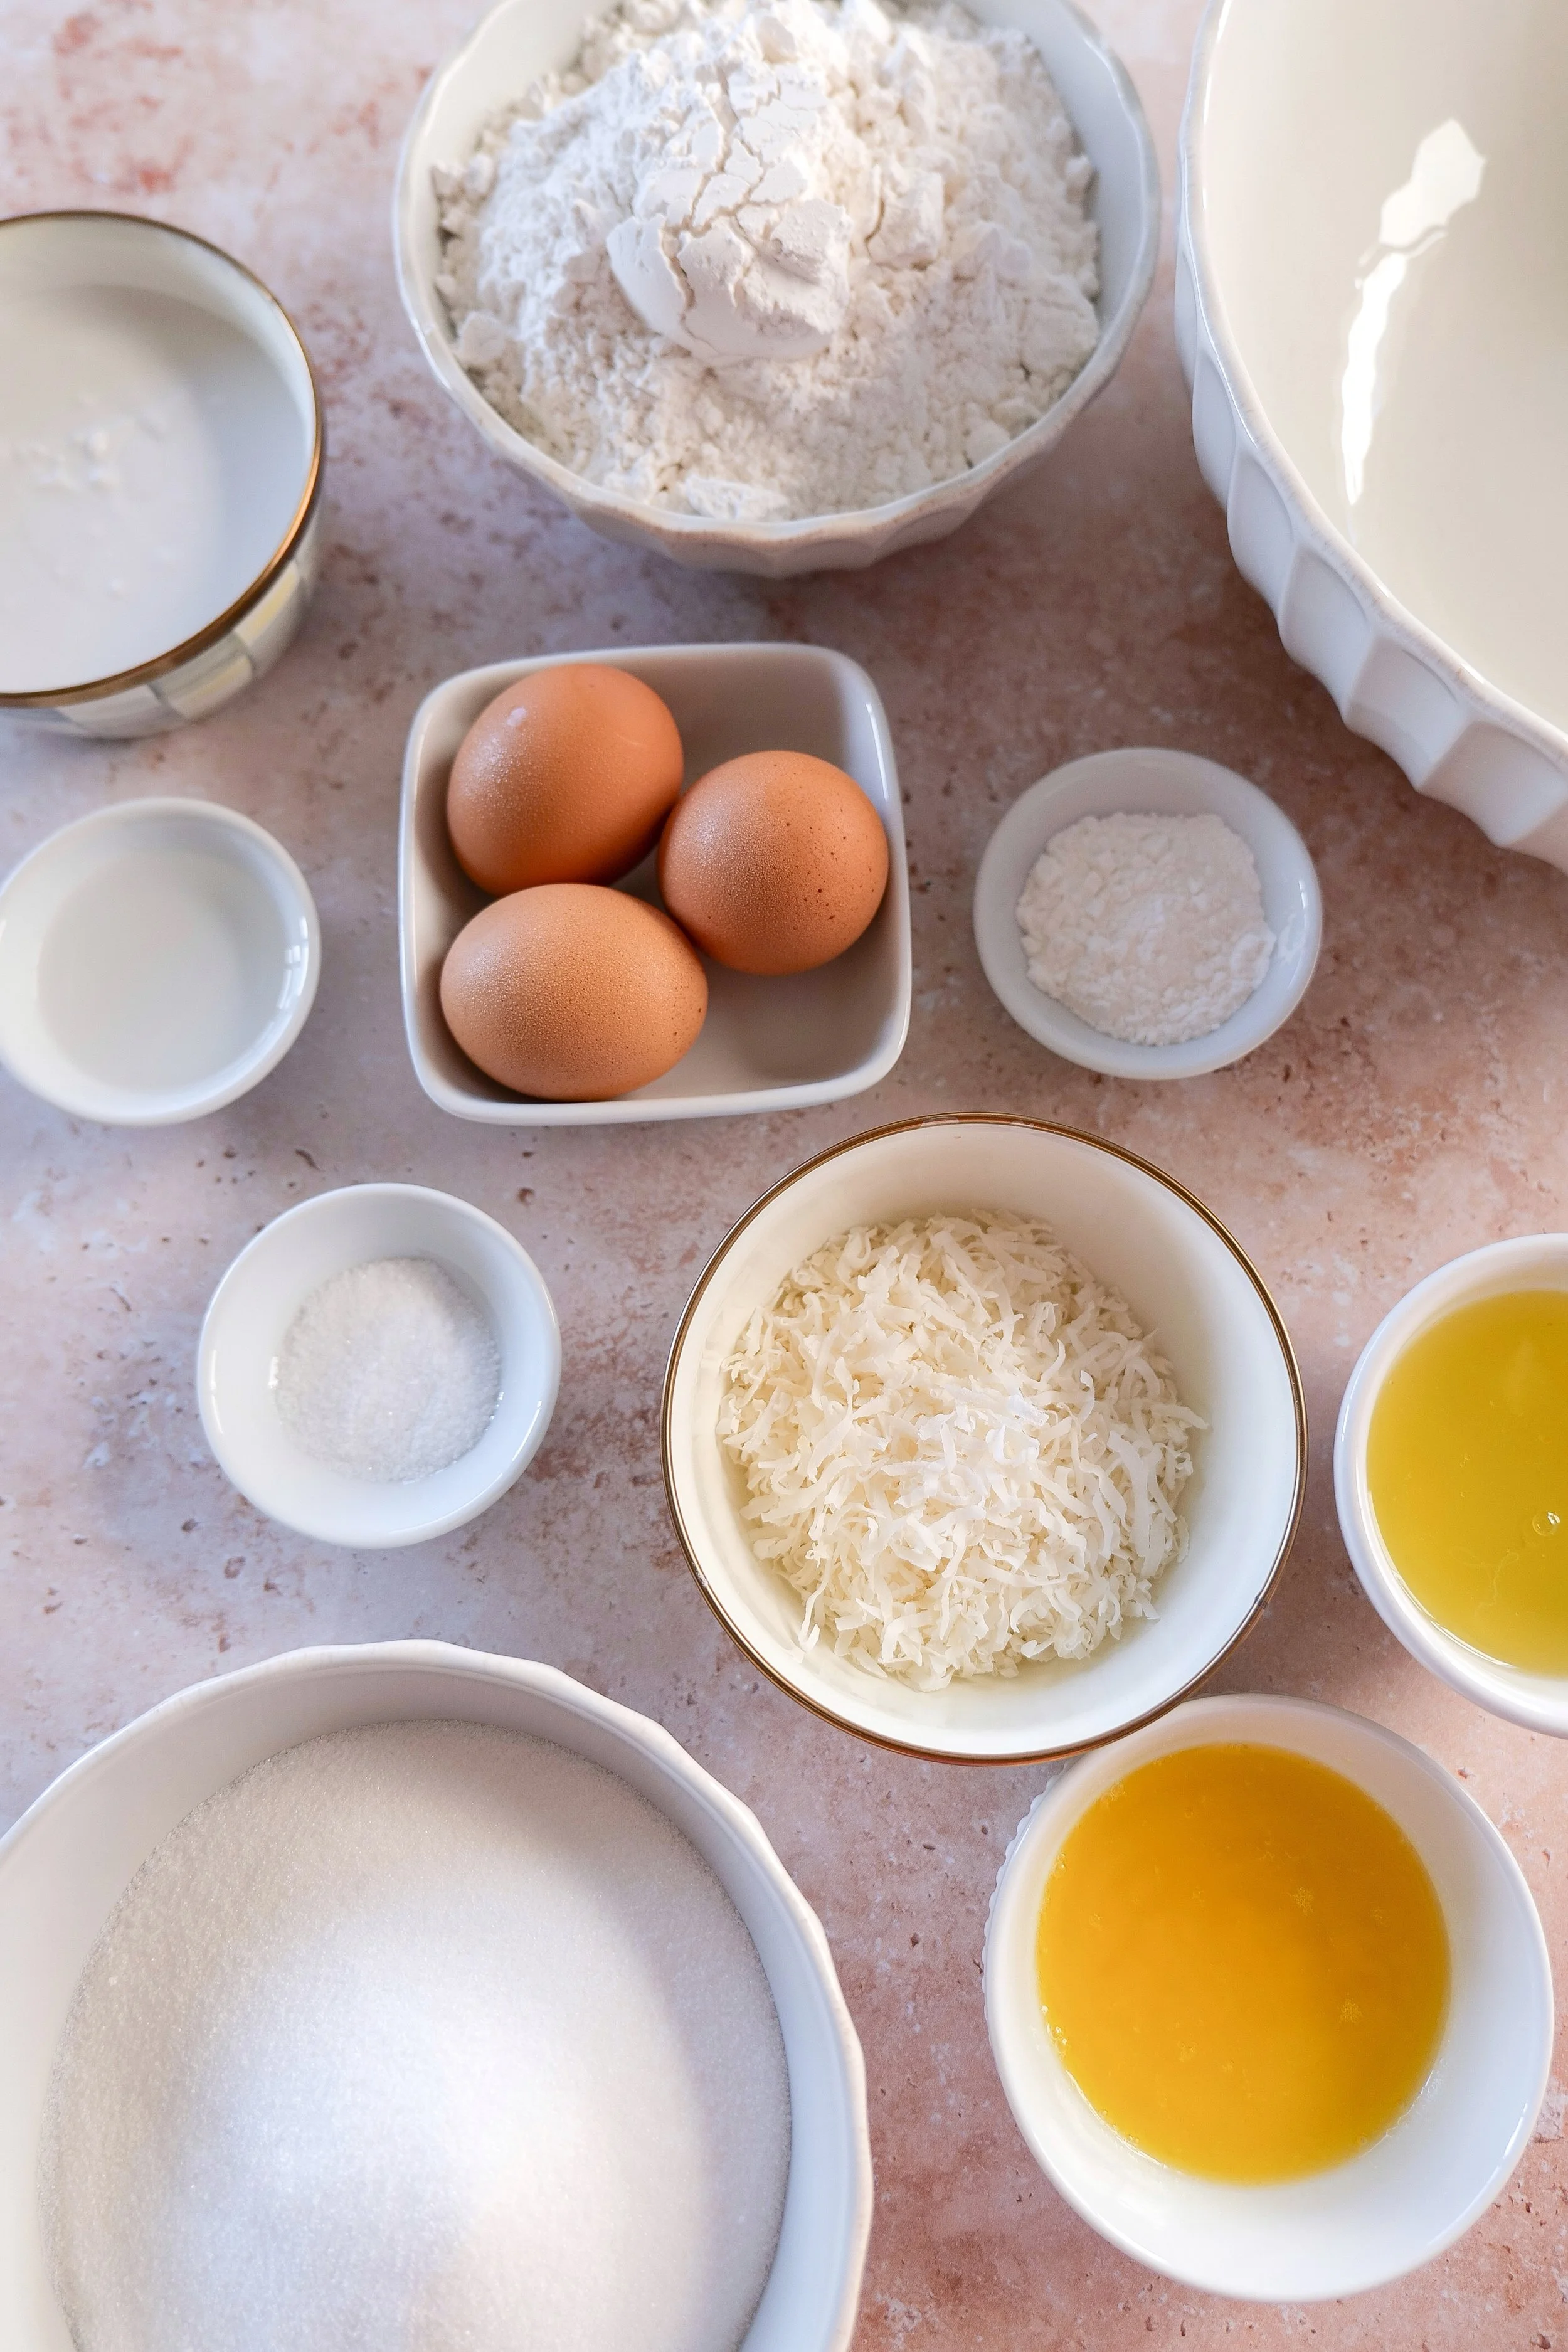
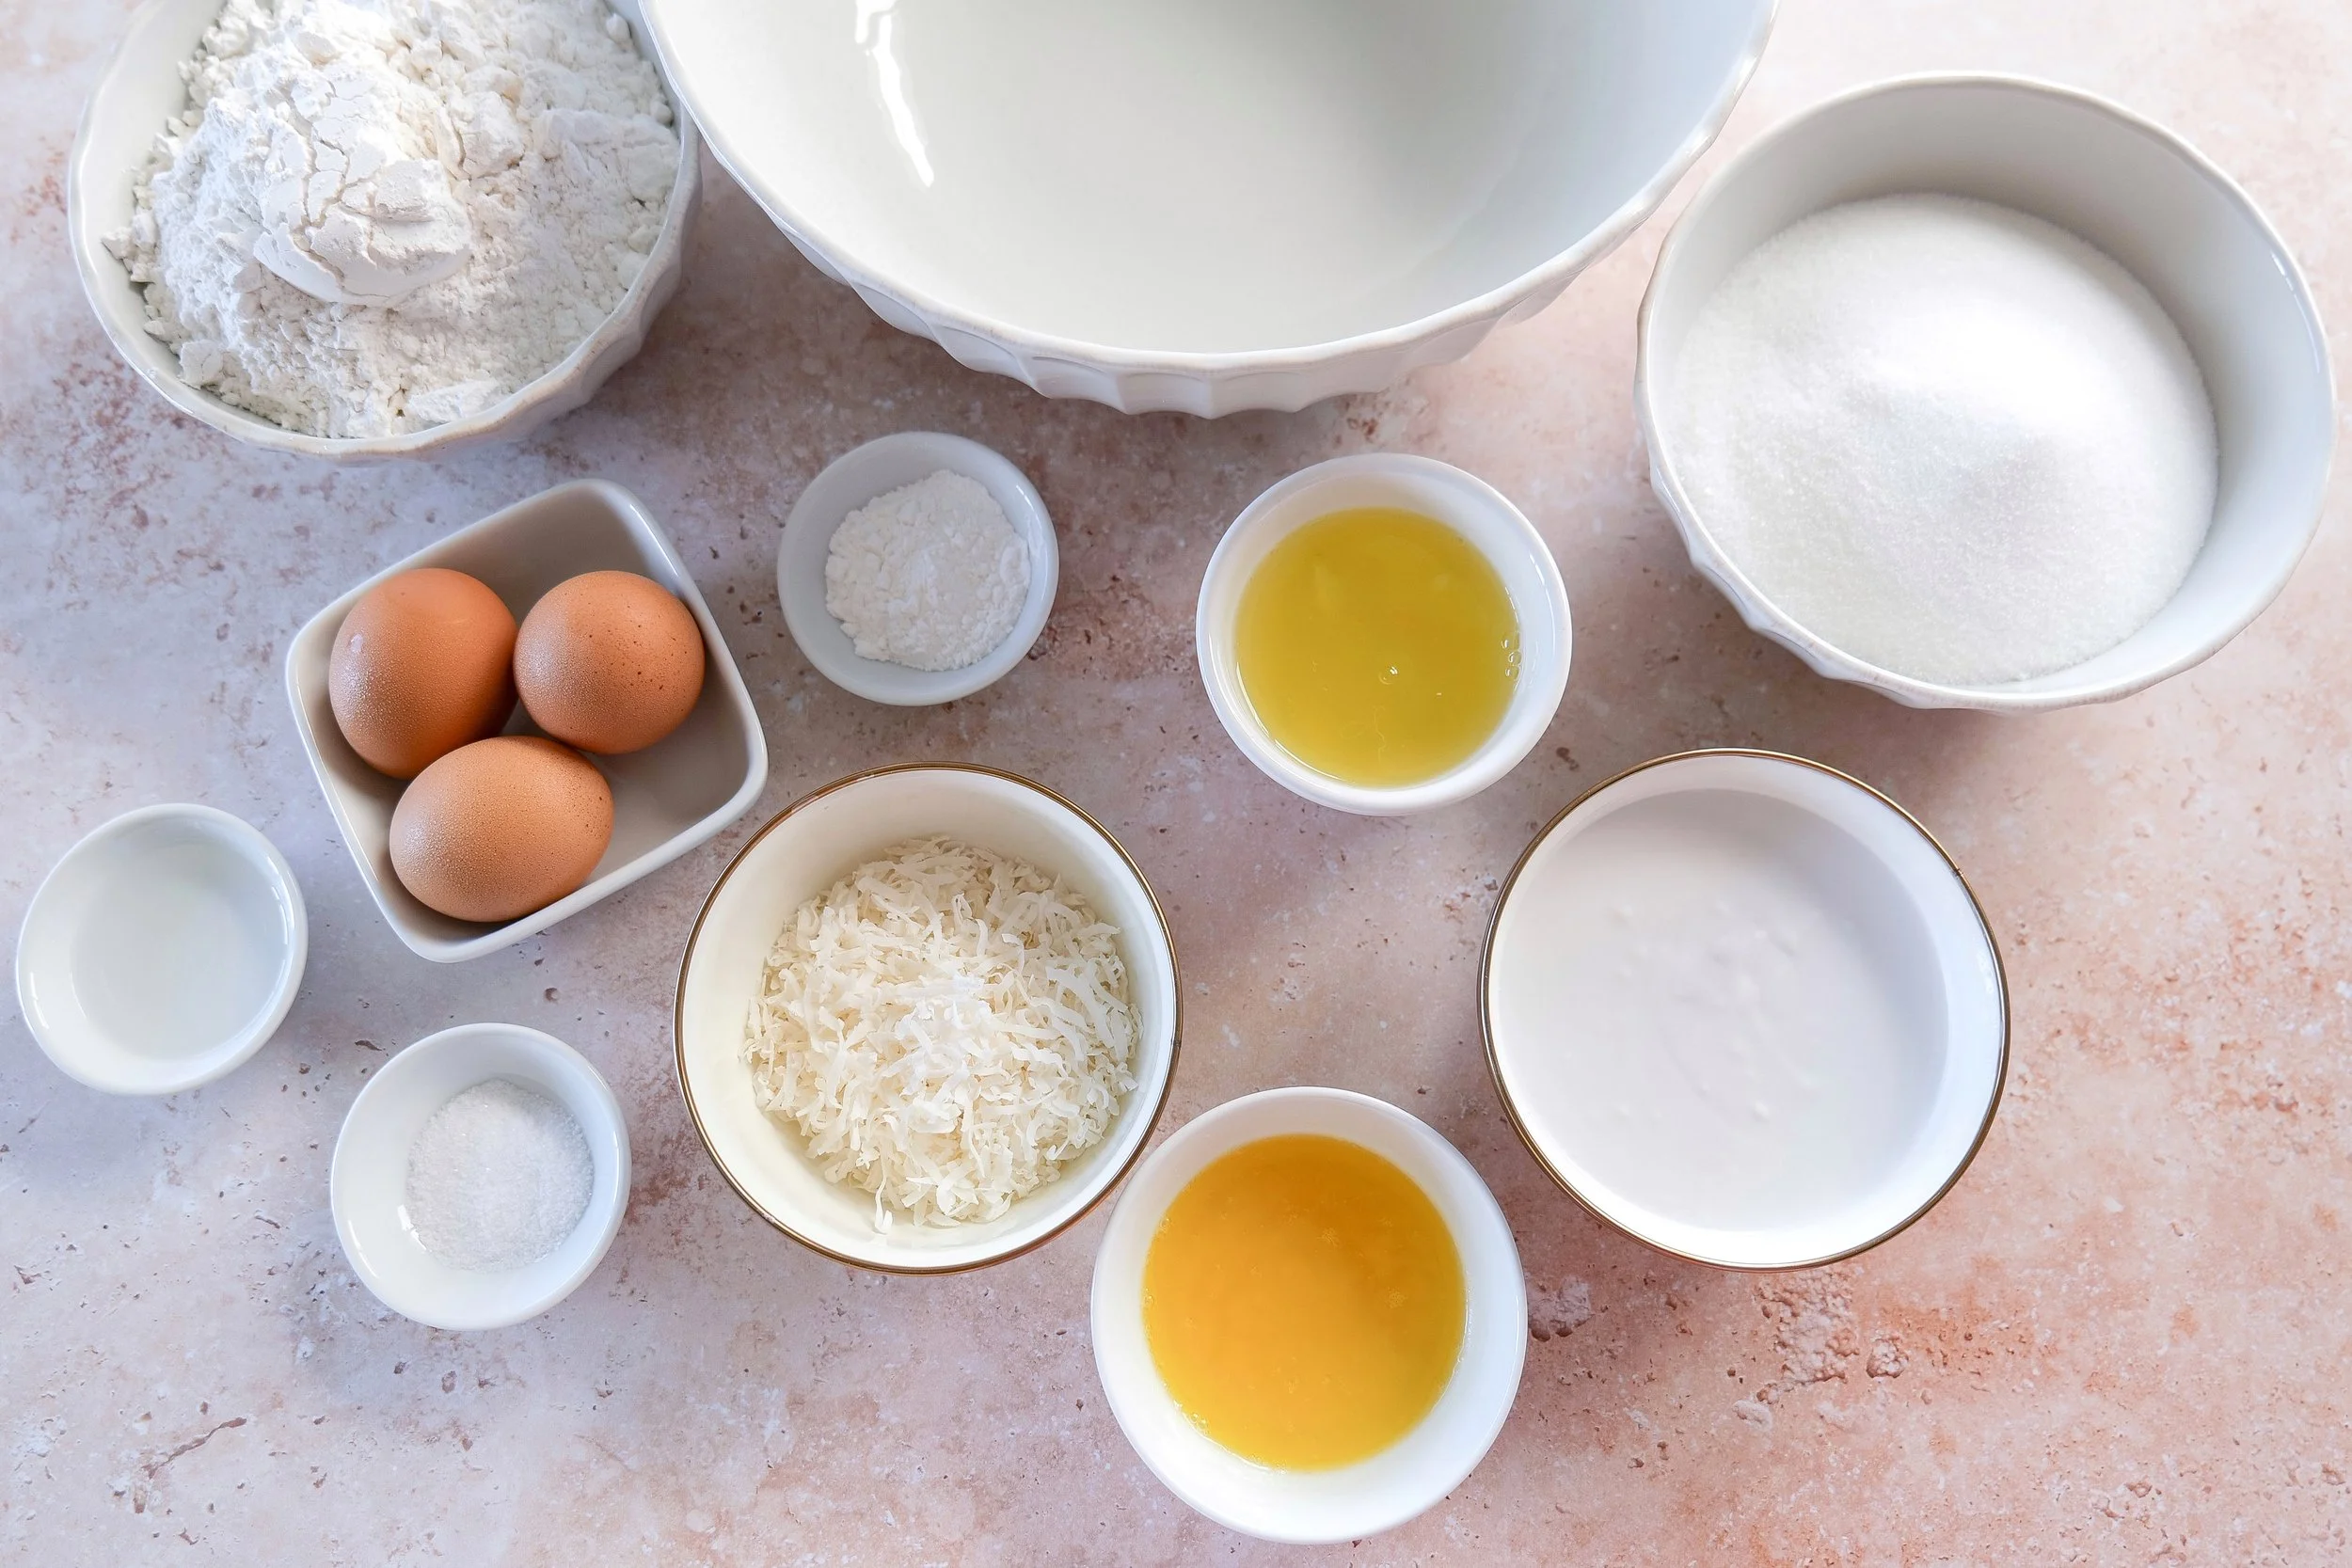
Ingredients

For the cake:

3 large eggs

3 large egg whites

1 cup full-fat coconut milk

2 tbsp. melted butter

3 tsp. Almond extract

1 - 1/2 cup sugar

2-1/4 cups cake flour

1 tbsp. baking powder

3/4 tsp salt

1 cup grated butter

½ cup shredded coconut

For the Blueberry Curd Filling:

2 cups fresh or frozen blueberries

1/2 cup sugar

2 tbsp lemon juice

2 egg yolks

4 tbsp butter

For the Frosting (Coconut Buttercream):

1 cup unsalted butter

3-4 cups powdered sugar

2 tbsp coconut milk

1 tsp vanilla extract

pinch of salt

Instructions

1. Prep by oiling 3 - 6 inch circle pans and preheat oven to 350 degrees.

2. Blend together eggs, coconut milk, melted butter, and almond extract completely.

3. Add dry ingredients in a different bowl until combined.

4. Grate 1 cup of butter on top of dry ingredients. Combined by hand until butter is no larger then pea sizes.

5. Next up add in wet ingredients and blend together with hand mixer.

6. Once combined put into your 3 pans that are oiled and put into oven. 22-27 min.

7. Make the curd:

  • Cook blueberries and lemon juice over medium heat until berries soften, about 5 to 7 minutes. Whisk eggs and sugar, min a bowl, then slowly mix into blueberry purée.

  • Cook gently over low to medium heat, stirring constantly, until thick enough to coat a spoon.

  • Remove from heat and stir in butter until smooth and glossy. Cool slightly & place in fridge until ready to assemble the cake.

8. Blend together all frosting ingredients until well combined. (butter should be room temp if not heat in microwave for 30 sec at a time) You can add more coconut milk or powdered sugar depending on desired consistency. I sometimes also double the recipe to a thick layer on the outside.

9. Once cake is done baking let cool in pan for 15 min and transfer to cooling rack for another 15.

10. Ice layers of cake and do a thin later around for a “crumb layer” that will catch all the crumbs and make a base for the final layer. Place in fridge for 30 min and then do another final layer. Smooth, textured, whatever you desire!

What to Serve With Almond Coconut Cake

This elegant layer cake pairs beautifully with:

• Fresh blueberries

• Fresh strawberries

• Hot coffee

• Matcha lattes

• Earl Grey tea

• Iced lavender lattes

• Vanilla bean ice cream

• Brunch spreads and dessert tables

Whether you’re baking it for a celebration or simply dreaming up your next kitchen project, this cake is the kind that stays with you. Light yet rich, simple yet elegant, and always just a little bit unexpected, it captures everything we love about homemade desserts in one beautiful creation.

Kitchen Favorites I Used For This Recipe

From cake pans and cooling racks to mixing bowls and decorating tools, these are some of my favorite baking essentials that help make layer cakes easier and more enjoyable to create. I've also included a few coffee bar favorites that pair perfectly with a slice of homemade cake.

Baking Favorites Collection

Cozy Coffee Bar Collection

Entertaining Essentials Collection

More Beautiful Layer Cakes & Celebration Desserts

Matcha Strawberry Cake

Strawberry Champagne Cake: A Perfectly Sparkling Treat for Any Occasion

The Ultimate Comfort Dessert: Banana Chocolate Chip Cake & Ganache Frosting!

Indulge in the Irresistible Delight of Espresso Chocolate Cake with Heavenly Raspberry Cream Cheese Frosting!

Banana Cake with Decadent Brown Butter Cream Cheese Frosting Will Wow Your Taste Buds

Delight in Every Slice: Delicious Blueberry Cake with Mascarpone Frosting

Taste the Deliciousness of Pistachio Cake: A Treat for Any Occasion

Zesty Indulgence: Crafting the Perfect Layered Orange Cake with Raspberry Mascarpone Frosting

My Favorite White Cake Recipe

Frequently Asked Questions

Can I make this gluten-free?
Yes! Substitute the all-purpose flour with a 1:1 gluten-free blend.

Can I use canned blueberry filling?
You can, but homemade blueberry curd gives a fresher, more vibrant flavor.

What pairs well with this cake?
A cup of coffee, tea, or even a light sparkling wine complements it beautifully.

Ultimately, this almond coconut cake with blueberry curd filling is more than just a recipe—it’s an experience built around flavor, texture, and presentation. It invites you to slow down, savor each bite, and appreciate the small details that make something truly memorable.

Save This Recipe

Whether you're planning ahead for a special occasion or adding a new favorite to your recipe collection, I've included a printable recipe card below so it's easy to save, print, and share with the people you love.

Homemade almond coconut layer cake with blueberry curd filling, coconut buttercream frosting, fresh blueberries, shredded coconut, and sliced almonds on a white cake stand.
Homemade blueberry curd prepared for cake filling.
Almond coconut cake served on a spring dessert table for entertaining.
Spreading blueberry curd filling between cake layers.
Almond Coconut Cake with Blueberry Curd Filling

Layered Neapolitan Cake

Chocolate, Vanilla & Strawberry Cake with Cream Cheese Frosting

There is something so nostalgic about the combination of chocolate, vanilla, and strawberry. Inspired by classic Neapolitan ice cream, this Layered Neapolitan Cake brings all three flavors together in one beautiful dessert.

Instead of making three completely different cake recipes, I start with one vanilla cake batter and divide it into three portions. One stays vanilla, fresh strawberry puree transforms another into the strawberry layer, and cocoa powder with a shot of espresso creates the rich chocolate layer.

Once baked, the three cakes are stacked with a thick cream cheese frosting, giving you those beautiful chocolate, vanilla, and strawberry layers with every slice.

It's a cake that looks impressive when you cut into it but is surprisingly approachable to make. I love it for birthdays, spring celebrations, Valentine's Day, showers, or really any occasion that calls for a beautiful layer cake.

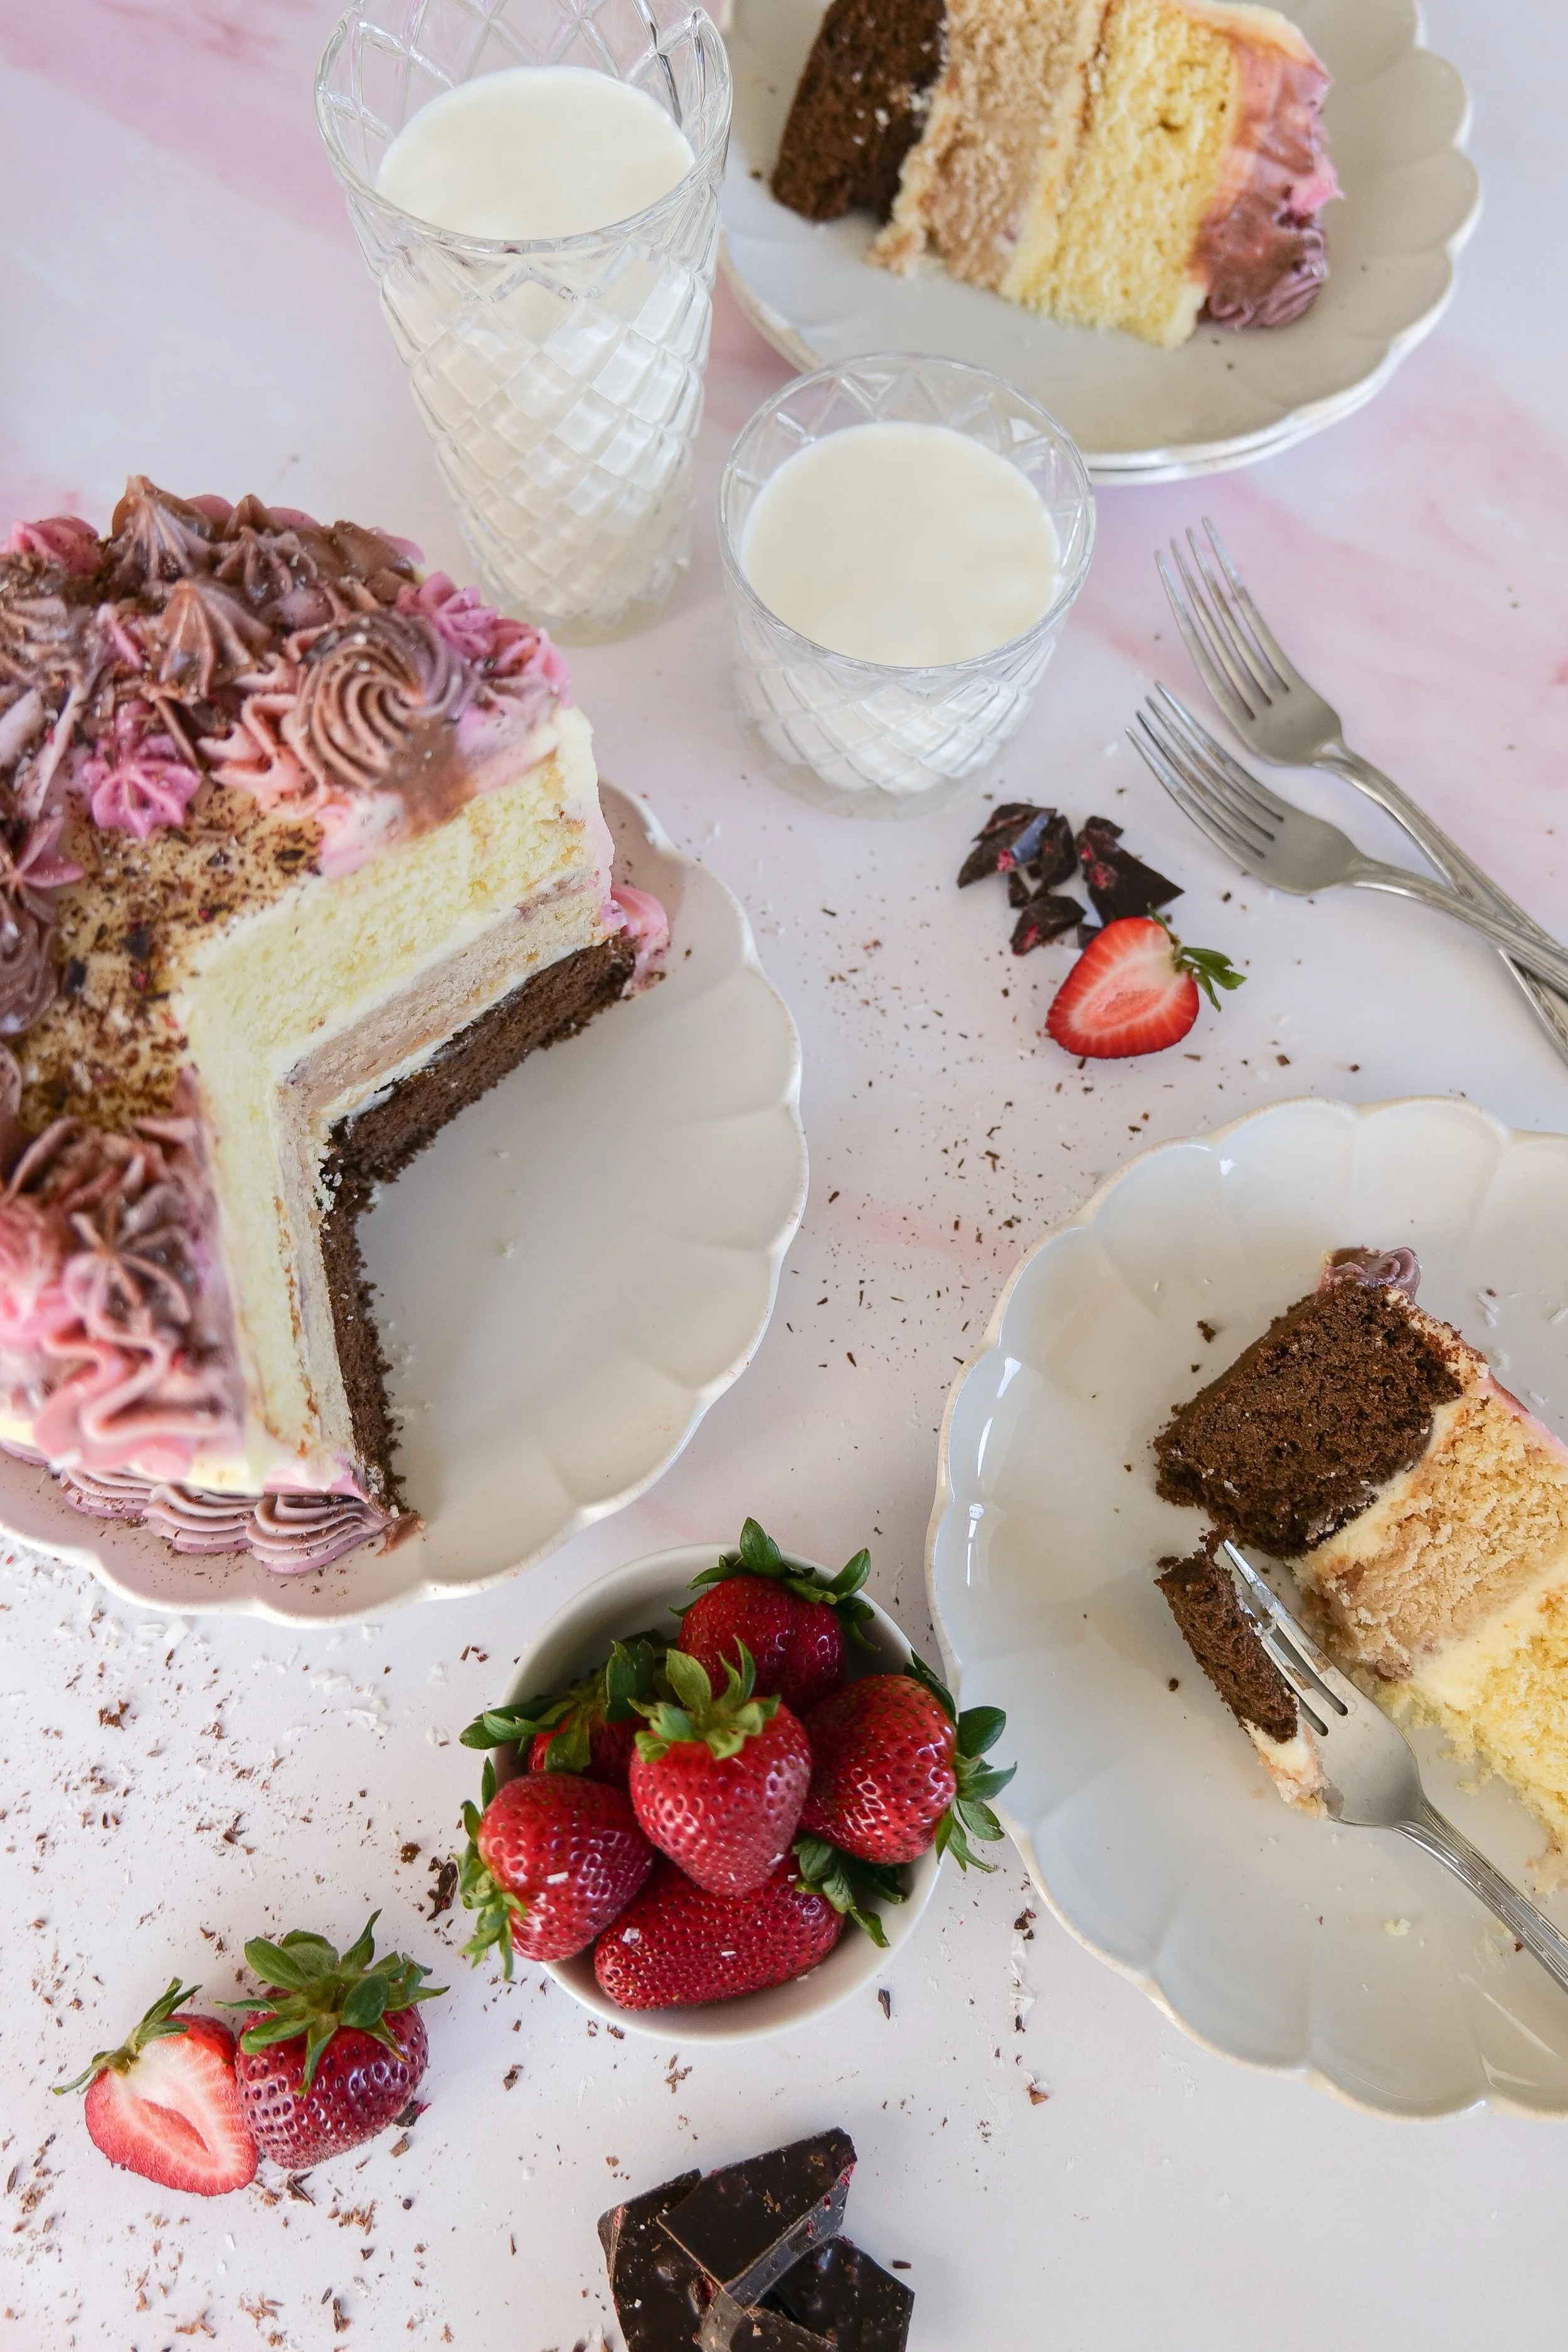
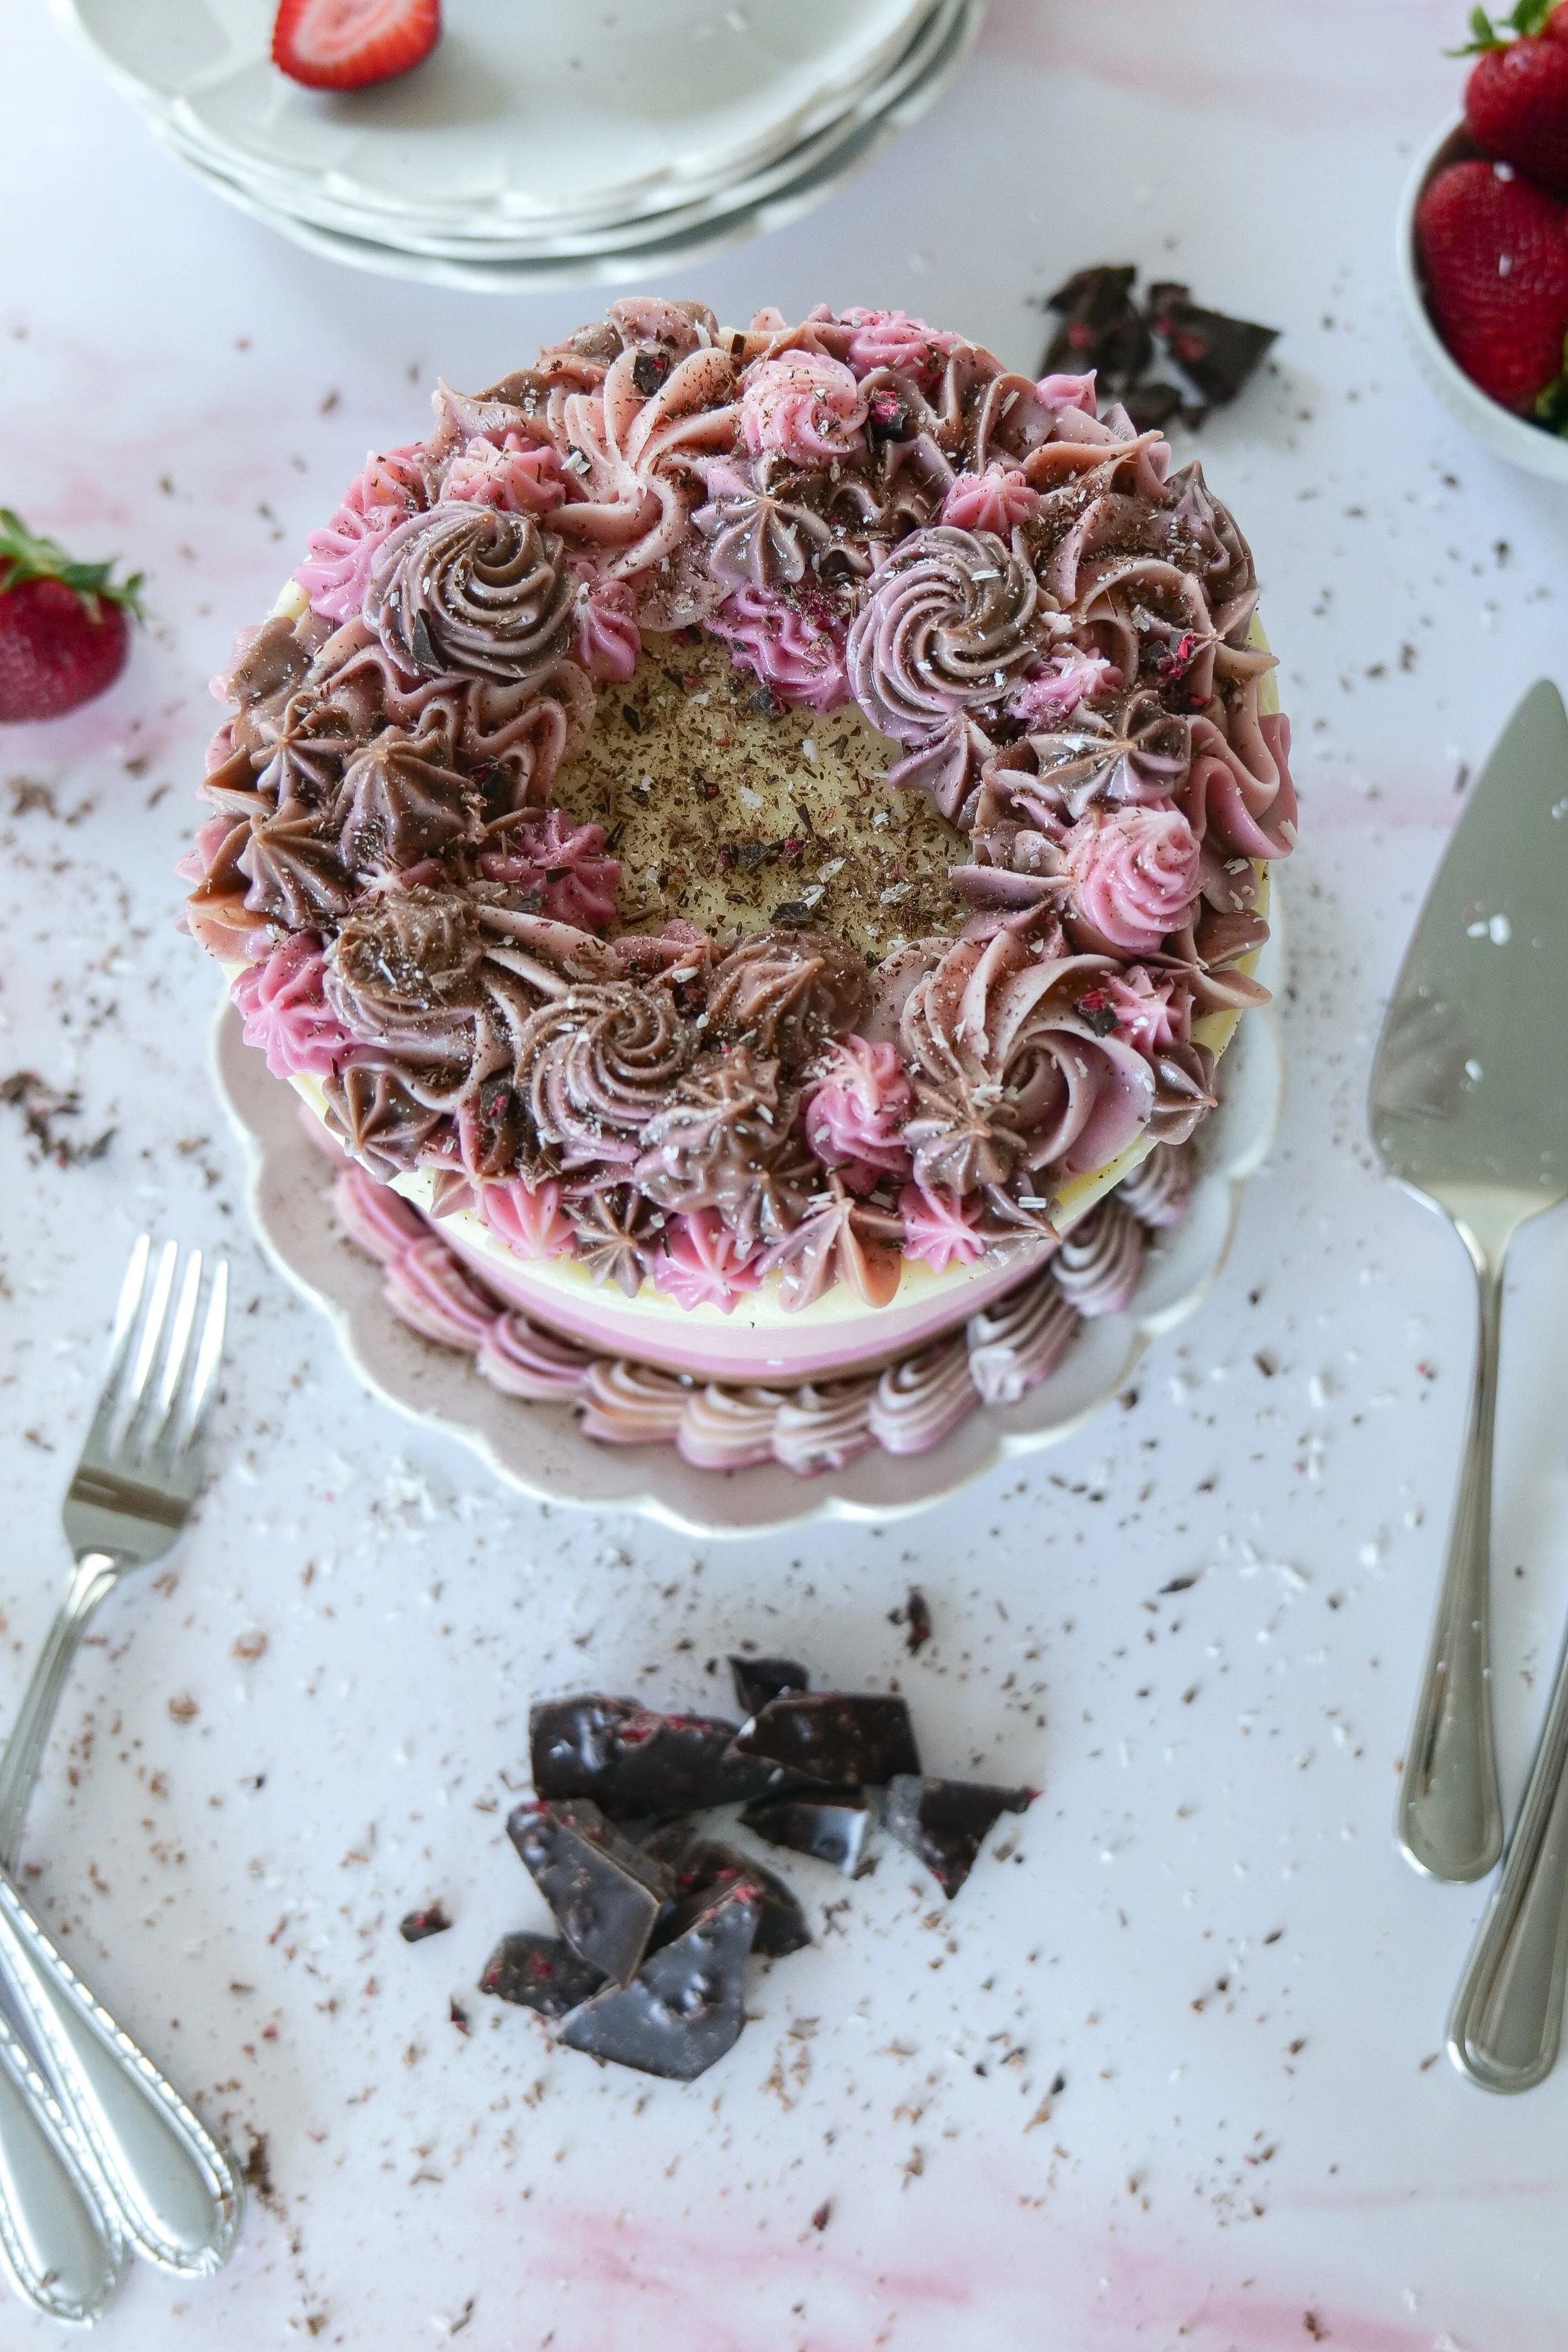
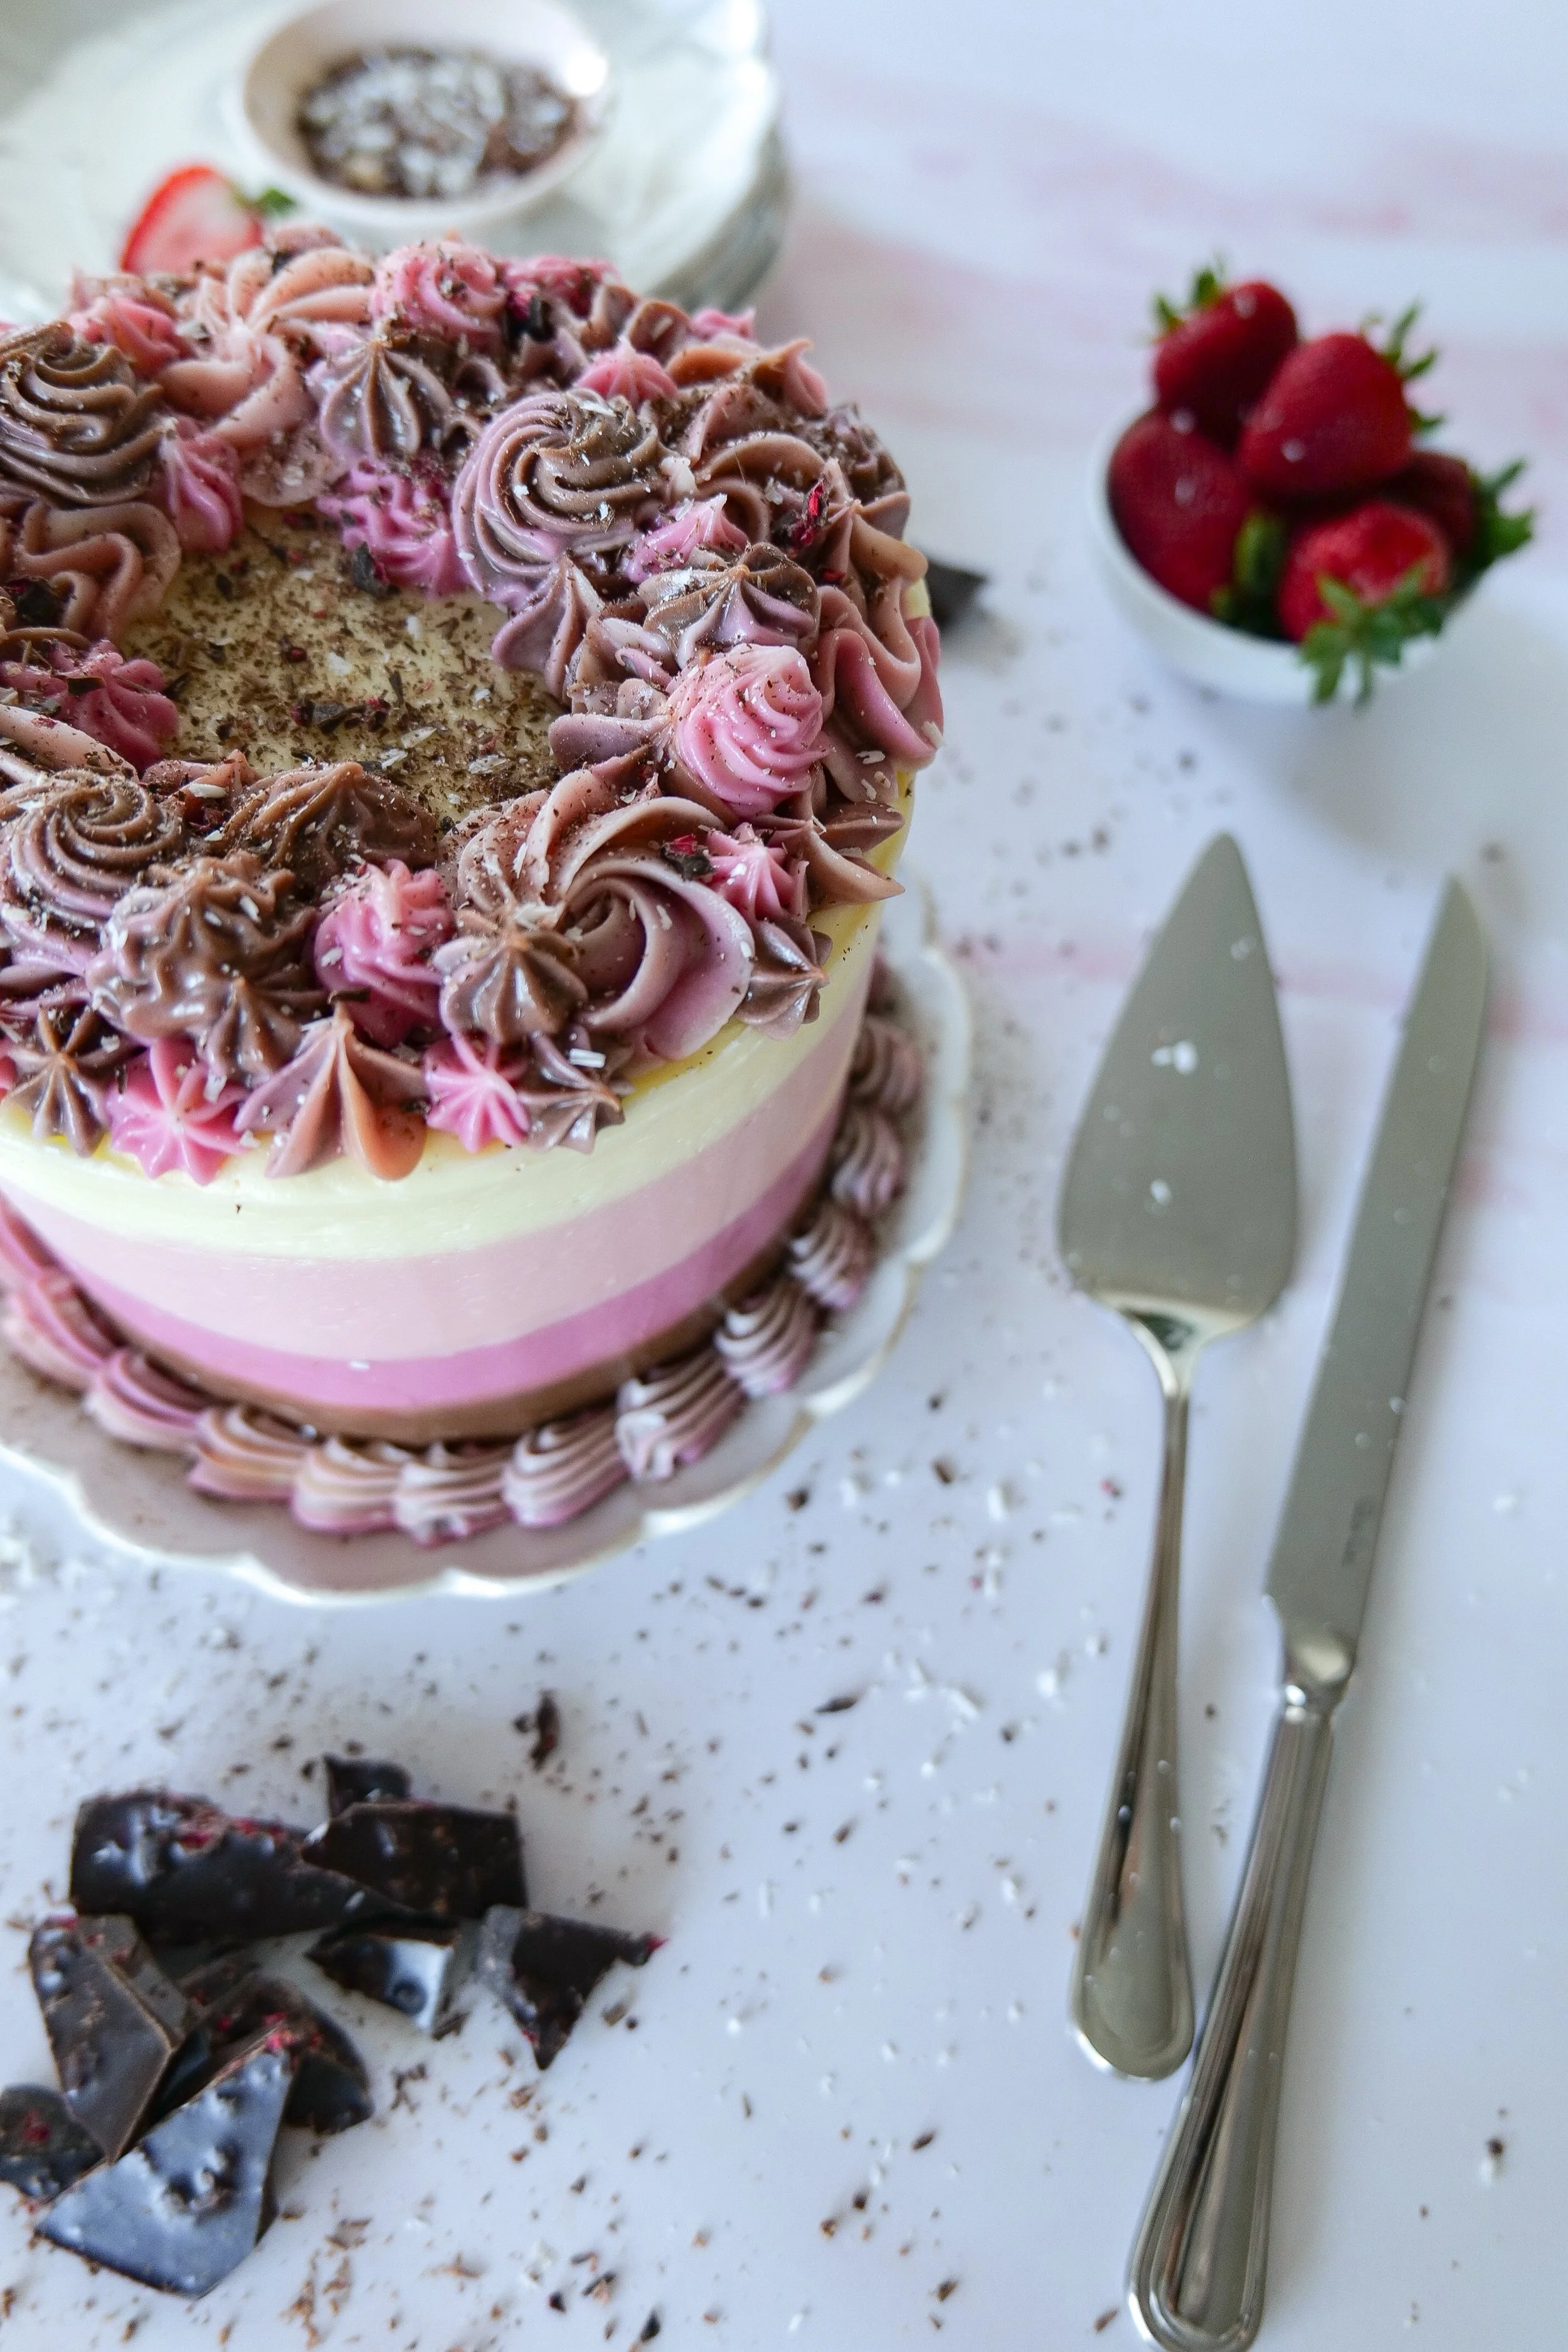
Layered Neapolitan cake with chocolate, vanilla, and strawberry cake layers covered in cream cheese frosting.
↓ Skip to Recipe

What Is Neapolitan Cake?

Neapolitan cake is inspired by the familiar chocolate, vanilla, and strawberry combination found in Neapolitan ice cream.

For this version, we're taking those three flavors and turning them into individual cake layers.

The vanilla layer is sweet and simple, the strawberry layer gets its flavor from real strawberry puree, and the chocolate layer combines cocoa powder with espresso to deepen the chocolate flavor.

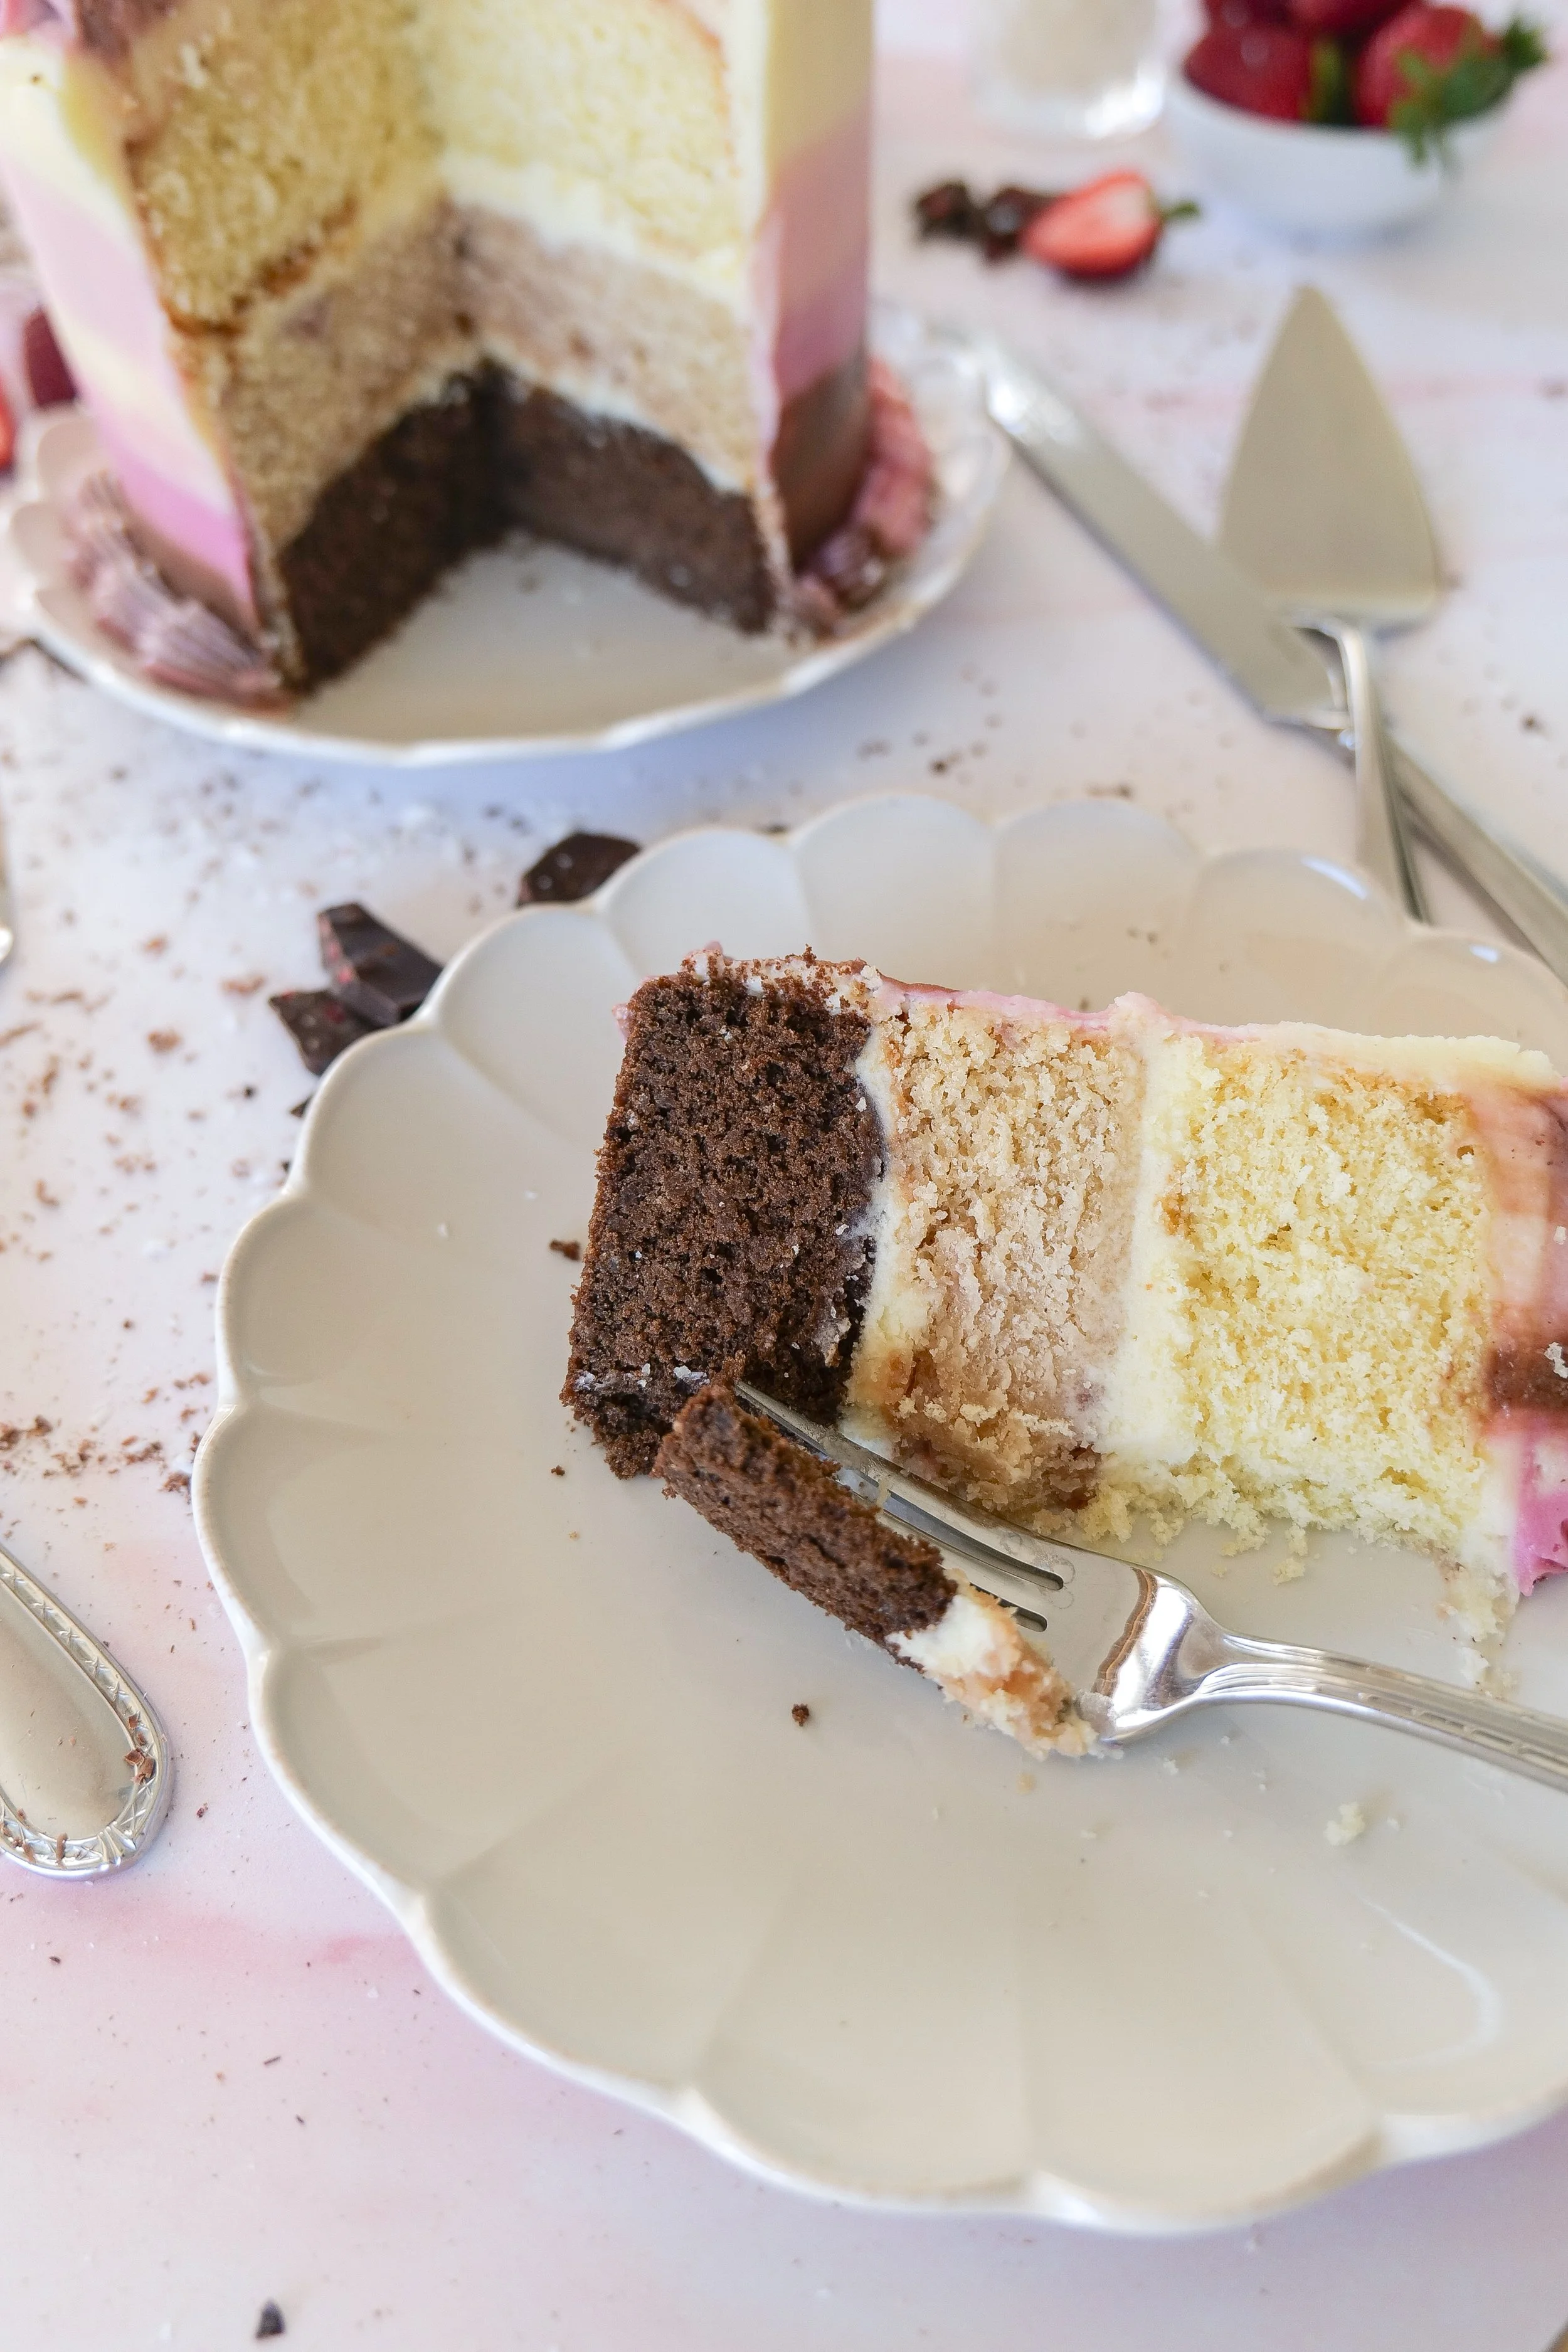
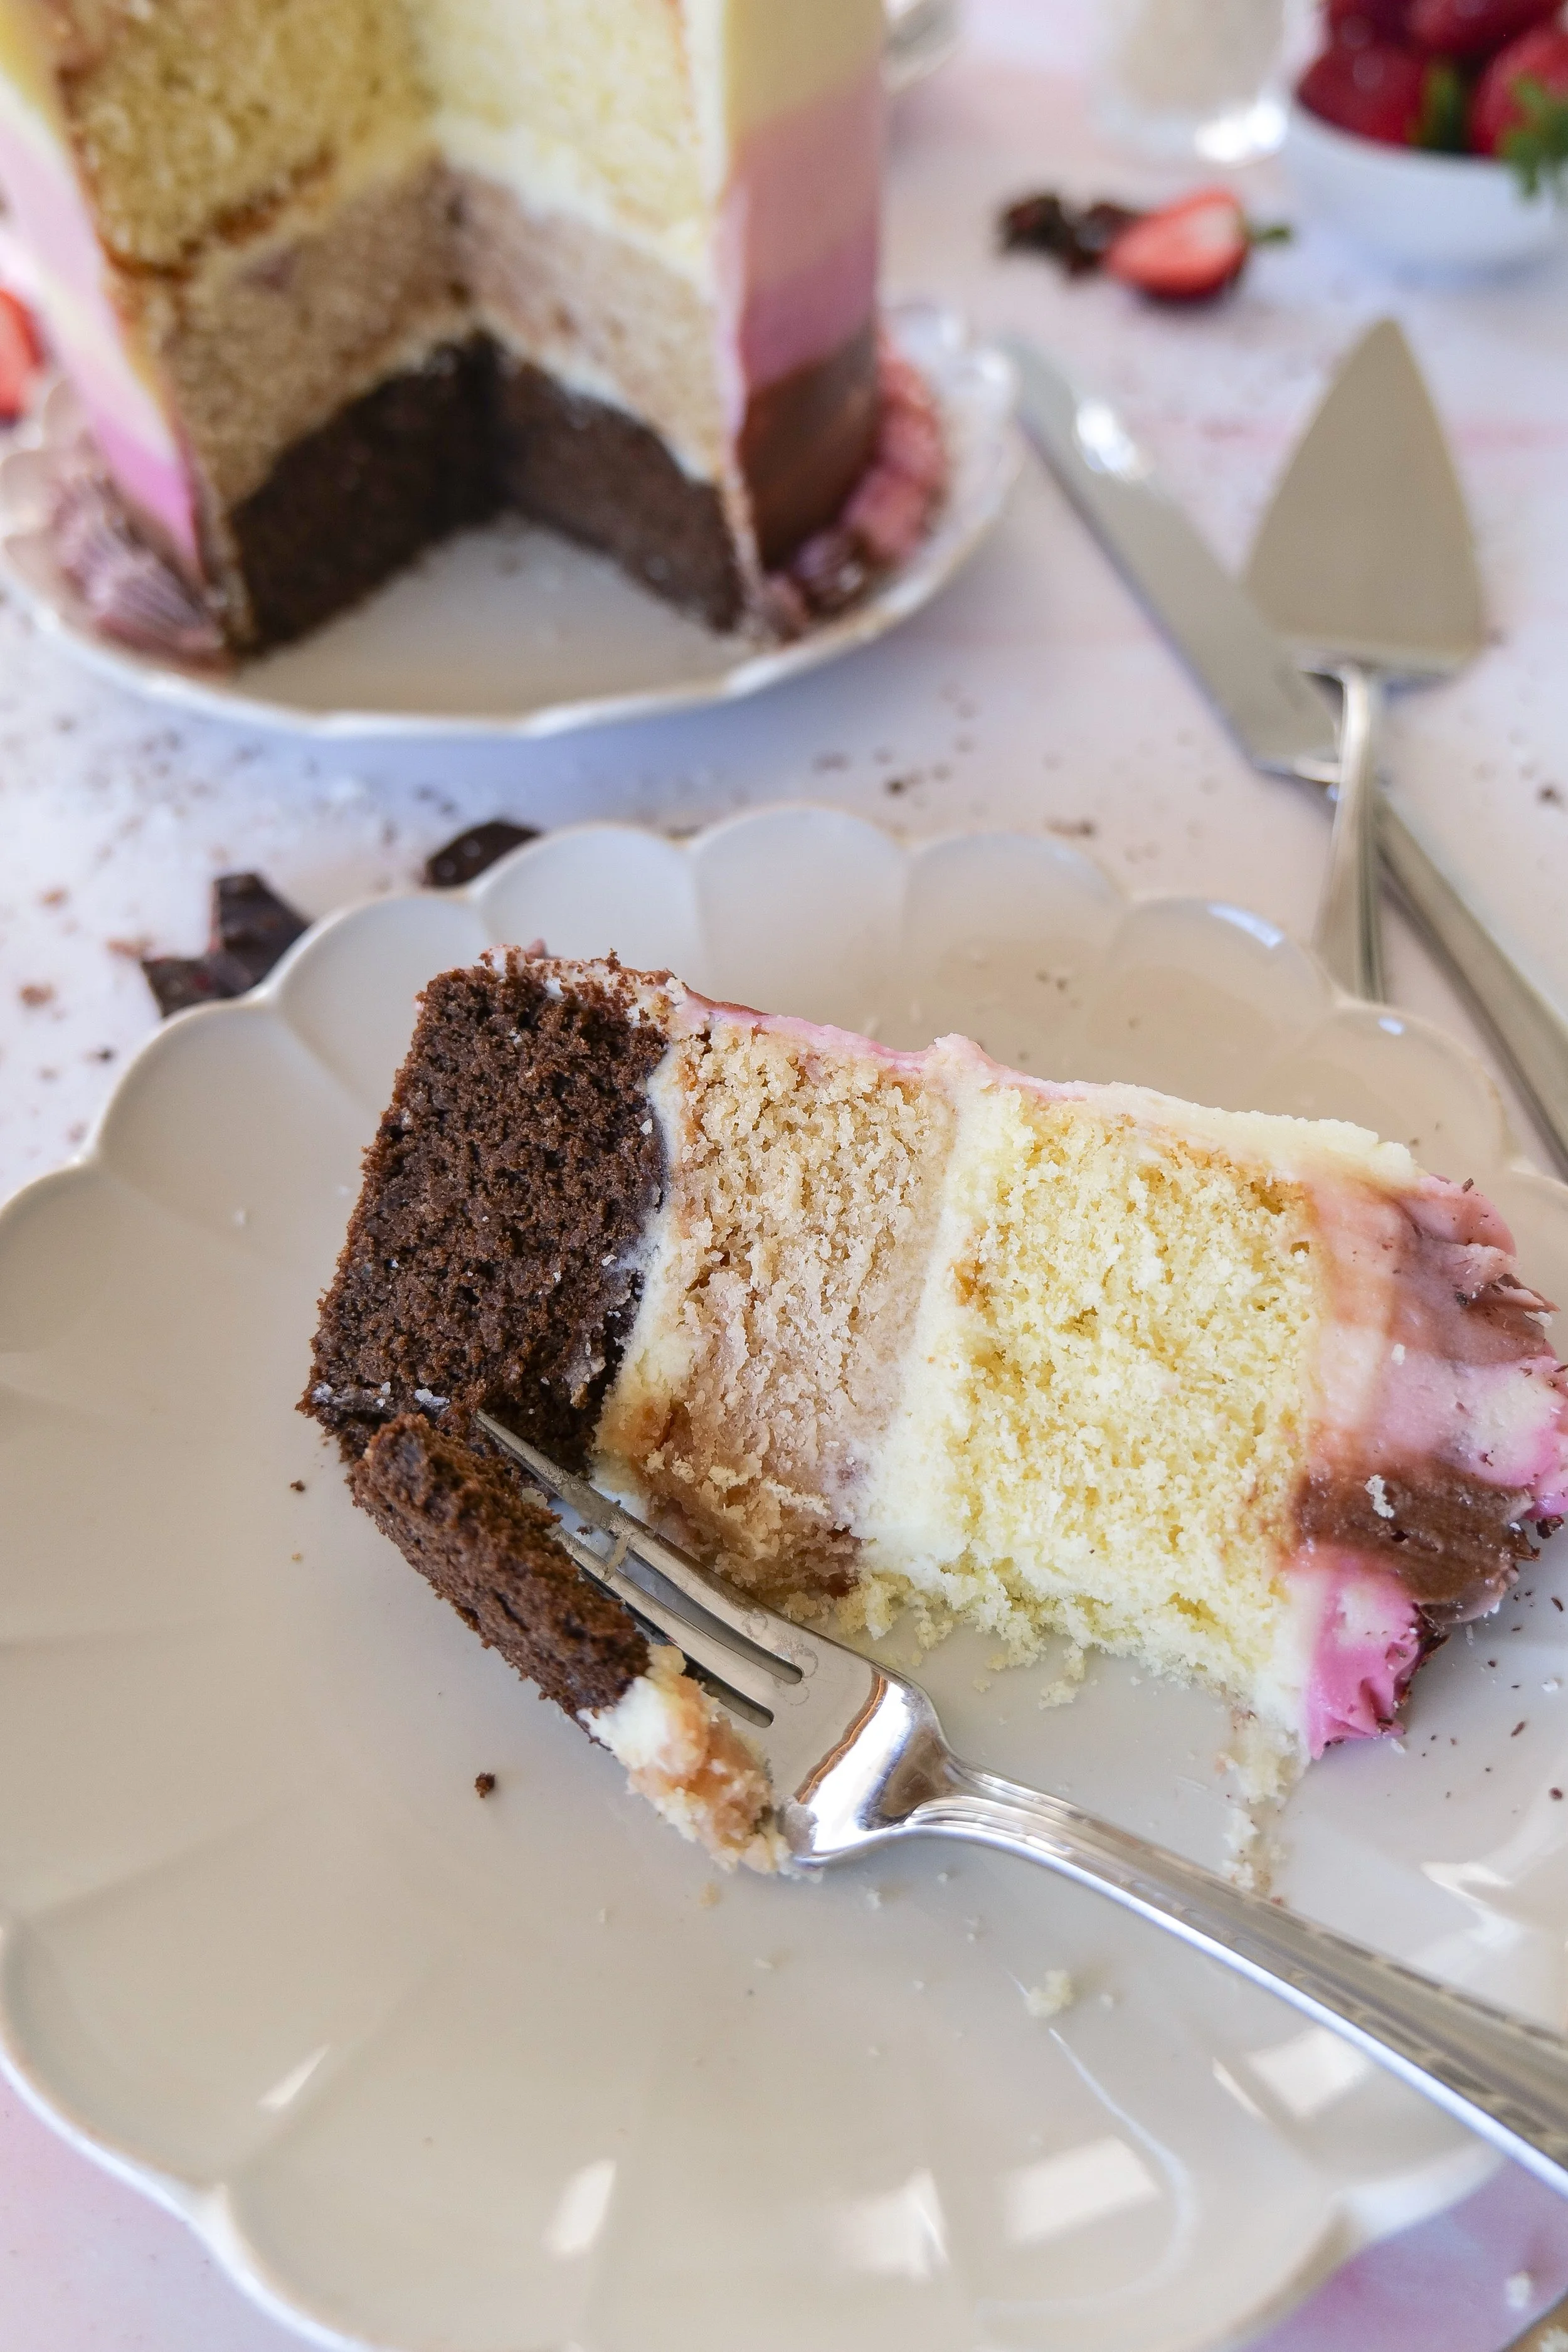
Stack them together with cream cheese frosting and the real magic happens when you cut that first slice and reveal all three layers.

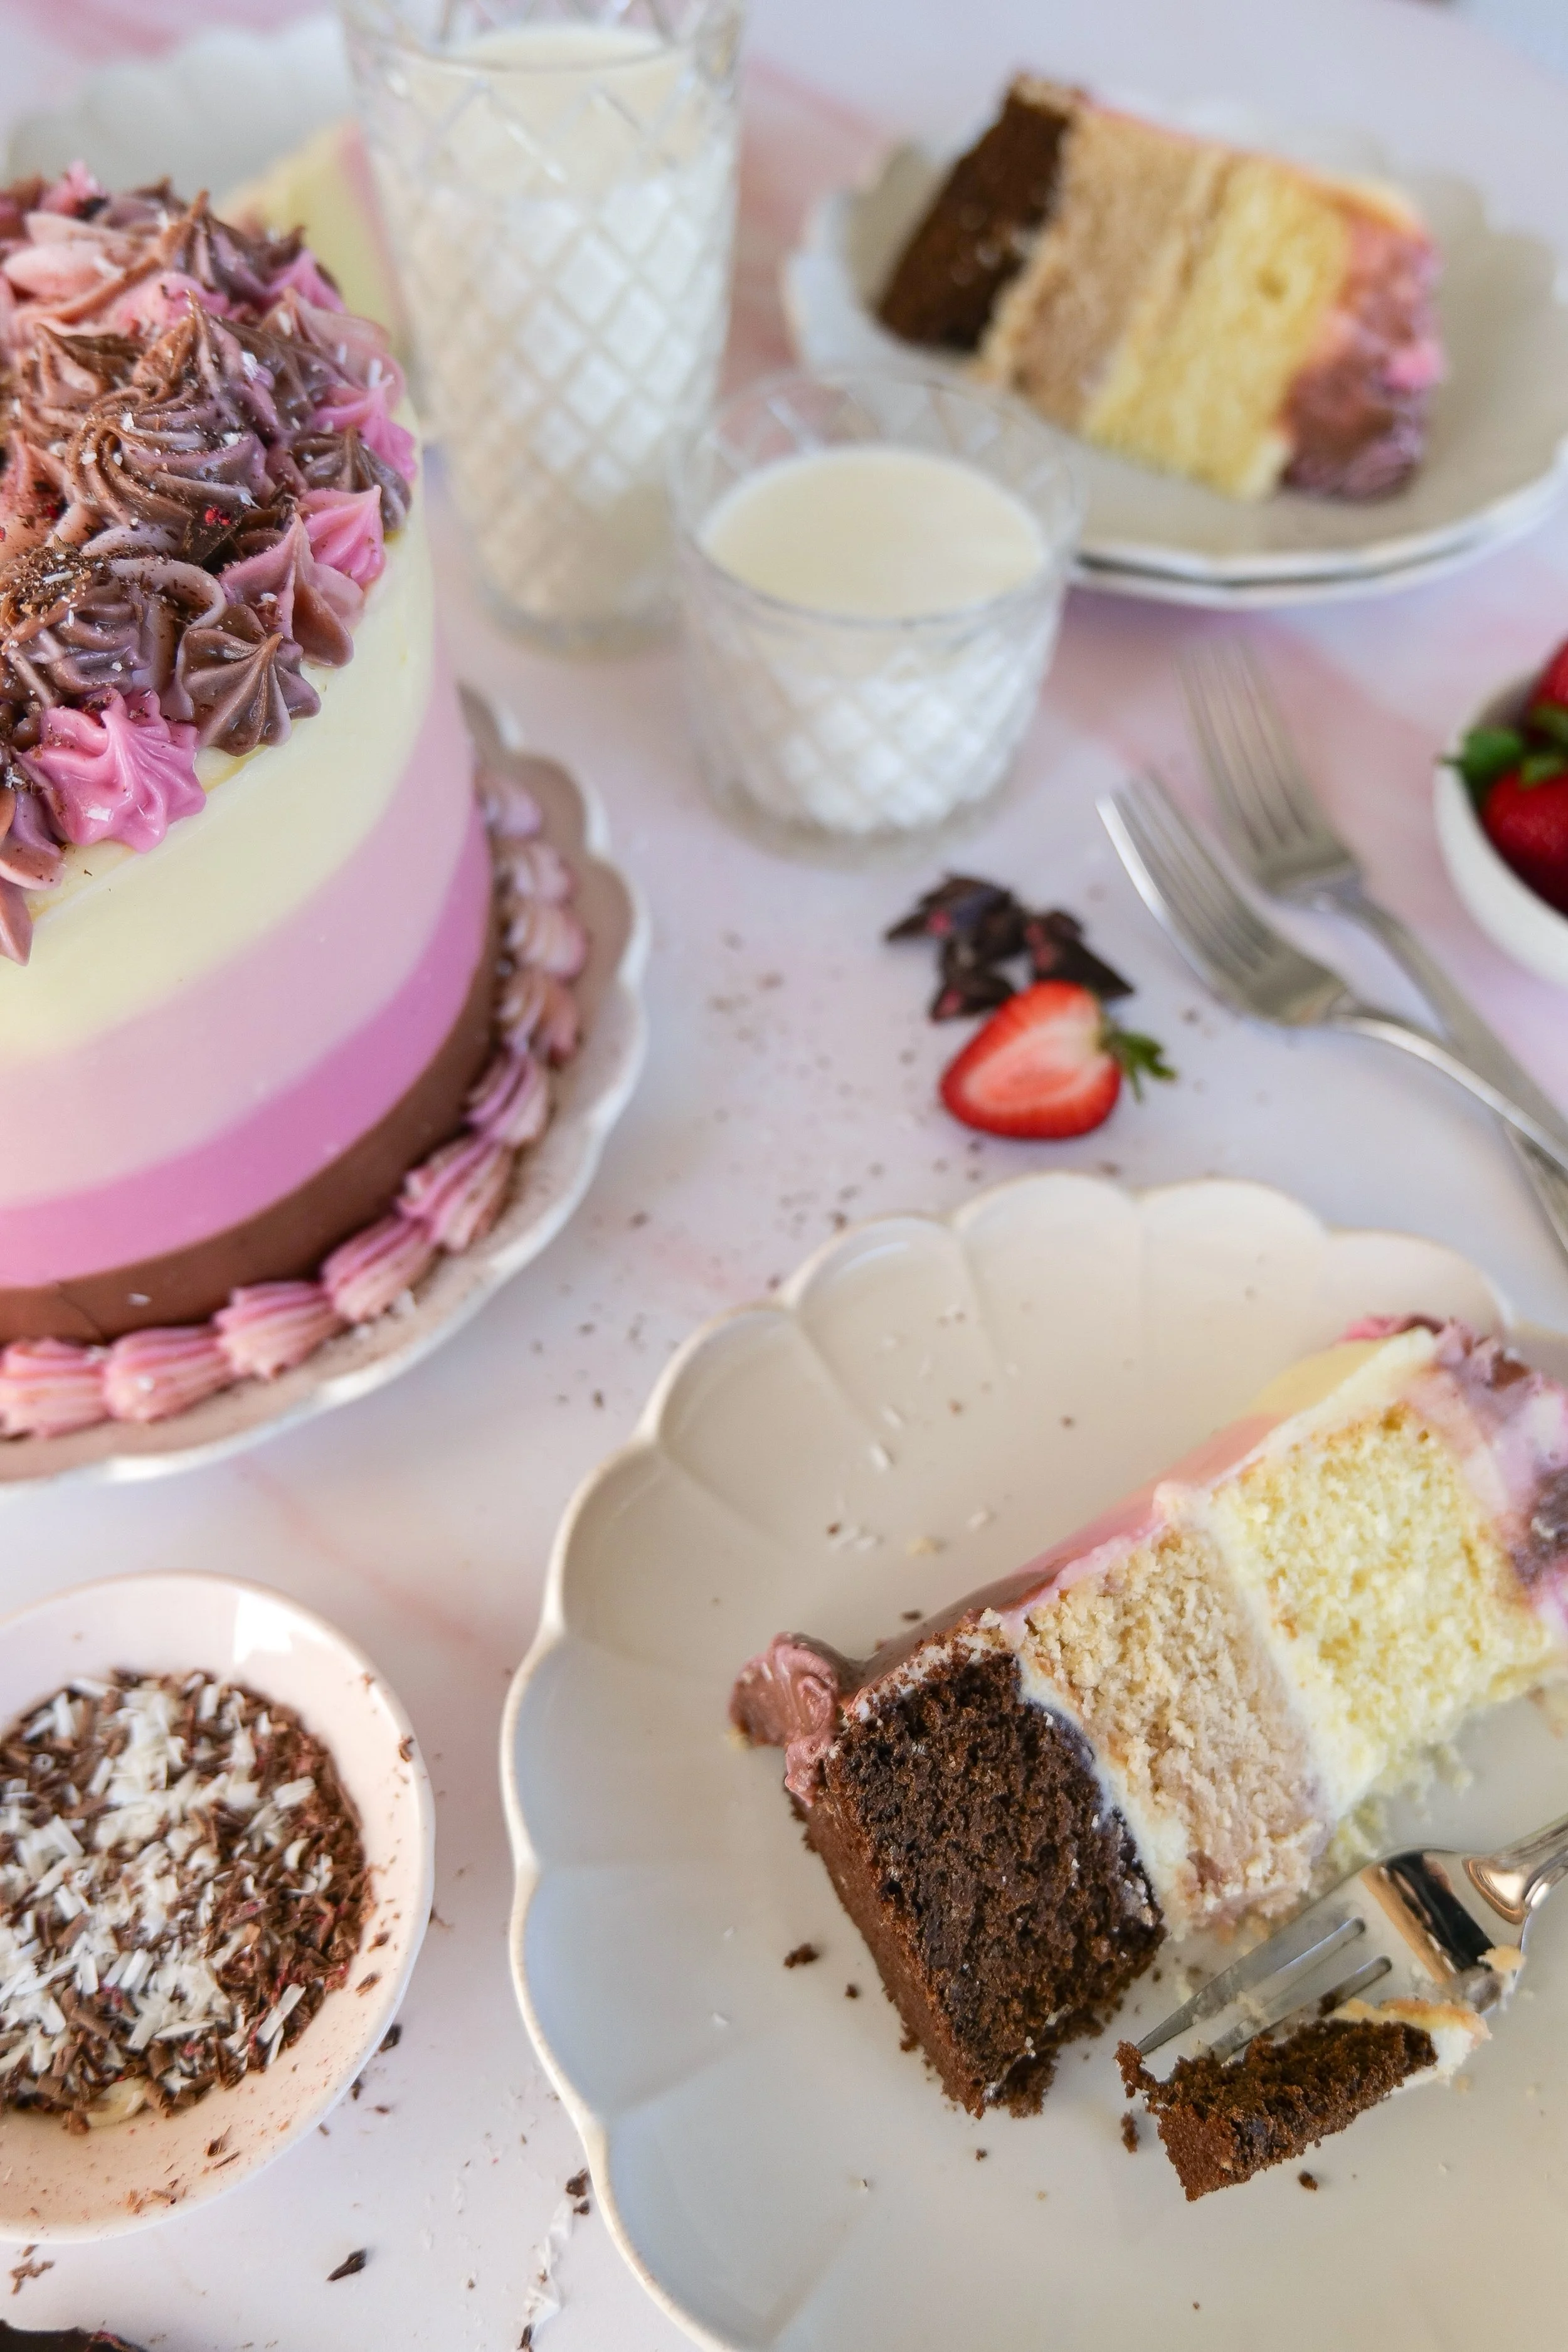
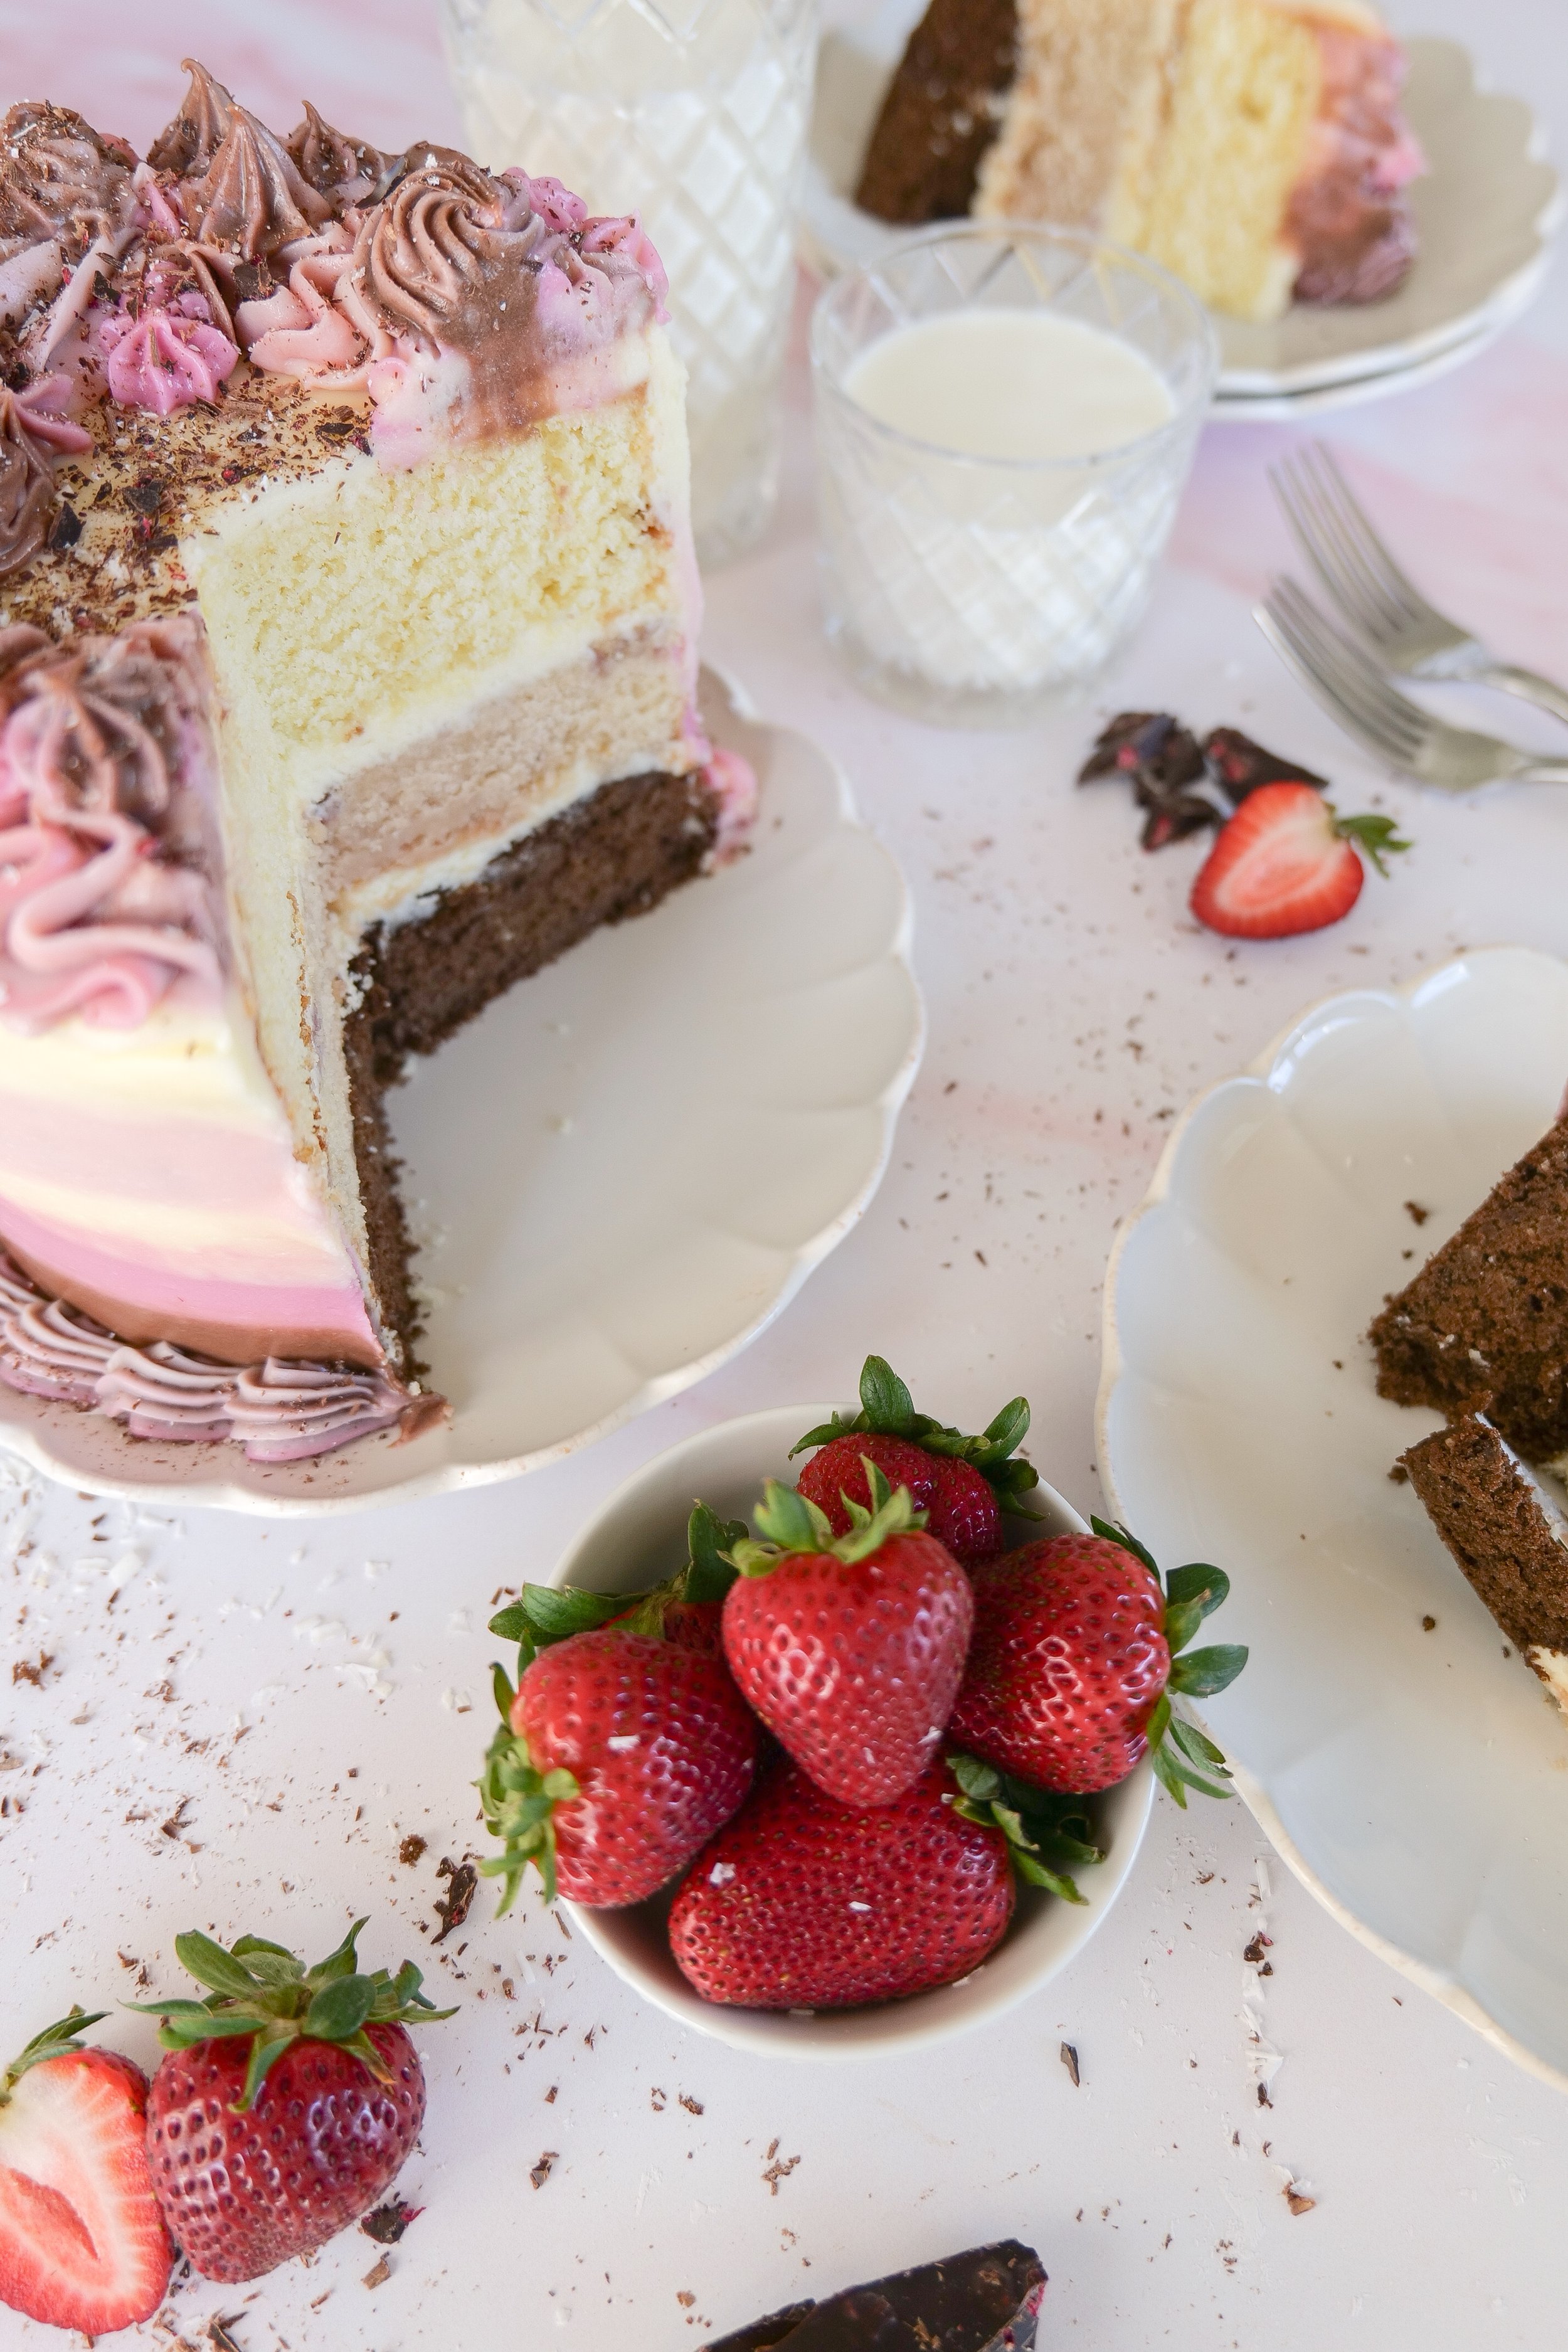
Chocolate, vanilla, and strawberry layer cake sliced to reveal the three classic Neapolitan flavors.

Why You'll Love This Neapolitan Cake

This cake is one of those desserts that makes a statement without requiring three completely separate cake recipes.

You'll love it because it's:

  • Three classic flavors in one cake

  • Made from one base cake batter

  • Beautiful when sliced

  • Made with real strawberry puree

  • Perfect for birthdays and celebrations

  • Easy to decorate simply or elaborately

  • Covered in rich cream cheese frosting

  • Easy to customize with your favorite decorations

And because the inside is already so pretty, you really don't need elaborate decorating on the outside.

Three Cake Flavors From One Batter

One of my favorite things about this recipe is that you don't need to make three separate batches of cake batter.

Make your base batter first and divide it evenly between three bowls.

Leave one portion vanilla.

Mix strawberry puree into the second.

Add cocoa powder and espresso to the third.

Then each flavor gets its own 6-inch cake pan.

It simplifies the process while still giving you three distinct layers once the cake is assembled.

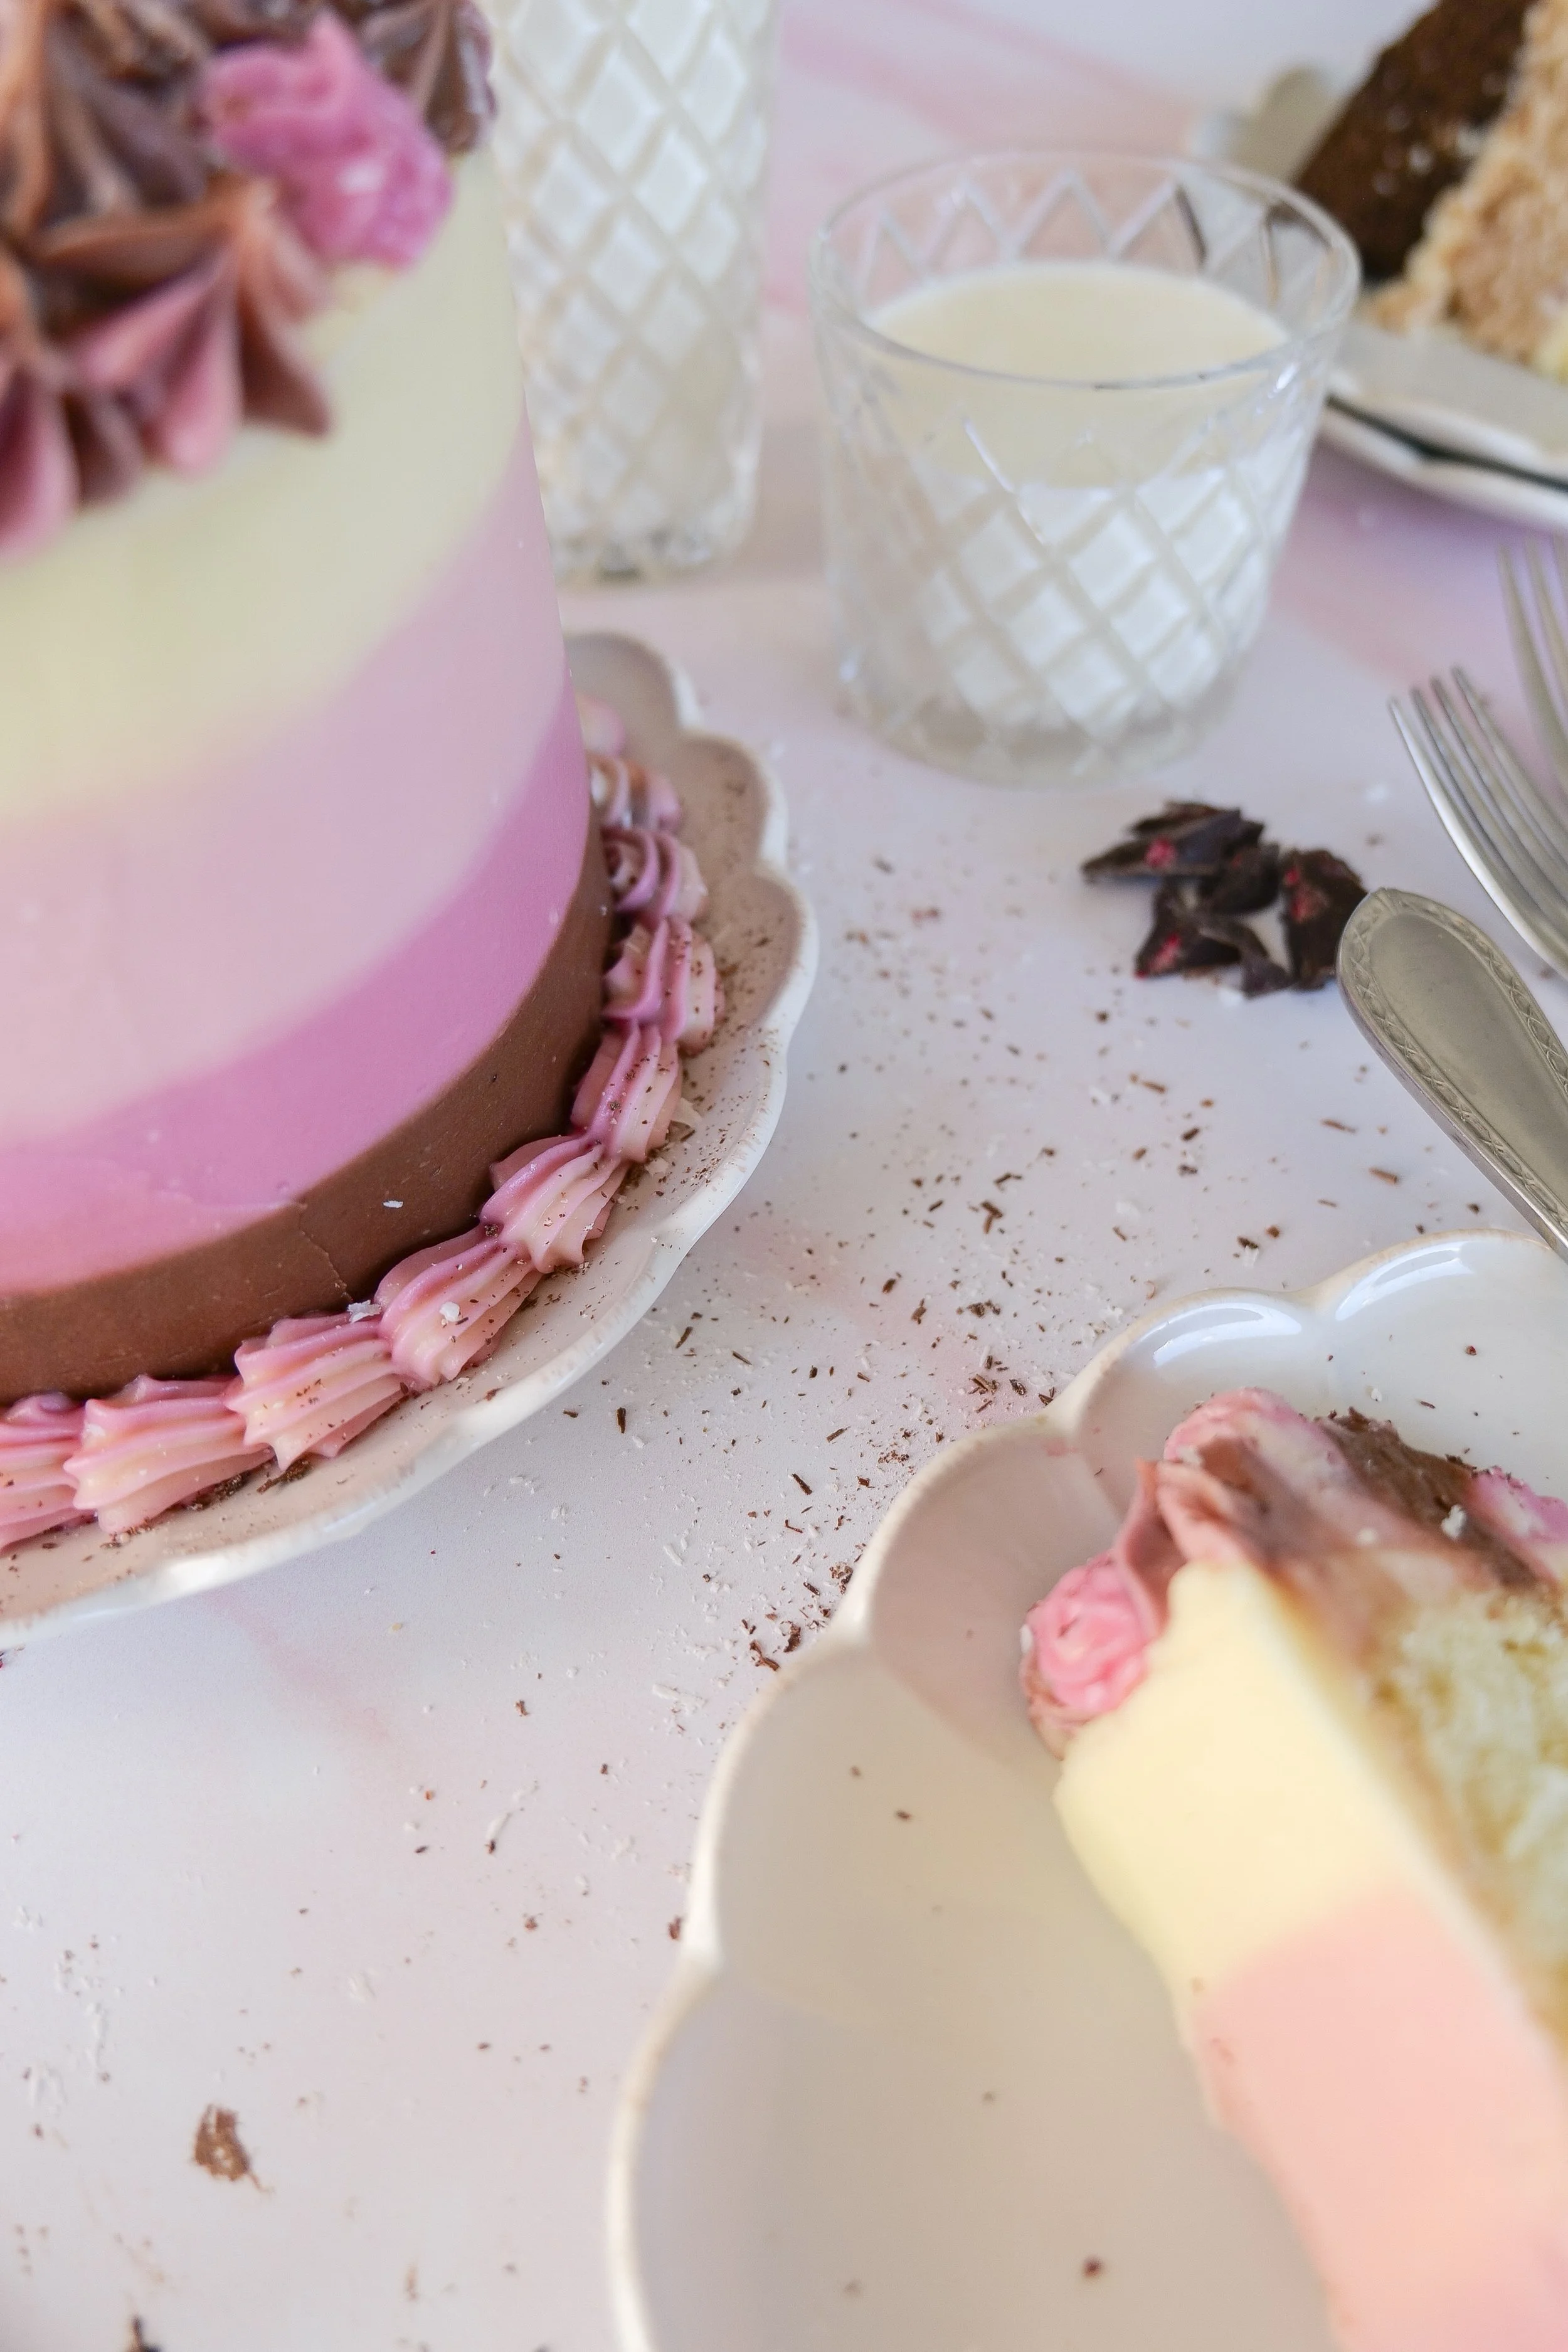
Homemade Neapolitan cake covered in smooth cream cheese frosting.

Ingredient Notes

Cake Flour

Cake flour has a lower protein content than all-purpose flour and helps give the cake a softer, more delicate crumb.

Butter

This recipe uses both melted butter in the wet ingredients and grated butter worked into the dry ingredients.

Make sure the grated butter stays relatively cool while you're incorporating it into the flour mixture.

Heavy Cream

Heavy cream adds richness and moisture to the cake batter and is also used to adjust the consistency of the cream cheese frosting.

Vanilla

Vanilla forms the base flavor of the cake and is especially important in the vanilla layer.

Strawberry Puree

I use real strawberry puree for the strawberry portion of the batter.

The puree adds both flavor and natural color to the cake without turning the batter overwhelmingly sweet.

Cocoa Powder

Cocoa powder transforms the third portion of batter into the chocolate layer.

Espresso

A shot of espresso intensifies the chocolate flavor. The goal isn't necessarily for the cake to taste like coffee—it simply makes the cocoa taste richer.

Cream Cheese

Cream cheese creates a rich, slightly tangy frosting that balances the sweetness of the cake.

Powdered Sugar

Powdered sugar sweetens and gives structure to the frosting.

Kitchen Tools

For this cake, you'll want:

  • Three 6-inch round cake pans

  • Large mixing bowls

  • Electric hand mixer or stand mixer

  • Box grater

  • Measuring cups and spoons

  • Rubber spatula

  • Cooling rack

  • Offset spatula

  • Cake turntable, optional

  • Serrated knife, optional

You can find more of my favorite baking tools, cake pans, and everyday kitchen essentials in my Baking & Cake Essentials roundup.

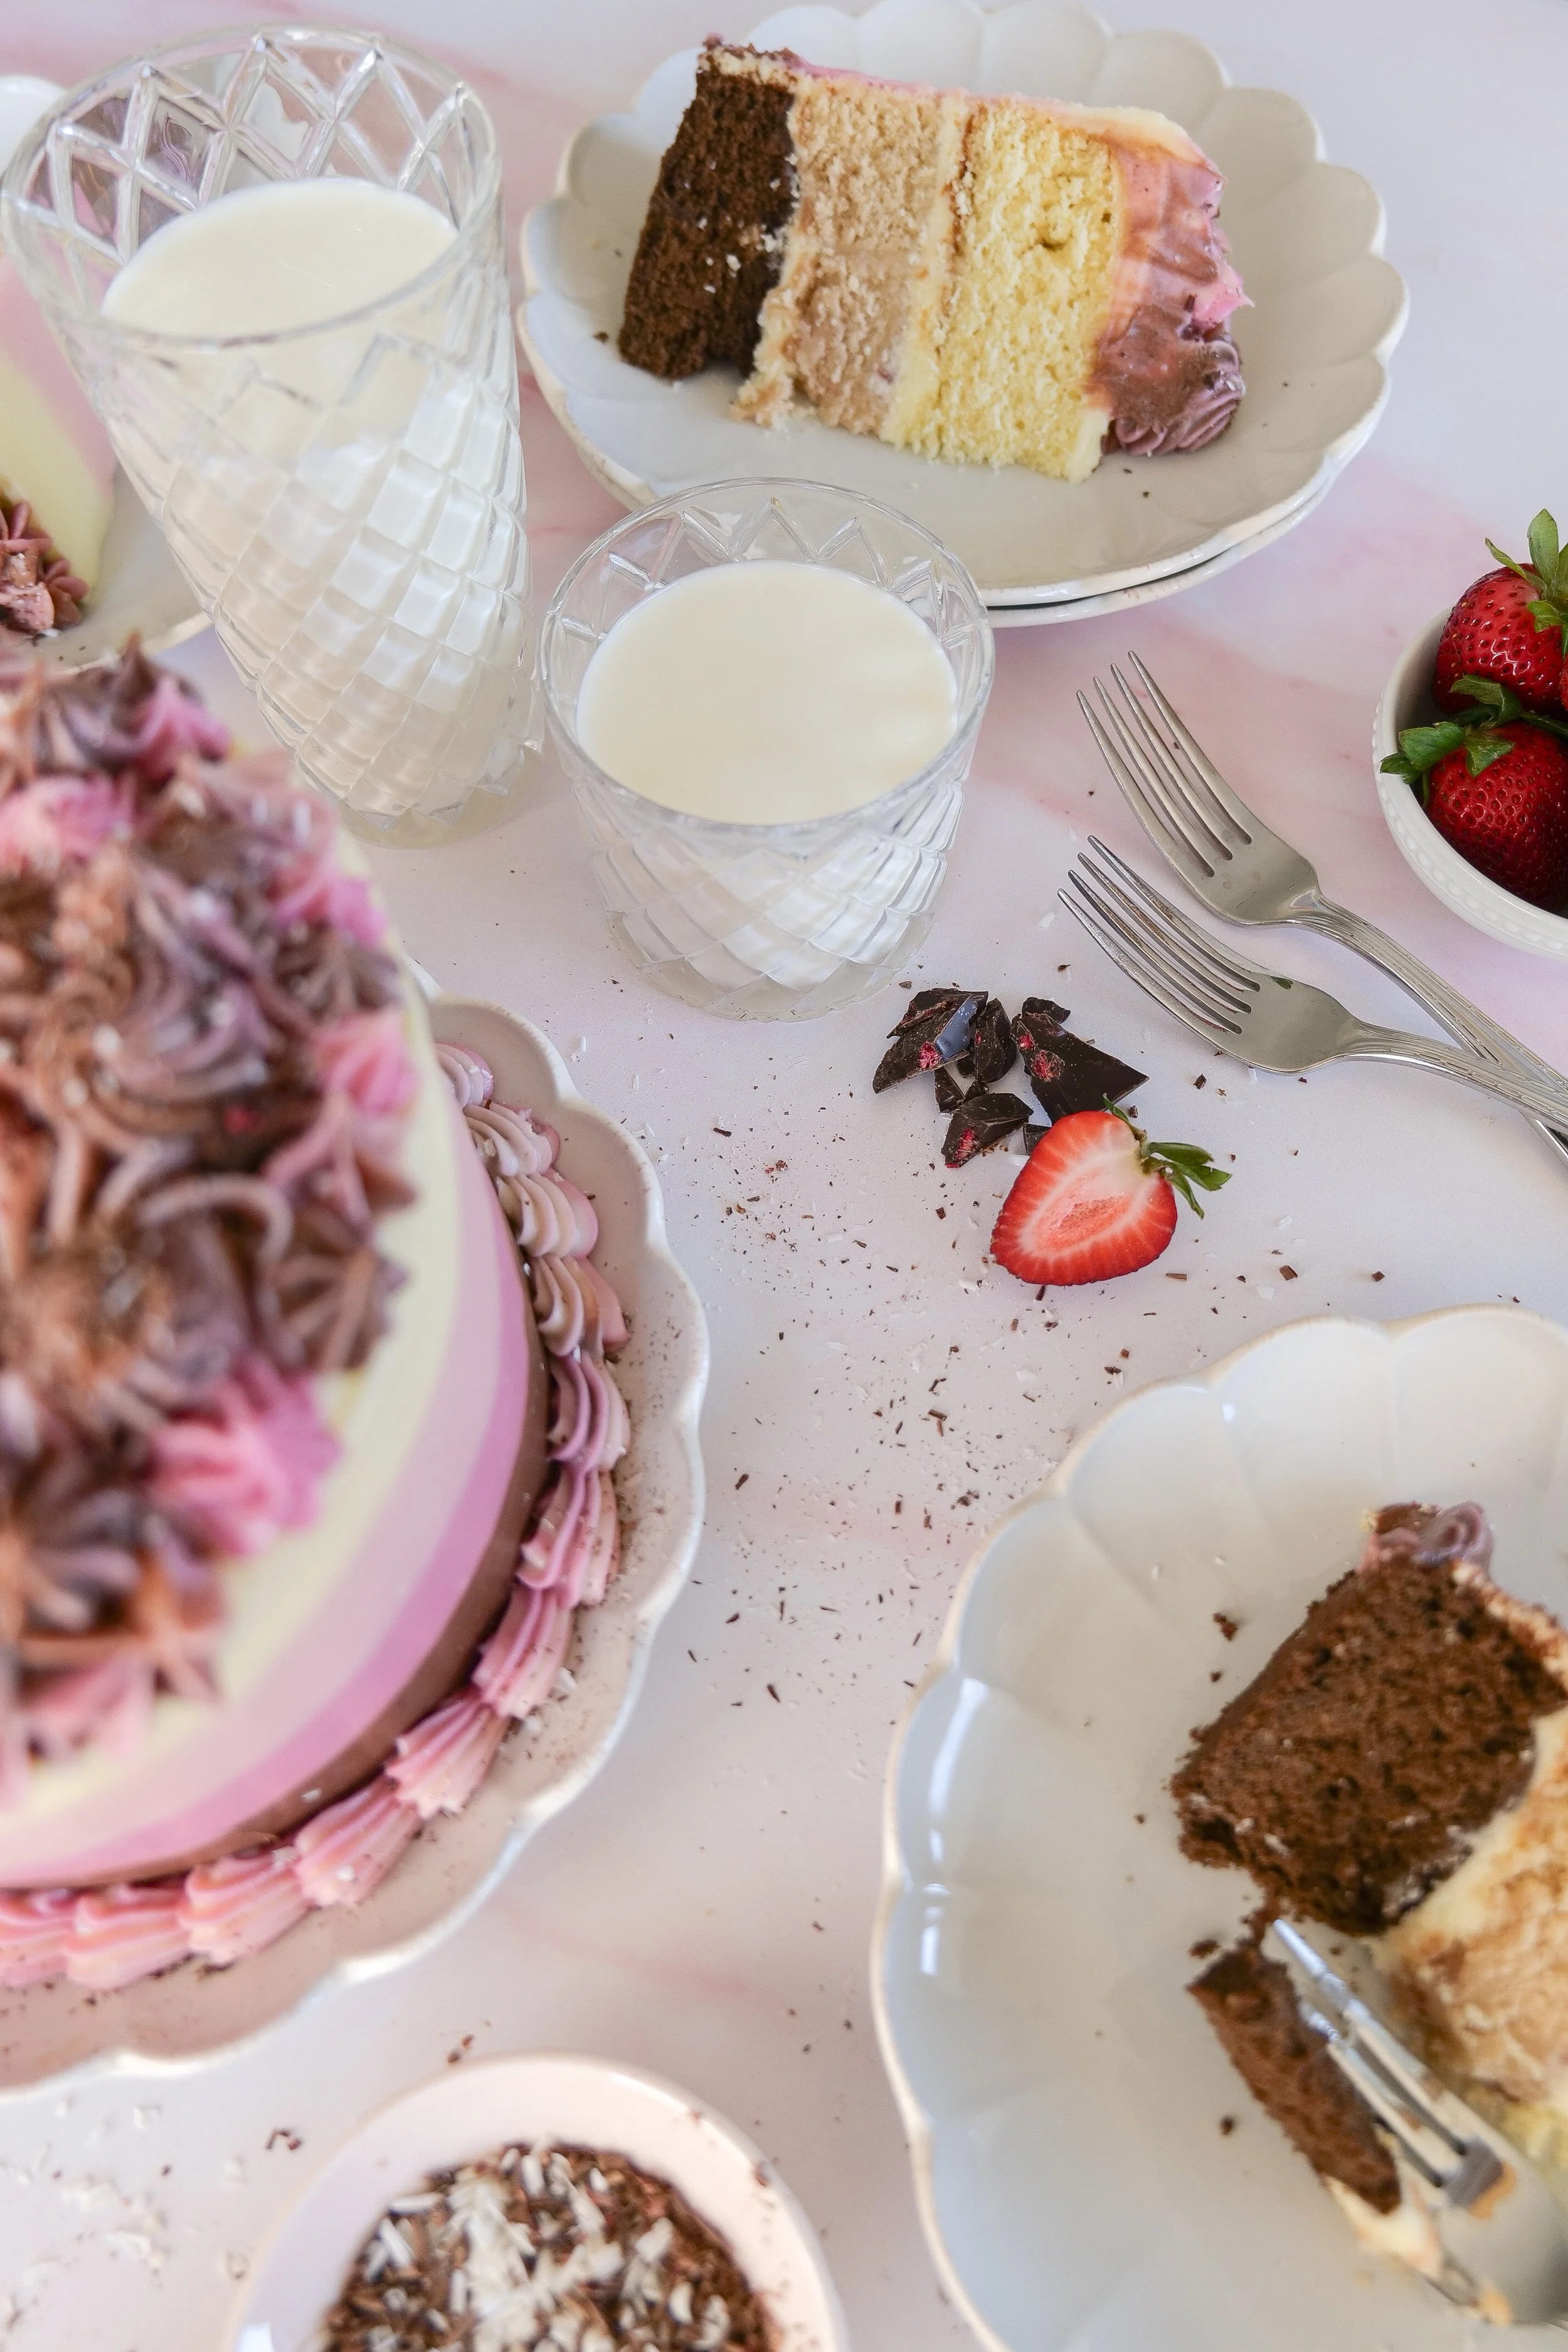
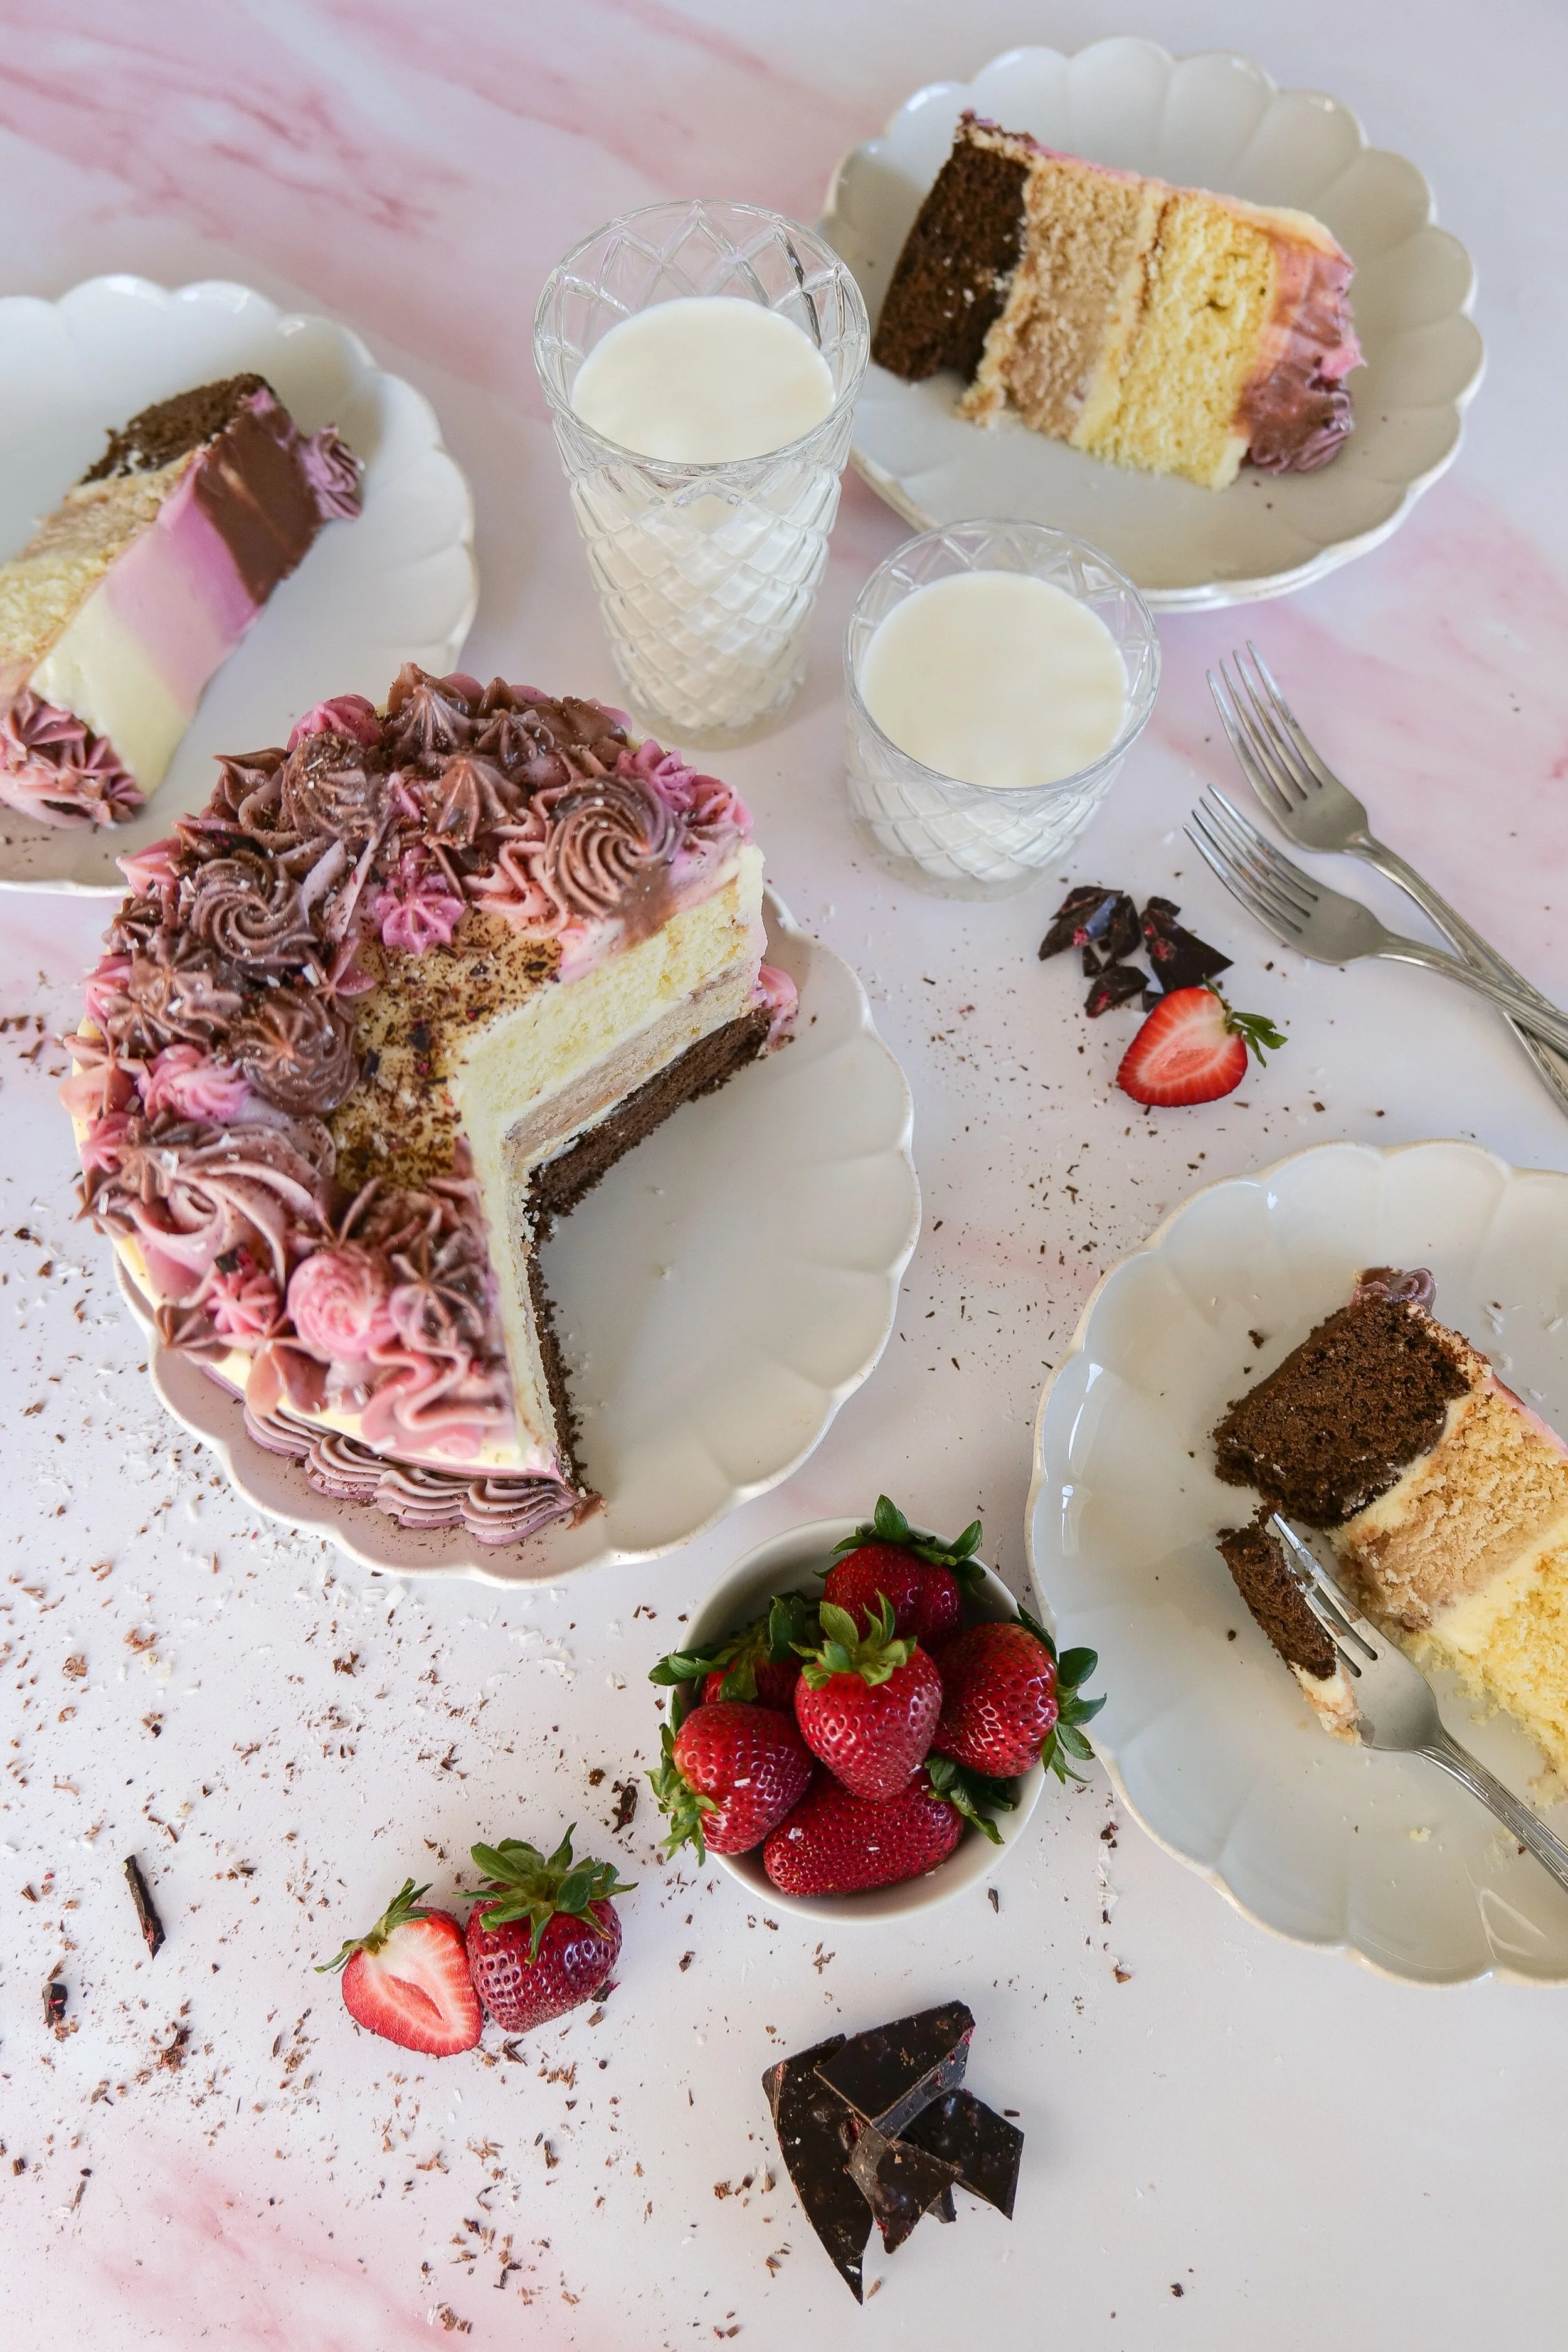
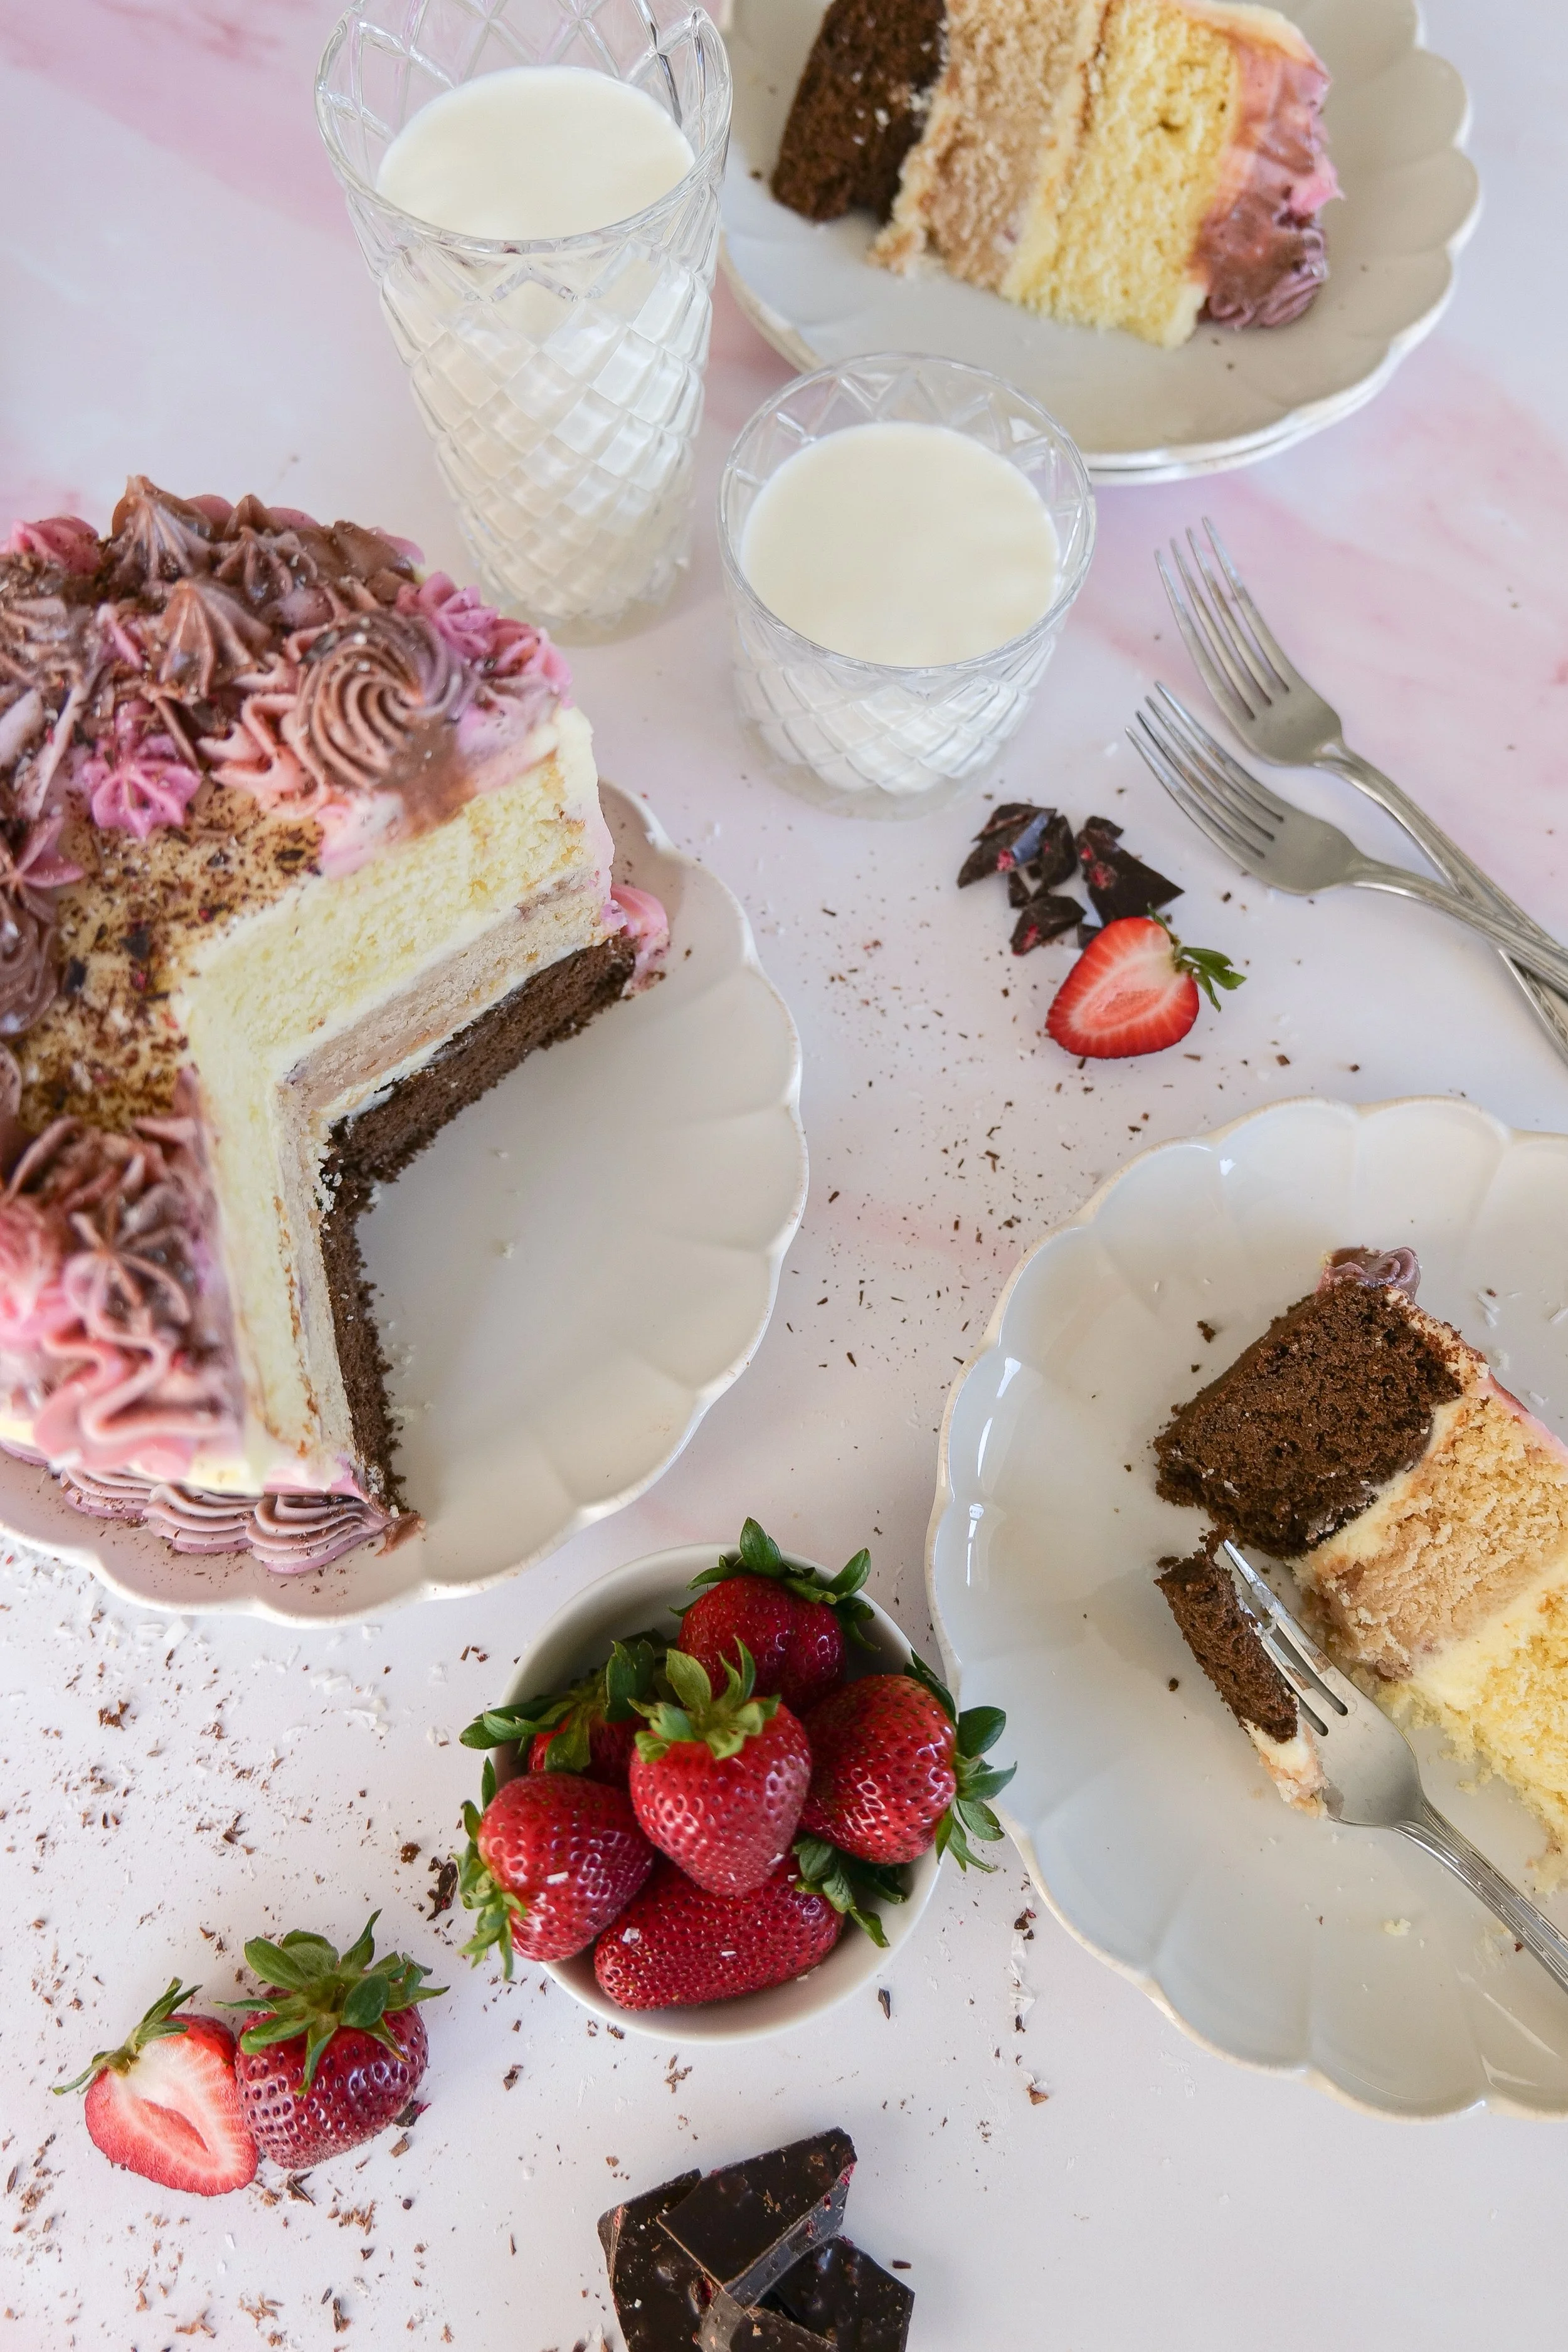
Neapolitan cake served with fresh strawberries and glasses of milk on a table.
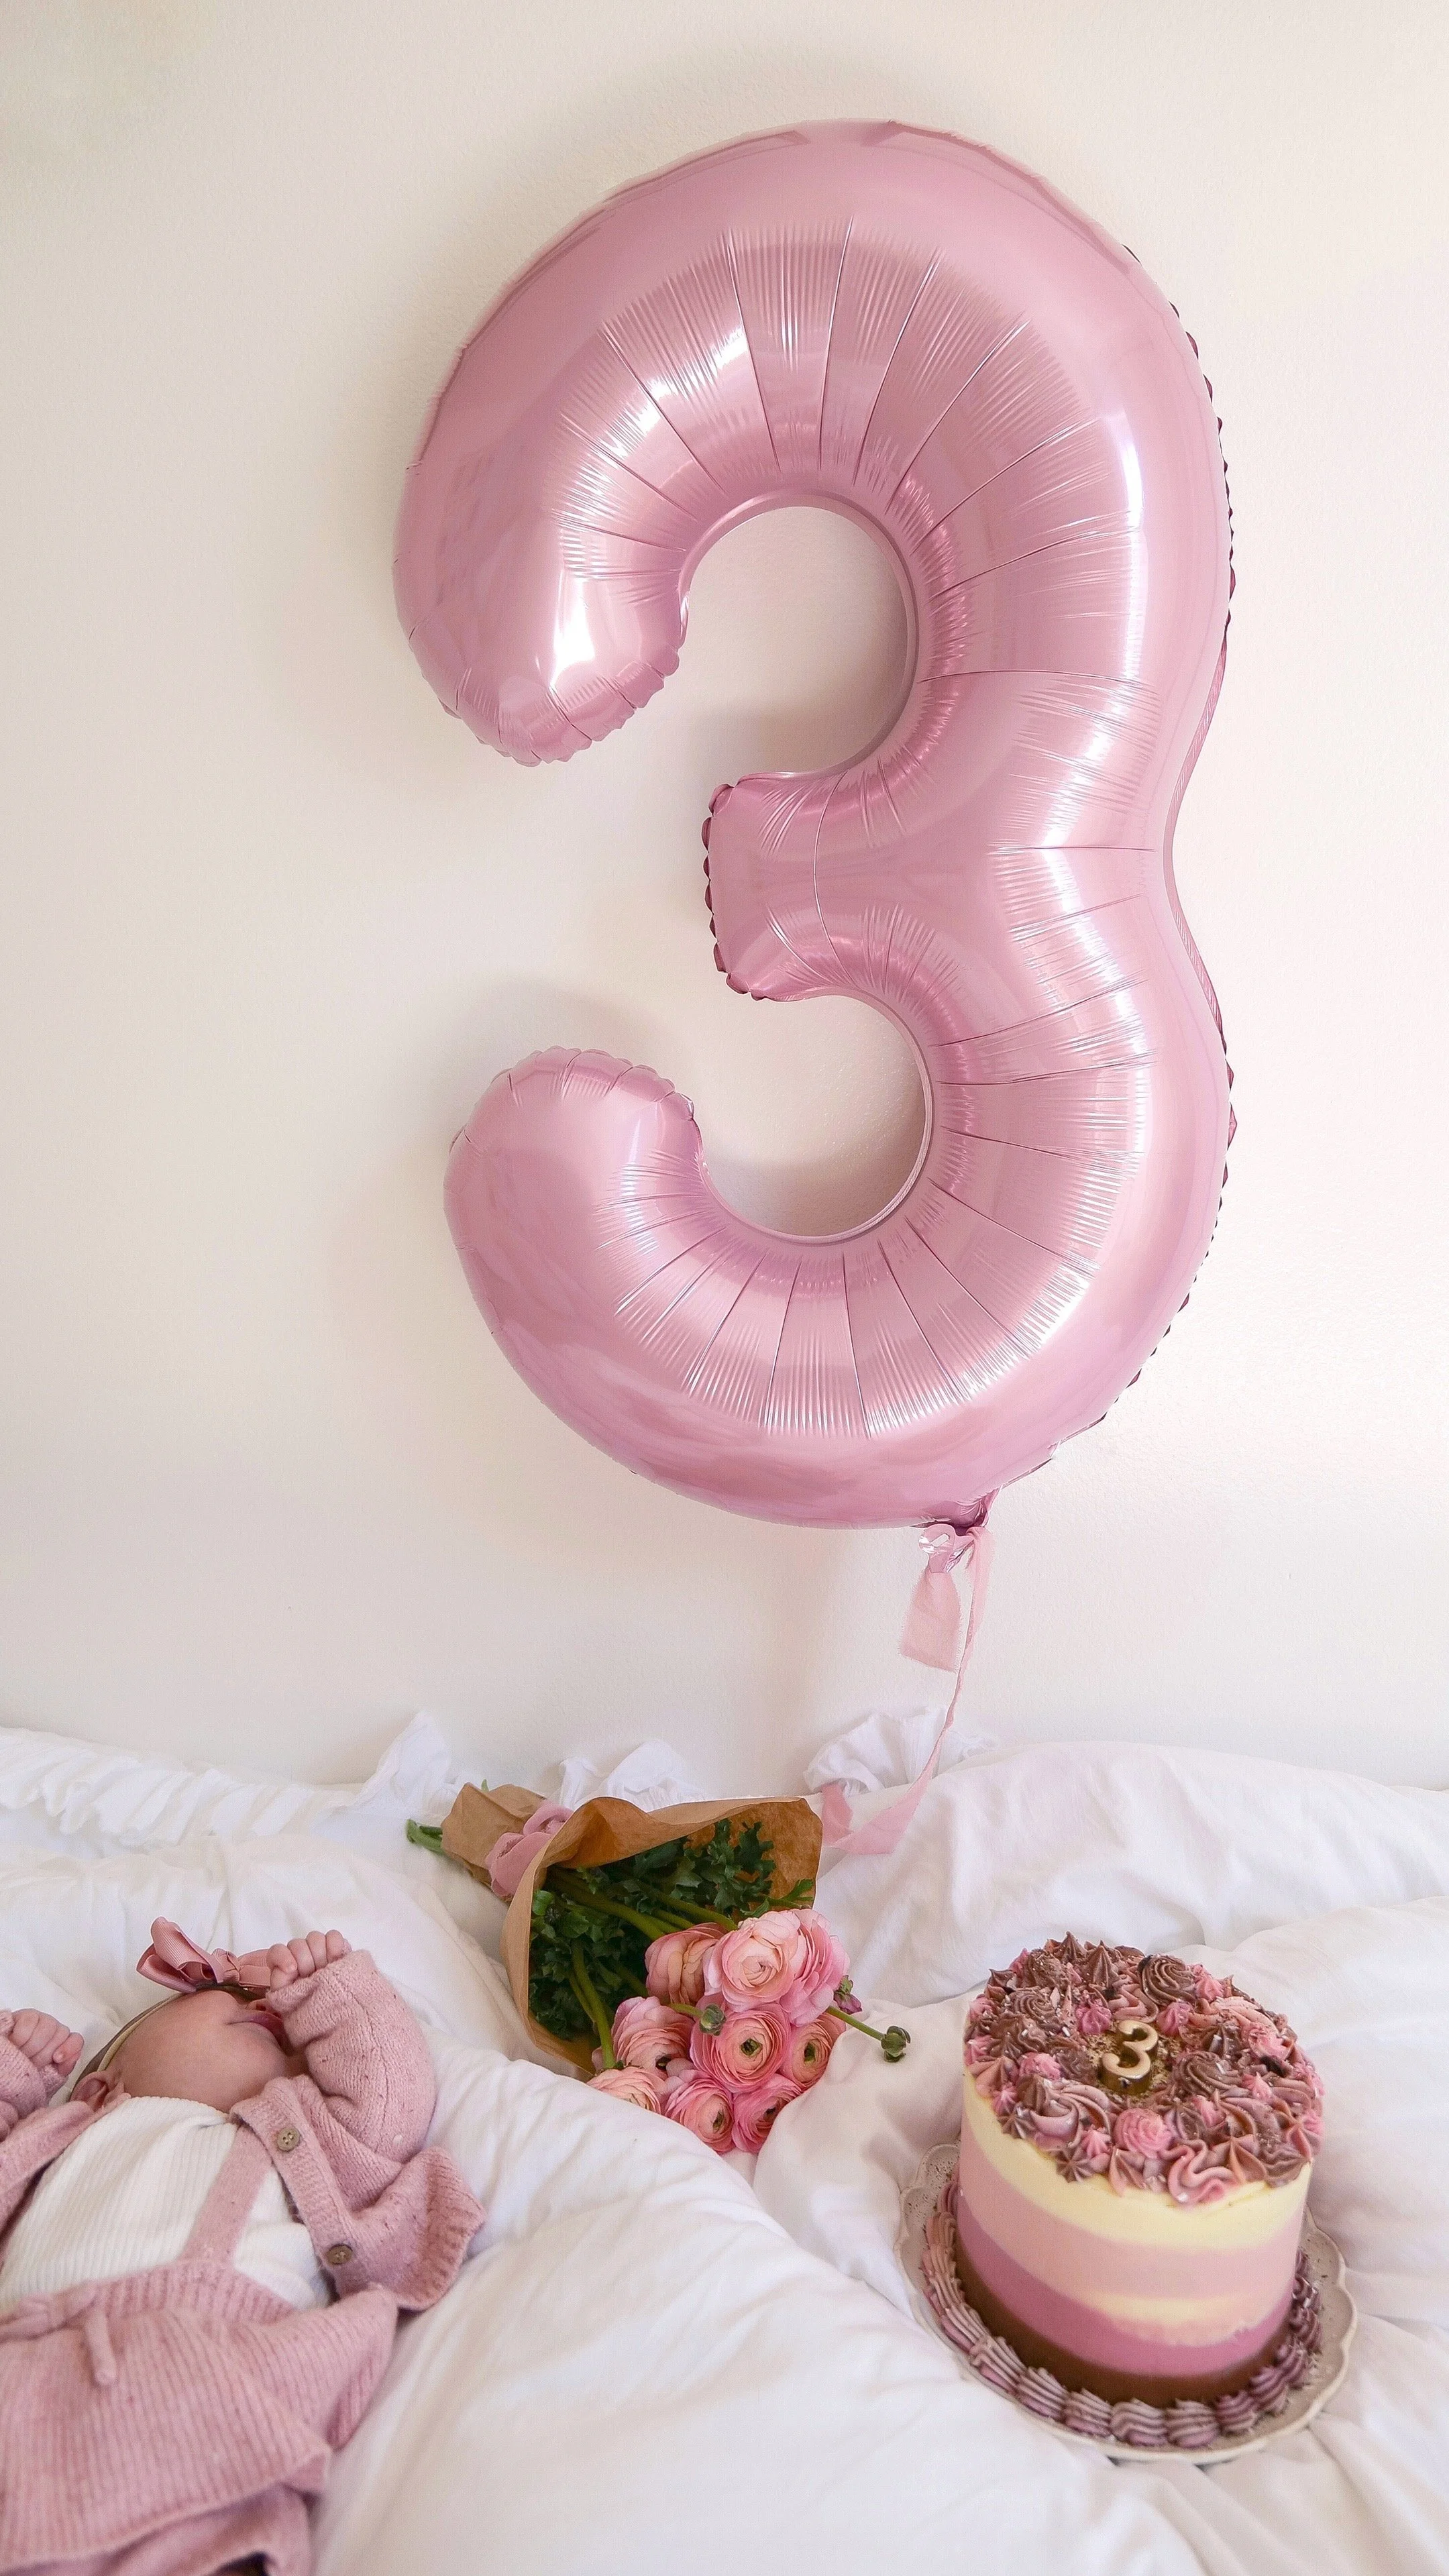
milestone 3 month birthday with a Neapolitan cake next to a bouquet of flowers and a number 3 balloon on a bed

Layered Neapolitan Cake Recipe

Prep Time: Approximately 30 minutes
Bake Time: 30–35 minutes
Cooling & Decorating Time: Approximately 1 hour
Total Time: Approximately 2 hours
Servings: Approximately 10–12 slices

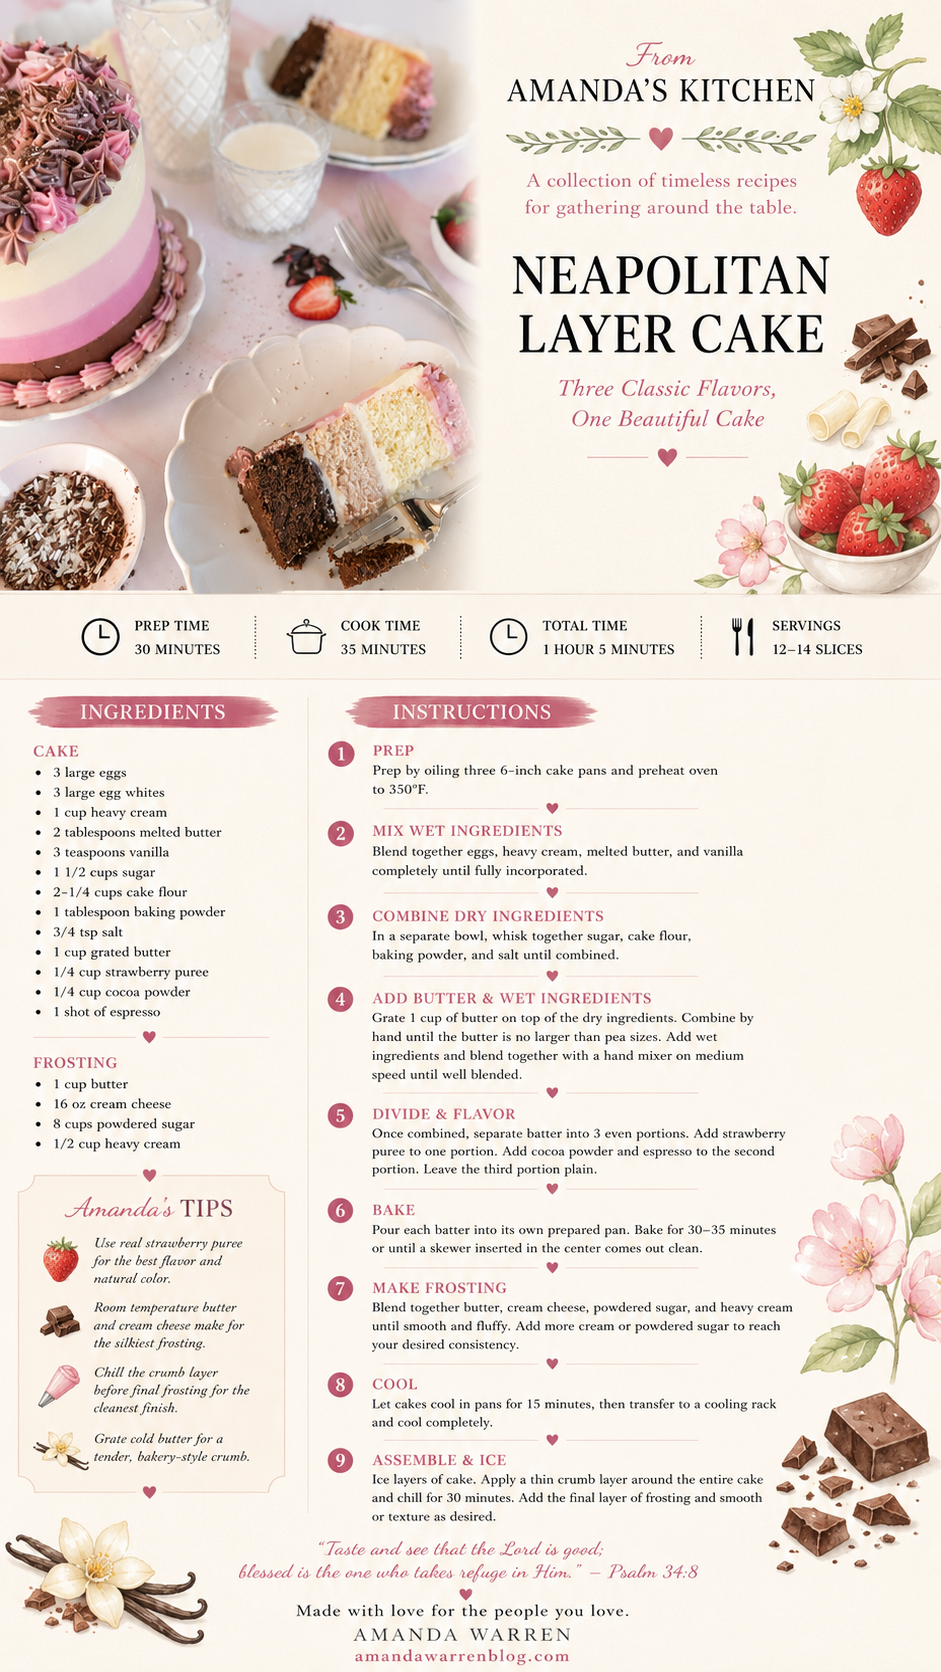
Ingredients

Neapolitan Cake

  • 3 large eggs

  • 3 large egg whites

  • 1 cup heavy cream

  • 2 tablespoons butter, melted

  • 3 teaspoons vanilla extract

  • 1½ cups granulated sugar

  • 2¼ cups cake flour

  • 1 tablespoon baking powder

  • ¾ teaspoon sea salt

  • 1 cup butter, grated

  • ¼ cup strawberry puree

  • ¼ cup cocoa powder

  • 1 shot espresso, cooled

Cream Cheese Frosting

  • 1 cup butter, softened to room temperature

  • 16 ounces cream cheese, softened to room temperature

  • 8 cups powdered sugar

  • ½ cup heavy cream, plus more if needed

  • Beet juice, optional, for natural pink color

Instructions

Step 1: Prepare the Cake Pans

Preheat your oven to 350°F.

Grease three 6-inch round cake pans and prepare them for the batter.

Step 2: Combine the Wet Ingredients

In a mixing bowl, combine the whole eggs, egg whites, heavy cream, melted butter, and vanilla.

Mix until completely incorporated.

Step 3: Combine the Dry Ingredients

In a separate large mixing bowl, whisk together the granulated sugar, cake flour, baking powder, and sea salt.

Step 4: Add the Grated Butter

Grate 1 cup of butter directly over the dry ingredients.

Work the butter into the flour mixture by hand until the pieces of butter are no larger than peas and are evenly distributed throughout the dry ingredients.

Step 5: Finish the Base Batter

Add the wet ingredients to the dry mixture.

Using a hand mixer on medium speed, mix just until everything is incorporated and the batter is smooth.

Avoid overmixing.

Step 6: Divide the Batter

Divide the batter as evenly as possible between three bowls.

Leave the first bowl as vanilla.

Gently mix ¼ cup strawberry puree into the second bowl.

Mix ¼ cup cocoa powder and 1 cooled shot of espresso into the third bowl.

Step 7: Bake

Pour each flavor into its own prepared 6-inch cake pan.

Bake at 350°F for 30–35 minutes, or until a cake tester or wooden skewer inserted into the center comes out clean or with just a few moist crumbs.

Because ovens vary, begin checking the cakes toward the lower end of the baking range.

Step 8: Cool

Allow the cakes to cool in their pans for approximately 15 minutes.

Carefully remove them from the pans and transfer to cooling racks.

Allow the layers to cool completely before frosting.

Do not frost warm cake layers or the cream cheese frosting can soften and slide.

Step 9: Make the Cream Cheese Frosting

Add the softened butter and cream cheese to a large mixing bowl.

Beat until smooth and creamy.

Gradually add the powdered sugar.

Slowly add the heavy cream until the frosting reaches your desired consistency.

If you'd like a naturally pink tint, add a very small amount of beet juice until you reach your desired shade.

Step 10: Assemble the Neapolitan Cake

If necessary, use a serrated knife to level the cooled cake layers.

Place your first cake layer onto a cake plate or cake board.

Spread an even layer of cream cheese frosting over the top.

Repeat with the remaining layers, arranging the chocolate, vanilla, and strawberry cakes in whichever order you prefer.

Step 11: Crumb Coat

Spread a thin layer of frosting over the top and sides of the entire cake.

This first layer—the crumb coat—traps loose crumbs so they don't show through your final frosting.

Refrigerate the cake for approximately 30 minutes.

Step 12: Decorate

Remove the chilled cake from the refrigerator and add your final layer of cream cheese frosting.

Smooth the frosting for a clean finish or leave it softly textured.

Decorate however you'd like and refrigerate until ready to serve.

Slice to reveal those beautiful chocolate, vanilla, and strawberry layers.

Enjoy!

Amanda's Quick Tips

  • Bring the eggs and cream closer to room temperature before mixing.

  • Keep the grated butter cool until you're ready to use it.

  • Divide the batter as evenly as possible so your cake layers are similar in height.

  • Cool the espresso before adding it to the chocolate batter.

  • Don't overmix after adding the strawberry puree or cocoa.

  • Cool all three cakes completely before frosting.

  • Use a crumb coat for a cleaner final finish.

  • Chill the assembled cake before slicing for cleaner layers.

  • Use a serrated knife to level the cakes if they've domed during baking.

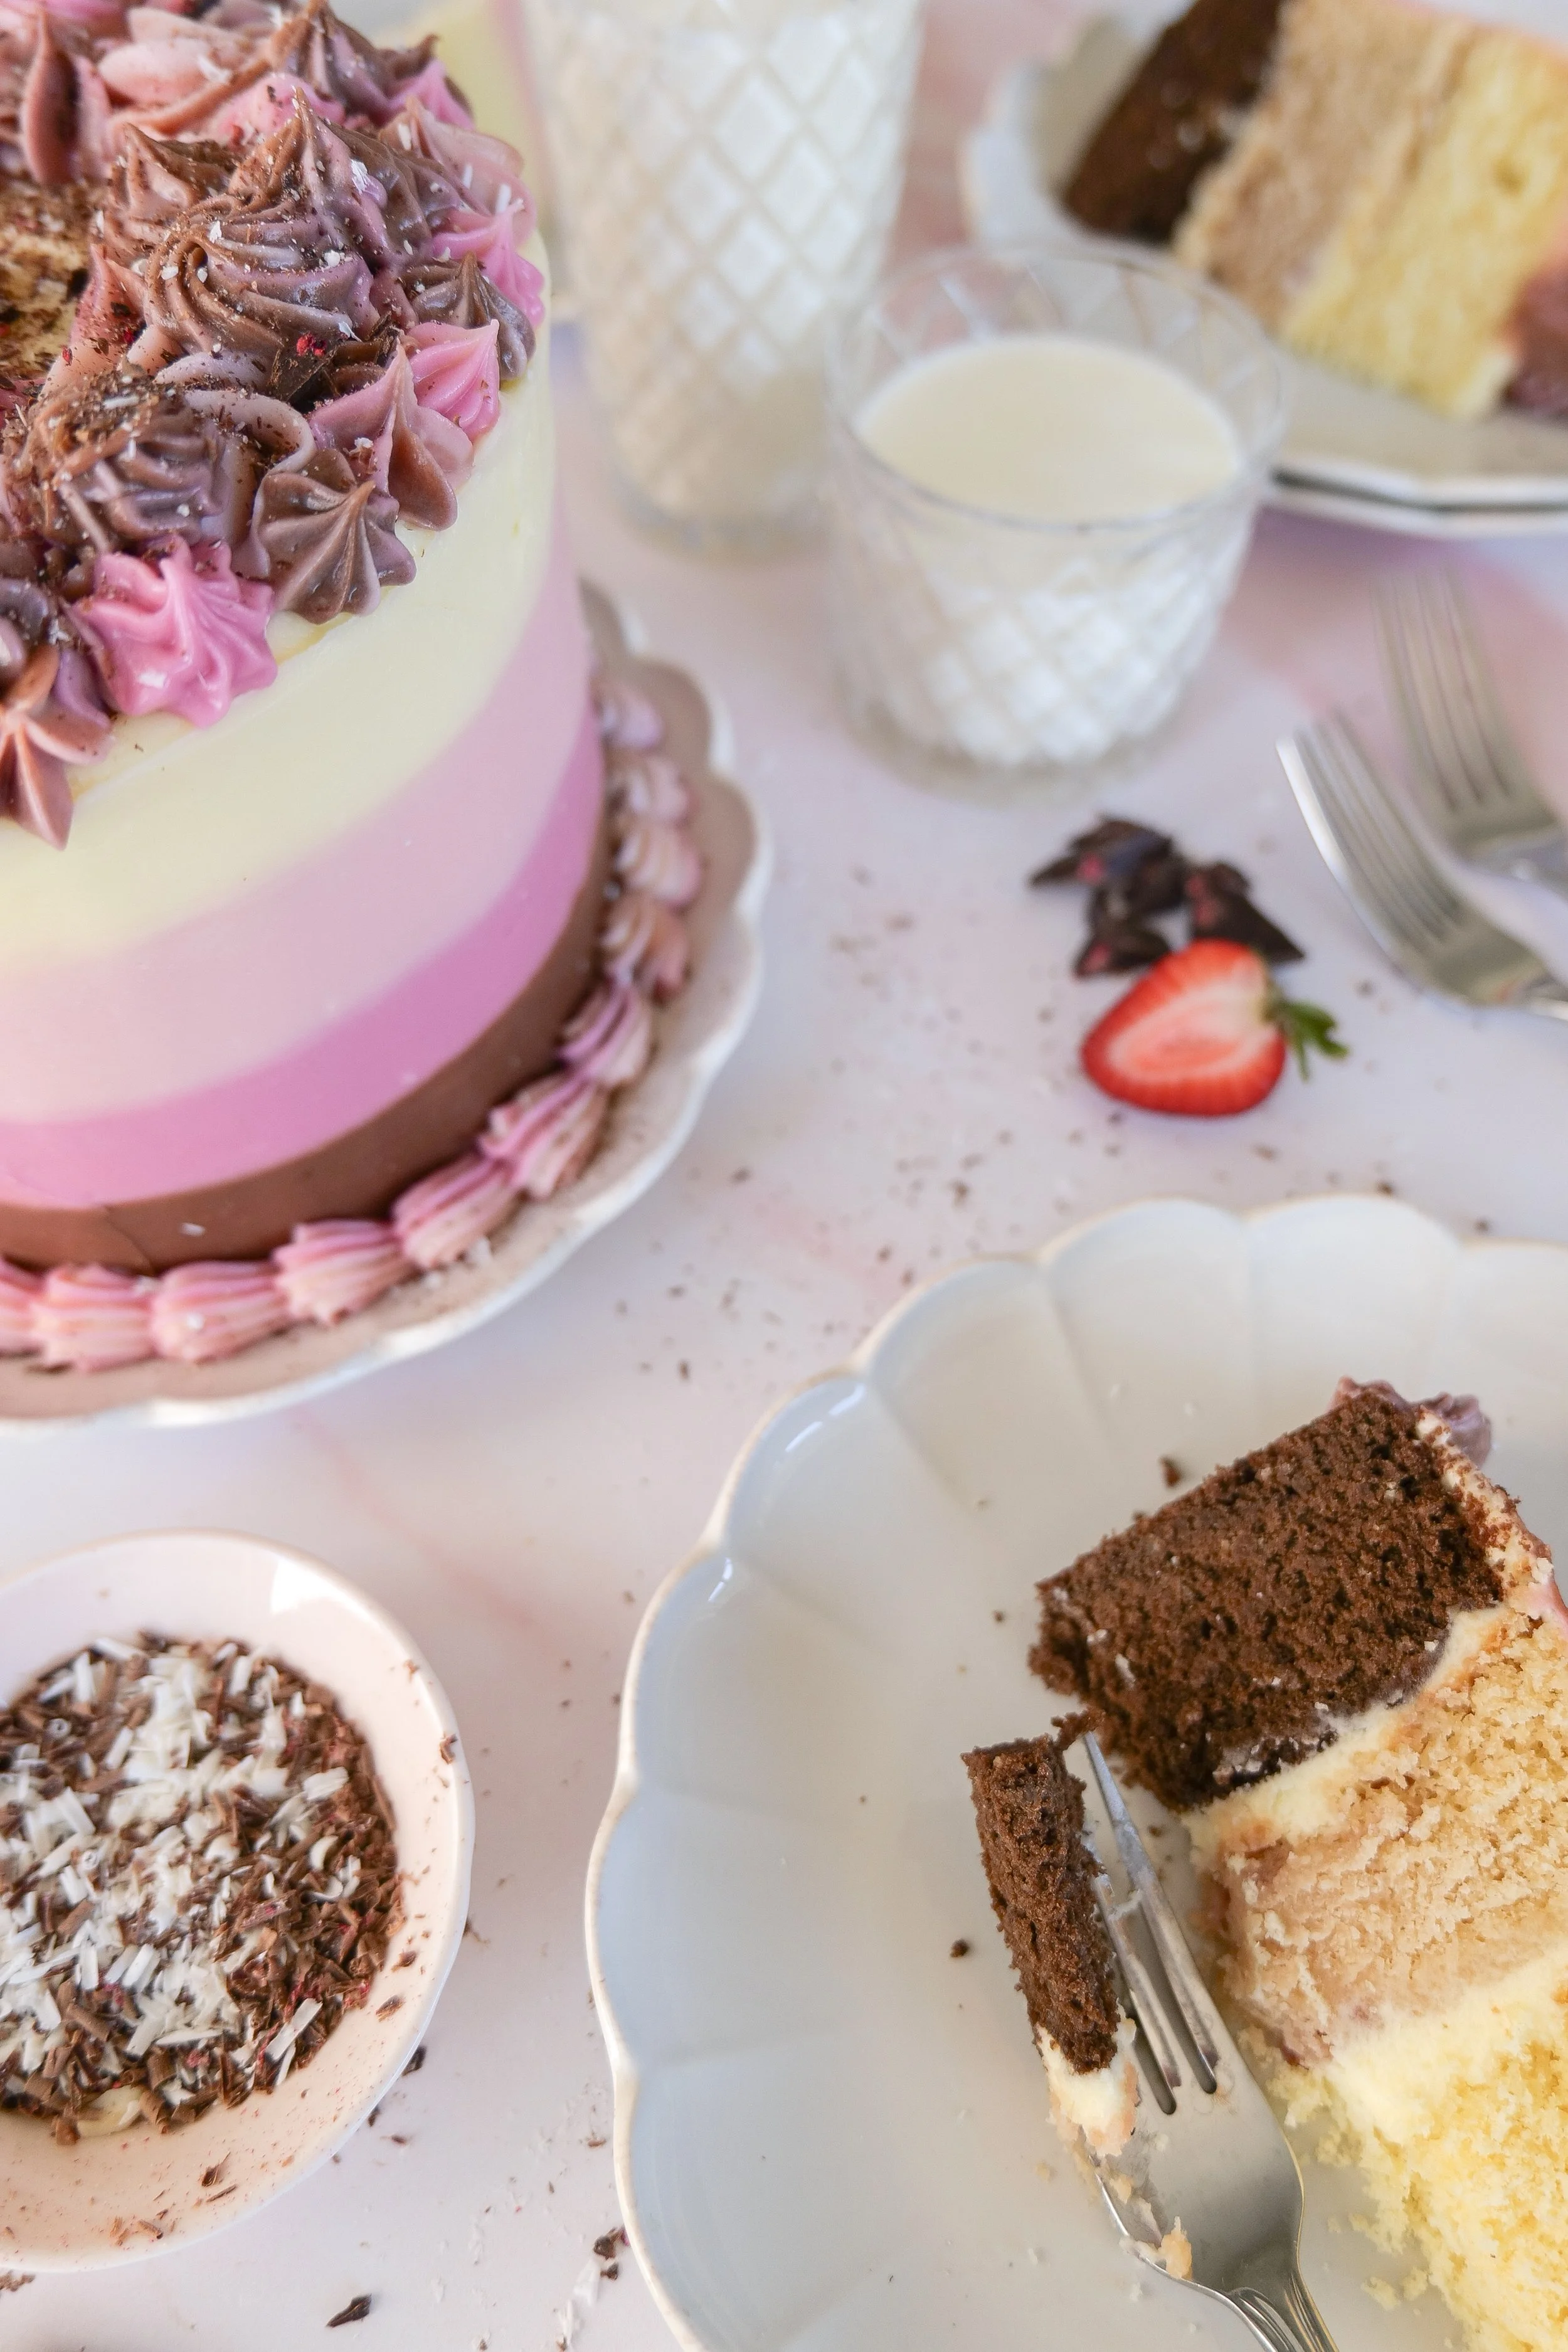
Slice of Neapolitan cake showing distinct chocolate, vanilla, and strawberry layers.

How to Divide Cake Batter Evenly

Getting three similarly sized cake layers makes the finished Neapolitan cake much prettier.

The easiest way to do this accurately is with a kitchen scale.

Weigh your empty mixing bowl first, then weigh it again once the finished batter is inside. Subtract the bowl's weight and divide the remaining batter weight by three.

Then portion that amount into each bowl before adding the strawberry and chocolate ingredients.

If you don't have a kitchen scale, you can divide it visually using equal-sized bowls and a measuring cup.

How to Make the Strawberry Cake Layer

Fresh strawberry puree gives this layer its strawberry flavor.

Blend fresh strawberries until smooth and measure ¼ cup puree before adding it to one-third of your batter.

Because strawberries vary in color, your finished layer may be a softer pink rather than the bright color associated with Neapolitan ice cream—and that's completely fine.

I prefer letting the strawberries provide the flavor rather than adding a large amount of artificial coloring.

Homemade layered Neapolitan cake prepared for a birthday or special celebration.

Why Add Espresso to Chocolate Cake?

Coffee and chocolate work beautifully together because coffee can intensify cocoa's naturally deep flavor.

One shot of espresso is enough to enhance the chocolate layer without turning this into a coffee cake.

Just remember to let your espresso cool before adding it to the batter.

How to Get Beautiful Even Cake Layers

A layered cake is much easier to assemble when each cake is relatively level.

If your cakes develop domed tops during baking, allow them to cool completely and carefully remove the raised portion using a long serrated knife.

Don't try to level warm cake.

You can also use cake strips around your pans if you already have them, which can encourage more even baking.

Neapolitan birthday cake with classic chocolate, vanilla, and strawberry flavors.

How to Crumb Coat a Layer Cake

If you've ever wondered how frosted cakes get that clean finish without little cake crumbs everywhere, the answer is usually a crumb coat.

After stacking your layers, cover the entire cake with a very thin layer of frosting.

It doesn't need to look pretty.

Its only job is to trap the crumbs.

Place the cake in the refrigerator for approximately 30 minutes so that first layer firms up.

Then apply your final coat of frosting over it.

You'll have a much cleaner surface to work with.

Decorating Your Neapolitan Cake

The inside of this cake already gives you such a beautiful surprise that the outside can be as simple or elaborate as you'd like.

Try decorating it with:

  • Fresh strawberries

  • Chocolate curls

  • Chocolate shavings

  • Fresh berries

  • Piped cream cheese frosting

  • Strawberry slices

  • Chocolate drizzle

  • Sprinkles for a birthday

  • A softly textured frosting finish

You could also tint a small portion of the cream cheese frosting pale pink with beet juice and use it for piping or decorative details.

Layered Neapolitan cake served as a beautiful dessert for celebrations and gatherings.
Neapolitan cake finished with rich cream cheese frosting and three colorful cake layers.

When to Serve Neapolitan Cake

The classic flavors make this cake work for so many celebrations.

It's beautiful for:

  • Birthdays

  • Baby showers

  • Bridal showers

  • Valentine's Day

  • Mother's Day

  • Easter

  • Spring celebrations

  • Summer parties

  • Afternoon gatherings

  • Family celebrations

It's particularly fun for a birthday because chocolate, vanilla, and strawberry give everyone a little bit of something familiar.

How to Store Neapolitan Cake

Because this cake is covered in cream cheese frosting, store it in the refrigerator.

Place the cake in a covered cake carrier or airtight container to prevent it from drying out or absorbing odors from the refrigerator.

For the best texture, enjoy it within approximately 4–5 days.

Before serving, you can let individual slices sit at room temperature briefly so the cake and frosting soften slightly.

Easy homemade Neapolitan cake recipe with chocolate, vanilla, and strawberry layers.

Can You Make Neapolitan Cake Ahead?

Yes, and I actually think layer cakes are easier when you don't try to do everything at once.

Bake the cake layers ahead of time and let them cool completely.

Wrap each individual layer tightly and refrigerate until you're ready to assemble.

Then make your frosting, stack the cake, crumb coat, chill, and finish decorating.

Breaking the recipe into stages makes the entire process much more manageable when you're preparing for a party or celebration.

Can You Freeze Neapolitan Cake?

The unfrosted cake layers can be frozen.

Once completely cool, wrap each layer tightly in plastic wrap and then place it inside a freezer-safe bag or wrap again for extra protection.

Freeze for up to approximately 3 months.

Thaw the layers in the refrigerator before assembling and decorating.

You can also freeze individual pieces of the finished cake, although the texture of cream cheese frosting may change slightly after freezing and thawing.

Frequently Asked Questions

What flavors are in Neapolitan cake?

Traditional Neapolitan combines chocolate, vanilla, and strawberry—the same three flavors traditionally associated with Neapolitan ice cream.

Do I need to make three separate cake batters?

Not for this recipe. We make one base batter, divide it into thirds, and flavor the portions individually.

Can I use frozen strawberries?

Yes. Thaw them completely, drain excess liquid if necessary, and puree before measuring.

Can I use strawberry jam instead of puree?

I prefer fresh strawberry puree because jam contains considerably more sugar and can change the texture and sweetness of the cake.

Does the espresso make the chocolate cake taste like coffee?

The small amount is primarily there to enhance the cocoa flavor rather than make a strongly coffee-flavored cake.

Can I leave the espresso out?

Yes. The chocolate layer will still work without it, although its chocolate flavor may be slightly less intense.

Why did my strawberry cake not turn bright pink?

Fresh strawberry puree naturally produces a softer color. The exact shade will vary depending on your strawberries.

Can I make this in larger cake pans?

You can, but changing pan size will affect the thickness of your layers and baking time, so monitor the cakes closely.

Why do I need a crumb coat?

A crumb coat traps loose cake crumbs underneath the final frosting layer, giving you a cleaner finish.

Does Neapolitan cake need to be refrigerated?

Yes. Because this version uses cream cheese frosting, keep the finished cake refrigerated.

Classic Neapolitan cake inspired by chocolate, vanilla, and strawberry ice cream flavors.

More Cake Recipes You'll Love

If you love making beautiful cakes from scratch, try another favorite from Amanda's Kitchen:

Banana Chocolate Chip Cake with Ganache Frosting

A rich banana cake finished with decadent chocolate ganache.

Espresso Chocolate Cake with Raspberry Cream Cheese Frosting

A beautiful chocolate and raspberry combination that's perfect for celebrations.

Banana Cake with Brown Butter Cream Cheese Frosting

One of my favorite combinations of moist banana cake and rich brown butter frosting.

Blueberry Cake with Mascarpone Frosting

A beautiful berry cake with creamy mascarpone frosting.

Layered Orange Cake with Raspberry Mascarpone Frosting

Bright citrus and raspberry flavors in another beautiful layer cake.

My Favorite White Cake Recipe

A classic cake recipe to keep in your baking collection.

Shop My Cake Baking Essentials

I've gathered some of my favorite cake pans, mixing bowls, decorating tools, serving pieces, and baking essentials in my Cake Essentials.

Save This Recipe

Whether you're planning a birthday, celebrating something special, or simply want to try a beautiful layer cake at home, save this Layered Neapolitan Cake recipe for later.

I've included my printable From Amanda's Kitchen recipe card below so it's easy to save, print, and make again.

Printable Layered Neapolitan Cake recipe card from Amanda's Kitchen.

A Note From Amanda
There's something about cutting into a layer cake that always feels a little special, but I especially love the surprise inside this one.

Seeing the chocolate, vanilla, and strawberry layers together instantly reminds me of classic Neapolitan ice cream, only transformed into a cake made for sharing around the table.

Whether you make it for a birthday, a spring celebration, or simply because you're in the mood to bake something beautiful, I hope it's one of those cakes that makes the occasion feel a little more memorable.

"Taste and see that the Lord is good."
Psalm 34:8

Made with love for the people you love.

Printable Layered Neapolitan Cake recipe card from Amanda's Kitchen.

Banana Chocolate Chip Cake with Whipped Chocolate Ganache

Moist banana cake filled with chocolate chips and layered with fluffy whipped chocolate ganache for a rich banana-and-chocolate dessert.

There are some recipes that seem to start with one very specific kitchen situation: a bunch of bananas sitting on the counter getting a little too ripe.

And while banana bread is always a good answer, sometimes those bananas deserve to become cake.

This Banana Chocolate Chip Cake combines a soft banana cake with plenty of chocolate chips and a rich whipped chocolate ganache. The banana keeps the cake moist while chocolate runs throughout the layers, and the fluffy ganache turns it into a dessert that feels special enough for a birthday or gathering.

It's banana and chocolate in one very decadent cake — and a pretty good reason to let those bananas sit on the counter for another day.

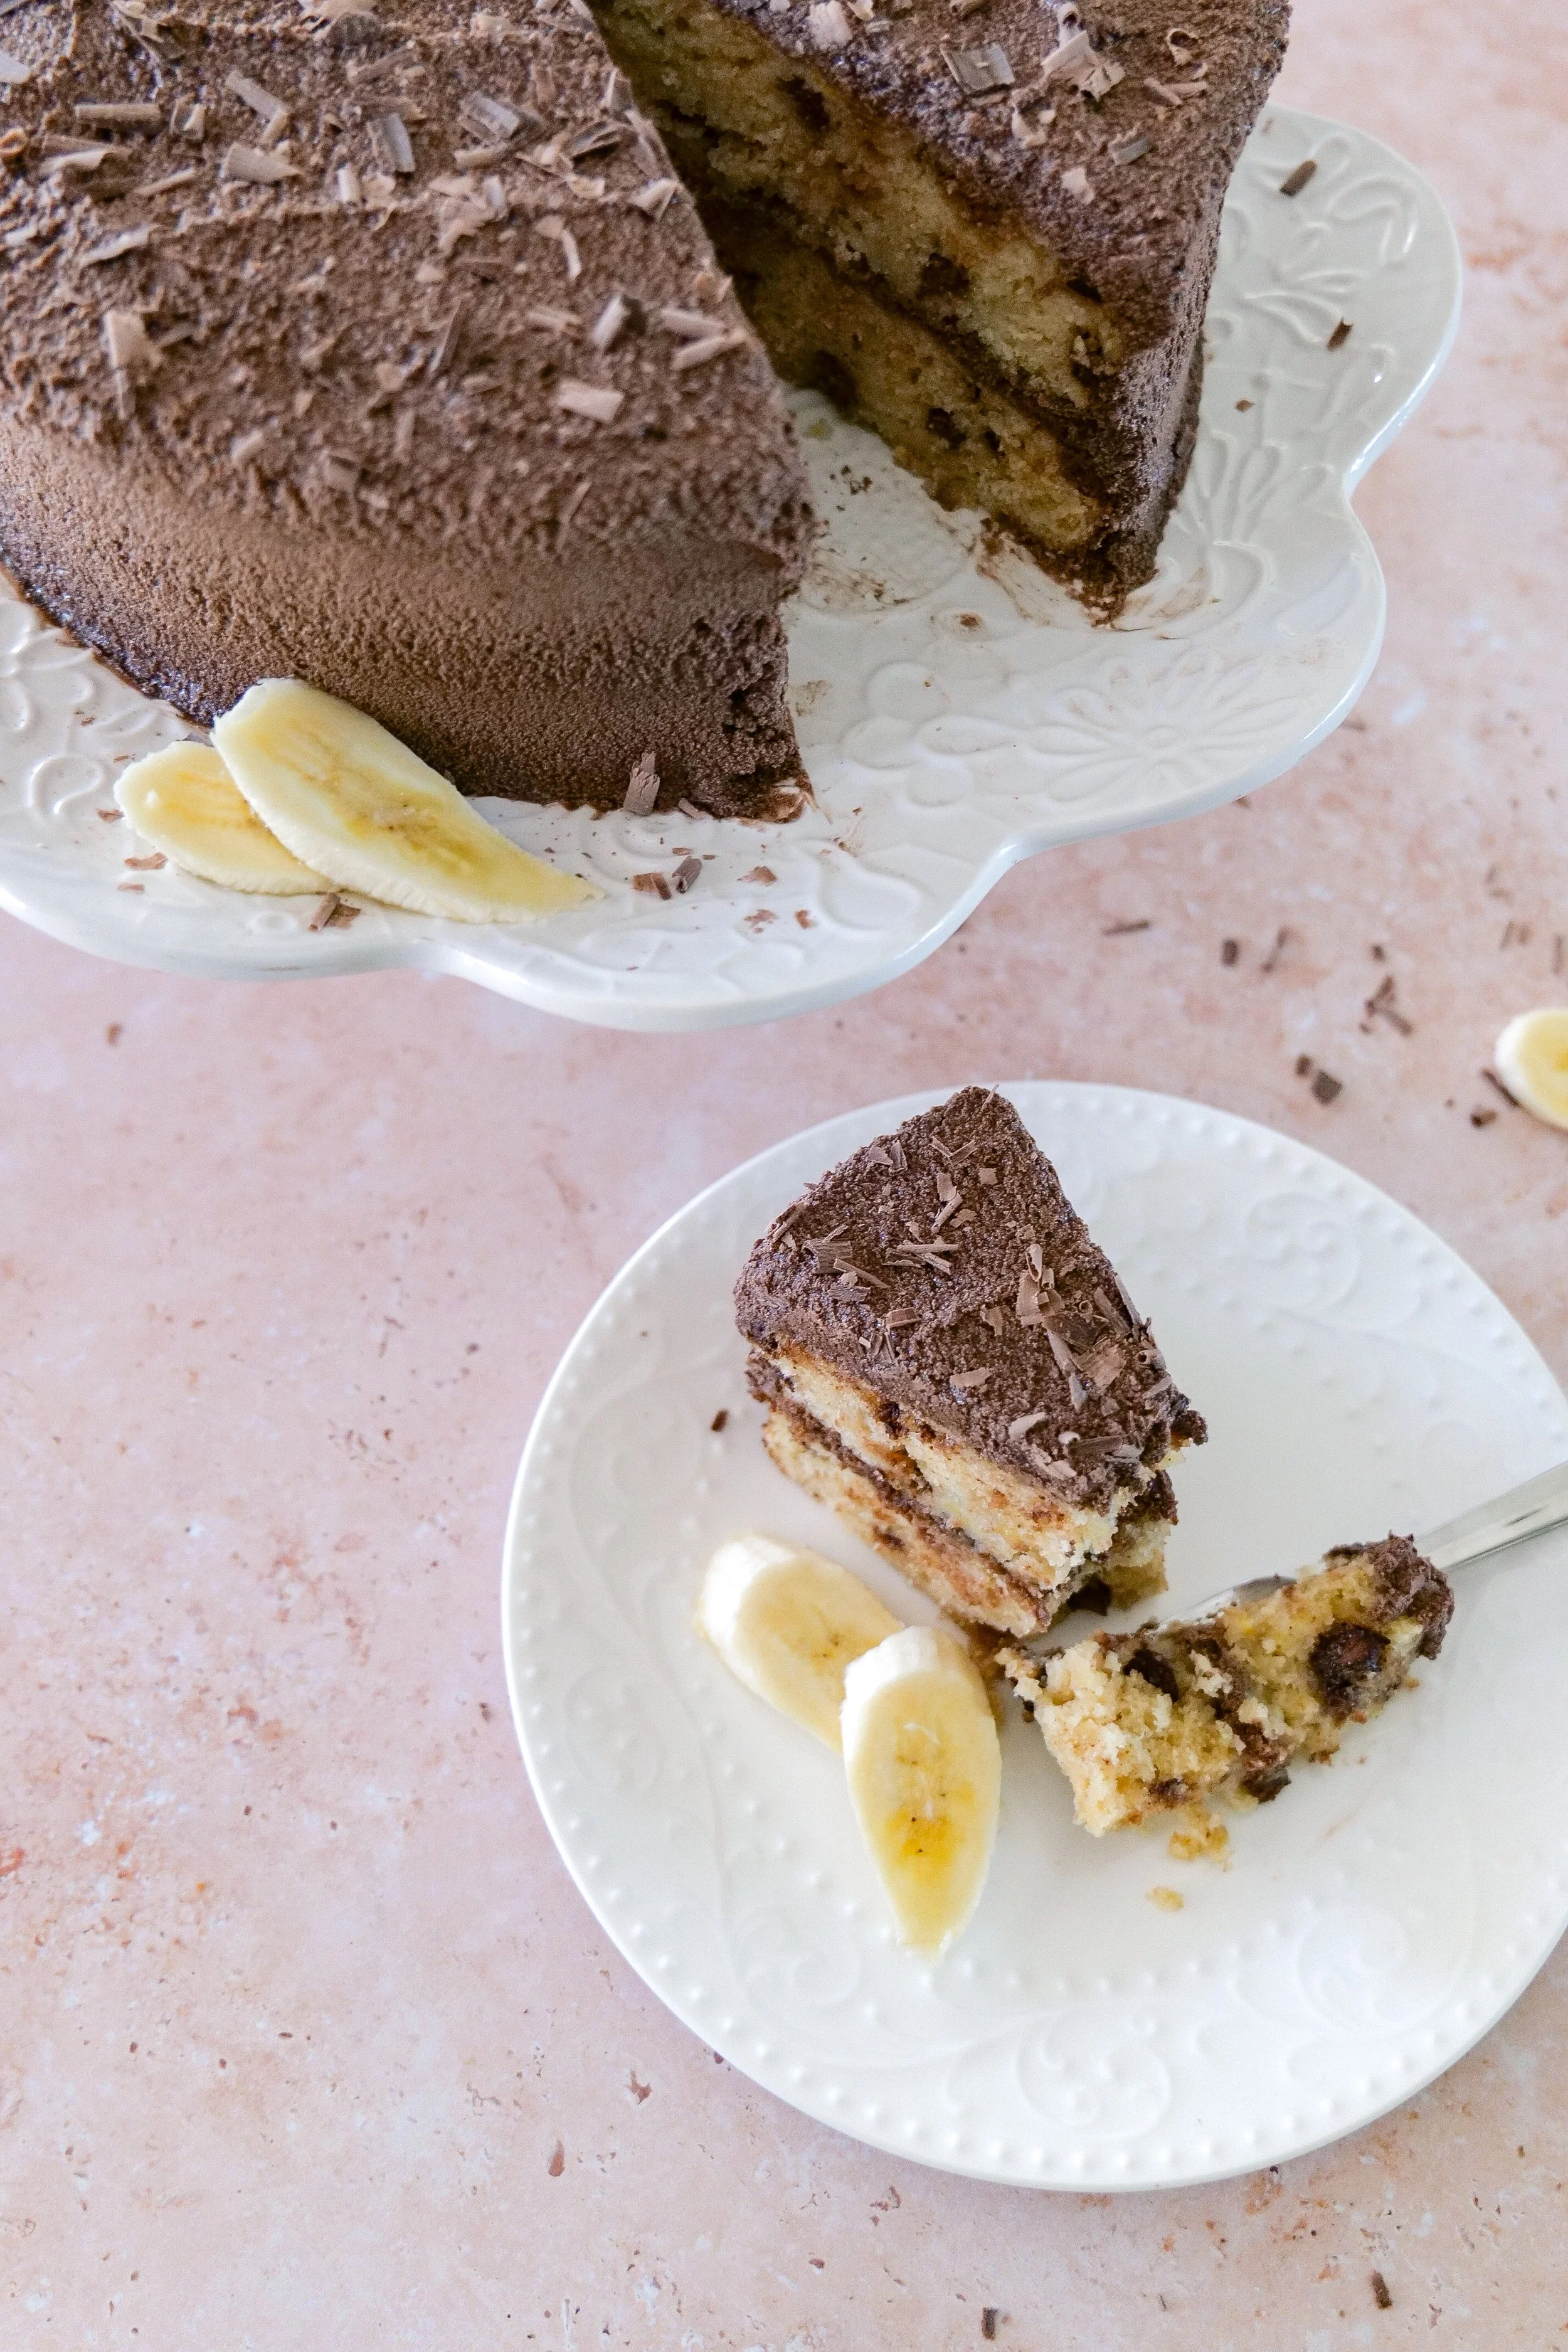
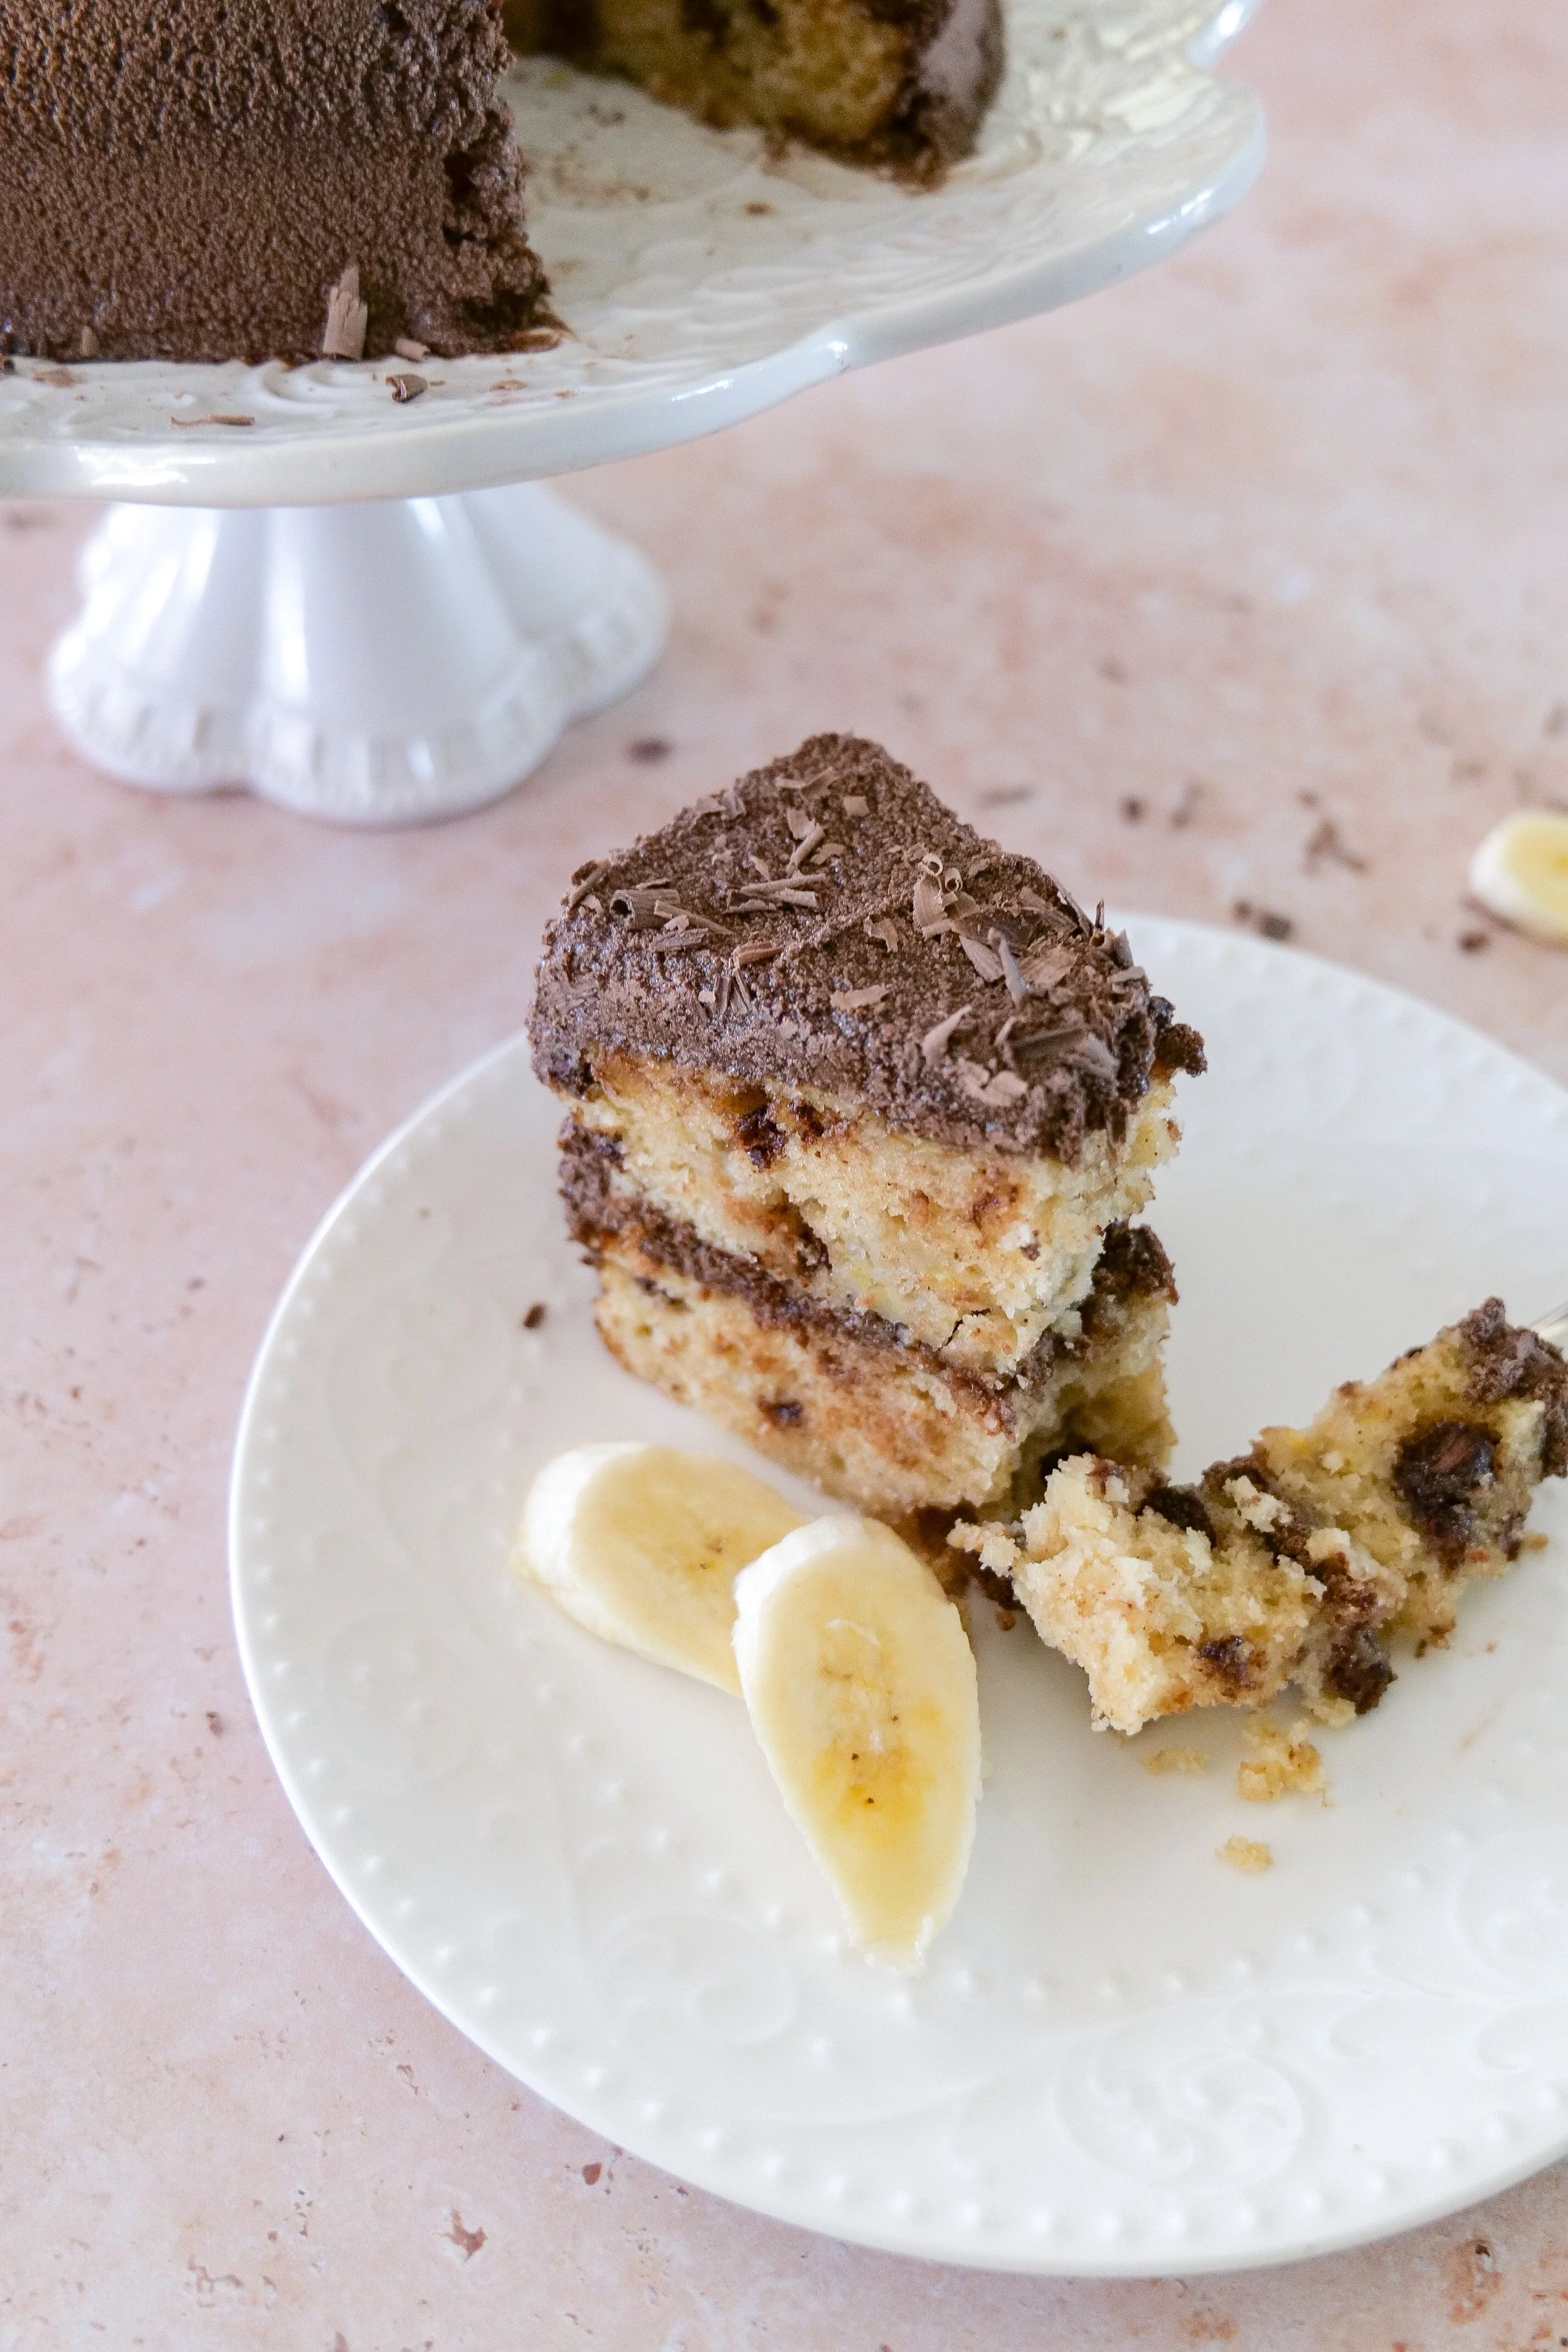
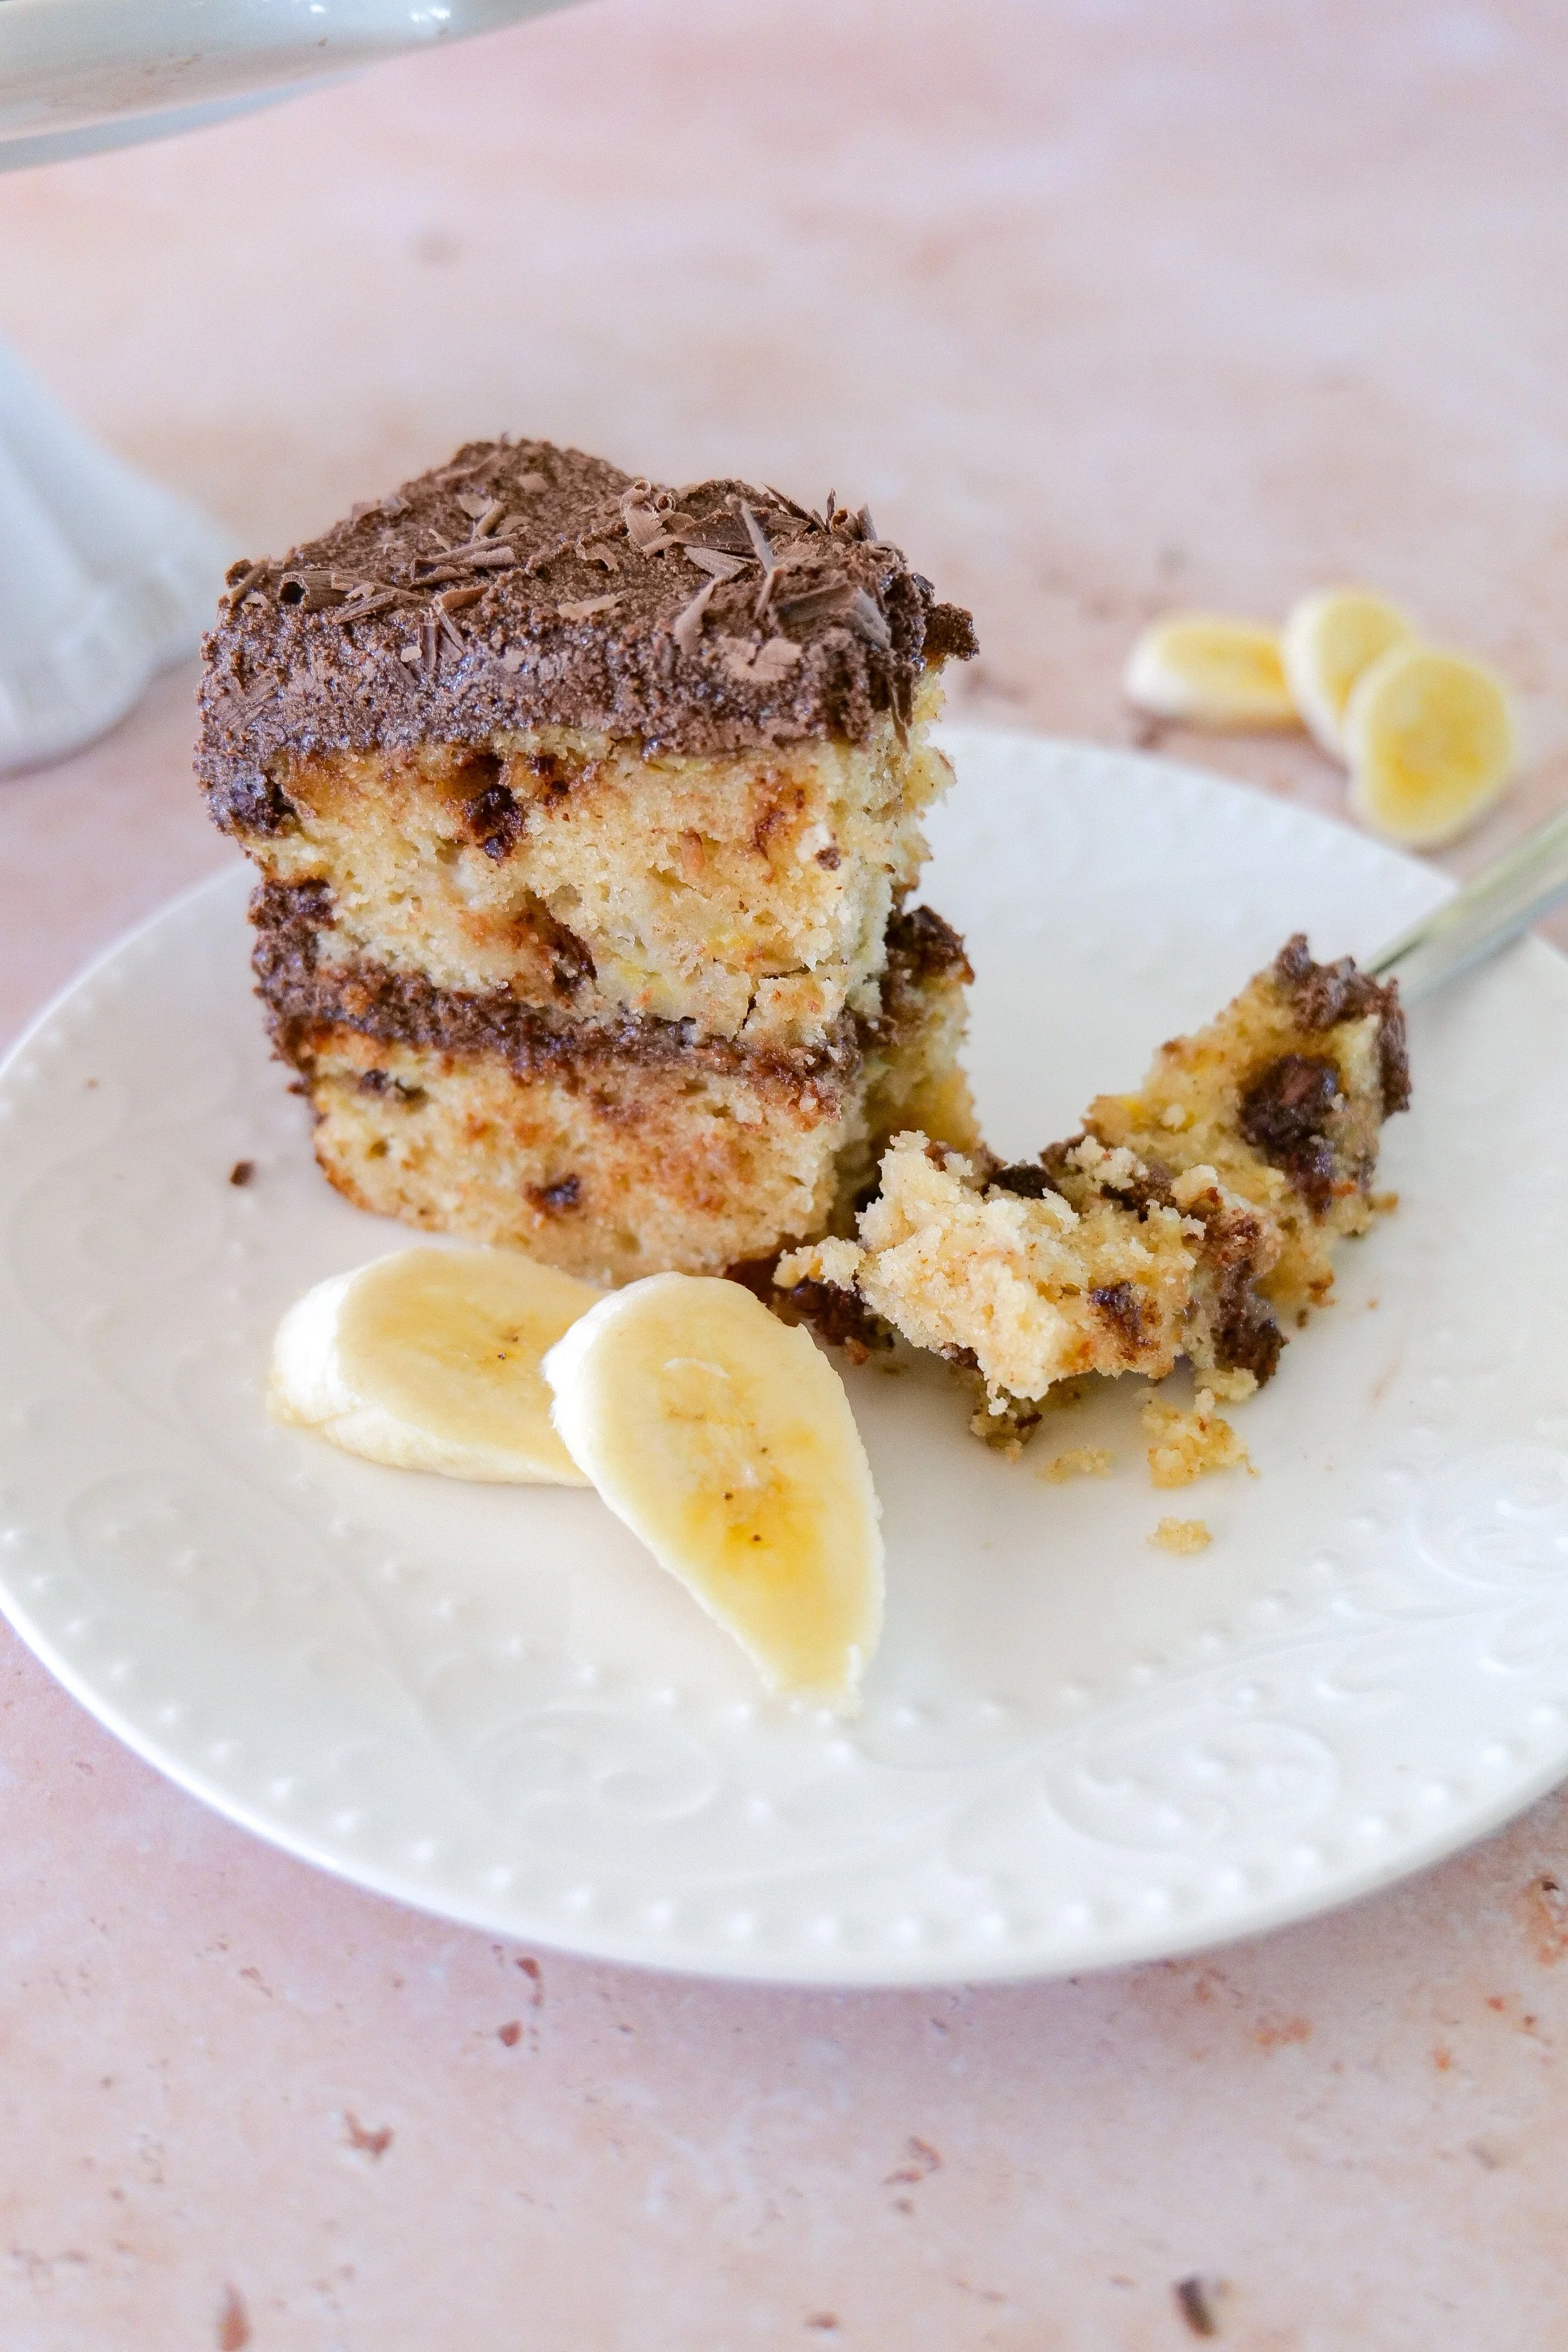
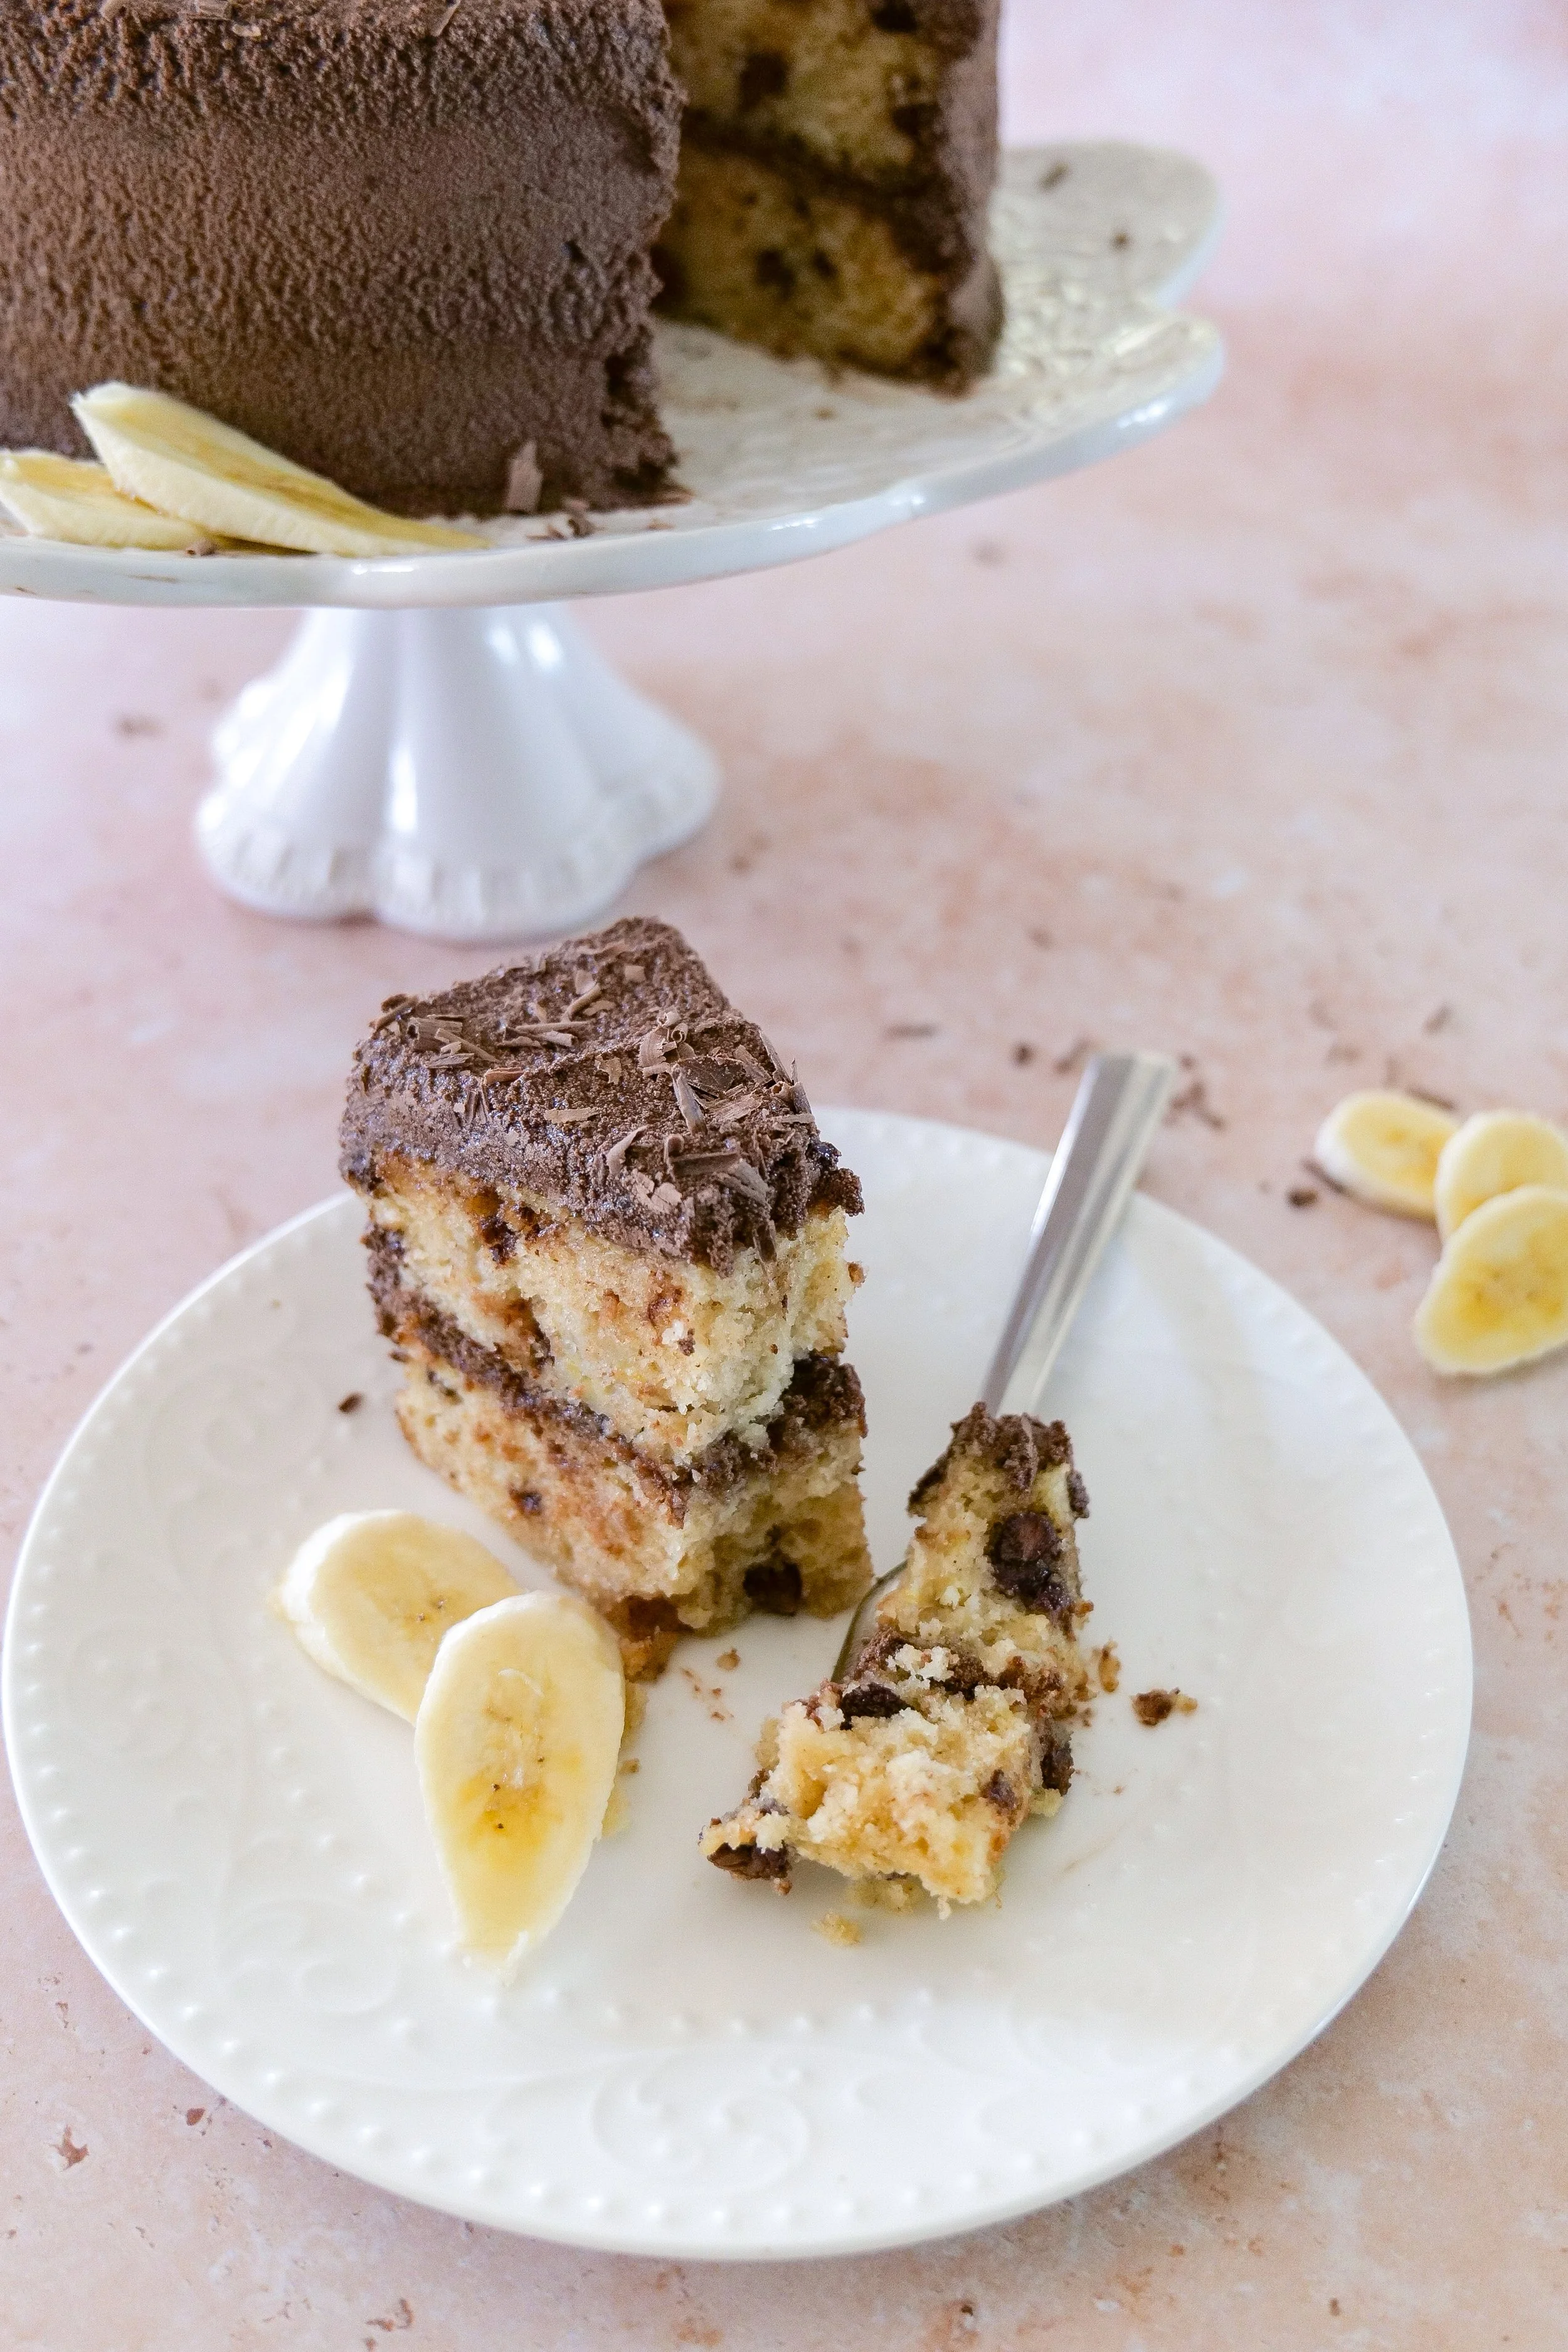
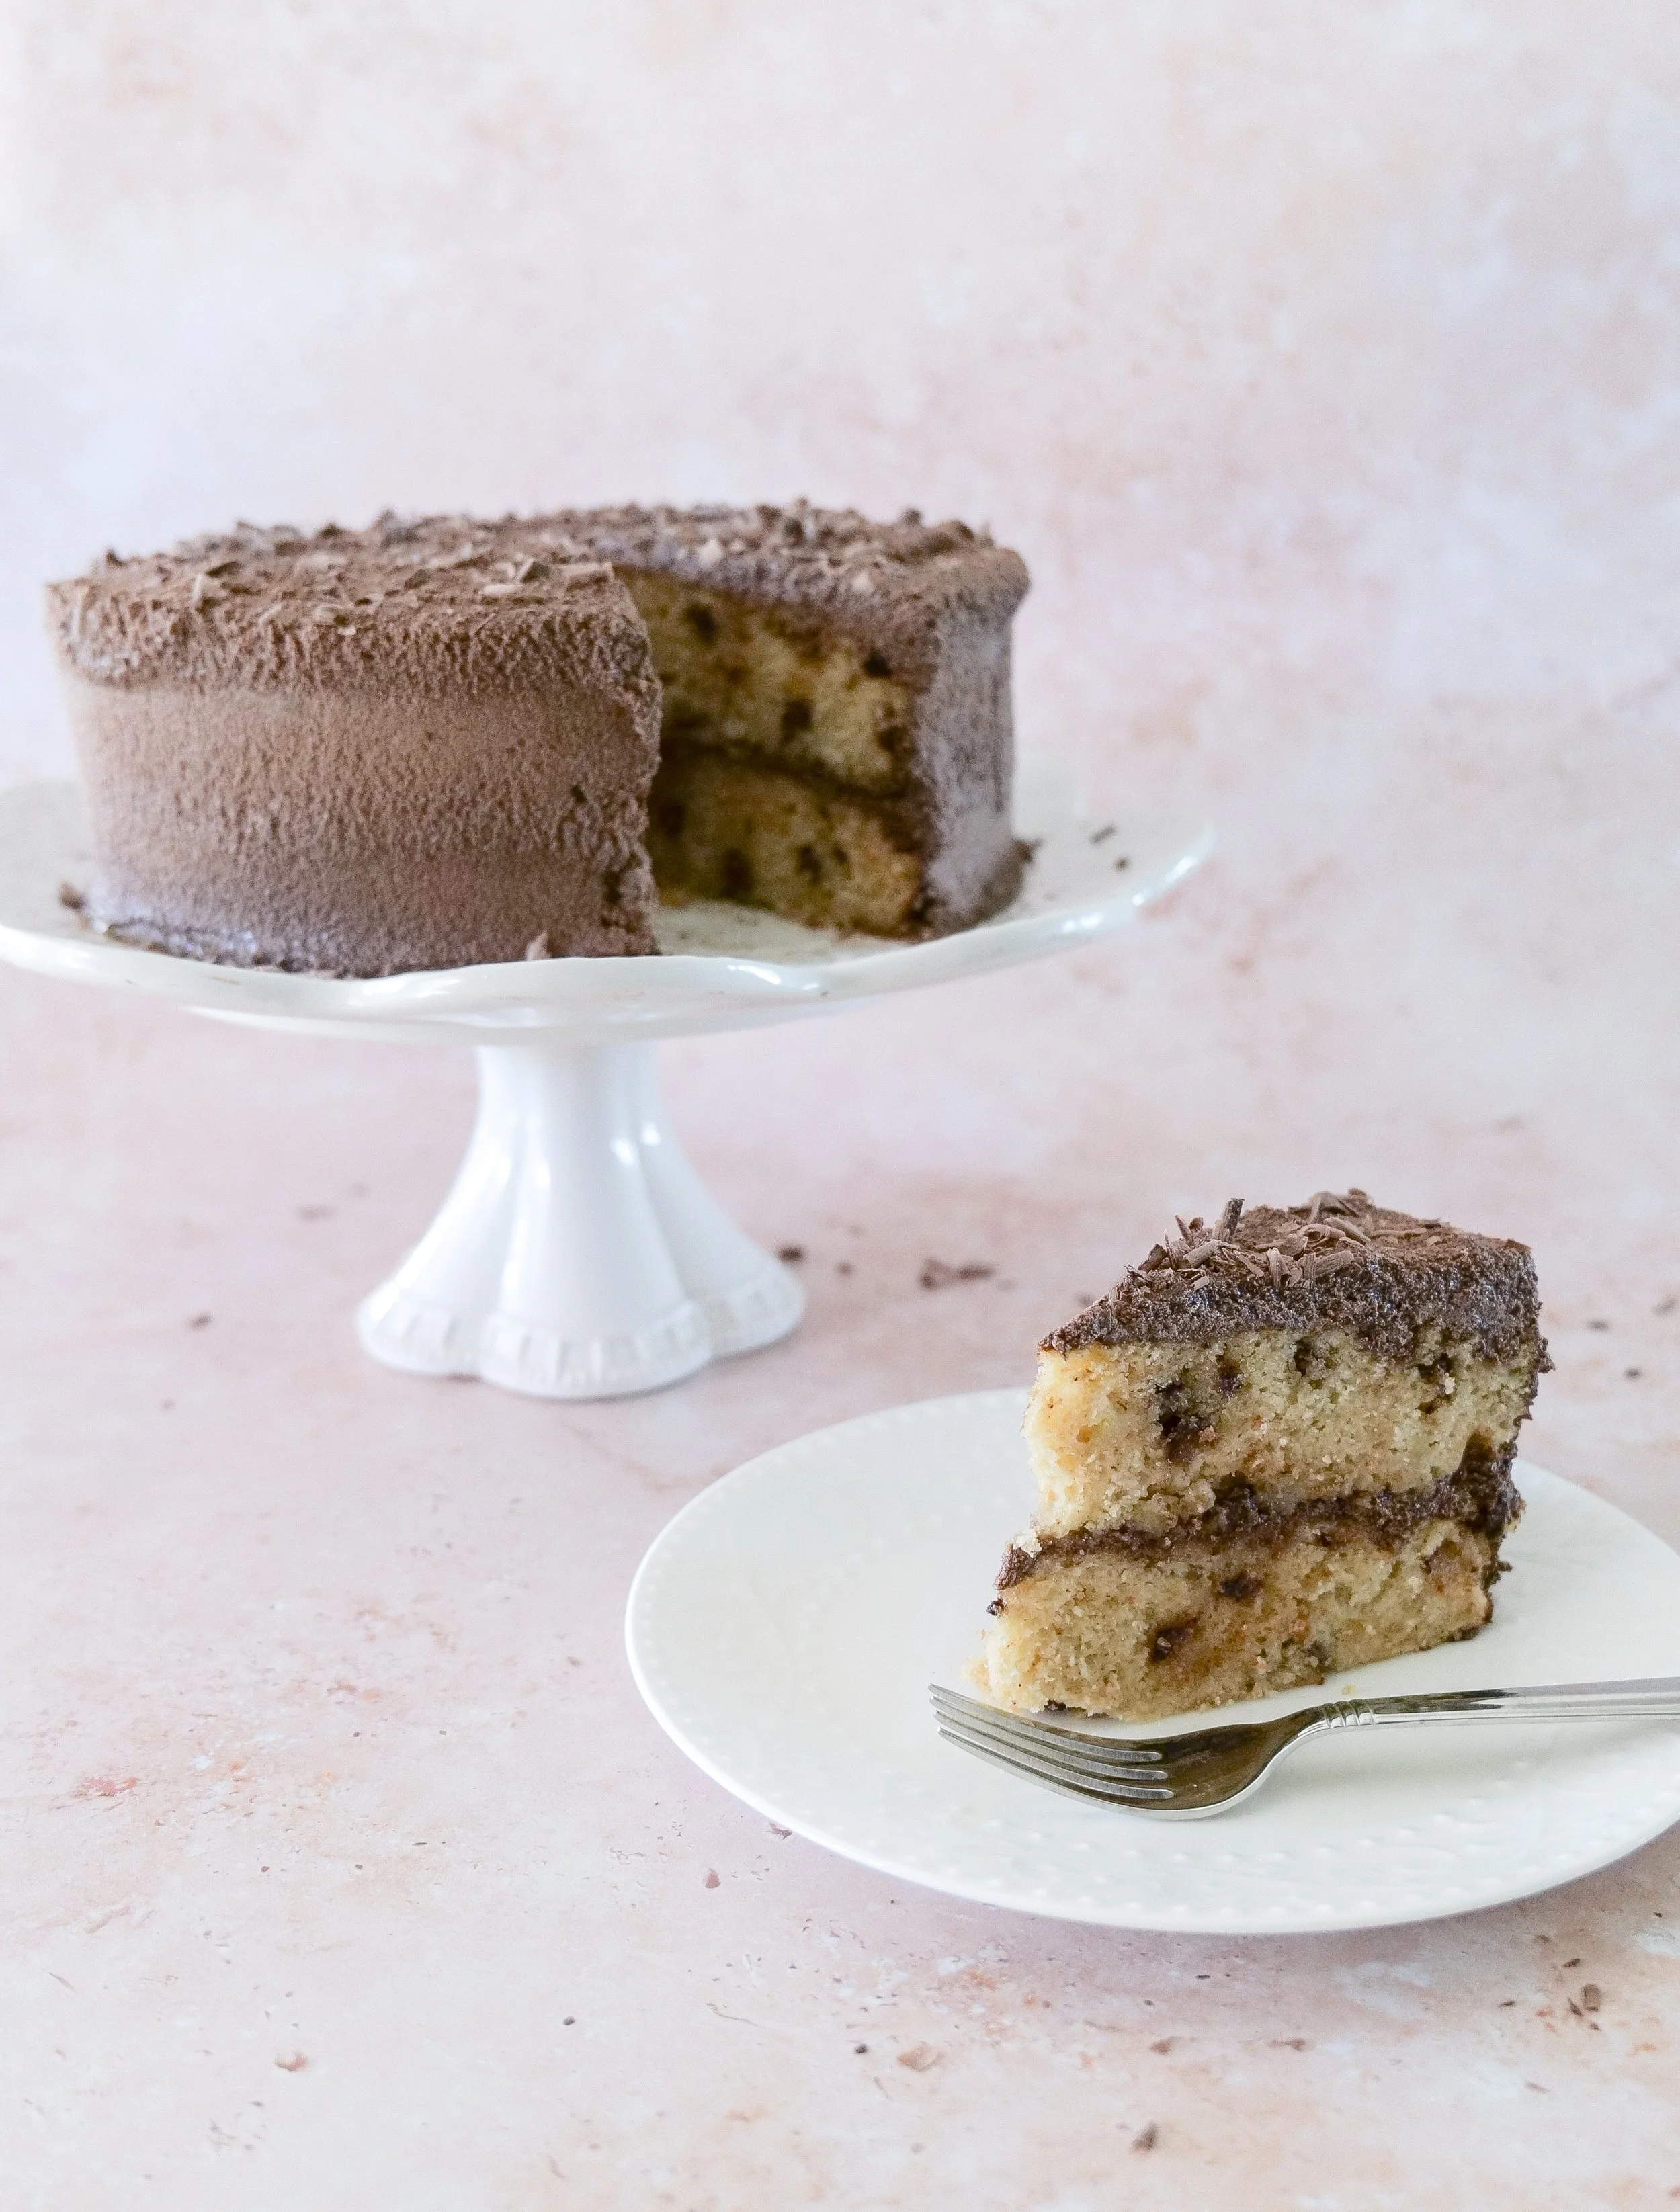
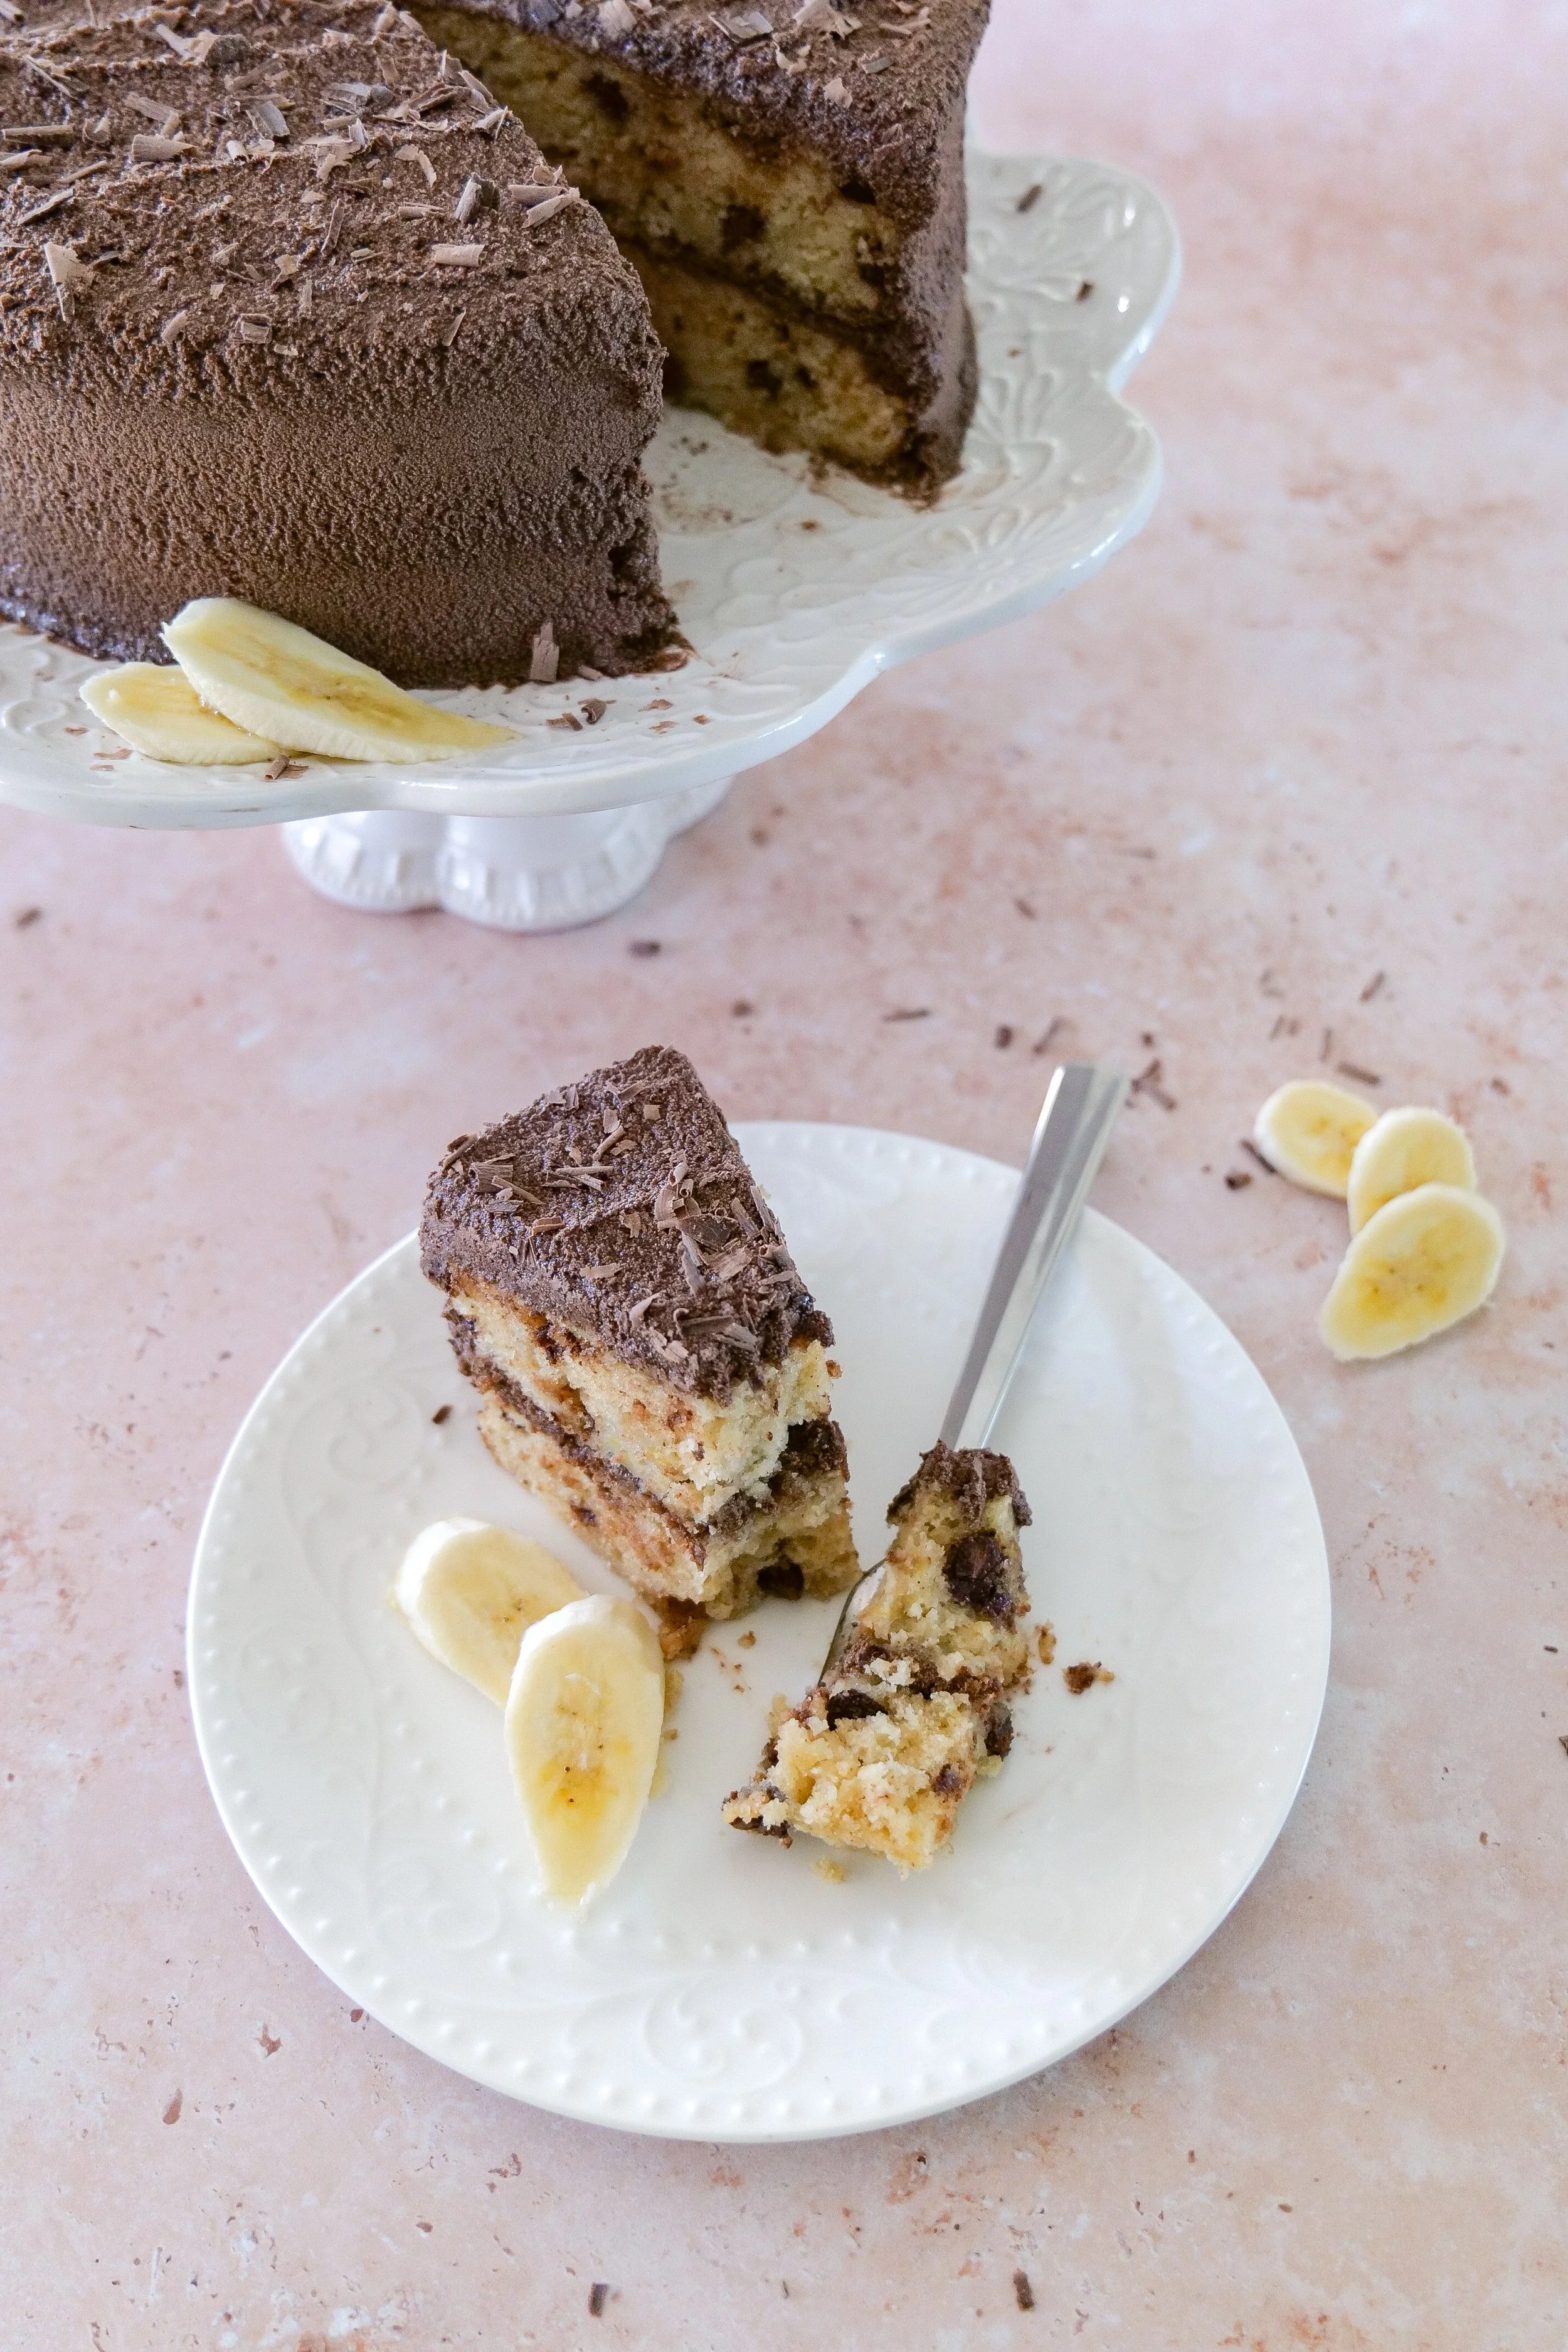
Banana chocolate chip layer cake with whipped chocolate ganache frosting and chocolate shavings.

Why You'll Love This Banana Chocolate Chip Cake

It's incredibly moist. Overripe bananas, brown butter and heavy cream give the cake a soft, rich texture.

Banana and chocolate belong together. Chocolate chips are baked right into the cake, and there's even more chocolate in the ganache.

The frosting is different from traditional buttercream. Instead of a standard chocolate frosting, this cake is covered in whipped chocolate ganache made from chocolate and heavy whipping cream.

You can make it as a two- or four-layer cake. The same batter can be divided between two standard cake pans or four pans for thinner layers.

It's the perfect use for overripe bananas. The browner and softer those forgotten bananas become, the better excuse you have to make cake.

Banana chocolate chip cake layered and frosted with whipped chocolate ganache.

Why Overripe Bananas Are Best for Banana Cake

If your bananas are covered in brown spots and looking a little past their prime for snacking, don't throw them away.

Those are the bananas I want for this cake.

As bananas ripen, they become softer and sweeter, which makes them easy to mash and incorporate into cake batter. That ripe banana flavor also comes through much more strongly than it would with firm yellow bananas.

For this recipe, you'll need 4–5 overripe bananas.

If I know I won't use my ripe bananas right away, I'll also freeze them for another baking day.

Banana Chocolate Chip Cake Ingredients

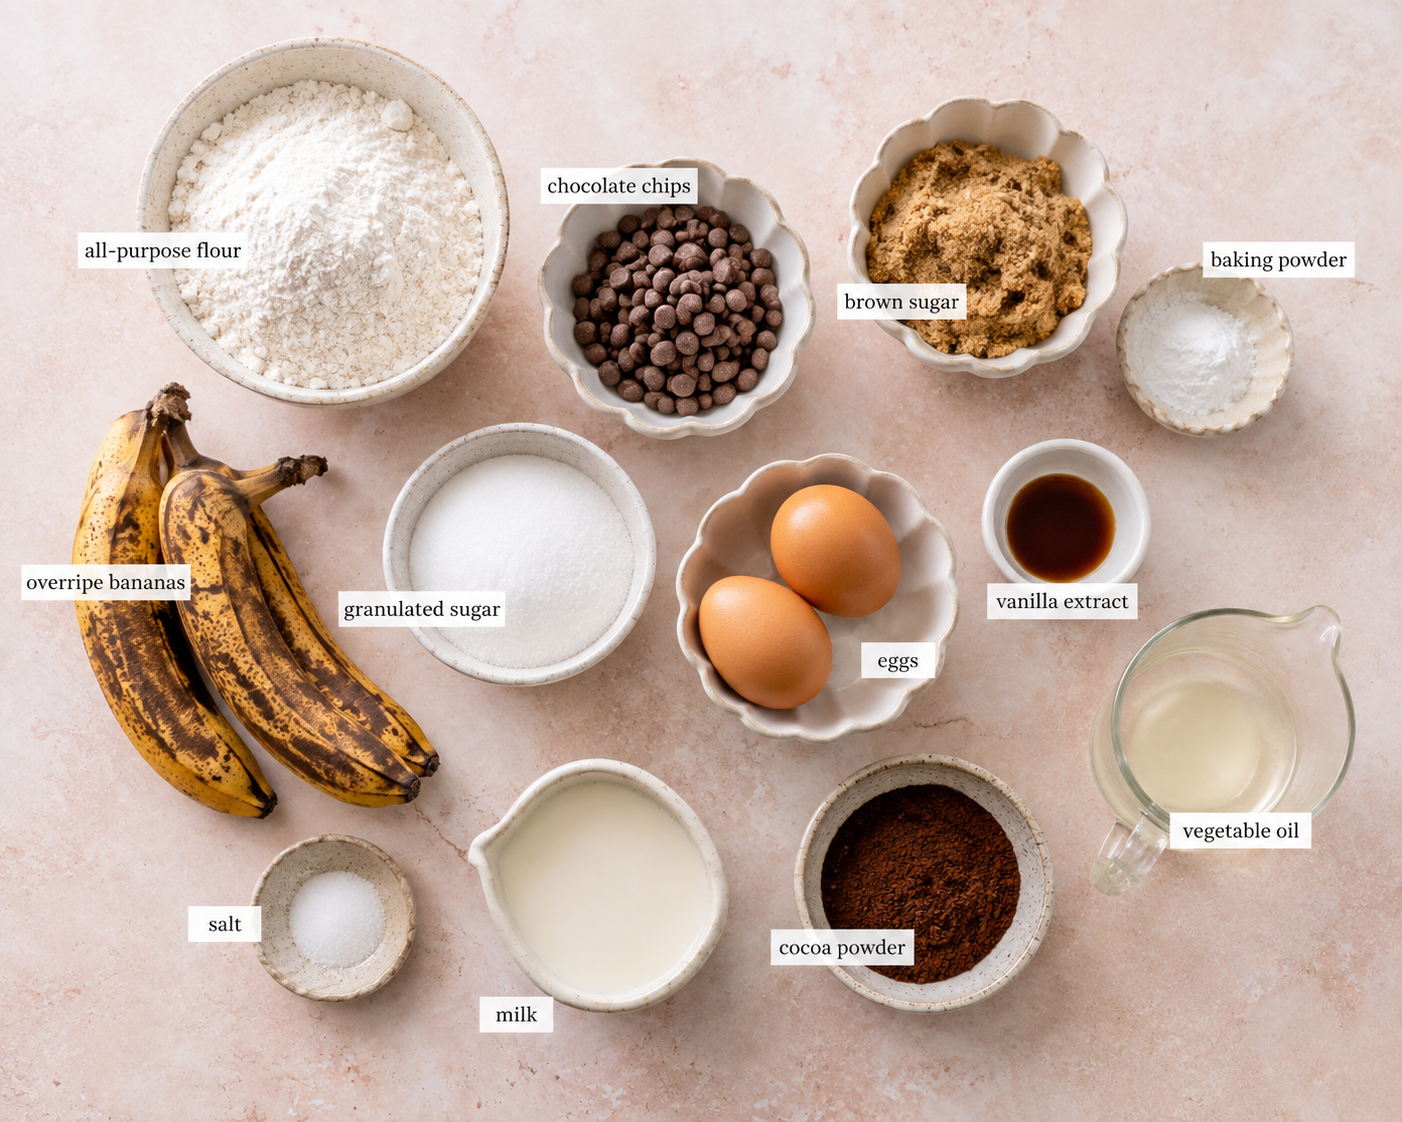
Ingredients for making banana chocolate chip cake with whipped chocolate ganache.

This cake uses familiar baking ingredients, but there are a few that really make the recipe what it is.

Overripe Bananas

You'll need 4–5 large overripe bananas. The softer and more spotted they are, the easier they'll be to mash into the cake batter.

Brown Butter

This cake uses 1 cup brown butter rather than plain melted butter.

Browning the butter adds a deeper, toasted flavor that works especially well with banana and chocolate.

Cake Flour

You'll need 2¼ cups cake flour.

Cake flour helps give the finished layers a softer cake texture.

Chocolate Chips

There are 1½ cups chocolate chips in the recipe. One cup gets folded into the batter, while the remaining ½ cup is sprinkled over the cake before baking.

Heavy Cream

Heavy cream appears in both parts of this recipe.

You'll use 1 cup in the banana cake and another 2 cups heavy whipping cream for the chocolate ganache.

Chocolate Melts

The whipped ganache uses 16 ounces chocolate melts with the heavy whipping cream.

How to Make Banana Chocolate Chip Cake

1. Prepare Your Cake Pans

Preheat your oven to 350°F.

Oil two 8- or 9-inch round cake pans and set them aside.

You can also divide the batter between four pans if you'd like a taller four-layer cake.

2. Mash the Bananas

Add the overripe bananas to a large mixing bowl and mash them well.

Add the eggs, heavy cream, melted brown butter and vanilla and mix until everything is completely combined.

Moist banana cake with chocolate chips and rich chocolate ganache frosting.

3. Add the Dry Ingredients

In a separate bowl, combine the cake flour, sugar, baking powder and sea salt.

Add the dry ingredients to the banana mixture and blend with a hand mixer until the batter comes together.

Fold in 1 cup of the chocolate chips.

Amanda's Tip

Once the dry and wet ingredients come together, mix only until everything is well incorporated. There's no need to keep beating the cake batter once it's smooth.

4. Bake the Banana Cake

Divide the batter evenly between your prepared cake pans.

Sprinkle the remaining ½ cup chocolate chips over the batter.

For two 8- or 9-inch cake layers, bake for 22–27 minutes, or until a toothpick inserted into the center comes out clean.

If you're making four thinner layers, the original recipe calls for approximately 10–12 minutes, checking for doneness with a toothpick.

Homemade banana layer cake covered with fluffy whipped chocolate ganache.

How to Make Whipped Chocolate Ganache Frosting

This is what takes the cake from a simple chocolate chip banana cake to something a little more special.

And unlike traditional ganache that's poured over a cake while glossy and fluid, we're going to cool and whip this ganache so it becomes light enough to spread between and around the cake layers.

You'll need just:

  • 16 ounces chocolate melts

  • 2 cups heavy whipping cream

These are the quantities from the original recipe.

1. Heat the Cream

Heat the heavy whipping cream in a saucepan until it is nearly boiling.

You want it very hot, but there's no need to bring it to a rolling boil.

2. Pour Over the Chocolate

Place the chocolate melts in a heat-safe bowl and pour the hot cream over them.

Allow the mixture to sit untouched for 2–3 minutes.

Then gently stir until the chocolate has completely melted and the ganache is smooth.

3. Cool Completely

Set the ganache aside and allow it to cool completely for approximately 2 hours.

This step is important because we're going to whip the ganache rather than pour it over the cake.

4. Whip the Ganache

Once completely cooled, use a hand mixer or stand mixer to whip the ganache until it becomes light and fluffy. I use my hand mixer for this step because it makes it easy to whip the ganache until it's light and fluffy.

The full ganache recipe makes enough to fill the cake and frost the outside. If you're only planning to use ganache between the layers or on top, the original recipe notes that you can cut the ganache recipe in half.

Let the Cake Layers Cool Completely

Once the cakes are finished baking, let them cool in their pans for approximately 15 minutes.

Transfer the layers to a cooling rack and allow them to cool for another 15–30 minutes, or until they're completely cool and your whipped ganache is ready.

Don't rush this part.

Frosting a warm cake with whipped ganache is a recipe for a very messy cake. Give both components the time they need to cool before you start assembling.

Slice of banana chocolate chip layer cake showing banana cake and chocolate ganache layers.

How to Assemble the Cake

Place your first banana cake layer on a cake plate or stand.

Spread a generous layer of whipped chocolate ganache over the top.

Add your second cake layer and finish with more ganache.

You can keep the frosting simple with chocolate ganache between the layers and across the top, or cover the entire outside of the cake like I did here.

Finish with chocolate shavings if you'd like, then slice and serve.

Brown butter banana chocolate chip cake with whipped chocolate frosting.

Two Layers or Four?

One thing I love about this recipe is that you can change the presentation depending on the occasion.

For a classic cake, divide the batter between two 8- or 9-inch round cake pans and bake for 22–27 minutes.

For a taller cake with more ganache between each bite, divide the batter between four cake pans. Those thinner layers bake much faster, so begin checking them around 10–12 minutes.

Either way, use the toothpick test rather than relying solely on the clock.

Can I Use Frozen Bananas?

Yes. If you've been saving overripe bananas in the freezer, you can use them for this cake.

Let the bananas thaw completely before mashing them.

If they've released a significant amount of excess liquid while thawing, drain that excess liquid before adding the bananas to your batter.

It's one of my favorite ways to keep overripe bananas from going to waste — freeze them now and turn them into cake later.

Tips for the Best Banana Chocolate Chip Cake

Use truly ripe bananas. Brown spots are a good thing here.

Let the brown butter cool slightly. You don't want extremely hot butter going directly into your eggs.

Don't forget to reserve some chocolate chips. One cup goes into the batter and the remaining ½ cup goes over the top before baking.

Don't overbake the cake. Begin checking within the recipe's baking window and use a toothpick to determine when it's ready.

Cool the cake completely before frosting. Warm cake and whipped ganache are not friends.

Give the ganache its full cooling time. It needs to cool before you whip it into that light, fluffy frosting.

Shop My Cake Baking Favorites

These are some of the baking tools I reach for when I'm making layer cakes at home.

Banana Chocolate Chip Cake with Whipped Chocolate Ganache

Ingredients

Banana Chocolate Chip Cake

  • 4 large eggs

  • 1 cup heavy cream

  • 2 tablespoons melted butter

  • 3 teaspoons vanilla

  • 1½ cups granulated sugar

  • 2¼ cups cake flour

  • 1 tablespoon baking powder

  • ¾ teaspoon sea salt

  • 1 cup brown butter

  • 4–5 overripe bananas

  • 1½ cups chocolate chips

Whipped Chocolate Ganache

  • 16 ounces chocolate melts

  • 2 cups heavy whipping cream

Instructions

1. Prepare the Pans

Preheat oven to 350°F.

Oil two 8- or 9-inch round cake pans.

2. Make the Banana Mixture

Mash the overripe bananas in a large mixing bowl.

Add the eggs, heavy cream, brown butter and vanilla. Blend until completely combined.

3. Add the Dry Ingredients

In a separate bowl, combine the sugar, cake flour, baking powder and sea salt.

Add the dry ingredients to the wet ingredients and mix until combined.

Fold in 1 cup chocolate chips.

4. Bake

Divide the batter evenly between the prepared pans.

Sprinkle the remaining ½ cup chocolate chips over the batter.

Bake for 22–27 minutes, or until a toothpick inserted into the center comes out clean.

For four thinner cake layers, begin checking the cakes around 10–12 minutes.

5. Make the Whipped Chocolate Ganache

While the cakes bake, place the chocolate melts in a heat-safe bowl.

Heat the heavy whipping cream in a saucepan until nearly boiling and pour it over the chocolate.

Allow it to stand for 2–3 minutes, then stir until completely smooth.

Set aside to cool completely for approximately 2 hours.

Once cooled, whip with a hand or stand mixer until light and fluffy.

6. Cool the Cakes

Allow the finished cakes to cool in their pans for approximately 15 minutes.

Transfer to cooling racks and continue cooling for another 15–30 minutes, or until completely cool.

7. Assemble

Place one cake layer on your serving plate or cake stand.

Spread whipped chocolate ganache over the top.

Add the second layer and frost the top and sides with the remaining ganache.

Finish with chocolate shavings if desired.

Slice, serve and enjoy.

Frequently Asked Questions

What bananas are best for banana cake?

Very ripe or overripe bananas are best. Look for bananas that are soft with plenty of brown spots on their peels.

Can I use frozen bananas?

Yes. Thaw them completely first and drain significant excess liquid before mashing and adding them to the batter.

Can I make this into a four-layer cake?

Yes. Divide the batter between four cake pans instead of two. Because the layers are thinner, the original recipe calls for approximately 10–12 minutes of baking time, or until a toothpick comes out clean.

What is whipped chocolate ganache?

Whipped ganache starts with chocolate and hot heavy cream, just like traditional ganache. For this recipe, the mixture cools completely and is then whipped until it becomes lighter and fluffier, making it easy to spread over a layer cake.

How long does the chocolate ganache need to cool?

The ganache in this recipe cools for approximately 2 hours before being whipped.

Can I make less chocolate ganache?

Yes. The full recipe makes enough ganache to fill and frost the cake. If you only want ganache between the layers or across the top, the original recipe notes that you can cut the ganache recipe in half.

More Cake Recipes to Bake

If you're looking for another cake to make next, here are a few of my favorites.

Banana Cake with Brown Butter Cream Cheese Frosting

Another way to turn overripe bananas into cake, this time paired with rich brown butter cream cheese frosting.

Espresso Chocolate Cake with Raspberry Cream Cheese Frosting

A rich chocolate cake with espresso and a bright raspberry cream cheese frosting.

Blueberry Cake with Mascarpone Frosting

A beautiful fruit-forward layer cake finished with creamy mascarpone frosting.

Carrot Sheet Cake with Brown Butter Frosting

A cozy cake with another one of my favorite frosting flavors: brown butter.

Save This Recipe

Whether you're saving a few overripe bananas from going to waste or planning a cake for someone you love, save the recipe card below so it's easy to come back to whenever you're ready to bake.

Printable From Amanda’s Kitchen recipe card for Banana Chocolate Chip Cake with Whipped Chocolate Ganache.

A Note From Amanda
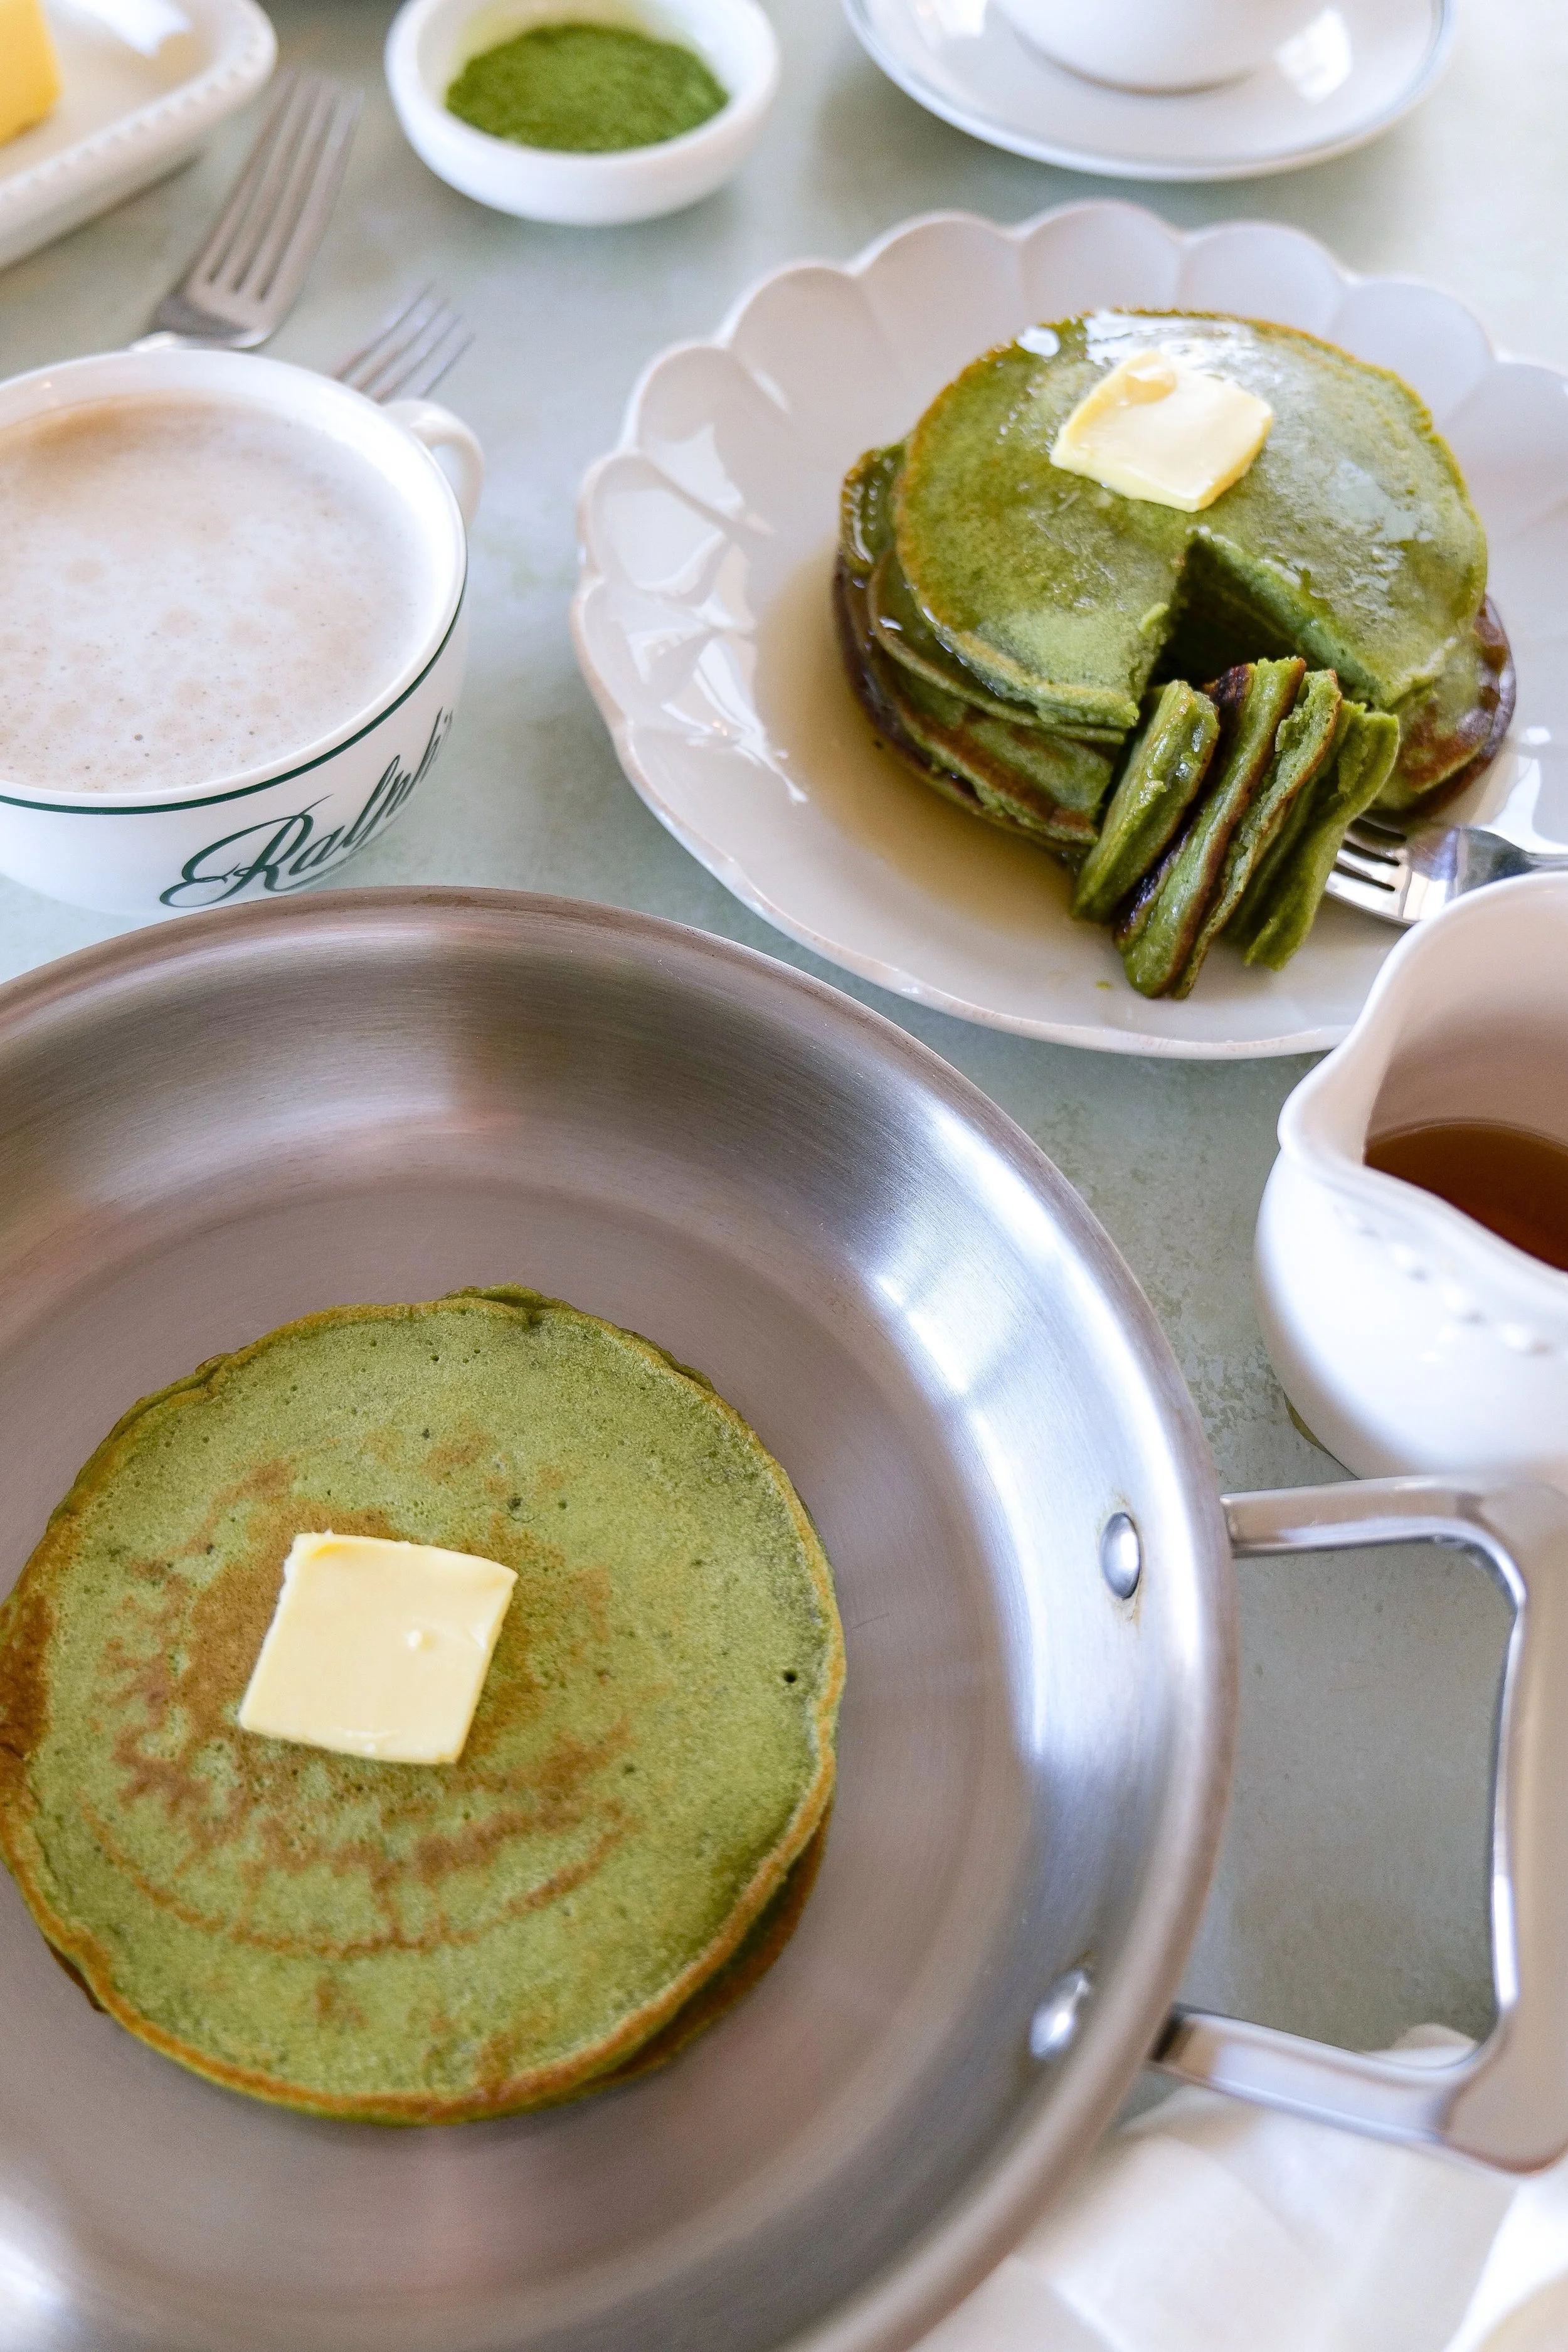
I think overripe bananas might be one of the best excuses to bake something.

There are always a few sitting on our counter that suddenly go from perfectly yellow to we need to do something with these today, and while I love a classic banana bread, sometimes turning them into a layer cake feels a little more fun.
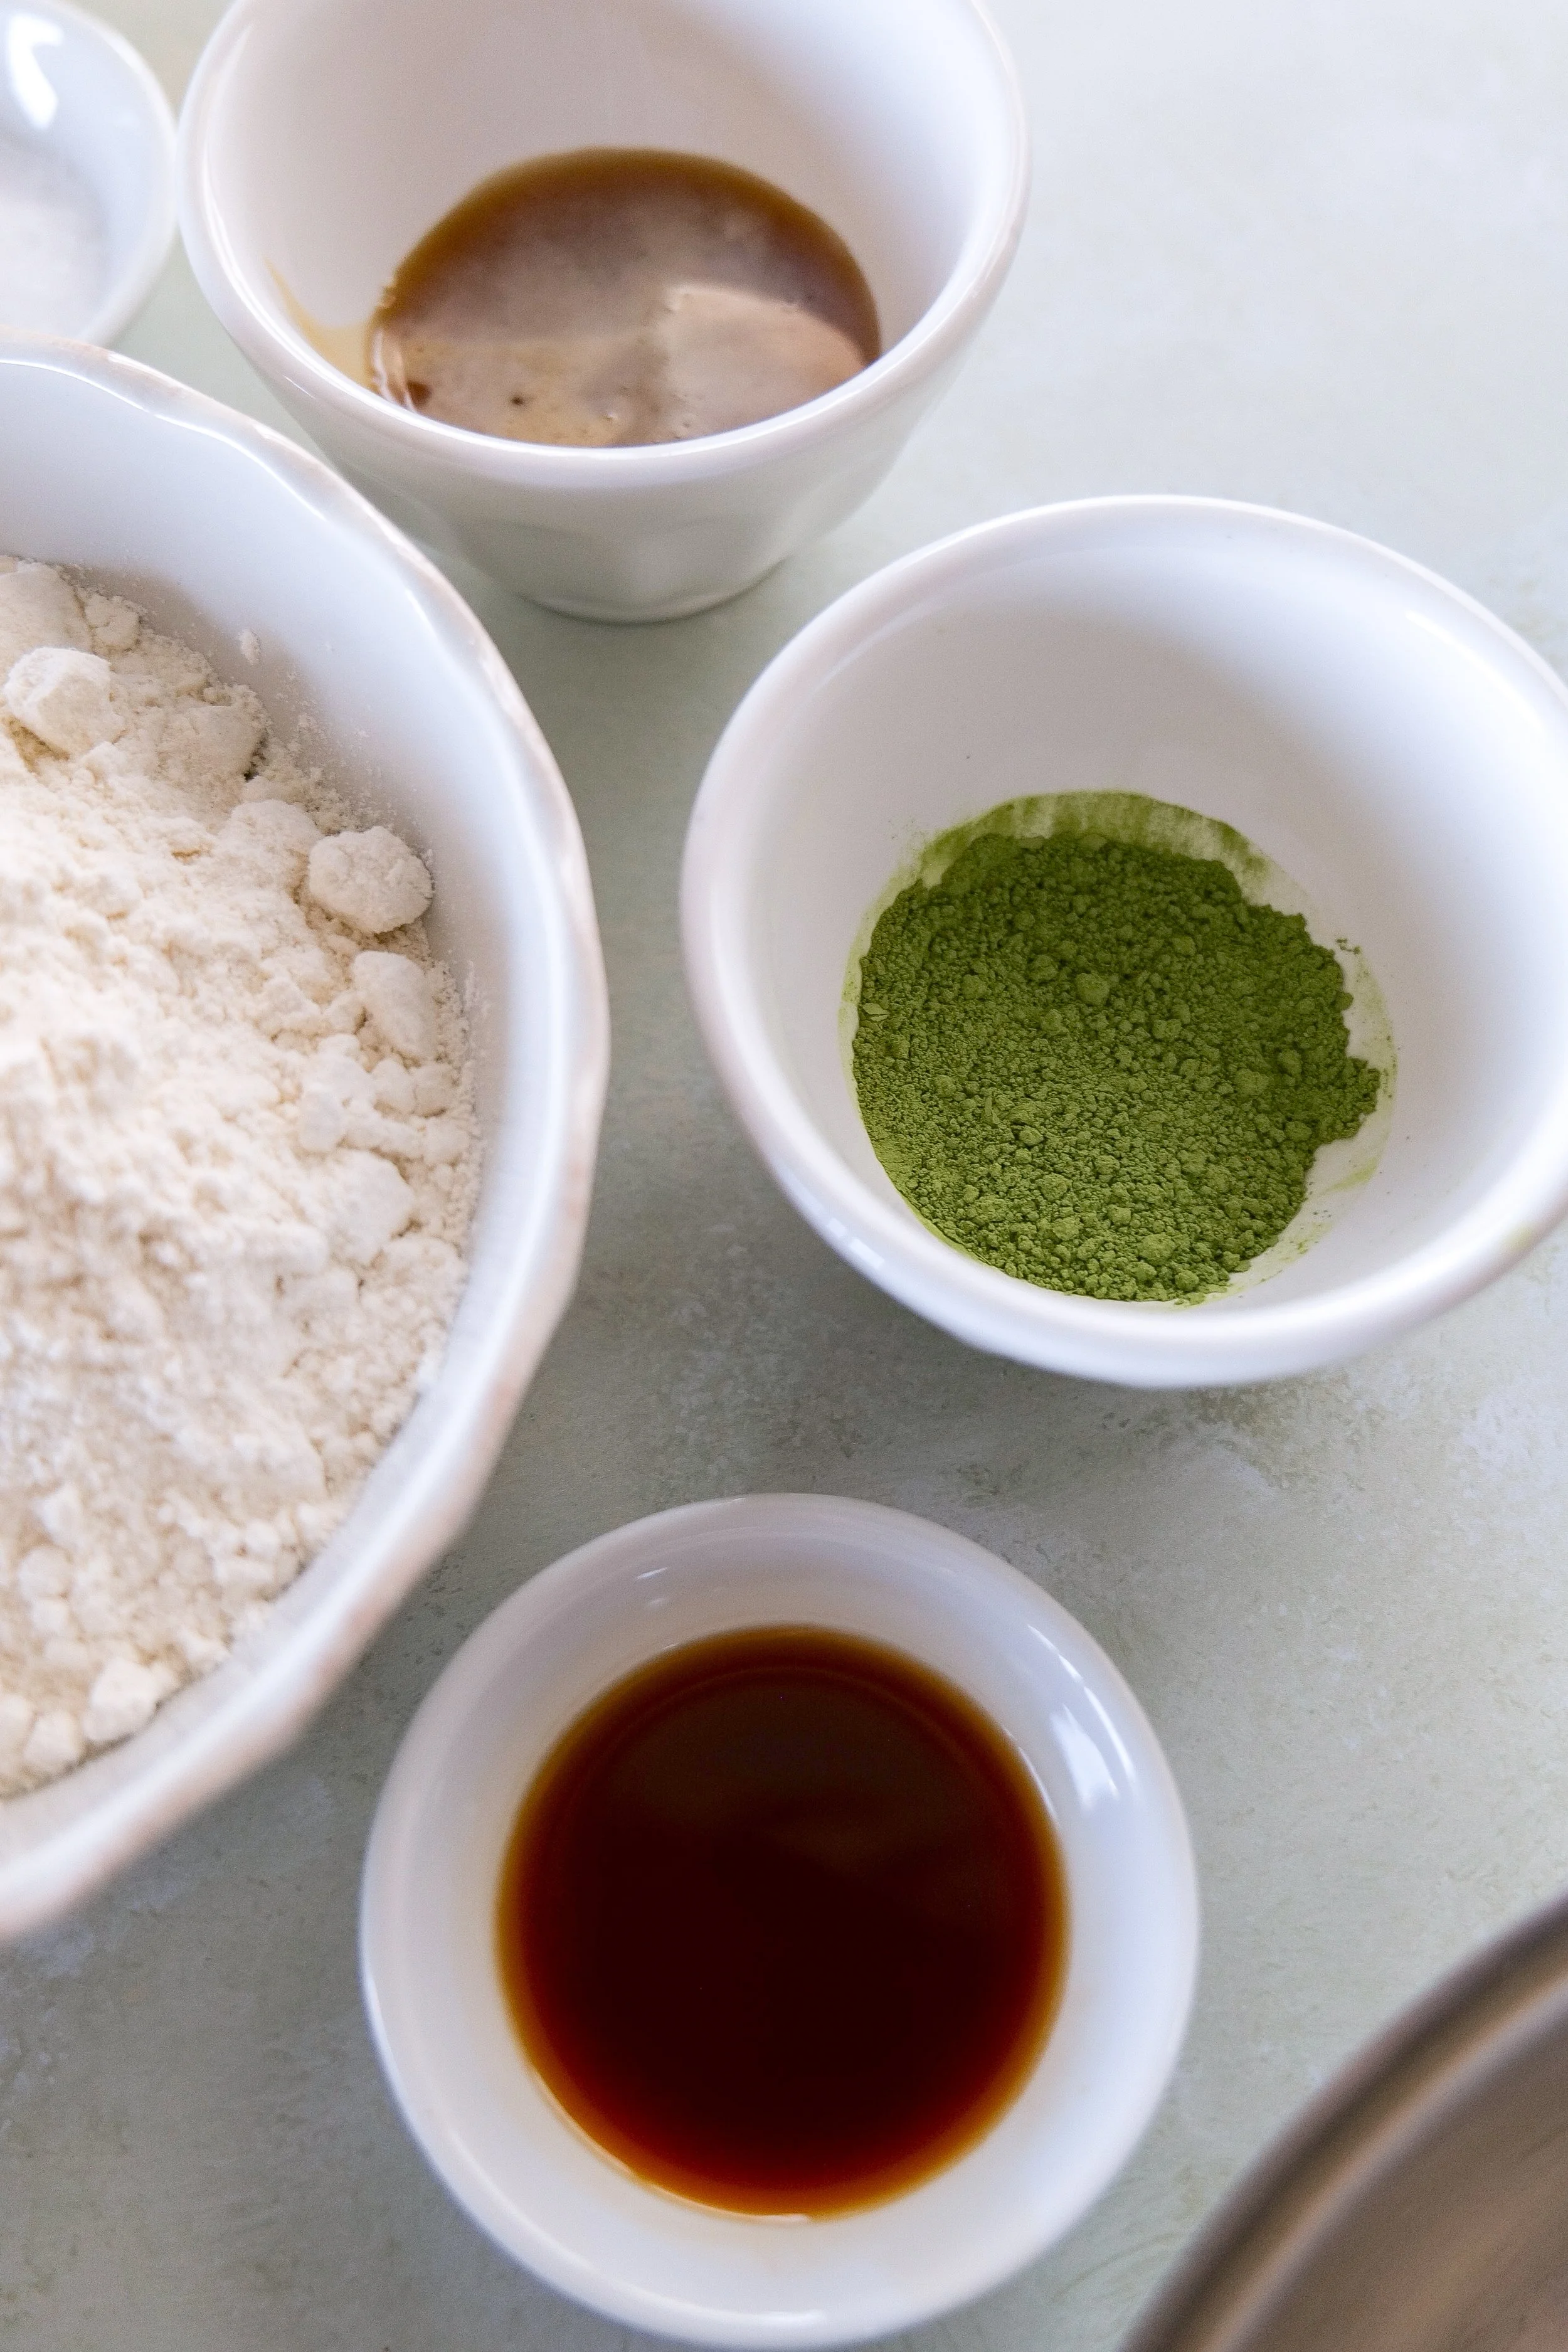
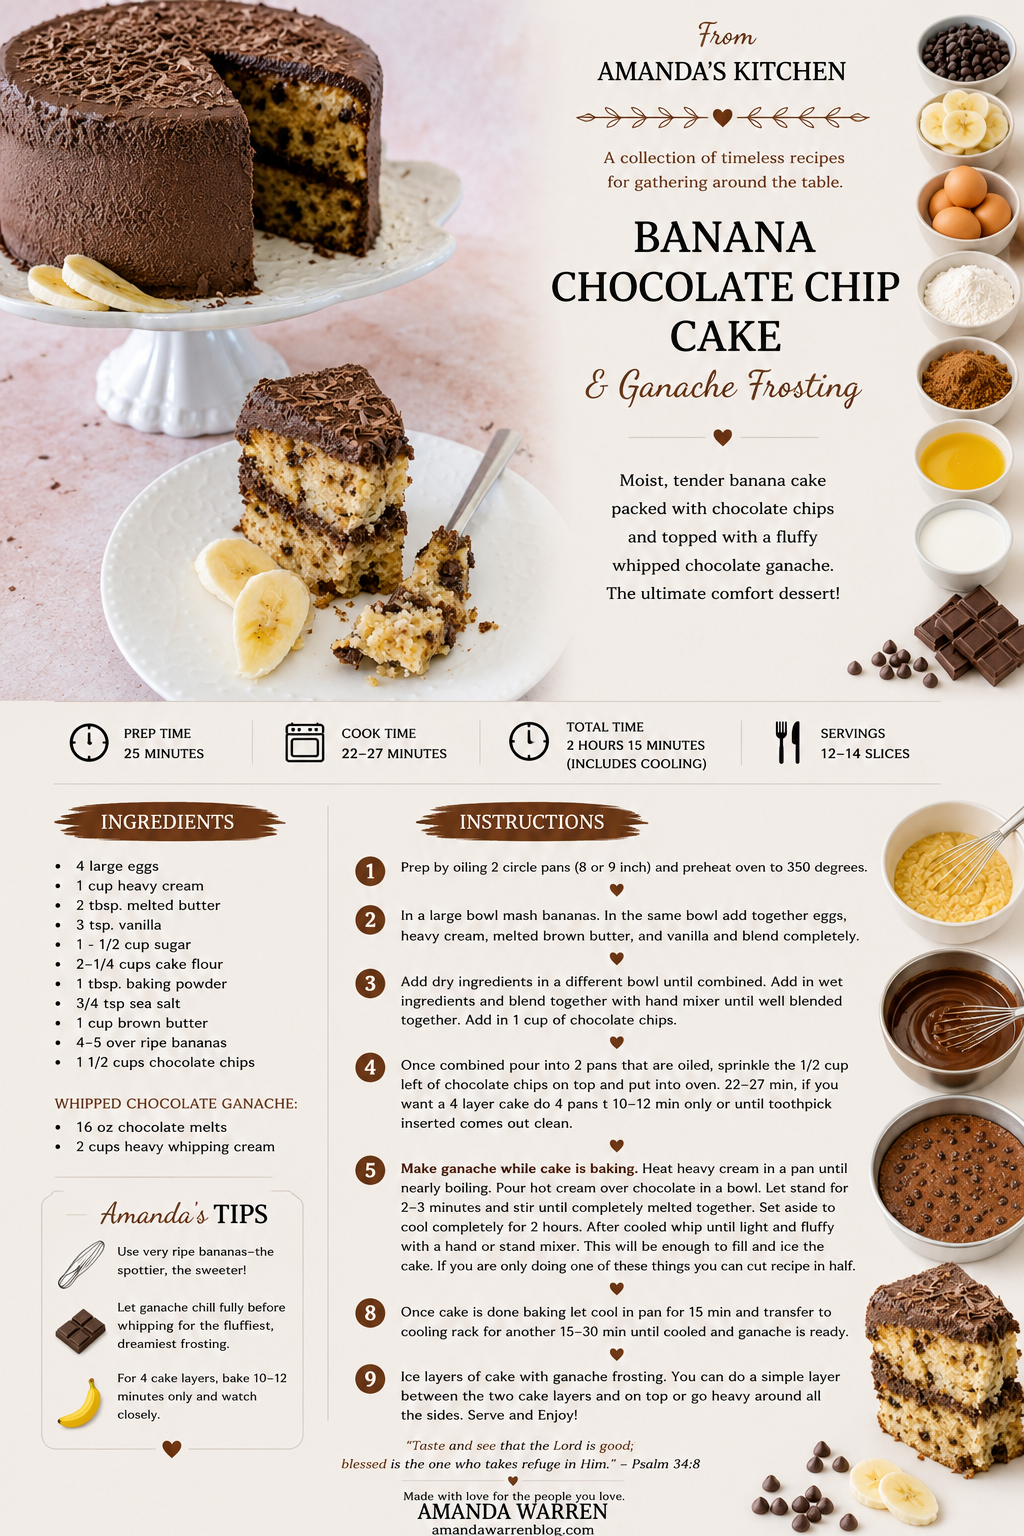
The banana cake is soft and full of chocolate chips, but that fluffy whipped chocolate ganache is what really makes this one special. It's rich, a little over the top, and exactly the kind of cake meant to be sliced and shared around the table.

I hope the next time you spot a few brown bananas on your counter, you think of this one.

“Taste and see that the Lord is good.”
Psalm 34:8

Made with love for the people you love.