Blueberry & Apricot Streusel Muffins (Bakery-Style, Moist & Easy Recipe)

These Blueberry & Apricot Streusel Muffins are soft, moist, and bursting with juicy blueberries and sweet apricots in every bite. Topped with a buttery streusel crumble and simple icing drizzle, they're the perfect bakery-style muffin for breakfast, brunch, meal prep, or an afternoon coffee break.

↓ Skip to Recipe

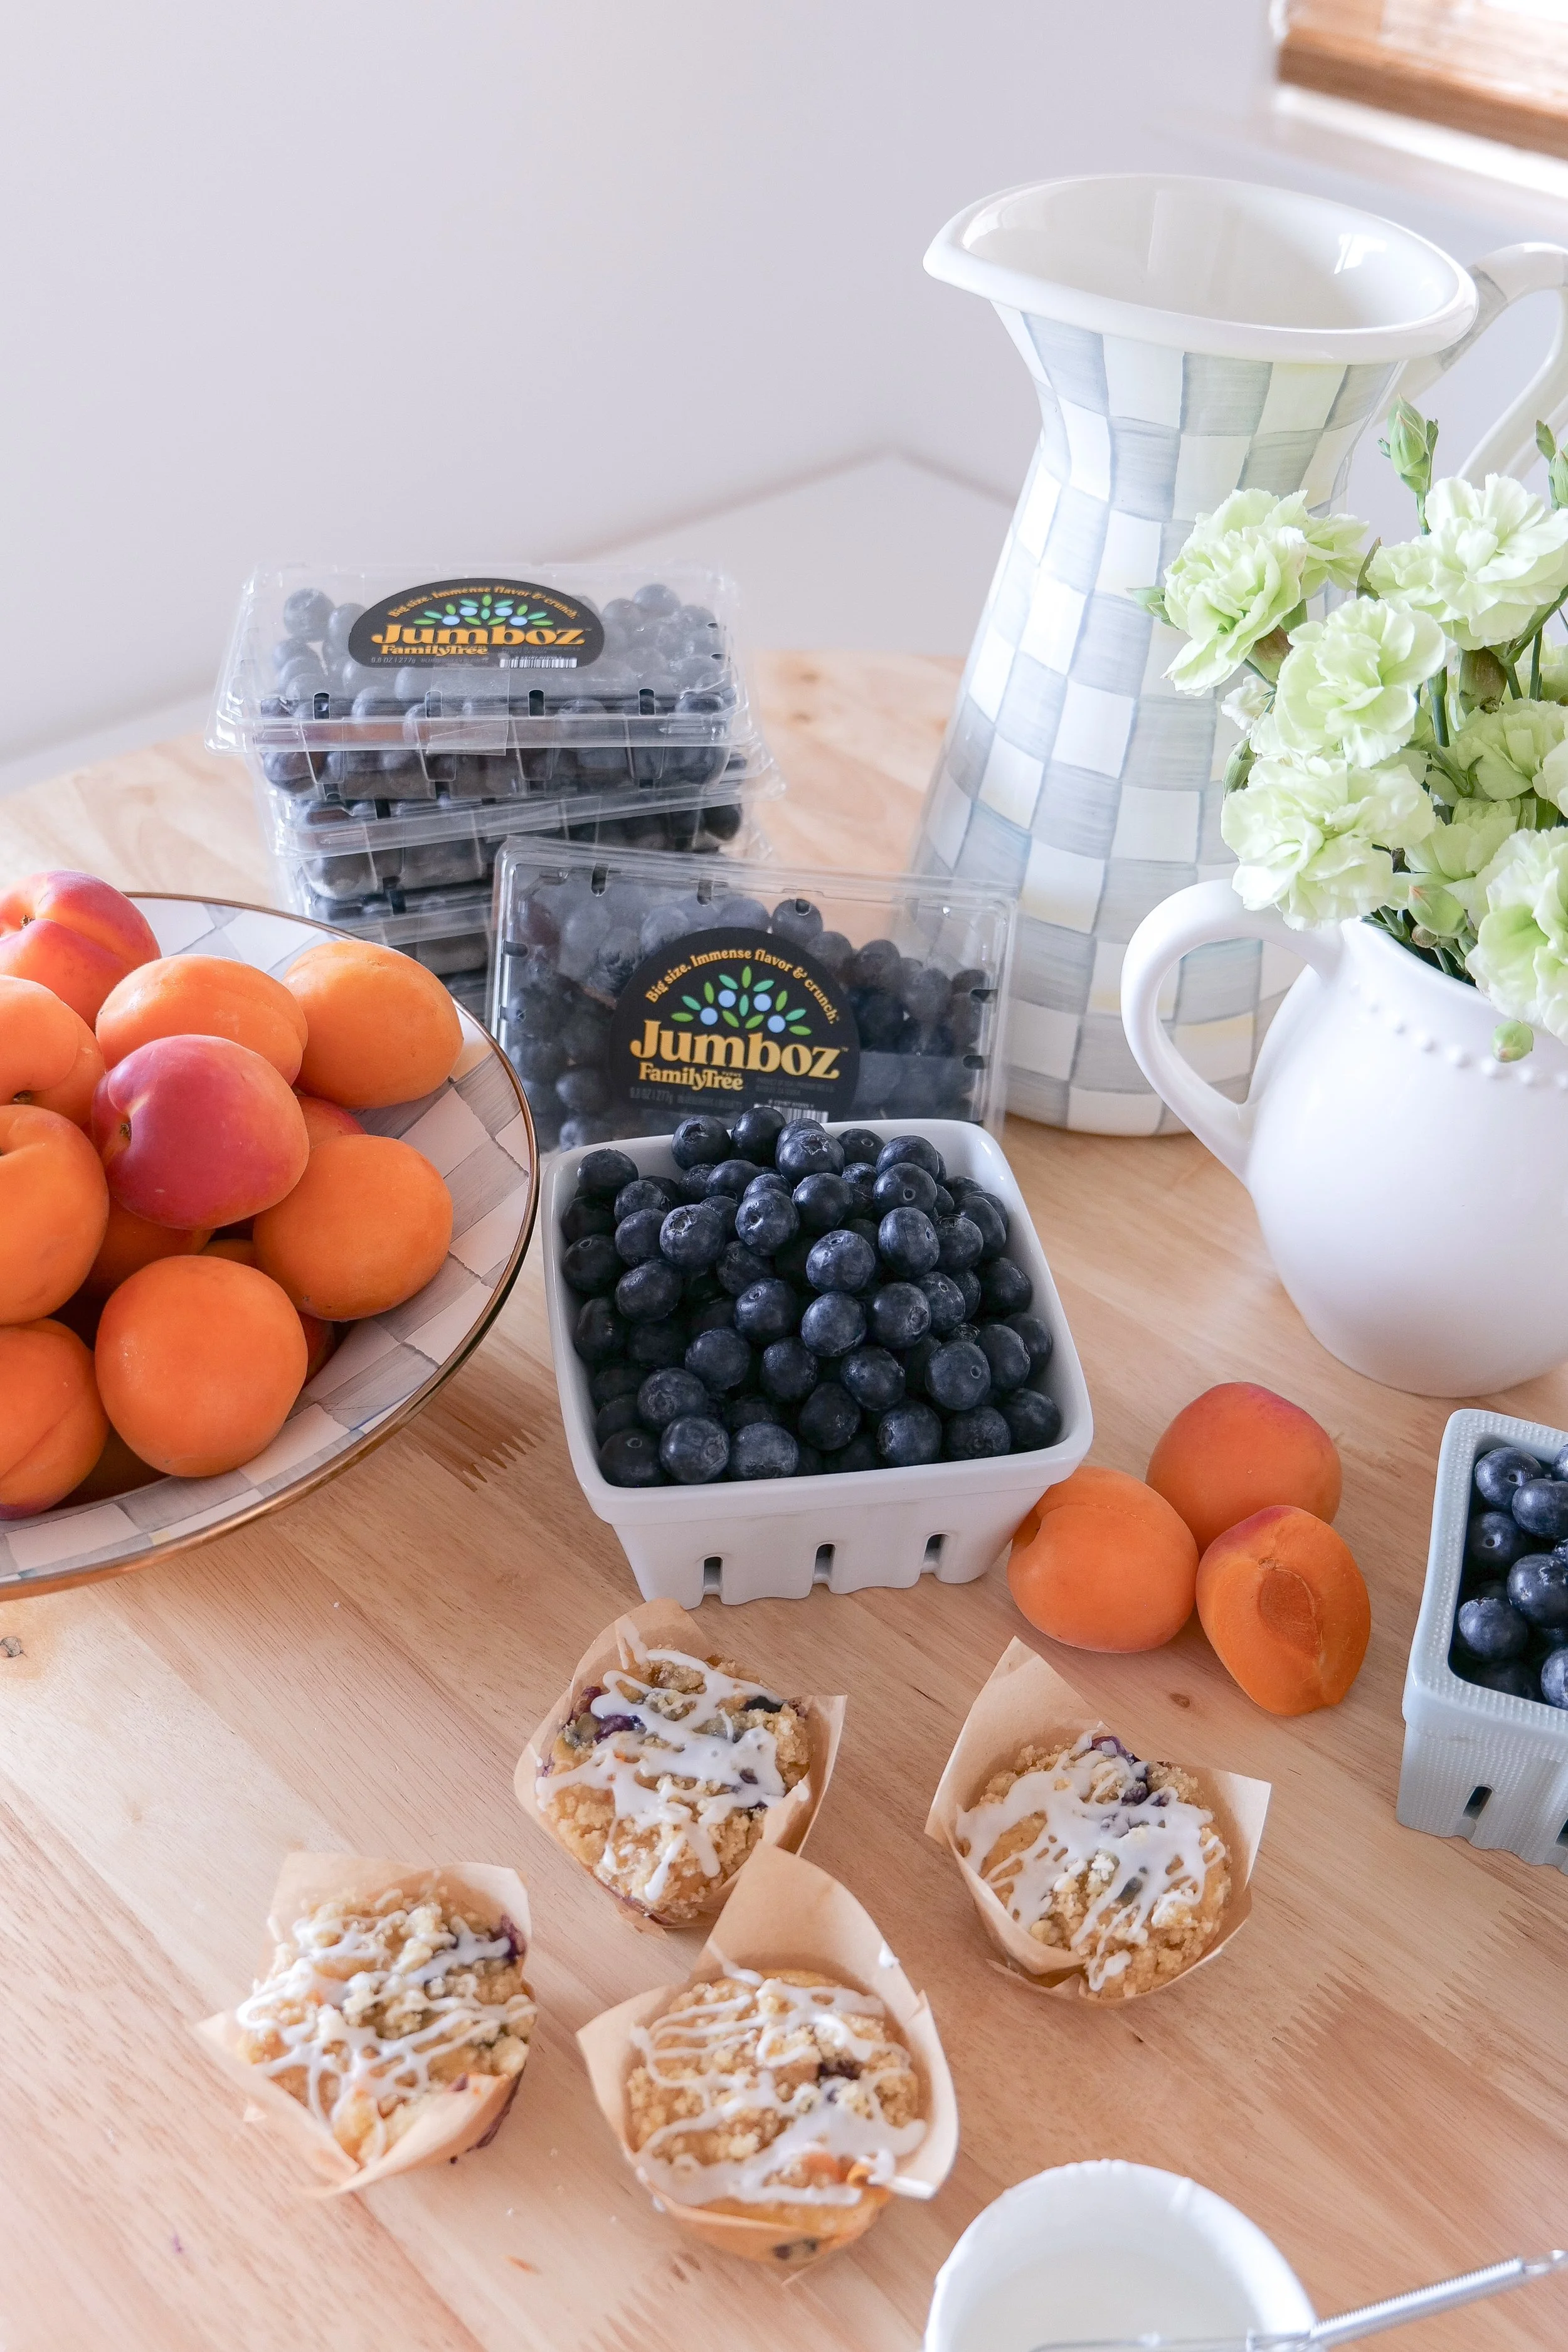
Made with premium fruit from Family Tree Farms, this easy muffin recipe comes together quickly and delivers the perfect balance of tender crumb, fresh fruit, and crunchy topping. If you love homemade bakery-style muffins, this recipe is sure to become a favorite.
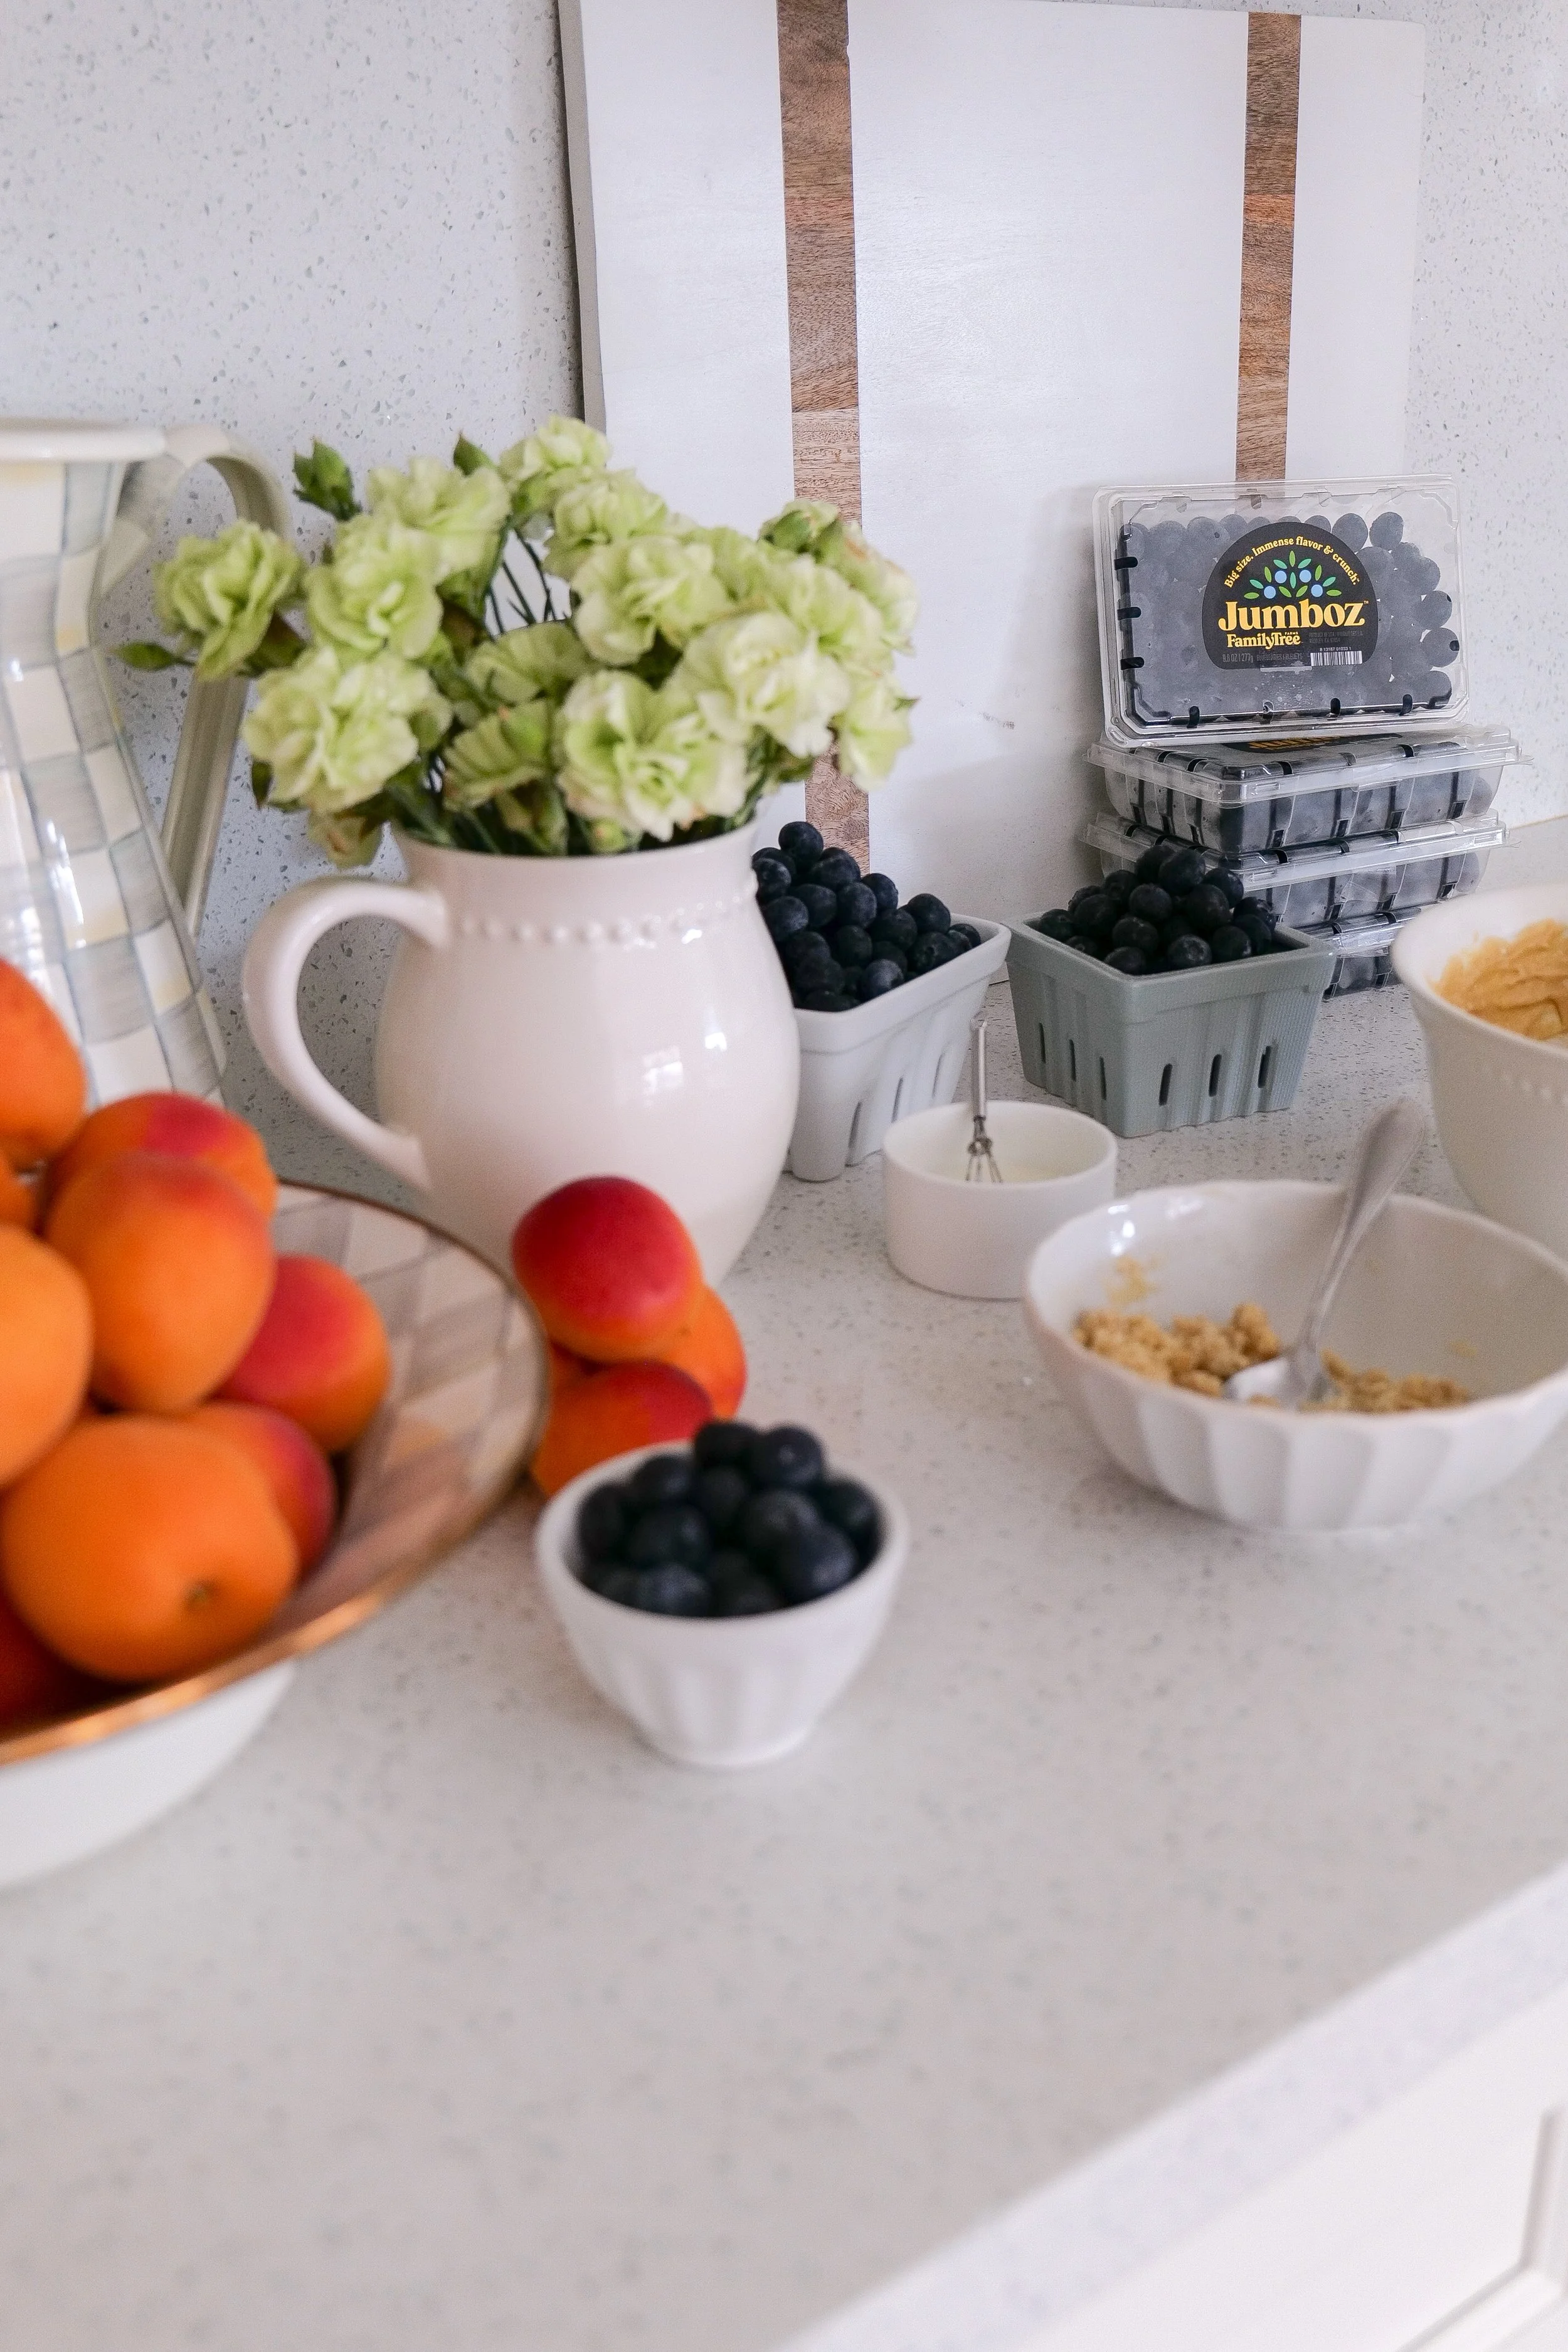
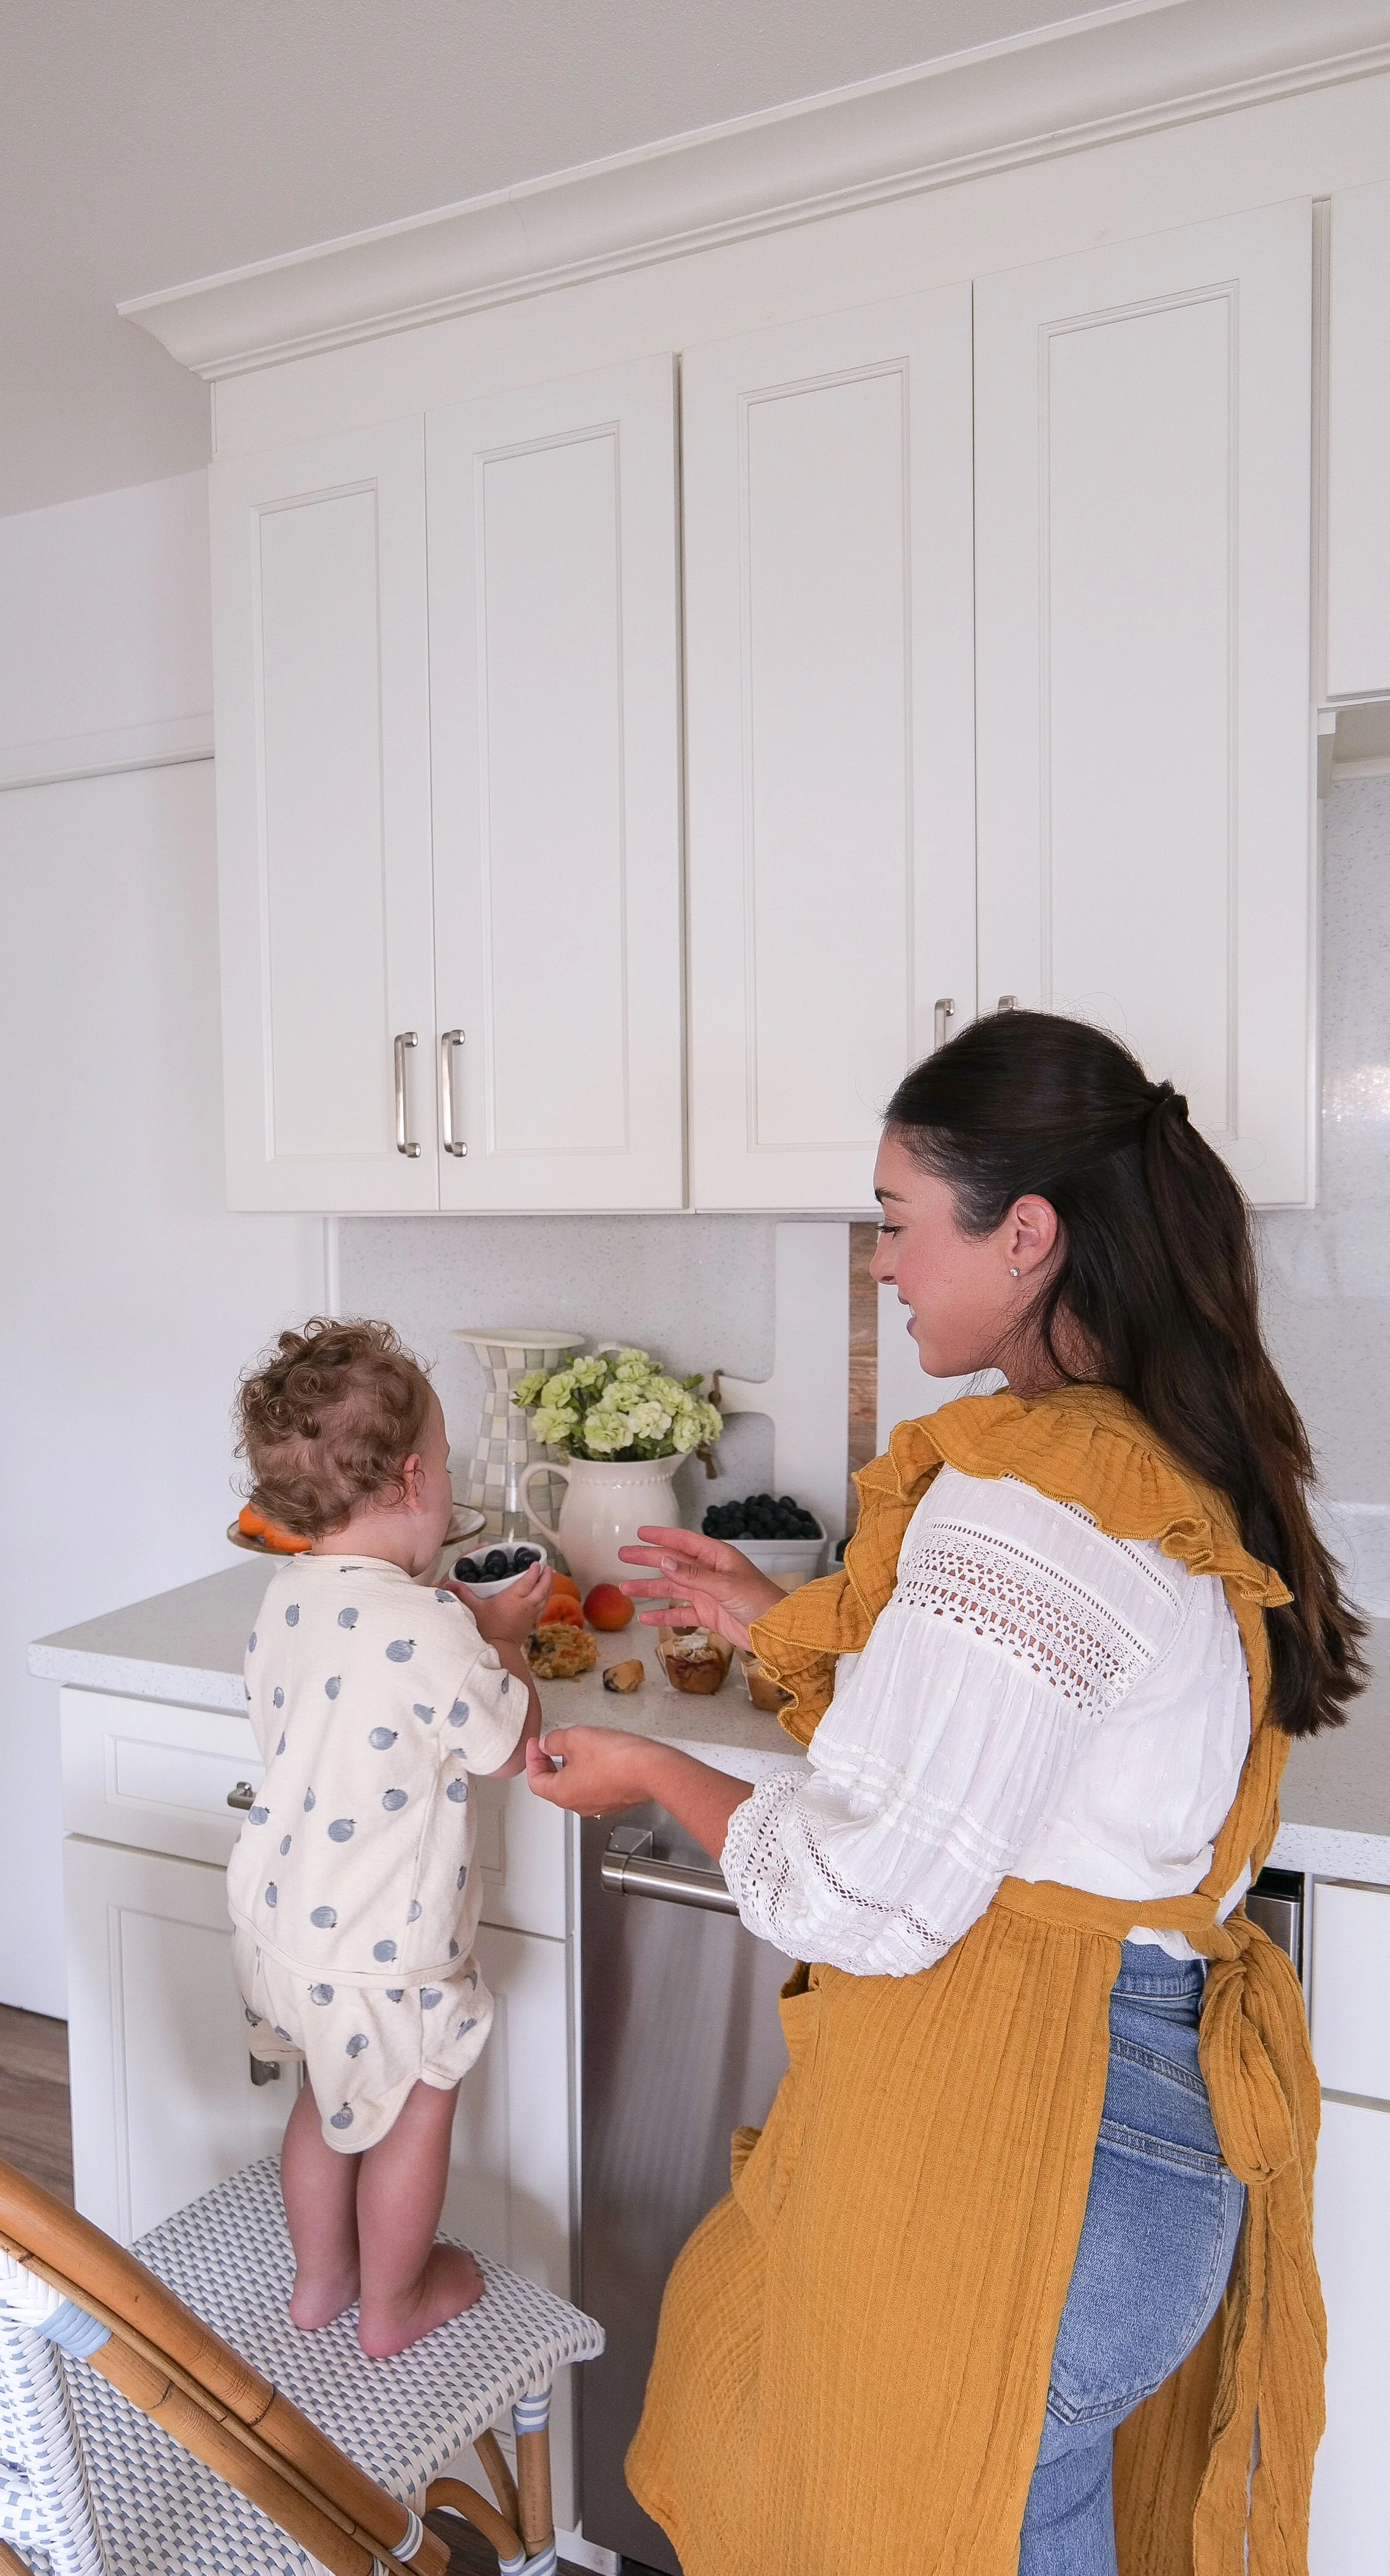
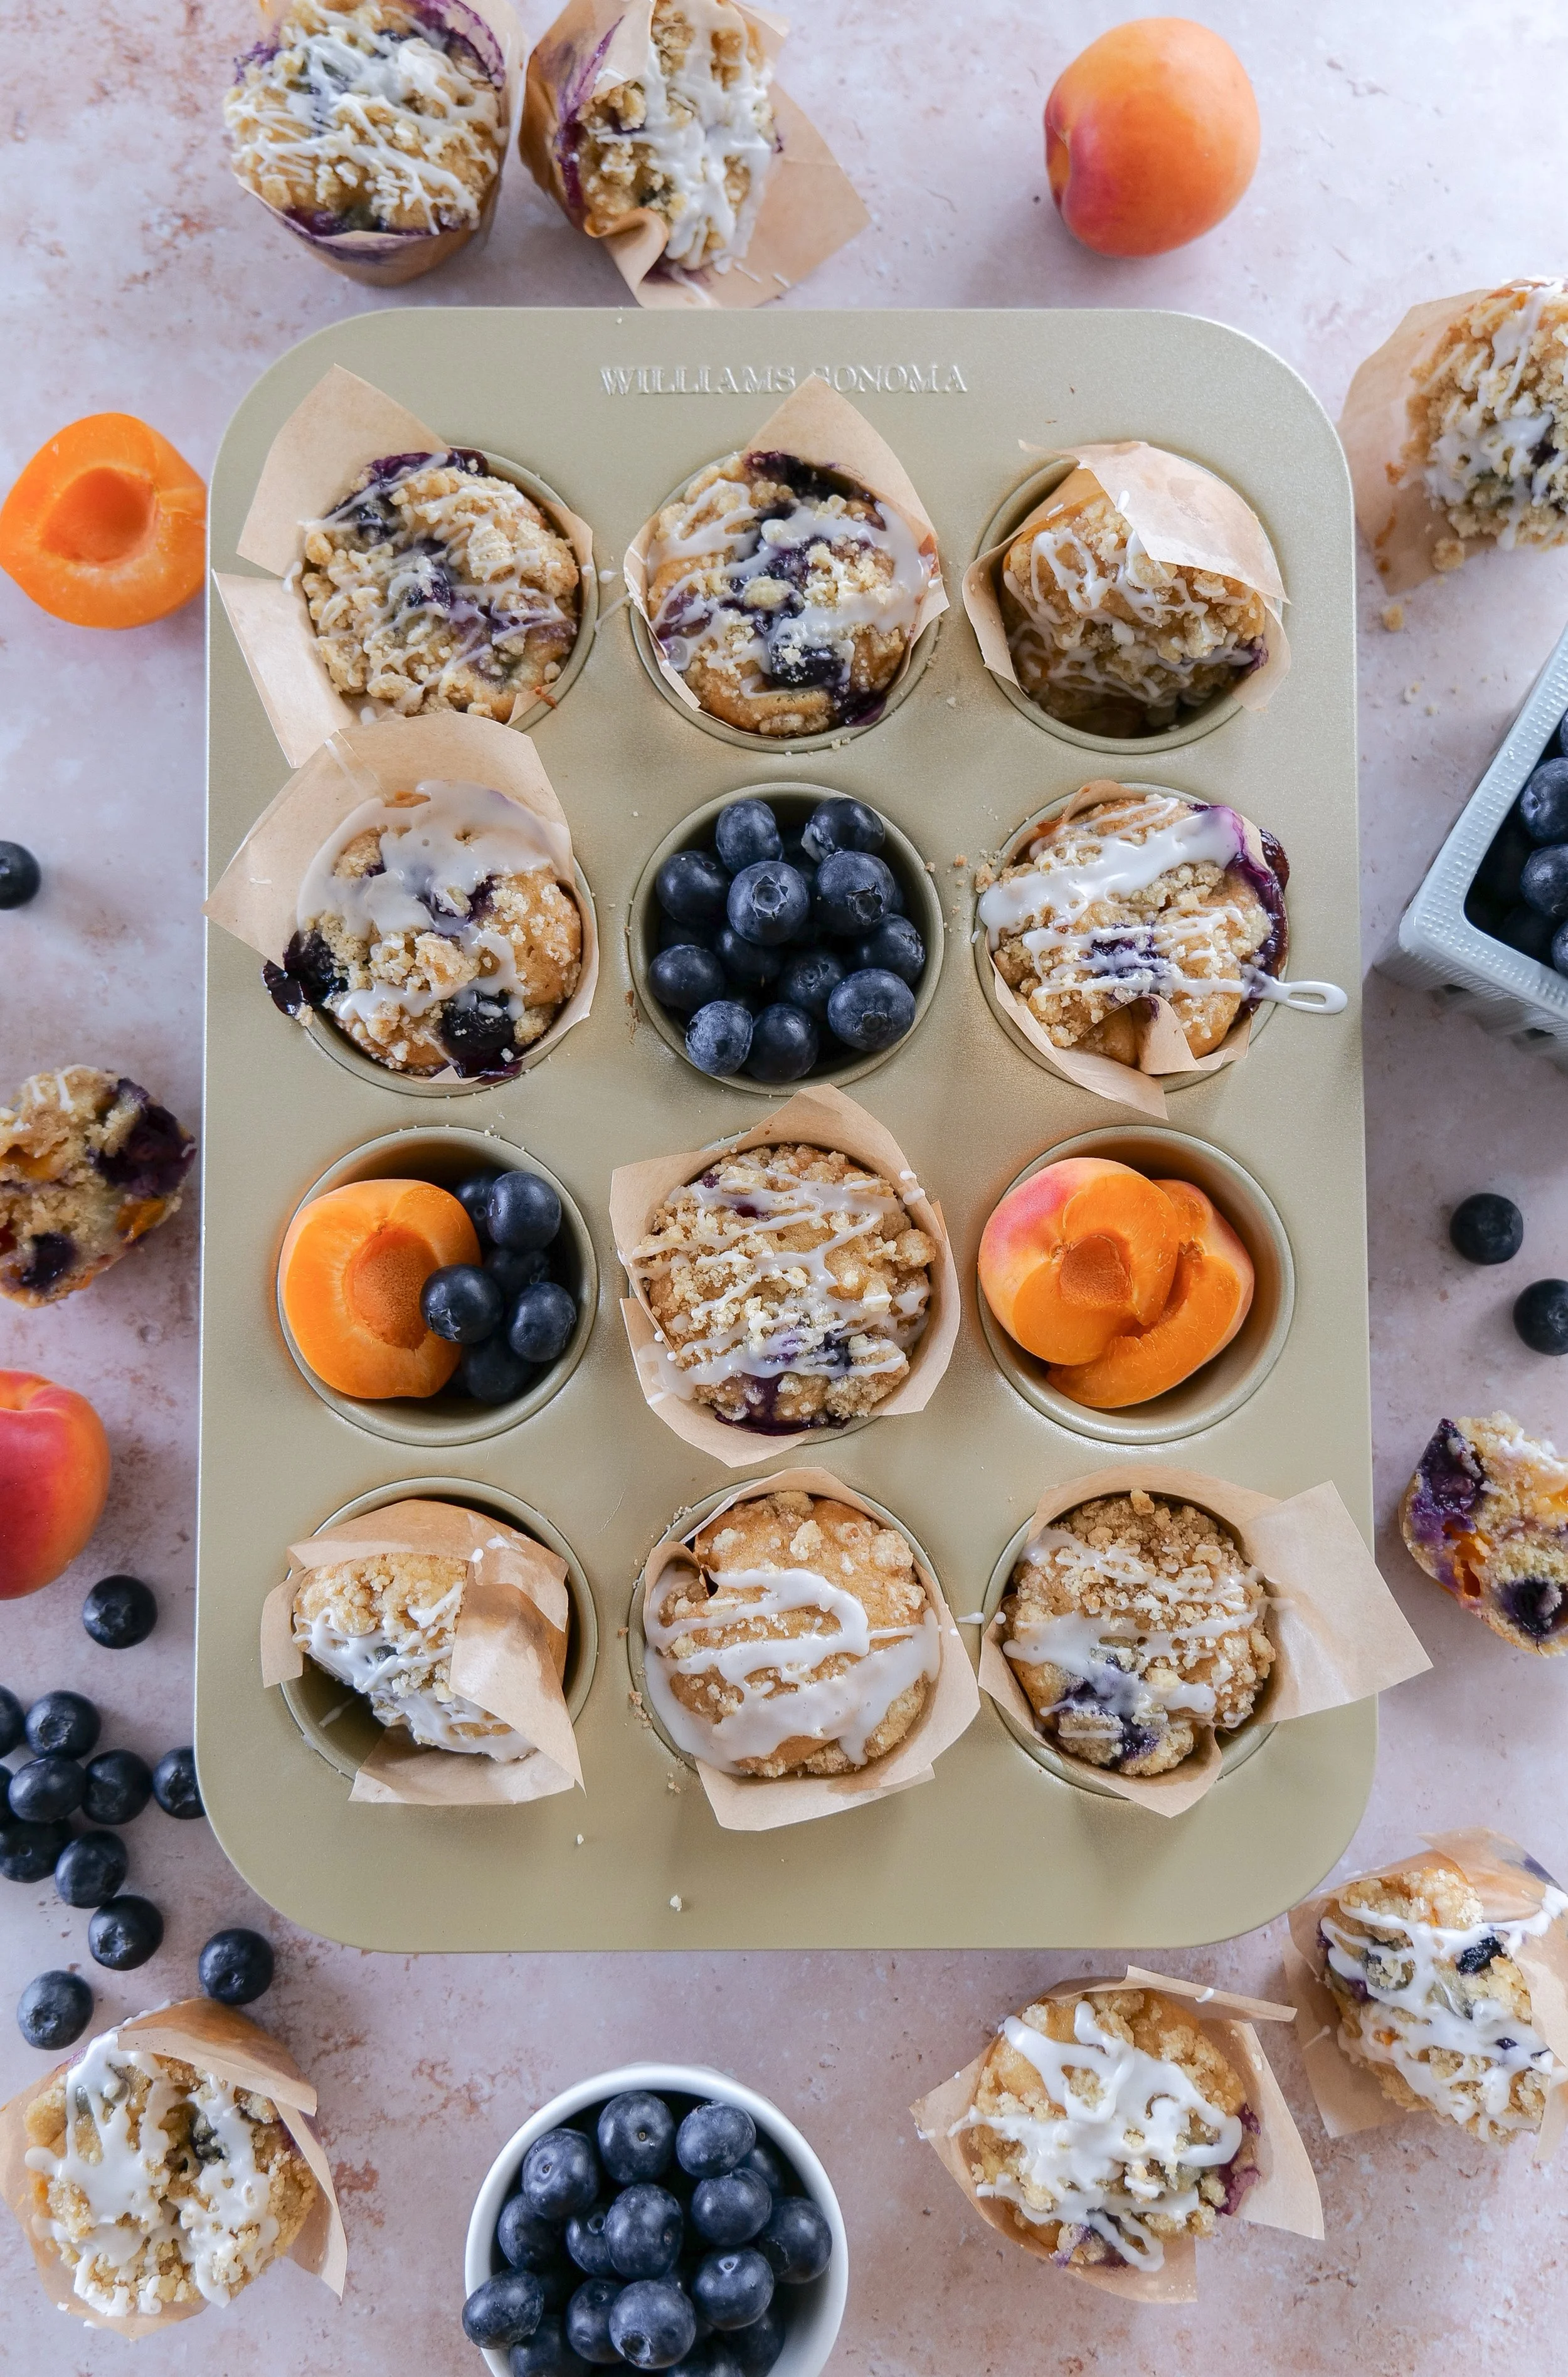
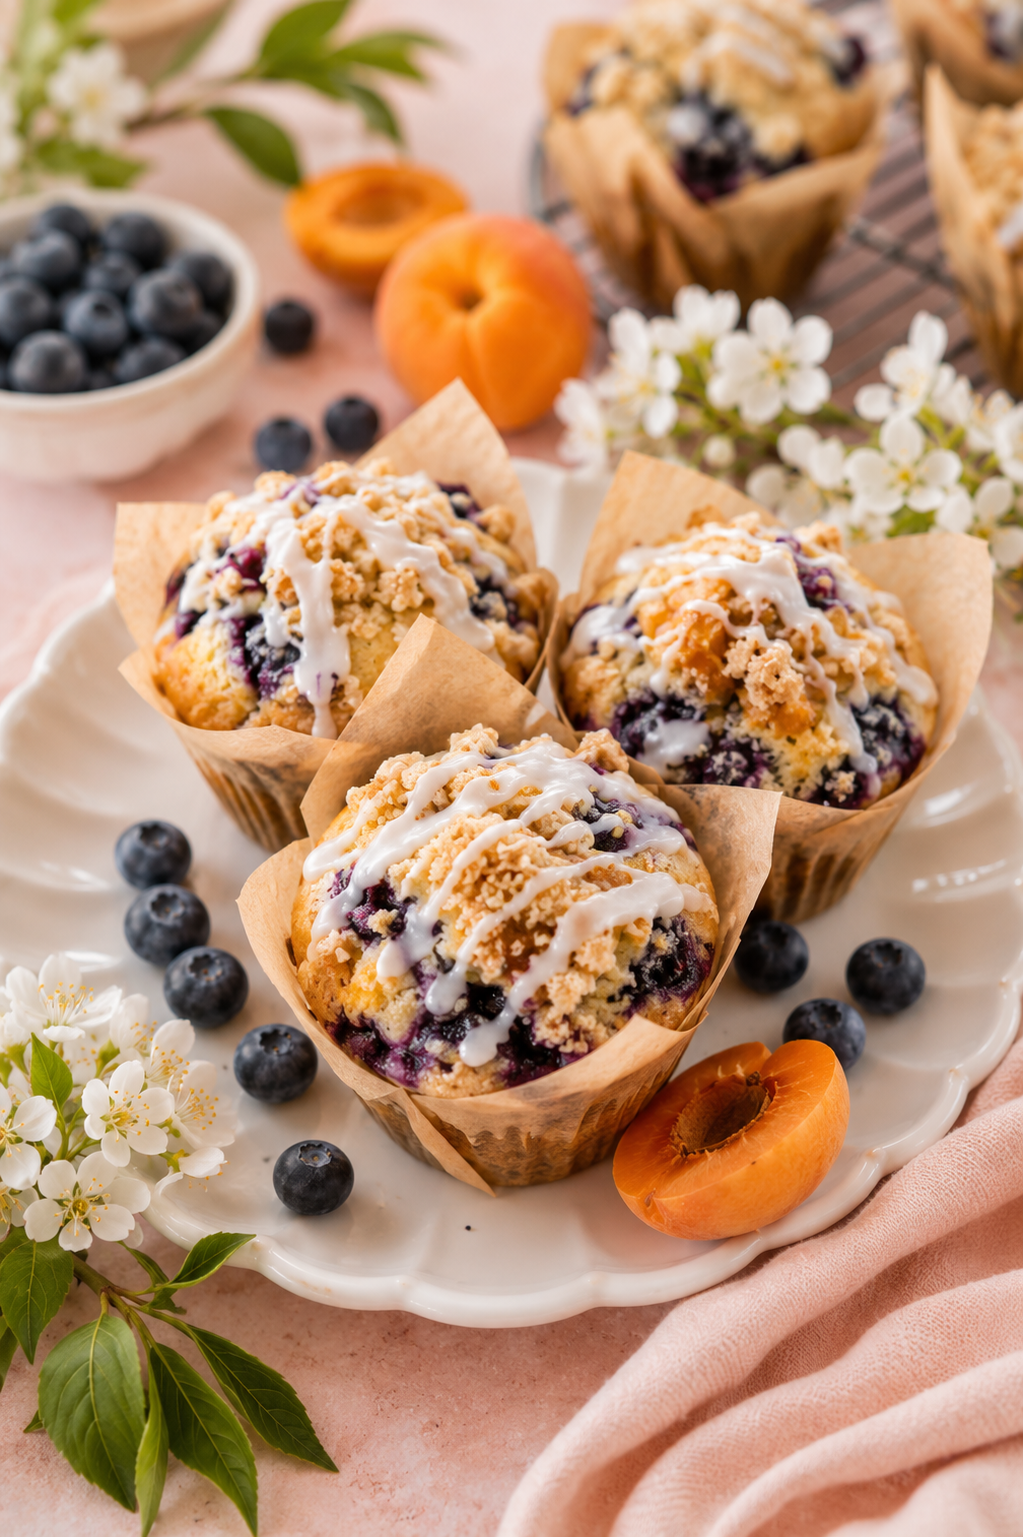
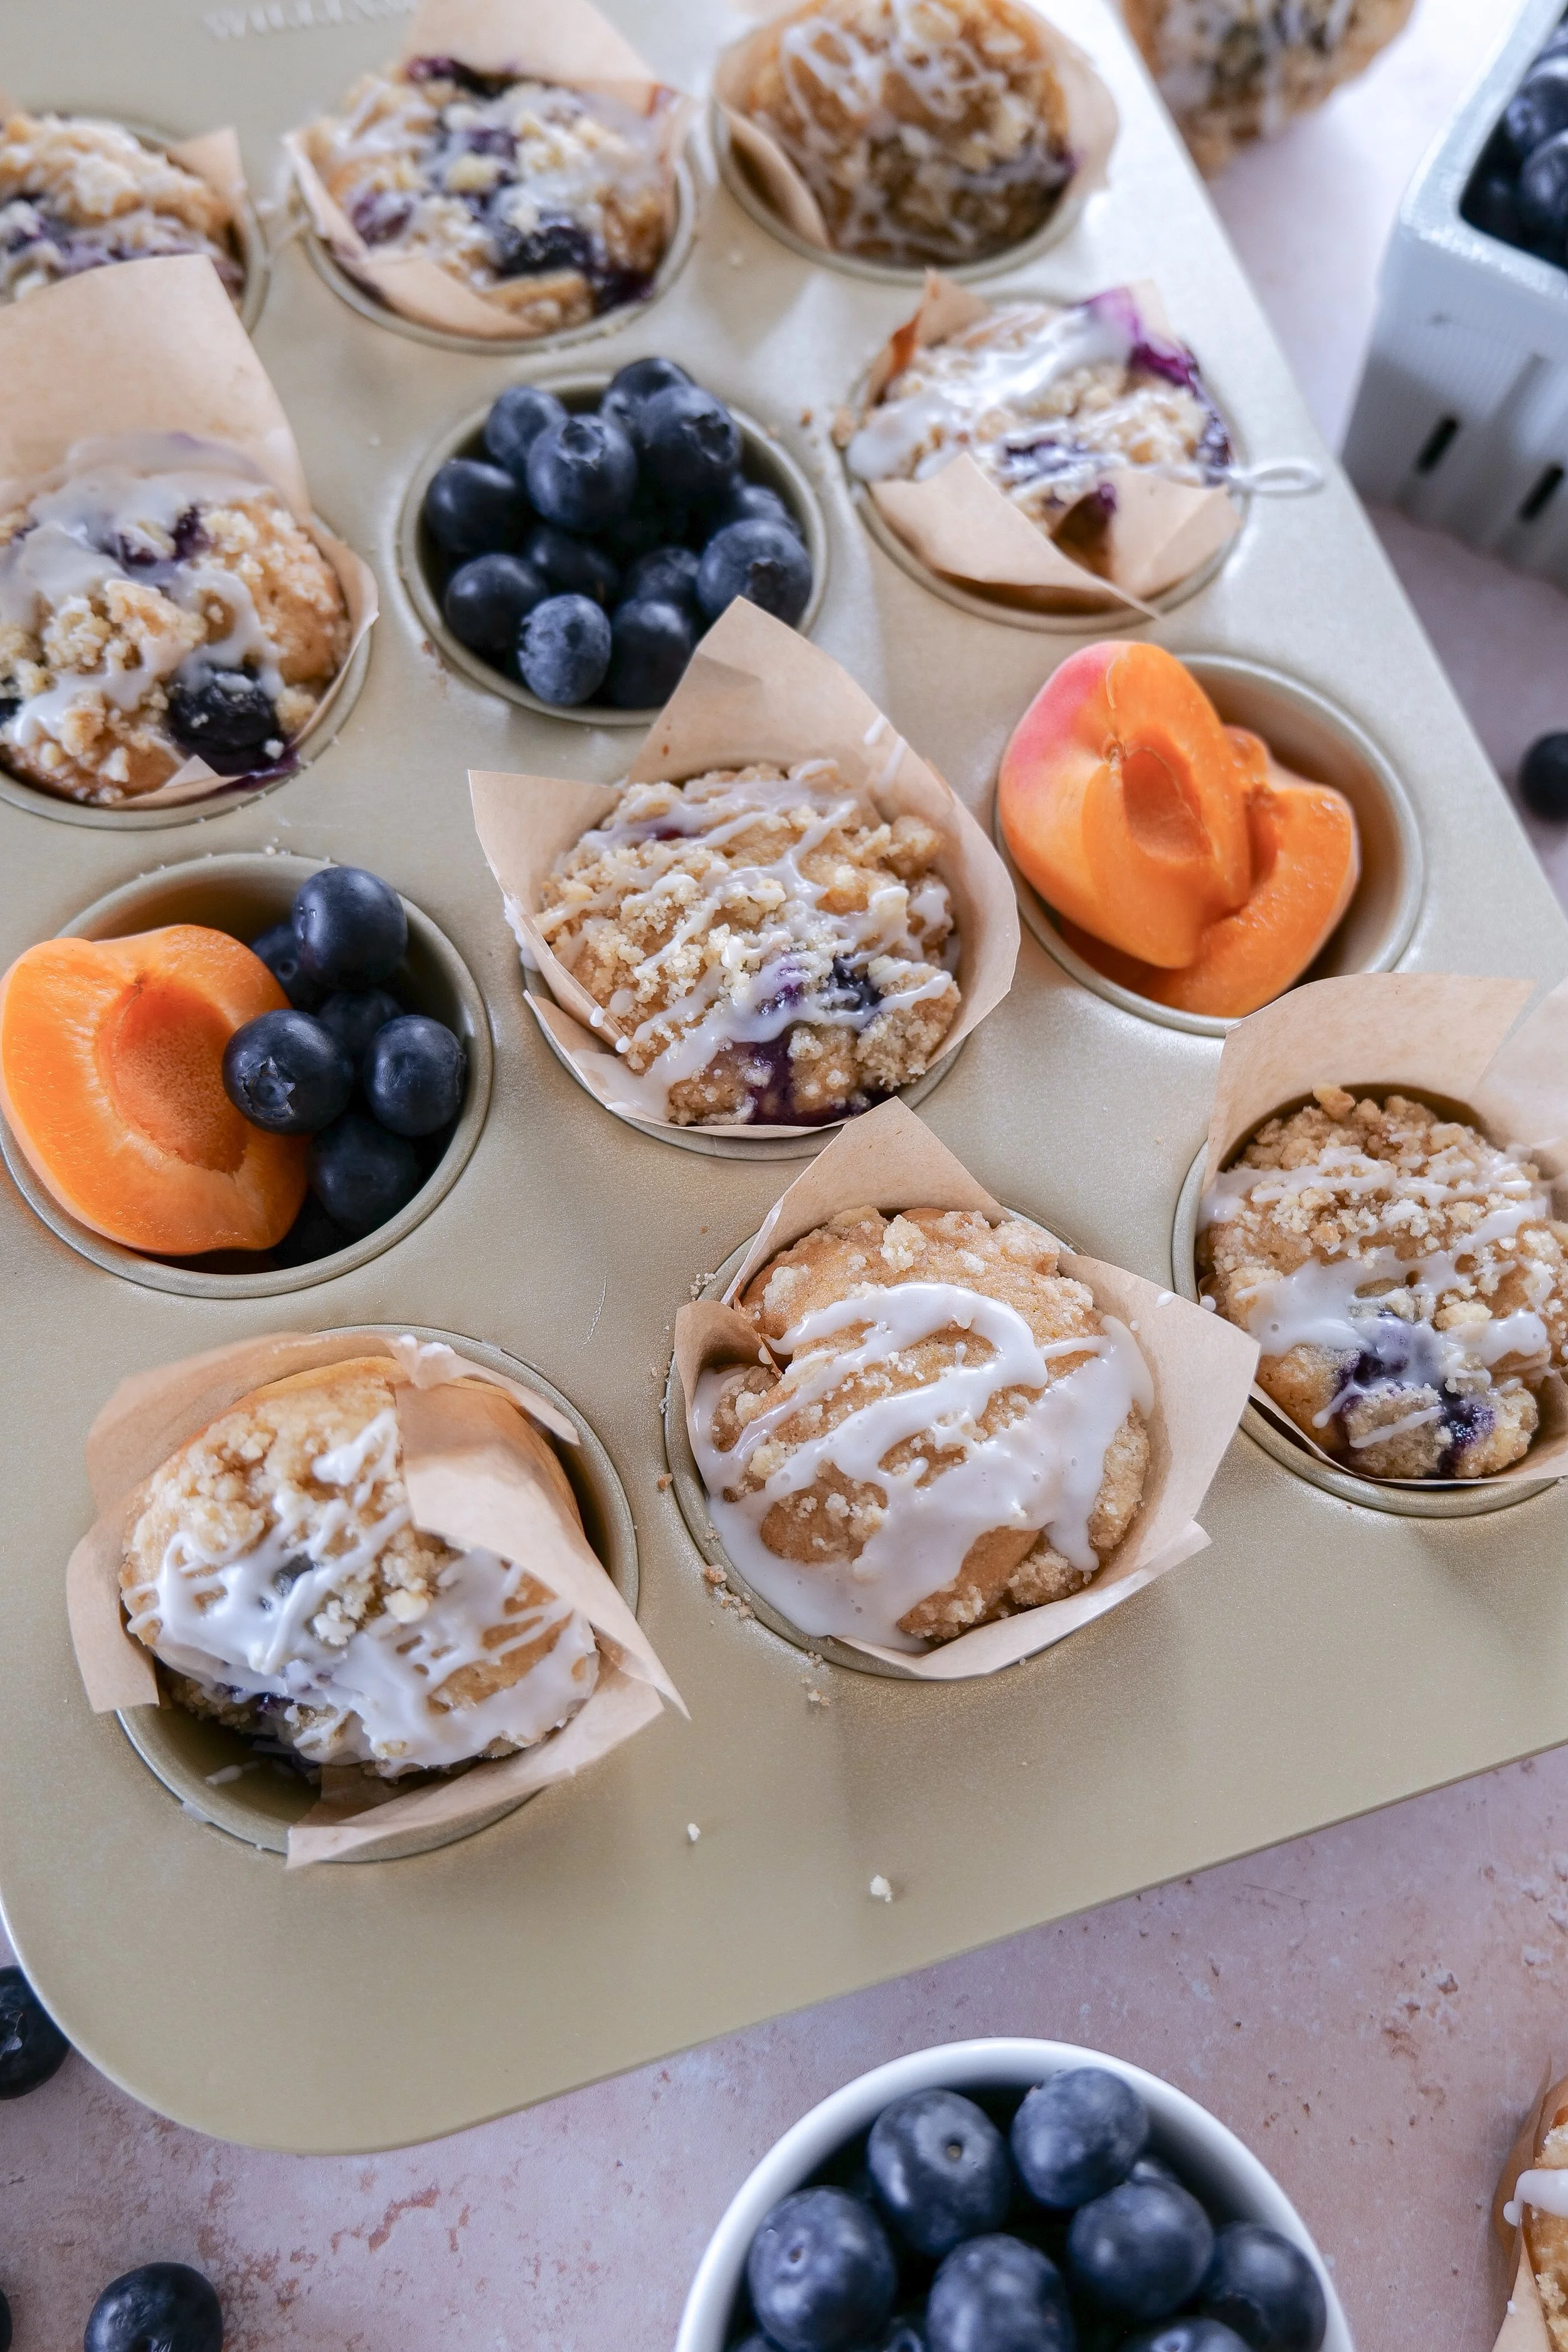
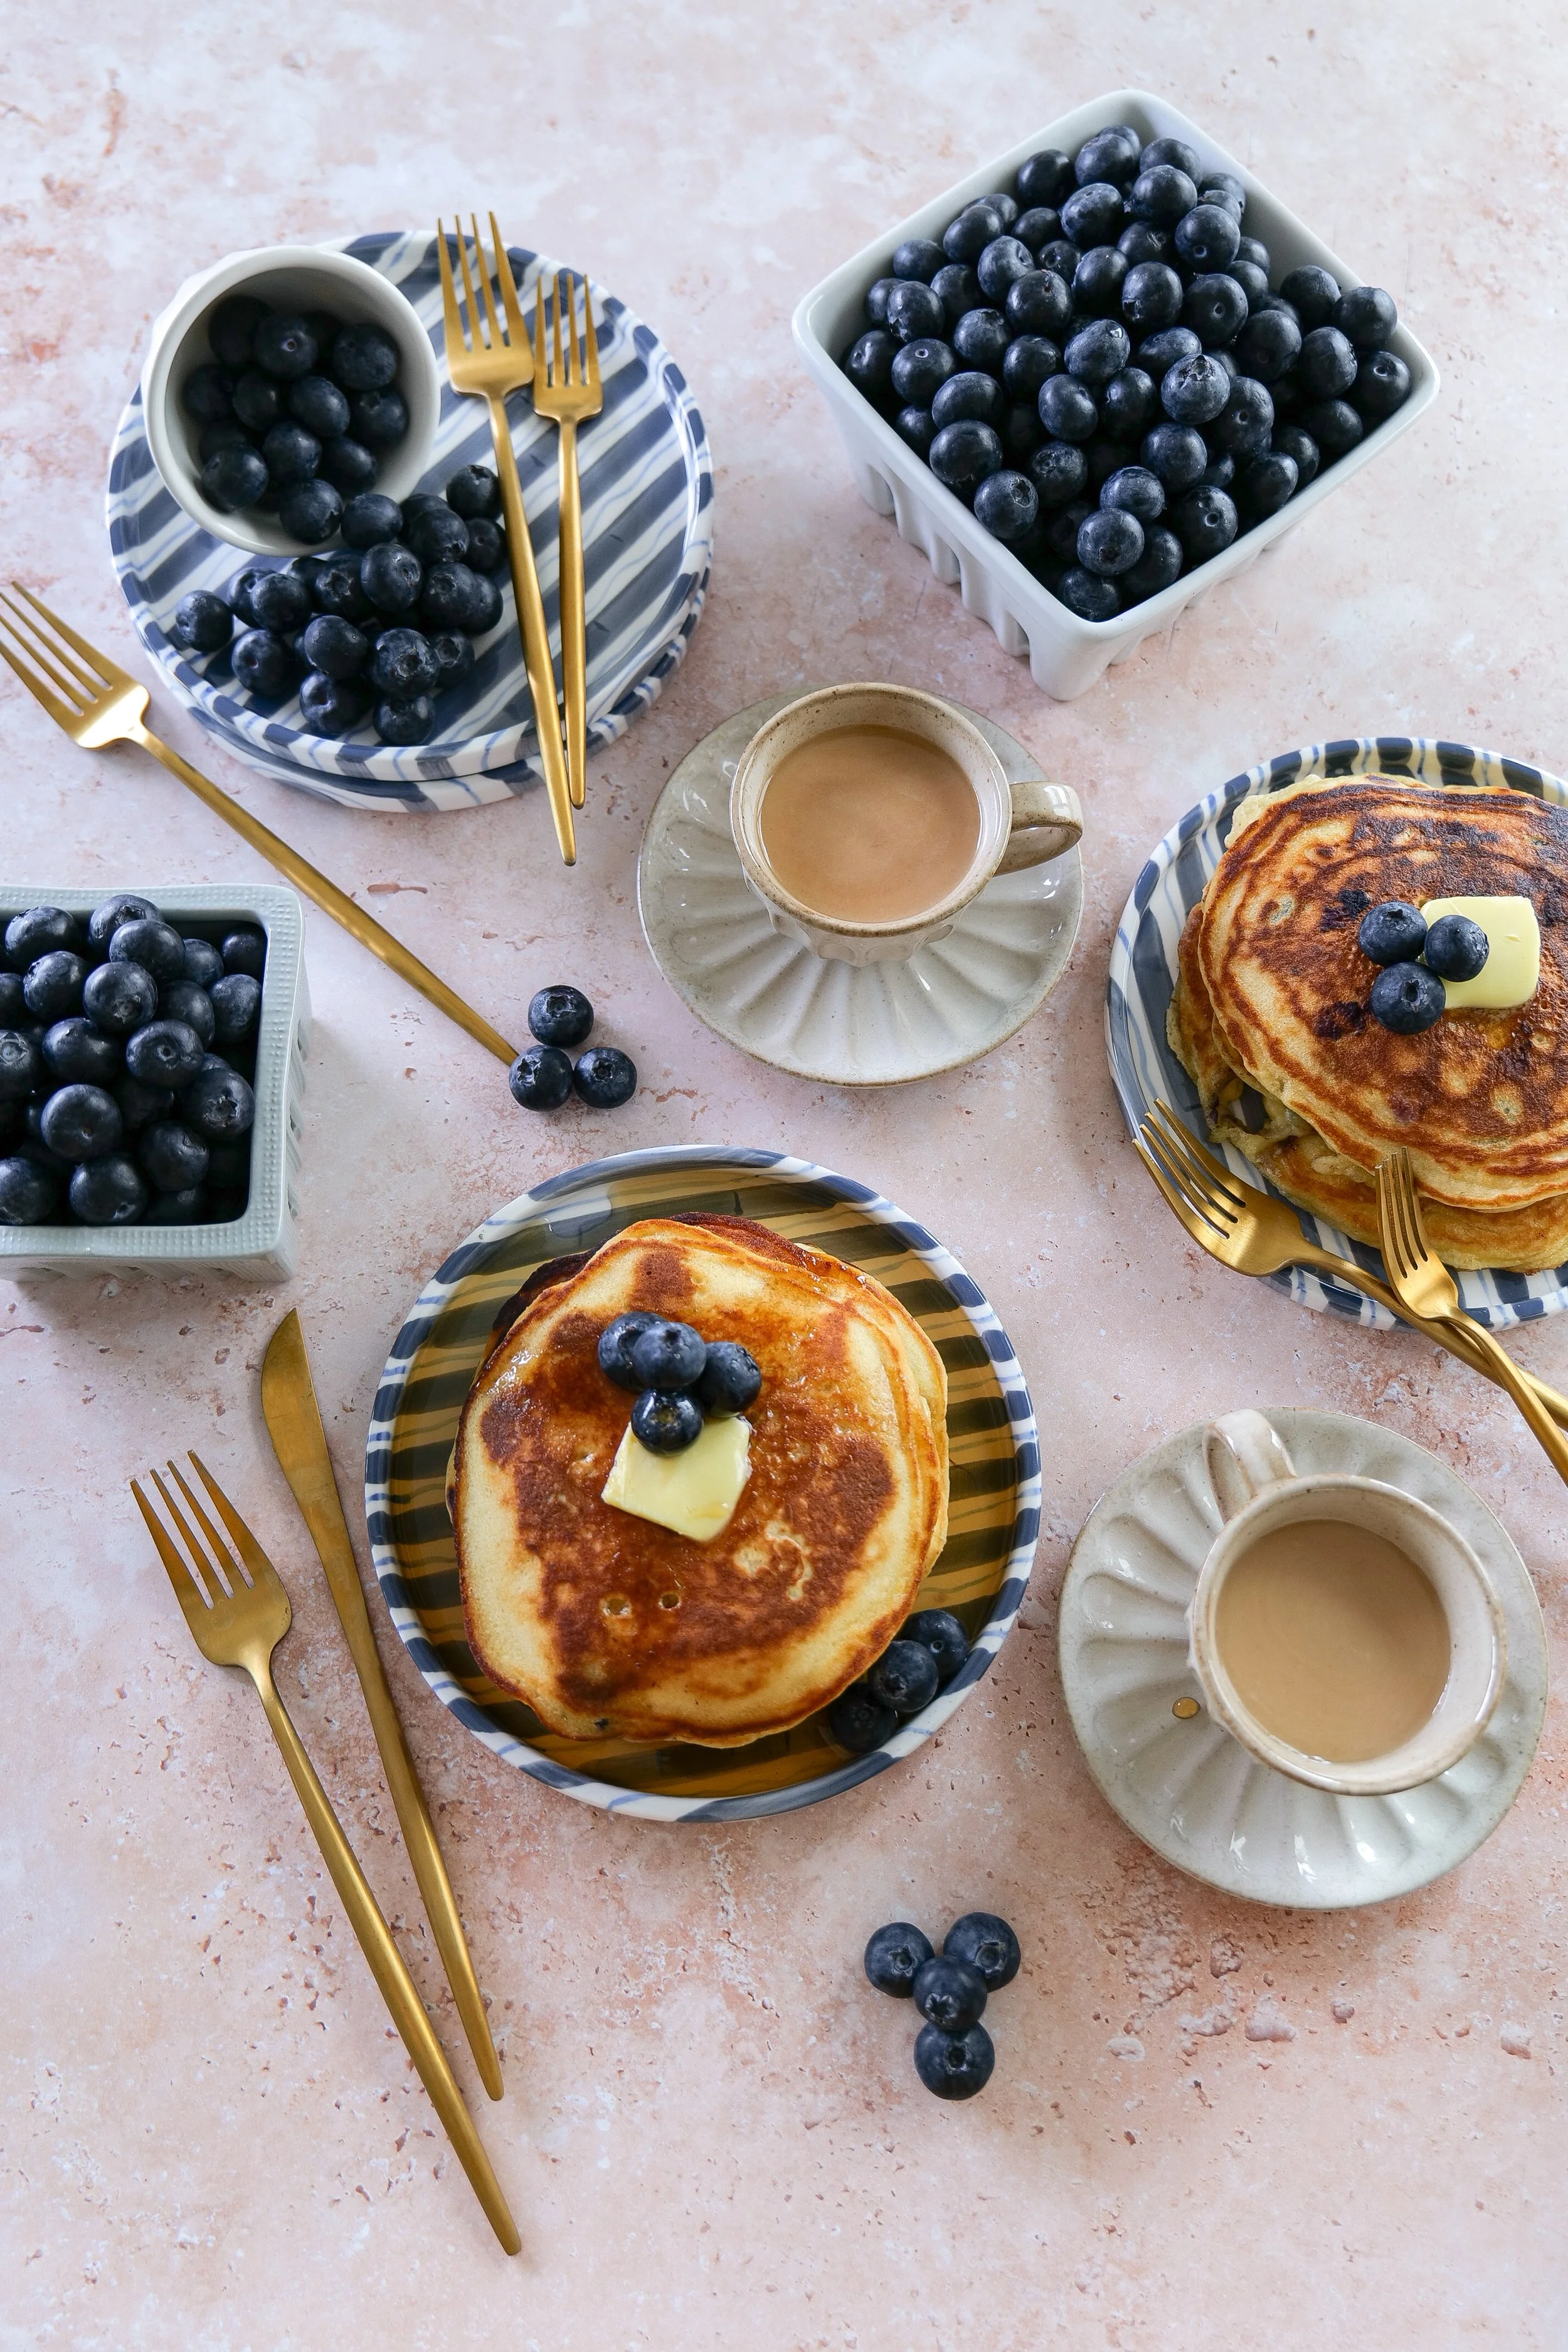
Blueberry apricot streusel muffins with a buttery crumb topping fresh from the oven.
Bakery-style blueberry apricot muffins topped with golden streusel.
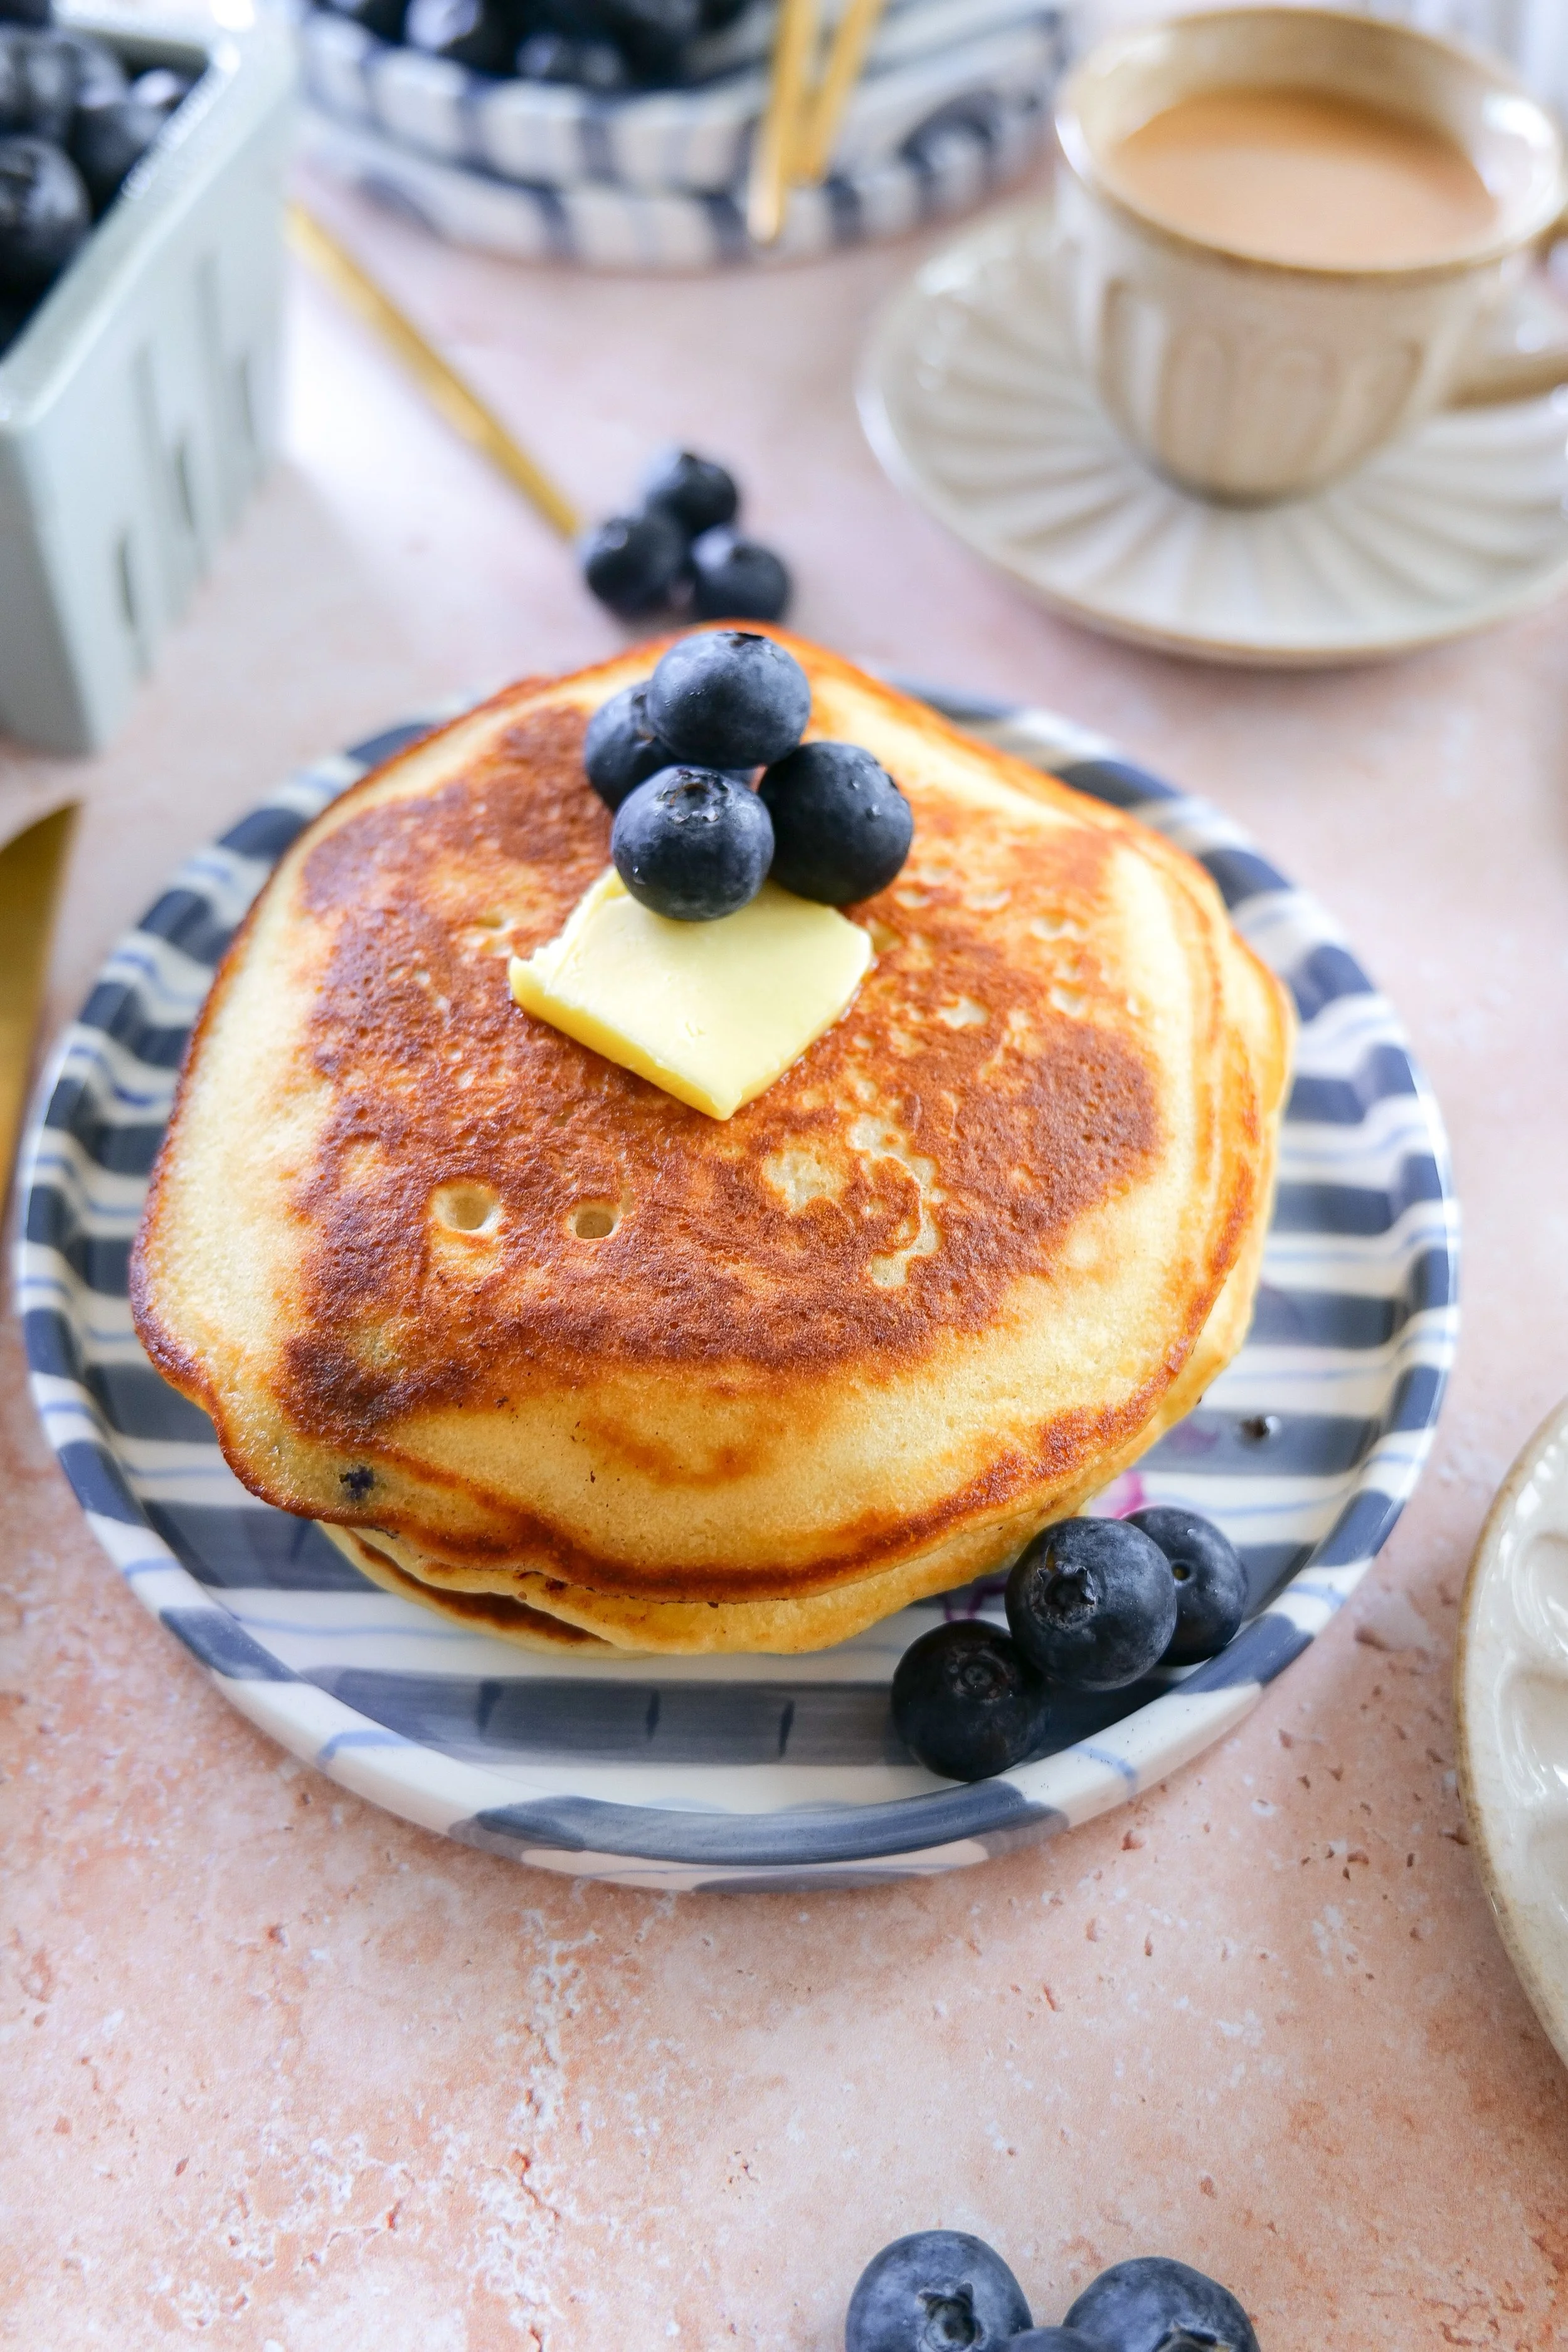
Moist blueberry apricot muffins filled with fresh fruit and topped with crumb topping.
Blueberry apricot crumb muffins with a sweet buttery streusel topping.

Why You’ll Love These Blueberry & Apricot Streusel Muffins

These muffins are soft, fluffy, and packed with real fruit in every bite. The combination of sweet blueberries and tangy apricots from Family Tree Farms makes them extra flavorful and bakery-worthy.

✔ Moist bakery-style texture
✔ Real fruit in every bite
✔ Crunchy streusel topping
✔ Easy 30–40 minute recipe
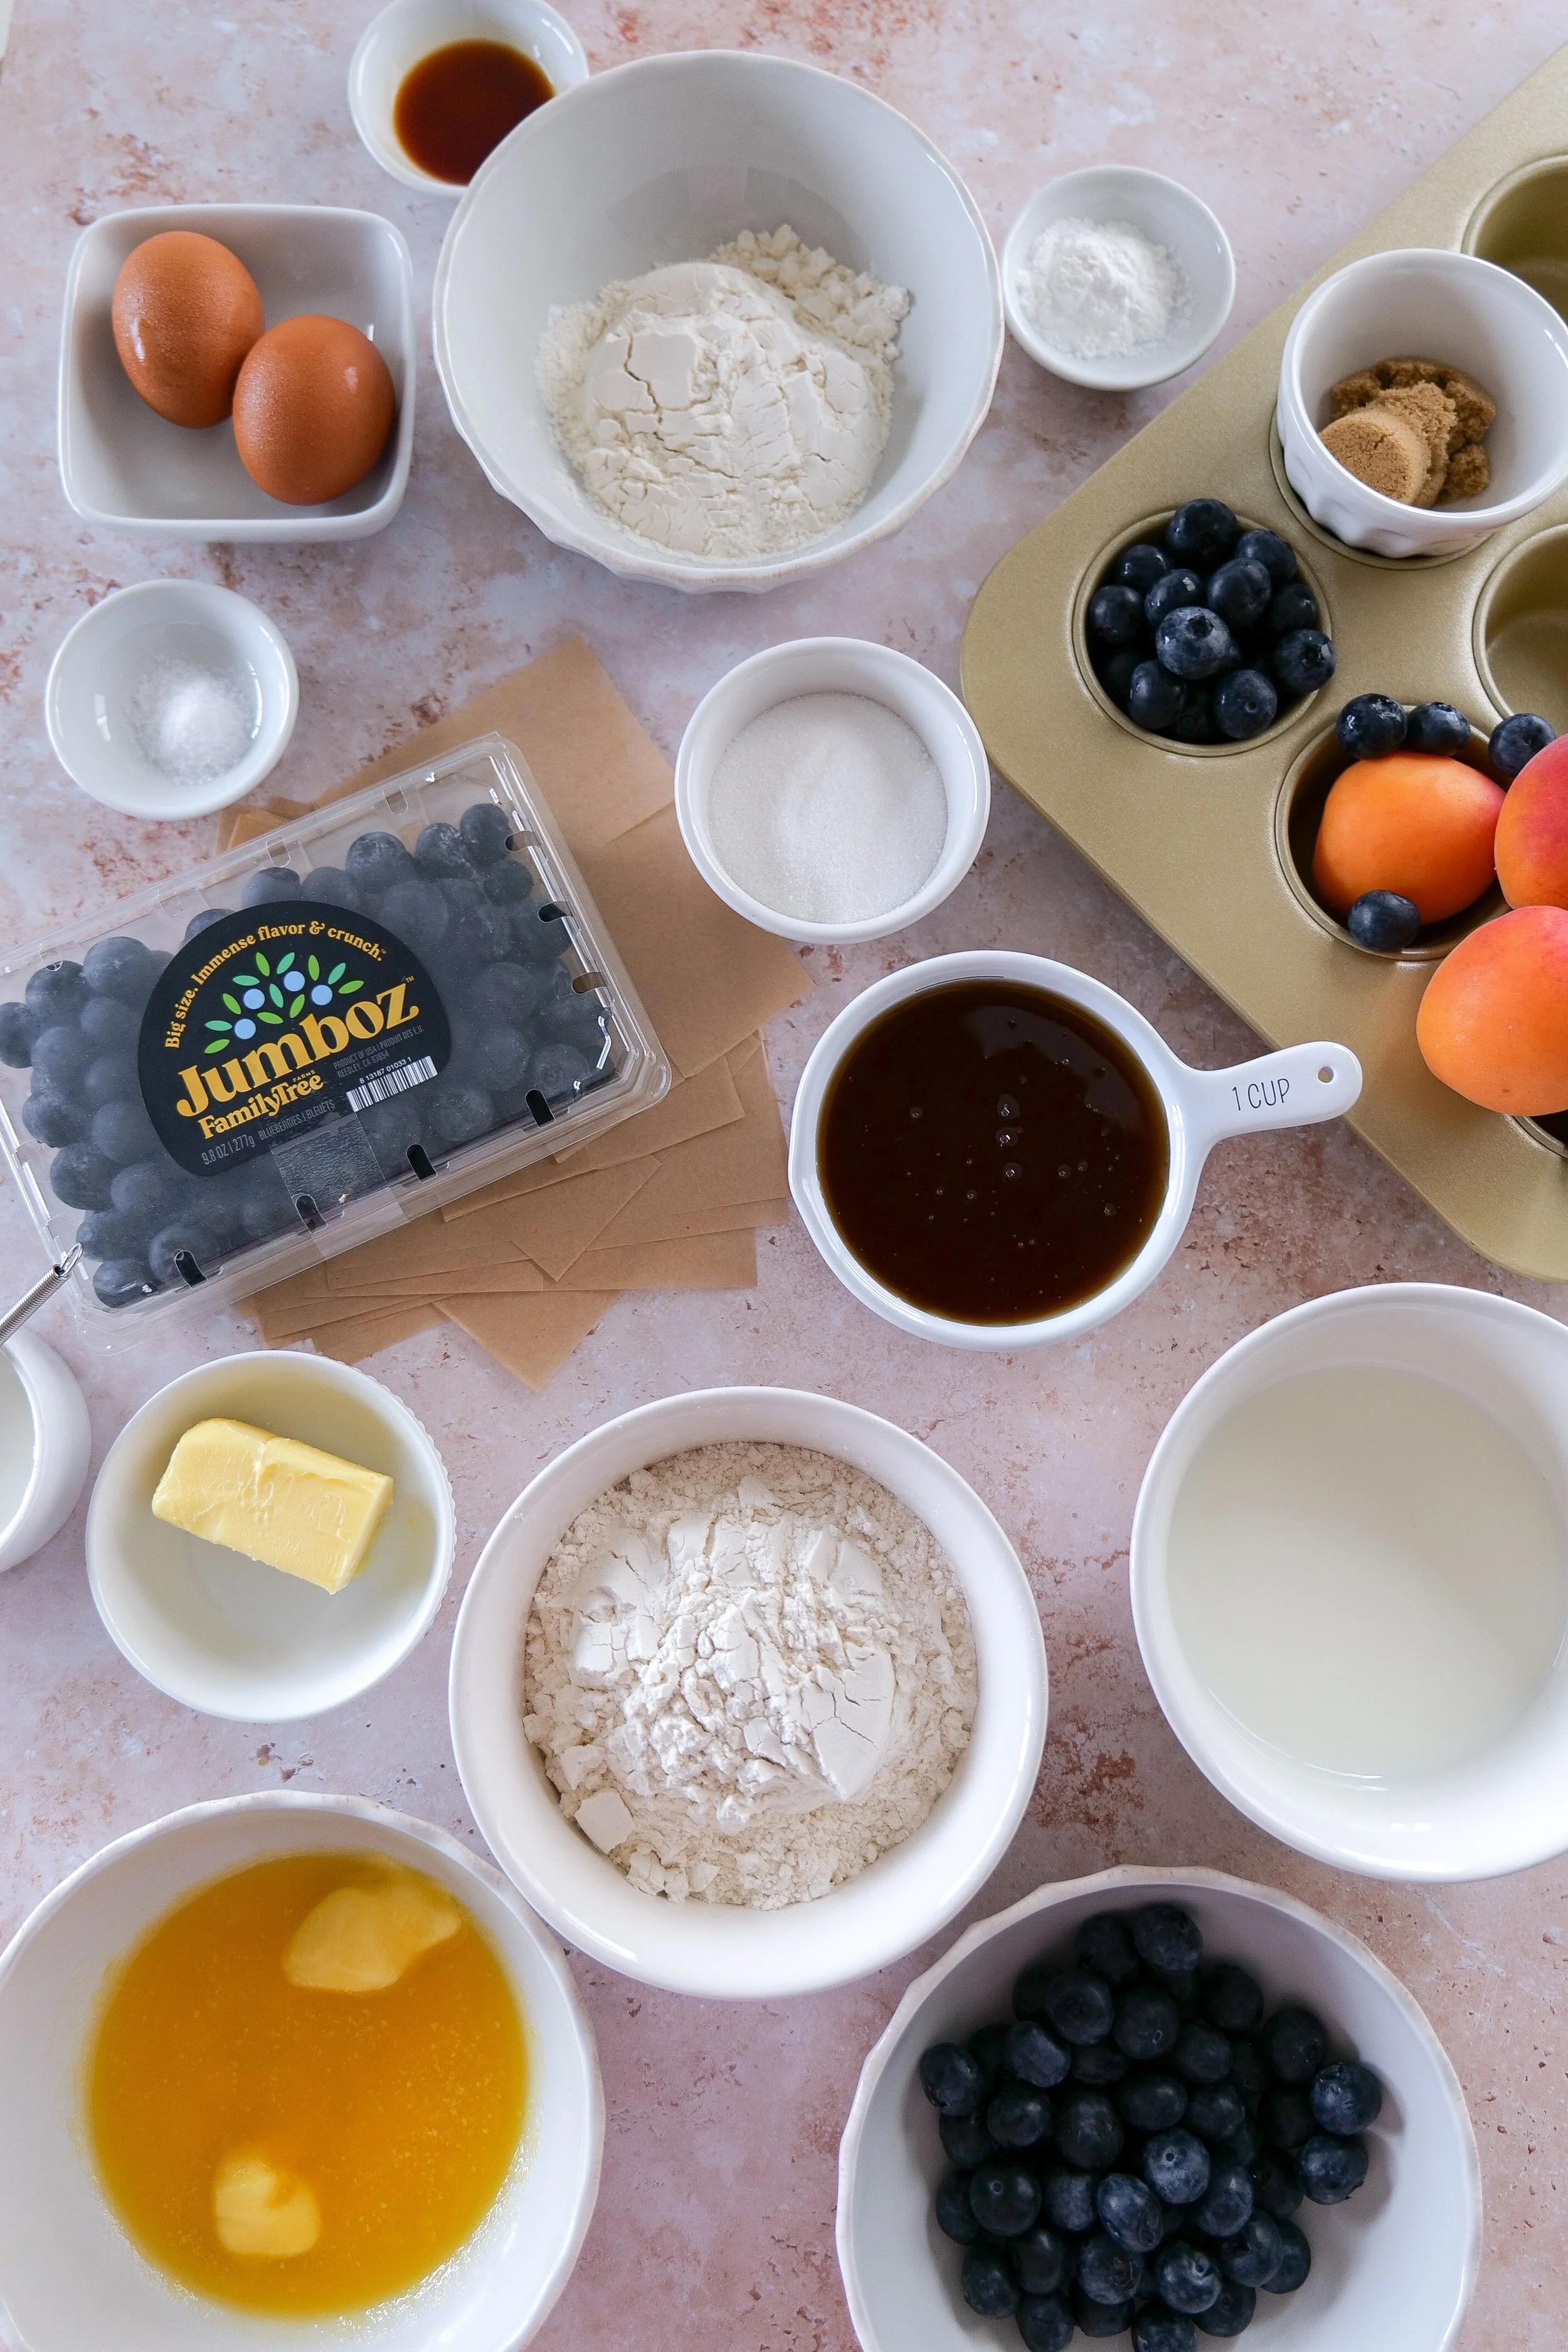
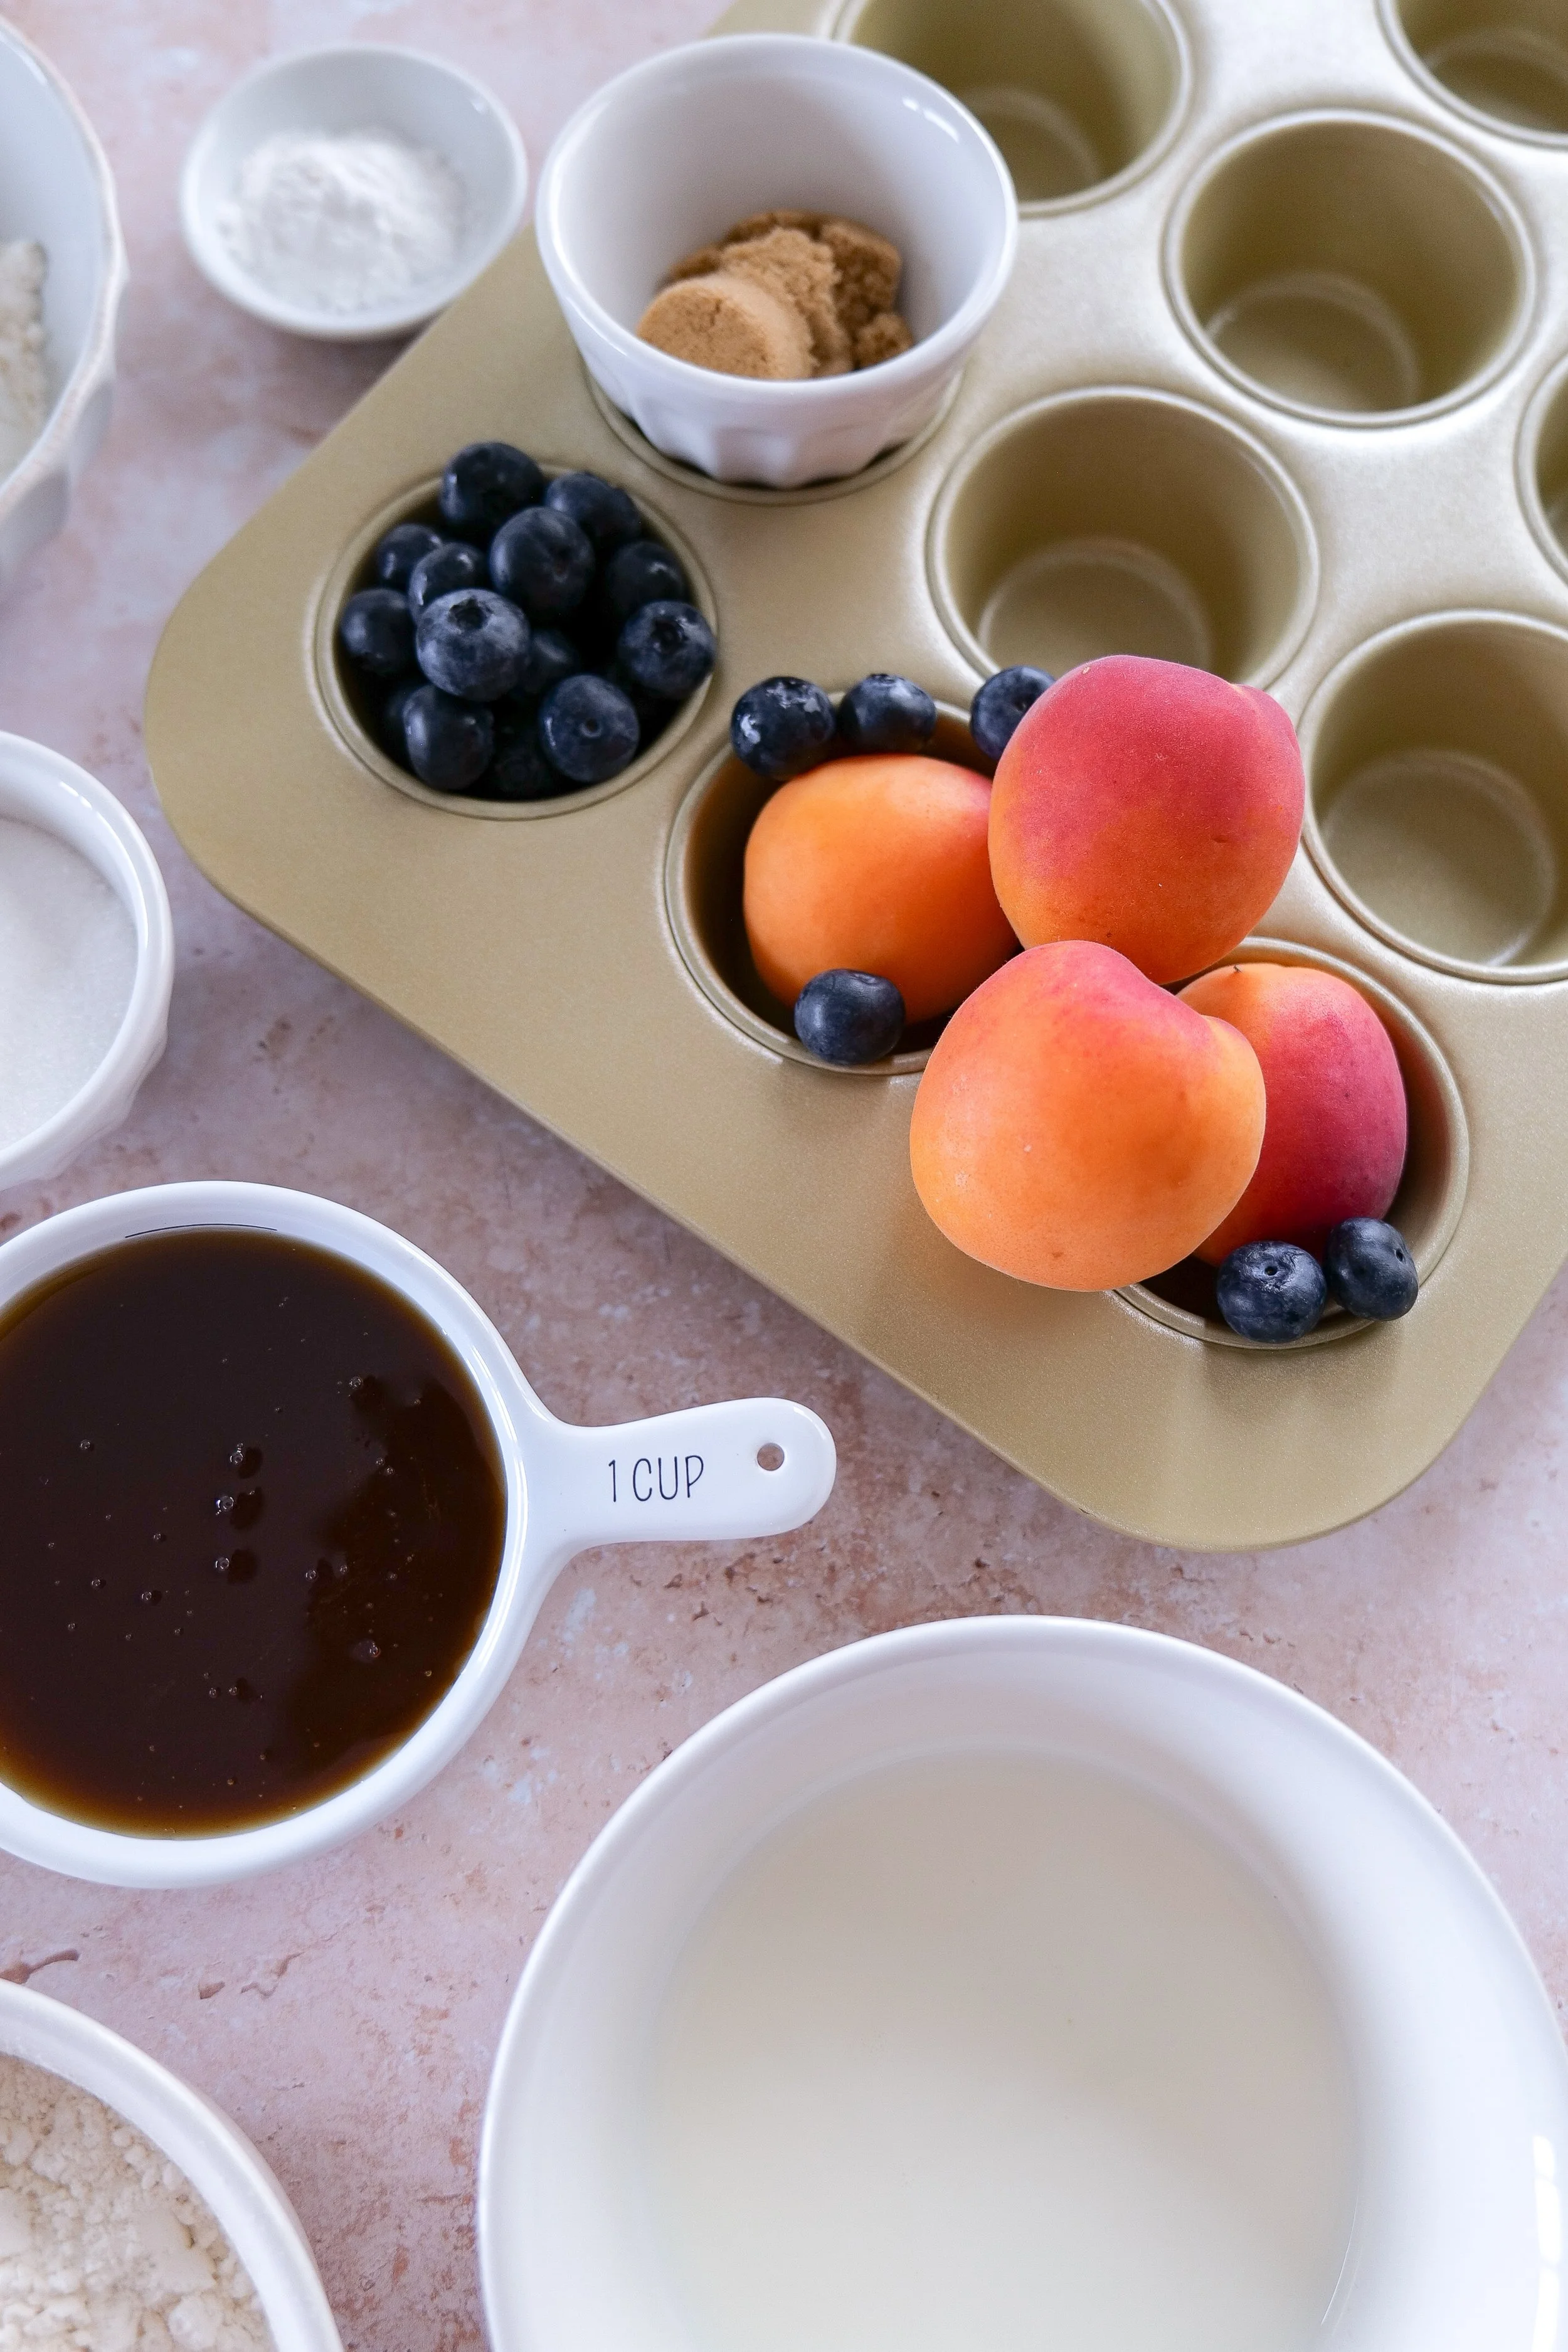
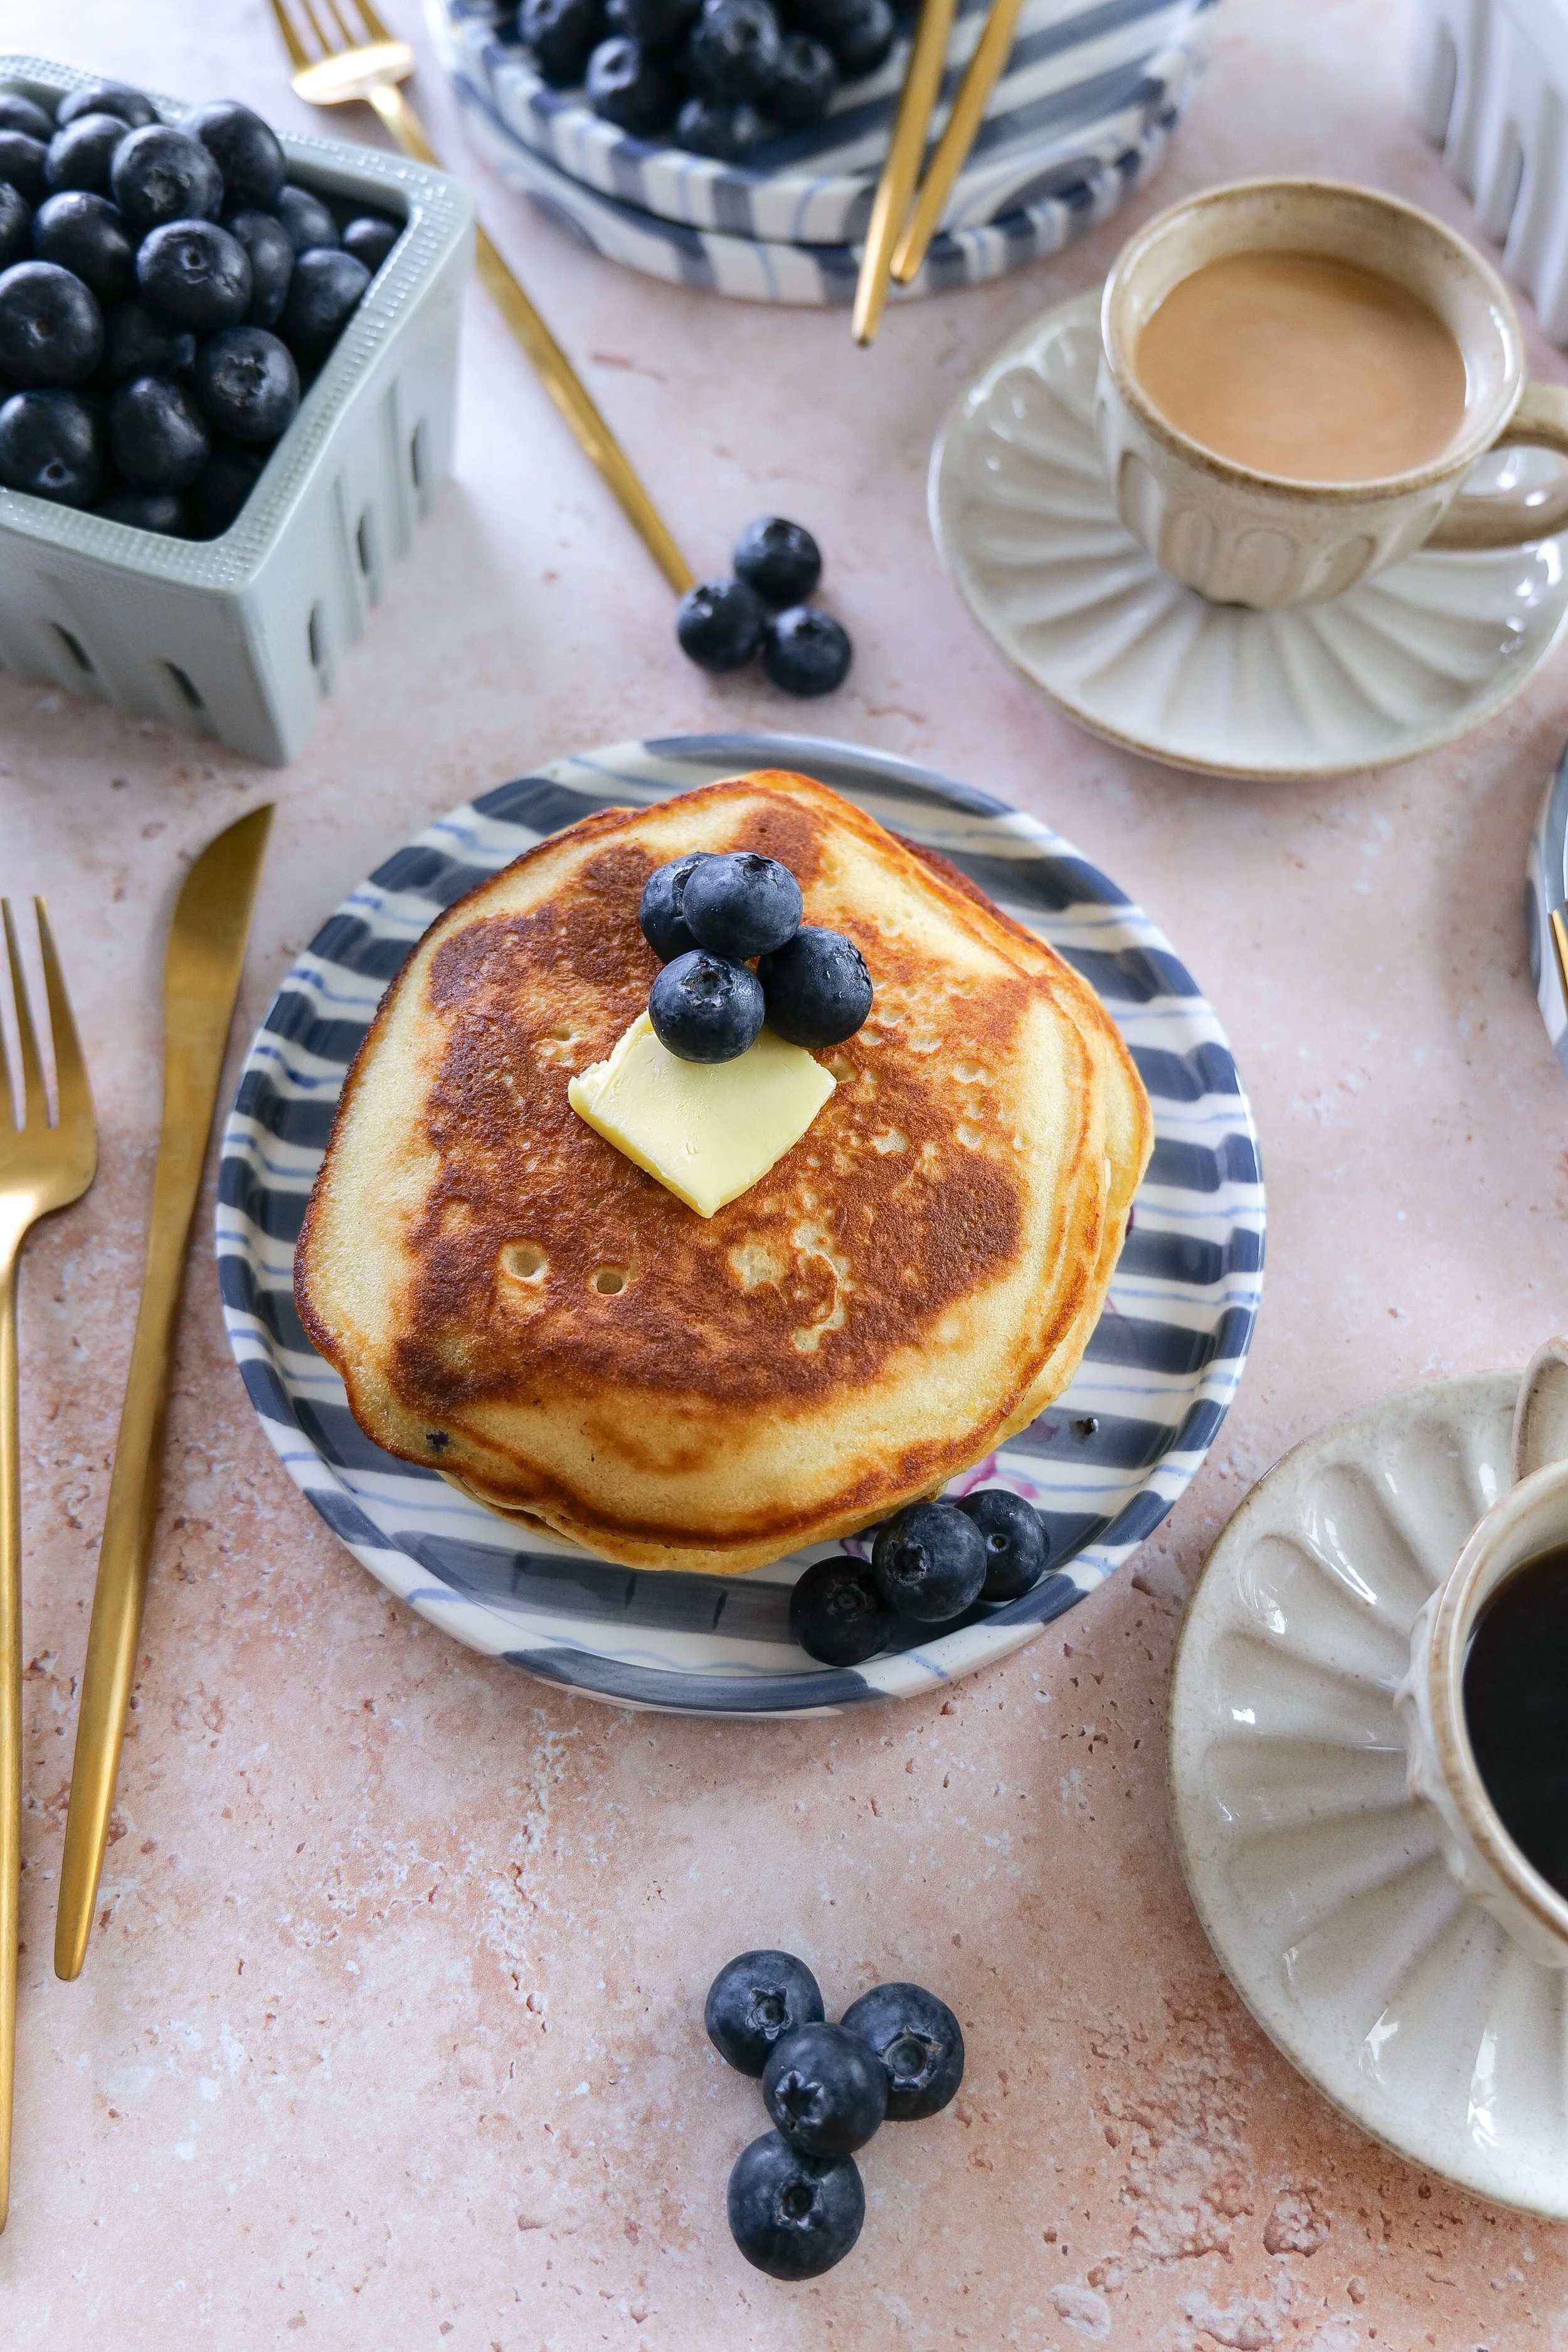
Homemade blueberry apricot muffins cooling after baking.
Easy fruit muffin recipe made with blueberries and apricots.

Ingredients

1 cup honey

1/2 cup salted butter, melted

2 eggs

1 teaspoons vanilla extract

1-1/2 cups all-purpose flour

1 teaspoons baking powder

1/2 teaspoons salt

3/4 cups milk

1 Cup of fresh blueberries

1 Cup Apricot, cut into cubes

Crumb Topping & Icing:

1/2 cup all-purpose flour

1/3 cup granulated sugar

3 tablespoons light brown sugar

1/4 cup melted butter

1 tablespoons milk

1/2 cups powder sugar

Instructions:

1. Preheat oven to 350 degrees and prepare muffin papers.

2. In a large bowl combine honey, melted butter, eggs, and vanilla.

3. Mix in Flour, Baking Powder and Salt until well combined. Scrape down sides and add in Milk until mixed thoroughly. Add blueberries & apricots, stir together

4. Divide batter evenly between muffin cups.

5. Make crumb topping by adding flour, sugar, brown sugar, and butter until fully incorporated together to a crumble mixture. Add to top of each muffin and place in oven. Bake for 15 min or until a toothpick inserted comes out clean.

6. Cool and prepare icing. Blend together milk & powdered sugar and drizzle over cooled muffins! Serve & Enjoy!


Love baking from scratch? Here are some of my favorite baking tools, kitchen essentials, and coffee bar favorites that make cozy mornings and weekend baking even sweeter.

Baking Tips for Perfect Muffins

These small adjustments make a big difference:

✔ Don’t overmix the batter

Overmixing leads to dense muffins instead of soft, bakery-style texture.

✔ Use quality fruit

Fresh apricots from Family Tree Farms give a natural sweetness and improve overall flavor.

✔ Toss fruit in flour

This helps distribute fruit evenly throughout the muffins.

✔ Chill your streusel (optional)

Cold butter in the streusel creates a crispier, more bakery-like topping.

✔ Add extra streusel if desired

If you love texture, don’t be shy — more crumb topping = more crunch.
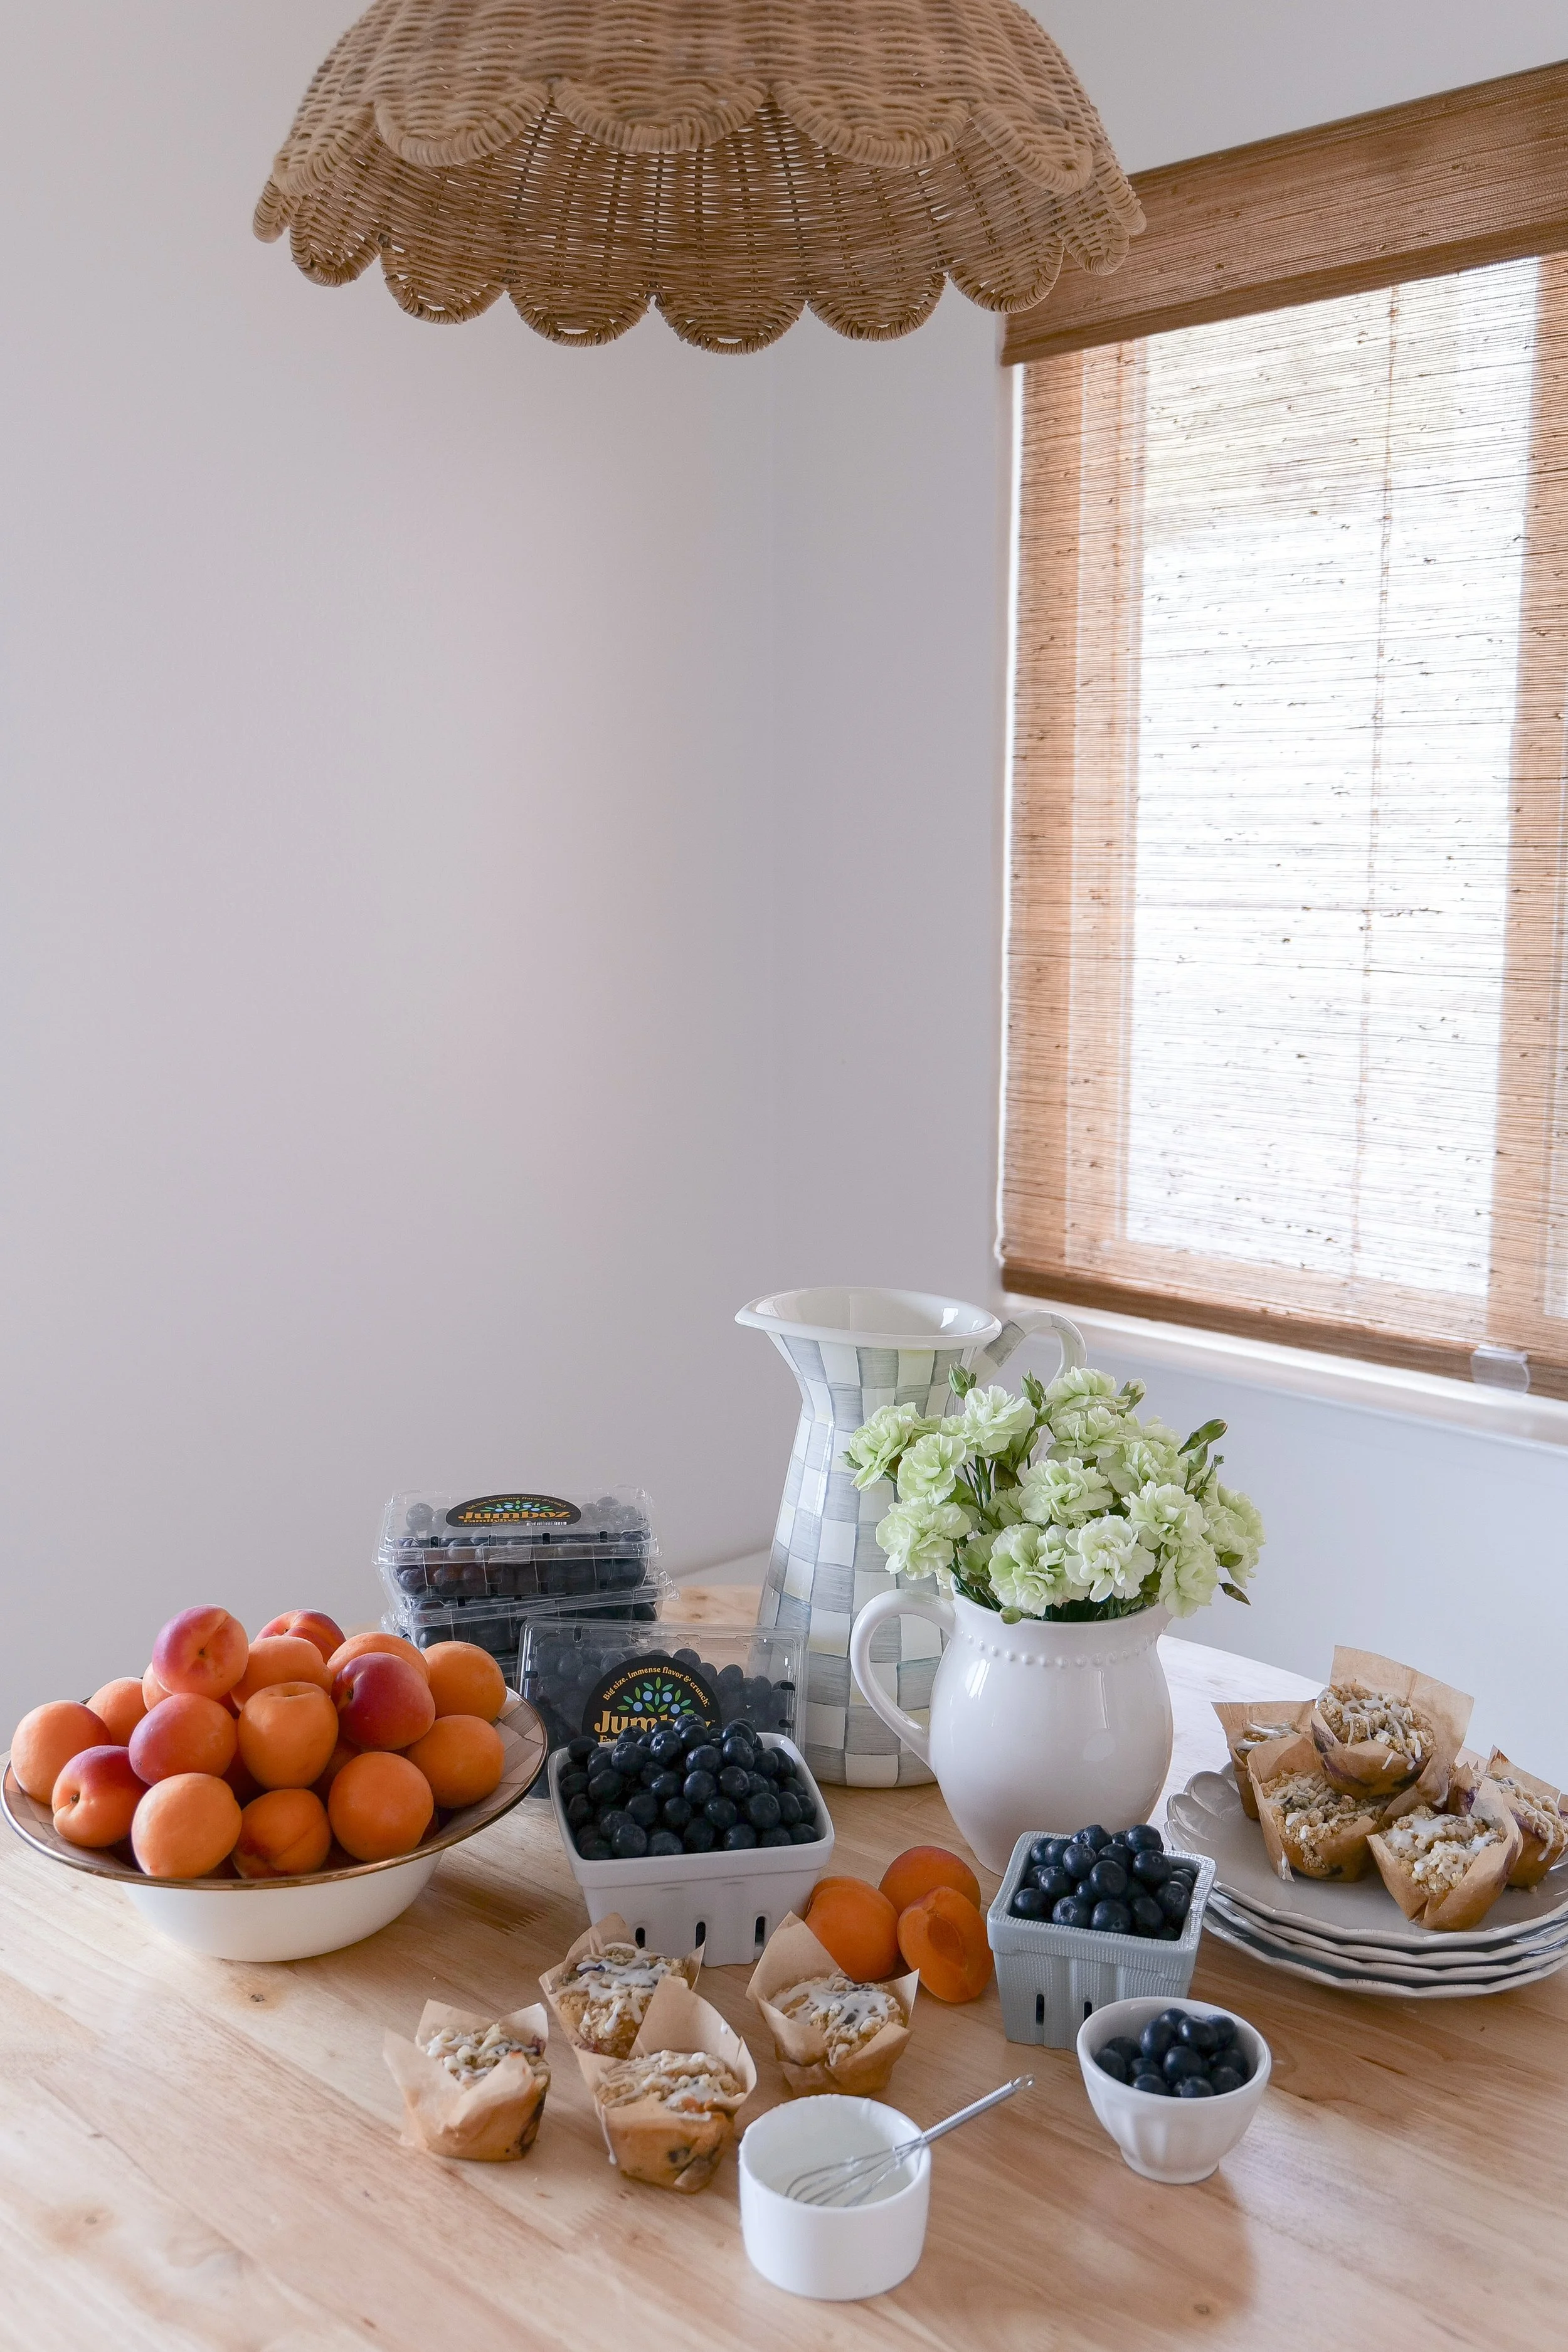
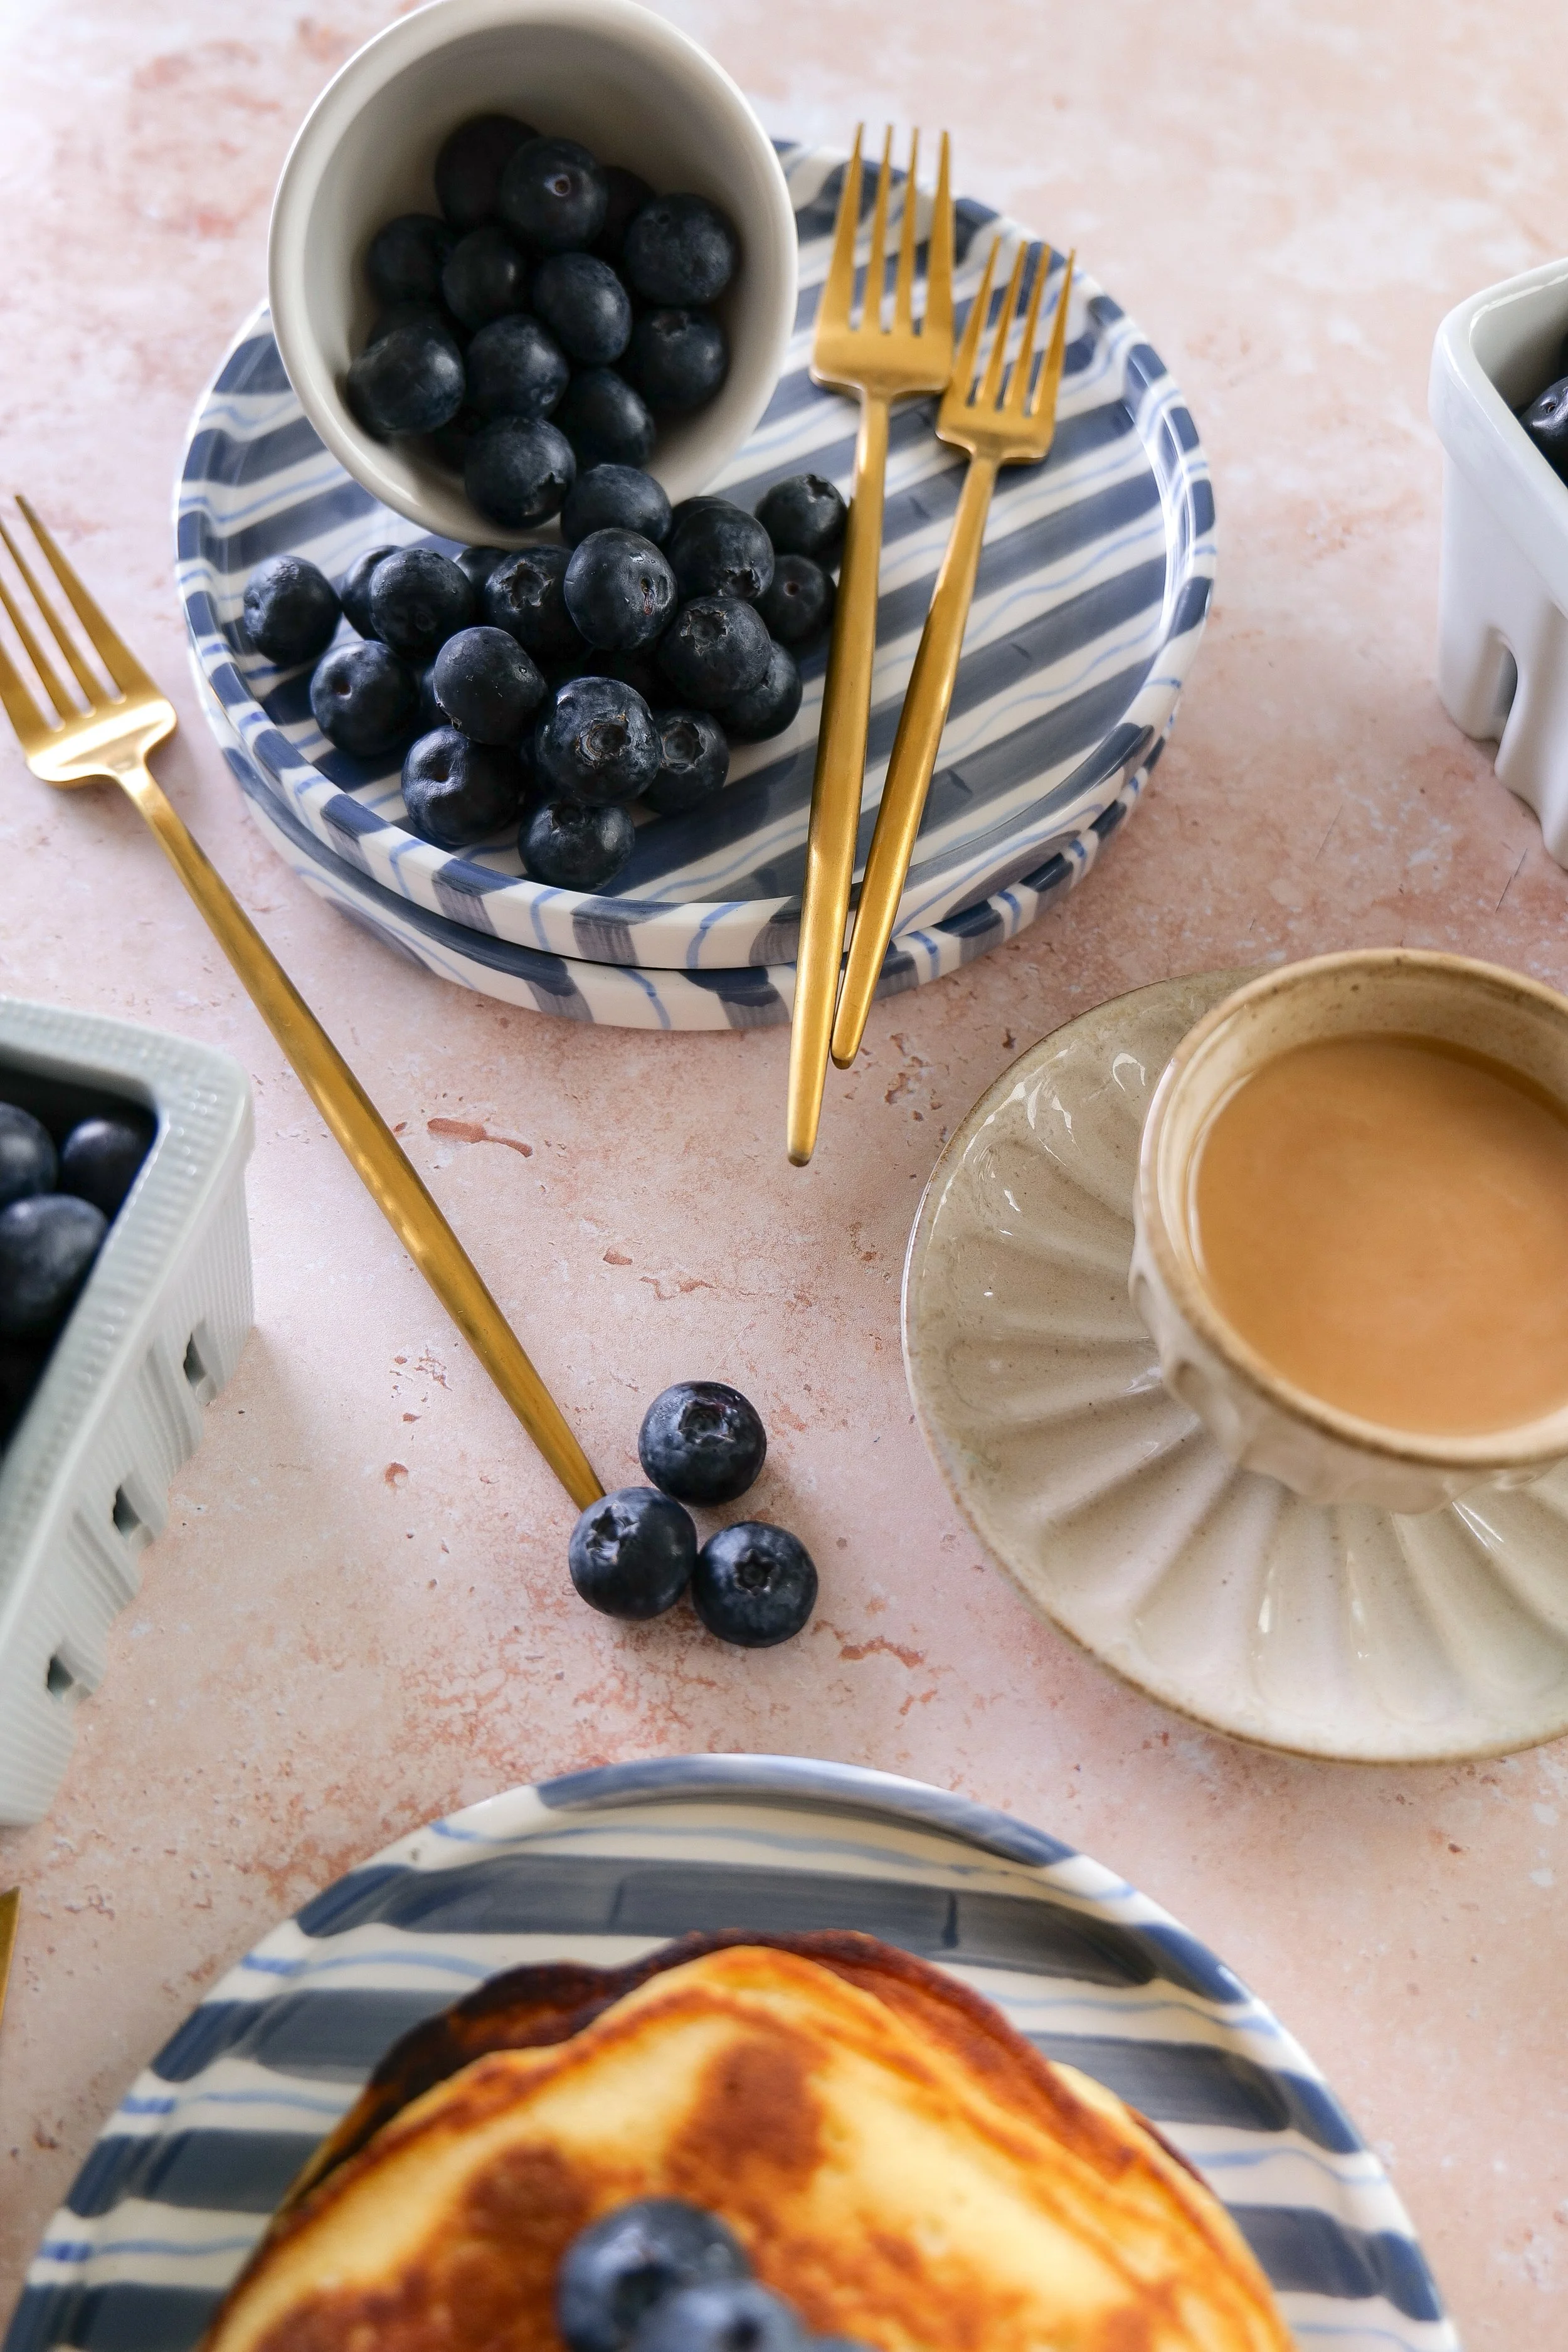
Breakfast streusel muffins served with coffee for a cozy morning.
Blueberry Apricot Streusel Muffins Recipe

What to Serve With Blueberry & Apricot Streusel Muffins

These bakery-style muffins pair perfectly with:

• Fresh fruit salad

• Greek yogurt

• Scrambled eggs

• A hot cup of coffee

• Matcha lattes

• Cold brew coffee

• Breakfast casseroles

• Brunch charcuterie boards

Whether you're hosting brunch or enjoying a quiet morning at home, these muffins make a delicious addition to any breakfast spread.

Variations & Substitutions

You can easily customize this recipe:

Fruit swaps:

  • Peaches instead of apricots

  • Raspberries instead of blueberries

  • Mixed berries for a classic version

Dairy-free option:

  • Use plant-based milk

  • Replace butter with coconut oil or vegan butter

Healthier version:

  • Reduce sugar slightly

  • Add oats to the streusel for extra texture

Storage Instructions

These muffins store beautifully:

  • Room temperature: 2–3 days in an airtight container

  • Refrigerator: up to 1 week

  • Freezer: up to 2 months

To reheat, warm in the microwave for 10–15 seconds or in a low oven until soft.

More Cozy Baking Recipes You'll Love

If you love homemade muffins and bakery-style treats, be sure to check out these reader-favorite baking recipes:

Frequently Asked Questions

Can I use frozen fruit?

Yes. Add it directly from frozen — do not thaw, or it may make the batter too wet.

Why did my muffins sink in the middle?

Common reasons include:

  • overmixing the batter

  • underbaking

  • too much liquid in the mixture

What makes these muffins bakery-style?

It’s the combination of:

  • proper mixing technique

  • high-quality fruit from Family Tree Farms

  • rich streusel topping

  • balanced moisture and structure

Can I make these ahead of time?

Yes — in fact, they taste even better the next day as flavors settle.

Final Thoughts

These bakery-style blueberry apricot streusel muffins are everything a homemade bakery-style muffin should be: soft, moist, flavorful, and topped with a buttery crumble that adds the perfect finishing touch.

Using fresh apricots from Family Tree Farms takes this recipe to another level, giving each bite natural sweetness and vibrant flavor.

Once you make them, they’re almost guaranteed to become a repeat recipe in your kitchen.

From Amanda's Kitchen

A collection of timeless recipes for gathering around the table.

Some recipes become favorites because they're simple enough for everyday mornings but special enough to share with the people you love.

These Blueberry Apricot Streusel Muffins are exactly that kind of recipe. Filled with fresh fruit, topped with a buttery crumb topping, and finished with a sweet drizzle, they're just as perfect for a slow Saturday breakfast as they are for sharing with neighbors, brunch guests, or family gathered around the table.

That's exactly why I created these From Amanda's Kitchen printable recipe cards. My hope is that these recipes become more than something you bake—they become part of the memories you create and the traditions you pass down.

Because the best recipes aren't just made—they're shared with love, one table at a time.

Save or print the recipe card below so it's always ready for your next brunch, coffee date, or cozy weekend morning.
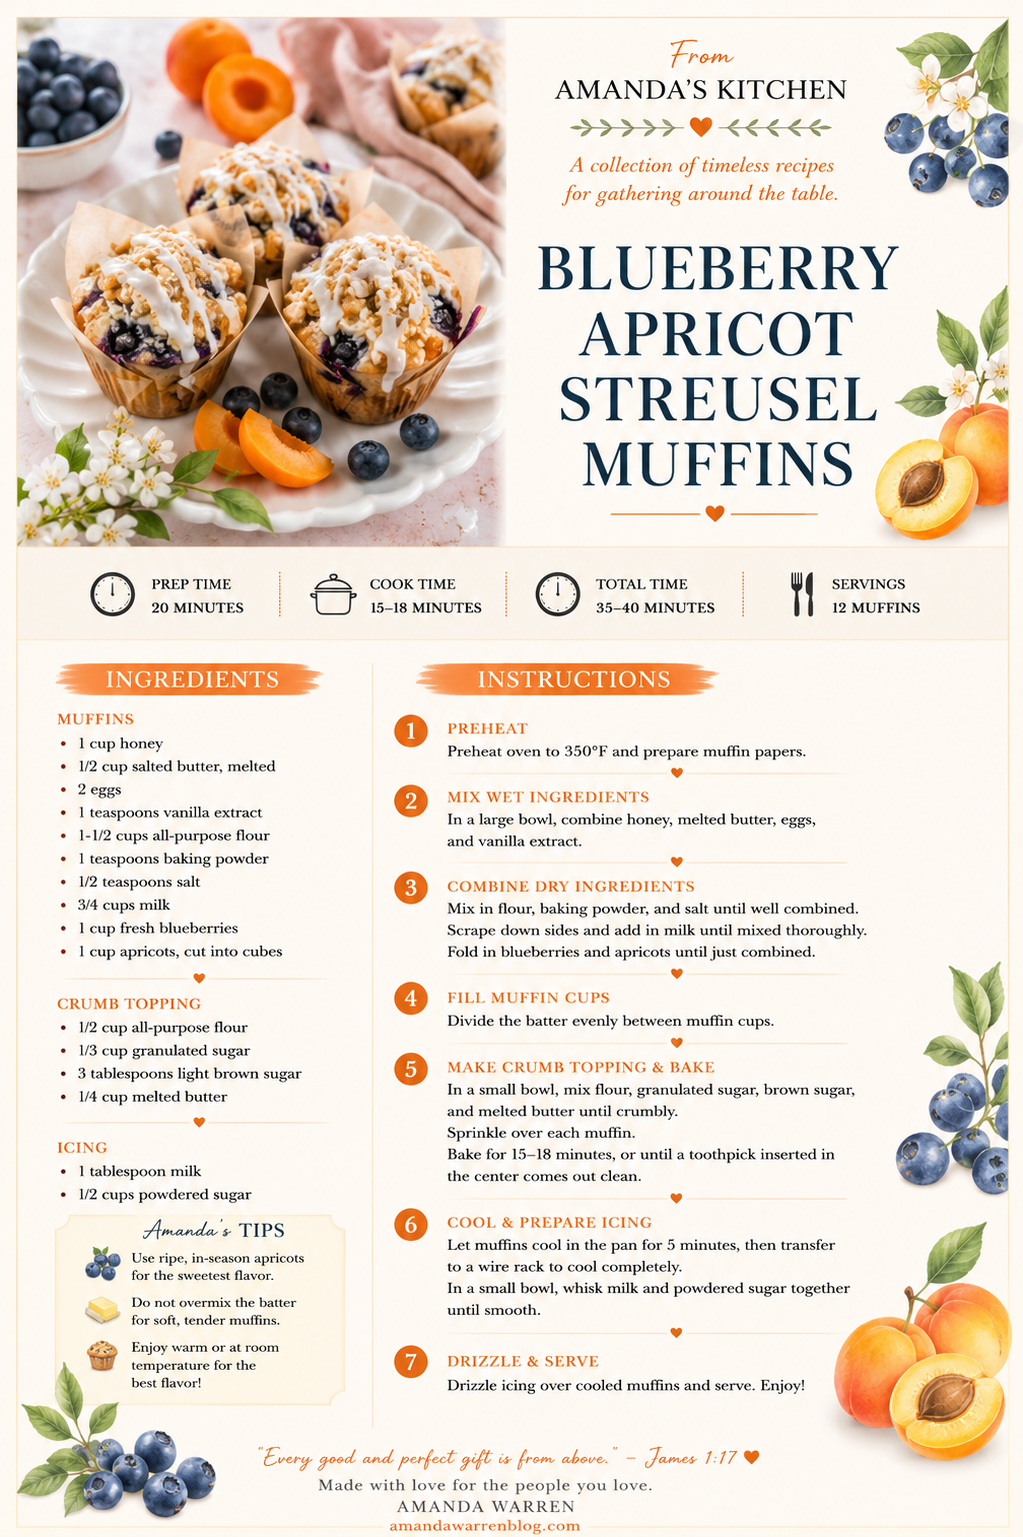
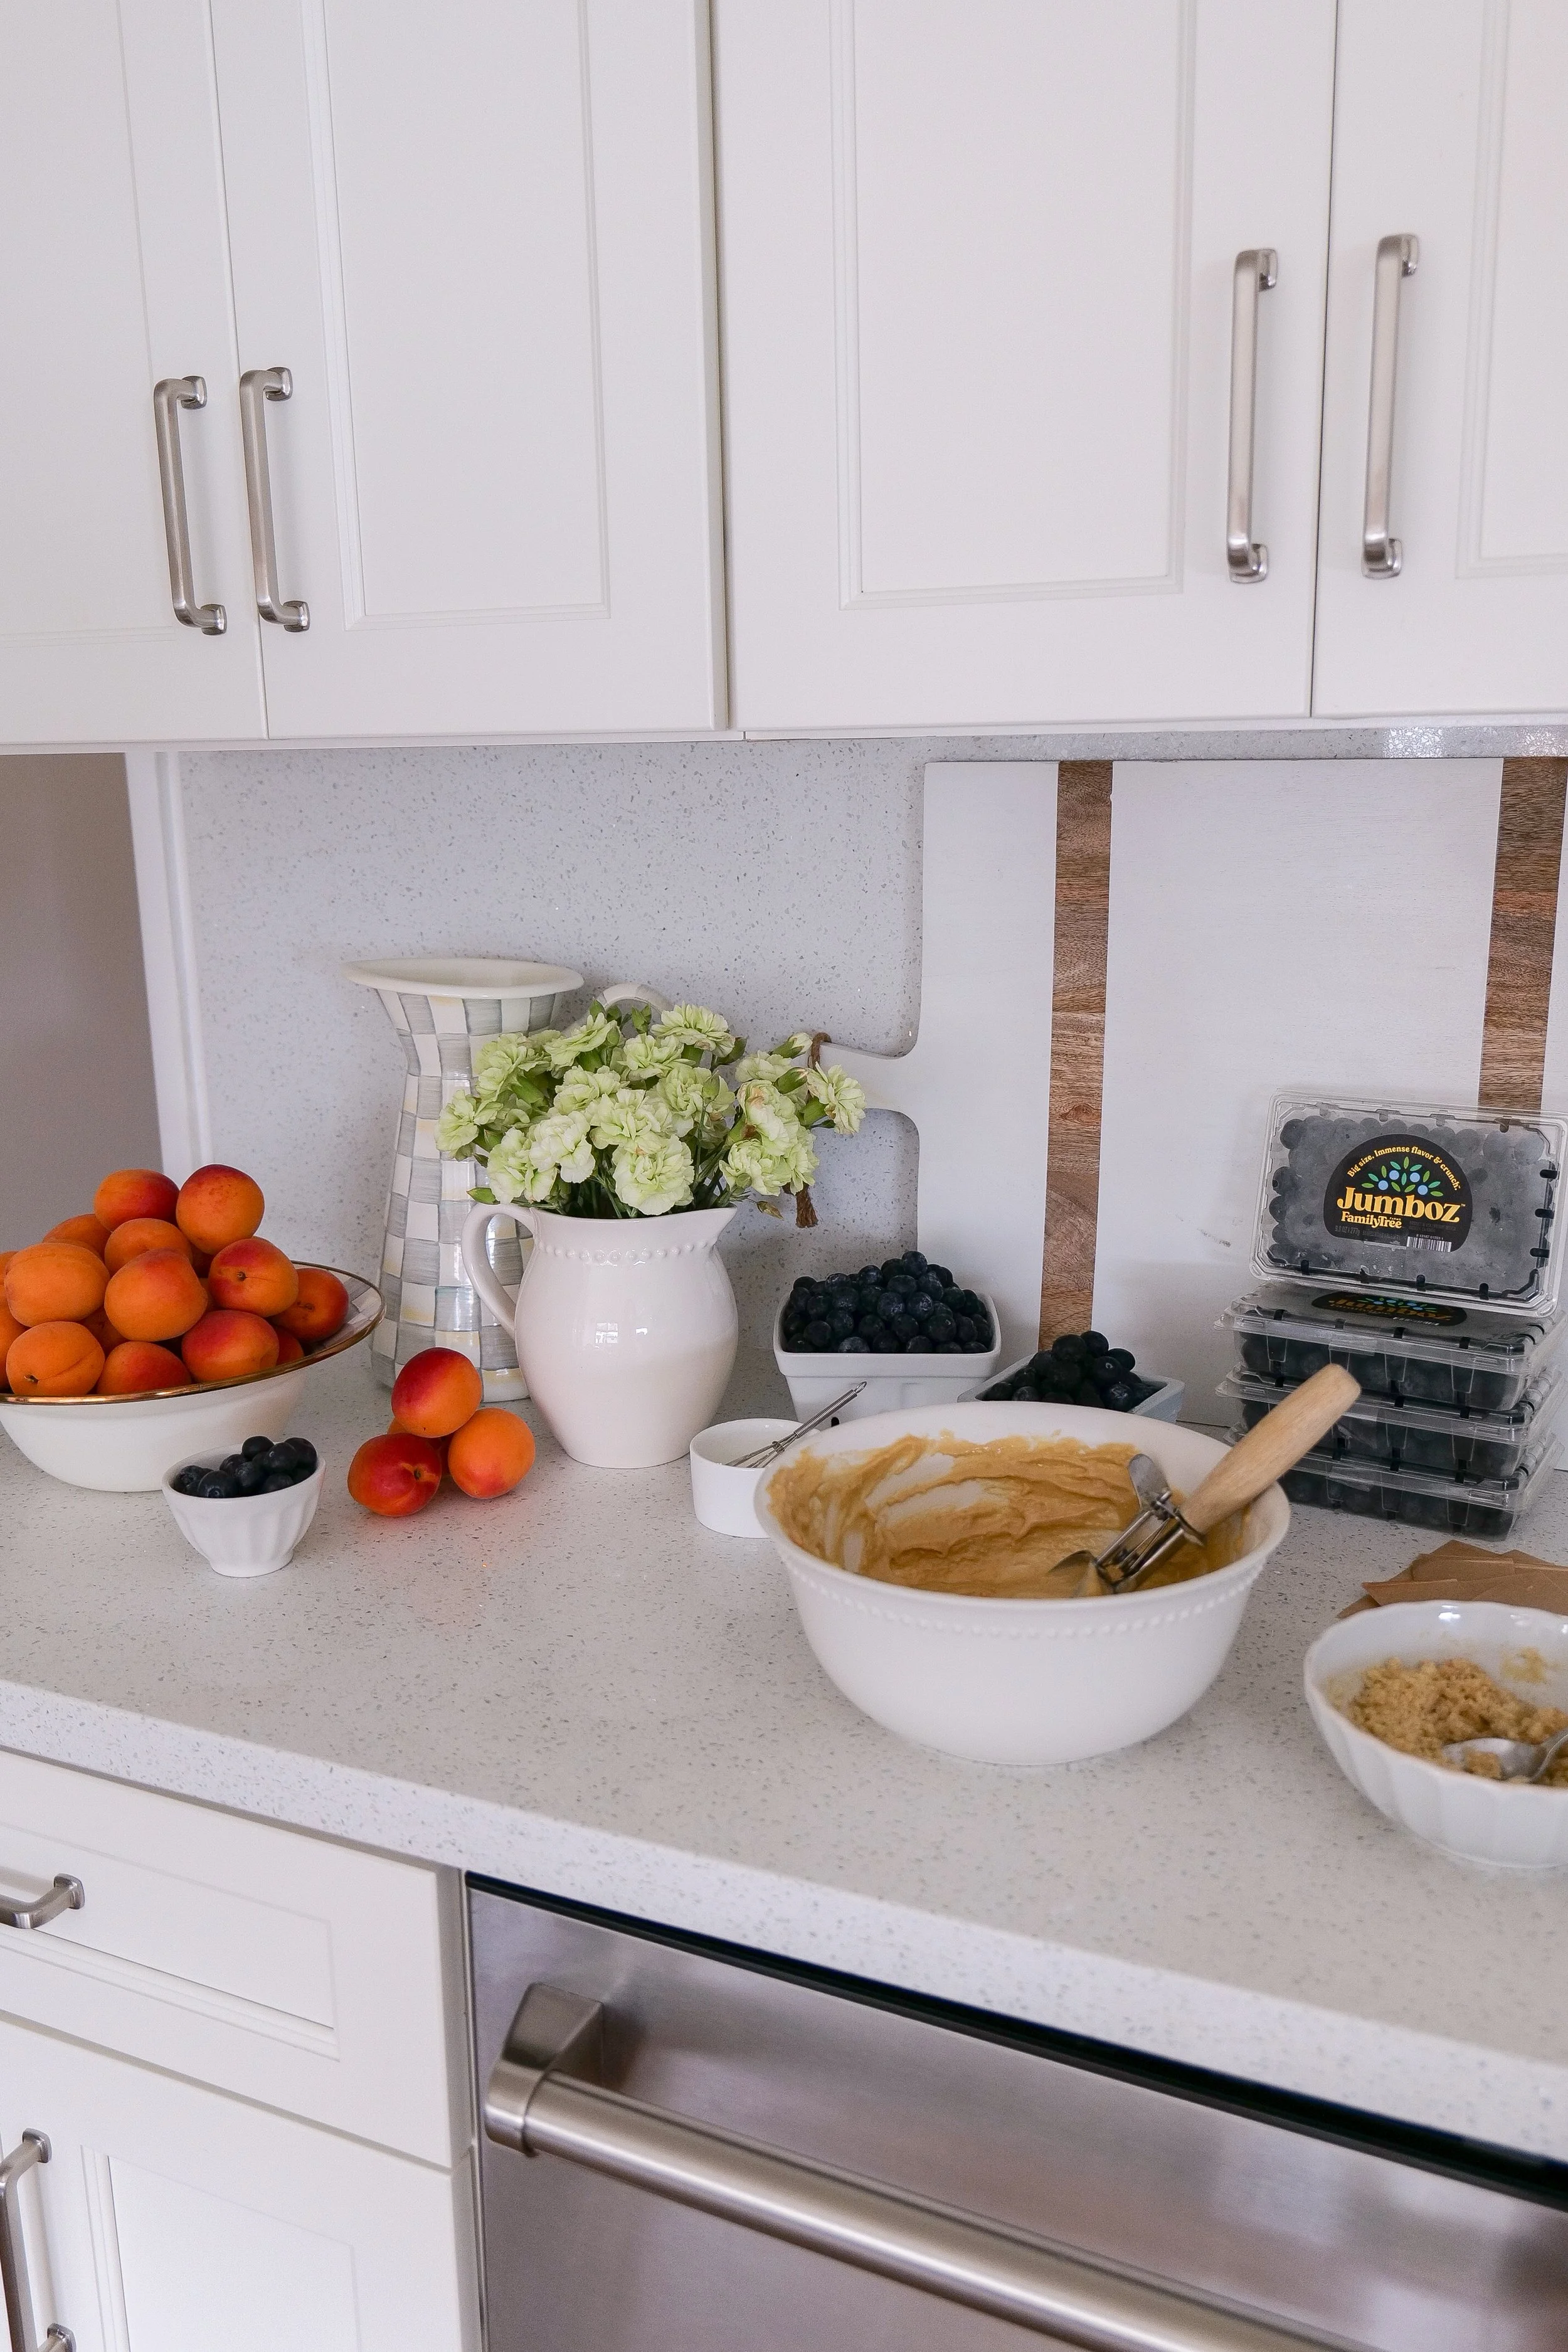
Blueberry apricot muffins served on a brunch table.
Split blueberry apricot muffin showing juicy fruit and tender crumb.
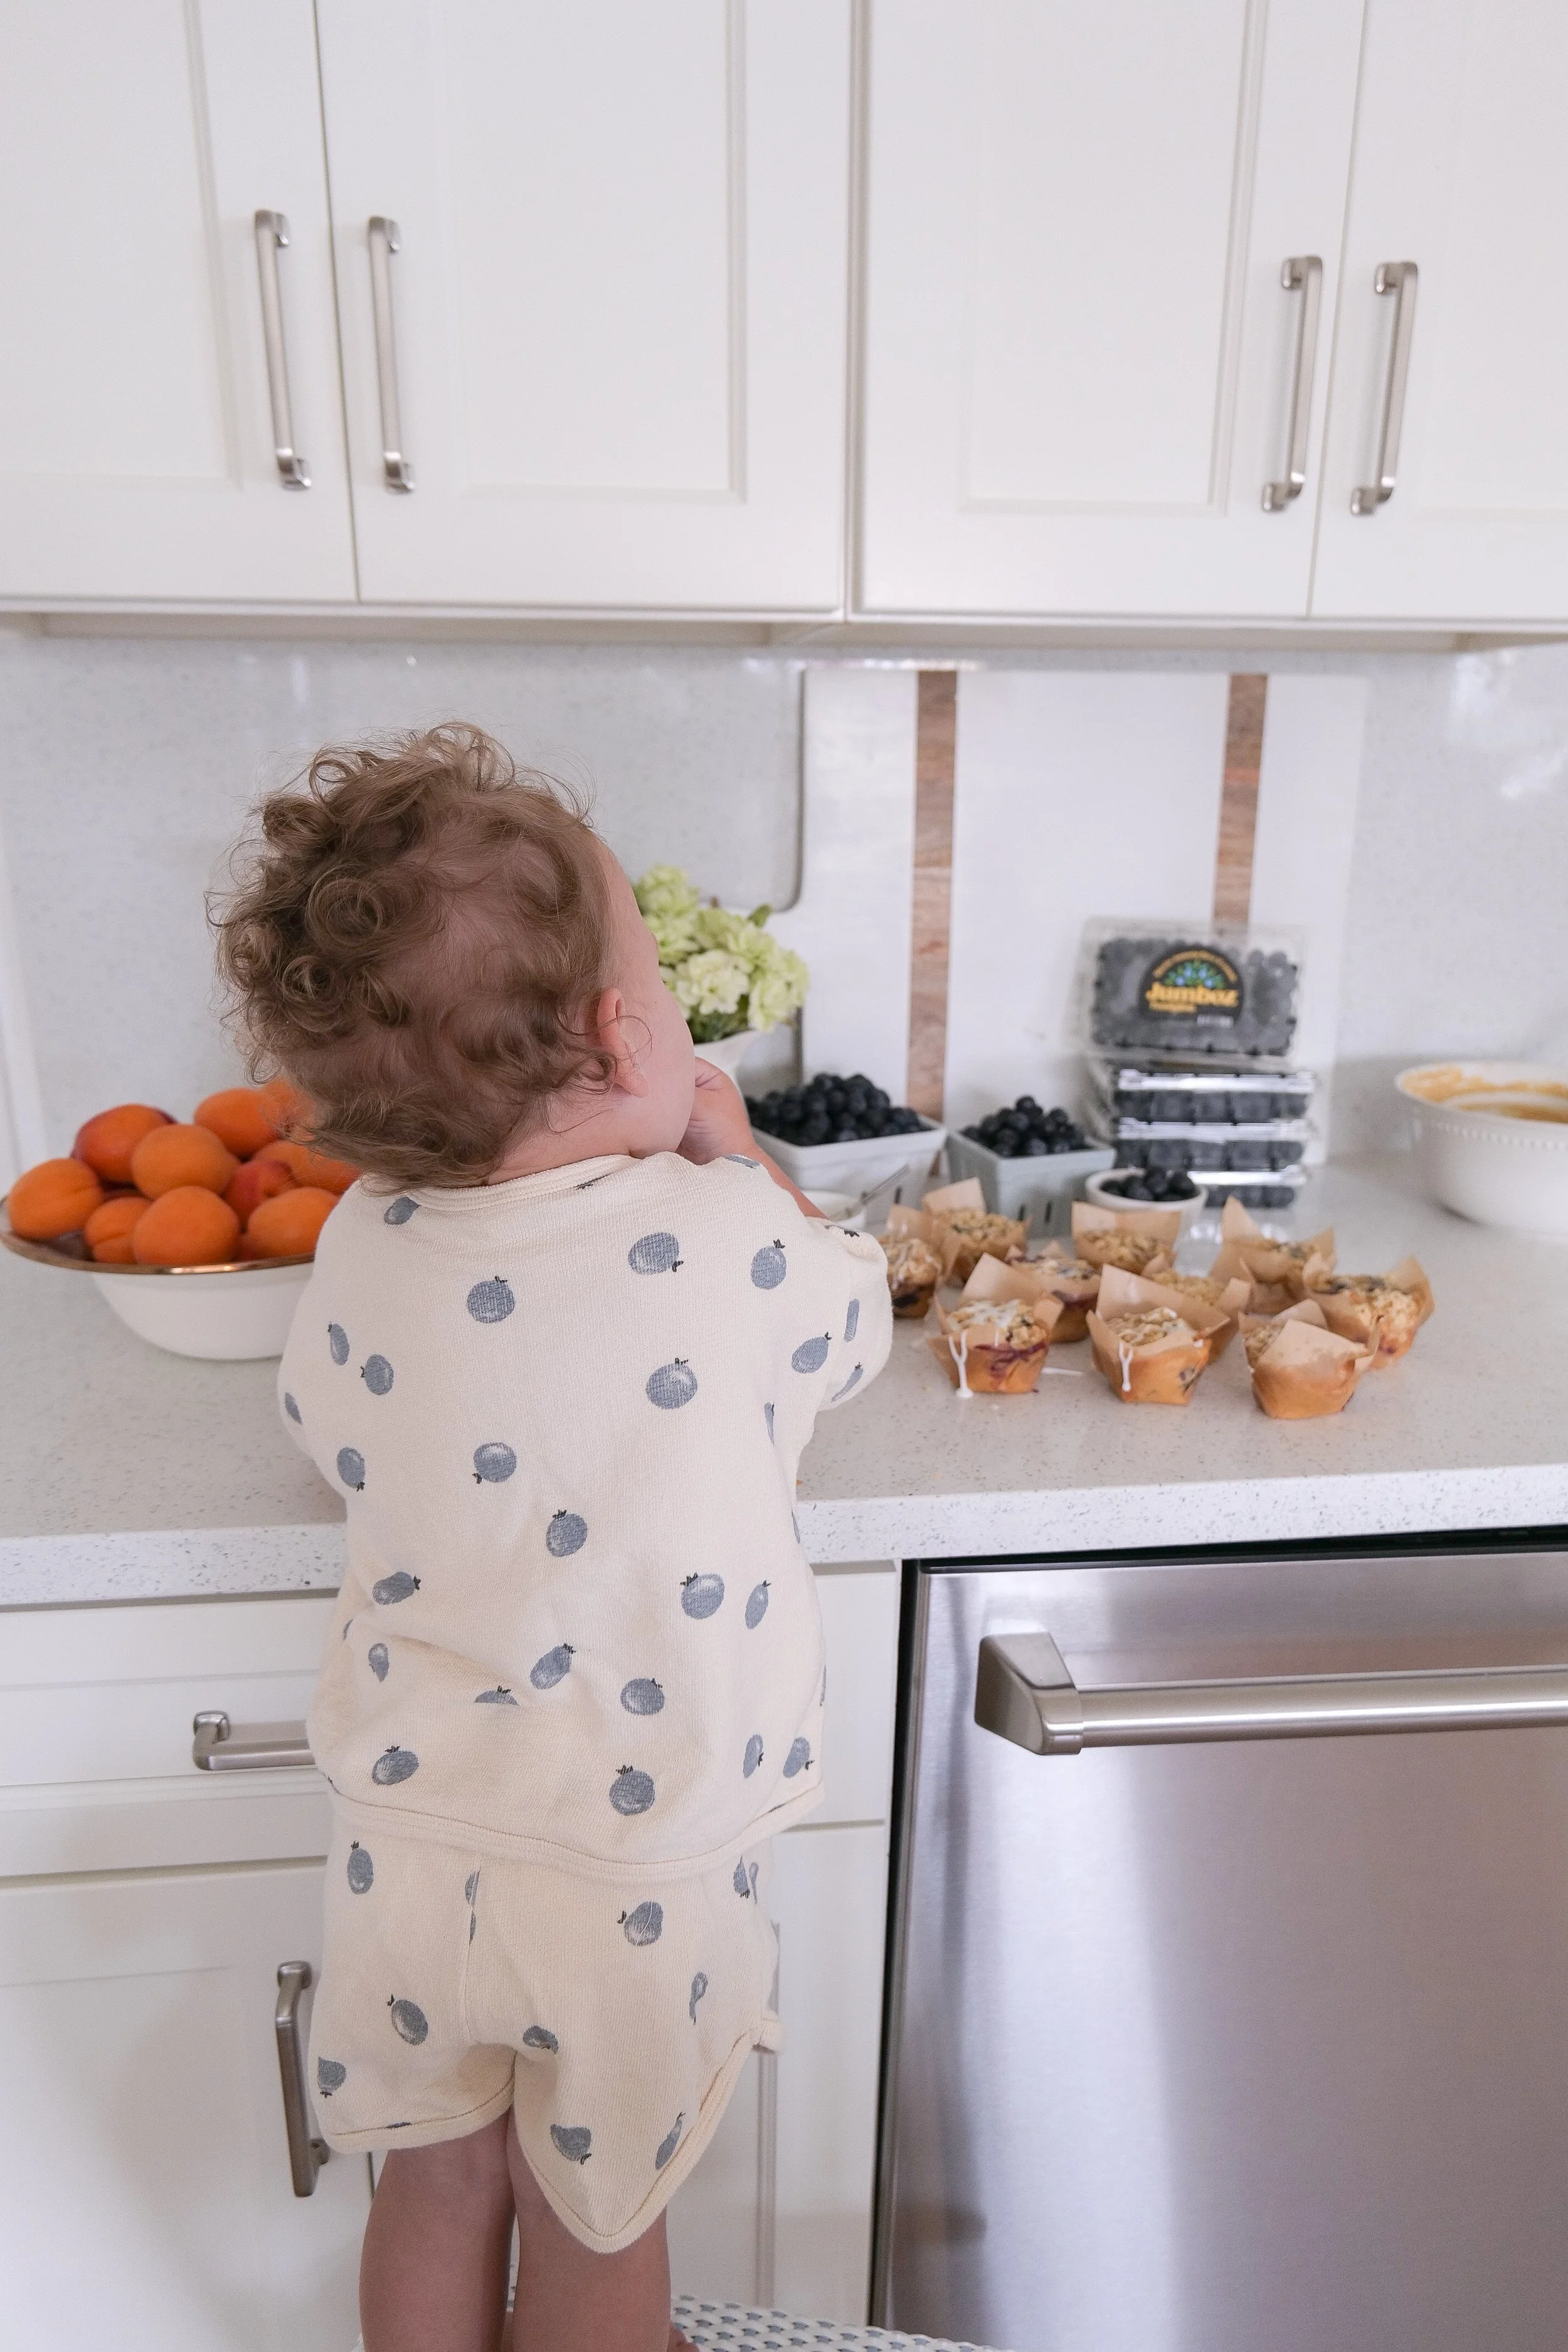
Young child enjoying a homemade blueberry apricot streusel muffin during breakfast.

Fluffy Blueberry Sourdough Discard Pancakes

These fluffy blueberry sourdough discard pancakes are soft, buttery, perfectly golden, and packed with juicy blueberries in every bite. If you’re looking for the best sourdough discard pancake recipe, these cozy homemade pancakes are the perfect way to use extra sourdough starter while creating a warm bakery-style breakfast everyone will love. Save these blueberry sourdough discard pancakes for cozy weekend breakfasts, summer brunches, and slow mornings at home.

Fluffy Blueberry Sourdough Discard Pancakes

Cozy Baking Essentials

If you love cozy homemade breakfasts and bakery-style recipes, I linked some of my favorite bakeware, kitchen tools, and timeless kitchen pieces I use for recipes like these in my Cozy Baking Essentials collection.

↓ Skip to Recipe
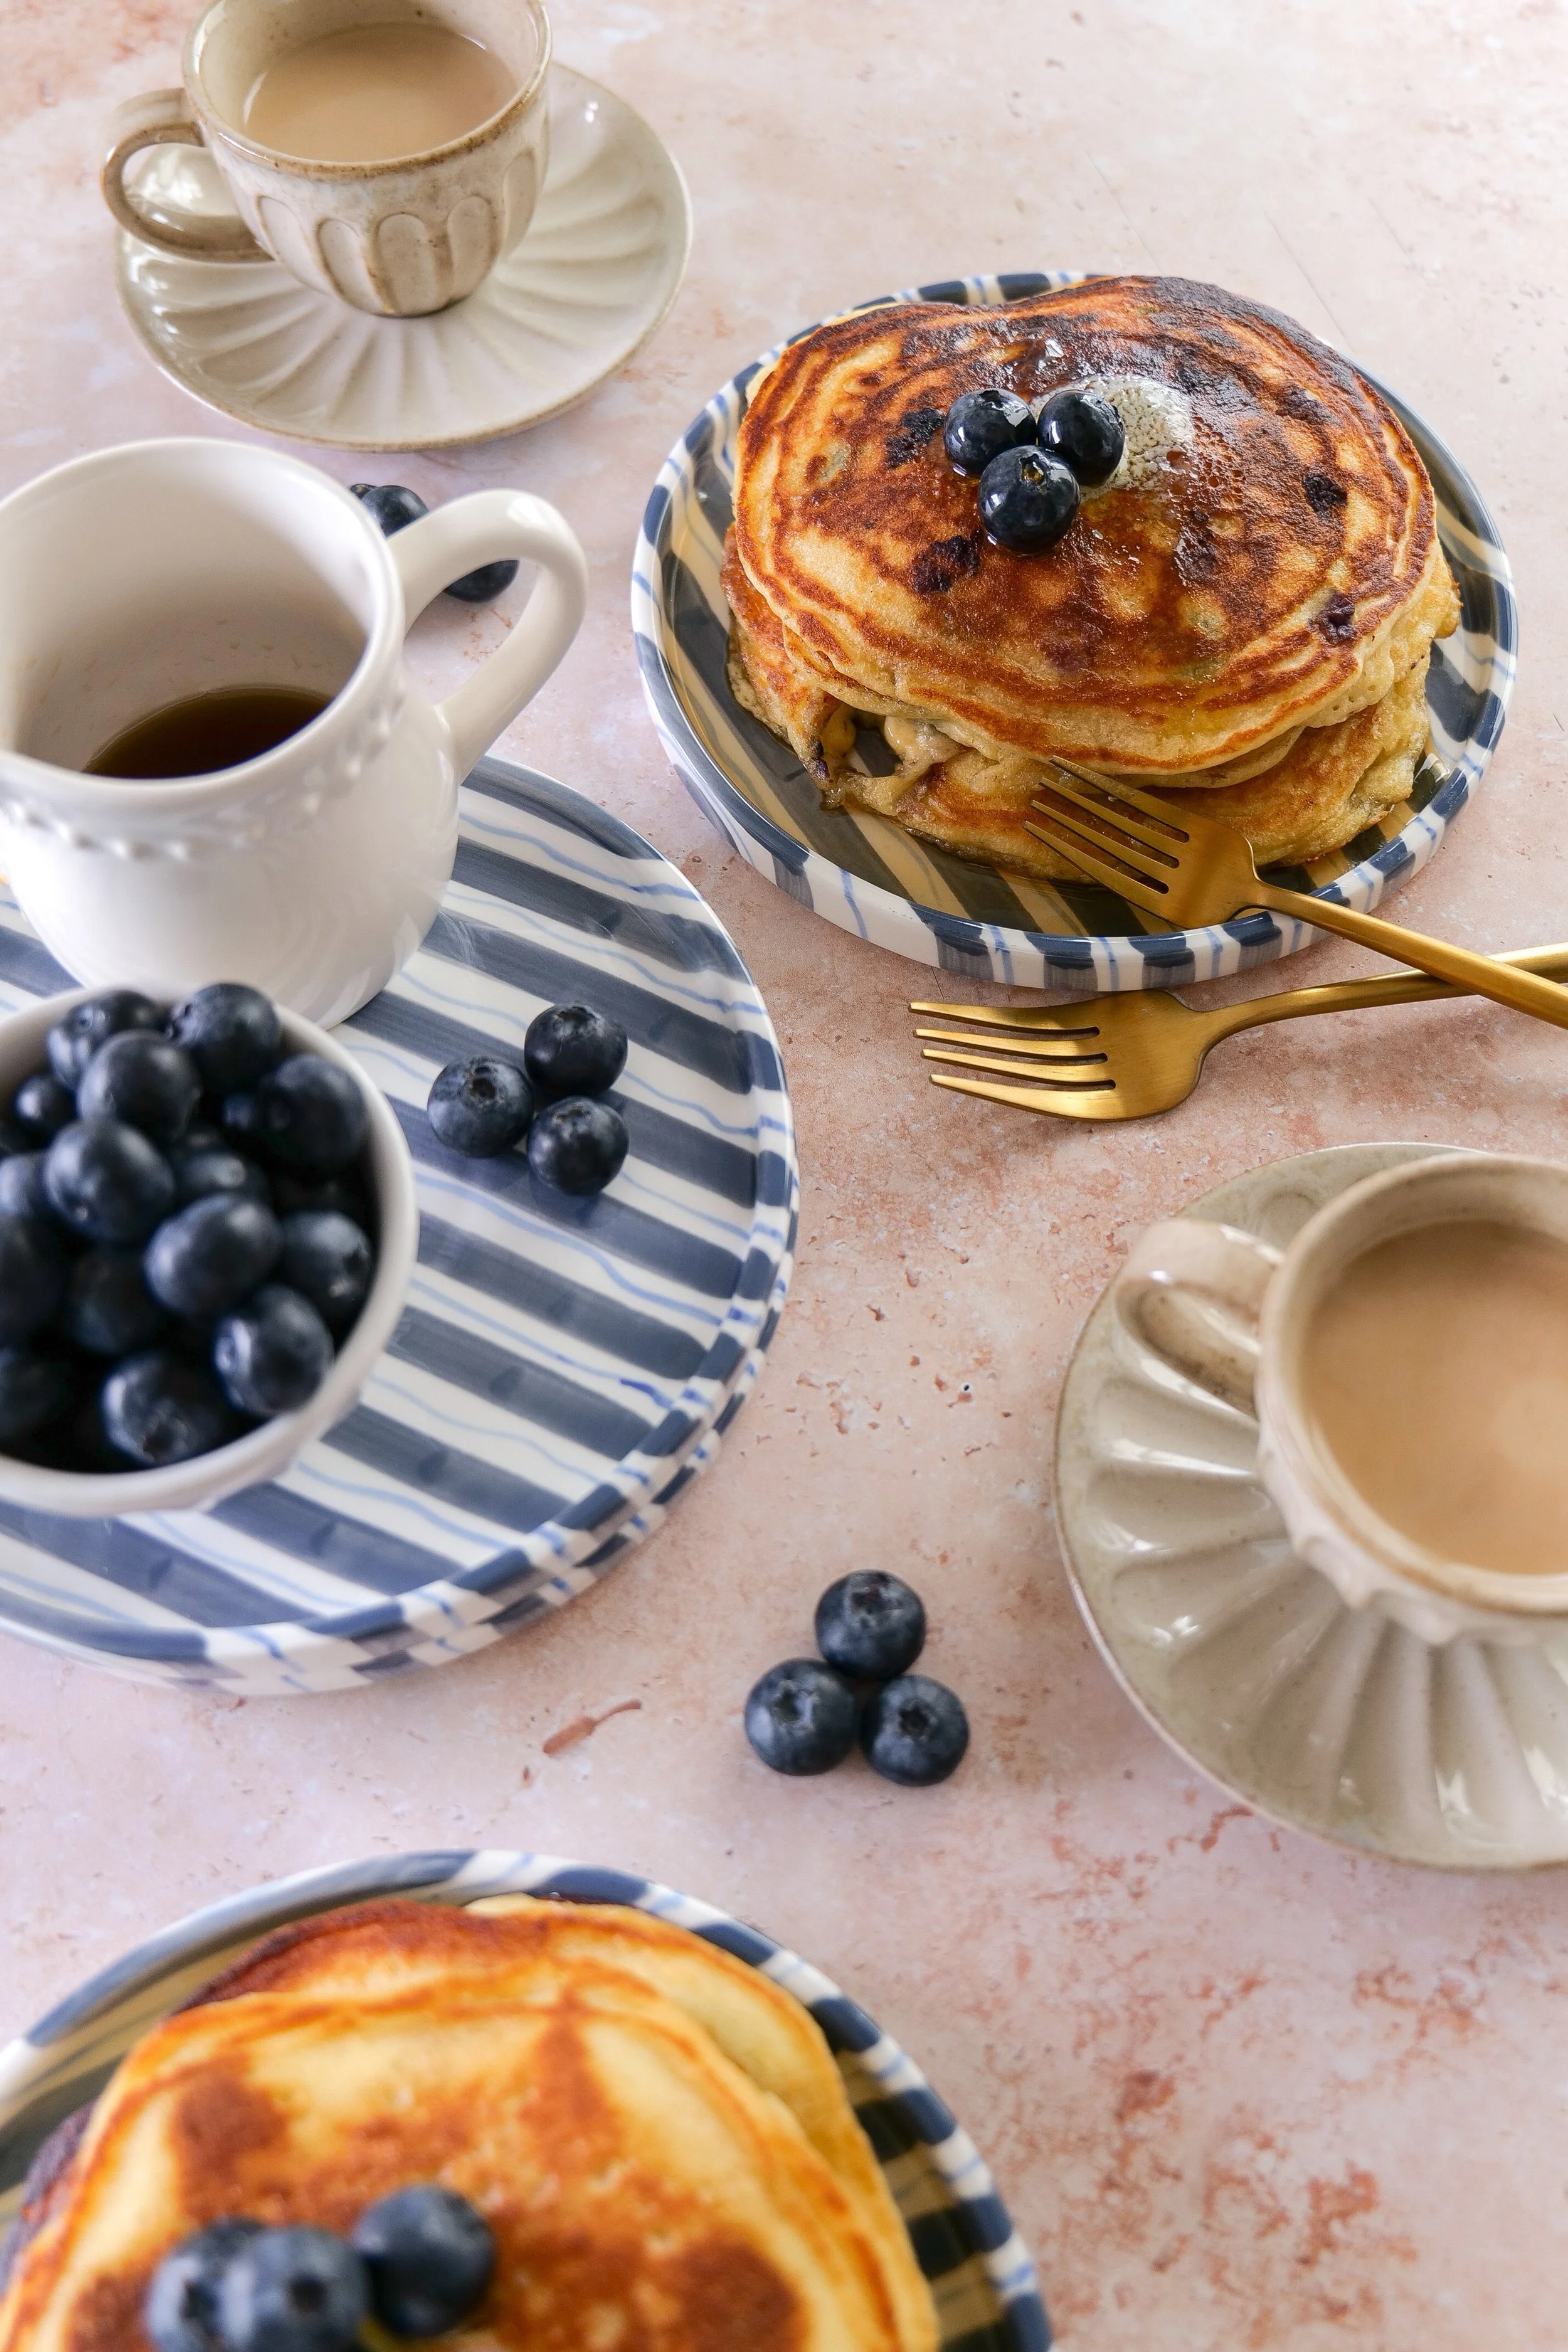
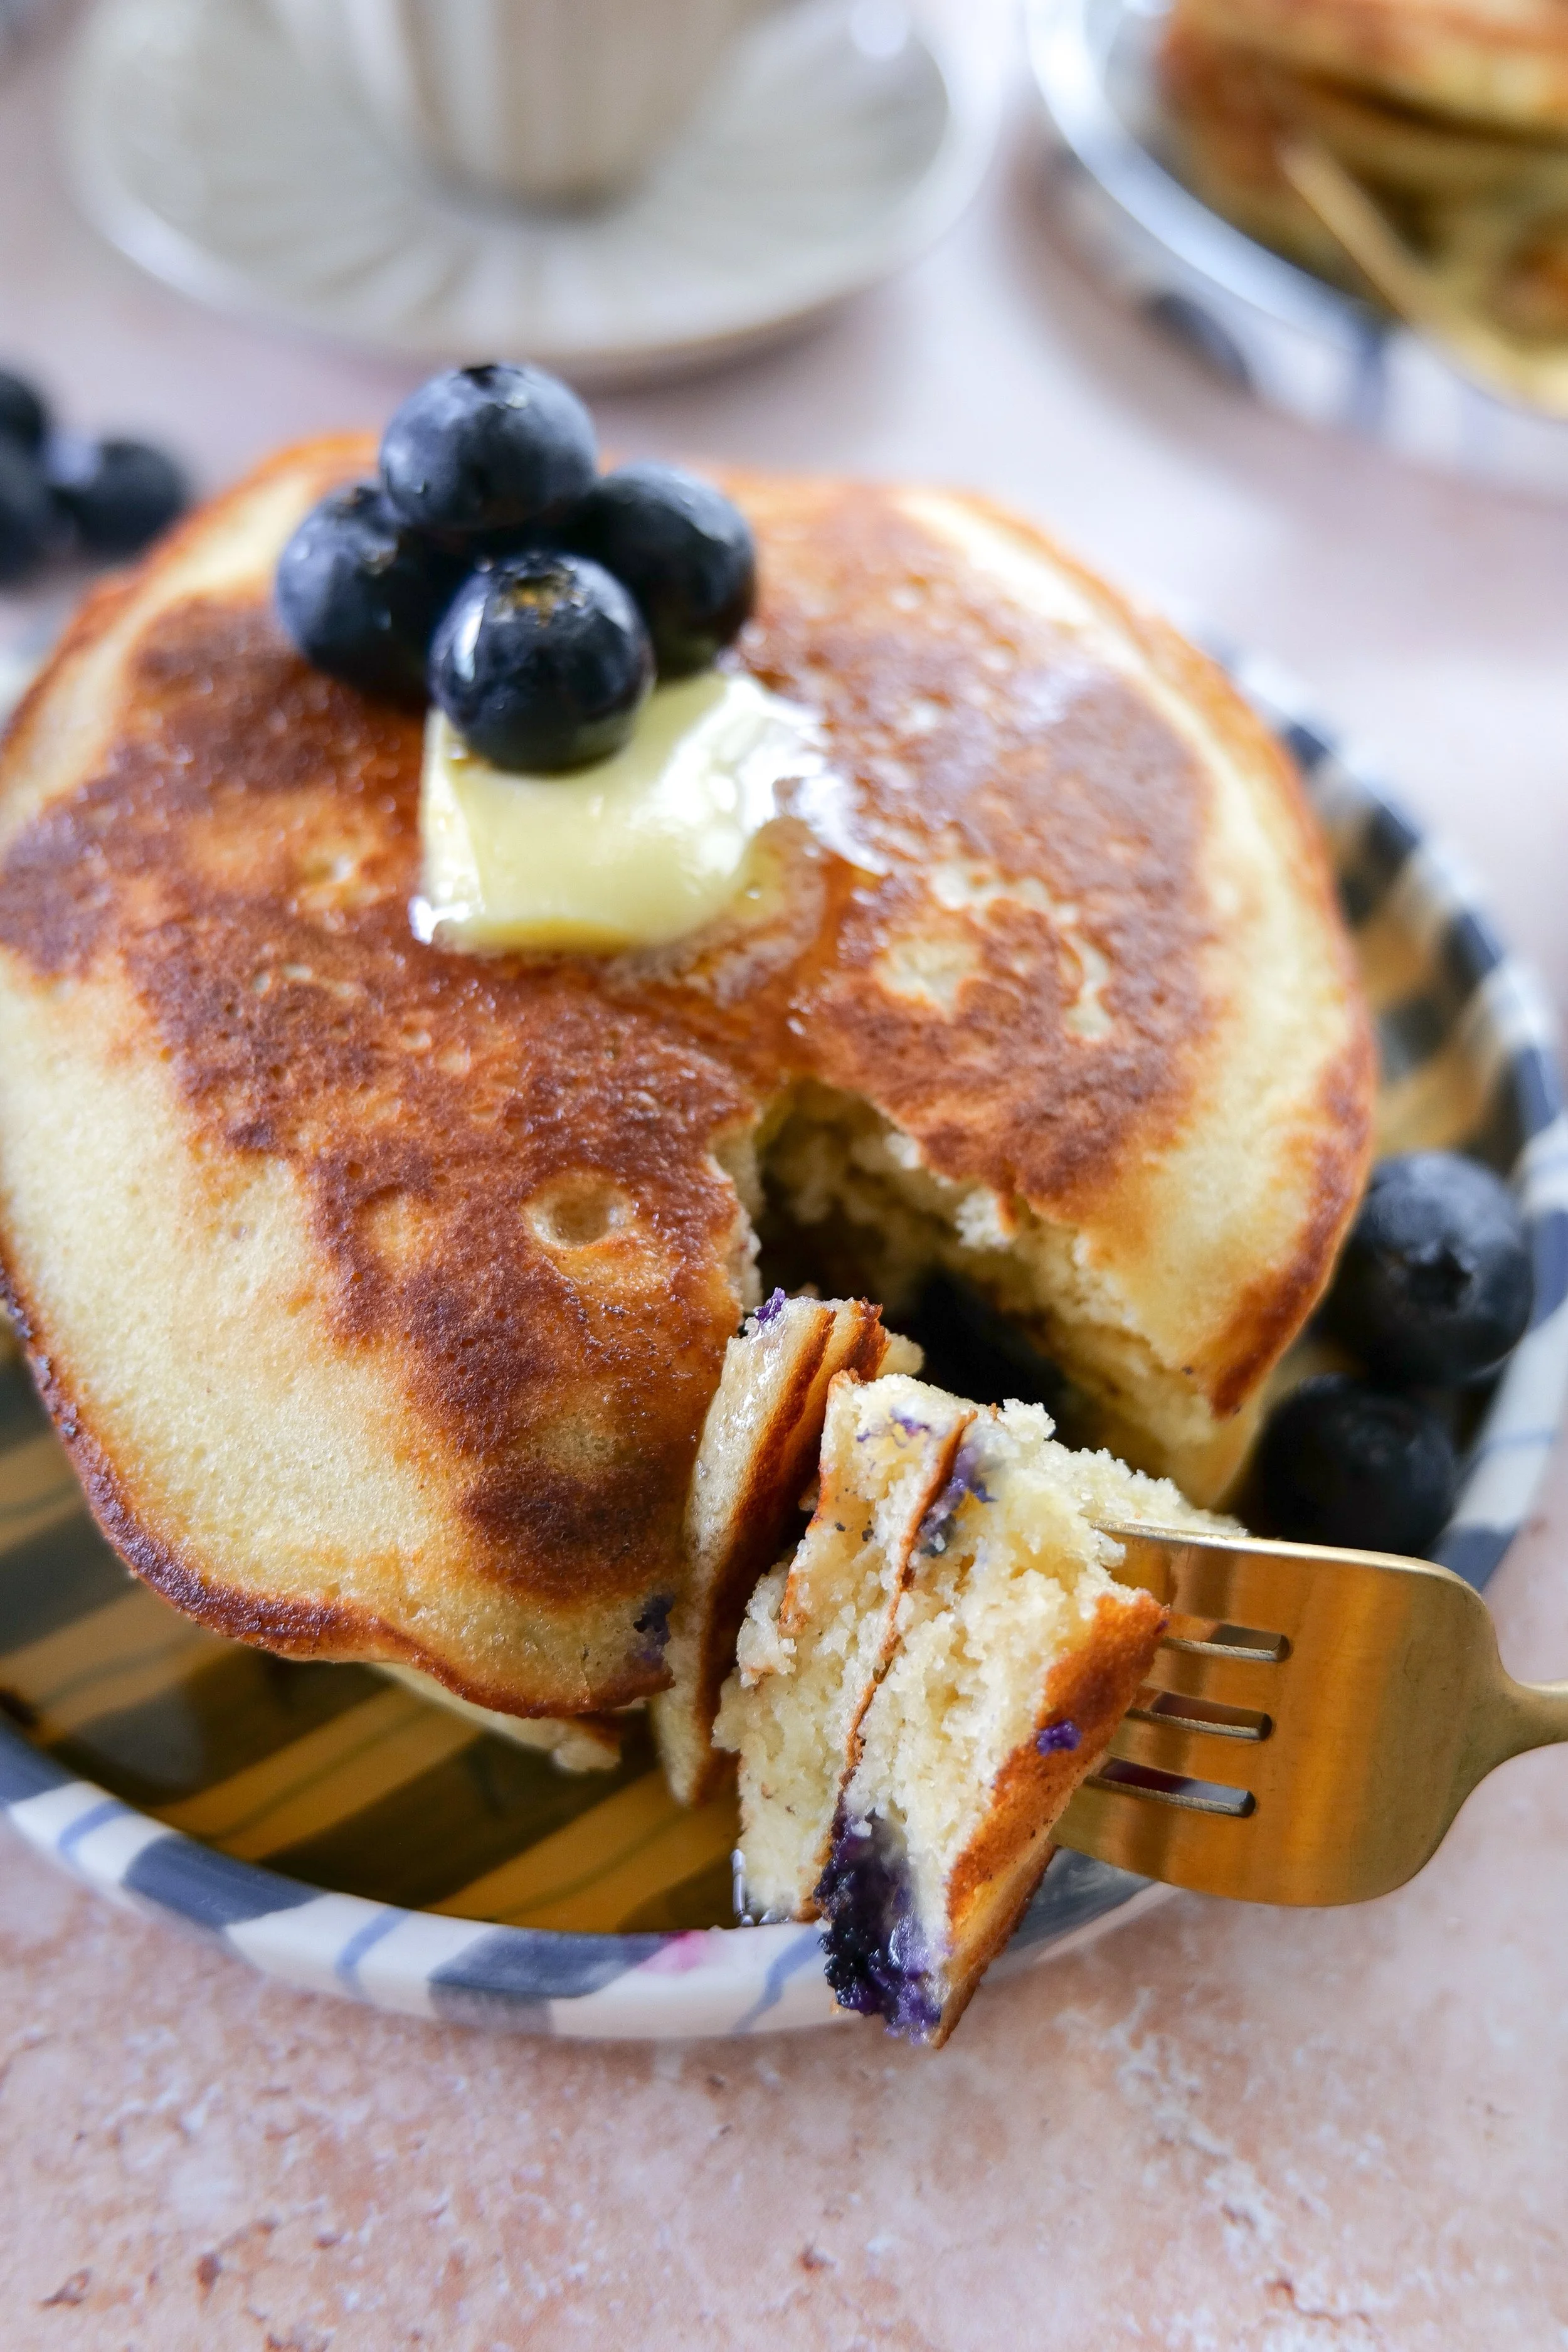
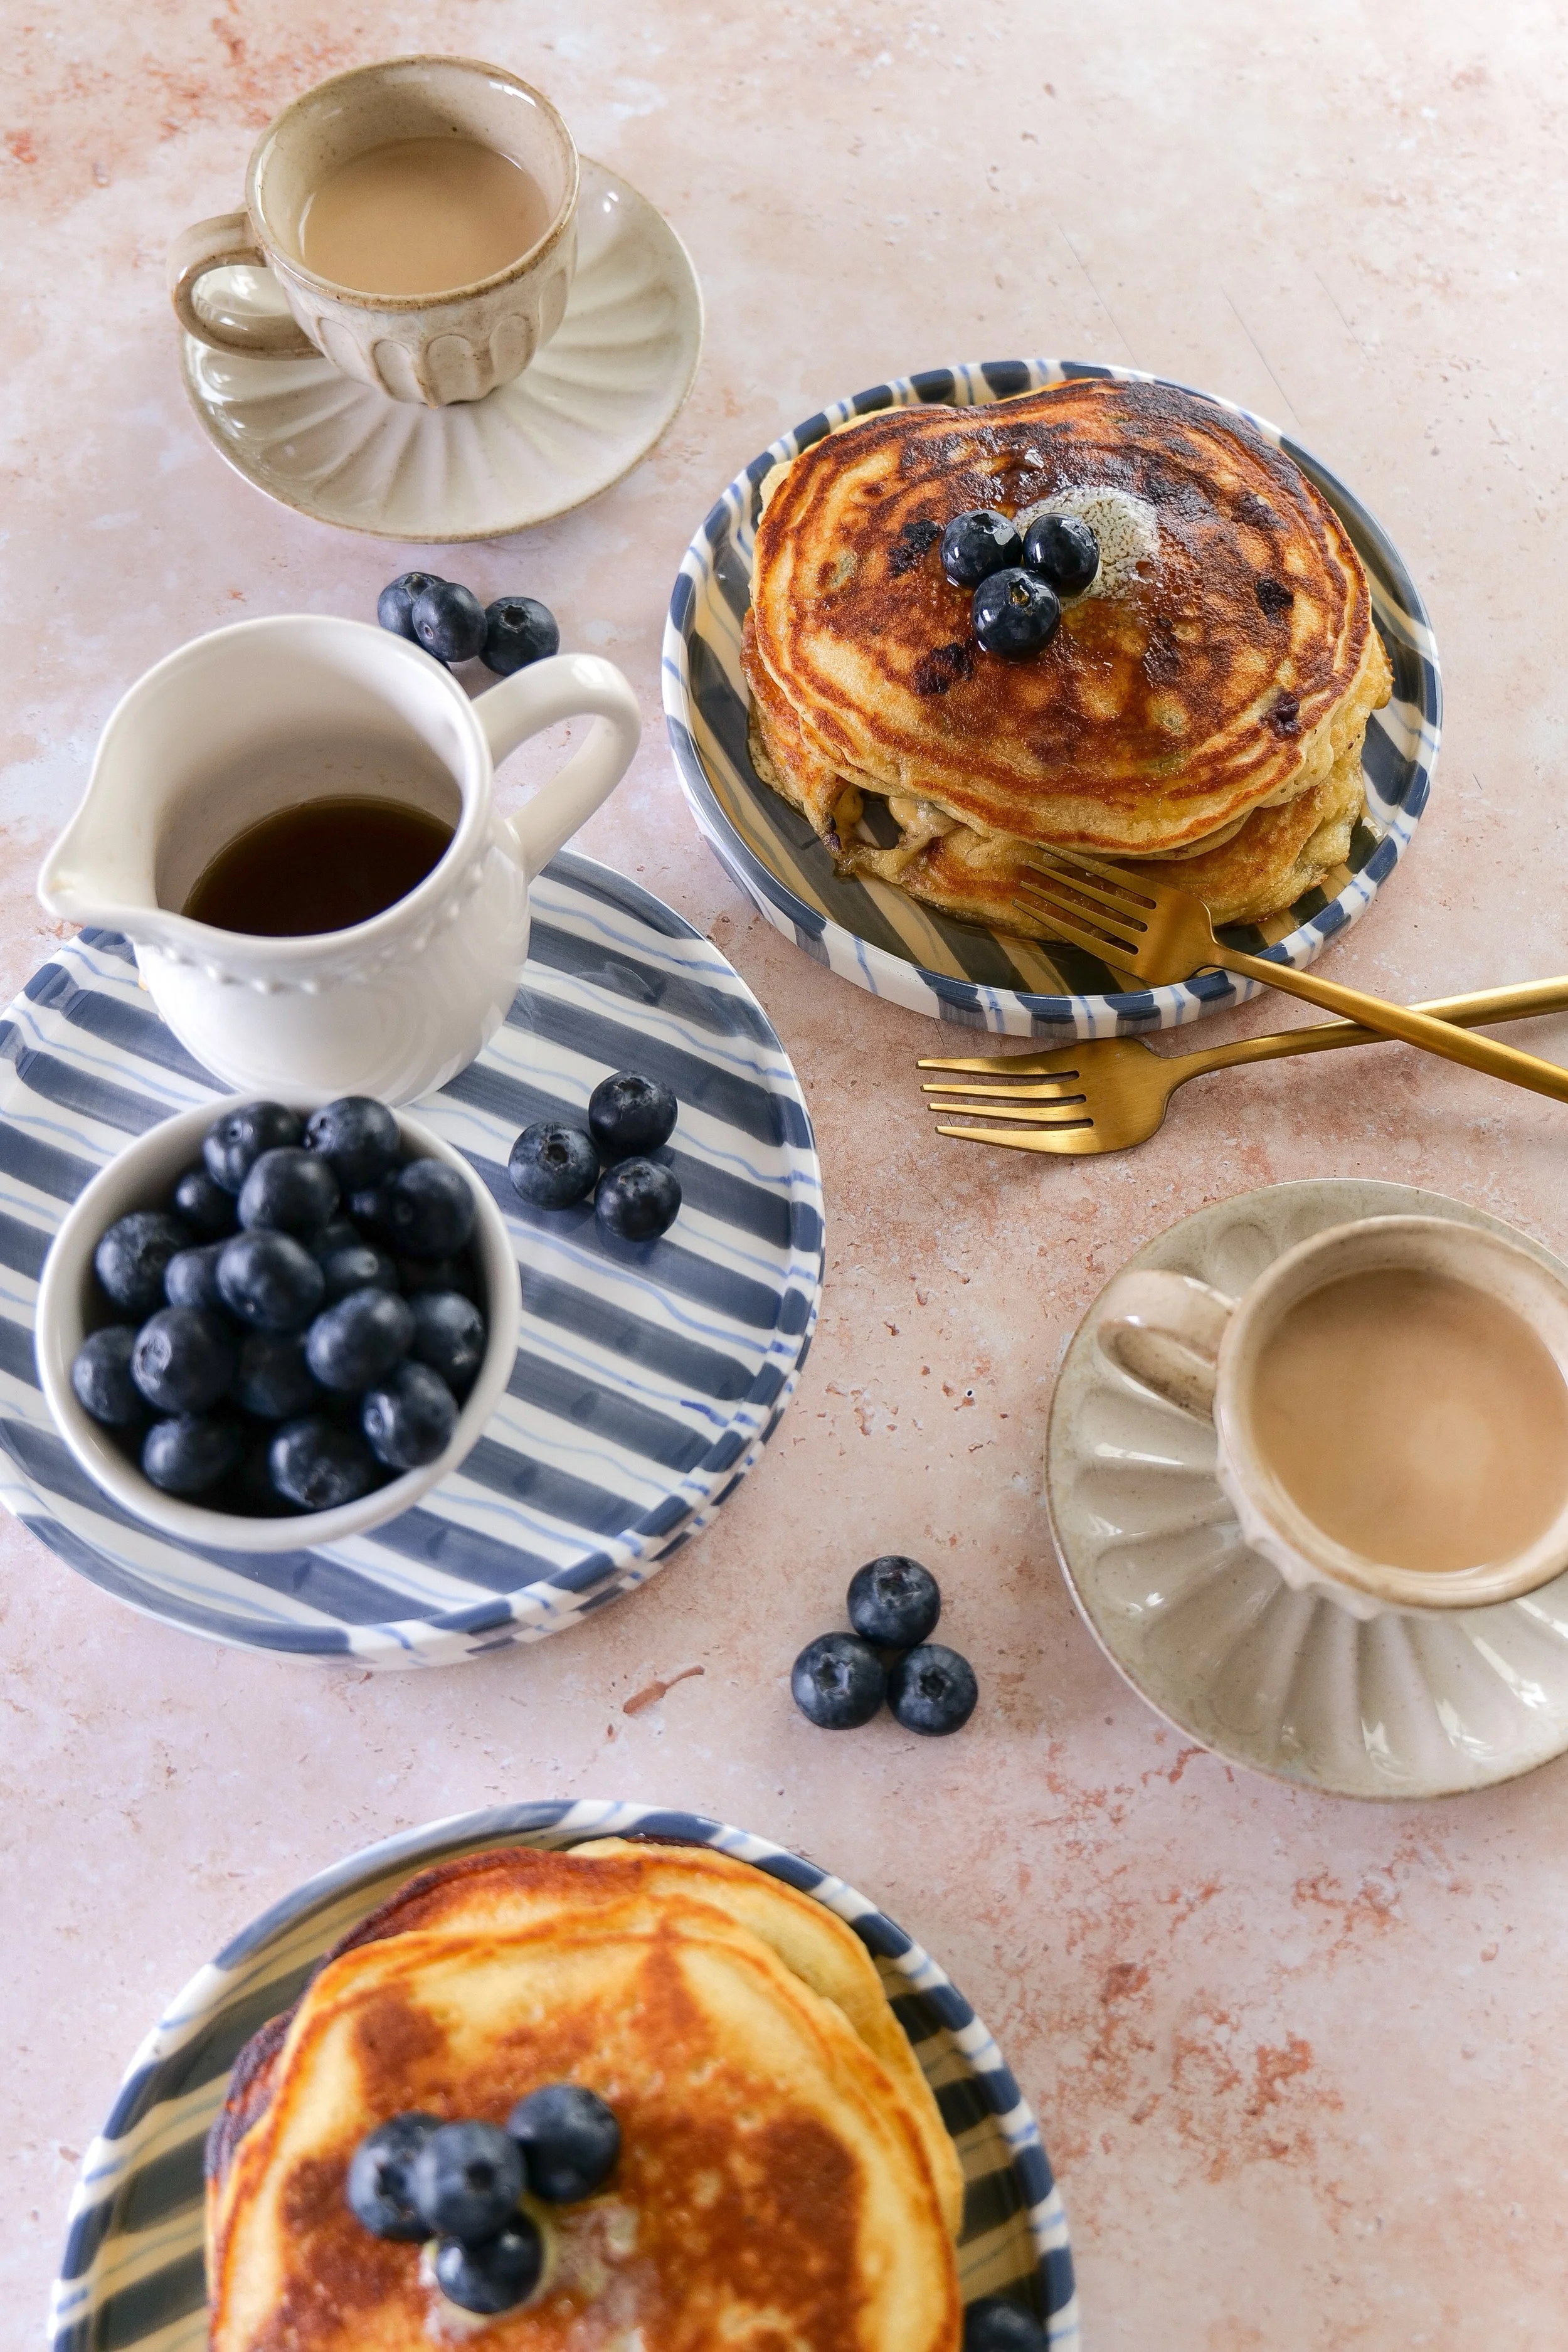
Homemade sourdough discard blueberry pancakes with a soft fluffy texture.
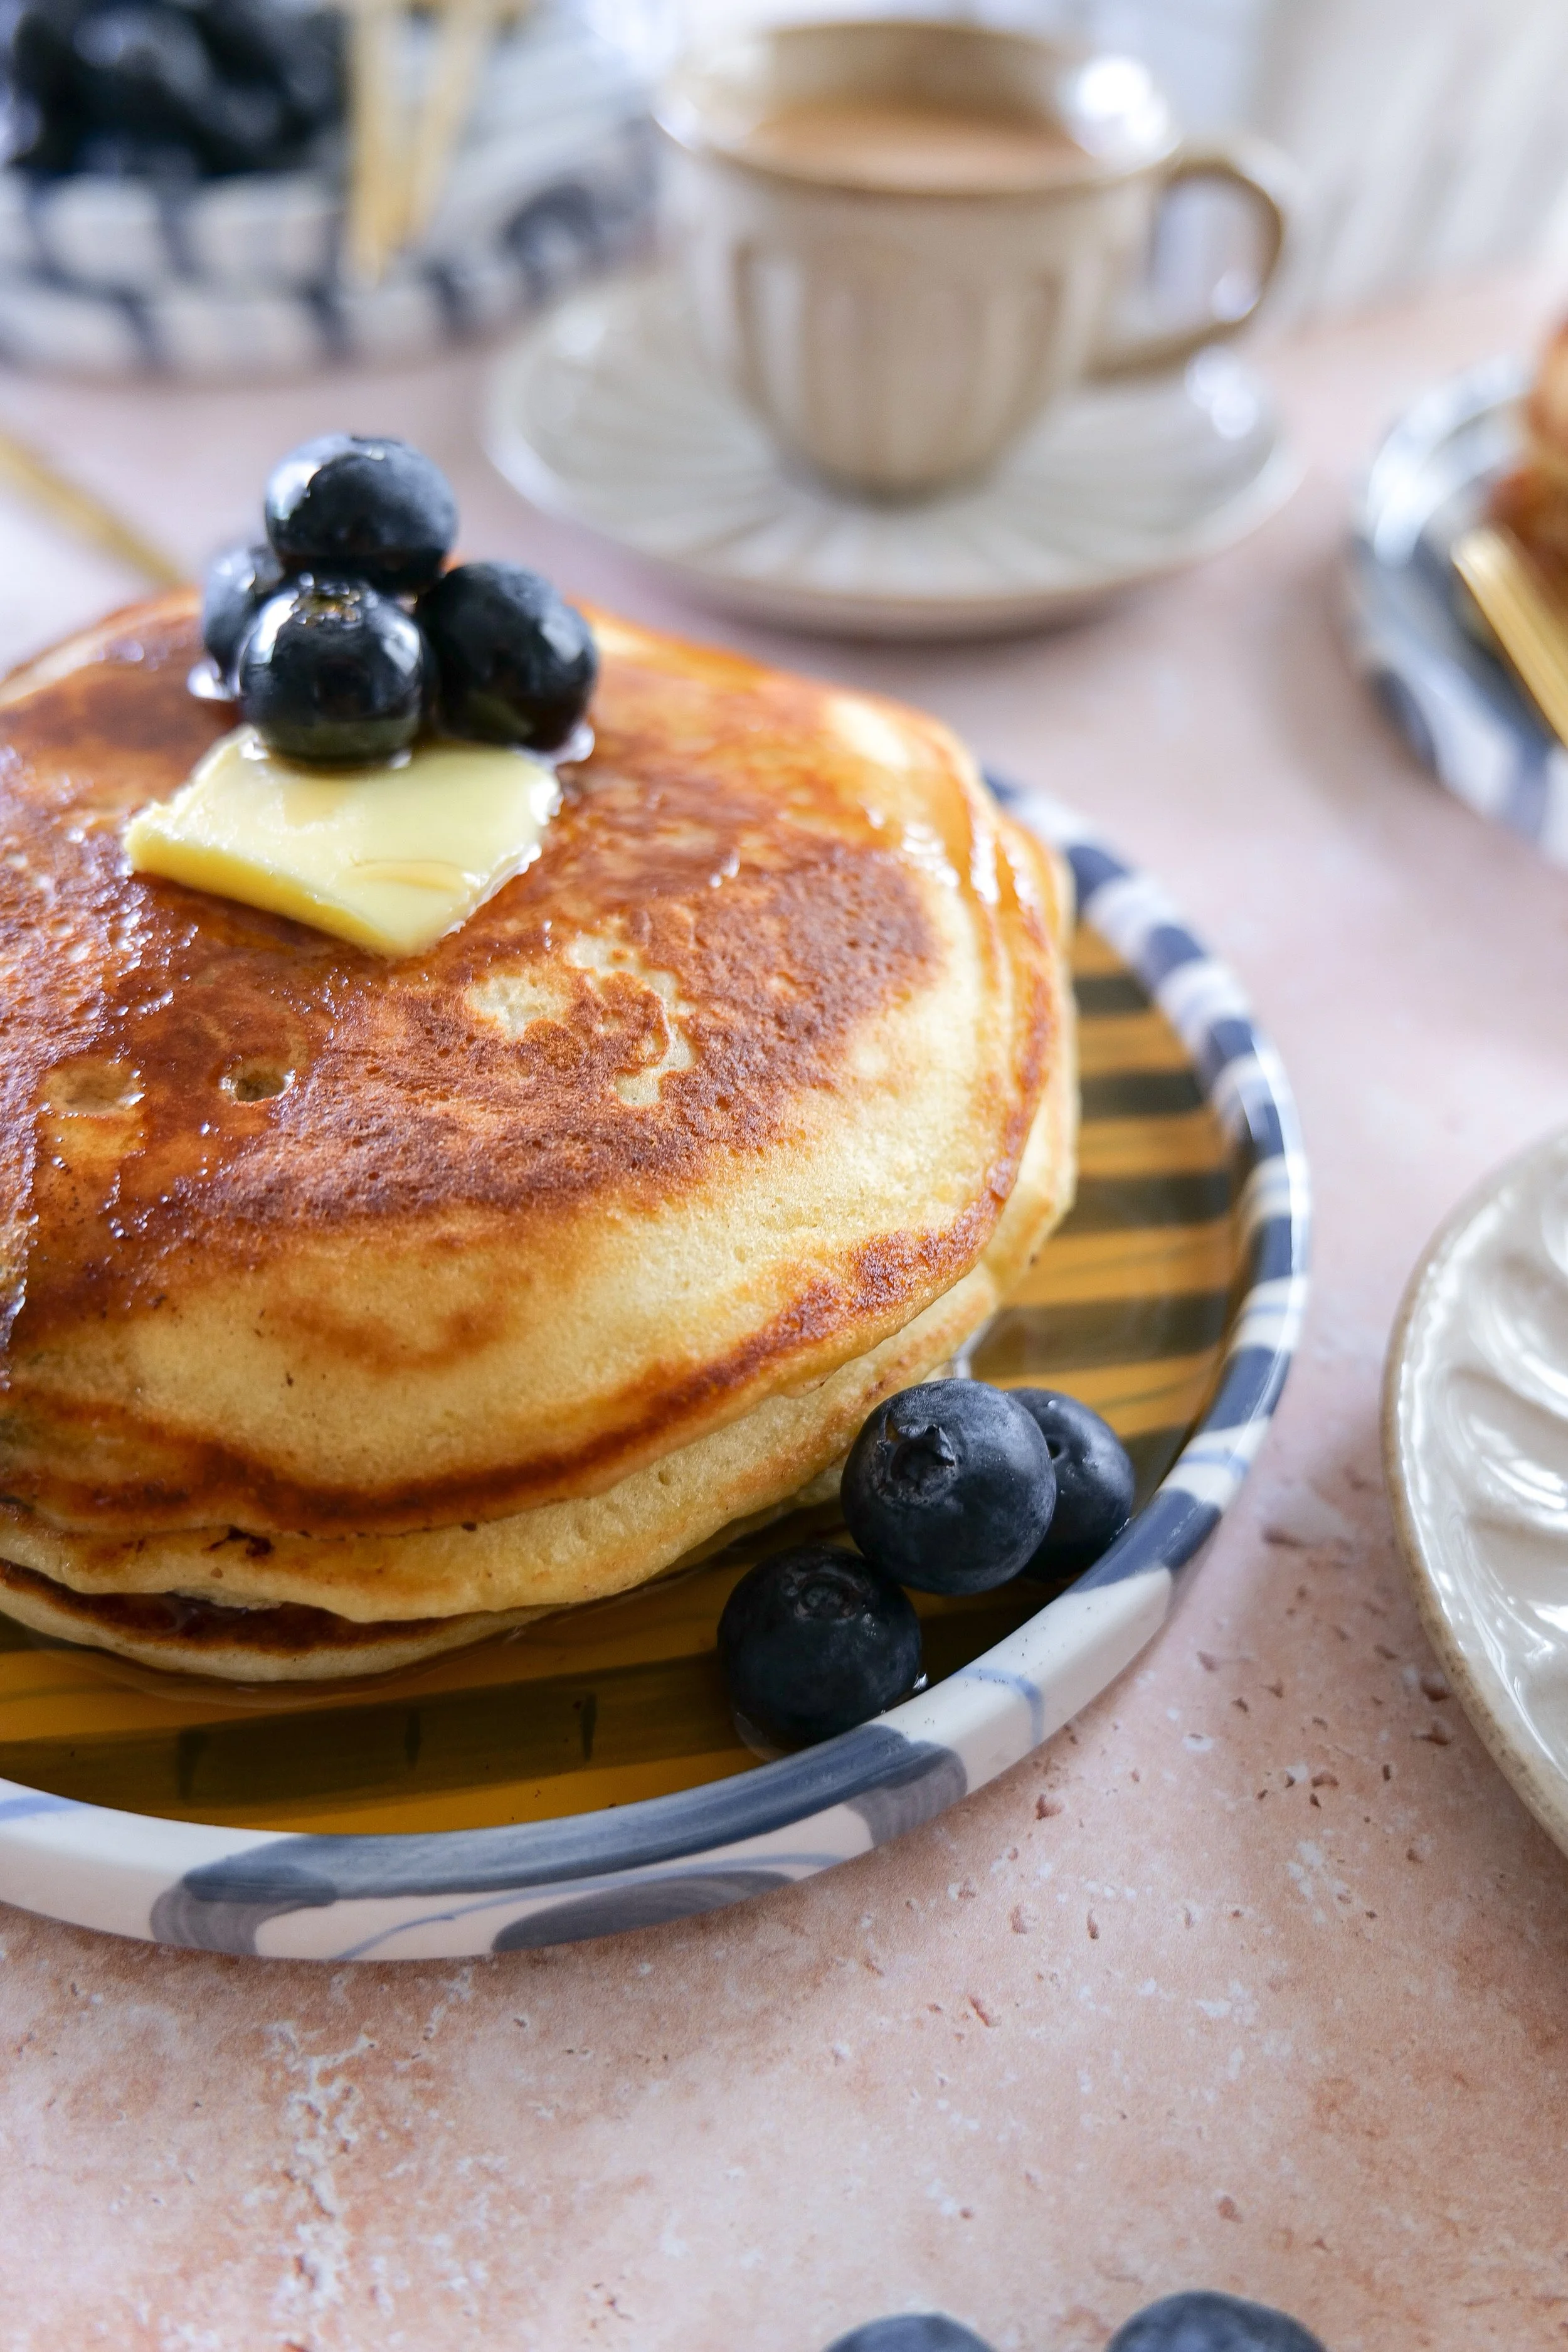
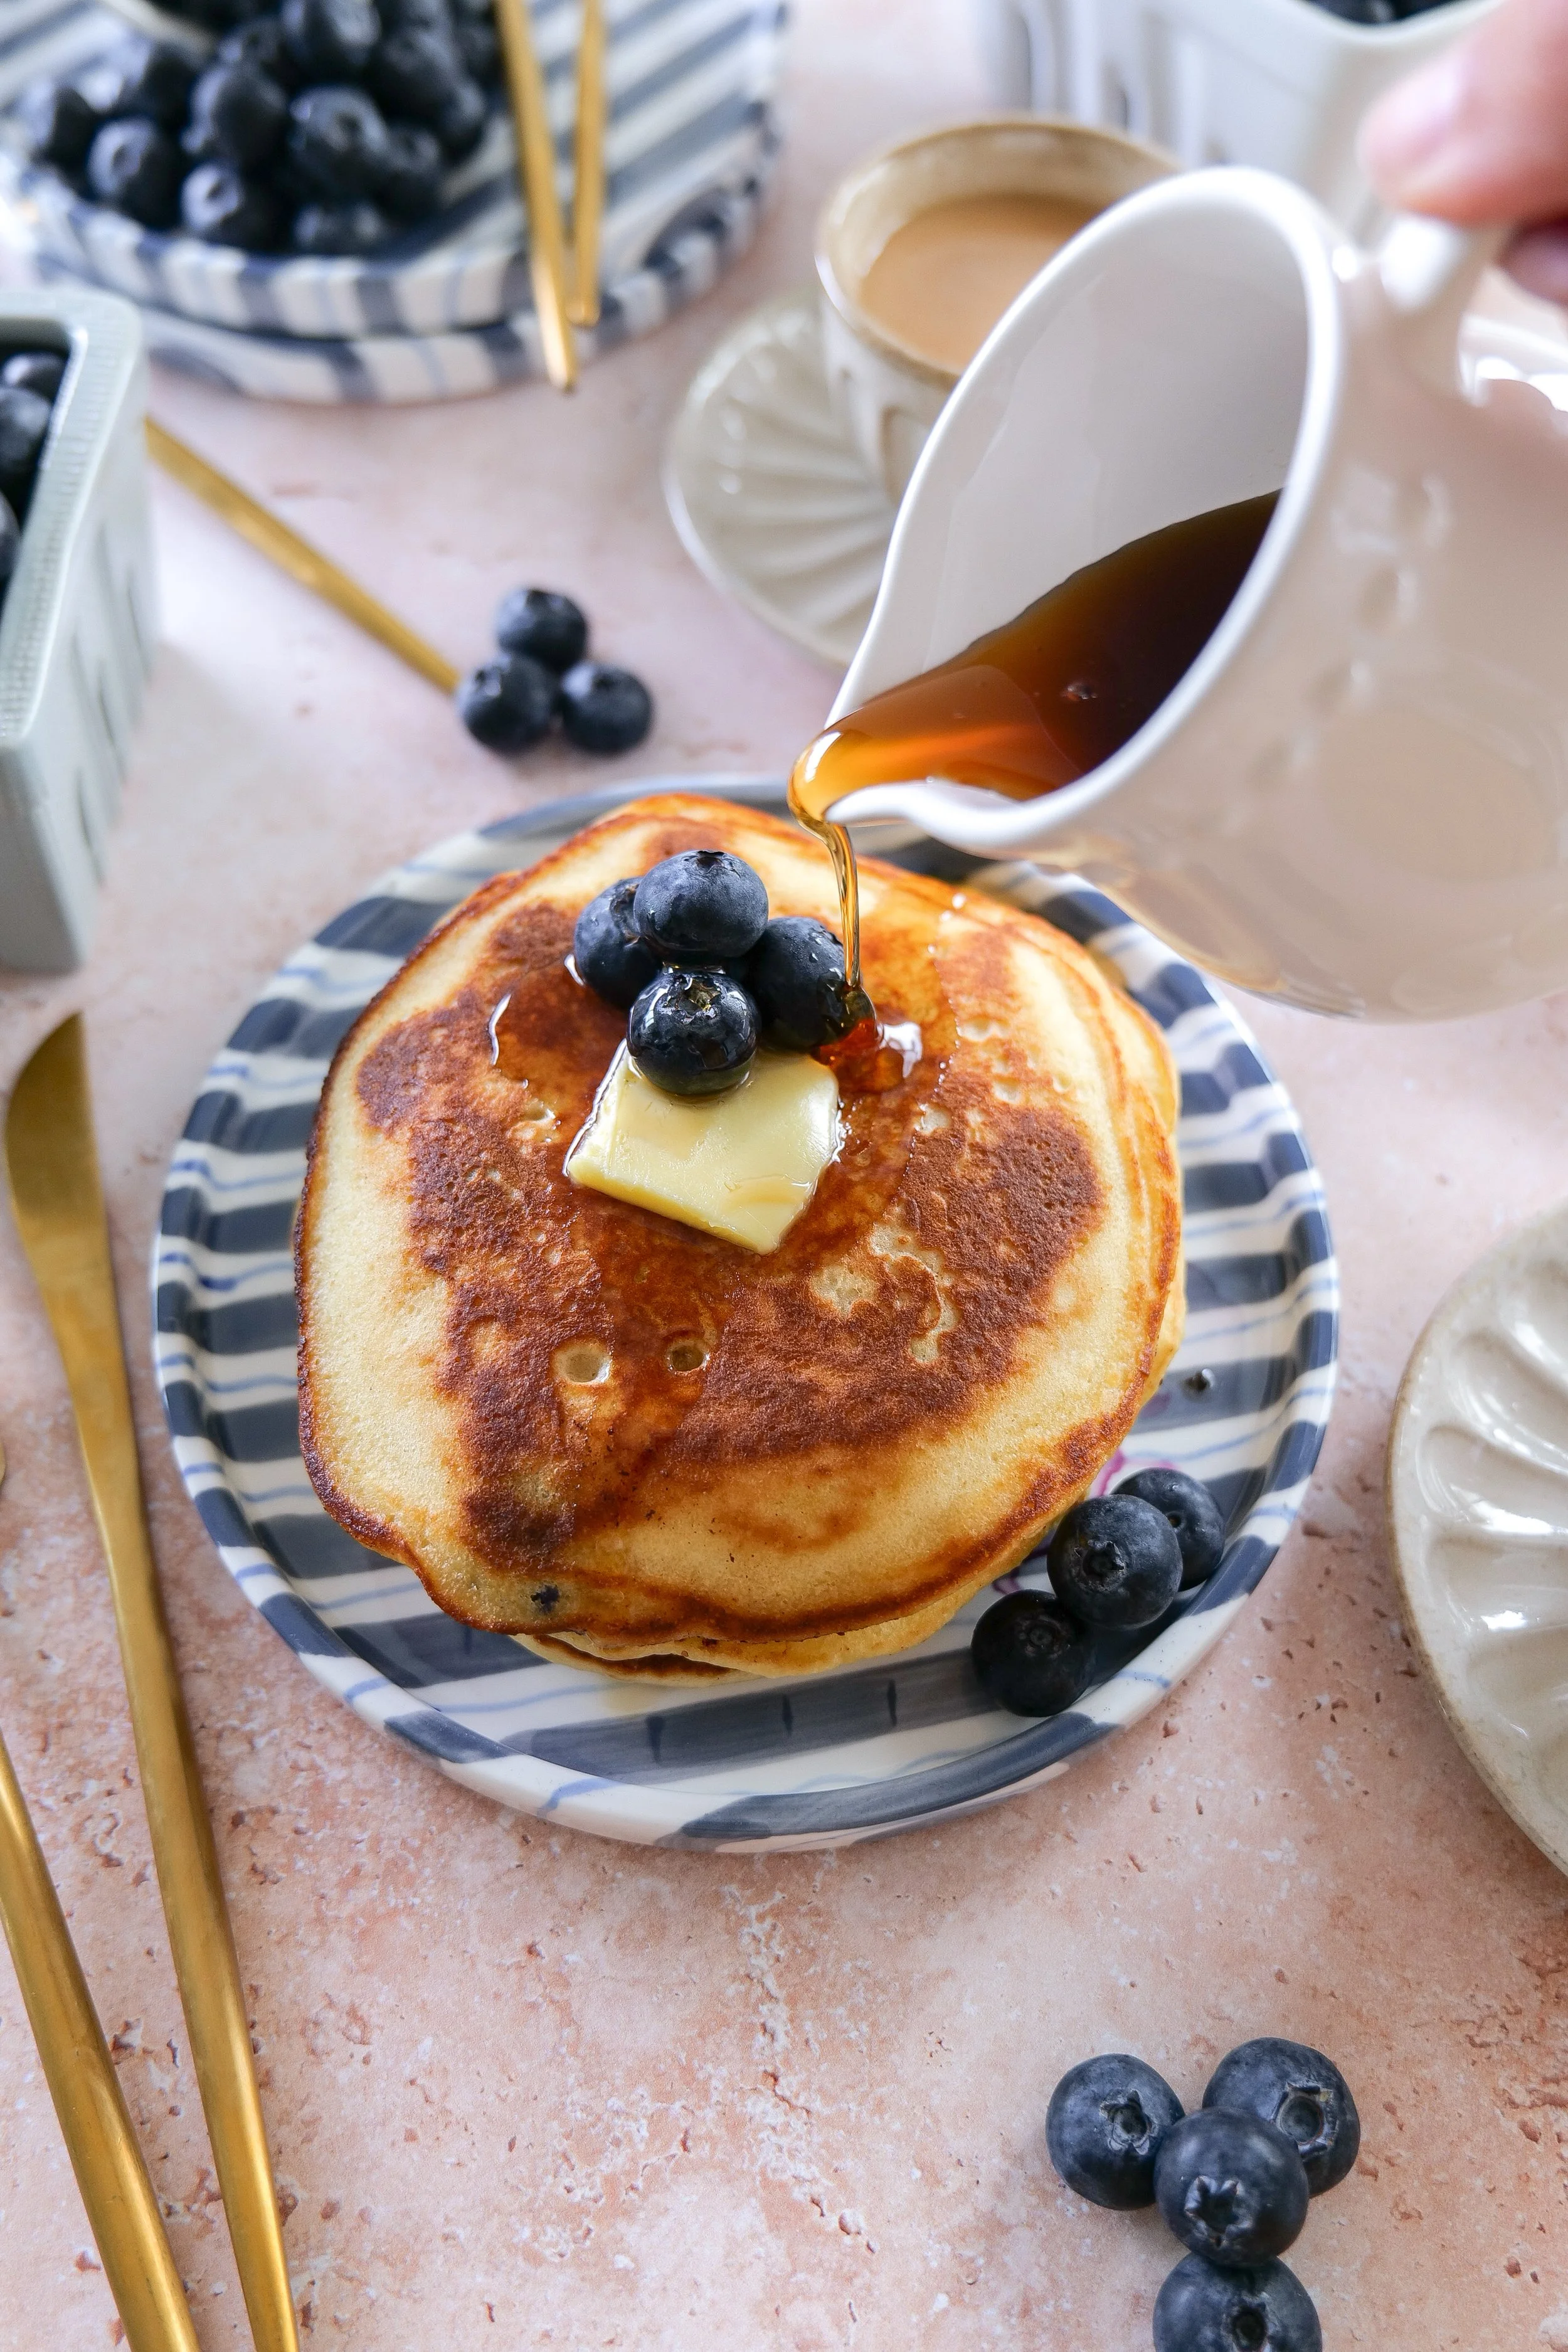
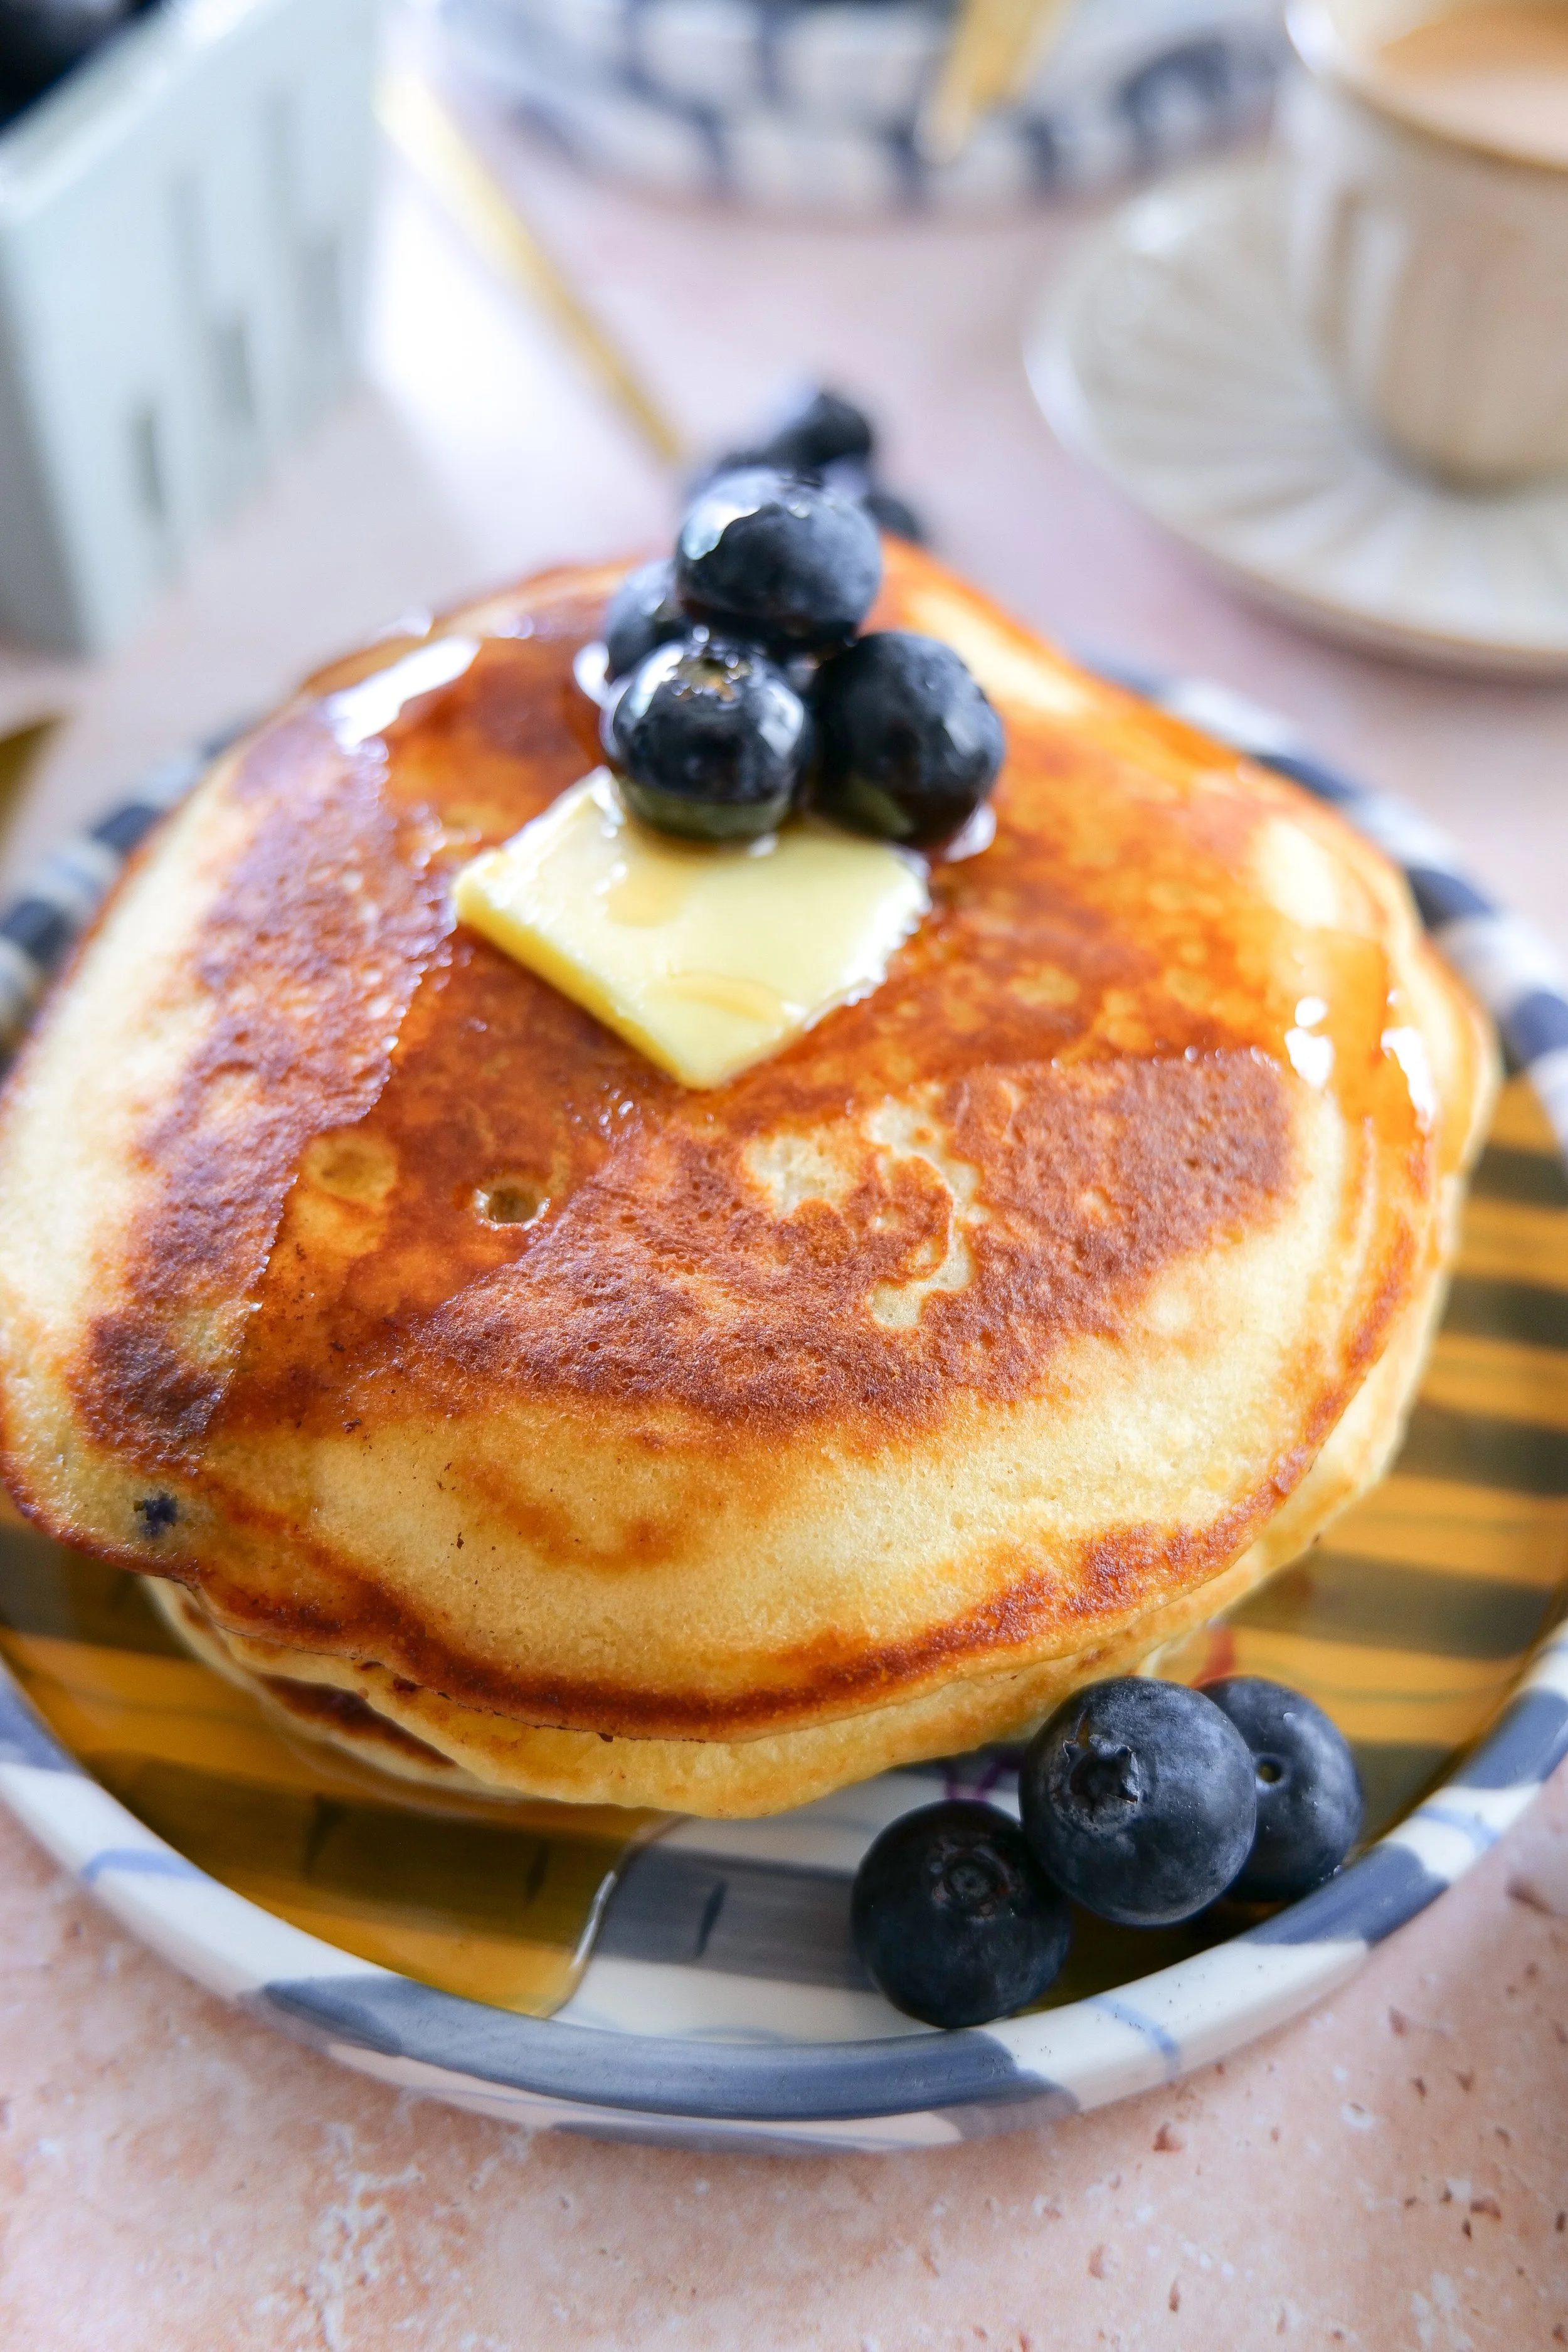
Fluffy blueberry sourdough discard pancakes with maple syrup.
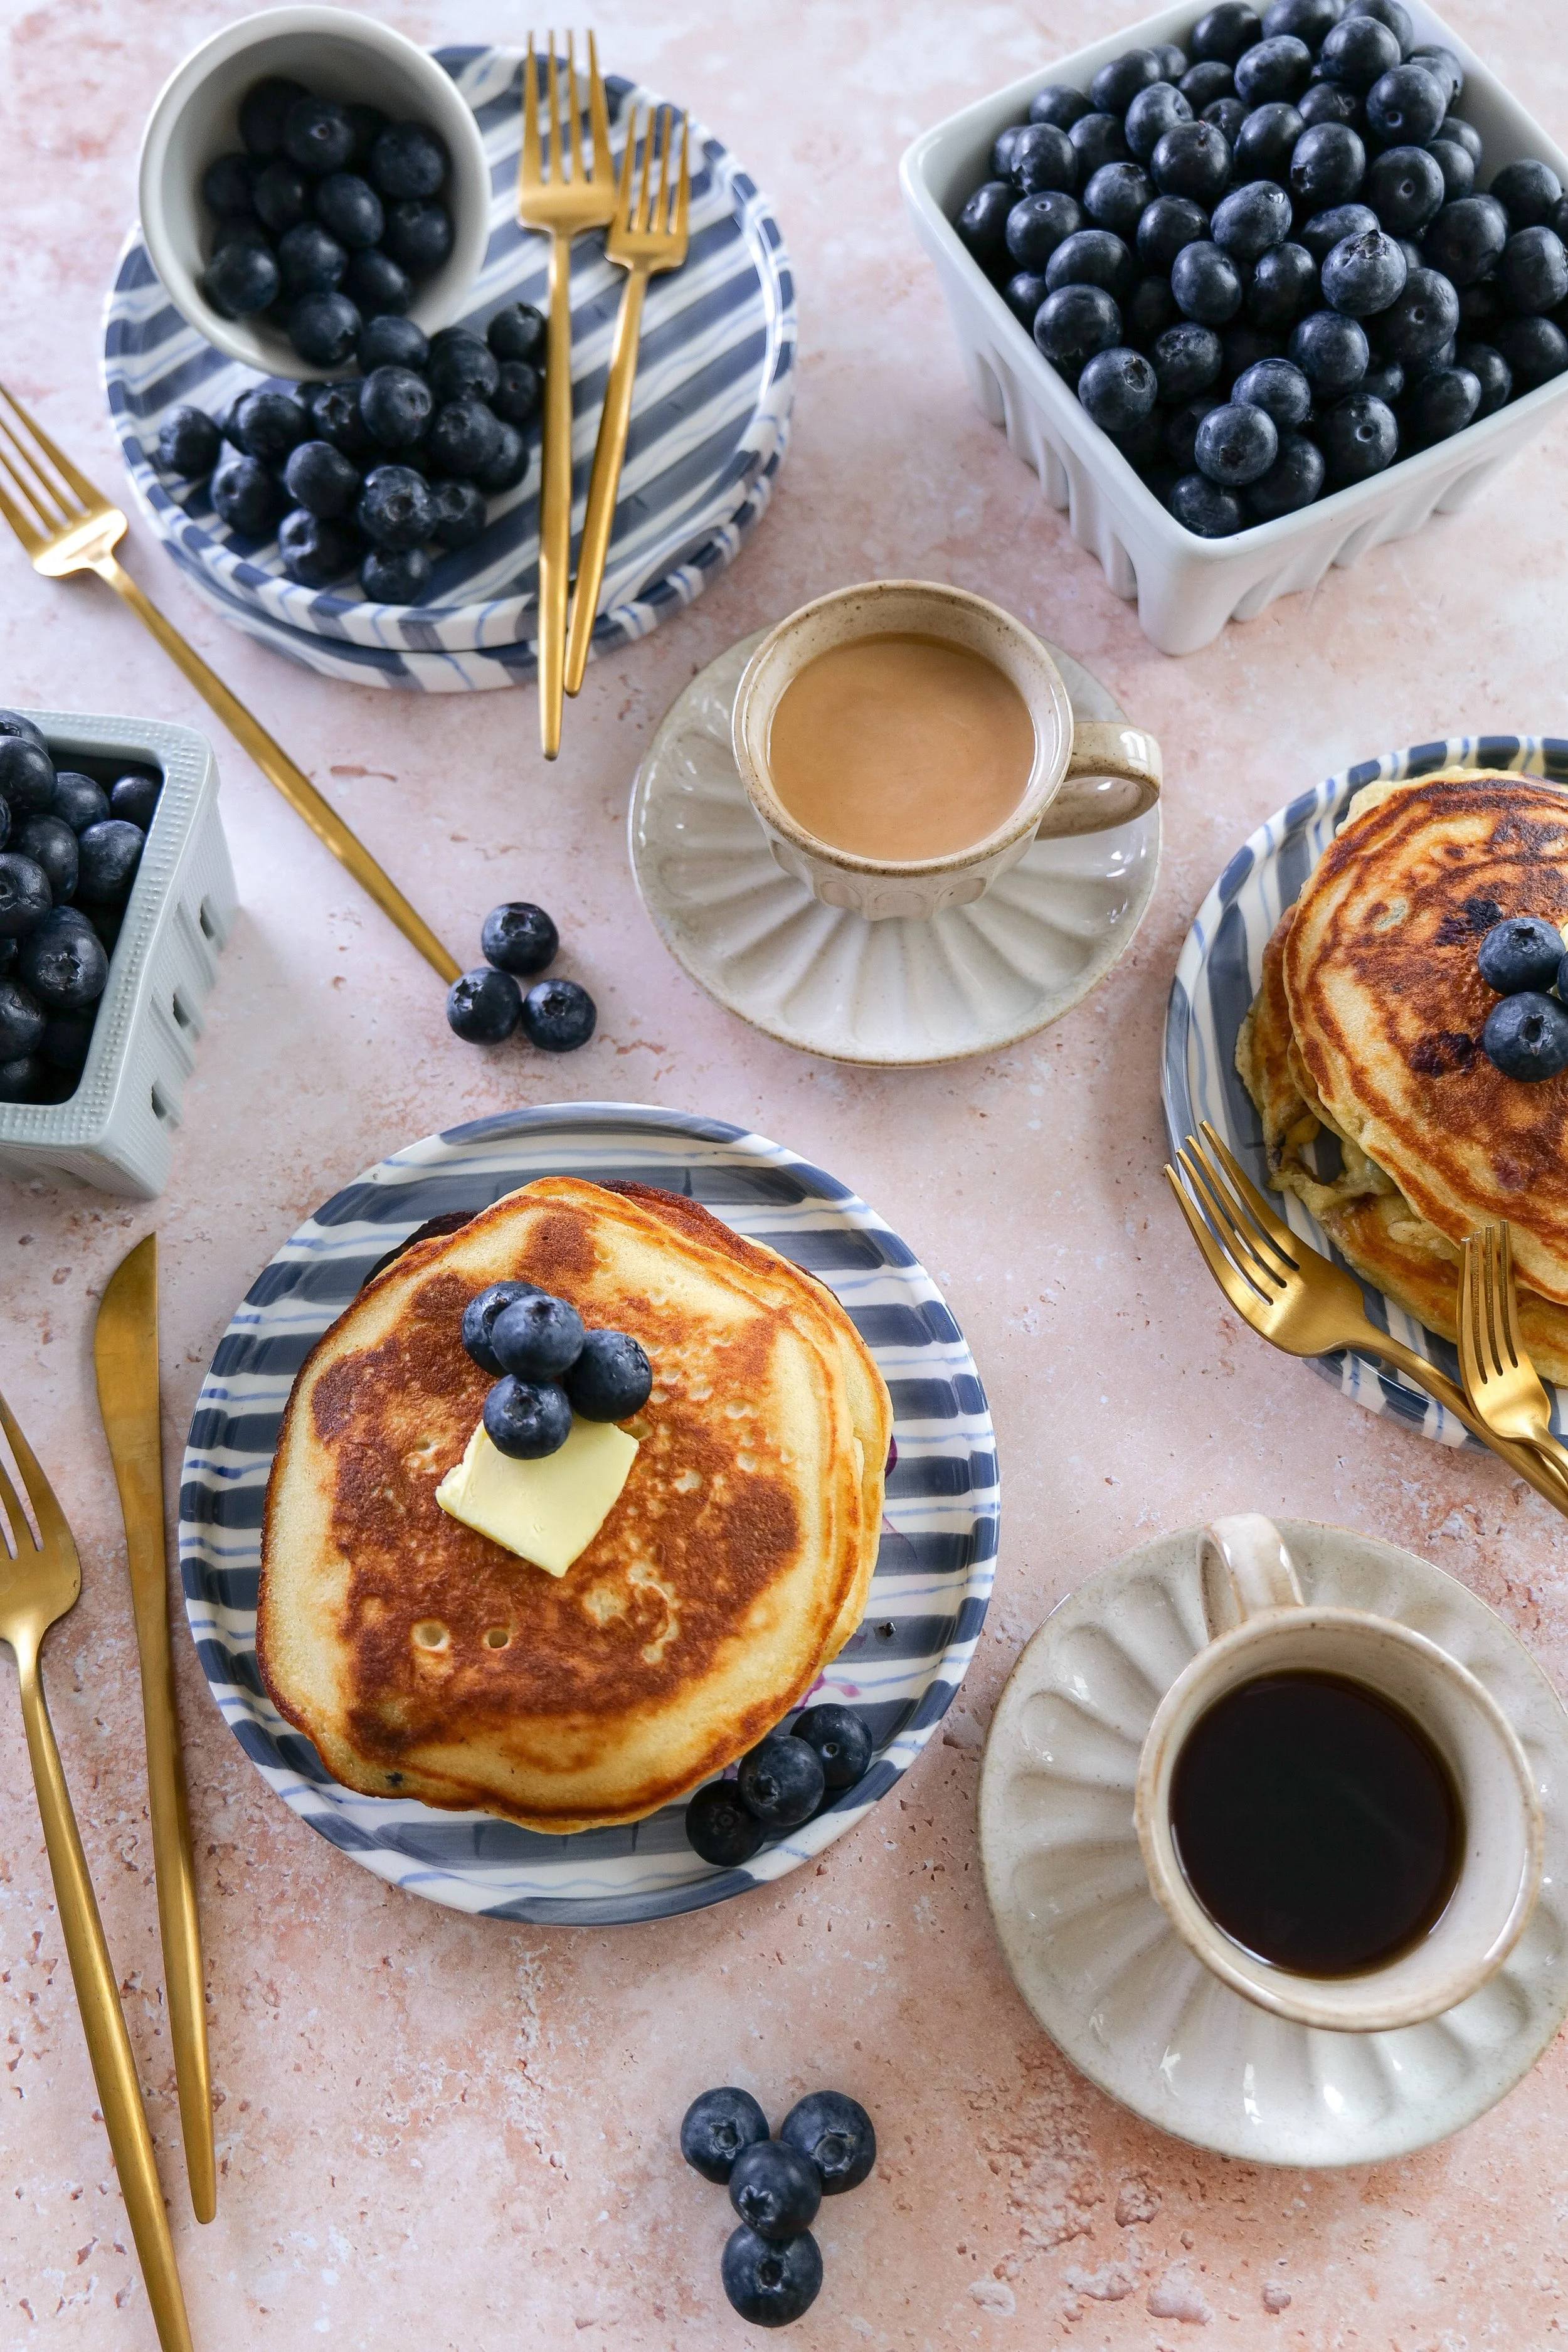
Golden brown sourdough discard pancakes filled with fresh blueberries
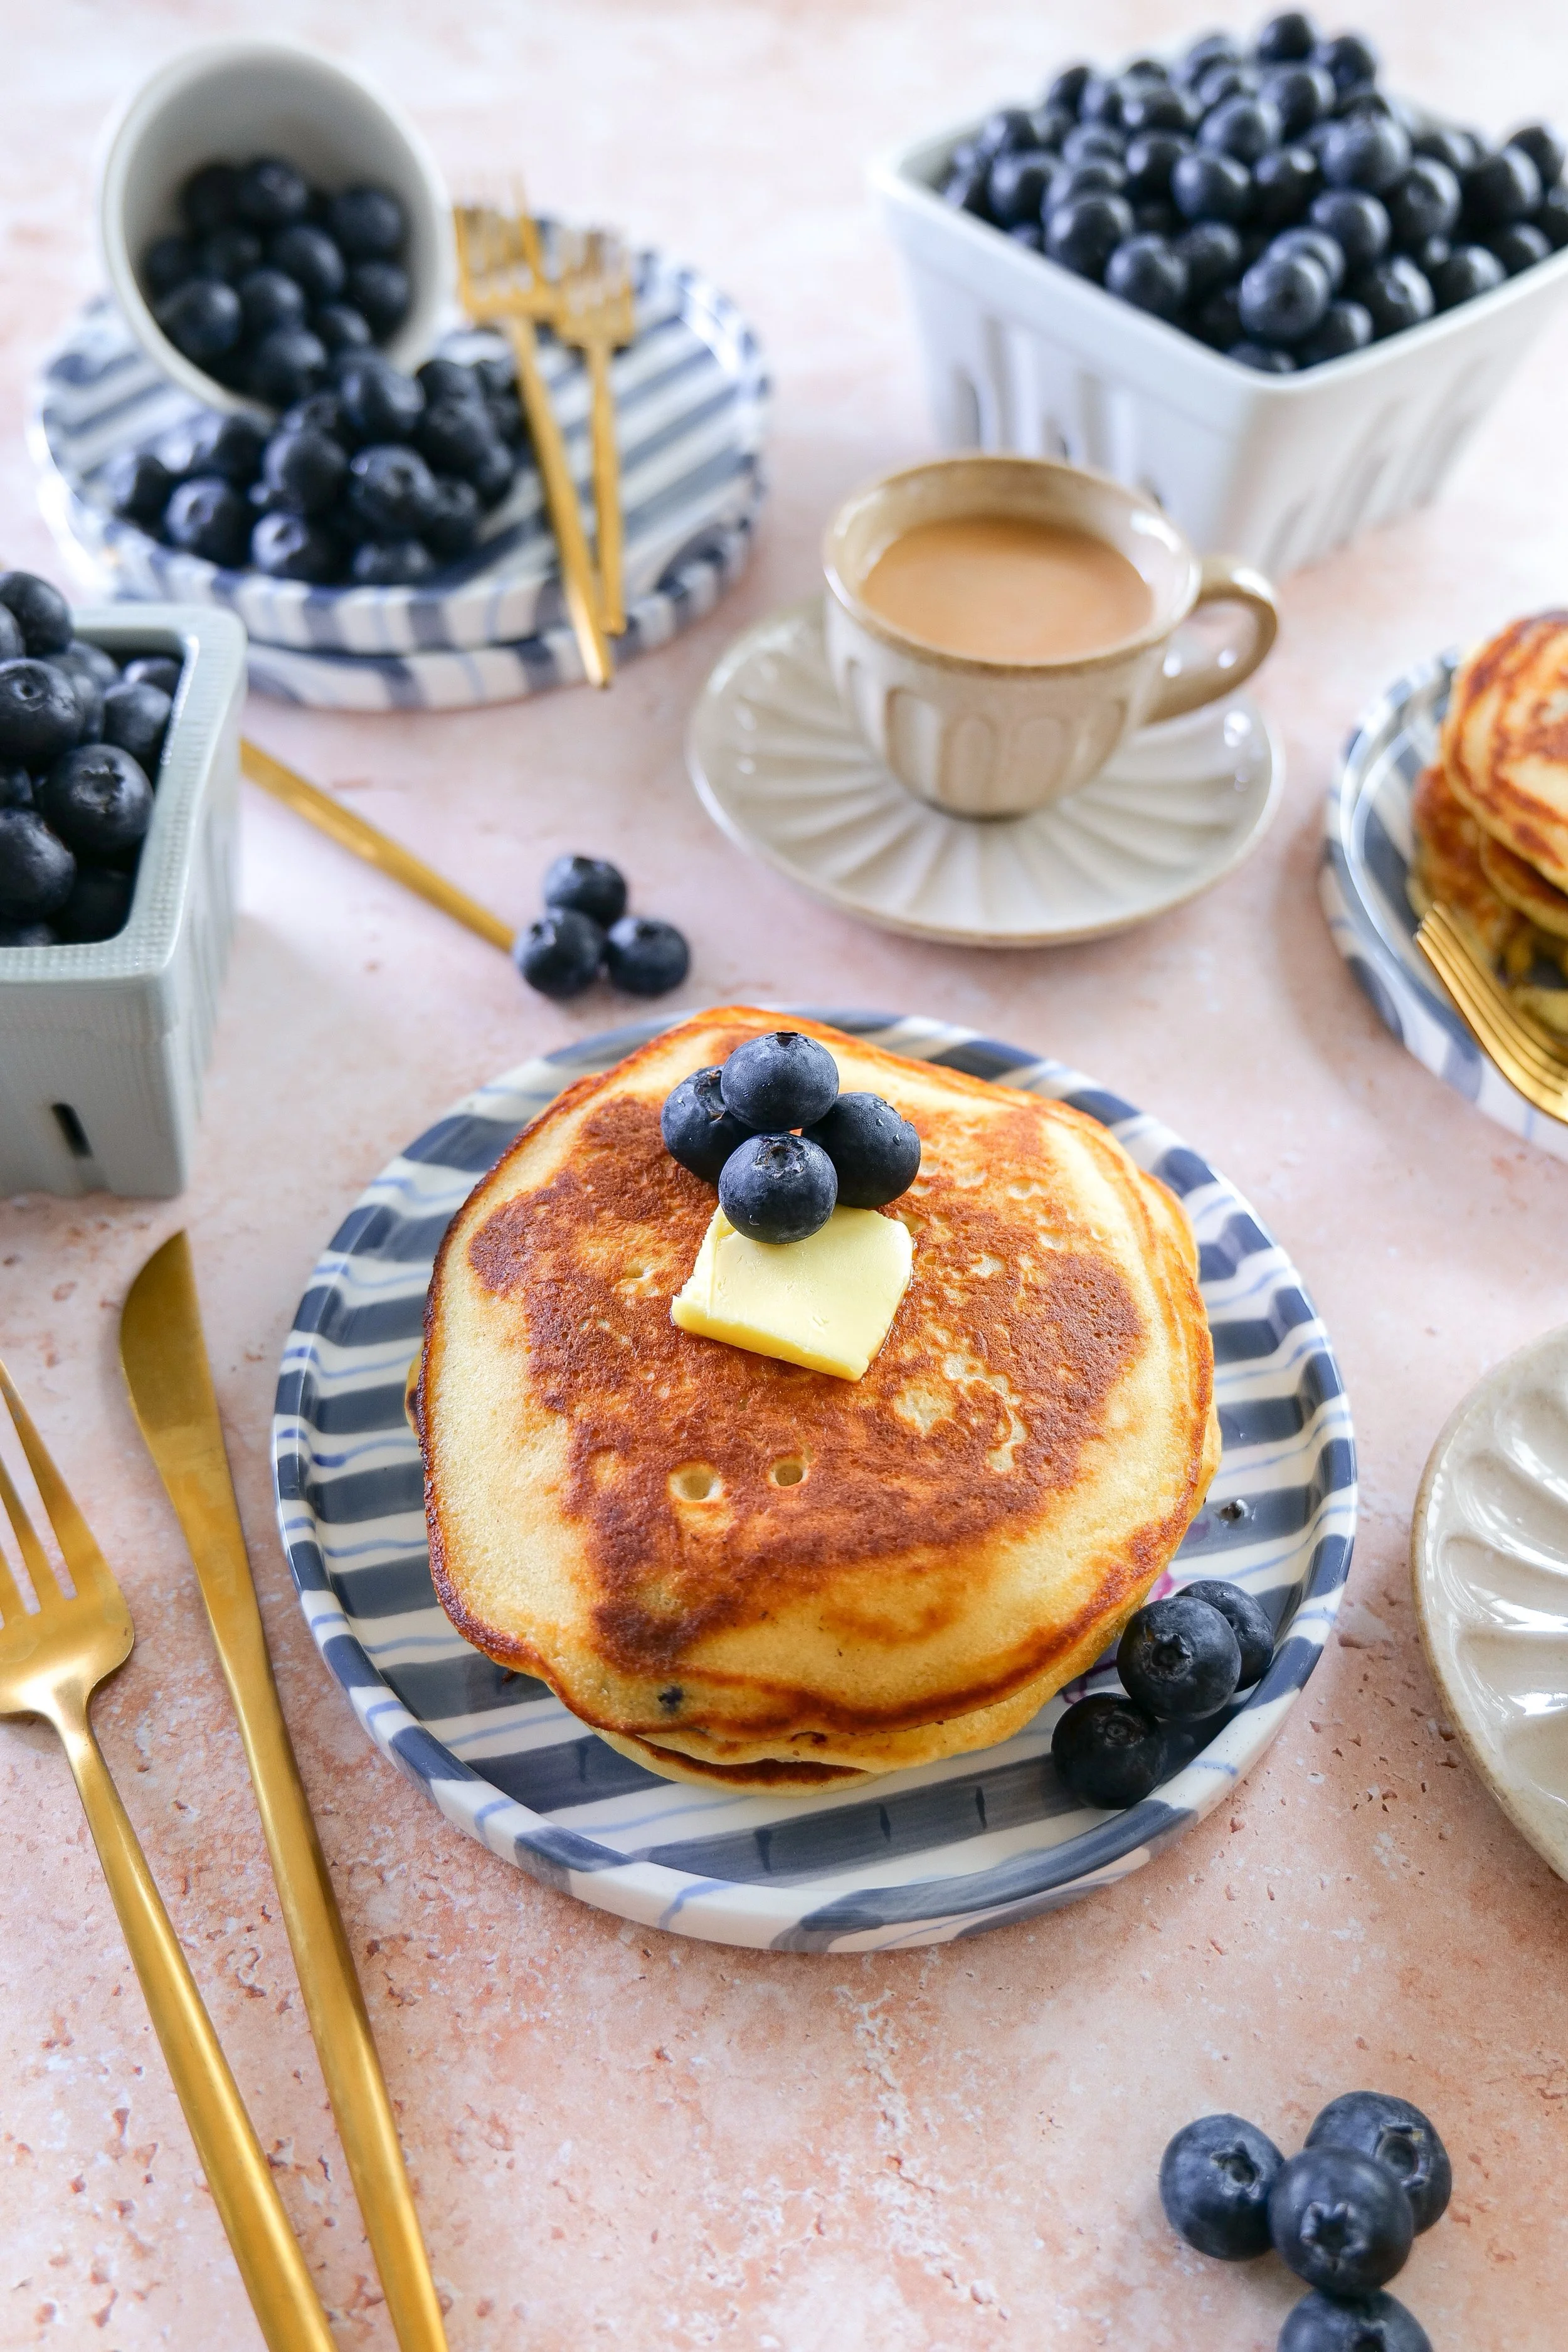
Easy blueberry sourdough pancakes served warm for a cozy breakfast recipe
Bakery-style blueberry pancakes made with sourdough starter discard.
Fluffy homemade blueberry pancakes served with butter and syrup.

With crisp buttery edges, soft fluffy centers, and bursts of fresh blueberries throughout, these homemade blueberry pancakes feel comforting, nostalgic, and elevated all at once. Whether you’re making a slow weekend breakfast, cozy brunch at home, or searching for easy sourdough discard recipes, this recipe is one you’ll want to make again and again. If you love cozy bakery-style breakfast recipes, you may also love our Homemade Blueberry Streusel Loaf for the perfect café-inspired pairing.

Blueberry Sourdough Pancake Recipe

  • Prep Time: 10 minutes

  • Cook Time: 15 minutes

  • Total Time: 25 minutes

  • Servings: 4–6

  • Category: Breakfast

  • Flavor: Buttery, fluffy, cozy

Save this blueberry sourdough discard pancake recipe for your next cozy breakfast morning, slow weekend brunch, or summer blueberry baking day.

Why You’ll Love These Blueberry Sourdough Pancakes

These fluffy sourdough pancakes are:

  • soft and buttery

  • perfectly fluffy

  • packed with juicy blueberries

  • easy to make with sourdough discard

  • lightly sweetened with honey

  • perfect for cozy mornings

  • delicious with maple syrup or whipped butter

The sourdough discard adds the perfect subtle tangy flavor while creating incredibly soft bakery-style pancakes.

What Is Sourdough Discard?

Sourdough discard is the portion of sourdough starter removed before feeding your starter with fresh flour and water. Instead of throwing it away, sourdough discard can be used in delicious recipes like pancakes, muffins, waffles, quick breads, cookies, and more.

Using sourdough discard in recipes adds subtle tangy flavor, soft texture, and helps reduce food waste in the kitchen. It’s one of the easiest ways to create cozy homemade baked goods while making the most of your sourdough starter.

These blueberry sourdough discard pancakes are one of my favorite easy sourdough discard breakfast recipes because they turn out incredibly fluffy, soft, and full of fresh blueberry flavor.

Why This Sourdough Pancake Recipe Works

  • Sourdough discard adds depth and flavor

  • Honey creates subtle natural sweetness

  • Blueberries keep the pancakes juicy and fresh

  • Melted butter adds rich bakery-style flavor

  • Resting the batter creates extra fluffy pancakes

  • Perfect balance of sweet and tangy flavors

These homemade sourdough pancakes feel cozy, elevated, and perfect for slow mornings at home.

Fresh blueberry sourdough pancakes perfect for a cozy brunch at home.
Sourdough discard breakfast pancakes topped with maple syrup and blueberries.
Homemade blueberry pancakes with sourdough discard and melted butter.

Ingredients for Blueberry Sourdough Discard Pancakes

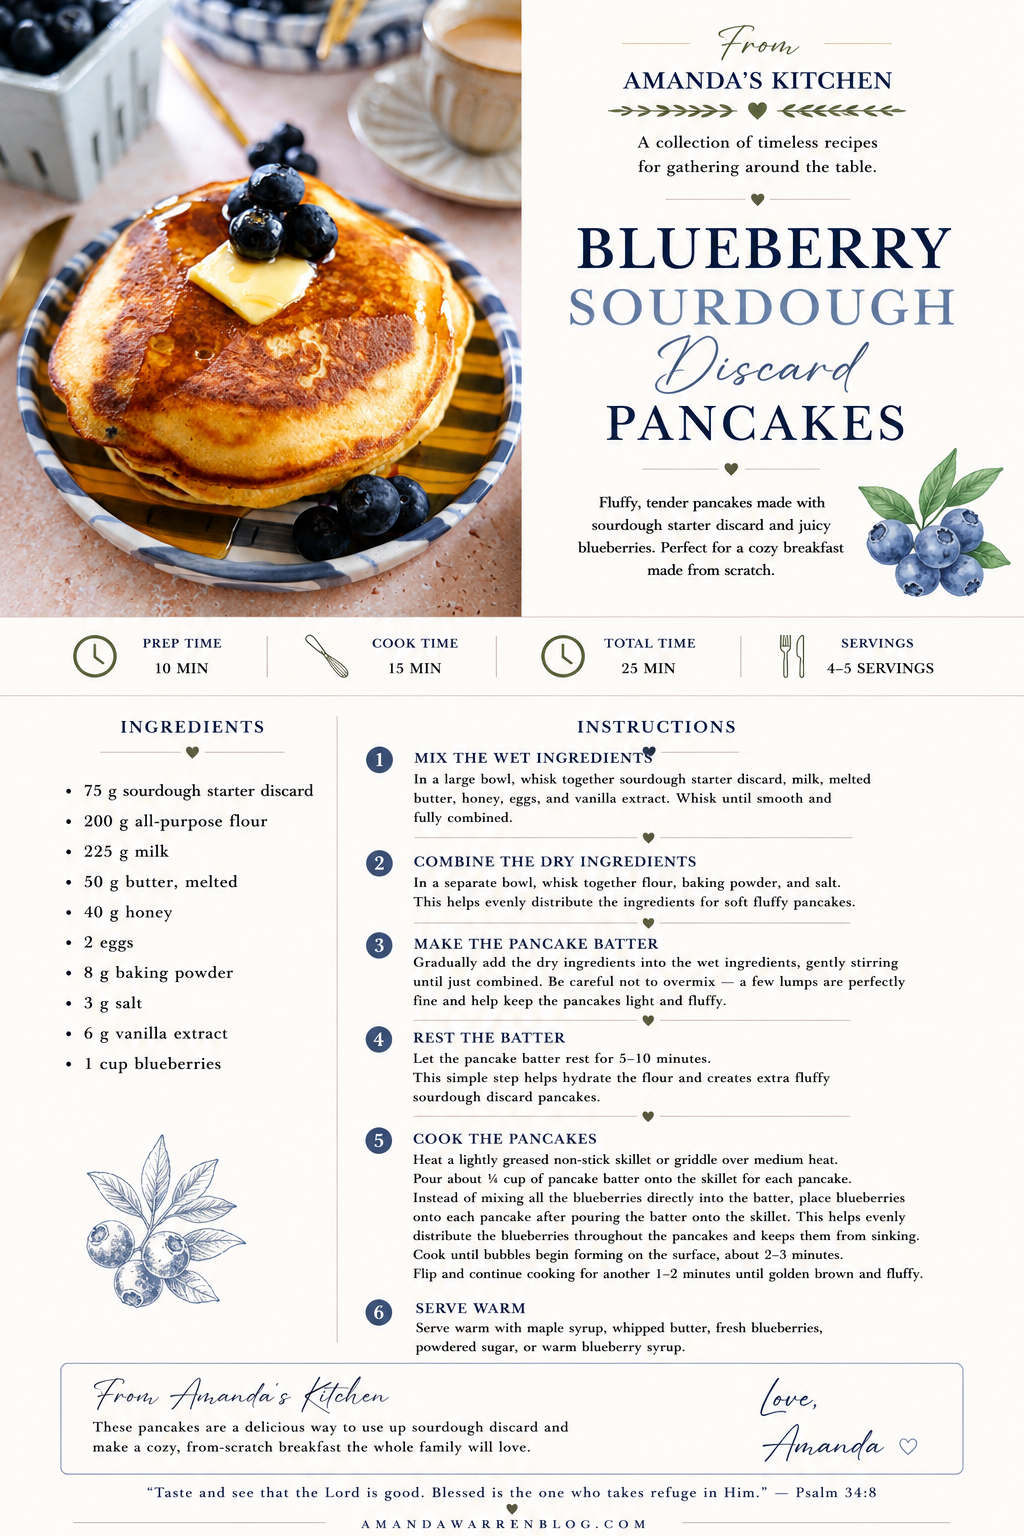
  • 75 g sourdough starter discard

  • 200 g all-purpose flour

  • 225 g milk

  • 50 g butter, melted

  • 40 g honey

  • 2 eggs

  • 8 g baking powder

  • 3 g salt

  • 6 g vanilla extract

  • 1 cup blueberries

How to Make Blueberry Sourdough Pancakes

Step 1: Mix the Wet Ingredients

In a large bowl, whisk together:

  • sourdough starter discard

  • milk

  • melted butter

  • honey

  • eggs

  • vanilla extract

Whisk until smooth and fully combined.

Step 2: Combine the Dry Ingredients

In a separate bowl, whisk together:

  • flour

  • baking powder

  • salt

This helps evenly distribute the ingredients for soft fluffy pancakes.

Step 3: Make the Pancake Batter

Gradually add the dry ingredients into the wet ingredients, gently stirring until just combined.

Be careful not to overmix — a few lumps are perfectly fine and help keep the pancakes light and fluffy.

Step 4: Rest the Batter

Let the pancake batter rest for 5–10 minutes.

This simple step helps hydrate the flour and creates extra fluffy sourdough discard pancakes.

Step 5: Cook the Pancakes

Heat a lightly greased non-stick skillet or griddle over medium heat.

Pour about ¼ cup of pancake batter onto the skillet for each pancake.

Instead of mixing all the blueberries directly into the batter, place blueberries onto each pancake after pouring the batter onto the skillet. This helps evenly distribute the blueberries throughout the pancakes and keeps them from sinking.

Cook until bubbles begin forming on the surface, about 2–3 minutes.

Flip and continue cooking for another 1–2 minutes until golden brown and fluffy.

Step 6: Serve Warm

Serve warm with:

  • maple syrup

  • whipped butter

  • fresh blueberries

  • powdered sugar

  • warm blueberry syrup

These cozy blueberry pancakes pair perfectly with coffee drinks like a homemade blueberry muffin latte for the ultimate bakery-style breakfast at home. These fluffy blueberry pancakes are perfect for slow mornings alongside cozy brunch favorites like Peach Coffee Cake with Crumble Topping.

Tips for the Best Sourdough Discard Pancakes

Don’t Overmix the Batter

Overmixing can make pancakes dense instead of fluffy.

Add Blueberries While Cooking

Placing blueberries directly onto the pancakes while cooking helps evenly distribute them.

Let the Batter Rest

Resting the batter helps create soft fluffy pancakes.

Cook Over Medium Heat

Medium heat allows the pancakes to cook evenly without burning.

Why Sourdough Discard Recipes Are So Popular

Sourdough discard recipes have become increasingly popular because they help reduce food waste while adding incredible flavor and texture to homemade baked goods. From pancakes and muffins to cookies and breads, sourdough discard creates soft texture, subtle tanginess, and cozy bakery-style flavor in everyday recipes.

If you love baking with sourdough discard, you may also enjoy:

Frequently Asked Questions

Can I use frozen blueberries?

Yes! Frozen blueberries work well for this recipe.

What is sourdough discard?

Sourdough discard is the portion of sourdough starter removed before feeding.

Can I freeze these pancakes?

Absolutely. Allow them to cool completely before freezing.

Can I make these pancakes ahead of time?

Yes! Reheat in the toaster or oven for easy breakfasts throughout the week.

Other Cozy Breakfast Recipes

If you love cozy homemade breakfasts and bakery-style recipes, you may also enjoy:

Final Thoughts on These Blueberry Sourdough Discard Pancakes

These fluffy blueberry sourdough discard pancakes are everything a cozy homemade breakfast should be — buttery, soft, comforting, and packed with fresh blueberry flavor. The sourdough discard adds incredible depth while helping create perfectly fluffy pancakes with golden crisp edges.

Whether you’re trying to use extra sourdough discard or simply craving a warm homemade breakfast, this easy blueberry pancake recipe is one you’ll come back to all year long.

Save This Recipe

Whether you're planning ahead for a special occasion or adding a new favorite to your recipe collection, I've included a printable recipe card below so it's easy to save, print, and share with the people you love.

Printable Blueberry Sourdough Discard Pancakes recipe card featuring fluffy homemade pancakes made with sourdough starter discard, fresh blueberries, butter, maple syrup, and an elegant cookbook-inspired design by Amanda Warren.
Blueberry pancakes stacked on a plate with maple syrup drizzle.
Easy sourdough pancake recipe with juicy blueberries folded into the batter.
Blueberry brunch pancakes with fluffy texture and fresh summer berries.
Cozy sourdough discard blueberry pancakes for a slow morning breakfast.
Fresh blueberry breakfast pancakes with golden edges and fluffy centers.
Homemade sourdough discard pancakes with blueberries and warm maple syrup.
Soft fluffy blueberry sourdough pancakes perfect for brunch or breakfast.

Apricot Puff Pastry Turnovers with Honey Glaze & Sliced Almonds

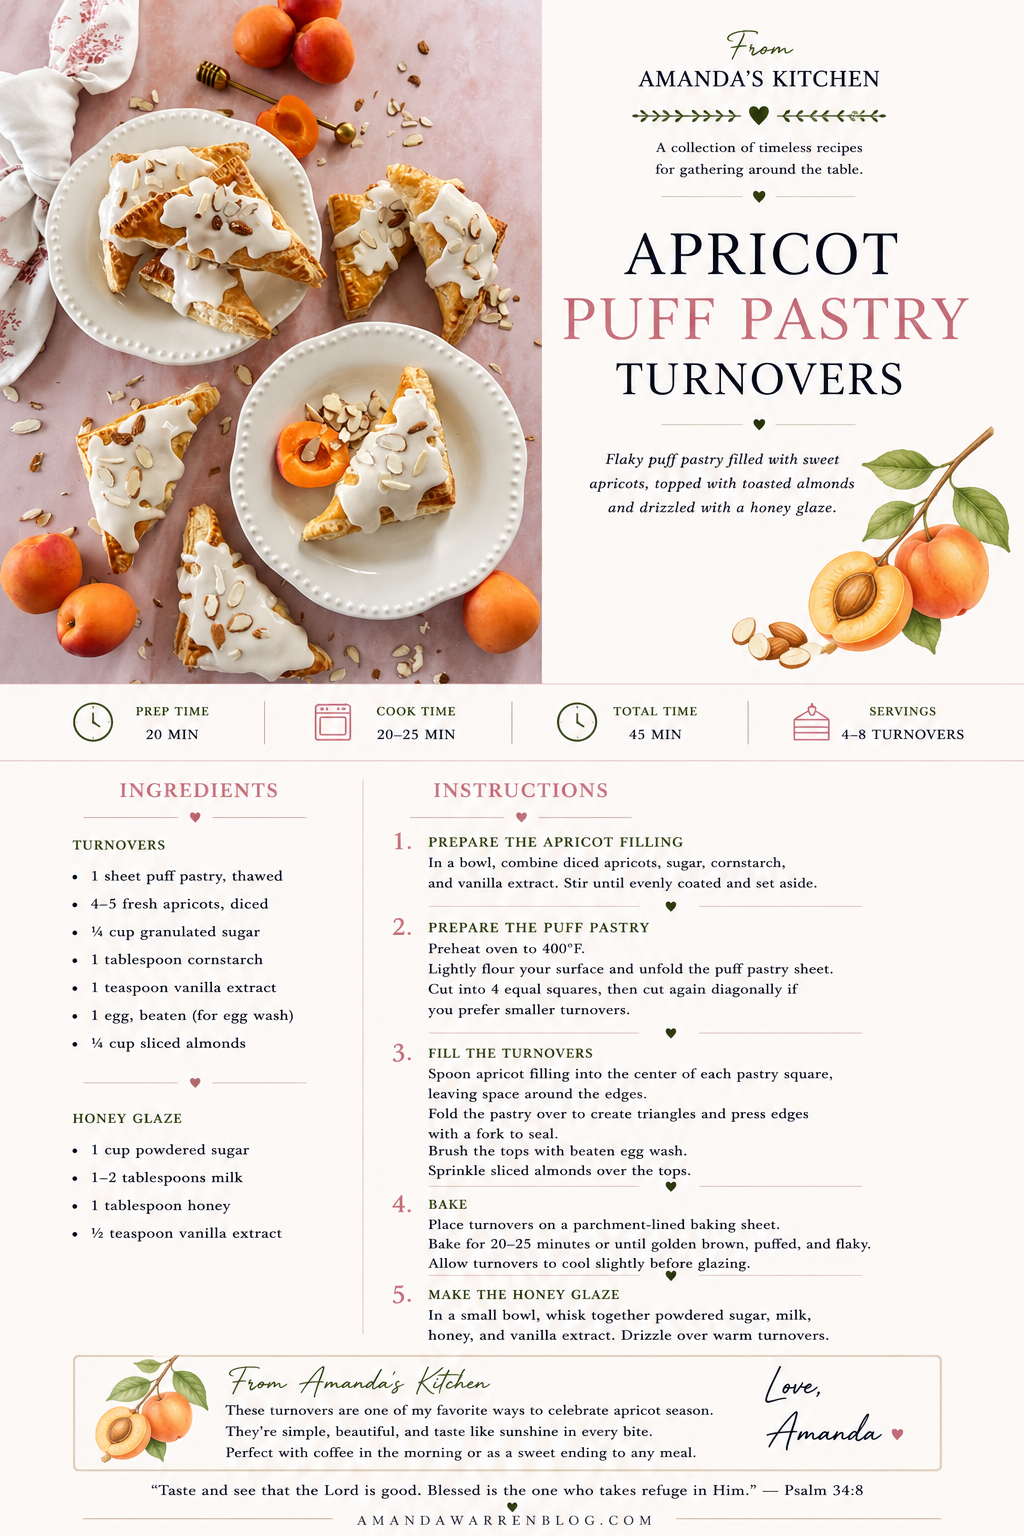
These apricot puff pastry turnovers with honey glaze and sliced almonds are flaky, buttery, golden, and filled with sweet apricot flavor in every bite. Made with crisp puff pastry, warm apricot filling, delicate honey glaze, and toasted sliced almonds, these bakery-style pastries feel elegant yet incredibly easy to make at home.

↓ Skip to Recipe
Apricot Puff Pastry Turnovers with Honey Glaze & Sliced Almonds
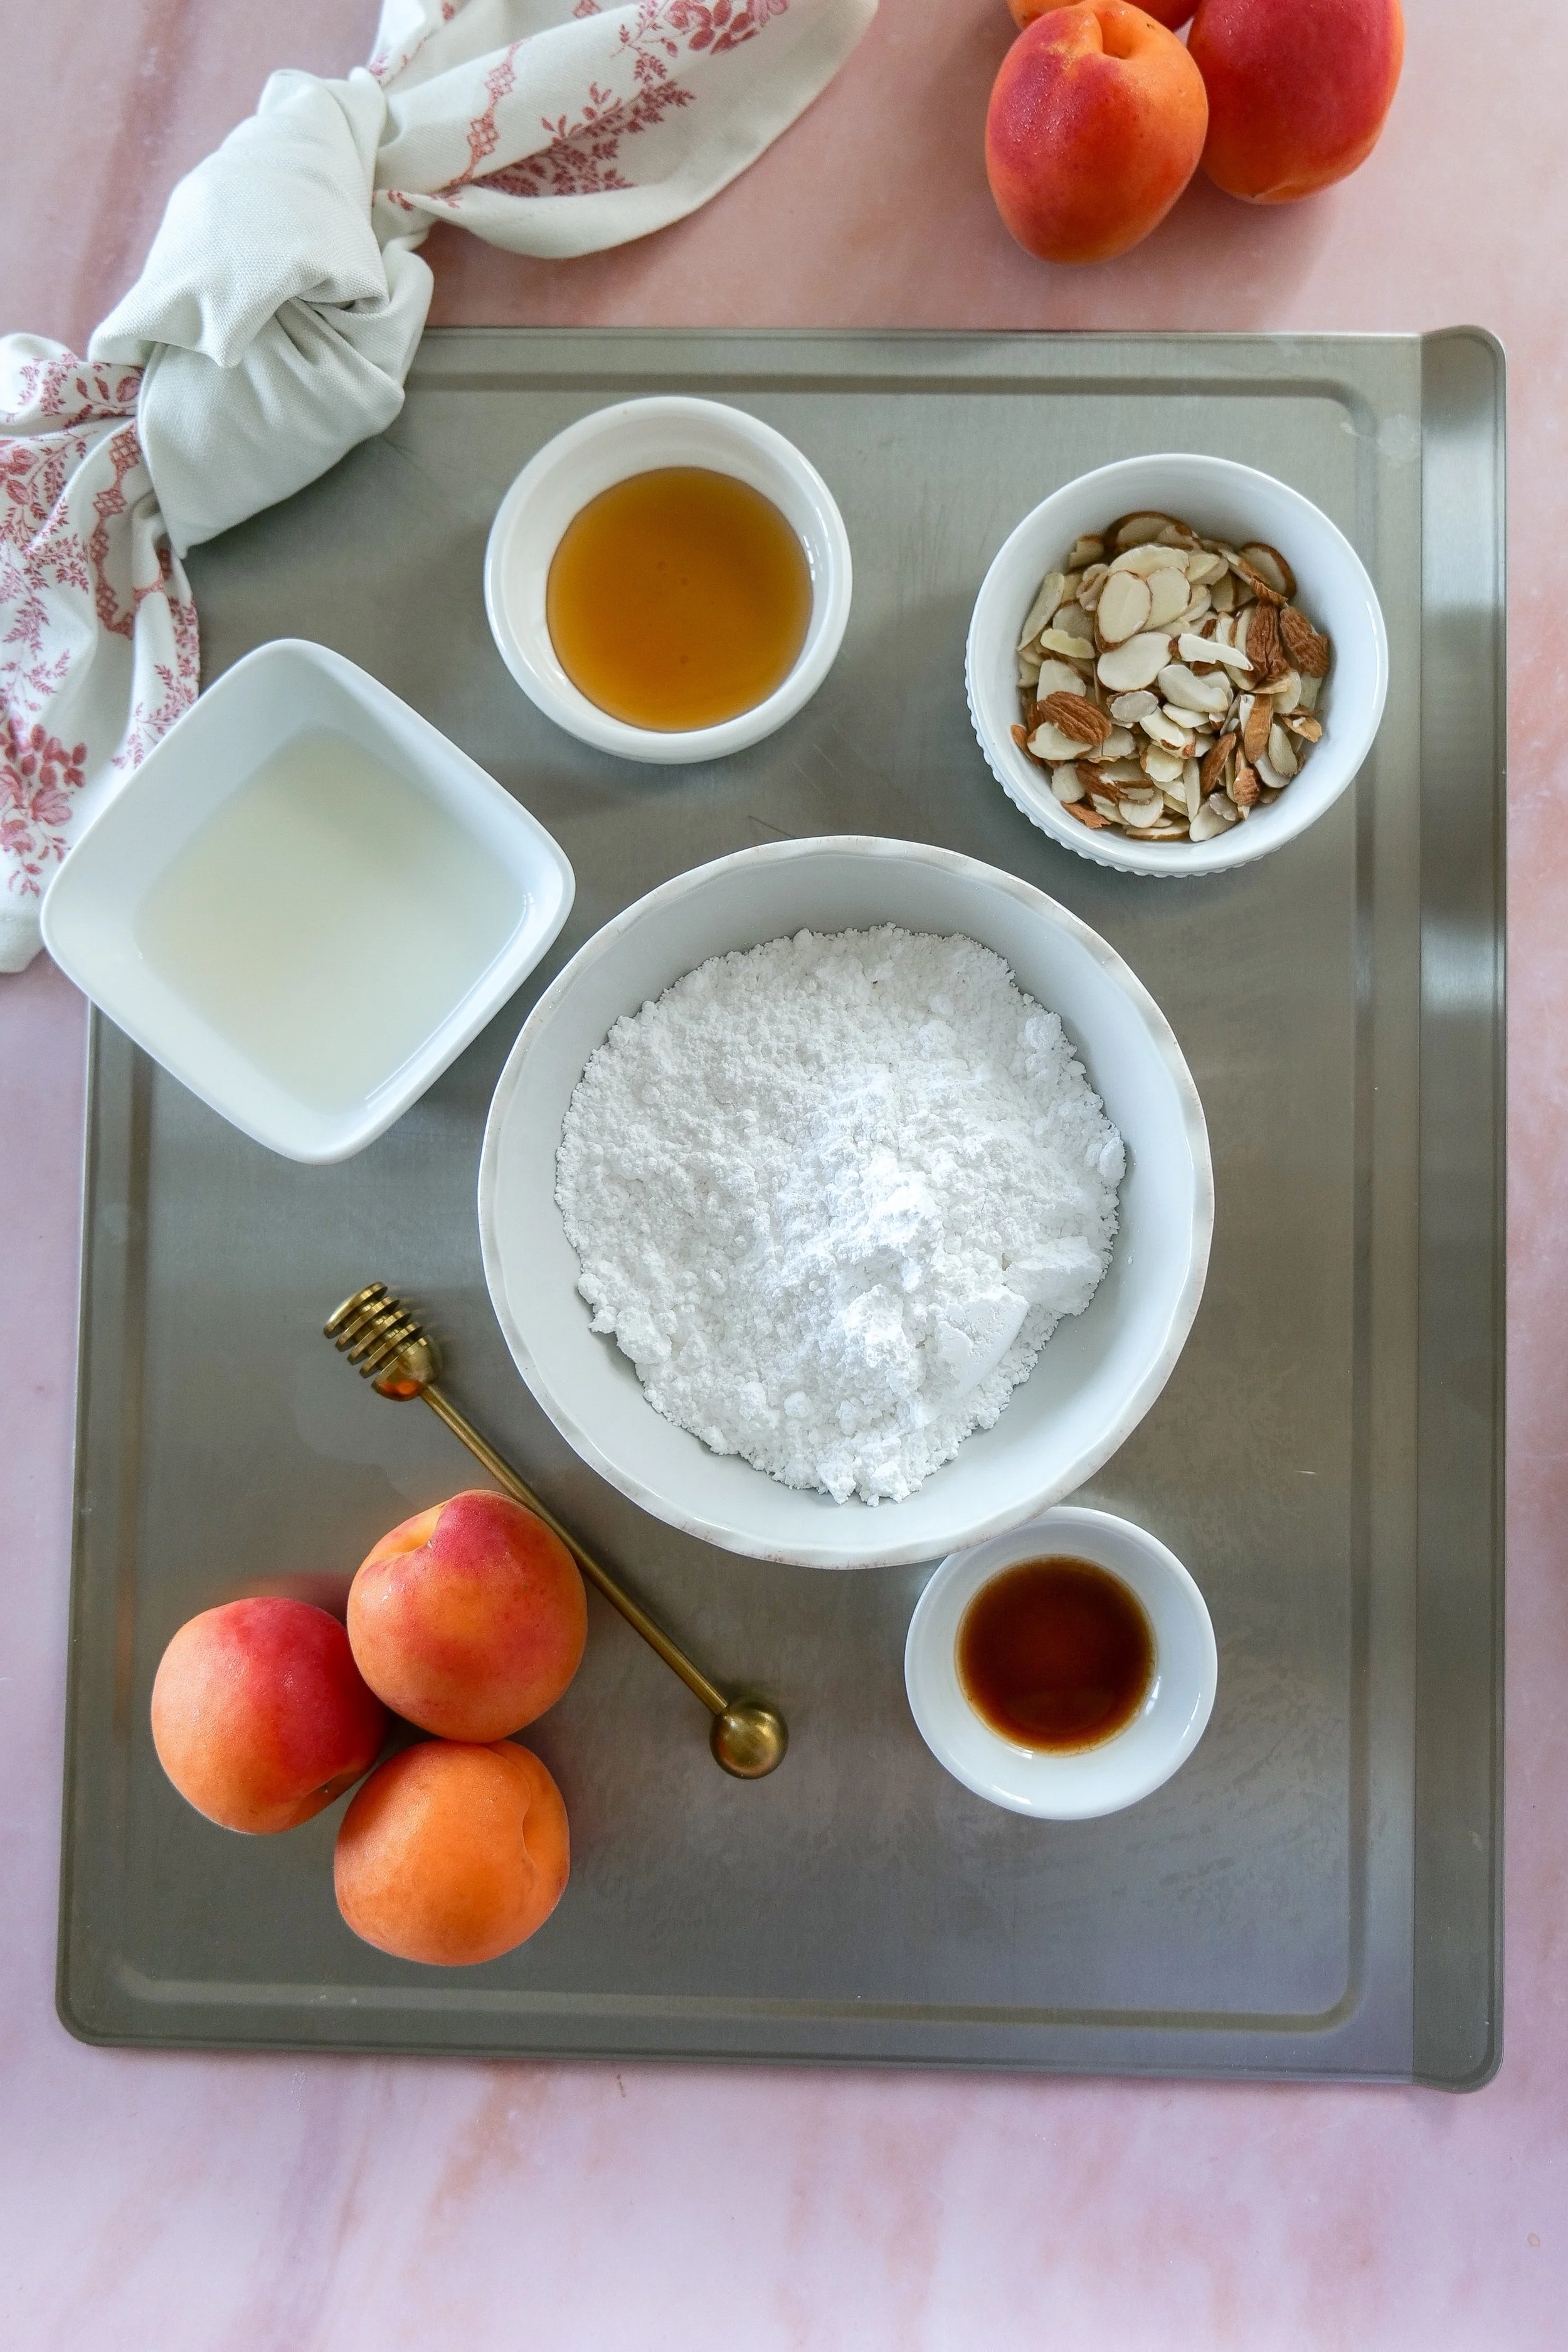
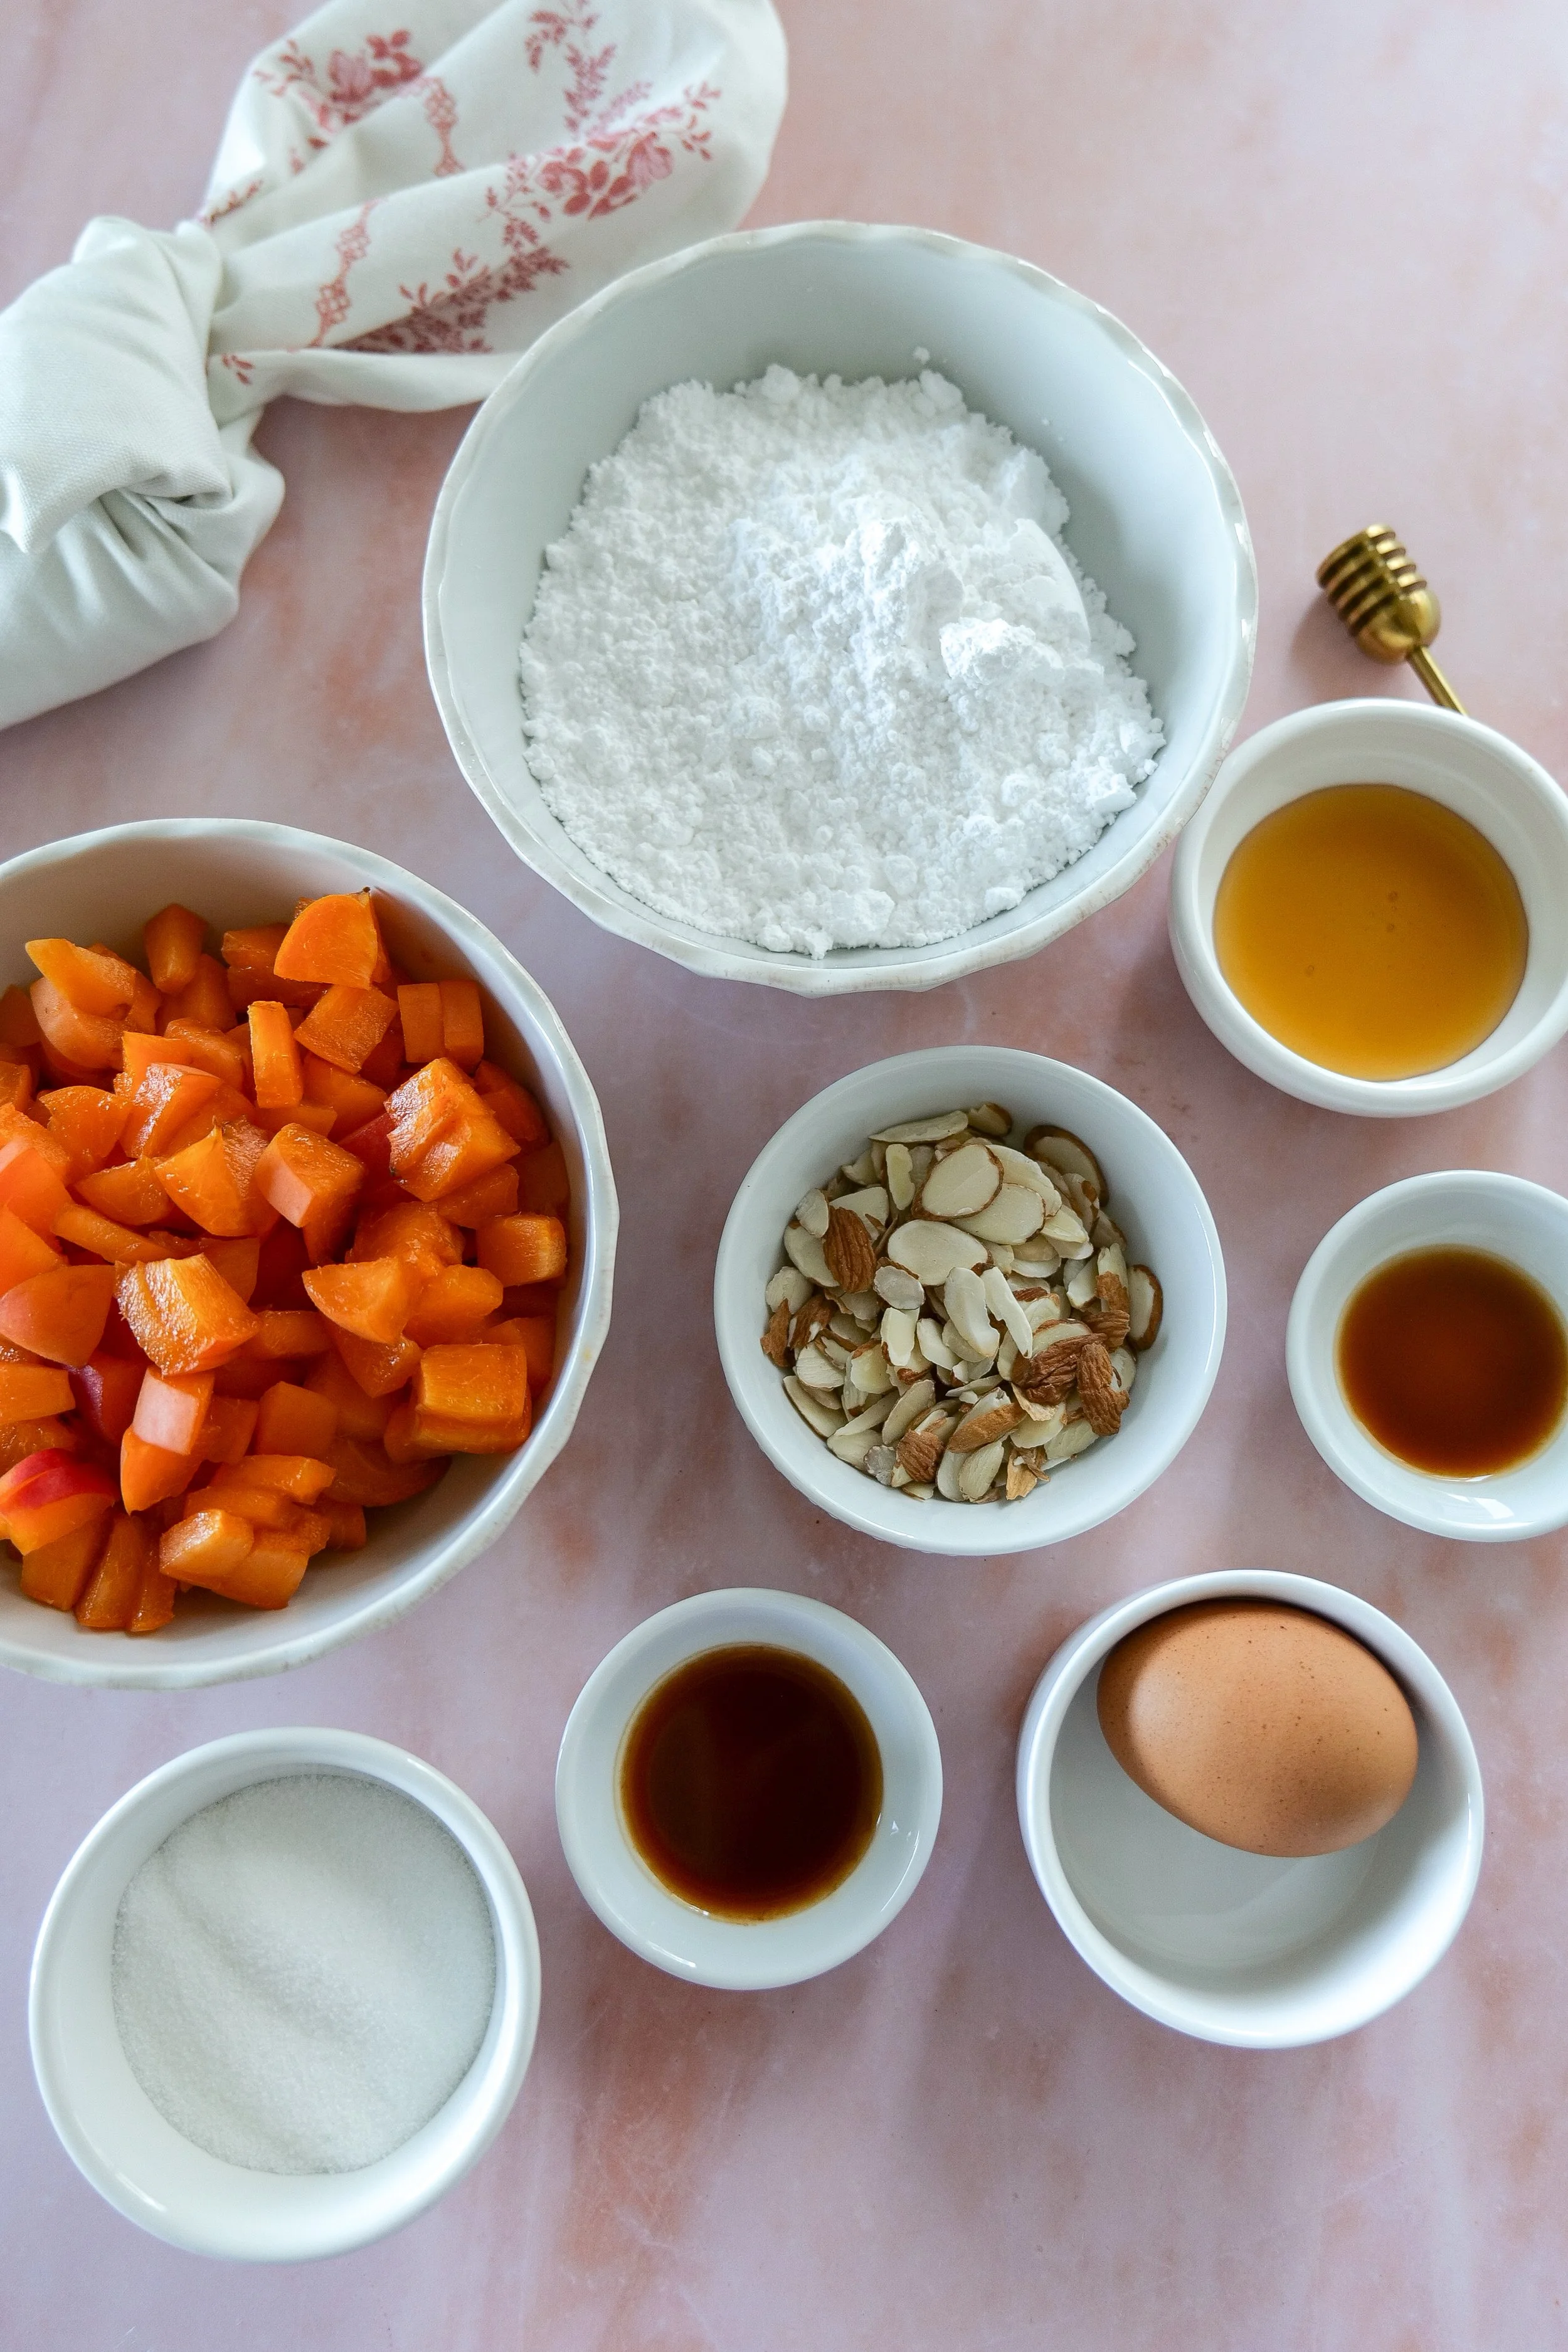
ingredients for Apricot Puff Pastry Turnovers
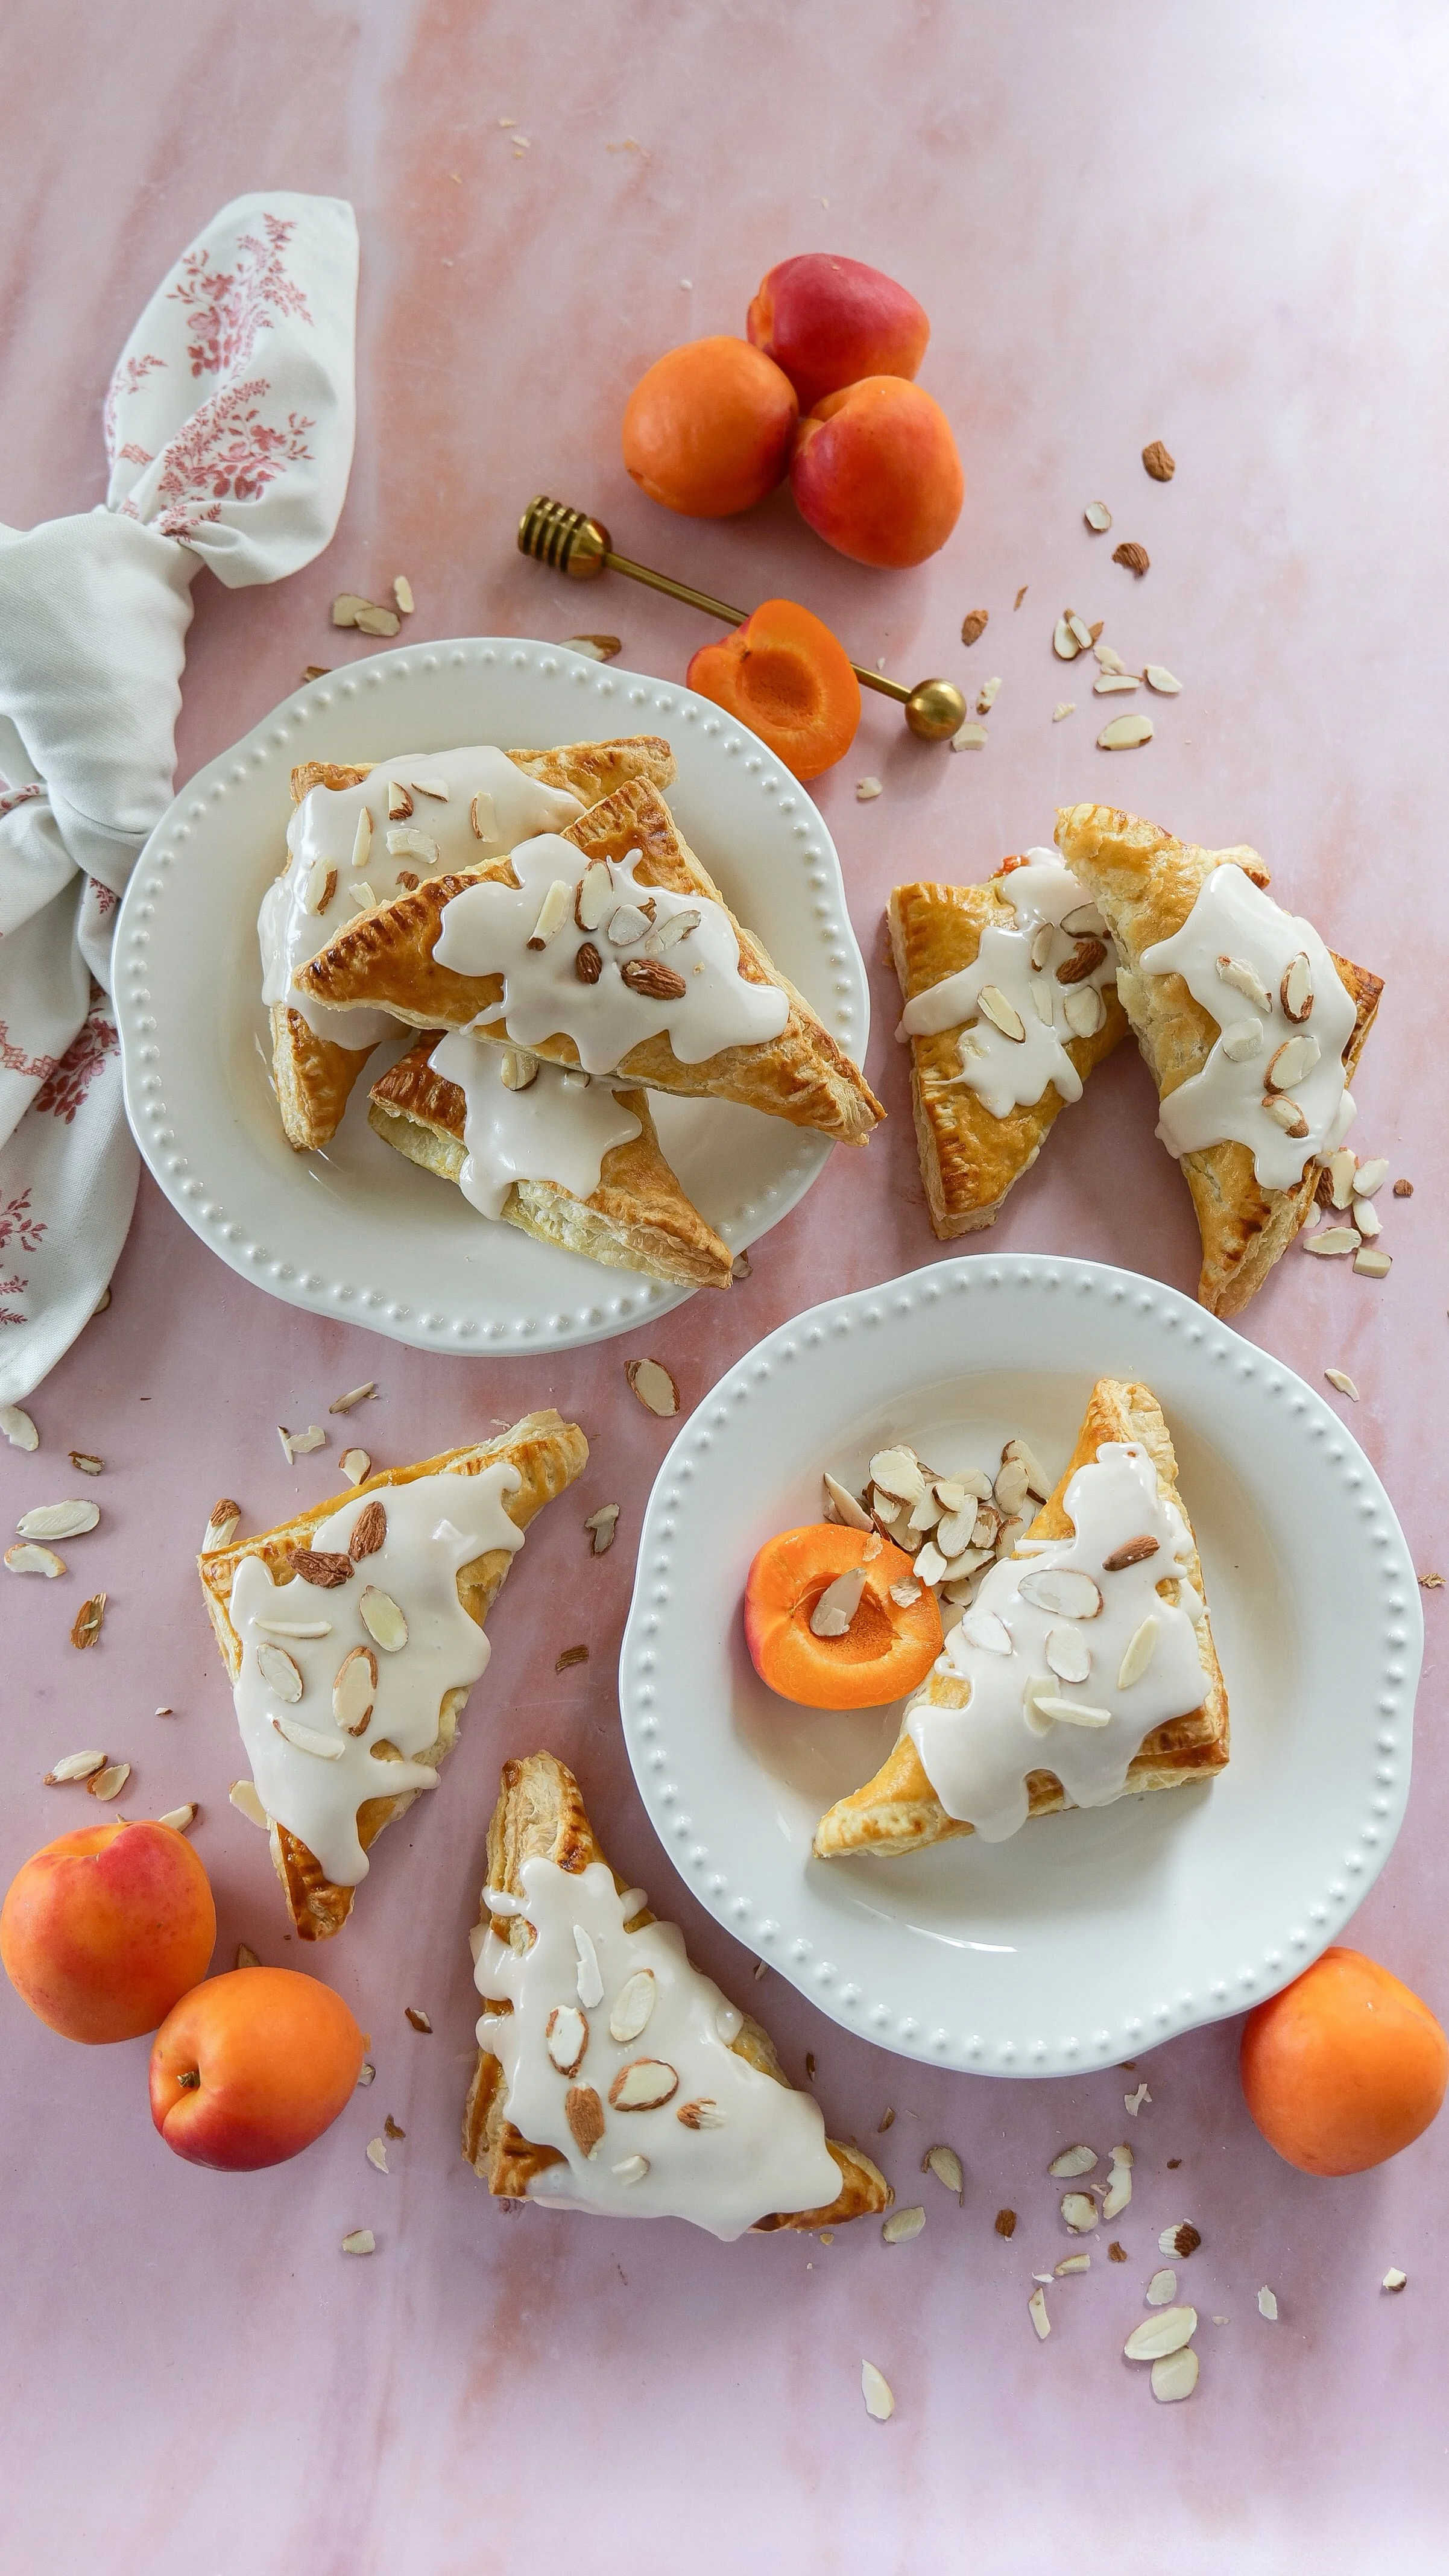
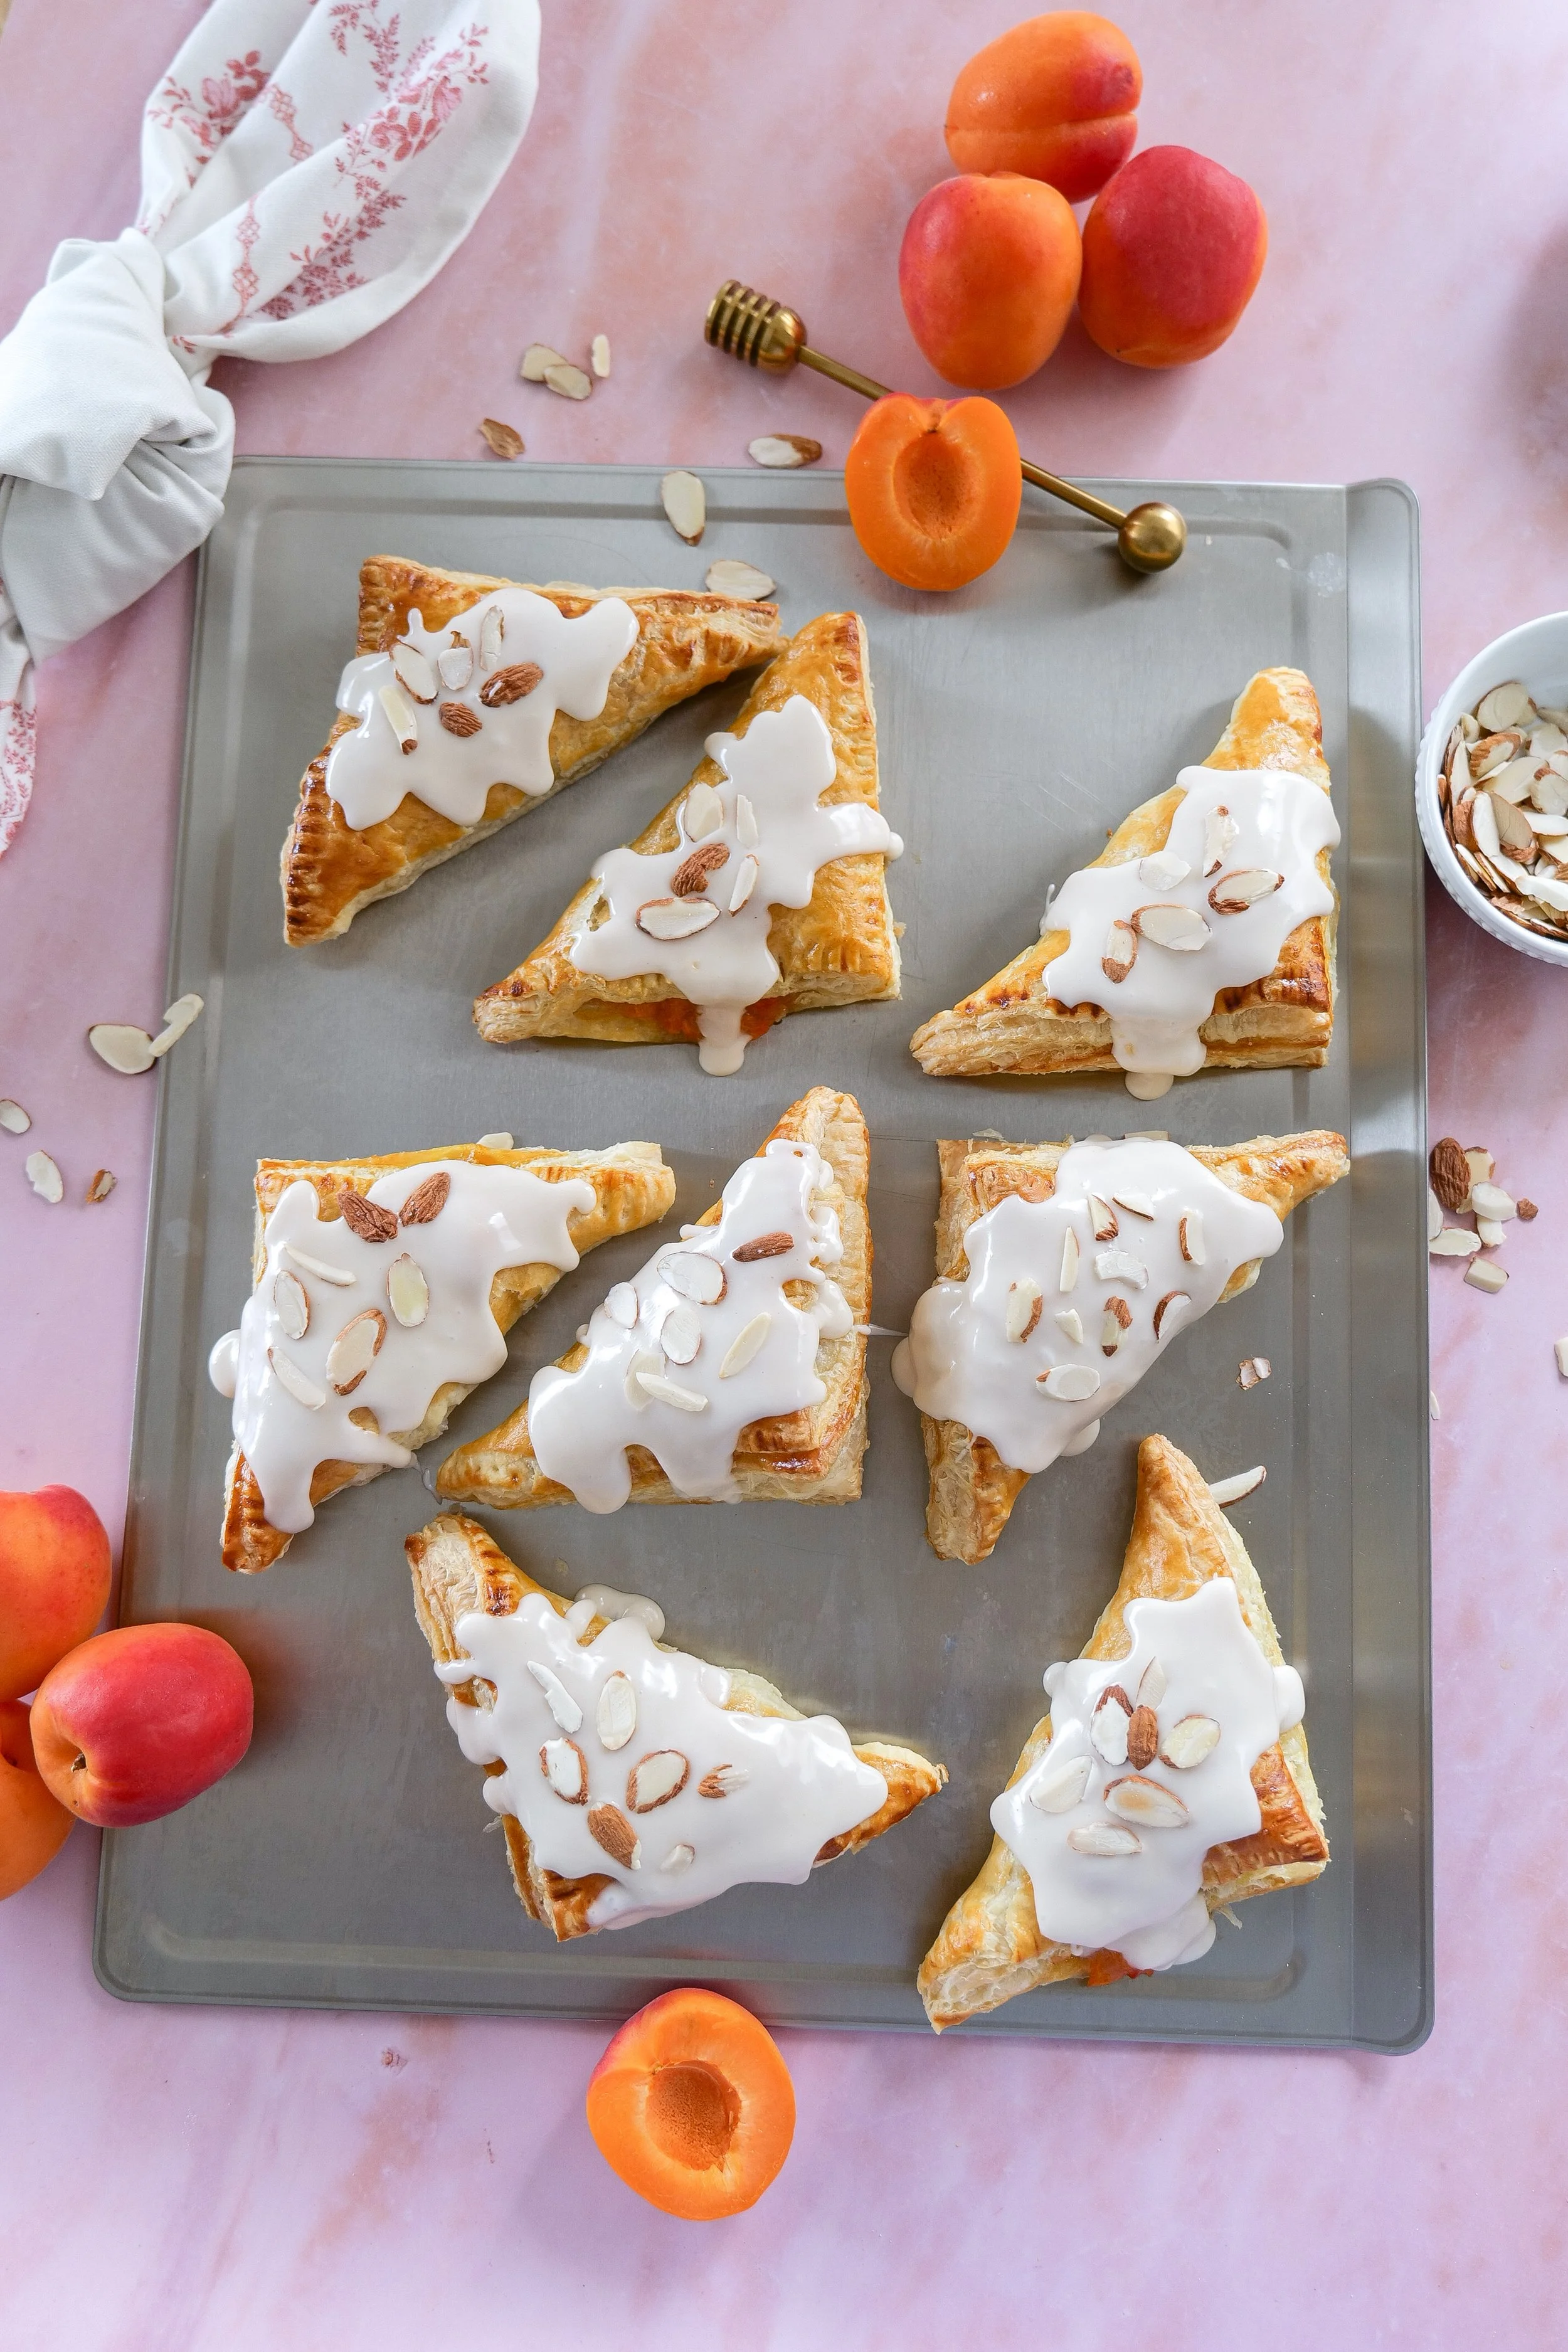
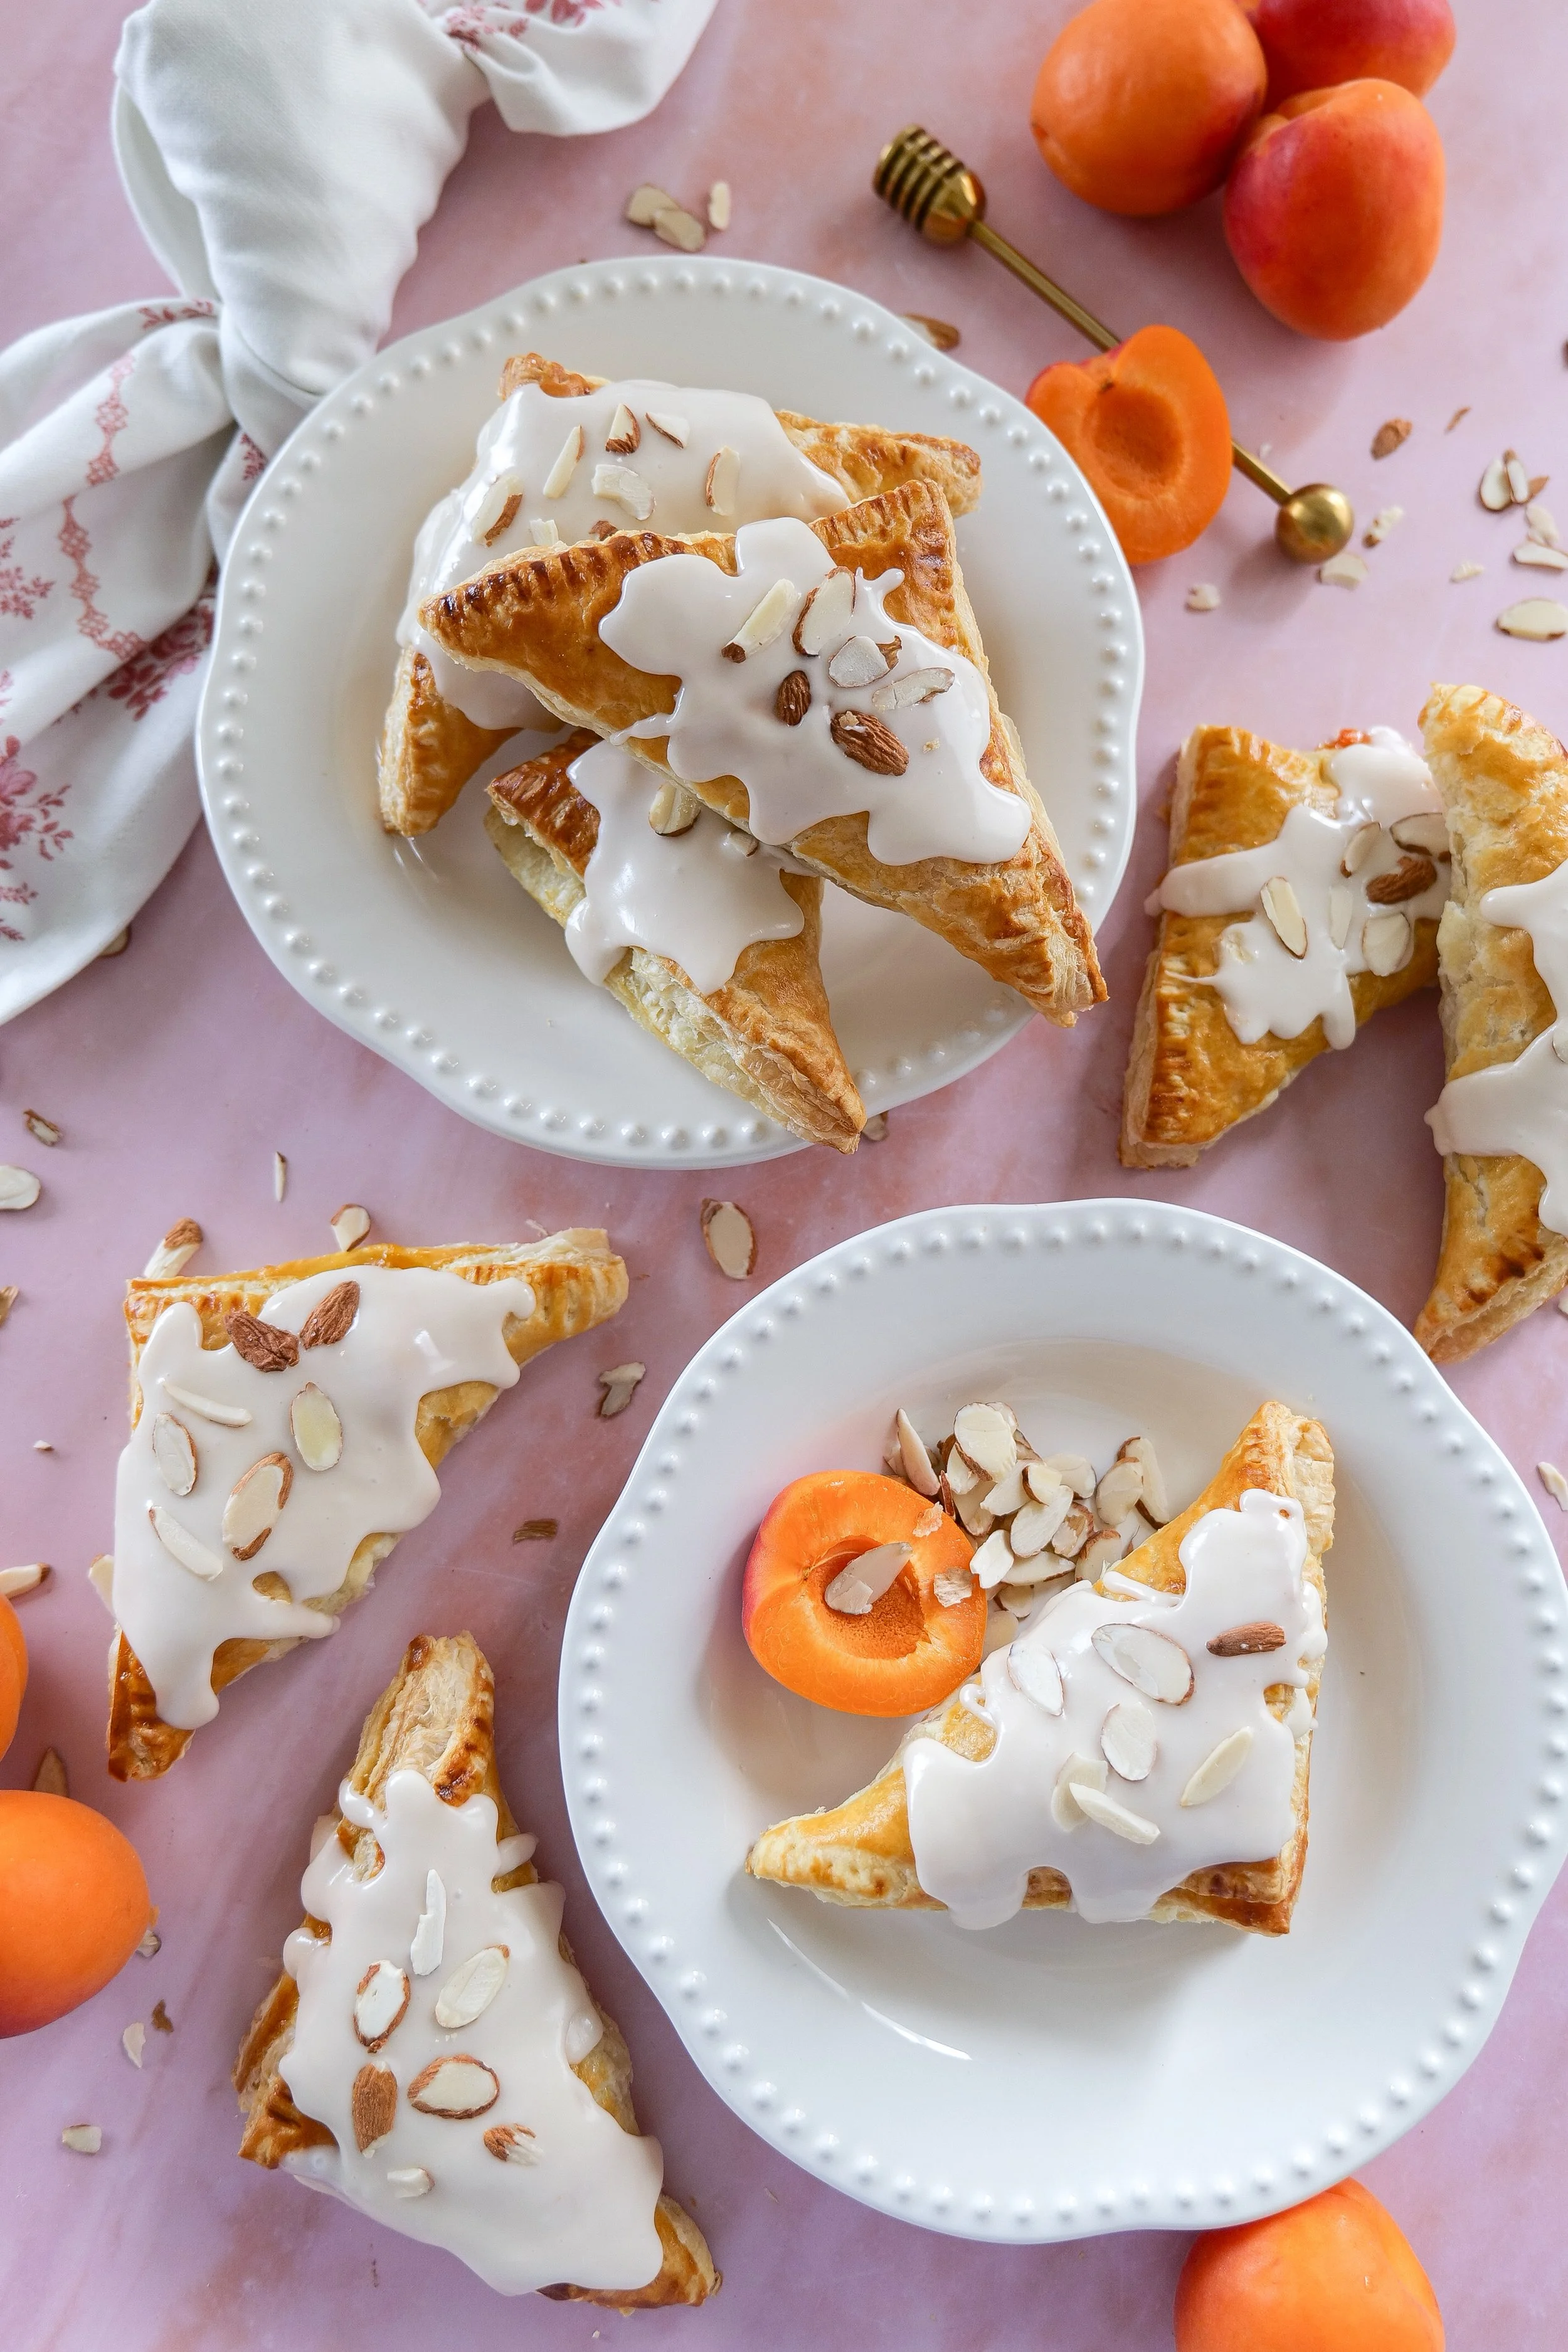
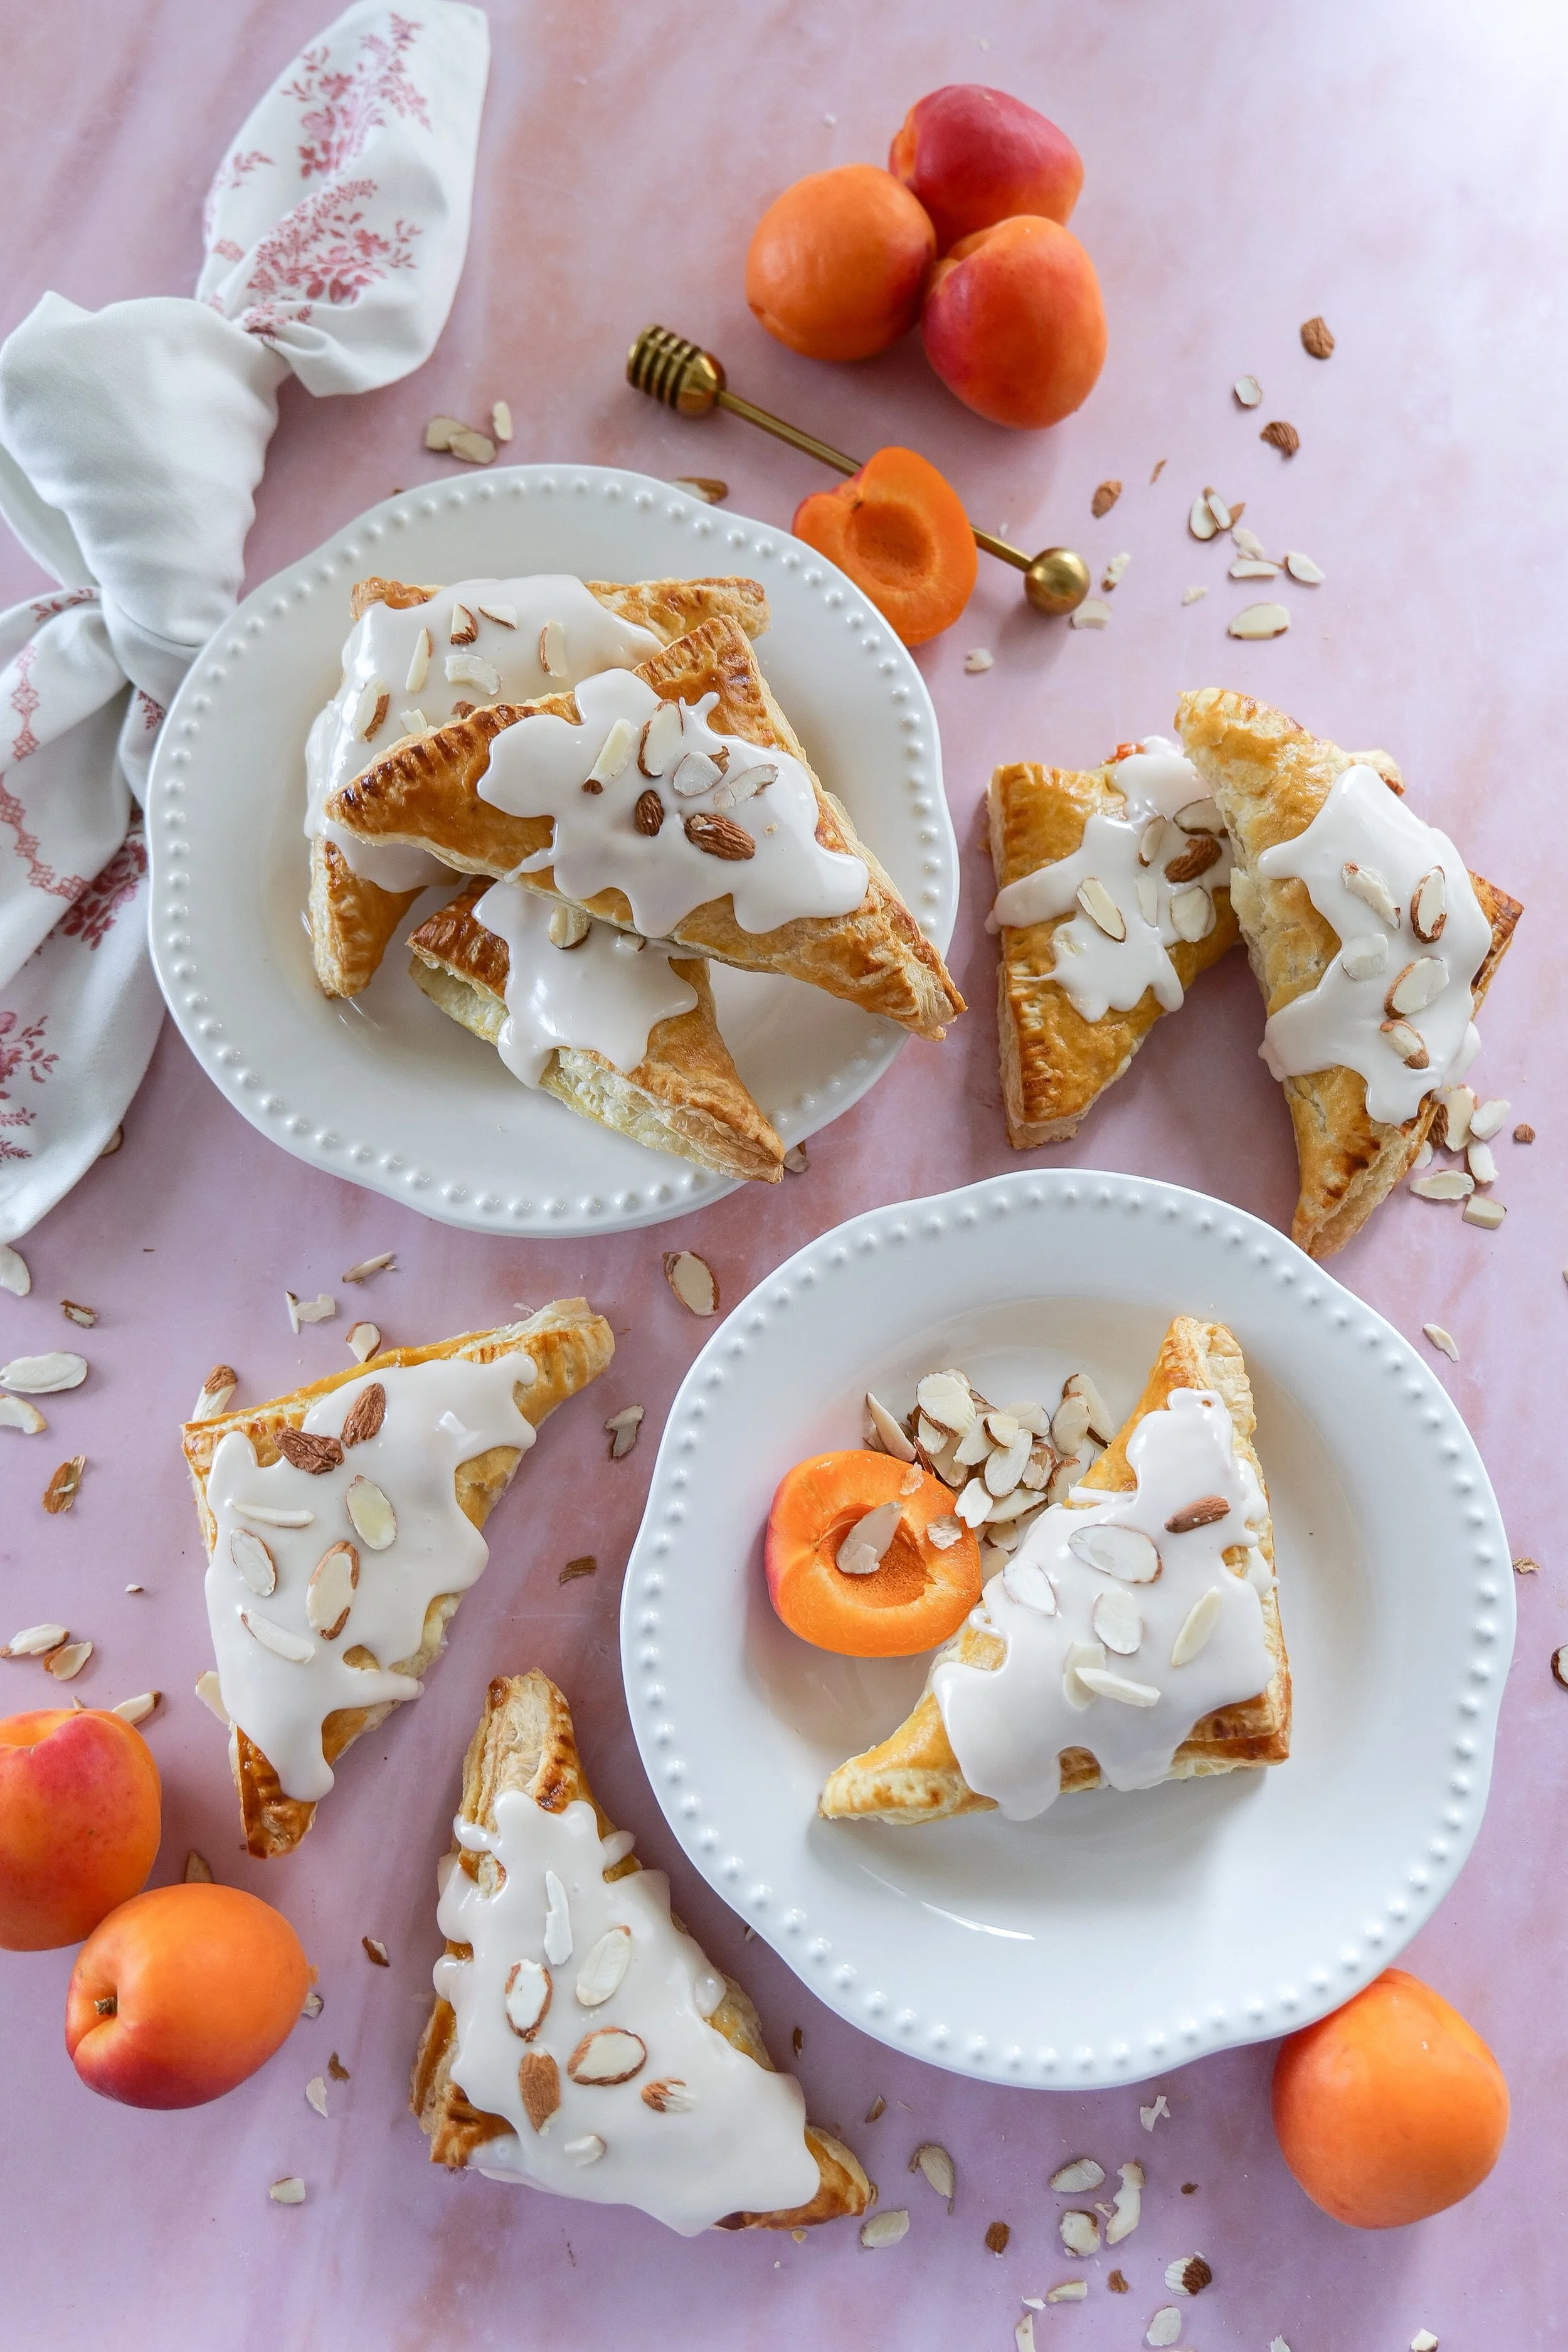
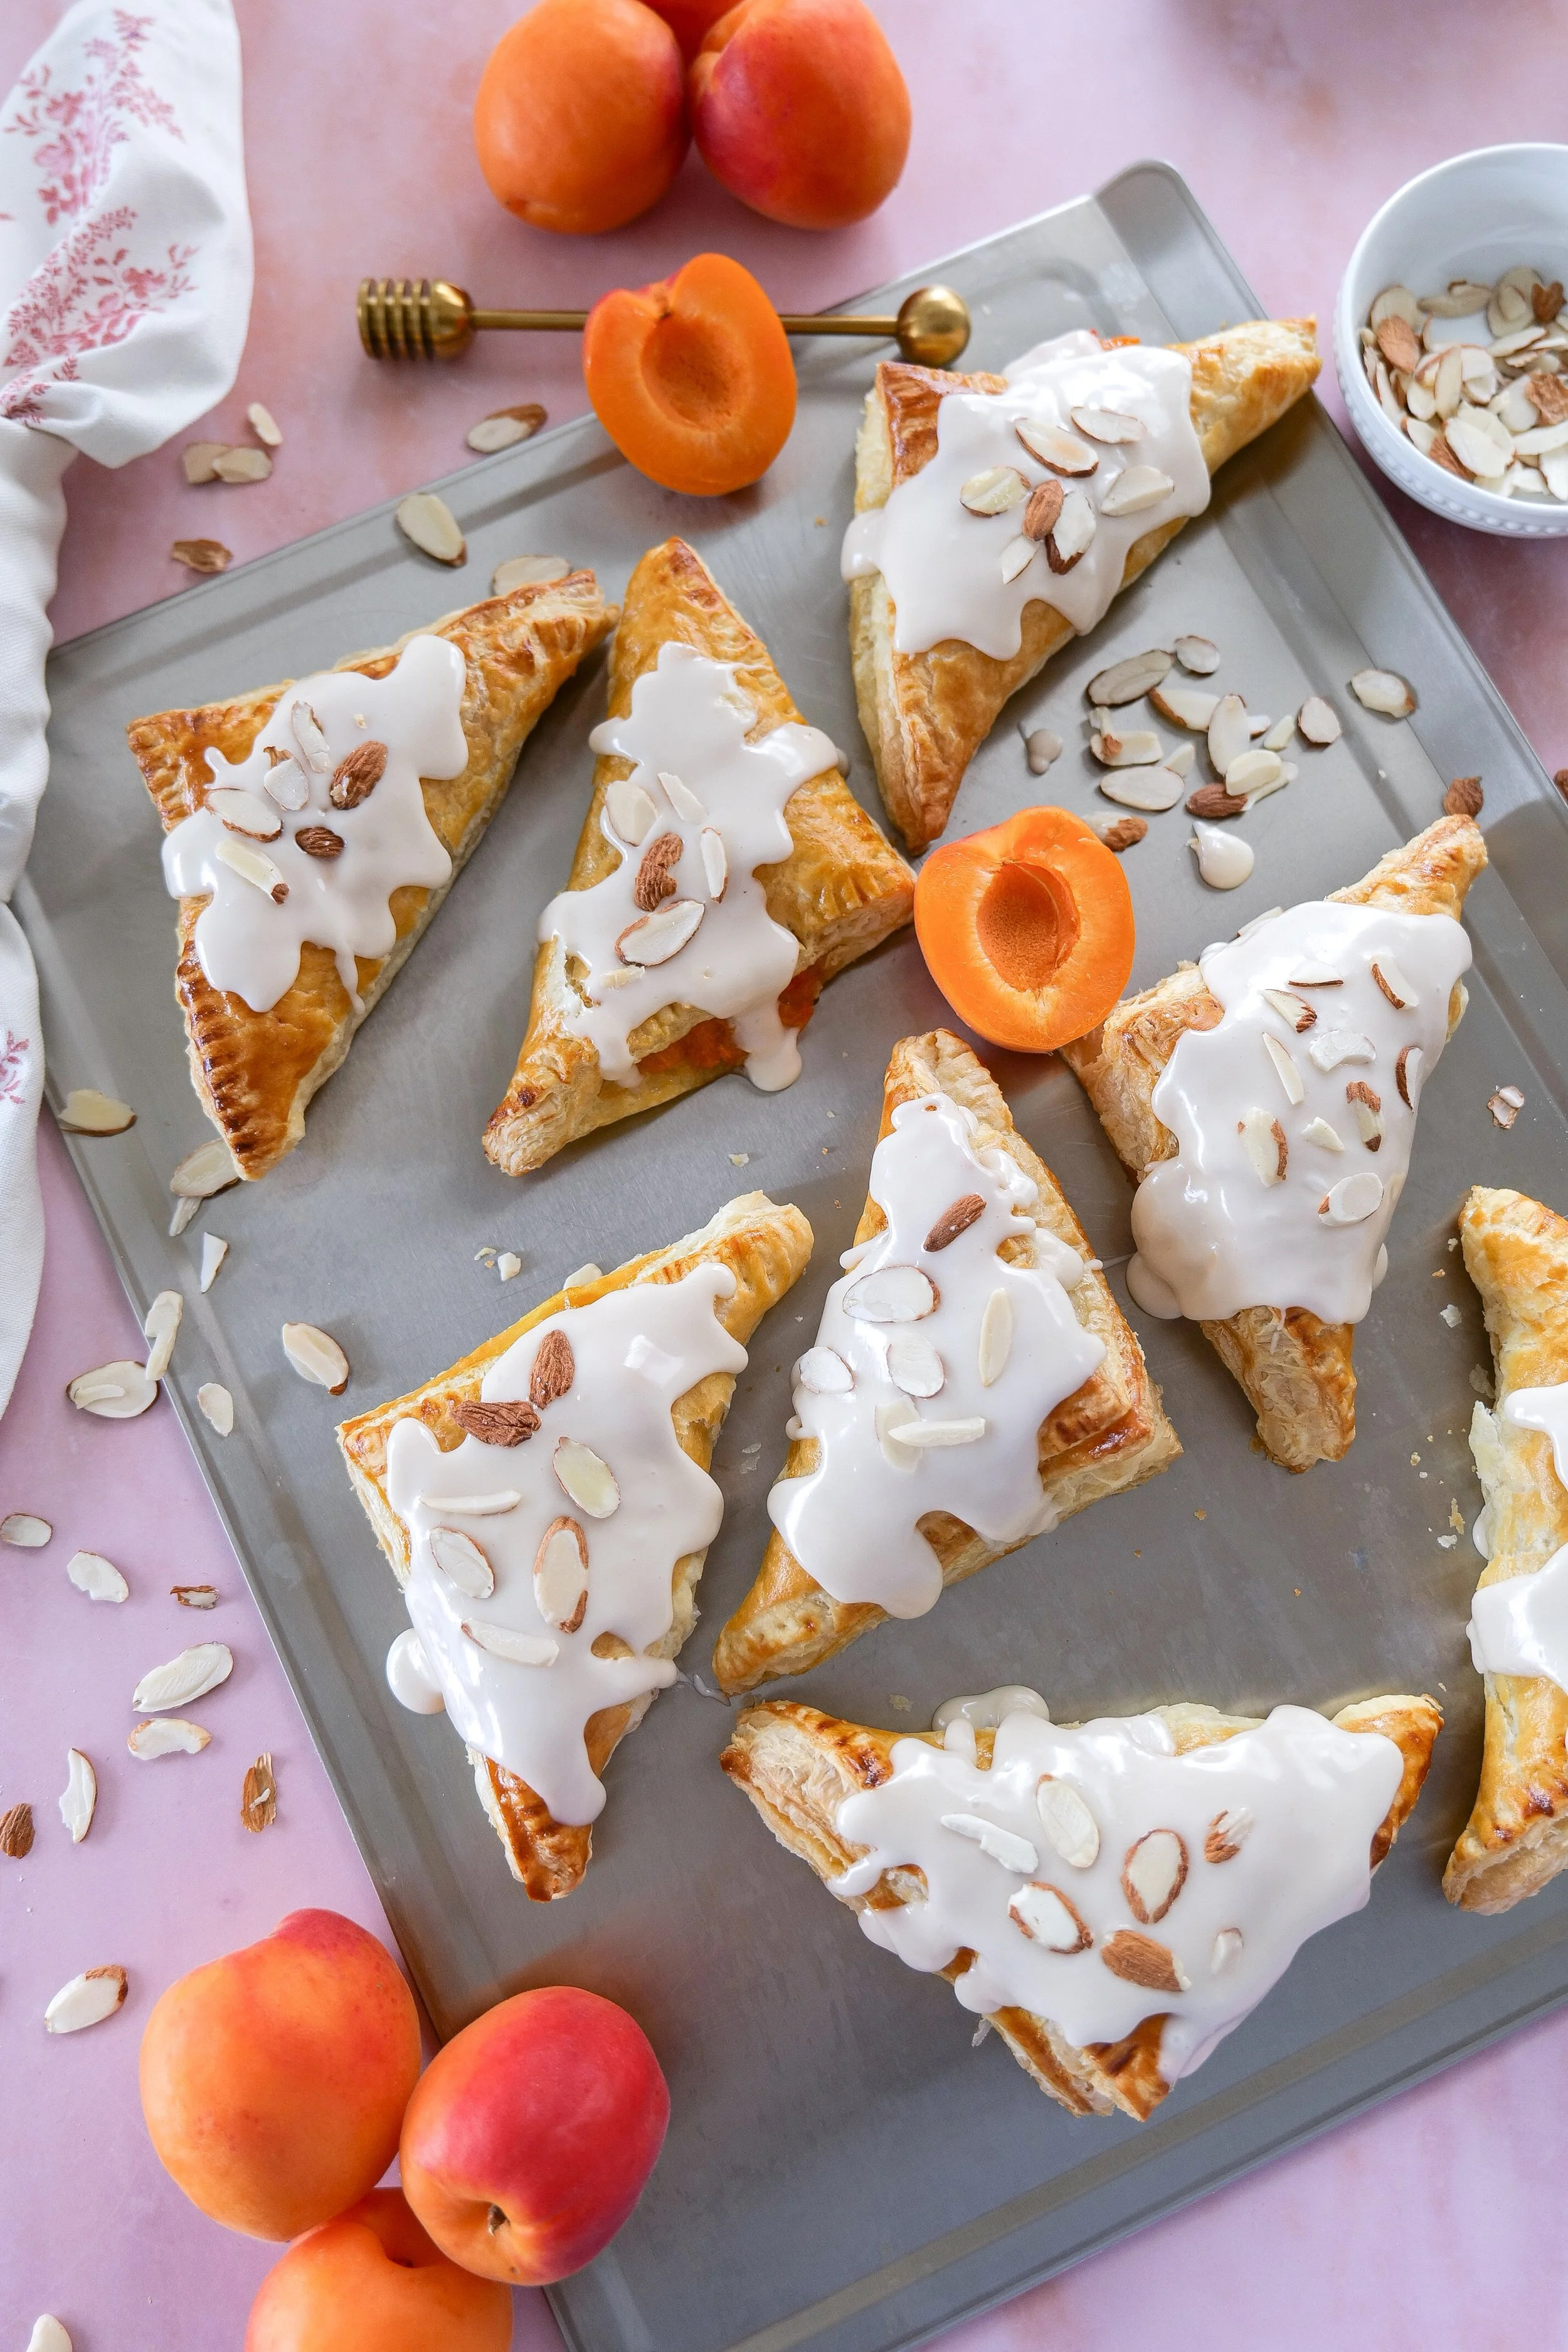
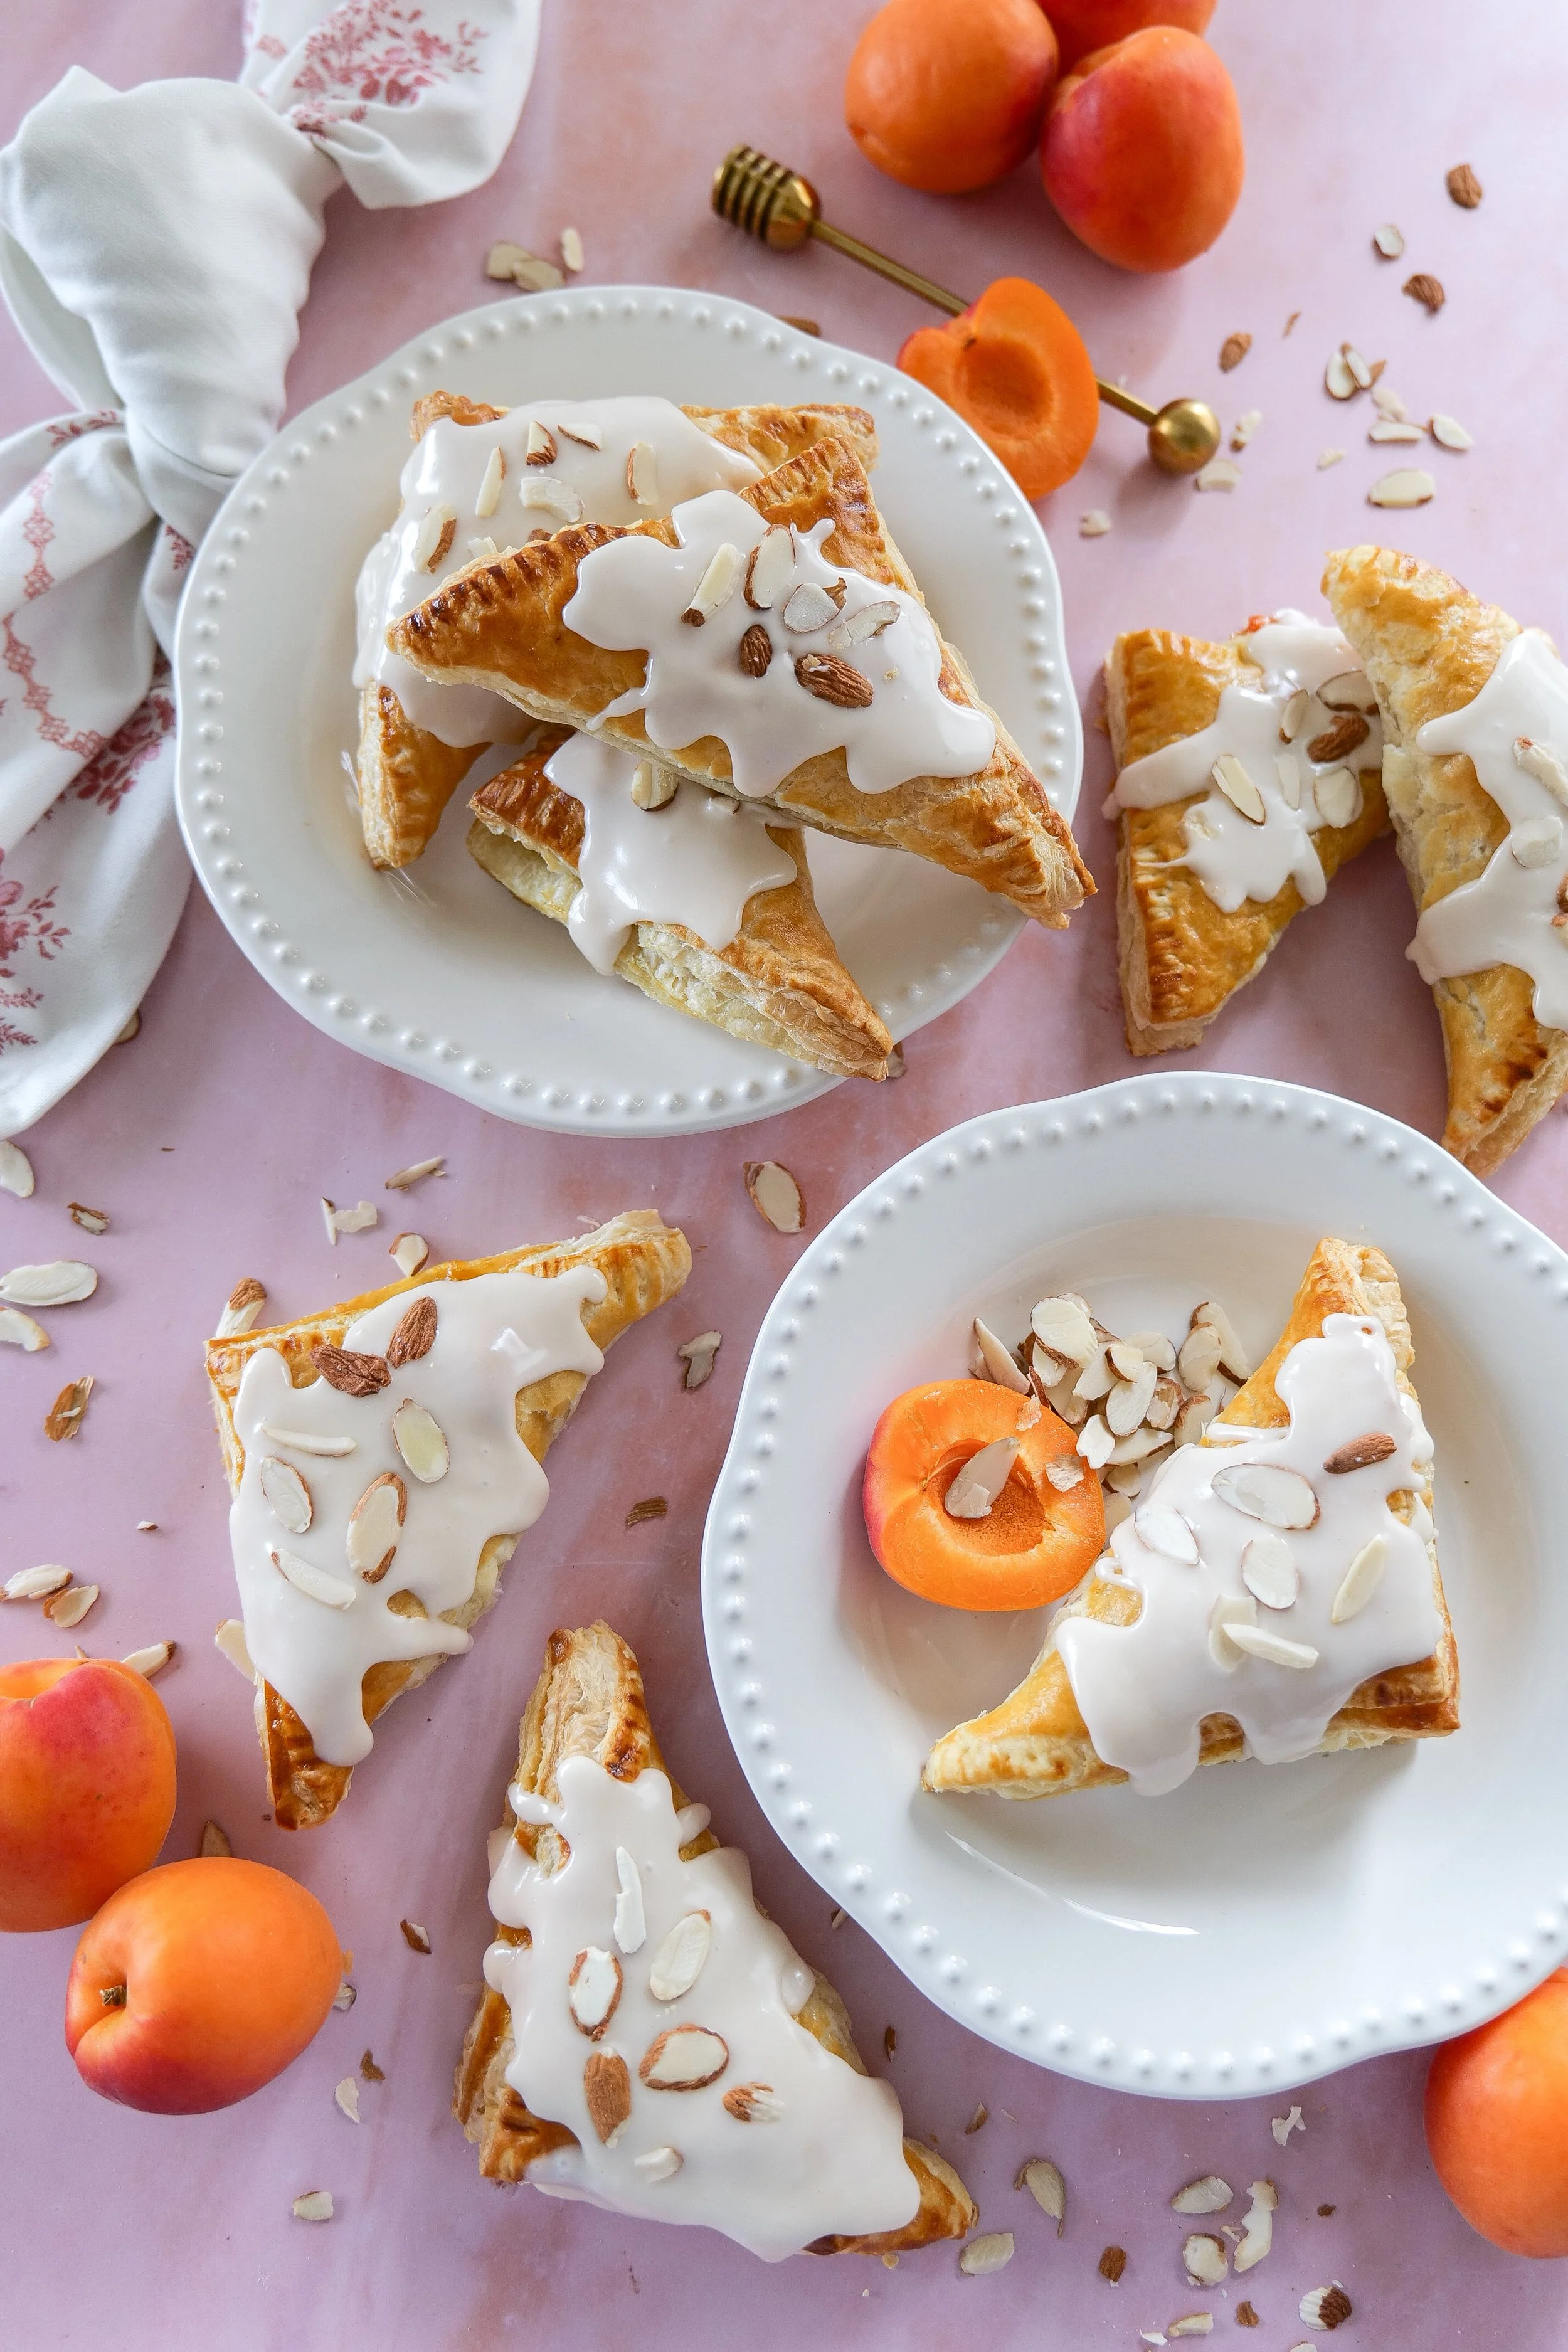
Apricot Puff Pastry Turnovers with honey glaze and sliced almonds served on white dish plates

If you love cozy homemade pastries, easy puff pastry desserts, or café-inspired baking recipes, these homemade apricot turnovers are the perfect sweet treat for brunch, slow mornings, summer gatherings, or afternoon coffee breaks. If you love bakery-style fruit pastries, you may also enjoy my Berry Custard Puff Pastry Tart and Personal Pear Tarts recipes.

With layers of flaky pastry, glossy honey glaze, and soft sweet apricots, these turnovers feel straight from a cozy European bakery.

Apricot Puff Pastry Turnovers Recipe

  • Prep Time: 20 minutes

  • Bake Time: 20–25 minutes

  • Total Time: 45 minutes

  • Servings: 8 turnovers

  • Category: Dessert / Breakfast Pastry

  • Flavor: Buttery, flaky, lightly sweet

Save this apricot puff pastry turnover recipe for cozy summer baking, brunch gatherings, and easy bakery-style desserts at home.

Why You’ll Love These Apricot Puff Pastry Turnovers

These homemade apricot turnovers are:

  • flaky and buttery

  • easy to make with store-bought puff pastry

  • lightly sweet with fresh apricot flavor

  • topped with warm honey glaze

  • finished with sliced almonds for bakery-style texture

  • beautiful for brunch spreads

  • perfect with coffee or tea

The honey glaze and almonds give these pastries an elevated homemade bakery feel while still being incredibly simple to make. These pastries pair perfectly with a cozy homemade Blueberry Muffin Latte for the ultimate café-inspired breakfast at home.

Why This Recipe Works

  • Puff pastry creates buttery flaky layers

  • Apricots bake into a soft jammy filling

  • Honey glaze adds warmth and sweetness

  • Sliced almonds bring texture and crunch

  • Store-bought pastry keeps the recipe easy

  • Perfect balance of cozy and elegant flavors

These puff pastry apricot turnovers feel impressive while still being approachable for beginner bakers.

Fresh Apricot Dessert Recipe

Fresh apricots create the perfect sweet and slightly tart filling for these homemade puff pastry turnovers. During apricot season, ripe juicy apricots bake beautifully into soft golden pastry for the ultimate cozy summer dessert.

Paired with honey glaze and sliced almonds, these flaky apricot pastries feel warm, comforting, and bakery-inspired. If you enjoy baking with fresh summer fruit, you may also love my Personal Pear Tarts and Berry Custard Puff Pastry Tart recipes.

Cozy Baking Essentials

If you love cozy baking recipes and bakery-style treats, I linked my favorite bakeware, serving pieces, and kitchen essentials I use for recipes like these in my Cozy Baking Essentials shelf.

Apricot Puff Pastry Turnovers with honey glaze and sliced almonds arranged on a baking tray
Golden brown apricot puff pastry turnovers topped with honey glaze on elegant white plates
Golden brown apricot puff pastry turnovers topped with honey glaze and sliced almonds on a tray
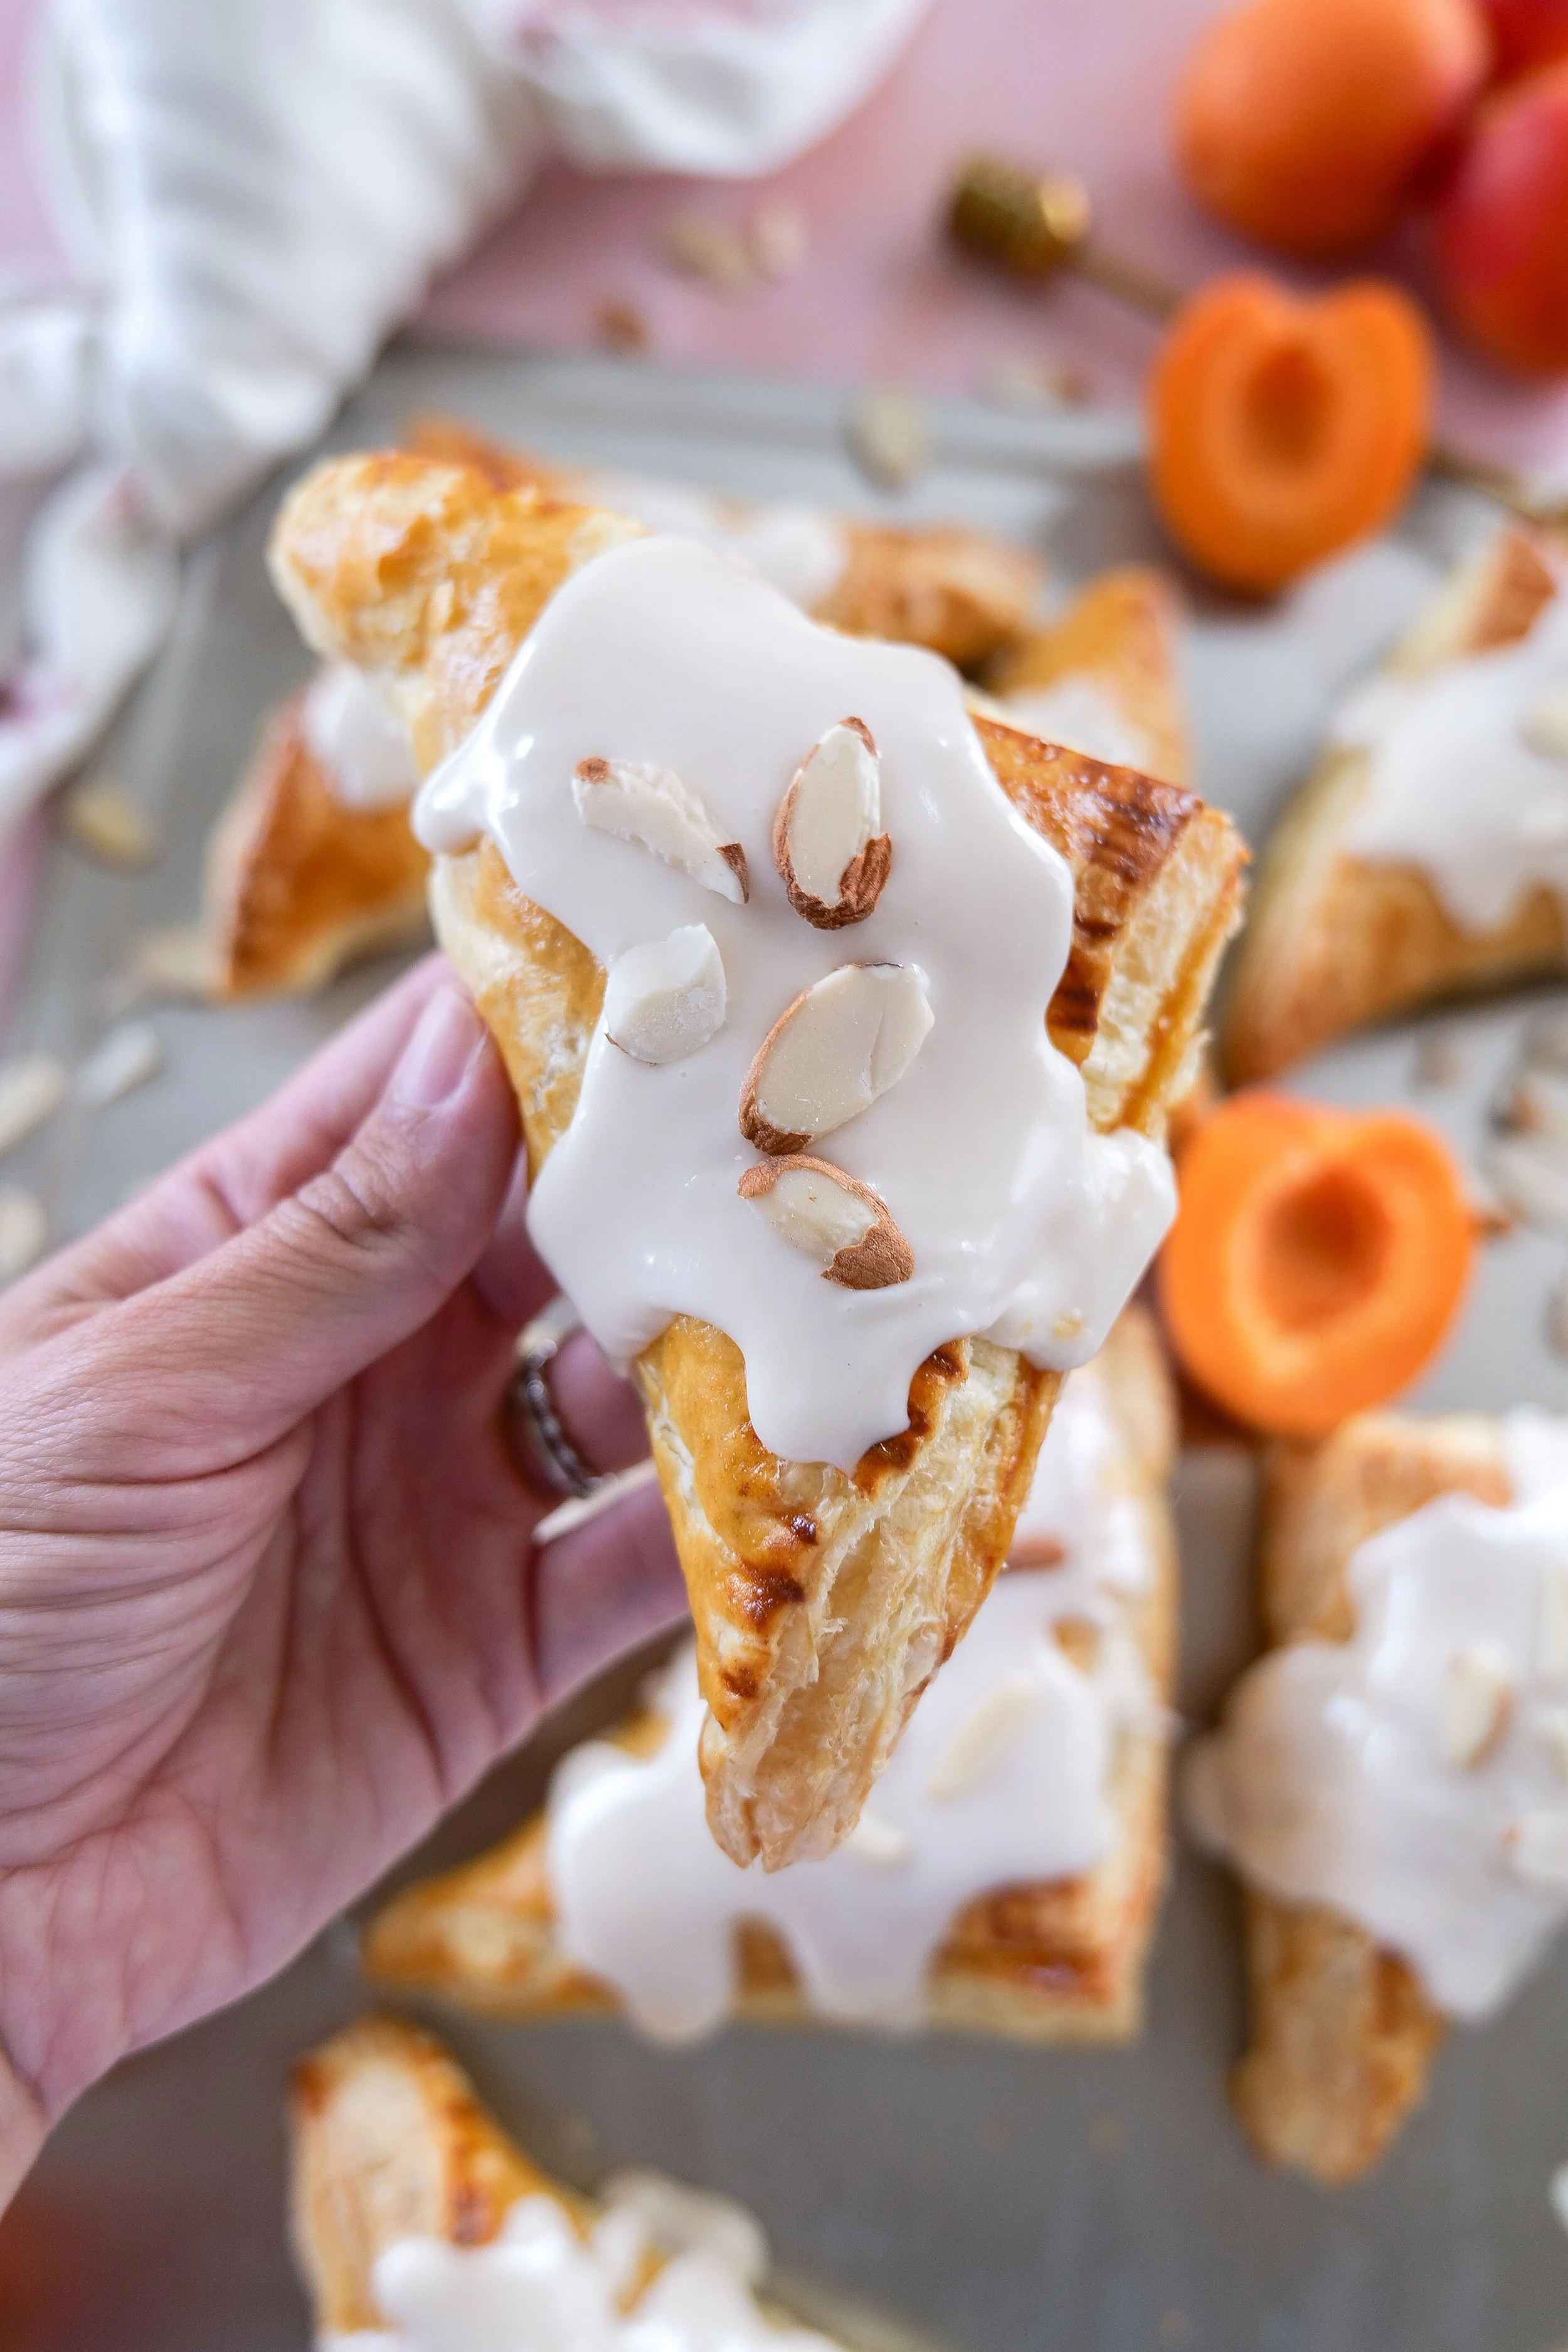
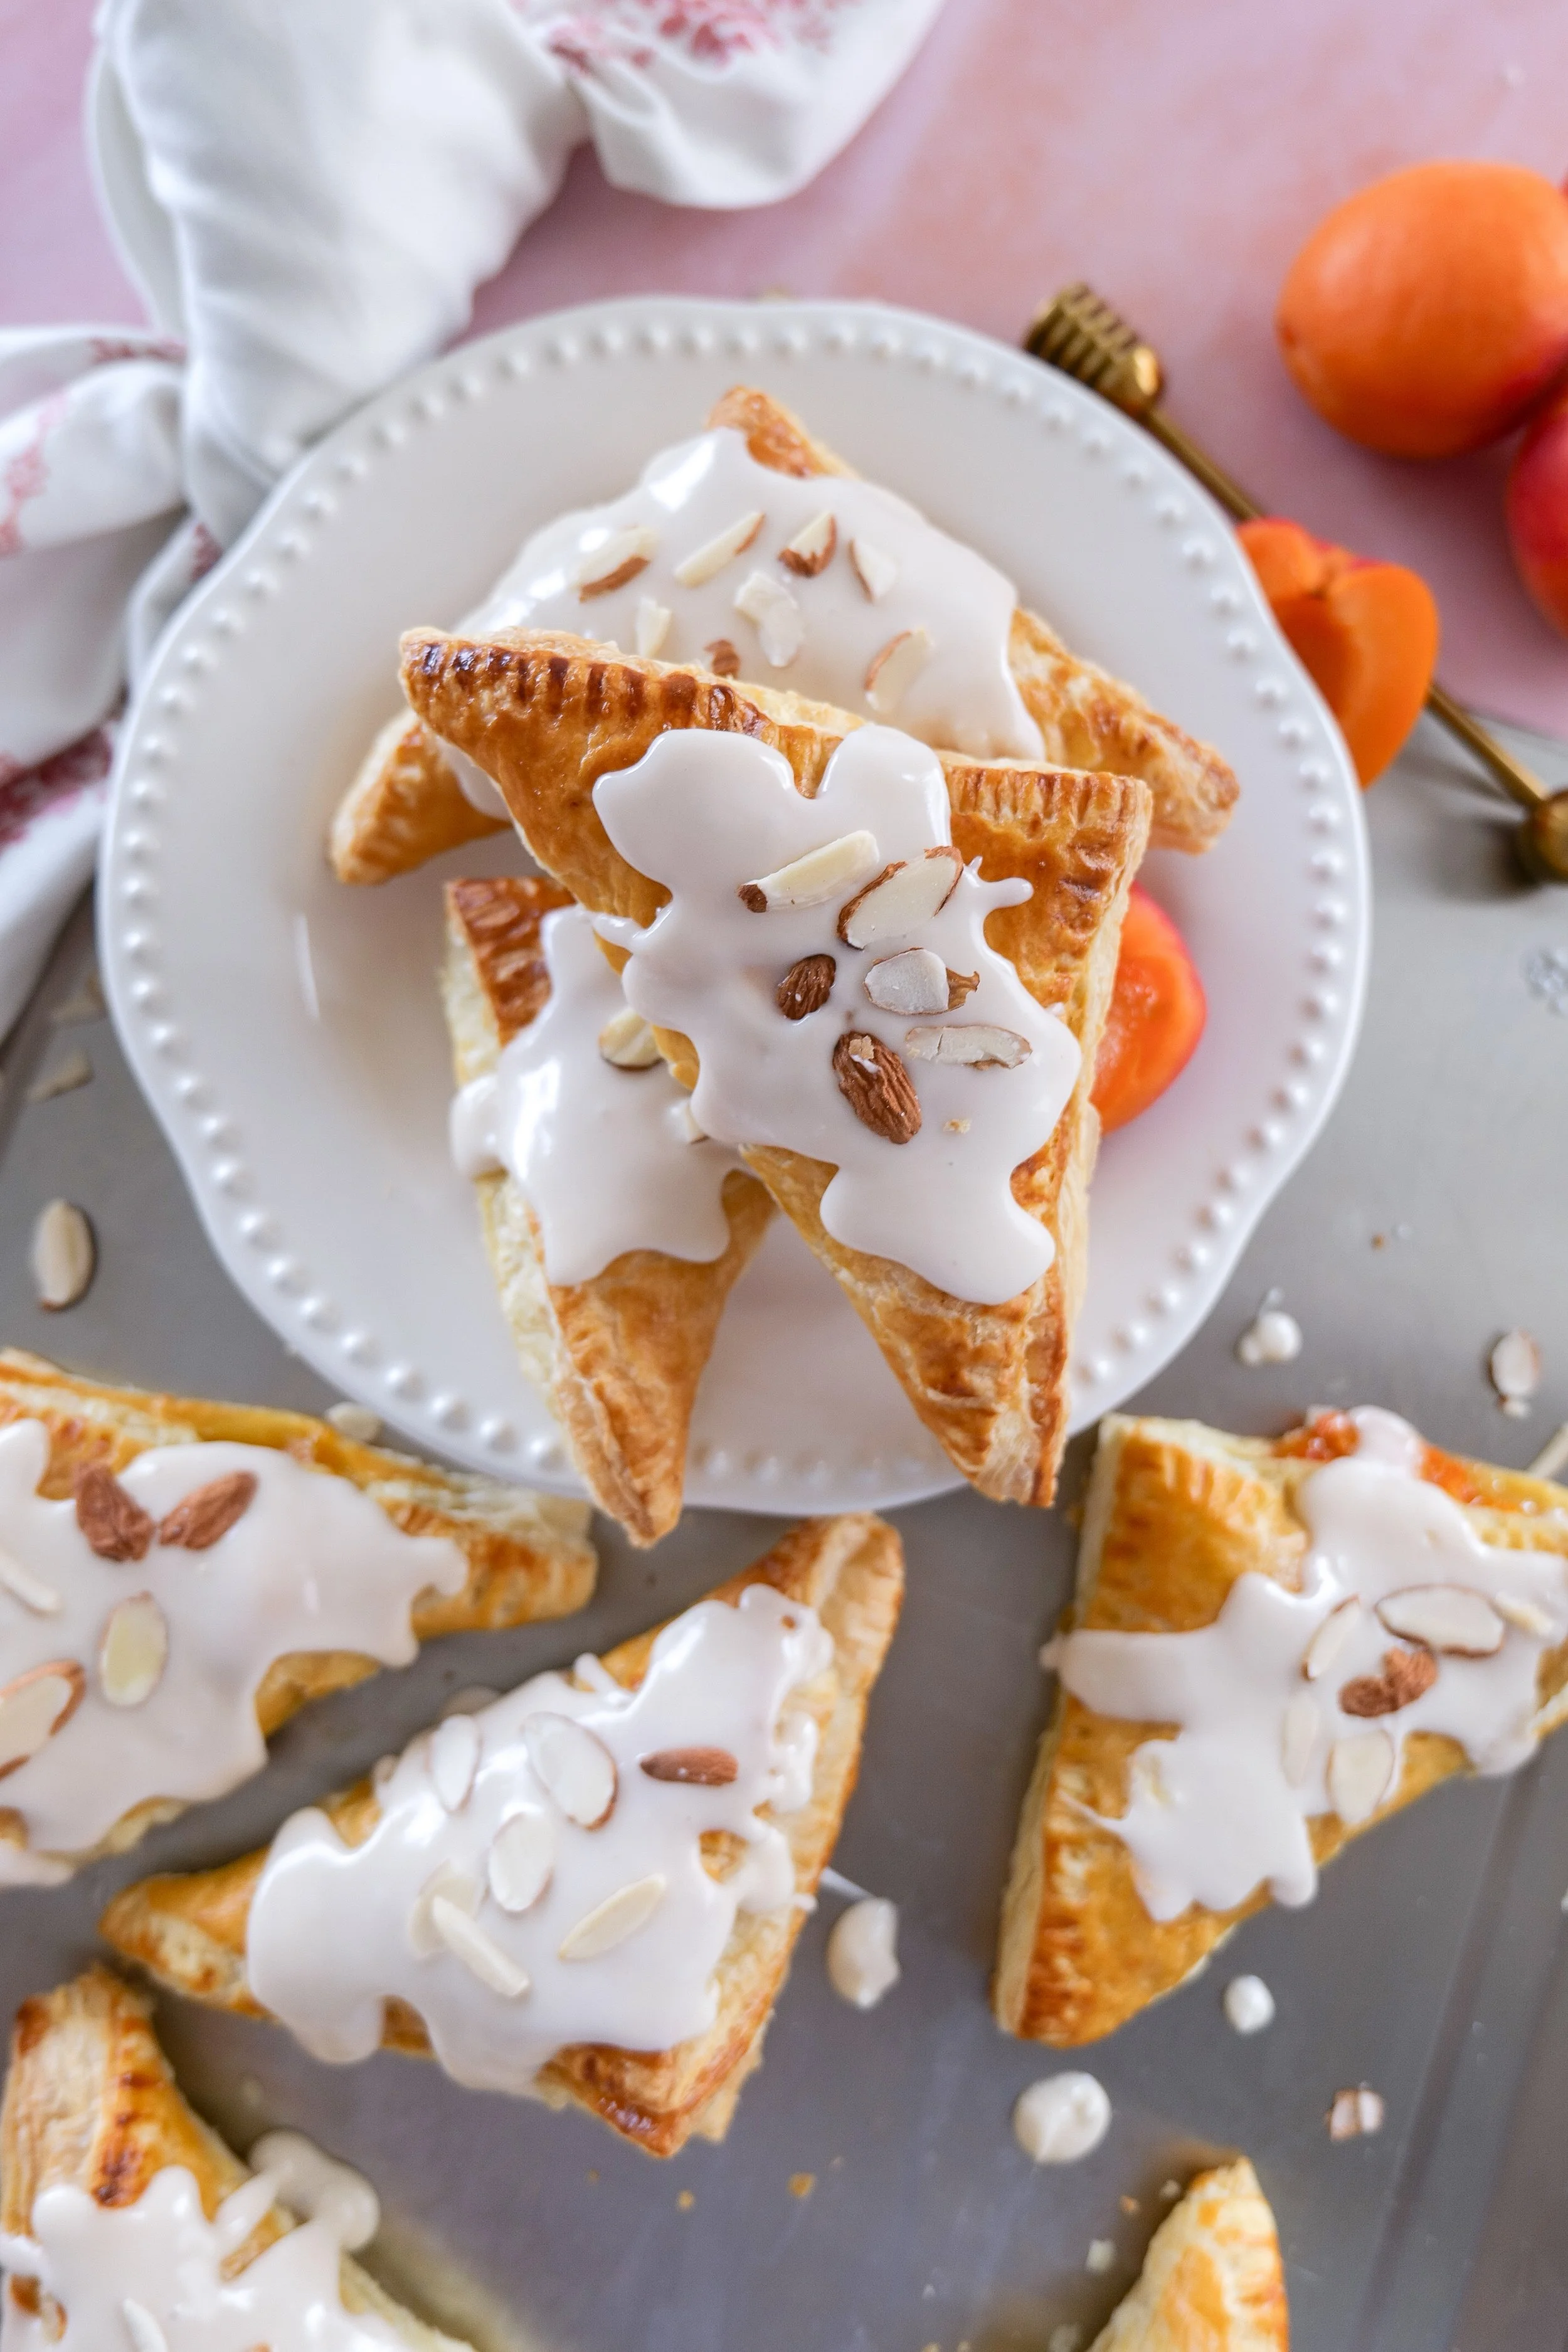
Freshly baked Apricot Puff Pastry Turnovers with flaky layers, honey drizzle, and almonds
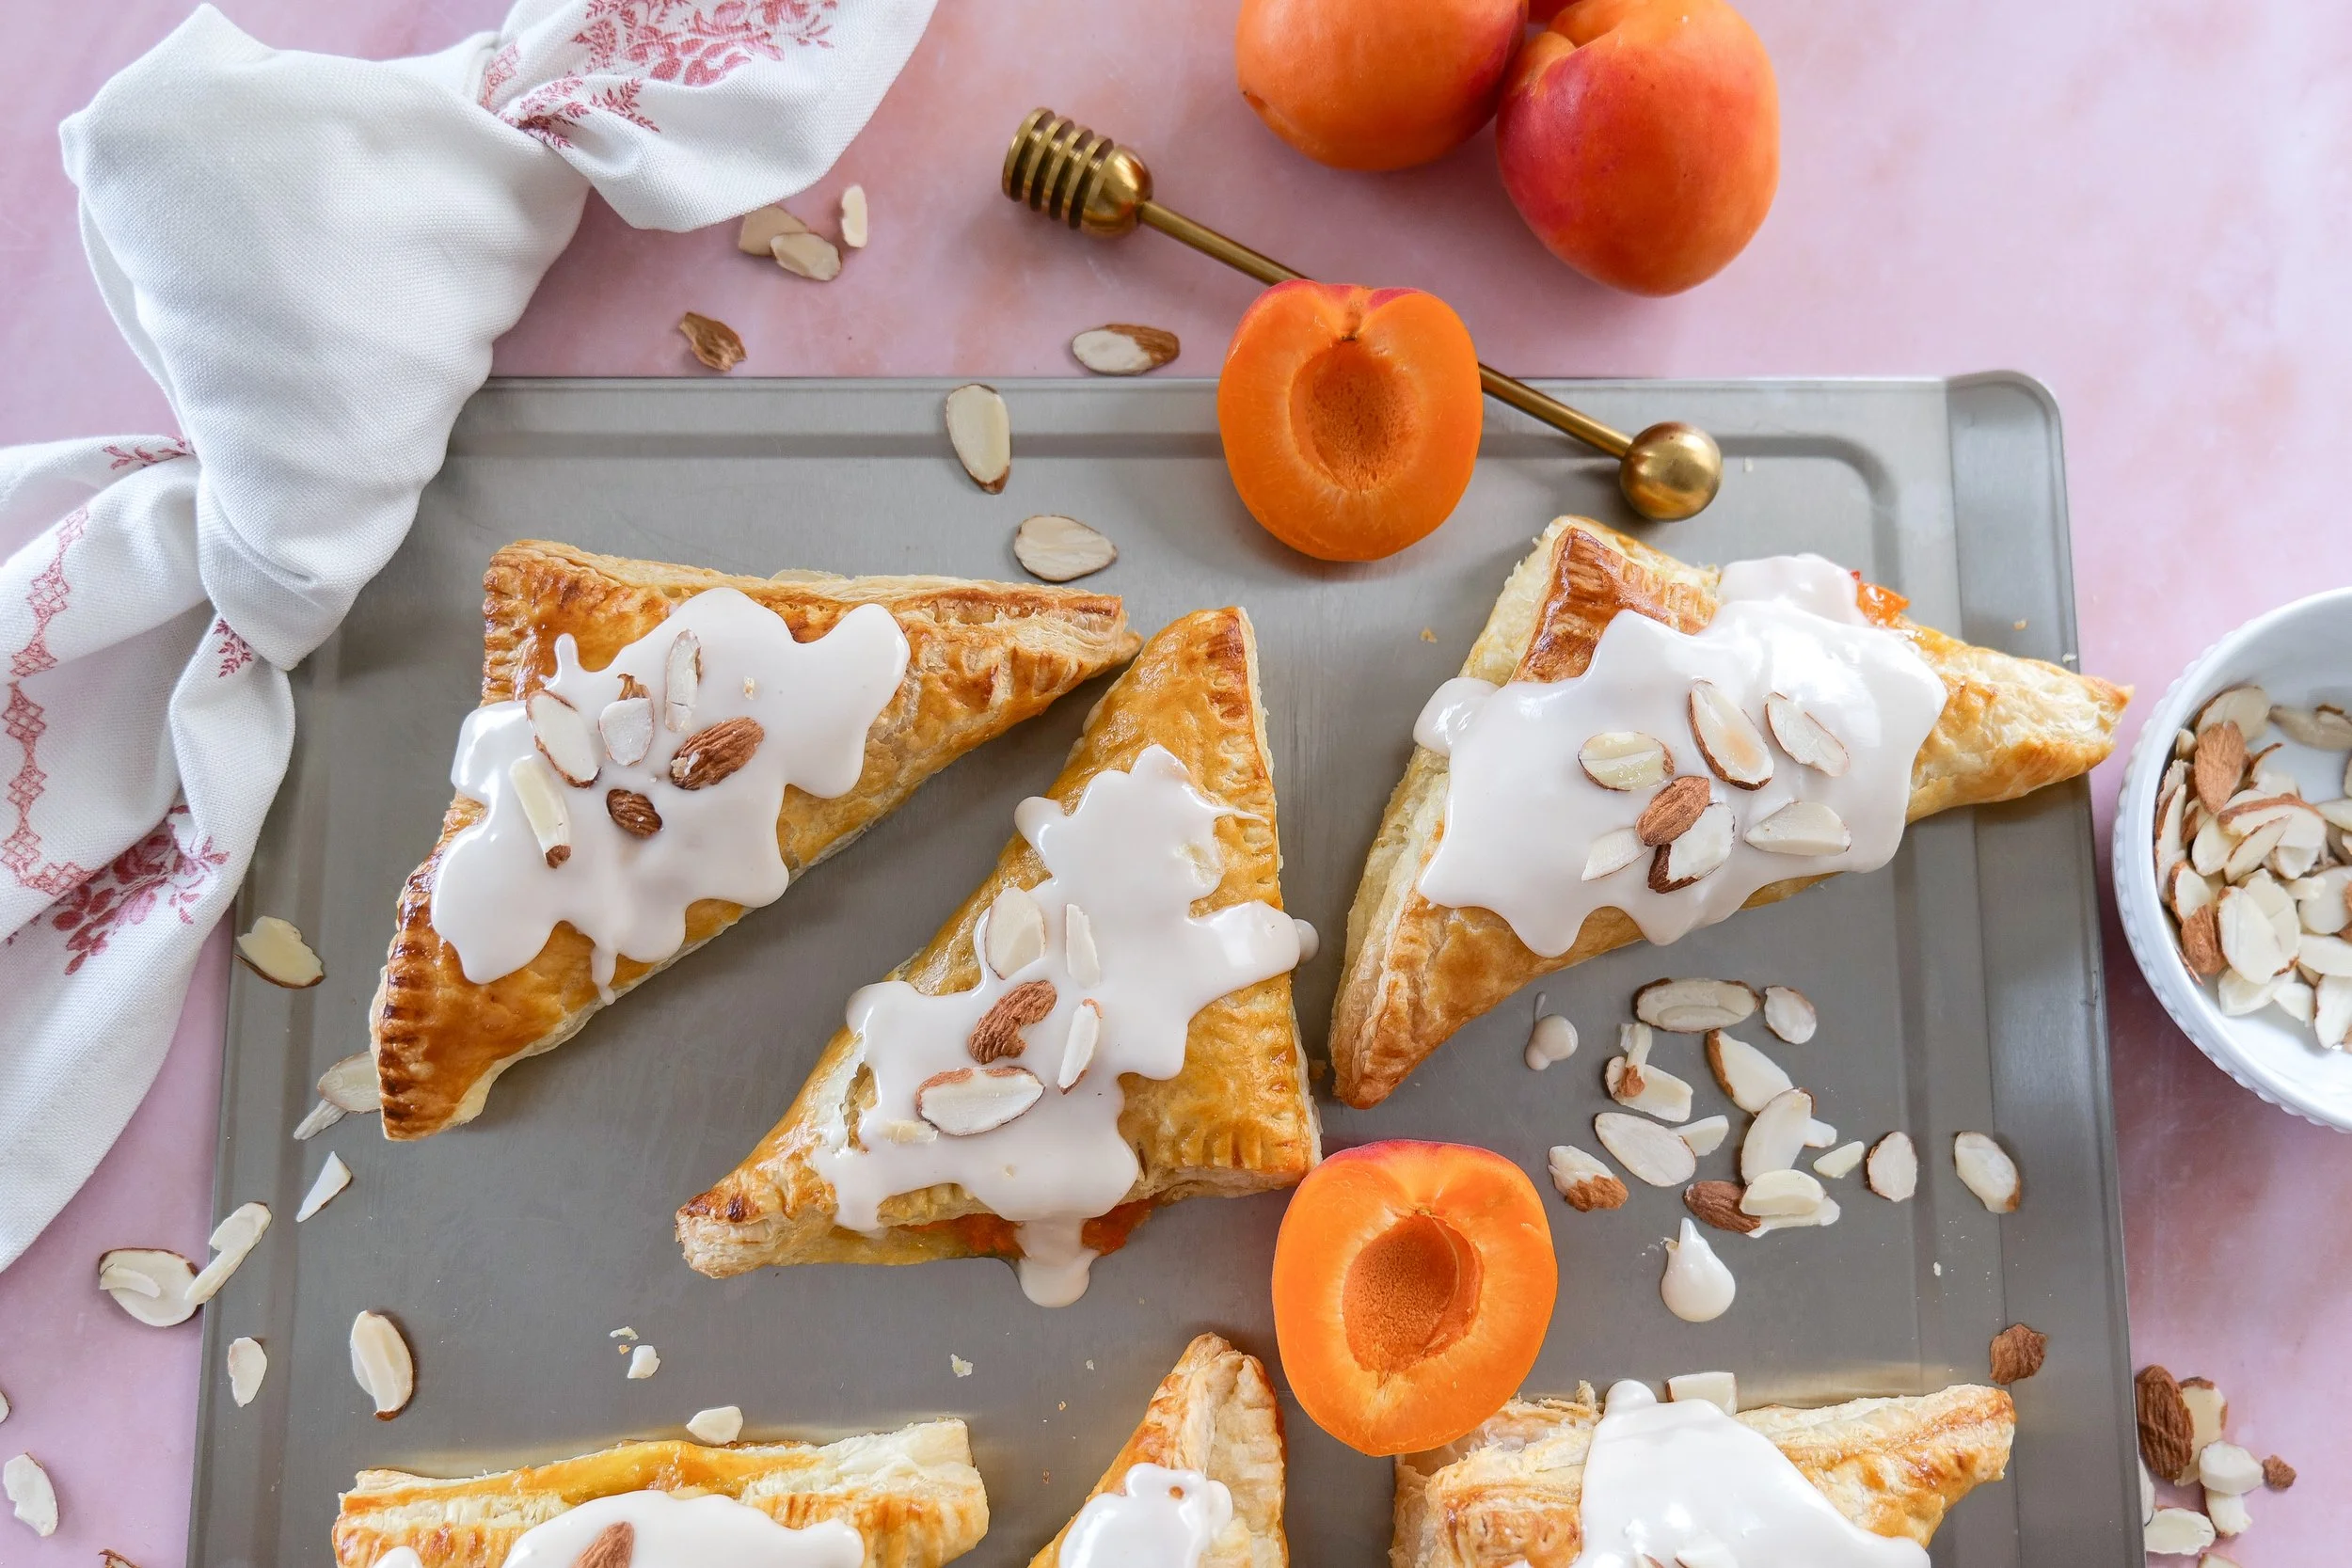
Homemade apricot turnovers with puff pastry, honey glaze, and sliced almonds cooling on a tray

Ingredients for Apricot Puff Pastry Turnovers

Turnovers

  • 1 sheet puff pastry, thawed

  • 4–5 fresh apricots, diced

  • ¼ cup granulated sugar

  • 1 tablespoon cornstarch

  • 1 teaspoon vanilla extract

  • 1 egg, beaten (for egg wash)

  • ¼ cup sliced almonds

Honey Glaze

  • 1 cup powdered sugar

  • 1–2 tablespoons milk

  • 1 tablespoon honey

  • ½ teaspoon vanilla extract

How to Make Apricot Puff Pastry Turnovers

Step 1: Prepare the Apricot Filling

In a bowl, combine:

  • diced apricots

  • sugar

  • cornstarch

  • vanilla extract

Stir until evenly coated and set aside.

Step 2: Prepare the Puff Pastry

Preheat oven to 400 degrees.

Lightly flour your surface and unfold the puff pastry sheet. Cut into 4 equal squares, then cut again diagonally if you prefer smaller turnovers.

Step 3: Fill the Turnovers

Spoon apricot filling into the center of each pastry square, leaving space around the edges.

Fold the pastry over to create triangles and press edges with a fork to seal.

Brush the tops with beaten egg wash.

Sprinkle sliced almonds over the tops.

Step 4: Bake

Place turnovers on a parchment-lined baking sheet.

Bake for 20–25 minutes or until golden brown, puffed, and flaky.

Allow turnovers to cool slightly before glazing.

Step 5: Make the Honey Glaze

In a small bowl, whisk together:

  • powdered sugar

  • milk

  • honey

  • vanilla extract

Drizzle over warm turnovers.

Flaky Apricot Puff Pastry Turnovers with sliced almonds arranged on white serving plate
Close-up of Apricot Puff Pastry Turnovers garnished with honey glaze and toasted sliced almonds
tray of Apricot Puff Pastry Turnovers with sweet honey glaze and crunchy almond topping

Tips for the Best Puff Pastry Turnovers

Keep Puff Pastry Cold

Cold pastry creates the flakiest layers.

Don’t Overfill

Too much filling can leak during baking.

Use Fresh Ripe Apricots

Fresh apricots create the best sweet flavor and texture.

Let Cool Slightly Before Glazing

Warm pastries help the honey glaze settle beautifully without melting completely off.

Why Puff Pastry Desserts Are So Popular

Puff pastry desserts have become incredibly popular because they create bakery-style pastries with minimal effort. Store-bought puff pastry makes it easy to create flaky, golden homemade desserts that feel elegant, cozy, and perfect for entertaining.

From fruit turnovers to breakfast pastries and sweet tarts, puff pastry recipes are loved for their buttery layers and beautiful presentation.

Summer Hosting Essentials

I also linked some of my favorite serving pieces, entertaining finds, and elevated summer hosting essentials I love using for brunches, gatherings, and cozy summer dinners in my Summer Hosting Essentials shelf.

Frequently Asked Questions

Can I use canned apricots?

Fresh apricots work best, but canned apricots can also be used if drained well.

Can I use frozen puff pastry?

Yes! Just allow it to thaw before unfolding.

Can I make these turnovers ahead of time?

Yes. Bake ahead and glaze before serving for best texture.

Can I freeze apricot turnovers?

Absolutely. Freeze after baking and reheat in the oven before serving.

Other Cozy Bakery-Style Recipes

If you love cozy homemade baking and bakery-inspired desserts, you may also enjoy:

Final Thoughts on These Apricot Puff Pastry Turnovers

These apricot puff pastry turnovers with honey glaze and sliced almonds are everything a cozy bakery-style pastry should be — flaky, buttery, golden, and filled with warm sweet apricot flavor.

The combination of crisp puff pastry, soft fruit filling, delicate honey glaze, and crunchy almonds creates a beautiful homemade dessert perfect for summer mornings, brunch tables, or cozy afternoons with coffee.

Whether you’re looking for an easy puff pastry dessert or a beautiful seasonal baking recipe, these homemade apricot turnovers are sure to become a favorite.

Save This Recipe

Whether you're planning ahead for a special occasion or adding a new favorite to your recipe collection, I've included a printable recipe card below so it's easy to save, print, and share with the people you love.

Printable Apricot Puff Pastry Turnovers recipe card featuring flaky golden puff pastry filled with fresh apricots, topped with honey glaze and sliced almonds in an elegant cookbook-inspired design by Amanda Warren.
Apricot Puff Pastry Turnovers ingredients
Homemade apricot turnovers drizzled with honey glaze and served on white dish plates
Flaky apricot-filled puff pastry turnovers brushed with honey glaze and sprinkled with almonds
Apricot Puff Pastry Turnovers baked until golden and topped with honey glaze and sliced almonds
Freshly baked apricot puff pastry turnovers presented on white plates with sliced almonds
Sweet apricot puff pastry turnovers with glossy honey glaze and sliced almonds served on a tray

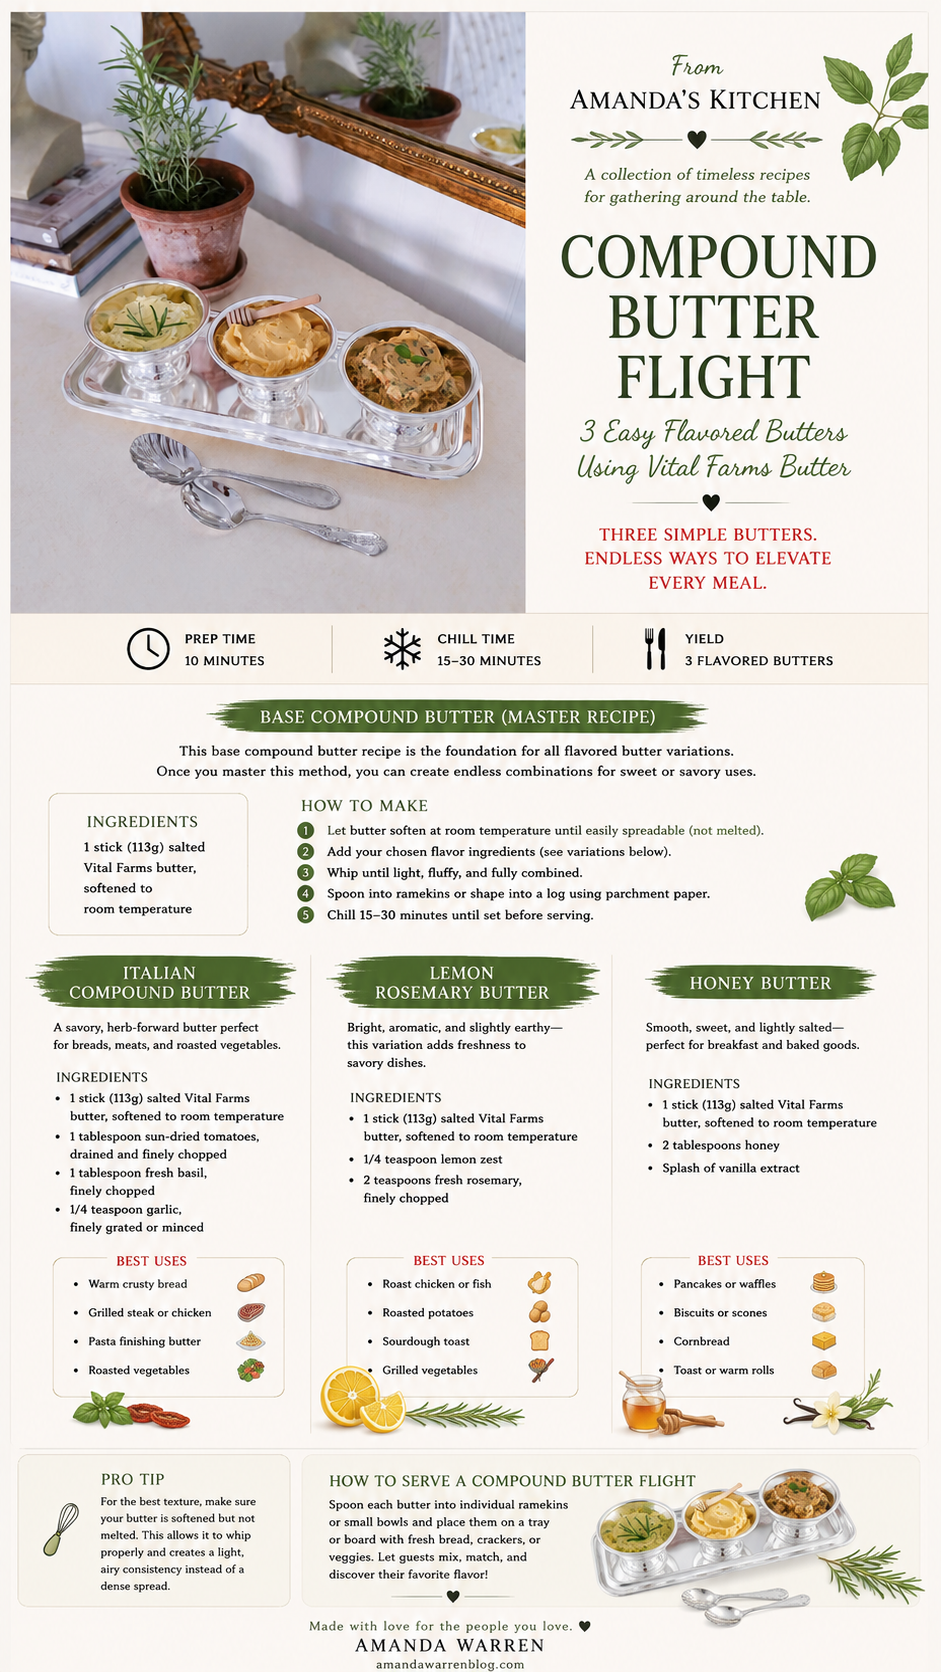
3 Easy Compound Butter Recipes (Flavored Butter Flight)

There’s something quietly luxurious about a compound butter flight or butter board. It turns something as simple as bread into a small experience—rich, flavorful, and just a little indulgent.

↓ Skip to Recipe

In this post, you’ll learn how to make a compound butter flight with 3 easy flavored butter recipes using Vital Farms butter: Italian herb butter, lemon rosemary butter, and honey butter. Each variation comes together in minutes but feels like something you’d be served at a cozy wine bar or weekend brunch.

Compound butter (also called flavored butter) is simply butter mixed with herbs, spices, or sweet ingredients to enhance flavor. It’s one of the easiest ways to elevate everyday foods like bread, steak, vegetables, and more.

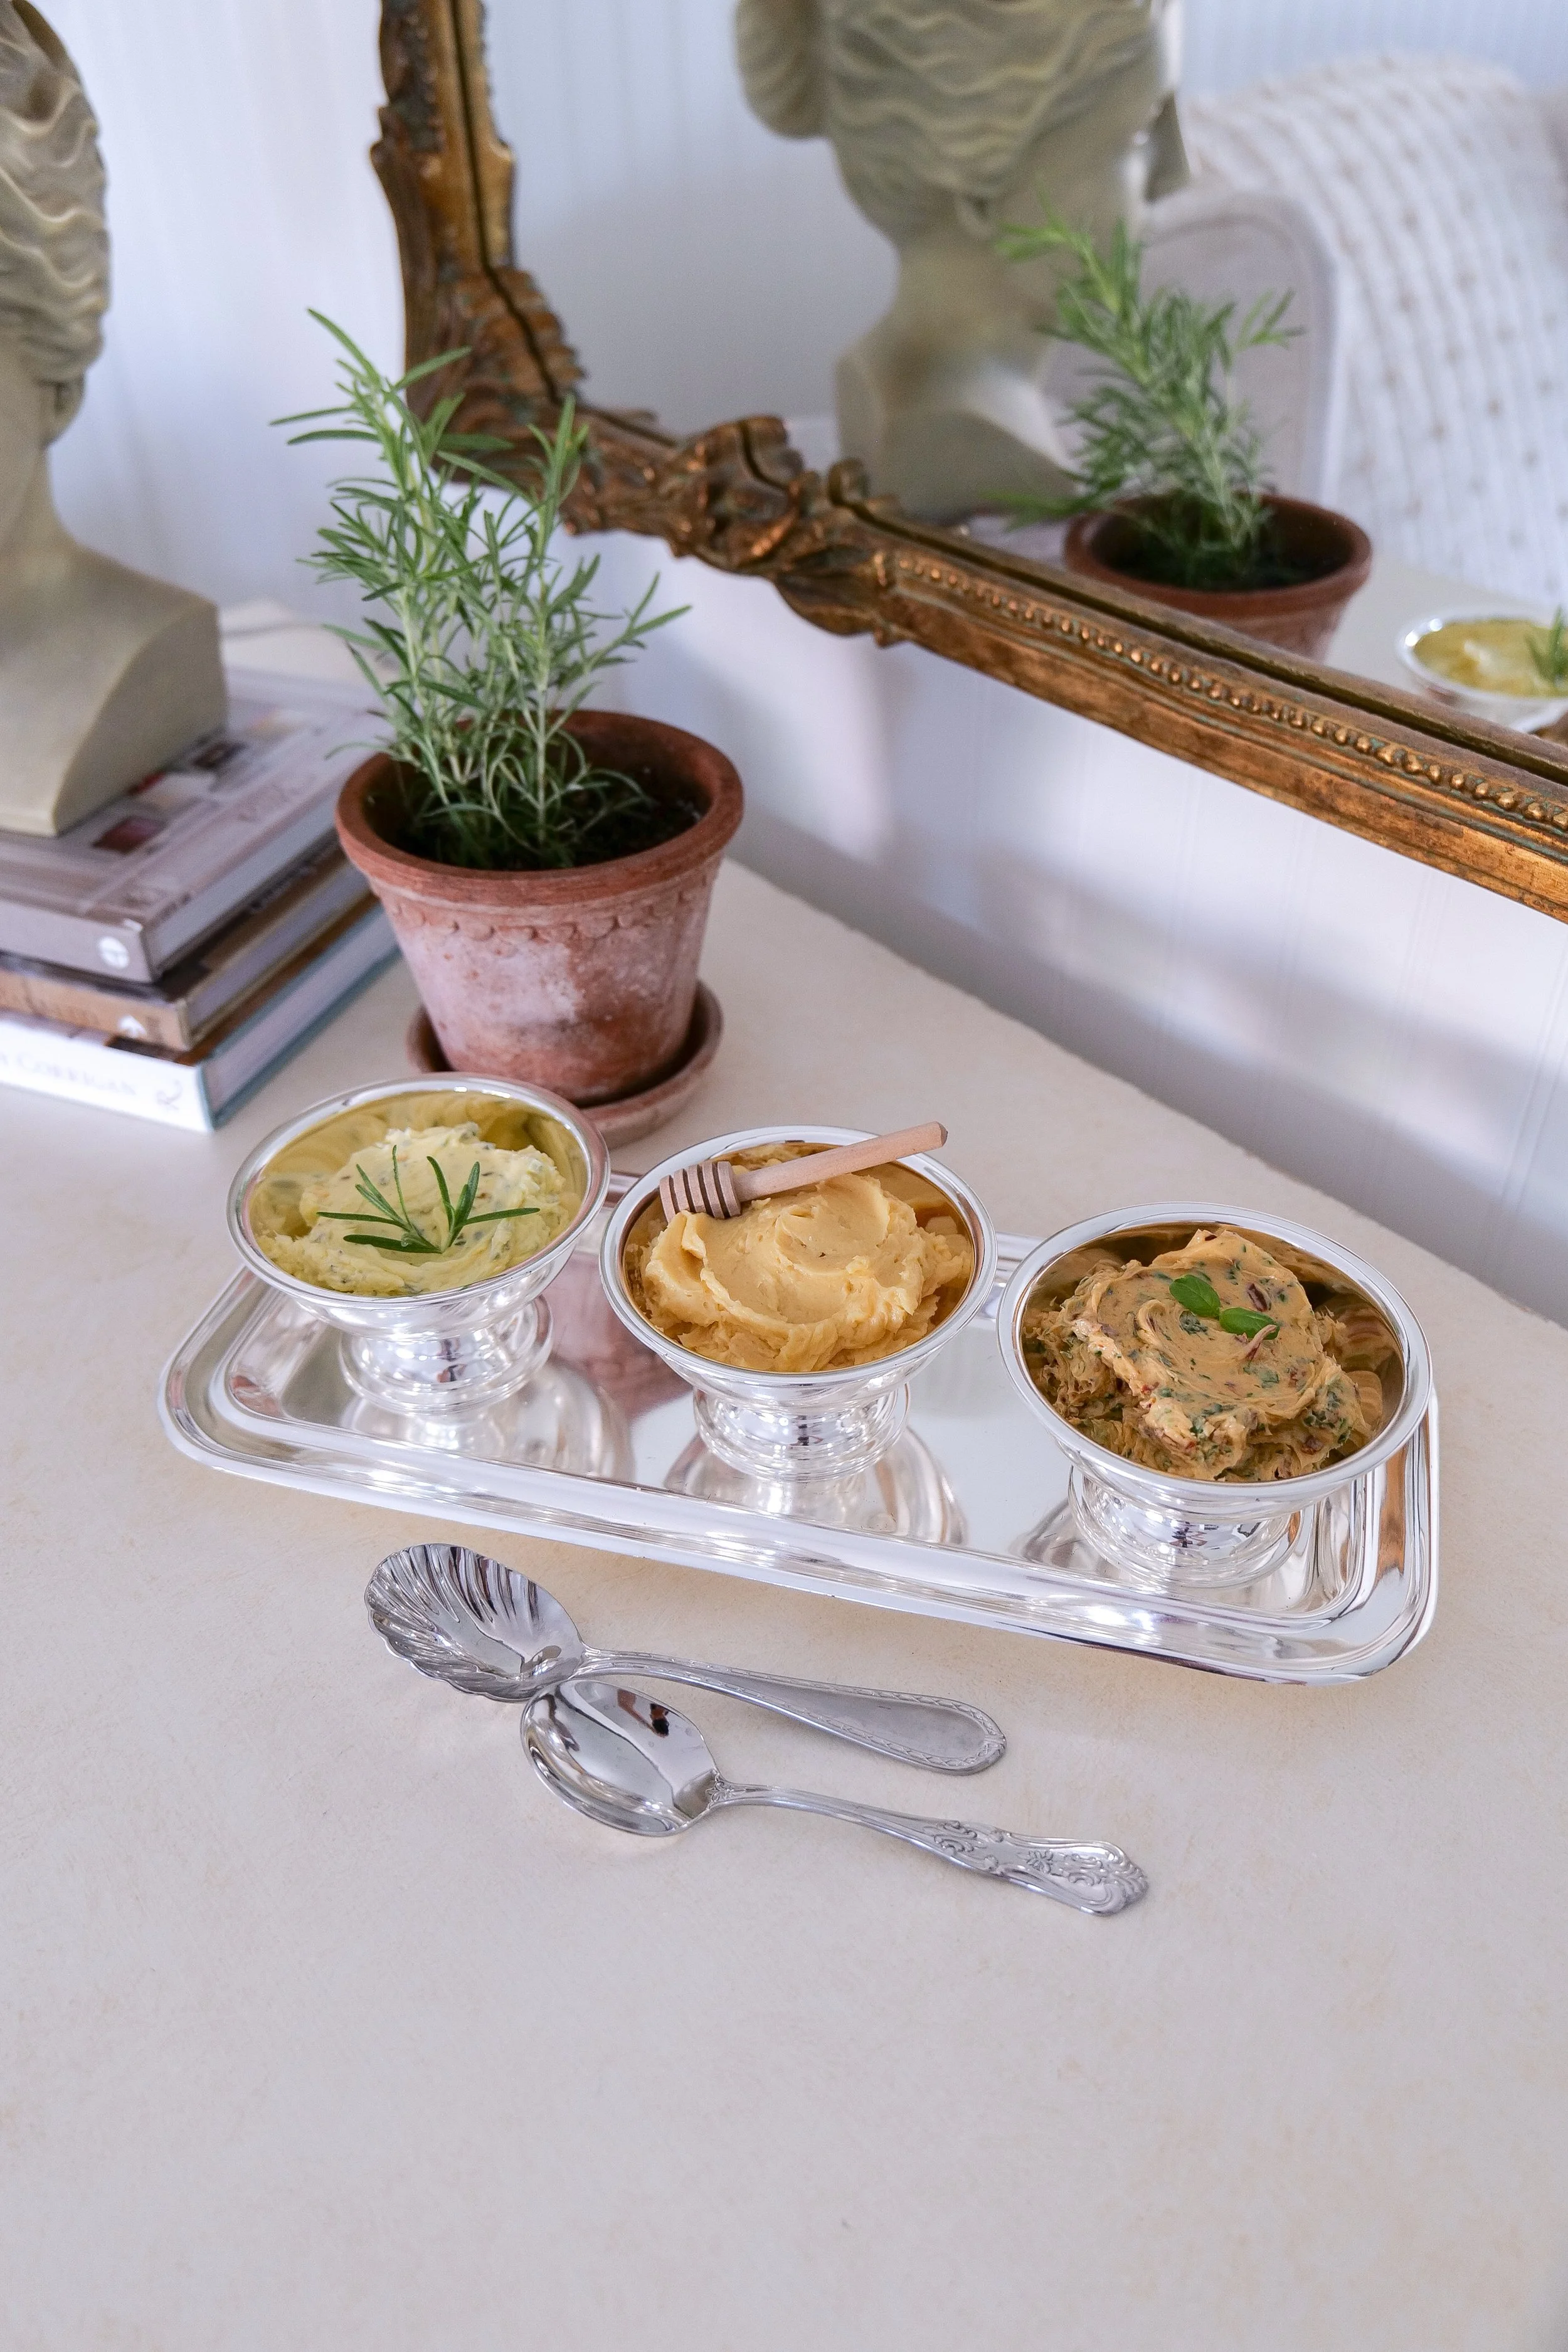
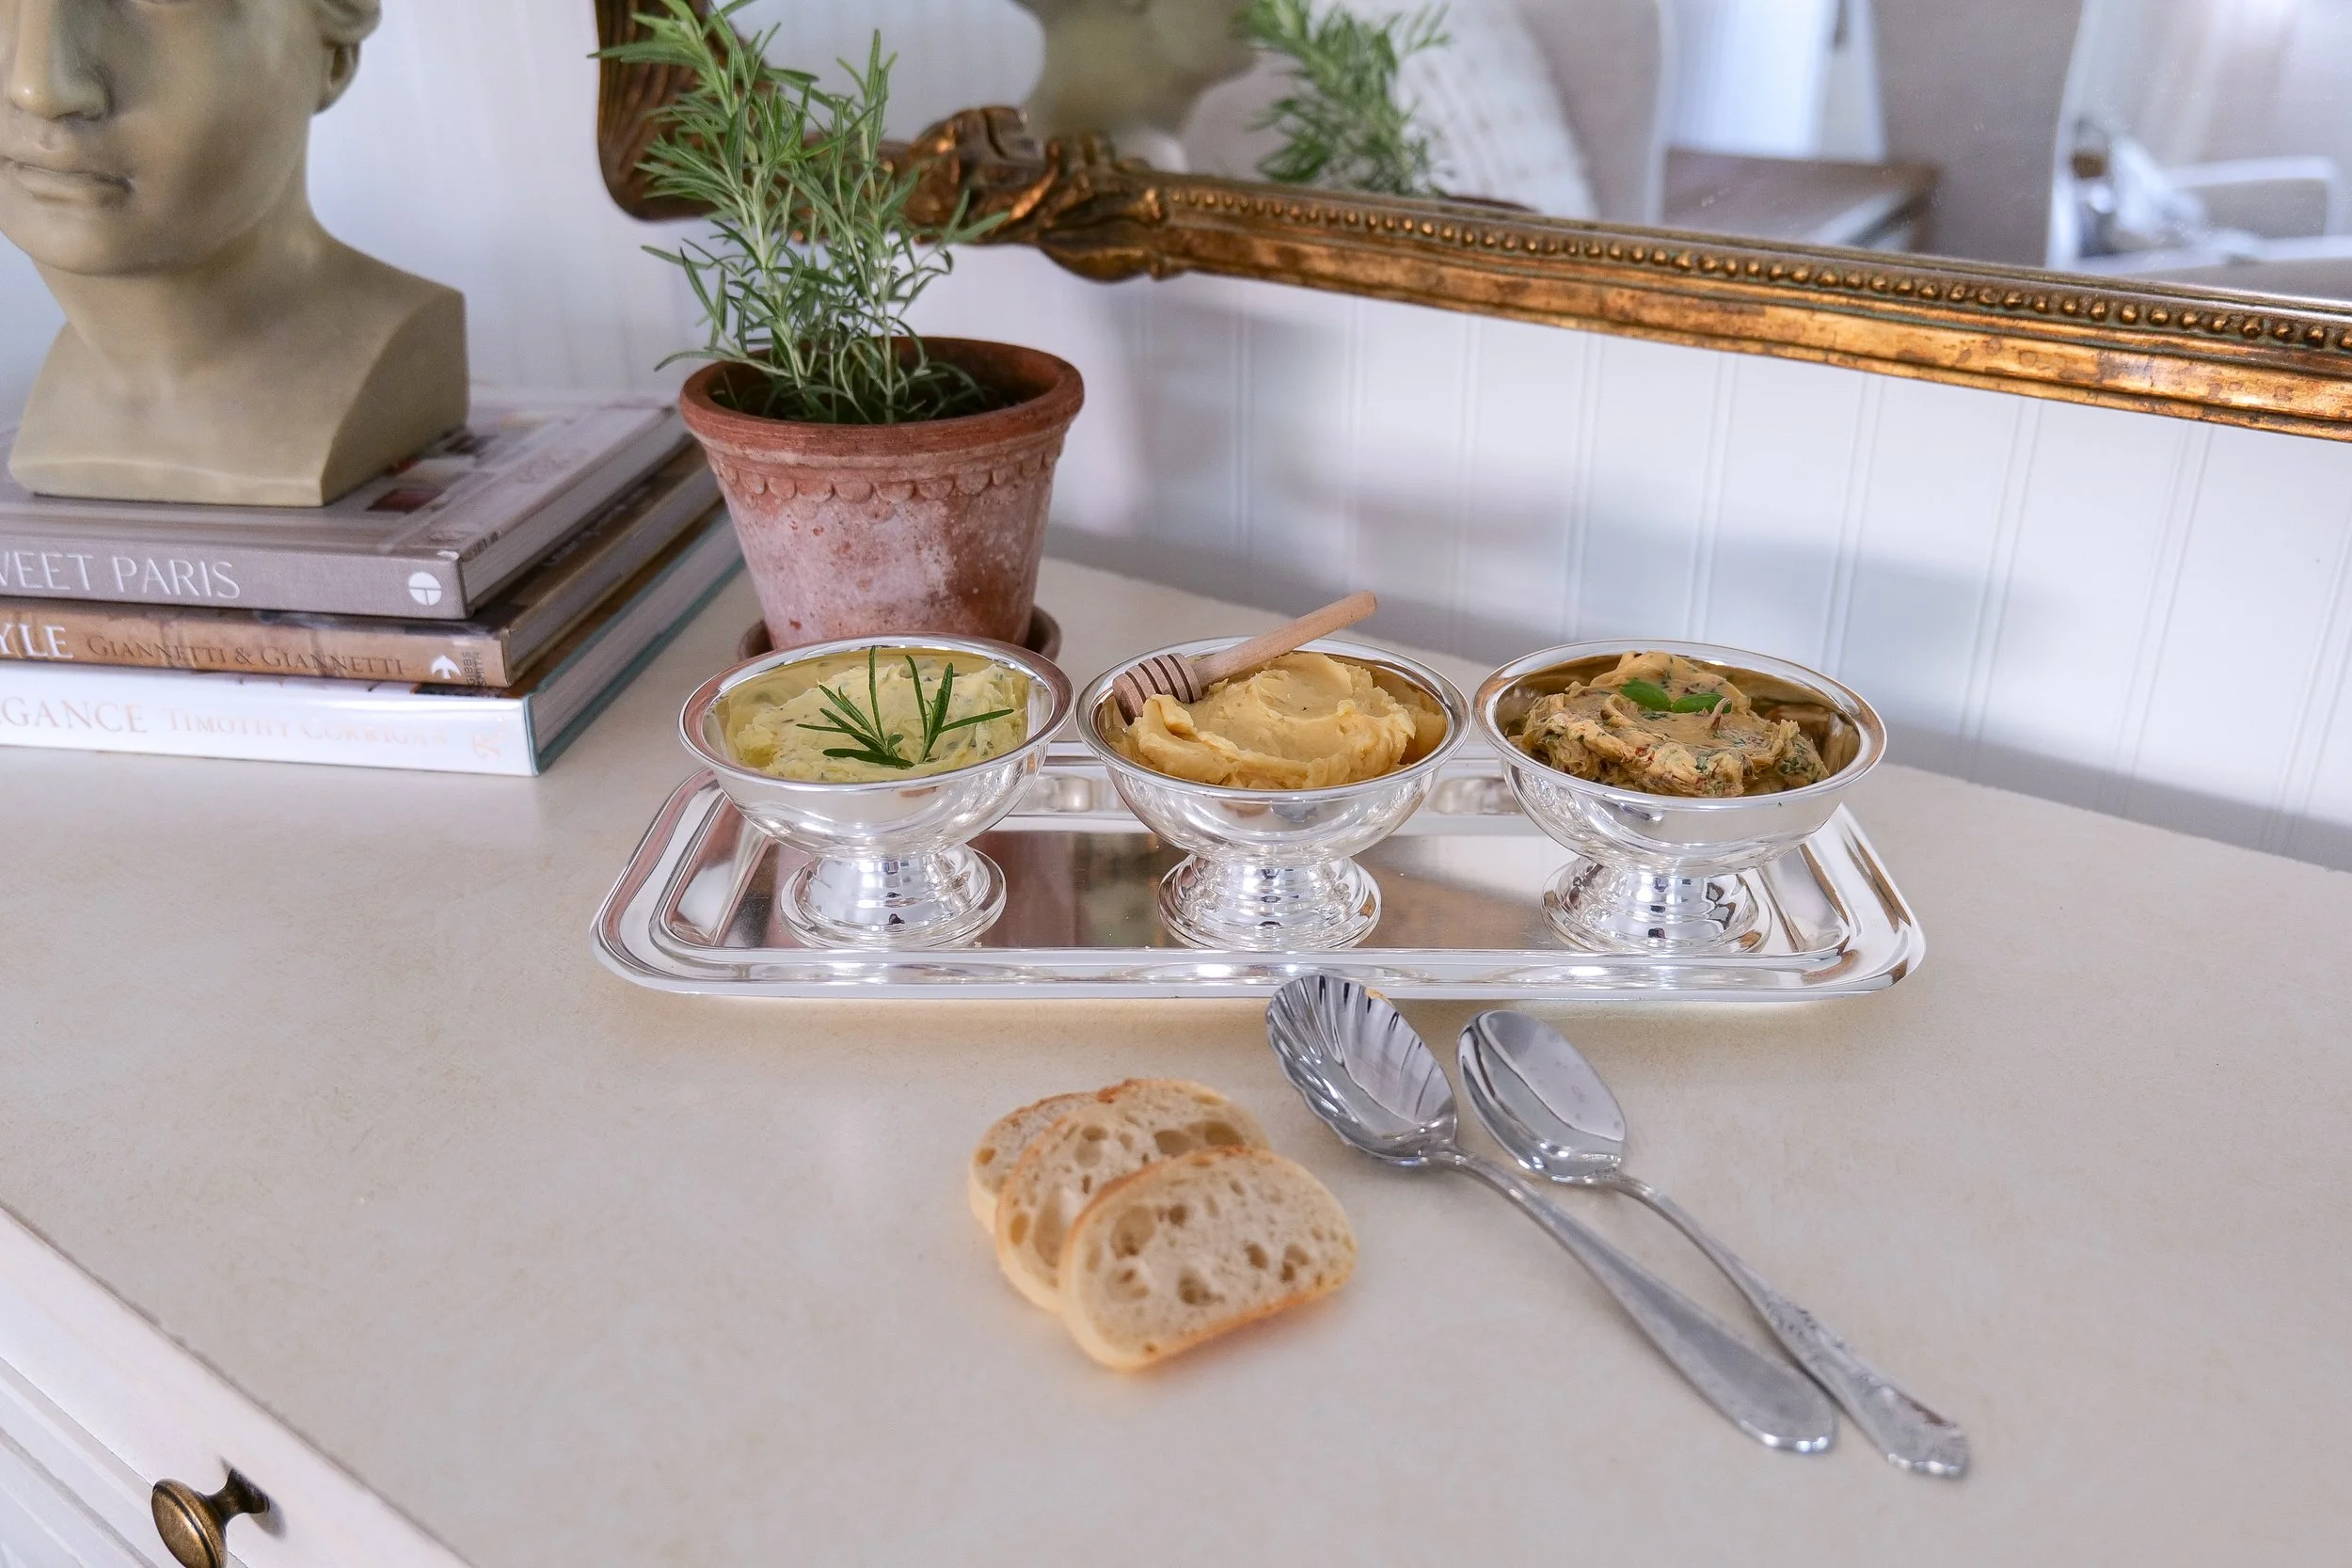
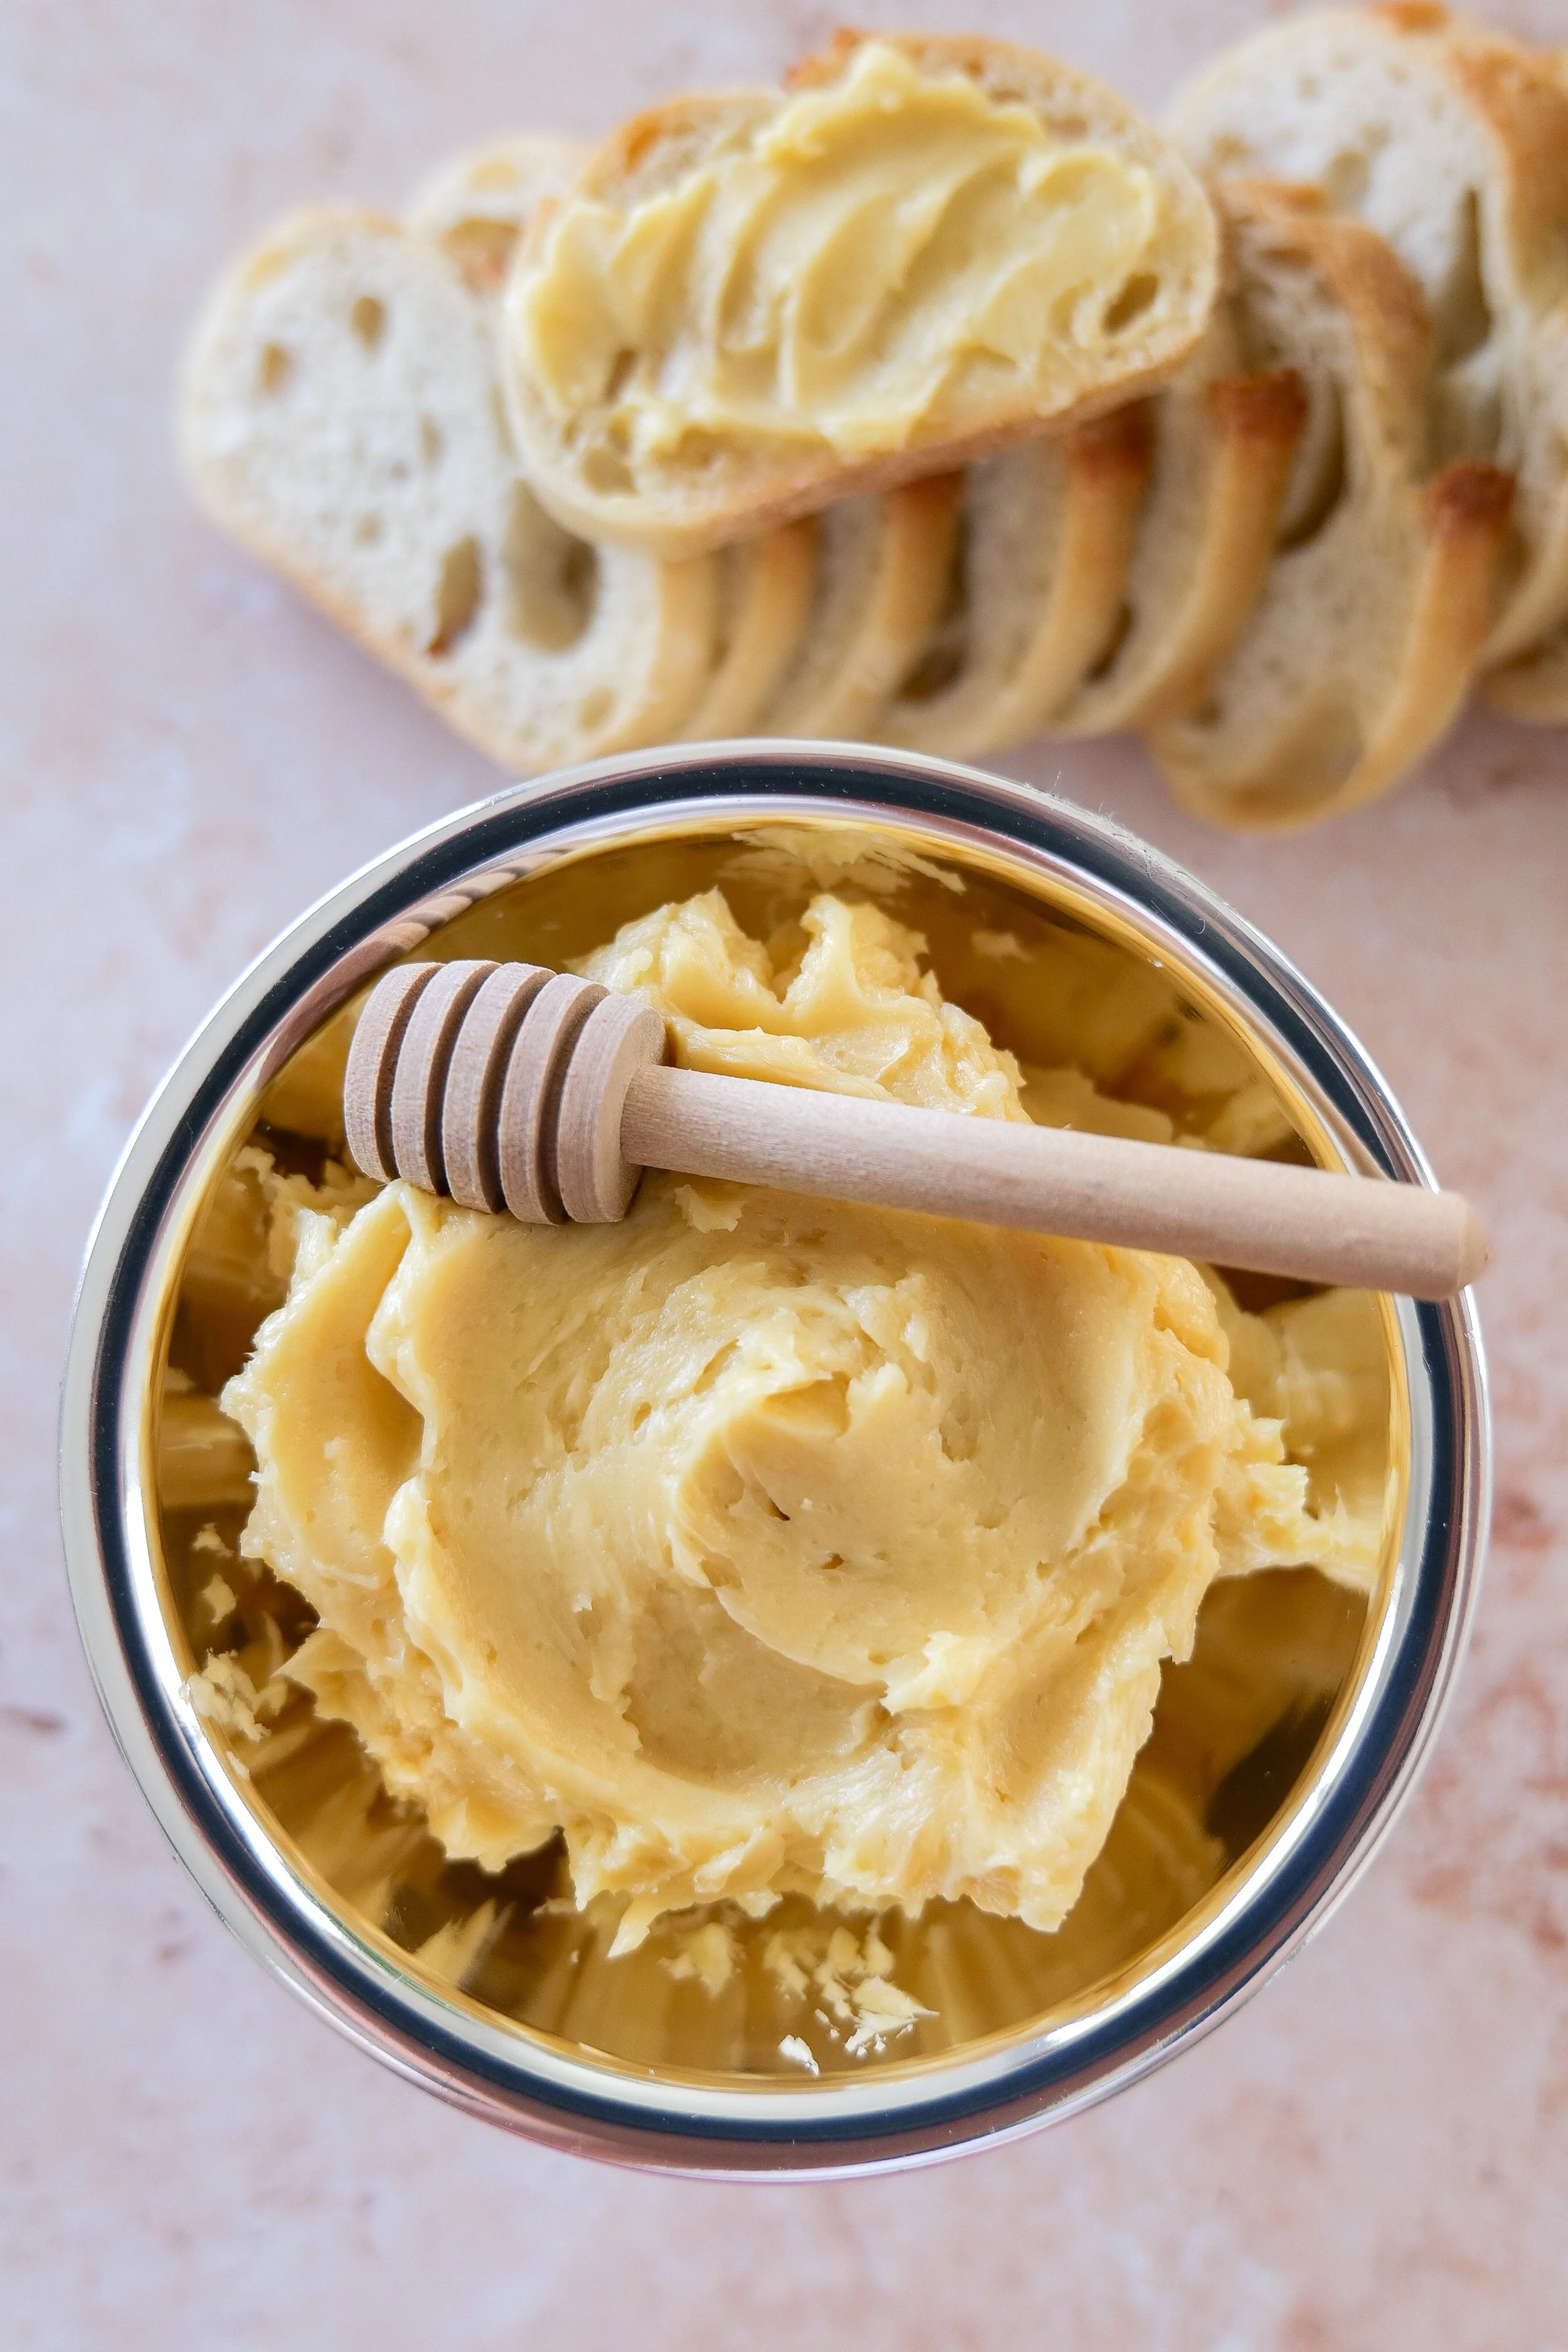
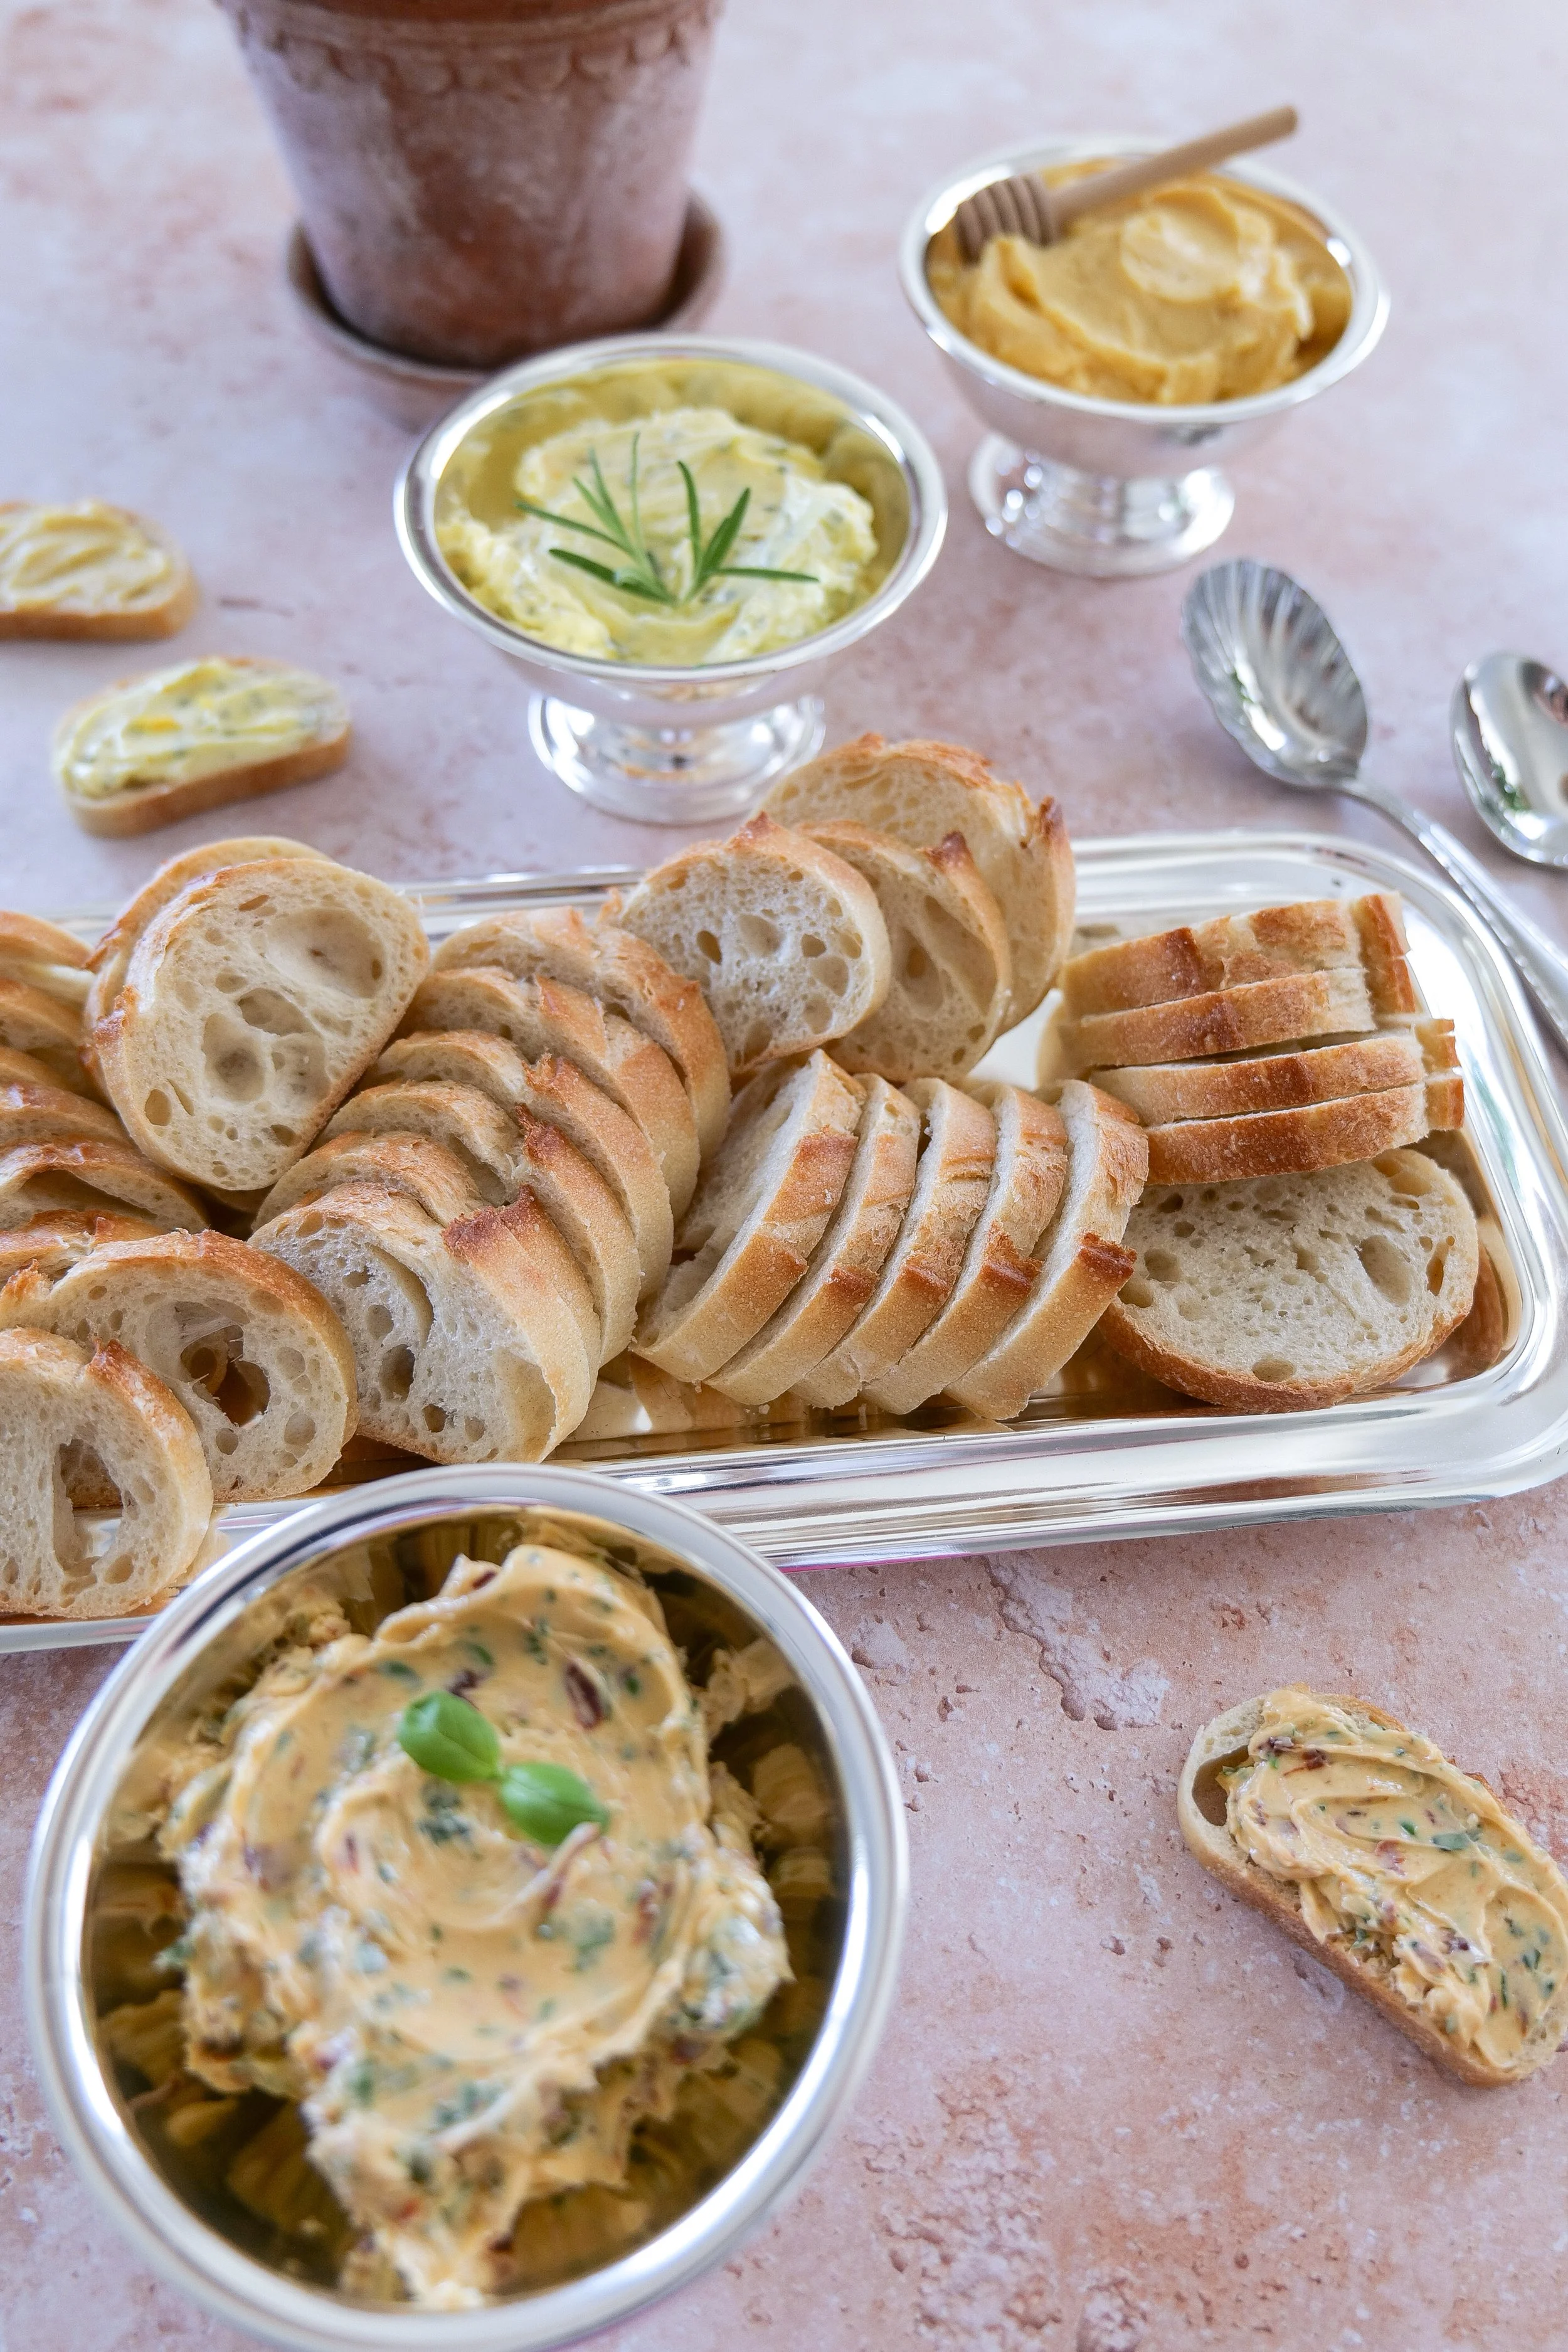
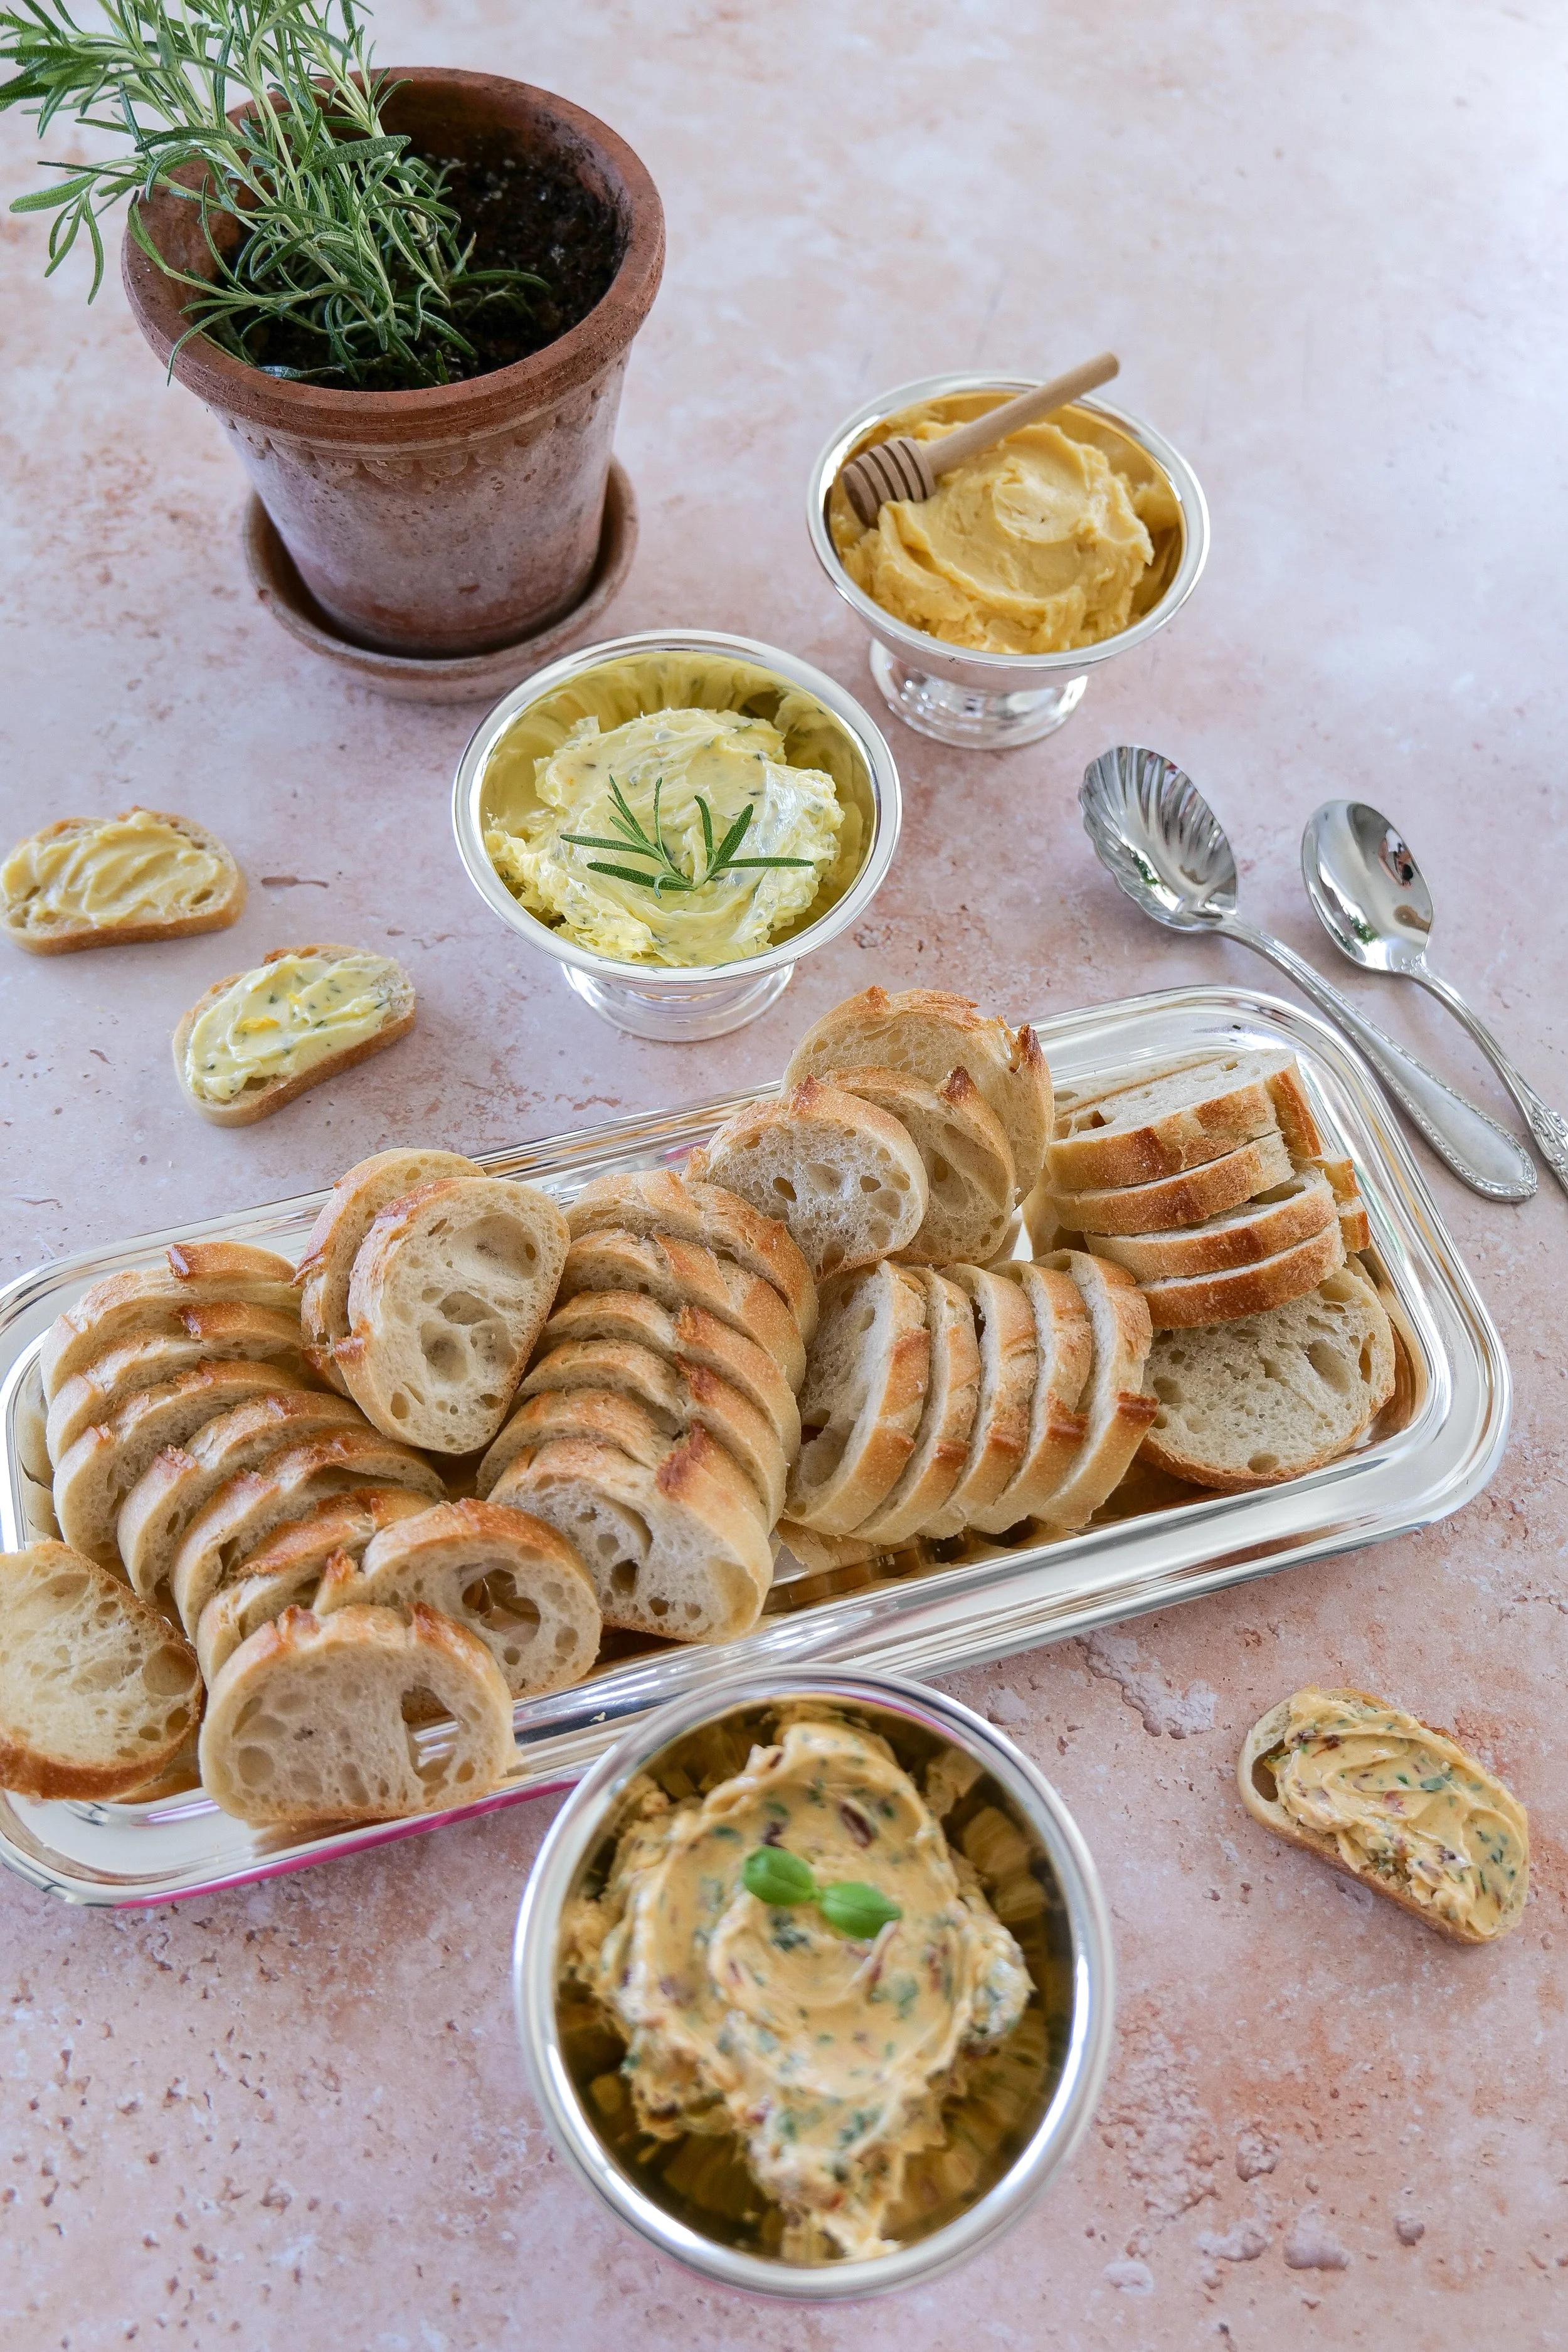
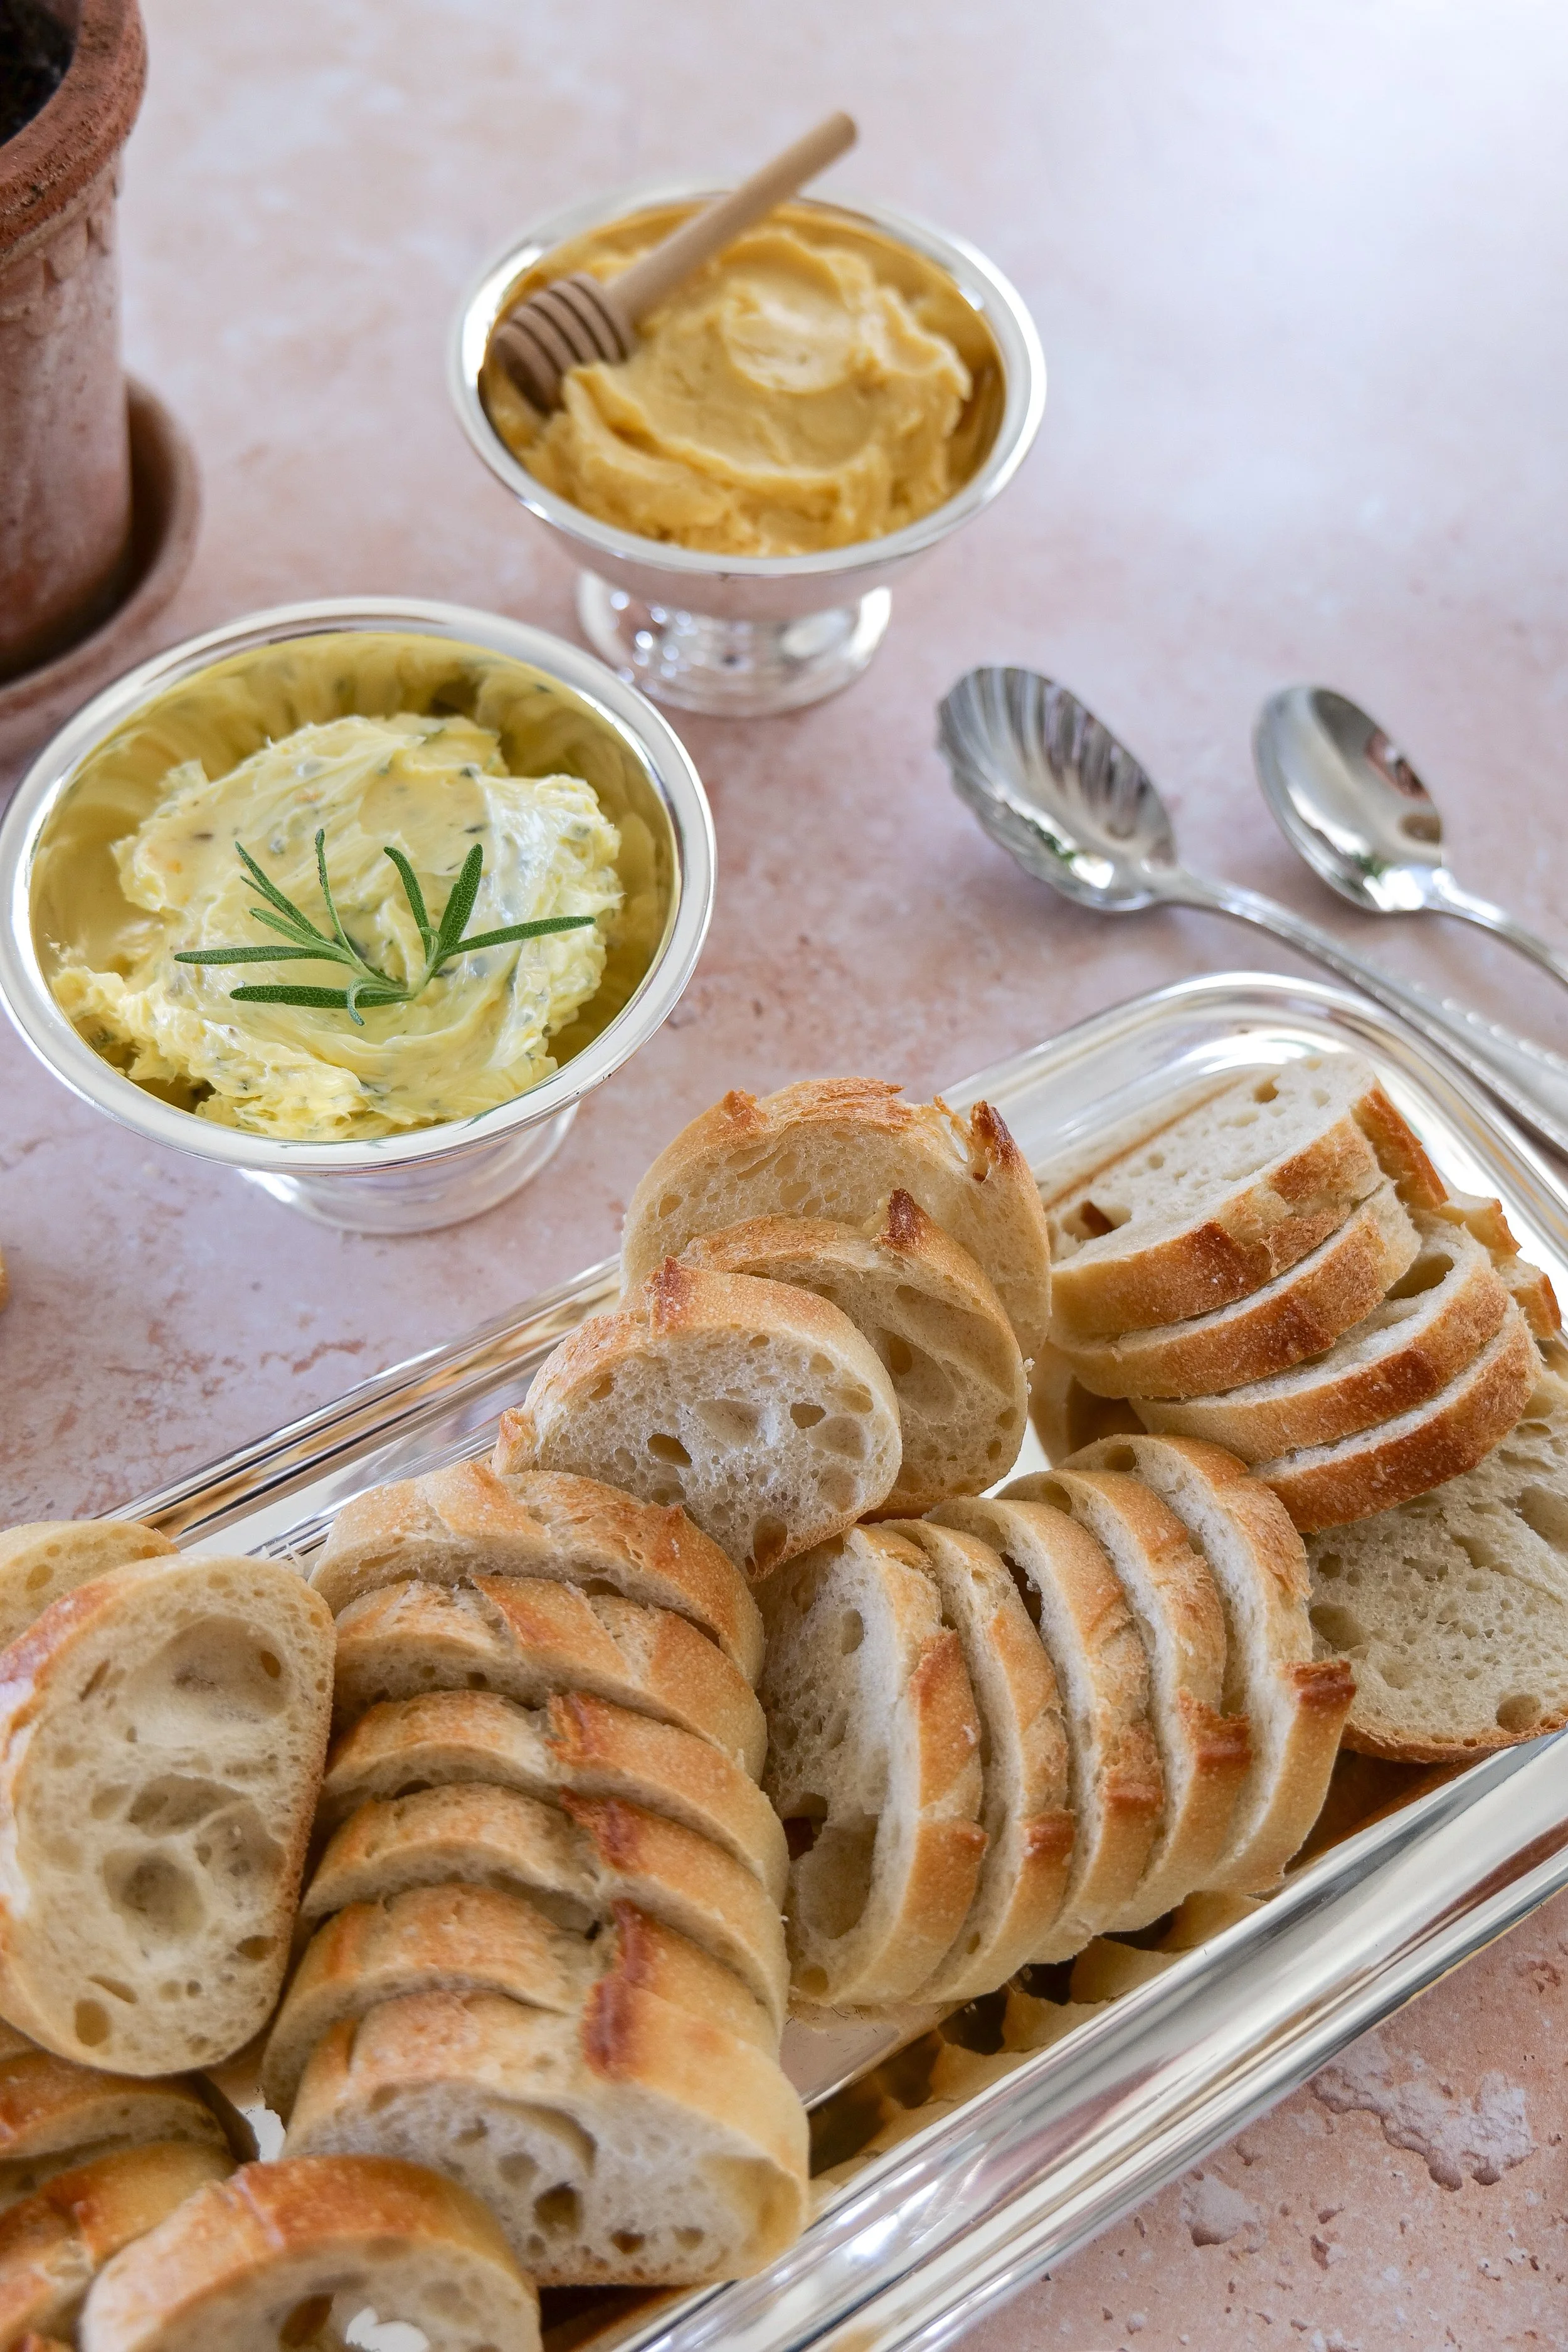
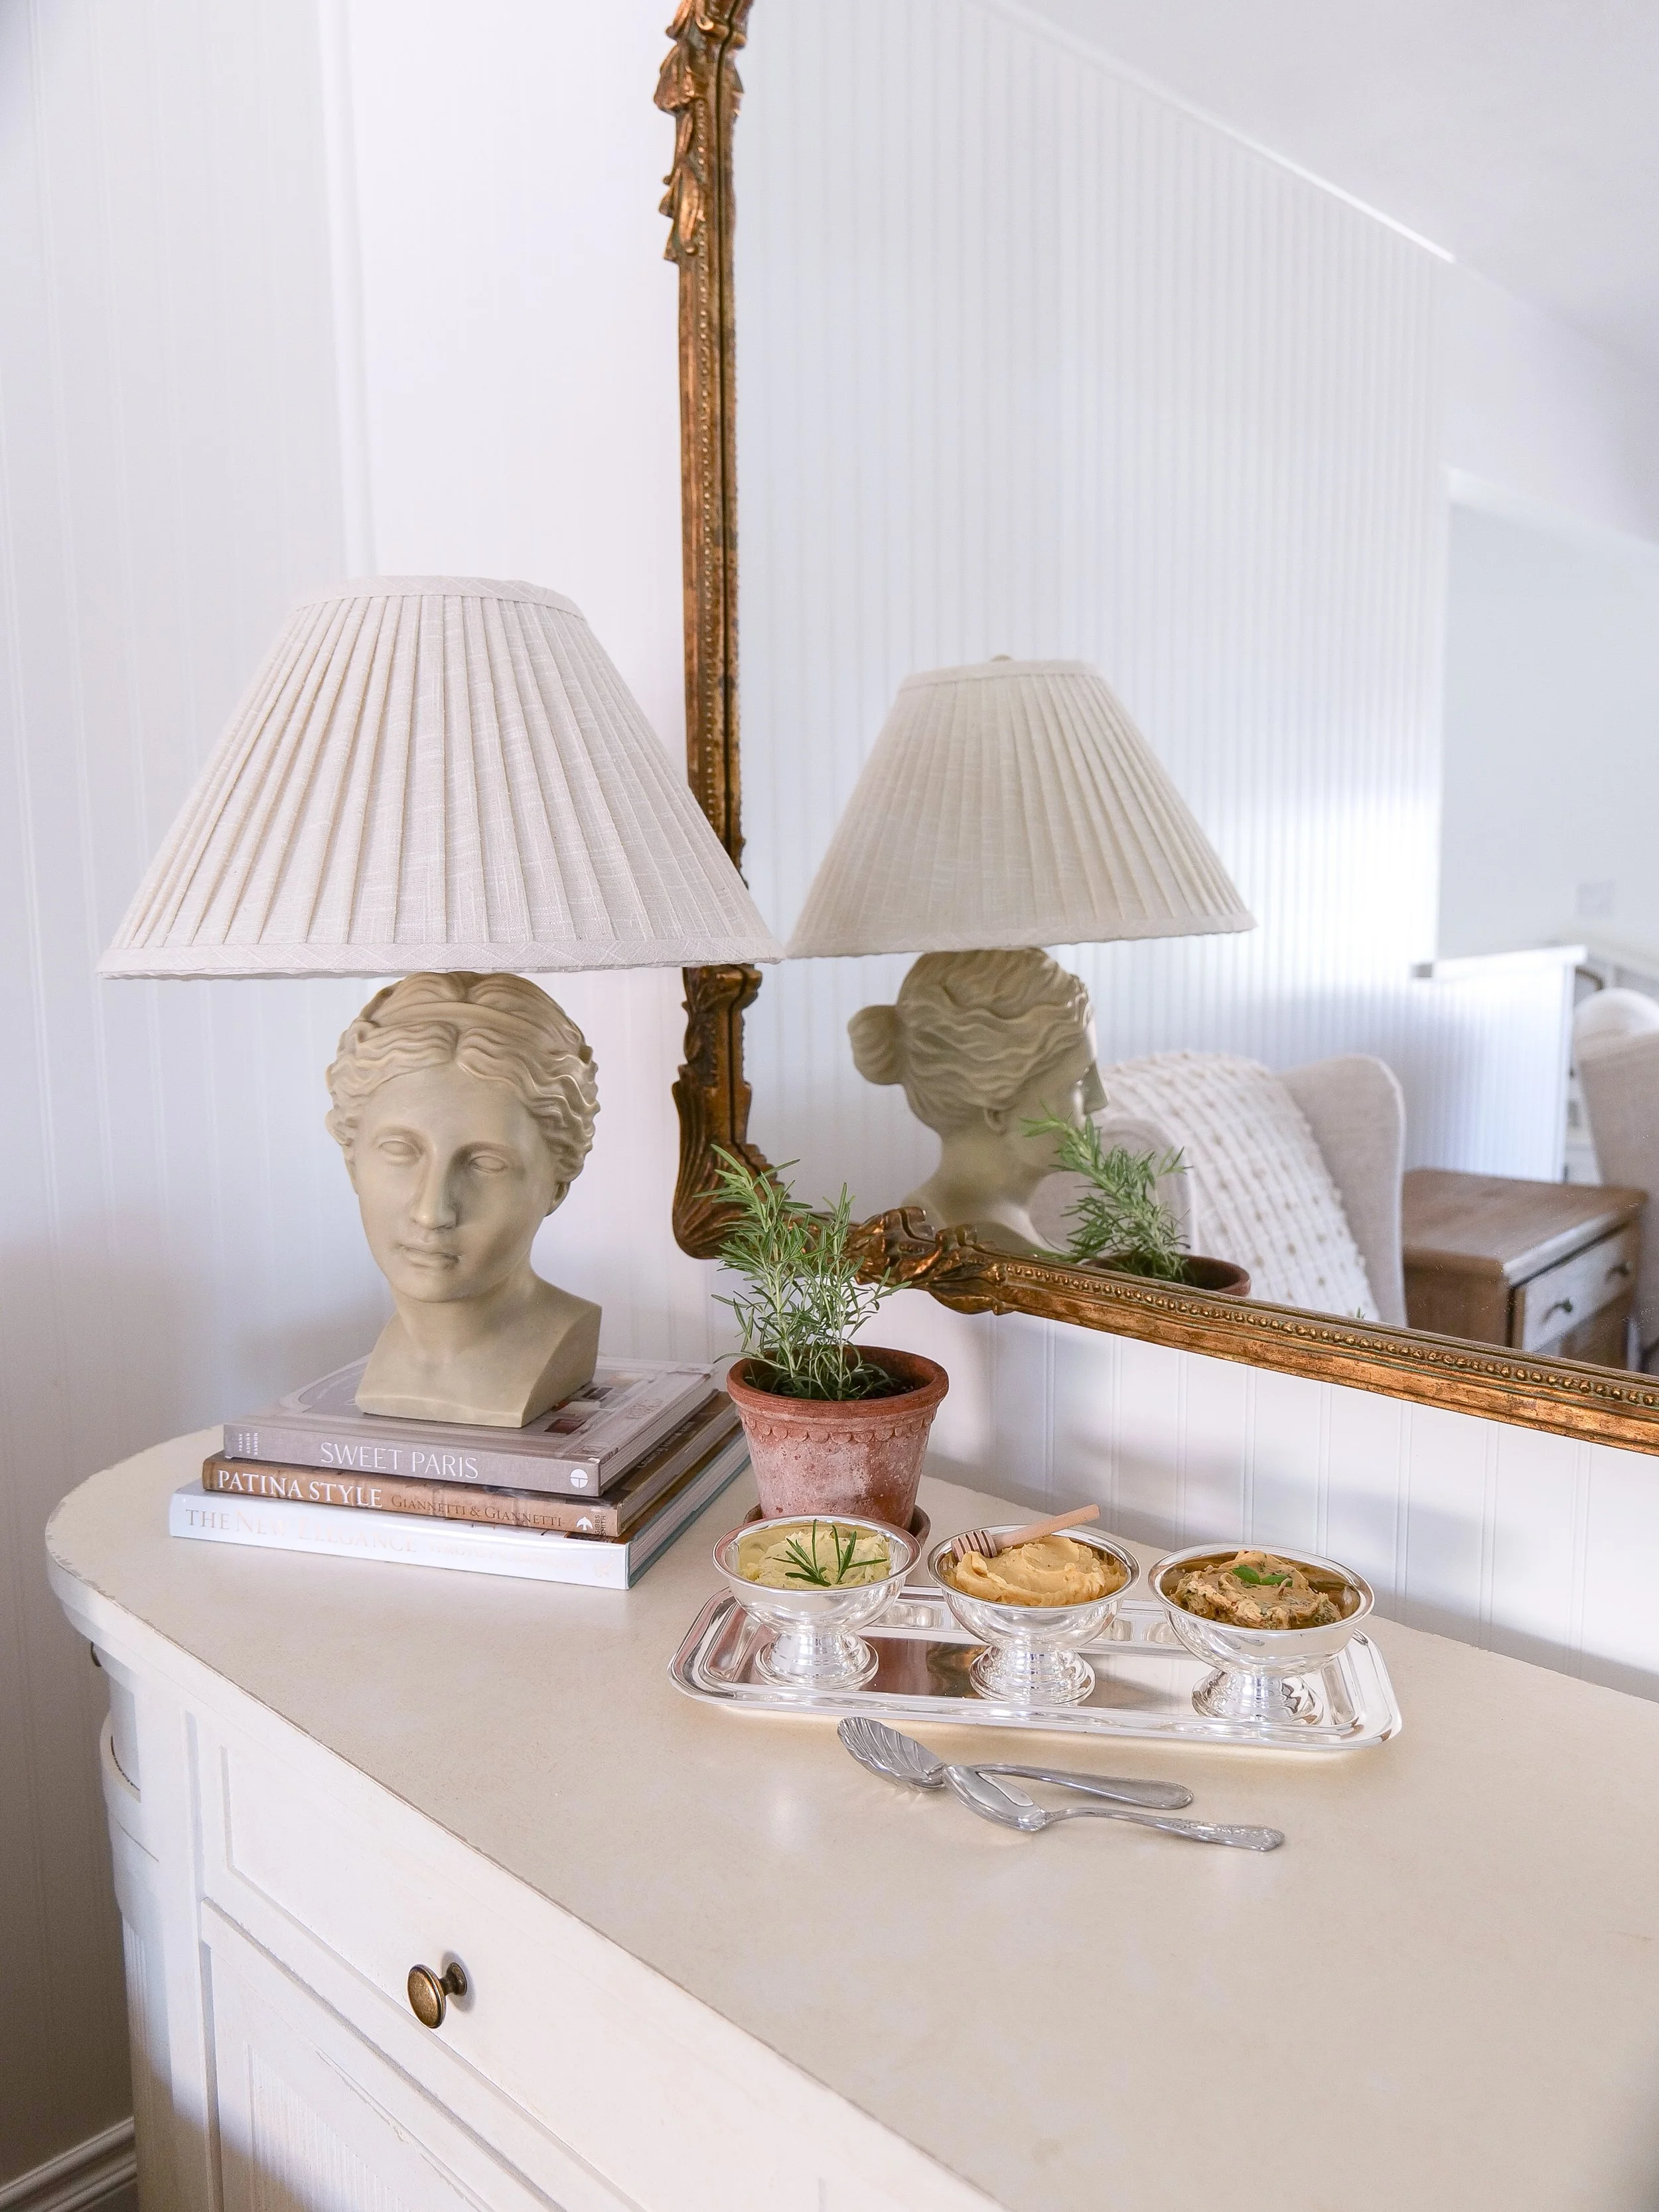
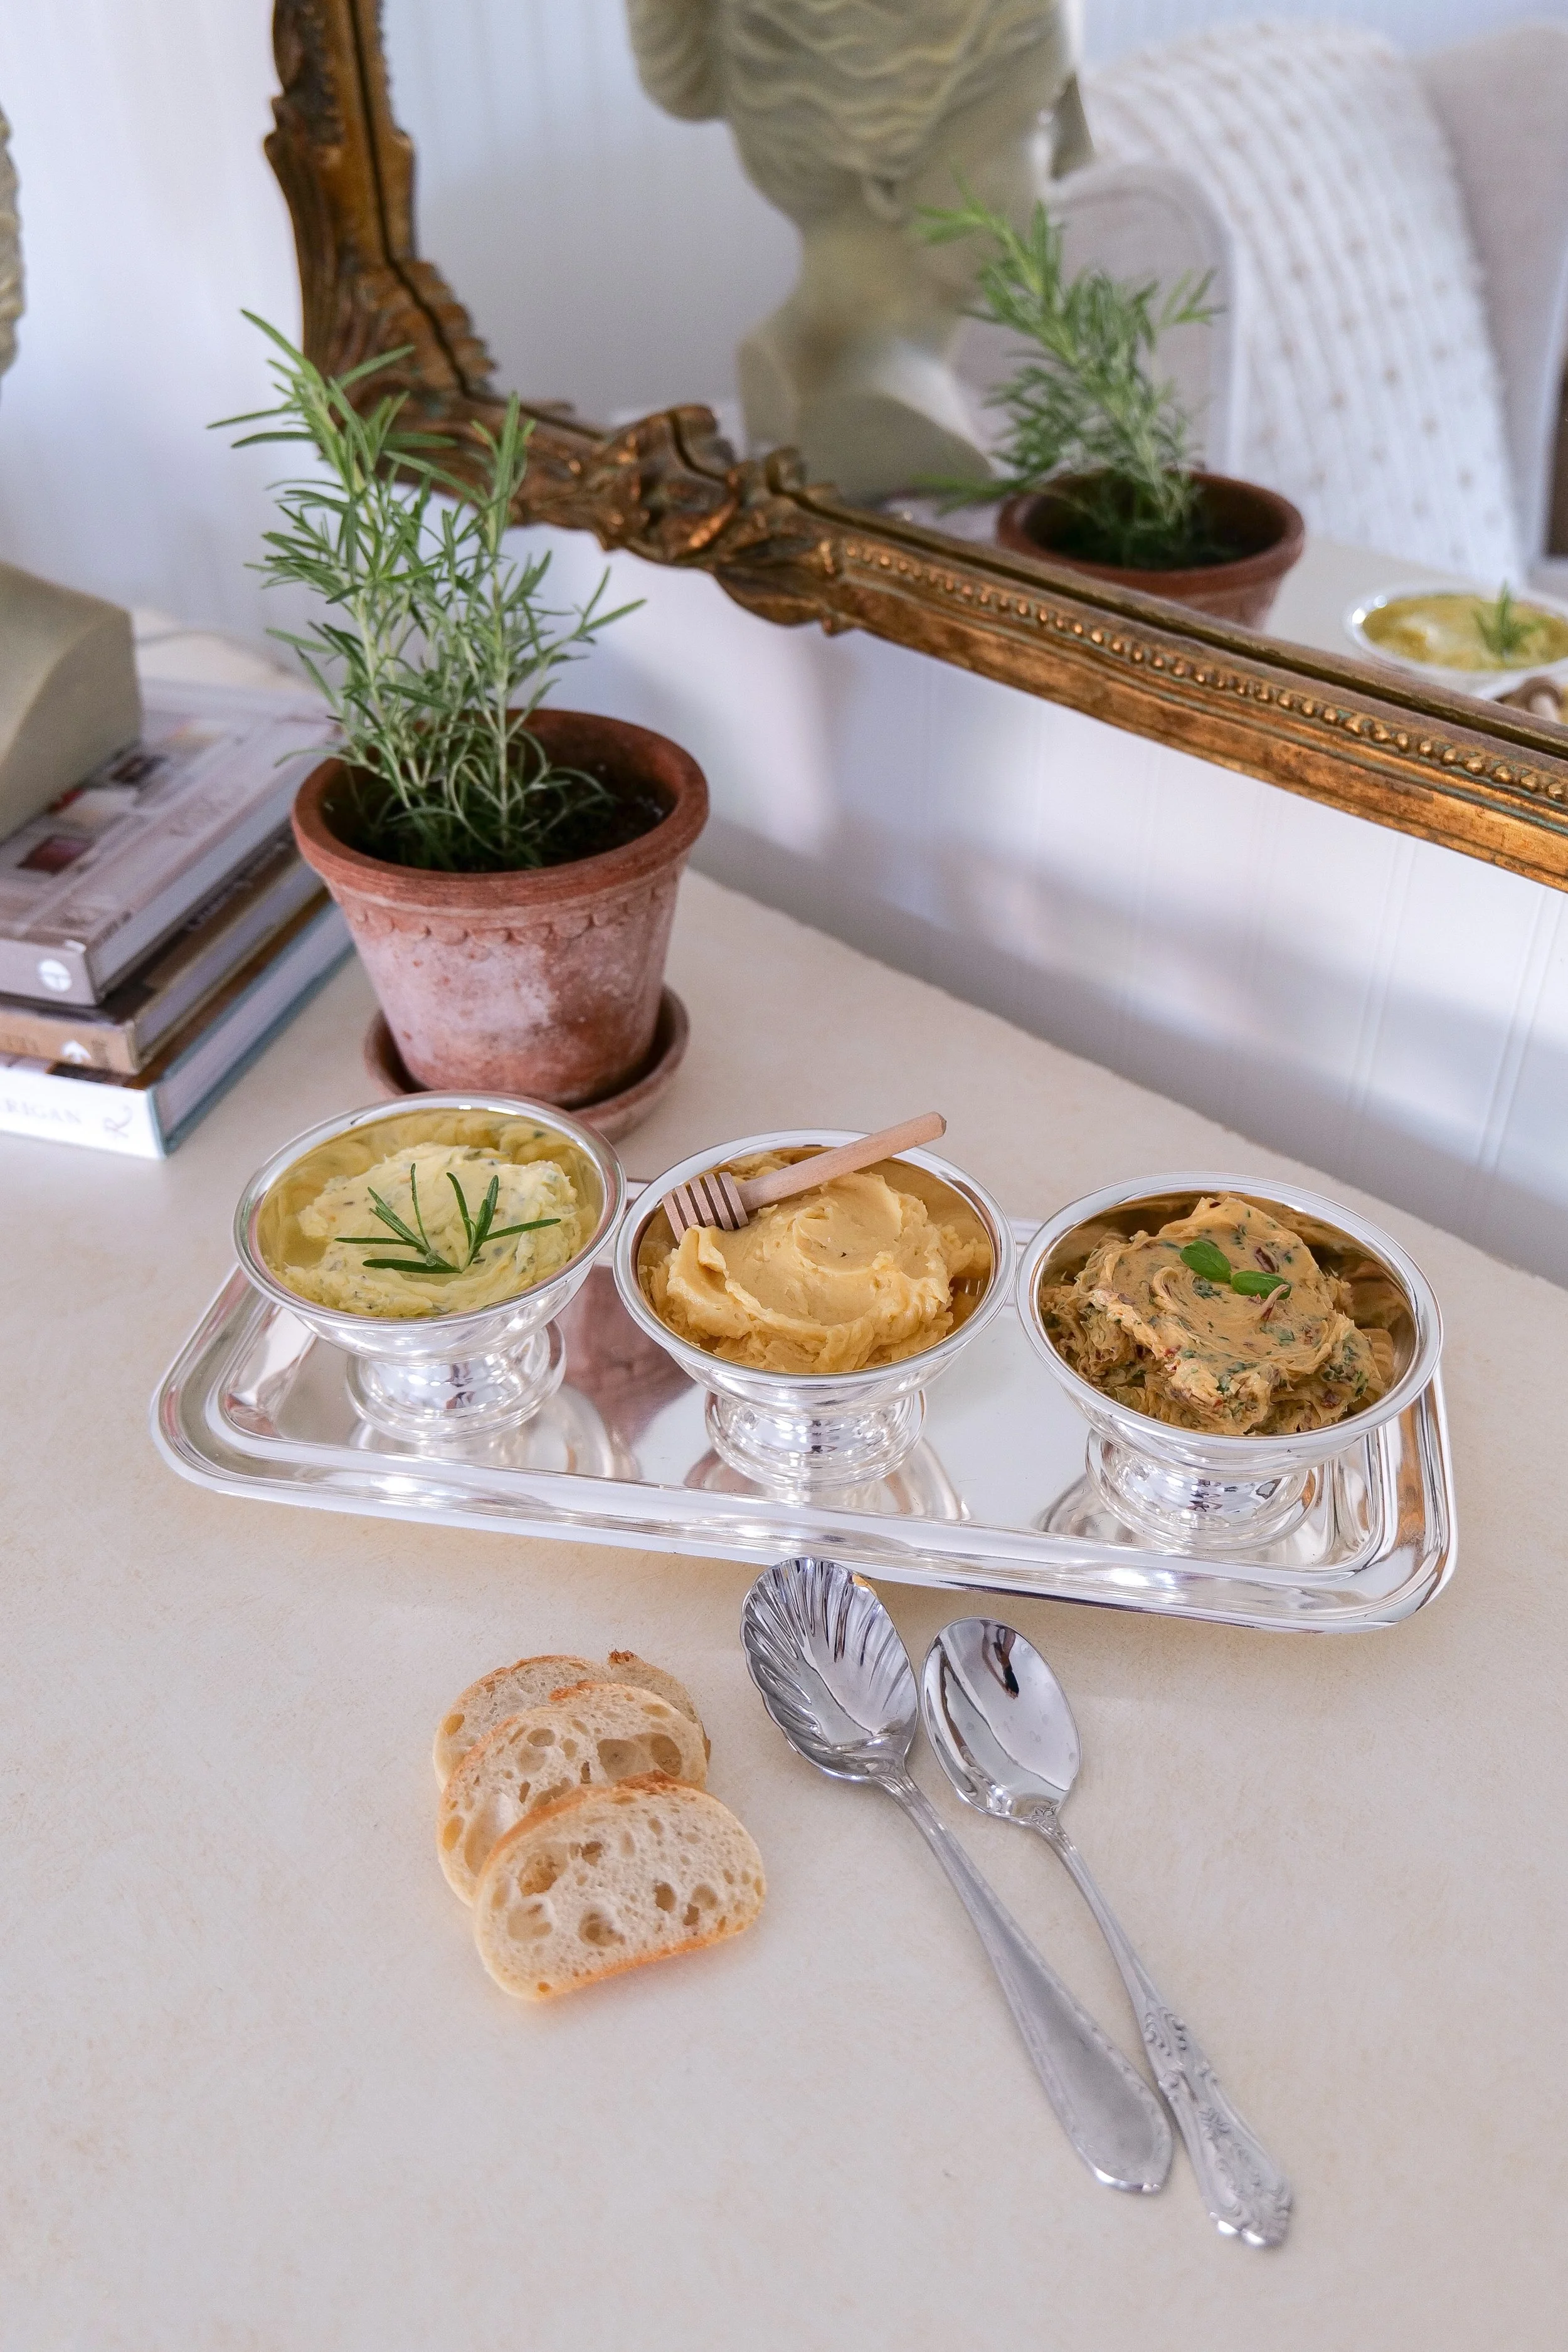
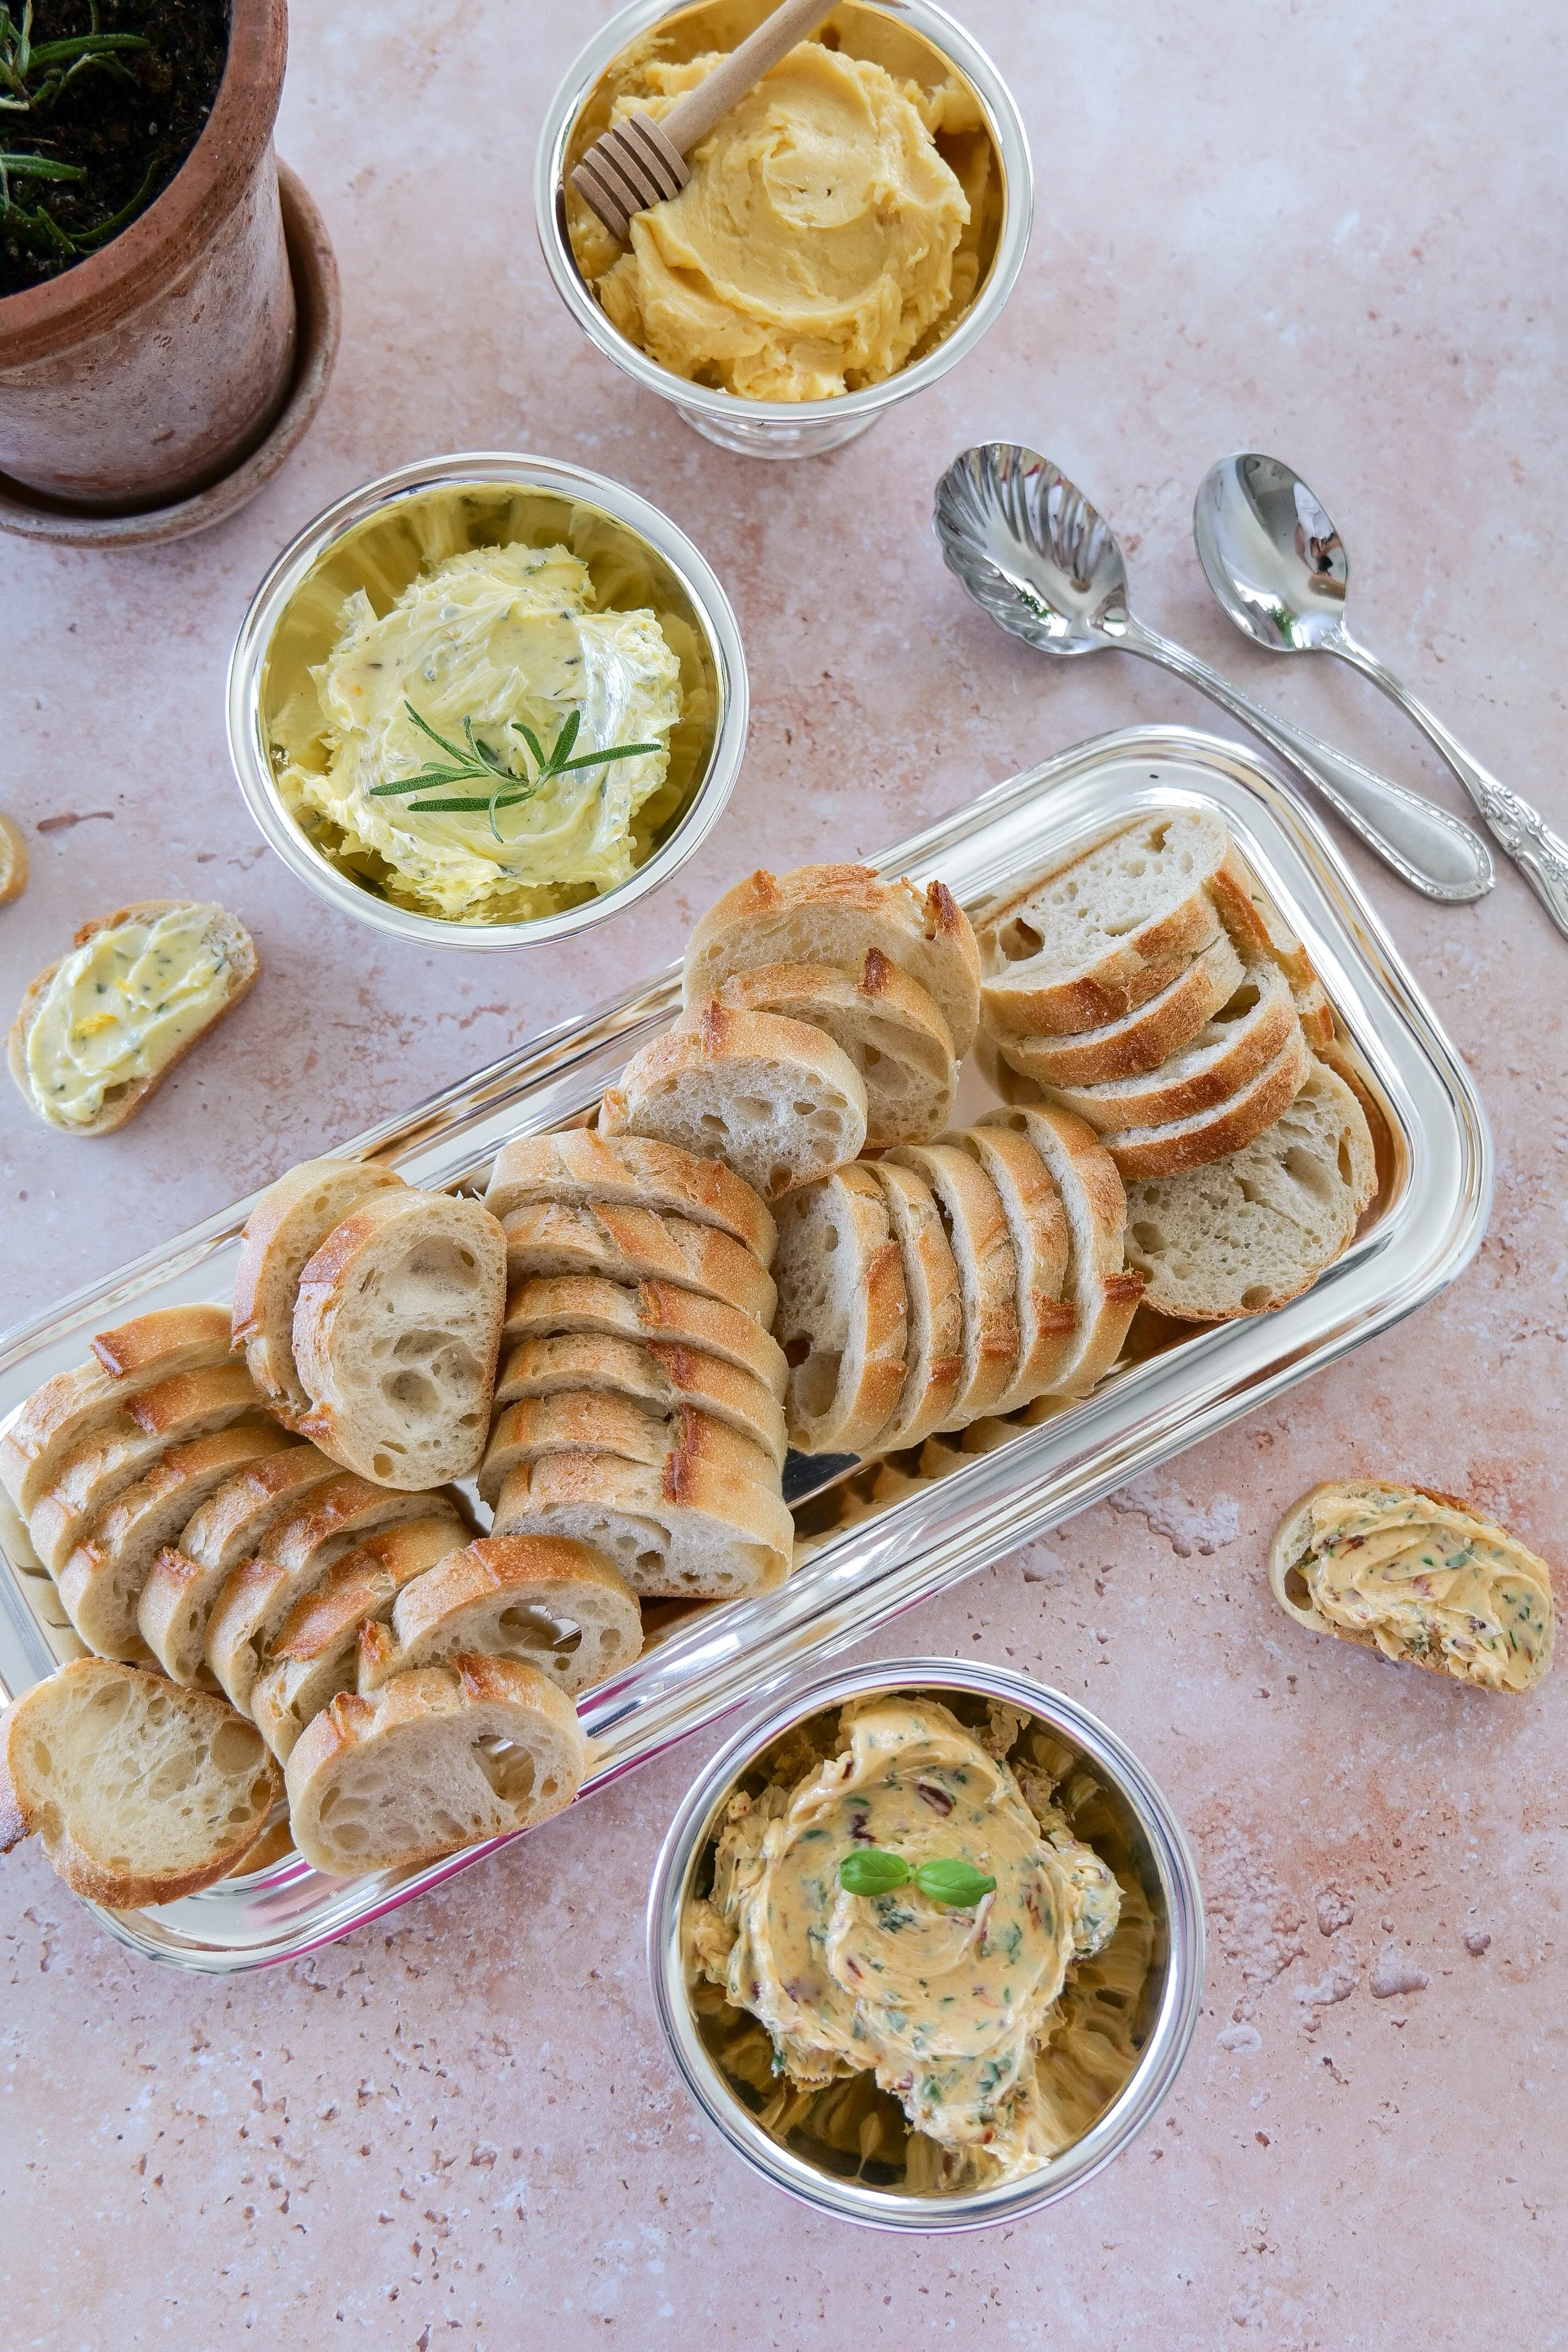
Three flavored compound butter varieties served in a metal cup
Assorted compound butter flavors in a small metal serving cup
Trio of flavored butter including herb, honey, and lemon in metal cup
Three types of compound butter presented in a metal cup
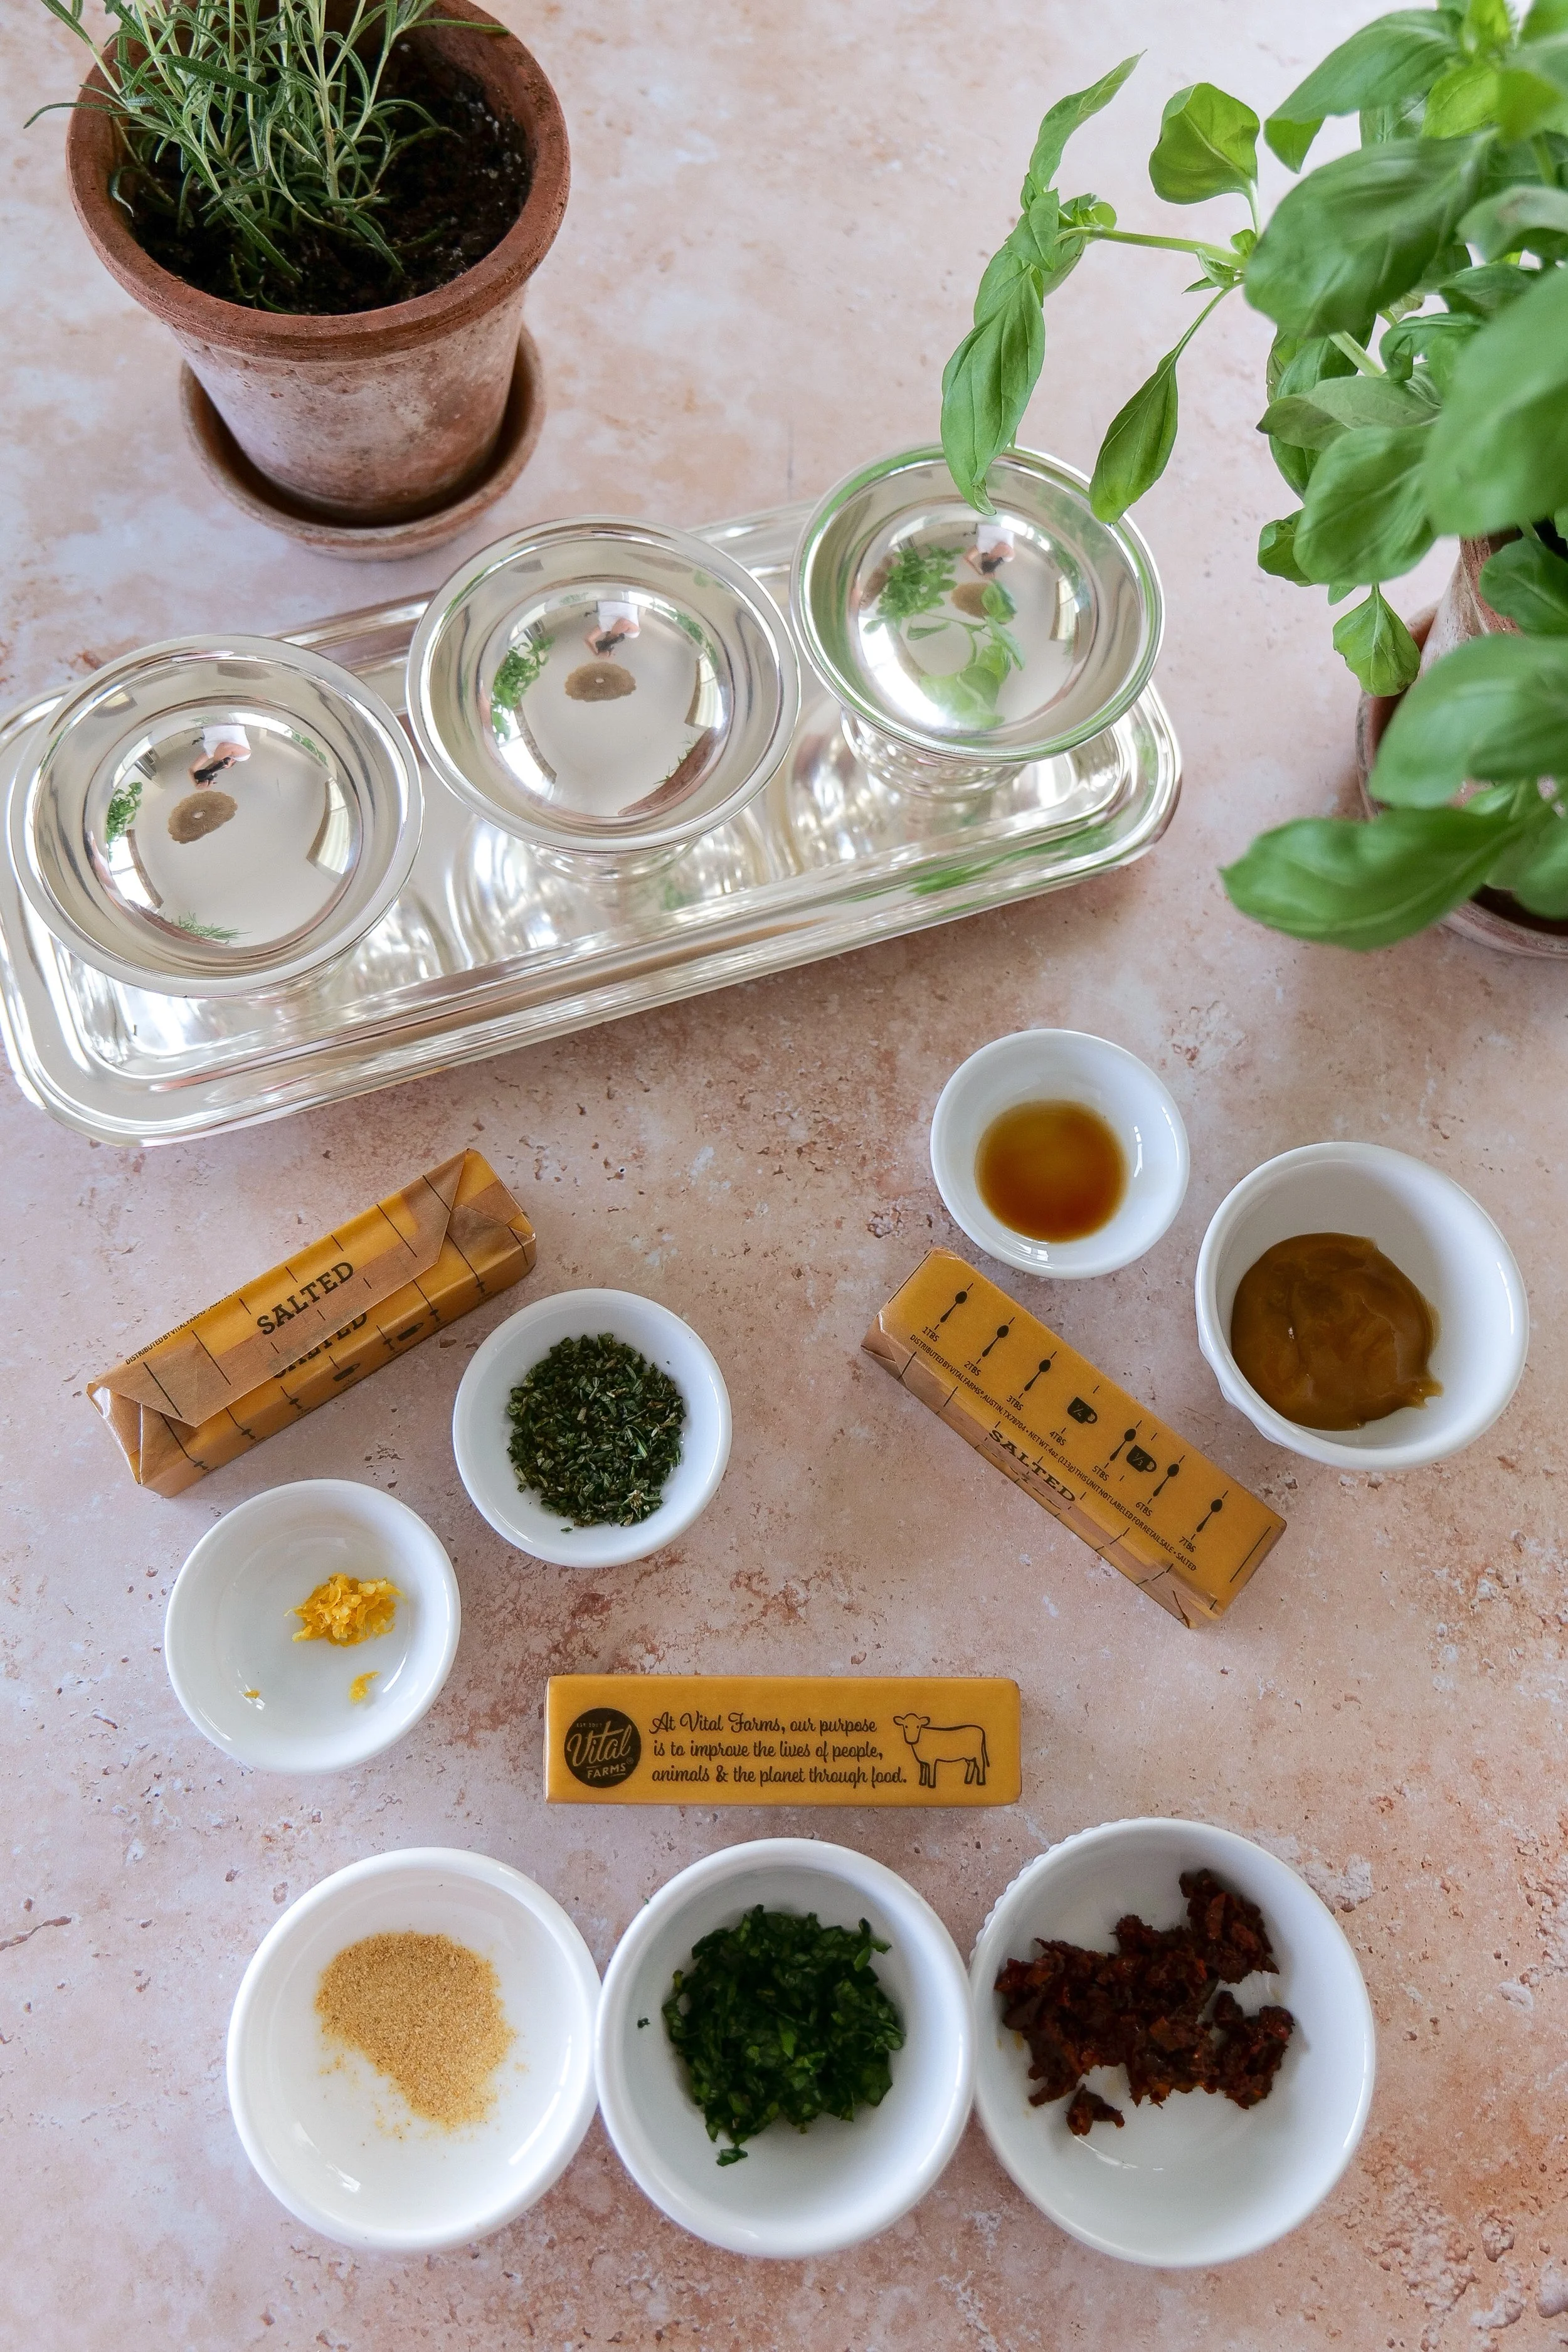
compound butter flight ingredients with Italian herb butter, lemon rosemary butter, and honey butter
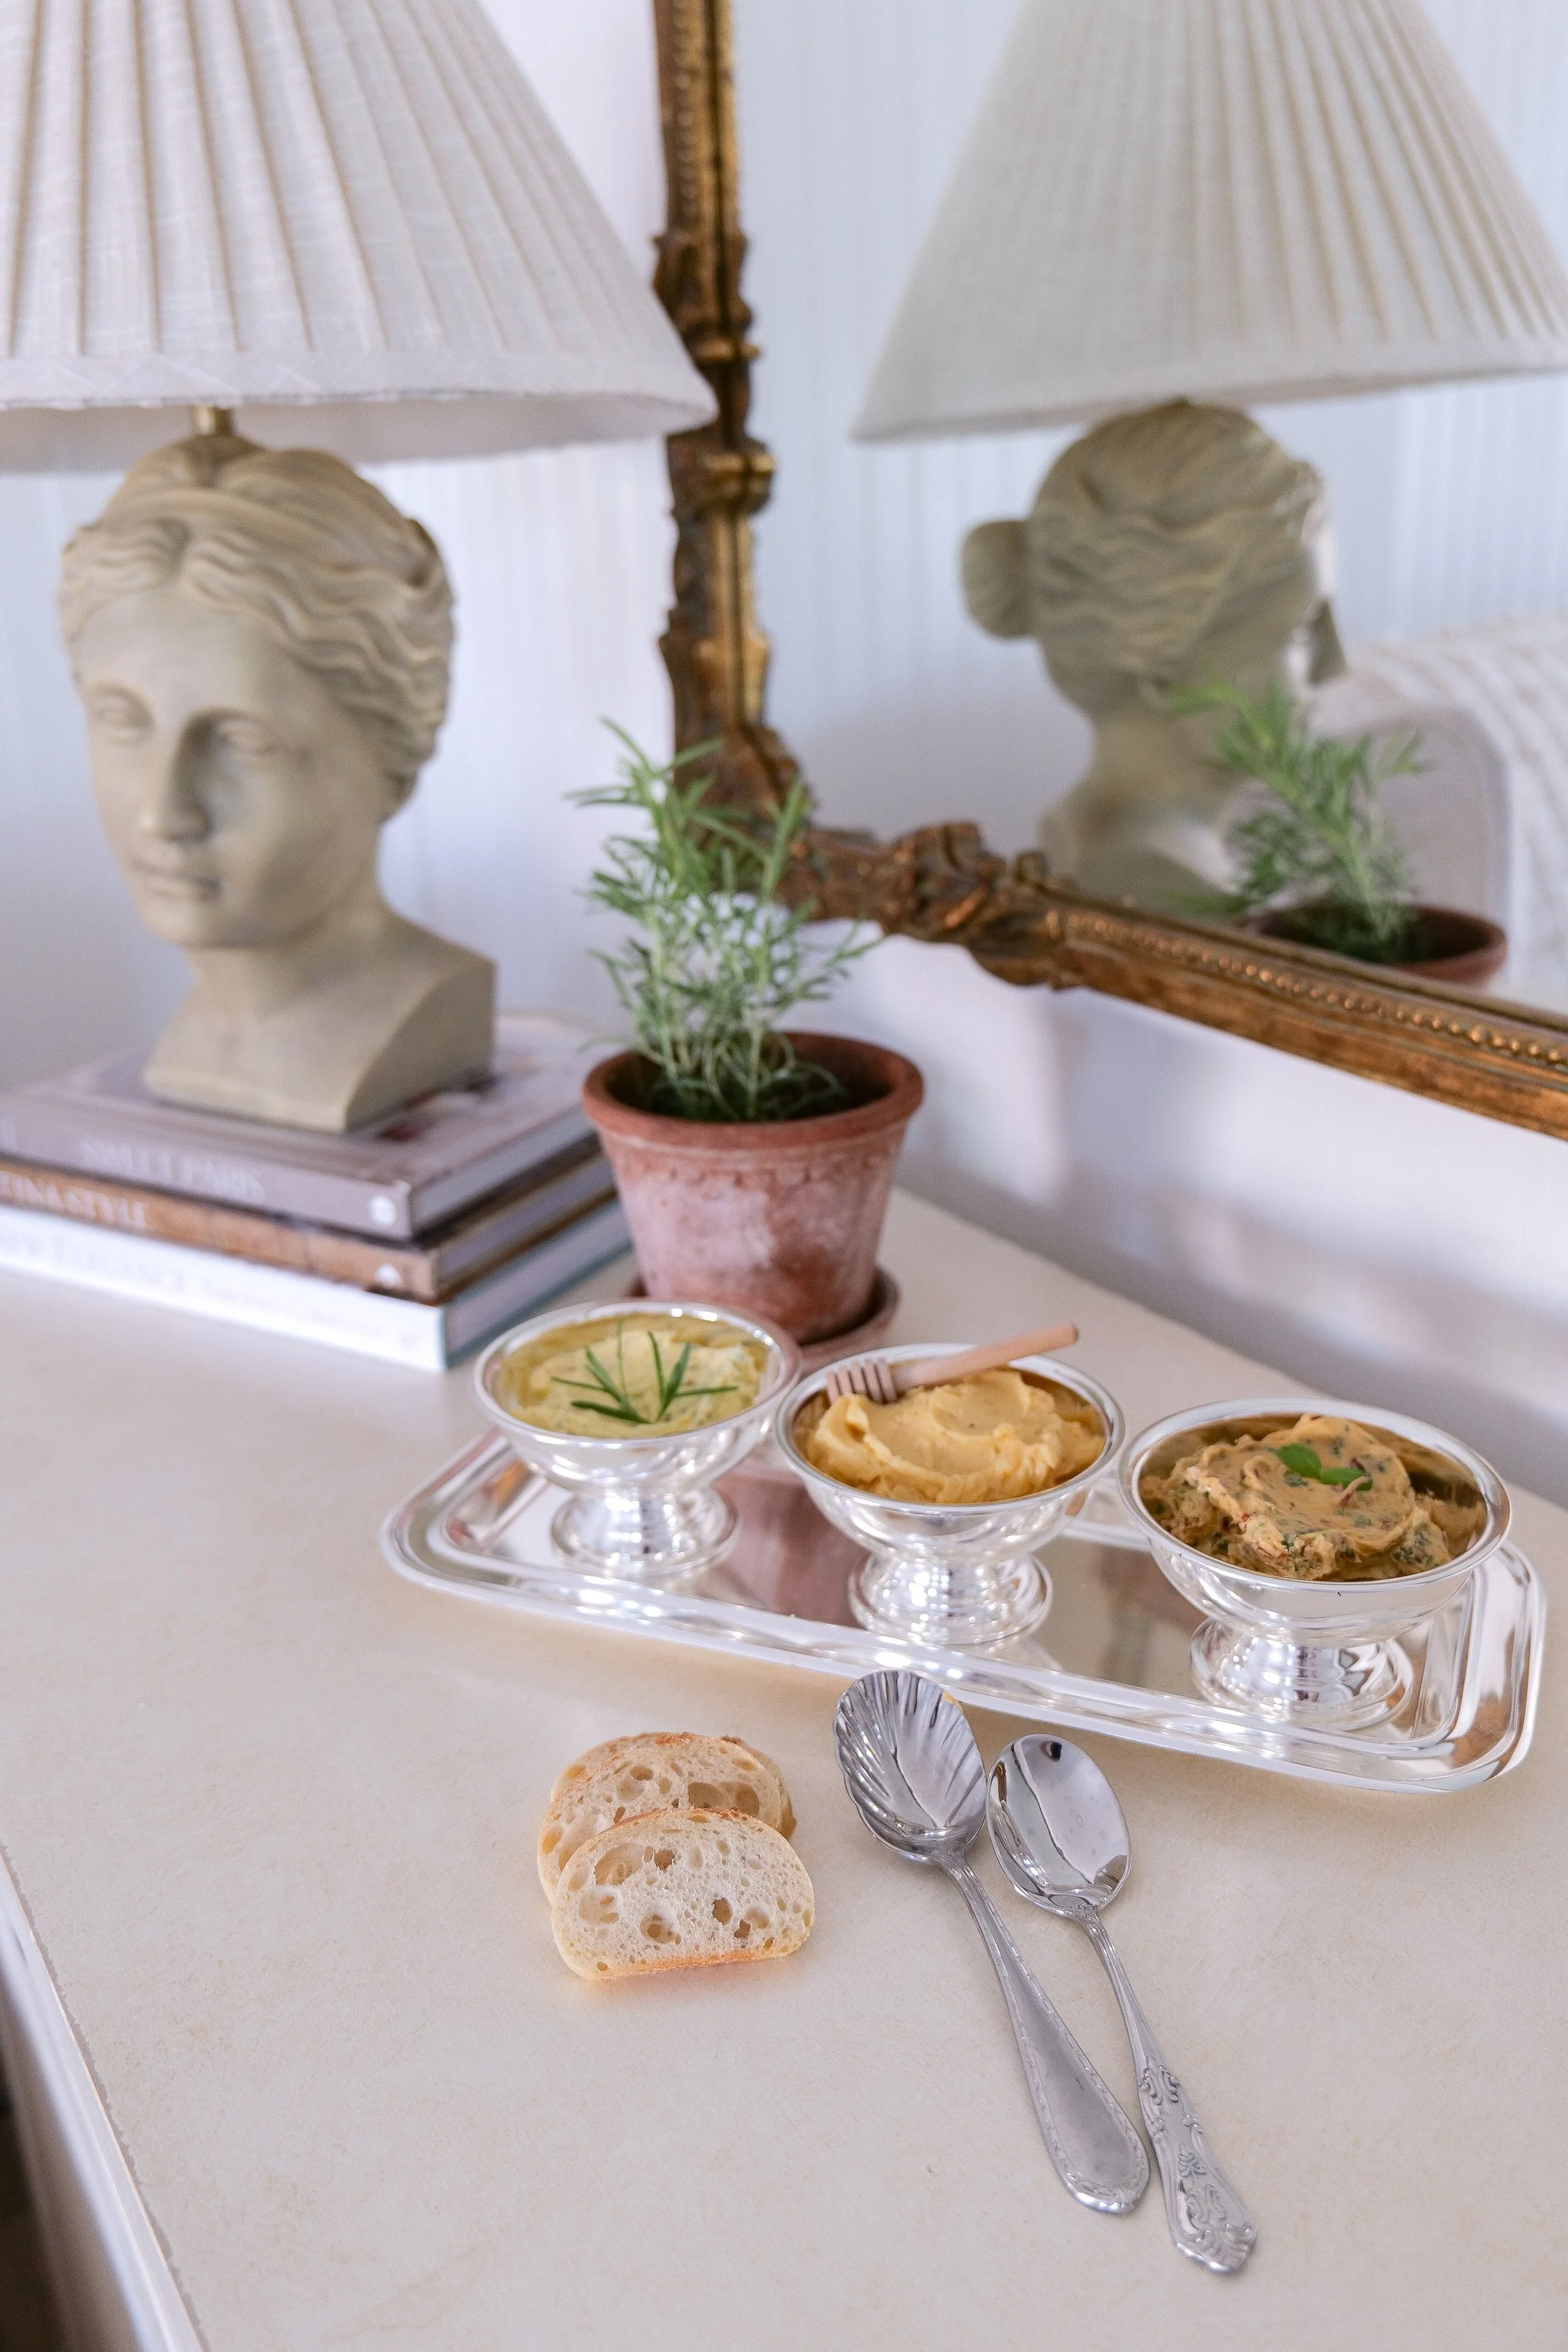
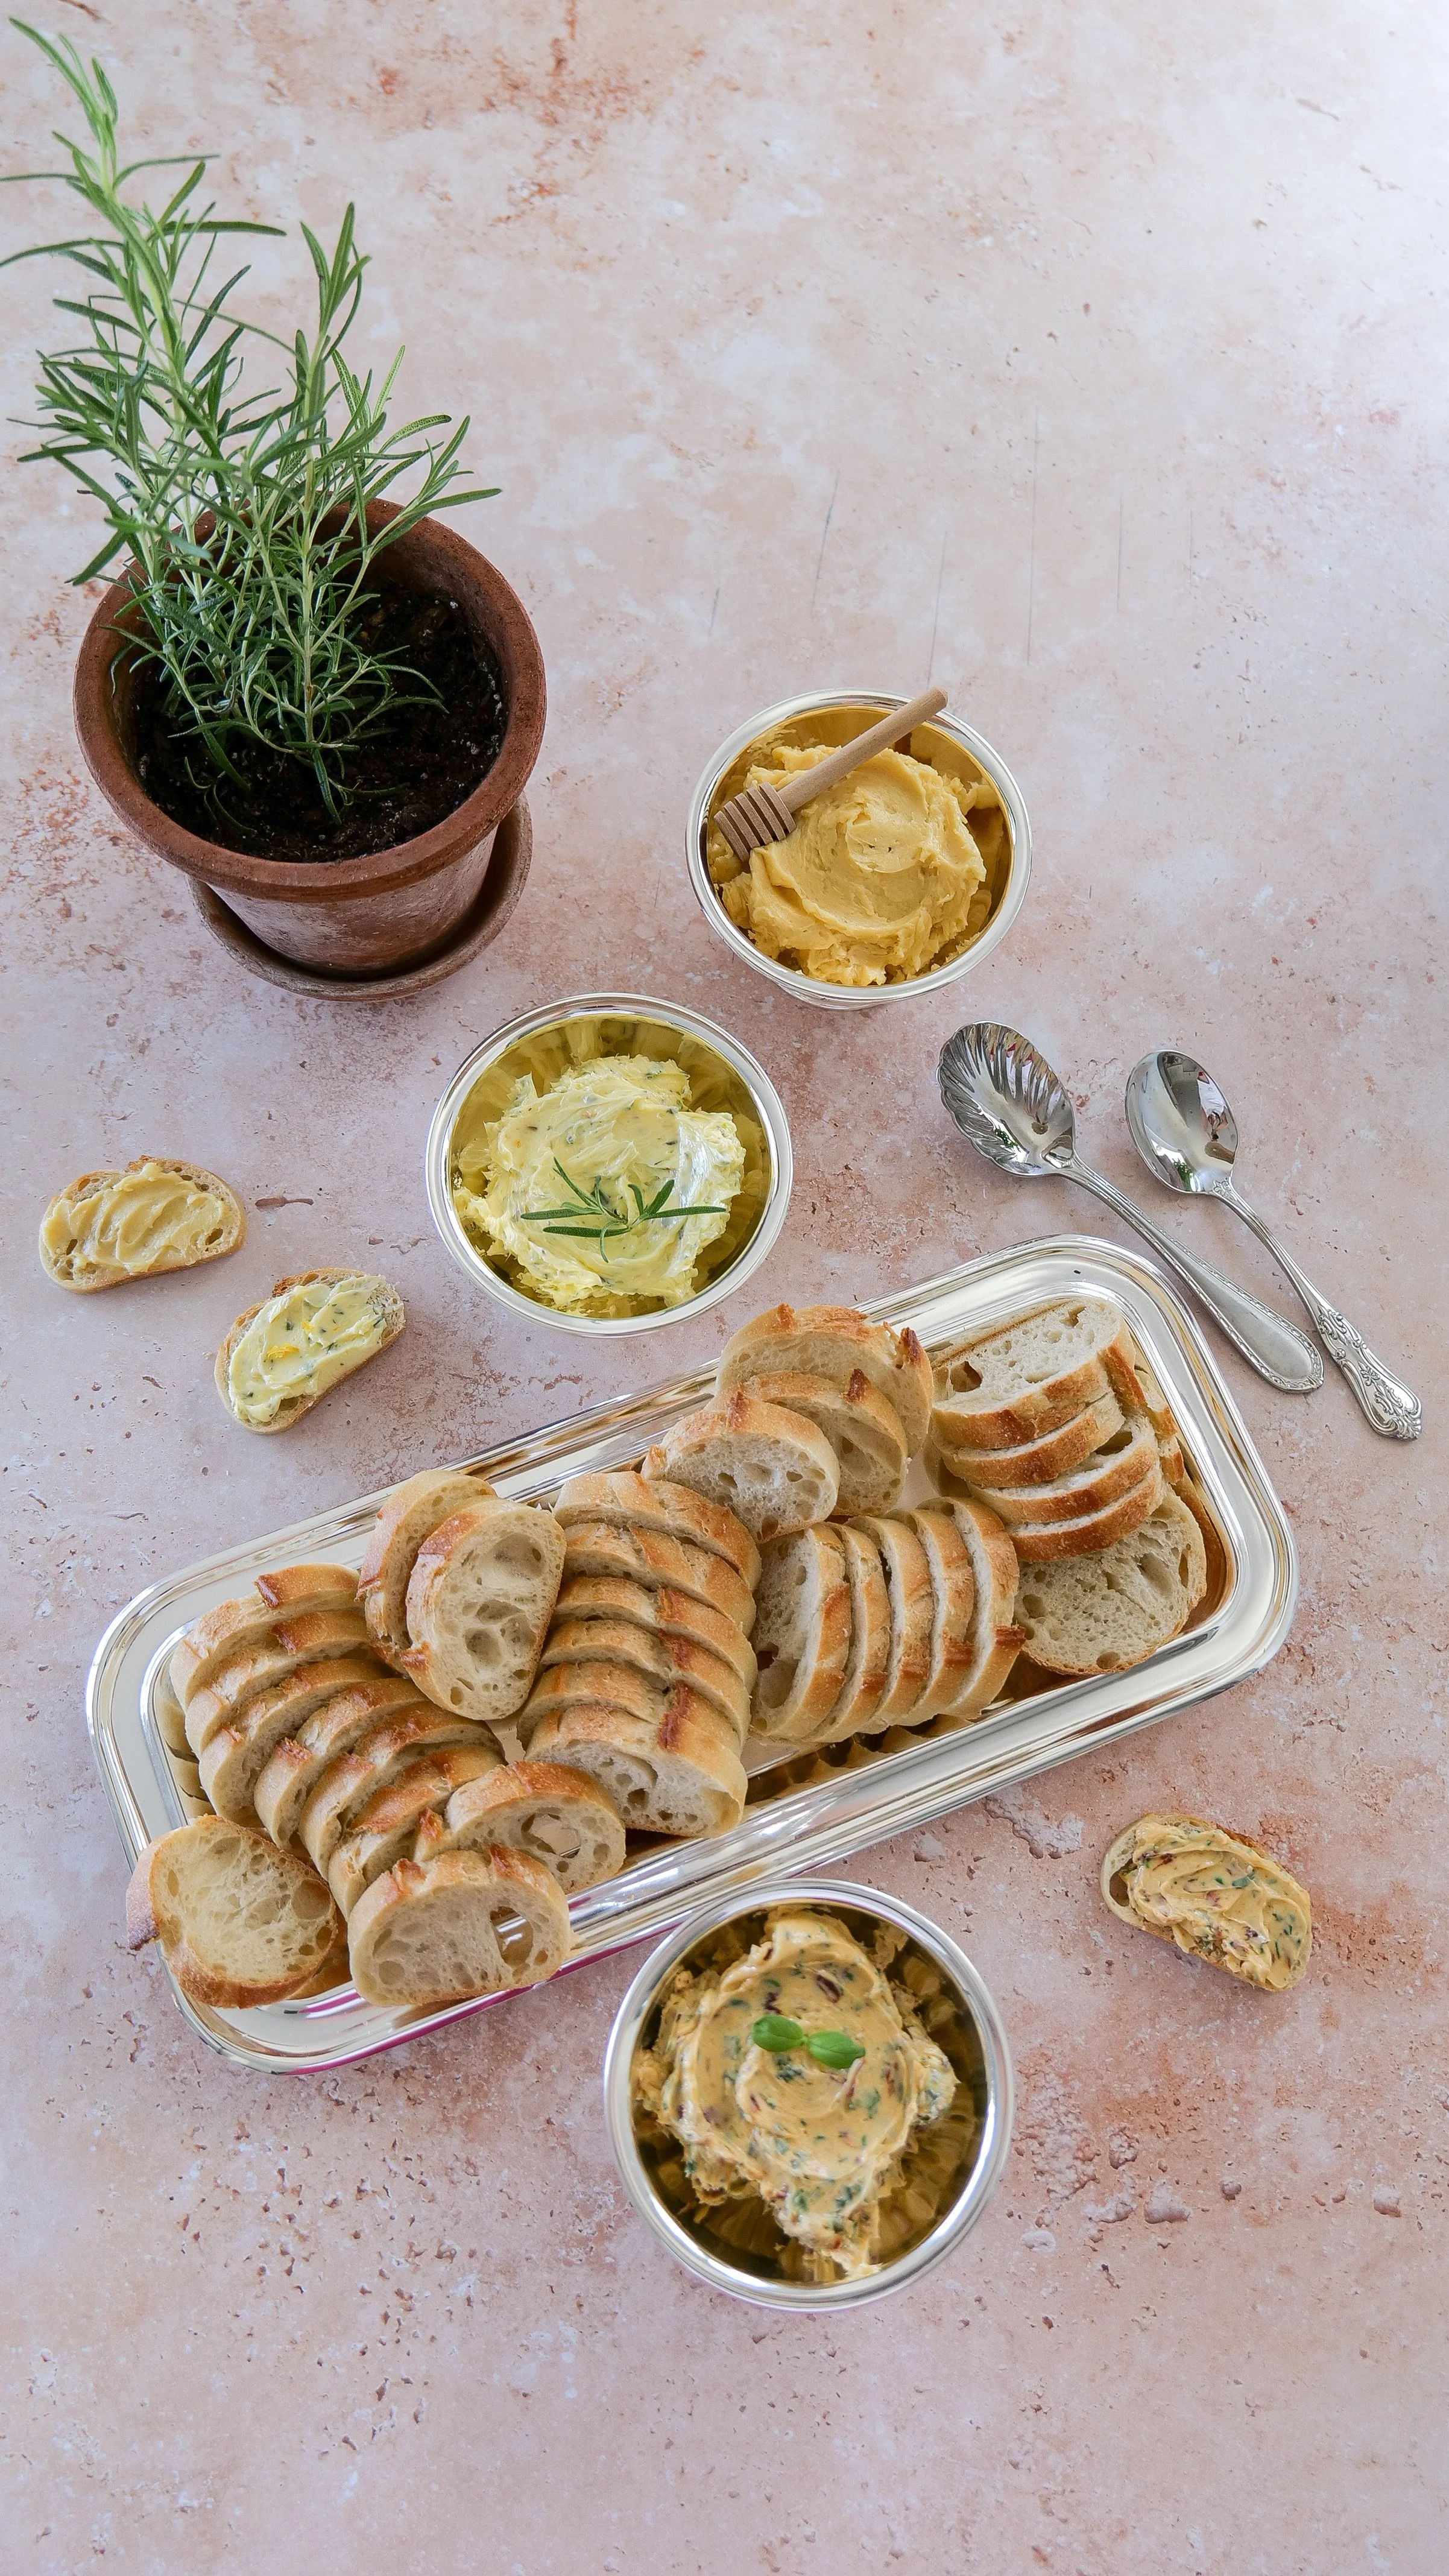
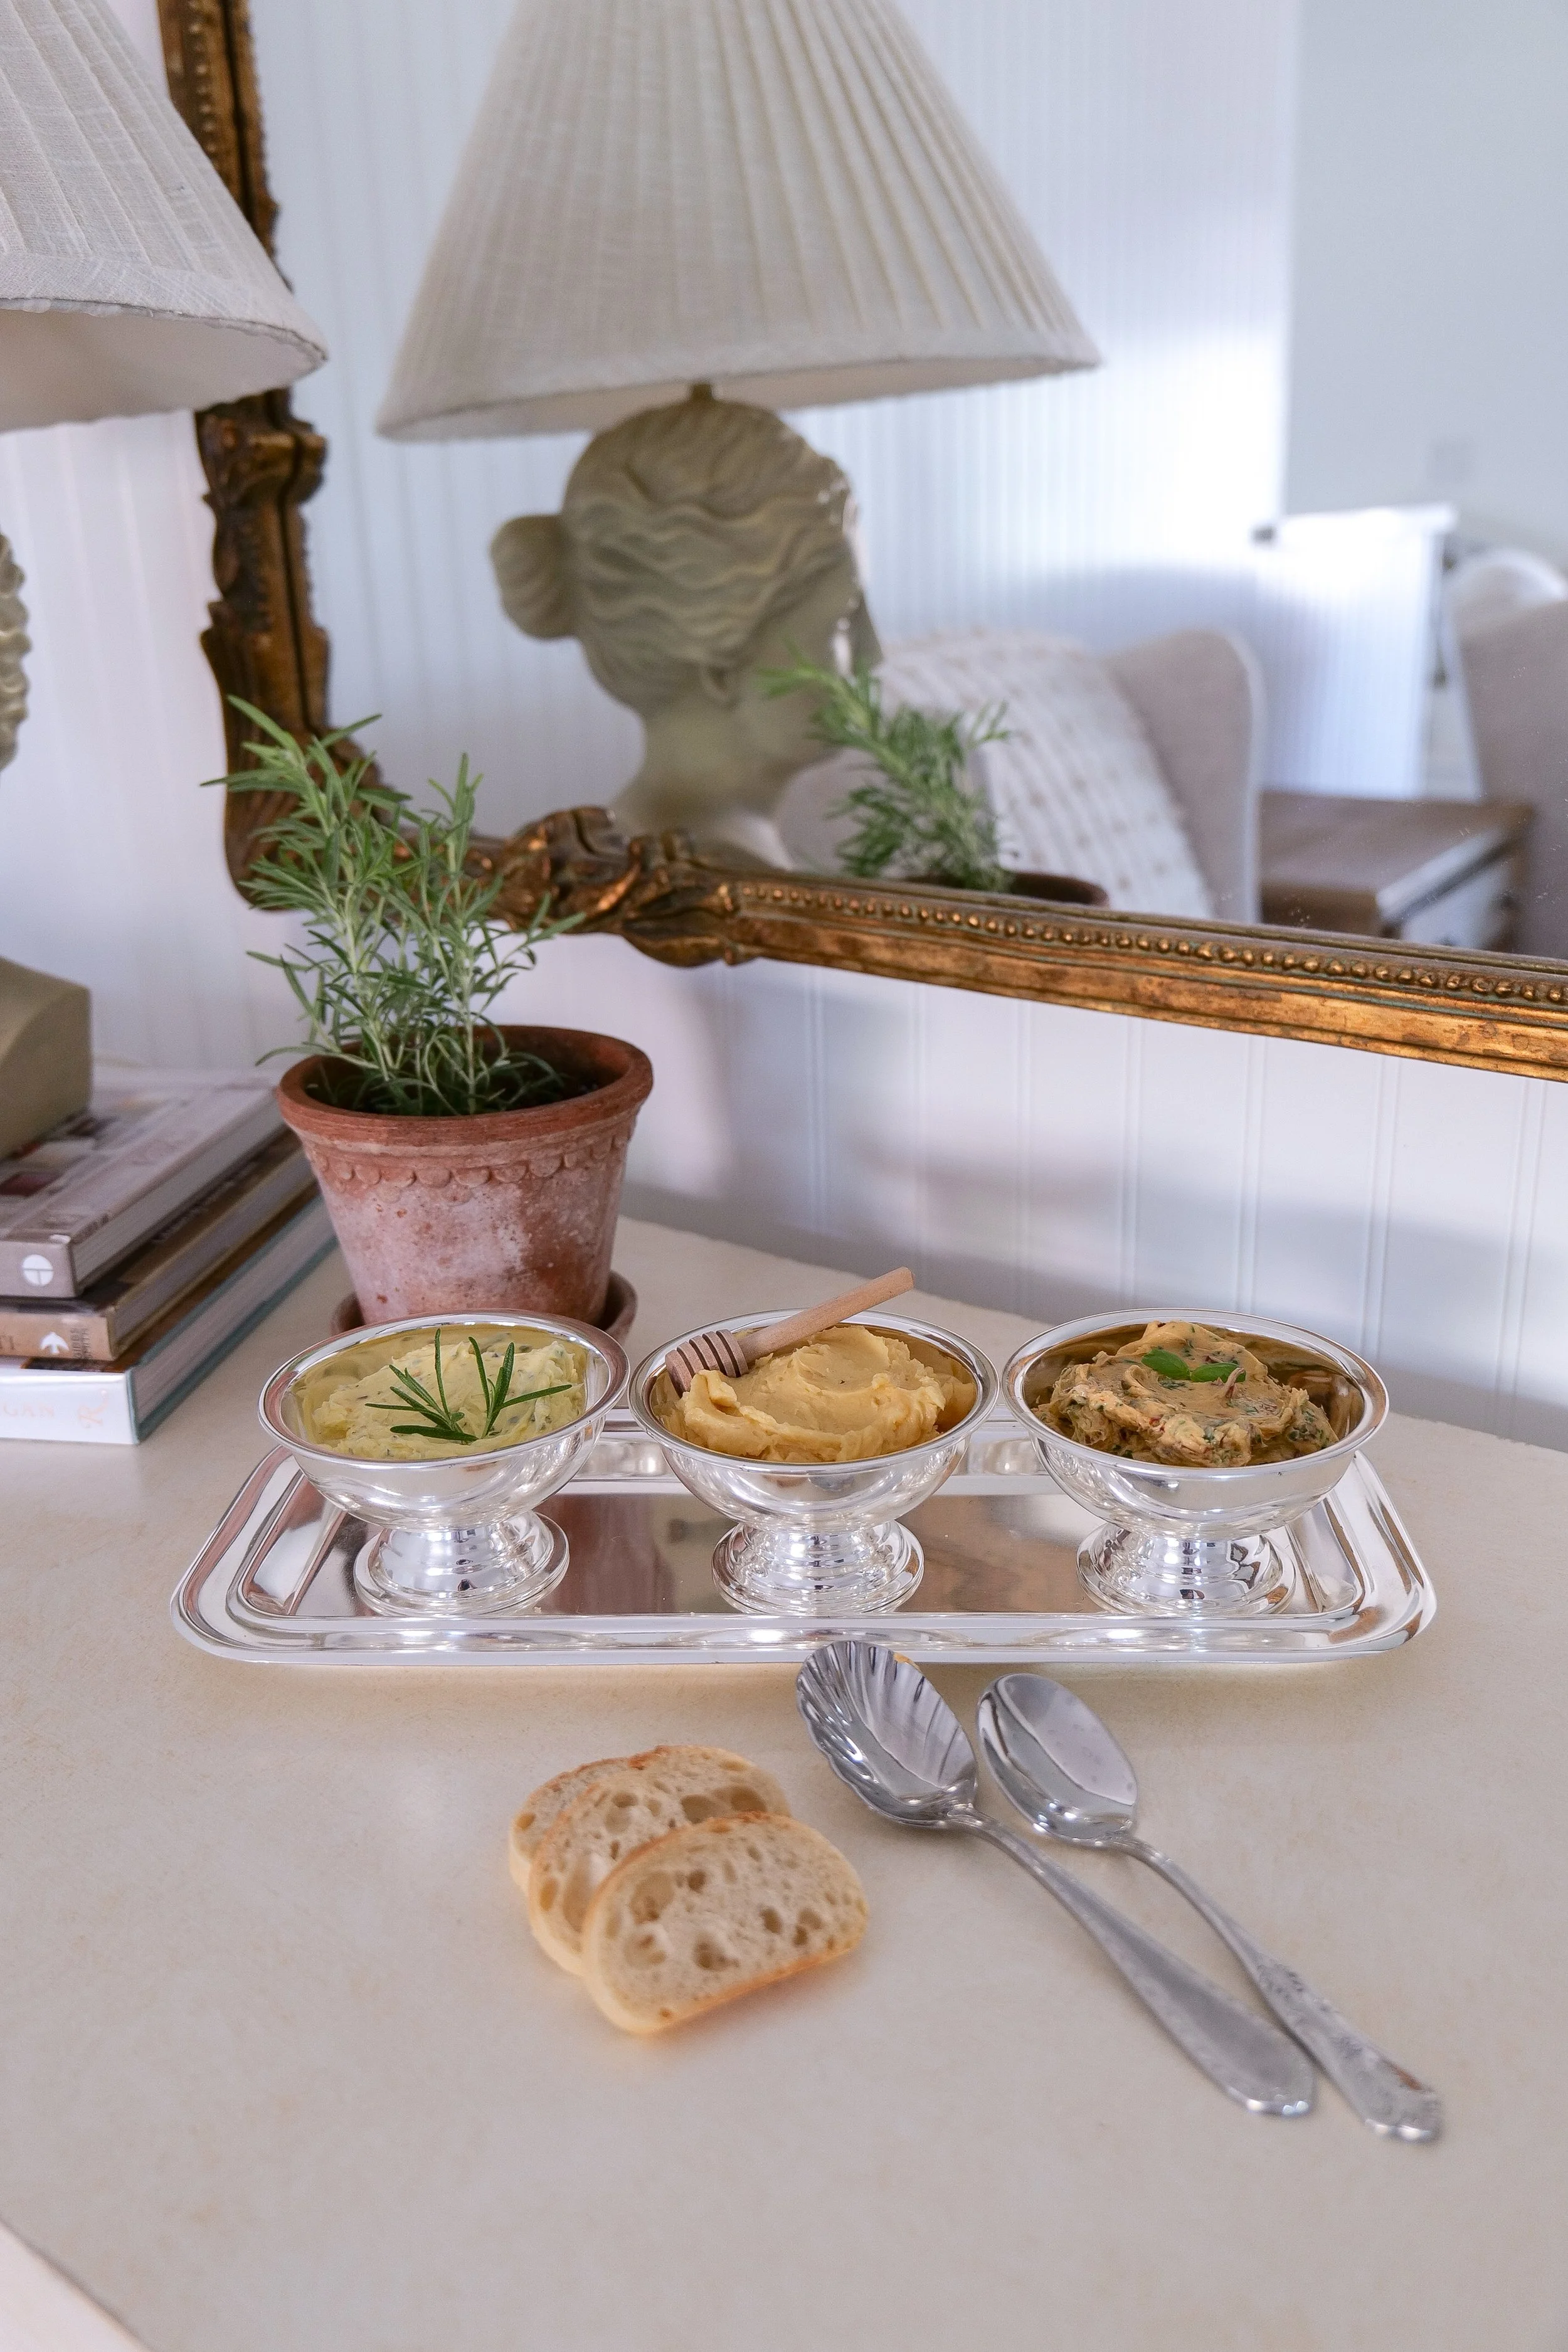
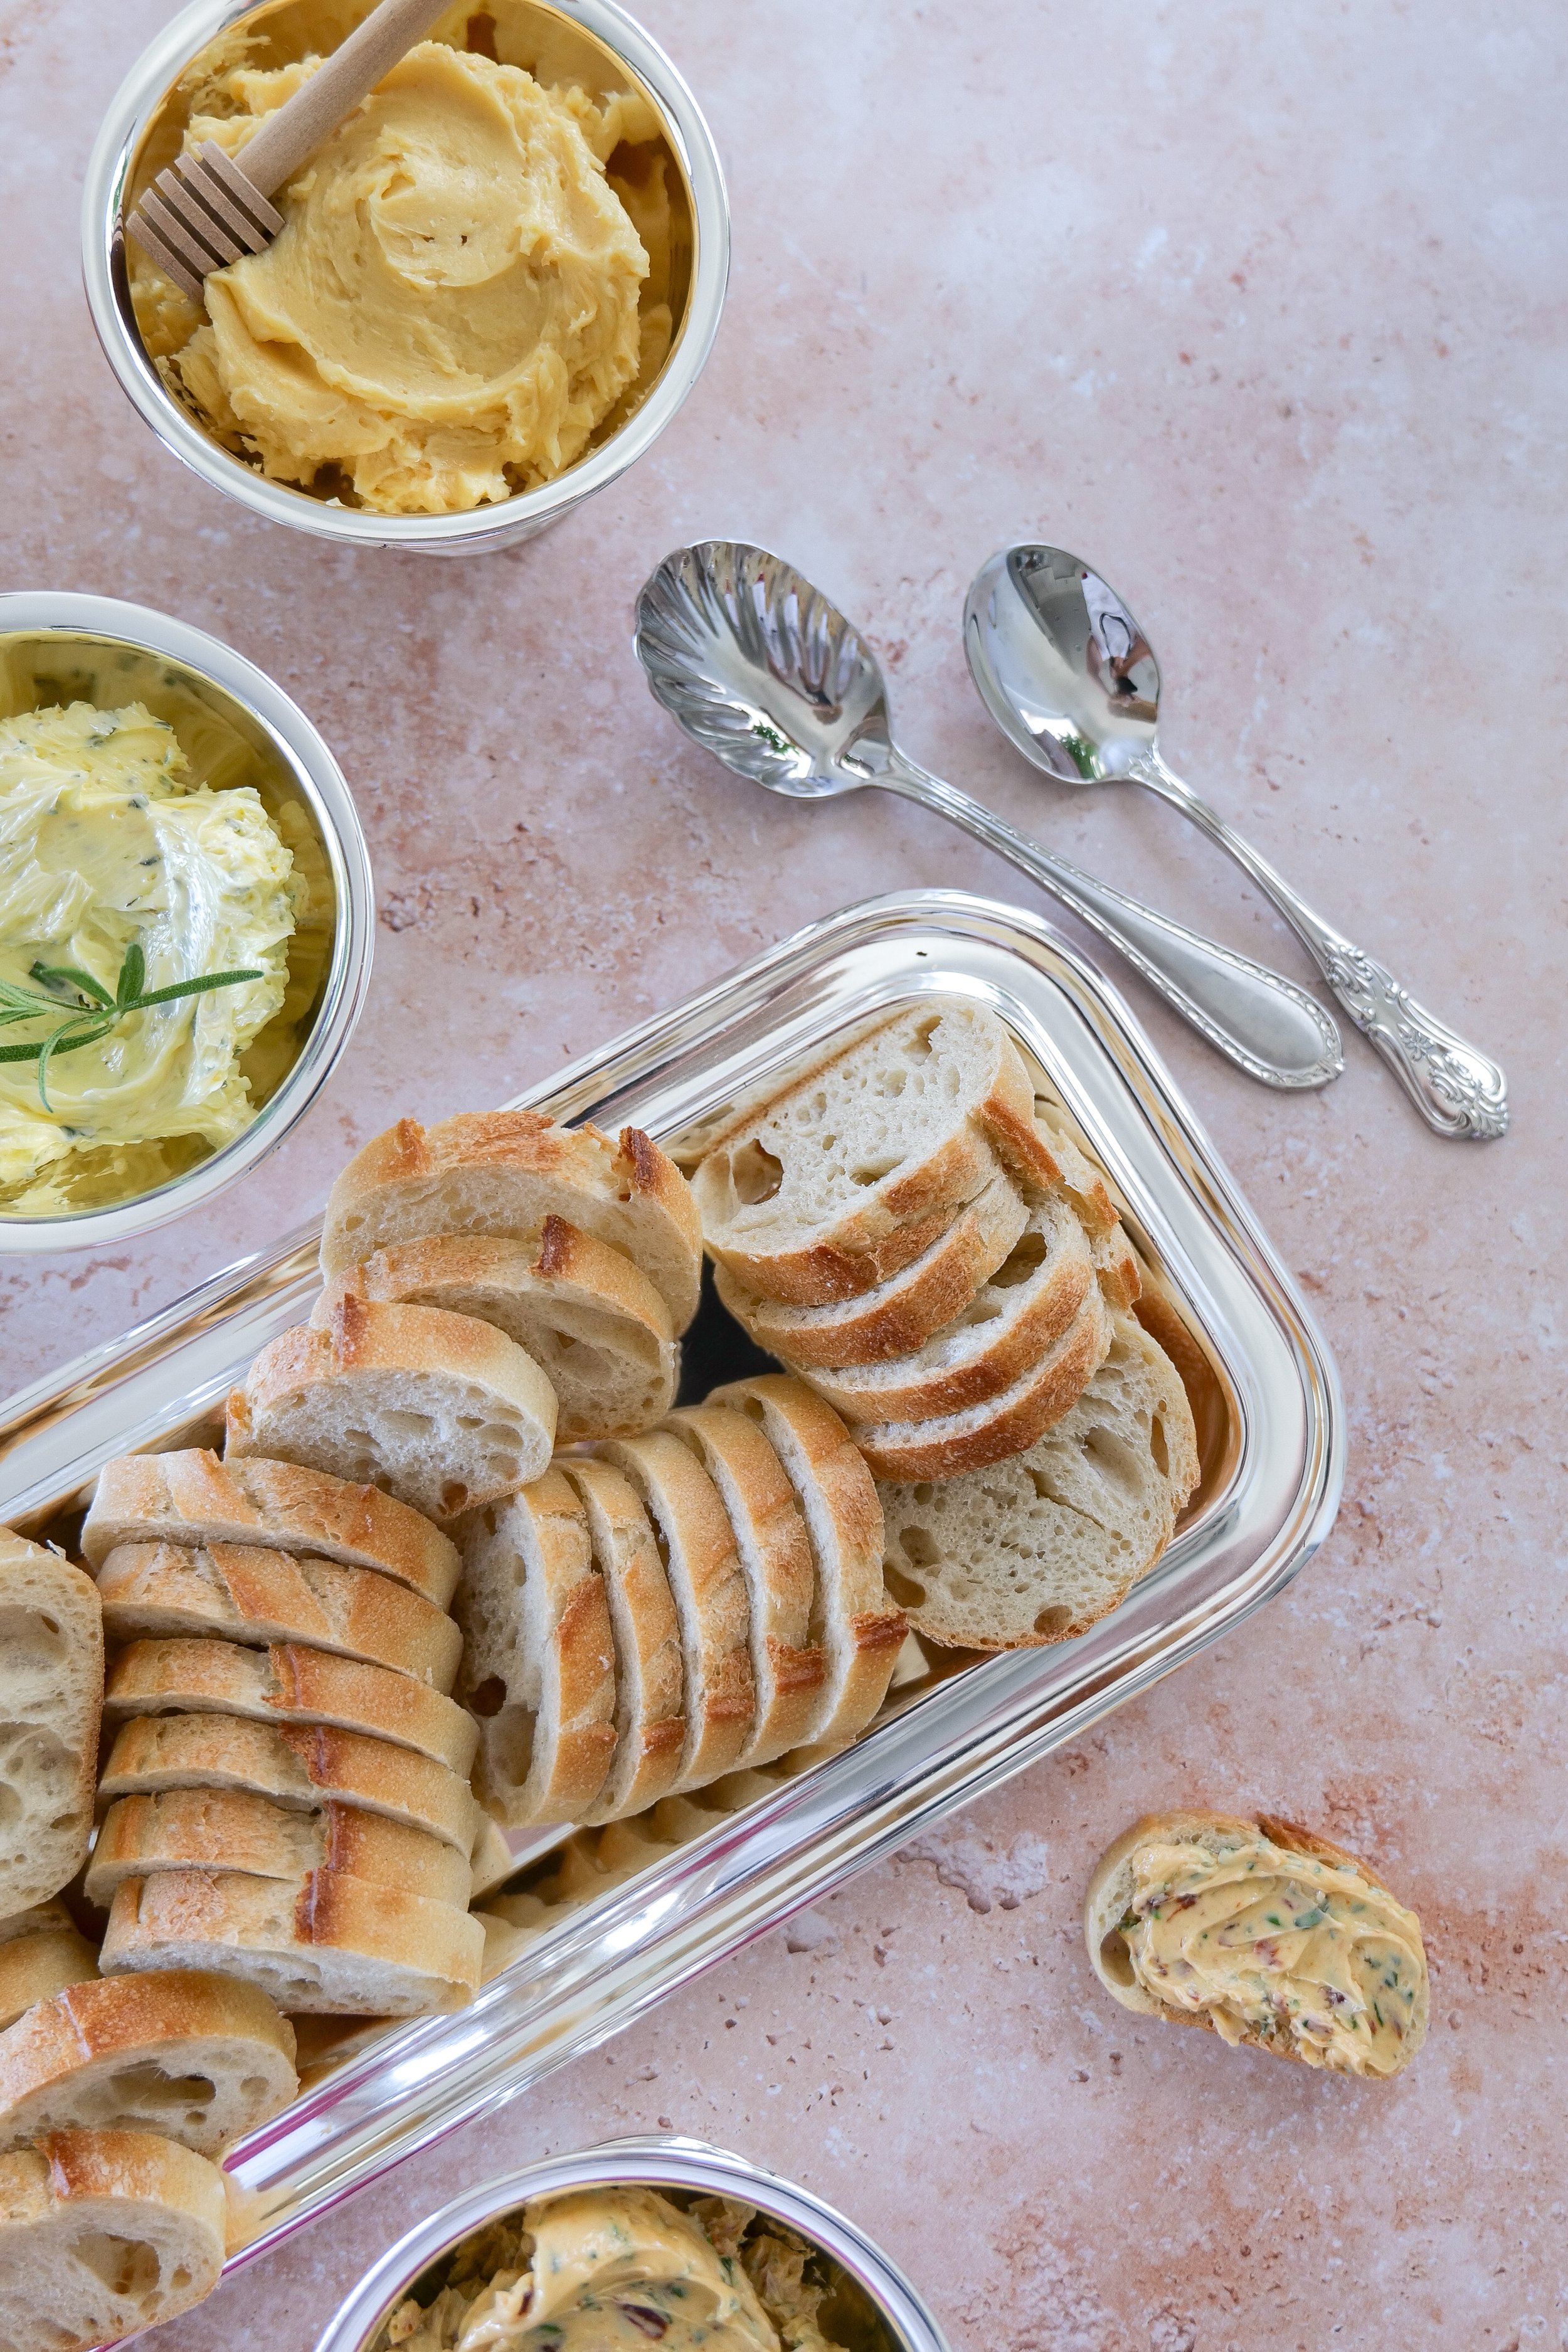
Three compound butter flavors in a metal cup with toasted baguette slices

Why This Compound Butter Recipe Works

  • Quick (under 10 minutes active time)

  • Customizable sweet and savory flavors

  • Perfect for entertaining and brunch boards

  • Made with simple pantry ingredients

  • Ideal for butter boards, holiday spreads, and gifting

What to Serve with a Compound Butter Flight

A compound butter flight pairs beautifully with:

  • Warm sourdough bread

  • Toasted baguette slices

  • Fresh croissants

  • Homemade biscuits

  • Roasted vegetables

  • Grilled steak

  • Roast chicken

  • Corn on the cob

  • Baked potatoes

  • Charcuterie boards

One of the reasons compound butter has become so popular is its versatility. It can elevate everything from a simple loaf of bread to a full dinner spread. Compound butter is frequently served on butter boards, grazing tables, and entertaining spreads because it adds flavor with very little effort.

Base Compound Butter (Master Recipe)

This base compound butter recipe is the foundation for all flavored butter variations. Once you master this method, you can create endless combinations for sweet or savory uses.

Ingredients

Instructions

  1. Let butter soften at room temperature until easily spreadable (not melted).

  2. Add your chosen flavor ingredients (see variations below).

  3. Whip until light, fluffy, and fully combined.

  4. Spoon into ramekins or shape into a log using parchment paper.

  5. Chill 15–30 minutes until set before serving.

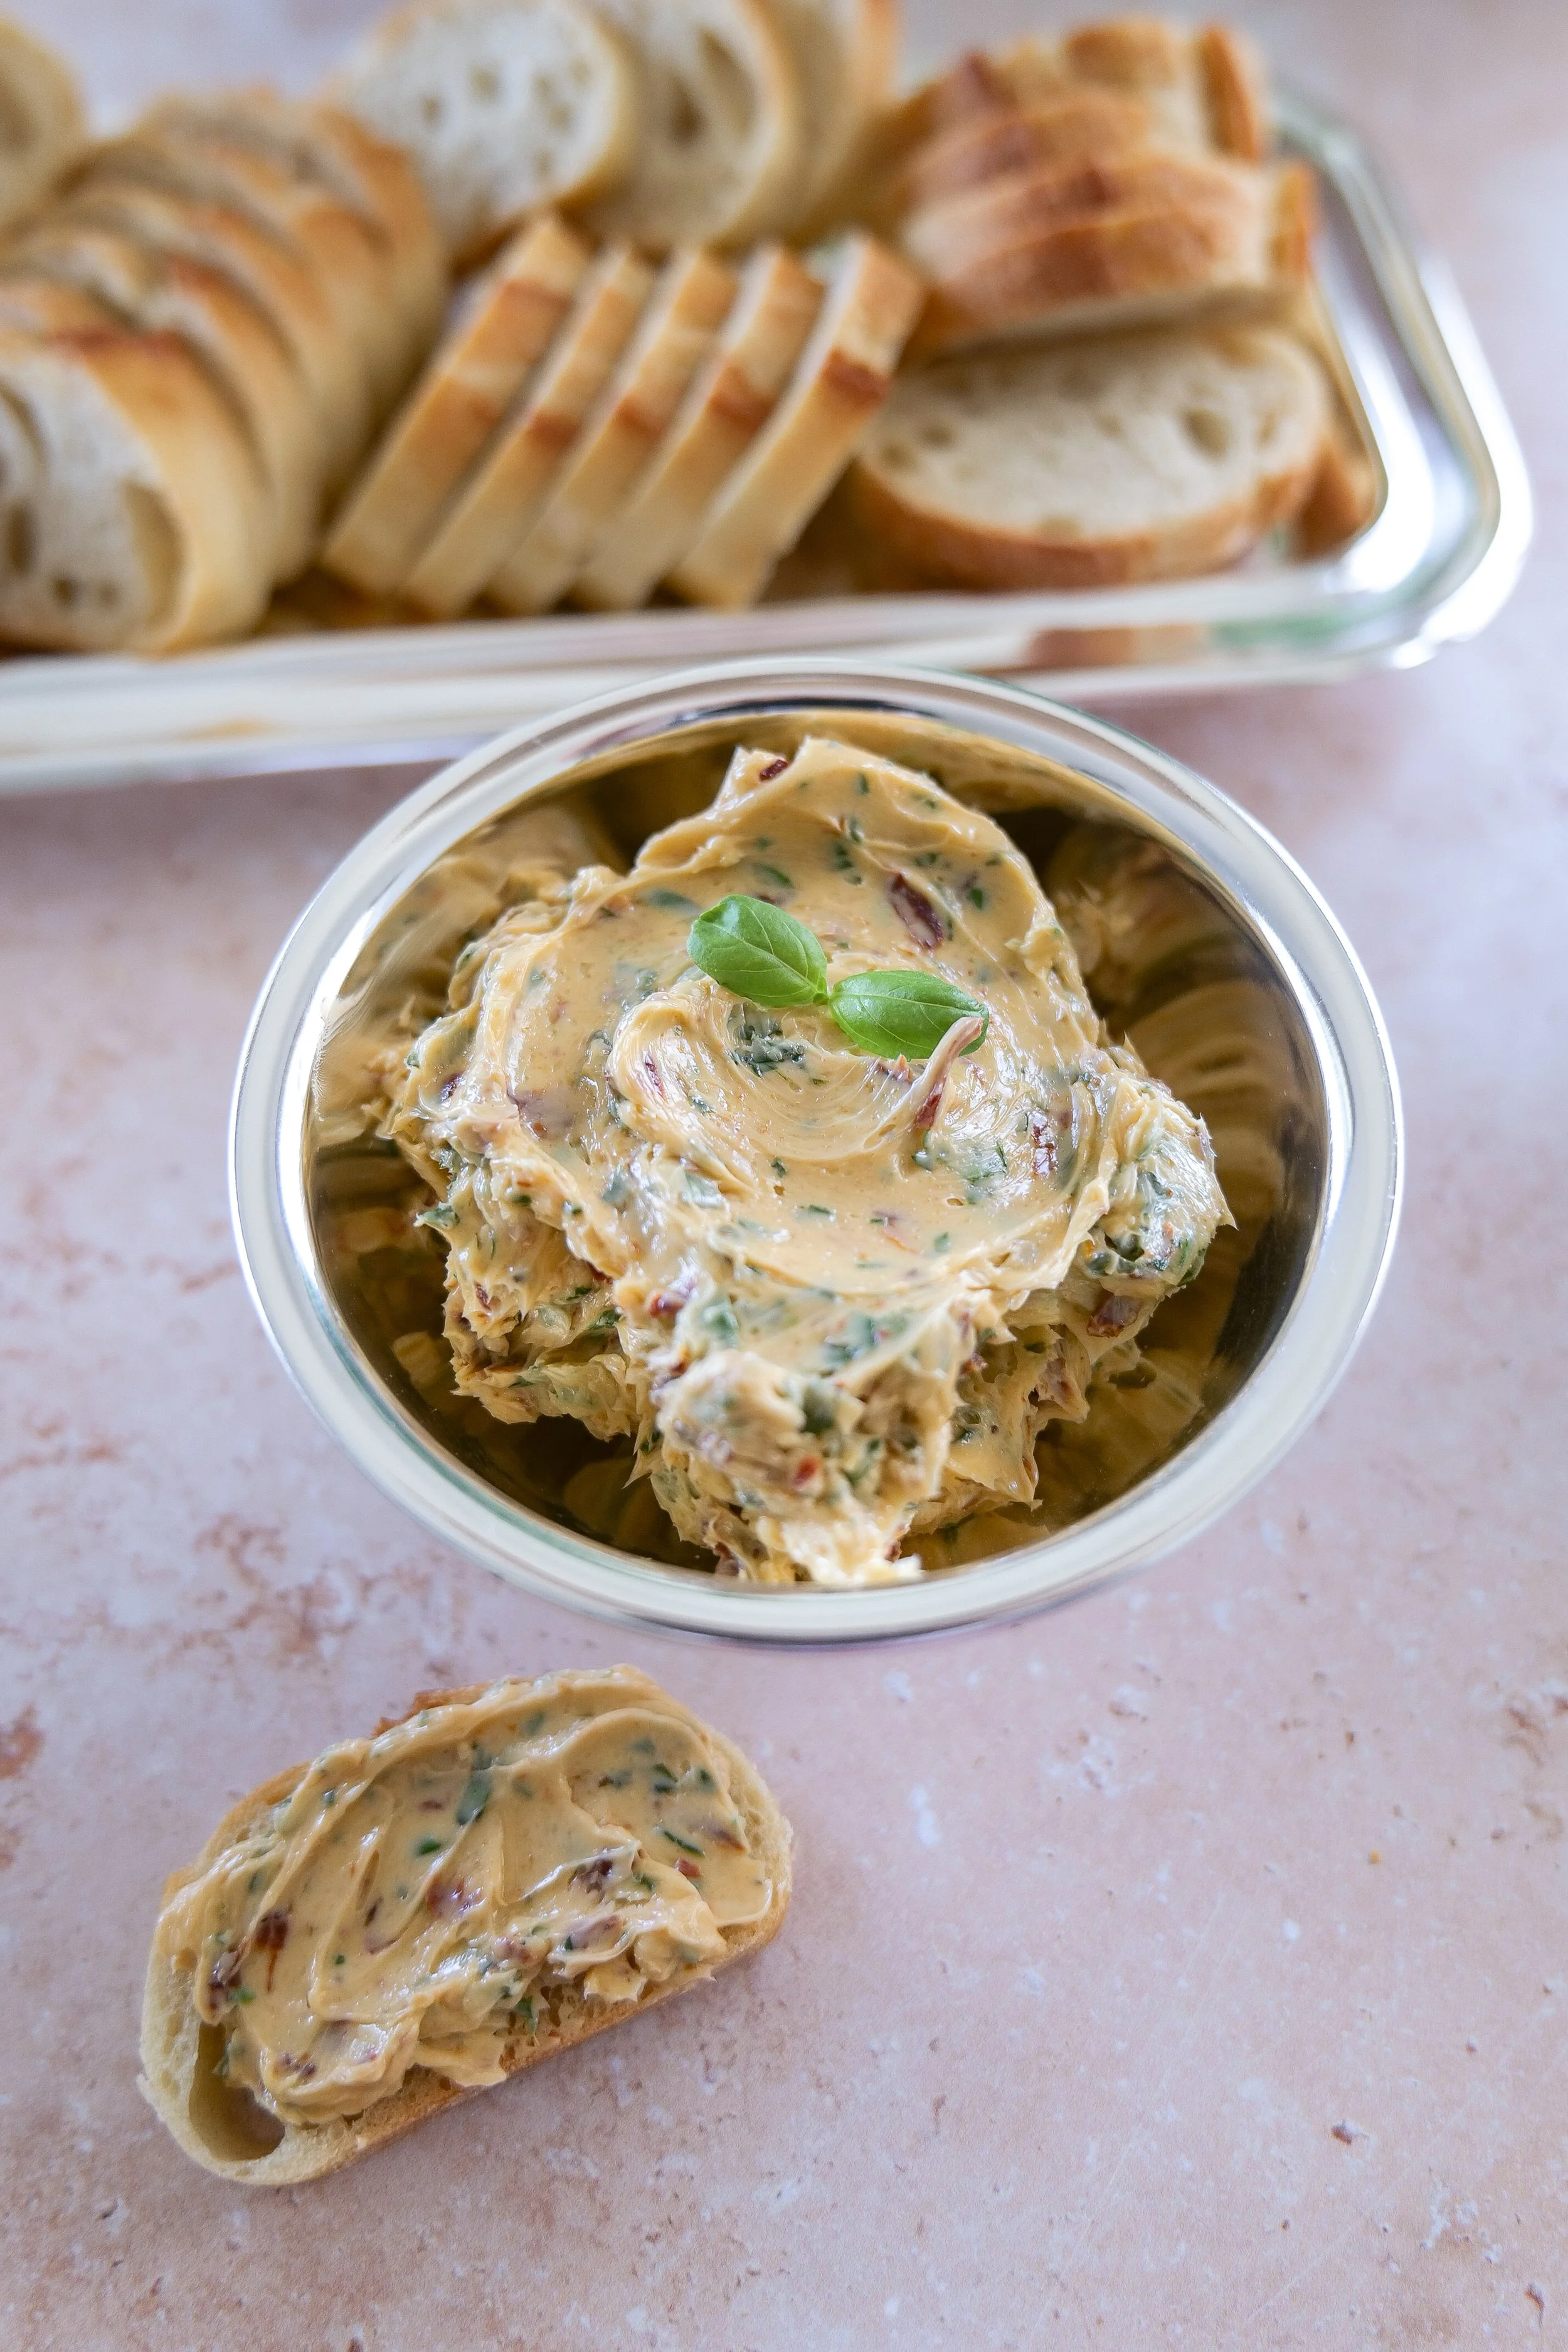
Italian Compound Butter

A savory, herb-forward butter perfect for breads, meats, and roasted vegetables.

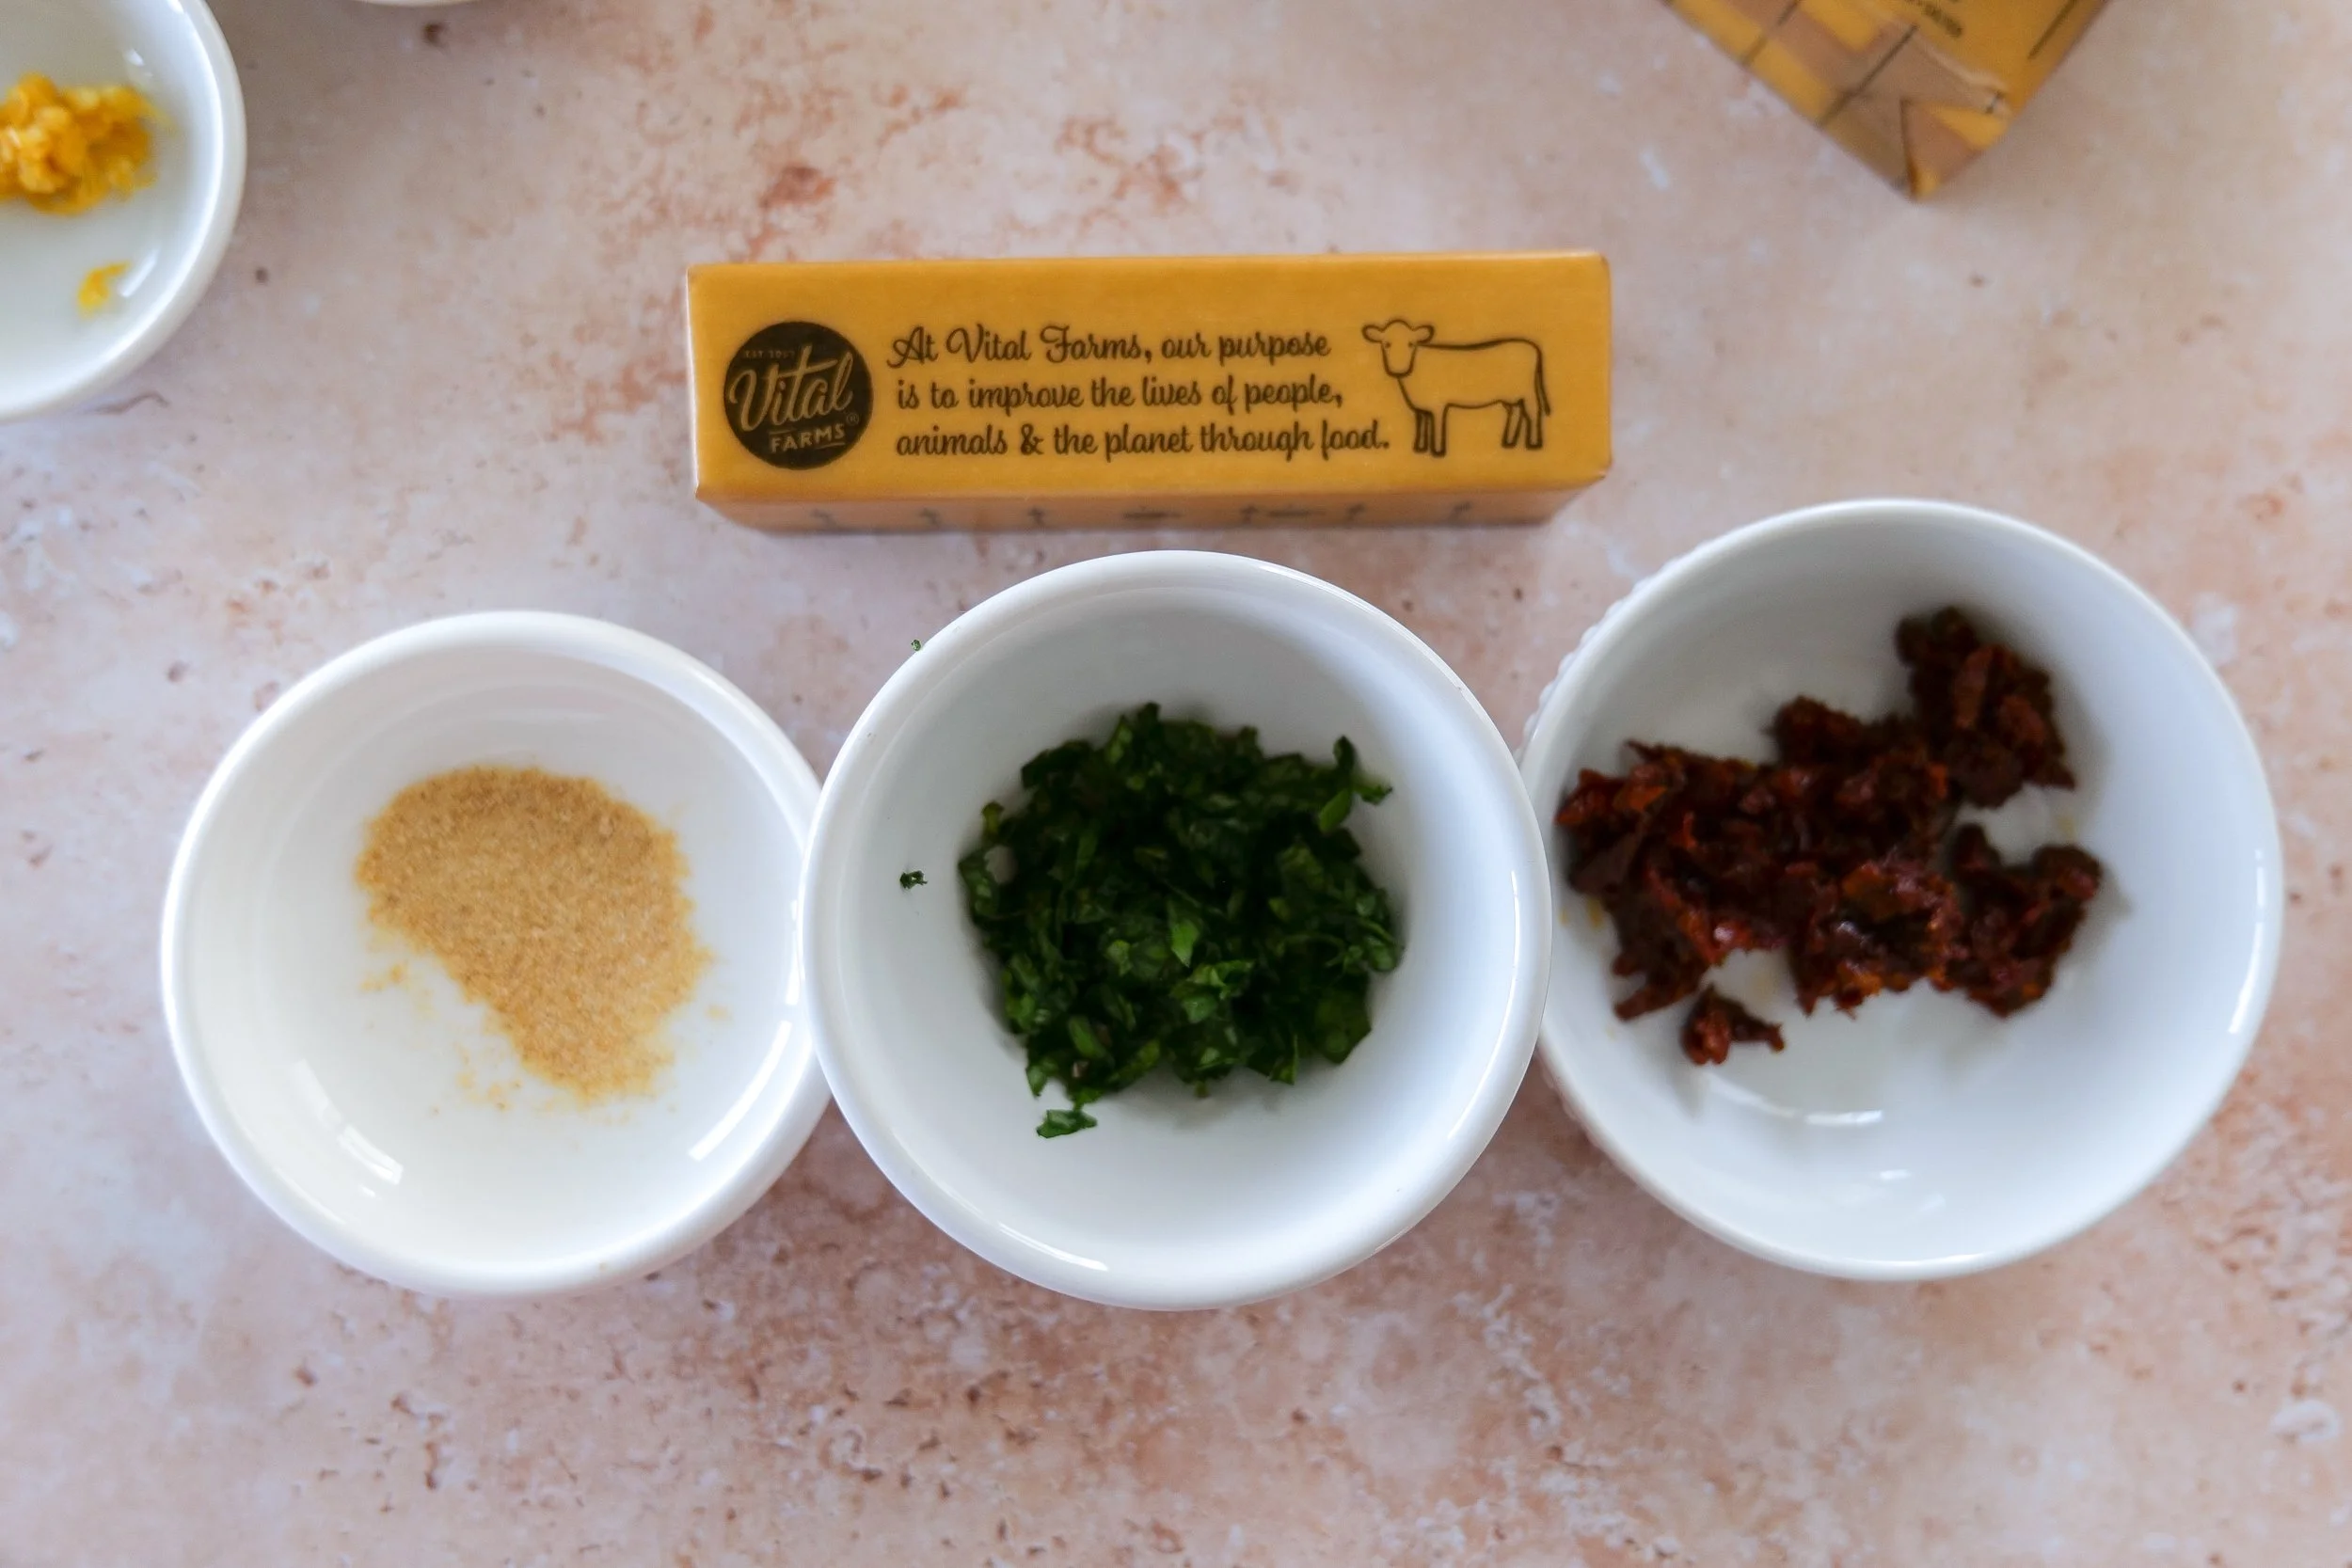
Italian Compound Butter ingredients
Italian Compound Butter

Ingredients

  • 1 stick (113g) salted Vital Farms butter, softened to room temperature

  • 1 tablespoon sun-dried tomatoes, drained and finely chopped

  • 1 tablespoon fresh basil, finely chopped

  • 1/4 teaspoon Garlic, finely grated or minced

Best Uses

Warm crusty bread, Grilled steak or chicken, Pasta finishing butter, Roasted vegetables

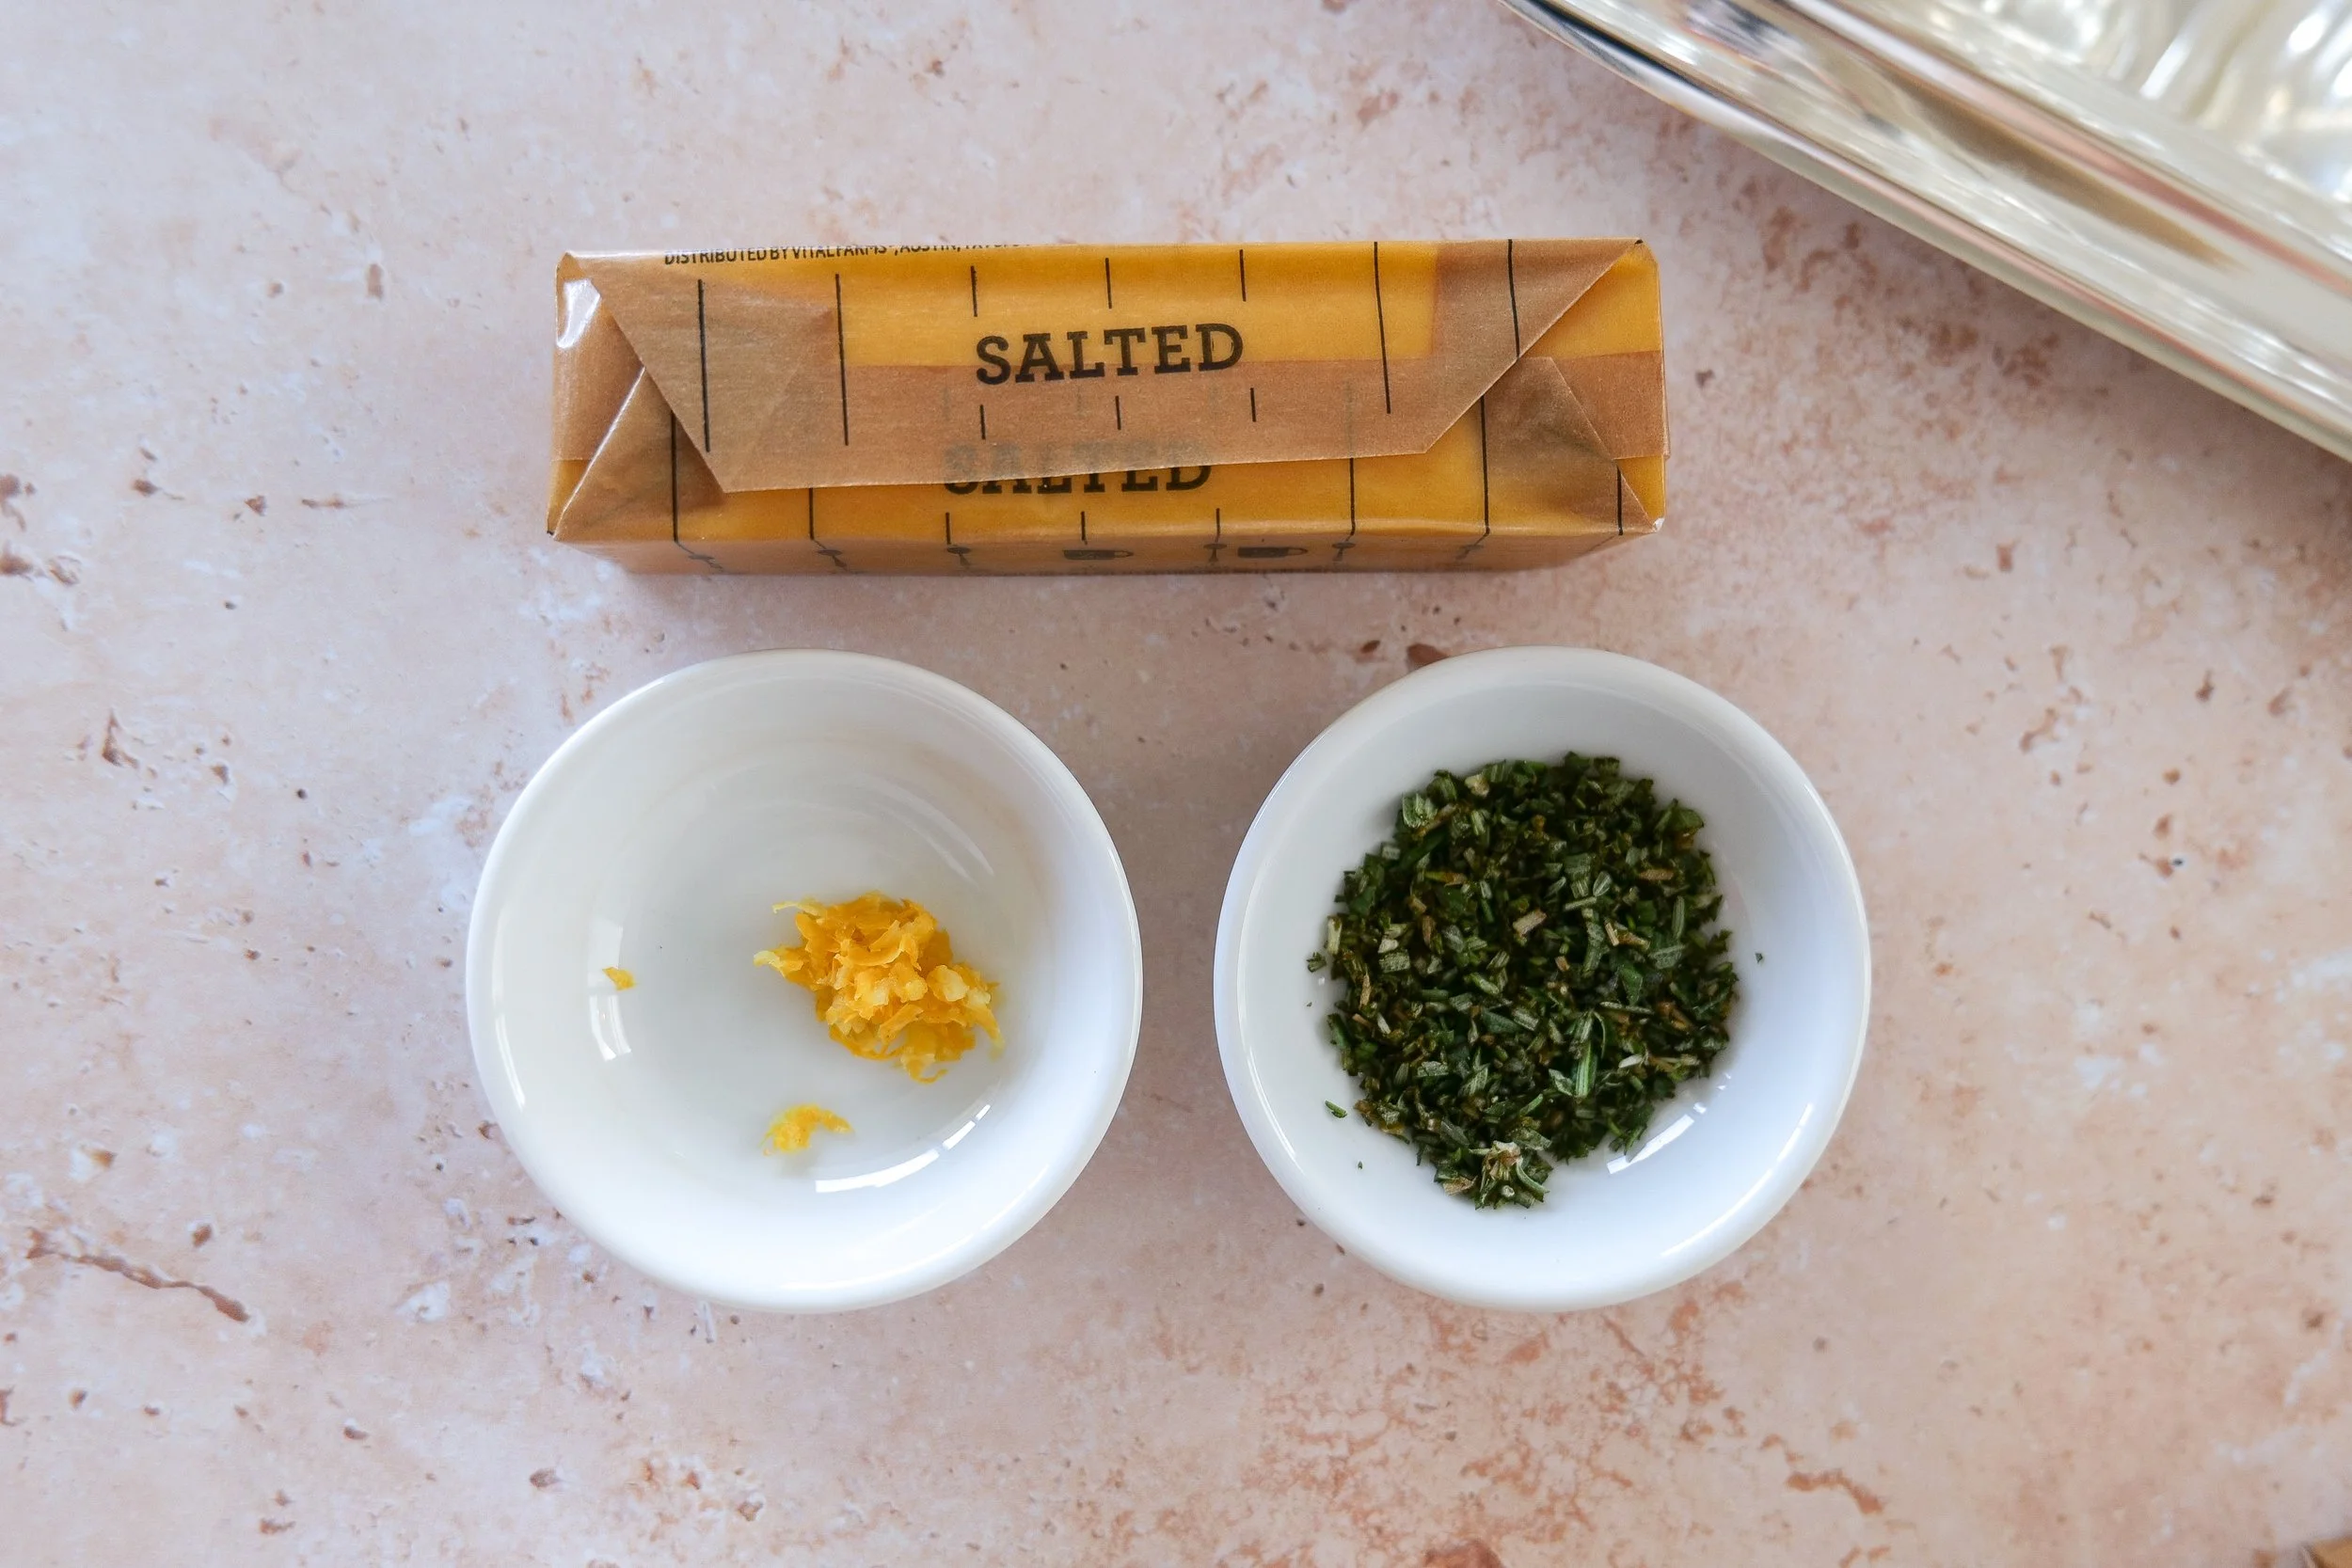
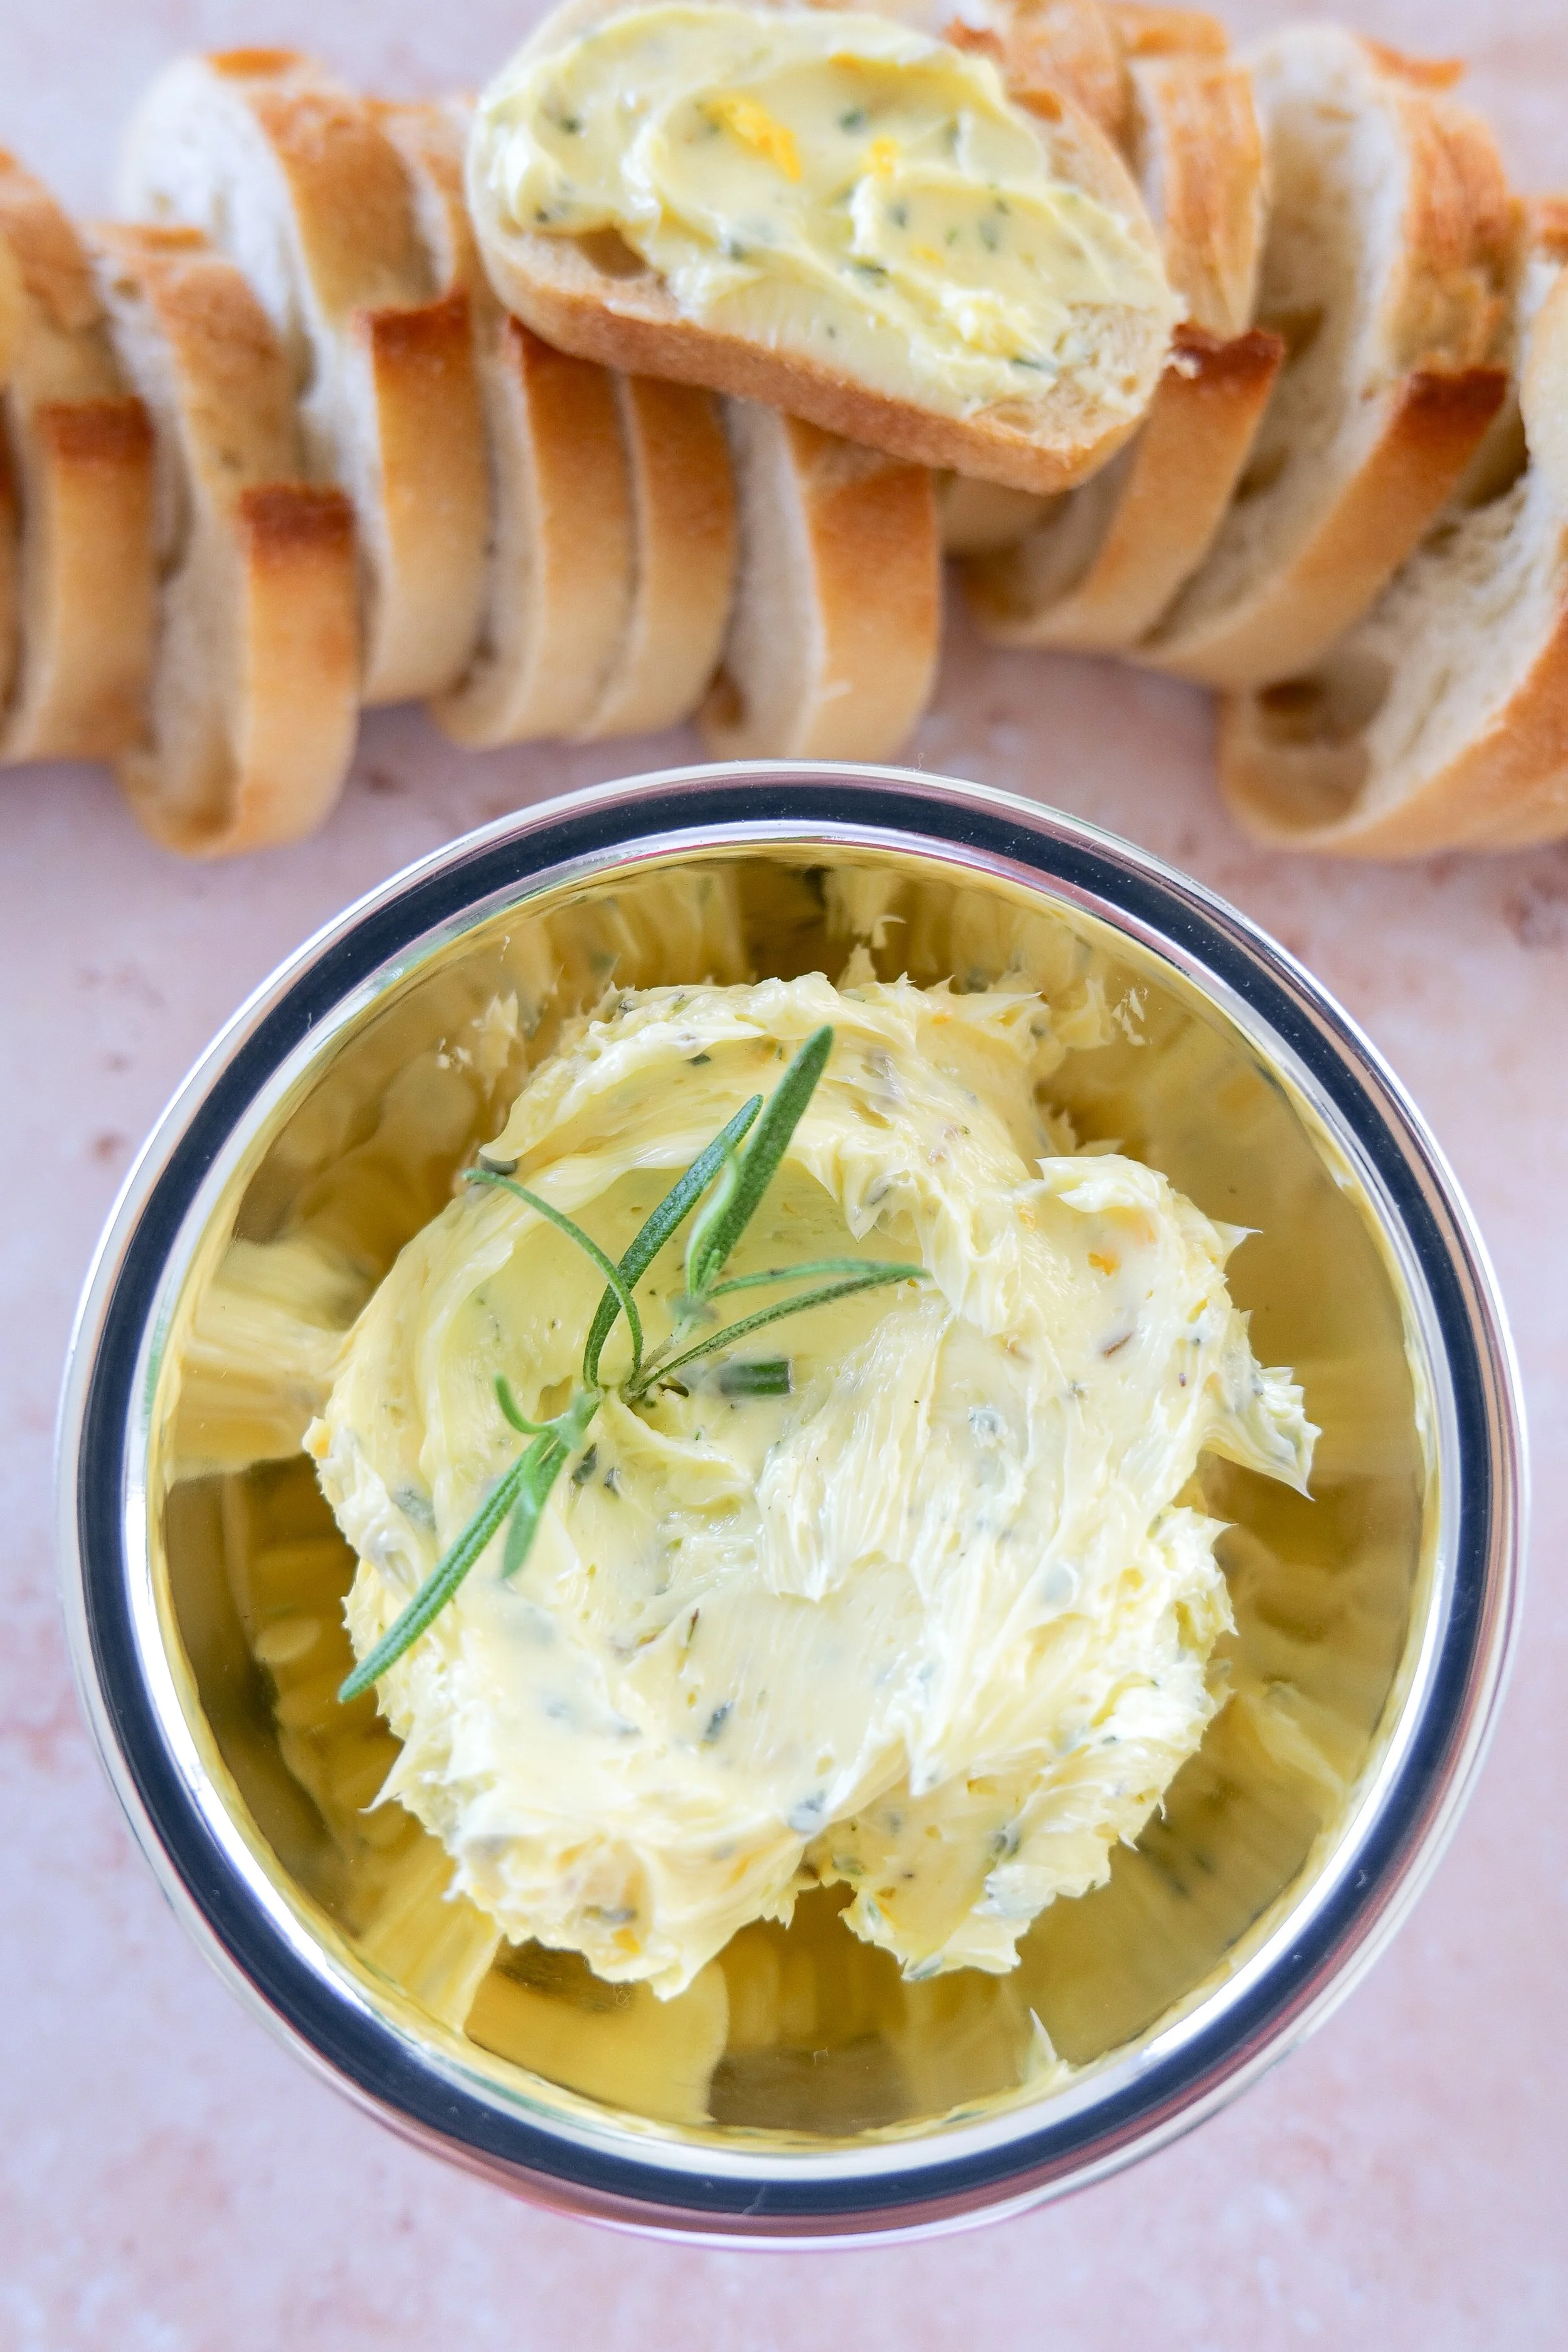
Lemon Rosemary Butter

Bright, aromatic, and slightly earthy—this variation adds freshness to savory dishes.

Lemon Rosemary Butter ingredients
Lemon Rosemary Butter

Ingredients

  • 1 stick (113g) salted Vital Farms butter, softened to room temperature

  • 1/4 teaspoon Lemon zest

  • 2 teaspoons fresh rosemary, finely chopped

Best Uses

Roast chicken or fish, Roasted potatoes, Sourdough toast, Grilled vegetables

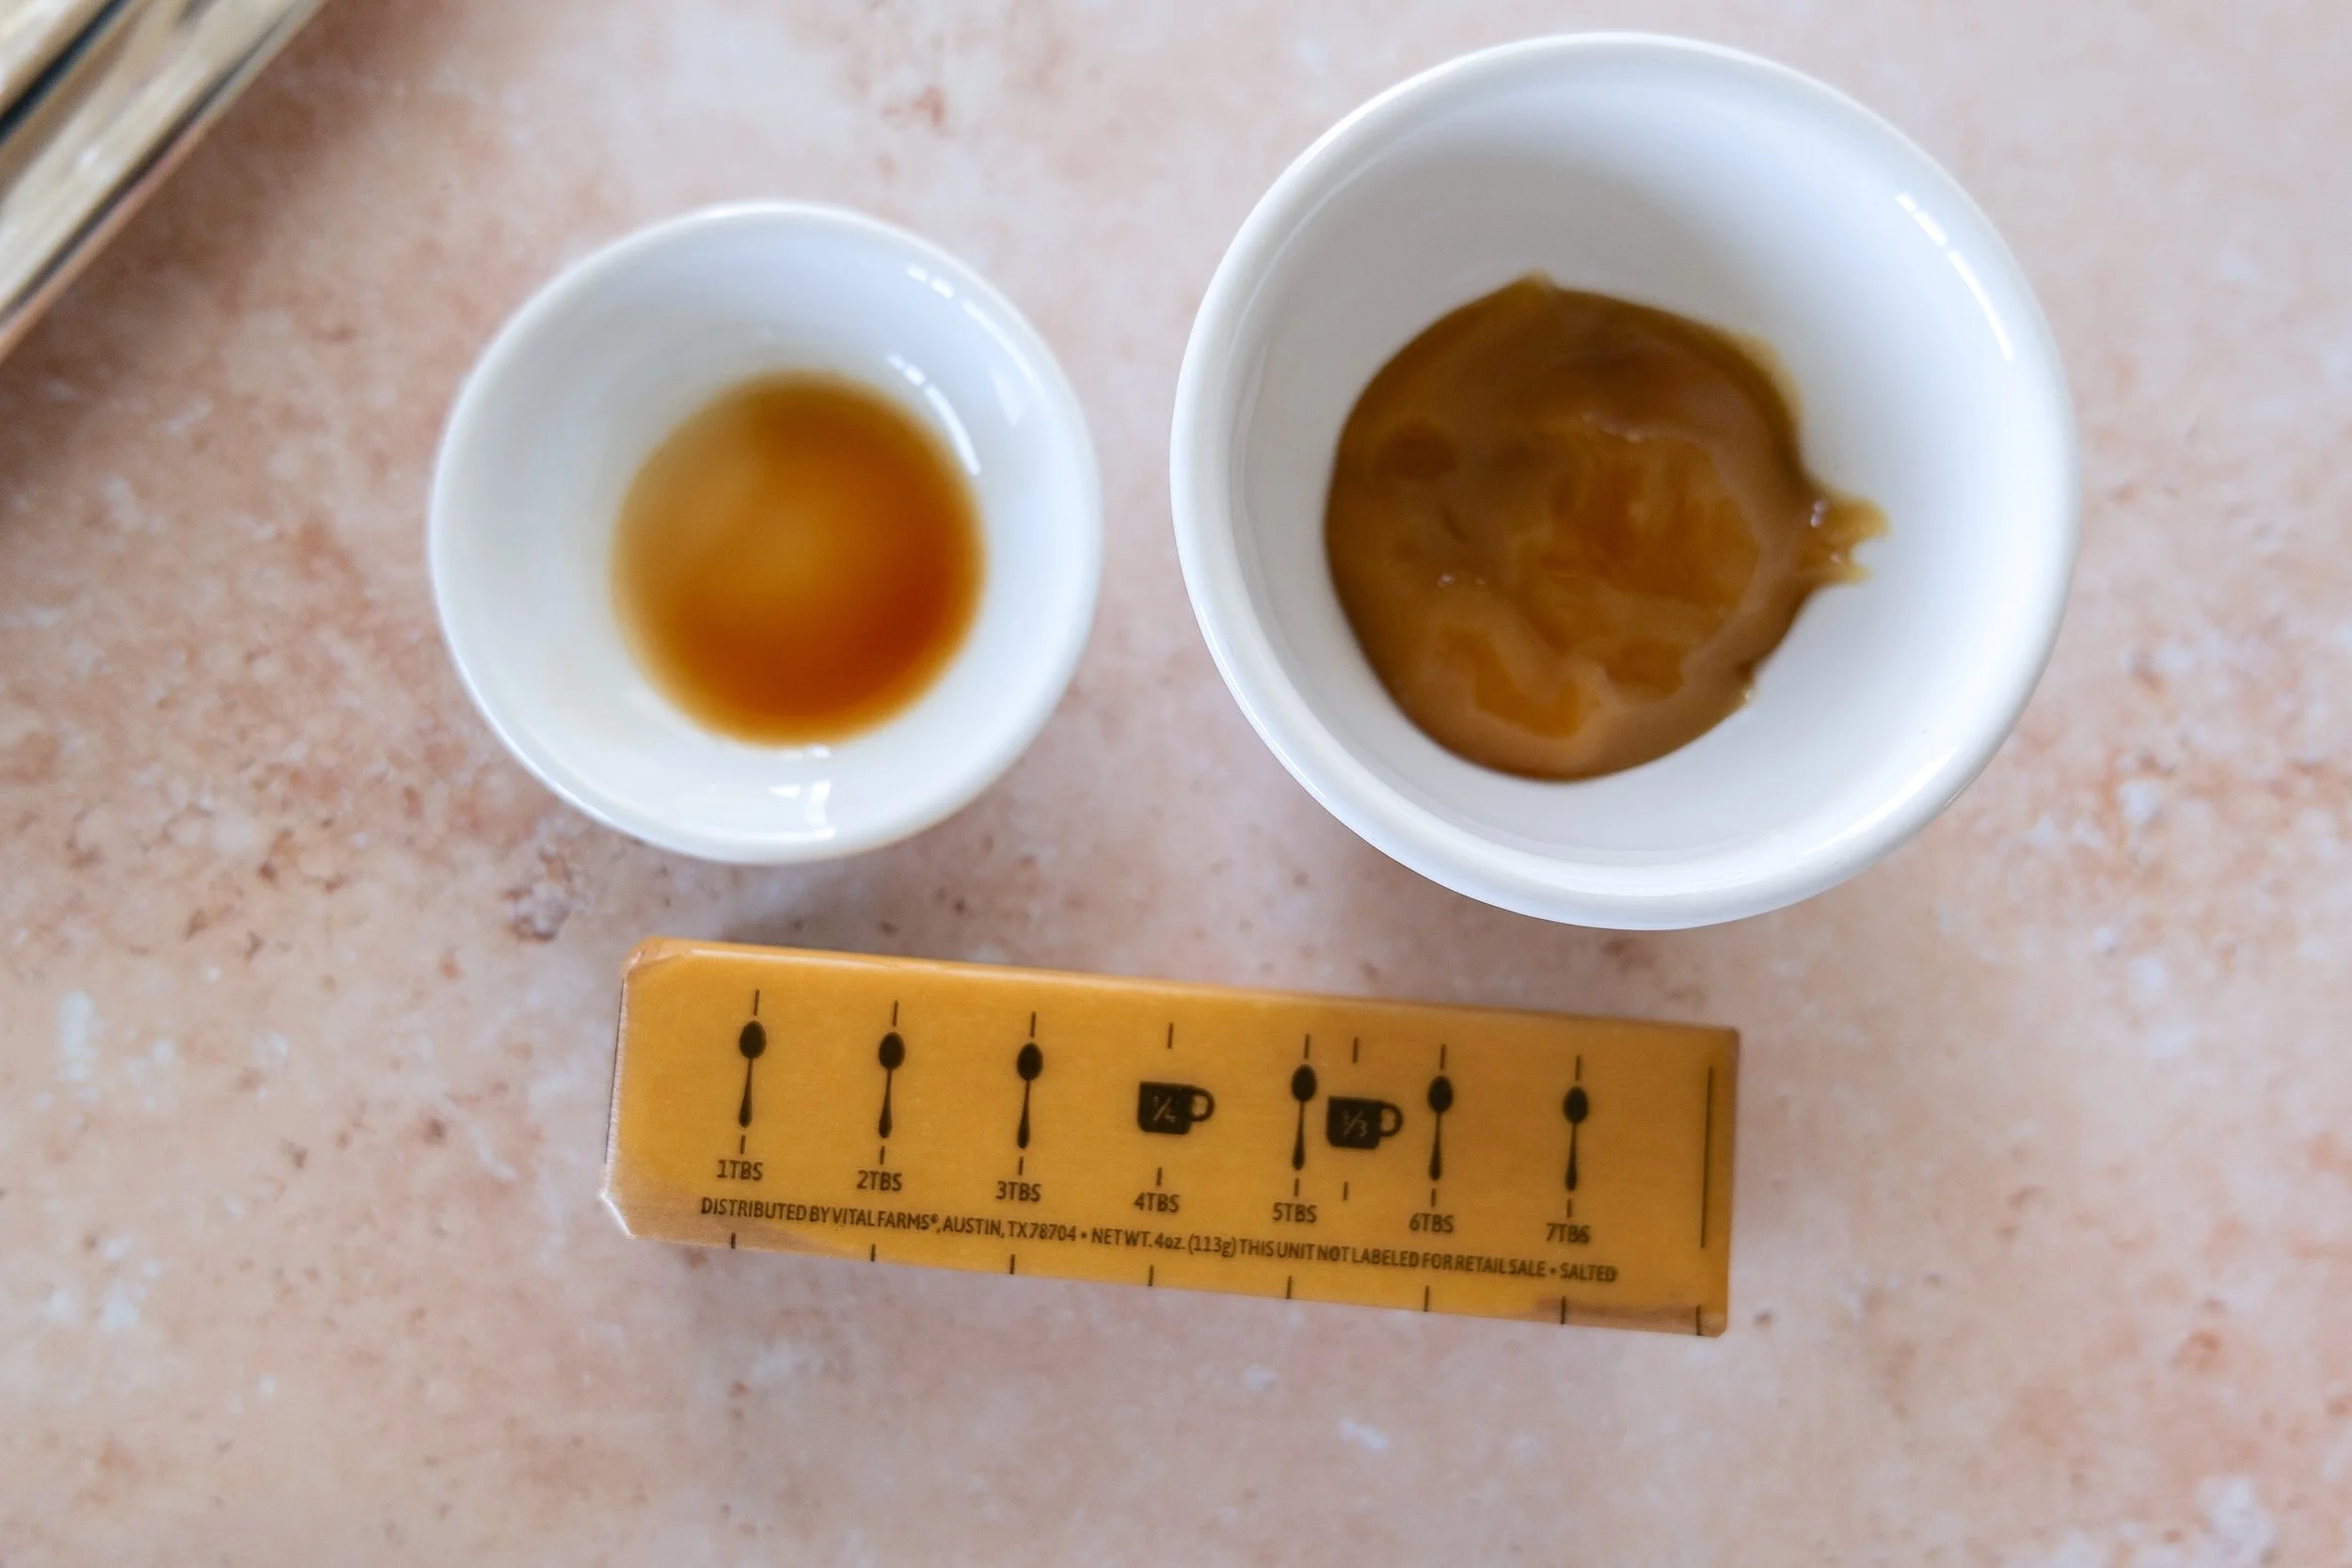
Honey Butter

Smooth, sweet, and lightly salted—perfect for breakfast and baked goods.

Honey Butter ingredients
Honey Butter

Ingredients

  • 1 stick (113g) salted Vital Farms butter, softened to room temperature

  • 2 tablespoons Honey

  • Splash of vanilla extract

Best Uses

Pancakes or waffles, Biscuits or scones, Cornbread, Toast or warm rolls

Pro Tip

For the best texture, make sure your butter is softened but not melted. This allows it to whip properly and creates a light, airy consistency instead of a dense spread.

How to Serve a Compound Butter Flight

Turn this into a tasting-style experience:

  • Serve in small ramekins or butter boards

  • Label each flavor for clarity

  • Pair with warm bread, croissants, or crackers

  • Add simple garnishes such as herbs, honey drizzle, or citrus zest

Variations (SEO Expansion Section)

  • Spicy chili garlic butter

  • Maple cinnamon butter

  • Truffle butter

  • Vegan butter versions

Shop My Entertaining Essentials

When I'm putting together a butter flight, charcuterie board, or simple appetizer spread, these are the serving pieces and kitchen tools I reach for again and again.

Flavored butter trio served in a metal cup alongside toasted baguette

Shop My Cozy Coffee Bar Favorites

One of my favorite ways to serve a compound butter flight is alongside fresh coffee and warm pastries for a slow weekend morning. These are the coffee bar and kitchen essentials I use most often.
More Compound Butter Flavor Ideas

Once you've mastered the base recipe, try:

  • Maple Cinnamon Butter

  • Chili Lime Butter

  • Truffle Butter

  • Cranberry Sage Butter

  • Miso Butter

  • Strawberry Honey Butter

  • Garlic Shallot Butter

Troubleshooting

  • Butter too soft or melted: Chill briefly before whipping

  • Herbs taste bitter: Use less or chop more finely

  • Not fluffy: Butter was not softened enough

  • Too salty: Balance with honey or unsalted add-ins

Frequently Asked Questions

What is compound butter?

Compound butter is softened butter mixed with herbs, spices, or sweet ingredients used as a spread or finishing butter.

How long does compound butter last?

Up to 7 days refrigerated or 3 months frozen.

Can you freeze compound butter?

Yes. Wrap tightly in parchment and freeze in logs or portions.

What butter is best for compound butter?

High-quality butter like Vital Farms provides the best flavor and texture.

Do you need salted or unsalted butter?

Either works, but salted butter reduces the need for added seasoning.

Three types of compound butter with crispy toasted baguette slices
Homemade compound butter flight in a metal cup with toasted baguette

Storage Tips

  • Refrigerator: up to 7 days

  • Freezer: up to 3 months

  • Wrap tightly in parchment or plastic wrap, then store in an airtight container to preserve freshness and prevent odor absorption

Final Thoughts

A compound butter flight is one of those simple upgrades that instantly makes everyday food feel special. Whether you’re hosting friends, building a grazing board, or just want to elevate a quiet night at home, these flavored butters are an effortless way to bring something memorable to the table.

If you enjoyed this recipe, you’ll love building out a full spread with more easy entertaining ideas and appetizer inspiration:

These recipes work beautifully together when you’re planning a simple but impressive entertaining spread—something that feels thoughtful without being complicated.

For the easiest hosting formula: combine a fresh dip, a warm baked appetizer, and a flavorful spread like this compound butter flight. It’s a reliable way to build a menu that feels cohesive, welcoming, and low-effort.

Save This Recipe

Whether you're planning ahead for a special occasion or adding a new favorite to your recipe collection, I've included a printable recipe card below so it's easy to save, print, and share with the people you love.

Flavored butter flight with three varieties in a metal cup
Homemade compound butter trio served in a small metal container
Three easy compound butter flavors arranged in a metal cup
Assorted flavored butter in a metal cup served with sliced toasted baguette
Three easy compound butter varieties paired with toasted baguette slices

Fluffy Matcha Sourdough Discard Pancakes (Easy Zero-Waste Breakfast Recipe)

These matcha sourdough discard pancakes are fluffy, lightly tangy, and the perfect no-waste breakfast recipe for using up extra starter. There’s something deeply satisfying about turning what would normally be “waste” into something that feels a little luxurious—and that’s exactly what these matcha sourdough discard pancakes are all about. If you’re anything like me, you’ve probably stared at that jar of sourdough discard in the fridge, wondering if you really need to keep it or if it’s just quietly judging you every time you open the door. Good news: this recipe gives it a second life, and not just any life—a vibrant, slightly earthy, fluffy stack of pancakes that feel like a small weekend celebration.

If you love baking with matcha, you’ll also love my Matcha Strawberry Cake — it’s one of my most popular recipes and a beautiful layered dessert perfect for spring and celebrations.

👉 Matcha Strawberry Cake

↓ Skip to Recipe

Why You'll Love These Matcha Sourdough Discard Pancakes

If you're looking for a creative way to use extra sourdough discard, these fluffy matcha pancakes are the perfect solution. The sourdough discard adds a subtle tang while the matcha provides a beautiful green color and earthy flavor that pairs perfectly with maple syrup, fresh berries, or whipped cream.

They're:

• A delicious way to reduce food waste

• Light, fluffy, and easy to make

• Perfect for breakfast or brunch

• Naturally packed with matcha flavor

• A fun twist on classic pancakes

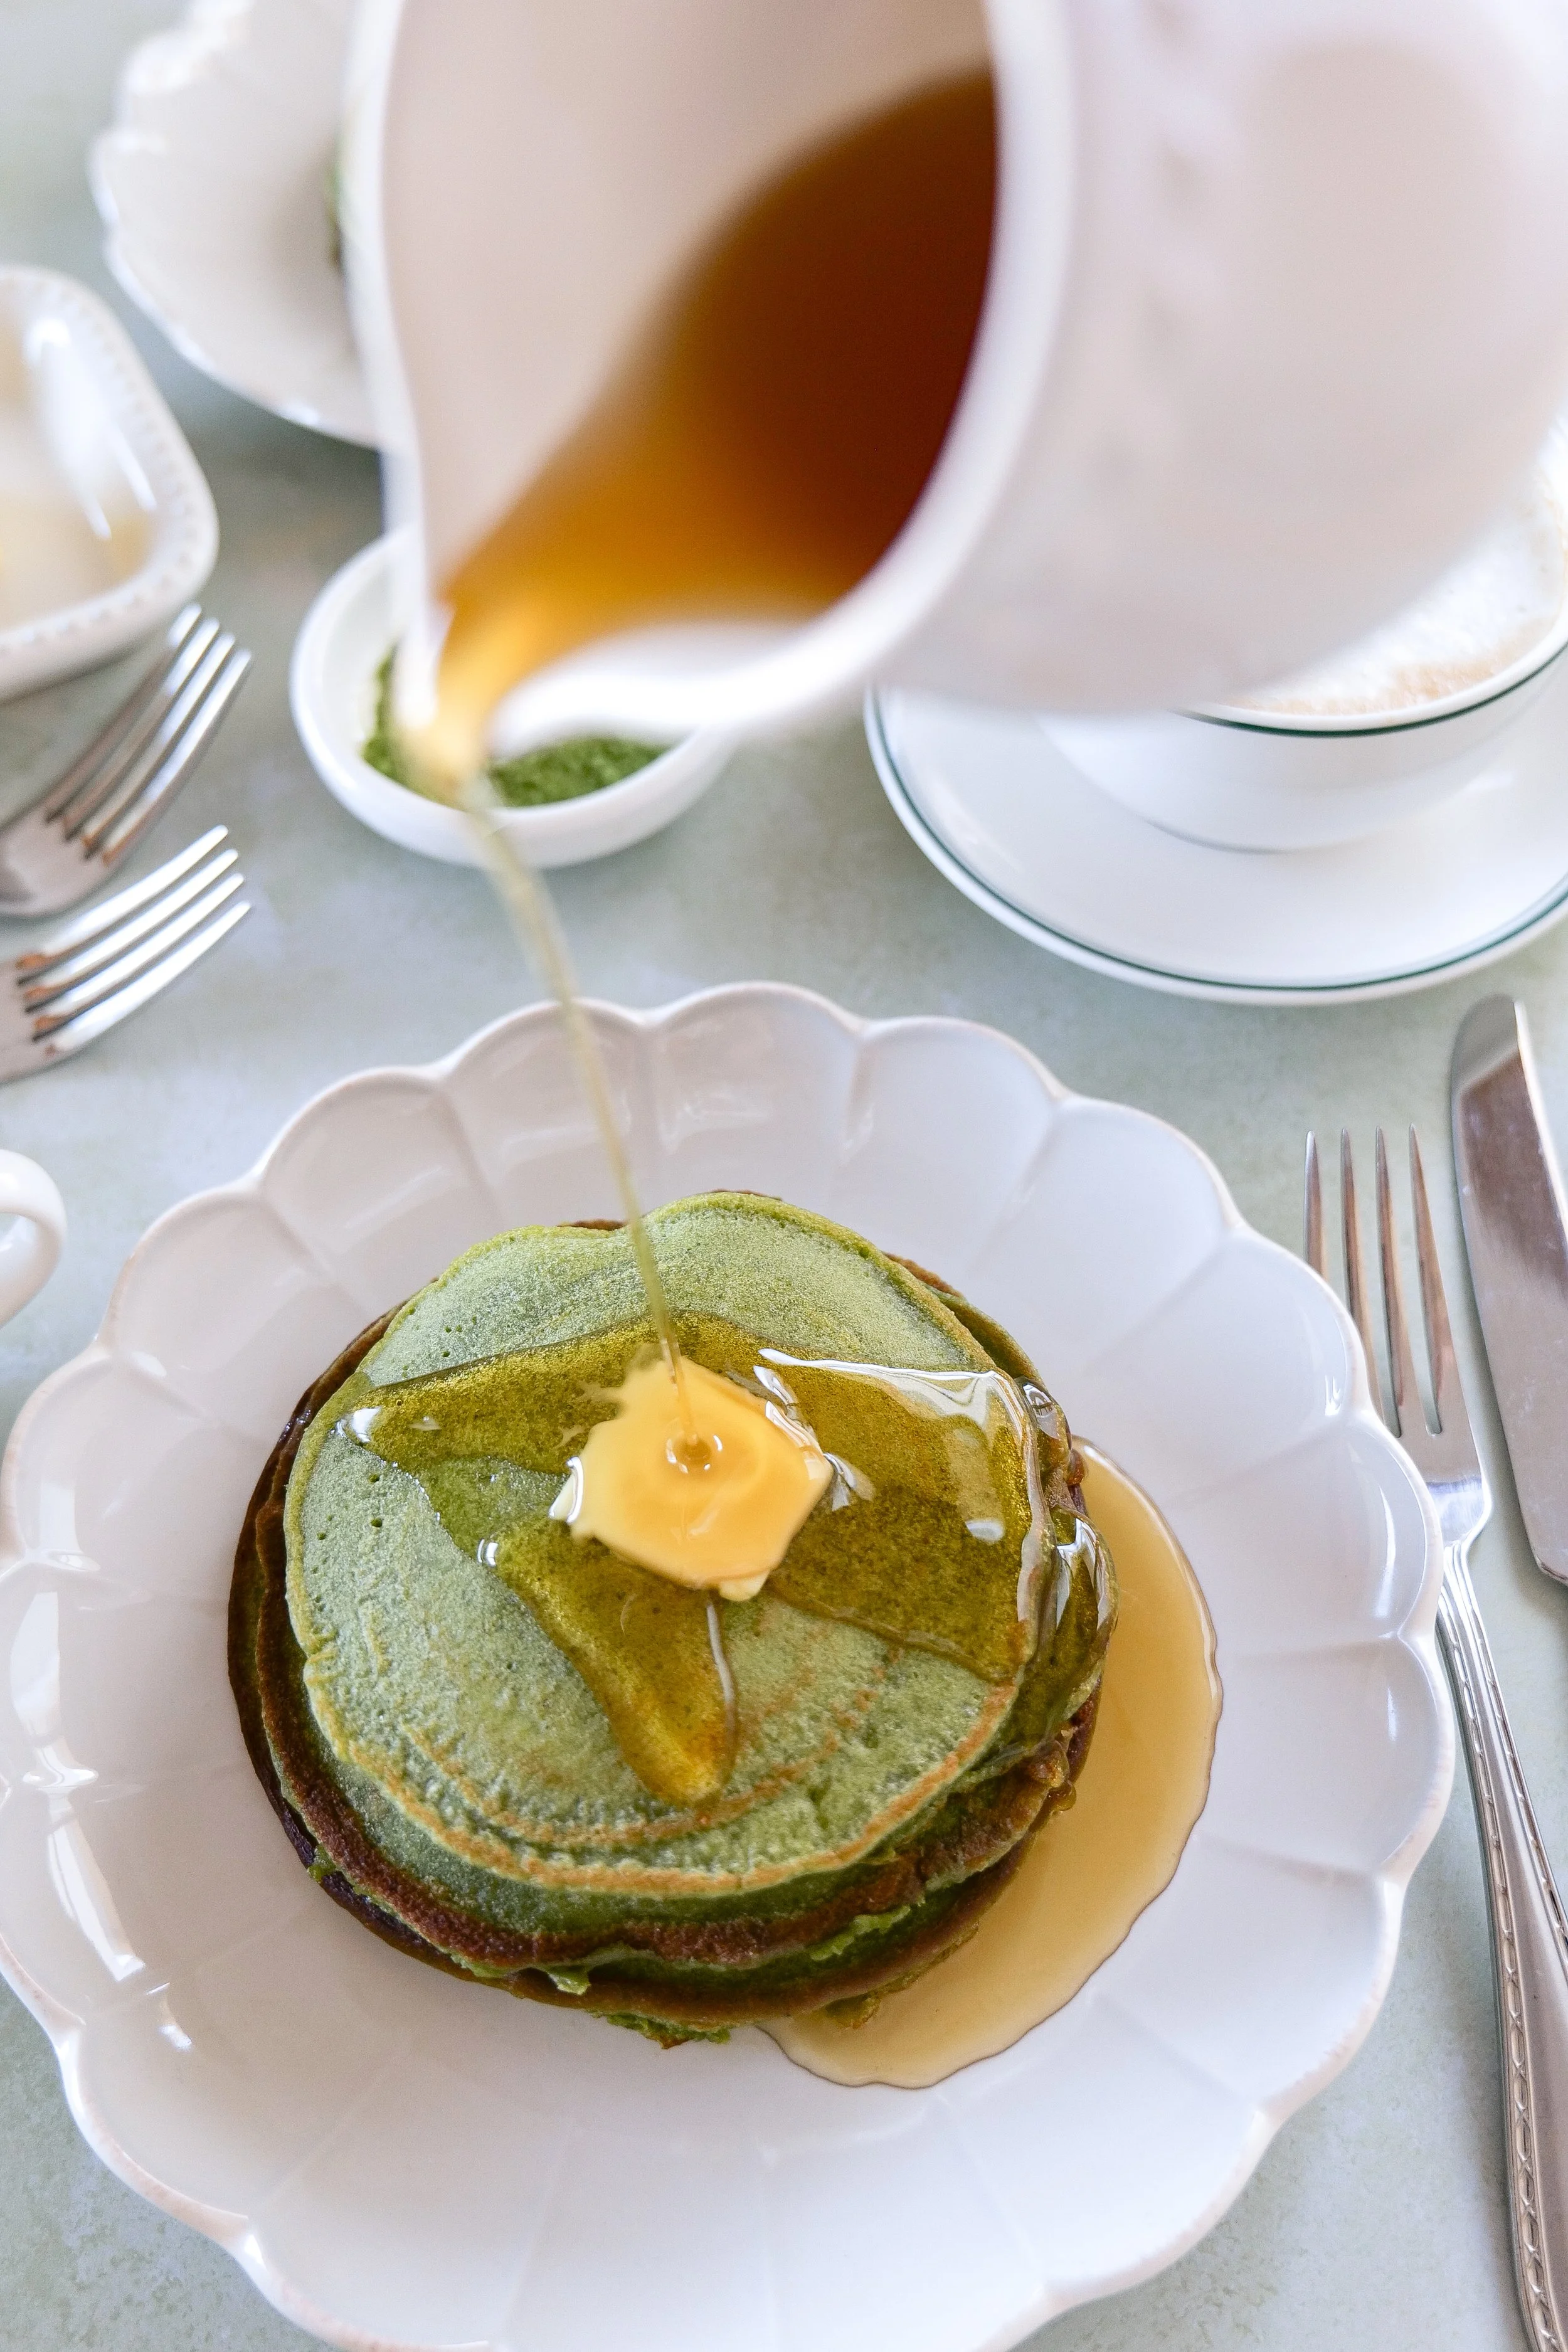
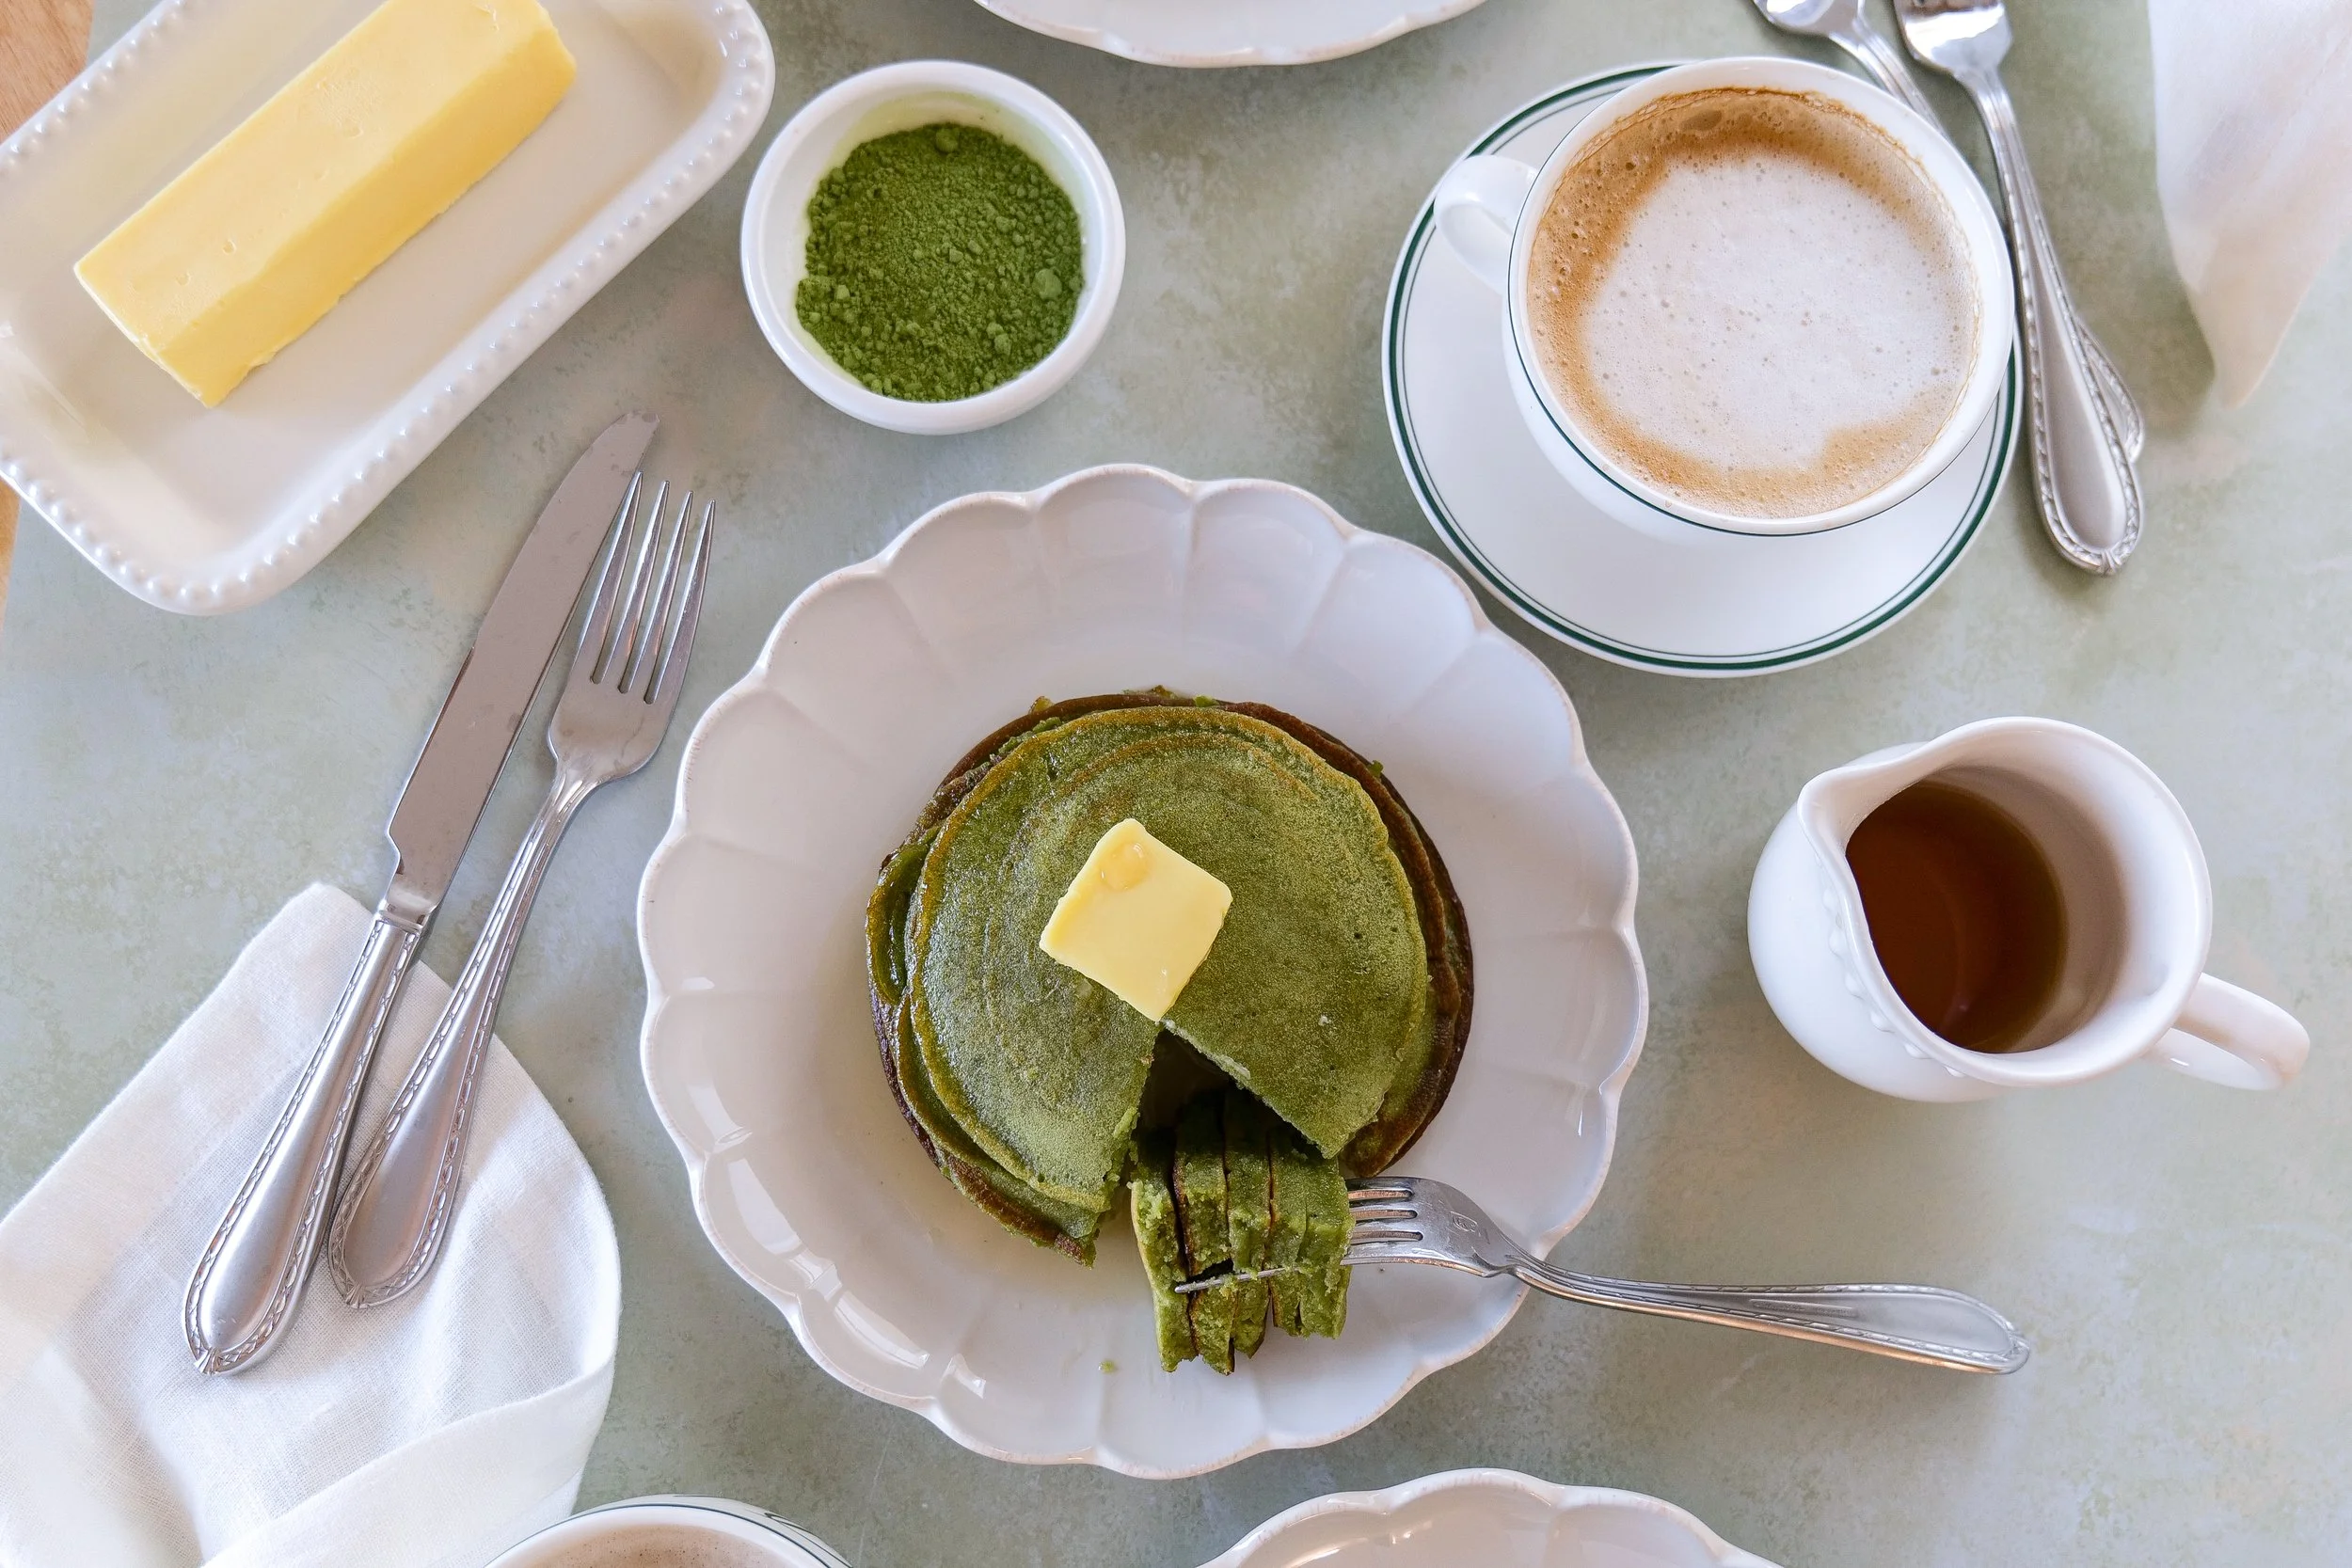
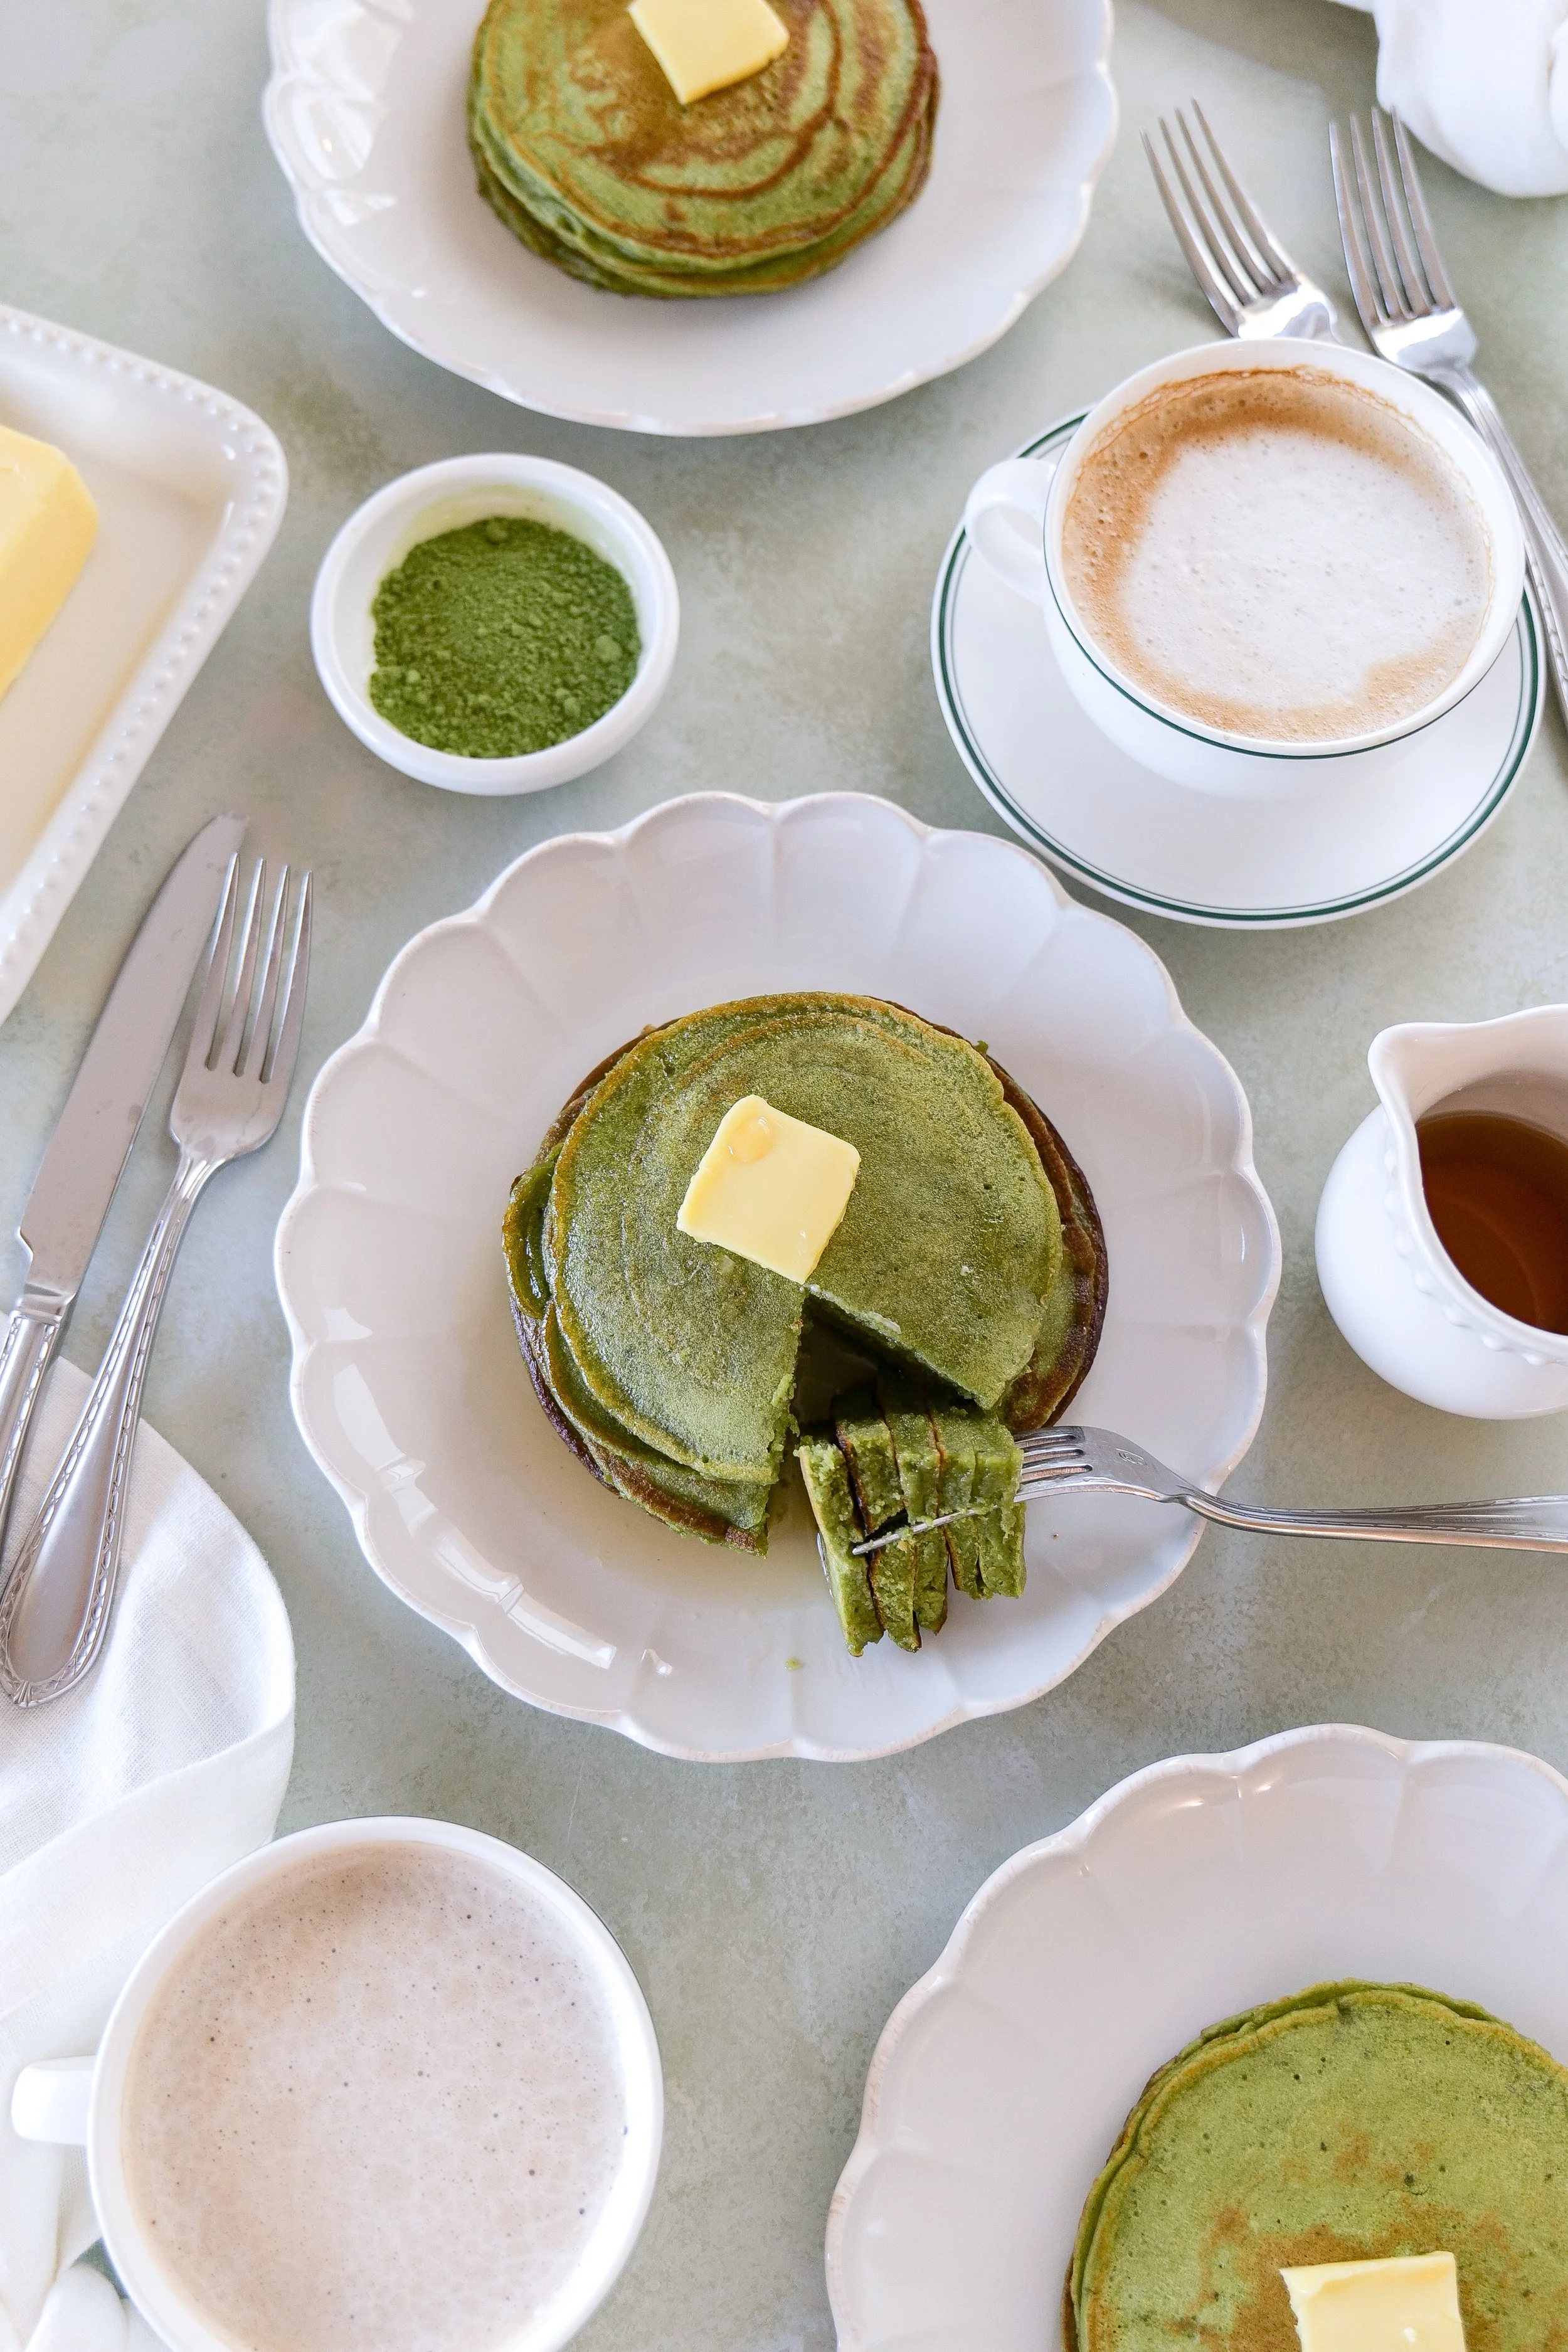
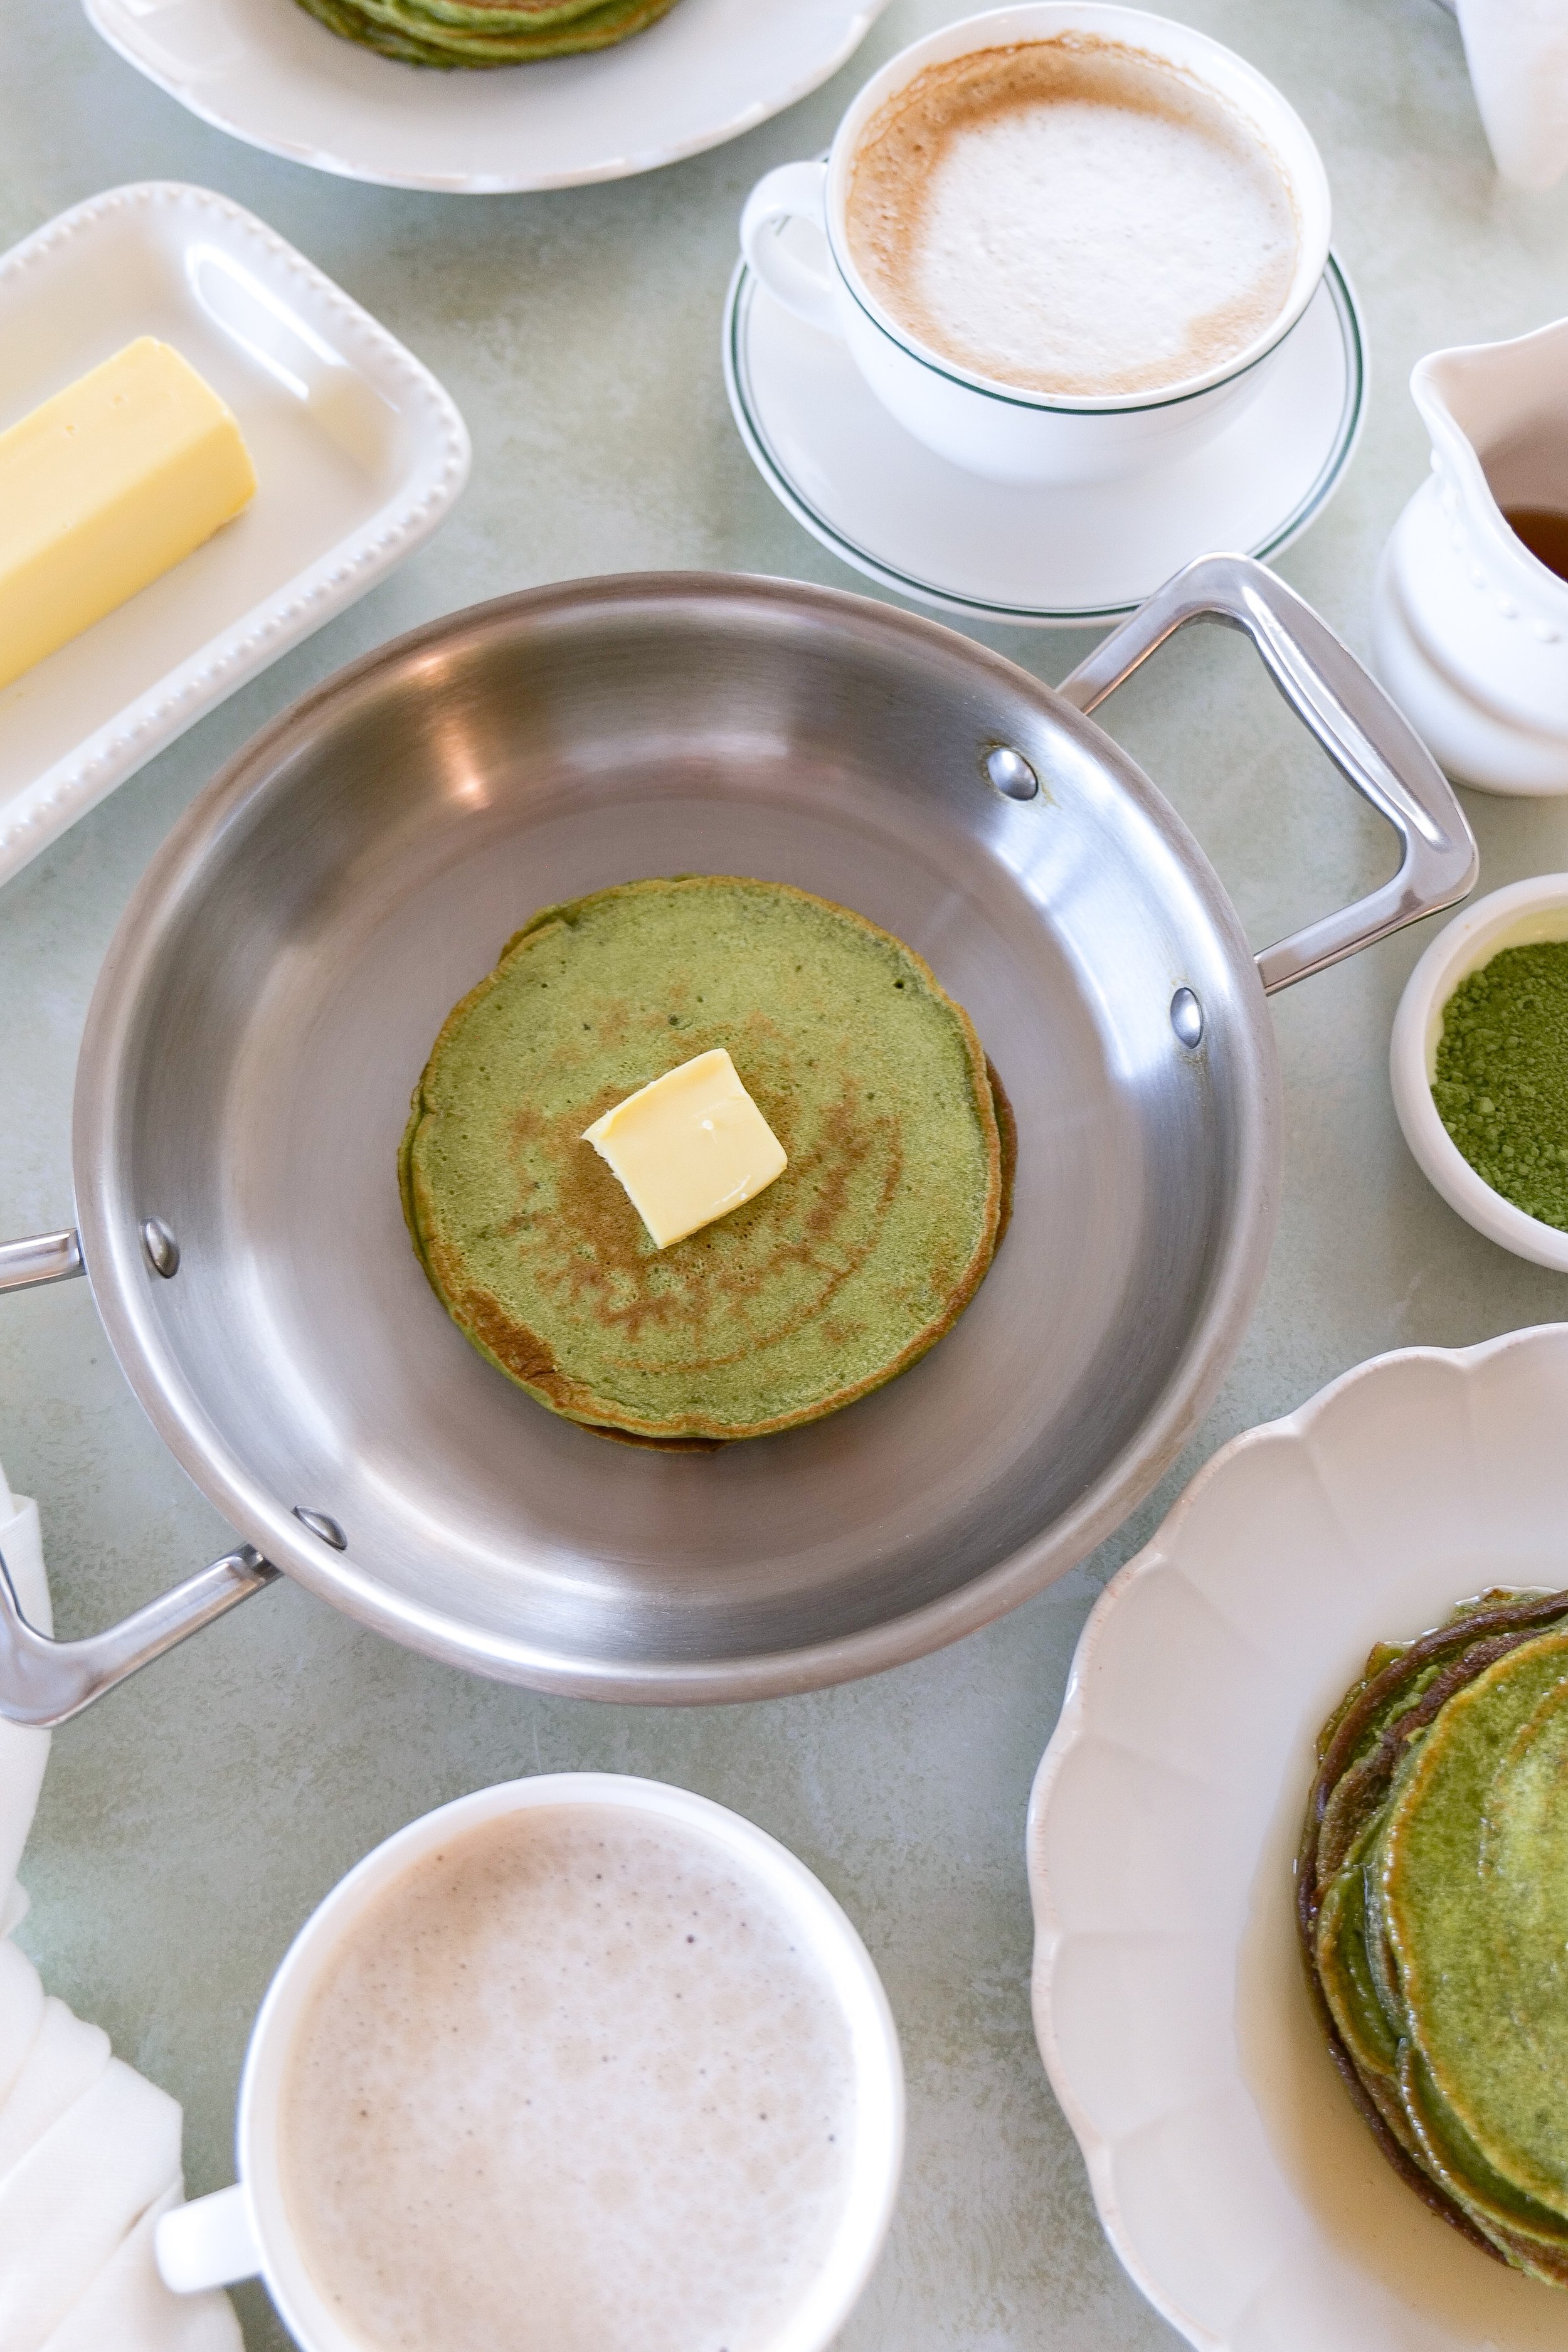
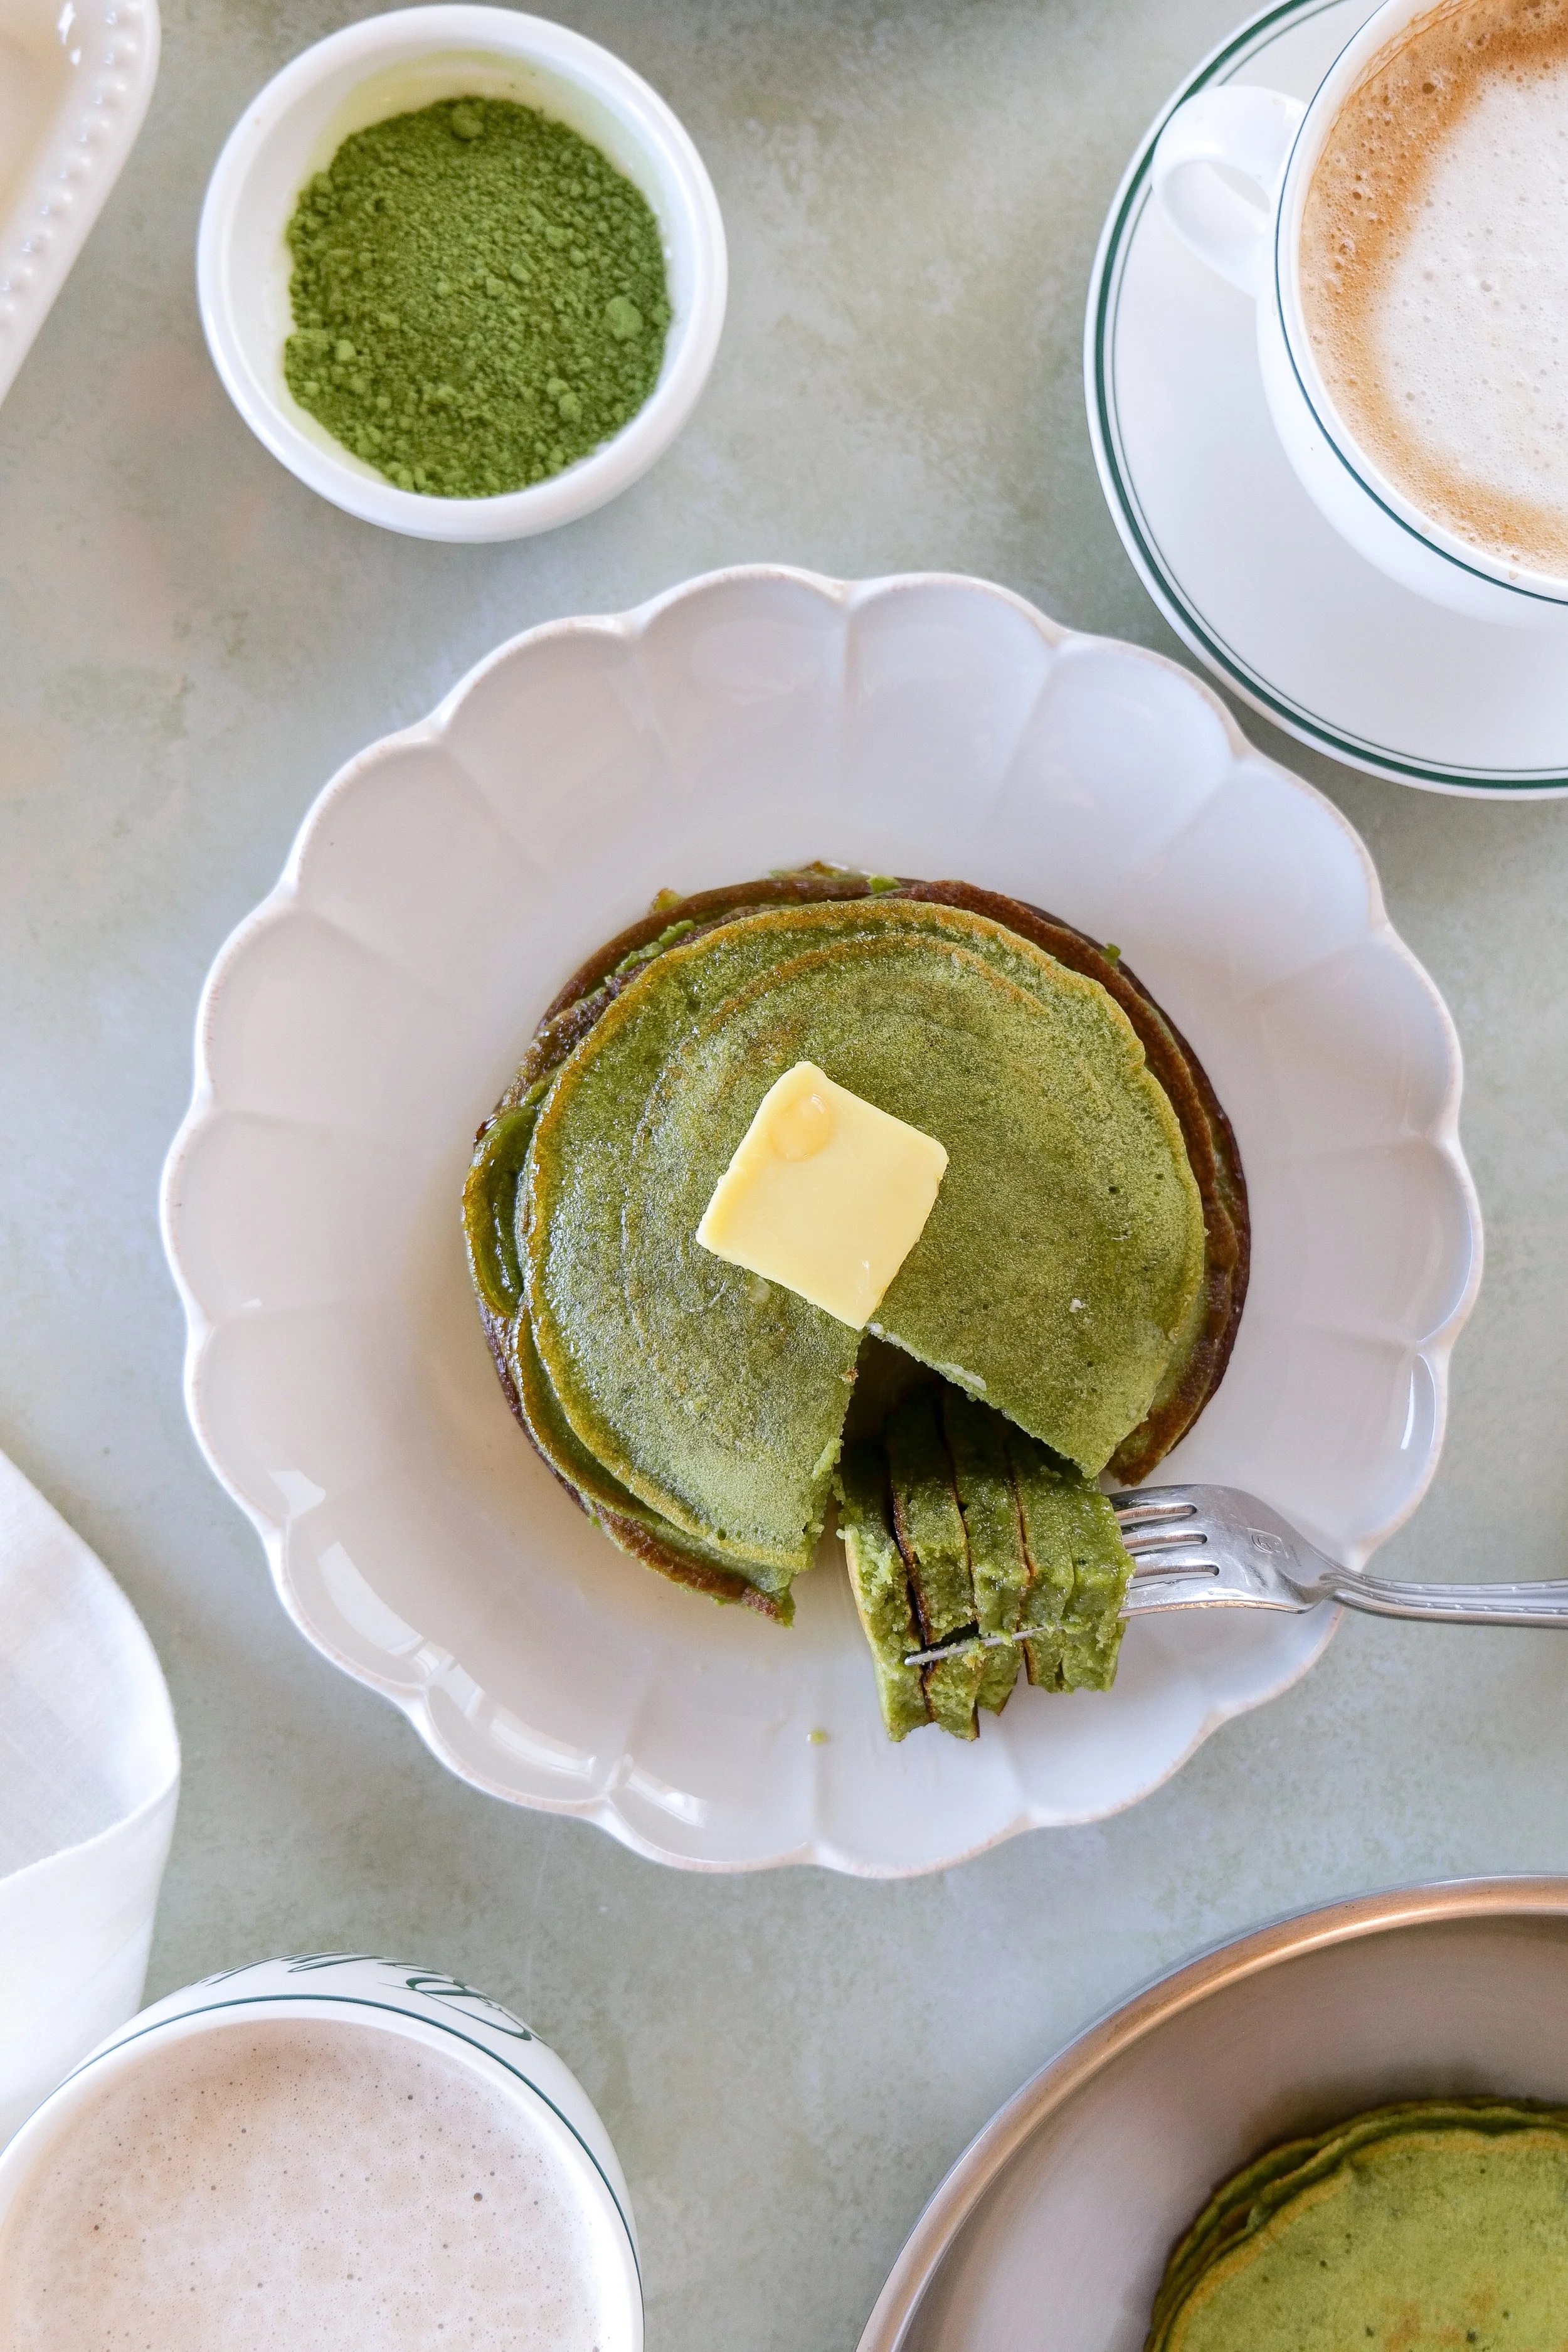
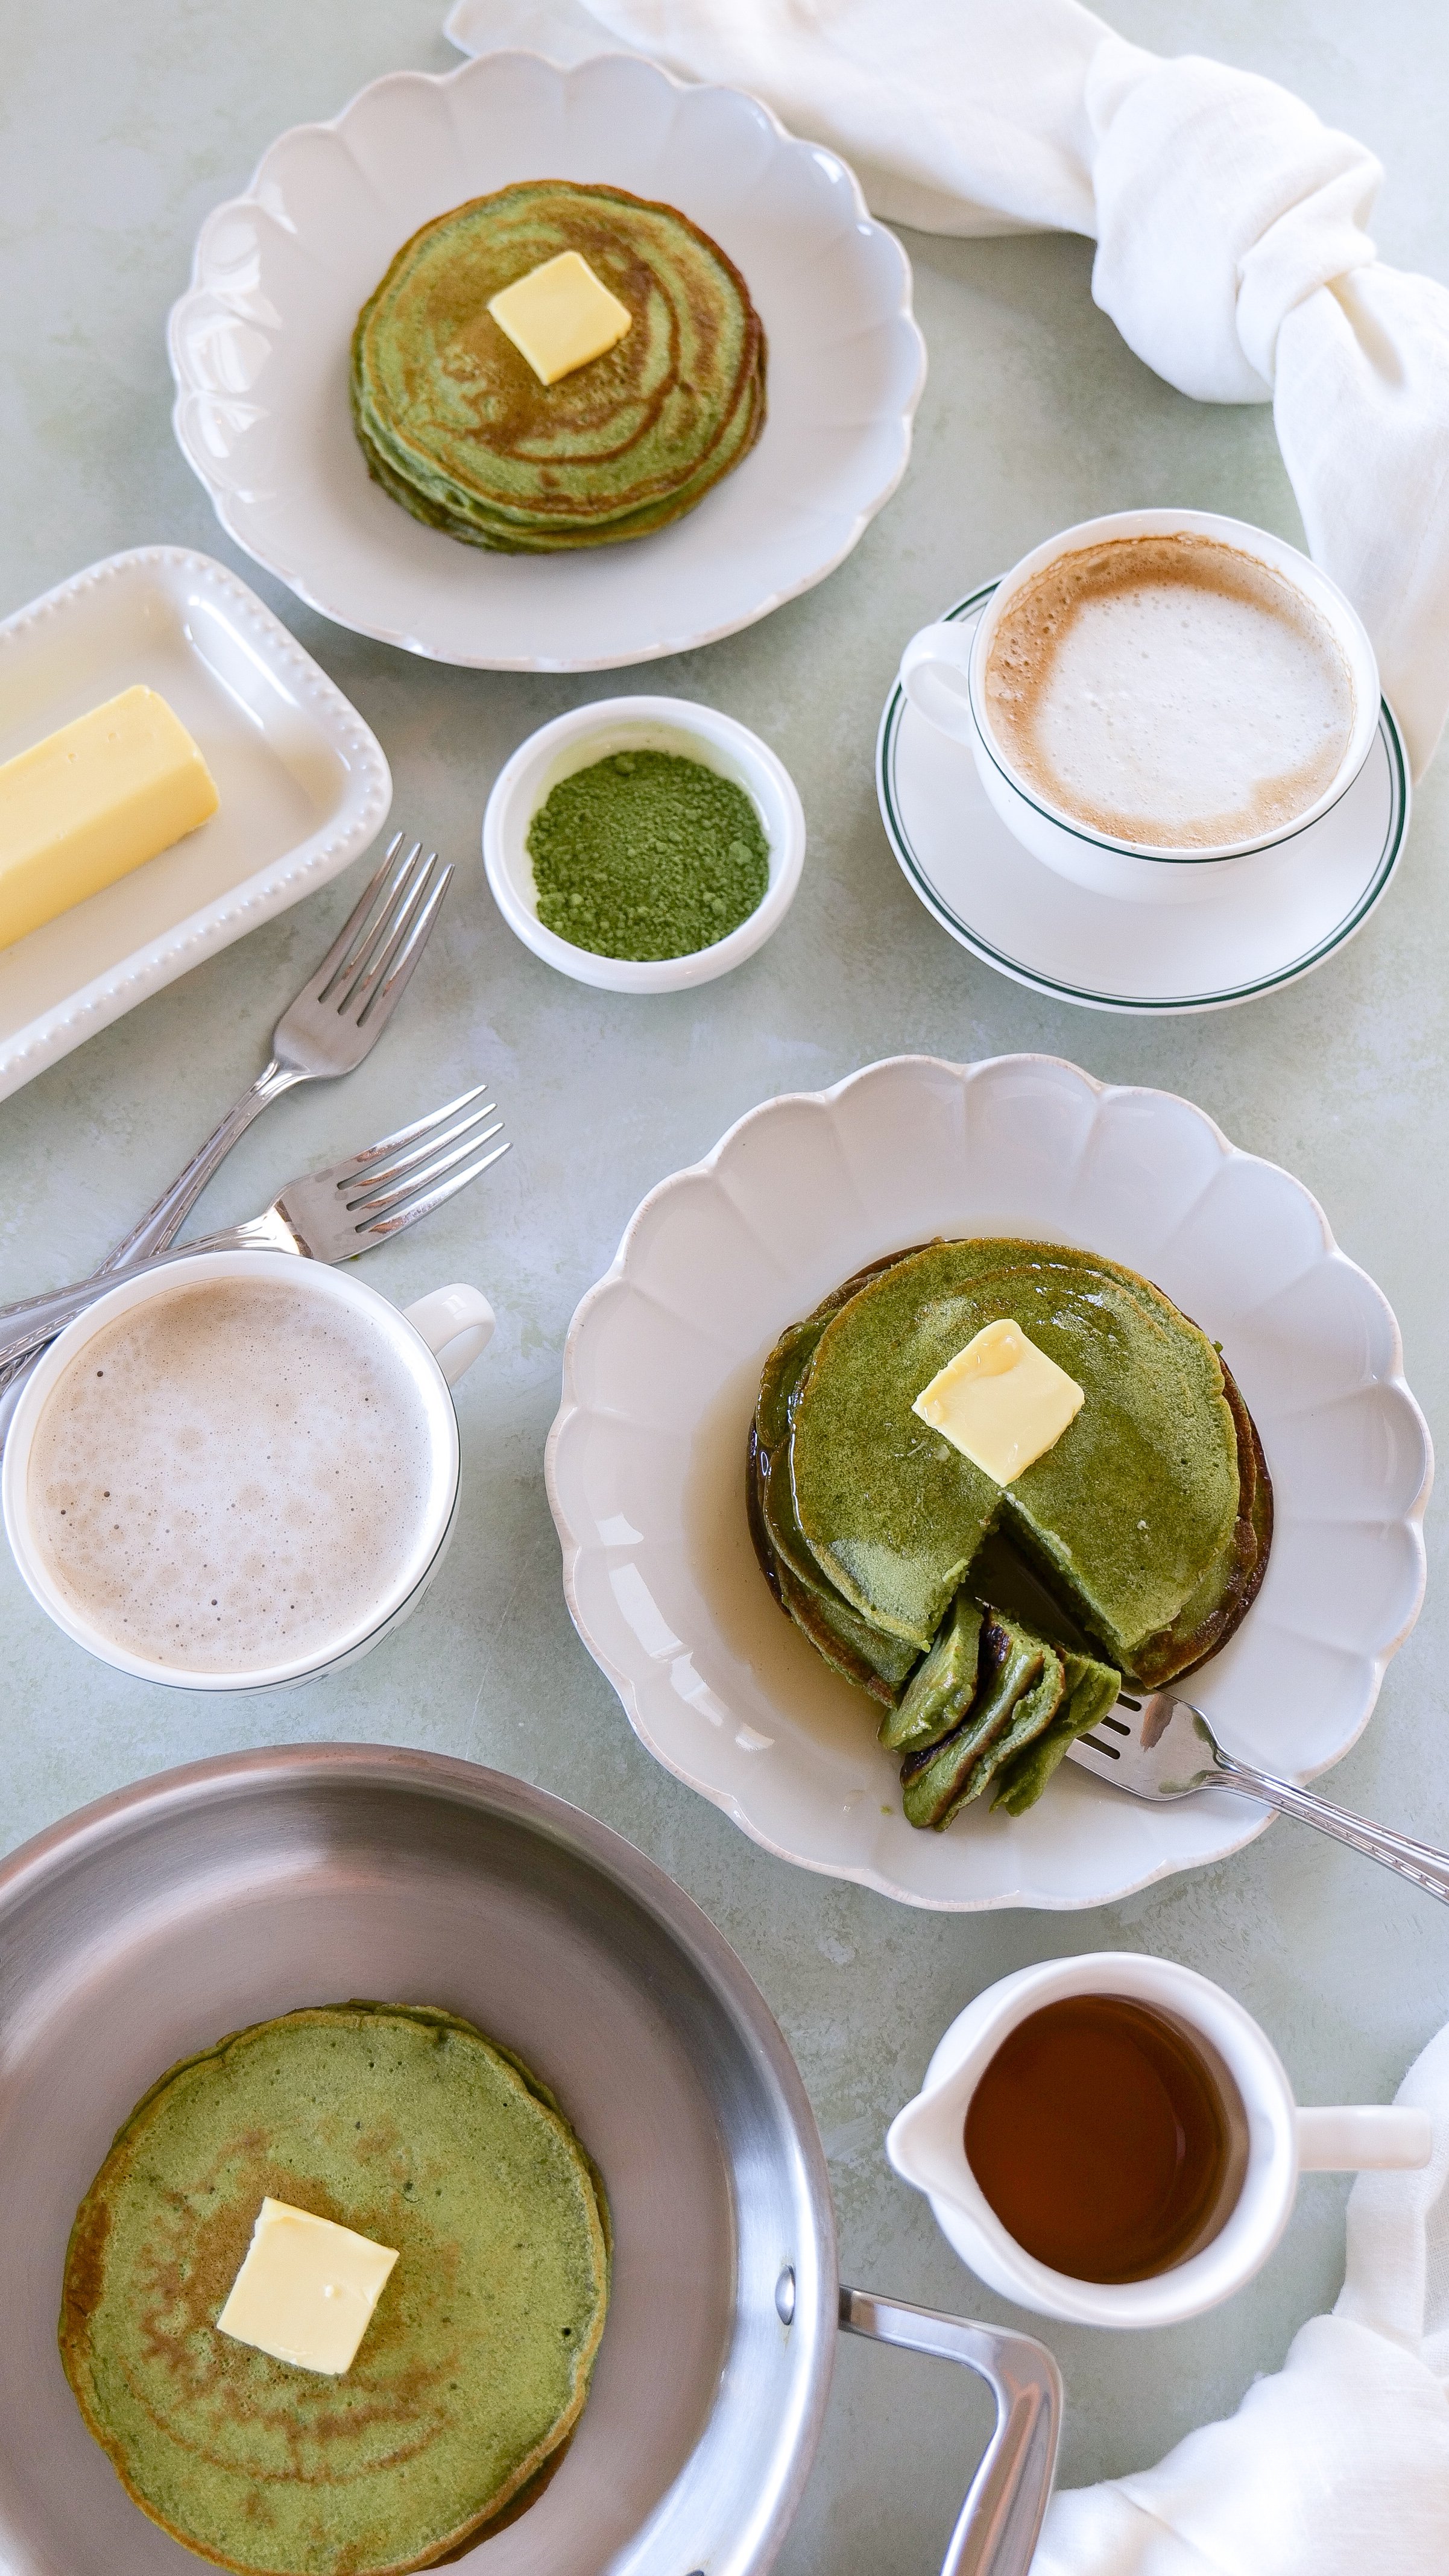
Fluffy matcha sourdough discard pancakes served with maple syrup and fresh berries for an easy zero-waste breakfast recipe.
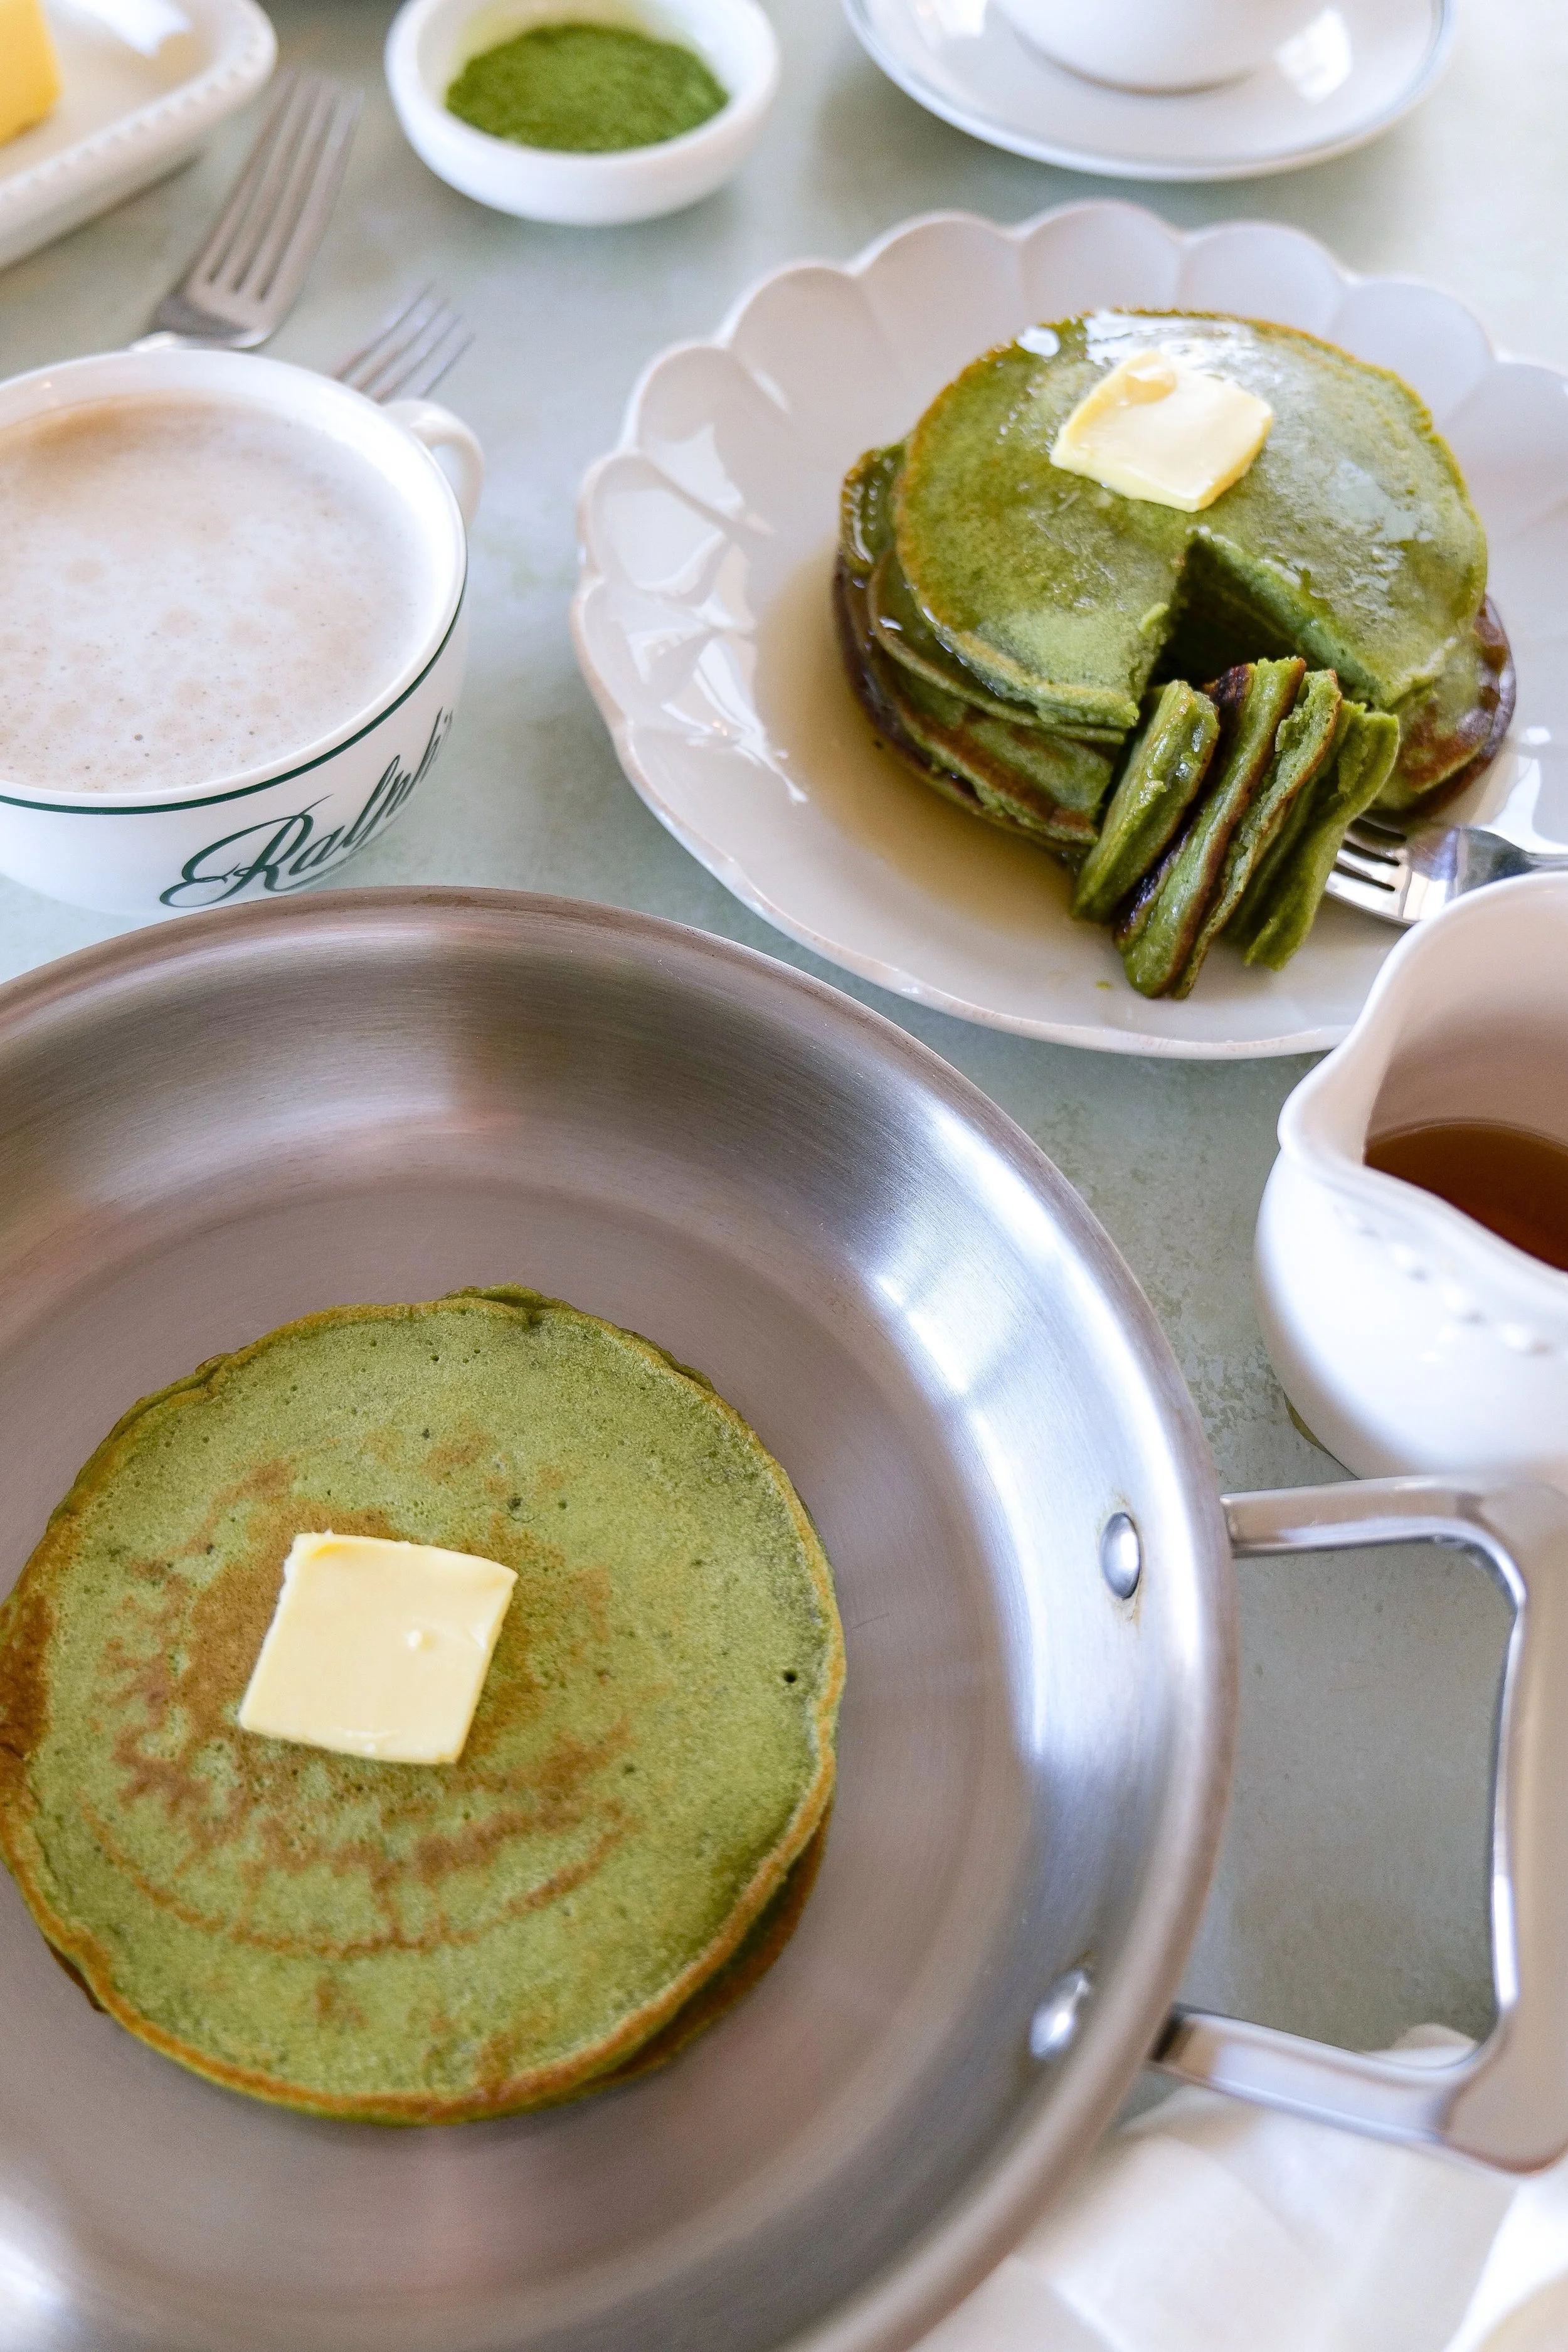
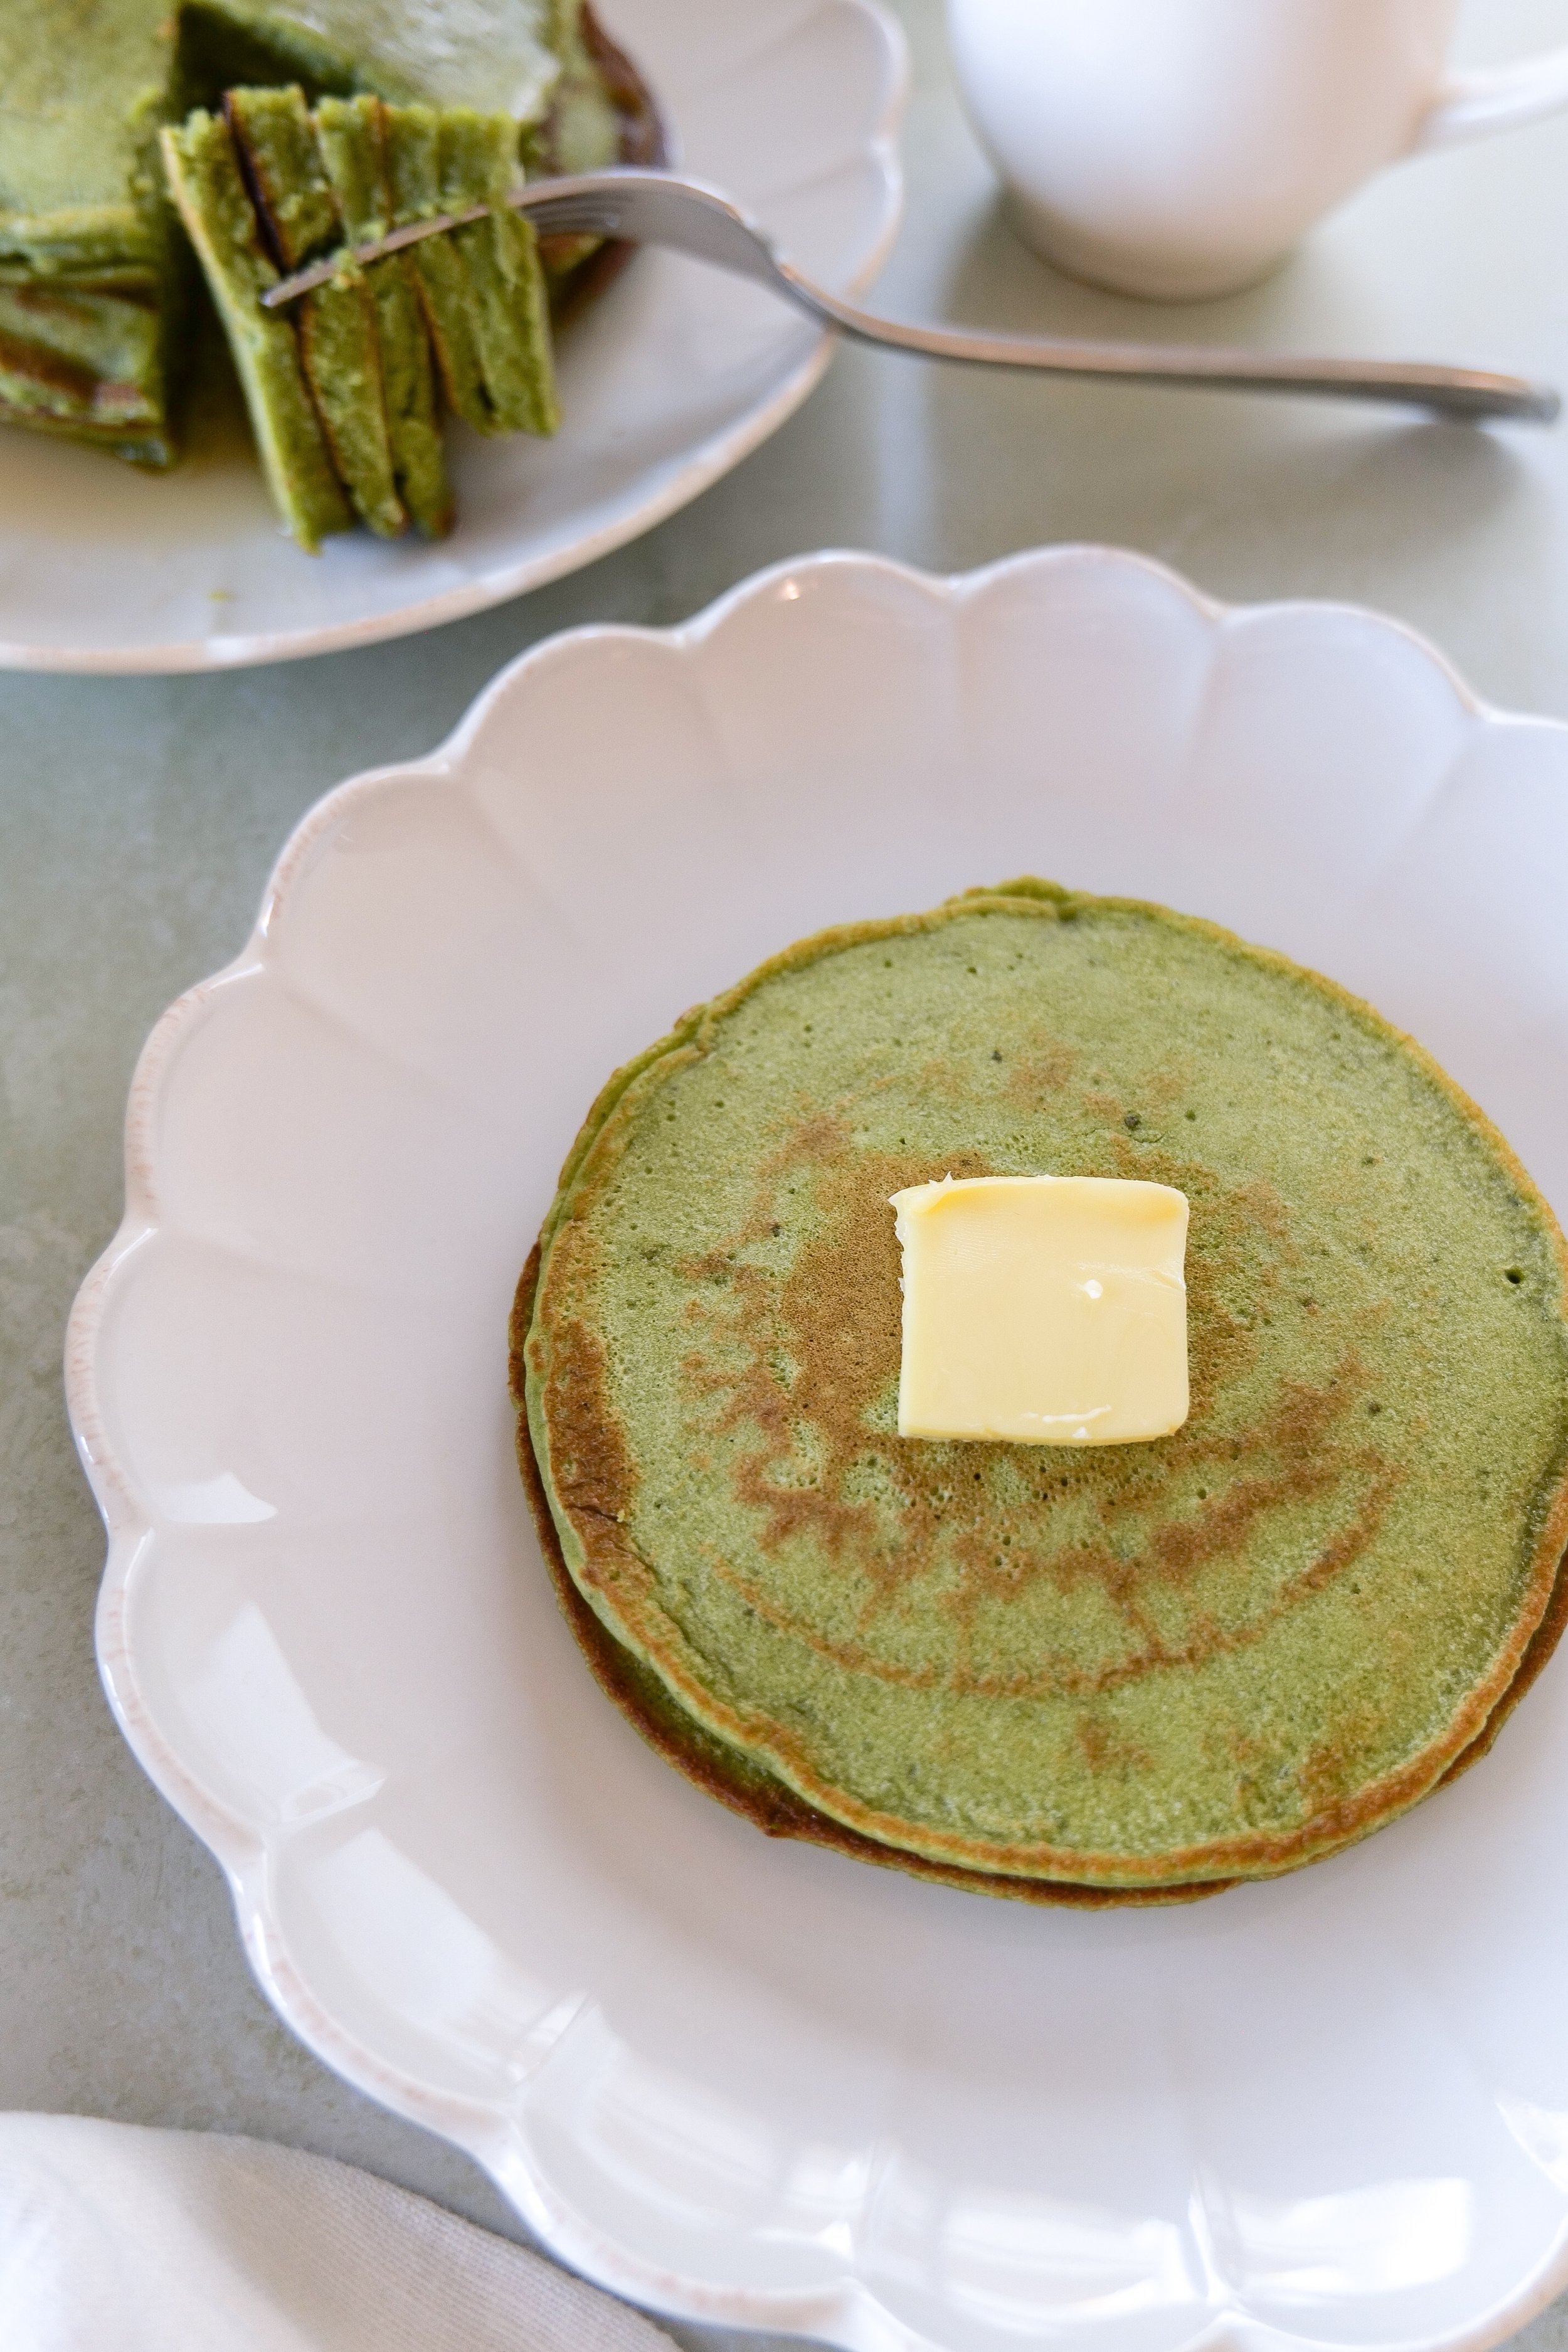
fluffy matcha sourdough discard pancakes topped with butter melting
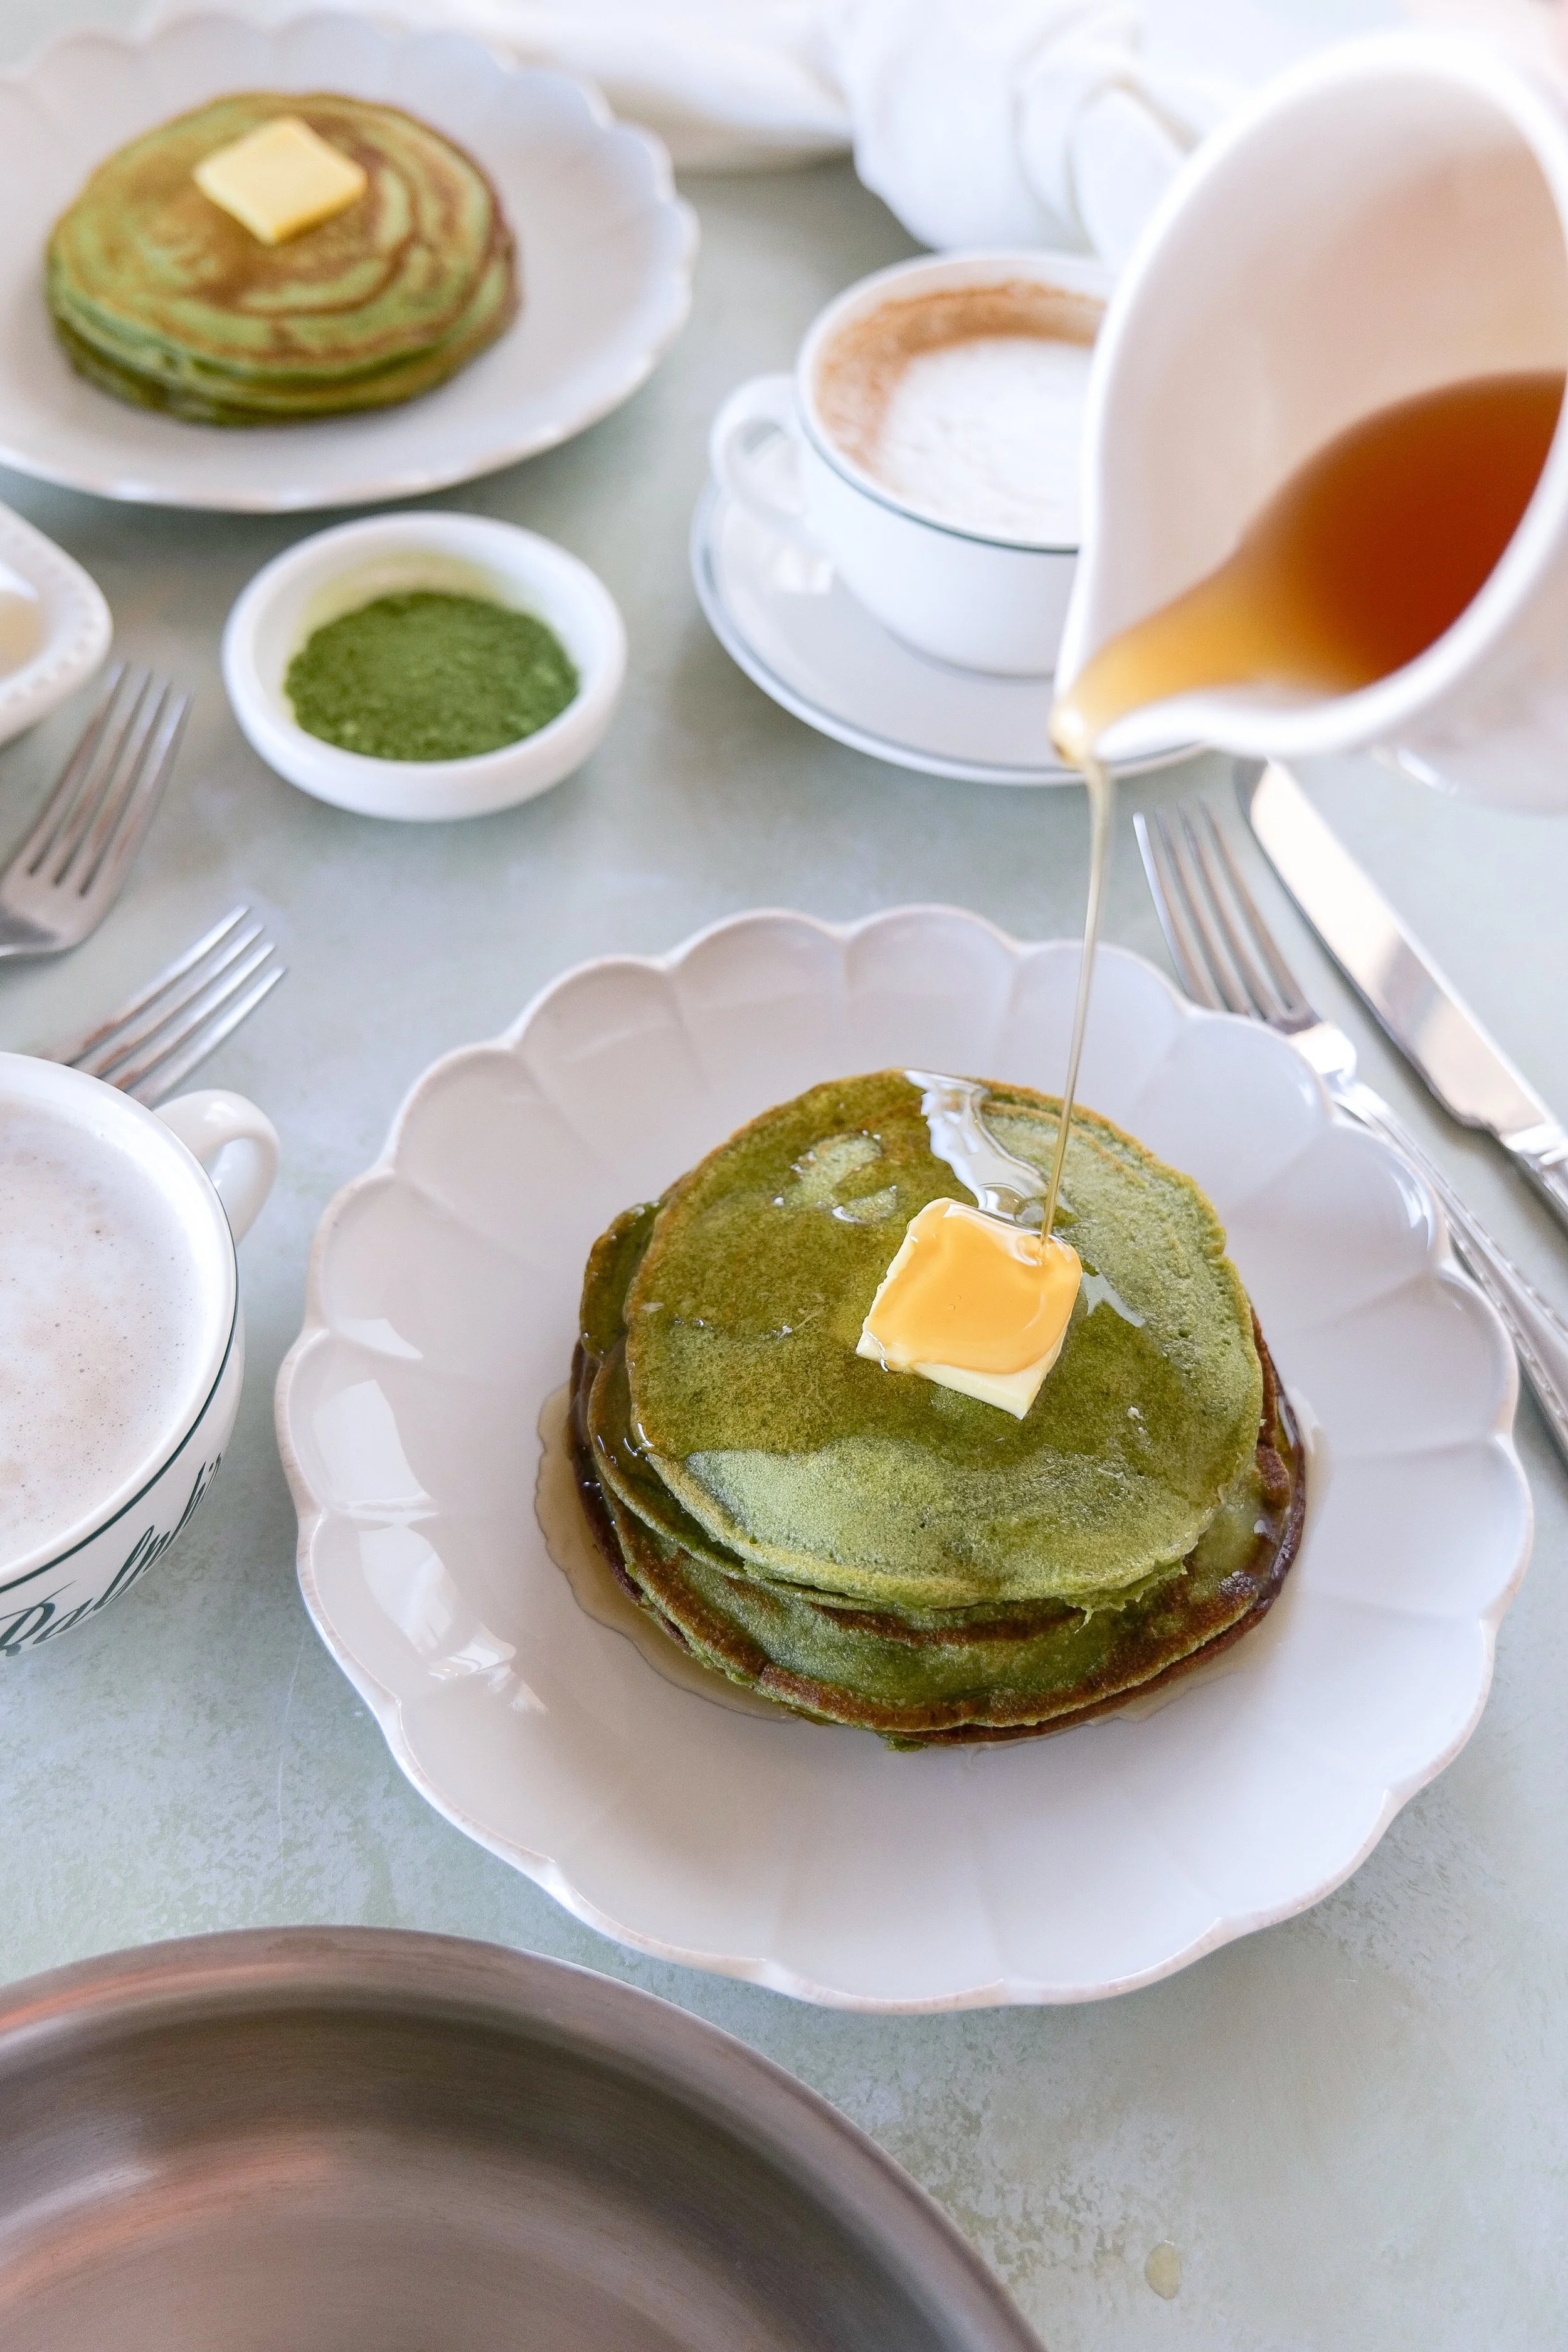
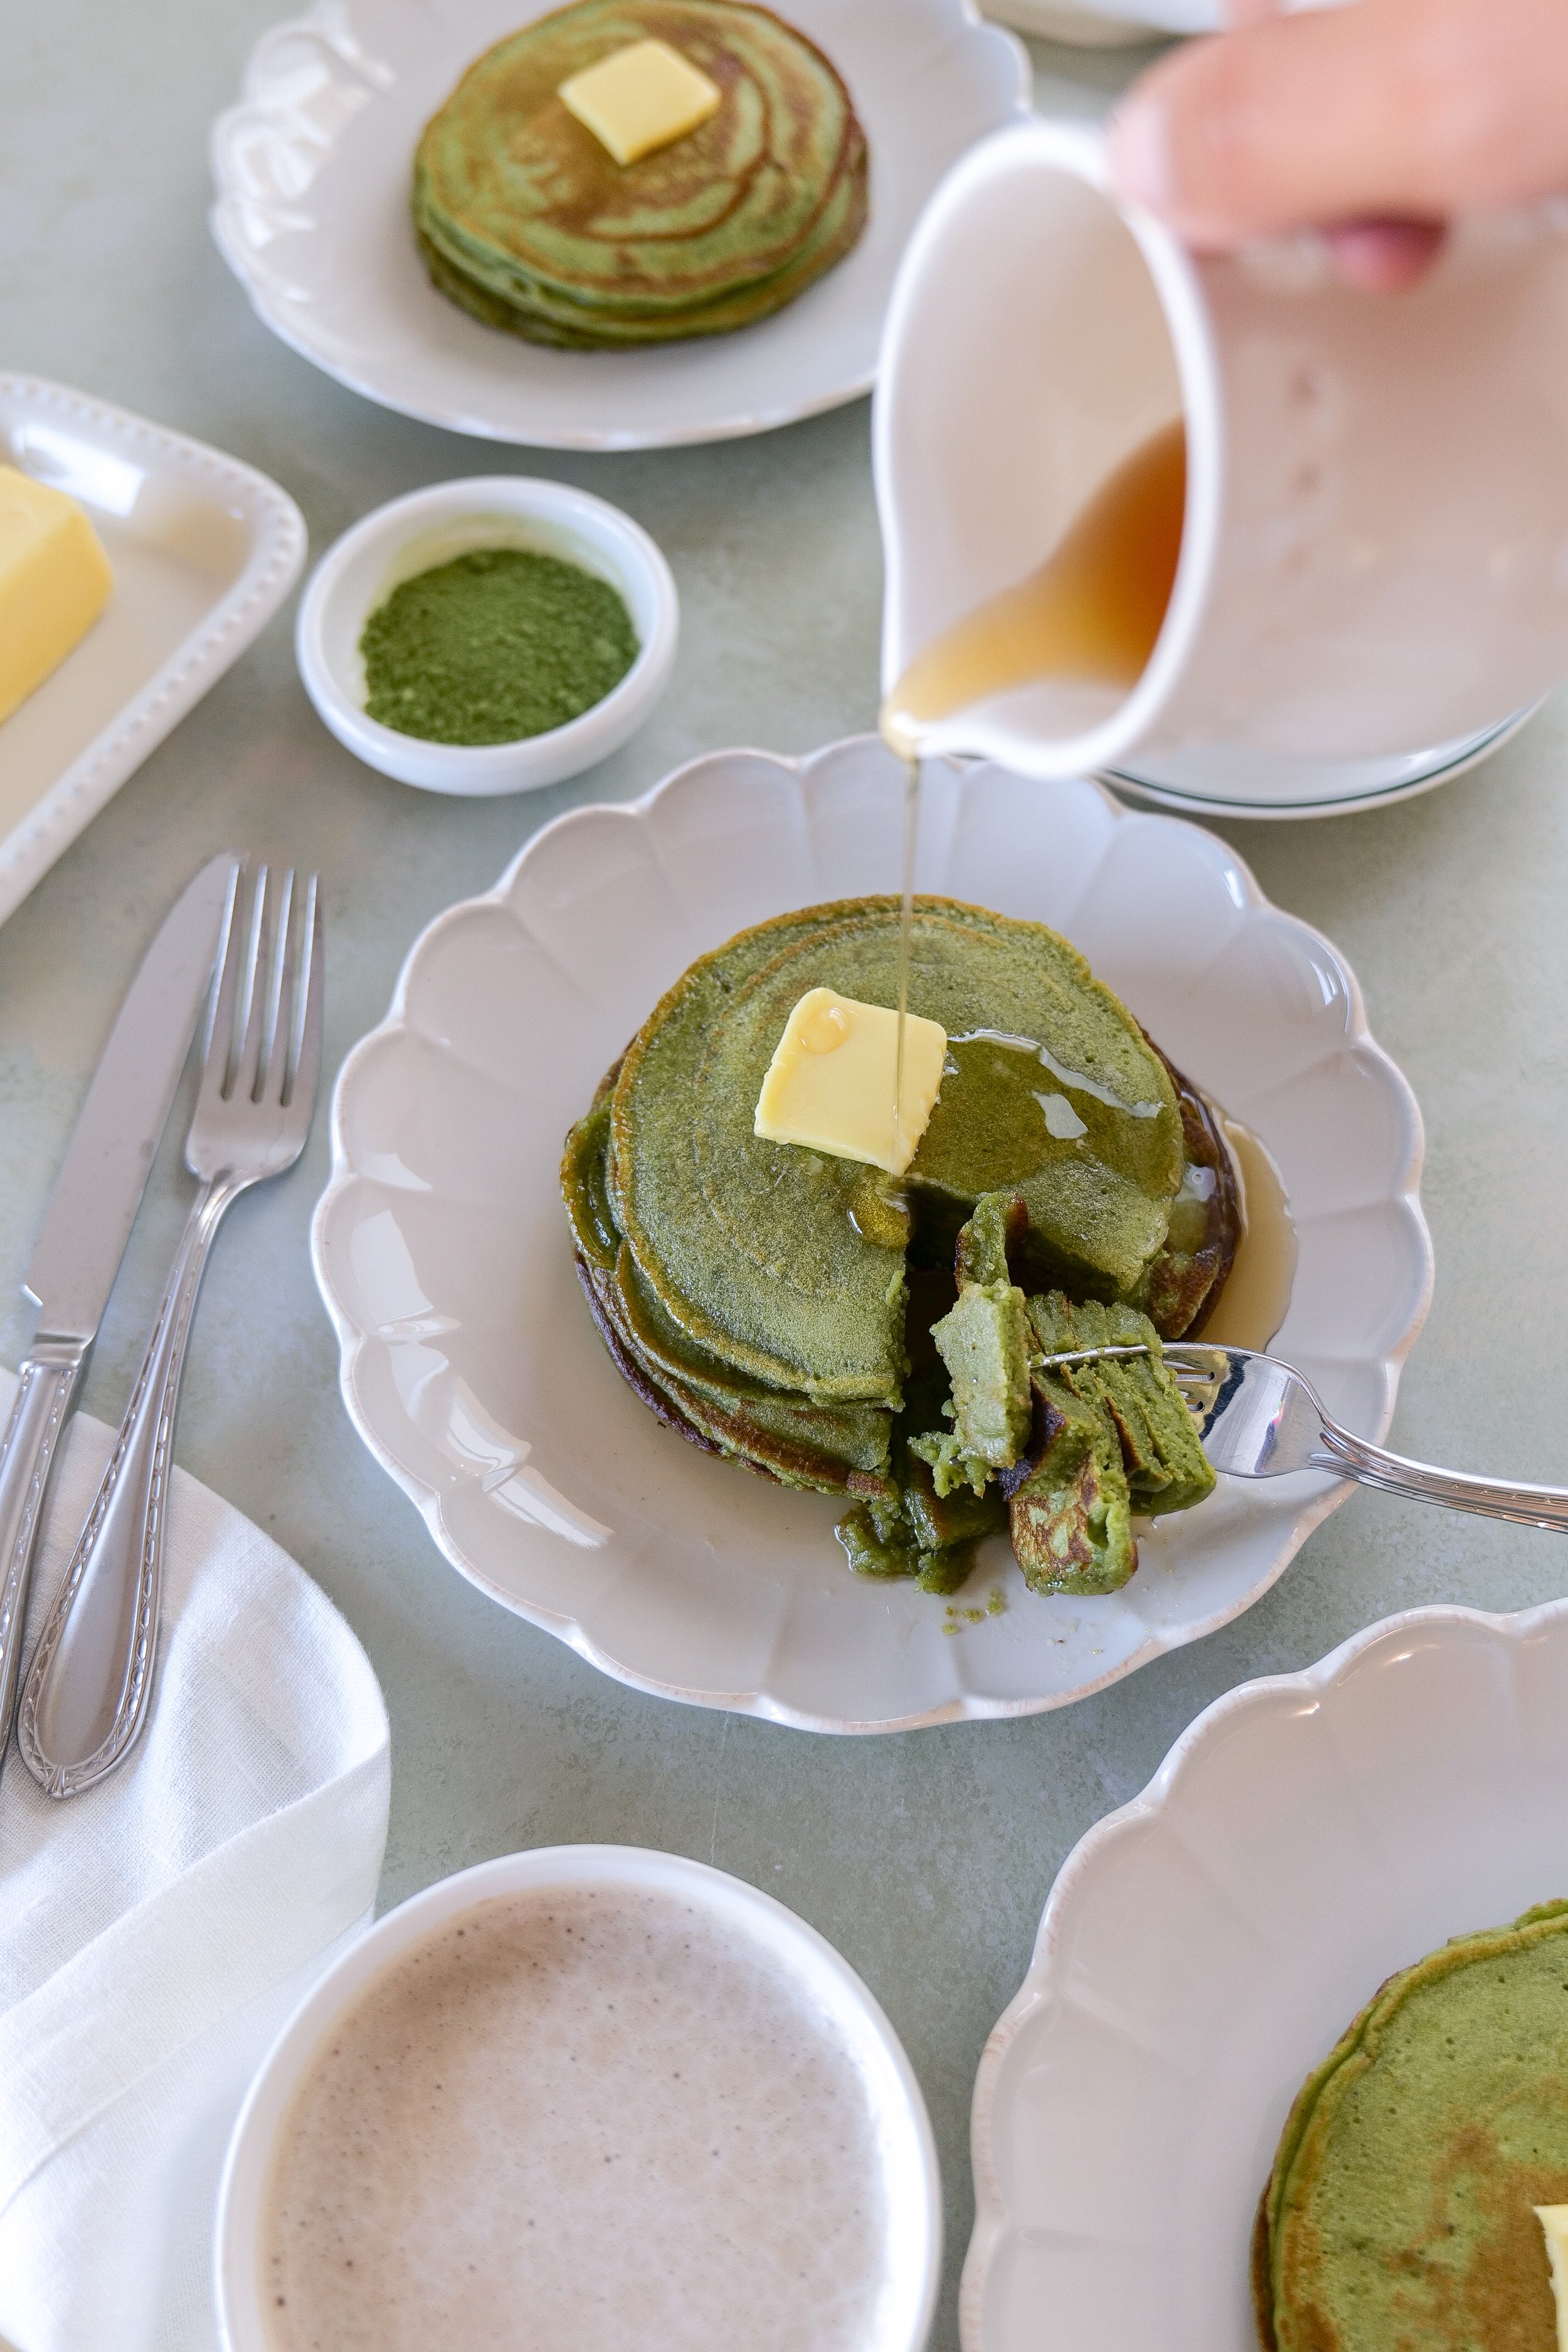
green matcha sourdough discard pancakes with syrup drizzle
Tall stack of vibrant green sourdough discard matcha pancakes

Why You’ll Love These Matcha Sourdough Discard Pancakes

Let’s talk about the flavor first, because matcha can be a bit polarizing if you’ve only had it in overly sweet lattes. In these pancakes, it’s subtle but present. It adds a gentle bitterness that balances beautifully with the tanginess of the sourdough discard. The result isn’t “green tea pancakes” in a loud, overpowering way—it’s more nuanced than that. Think cozy, slightly nutty, and just different enough to make your breakfast feel intentional.

What I love most about this recipe is how forgiving it is. Sourdough discard already brings some acidity and complexity, so you don’t need to fuss too much to get depth of flavor. Even if your discard has been sitting for a few days, it works. In fact, that extra tang can make the pancakes even better. It’s one of those recipes where perfection isn’t the goal—resourcefulness is.

The batter comes together quickly, which is always a win in my book. You whisk together your discard, a bit of flour, milk, eggs, and just enough sweetener to round everything out. Then comes the matcha, which turns the batter this soft, earthy green that feels almost too pretty to cook. Almost. A little baking powder helps give the pancakes lift, reacting with the acidity of the discard to create that fluffy texture we’re after.

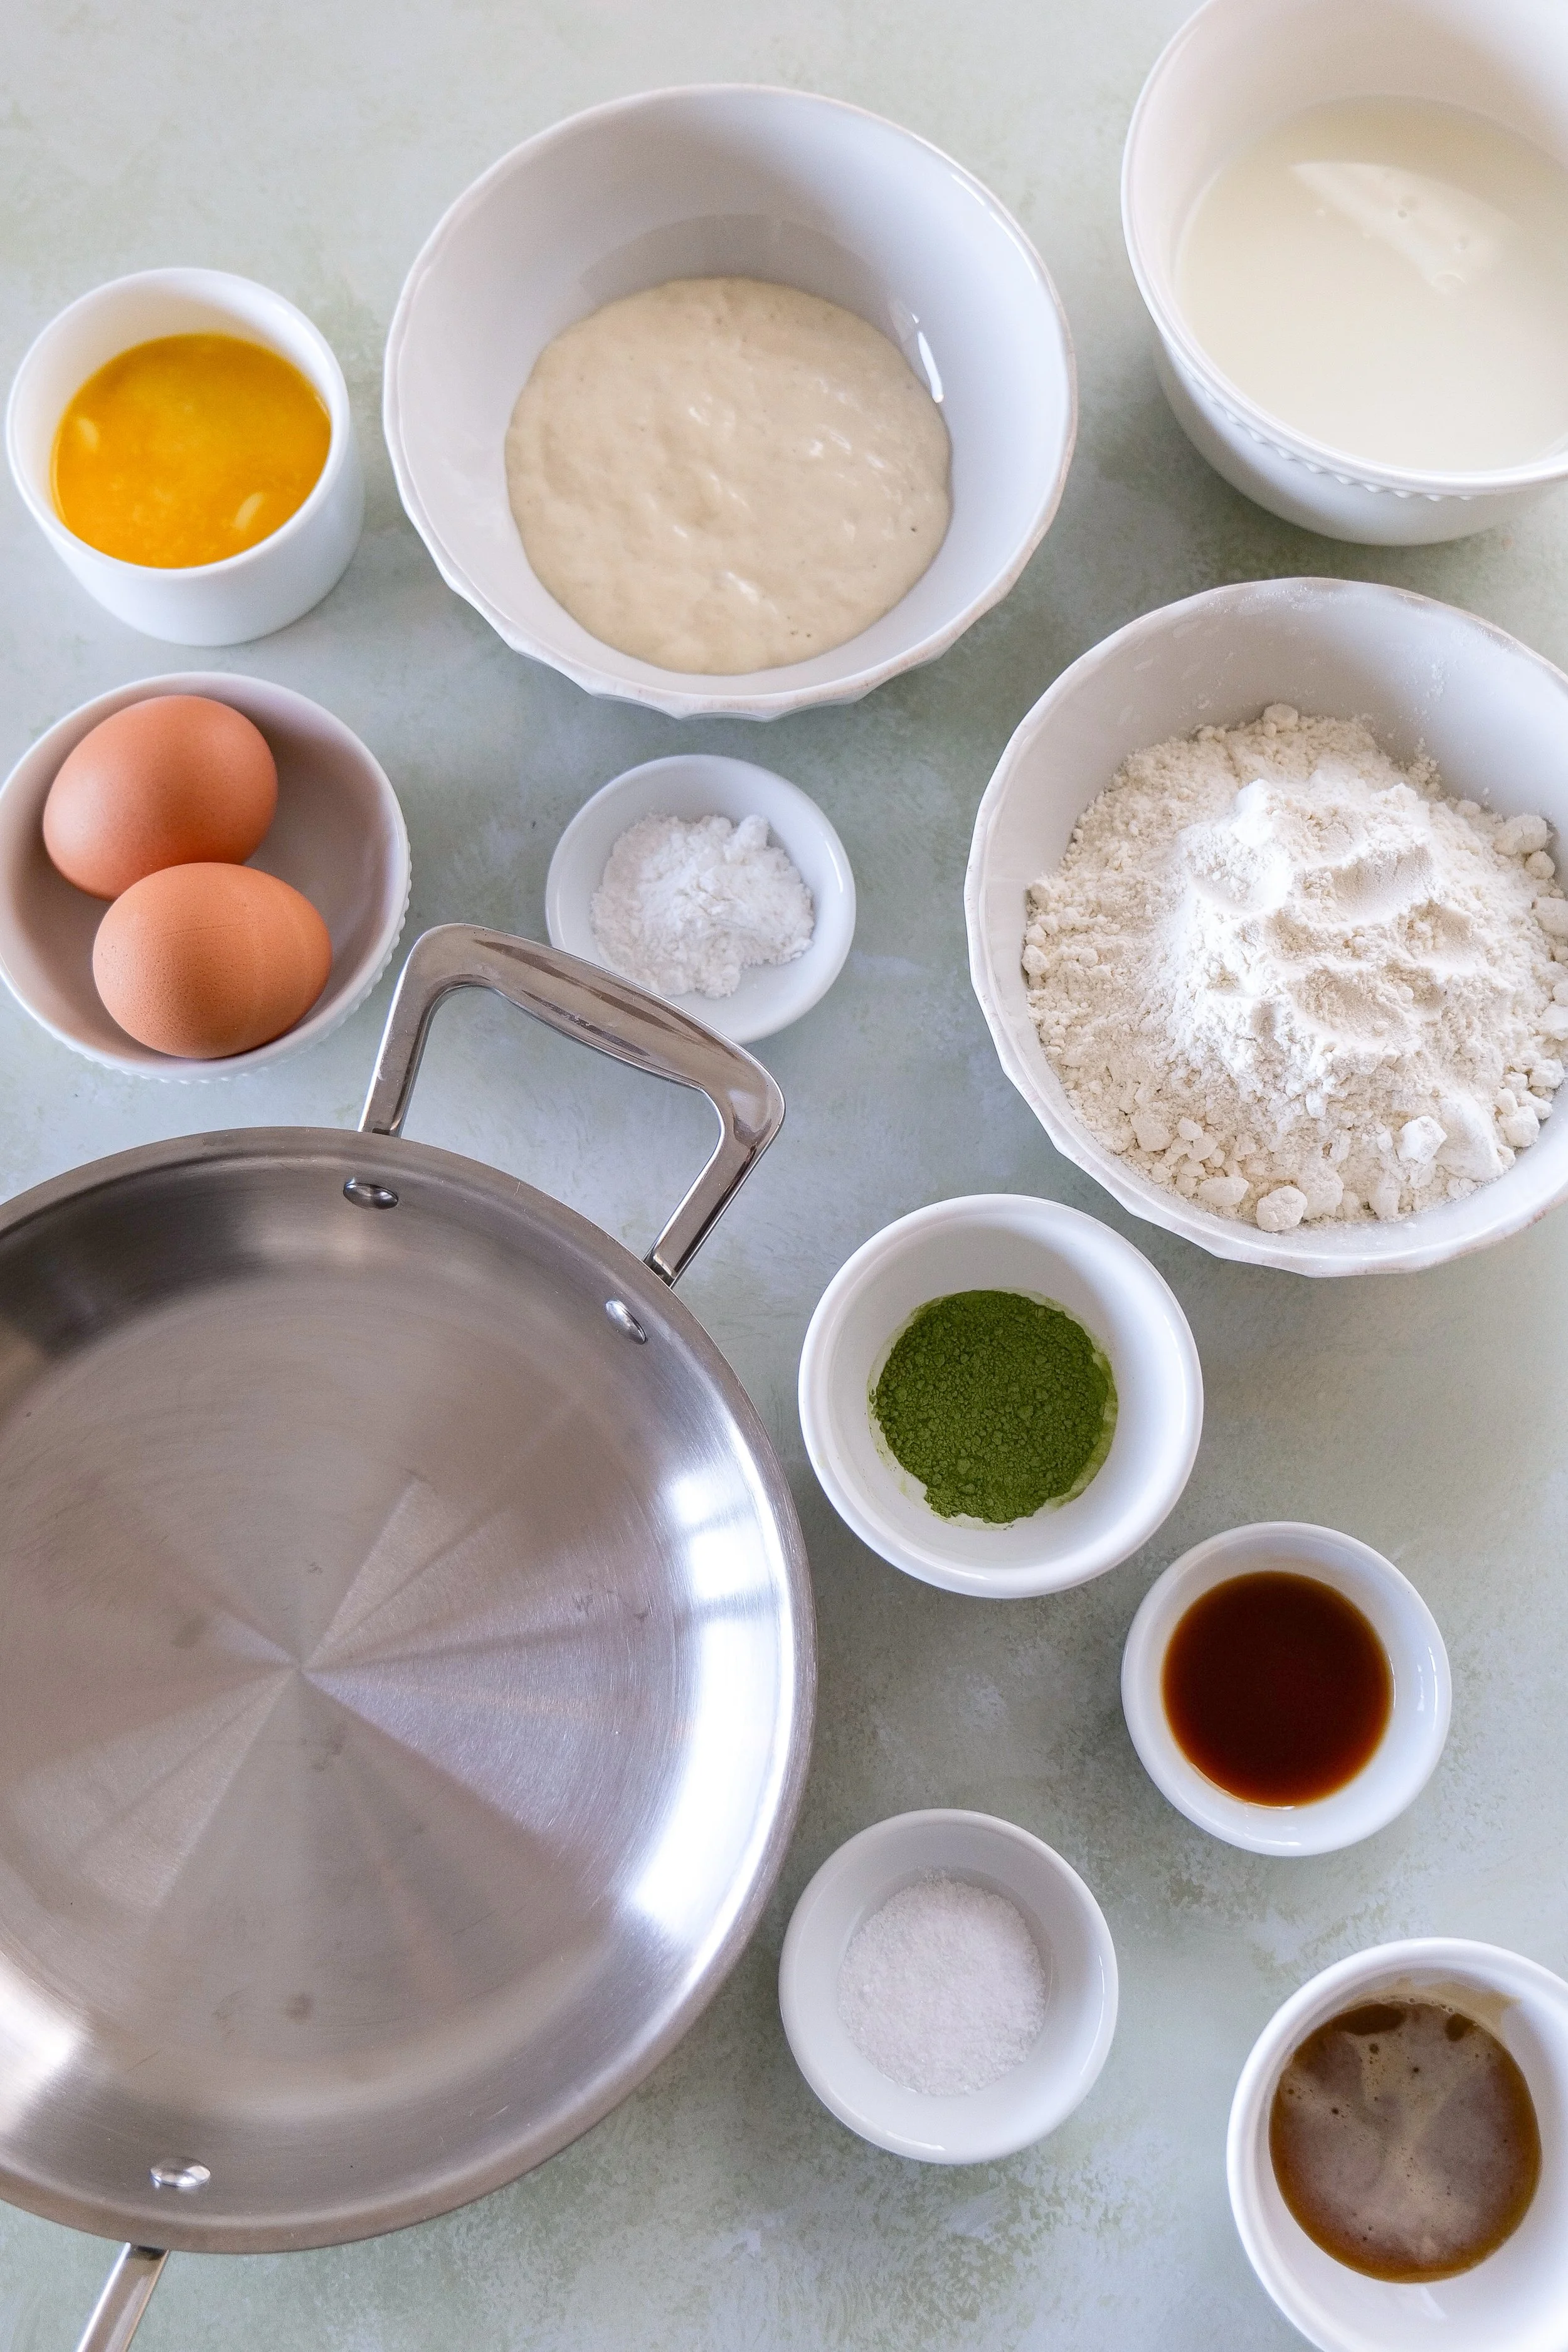
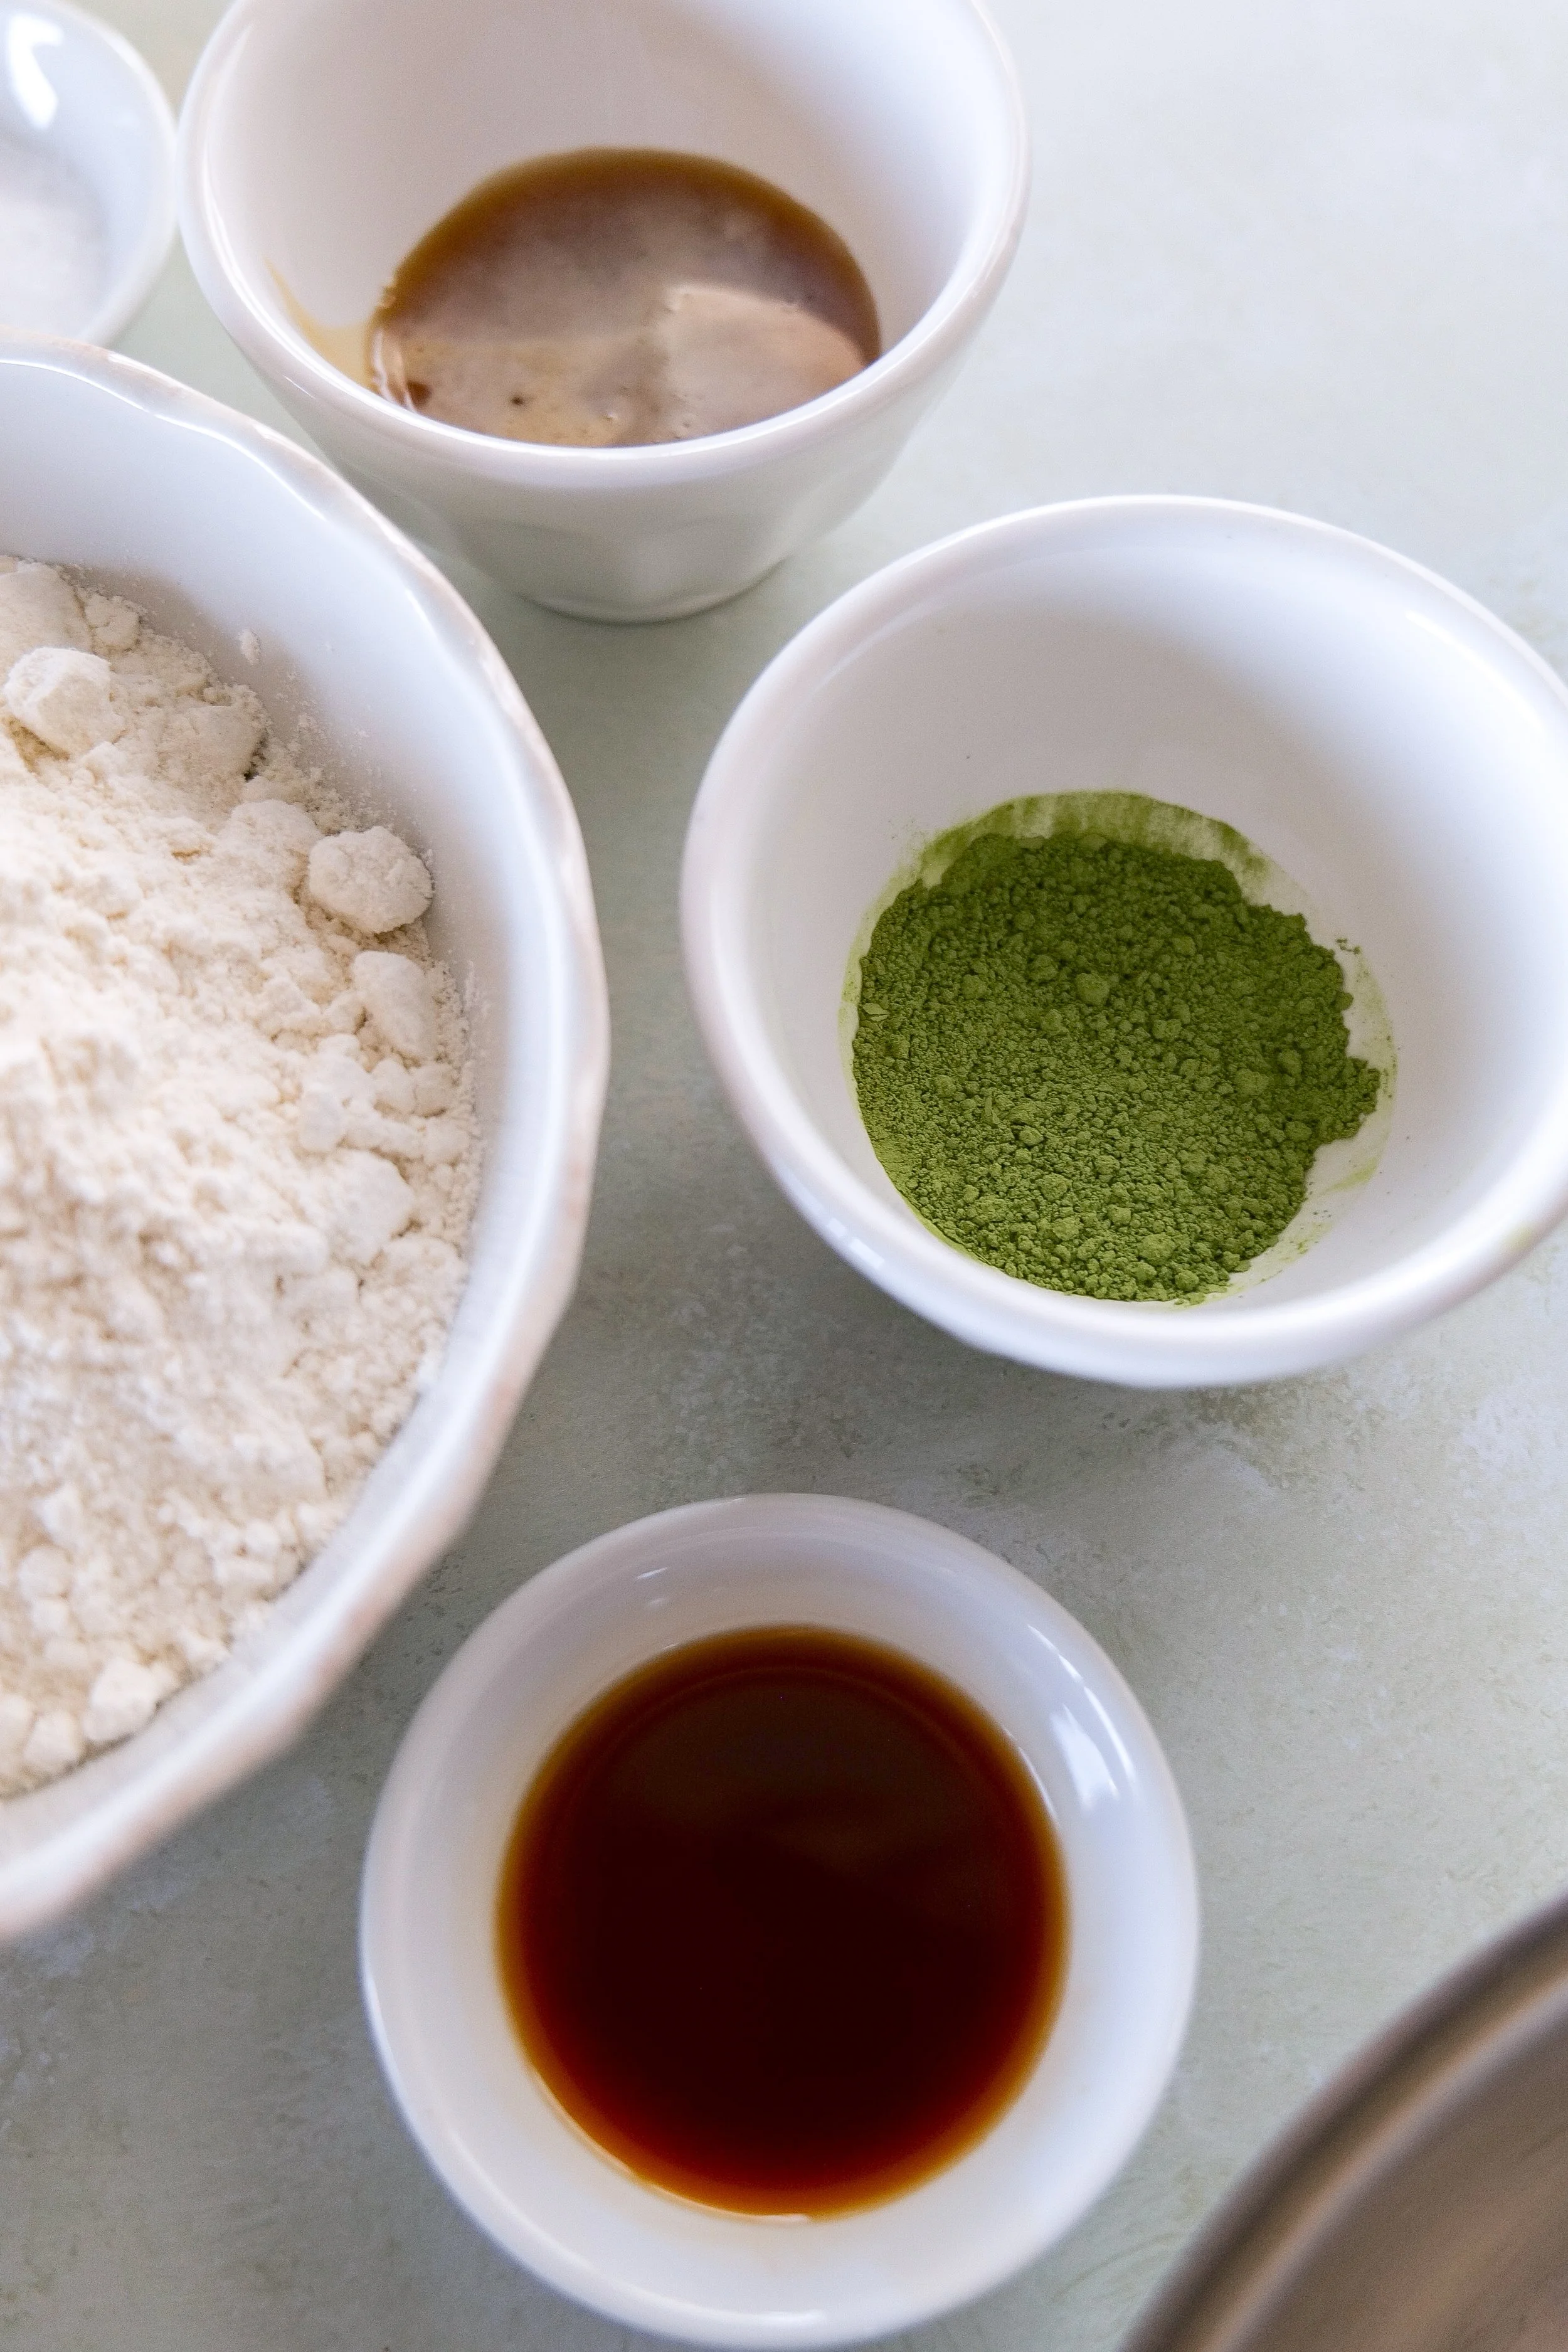
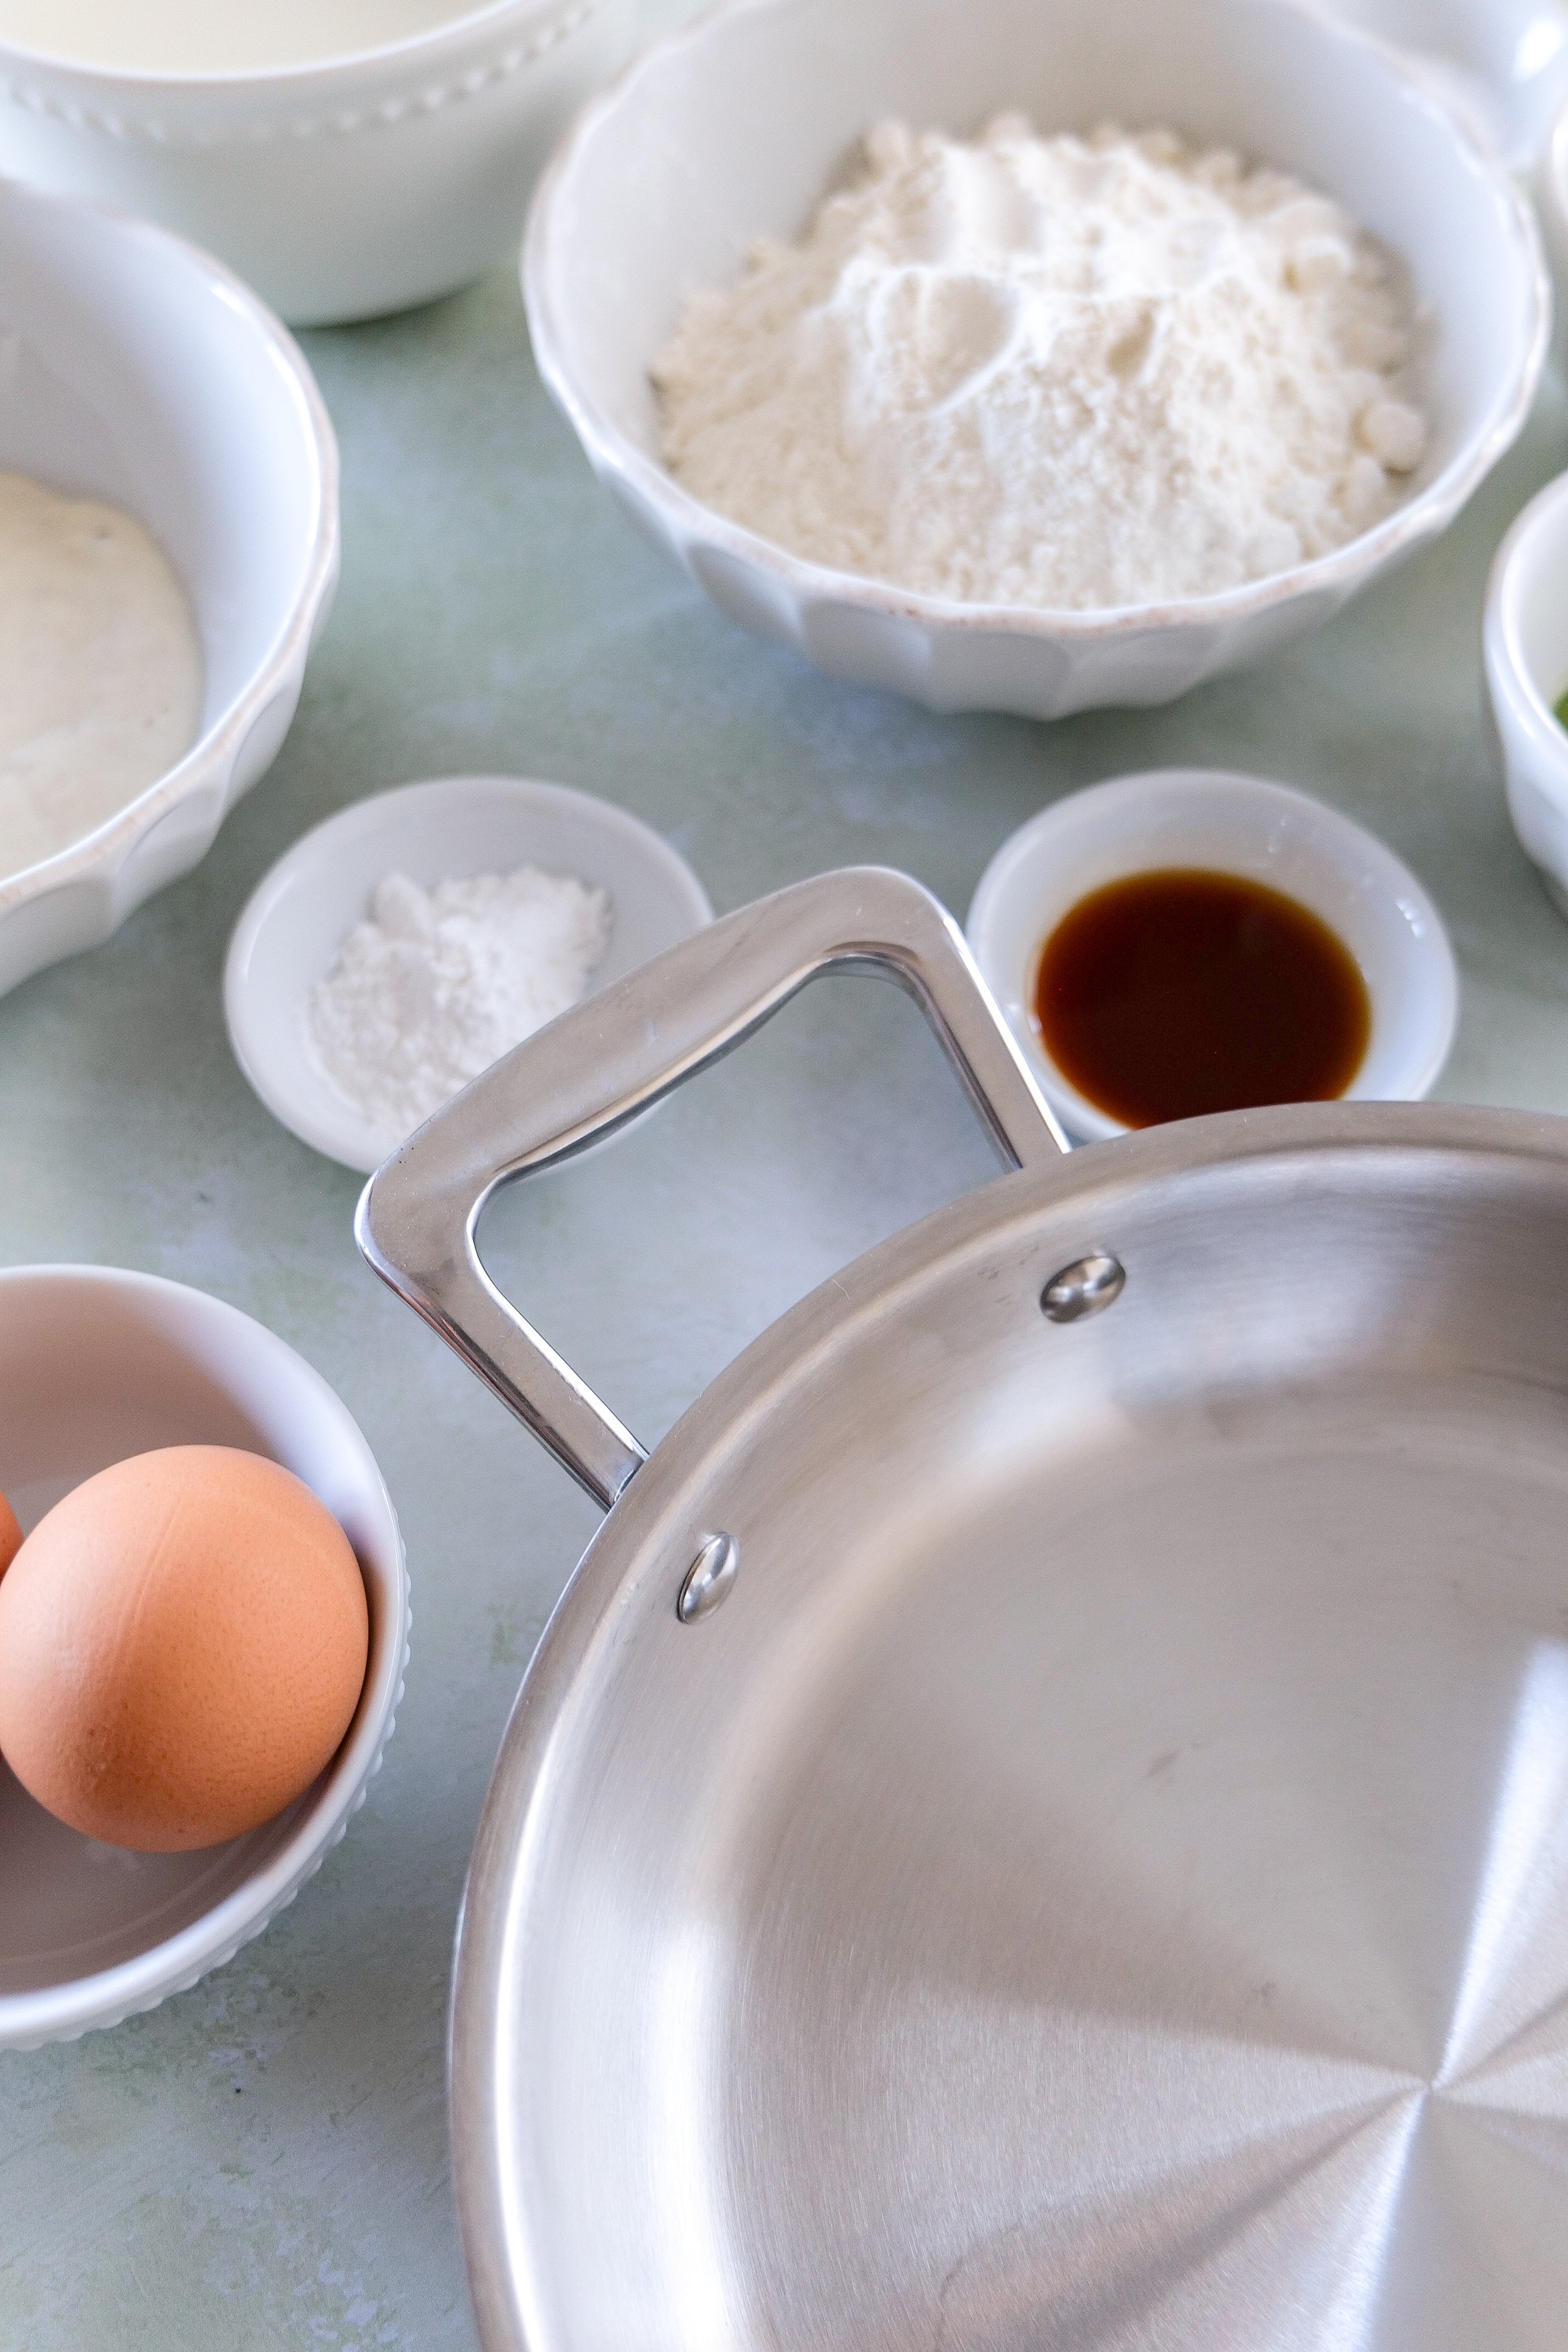
Ingredients for matcha sourdough discard pancakes including flour, matcha powder, eggs, milk, and sourdough discard on a kitchen counter
Bowl of matcha sourdough discard pancake ingredients
ingredients for matcha sourdough discard pancakes

Cooking them is where things get fun. As the batter hits the pan, you’ll notice it behaves just like classic pancake batter, but with that signature green hue. I like to keep the heat medium-low to make sure they cook through without losing their color. You’ll know they’re ready to flip when bubbles form on the surface and the edges look set—nothing groundbreaking here, just good pancake instincts.

And then there’s the stacking. I don’t know what it is about pancakes, but stacking them always feels like a small act of optimism. With these, the layers of green make it even more satisfying. They’re soft, slightly springy, and just begging for toppings.

Speaking of toppings, this is where you can really make the recipe your own. If you want to lean into the matcha vibe, a drizzle of honey or maple syrup works perfectly—something simple that doesn’t compete too much. Fresh berries add brightness, and a dollop of yogurt or whipped cream gives you that creamy contrast. If you’re feeling a little extra, a light dusting of matcha powder on top makes them look like something you’d get at a café (but better, because you made them).

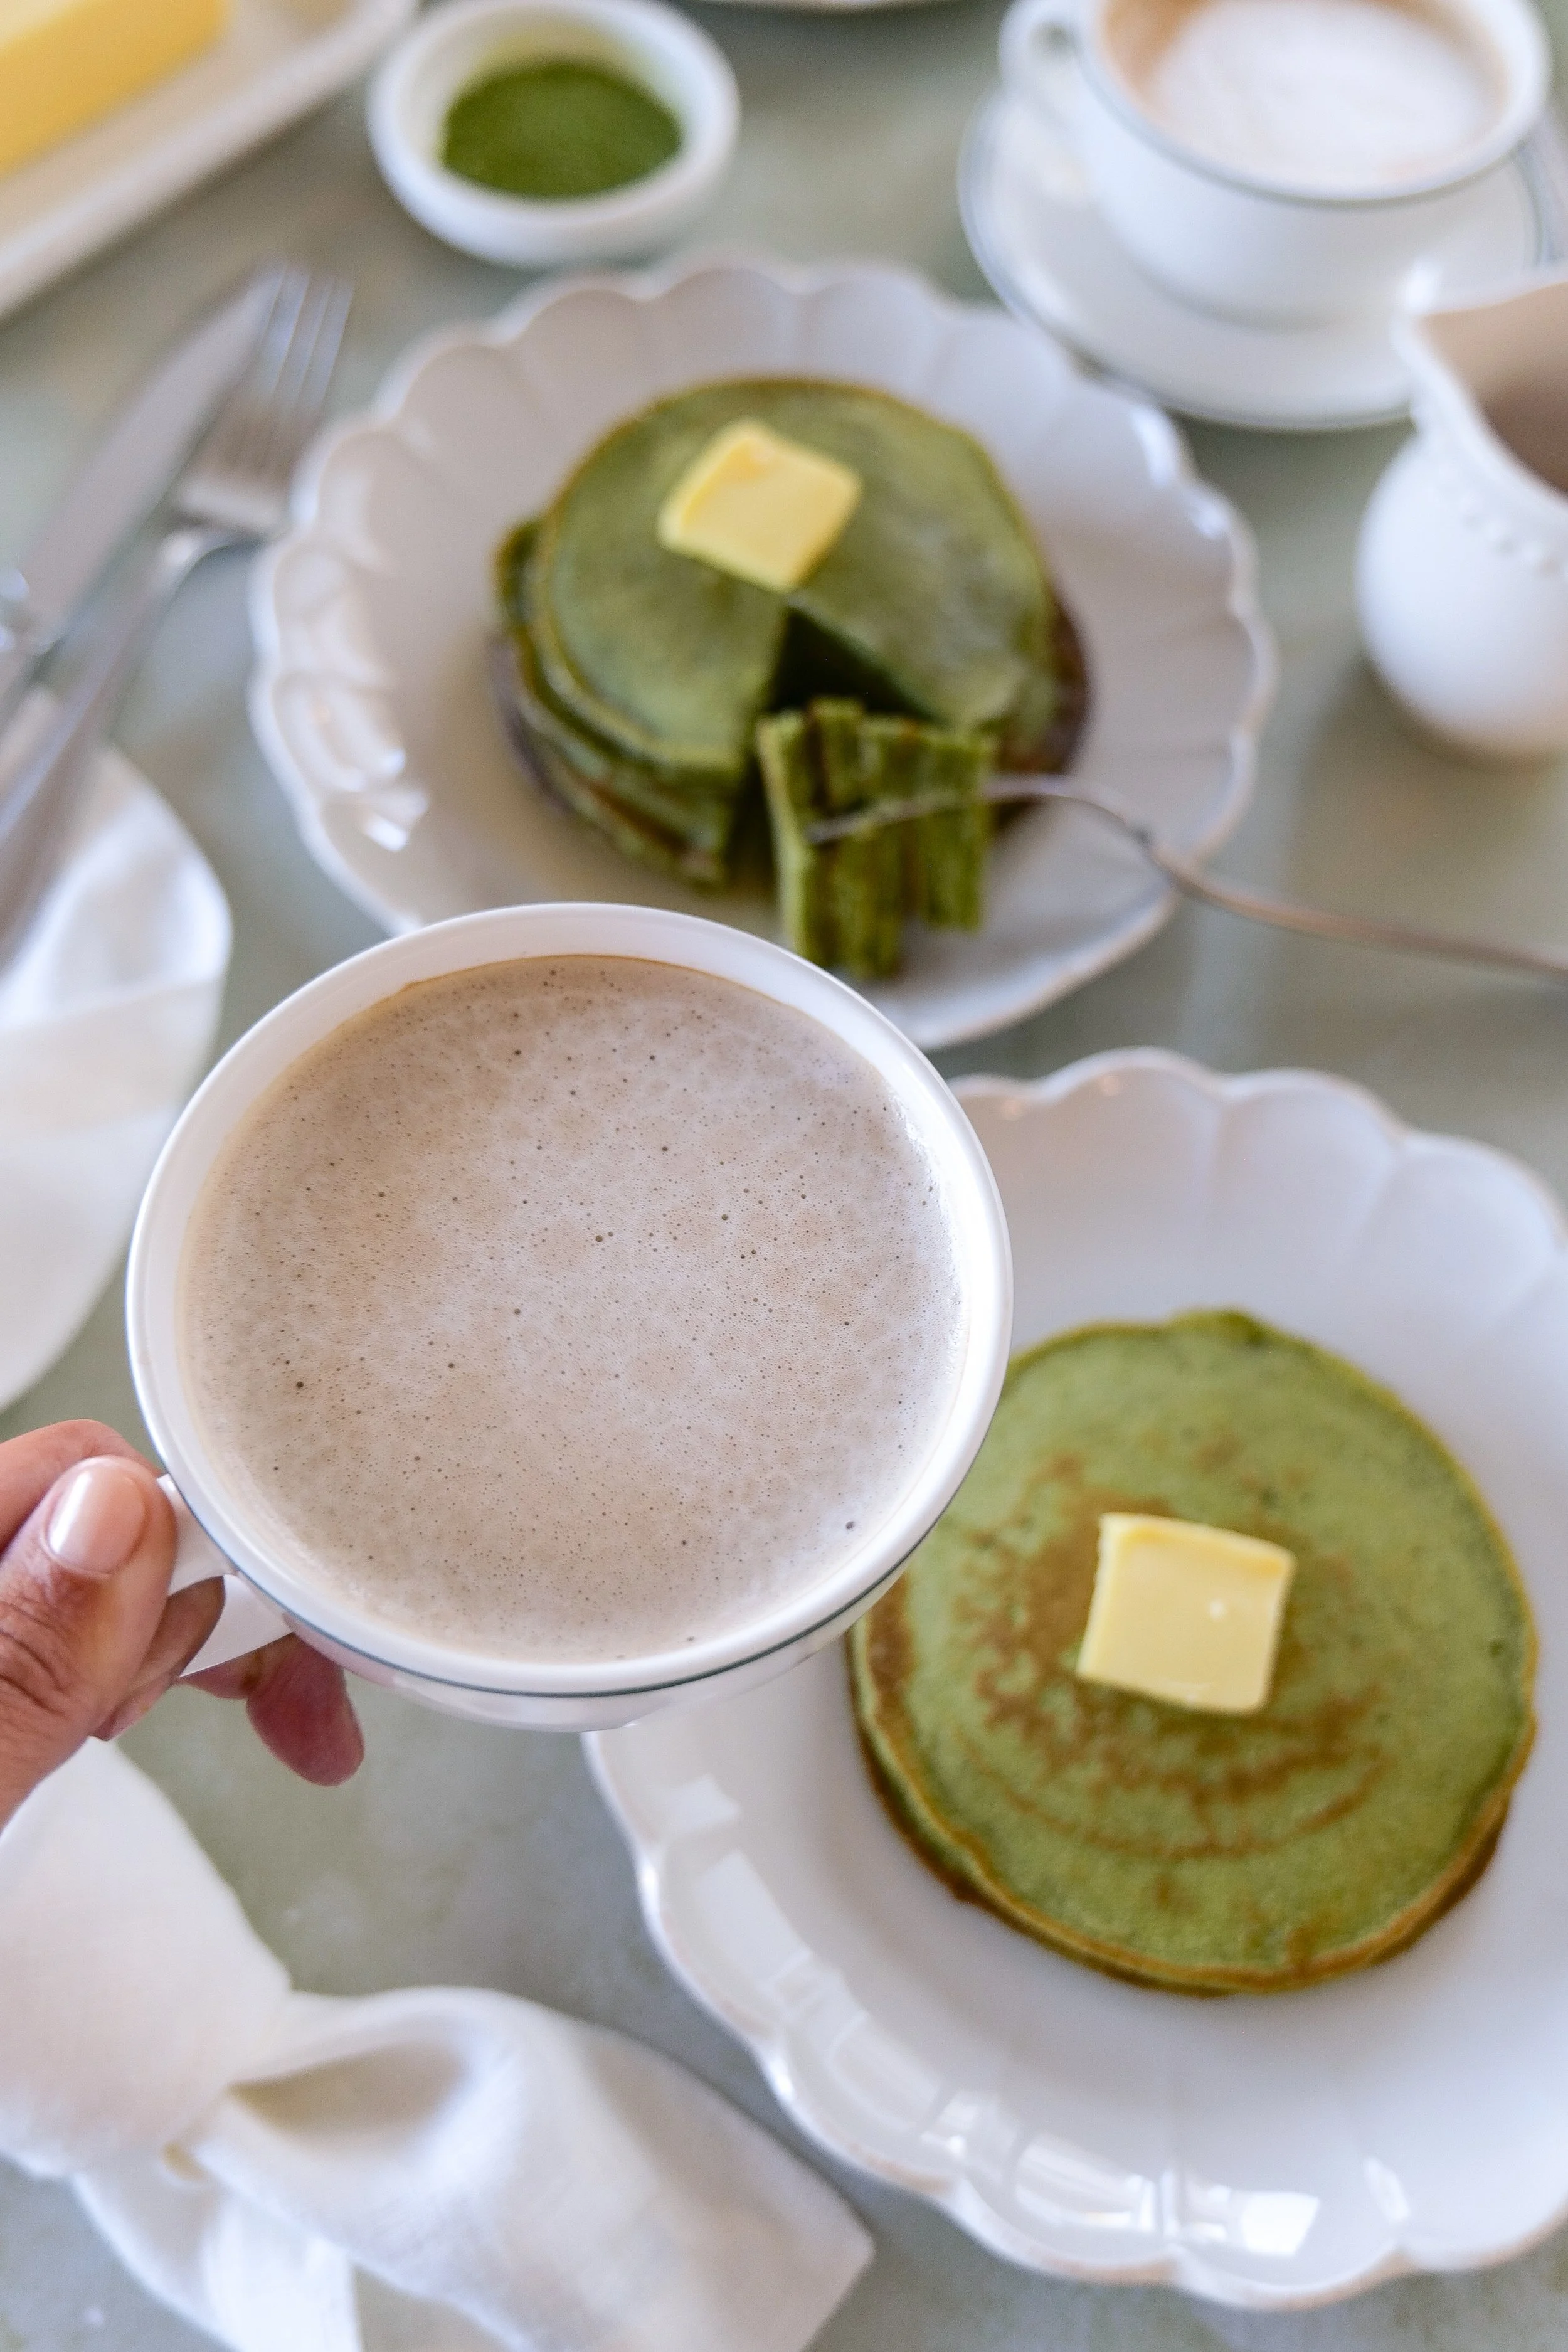
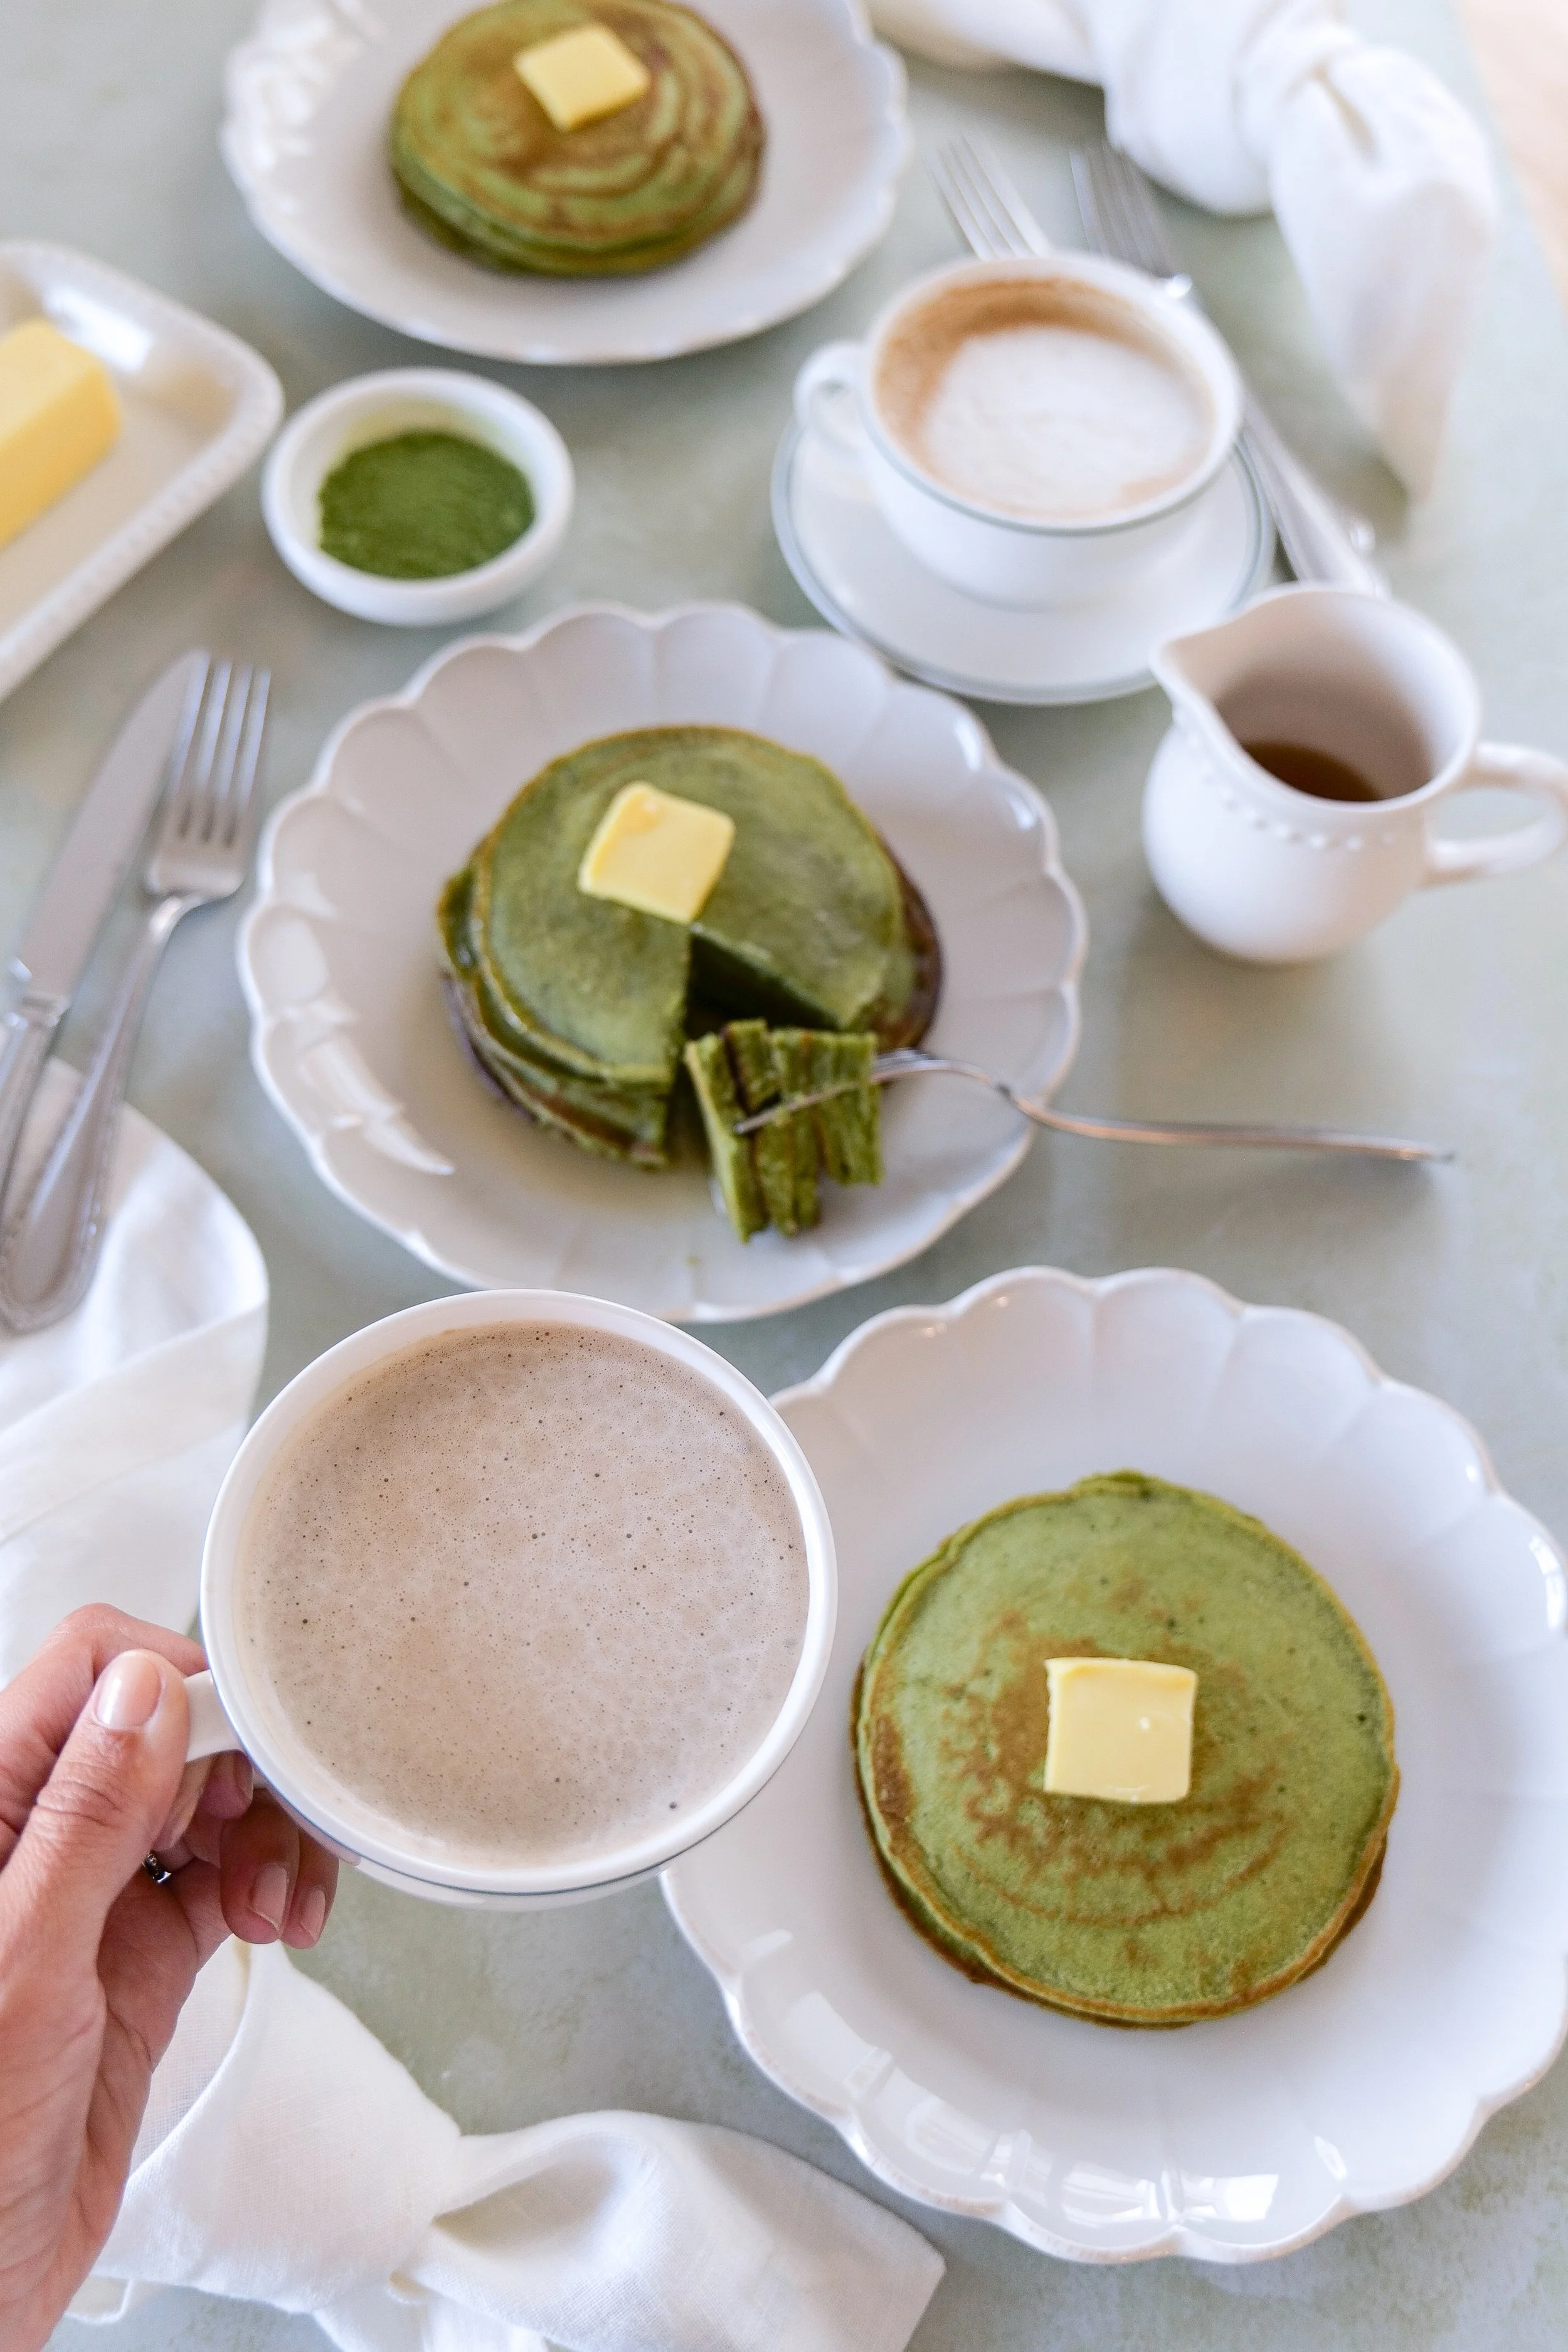
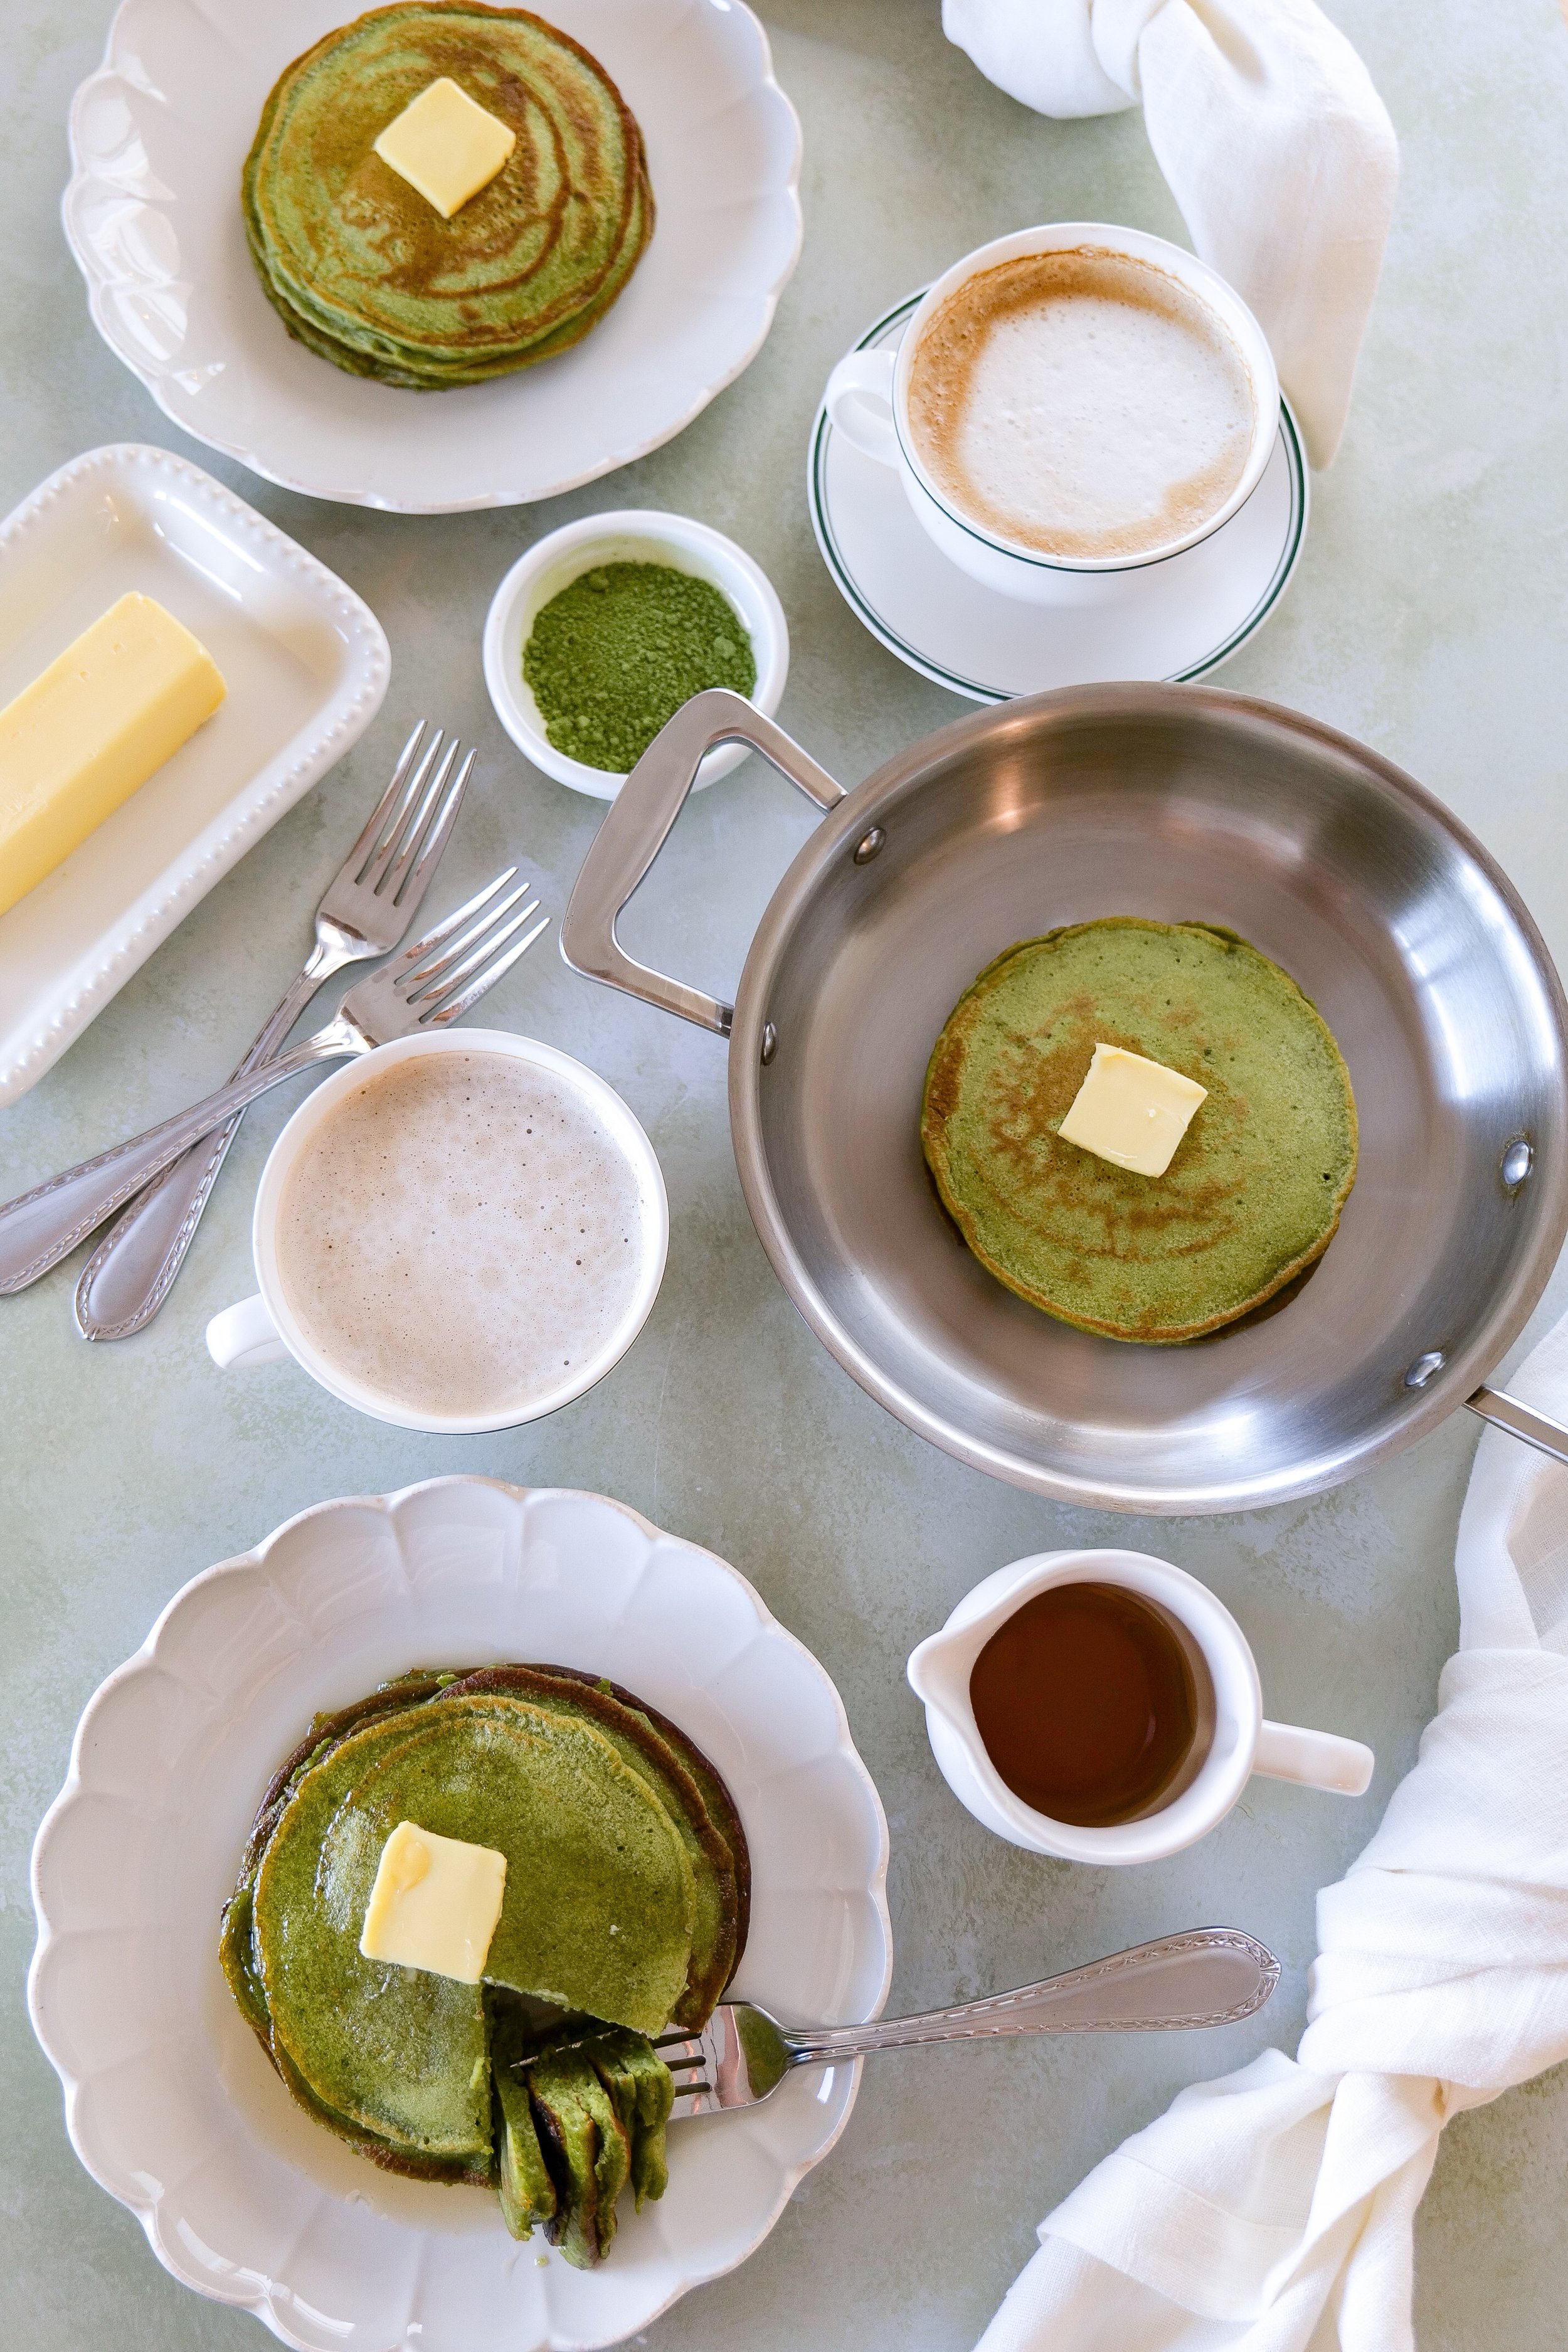
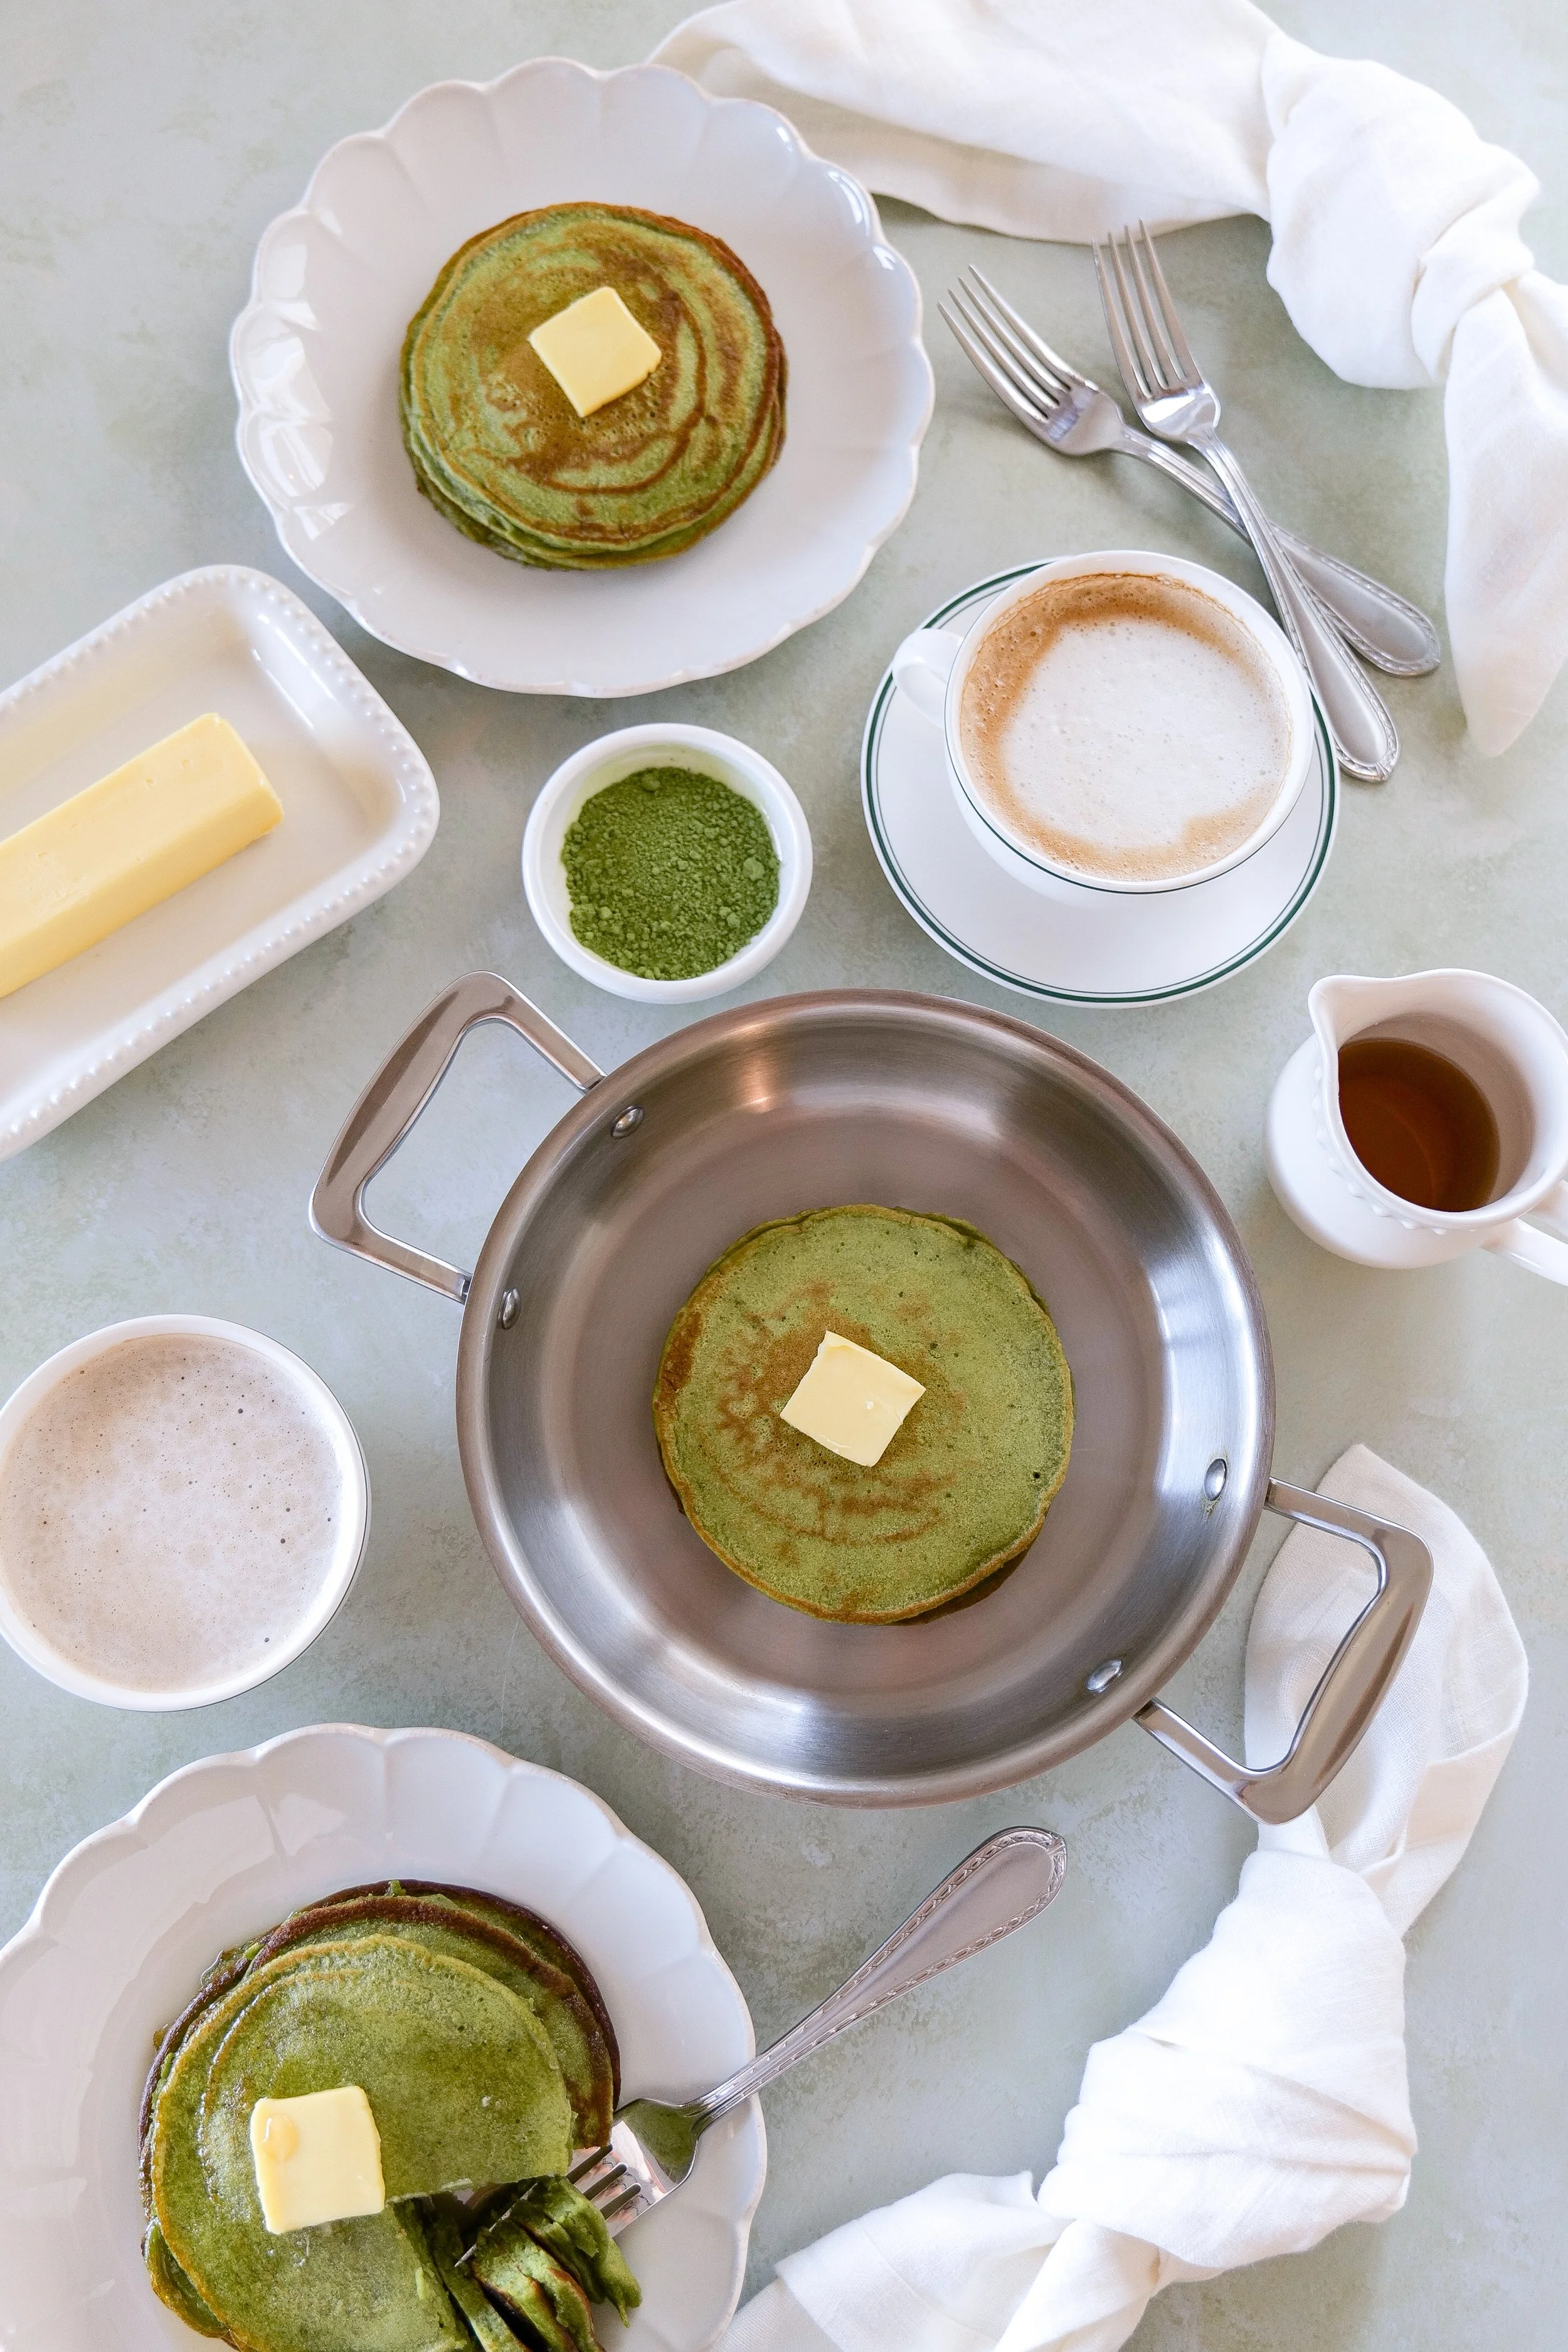
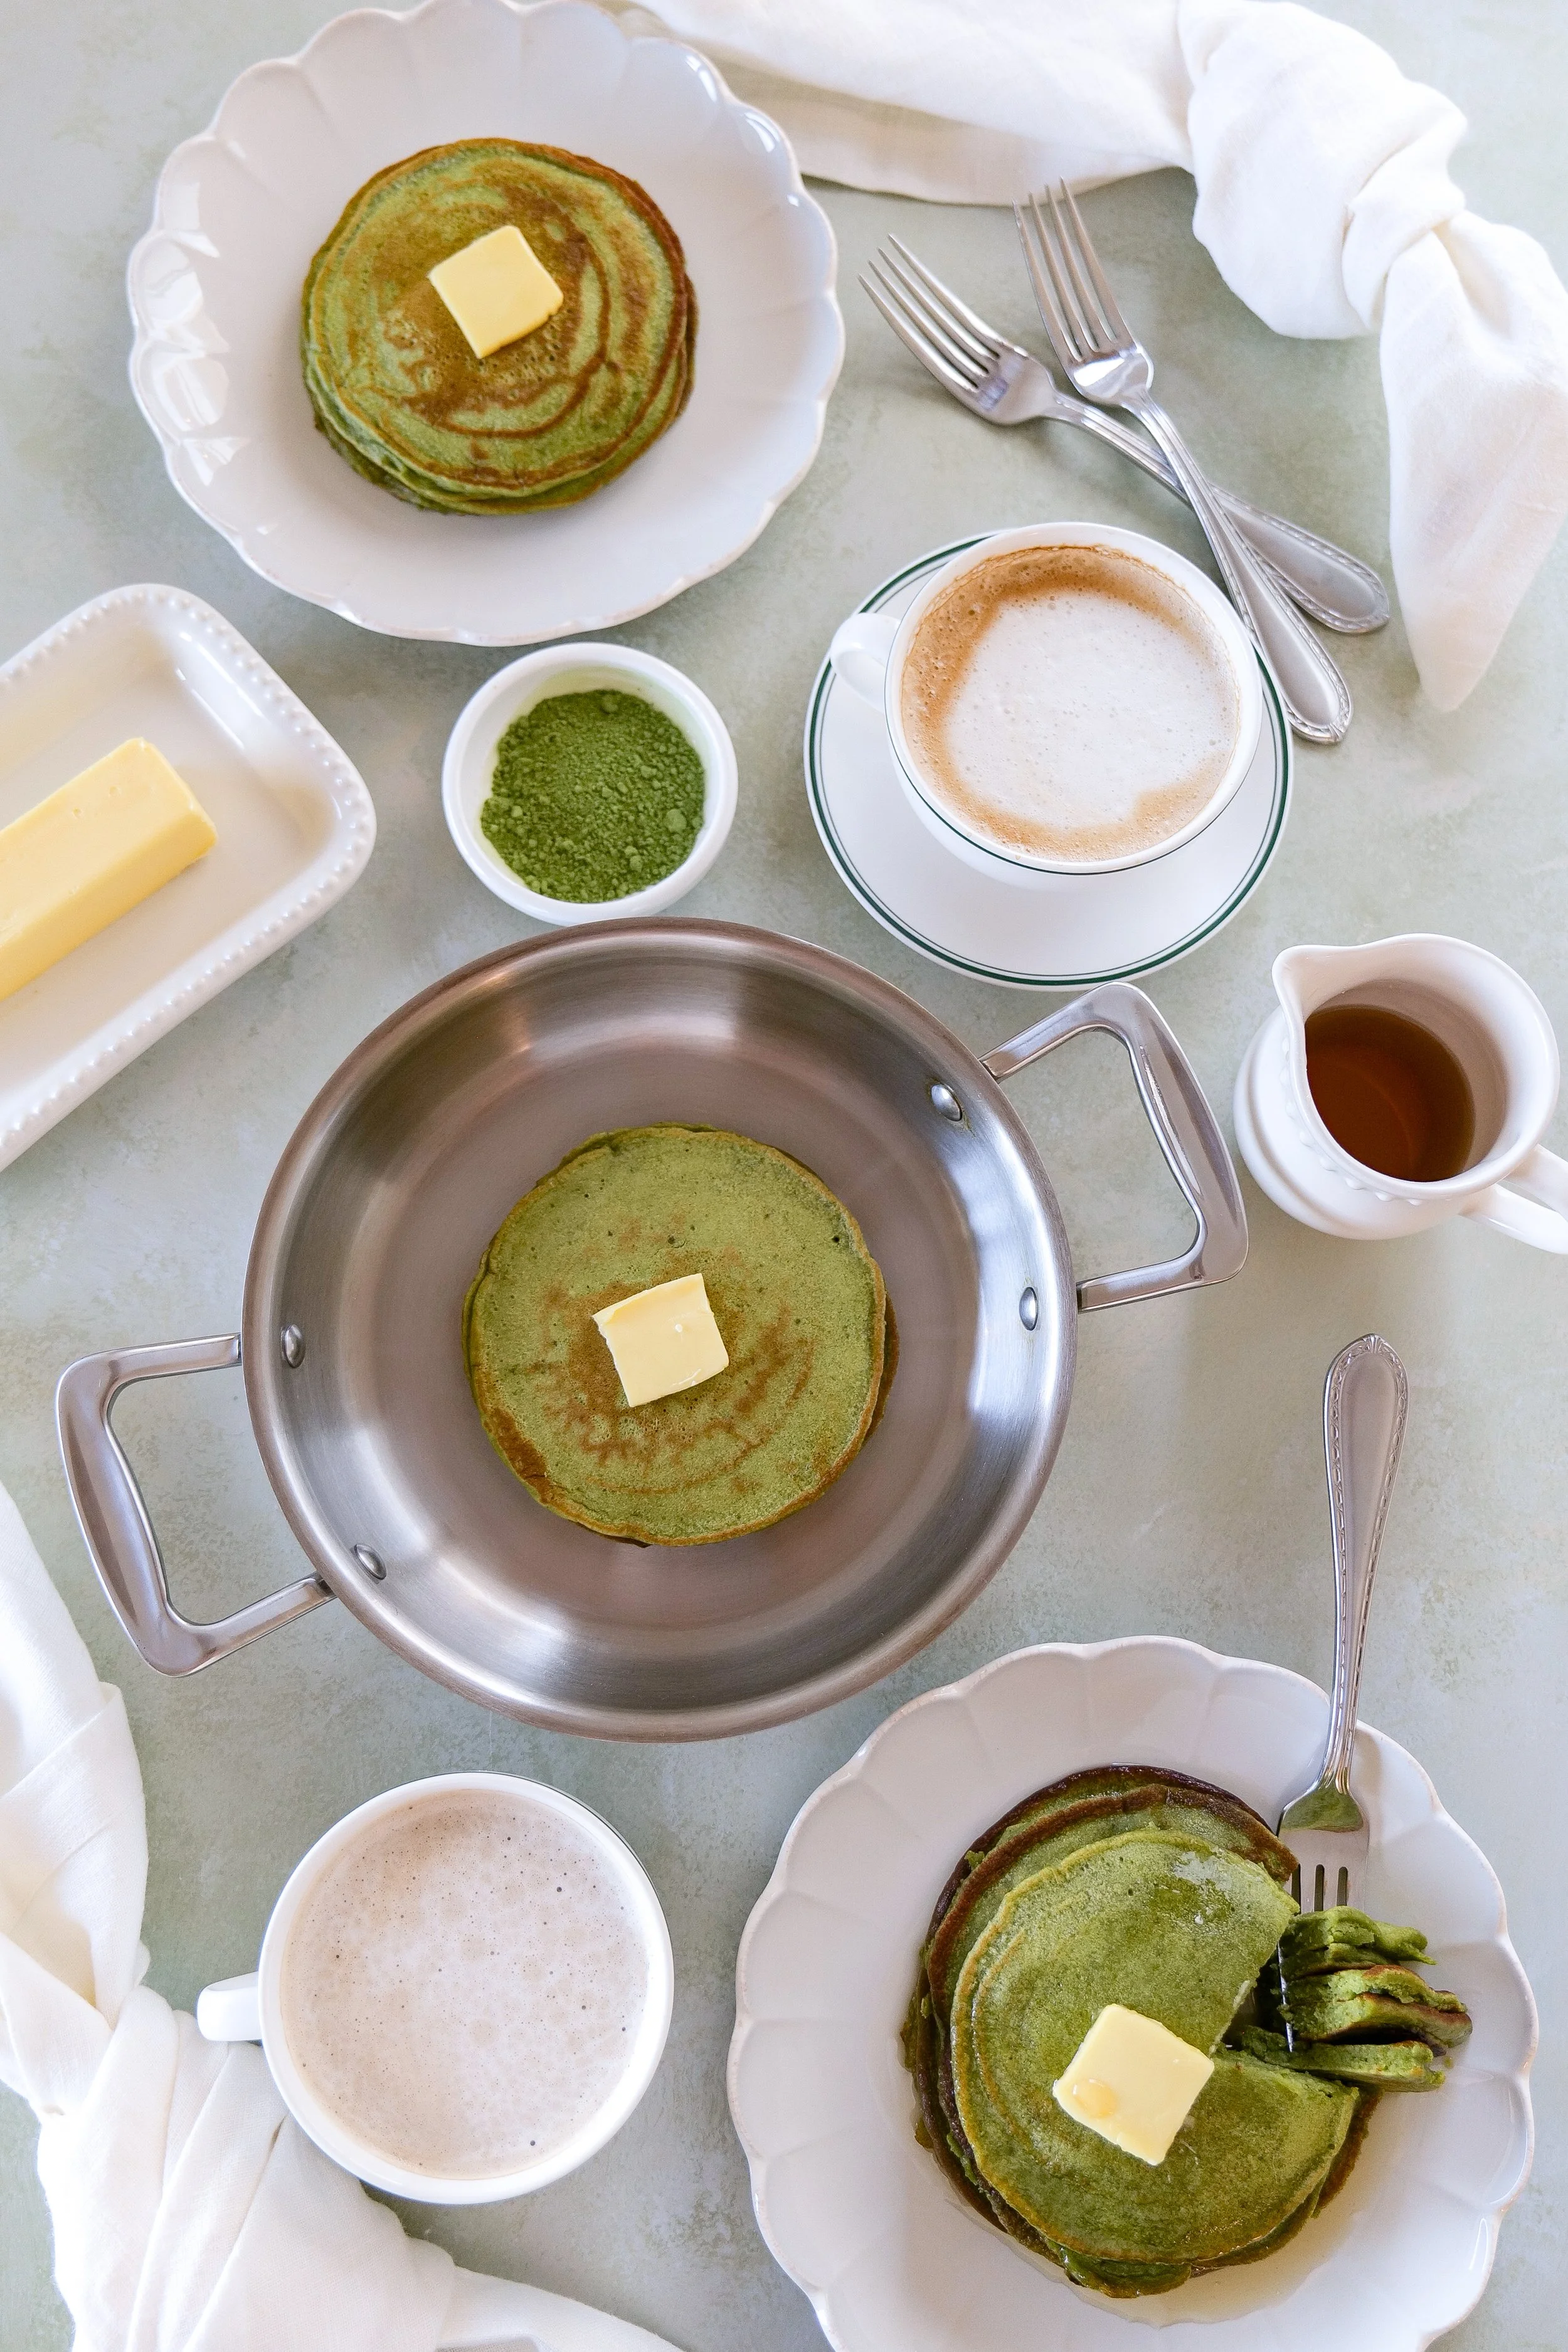
a cup of coffee and a matcha sourdough discard pancakes

One thing I’ve learned from making these more than once is that they’re not just a breakfast food. They work just as well as a mid-afternoon pick-me-up or even a low-key dessert. There’s something about the matcha that makes them feel slightly more grown-up than your standard pancake stack, which I appreciate.

Also, let’s not ignore the practical win here: using sourdough discard means you’re stretching your ingredients further and reducing waste without sacrificing flavor. It’s the kind of kitchen habit that feels small but adds up over time. Plus, it gives you an excuse to keep your sourdough starter going, which—if you’ve ever named yours or felt emotionally attached to it—you’ll understand.

If you’re new to baking with matcha, this is a great place to start. It’s low pressure, adaptable, and the payoff is immediate. Worst case, you’ve made pancakes. Best case, you’ve discovered a new favorite way to use up that discard you weren’t sure what to do with.

So the next time you’re tempted to toss your sourdough discard, maybe don’t. Instead, grab your whisk, scoop out that jar, and make something that feels just a little special. These matcha sourdough discard pancakes are proof that sometimes the best recipes come from what we almost threw away.

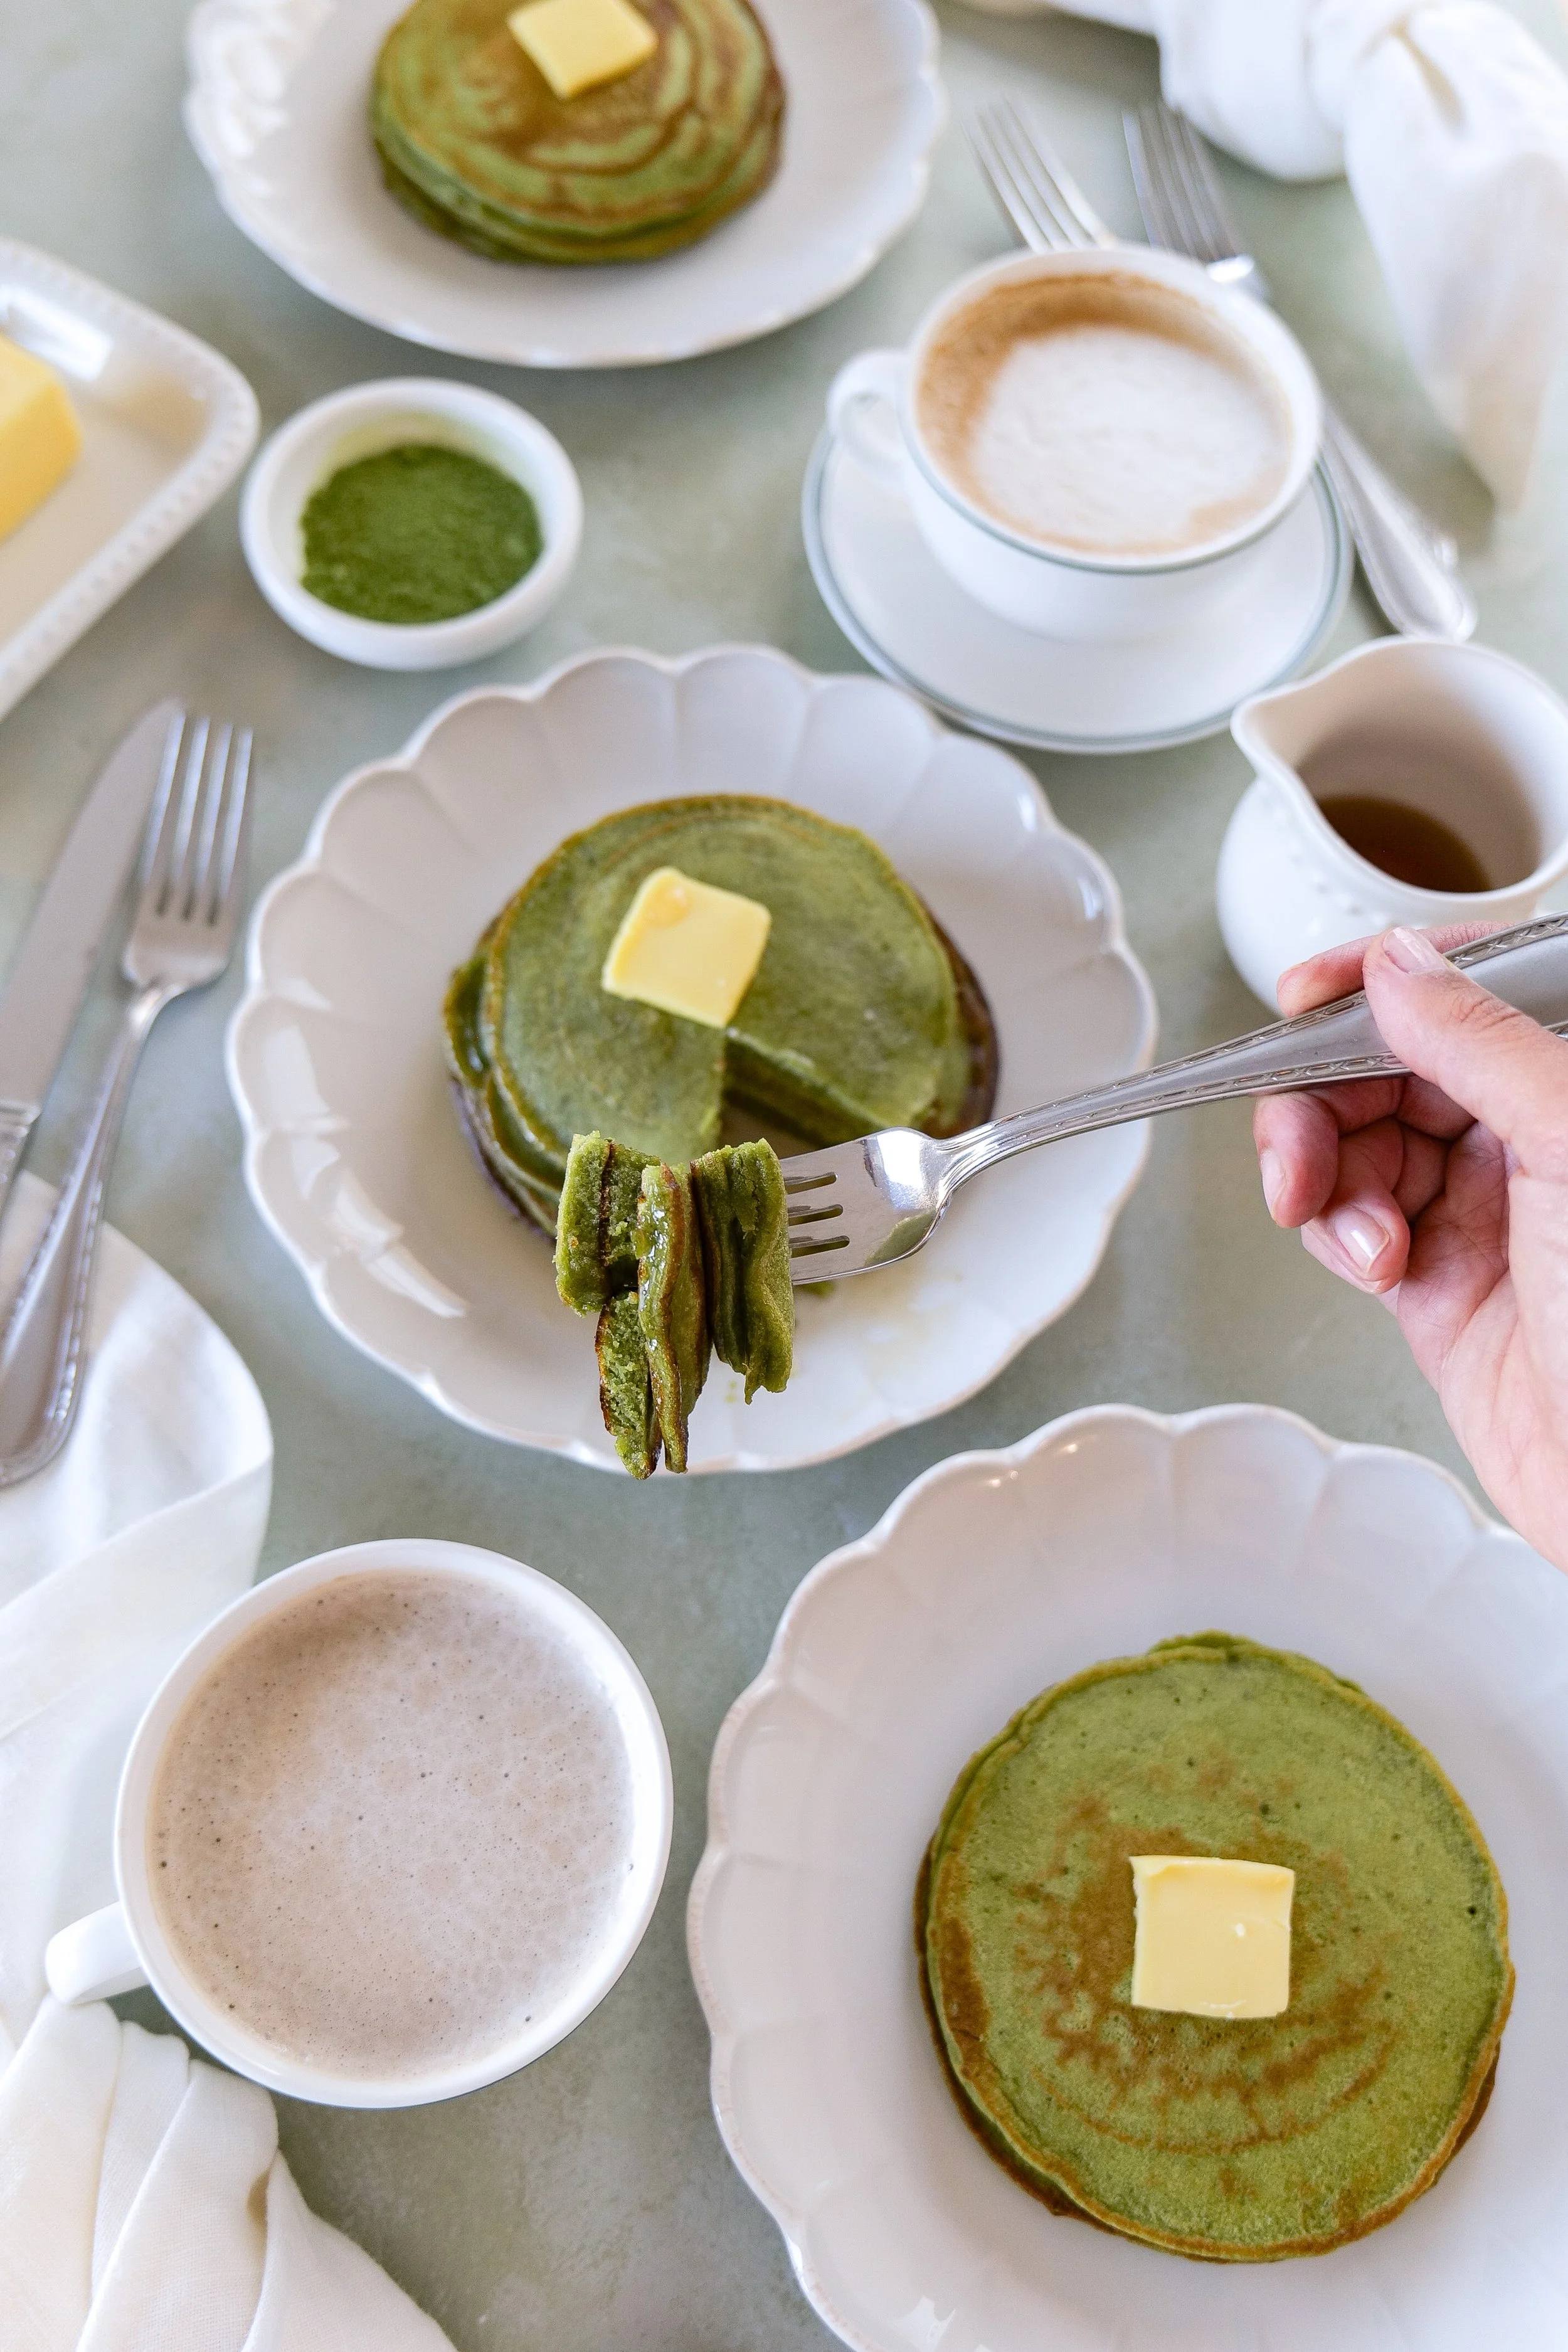
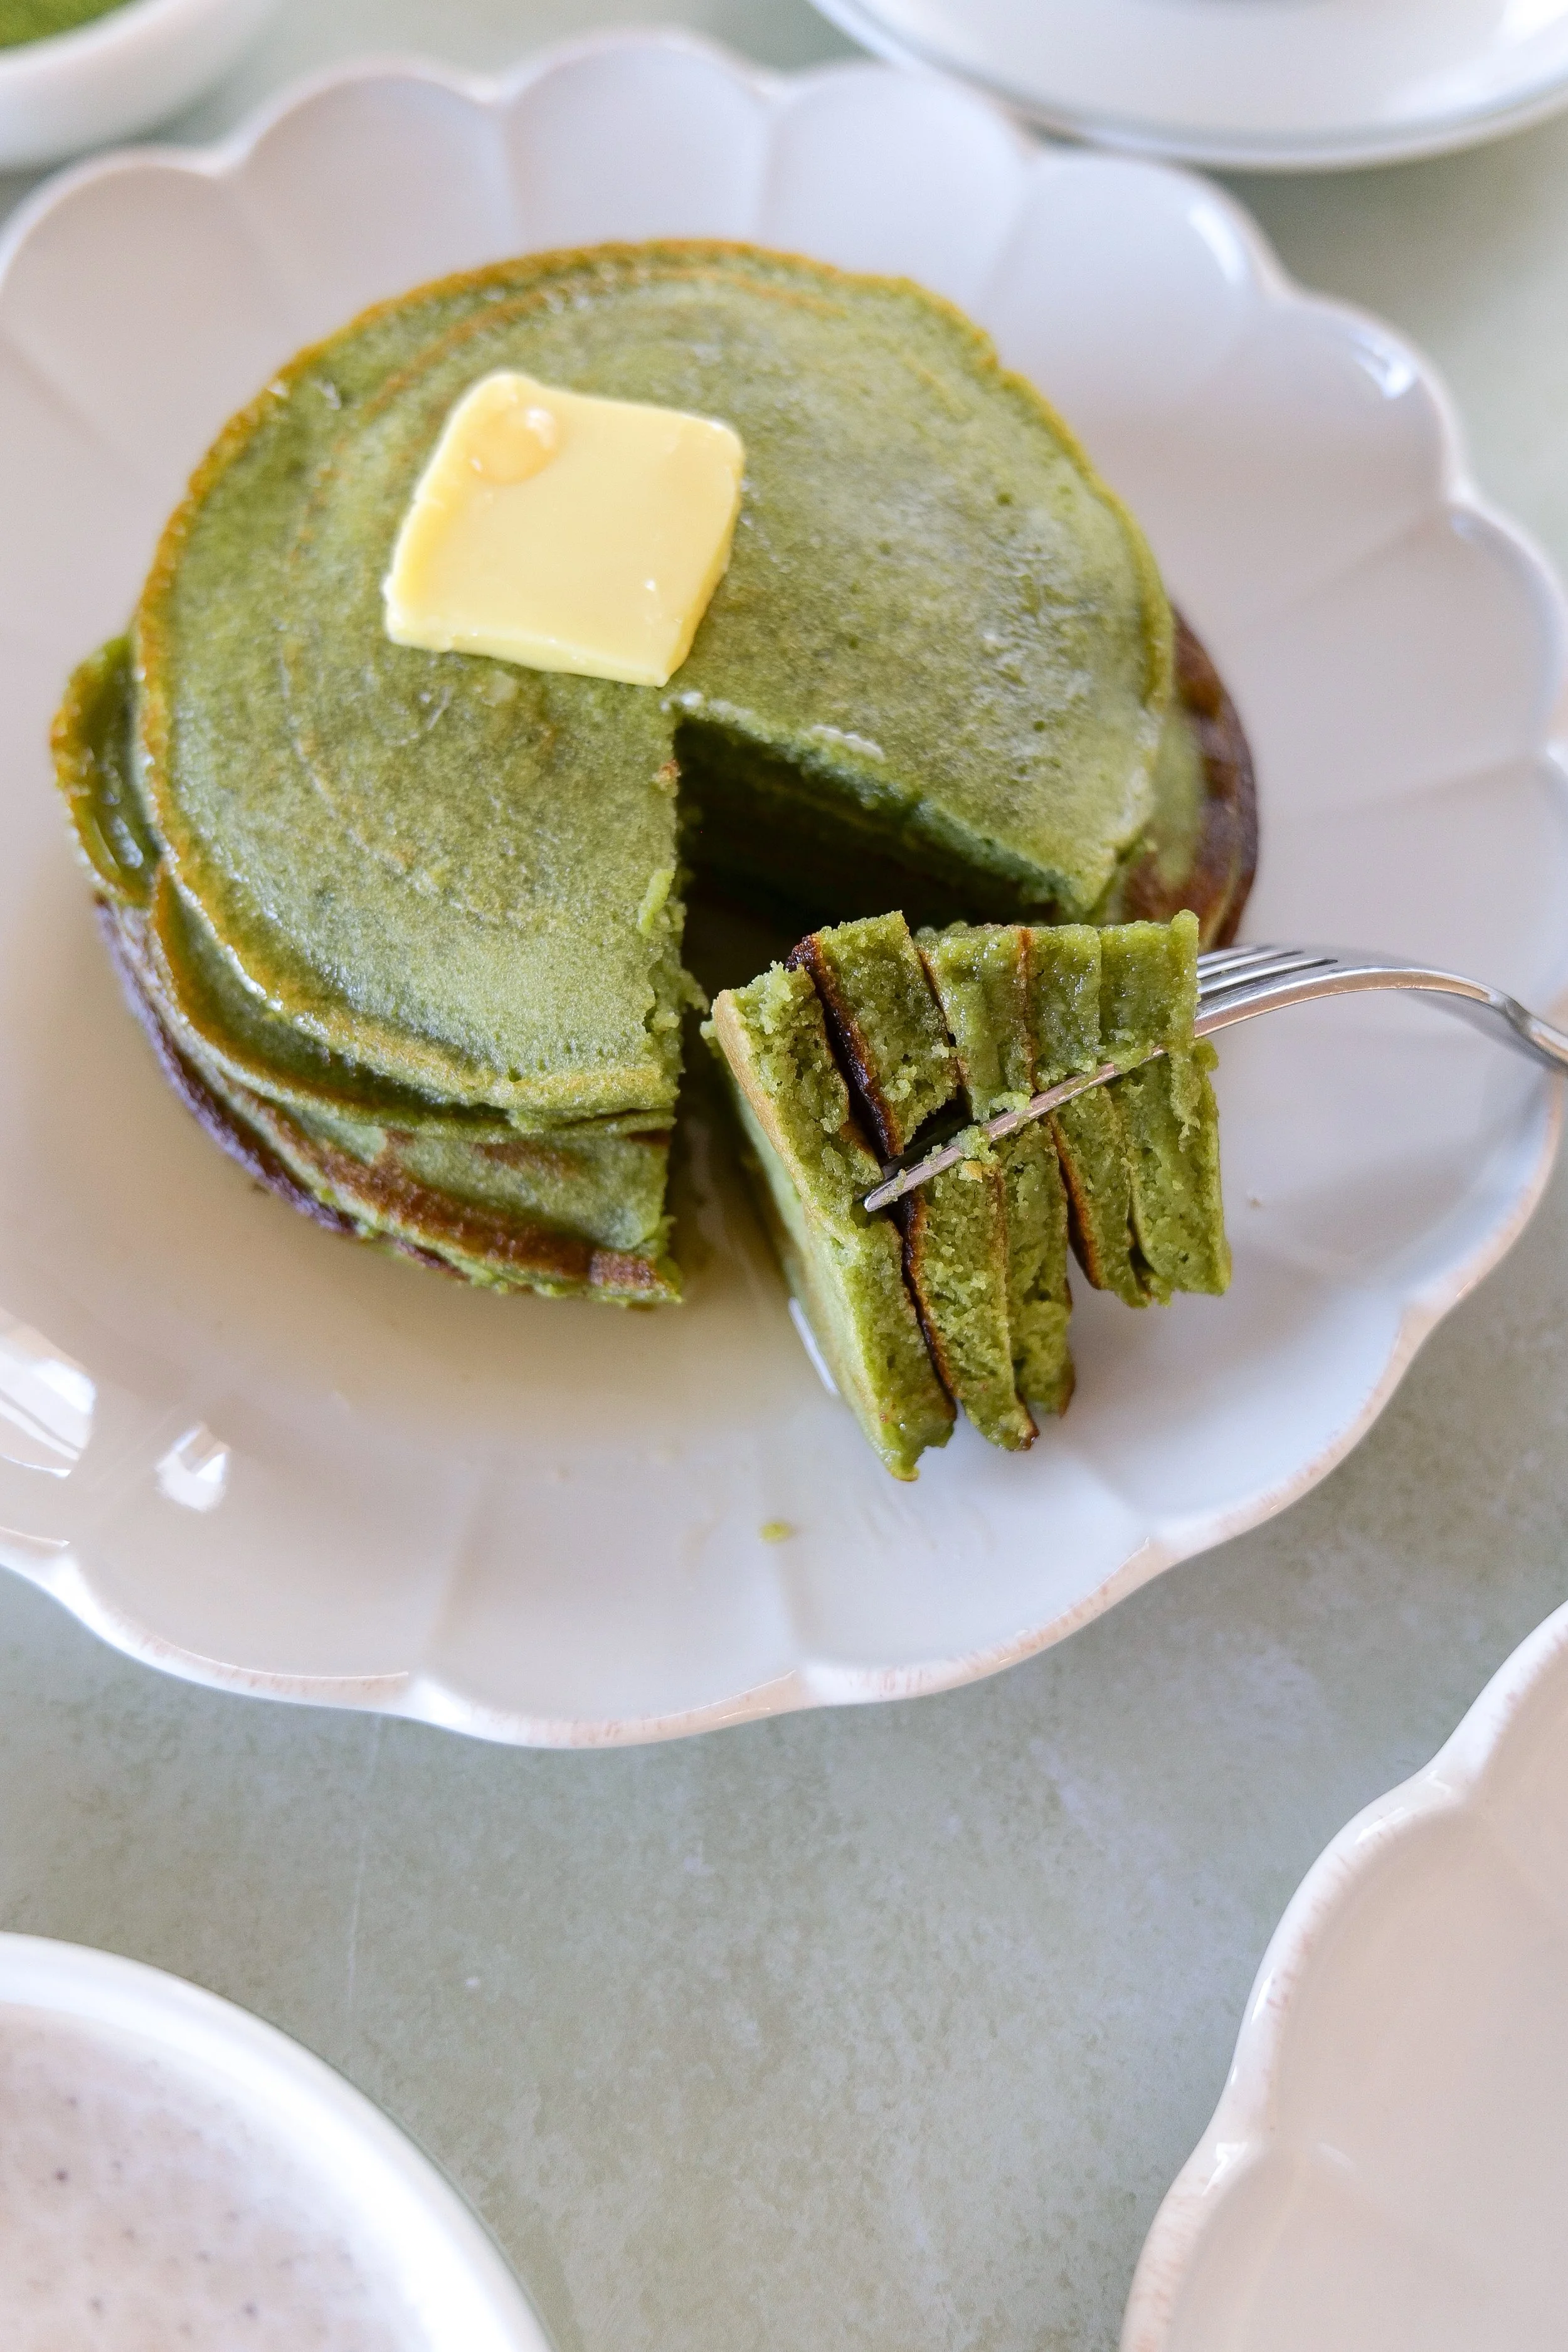
Matcha sourdough discard pancakes served with butter on top
Golden-edged fluffy matcha pancakes made with sourdough discard
Fork cutting into soft matcha sourdough discard pancakes
Matcha sourdough discard pancakes

Quick Summary

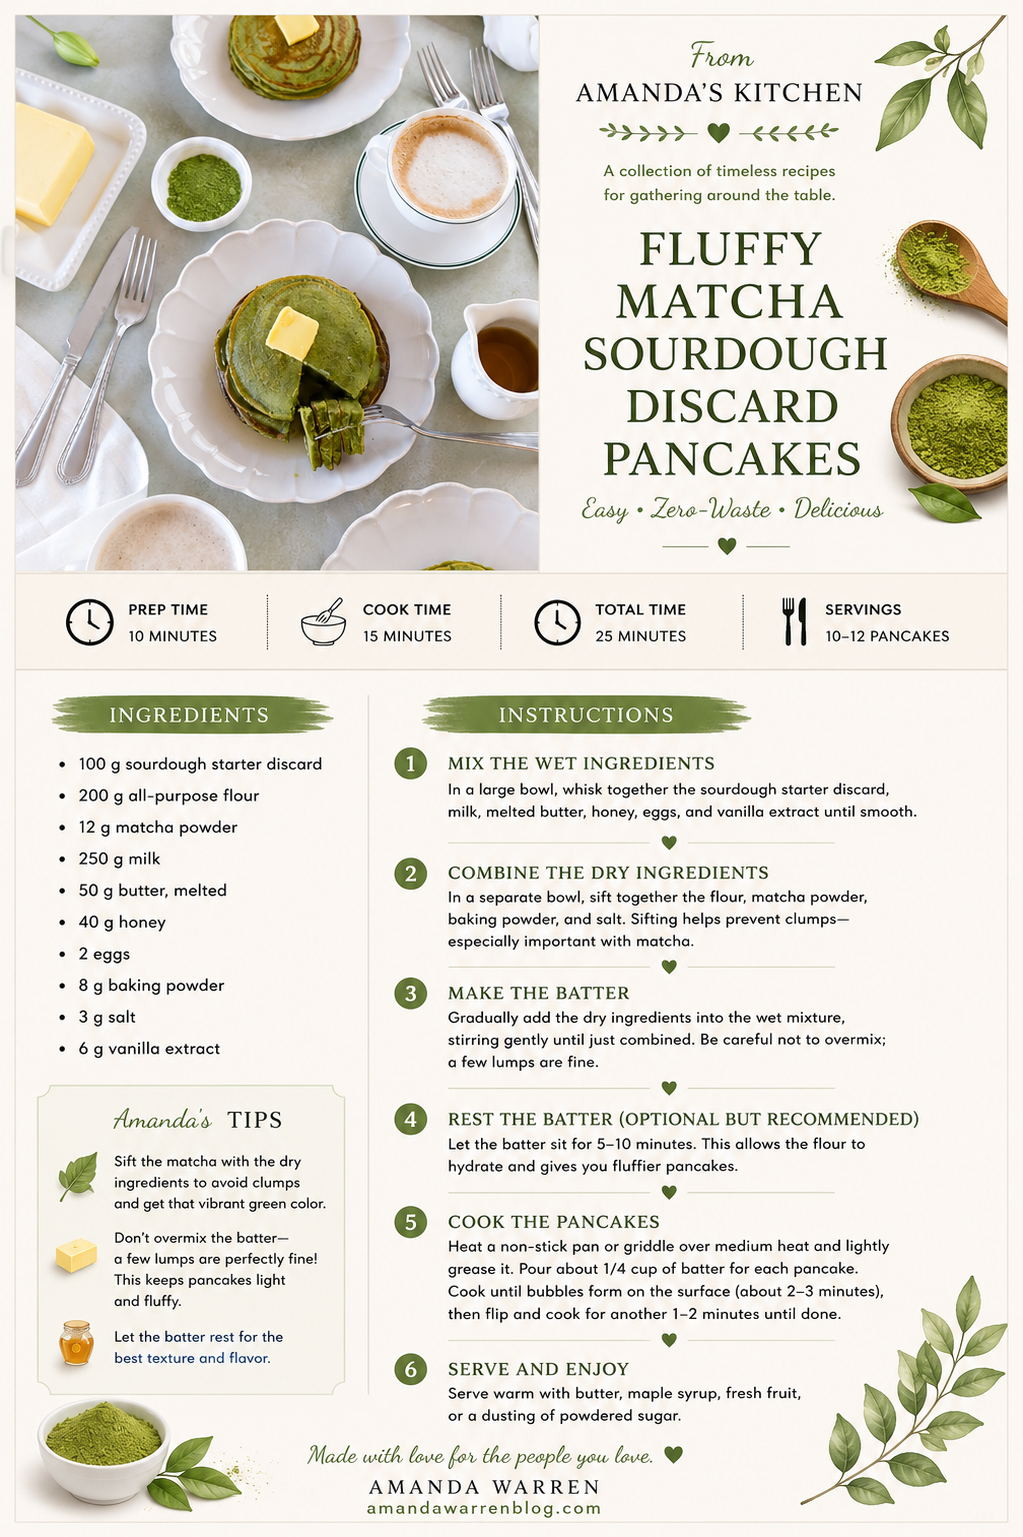
  • Prep time: 10 minutes

  • Cook time: 10 minutes

  • Total time: 20 minutes

  • Yield: ~8 pancakes

  • Key flavor: lightly sweet, earthy, tangy

  • Skill level: easy

Breakfast plate with fluffy matcha sourdough discard pancakes and butter
Stack of matcha sourdough discard pancakes with syrup pouring
Homemade fluffy matcha sourdough discard pancakes on ceramic plate
Matcha pancakes made with sourdough discard served for breakfast
Fluffy matcha sourdough discard pancakes with coffee

Easy Weekend Brunch Ideas

If you’re planning a relaxed brunch at home, these matcha sourdough discard pancakes make a great centerpiece—but it’s always nice to have a few more options on the table. Here are some easy weekend brunch ideas that pair beautifully with a cozy morning spread:

Mix and match a couple of these with your pancakes, add fresh fruit and coffee, and you’ve got a brunch that feels thoughtful without being complicated. If you’re building out your go-to list of easy weekend brunch ideas, this is a great place to start.

Quick Summary

  • Prep time: 10 minutes

  • Cook time: 10 minutes

  • Total time: 20 minutes

  • Yield: 10-12 pancakes

  • Texture: fluffy, soft

Ingredients

  • 100 g sourdough starter discard

  • 200 g all-purpose flour

  • 12 g matcha powder

  • 250 g milk

  • 50 g butter, melted

  • 40 g honey

  • 2 eggs

  • 8 g baking powder

  • 3 g salt

  • 6 g vanilla extract

Instructions

  1. Mix the wet ingredients
    In a large bowl, whisk together the sourdough starter discard, milk, melted butter, honey, eggs, and vanilla extract until smooth.

  2. Combine the dry ingredients
    In a separate bowl, sift together the flour, matcha powder, baking powder, and salt. Sifting helps prevent clumps—especially important with matcha.

  3. Make the batter
    Gradually add the dry ingredients into the wet mixture, stirring gently until just combined. Be careful not to overmix; a few lumps are fine.

  4. Rest the batter (optional but recommended)
    Let the batter sit for 5–10 minutes. This allows the flour to hydrate and gives you fluffier pancakes.

  5. Cook the pancakes
    Heat a non-stick pan or griddle over medium heat and lightly grease it. Pour about 1/4 cup of batter for each pancake. Cook until bubbles form on the surface (about 2–3 minutes), then flip and cook for another 1–2 minutes until done.

  6. Serve and enjoy
    Serve warm with butter, maple syrup, fresh fruit, or a dusting of powdered sugar.

If you’re in a matcha baking mood, don’t miss my Matcha Strawberry Cake — a fluffy, sweet layered cake that pairs perfectly with the earthy flavor of matcha.

👉 Matcha Strawberry Cake

Shop My Matcha Baking Favorites

If you love making matcha recipes at home, these are the kitchen tools and ingredients I use most often

Baking Essentials

Cozy Coffee Bar Favorites

FAQs

Why are my sourdough discard pancakes dense?
Usually from overmixing or inactive discard. Stir just until combined and make sure your leavening is fresh.

Can I taste the sourdough in pancakes?
Slightly. It adds a mild tang that balances the sweetness but isn’t overpowering.

Does matcha lose flavor when cooked?
A bit, which is why using a good-quality matcha and enough quantity matters.

Can I make the batter ahead of time?
Yes, but cook within a few hours for best texture.

What’s the best matcha for pancakes?
Culinary-grade matcha works best—it’s more affordable and designed for baking.

Troubleshooting

  • Pancakes too bitter → too much matcha or low-quality powder

  • Flat pancakes → batter too thin or old baking powder

  • Gummy inside → heat too high, outside cooked too fast

  • Too sour → discard was very old; balance with a bit more honey

Variations

  • Vegan: swap eggs + milk for plant-based alternatives

  • Dairy-free: use oil instead of butter

  • Banana matcha pancakes: add mashed banana

  • Protein pancakes: add a scoop of vanilla protein powder

Save This Recipe

Whether you're planning ahead for a special occasion or adding a new favorite to your recipe collection, I've included a printable recipe card below so it's easy to save, print, and share with the people you love.

Soft and airy green pancakes on breakfast table
Matcha sourdough discard pancakes with butter and maple syrup topping
Close-up of fluffy pancakes showing green color
Matcha sourdough discard pancakes served with butter
Breakfast scene featuring fluffy matcha sourdough discard pancakes
green matcha pancakes made from sourdough discard batter
Light and fluffy matcha sourdough discard pancakes with butter
Cozy breakfast plate of matcha sourdough discard pancakes and coffee

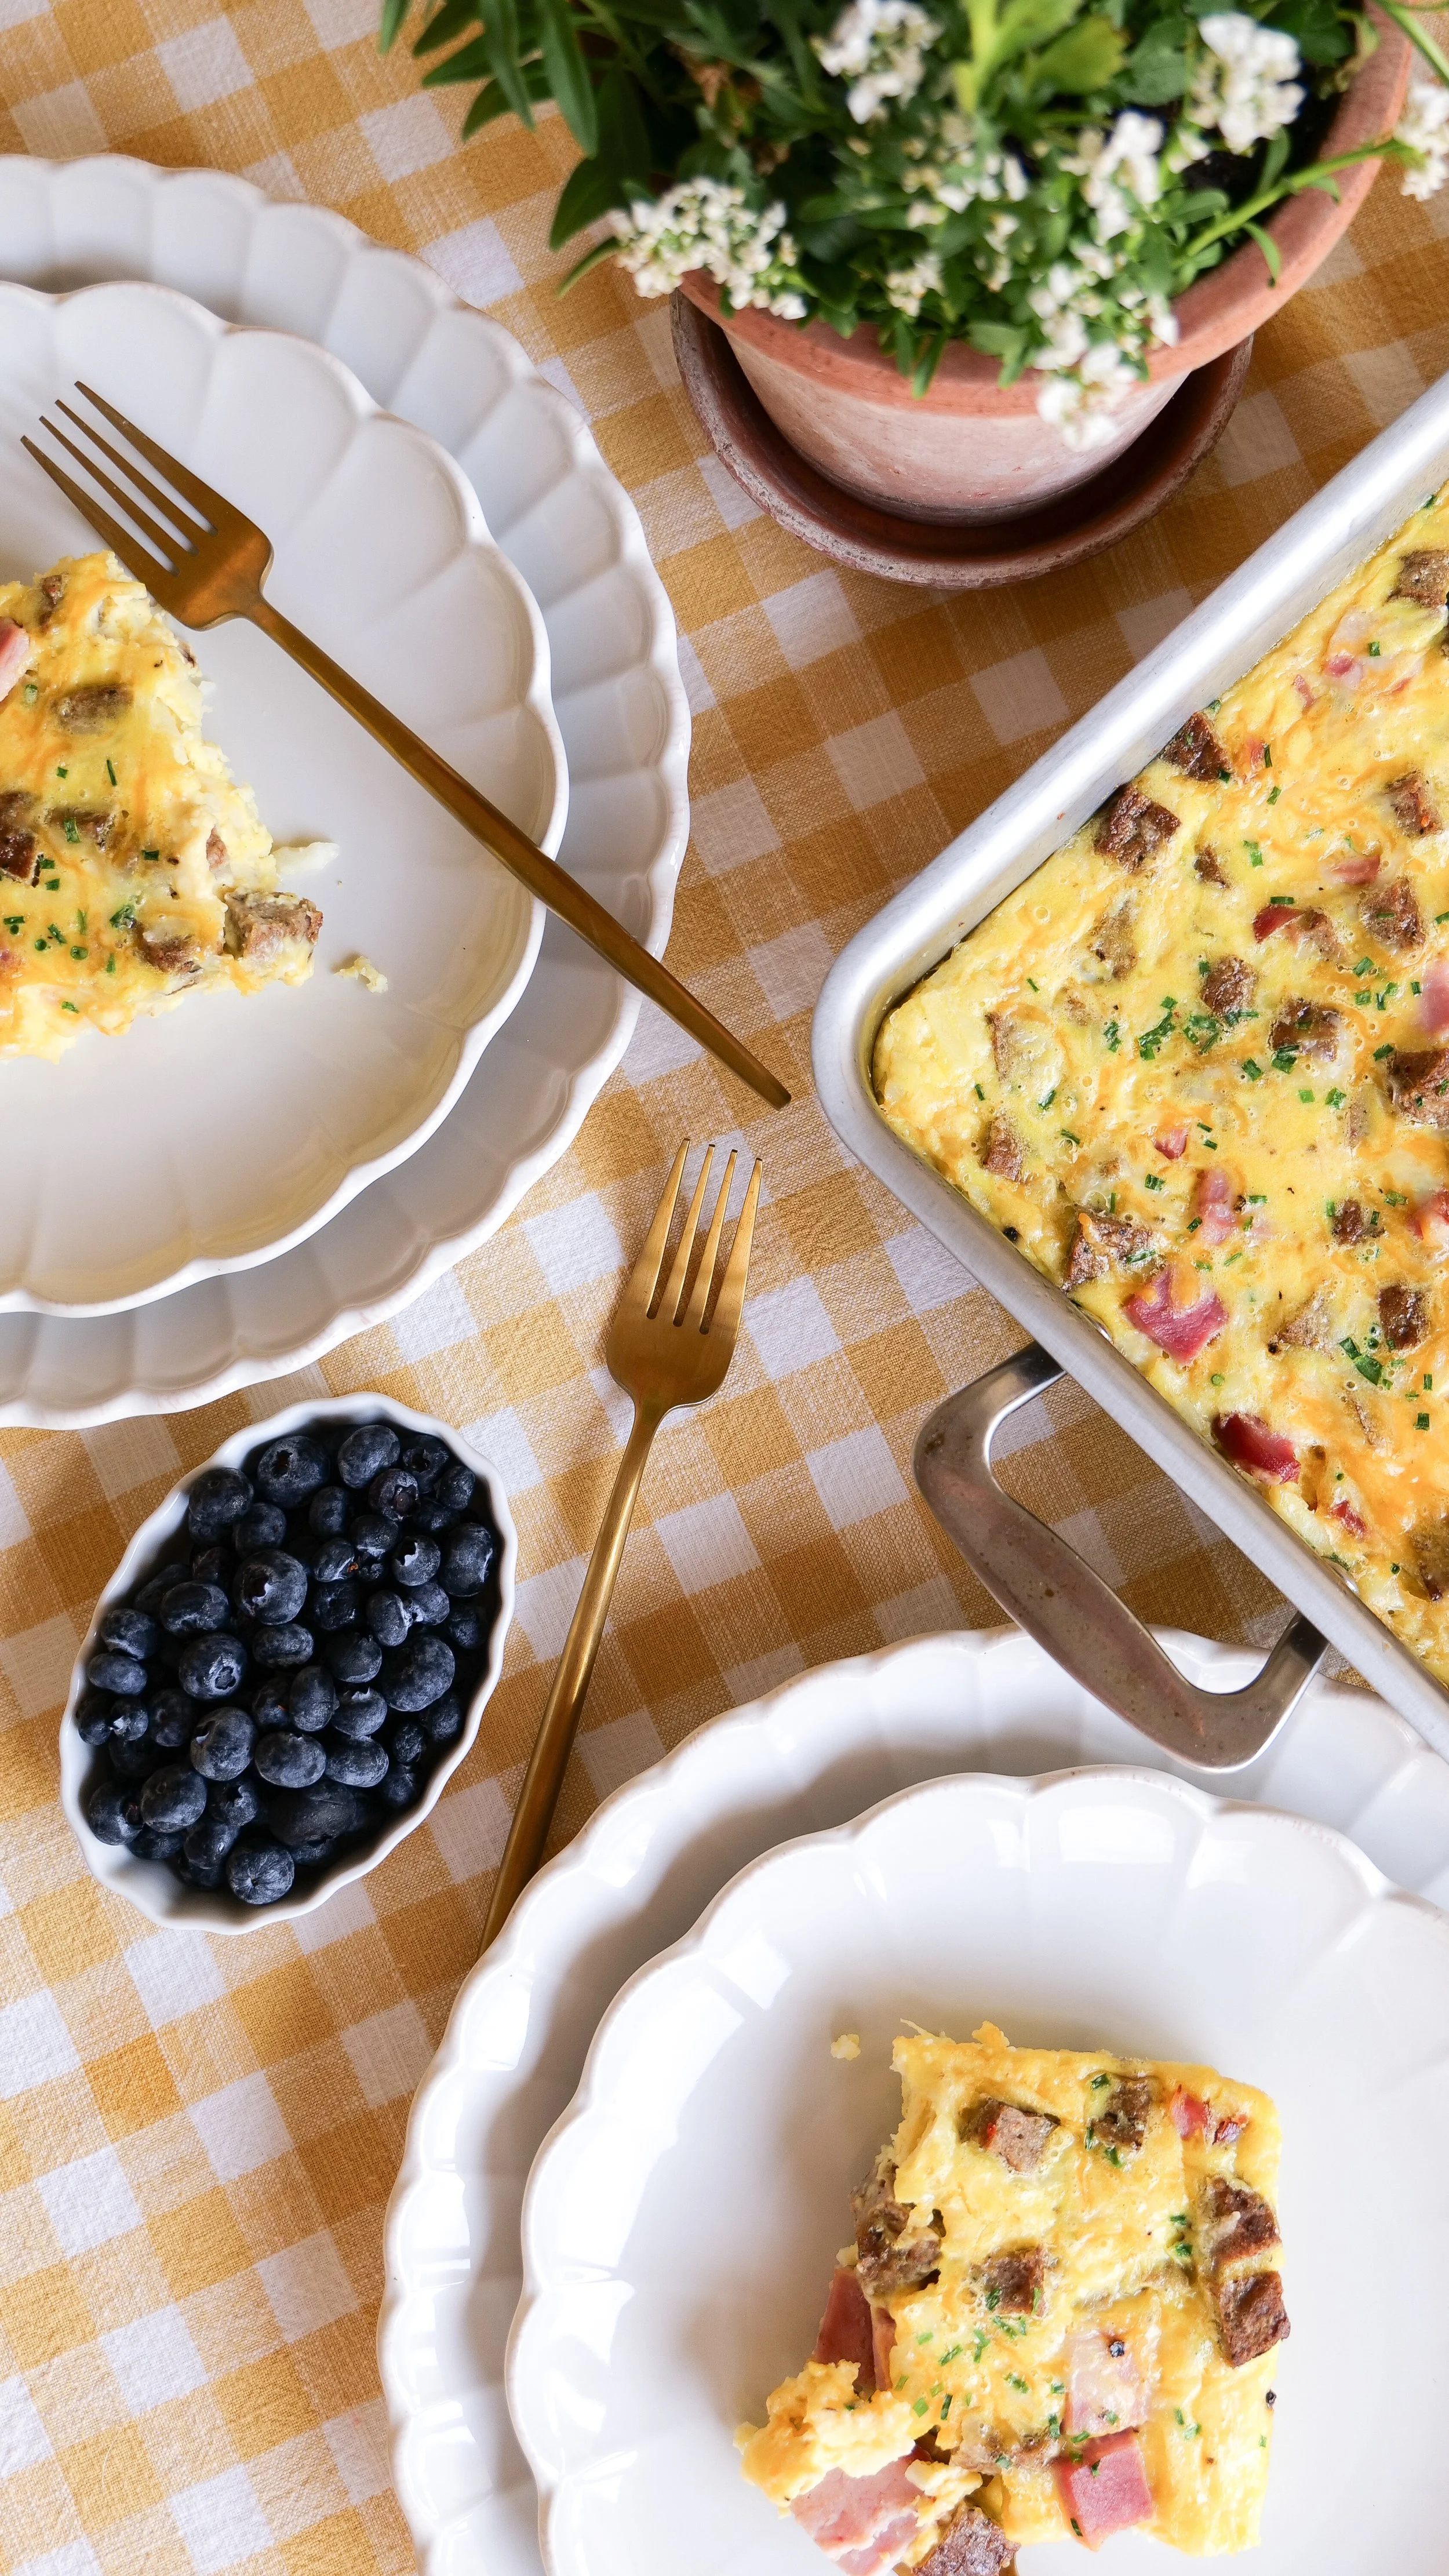
Easy Hash Brown Breakfast Casserole Recipe (Perfect for Brunch & Holidays)

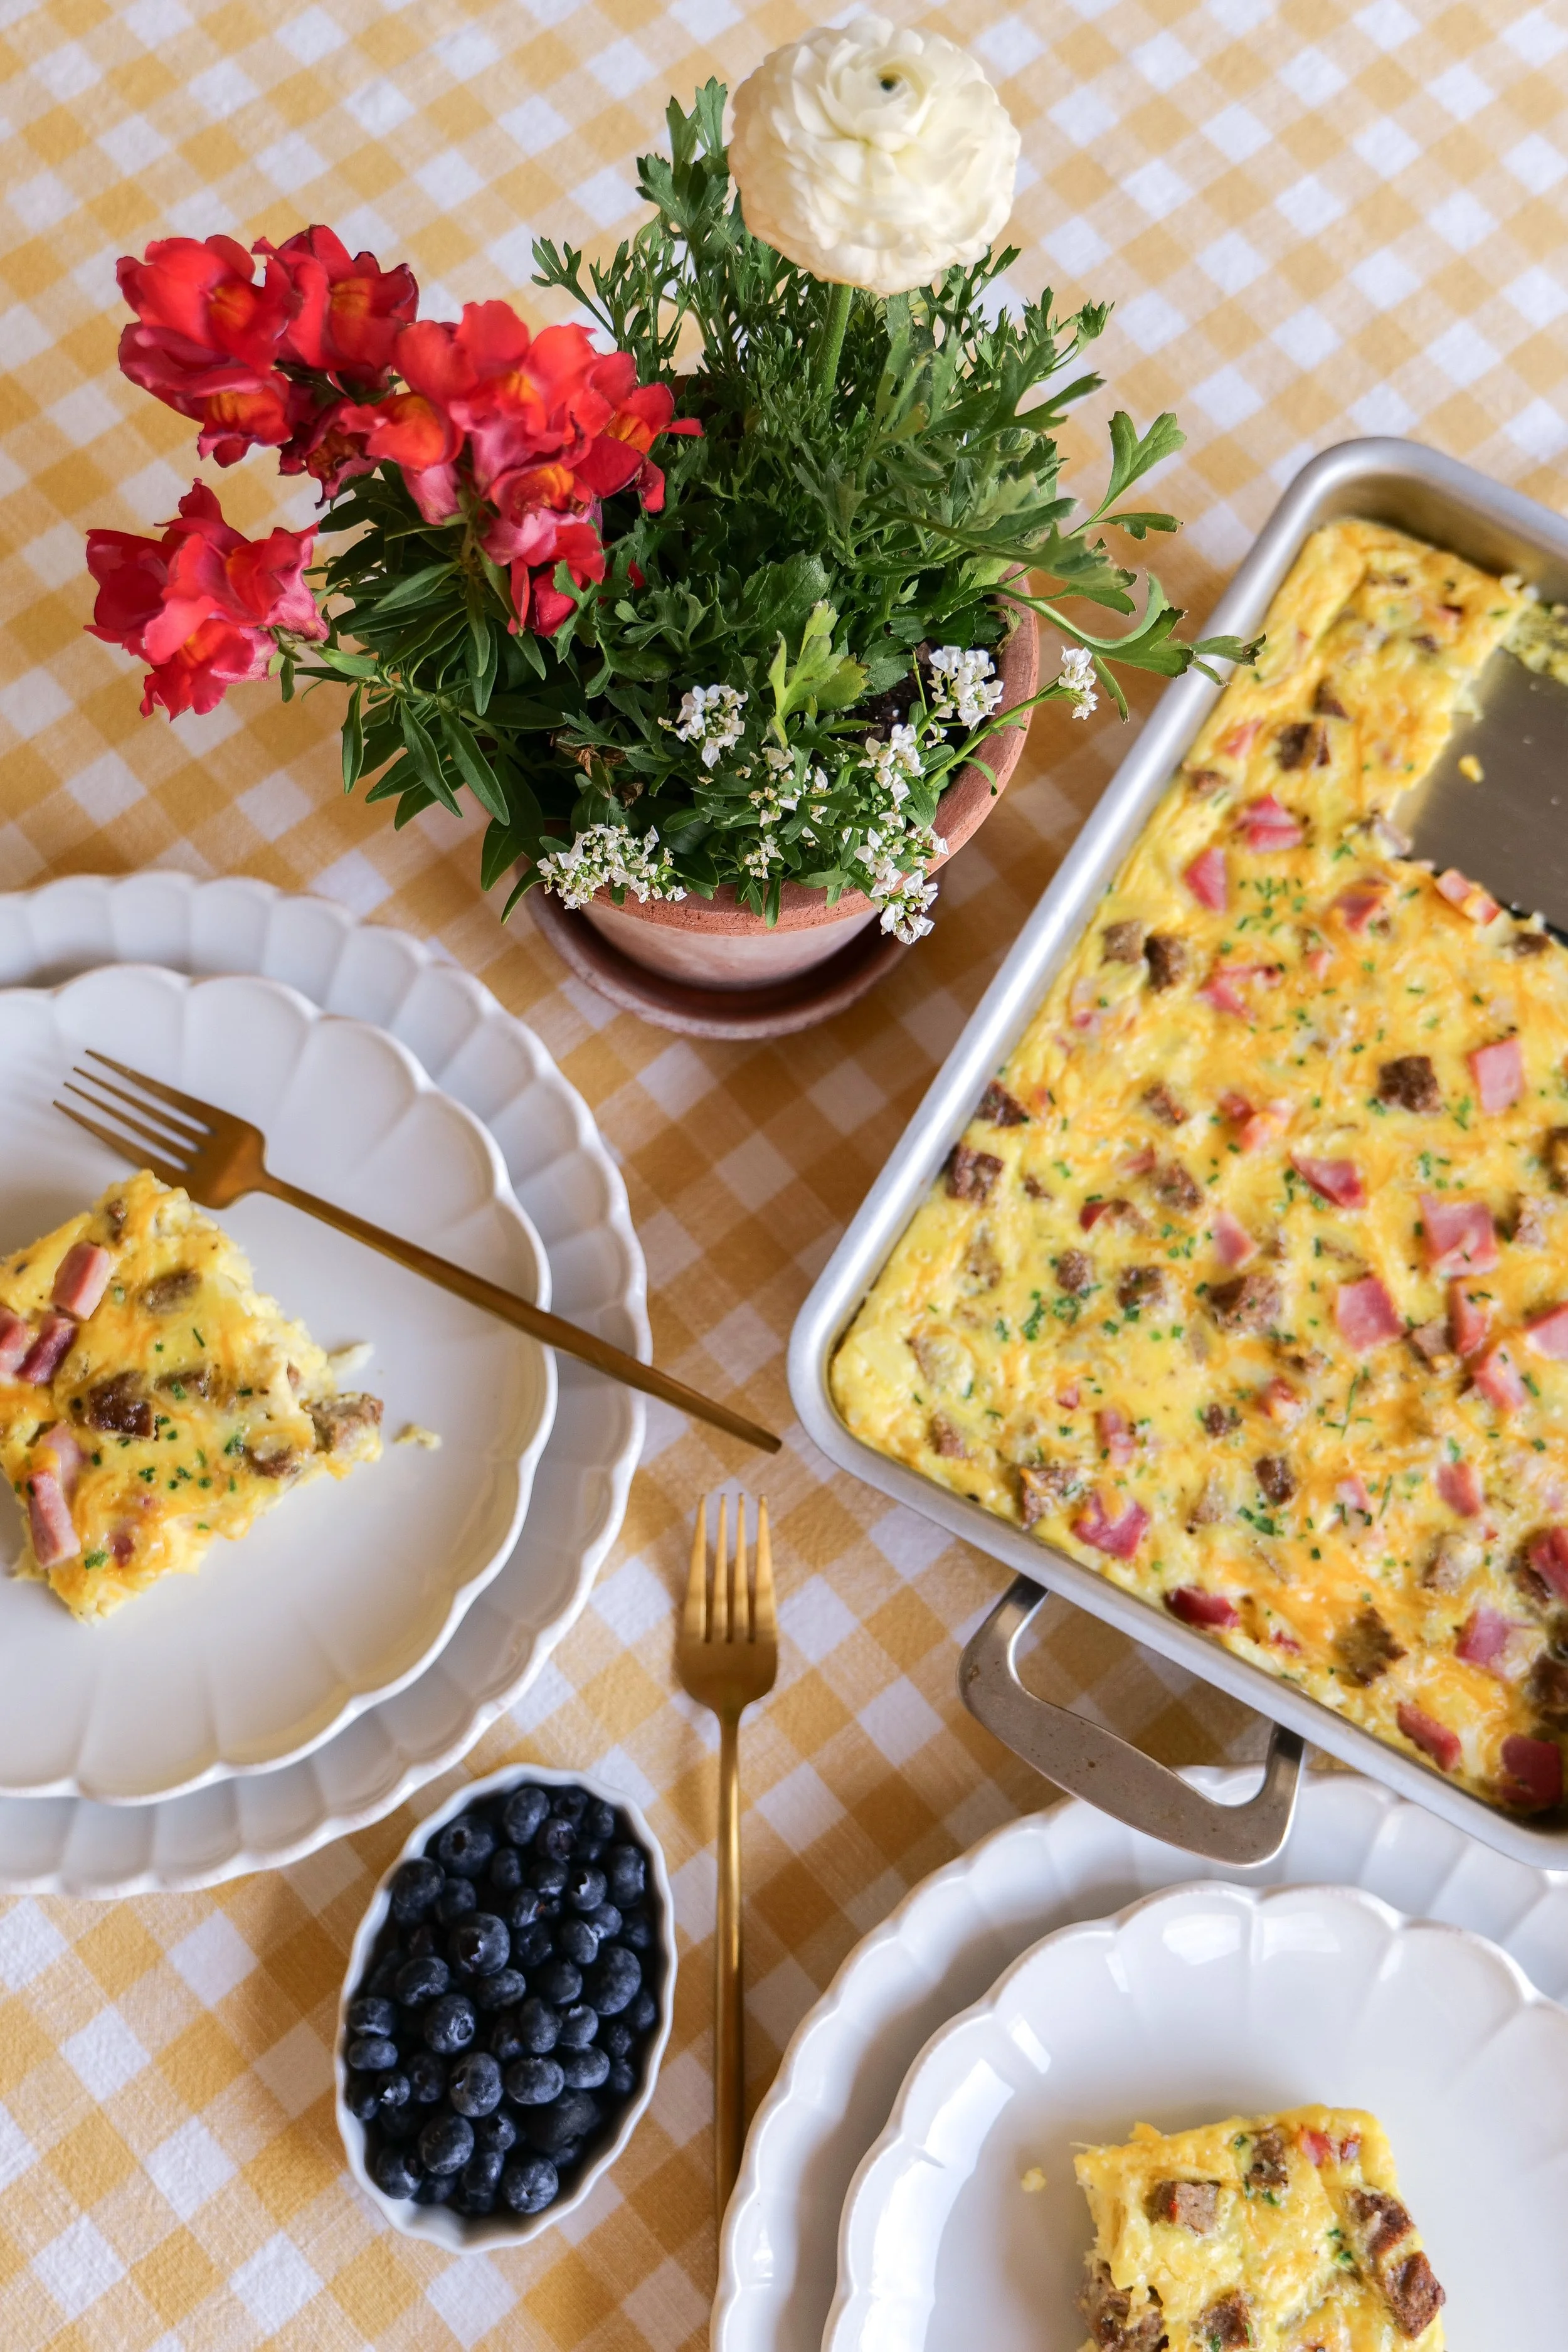
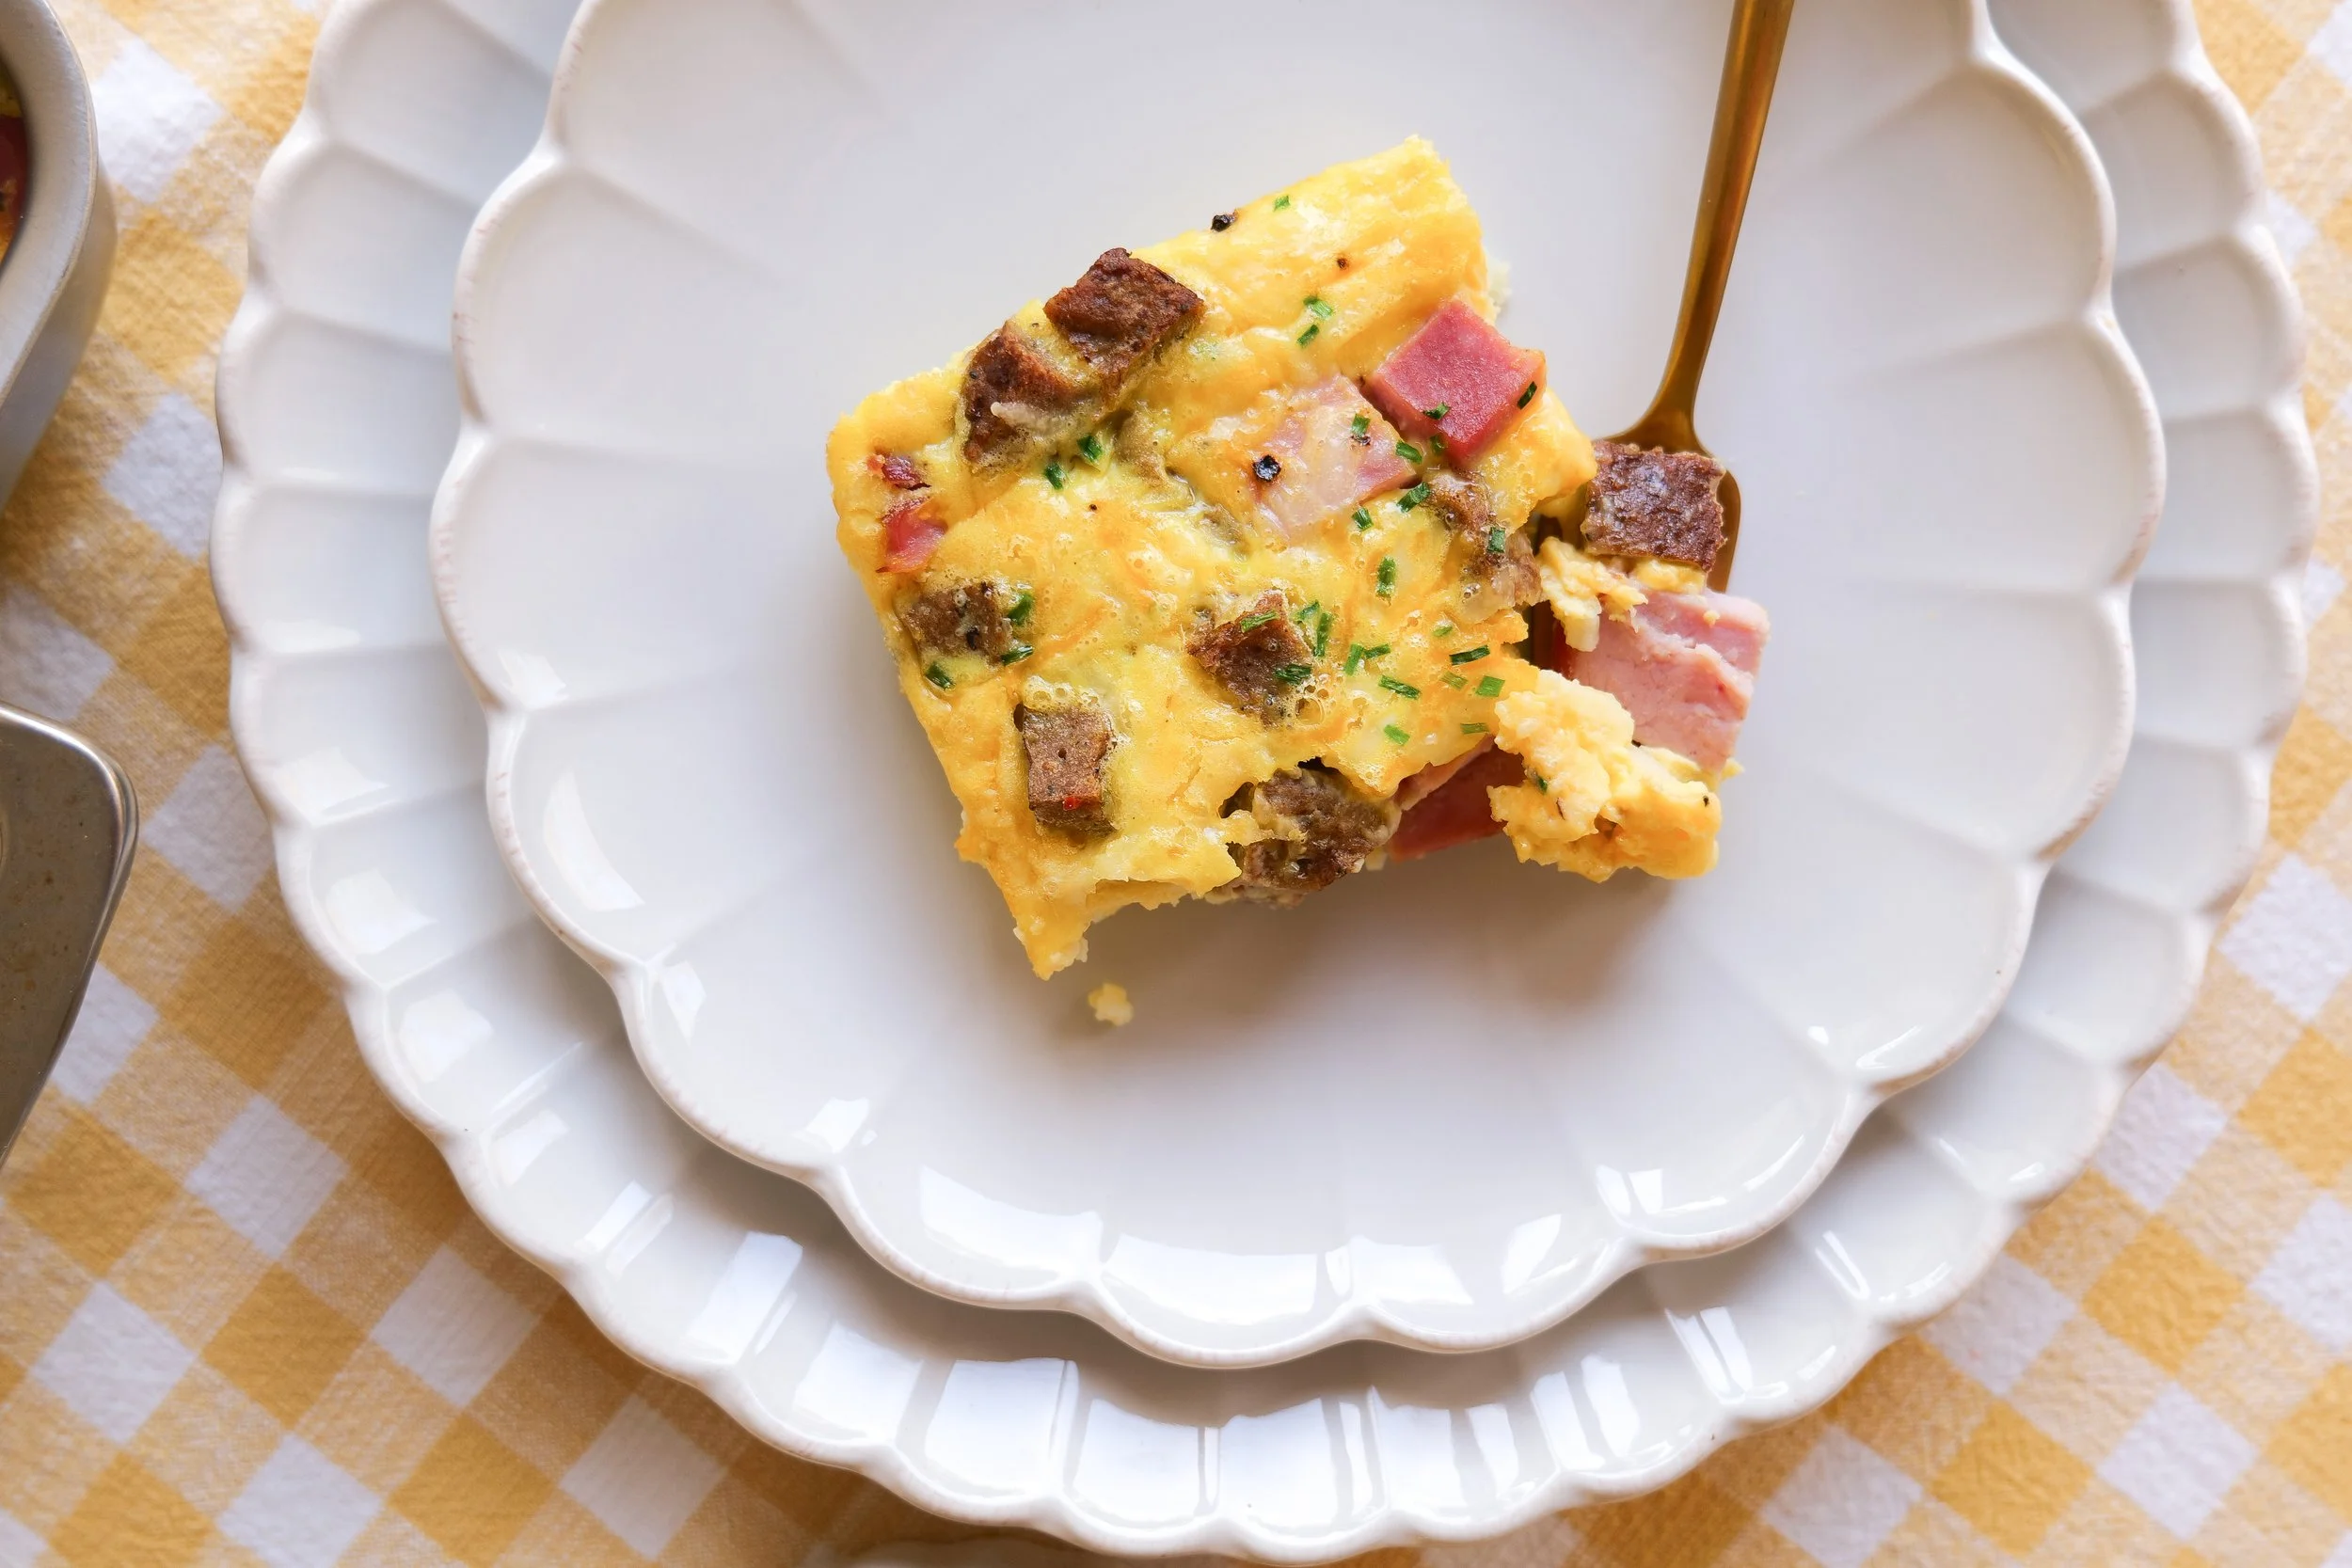
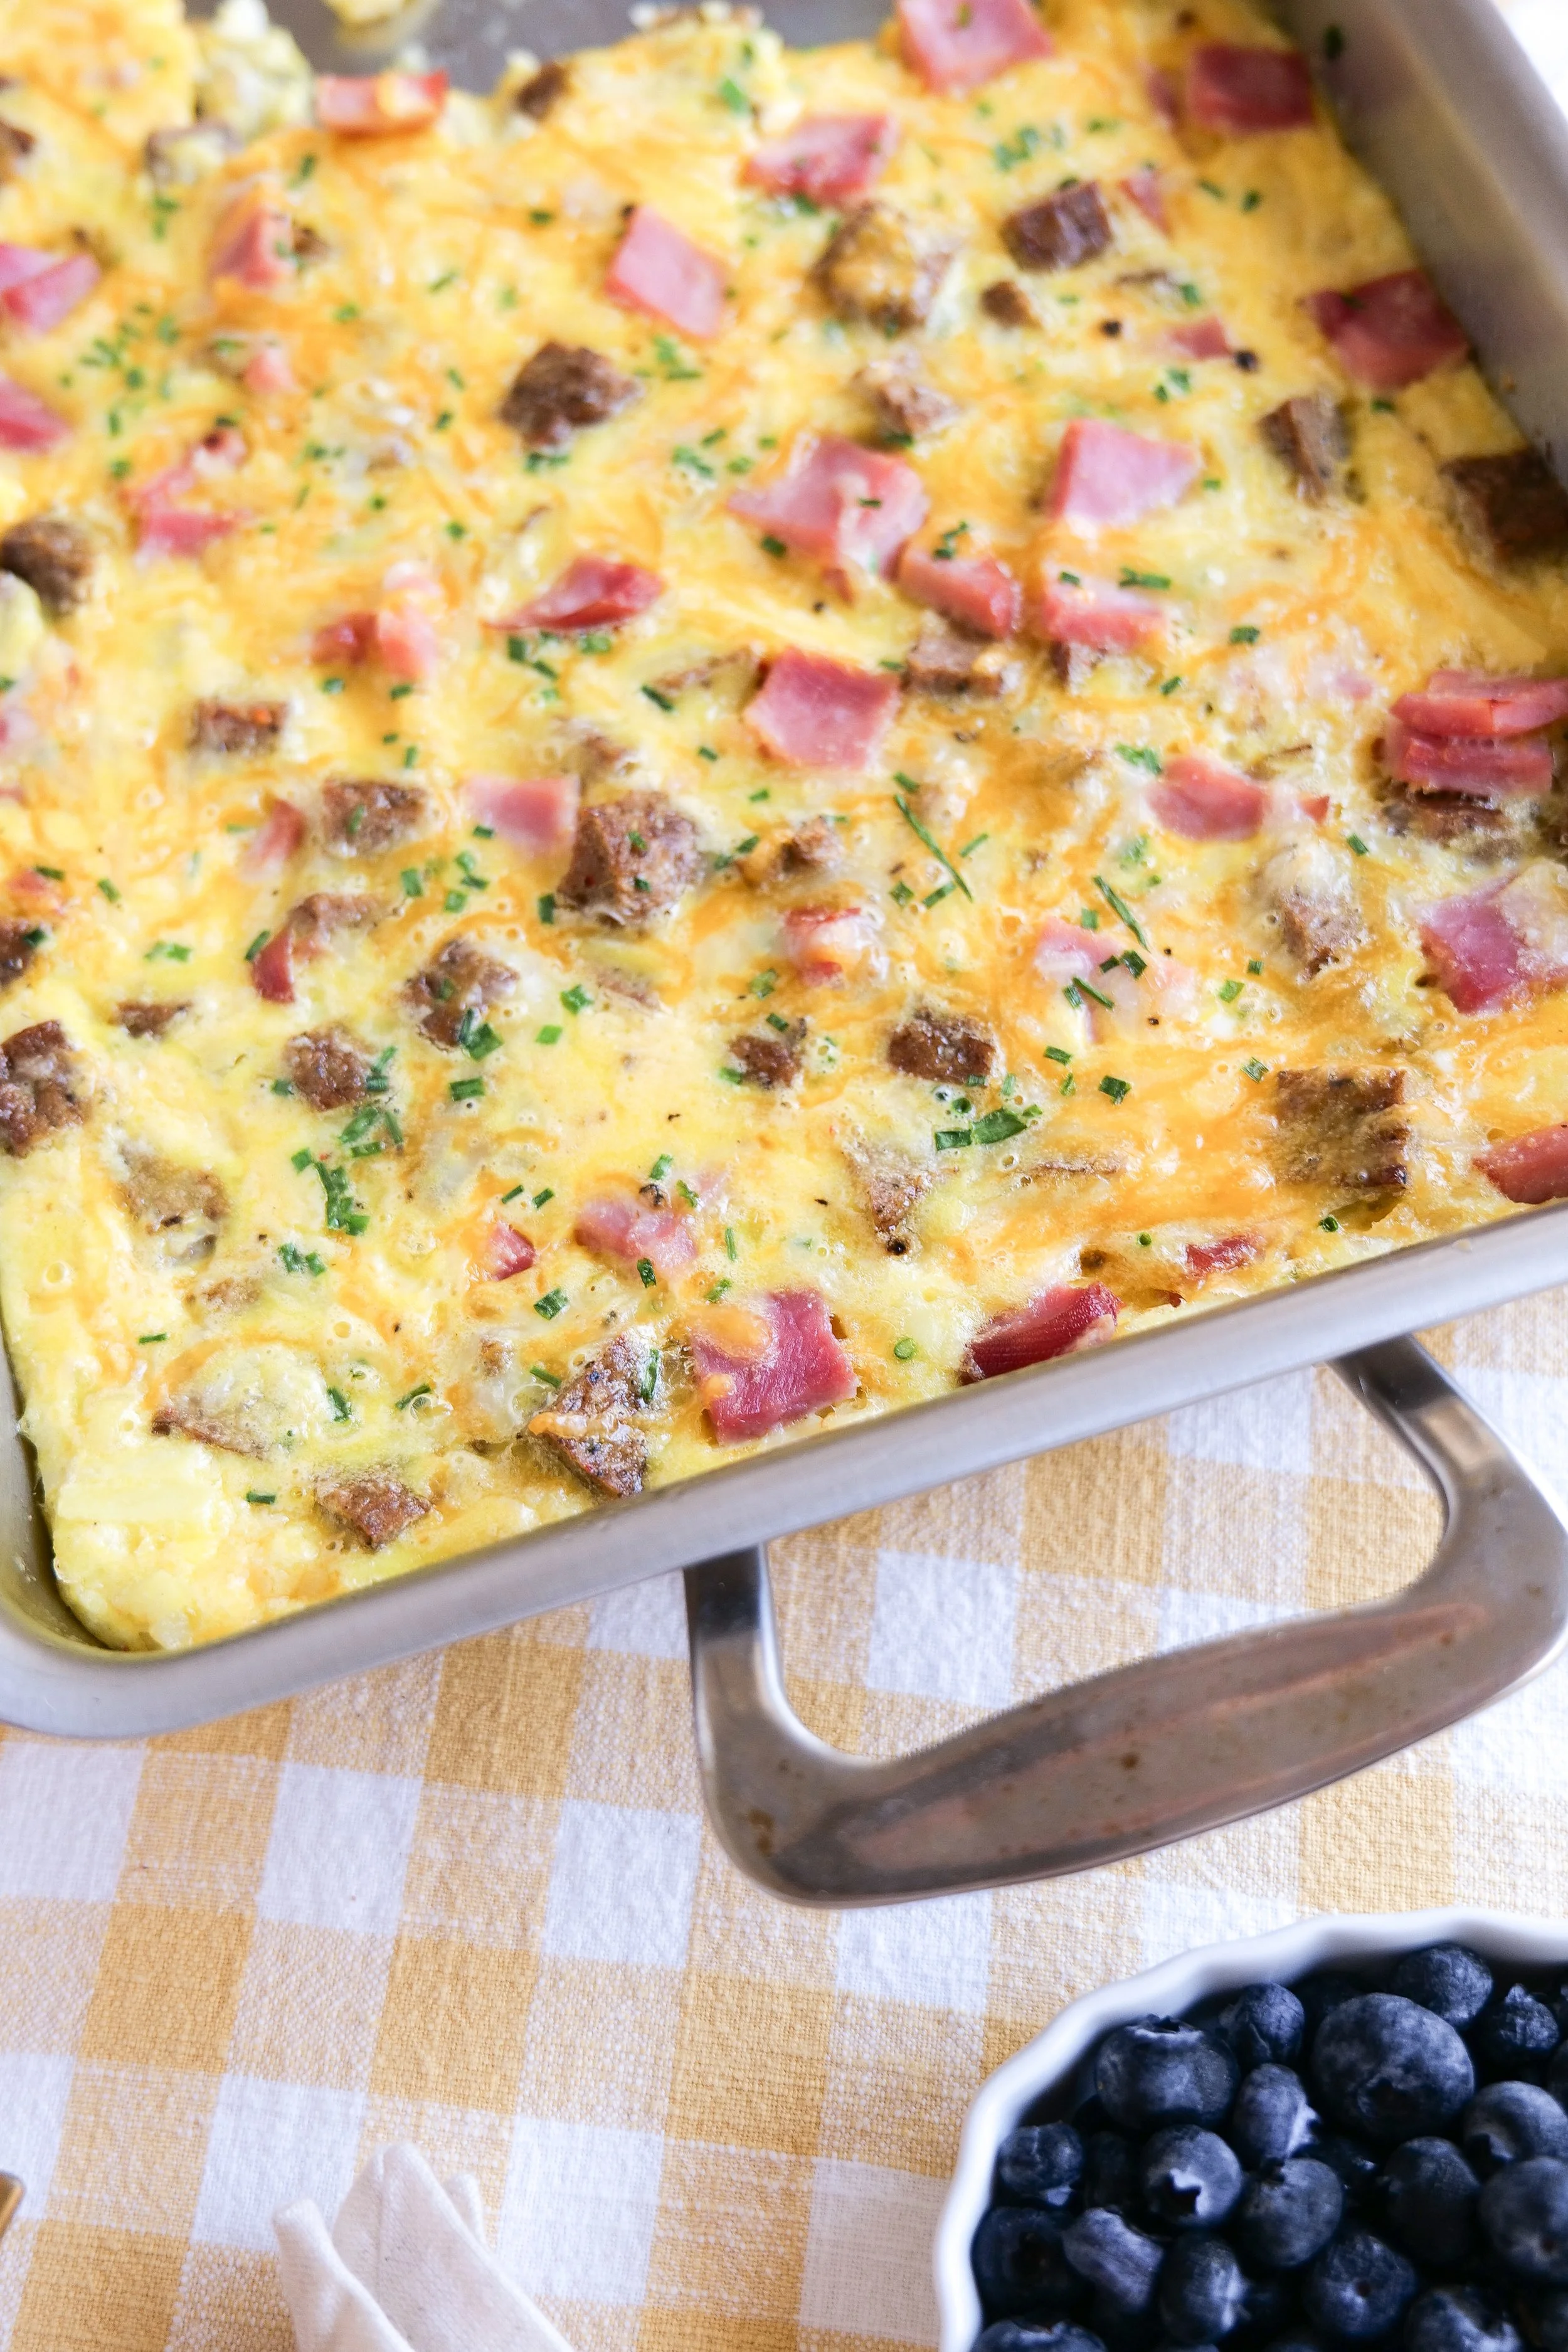
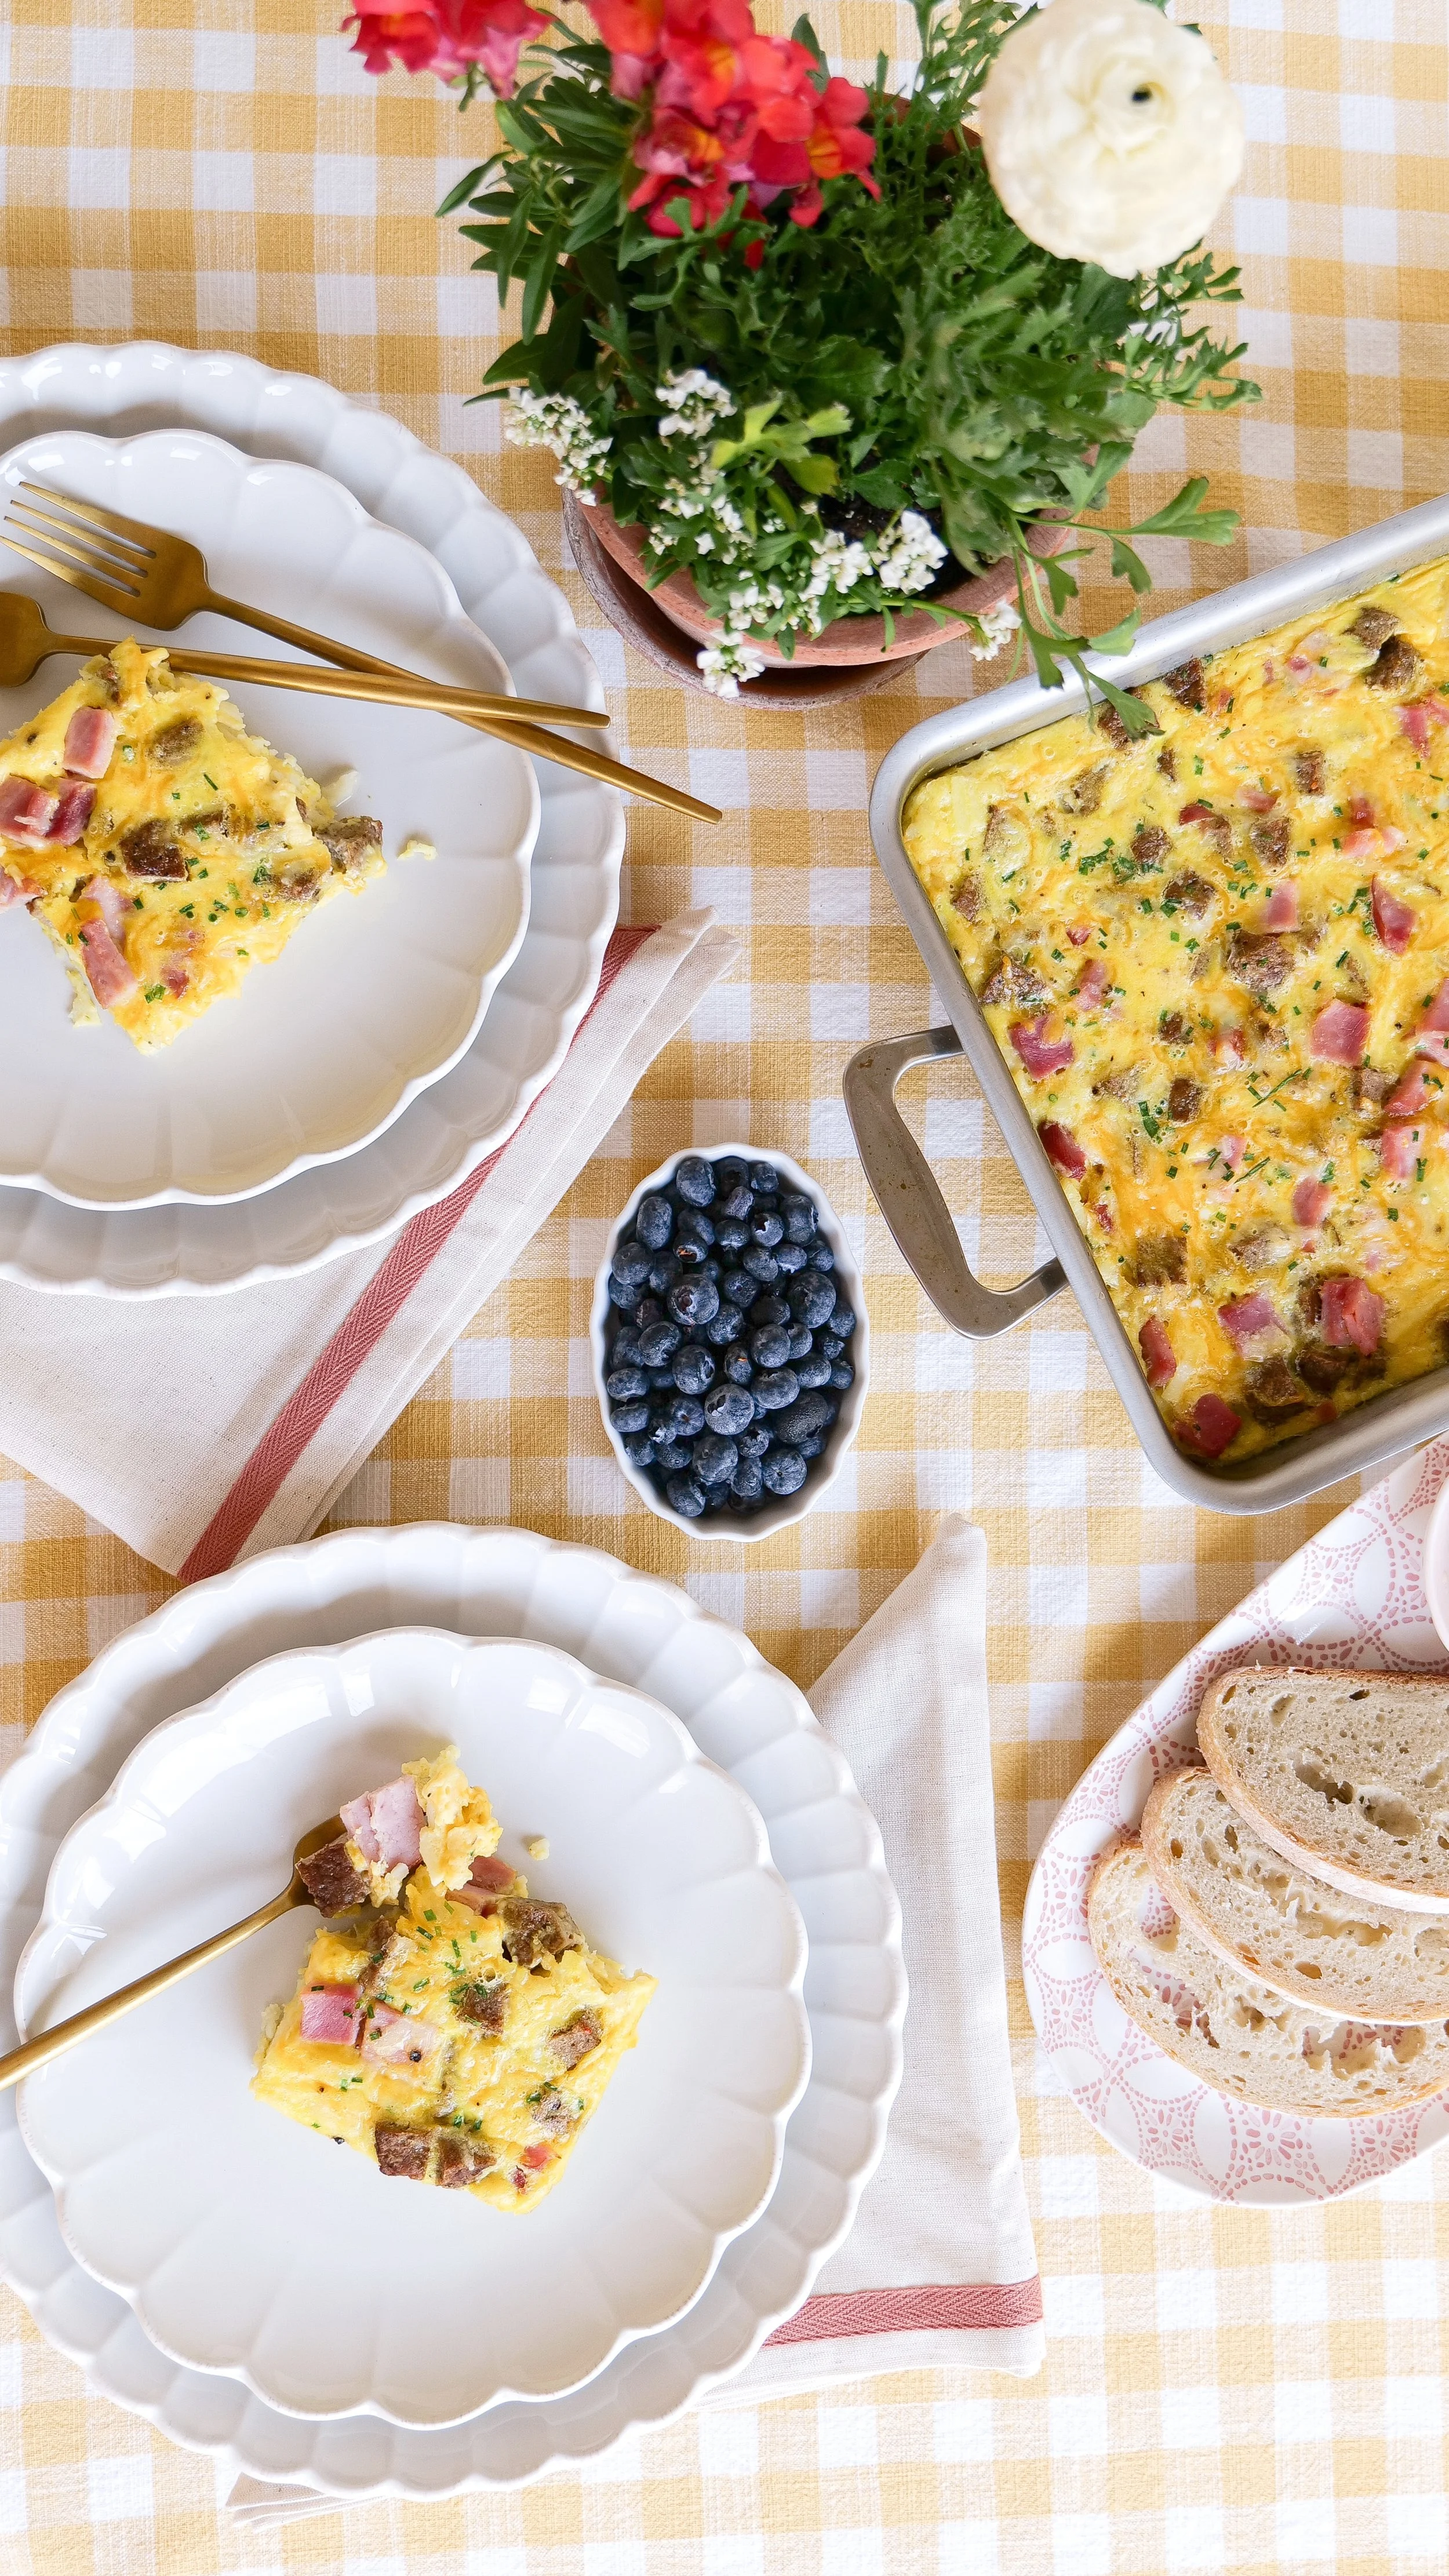
This easy breakfast casserole recipe is the ultimate make-ahead breakfast for busy mornings, holiday gatherings, baby showers, brunches, and feeding a crowd. Made with crispy hash browns, savory breakfast sausage, fluffy eggs, and melted cheese, this hearty casserole is packed with comforting flavors that everyone loves.

↓ Skip to Recipe

One of my favorite things about this hash brown breakfast casserole is how simple it is to prepare. You can assemble it the night before and bake it fresh in the morning, making it perfect for Christmas morning, Easter brunch, Mother's Day breakfast, or any weekend gathering. Whether you're serving family or hosting friends, this easy breakfast casserole is always one of the first dishes to disappear.

Why You'll Love This Breakfast Casserole

• Perfect for holidays, brunches, and meal prep

• Easy to make ahead the night before

• Feeds a crowd with minimal effort

• Packed with sausage, eggs, cheese, and hash browns

• Great for freezing and reheating later

• Family-friendly and customizable

Perfect For

  • Christmas Morning Breakfast

  • Easter Brunch

  • Mother's Day Breakfast

  • Baby Showers

  • Weekend Brunches

  • Feeding a Crowd

  • Meal Prep Breakfasts

Easy Hash Brown Breakfast Casserole
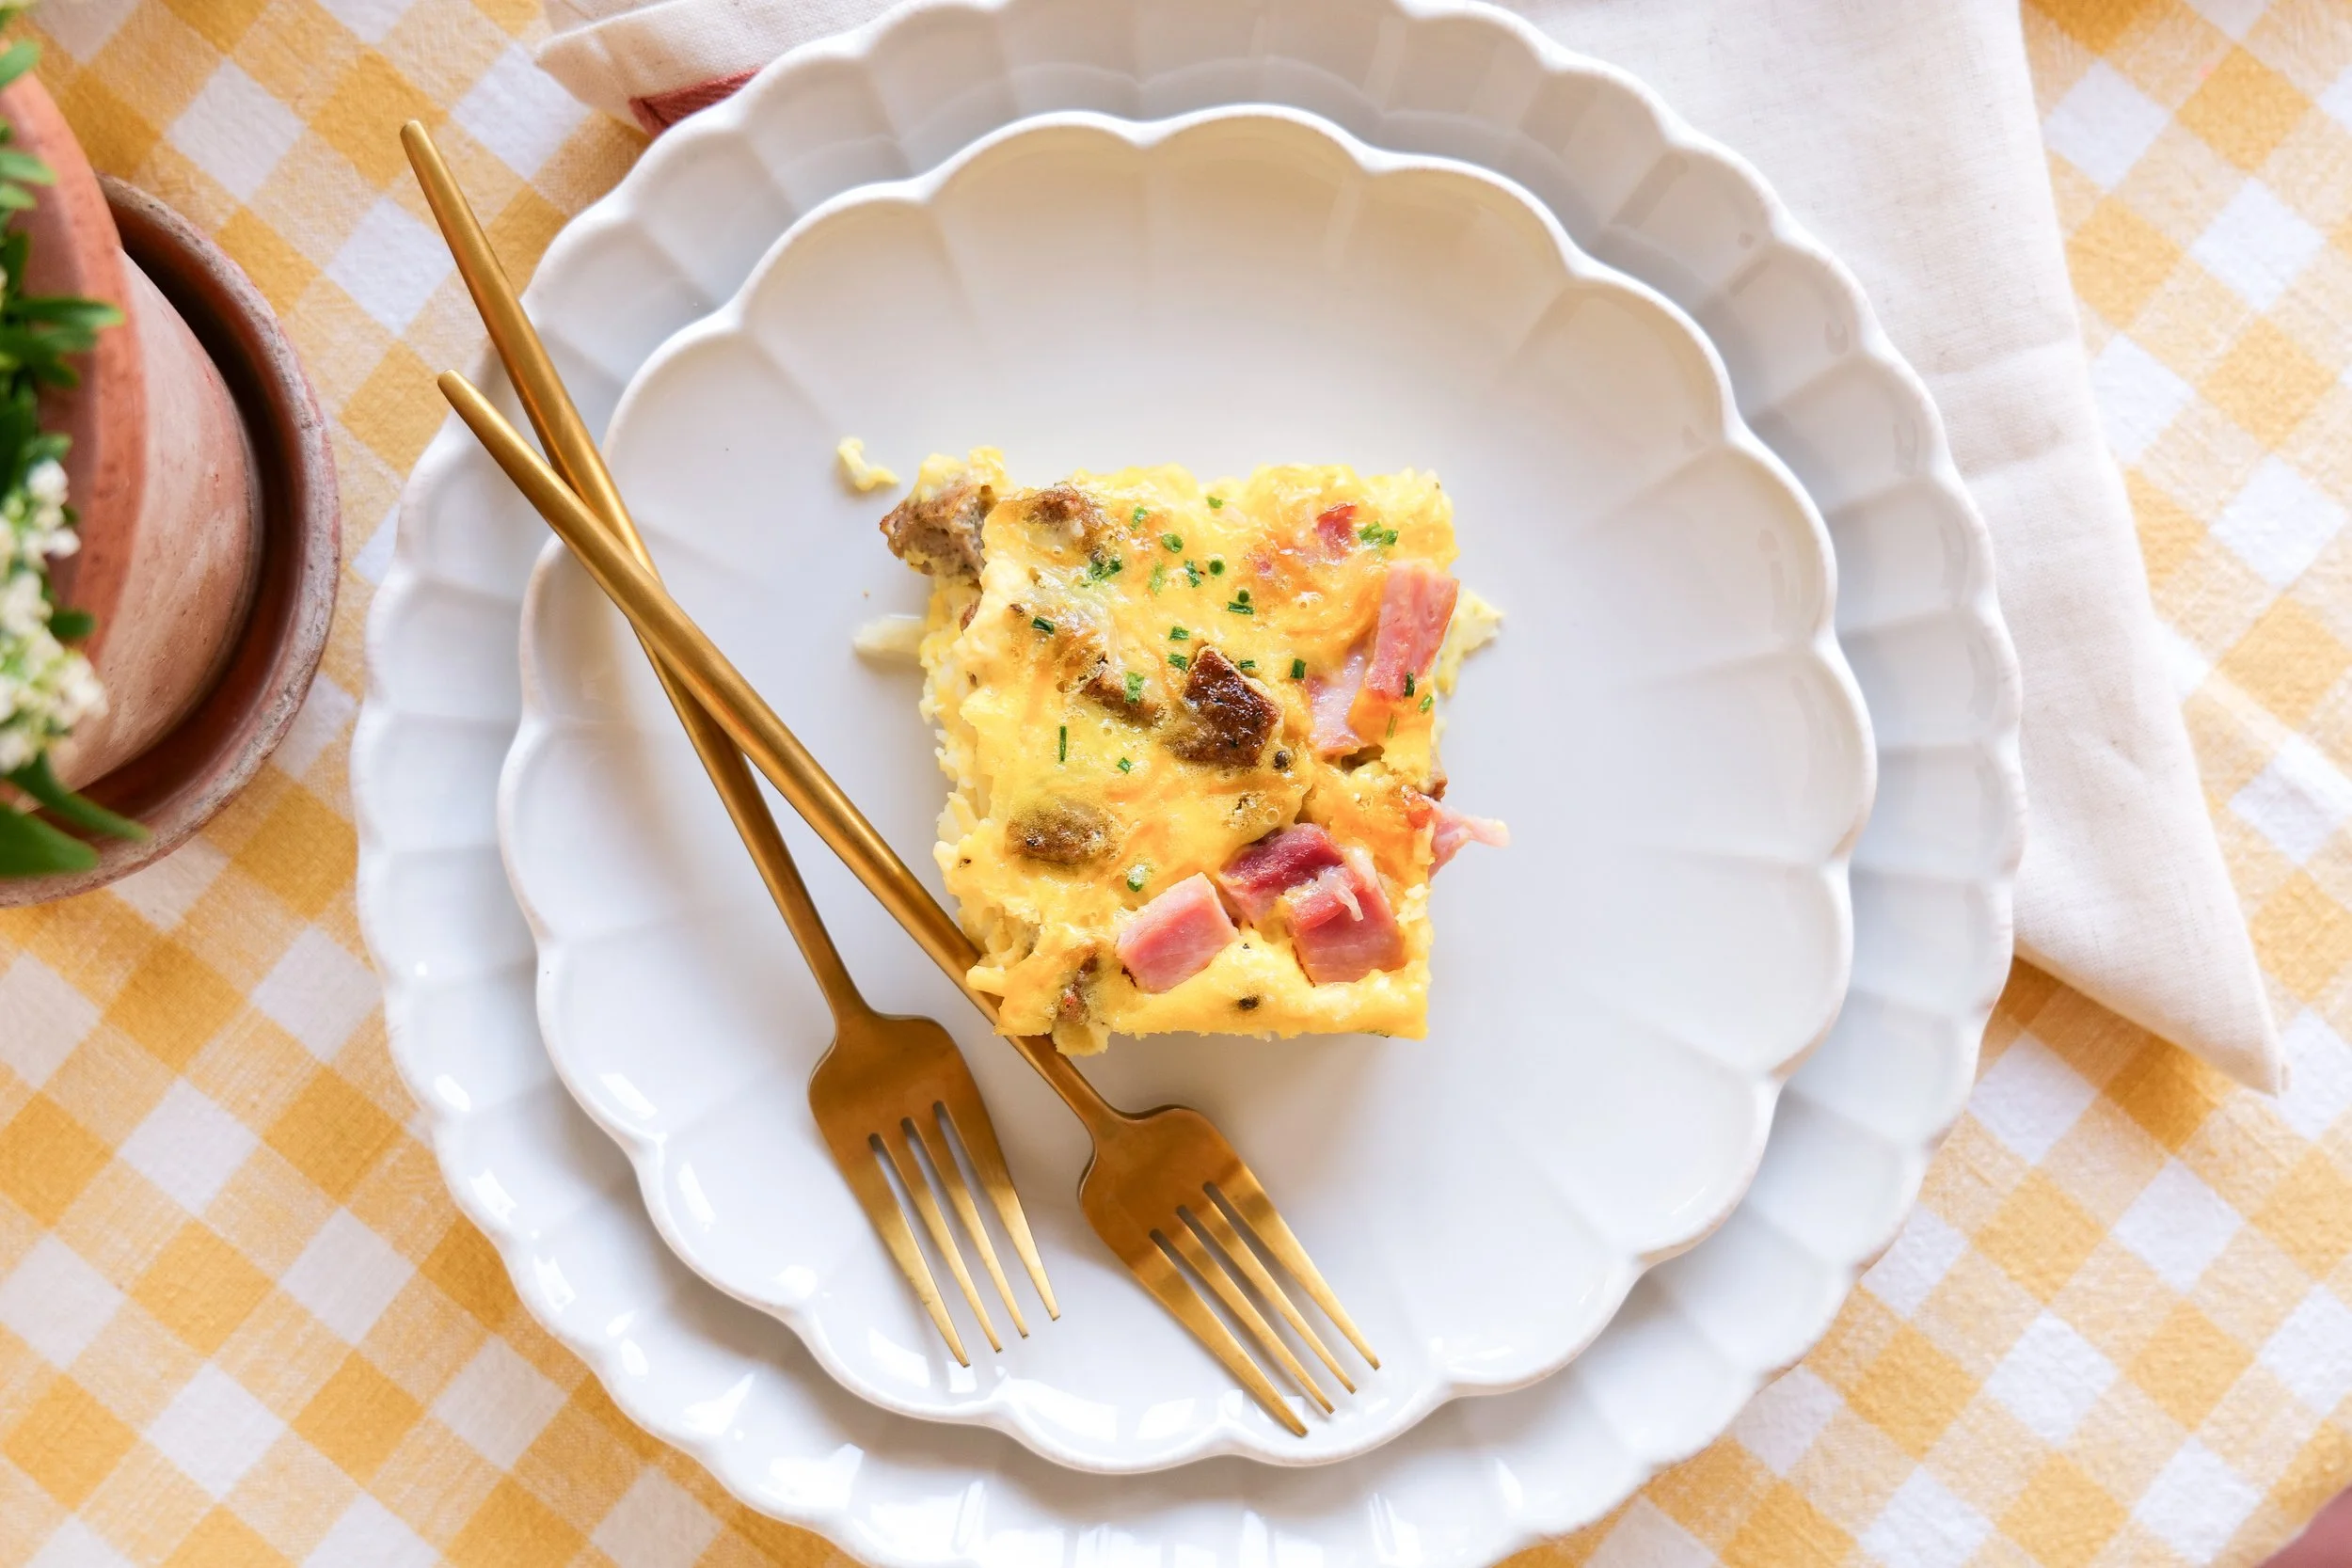
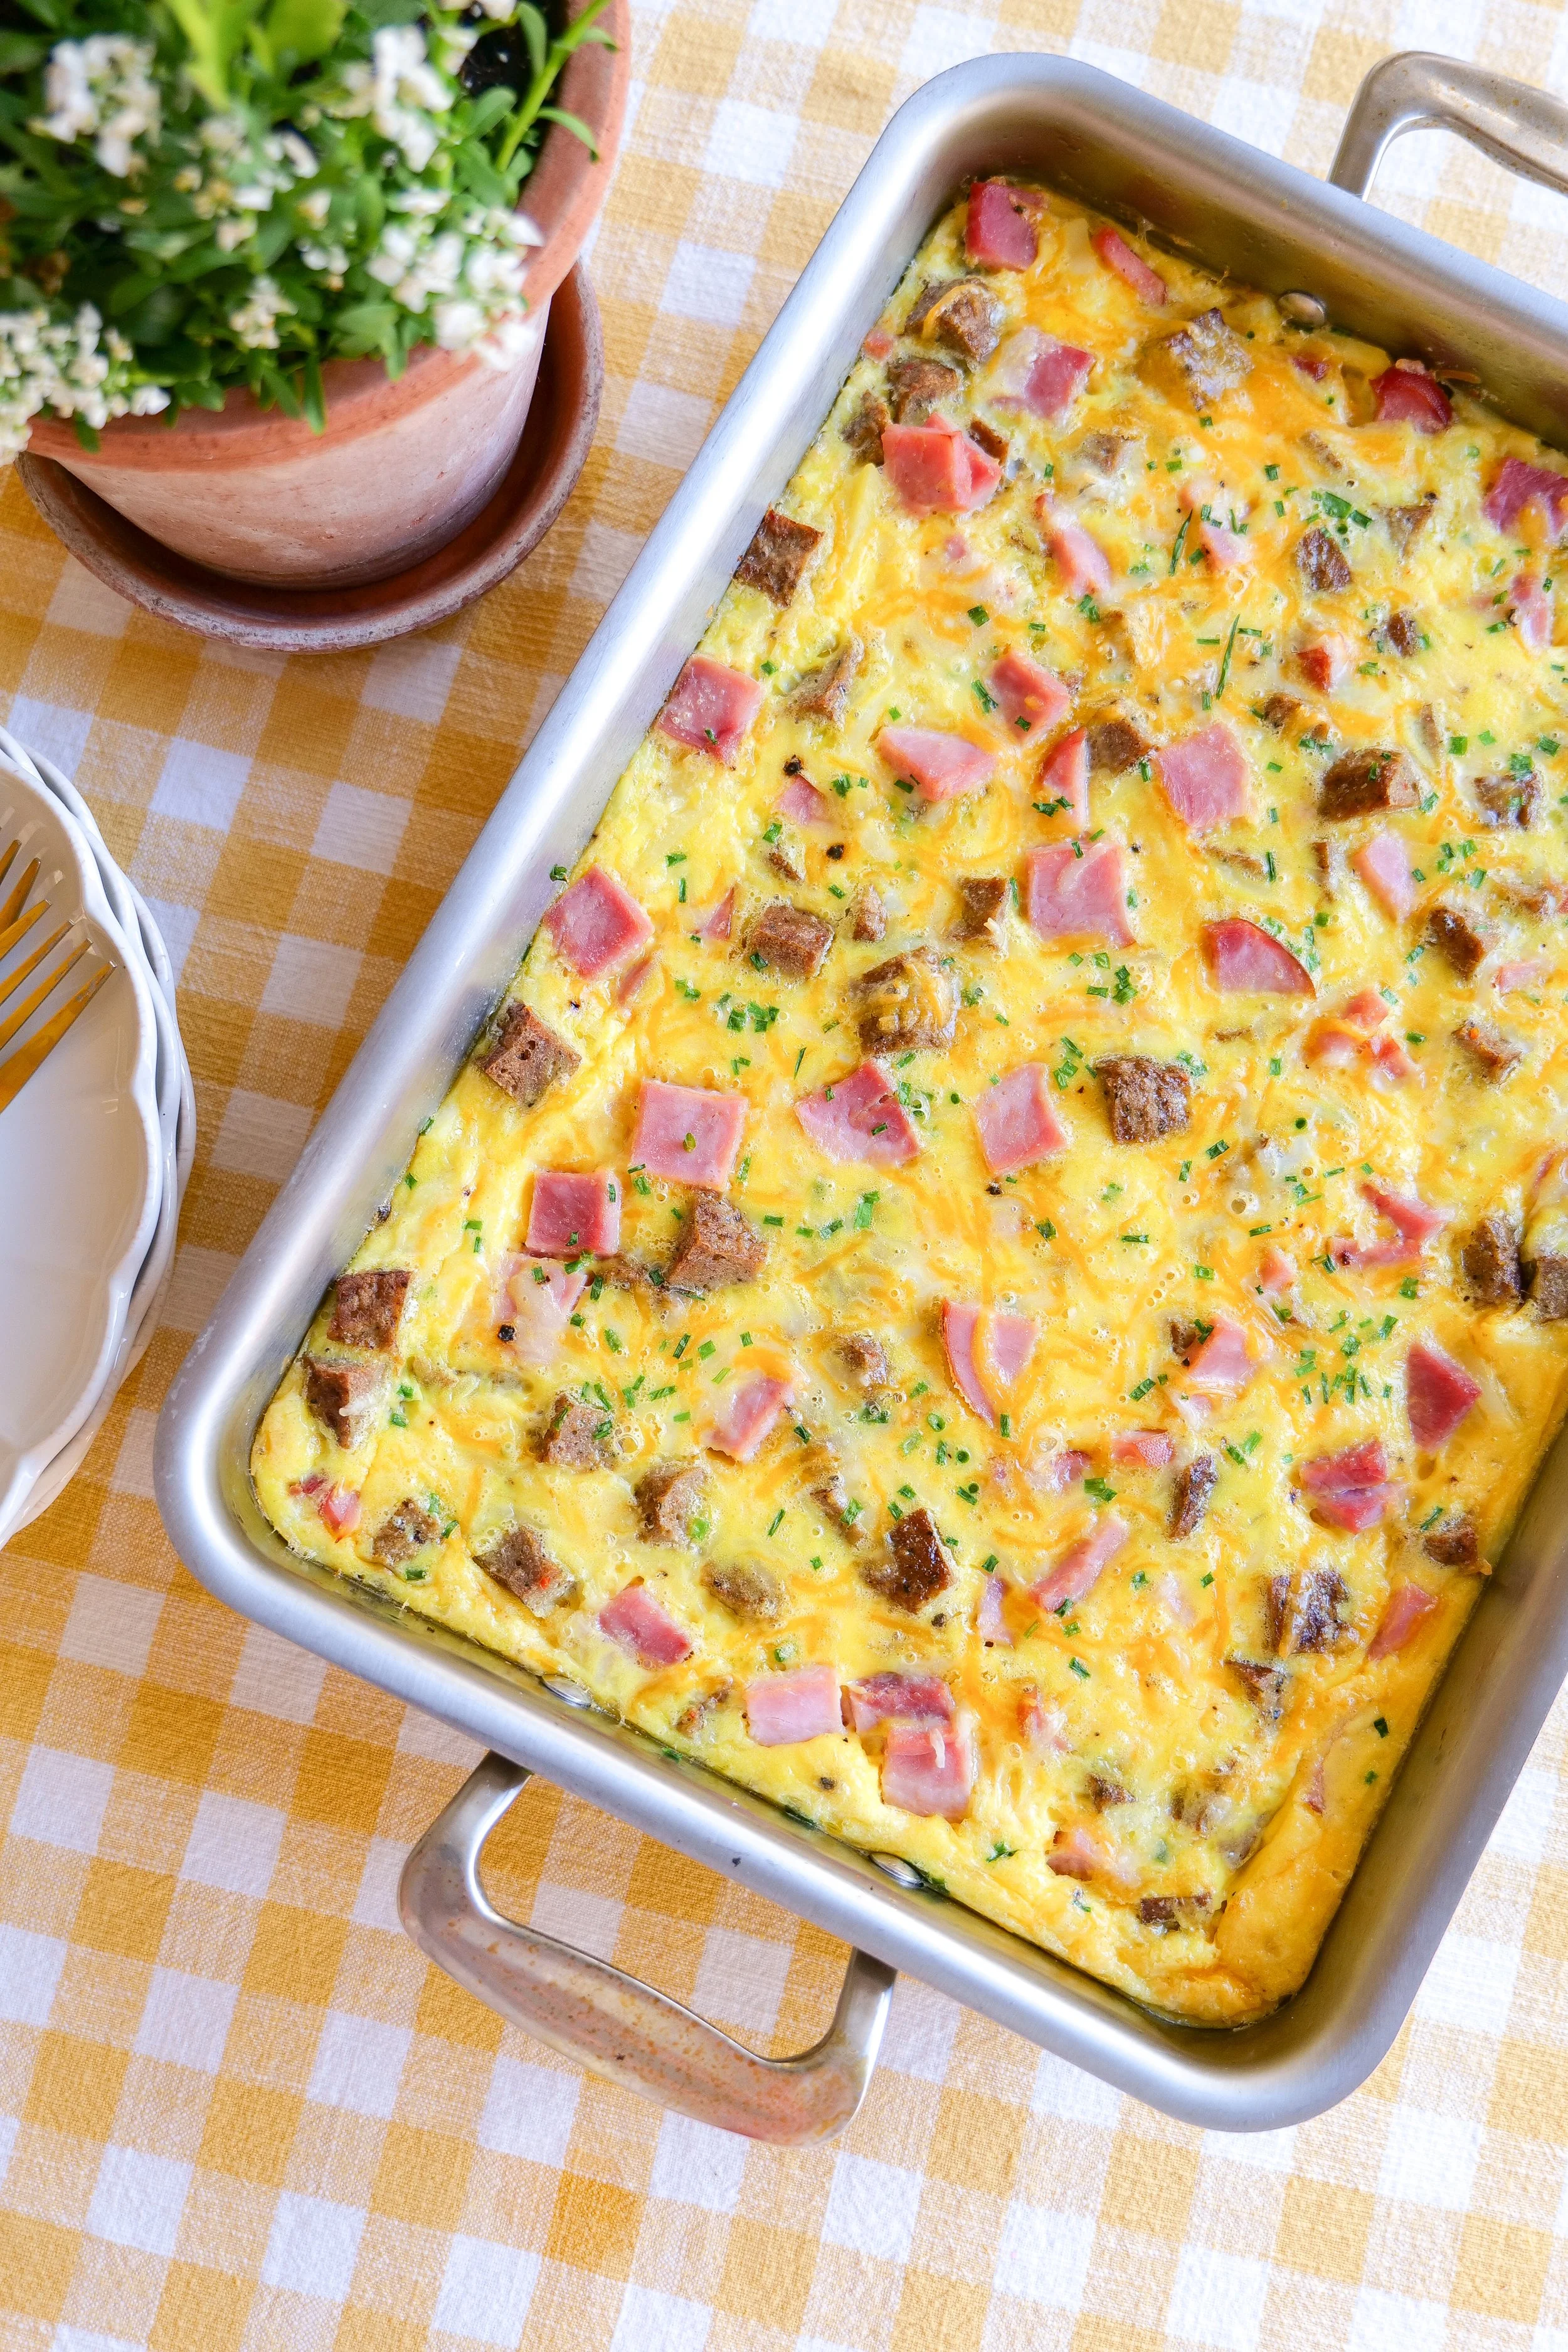
Easy breakfast casserole baked until golden and served warm for breakfast.
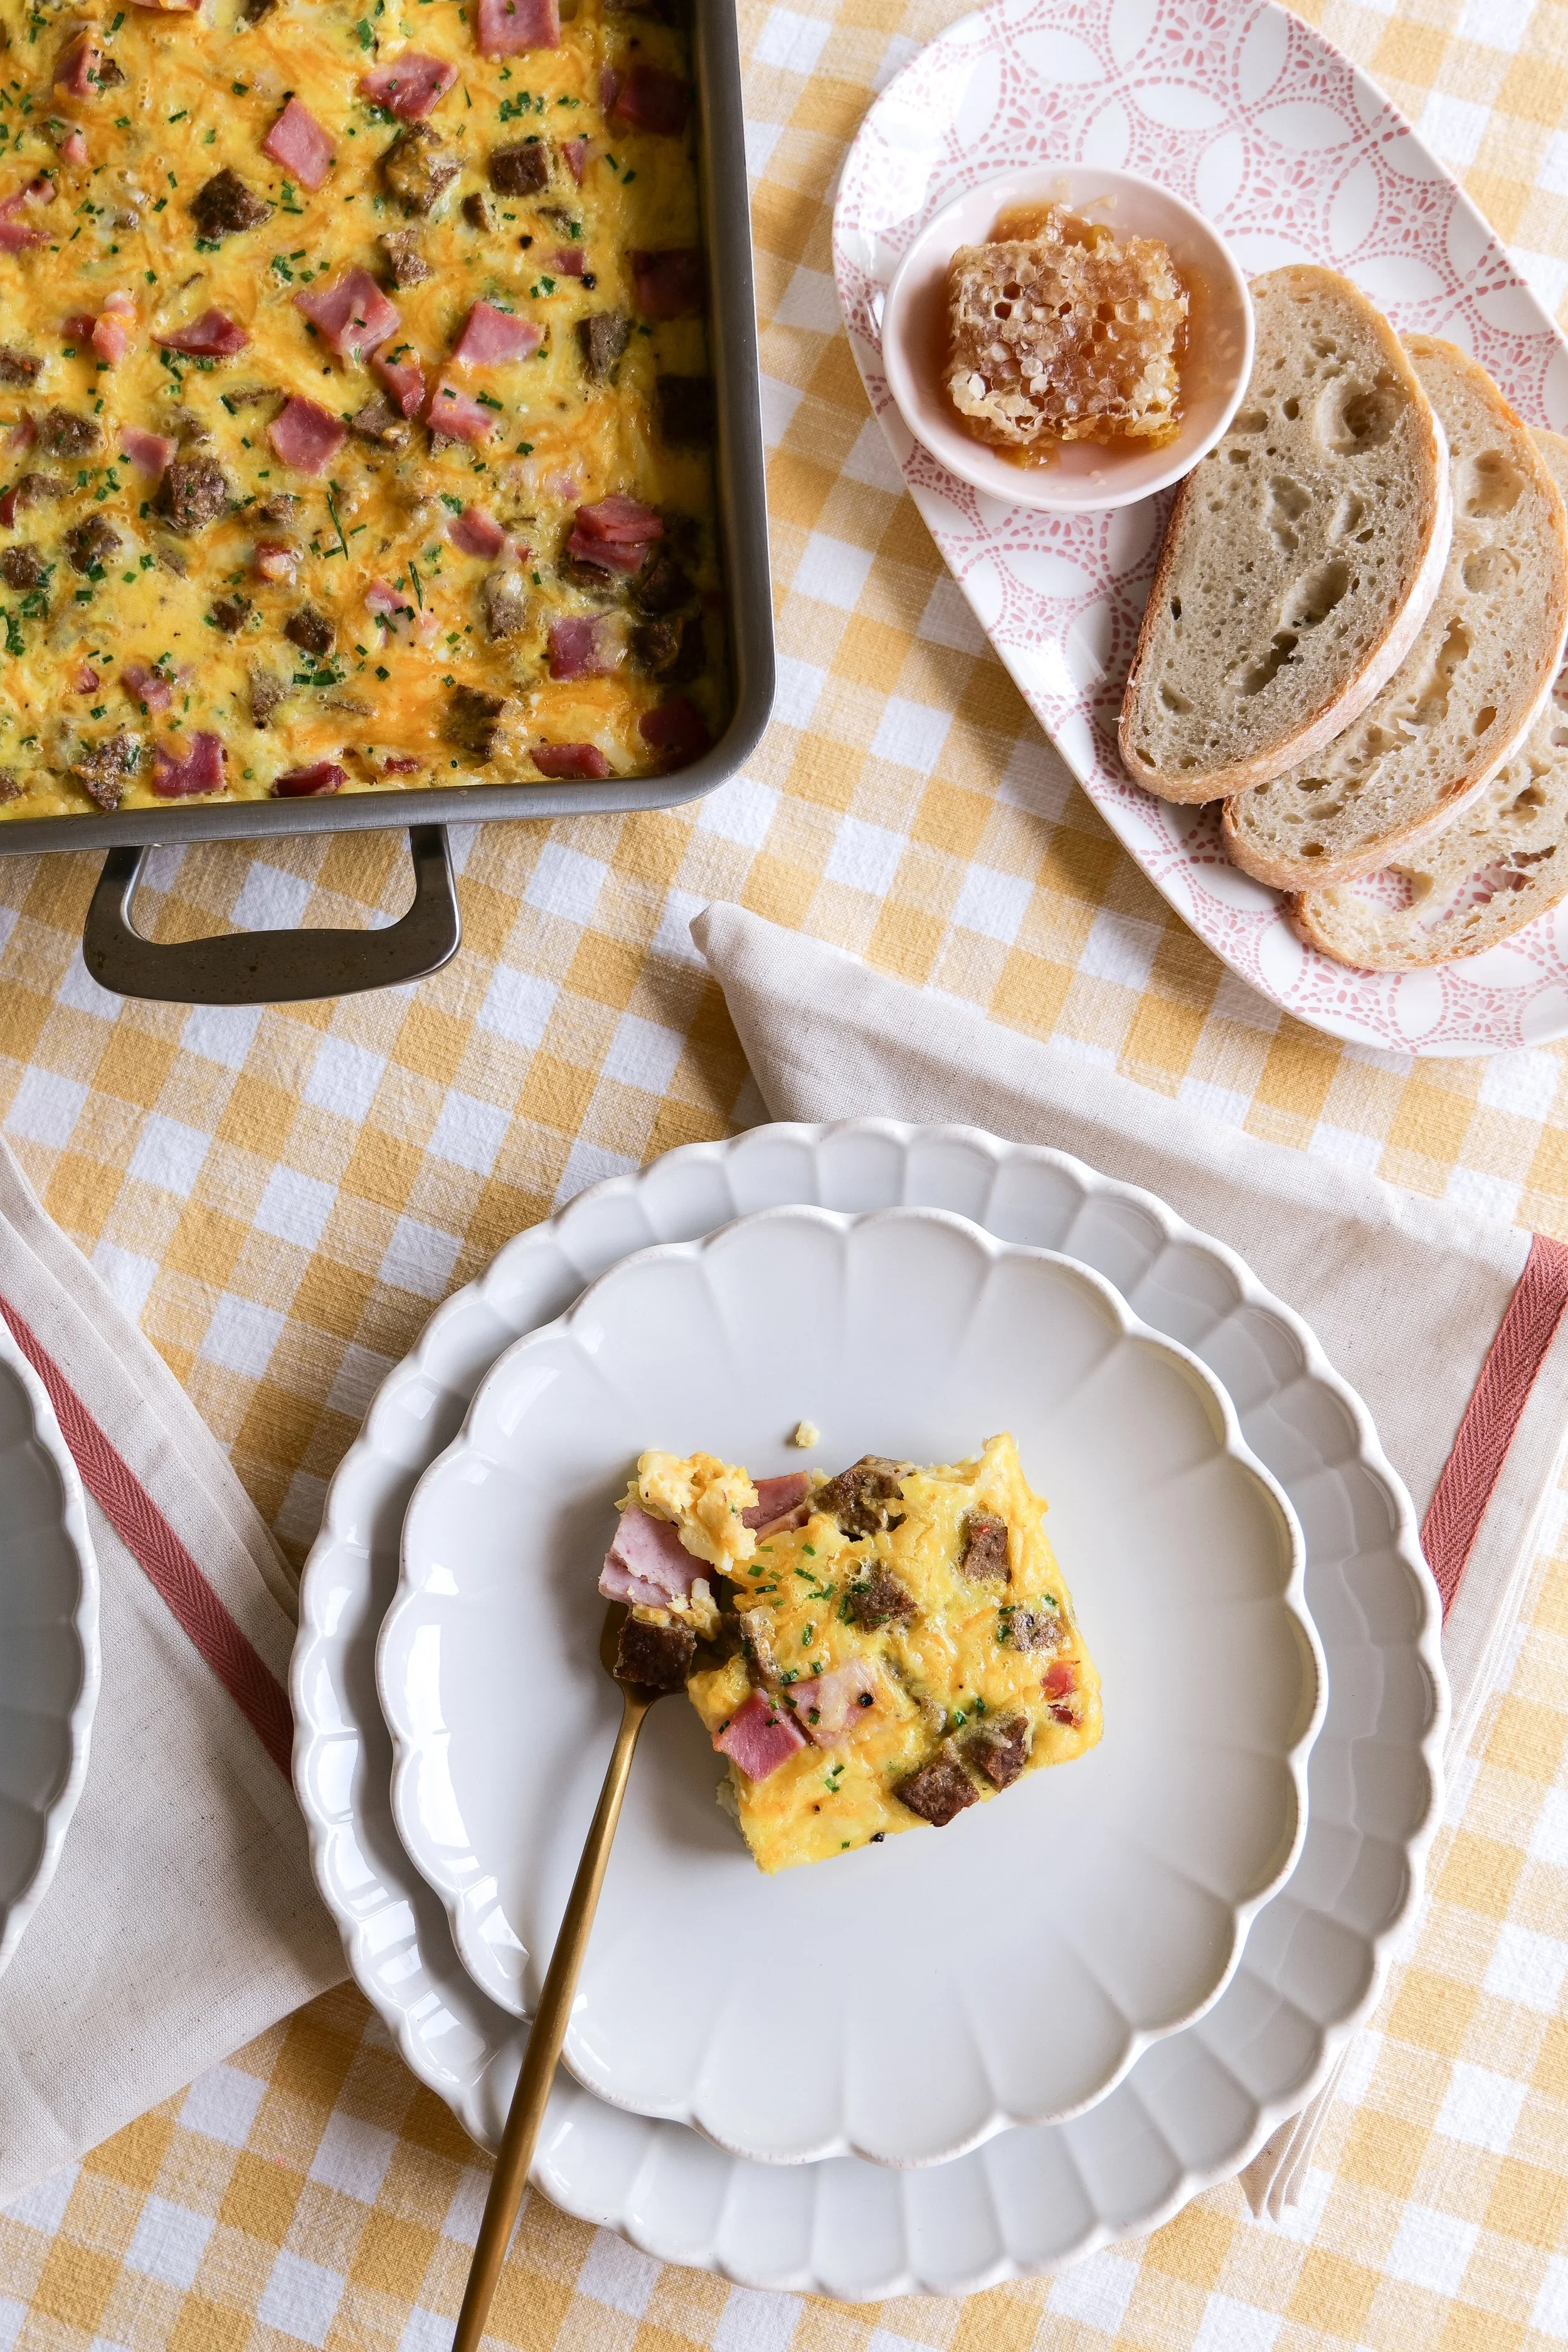
Hash brown breakfast casserole with sausage, eggs, and melted cheese.
Sausage breakfast casserole baked in a casserole dish for brunch.

Why You’ll Love This Hash Brown Breakfast Casserole

This recipe is all about ease and comfort.

It comes together quickly, uses basic ingredients, and doesn’t require anything fancy. The hash browns give it a hearty base, while the eggs and cheese hold everything together into a rich, satisfying bake.

It’s especially great if you’re cooking for more than just yourself. You can make one dish and have breakfast handled for everyone—no standing at the stove flipping eggs or pancakes.

And if you like to plan ahead, this is one of those recipes that actually gets better when made in advance.

Ingredients You’ll Need

You don’t need much to make this work, which is part of the appeal.

  • Frozen hash browns

  • Eggs

  • Milk

  • Shredded cheese

  • Breakfast meat (sausage, bacon, or ham all work well)

  • Salt and pepper

That’s the base, but you can absolutely build on it depending on what you like or what’s in your fridge.

How to Make This Breakfast Casserole

This comes together in a few simple steps.

Start by preparing your hash browns. If they’re frozen, you can use them as-is or let them thaw slightly for a softer texture.

If you’re using sausage or bacon, cook that first and set it aside.

In a separate bowl, whisk together your eggs, milk, and seasoning until everything is well combined.

Then it’s just a matter of layering everything into a baking dish—hash browns, cooked meat, cheese—and pouring the egg mixture over the top. Give it a gentle mix if needed so everything is evenly distributed.

Bake until the center is set and the top is golden. That’s it.

Make-ahead breakfast casserole perfect for holiday mornings and meal prep.
Cheesy hash brown casserole with eggs and breakfast sausage.

Make-Ahead Tips (Highly Recommended)

One of the best things about this hash brown breakfast casserole is how well it works as a make-ahead meal.

You can assemble the entire dish the night before, cover it, and keep it in the fridge overnight. In the morning, just bake it as directed.

This not only saves time, but also allows the flavors to come together even more.

If you’re hosting brunch or cooking for a holiday morning, this takes a lot of pressure off.

Variations & Ways to Switch It Up

Once you’ve made this once, it’s easy to customize.

You can swap the meat depending on what you like—sausage for something hearty, bacon for a smoky flavor, or ham for something a little lighter.

If you want to add vegetables, things like bell peppers, onions, or spinach work really well here.

Different cheeses can also change the flavor quite a bit. Cheddar is classic, but mozzarella, pepper jack, or a blend all work.

You can even make it completely meatless and load it up with veggies instead.

Tips for the Best Breakfast Casserole

A few small things can make a big difference here.

If you’re using frozen hash browns, be mindful of excess moisture. Too much water can make the casserole a little soggy, so letting them thaw or patting them dry can help.

Don’t overbake it—once the center is set and no longer jiggly, it’s ready.

And if you like a little texture, letting the top get slightly golden adds a really nice finish.

Breakfast casserole with sausage, cheese, eggs, and crispy hash browns.
Holiday breakfast casserole ready for Christmas morning or Easter brunch.
Hearty brunch casserole recipe perfect for feeding a crowd.

What to Serve With Breakfast Casserole

  • Fresh fruit salad

  • Cinnamon rolls

  • Banana bread

  • Blueberry crumble streusel loaf

  • Lemon blueberry scones

  • Crispy bacon

  • Breakfast sausage

  • Yogurt parfaits

  • Orange juice

  • Coffee bar station

🛒 Ingredients

  • 3 cups frozen hash browns, thawed

  • 1 cup cheddar cheese, shredded

  • 1 cup ham, cubed

  • 1 cup sausage, cooked and cubed

  • 1/4 cup green onions, sliced

  • 10 large eggs

  • 1 cup heavy cream

  • 1 teaspoon salt

  • 1/2 teaspoon black pepper

  • 1 teaspoon garlic powder

🍳 Directions

  1. Preheat oven to 350°F. Grease a baking dish or pan with olive oil or butter.

  2. Layer the base
    Spread hash browns evenly across the bottom of the pan.

  3. Add toppings
    Sprinkle cheese, ham, sausage, and green onions evenly over the potatoes.

  4. Mix eggs
    In a large bowl, whisk together eggs, heavy cream, salt, pepper, and garlic powder until fully combined.

  5. Assemble
    Pour the egg mixture evenly over the layered ingredients.

  6. Bake
    Bake for 40–45 minutes, or until the top is golden brown and the center is set (no longer jiggly).

  7. Serve
    Let cool slightly, then slice and serve warm. Enjoy!

Shop My Breakfast & Hosting Favorites

This breakfast casserole is one of my favorite recipes for feeding a crowd. Here are some of the kitchen tools, bakeware, and serving pieces I use most often when preparing breakfast casseroles, brunch spreads, and holiday mornings.

Hosting a Brunch? Don't Miss These Reader Favorites

Planning a brunch spread? Pair this easy breakfast casserole with a few sweet and savory favorites to create a meal everyone will love.

FAQs

Can I use frozen hash browns in a breakfast casserole?
Yes, that’s actually what this recipe is built around. They’re convenient and work perfectly.

Do I need to thaw the hash browns first?
You don’t have to, but thawing them slightly can help with texture and reduce excess moisture.

Can I make this the night before?
Absolutely. This is one of the best make-ahead breakfast recipes—just assemble, refrigerate, and bake in the morning.

How long does it last in the fridge?
Usually 3–4 days when stored in an airtight container.

Can you freeze breakfast casserole?
Yes. Let it cool completely, then freeze in portions. Reheat in the oven or microwave when ready to eat.

This hash brown breakfast casserole is one of those dependable recipes that fits just about any situation—busy mornings, relaxed weekends, or feeding a group without overthinking it.

It’s simple, flexible, and consistently good, which is really all you need in a go-to breakfast recipe.

Save This Recipe

Whether you're planning ahead for a special occasion or adding a new favorite to your recipe collection, I've included a printable recipe card below so it's easy to save, print, and share with the people you love.

Large breakfast casserole ideal for family gatherings and brunch parties.
Overnight breakfast casserole prepared ahead for an easy morning meal.
Easy brunch casserole recipe with savory breakfast ingredients.

Easy Strawberry Puff Pastry Pop Tarts (Flaky Homemade Breakfast Pastry)

Flaky, buttery puff pastry filled with sweet strawberry jam and topped with icing — these homemade pop tarts are the easiest bakery-style breakfast you’ll make all season.

These Strawberry Puff Pastry Pop Tarts are flaky, buttery, and filled with sweet strawberry jam for an easy bakery-style treat made right at home. Using store-bought puff pastry keeps this recipe simple while delivering the perfect combination of crisp layers and fruity filling.

Whether you're serving them for breakfast, brunch, Valentine's Day, Mother's Day, or an afternoon sweet treat, these homemade strawberry pastries come together quickly and look as beautiful as they taste. Finished with a simple glaze and festive sprinkles, they're guaranteed to become a favorite for both kids and adults.

↓ Skip to Recipe
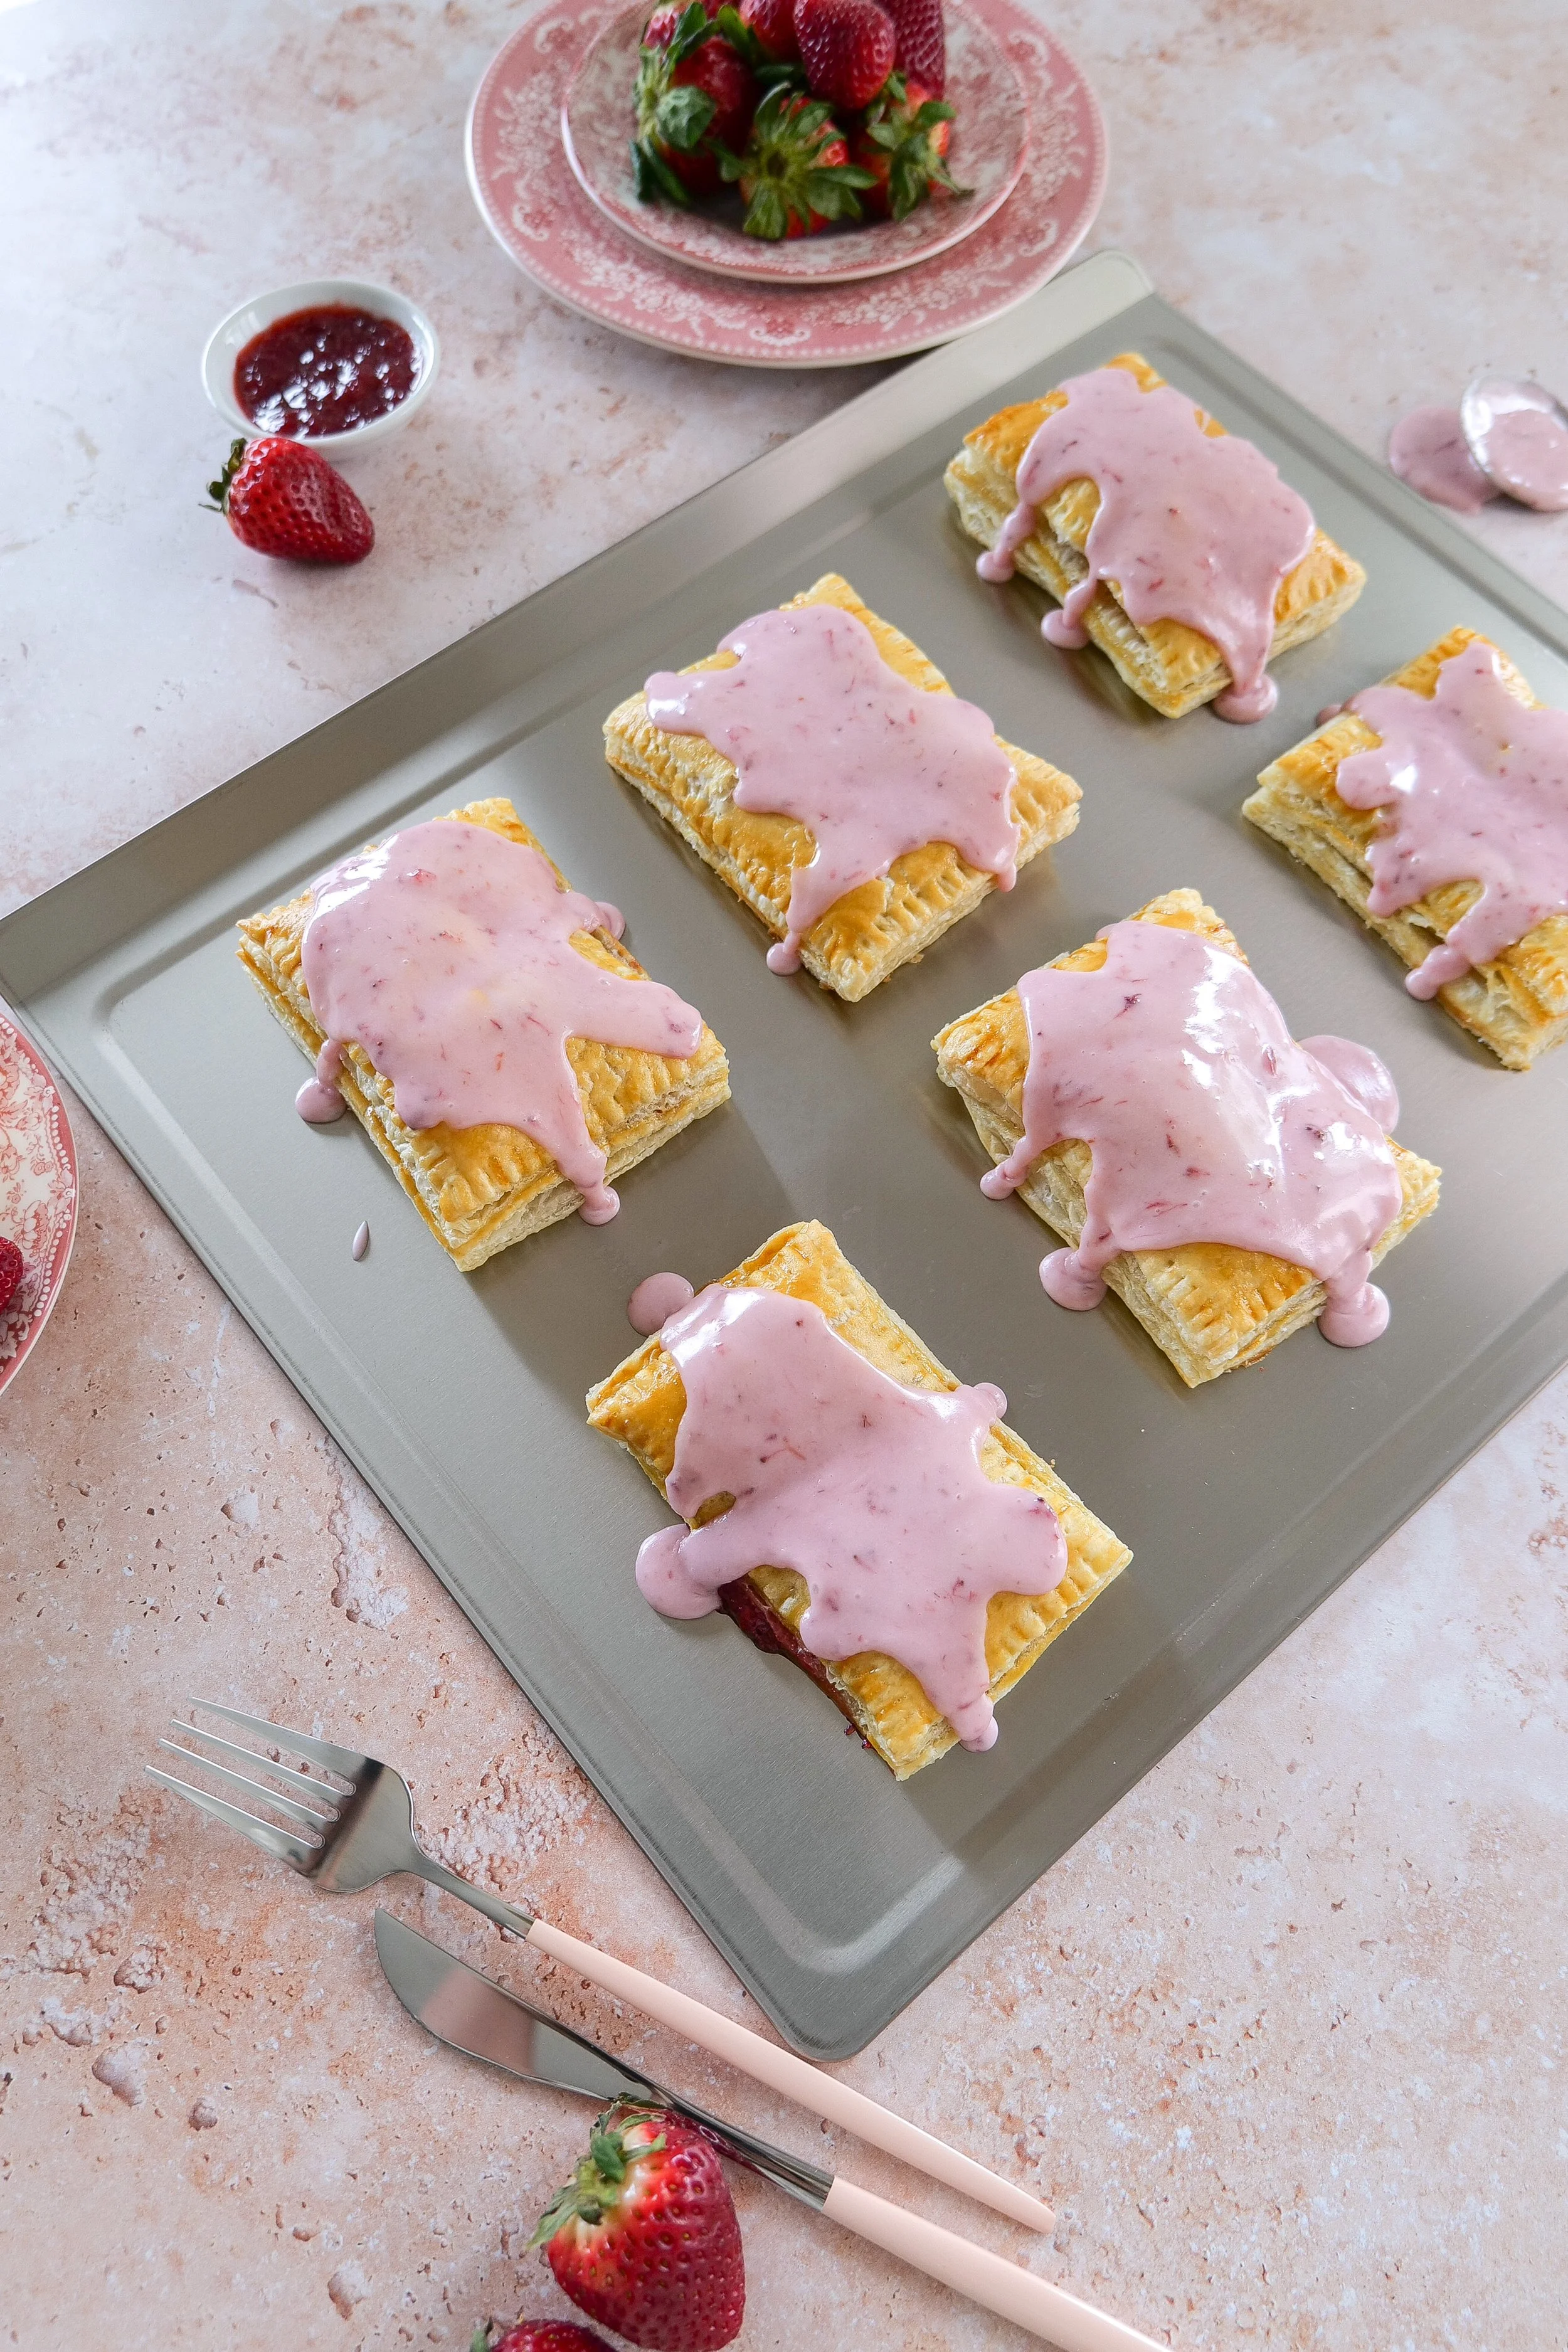
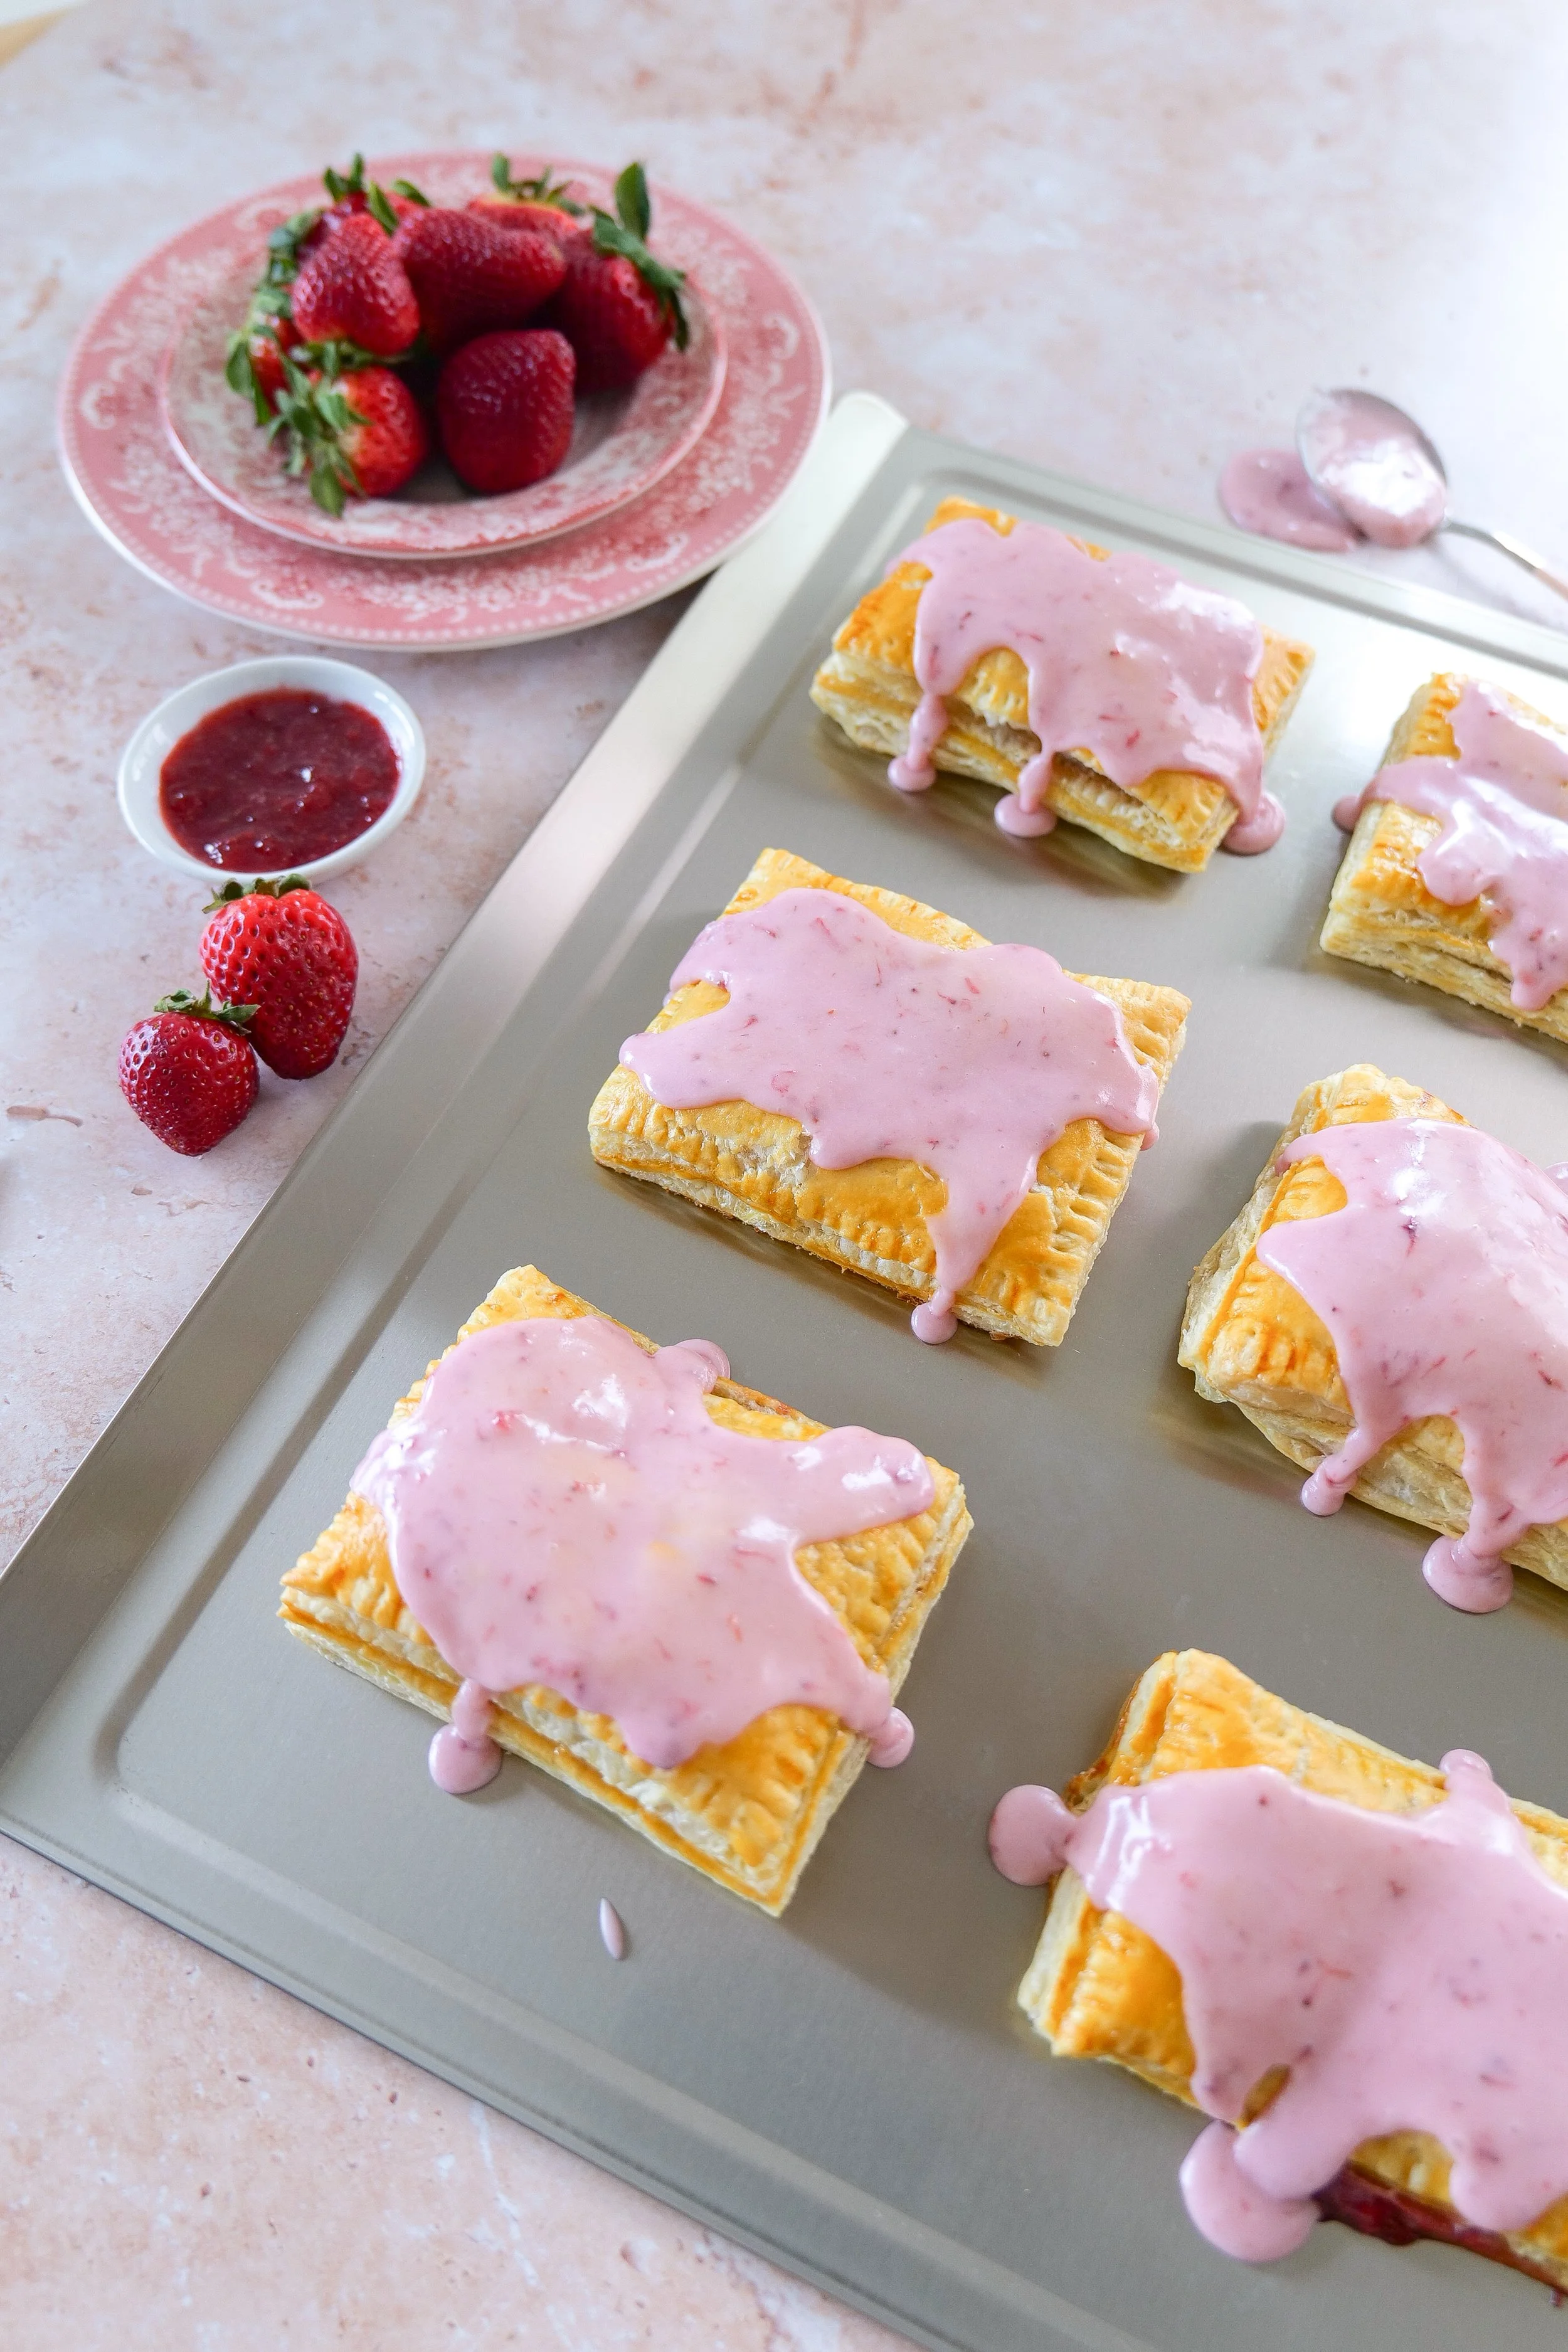
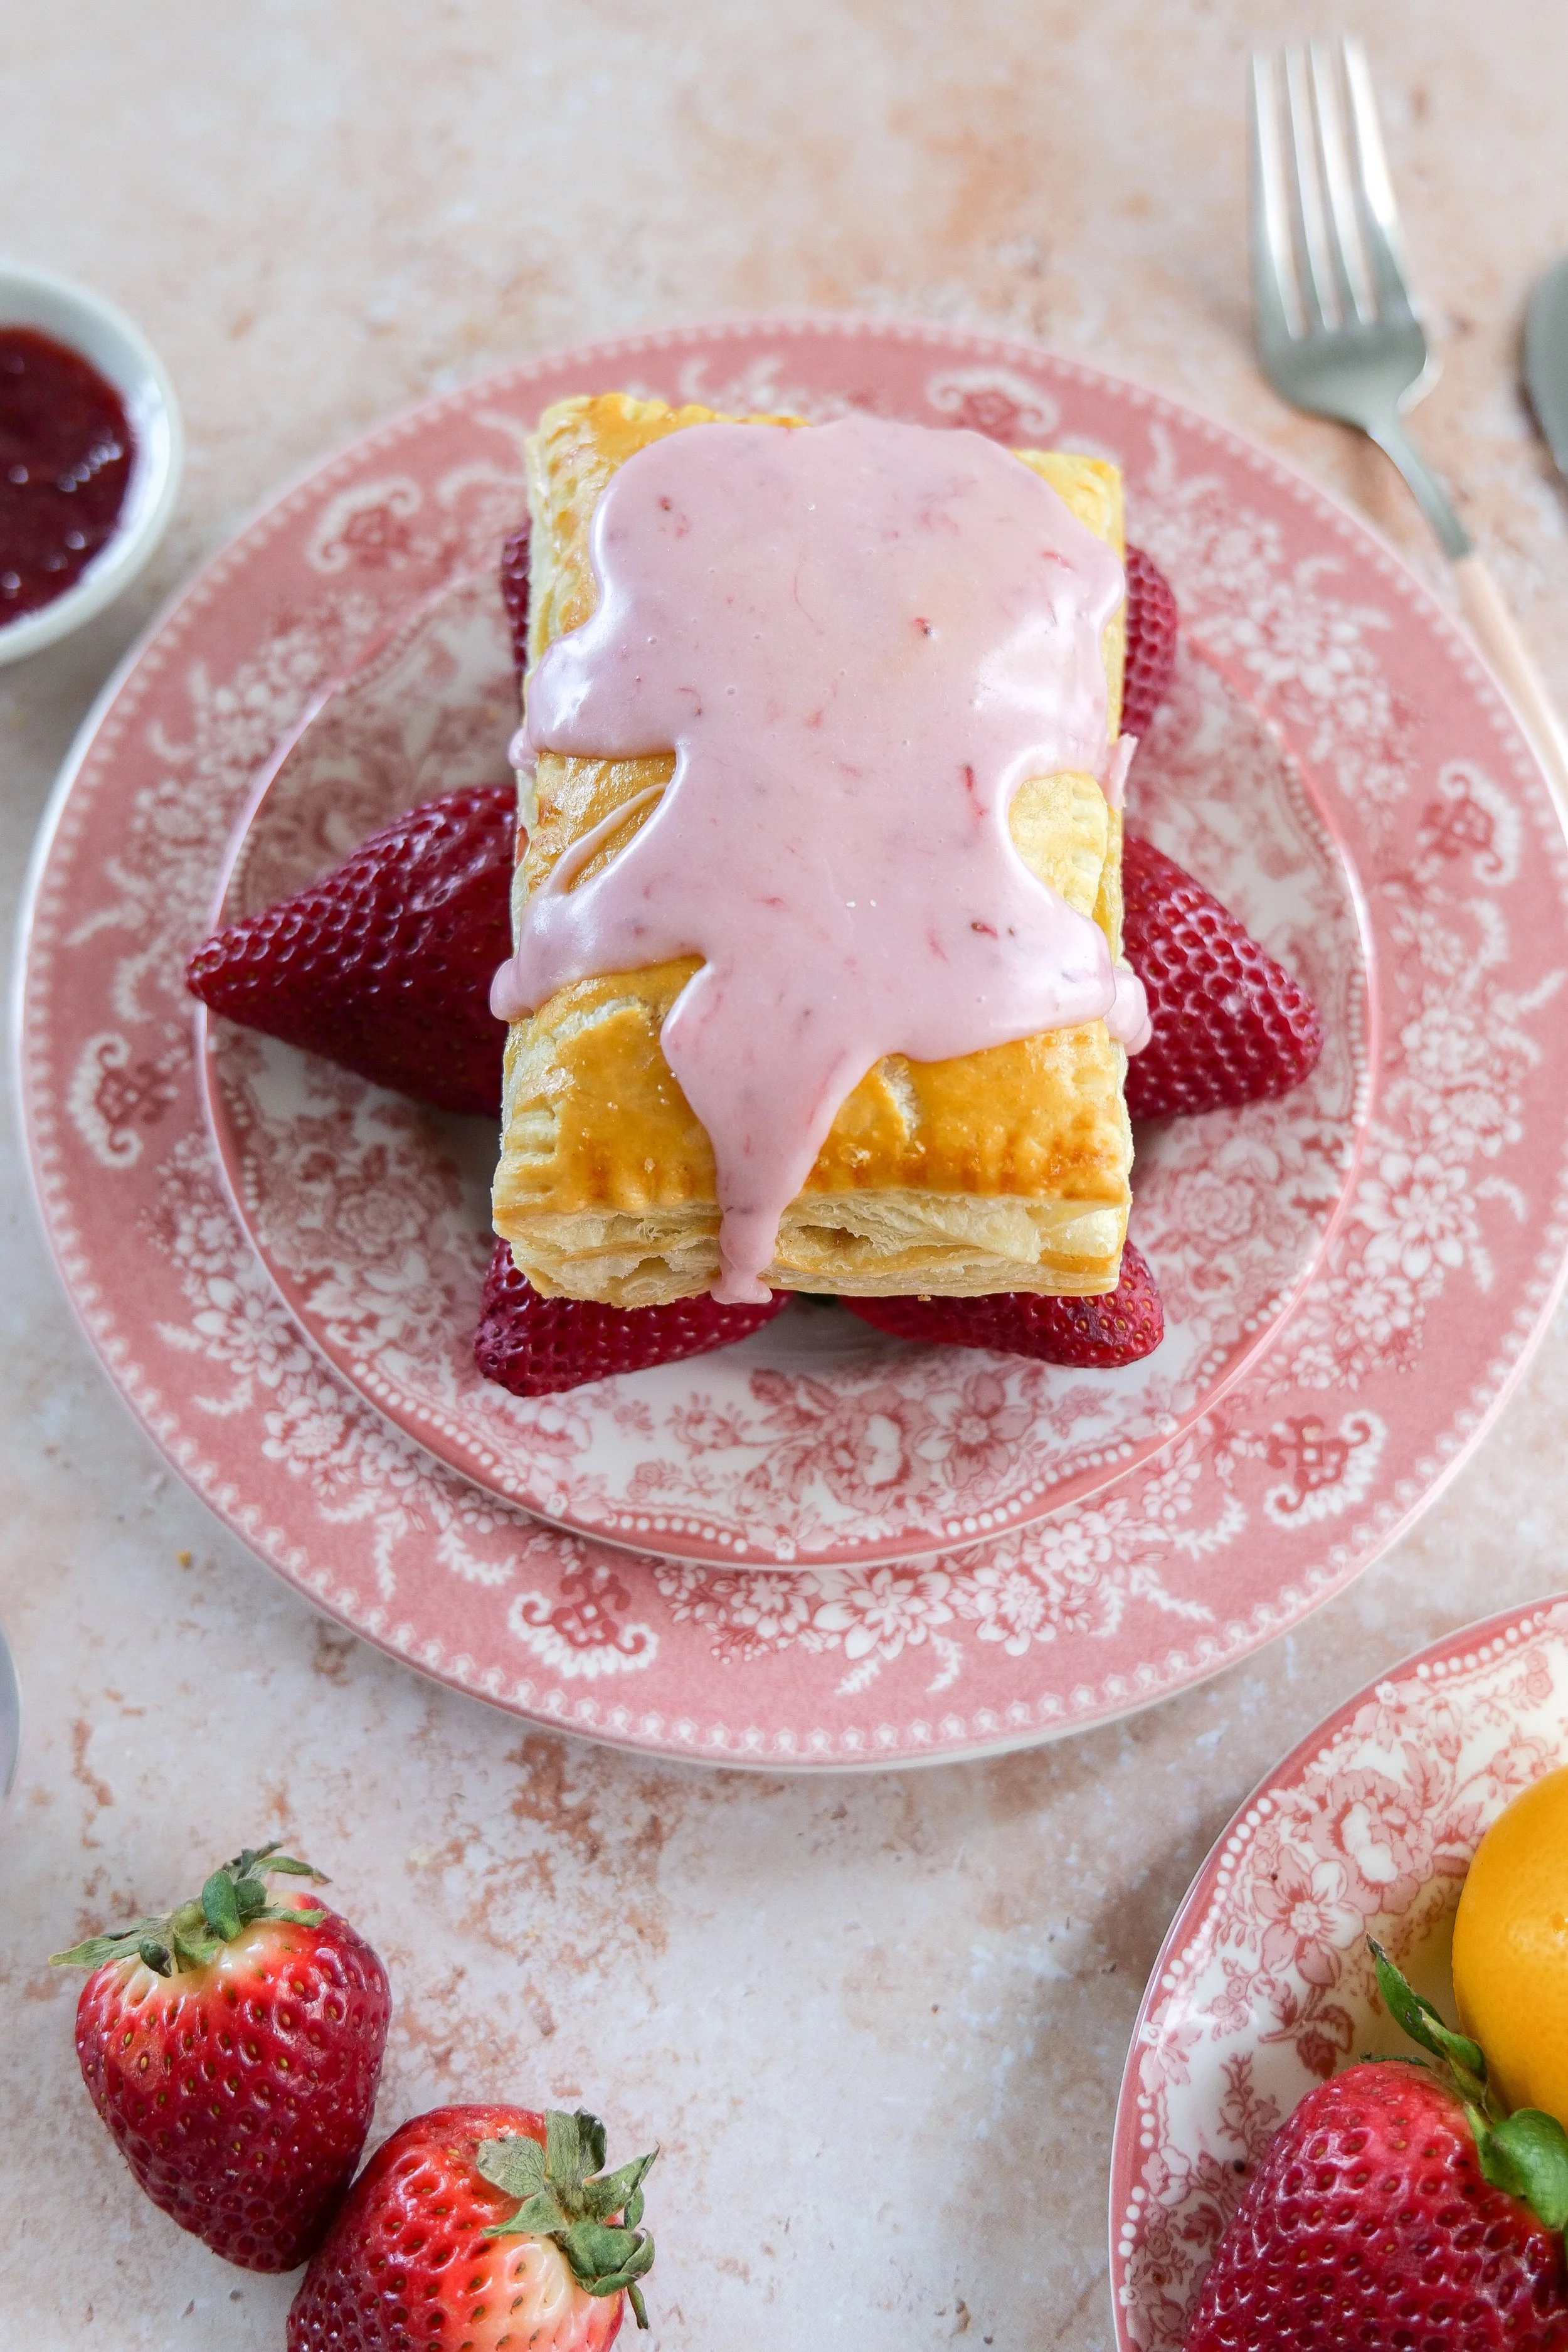
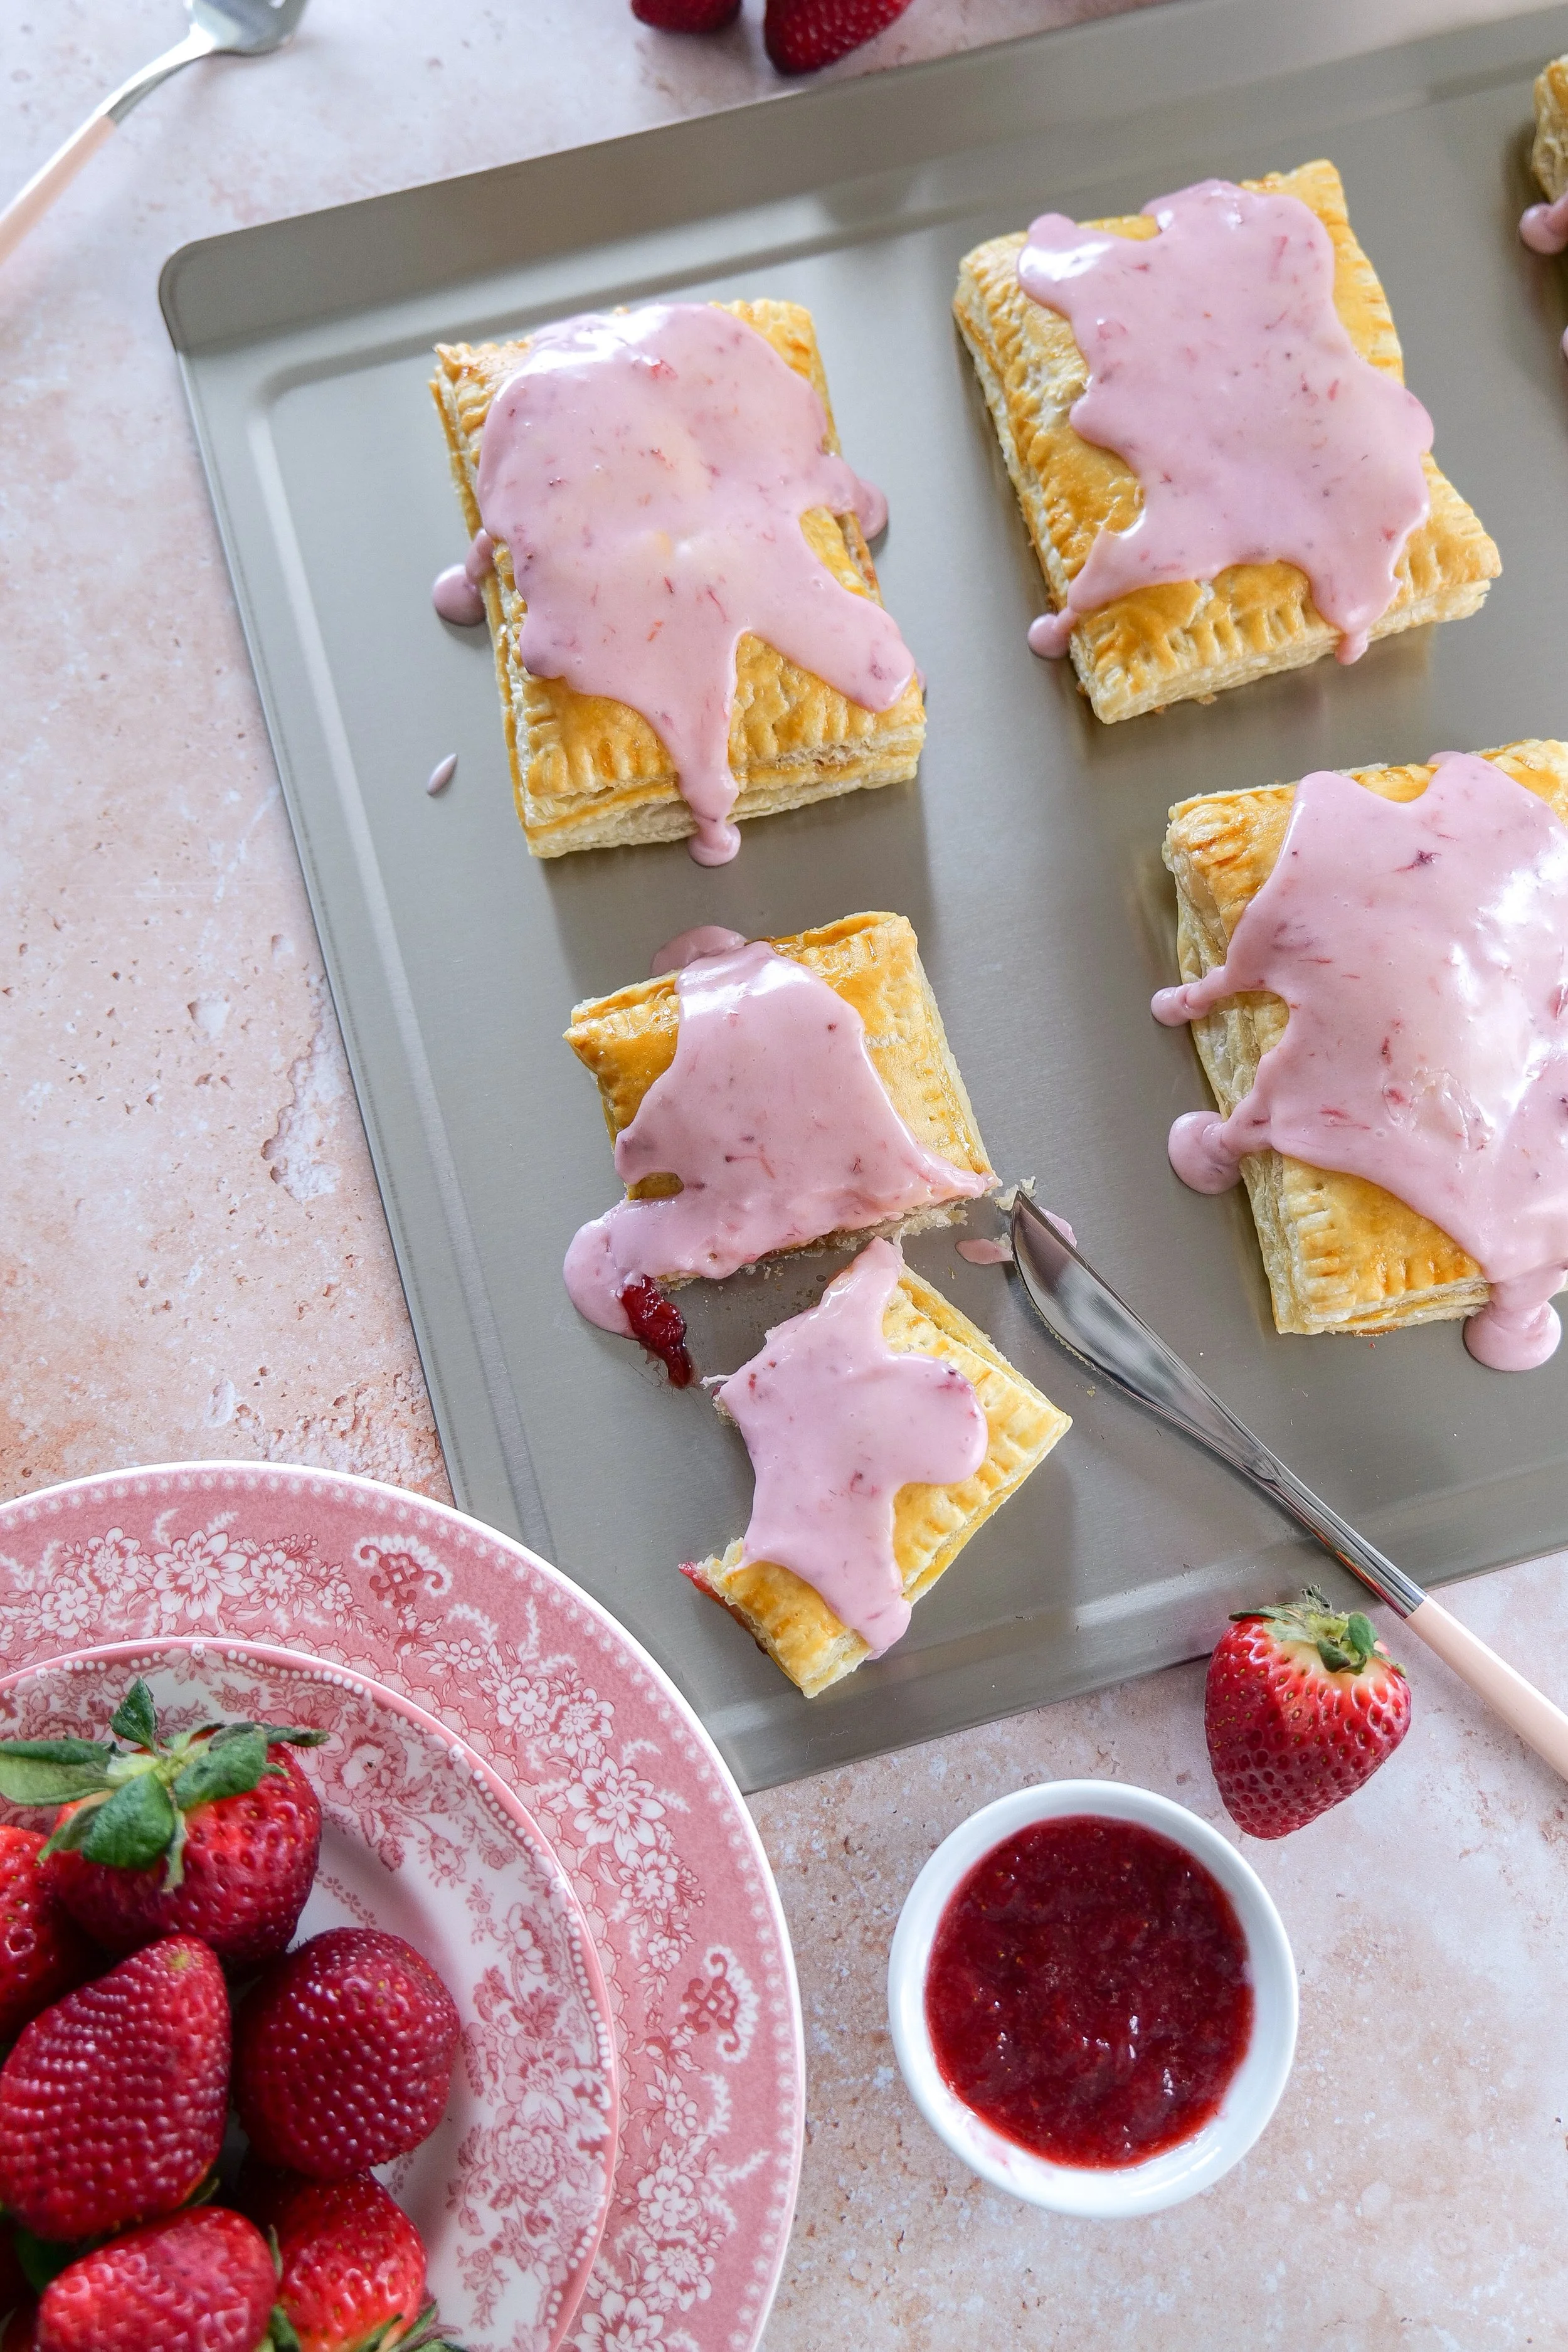
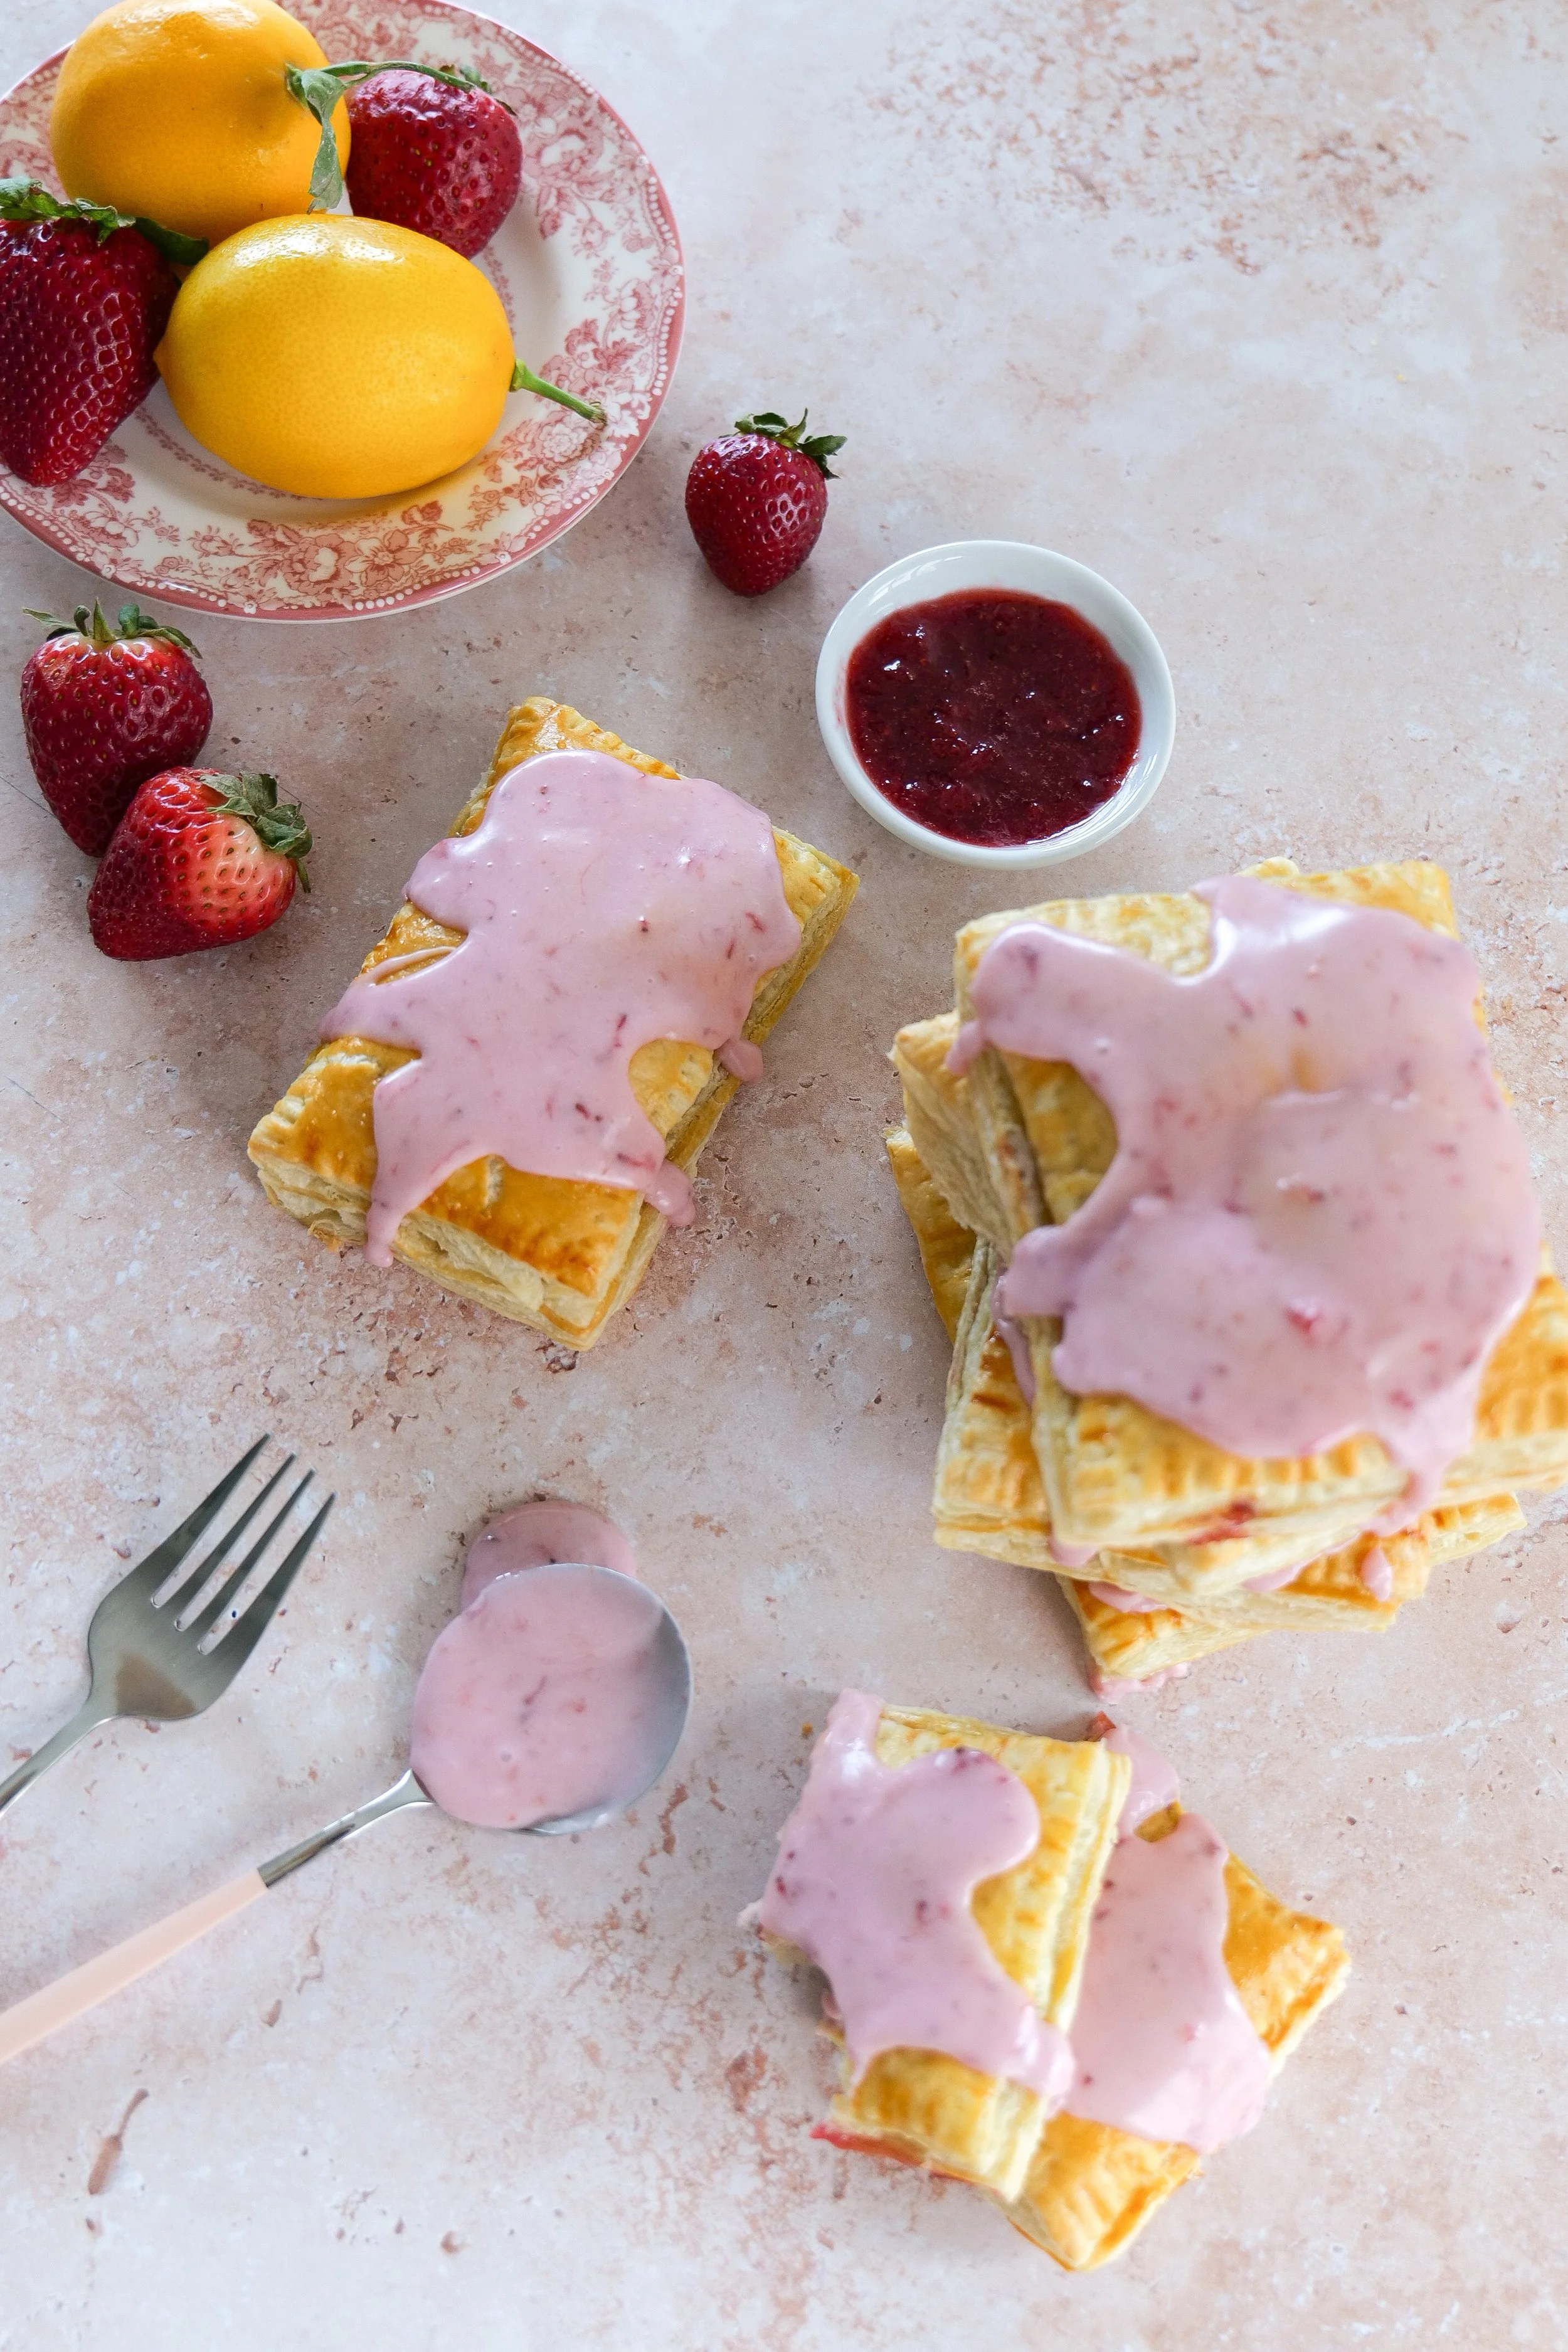
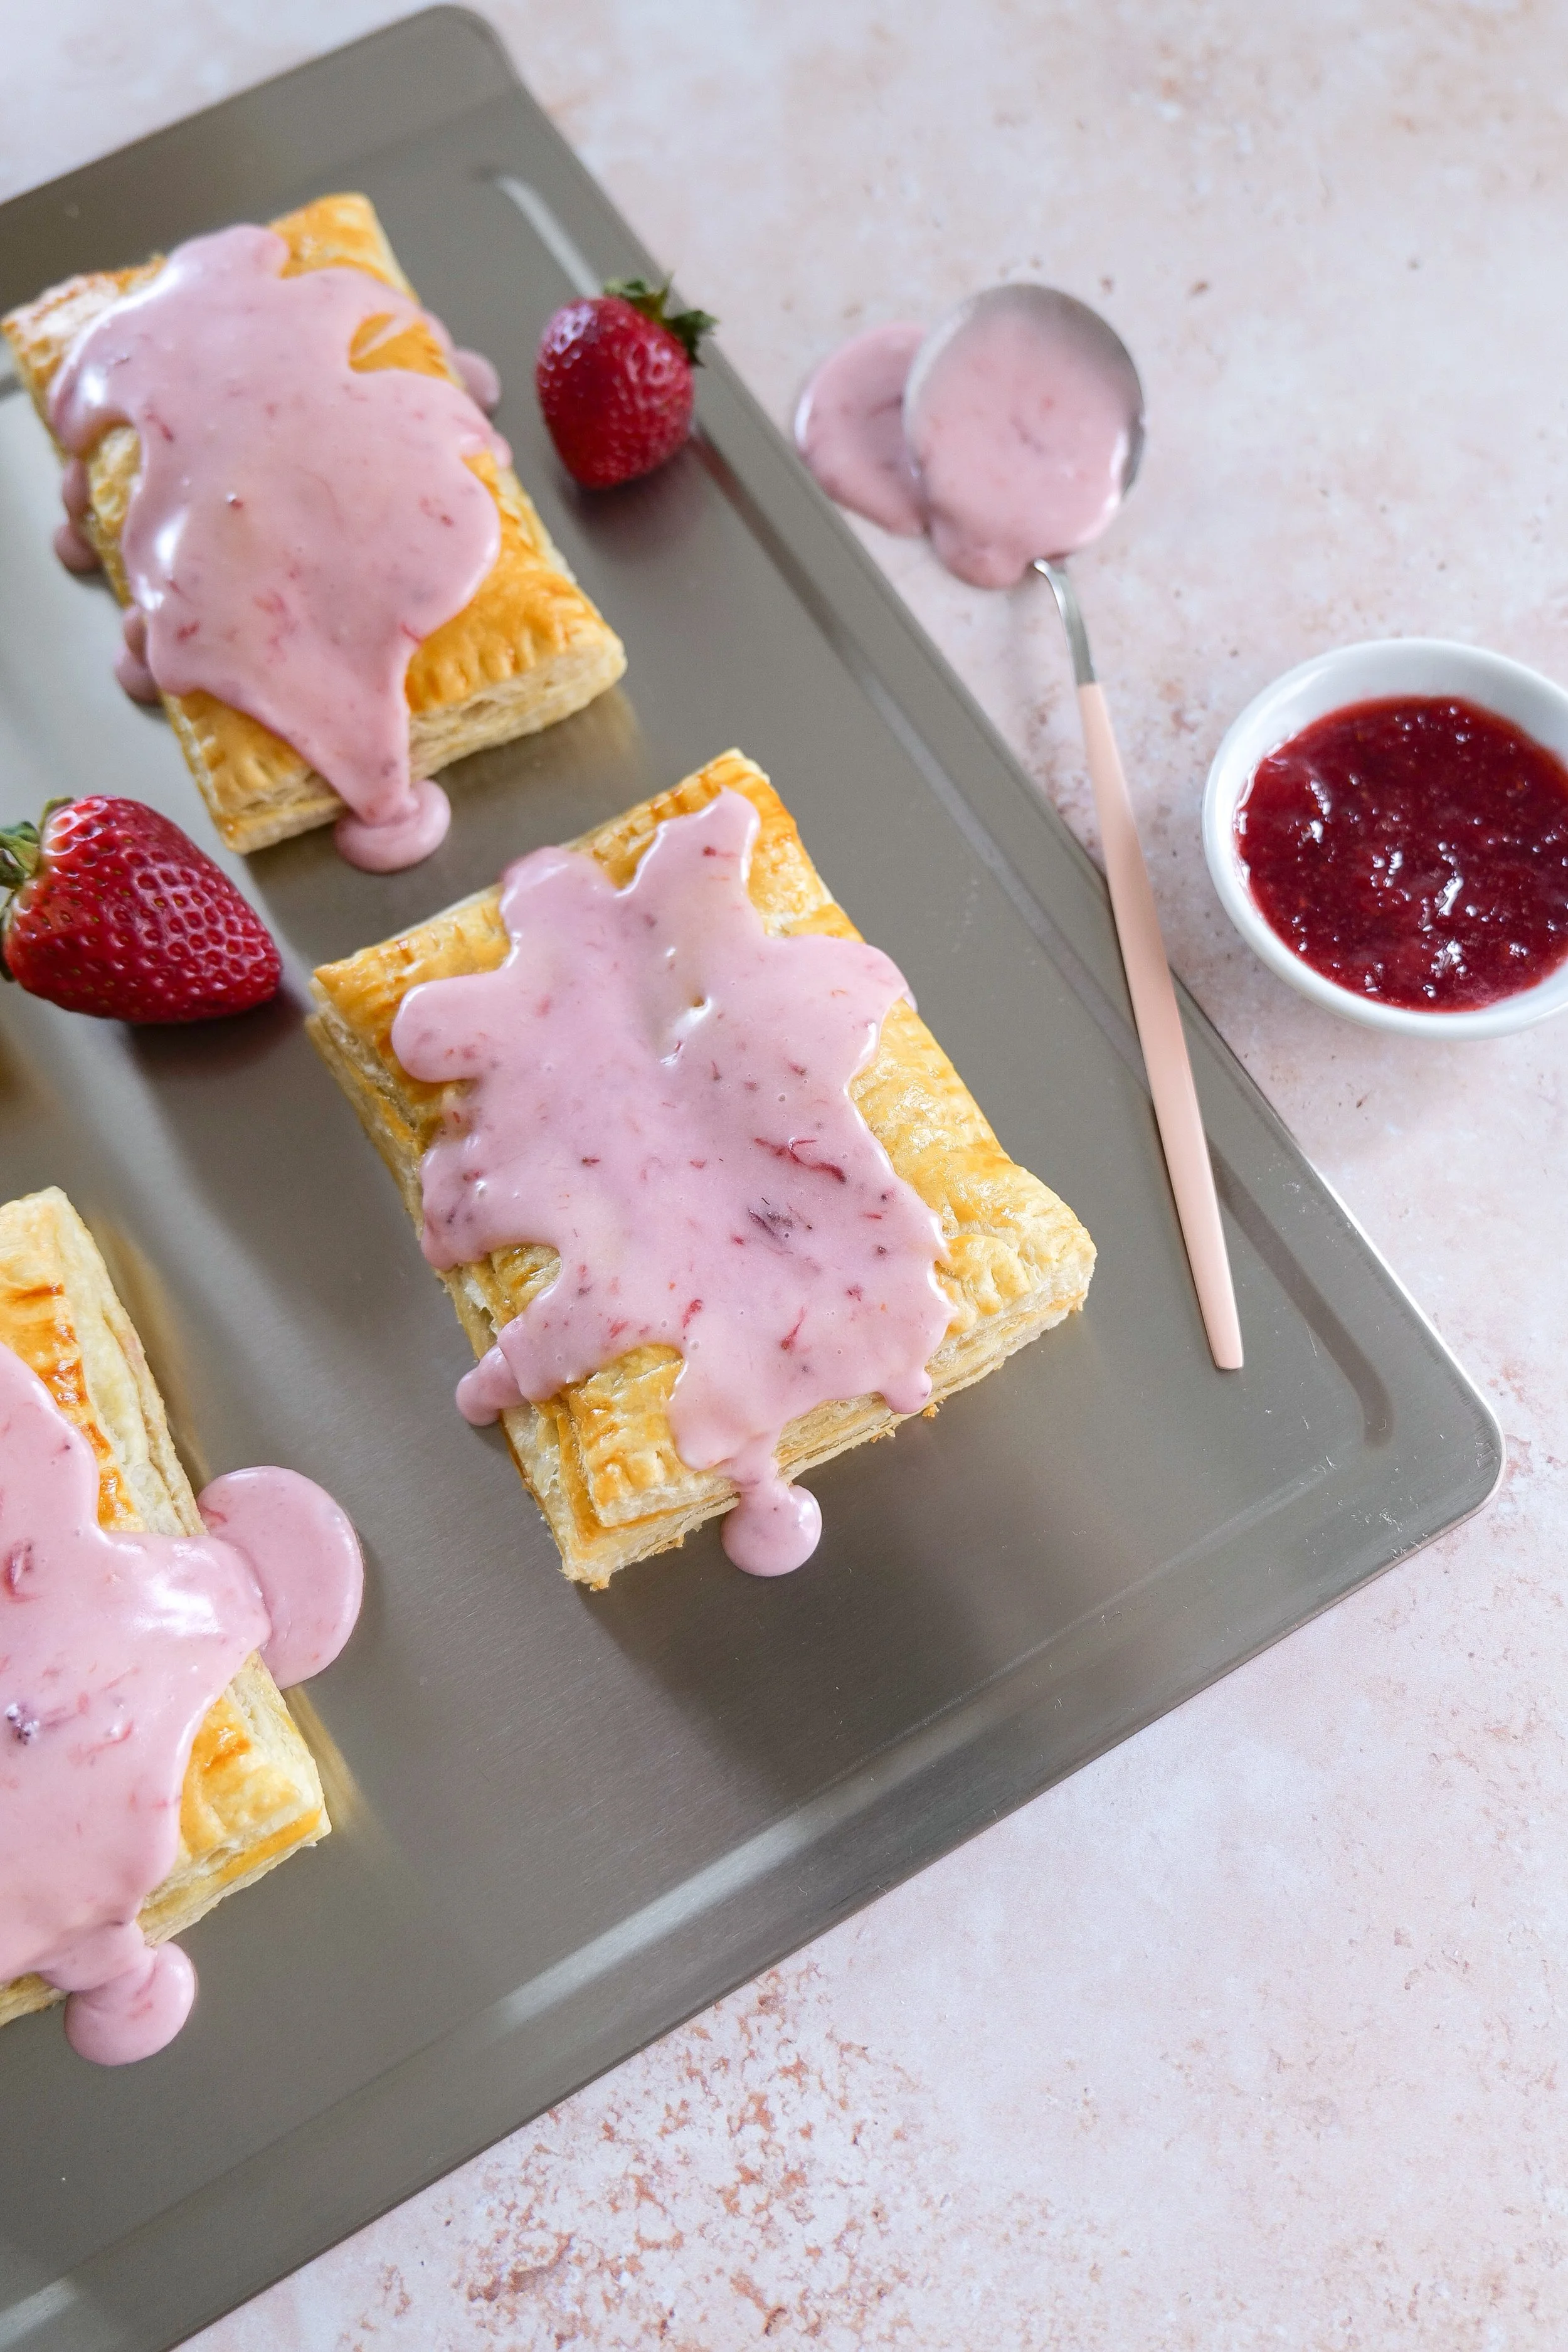
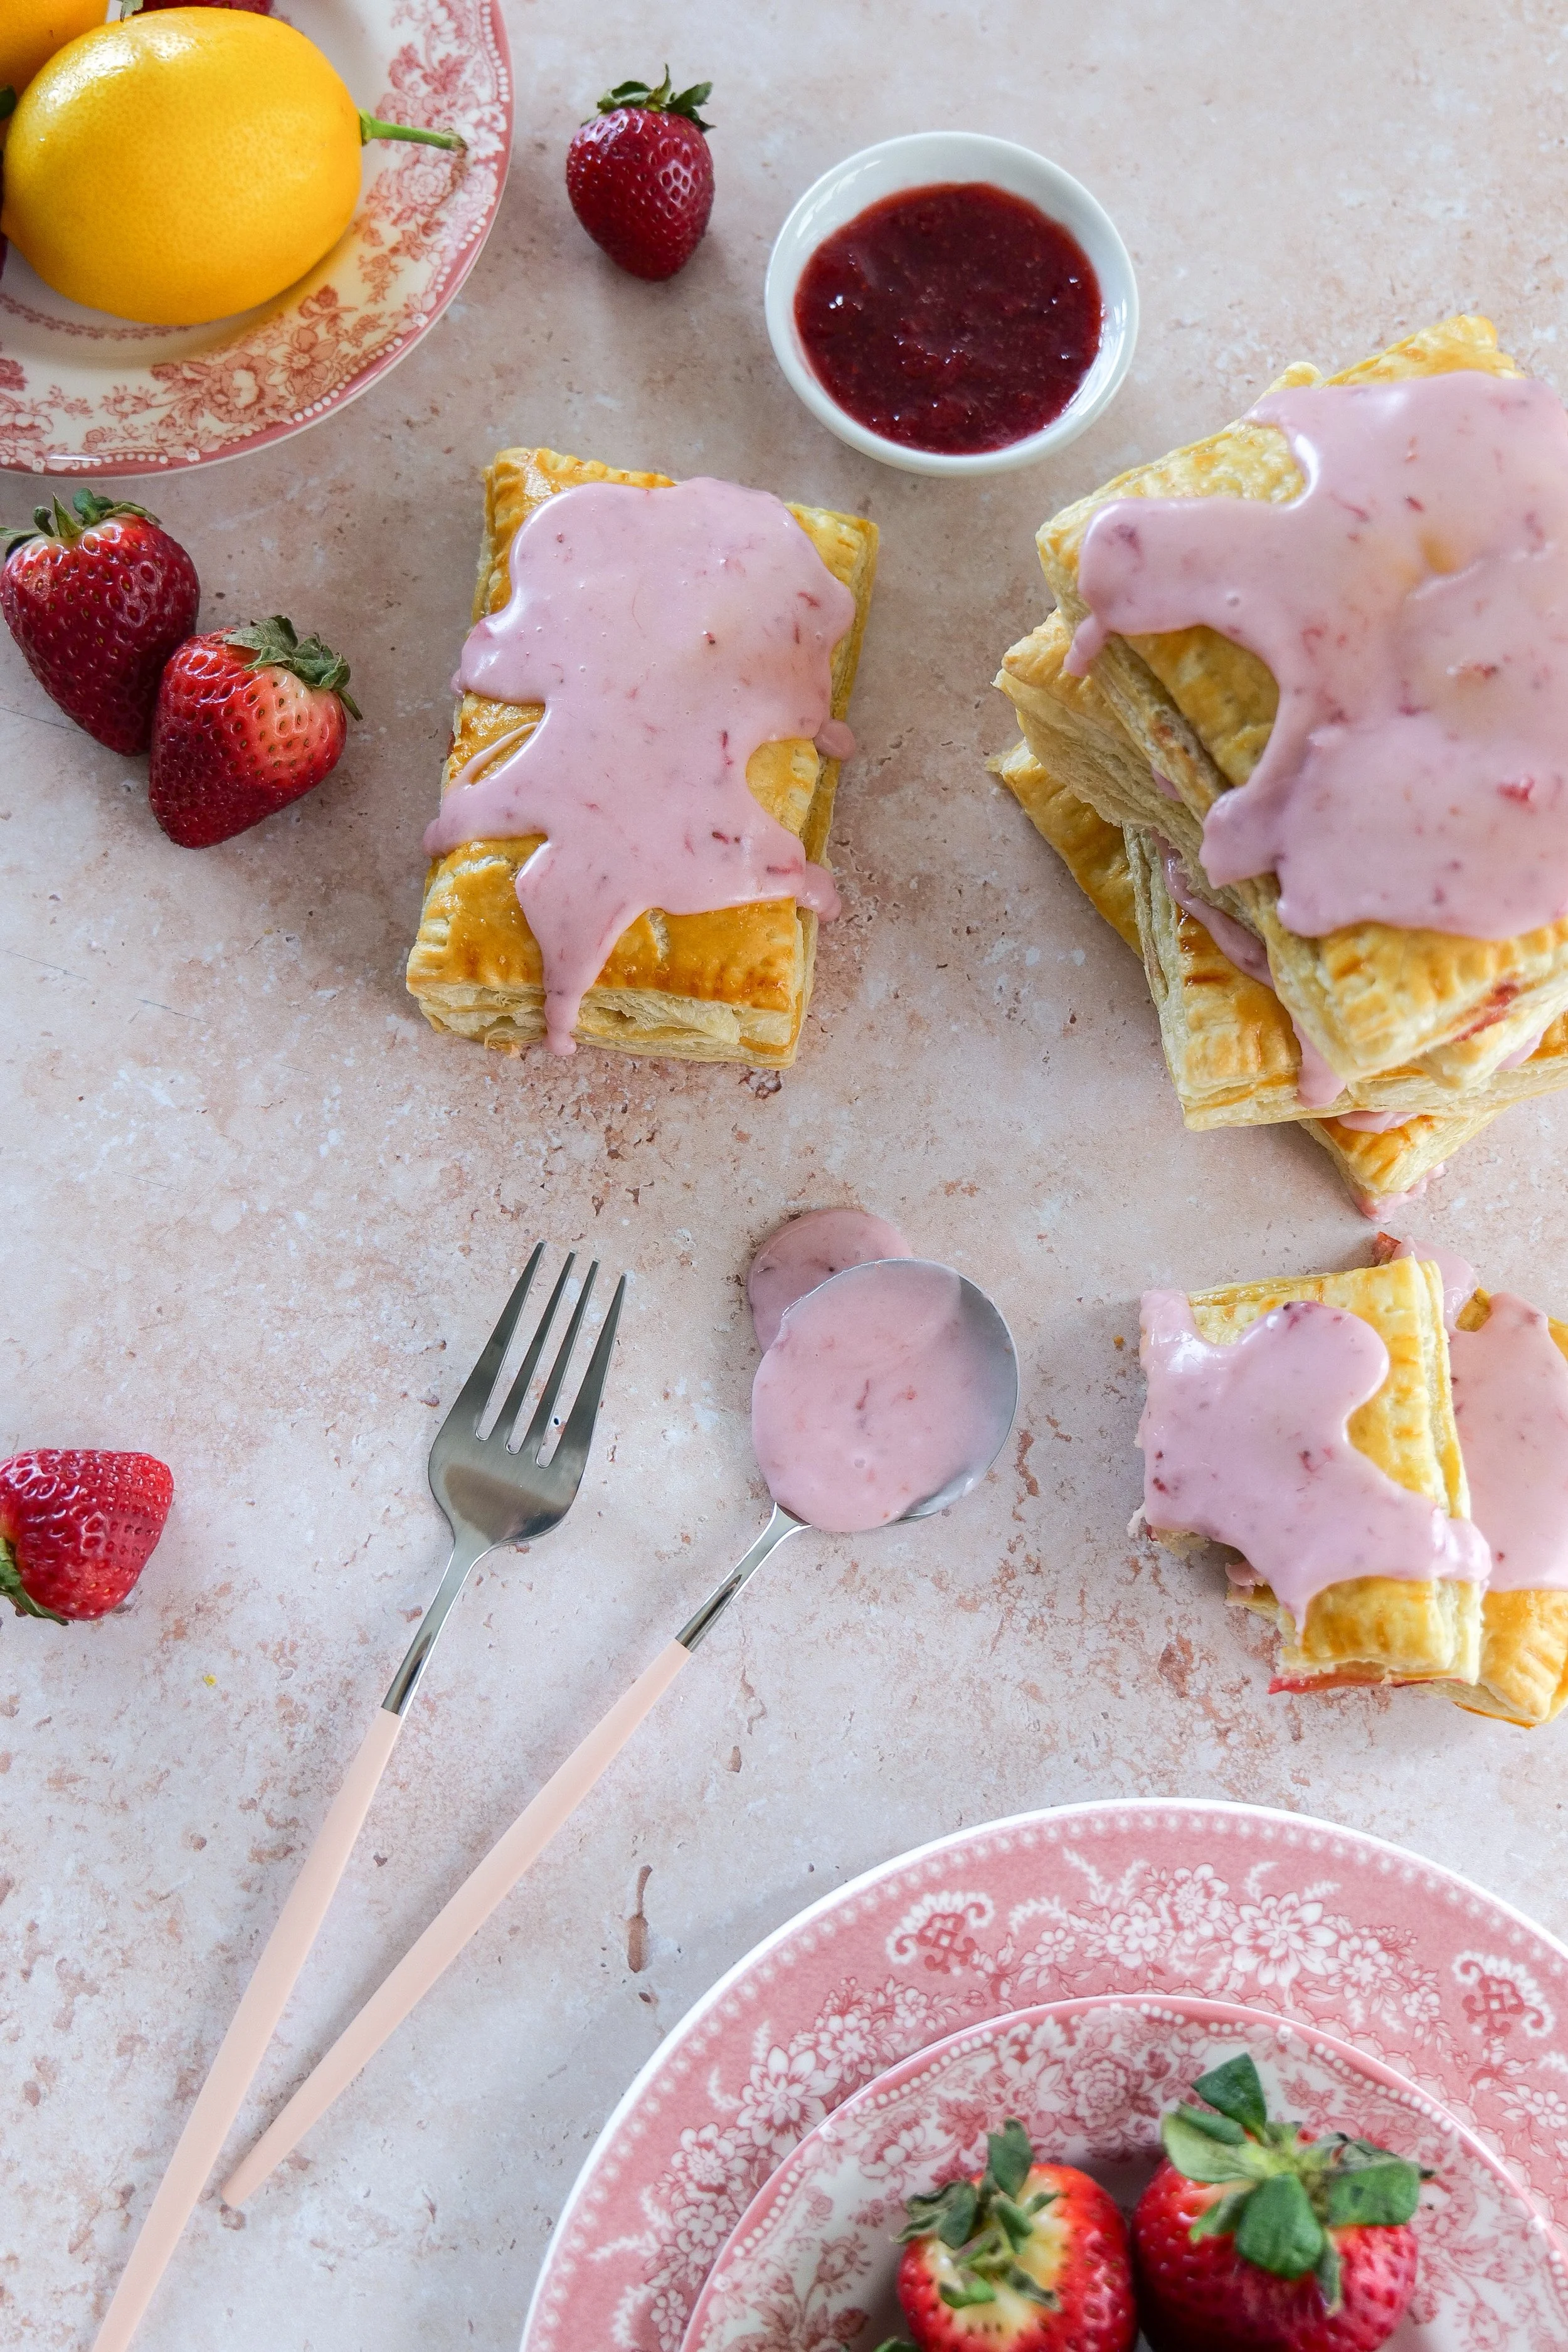
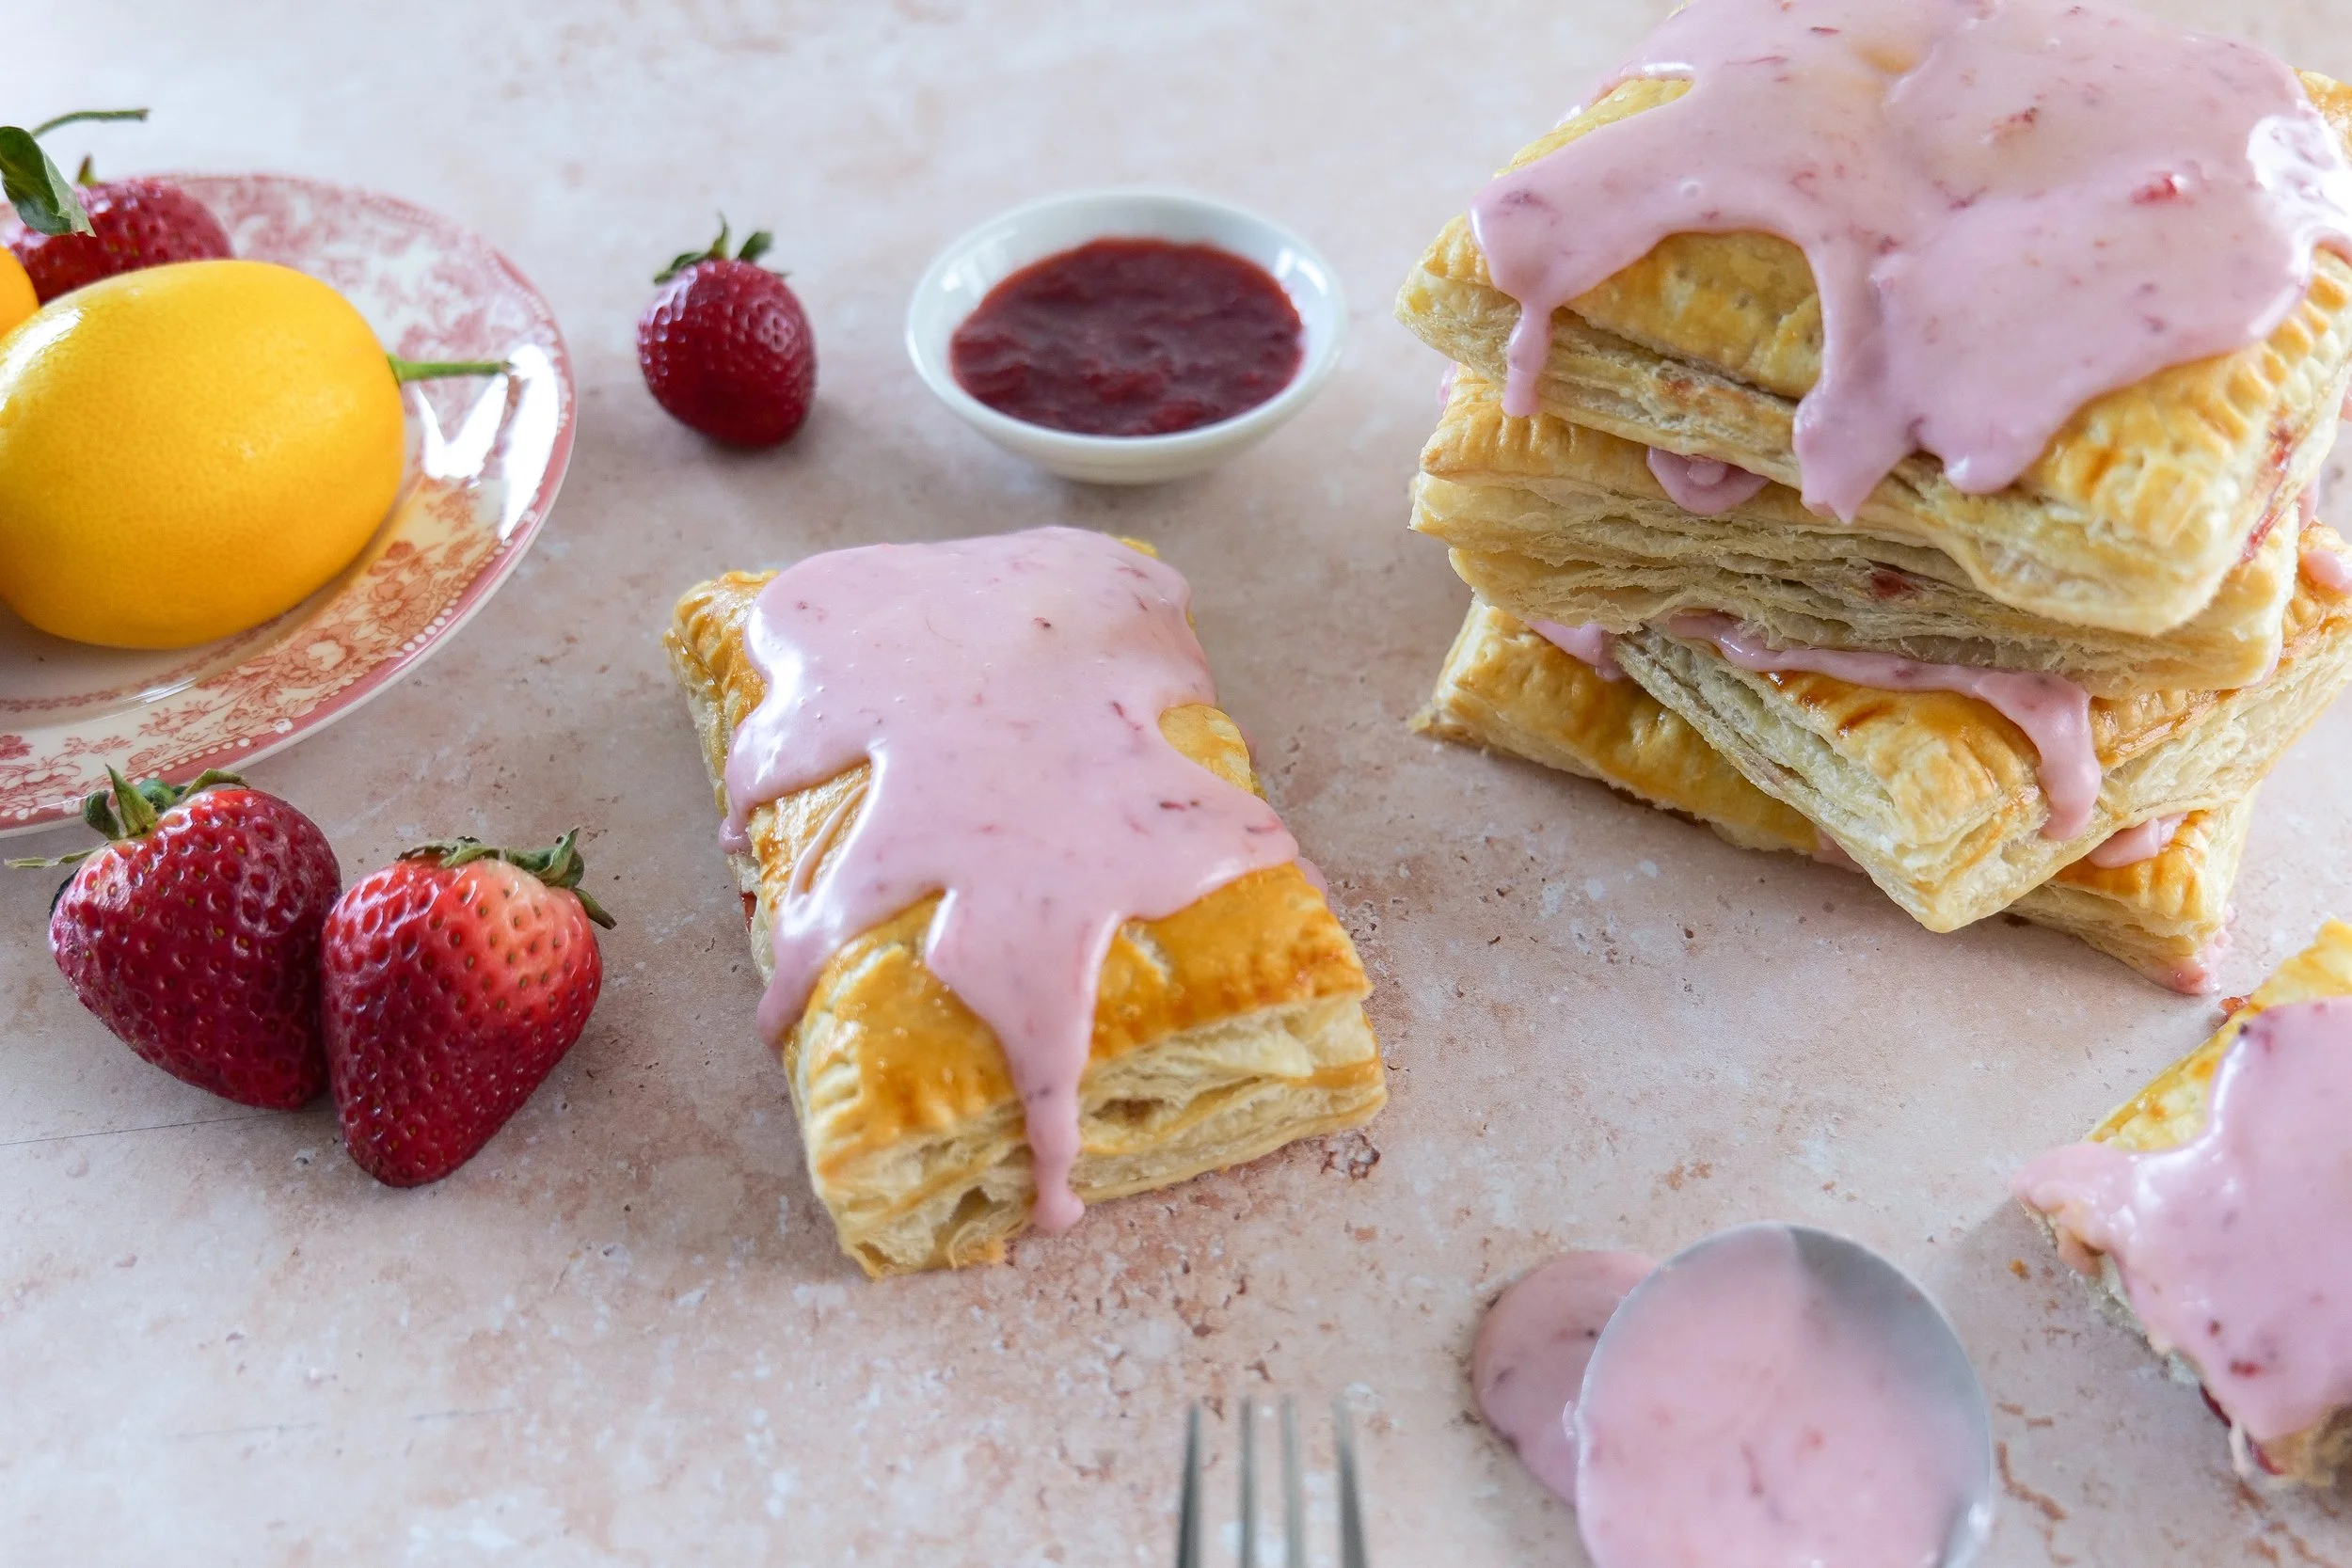
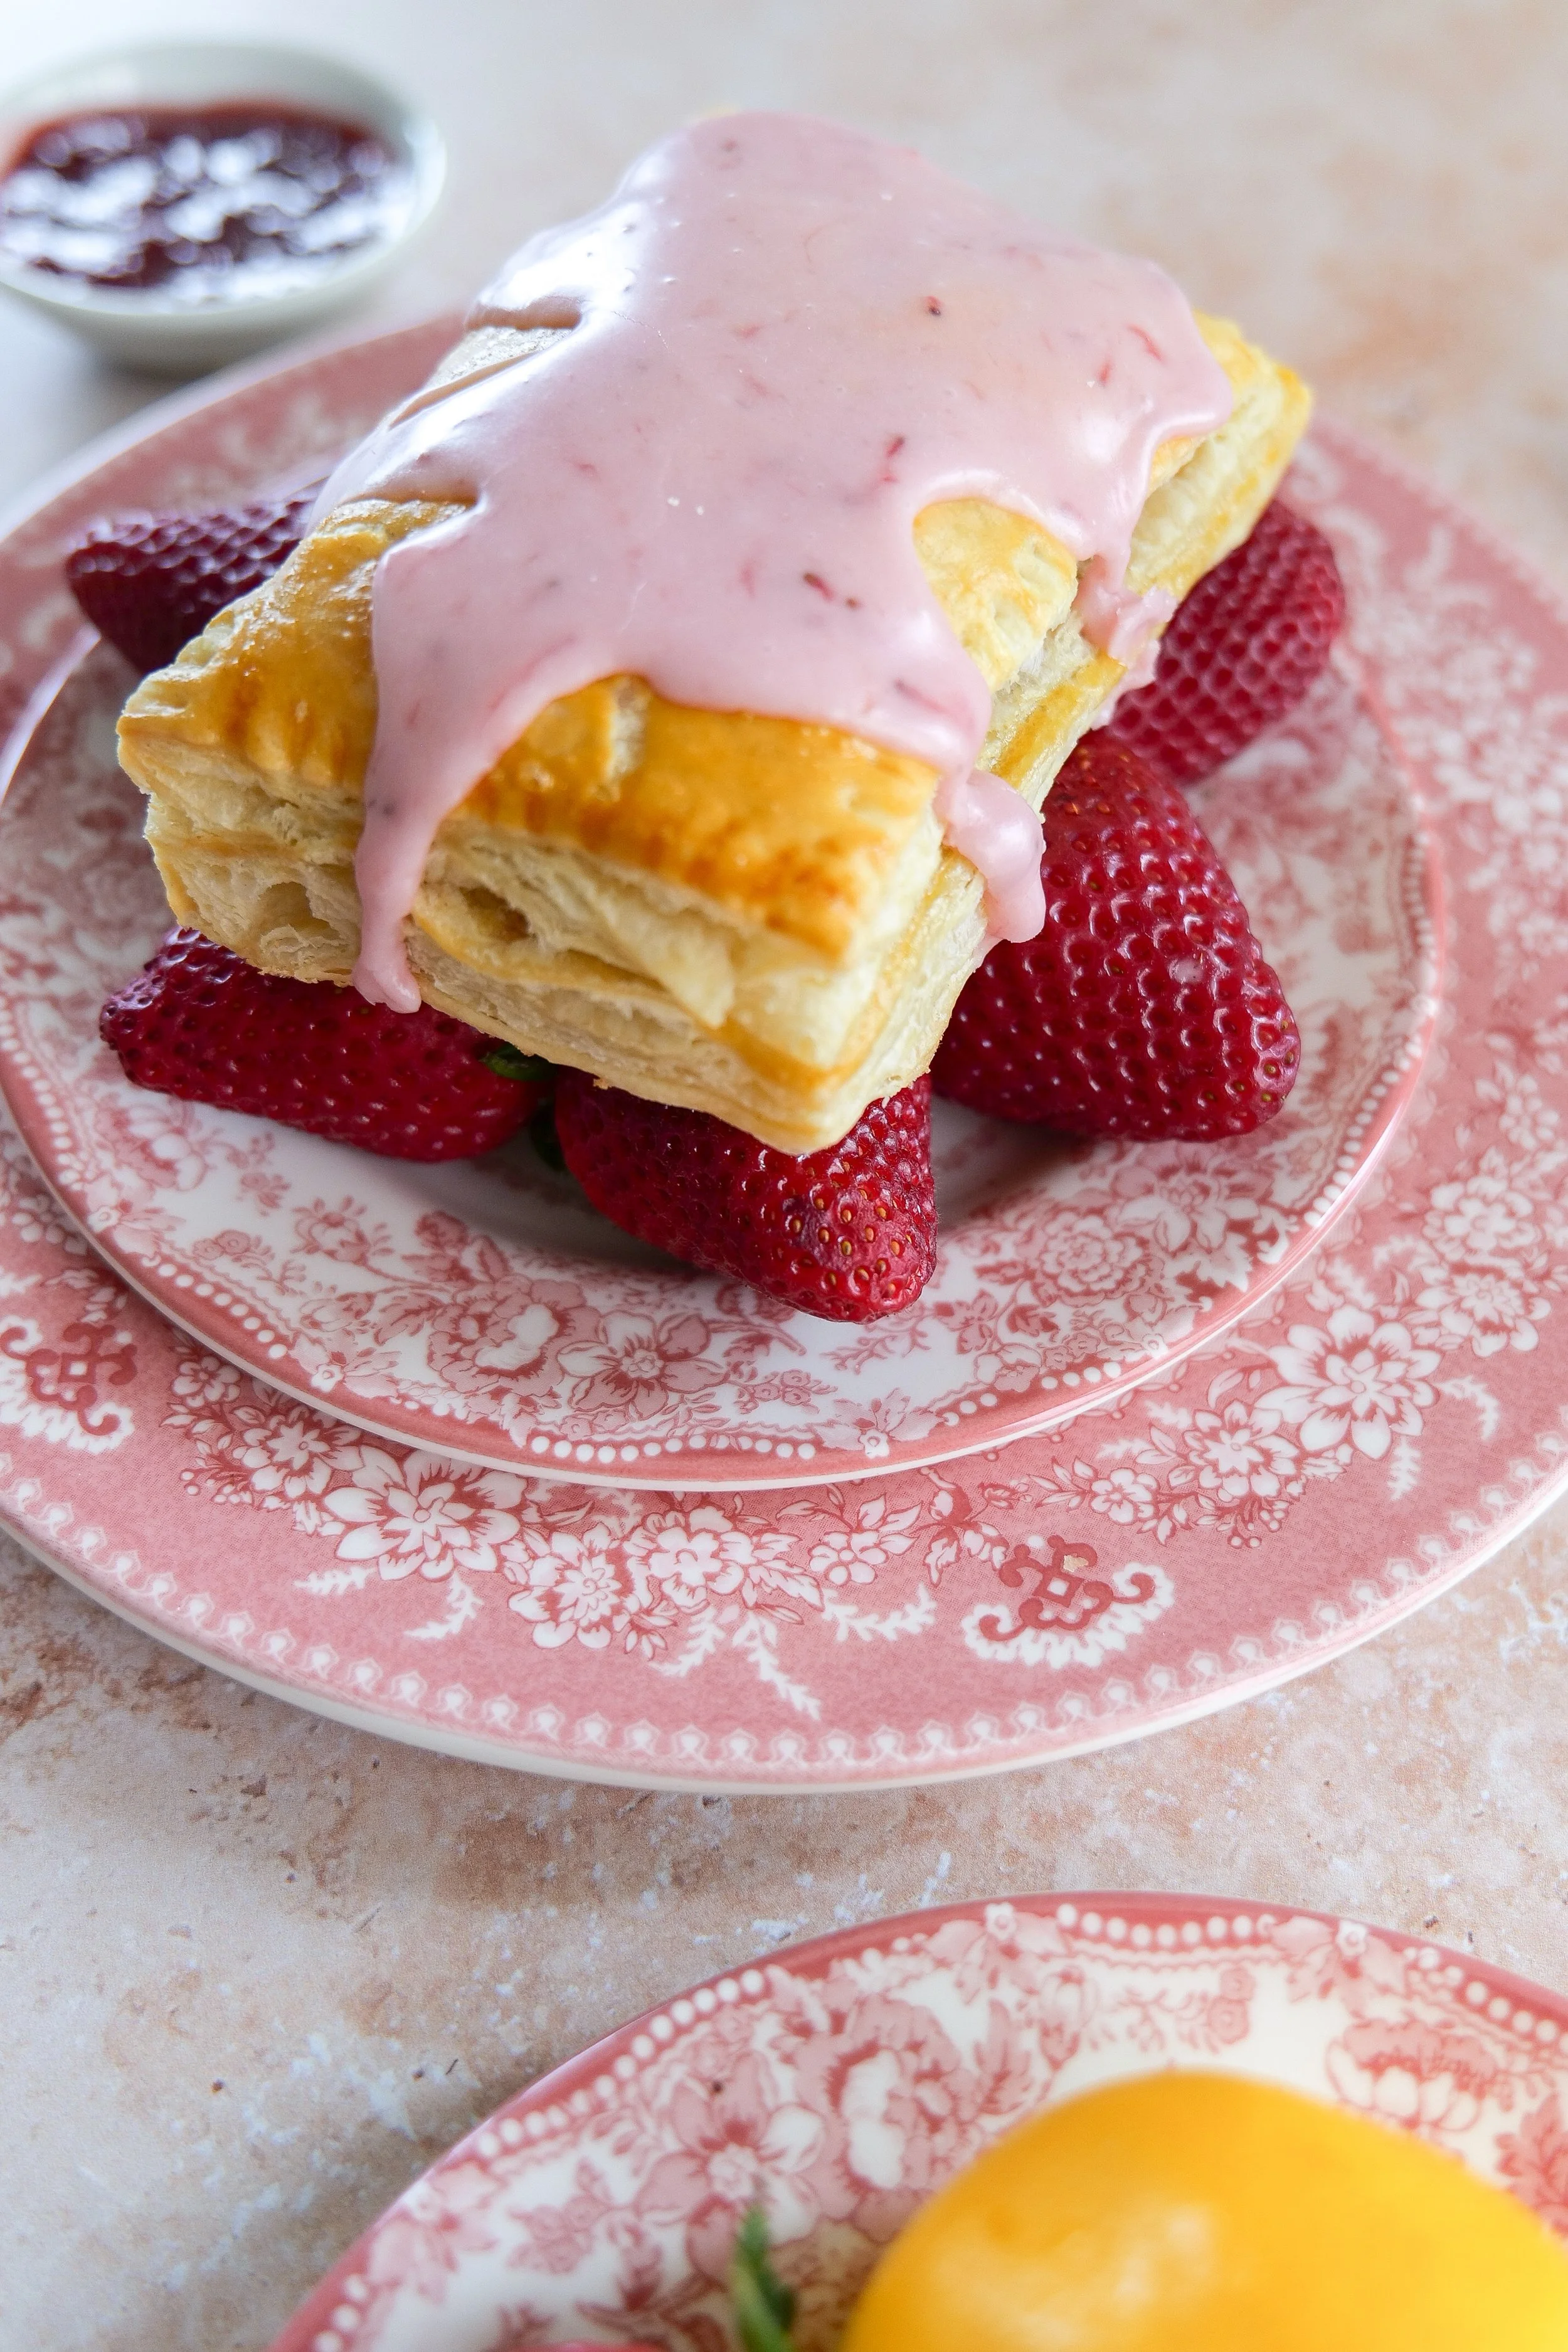
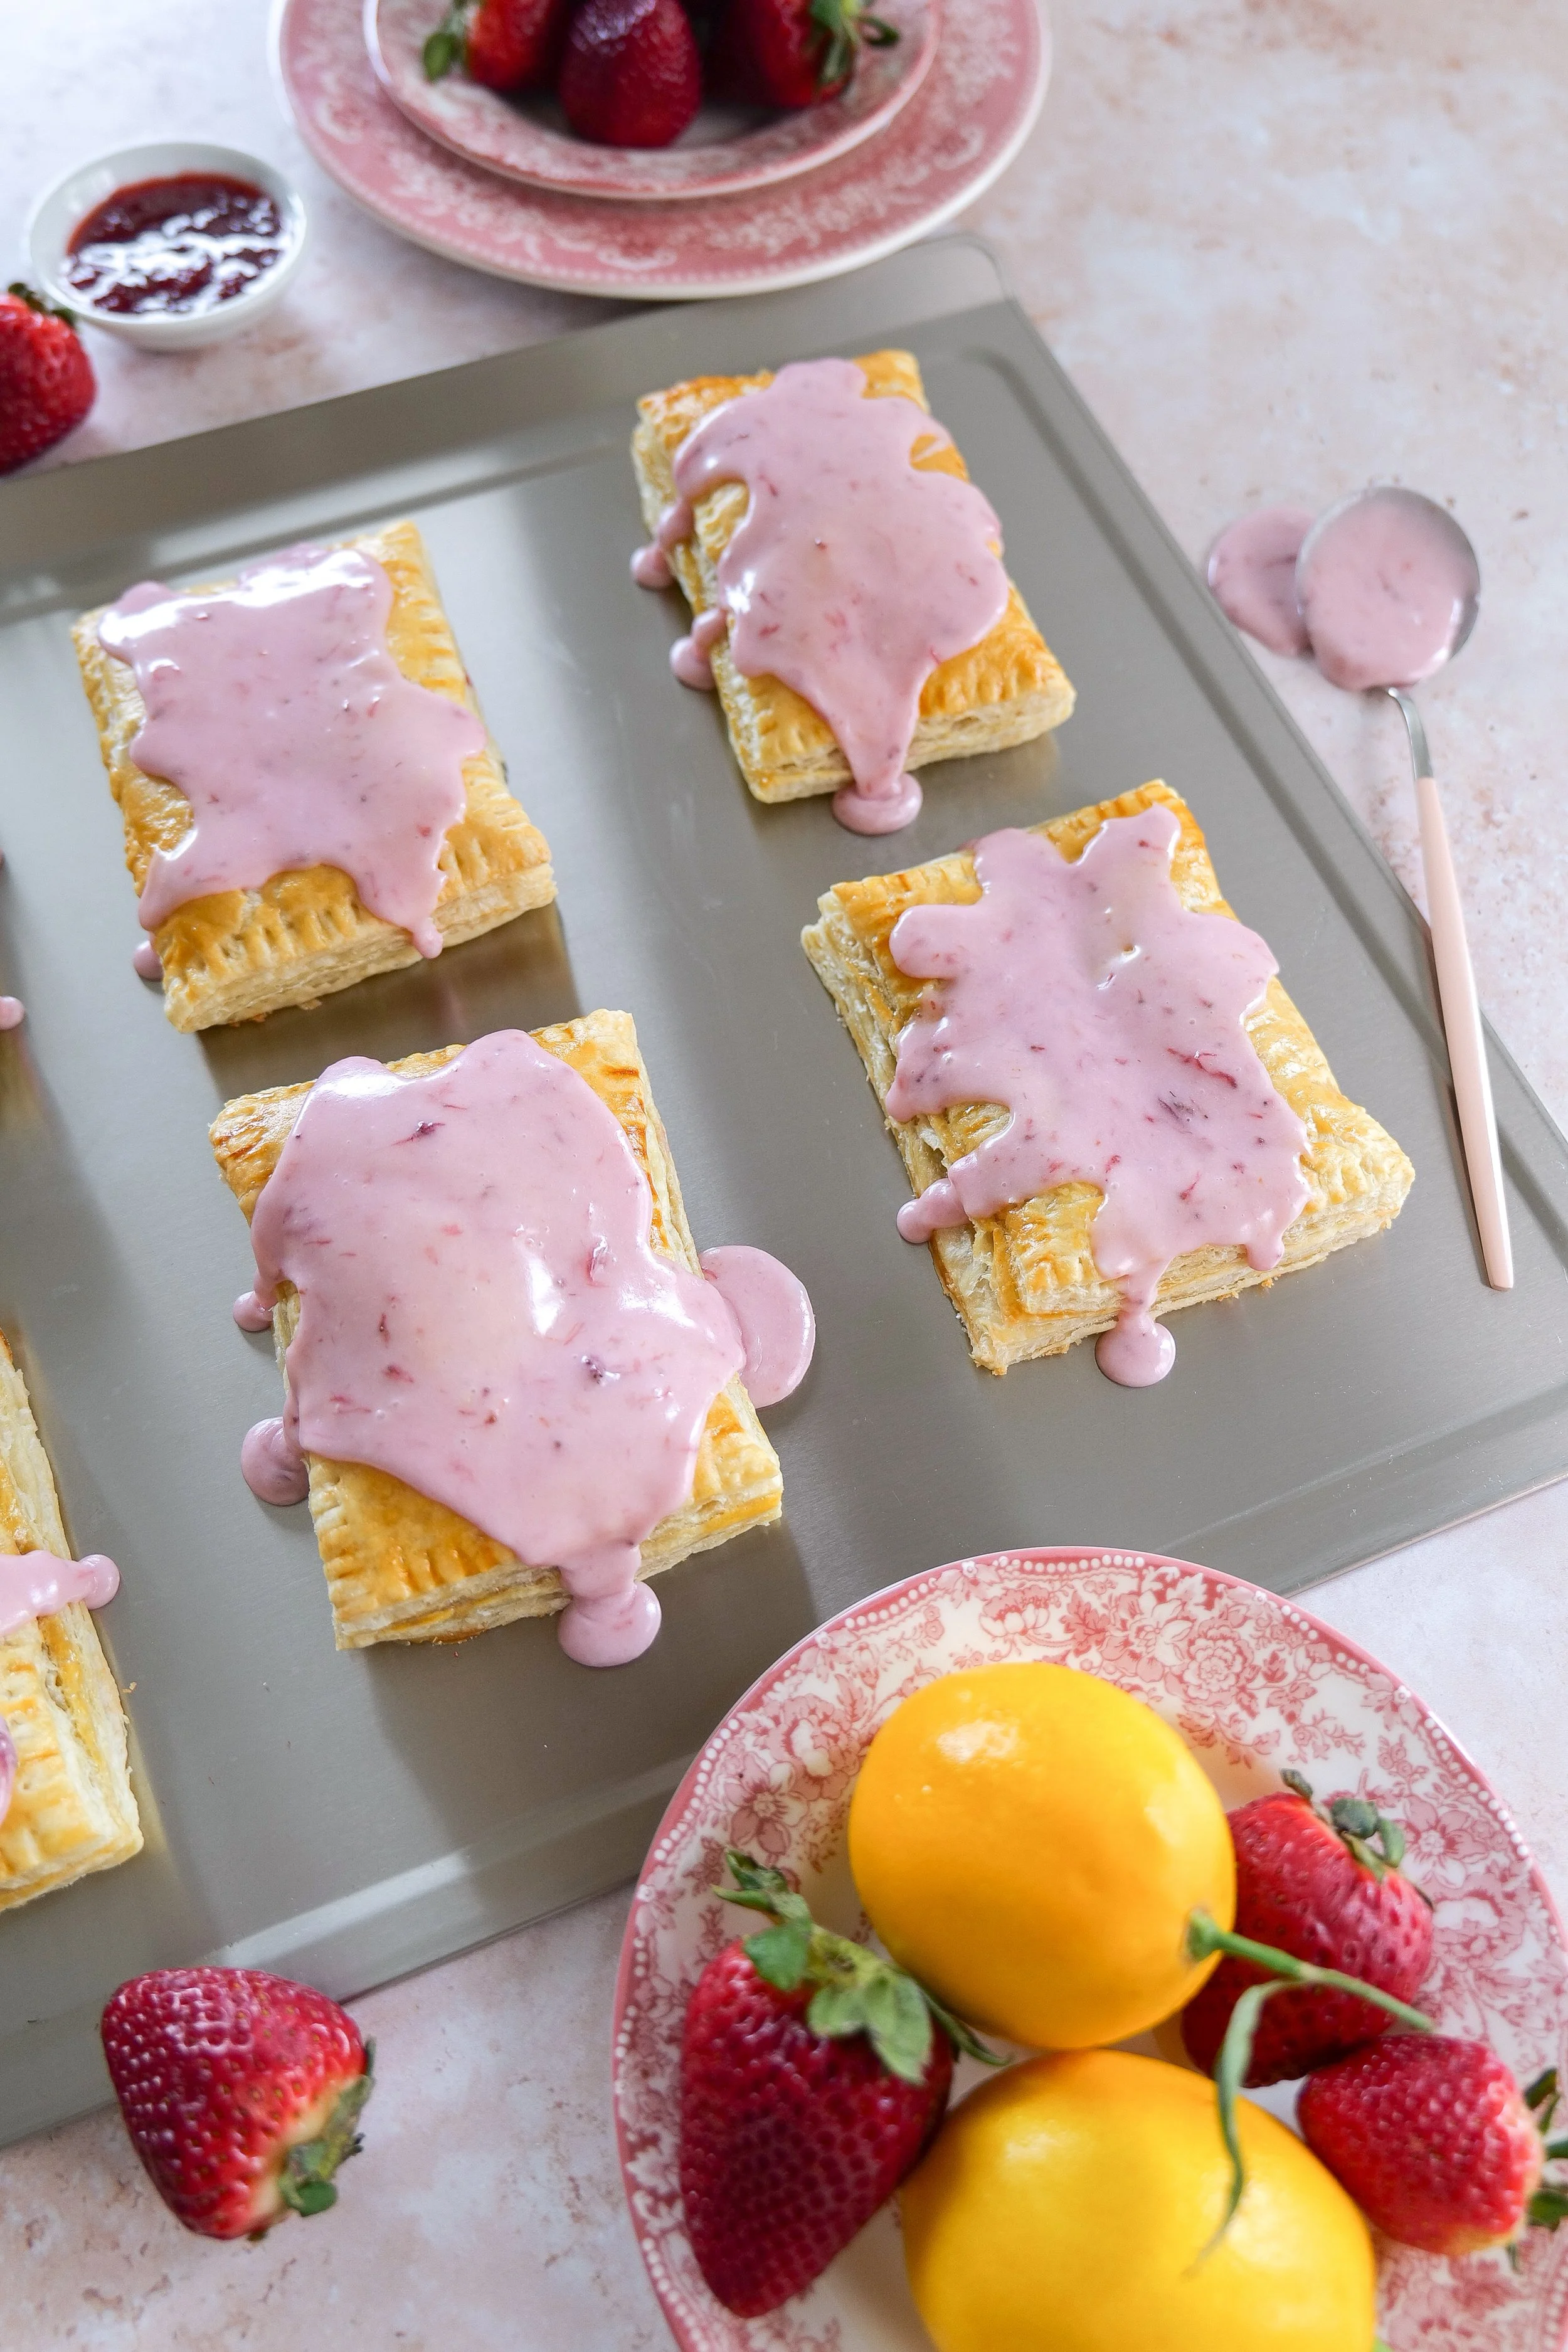
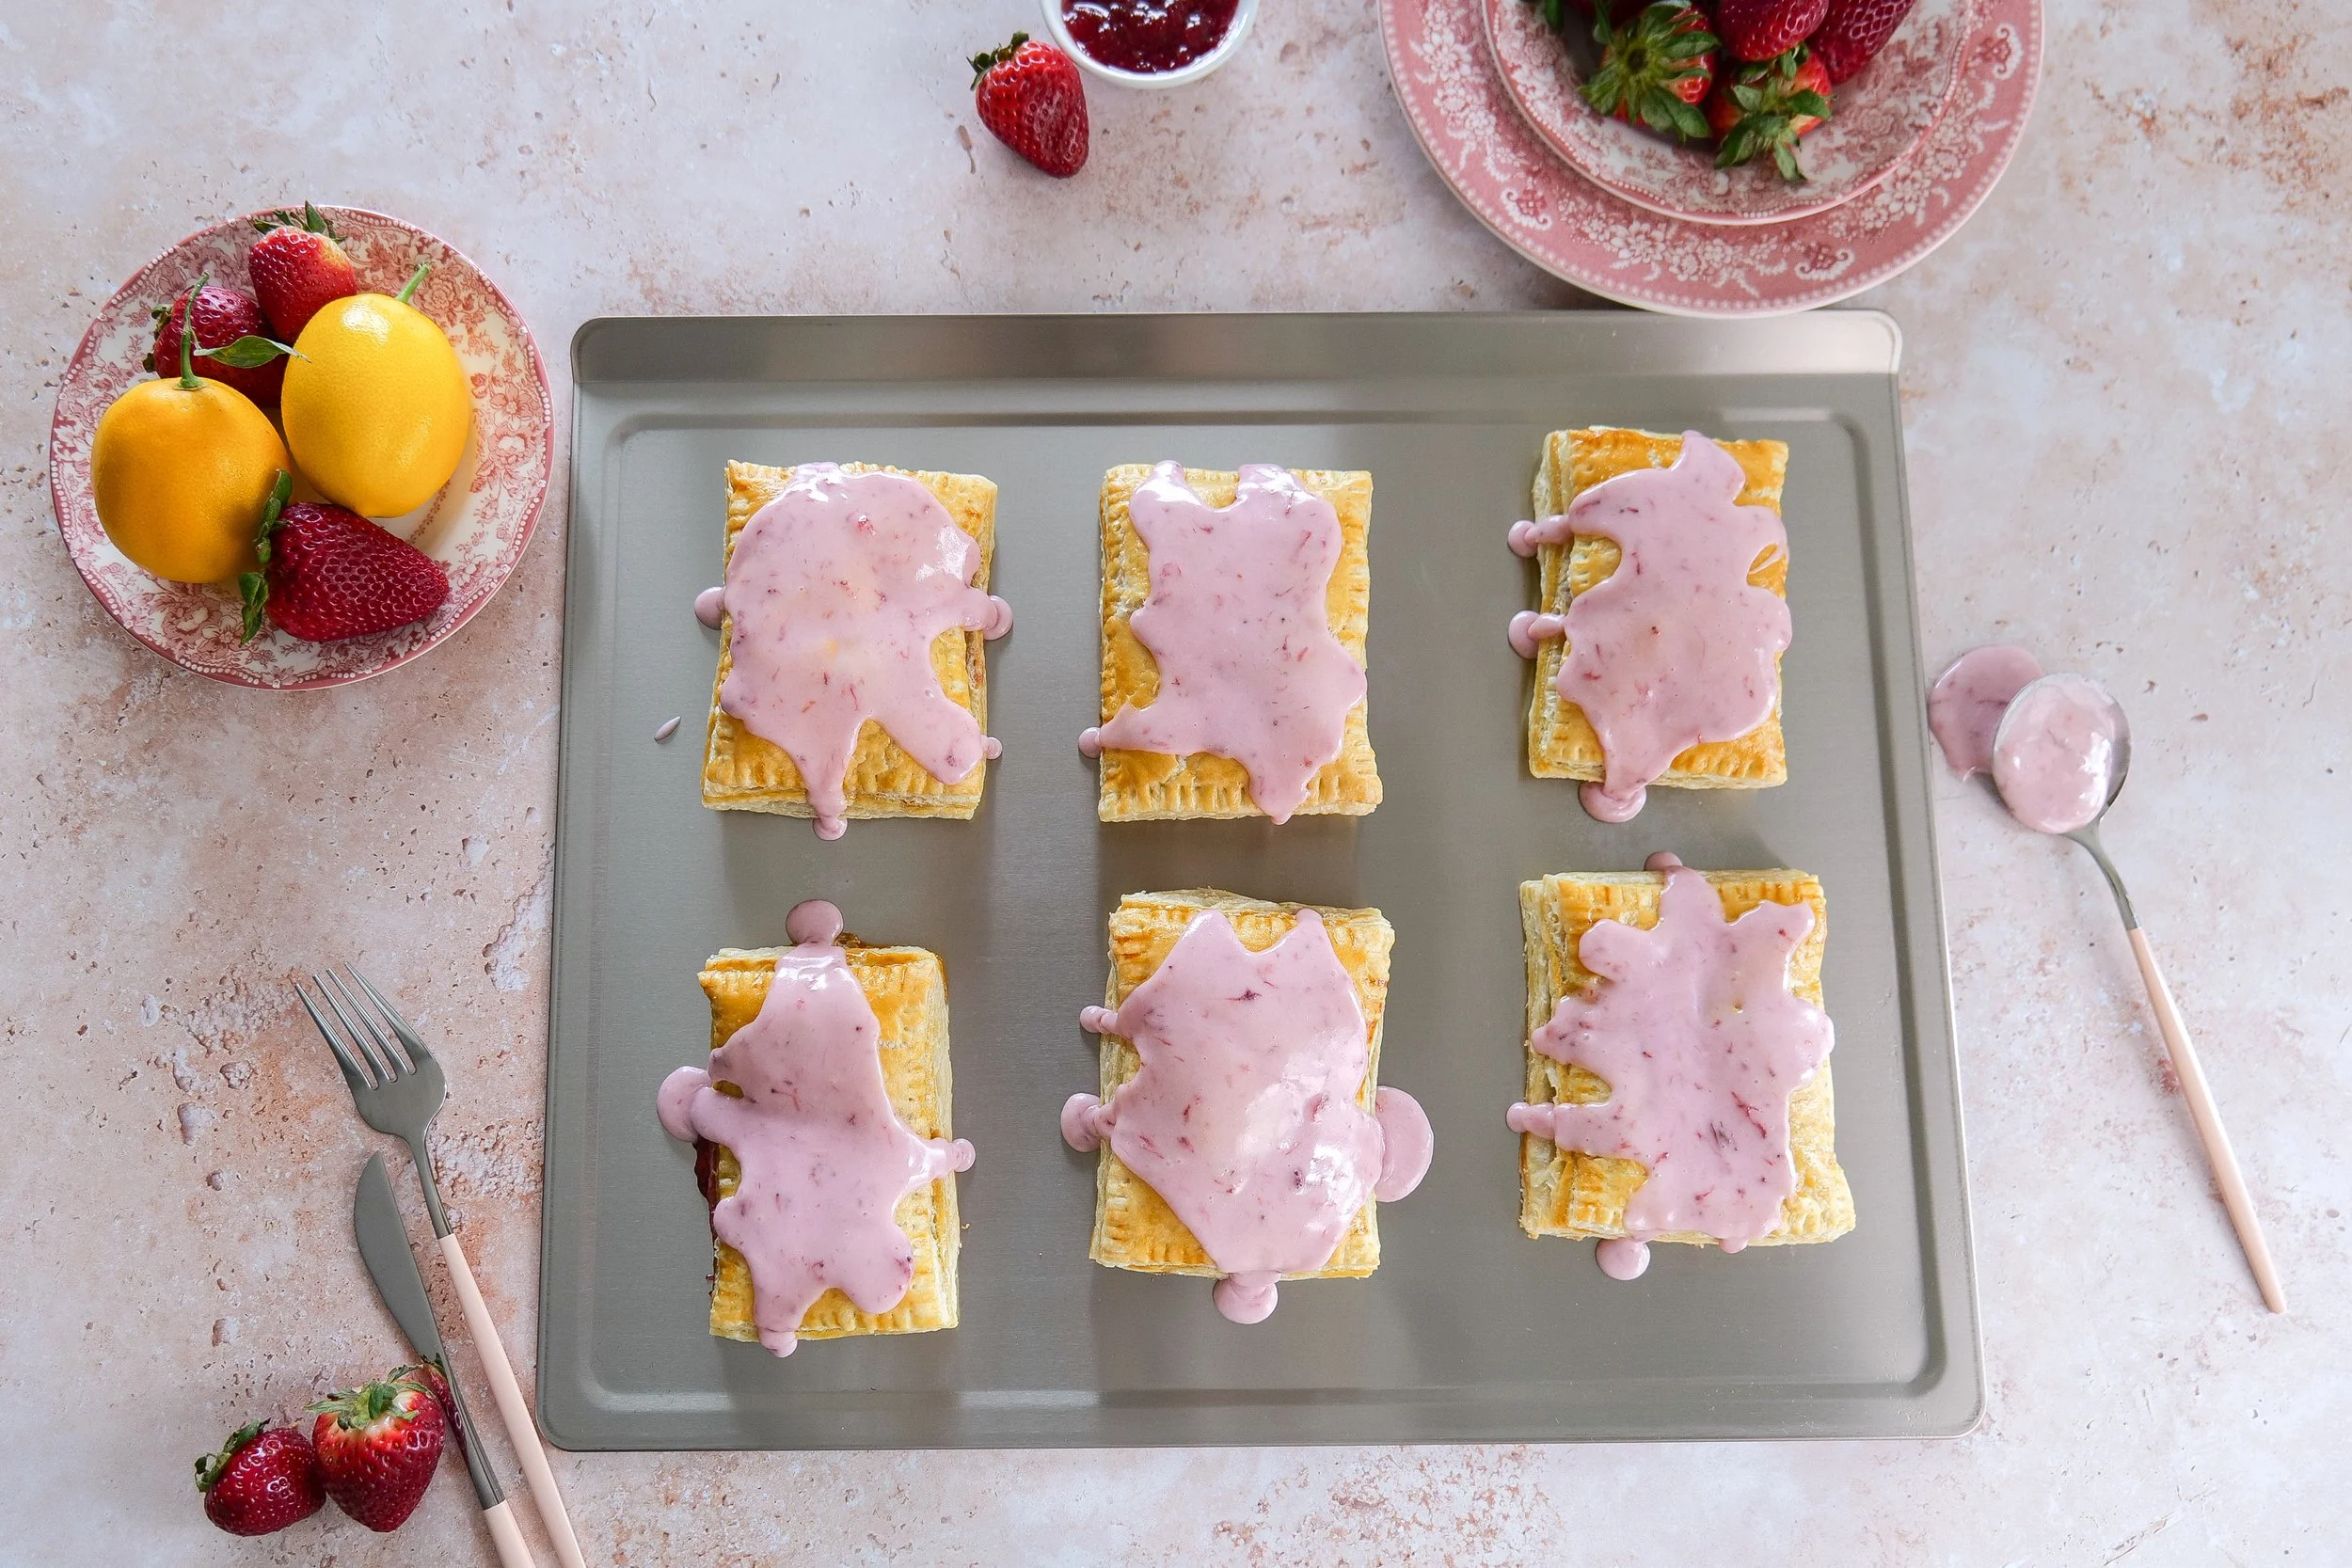
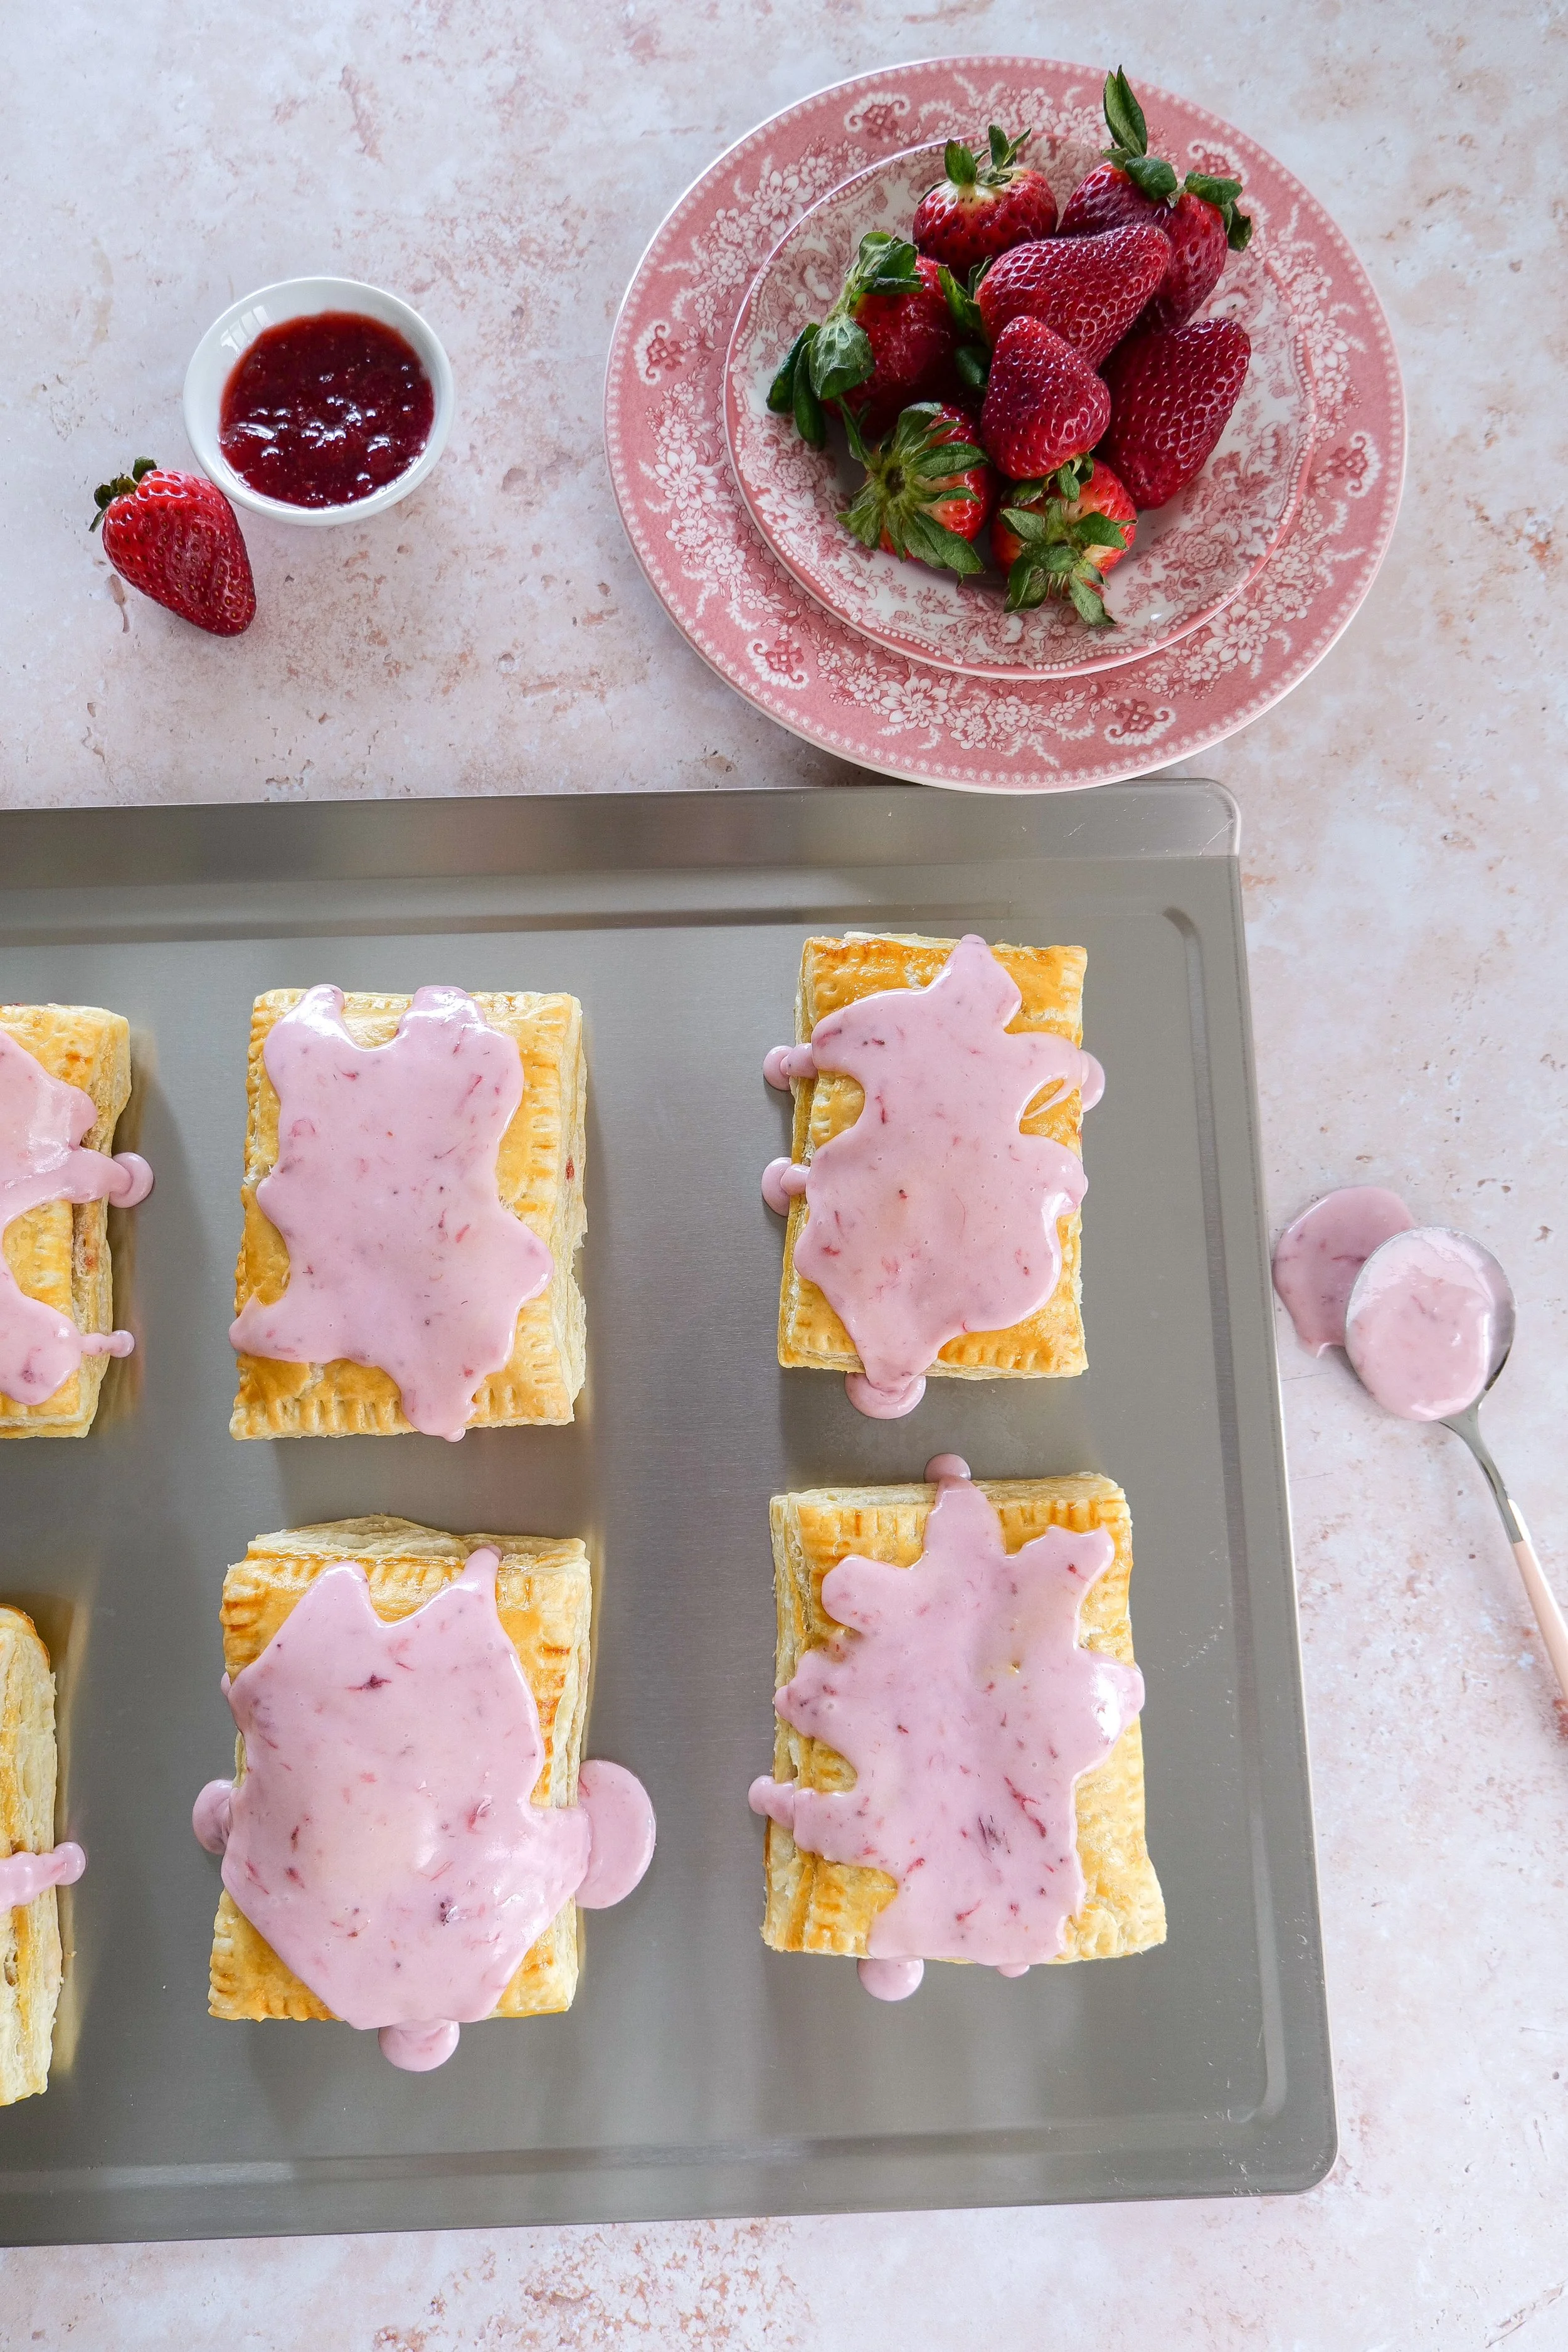
Homemade strawberry puff pastry pop tarts topped with icing and sprinkles.
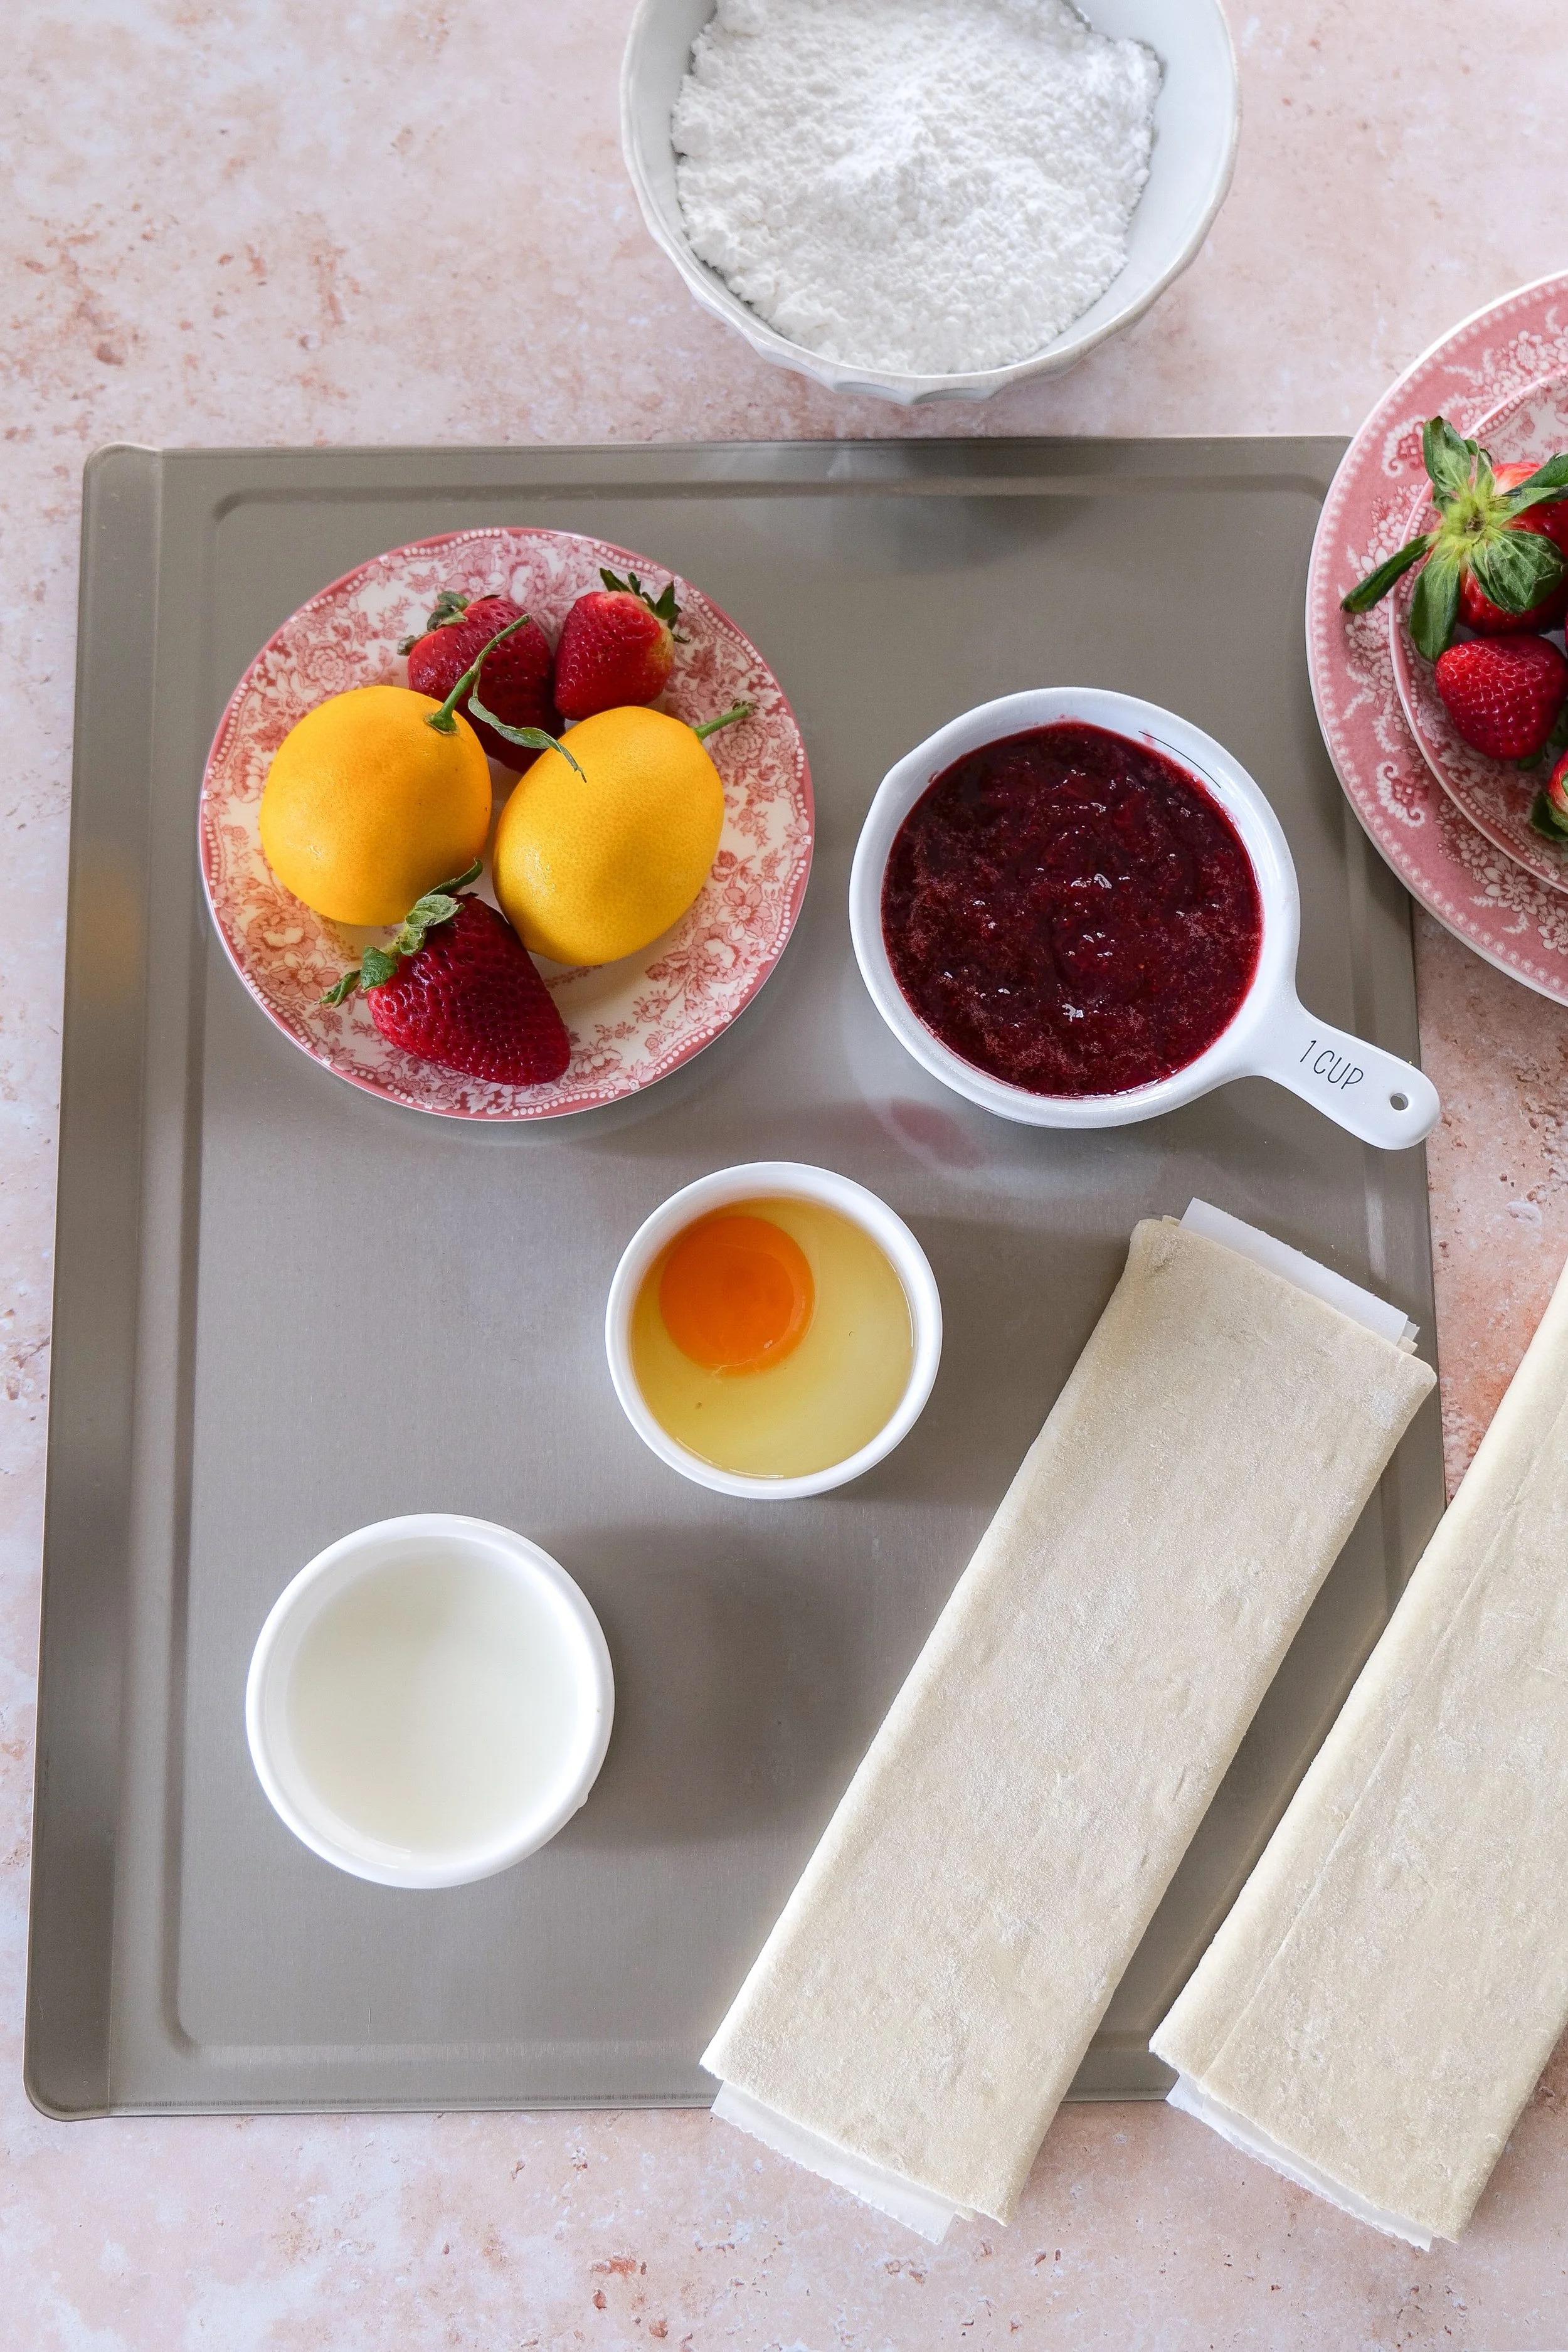
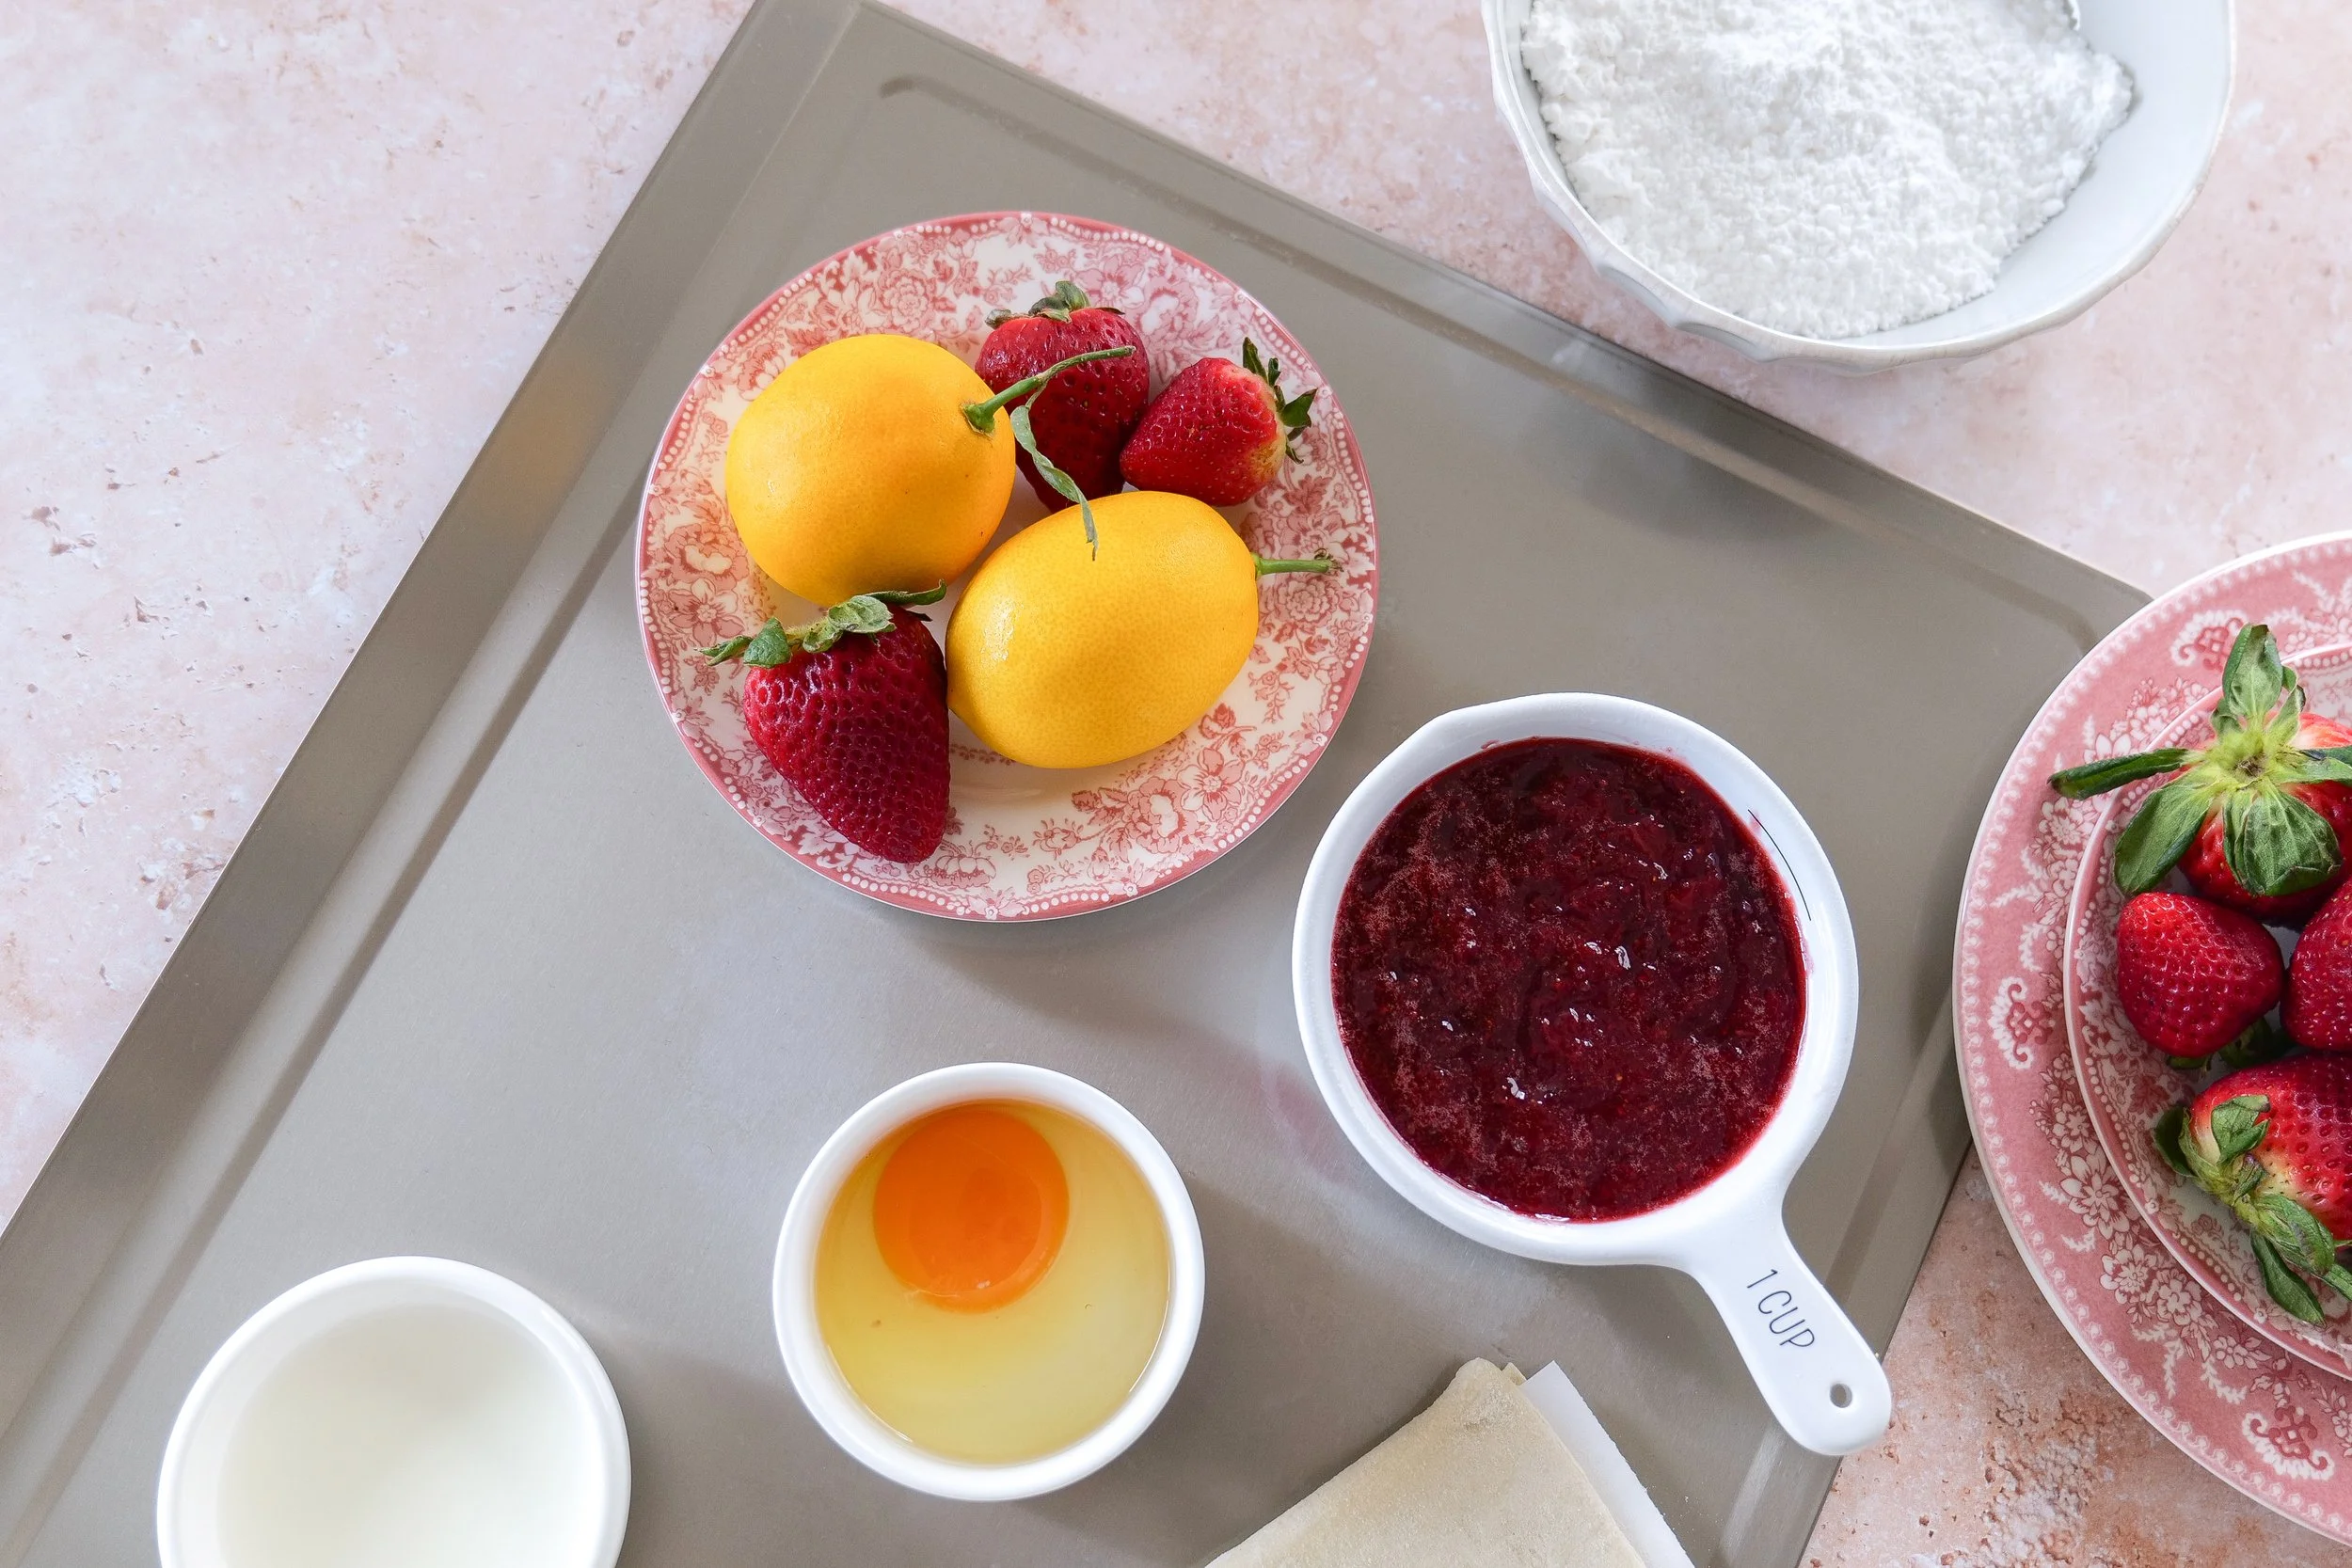
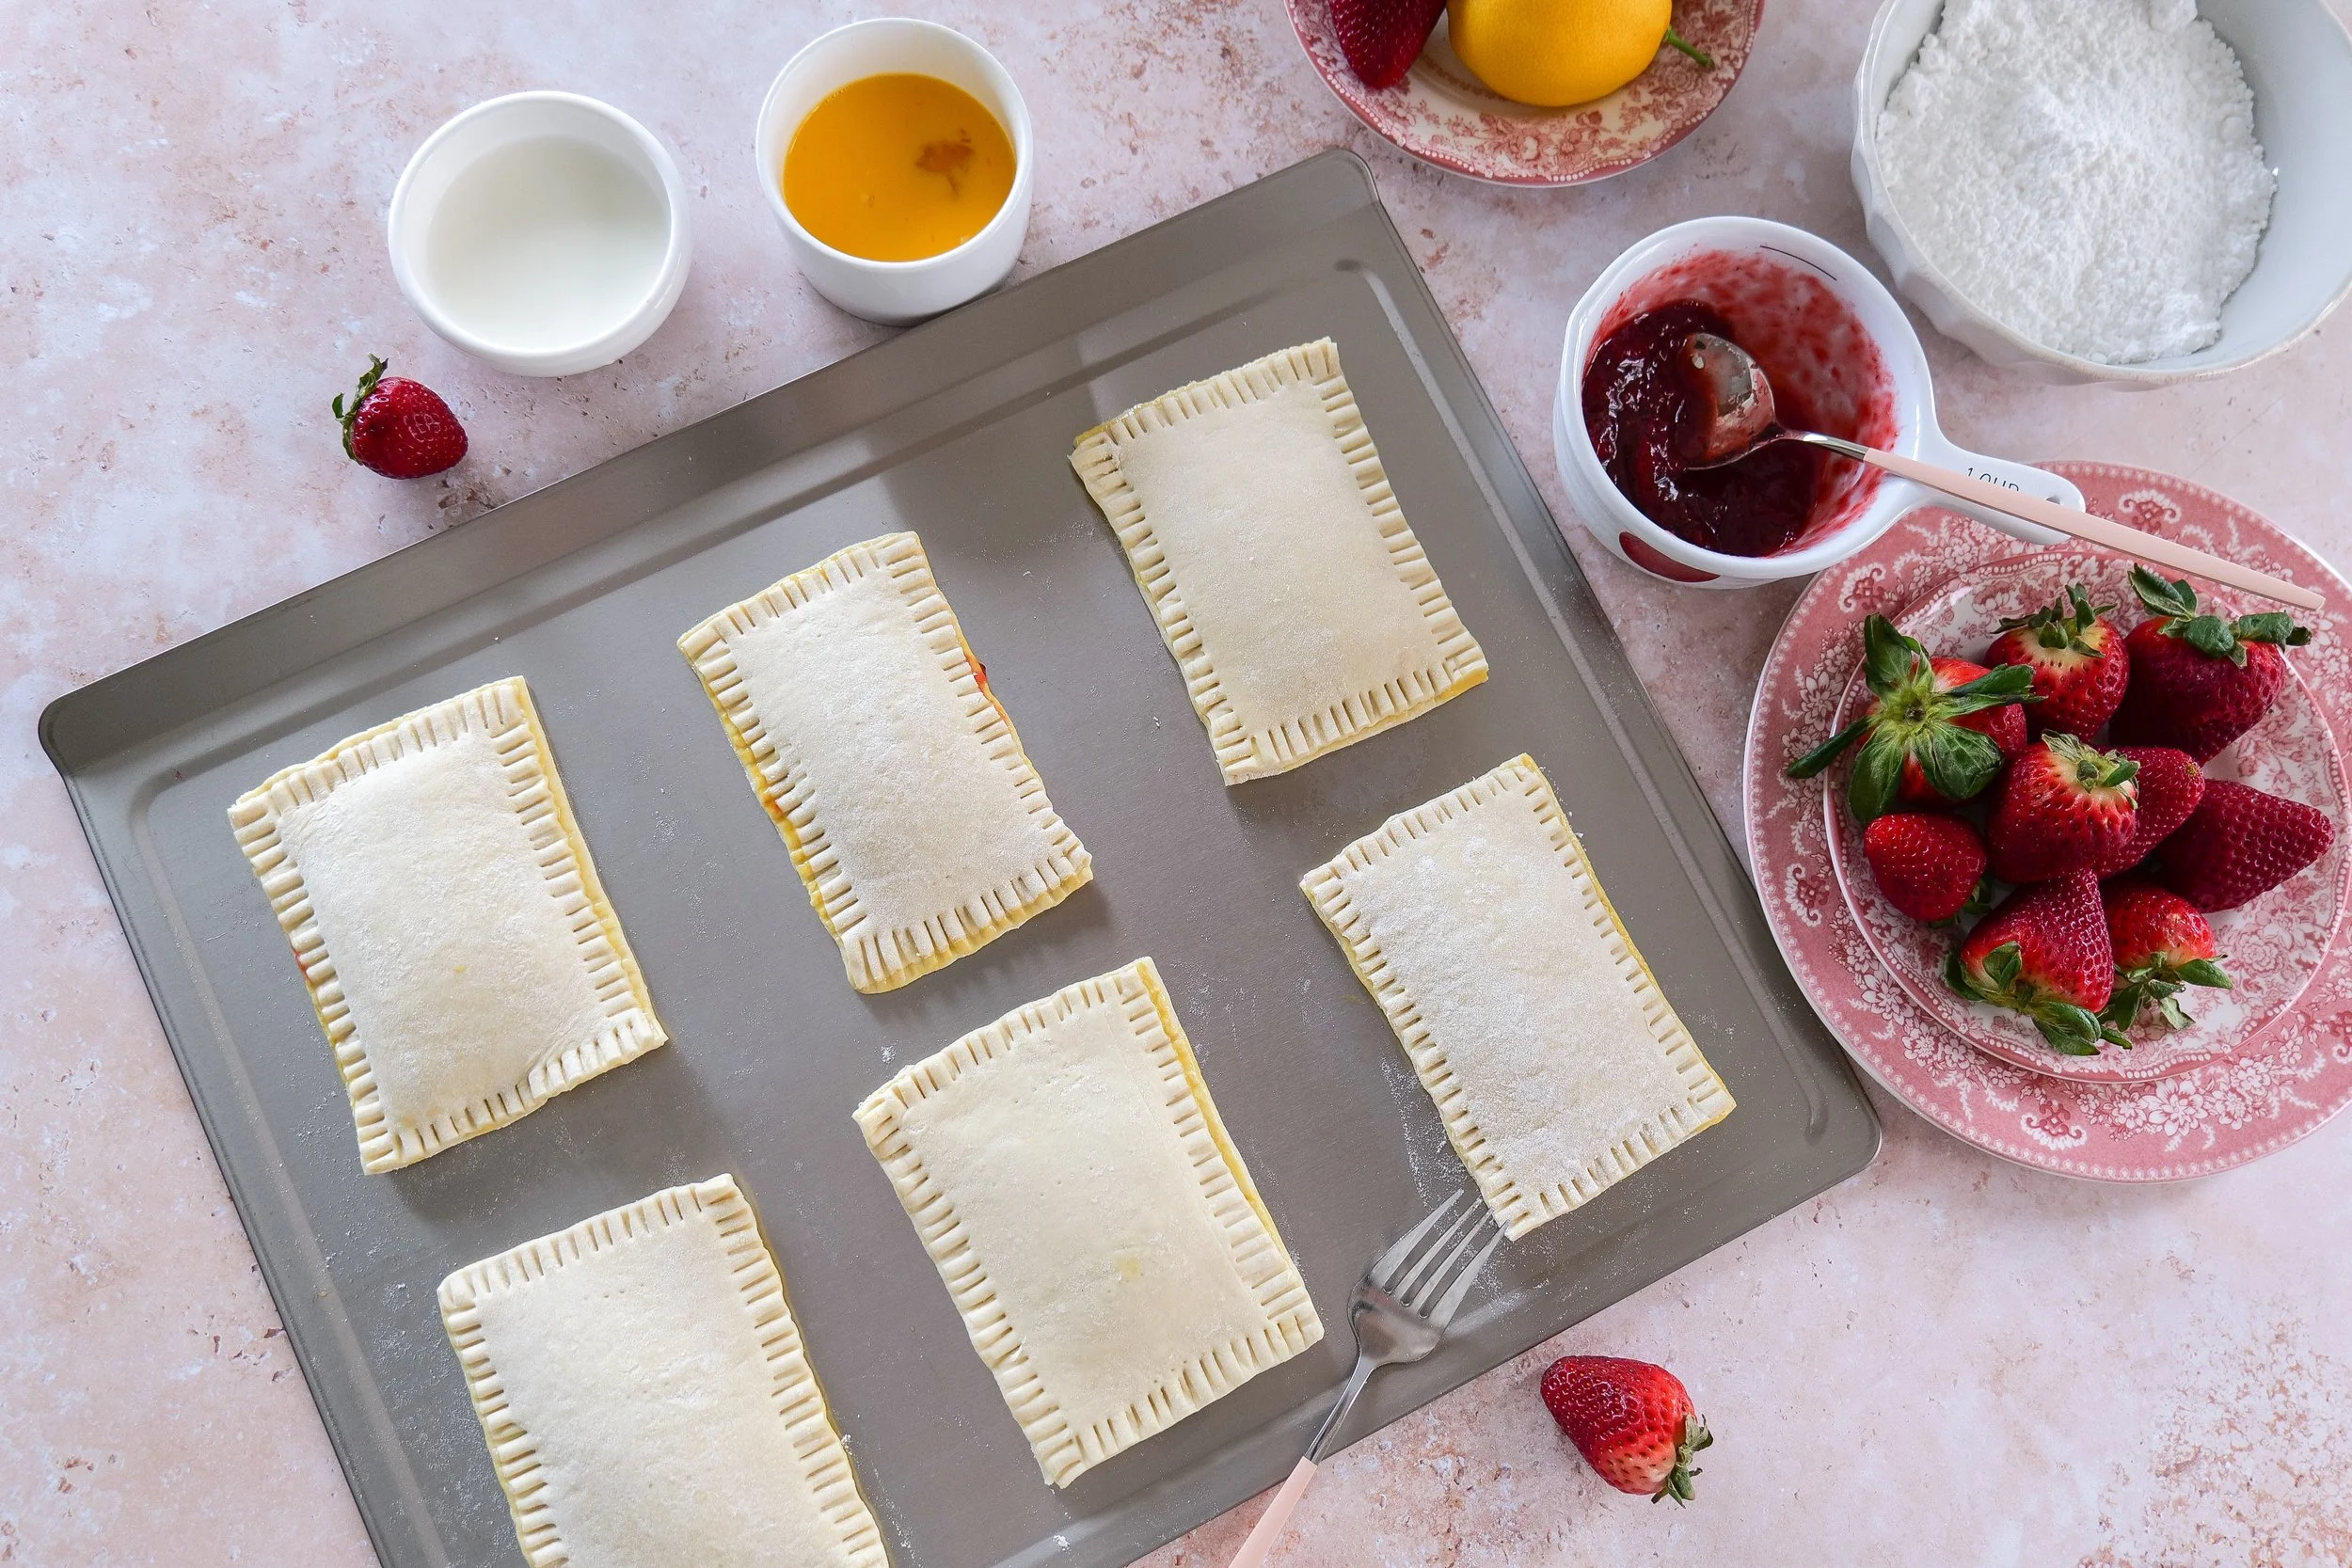
preparation for making a Strawberry Puff Pastry Pop Tart
strawberry puff pastry pop tarts
Easy Strawberry Puff Pastry Pop Tart Recipe

Why You’ll Love This Strawberry Puff Pastry Pop Tart Recipe

First off, this isn’t one of those complicated, fussy desserts. We’re using puff pastry (aka your secret weapon), so you get that golden, buttery crunch with minimal work.

Here’s why this recipe is a go-to:

  • Super quick to throw together

  • Uses simple, easy-to-find ingredients

  • Perfect for breakfast, brunch, or dessert

  • Looks way fancier than it actually is

And yes… it tastes as good as it looks.

Tips for the Best Pop Tarts

  • Don’t skip the egg wash – it gives that beautiful golden finish

  • Let them cool before glazing – otherwise it melts right off

  • Use good jam – it really makes a difference in flavor

  • Chill before baking (optional) – helps them hold shape better

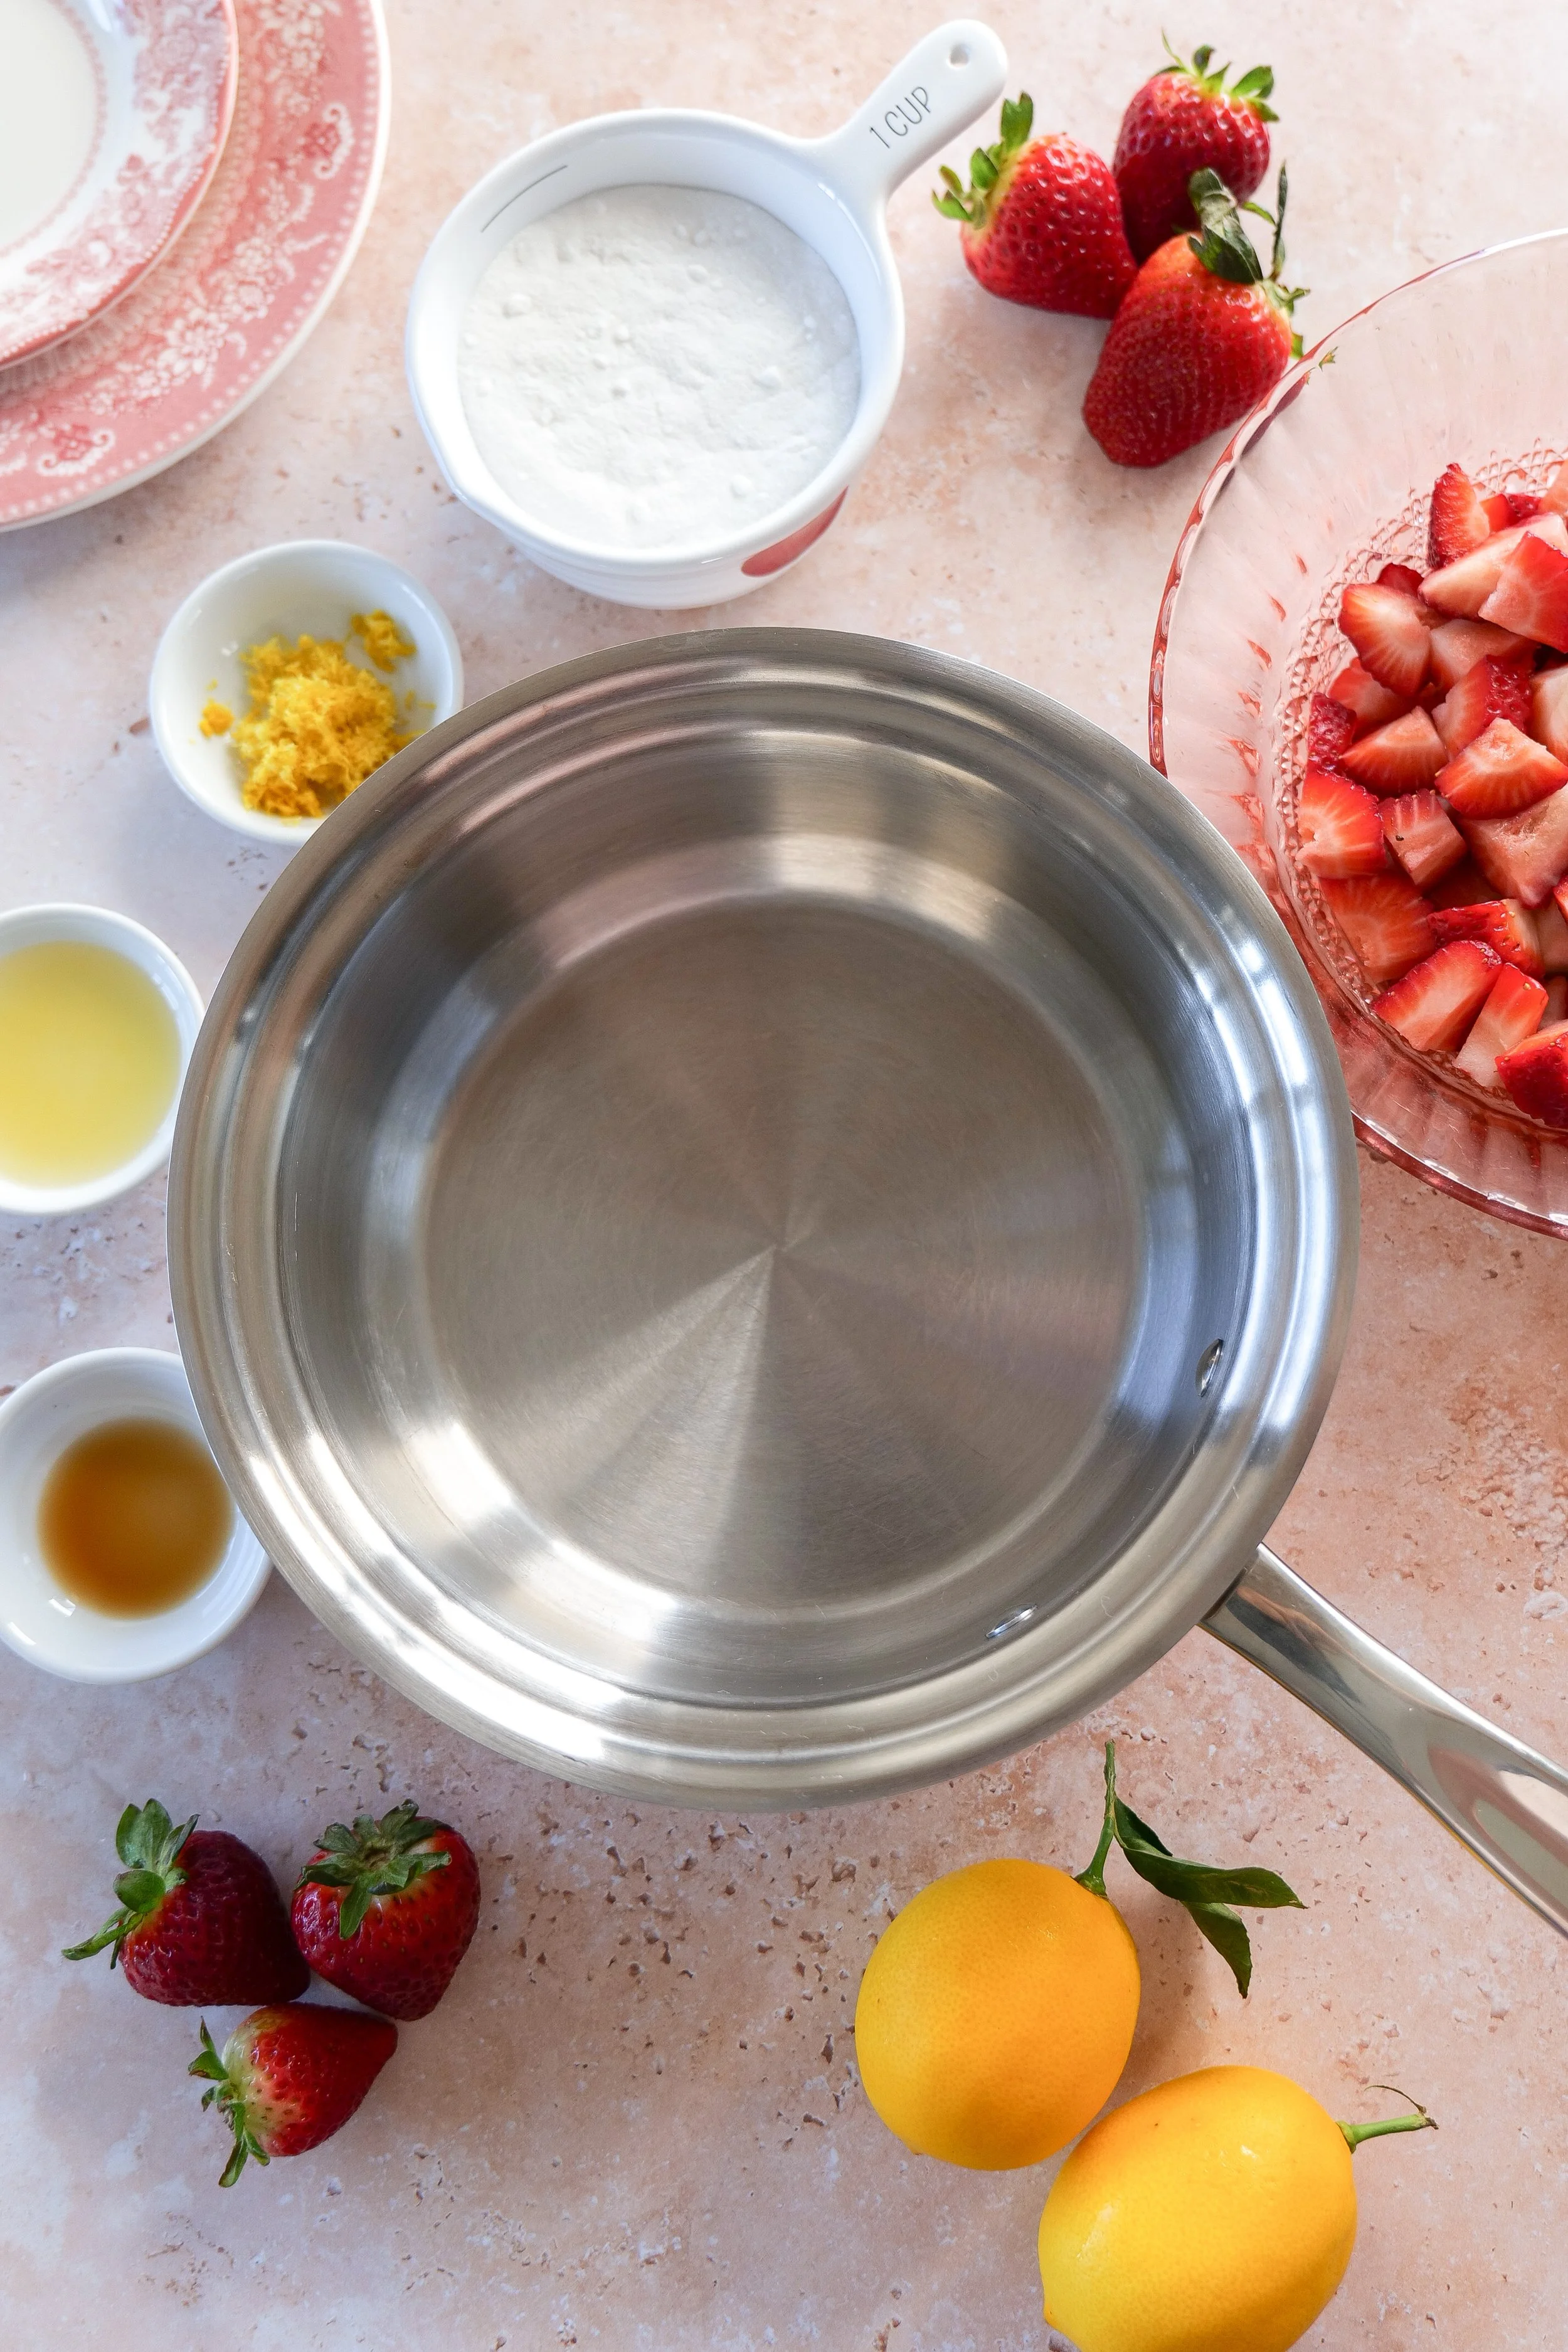
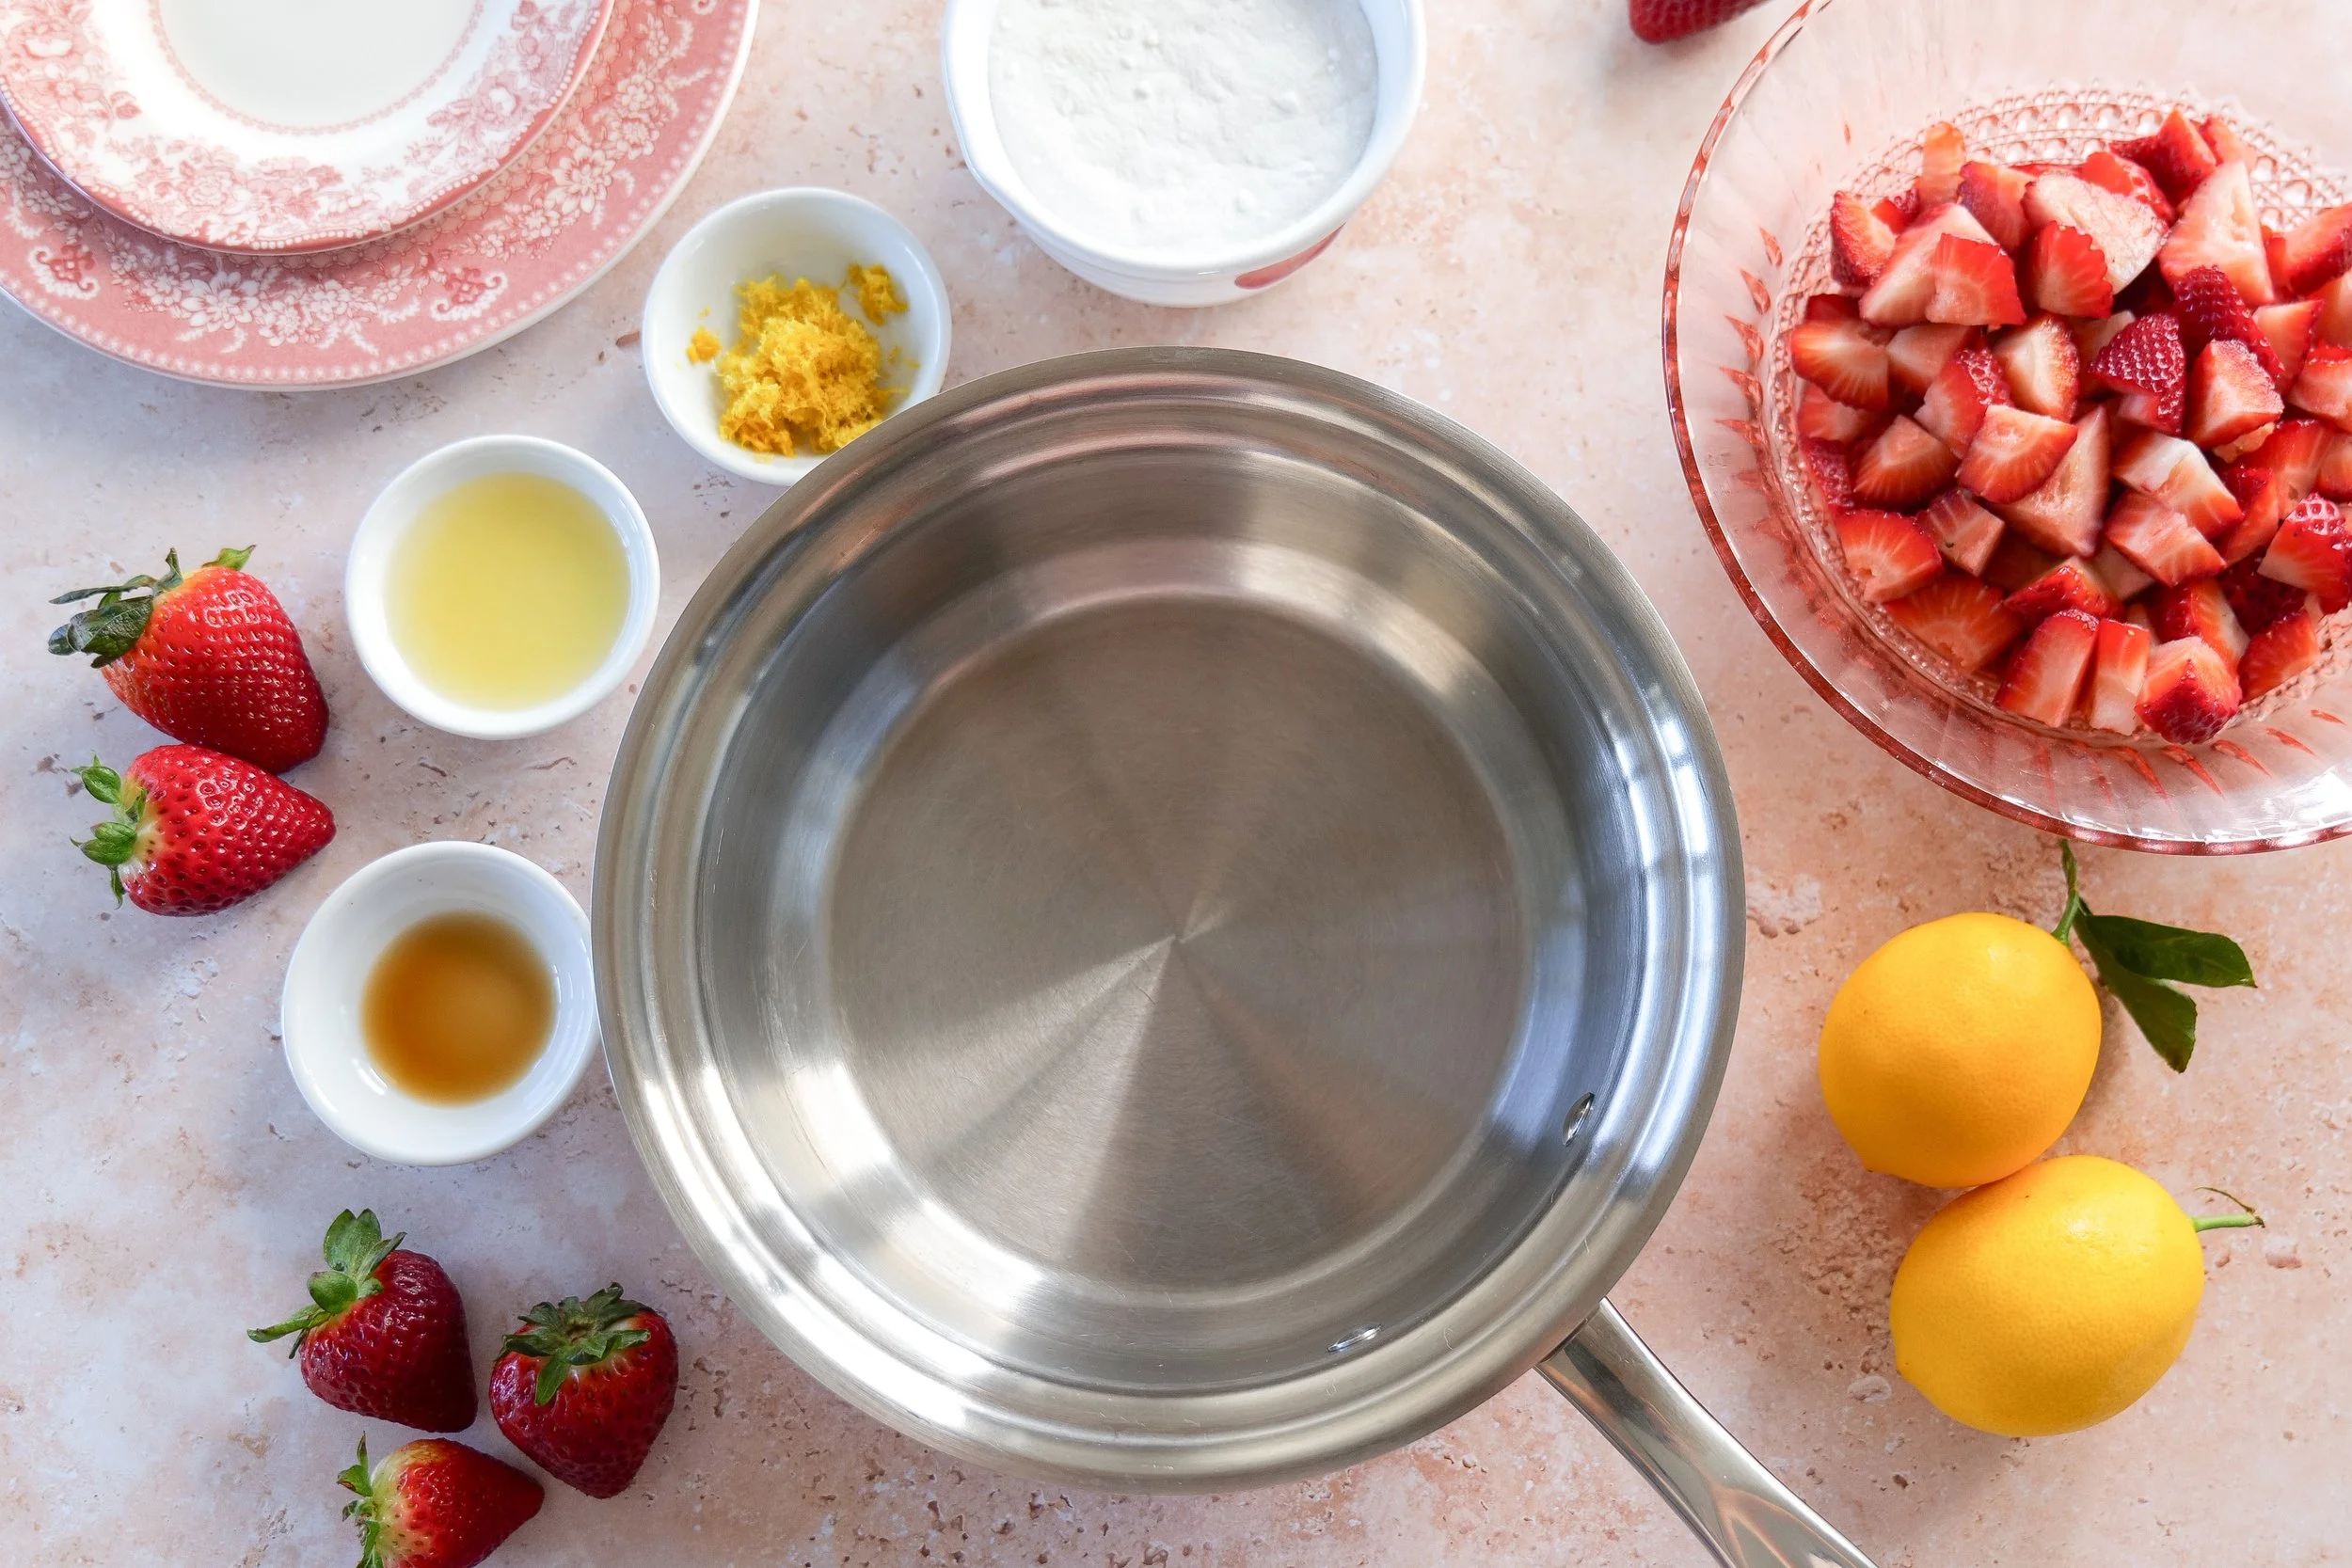
diced fresh strawberries, granulated sugar, lemon juice, lemon zest, and vanilla extract
ingredients for making Strawberry Puff Pastry Pop Tarts
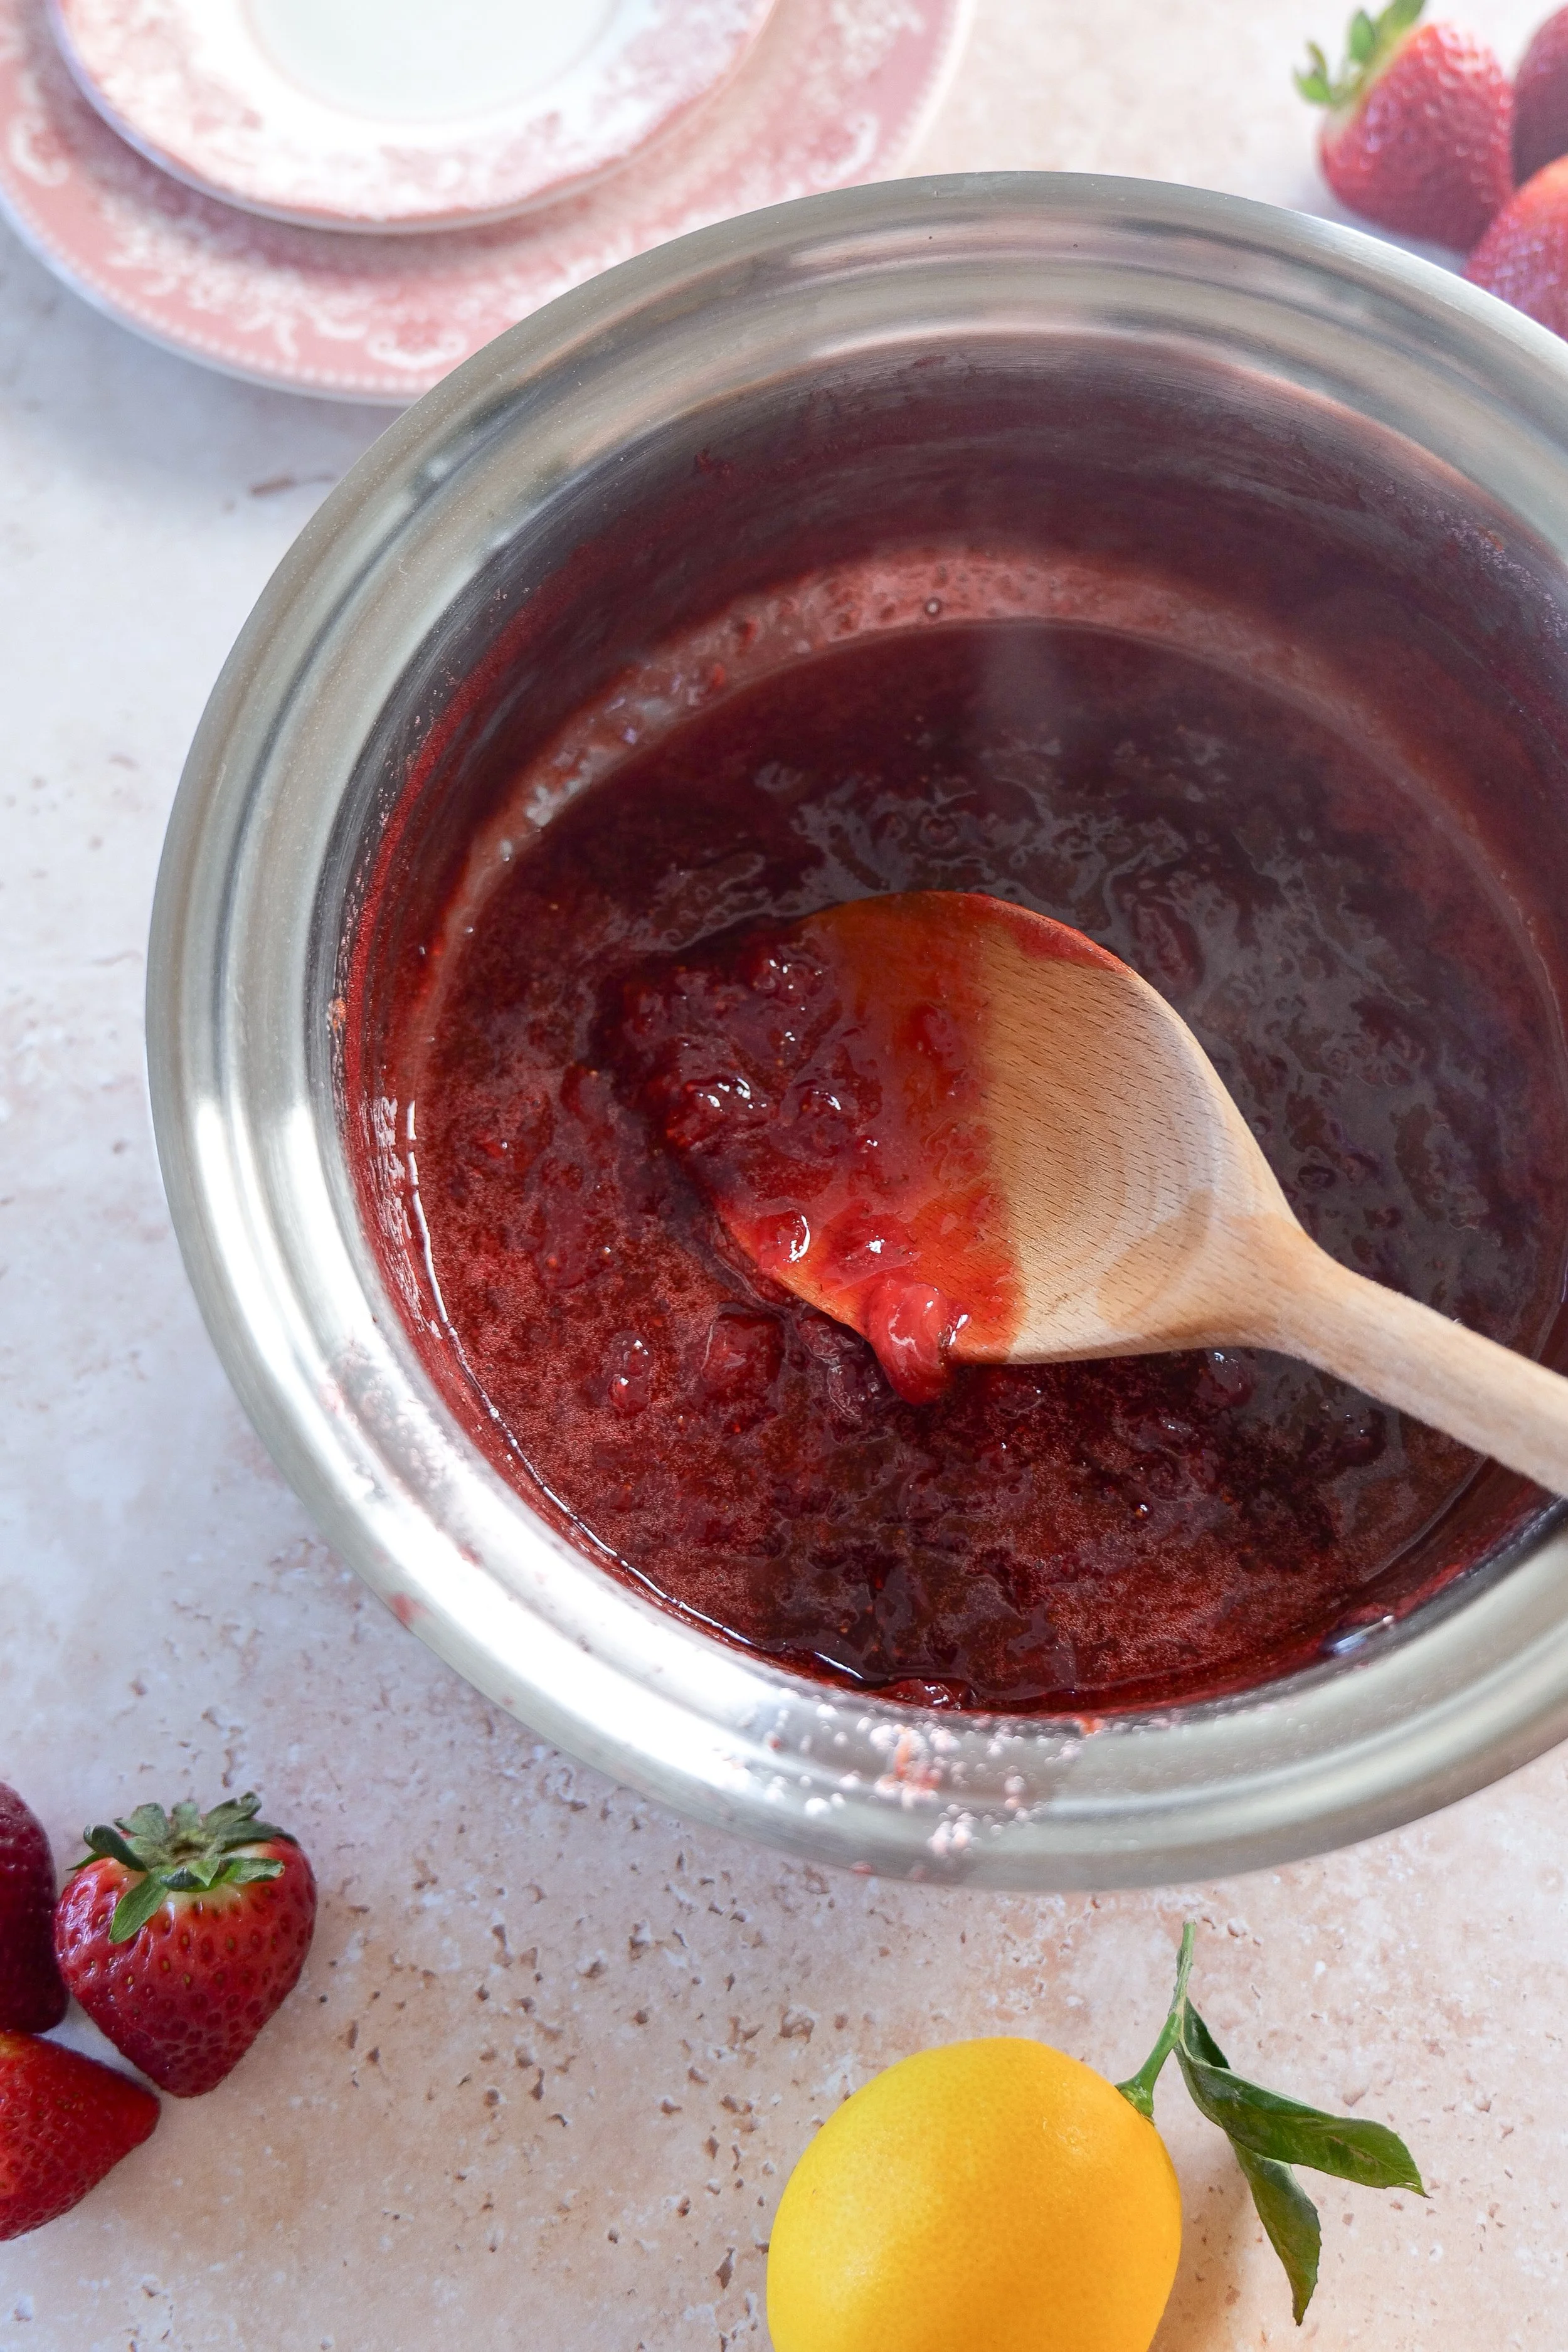
the process of making homemade strawberry sauce
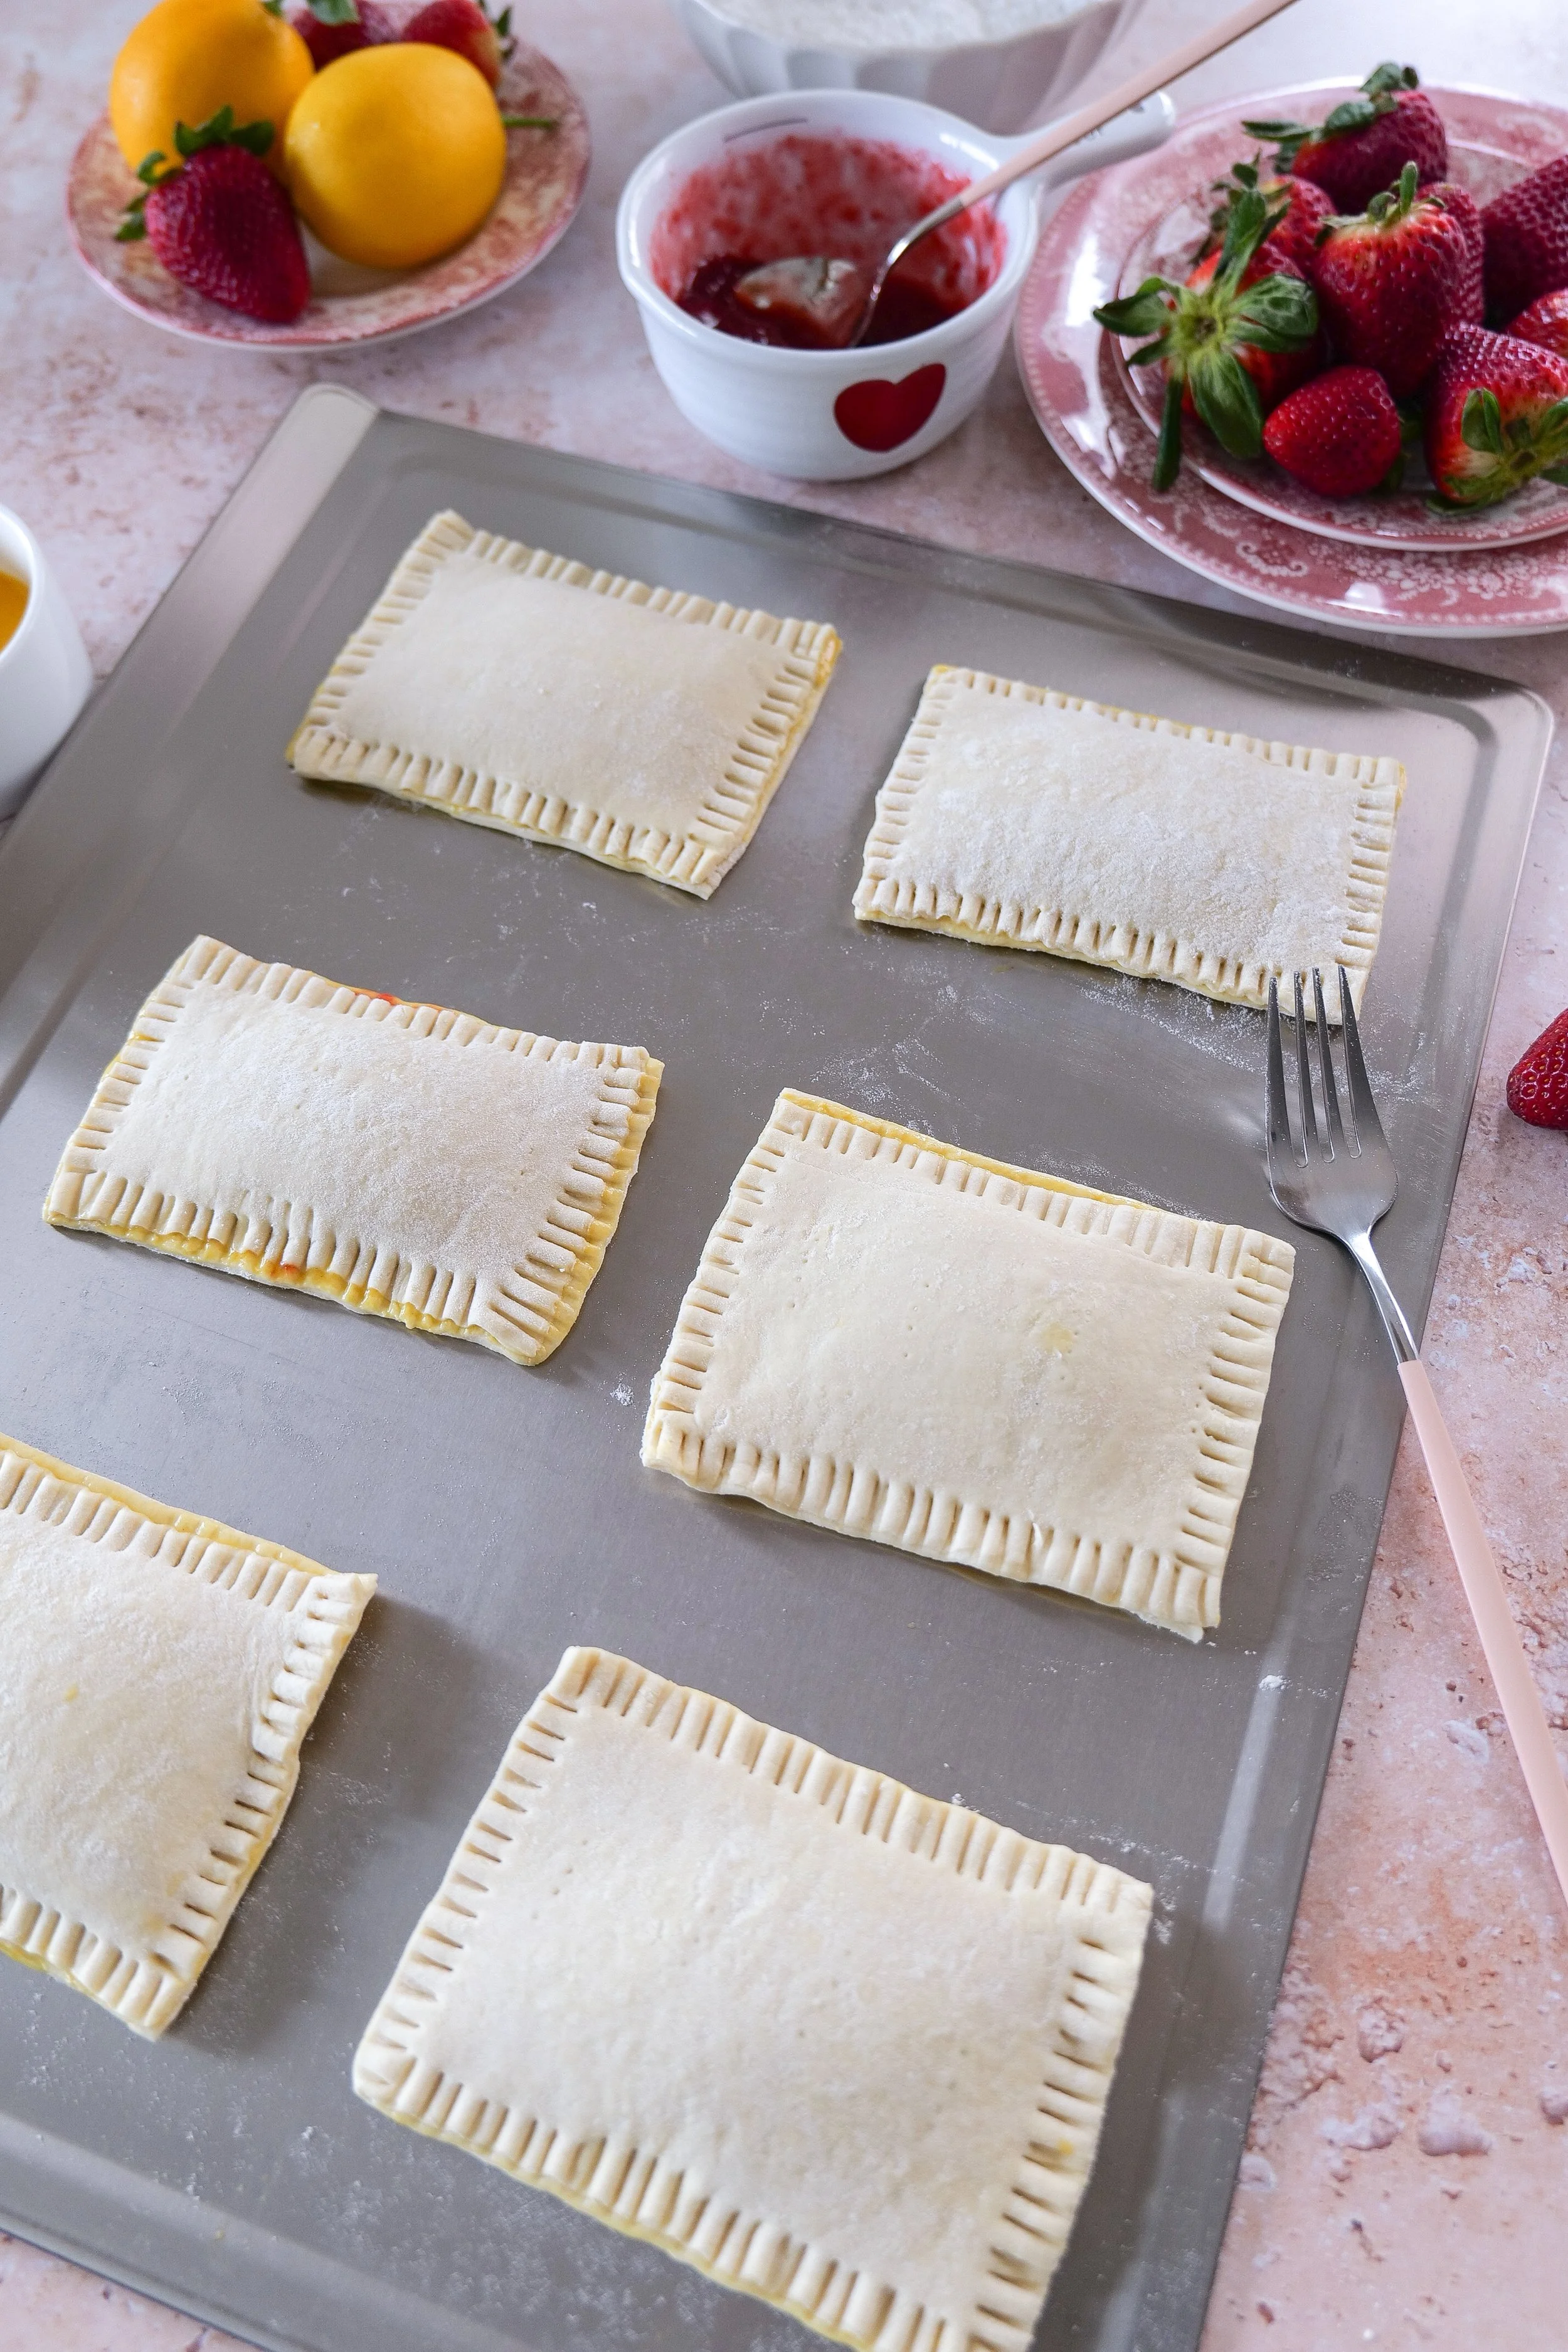
a homemade puff pastry pop tart
ingredients for making homemade strawberry jam
preparation of homemade strawberry puff pastry pop tarts
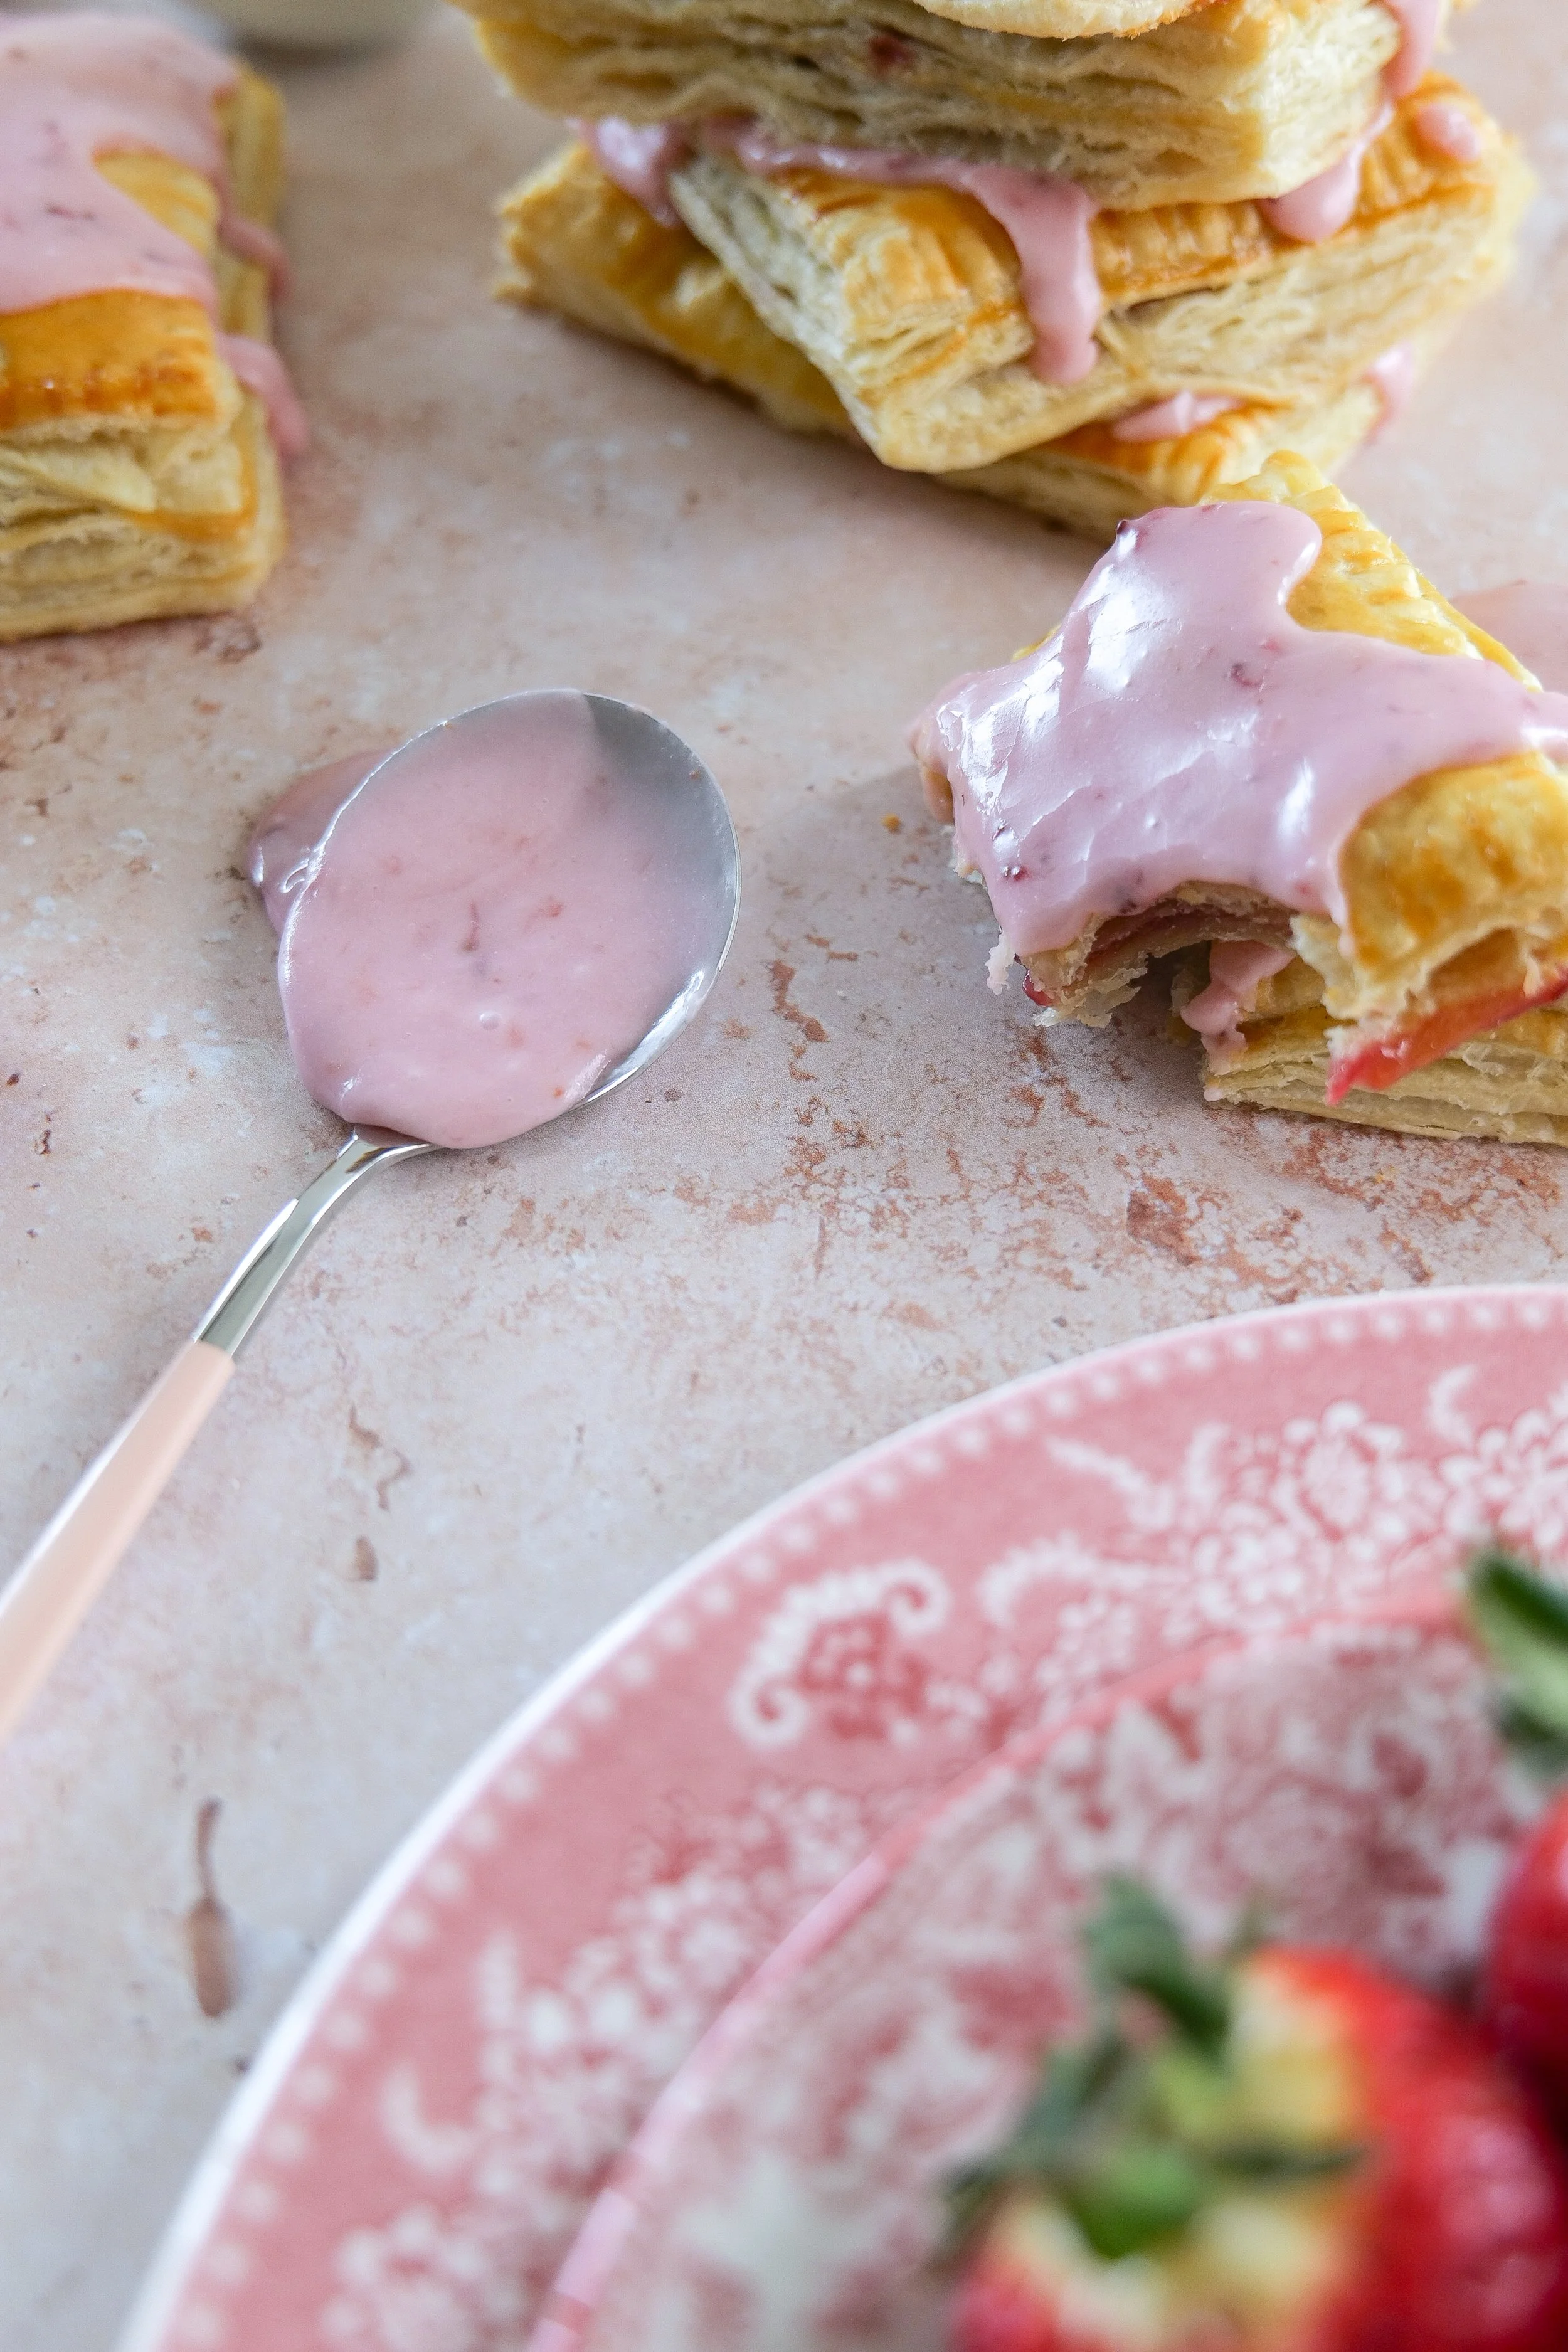
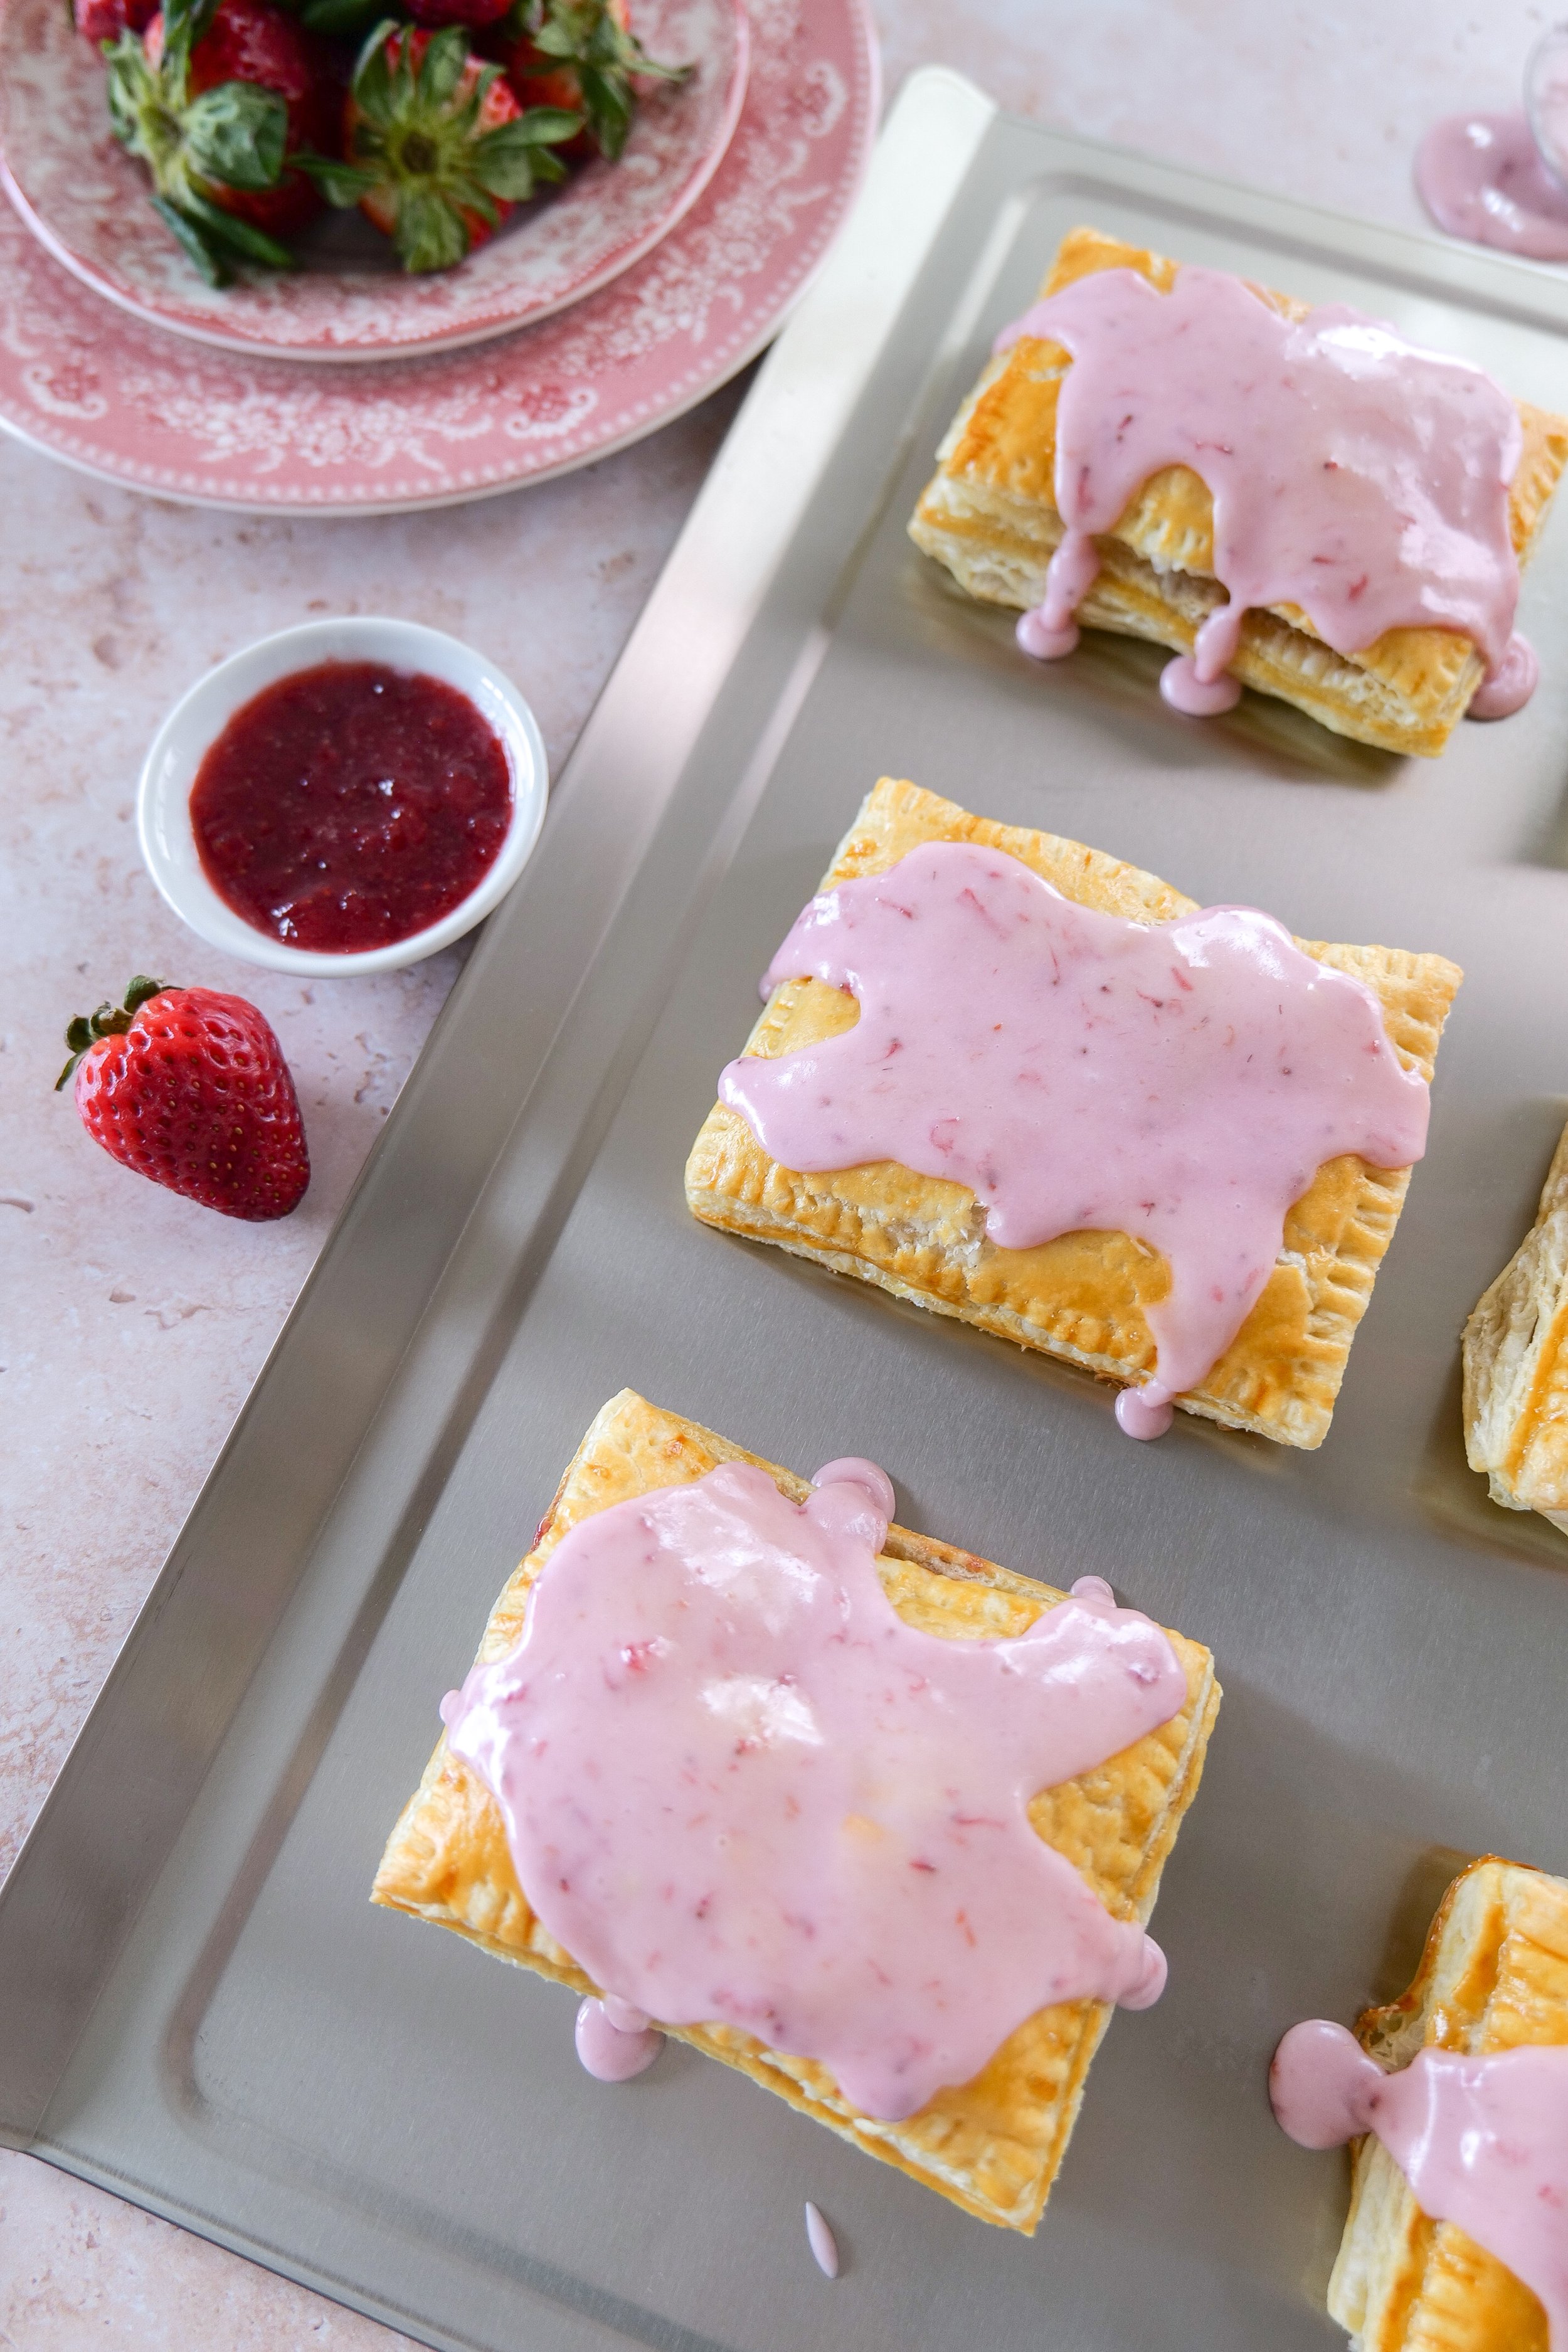
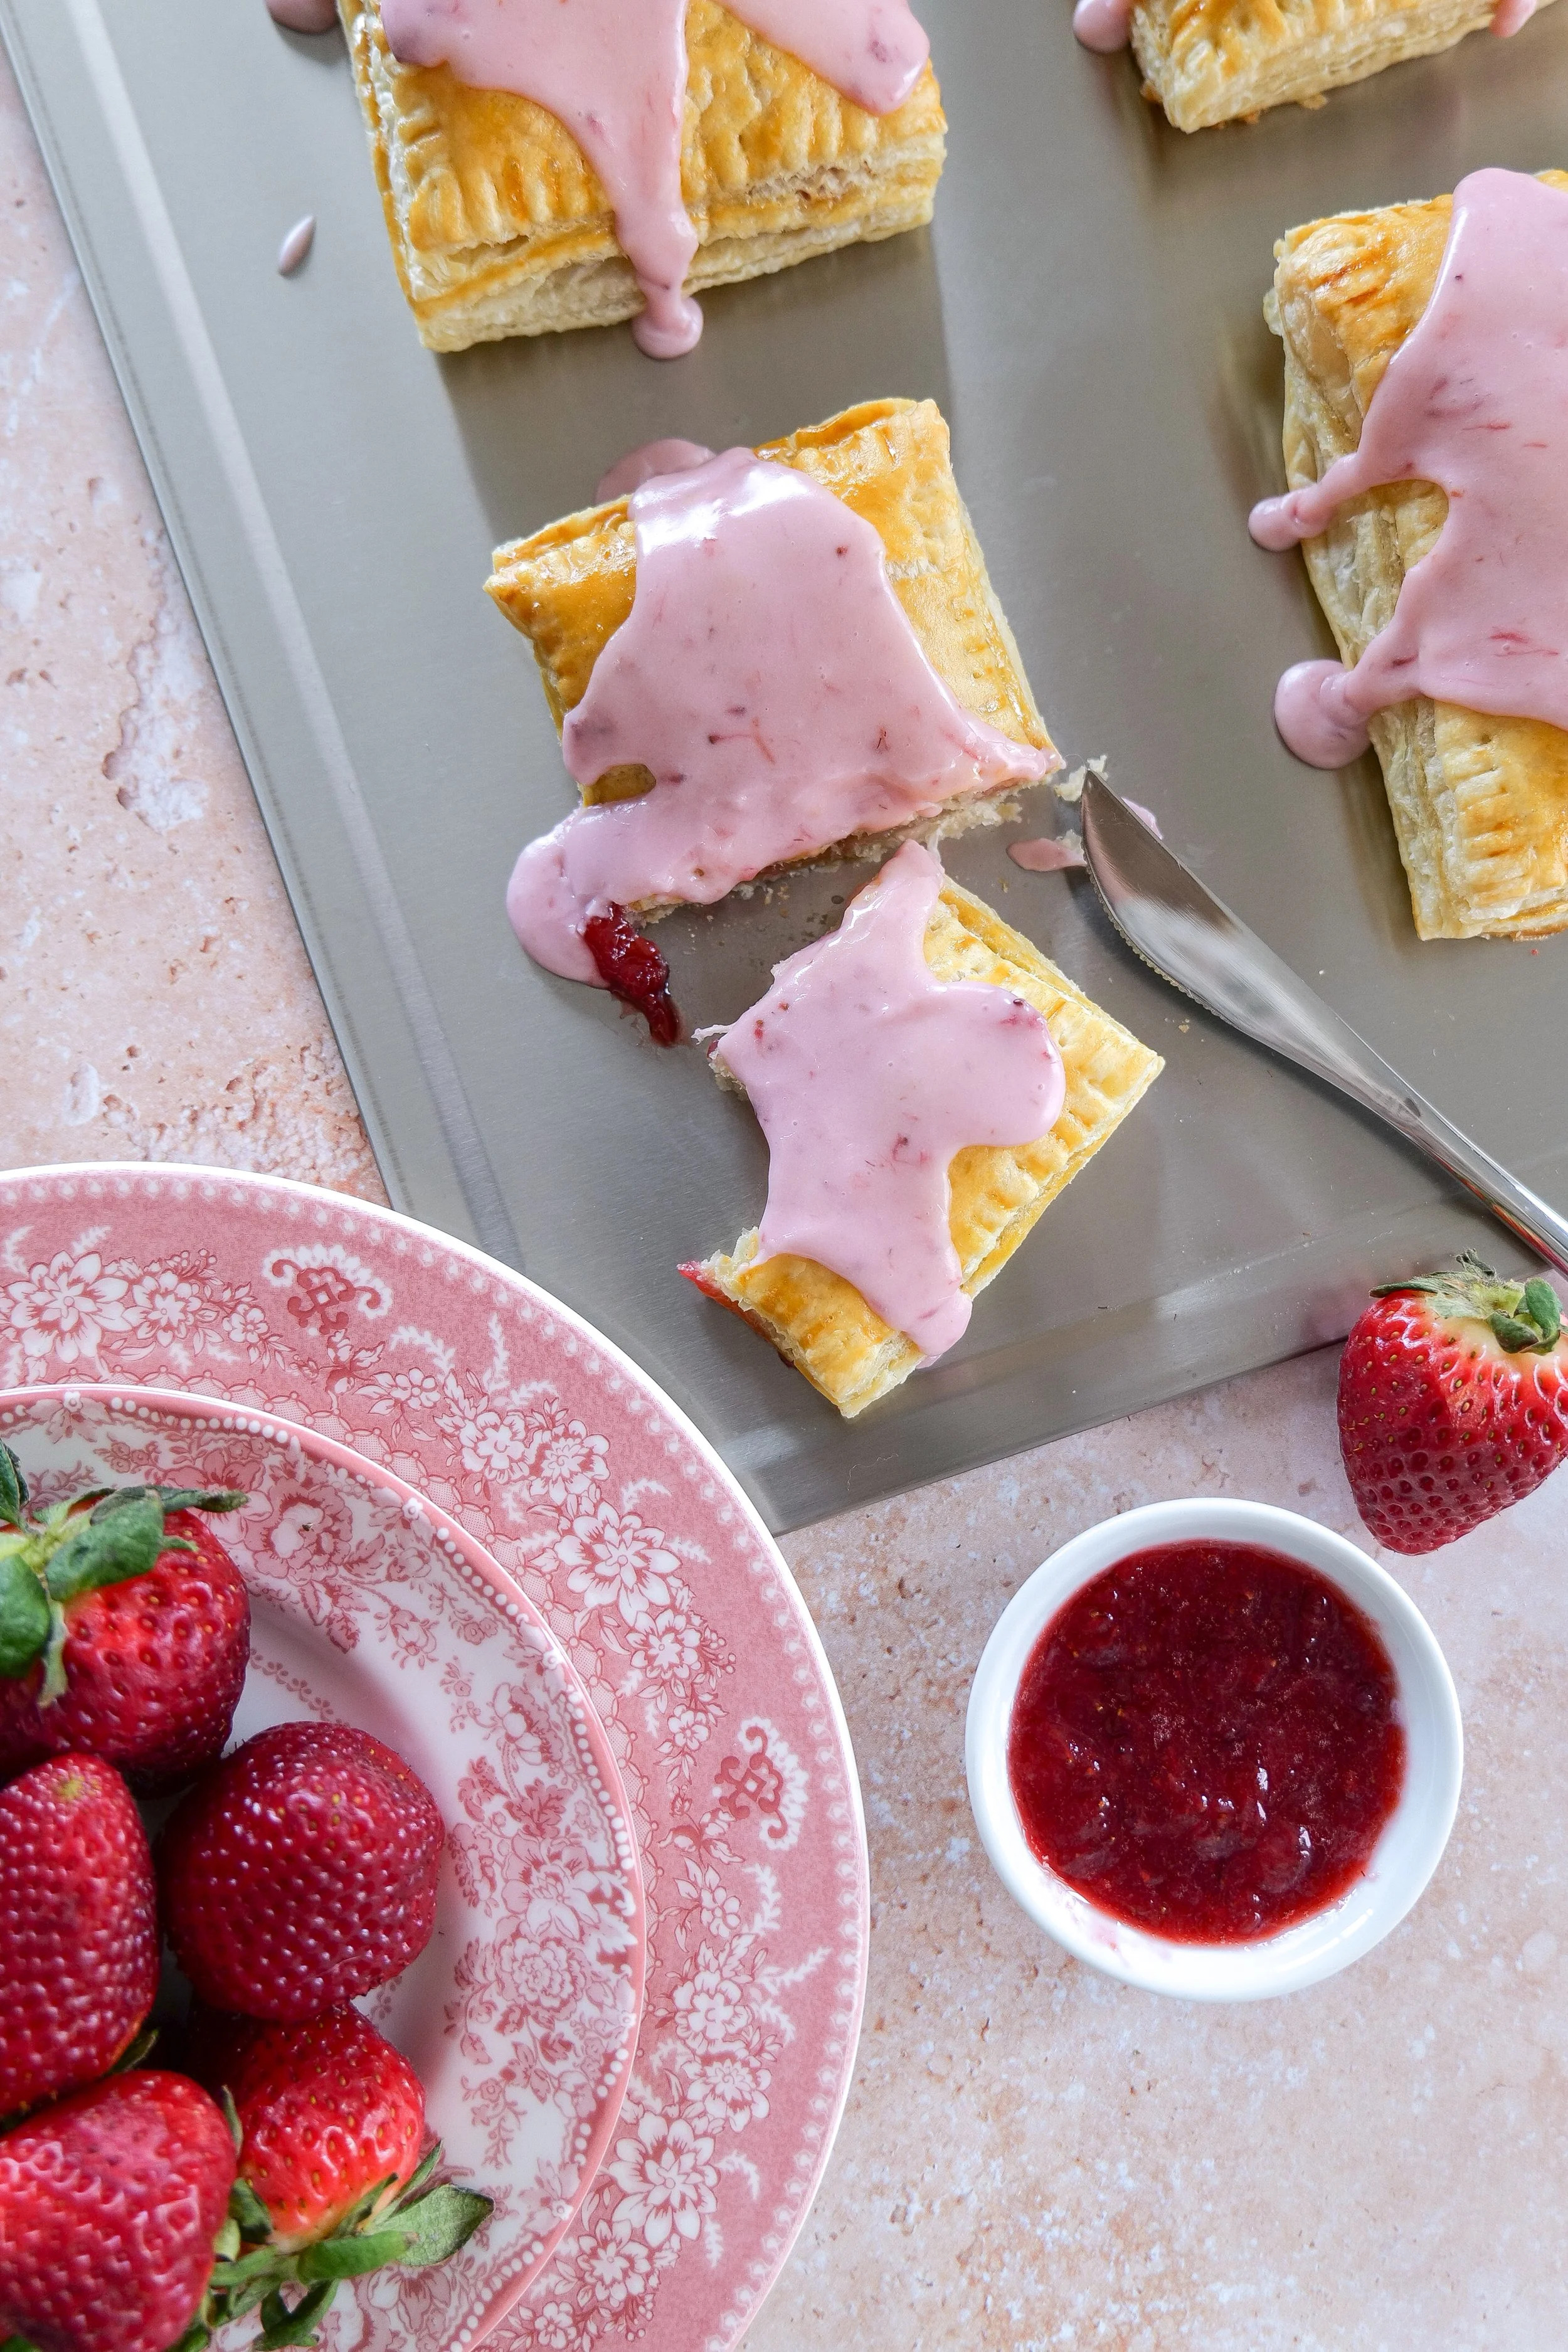
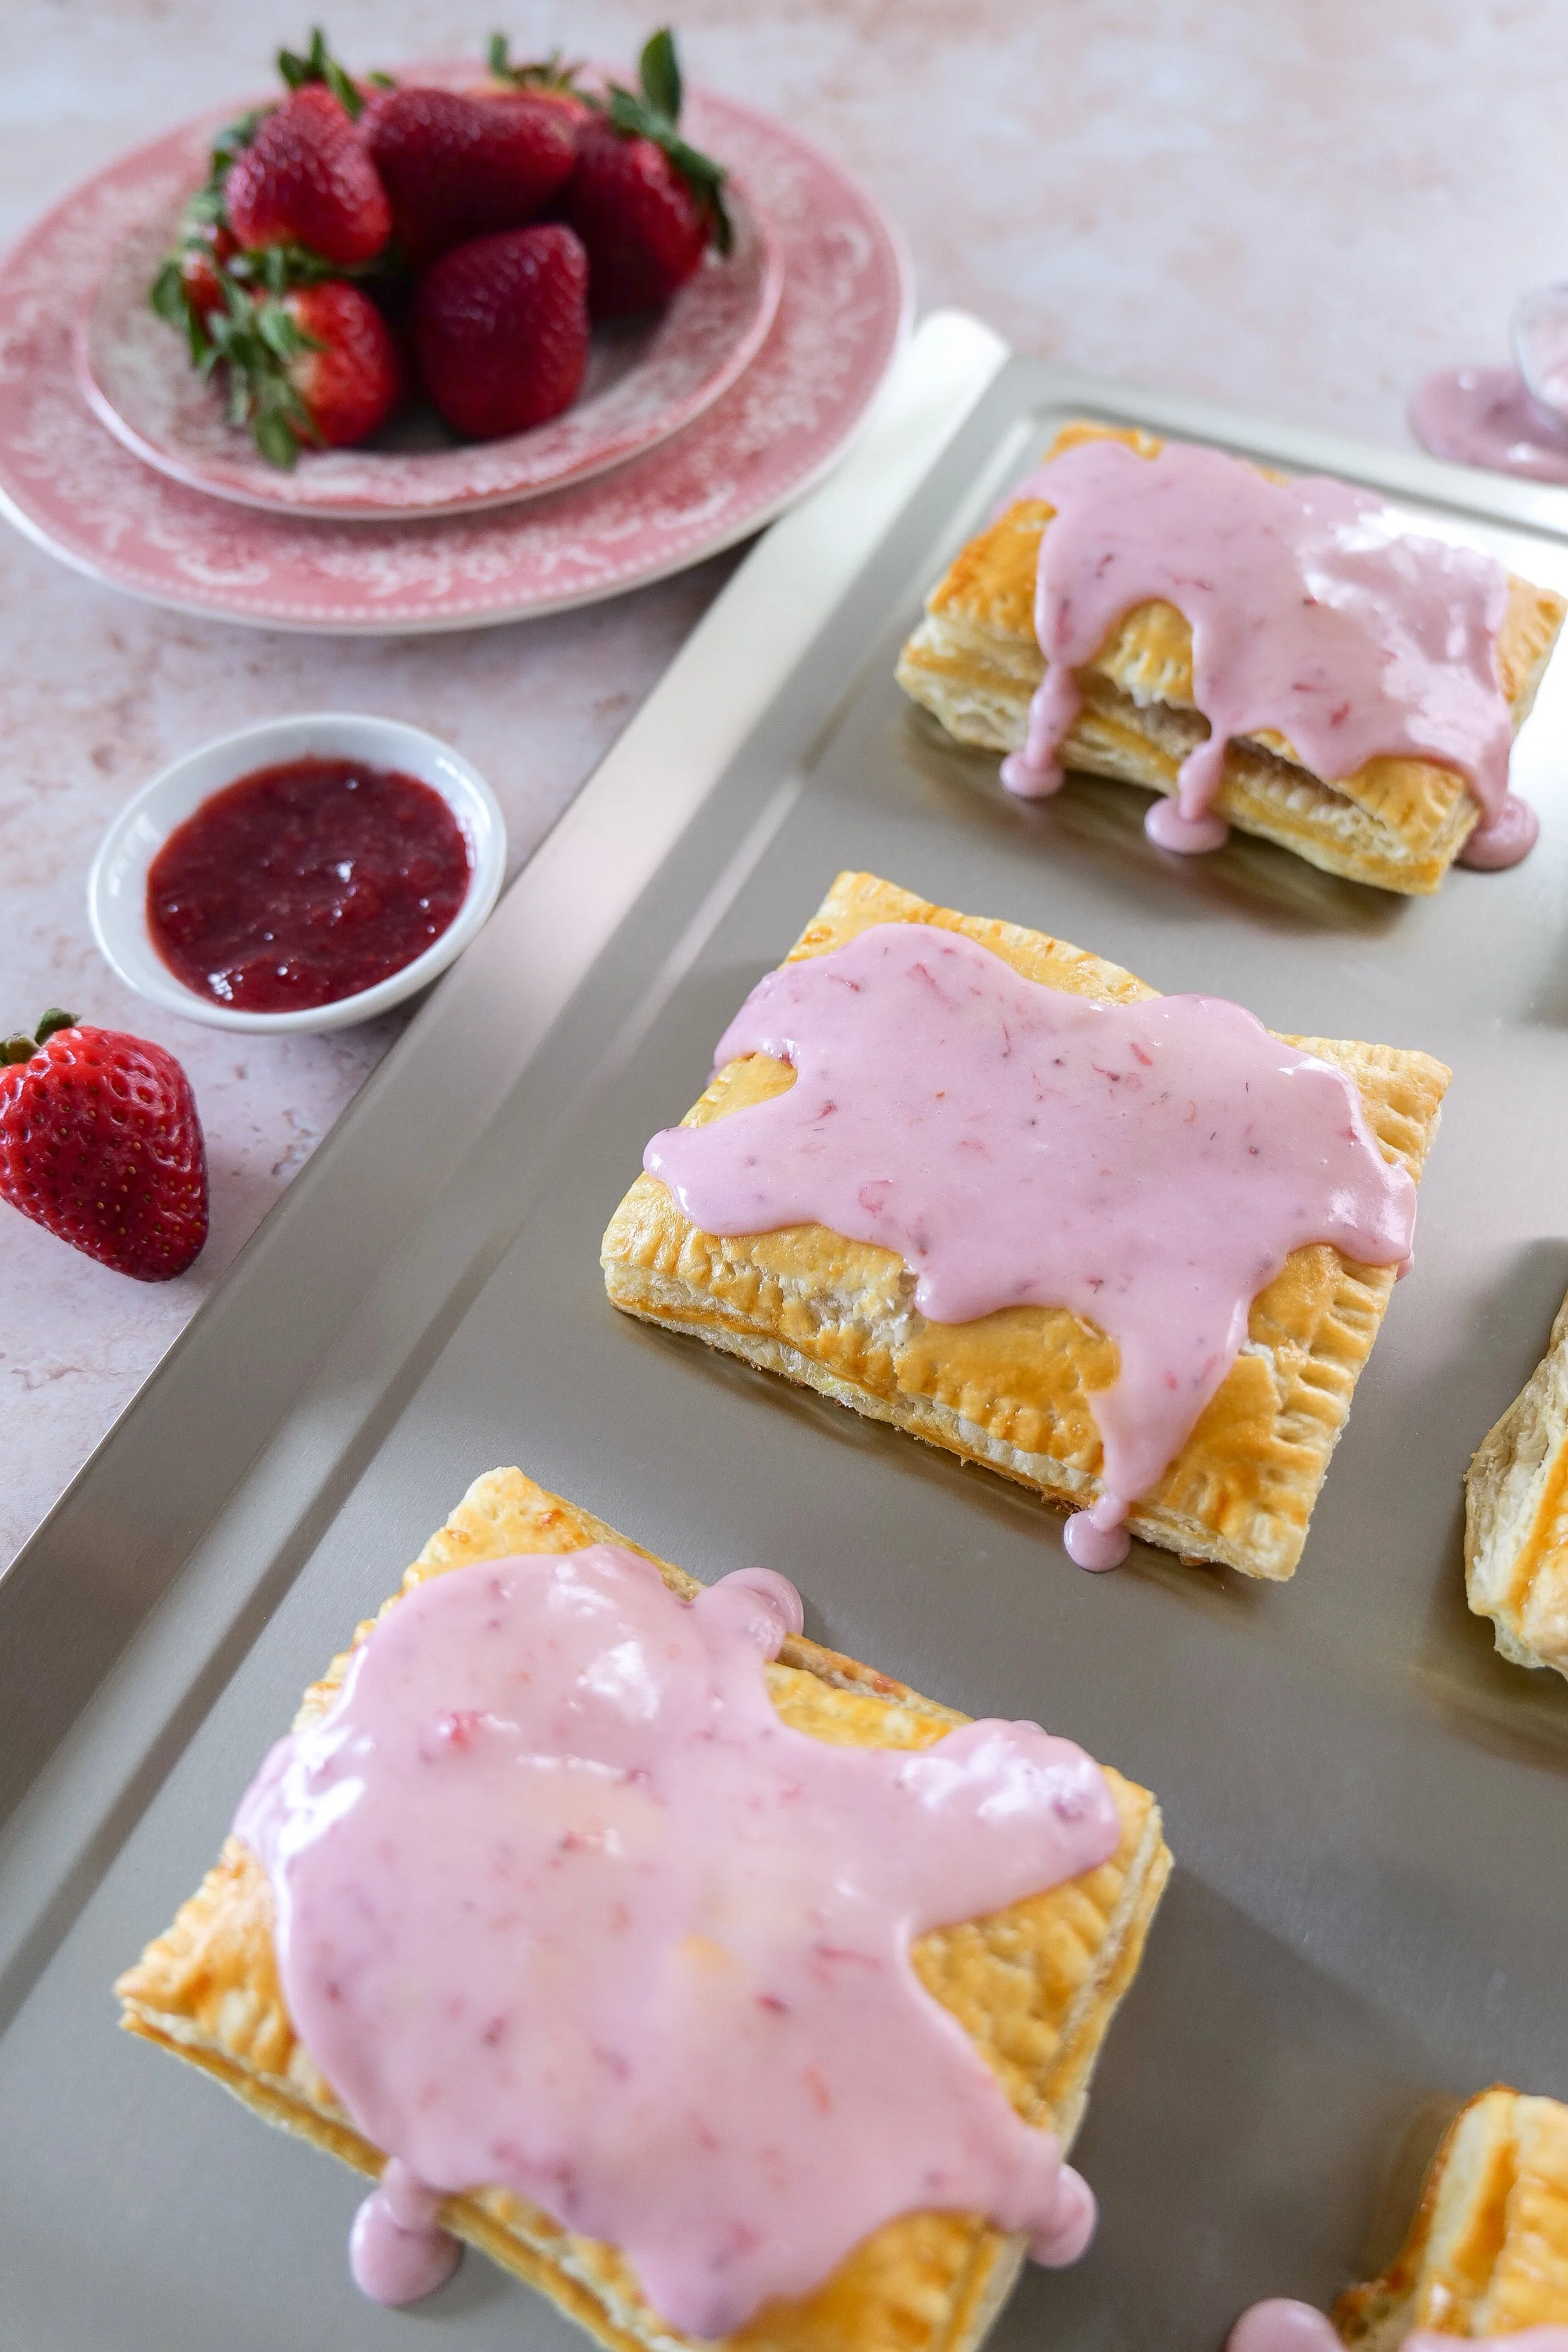
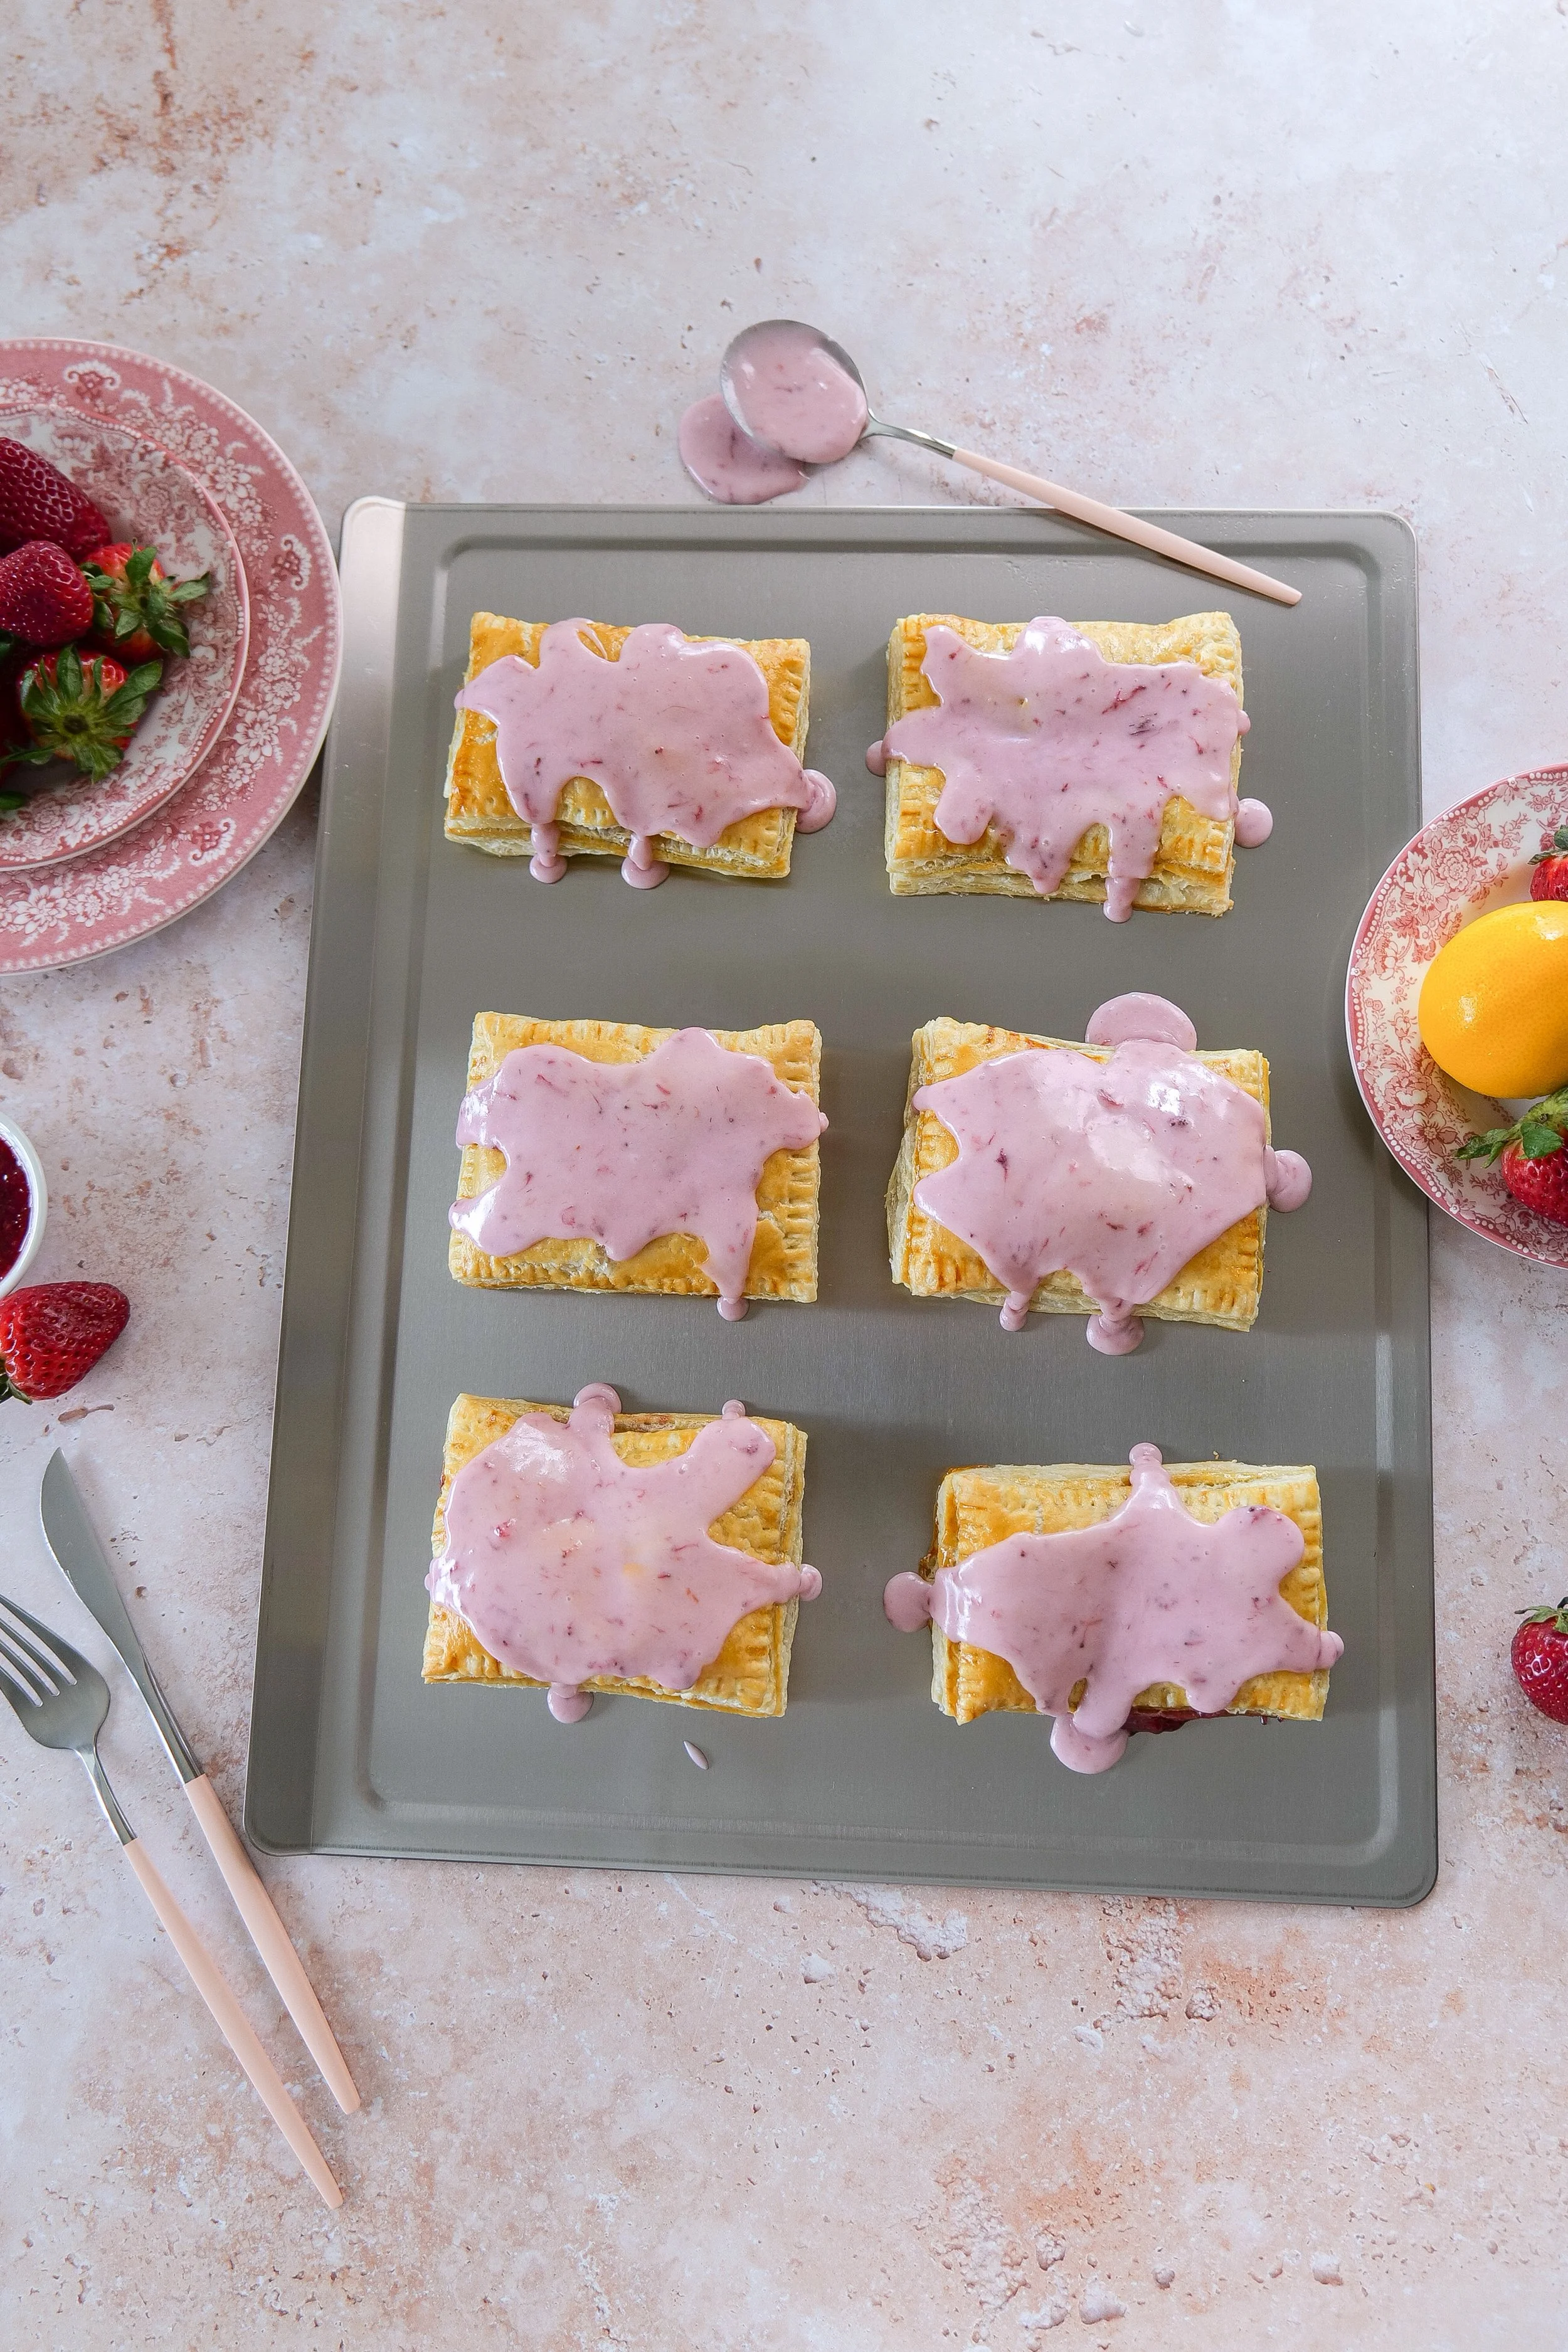
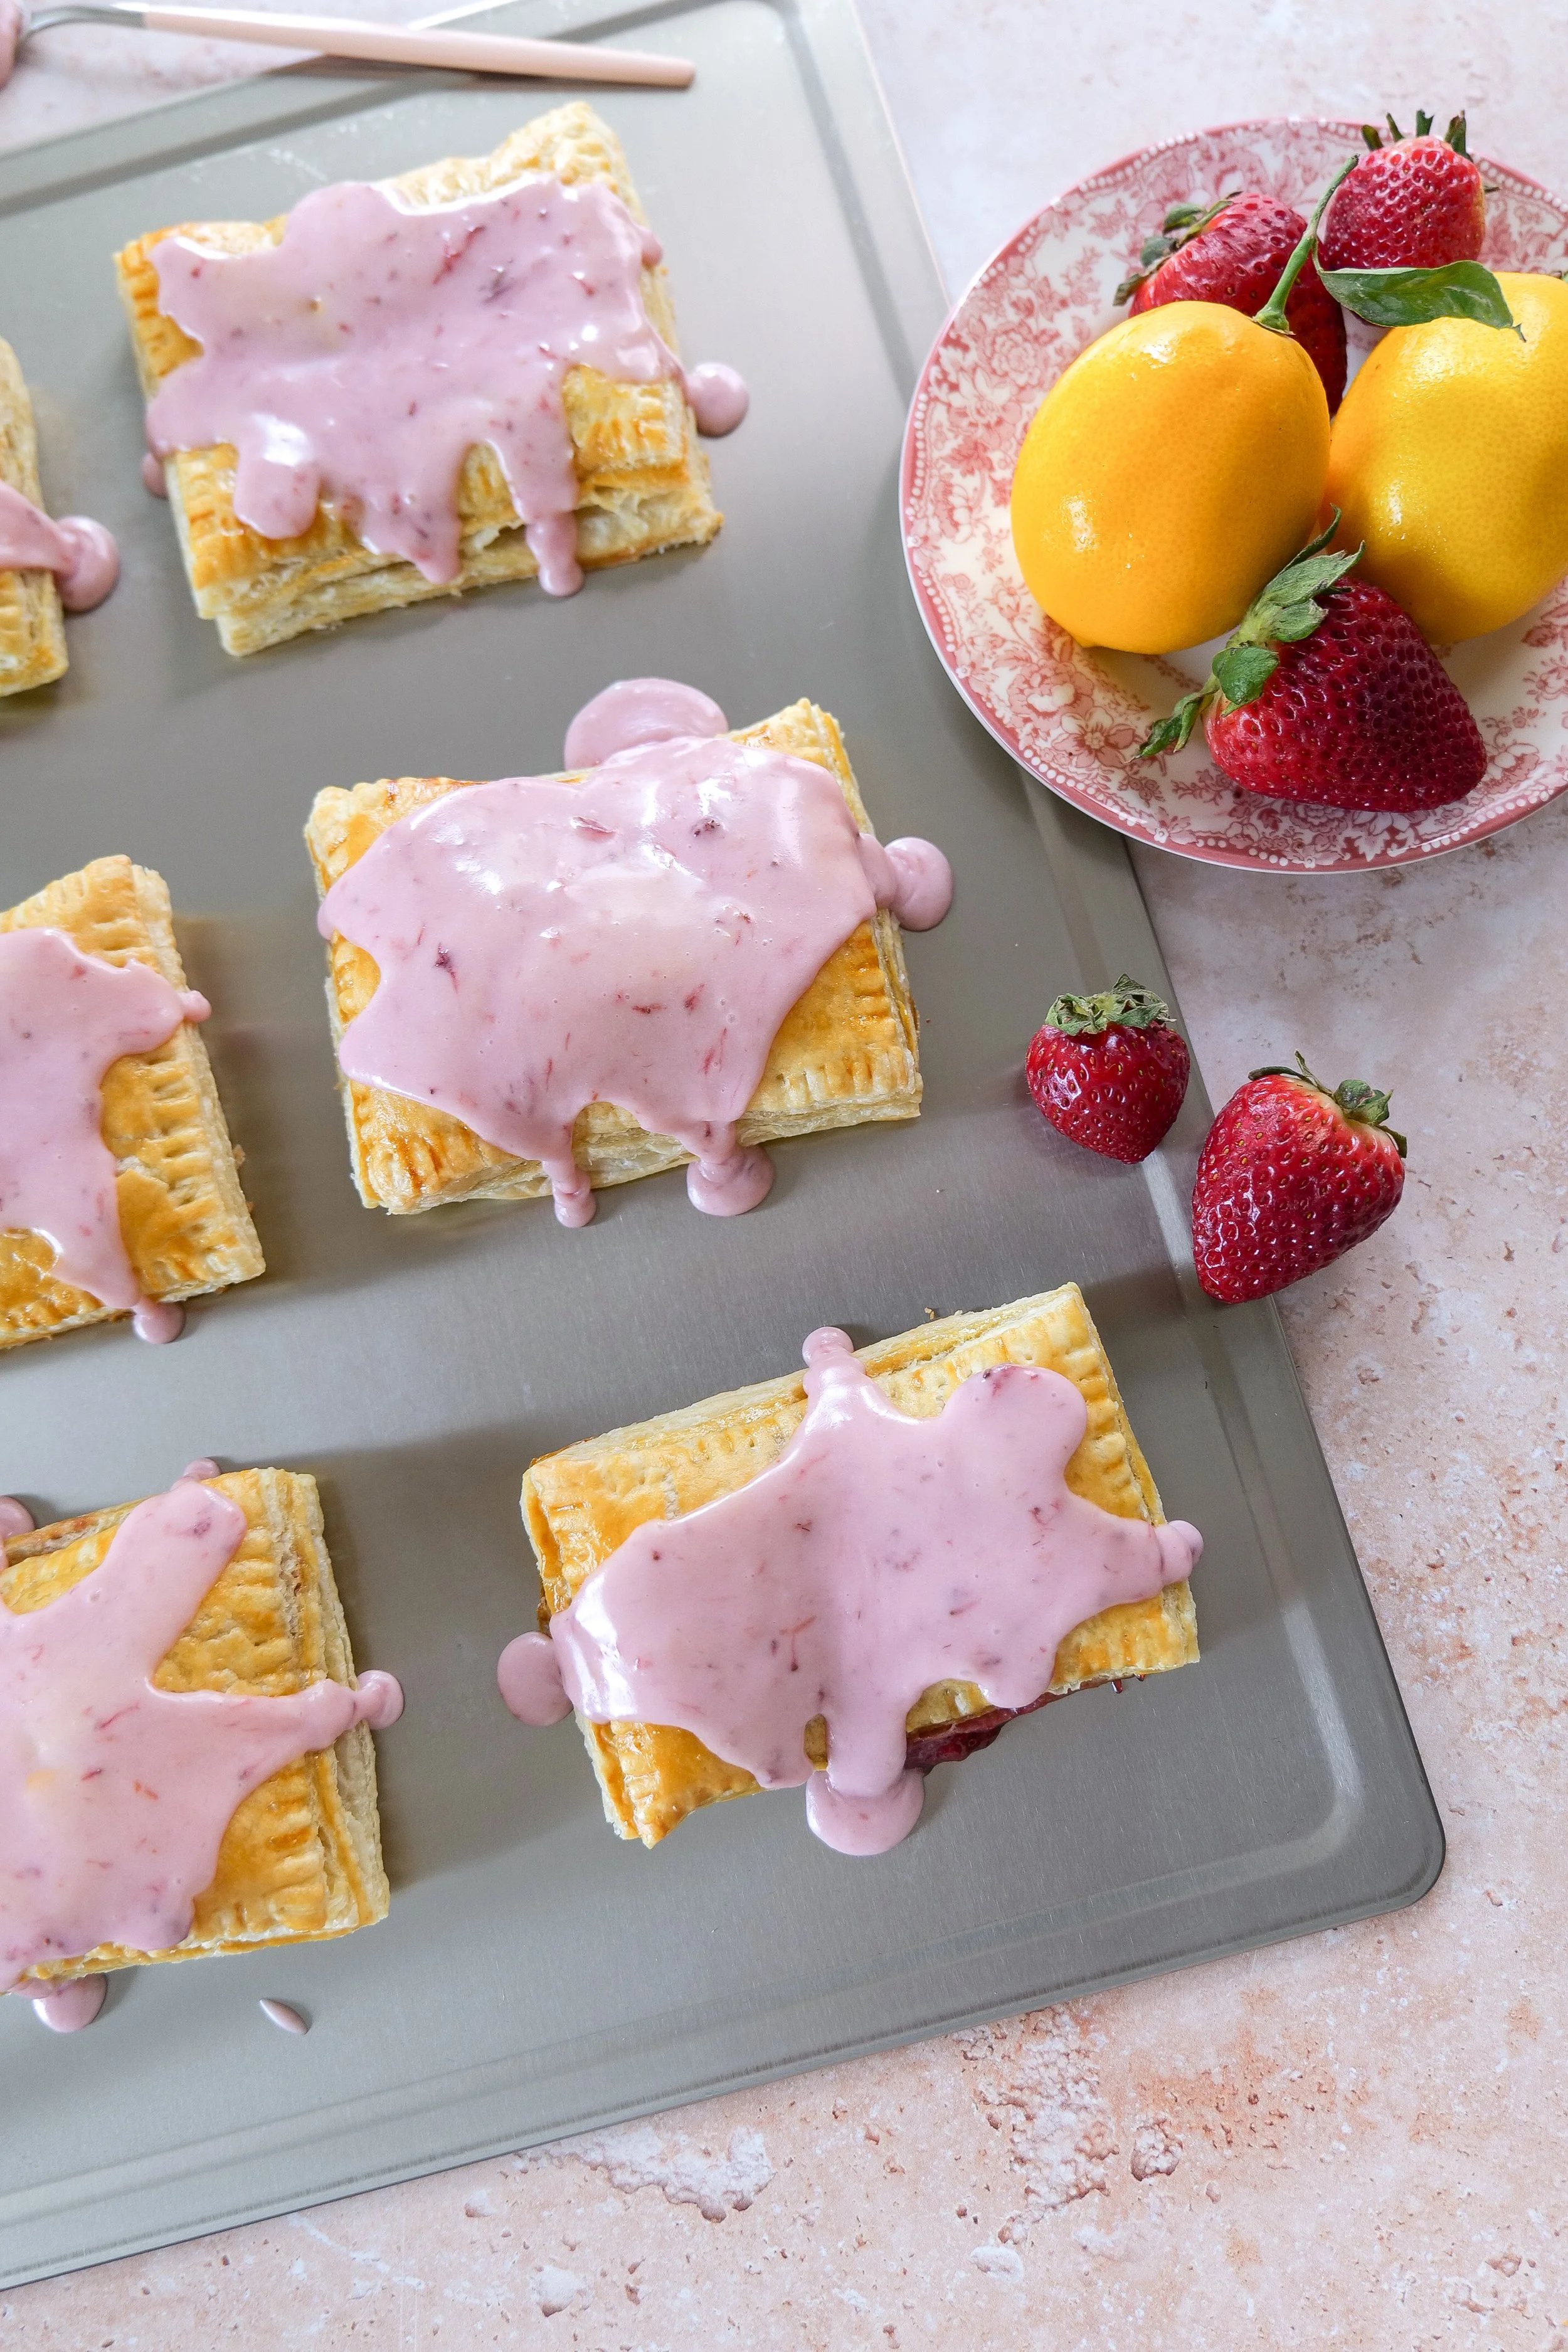
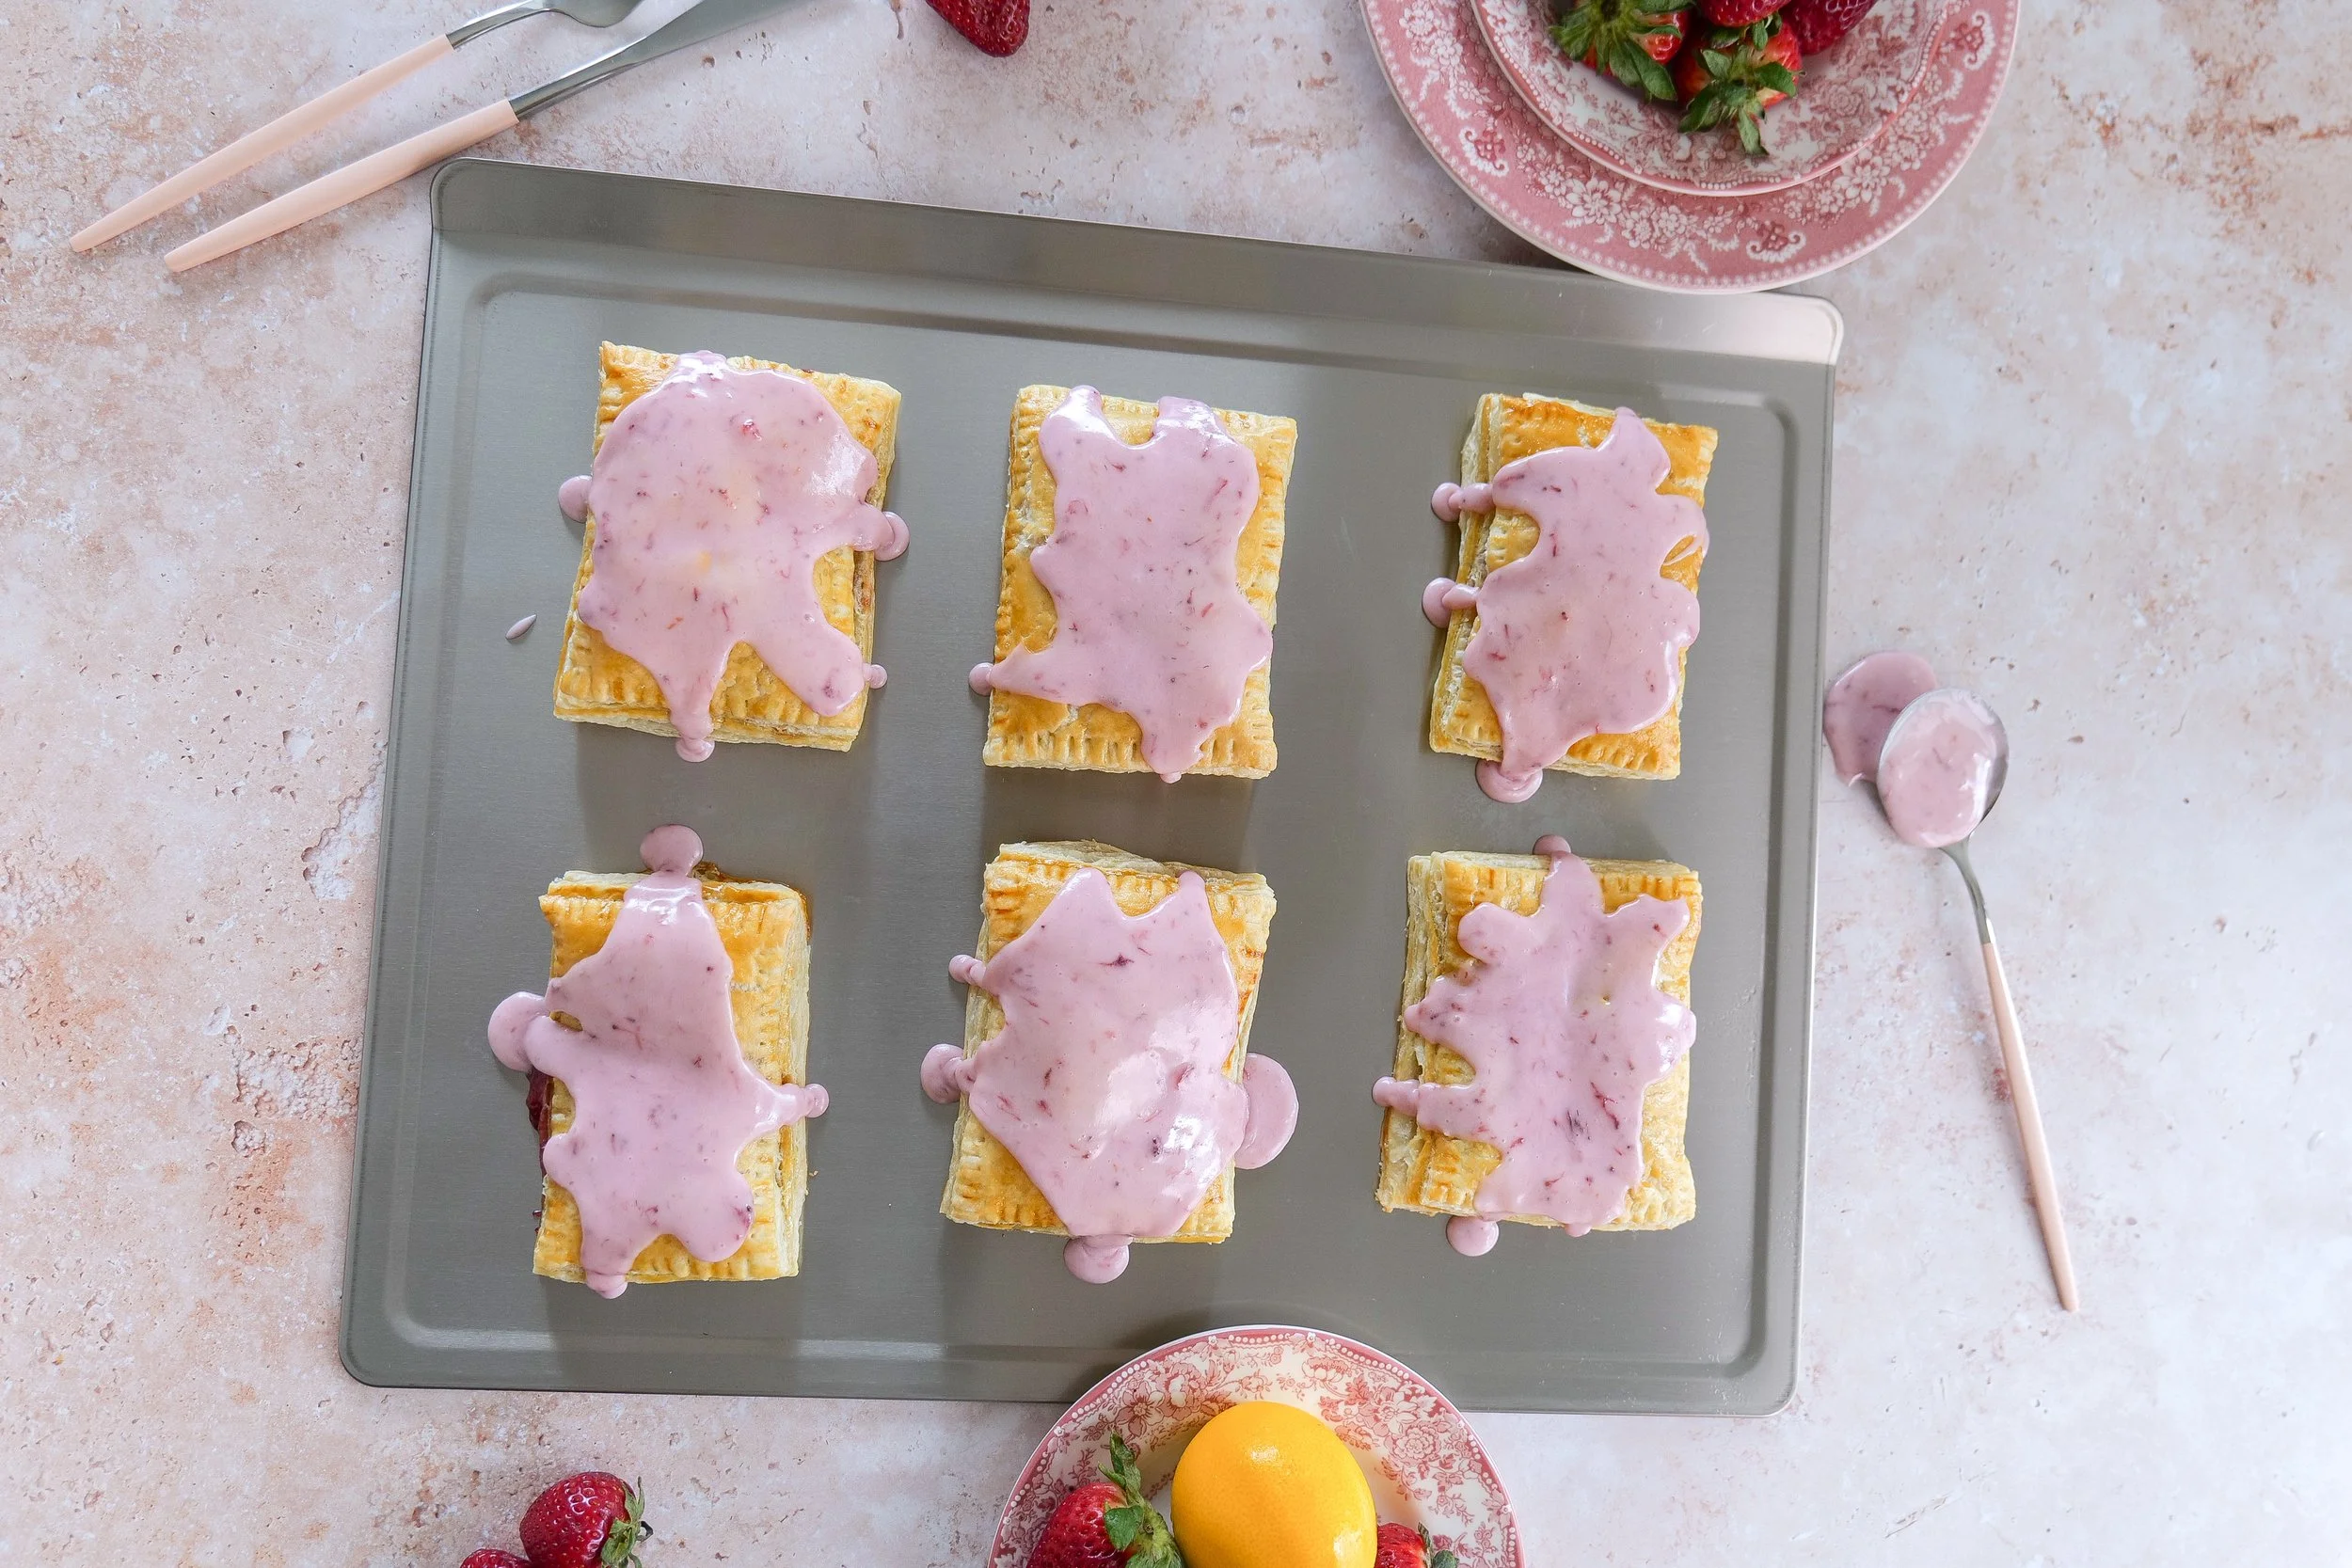
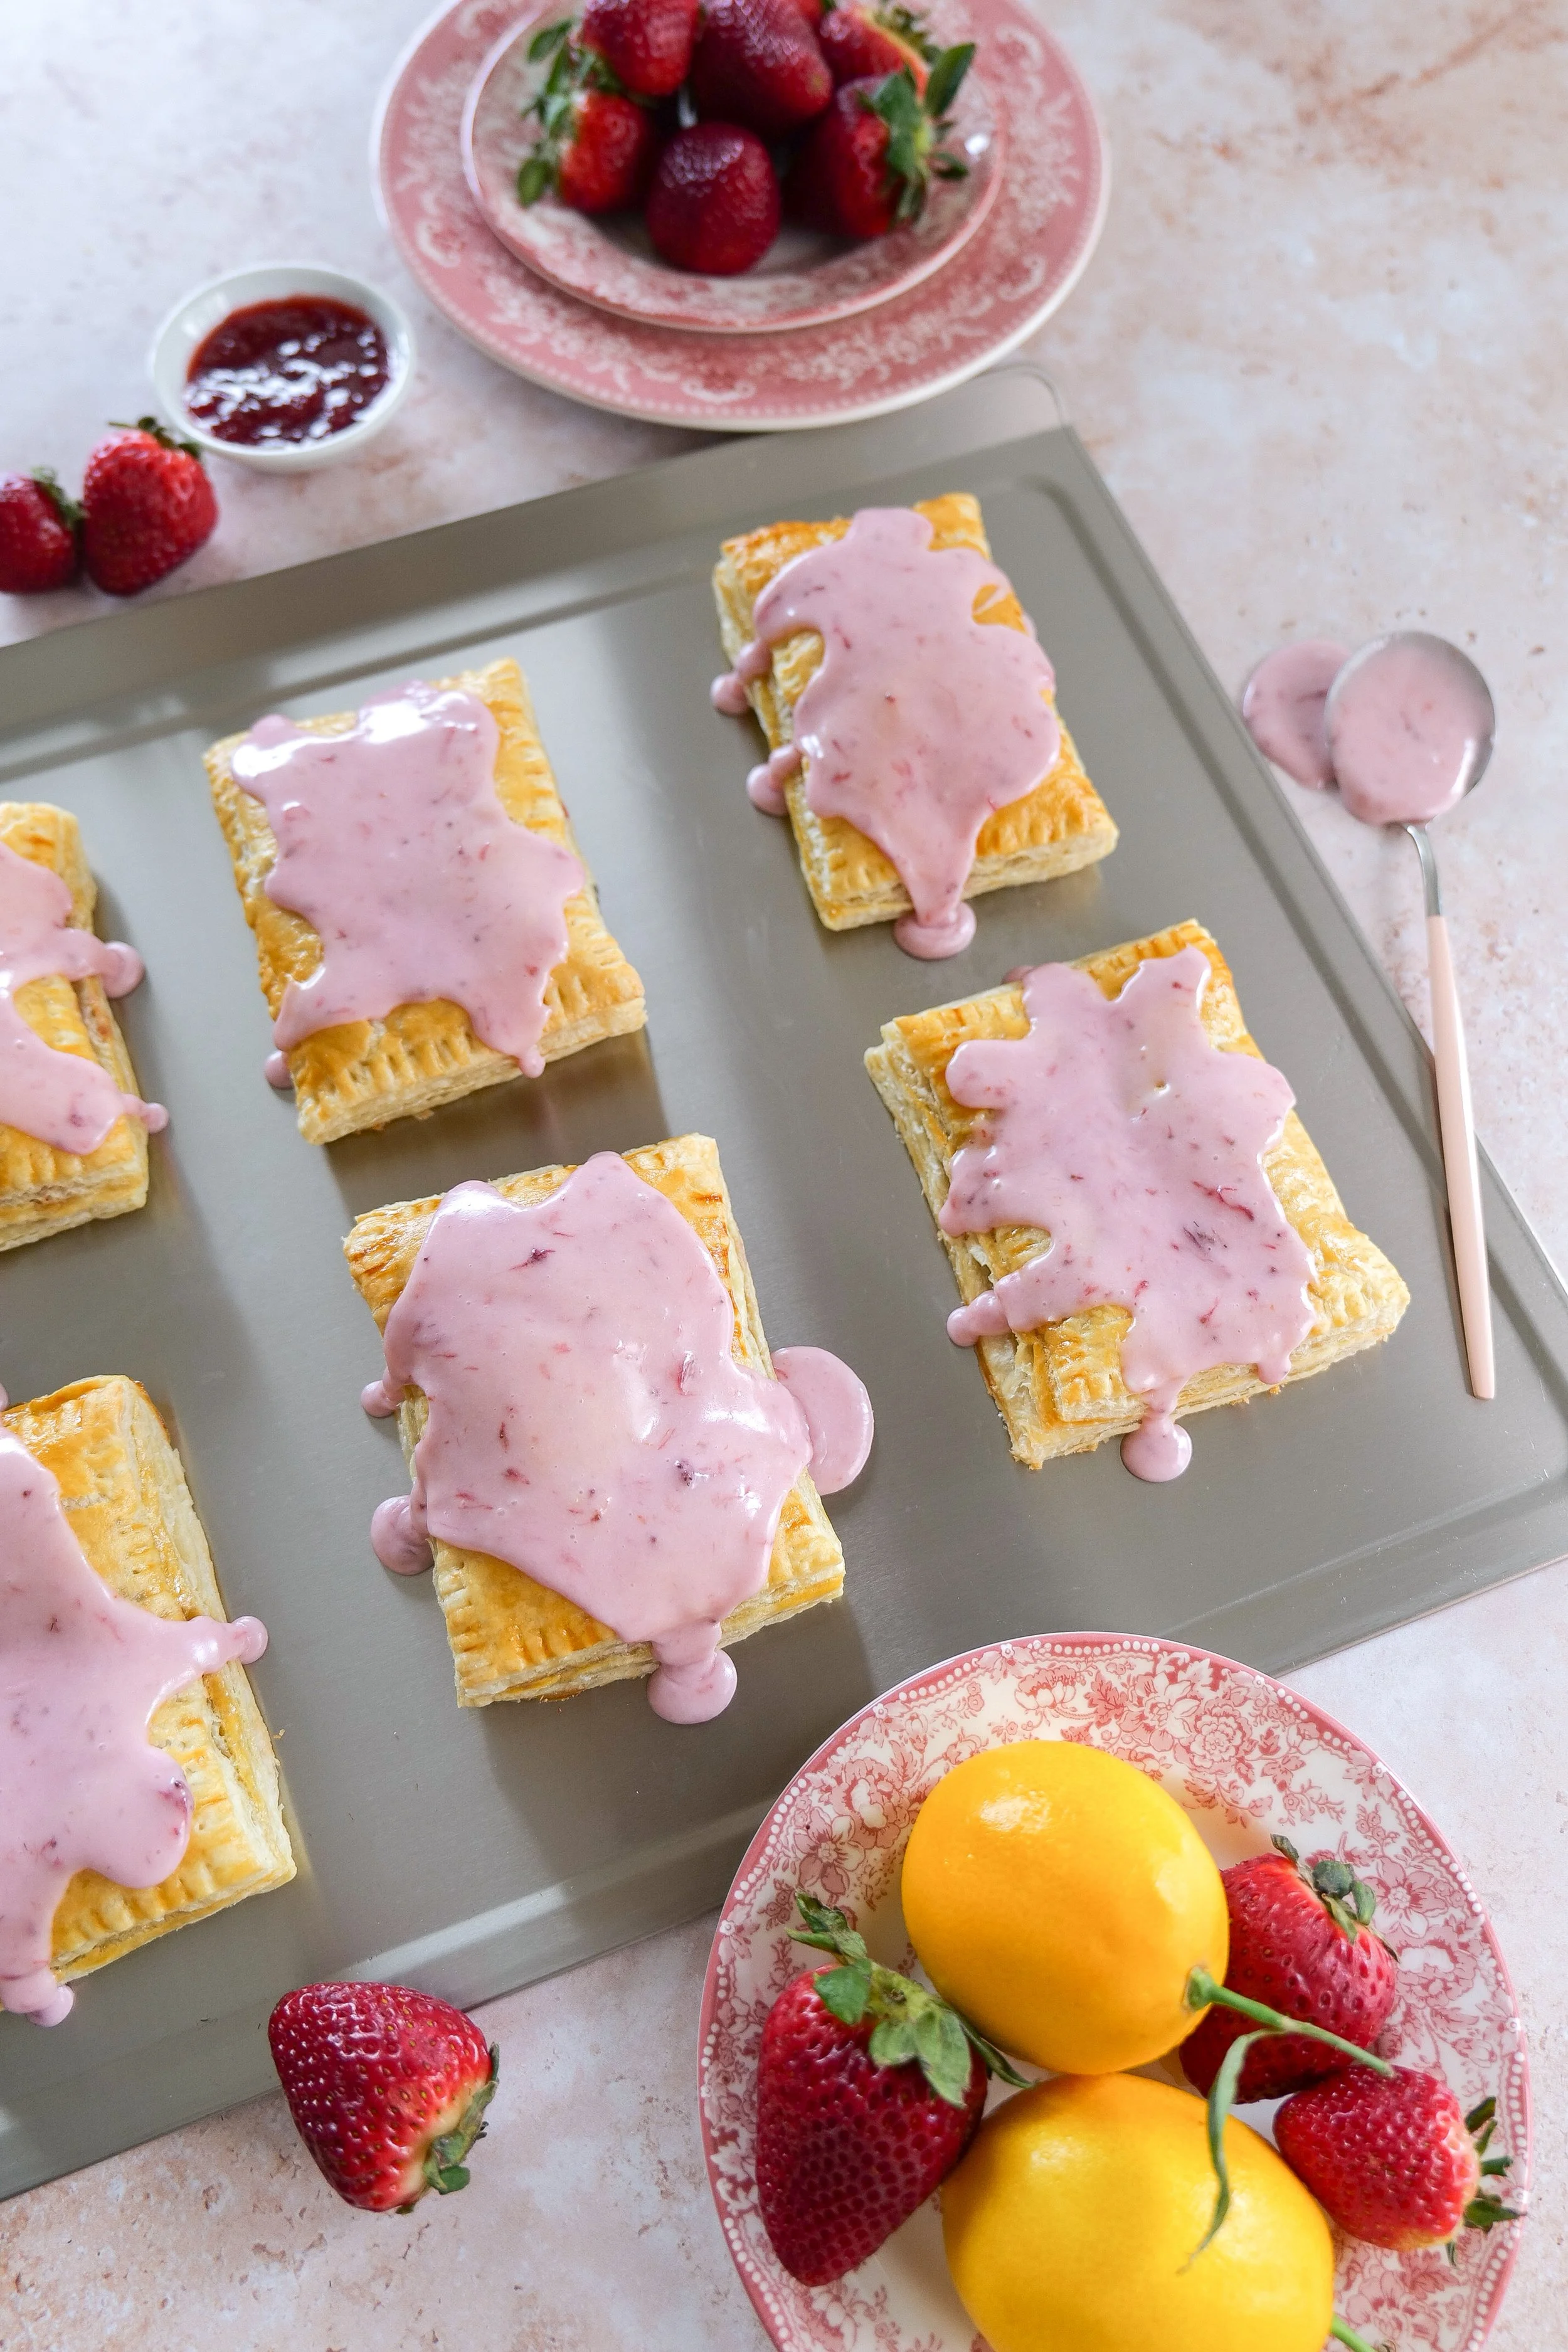
homemade strawberry puff pastry pop tarts featuring a golden, flaky crust filled with jam and topped with a pink glaze

Variations to Try

Once you make these once, you’ll start experimenting. A few ideas:

  • Swap strawberry for raspberry or blueberry

  • Add cream cheese for a cheesecake vibe

  • Use Nutella for a chocolate version

  • Try a lemon glaze for a fresh twist

What to Serve With Strawberry Puff Pastry Pop Tarts

These homemade strawberry pastries pair perfectly with:

• Fresh berries

• Scrambled eggs

• Fruit salad

• Vanilla yogurt

• Matcha lattes

• Hot coffee

• Cold brew coffee

• Breakfast casseroles

• Brunch charcuterie boards

Whether you're hosting brunch or simply enjoying a cozy weekend morning, these flaky strawberry puff pastry pop tarts make a beautiful addition to any breakfast spread.

These delicious treats are Strawberry Puff Pastry Pop Tarts
Strawberry Puff Pastry Pop Tart on a serving plate
This is a homemade strawberry puff pastry pop tart.

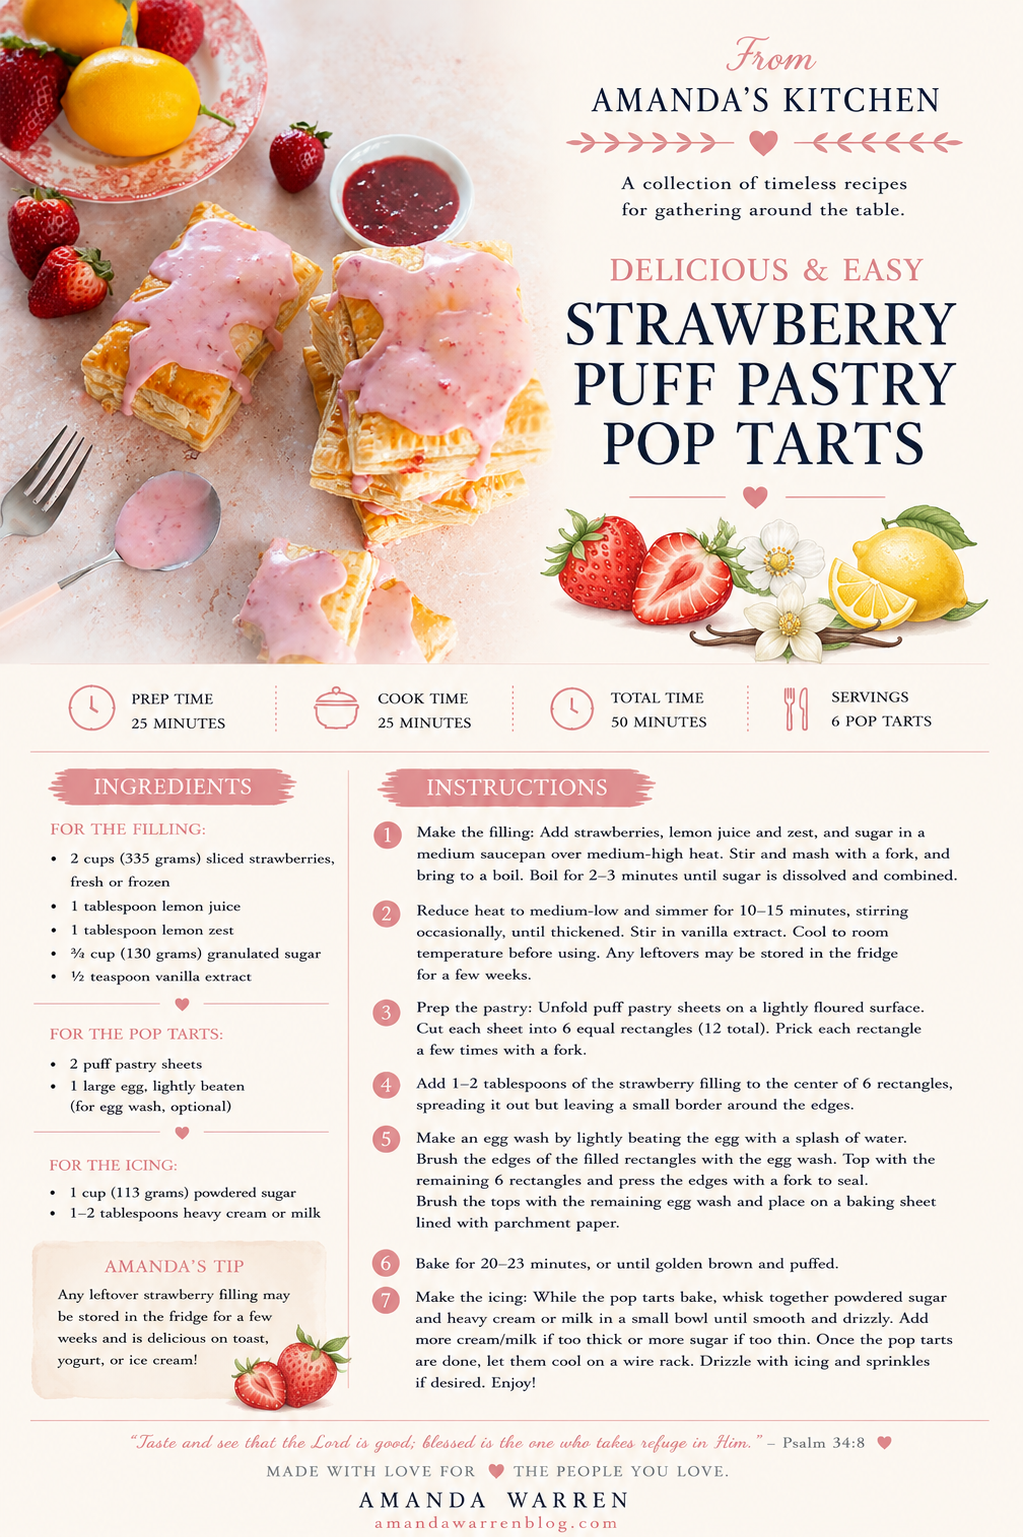
Ingredients

2 cups (335 grams) sliced strawberries , fresh or frozen

1 tablespoon lemon juice

1 tablespoon lemon zest

⅔ cup (130 grams) granulated sugar

½ teaspoon vanilla extract

2 puff pastry

1 large egg , lightly beaten (for egg wash, optional)

1 cup (113 grams) powdered sugar

1-2 tablespoons heavy cream or milk

Instructions:

  1. Start by making the filling. Add strawberries, lemon juice and zest, and sugar in a medium sauce pan and set over medium high heat. Stir and mash with a large fork and bring to a boil. Boil for about 2-3 minutes until sugar is dissolved and combined.

  2. Reduce heat to medium low. Continue to simmer for 10-15 minutes until thickened. Add vanilla extract. Cool to room temperature before spooning onto the prepared pastry squares. Any leftovers may be stored in the fridge for a few weeks.

  3. Make pastry squares but unfolding puff pastry and cutting into long rectangles (around 3 per puff pastry). Fill one side will strawberry filling, making sure to leave edging around to close the poptart.

  4. Once finished filling make an egg wash with egg & water. brush along the edges of the pop tart. Unfold 2 puff pastry sheet on a lightly floured surface. Cut into 12 equal sized squares. Prick each square a few times with a fork.

  5. Add 1-2 tablespoon of the strawberry puree you made into the middle of 6 squares. Spread out, but not right to the edge. Leave a little bit of a border.

  6. Use a brush to add the egg mixture onto the sides. Add a puff pastry square on top of the square with strawberry filling. With a fork pinch the edges to seal the two squares together. Repeat until you have 6 pop tarts. Brush the top with remaining egg mixture and lay on your cookie sheet. Bake for 20-23 minutes or until golden brown.

  7. While the pop tarts are baking, make your icing. Add powdered sugar, strawberry puree and milk to a small bowl. Mix well until you have a consistency that drizzles. Add a little more sugar or milk if needed.

  8. Once your pop tarts are done, transfer to a wire rack and let them cool. Then drizzle with icing and sprinkles if desired.

These strawberry puff pastry pop tarts are one of those recipes that feel like a win every time. They’re easy, they’re delicious, and they make you look like you tried way harder than you did.

Perfect for slow mornings, brunch with friends, or honestly just when you want something sweet without the hassle.

If you make these, don’t be surprised if they disappear fast.

Shop This Recipe

These Strawberry Puff Pastry Pop Tarts come together so easily thanks to a few of my favorite kitchen tools and baking essentials. If you love quick homemade pastries and cozy brunch recipes, these are the items I personally use to make baking simpler, faster, and more enjoyable.

From baking sheets and parchment paper to mixing tools and coffee bar favorites for the perfect pairing, these kitchen staples help bring bakery-style recipes to life at home.

👉 Shop my Baking Essentials

👉 Shop my Cozy Coffee Bar Favorites

More Strawberry & Brunch Recipes You’ll Love

FAQ Section

Can I use homemade strawberry jam?

Yes! Homemade strawberry jam works beautifully in this recipe.

Can I use other fruit fillings?

Absolutely. Raspberry, blueberry, apricot, and mixed berry preserves all work well.

Can I make these ahead of time?

Yes. Bake them in advance and store them in an airtight container for up to 3 days.

Can I freeze puff pastry pop tarts?

Yes. Allow them to cool completely before freezing for up to 2 months.

Why use puff pastry instead of pie crust?

Puff pastry creates flaky, bakery-style layers that make these homemade pop tarts extra special.

Save This Recipe

Whether you're planning ahead for a special occasion or adding a new favorite to your recipe collection, I've included a printable recipe card below so it's easy to save, print, and share with the people you love.

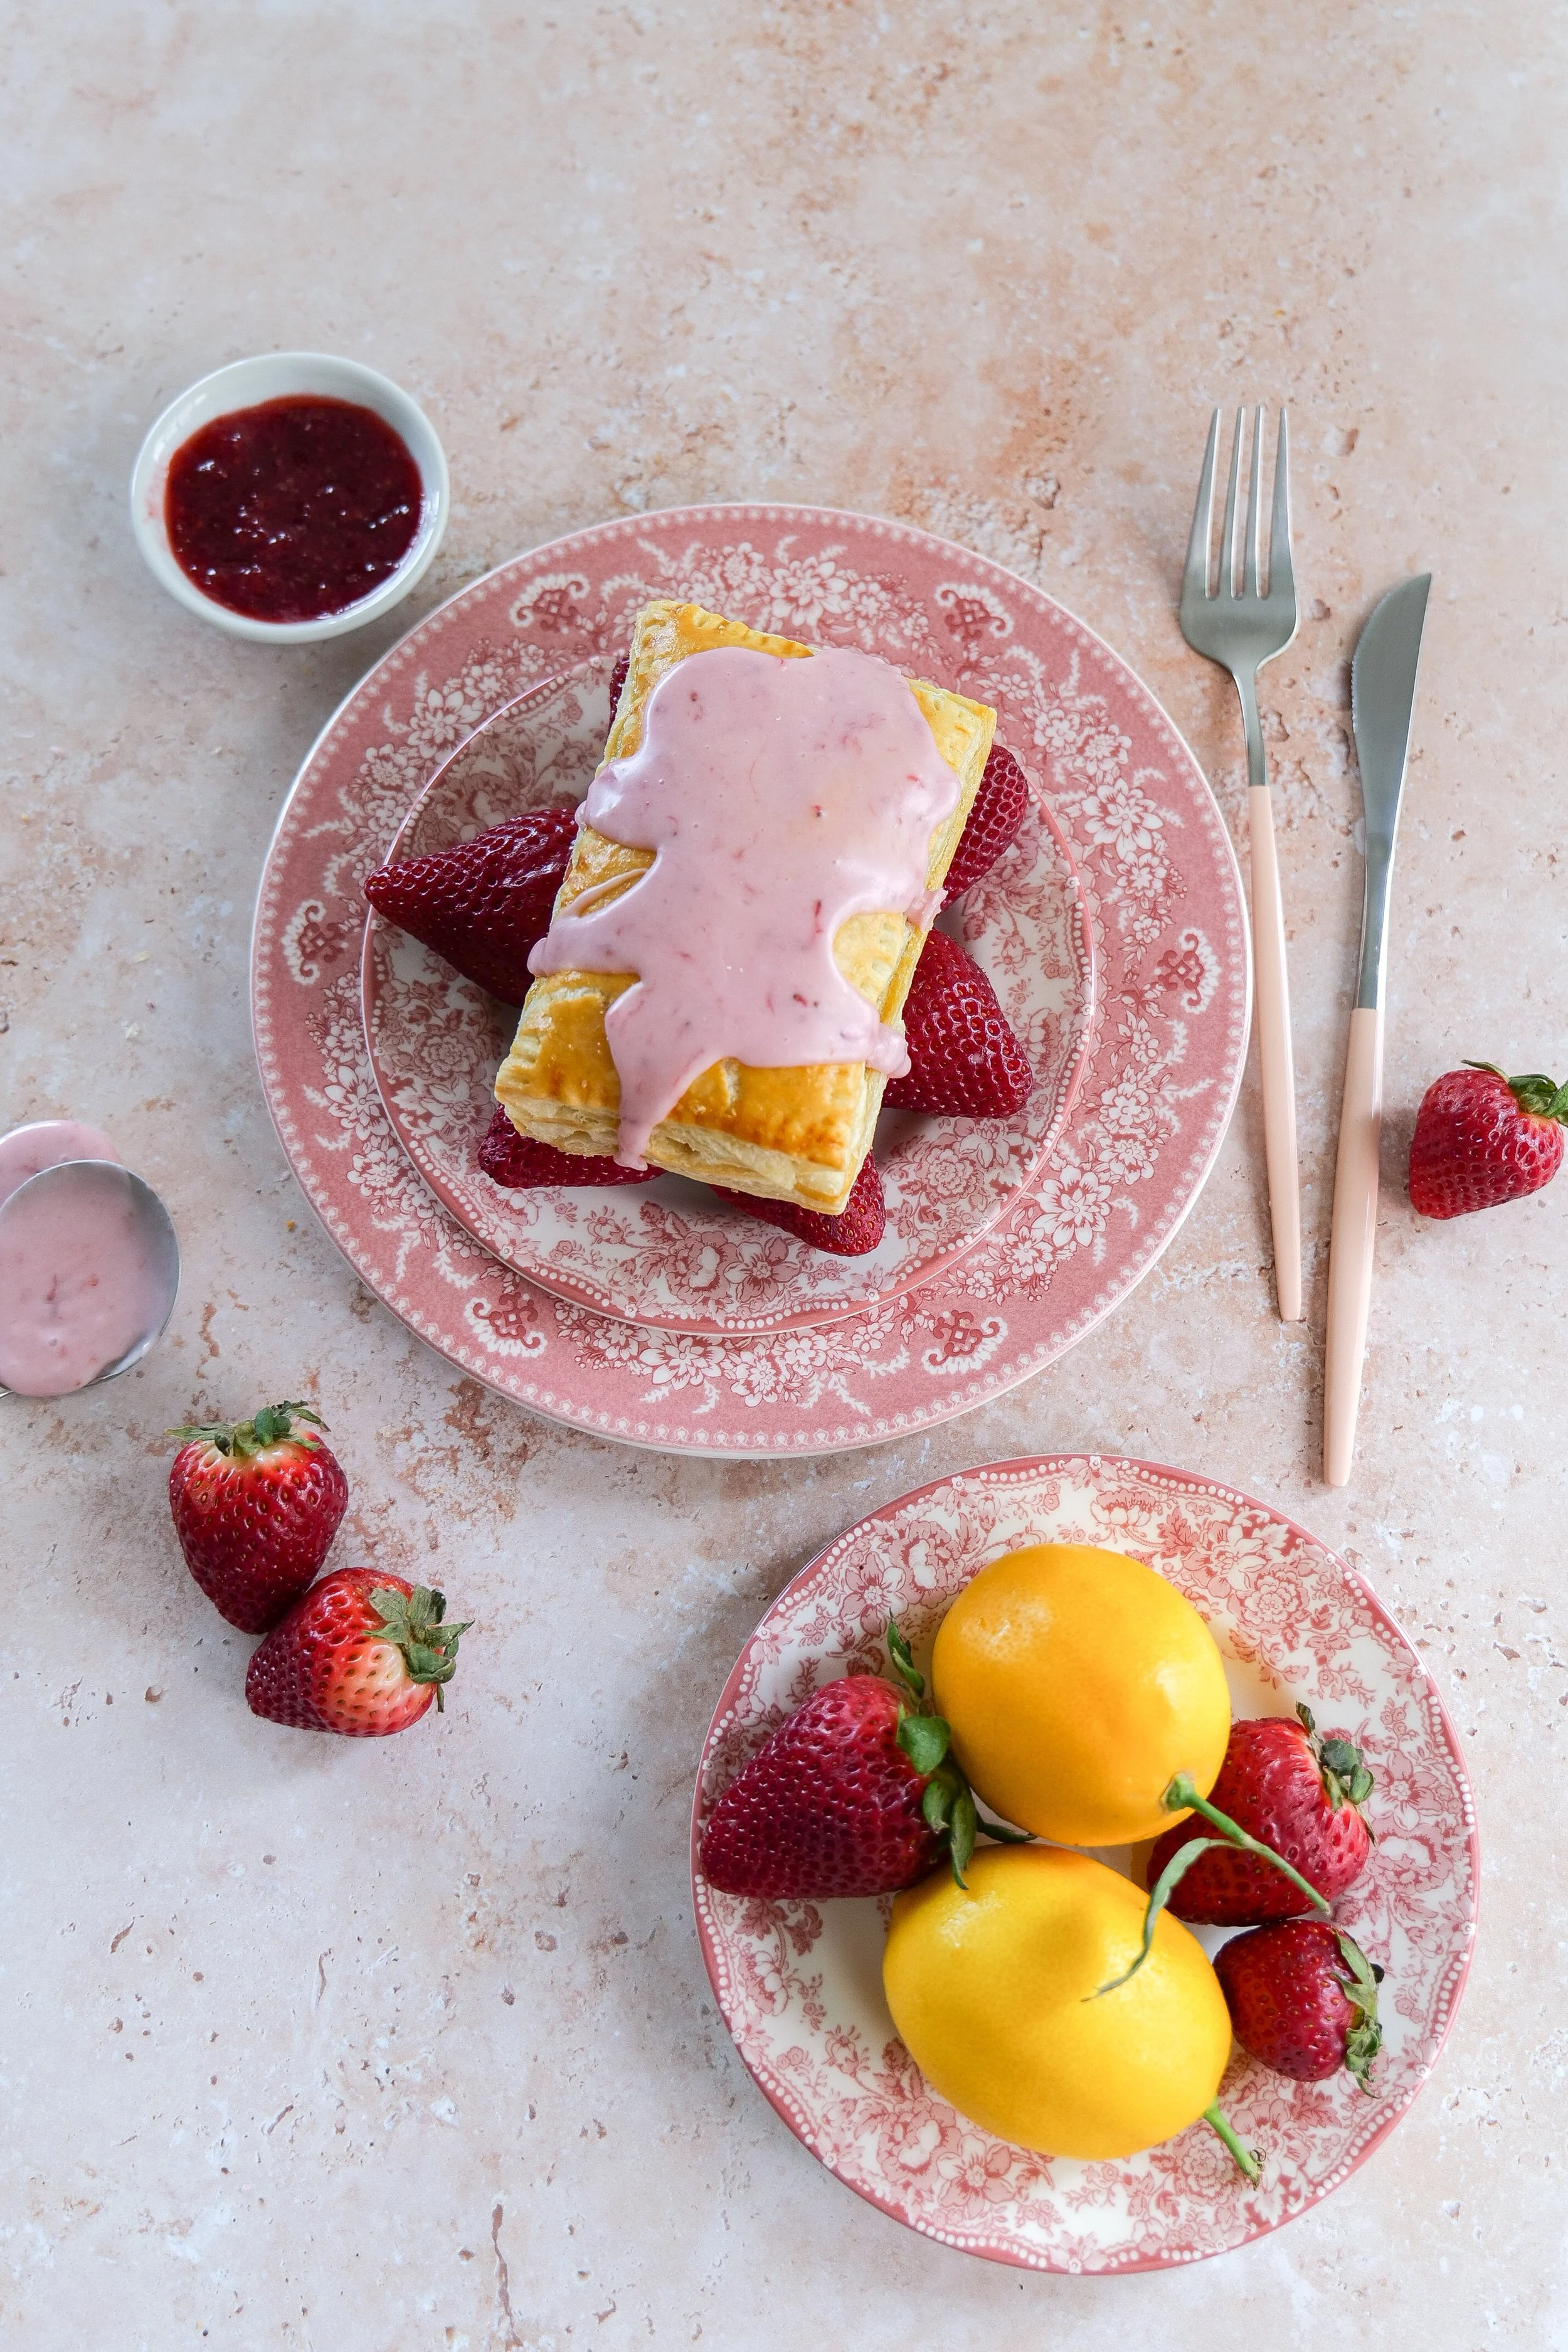
Homemade strawberry puff pastry pop tarts filled with fresh strawberry filling and topped with a sweet strawberry glaze, served with fresh strawberries and lemons.
a puff pastry dessert
Strawberry Puff Pastry Pop Tart with golden flaky crust and jam filling
Homemade Strawberry Puff Pastry Pop Tart fresh out of the oven
Close-up of Strawberry Puff Pastry Pop Tart with sweet strawberry glaze
Freshly baked Strawberry Puff Pastry Pop Tart
Strawberry Puff Pastry Pop Tart topped with strawberry cream glaze
Easy Strawberry Puff Pastry Pop Tart on the kitchen counter
Strawberry Puff Pastry Pop Tart with flaky layers and fruit filling
Breakfast Strawberry Puff Pastry Pop Tart with fresh strawberries
Strawberry Puff Pastry Pop Tart sliced open showing juicy filling
Strawberry Puff Pastry Pop Tart with golden crust and glaze
Strawberry Puff Pastry Pop Tart on a tray
Strawberry Puff Pastry Pop Tart with homemade strawberry jam filling
Delicious Strawberry Puff Pastry Pop Tart ready to serve

Butternut Squash Breakfast Hash with Apples, Bacon & Eggs

A Cozy Sweet-and-Savory Breakfast for Fall

There are some breakfasts that feel made for slow fall mornings, and this Butternut Squash Breakfast Hash is one of them.

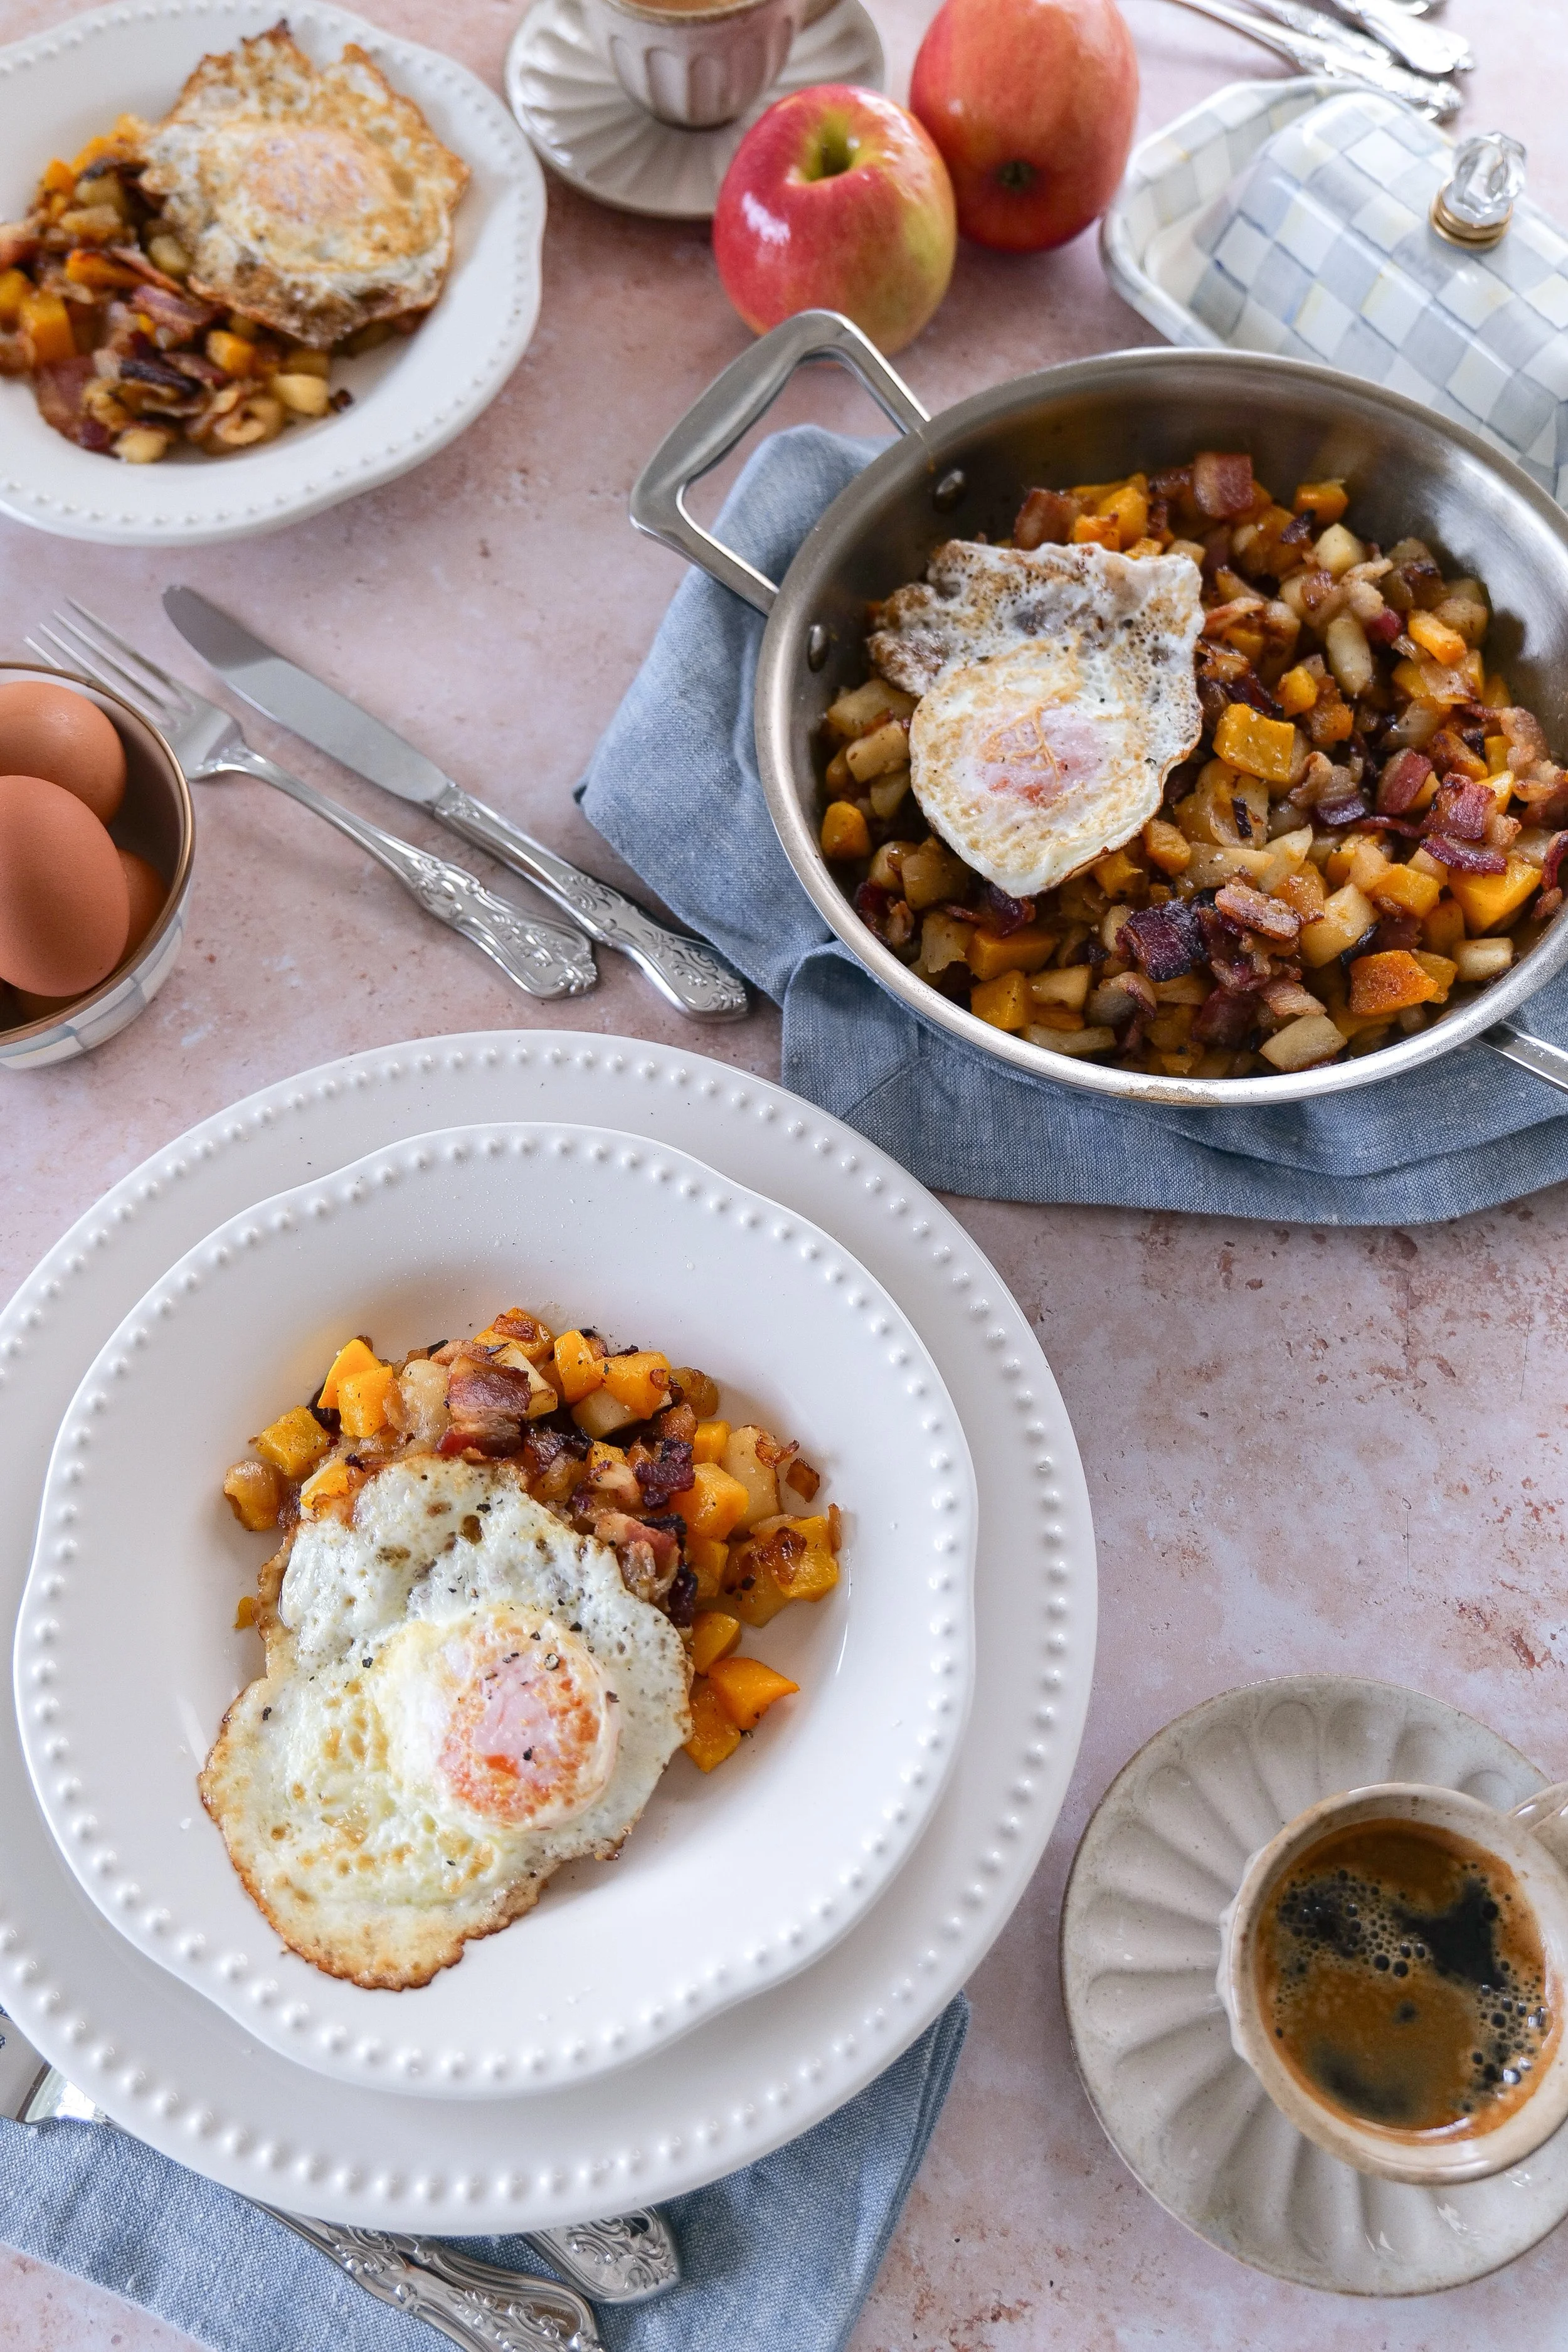
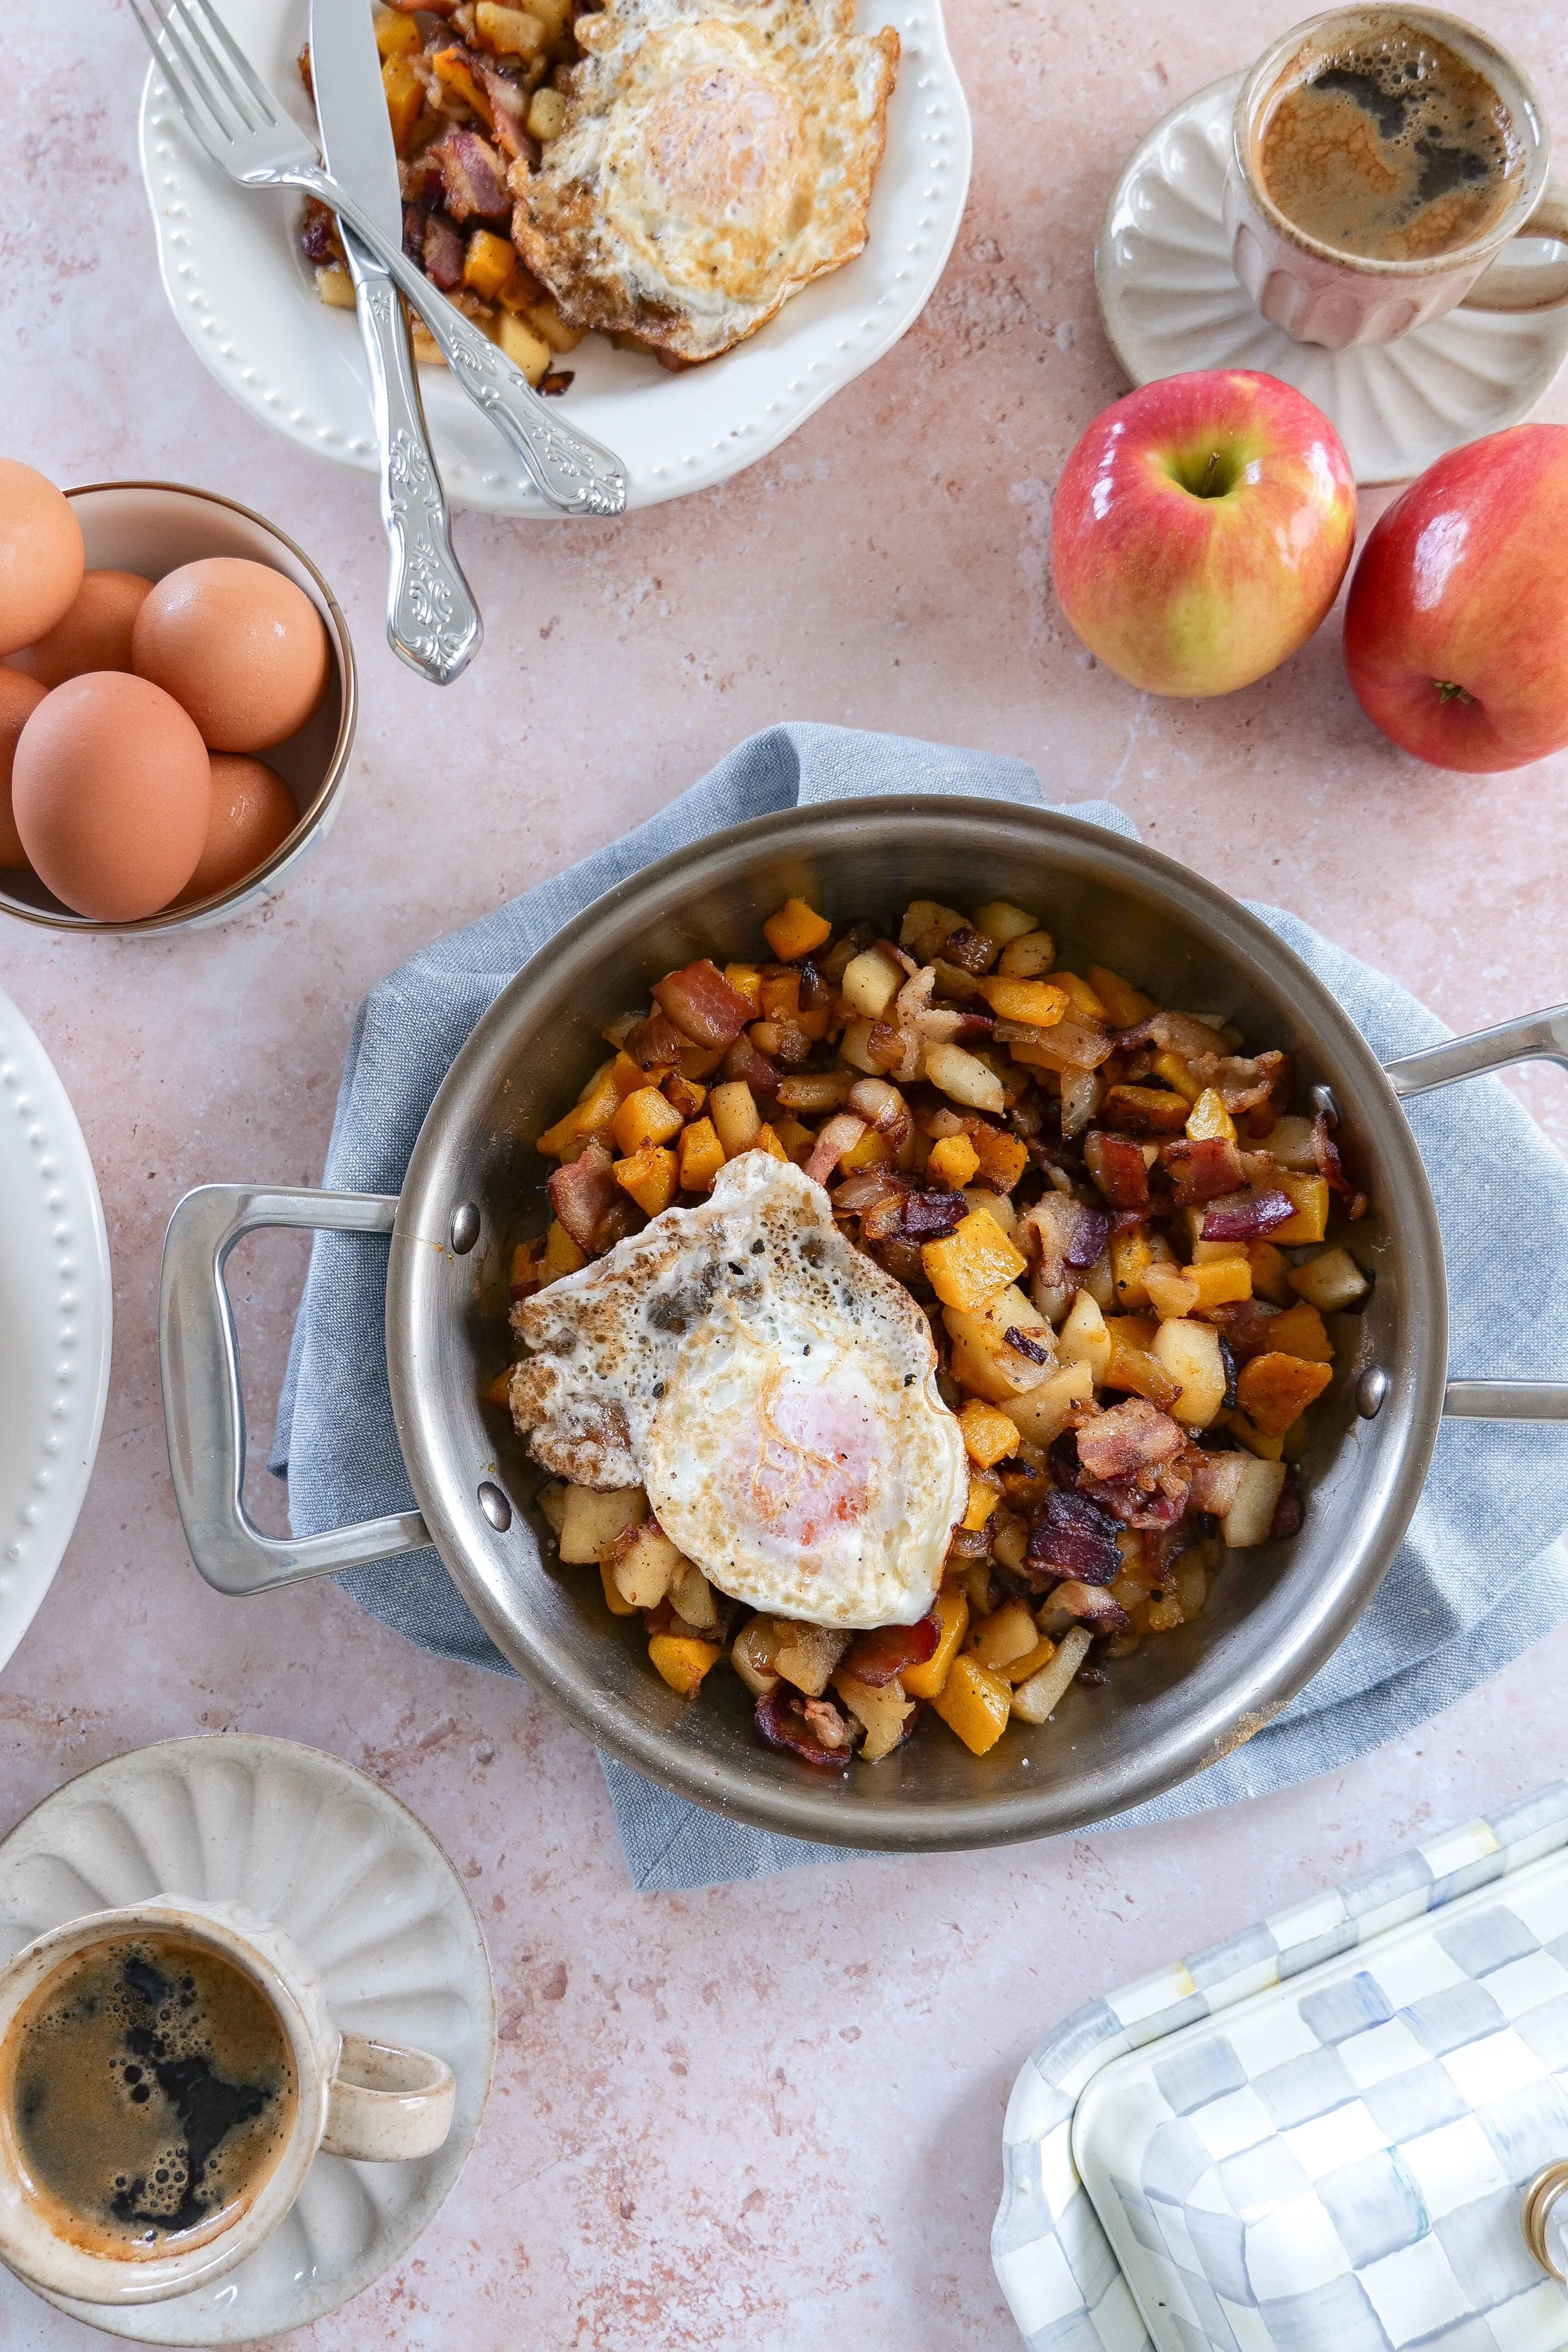
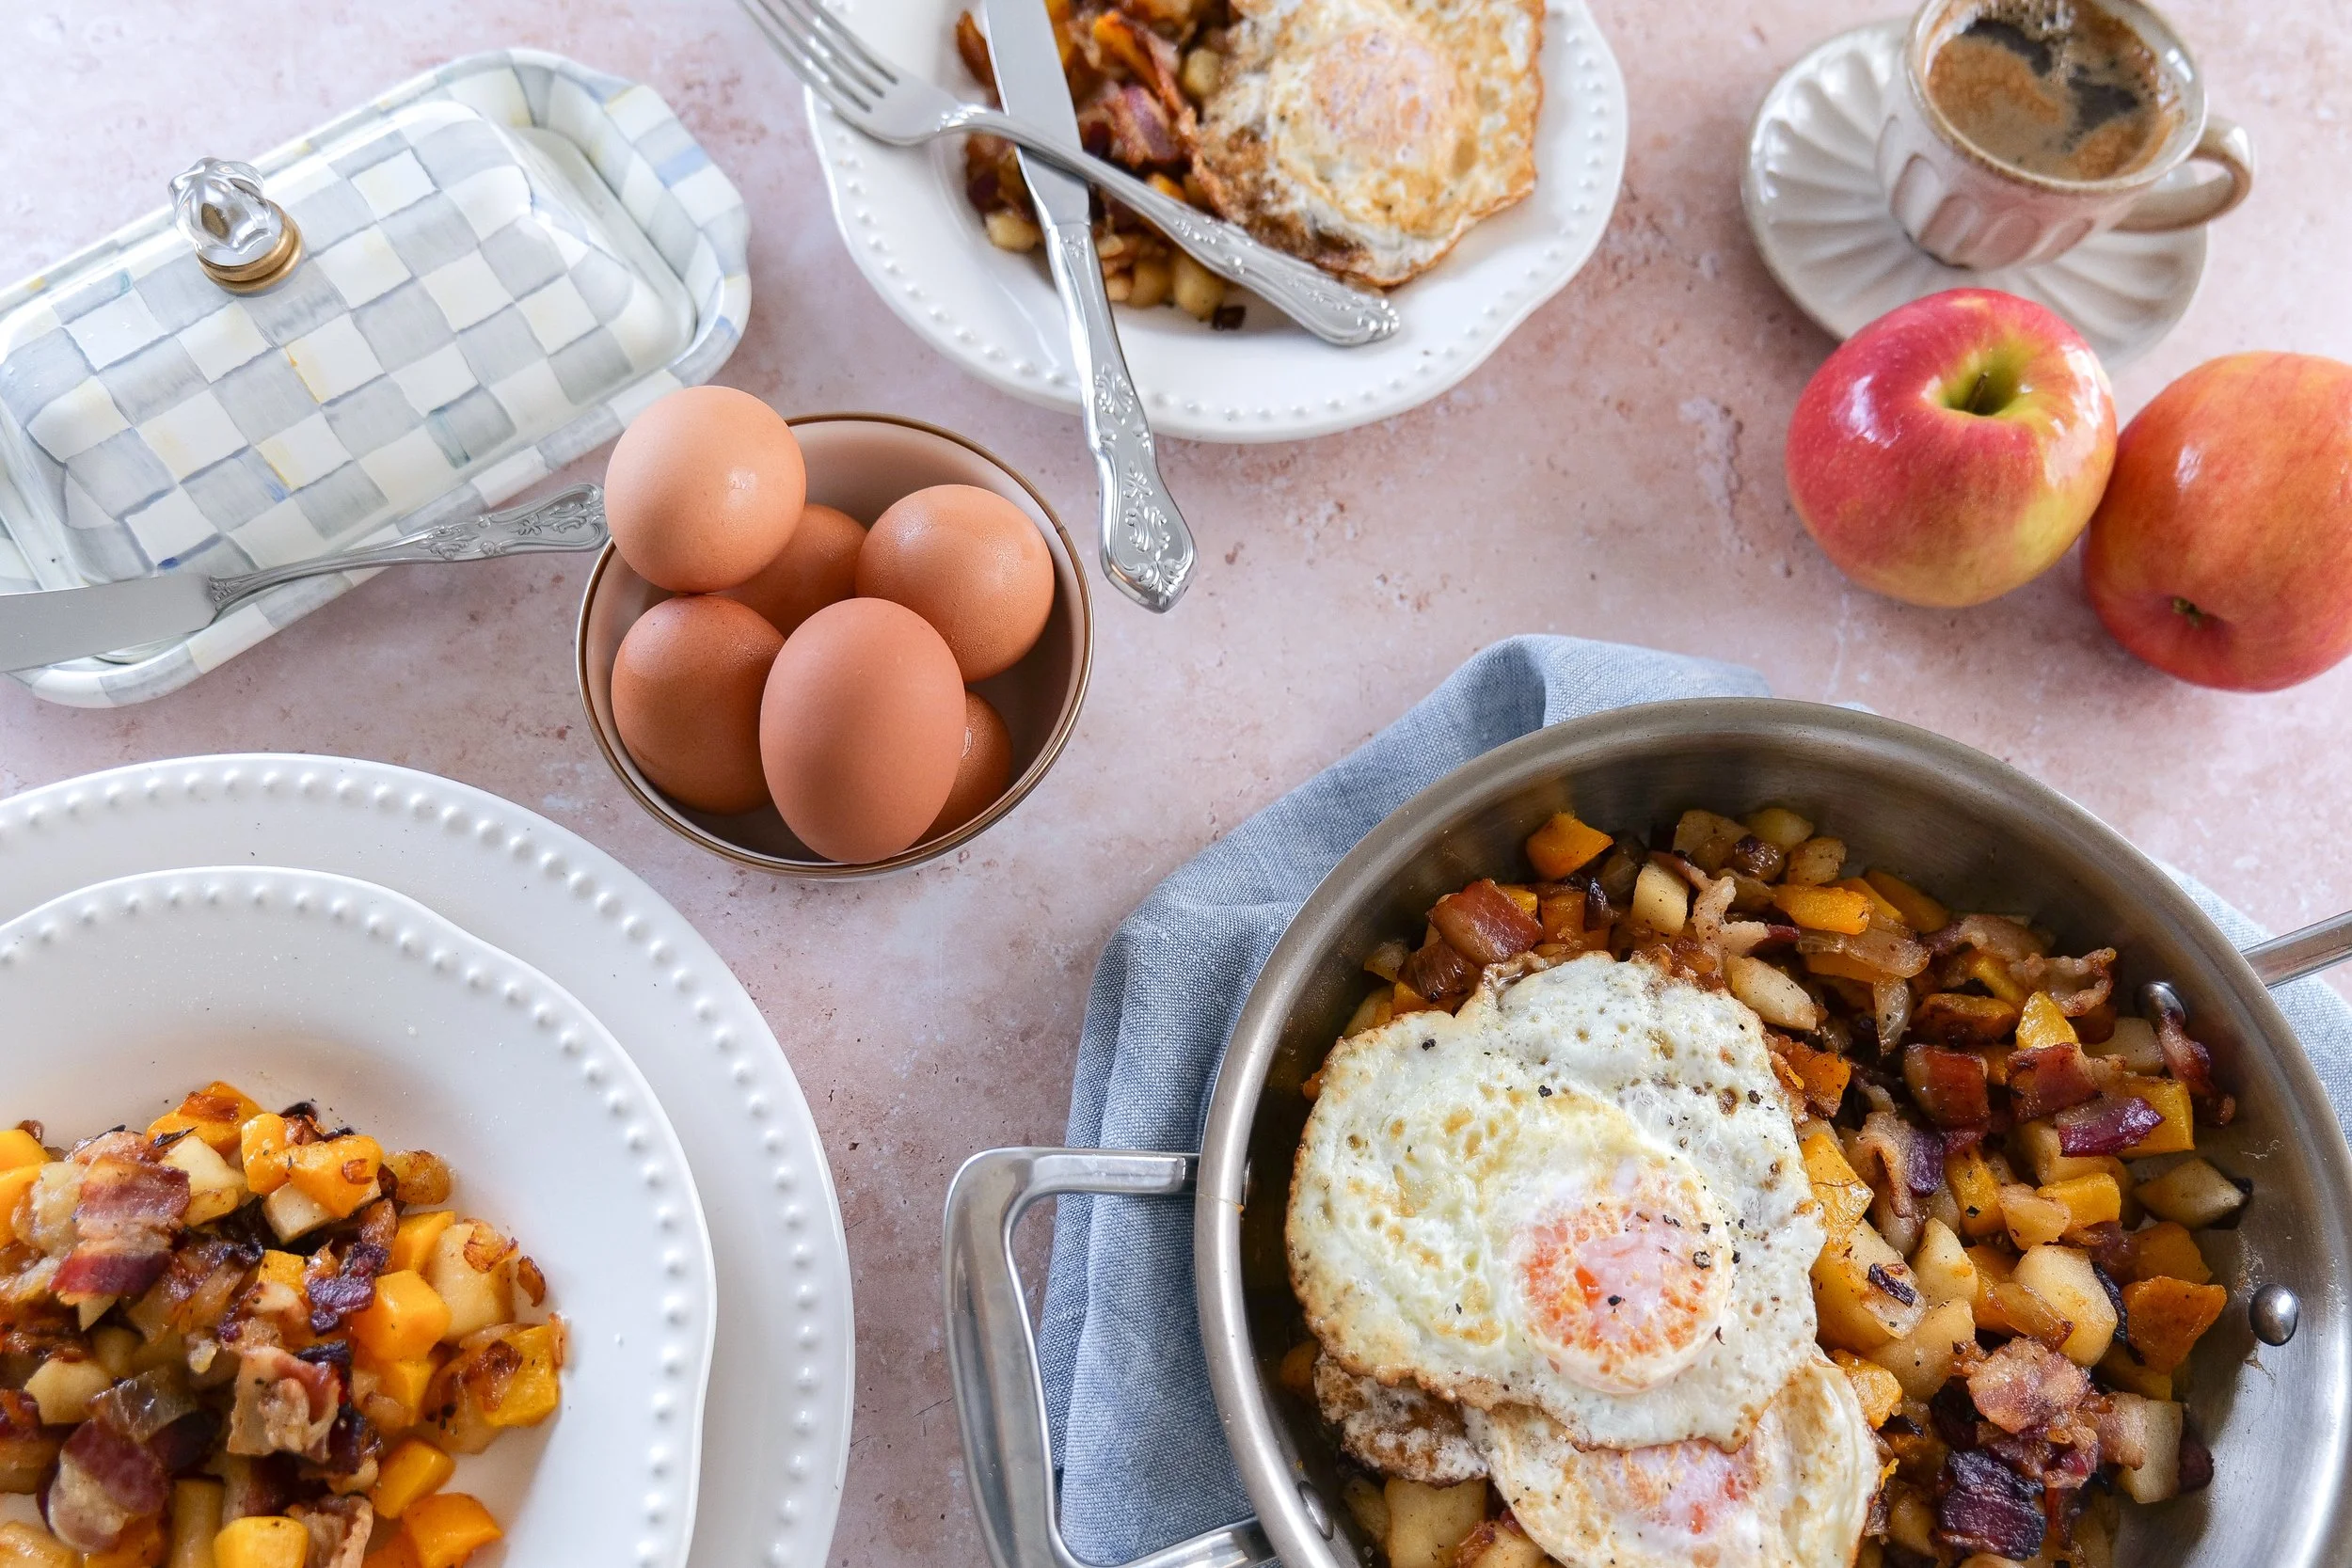
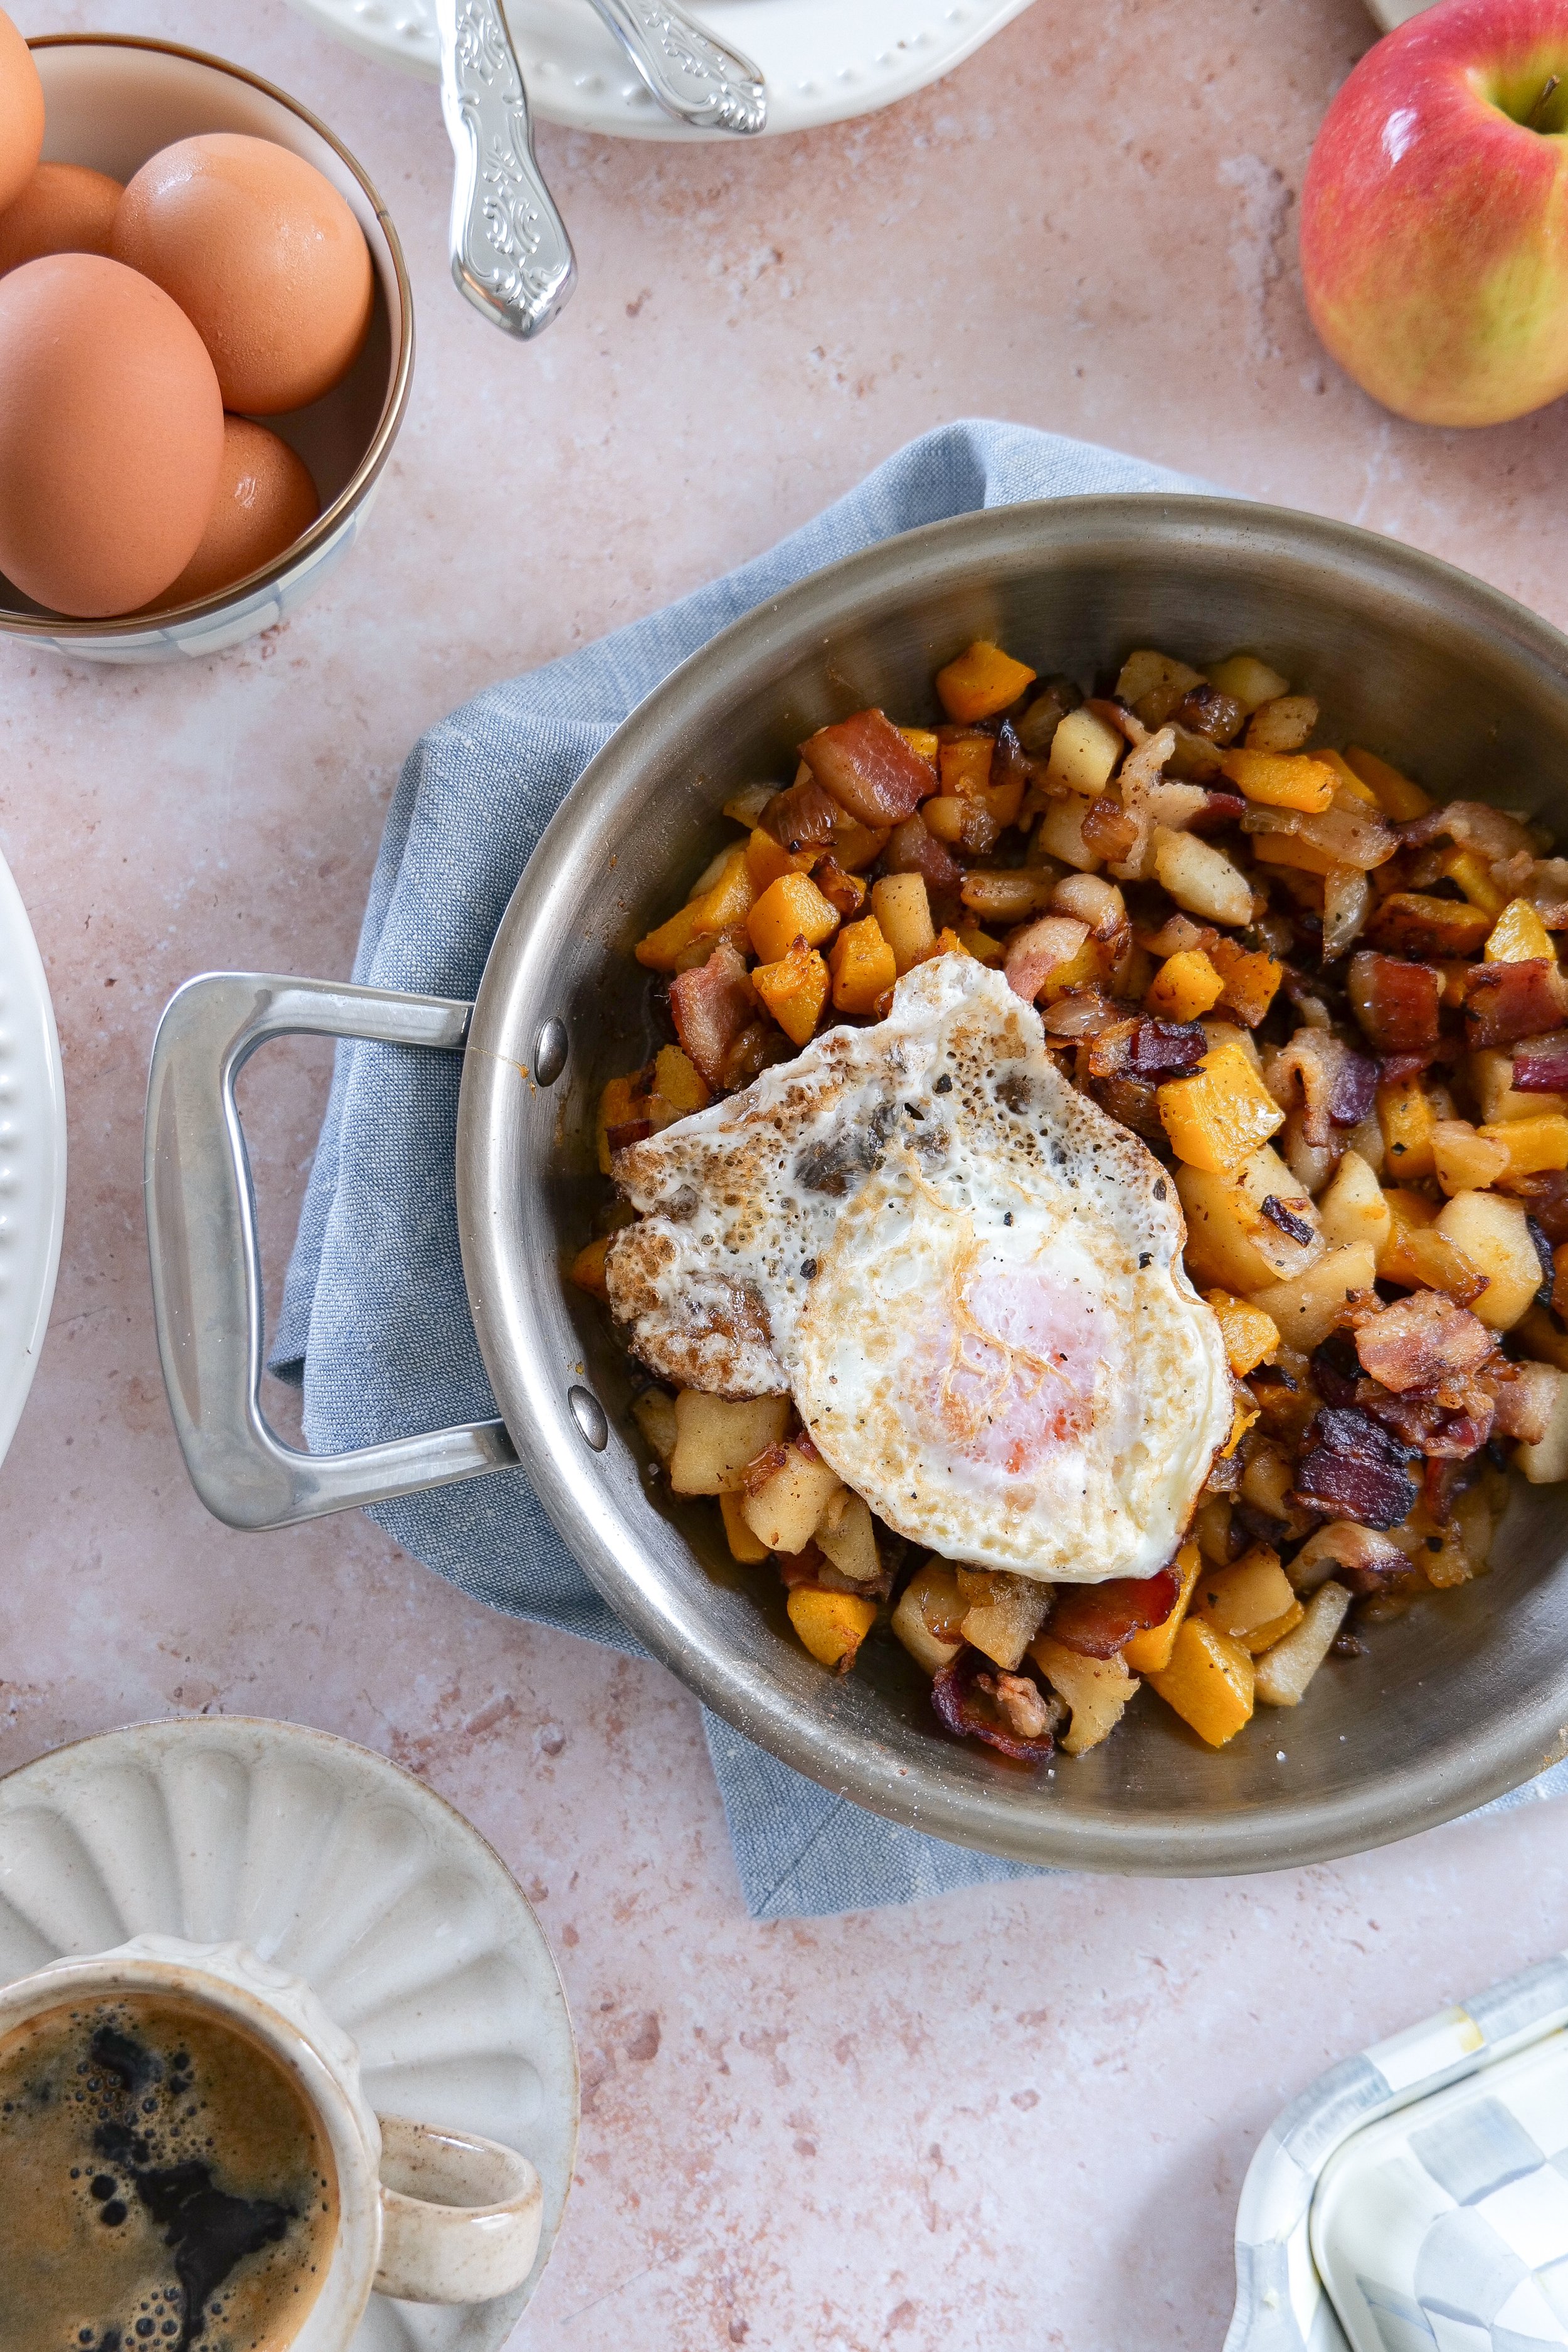
Roasted butternut squash, crisp bacon, sweet apples, and golden onions come together in one hearty skillet, then everything is finished with fried eggs on top. The combination is savory, a little sweet, and exactly the kind of breakfast I crave once the mornings start getting cooler.

I especially love how the apples soften just enough to become tender while still keeping a little texture, and the butternut squash adds that cozy caramelized flavor that makes this feel so seasonal.

It works beautifully for breakfast or brunch, but honestly, I would happily serve this for dinner too.

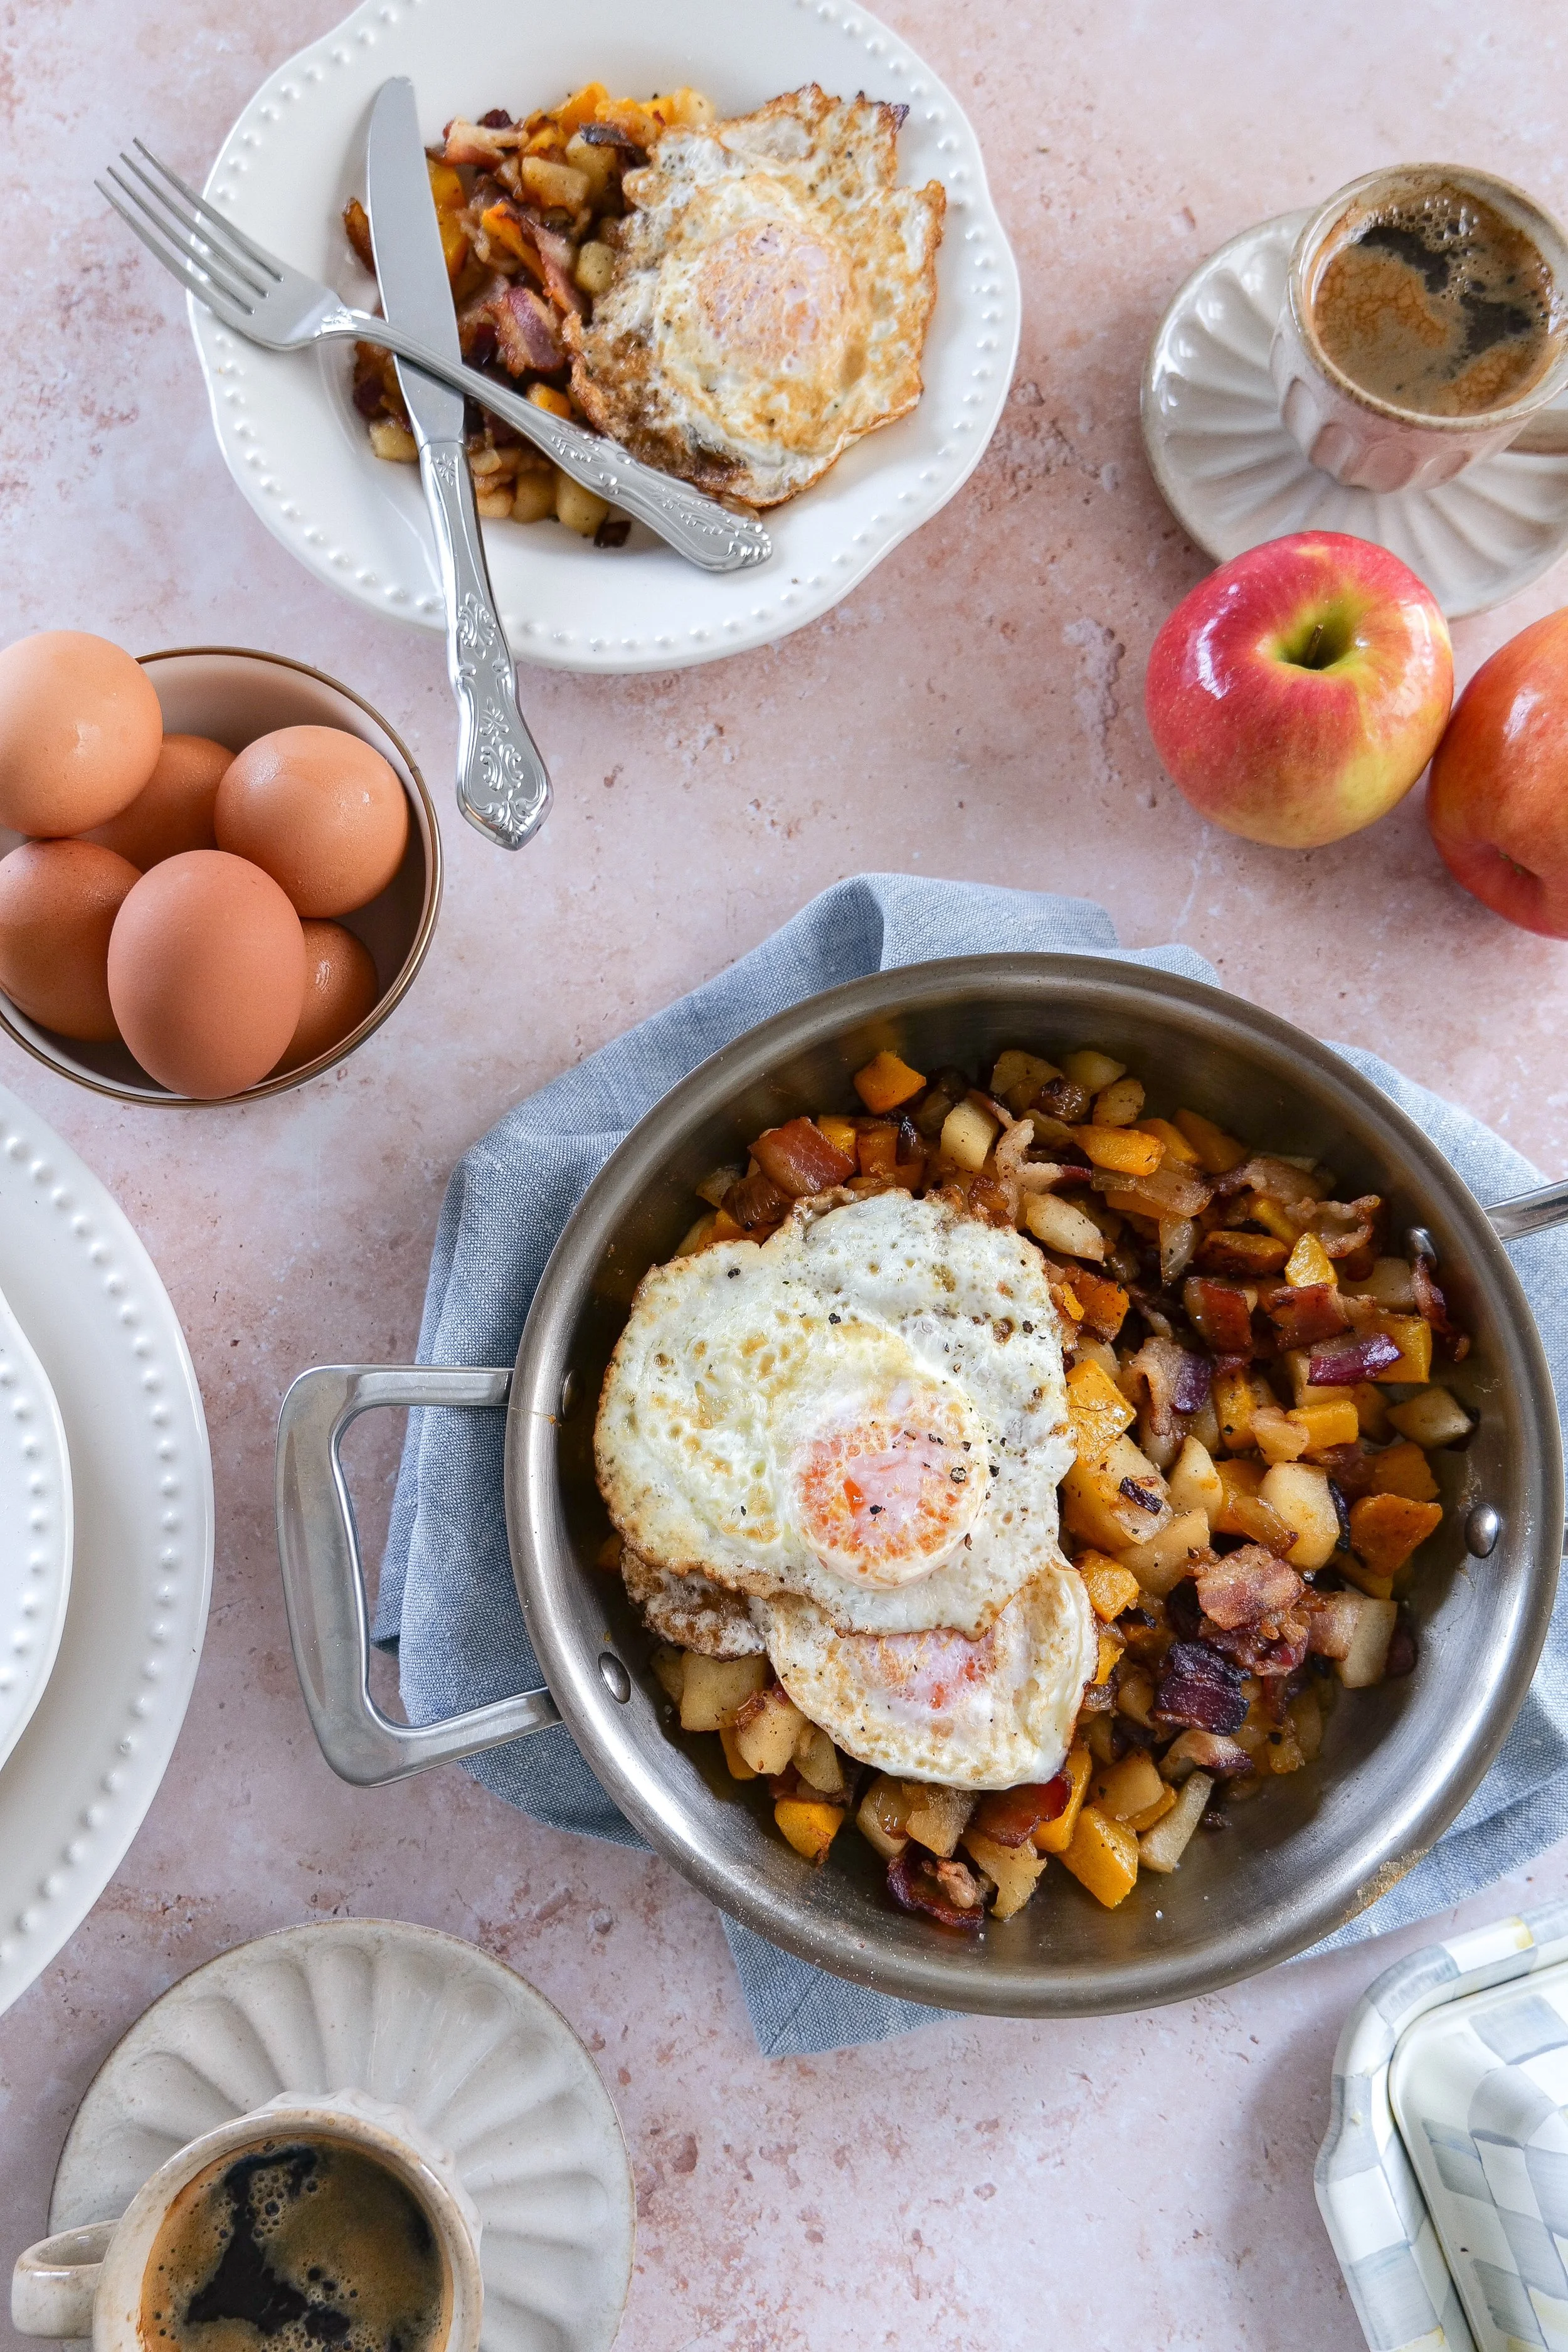
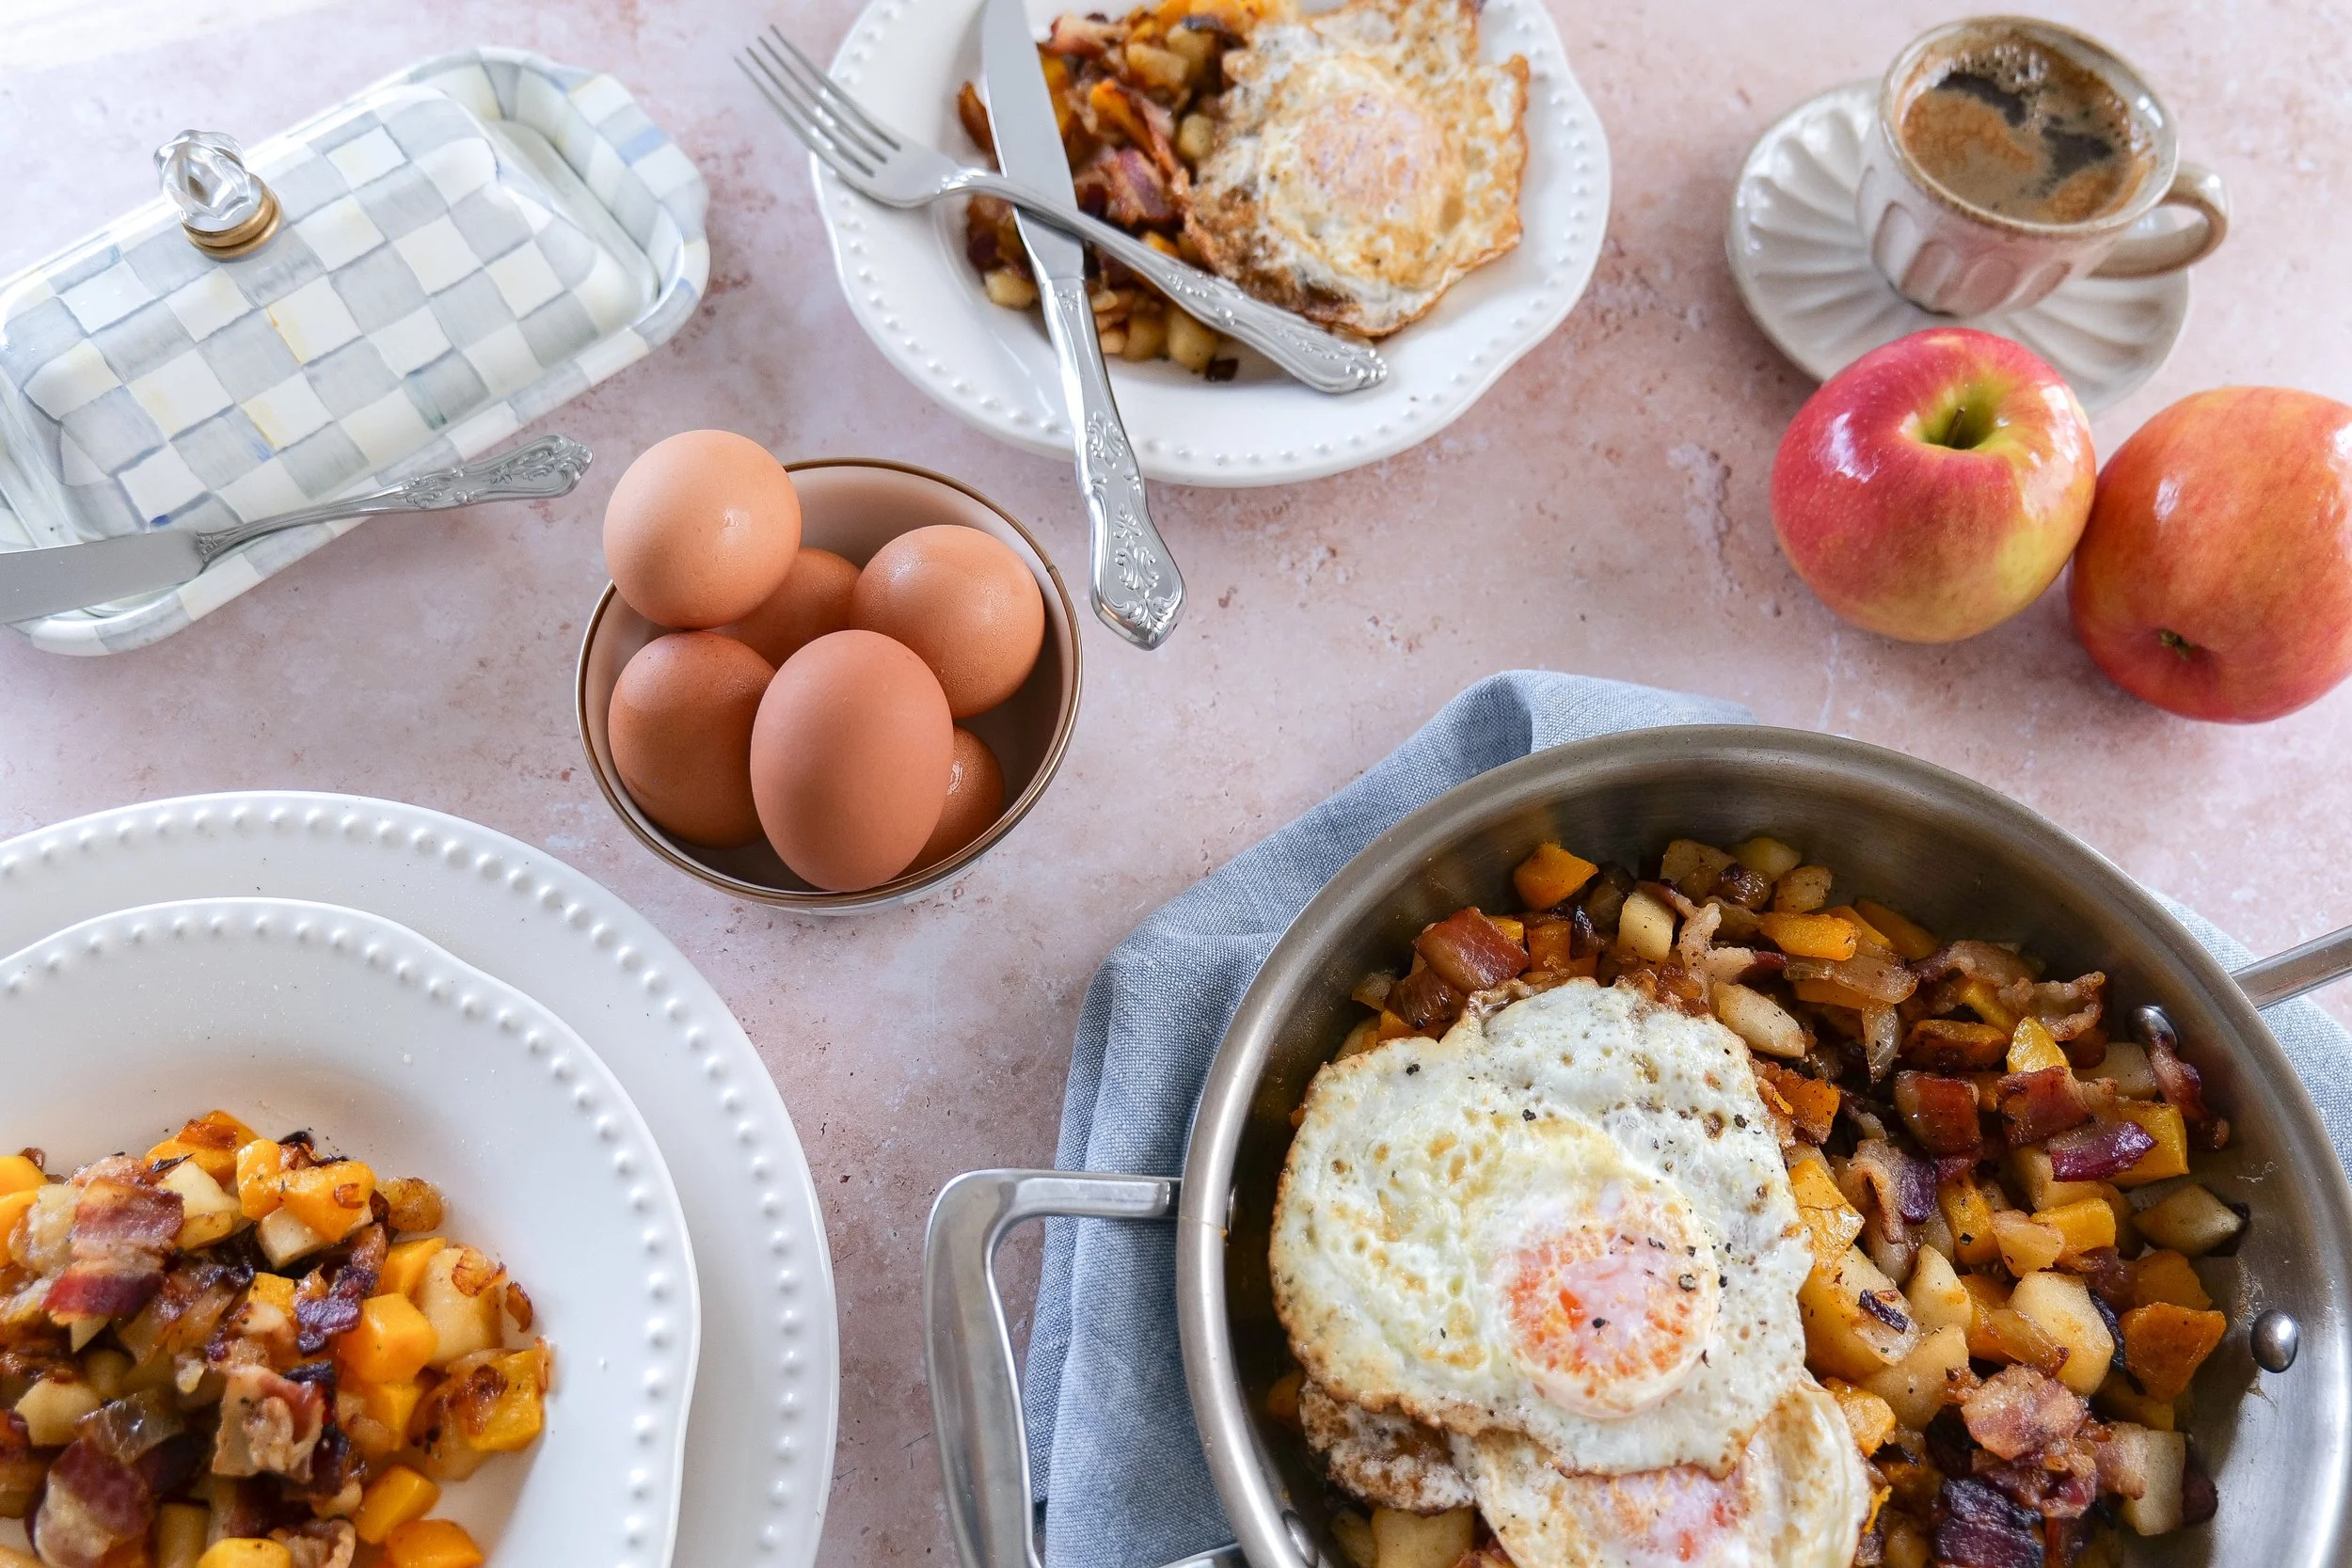
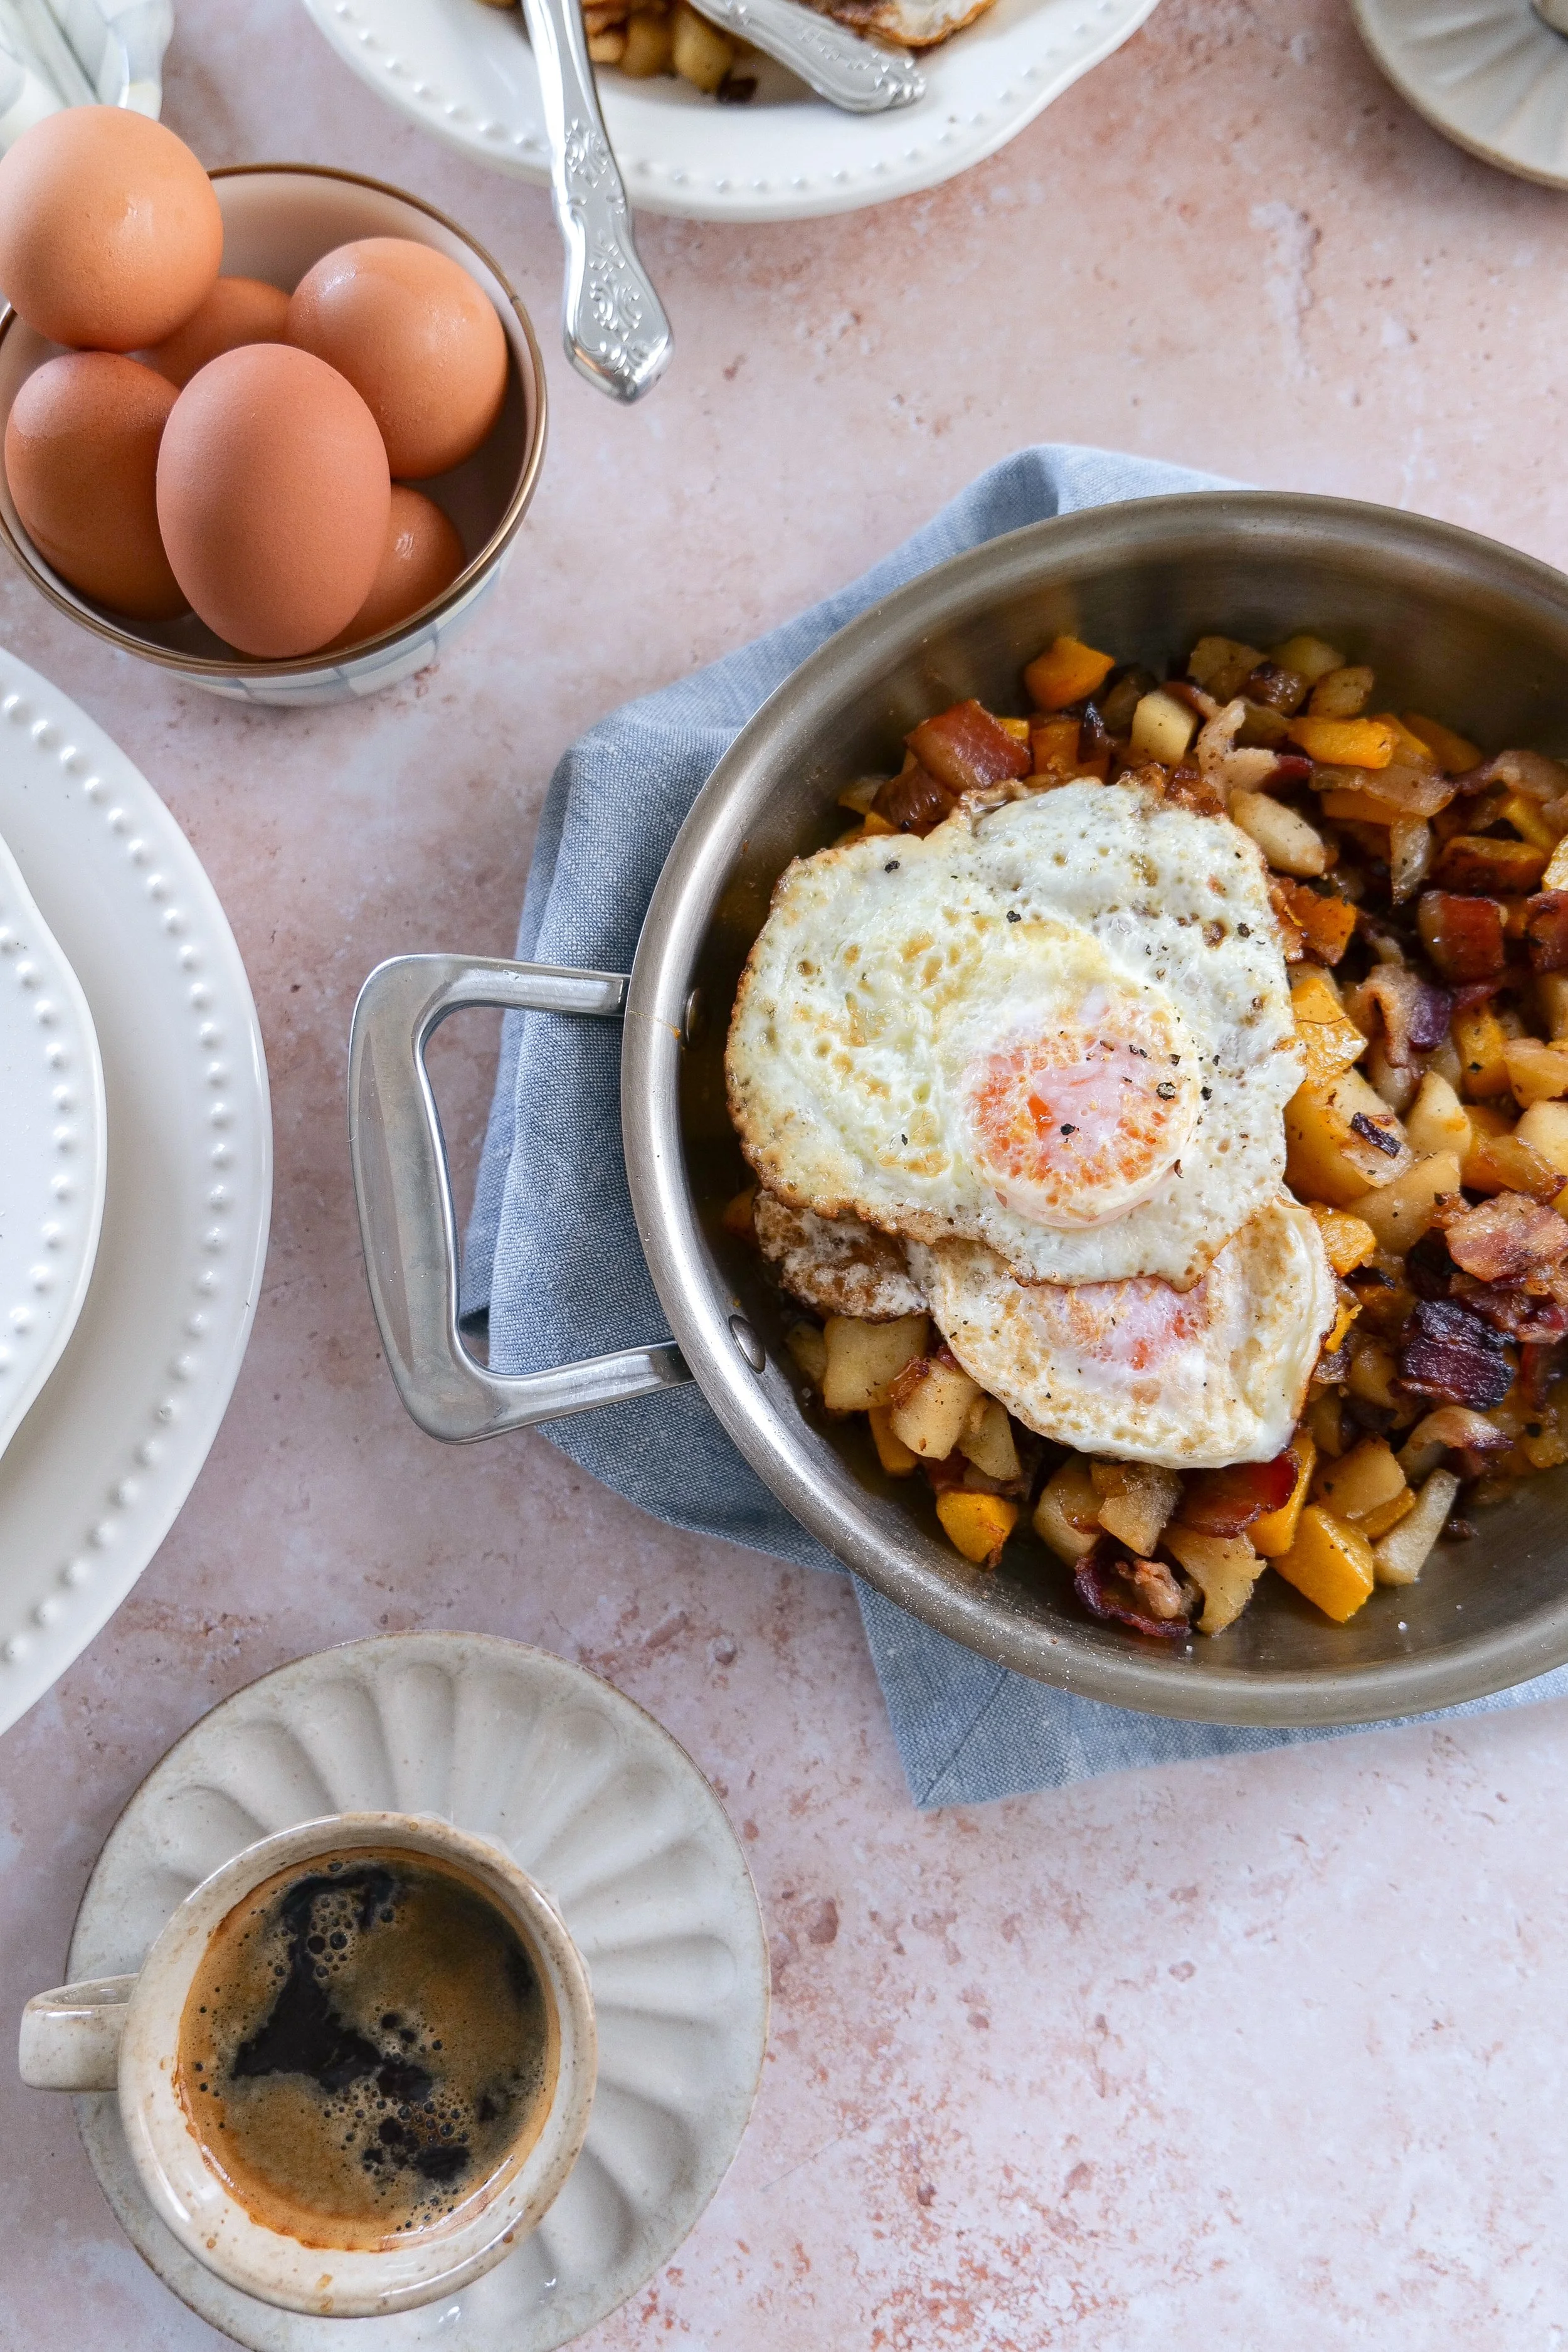
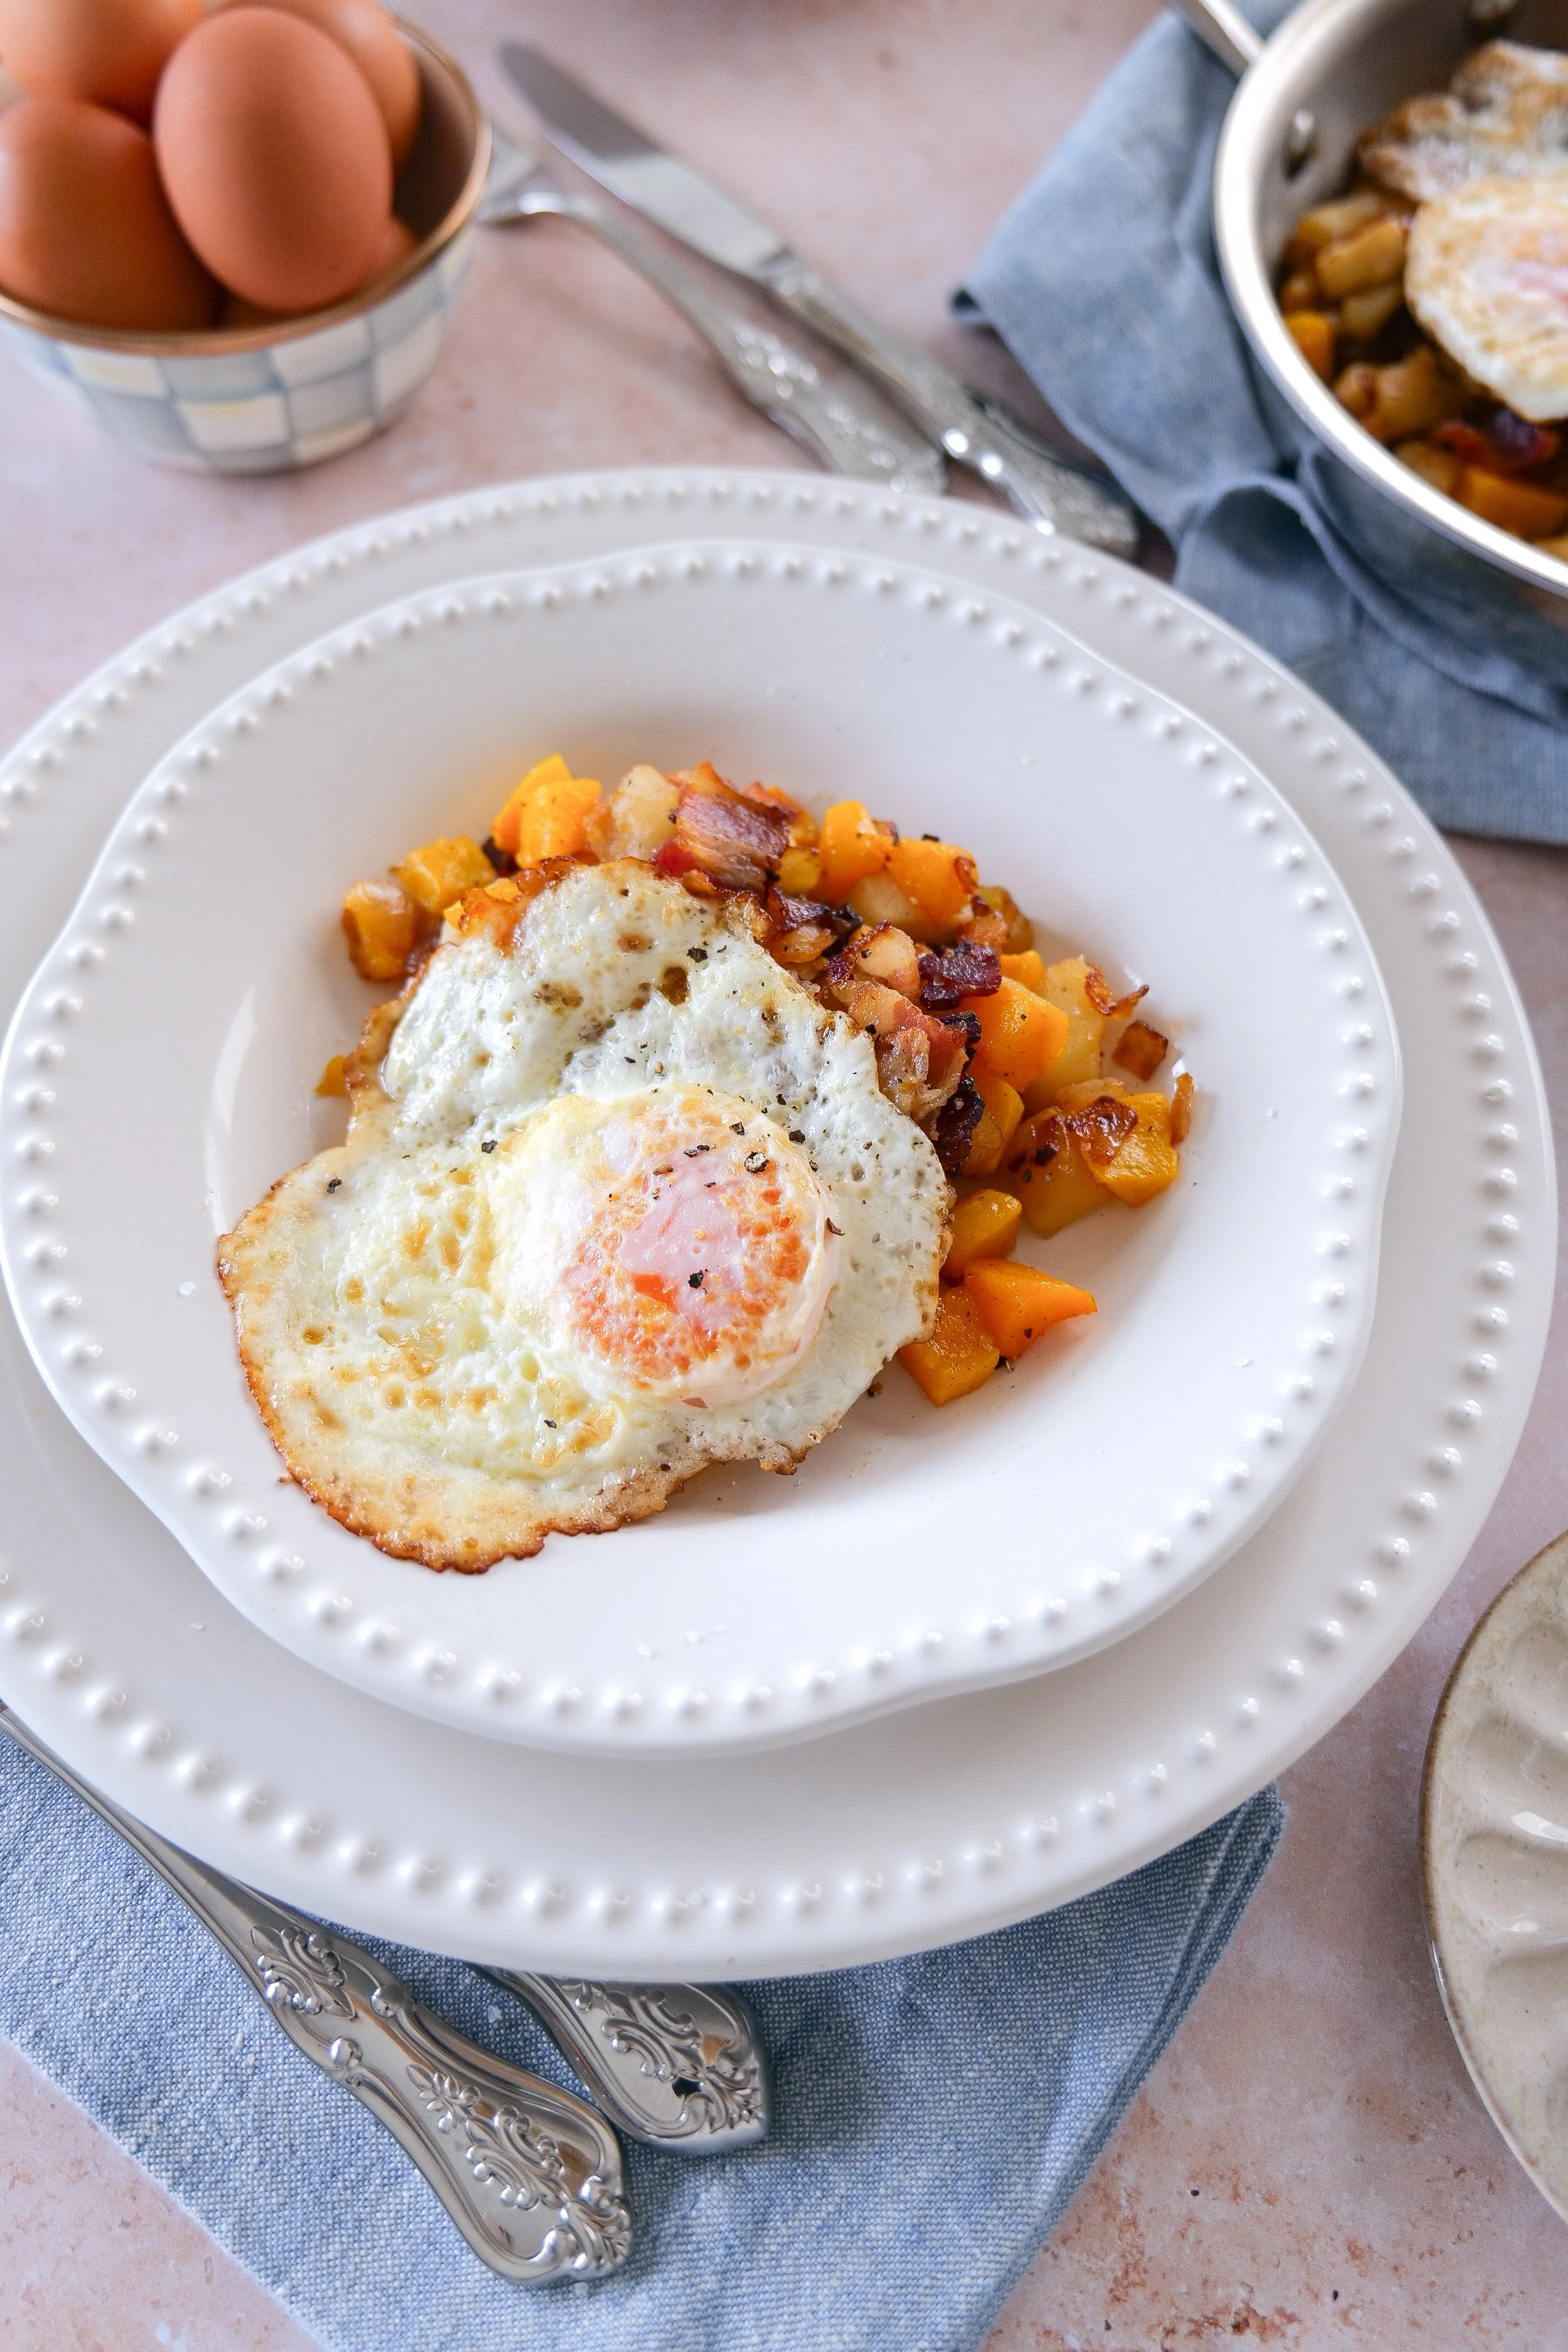
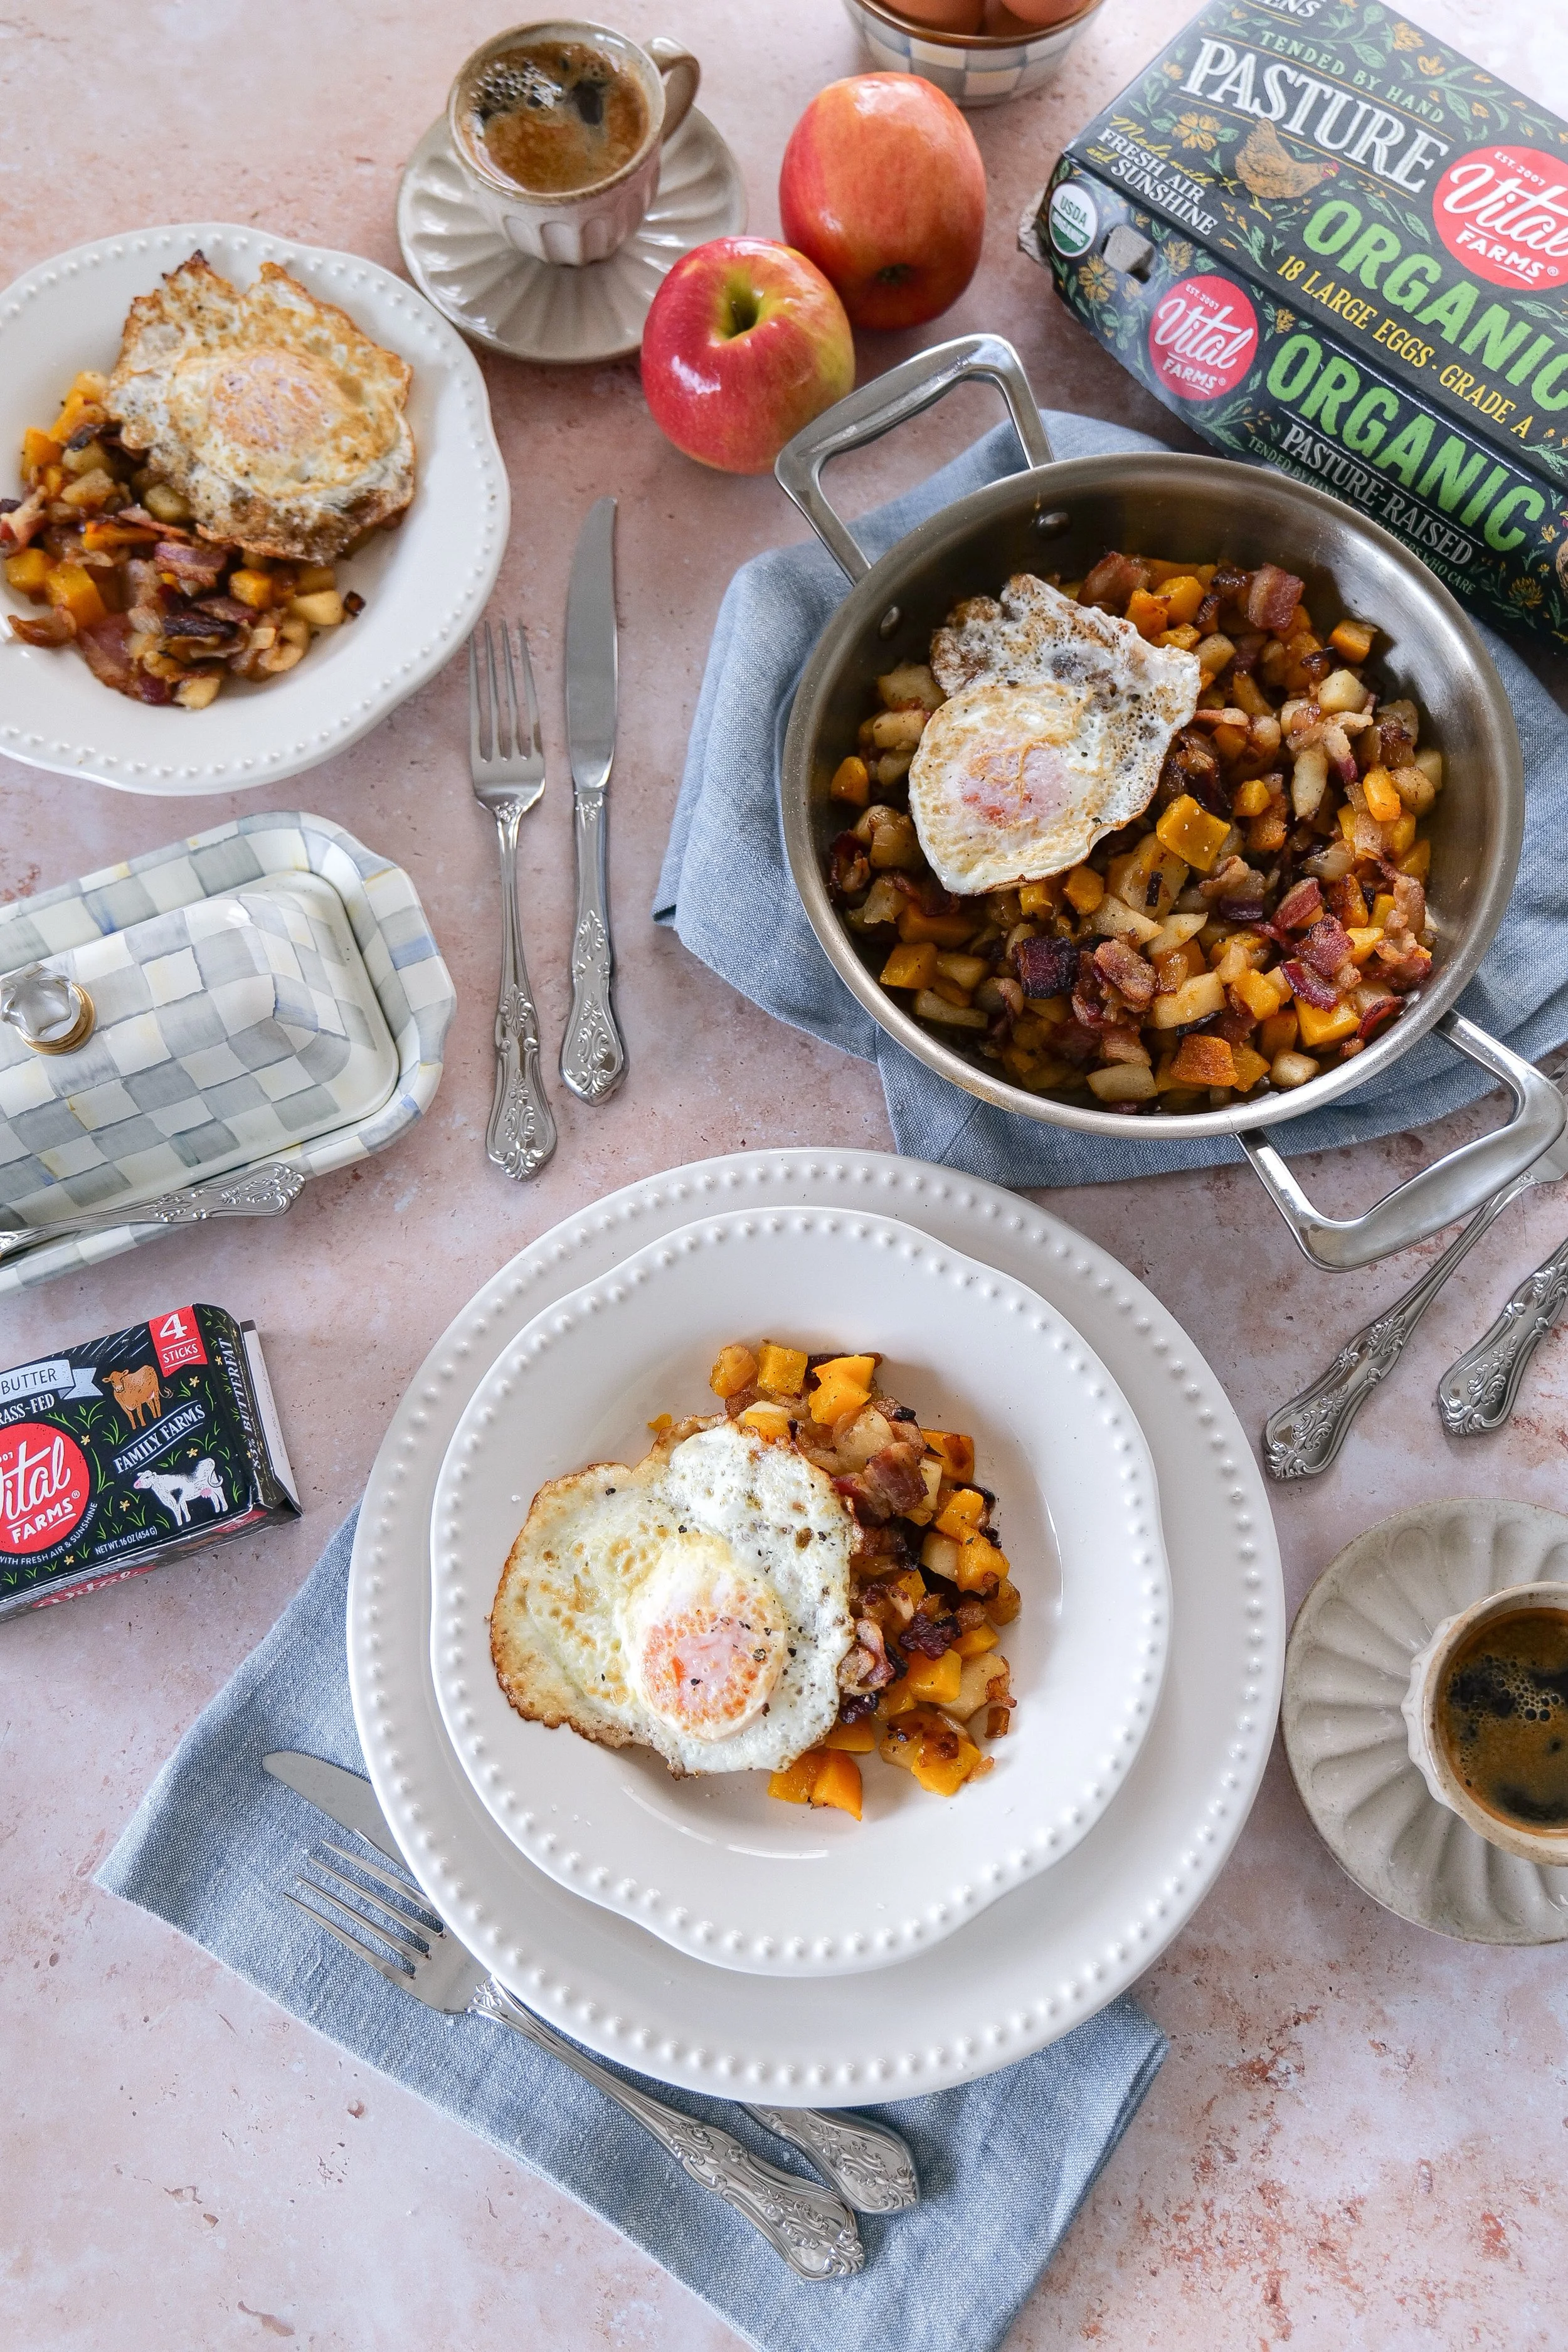
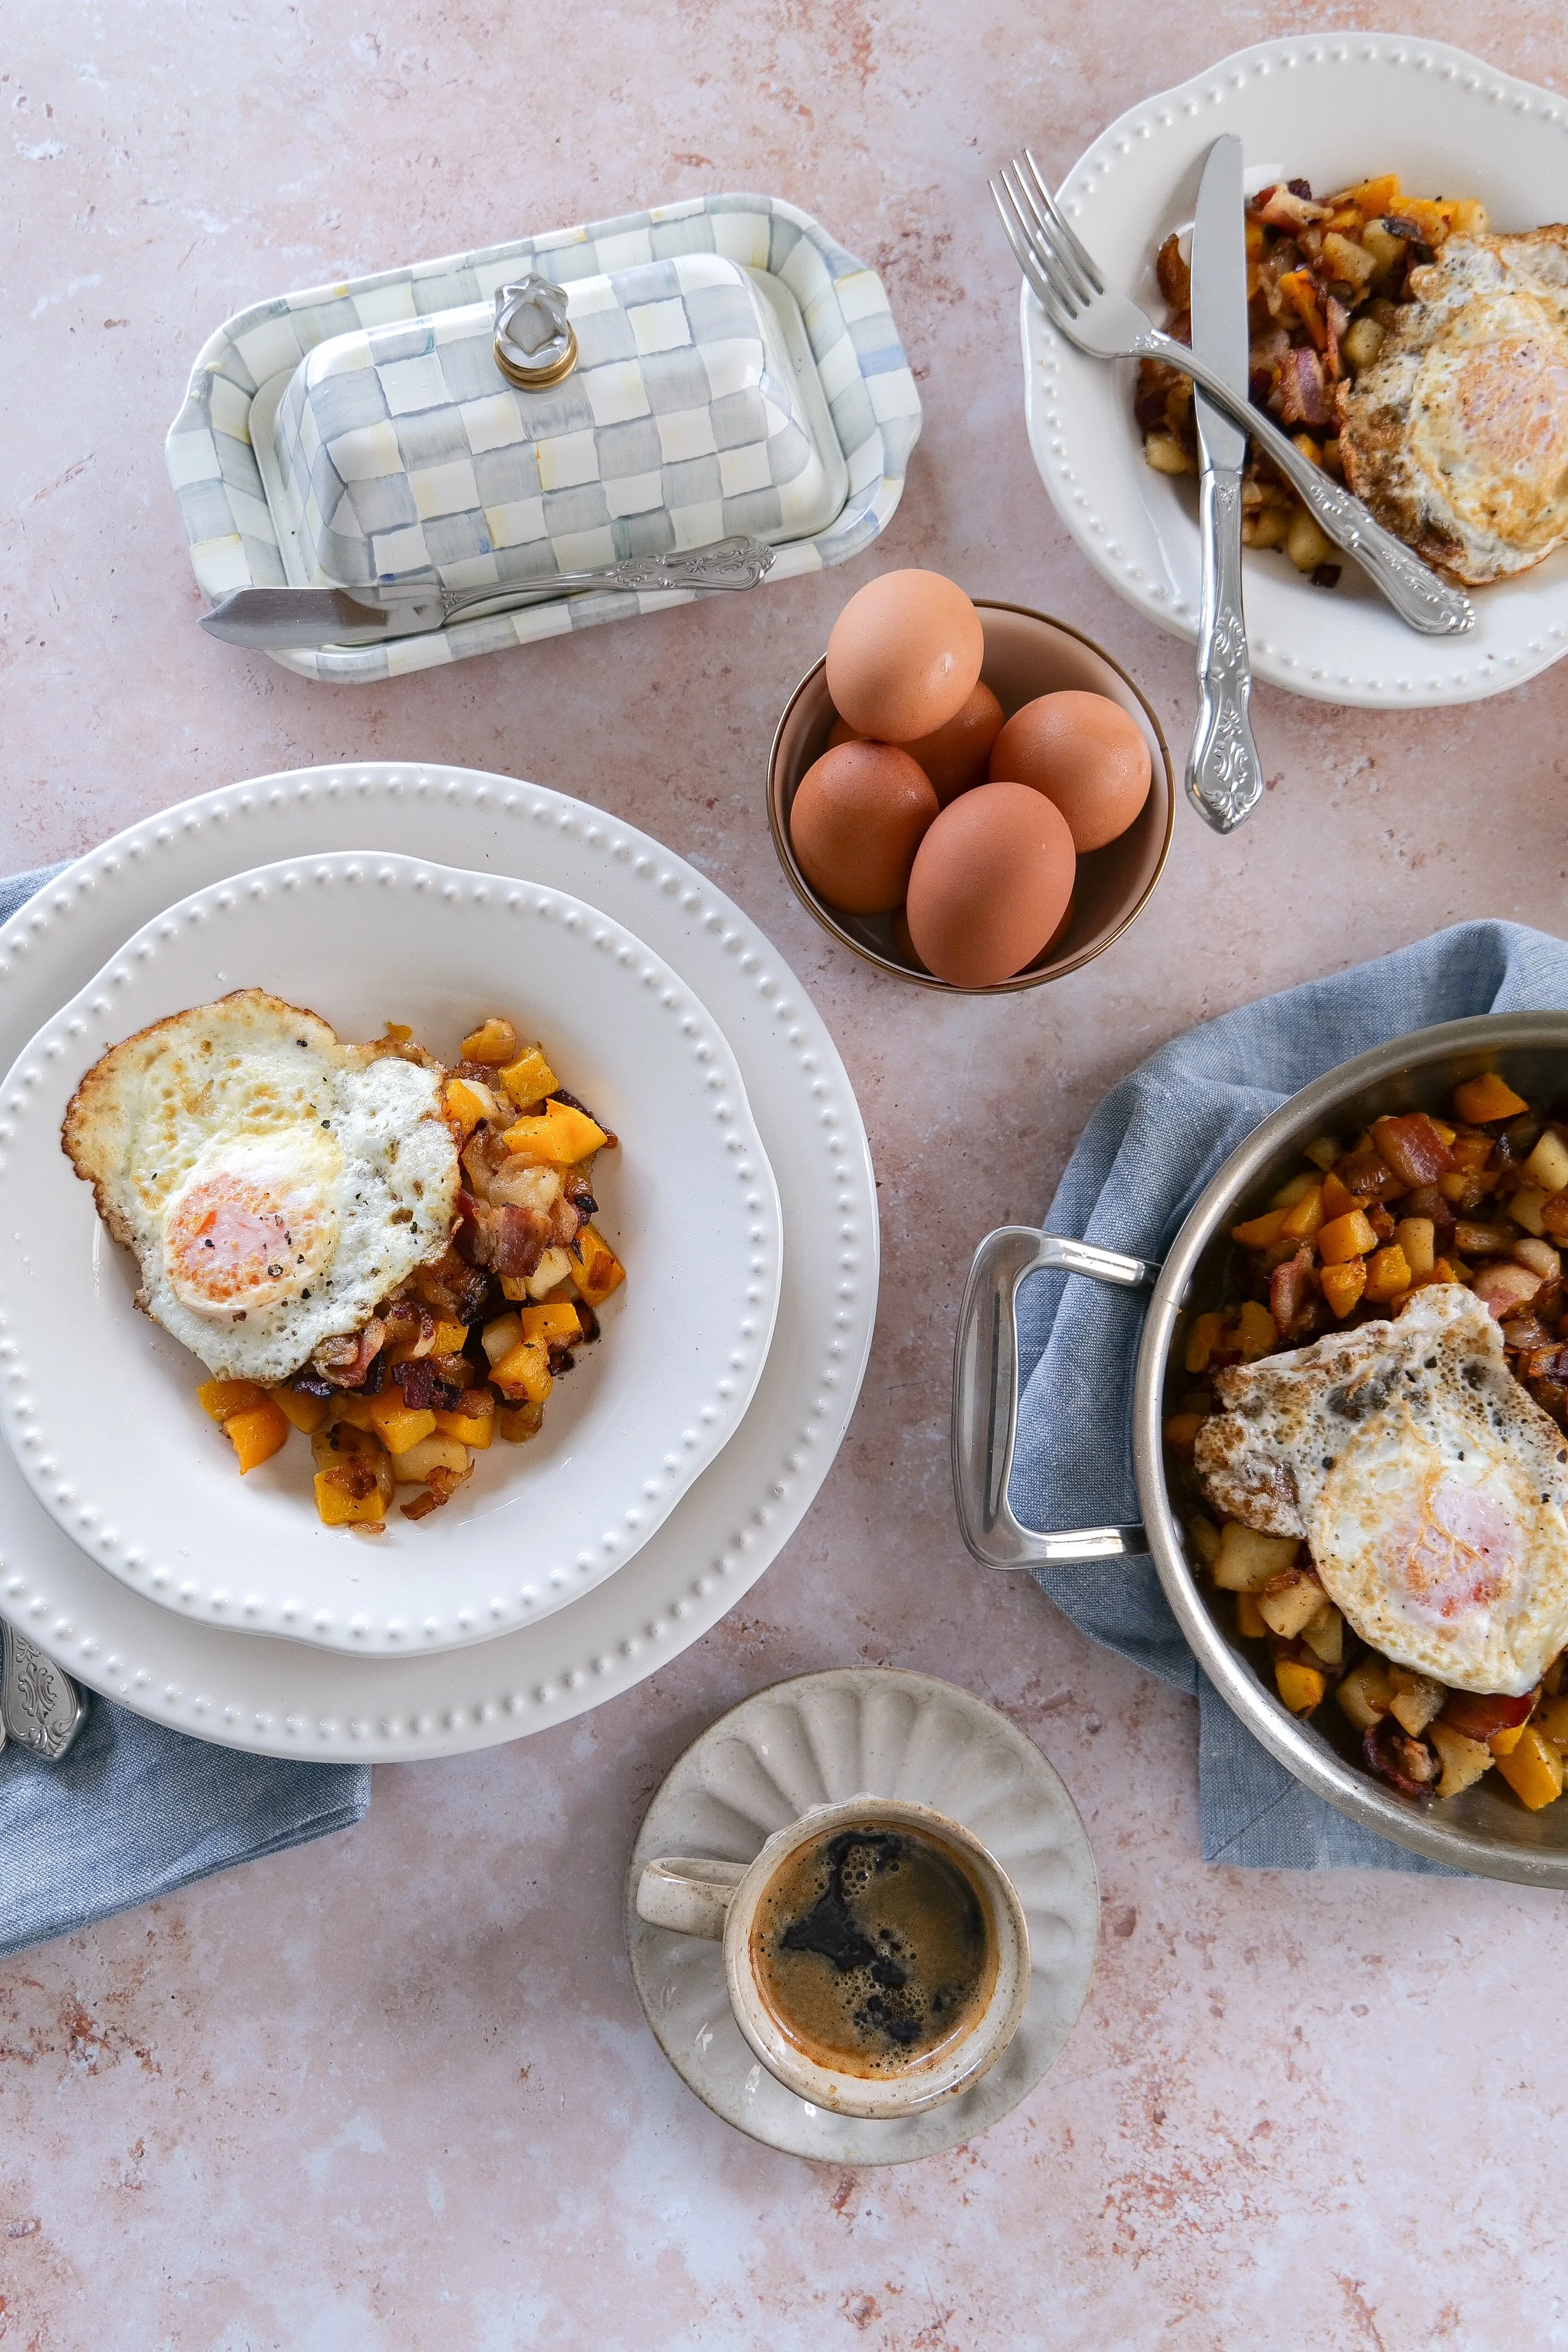
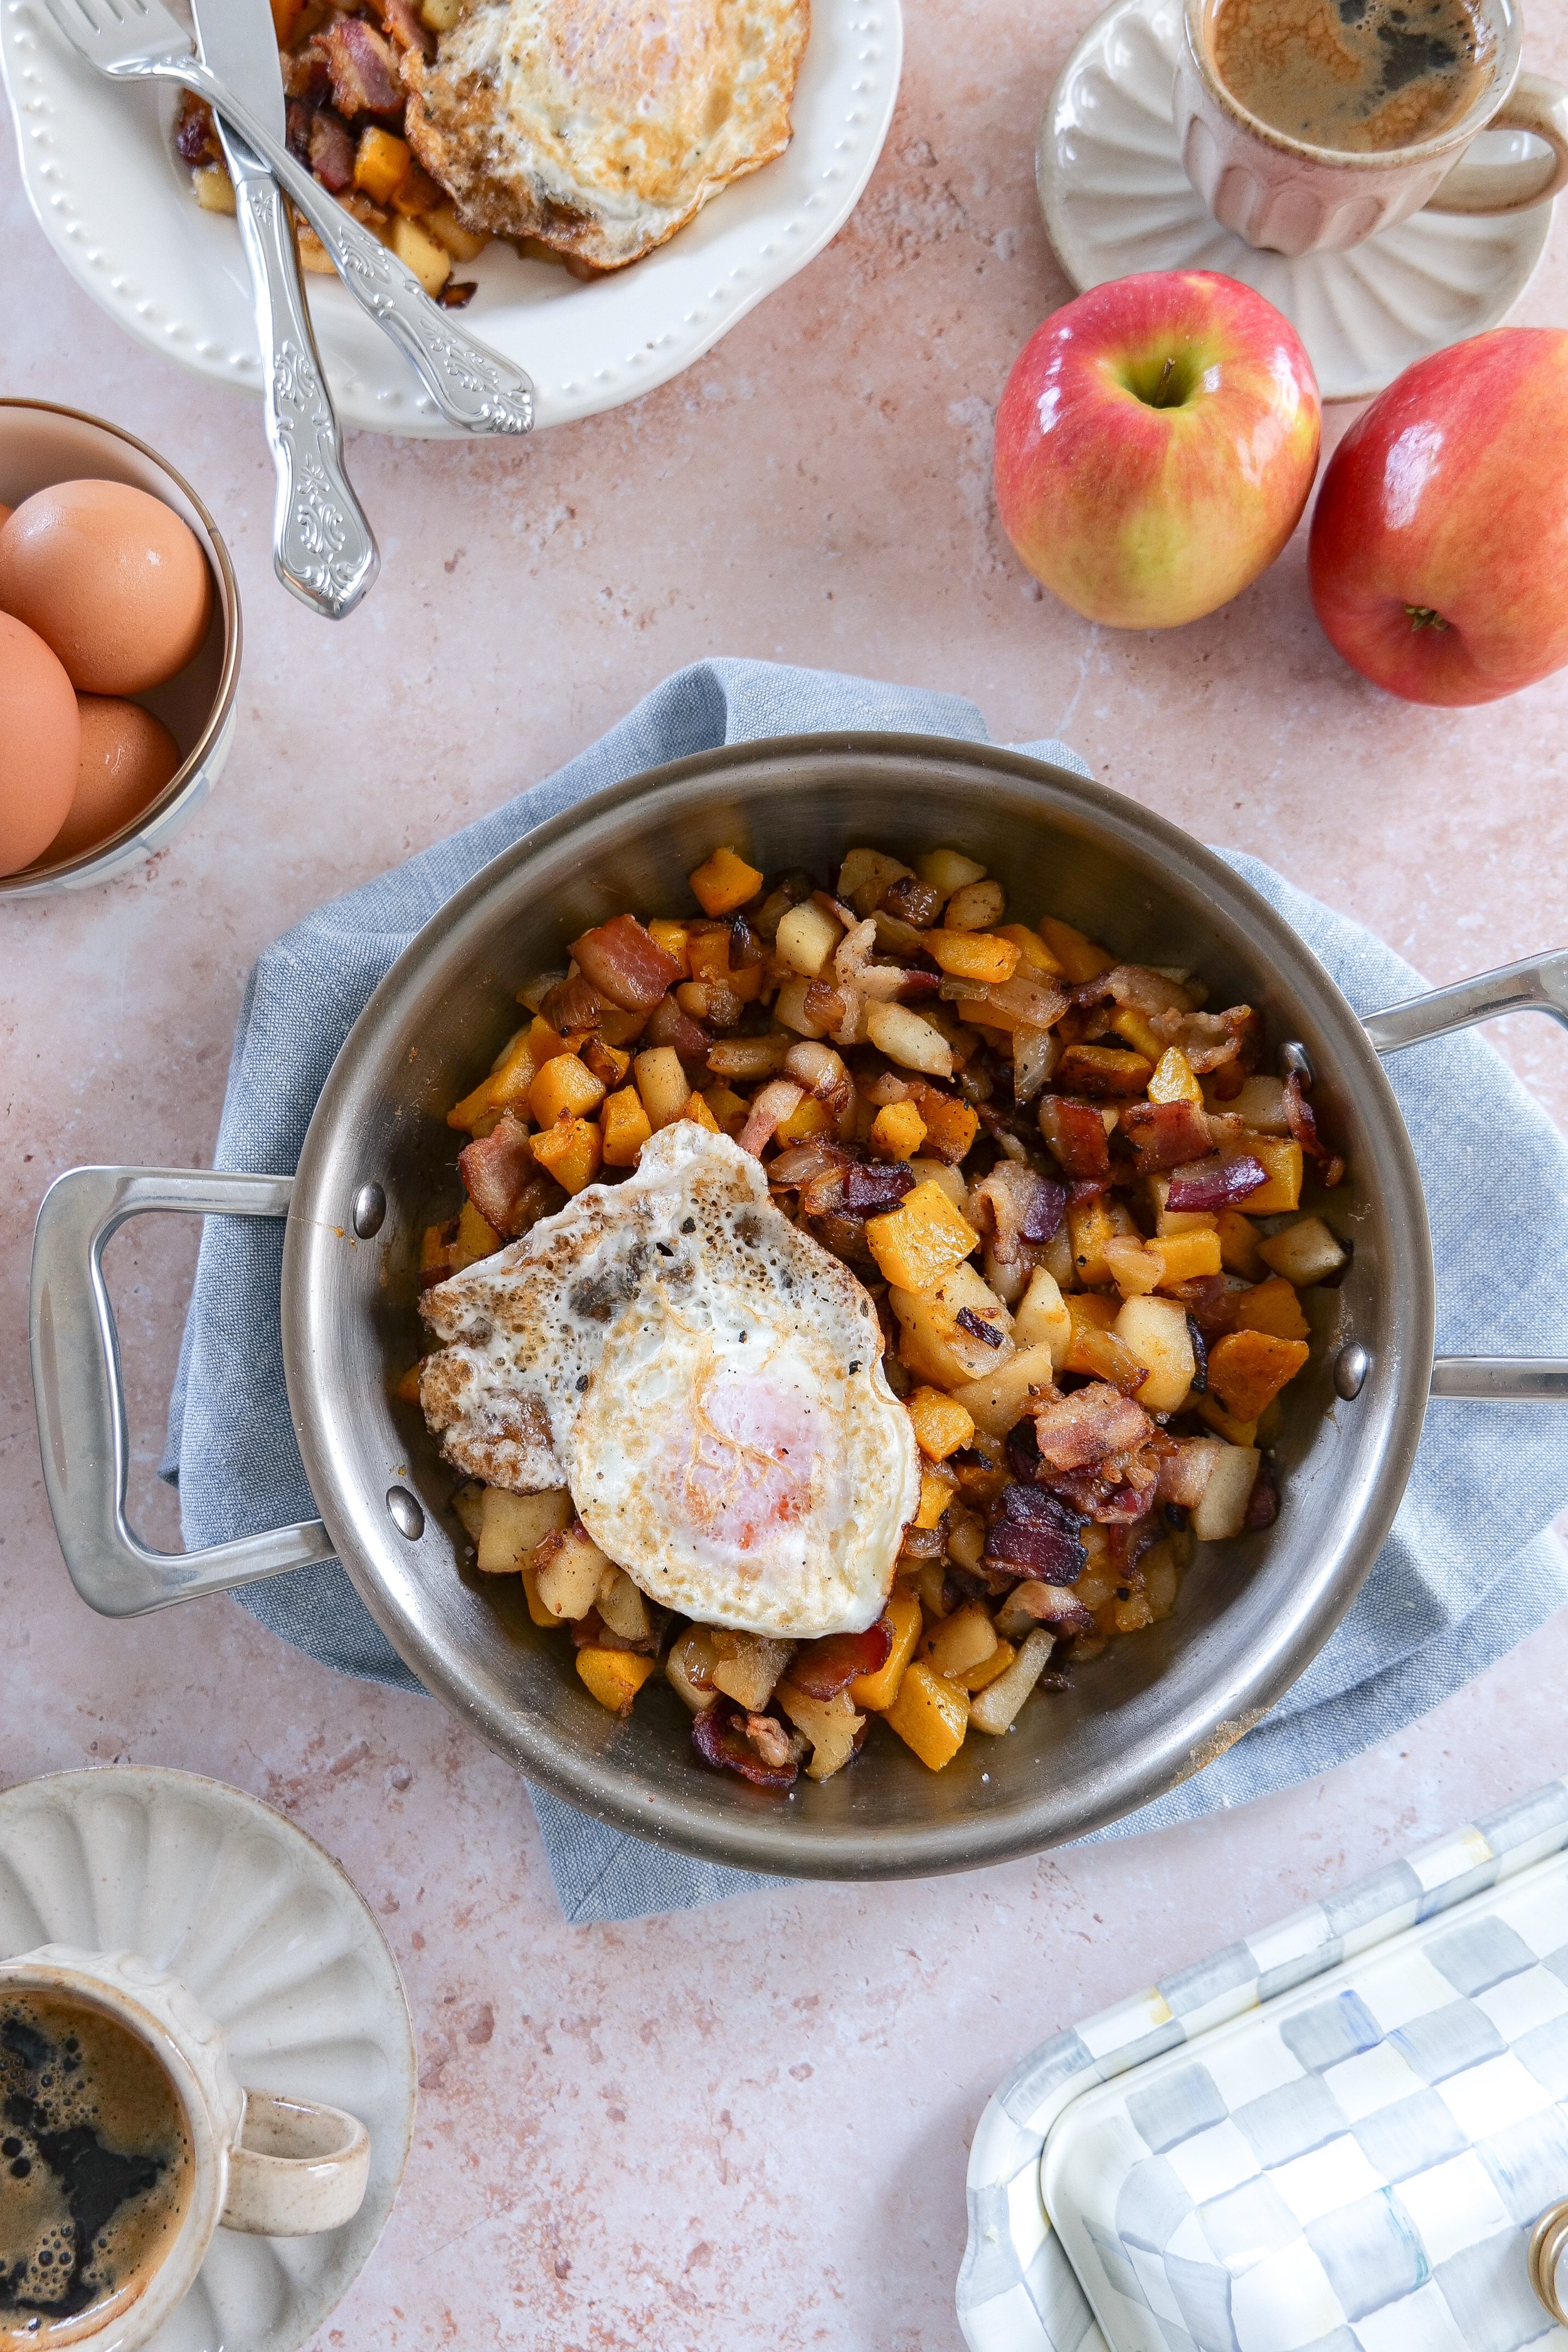
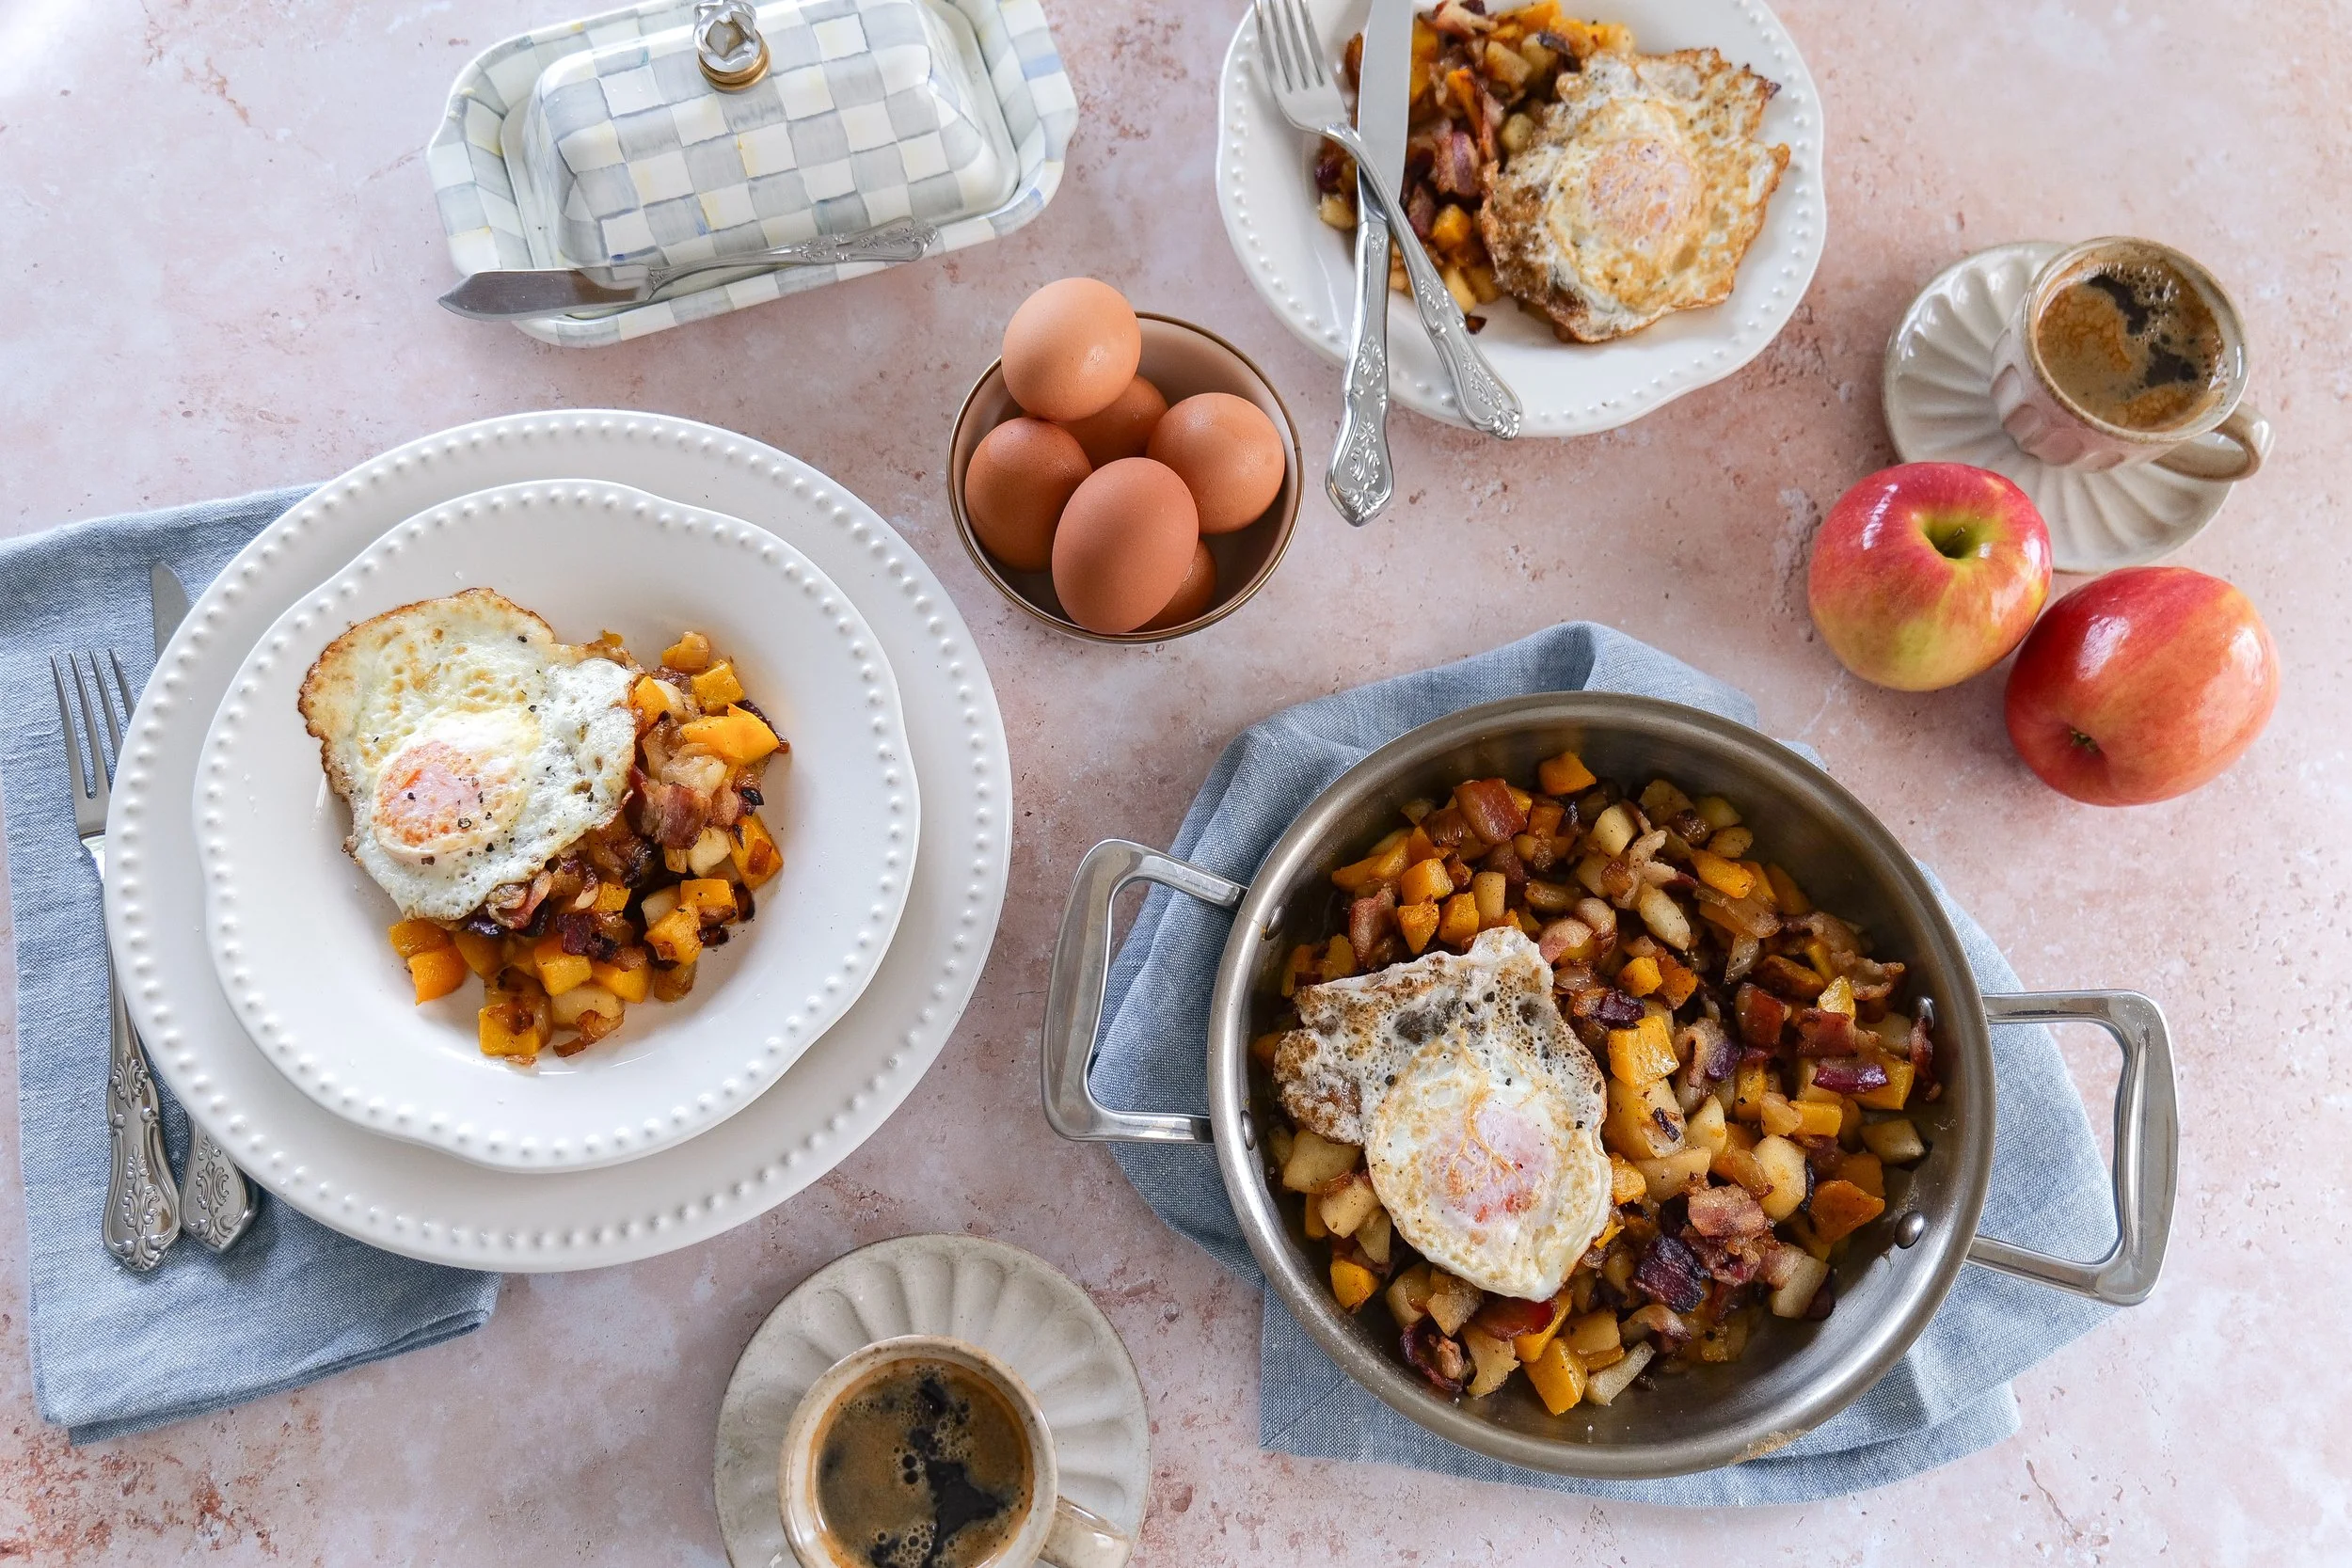
Butternut squash breakfast hash with roasted squash, apples, crispy bacon, onions, and fried eggs.
↓ Skip to Recipe

Why You'll Love This Breakfast Hash

This is one of those recipes that feels hearty and special without being complicated.

You'll love it because it's:

  • Sweet and savory in every bite

  • Perfect for fall and winter mornings

  • Made with simple ingredients

  • Easy to customize

  • Great for breakfast, brunch, or breakfast-for-dinner

  • Naturally full of texture

  • Easy to serve family-style

  • Delicious with runny fried eggs on top

The bacon, apples, onions, and roasted squash all bring something different to the skillet, which is what makes the finished dish so satisfying.

Homemade butternut squash hash with sweet apples, crispy bacon, onions, and fried eggs.

Ingredient Notes

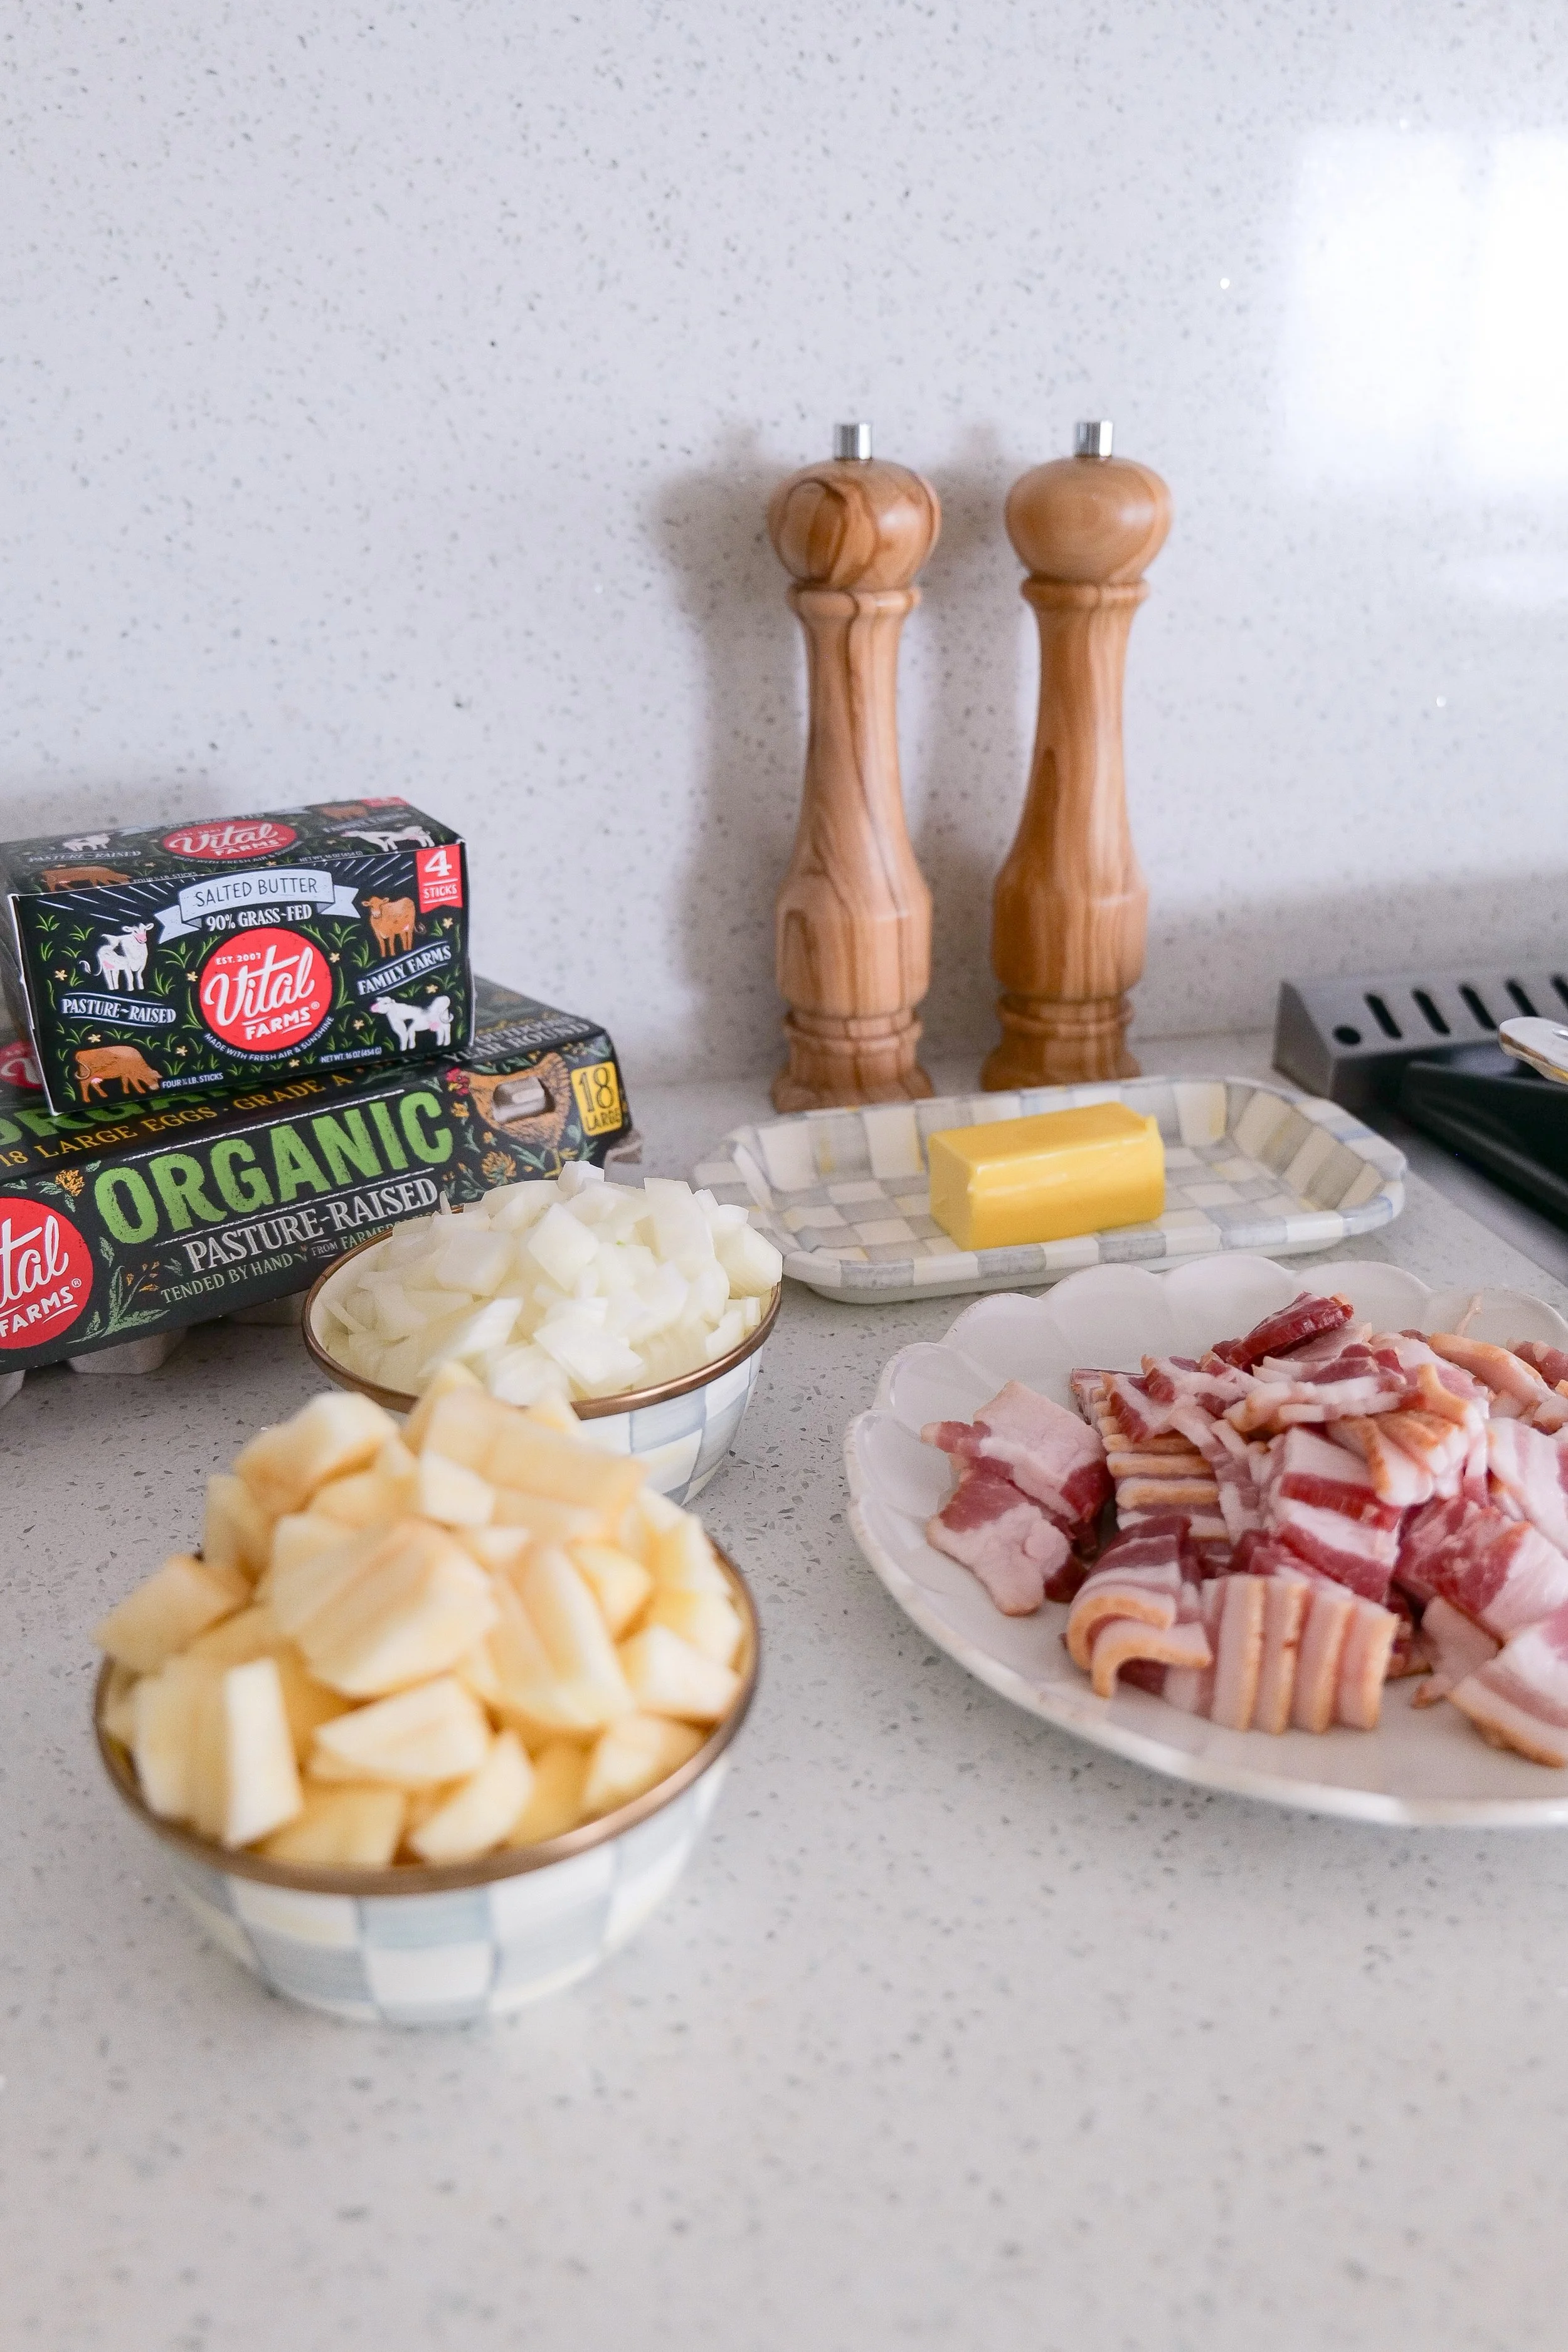
Ingredients for butternut squash breakfast hash with apples, bacon, onions, eggs, butter, and sea salt.

Butternut Squash

Butternut squash is the base of the hash and gives the recipe its warm, slightly sweet flavor.

Cut it into roughly 1-inch cubes so the pieces roast evenly and develop golden edges.

Bacon

Use your favorite bacon and cut it into bite-size pieces before cooking.

As the bacon cooks, it releases fat that becomes part of the flavor base for the onions, apples, and eggs.

Apples

Pink Lady and Granny Smith both work beautifully.

Pink Lady gives you a slightly sweeter result, while Granny Smith adds more tartness.

Choose an apple that holds its shape well when cooked.

Onion

Yellow onion adds savory sweetness and balances the fruit and squash.

Eggs

Four eggs finish the dish and make it feel like a complete breakfast.

Cook them however you like, but I especially love a runny yolk because it creates almost a sauce over the hash.

Butter

A little melted salted butter helps the butternut squash caramelize while roasting.

Sea Salt

The squash is seasoned simply so the natural flavors of all the ingredients can shine.

Fresh ingredients used to make apple bacon butternut squash breakfast hash.

Kitchen Tools

You only need a few basic kitchen tools:

  • Large baking sheet

  • Parchment paper

  • Large skillet

  • Small skillet for eggs

  • Large mixing bowl

  • Sharp chef's knife

  • Cutting board

  • Spatula or wooden spoon

  • Measuring spoons

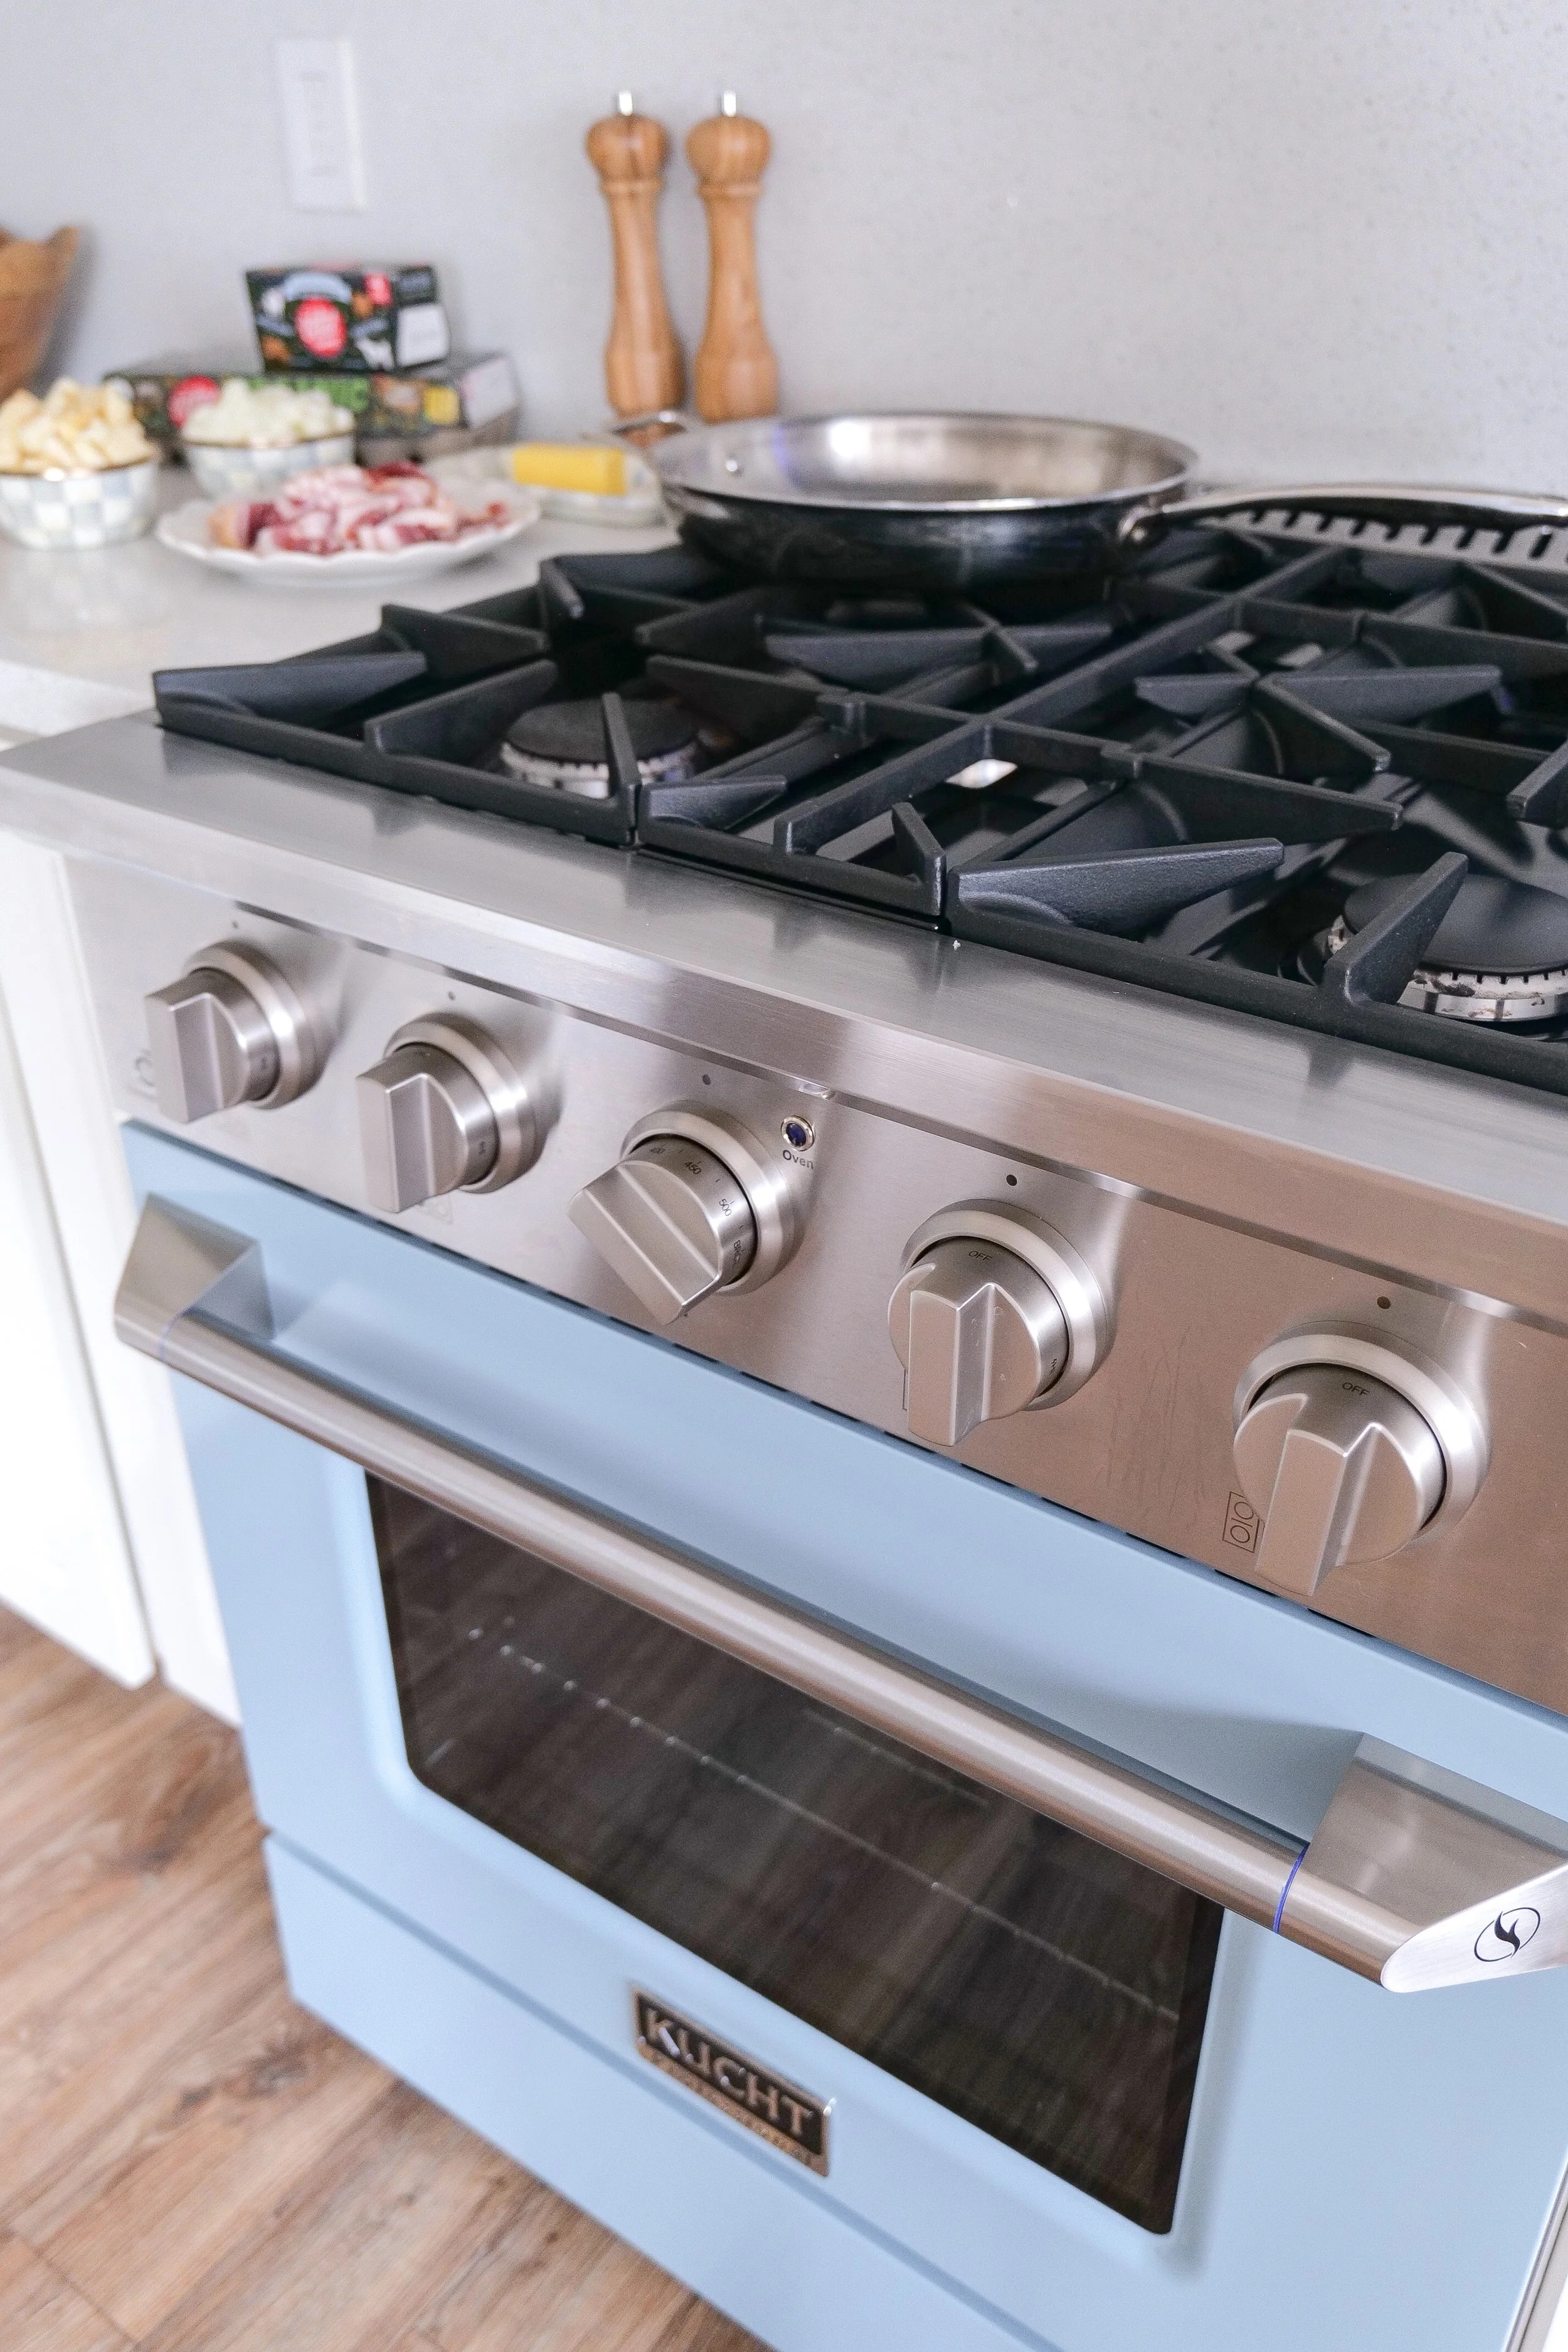
You can find more of my favorite skillets, baking sheets, knives, and everyday kitchen tools in my Kitchen Essentials shelf.

Butternut squash, apples, bacon, onion, and eggs for homemade breakfast hash.

Butternut Squash Breakfast Hash Recipe

Prep Time: 15 minutes
Cook Time: 30–35 minutes
Total Time: About 50 minutes
Servings: 4

Ingredients

  • 3 cups butternut squash, peeled and cut into approximately 1-inch cubes

  • 2 tablespoons salted butter, melted

  • 2 teaspoons sea salt

  • 12 ounces bacon, cut into bite-size pieces

  • 2 large apples, peeled and chopped

  • 1 large yellow onion, chopped

  • 4 large eggs

Instructions

Step 1: Roast the Butternut Squash

Preheat the oven to 425°F.

Line a large baking sheet with parchment paper.

Add the butternut squash to a large bowl and toss with the melted butter and sea salt until evenly coated.

Spread the squash into a single layer on the prepared baking sheet.

Roast for approximately 30 minutes, or until tender and golden around the edges.

Step 2: Cook the Bacon

While the squash roasts, heat a large skillet over medium heat.

Add the chopped bacon and cook, stirring occasionally, until the fat begins to render.

Step 3: Add the Onion

Once the bacon has released some of its fat, add the chopped yellow onion.

Cook for approximately 5 minutes, stirring occasionally, until the onion softens and the bacon is about three-quarters cooked.

Carefully transfer a small amount of bacon grease to a separate skillet to use for frying the eggs.

Step 4: Add the Apples

Add the chopped apples to the bacon and onion mixture.

Cook for approximately 2–5 minutes, stirring gently, until the apples are slightly softened but still hold their shape.

Reduce the heat to low.

Step 5: Fry the Eggs

Heat the reserved bacon grease in a separate skillet over medium heat.

Crack in the eggs and cook to your preferred doneness.

I especially love them with set whites and soft, runny yolks.

Step 6: Finish the Hash

Once the butternut squash is roasted, add it to the skillet with the bacon, onions, and apples.

If there is more grease in the skillet than you prefer, carefully drain some before adding the squash.

Gently toss everything together until evenly combined.

Remove from the heat.

Step 7: Serve

Top the warm hash with the fried eggs.

Serve immediately and enjoy!

Amanda's Quick Tips

  • Cut the squash into evenly sized pieces so it roasts at the same rate.

  • Roast in a single layer instead of crowding the baking sheet.

  • Choose a firm apple that won't turn mushy in the skillet.

  • Add the apples toward the end so they keep some texture.

  • Reserve a little bacon grease for frying the eggs.

  • Drain excess grease before adding the squash if desired.

  • Serve immediately while the eggs and hash are warm.

Roasted butternut squash breakfast hash topped with freshly fried eggs.
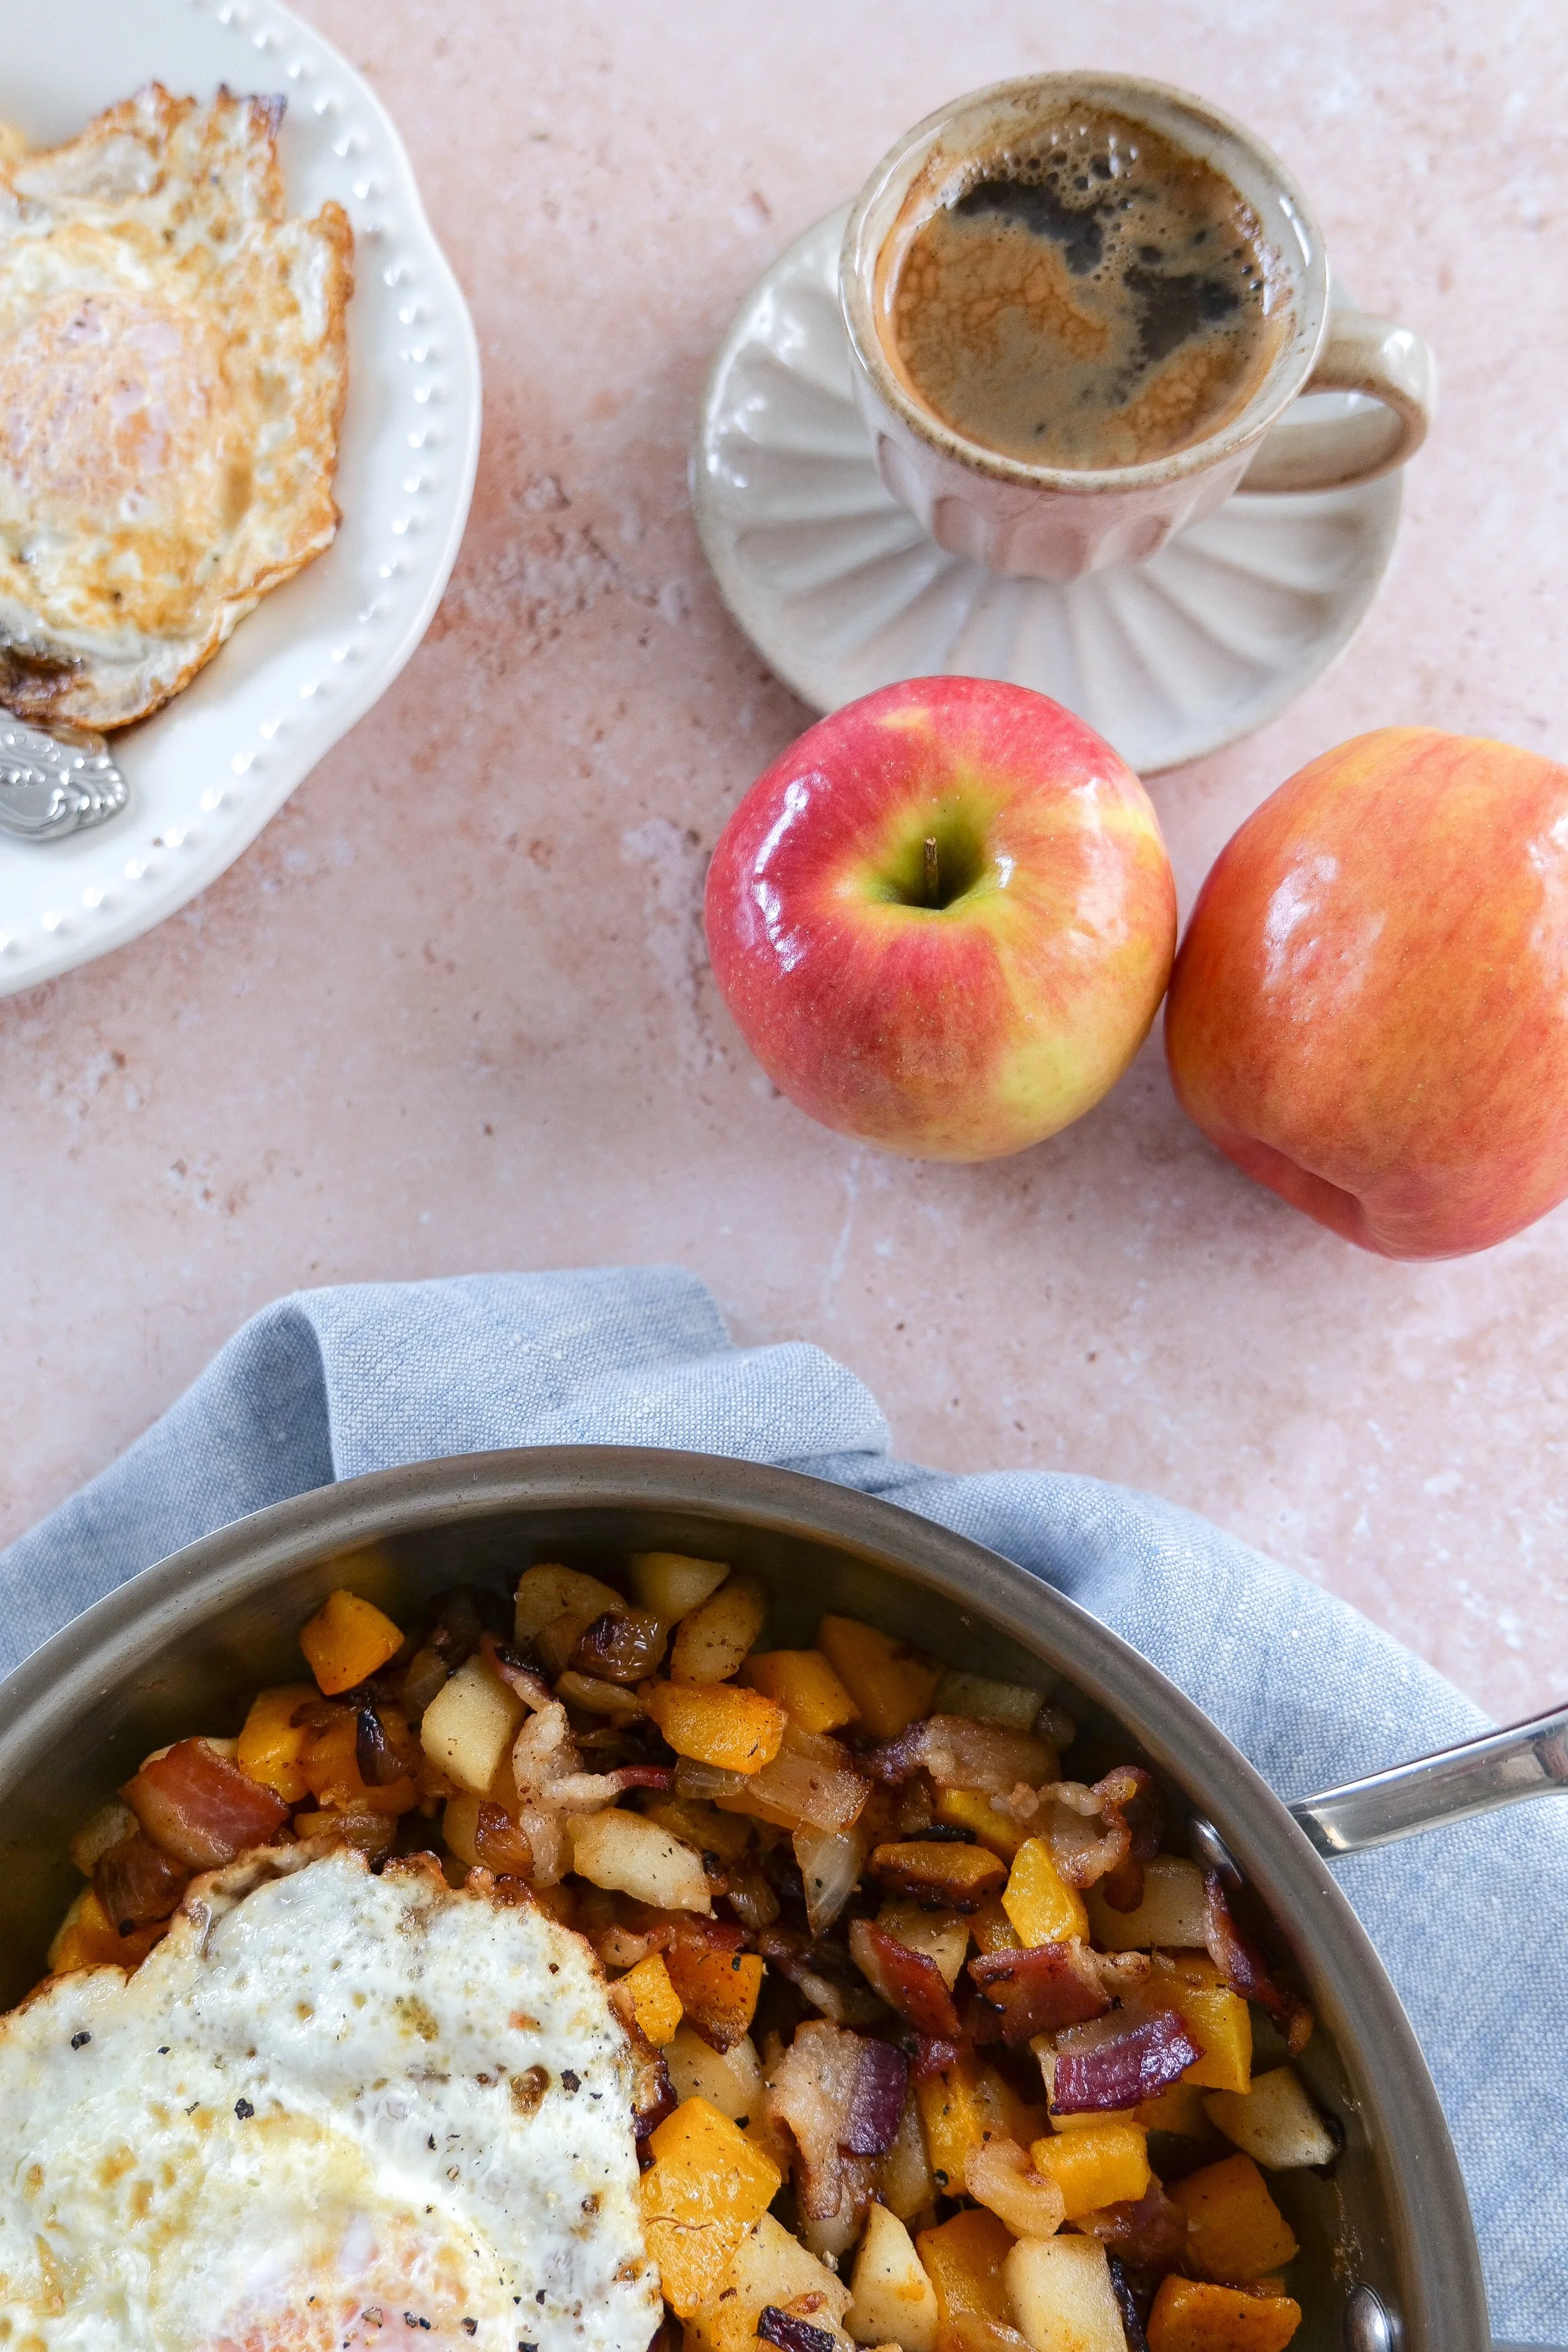
Cozy fall breakfast hash made with roasted butternut squash, apples, bacon, and eggs.

How to Get Caramelized Butternut Squash

The best breakfast hash starts with properly roasted squash.

The most important thing is giving the squash enough room on the baking sheet.

If the cubes are piled on top of one another, they'll steam rather than roast.

Spread them into a single layer and let the high oven temperature create those golden, caramelized edges.

You also want the pieces relatively similar in size so smaller cubes don't burn before larger pieces become tender.

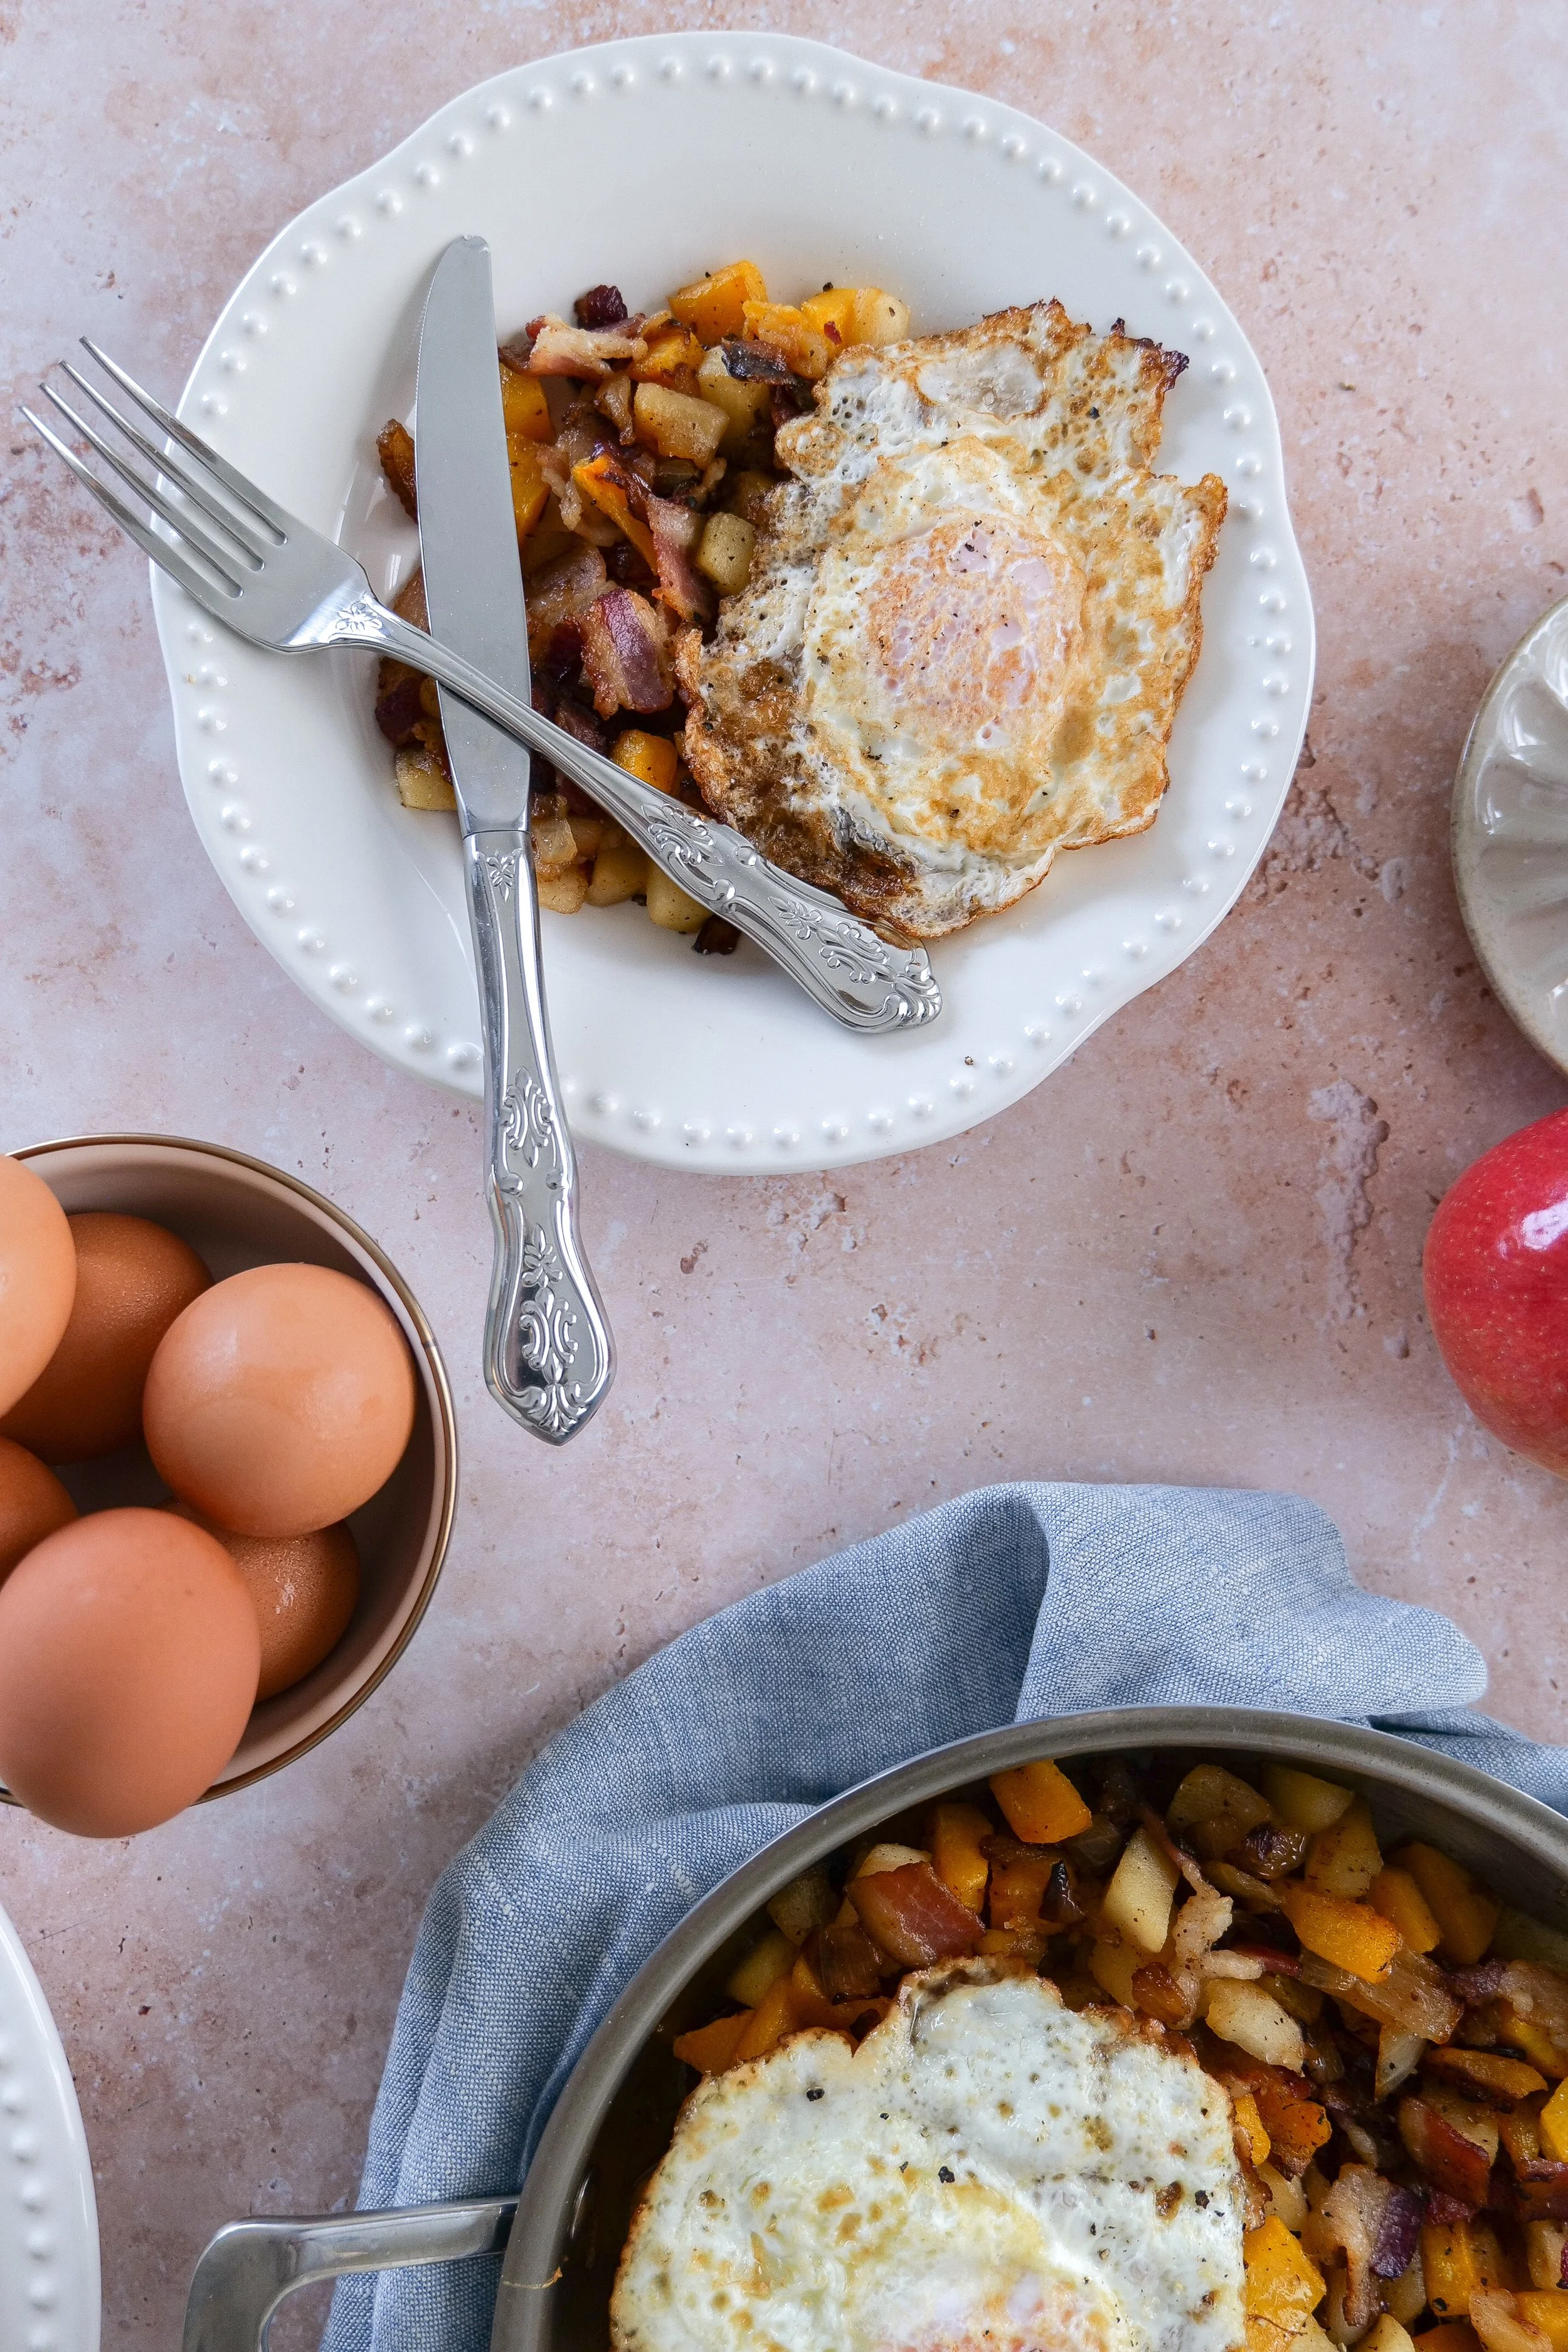
Sweet and savory apple bacon breakfast hash with roasted butternut squash.

What Apples Work Best in Breakfast Hash?

I like using apples that can handle a few minutes of cooking without completely breaking down.

My favorites are:

  • Pink Lady

  • Granny Smith

  • Honeycrisp

  • Fuji

Granny Smith creates the most contrast against the sweetness of the butternut squash, while Pink Lady and Honeycrisp give the finished hash a slightly sweeter flavor.

Avoid very soft apples that are more likely to turn mushy during cooking.

Why Bacon Works So Well Here

Bacon gives this recipe both flavor and texture.

The crisp pieces add a salty, smoky element that balances the natural sweetness of the squash and apples.

I also love using a little of the rendered bacon fat to cook the onions and fry the eggs because it carries that flavor throughout the entire dish.

If the skillet becomes too greasy, simply drain off some of the excess before combining everything at the end.

Breakfast hash with golden roasted butternut squash, bacon, apples, onions, and eggs.

Amanda's Tips for the Best Breakfast Hash

Don't Overcook the Apples

You're looking for tender—not applesauce.

Add them after the onions and bacon have had time to cook, then give them just a few minutes.

Keep the Squash Separate Until the End

Roasting the squash separately allows it to caramelize rather than steaming in the skillet.

Use the Bacon Grease

A little bacon grease makes wonderfully flavorful fried eggs.

Taste Before Adding More Salt

Both the bacon and salted butter contribute salt, so taste the finished hash before adding additional seasoning.
Serve It Right Away

This breakfast is at its best when the hash is warm and the eggs are freshly cooked.

Easy Variations

Sweet Potato Breakfast Hash

Swap the butternut squash for cubed sweet potato.

Potato Breakfast Hash

Use Yukon Gold or red potatoes instead of squash.

Sausage Breakfast Hash

Replace the bacon with breakfast sausage.

Vegetarian Breakfast Hash

Leave out the bacon and sauté the onion and apples in olive oil or butter.

Mushroom Breakfast Hash

Add sliced mushrooms with the onions for a more savory version.

Herb Breakfast Hash

Add fresh rosemary, thyme, or sage to give the recipe an even stronger fall flavor.

Spicy Breakfast Hash

Add crushed red pepper flakes or serve with hot sauce.

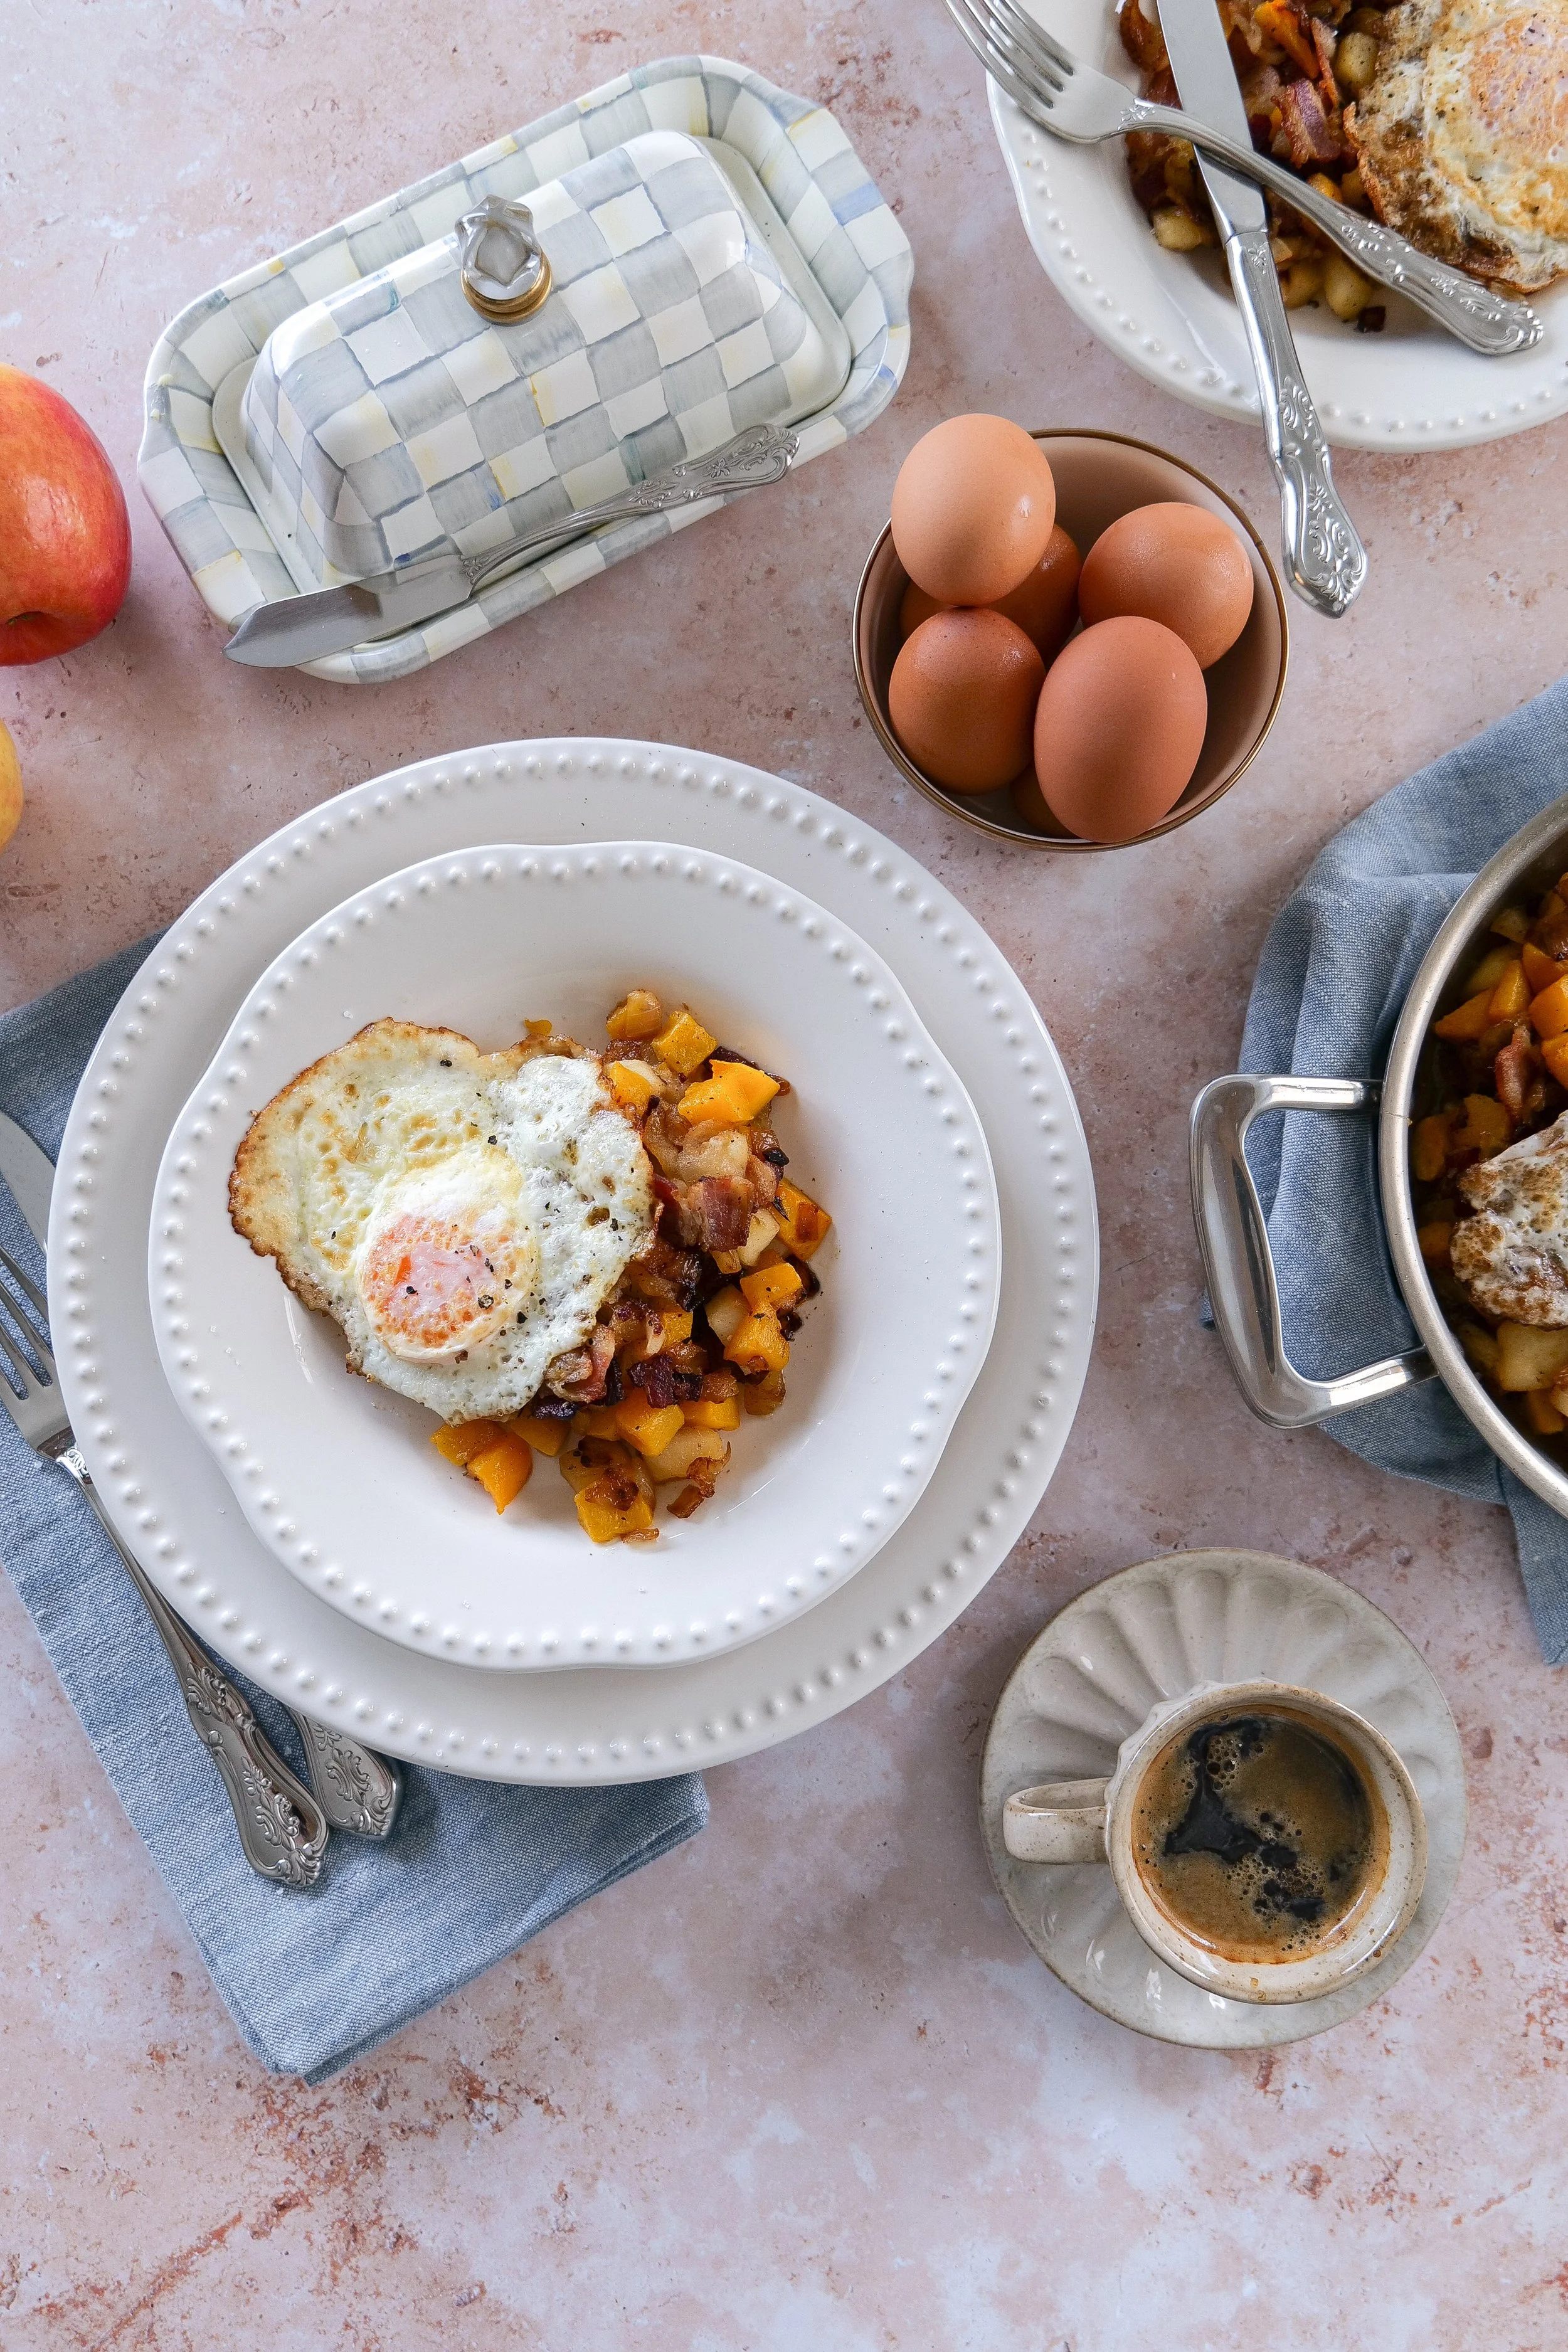
Butternut squash bacon and egg hash served warm for a hearty breakfast or brunch.

What to Serve with Butternut Squash Breakfast Hash

This hash is filling enough to stand on its own, but it also works beautifully as part of a larger brunch.

Serve it with:

  • Toasted sourdough

  • Biscuits

  • Fresh fruit

  • Simple green salad

  • Scones

  • Muffins

  • Cinnamon rolls

  • Fresh coffee

  • Iced lattes

  • Apple cider

For a fall brunch, I love pairing it with something sweet like coffee cake or cinnamon rolls.

Can I Make Breakfast Hash Ahead?

You can prepare several components ahead of time.

The butternut squash can be roasted in advance and refrigerated.

You can also chop the apples and onion ahead, although I recommend tossing chopped apples with a little lemon juice to help prevent browning.
Cook the eggs fresh just before serving.

For the best texture, reheat the hash in a skillet rather than the microwave.

Sweet and savory fall breakfast hash with butternut squash, apples, bacon, and fried eggs.
Butternut squash and apple breakfast skillet with crispy bacon and eggs.

How to Store Leftovers

Allow the hash to cool before transferring it to an airtight container.

Store the squash, bacon, apple, and onion mixture in the refrigerator for up to 3–4 days.

I recommend storing leftover eggs separately whenever possible.

For the best texture, reheat the hash in a skillet over medium heat until warmed through.

You can also reheat it in a 350°F oven for approximately 10–15 minutes.

Can You Freeze Butternut Squash Breakfast Hash?

You can freeze the hash mixture, although the apples and squash may become slightly softer after thawing.
I would freeze the hash without the eggs.

Transfer cooled portions to freezer-safe containers and freeze for up to approximately 2–3 months.

Thaw overnight in the refrigerator and reheat in a skillet or oven.

Make fresh eggs when you're ready to serve.

Easy butternut squash breakfast hash with apples and bacon topped with fried eggs.

Frequently Asked Questions

Can I use pre-cut butternut squash?

Absolutely. Pre-cut squash is a great shortcut.

Do I have to peel the butternut squash?

Yes. Remove the tough outer skin before cubing unless you're purchasing prepared squash that's already peeled.

What apples are best for breakfast hash?

Pink Lady, Granny Smith, Honeycrisp, and Fuji all work well because they hold their texture when cooked.

Can I use sweet potatoes instead?

Yes. Sweet potatoes are an easy substitute.

Can I leave out the bacon?

Absolutely. Use butter or olive oil to sauté the vegetables instead.

Can I add more vegetables?

Yes. Mushrooms, bell peppers, spinach, kale, and Brussels sprouts would all work.

What kind of eggs are best?

Cook them however you like. Fried eggs with soft yolks are my favorite because the yolk mixes into the hash as you eat.

Can I make this for dinner?

Definitely. Breakfast-for-dinner is one of my favorite ways to serve a hearty hash like this.

Can I prepare it for meal prep?

Yes. Prepare the hash ahead and cook fresh eggs when you're ready to eat.

How do I keep the squash from getting mushy?

Roast it in a single layer and avoid overcooking it before combining with the other ingredients.

Apple and butternut squash hash with savory bacon and caramelized onions.
Fall breakfast hash topped with fried eggs and filled with roasted squash, apples, and bacon.

More Breakfast Recipes You'll Love

If you're looking for more breakfast and brunch inspiration, try another favorite from Amanda's Kitchen:

Freezer Meal Prep Breakfast Burritos

Perfect for stocking the freezer for busy mornings.

Chorizo, Egg & Potato Breakfast Bowls

Another hearty savory breakfast that's easy to customize.

Nana's Apple Pancakes

A sweet family breakfast with plenty of apple flavor.

Breakfast Croissants with Sausage, Bacon & Maple Dijon

A savory breakfast sandwich that's perfect for brunch.

Pumpkin Coffee Cake with Pecan Crumbles

A beautiful fall pairing for this breakfast hash.

Soft Cream Cheese Lemon Blueberry Scones

Perfect alongside coffee for a weekend brunch.

Savory butternut squash breakfast with bacon, onions, apples, and fried eggs.
Butternut squash hash served with fried eggs for an easy fall brunch.
Homemade fall breakfast hash with caramelized butternut squash, apples, bacon, and eggs.

Shop My Breakfast & Kitchen Favorites

I've gathered my favorite skillets, baking sheets, knives, serving pieces, and everyday tools for recipes like this in my Kitchen Essentials shelf.

Keep the same shopping structure as the other posts: one subtle shelf link earlier, one actual shoppable shelf here.

Save This Recipe

Whether you're planning a cozy fall brunch, looking for a hearty breakfast-for-dinner idea, or simply want something new for the weekend, save this Butternut Squash Breakfast Hash for later.

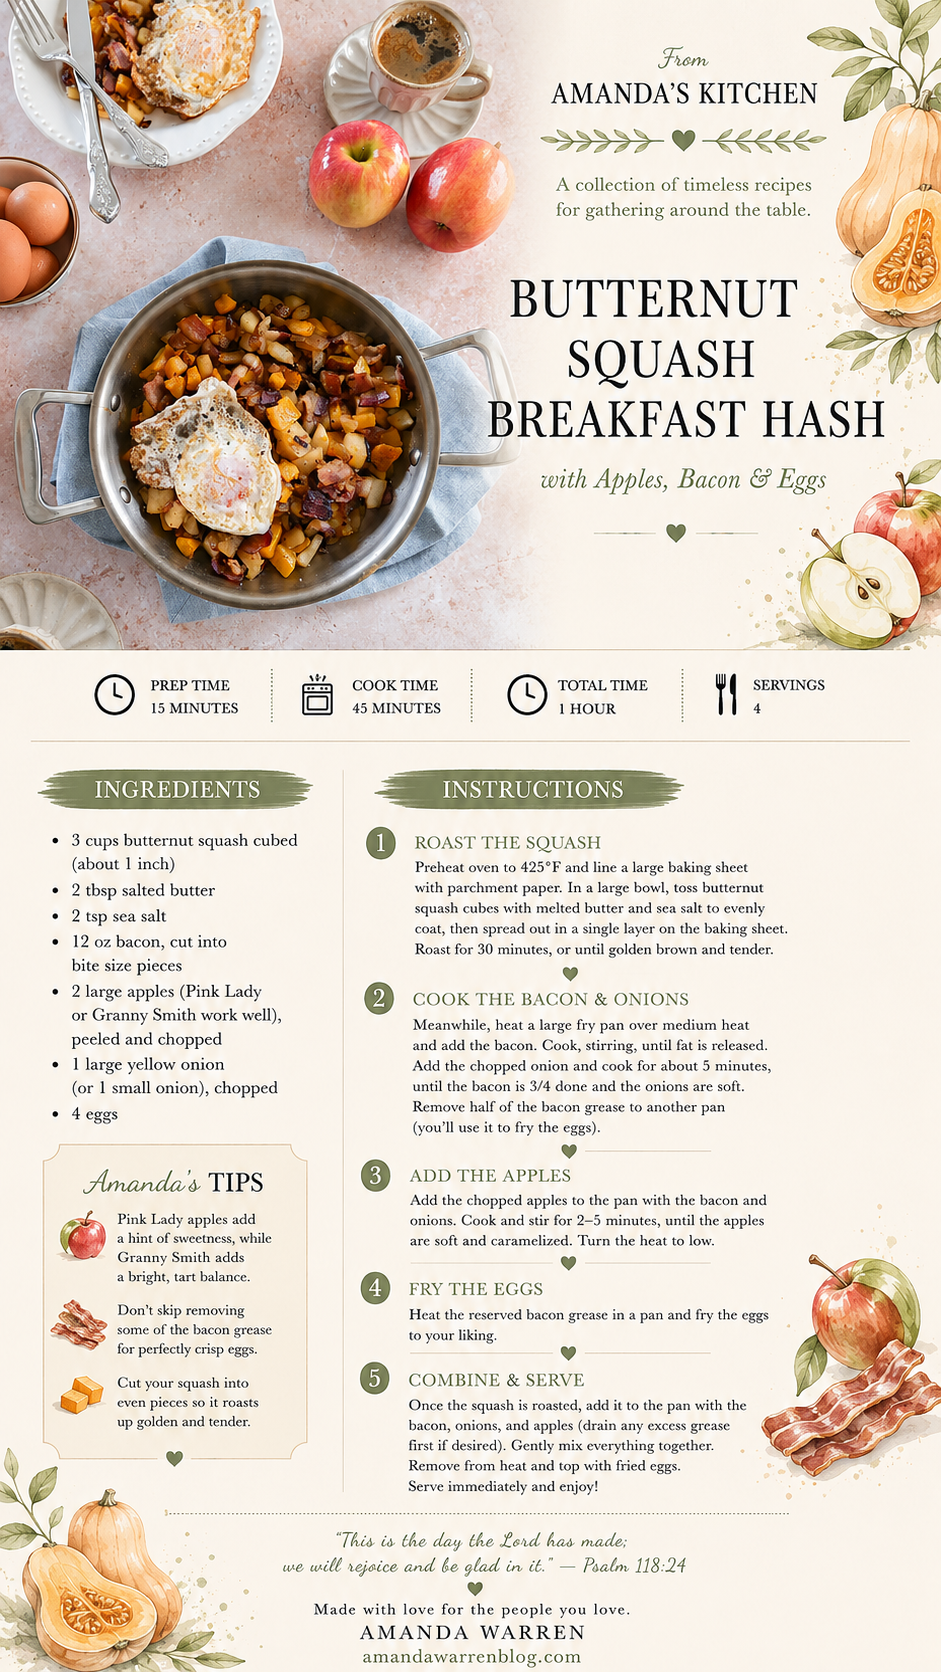
I've included my printable From Amanda's Kitchen recipe card below so it's easy to print, save, and make again.

Printable Butternut Squash Breakfast Hash with Apples, Bacon and Eggs recipe card from Amanda's Kitchen.

A Note From Amanda

There is something about fall mornings that makes me want to slow down and cook something warm.

This breakfast hash combines so many of the flavors I love during the season—sweet apples, roasted butternut squash, smoky bacon, and eggs fresh from the skillet.

It's simple, comforting, and exactly the kind of meal that makes an ordinary morning feel a little more special.

I hope it becomes one of those recipes your family looks forward to when the weather begins to cool.

"Taste and see that the Lord is good."
Psalm 34:8

Made with love for the people you love.

Peach Coffee Cake with Walnut Crumble

Peach Coffee Cake with Walnut Crumble

Fresh summer peaches and coffee cake might be one of my favorite combinations. This Peach Coffee Cake is soft and moist with layers of juicy peaches throughout and a buttery walnut crumble baked over the top.

It's the kind of cake that works just as well for a slow weekend breakfast or brunch as it does for dessert. I love serving it slightly warm, but it's just as good once it's completely cooled with a cup of coffee.

And while the fresh peaches make this especially perfect for summer, that buttery brown sugar and walnut crumble gives it just enough warmth to feel like one of those recipes that carries you right into the beginning of fall.

Peach coffee cake with walnut crumble topping

Why You'll Love This Peach Coffee Cake

This cake has so much texture without being complicated to make.

The sour cream helps create a soft, moist crumb, while cinnamon adds just a little warmth to the batter. Fresh peaches are layered throughout instead of simply scattered over the top, so you get bites of peach all through the cake.

Then there's the crumble.

It's made with granulated sugar, dark brown sugar, flour, melted butter and toasted walnuts, creating a buttery, crunchy topping that contrasts with the soft peach cake underneath.

It's simple enough to make at home but pretty enough to serve for brunch or bring out when you're having people over.

Fresh peach coffee cake with brown sugar walnut crumble
Slice of peach coffee cake with fresh peaches and crumble topping

Ingredient Notes

You don't need anything complicated for this coffee cake, but a few ingredients make a big difference in the finished texture and flavor.

Fresh Peaches

Fresh peaches are the star here. I like using ripe peaches that are sweet and juicy but still firm enough to slice easily.

The peaches are layered into the batter rather than just mixed in all at once, which helps distribute that fresh peach flavor throughout the cake.

If you're making this during peach season and somehow still have peaches left, save my Perfect Peach Cobbler for the next batch.

Full-Fat Sour Cream

Sour cream is one of the ingredients that gives this cake such a soft, moist texture. I use full-fat sour cream here for the richness it adds to the batter.

Melted Butter

I love that this recipe uses melted butter rather than requiring you to wait for butter to soften and cream it with the sugar. Just make sure the melted butter isn't piping hot when you mix it with the eggs.

Cinnamon

There are 2 teaspoons of cinnamon in the cake batter, which adds warmth without taking over the fresh peach flavor.

Toasted Walnuts

The walnuts go into the crumble topping rather than the cake itself. Toasting them first gives them more flavor and adds even more crunch to the buttery topping.

Dark Brown Sugar

I specifically use dark brown sugar in the crumble. Its deeper molasses flavor is so good with peaches, cinnamon and toasted walnuts.

Ingredients for homemade peach coffee cake

Layer the Peaches Through the Batter

Instead of pouring all of the batter into the pan and adding peaches to the top, pour in about two-thirds of the batter first, add peaches, then continue alternating the remaining batter and peaches.

That way, you get peach throughout the cake rather than one layer of fruit sitting at the top or bottom.

Don't Overmix the Batter

Once the dry ingredients go in, mix only until everything is incorporated. There's no need to keep beating the batter once it comes together.

Make Sure the Crumble Is Actually Crumbly

After mixing the melted butter with the flour and sugars, you want pieces of crumble rather than a perfectly smooth mixture. Those little clusters bake into the best crunchy topping.

Spread the Crumble All the Way Across

Don't save the good stuff for the center. Sprinkle the walnut crumble evenly from edge to edge so every slice gets some.

Use the Toothpick Test

The original recipe bakes at 350°F for about 40–45 minutes. Since ovens and pans can vary, start checking around the 40-minute mark. A toothpick inserted into the cake portion should come out clean or with a few moist crumbs rather than wet batter.

Homemade peach coffee cake served for summer brunch
Easy peach coffee cake with walnut crumble

Serving Peach Coffee Cake

I think this cake is best when you keep the finish simple.

Let the crumble be the star and add a light dusting of powdered sugar once the cake has cooled. Your original recipe also gives the option of making a simple powdered sugar and milk drizzle, so either finish works.

Serve slices slightly warm or at room temperature. It's sweet enough for dessert but still feels right at home on a brunch table with coffee.

For summer entertaining, I'd serve it with fresh fruit and coffee and let everyone cut a slice right from the pan or serving platter.

I love serving simple cakes like this on a pretty cake stand or serving platter so the crumble and peaches can really be the focus.

Easy peach coffee cake slice with walnut crumble

Peach Coffee Cake with Walnut Crumble

A soft and moist peach coffee cake layered with fresh peaches and cinnamon and finished with a buttery brown sugar and toasted walnut crumble.

Ingredients

For the Peach Coffee Cake

  • 1 3/4 cups granulated sugar

  • 1 cup butter, melted

  • 4 eggs

  • 2 teaspoons vanilla extract

  • 1 cup full-fat sour cream

  • 2 cups all-purpose flour

  • 4 teaspoons baking powder

  • 1 teaspoon sea salt

  • 2 teaspoons cinnamon

  • 1 cup sliced fresh peaches

For the Walnut Crumble

  • 1/3 cup granulated sugar

  • 1/3 cup dark brown sugar

  • 1 1/2 cups all-purpose flour

  • 1/2 cup butter, melted

  • 1/2 cup chopped toasted walnuts

Optional for Serving

  • Powdered sugar, for dusting

Instructions

1. Prepare the Pan and Oven. I used my bake & roast pan but any 9x13 pan will work.

Preheat the oven to 350°F and grease your baking pan.

2. Mix the Wet Ingredients

In a large mixing bowl, combine the granulated sugar, melted butter, eggs and vanilla extract. Mix until well blended.

3. Make the Cake Batter

Add the all-purpose flour, baking powder, sea salt and cinnamon and mix until incorporated.

Add the sour cream and continue mixing just until the batter is smooth and combined.

4. Layer the Batter and Peaches

Pour approximately two-thirds of the cake batter into the prepared pan.

Add a layer of sliced peaches, drizzle some of the remaining batter over the peaches, add more peaches and finish with the remaining batter.

5. Make the Walnut Crumble

In a clean bowl, combine the granulated sugar, dark brown sugar and all-purpose flour.

Pour in the melted butter and mix until a crumbly mixture forms. Fold in the chopped toasted walnuts.

6. Add the Crumble

Sprinkle the walnut crumble evenly over the entire cake.

7. Bake

Bake at 350°F for 40–45 minutes, or until a toothpick inserted into the cake comes out clean or with a few moist crumbs.

Allow the cake to cool before finishing with a light dusting of powdered sugar, if desired.

For a sweeter finish, you can also mix powdered sugar with a small amount of milk to create a simple drizzle.

Slice, serve and enjoy.

Amanda's Tip

Layer the peaches throughout the batter instead of adding them all at once. It helps distribute those juicy peach bites through the cake so you get peach in every slice.

Sliced peaches layered through homemade coffee cake batter
Golden walnut crumble topping on peach coffee cake
Peach coffee cake with walnut crumble printable recipe card
Moist peach coffee cake with fresh peach layers

Save This Recipe

Whether you're saving this one for the next basket of summer peaches or planning a weekend brunch, I've included a printable recipe card below so it's easy to print and come back to whenever you're ready to bake it again.

A soft and moist peach coffee cake layered with fresh peaches and cinnamon and finished with a buttery brown sugar and toasted walnut crumble.

Frequently Asked Questions

What Kind of Peaches Are Best for Peach Coffee Cake?

Use ripe, flavorful peaches that are still firm enough to slice. Extremely soft peaches can be harder to layer through the batter and may release more juice as the cake bakes.

Do I Need to Peel the Peaches?

The original recipe doesn't specify whether the peaches were peeled, so I wouldn't tell readers they have to do it either way. If you made yours with the skins on, we can add that as your preference.

Why Is Sour Cream Used in Coffee Cake?

In this recipe, full-fat sour cream adds richness and moisture to the batter and helps create the soft texture that works so well with the peaches.

Can I Make Peach Coffee Cake Ahead of Time?

Yes. This is a good cake to bake ahead because it doesn't rely on frosting or a finish that has to be added immediately before serving. Let the cake cool completely before covering it.

How Do I Know When Peach Coffee Cake Is Done?

Start checking around 40 minutes. Insert a toothpick into the cake portion rather than directly through a peach. It should come out clean or with a few moist crumbs.

Does Coffee Cake Have Coffee in It?

No coffee is used in this recipe. “Coffee cake” refers to the style of cake traditionally served alongside coffee rather than coffee being an ingredient.

Homemade peach coffee cake with fresh peaches and walnut crumble

More Peach & Coffee Cake Recipes You'll Love

If you're making the most of peach season, try my Perfect Peach Cobbler or Peach Baked Brie next.

For another cozy coffee cake recipe, my Pumpkin Coffee Cake with Pecan Crumble is one to save for fall, and my Espresso Coffee Cake Muffins turn that classic crumb-topped coffee cake idea into individual muffins.

Final Thoughts

Fresh peaches are one of those ingredients I want to use as much as possible while they're in season, and this coffee cake is such a good excuse to bake with them.

The cake stays soft and moist underneath those layers of juicy peaches, while the buttery walnut crumble adds the texture that makes a good coffee cake so hard to stop eating.

Serve it for a summer brunch, add it to a dessert table or just cut yourself a slice to have with coffee. It's simple, seasonal and exactly the kind of recipe I love having in my kitchen.

Fresh peach coffee cake topped with buttery toasted walnut crumble
Peach sour cream coffee cake with golden walnut crumble topping

Honey Lime Fruit Salad

This Honey Lime Fruit Salad is one of my favorite ways to make a big bowl of fresh fruit feel just a little more special. It's filled with blueberries, cherries, mandarin oranges, pineapple, kiwi and strawberries, then tossed with a simple three-ingredient honey lime dressing.

The dressing is just sweet enough without covering up the flavor of the fruit. Fresh lime juice and zest add brightness, while honey brings everything together.

It's colorful, easy to make and perfect for summer brunches, backyard dinners, holidays or anytime you need an easy side dish that everyone can scoop onto their plate.

Honey lime fruit salad with fresh berries, pineapple, kiwi and cherries

Why You'll Love This Honey Lime Fruit Salad

The best part about this fruit salad is how simple it is. There's no complicated dressing or long prep process—just fresh fruit and a quick honey lime dressing.

I especially love the mix of colors and textures. You get sweet strawberries and cherries, juicy pineapple and mandarin oranges, tart kiwi and little bursts of blueberries in every scoop.

It's also an easy recipe for entertaining because you can prepare the fruit ahead and toss everything with the dressing shortly before serving.

Fresh fruit salad tossed with homemade honey lime dressing

Ingredient Notes

There are only a handful of things you need to make this recipe, so using fresh, flavorful fruit makes all the difference.

Fresh Fruit

I use a combination of blueberries, cherries, mandarin oranges, pineapple, kiwi and strawberries.

Cut the larger fruits into bite-size pieces so you can get several different fruits in each scoop. Blueberries can stay whole.

You can also adjust the combination depending on what's in season or what you have on hand. The honey lime dressing is simple enough that it works with lots of different fruits.

Honey

Honey adds just enough sweetness to the dressing and balances the acidity of the fresh lime.

Fresh Lime Juice

Use freshly squeezed lime juice here rather than bottled. Since the dressing has only three ingredients, that fresh citrus flavor really stands out.

Lime Zest

Don't skip the zest. It gives the dressing even more lime flavor without adding additional acidity.

Fresh ingredients for honey lime fruit salad

Amanda's Tips for the Best Fruit Salad

Start With Good Fruit

This is one of those recipes where the ingredients really do all the work. Use ripe, flavorful fruit and remove anything that's overly soft or bruised.

Keep the Pieces Bite-Size

Try to cut the strawberries, pineapple, kiwi and cherries into similarly sized pieces. It makes the finished bowl easier to serve and gives you a better mix of fruit in every bite.

Dry the Fruit Well

After washing your fruit, let it drain and dry before assembling the salad. Excess water can dilute the honey lime dressing and leave liquid sitting at the bottom of the bowl.

Toss Gently

Once you add the dressing, gently fold everything together rather than aggressively stirring it. This helps keep softer fruits like strawberries and kiwi intact.

Add the Dressing Closer to Serving

You can prep the fruit ahead, but I prefer adding the honey lime dressing closer to serving so everything stays as fresh and pretty as possible.

Honey, fresh lime juice and lime zest for fruit salad dressing

Perfect for Brunches and Summer Gatherings

This is one of those easy recipes that's especially helpful when you're hosting because it goes with almost anything.

Serve it alongside pancakes, French toast or egg dishes for brunch, add it to a summer barbecue spread, or bring out a big bowl with lunch or dinner.

I love serving colorful fruit salad in a large serving bowl because all of the colors really stand out against it.

Because it's already naturally sweet, you can also serve this as a lighter option alongside cakes and other desserts when you're entertaining.
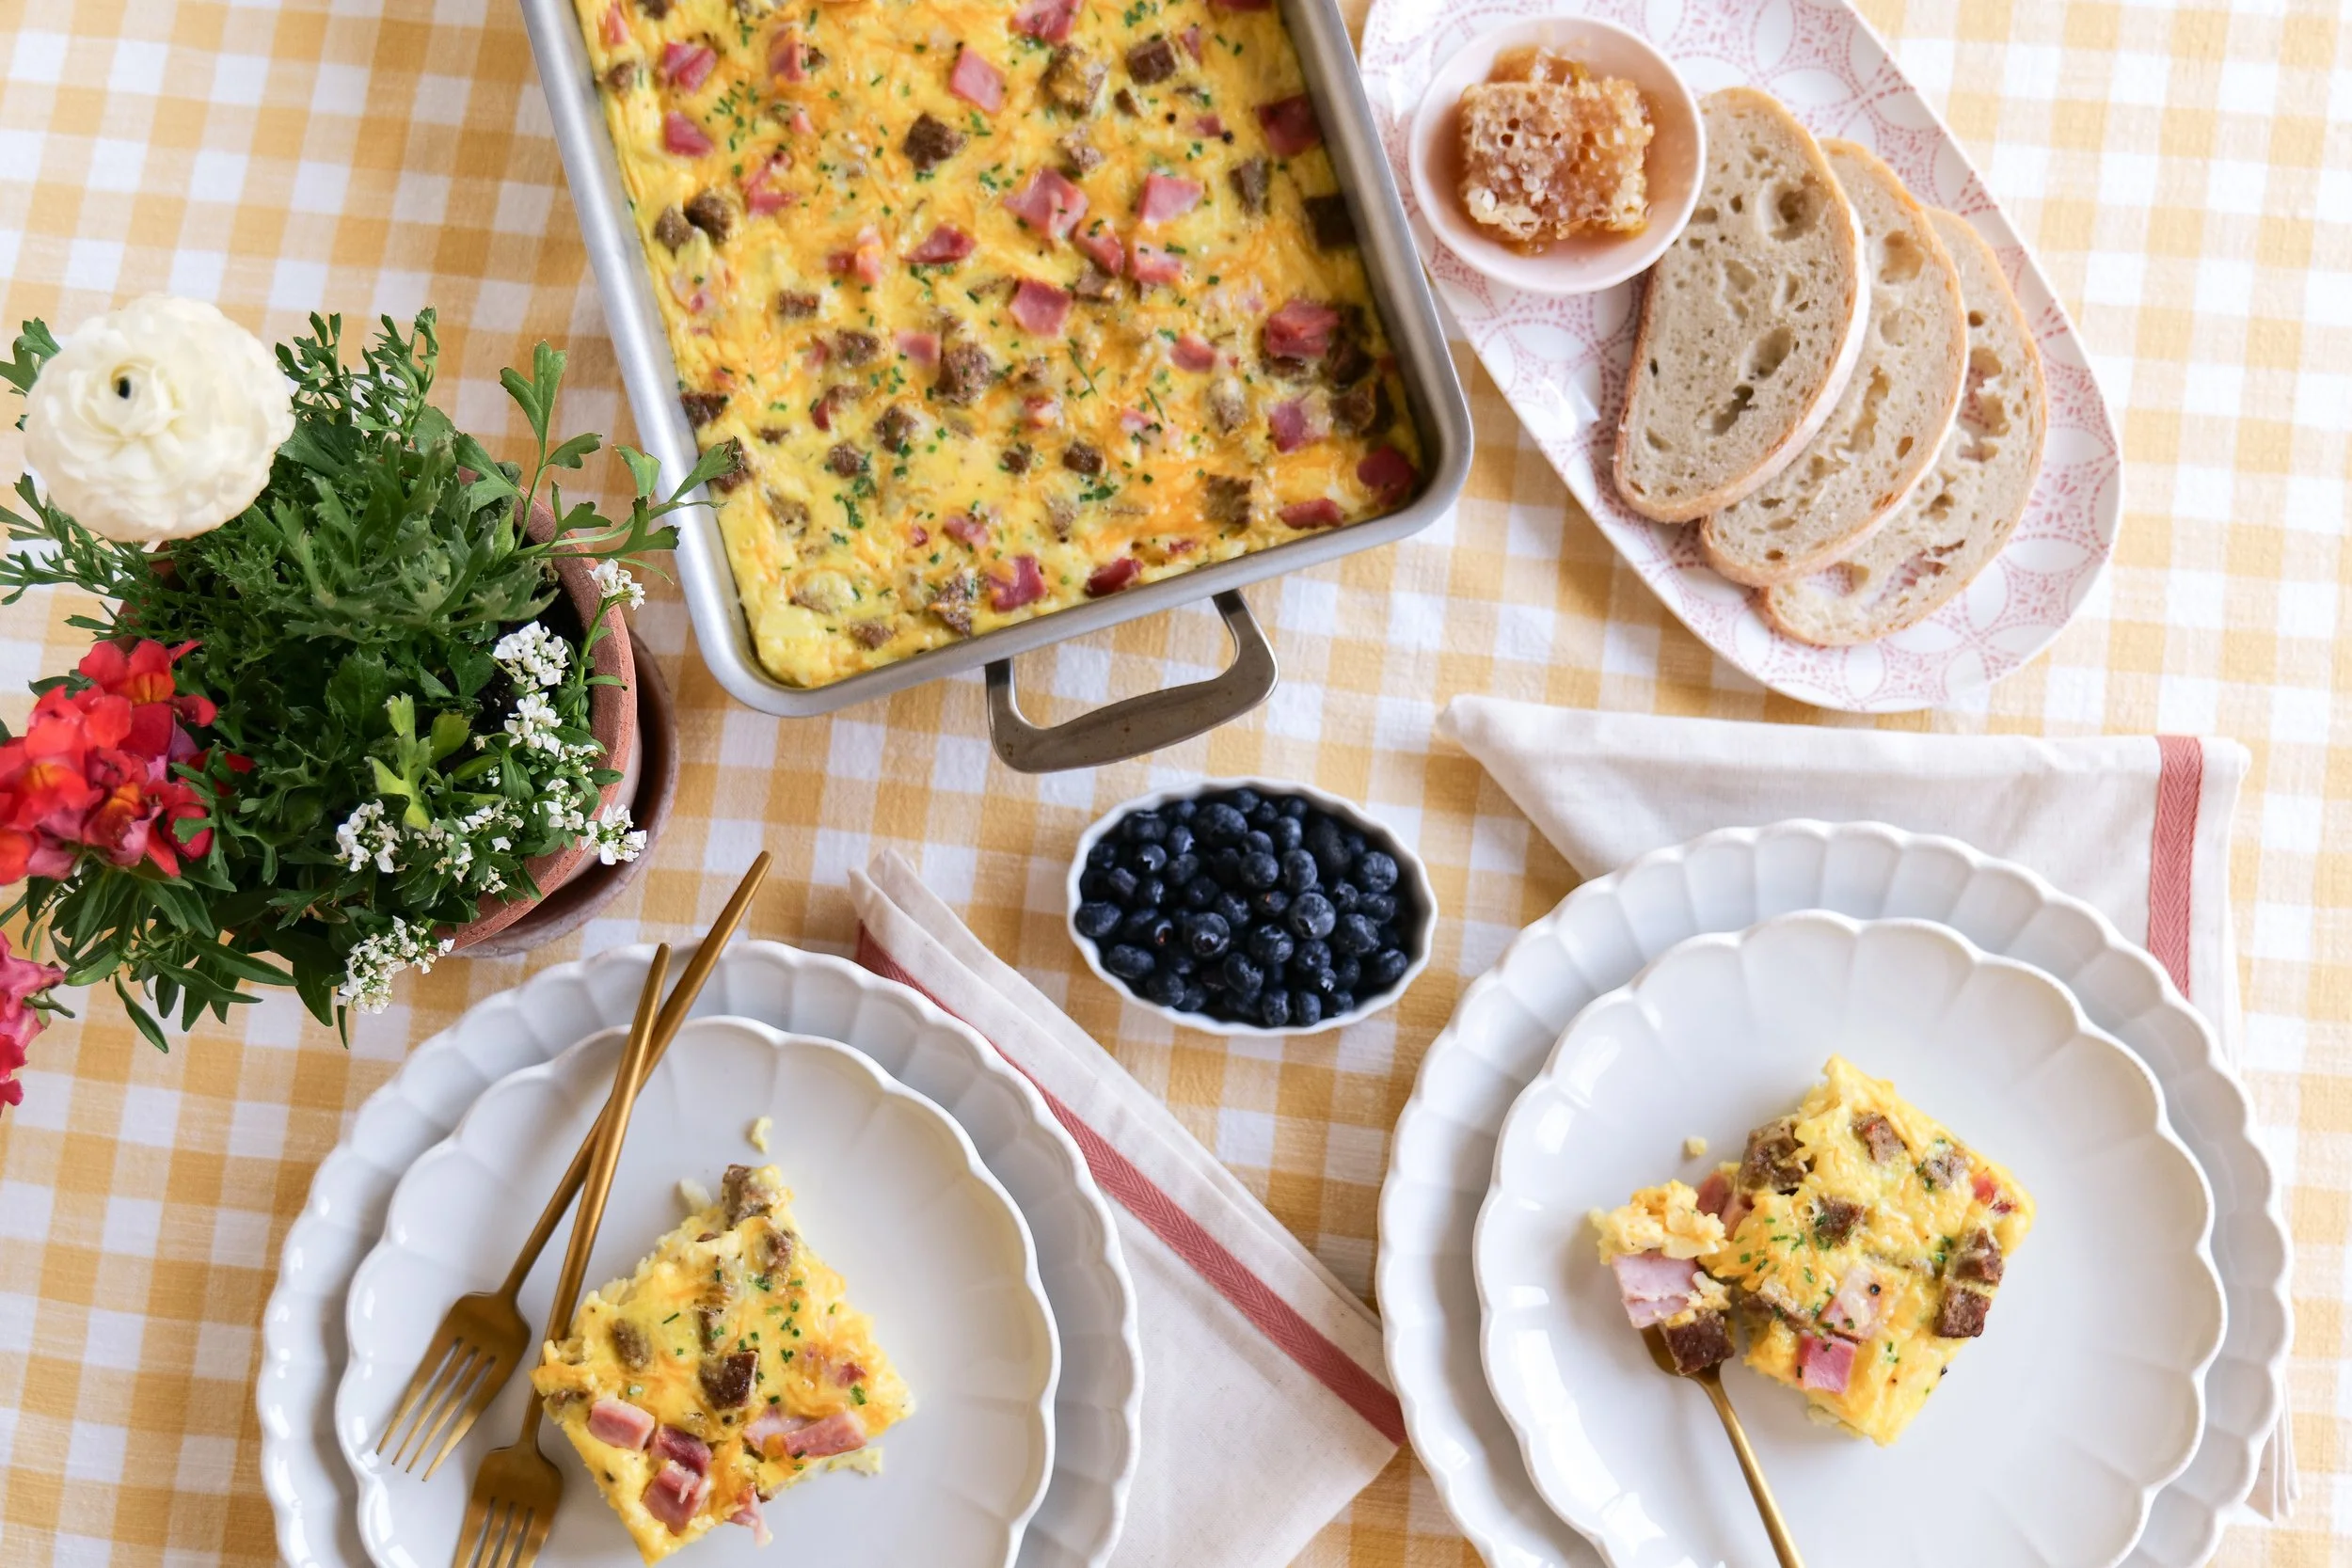
Summer fruit salad with strawberries, blueberries, kiwi and pineapple
Honey lime fruit salad served in a large white bowl

Honey Lime Fruit Salad

A colorful fresh fruit salad made with strawberries, blueberries, cherries, pineapple, kiwi and mandarin oranges tossed in an easy three-ingredient honey lime dressing.
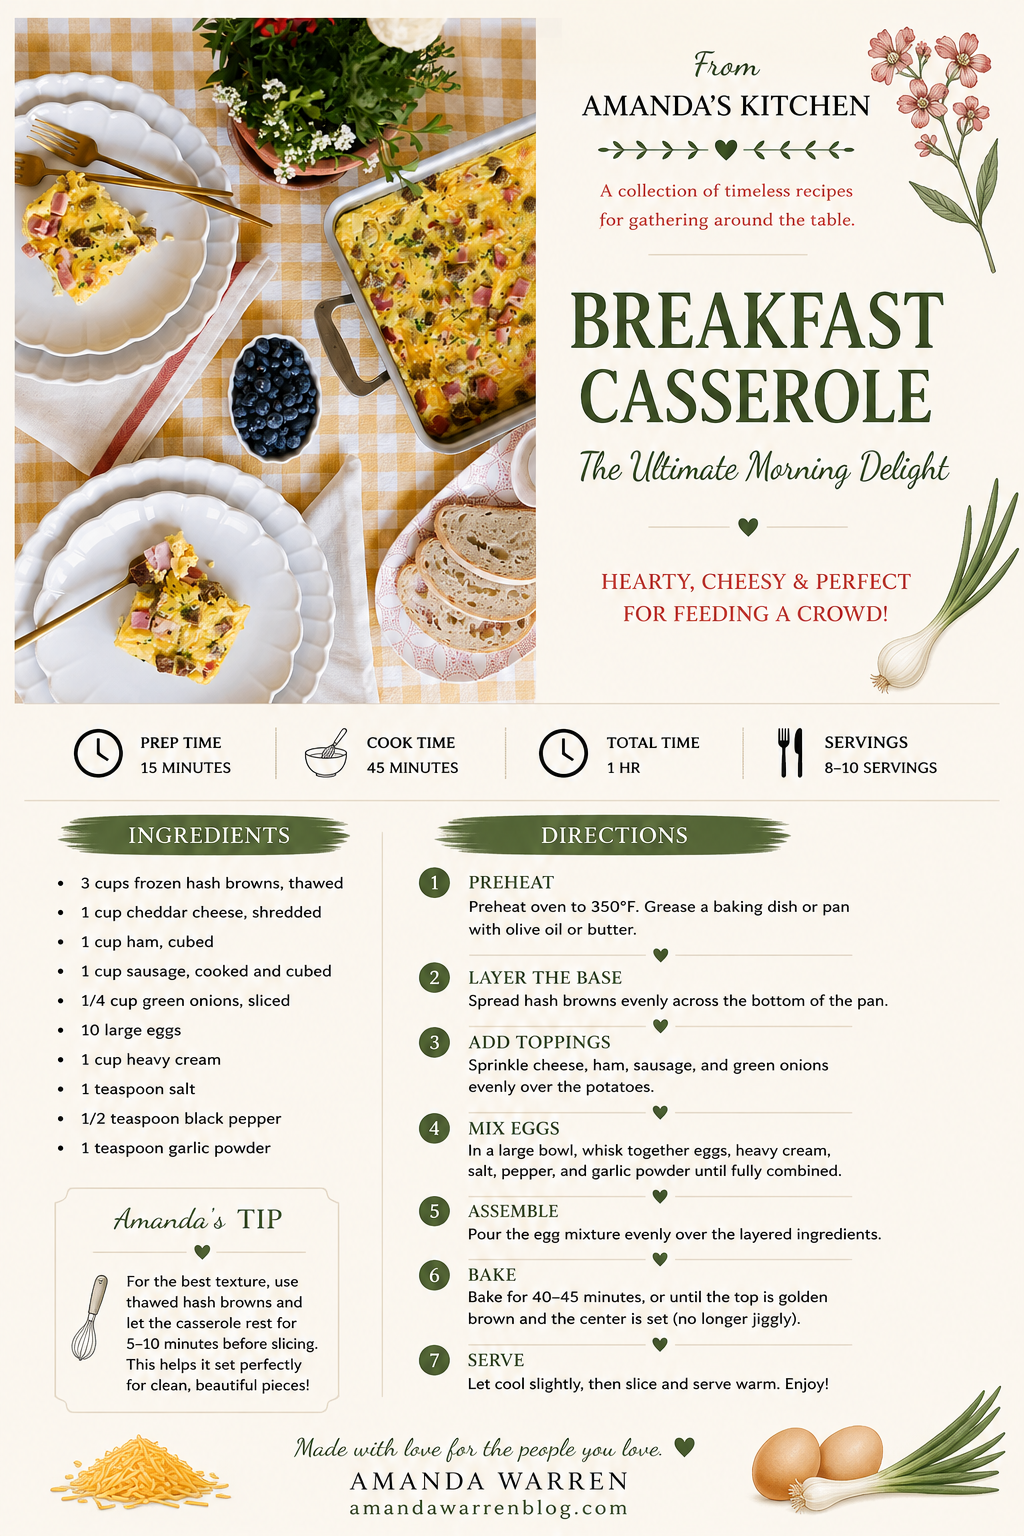
Ingredients

For the Fruit Salad

  • 2 cups blueberries

  • 2 cups cherries, pitted and cut as needed

  • 2 cups mandarin oranges

  • 2 cups pineapple, cut into bite-size pieces

  • 2 cups kiwi, peeled and cut into bite-size pieces

  • 2 cups strawberries, hulled and cut into bite-size pieces

For the Honey Lime Dressing

  • 3 tablespoons honey

  • 1 tablespoon freshly squeezed lime juice

  • 1 teaspoon lime zest

These quantities stay true to your original recipe.

Instructions

1. Prepare the Fruit

Wash and dry the fresh fruit.

Pit the cherries, hull the strawberries, peel the kiwi and cut the larger fruits into bite-size pieces.

Add all of the prepared fruit to a large serving bowl.

2. Make the Honey Lime Dressing

In a small bowl, whisk together the honey, freshly squeezed lime juice and lime zest until combined.

3. Toss the Fruit Salad

Drizzle the honey lime dressing evenly over the fruit.

Gently toss until the fruit is evenly coated.

Serve immediately or refrigerate until you're ready to serve.

Amanda's Tip

Make sure your fruit is well drained and dry before adding the dressing. Extra water left on freshly washed fruit can dilute that simple honey lime dressing.
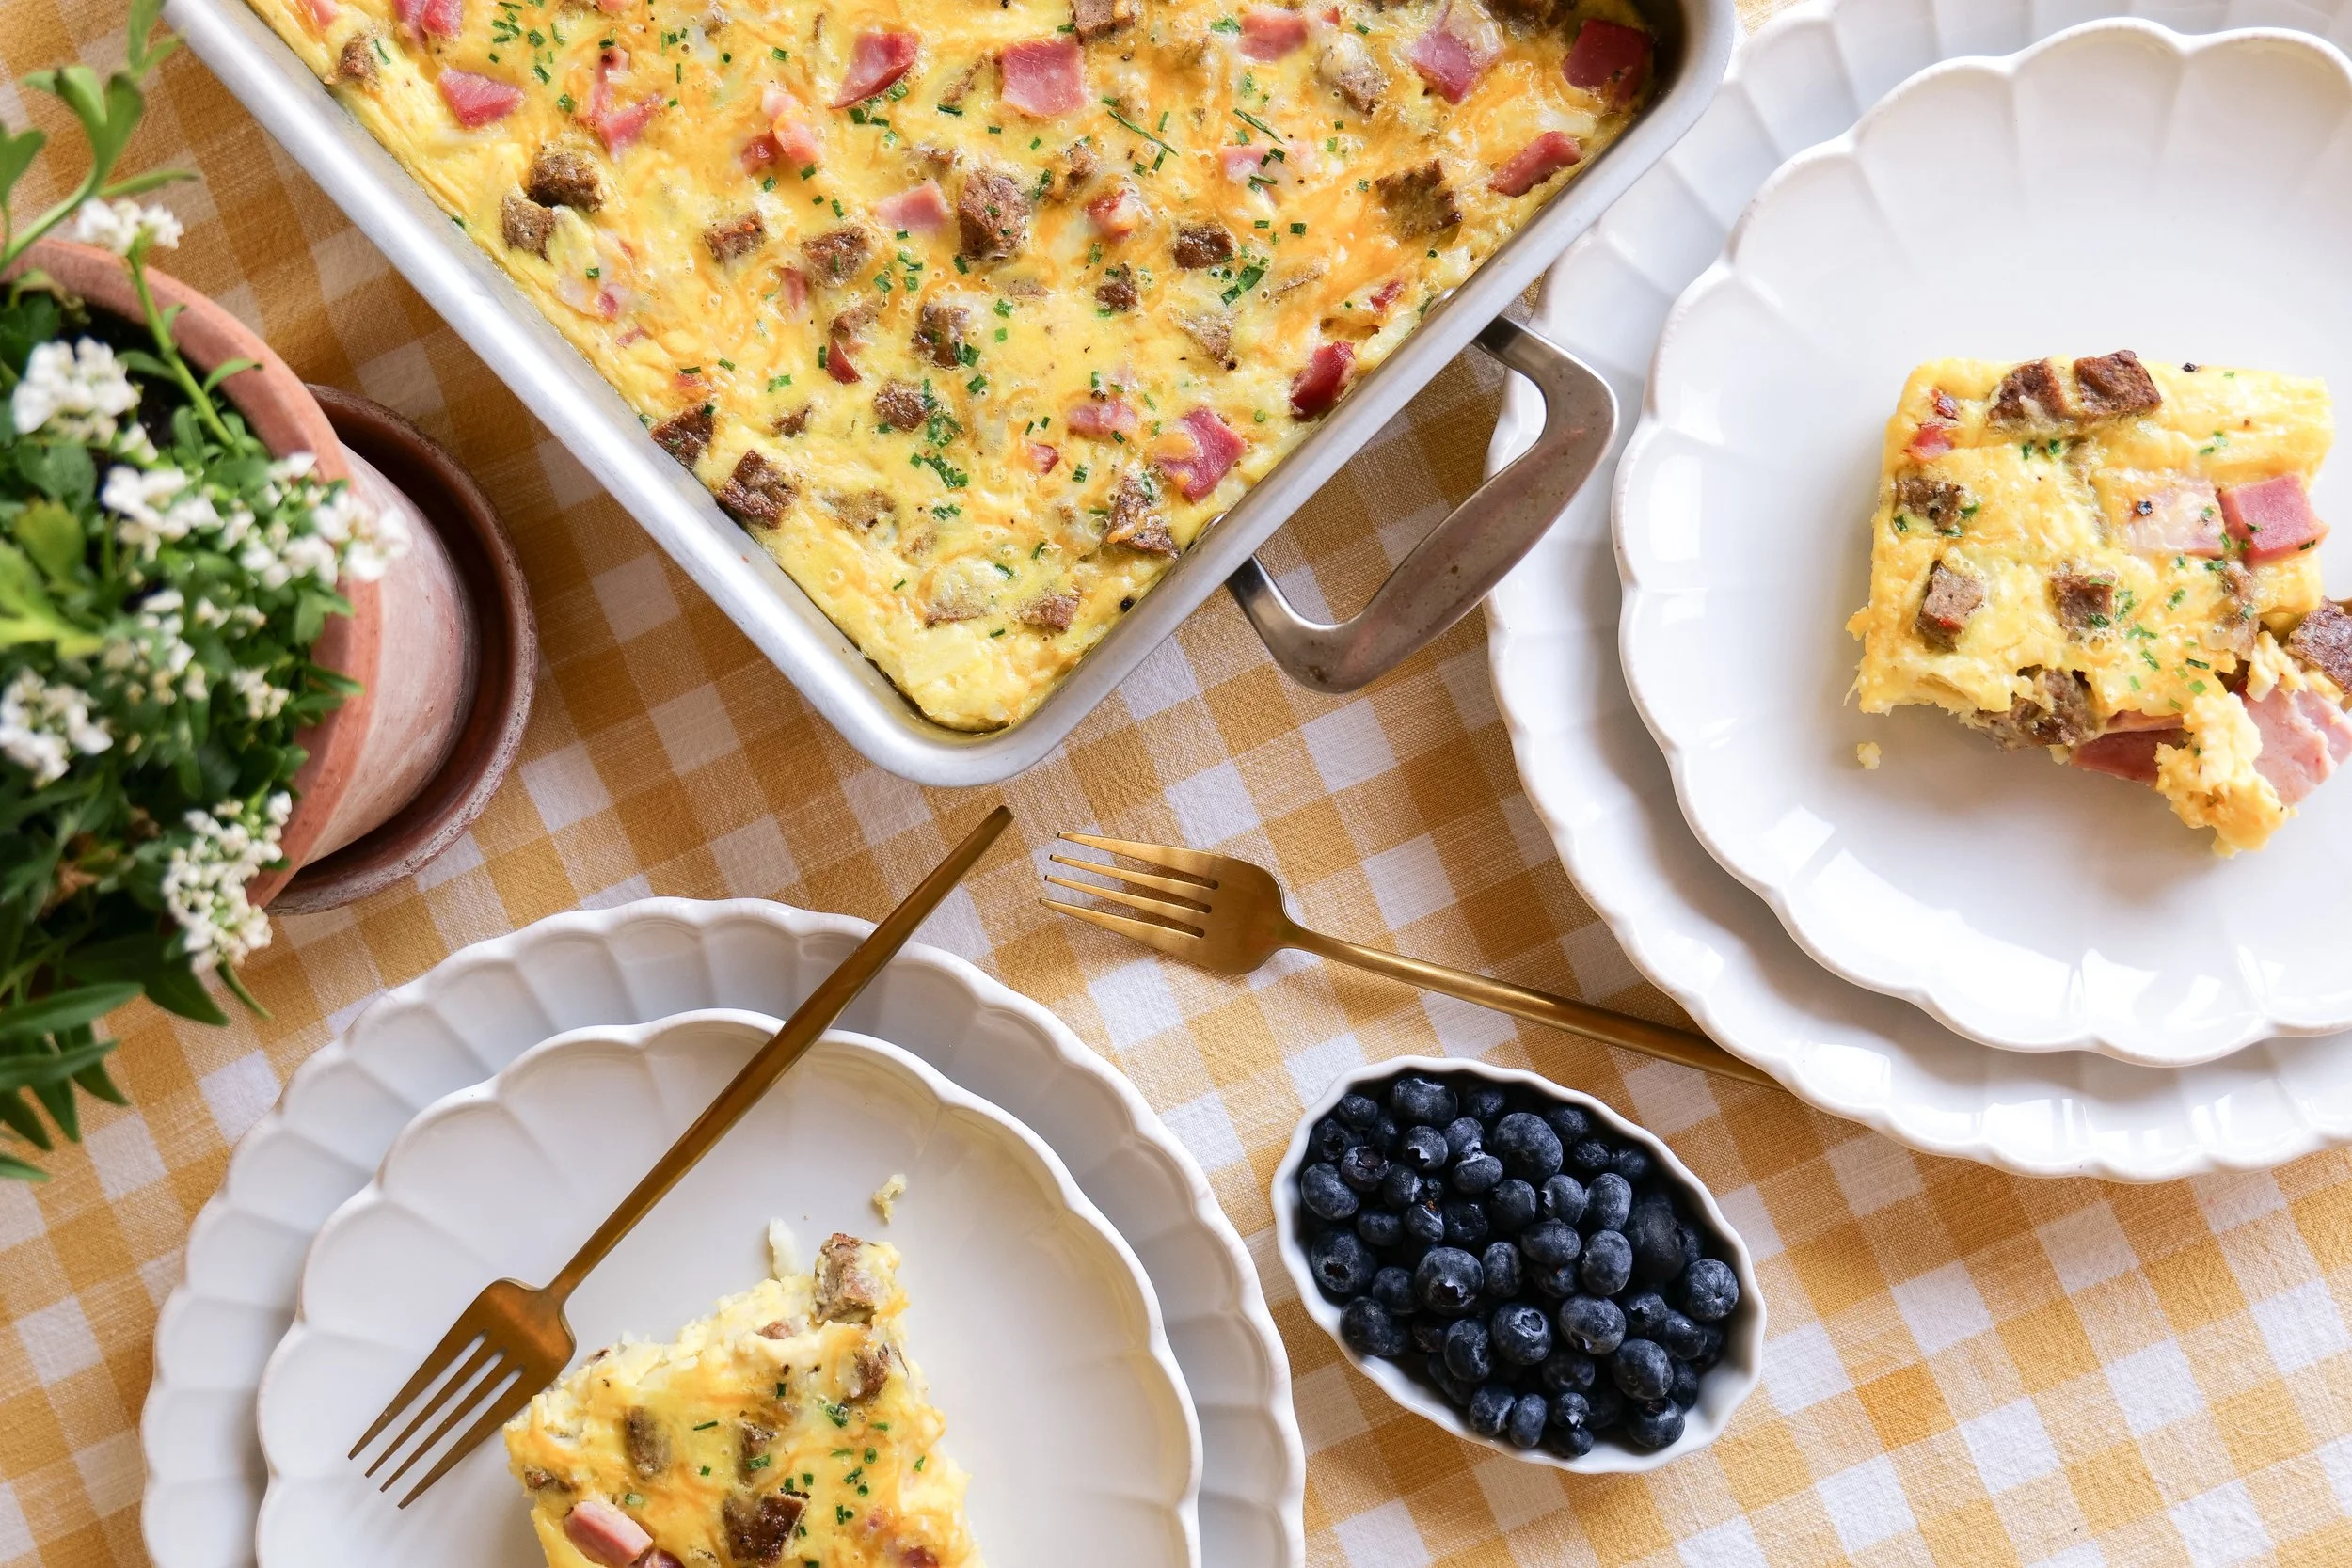
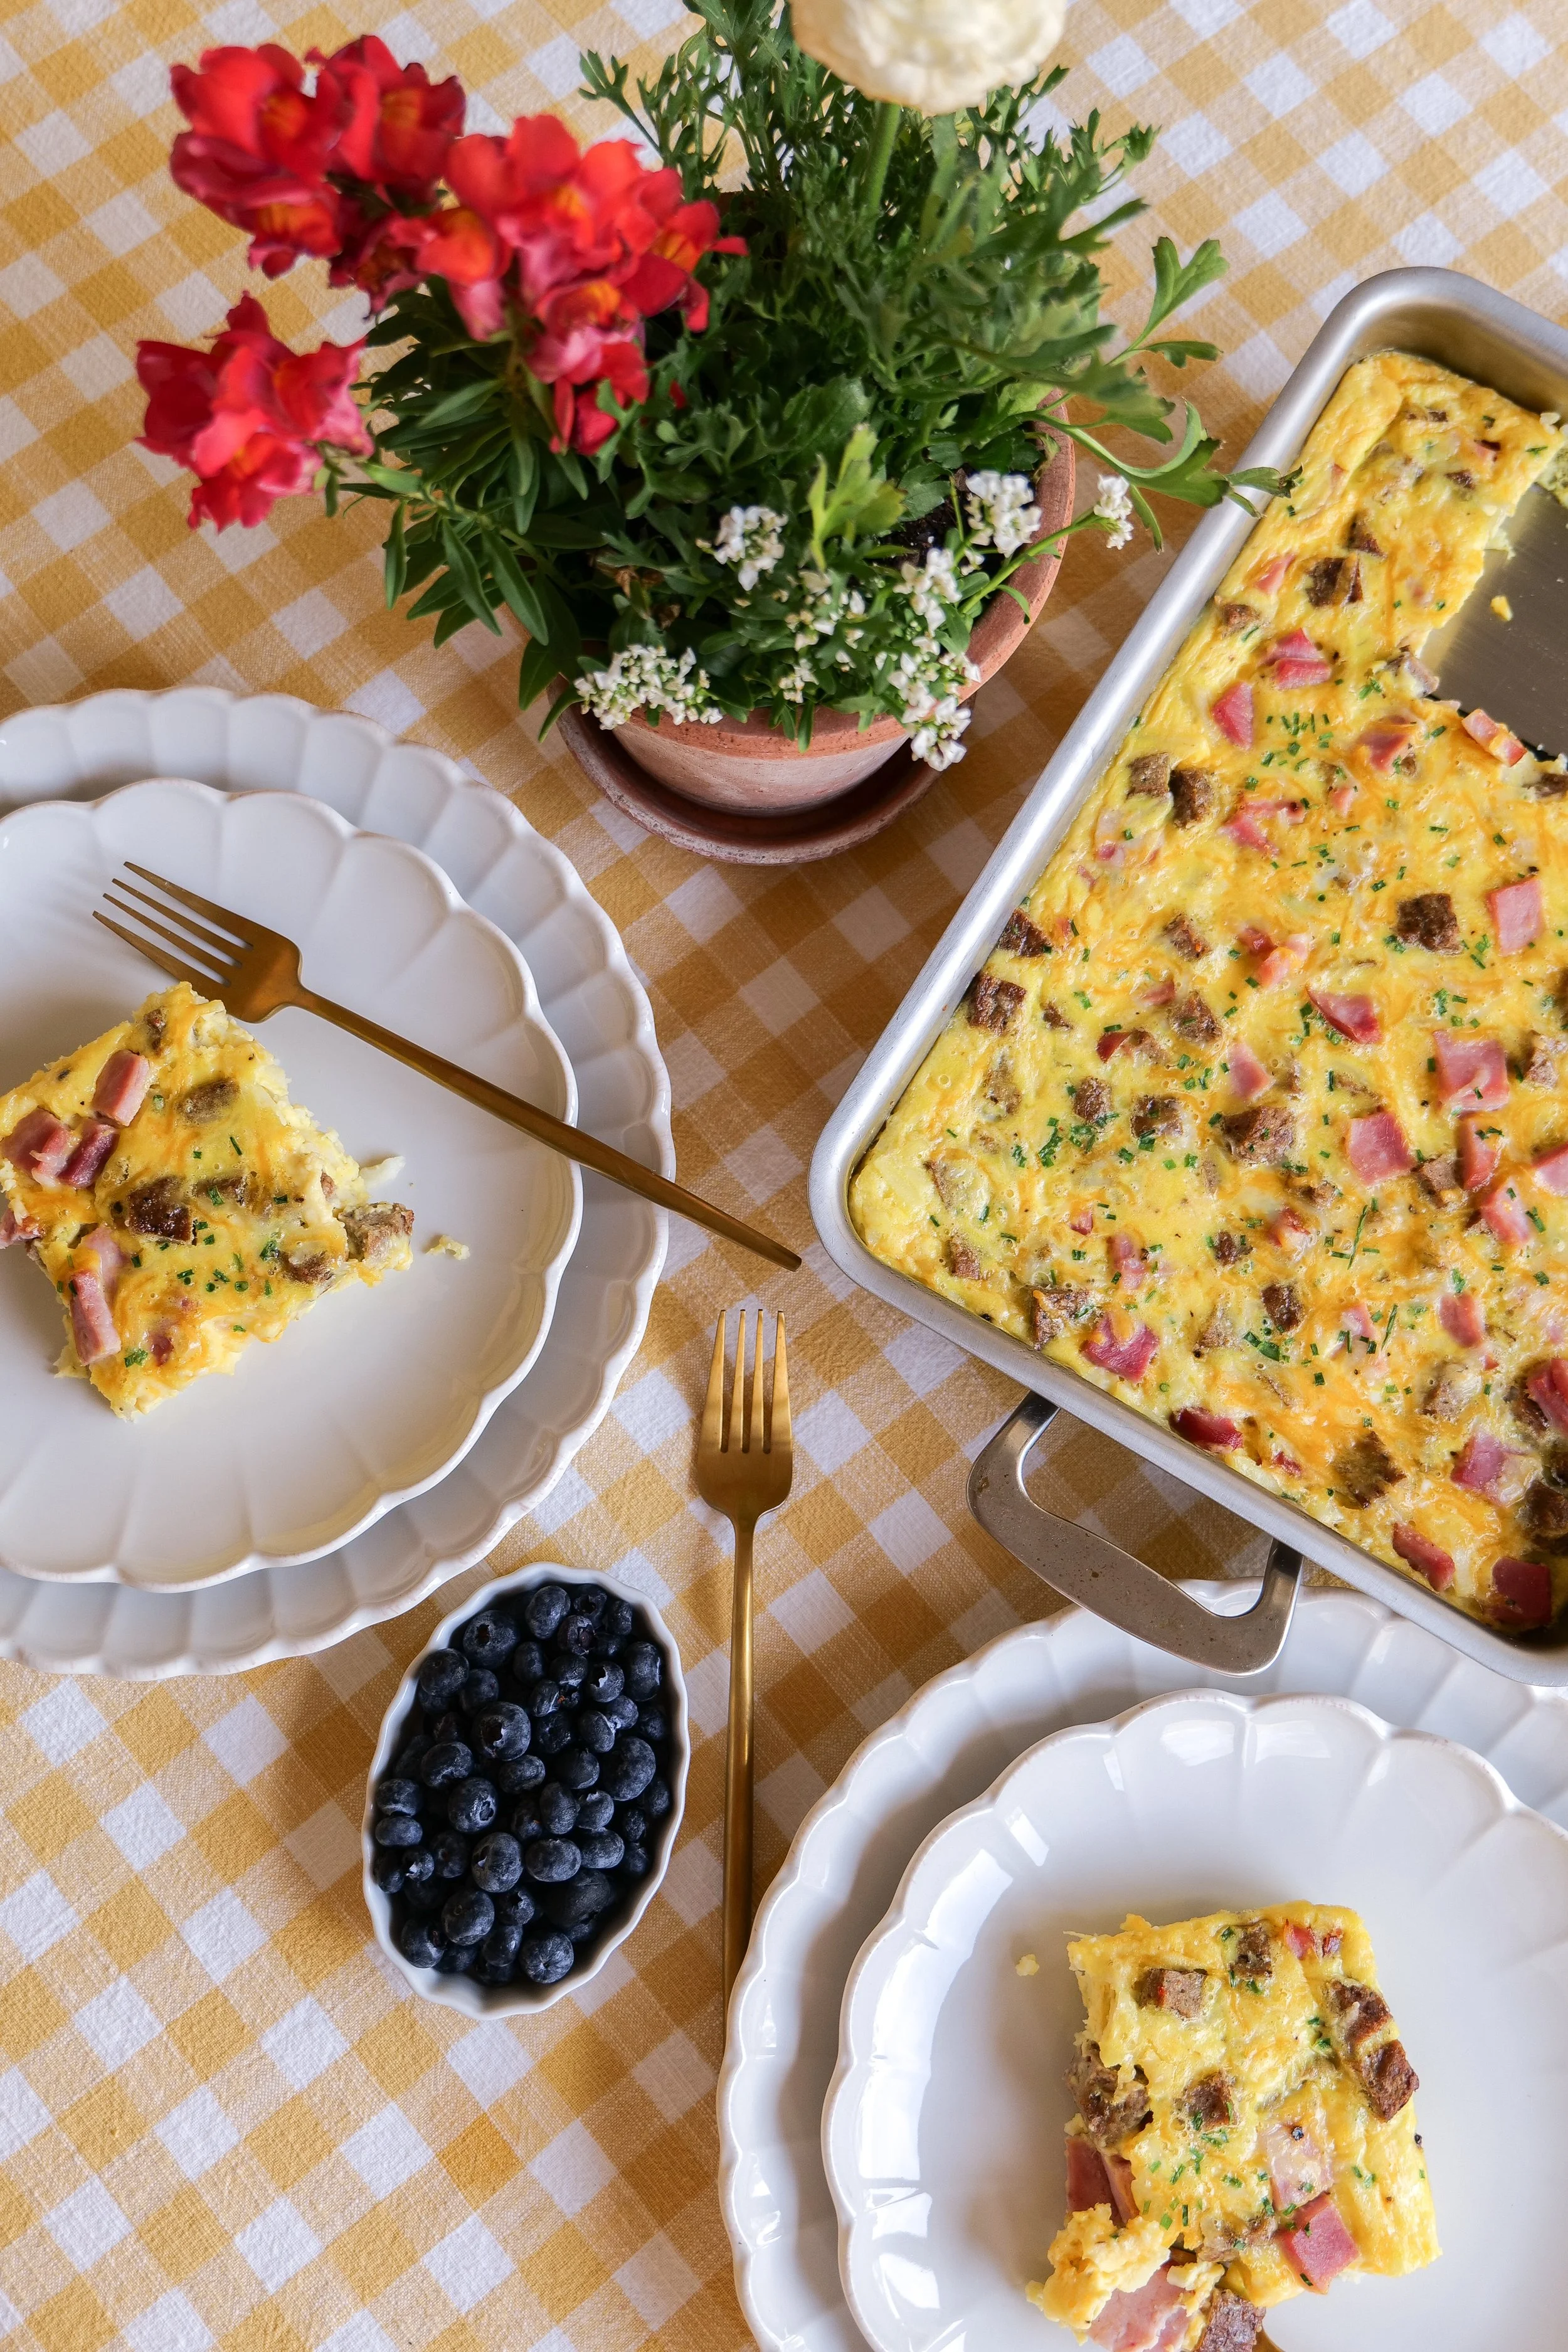
Easy fresh fruit salad with honey and lime

Save This Recipe

Save this Honey Lime Fruit Salad for summer gatherings, brunches and those weeks when you want a big bowl of fresh fruit ready in the refrigerator.
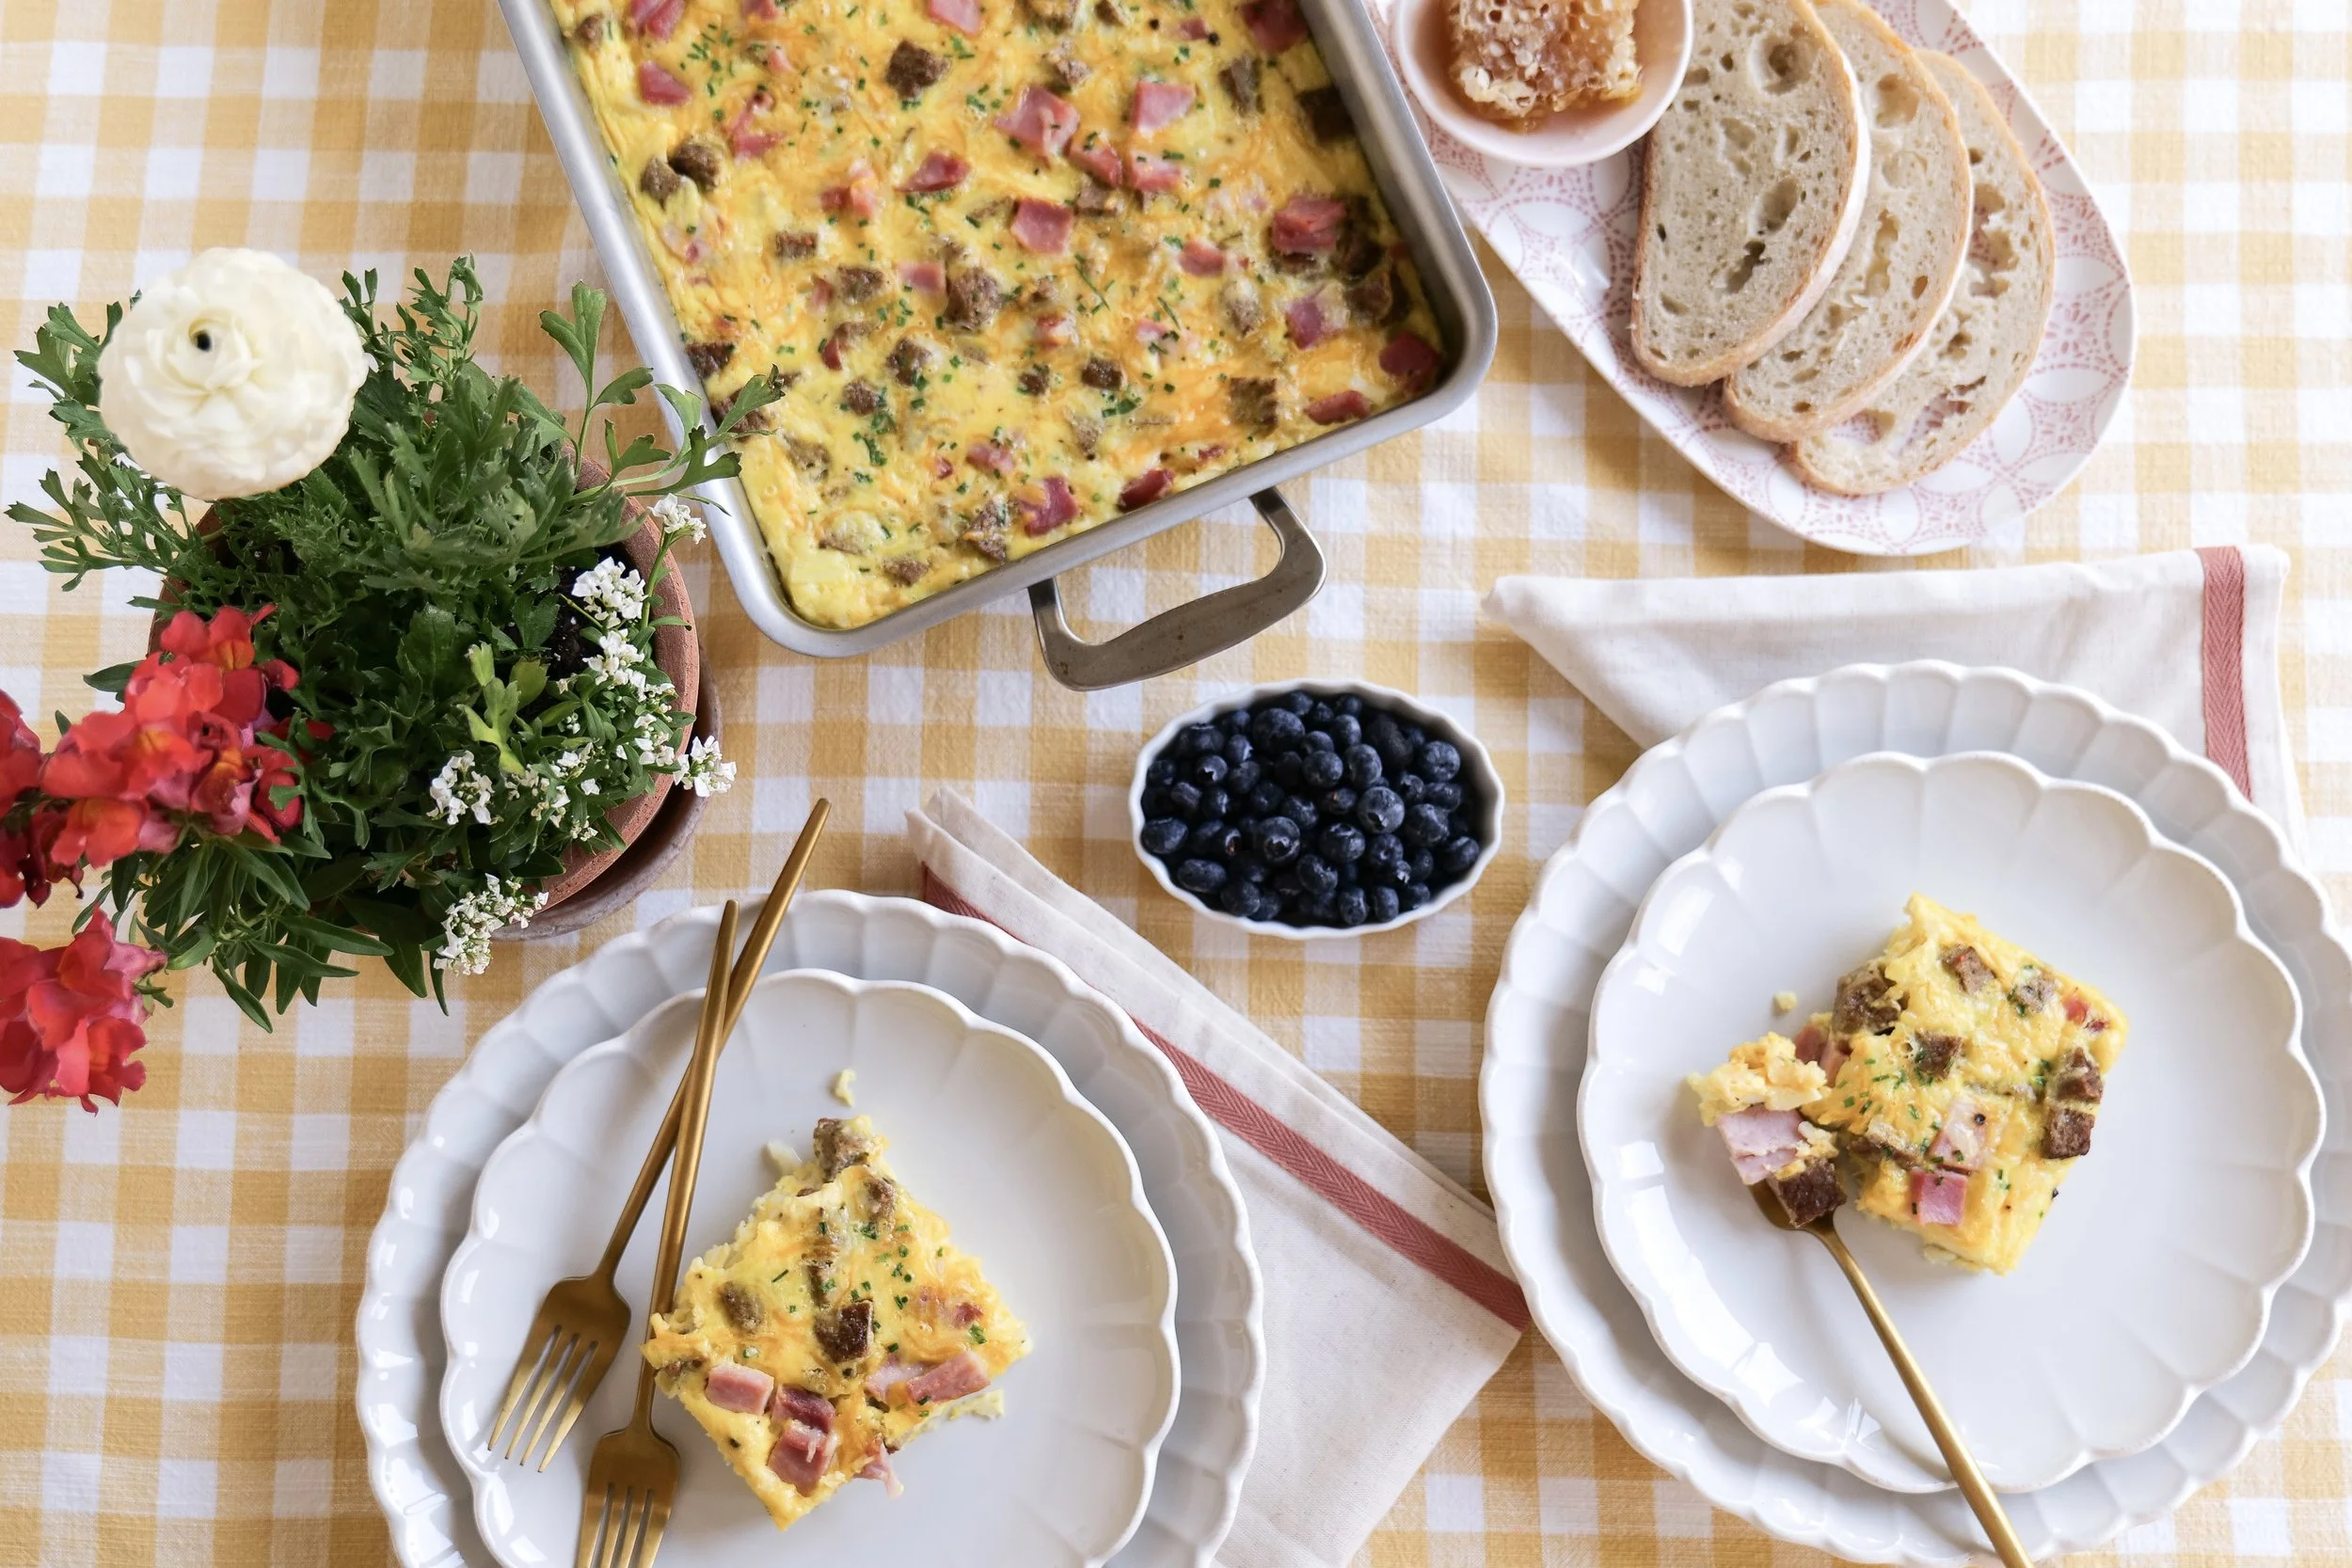
I've included a printable recipe card below so it's easy to print and come back to whenever you're ready to make it again.

Honey lime fruit salad printable recipe card

Frequently Asked Questions

Can I Make Honey Lime Fruit Salad Ahead of Time?

Yes, but for the best texture I prefer preparing the fruit ahead and keeping it refrigerated, then adding the honey lime dressing closer to serving.

If you do toss everything together ahead of time, keep the fruit salad covered and refrigerated.

Can I Use Different Fruit?

Yes. One of the easiest things about this recipe is adjusting the fruit based on what's in season.

Just try to choose a combination with different colors, flavors and textures rather than using several fruits that are all very soft.

Can I Use Frozen Fruit?

I prefer fresh fruit for this recipe. Frozen fruit releases considerably more liquid as it thaws and can make the finished salad softer and more watery.

How Long Does Fruit Salad Last in the Refrigerator?

For the best flavor and texture, I would enjoy this fruit salad as fresh as possible. As it sits, the fruit naturally releases juice and becomes softer.

Should I Chill Fruit Salad Before Serving?

You can. If you like your fruit salad cold, refrigerate the prepared fruit before adding the dressing. This gives you that chilled, refreshing fruit salad without requiring the fruit to sit in the dressing for a long time.

Fresh summer fruit salad with berries, cherries and tropical fruit

More Fresh Salad Recipes You'll Love

If you love fruit in summer salads, try my Berry Walnut Goat Cheese Salad with Strawberry Vinaigrette next.

For more fresh salad ideas, save my Pear & Walnut Salad with Honey Mustard Dressing and Sweet Kale Salad with Poppy Seed Dressing too.

Shop My Kitchen Essentials

These are some of the kitchen and serving pieces I use again and again for everyday recipes and entertaining.

Final Thoughts

Fresh fruit doesn't need much to make it feel special, and that's exactly why I love this Honey Lime Fruit Salad.

The combination of colorful summer fruit with a little honey, fresh lime juice and lime zest is simple, bright and so easy to put together. It works for brunch, summer dinners, holidays and just having a bowl of fruit ready for everyone to enjoy.

And when all of those colors are piled into one big serving bowl, it's one of the easiest things you can put on the table that still looks beautiful.

Easy honey lime fruit salad recipe for summer

Chorizo, Egg & Crispy Potato Breakfast Bowls

These Chorizo, Egg and Crispy Potato Breakfast Bowls are one of those breakfasts that somehow works for everything: a slow weekend morning, feeding a house full of people or prepping breakfast ahead for the week.

Each bowl starts with crispy seasoned potatoes and gets piled with spicy chorizo, fluffy scrambled eggs, melted mozzarella and creamy avocado.

It's hearty, savory and really simple to make.

I especially love the contrast between the crispy potatoes and eggs, and cooking the eggs in the same skillet as the chorizo gives them even more flavor without adding another step—or another pan to wash.

Chorizo, egg and crispy potato breakfast bowl topped with mozzarella cheese and sliced avocado.

Why You'll Love These Chorizo Breakfast Bowls

There are a few reasons this breakfast has stayed in our rotation.

First, everything is made with simple ingredients. Potatoes, eggs and chorizo do most of the work, and then you can finish each bowl with whatever toppings you love.

They're also incredibly easy to customize.

Add avocado and cheese like I did, spoon salsa over the top, add fresh herbs or give everything an extra kick with hot sauce.

And if you're feeding several people, everyone can build their own.

If you're looking for something sweet to serve alongside a savory breakfast, my Raspberry Scones would be so good with these for brunch.

Easy savory breakfast bowl layered with crispy potatoes, chorizo, scrambled eggs, cheese and avocado.

The Secret Is Really Crispy Potatoes

The potatoes might secretly be my favorite part of this entire breakfast.

Cut your red potatoes into small, bite-size pieces. The smaller you dice them, the more surface area there is to get golden and crispy.

Heat olive oil in a large skillet and season the potatoes with salt, pepper, garlic powder and onion powder.

Then give them time.

You don't want to constantly move the potatoes around the pan. Letting them sit against the hot skillet is what creates those golden, crispy edges.

If the pan starts looking dry while they're cooking, add another drizzle of olive oil as needed.

Crispy seasoned potatoes with chorizo and scrambled eggs in a homemade breakfast bowl.

Cook the Chorizo Separately

While the potatoes are crisping, cook the chorizo in a second skillet.

Remove the casings first, then break the chorizo apart as it cooks until it's completely browned and cooked through.

Once finished, transfer it to a paper-towel-lined plate.

But don't wash that skillet yet.

We're using it for the eggs.

Scramble the Eggs in the Chorizo Pan

This is such a small detail, but it makes the eggs so much better.

After removing the cooked chorizo, whisk the eggs and add them directly to the same skillet.

The little bit of flavor left behind from the chorizo gets incorporated into the eggs while they cook.

Scramble them gently until they're light and fluffy and completely cooked through, seasoning with salt and pepper to taste.

Now everything is ready to assemble.

Chorizo and fluffy scrambled eggs served over crispy red potatoes for breakfast.

How to Build a Chorizo Breakfast Bowl

I like layering these in this order:

Crispy potatoes → chorizo → scrambled eggs → mozzarella → avocado.

Putting the cheese over the warm eggs helps it soften and melt slightly, and the fresh avocado on top gives the whole bowl a creamy finish.

You can stop there or add your favorite breakfast toppings.

Overhead view of a chorizo potato and egg breakfast bowl with mozzarella and fresh avocado.

The Best Toppings for Breakfast Bowls

This is where you can make each bowl your own.

Avocado and mozzarella are my go-to toppings for this recipe, but salsa or pico de gallo, queso fresco, shredded cheddar, green onion, cilantro, hot sauce, jalapeño, sour cream or Greek yogurt and fresh lime would all be delicious.

If you're serving these for brunch, set the toppings out in little bowls and let everyone build their own breakfast bowl.

It's an easy way to serve a crowd without having to plate every breakfast individually.

Shop My Breakfast & Kitchen Favorites

For breakfasts like this, I'm always reaching for the same few kitchen staples—a really good skillet, sharp knives, cutting boards, mixing bowls and serving pieces.

I've linked the kitchen tools and breakfast essentials I use most often in my Kitchen Favorites ShopMy shelf.

Savory breakfast bowl with chorizo, eggs, crispy potatoes, mozzarella and sliced avocado.

Make Them for Brunch

These breakfast bowls are especially good when you're feeding a larger group because the recipe makes about 8–10 servings.

You can cook the potatoes and chorizo first, scramble the eggs closer to serving time and put all of the toppings out on the table.

For a larger breakfast or brunch spread, add something sweet alongside them.

My Nana's Apple Pancakes are one of my favorite family recipes, or try these Soft Cream Cheese Lemon Blueberry Scones.

And during fall, my Pumpkin Coffee Cake with Pecan Crumbles would be such a good sweet addition to the table.

Chorizo egg and potato breakfast bowls served for an easy weekend brunch.

Meal Prep Chorizo Breakfast Bowls

These are also really easy to turn into breakfast meal prep.

Prepare the potatoes, chorizo and eggs as directed, then layer the potatoes on the bottom of individual containers followed by the chorizo and eggs.

Keep avocado and any fresh toppings separate until you're ready to eat.

For the best texture, I prefer reheating the breakfast bowls in the oven when possible so the potatoes have a chance to crisp back up.

If you know you're making the bowls specifically for meal prep, you can also slightly undercook the potatoes the first time so they don't become too soft when reheated.

I also included these bowls in my Postpartum Freezer Meals: 10 Easy Make-Ahead Recipes because they're such a good hearty option to have prepped and ready in the freezer.

Chorizo egg and potato breakfast bowl that can be prepared ahead for easy meal prep.

Chorizo, Egg & Crispy Potato Breakfast Bowls

Crispy seasoned potatoes topped with spicy chorizo, fluffy scrambled eggs, mozzarella and creamy avocado for an easy savory breakfast or brunch.

Prep Time: 15 minutes
Cook Time: 35–40 minutes
Total Time: 50–55 minutes
Servings: 8–10

Ingredients

  • 8 chorizo links, casings removed

  • 2 pounds red potatoes

  • 12 large eggs

  • Olive oil, as needed

  • Salt, to taste

  • Freshly ground black pepper, to taste

  • 1 teaspoon garlic powder

  • 1 teaspoon onion powder

  • 1 cup shredded mozzarella cheese

  • Avocado, sliced, for serving

Optional Toppings

  • Salsa or pico de gallo

  • Green onions

  • Cilantro

  • Hot sauce

  • Queso fresco

  • Sour cream or Greek yogurt

  • Jalapeño

  • Fresh lime

Instructions

1. Prep the Potatoes

Cut the red potatoes into small, bite-size pieces. Smaller pieces will give you more crispy edges.

Heat about 1 tablespoon olive oil in a large skillet over medium heat.

Add the potatoes and season with salt, pepper, garlic powder and onion powder. Toss until the potatoes are evenly coated in the oil and seasonings.

2. Cook Until Crispy

Let the potatoes cook until tender inside and golden and crispy outside, stirring occasionally.

Try not to move them constantly. Giving the potatoes time against the hot skillet helps develop those crispy edges.

Add additional olive oil as needed while cooking.

3. Cook the Chorizo

While the potatoes cook, heat a separate medium skillet over medium heat.

Add about 1 tablespoon olive oil if needed, followed by the chorizo with the casings removed.

Cook while breaking the chorizo into small pieces until completely browned and cooked through.

Transfer the cooked chorizo to a paper-towel-lined plate.

4. Scramble the Eggs

Whisk the eggs together in a large bowl.

Using the same skillet you cooked the chorizo in, add the eggs and season with salt and pepper to taste.

Cook gently, stirring frequently, until the eggs are fluffy and completely cooked.

5. Assemble the Breakfast Bowls

Divide the crispy potatoes between bowls.

Top with cooked chorizo followed by scrambled eggs.

Finish each bowl with shredded mozzarella and fresh avocado.

Add any additional toppings you love and serve warm.

Amanda's Notes

Cut the potatoes small. Smaller pieces mean more golden, crispy edges—and that's the best part of these bowls.

Don't constantly stir your potatoes. Let them sit against the skillet for a few minutes at a time so they actually have a chance to brown.

Save the chorizo skillet. Cooking your eggs in the same pan adds extra flavor and saves you from washing another pan.

Meal prepping? Assemble the potatoes, chorizo and eggs in individual containers, but keep avocado and other fresh toppings separate until serving.

Feeding a crowd? Cook all three main components and turn breakfast into a build-your-own bowl bar with several toppings.

How to Store Chorizo Breakfast Bowls

Allow everything to cool before transferring it to airtight containers.

Store the cooked potatoes, chorizo and eggs in the refrigerator and add fresh avocado after reheating.

For meal prep, I prefer keeping ingredients like avocado, salsa, fresh herbs and sour cream separate.

How to Reheat Breakfast Bowls

For the crispiest potatoes, reheat the bowl in an oven-safe dish until warmed through.

You can also use the microwave when you're short on time, although the potatoes will naturally be softer.

Easy chorizo breakfast bowl recipe with scrambled eggs, crispy potatoes, cheese and avocado.

Frequently Asked Questions

Can I make chorizo breakfast bowls ahead of time?

Yes. The potatoes, chorizo and eggs can all be prepared ahead and stored in the refrigerator. Add avocado and other fresh toppings after reheating.

What potatoes are best for breakfast bowls?

I use red potatoes because they hold their shape well and develop delicious crispy edges when diced and cooked in a skillet.

Can I customize these breakfast bowls?

Absolutely. That's one of the best things about this recipe. Add your favorite cheese, salsa, herbs, hot sauce, jalapeños or other breakfast toppings.

Can I serve these for brunch?

Yes. This recipe makes approximately 8–10 servings, making it a great option when you're feeding a larger group. Set the toppings out separately and let everyone assemble their own bowl.

How do I get crispy breakfast potatoes?

Dice the potatoes fairly small, make sure there's enough oil in the skillet and don't stir them constantly. They need time sitting against the hot pan to develop a golden crust.

More Breakfast Recipes You'll Love

If you're looking for more breakfast and brunch inspiration, try another favorite from Amanda's Kitchen:

Raspberry Scones

Nana's Apple Pancakes

Breakfast Croissants with Sausage, Bacon & Maple Dijon

Soft Cream Cheese Lemon Blueberry Scones

Pumpkin Coffee Cake with Pecan Crumbles

Pumpkin Pie Overnight Oats

Breakfast Burritos

Sausage English Muffin Breakfast Sandwiches

Shop My Breakfast & Kitchen Favorites

If you're making this recipe at home, I've gathered the skillets, knives, cutting boards, mixing bowls, meal-prep containers and serving pieces I use most often in one place.

Kitchen Favorites

Breakfast & Meal Prep Favorites

Save This Recipe

Whether you're making these for weekend breakfast, serving them for brunch or prepping breakfast for the week ahead, save the printable recipe card below so you can easily make them again.

Printable Chorizo, Egg and Potato Breakfast Bowls recipe card from Amanda's Kitchen.

Gather Around the Table

A really good breakfast doesn't have to be complicated.

Crispy potatoes, spicy chorizo and fluffy eggs make these breakfast bowls hearty enough for a slow weekend morning, while avocado, cheese and whatever toppings you have on hand make them easy to change every time you make them.

Make them fresh for breakfast, set everything out for a build-your-own brunch or portion them into containers for the week ahead.

Either way, don't rush the potatoes.

Those crispy edges are worth the extra few minutes.

Made with love for the people you love.

Homemade chorizo and crispy potato breakfast bowl with scrambled eggs, cheese and avocado.