3 Easy Compound Butter Recipes (Flavored Butter Flight)

There’s something quietly luxurious about a compound butter flight or butter board. It turns something as simple as bread into a small experience—rich, flavorful, and just a little indulgent.

↓ Skip to Recipe

In this post, you’ll learn how to make a compound butter flight with 3 easy flavored butter recipes using Vital Farms butter: Italian herb butter, lemon rosemary butter, and honey butter. Each variation comes together in minutes but feels like something you’d be served at a cozy wine bar or weekend brunch.

Compound butter (also called flavored butter) is simply butter mixed with herbs, spices, or sweet ingredients to enhance flavor. It’s one of the easiest ways to elevate everyday foods like bread, steak, vegetables, and more.

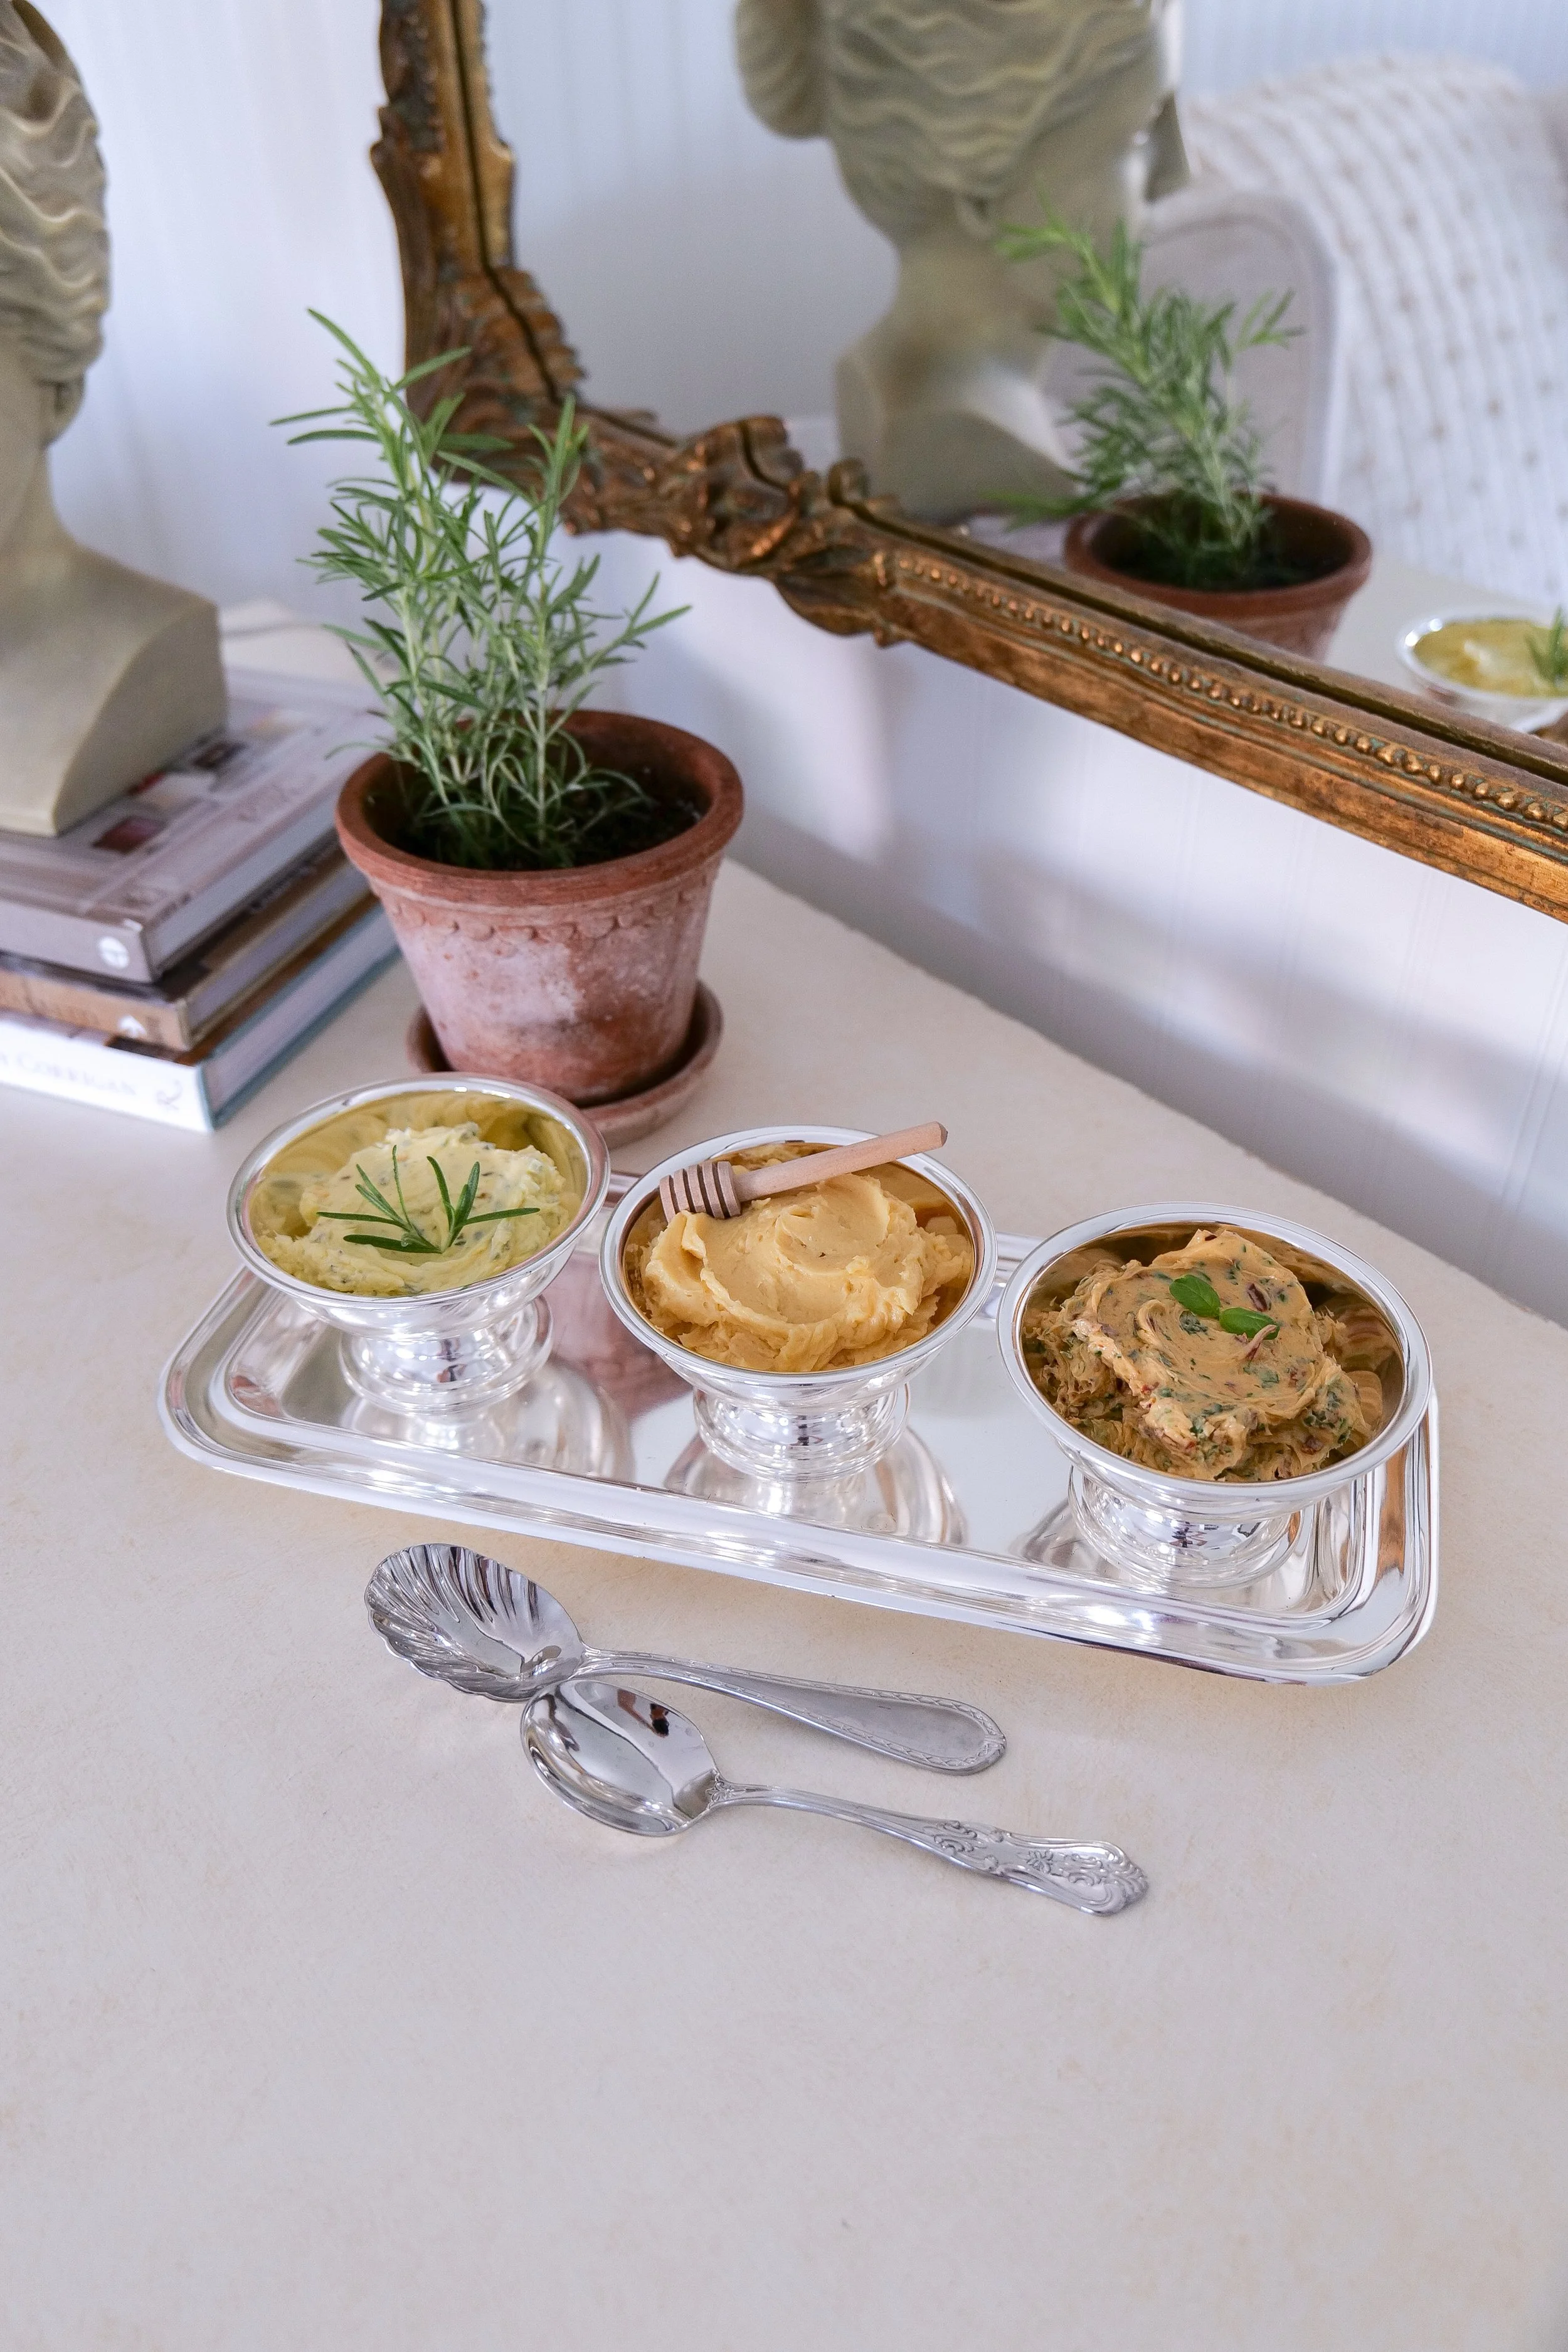
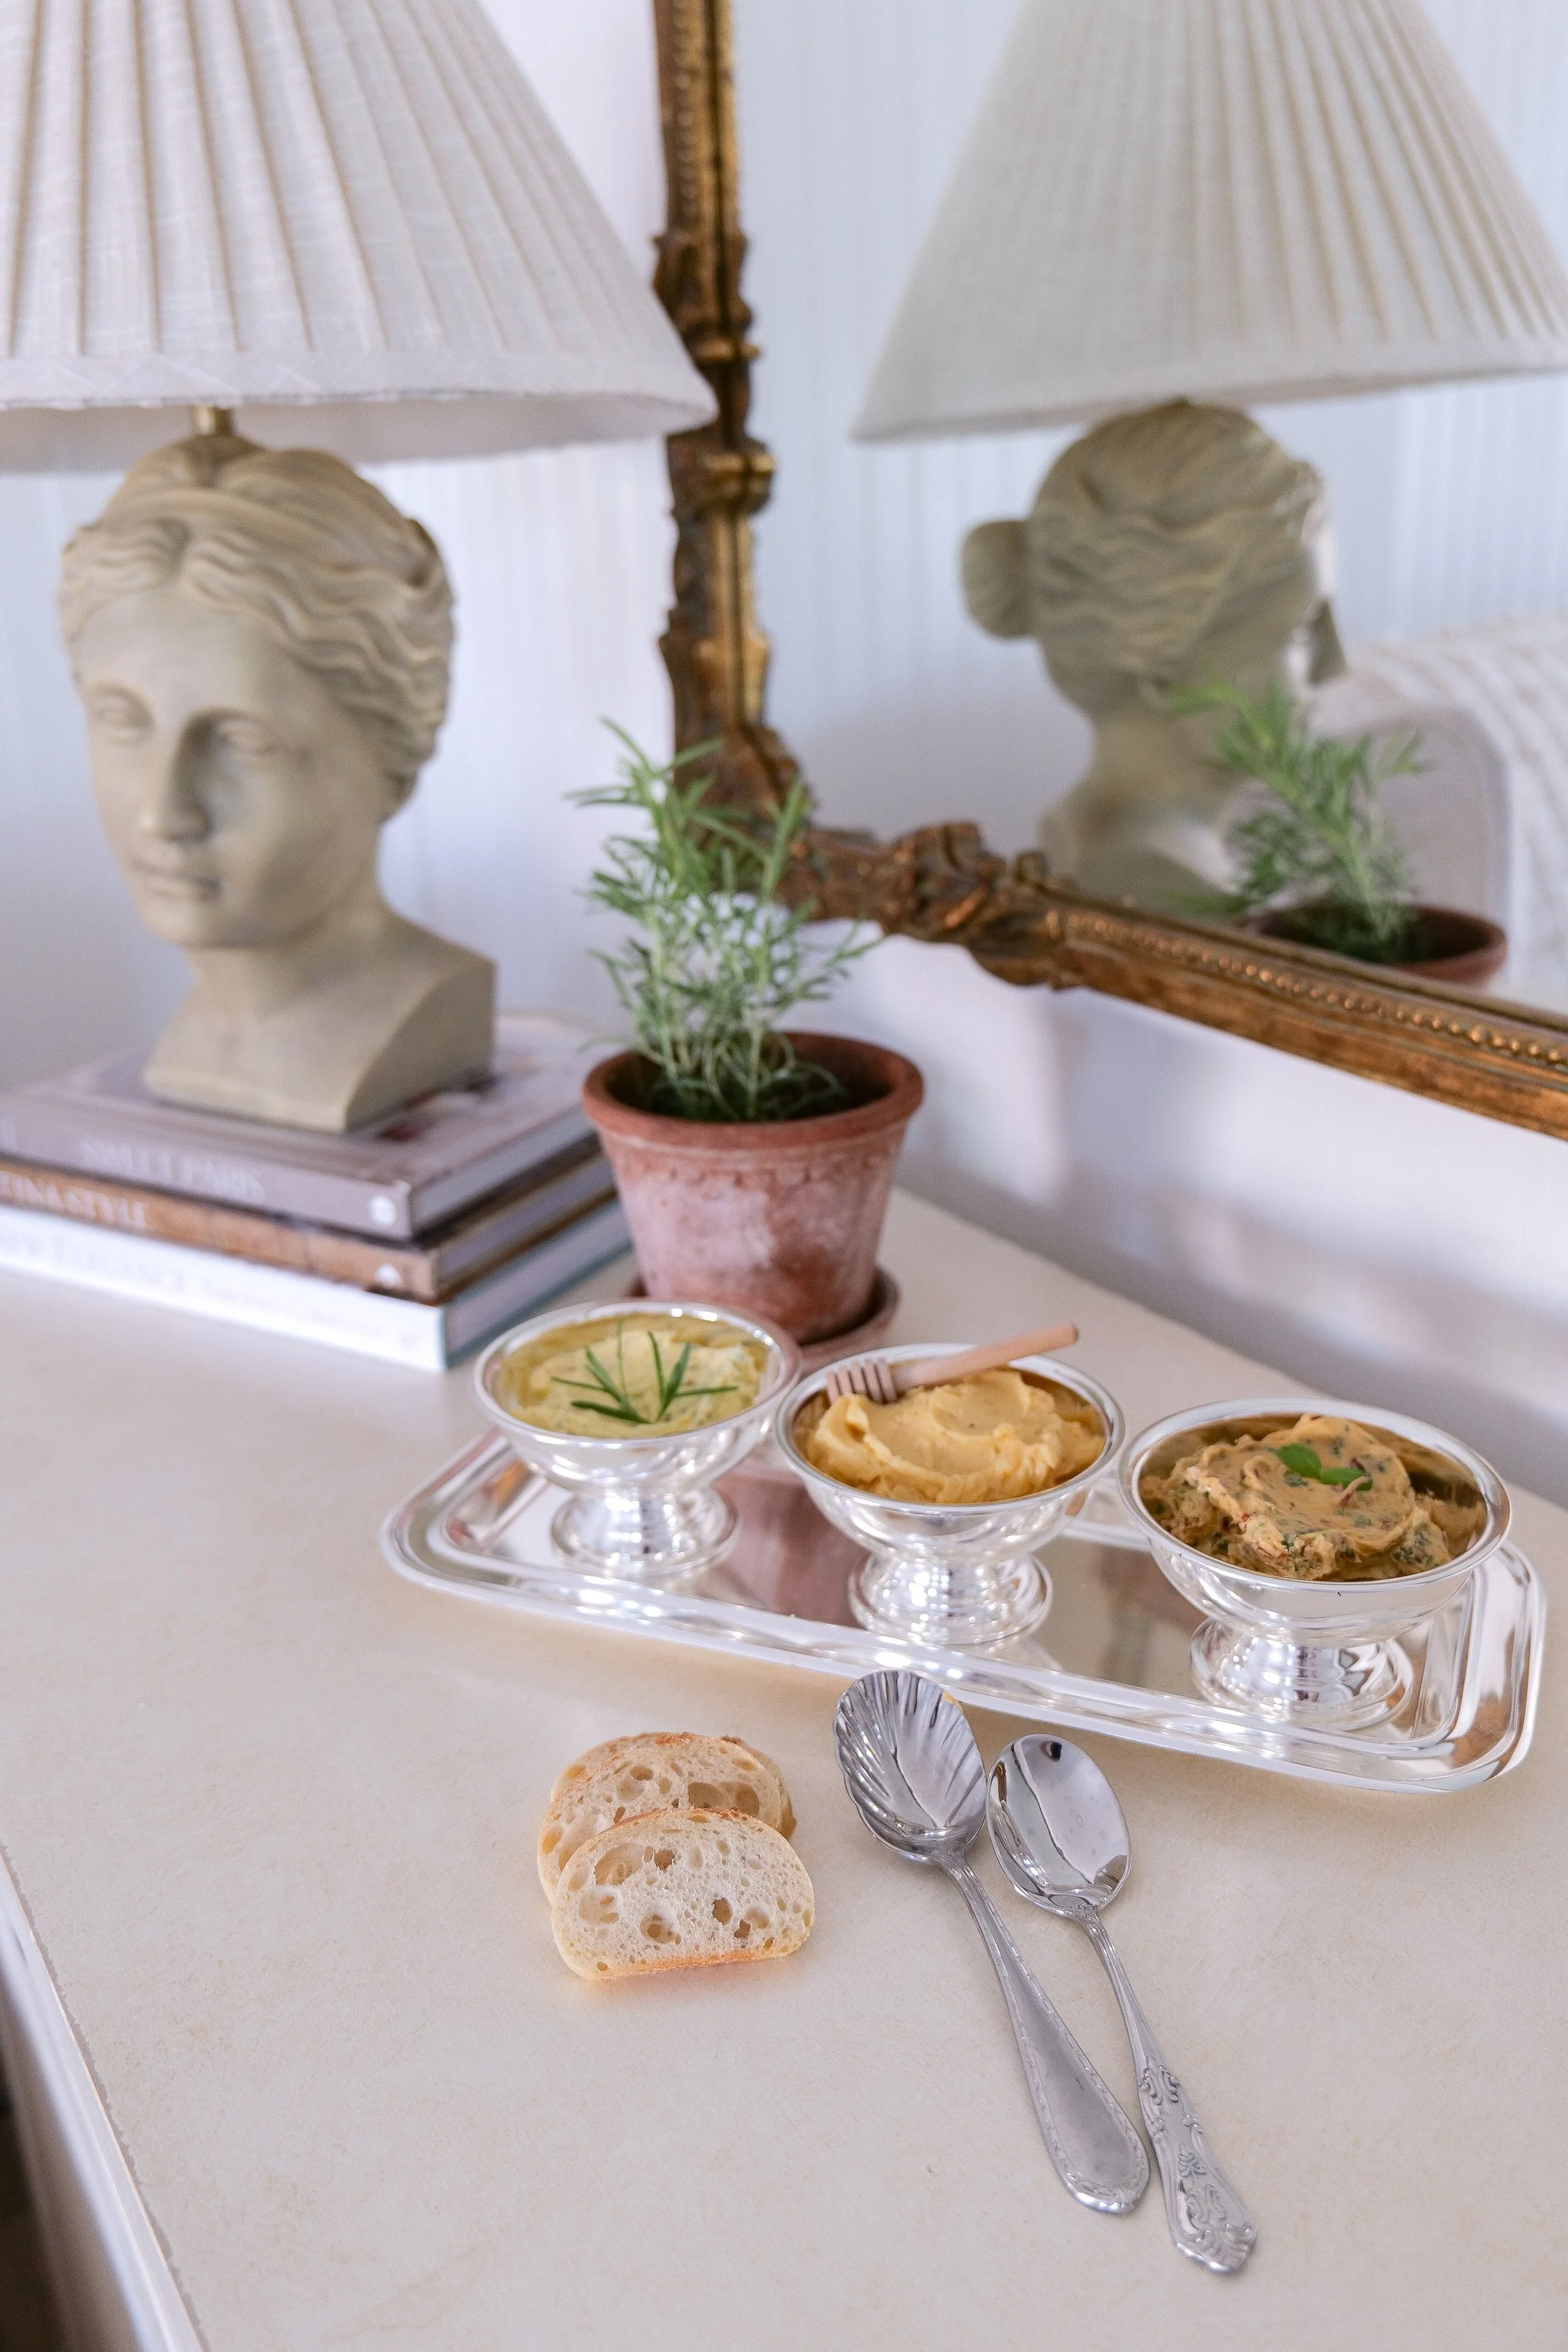
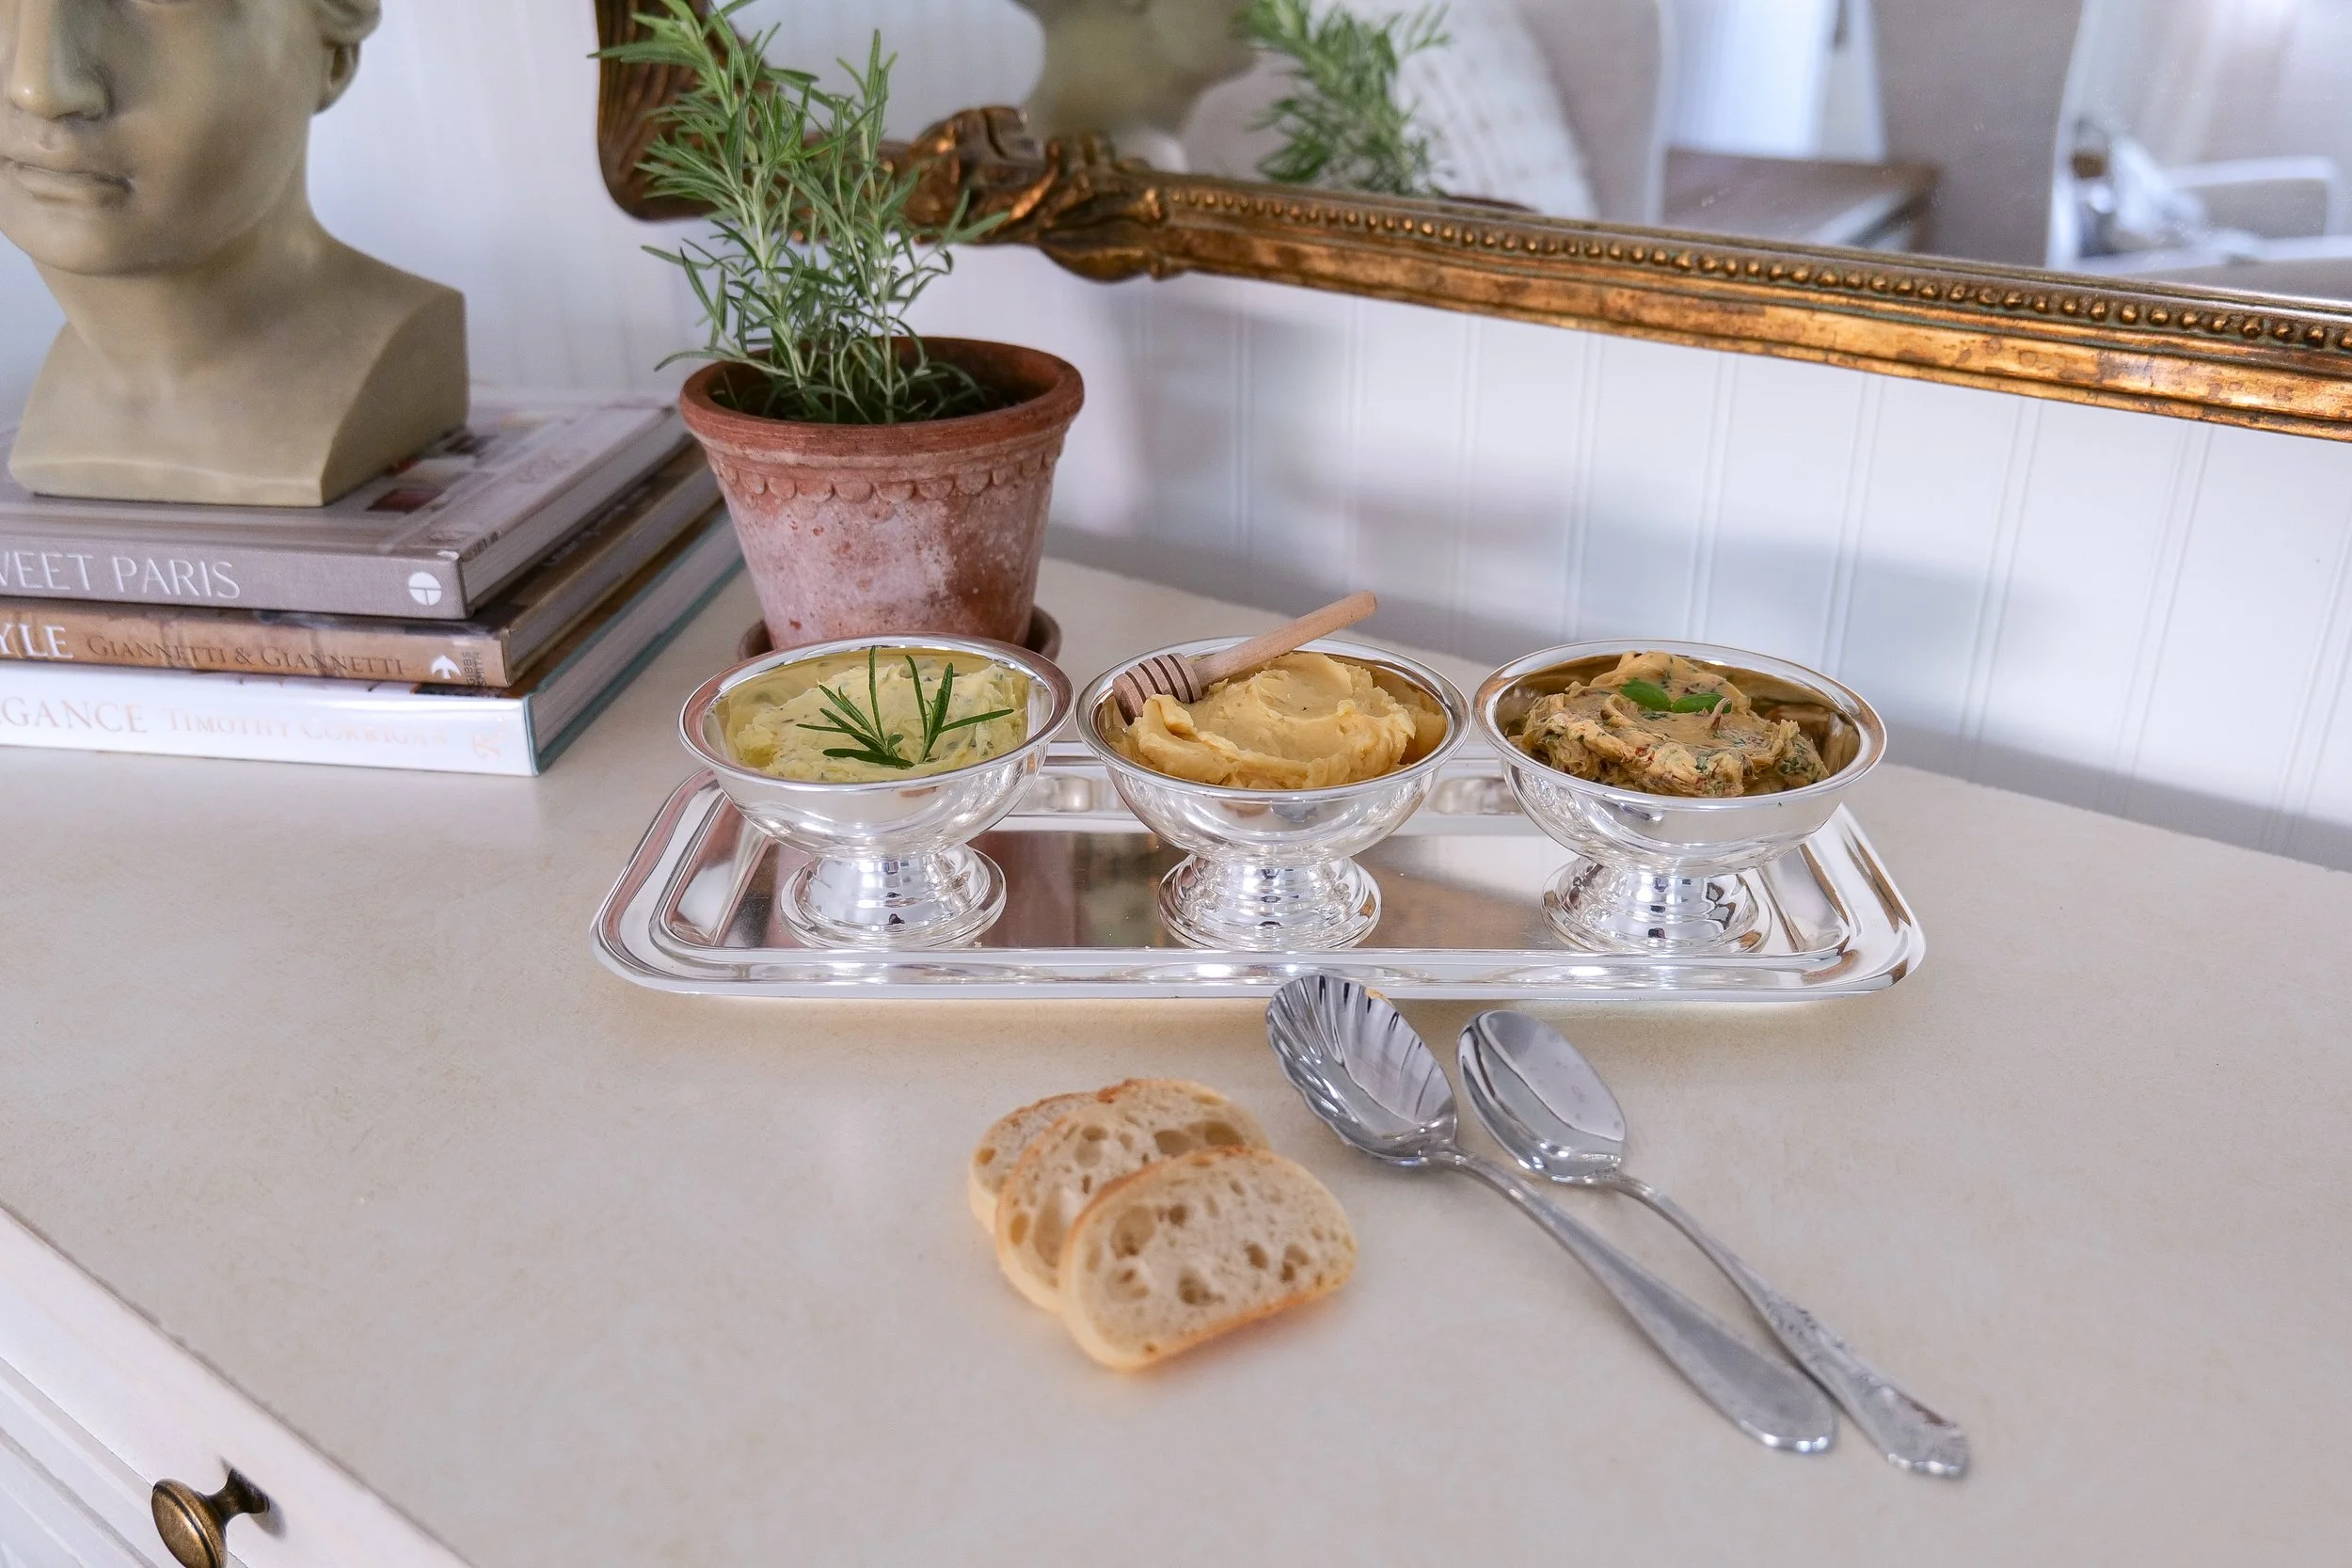
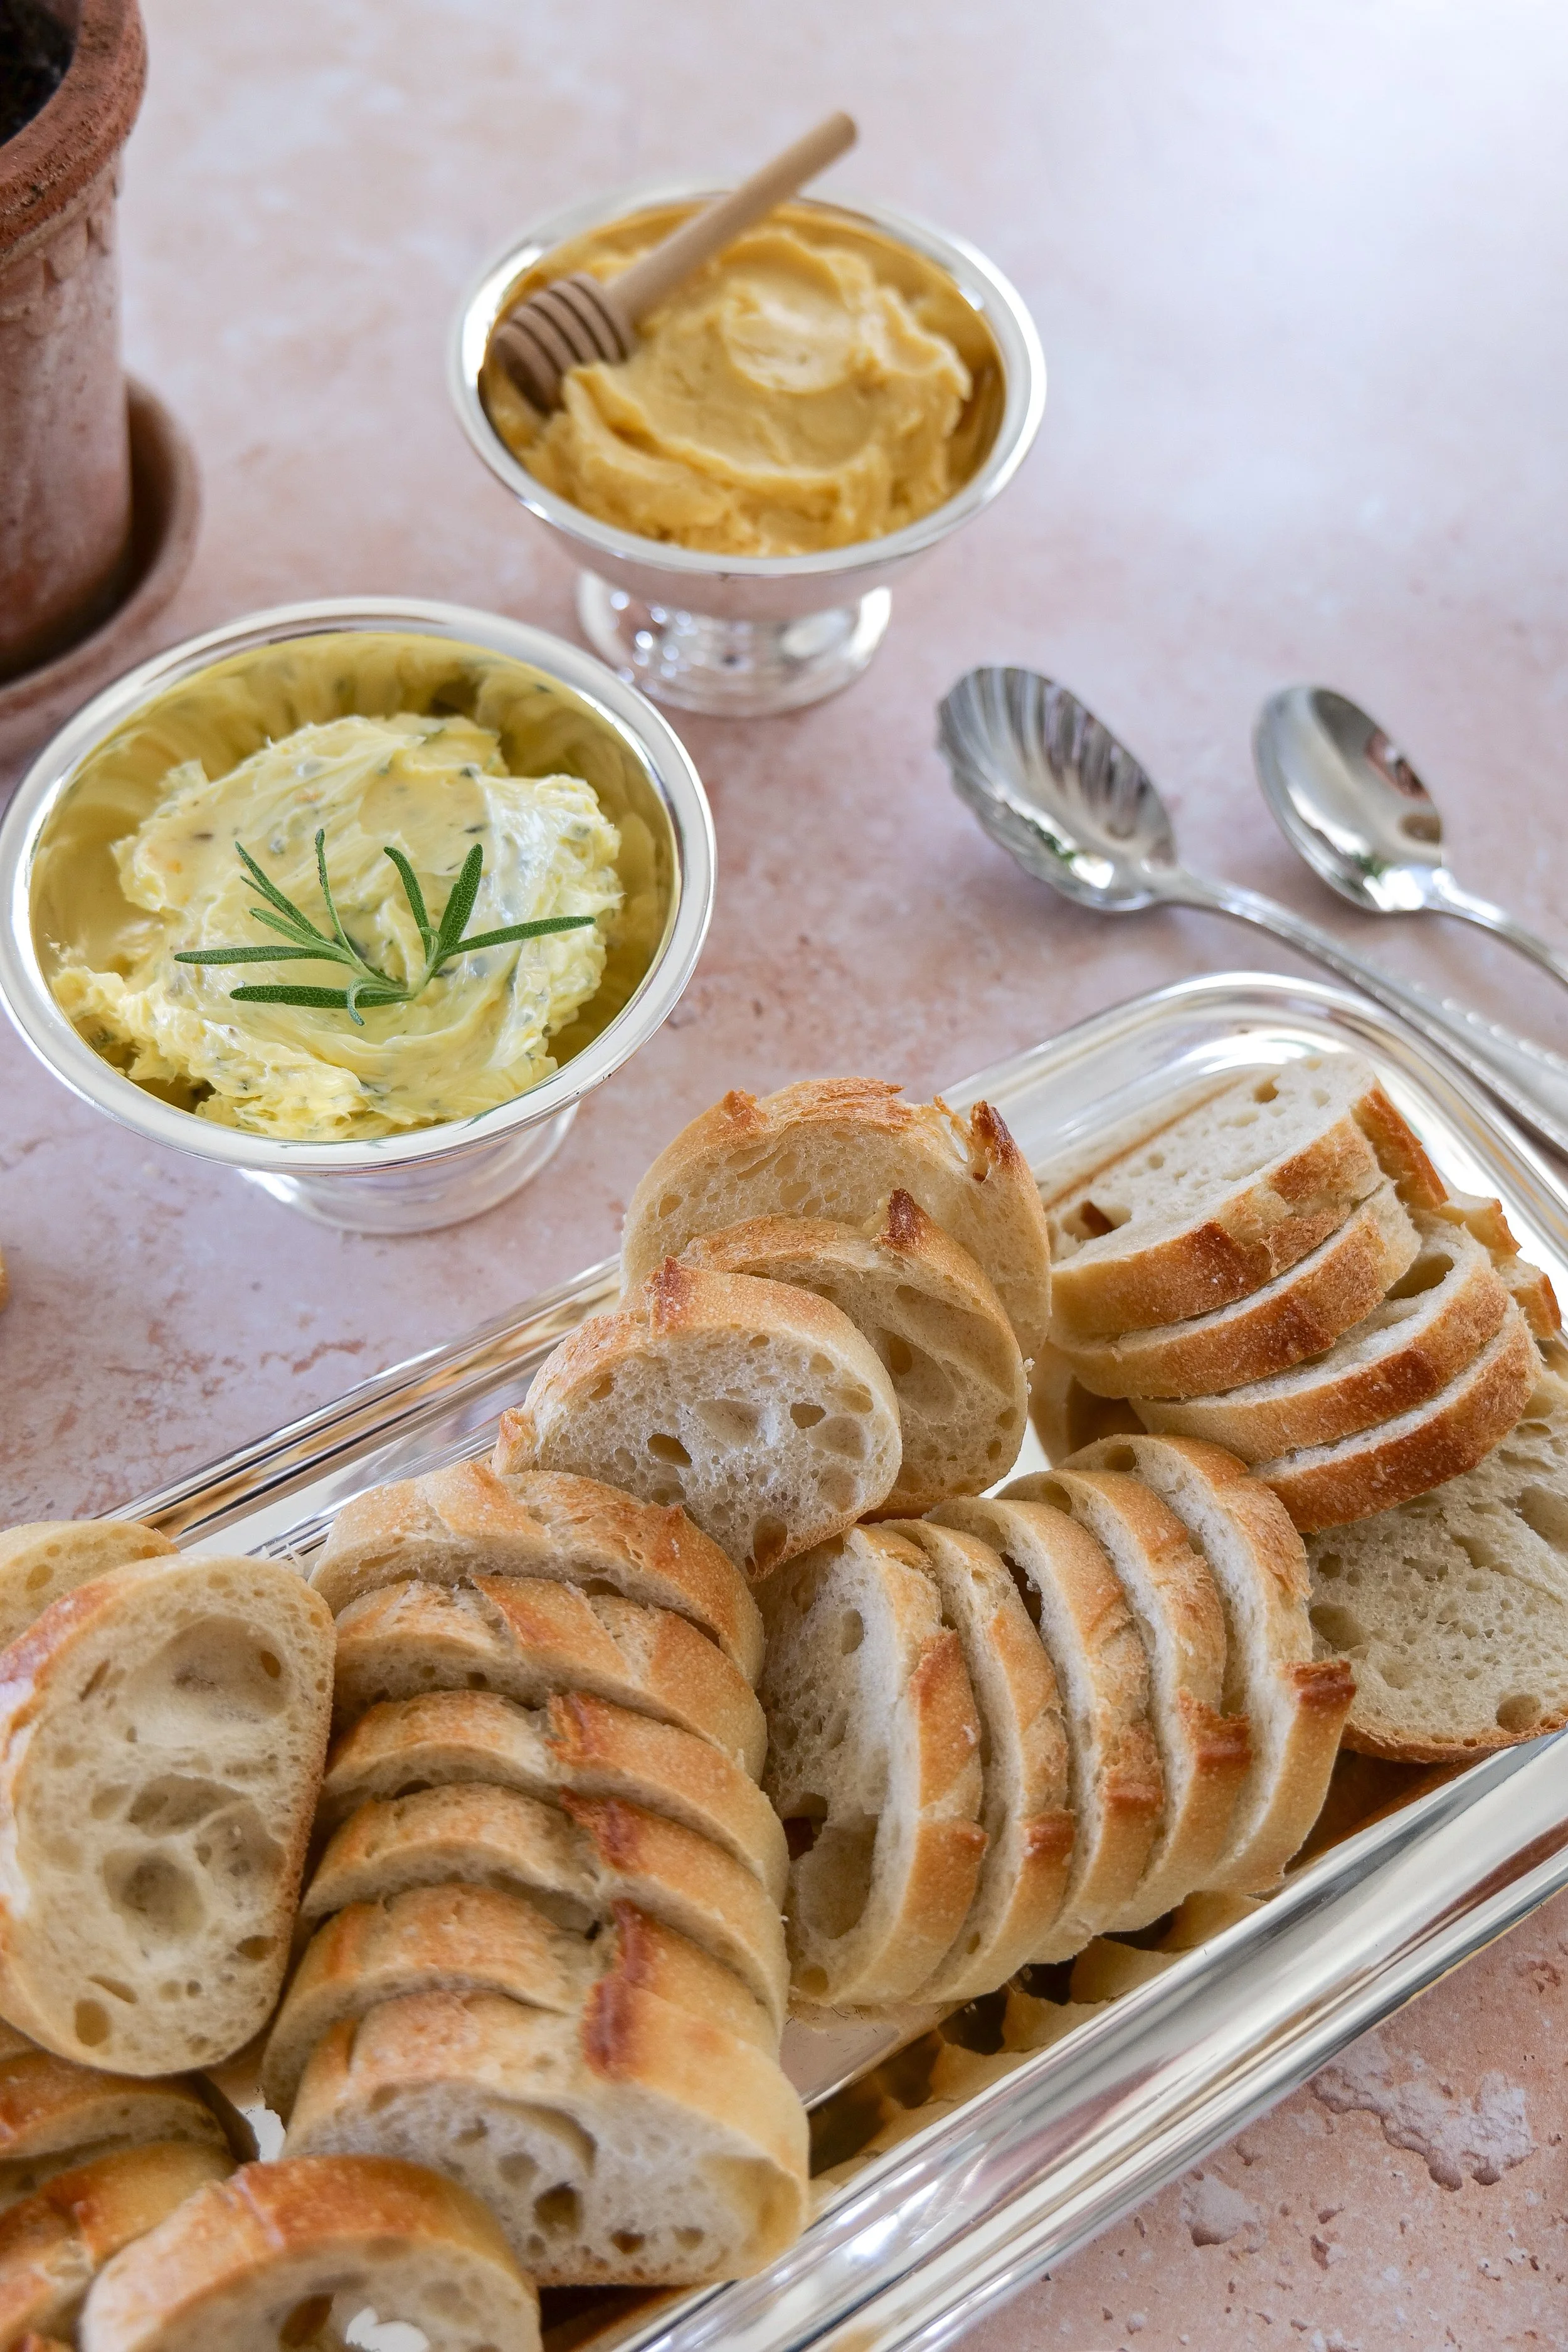
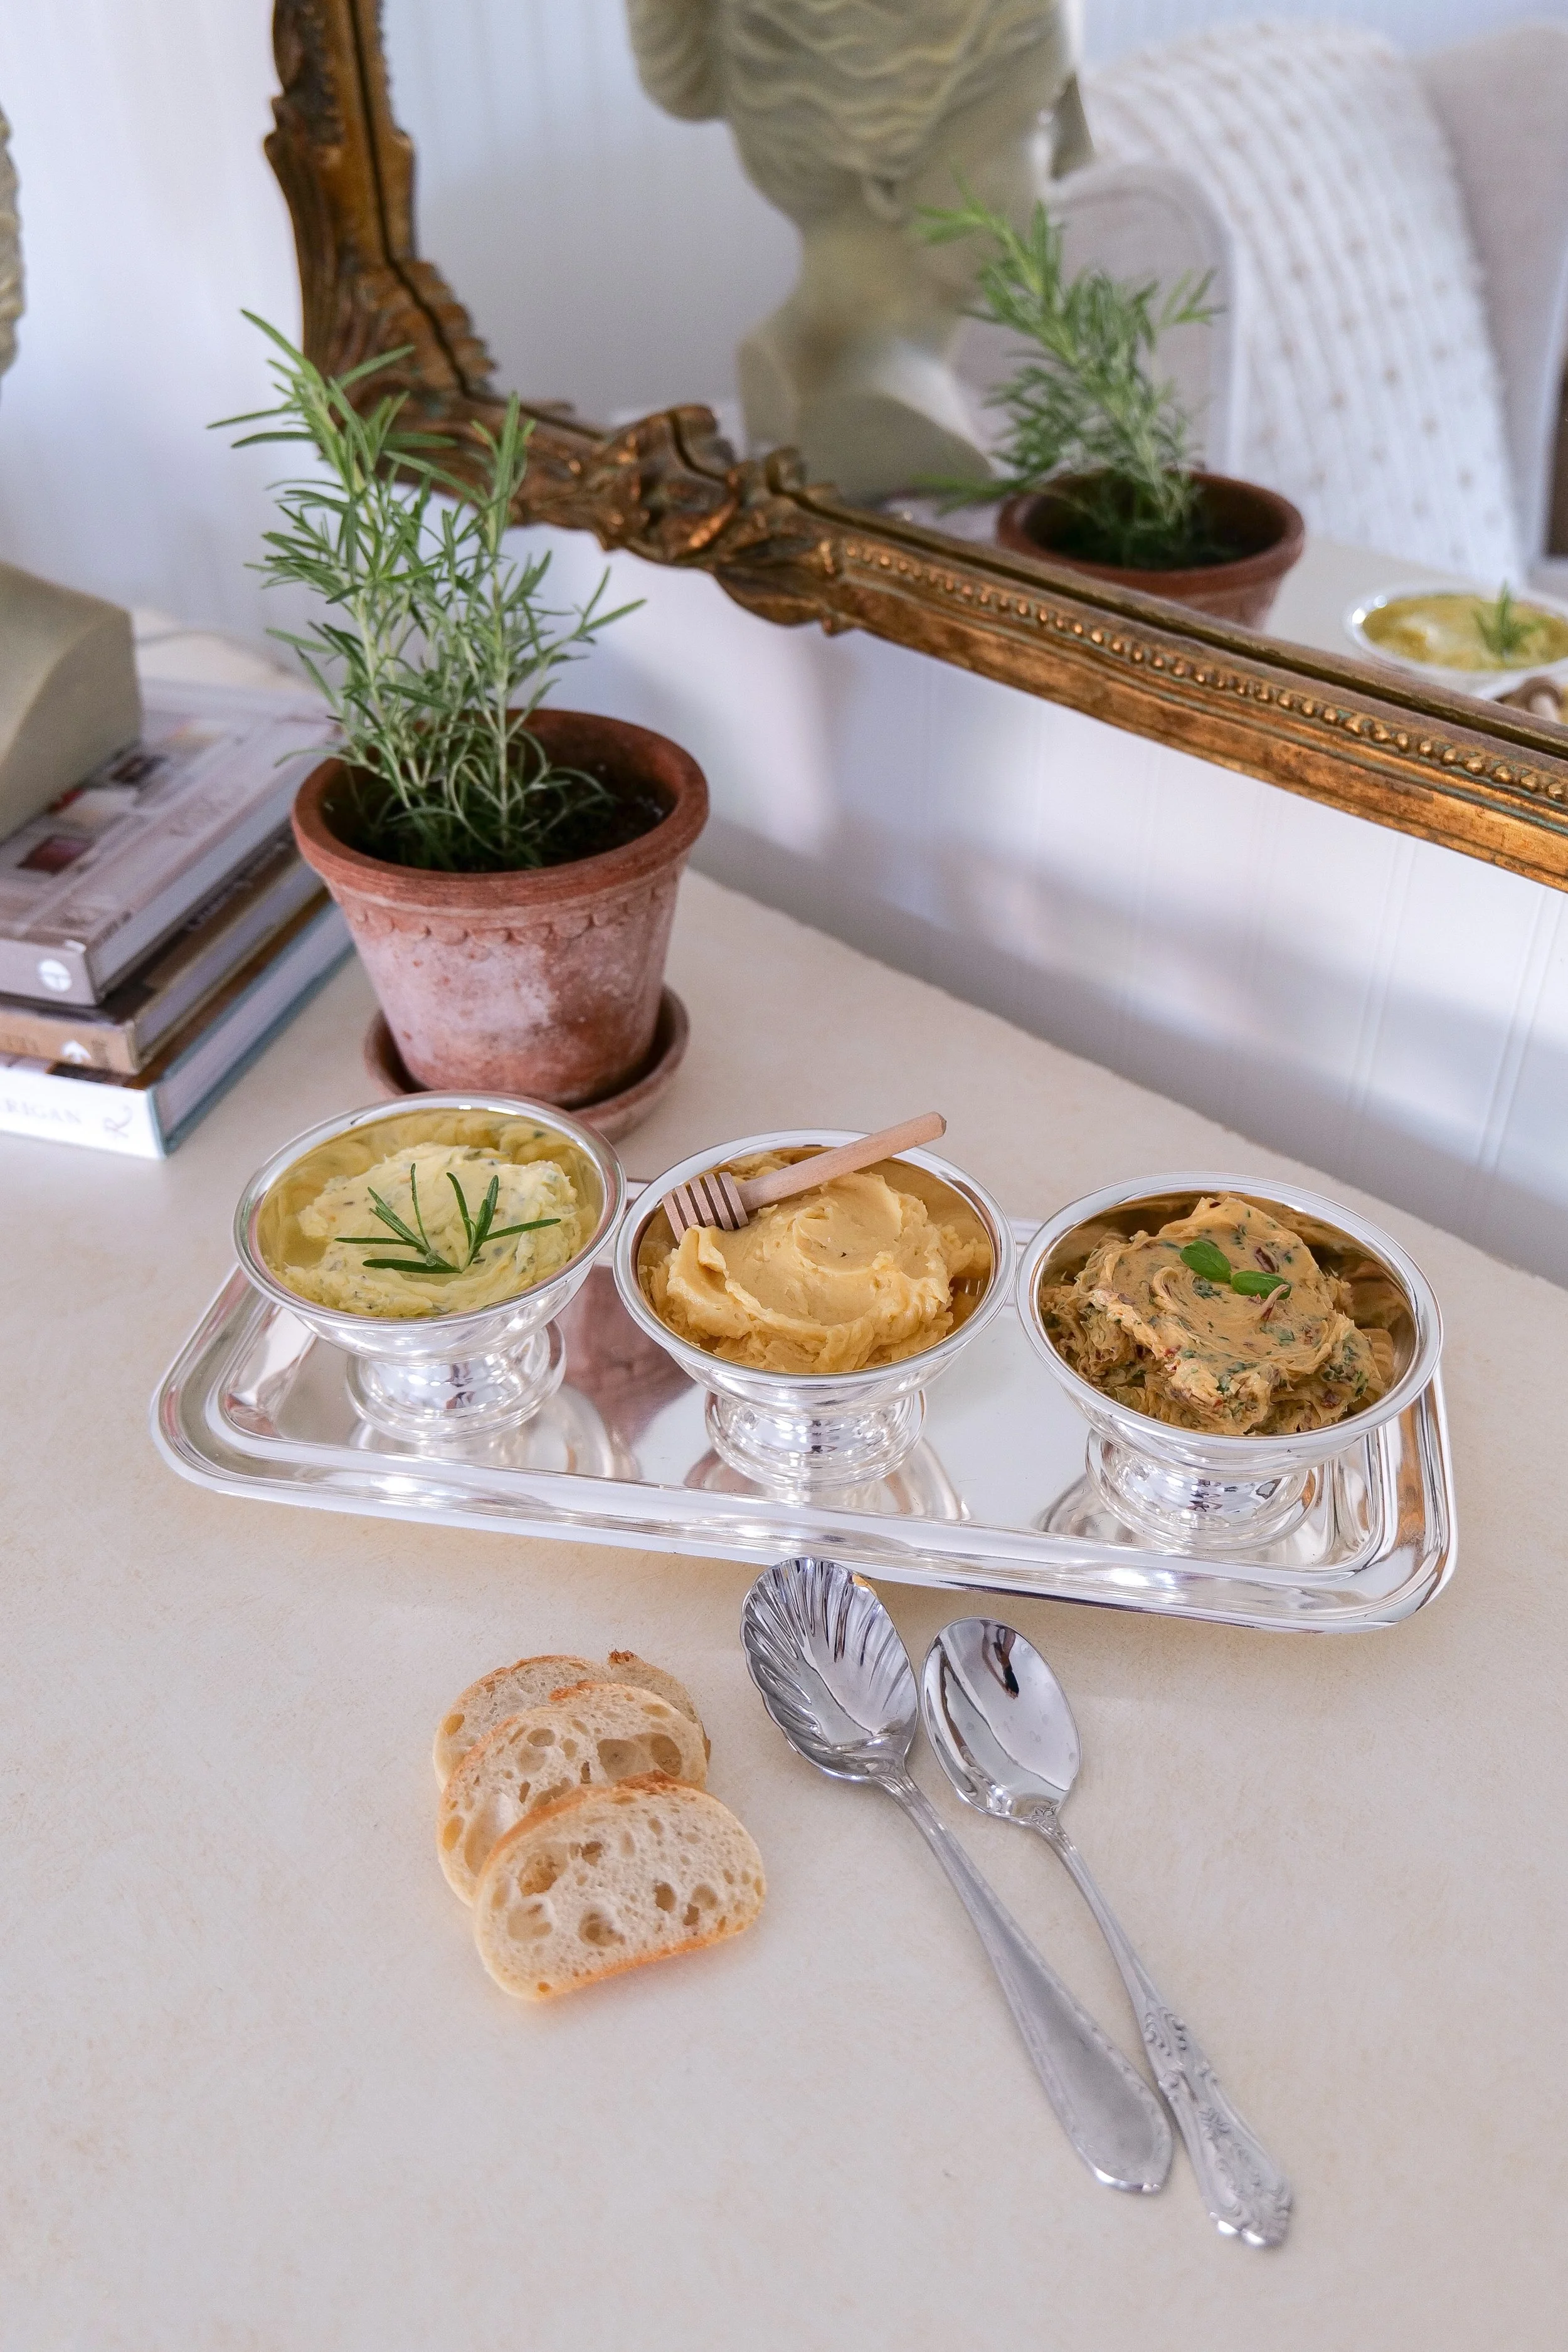
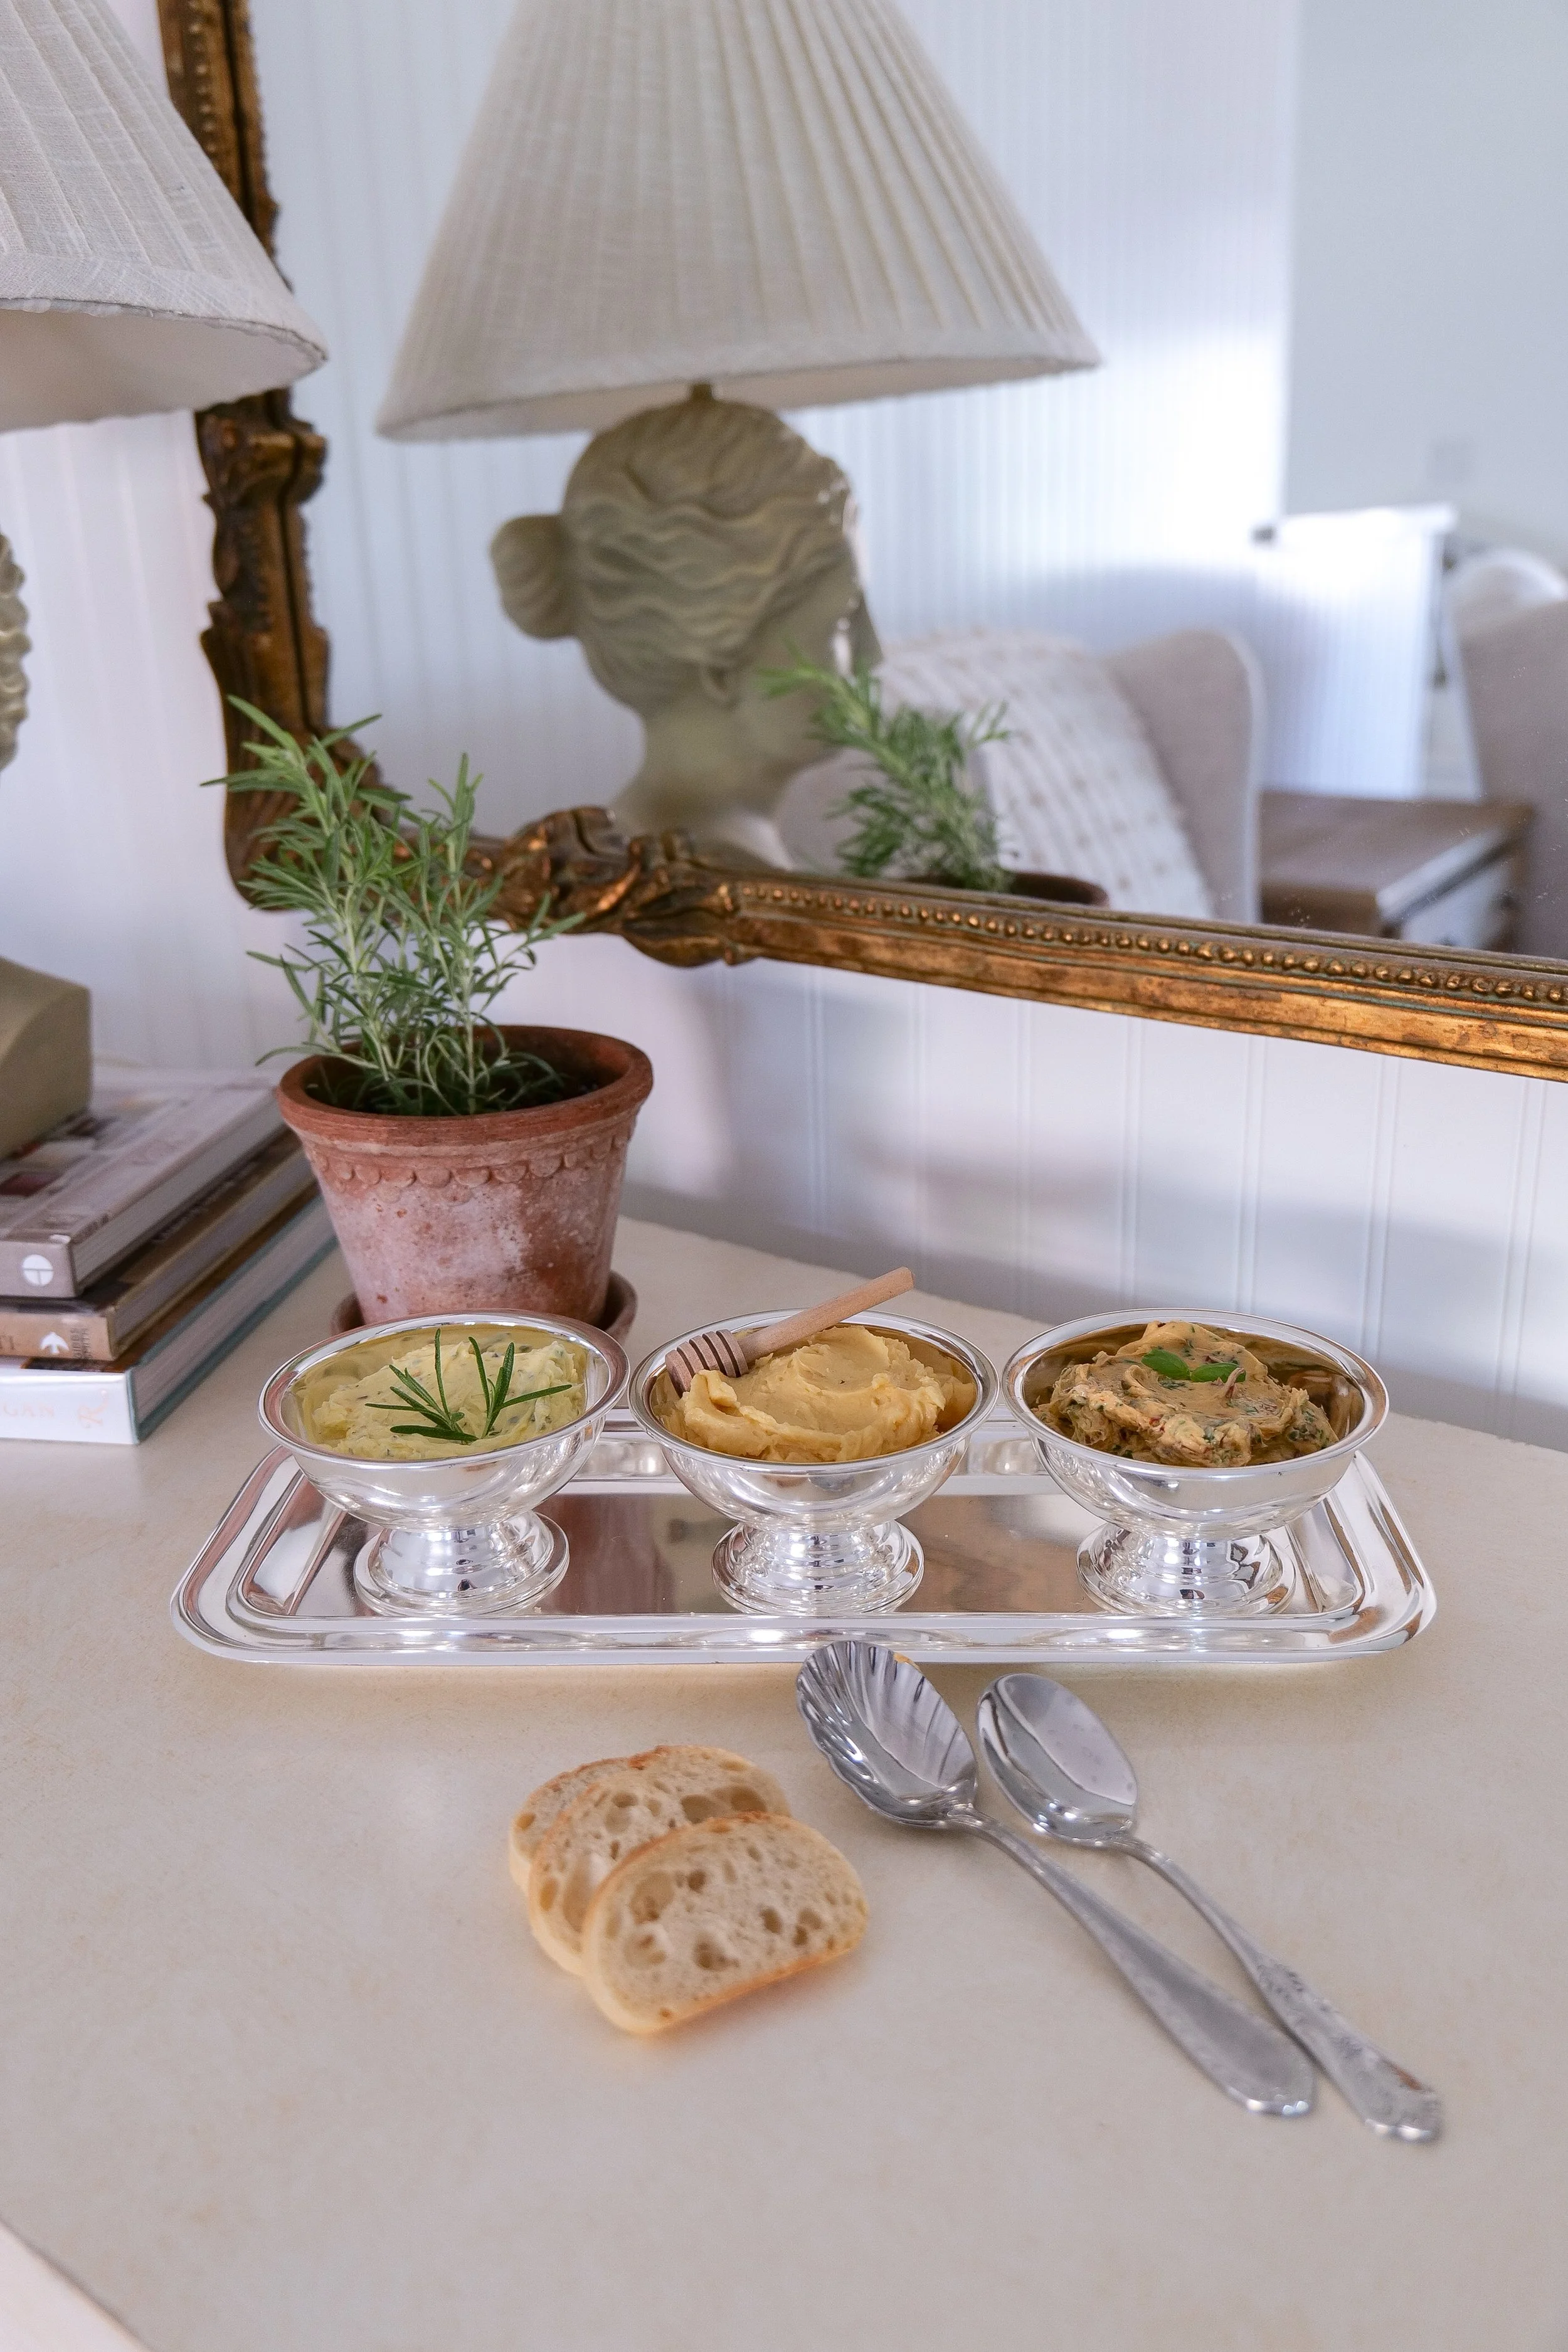
Three flavored compound butter varieties served in a metal cup
Assorted compound butter flavors in a small metal serving cup
Trio of flavored butter including herb, honey, and lemon in metal cup
Three types of compound butter presented in a metal cup
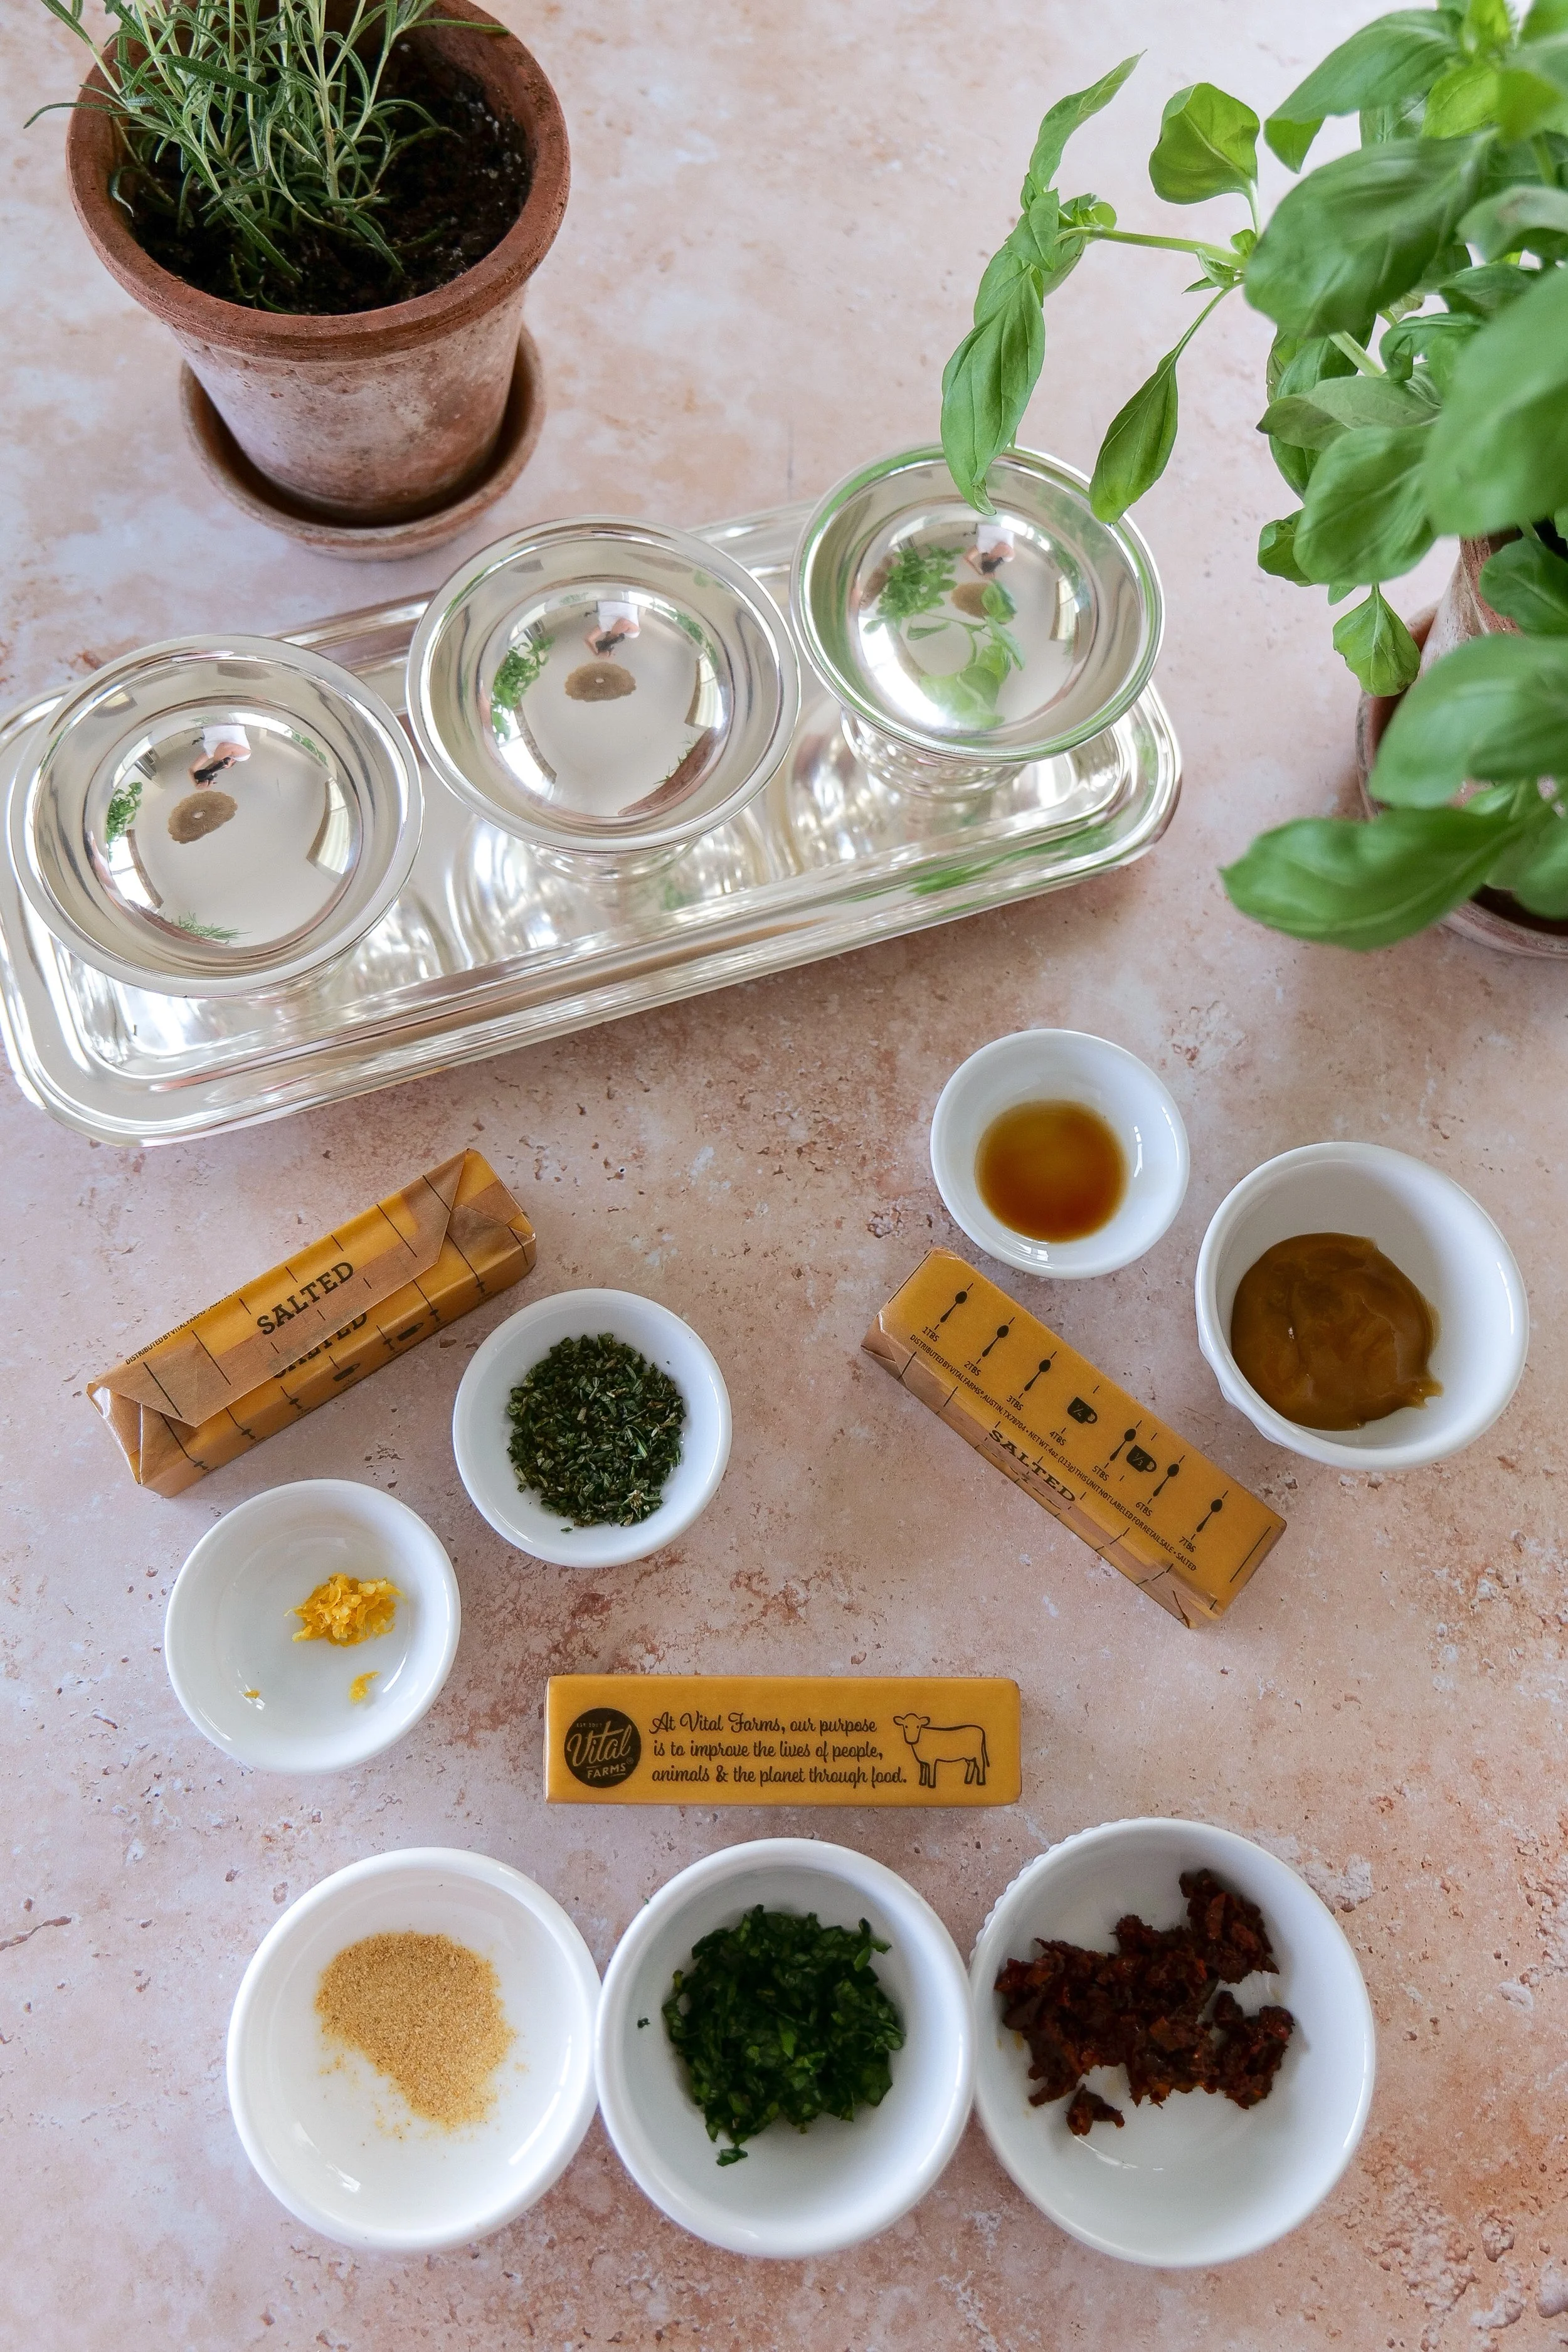
compound butter flight ingredients with Italian herb butter, lemon rosemary butter, and honey butter
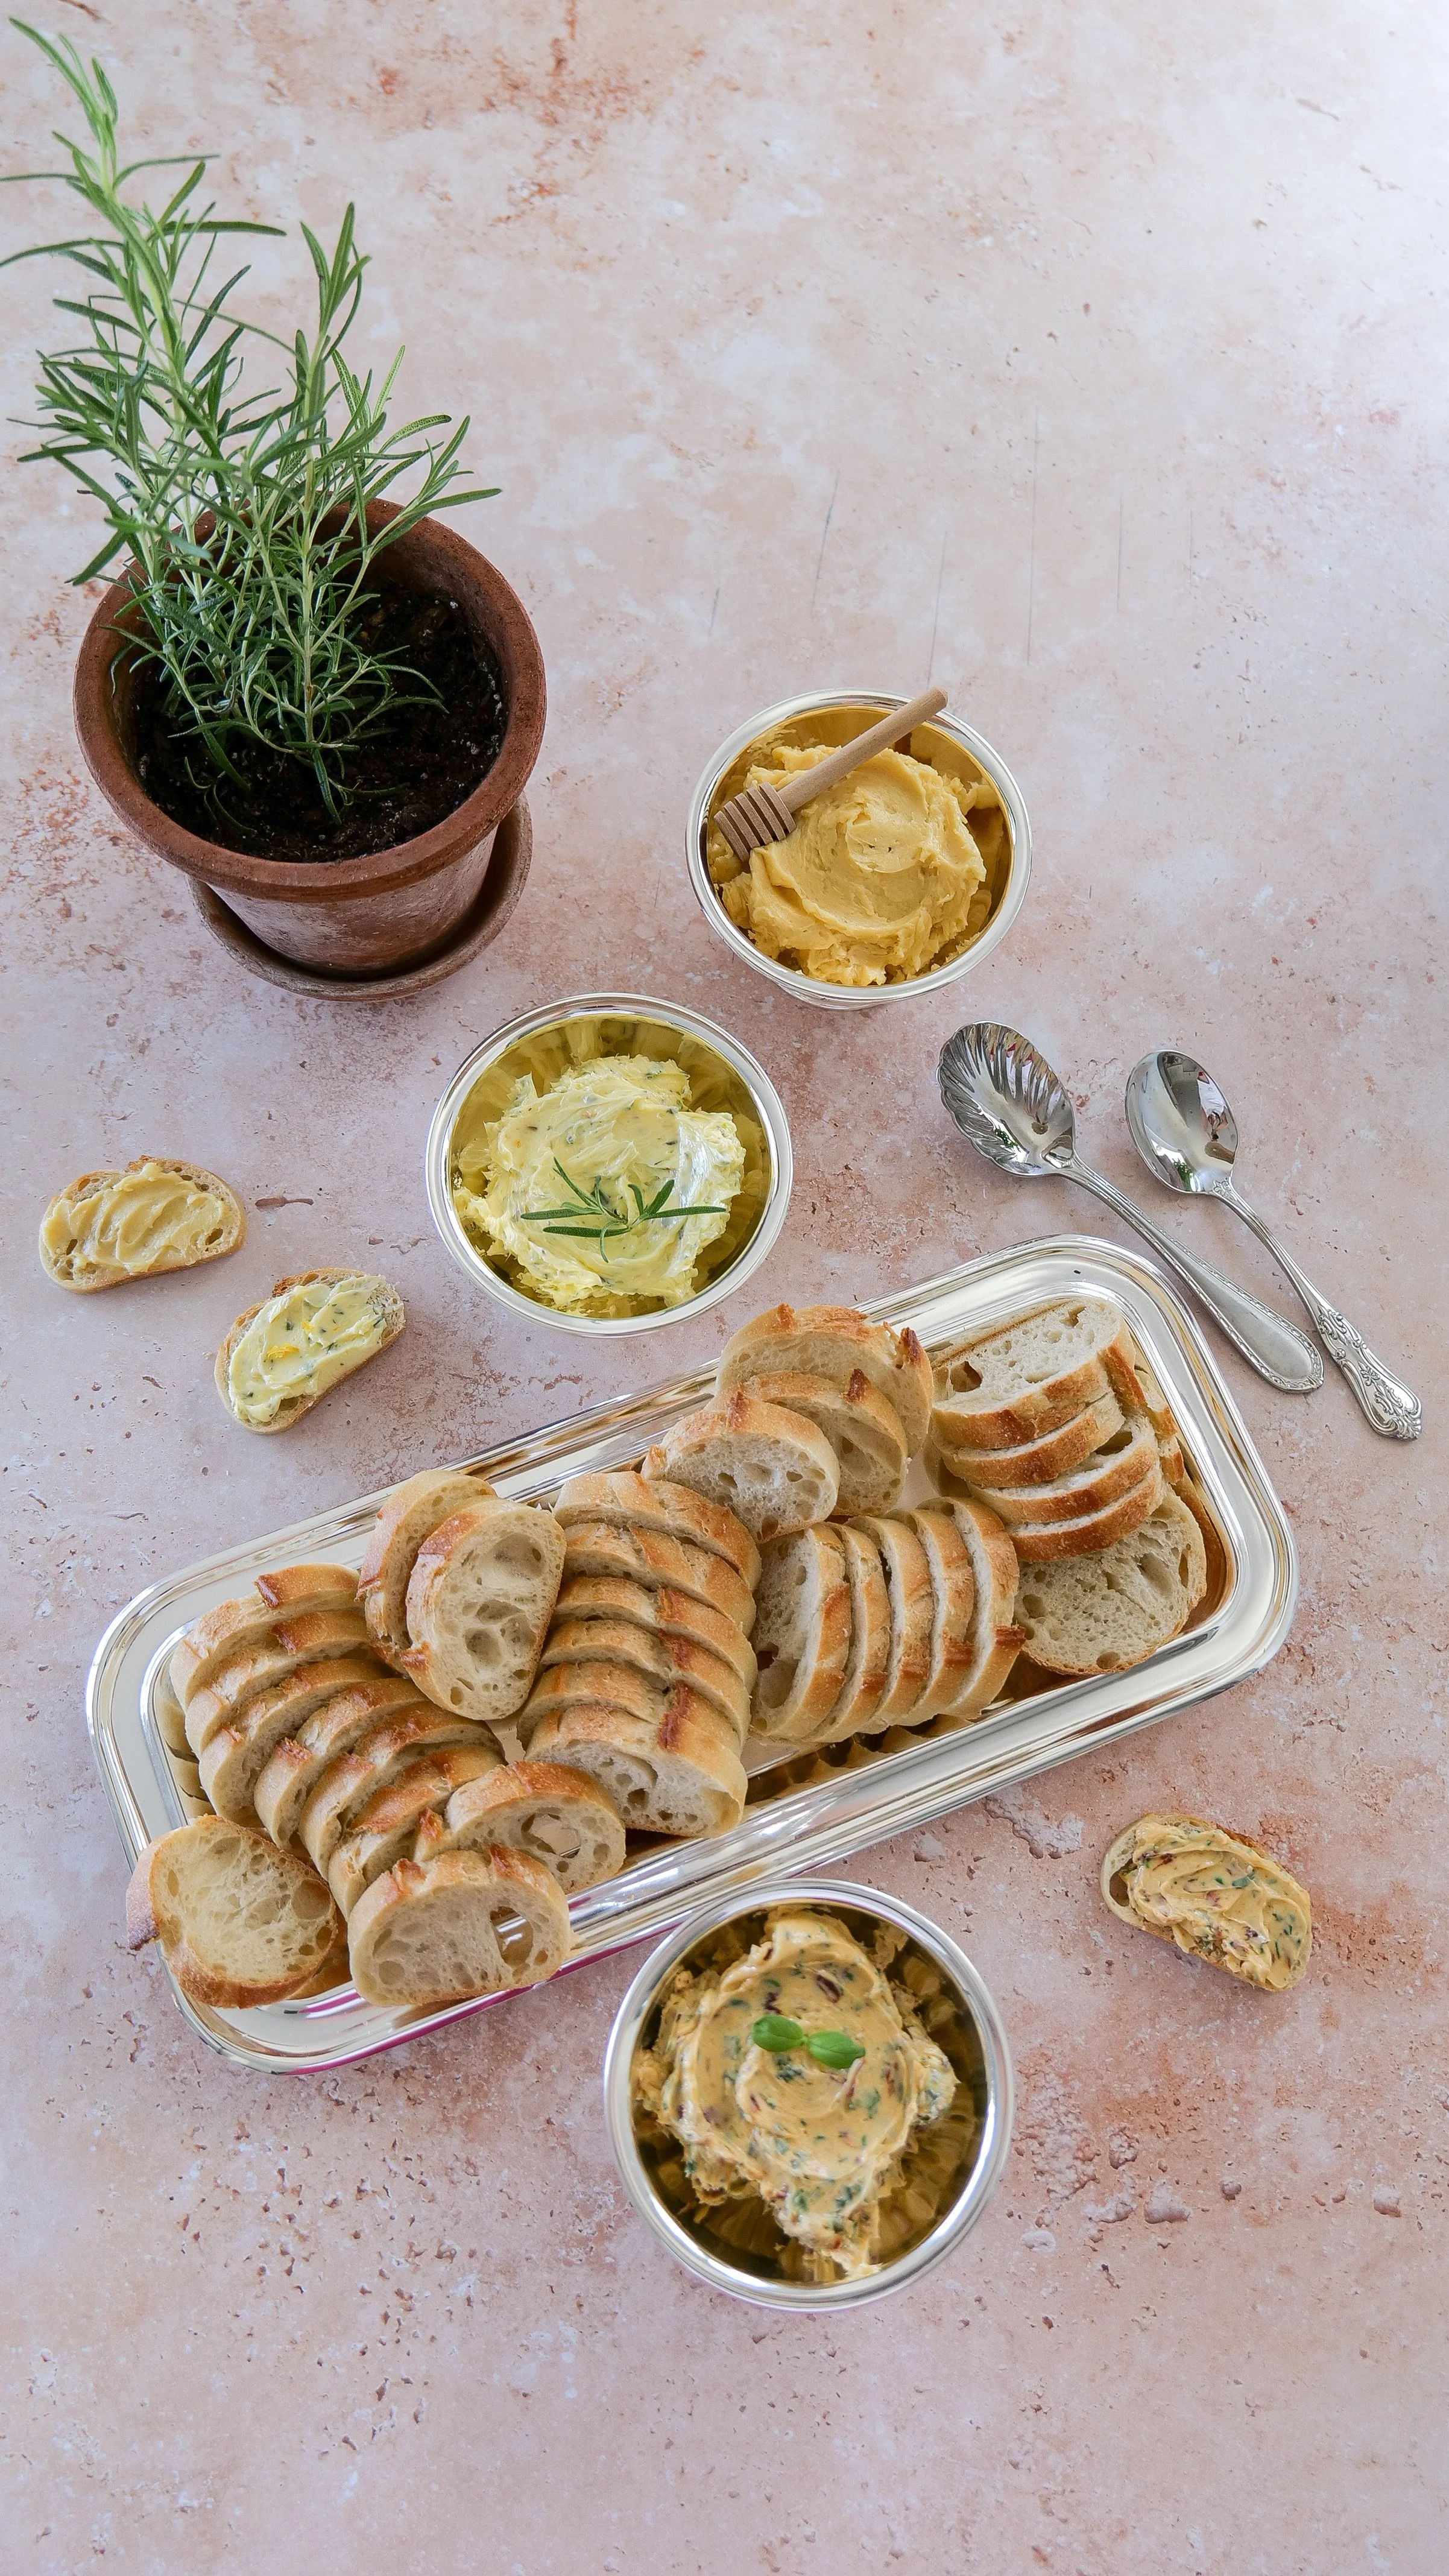
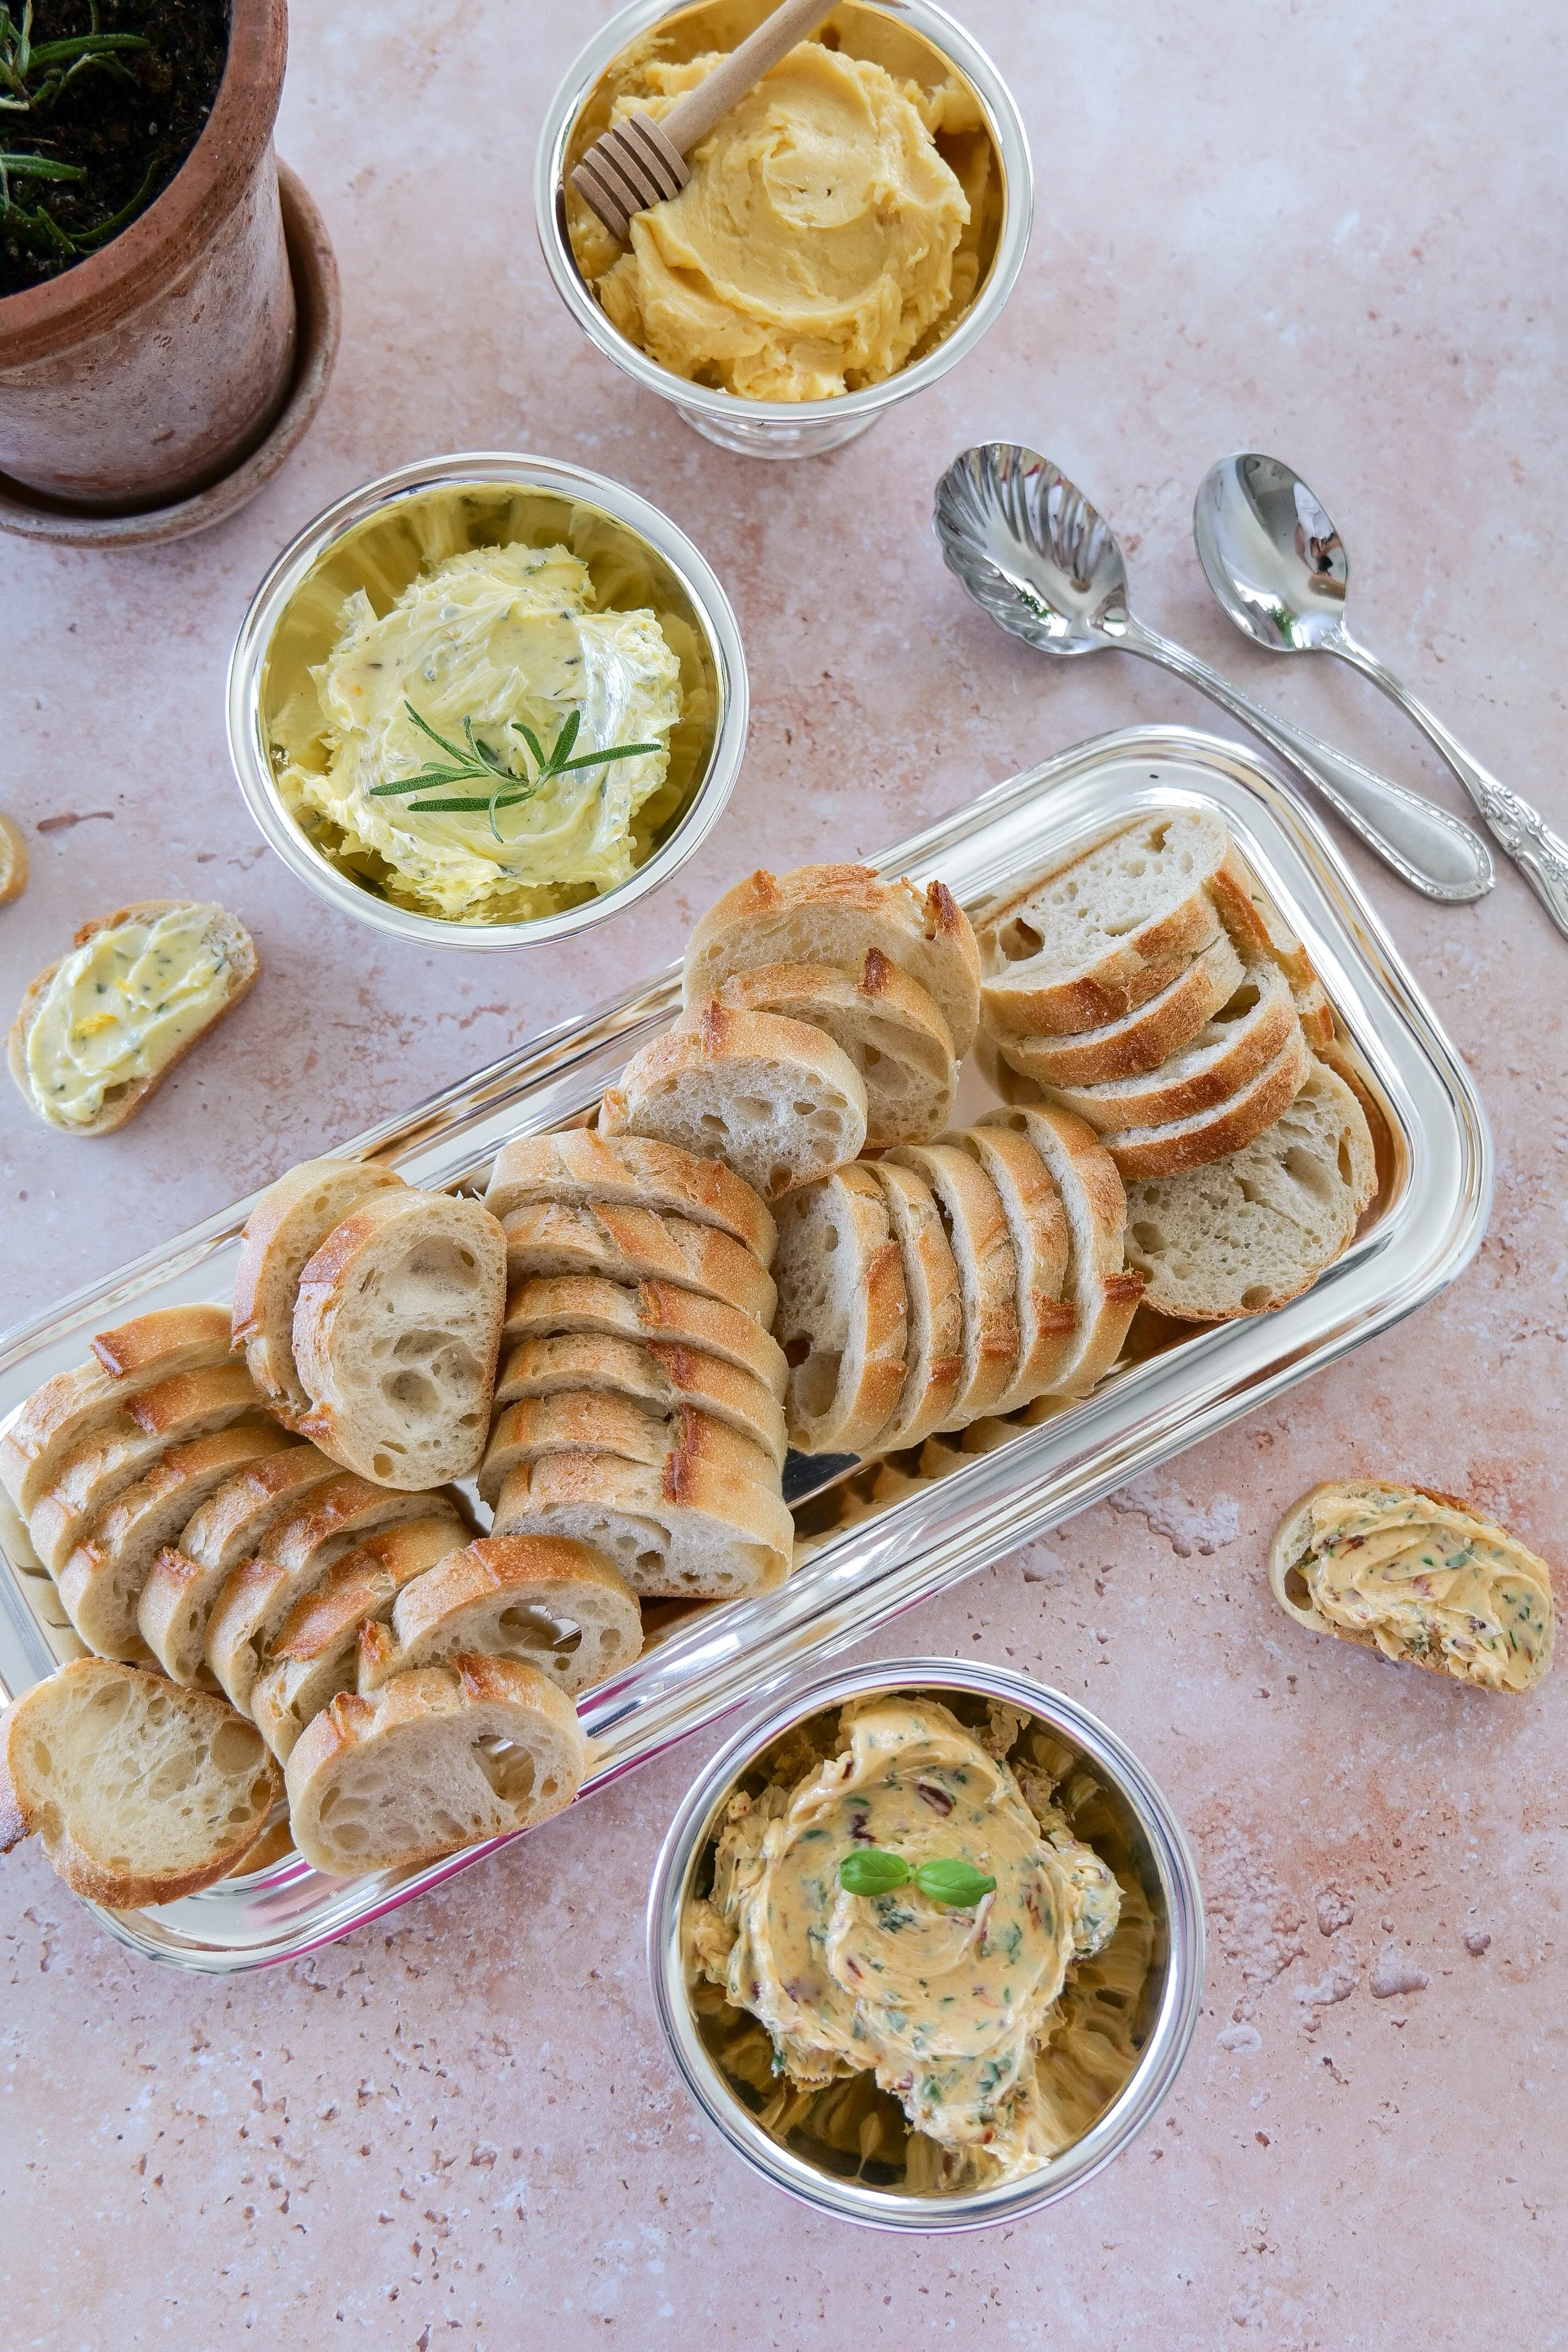
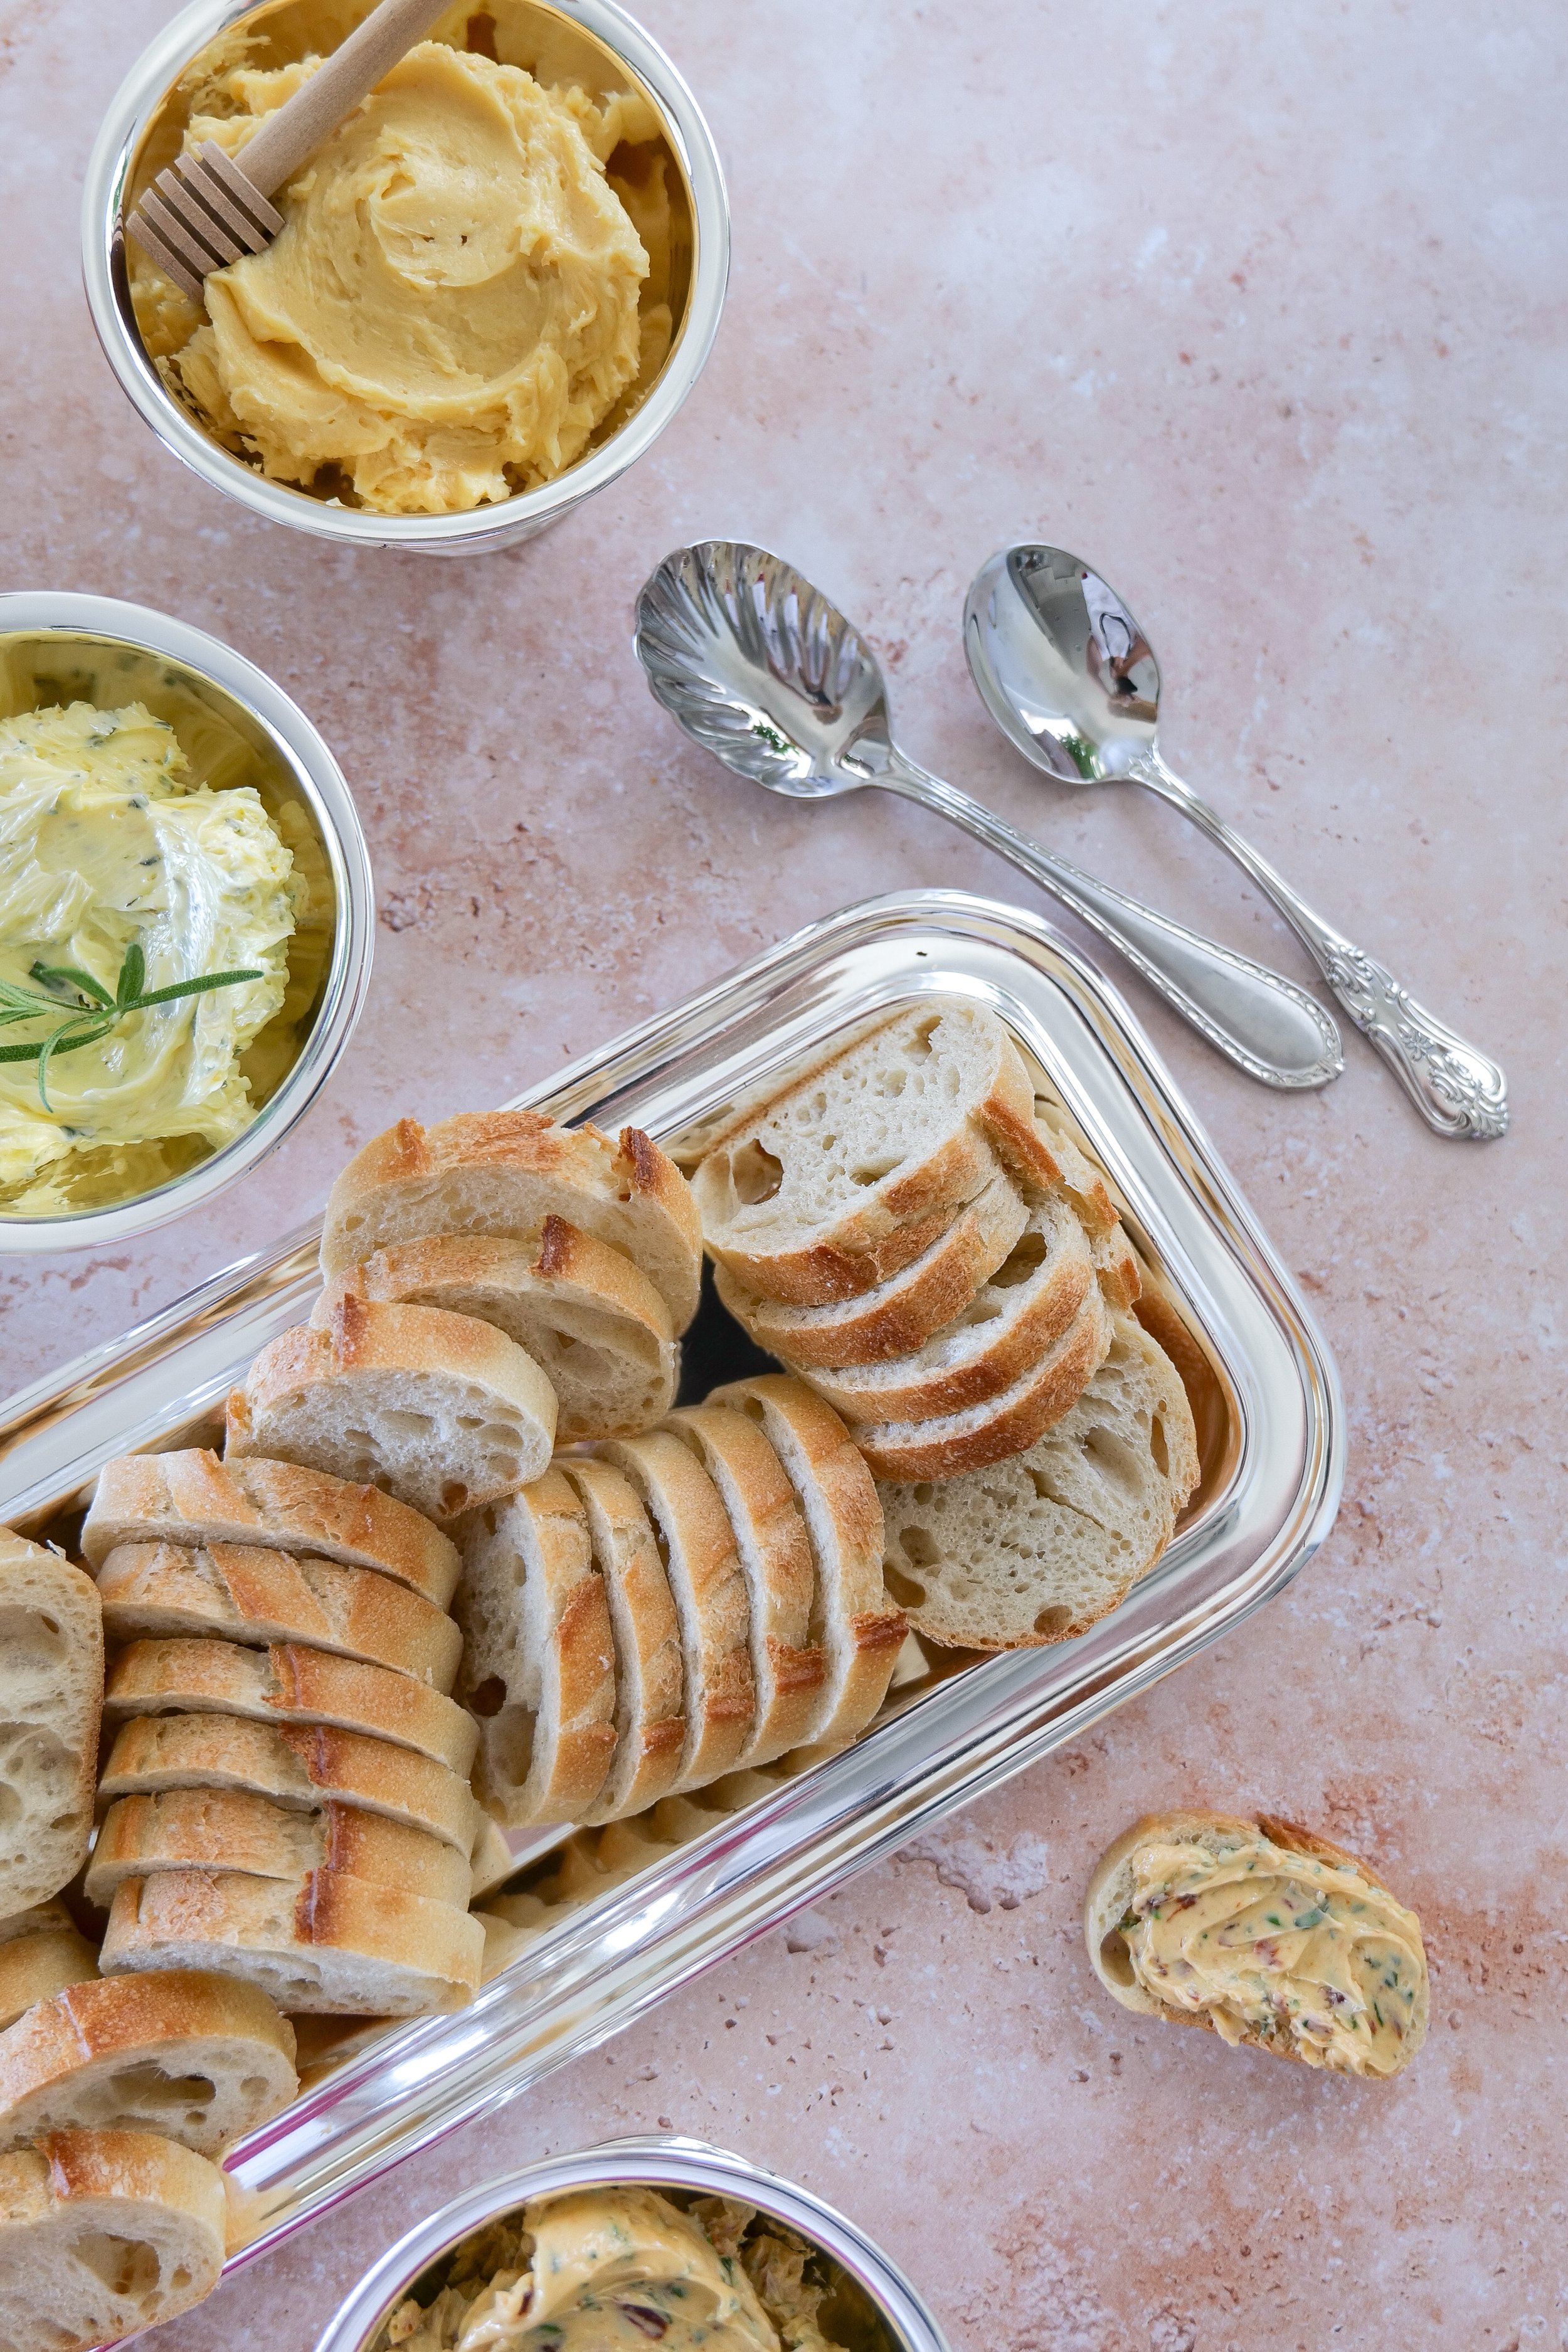
Three compound butter flavors in a metal cup with toasted baguette slices

Why This Compound Butter Recipe Works

  • Quick (under 10 minutes active time)

  • Customizable sweet and savory flavors

  • Perfect for entertaining and brunch boards

  • Made with simple pantry ingredients

  • Ideal for butter boards, holiday spreads, and gifting

What to Serve with a Compound Butter Flight

A compound butter flight pairs beautifully with:

  • Warm sourdough bread

  • Toasted baguette slices

  • Fresh croissants

  • Homemade biscuits

  • Roasted vegetables

  • Grilled steak

  • Roast chicken

  • Corn on the cob

  • Baked potatoes

  • Charcuterie boards

One of the reasons compound butter has become so popular is its versatility. It can elevate everything from a simple loaf of bread to a full dinner spread. Compound butter is frequently served on butter boards, grazing tables, and entertaining spreads because it adds flavor with very little effort.

Base Compound Butter (Master Recipe)

This base compound butter recipe is the foundation for all flavored butter variations. Once you master this method, you can create endless combinations for sweet or savory uses.

Ingredients

Instructions

  1. Let butter soften at room temperature until easily spreadable (not melted).

  2. Add your chosen flavor ingredients (see variations below).

  3. Whip until light, fluffy, and fully combined.

  4. Spoon into ramekins or shape into a log using parchment paper.

  5. Chill 15–30 minutes until set before serving.

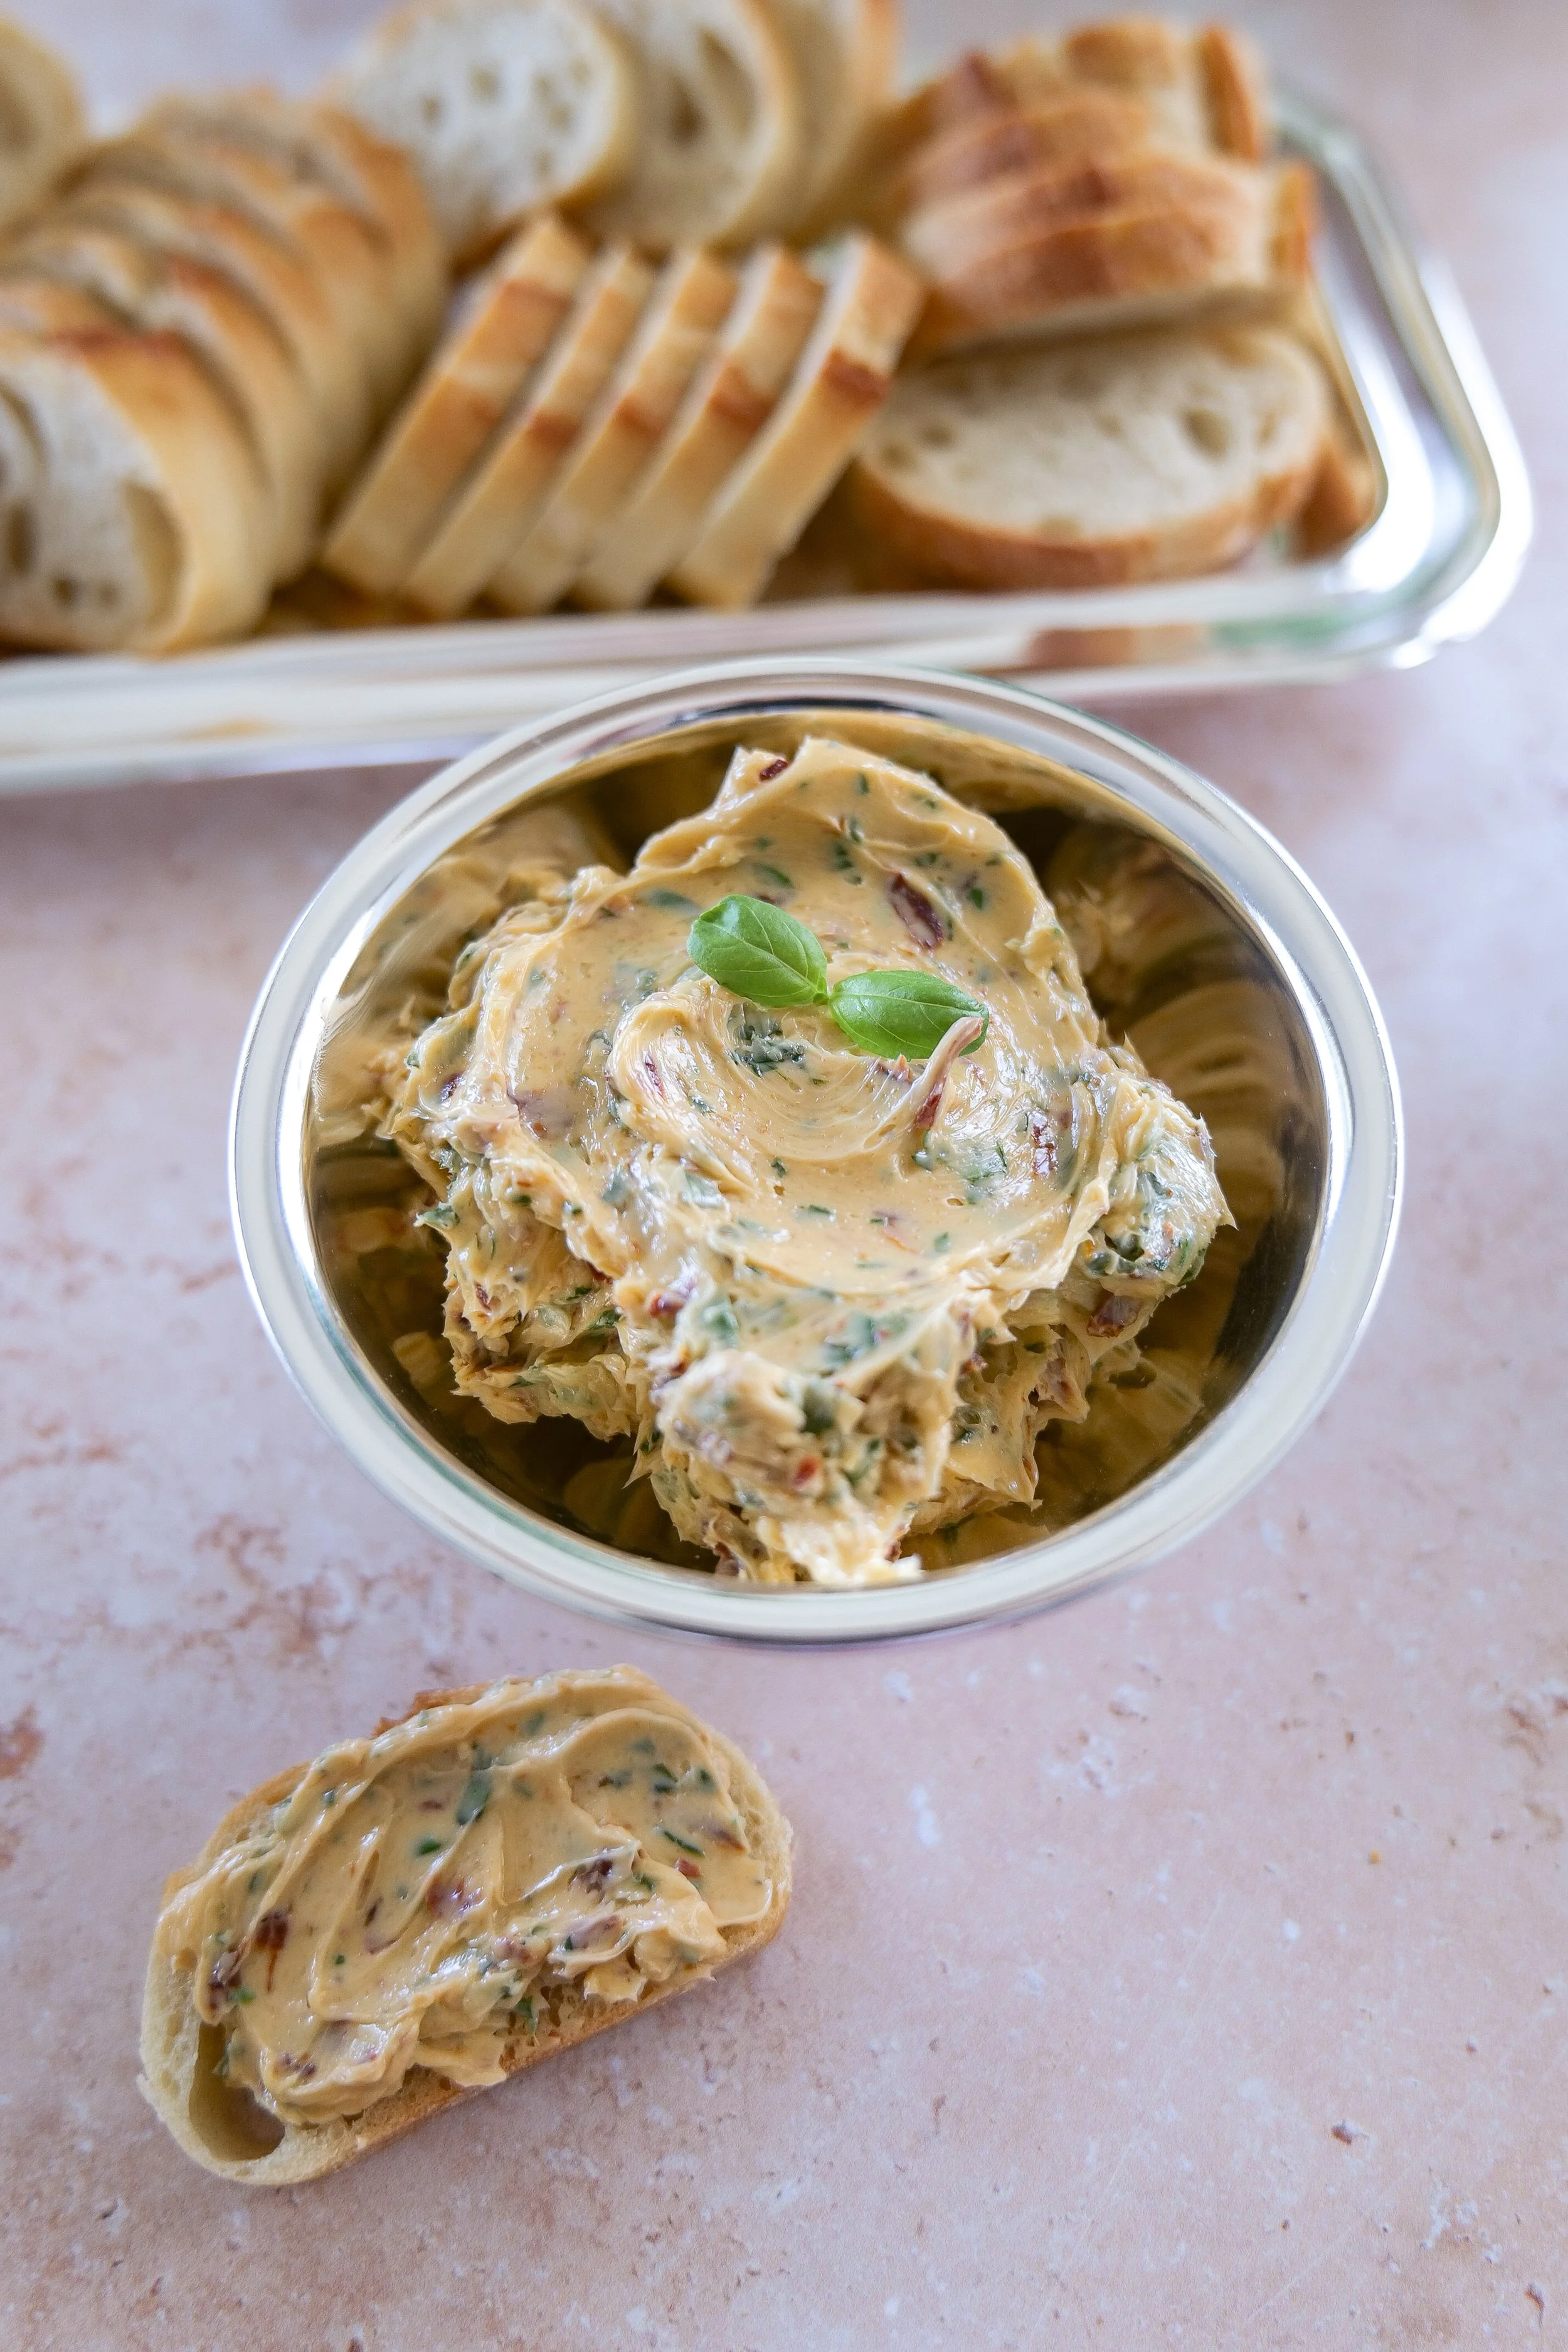
Italian Compound Butter

A savory, herb-forward butter perfect for breads, meats, and roasted vegetables.
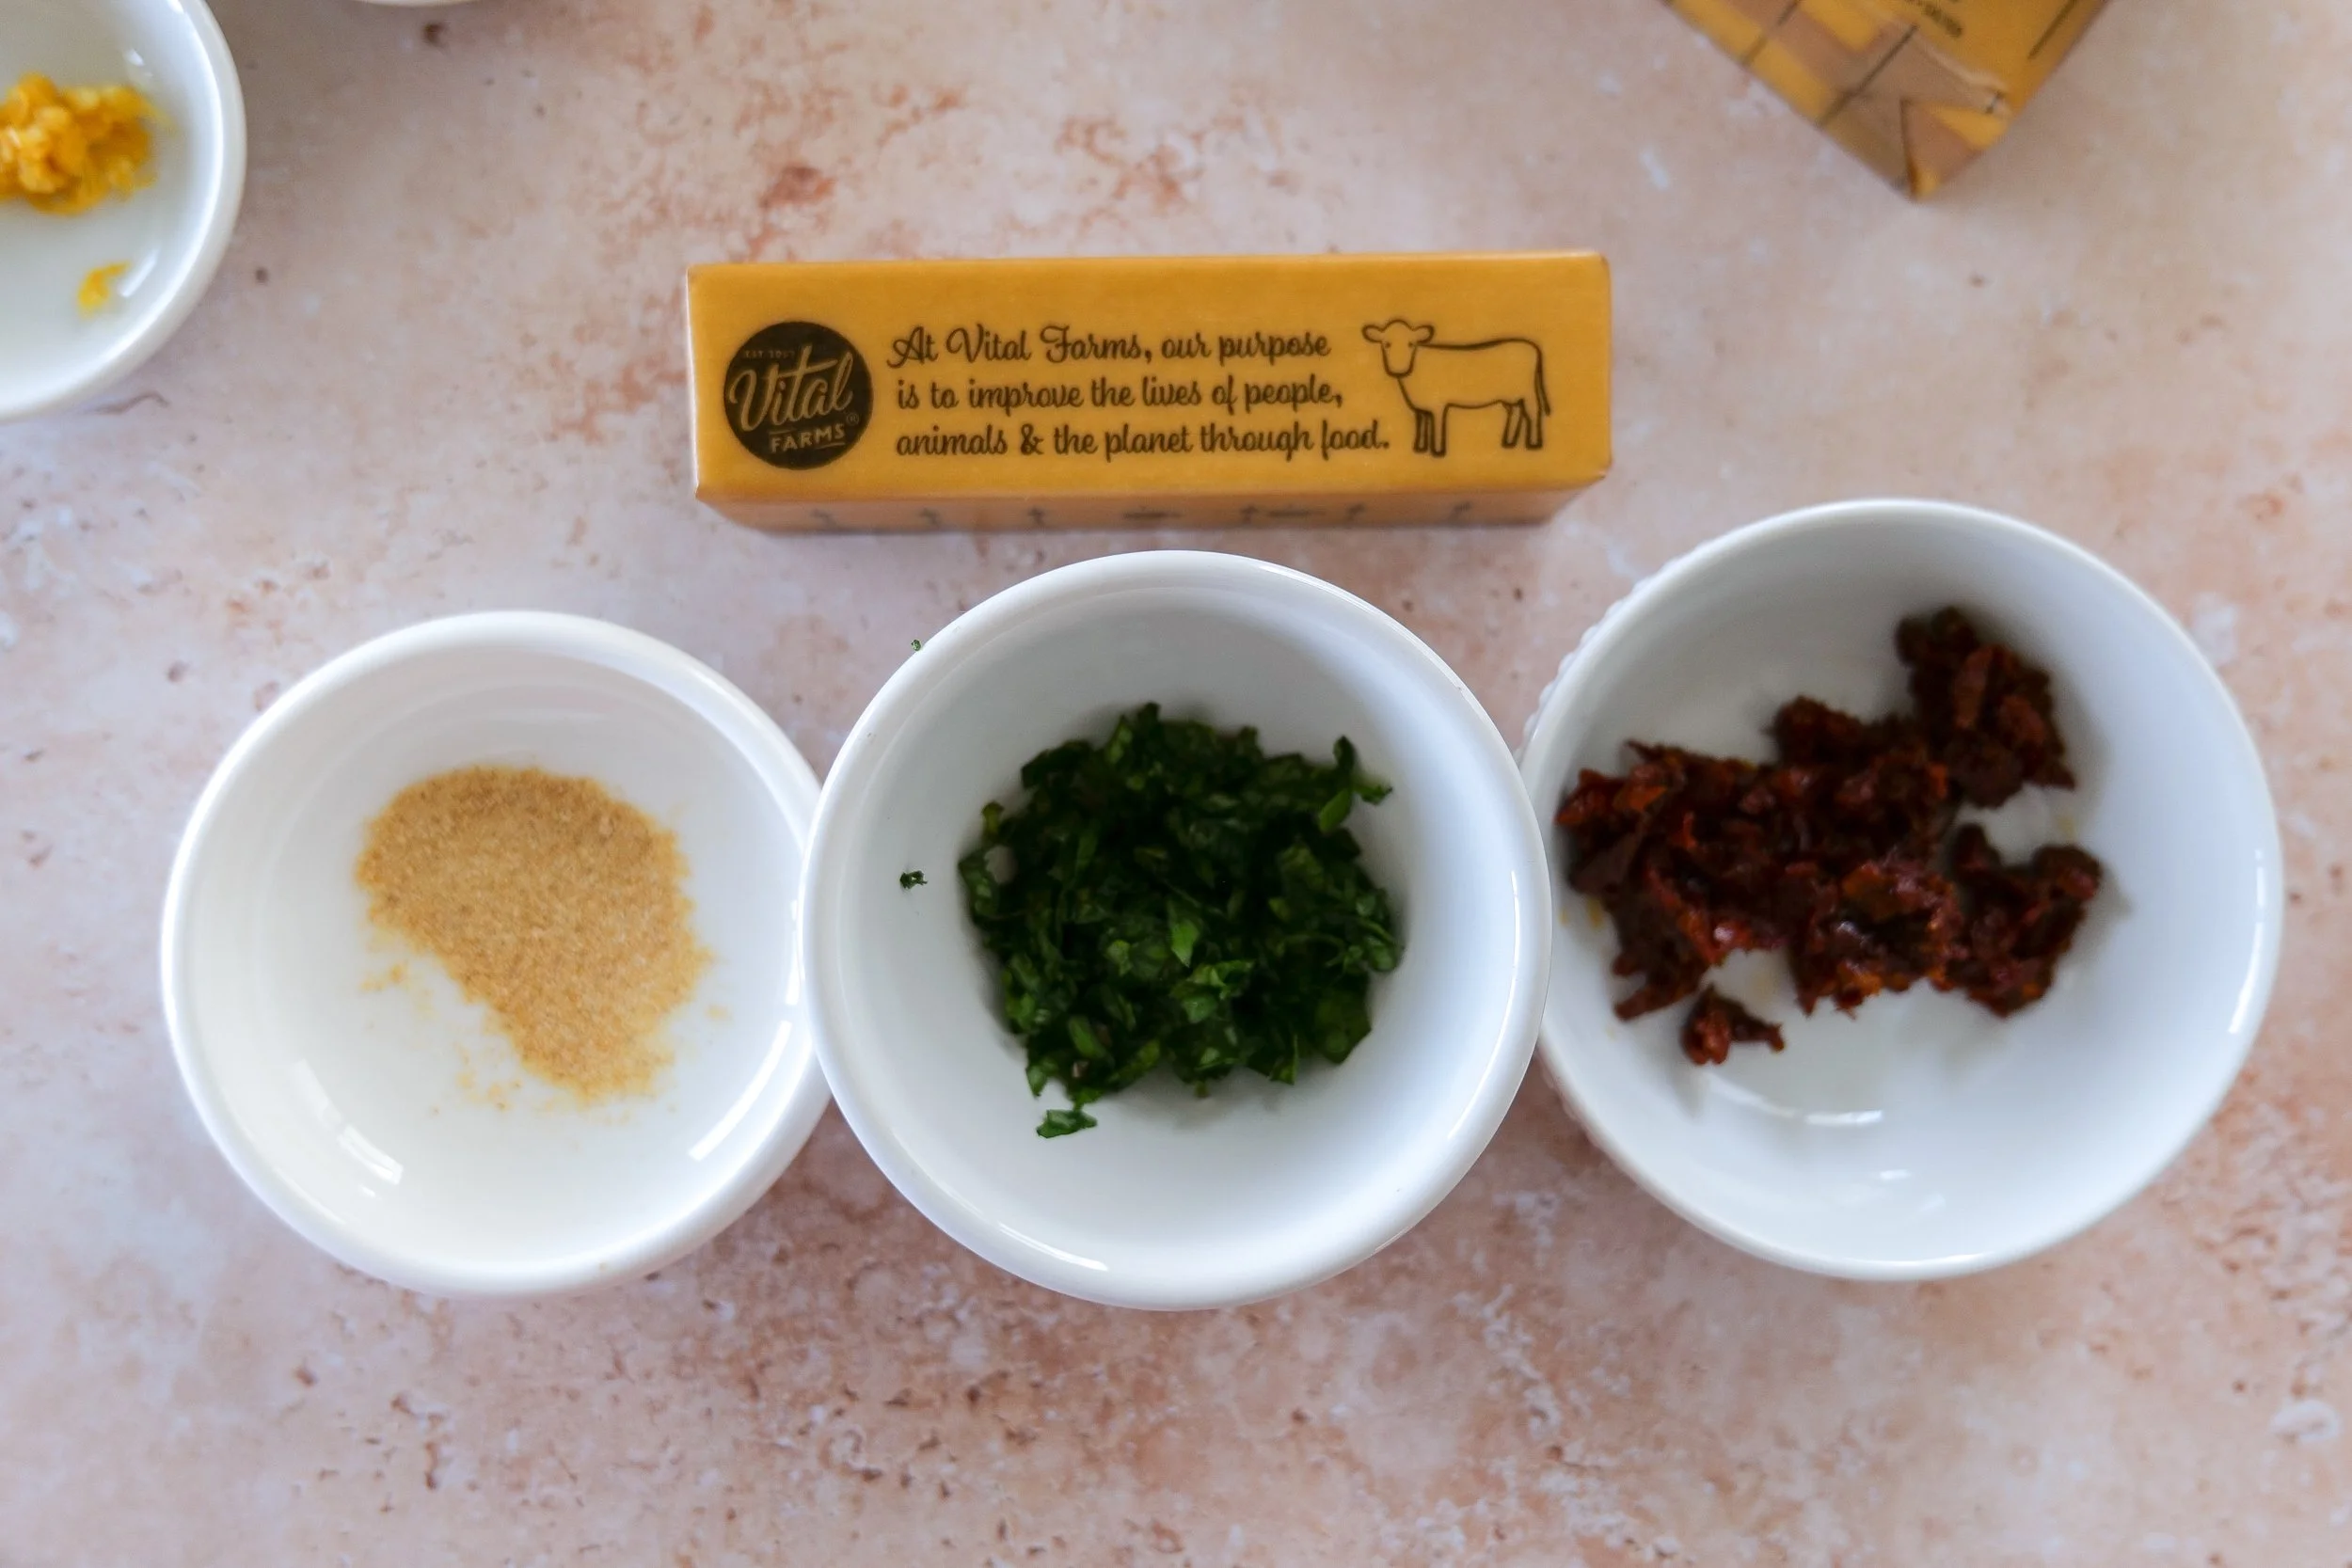
Italian Compound Butter ingredients
Italian Compound Butter

Ingredients

  • 1 stick (113g) salted Vital Farms butter, softened to room temperature

  • 1 tablespoon sun-dried tomatoes, drained and finely chopped

  • 1 tablespoon fresh basil, finely chopped

  • 1/4 teaspoon Garlic, finely grated or minced

Best Uses

Warm crusty bread, Grilled steak or chicken, Pasta finishing butter, Roasted vegetables

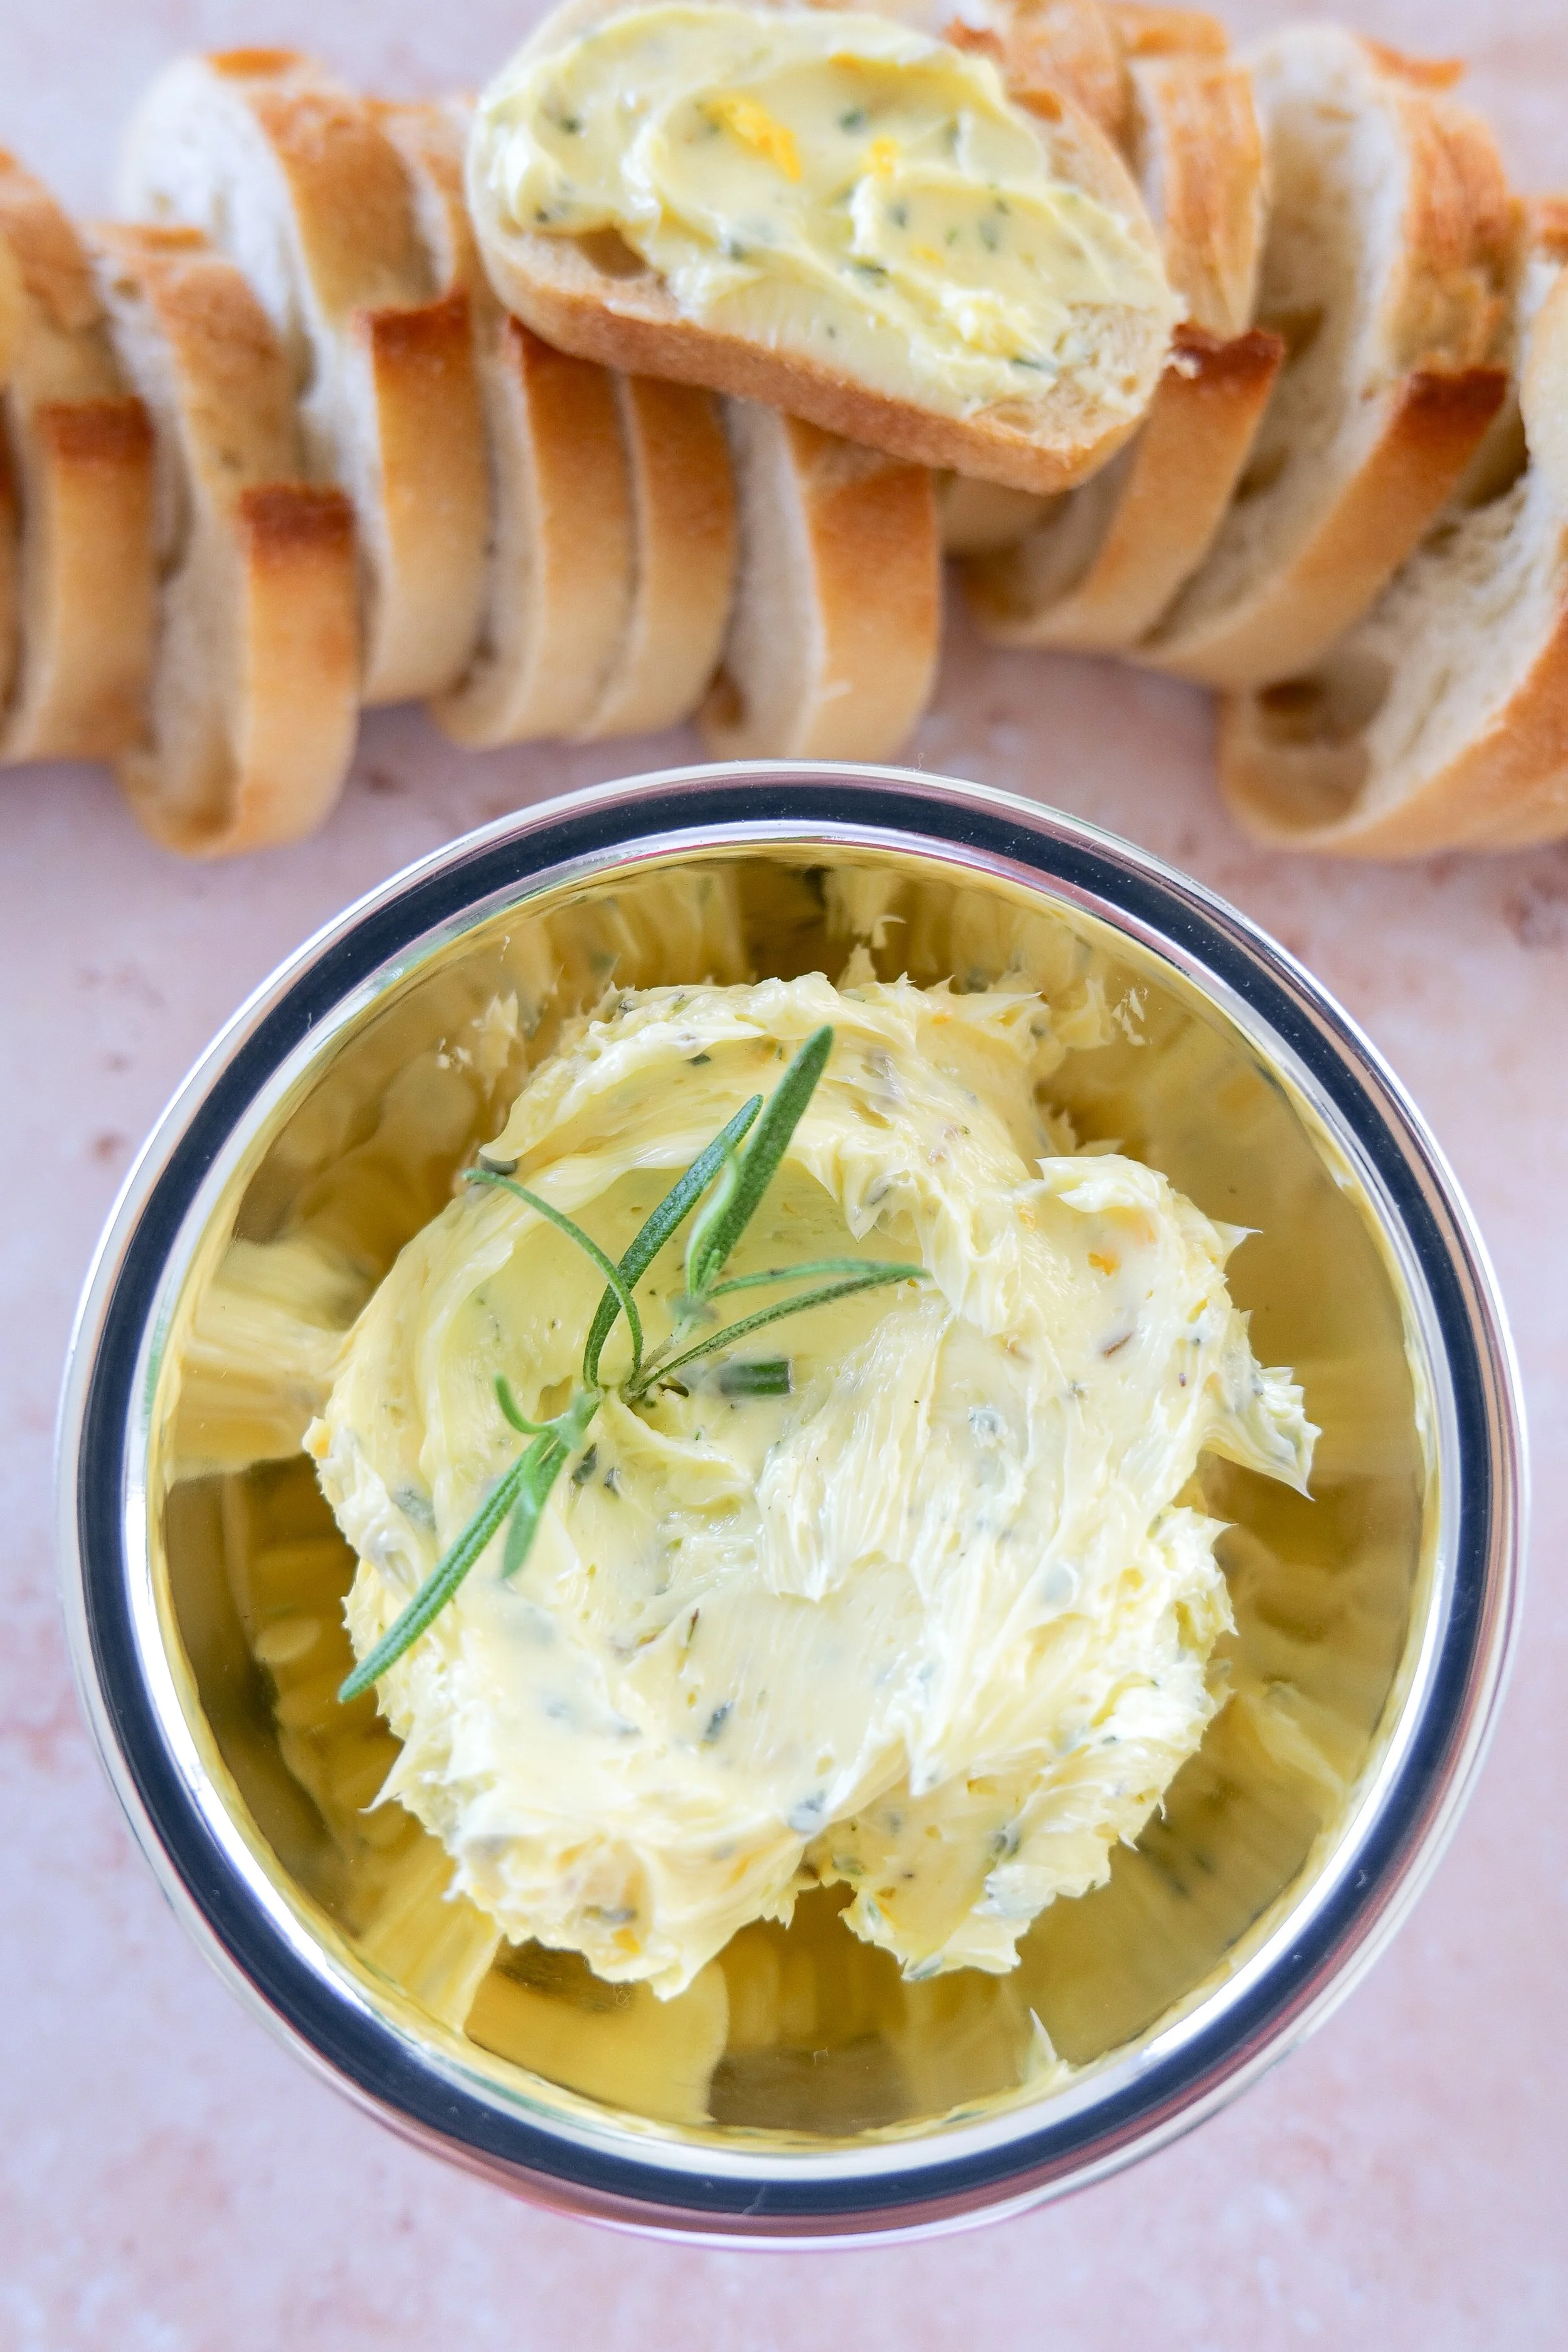
Lemon Rosemary Butter

Bright, aromatic, and slightly earthy—this variation adds freshness to savory dishes.
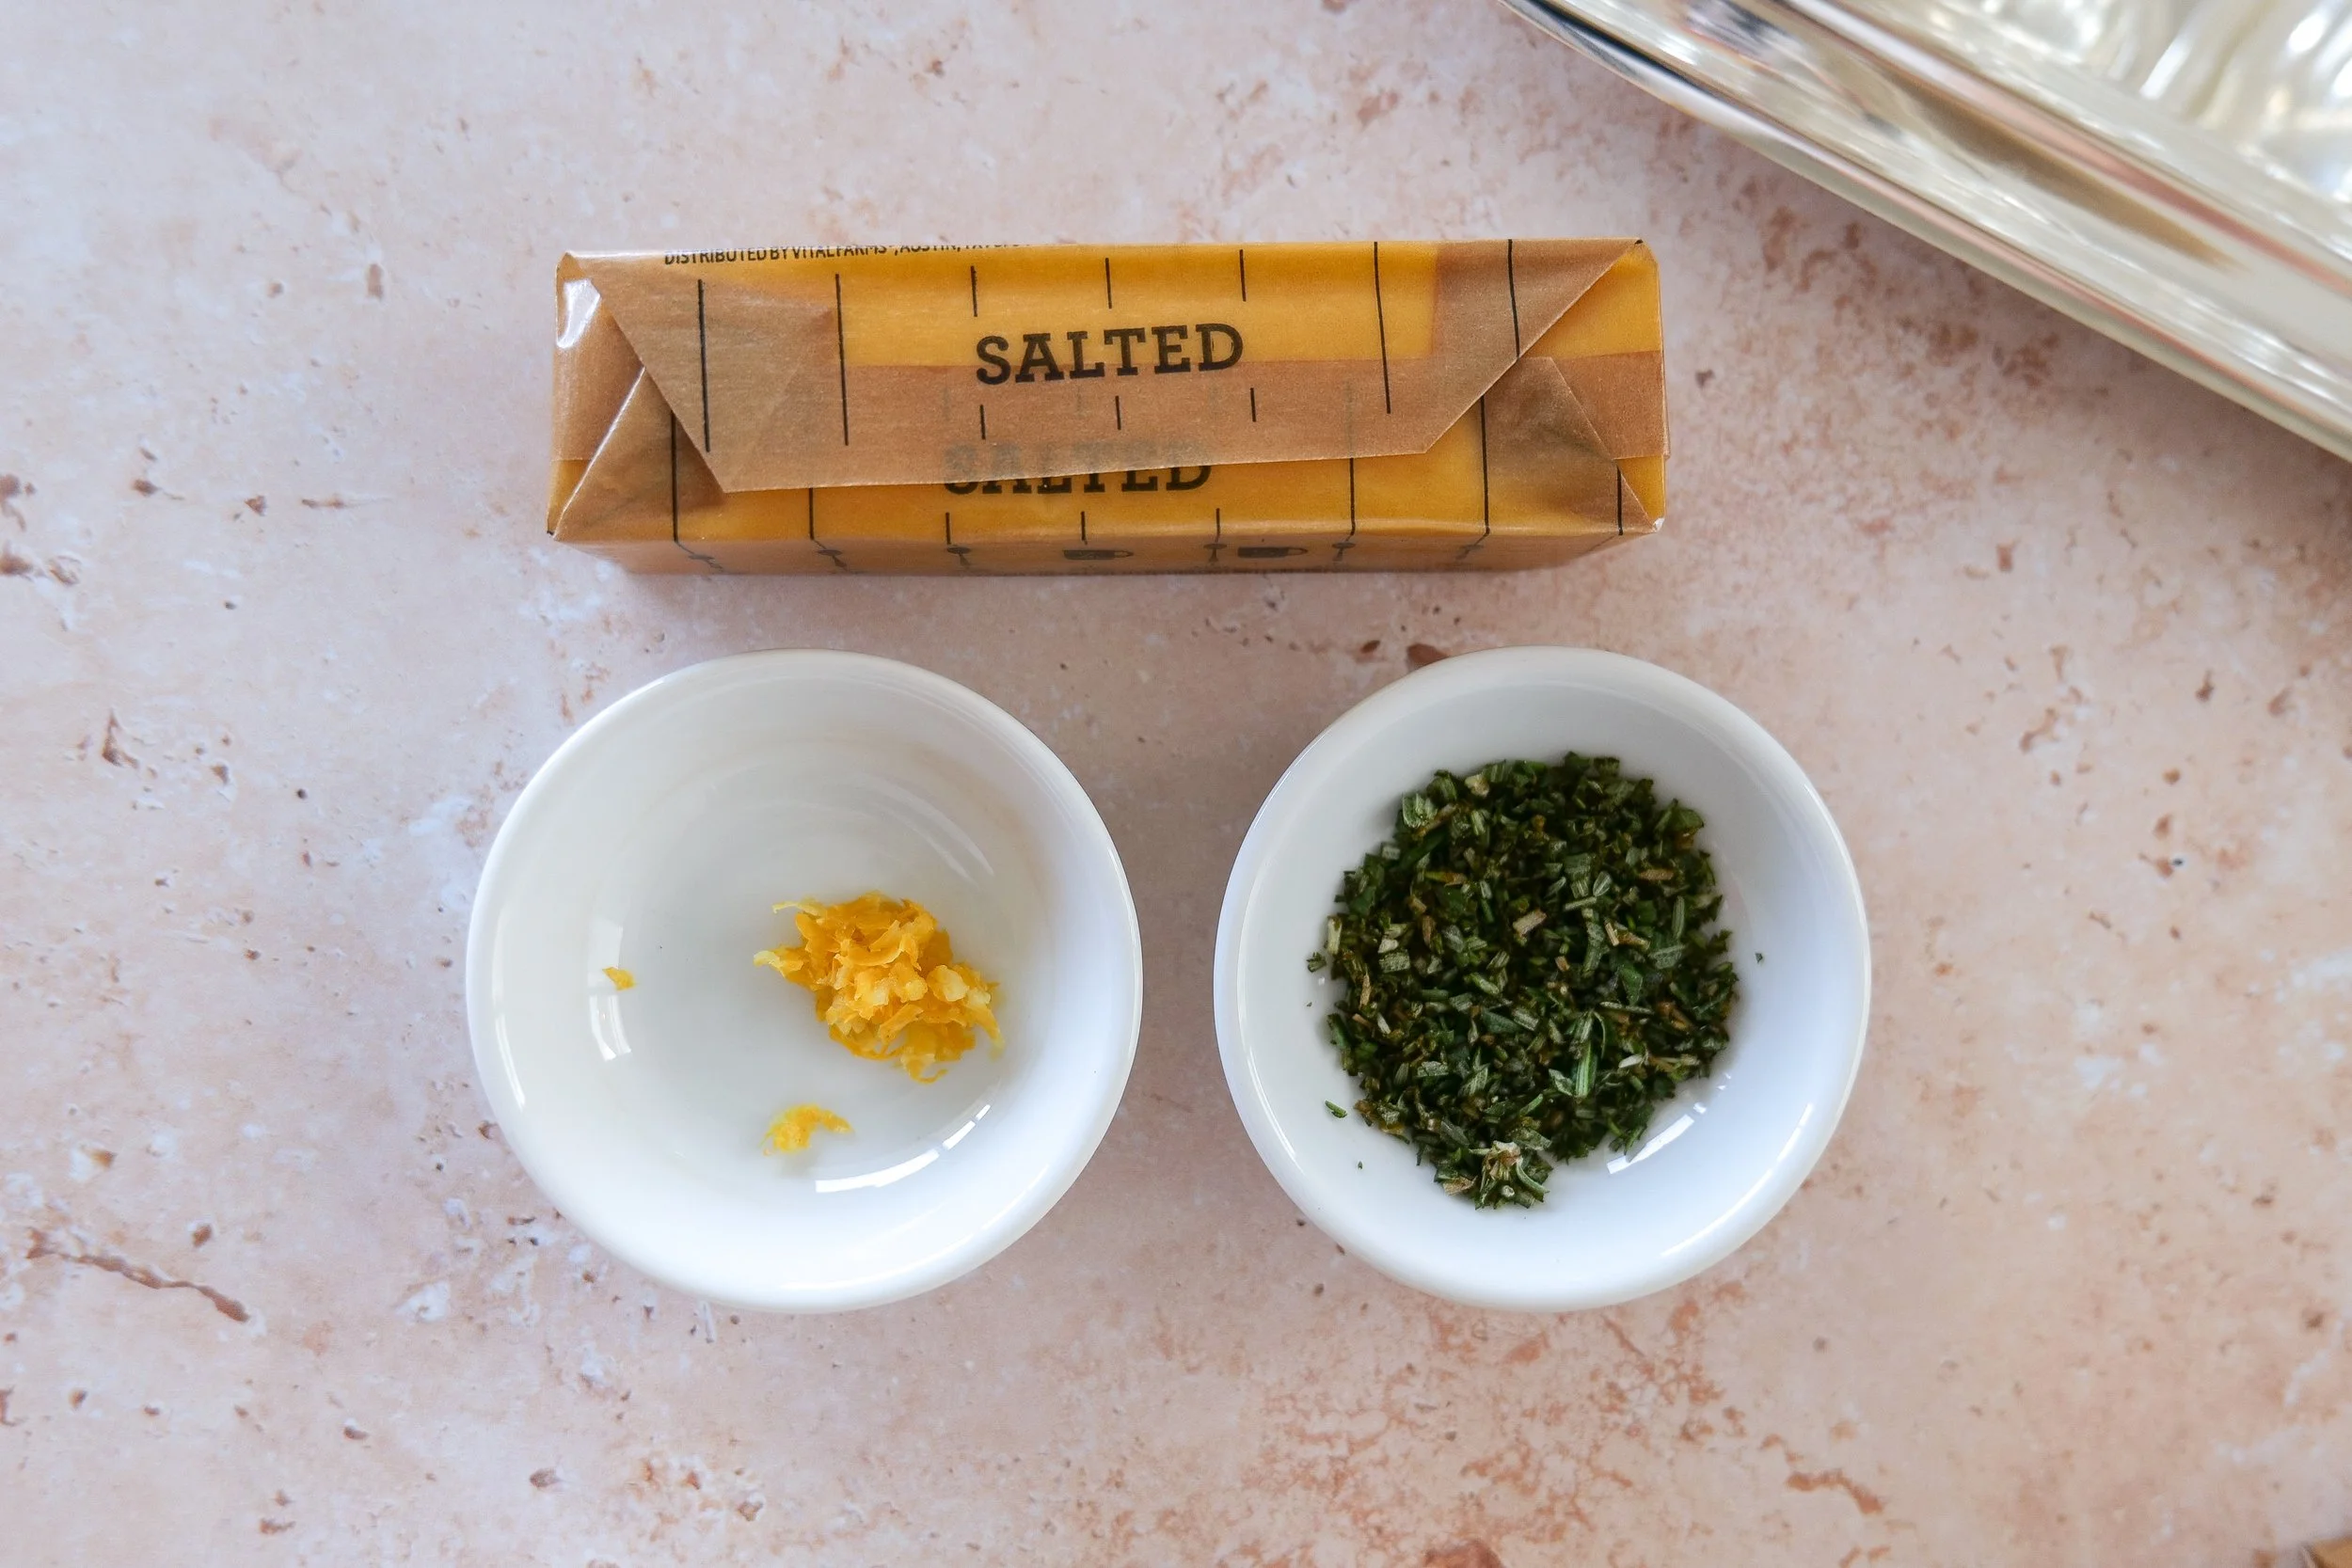
Lemon Rosemary Butter ingredients
Lemon Rosemary Butter

Ingredients

  • 1 stick (113g) salted Vital Farms butter, softened to room temperature

  • 1/4 teaspoon Lemon zest

  • 2 teaspoons fresh rosemary, finely chopped

Best Uses

Roast chicken or fish, Roasted potatoes, Sourdough toast, Grilled vegetables

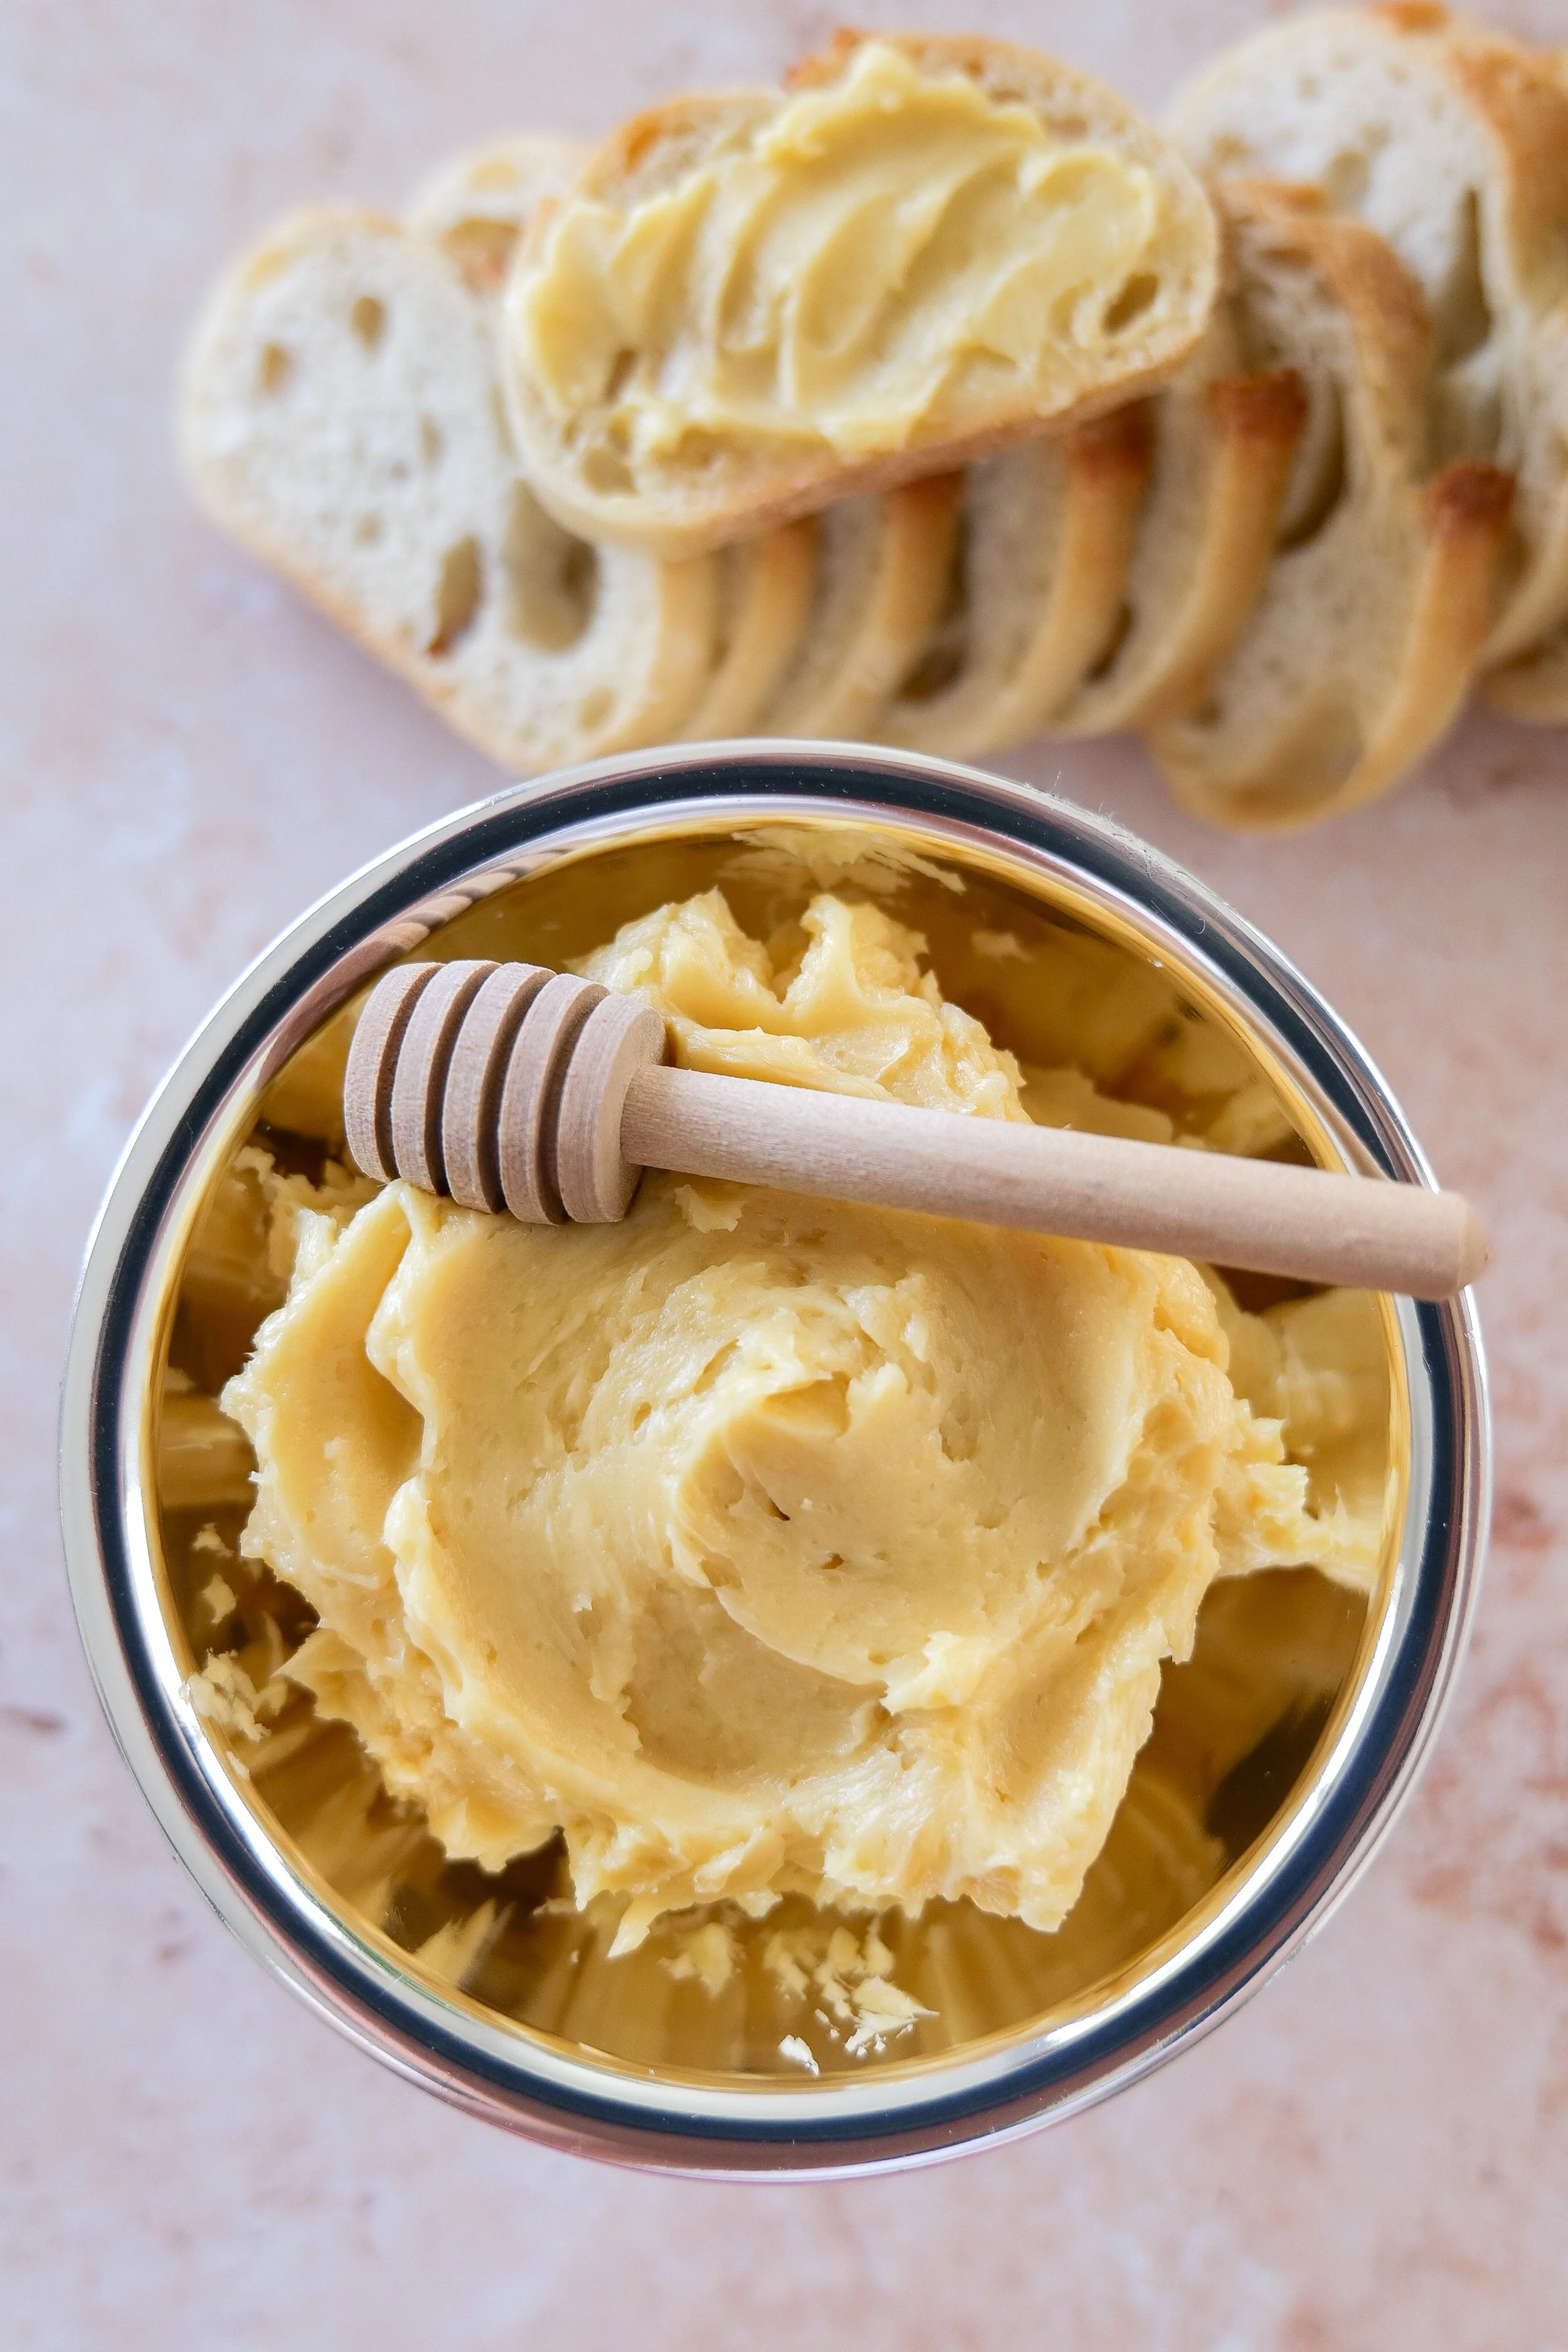
Honey Butter

Smooth, sweet, and lightly salted—perfect for breakfast and baked goods.
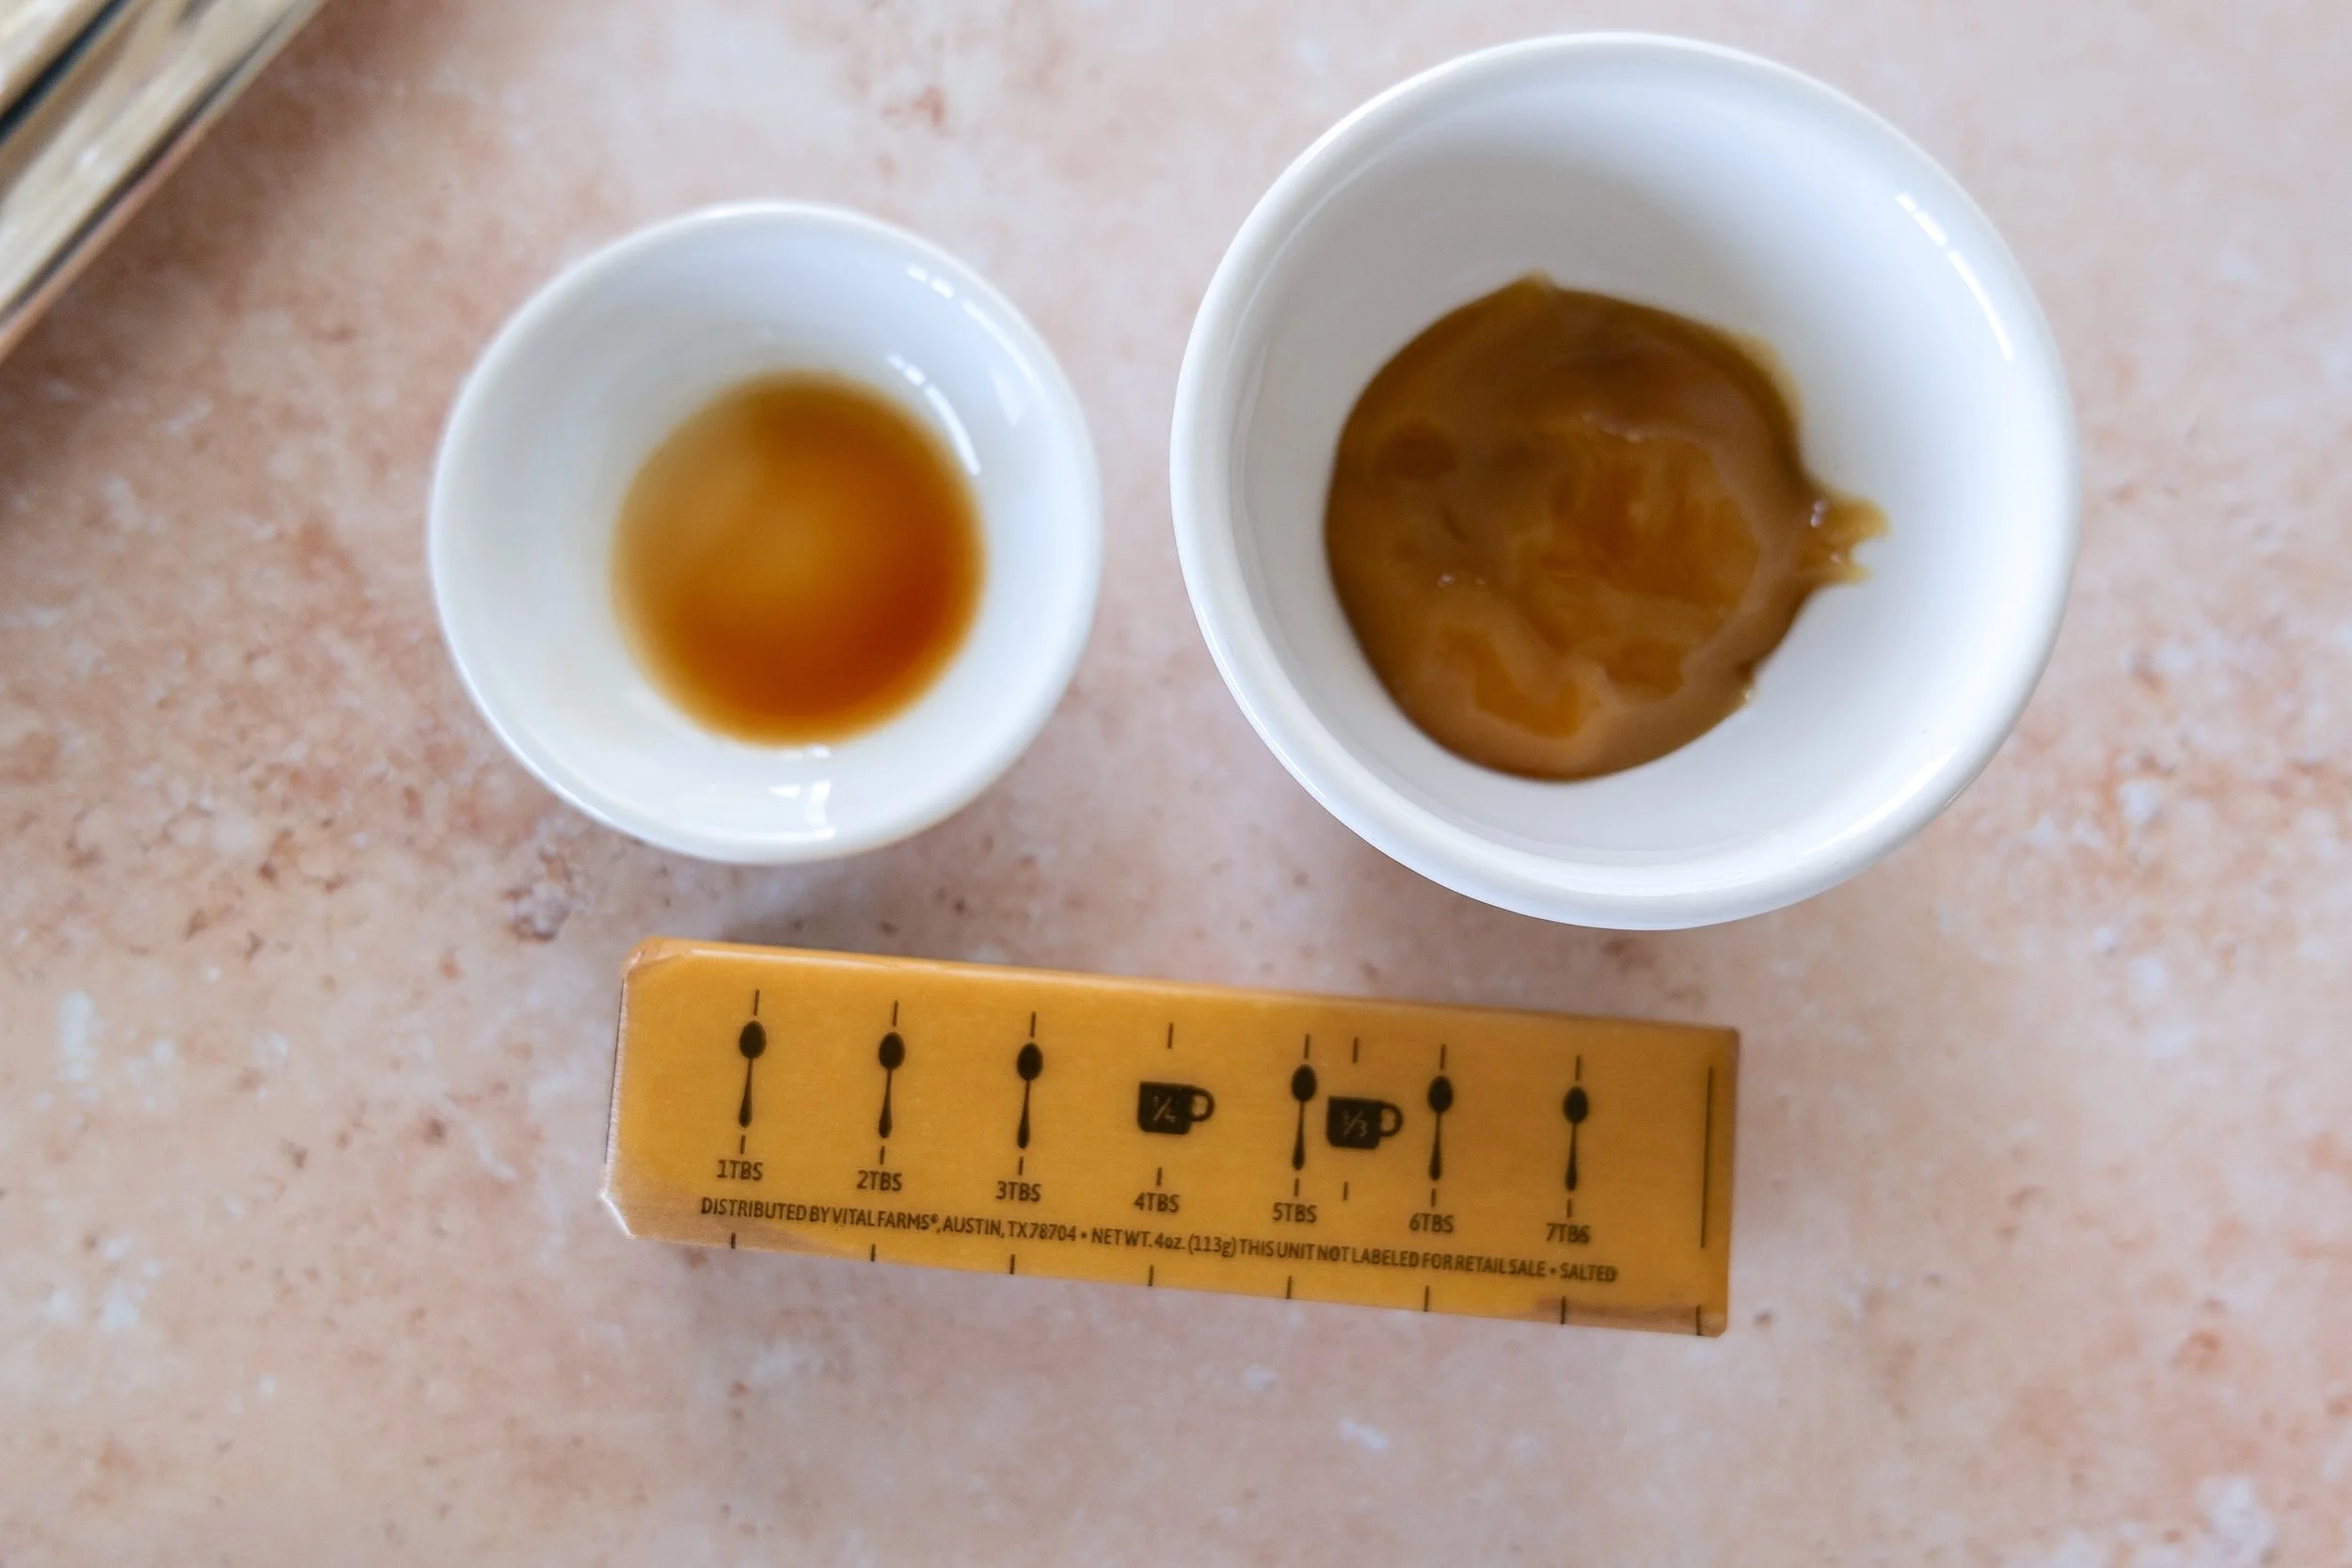
Honey Butter ingredients
Honey Butter

Ingredients

  • 1 stick (113g) salted Vital Farms butter, softened to room temperature

  • 2 tablespoons Honey

  • Splash of vanilla extract

Best Uses

Pancakes or waffles, Biscuits or scones, Cornbread, Toast or warm rolls

Pro Tip

For the best texture, make sure your butter is softened but not melted. This allows it to whip properly and creates a light, airy consistency instead of a dense spread.

How to Serve a Compound Butter Flight

Turn this into a tasting-style experience:

  • Serve in small ramekins or butter boards

  • Label each flavor for clarity

  • Pair with warm bread, croissants, or crackers

  • Add simple garnishes such as herbs, honey drizzle, or citrus zest

Variations (SEO Expansion Section)

  • Spicy chili garlic butter

  • Maple cinnamon butter

  • Truffle butter

  • Vegan butter versions

Shop My Entertaining Essentials

When I'm putting together a butter flight, charcuterie board, or simple appetizer spread, these are the serving pieces and kitchen tools I reach for again and again.
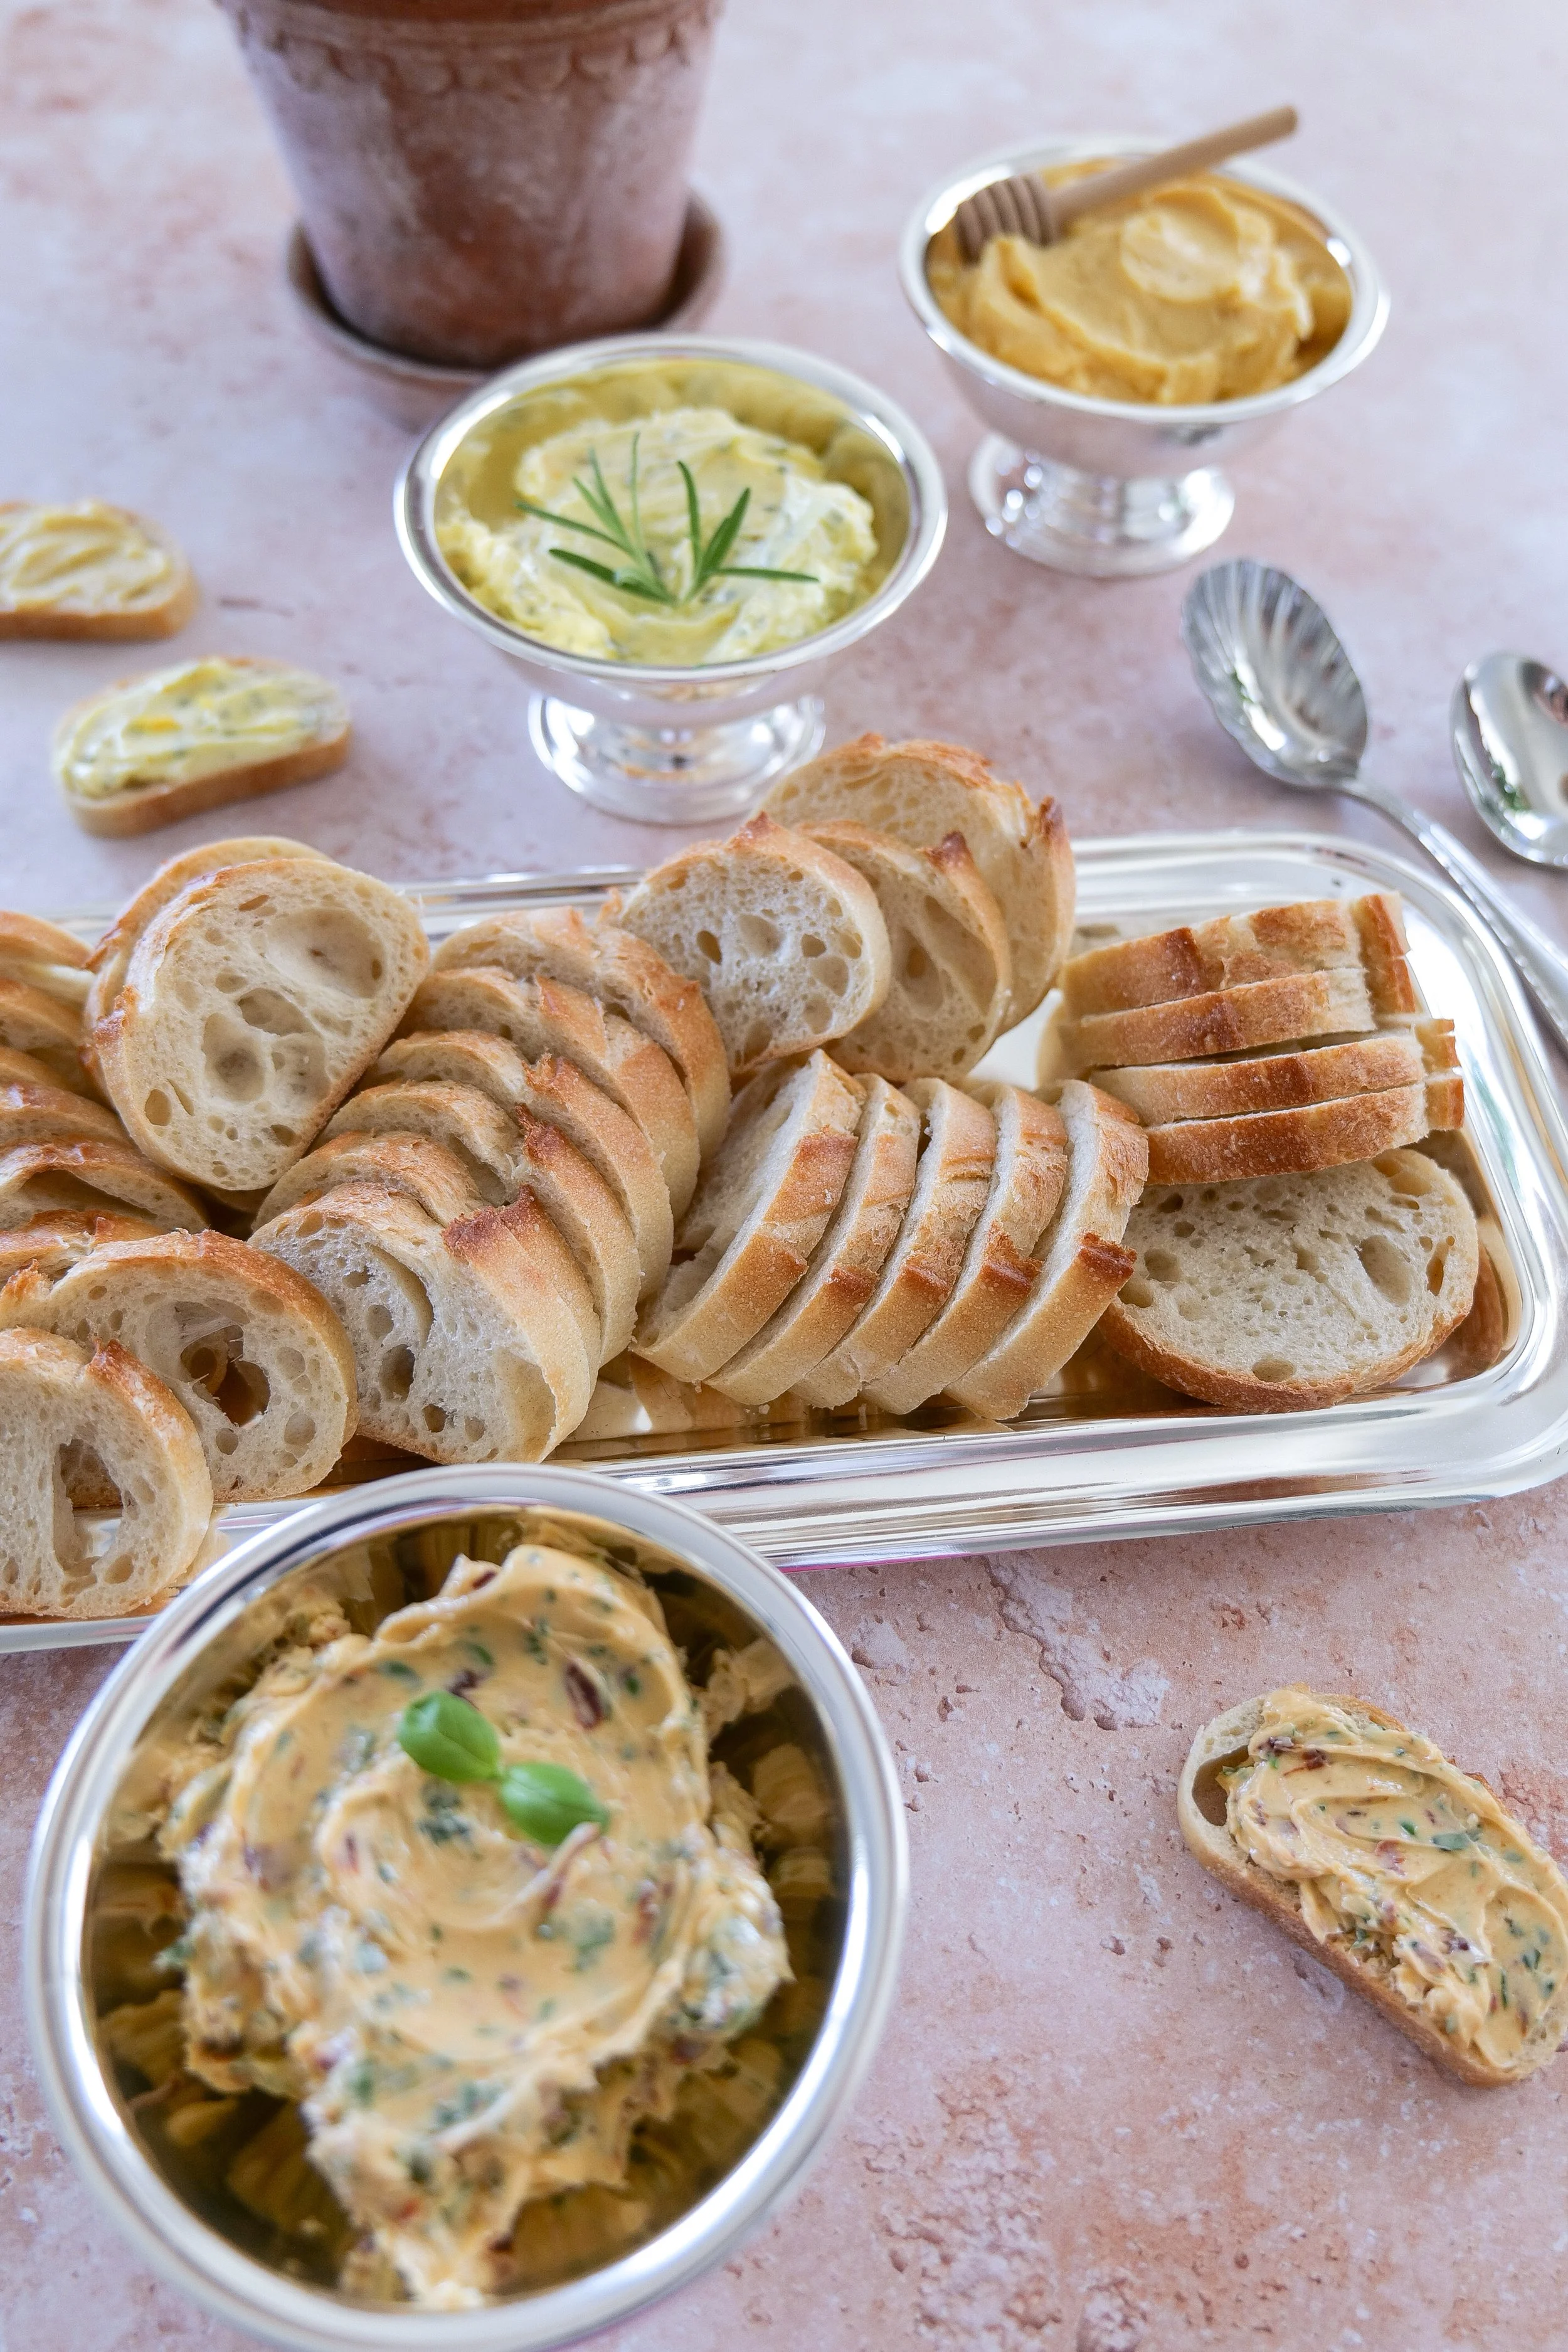
Flavored butter trio served in a metal cup alongside toasted baguette

Shop My Cozy Coffee Bar Favorites

One of my favorite ways to serve a compound butter flight is alongside fresh coffee and warm pastries for a slow weekend morning. These are the coffee bar and kitchen essentials I use most often.

More Compound Butter Flavor Ideas

Once you've mastered the base recipe, try:

  • Maple Cinnamon Butter

  • Chili Lime Butter

  • Truffle Butter

  • Cranberry Sage Butter

  • Miso Butter

  • Strawberry Honey Butter

  • Garlic Shallot Butter

Troubleshooting

  • Butter too soft or melted: Chill briefly before whipping

  • Herbs taste bitter: Use less or chop more finely

  • Not fluffy: Butter was not softened enough

  • Too salty: Balance with honey or unsalted add-ins

Frequently Asked Questions

What is compound butter?

Compound butter is softened butter mixed with herbs, spices, or sweet ingredients used as a spread or finishing butter.

How long does compound butter last?

Up to 7 days refrigerated or 3 months frozen.

Can you freeze compound butter?

Yes. Wrap tightly in parchment and freeze in logs or portions.

What butter is best for compound butter?

High-quality butter like Vital Farms provides the best flavor and texture.

Do you need salted or unsalted butter?

Either works, but salted butter reduces the need for added seasoning.
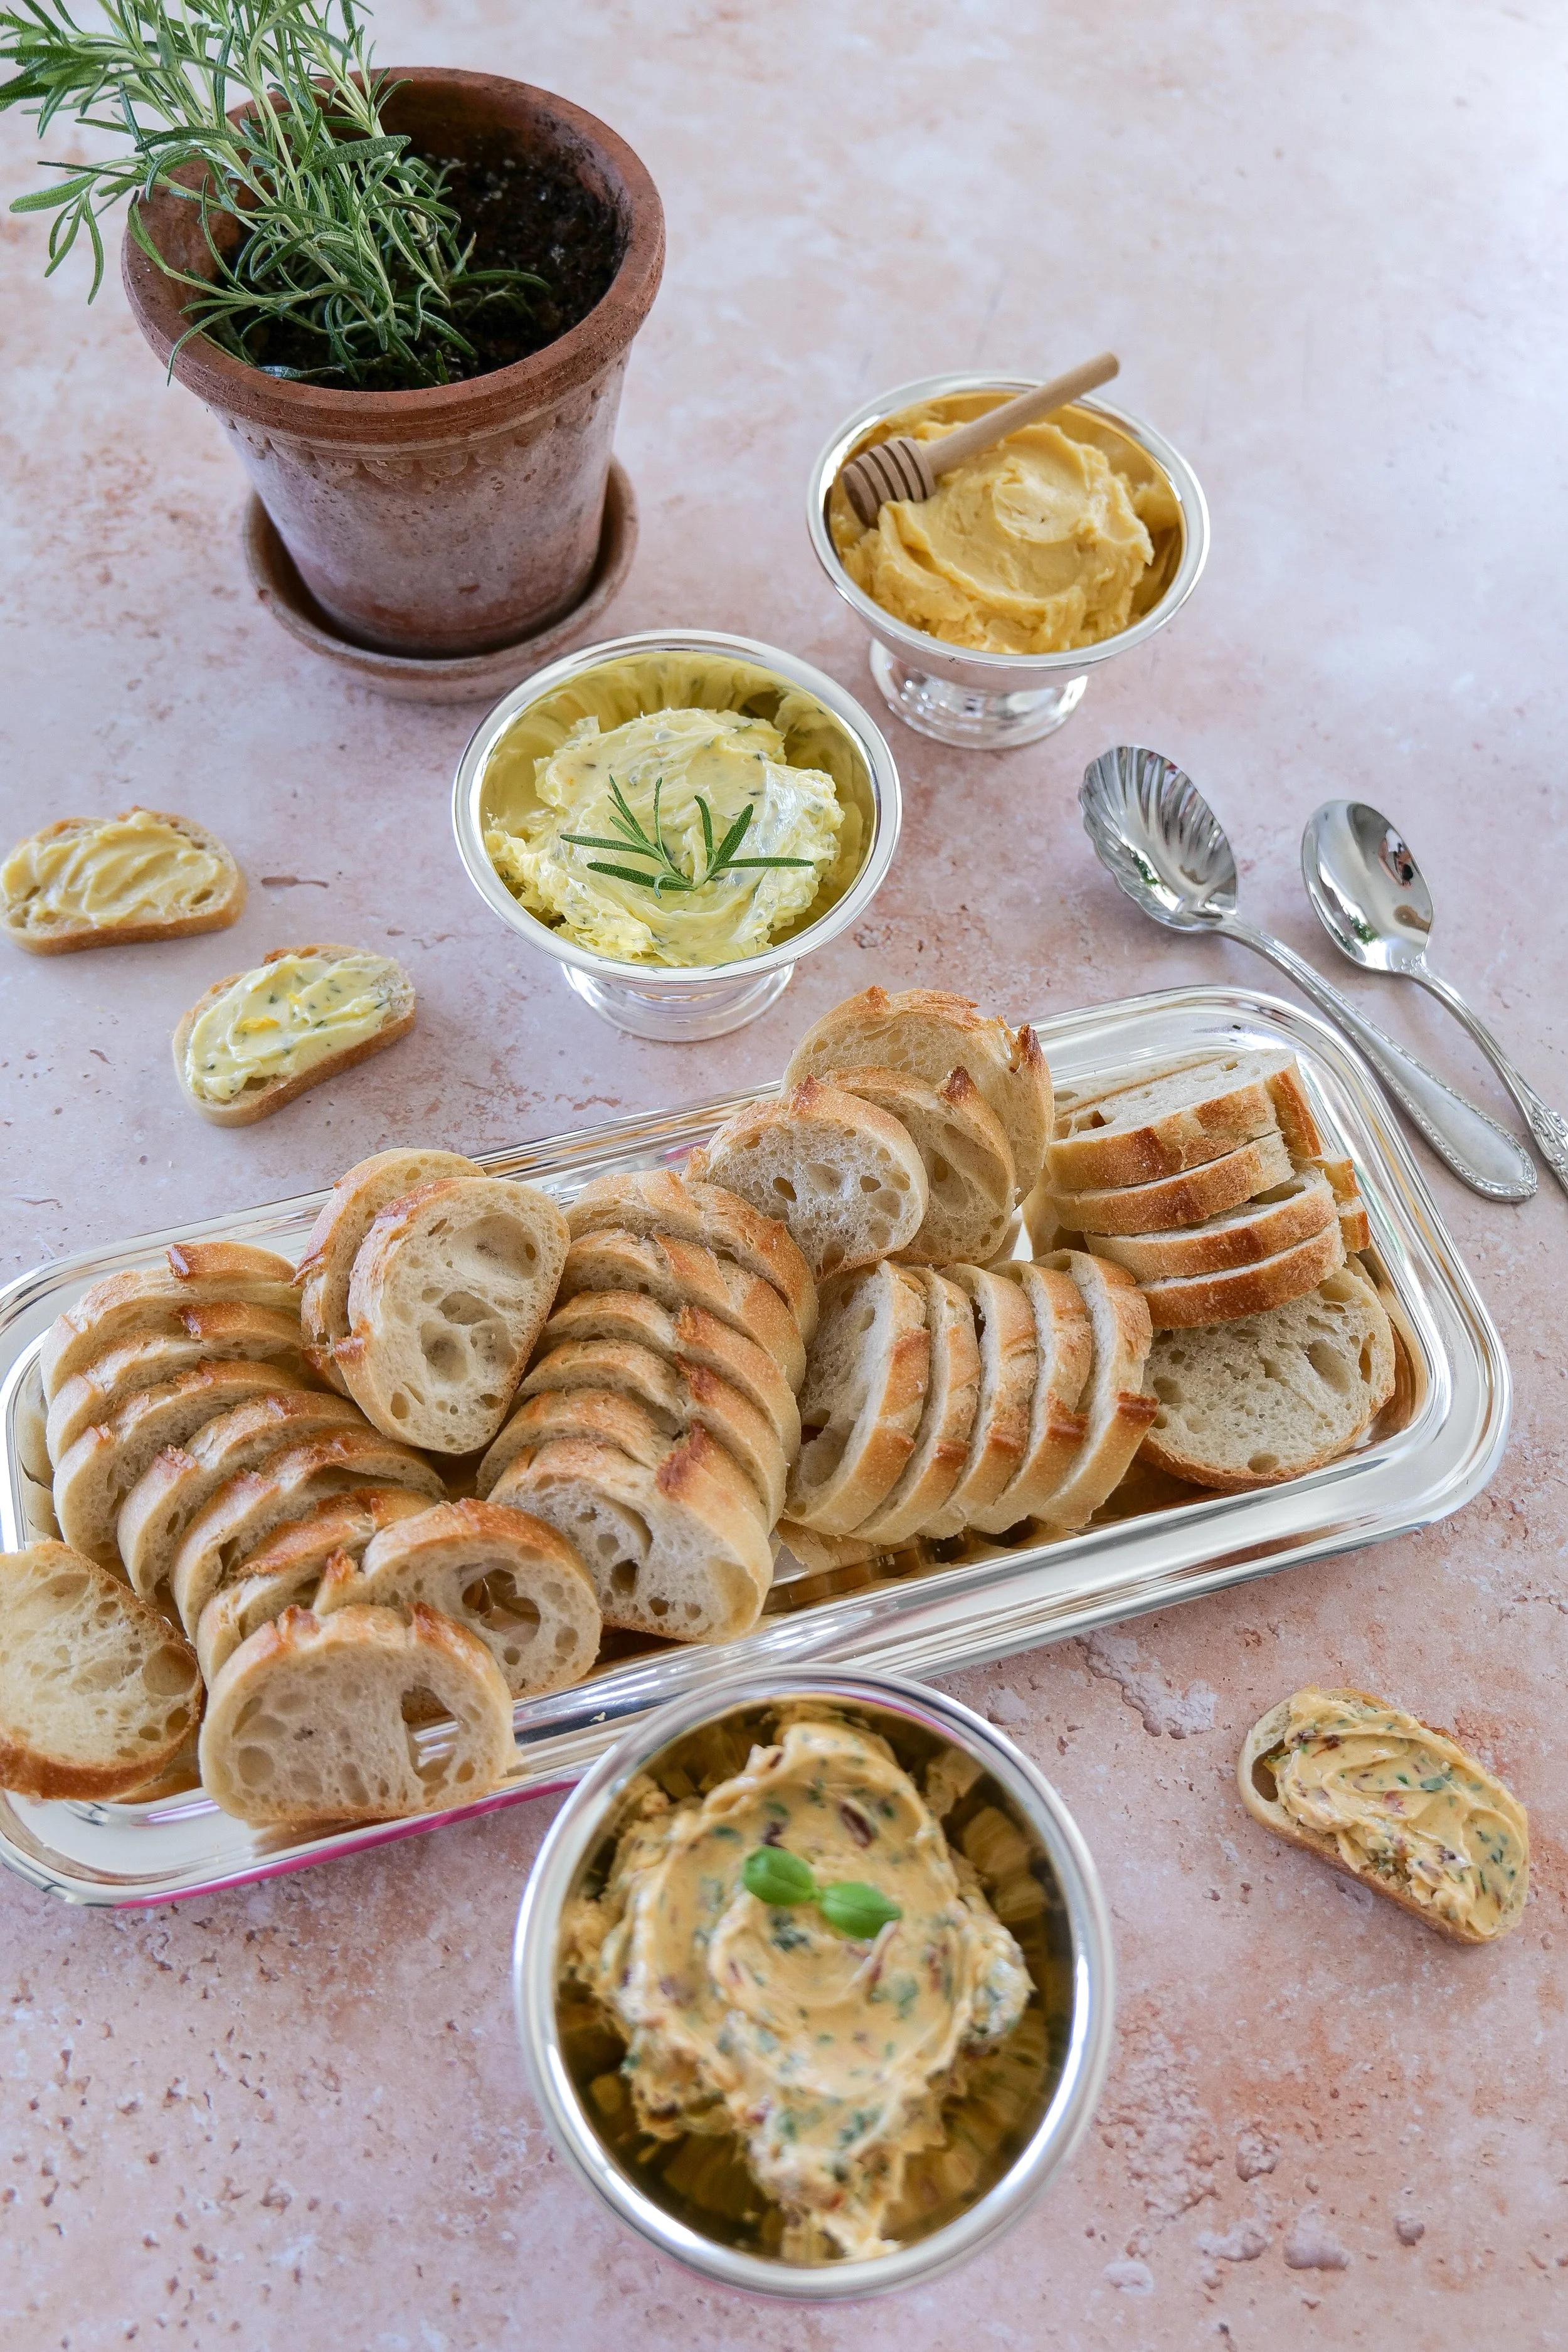
Three types of compound butter with crispy toasted baguette slices
Homemade compound butter flight in a metal cup with toasted baguette

Storage Tips

  • Refrigerator: up to 7 days

  • Freezer: up to 3 months

  • Wrap tightly in parchment or plastic wrap, then store in an airtight container to preserve freshness and prevent odor absorption

Final Thoughts

A compound butter flight is one of those simple upgrades that instantly makes everyday food feel special. Whether you’re hosting friends, building a grazing board, or just want to elevate a quiet night at home, these flavored butters are an effortless way to bring something memorable to the table.

If you enjoyed this recipe, you’ll love building out a full spread with more easy entertaining ideas and appetizer inspiration:

These recipes work beautifully together when you’re planning a simple but impressive entertaining spread—something that feels thoughtful without being complicated.

For the easiest hosting formula: combine a fresh dip, a warm baked appetizer, and a flavorful spread like this compound butter flight. It’s a reliable way to build a menu that feels cohesive, welcoming, and low-effort.

Save This Recipe

Whether you're planning ahead for a special occasion or adding a new favorite to your recipe collection, I've included a printable recipe card below so it's easy to save, print, and share with the people you love.
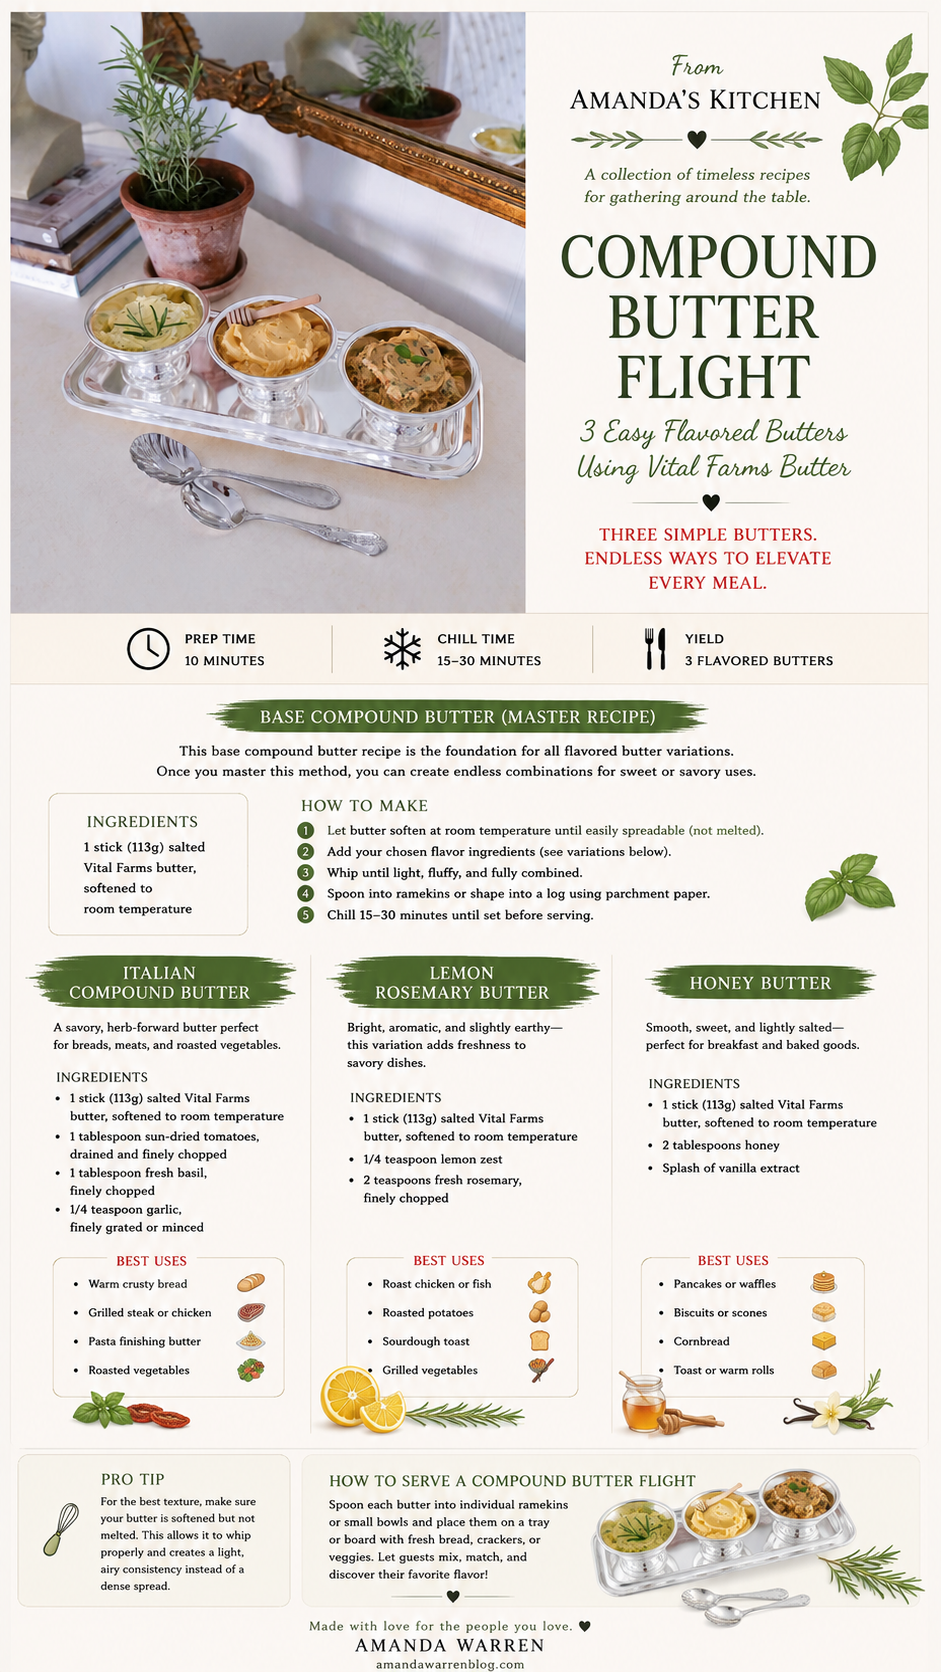

Flavored butter flight with three varieties in a metal cup
Homemade compound butter trio served in a small metal container
Three easy compound butter flavors arranged in a metal cup
Assorted flavored butter in a metal cup served with sliced toasted baguette
Three easy compound butter varieties paired with toasted baguette slices

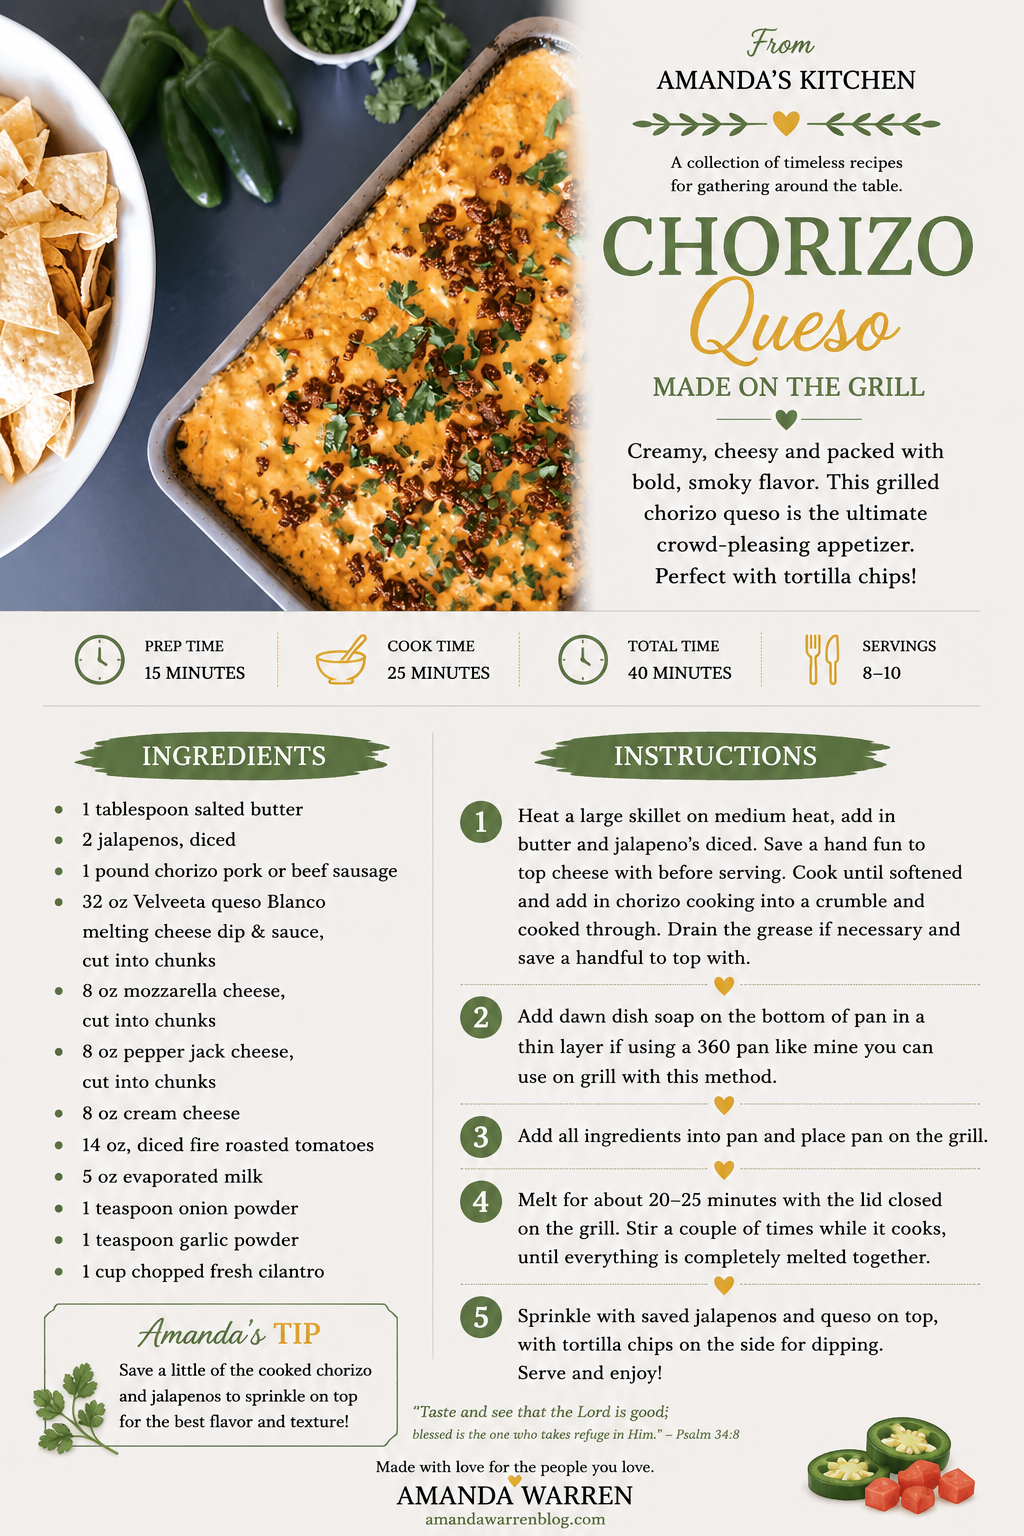
Grilled Chorizo Queso

There are few appetizers better for sharing than a big pan of hot, melty queso—and making it on the grill makes it even better.

This Grilled Chorizo Queso is loaded with spicy chorizo, jalapeños, fire-roasted tomatoes and four different cheeses for an incredibly creamy, flavorful dip. Everything melts together right on the grill, making it such a fun appetizer for summer cookouts, game days or anytime you're already cooking outside.

The chorizo and jalapeños are cooked first, then added to the pan with the cheeses, tomatoes, evaporated milk and seasonings. From there, the grill does the rest of the work.

Serve it hot with plenty of tortilla chips and don't expect it to last long.

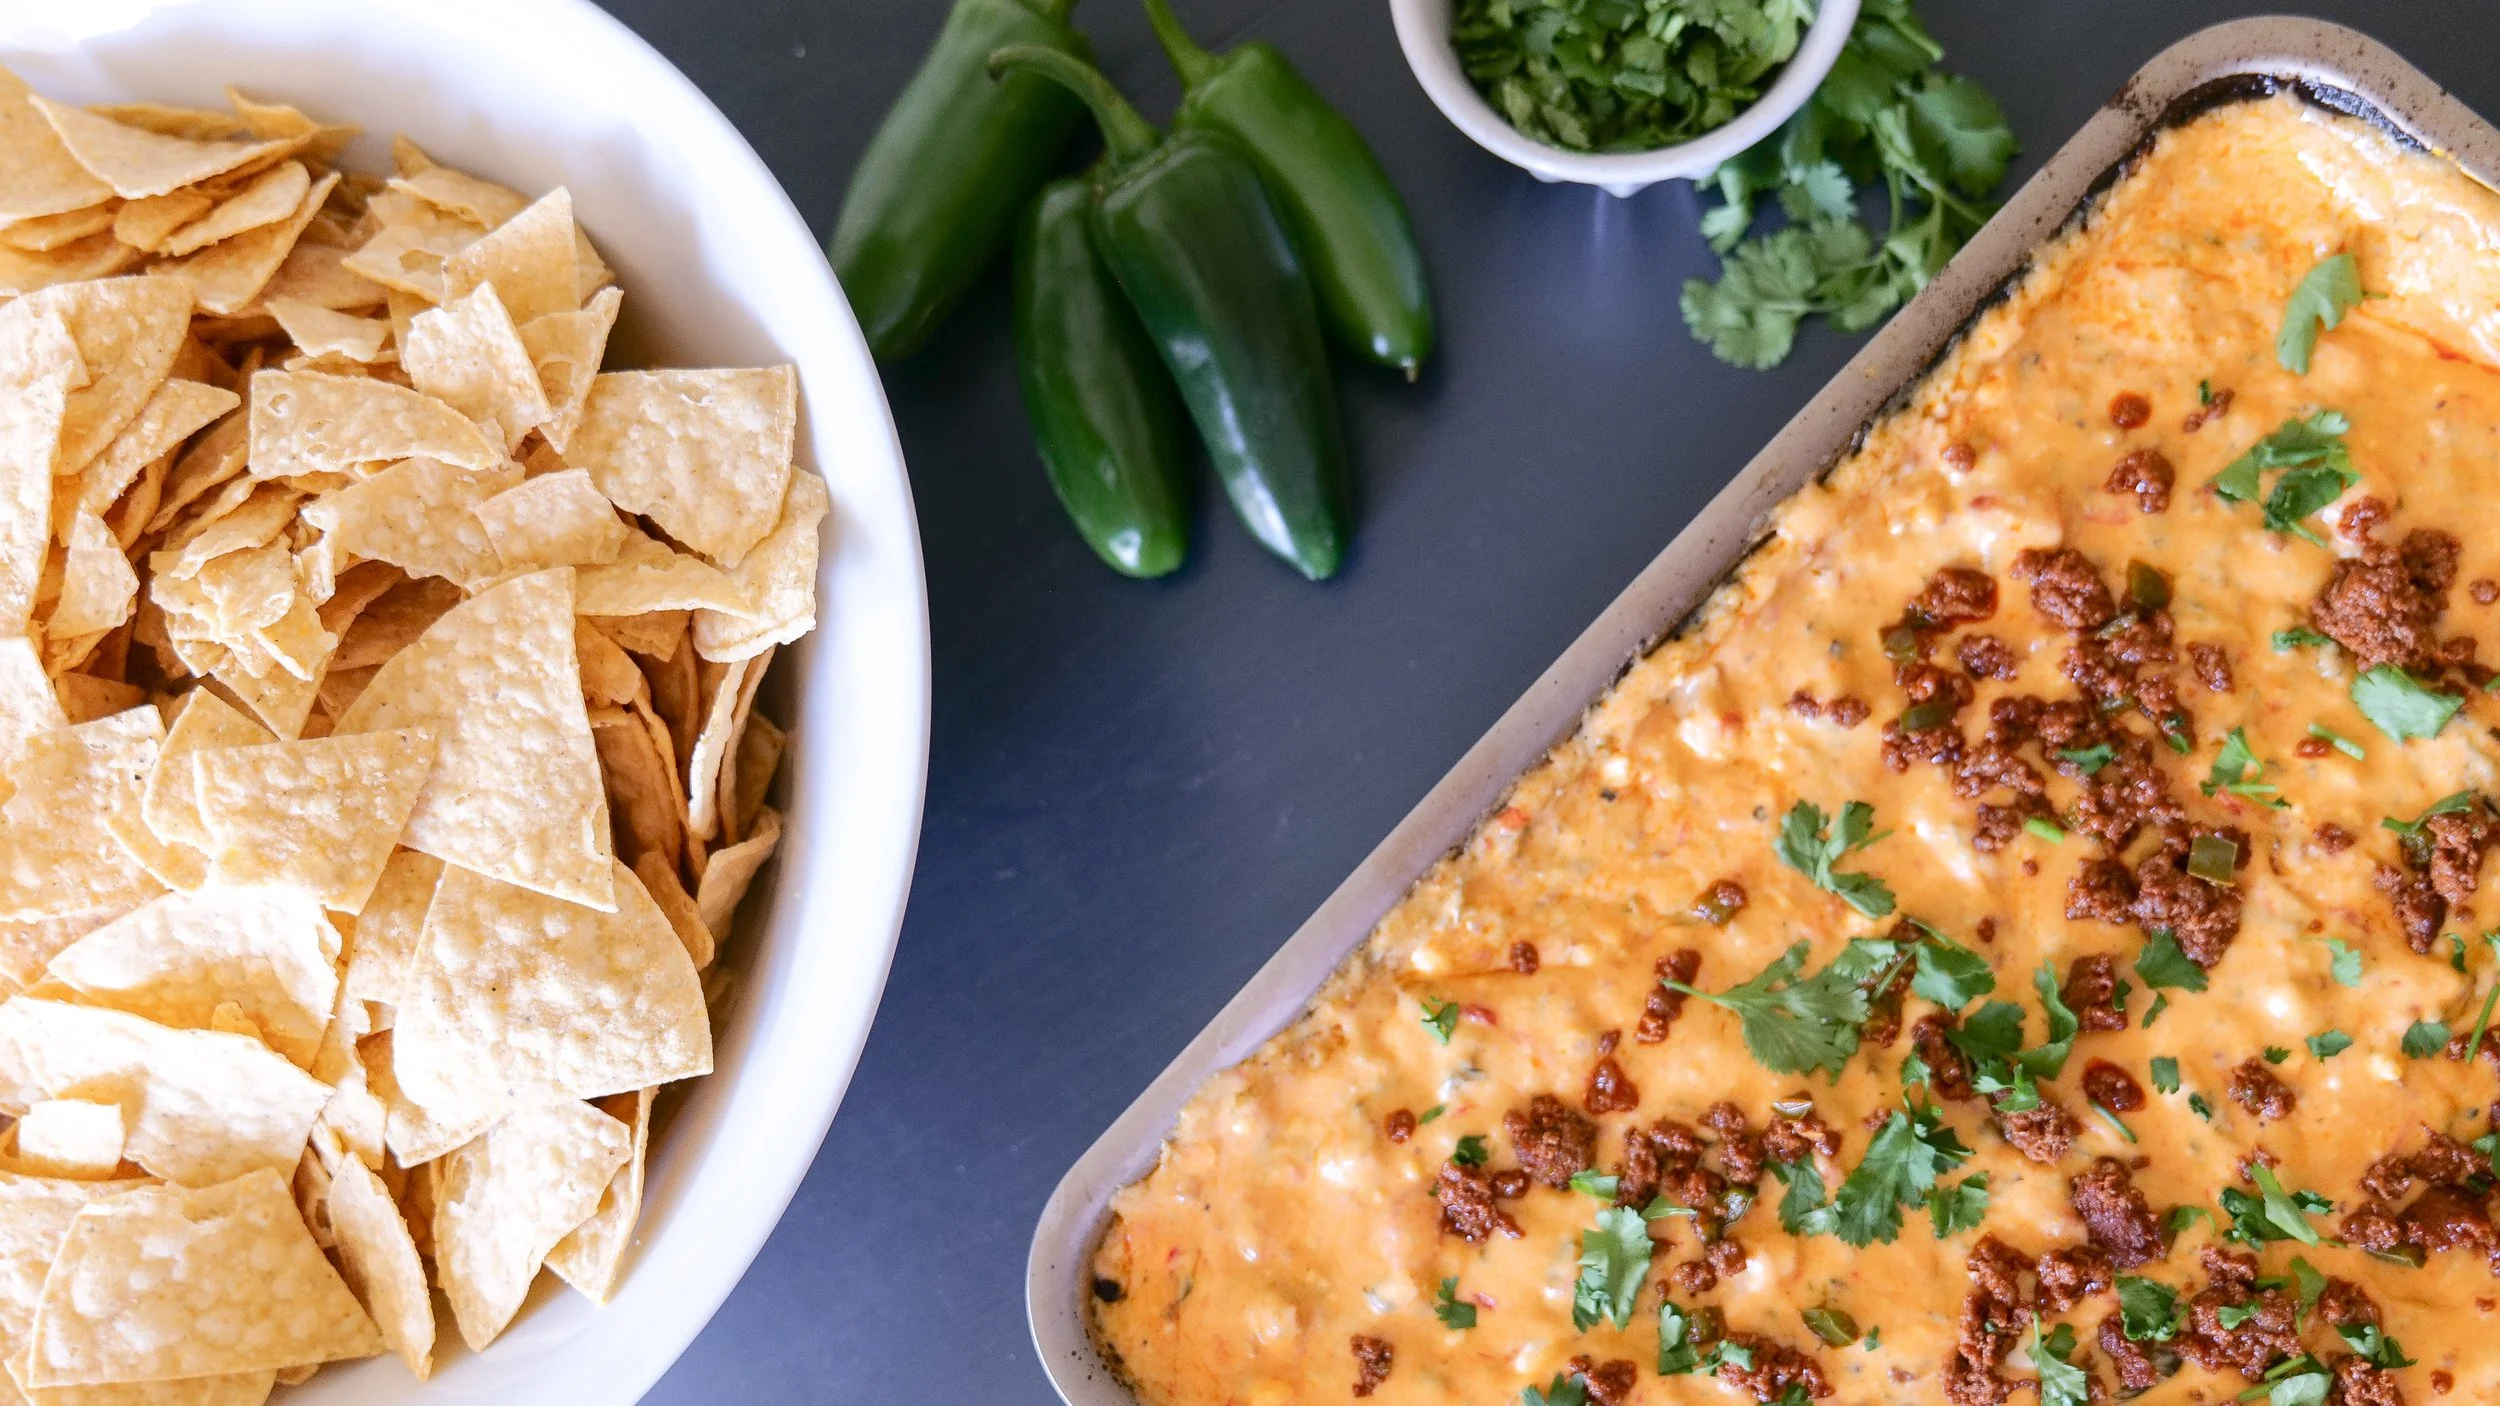
Grilled chorizo queso with jalapeños and melted cheese

Why You'll Love This Grilled Chorizo Queso

What I love about this recipe is that it feels like much more than basic queso without being complicated to make.

The chorizo gives it plenty of savory flavor and a little spice, while the jalapeños and fire-roasted tomatoes add even more flavor throughout the dip. Using several different cheeses gives you that creamy, melty consistency you want in queso while the pepper jack adds another little kick.

And because almost everything happens in one pan, it's also an easy appetizer to serve when you're entertaining outside.

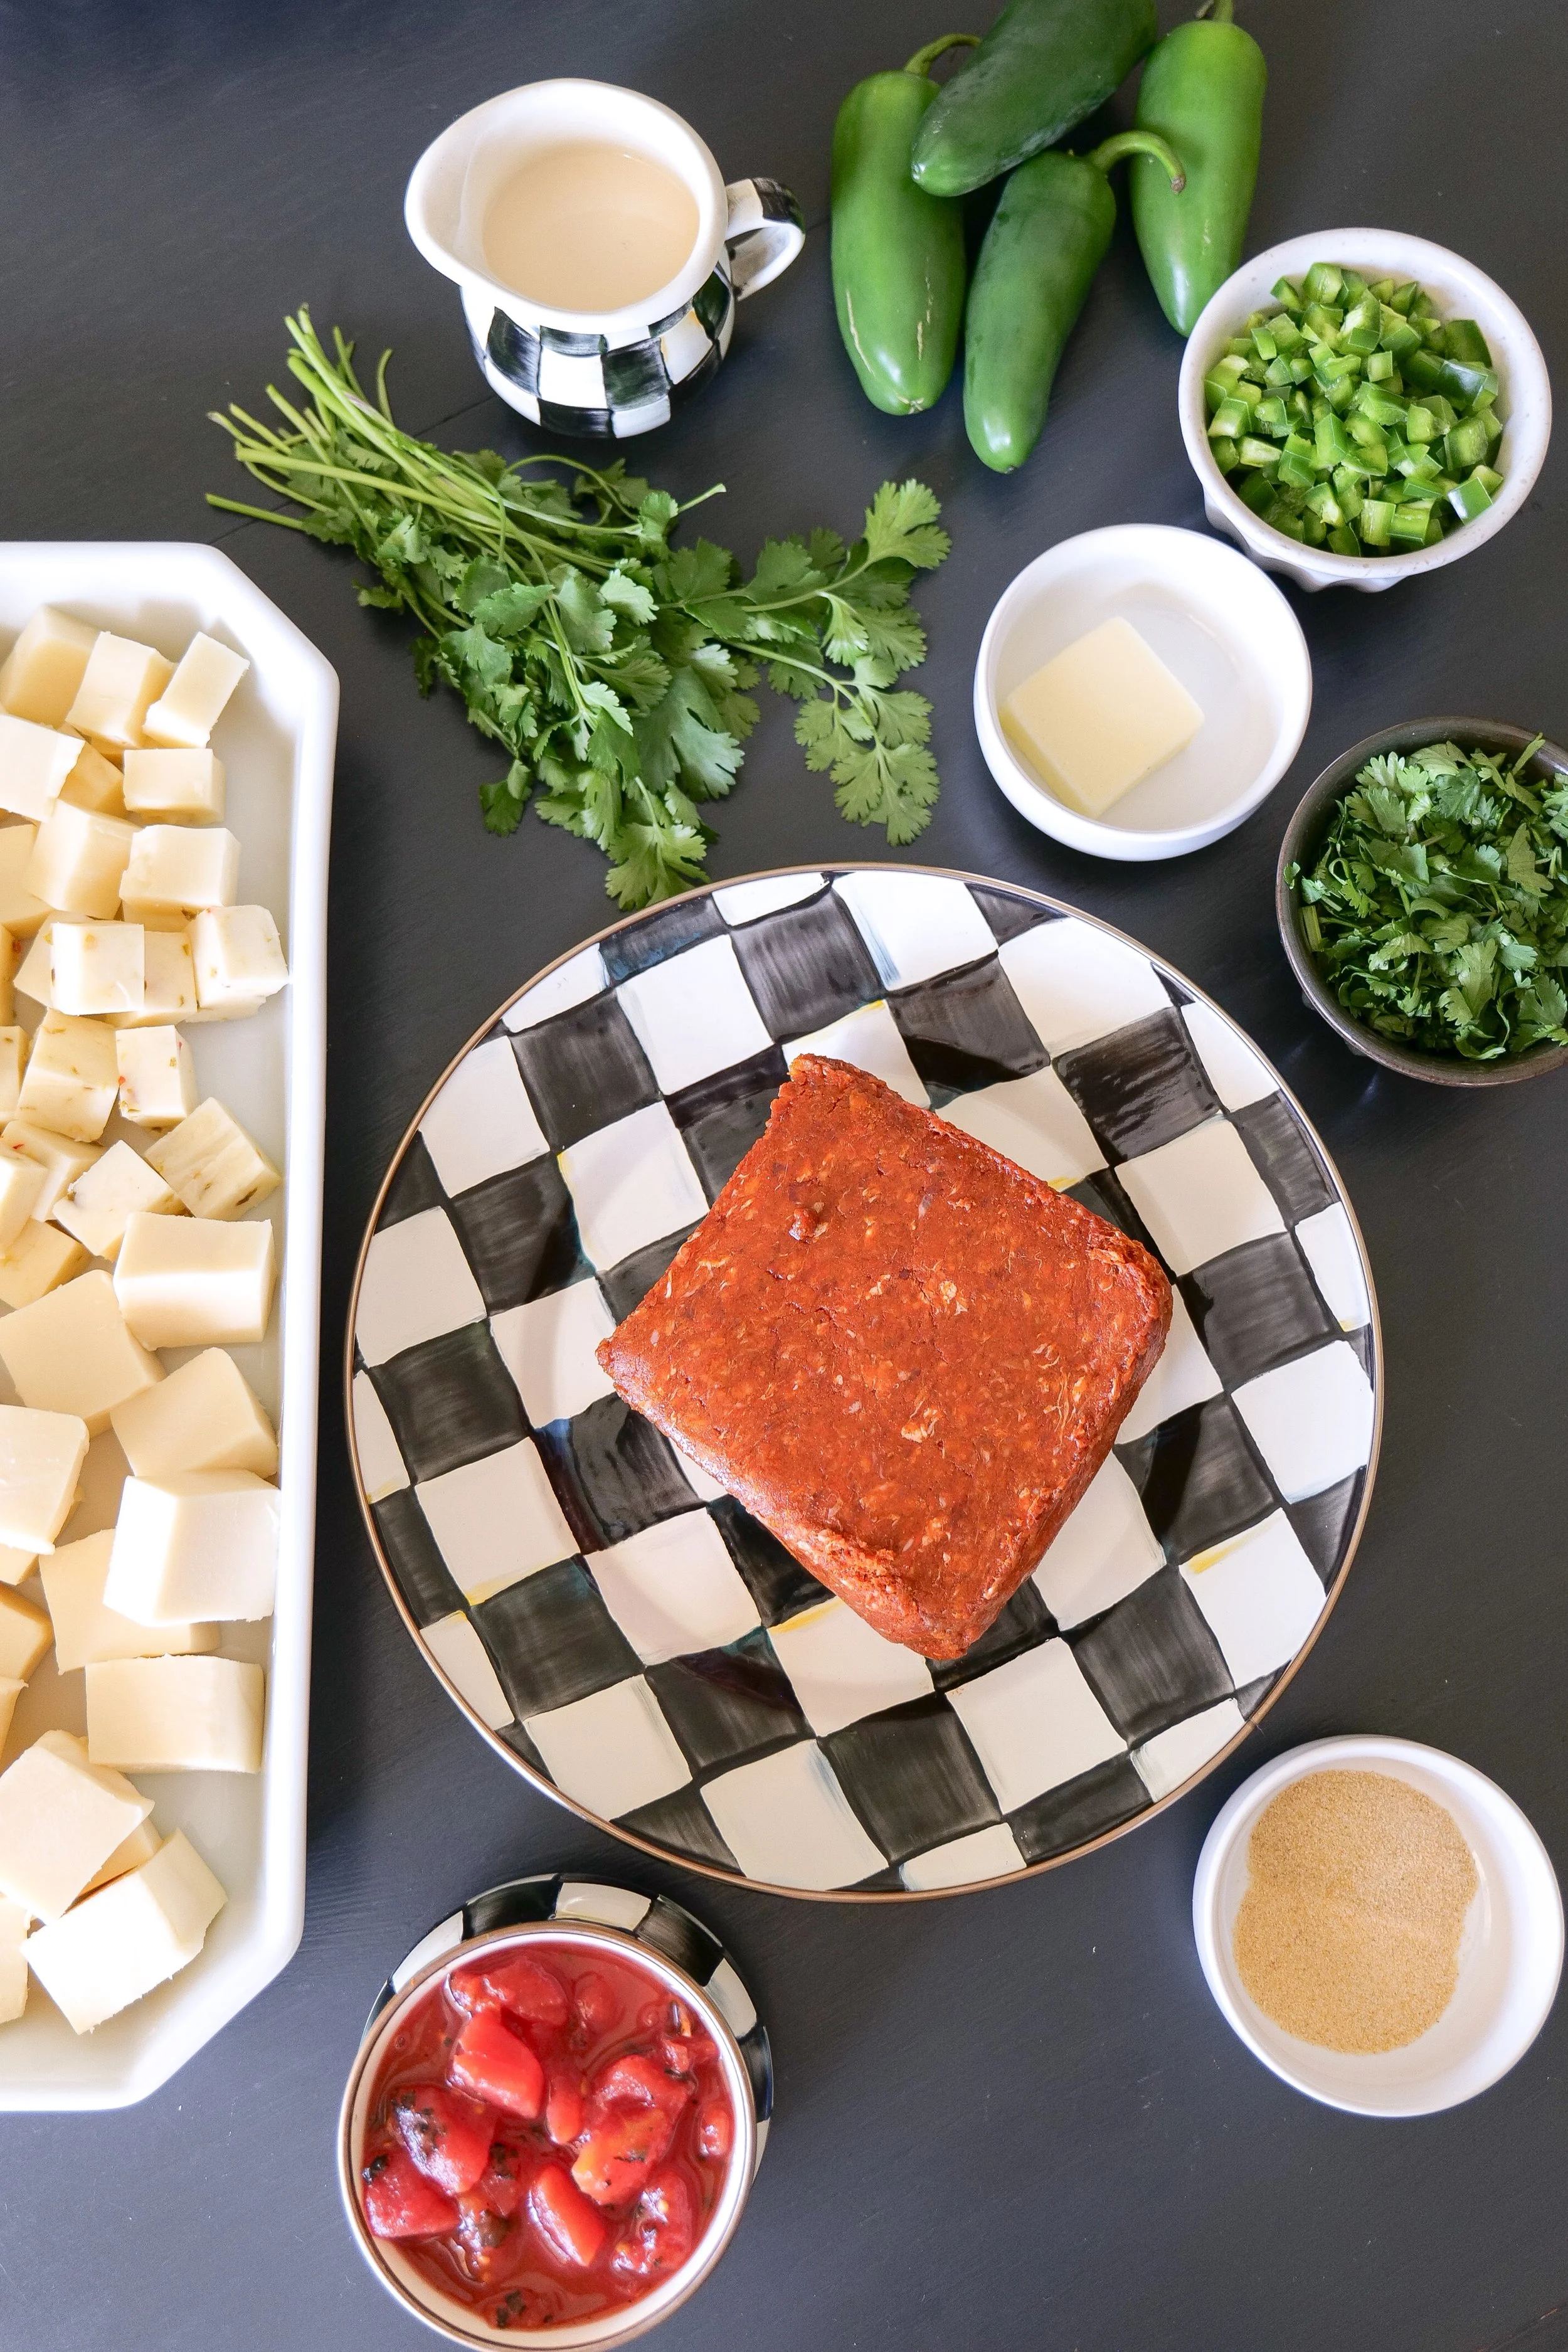
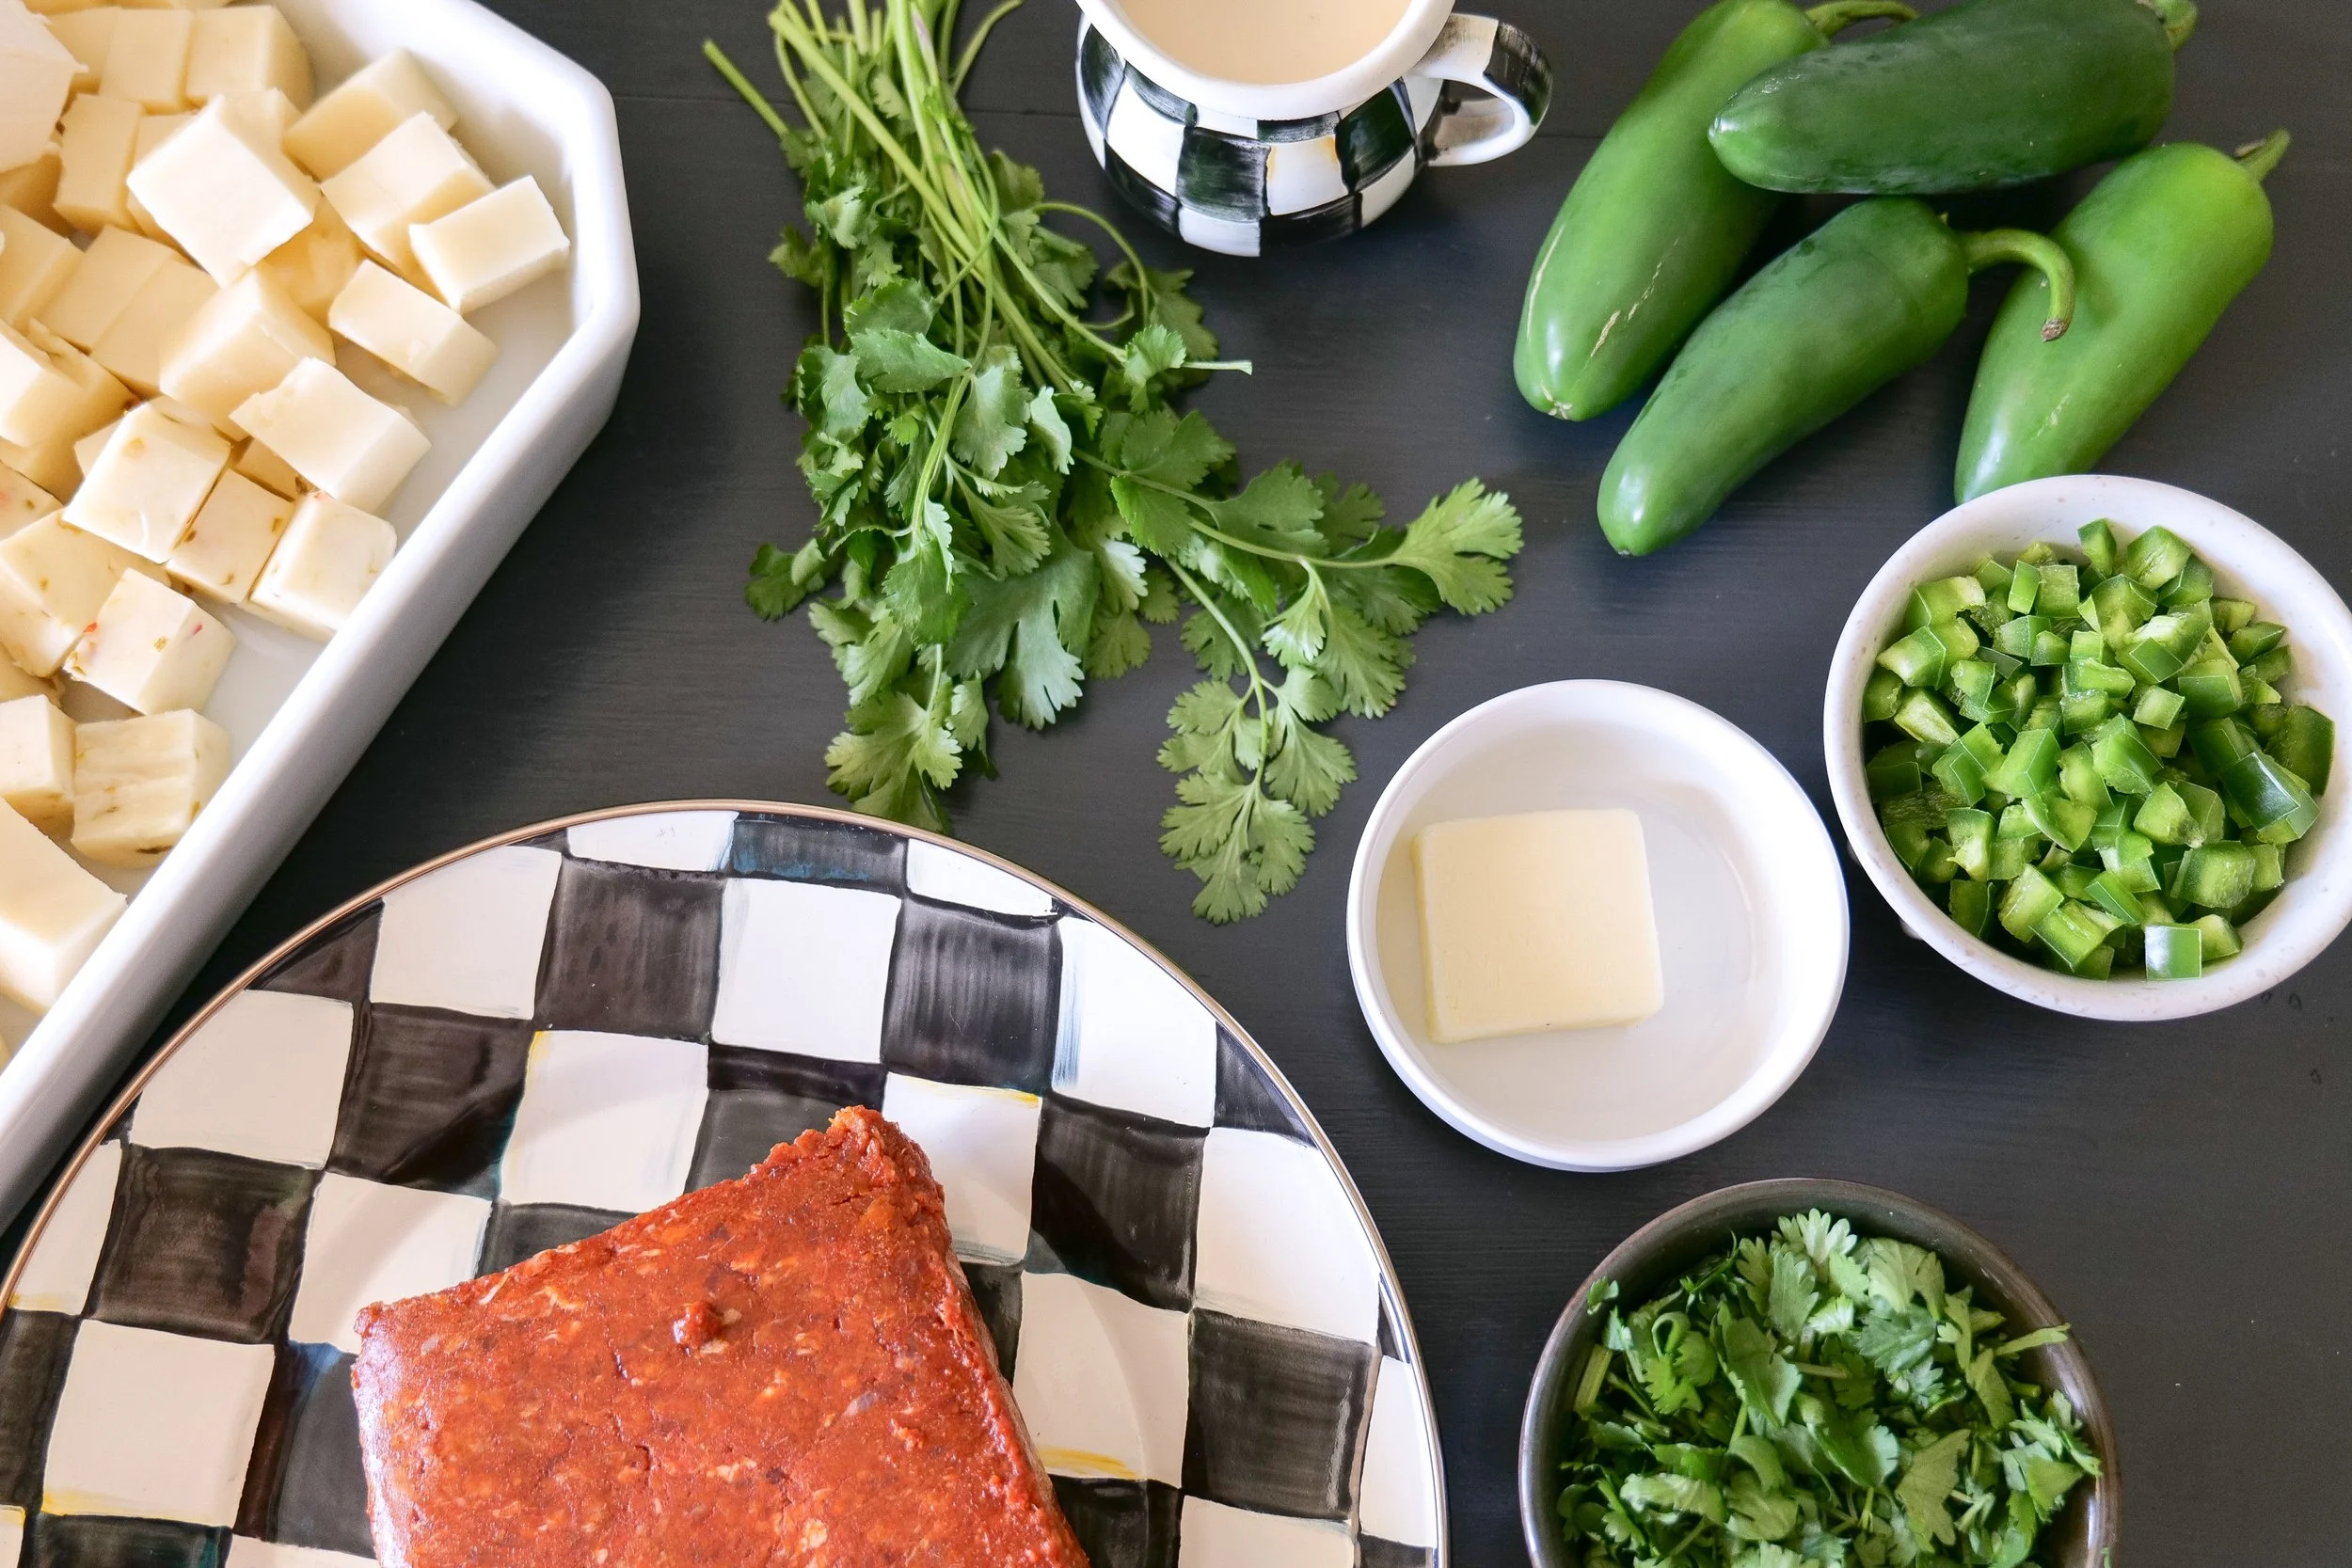
Ingredients for homemade grilled chorizo queso

Ingredient Notes

You only need a handful of ingredients, but each one plays a role in making this queso creamy, flavorful and perfect for dipping.

Chorizo

You can use pork or beef chorizo for this recipe. I cook it first with the jalapeños, breaking it into crumbles as it cooks, and drain excess grease if necessary before adding it to the queso.

Save a little cooked chorizo for the top before serving. It makes the finished queso look so good and gives you a little extra chorizo in those first few scoops.

Jalapeños

The fresh jalapeños are cooked in a little salted butter before the chorizo goes into the skillet.

I also save a small amount of the diced jalapeño for garnishing the finished queso.

The Cheese

This recipe uses a combination of Velveeta Queso Blanco, mozzarella, pepper jack and cream cheese.

The Queso Blanco and cream cheese create that really creamy base, while mozzarella gives you plenty of melt and pepper jack adds more flavor and heat.

Cutting the cheeses into chunks helps everything melt together more evenly on the grill.

Fire-Roasted Tomatoes

I use a 14-ounce can of diced fire-roasted tomatoes. They add tomato flavor while fitting perfectly with everything else happening in the grilled queso.

Evaporated Milk

A small amount of evaporated milk helps loosen the cheese mixture as it melts and gives the finished queso its creamy, dip-able consistency.

Cilantro

Fresh cilantro goes into the queso for freshness and color alongside all of those richer ingredients.

Chorizo queso ingredients ready for cooking

Cooking the Chorizo & Jalapeños

Before everything goes onto the grill, start by melting the butter in a large skillet over medium heat.

Add the diced jalapeños, reserving a small handful for the top, and cook until they begin to soften.

Then add the chorizo and cook it into crumbles until completely cooked through. Drain off excess grease if needed and reserve a little of the cooked chorizo for topping the finished dip.

Cooked chorizo and jalapeños for grilled queso

Getting the Queso Ready for the Grill

Once the chorizo is cooked, it's time for the easy part.

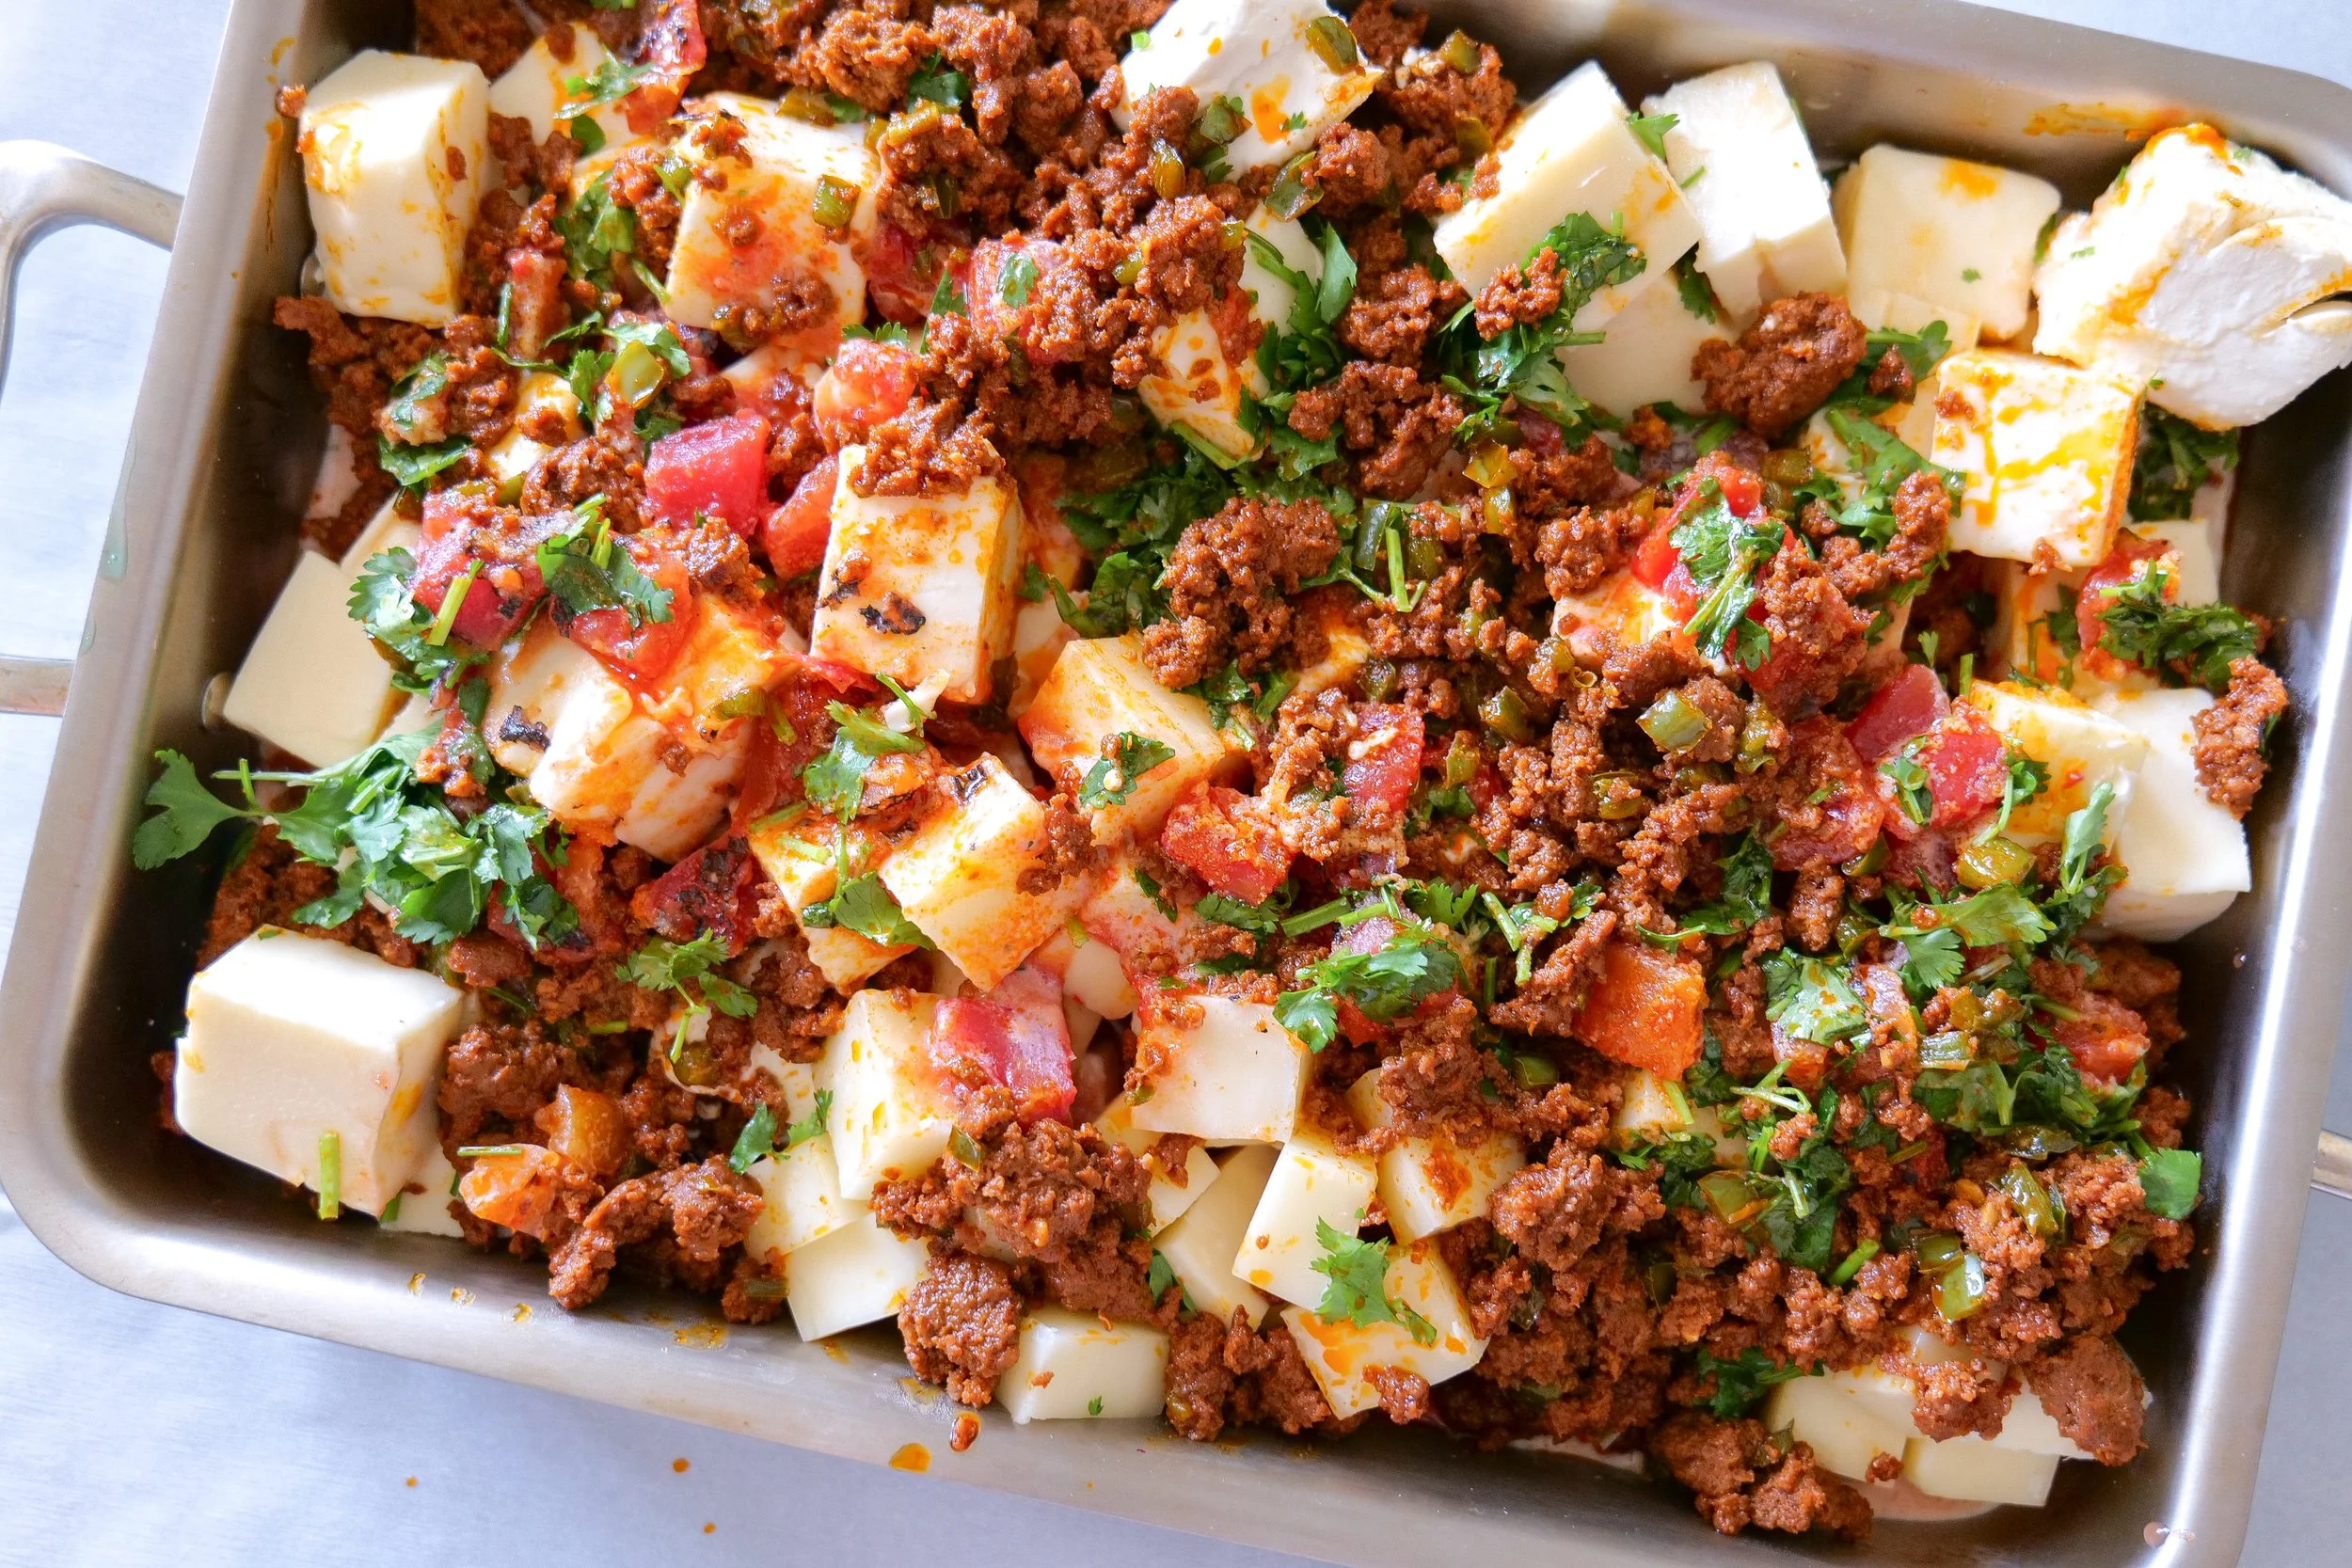
Add the cooked chorizo and jalapeños to your grill-safe pan along with the Queso Blanco, mozzarella, pepper jack, cream cheese, fire-roasted tomatoes, evaporated milk, onion powder, garlic powder and fresh cilantro.

At this point it isn't going to look like queso yet. That's okay—the grill is going to melt everything together.

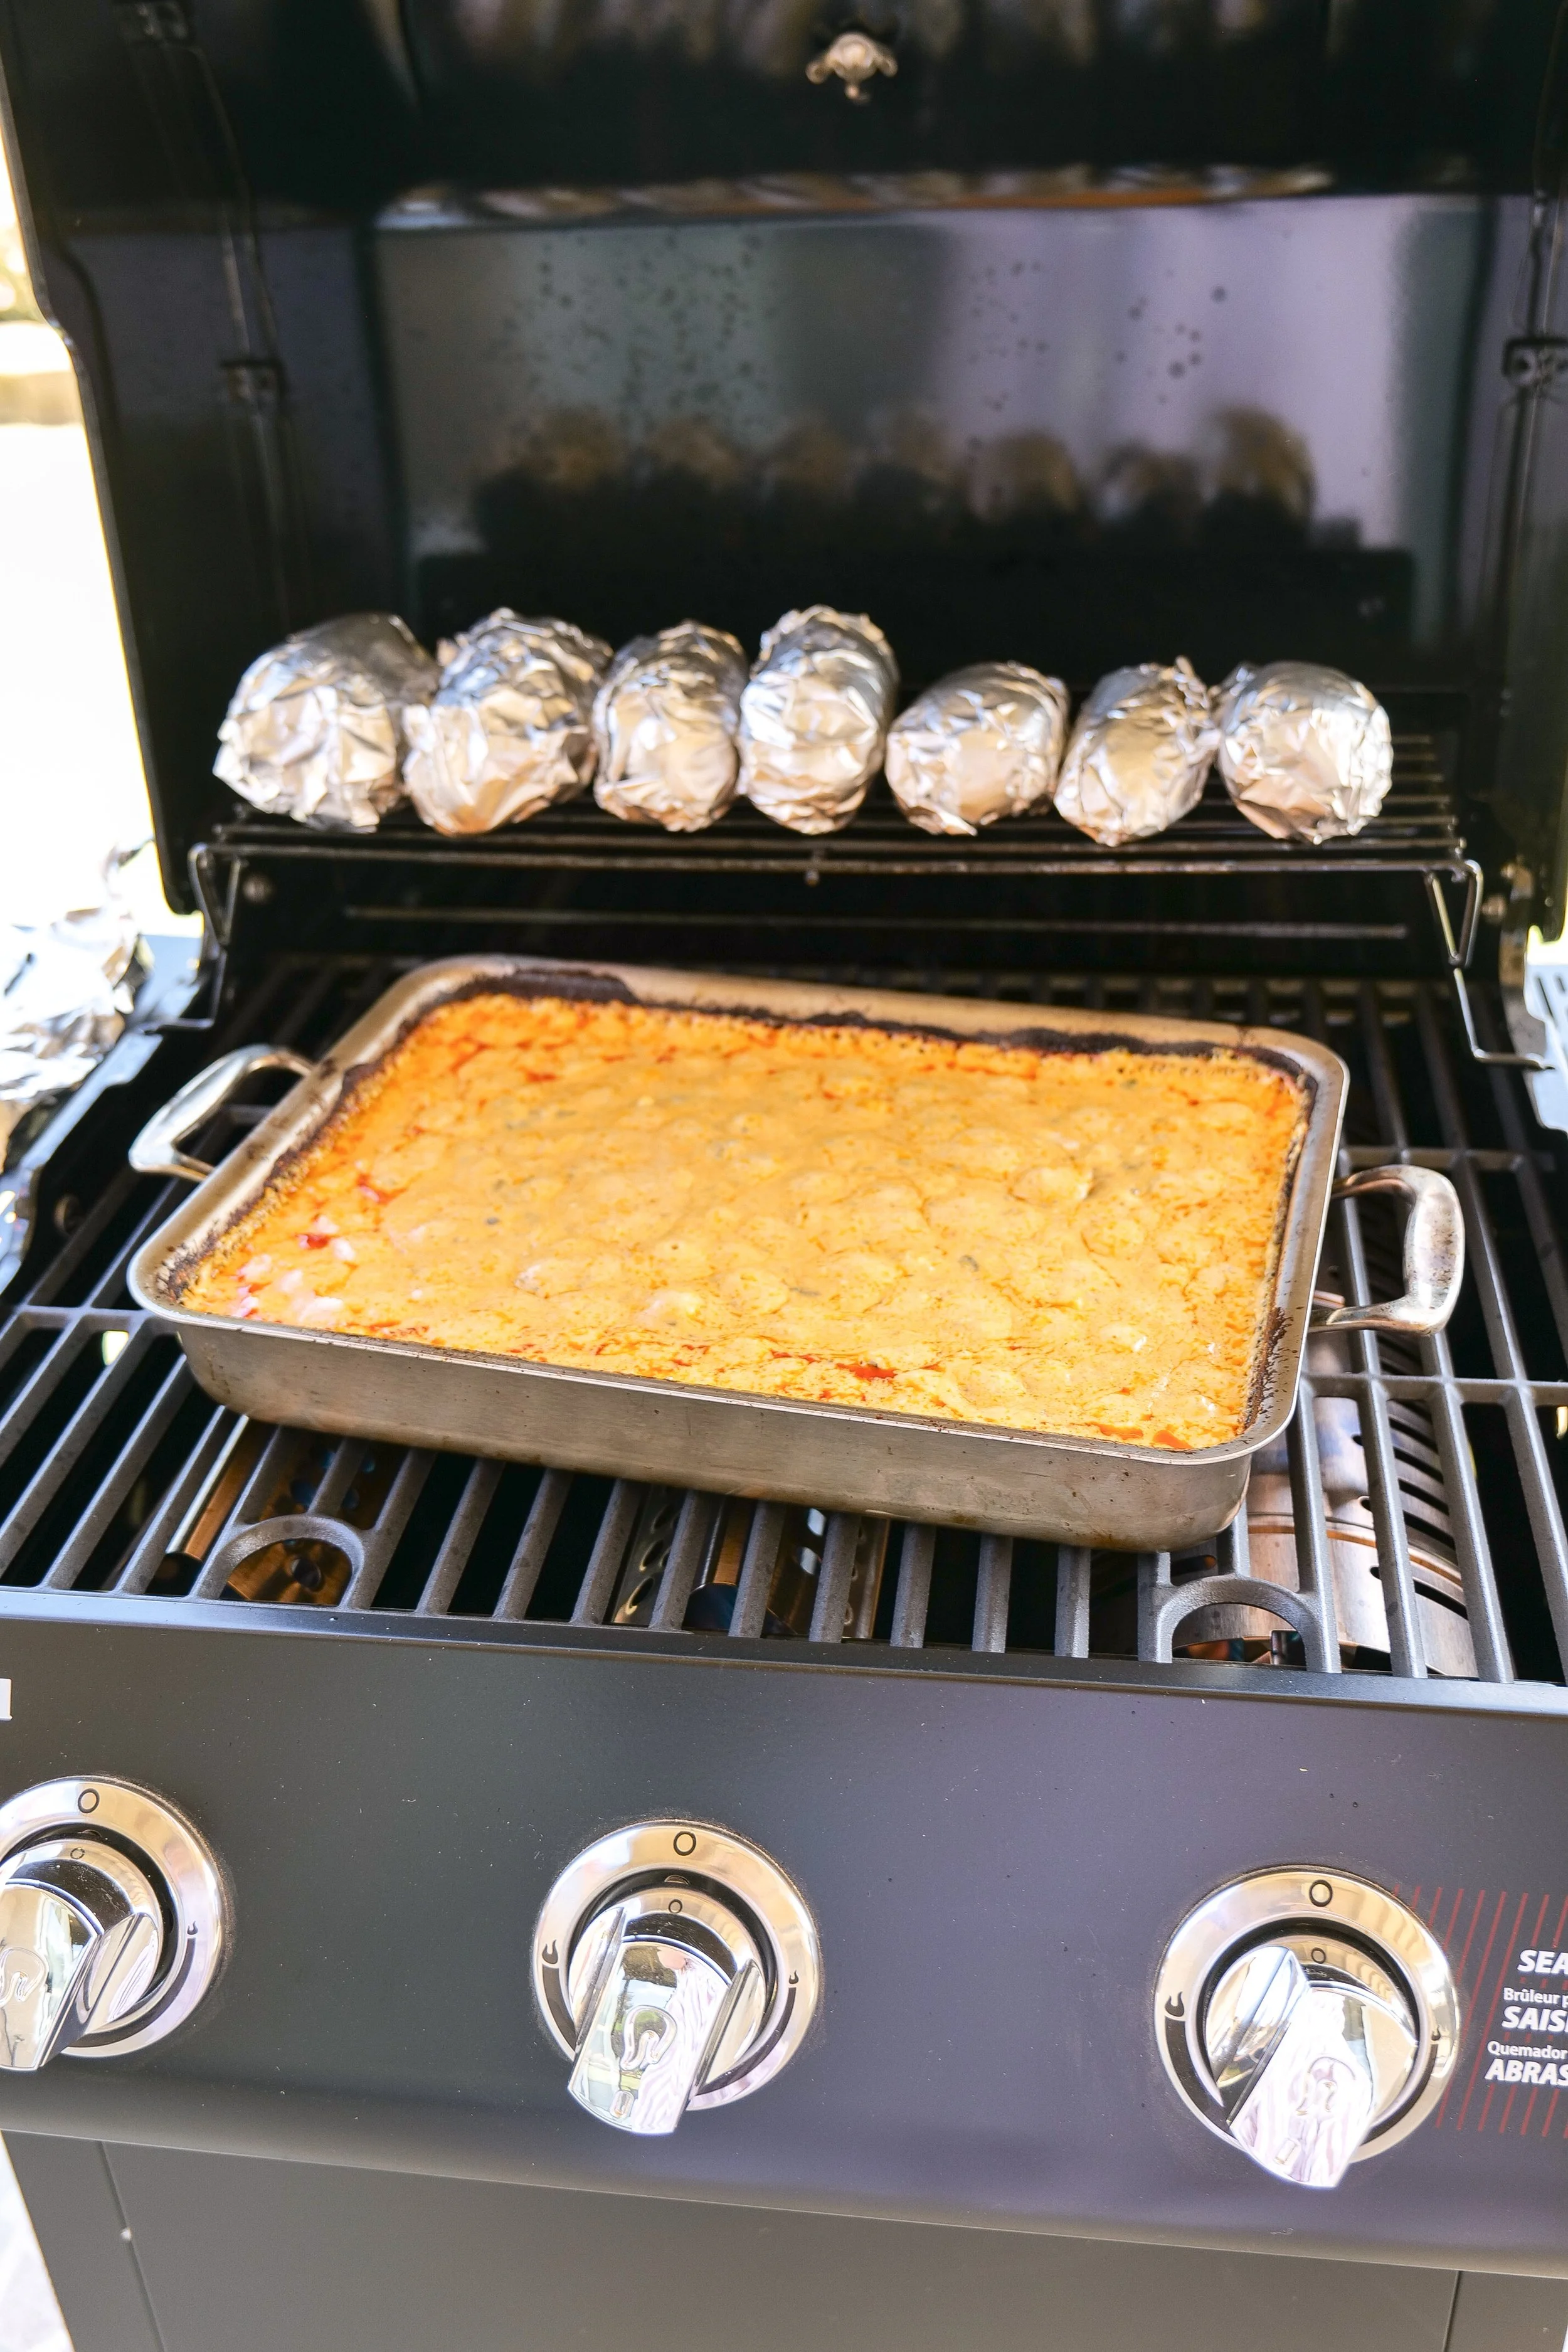
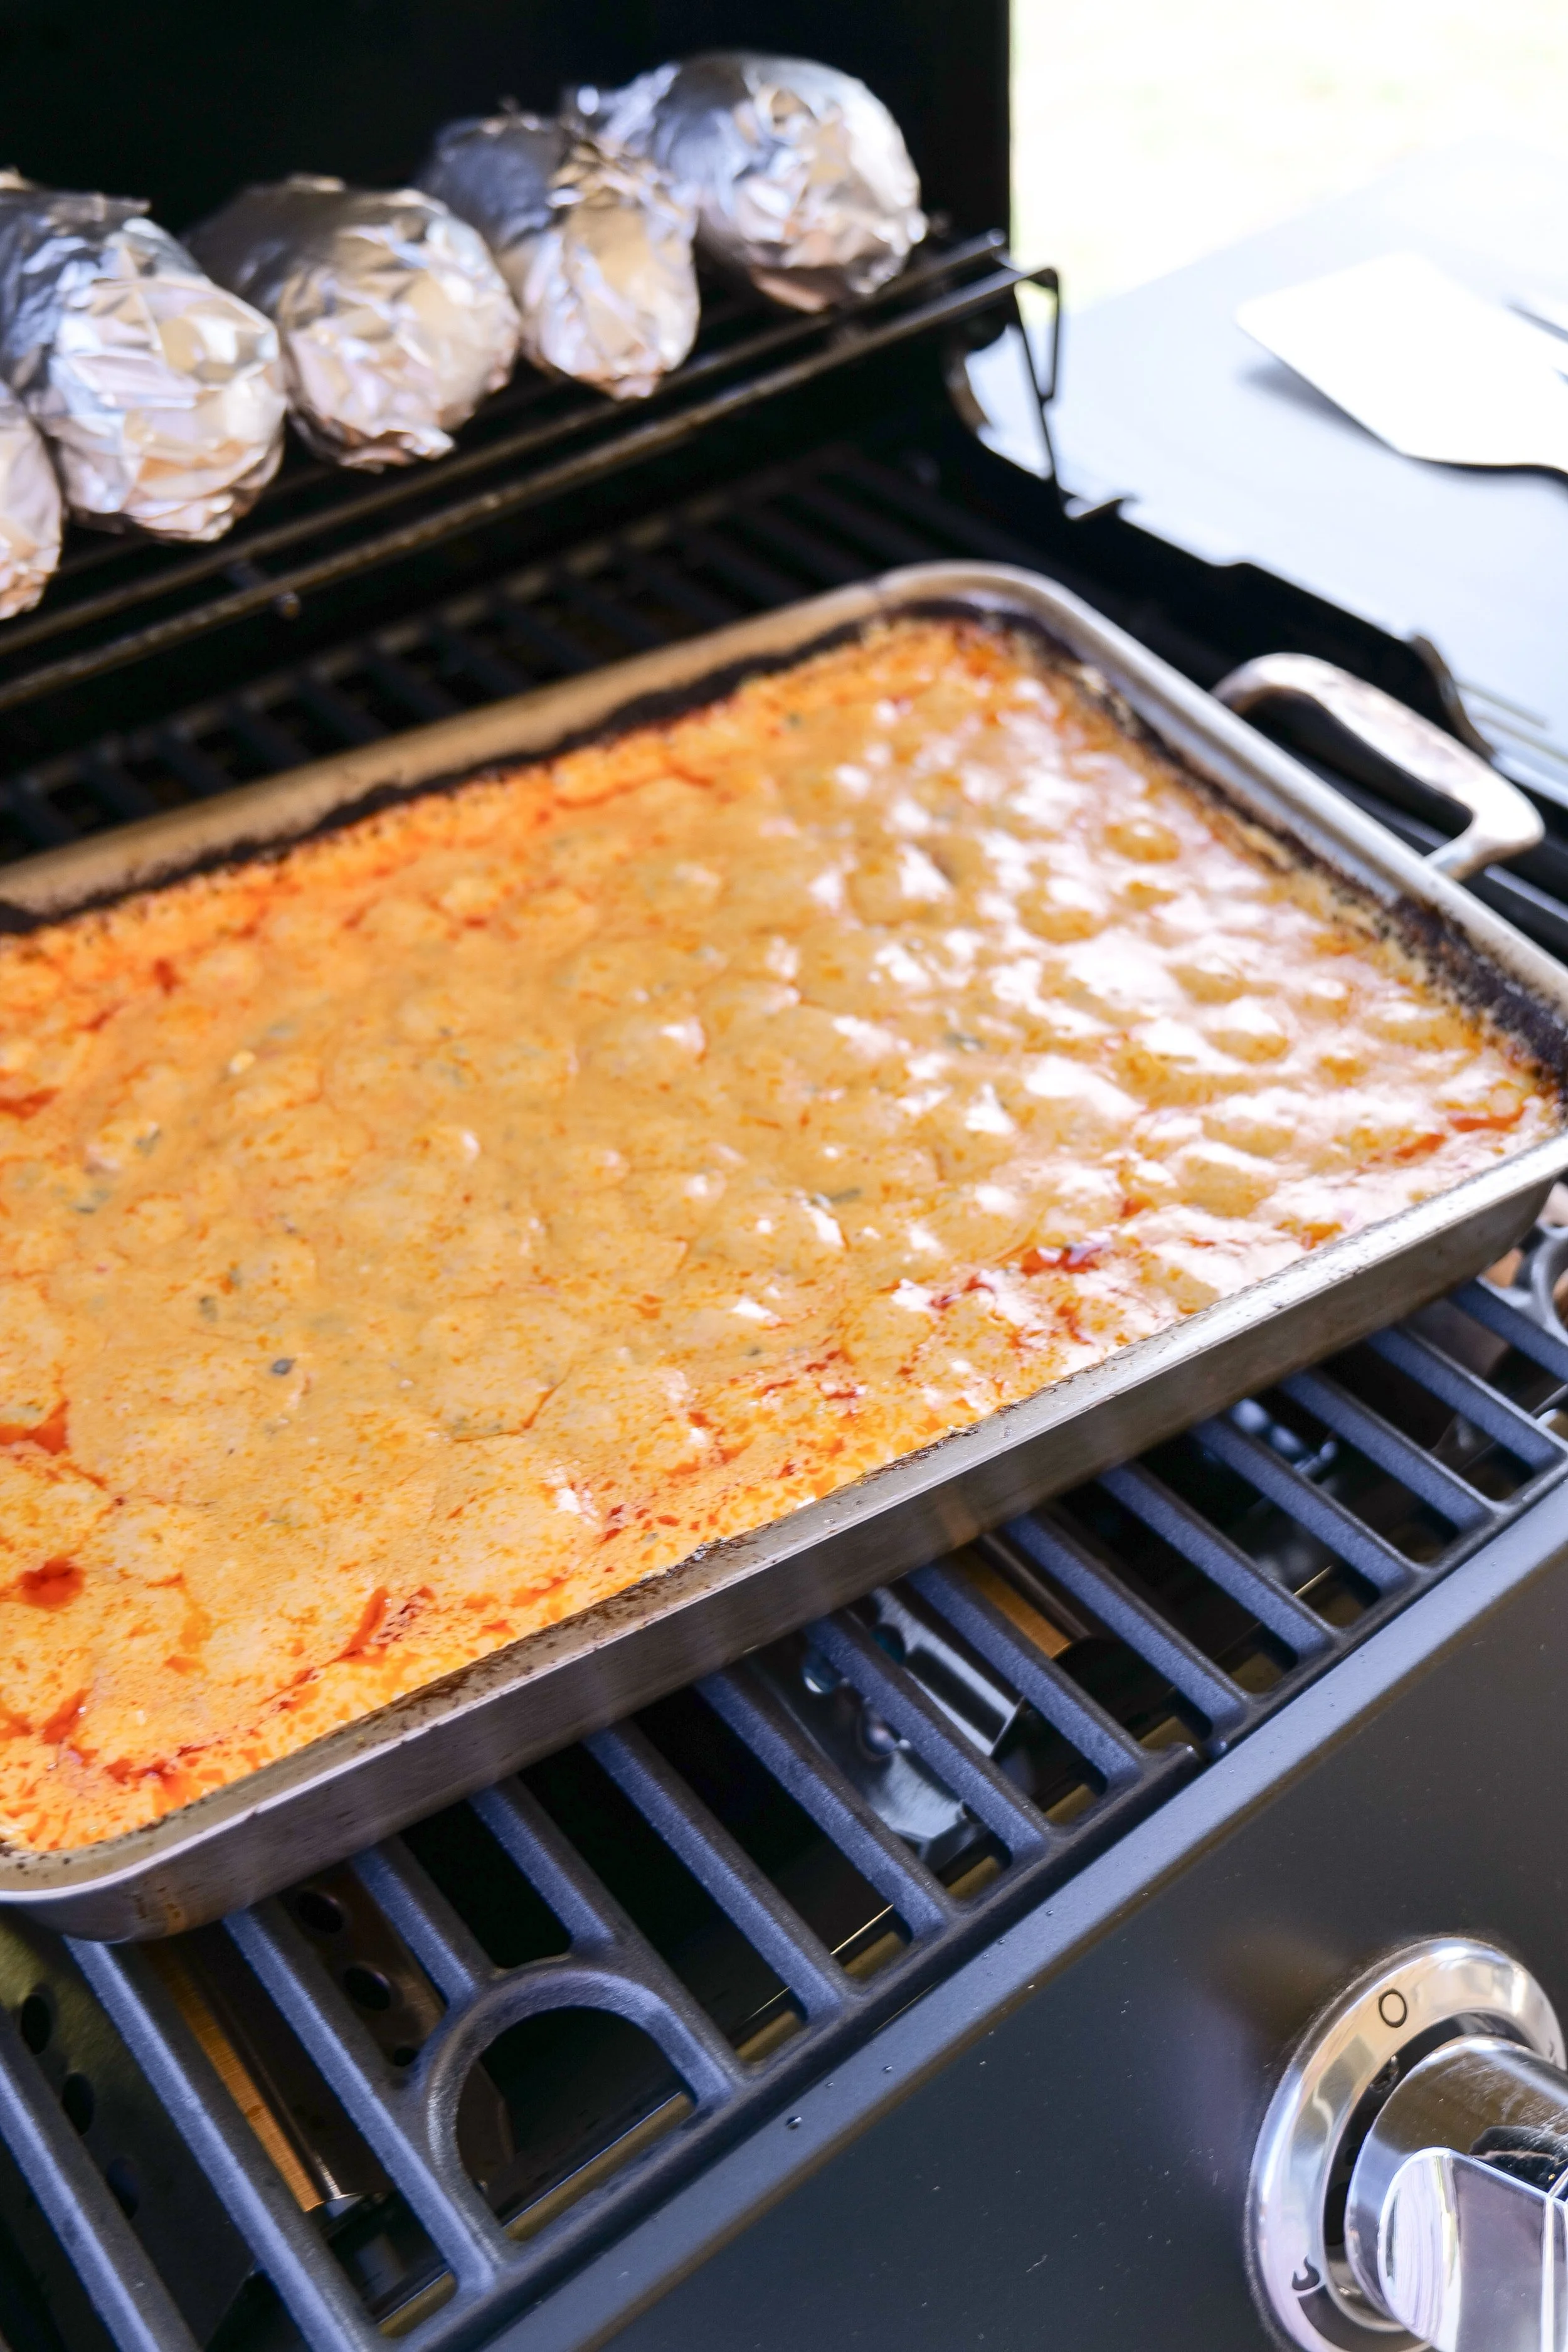
Chorizo queso ingredients combined in a pan while grilling

My 360 Cookware Grill Cleanup Trick

If you're using a 360 Cookware pan on the grill like I am, here's one little trick that makes cleanup easier afterward.

Before putting the pan onto the grill, spread a thin layer of Dawn dish soap over the OUTSIDE bottom of the pan.

And yes, I am emphasizing outside for a reason.

The dish soap does not go anywhere inside the pan or near the food. It's simply spread across the exterior bottom surface before the pan goes onto the grill to help with cleanup afterward.

How to Make Queso on the Grill

Place the prepared pan onto the grill and close the lid.

Let everything melt together for approximately 20–25 minutes, stirring a couple of times while it cooks.

You'll know it's ready when all of the cheeses have completely melted and everything has combined into one creamy queso.

Chorizo queso melting together on the grill

Once it's ready, sprinkle the reserved chorizo and jalapeños over the top and serve it while it's hot.

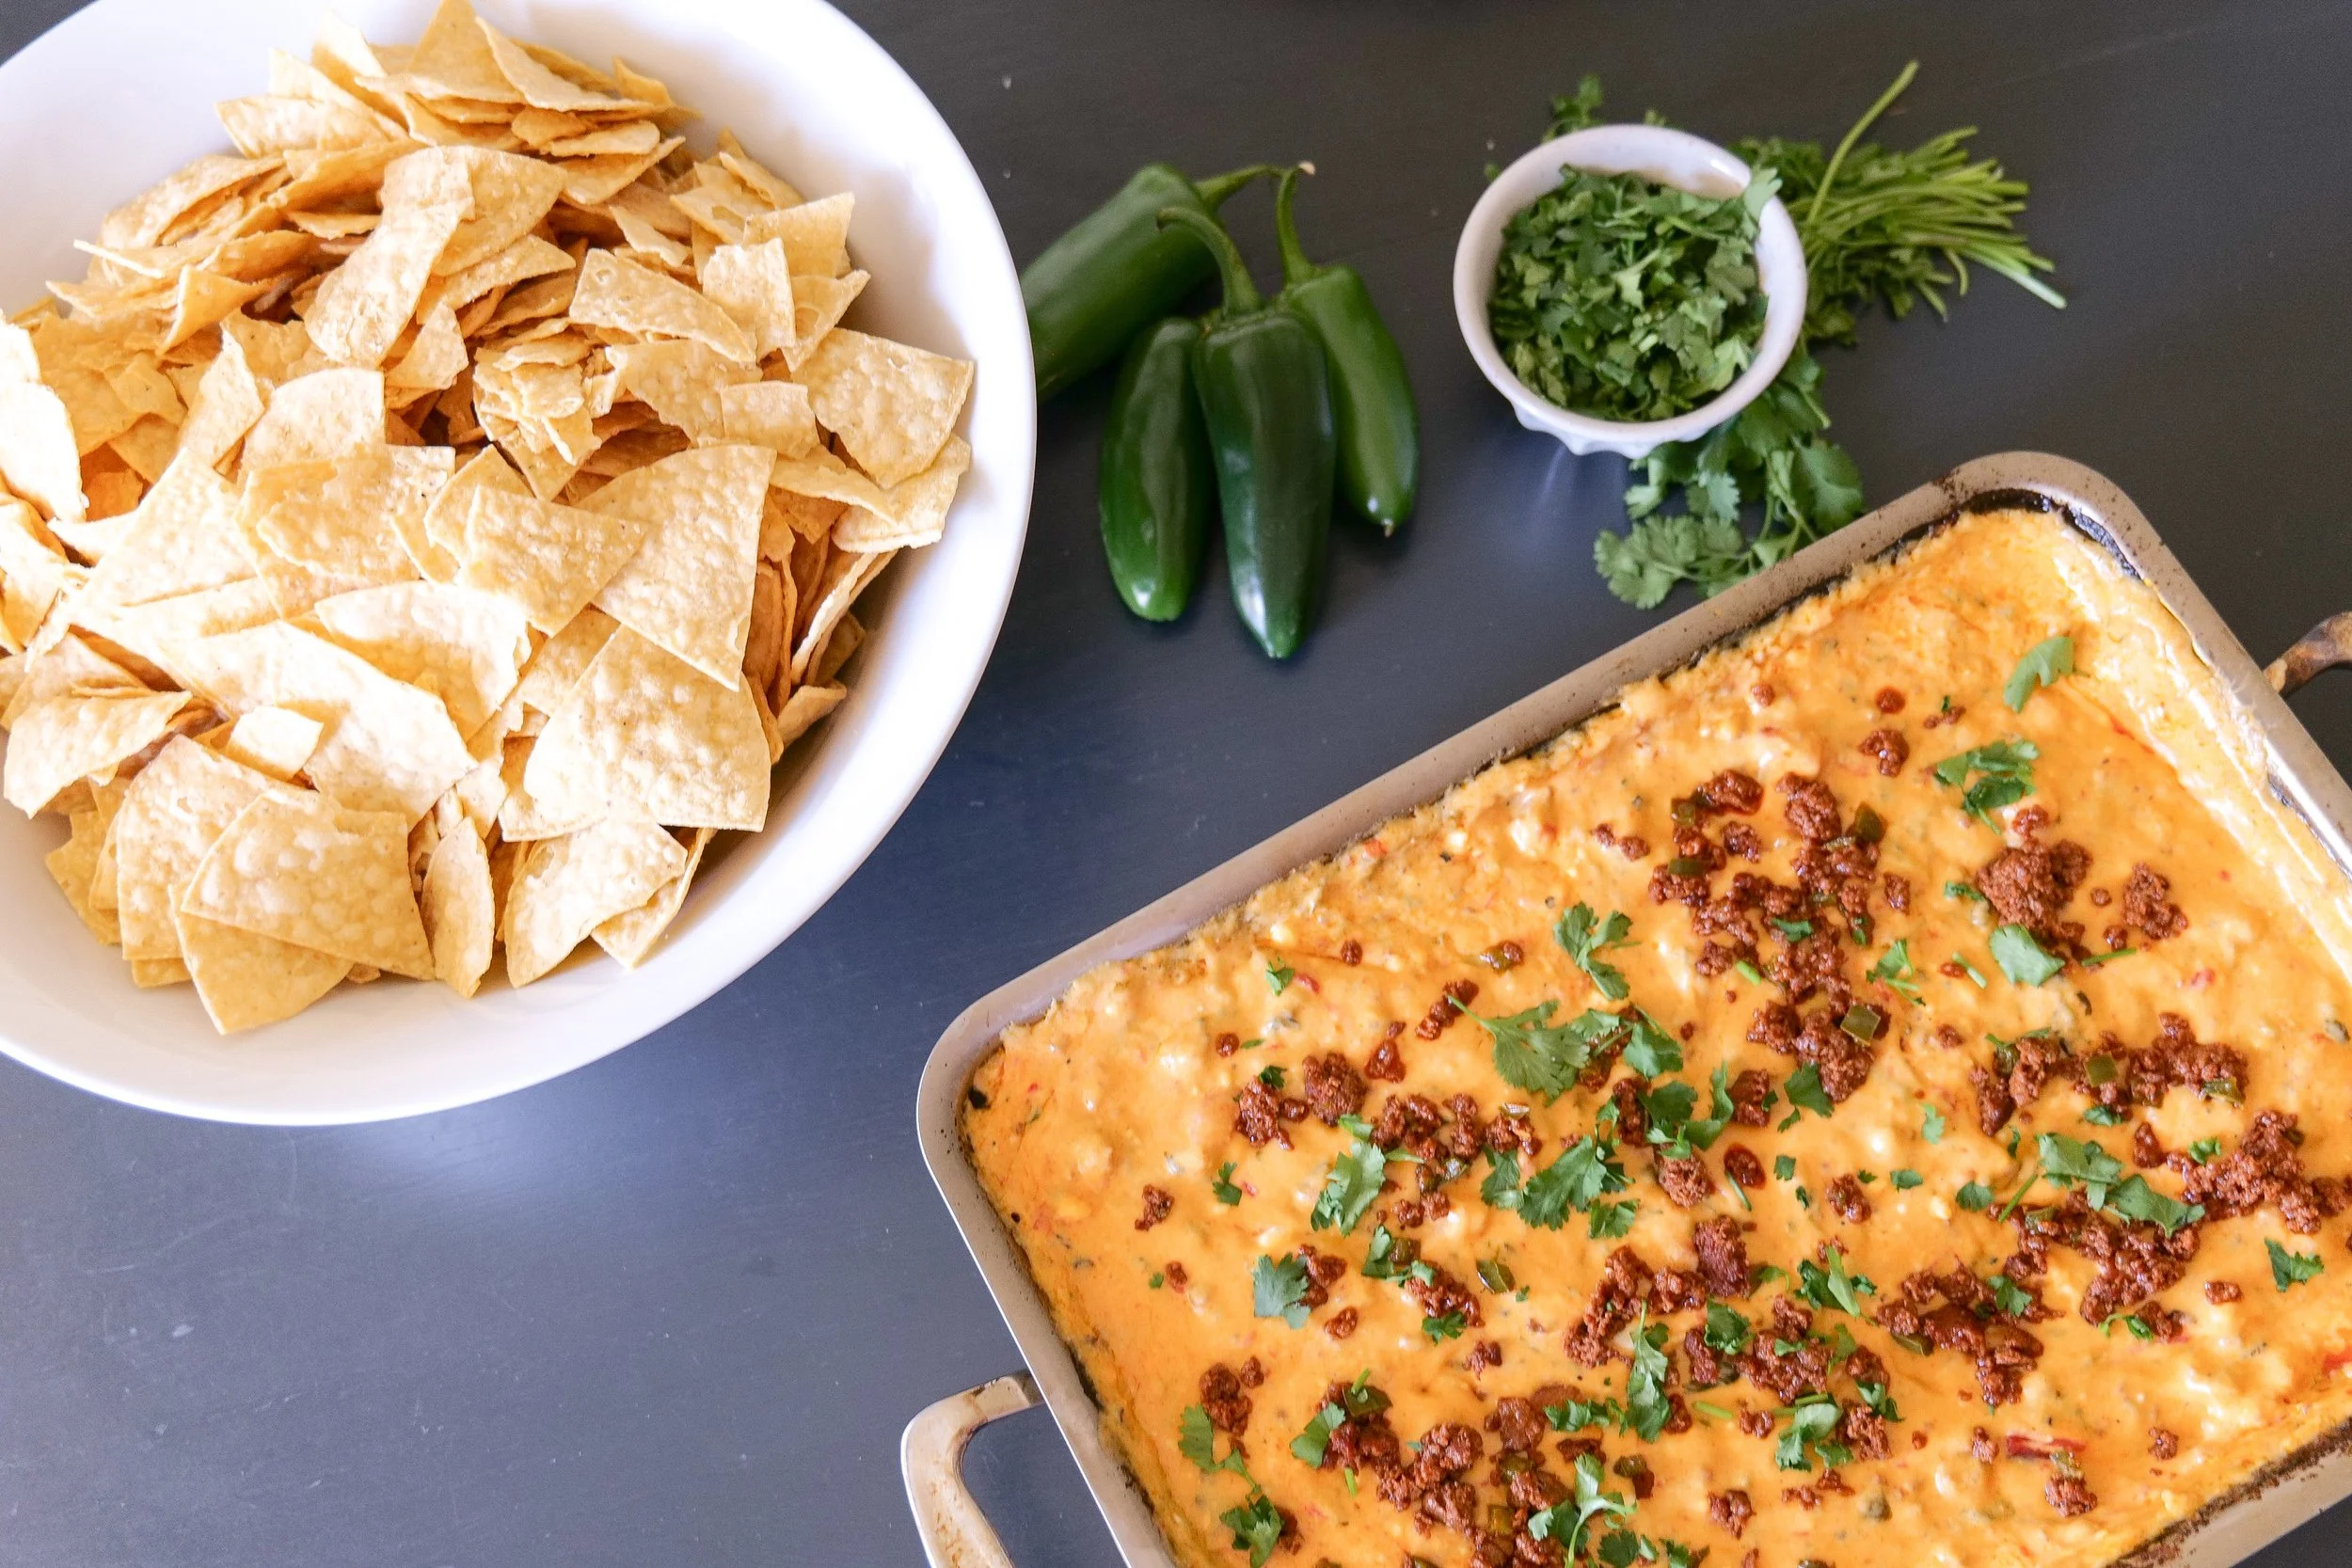
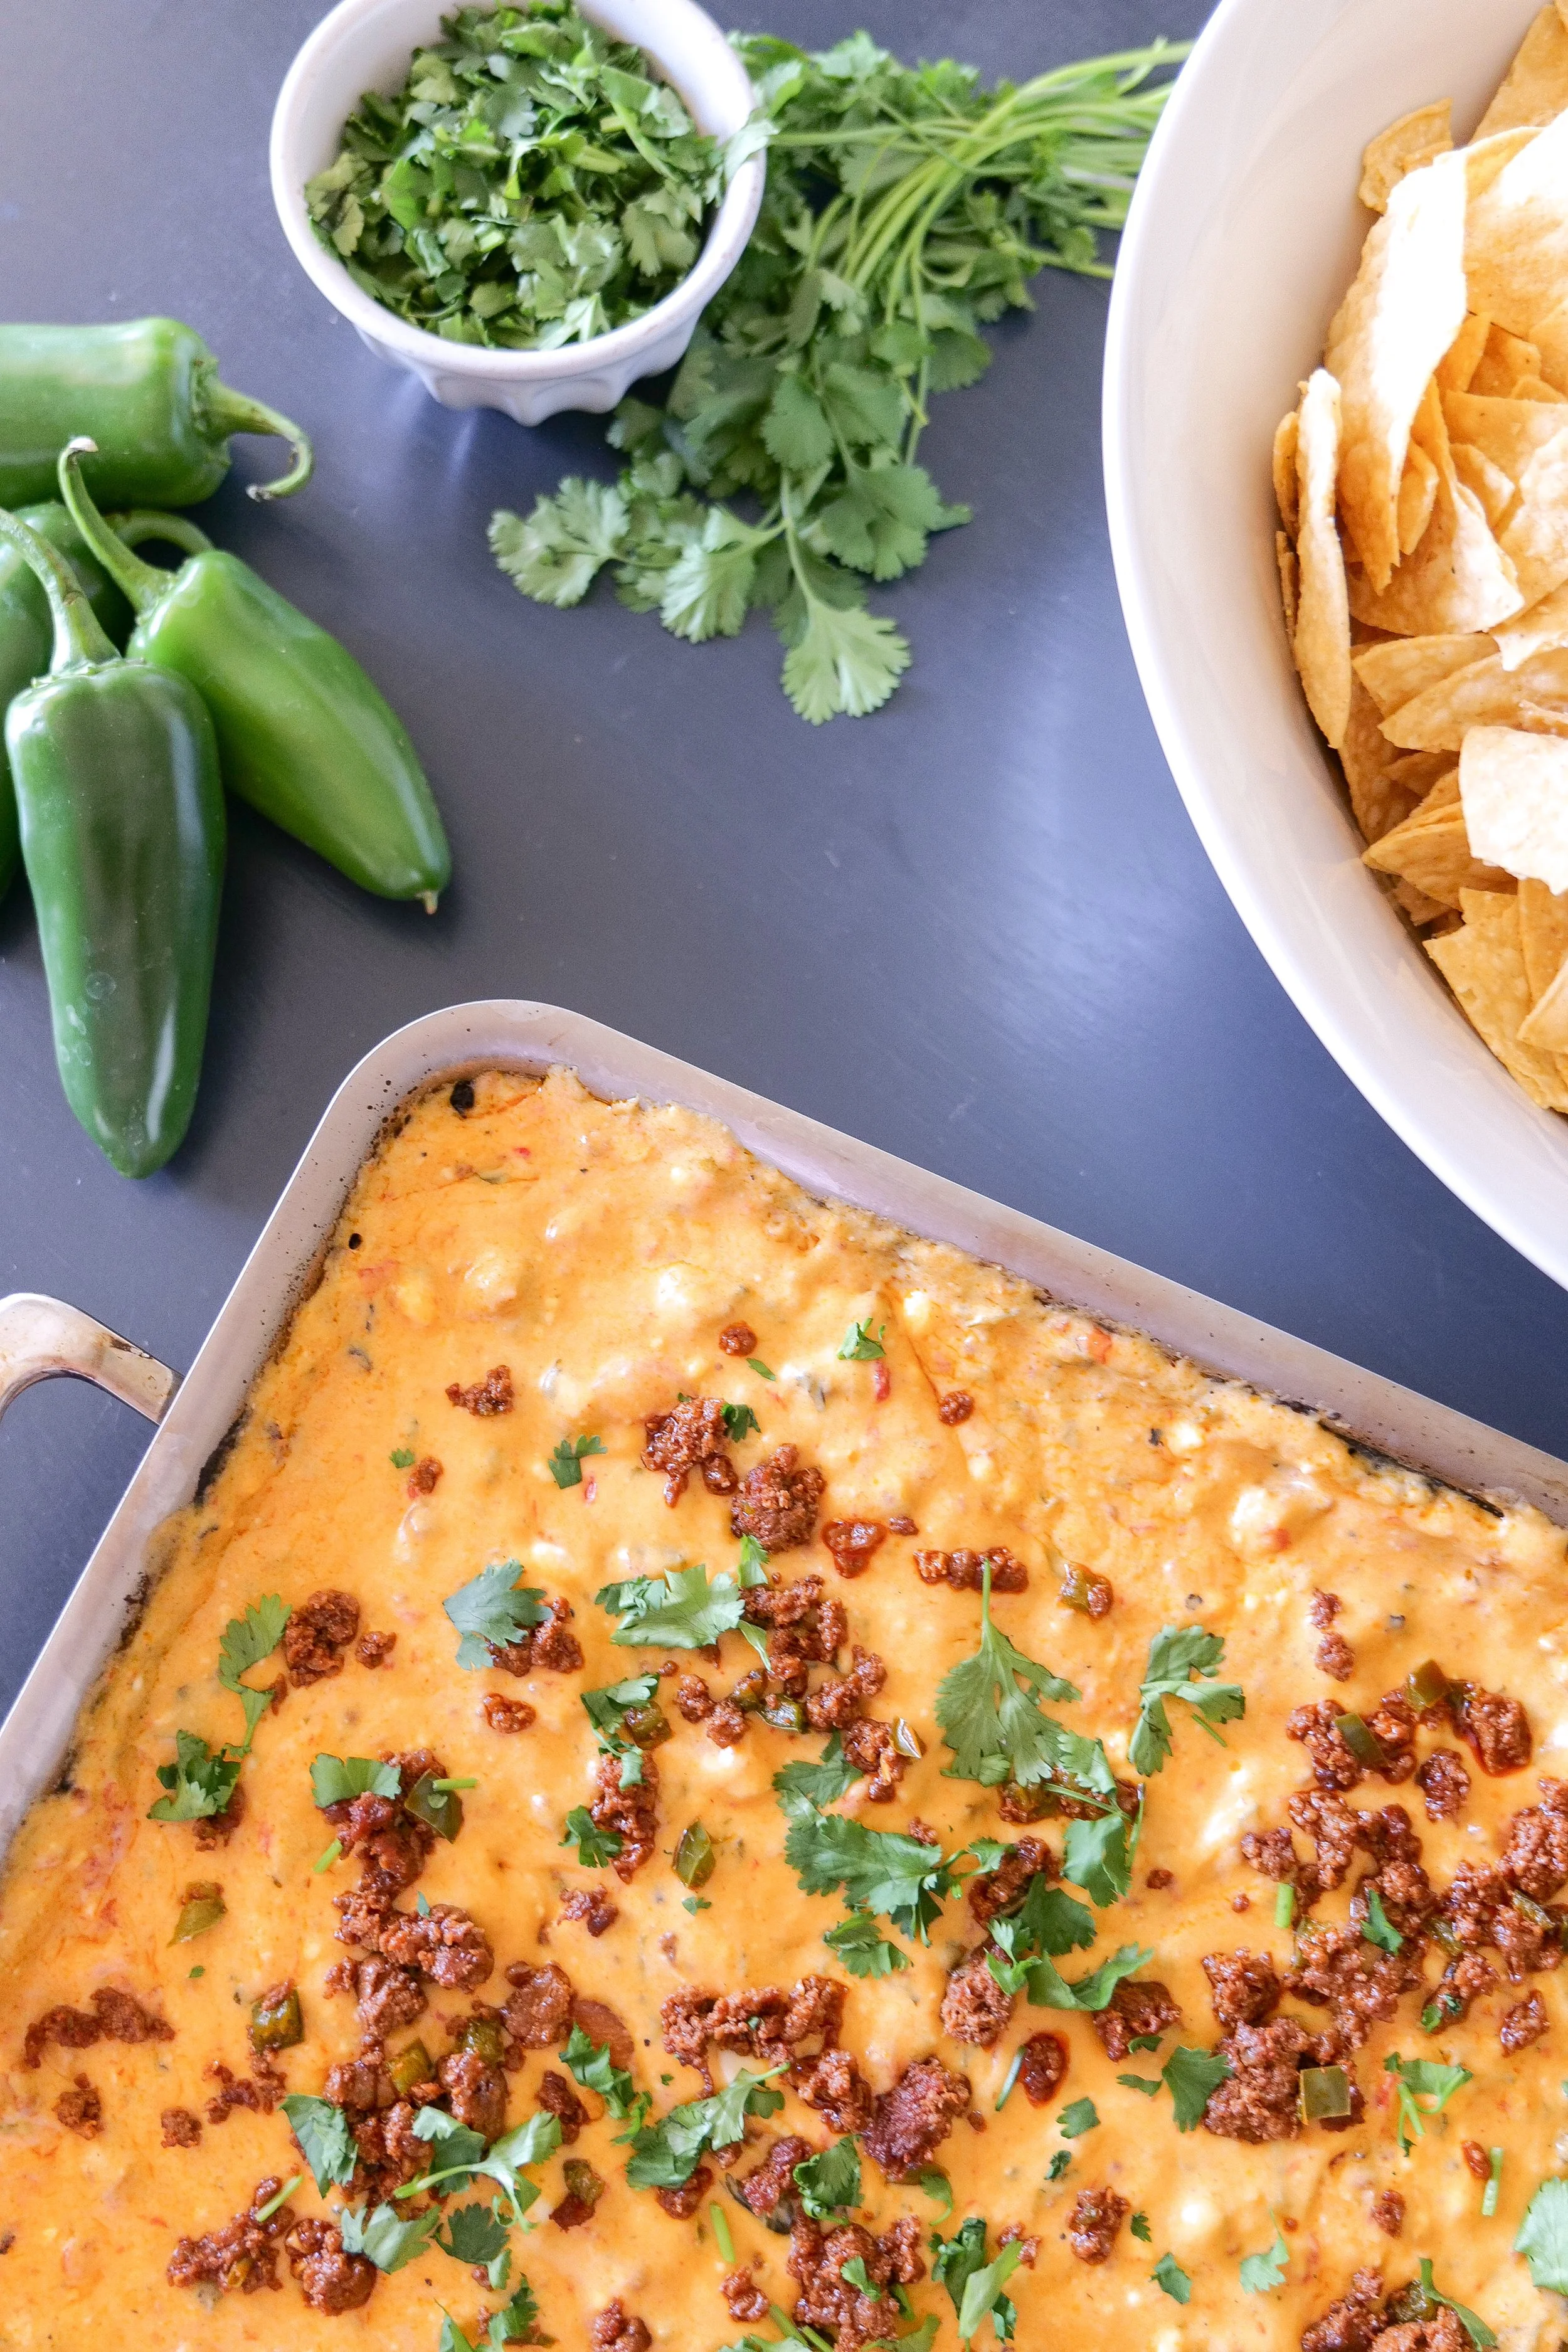
Creamy chorizo queso topped with jalapeños

Amanda's Tips

Cut the cheese into chunks. Smaller pieces will melt more evenly than putting large blocks into the pan.

Drain the chorizo if needed. Depending on the chorizo you're using, you may have quite a bit of grease after cooking. Drain off the excess before adding it to the queso.

Stir while it melts. Don't just put the pan on the grill and forget about it. Give everything a couple of good stirs during the 20–25 minute cook time so the cheeses melt together evenly.

Save your toppings. Reserving some chorizo and fresh jalapeño before everything gets mixed together gives the finished dip texture and makes it look so much prettier when you bring it to the table.

Serve it hot. This queso is at its best straight from the grill while everything is creamy and melted.

What to Serve with Chorizo Queso

Tortilla chips are the obvious choice and exactly how I like to serve this one.

For a cookout, I love the idea of putting the whole pan out with a big bowl of tortilla chips and letting everyone scoop their own. It's the kind of appetizer people can snack on while everything else finishes on the grill.

Grilled chorizo queso served with tortilla chips

Grilled Chorizo Queso

Creamy grilled queso made with chorizo, jalapeños, fire-roasted tomatoes, Queso Blanco, mozzarella, pepper jack and cream cheese. Serve it hot from the grill with tortilla chips for an easy appetizer made for sharing.

Ingredients

  • 1 tablespoon salted butter

  • 2 jalapeños, diced

  • 1 pound pork or beef chorizo sausage

  • 32 ounces Velveeta Queso Blanco melting cheese, cut into chunks

  • 8 ounces mozzarella cheese, cut into chunks

  • 8 ounces pepper jack cheese, cut into chunks

  • 8 ounces cream cheese

  • 1 (14-ounce) can diced fire-roasted tomatoes

  • 5 ounces evaporated milk

  • 1 teaspoon onion powder

  • 1 teaspoon garlic powder

  • 1 cup chopped fresh cilantro

  • Tortilla chips, for serving

Instructions

  1. Heat a large skillet over medium heat and add the butter. Add the diced jalapeños, reserving a small amount for topping the finished queso. Cook until softened.

  2. Add the chorizo and cook, breaking it into crumbles, until completely cooked through. Drain excess grease if necessary. Reserve a small amount of cooked chorizo for topping.

  3. If using a 360 Cookware pan on the grill, spread a thin layer of Dawn dish soap over the outside bottom of the pan only before placing it on the grill. This is simply a cleanup trick for the exterior of the cookware; do not put dish soap inside the pan.

  4. Add the cooked chorizo and jalapeños, Queso Blanco, mozzarella, pepper jack, cream cheese, fire-roasted tomatoes, evaporated milk, onion powder, garlic powder and cilantro to a grill-safe pan.

  5. Place the pan on the grill and close the lid. Cook for approximately 20–25 minutes, stirring a couple of times as the cheeses melt, until everything is completely melted and combined.

  6. Remove from the grill and sprinkle the reserved chorizo and jalapeños over the top.

  7. Serve hot with tortilla chips and enjoy.

Amanda's Tip

Save a little of your cooked chorizo and diced jalapeño before assembling the queso. Adding them back over the top right before serving gives the finished dip extra texture, color and flavor.

The cleaned-up recipe now follows the actual ingredient list and original 20–25 minute grill method rather than introducing the cheddar, Monterey Jack, paprika, chipotle powder or queso fresco mentioned elsewhere in the old article.

Save This Recipe

Whether you're planning a summer cookout, game day or a casual night outside, save this recipe so you have it the next time queso is on the menu.

Grilled Chorizo Queso printable recipe card

FAQ

Frequently Asked Questions

How long does queso take to melt on the grill?

This grilled chorizo queso takes approximately 20–25 minutes for the cheeses to completely melt together. Keep the grill lid closed while it cooks and stir the queso a couple of times during cooking.

Do I need to cook the chorizo before adding it to the queso?

Yes. Cook the chorizo completely before combining it with the cheeses and remaining ingredients. I cook mine with the jalapeños first, drain excess grease if necessary and reserve a little cooked chorizo for topping.

What cheese is in this chorizo queso?

This recipe uses Velveeta Queso Blanco, mozzarella, pepper jack and cream cheese. Together they create the creamy, melty base for the dip.

What do you serve with grilled chorizo queso?

I serve it hot with tortilla chips for dipping. It's an easy appetizer to put out for a cookout, party or gathering while everyone is outside around the grill.

Why do you put dish soap on the bottom of the pan?

If I'm using my 360 Cookware pan on the grill, I put a thin layer of Dawn dish soap on the outside bottom surface of the pan only to make grill cleanup easier afterward. It never goes inside the cookware or anywhere near the food.

More Recipes for Your Next Cookout

If you're firing up the grill, here are a few more recipes from the blog that would be perfect alongside this queso:

The Perfect Summer Meal: Grilled Chicken, Mexican Street Corn & Cucumber Salad

Fruit & Goat Cheese Bruschetta

Grilled Steak & Blue Cheese Salad with Grilled Corn

Farmers Market Pasta Salad

And if you're making drinks to go with it:

Frozen Raspberry Margarita

4 Easy 4-Ingredient Tequila Cocktails

Sparkling Watermelon Punch

Shop My Entertaining Favorites

From serving pieces and glassware to bowls and entertaining essentials, these are some of my favorite finds for serving recipes like this when we're gathering at home.

Final Thoughts

This Grilled Chorizo Queso is exactly the kind of recipe I love for outdoor entertaining: easy to put together, made for sharing and something everyone can gather around while the rest of dinner is cooking.

The combination of creamy cheeses, chorizo, jalapeños and fire-roasted tomatoes gives it so much flavor, while making the queso right on the grill keeps everything outside with the rest of the cookout.

Put the warm pan in the middle of the table, add plenty of tortilla chips and let everyone dig in.

And if you're using your 360 Cookware on the grill—don't forget the Dawn trick.

On the outside. Definitely the outside.