Fluffy Matcha Sourdough Discard Pancakes (Easy Zero-Waste Breakfast Recipe)

These matcha sourdough discard pancakes are fluffy, lightly tangy, and the perfect no-waste breakfast recipe for using up extra starter. There’s something deeply satisfying about turning what would normally be “waste” into something that feels a little luxurious—and that’s exactly what these matcha sourdough discard pancakes are all about. If you’re anything like me, you’ve probably stared at that jar of sourdough discard in the fridge, wondering if you really need to keep it or if it’s just quietly judging you every time you open the door. Good news: this recipe gives it a second life, and not just any life—a vibrant, slightly earthy, fluffy stack of pancakes that feel like a small weekend celebration.

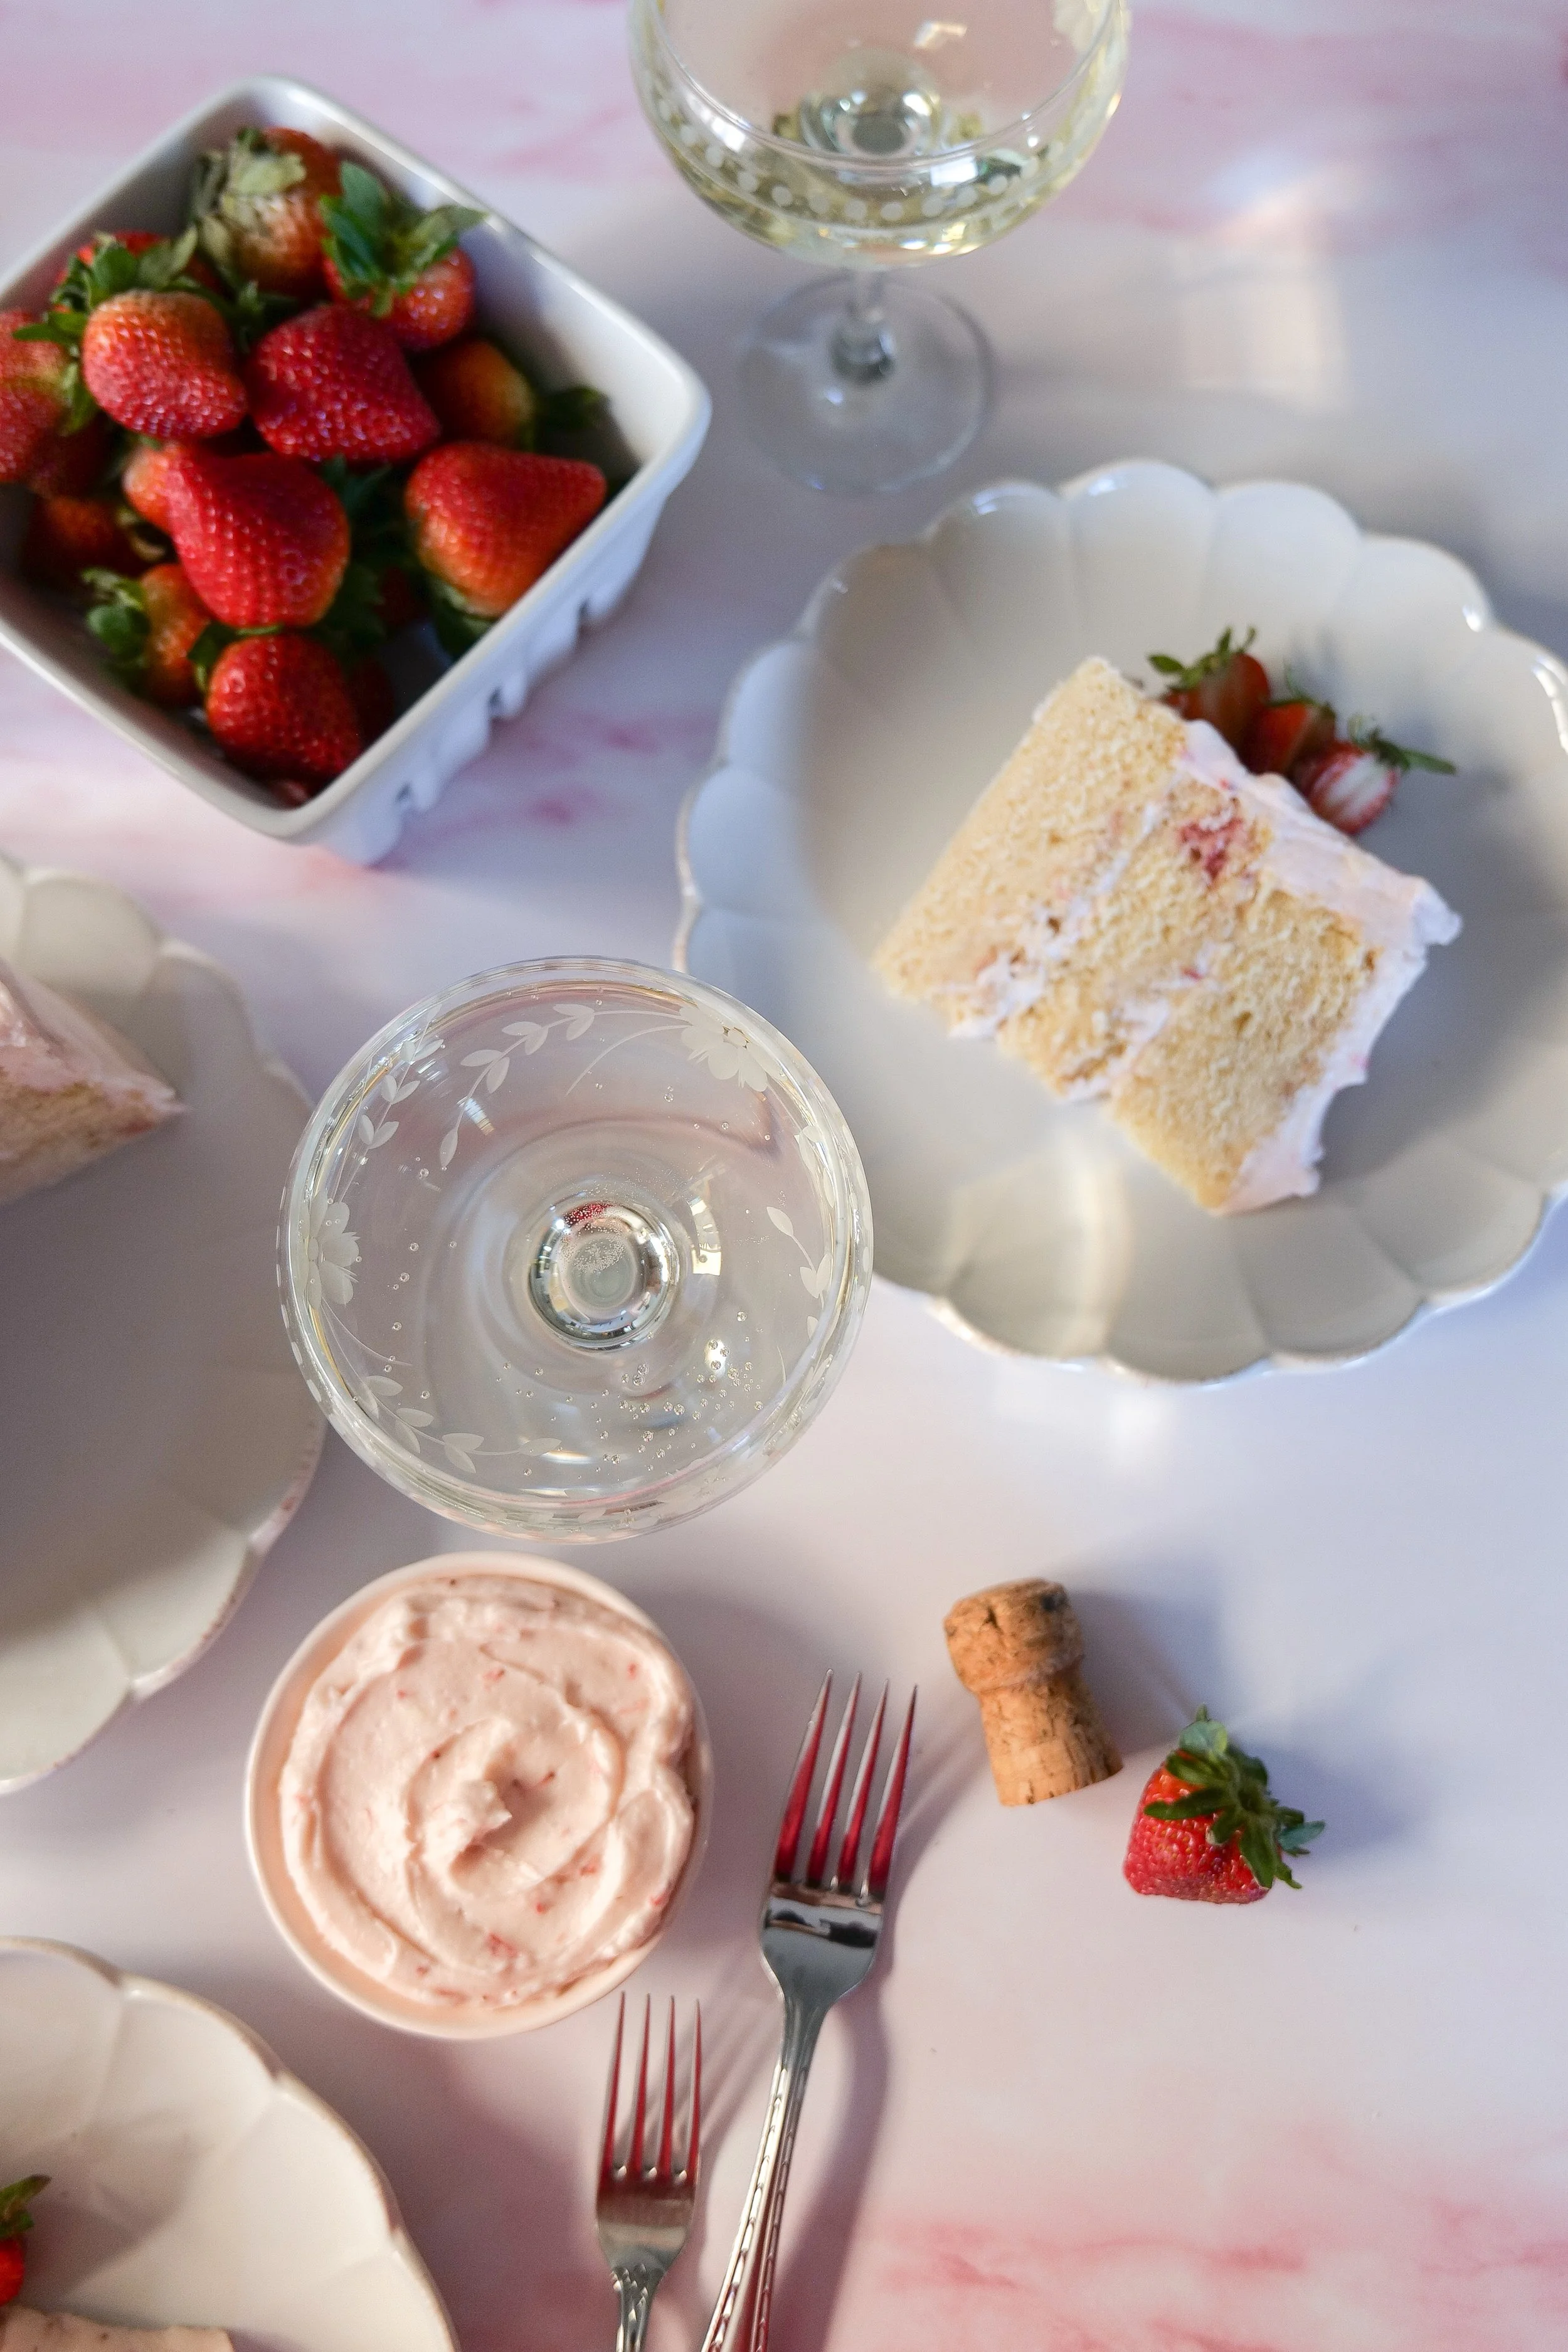
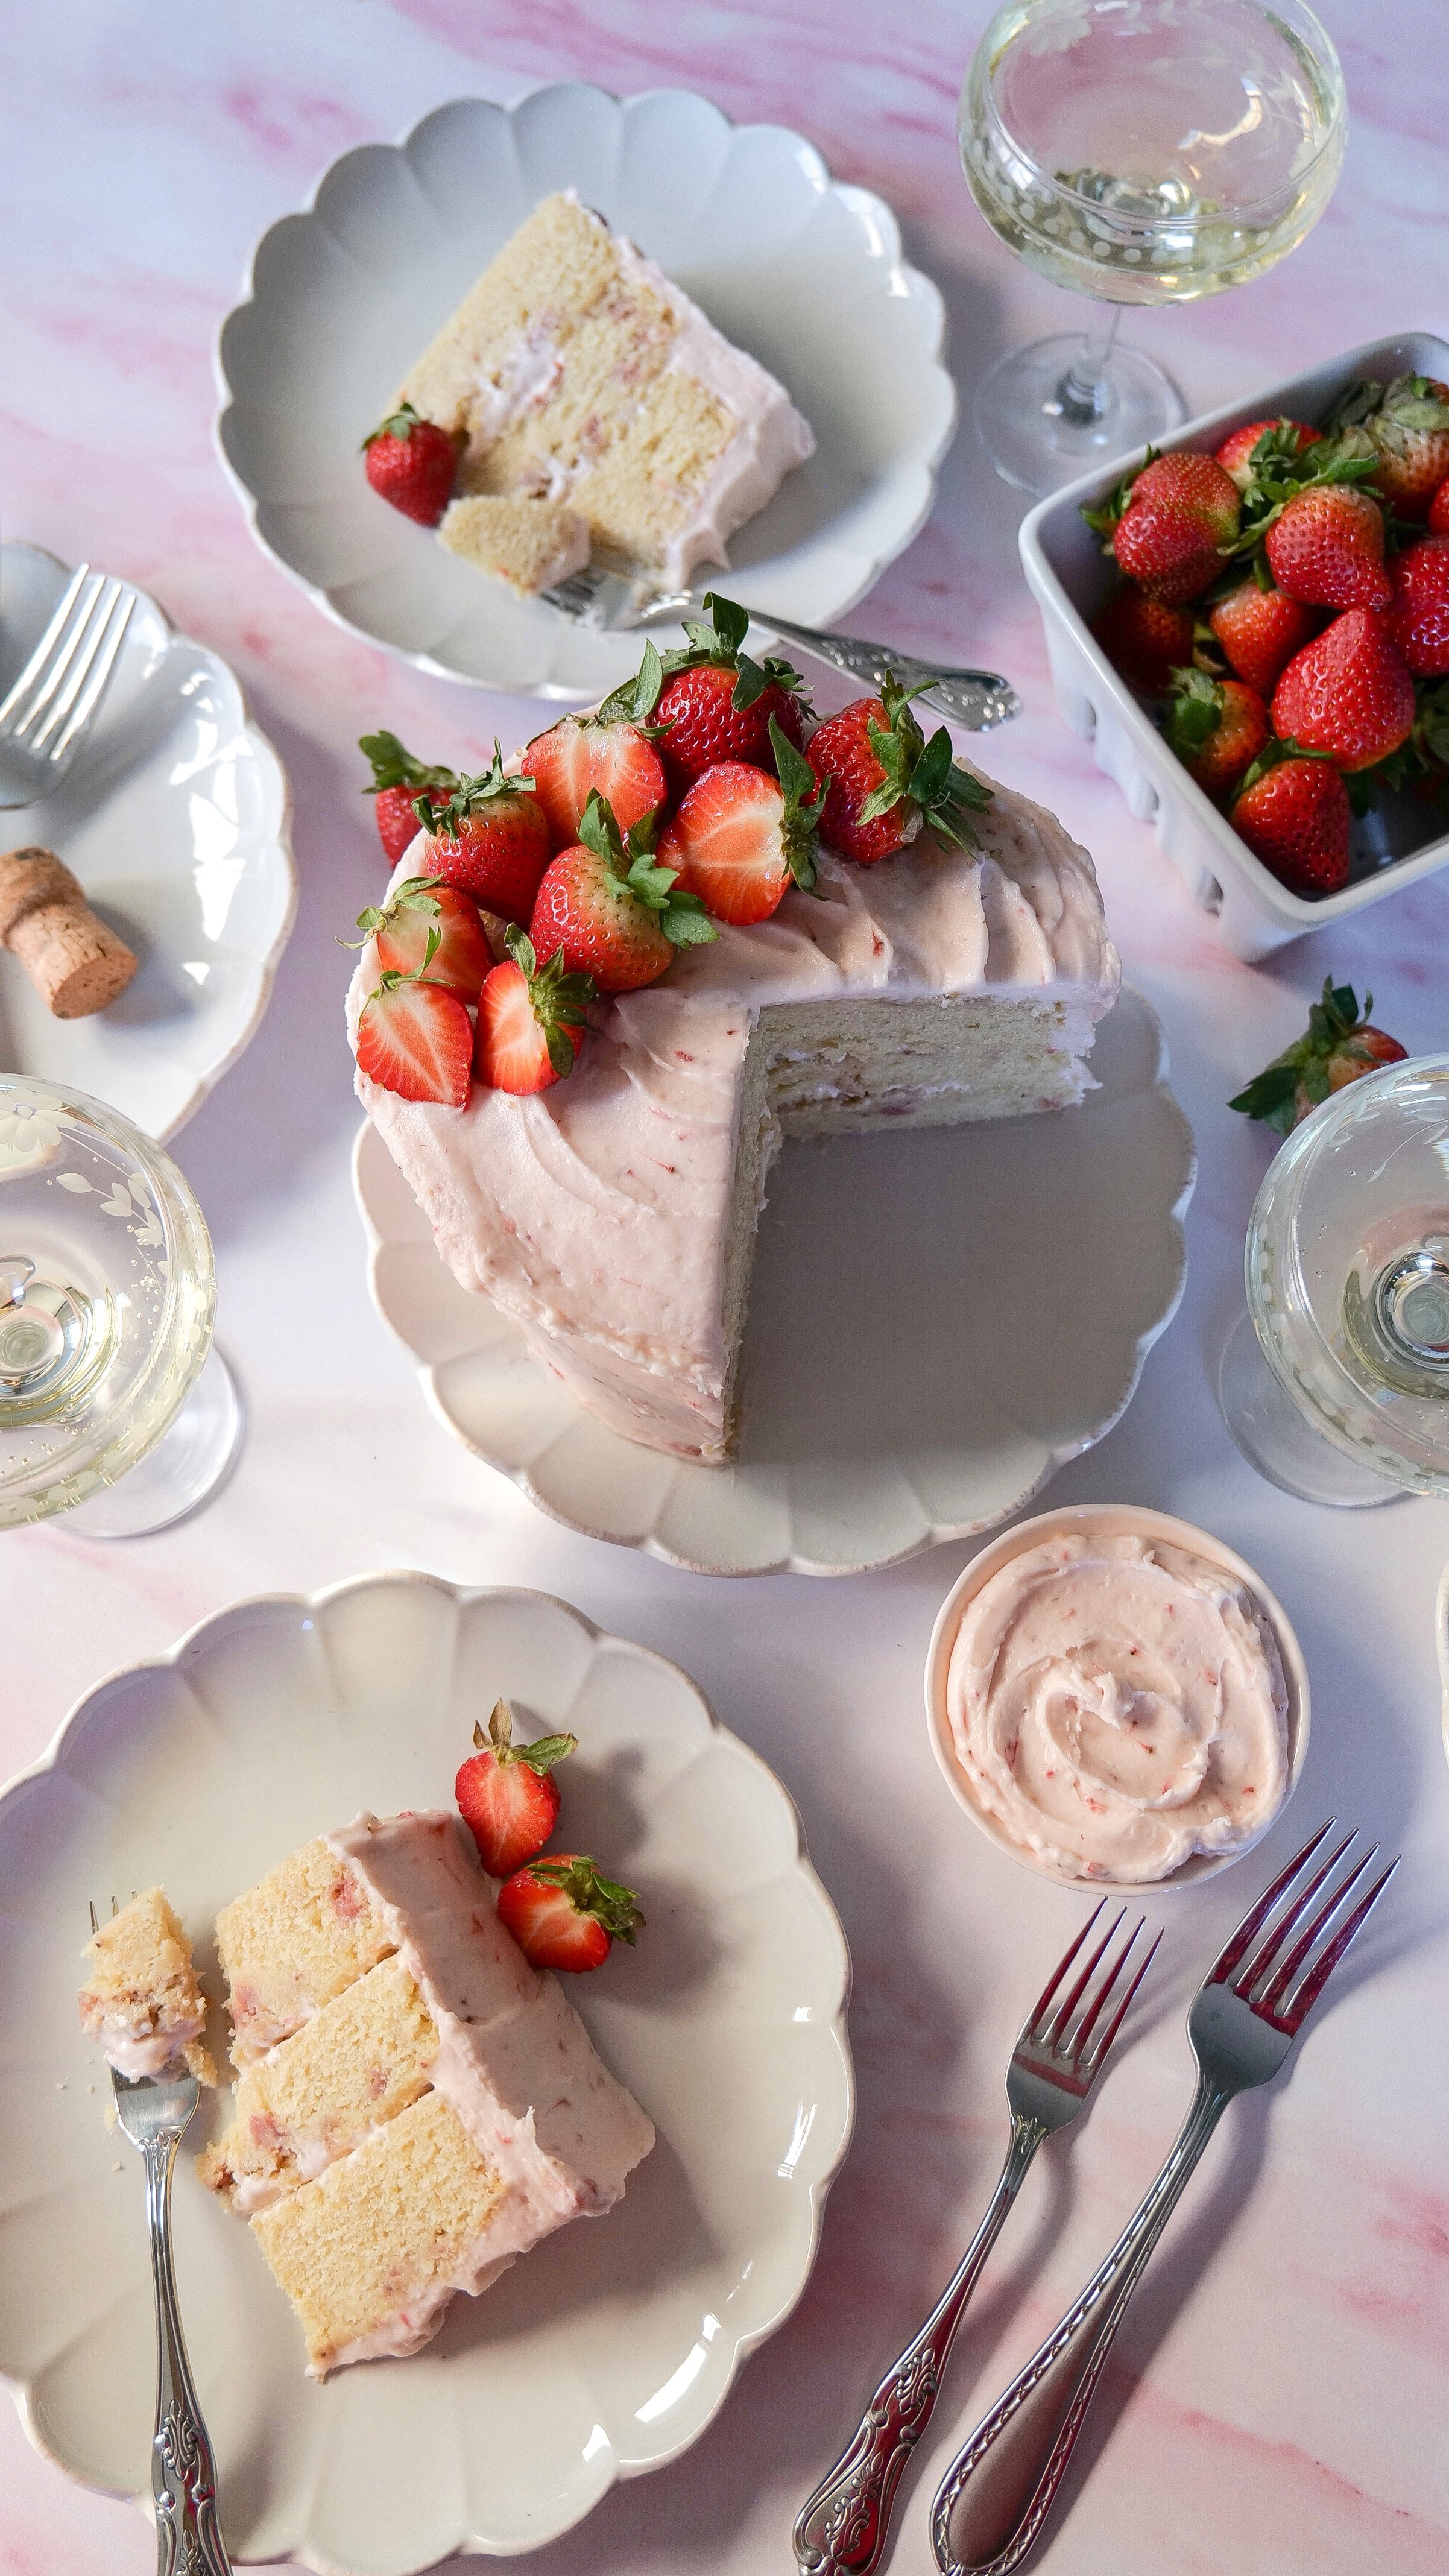
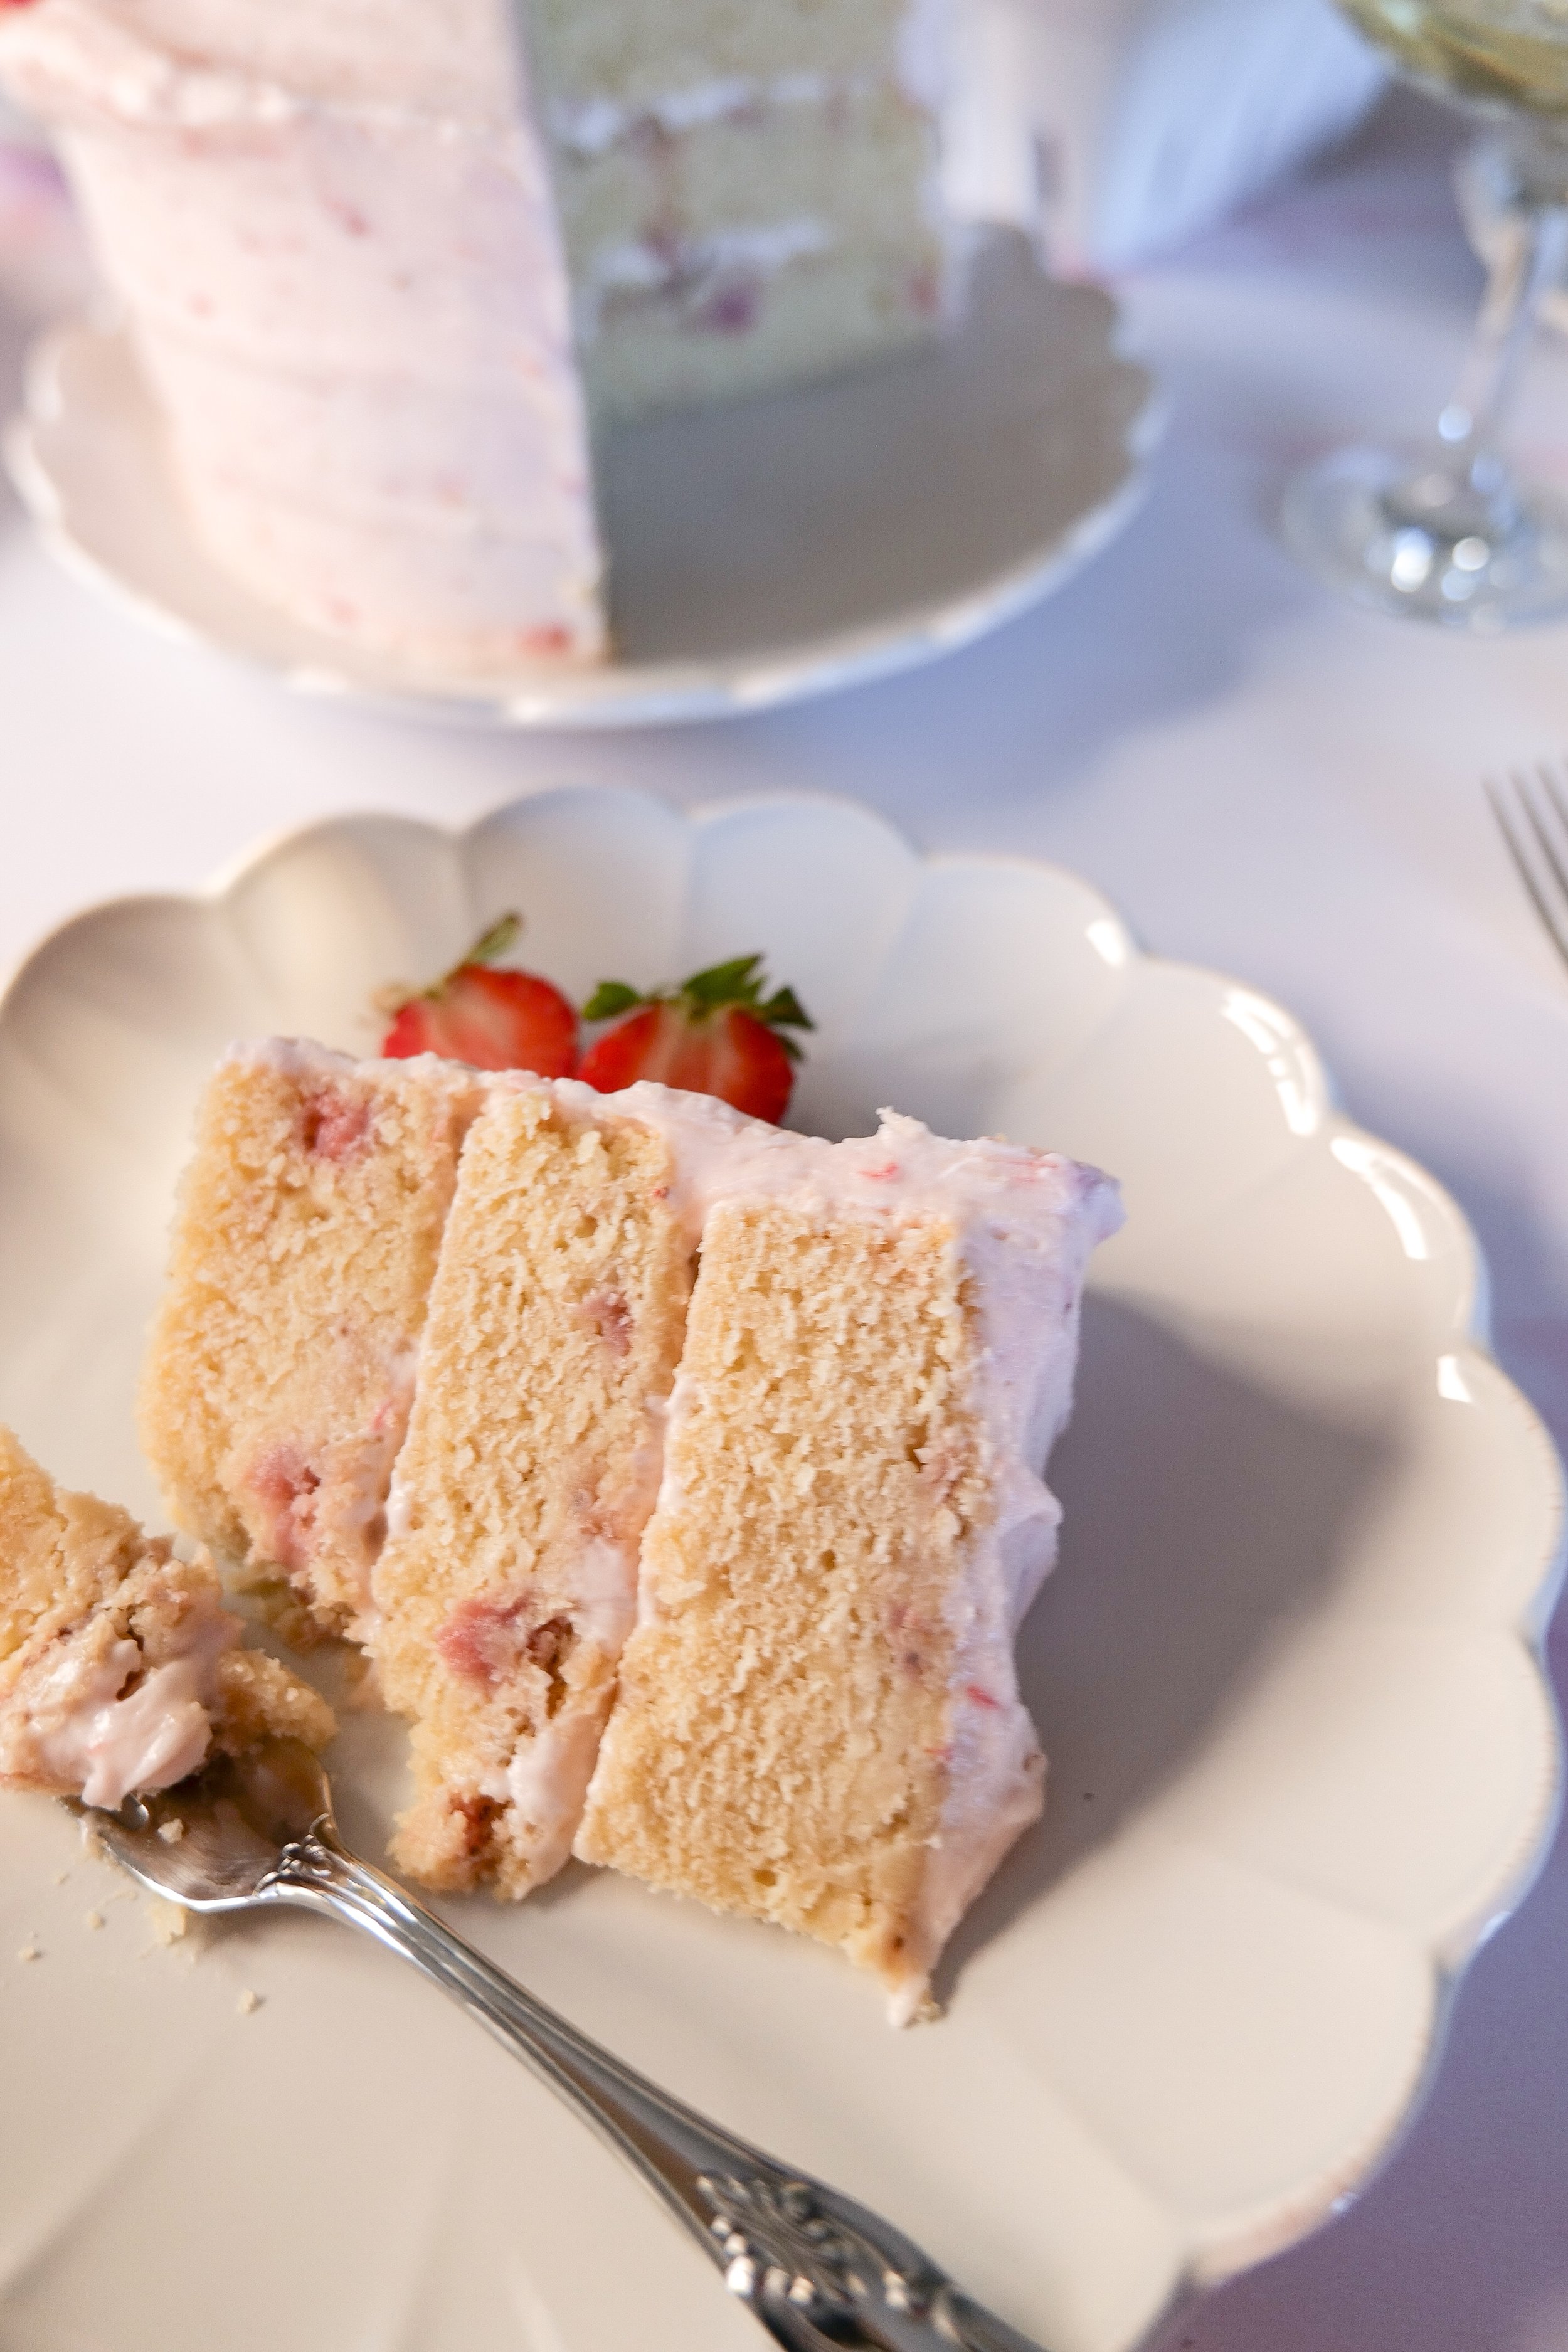
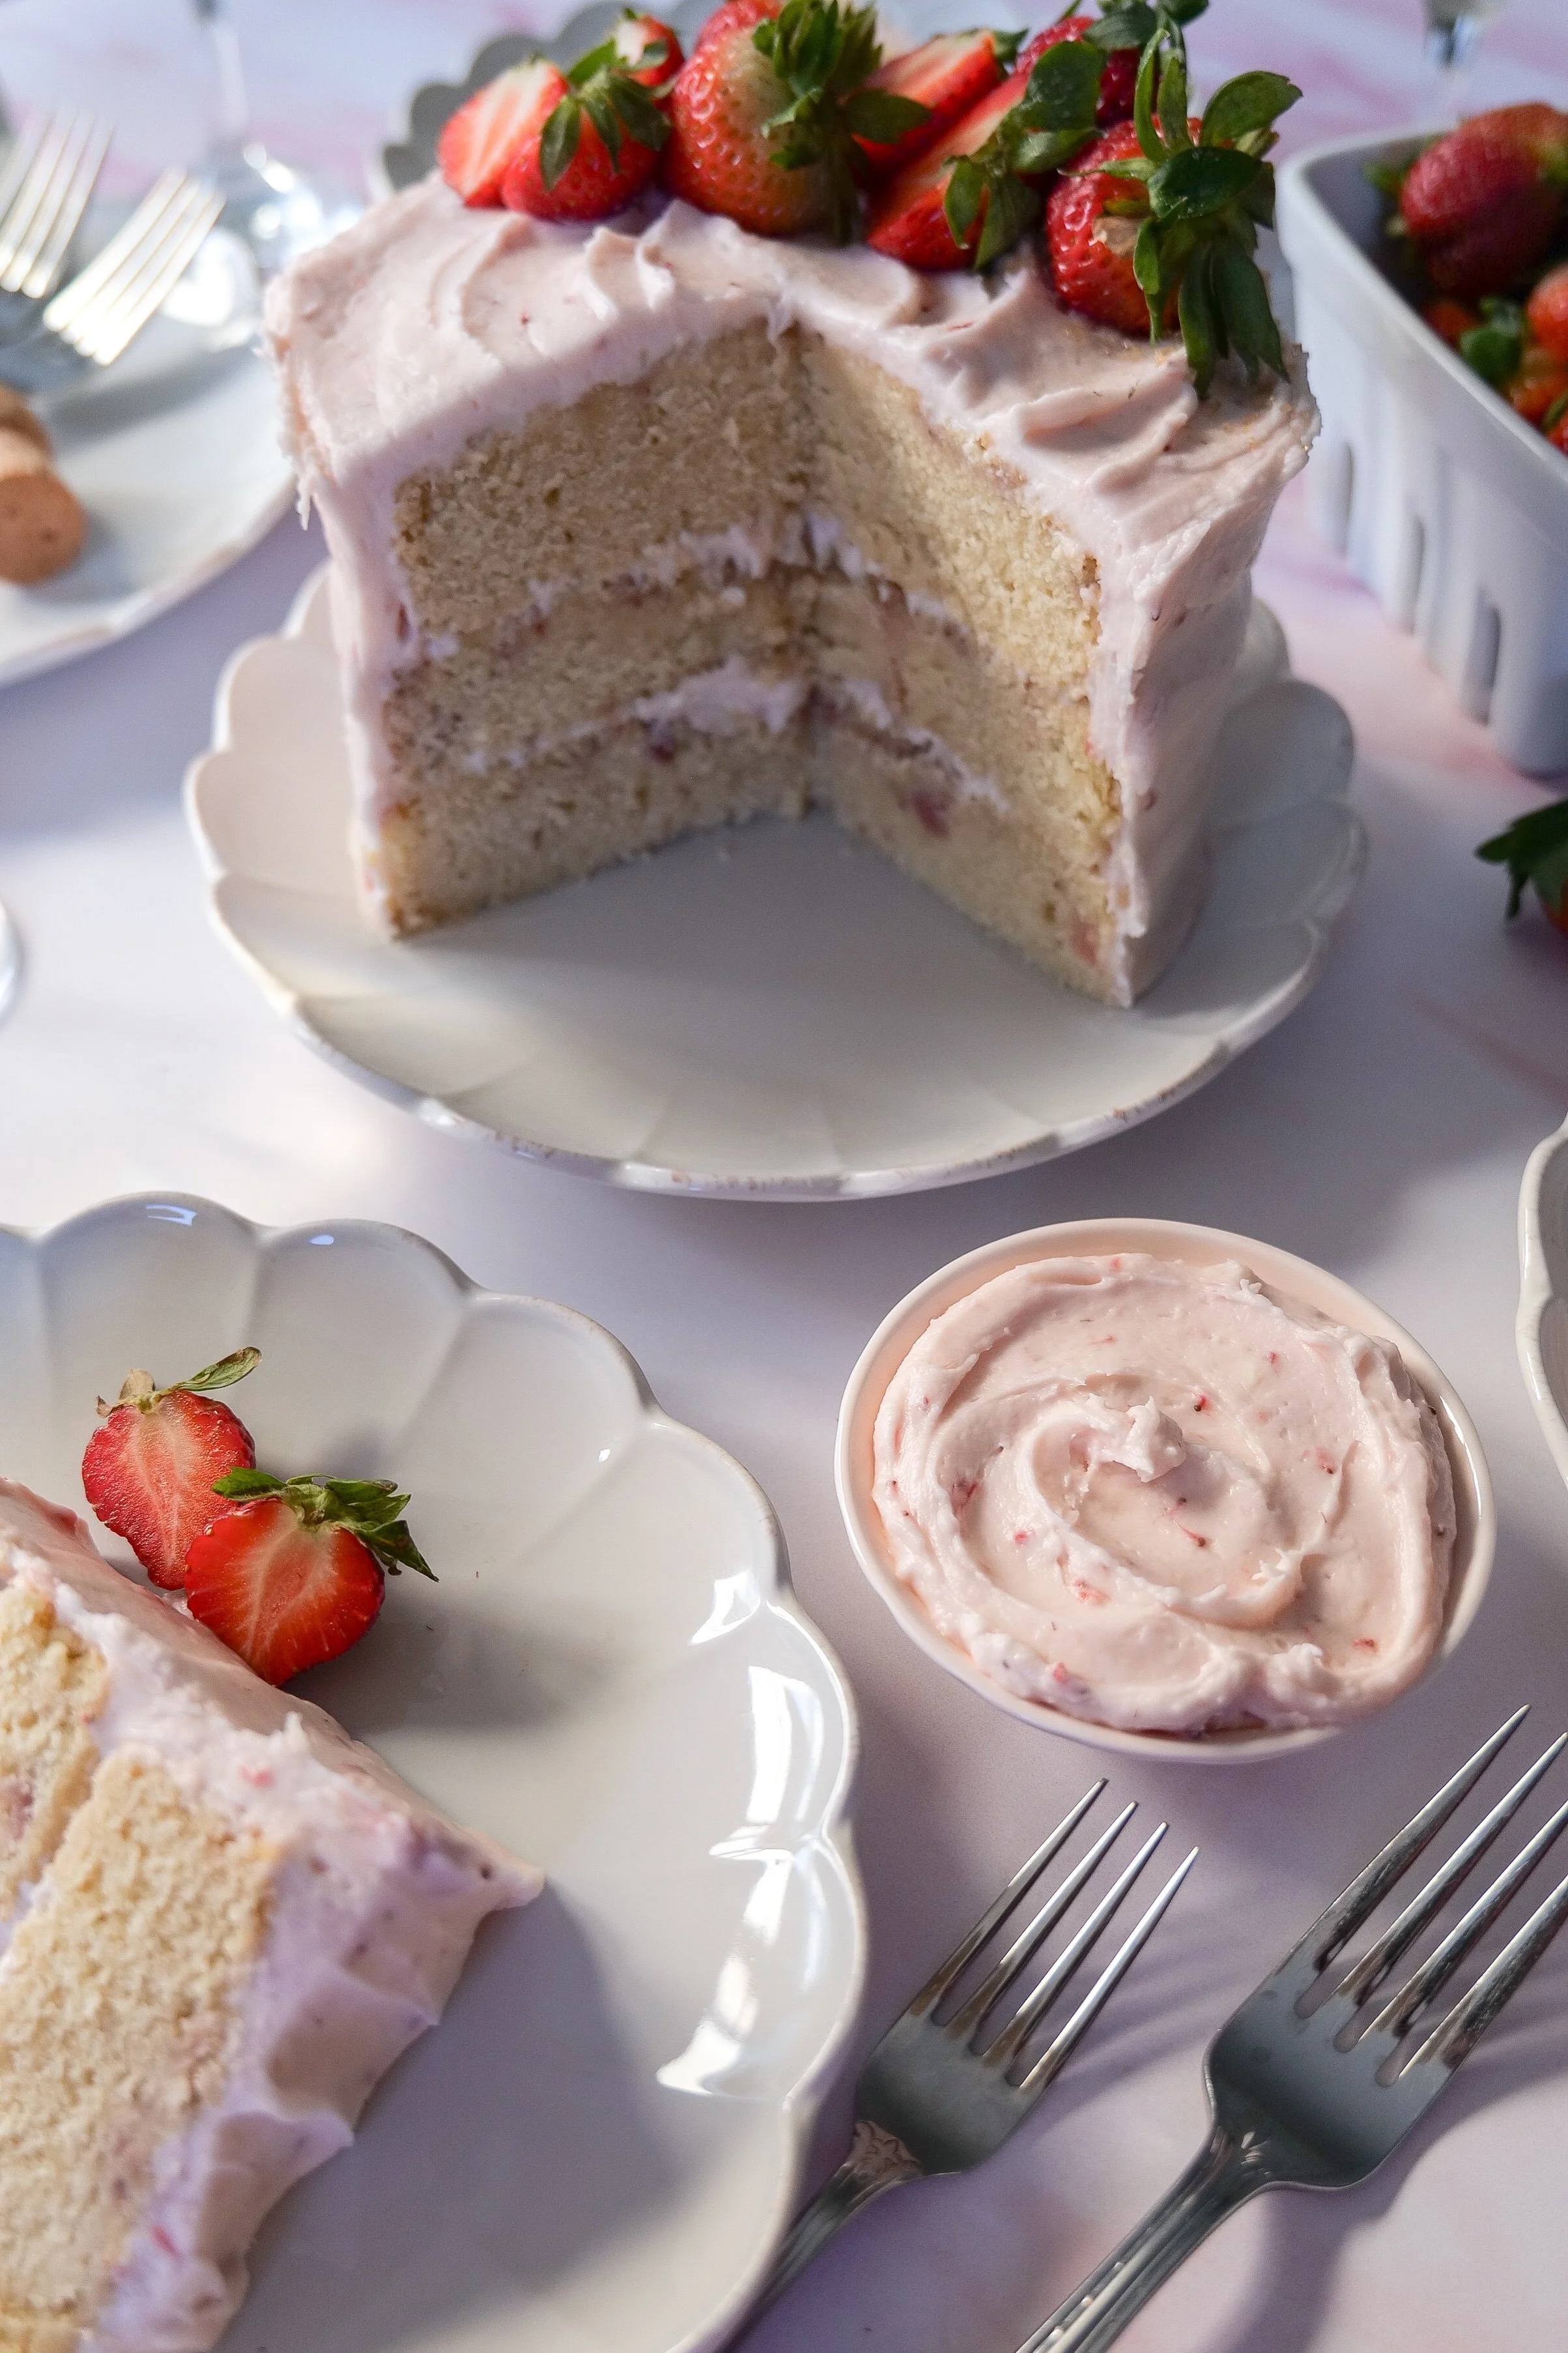
If you love baking with matcha, you’ll also love my Matcha Strawberry Cake — it’s one of my most popular recipes and a beautiful layered dessert perfect for spring and celebrations.

👉 Matcha Strawberry Cake

↓ Skip to Recipe

Why You'll Love These Matcha Sourdough Discard Pancakes

If you're looking for a creative way to use extra sourdough discard, these fluffy matcha pancakes are the perfect solution. The sourdough discard adds a subtle tang while the matcha provides a beautiful green color and earthy flavor that pairs perfectly with maple syrup, fresh berries, or whipped cream.

They're:

• A delicious way to reduce food waste

• Light, fluffy, and easy to make

• Perfect for breakfast or brunch

• Naturally packed with matcha flavor

• A fun twist on classic pancakes
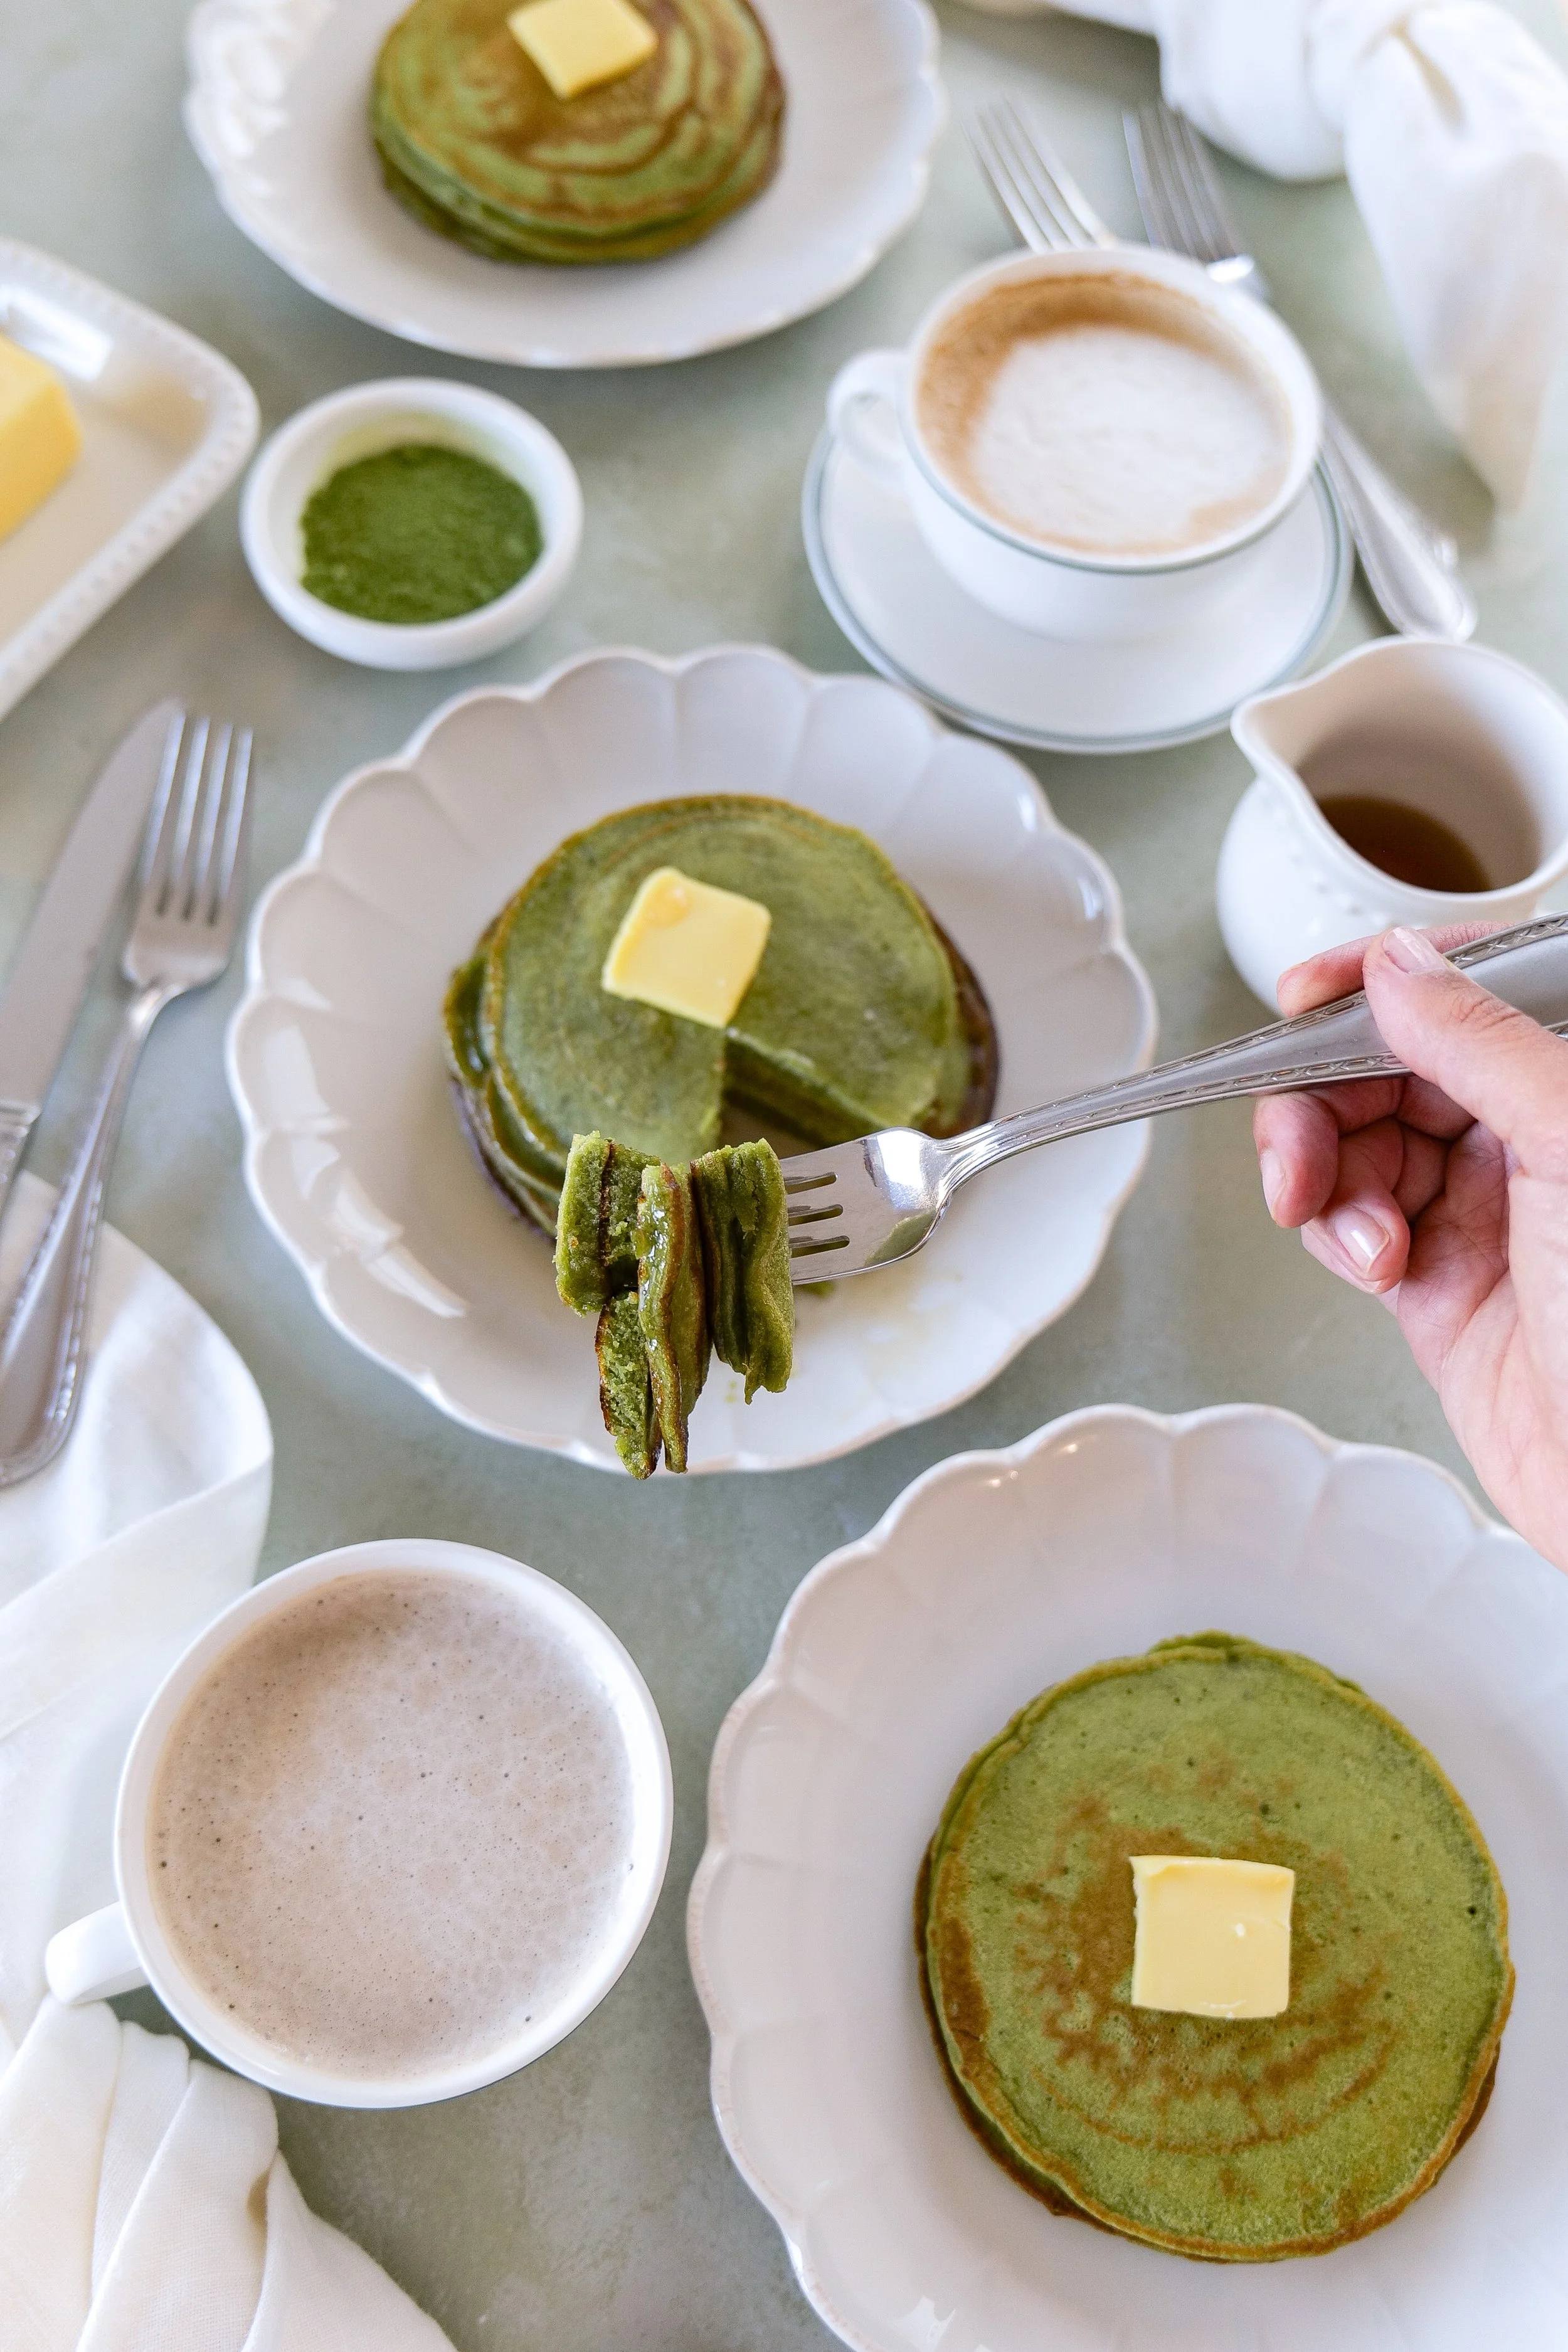
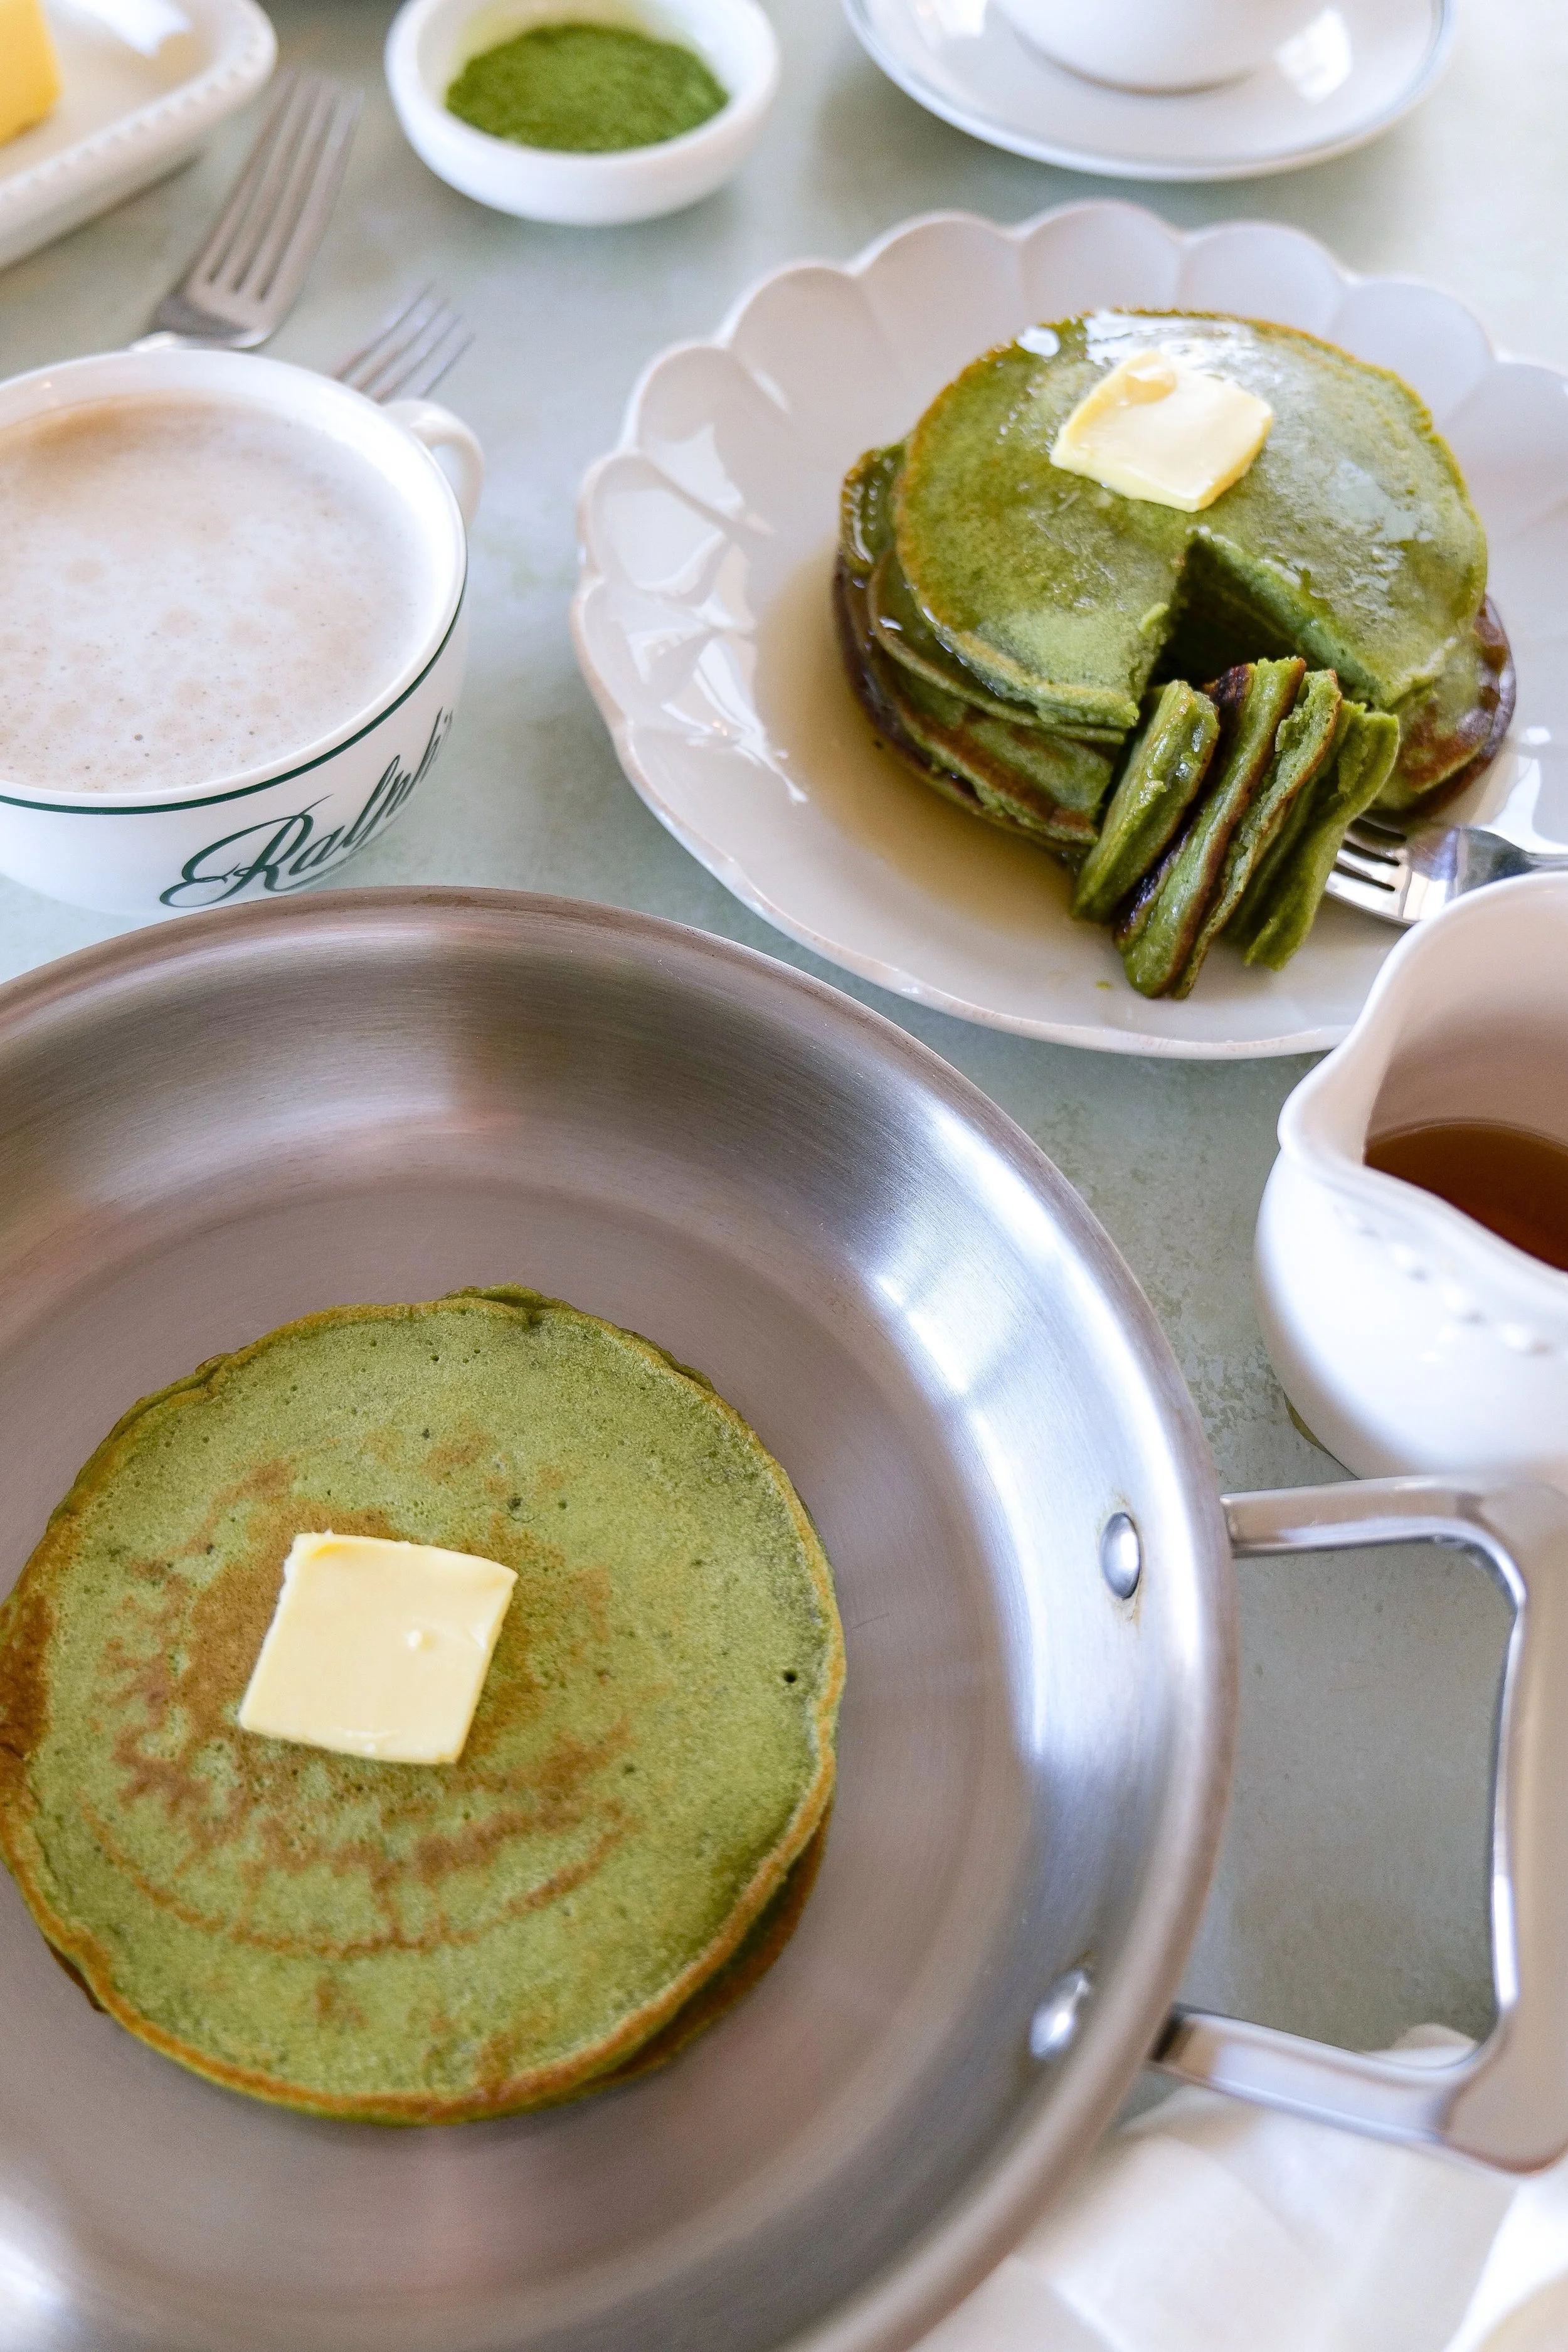
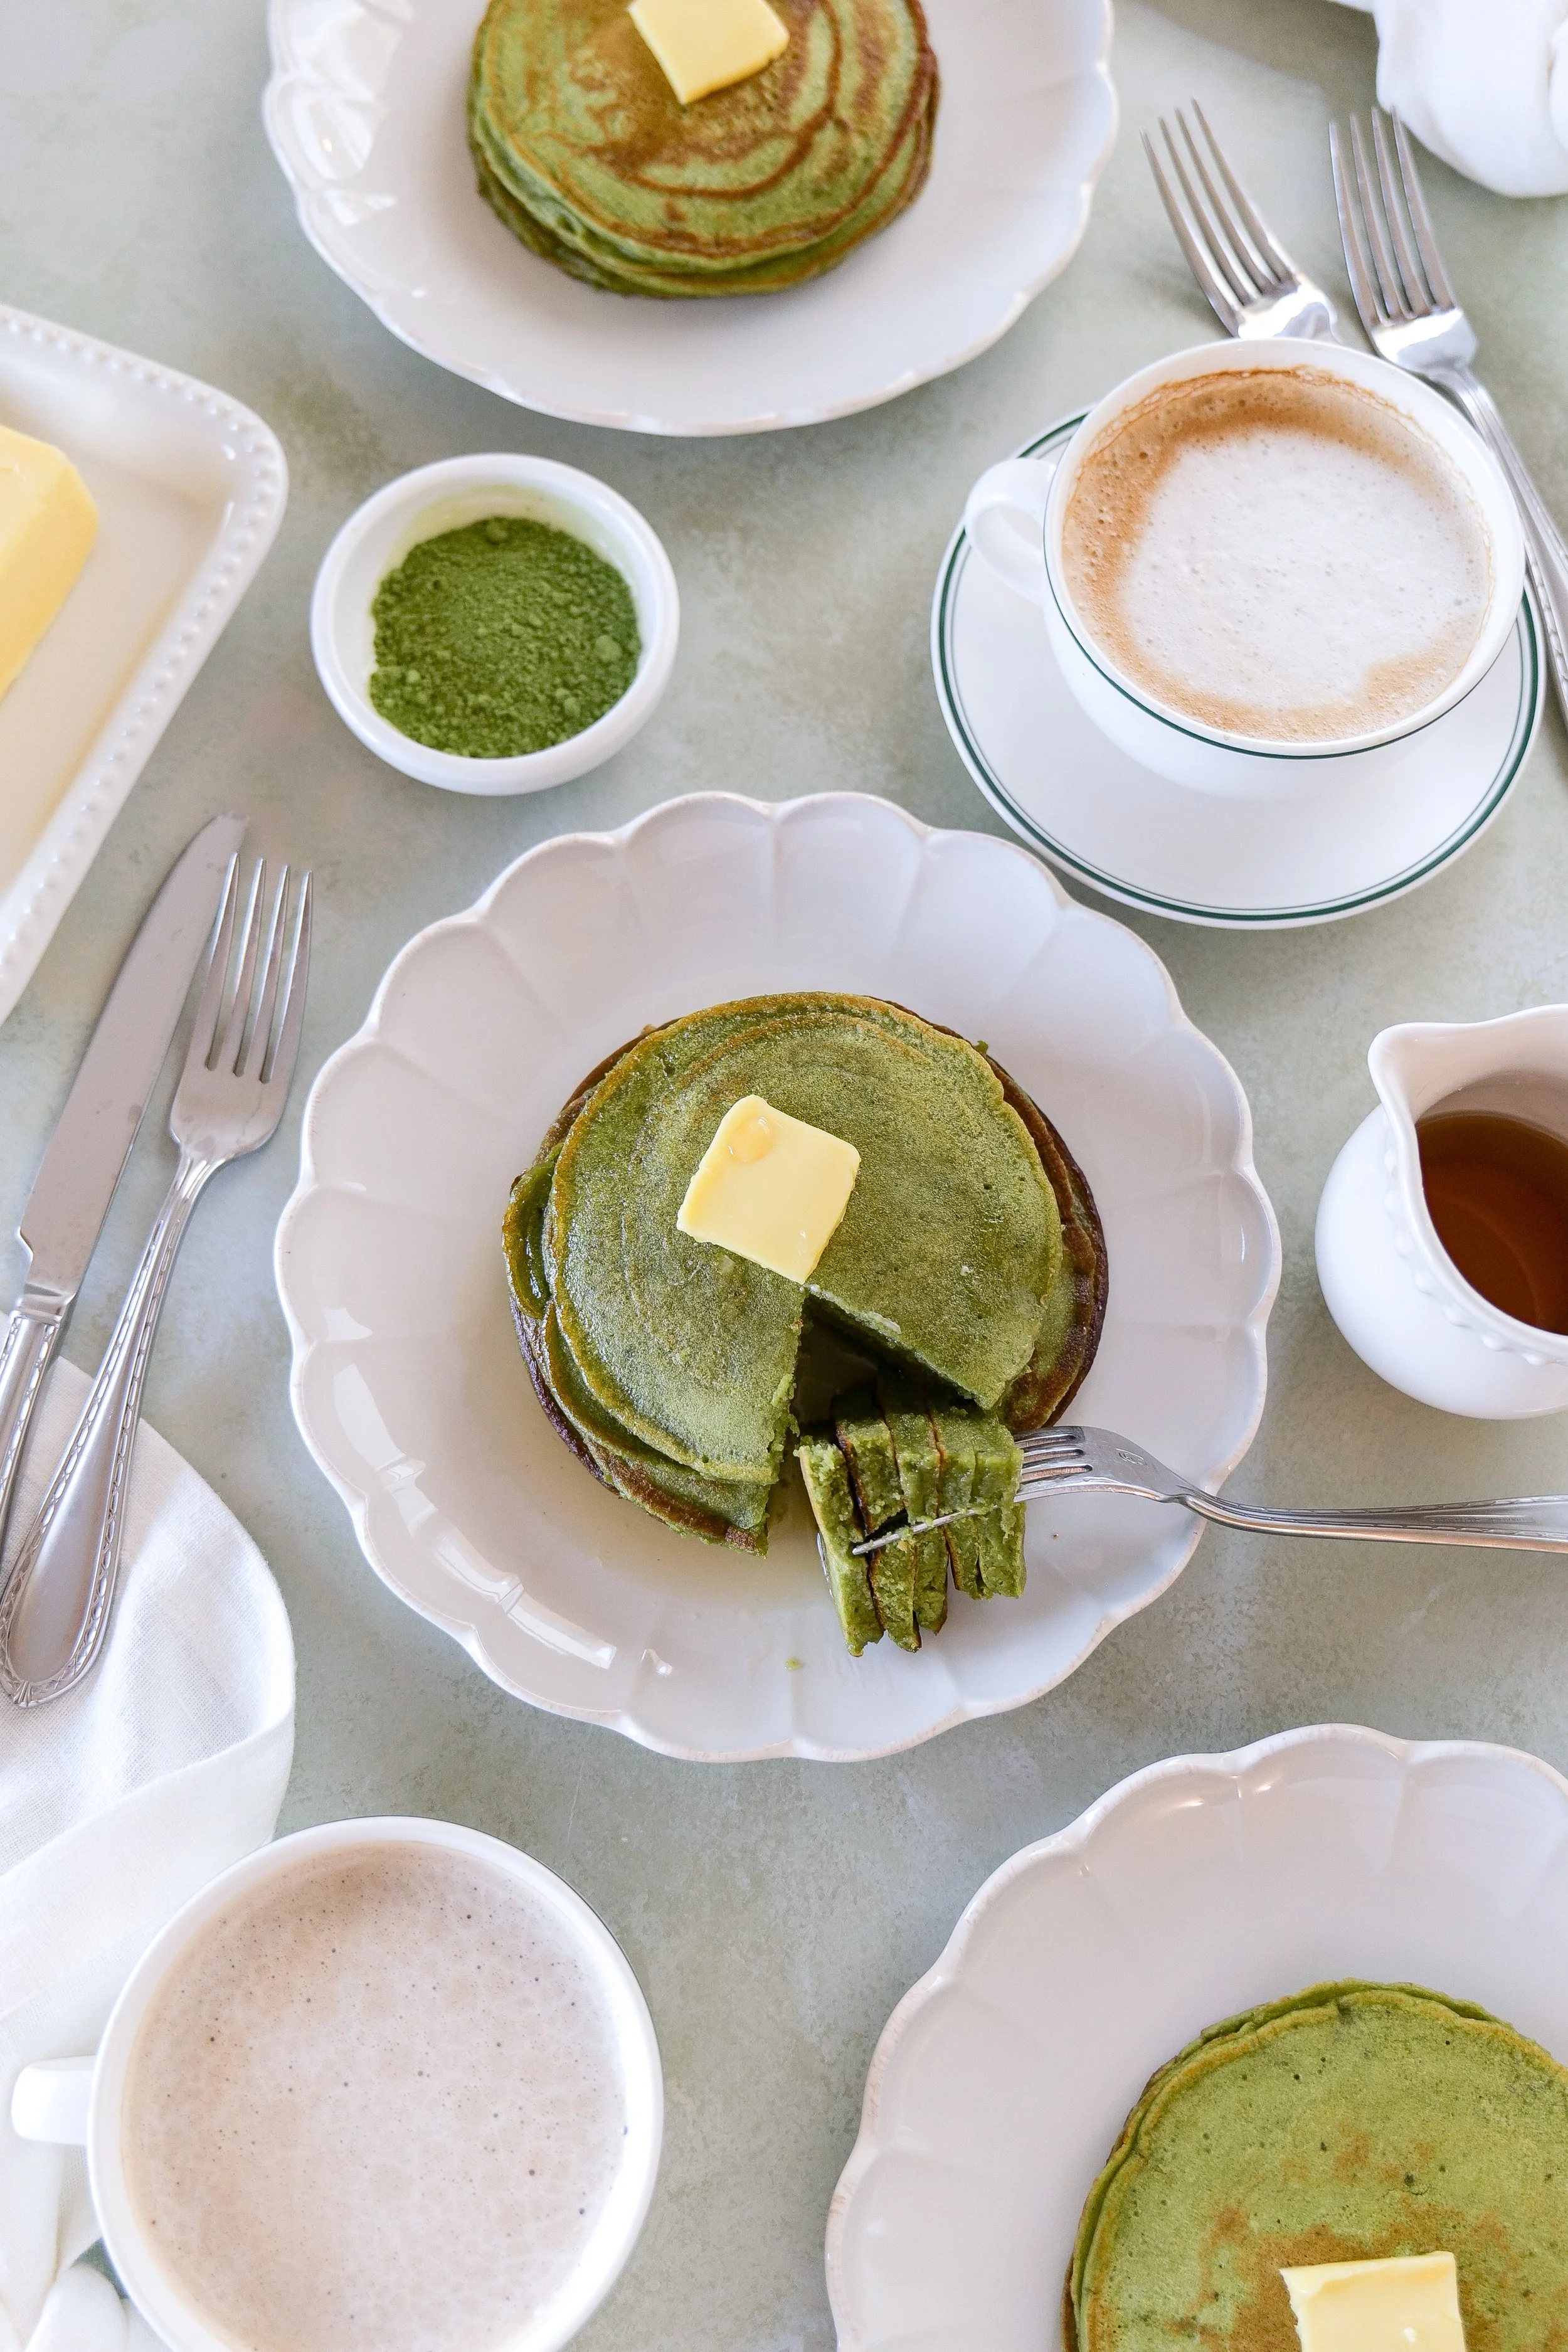
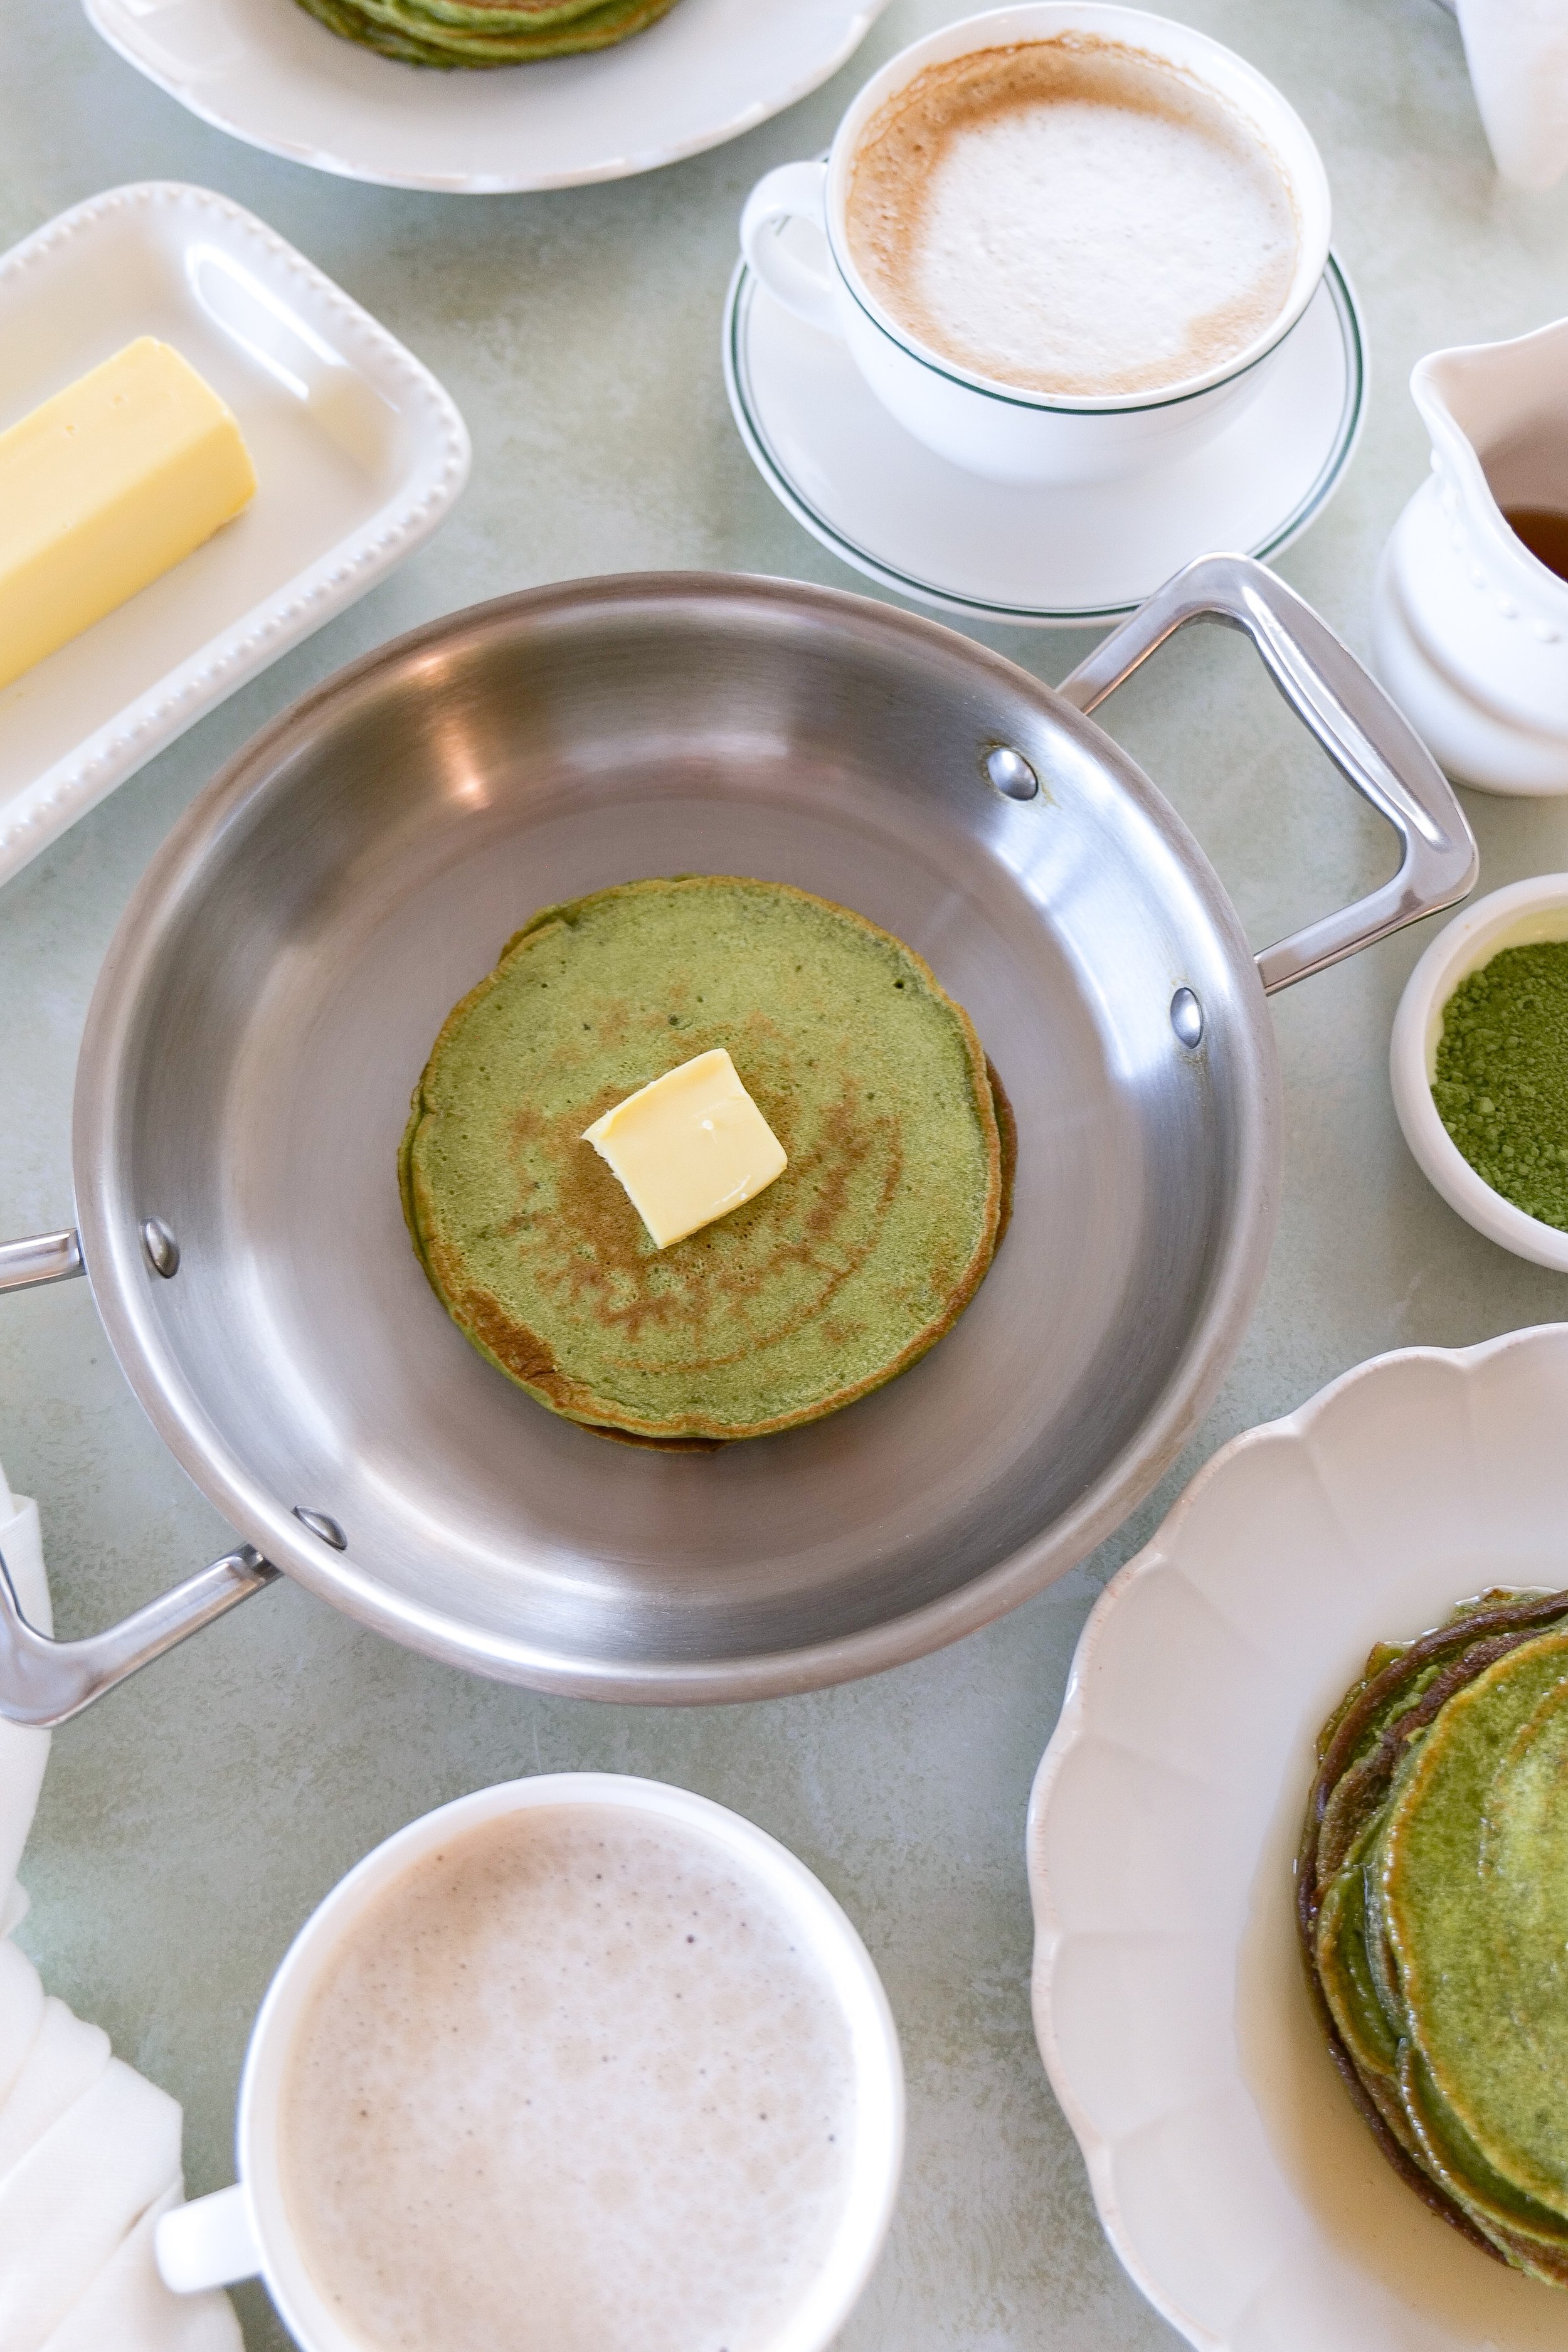
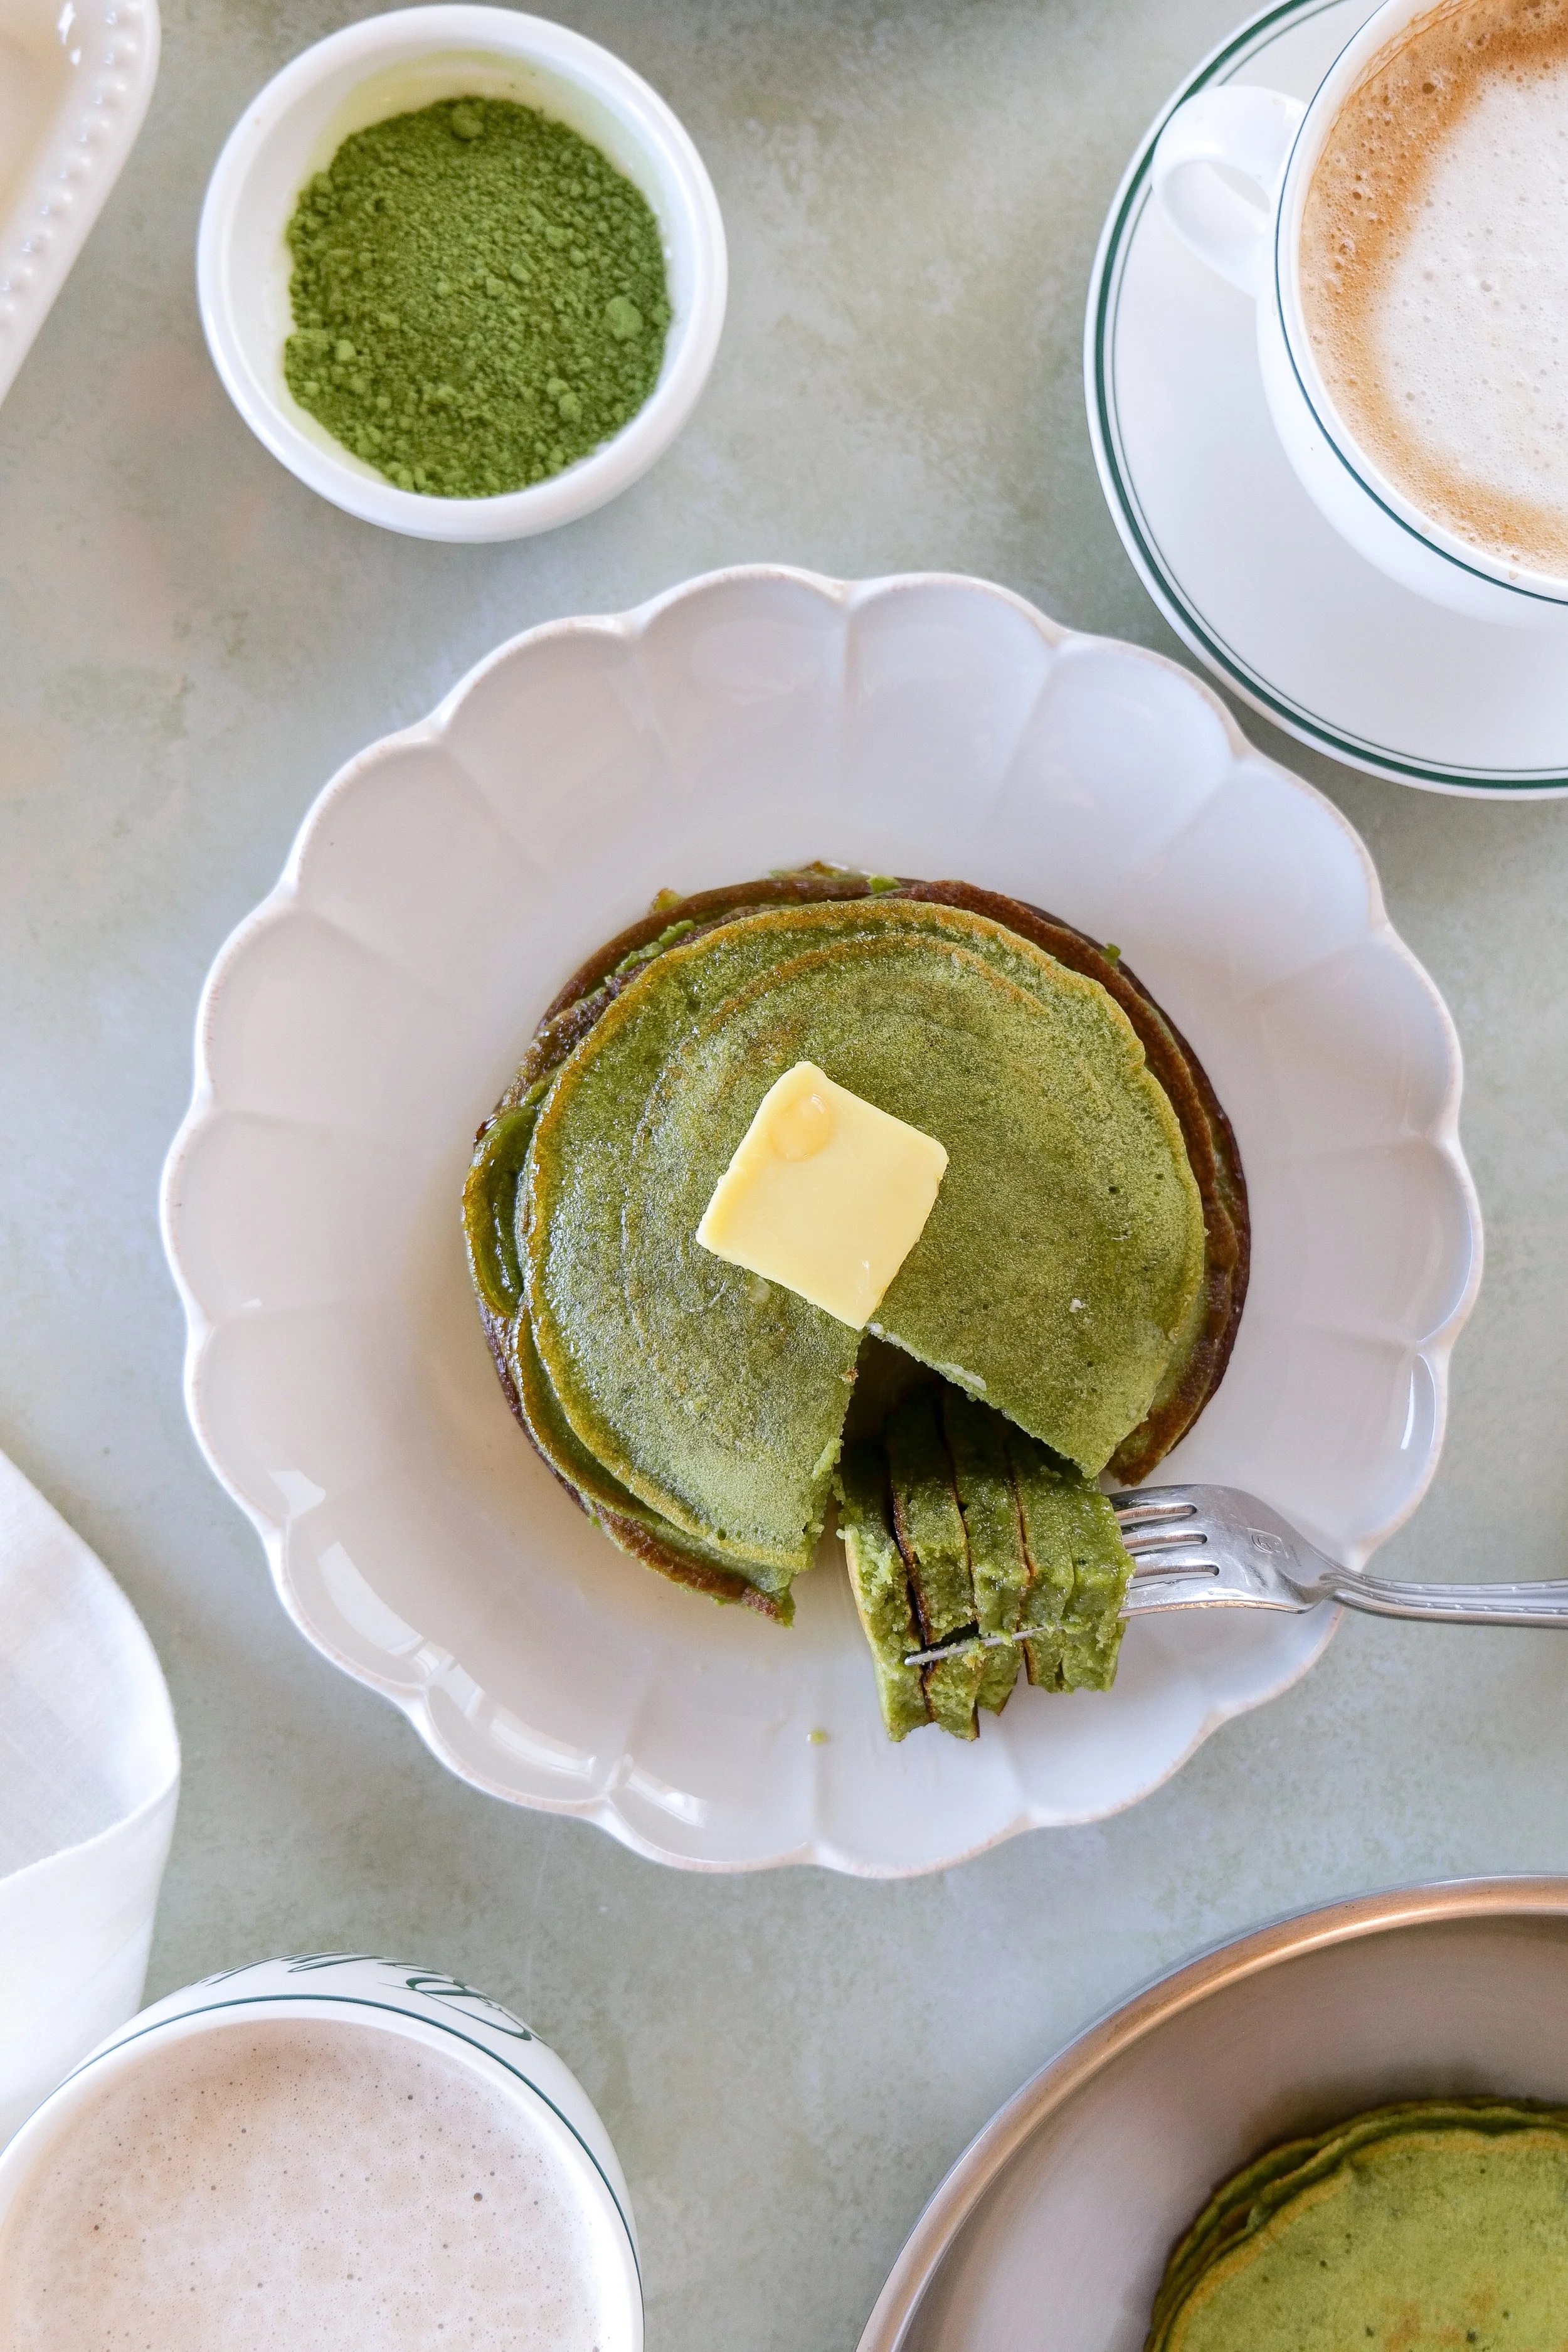
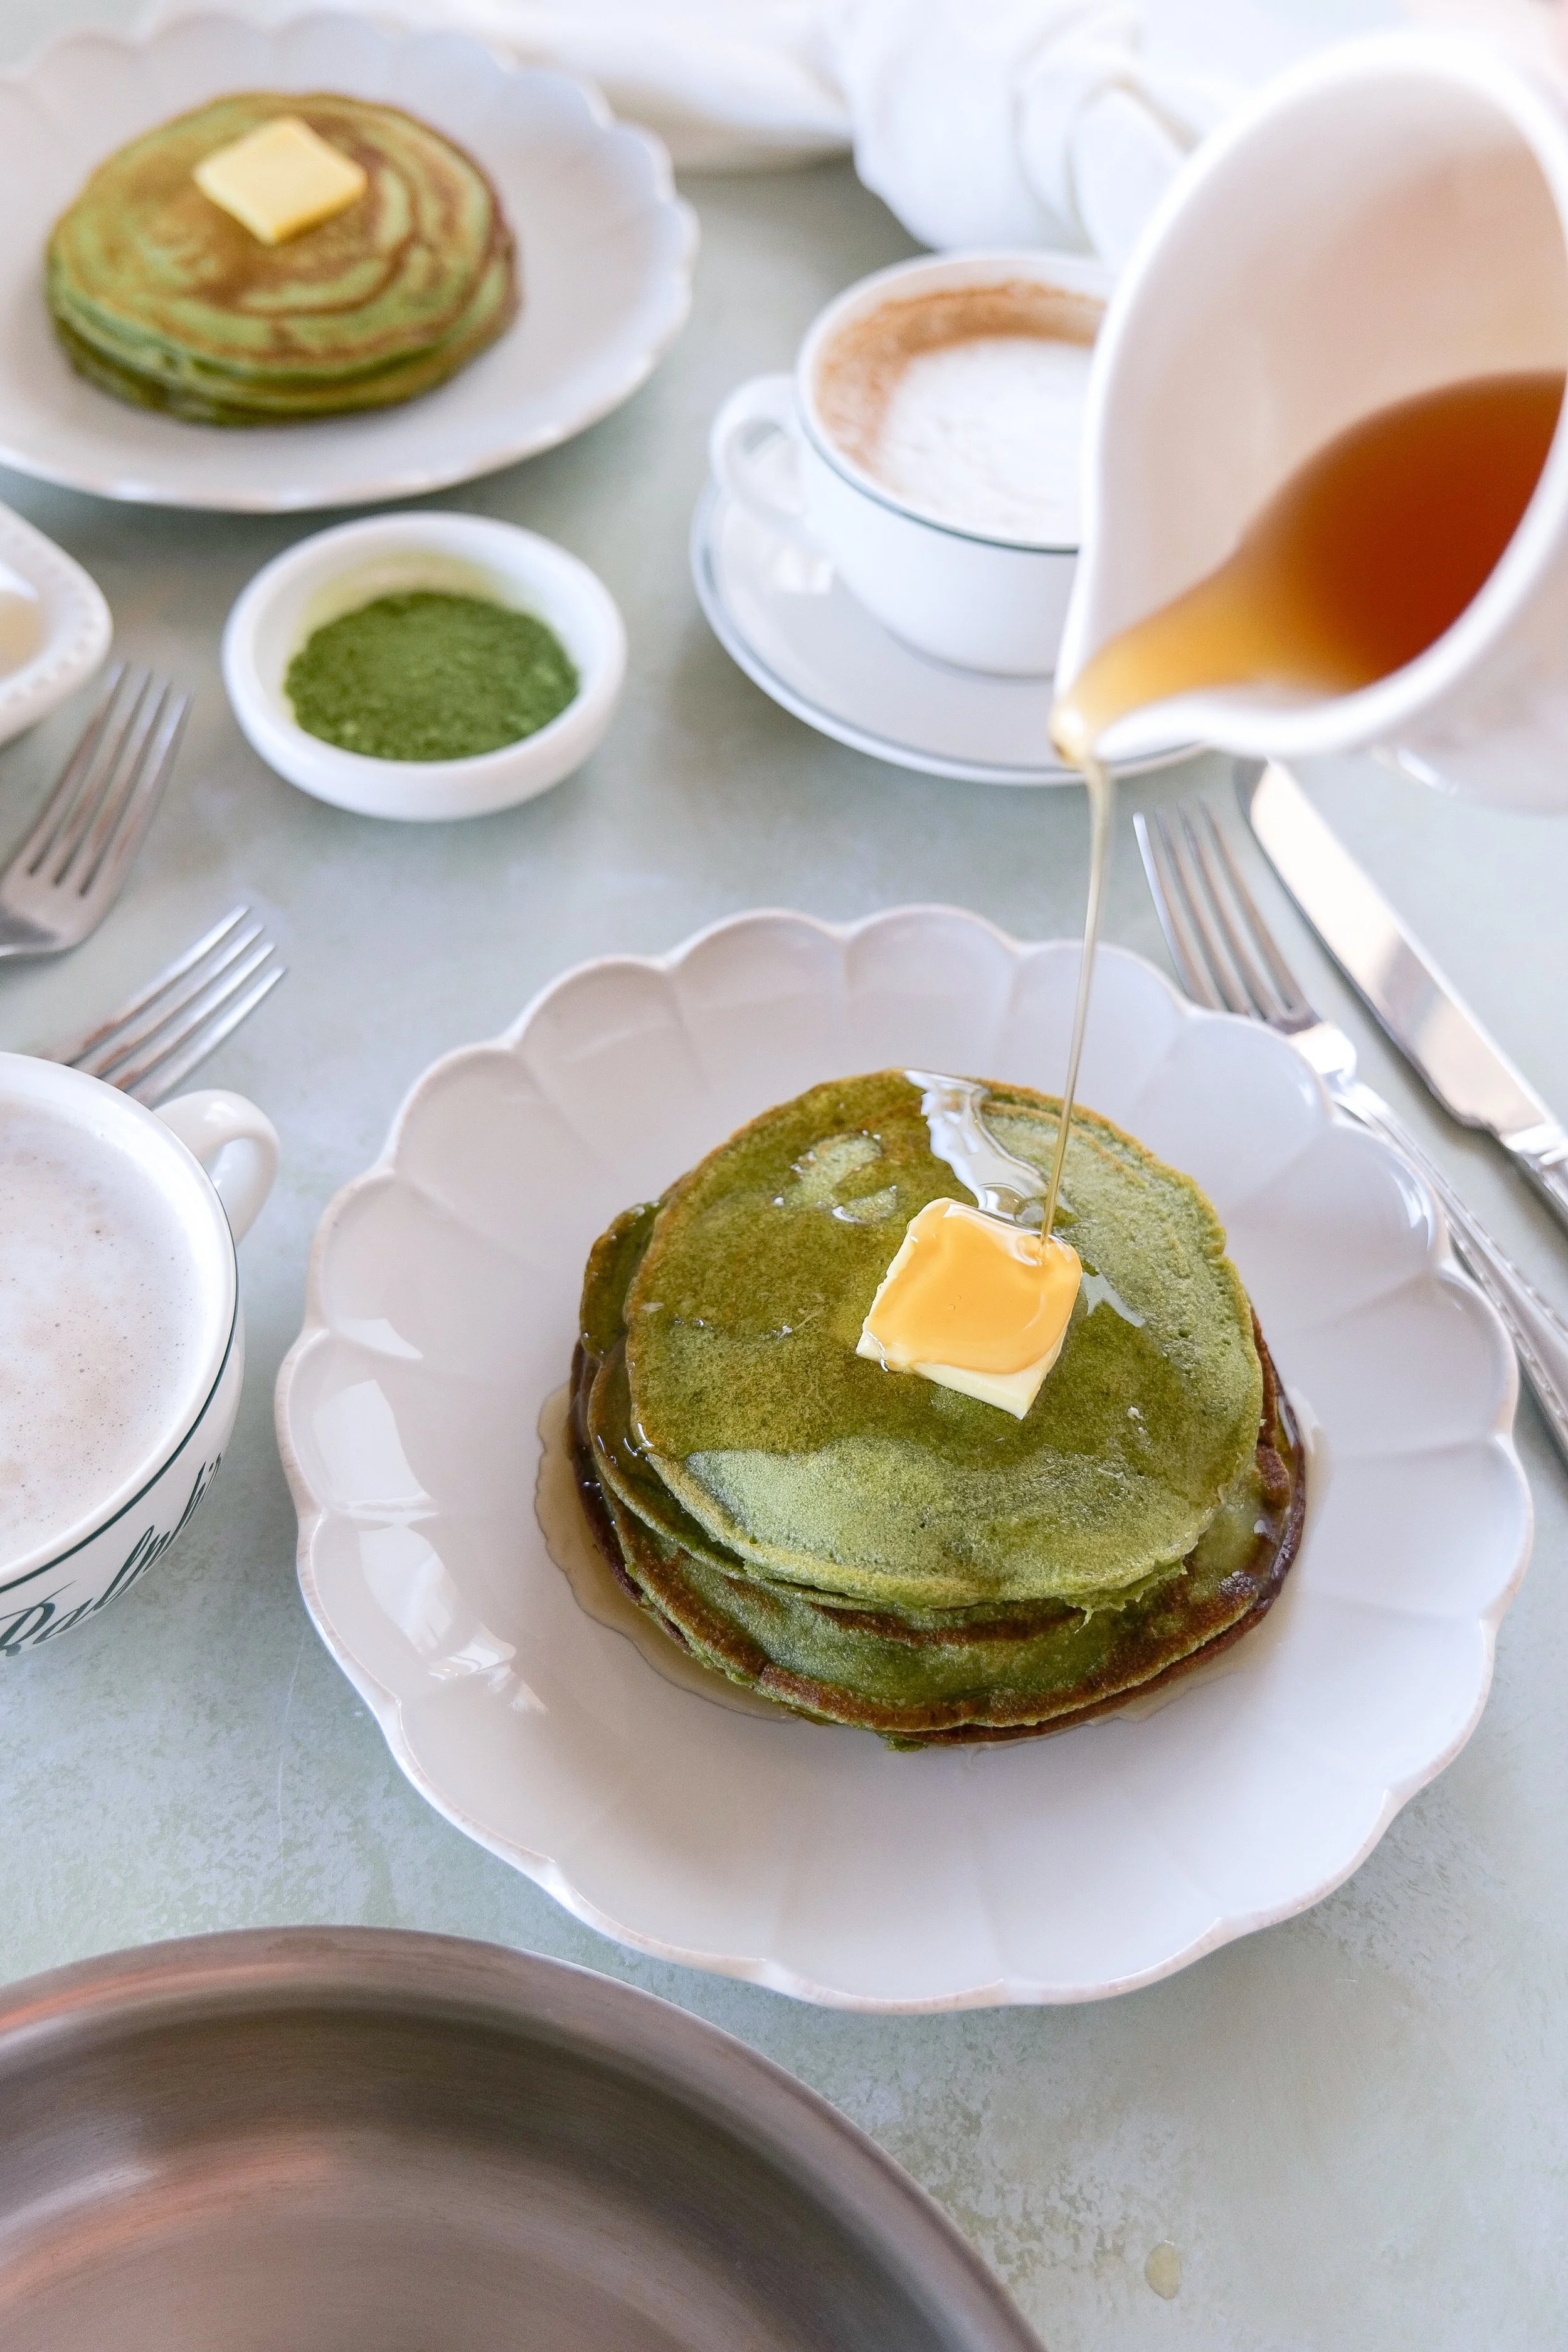
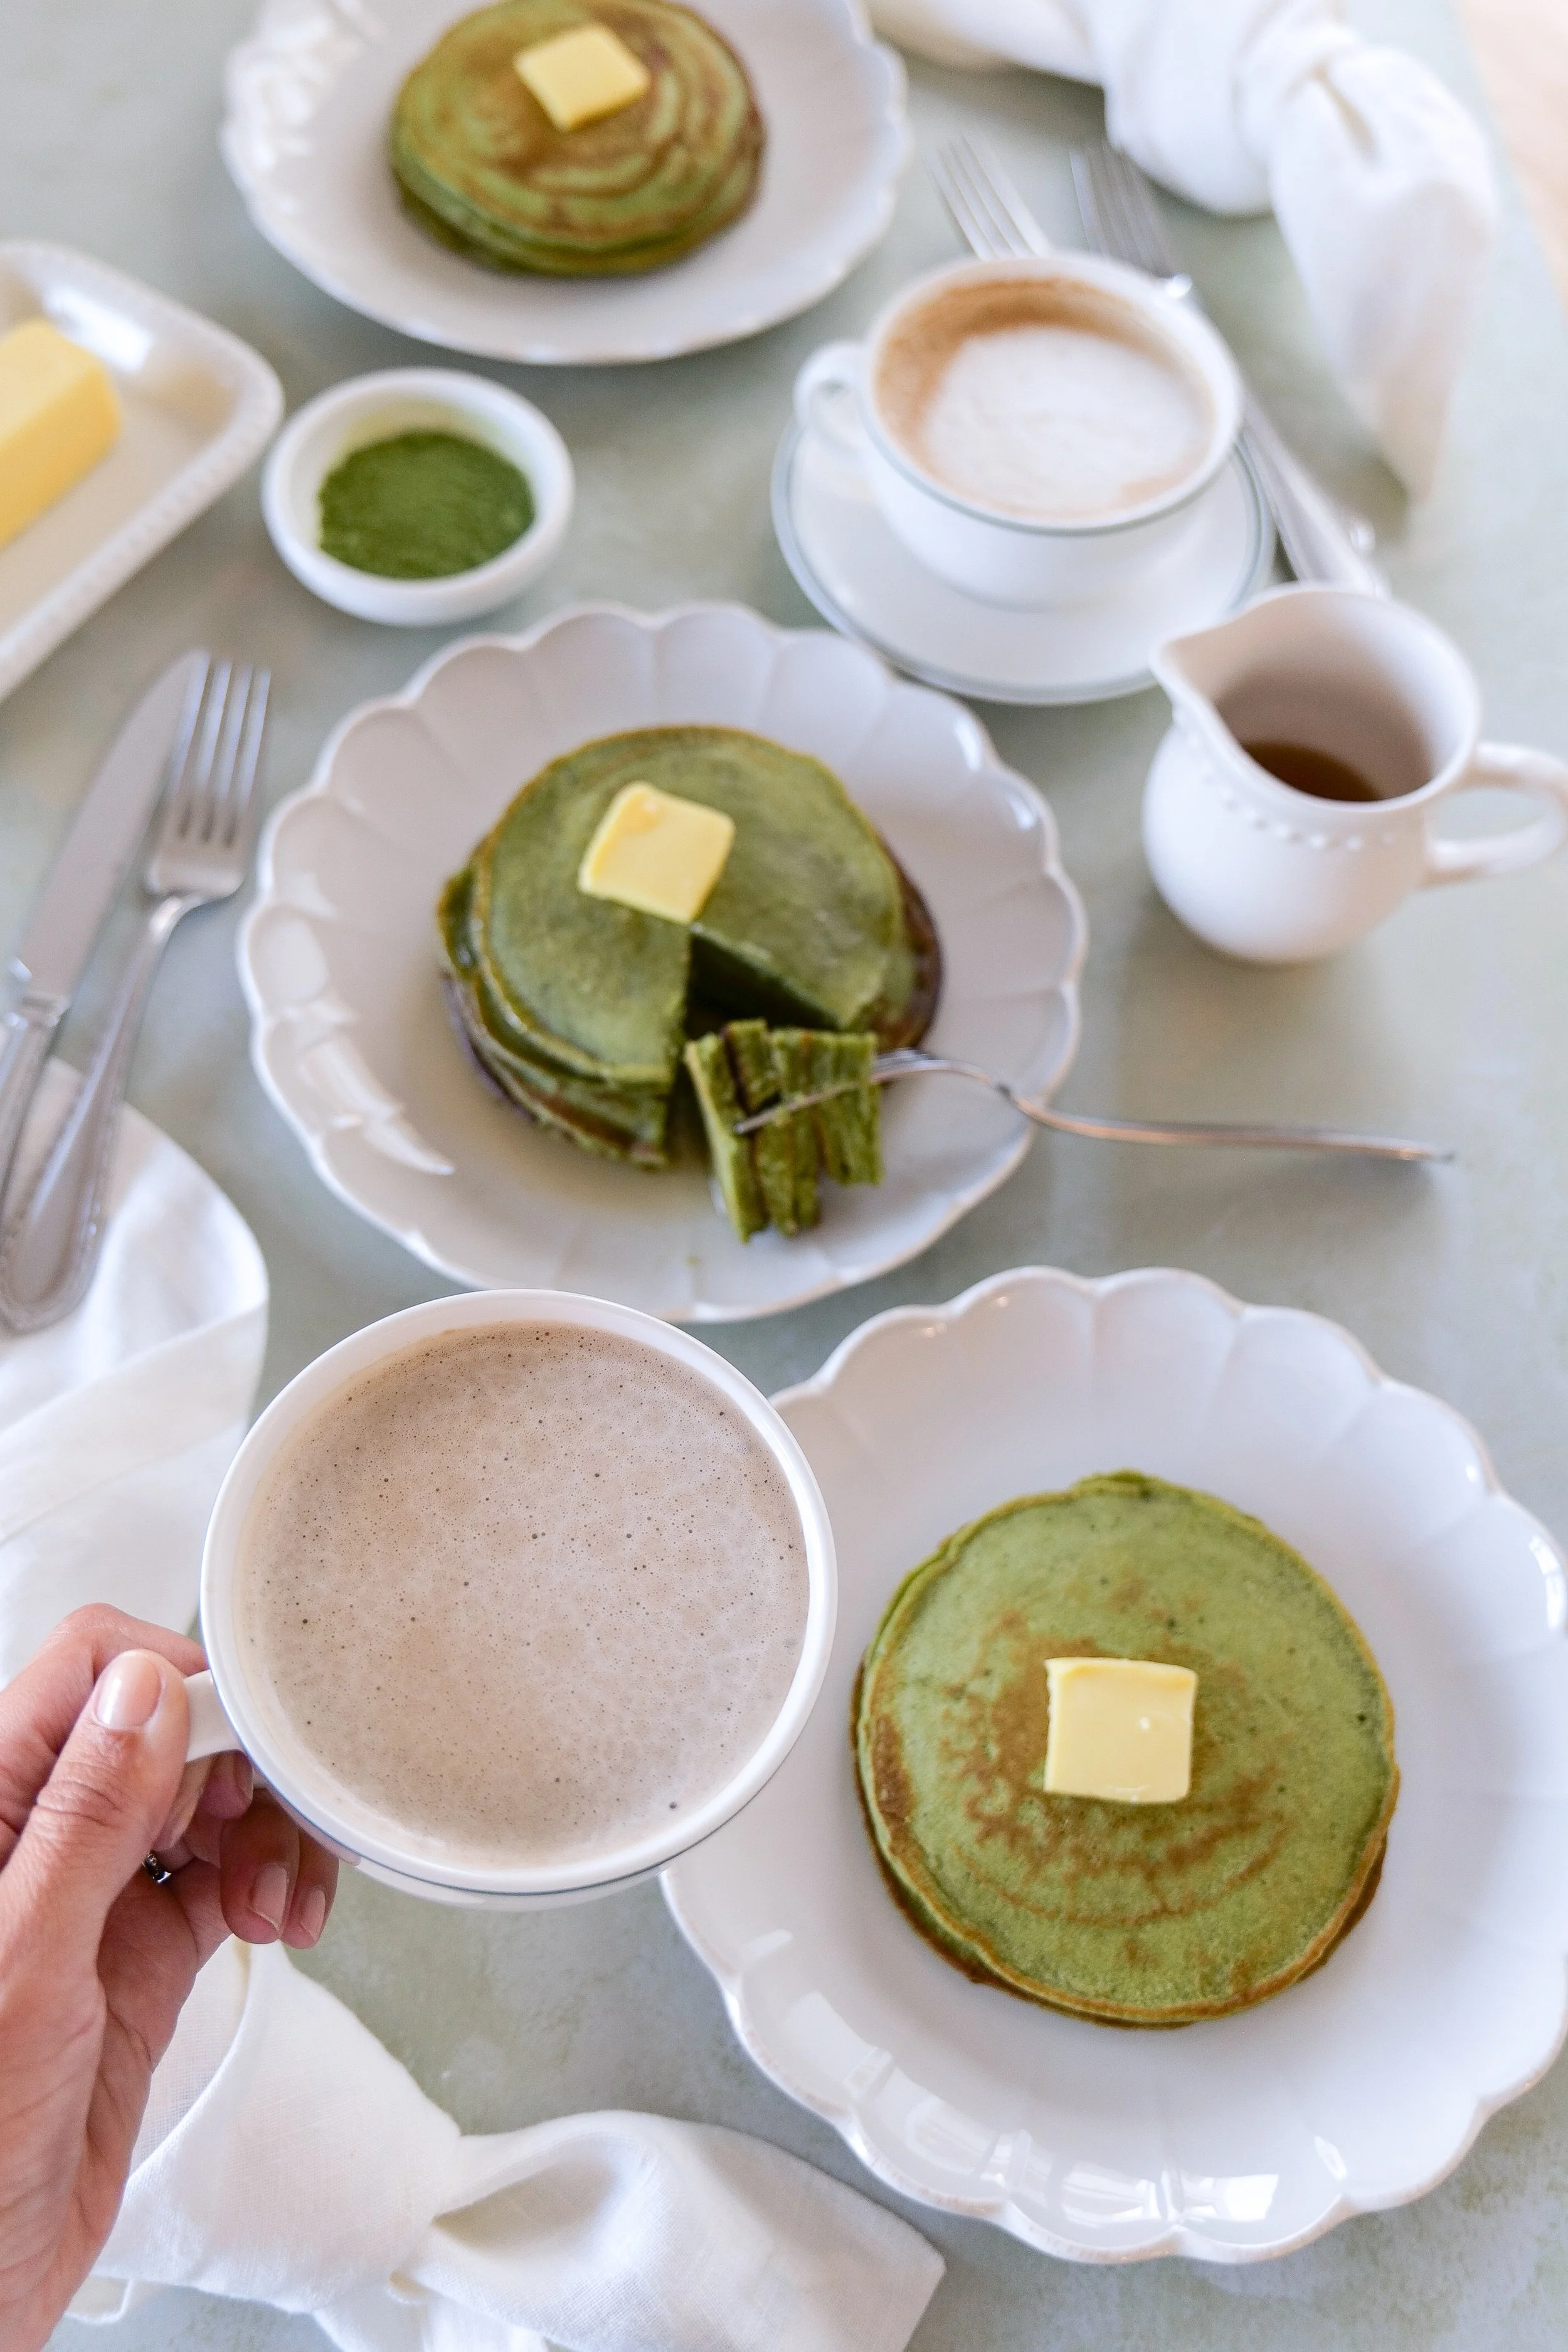
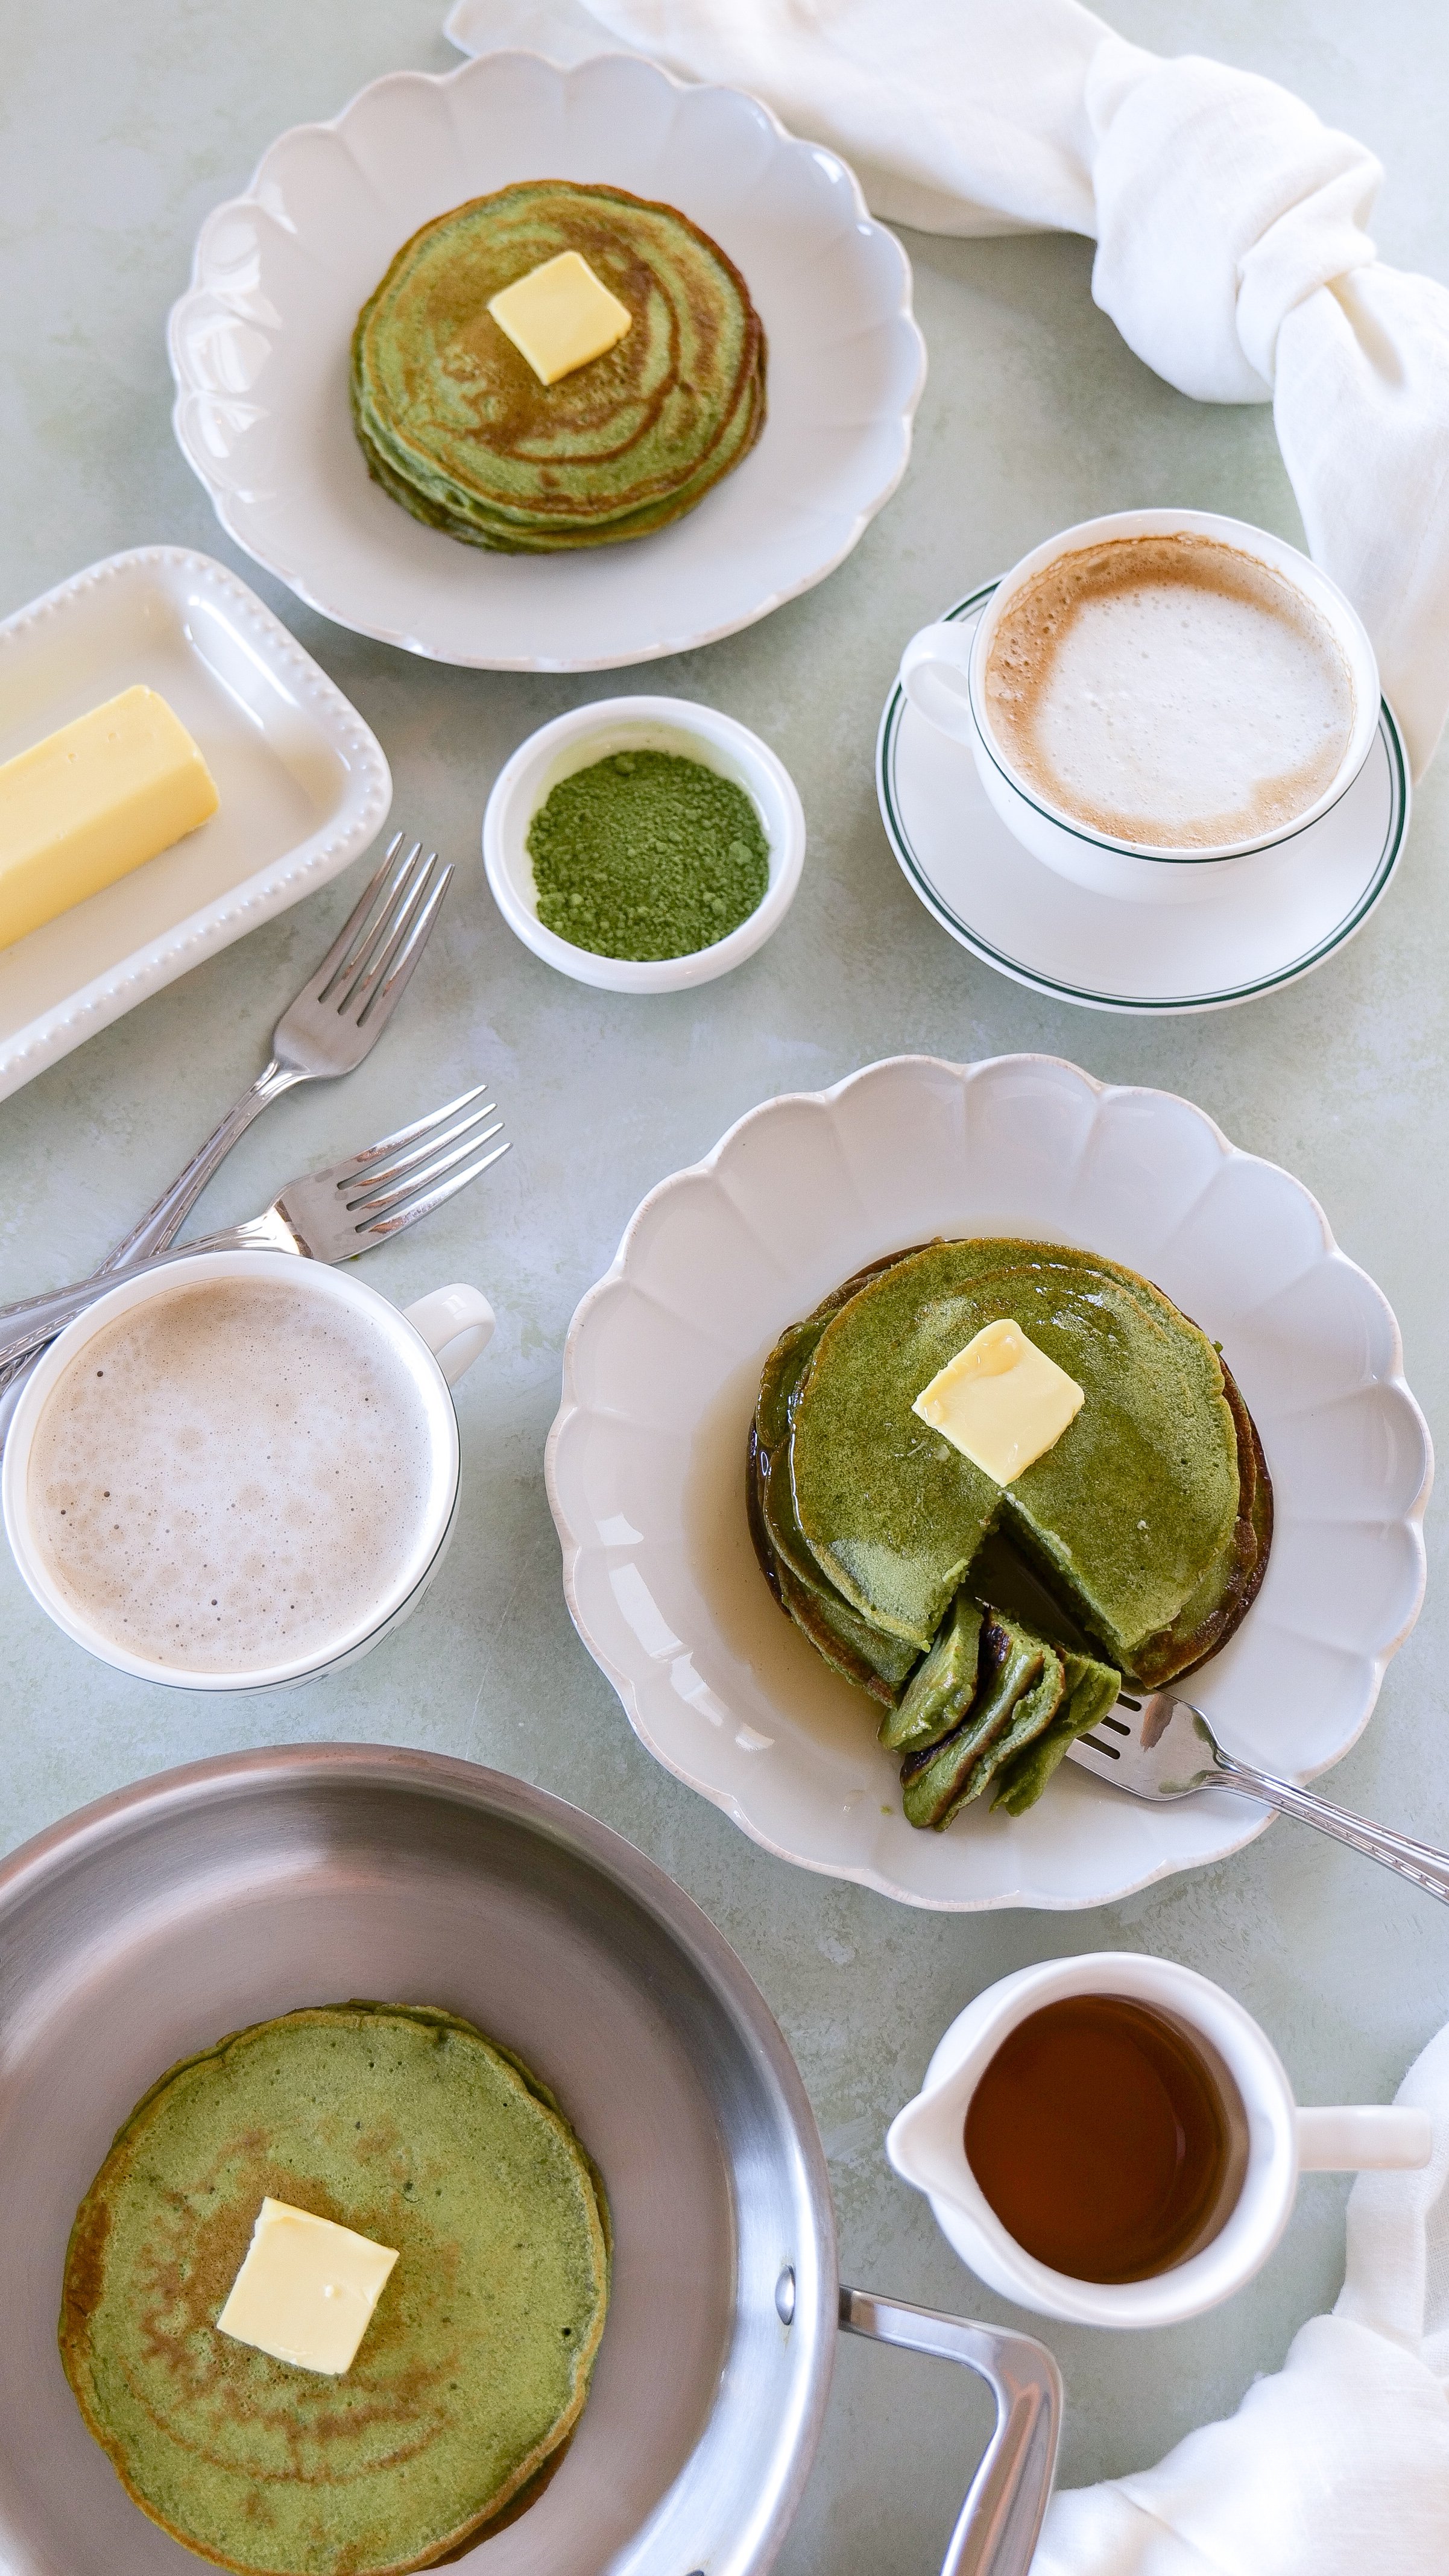
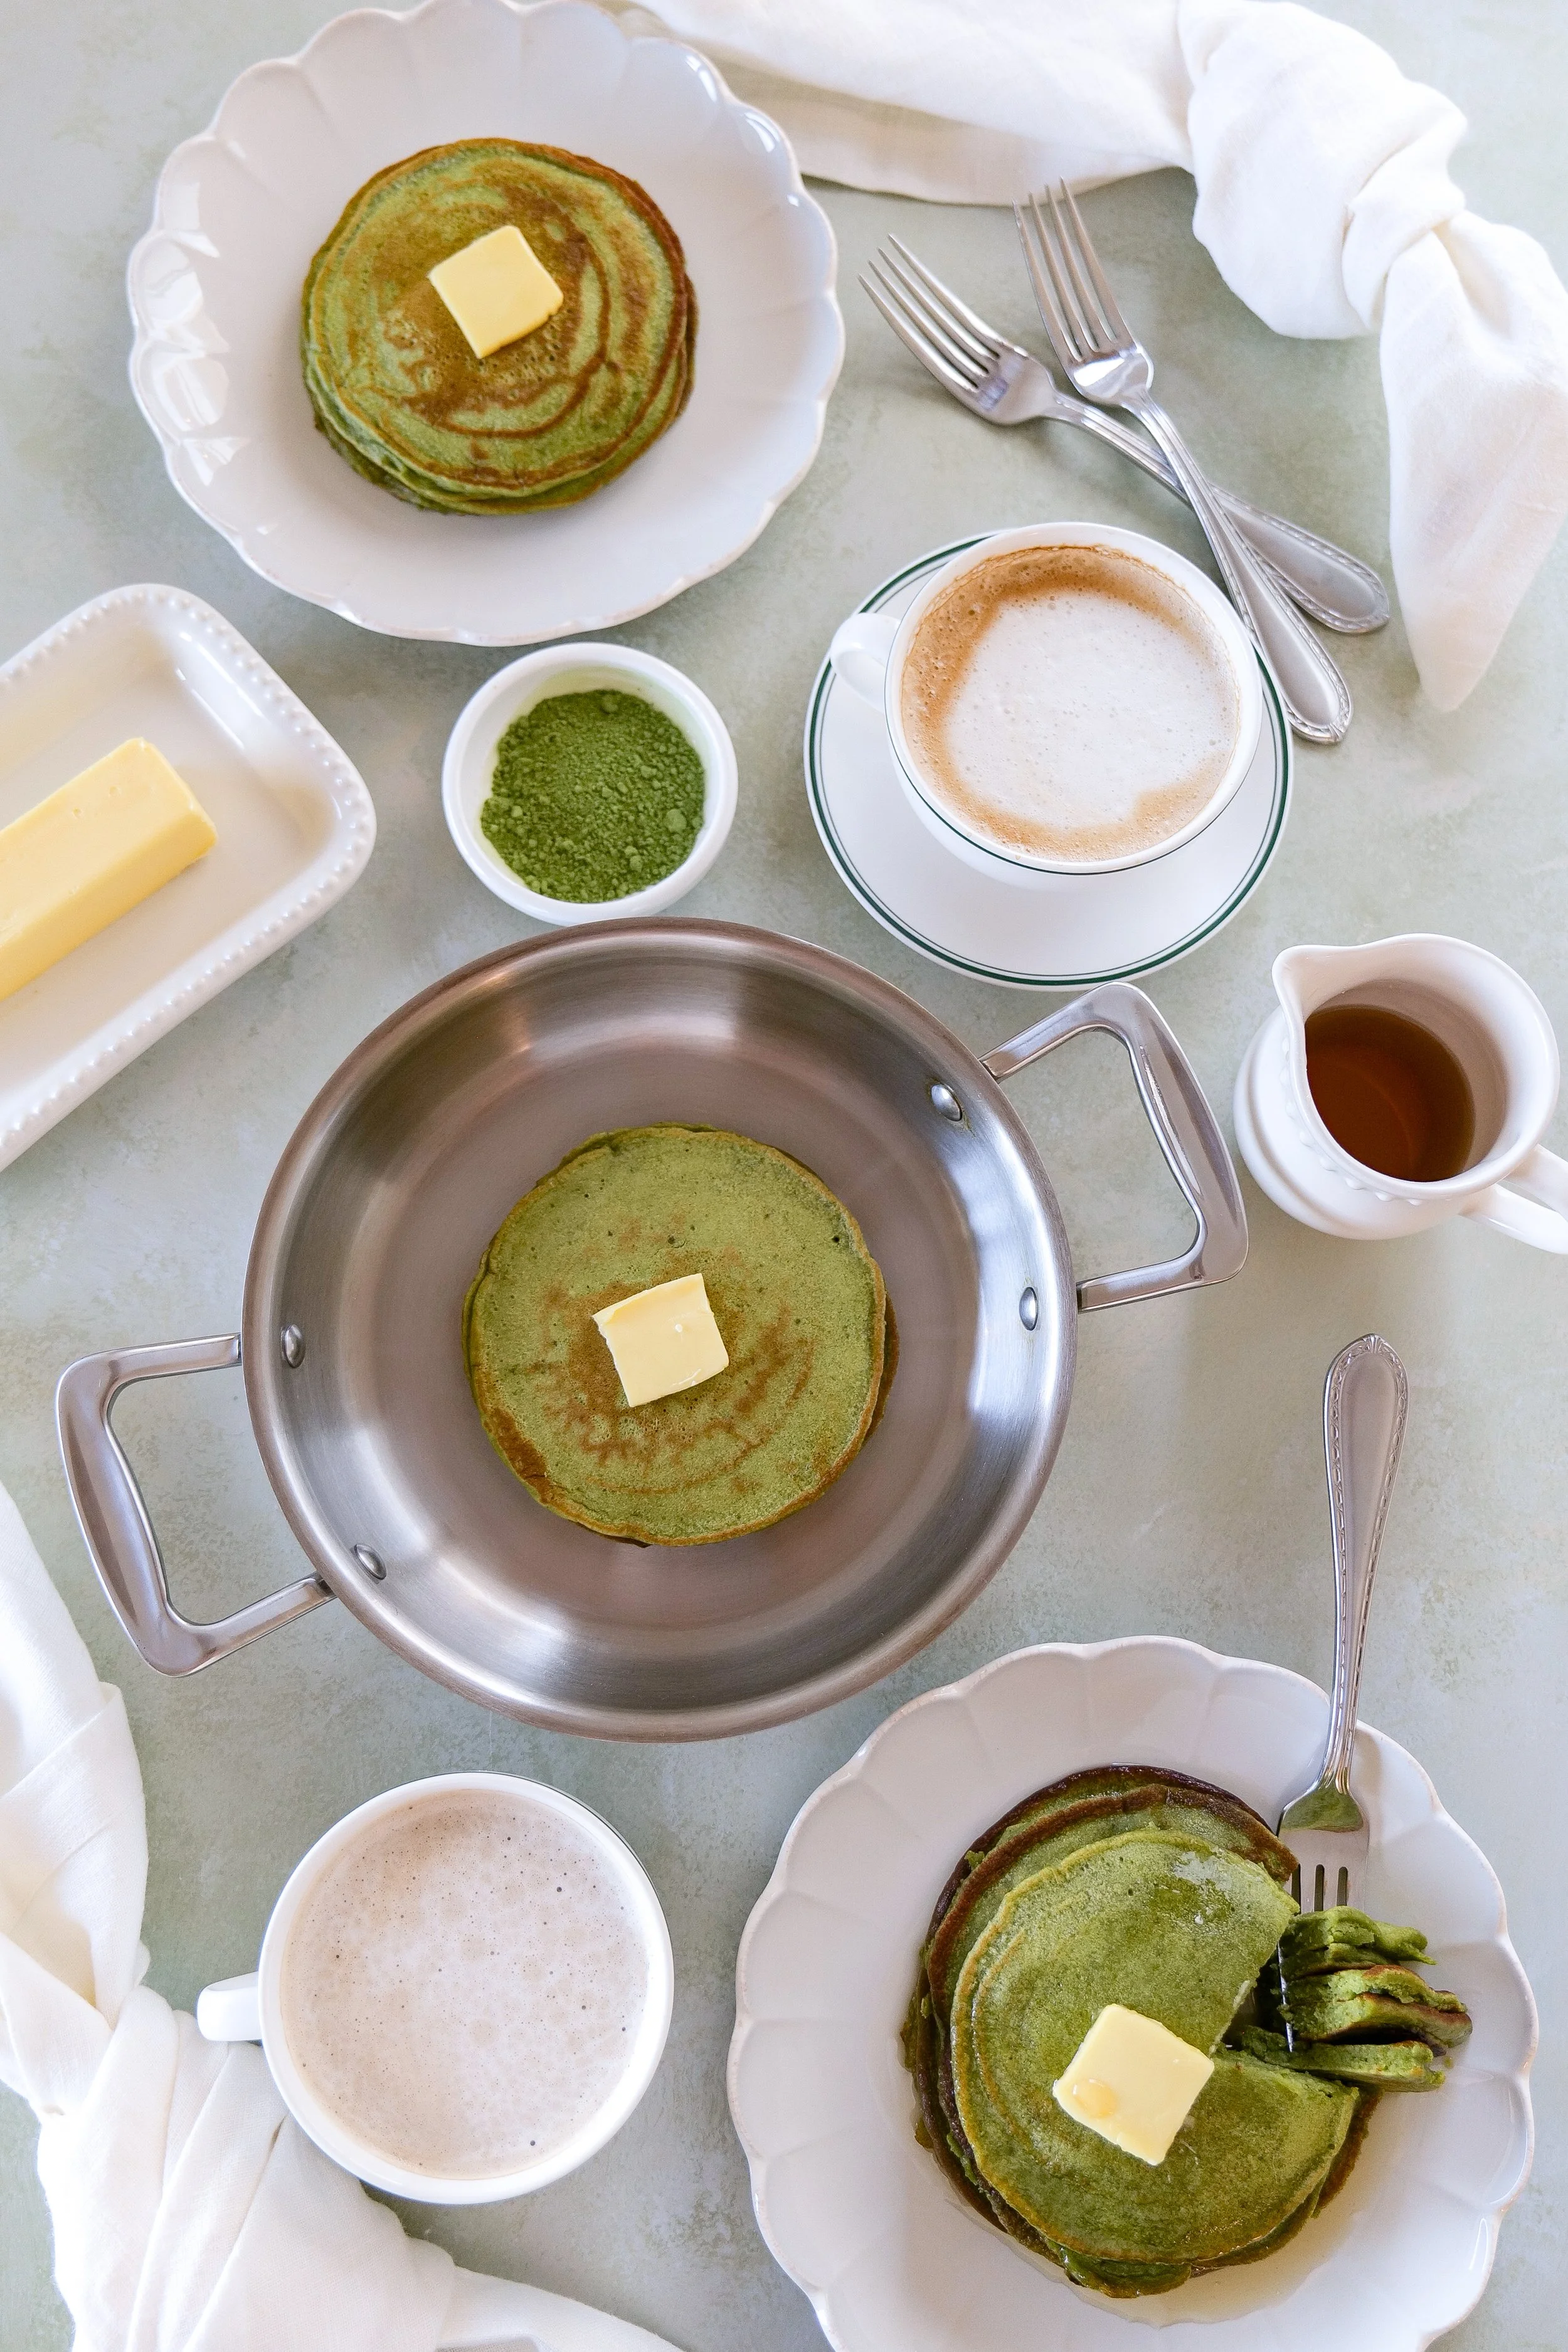
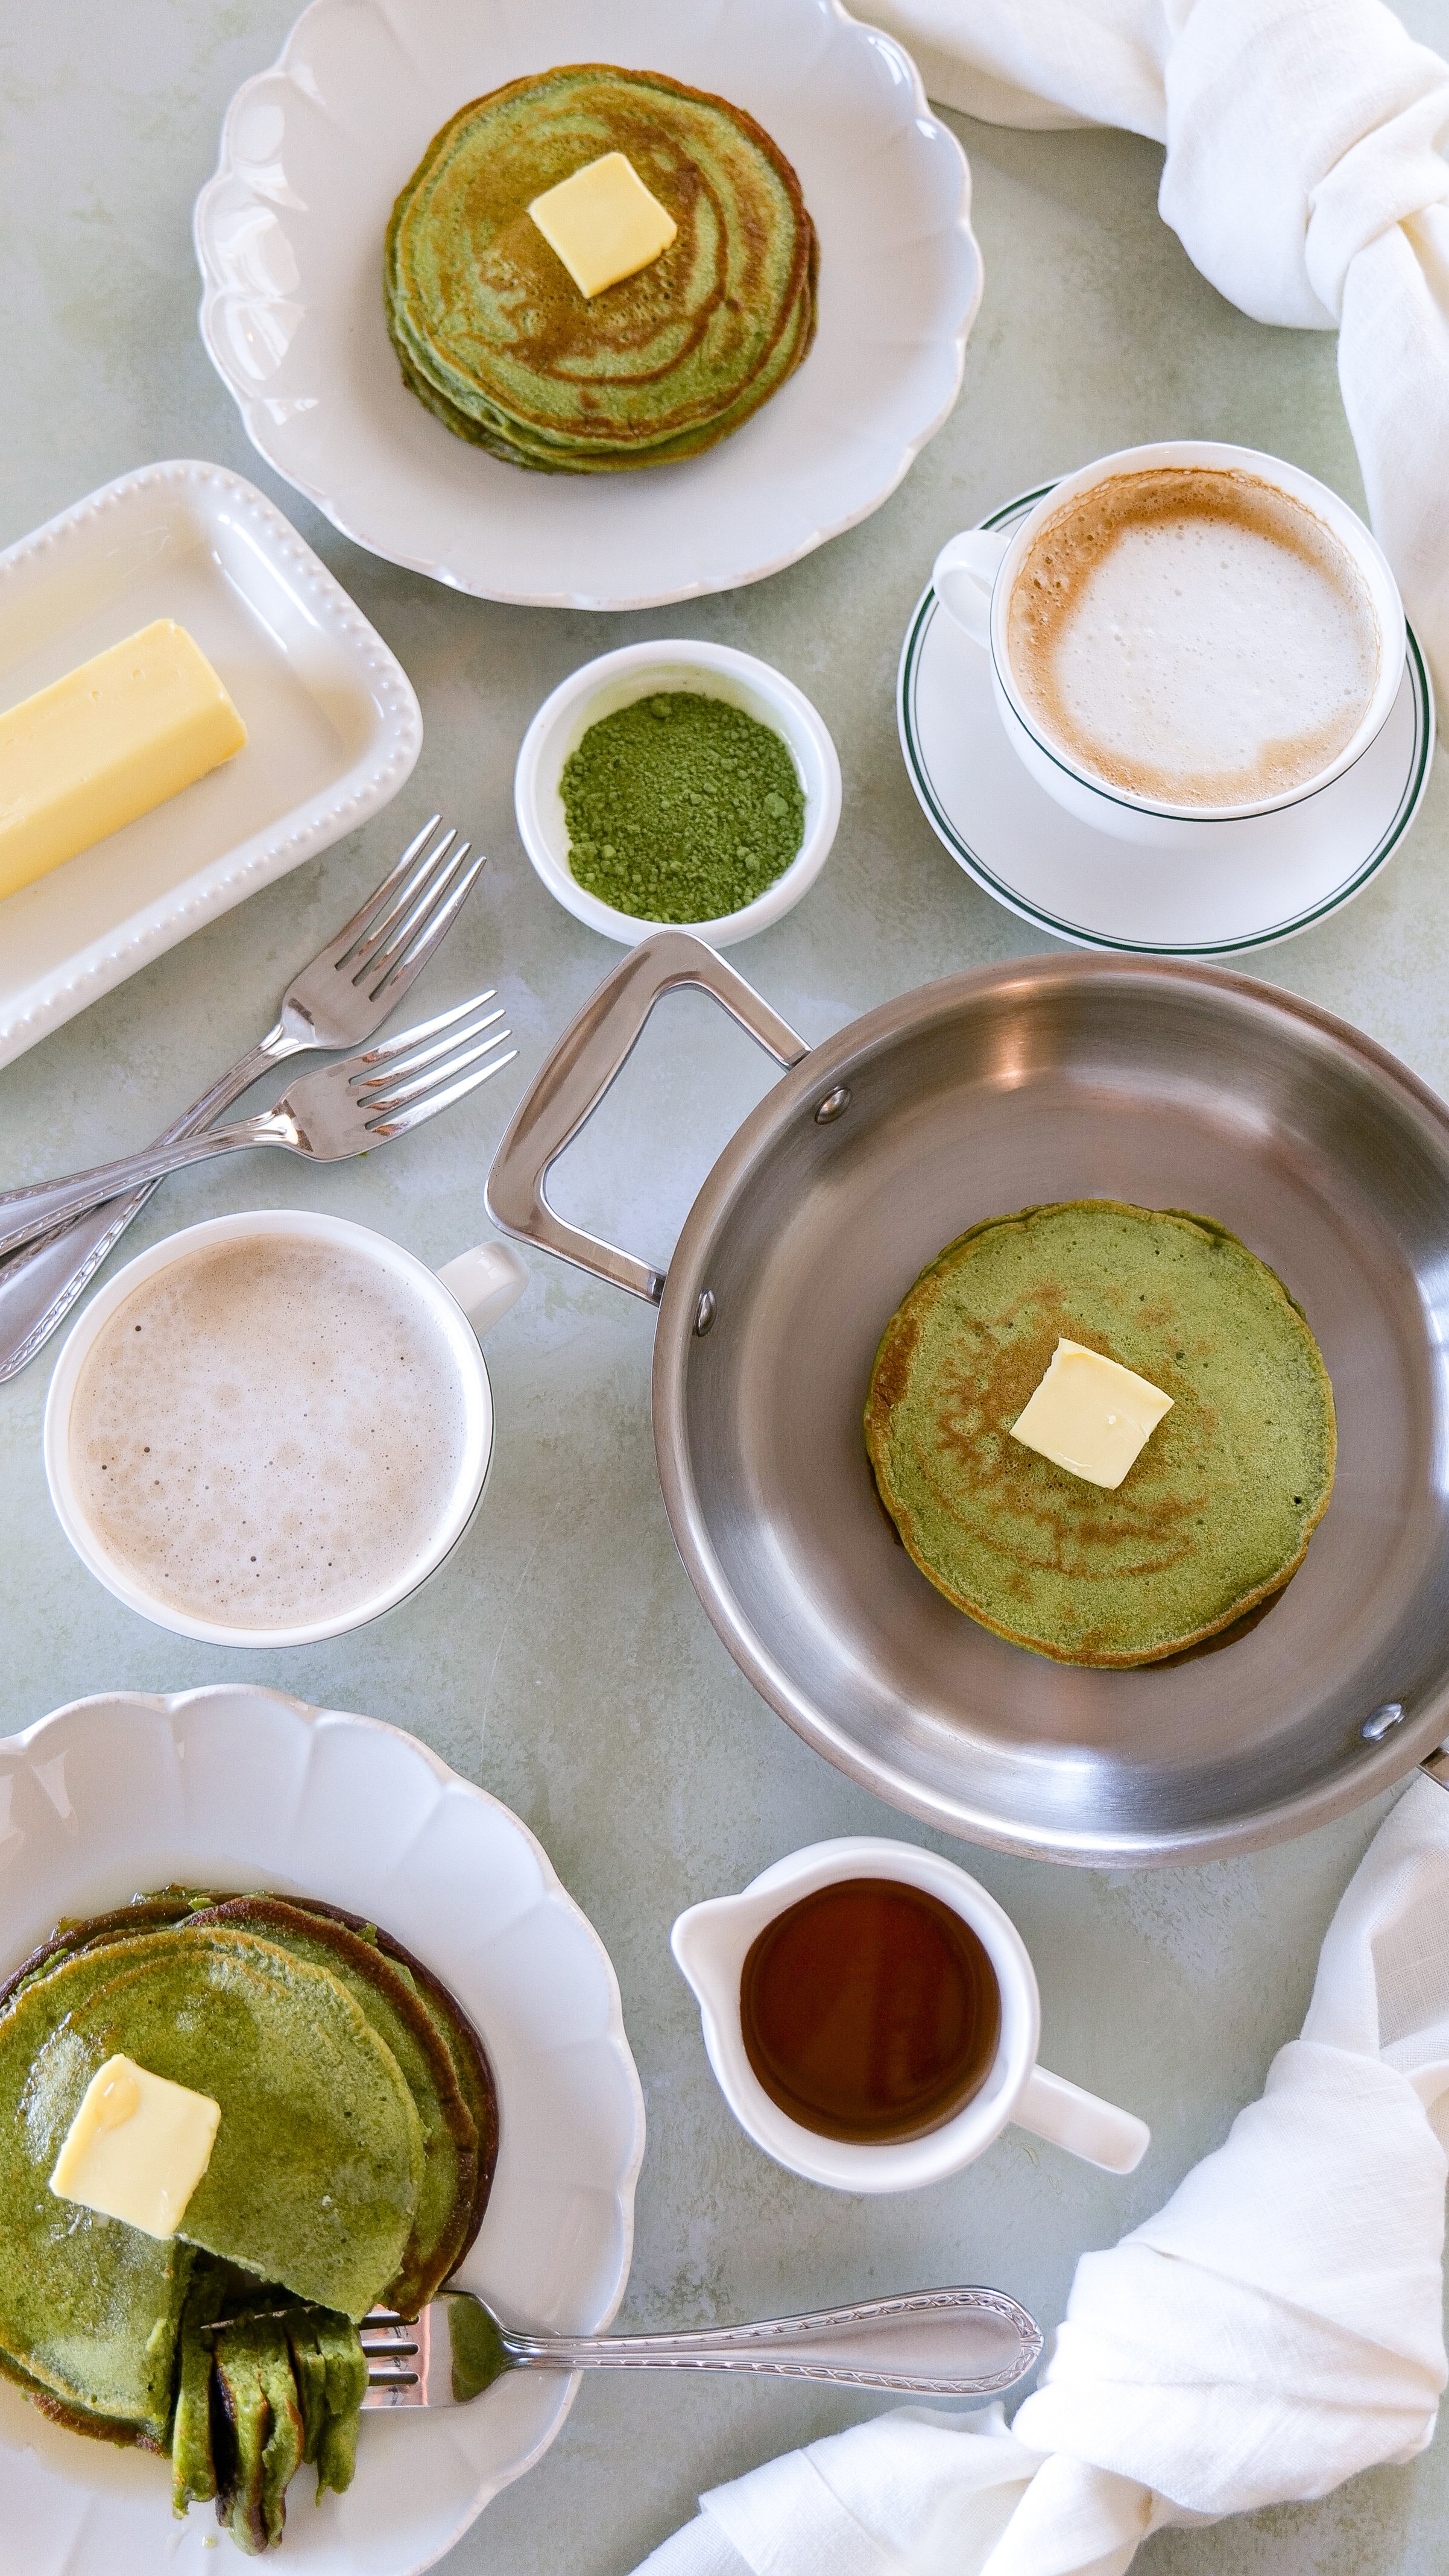
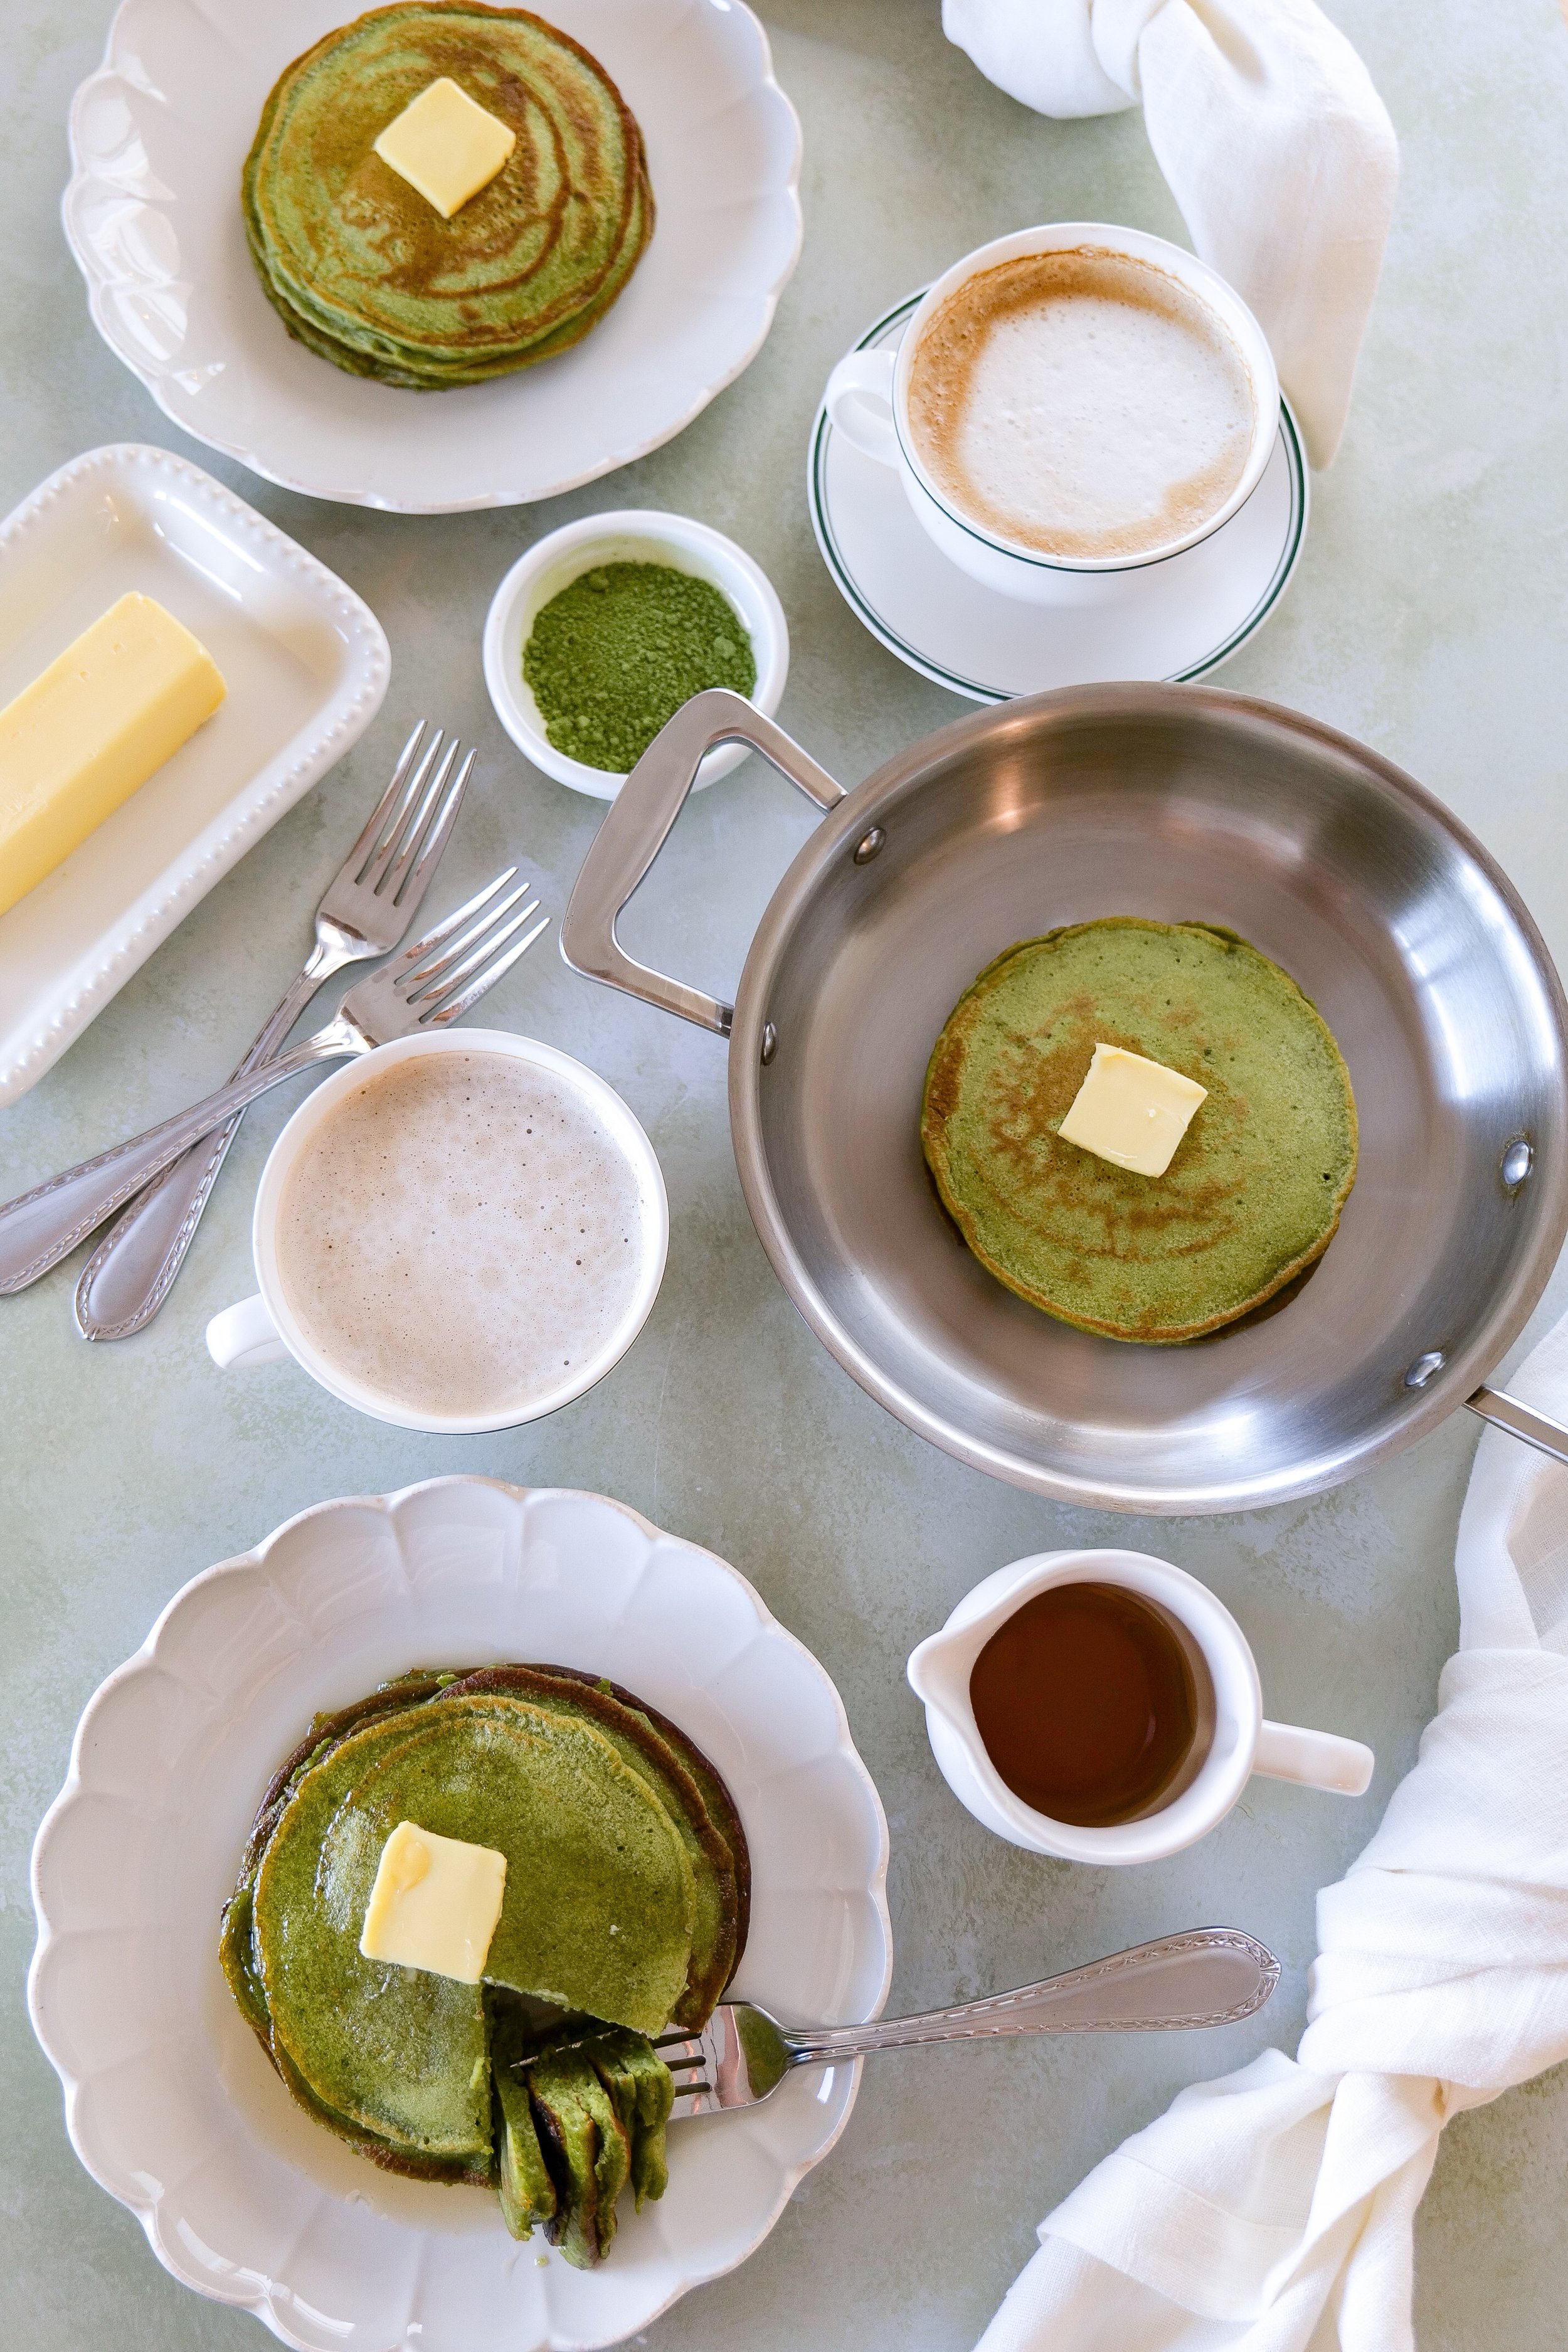
Fluffy matcha sourdough discard pancakes served with maple syrup and fresh berries for an easy zero-waste breakfast recipe.
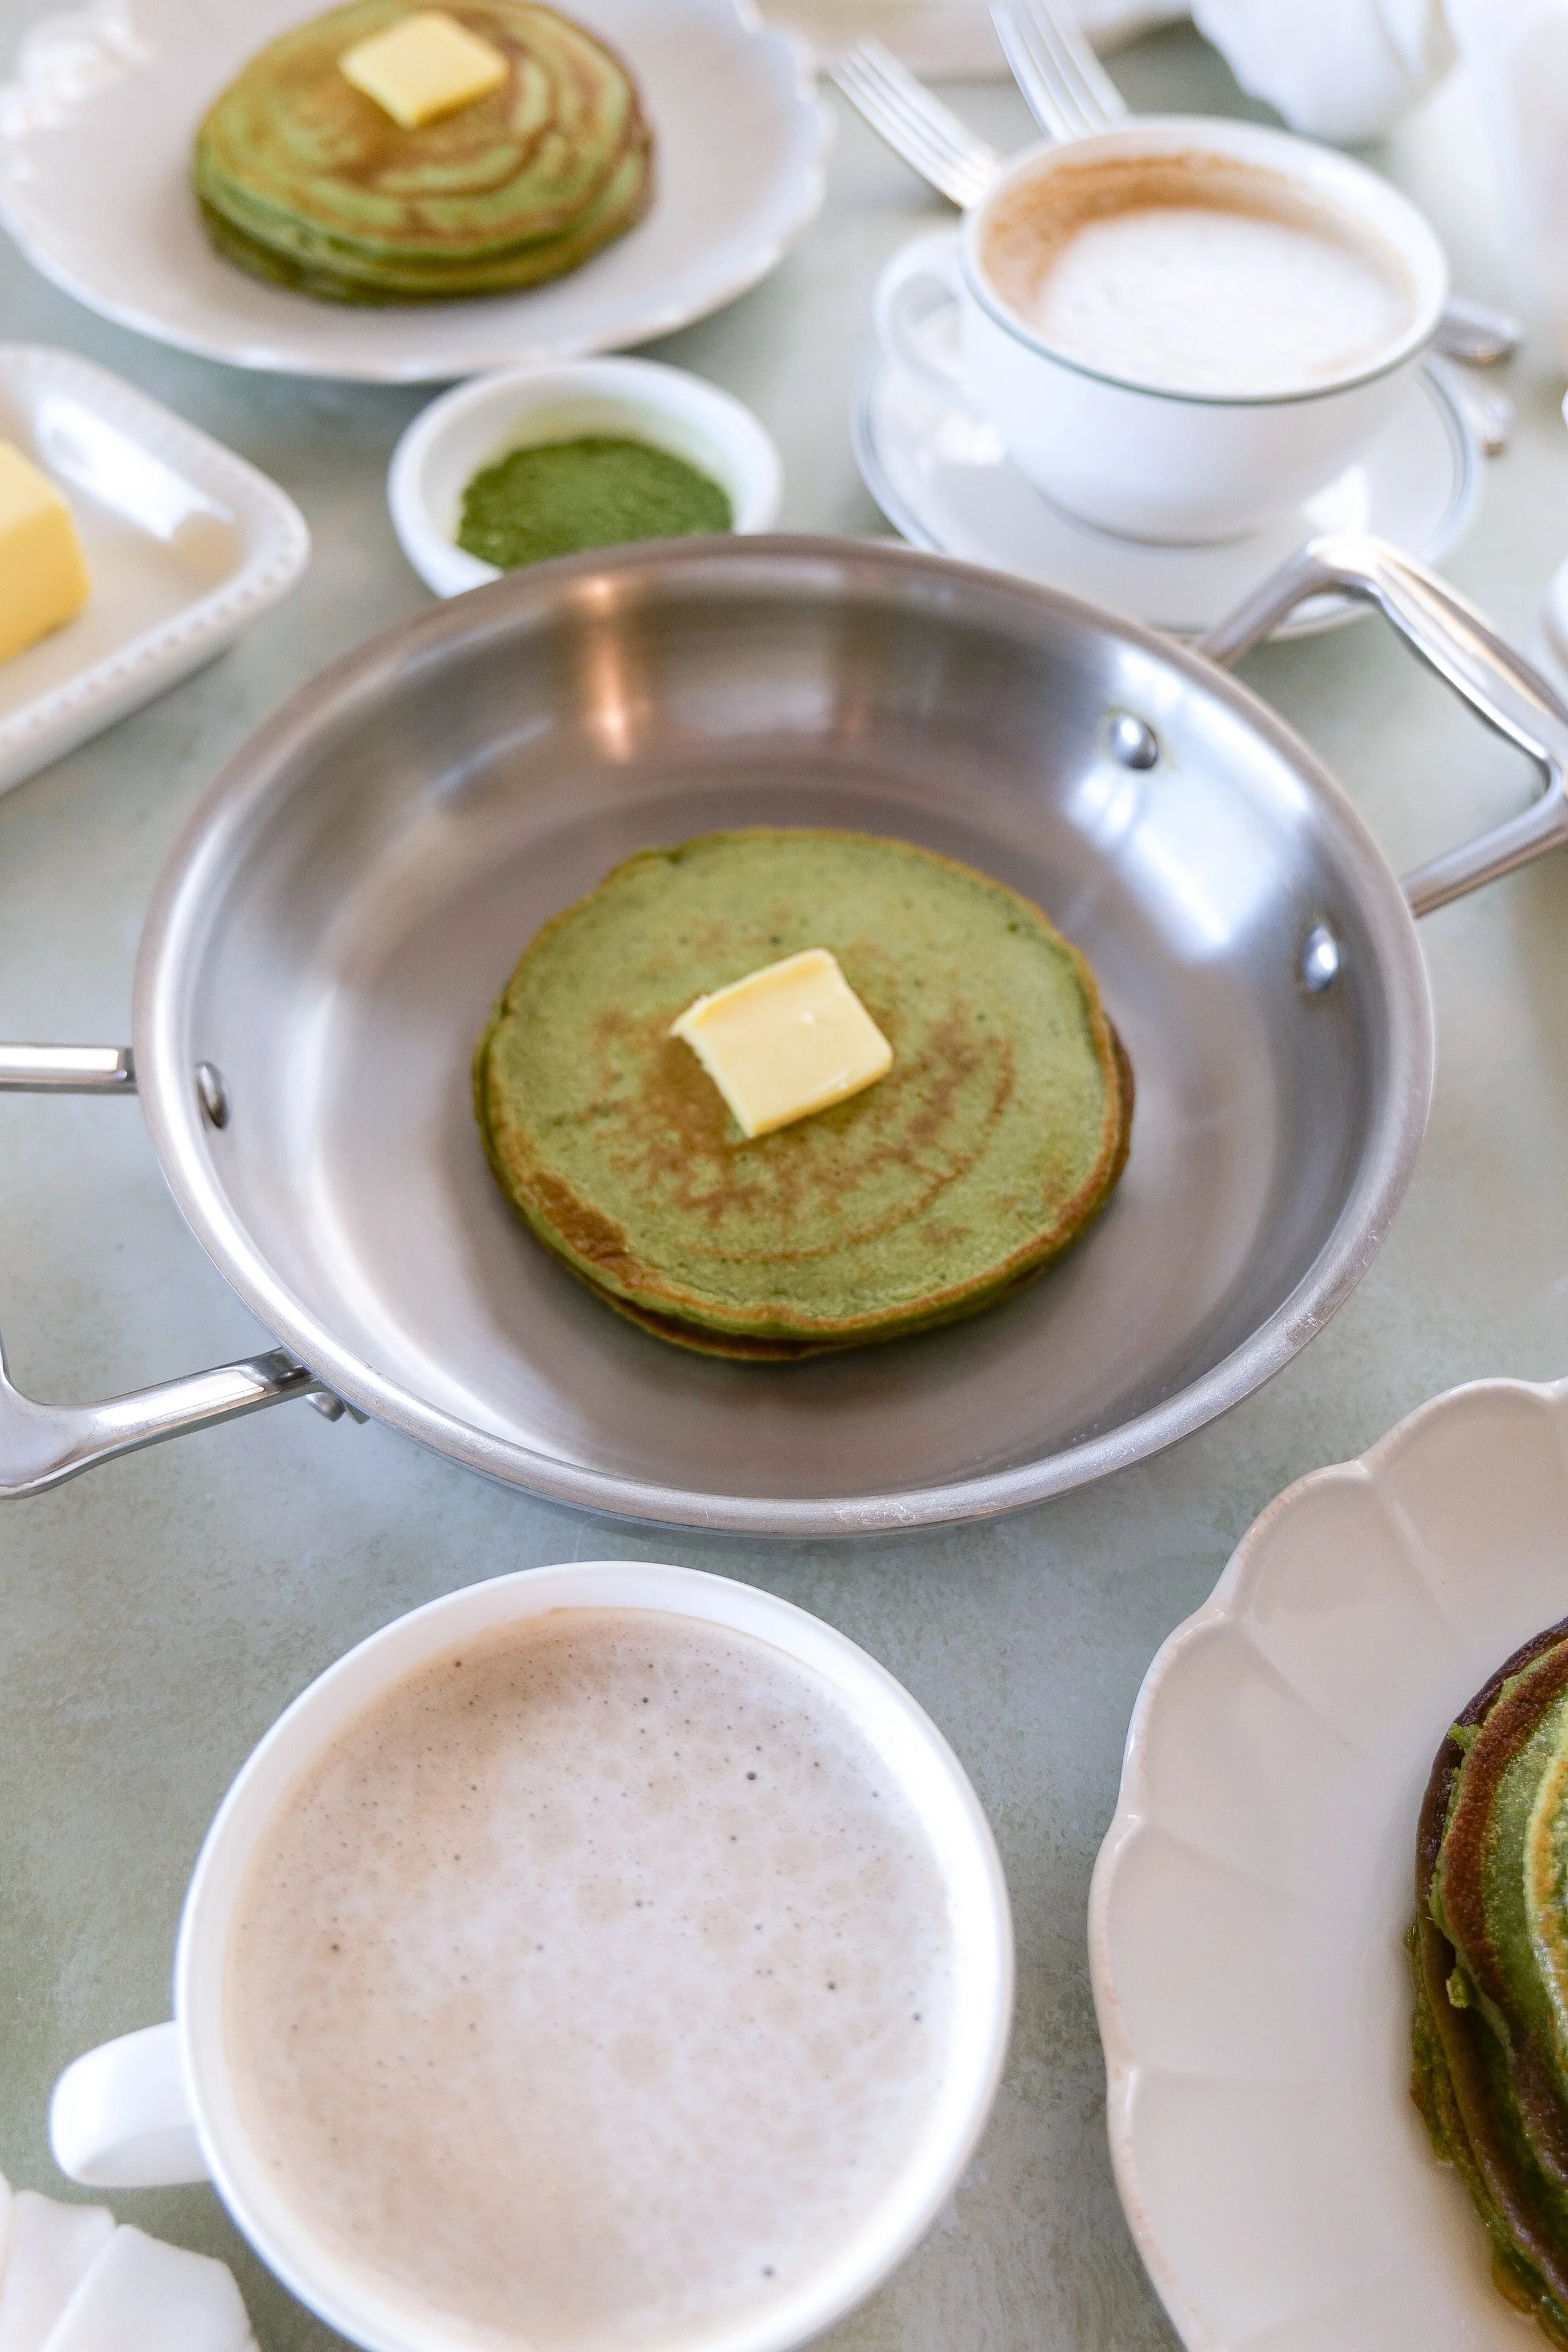
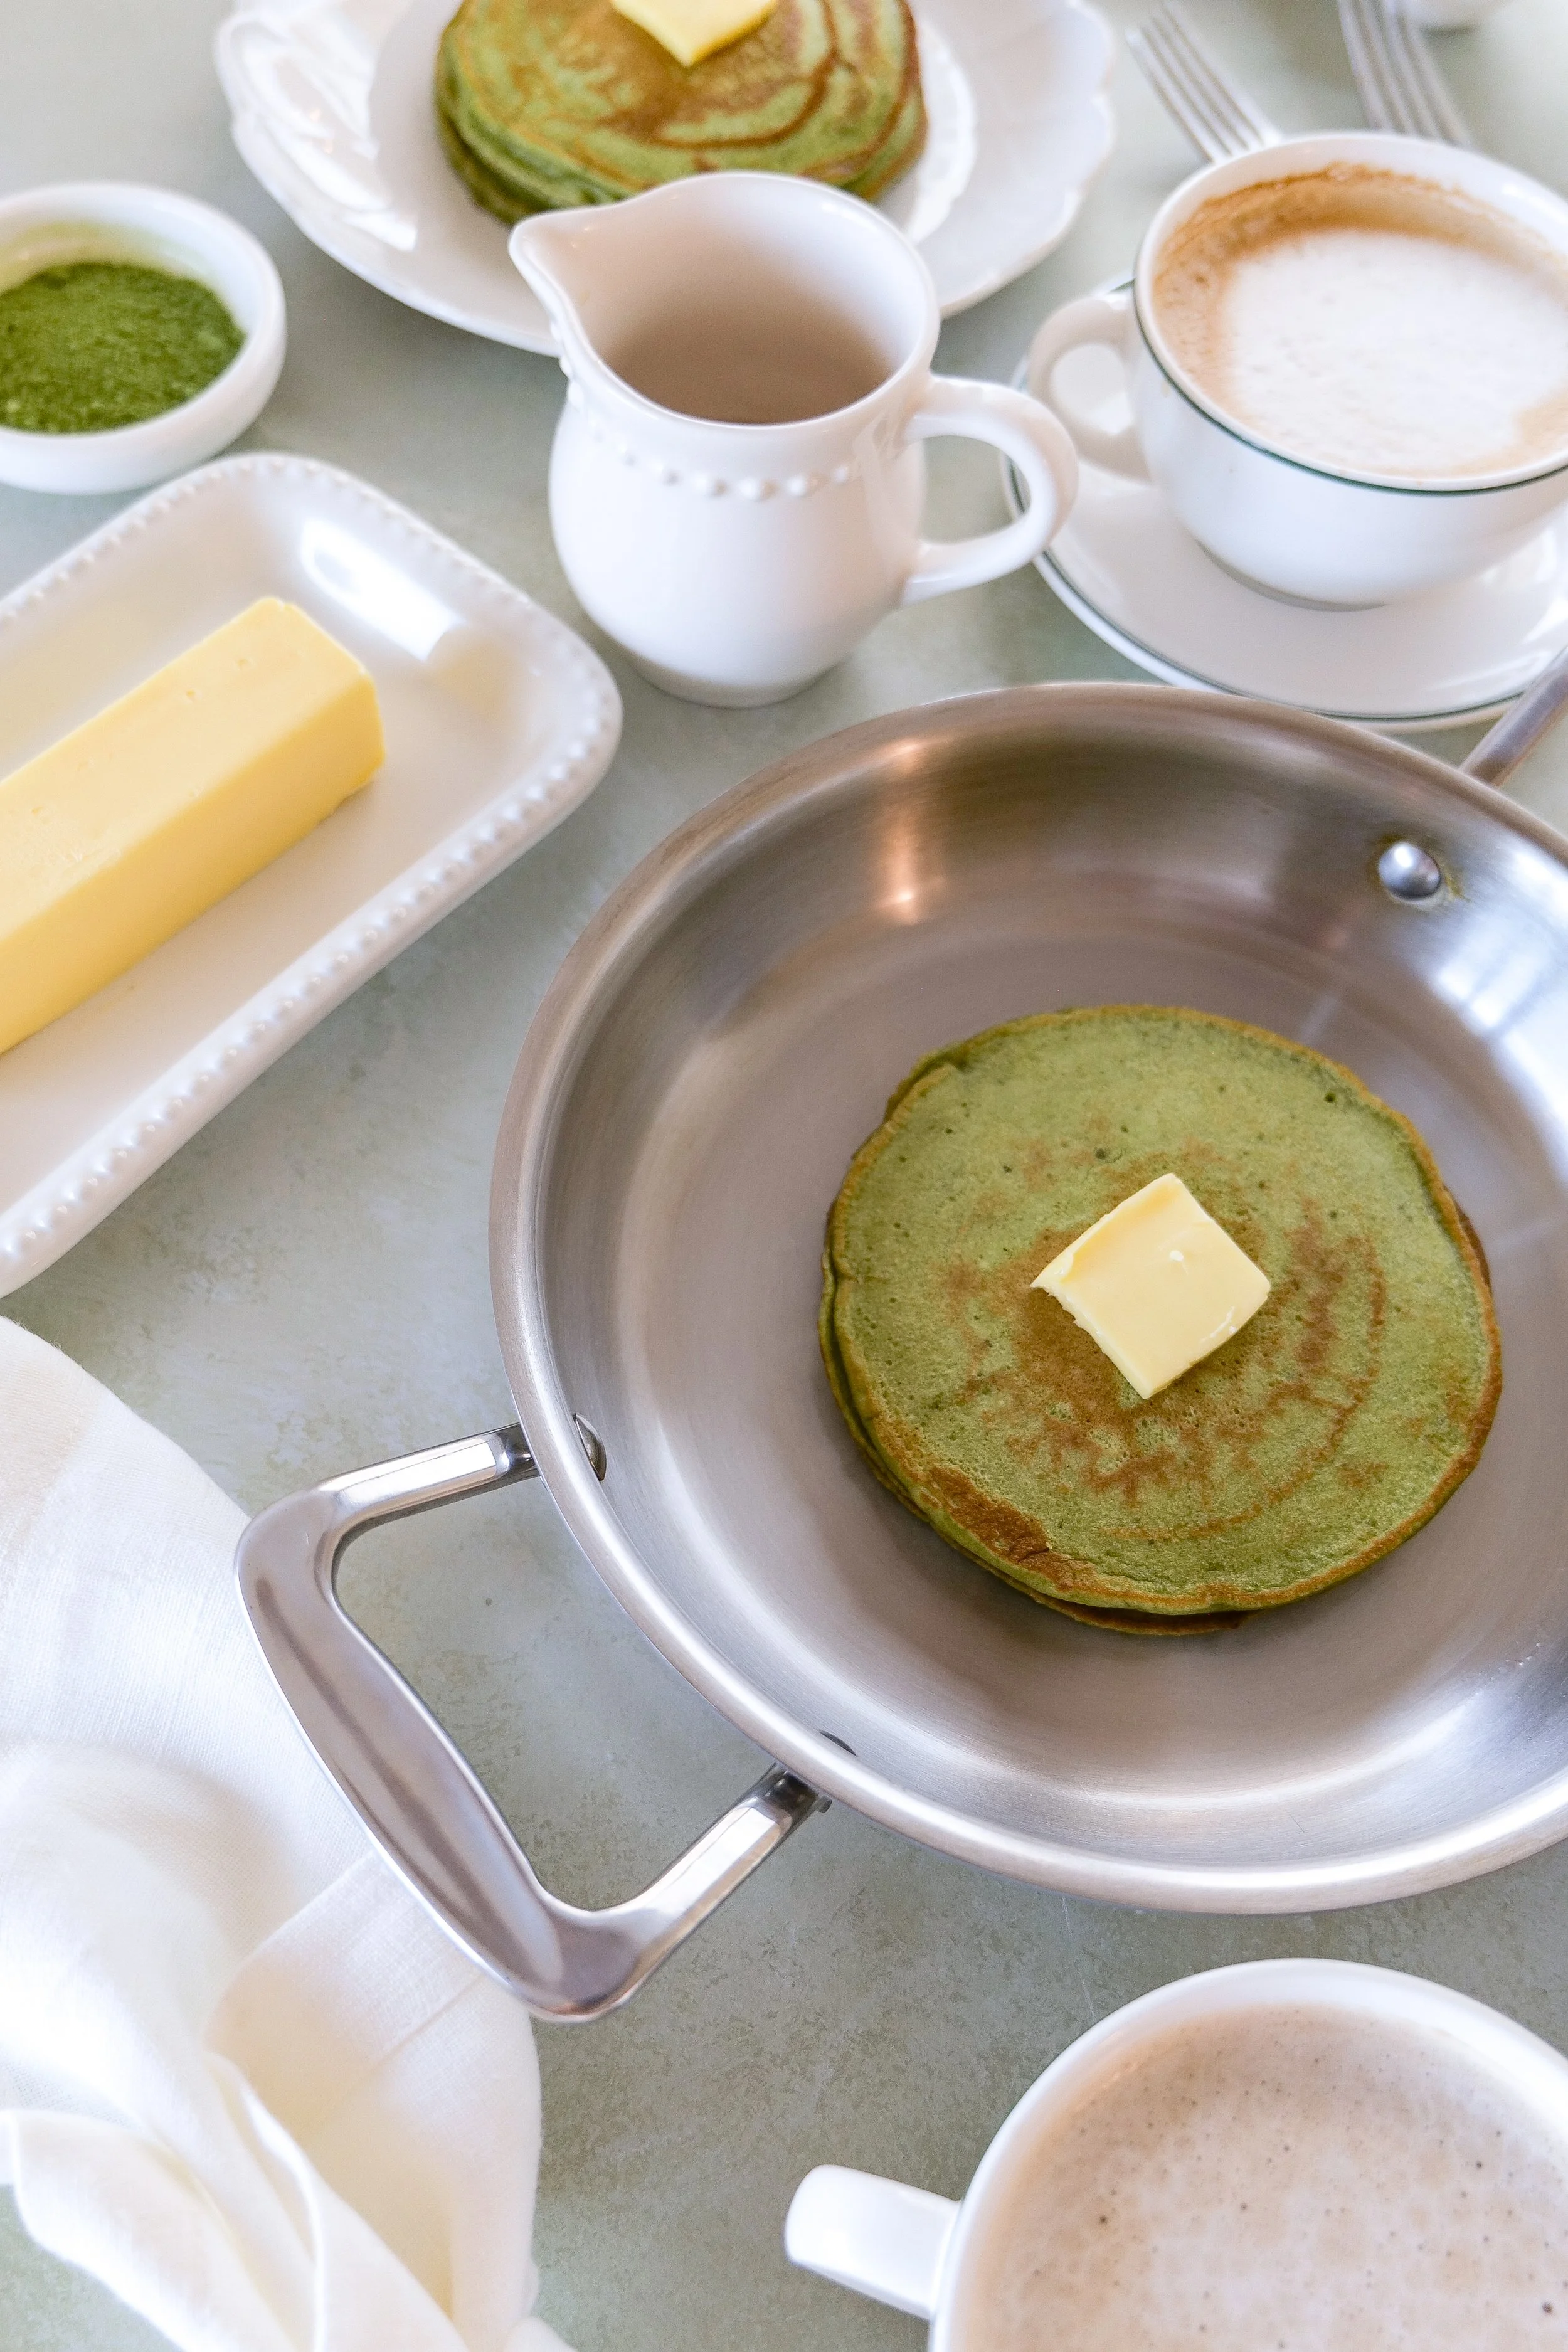
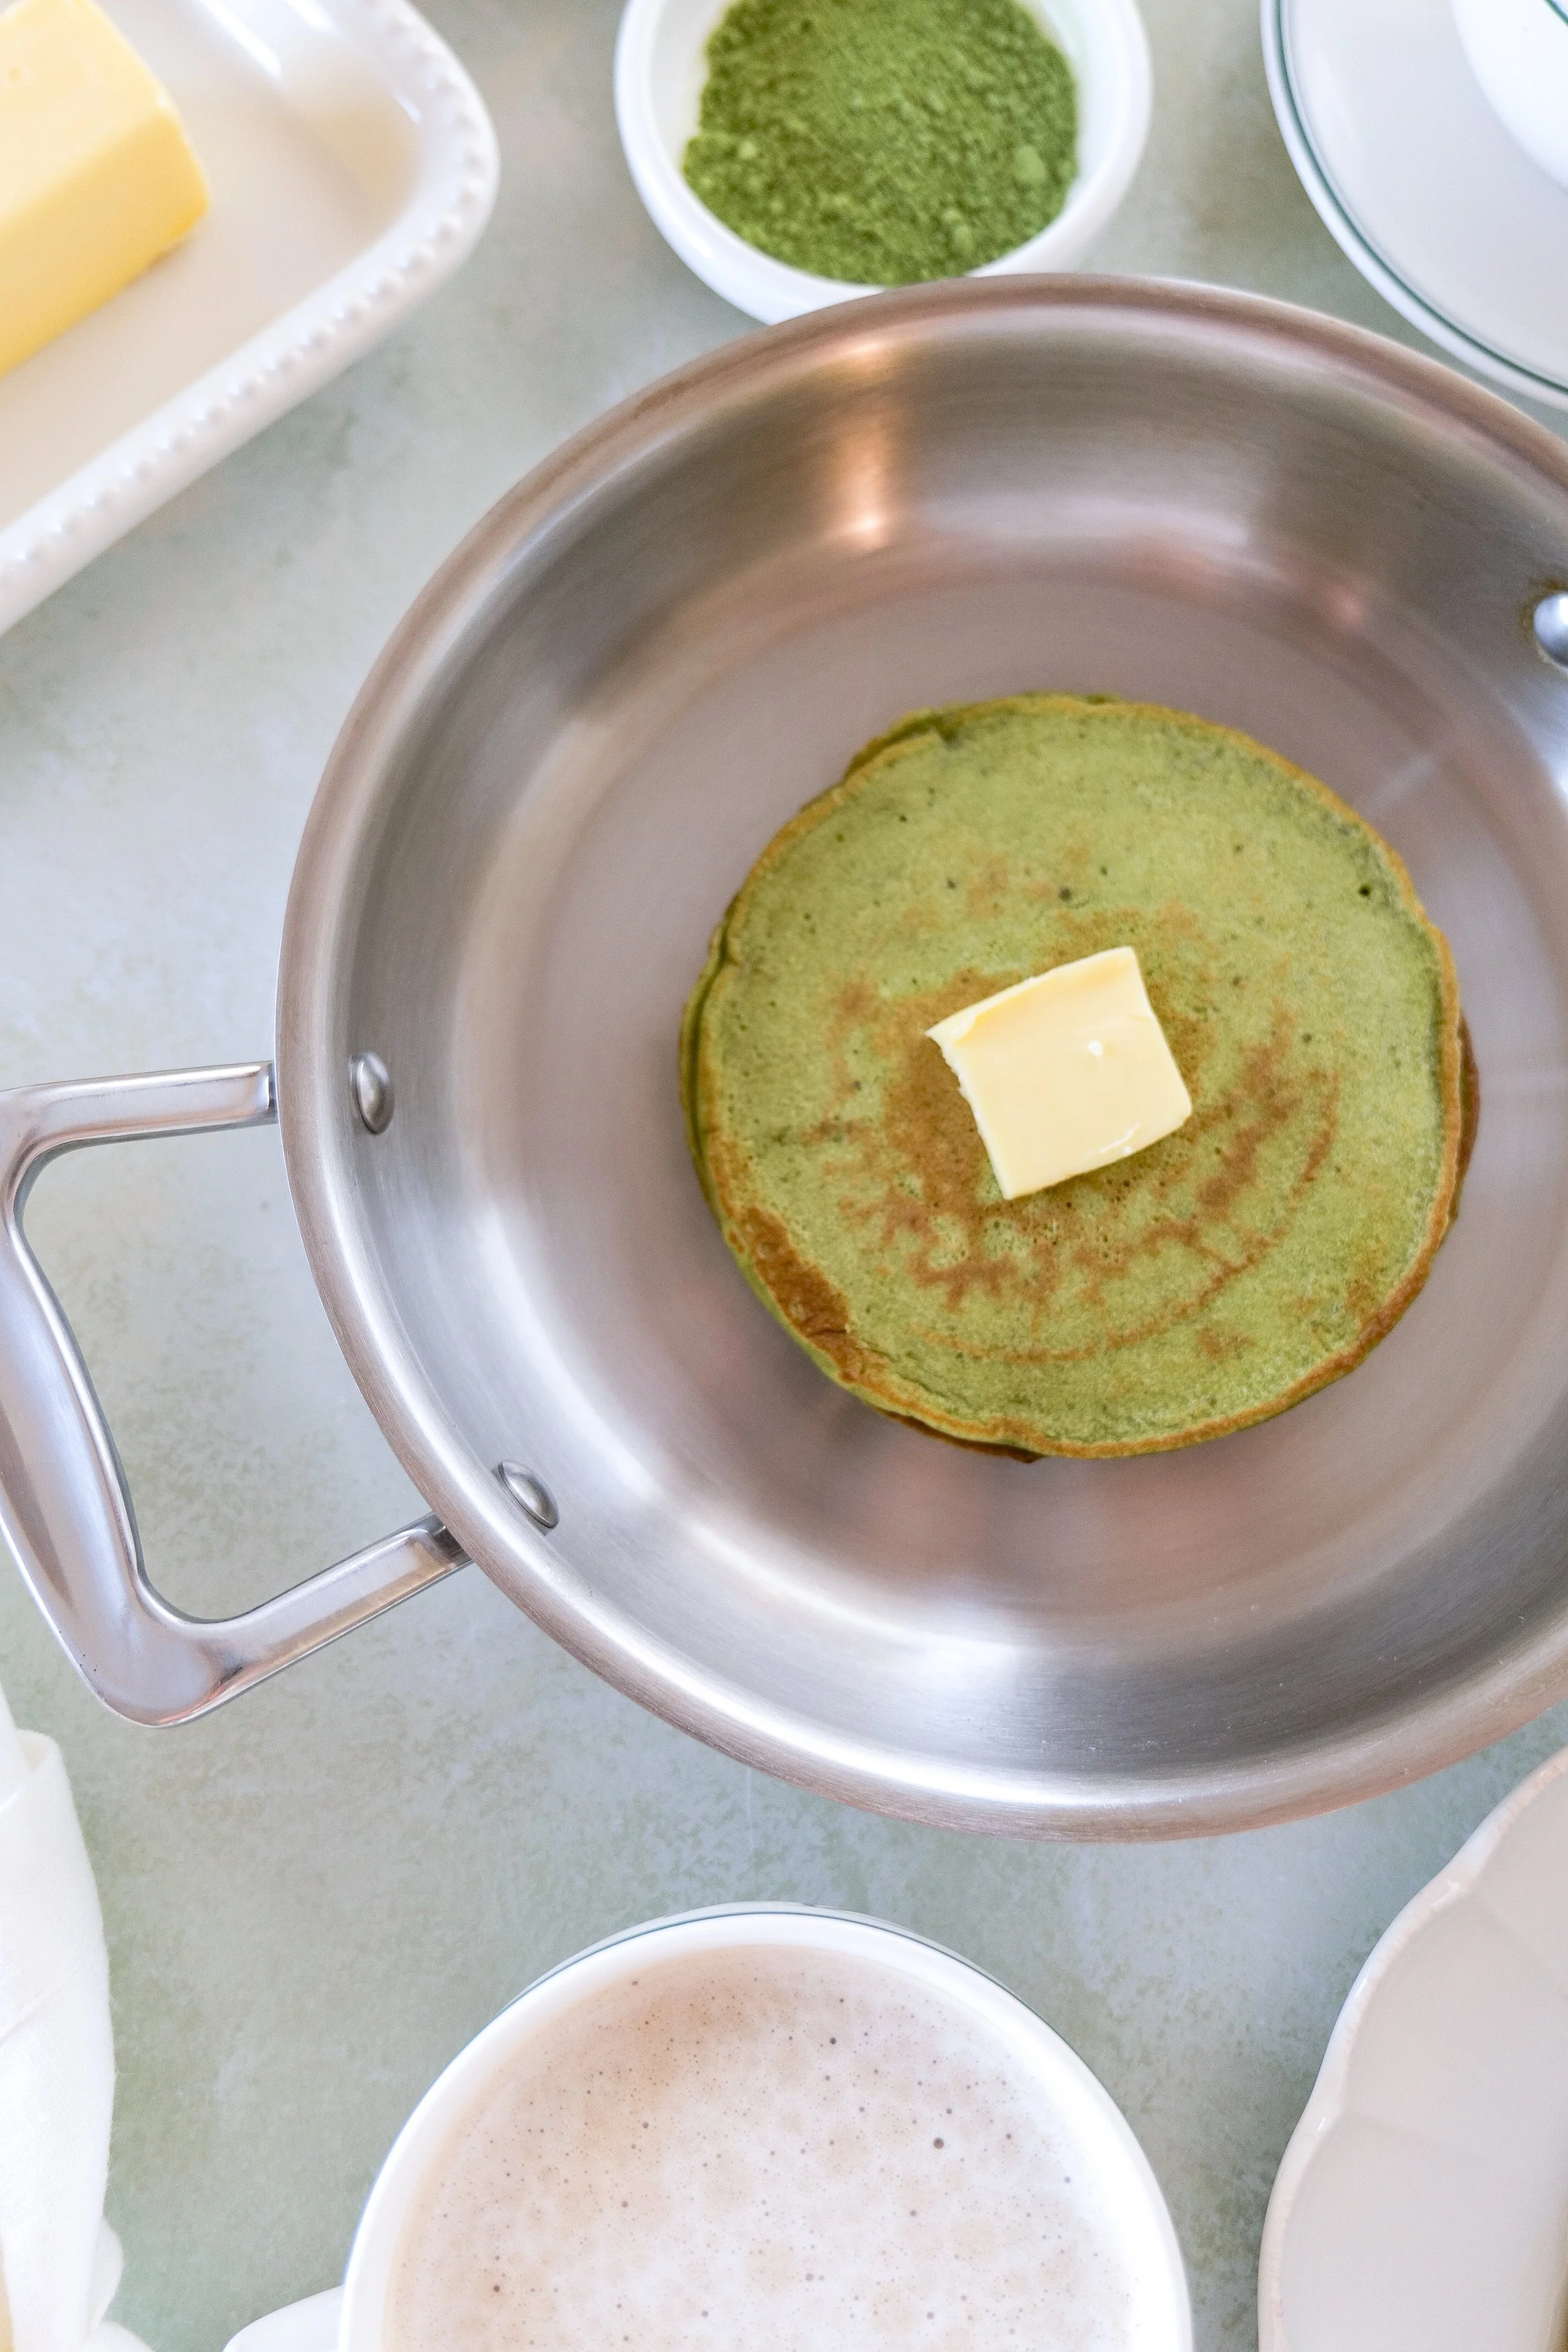
fluffy matcha sourdough discard pancakes topped with butter melting
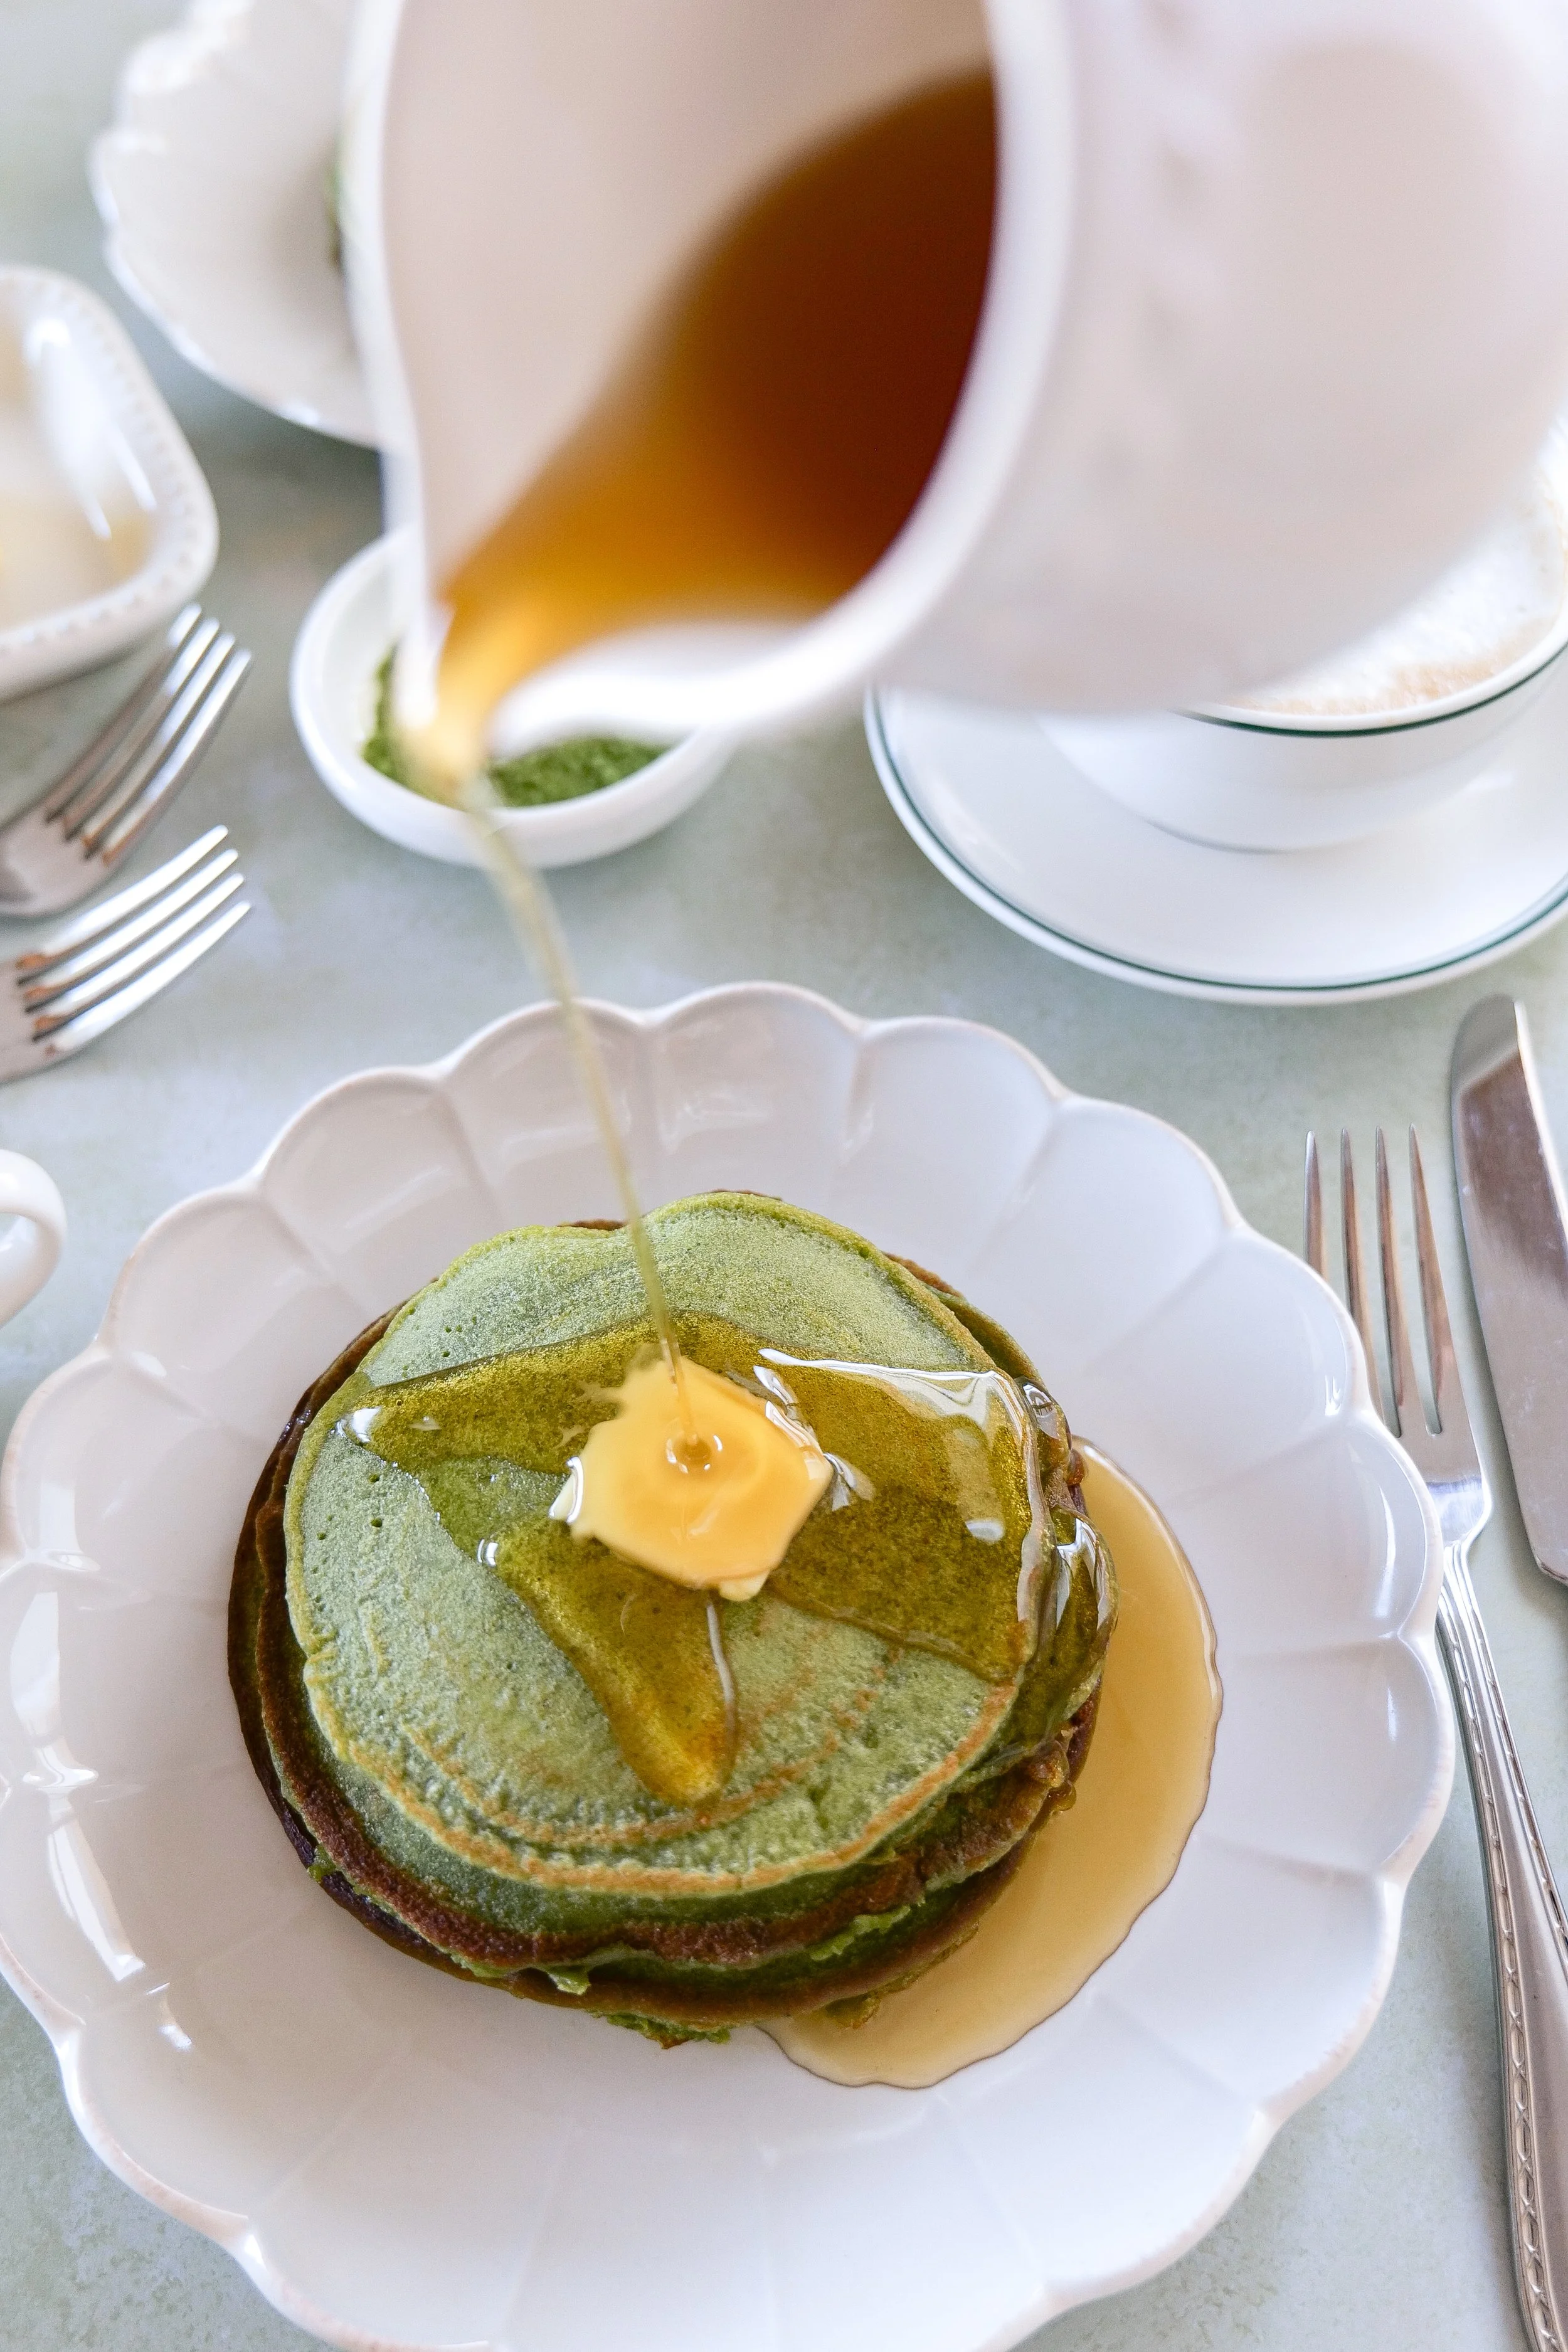
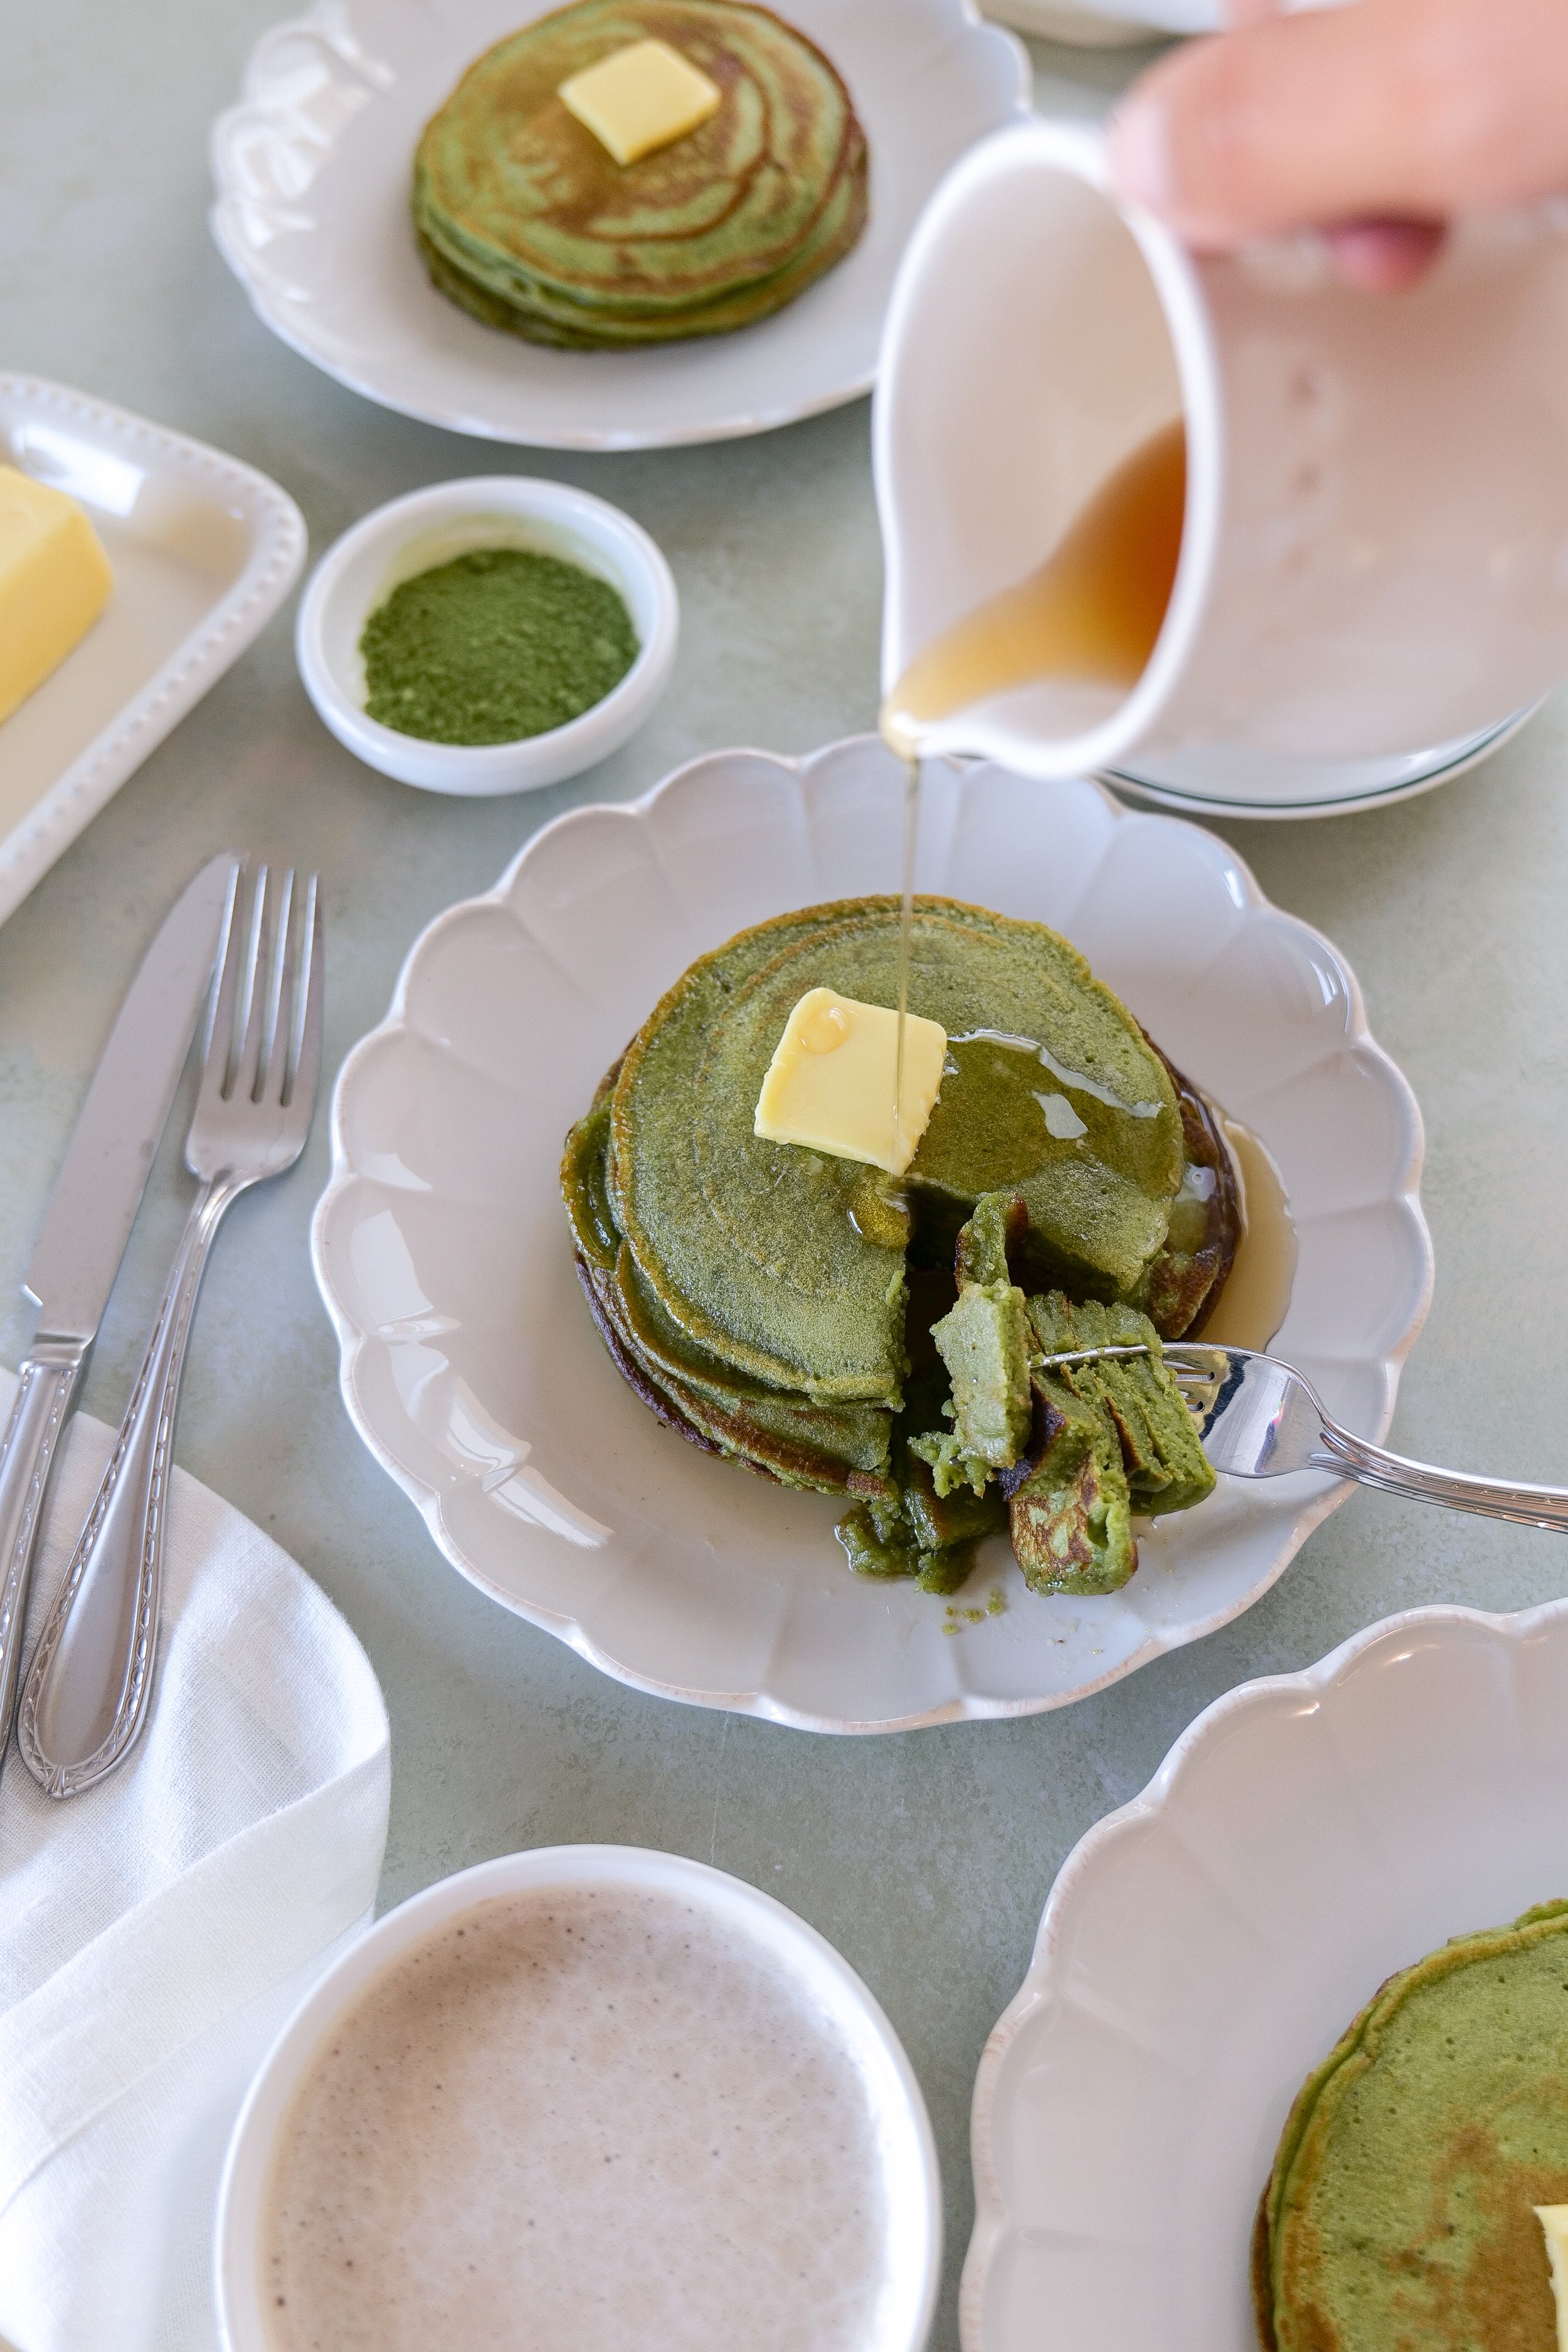
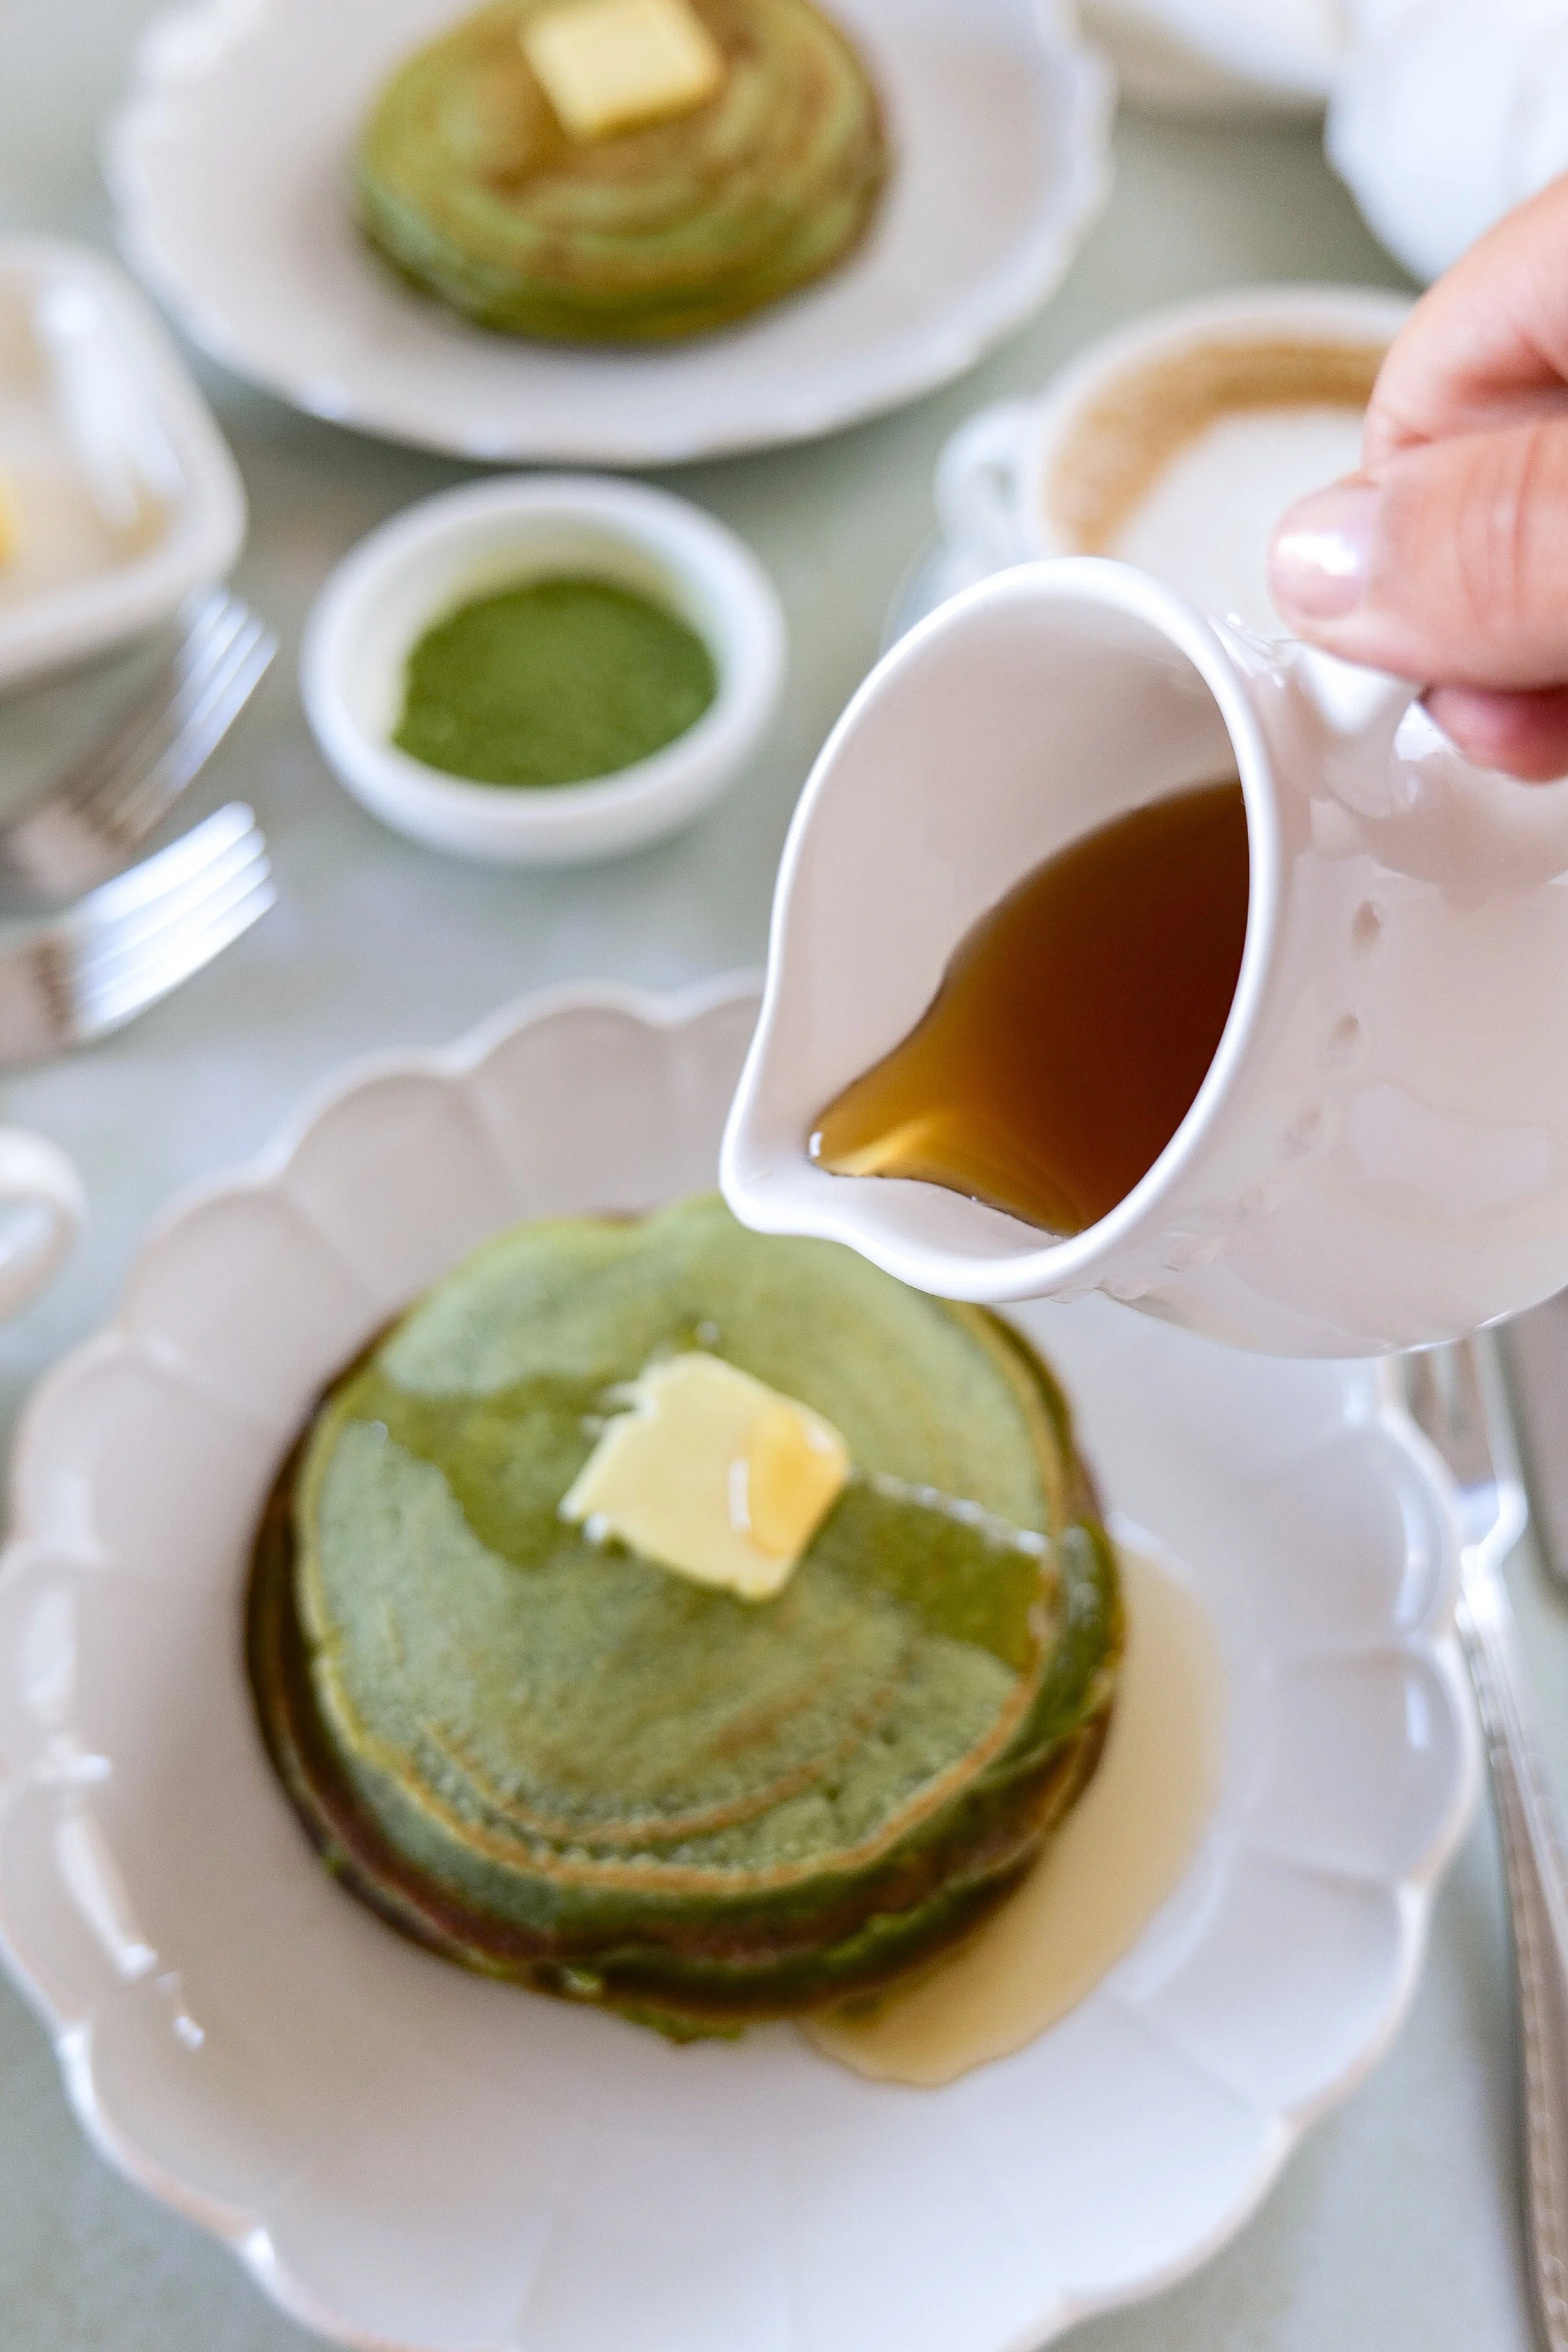
green matcha sourdough discard pancakes with syrup drizzle
Tall stack of vibrant green sourdough discard matcha pancakes

Why You’ll Love These Matcha Sourdough Discard Pancakes

Let’s talk about the flavor first, because matcha can be a bit polarizing if you’ve only had it in overly sweet lattes. In these pancakes, it’s subtle but present. It adds a gentle bitterness that balances beautifully with the tanginess of the sourdough discard. The result isn’t “green tea pancakes” in a loud, overpowering way—it’s more nuanced than that. Think cozy, slightly nutty, and just different enough to make your breakfast feel intentional.

What I love most about this recipe is how forgiving it is. Sourdough discard already brings some acidity and complexity, so you don’t need to fuss too much to get depth of flavor. Even if your discard has been sitting for a few days, it works. In fact, that extra tang can make the pancakes even better. It’s one of those recipes where perfection isn’t the goal—resourcefulness is.

The batter comes together quickly, which is always a win in my book. You whisk together your discard, a bit of flour, milk, eggs, and just enough sweetener to round everything out. Then comes the matcha, which turns the batter this soft, earthy green that feels almost too pretty to cook. Almost. A little baking powder helps give the pancakes lift, reacting with the acidity of the discard to create that fluffy texture we’re after.
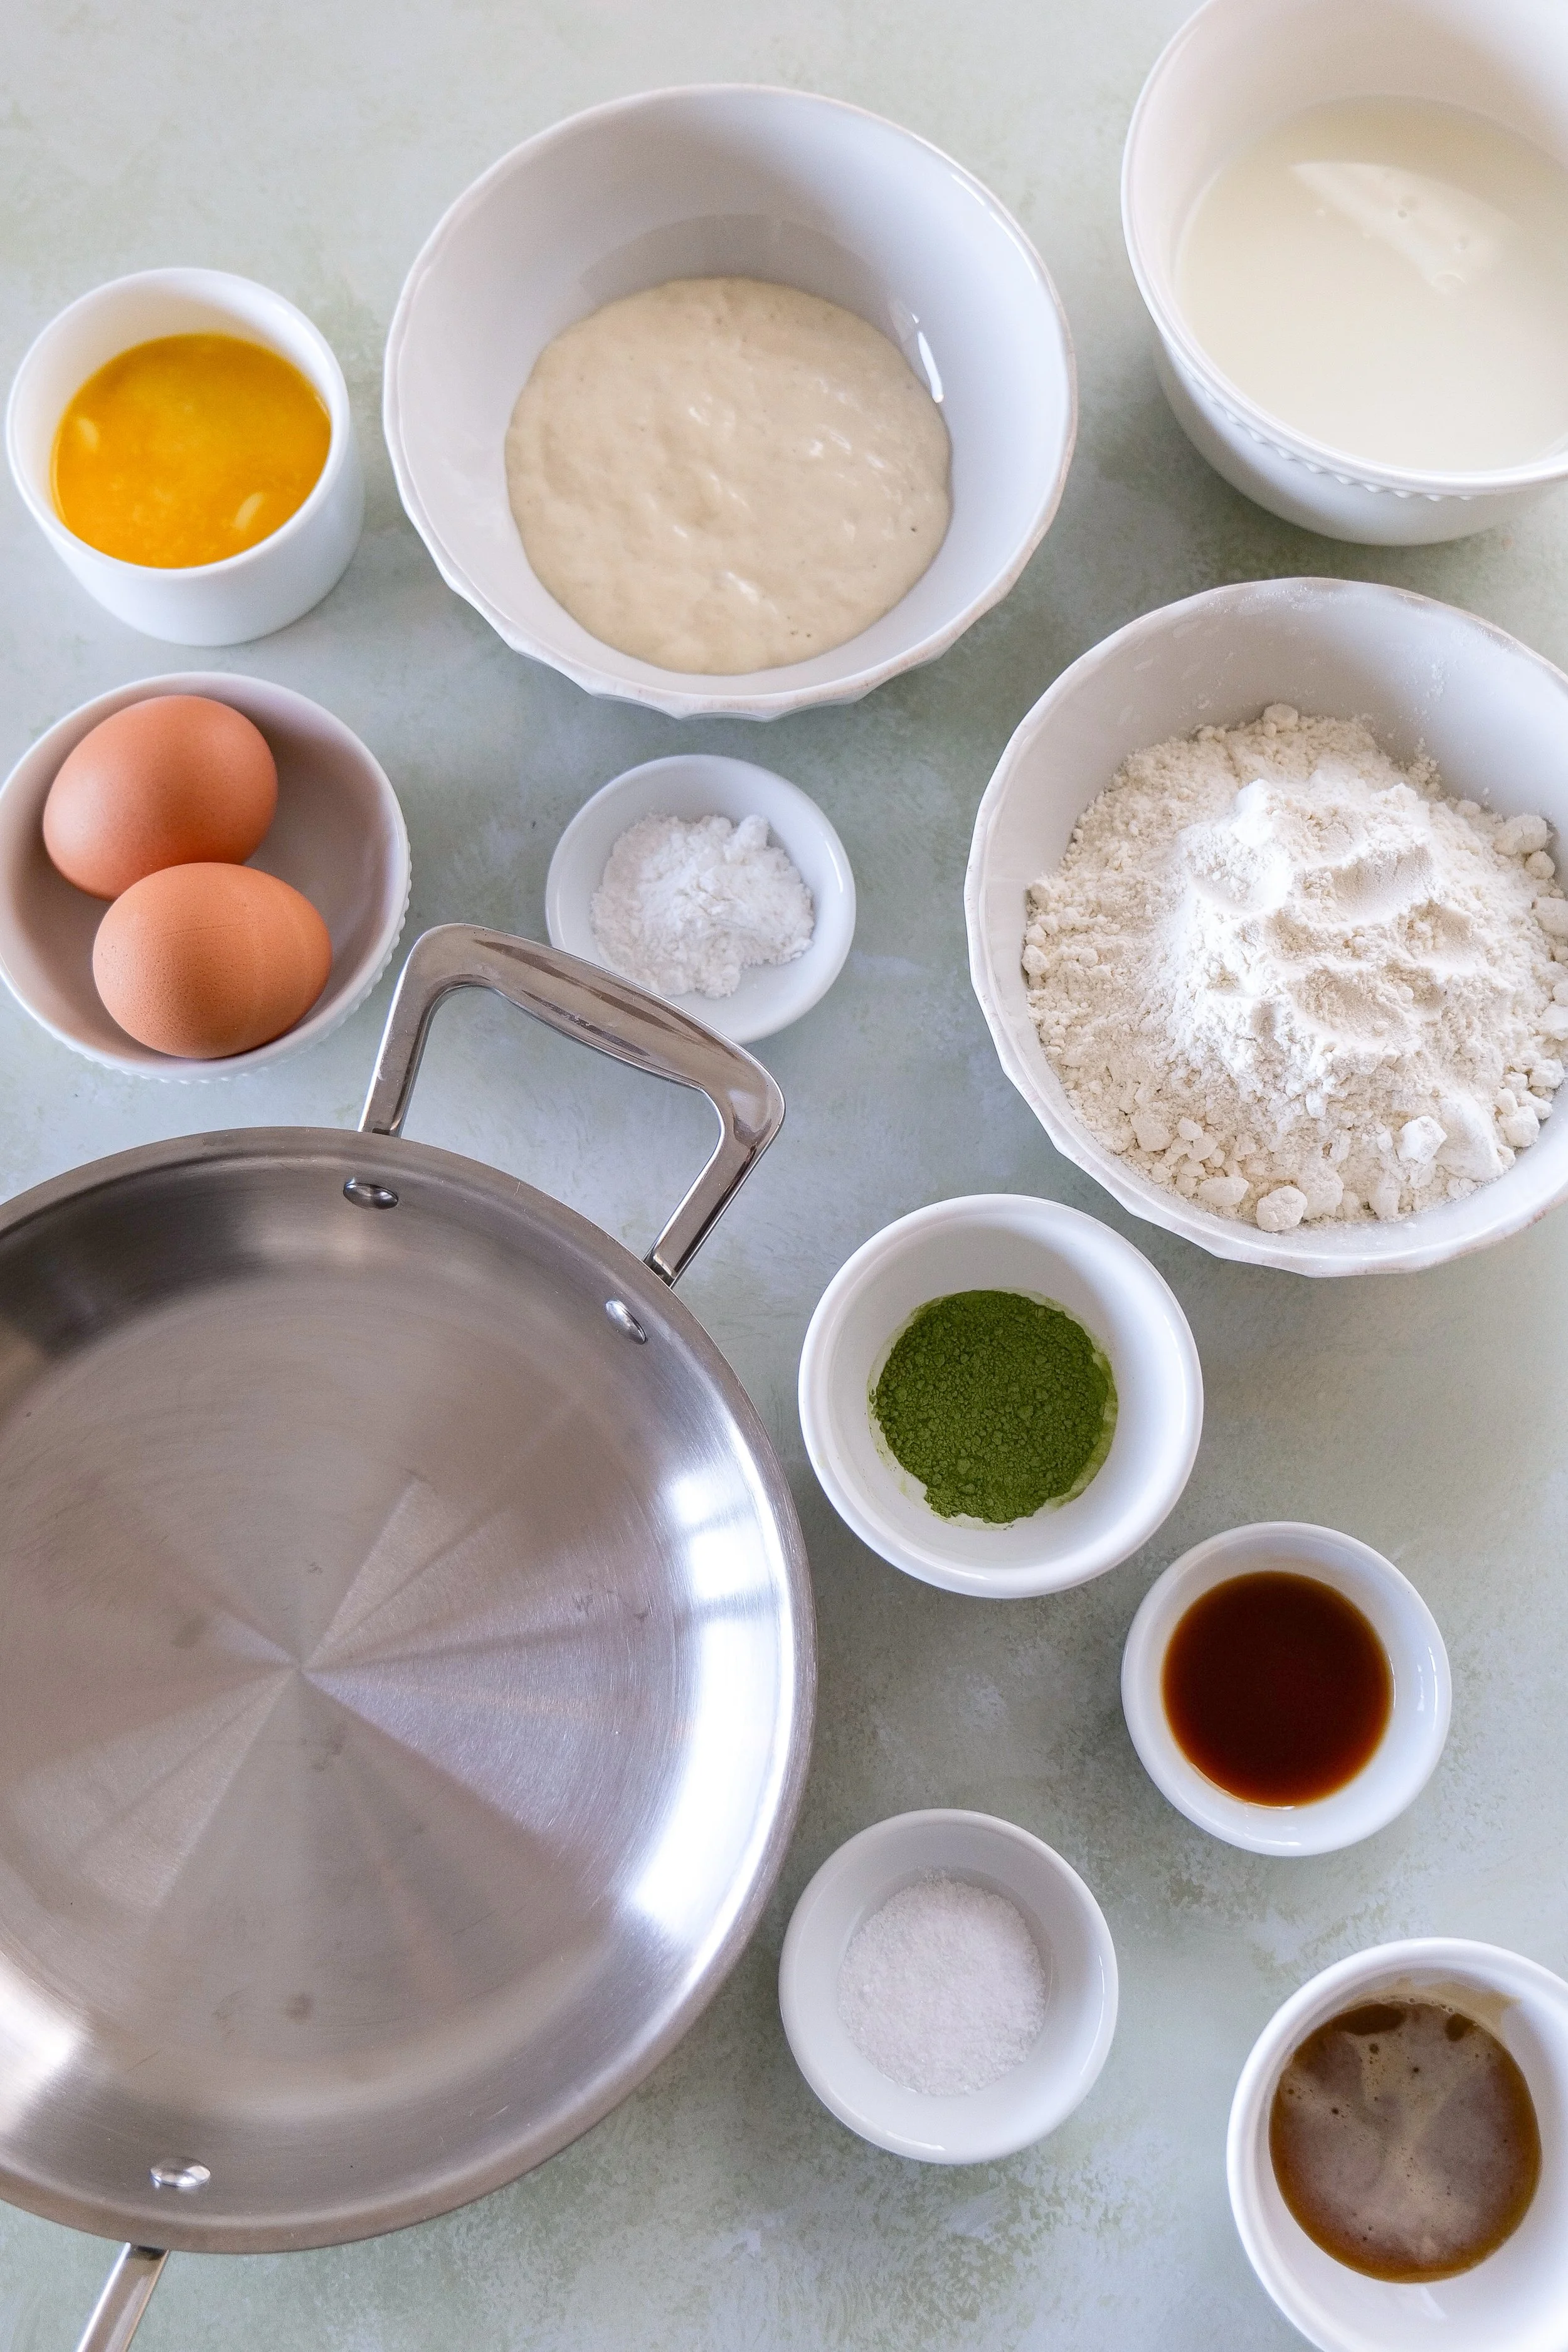
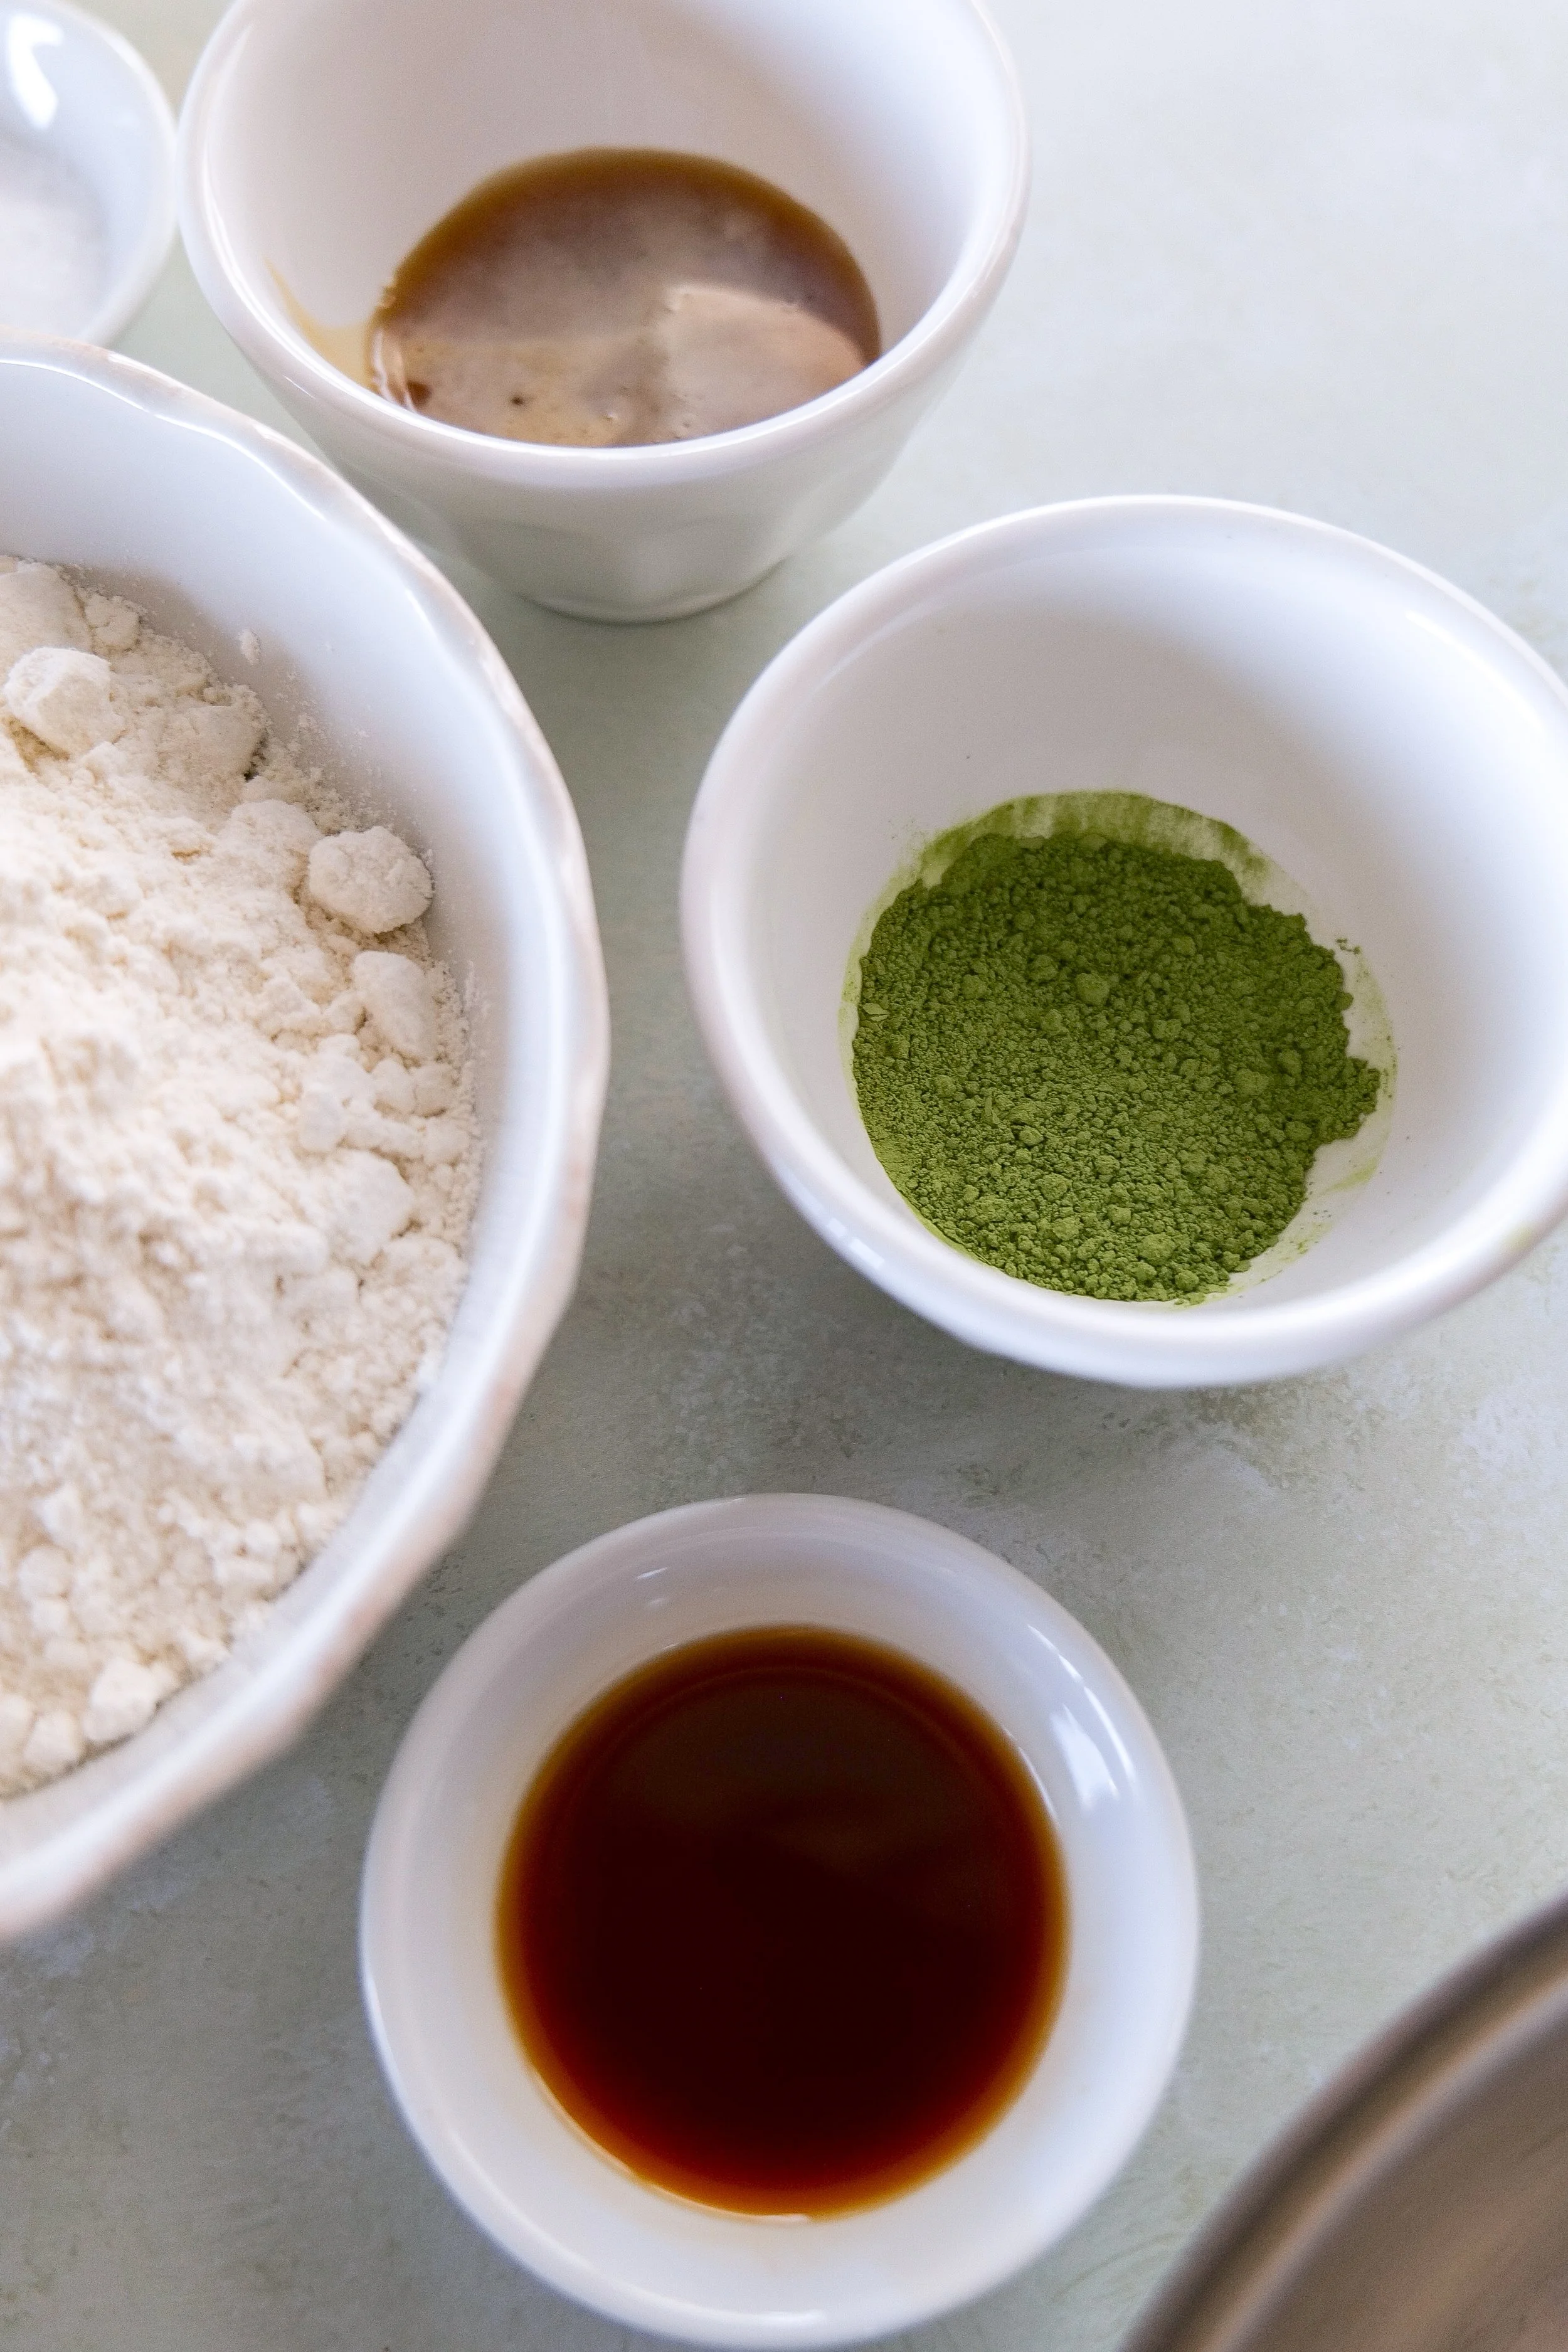
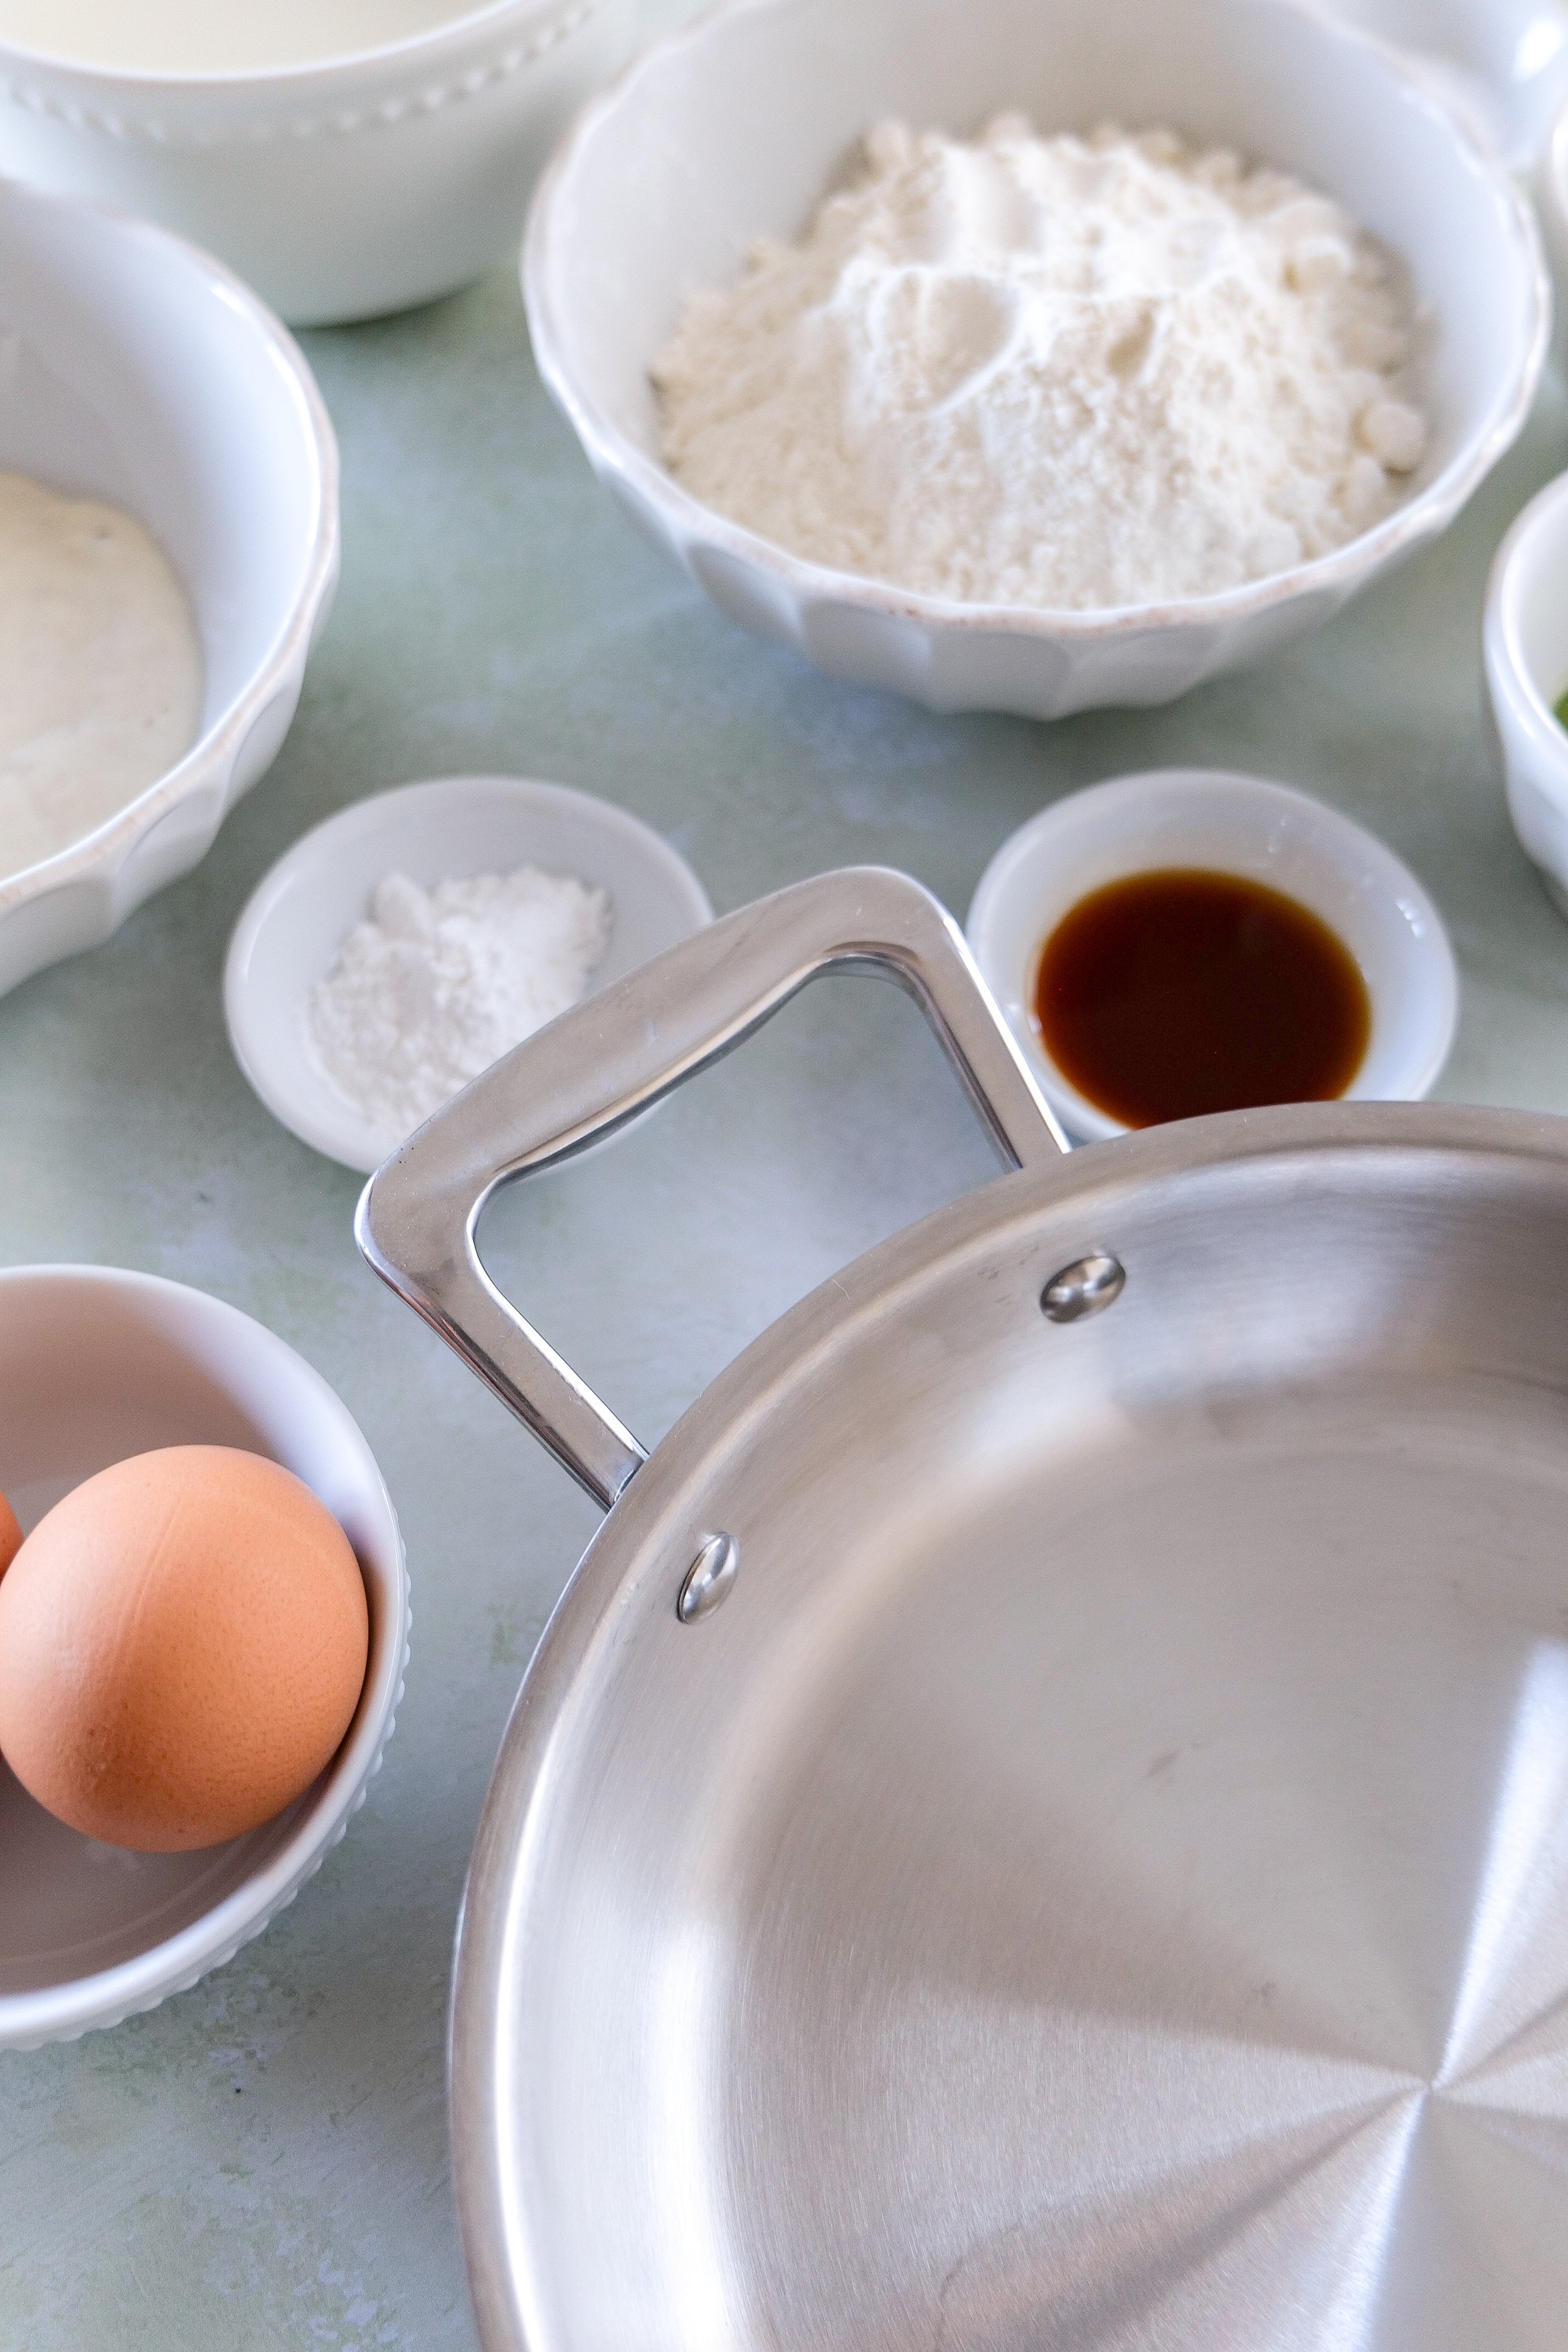
Ingredients for matcha sourdough discard pancakes including flour, matcha powder, eggs, milk, and sourdough discard on a kitchen counter
Bowl of matcha sourdough discard pancake ingredients
ingredients for matcha sourdough discard pancakes

Cooking them is where things get fun. As the batter hits the pan, you’ll notice it behaves just like classic pancake batter, but with that signature green hue. I like to keep the heat medium-low to make sure they cook through without losing their color. You’ll know they’re ready to flip when bubbles form on the surface and the edges look set—nothing groundbreaking here, just good pancake instincts.

And then there’s the stacking. I don’t know what it is about pancakes, but stacking them always feels like a small act of optimism. With these, the layers of green make it even more satisfying. They’re soft, slightly springy, and just begging for toppings.

Speaking of toppings, this is where you can really make the recipe your own. If you want to lean into the matcha vibe, a drizzle of honey or maple syrup works perfectly—something simple that doesn’t compete too much. Fresh berries add brightness, and a dollop of yogurt or whipped cream gives you that creamy contrast. If you’re feeling a little extra, a light dusting of matcha powder on top makes them look like something you’d get at a café (but better, because you made them).
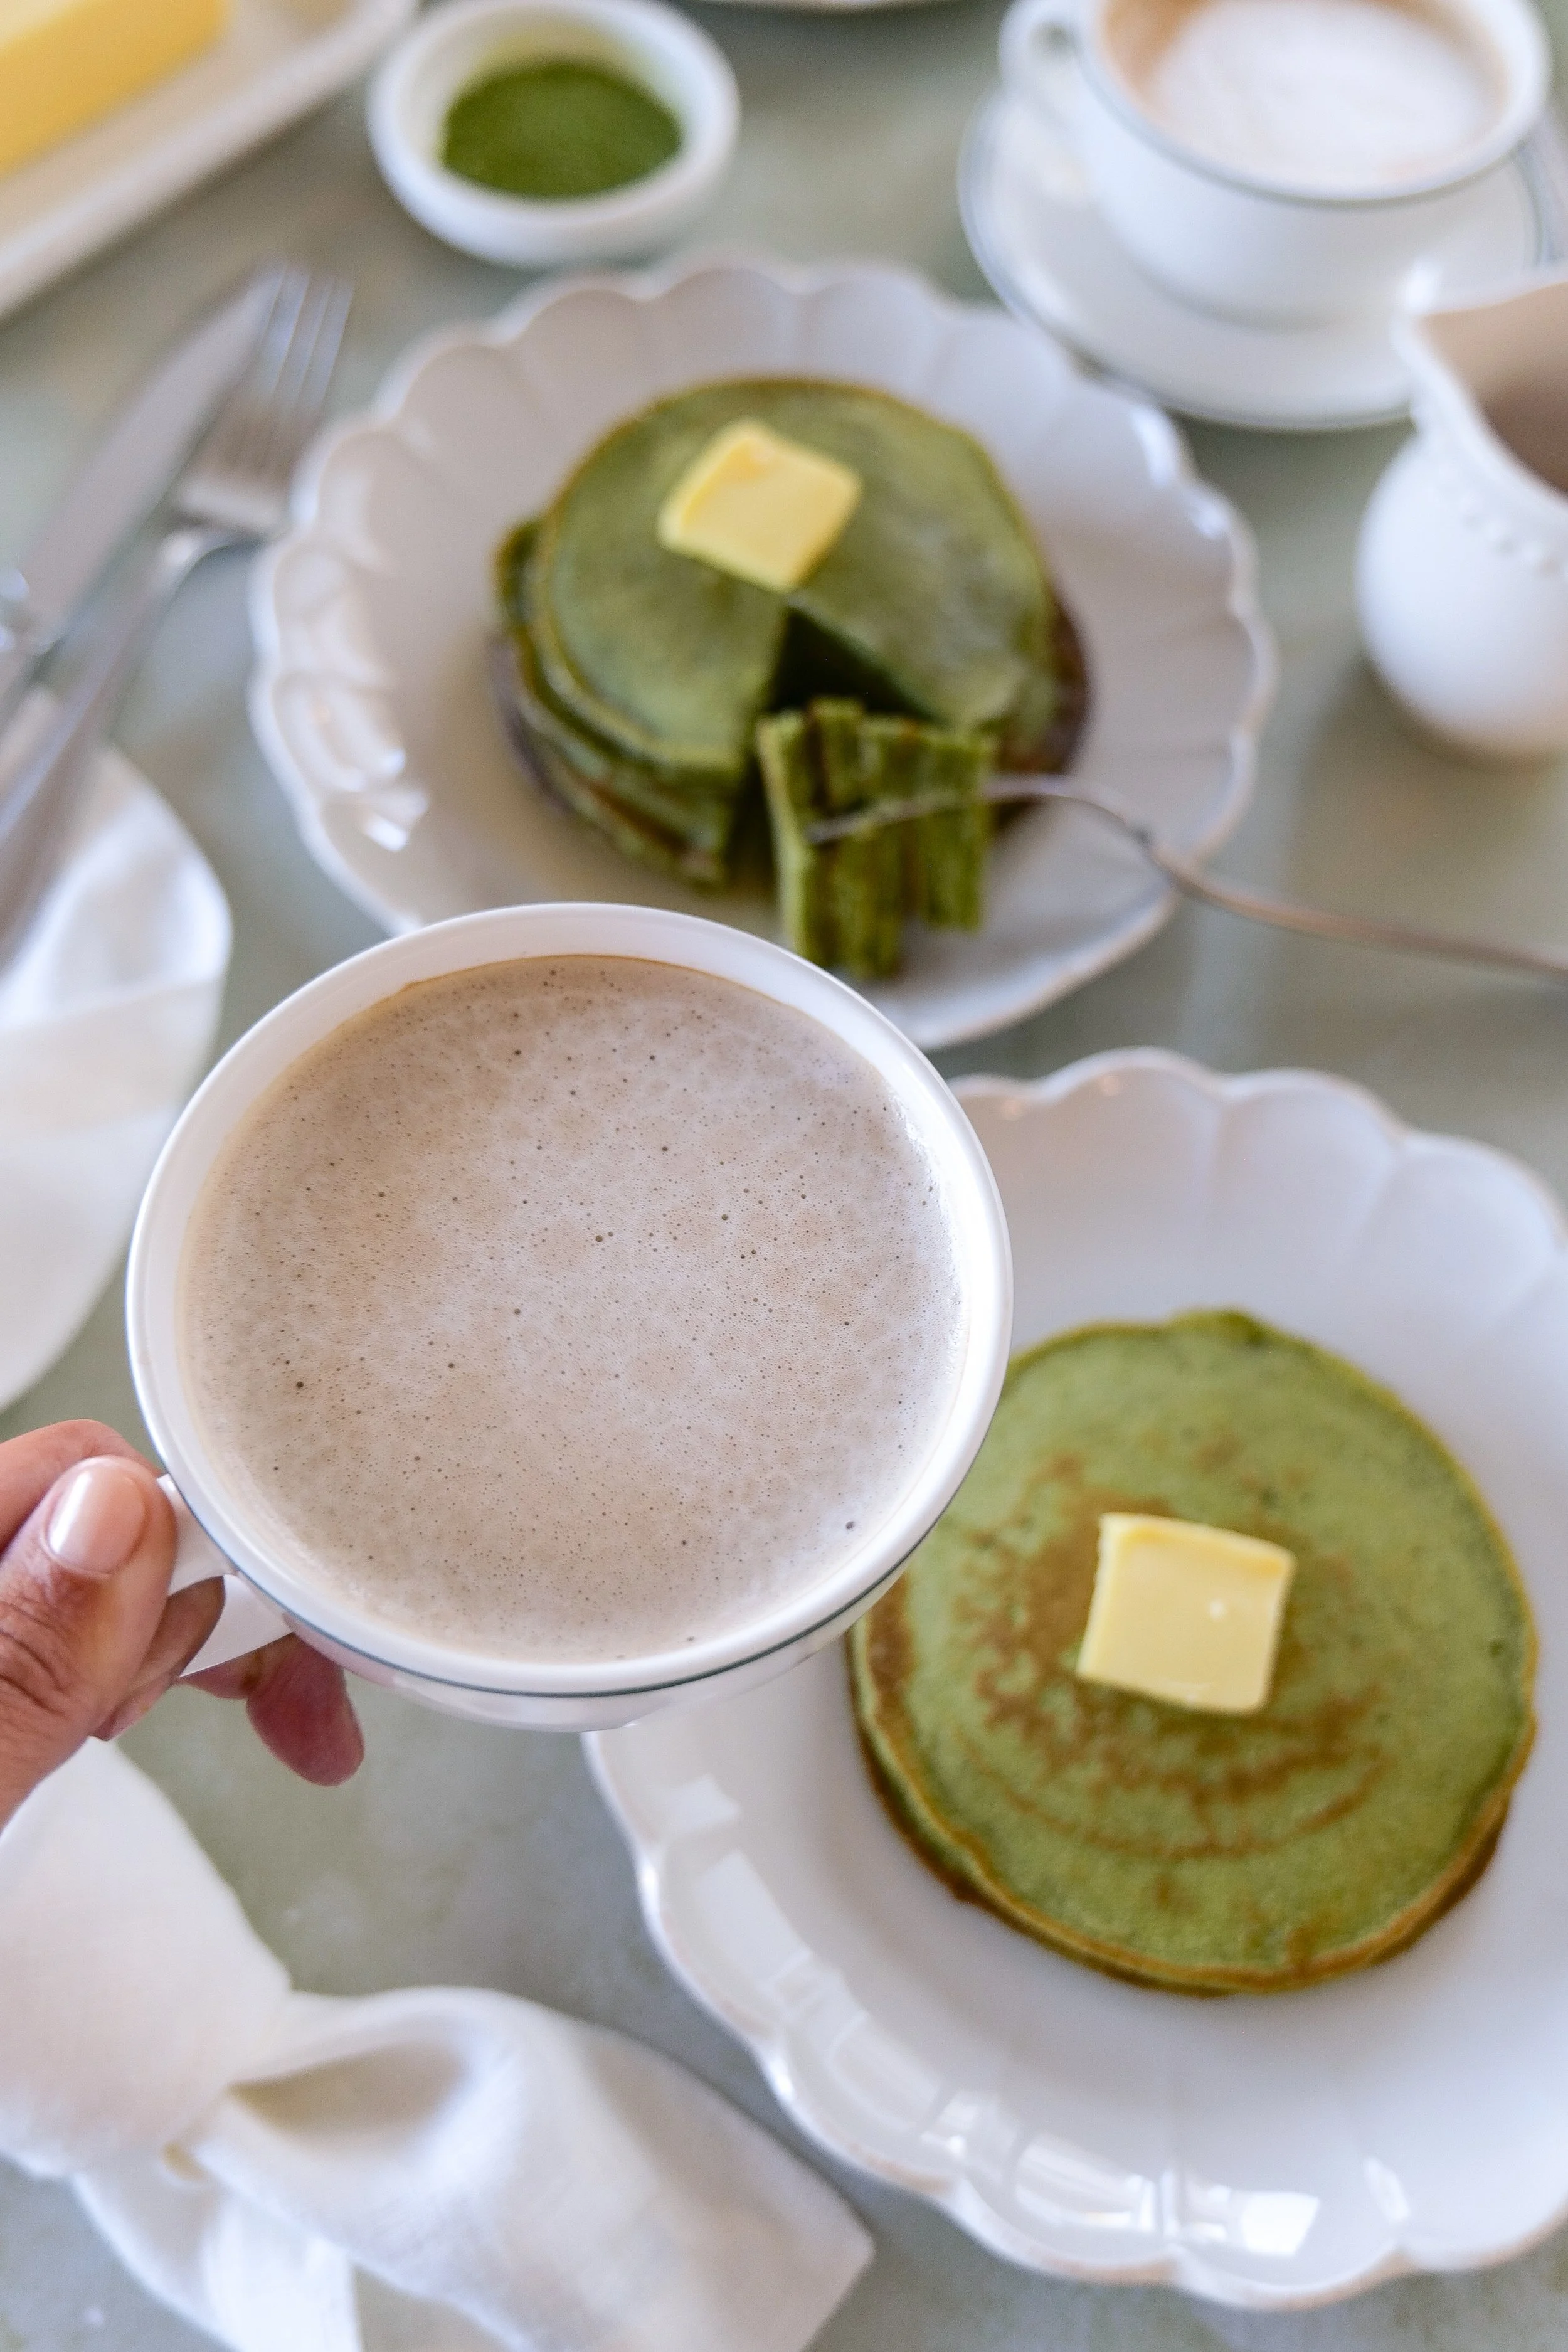
a cup of coffee and a matcha sourdough discard pancakes

One thing I’ve learned from making these more than once is that they’re not just a breakfast food. They work just as well as a mid-afternoon pick-me-up or even a low-key dessert. There’s something about the matcha that makes them feel slightly more grown-up than your standard pancake stack, which I appreciate.

Also, let’s not ignore the practical win here: using sourdough discard means you’re stretching your ingredients further and reducing waste without sacrificing flavor. It’s the kind of kitchen habit that feels small but adds up over time. Plus, it gives you an excuse to keep your sourdough starter going, which—if you’ve ever named yours or felt emotionally attached to it—you’ll understand.

If you’re new to baking with matcha, this is a great place to start. It’s low pressure, adaptable, and the payoff is immediate. Worst case, you’ve made pancakes. Best case, you’ve discovered a new favorite way to use up that discard you weren’t sure what to do with.

So the next time you’re tempted to toss your sourdough discard, maybe don’t. Instead, grab your whisk, scoop out that jar, and make something that feels just a little special. These matcha sourdough discard pancakes are proof that sometimes the best recipes come from what we almost threw away.
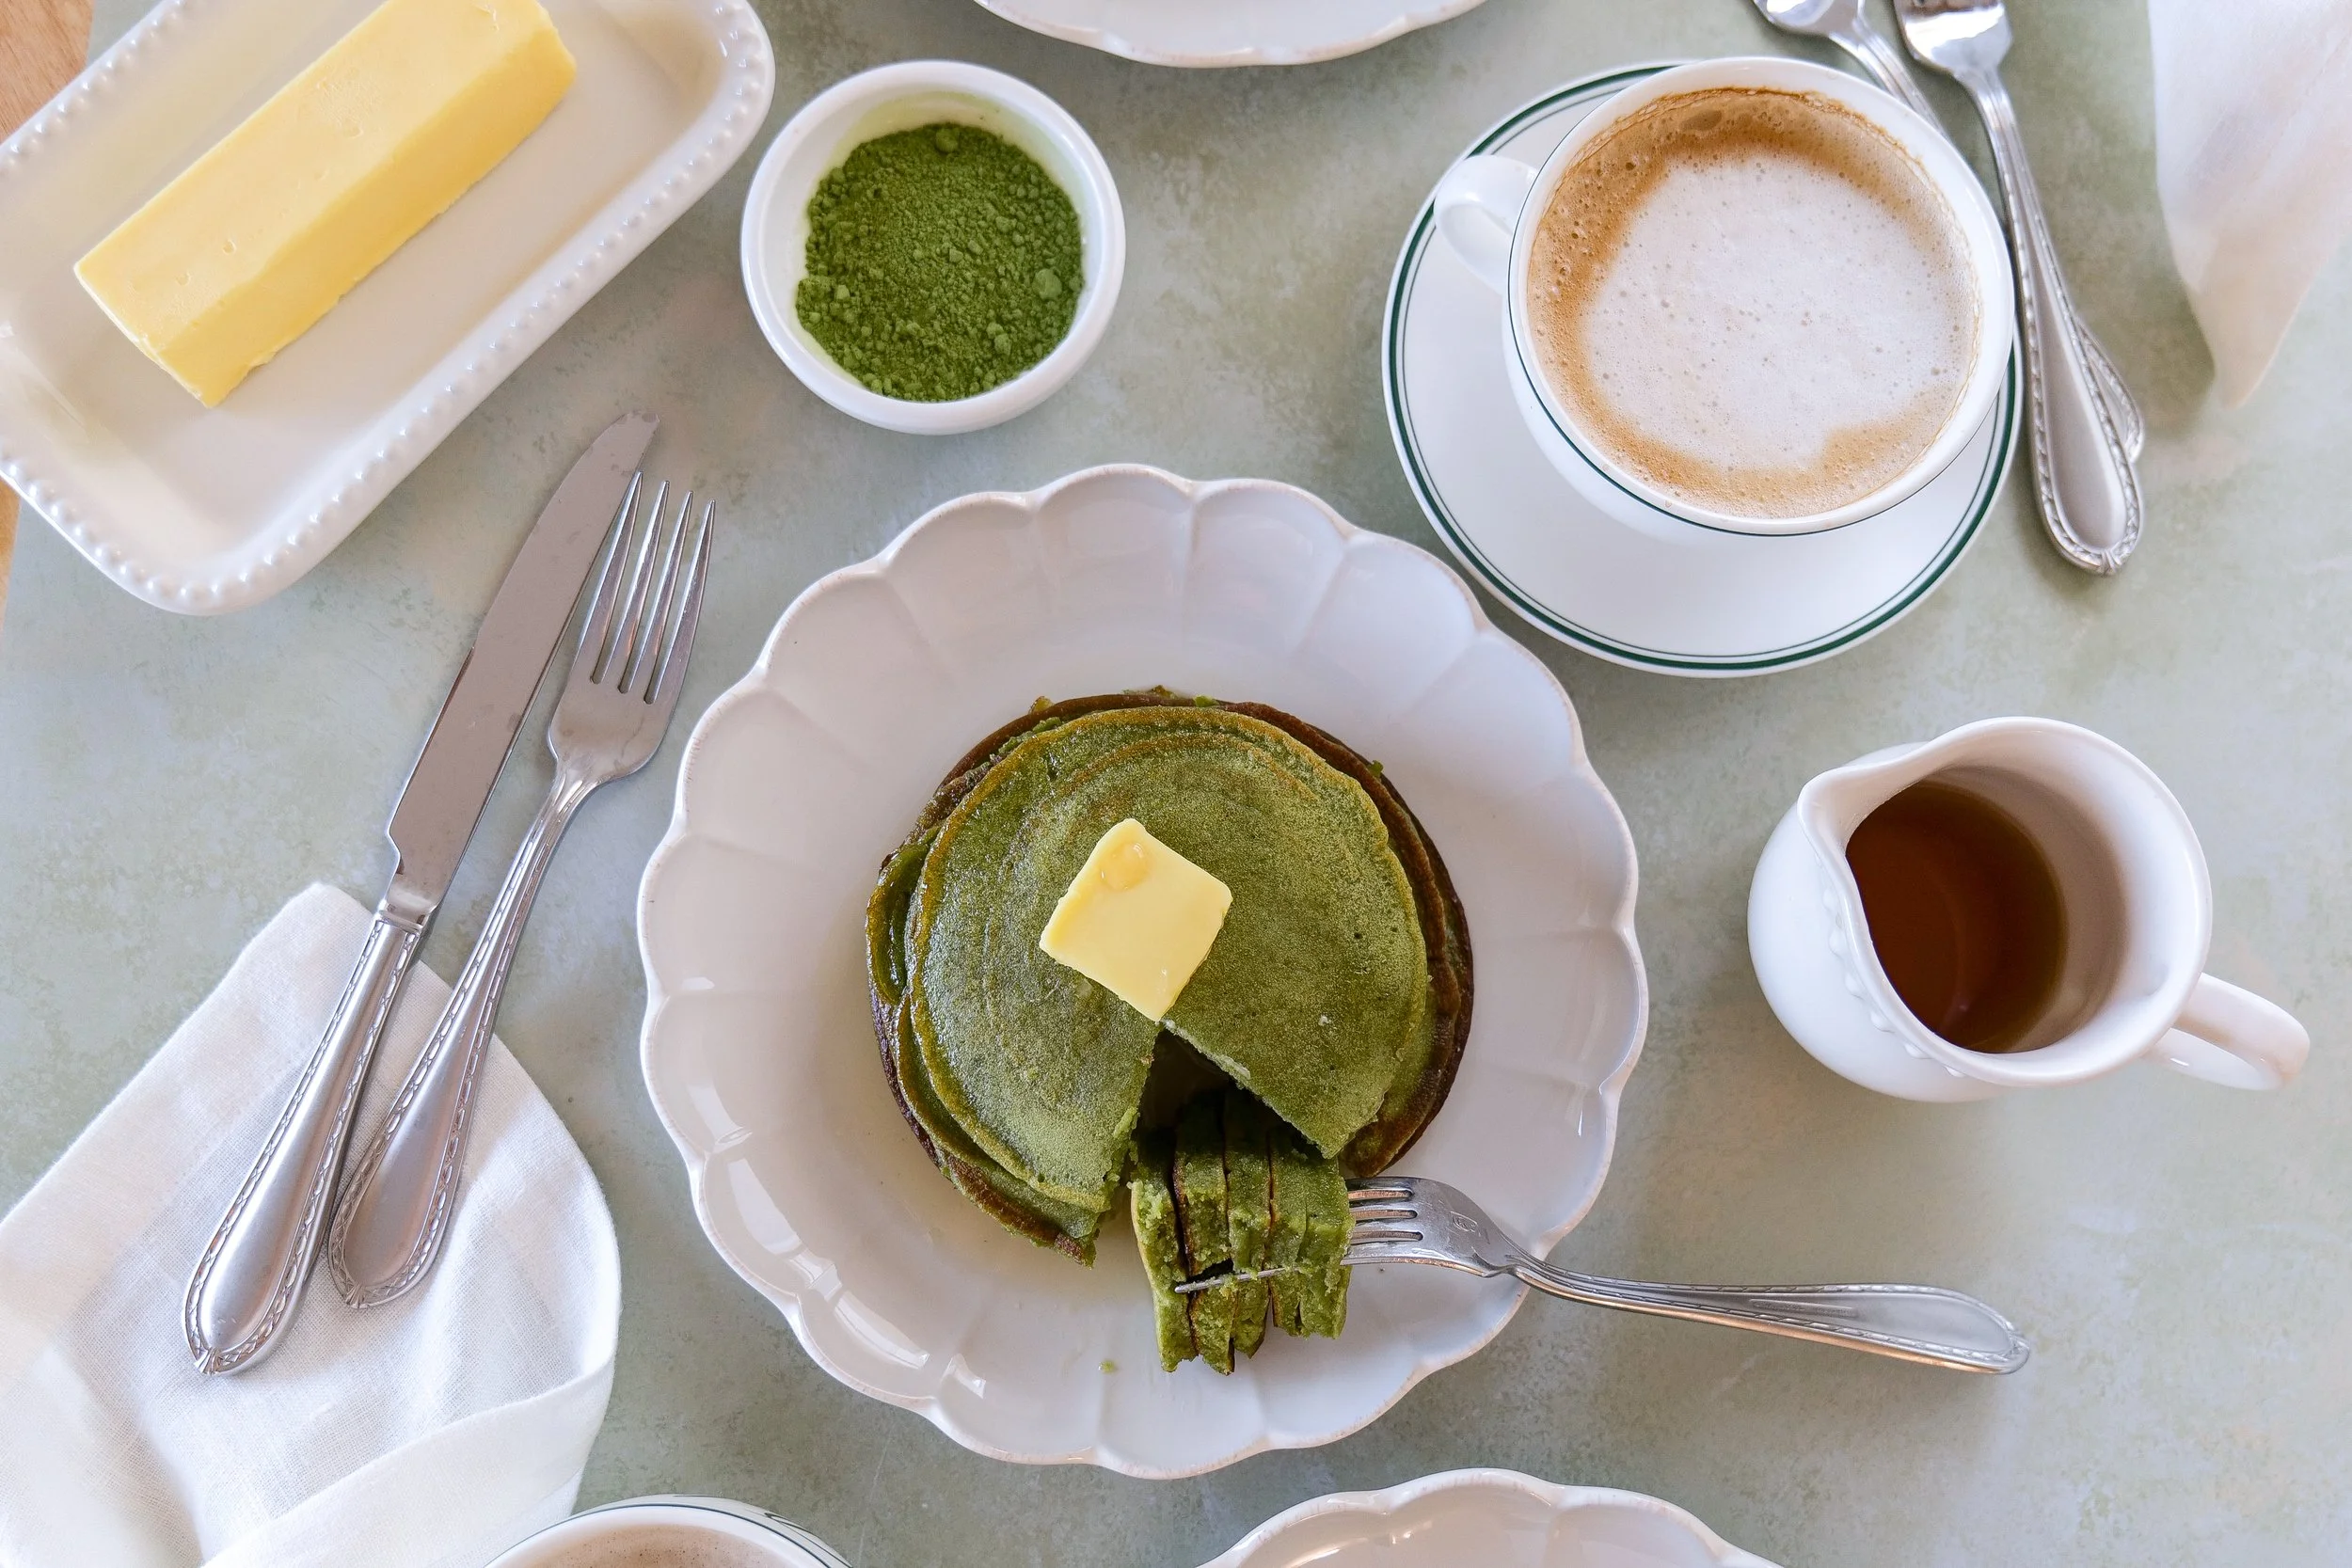
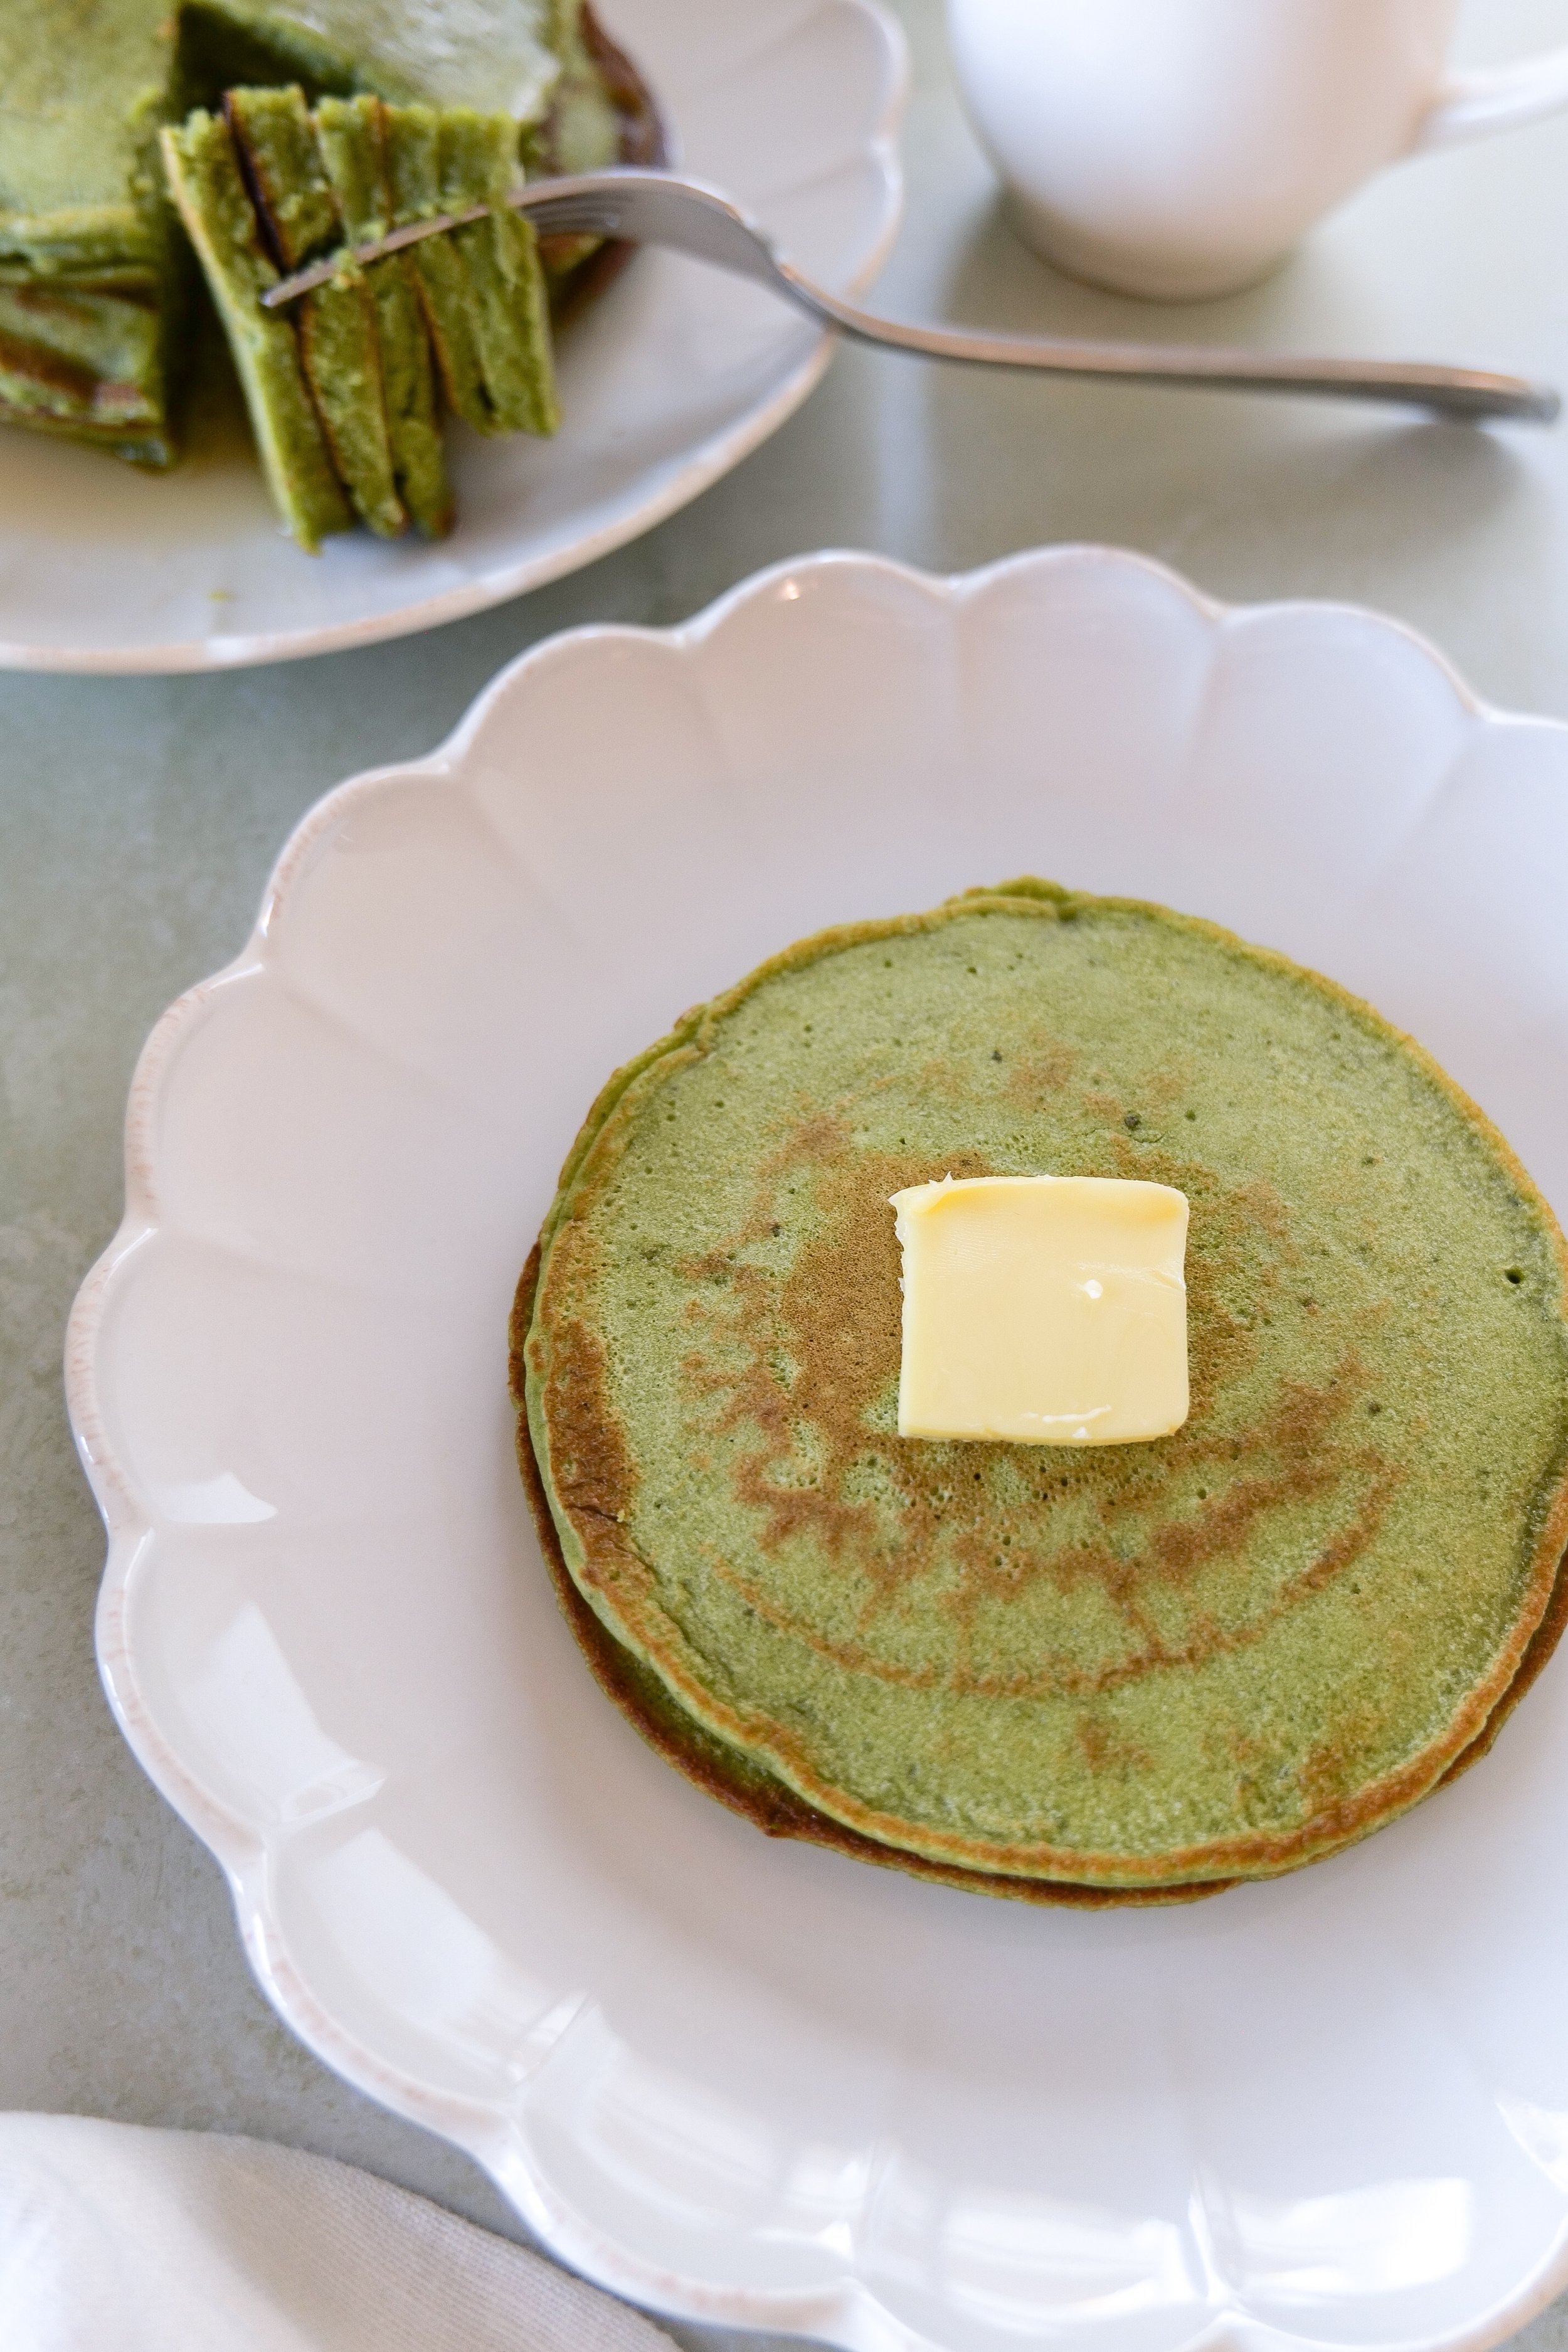
Matcha sourdough discard pancakes served with butter on top
Golden-edged fluffy matcha pancakes made with sourdough discard
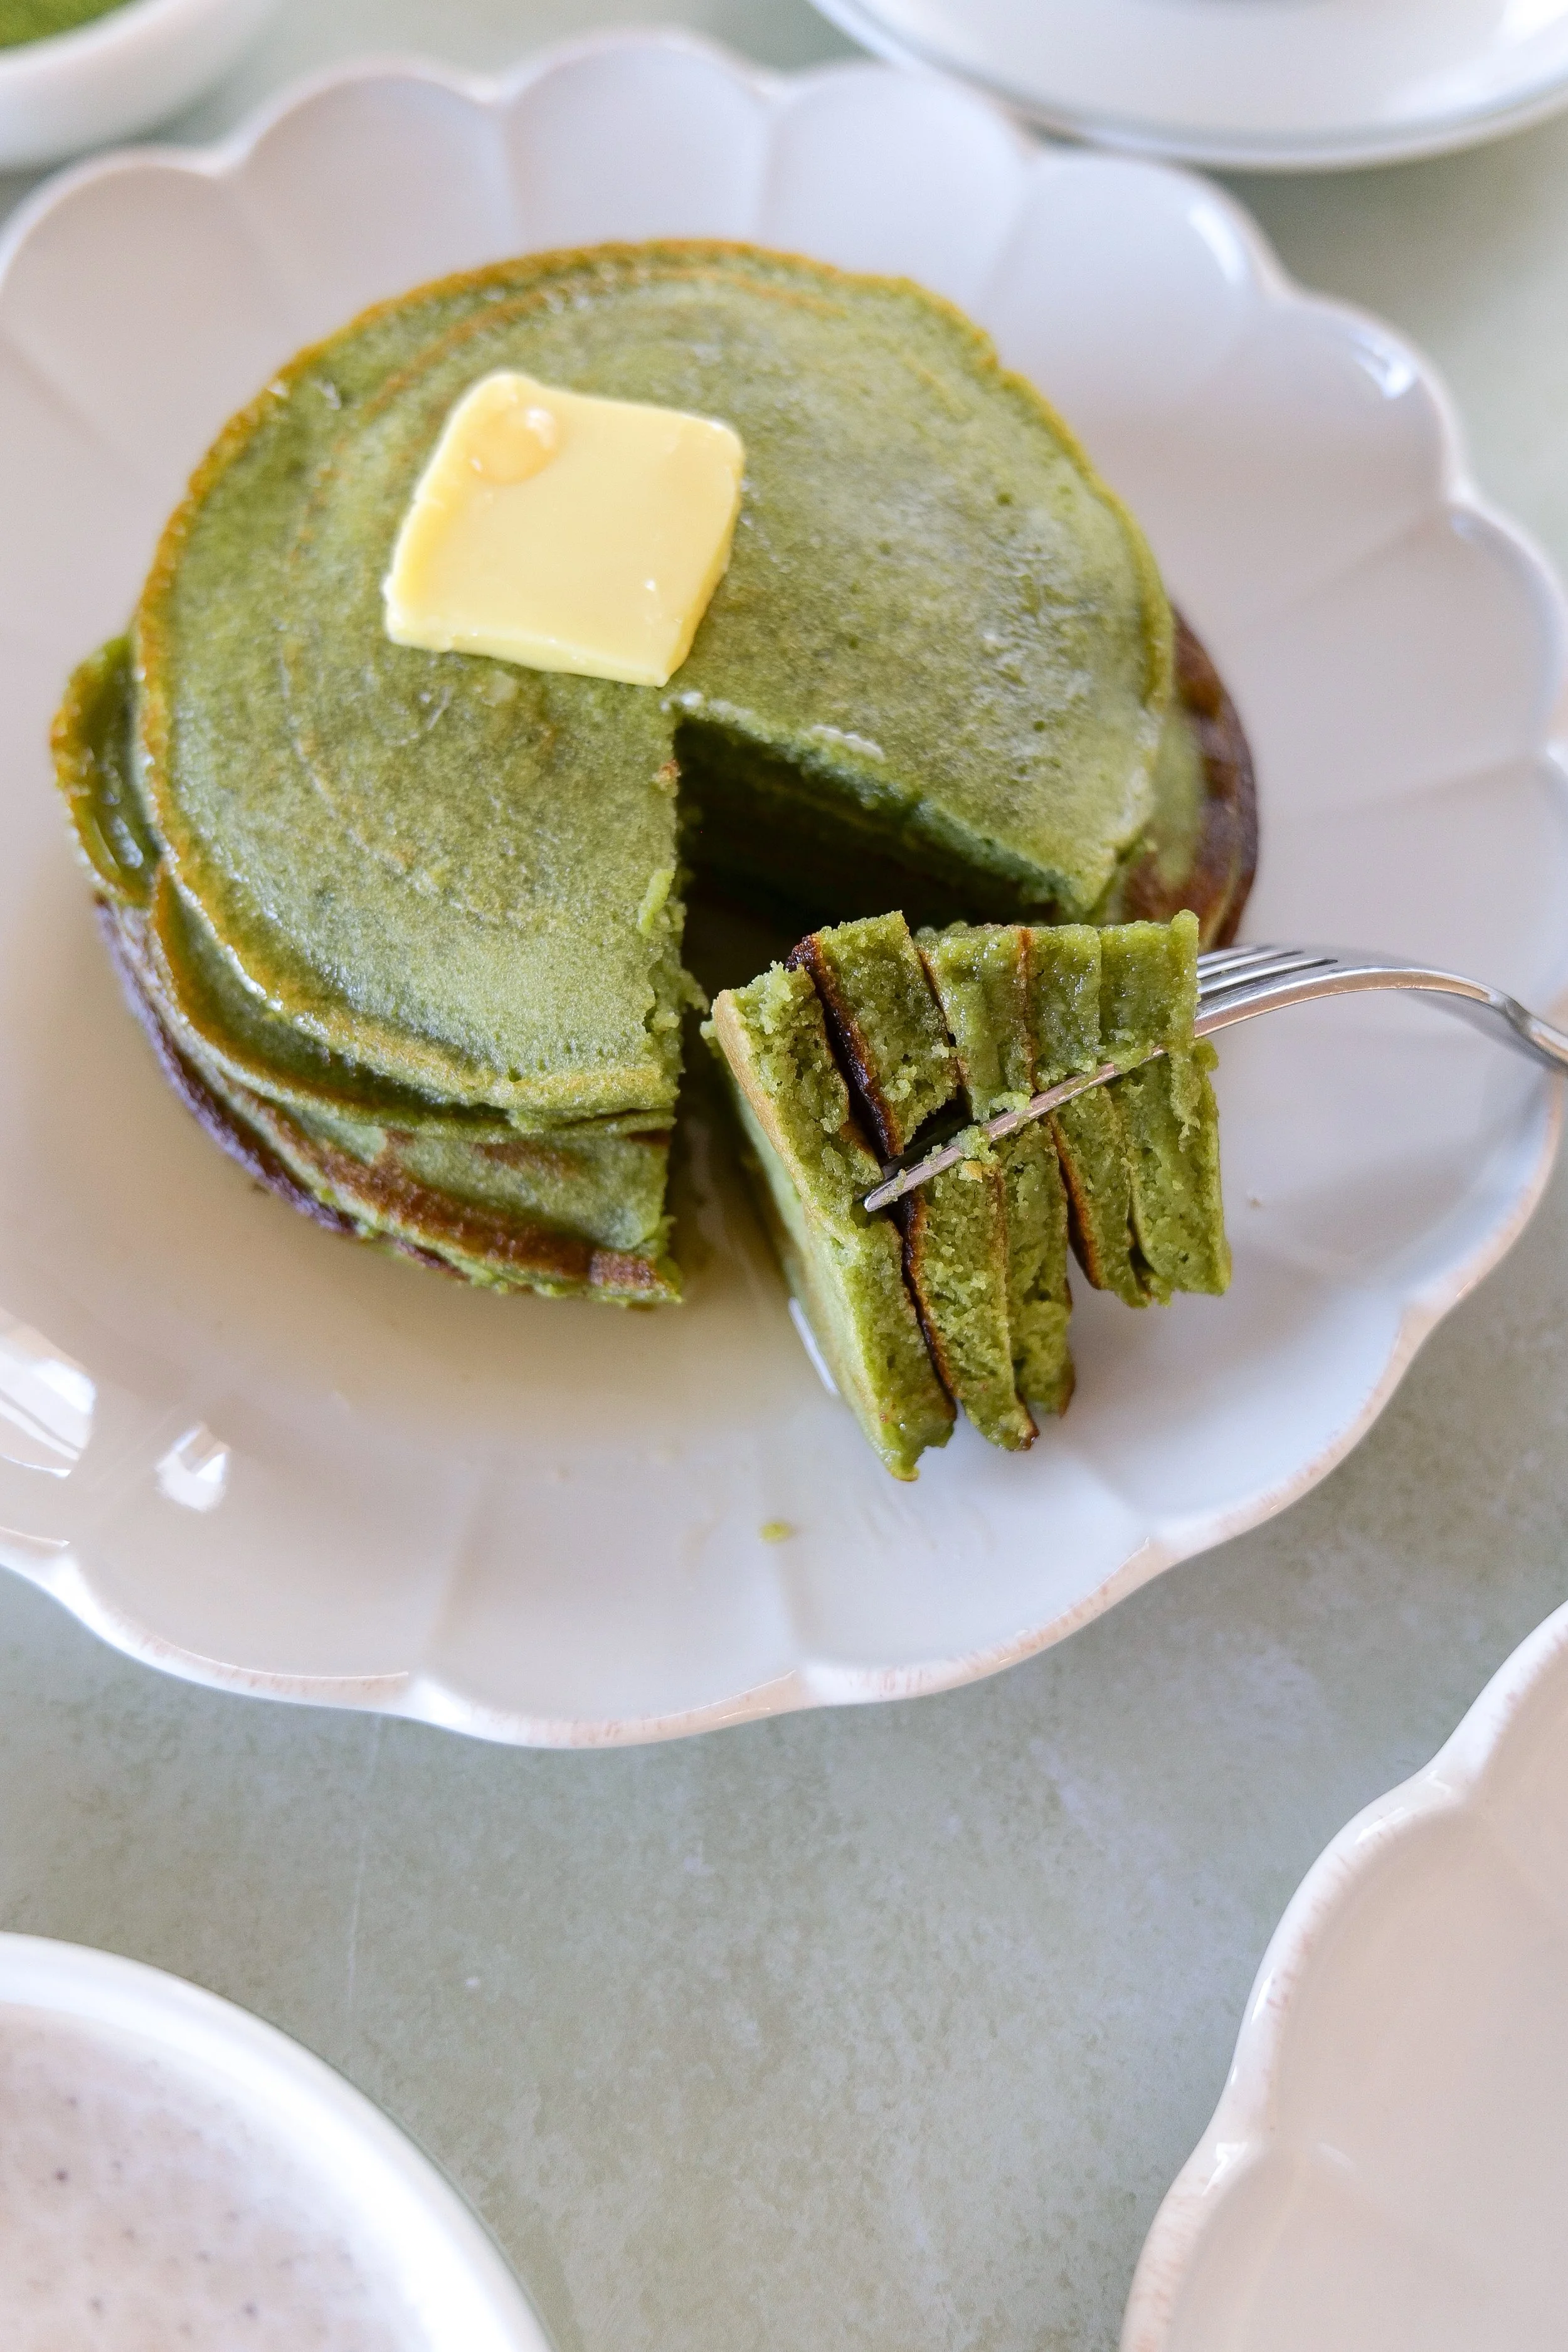
Fork cutting into soft matcha sourdough discard pancakes
Matcha sourdough discard pancakes

Quick Summary

  • Prep time: 10 minutes

  • Cook time: 10 minutes

  • Total time: 20 minutes

  • Yield: ~8 pancakes

  • Key flavor: lightly sweet, earthy, tangy

  • Skill level: easy

Breakfast plate with fluffy matcha sourdough discard pancakes and butter
Stack of matcha sourdough discard pancakes with syrup pouring
Homemade fluffy matcha sourdough discard pancakes on ceramic plate
Matcha pancakes made with sourdough discard served for breakfast
Fluffy matcha sourdough discard pancakes with coffee

Easy Weekend Brunch Ideas

If you’re planning a relaxed brunch at home, these matcha sourdough discard pancakes make a great centerpiece—but it’s always nice to have a few more options on the table. Here are some easy weekend brunch ideas that pair beautifully with a cozy morning spread:

Mix and match a couple of these with your pancakes, add fresh fruit and coffee, and you’ve got a brunch that feels thoughtful without being complicated. If you’re building out your go-to list of easy weekend brunch ideas, this is a great place to start.

Quick Summary

  • Prep time: 10 minutes

  • Cook time: 10 minutes

  • Total time: 20 minutes

  • Yield: 10-12 pancakes

  • Texture: fluffy, soft

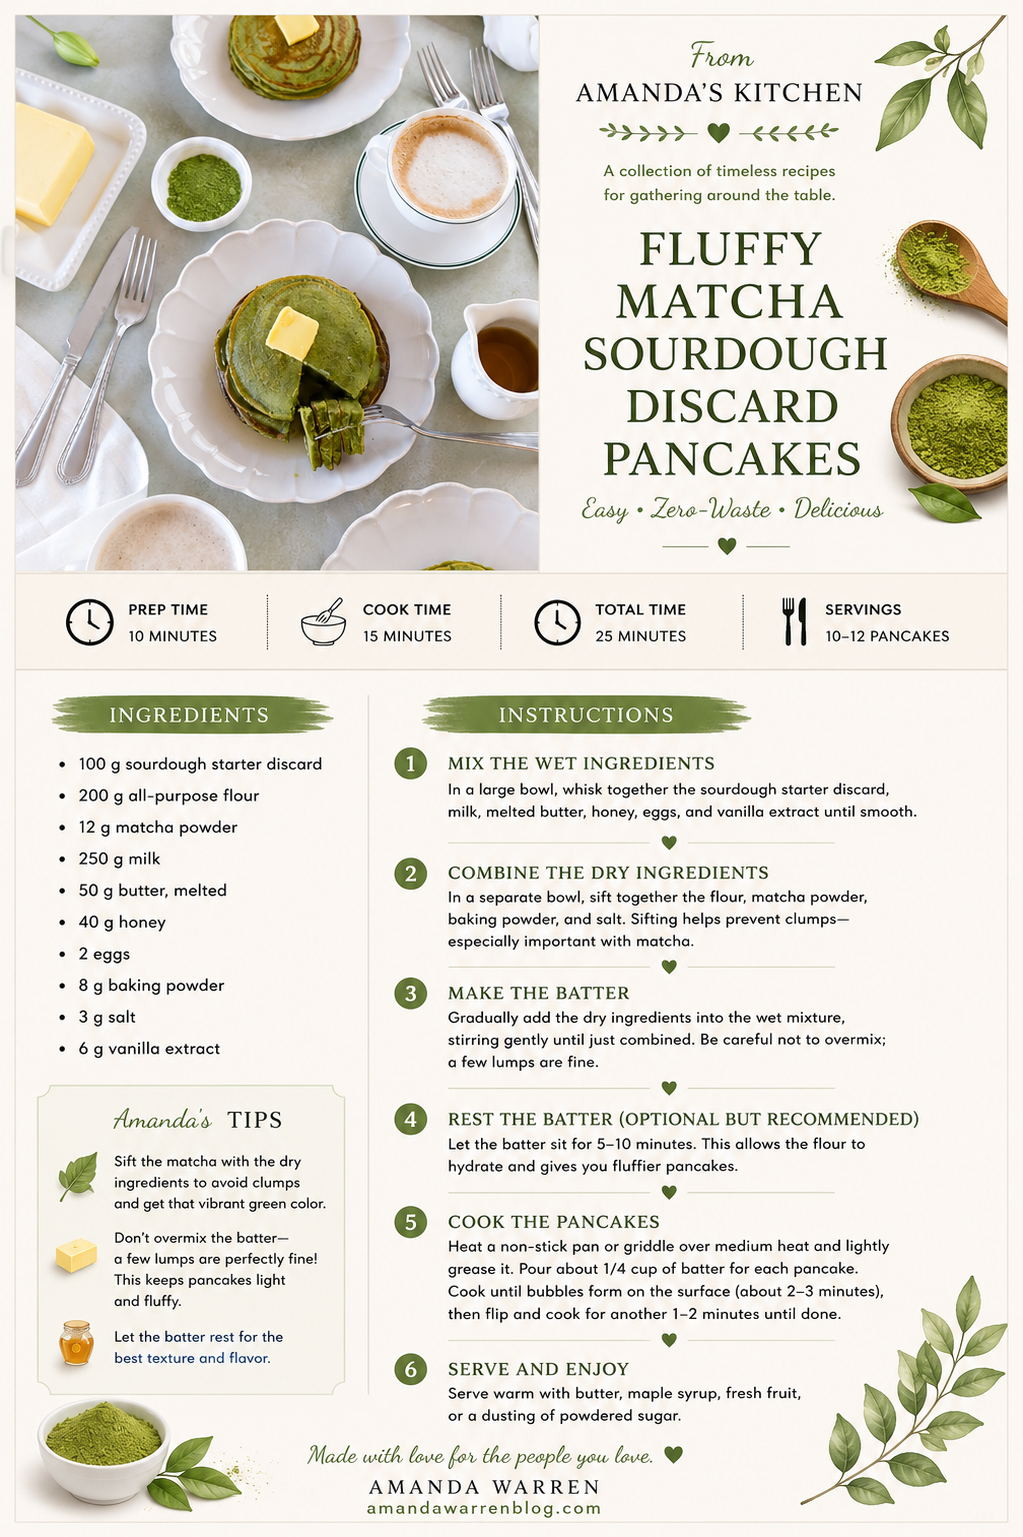
Ingredients

  • 100 g sourdough starter discard

  • 200 g all-purpose flour

  • 12 g matcha powder

  • 250 g milk

  • 50 g butter, melted

  • 40 g honey

  • 2 eggs

  • 8 g baking powder

  • 3 g salt

  • 6 g vanilla extract

Instructions

  1. Mix the wet ingredients
    In a large bowl, whisk together the sourdough starter discard, milk, melted butter, honey, eggs, and vanilla extract until smooth.

  2. Combine the dry ingredients
    In a separate bowl, sift together the flour, matcha powder, baking powder, and salt. Sifting helps prevent clumps—especially important with matcha.

  3. Make the batter
    Gradually add the dry ingredients into the wet mixture, stirring gently until just combined. Be careful not to overmix; a few lumps are fine.

  4. Rest the batter (optional but recommended)
    Let the batter sit for 5–10 minutes. This allows the flour to hydrate and gives you fluffier pancakes.

  5. Cook the pancakes
    Heat a non-stick pan or griddle over medium heat and lightly grease it. Pour about 1/4 cup of batter for each pancake. Cook until bubbles form on the surface (about 2–3 minutes), then flip and cook for another 1–2 minutes until done.

  6. Serve and enjoy
    Serve warm with butter, maple syrup, fresh fruit, or a dusting of powdered sugar.

If you’re in a matcha baking mood, don’t miss my Matcha Strawberry Cake — a fluffy, sweet layered cake that pairs perfectly with the earthy flavor of matcha.

👉 Matcha Strawberry Cake

Shop My Matcha Baking Favorites

If you love making matcha recipes at home, these are the kitchen tools and ingredients I use most often

Baking Essentials

Cozy Coffee Bar Favorites

FAQs

Why are my sourdough discard pancakes dense?
Usually from overmixing or inactive discard. Stir just until combined and make sure your leavening is fresh.

Can I taste the sourdough in pancakes?
Slightly. It adds a mild tang that balances the sweetness but isn’t overpowering.

Does matcha lose flavor when cooked?
A bit, which is why using a good-quality matcha and enough quantity matters.

Can I make the batter ahead of time?
Yes, but cook within a few hours for best texture.

What’s the best matcha for pancakes?
Culinary-grade matcha works best—it’s more affordable and designed for baking.

Troubleshooting

  • Pancakes too bitter → too much matcha or low-quality powder

  • Flat pancakes → batter too thin or old baking powder

  • Gummy inside → heat too high, outside cooked too fast

  • Too sour → discard was very old; balance with a bit more honey

Variations

  • Vegan: swap eggs + milk for plant-based alternatives

  • Dairy-free: use oil instead of butter

  • Banana matcha pancakes: add mashed banana

  • Protein pancakes: add a scoop of vanilla protein powder

Save This Recipe

Whether you're planning ahead for a special occasion or adding a new favorite to your recipe collection, I've included a printable recipe card below so it's easy to save, print, and share with the people you love.
Soft and airy green pancakes on breakfast table
Matcha sourdough discard pancakes with butter and maple syrup topping
Close-up of fluffy pancakes showing green color
Matcha sourdough discard pancakes served with butter
Breakfast scene featuring fluffy matcha sourdough discard pancakes
green matcha pancakes made from sourdough discard batter
Light and fluffy matcha sourdough discard pancakes with butter
Cozy breakfast plate of matcha sourdough discard pancakes and coffee

Easy Hash Brown Breakfast Casserole Recipe (Perfect for Brunch & Holidays)

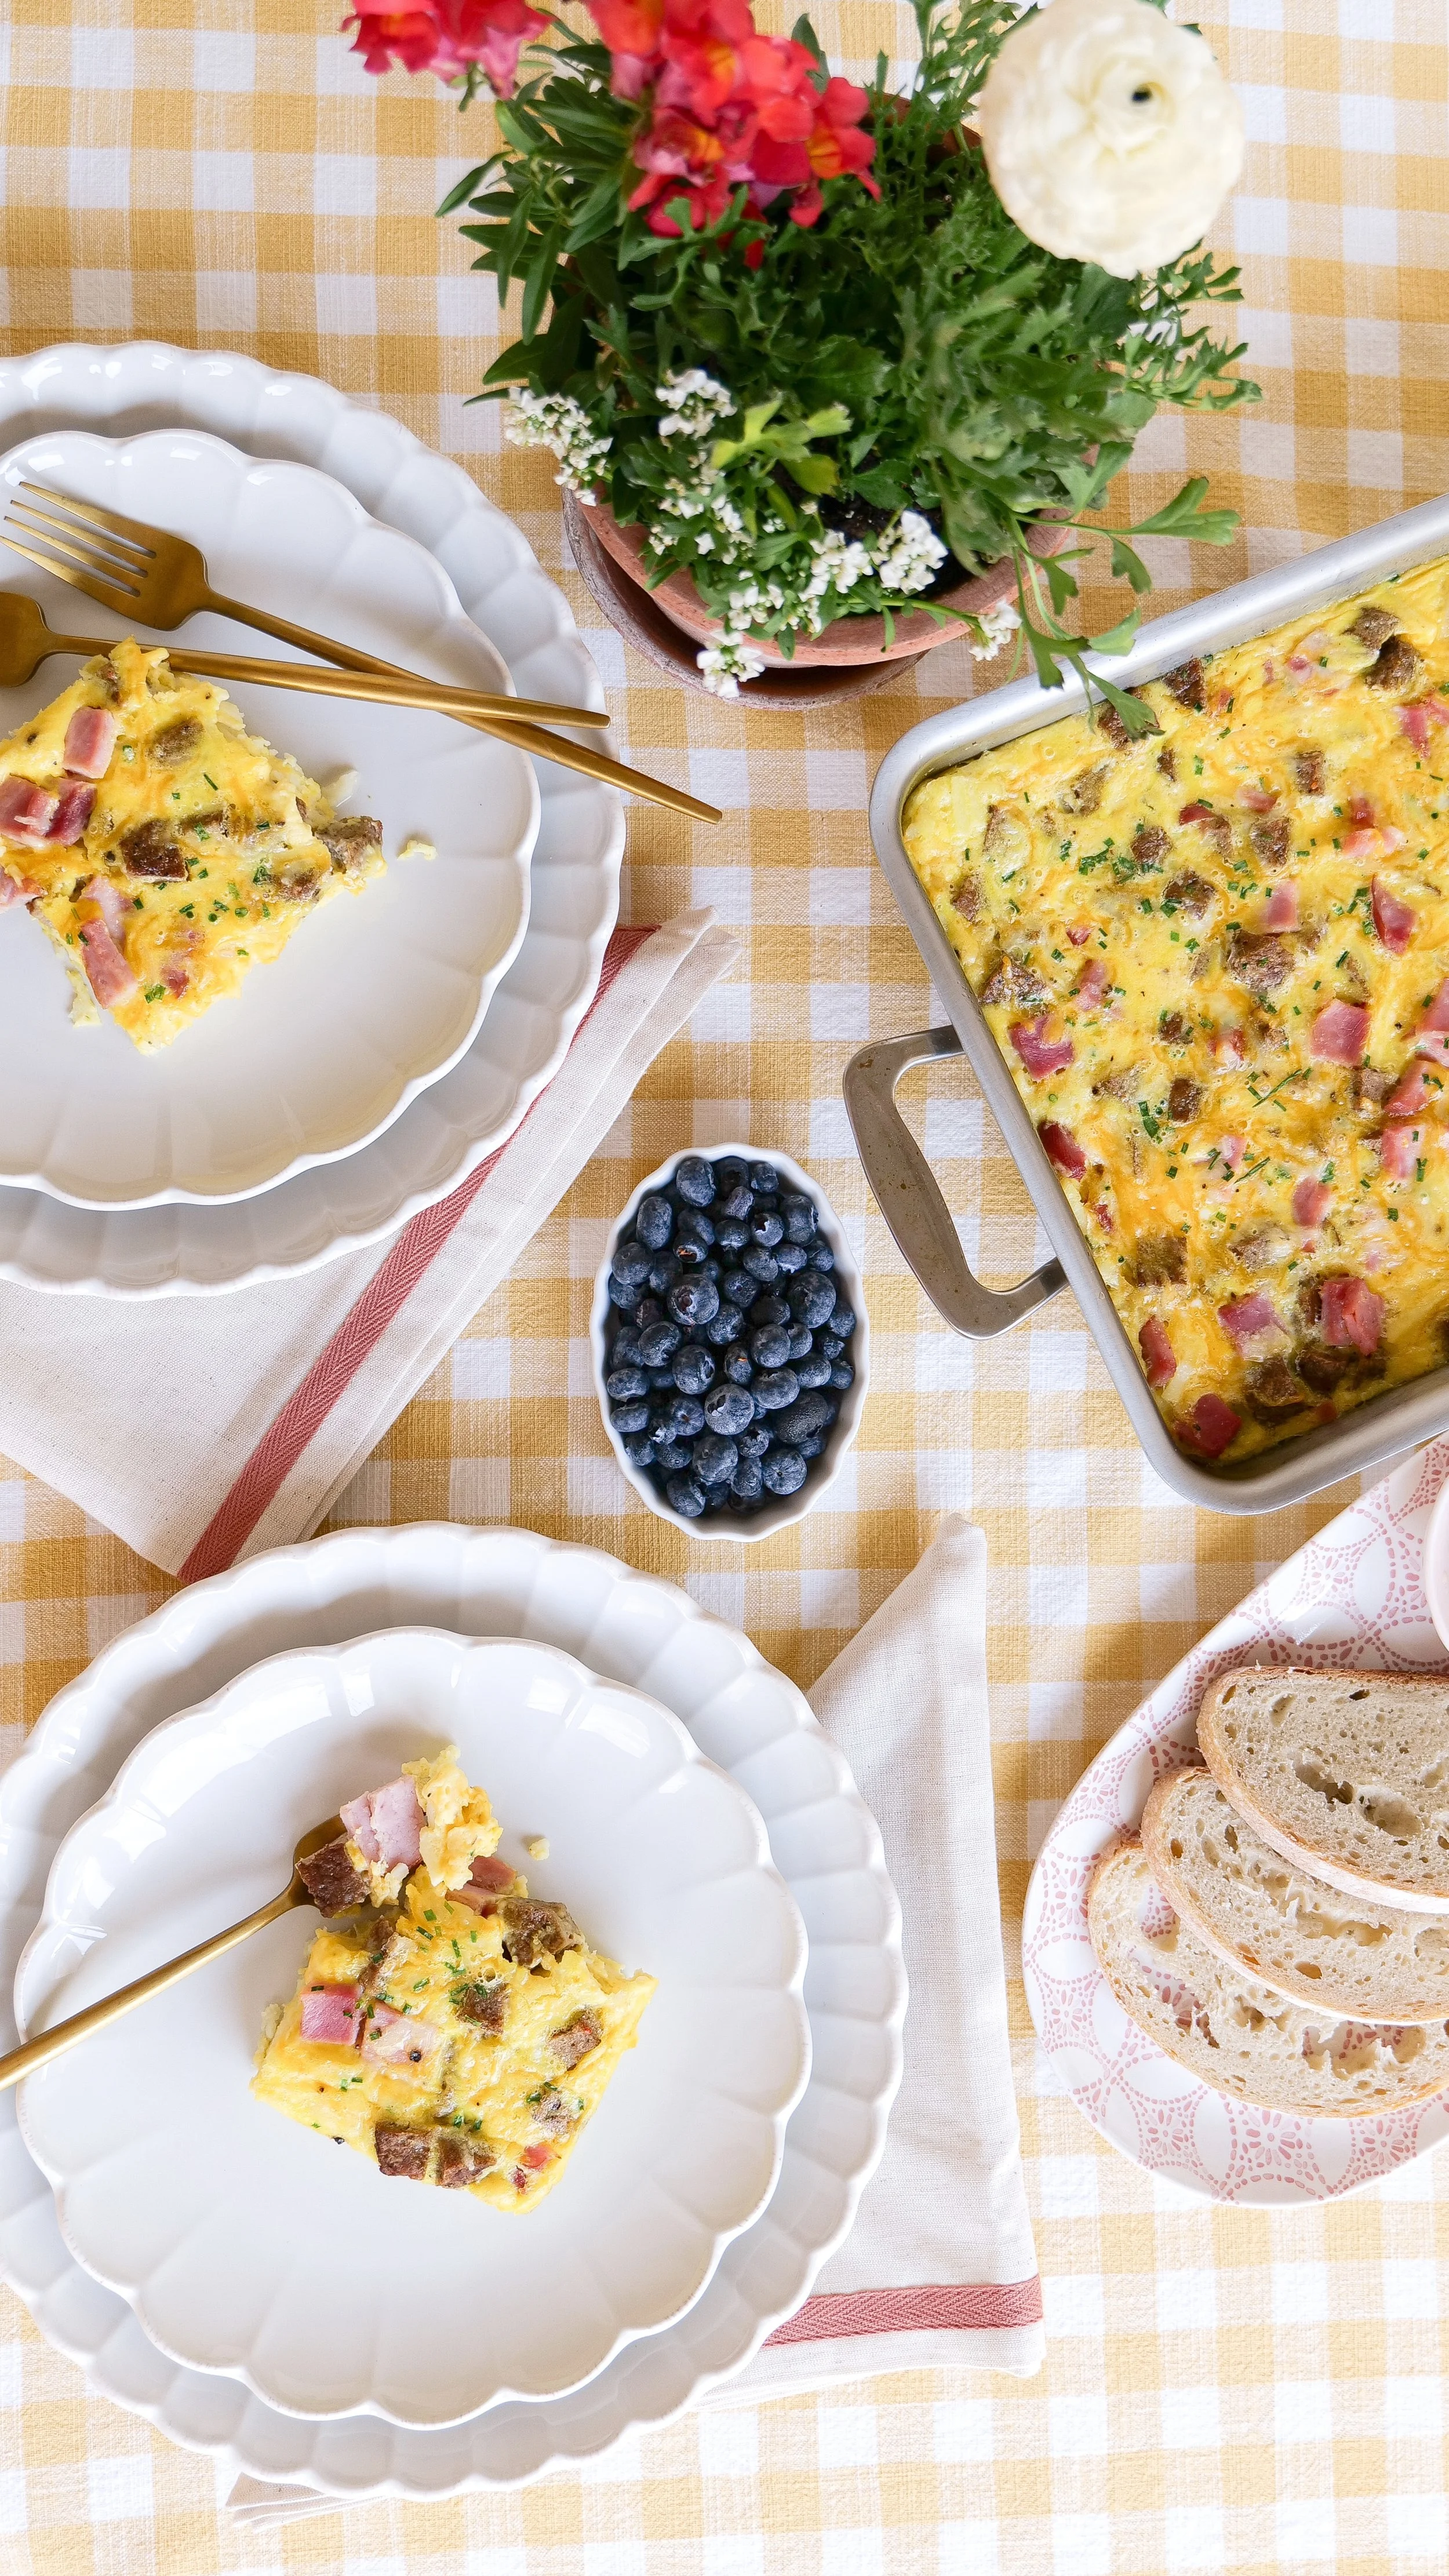
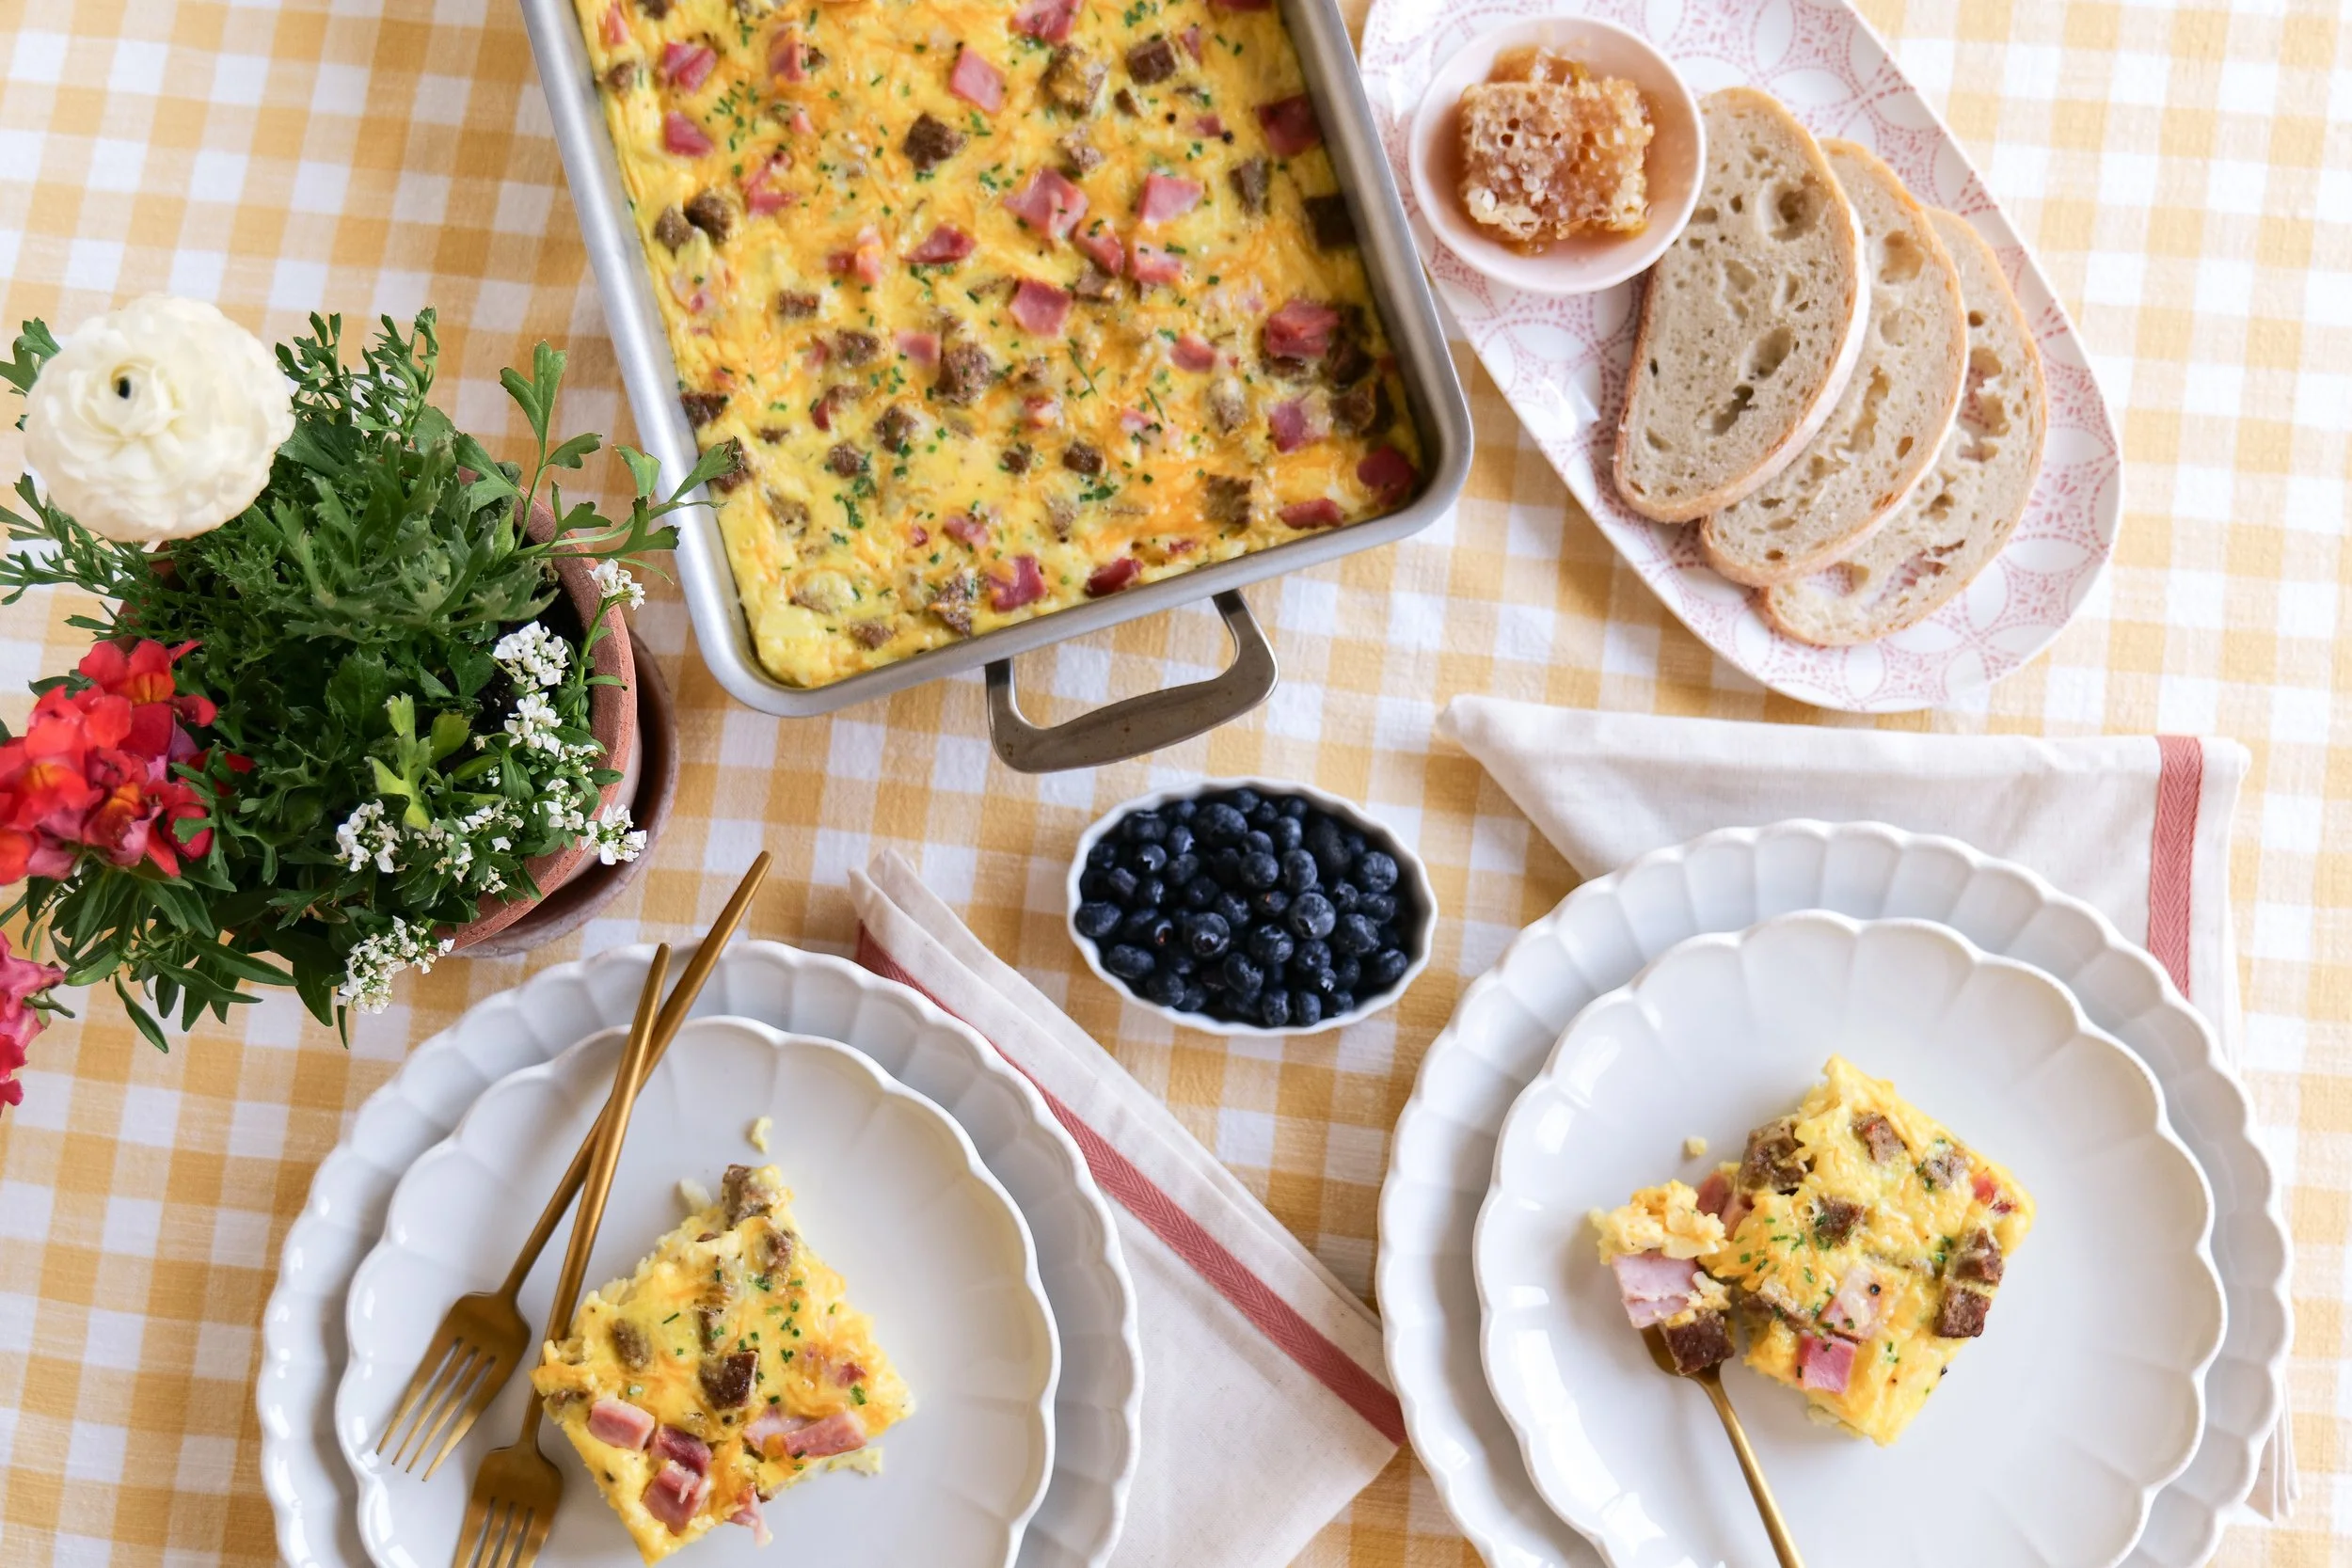
This easy breakfast casserole recipe is the ultimate make-ahead breakfast for busy mornings, holiday gatherings, baby showers, brunches, and feeding a crowd. Made with crispy hash browns, savory breakfast sausage, fluffy eggs, and melted cheese, this hearty casserole is packed with comforting flavors that everyone loves.

↓ Skip to Recipe

One of my favorite things about this hash brown breakfast casserole is how simple it is to prepare. You can assemble it the night before and bake it fresh in the morning, making it perfect for Christmas morning, Easter brunch, Mother's Day breakfast, or any weekend gathering. Whether you're serving family or hosting friends, this easy breakfast casserole is always one of the first dishes to disappear.

Why You'll Love This Breakfast Casserole

• Perfect for holidays, brunches, and meal prep

• Easy to make ahead the night before

• Feeds a crowd with minimal effort

• Packed with sausage, eggs, cheese, and hash browns

• Great for freezing and reheating later

• Family-friendly and customizable

Perfect For

  • Christmas Morning Breakfast

  • Easter Brunch

  • Mother's Day Breakfast

  • Baby Showers

  • Weekend Brunches

  • Feeding a Crowd

  • Meal Prep Breakfasts

Easy Hash Brown Breakfast Casserole
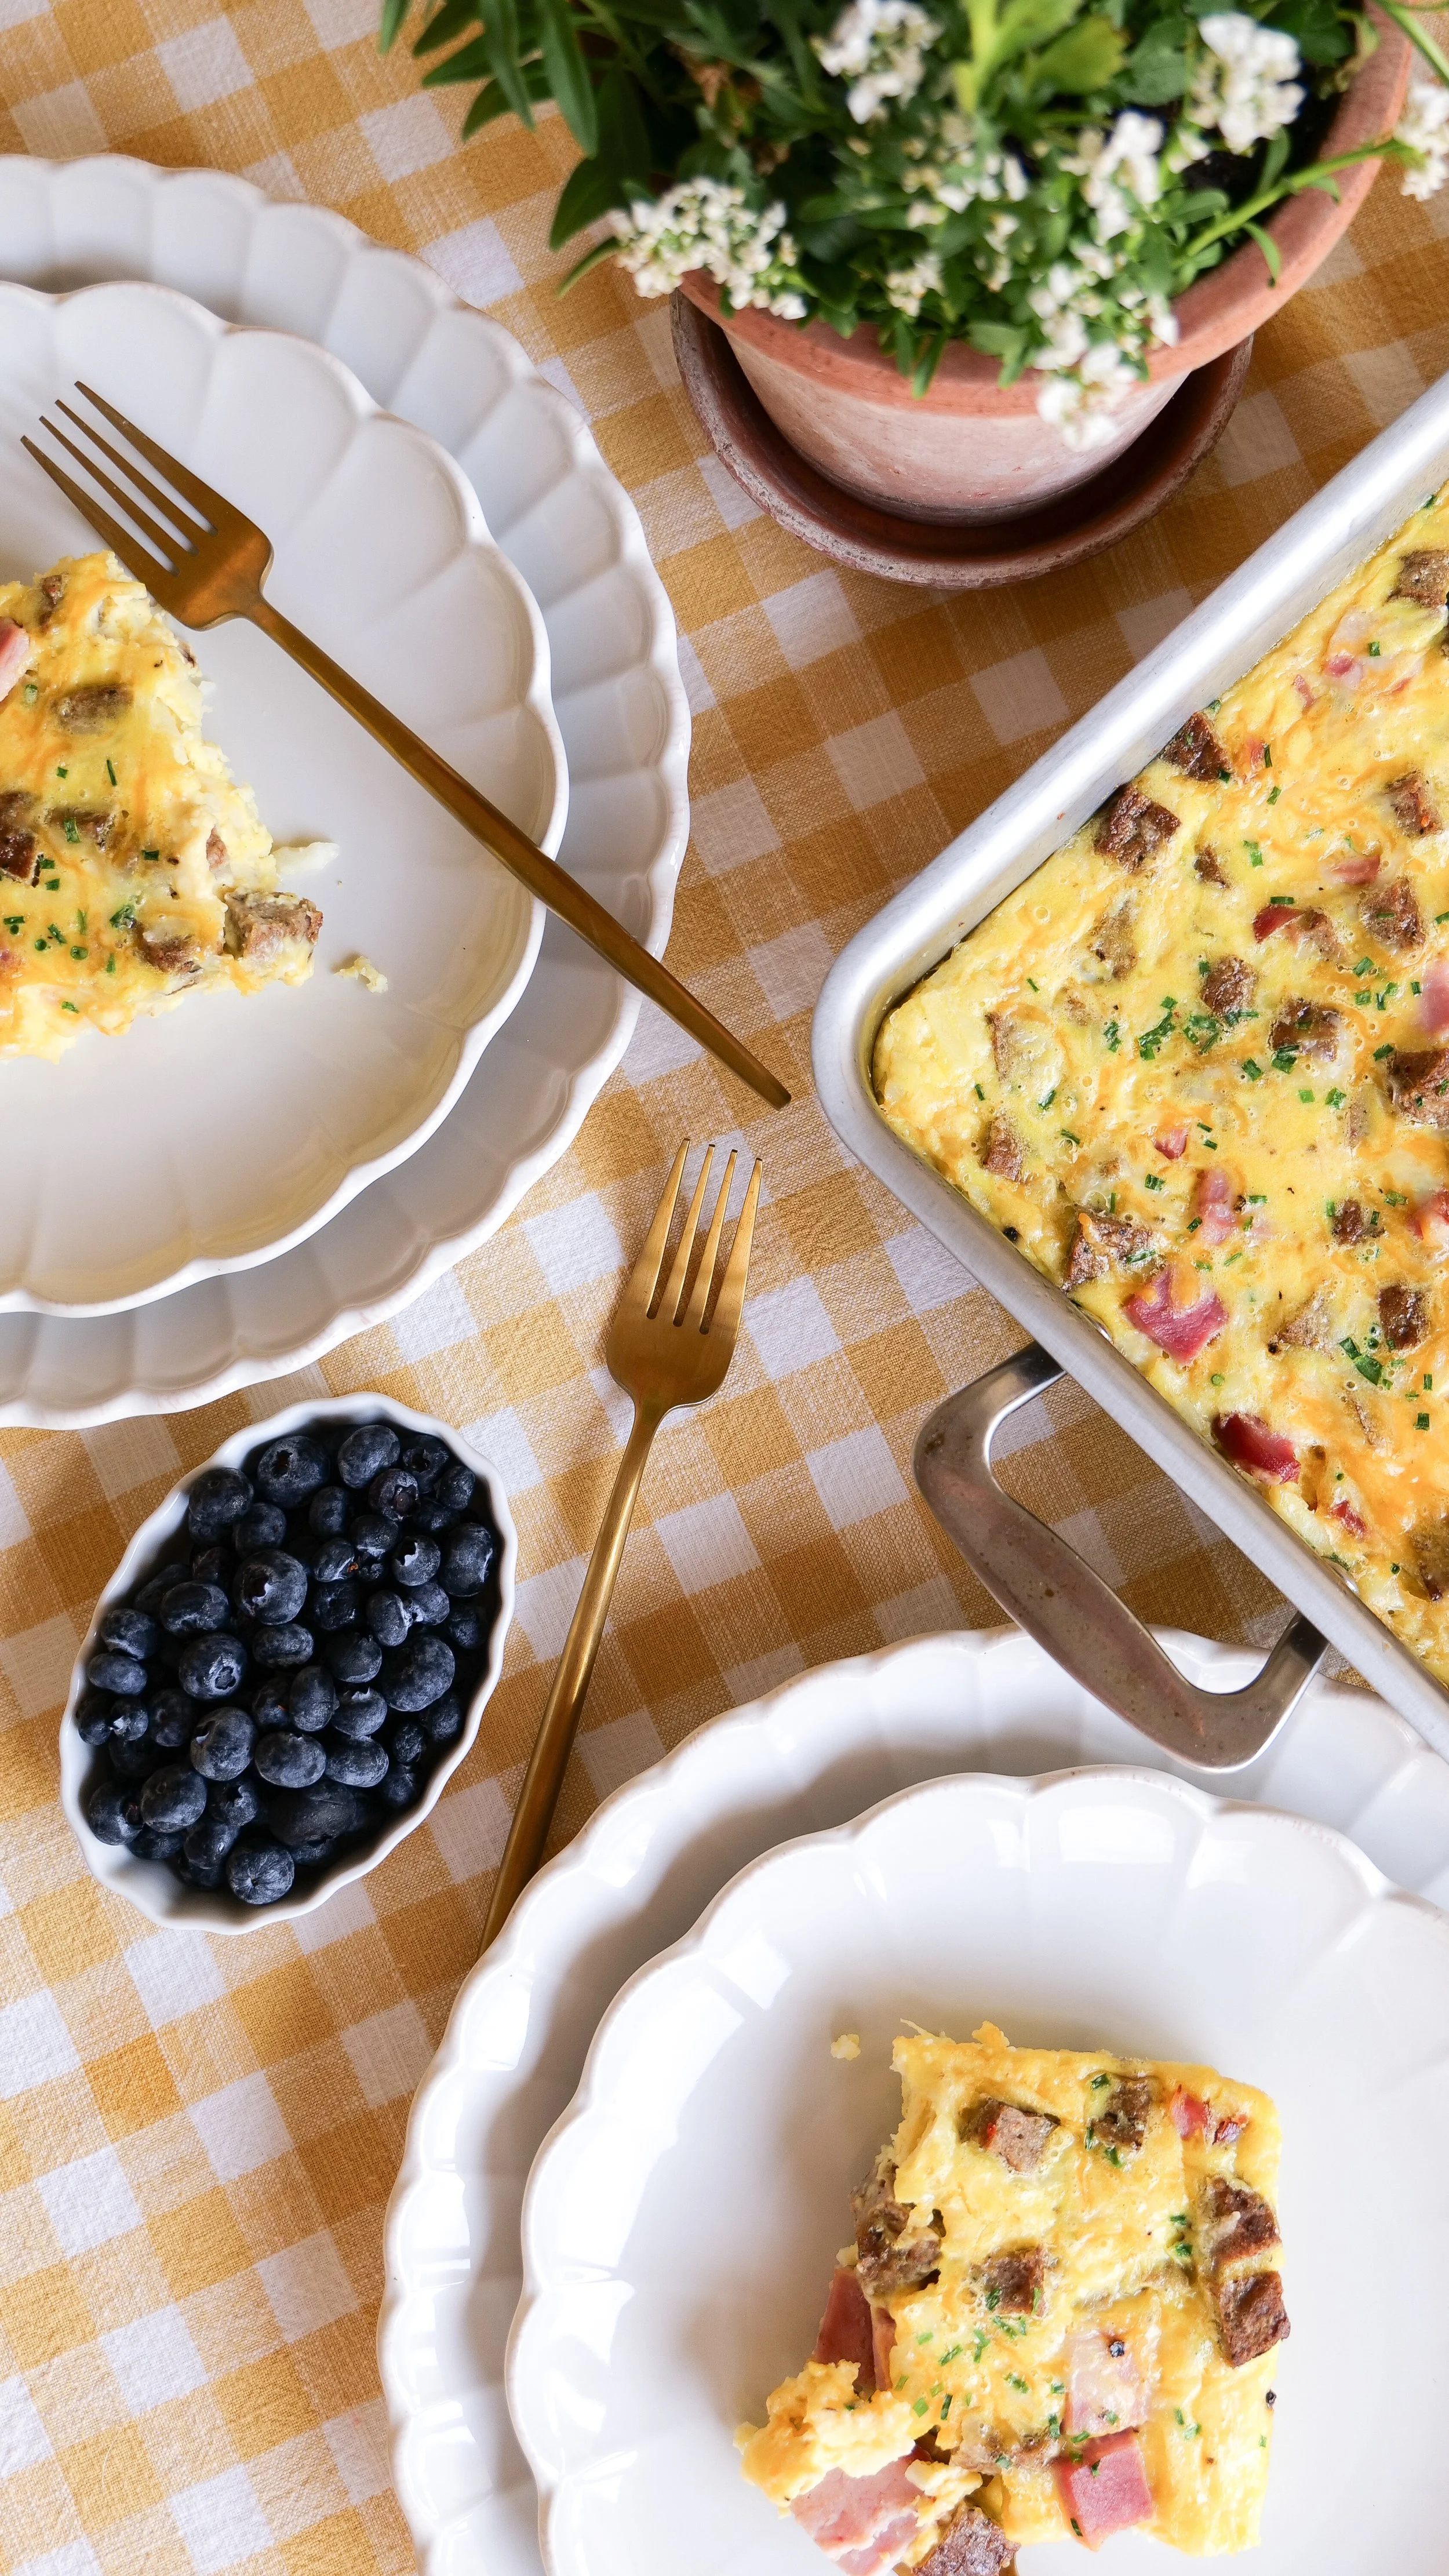
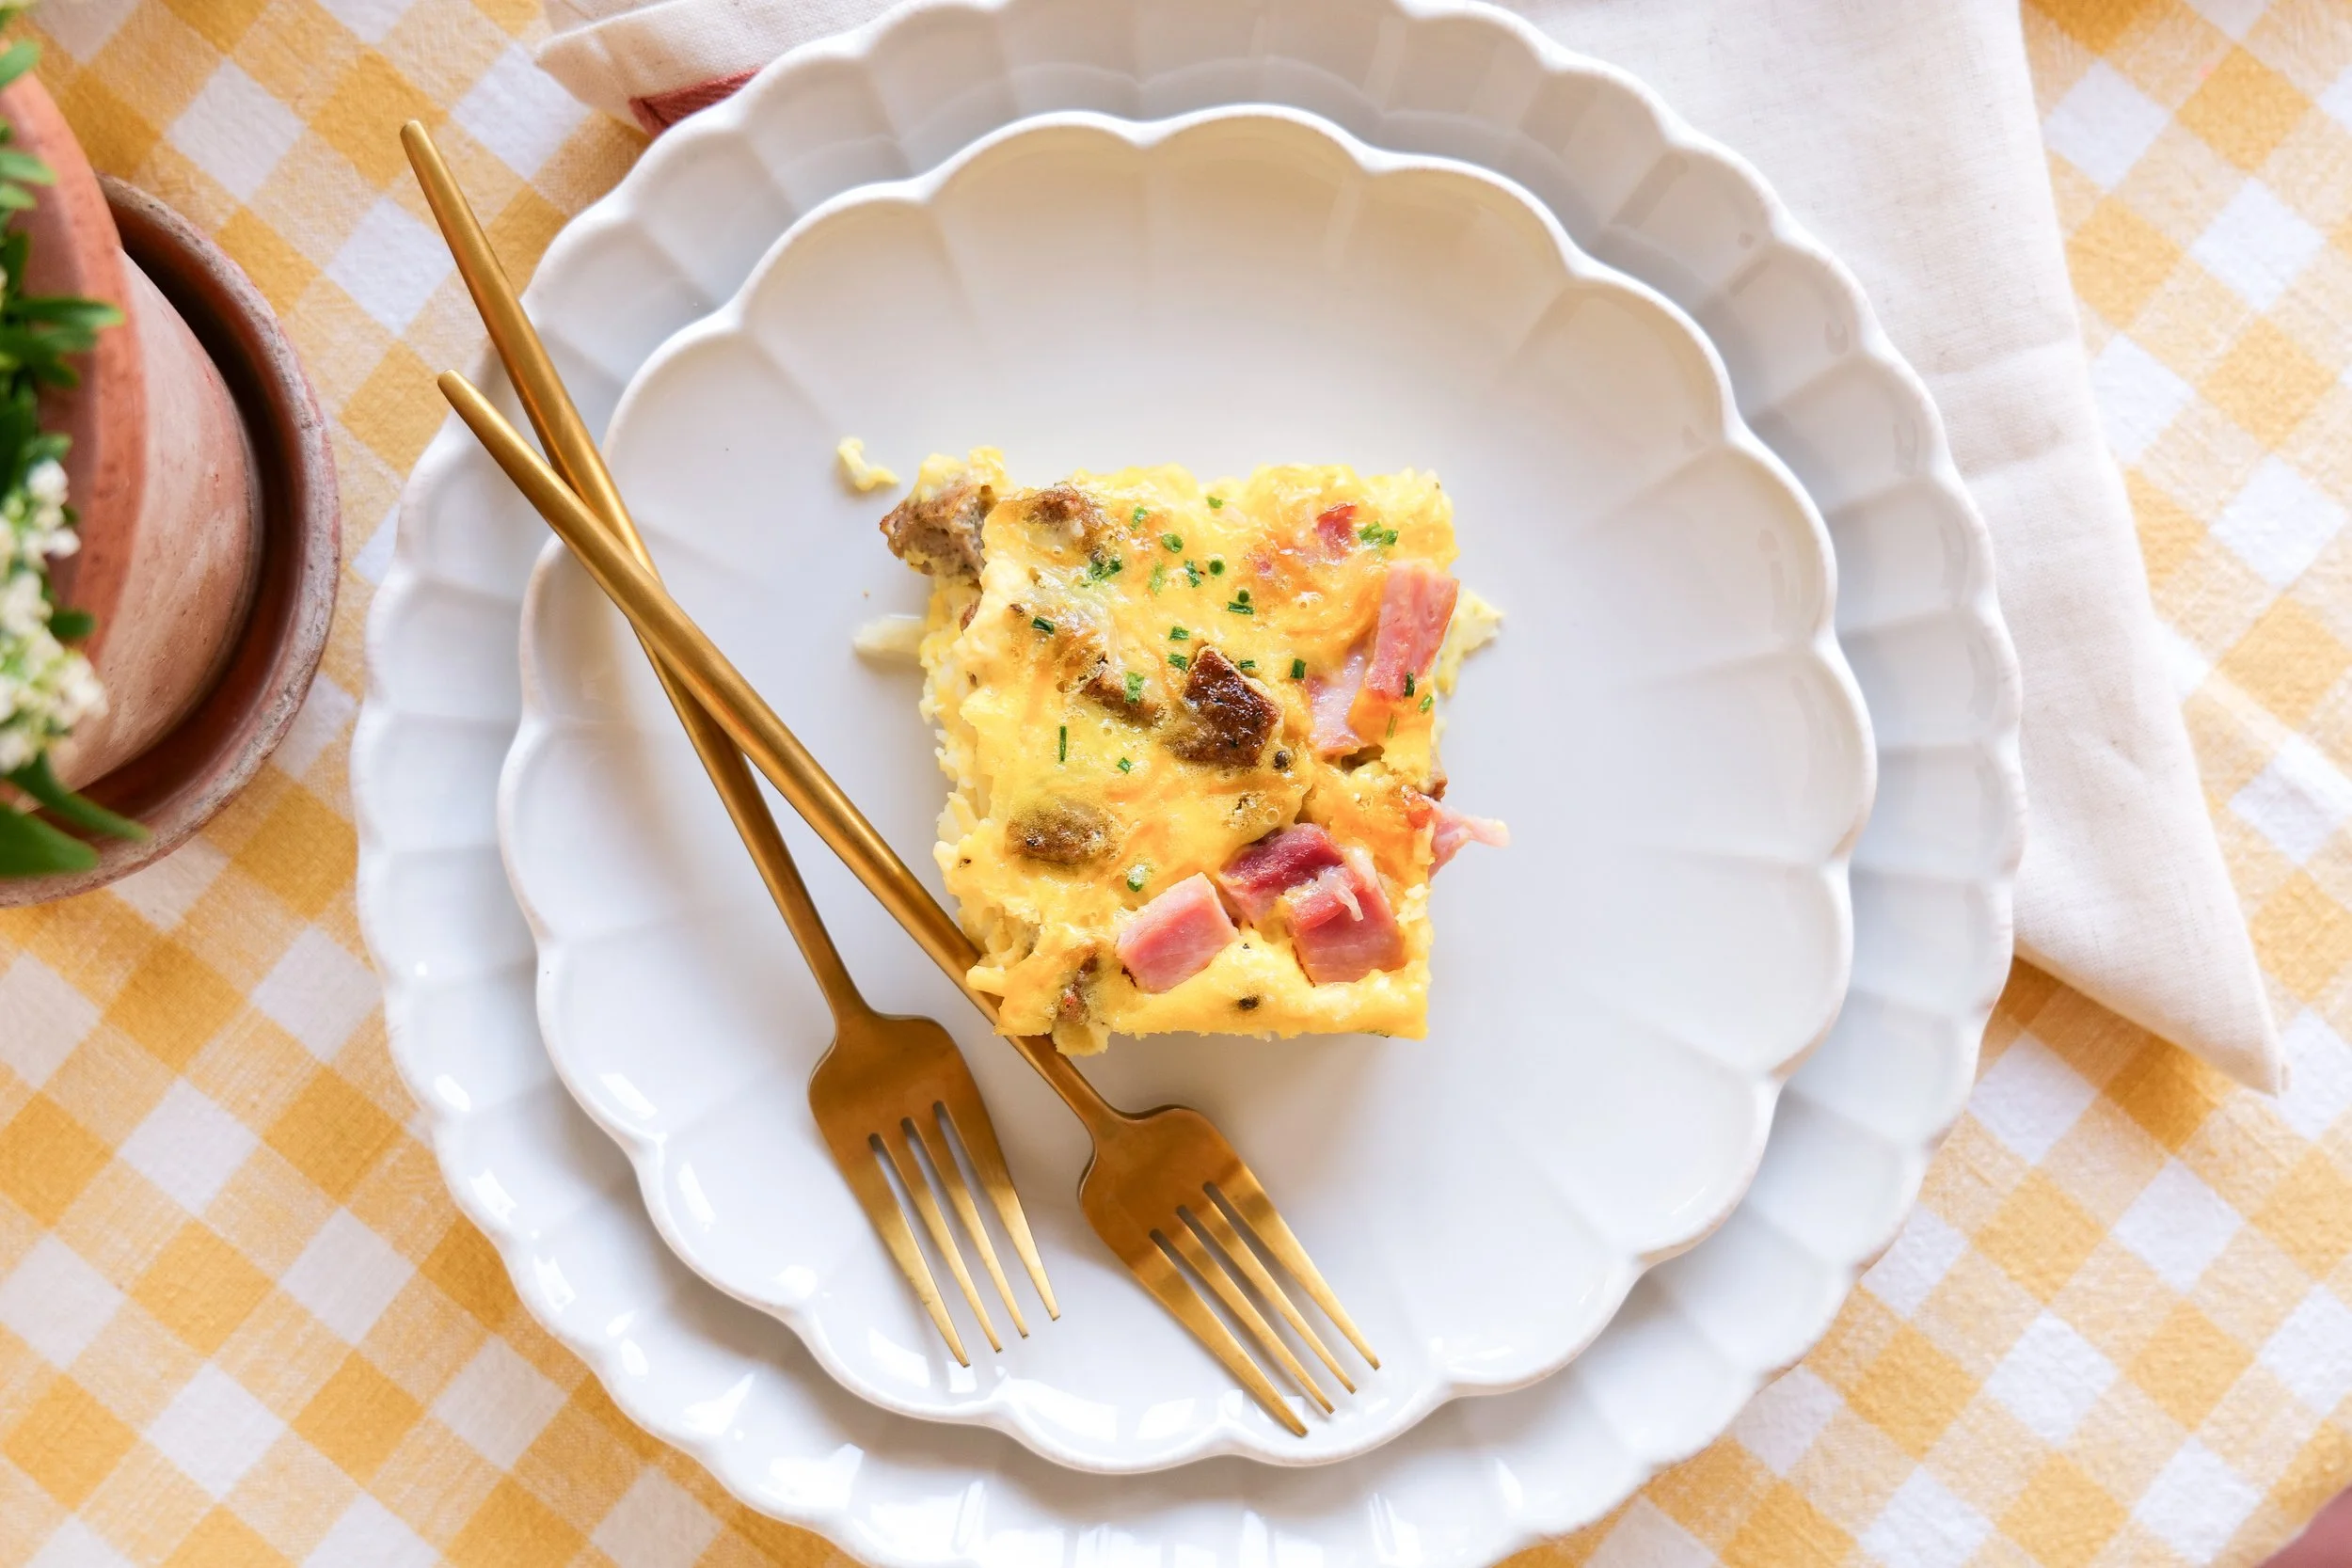
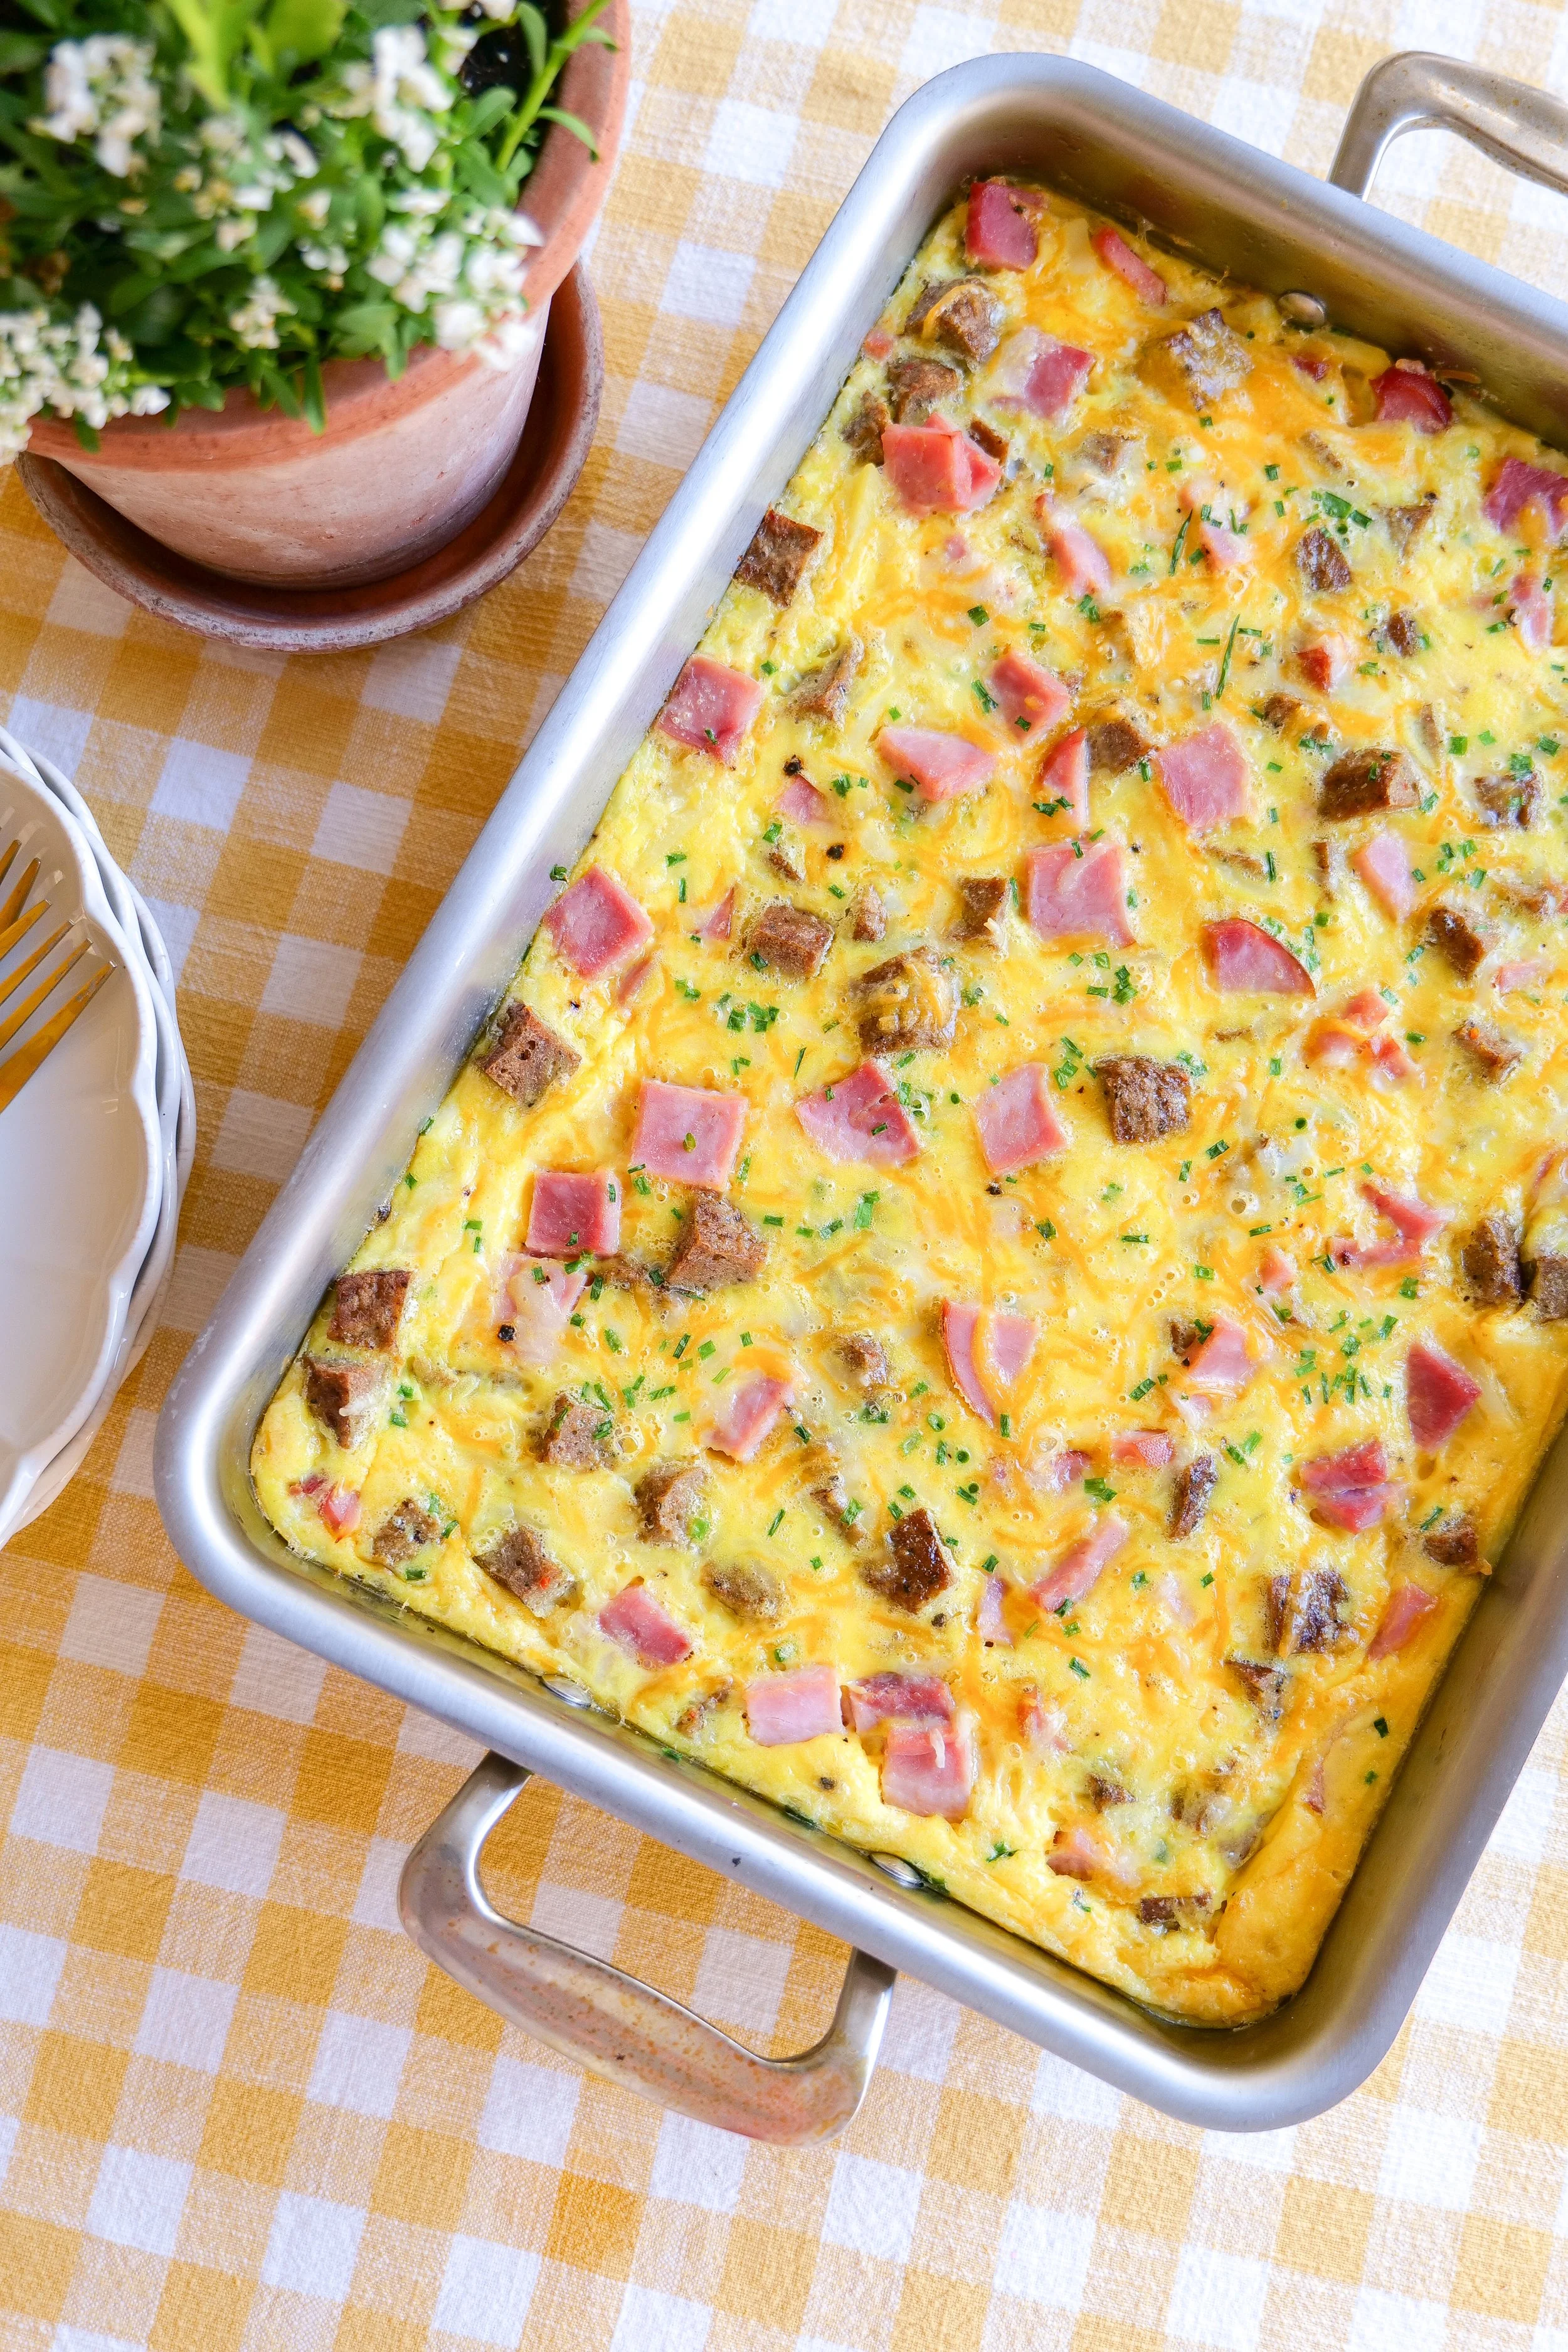
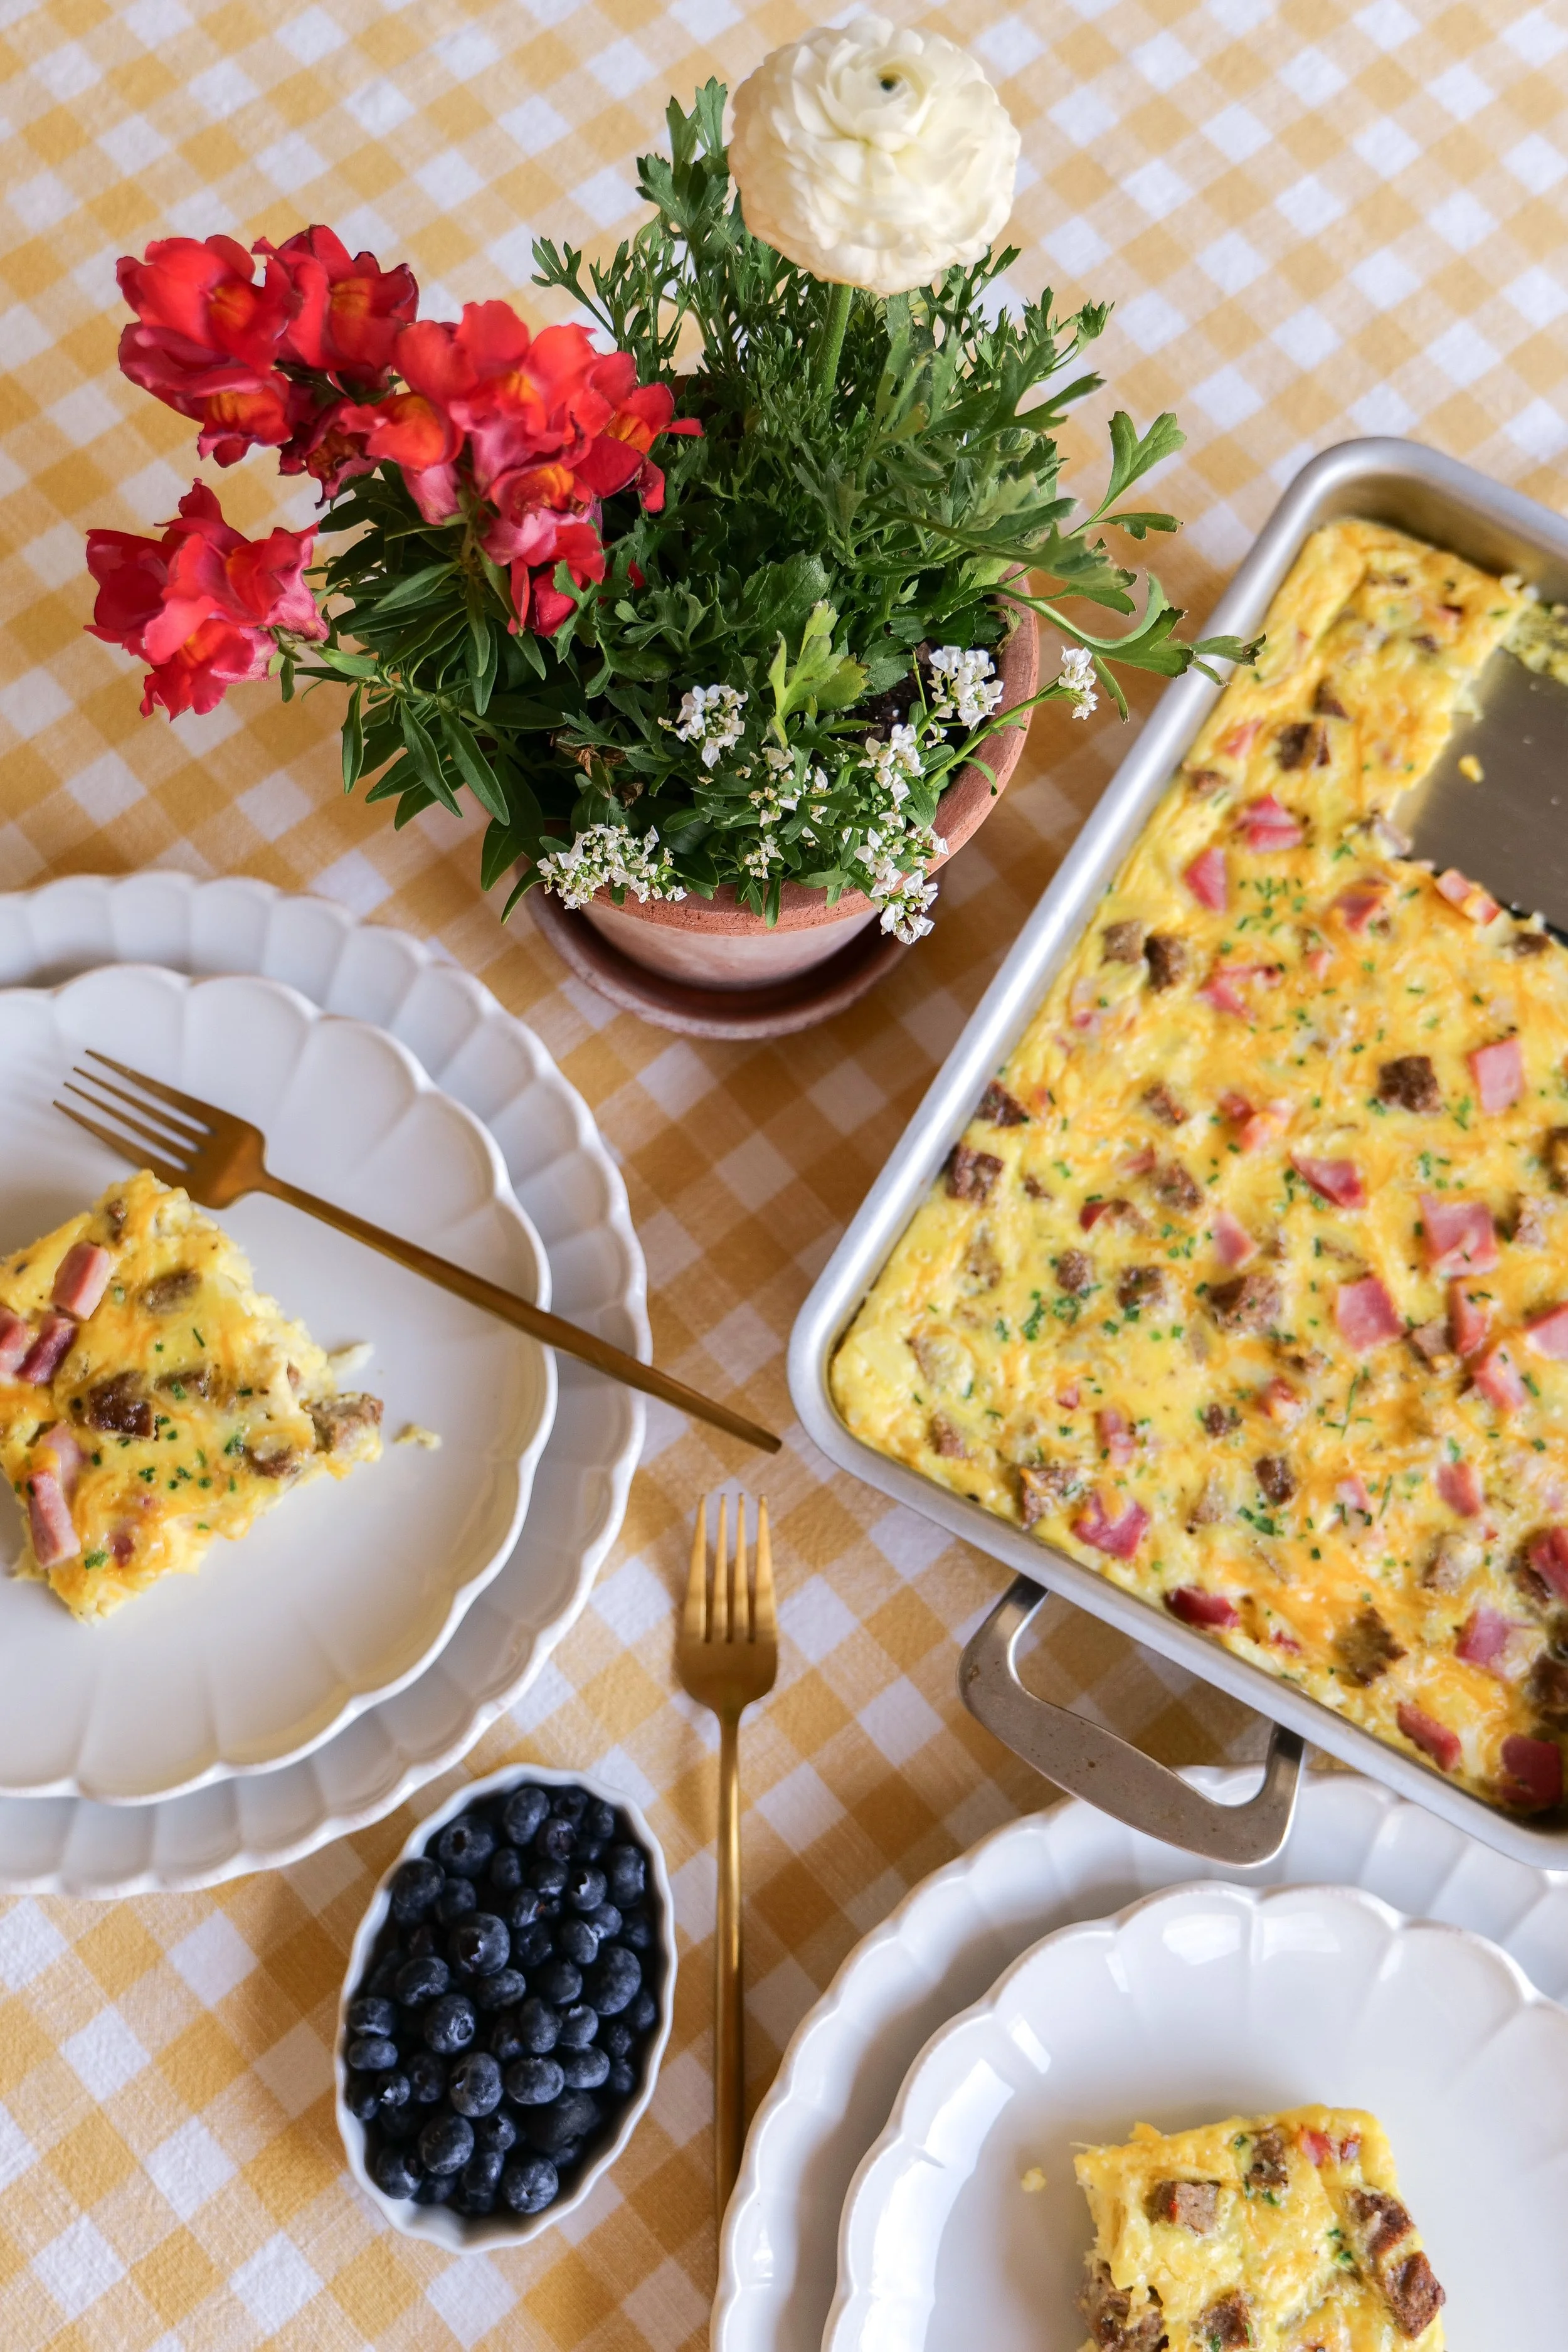
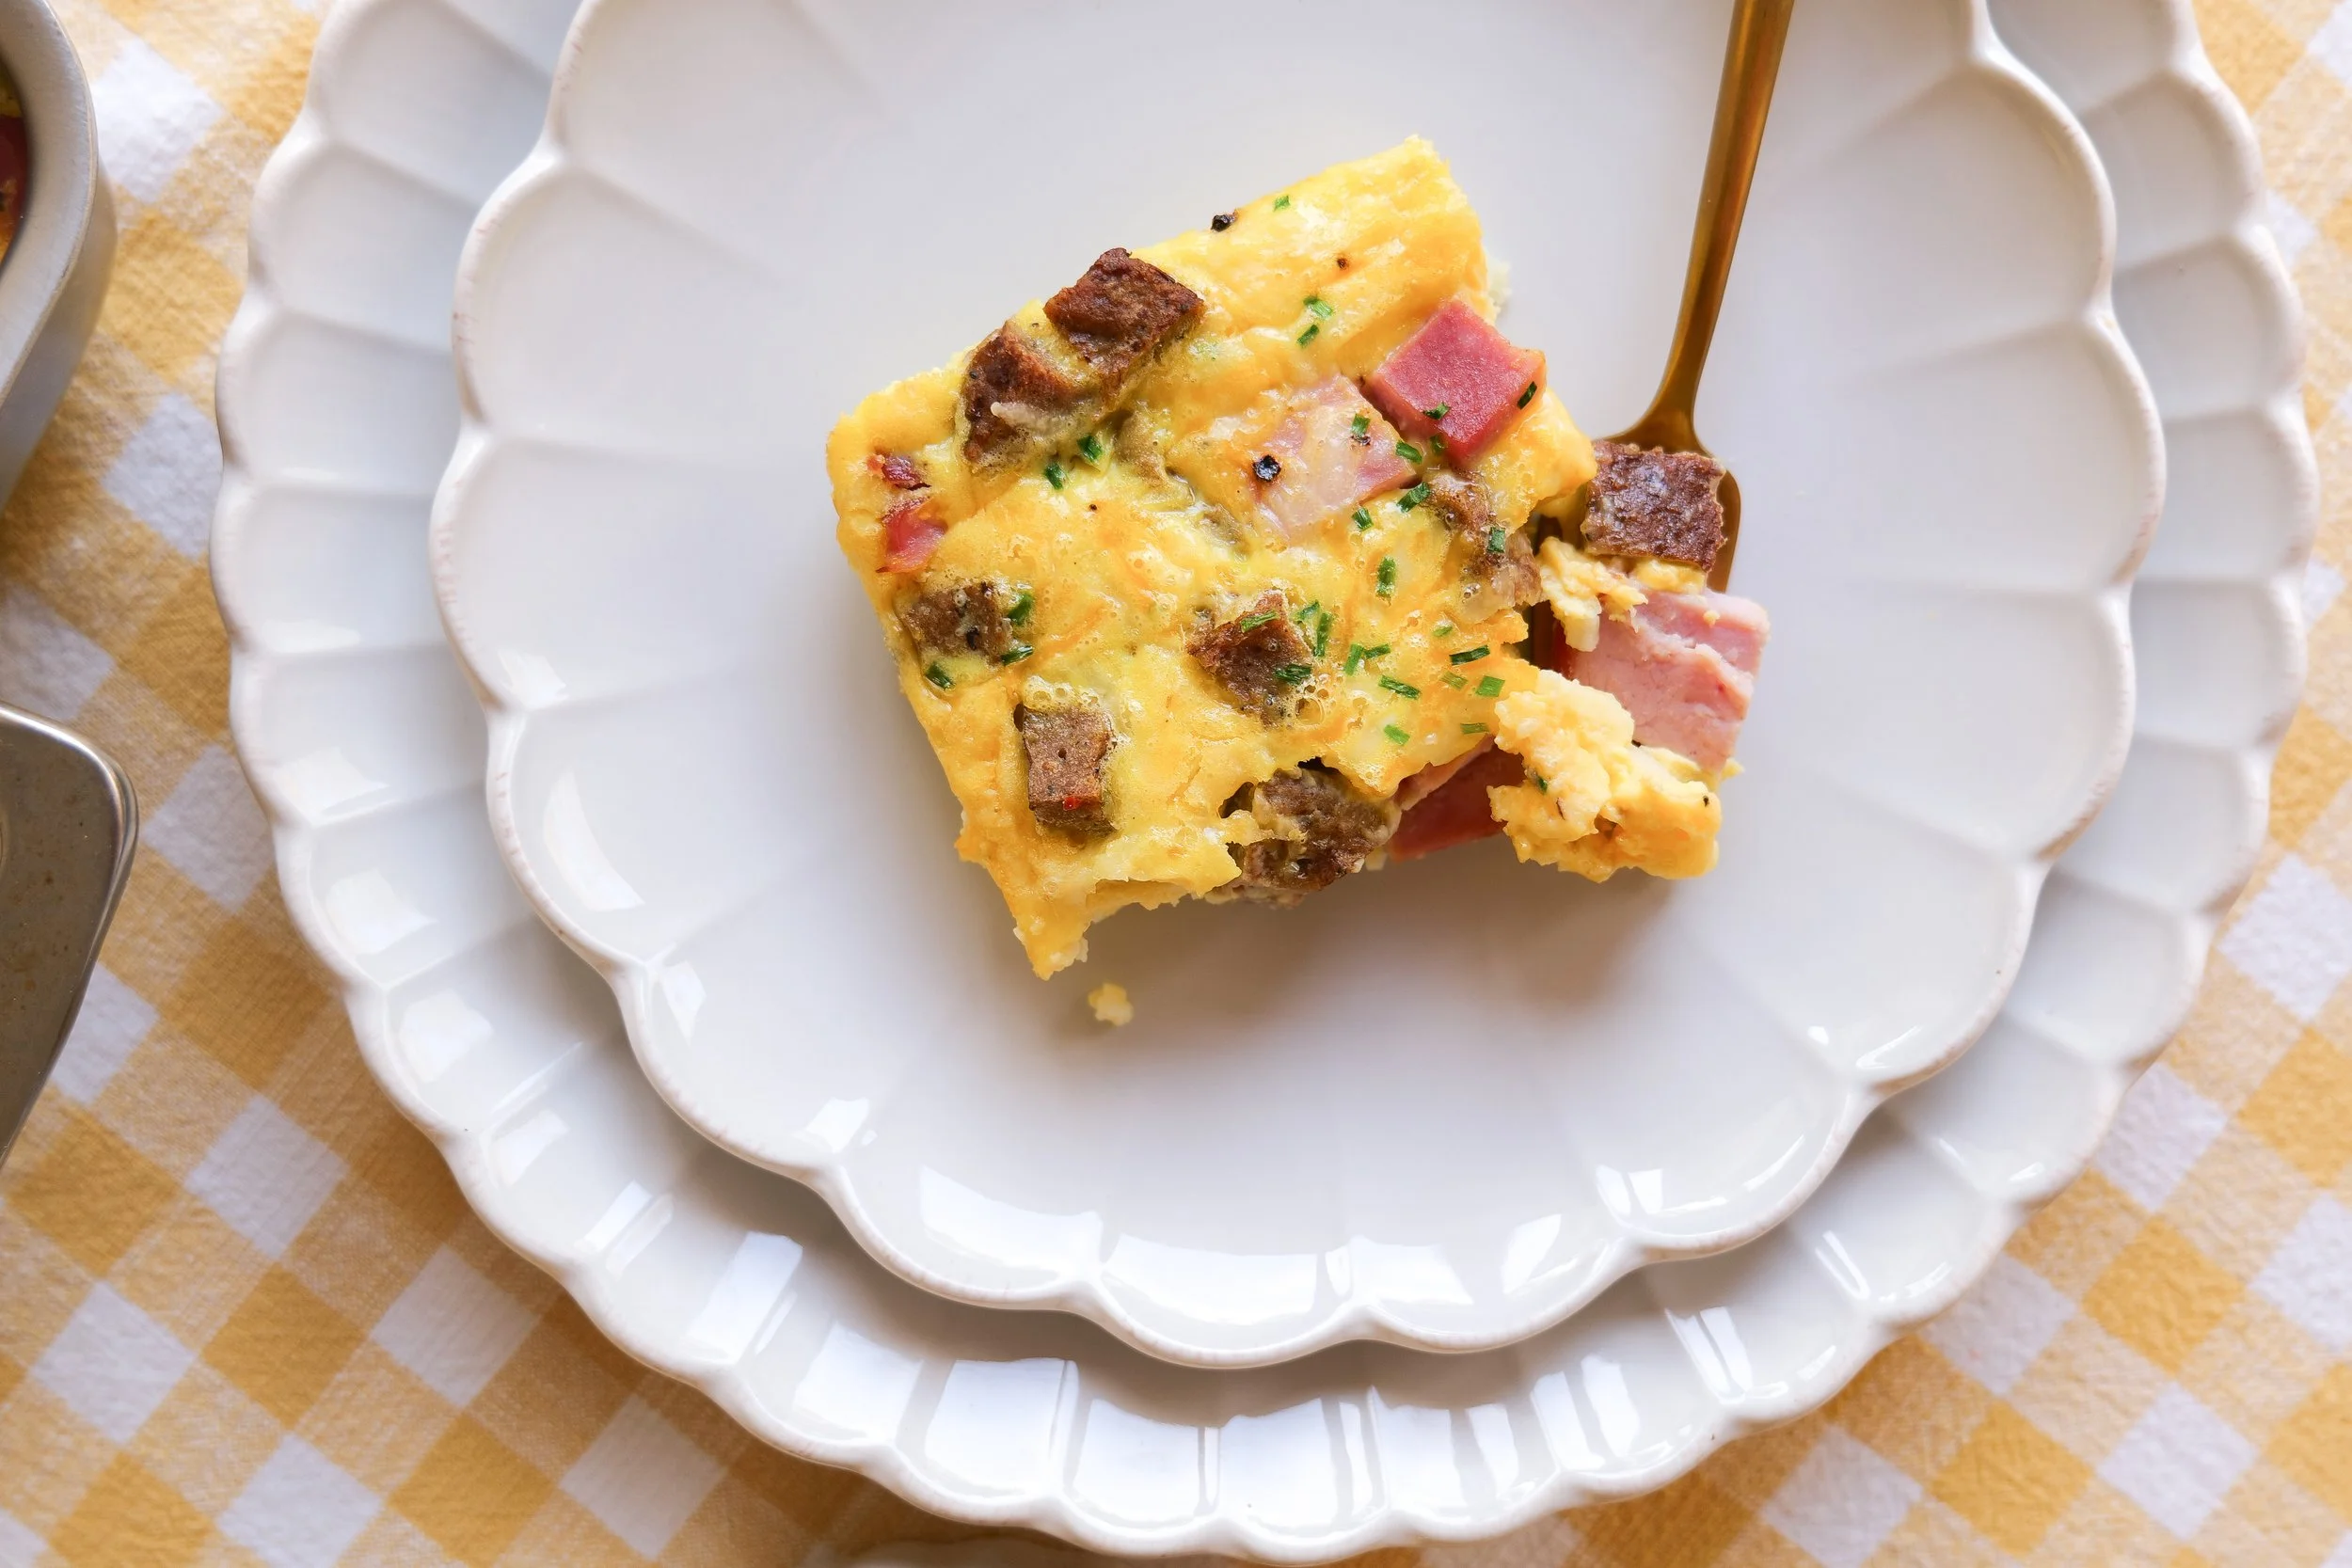
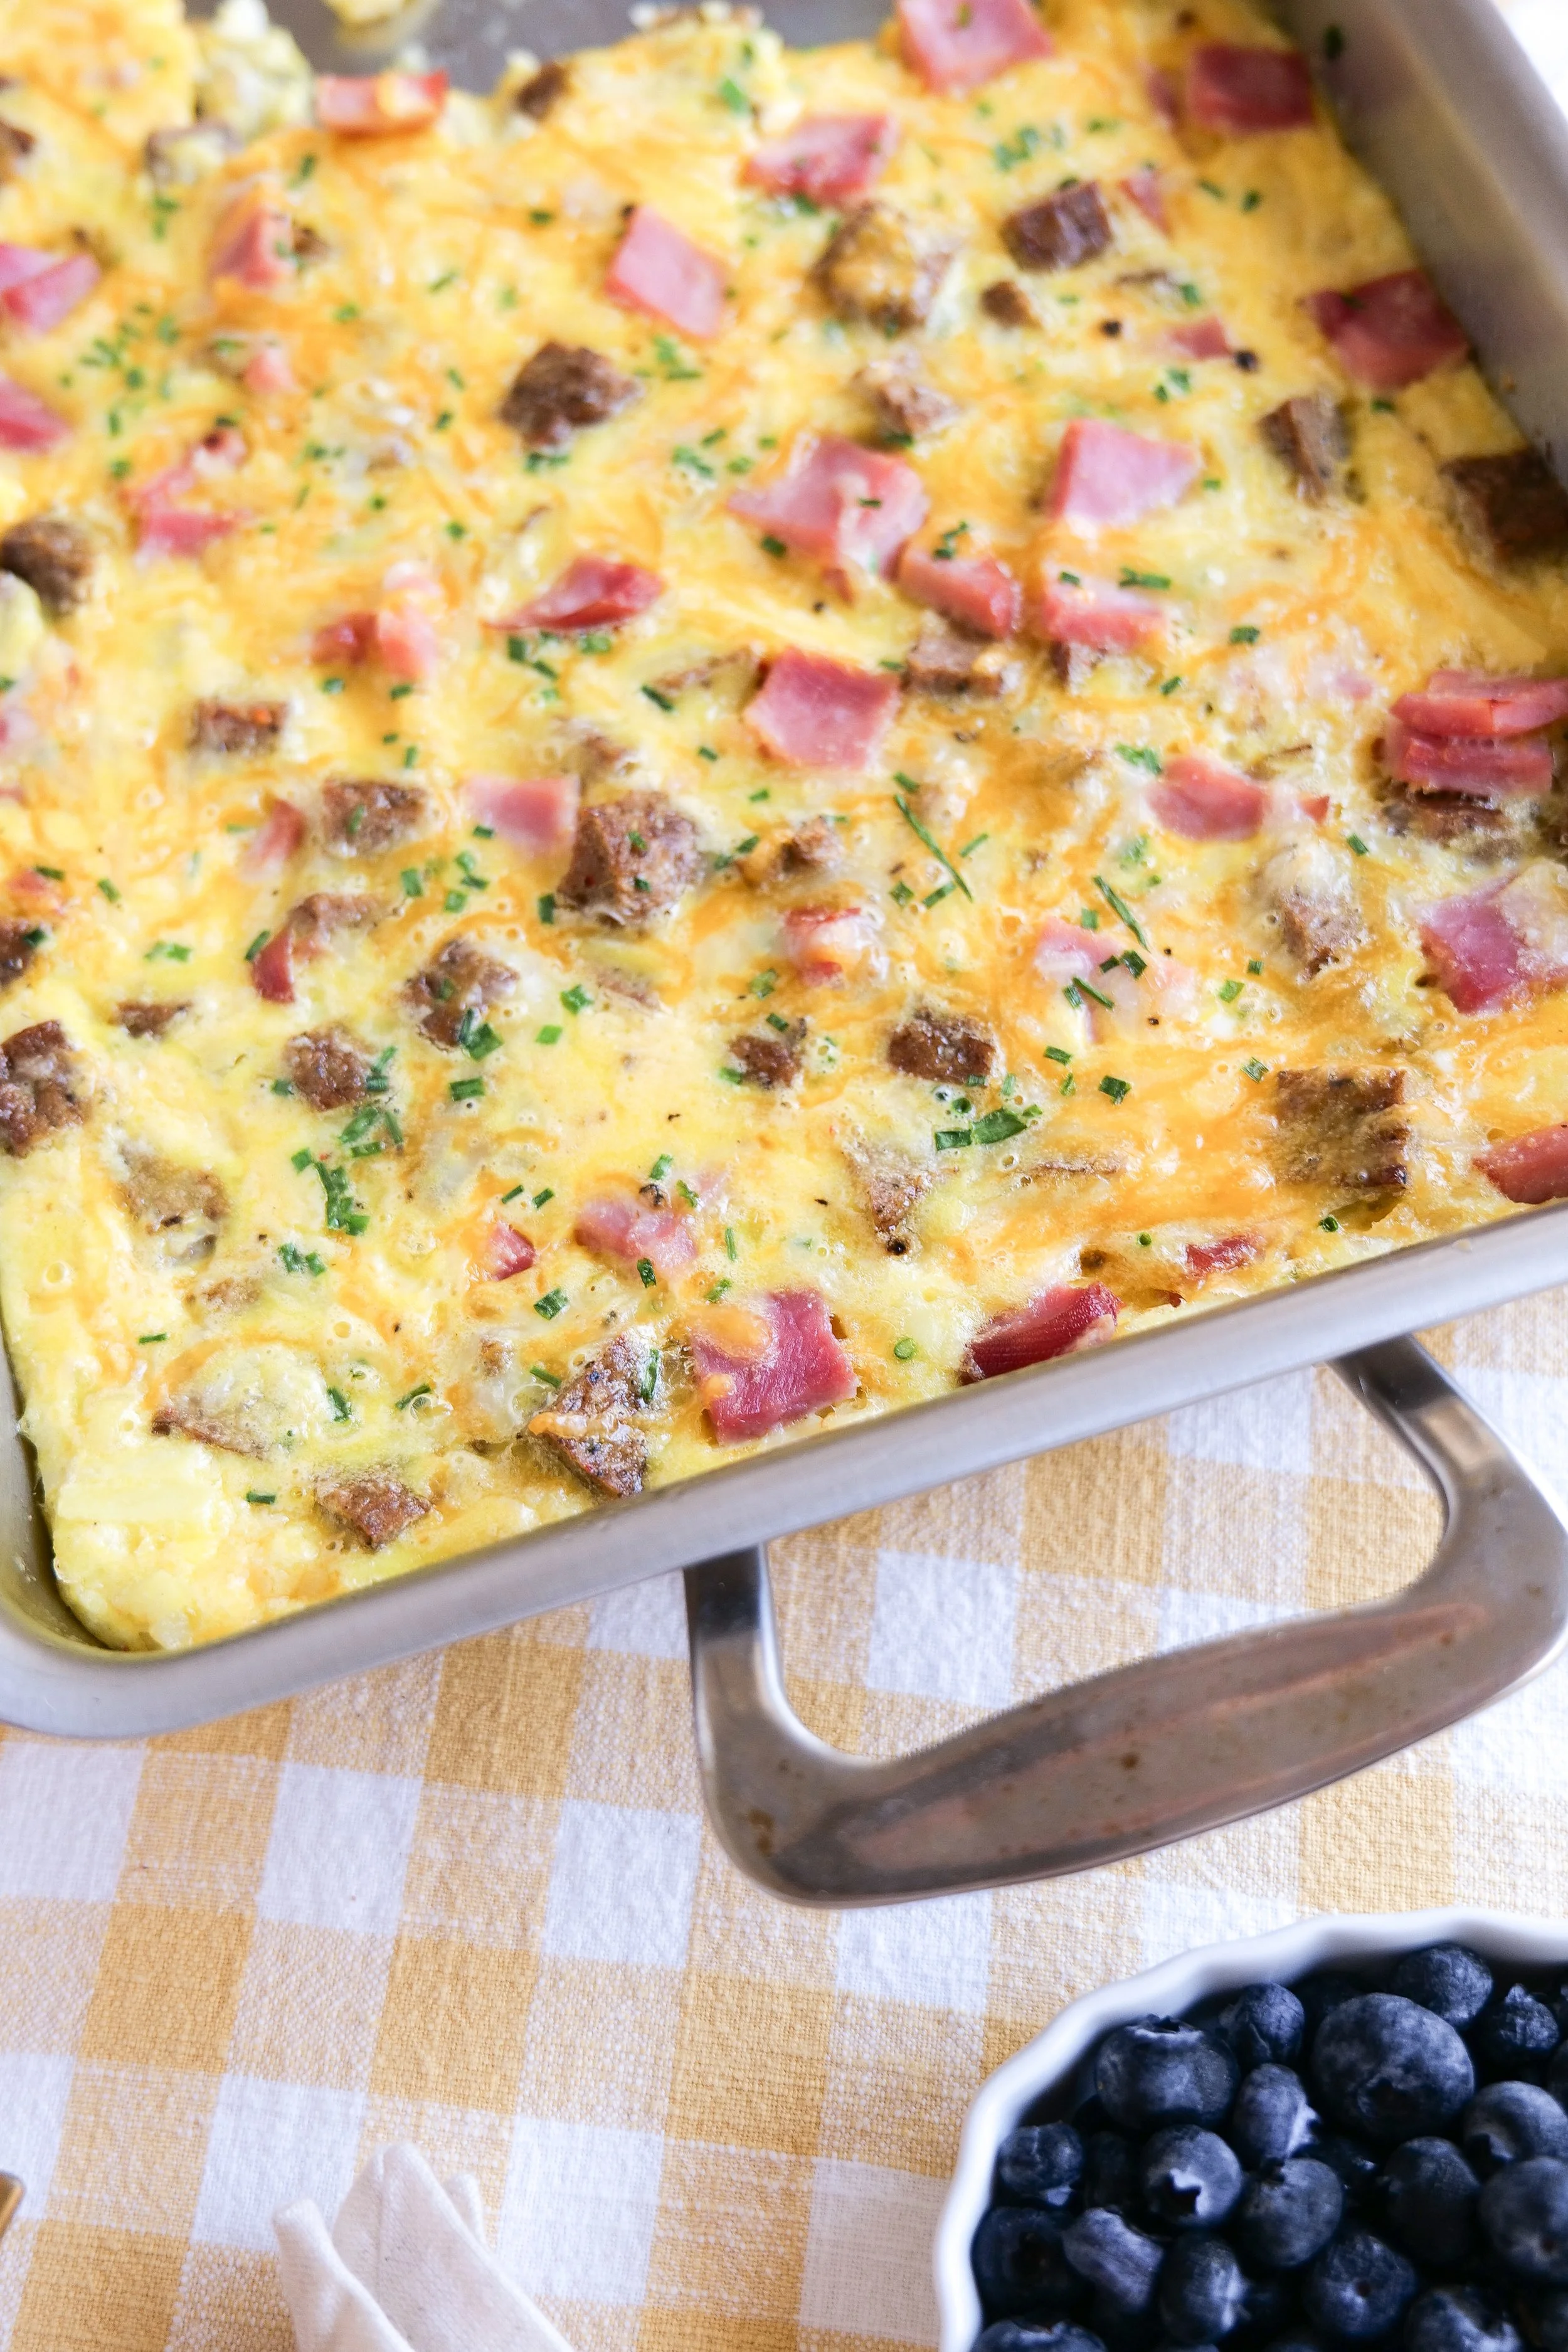
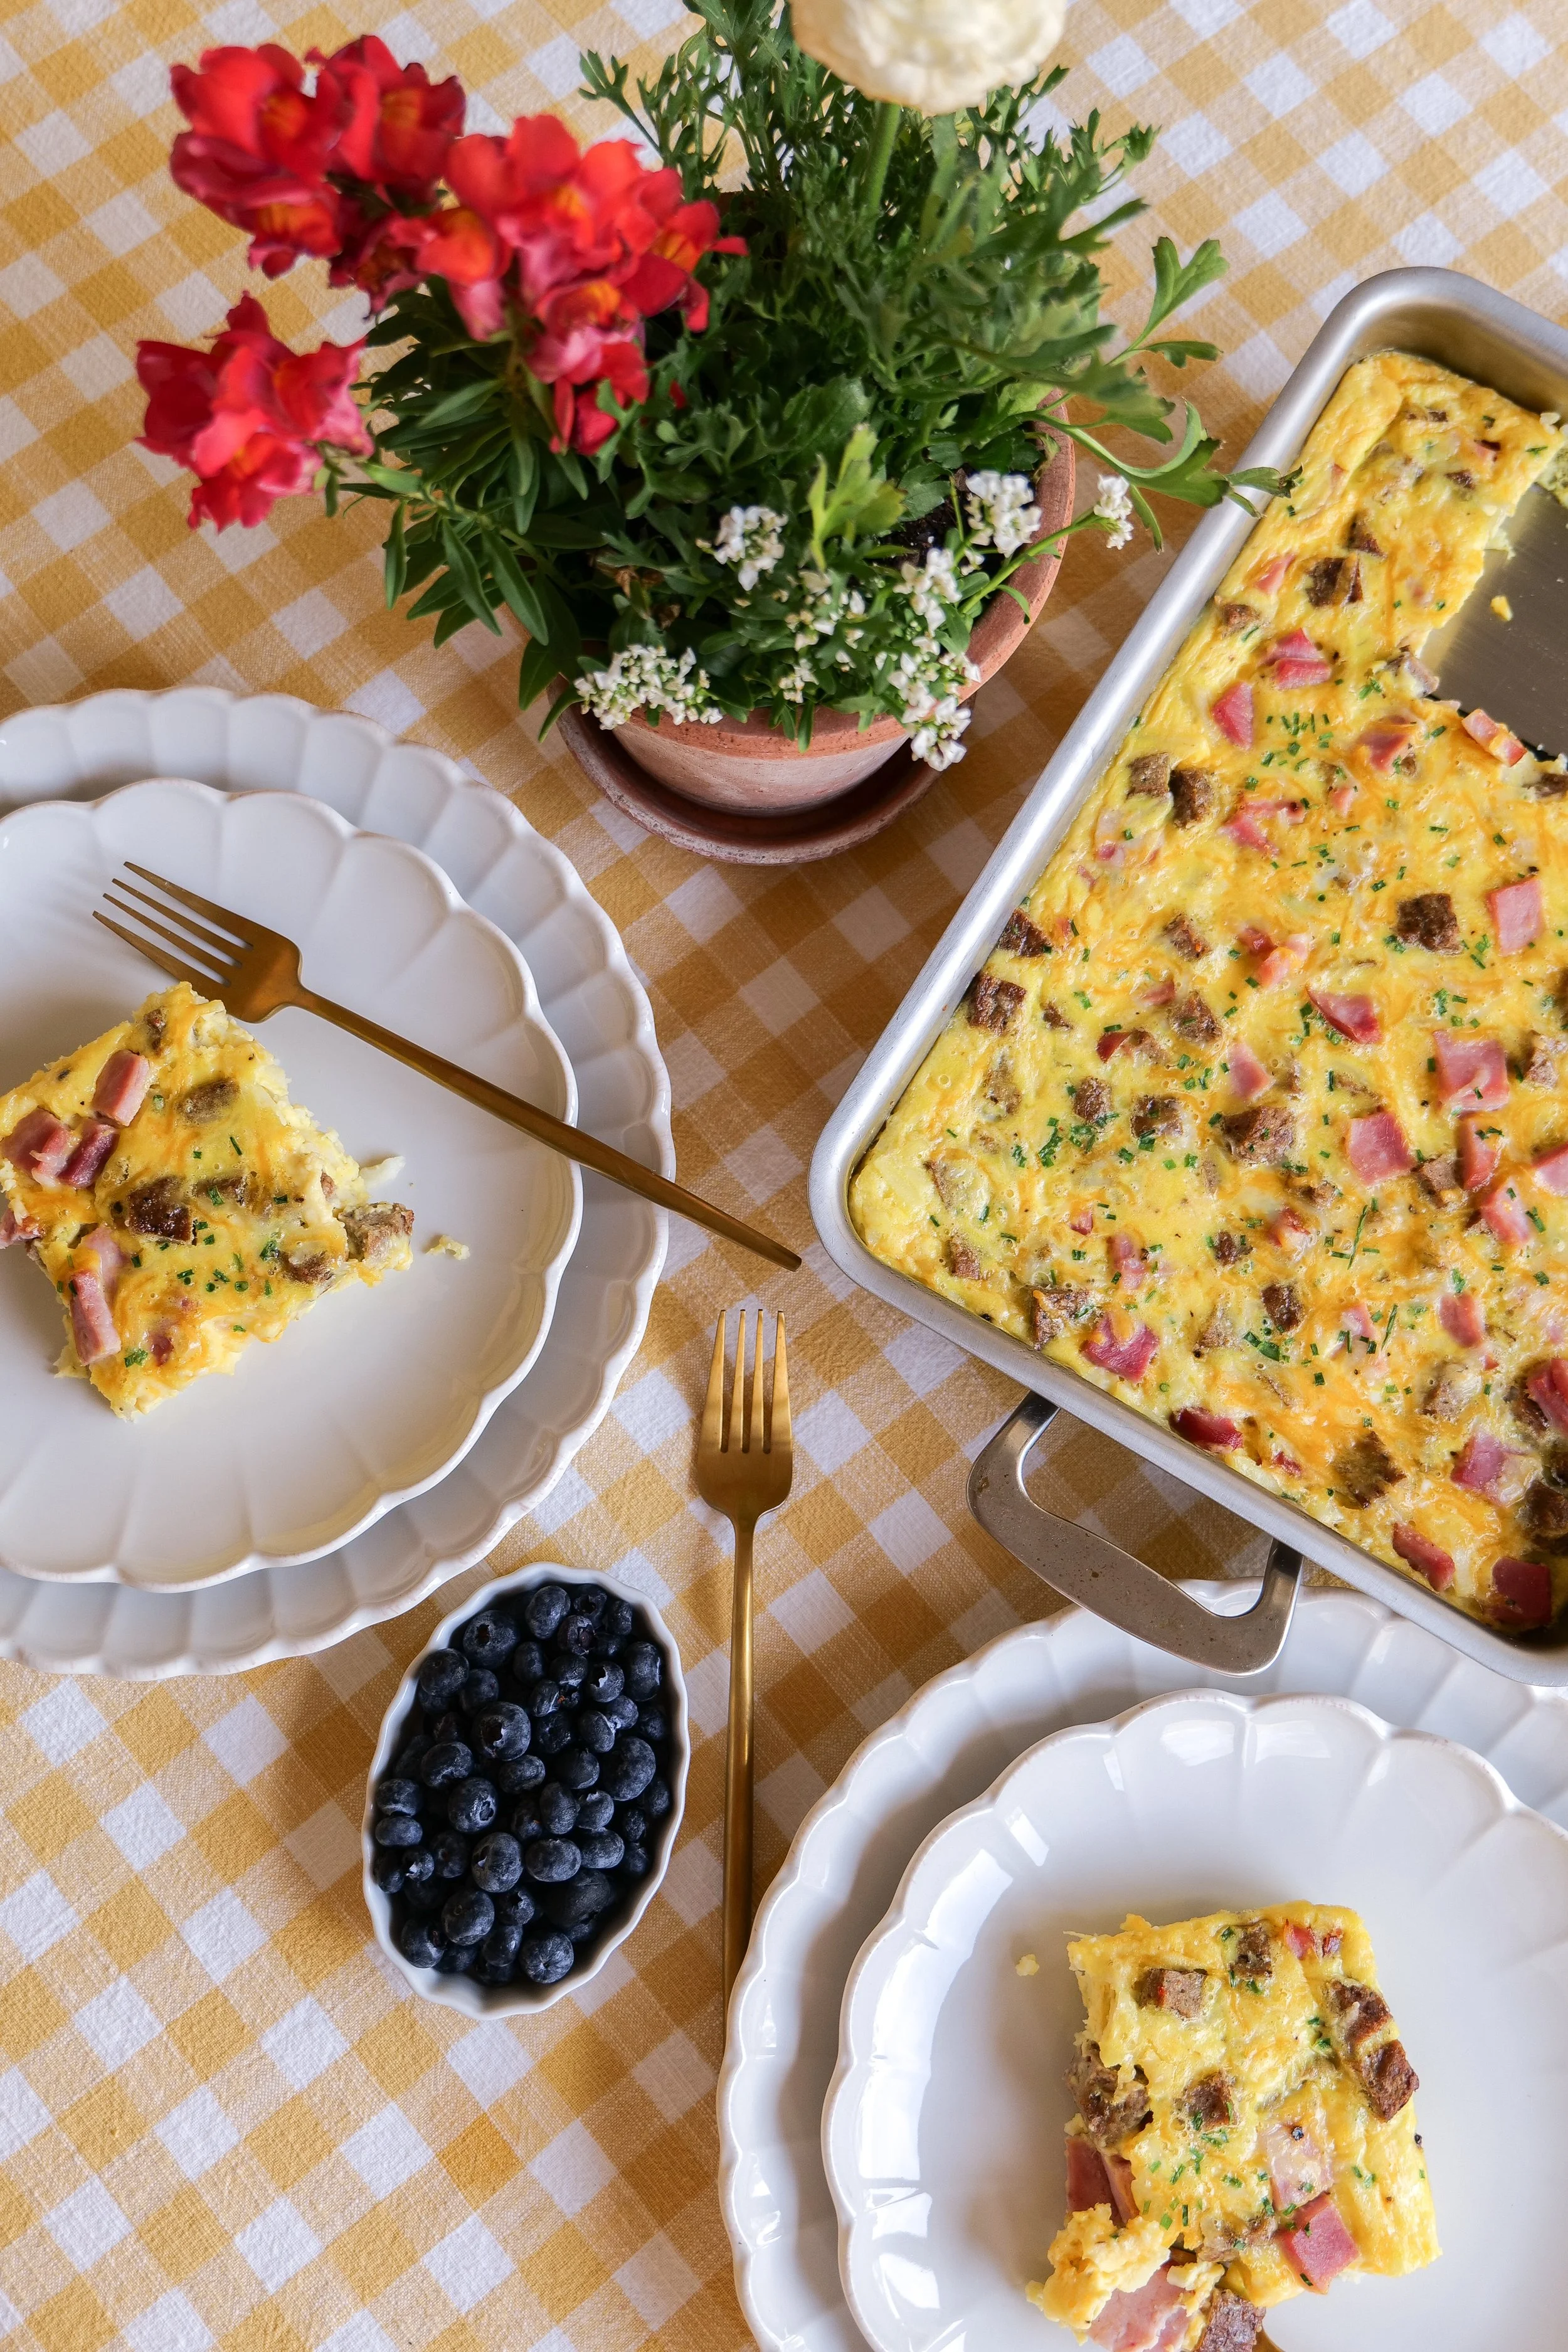
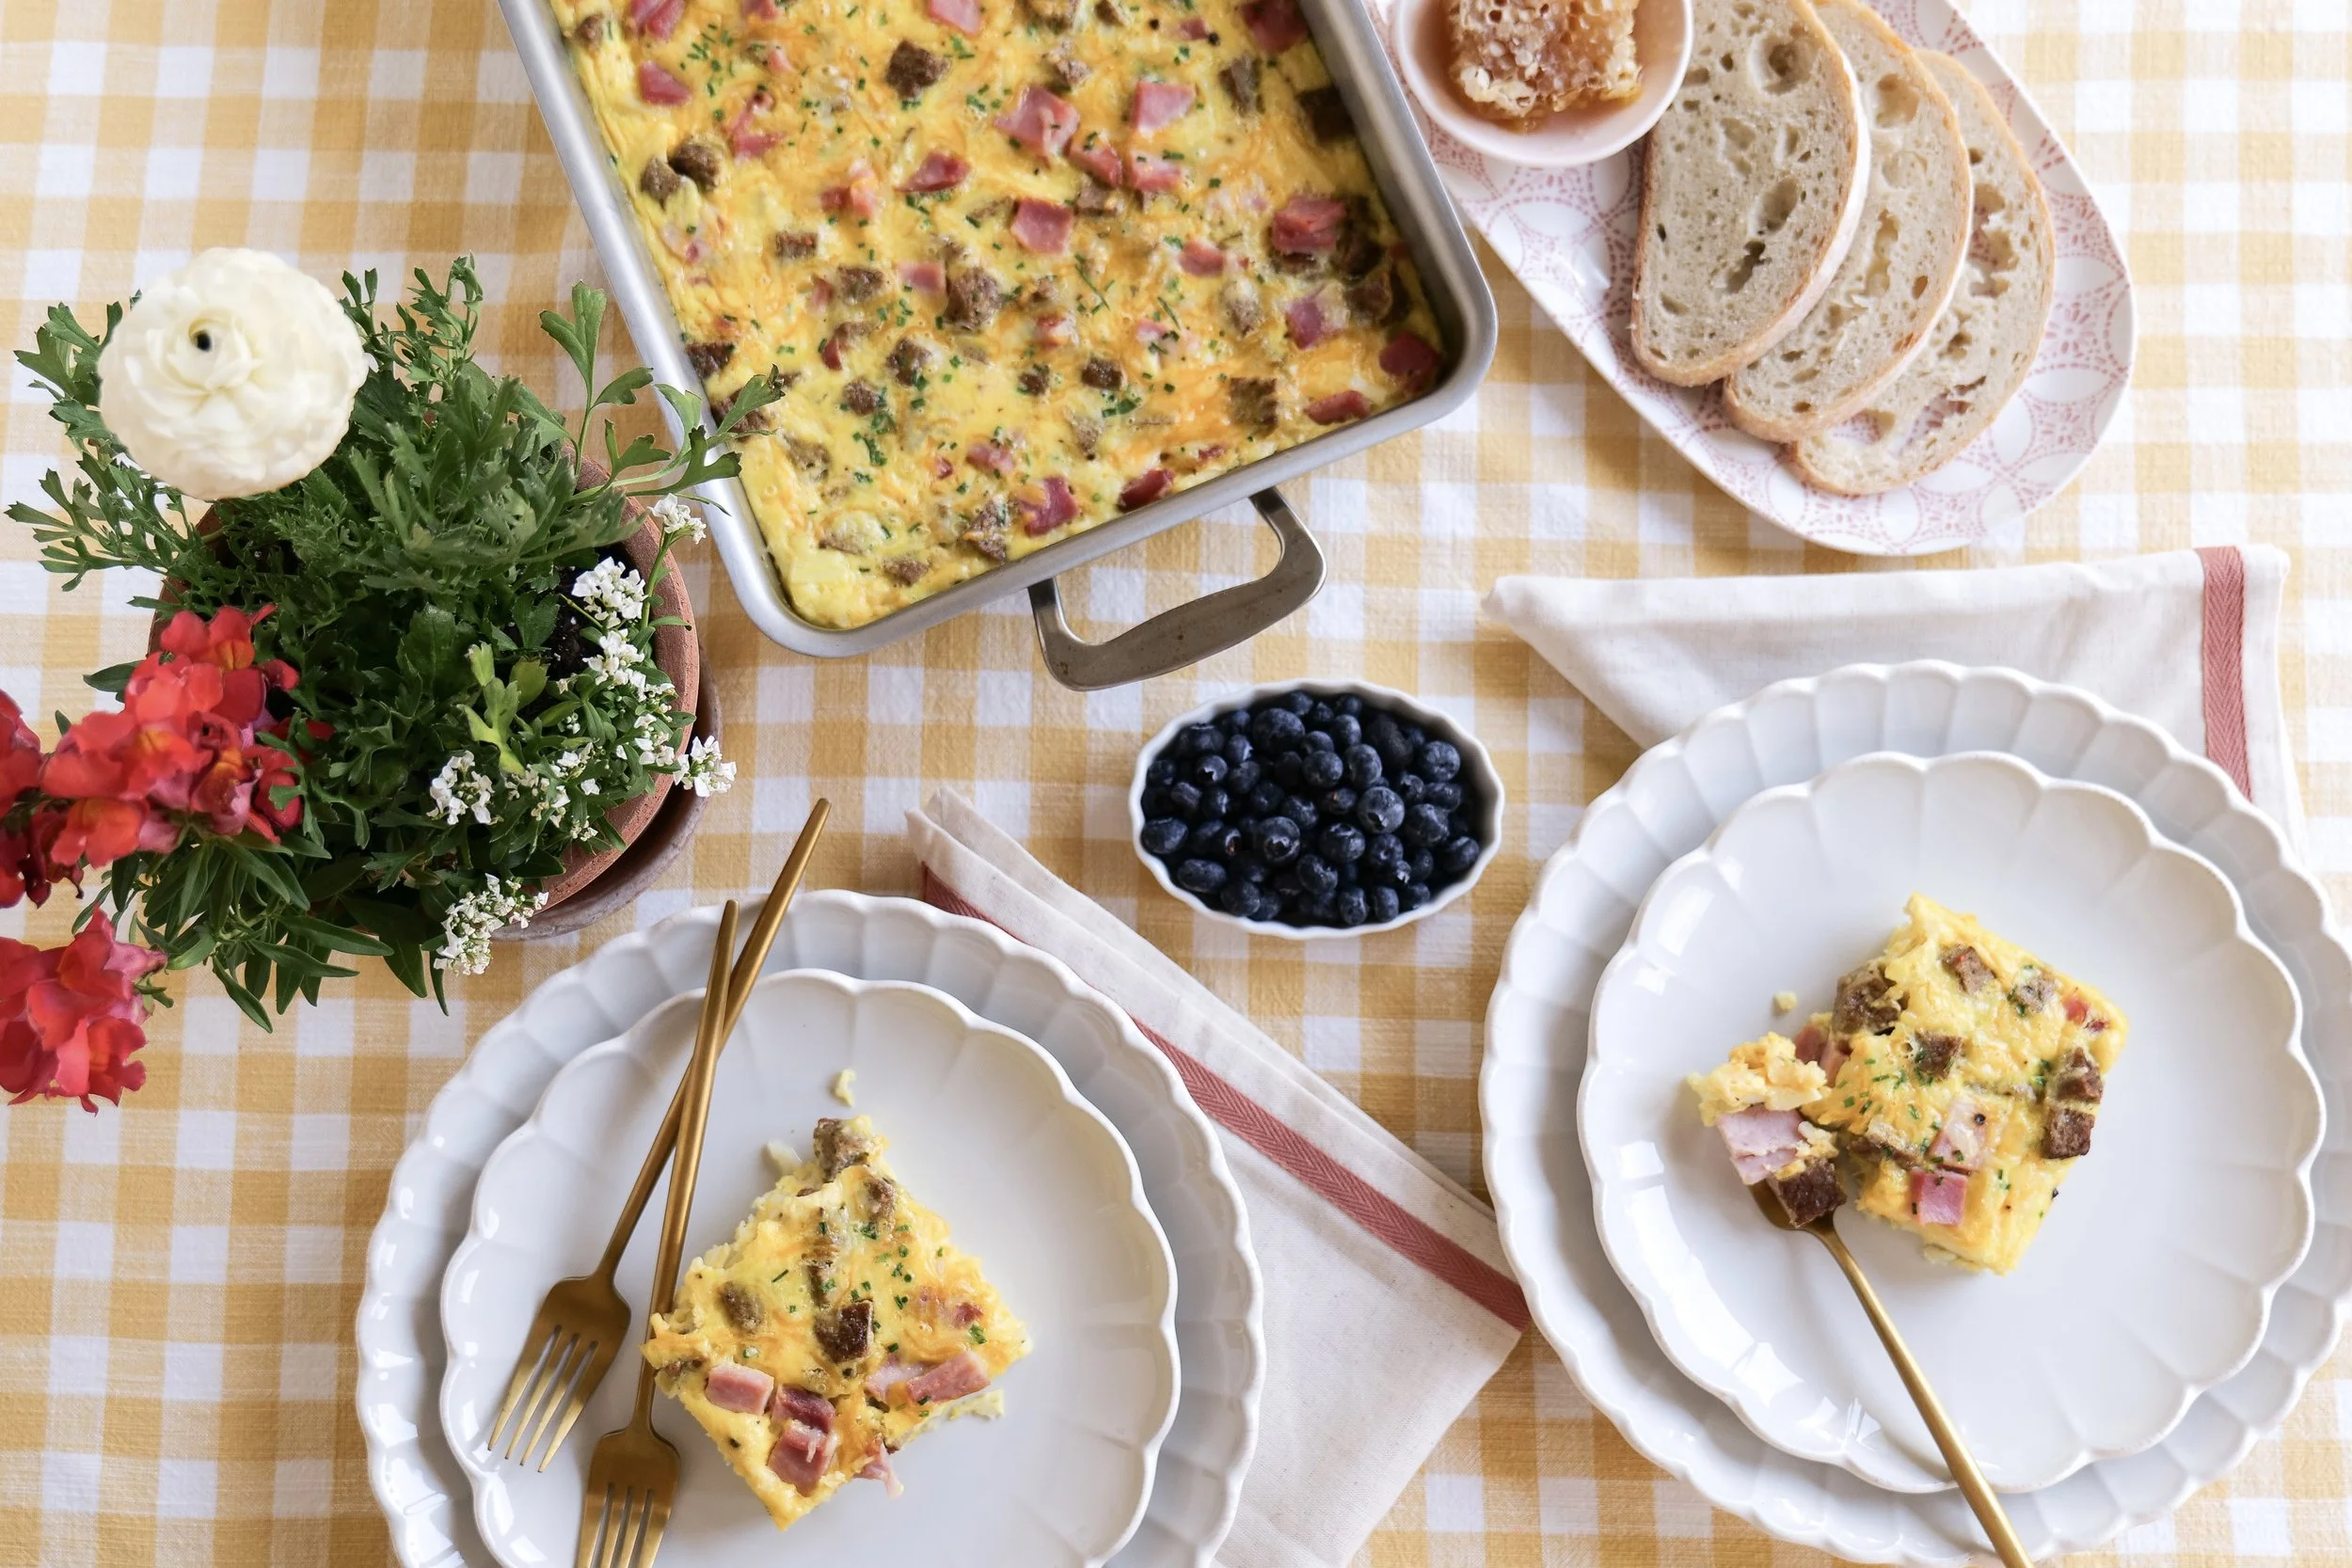
Easy breakfast casserole baked until golden and served warm for breakfast.
Hash brown breakfast casserole with sausage, eggs, and melted cheese.
Sausage breakfast casserole baked in a casserole dish for brunch.

Why You’ll Love This Hash Brown Breakfast Casserole

This recipe is all about ease and comfort.

It comes together quickly, uses basic ingredients, and doesn’t require anything fancy. The hash browns give it a hearty base, while the eggs and cheese hold everything together into a rich, satisfying bake.

It’s especially great if you’re cooking for more than just yourself. You can make one dish and have breakfast handled for everyone—no standing at the stove flipping eggs or pancakes.

And if you like to plan ahead, this is one of those recipes that actually gets better when made in advance.

Ingredients You’ll Need

You don’t need much to make this work, which is part of the appeal.

  • Frozen hash browns

  • Eggs

  • Milk

  • Shredded cheese

  • Breakfast meat (sausage, bacon, or ham all work well)

  • Salt and pepper

That’s the base, but you can absolutely build on it depending on what you like or what’s in your fridge.

How to Make This Breakfast Casserole

This comes together in a few simple steps.

Start by preparing your hash browns. If they’re frozen, you can use them as-is or let them thaw slightly for a softer texture.

If you’re using sausage or bacon, cook that first and set it aside.

In a separate bowl, whisk together your eggs, milk, and seasoning until everything is well combined.

Then it’s just a matter of layering everything into a baking dish—hash browns, cooked meat, cheese—and pouring the egg mixture over the top. Give it a gentle mix if needed so everything is evenly distributed.

Bake until the center is set and the top is golden. That’s it.

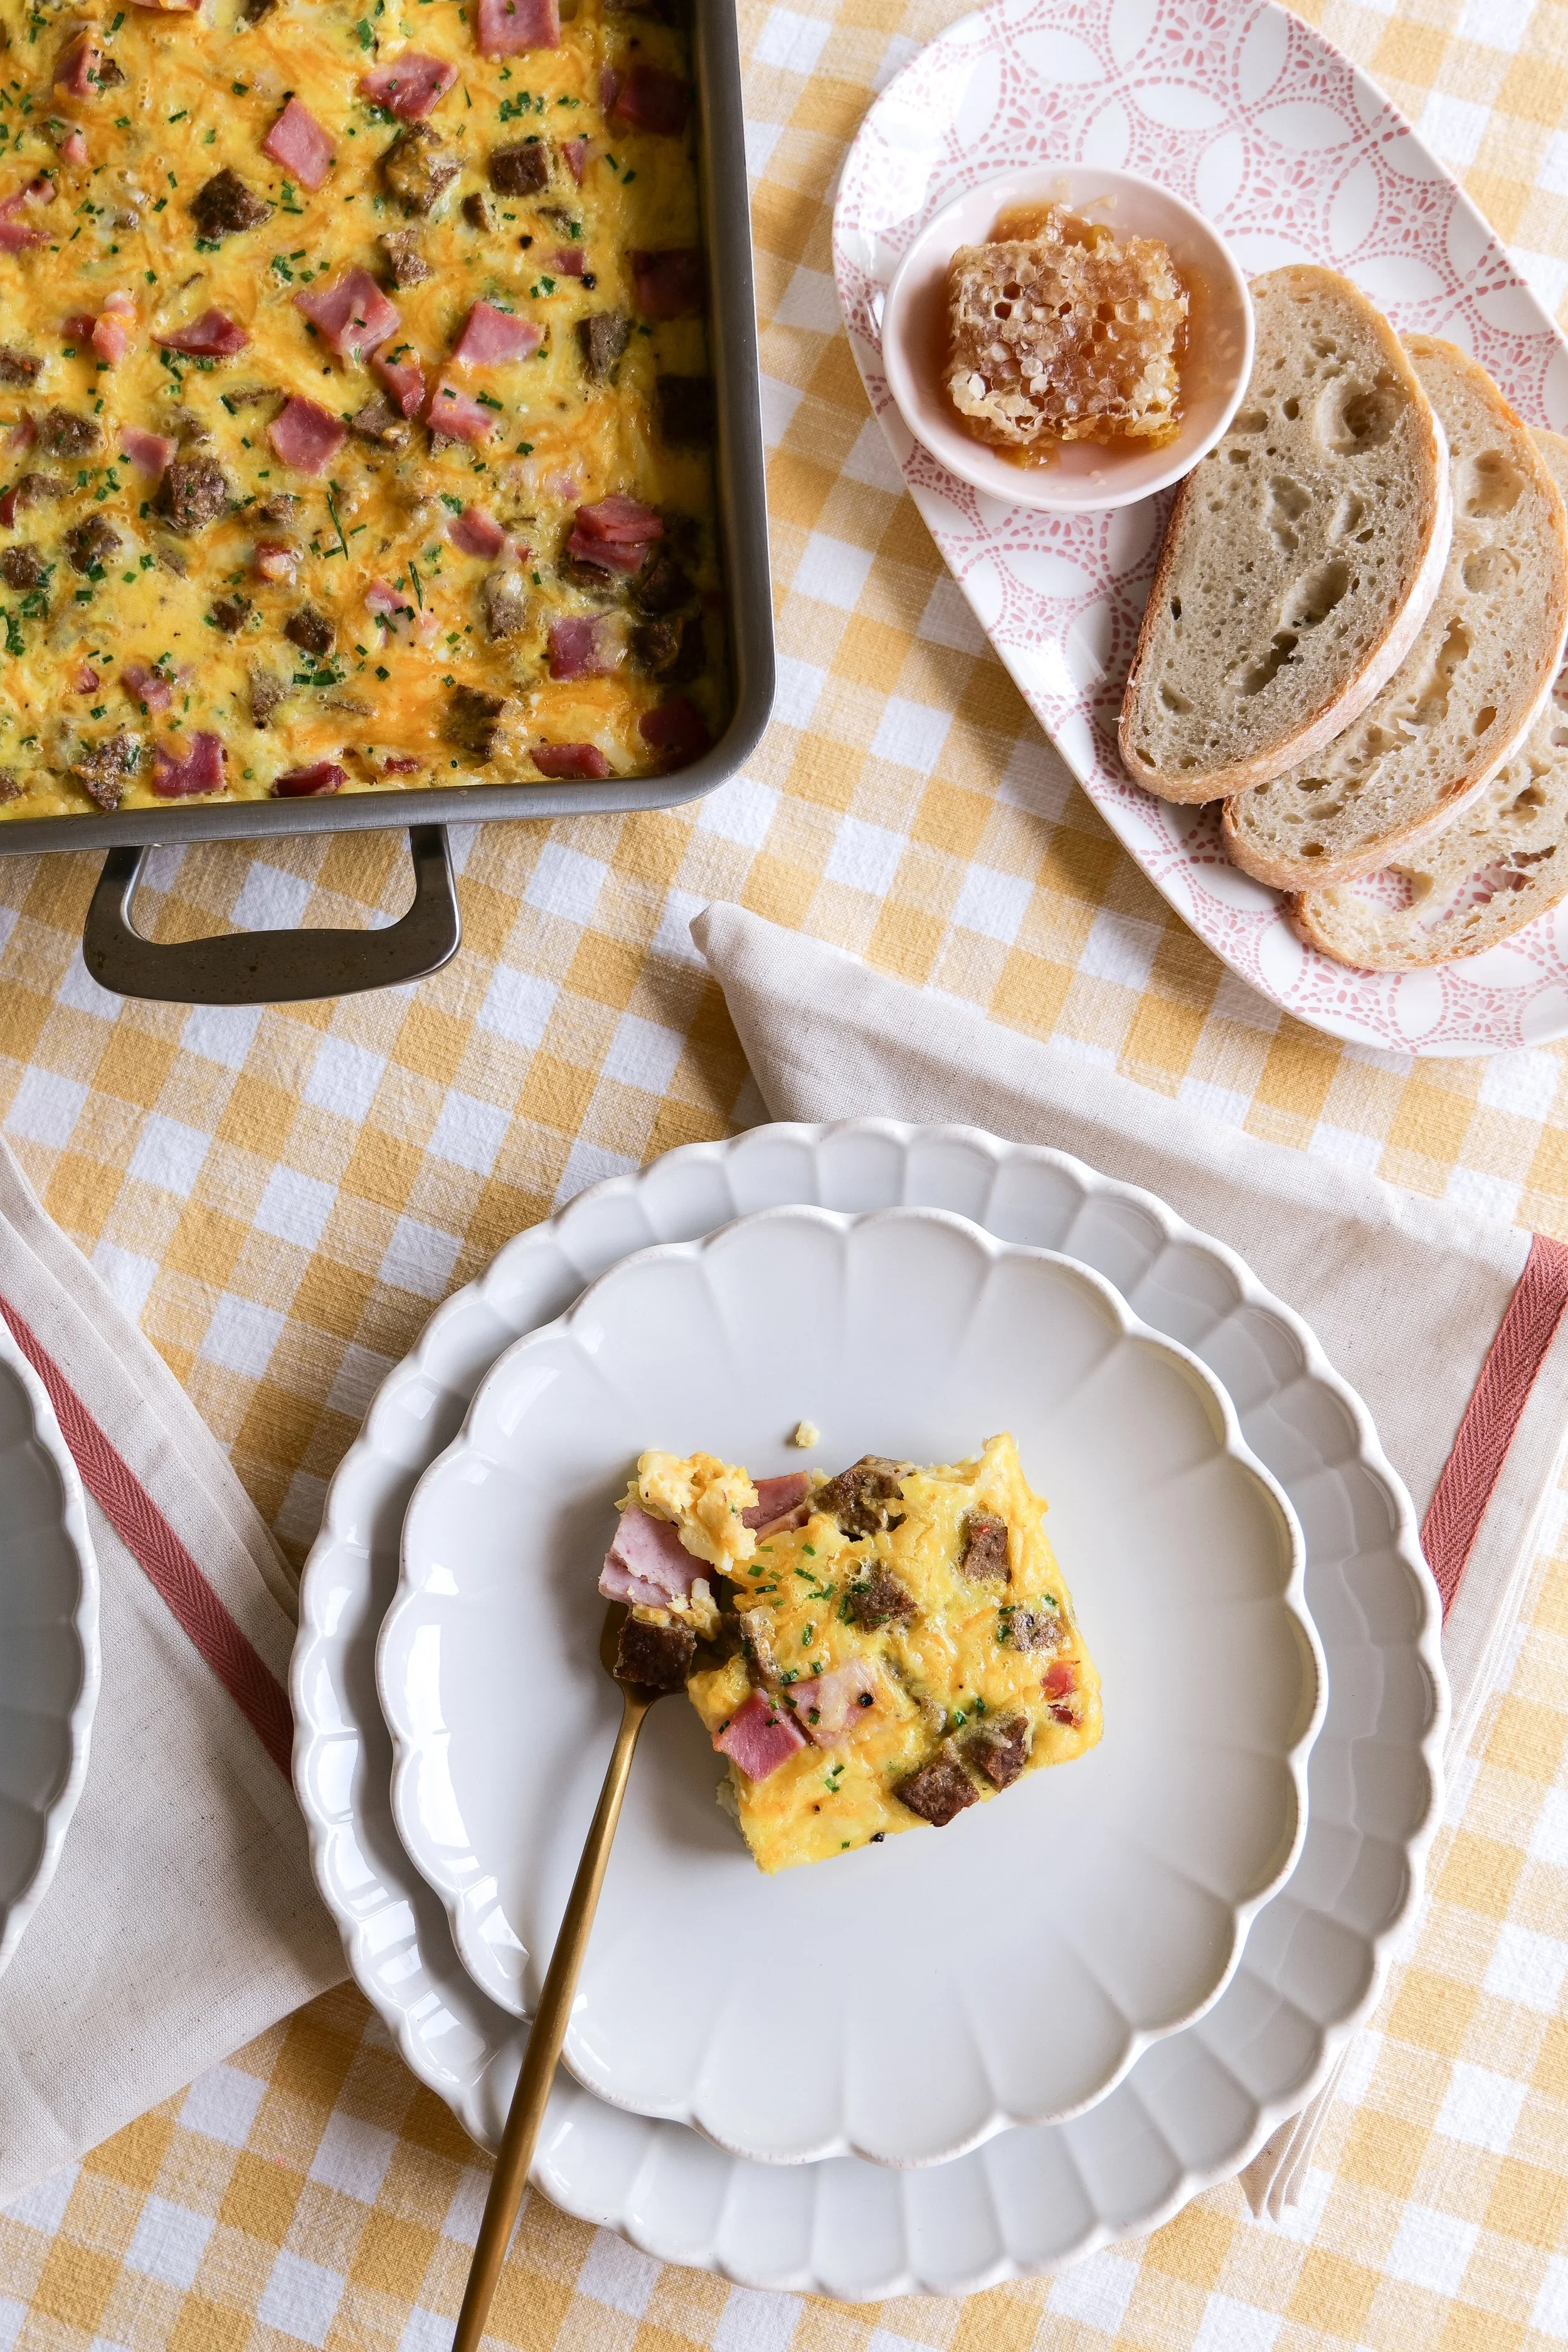
Make-ahead breakfast casserole perfect for holiday mornings and meal prep.
Cheesy hash brown casserole with eggs and breakfast sausage.

Make-Ahead Tips (Highly Recommended)

One of the best things about this hash brown breakfast casserole is how well it works as a make-ahead meal.

You can assemble the entire dish the night before, cover it, and keep it in the fridge overnight. In the morning, just bake it as directed.

This not only saves time, but also allows the flavors to come together even more.

If you’re hosting brunch or cooking for a holiday morning, this takes a lot of pressure off.

Variations & Ways to Switch It Up

Once you’ve made this once, it’s easy to customize.

You can swap the meat depending on what you like—sausage for something hearty, bacon for a smoky flavor, or ham for something a little lighter.

If you want to add vegetables, things like bell peppers, onions, or spinach work really well here.

Different cheeses can also change the flavor quite a bit. Cheddar is classic, but mozzarella, pepper jack, or a blend all work.

You can even make it completely meatless and load it up with veggies instead.

Tips for the Best Breakfast Casserole

A few small things can make a big difference here.

If you’re using frozen hash browns, be mindful of excess moisture. Too much water can make the casserole a little soggy, so letting them thaw or patting them dry can help.

Don’t overbake it—once the center is set and no longer jiggly, it’s ready.

And if you like a little texture, letting the top get slightly golden adds a really nice finish.

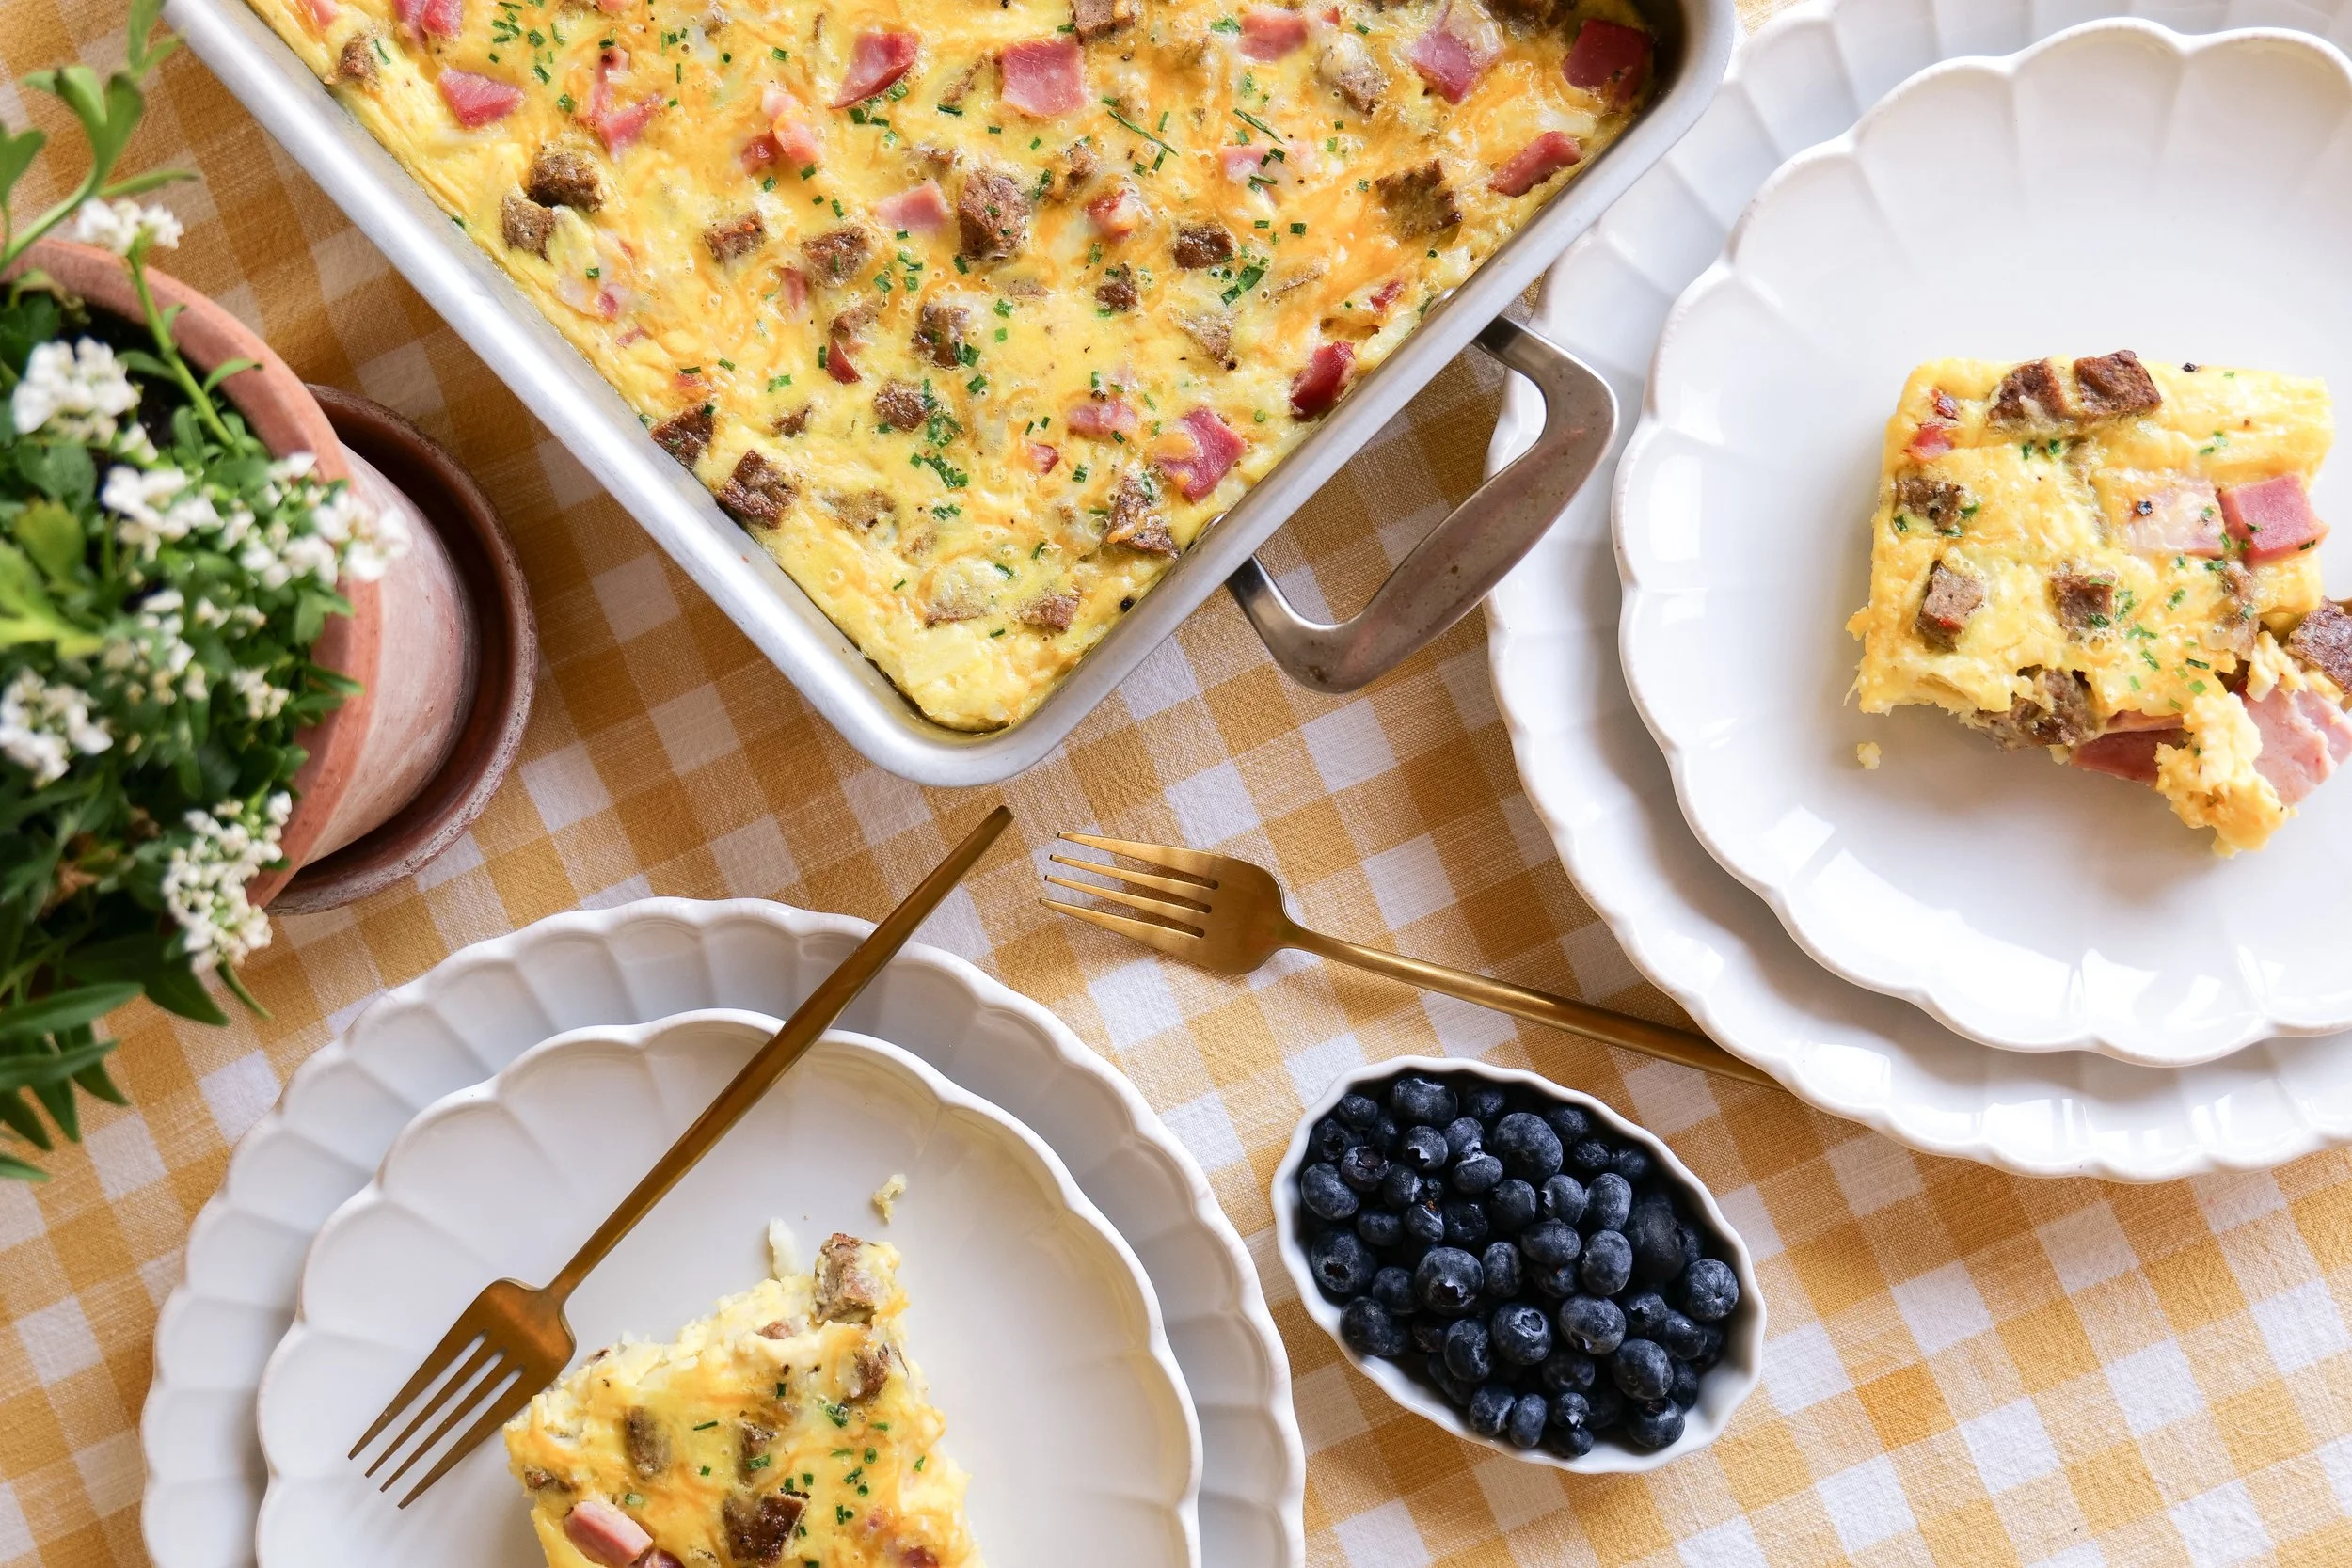
Breakfast casserole with sausage, cheese, eggs, and crispy hash browns.
Holiday breakfast casserole ready for Christmas morning or Easter brunch.
Hearty brunch casserole recipe perfect for feeding a crowd.

What to Serve With Breakfast Casserole

  • Fresh fruit salad

  • Cinnamon rolls

  • Banana bread

  • Blueberry crumble streusel loaf

  • Lemon blueberry scones

  • Crispy bacon

  • Breakfast sausage

  • Yogurt parfaits

  • Orange juice

  • Coffee bar station

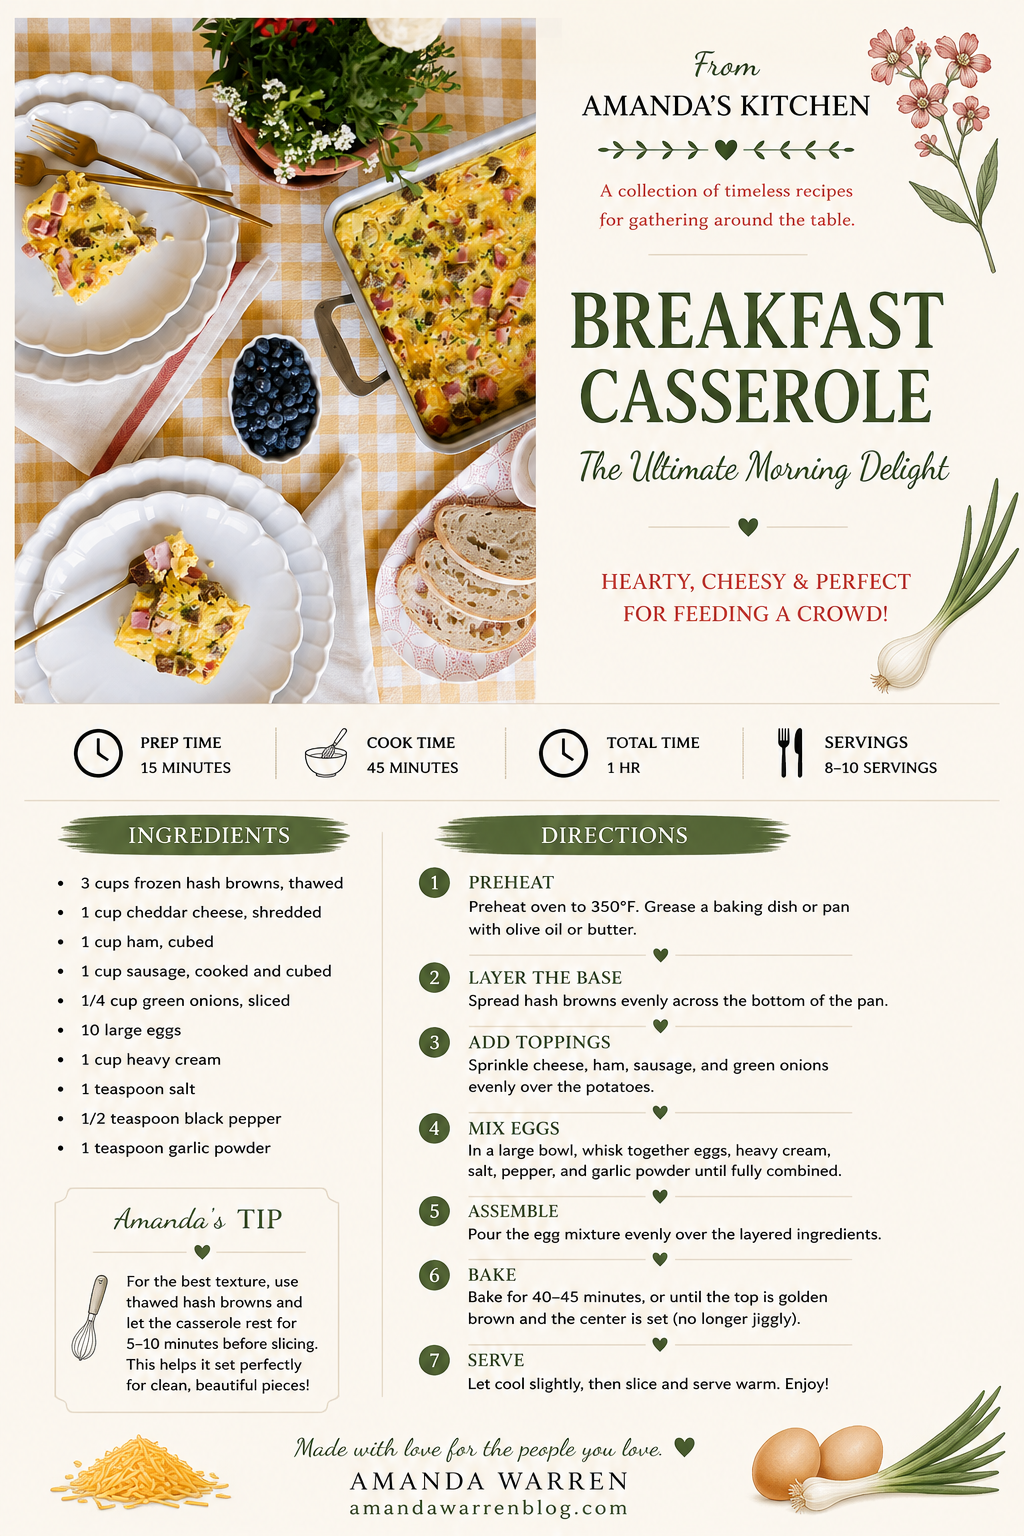
🛒 Ingredients

  • 3 cups frozen hash browns, thawed

  • 1 cup cheddar cheese, shredded

  • 1 cup ham, cubed

  • 1 cup sausage, cooked and cubed

  • 1/4 cup green onions, sliced

  • 10 large eggs

  • 1 cup heavy cream

  • 1 teaspoon salt

  • 1/2 teaspoon black pepper

  • 1 teaspoon garlic powder

🍳 Directions

  1. Preheat oven to 350°F. Grease a baking dish or pan with olive oil or butter.

  2. Layer the base
    Spread hash browns evenly across the bottom of the pan.

  3. Add toppings
    Sprinkle cheese, ham, sausage, and green onions evenly over the potatoes.

  4. Mix eggs
    In a large bowl, whisk together eggs, heavy cream, salt, pepper, and garlic powder until fully combined.

  5. Assemble
    Pour the egg mixture evenly over the layered ingredients.

  6. Bake
    Bake for 40–45 minutes, or until the top is golden brown and the center is set (no longer jiggly).

  7. Serve
    Let cool slightly, then slice and serve warm. Enjoy!

Shop My Breakfast & Hosting Favorites

This breakfast casserole is one of my favorite recipes for feeding a crowd. Here are some of the kitchen tools, bakeware, and serving pieces I use most often when preparing breakfast casseroles, brunch spreads, and holiday mornings.

Hosting a Brunch? Don't Miss These Reader Favorites

Planning a brunch spread? Pair this easy breakfast casserole with a few sweet and savory favorites to create a meal everyone will love.

FAQs

Can I use frozen hash browns in a breakfast casserole?
Yes, that’s actually what this recipe is built around. They’re convenient and work perfectly.

Do I need to thaw the hash browns first?
You don’t have to, but thawing them slightly can help with texture and reduce excess moisture.

Can I make this the night before?
Absolutely. This is one of the best make-ahead breakfast recipes—just assemble, refrigerate, and bake in the morning.

How long does it last in the fridge?
Usually 3–4 days when stored in an airtight container.

Can you freeze breakfast casserole?
Yes. Let it cool completely, then freeze in portions. Reheat in the oven or microwave when ready to eat.

This hash brown breakfast casserole is one of those dependable recipes that fits just about any situation—busy mornings, relaxed weekends, or feeding a group without overthinking it.

It’s simple, flexible, and consistently good, which is really all you need in a go-to breakfast recipe.

Save This Recipe

Whether you're planning ahead for a special occasion or adding a new favorite to your recipe collection, I've included a printable recipe card below so it's easy to save, print, and share with the people you love.
Large breakfast casserole ideal for family gatherings and brunch parties.
Overnight breakfast casserole prepared ahead for an easy morning meal.
Easy brunch casserole recipe with savory breakfast ingredients.

Mazda SUV Comparison Guide: CX-30, CX-5, CX-50, CX-70 & CX-90 Reviewed After Real Driving

Mazda’s SUV lineup has grown into one of the most well-rounded in the market, and after spending extended time driving the CX-30, CX-5, CX-50, CX-70, and CX-90, I’ve come to appreciate just how intentional each model is. These aren’t just different sizes of the same vehicle—they’re designed for different lifestyles, different priorities, and different types of families. If you’re searching for the best Mazda SUV, understanding these real-world differences makes all the difference.

Mazda SUV comparison featuring the CX-30, CX-5, CX-50, CX-70, and CX-90.
Best Mazda SUV for families compared side by side.
Mazda CX-5 and Mazda CX-50 comparison for family and everyday driving.
Mazda CX-70 and Mazda CX-90 comparison showing differences in size and seating.

Quick Mazda SUV Comparison

Mazda CX-30
Best For: Singles, couples, and city driving
Seats: 5
My Take: The smallest Mazda SUV with a premium feel and excellent fuel economy.

Mazda CX-5
Best For: Small families
Seats: 5
My Take: The best all-around Mazda SUV and my top recommendation for most buyers.

Mazda CX-50
Best For: Adventure seekers and active families
Seats: 5
My Take: More rugged styling and outdoor-focused features than the CX-5.

Mazda CX-70
Best For: Luxury SUV shoppers who don't need a third row
Seats: 5
My Take: A premium two-row SUV with plenty of cargo space.

Mazda CX-90
Best For: Growing families
Seats: 6–8
My Take: The largest Mazda SUV with three rows and the most family-friendly space.

Which Mazda SUV Should You Buy?

What stands out most after long-term driving is how each SUV fits into everyday life. From commuting and school drop-offs to road trips and hauling gear, each one reveals its strengths over time in ways you don’t always notice during a quick test drive.

Starting with the Mazda CX-30, this is the most compact SUV in the lineup and the easiest to live with in tight urban environments. It feels more like a sporty hatchback than a traditional SUV, which becomes a huge advantage when navigating crowded parking lots or narrow streets. The steering is sharp, the ride is smooth, and it has that signature Mazda driving feel that makes even short trips enjoyable.

However, from a family perspective, the CX-30 is best suited for individuals, couples, or very small families. Over time, the limitations in rear-seat space and cargo capacity become noticeable. A stroller, groceries, and a couple of bags can quickly fill it up. That said, it’s still one of the best compact SUVs if your priority is fuel efficiency, affordability, and a premium feel in a smaller package.

Moving up to the Mazda CX-5, this is where things start to feel more balanced. After living with it for a while, it’s clear why it consistently ranks among the most popular Mazda SUVs. It hits that middle ground between size, comfort, and practicality better than almost anything else in its class.

The CX-5 is ideal for small families. The back seats are genuinely usable for kids or even adults on shorter trips, and the cargo area is large enough for everyday needs—whether that’s groceries, sports gear, or a weekend getaway. Over time, what really stands out is how refined it feels. The interior materials, the quiet cabin, and the smooth ride all give it a near-luxury experience without the luxury price tag.

If your daily life is a mix of commuting, errands, and occasional road trips, the CX-5 is one of the most well-rounded choices in the Mazda SUV lineup.

Family-focused review of Mazda SUVs including cargo space and safety features.
Mazda CX-90 family SUV with spacious seating and cargo room.
Mazda CX-5 review highlighting comfort, safety, and value.

Then there’s the Mazda CX-50, which takes a slightly different approach. After extended driving, this one clearly feels designed for people who want a more rugged, adventure-ready SUV. It sits wider and feels more planted on the road, which gives it a confident and stable driving experience.

The CX-50 is perfect for families who enjoy outdoor activities—camping, hiking, road trips, or even just loading up bikes and gear for the weekend. It offers features like available all-terrain driving modes and a more durable interior feel that holds up well to active lifestyles.

Compared to the CX-5, the CX-50 sacrifices a bit of that soft, plush ride in favor of capability and toughness. It’s not uncomfortable by any means, but it feels more purpose-built. Over time, that distinction becomes more noticeable, especially if your driving includes rougher roads or off-the-beaten-path destinations.

Mazda CX-50 SUV designed for adventure and active family lifestyles.
Comparison of Mazda SUV models to help buyers choose the right vehicle.
Mazda SUV buying guide comparing features, size, and family-friendly options.

Stepping up to the Mazda CX-70, this is where Mazda starts to lean more into premium territory. After driving it long-term, it feels like a refined, spacious SUV designed for people who want room to stretch out without needing a third row.

The CX-70 is a two-row midsize SUV, which makes it an excellent choice for families with one or two kids, or even empty nesters who want extra cargo space. One of the biggest advantages becomes obvious over time: you’re not sacrificing trunk space for a third row you rarely use. That extra room makes a huge difference for road trips, shopping, and everyday practicality.

It also comes with more powerful engine options, including hybrid variants, which provide a strong balance of performance and efficiency. The interior design feels upscale, and the overall driving experience is smooth and confident. For buyers searching for a premium Mazda SUV without stepping into a three-row model, the CX-70 stands out as a strong contender.

Mazda SUV prepared for family road trips and travel adventures.

Finally, the Mazda CX-90 represents the brand’s largest and most capable SUV. After extended time behind the wheel, it’s clear that this is designed for families who need maximum space, flexibility, and versatility.

As a three-row SUV, the CX-90 is built to handle larger families or anyone who regularly drives with multiple passengers. The third row is best suited for kids or shorter trips, but having that extra seating makes a big difference in day-to-day life—especially for carpools, family outings, or road trips.

What really stands out over time is how well it balances size with drivability. Despite being the largest Mazda SUV, it doesn’t feel overwhelming on the road. It remains composed, responsive, and comfortable, even on longer drives.

Inside, the CX-90 leans heavily into a premium experience. High-quality materials, a clean layout, and thoughtful design details make it feel closer to a luxury SUV than a typical mainstream option. It also offers hybrid powertrains, which help improve fuel efficiency while still delivering strong performance—an important factor for families looking to save on fuel over time.

When comparing all five models, it becomes clear that Mazda has carefully positioned each SUV to meet different needs.

The CX-30 is best for city driving and smaller households. The CX-5 offers the best balance for everyday family life. The CX-50 is tailored for adventure and outdoor use. The CX-70 delivers premium comfort and space without a third row. And the CX-90 provides maximum seating and versatility for larger families.

Family-friendly Mazda SUV with advanced safety technology and cargo space.
Mazda SUV cargo space comparison for strollers, groceries, and travel gear.

Choosing the best Mazda SUV ultimately comes down to your lifestyle. If you need something compact and efficient, the CX-30 makes sense. If you want an all-around family vehicle, the CX-5 is hard to beat. If your weekends are filled with outdoor activities, the CX-50 stands out. If you prioritize space and refinement without needing extra seats, the CX-70 is a smart pick. And if you need room for everyone and everything, the CX-90 delivers in a big way.

After living with each of them, what stands out most is that Mazda has managed to create a lineup where every model feels intentional. Instead of forcing buyers into a one-size-fits-all SUV, they’ve built options that genuinely match different stages of life.

That’s what makes comparing Mazda SUVs so interesting—and why taking the time to understand these differences is key to finding the right one for your needs.

Family Road Trip Essentials

If you're shopping for a new family SUV, here are some of our most-used road trip and family travel essentials:

What We Love About Our Mazda

After driving a Mazda as a busy mom with two little ones, there are a few features that stand out and make everyday life so much easier.

Plenty of Space for Family Life

From strollers and diaper bags to groceries, road trip essentials, and everything in between, I love having enough room for all the things that come with raising a young family. The extra cargo space makes errands, travel days, and everyday outings feel much less stressful.

The Heads-Up Display Navigation

One of my favorite features is the heads-up display that projects directions directly onto the windshield. As someone who is constantly relying on GPS and never quite knows where I'm going, having directions right in front of me helps me stay focused on the road while navigating somewhere new.

Safety Features for Peace of Mind

With young children in the car, safety is always my top priority. Mazda's safety technology gives me extra confidence every time we drive. Features like blind spot monitoring, lane departure alerts, and driver-assistance technology help me feel more secure whether we're running errands around town or heading out on a longer road trip.

A Luxury Feel Without the Luxury Price Tag

One thing that continually surprises people when they ride in our Mazda is how premium it feels. The interior design, comfortable seating, and thoughtful technology make it feel much more expensive than many SUVs in its class.

For our family, it's been the perfect balance of practicality, comfort, safety, and style.

Frequently Asked Questions

Which Mazda SUV is best for families?

For larger families, the Mazda CX-90 offers three rows of seating and the most passenger space. For smaller families, the Mazda CX-5 remains one of the best all-around choices.

Is the Mazda CX-50 bigger than the CX-5?

The CX-50 is longer and wider, while the CX-5 has a slightly taller profile. The CX-50 is generally aimed at buyers wanting a more rugged, adventure-focused vehicle.

What's the difference between the CX-70 and CX-90?

The biggest difference is seating. The CX-70 is a two-row SUV while the CX-90 adds a third row for larger families. They share much of the same platform and premium design.

Which Mazda SUV has the most cargo space?

The CX-90 provides the most overall versatility, while the CX-70 offers substantial cargo room without sacrificing space to a third row.

For More on Mazda & Travel:

Embark on a Memorable Family Road Trip from Texas to California: Top Stops, Dining Spots, and Perfect Cars for You and Your Dog!

Explore Bozeman Montana with Our City Guide

Yellowstone Road Trip From California

Morro Bay Travel Tips

Unlock the Secrets of Paradise: Your Ultimate Hana, Maui Travel Guide to an Unforgettable Adventure!

Discovering the Magic of Carmel, CA: A Weekend Getaway at California's Coastal Paradise

Discovering the Best of Fort Worth: A Traveler's Guide

5 Essential Tips for an Unforgettable Visit to Magnolia Market

Exploring Lake Tahoe: An Unforgettable City Guide

Mazda heads-up display showing navigation directions on the windshield.

Easy Strawberry Puff Pastry Pop Tarts (Flaky Homemade Breakfast Pastry)

Flaky, buttery puff pastry filled with sweet strawberry jam and topped with icing — these homemade pop tarts are the easiest bakery-style breakfast you’ll make all season.

These Strawberry Puff Pastry Pop Tarts are flaky, buttery, and filled with sweet strawberry jam for an easy bakery-style treat made right at home. Using store-bought puff pastry keeps this recipe simple while delivering the perfect combination of crisp layers and fruity filling.

Whether you're serving them for breakfast, brunch, Valentine's Day, Mother's Day, or an afternoon sweet treat, these homemade strawberry pastries come together quickly and look as beautiful as they taste. Finished with a simple glaze and festive sprinkles, they're guaranteed to become a favorite for both kids and adults.

↓ Skip to Recipe
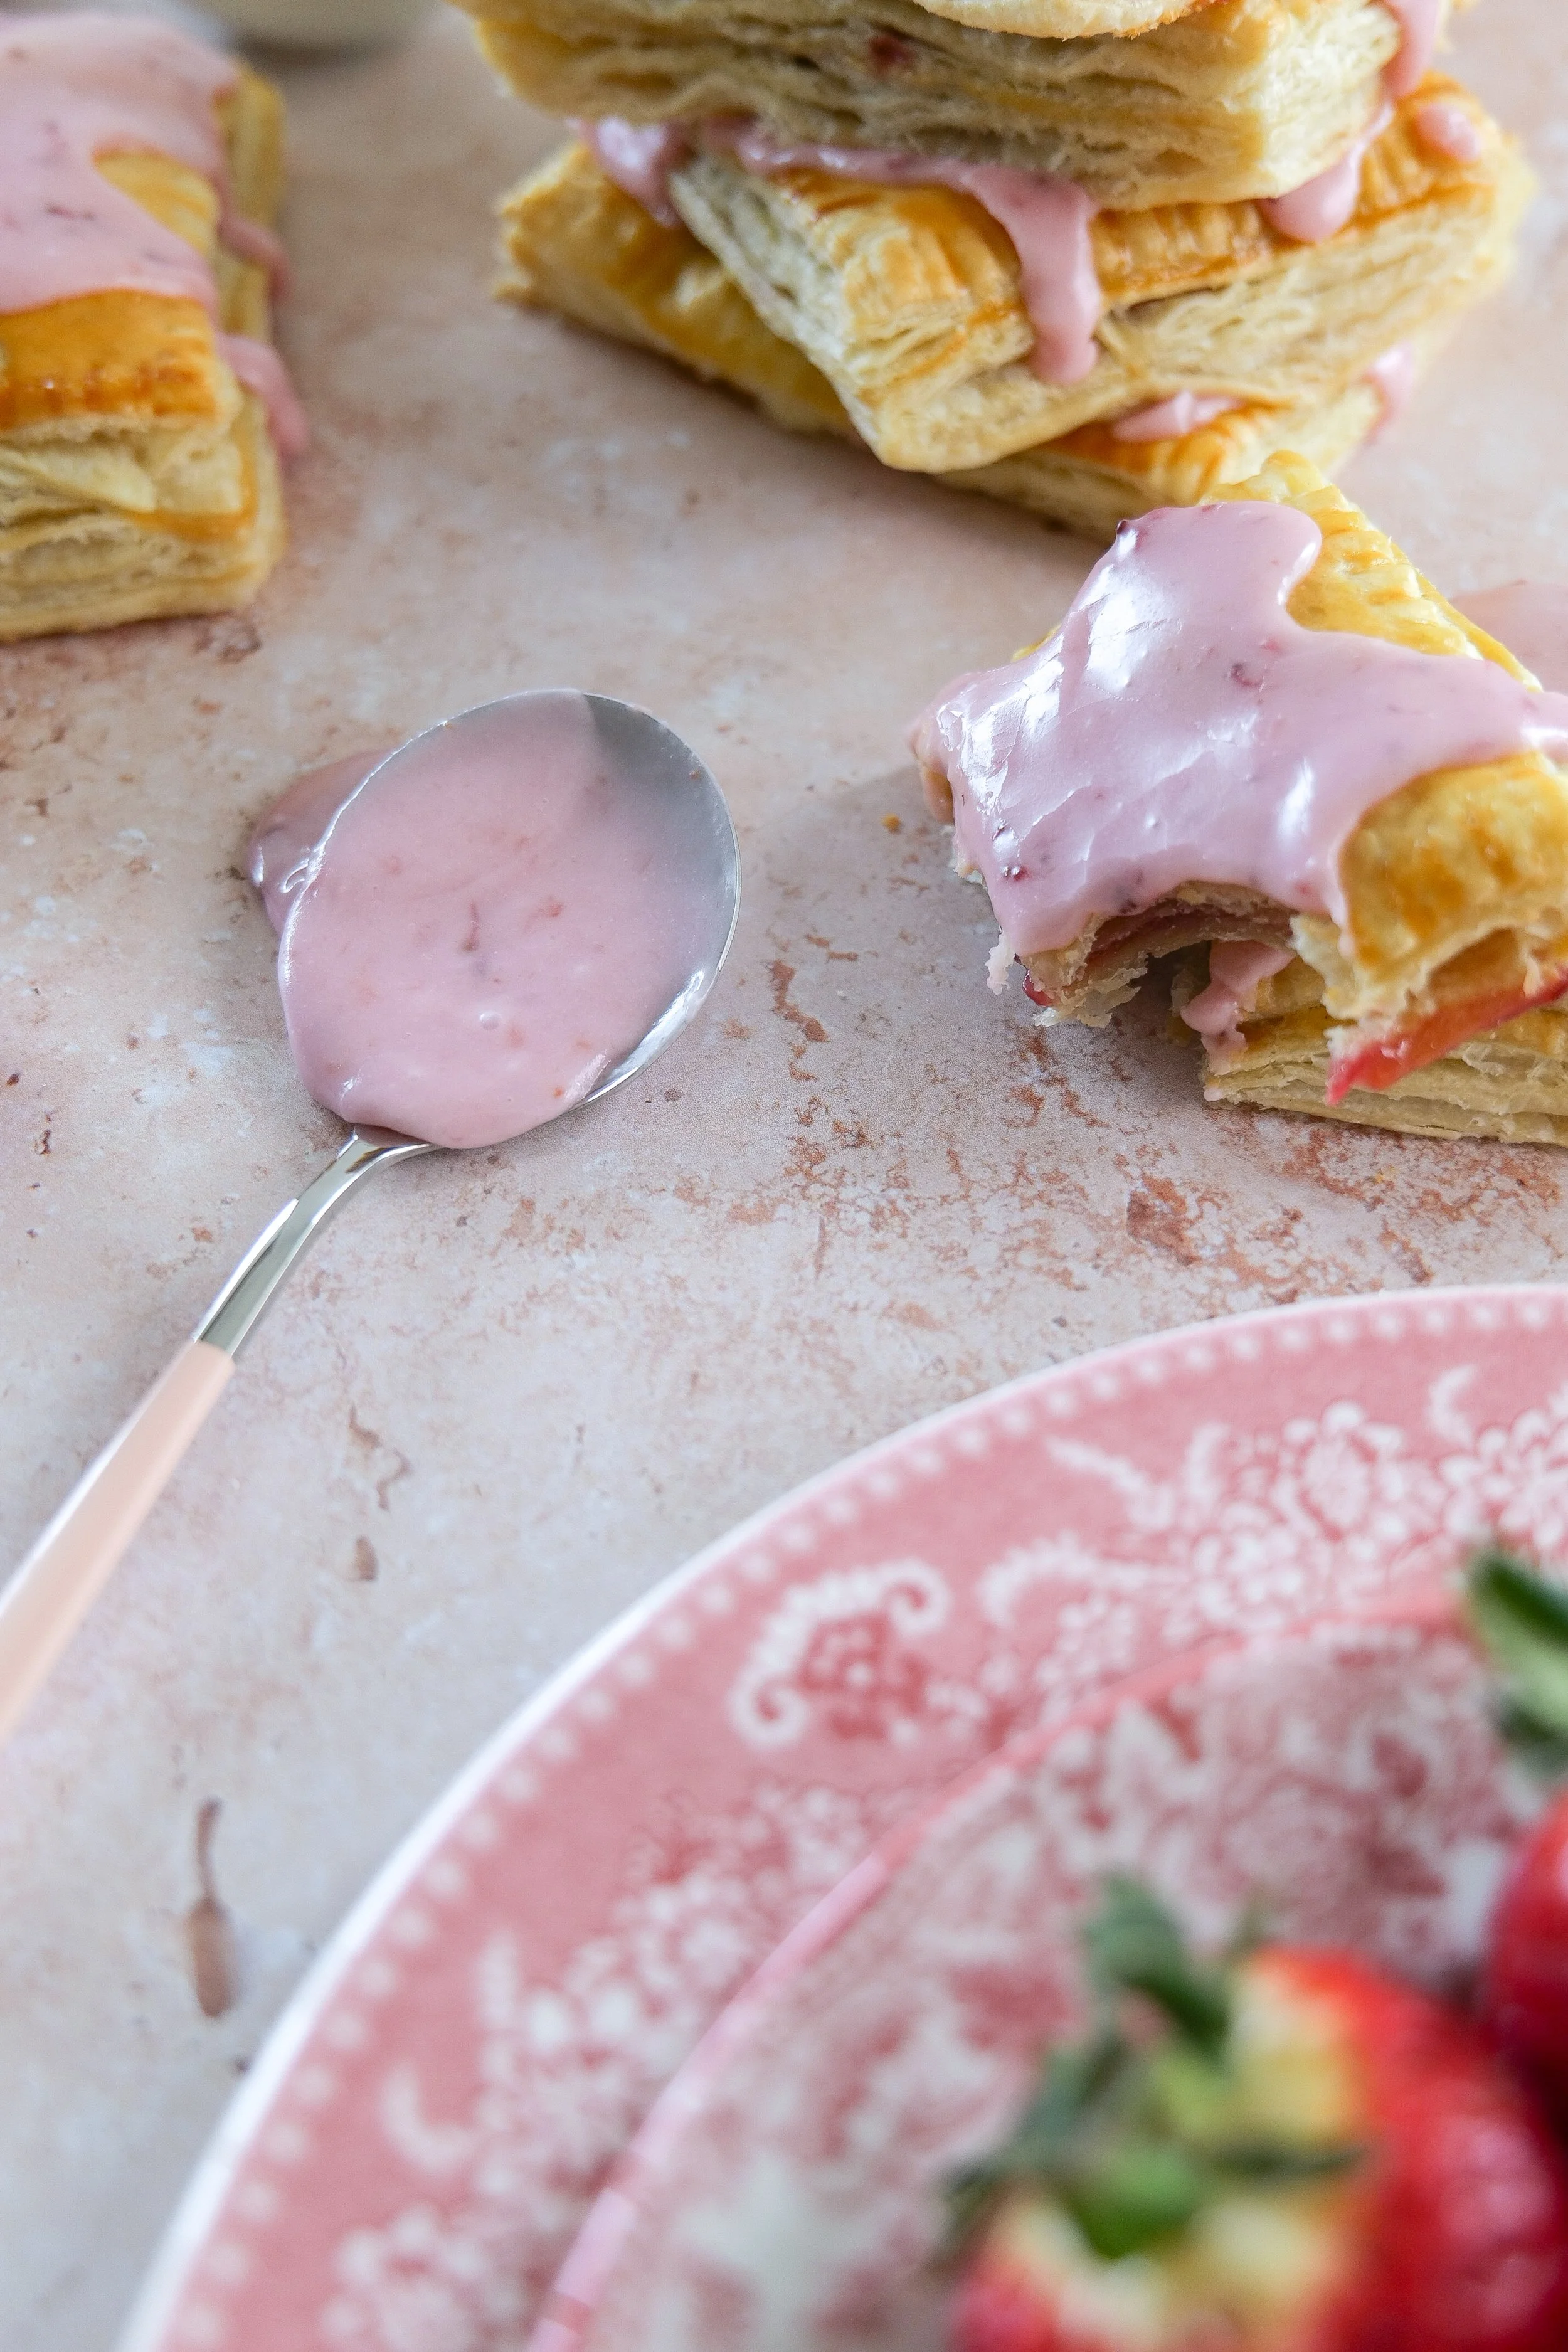
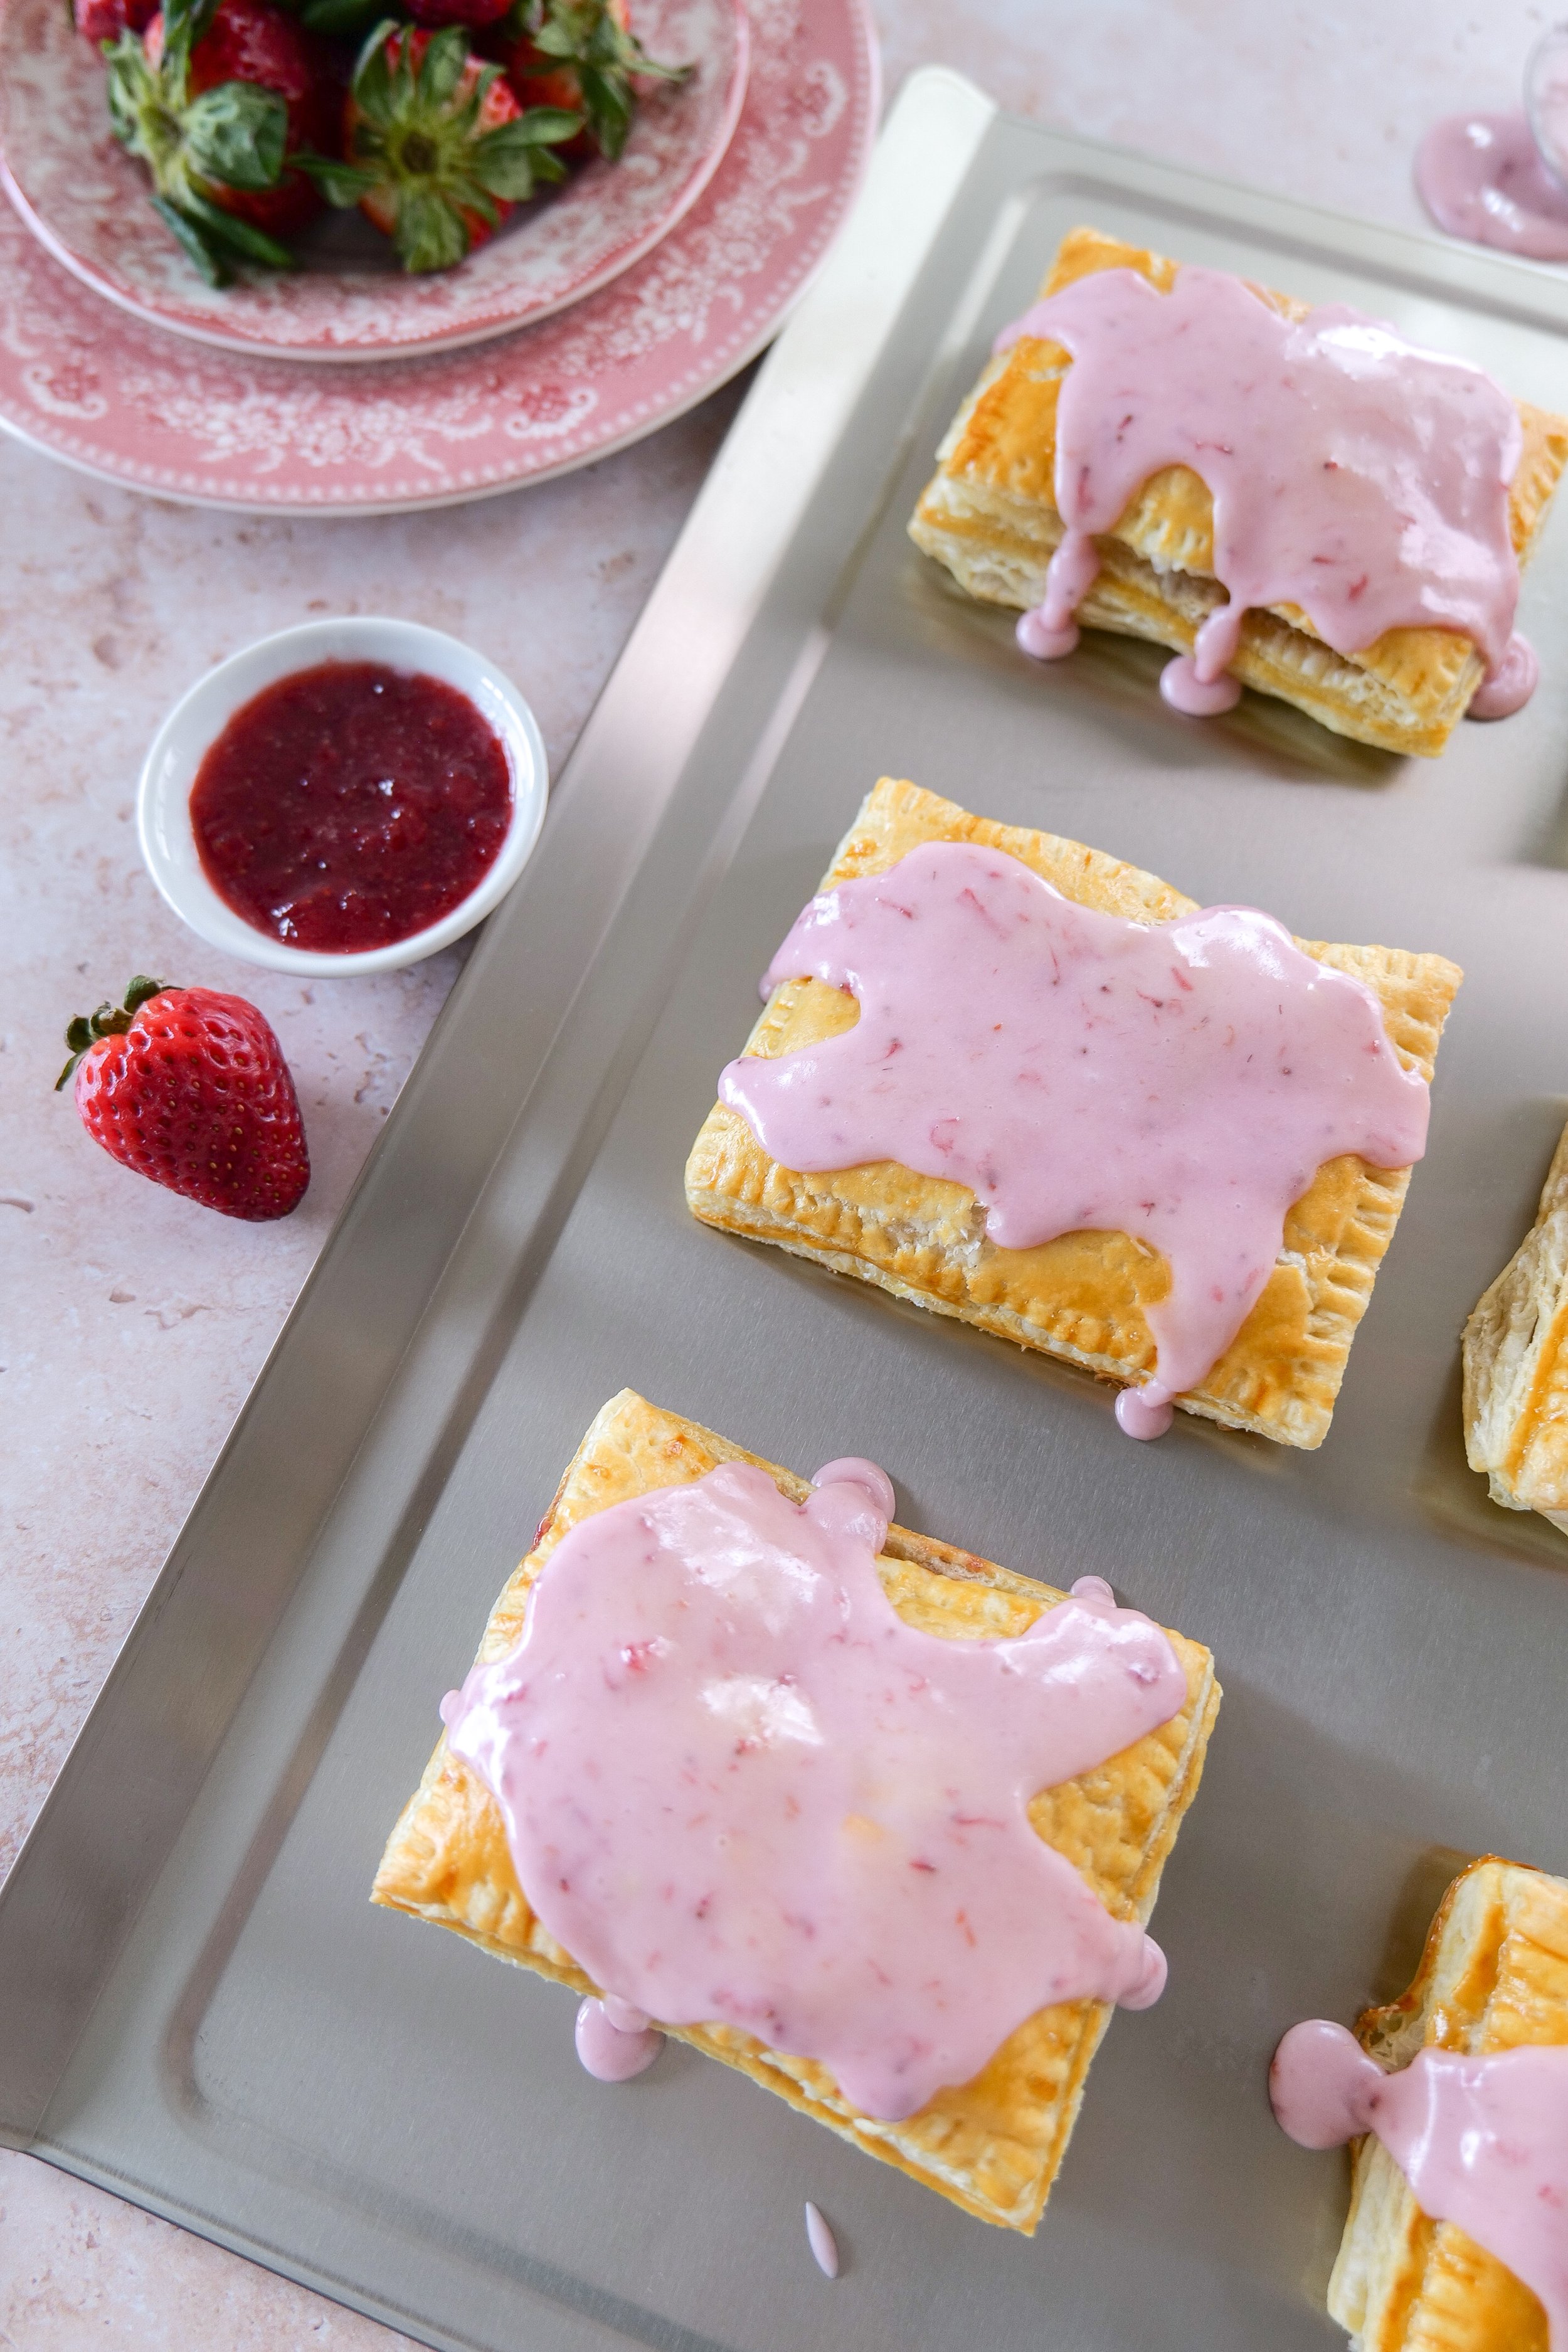
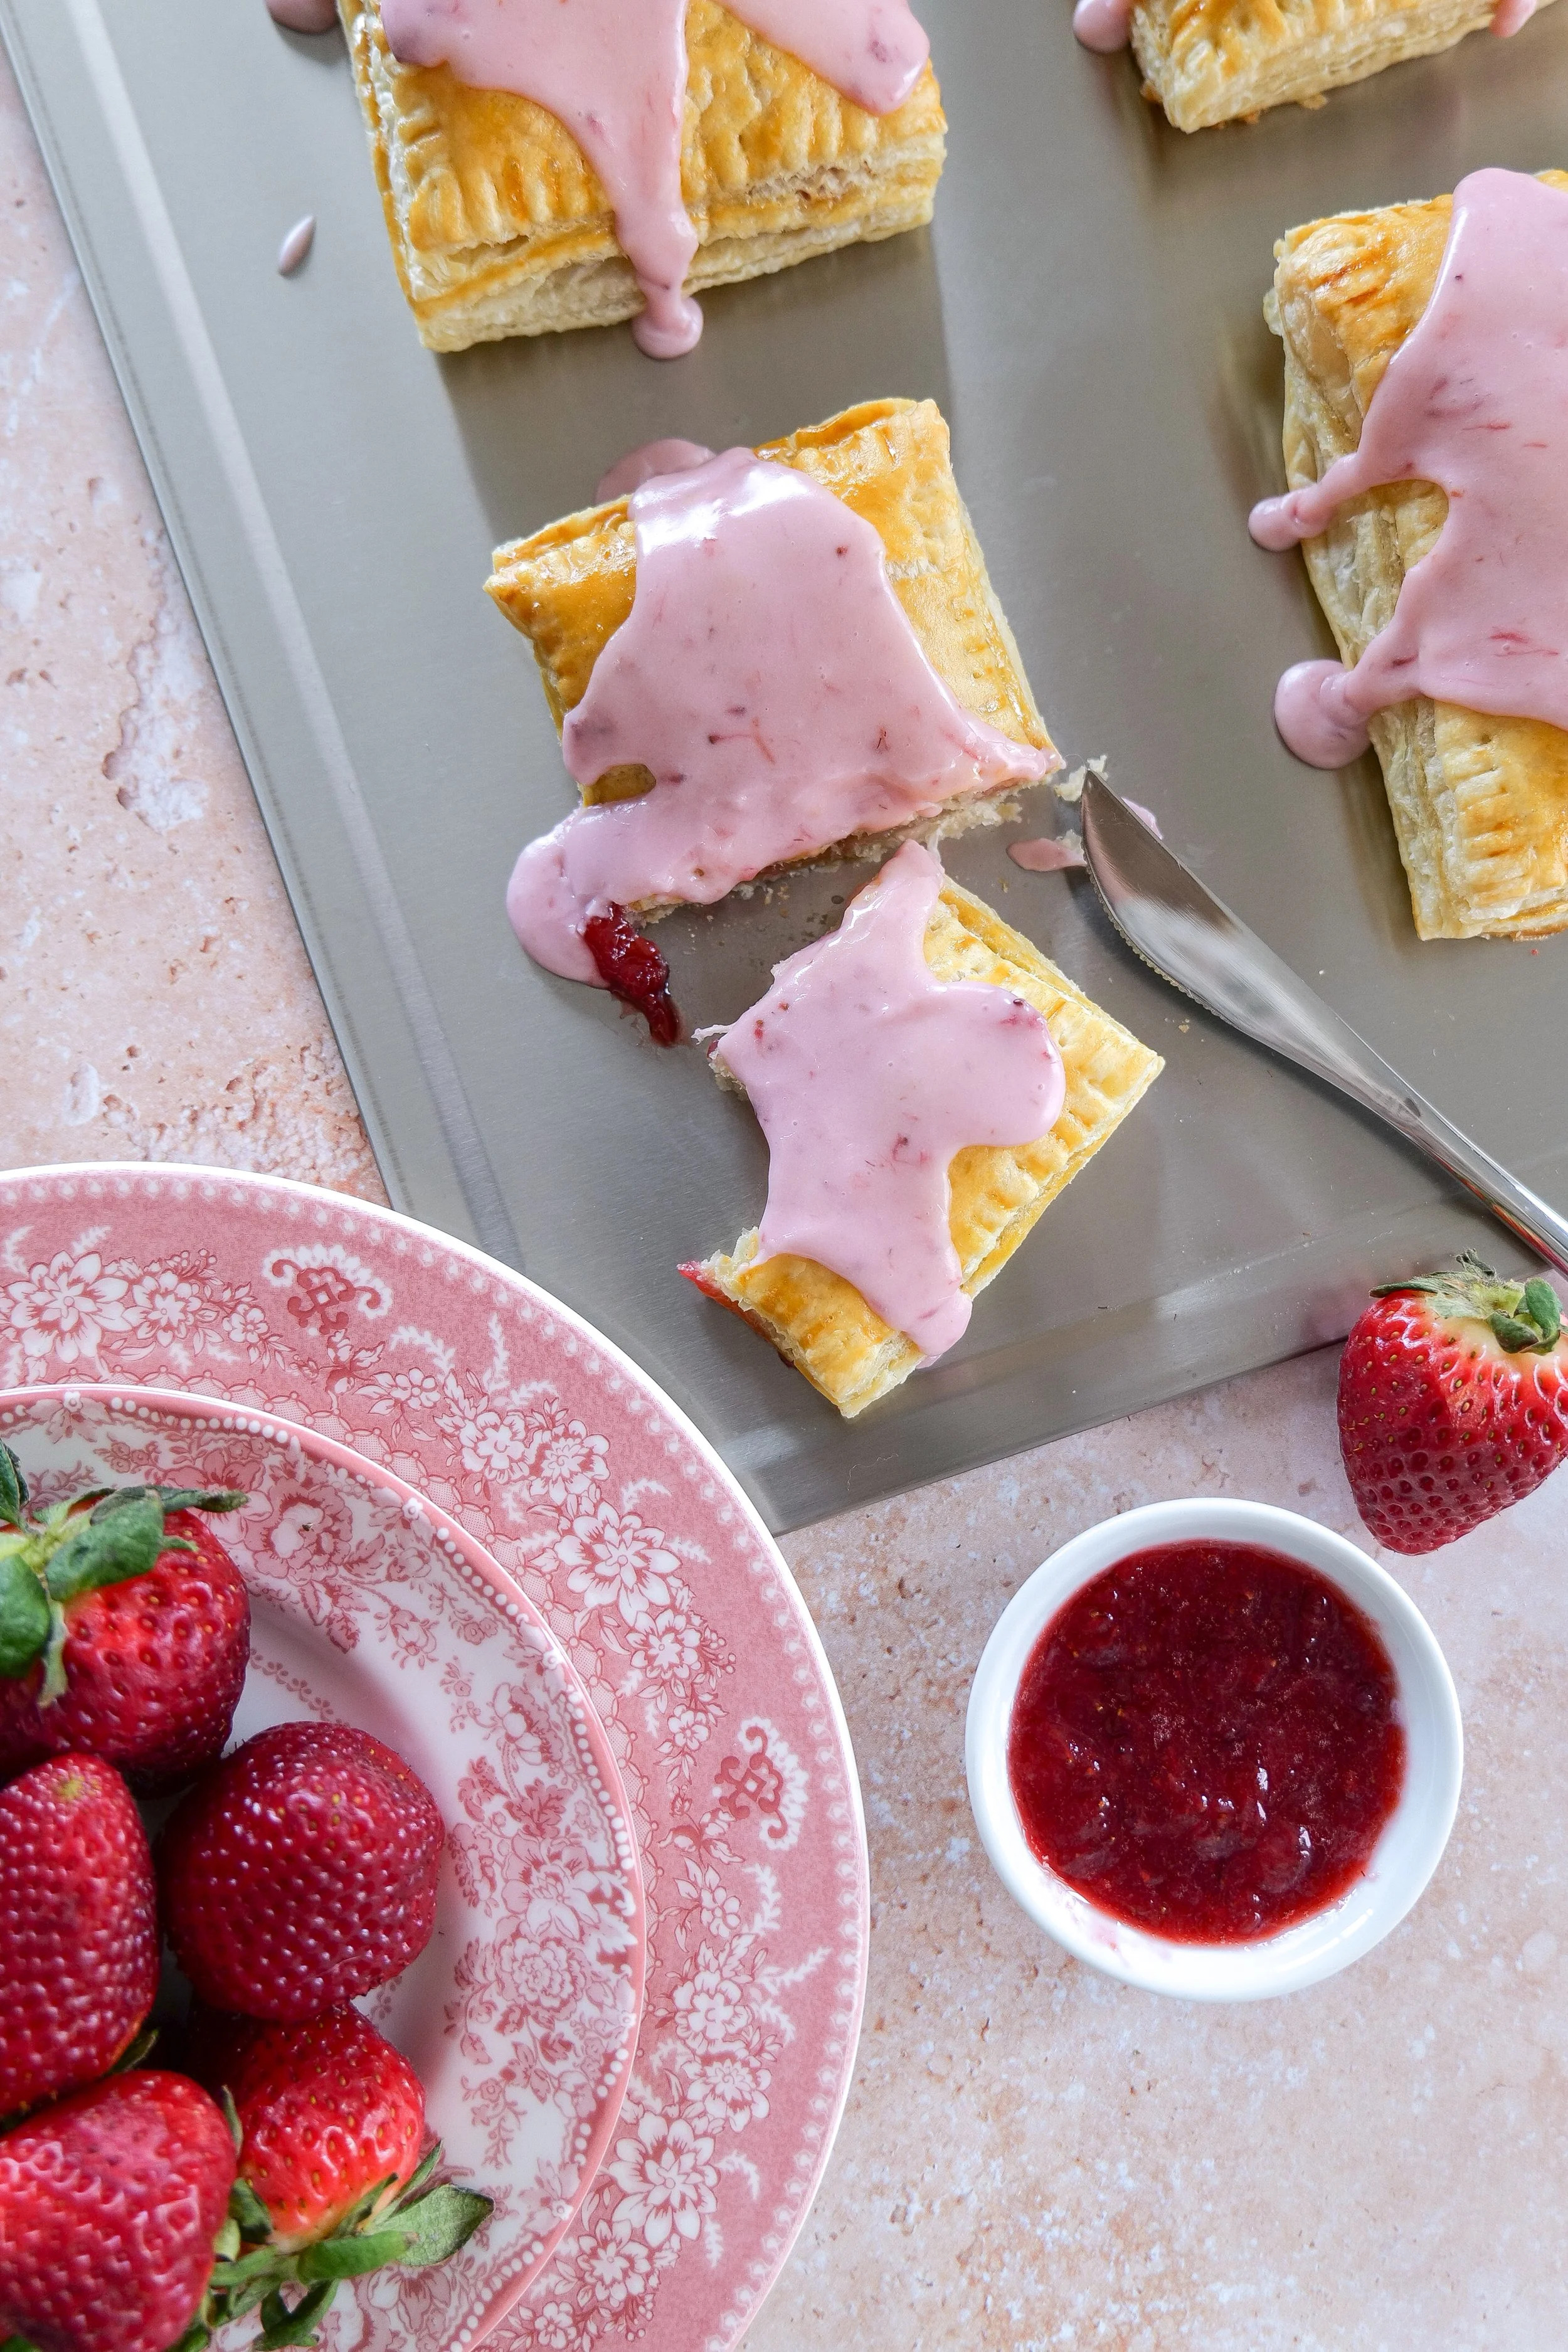
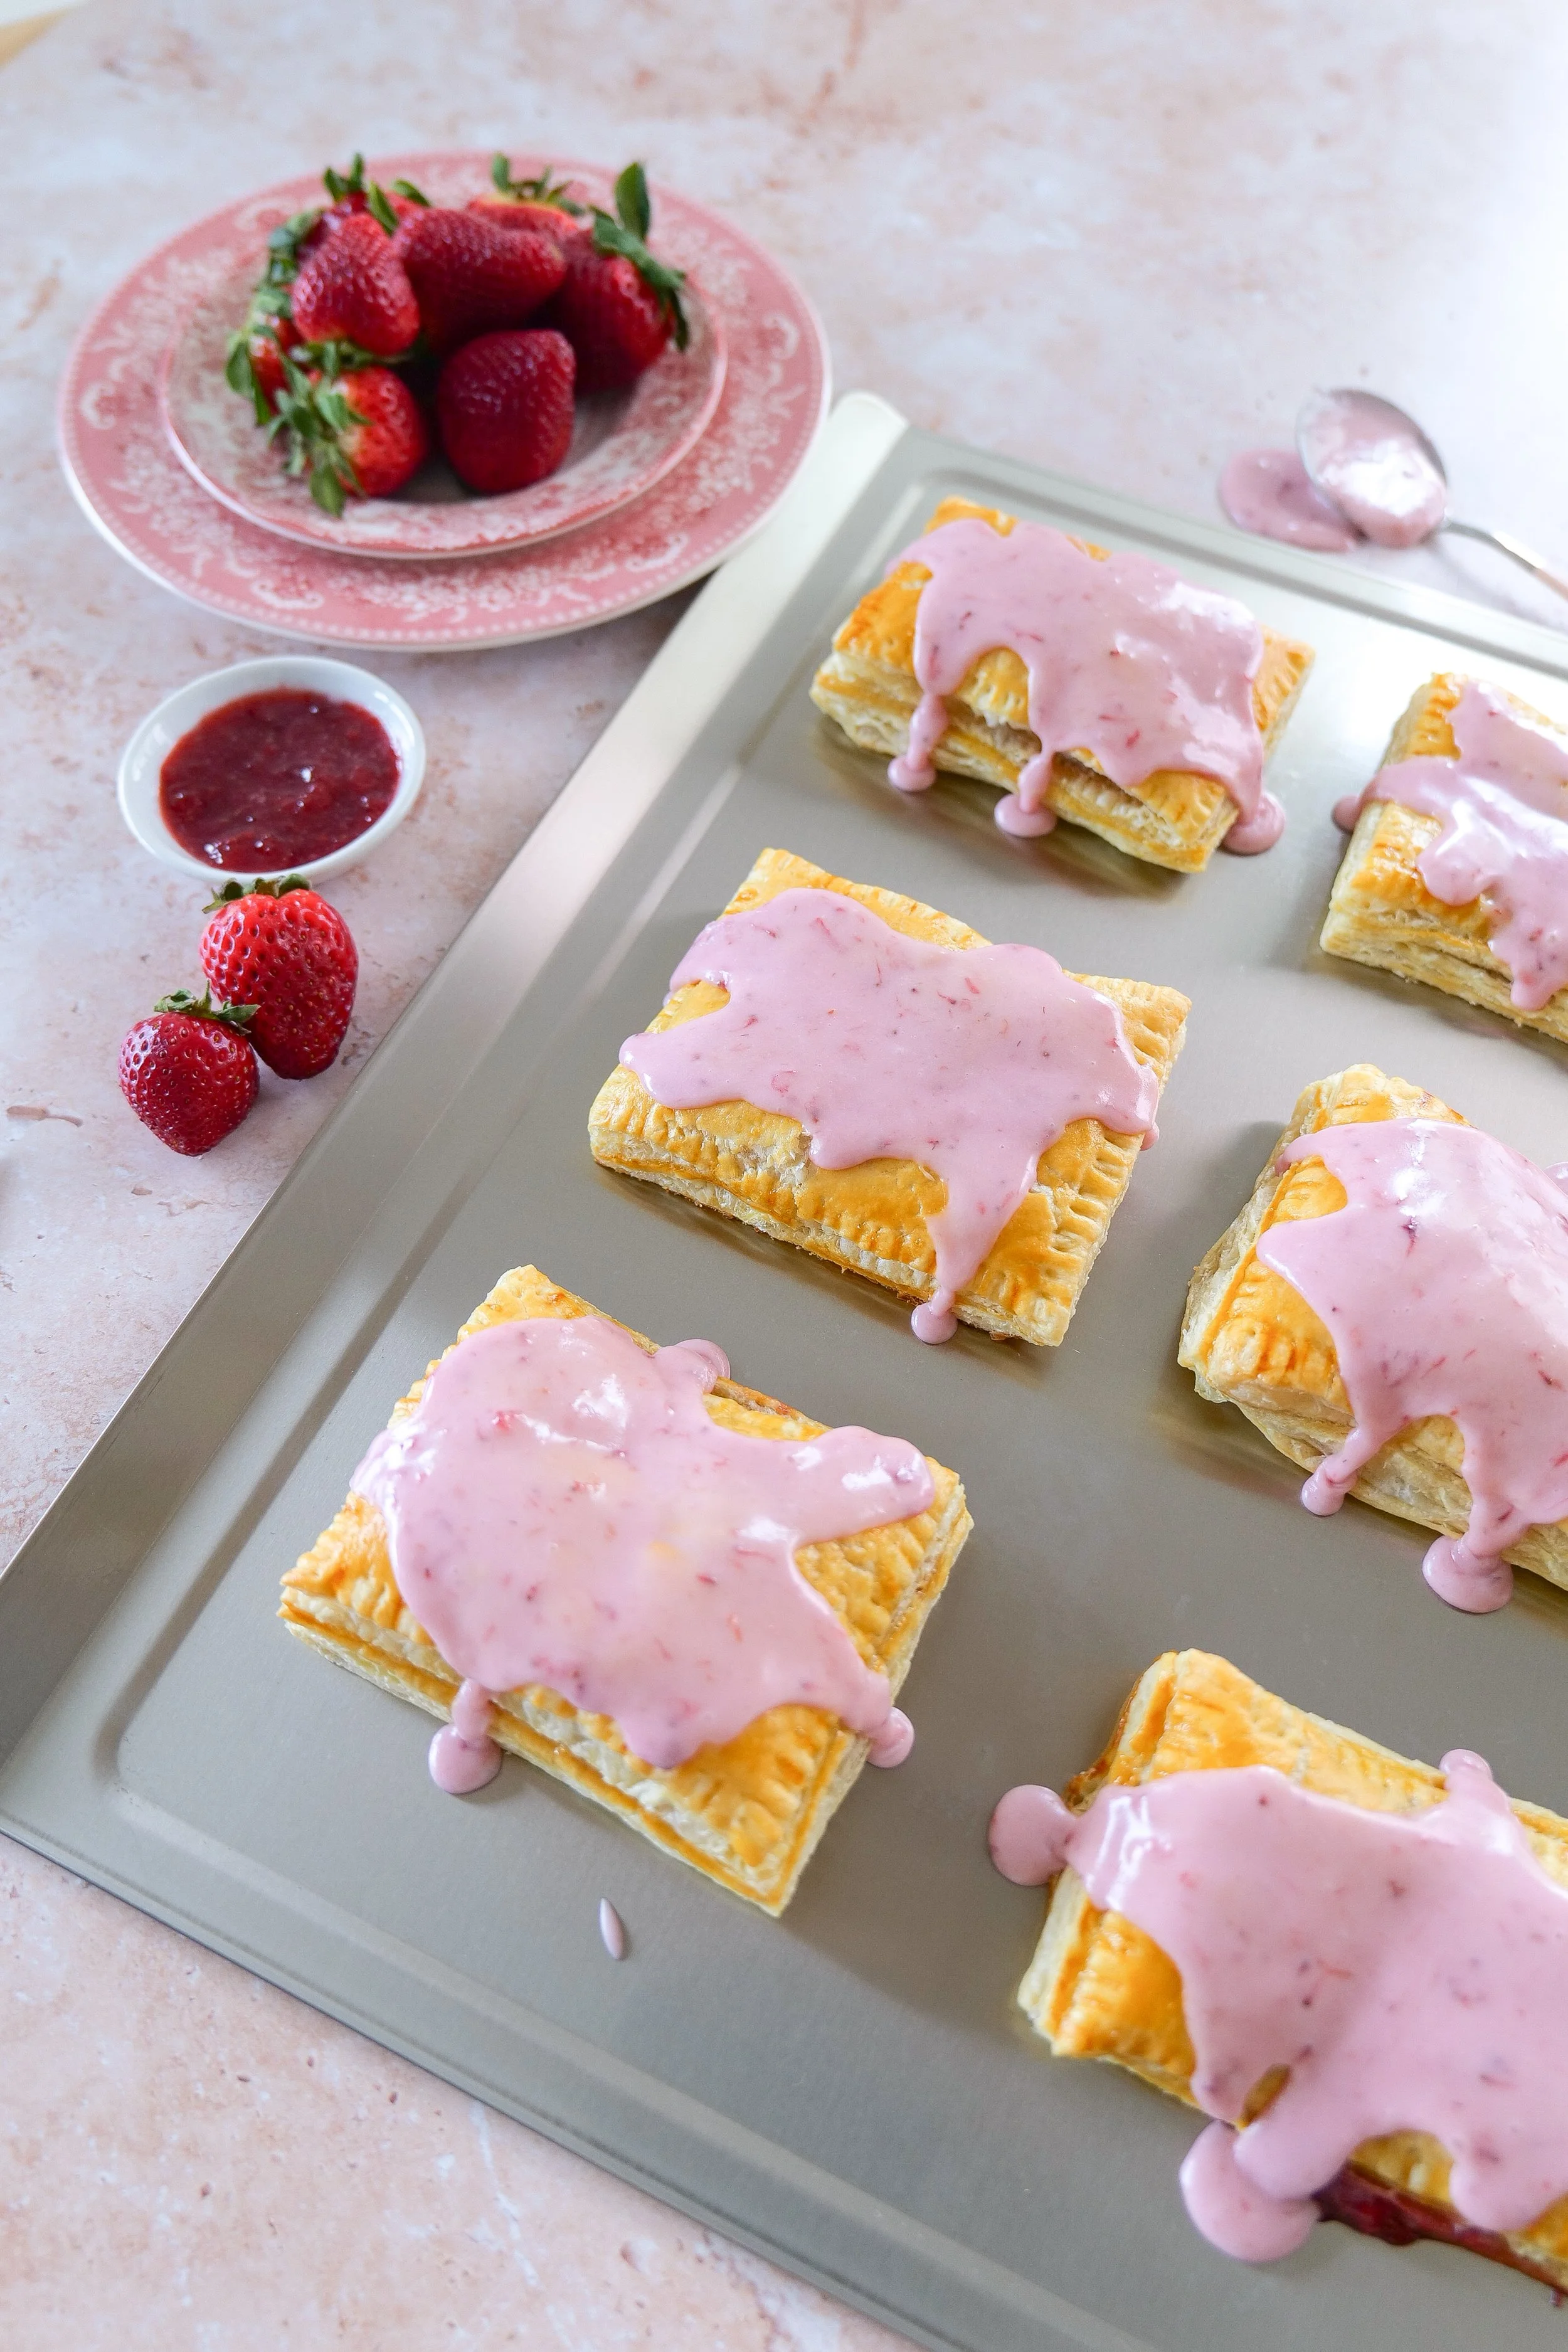
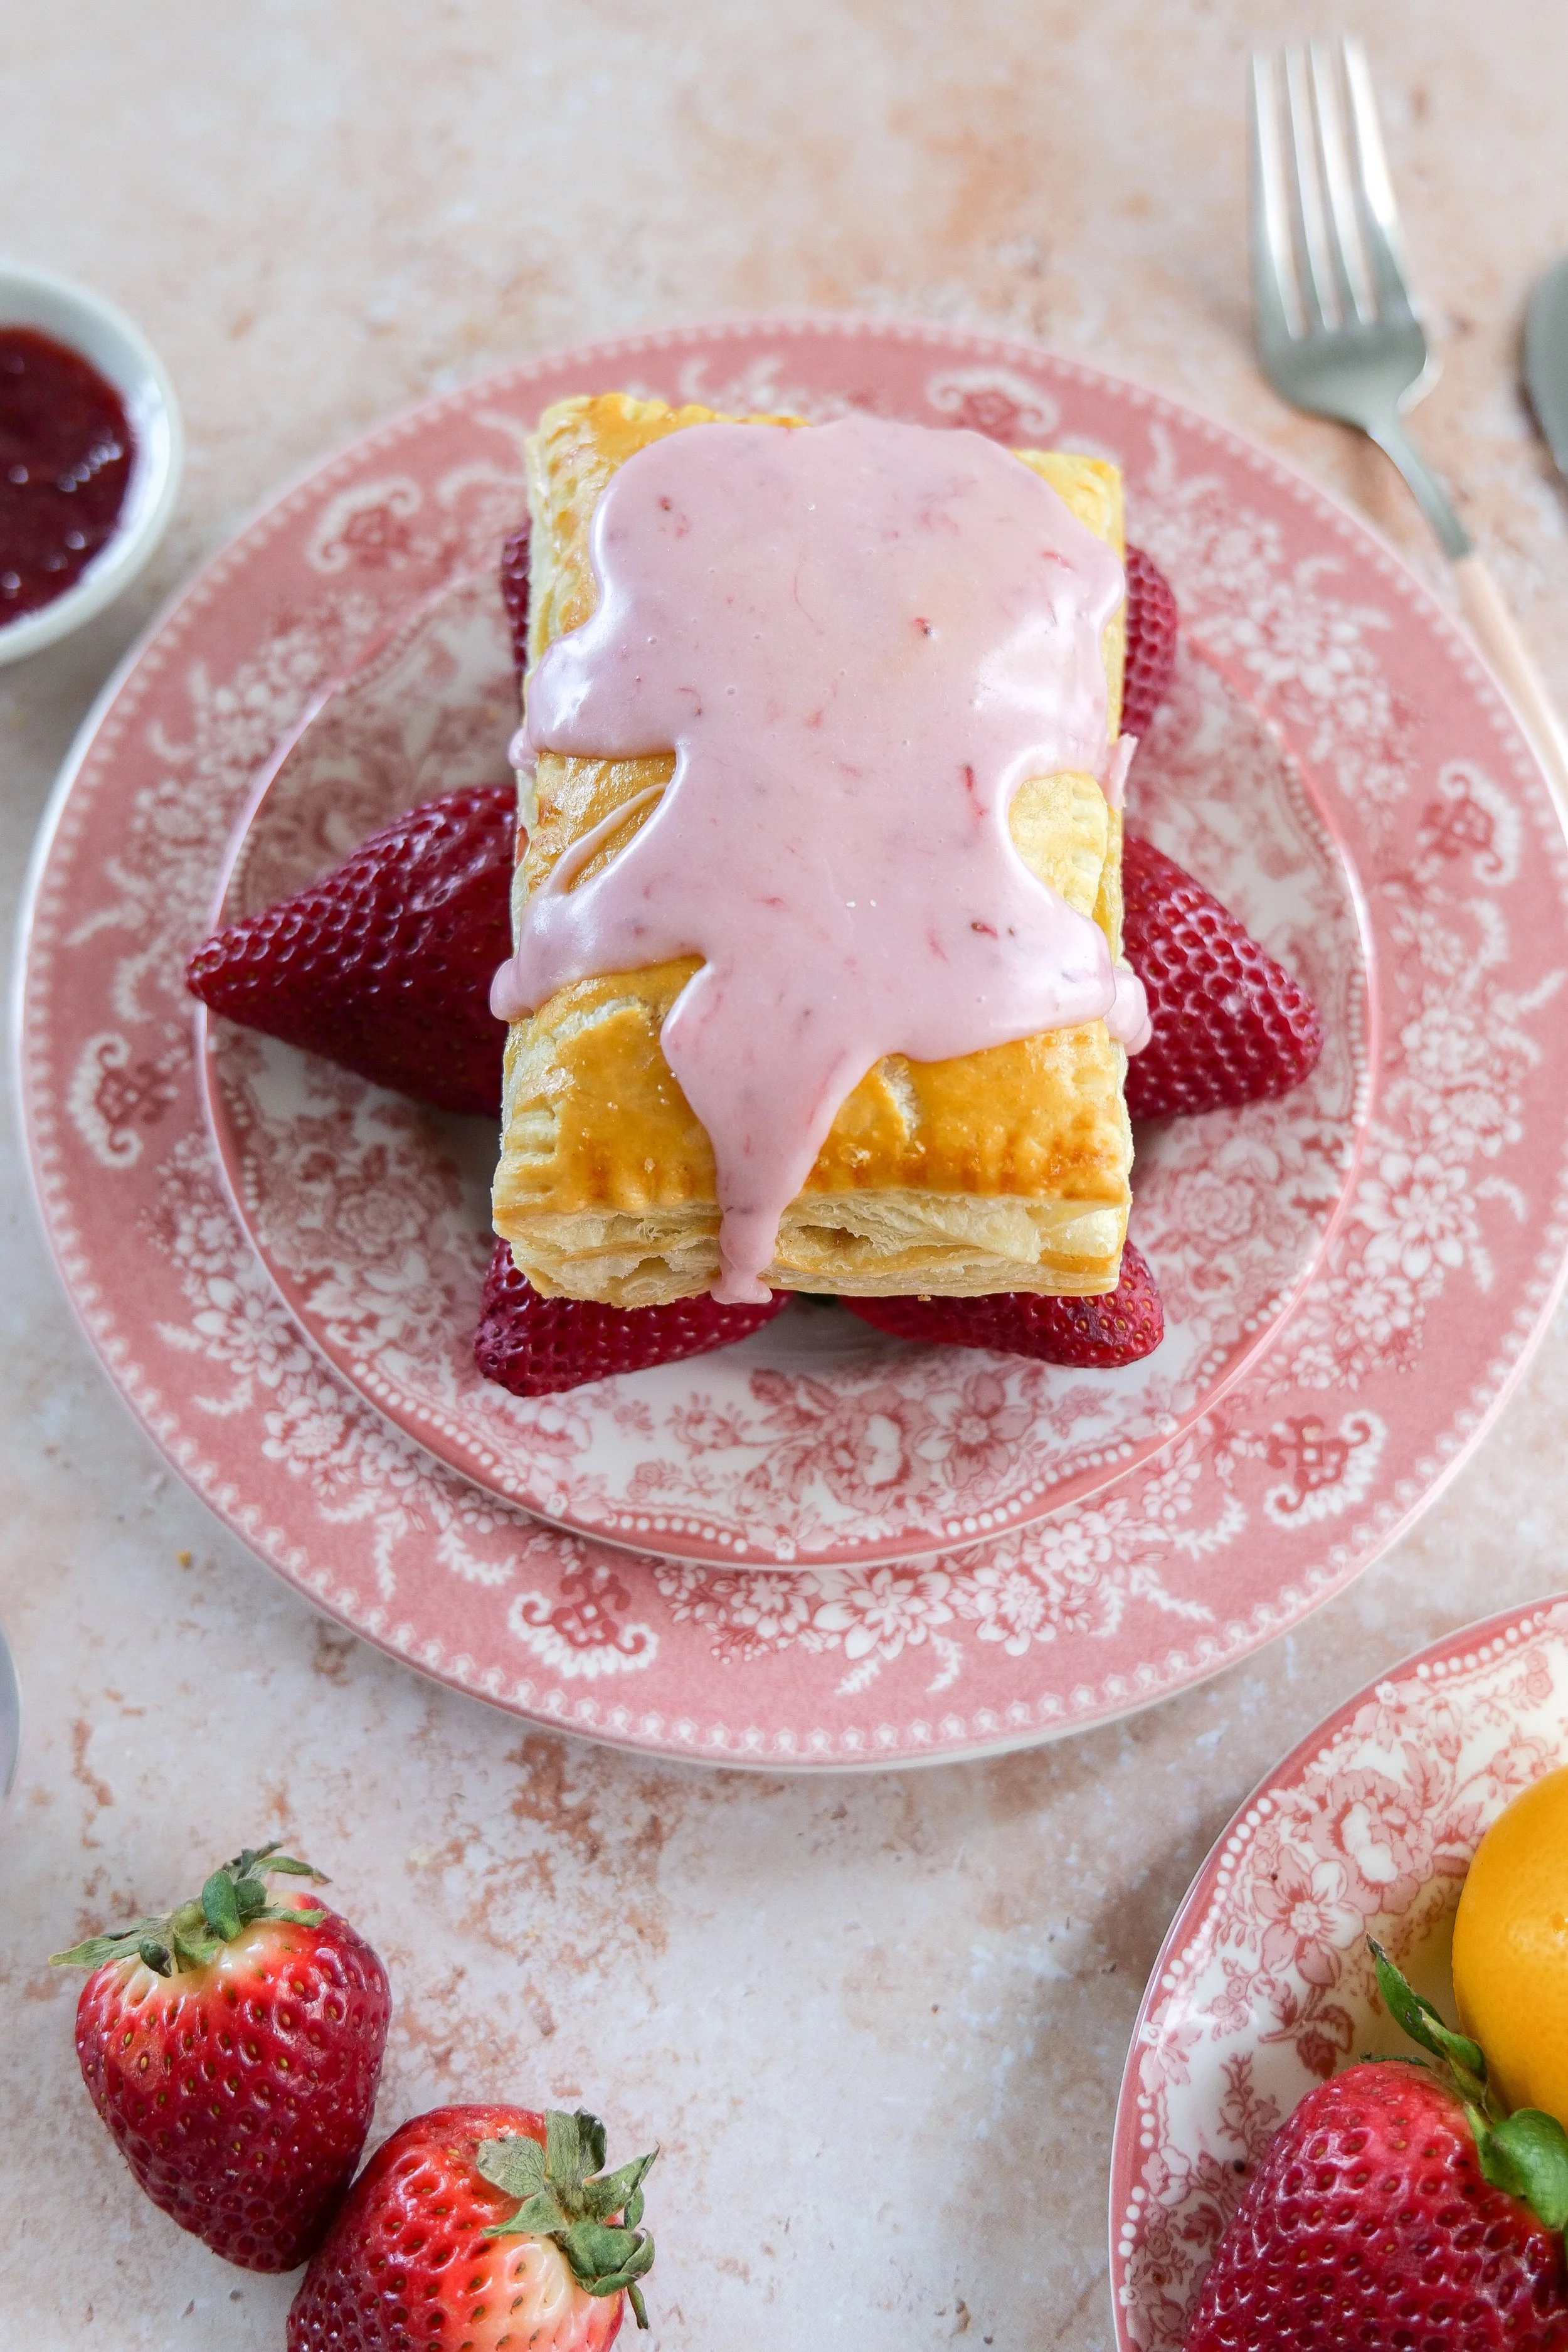
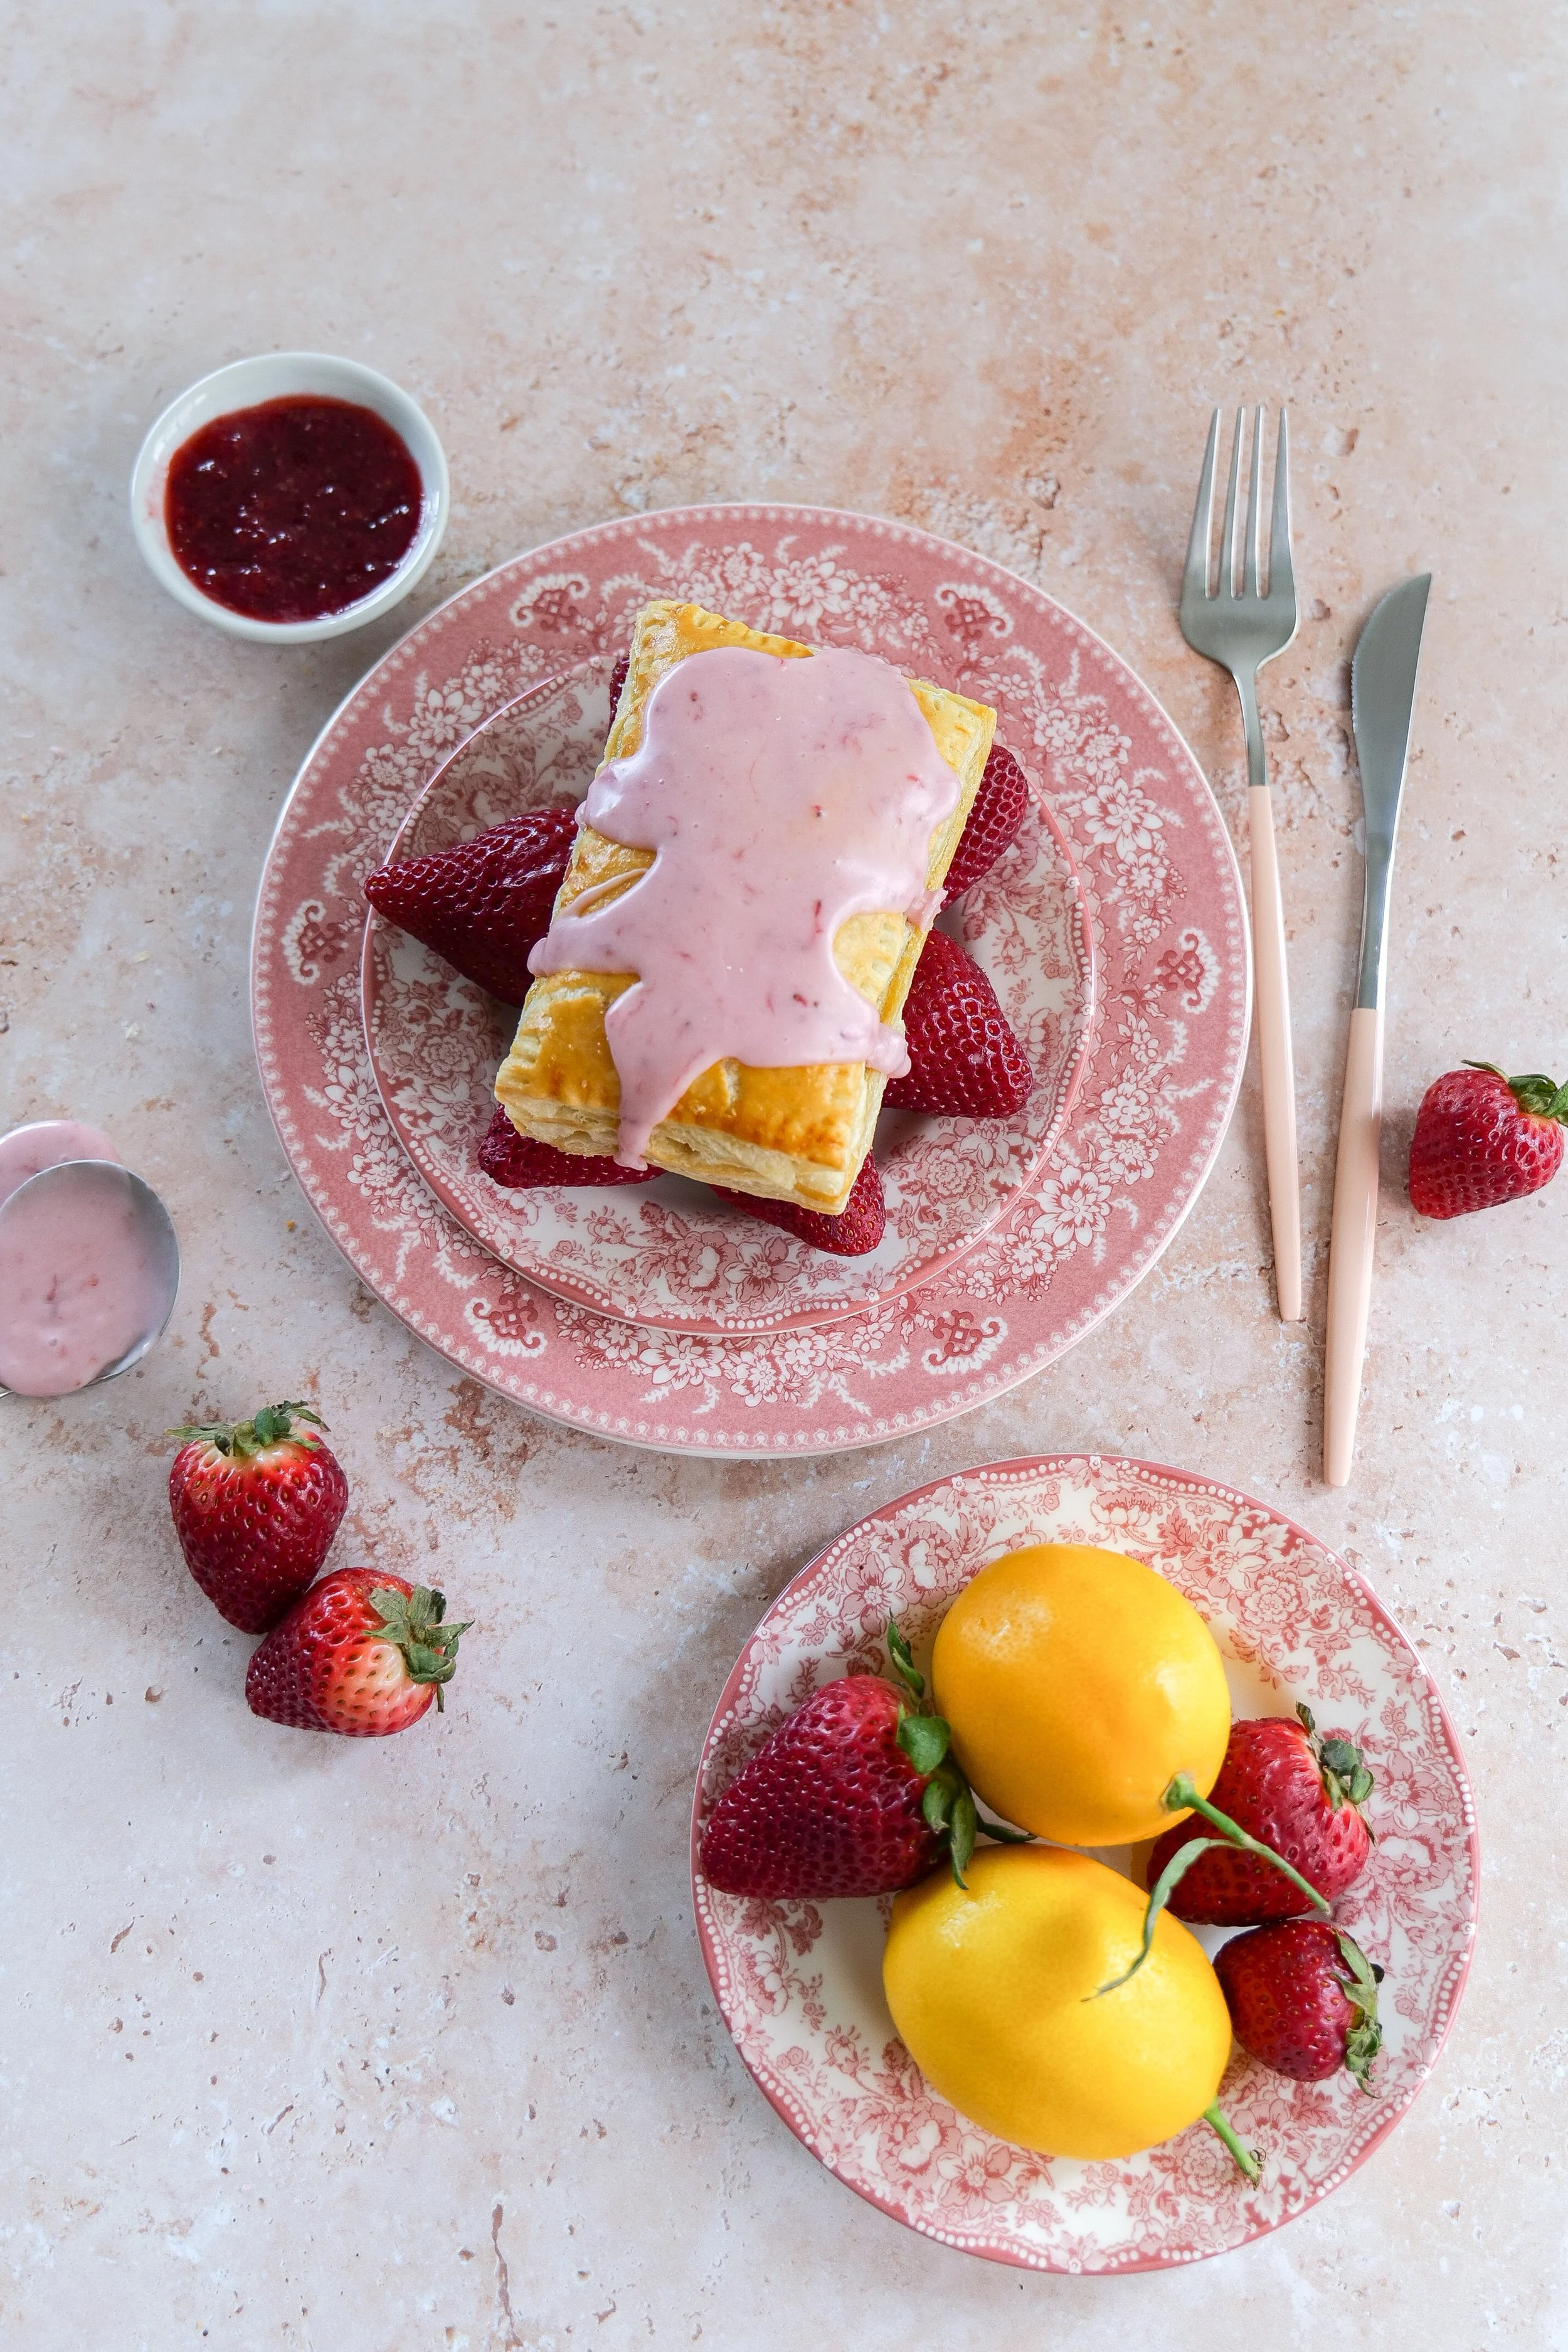
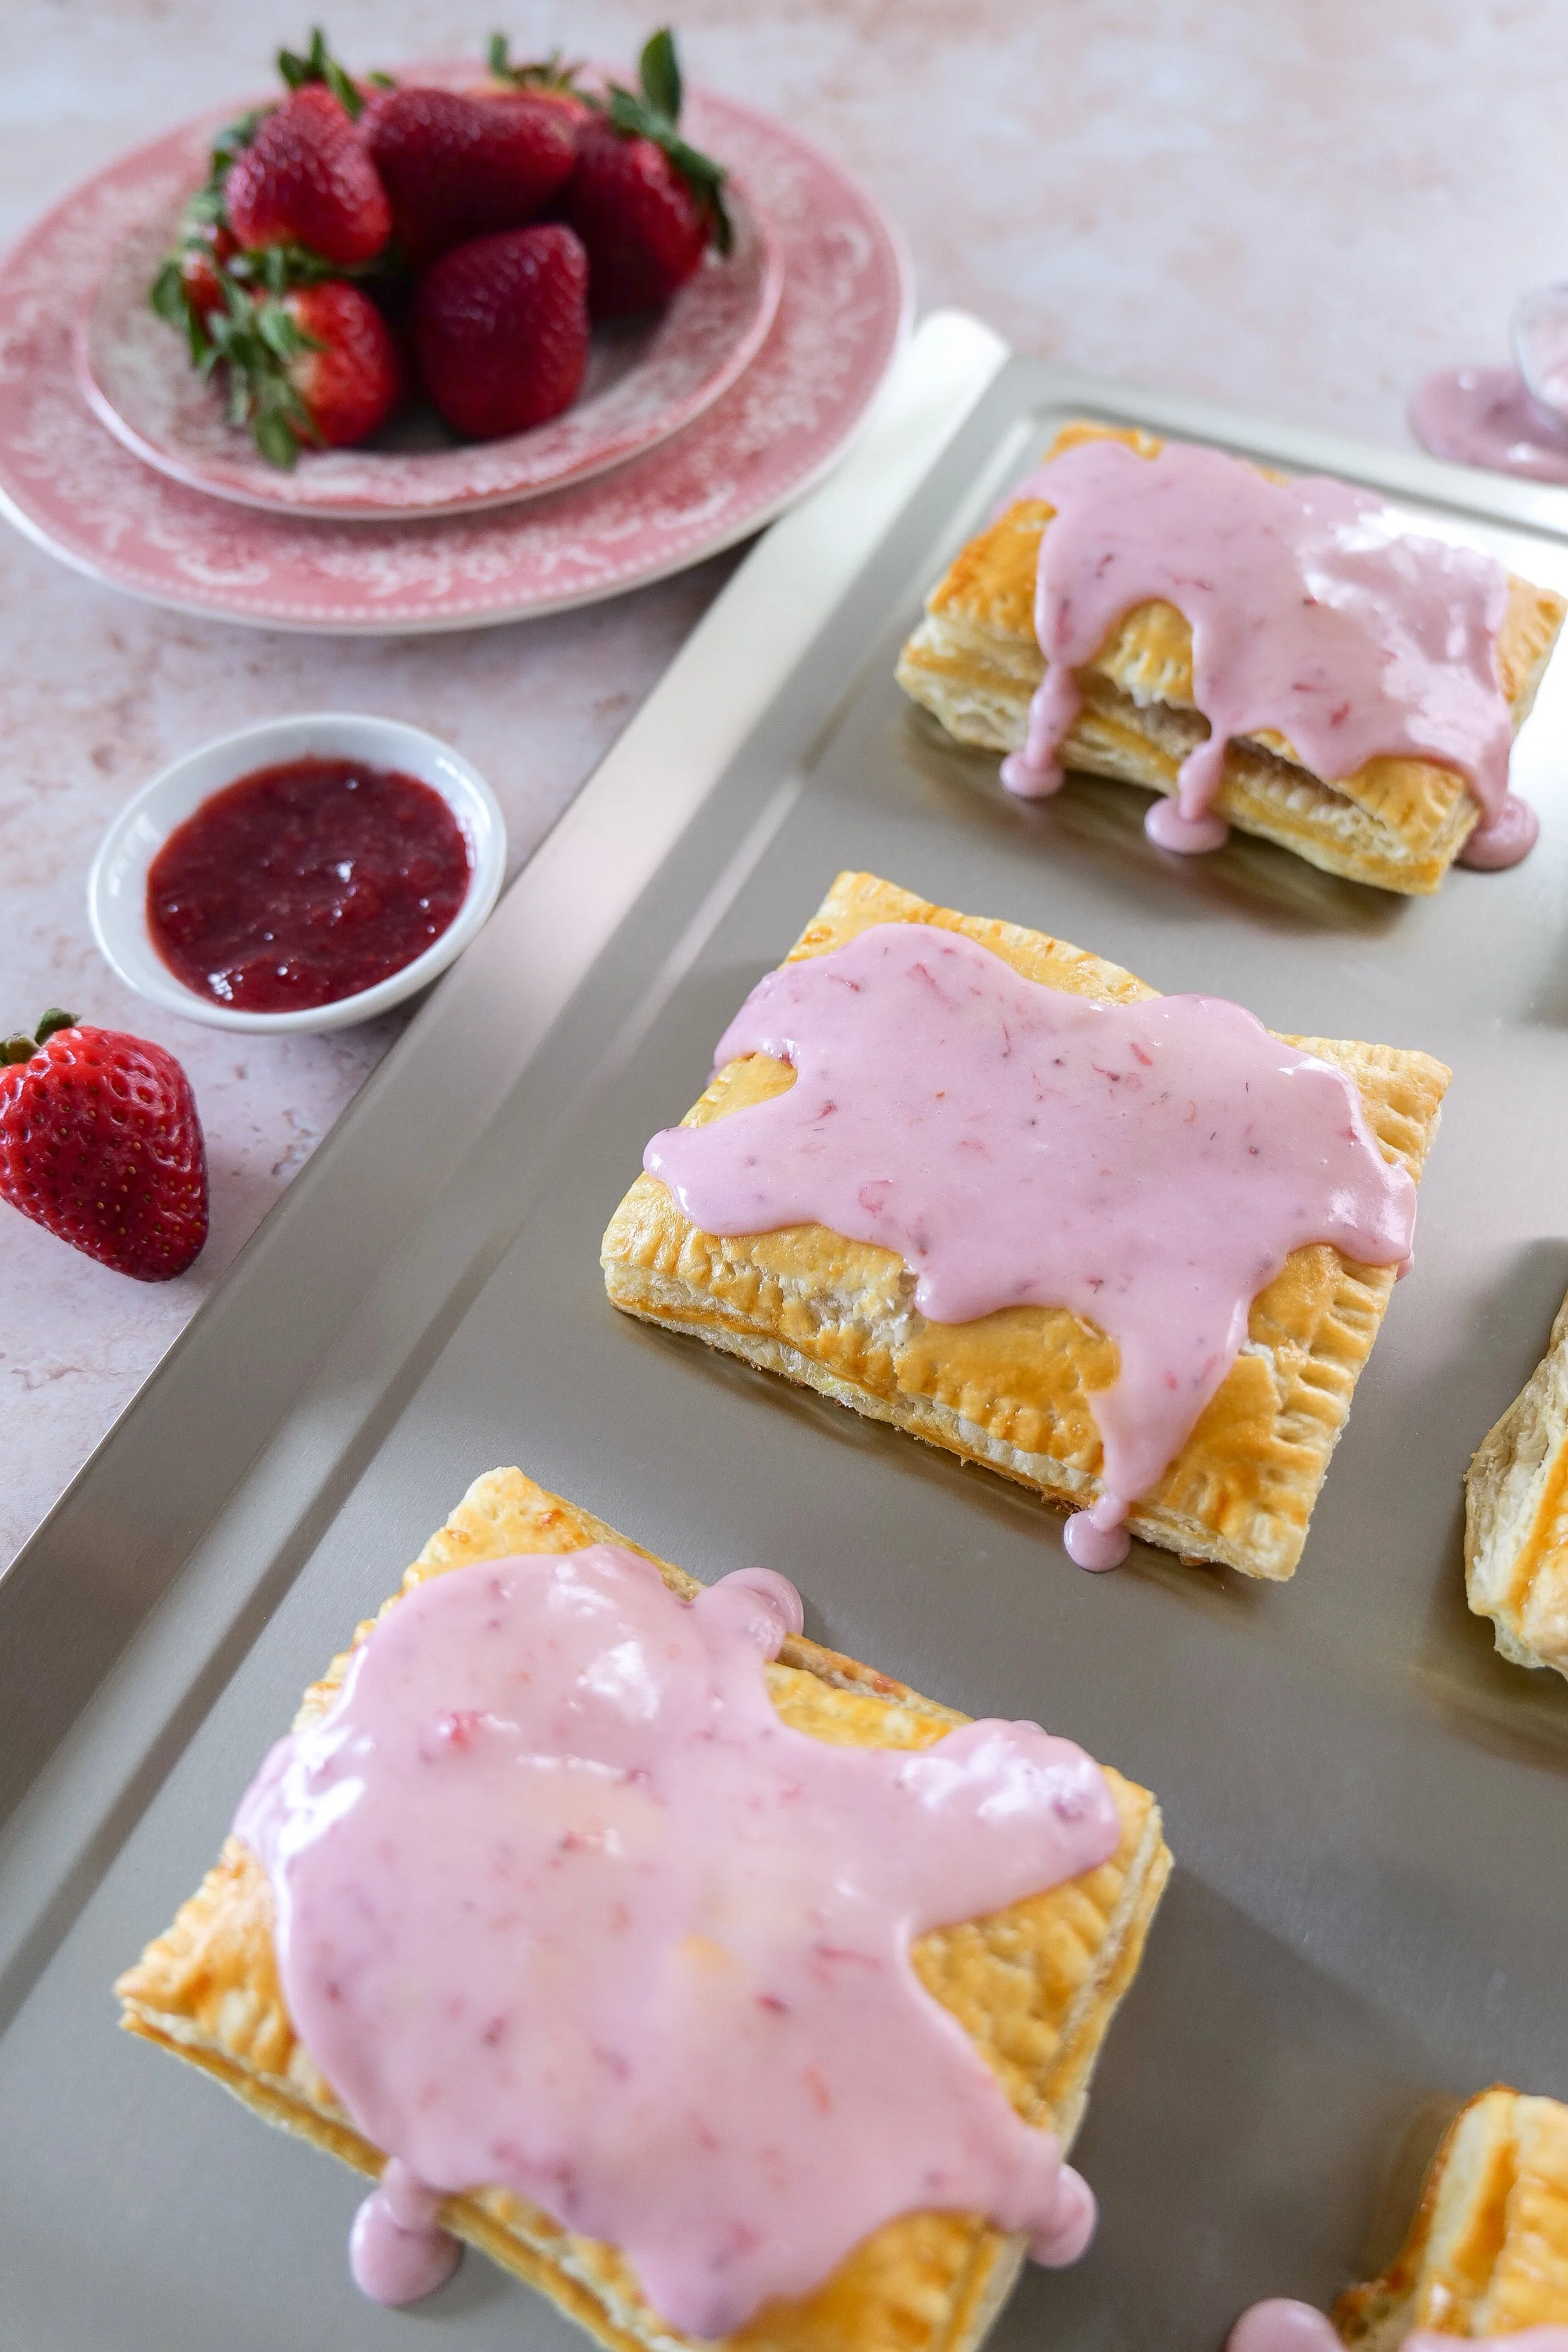
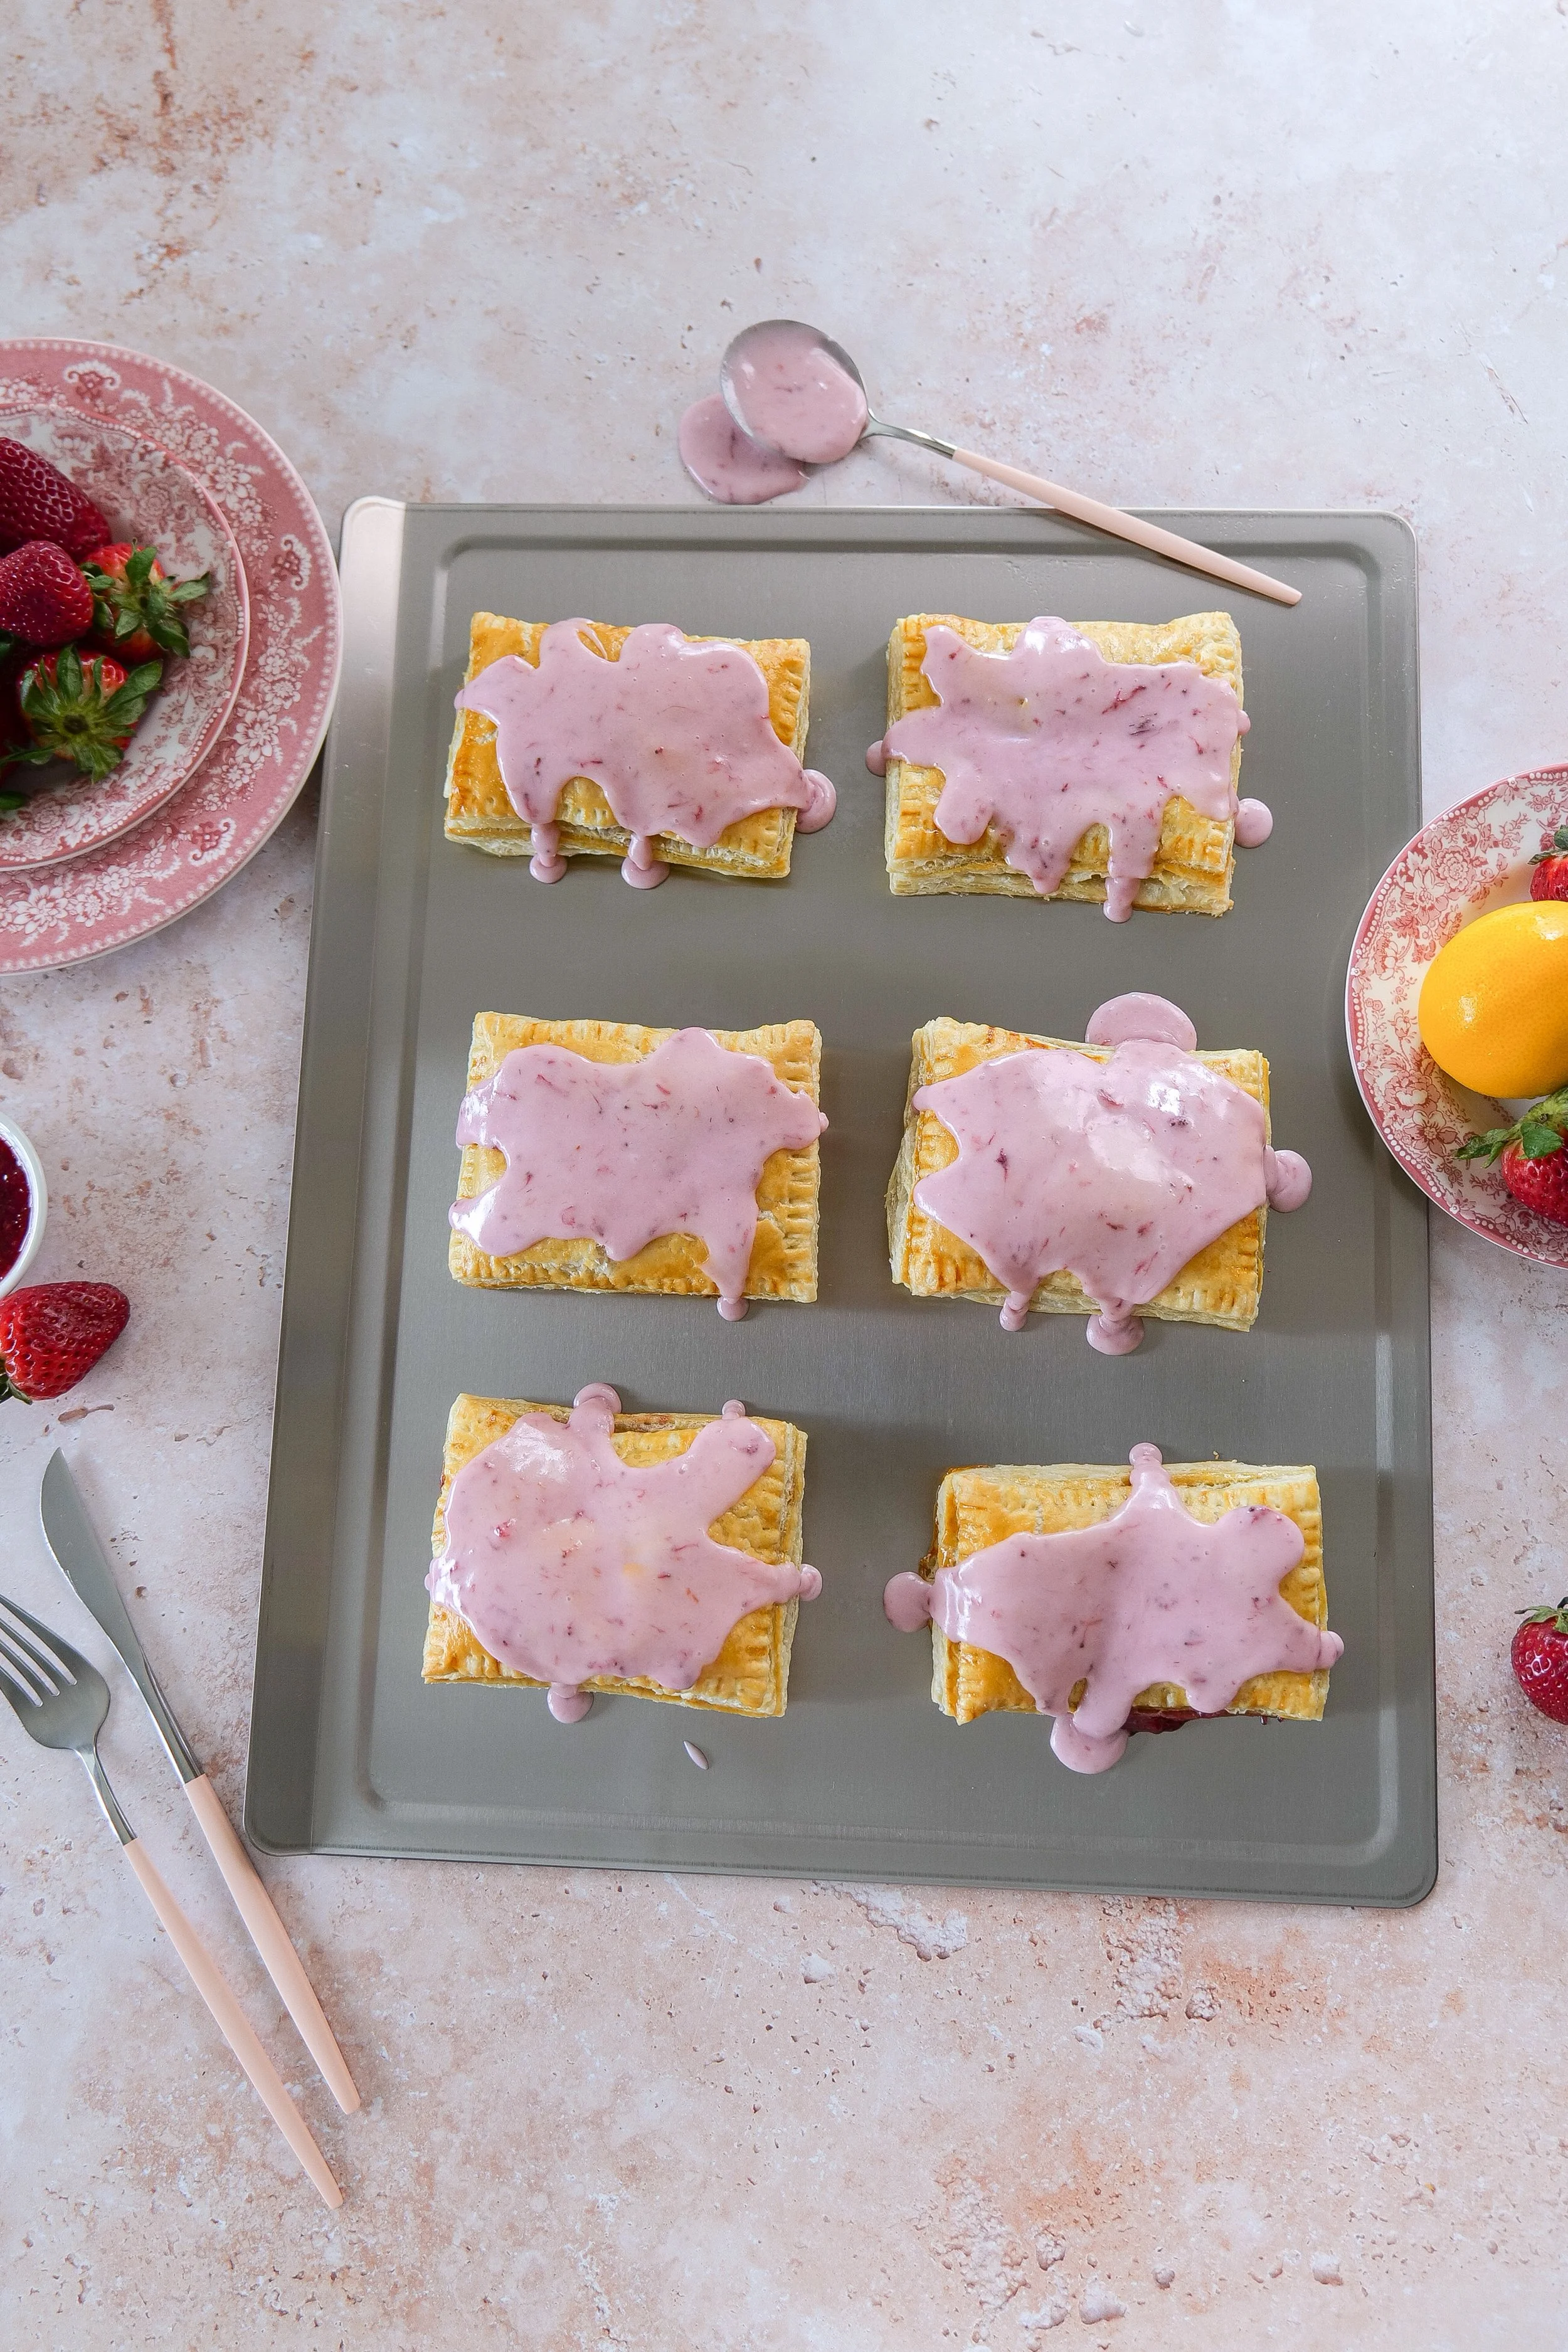
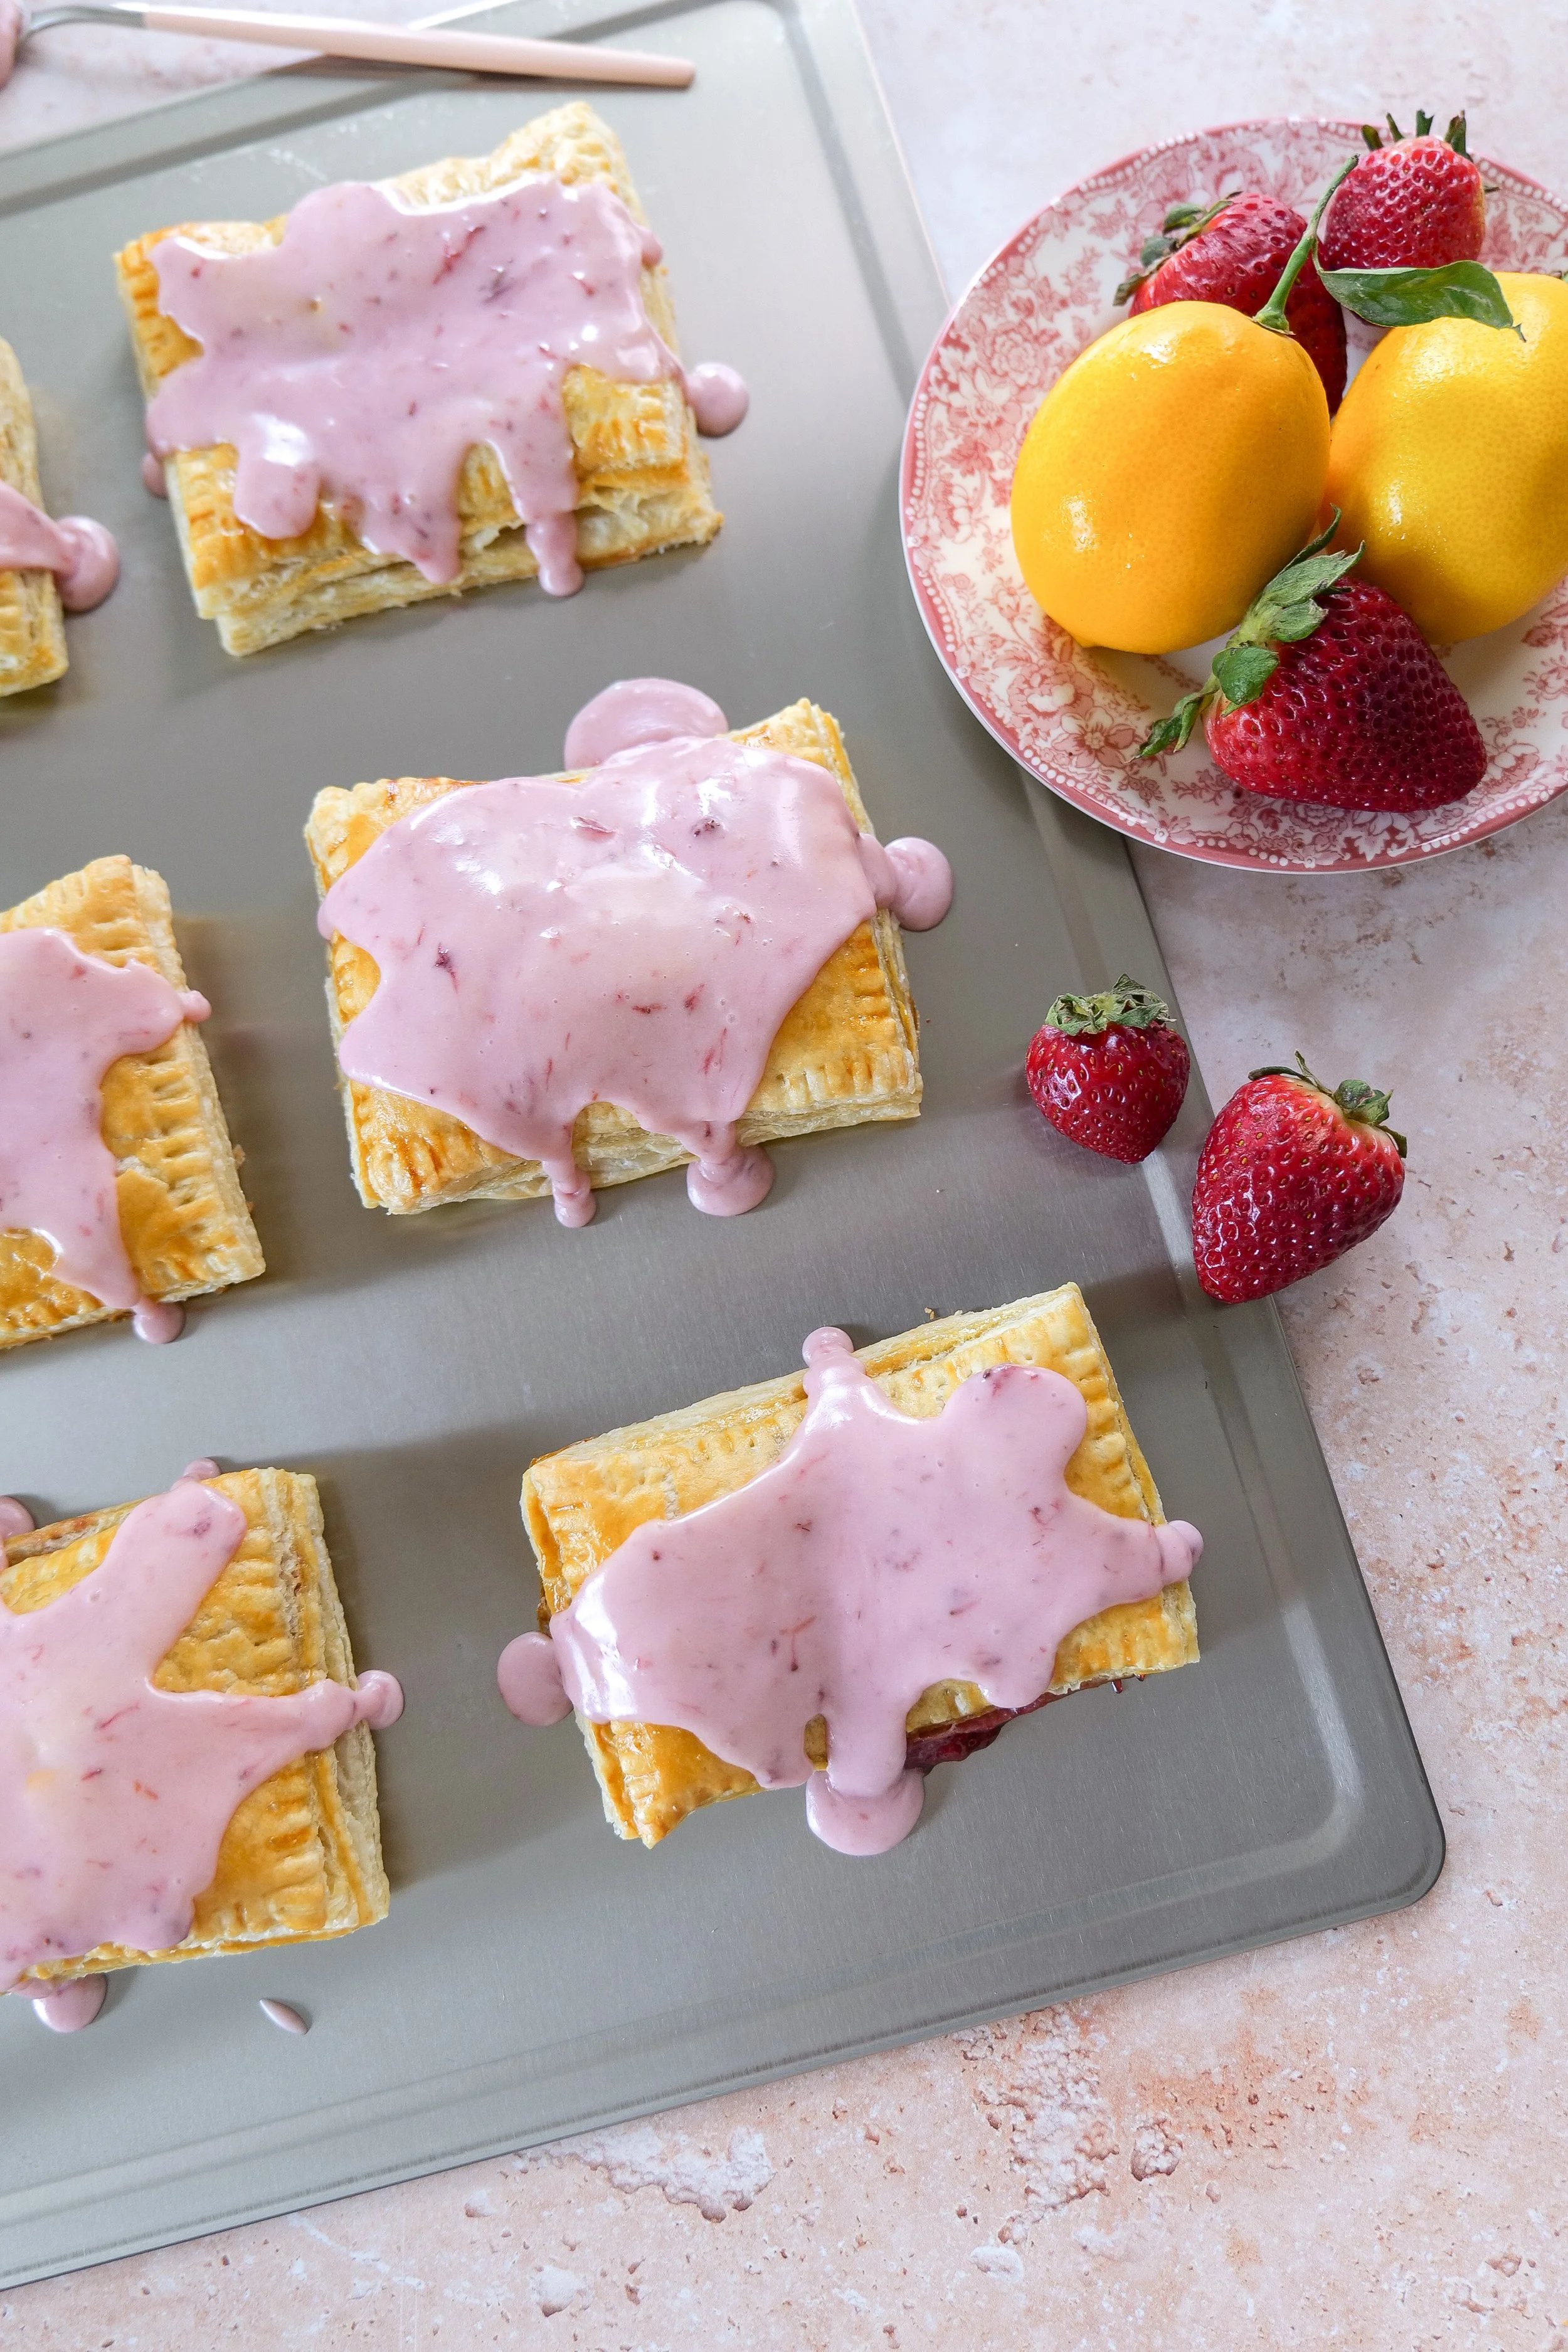
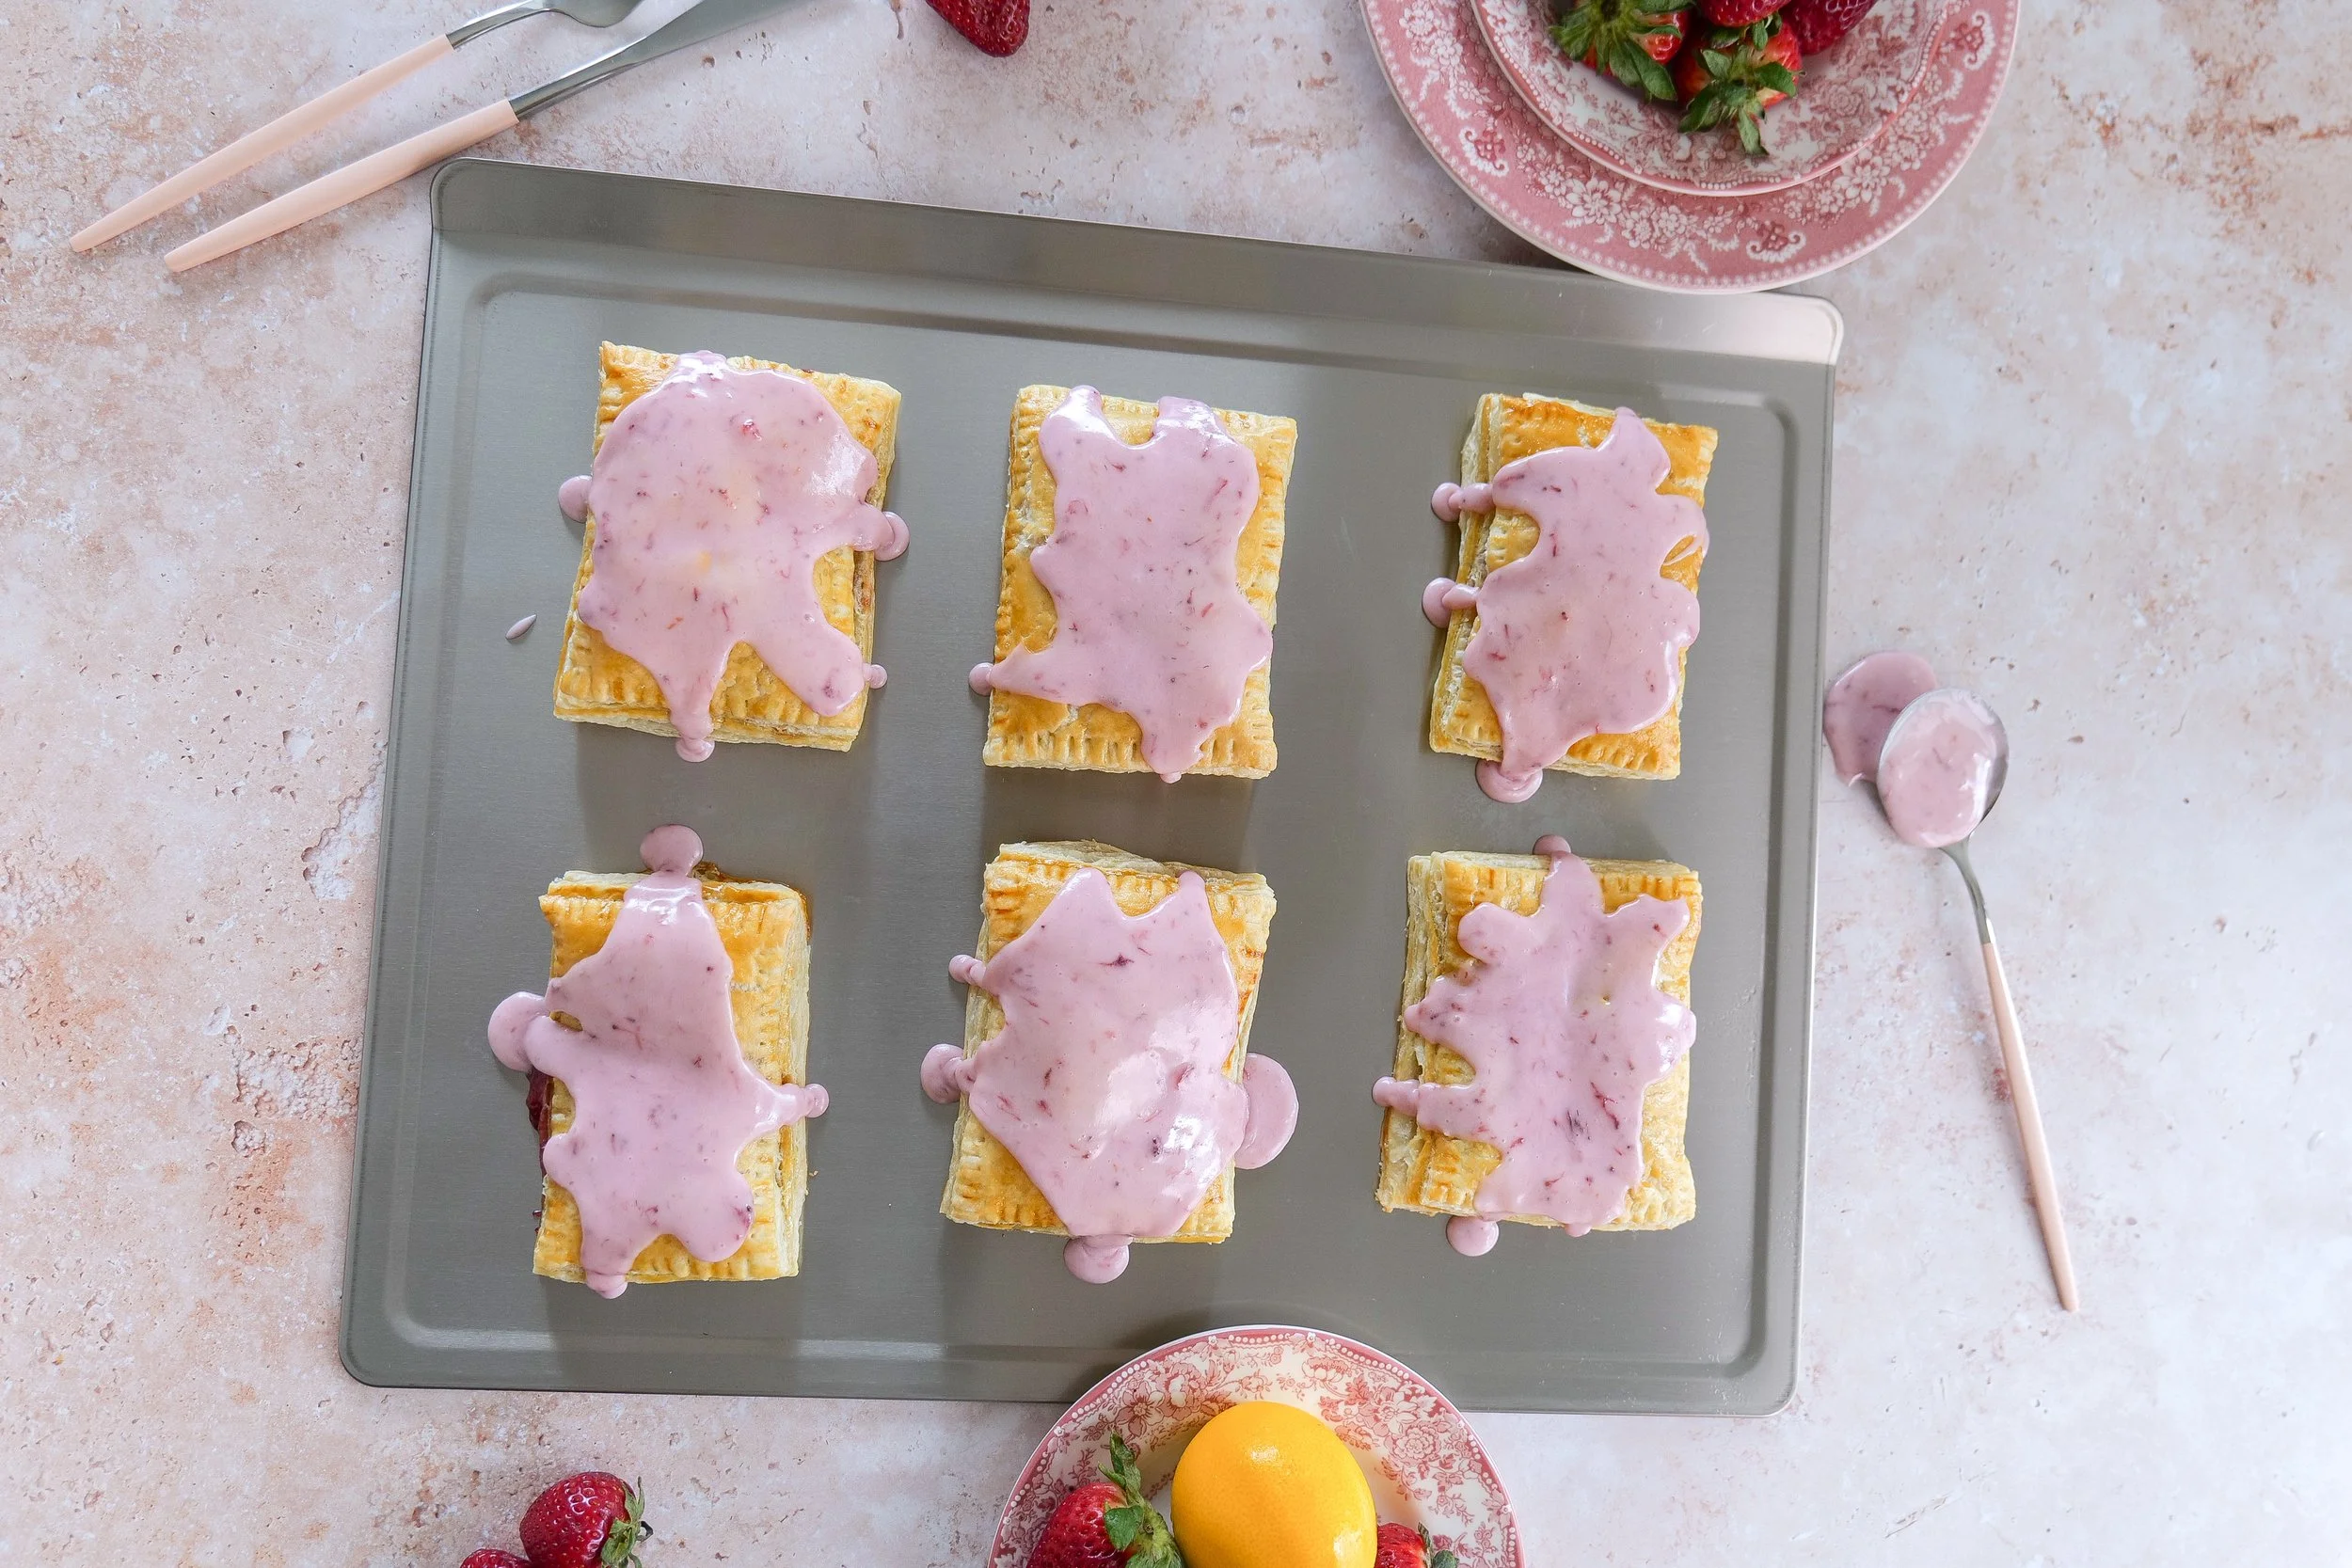
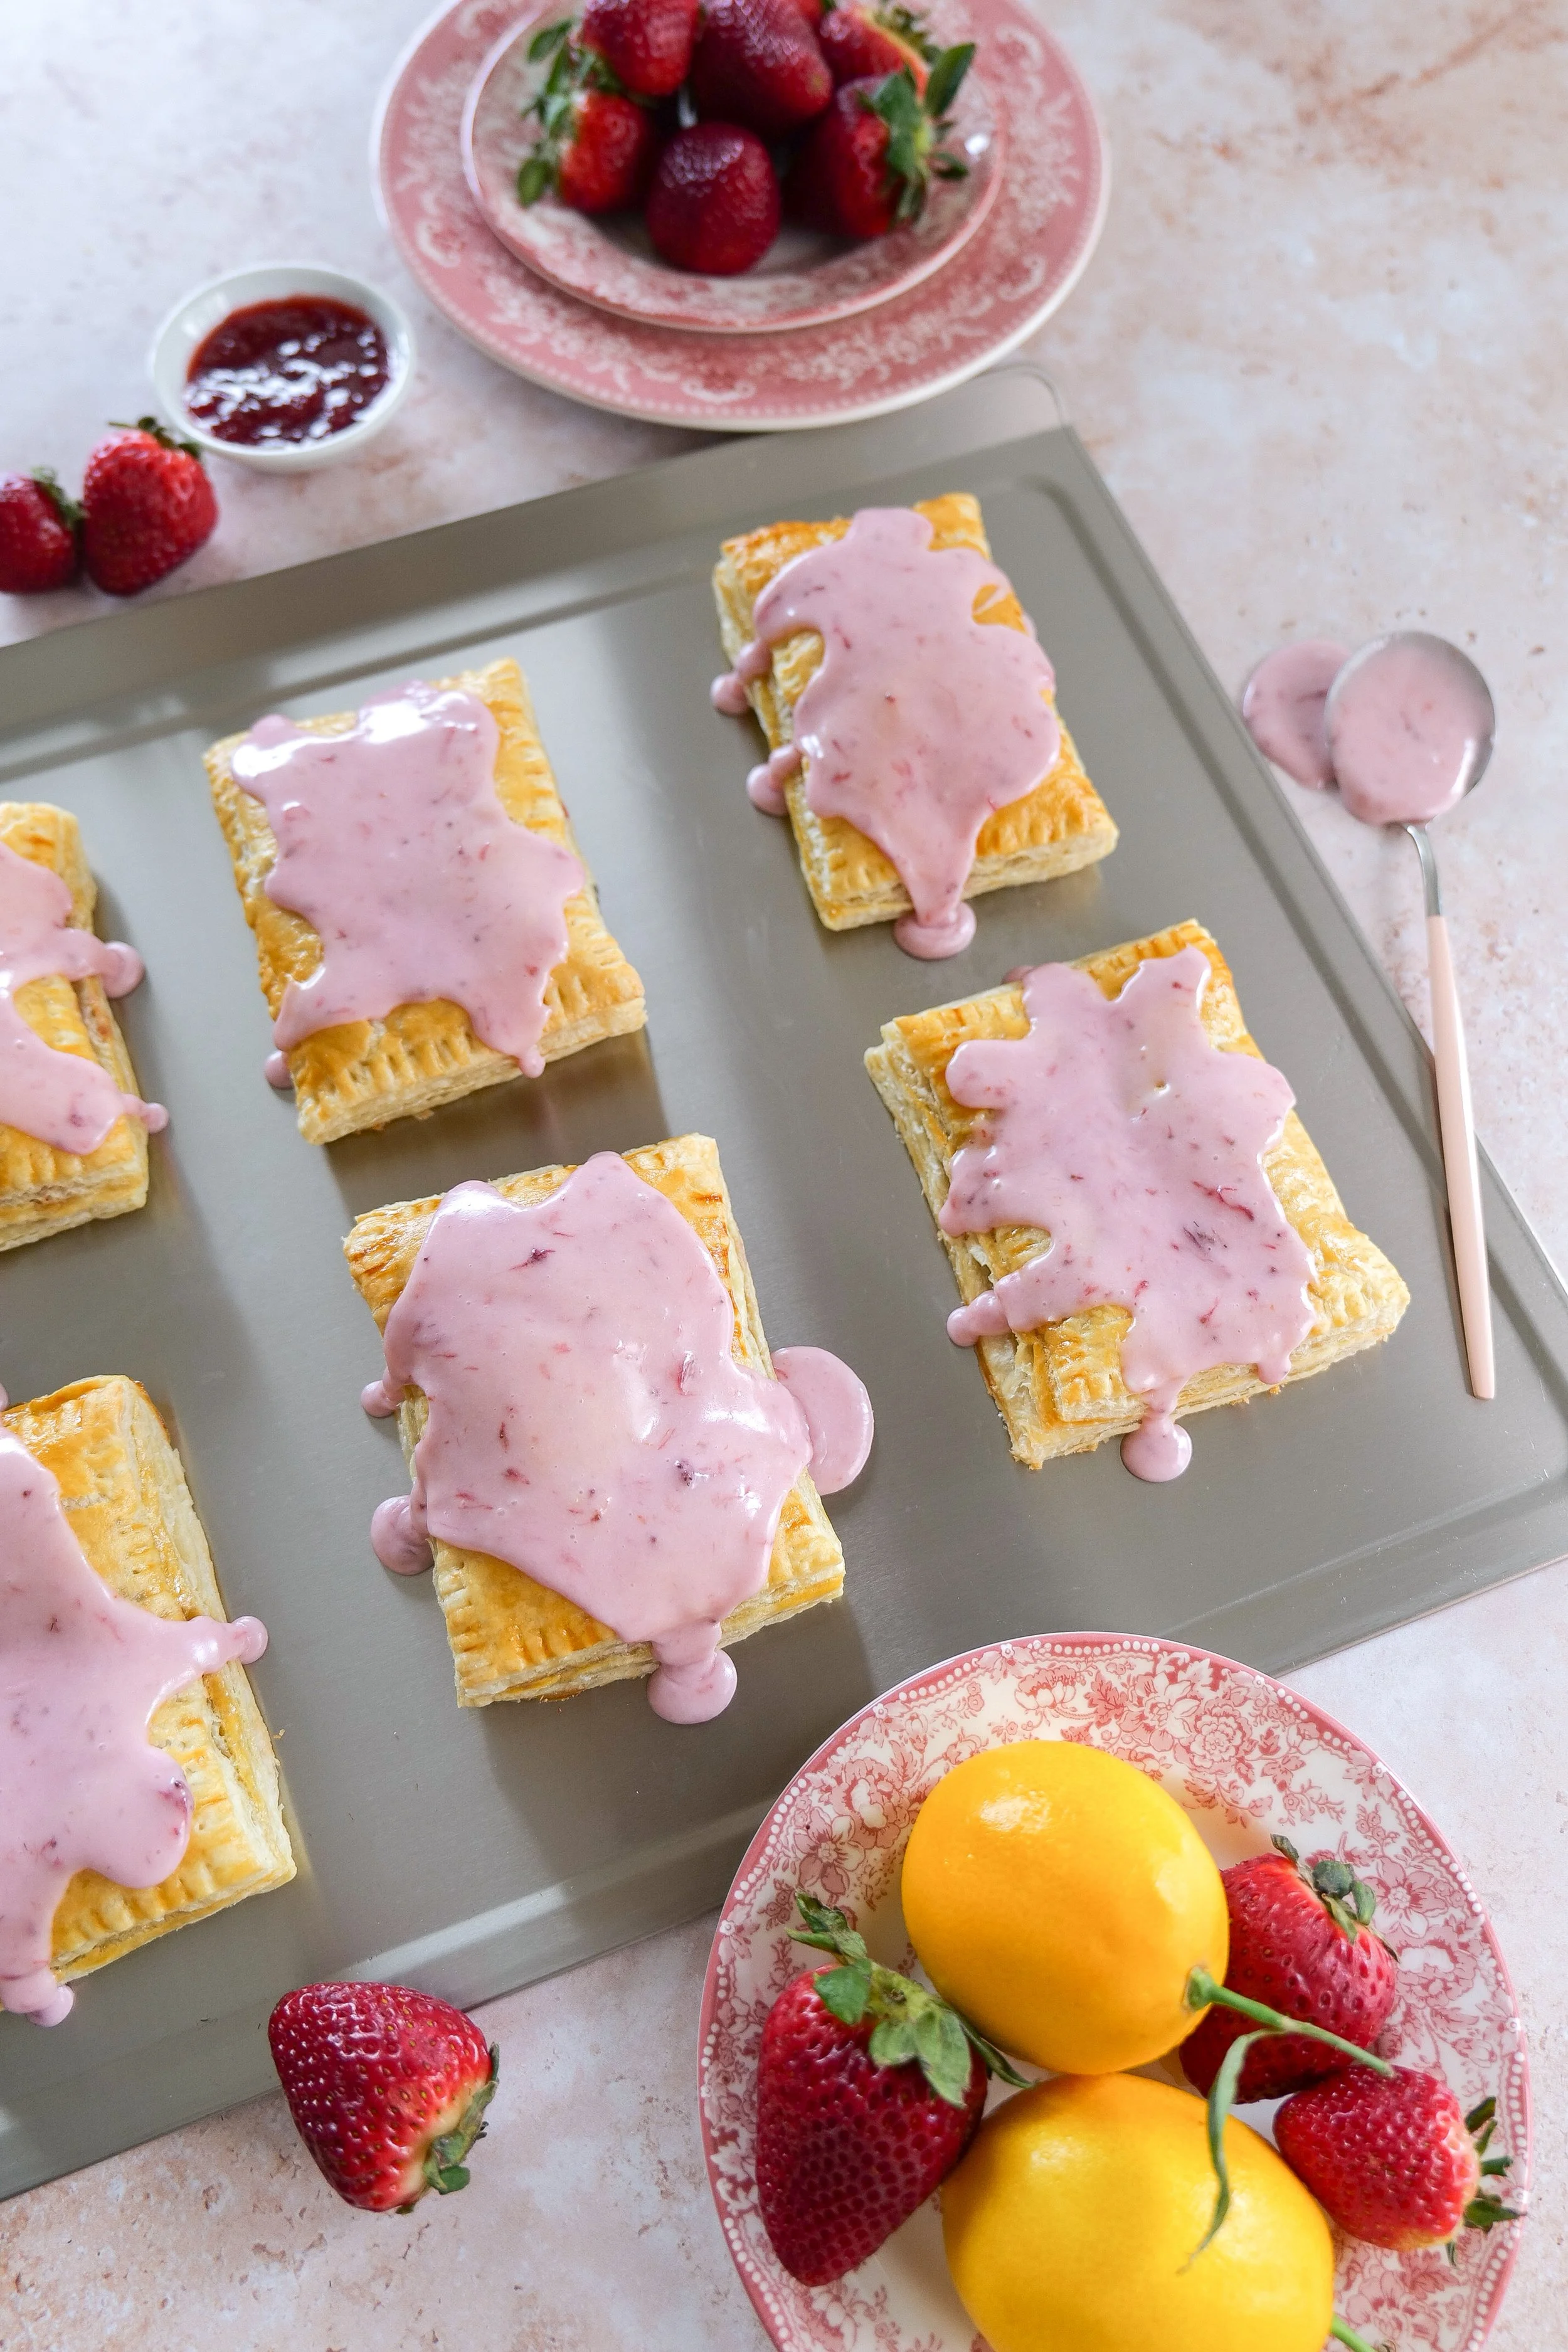
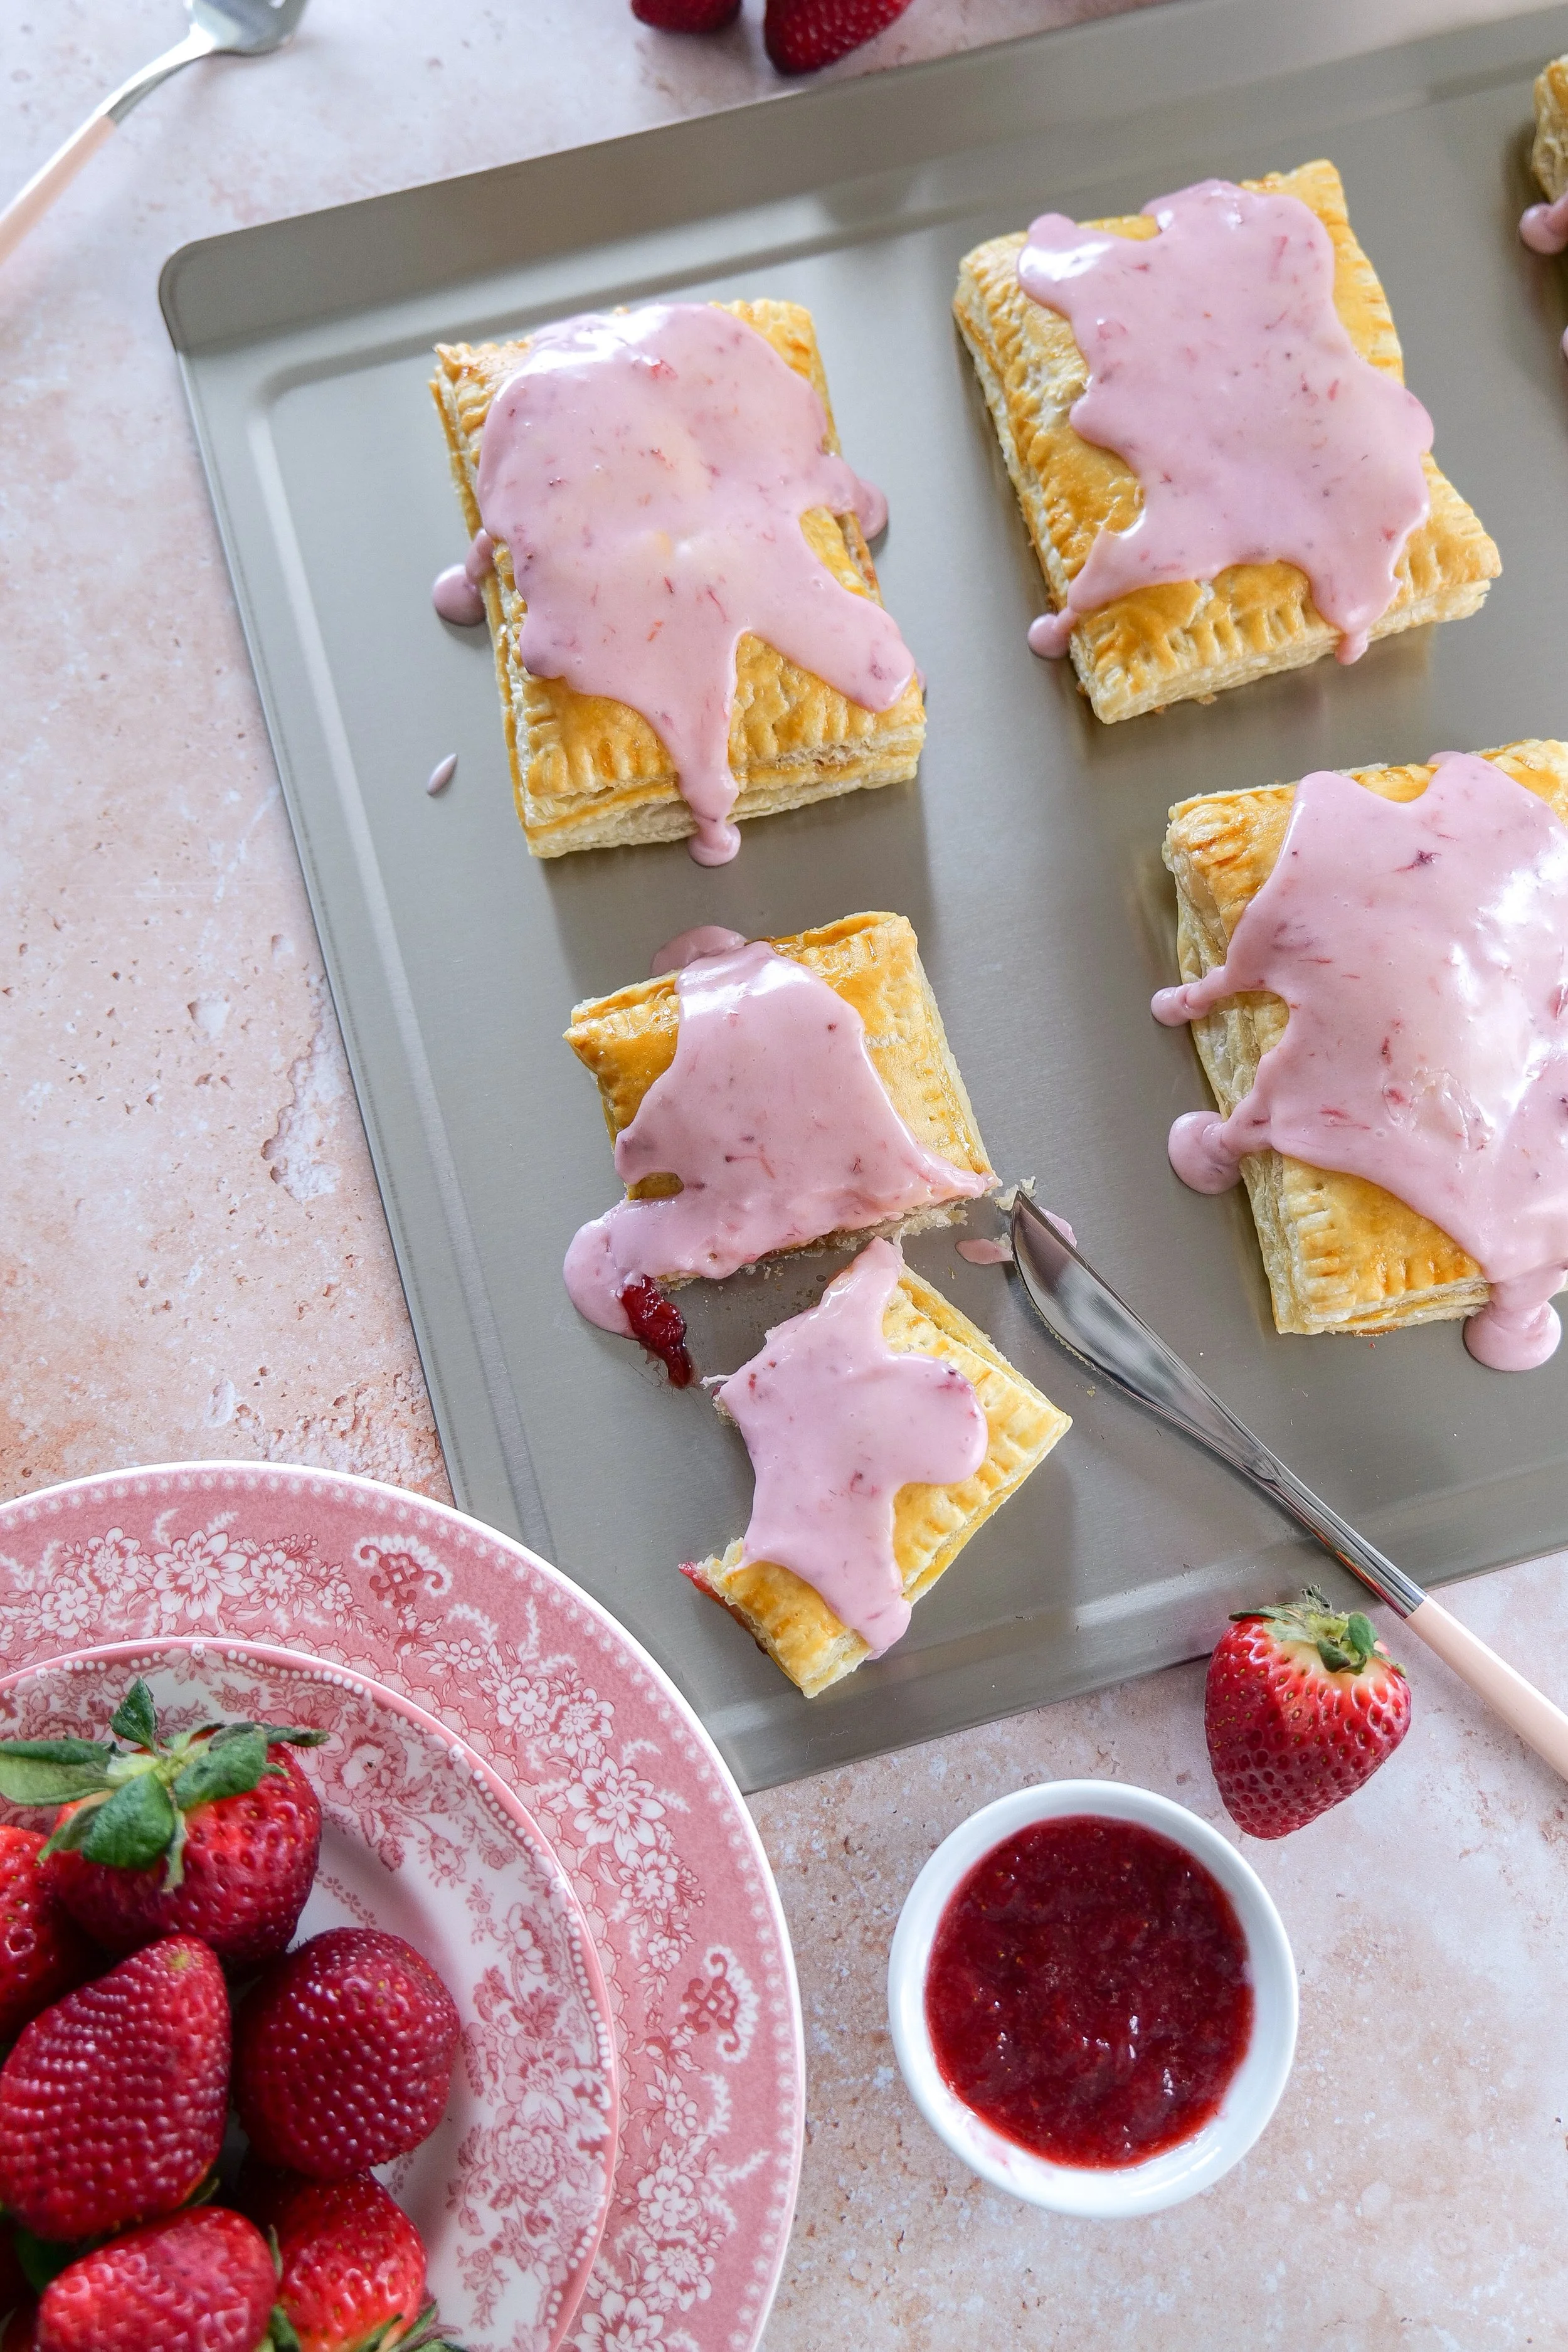
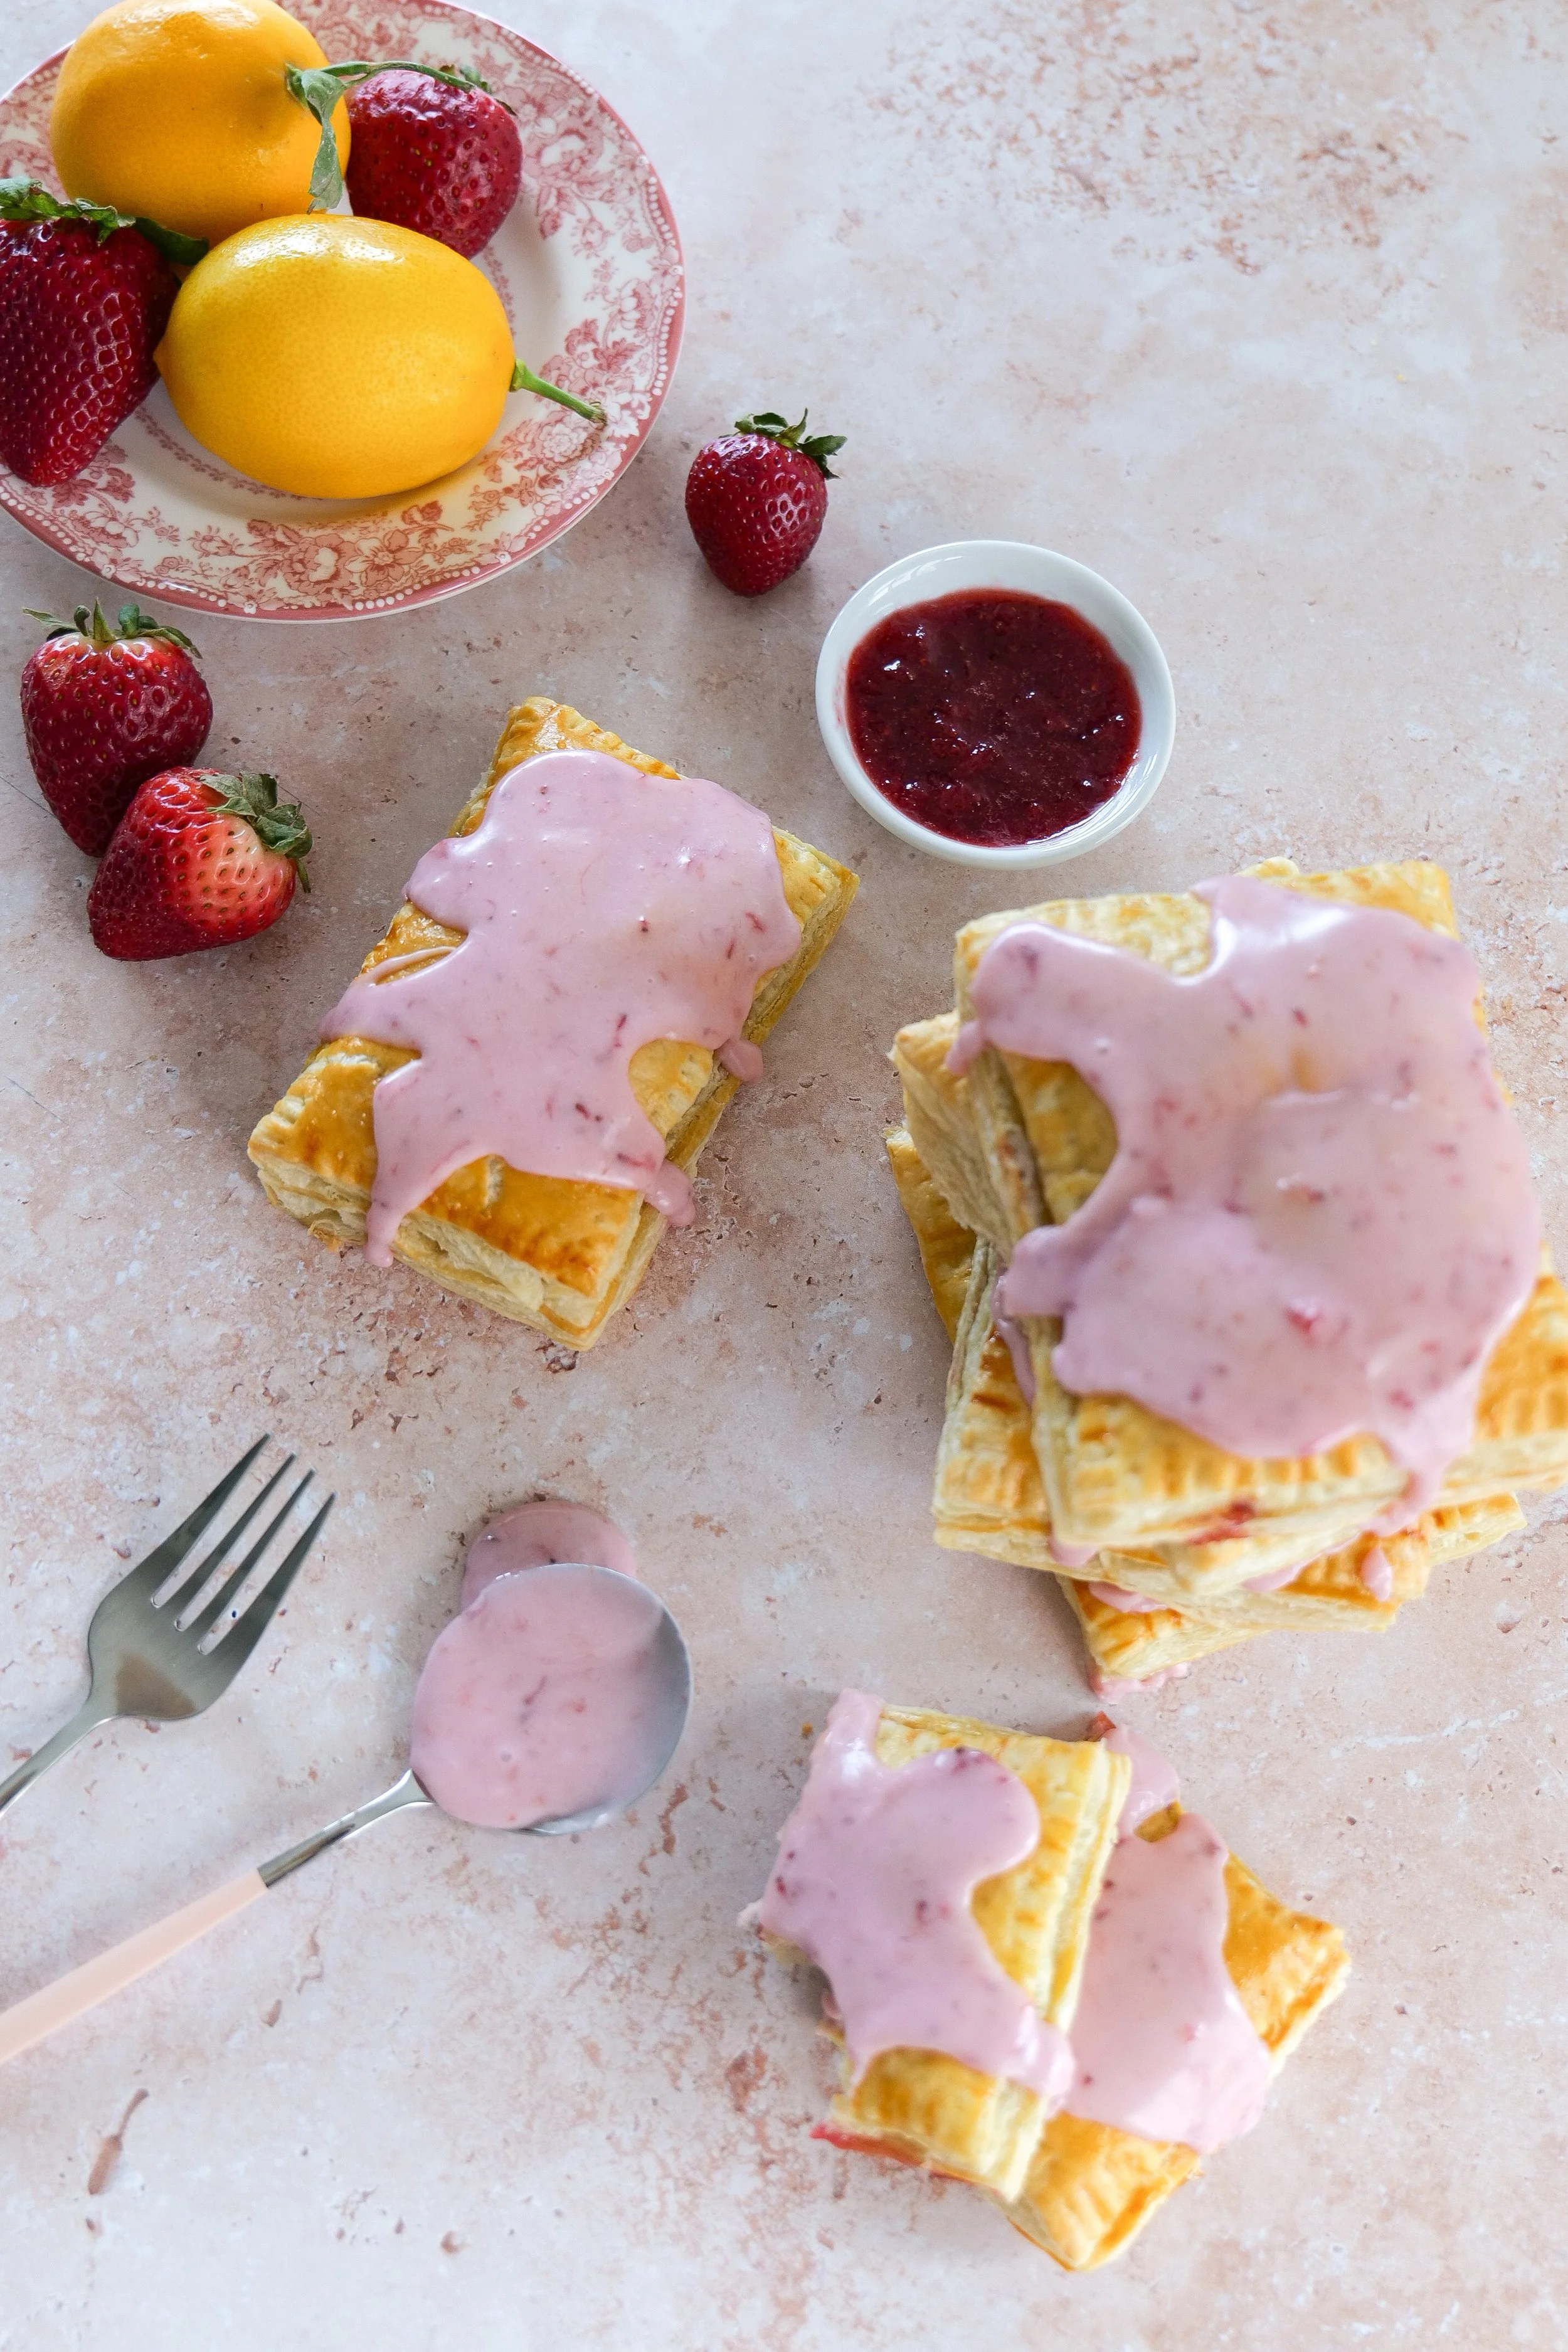
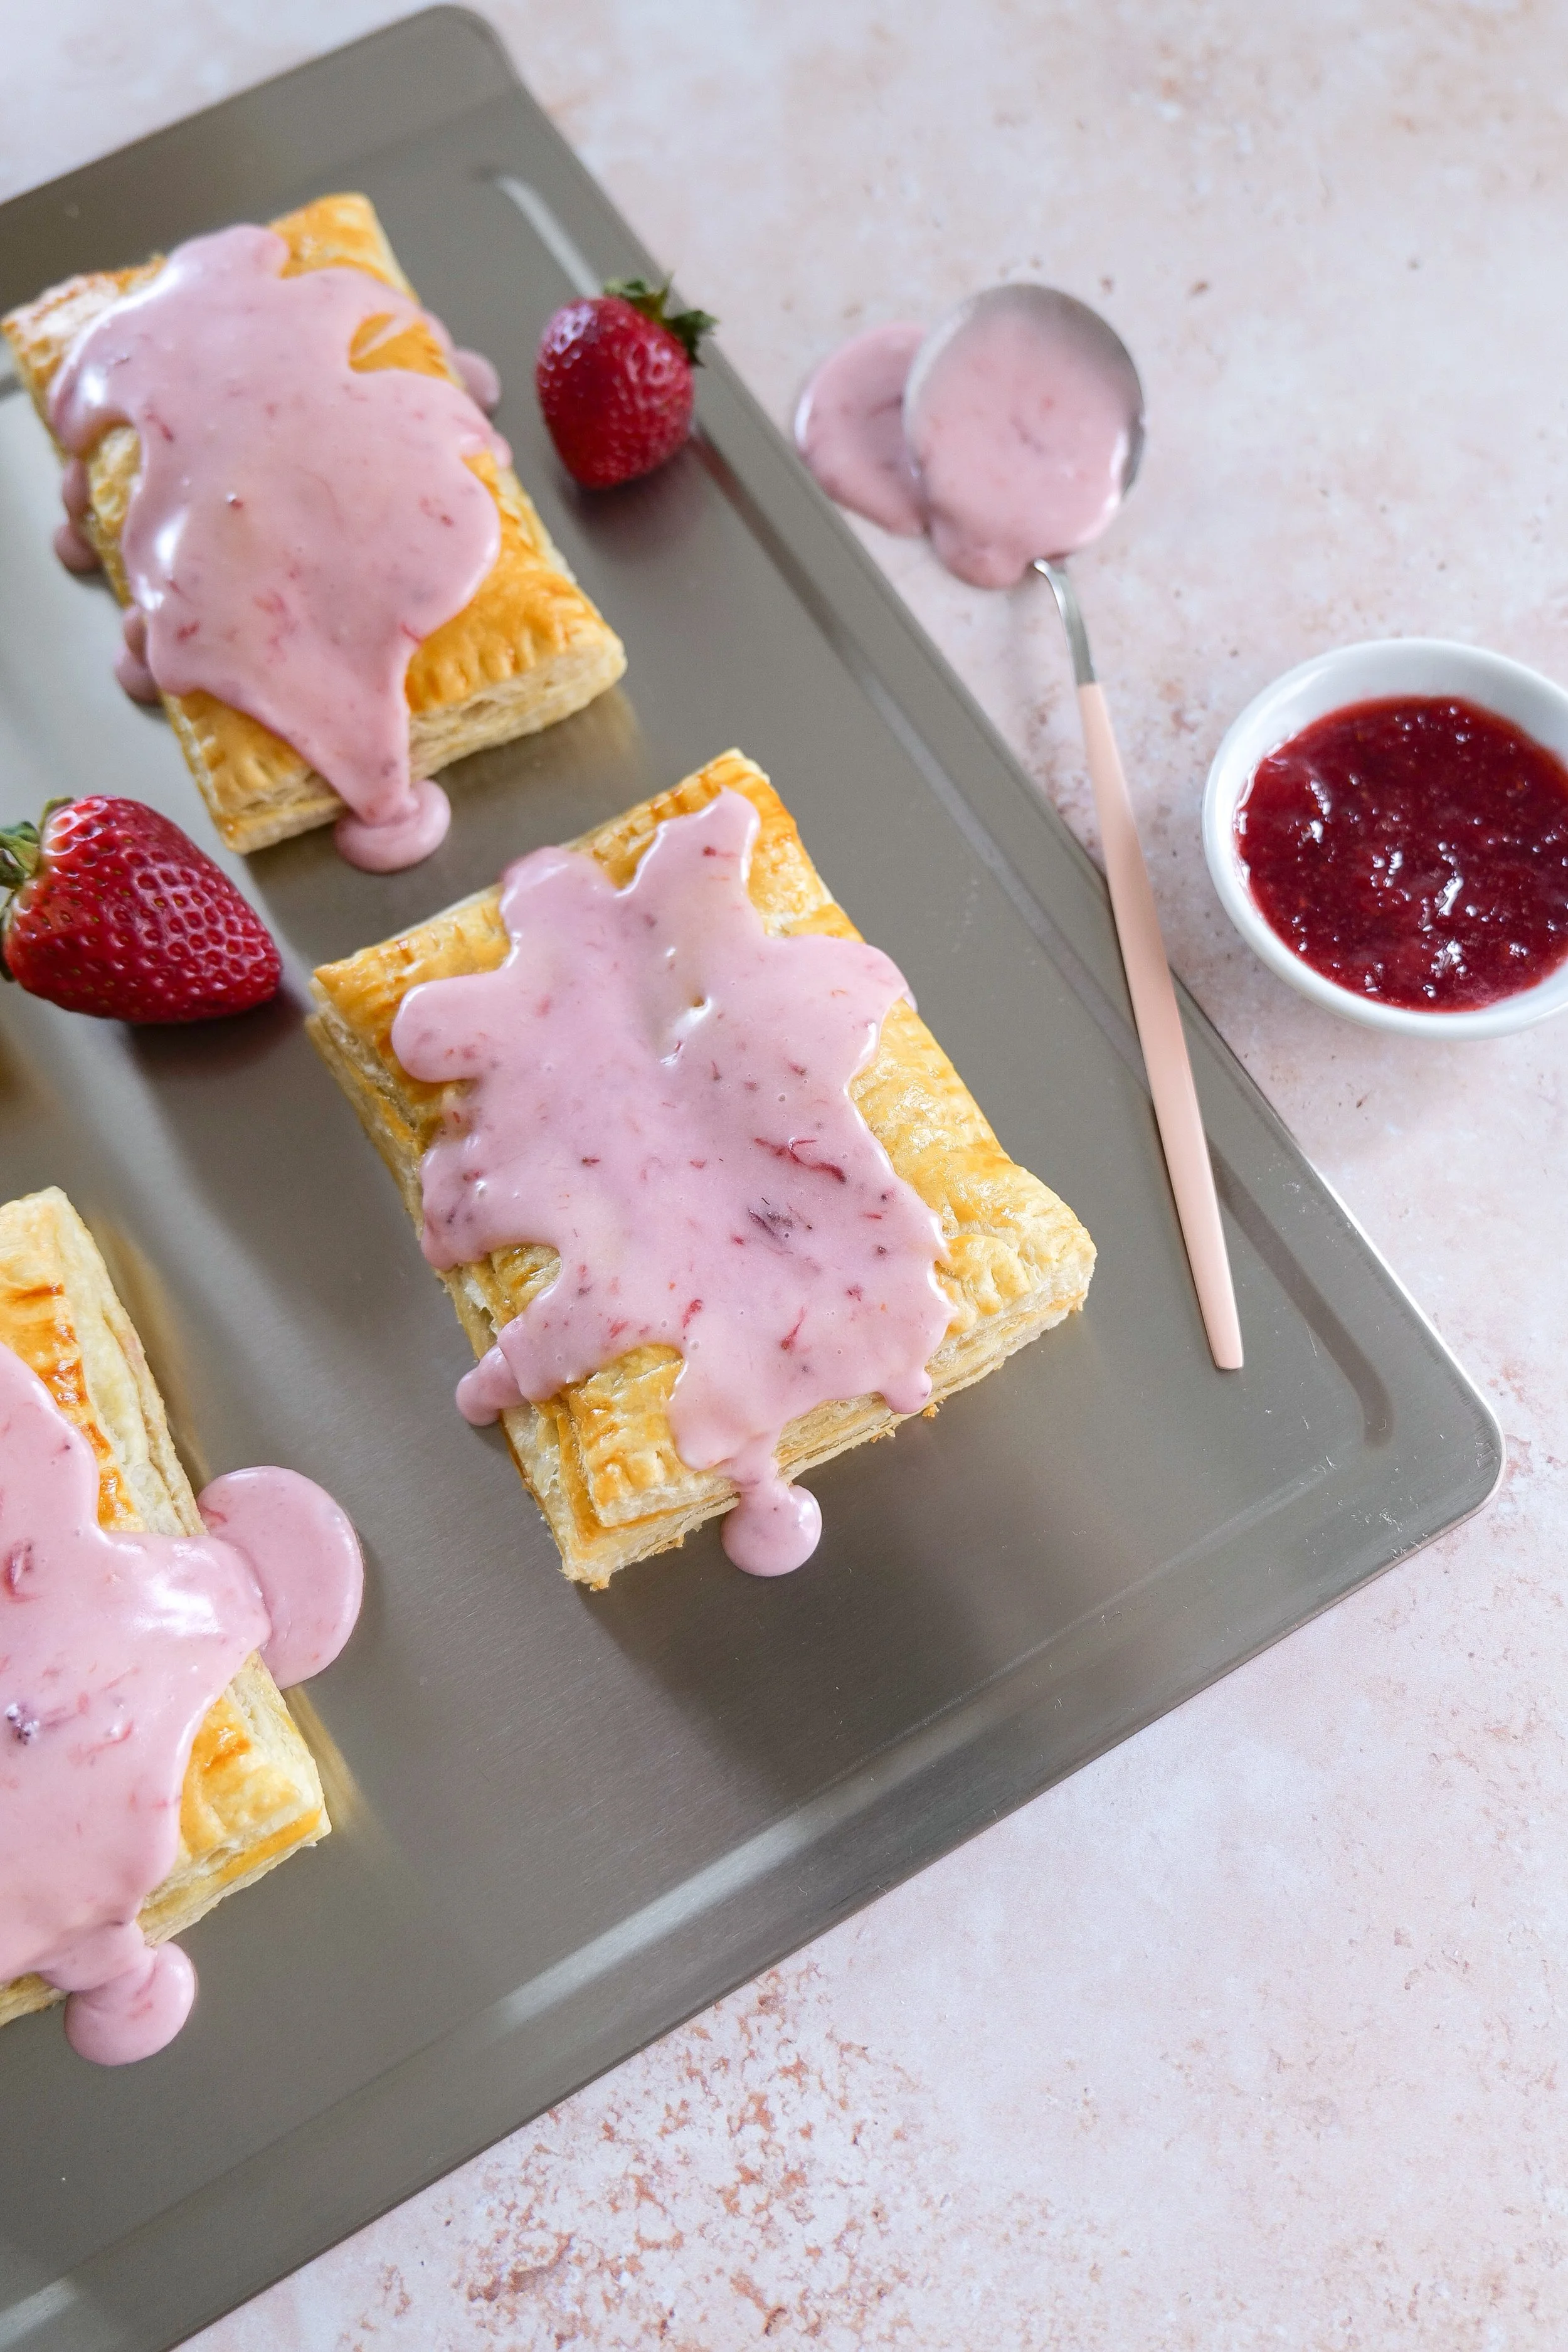
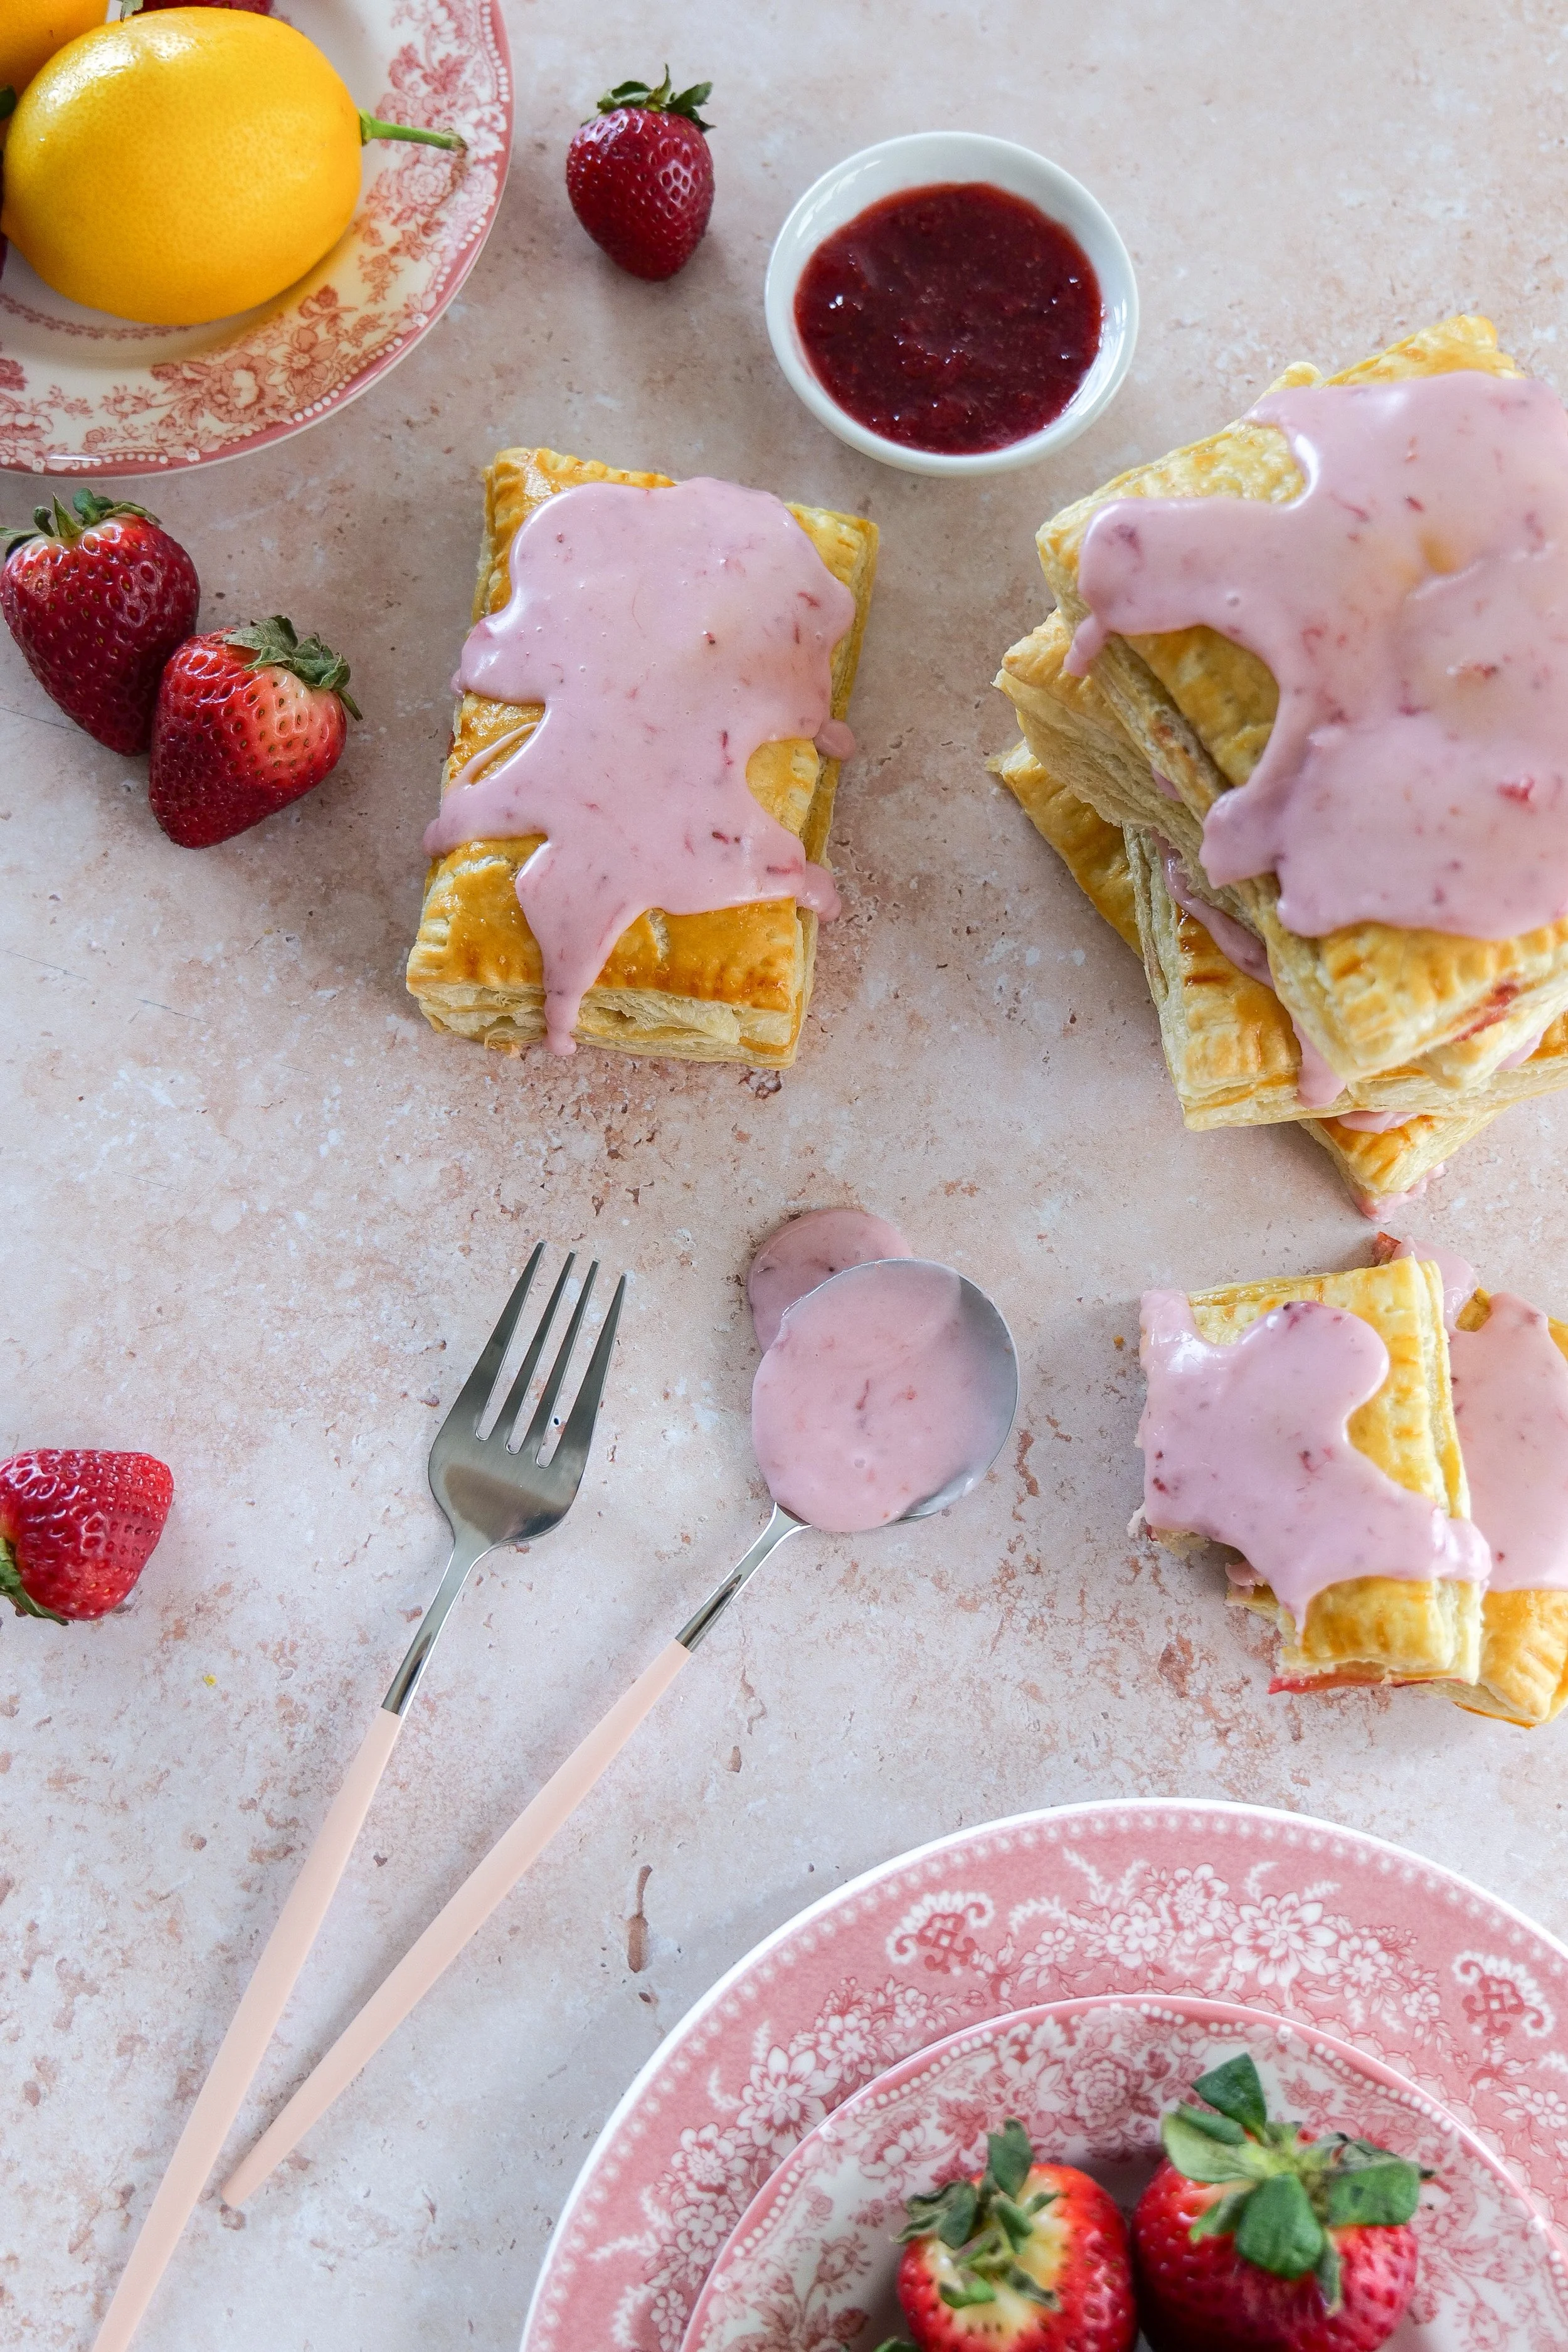
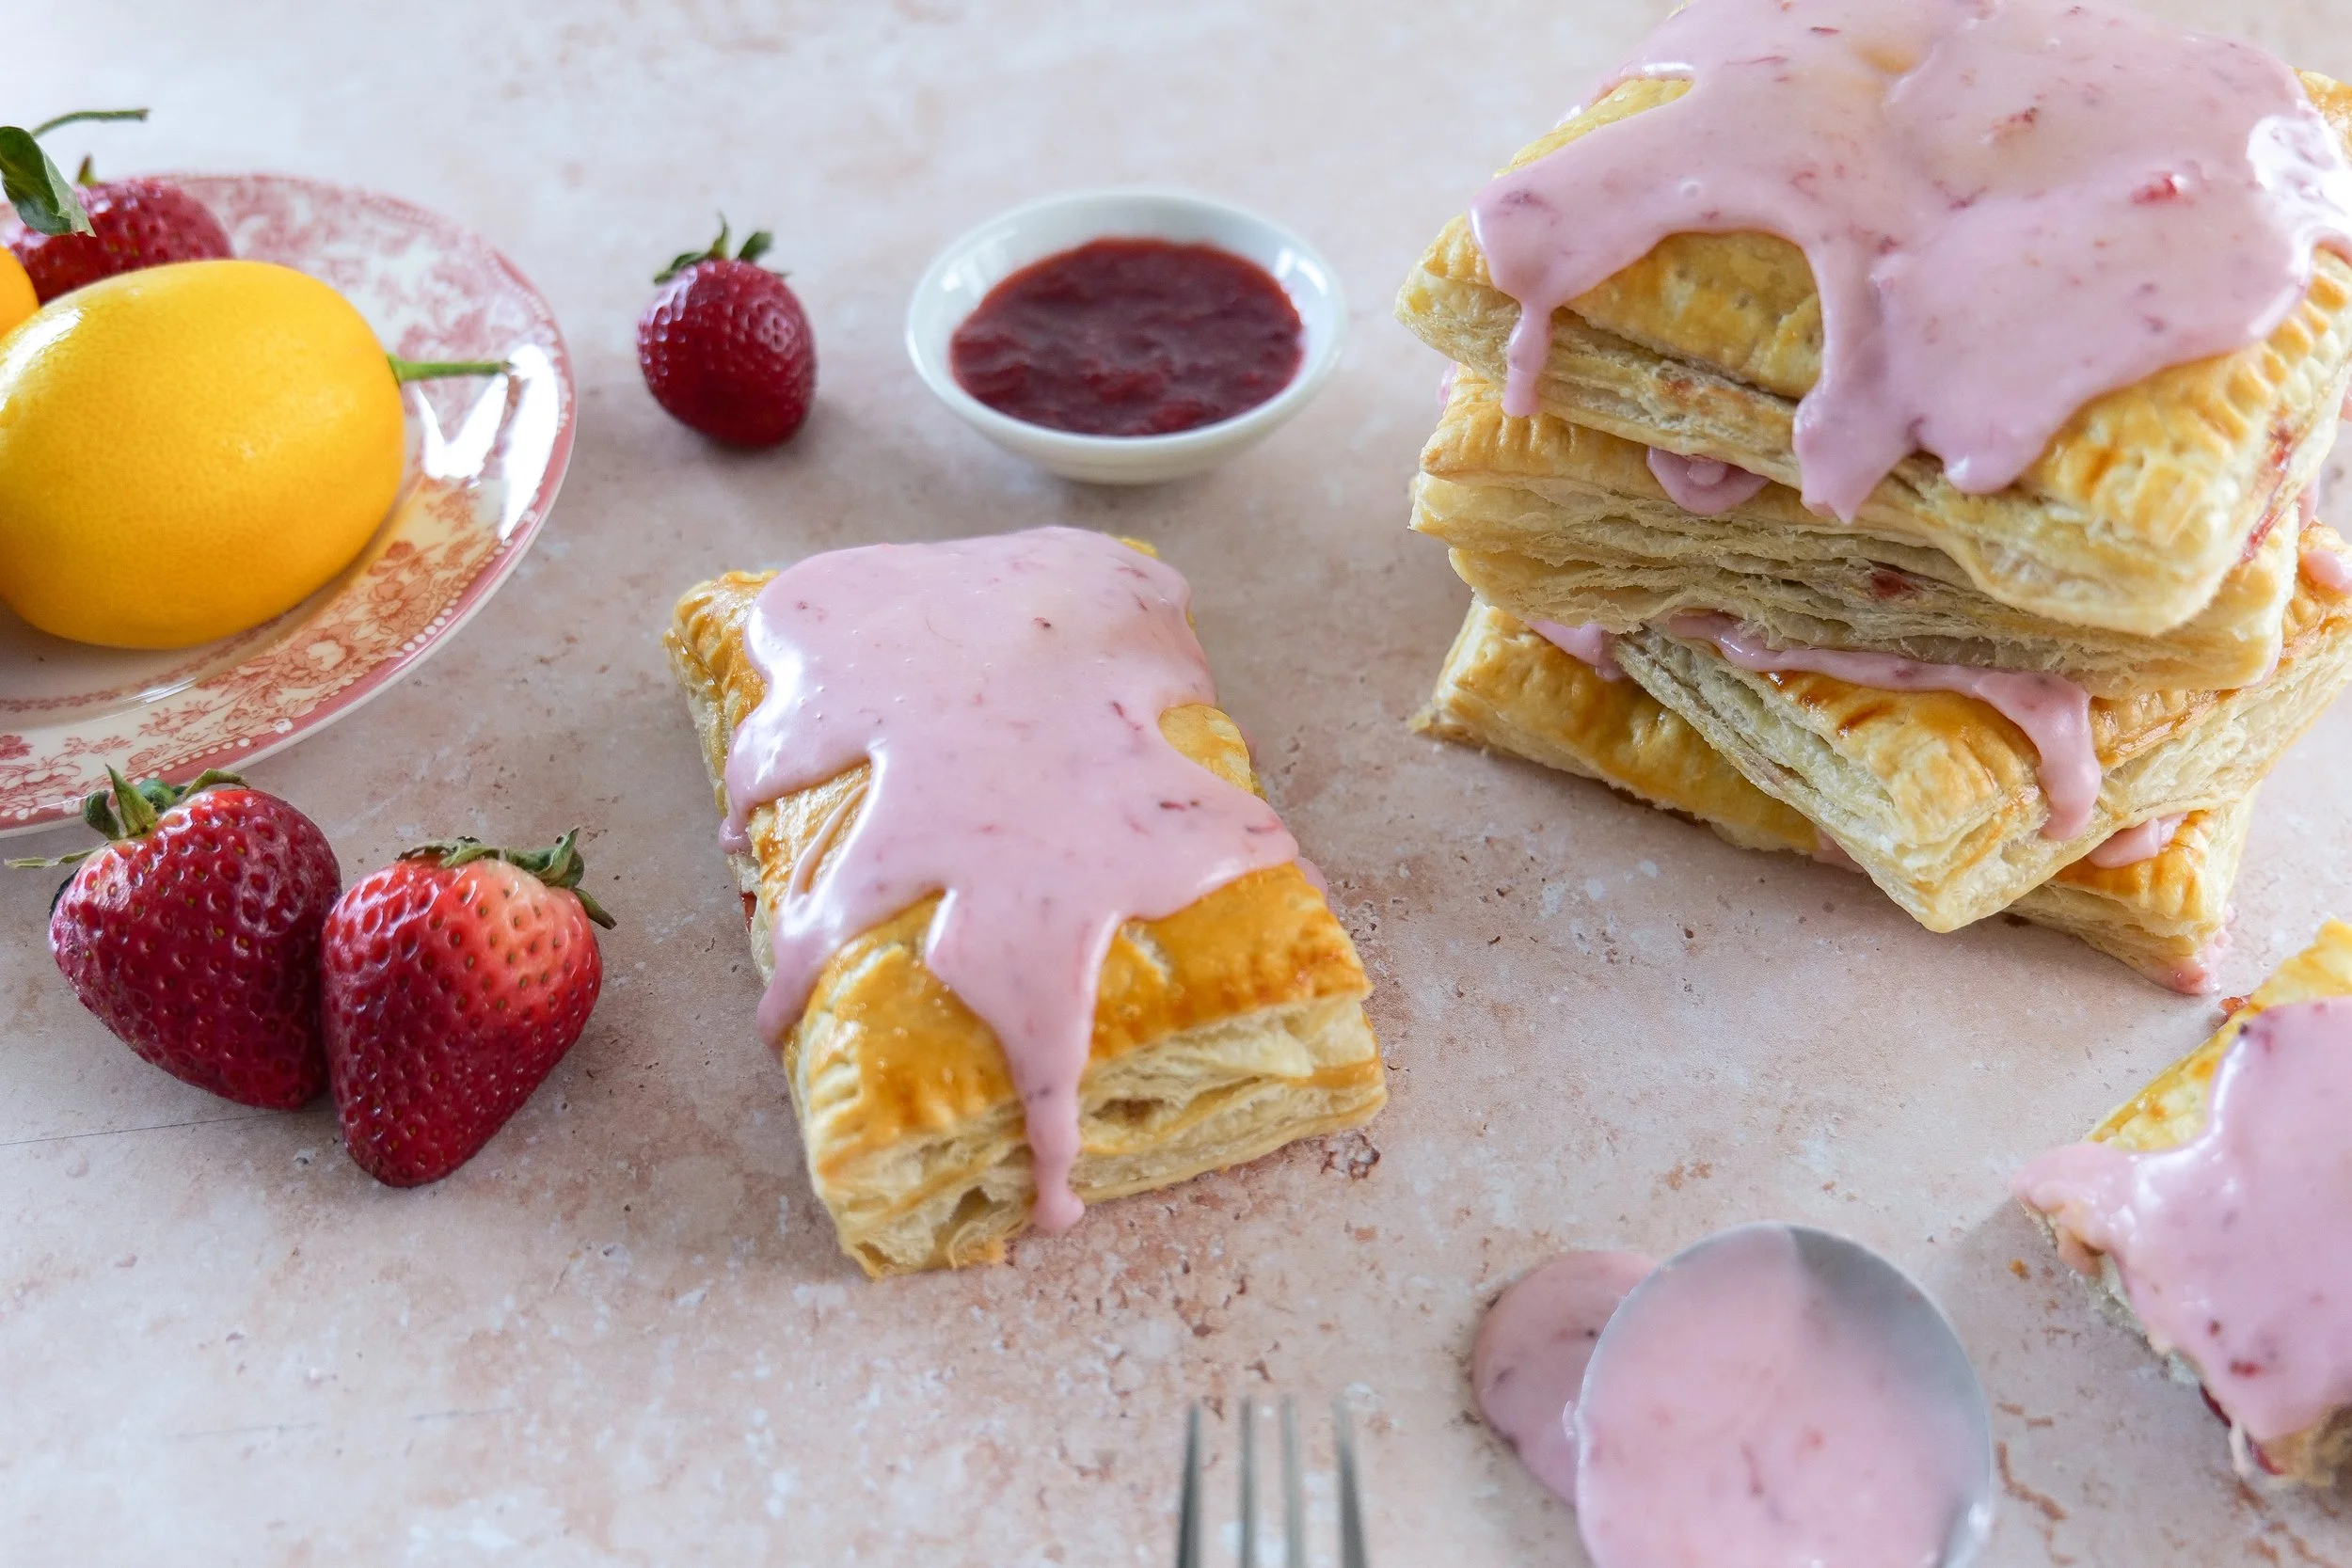
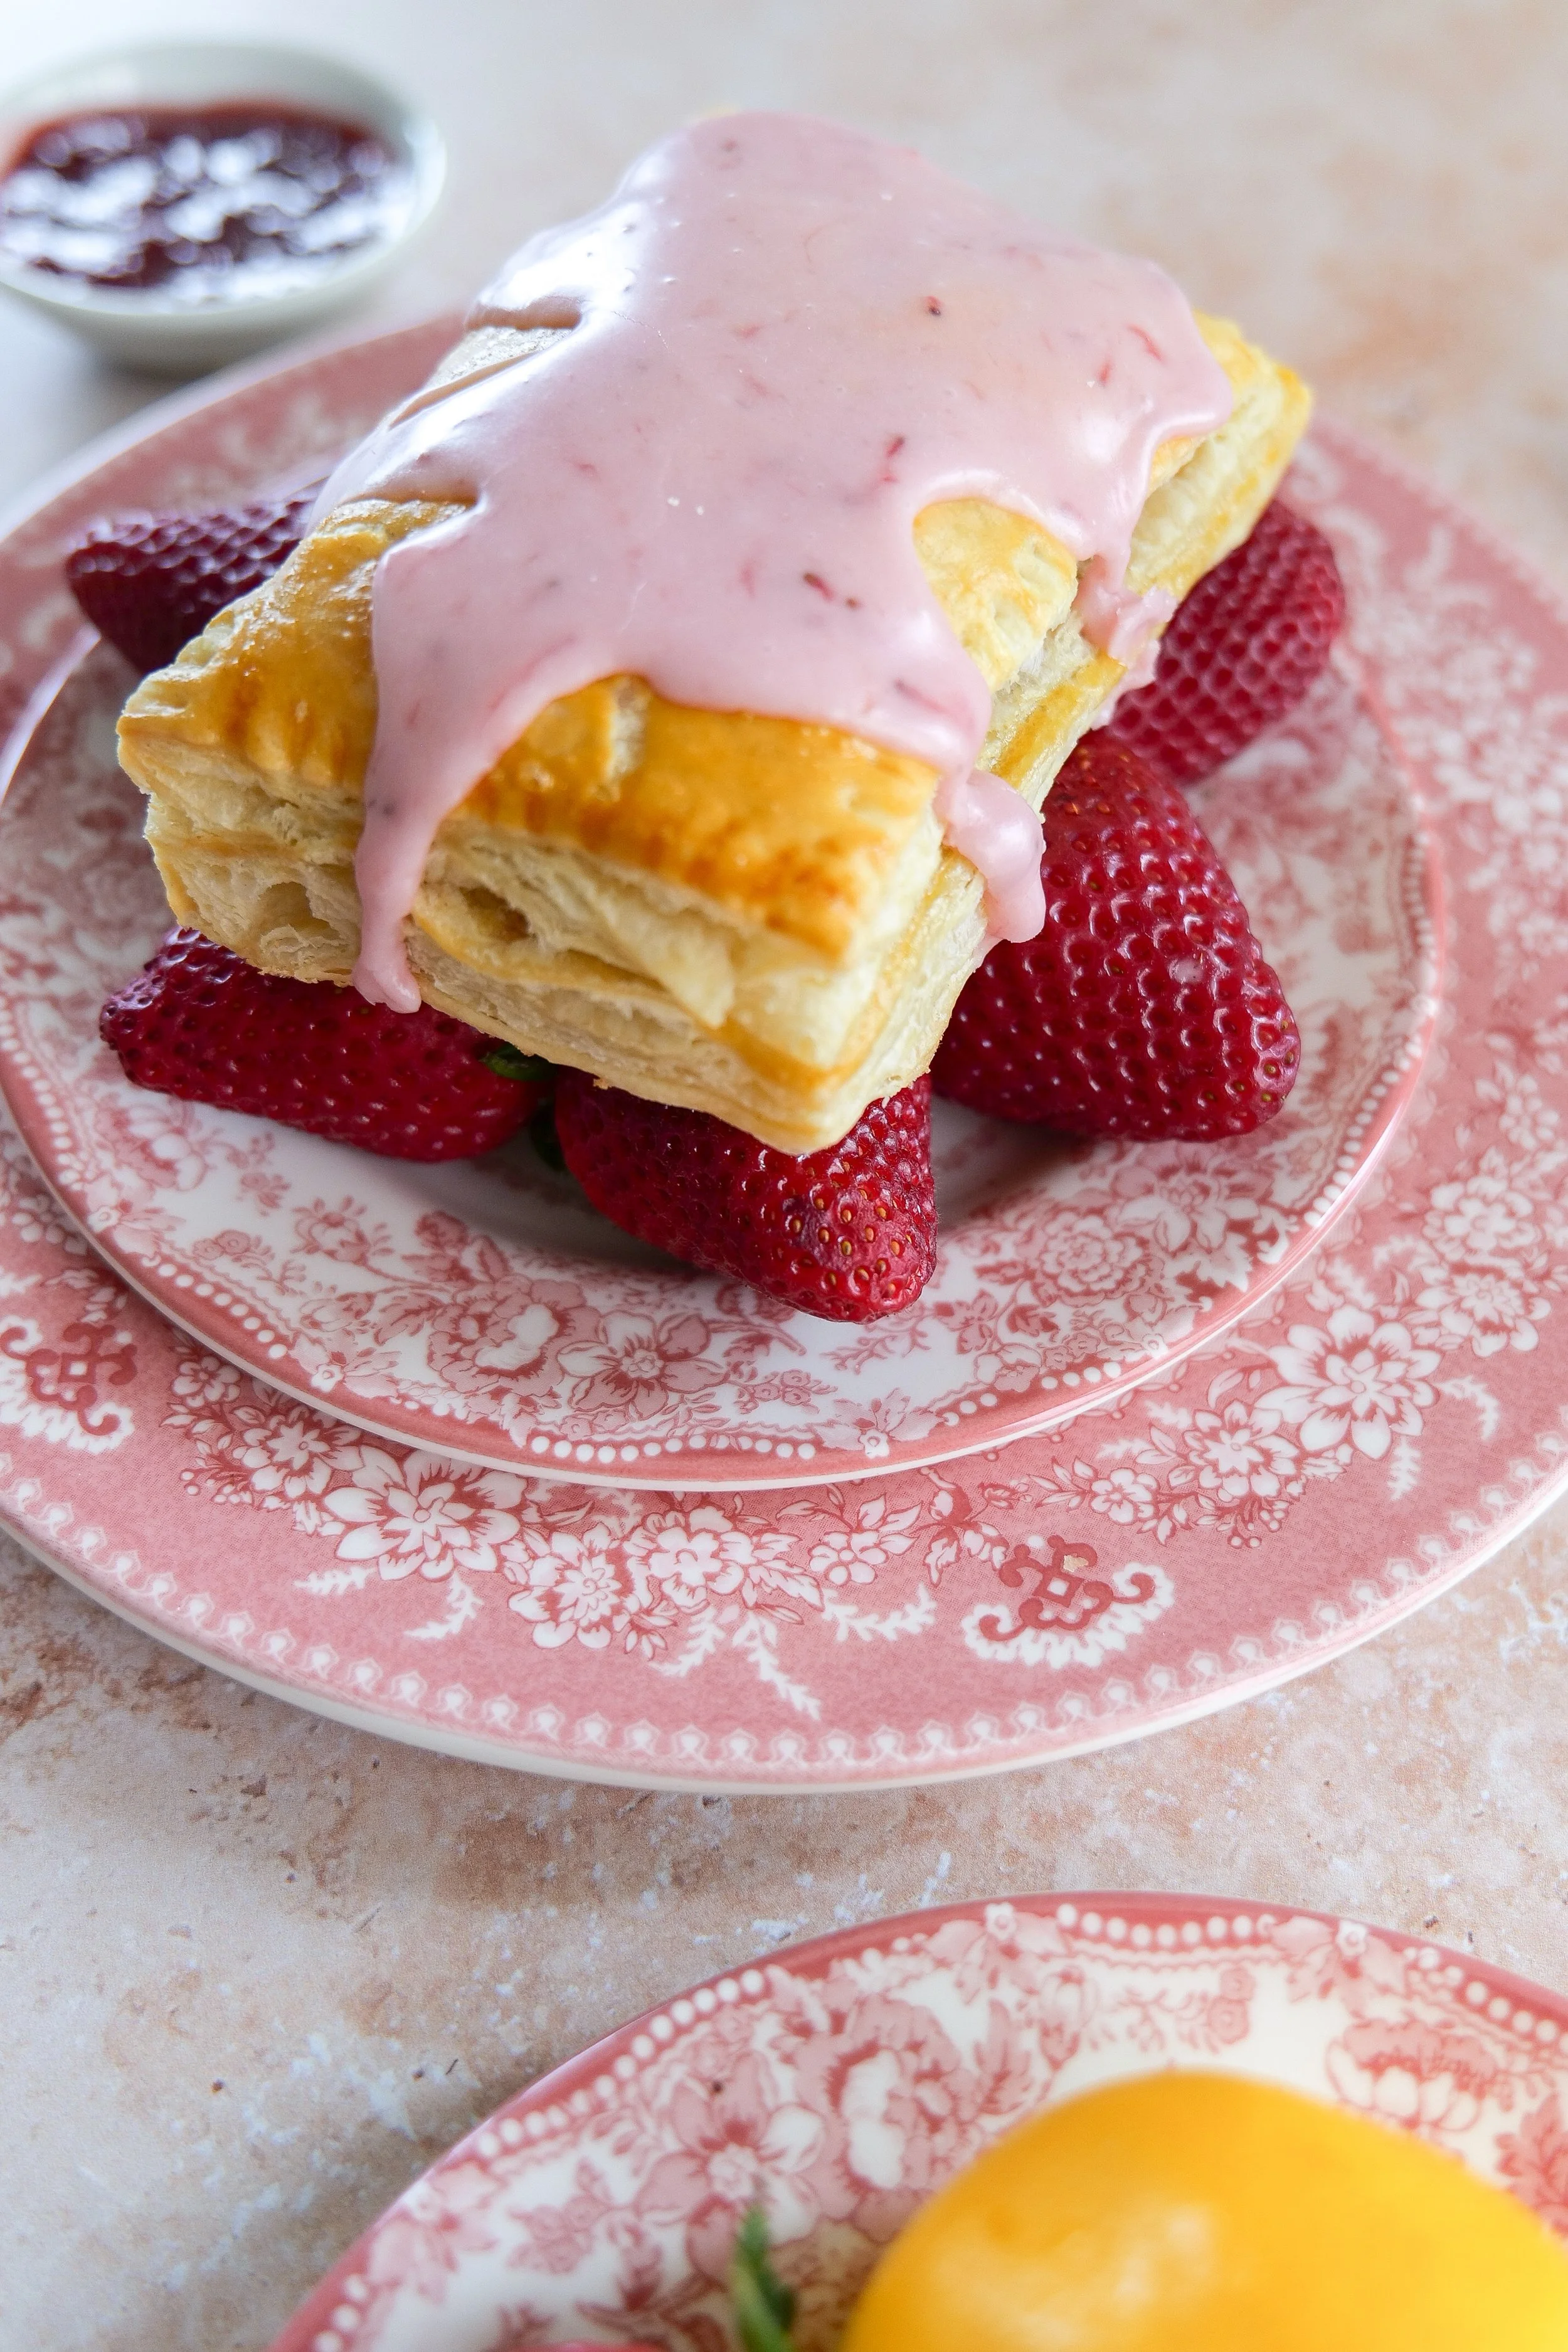
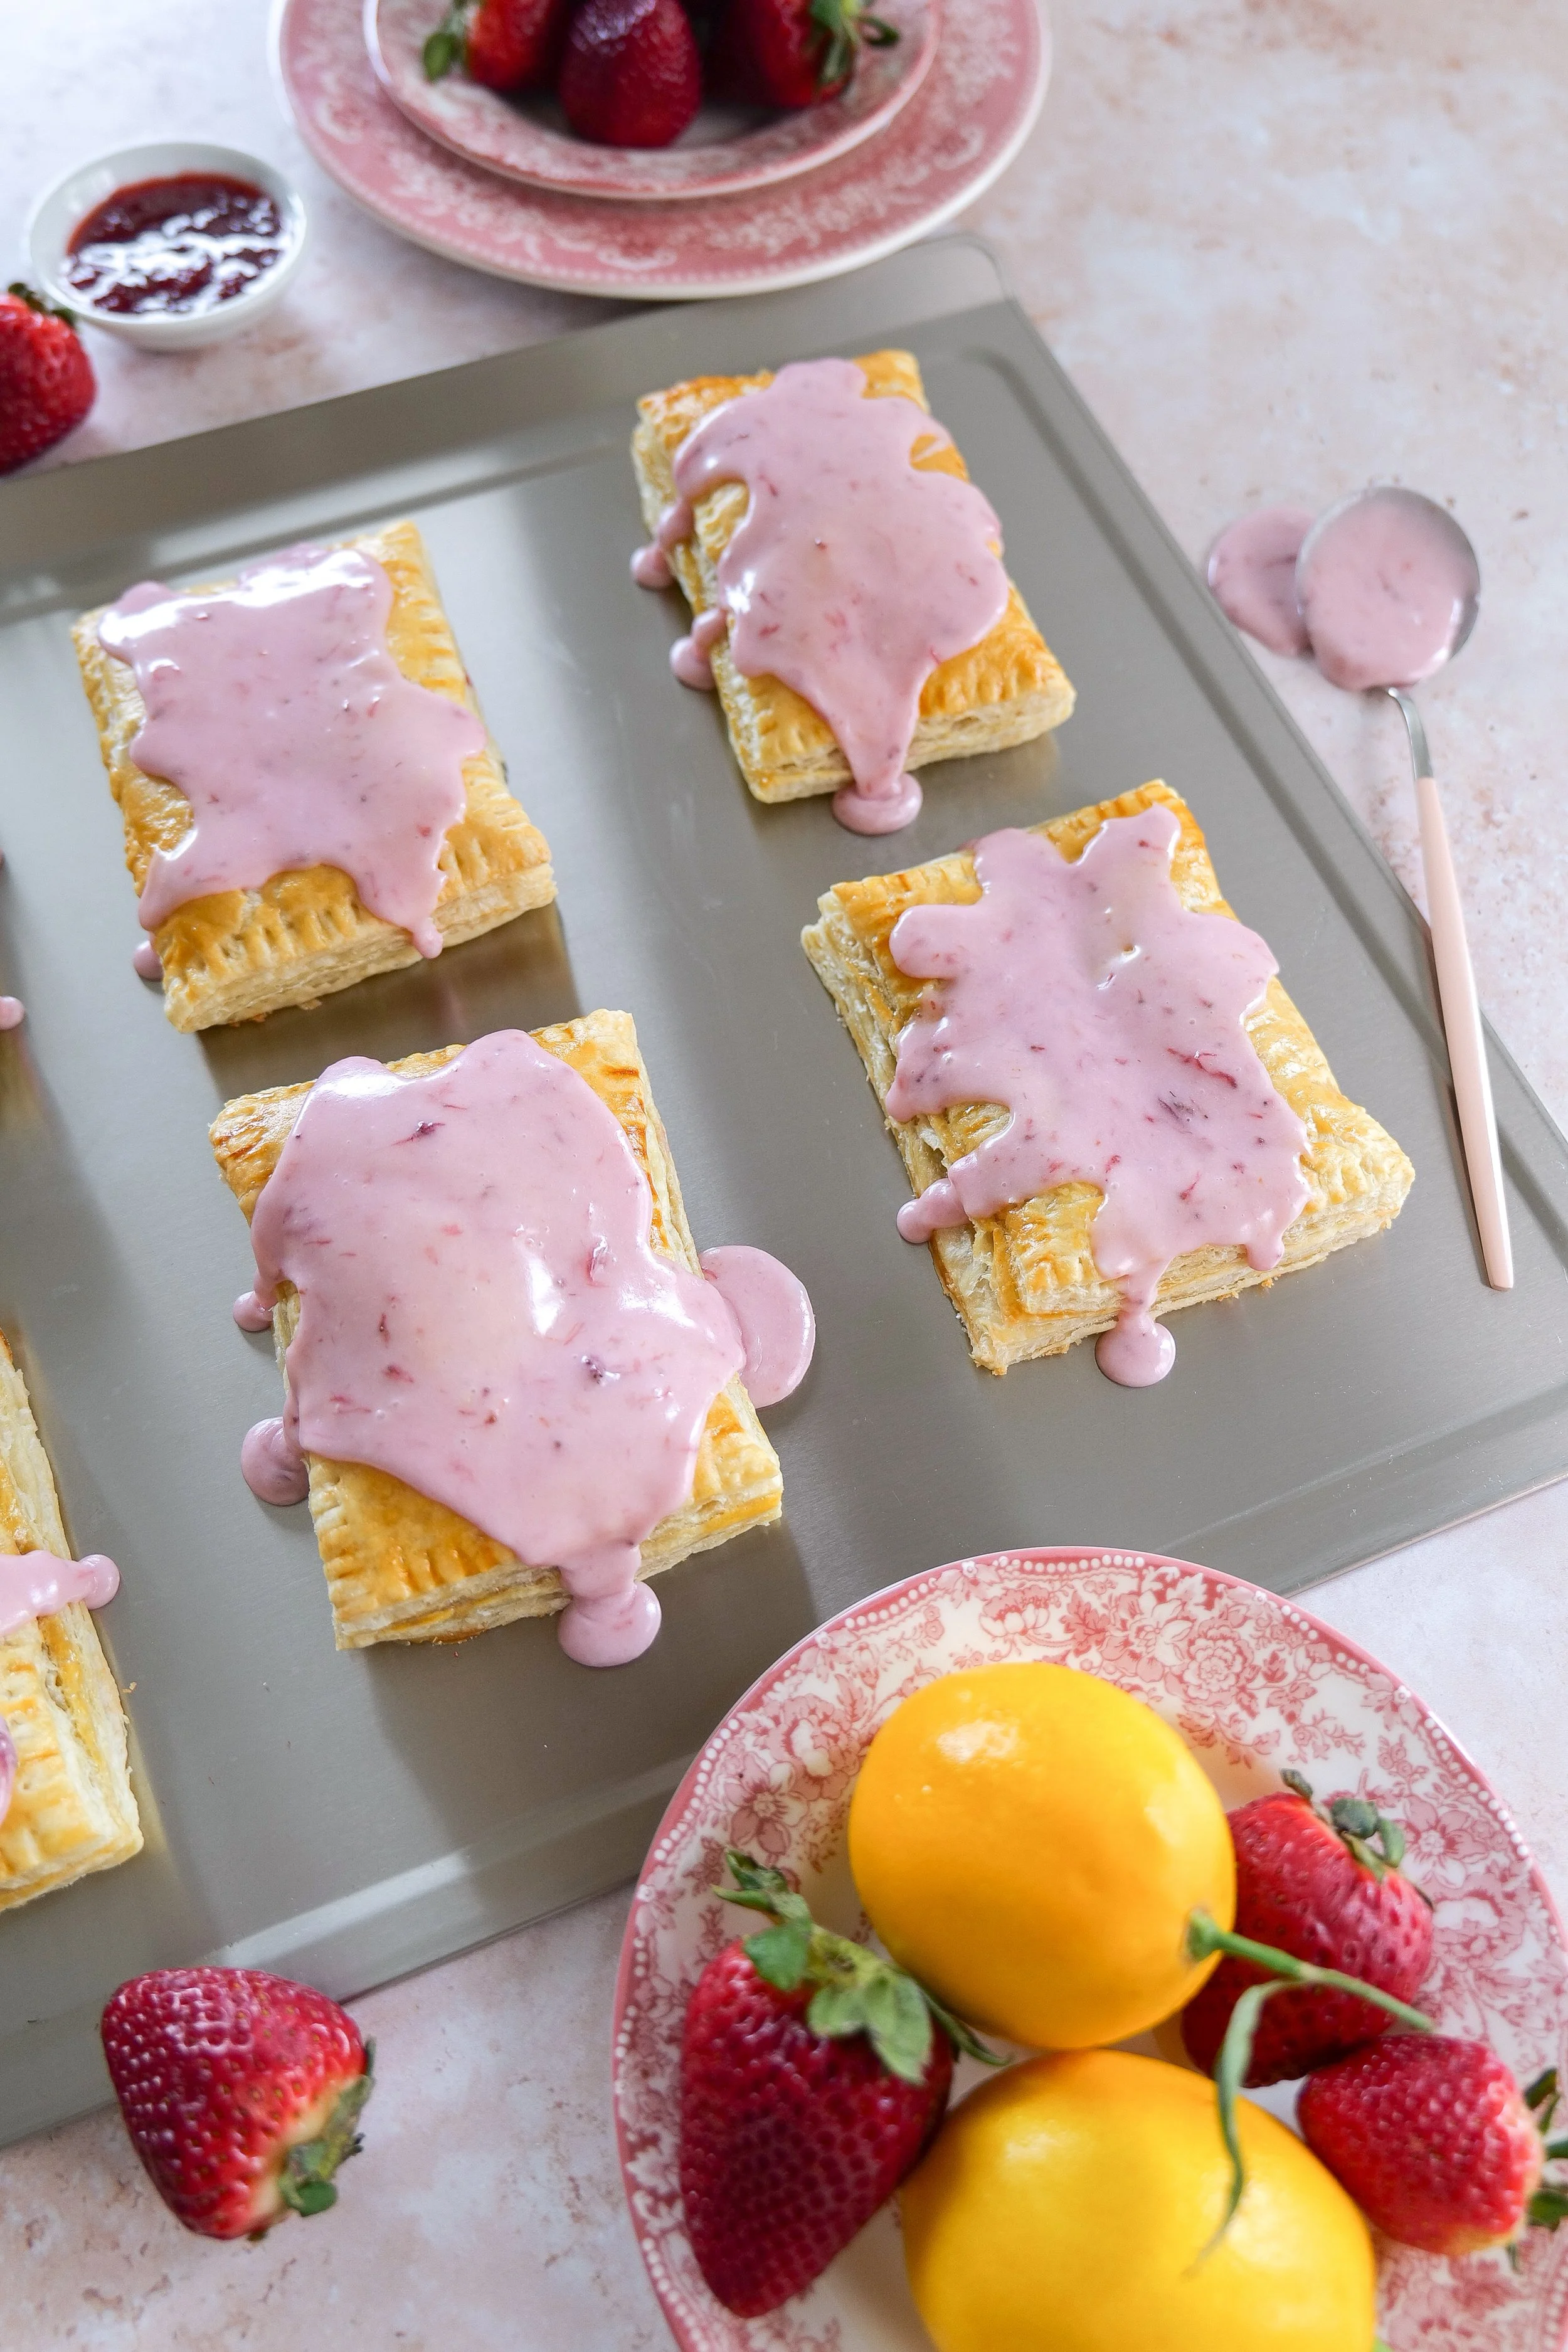
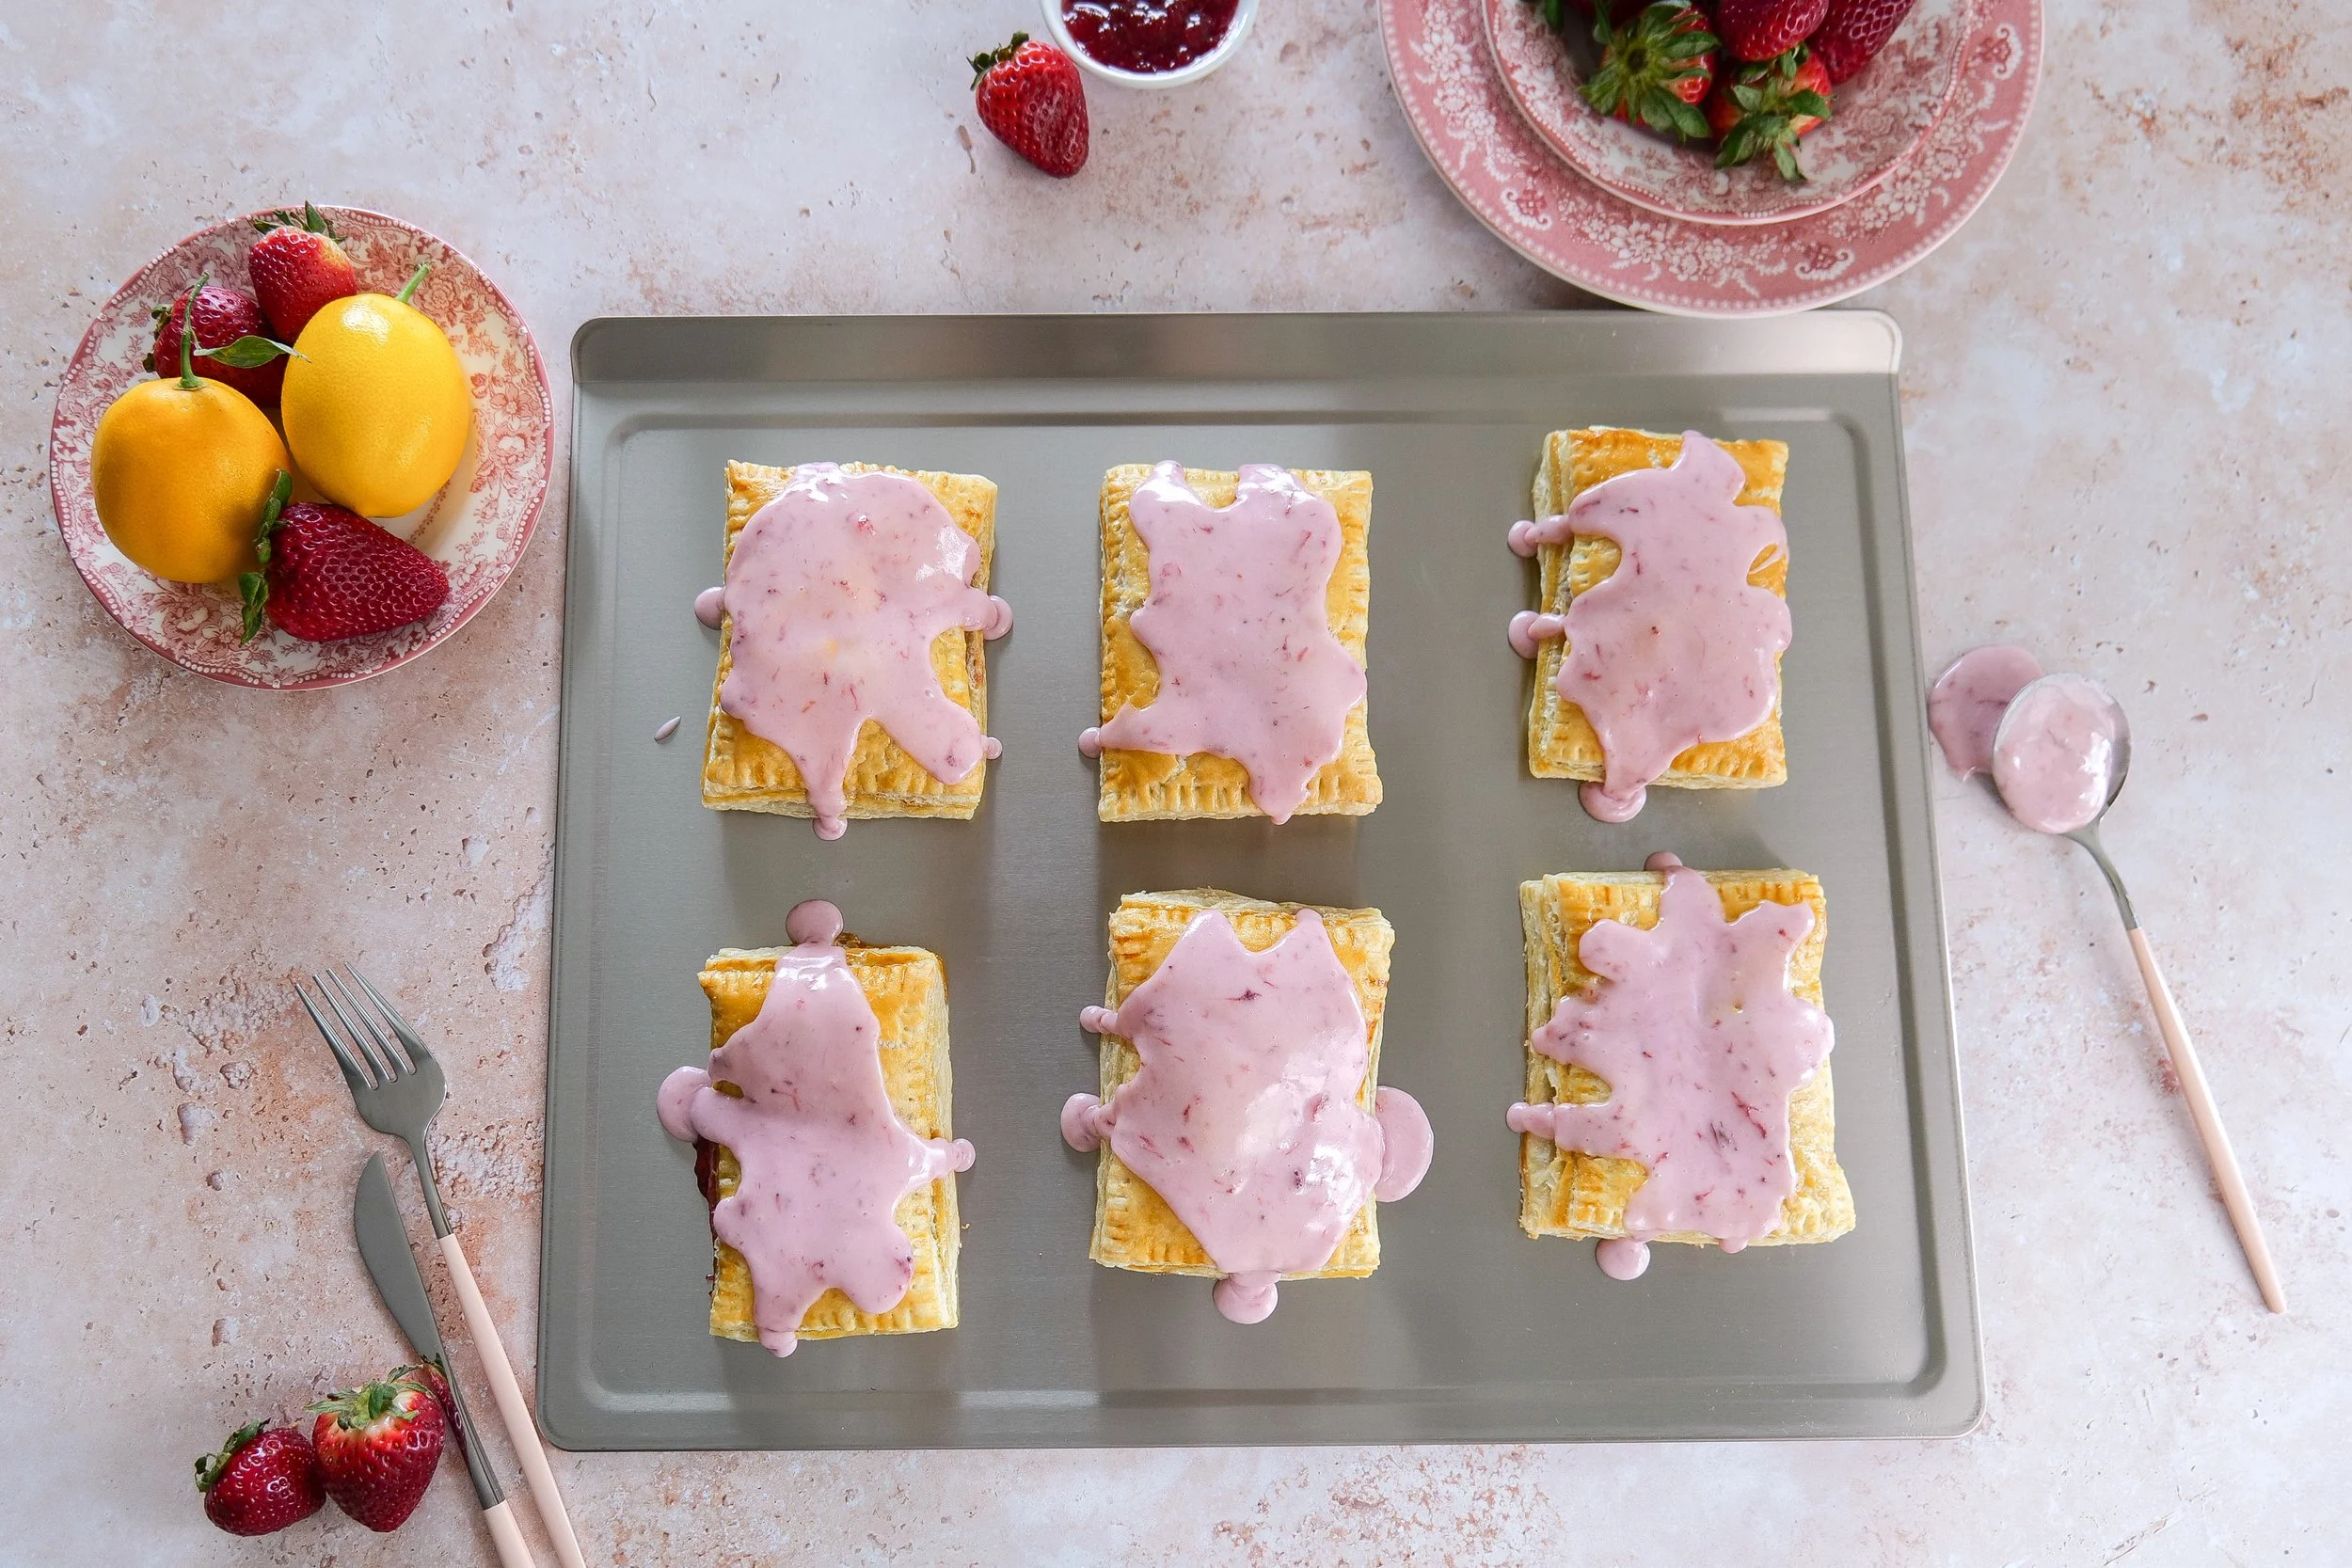
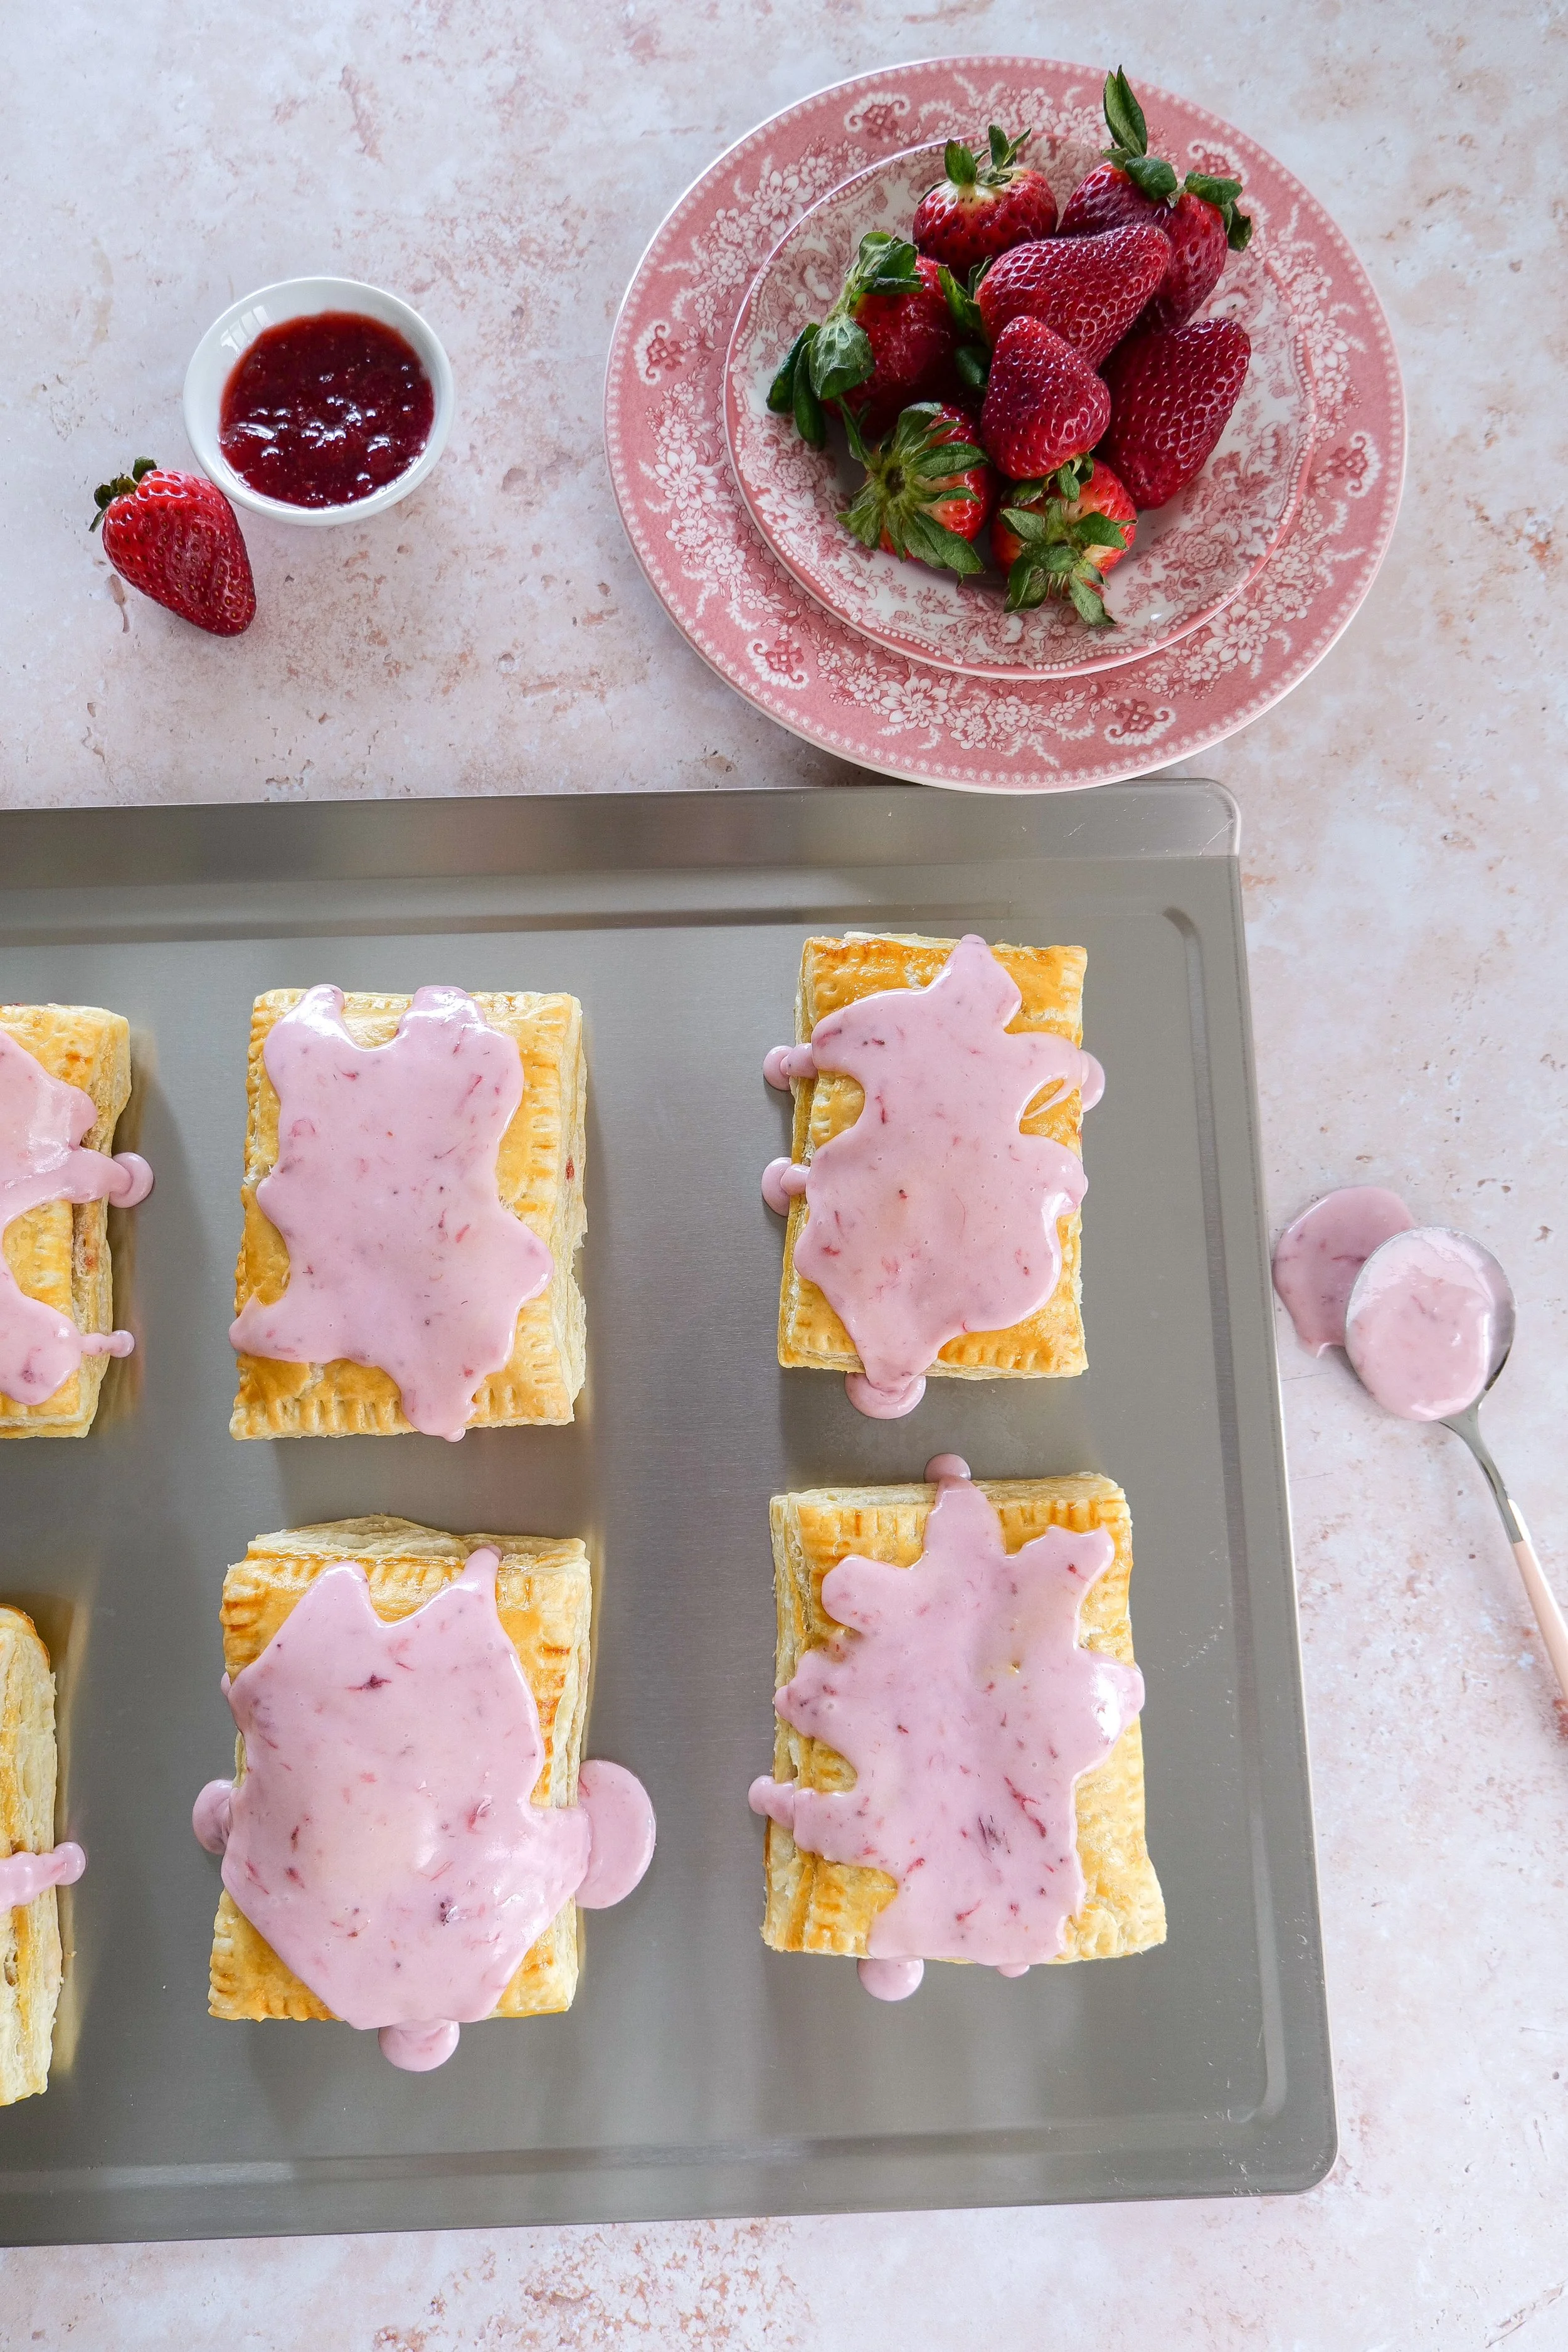
Homemade strawberry puff pastry pop tarts topped with icing and sprinkles.
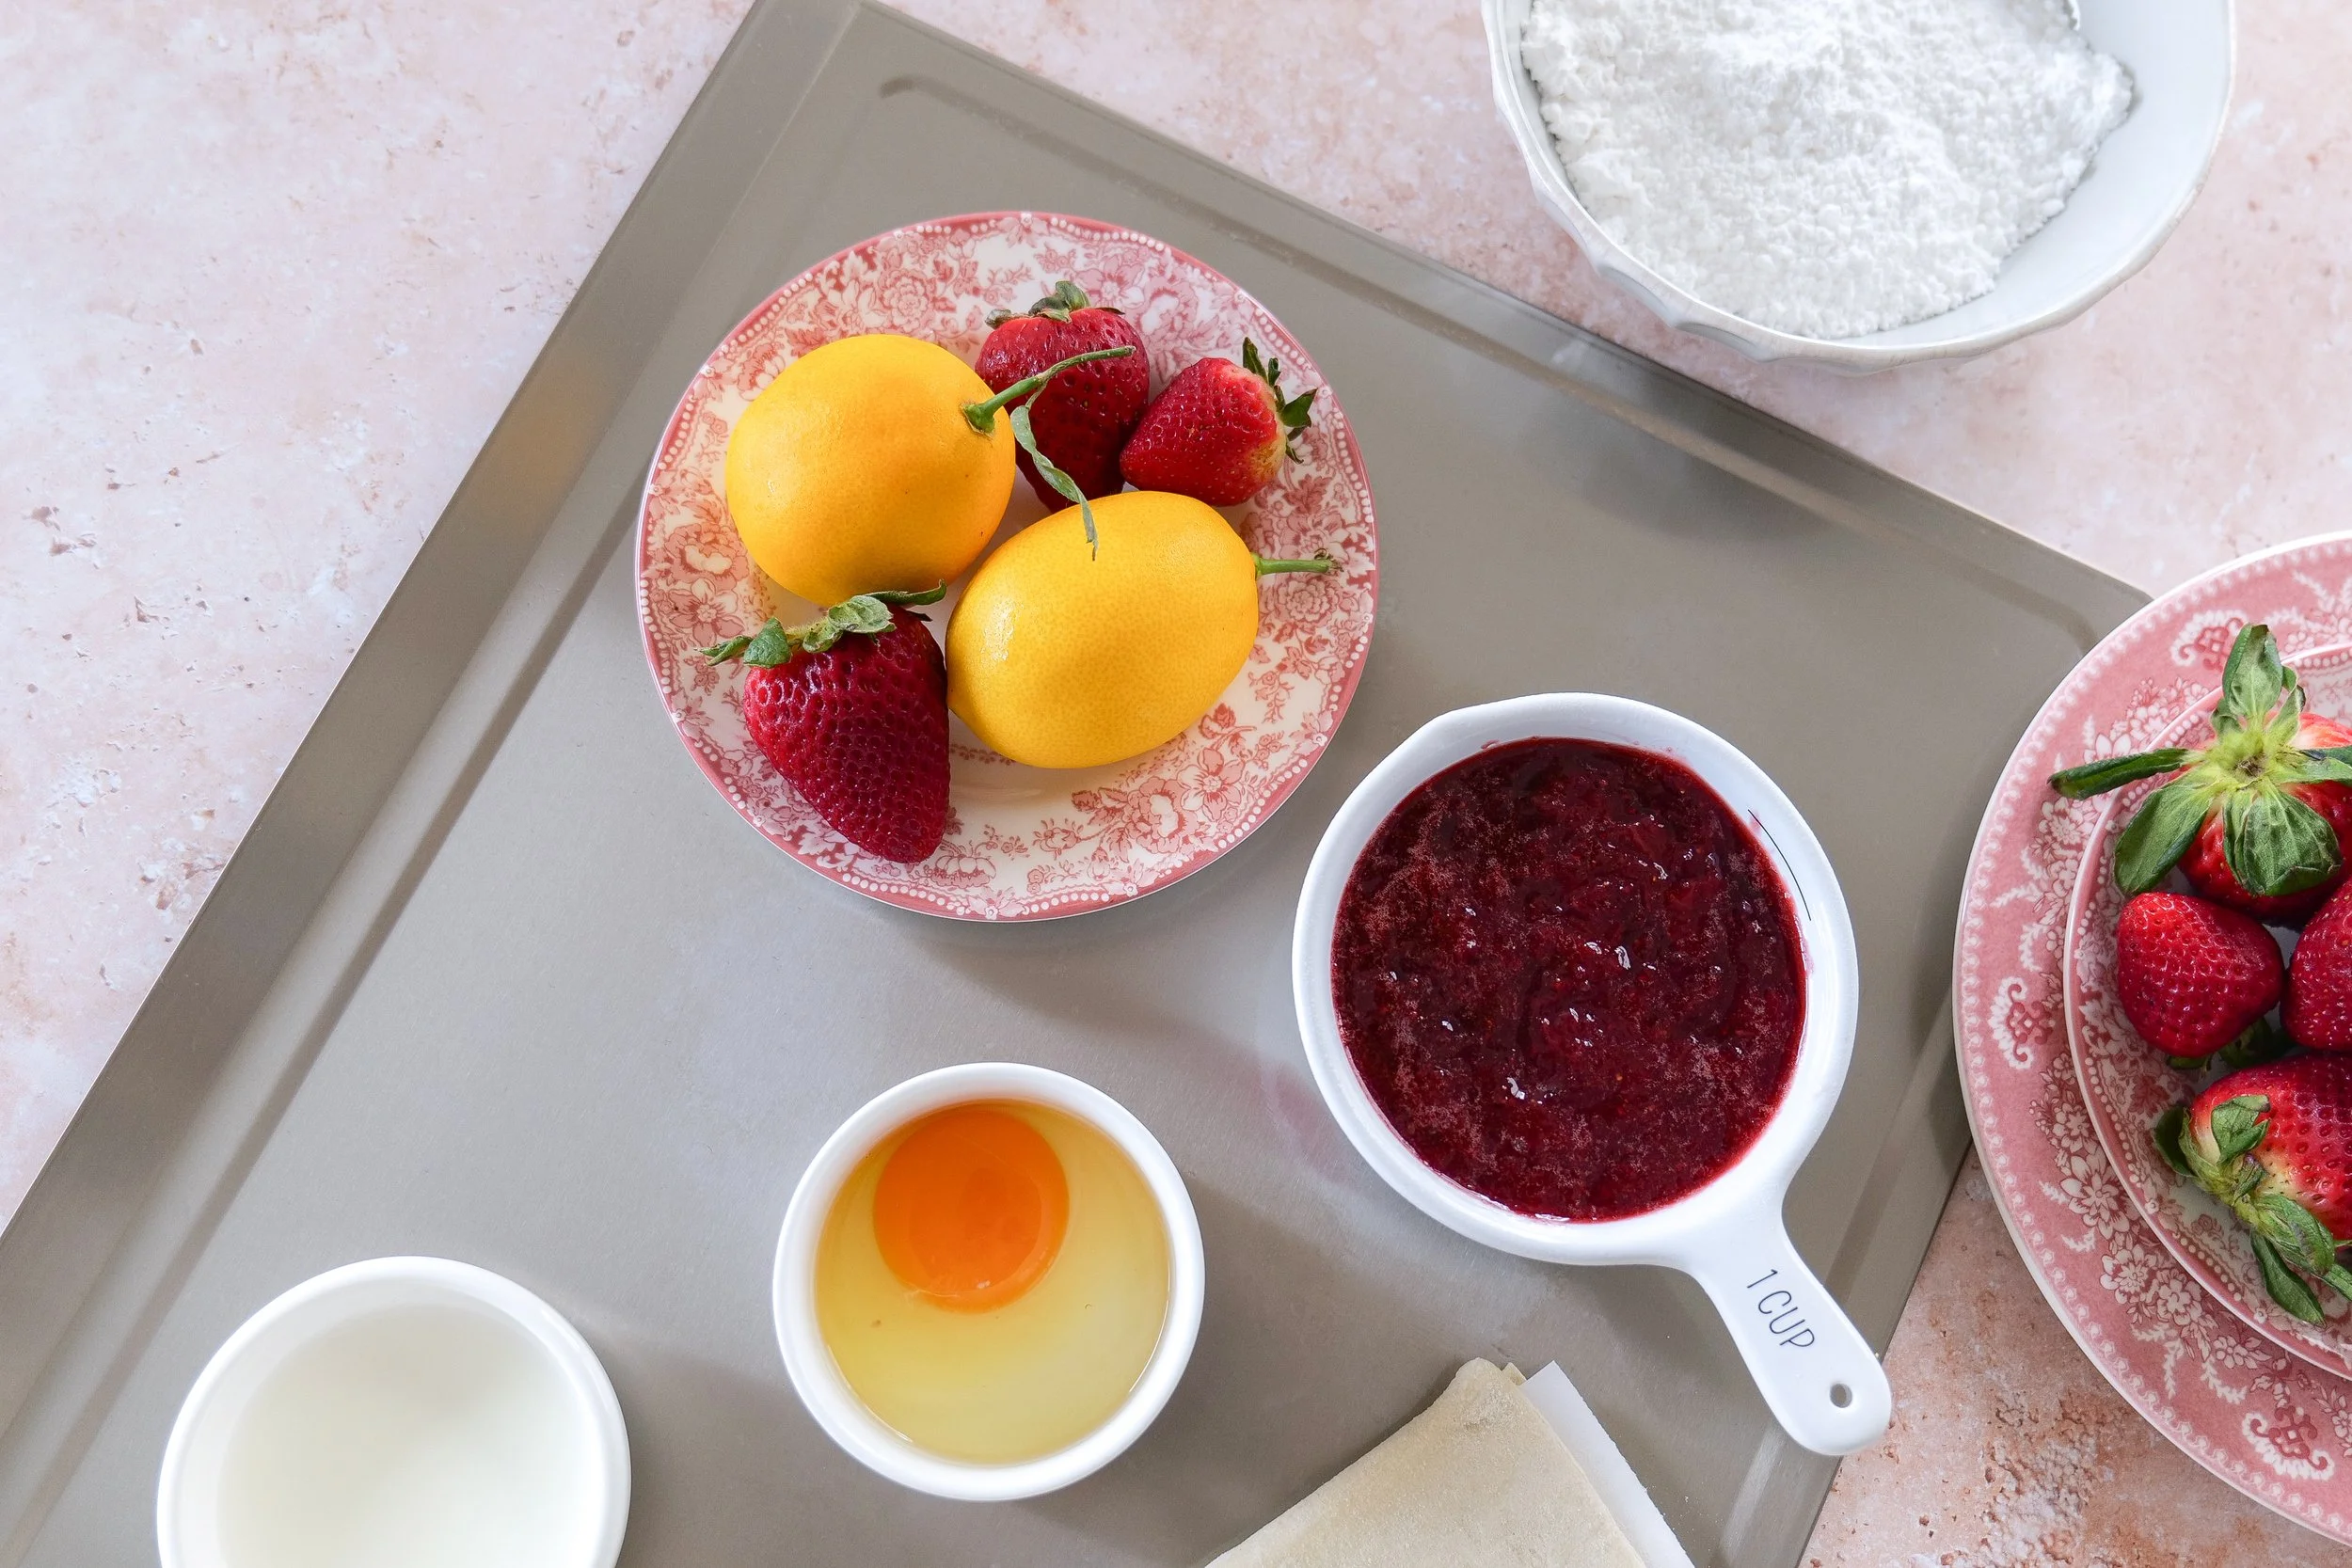
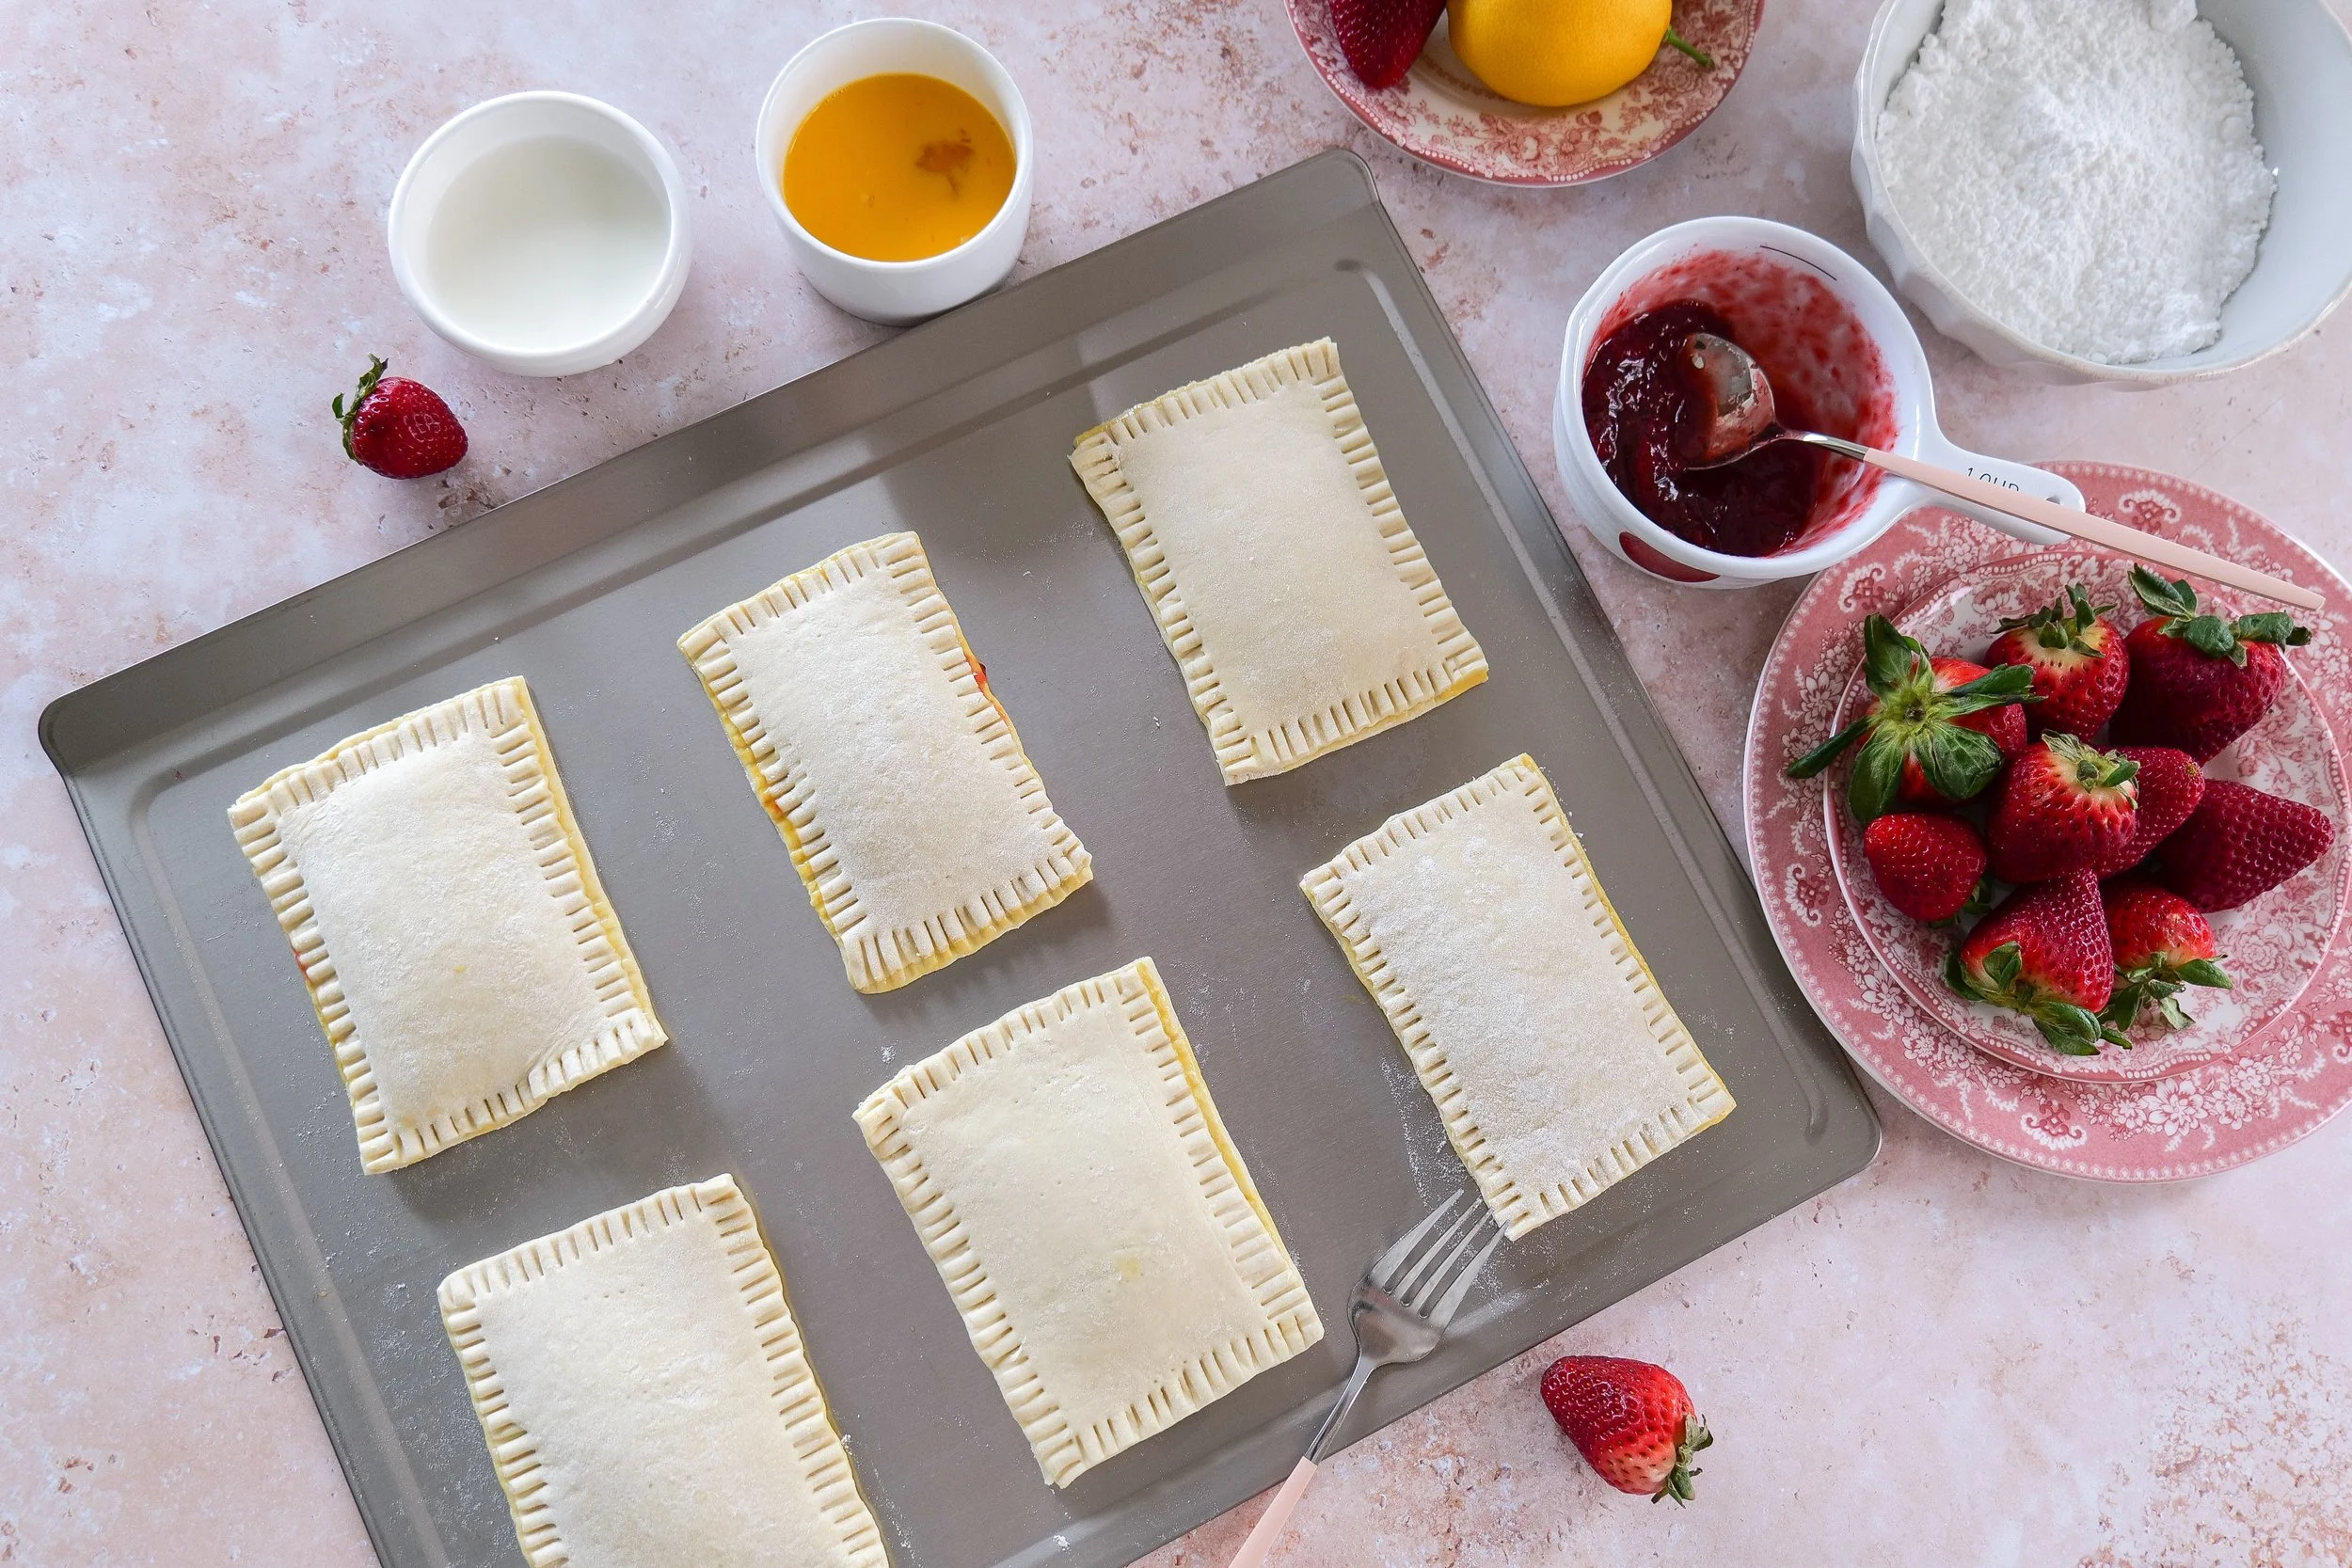
preparation for making a Strawberry Puff Pastry Pop Tart
strawberry puff pastry pop tarts
Easy Strawberry Puff Pastry Pop Tart Recipe

Why You’ll Love This Strawberry Puff Pastry Pop Tart Recipe

First off, this isn’t one of those complicated, fussy desserts. We’re using puff pastry (aka your secret weapon), so you get that golden, buttery crunch with minimal work.

Here’s why this recipe is a go-to:

  • Super quick to throw together

  • Uses simple, easy-to-find ingredients

  • Perfect for breakfast, brunch, or dessert

  • Looks way fancier than it actually is

And yes… it tastes as good as it looks.

Tips for the Best Pop Tarts

  • Don’t skip the egg wash – it gives that beautiful golden finish

  • Let them cool before glazing – otherwise it melts right off

  • Use good jam – it really makes a difference in flavor

  • Chill before baking (optional) – helps them hold shape better

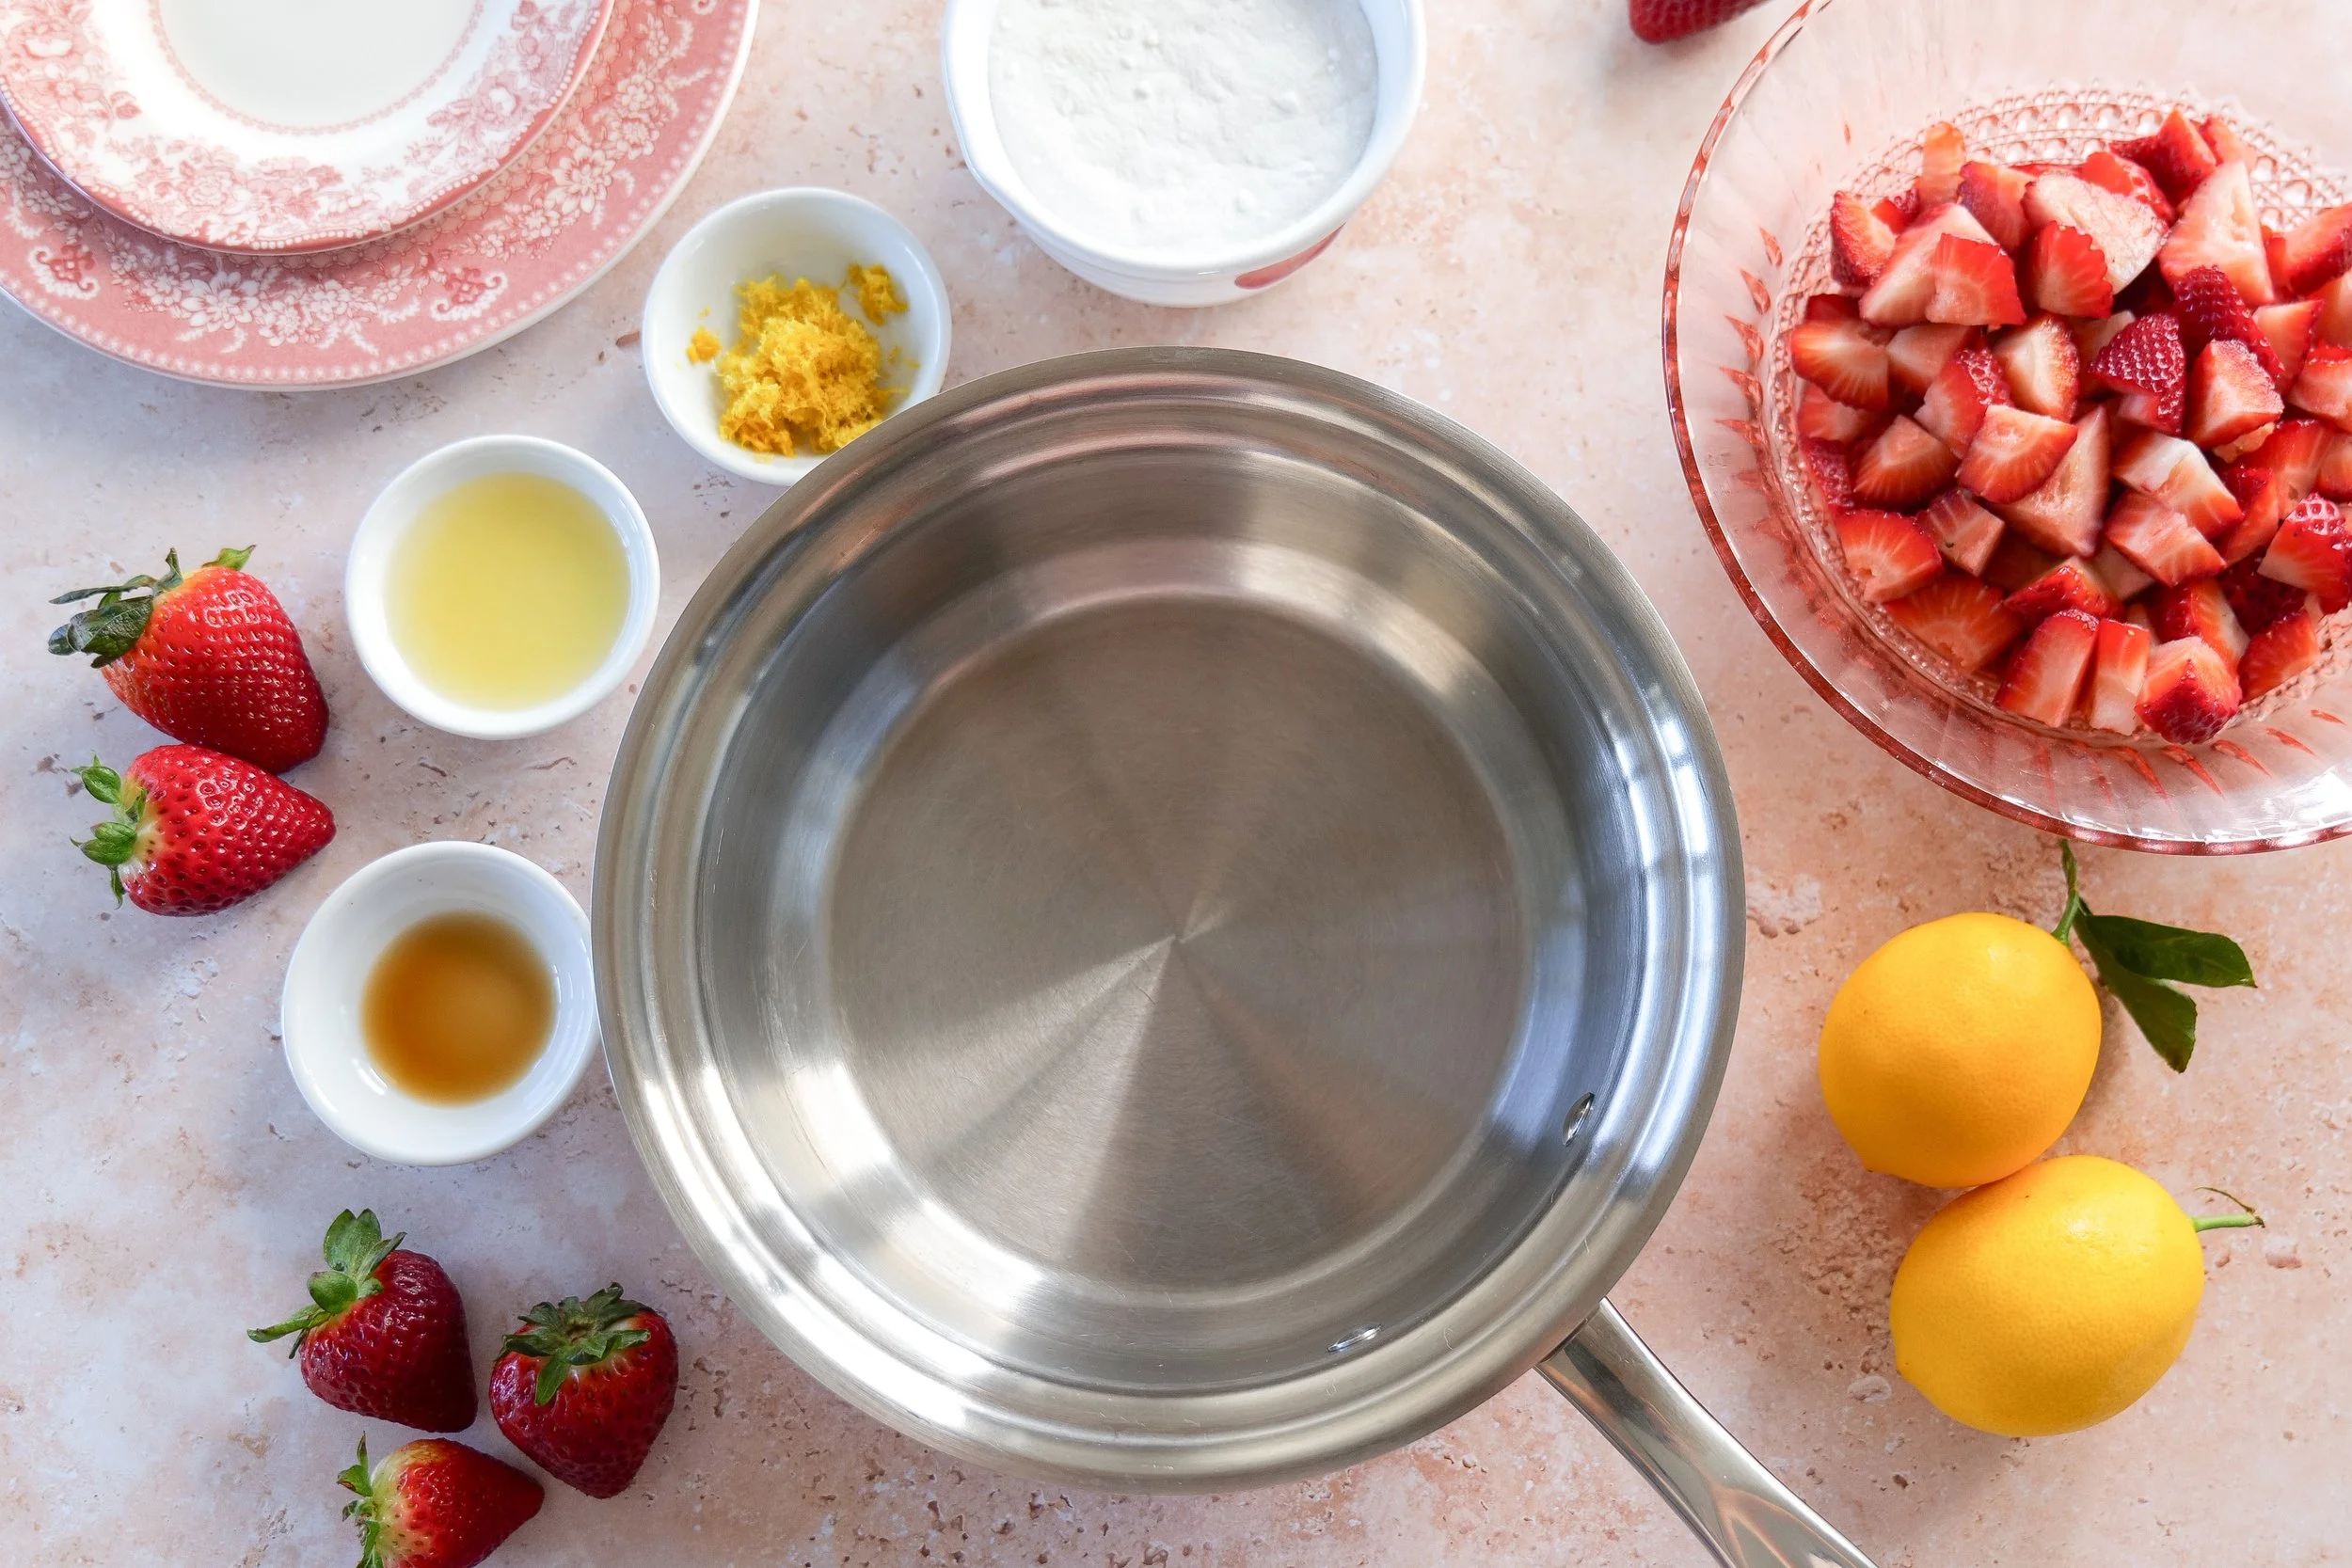
diced fresh strawberries, granulated sugar, lemon juice, lemon zest, and vanilla extract
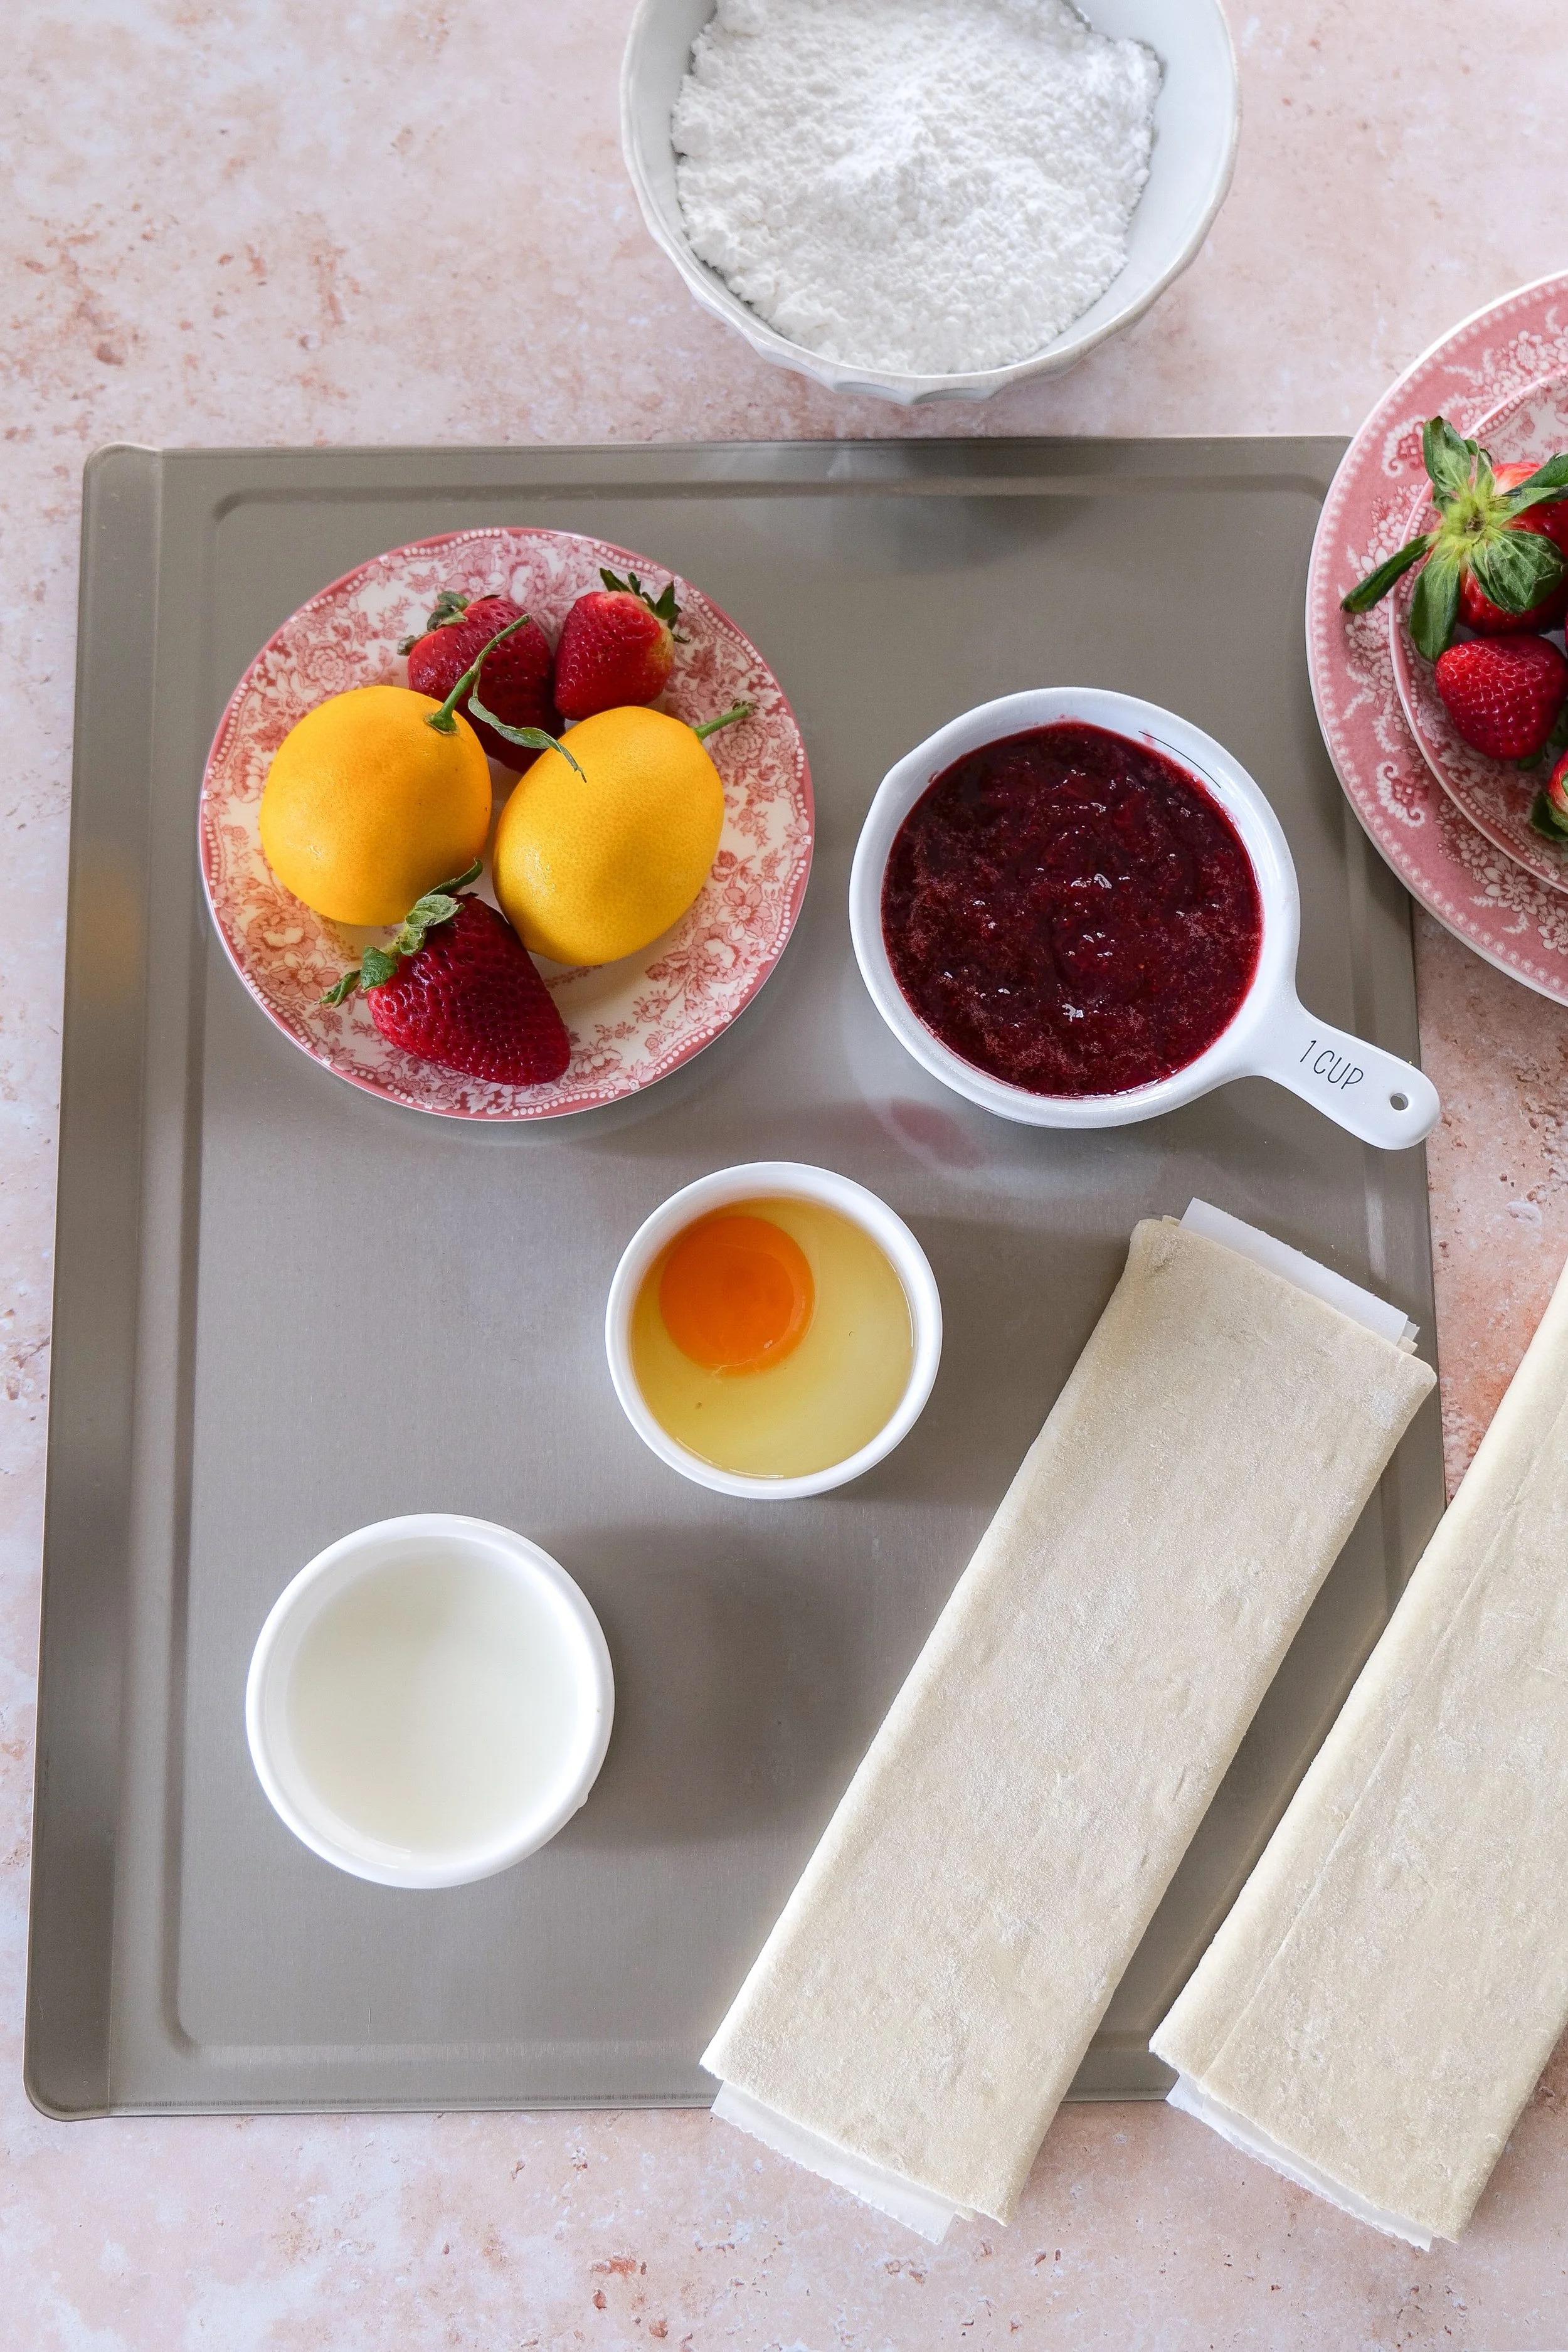
ingredients for making Strawberry Puff Pastry Pop Tarts
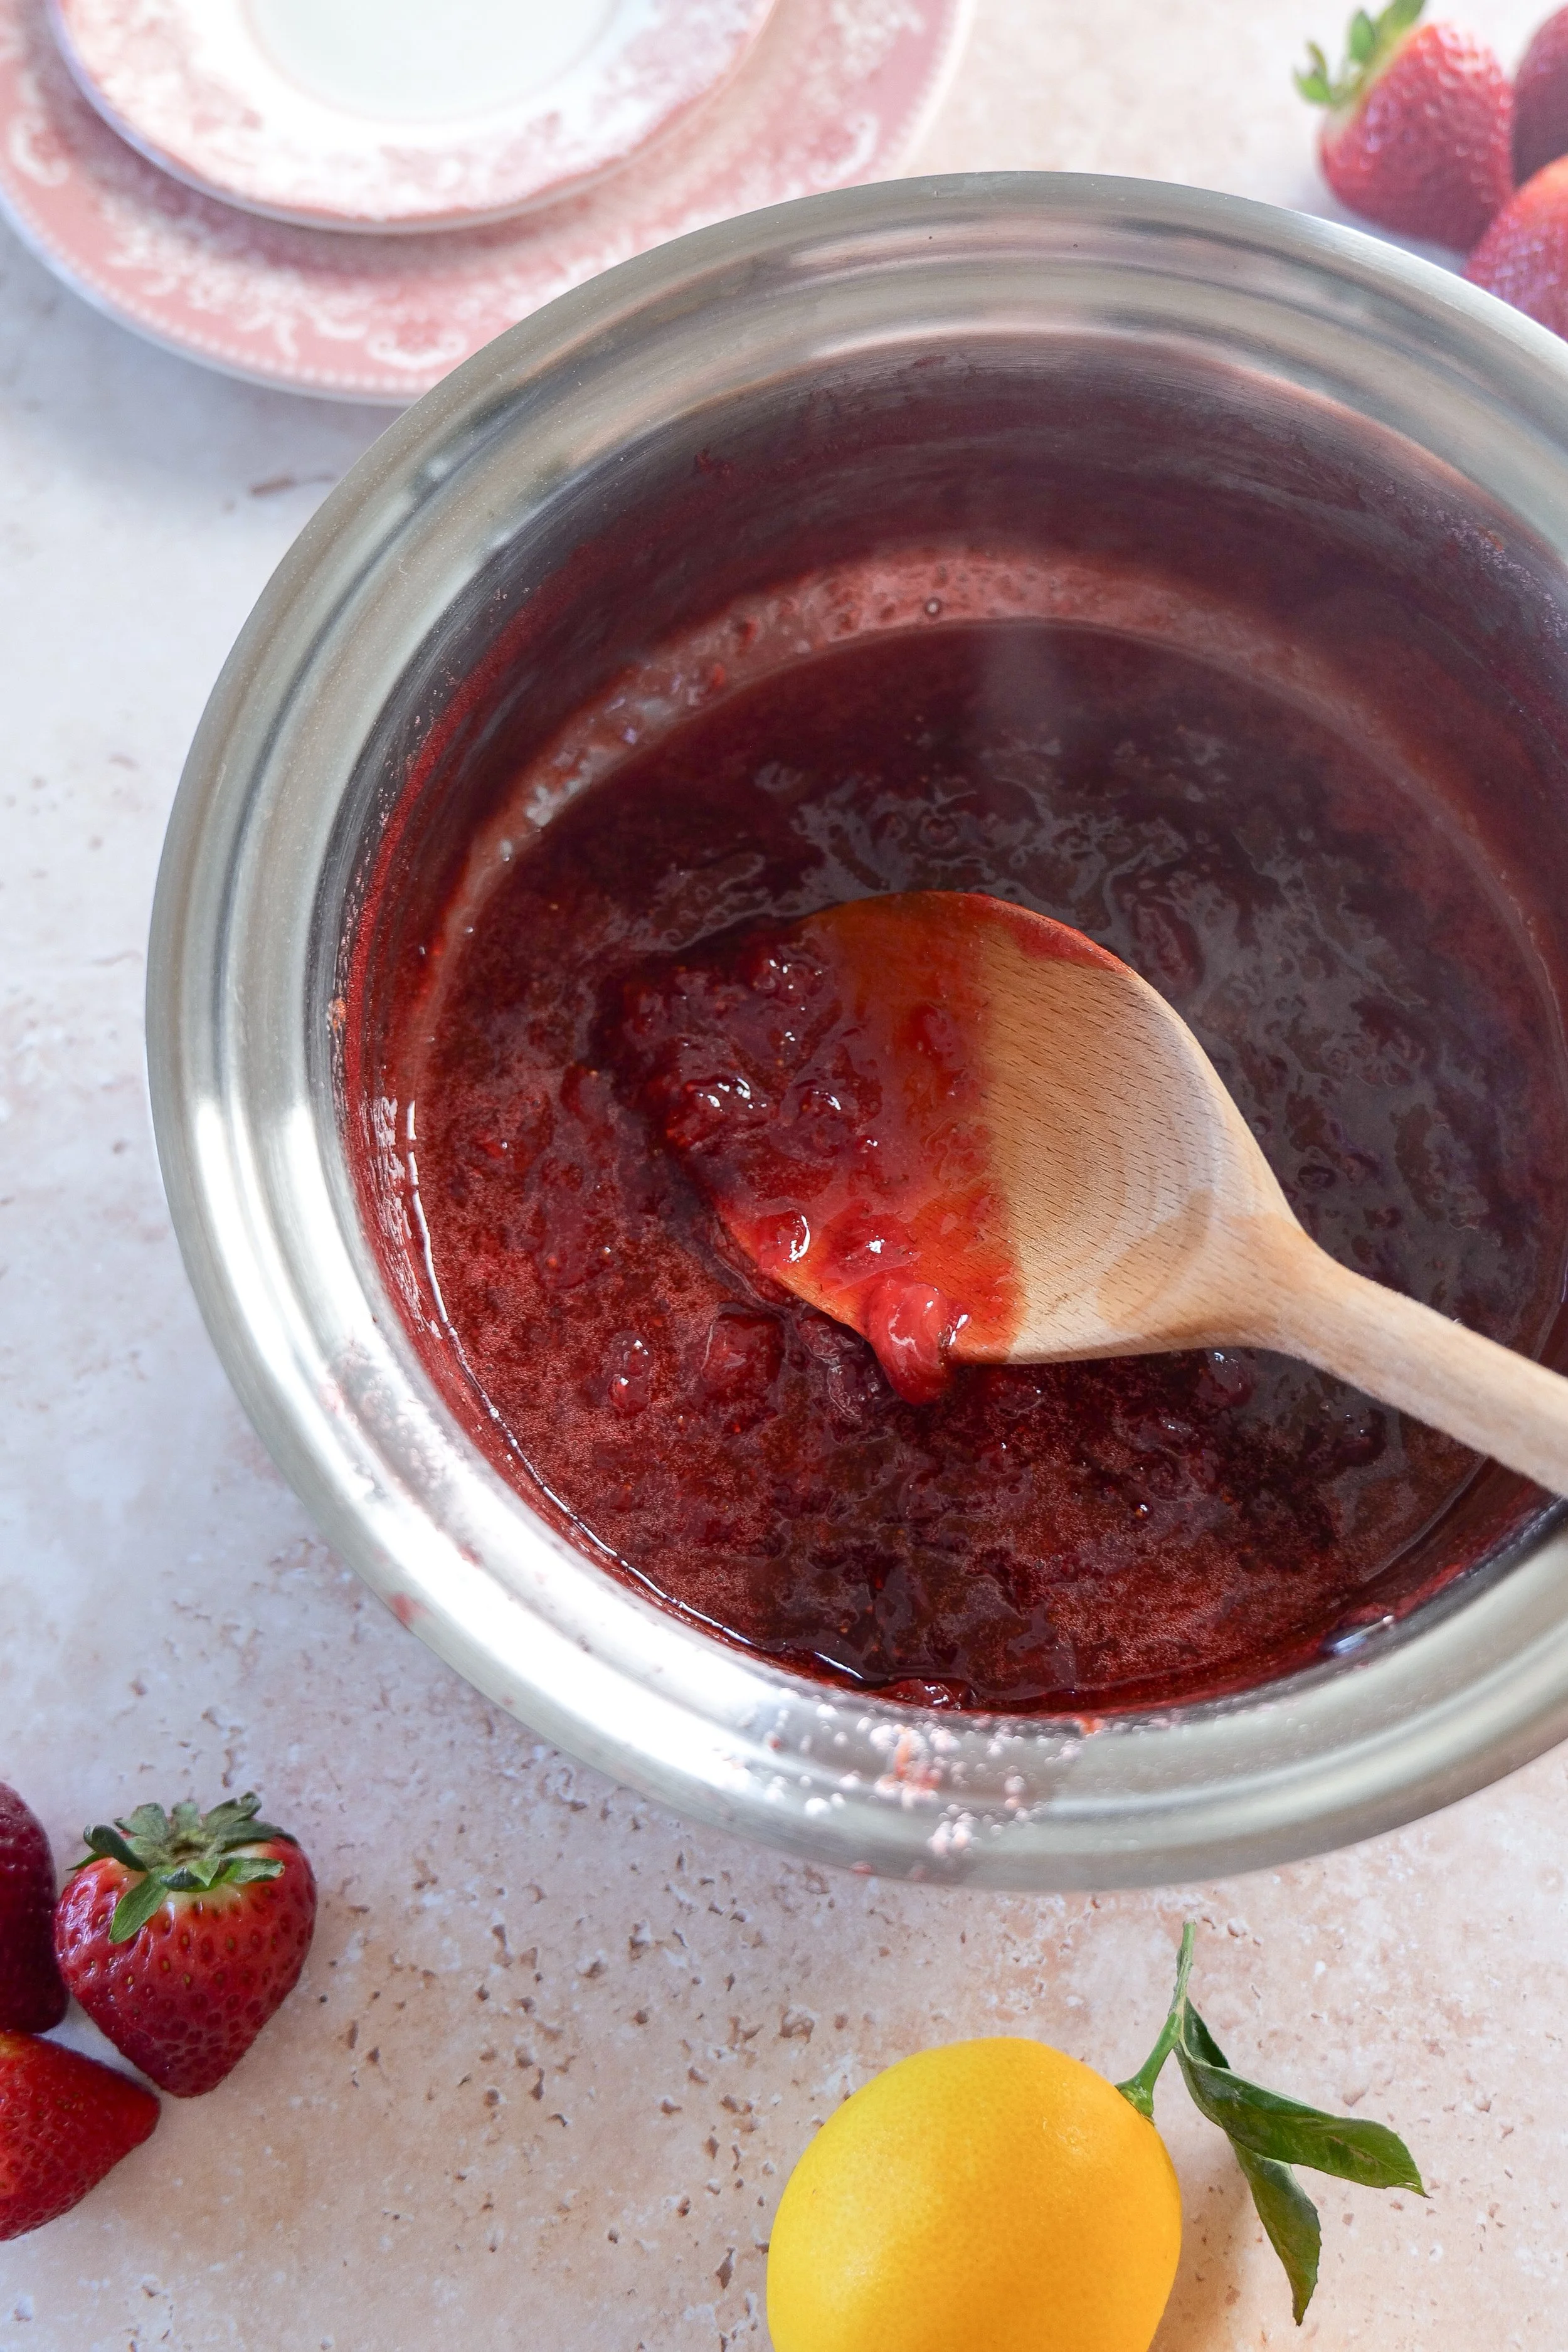
the process of making homemade strawberry sauce
a homemade puff pastry pop tart
ingredients for making homemade strawberry jam
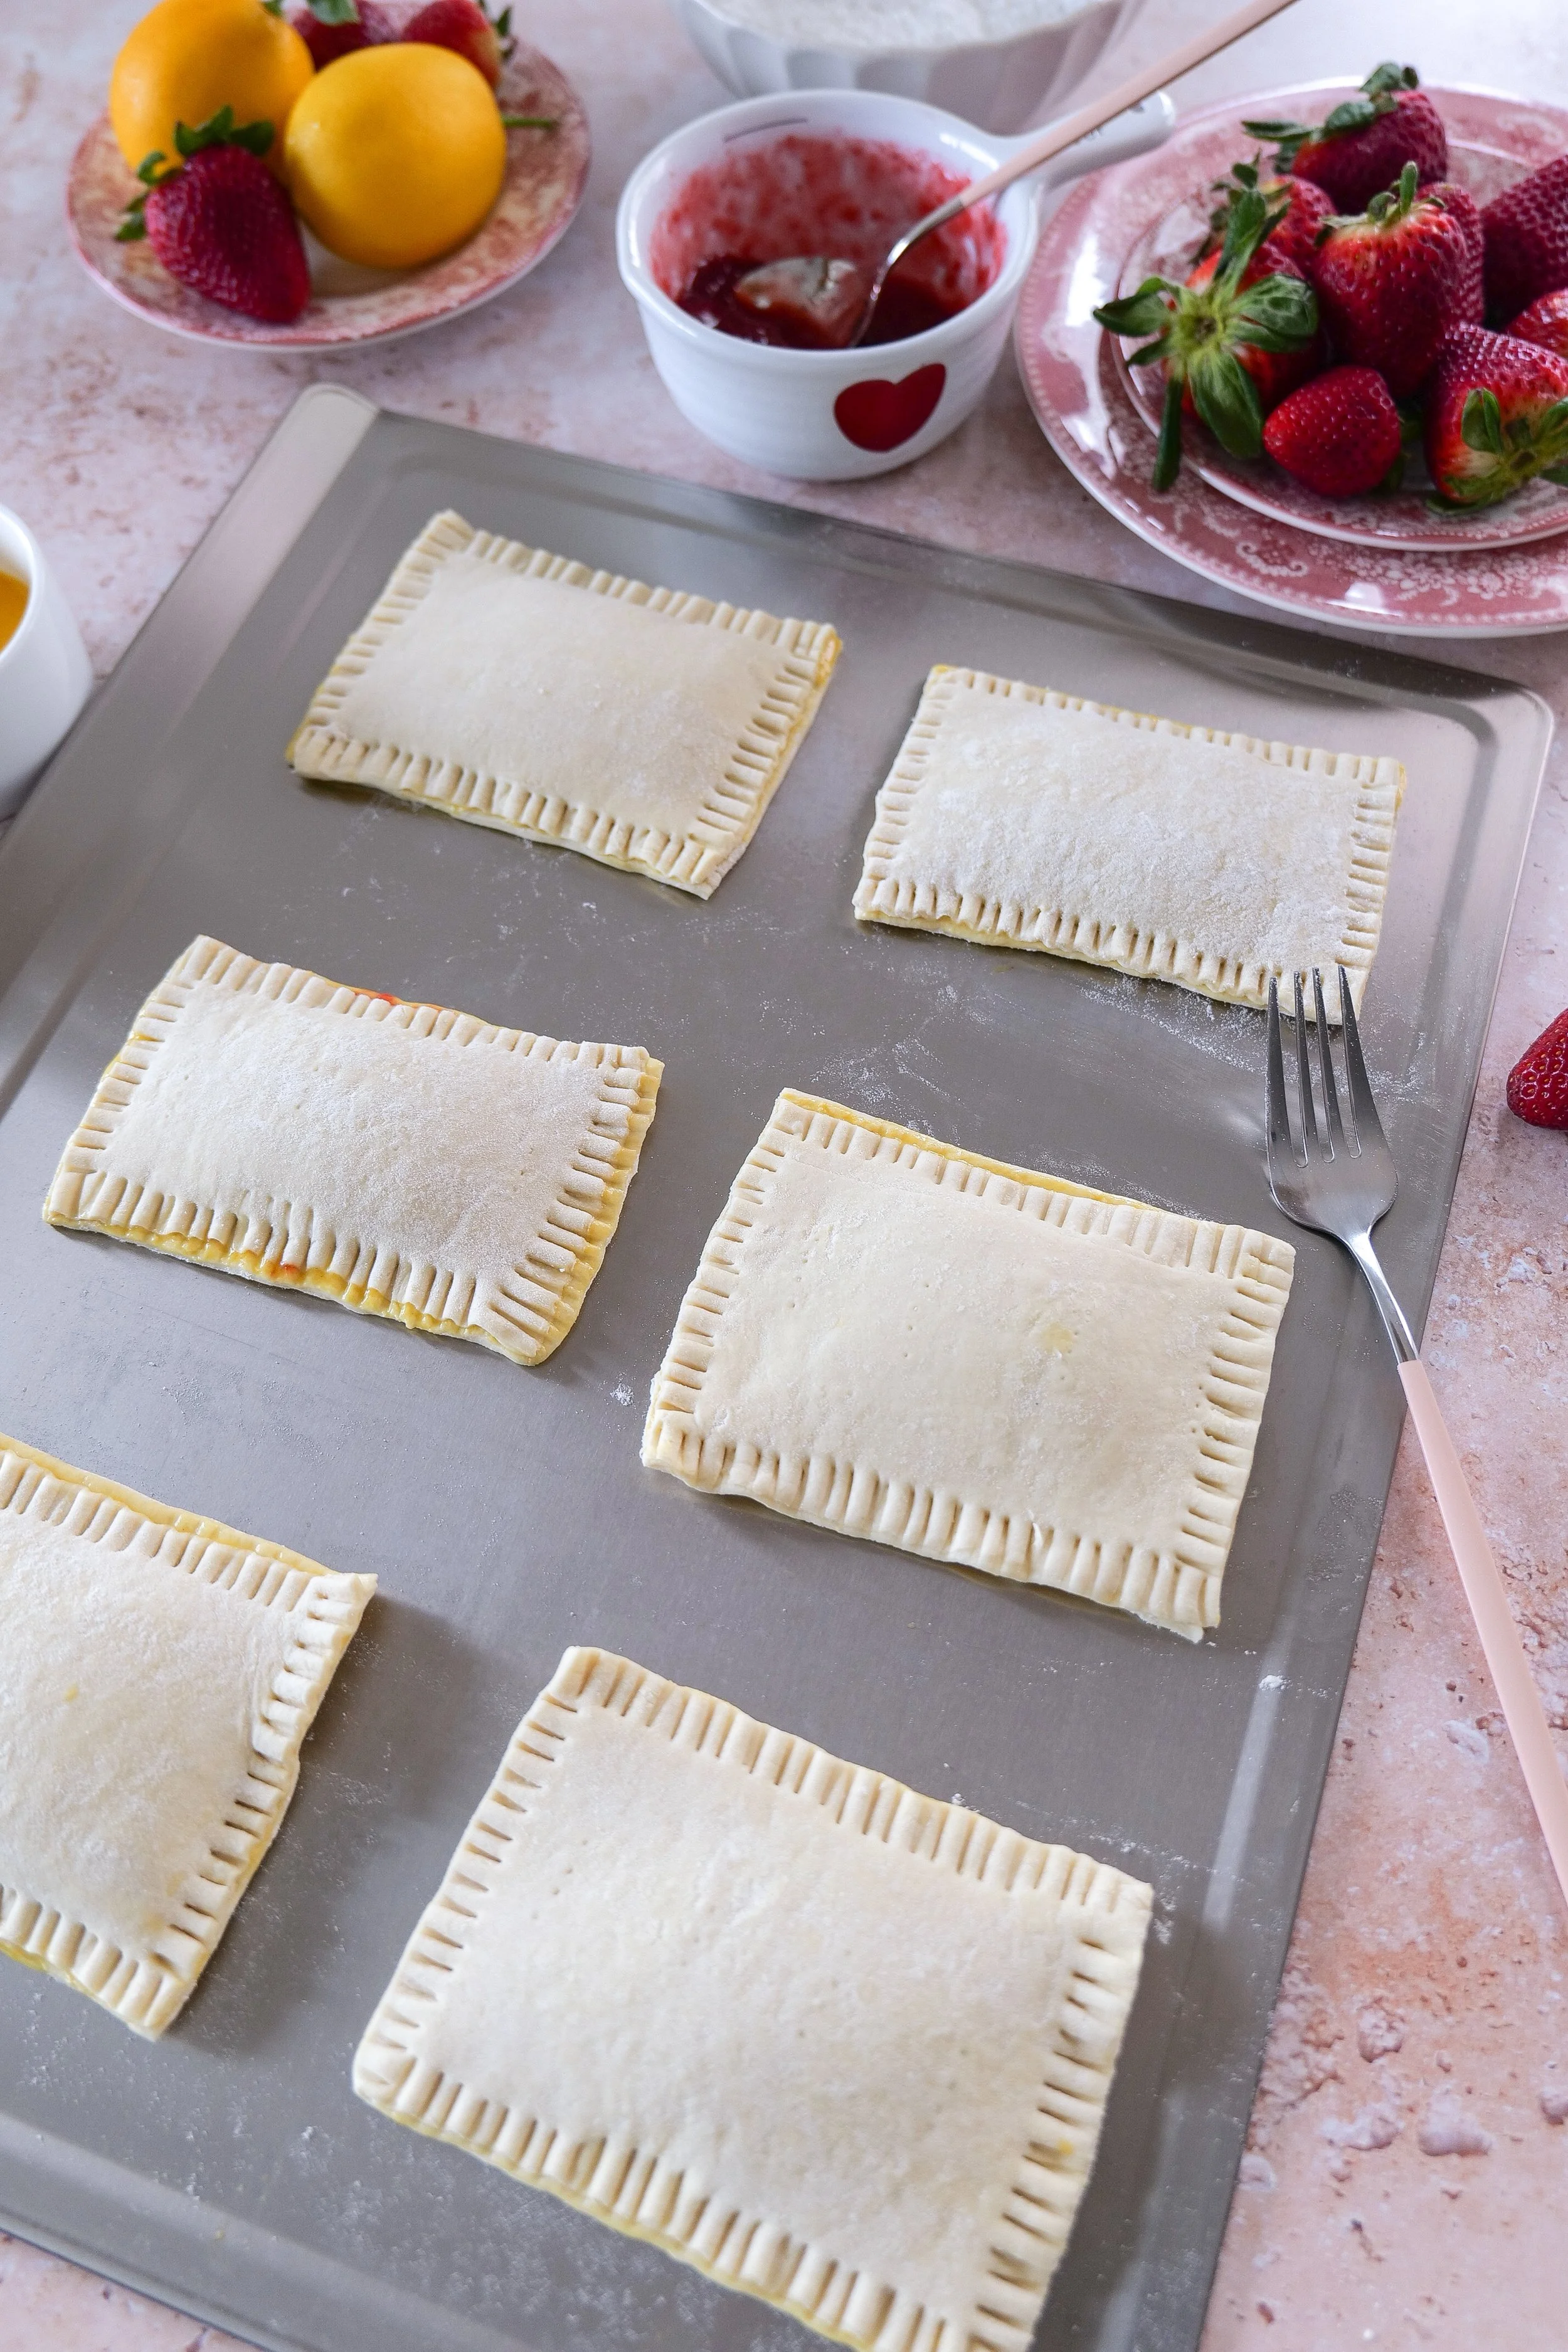
preparation of homemade strawberry puff pastry pop tarts
homemade strawberry puff pastry pop tarts featuring a golden, flaky crust filled with jam and topped with a pink glaze

Variations to Try

Once you make these once, you’ll start experimenting. A few ideas:

  • Swap strawberry for raspberry or blueberry

  • Add cream cheese for a cheesecake vibe

  • Use Nutella for a chocolate version

  • Try a lemon glaze for a fresh twist

What to Serve With Strawberry Puff Pastry Pop Tarts

These homemade strawberry pastries pair perfectly with:

• Fresh berries

• Scrambled eggs

• Fruit salad

• Vanilla yogurt

• Matcha lattes

• Hot coffee

• Cold brew coffee

• Breakfast casseroles

• Brunch charcuterie boards

Whether you're hosting brunch or simply enjoying a cozy weekend morning, these flaky strawberry puff pastry pop tarts make a beautiful addition to any breakfast spread.

These delicious treats are Strawberry Puff Pastry Pop Tarts
Strawberry Puff Pastry Pop Tart on a serving plate
This is a homemade strawberry puff pastry pop tart.

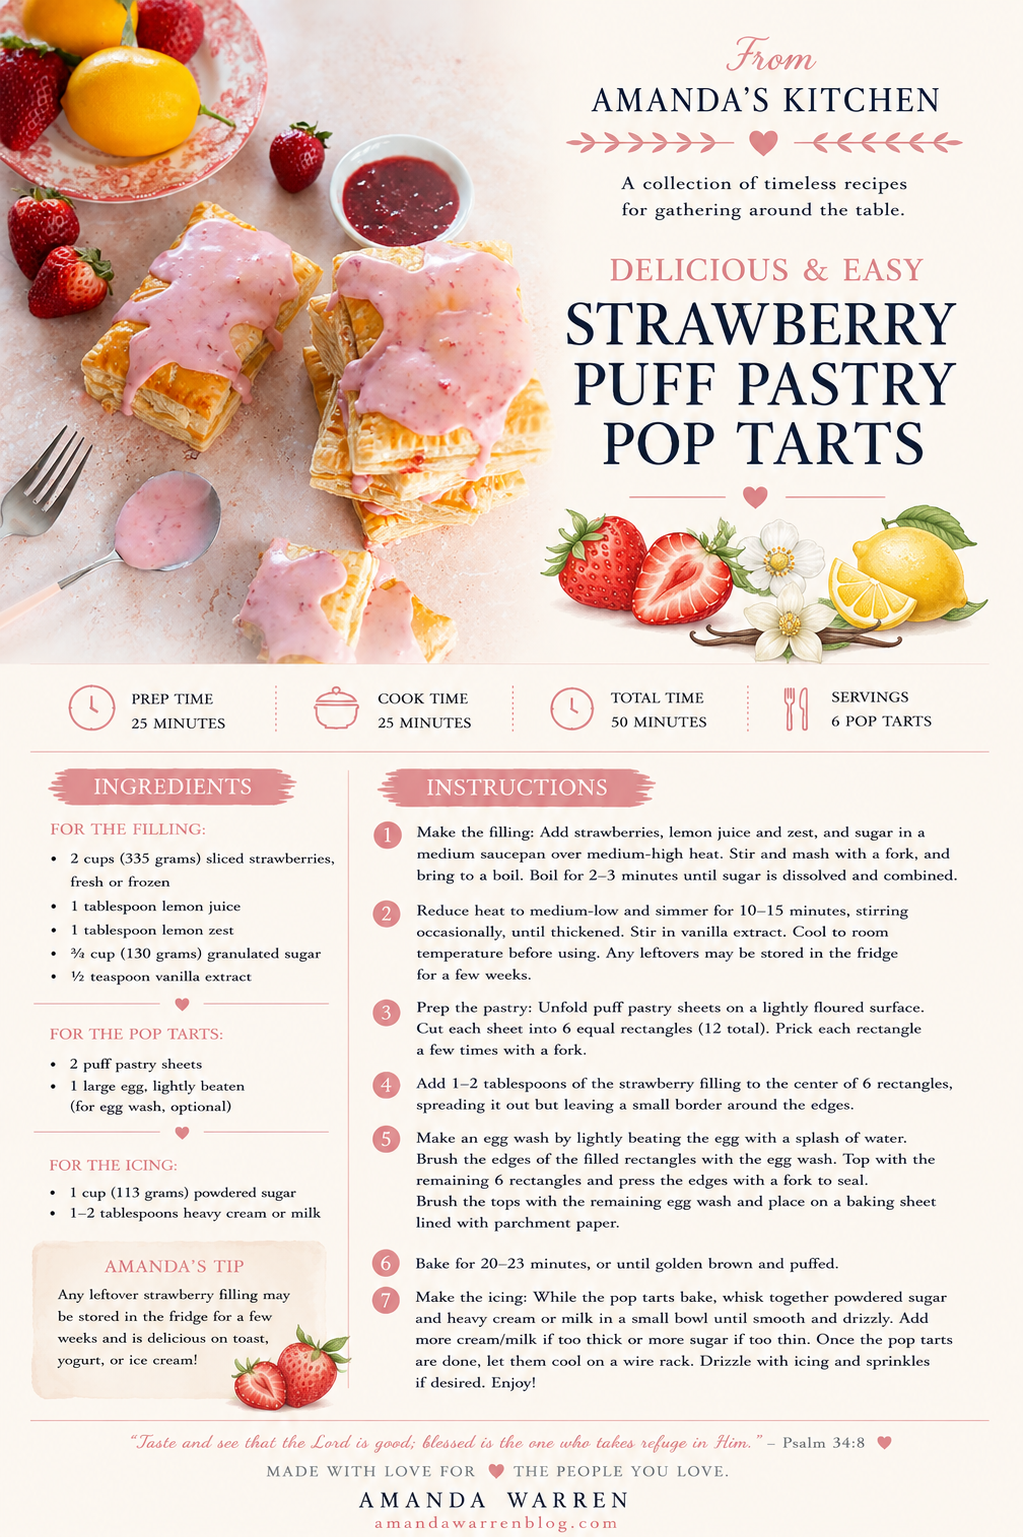
Ingredients

2 cups (335 grams) sliced strawberries , fresh or frozen

1 tablespoon lemon juice

1 tablespoon lemon zest

⅔ cup (130 grams) granulated sugar

½ teaspoon vanilla extract

2 puff pastry

1 large egg , lightly beaten (for egg wash, optional)

1 cup (113 grams) powdered sugar

1-2 tablespoons heavy cream or milk

Instructions:

  1. Start by making the filling. Add strawberries, lemon juice and zest, and sugar in a medium sauce pan and set over medium high heat. Stir and mash with a large fork and bring to a boil. Boil for about 2-3 minutes until sugar is dissolved and combined.

  2. Reduce heat to medium low. Continue to simmer for 10-15 minutes until thickened. Add vanilla extract. Cool to room temperature before spooning onto the prepared pastry squares. Any leftovers may be stored in the fridge for a few weeks.

  3. Make pastry squares but unfolding puff pastry and cutting into long rectangles (around 3 per puff pastry). Fill one side will strawberry filling, making sure to leave edging around to close the poptart.

  4. Once finished filling make an egg wash with egg & water. brush along the edges of the pop tart. Unfold 2 puff pastry sheet on a lightly floured surface. Cut into 12 equal sized squares. Prick each square a few times with a fork.

  5. Add 1-2 tablespoon of the strawberry puree you made into the middle of 6 squares. Spread out, but not right to the edge. Leave a little bit of a border.

  6. Use a brush to add the egg mixture onto the sides. Add a puff pastry square on top of the square with strawberry filling. With a fork pinch the edges to seal the two squares together. Repeat until you have 6 pop tarts. Brush the top with remaining egg mixture and lay on your cookie sheet. Bake for 20-23 minutes or until golden brown.

  7. While the pop tarts are baking, make your icing. Add powdered sugar, strawberry puree and milk to a small bowl. Mix well until you have a consistency that drizzles. Add a little more sugar or milk if needed.

  8. Once your pop tarts are done, transfer to a wire rack and let them cool. Then drizzle with icing and sprinkles if desired.

These strawberry puff pastry pop tarts are one of those recipes that feel like a win every time. They’re easy, they’re delicious, and they make you look like you tried way harder than you did.

Perfect for slow mornings, brunch with friends, or honestly just when you want something sweet without the hassle.

If you make these, don’t be surprised if they disappear fast.

Shop This Recipe

These Strawberry Puff Pastry Pop Tarts come together so easily thanks to a few of my favorite kitchen tools and baking essentials. If you love quick homemade pastries and cozy brunch recipes, these are the items I personally use to make baking simpler, faster, and more enjoyable.

From baking sheets and parchment paper to mixing tools and coffee bar favorites for the perfect pairing, these kitchen staples help bring bakery-style recipes to life at home.

👉 Shop my Baking Essentials

👉 Shop my Cozy Coffee Bar Favorites

More Strawberry & Brunch Recipes You’ll Love

FAQ Section

Can I use homemade strawberry jam?

Yes! Homemade strawberry jam works beautifully in this recipe.

Can I use other fruit fillings?

Absolutely. Raspberry, blueberry, apricot, and mixed berry preserves all work well.

Can I make these ahead of time?

Yes. Bake them in advance and store them in an airtight container for up to 3 days.

Can I freeze puff pastry pop tarts?

Yes. Allow them to cool completely before freezing for up to 2 months.

Why use puff pastry instead of pie crust?

Puff pastry creates flaky, bakery-style layers that make these homemade pop tarts extra special.

Save This Recipe

Whether you're planning ahead for a special occasion or adding a new favorite to your recipe collection, I've included a printable recipe card below so it's easy to save, print, and share with the people you love.
Homemade strawberry puff pastry pop tarts filled with fresh strawberry filling and topped with a sweet strawberry glaze, served with fresh strawberries and lemons.
a puff pastry dessert
Strawberry Puff Pastry Pop Tart with golden flaky crust and jam filling
Homemade Strawberry Puff Pastry Pop Tart fresh out of the oven
Close-up of Strawberry Puff Pastry Pop Tart with sweet strawberry glaze
Freshly baked Strawberry Puff Pastry Pop Tart
Strawberry Puff Pastry Pop Tart topped with strawberry cream glaze
Easy Strawberry Puff Pastry Pop Tart on the kitchen counter
Strawberry Puff Pastry Pop Tart with flaky layers and fruit filling
Breakfast Strawberry Puff Pastry Pop Tart with fresh strawberries
Strawberry Puff Pastry Pop Tart sliced open showing juicy filling
Strawberry Puff Pastry Pop Tart with golden crust and glaze
Strawberry Puff Pastry Pop Tart on a tray
Strawberry Puff Pastry Pop Tart with homemade strawberry jam filling
Delicious Strawberry Puff Pastry Pop Tart ready to serve

Almond Coconut Cake with Blueberry Curd Filling

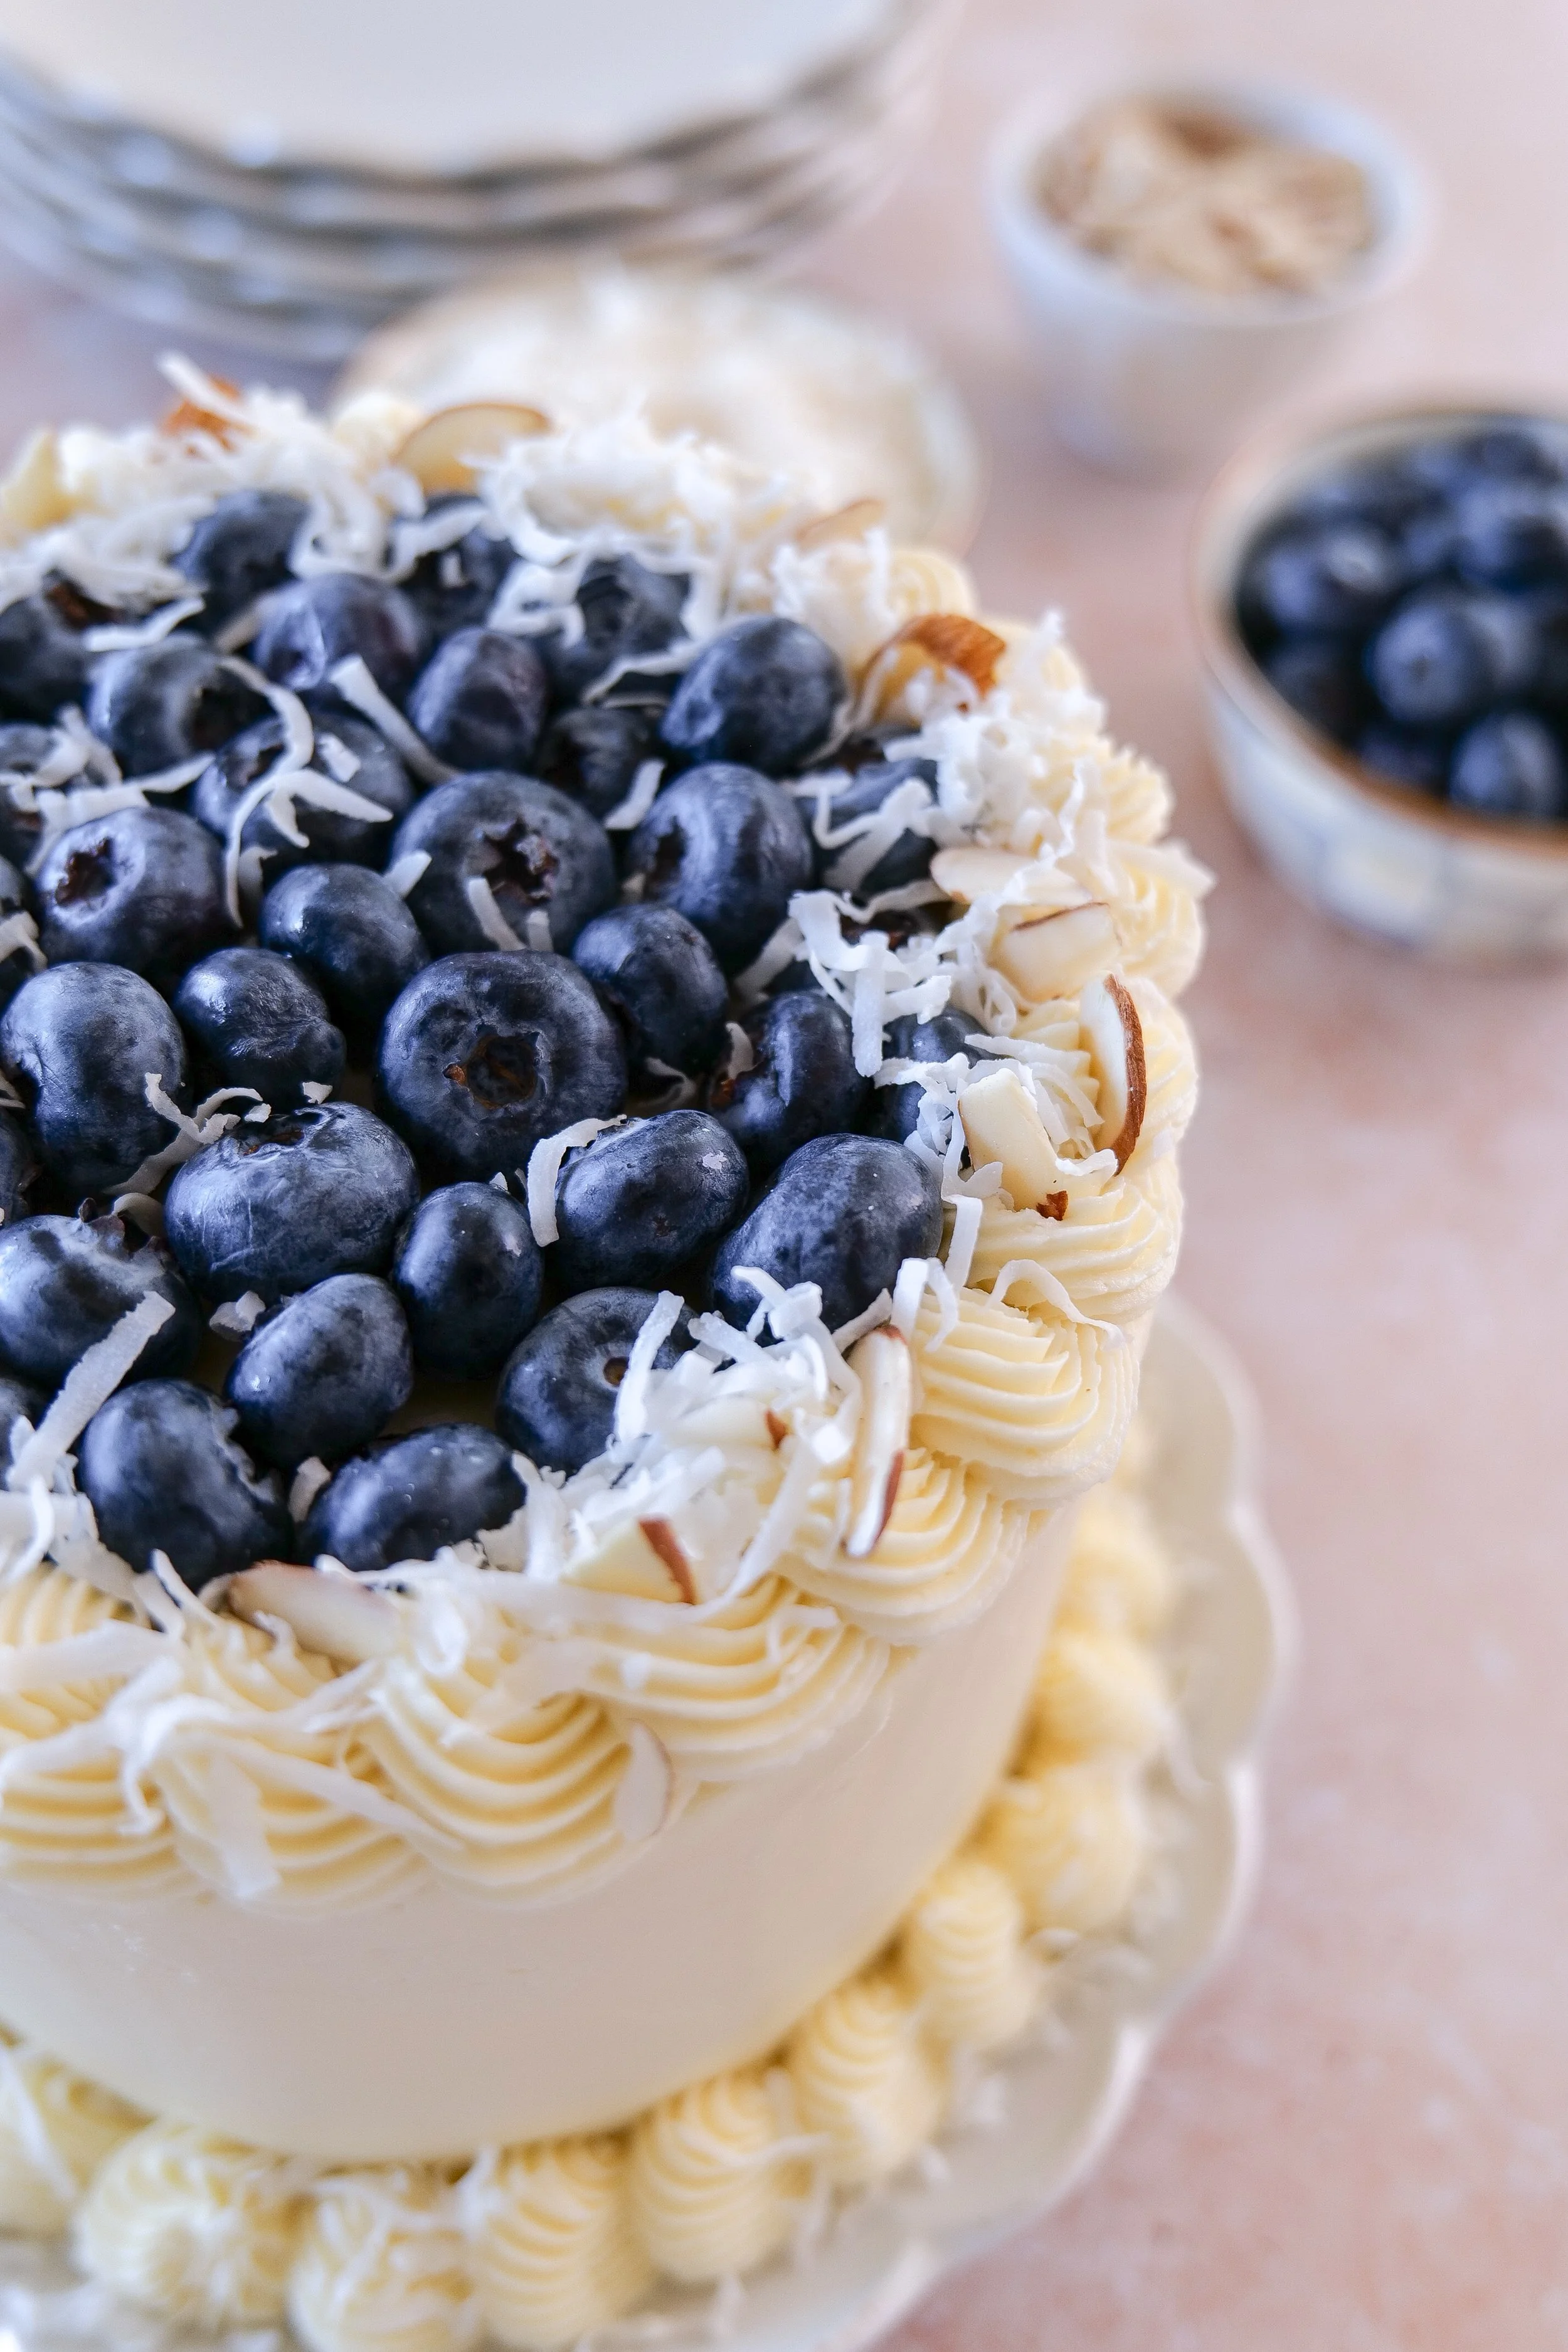
This Almond Coconut Cake with Blueberry Curd Filling is soft, moist, and layered with bright blueberry flavor in every bite. The combination of tender almond cake, coconut, and homemade blueberry curd creates a beautiful bakery-style dessert that's perfect for spring celebrations, Easter brunch, baby showers, birthdays, and special occasions.

↓ Skip to Recipe

If you're looking for a unique layer cake that feels elegant yet approachable, this blueberry almond cake delivers the perfect balance of nutty flavor, fruity filling, and light sweetness. It's the kind of dessert that looks impressive on a cake stand while still being easy enough to make at home.

Why You'll Love This Almond Coconut Cake

✔ Soft and moist almond cake layers

✔ Homemade blueberry curd filling

✔ Beautiful for spring and summer celebrations

✔ Perfect for Easter, Mother's Day, and baby showers

✔ Elegant bakery-style presentation

✔ Make-ahead friendly

✔ Unique flavor combination guests always remember

Perfect For

• Easter dessert tables

• Baby showers

• Bridal showers

• Mother's Day celebrations

• Spring brunches

• Summer birthdays

• Afternoon tea parties

• Special occasion baking

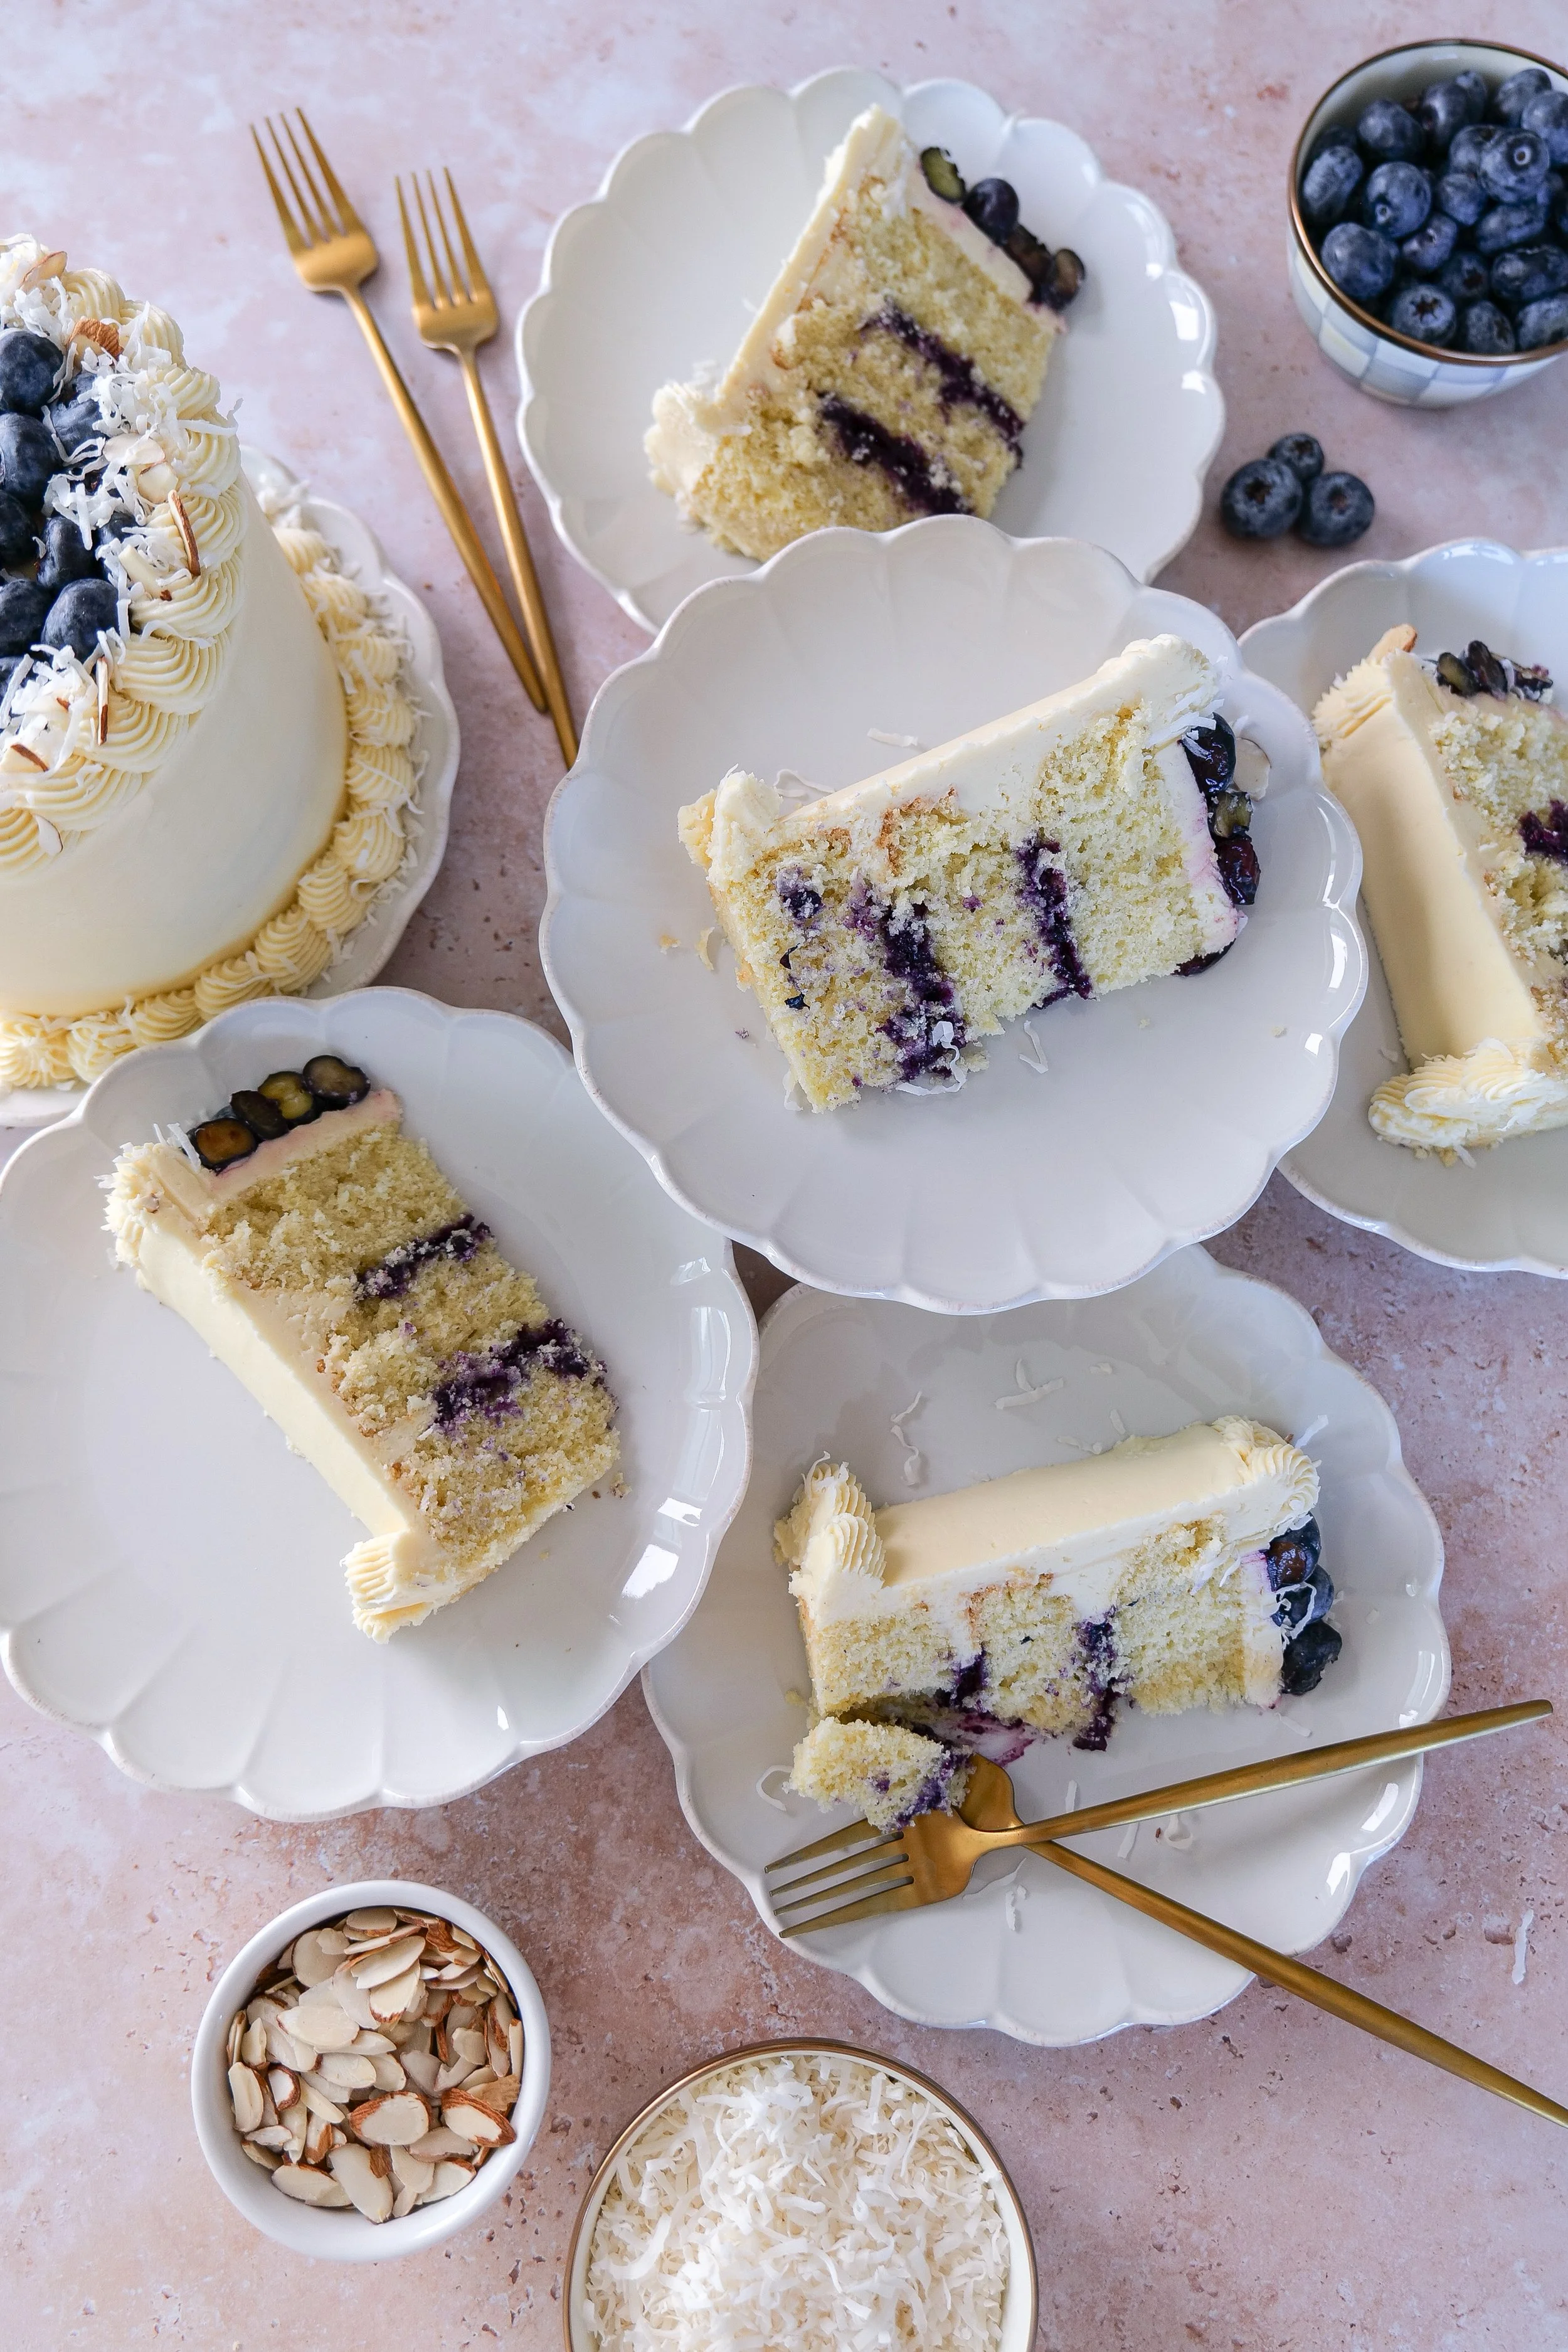
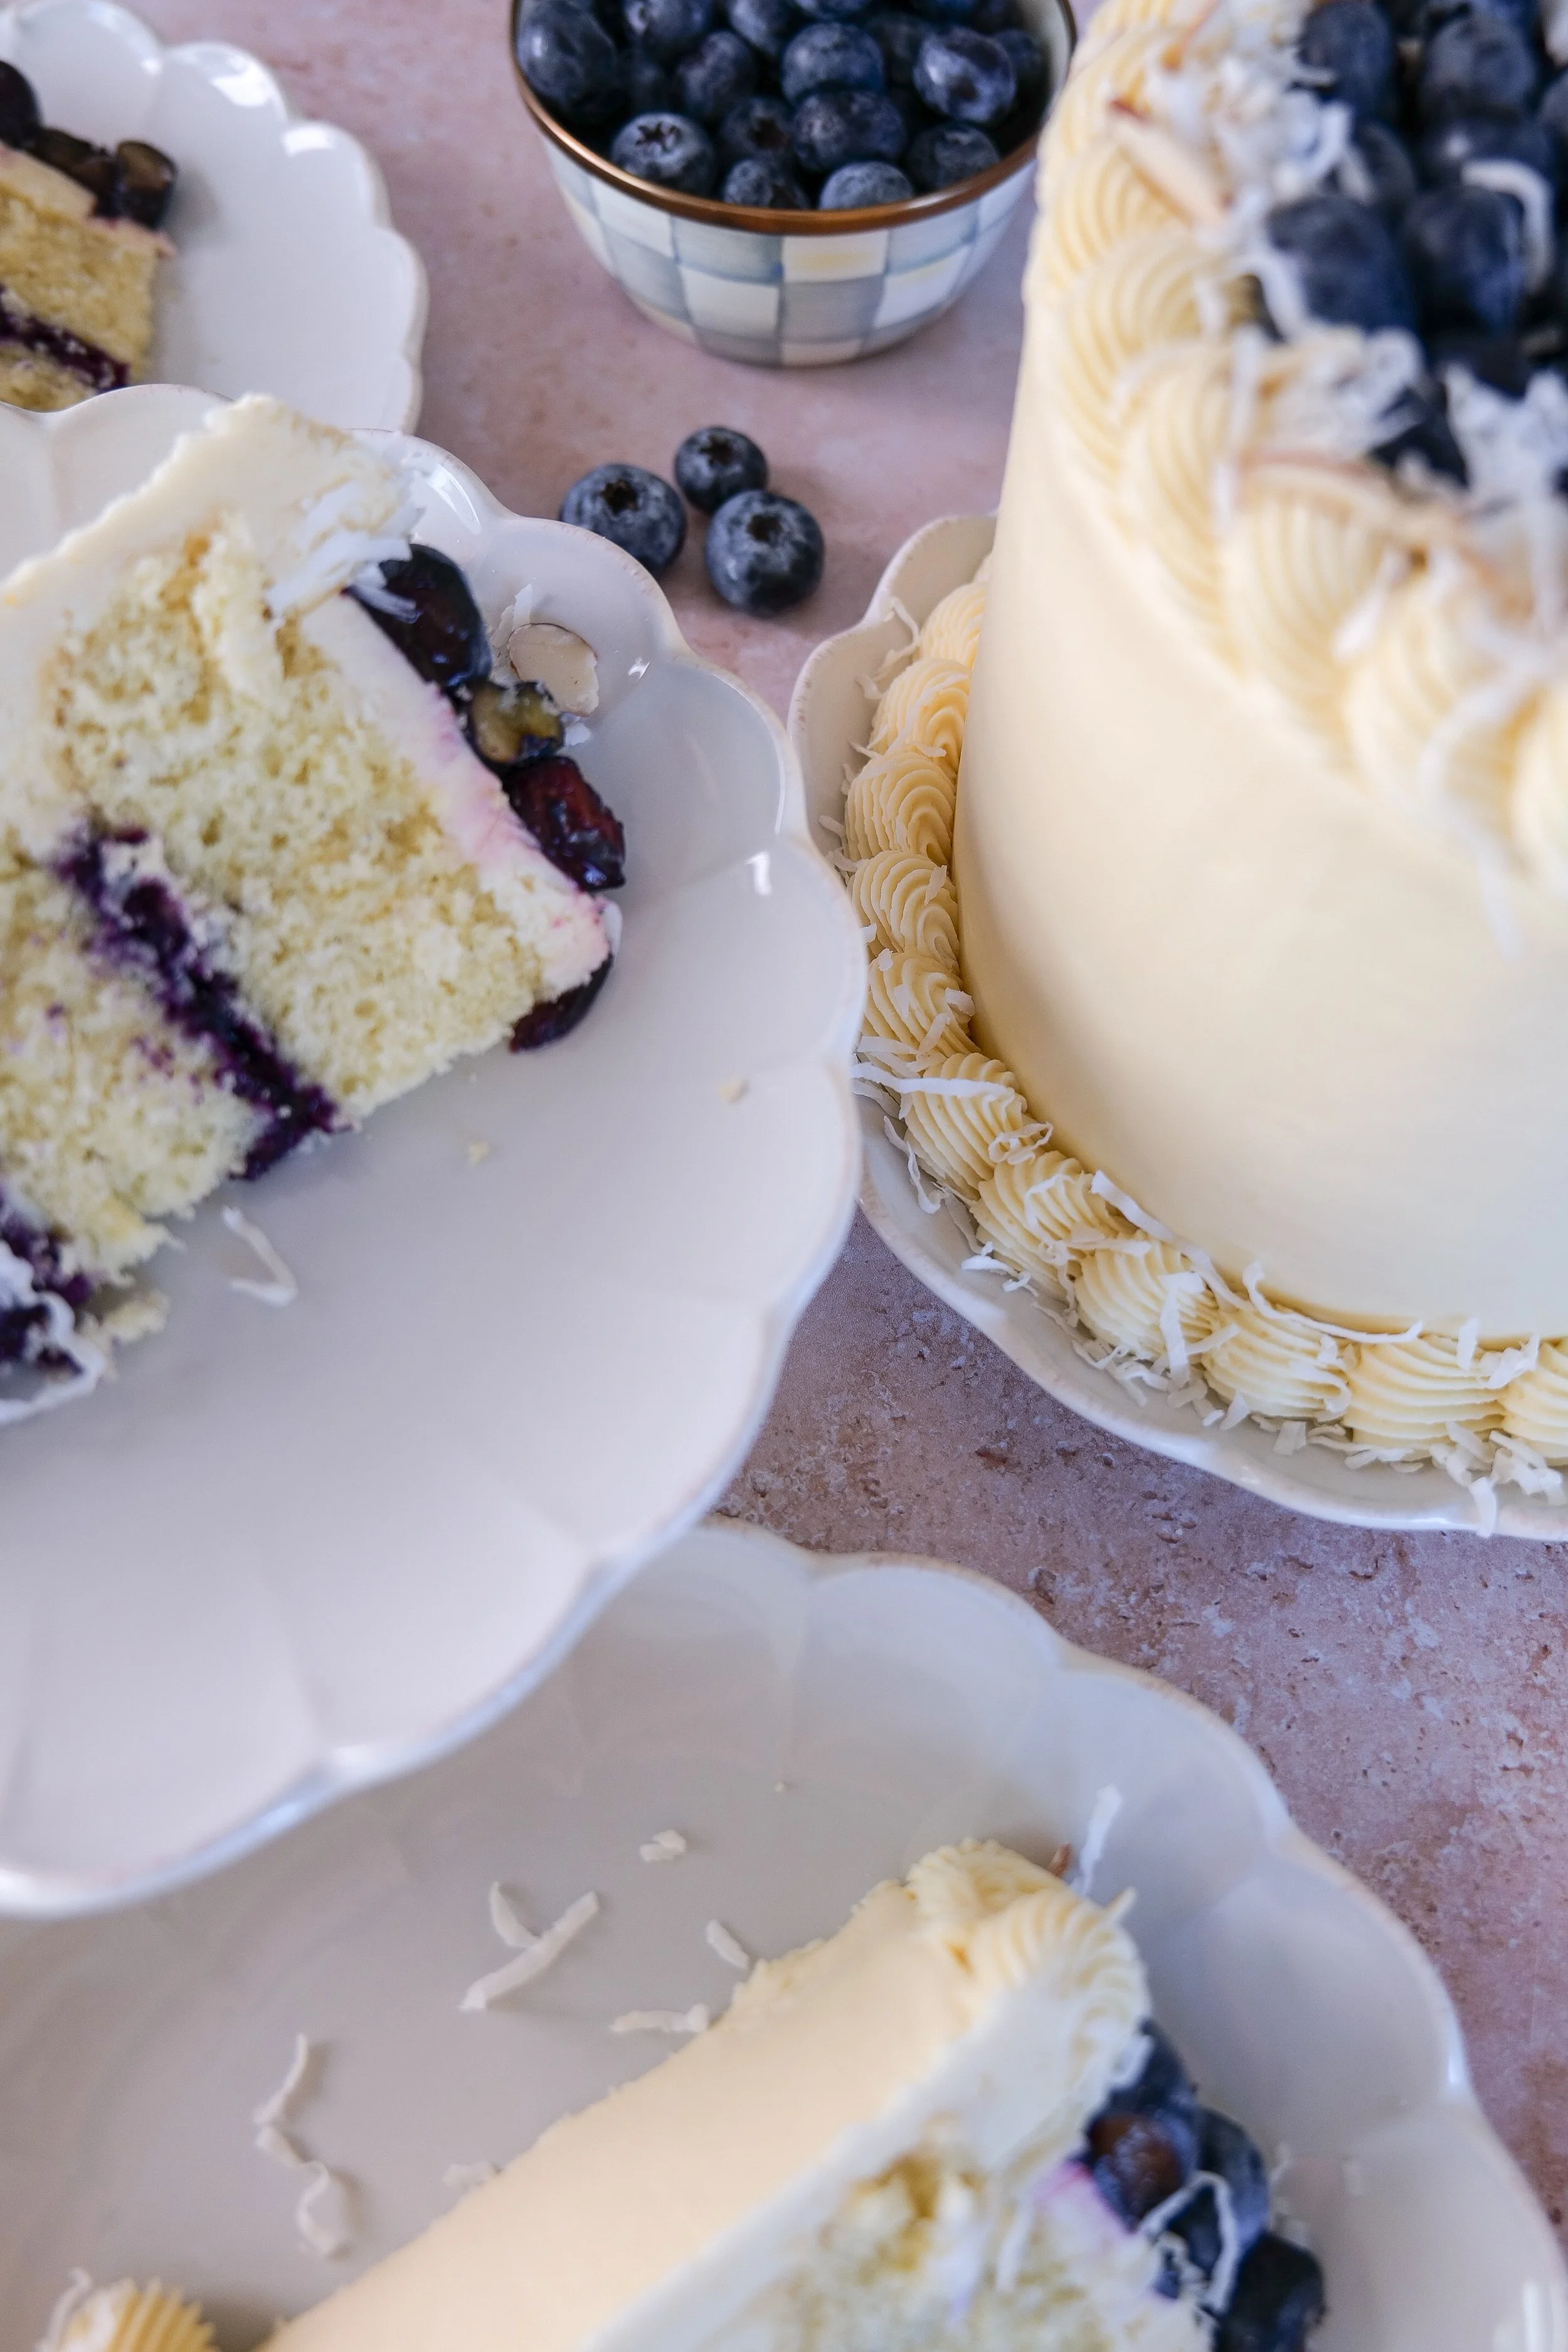
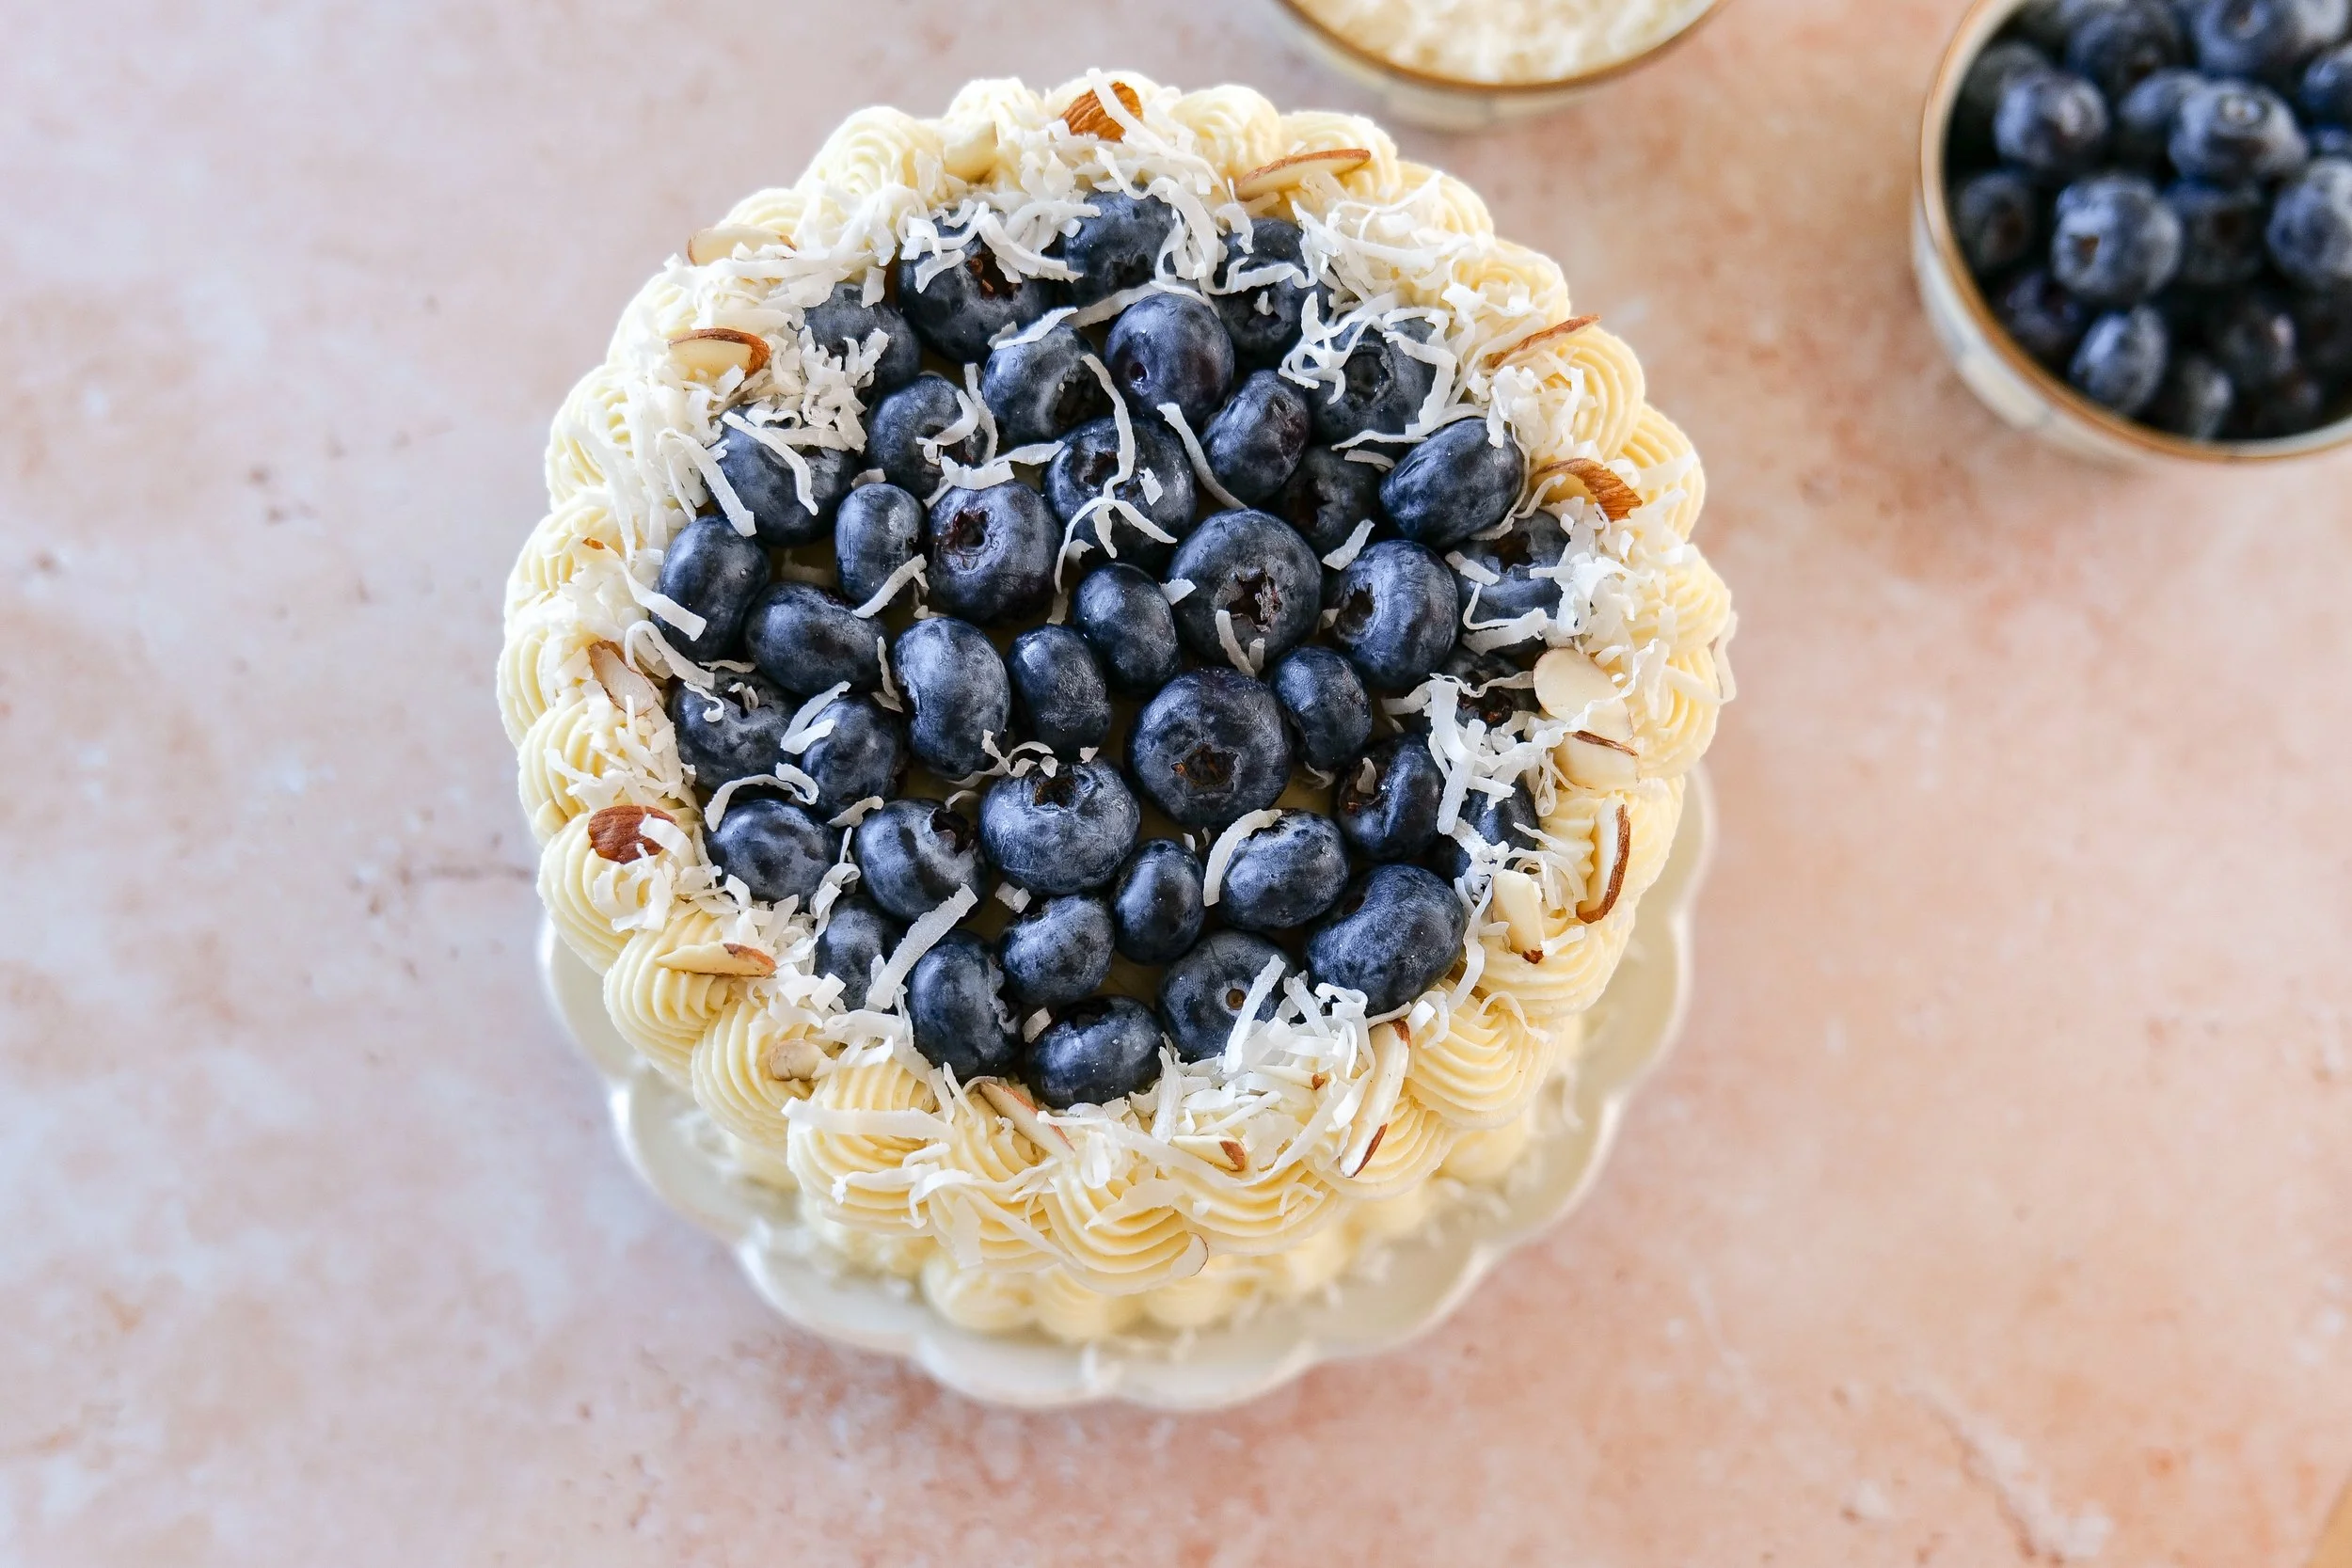
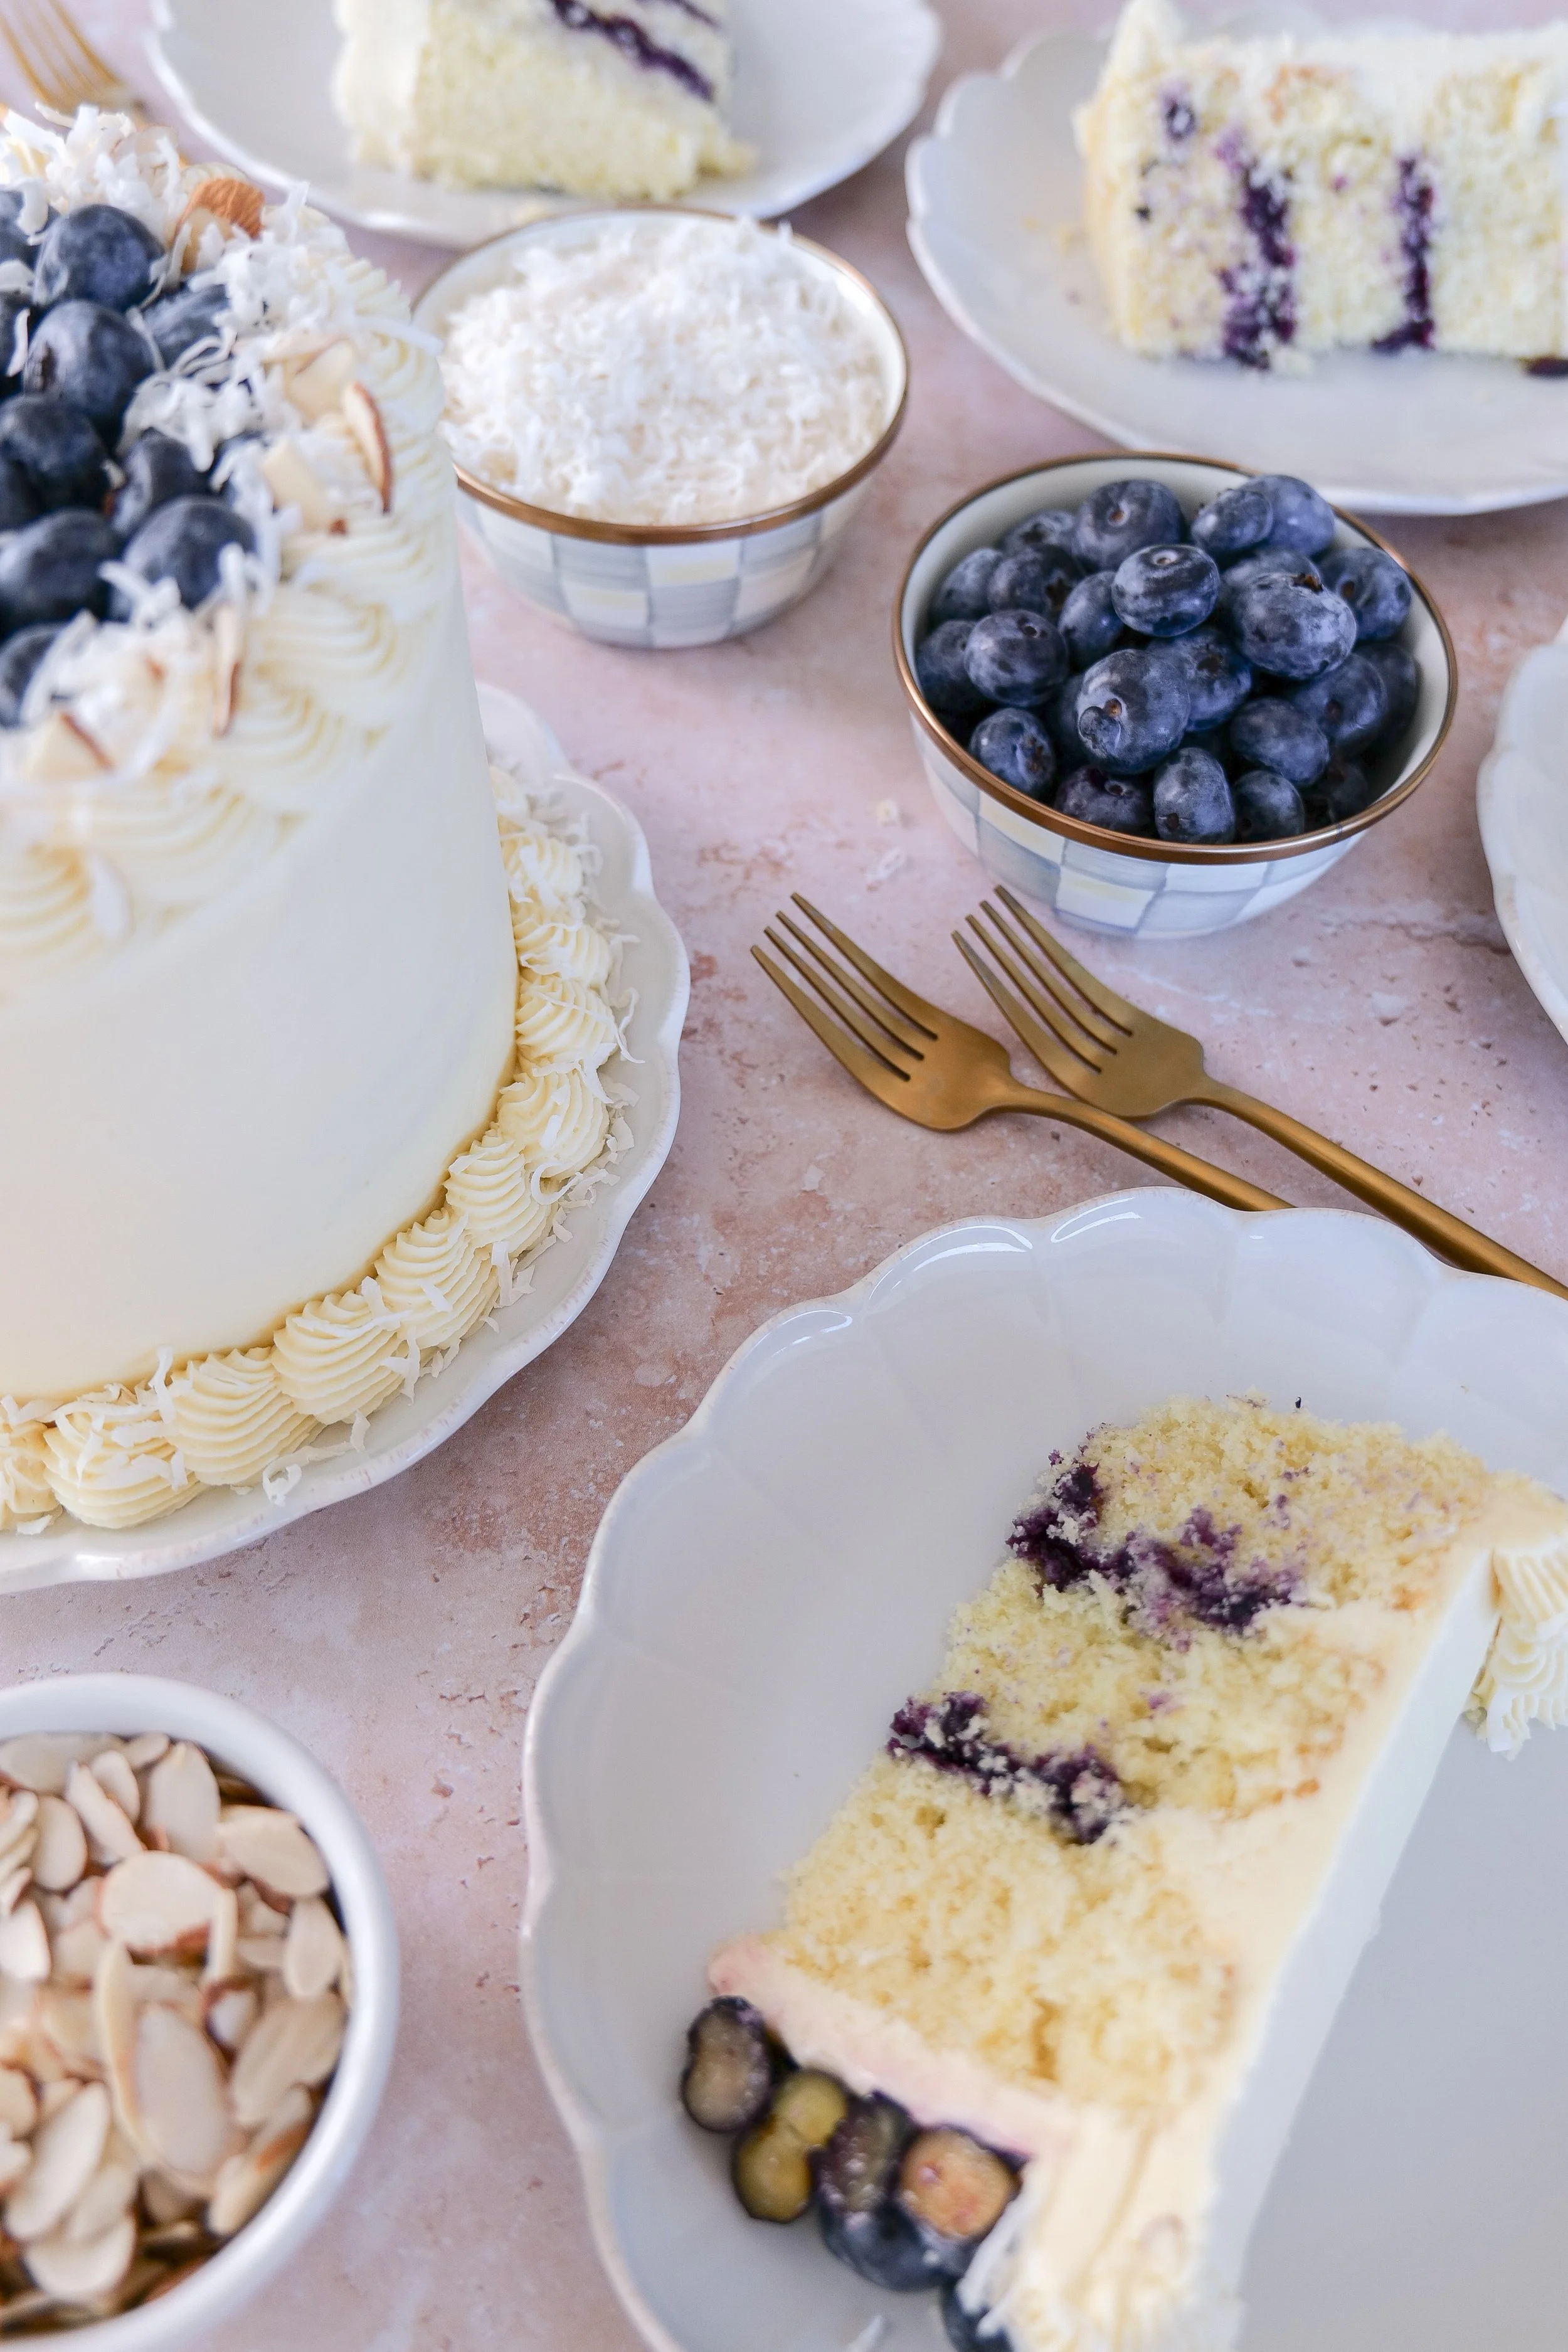
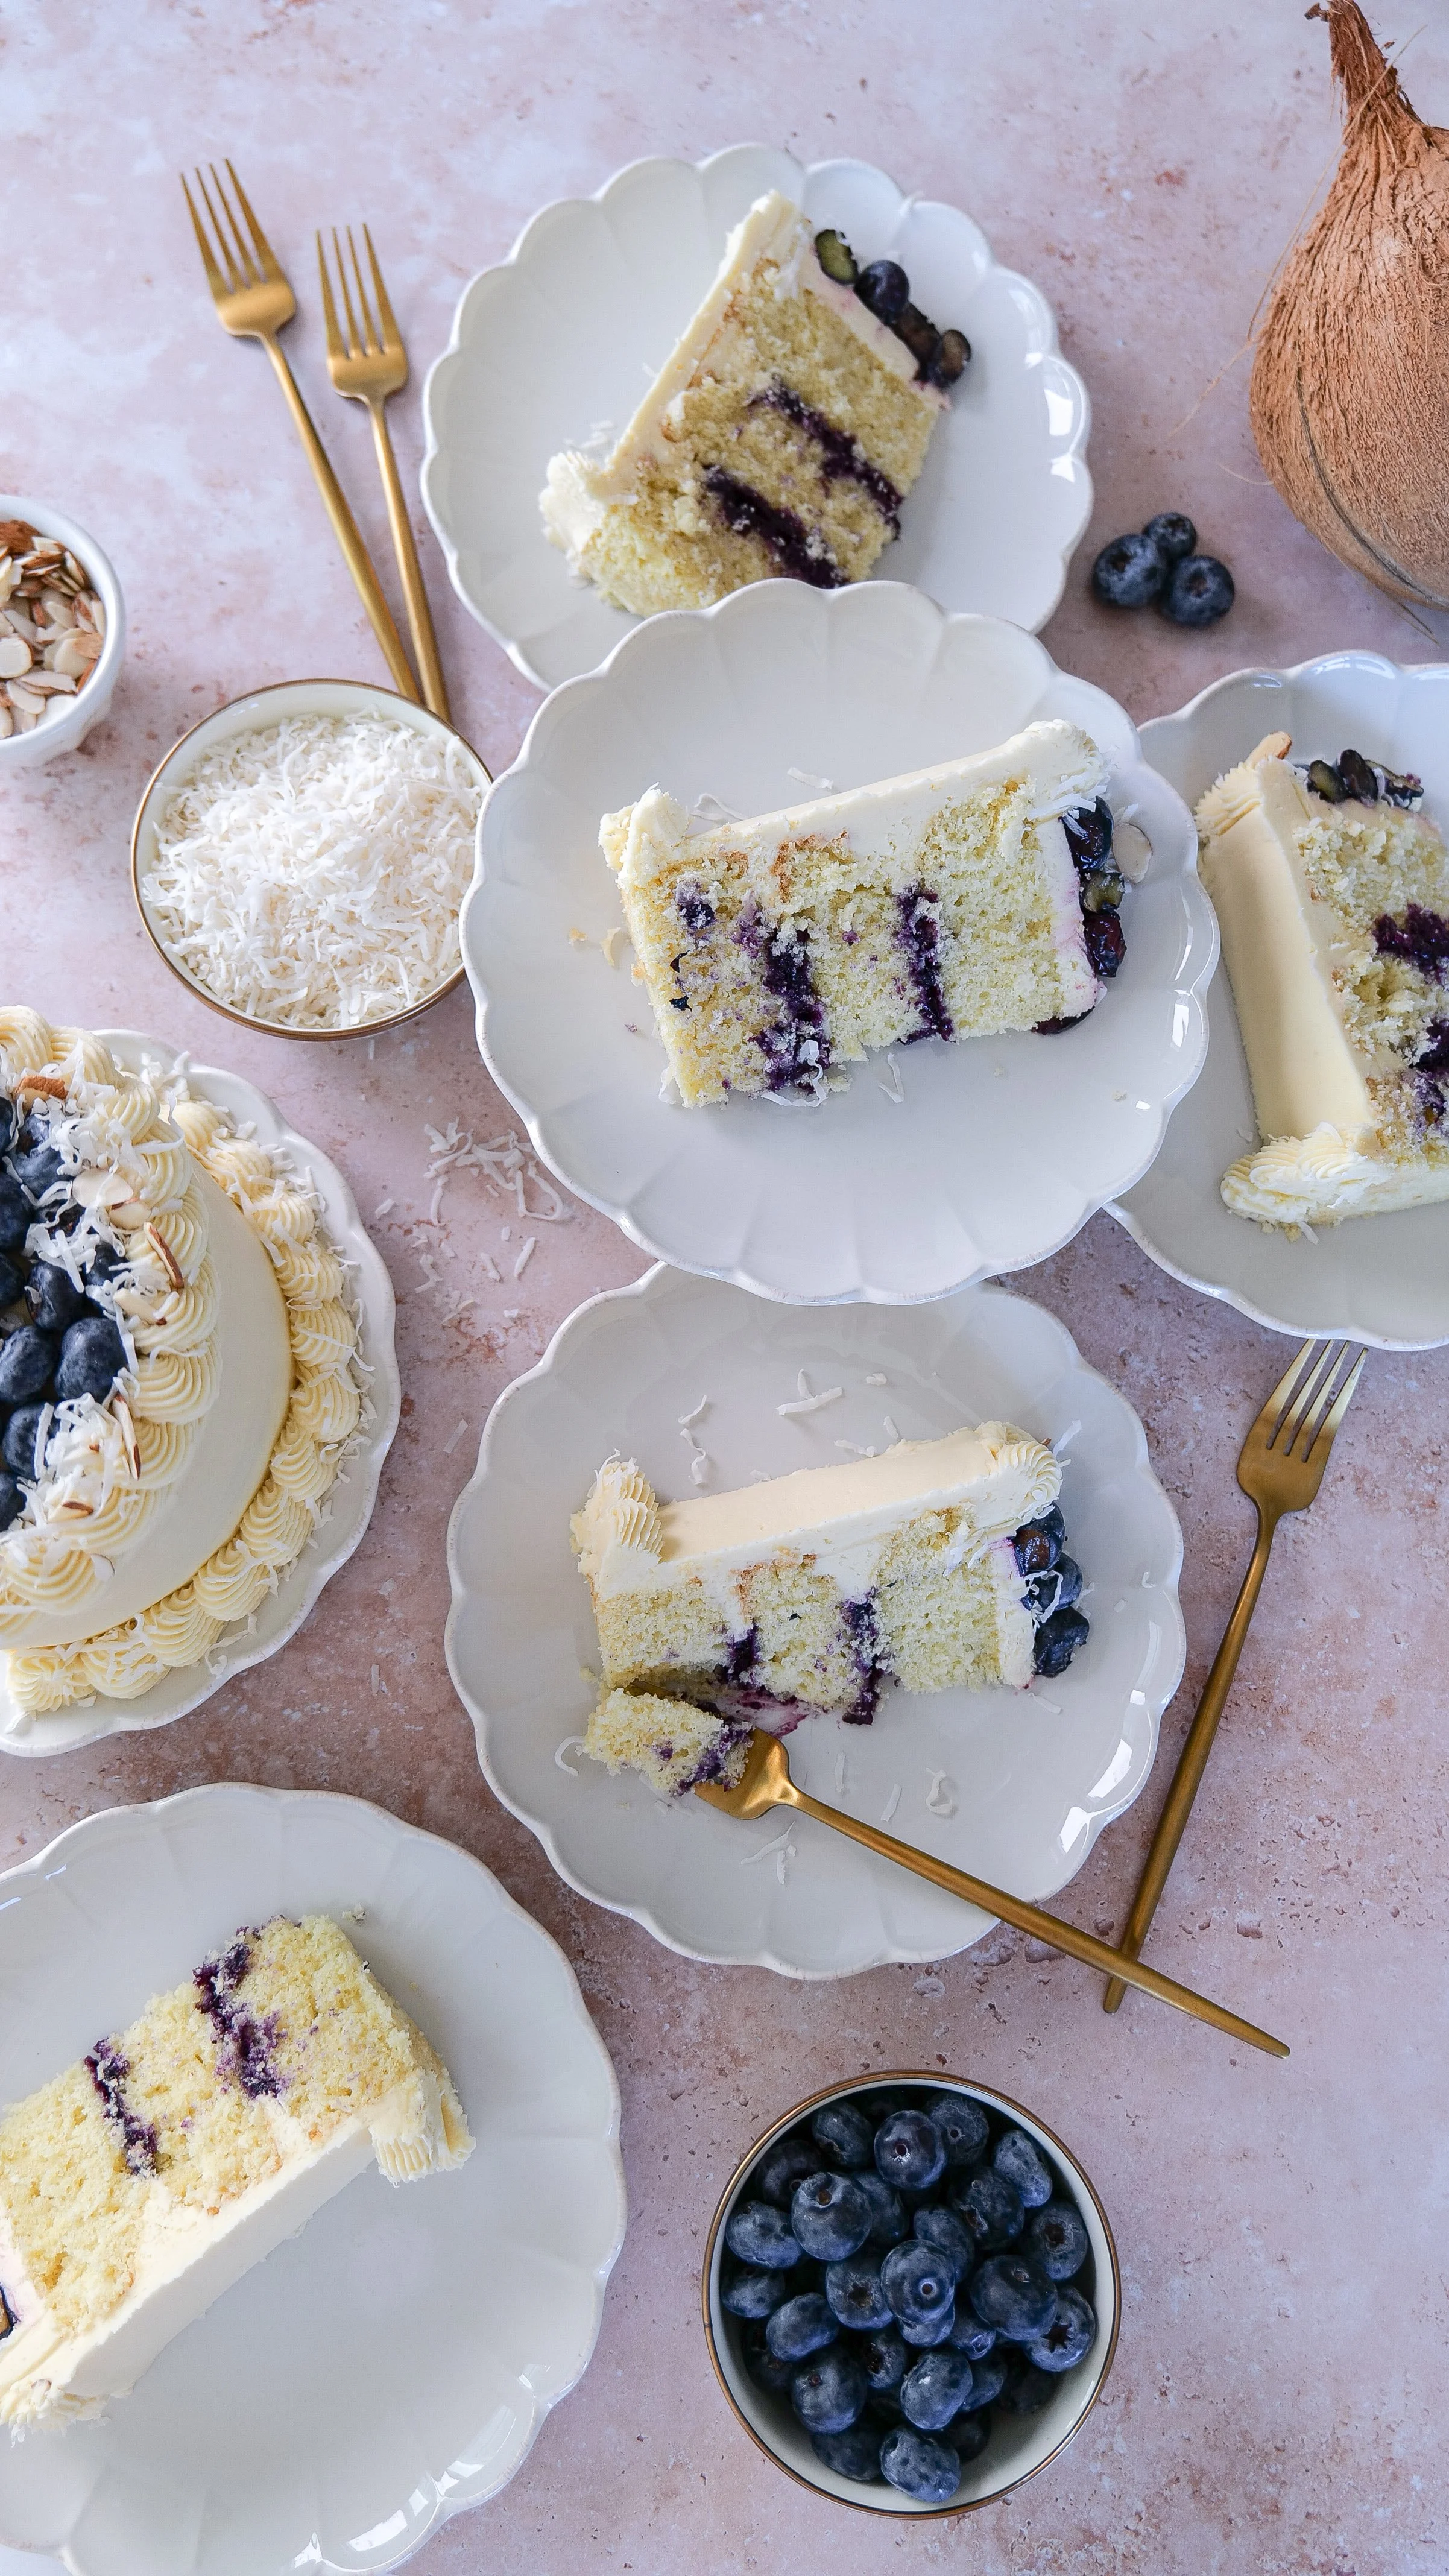
Almond coconut cake with blueberry curd filling and coconut buttercream frosting served as a spring celebration dessert.
Almond Coconut Cake with Blueberry Curd Filling
Almond coconut layer cake decorated for a spring celebration.
Homemade blueberry cake with almond and coconut flavors.

What makes this cake so memorable is the way the flavors unfold. Almond brings a subtle richness that deepens the overall profile, while coconut adds a light, almost airy sweetness that keeps each bite from feeling too heavy. Together, they create a delicate base that’s both moist and tender, with just enough texture to make it satisfying without being dense.

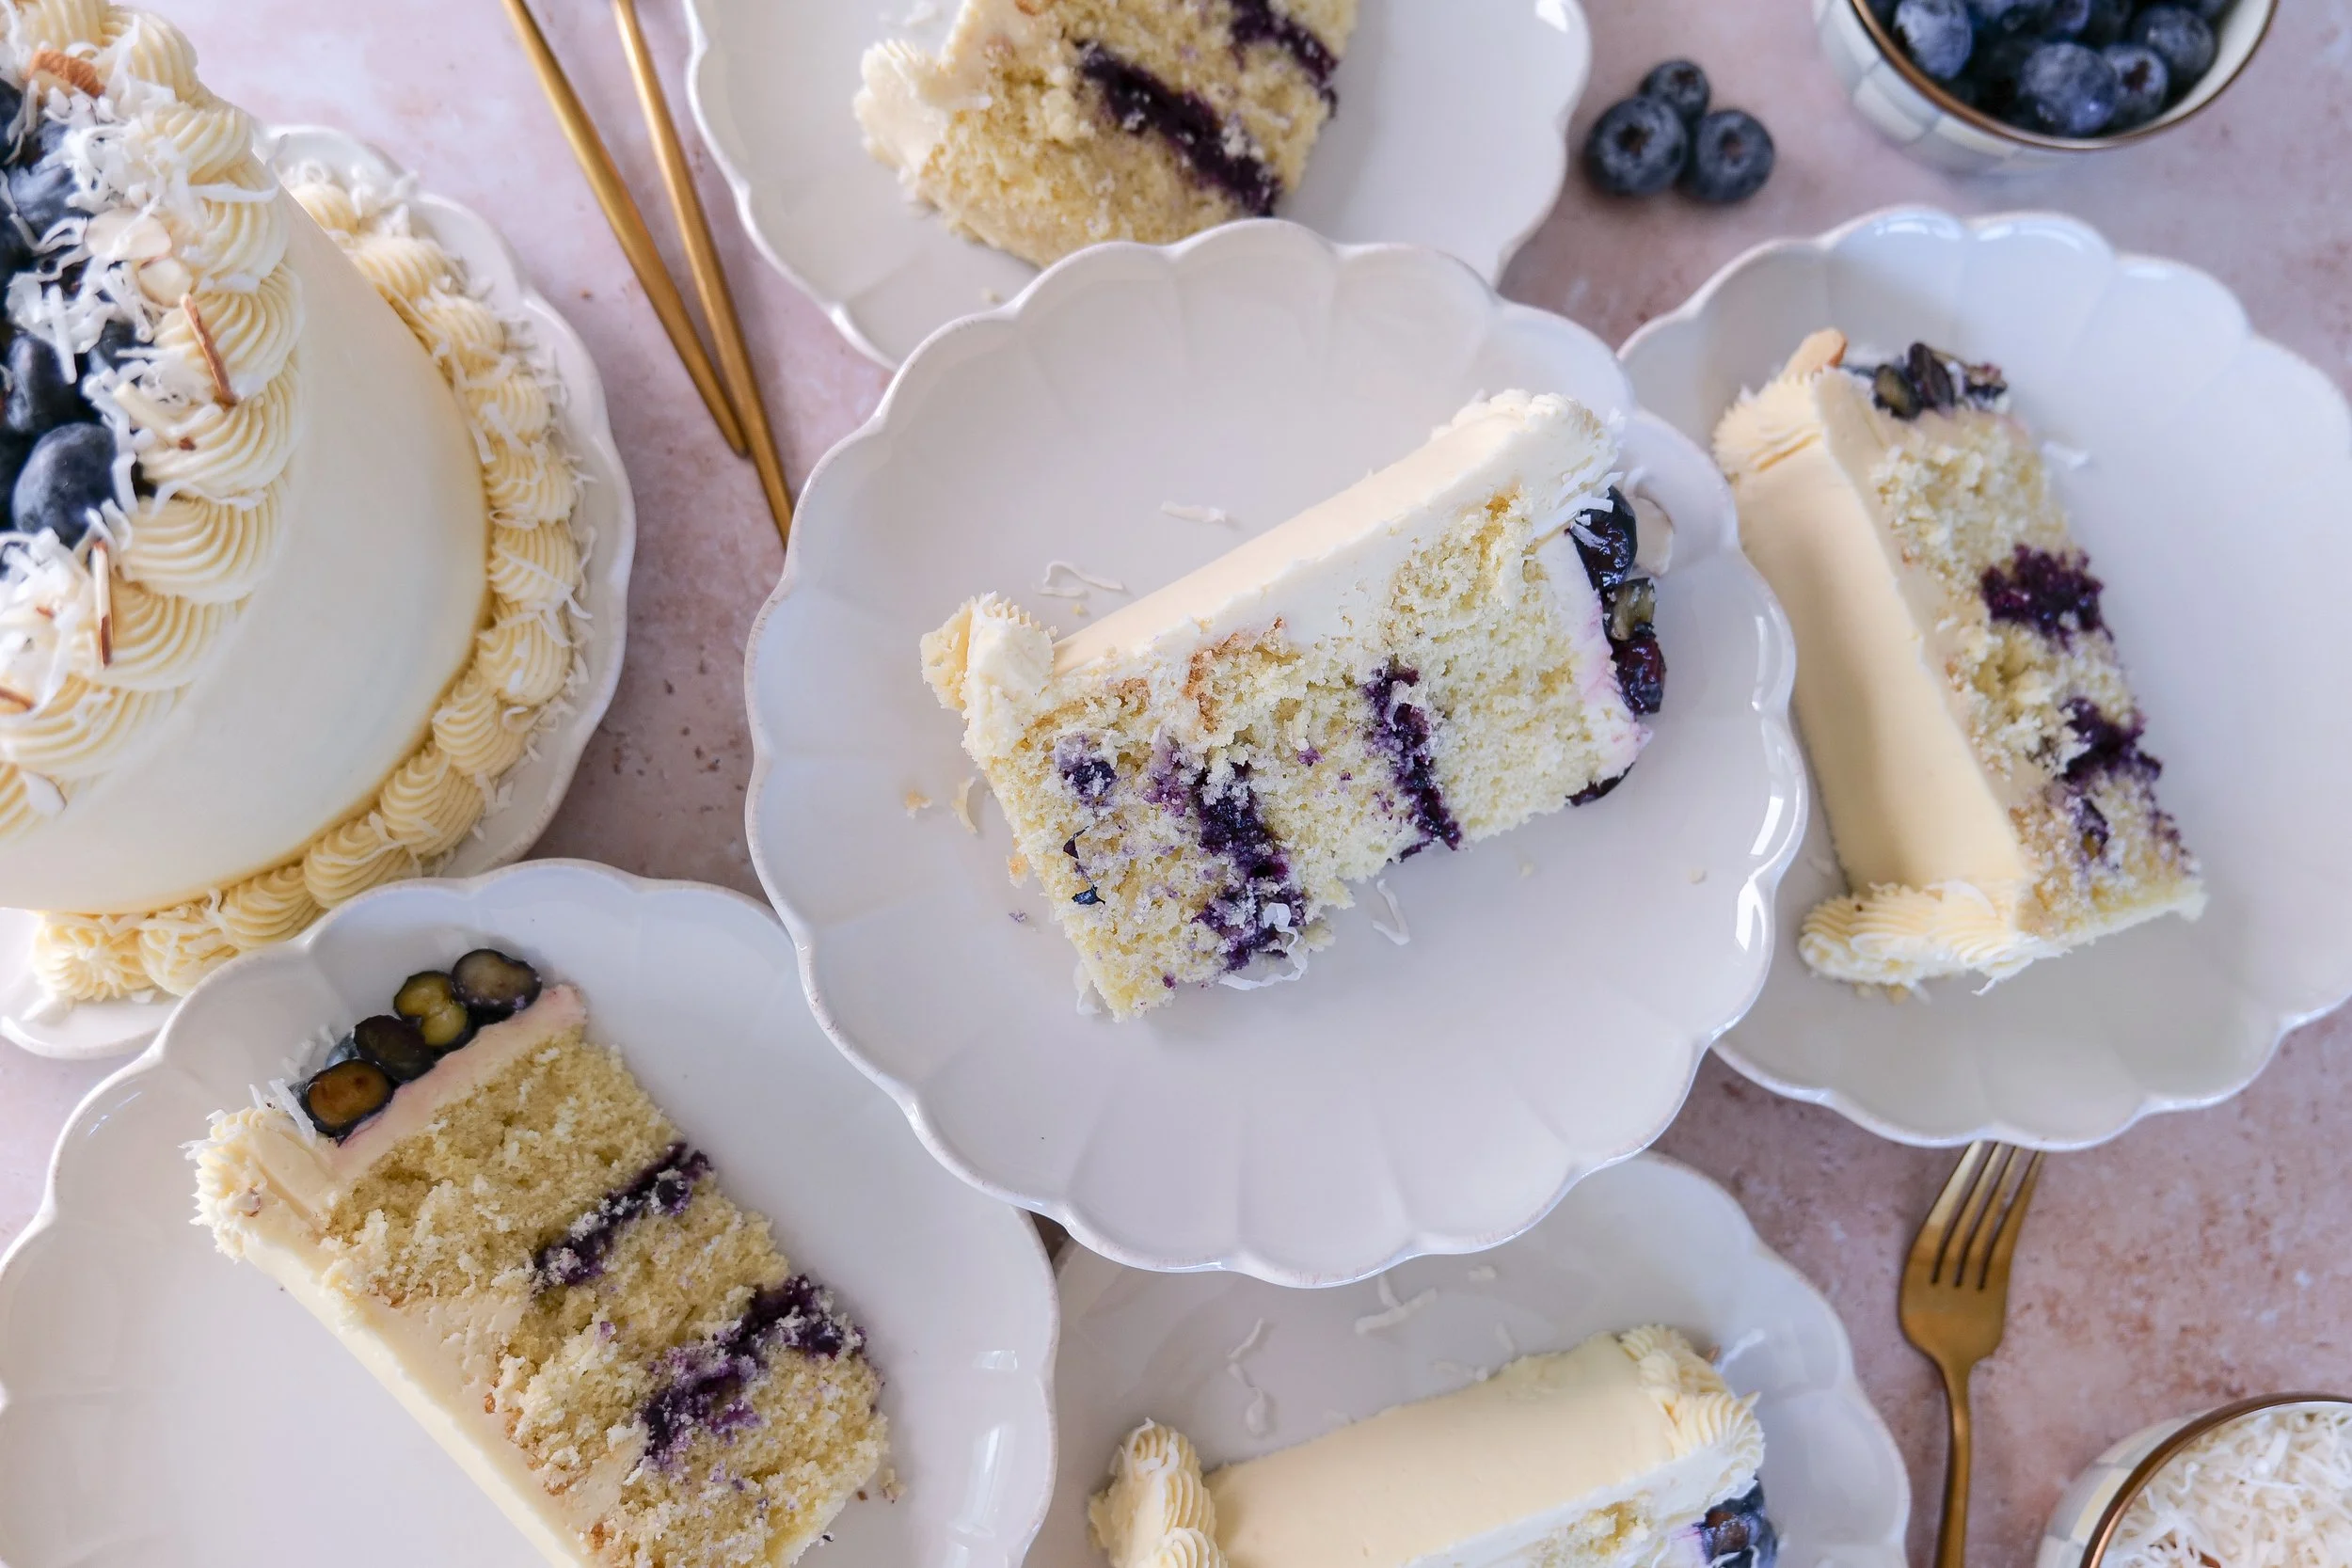
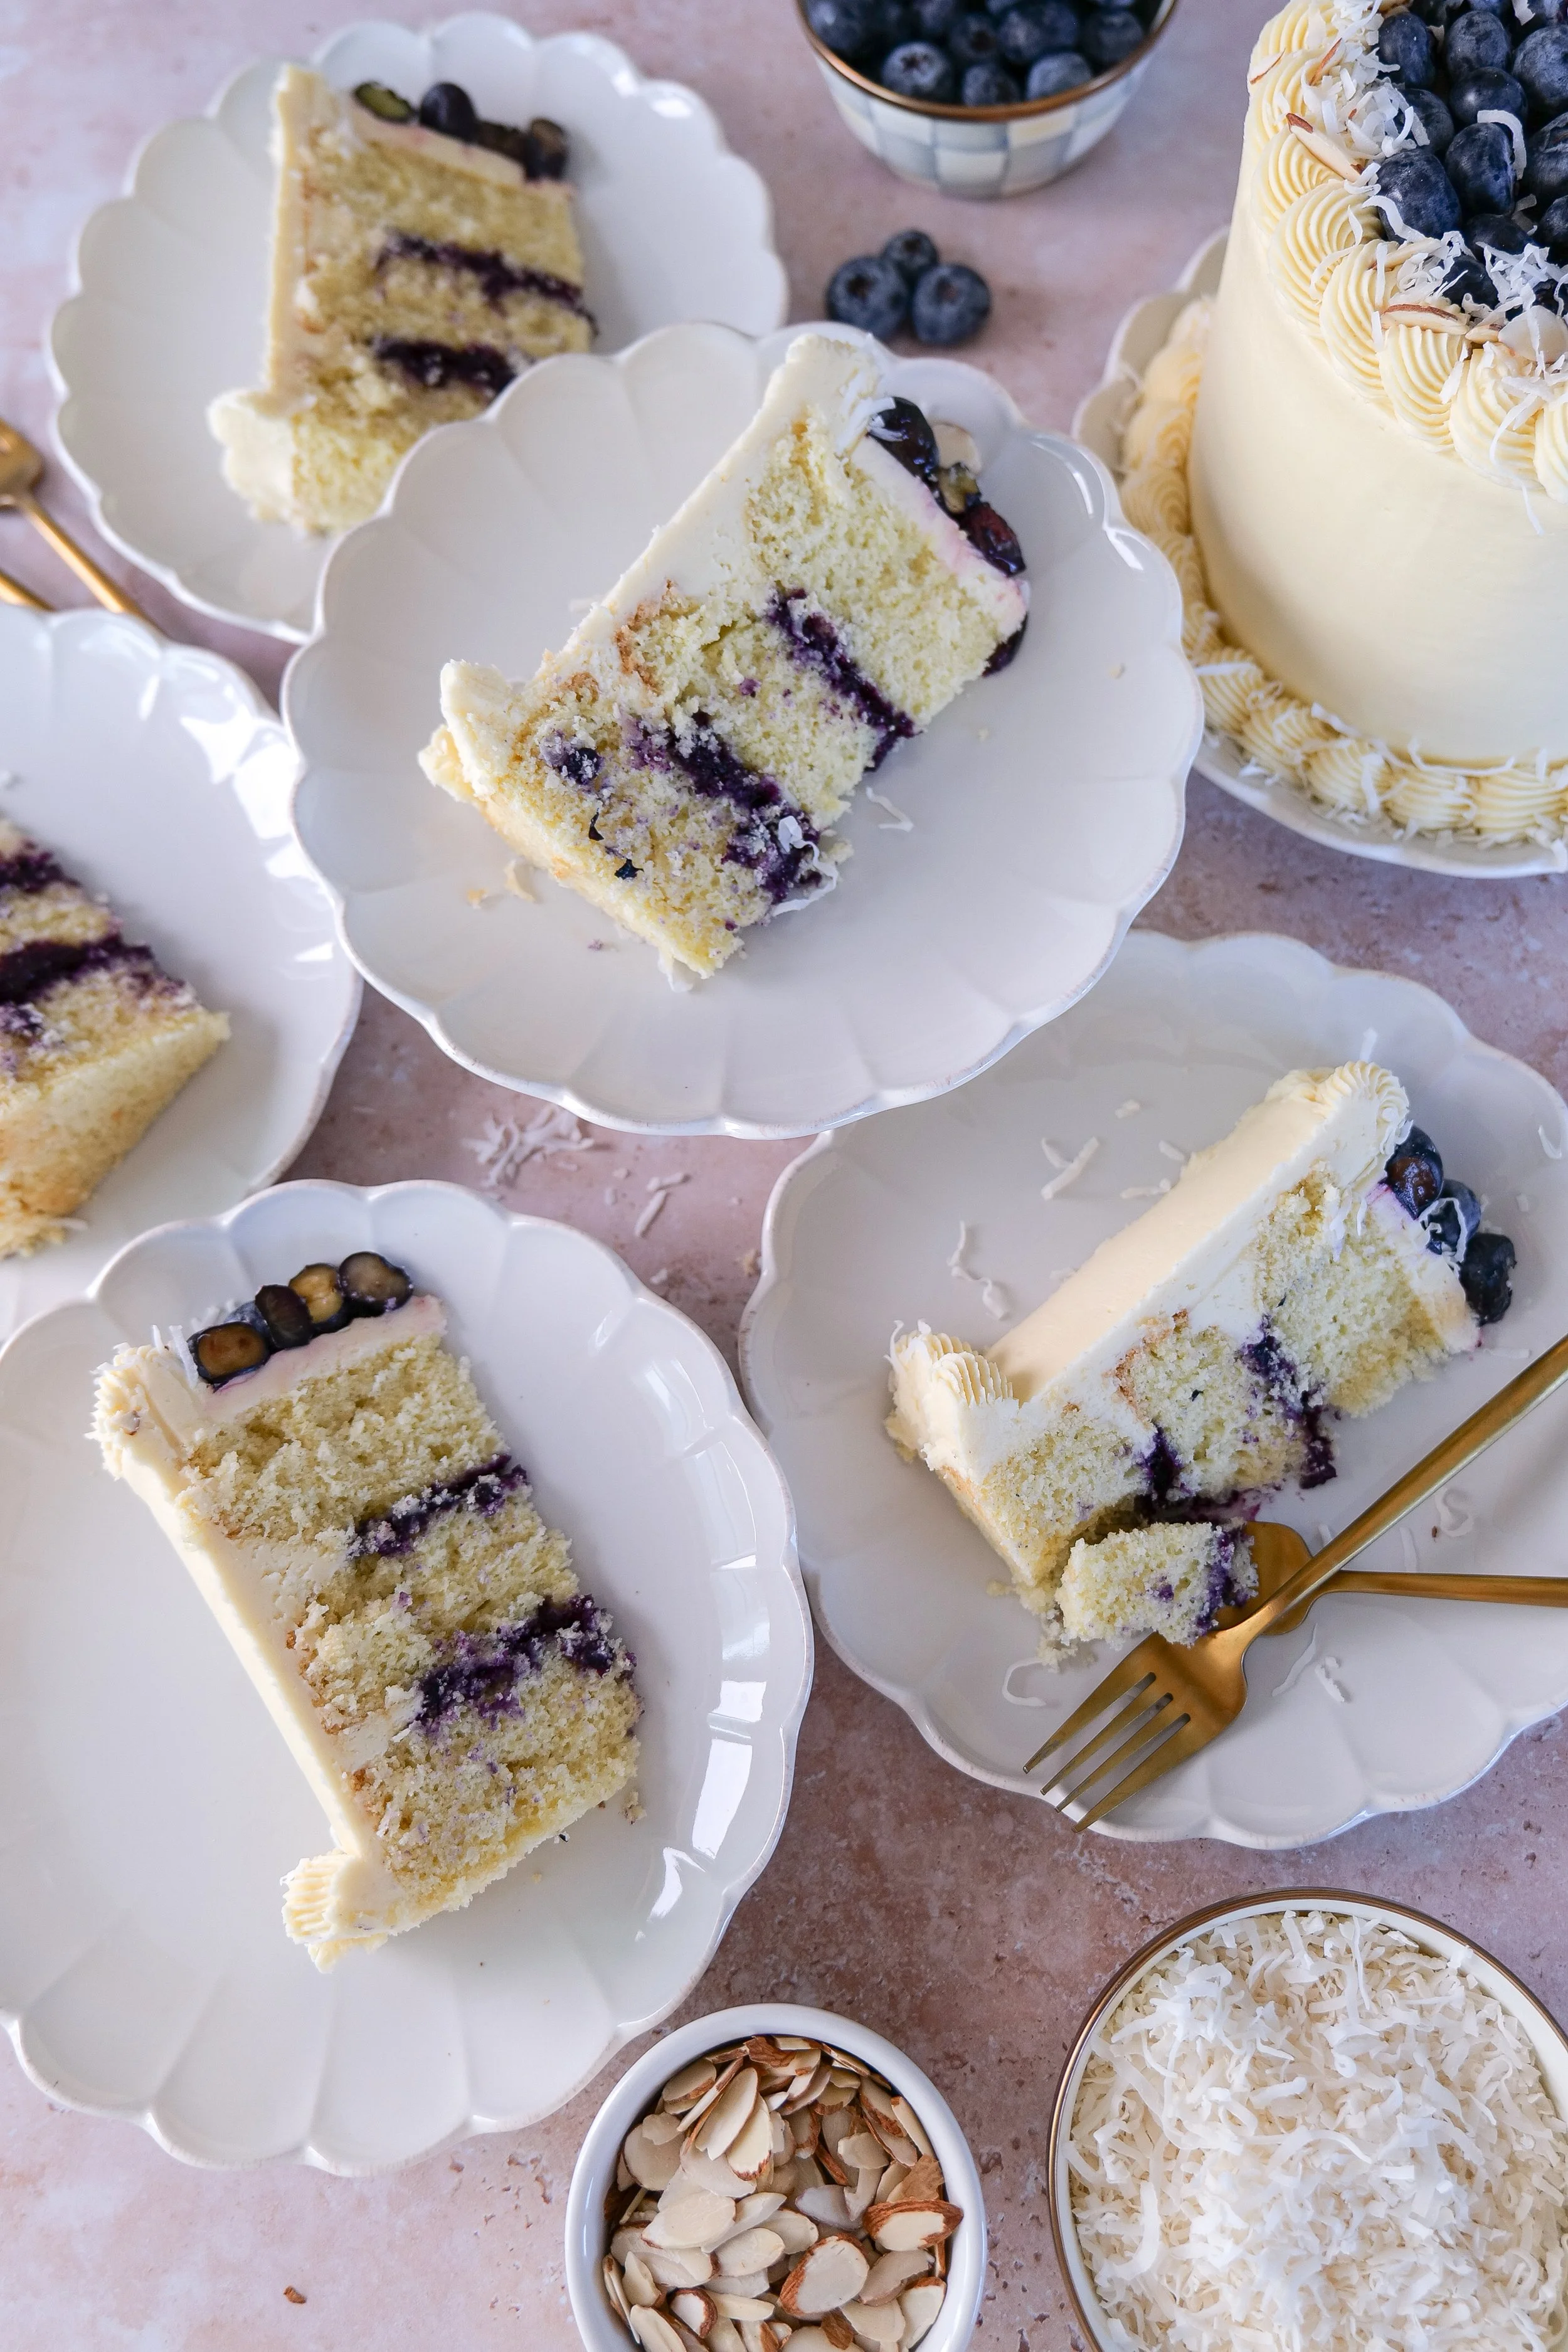
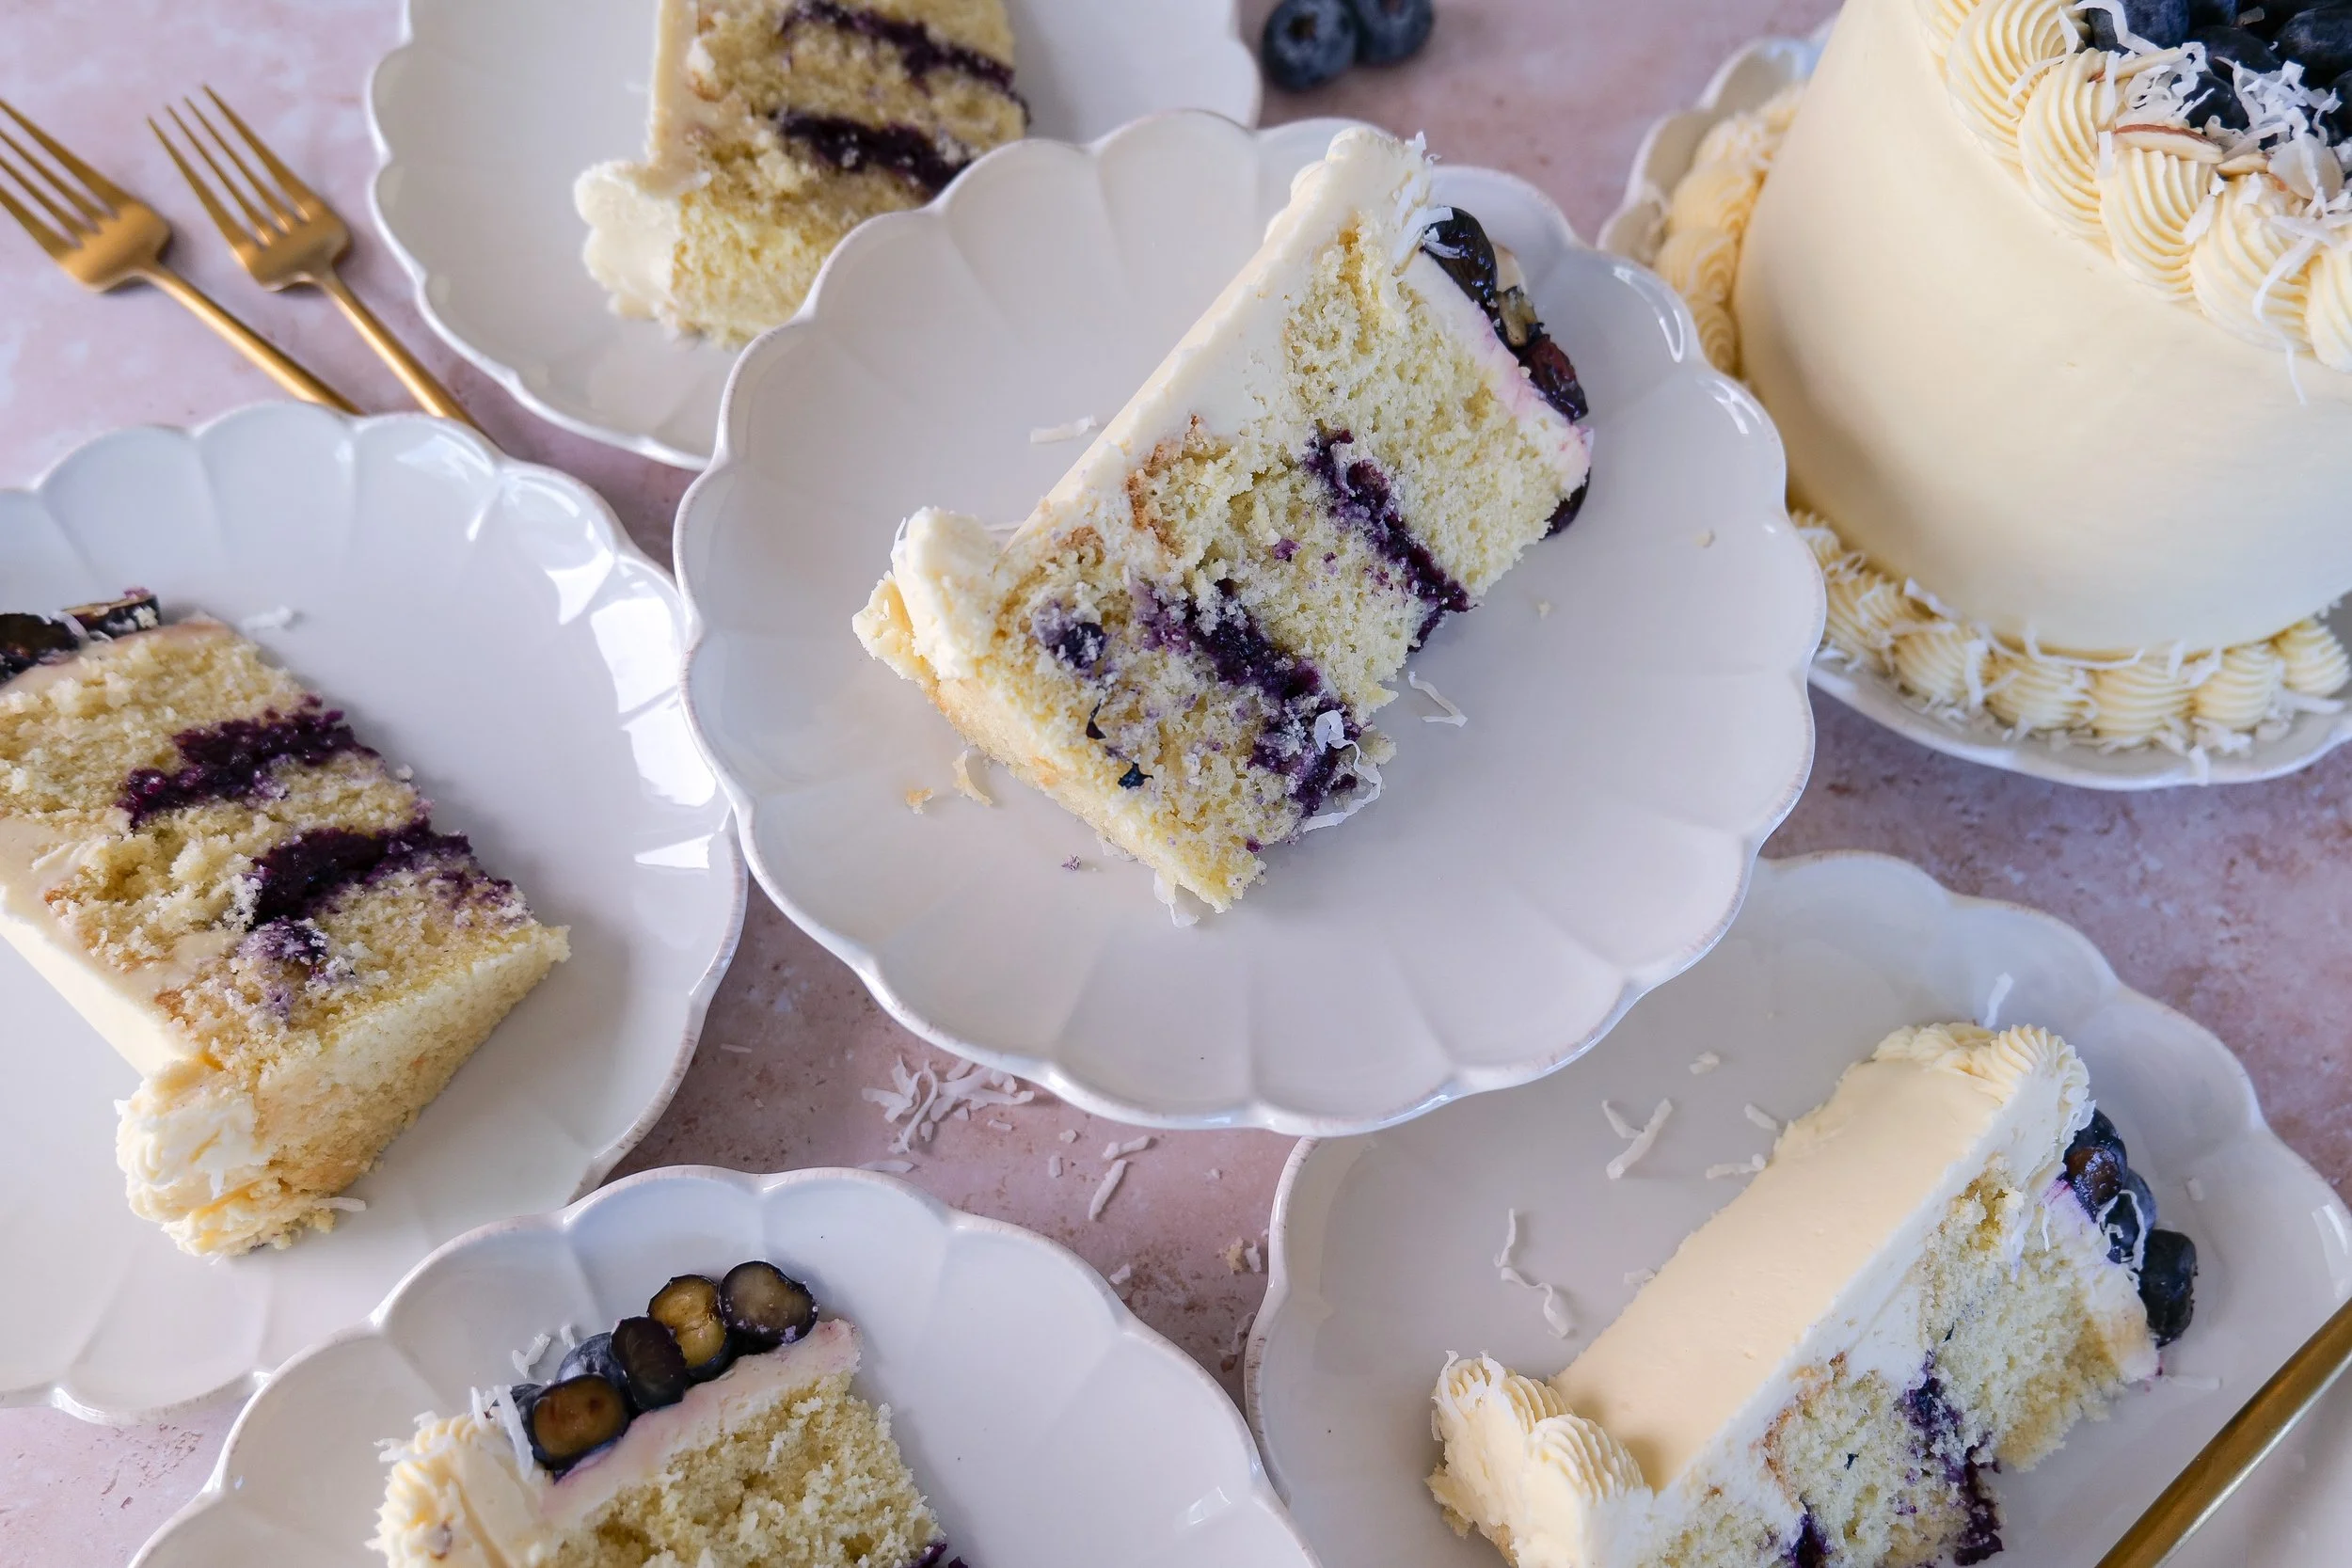
Then there’s the blueberry curd filling—the element that truly transforms this cake into something extraordinary. Unlike a traditional jam or compote, blueberry curd is silky, bright, and slightly tangy, with a natural sweetness that cuts through the richness of the cake. Its deep purple hue creates a striking contrast against the pale layers, giving the cake a visual appeal that feels effortlessly elegant and completely Pinterest-worthy.

Elegant spring celebration cake with blueberry curd filling.
Almond coconut cake perfect for Easter dessert tables.
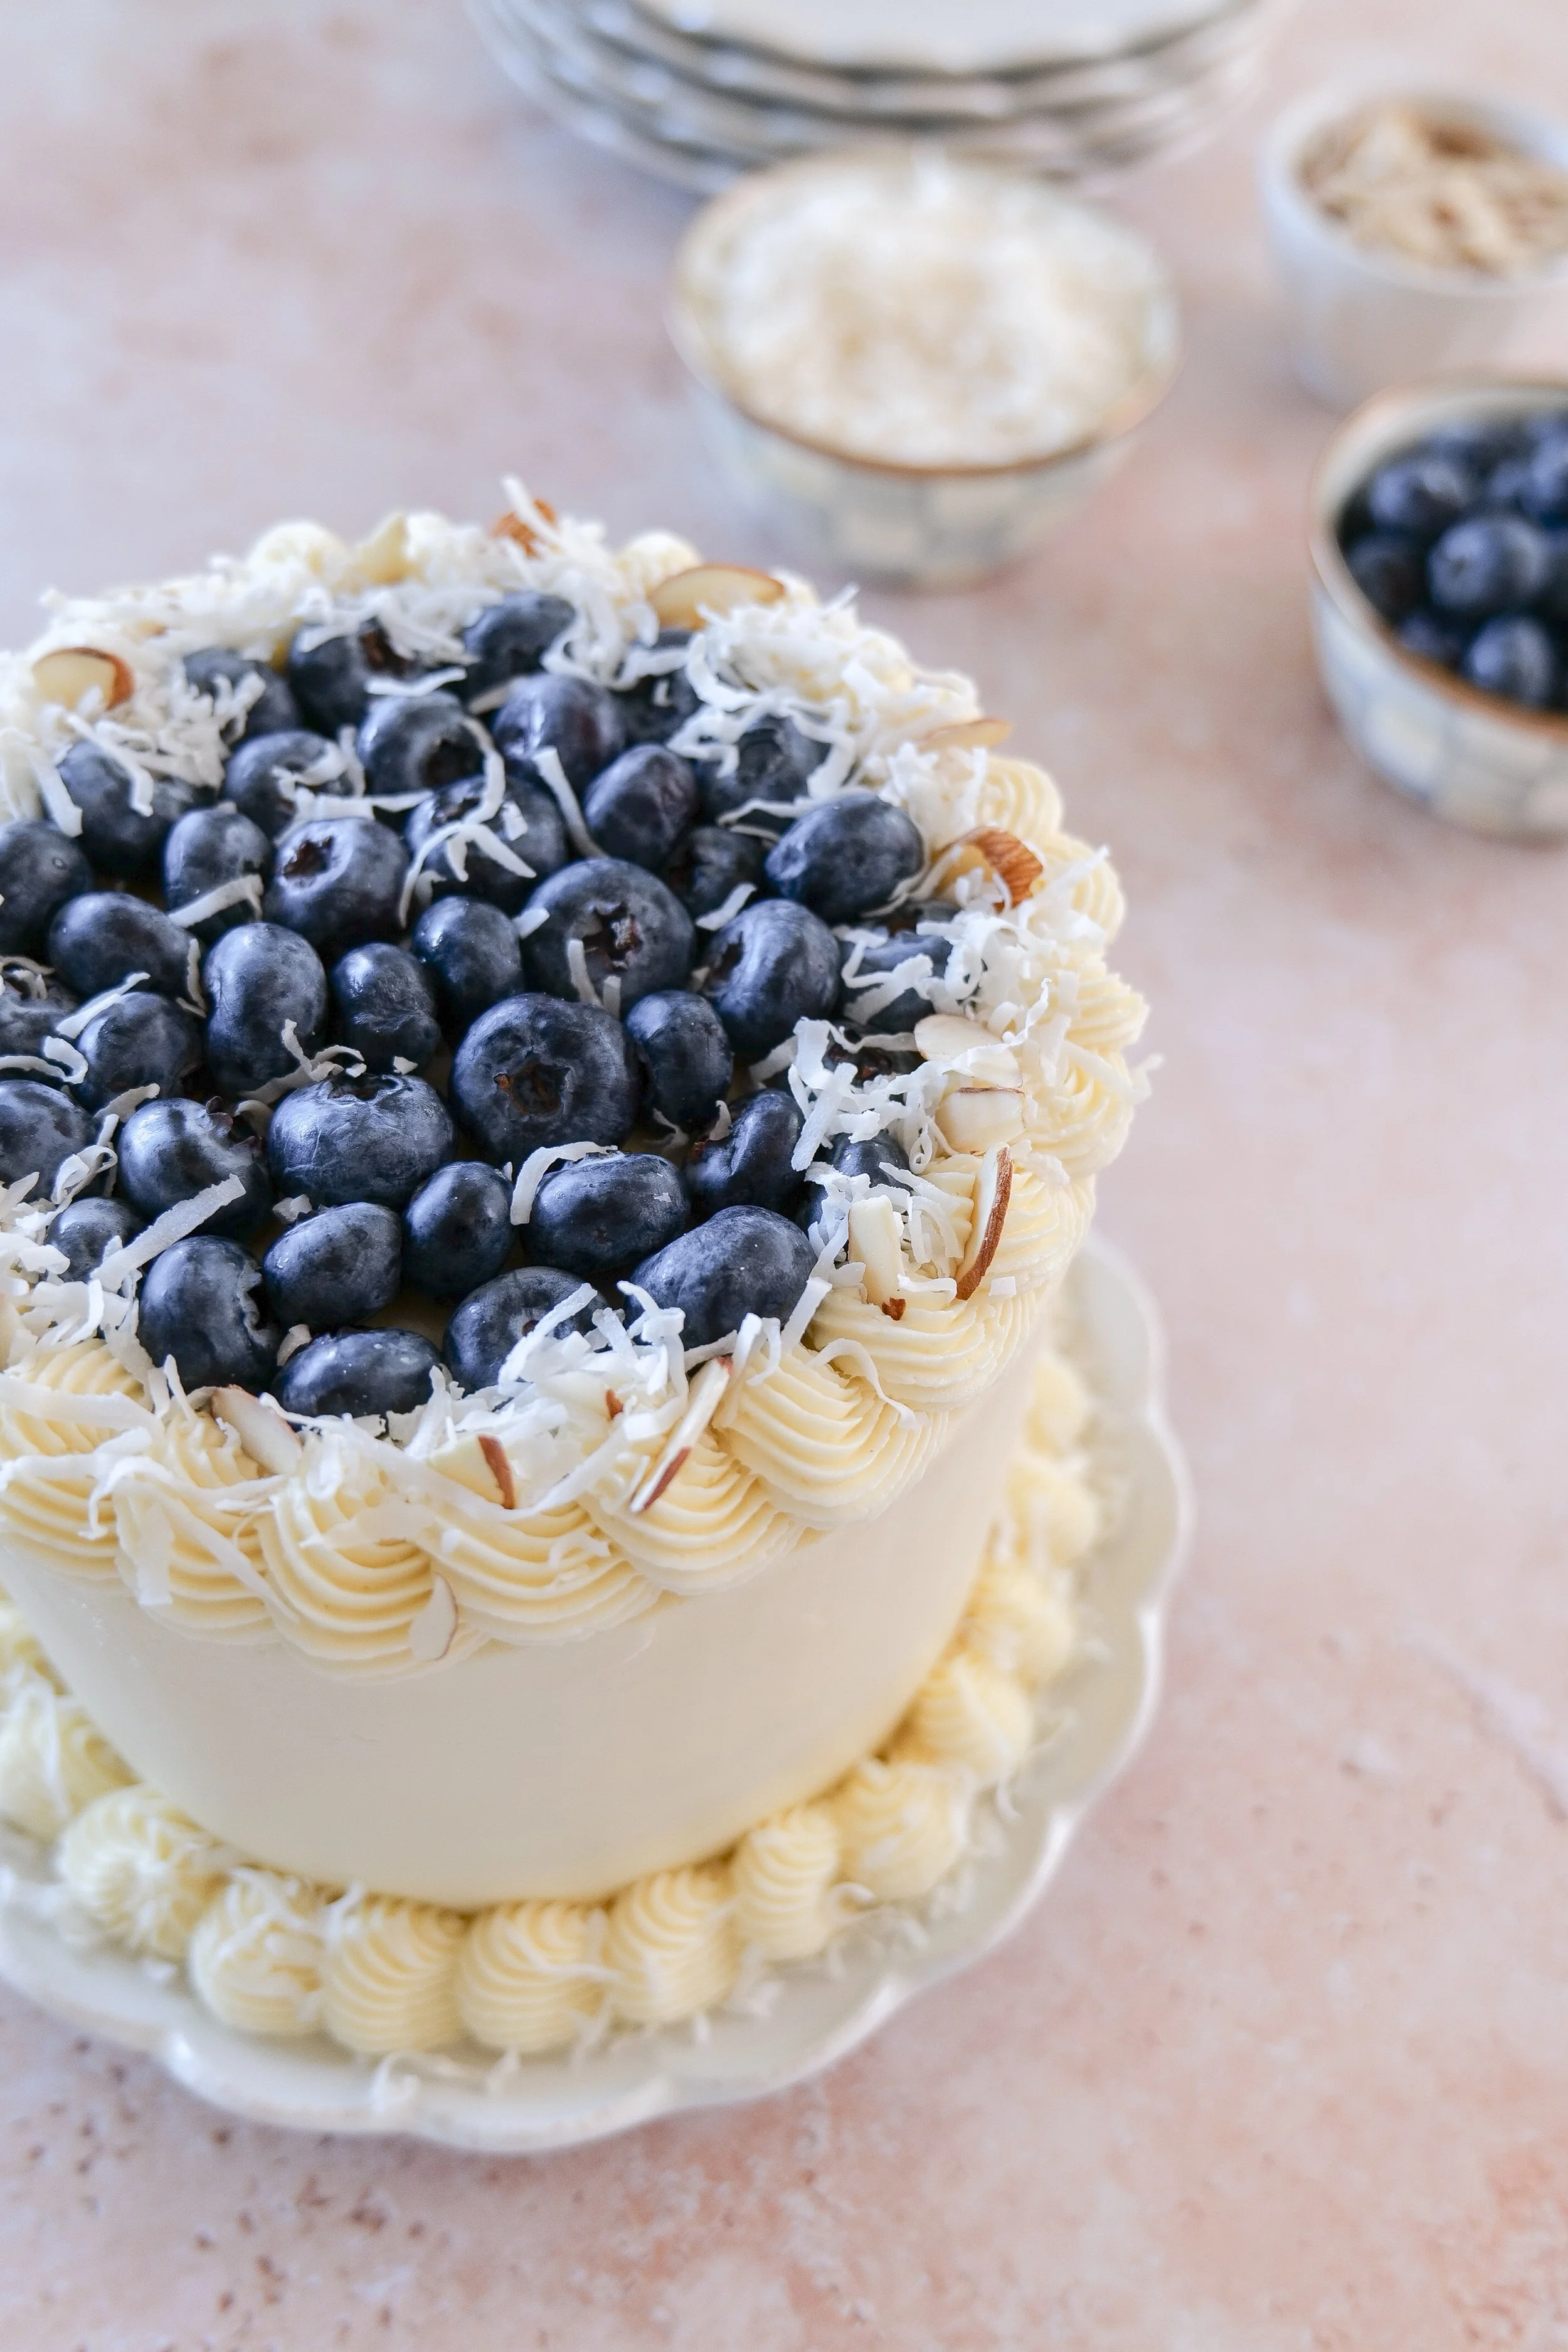
Coconut frosted cake decorated with fresh blueberries.
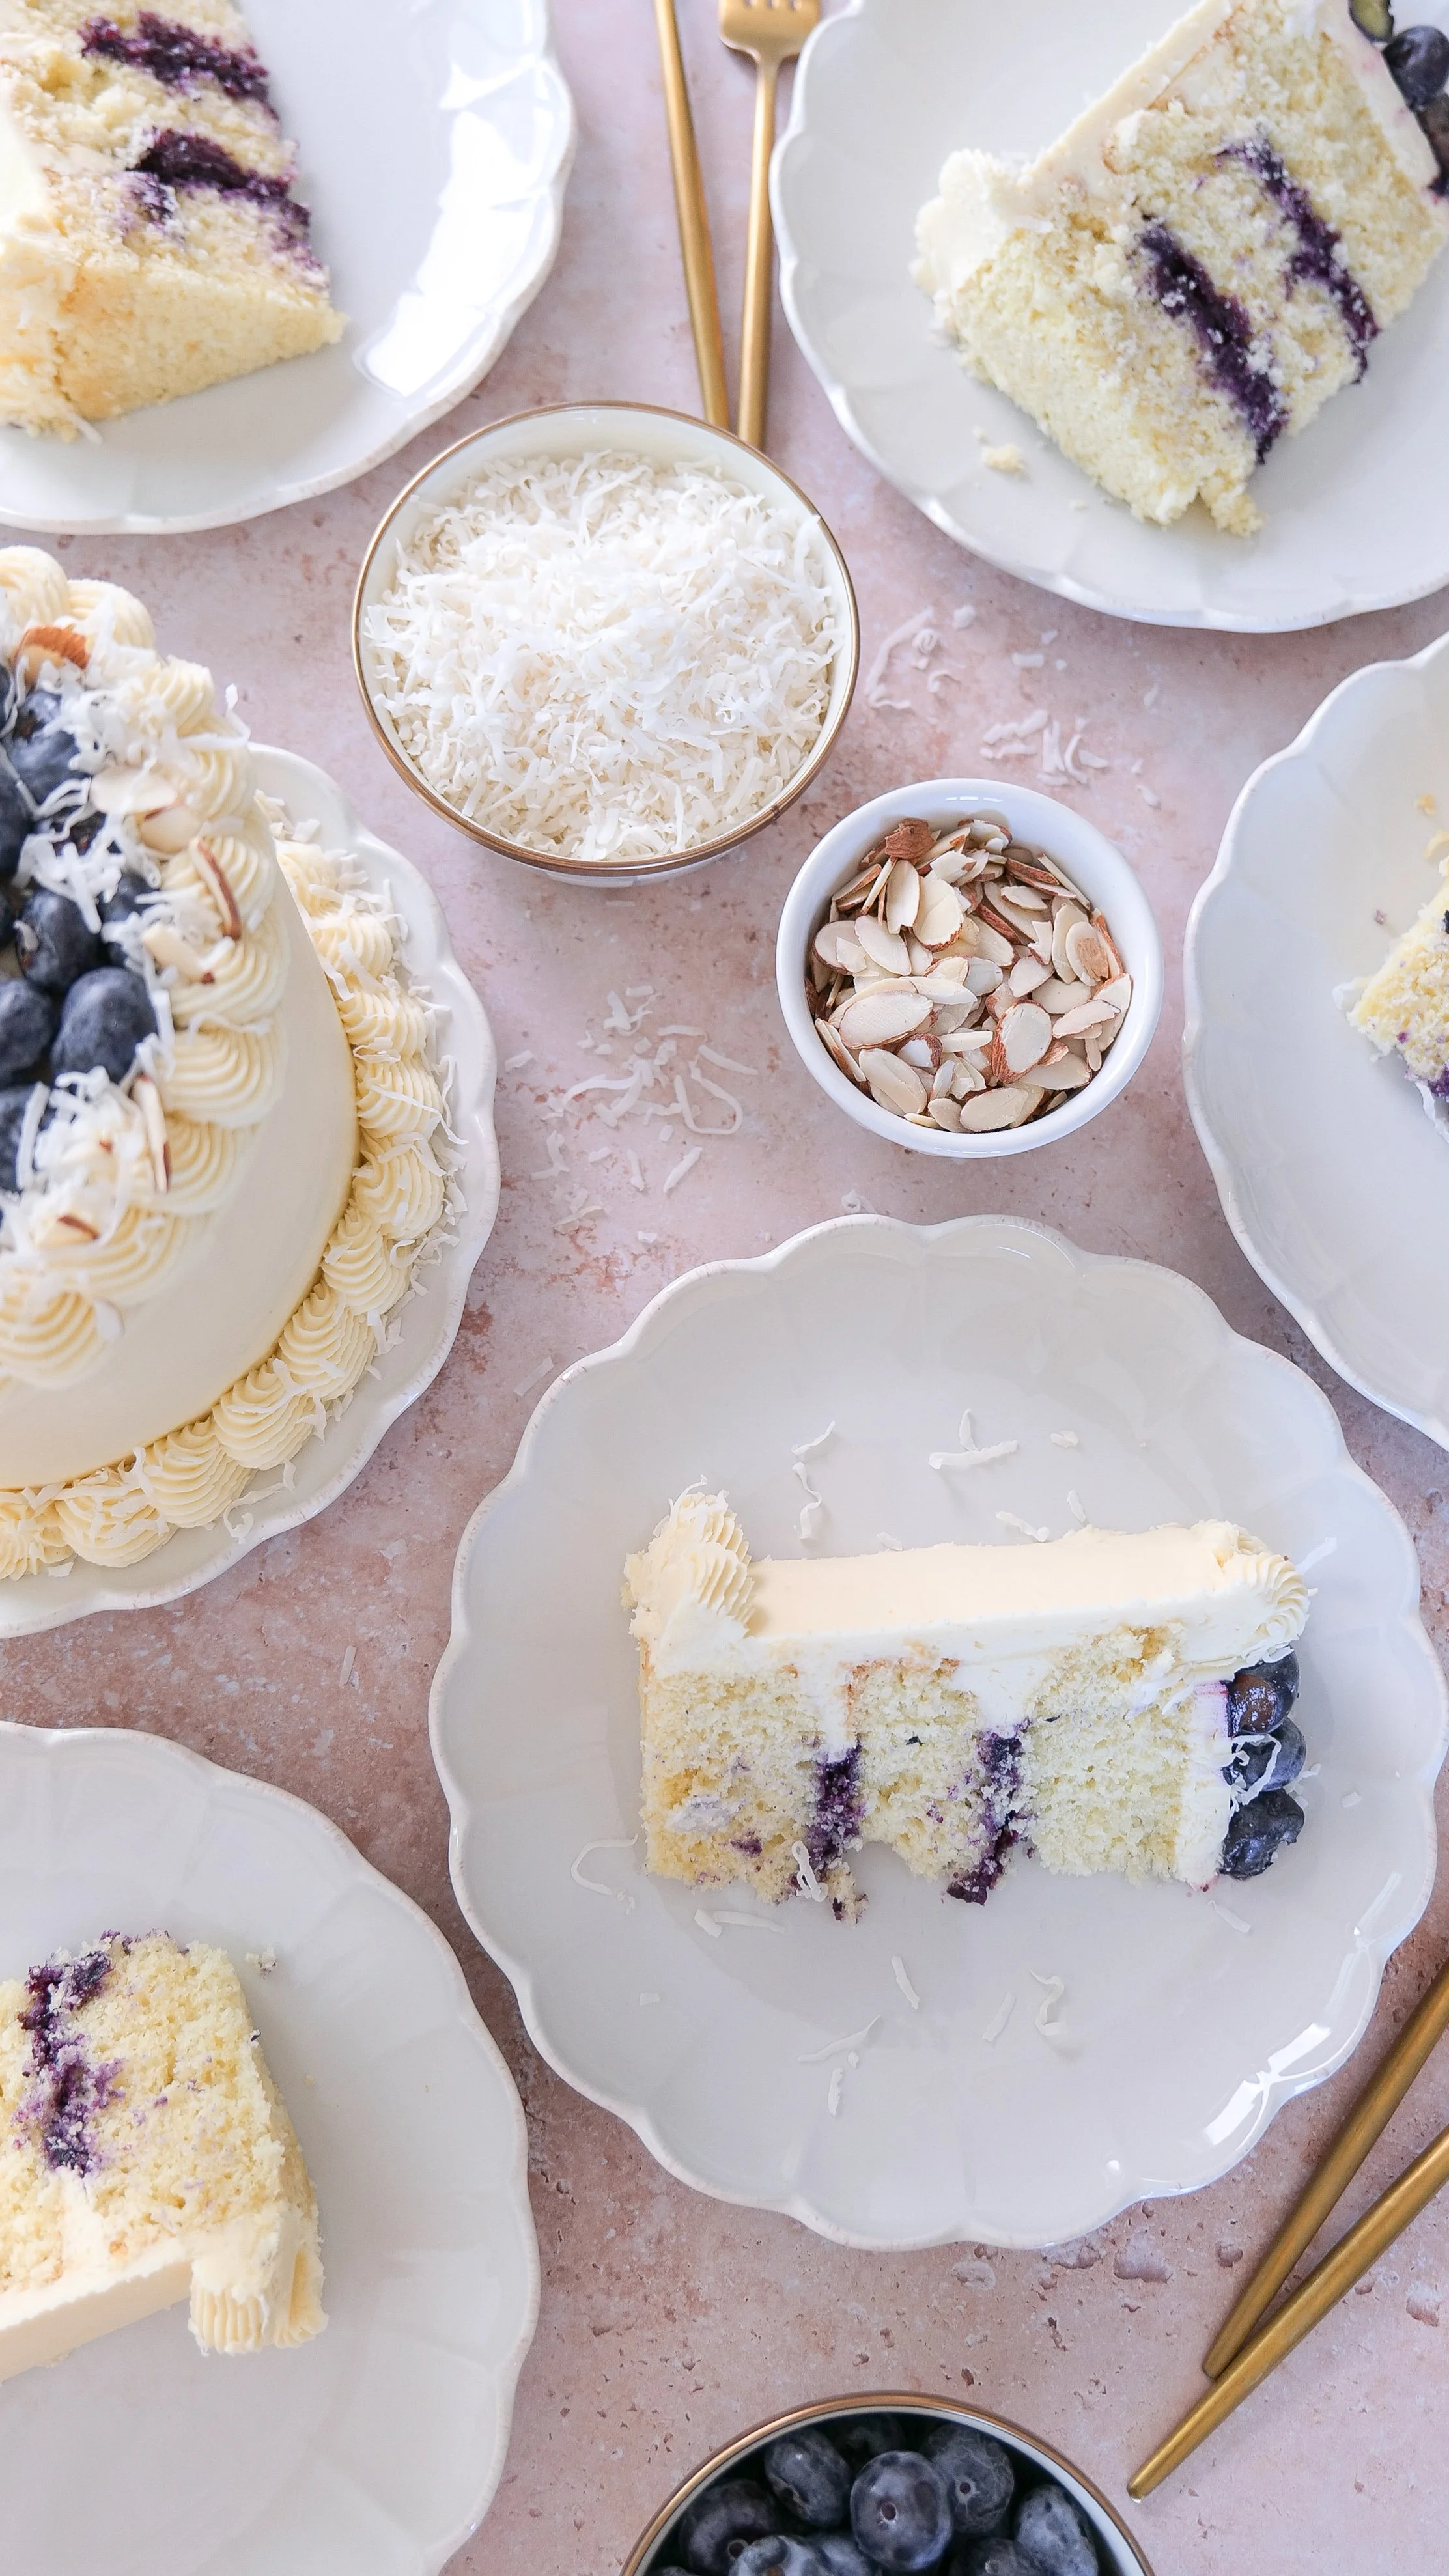
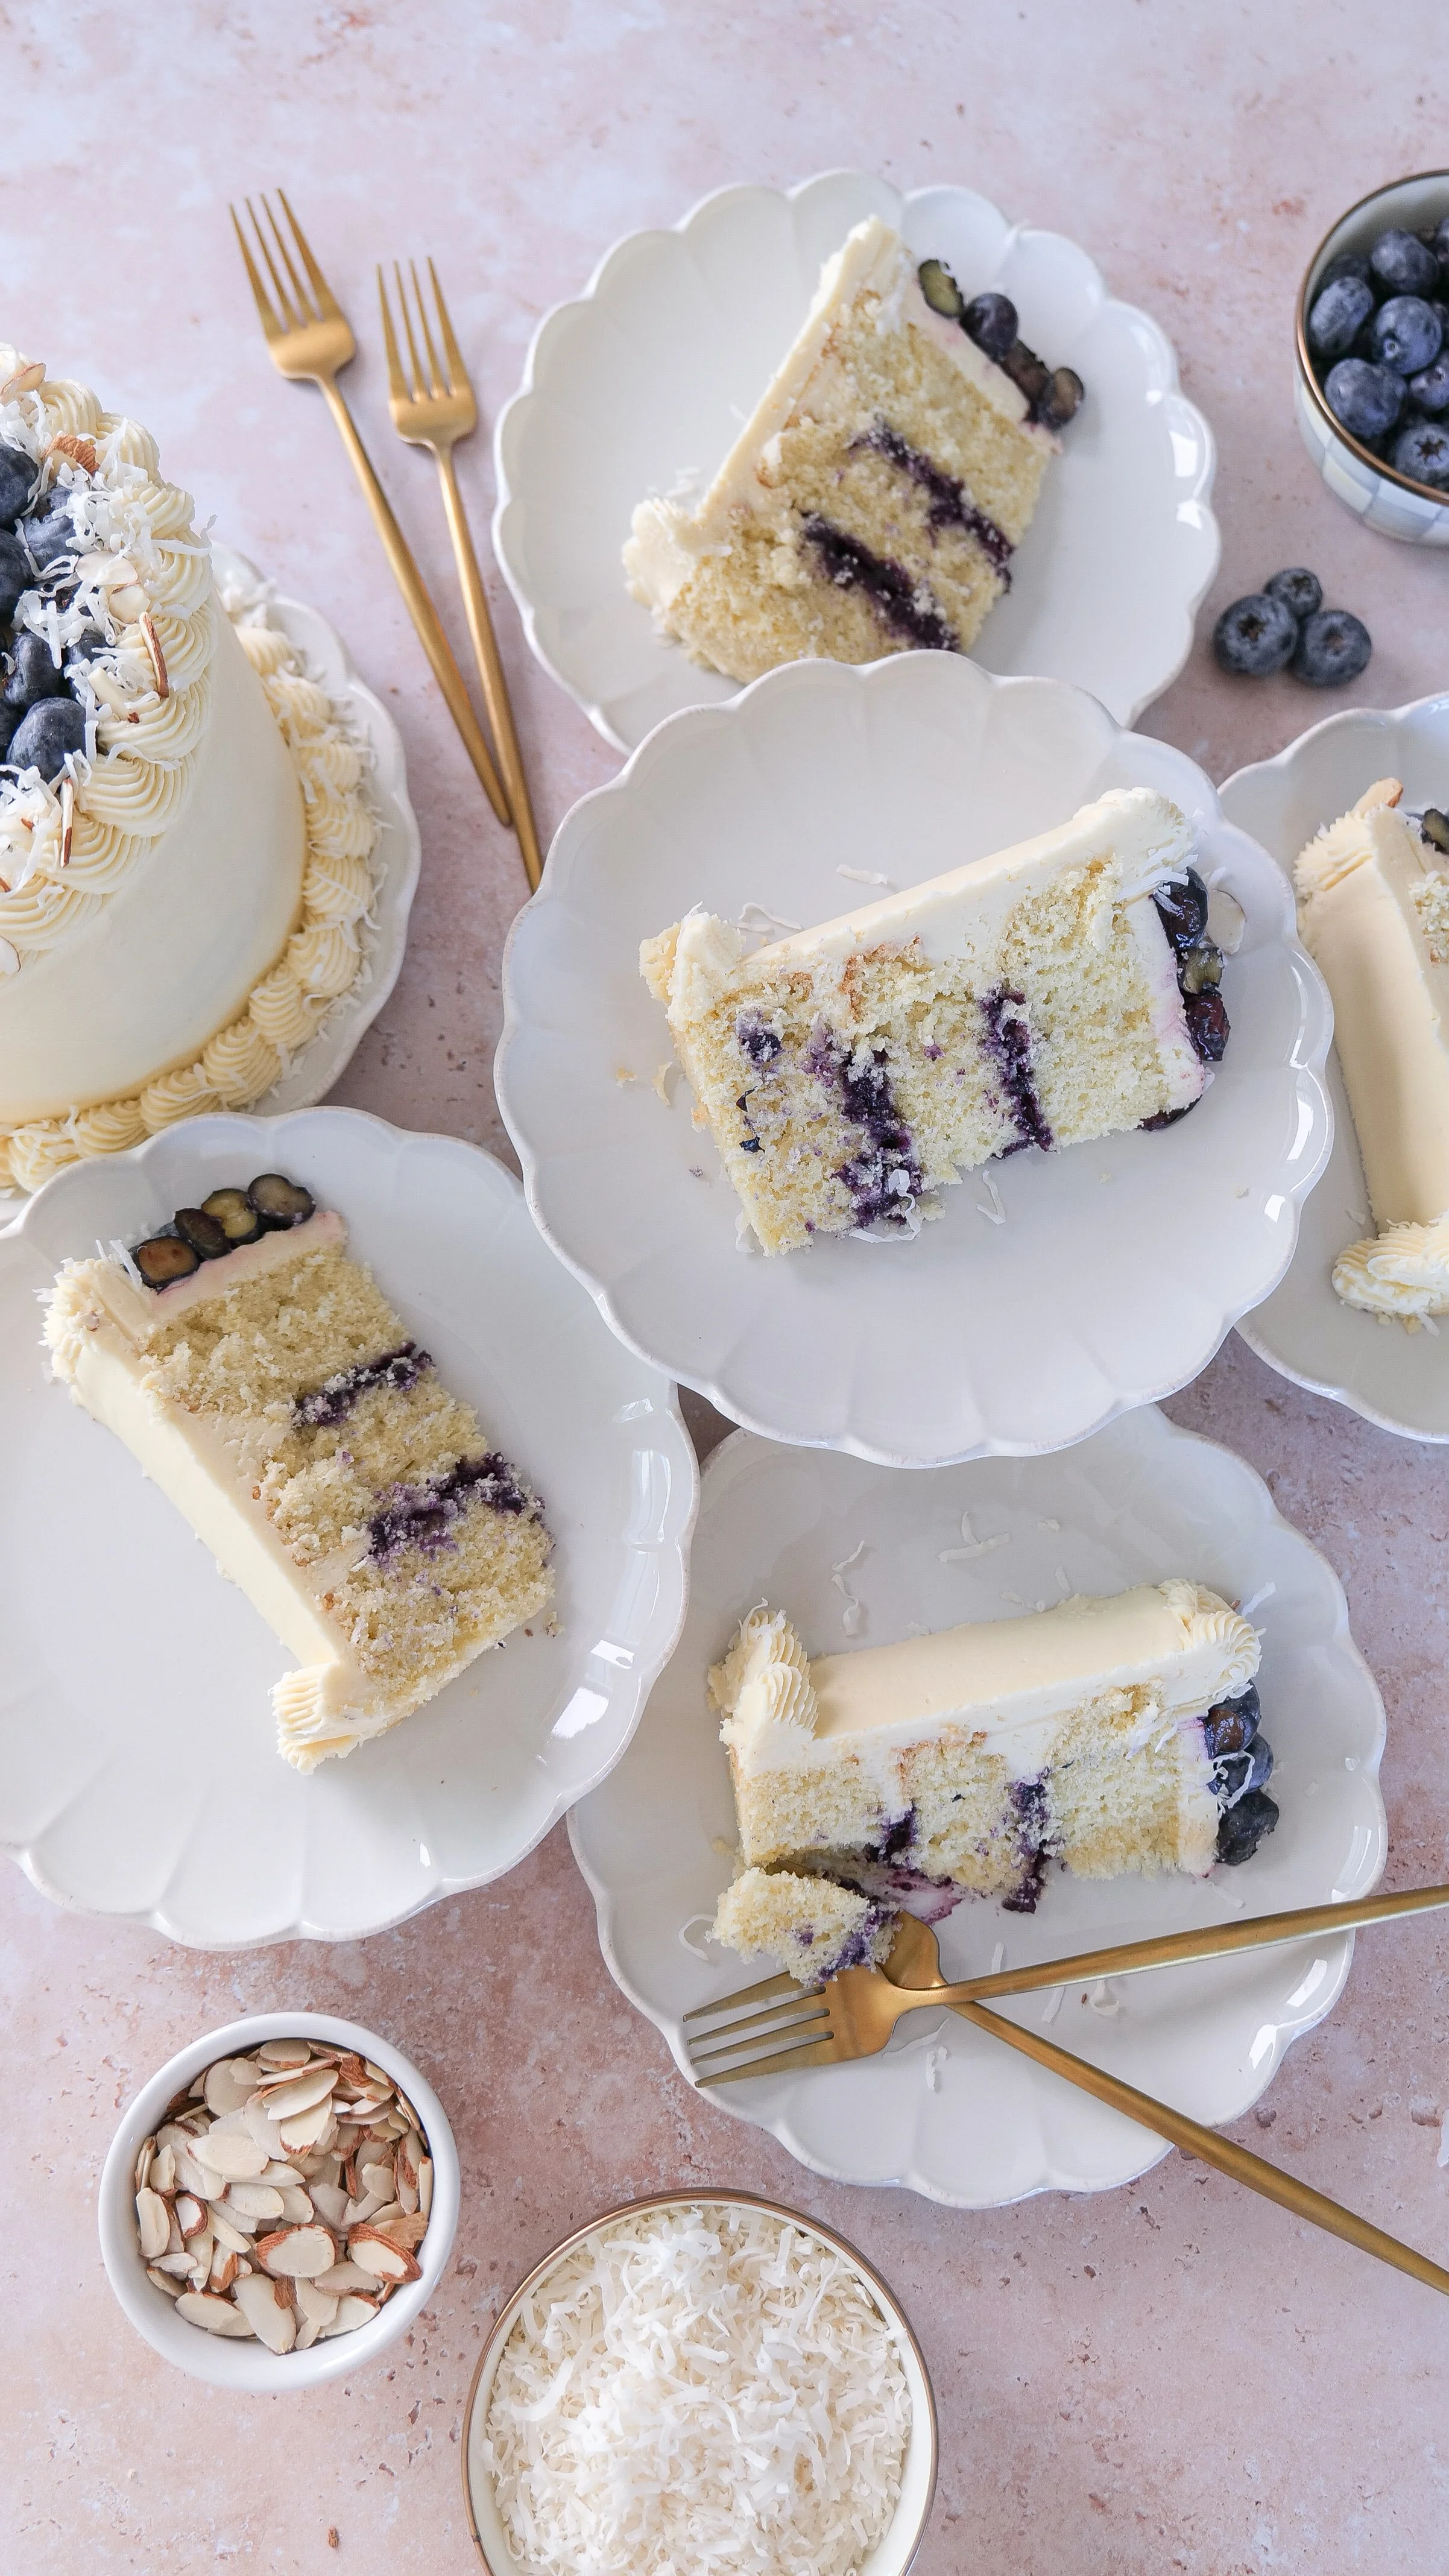
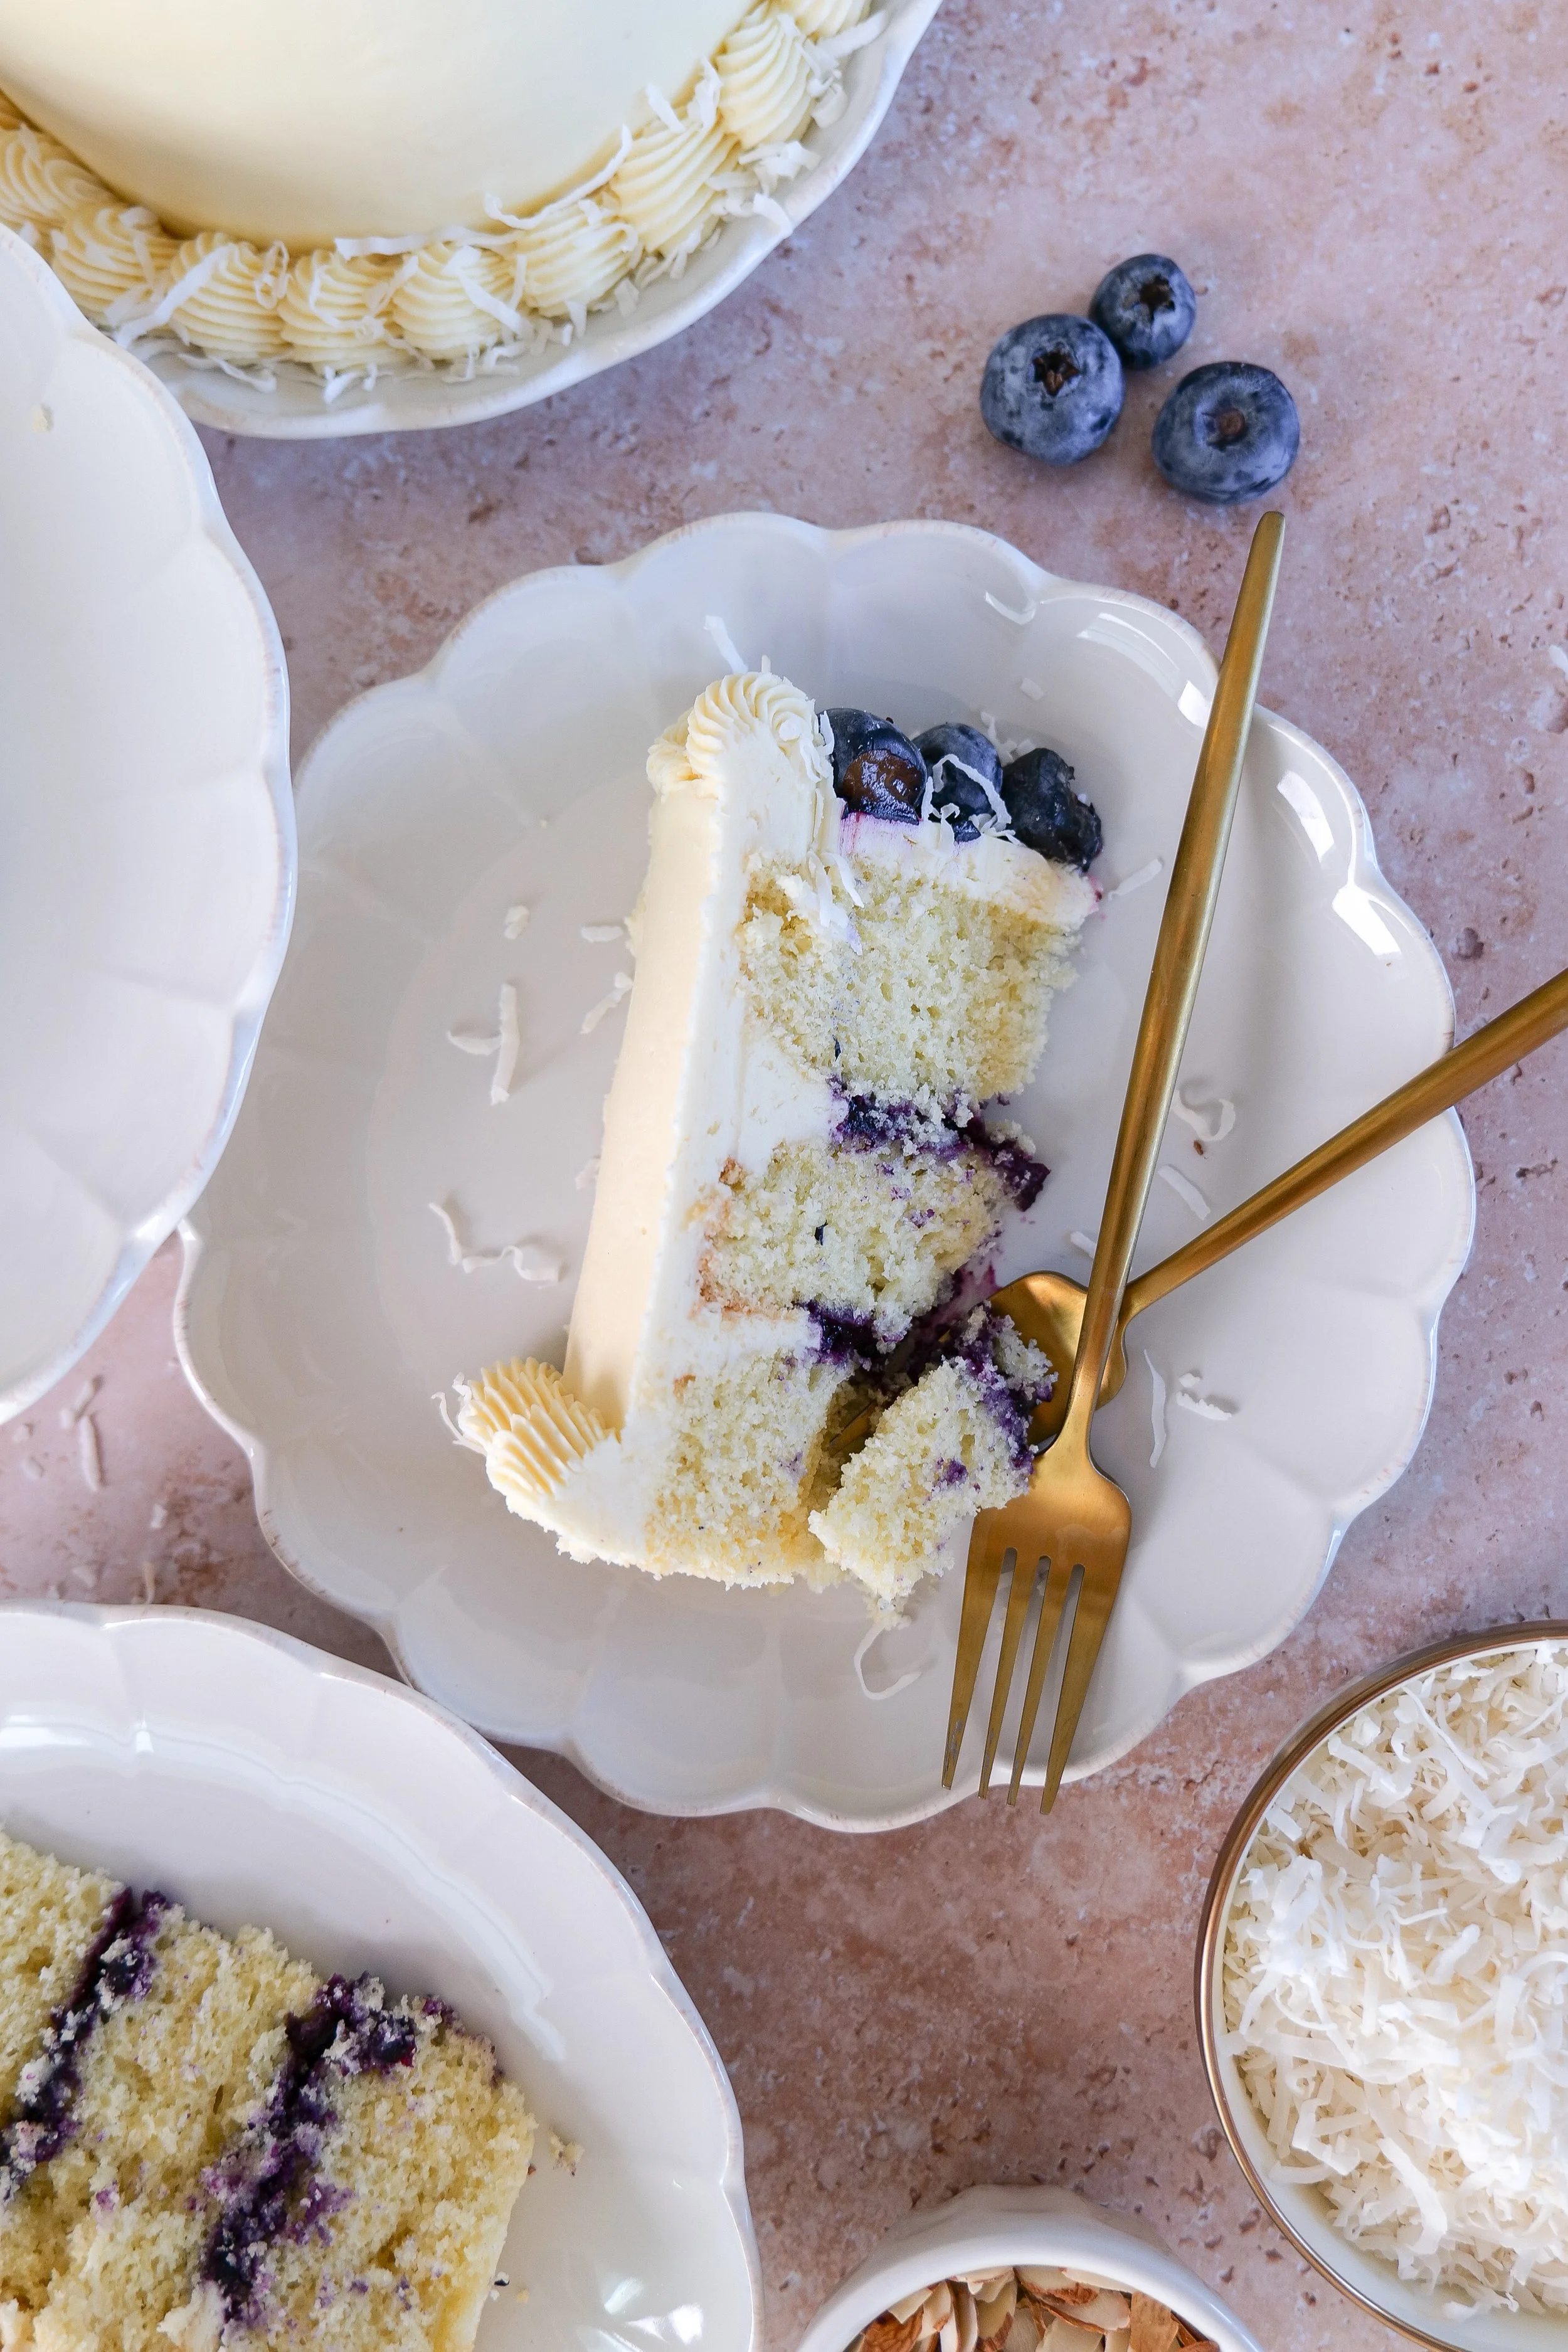
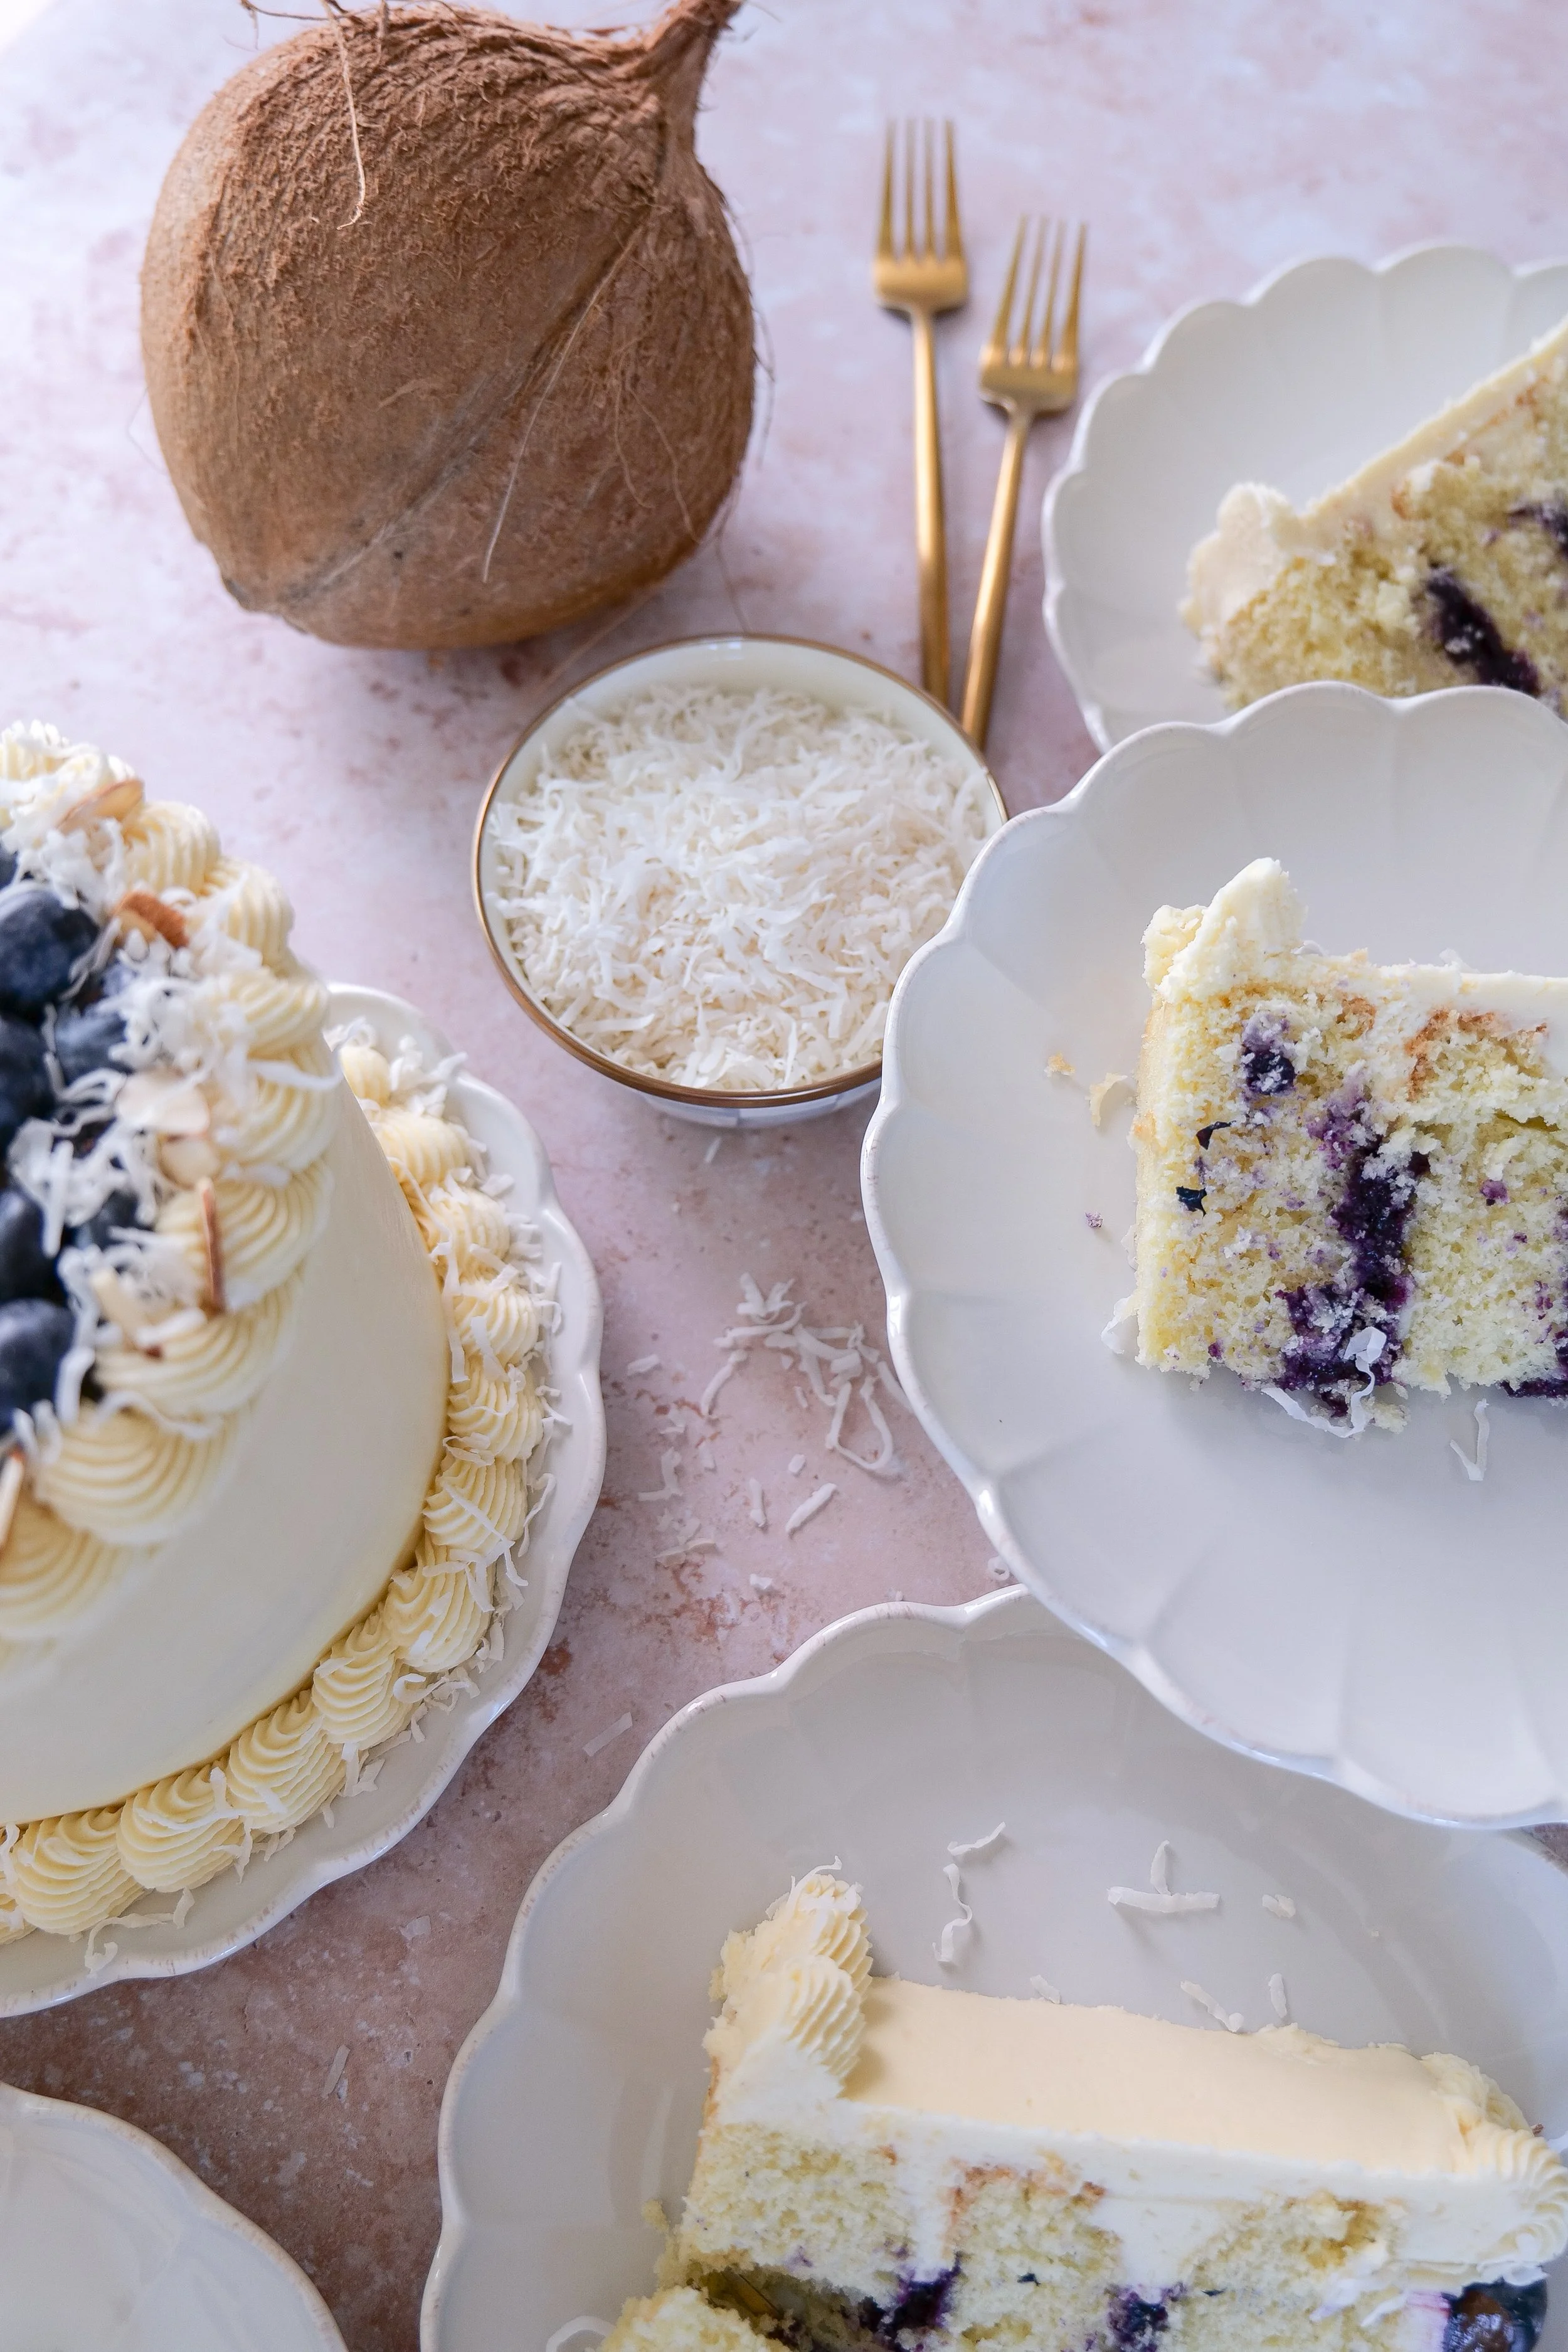
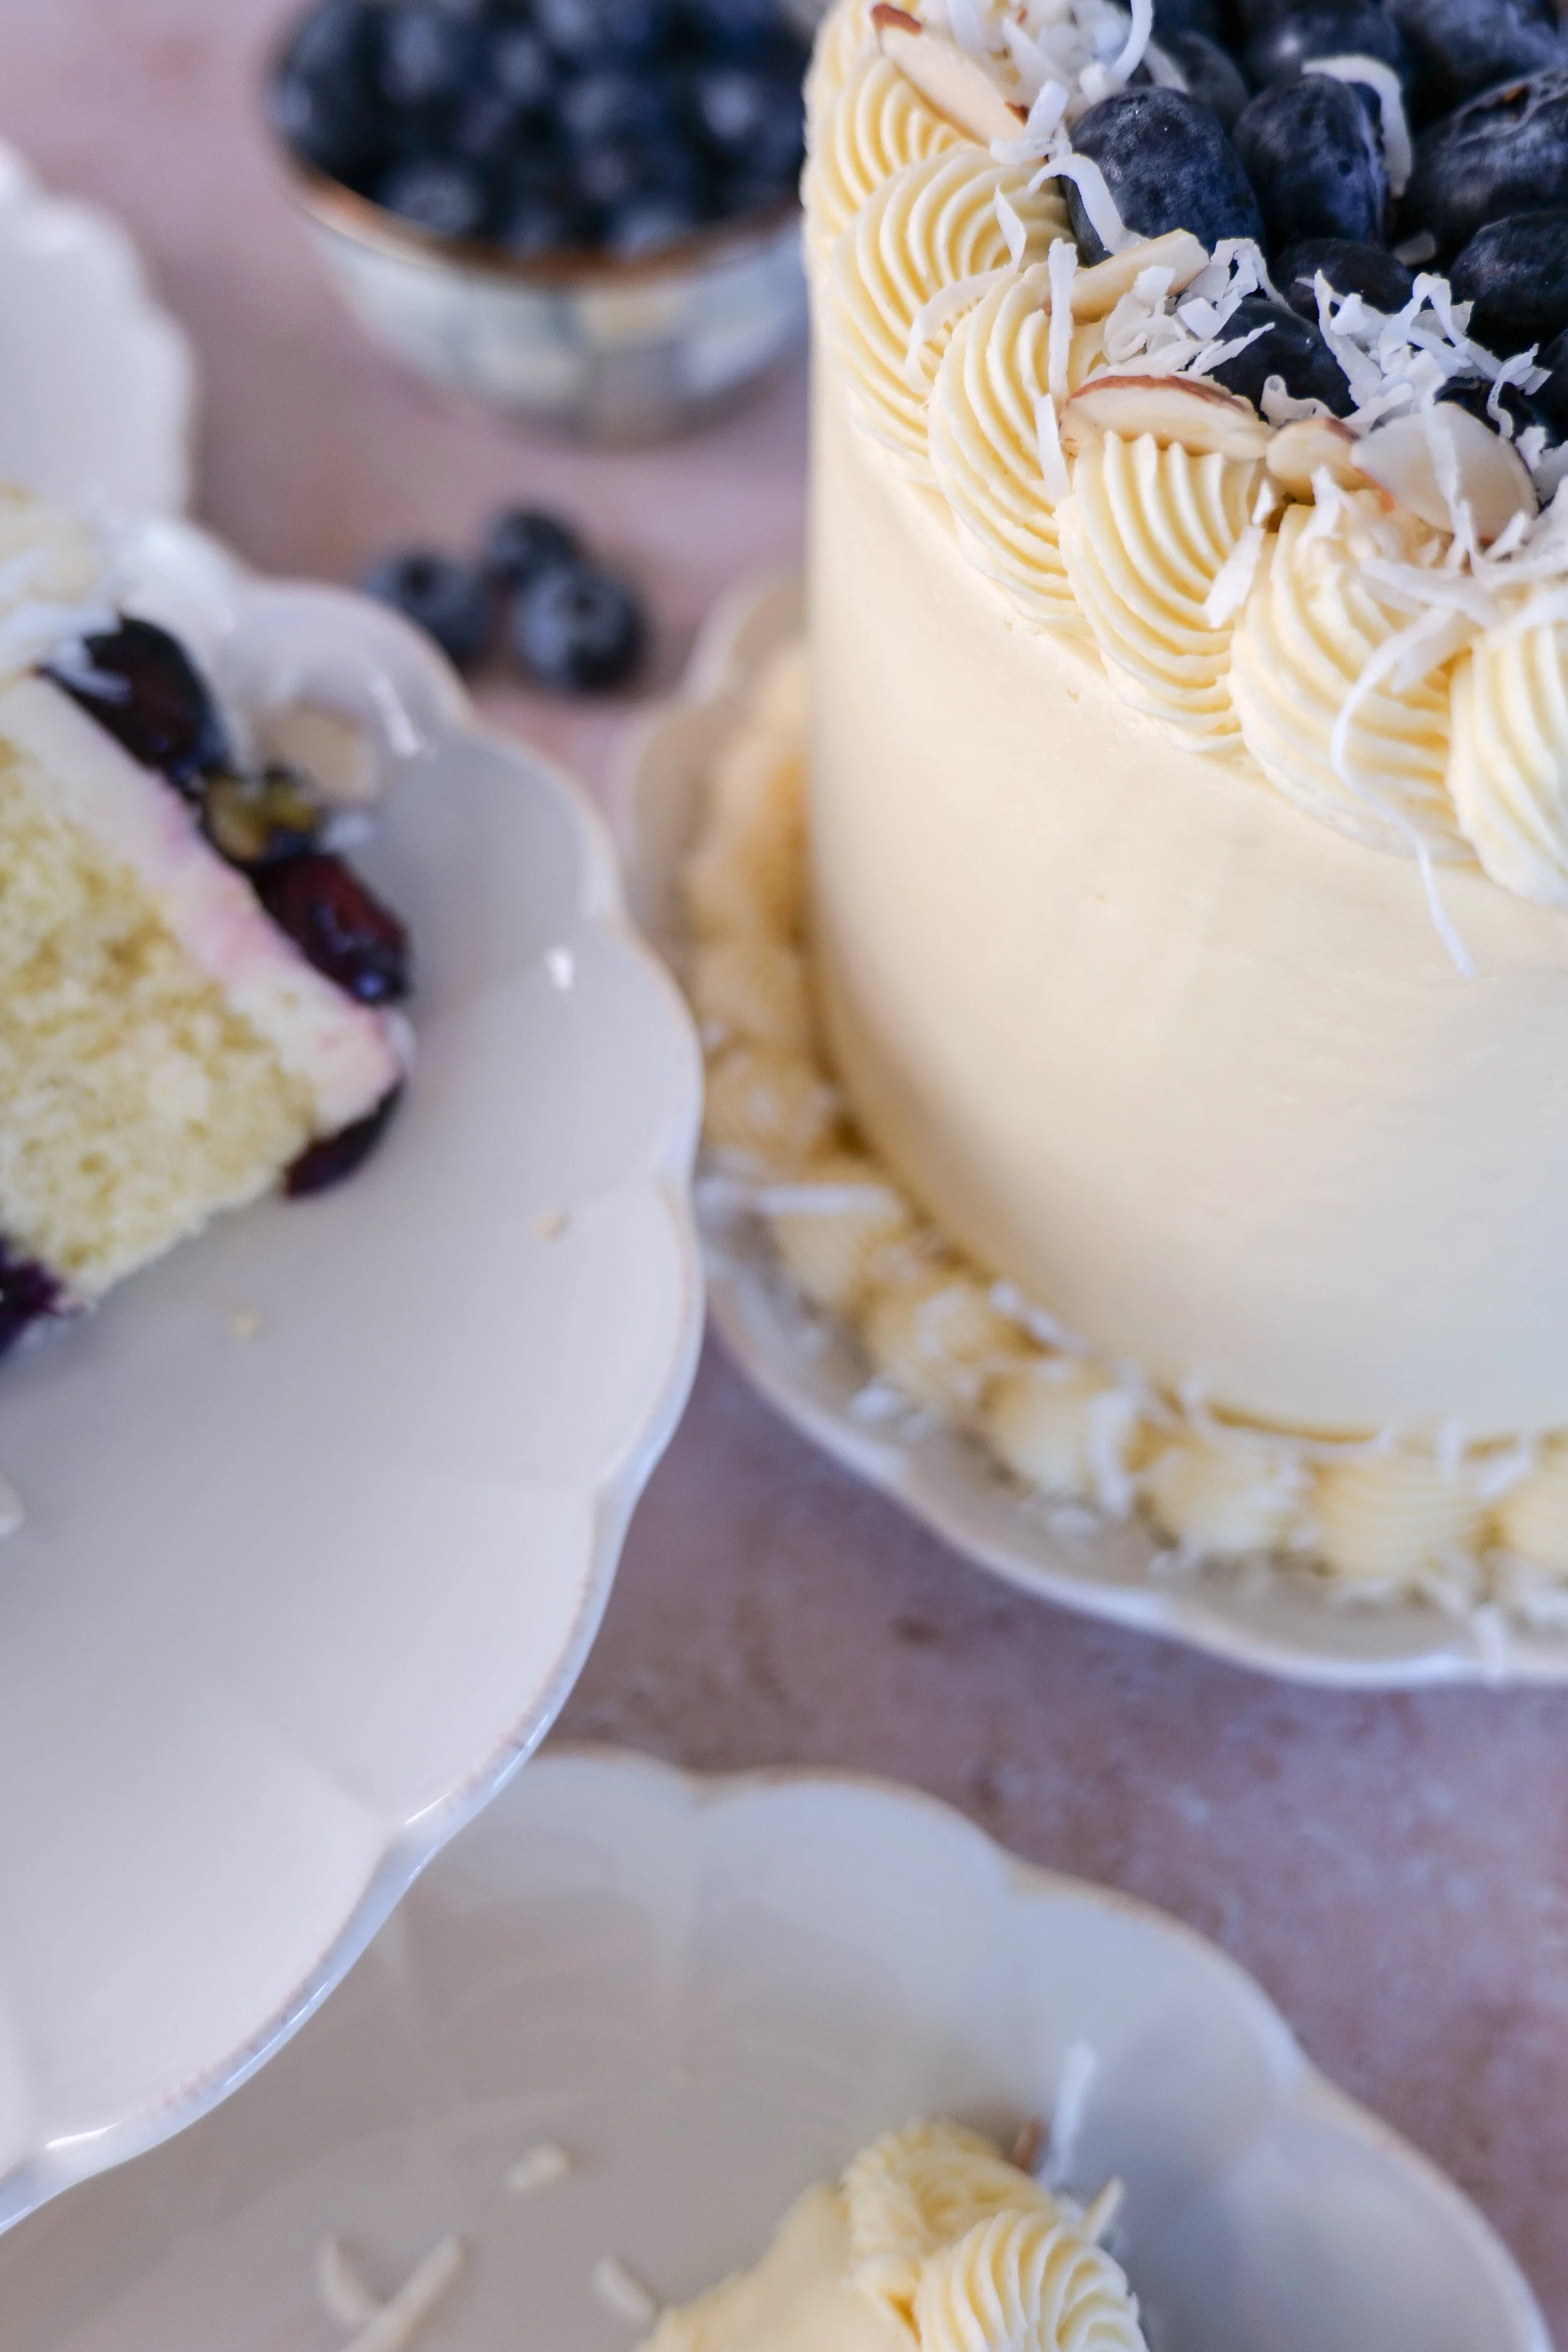
Slice of almond coconut cake showing layers of blueberry curd filling.

This combination of flavors works so well because it plays with contrast in the best possible way. The nuttiness of almond, the gentle sweetness of coconut, and the bold, fruity brightness of blueberry all complement each other without competing. Each slice feels balanced, layered, and thoughtfully composed.

Beyond flavor, there’s also something about the texture that makes this cake stand out. It’s incredibly soft without being fragile, and each layer holds together beautifully while still melting in your mouth. The coconut adds just a hint of chew, while the almond flour contributes to that signature moist crumb that keeps people coming back for another slice.

Visually, this cake is just as captivating. Whether finished with a smooth, rustic frosting or styled with a more polished look, it has a natural beauty that doesn’t require much embellishment. A scattering of fresh blueberries, a handful of toasted coconut flakes, or even a light dusting of powdered sugar is often enough to make it feel complete. It’s the kind of dessert that photographs effortlessly, making it perfect for sharing on Pinterest, Instagram, or any platform where visual storytelling matters.

Blueberry curd cake slice with moist almond cake layers.

Another reason this cake has become such a favorite is its versatility. It can be dressed up for special occasions with layered decoration and intricate finishes, or kept simple for a more casual, everyday treat. It works beautifully as a celebration cake, but it’s just as satisfying served as a weekend baking project or a centerpiece for a relaxed gathering with friends.

Seasonally, it shines brightest in spring and summer when blueberries are at their peak, but it’s by no means limited to those months. The flavors are timeless enough to bring a bit of brightness to colder days, offering a reminder of warmer seasons with every bite.

Pro Tips for the Best Cake

  • Use room temperature ingredients for smoother batter

  • Chill the cake before final frosting for cleaner layers

  • Toast coconut flakes for extra flavor and crunch

  • Don’t skip the almond extract—it elevates everything

Storage & Make-Ahead Tips

  • Store in the fridge for up to 4 days

  • Bring to room temperature before serving

  • Cake layers can be frozen for up to 2 months

  • Blueberry curd can be made 3 days in advance

Layer cake with homemade blueberry filling and coconut frosting.
Moist almond coconut cake with a soft crumb and blueberry filling.
Bakery-style almond cake with blueberry curd and coconut frosting.
Close-up of homemade blueberry curd filling between cake layers.

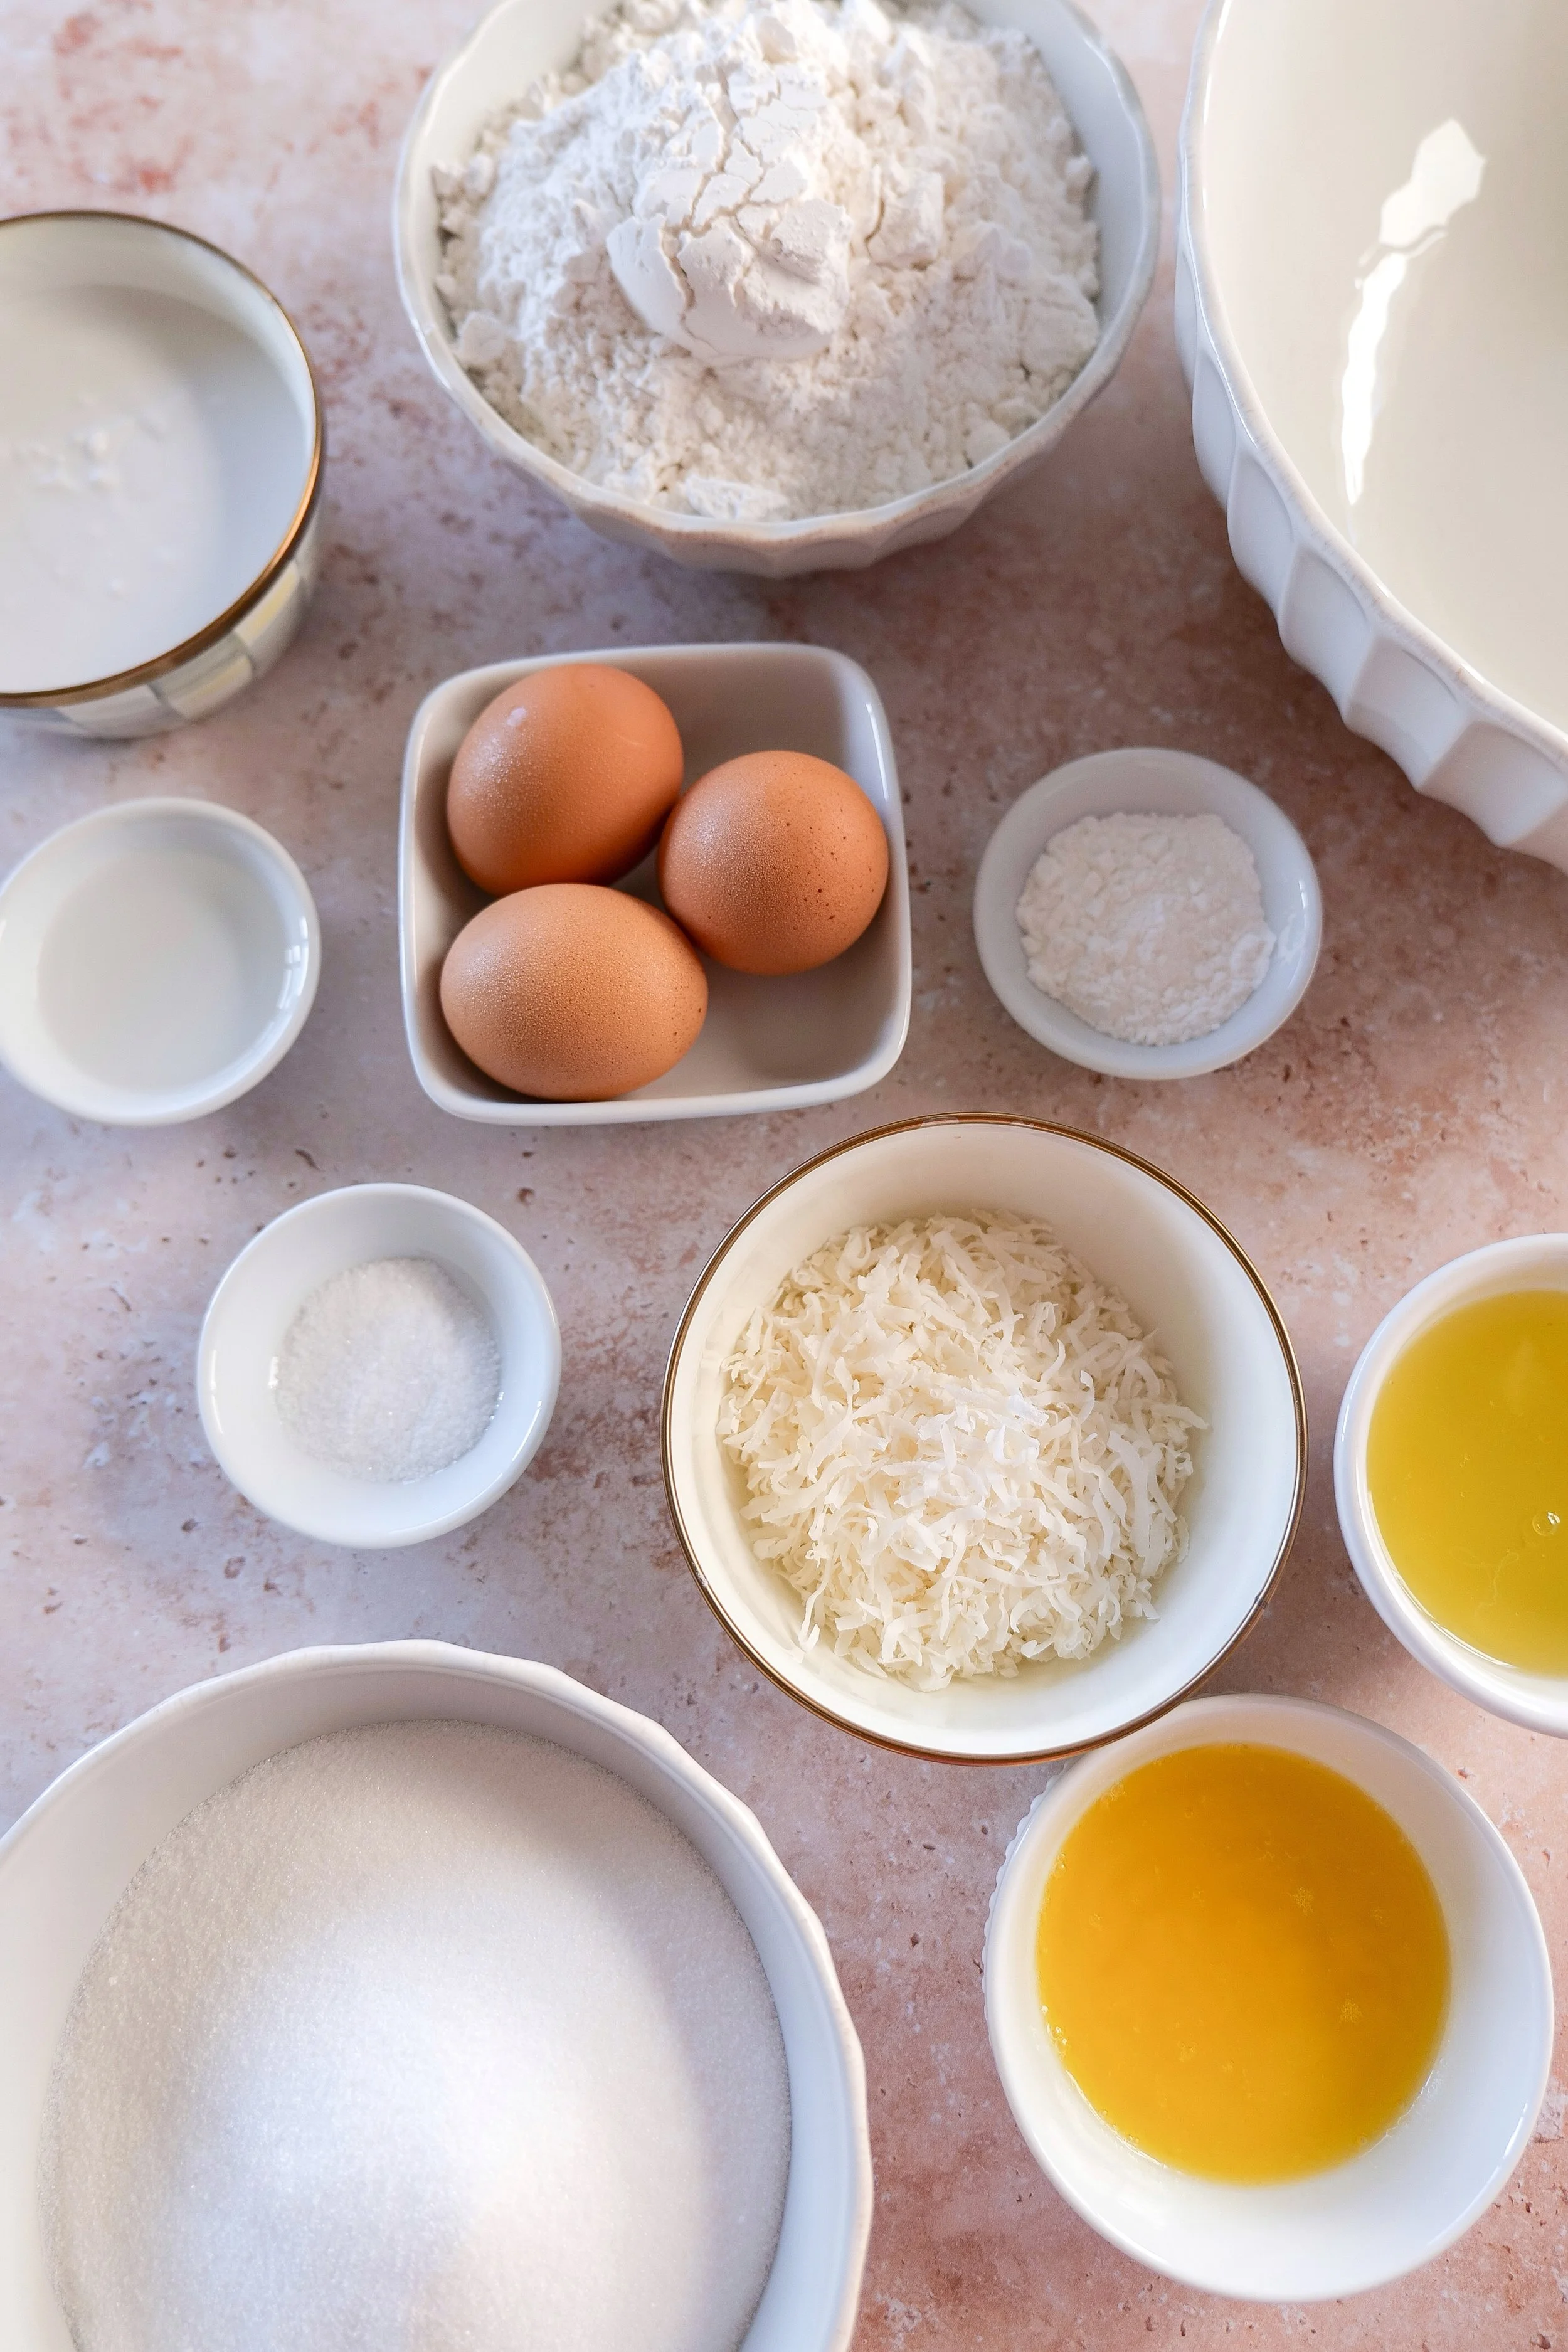
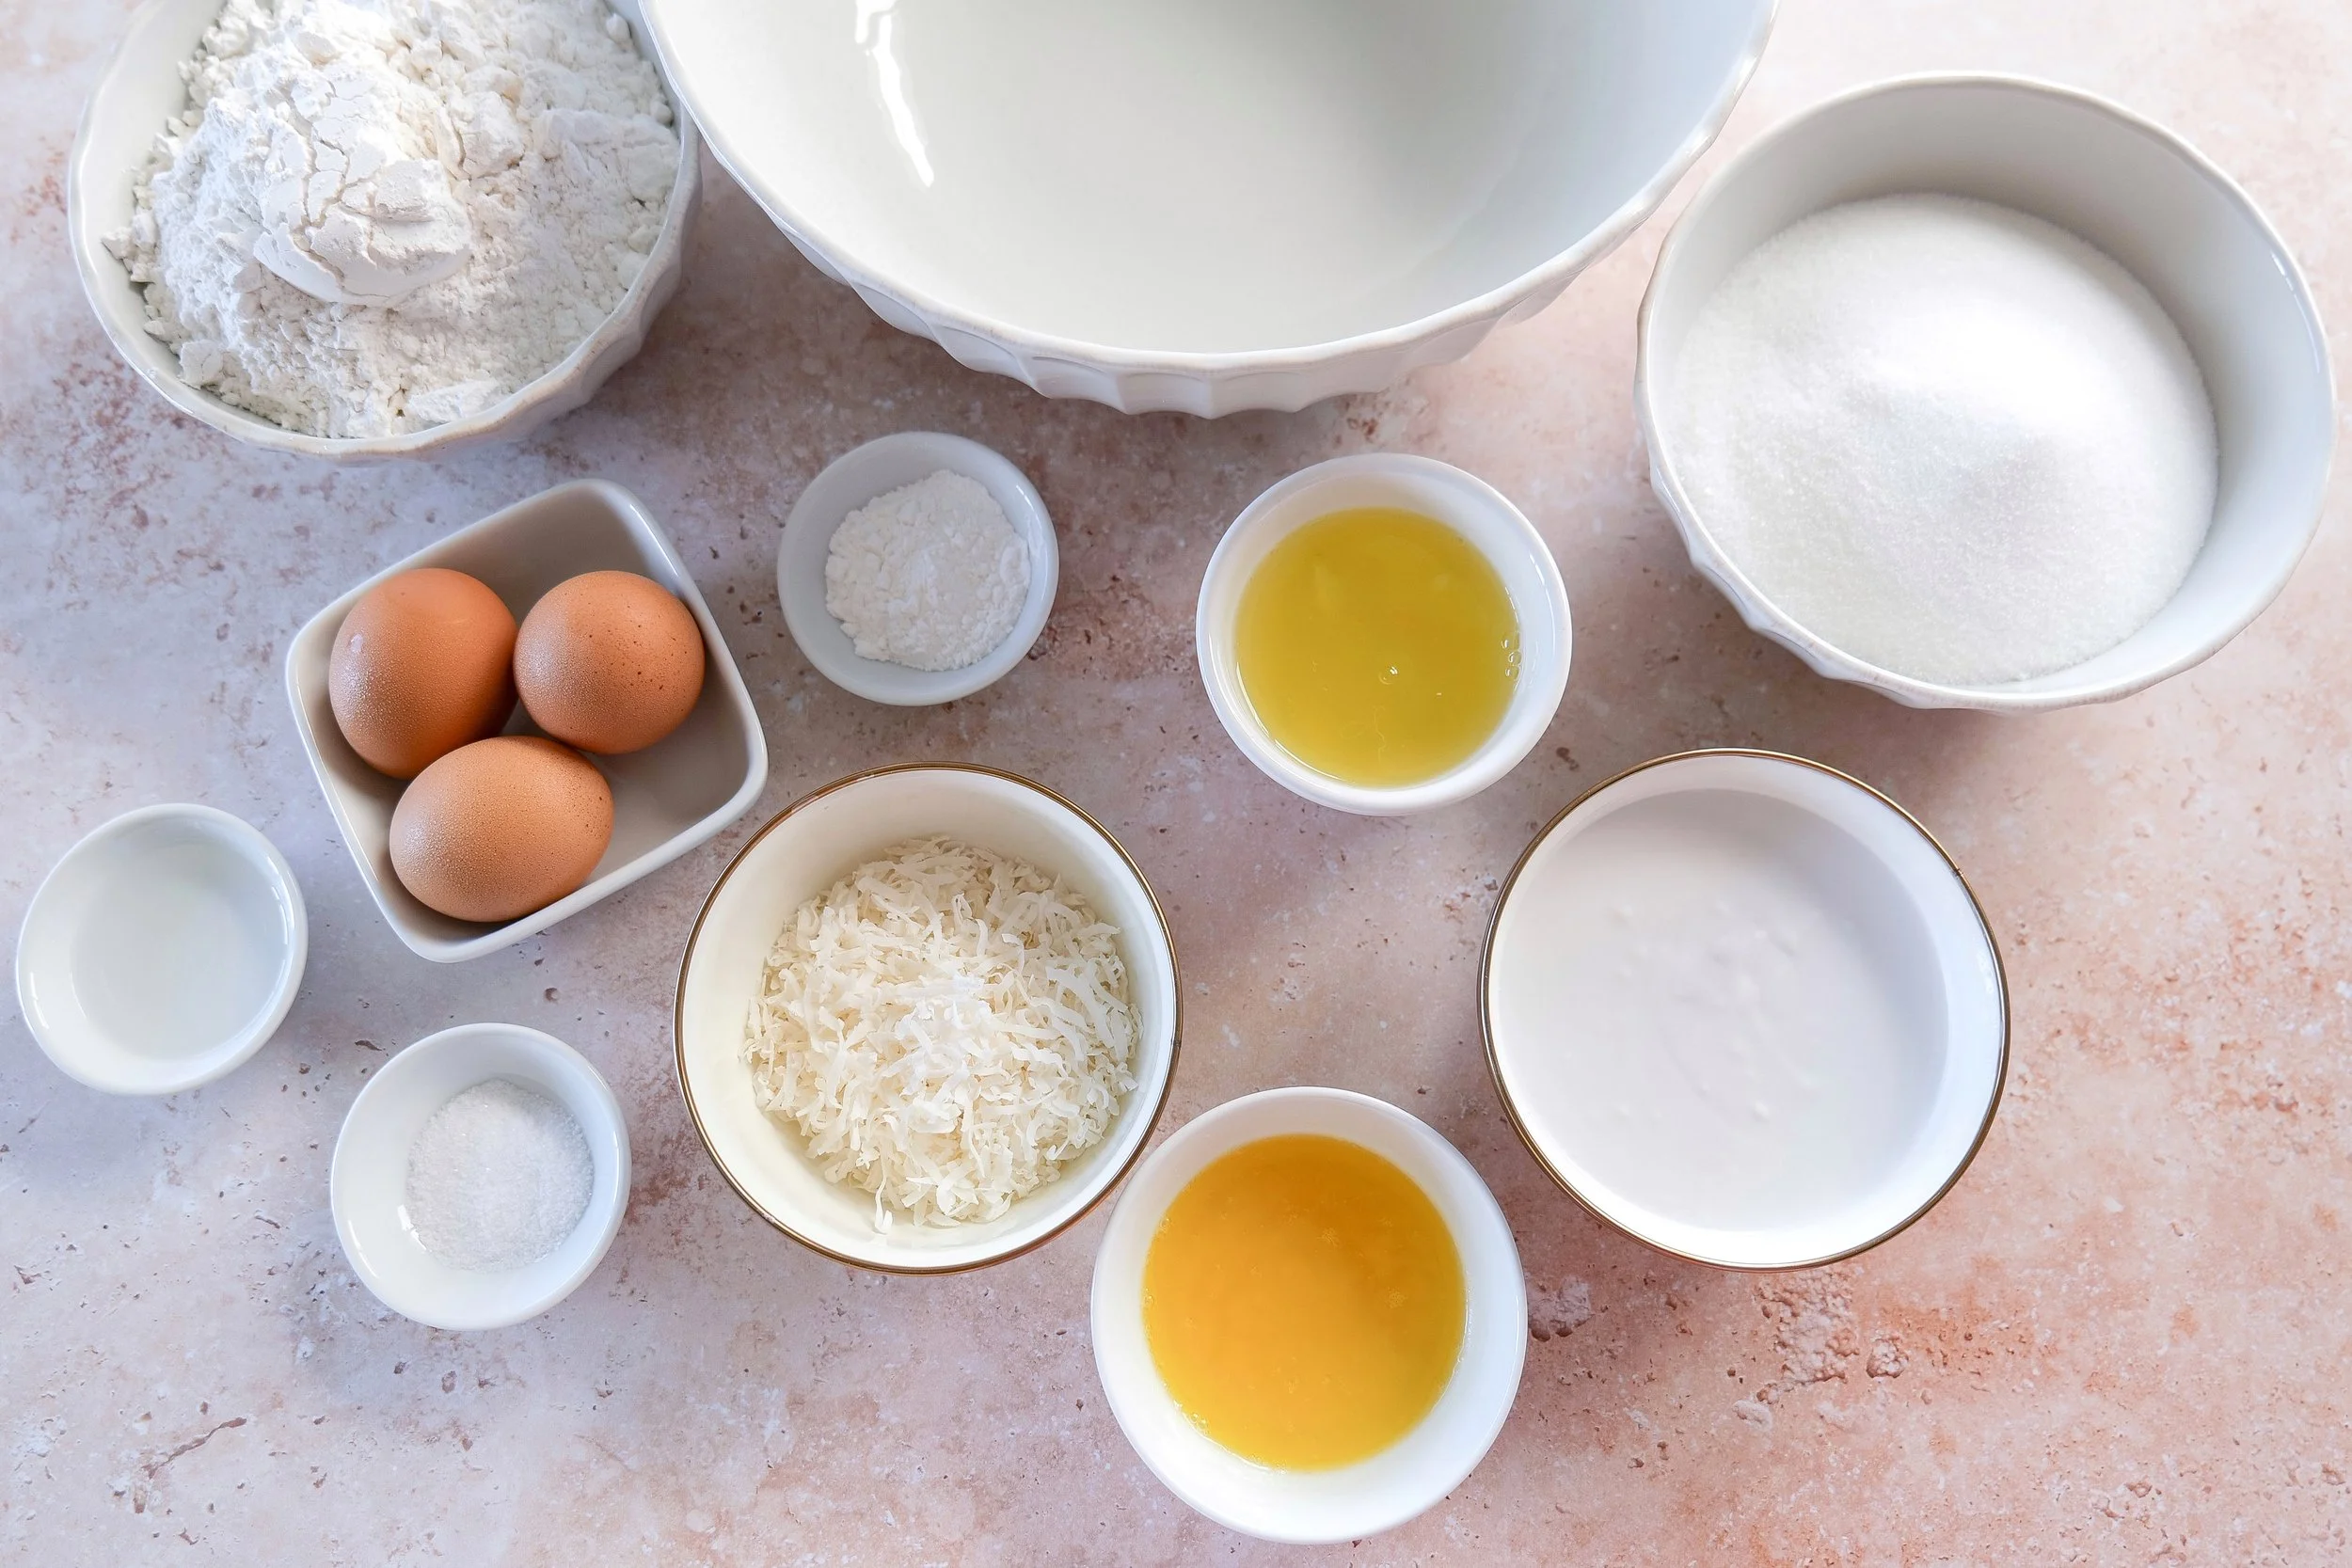
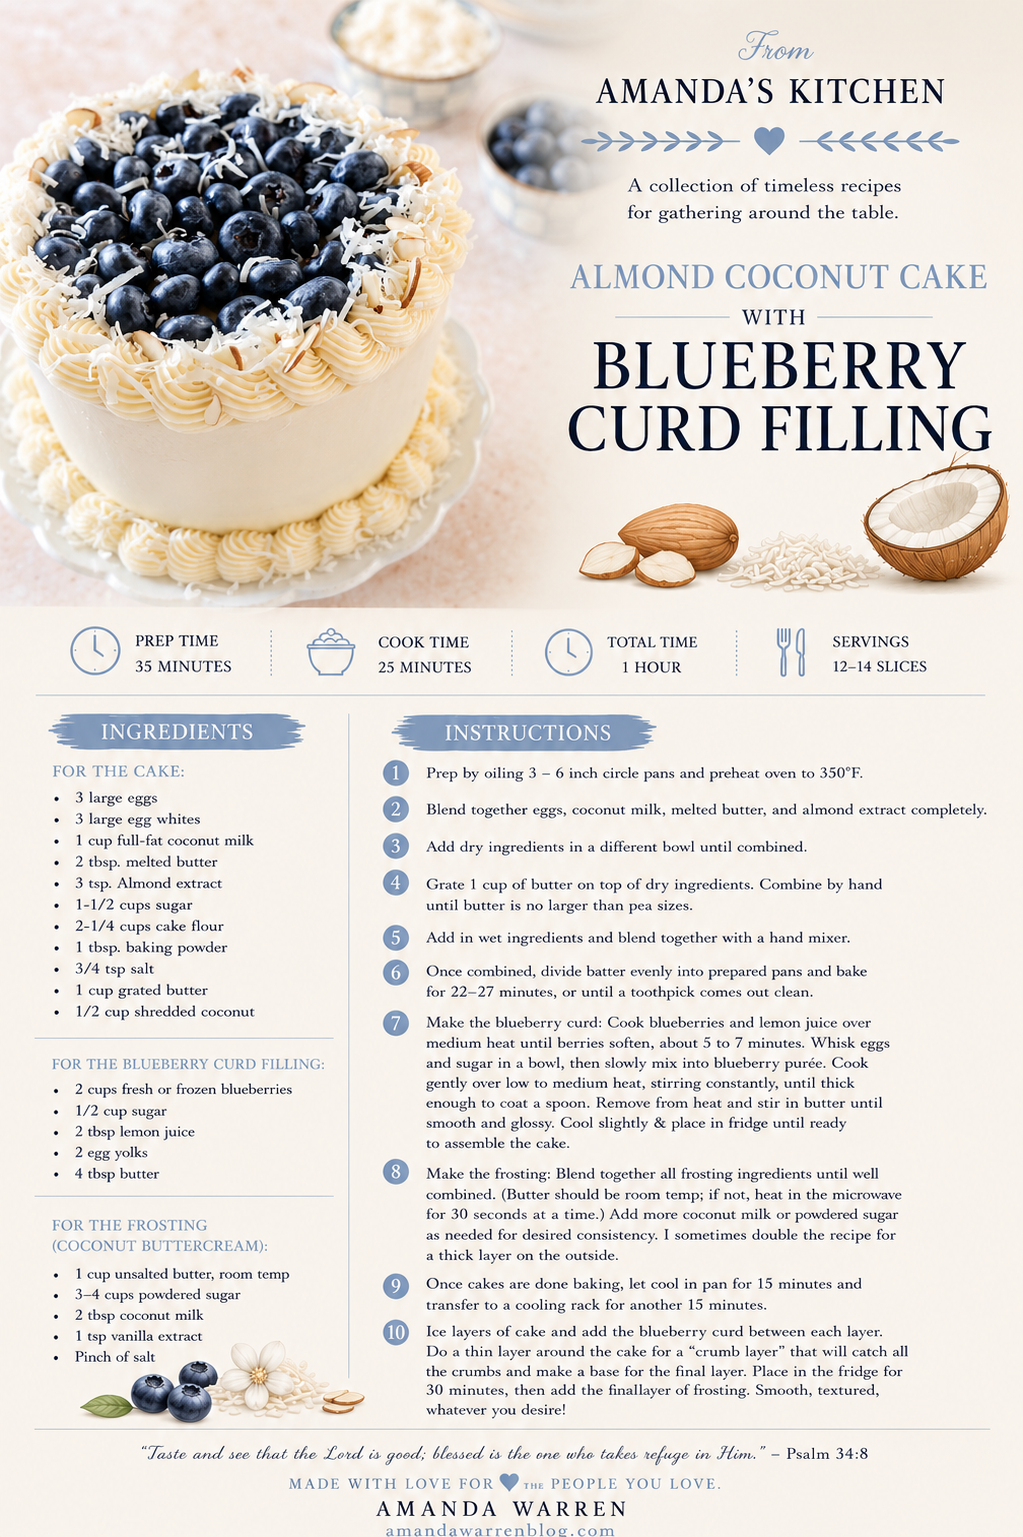
Ingredients

For the cake:

3 large eggs

3 large egg whites

1 cup full-fat coconut milk

2 tbsp. melted butter

3 tsp. Almond extract

1 - 1/2 cup sugar

2-1/4 cups cake flour

1 tbsp. baking powder

3/4 tsp salt

1 cup grated butter

½ cup shredded coconut

For the Blueberry Curd Filling:

2 cups fresh or frozen blueberries

1/2 cup sugar

2 tbsp lemon juice

2 egg yolks

4 tbsp butter

For the Frosting (Coconut Buttercream):

1 cup unsalted butter

3-4 cups powdered sugar

2 tbsp coconut milk

1 tsp vanilla extract

pinch of salt

Instructions

1. Prep by oiling 3 - 6 inch circle pans and preheat oven to 350 degrees.

2. Blend together eggs, coconut milk, melted butter, and almond extract completely.

3. Add dry ingredients in a different bowl until combined.

4. Grate 1 cup of butter on top of dry ingredients. Combined by hand until butter is no larger then pea sizes.

5. Next up add in wet ingredients and blend together with hand mixer.

6. Once combined put into your 3 pans that are oiled and put into oven. 22-27 min.

7. Make the curd:

  • Cook blueberries and lemon juice over medium heat until berries soften, about 5 to 7 minutes. Whisk eggs and sugar, min a bowl, then slowly mix into blueberry purée.

  • Cook gently over low to medium heat, stirring constantly, until thick enough to coat a spoon.

  • Remove from heat and stir in butter until smooth and glossy. Cool slightly & place in fridge until ready to assemble the cake.

8. Blend together all frosting ingredients until well combined. (butter should be room temp if not heat in microwave for 30 sec at a time) You can add more coconut milk or powdered sugar depending on desired consistency. I sometimes also double the recipe to a thick layer on the outside.

9. Once cake is done baking let cool in pan for 15 min and transfer to cooling rack for another 15.

10. Ice layers of cake and do a thin later around for a “crumb layer” that will catch all the crumbs and make a base for the final layer. Place in fridge for 30 min and then do another final layer. Smooth, textured, whatever you desire!

What to Serve With Almond Coconut Cake

This elegant layer cake pairs beautifully with:

• Fresh blueberries

• Fresh strawberries

• Hot coffee

• Matcha lattes

• Earl Grey tea

• Iced lavender lattes

• Vanilla bean ice cream

• Brunch spreads and dessert tables

Whether you’re baking it for a celebration or simply dreaming up your next kitchen project, this cake is the kind that stays with you. Light yet rich, simple yet elegant, and always just a little bit unexpected, it captures everything we love about homemade desserts in one beautiful creation.

Kitchen Favorites I Used For This Recipe

From cake pans and cooling racks to mixing bowls and decorating tools, these are some of my favorite baking essentials that help make layer cakes easier and more enjoyable to create. I've also included a few coffee bar favorites that pair perfectly with a slice of homemade cake.

Baking Favorites Collection

Cozy Coffee Bar Collection

Entertaining Essentials Collection

More Beautiful Layer Cakes & Celebration Desserts

Matcha Strawberry Cake

Strawberry Champagne Cake: A Perfectly Sparkling Treat for Any Occasion

The Ultimate Comfort Dessert: Banana Chocolate Chip Cake & Ganache Frosting!

Indulge in the Irresistible Delight of Espresso Chocolate Cake with Heavenly Raspberry Cream Cheese Frosting!

Banana Cake with Decadent Brown Butter Cream Cheese Frosting Will Wow Your Taste Buds

Delight in Every Slice: Delicious Blueberry Cake with Mascarpone Frosting

Taste the Deliciousness of Pistachio Cake: A Treat for Any Occasion

Zesty Indulgence: Crafting the Perfect Layered Orange Cake with Raspberry Mascarpone Frosting

My Favorite White Cake Recipe

Frequently Asked Questions

Can I make this gluten-free?
Yes! Substitute the all-purpose flour with a 1:1 gluten-free blend.

Can I use canned blueberry filling?
You can, but homemade blueberry curd gives a fresher, more vibrant flavor.

What pairs well with this cake?
A cup of coffee, tea, or even a light sparkling wine complements it beautifully.

Ultimately, this almond coconut cake with blueberry curd filling is more than just a recipe—it’s an experience built around flavor, texture, and presentation. It invites you to slow down, savor each bite, and appreciate the small details that make something truly memorable.

Save This Recipe

Whether you're planning ahead for a special occasion or adding a new favorite to your recipe collection, I've included a printable recipe card below so it's easy to save, print, and share with the people you love.
Homemade almond coconut layer cake with blueberry curd filling, coconut buttercream frosting, fresh blueberries, shredded coconut, and sliced almonds on a white cake stand.
Homemade blueberry curd prepared for cake filling.
Almond coconut cake served on a spring dessert table for entertaining.
Spreading blueberry curd filling between cake layers.
Almond Coconut Cake with Blueberry Curd Filling

How to Properly Load Your Dishwasher for Spotless Results

Learn how to properly load your Kucht dishwasher for spotless results every time. These simple loading techniques will help you maximize cleaning power, protect your dishes, and get the most out of your high-performance dishwasher—without rewashing or wasted cycles.

If you’ve invested in a Kucht dishwasher, you already know it’s built for performance and durability. But even the best machine can’t do its job well if it’s loaded incorrectly. The good news? With a few simple techniques, you can get sparkling clean dishes every time—while protecting your cookware and maximizing space.

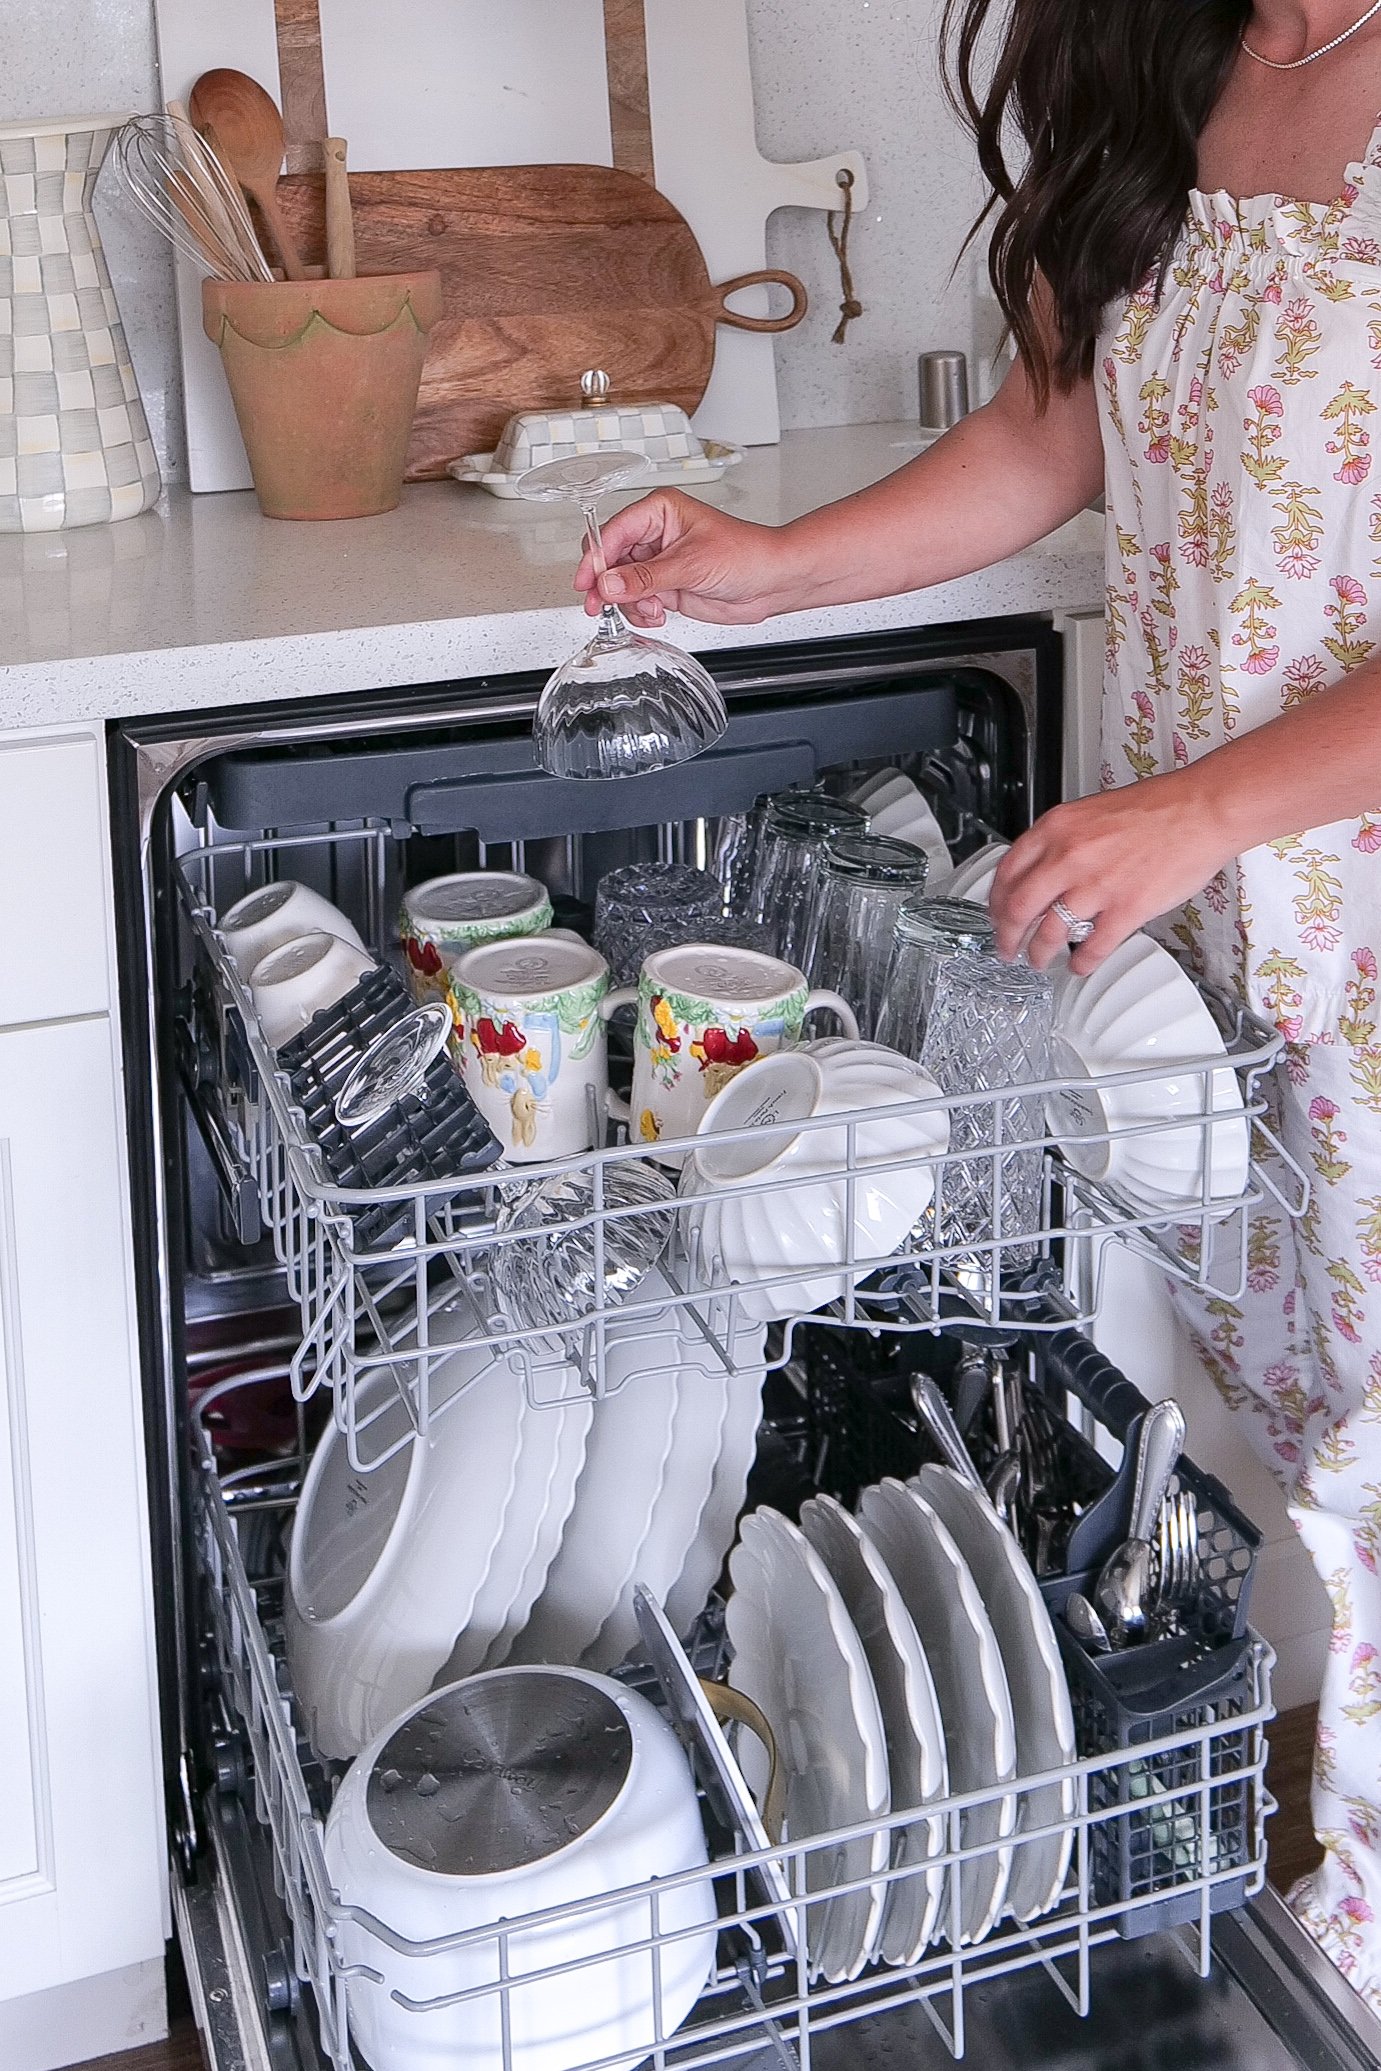
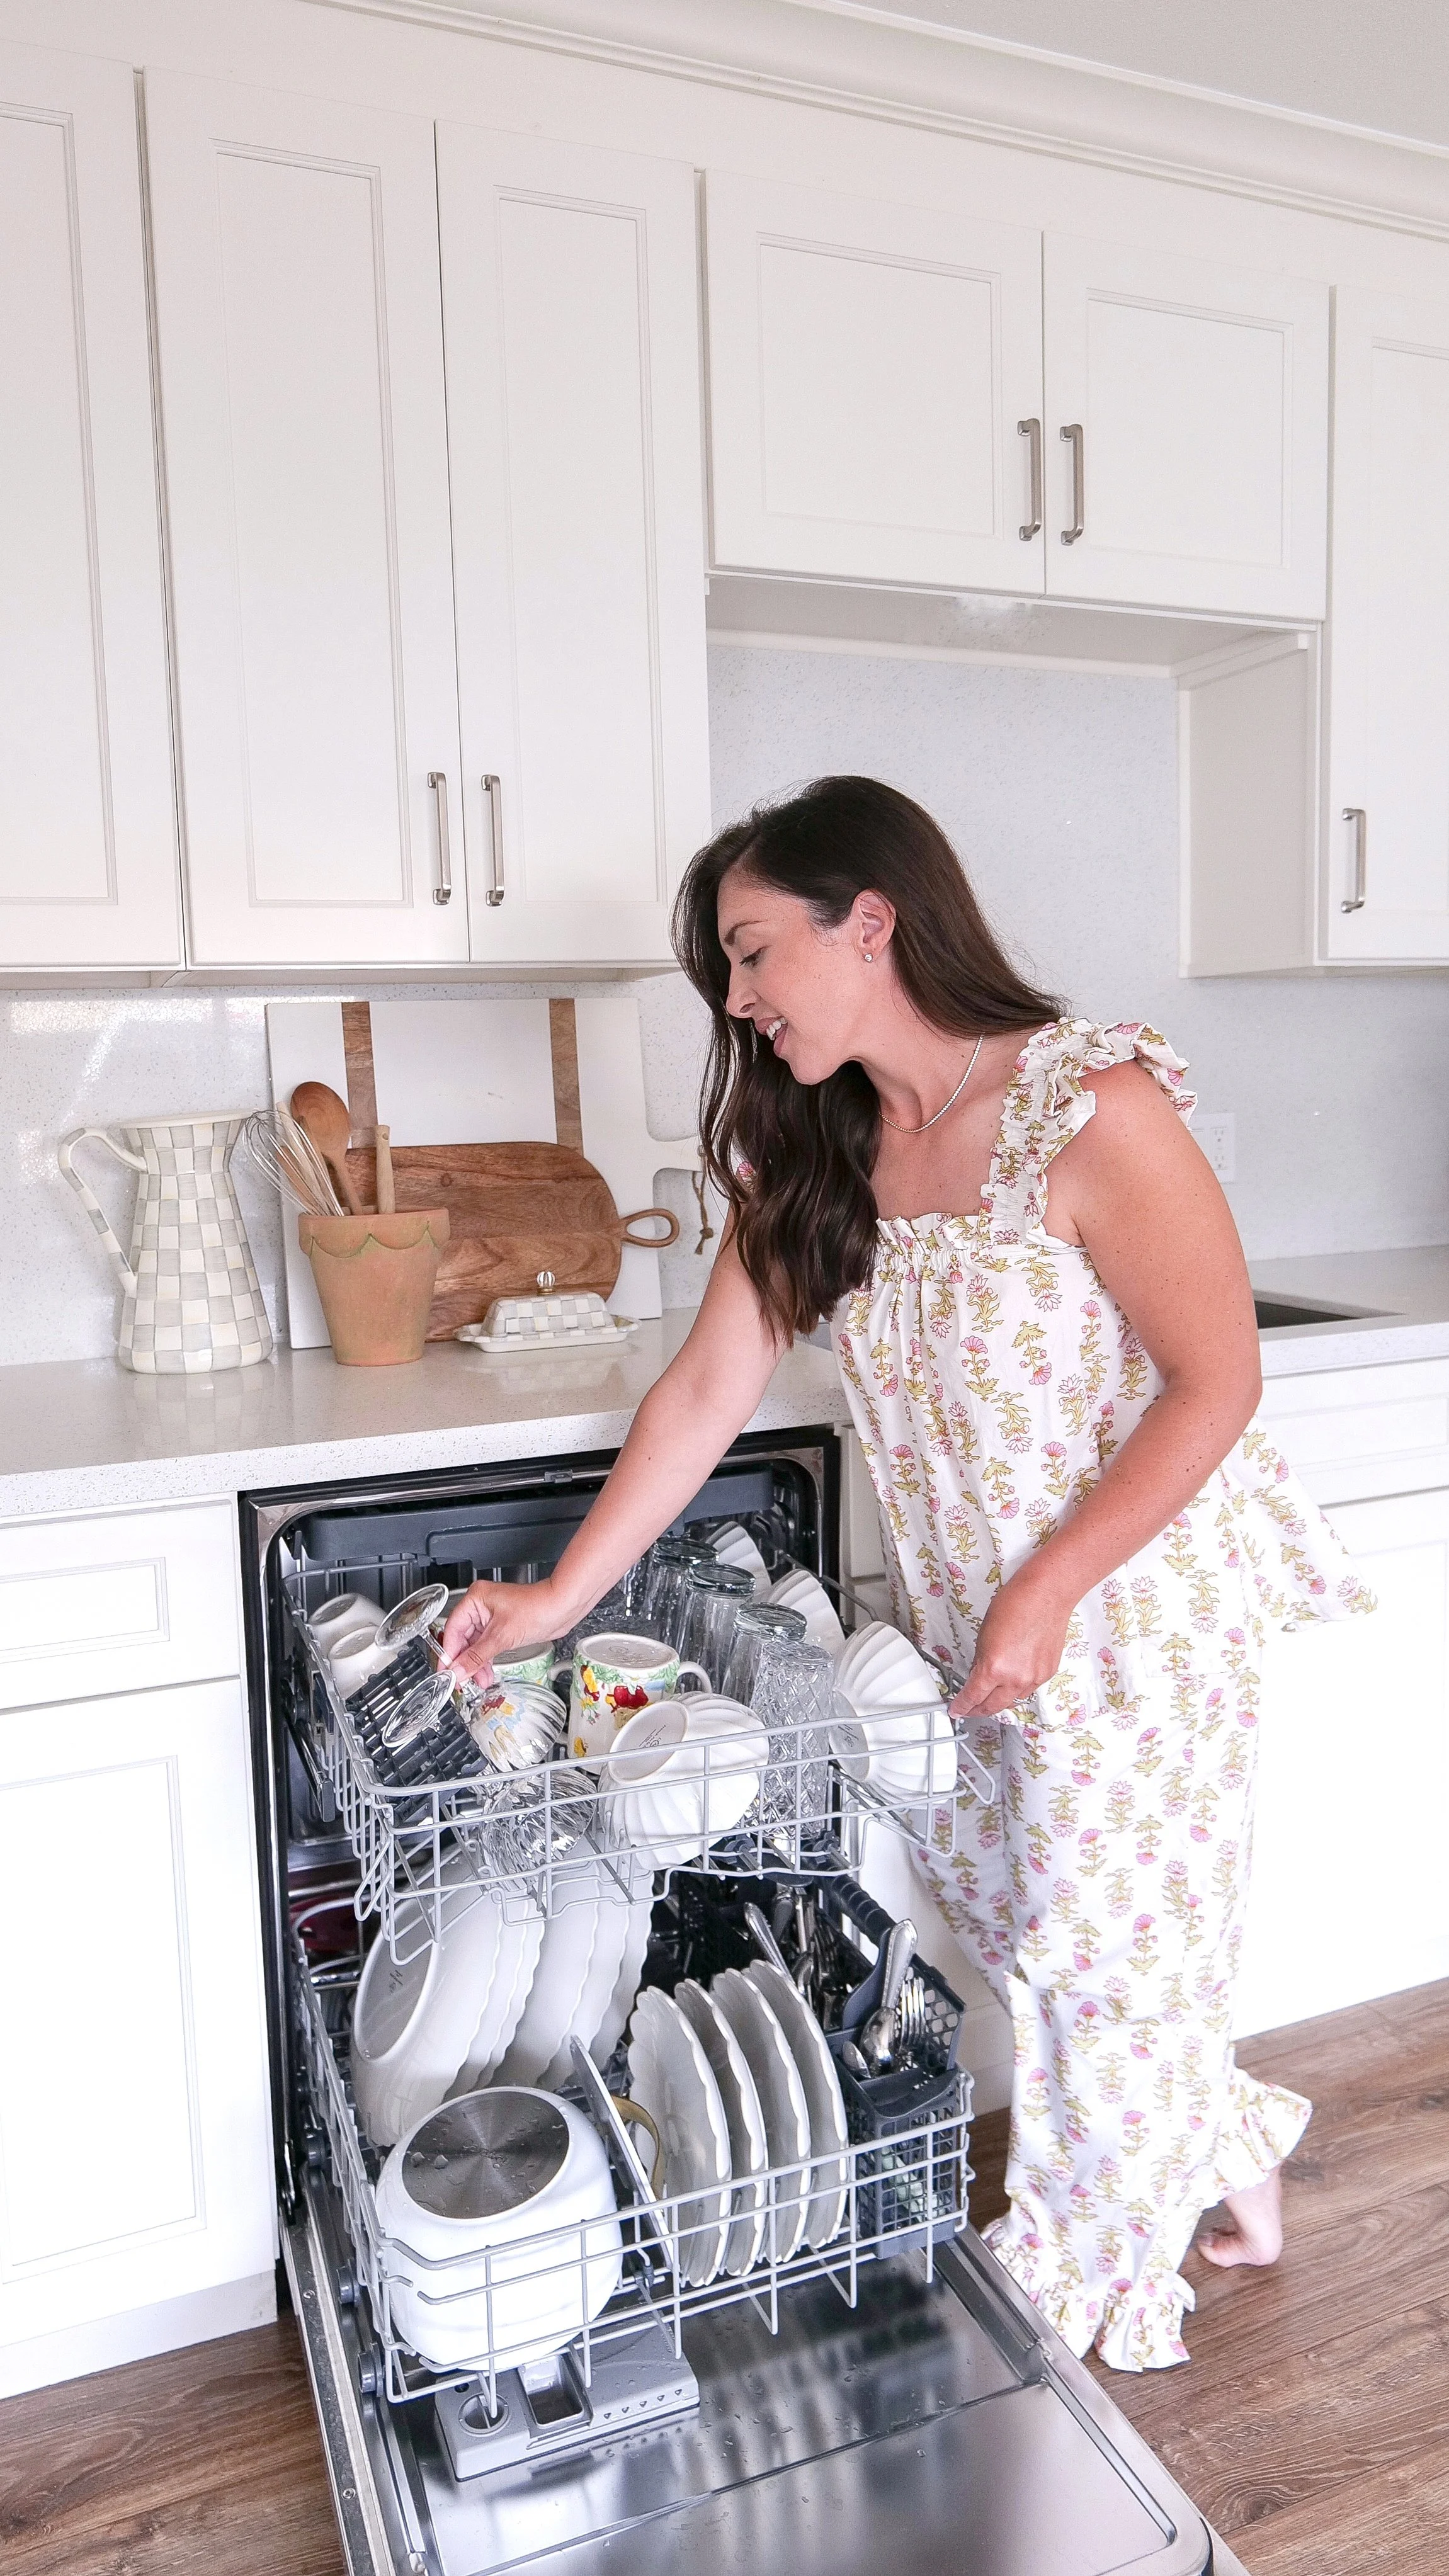
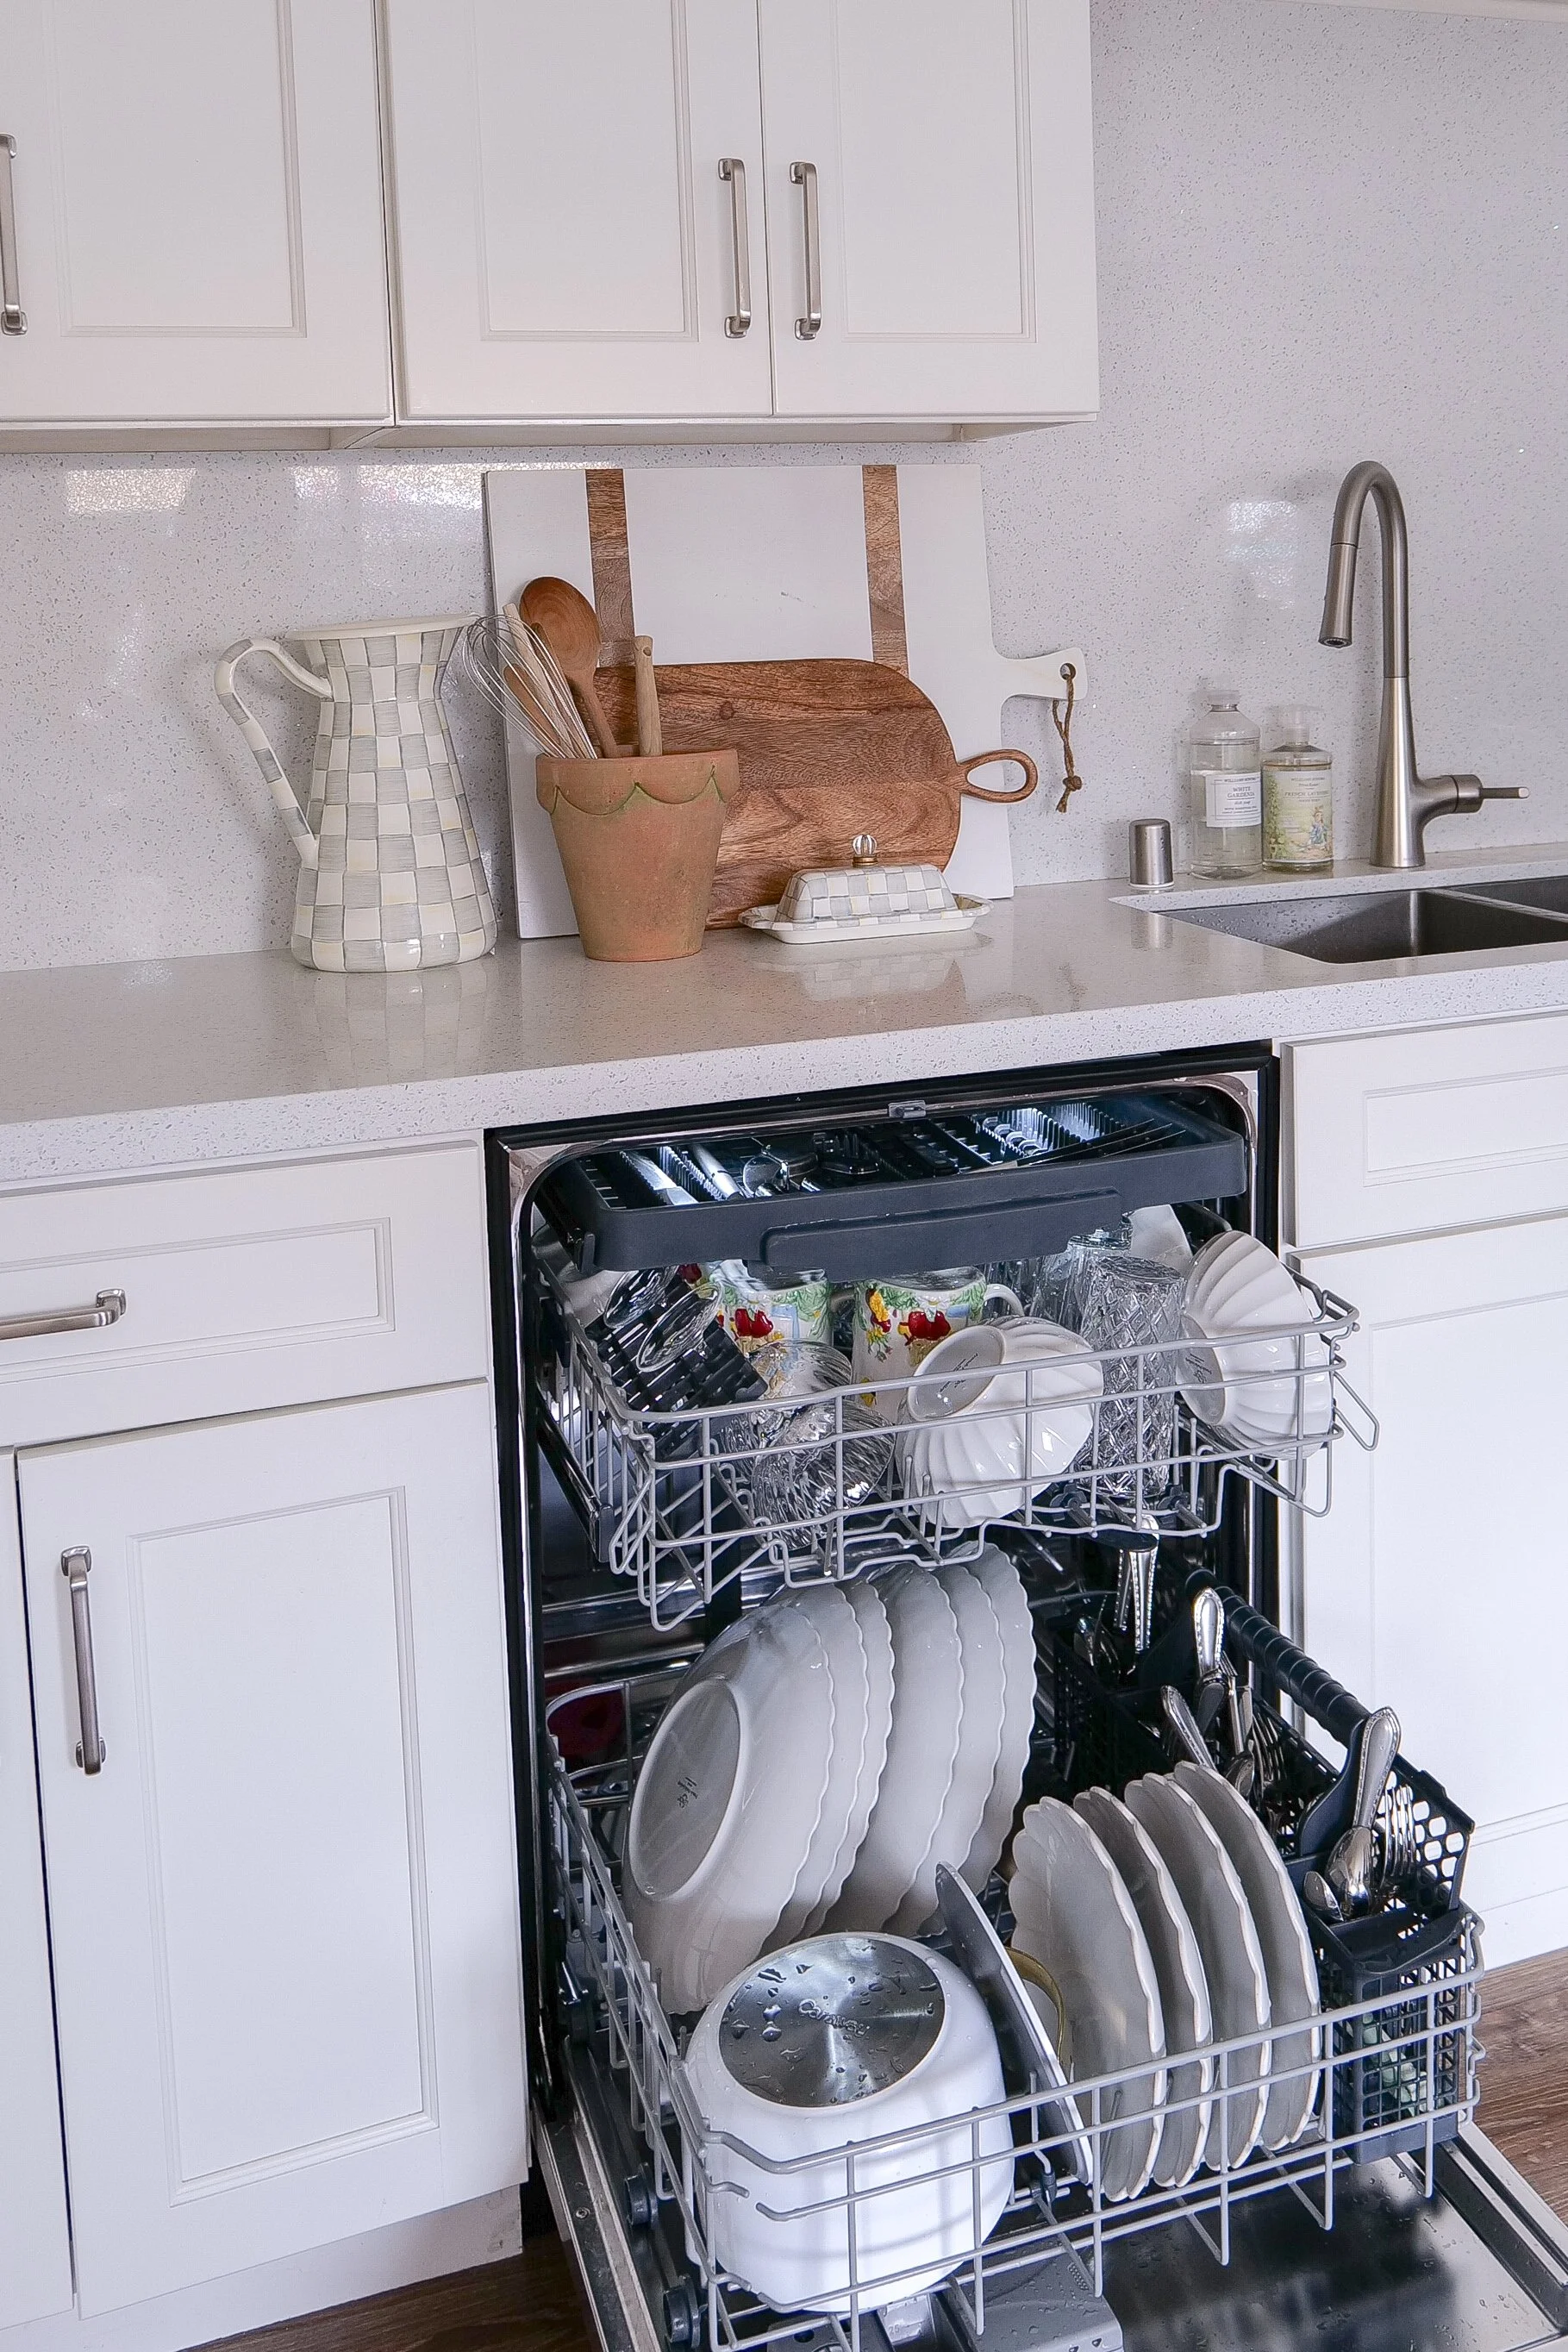
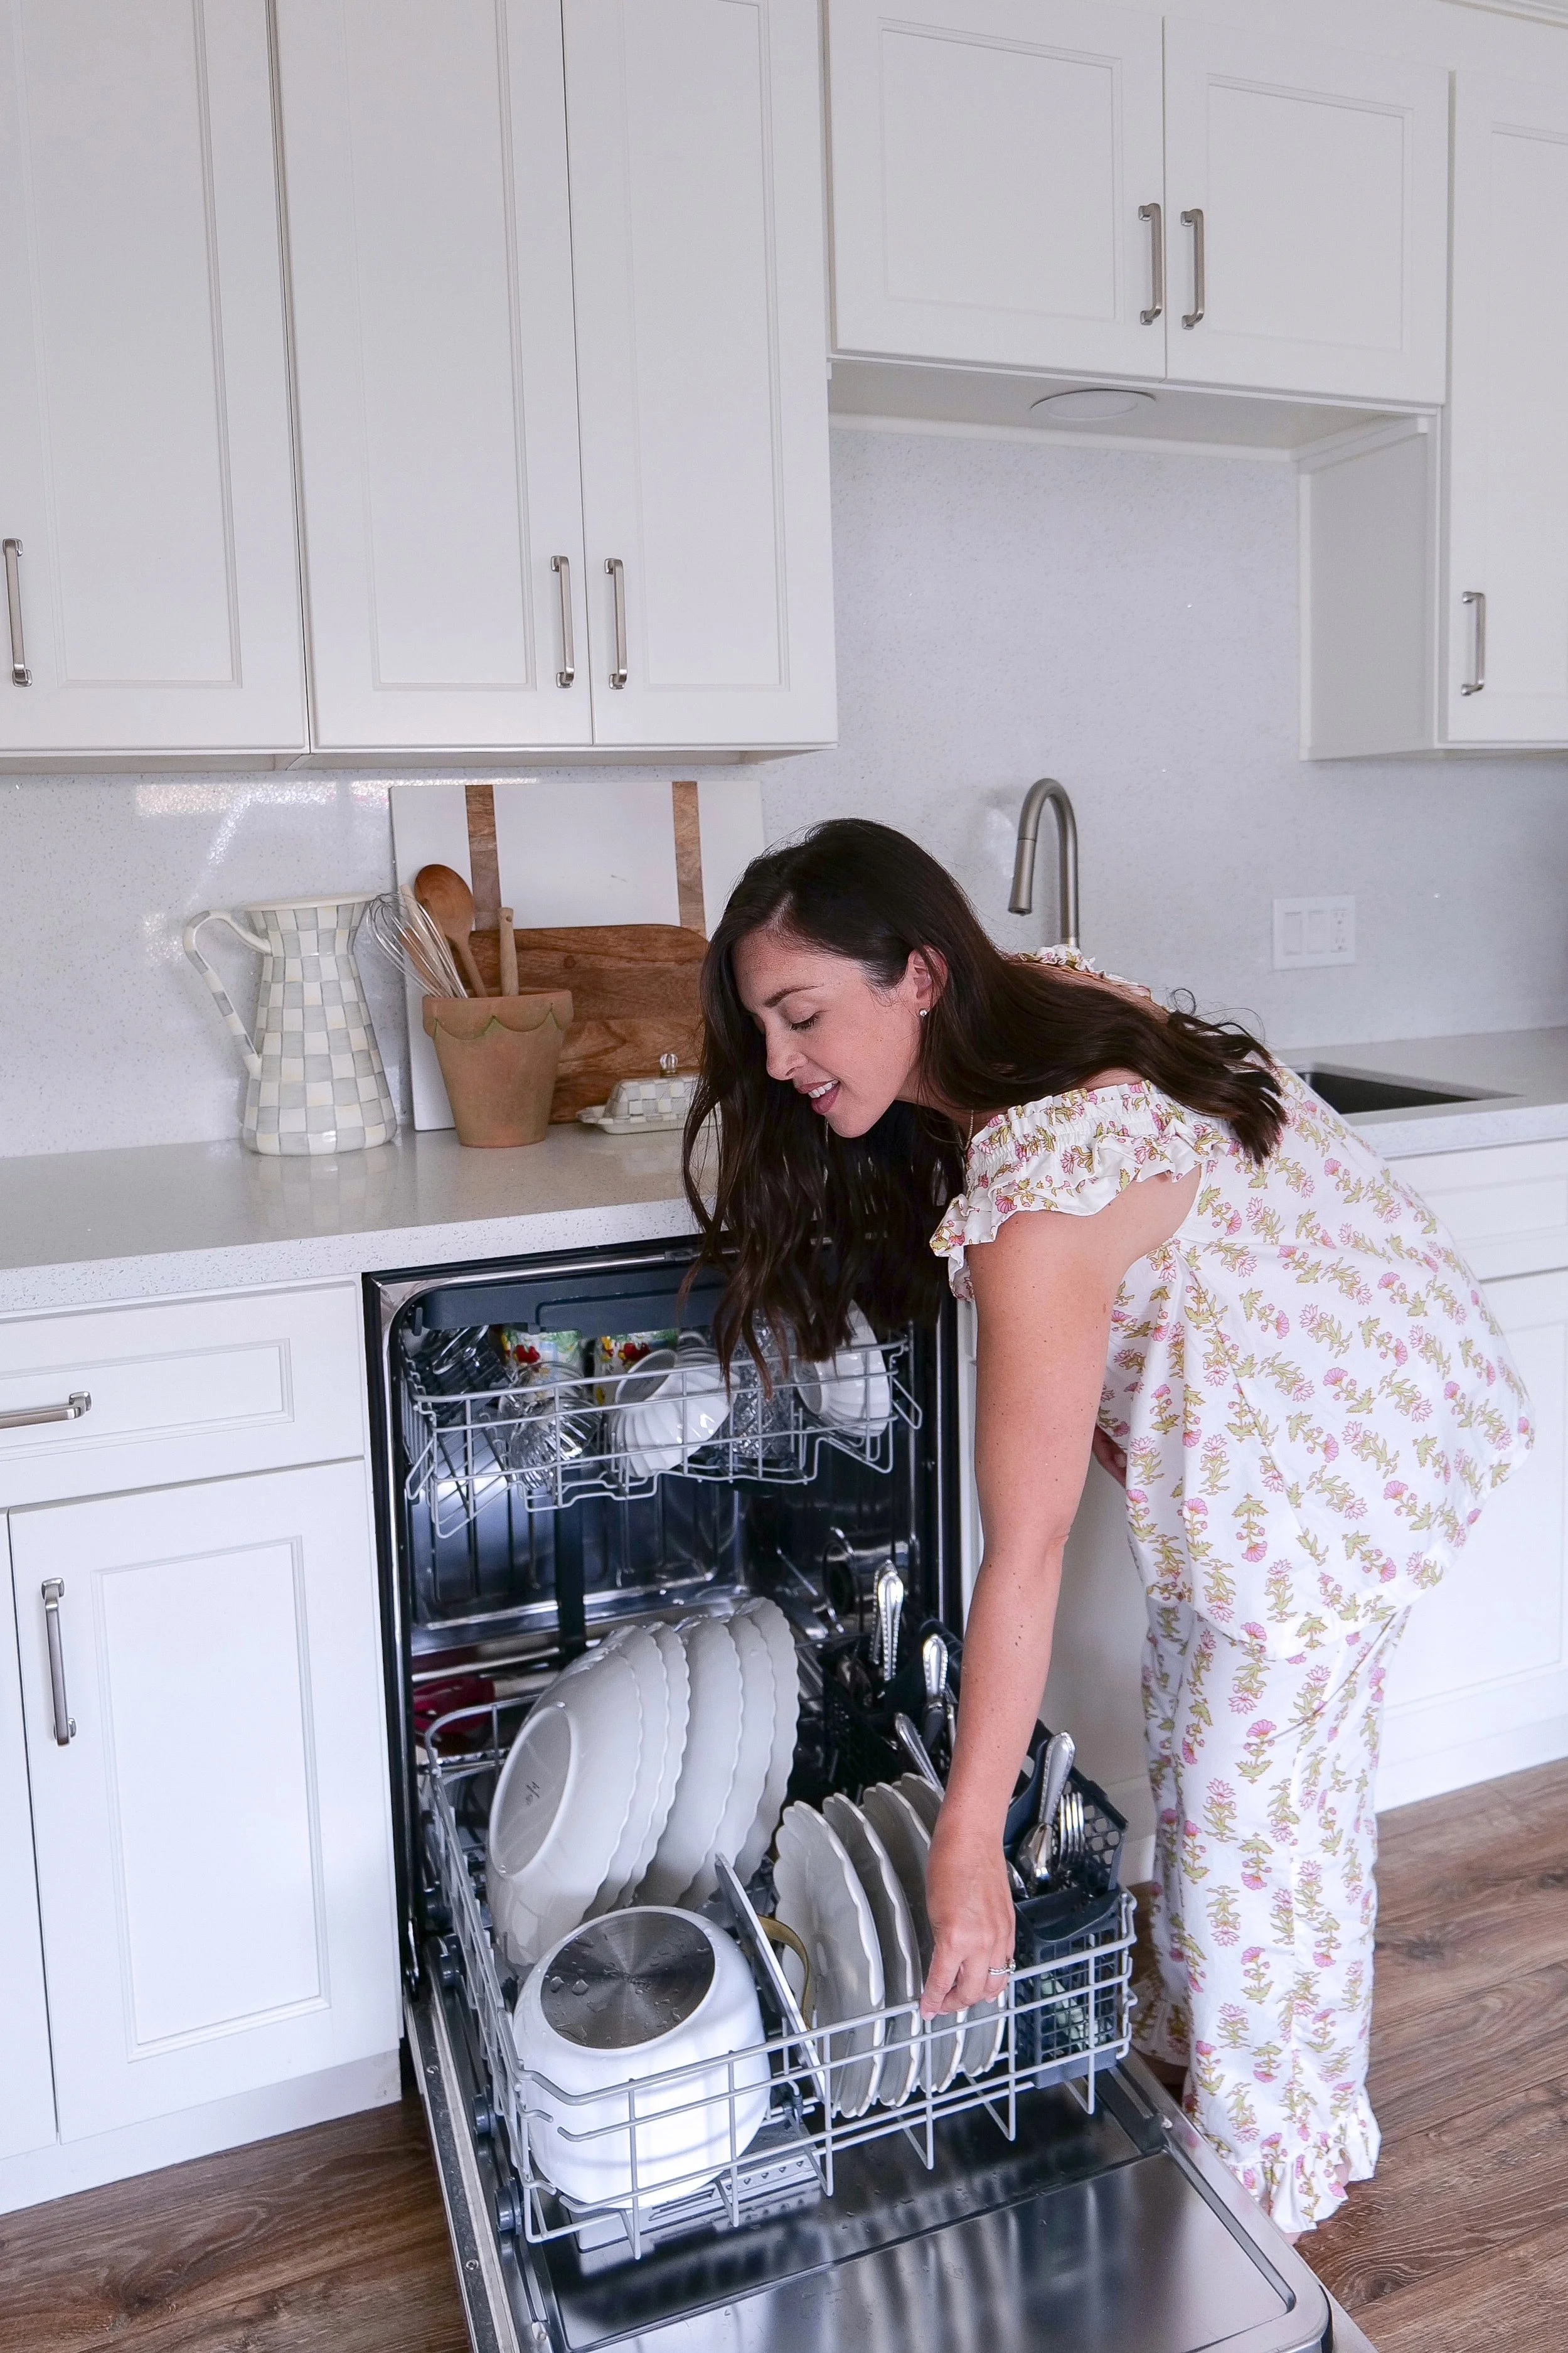
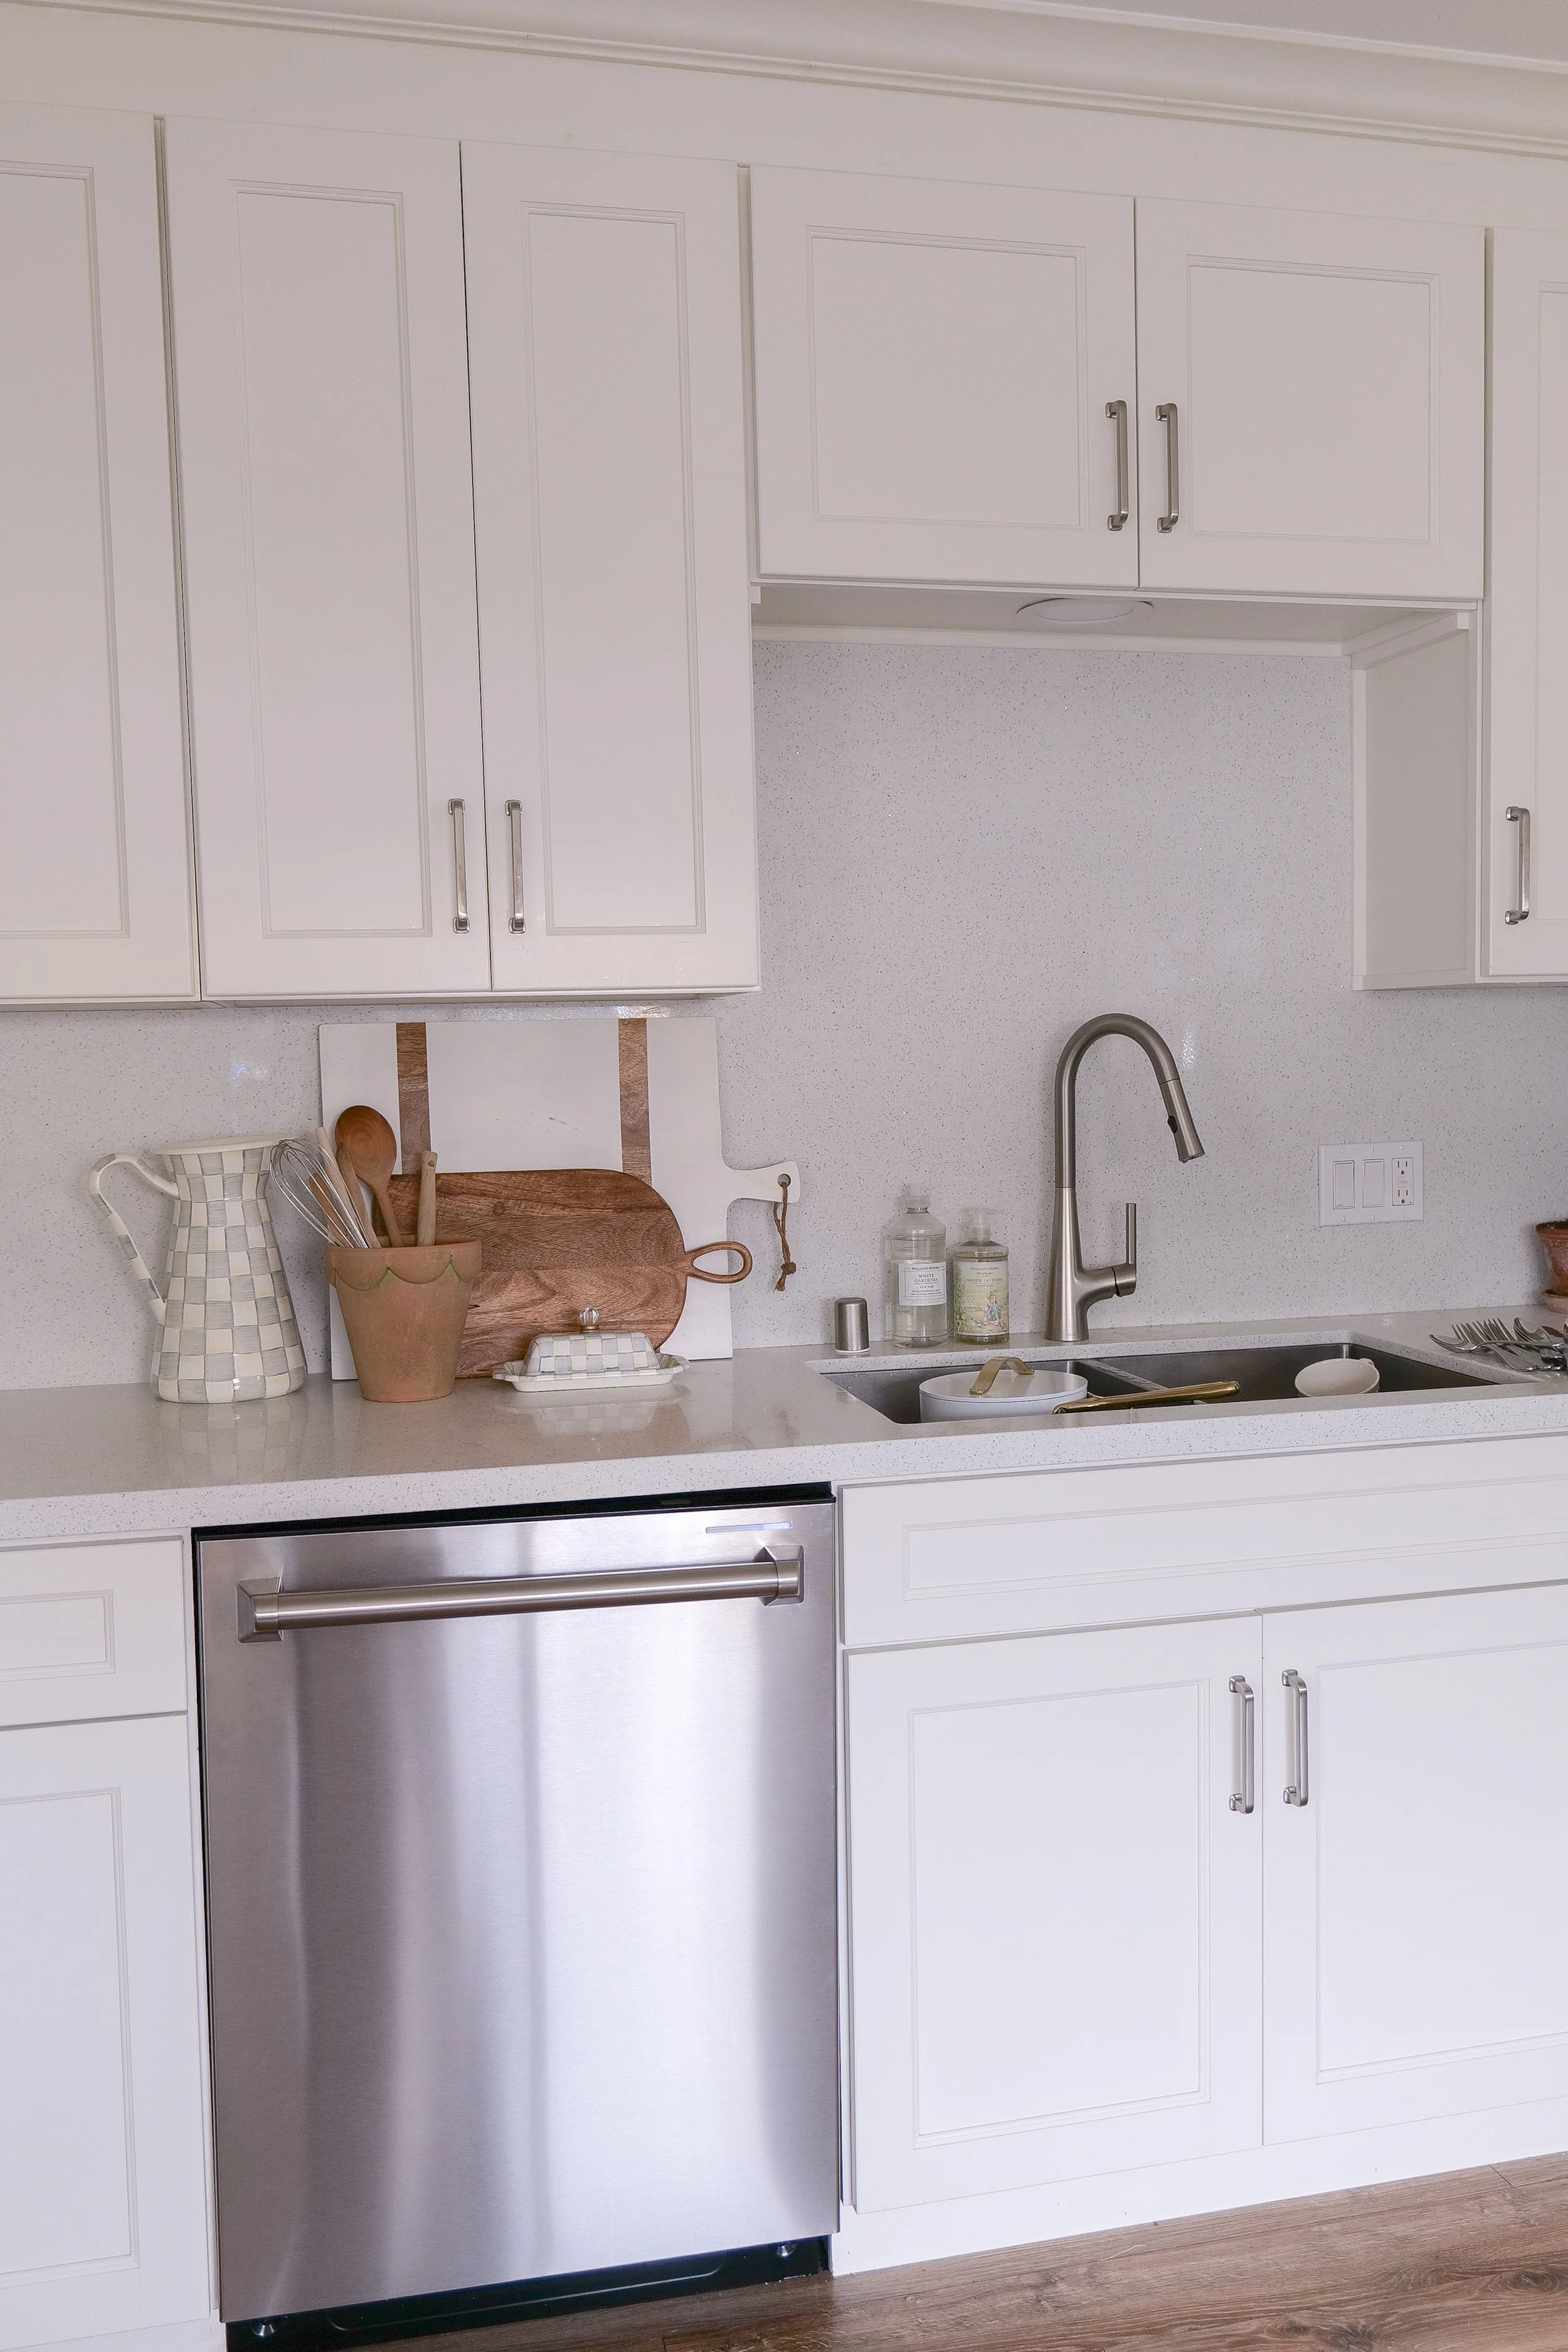
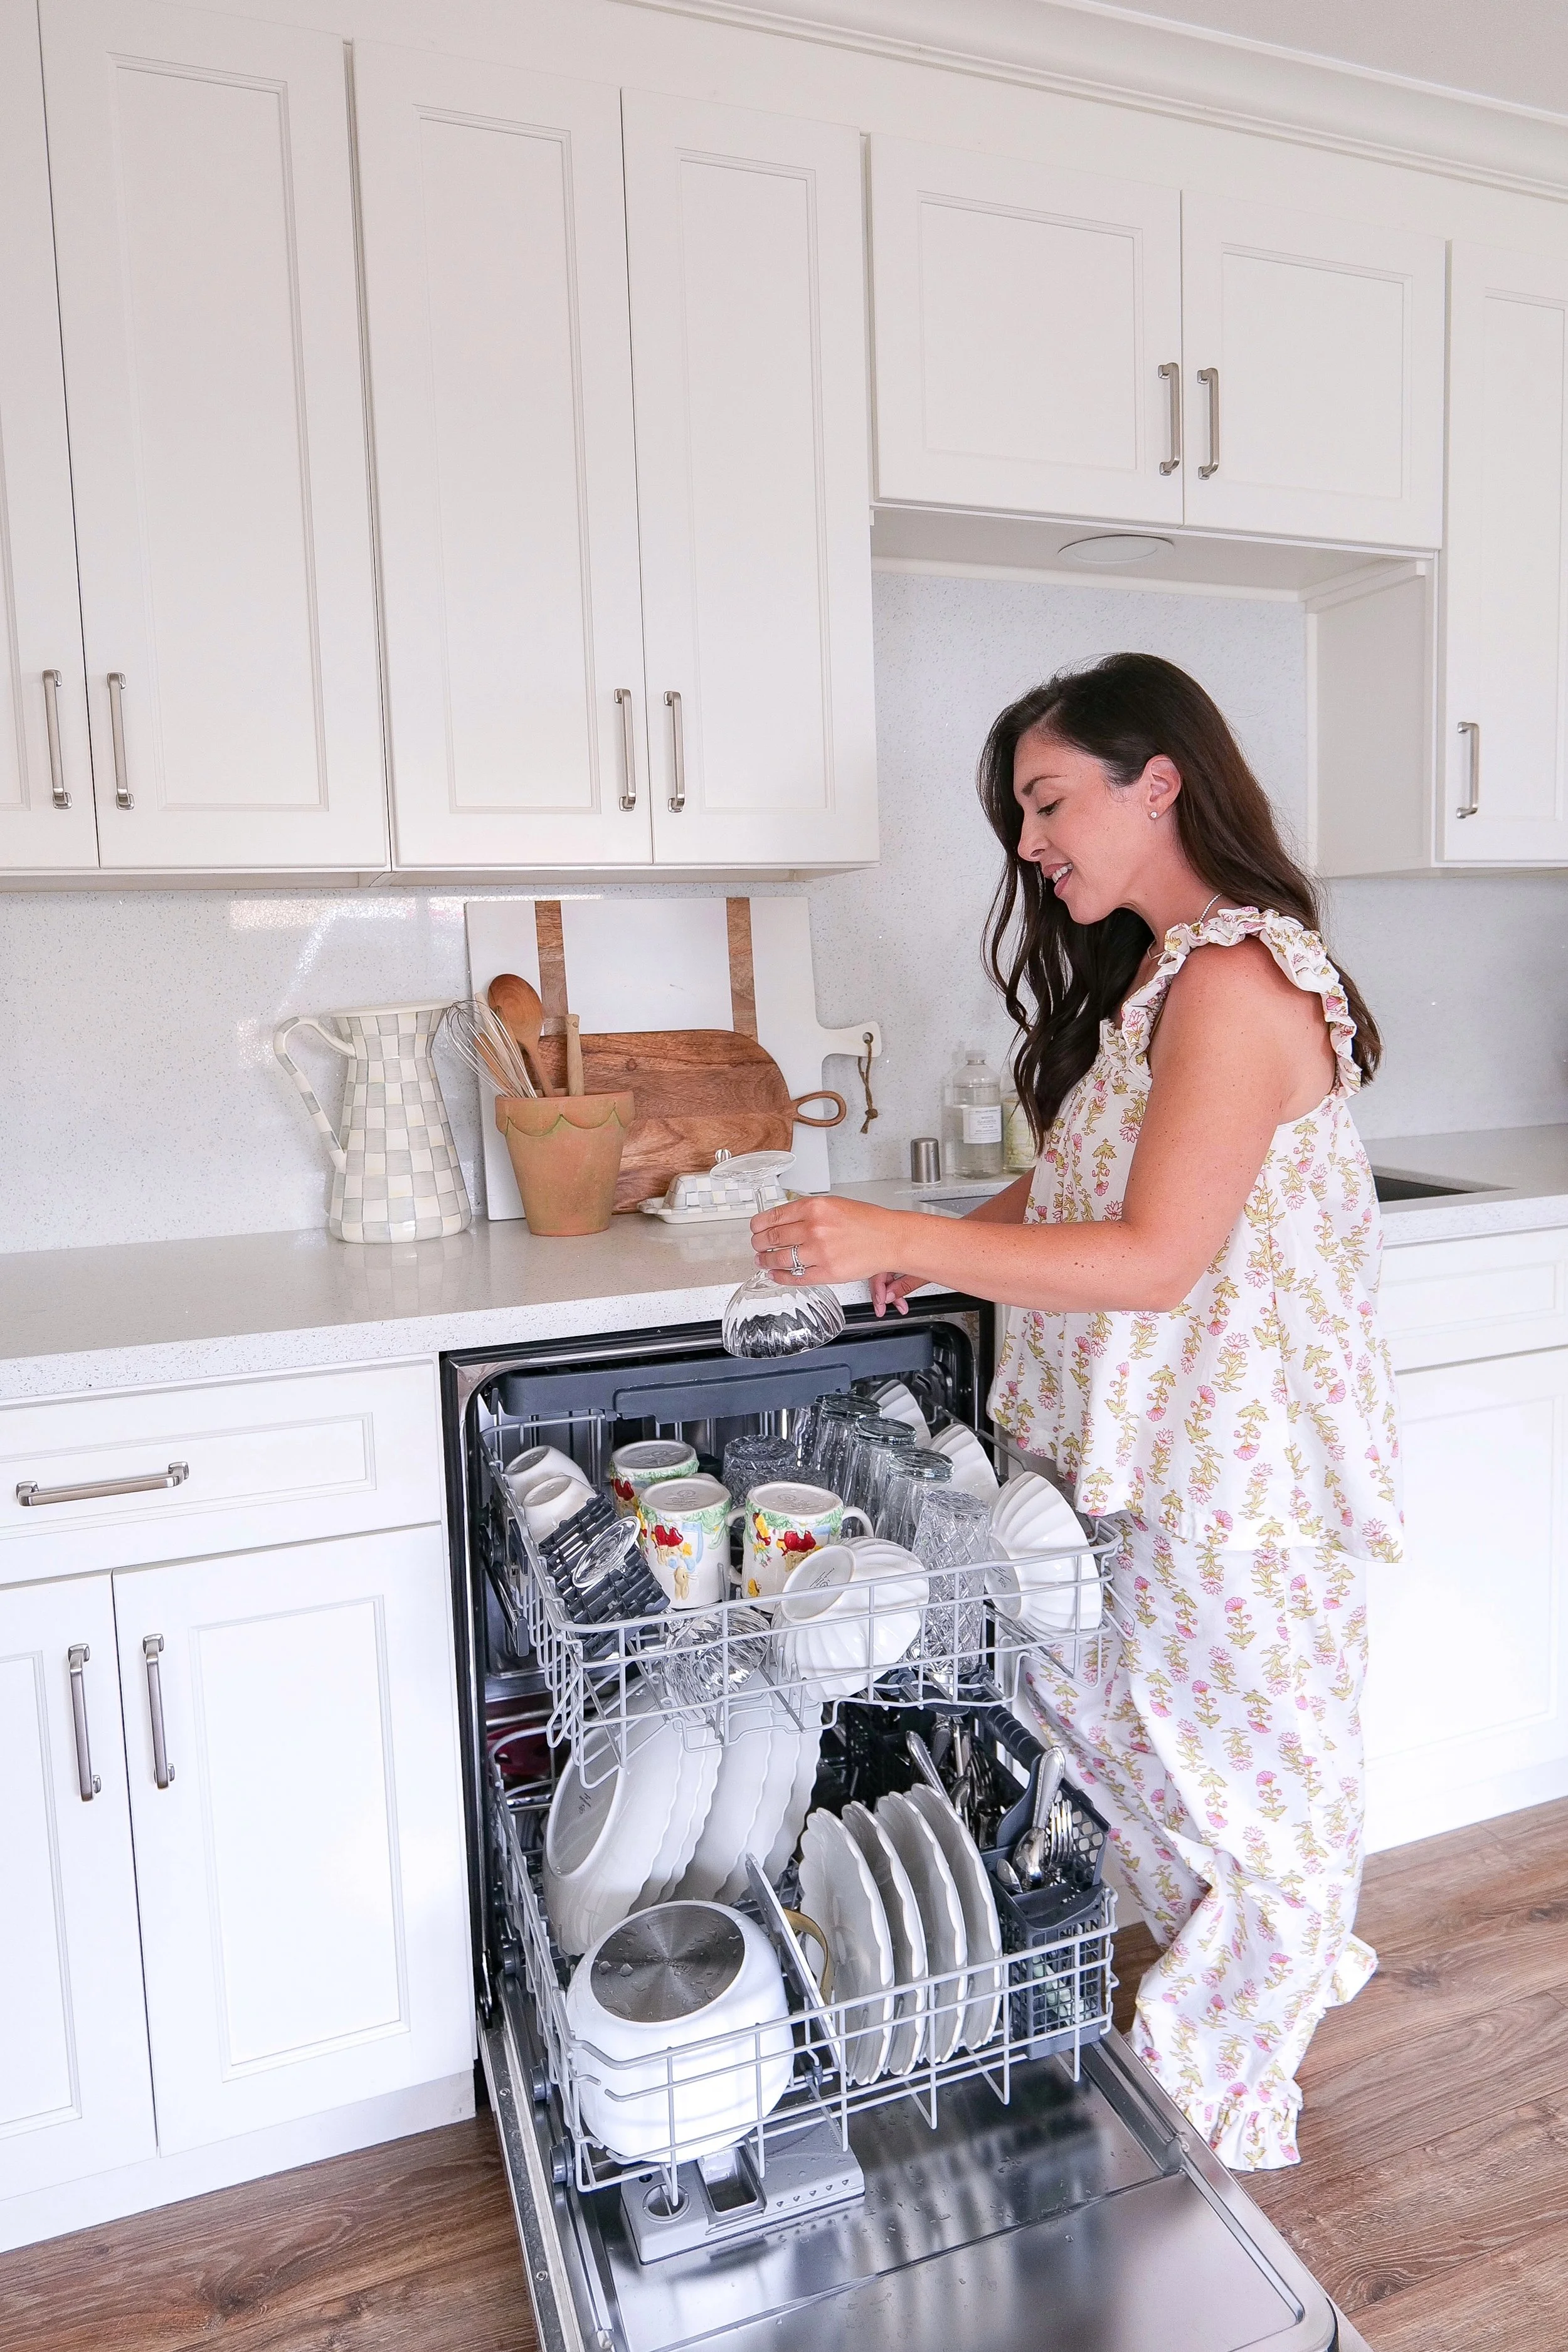
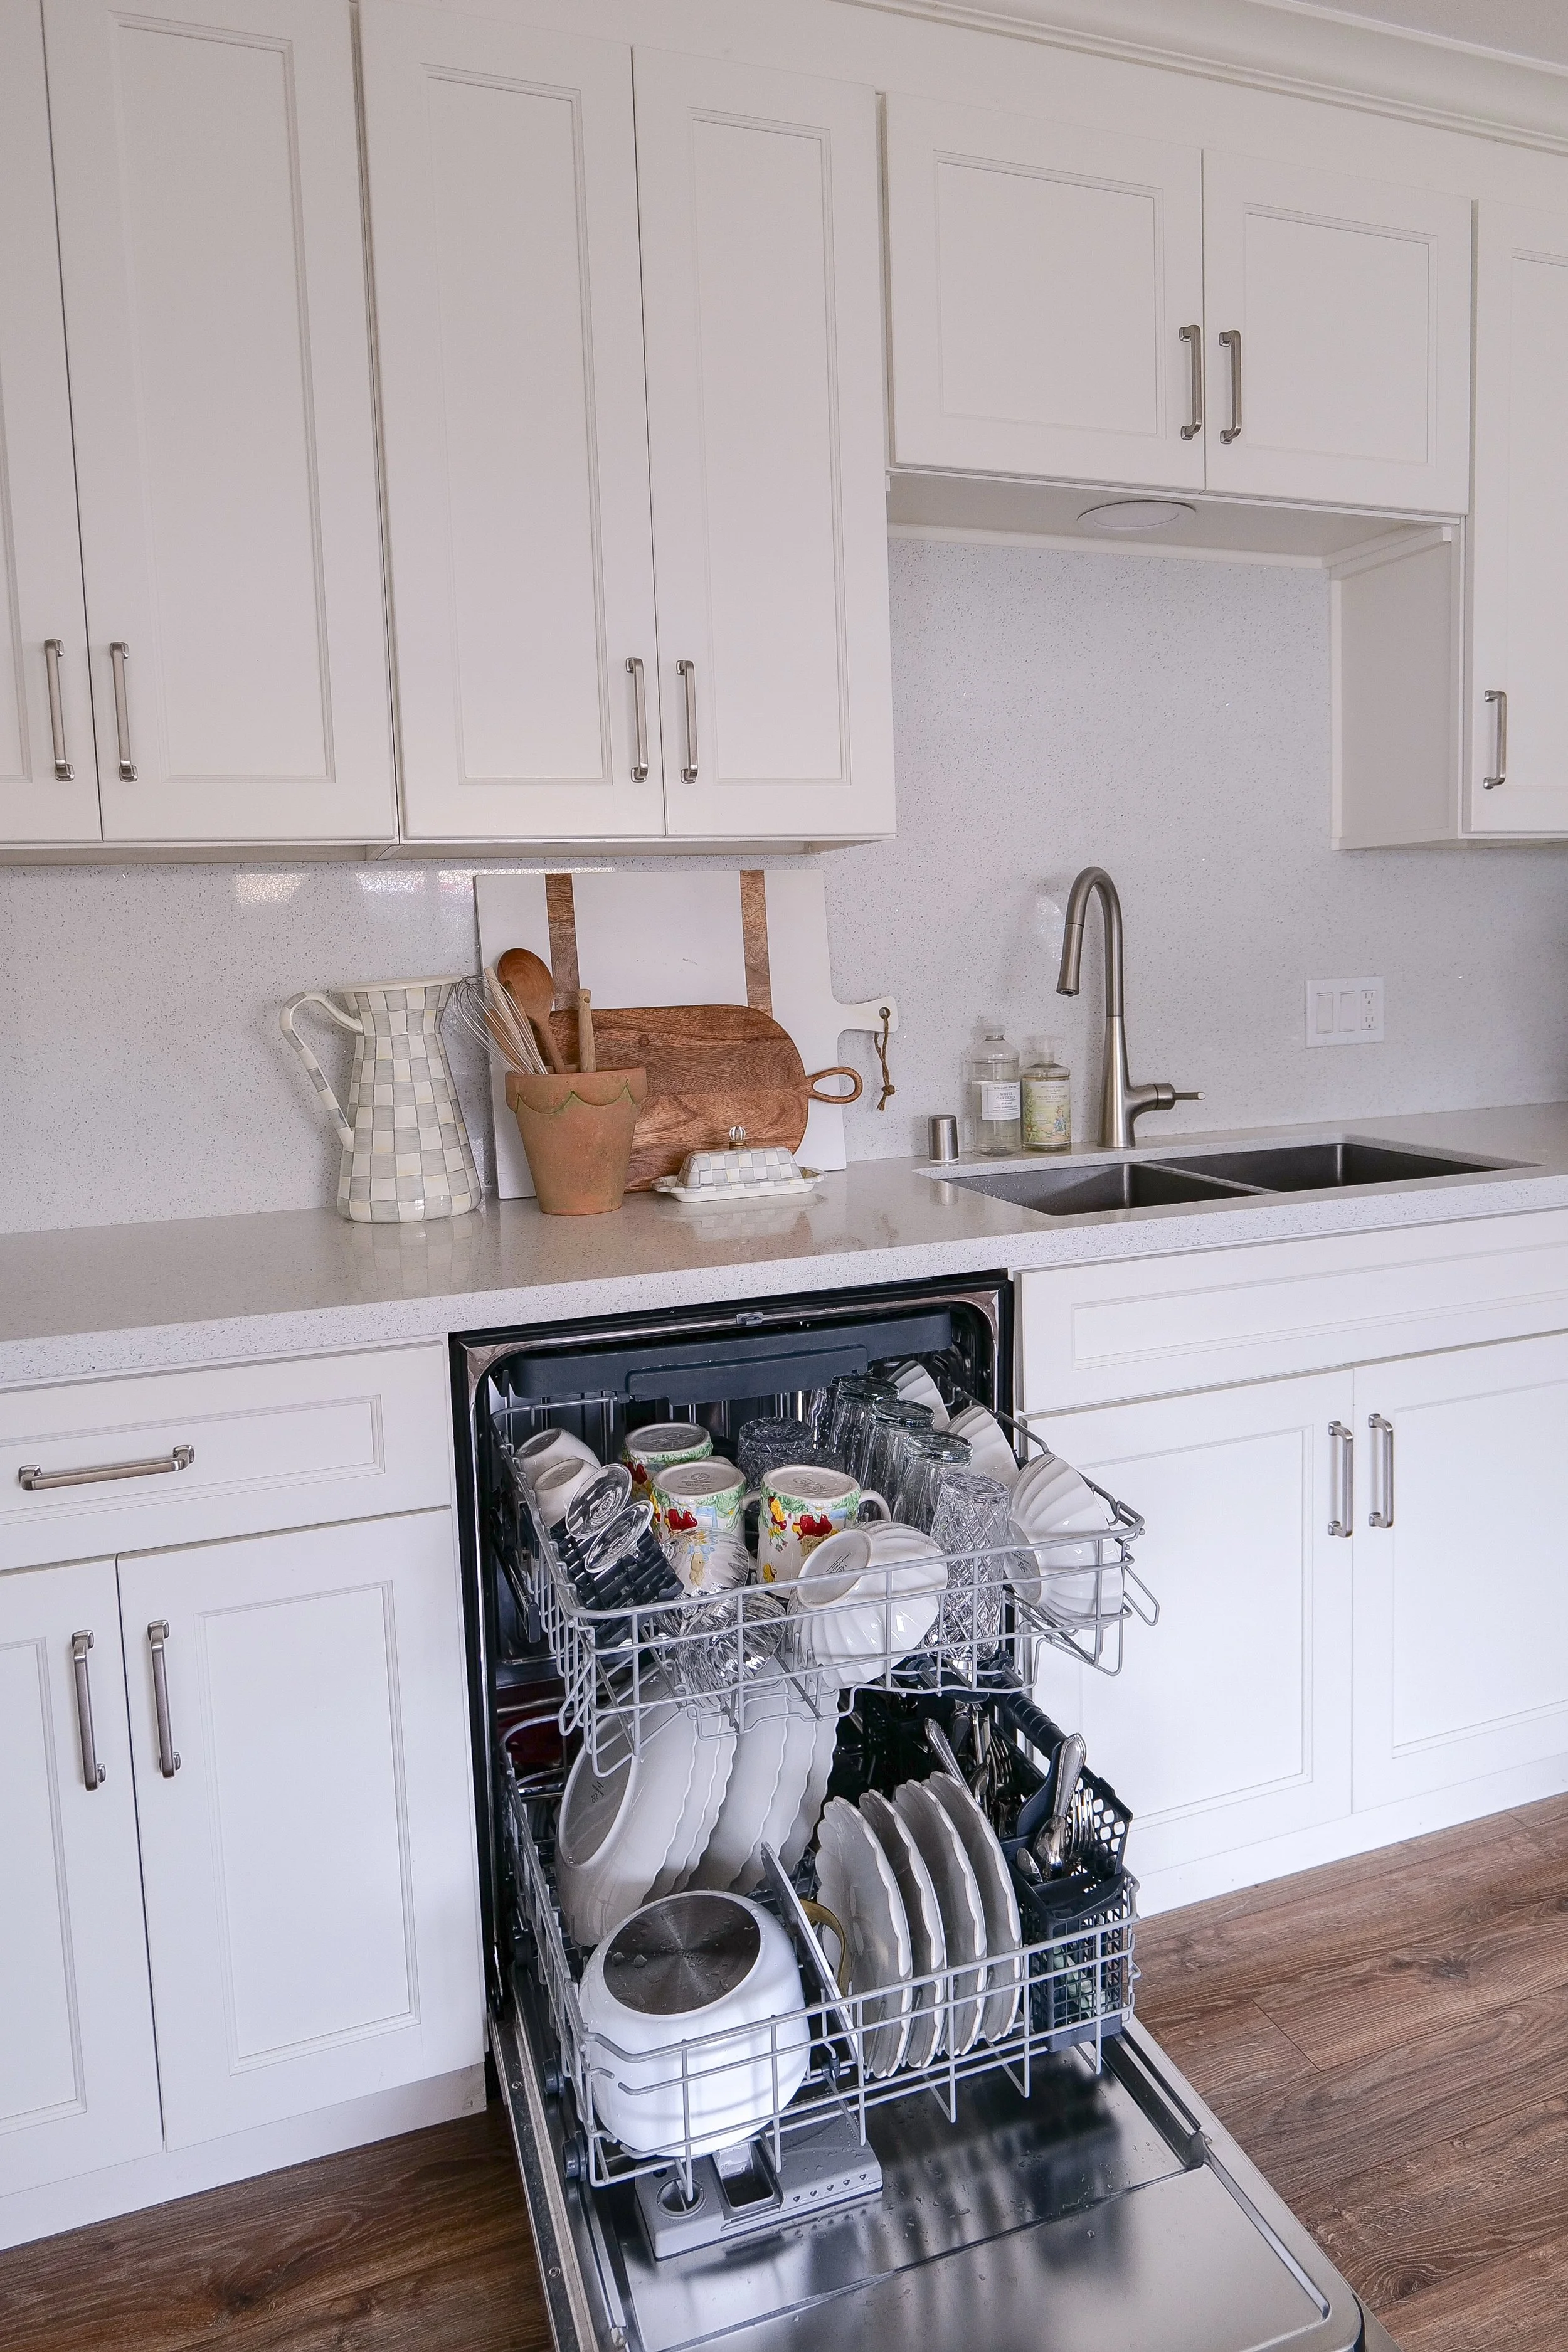
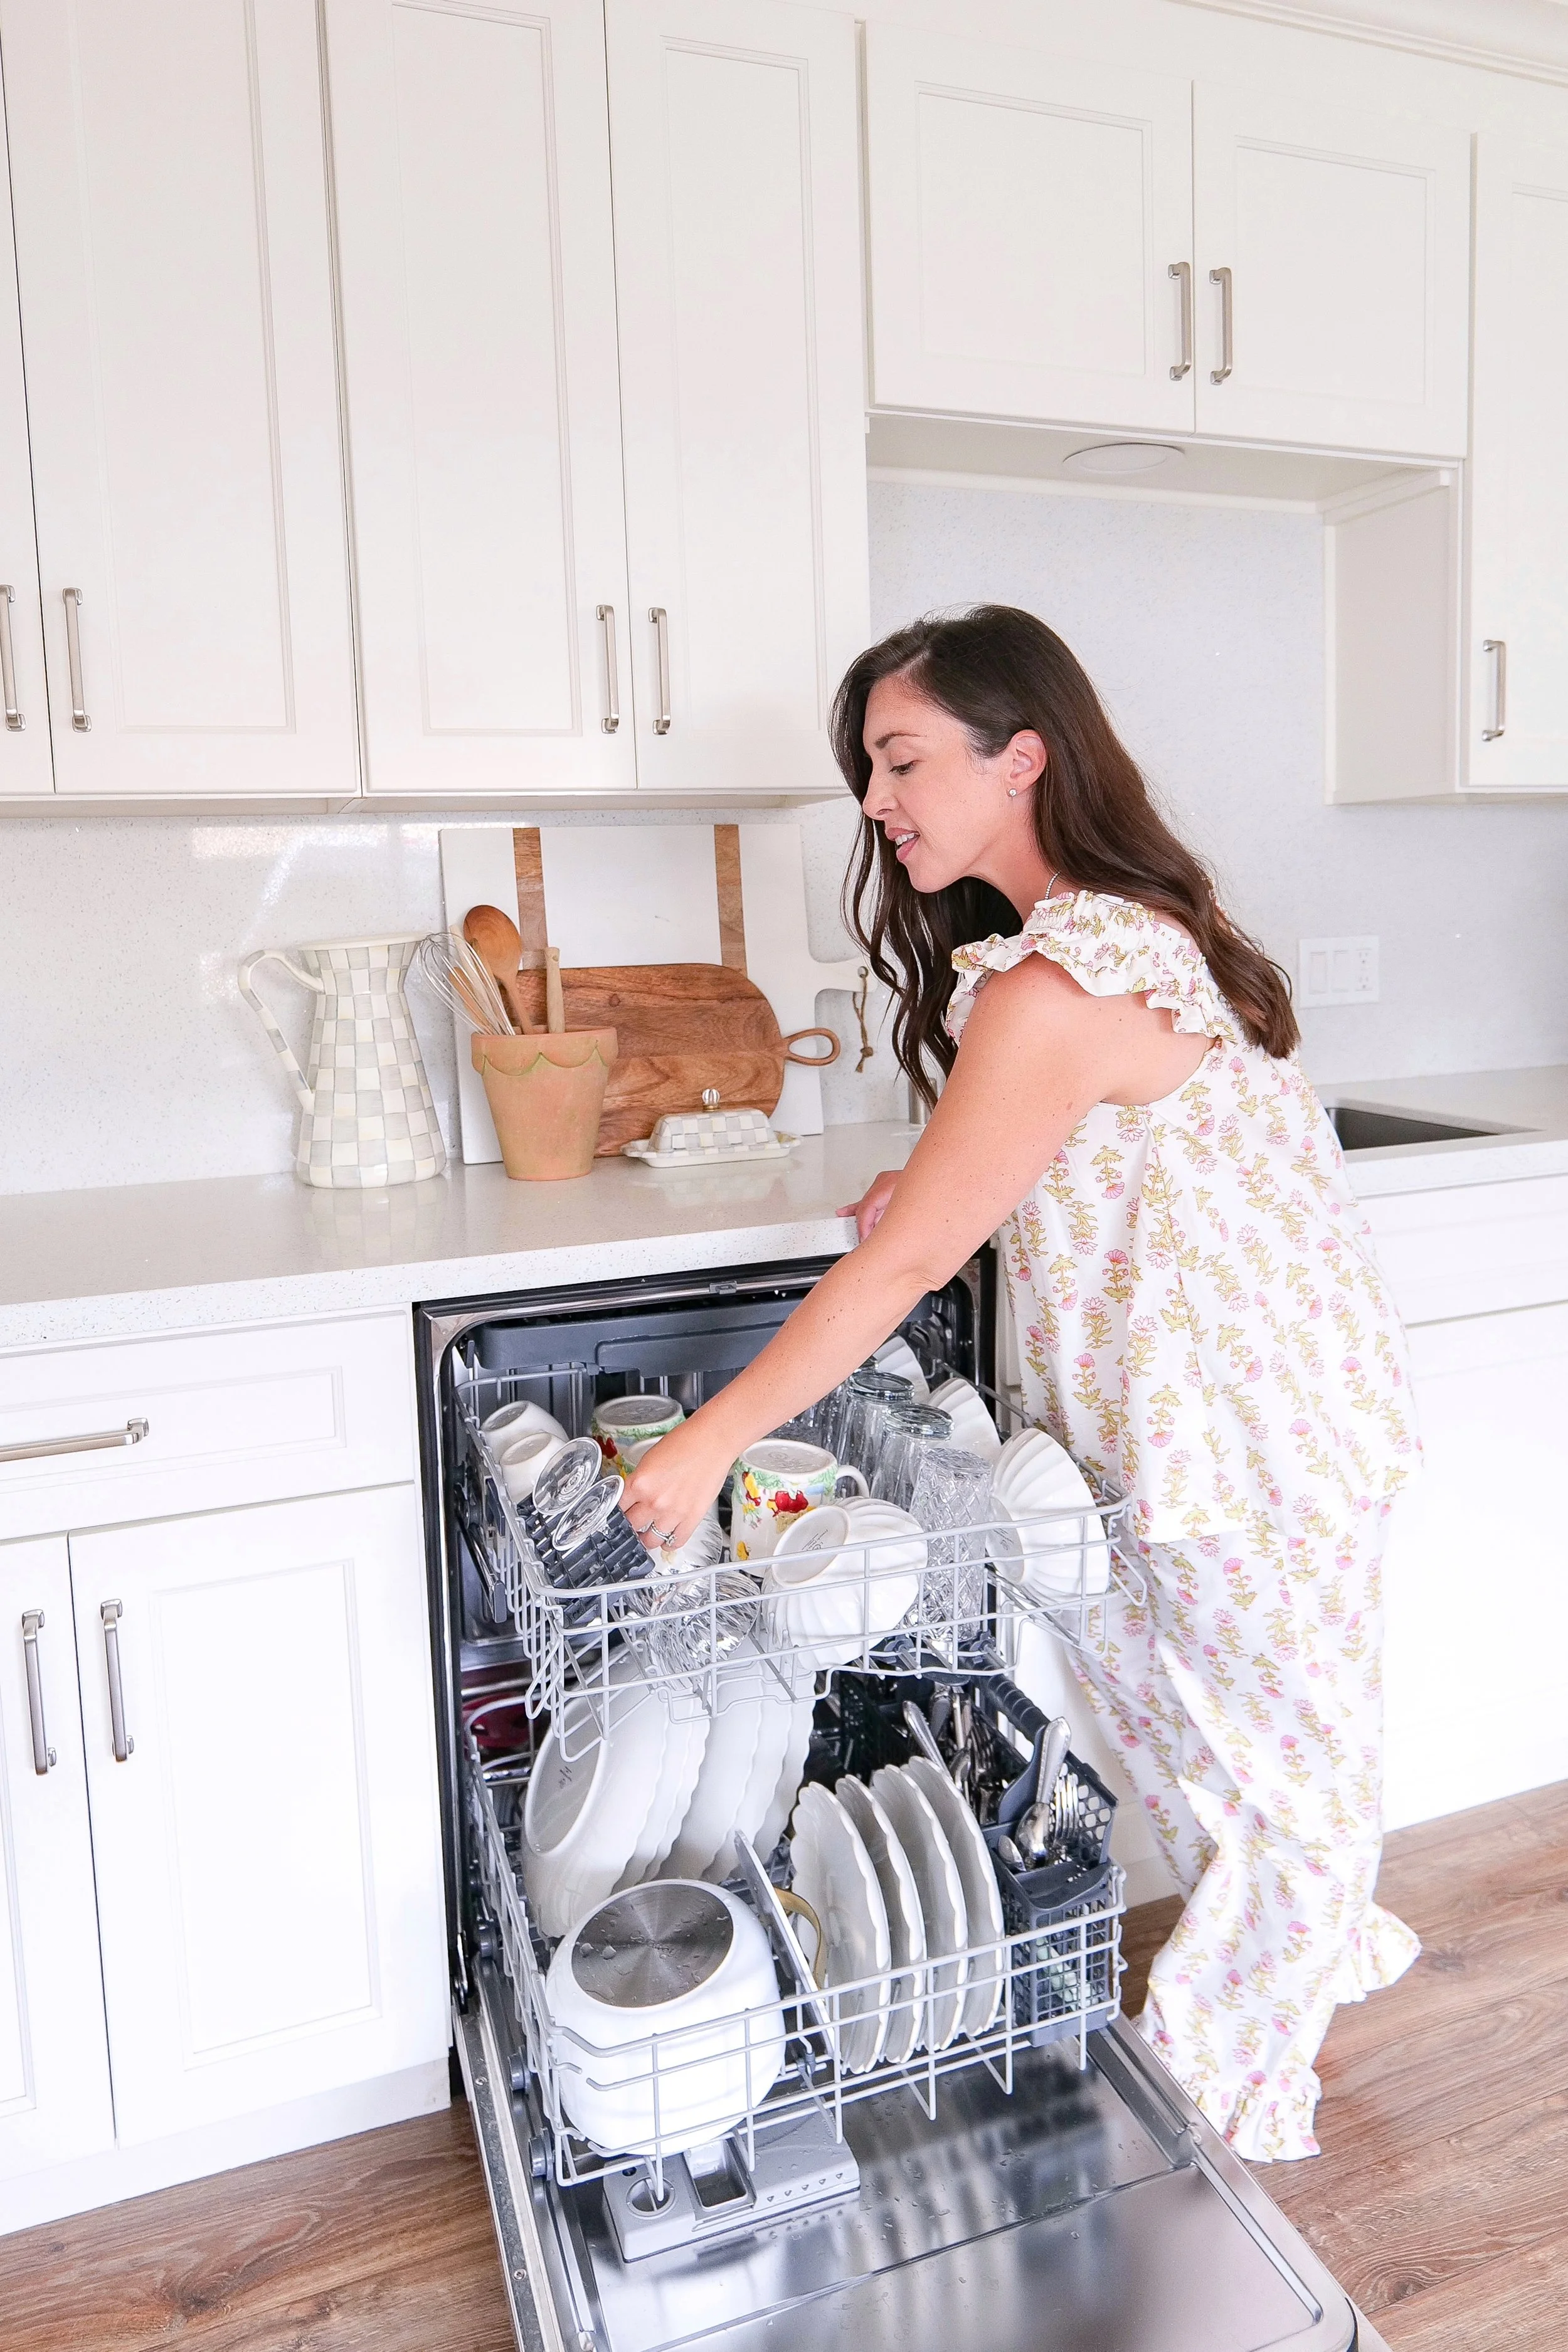
Properly loaded Kucht dishwasher with plates, glasses, and cookware arranged for best cleaning results.
Glasses and mugs safely arranged on top rack of dishwasher for gentle cleaning.
Overloaded dishwasher showing why overcrowding prevents dishes from getting clean.

Why Proper Dishwasher Loading Matters

Even the most powerful dishwasher—like your Kucht appliance—can only perform as well as it’s loaded. Proper loading improves cleaning performance, prevents damage to delicate items, and helps your dishwasher run more efficiently.

When loaded correctly, you’ll notice:

✔ Cleaner dishes on the first wash
✔ Fewer water spots and residue
✔ Better use of space in each load
✔ Longer lifespan for your dishwasher
✔ Less rewashing and frustration

How to Properly Load Your Kucht Dishwasher

Let’s break down the right way to load your Kucht dishwasher.

Start by Scraping, Not Rinsing

Before loading, scrape leftover food into the trash or compost. You don’t need to pre-rinse everything—modern dishwashers (including Kucht models) are designed to handle some residue. In fact, a little bit of grime actually helps detergent work more effectively.

Use the Bottom Rack for Heavy-Duty Items

The bottom rack is where the strongest water pressure hits, making it ideal for your dirtiest items.

Place here:

  • Dinner plates (facing inward toward the spray arm)

  • Pots and pans (angled downward)

  • Baking sheets and cutting boards (along the sides)

Avoid stacking or overlapping—each surface needs direct water exposure to get clean.

Reserve the Top Rack for Delicates

The top rack is designed for lighter, more fragile items.

Best for:

  • Glasses and mugs (tilted downward to prevent pooling)

  • Small bowls (angled, not flat)

  • Plastic containers (top rack only to avoid heat damage)

Make sure items are stable and won’t flip over during the wash cycle.

Dishwasher utensil basket neatly organized with forks, spoons, and knives separated.
Bottom rack of dishwasher loaded with plates, pots, and baking sheets facing spray arms.
Overloaded dishwasher showing why overcrowding prevents dishes from getting clean.
Dishwasher spray arms spinning freely with properly spaced dishes inside.
Clean stainless steel interior of Kucht dishwasher after a wash cycle.

Load Utensils the Smart Way

Your utensil basket plays a bigger role than you might think.

Follow these tips:

  • Mix forks, spoons, and knives to prevent nesting

  • Place forks and spoons facing up

  • Place knives blade-down for safety

  • Use any built-in slots to keep items separated

Keep Spray Arms Free to Move

Kucht dishwashers rely on powerful rotating spray arms. If they’re blocked, your dishes won’t get clean.

Before starting a cycle:

  • Spin the spray arms manually to ensure nothing is in the way

  • Avoid placing tall items where they could interfere

Don’t Overload the Dishwasher

It’s tempting to fit everything in one load—but overcrowding is one of the biggest mistakes.

Give your dishes a little breathing room so:

  • Water can circulate properly

  • Detergent reaches every surface

  • Items dry more effectively

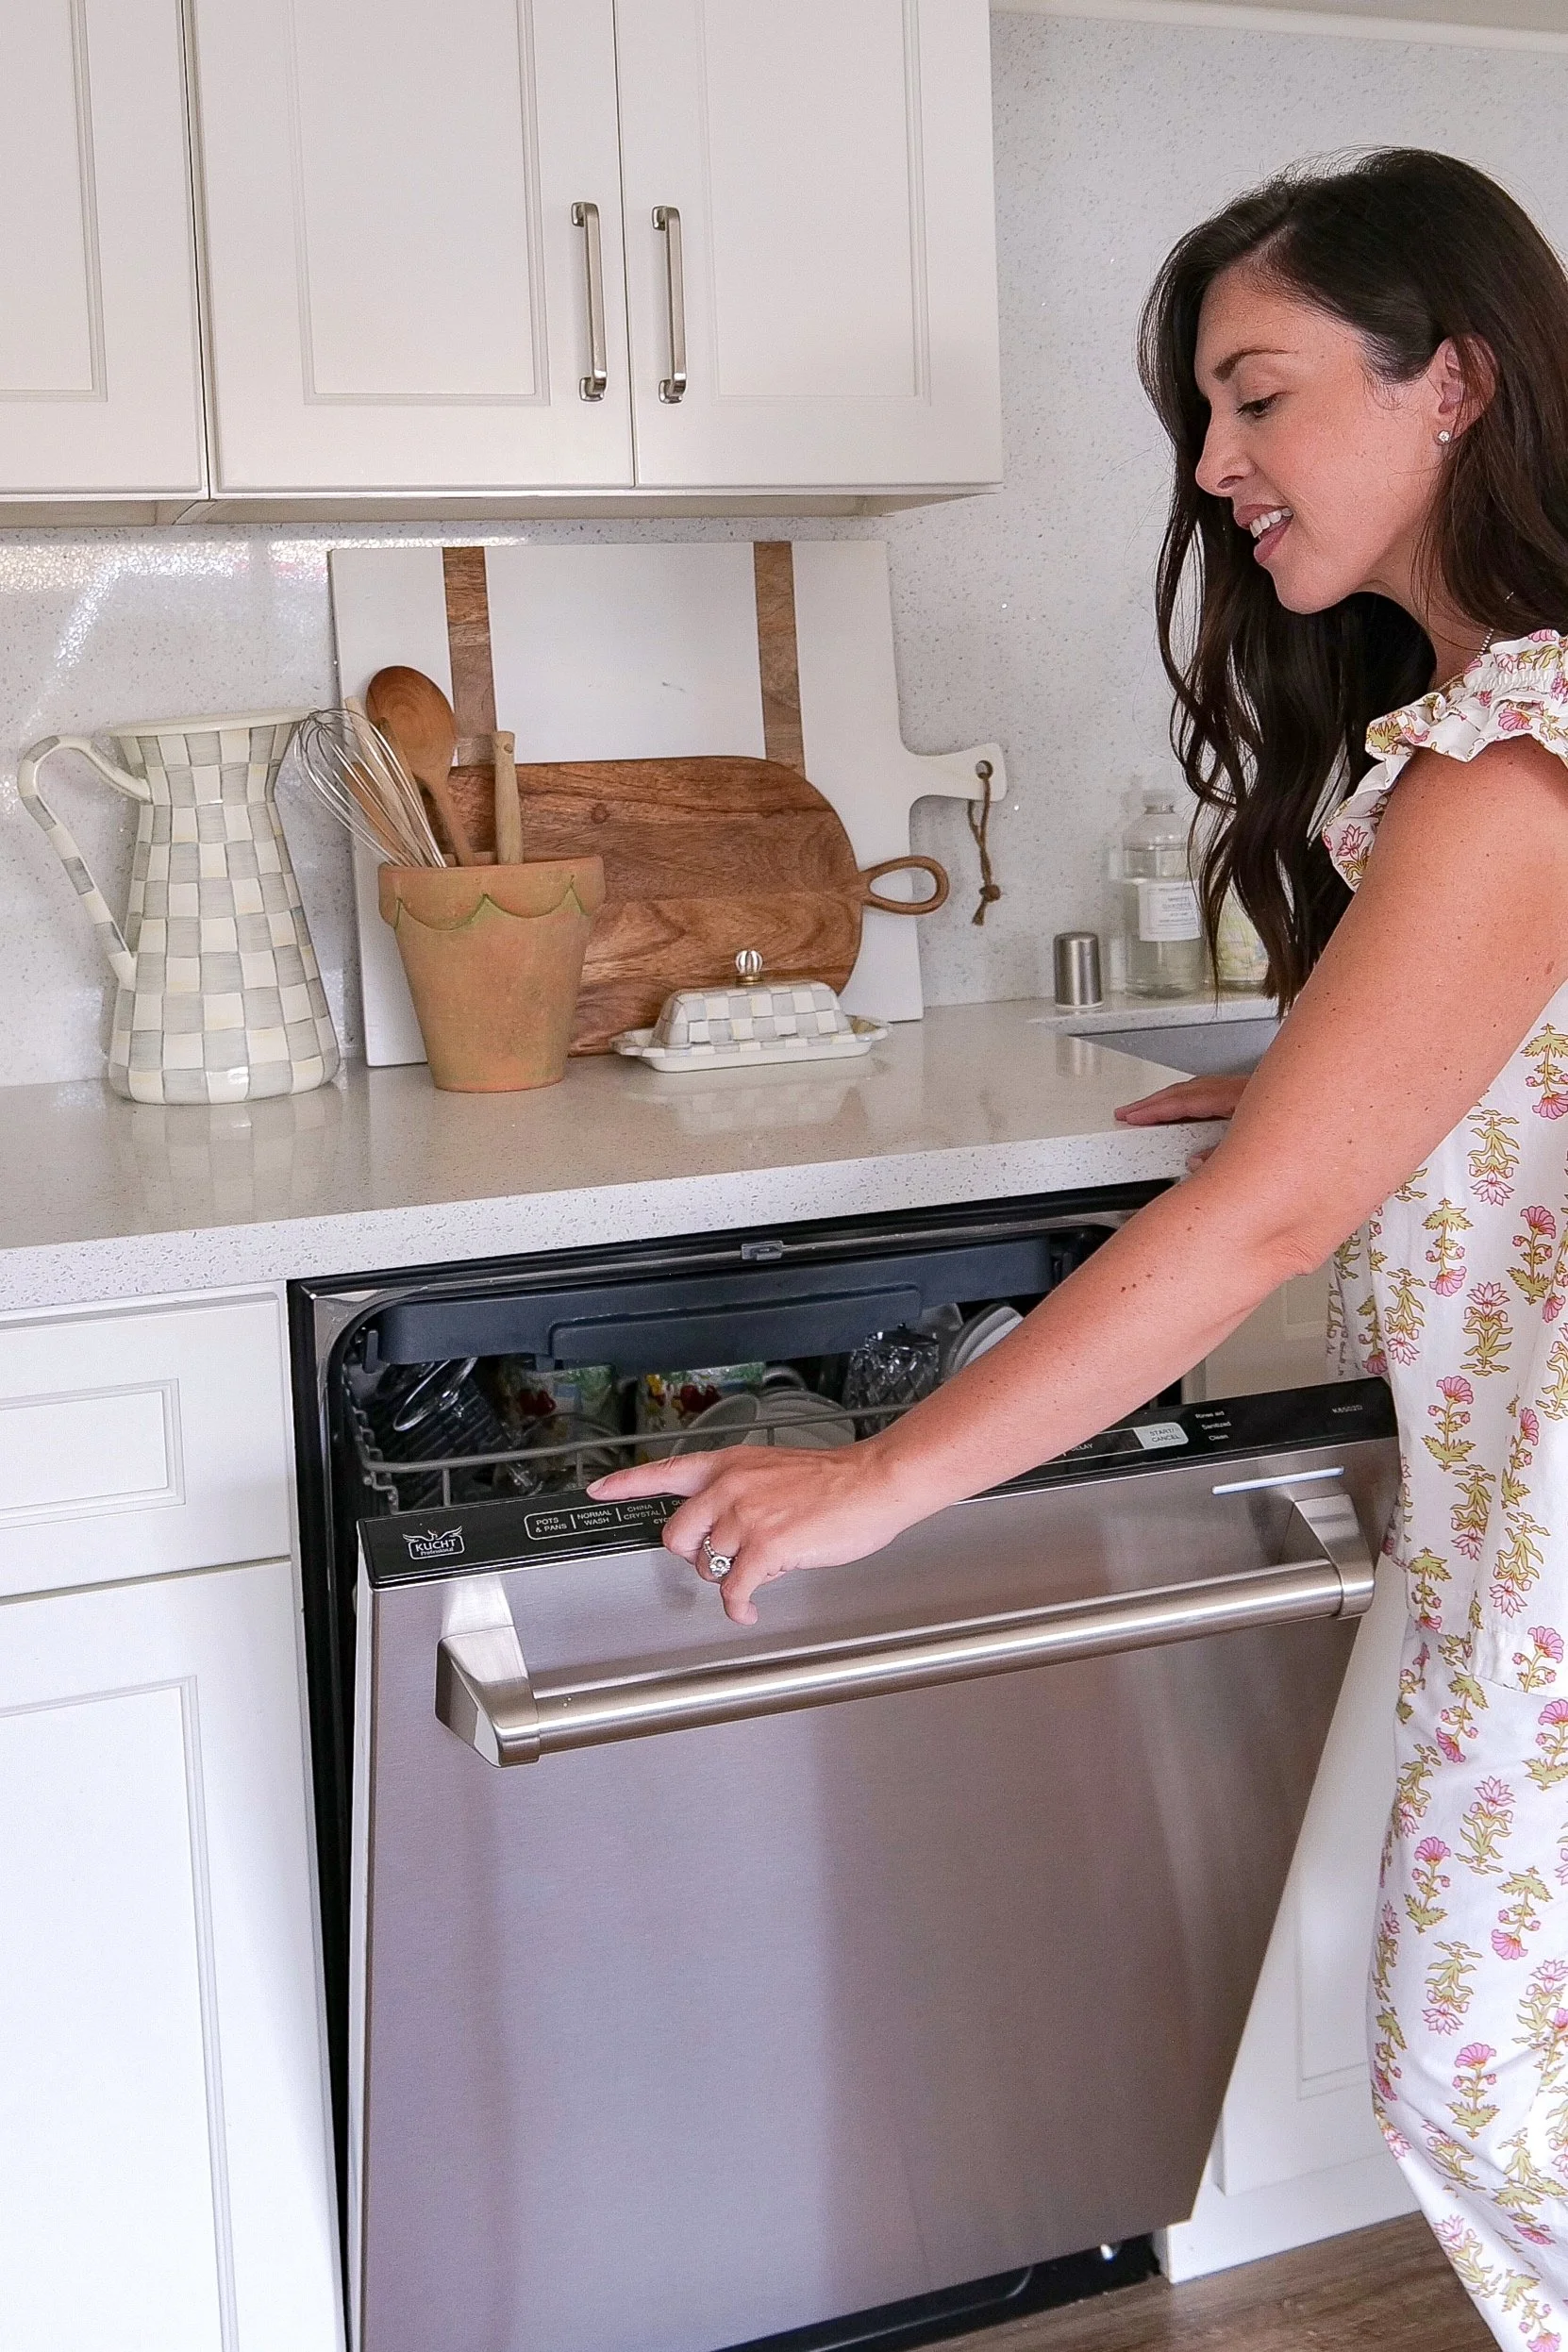
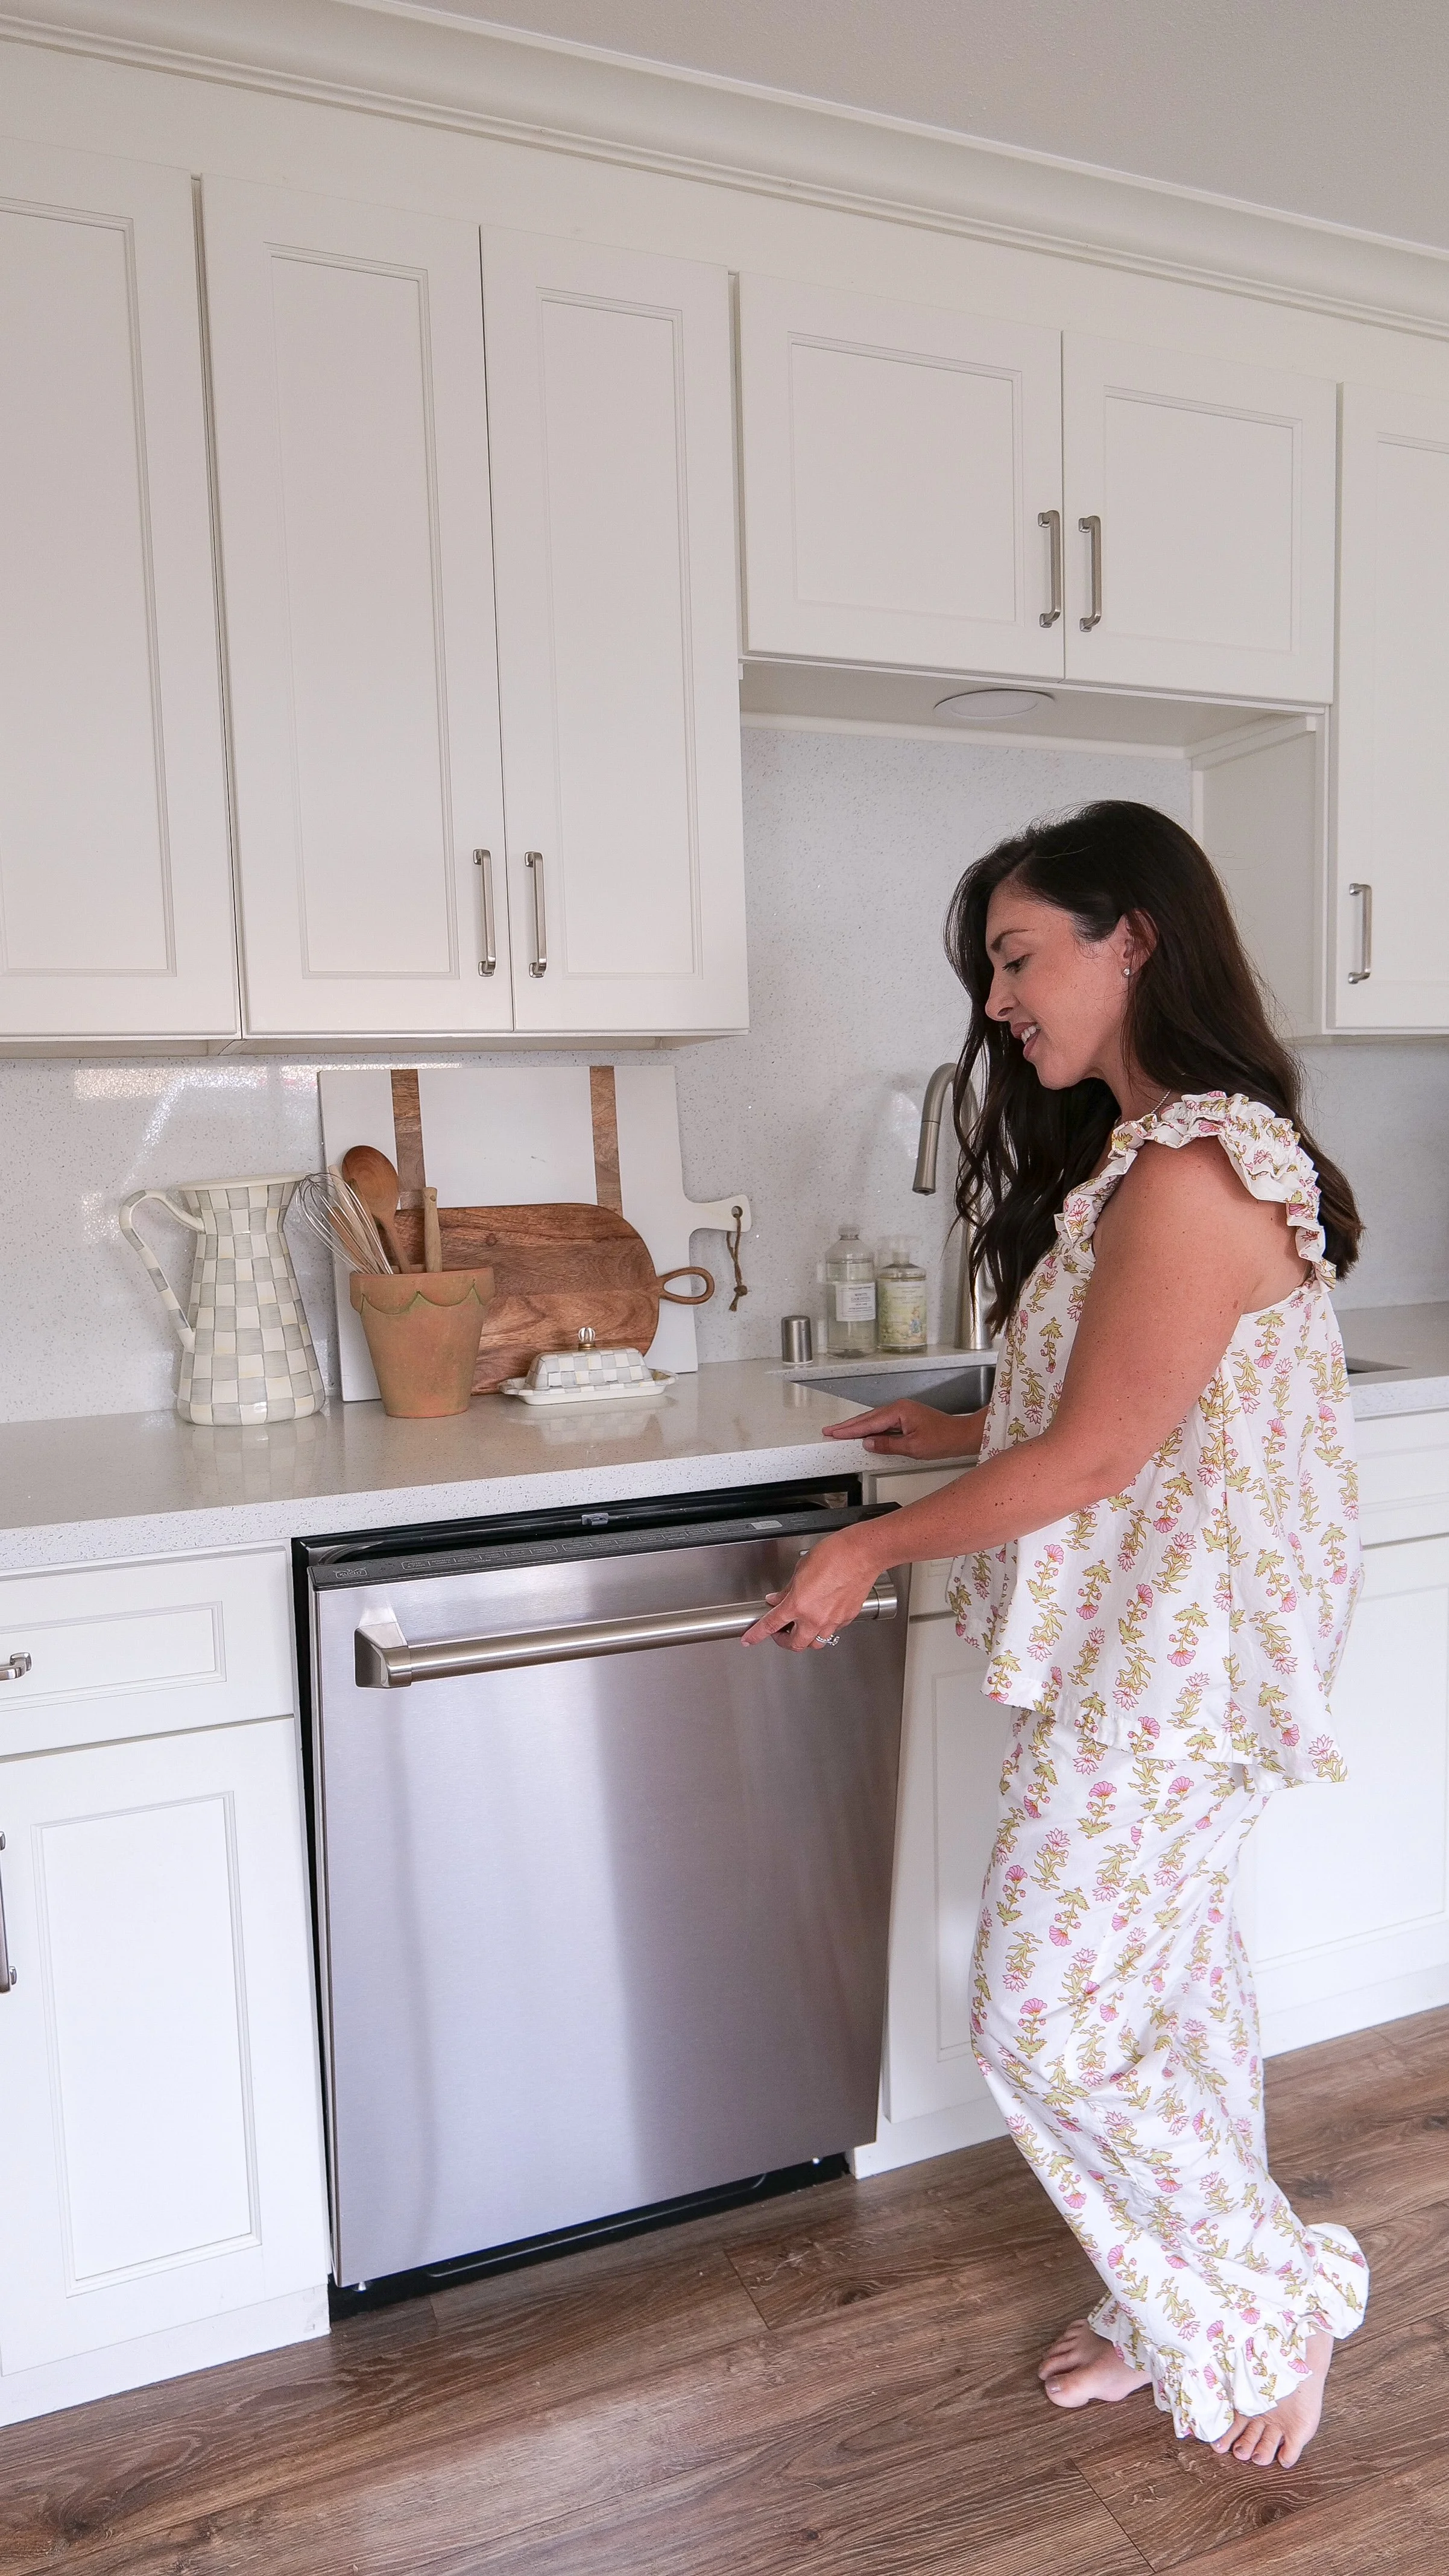
Built-in Kucht dishwasher installed in modern white kitchen cabinetry.

Use the Right Detergent and Settings

Choose a high-quality dishwasher detergent—pods are convenient, but powders or gels work well too. Don’t overdo it; more detergent won’t improve results.

Shop My Kitchen Essentials

A well-functioning kitchen starts with the right tools. These are some of my favorite kitchen essentials that make dishwashing, cleaning, and everyday kitchen routines easier and more efficient.

From dishwasher-safe cookware to cleaning essentials and kitchen organization must-haves, these are the products I personally use to keep my kitchen running smoothly.

👉 Shop Coastal Kitchen Appliances

👉 Shop Coastal Kitchen Decor & Style

👉 Shop Entertaining & Hosting Favorites

For best performance:

  • Use rinse aid to prevent spots on glassware

  • Select a heavier cycle for greasy loads

  • Run hot water in your sink before starting the dishwasher

Know What to Keep Out

Even a high-end Kucht dishwasher isn’t meant for everything. Avoid washing:

  • Wooden utensils or cutting boards

  • Cast iron cookware

  • Sharp knives (they dull faster)

  • Non-dishwasher-safe plastics

  • Delicate or hand-painted items

Keep Your Dishwasher Clean, Too

To keep your Kucht performing at its best:

  • Clean the filter regularly

  • Wipe down the door seals

  • Run an occasional cleaning cycle with a dishwasher cleaner

Looking for more ways to create a functional and beautiful home? Here are a few recent spaces and design projects I’ve been working on:

More Home Design & Lifestyle Inspiration

If you love creating a beautiful and functional home, you might also enjoy these recent home design and lifestyle posts:

Coastal Kitchen Makeover with Blue Range (Timeless Beach House Kitchen Ideas)
Creating an Elegant Home Office with a Masculine Touch Perfect for Him and Her
Achieve a Stunning Subtle French Country Living Room Design Effortlessly!
Transforming Your Space: Achieve a Stunning Traditional Neutral Primary Bathroom Makeover with These Simple Tips!
Our Light Sage Green & Neutral Nursery Design
Celebrating New Beginnings with Our Whimsical Garden Baby Shower

These spaces reflect the same approach I love—timeless, livable design with thoughtful details that make everyday routines feel more beautiful and intentional.

Final Thoughts

Loading your Kucht dishwasher properly isn’t complicated—but it does make a big difference. With the right setup, you’ll get cleaner dishes, avoid damage, and even extend the life of your machine.

A few extra seconds of thoughtful loading can save you from rewashing dishes—and that’s a win every time.

Frequently Asked Questions

Do I need to rinse dishes before loading the dishwasher?

No. Simply scrape off large food particles. Modern dishwashers are designed to handle residue.

Why are my dishes still dirty after washing?

This is usually caused by overcrowding, blocked spray arms, or incorrect loading.

What should I NOT put in the dishwasher?

Avoid wood, cast iron, sharp knives, and non-dishwasher-safe plastics.

How often should I clean my dishwasher?

At least once a month, including filter cleaning and a deep cleaning cycle.

Does dishwasher detergent type matter?

Yes. High-quality pods, powders, or gels all work well when used correctly.

Sparkling clean dishes and glassware coming out of dishwasher after proper loading.

Elevate Your Appetizers with This Must-Try Deviled Egg Flight: 6 Irresistible Recipes to Craft at Home!

Looking for a creative appetizer that's guaranteed to impress guests? This Deviled Egg Flight features six unique deviled egg recipes in one beautiful presentation, making it perfect for Easter, brunches, baby showers, holiday gatherings, and spring entertaining.

↓ Skip to Recipe

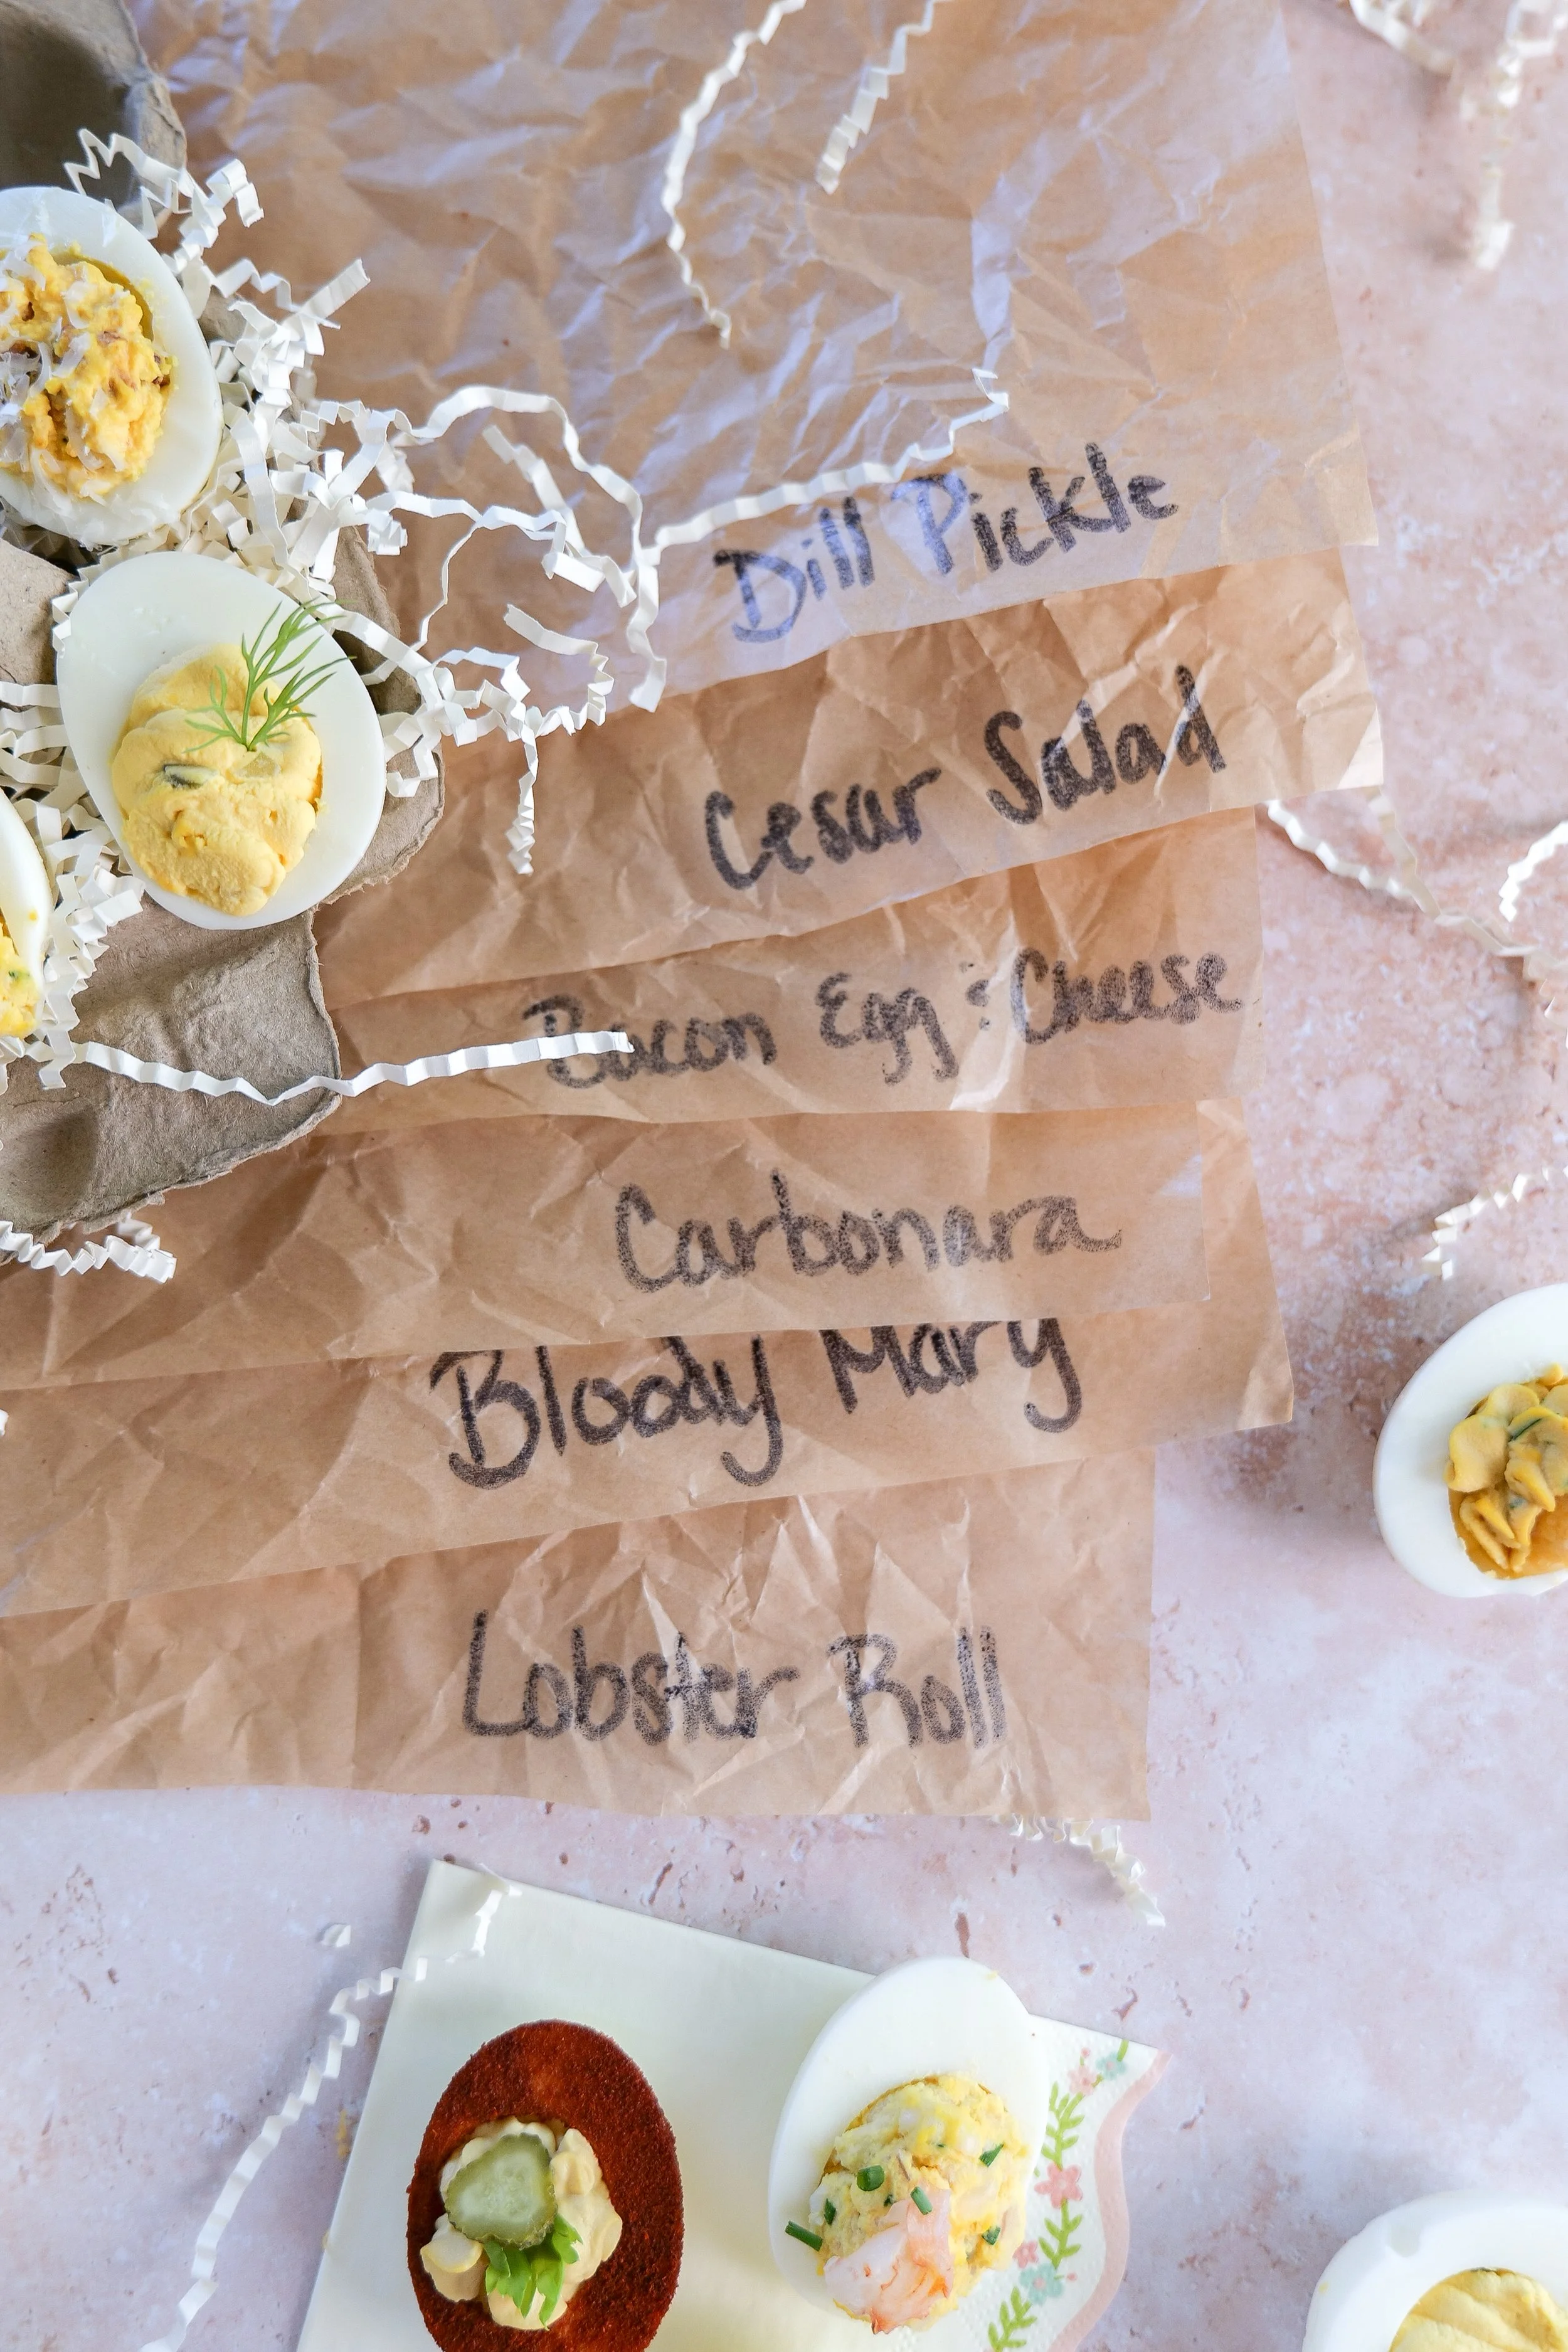
From classic Bacon & Cheddar Deviled Eggs to Lobster Roll, Caesar Salad, Bloody Mary, Carbonara, and Dill Pickle variations, this viral deviled egg flight offers something for everyone. Easy to customize and surprisingly simple to assemble, it's a fun way to elevate traditional deviled eggs into a memorable appetizer experience.

Why You'll Love This Deviled Egg Flight

✔ Six unique deviled egg flavors in one platter

✔ Perfect for Easter, brunches, and parties

✔ Easy to prepare ahead of time

✔ Great conversation starter for entertaining

✔ Customizable with your favorite flavors

✔ A fun twist on traditional deviled eggs

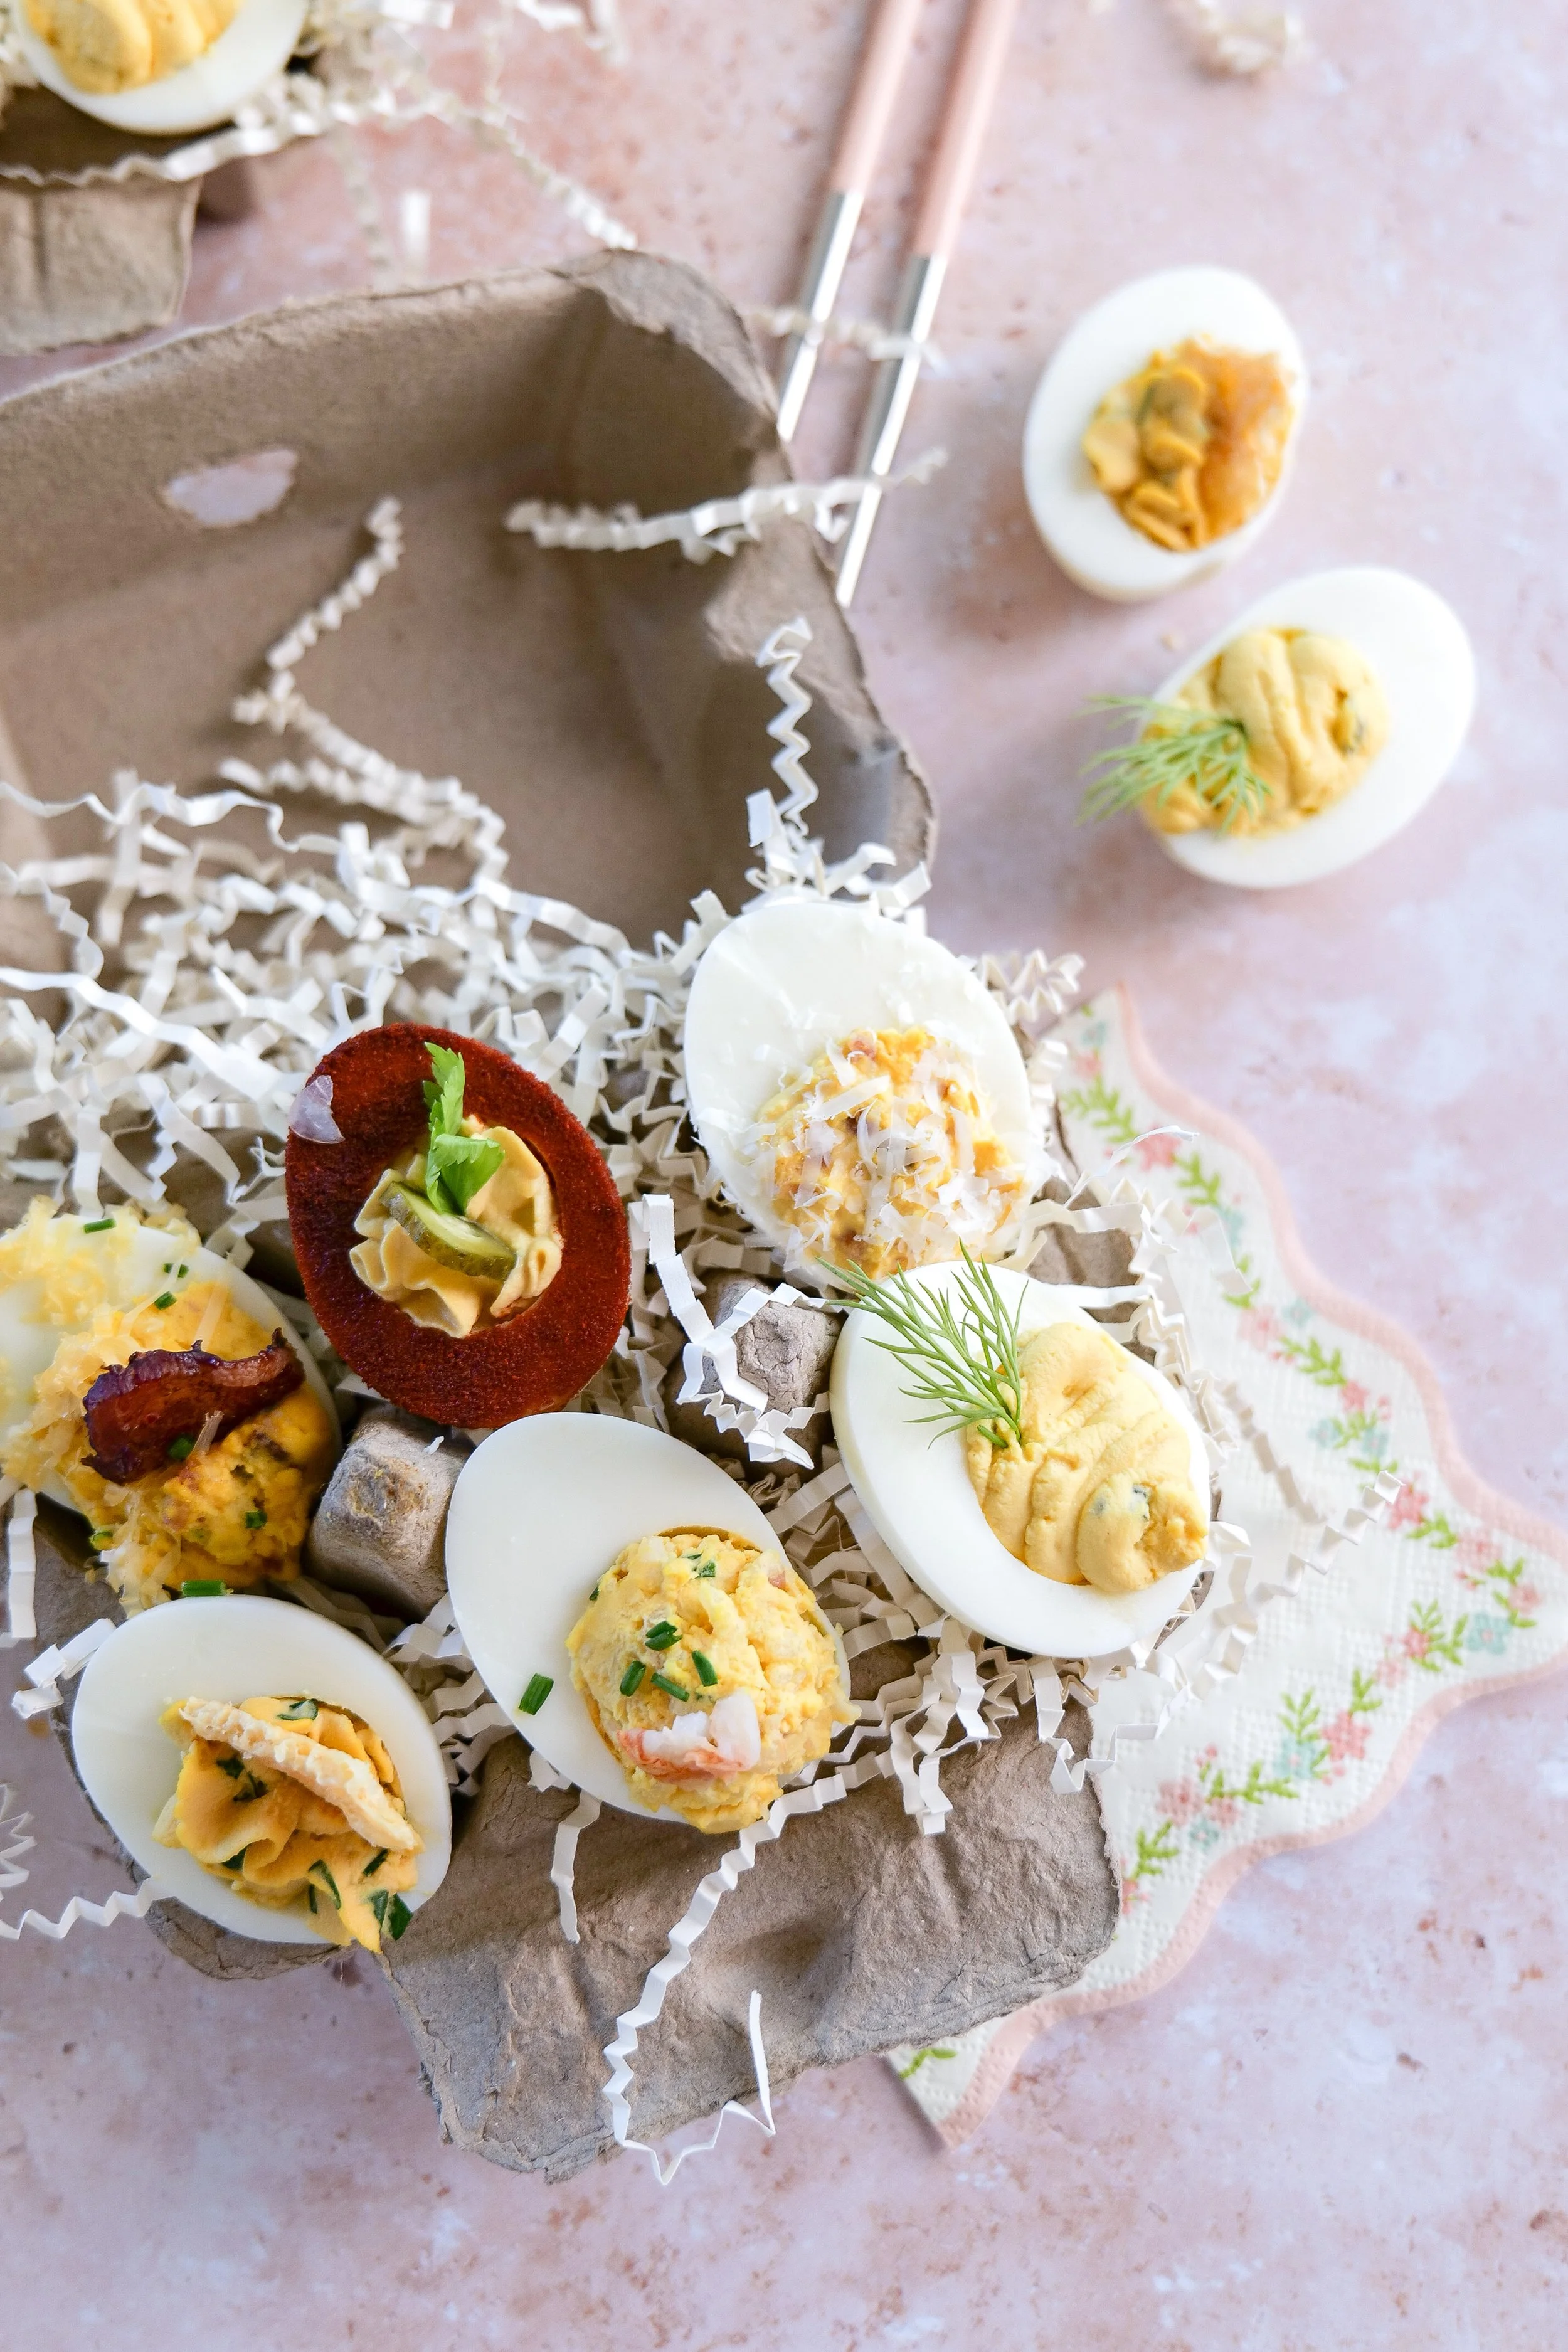
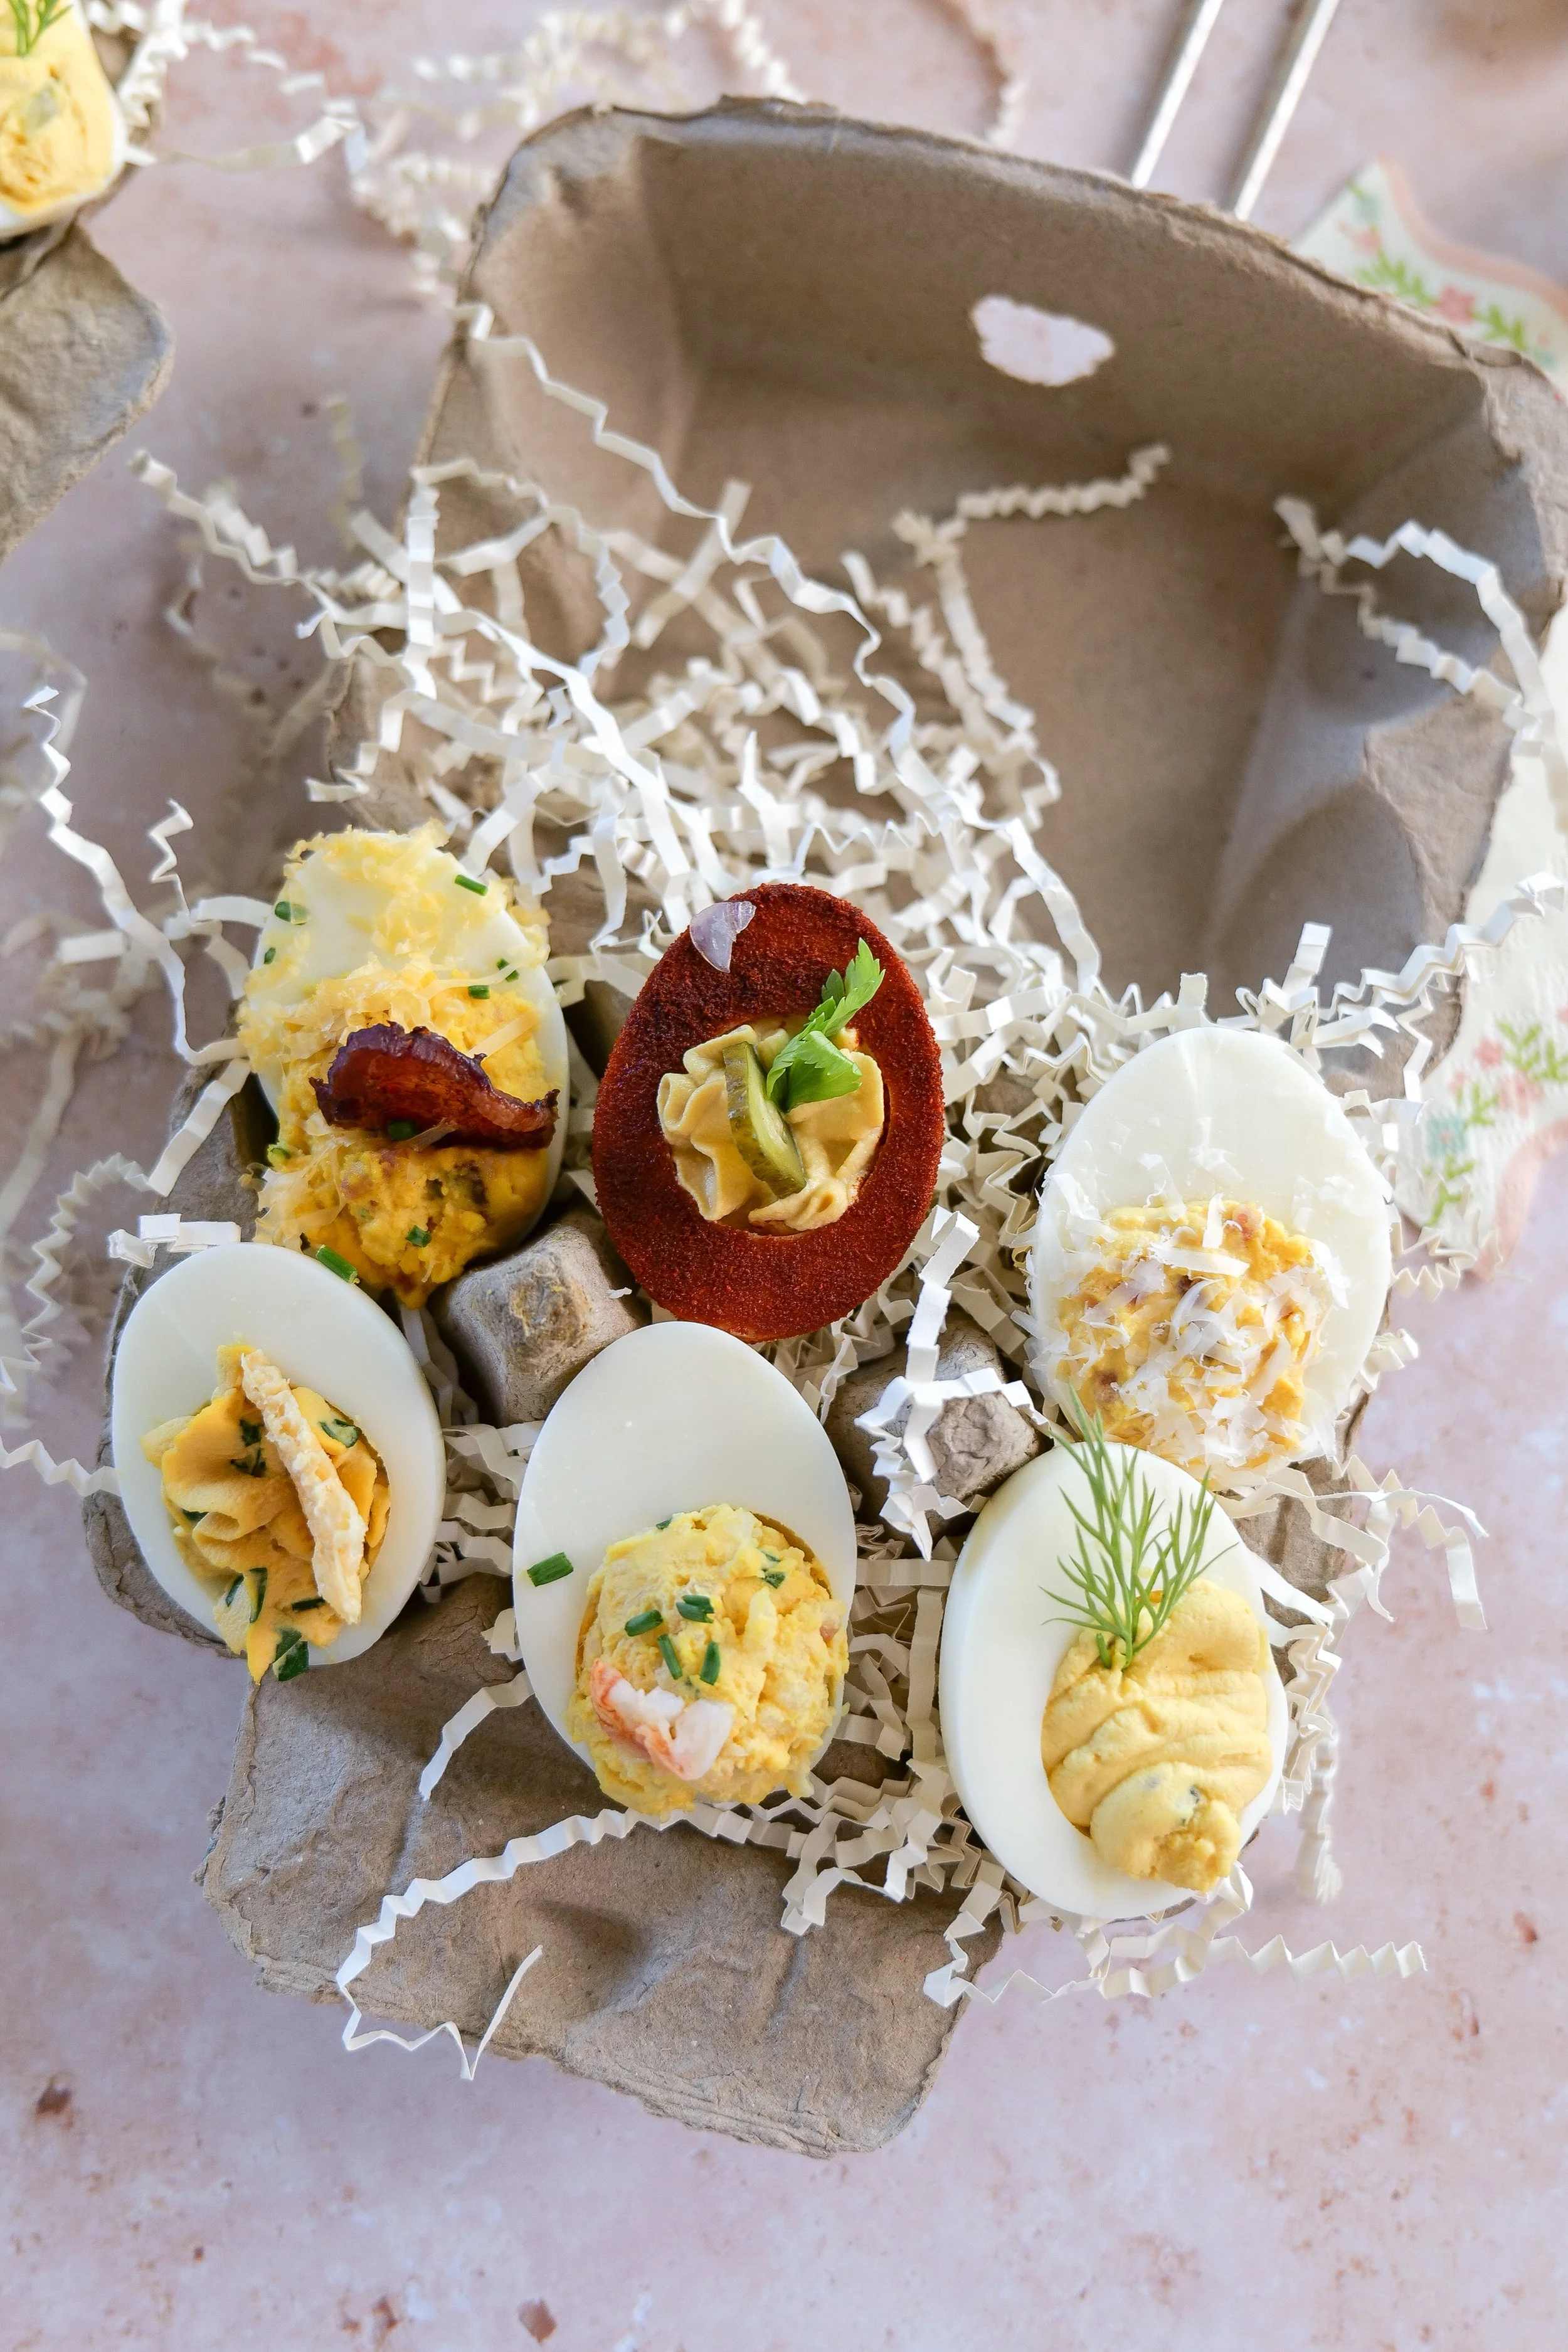
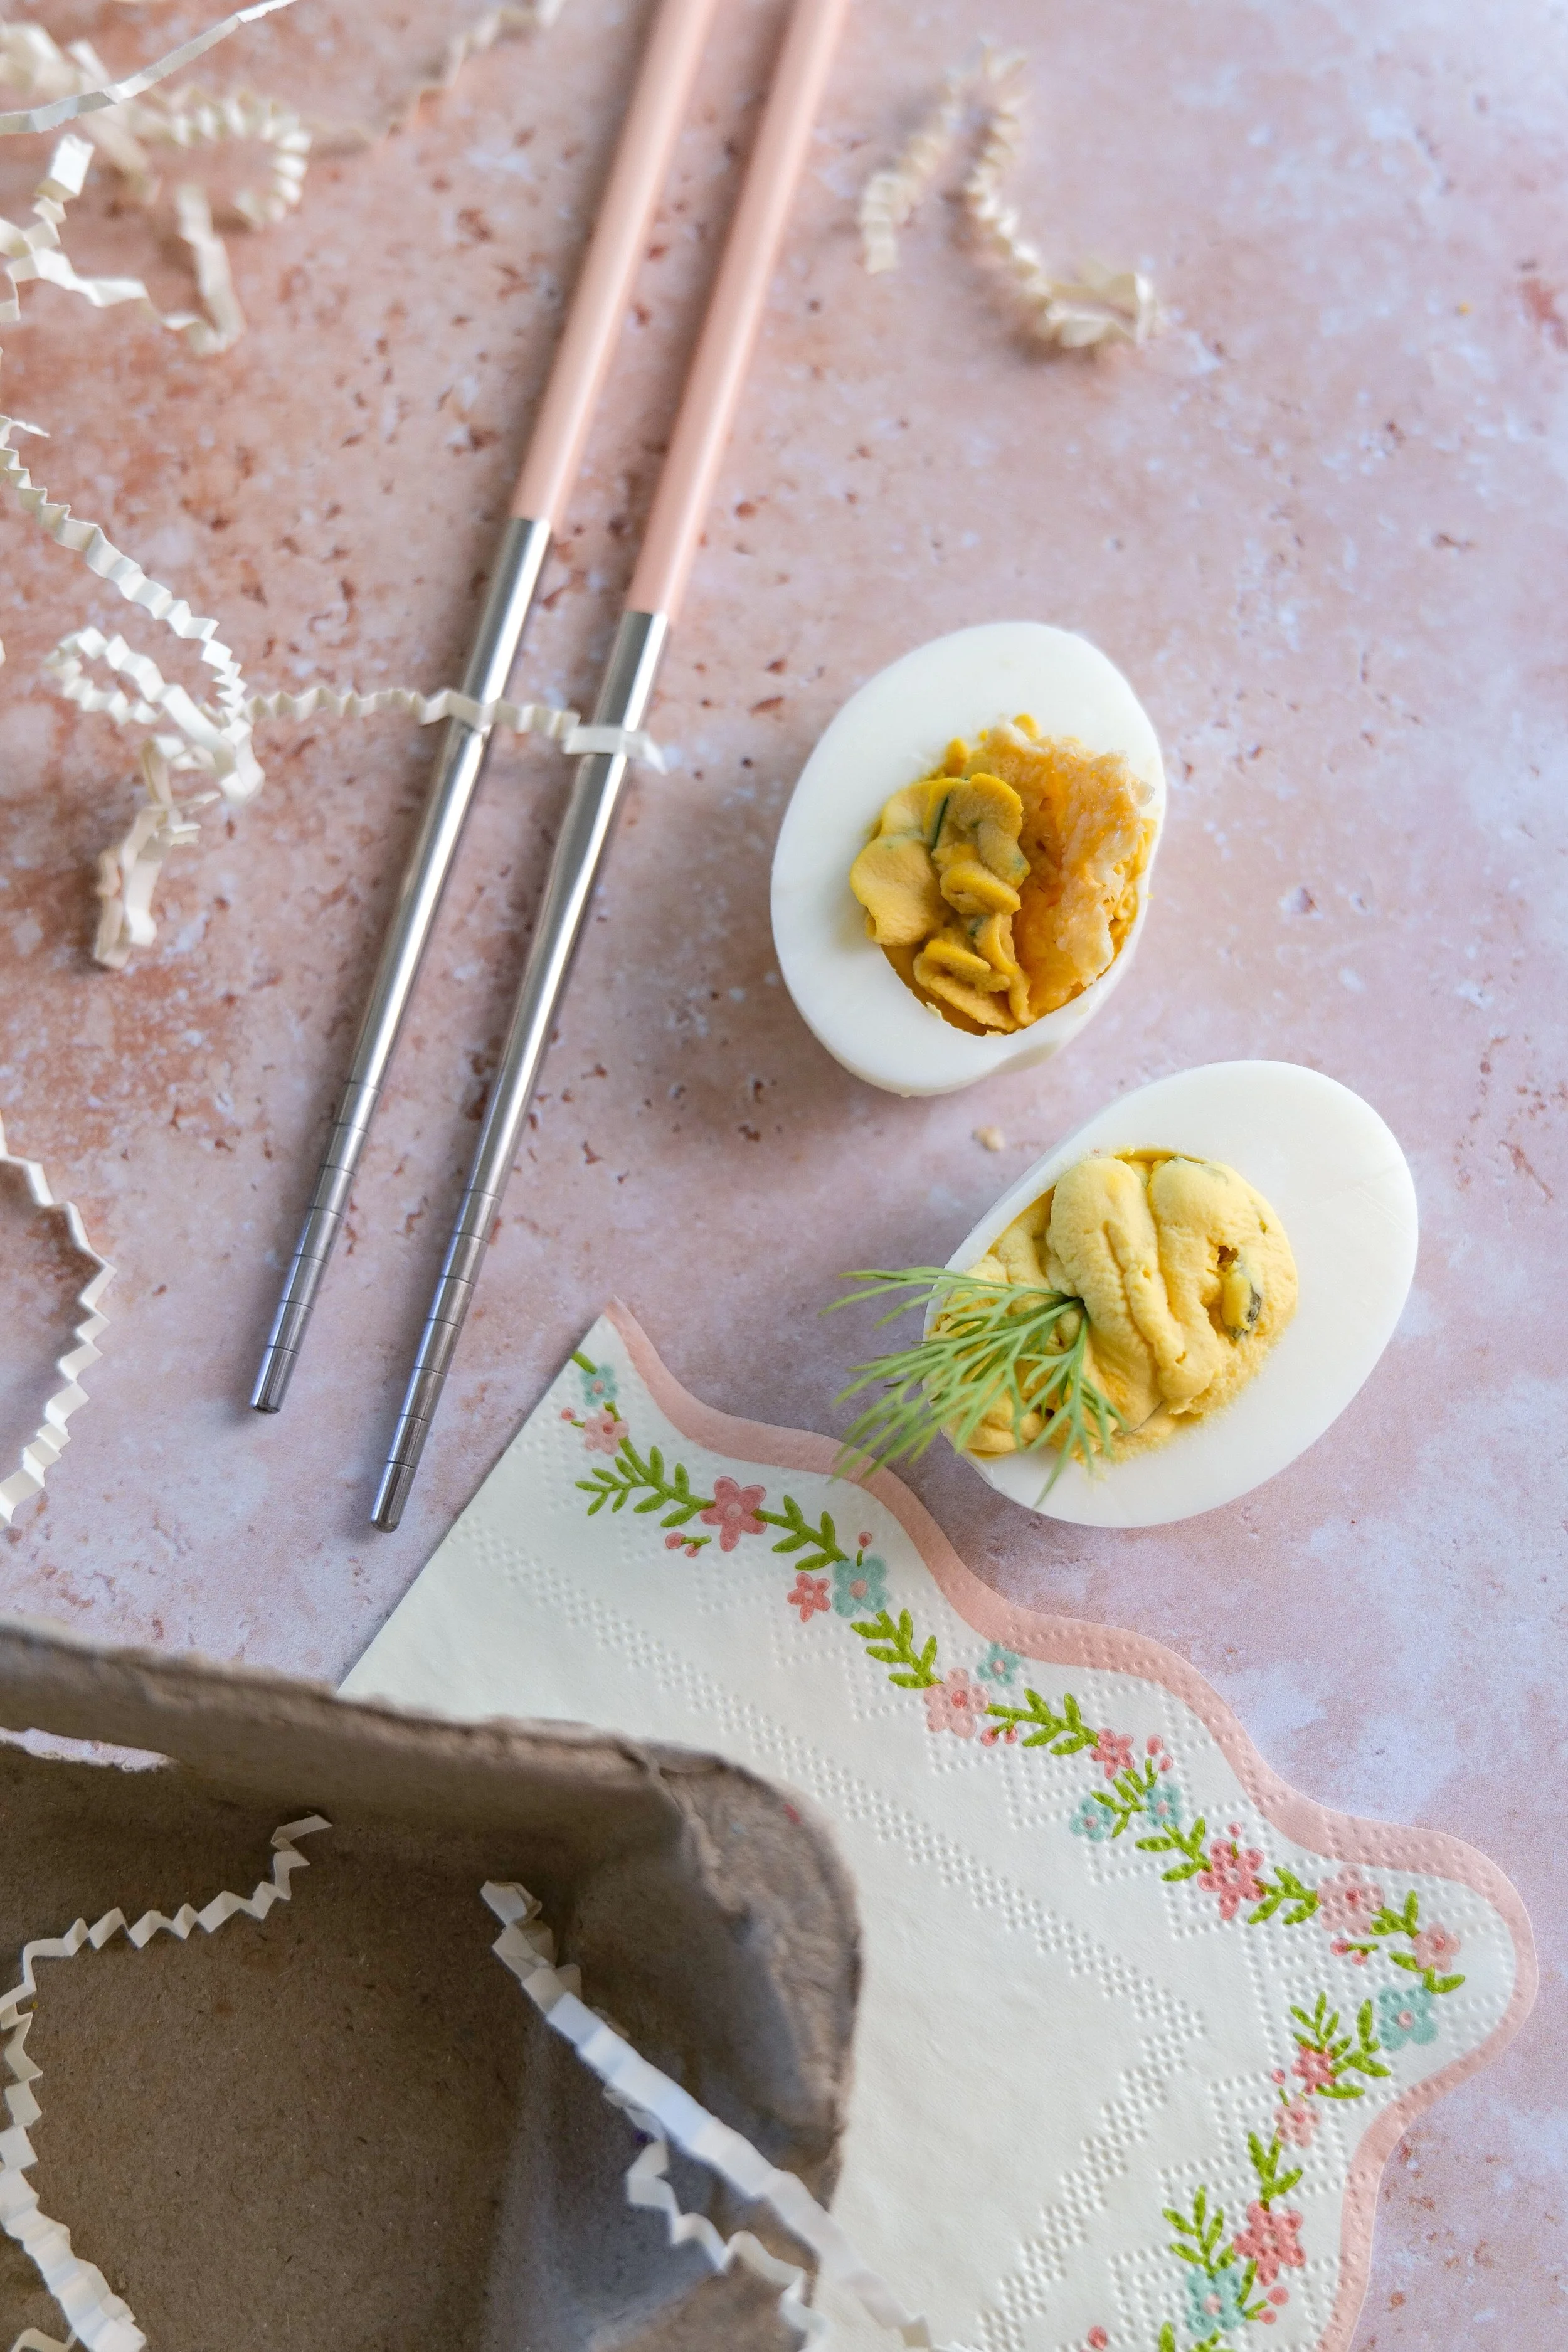
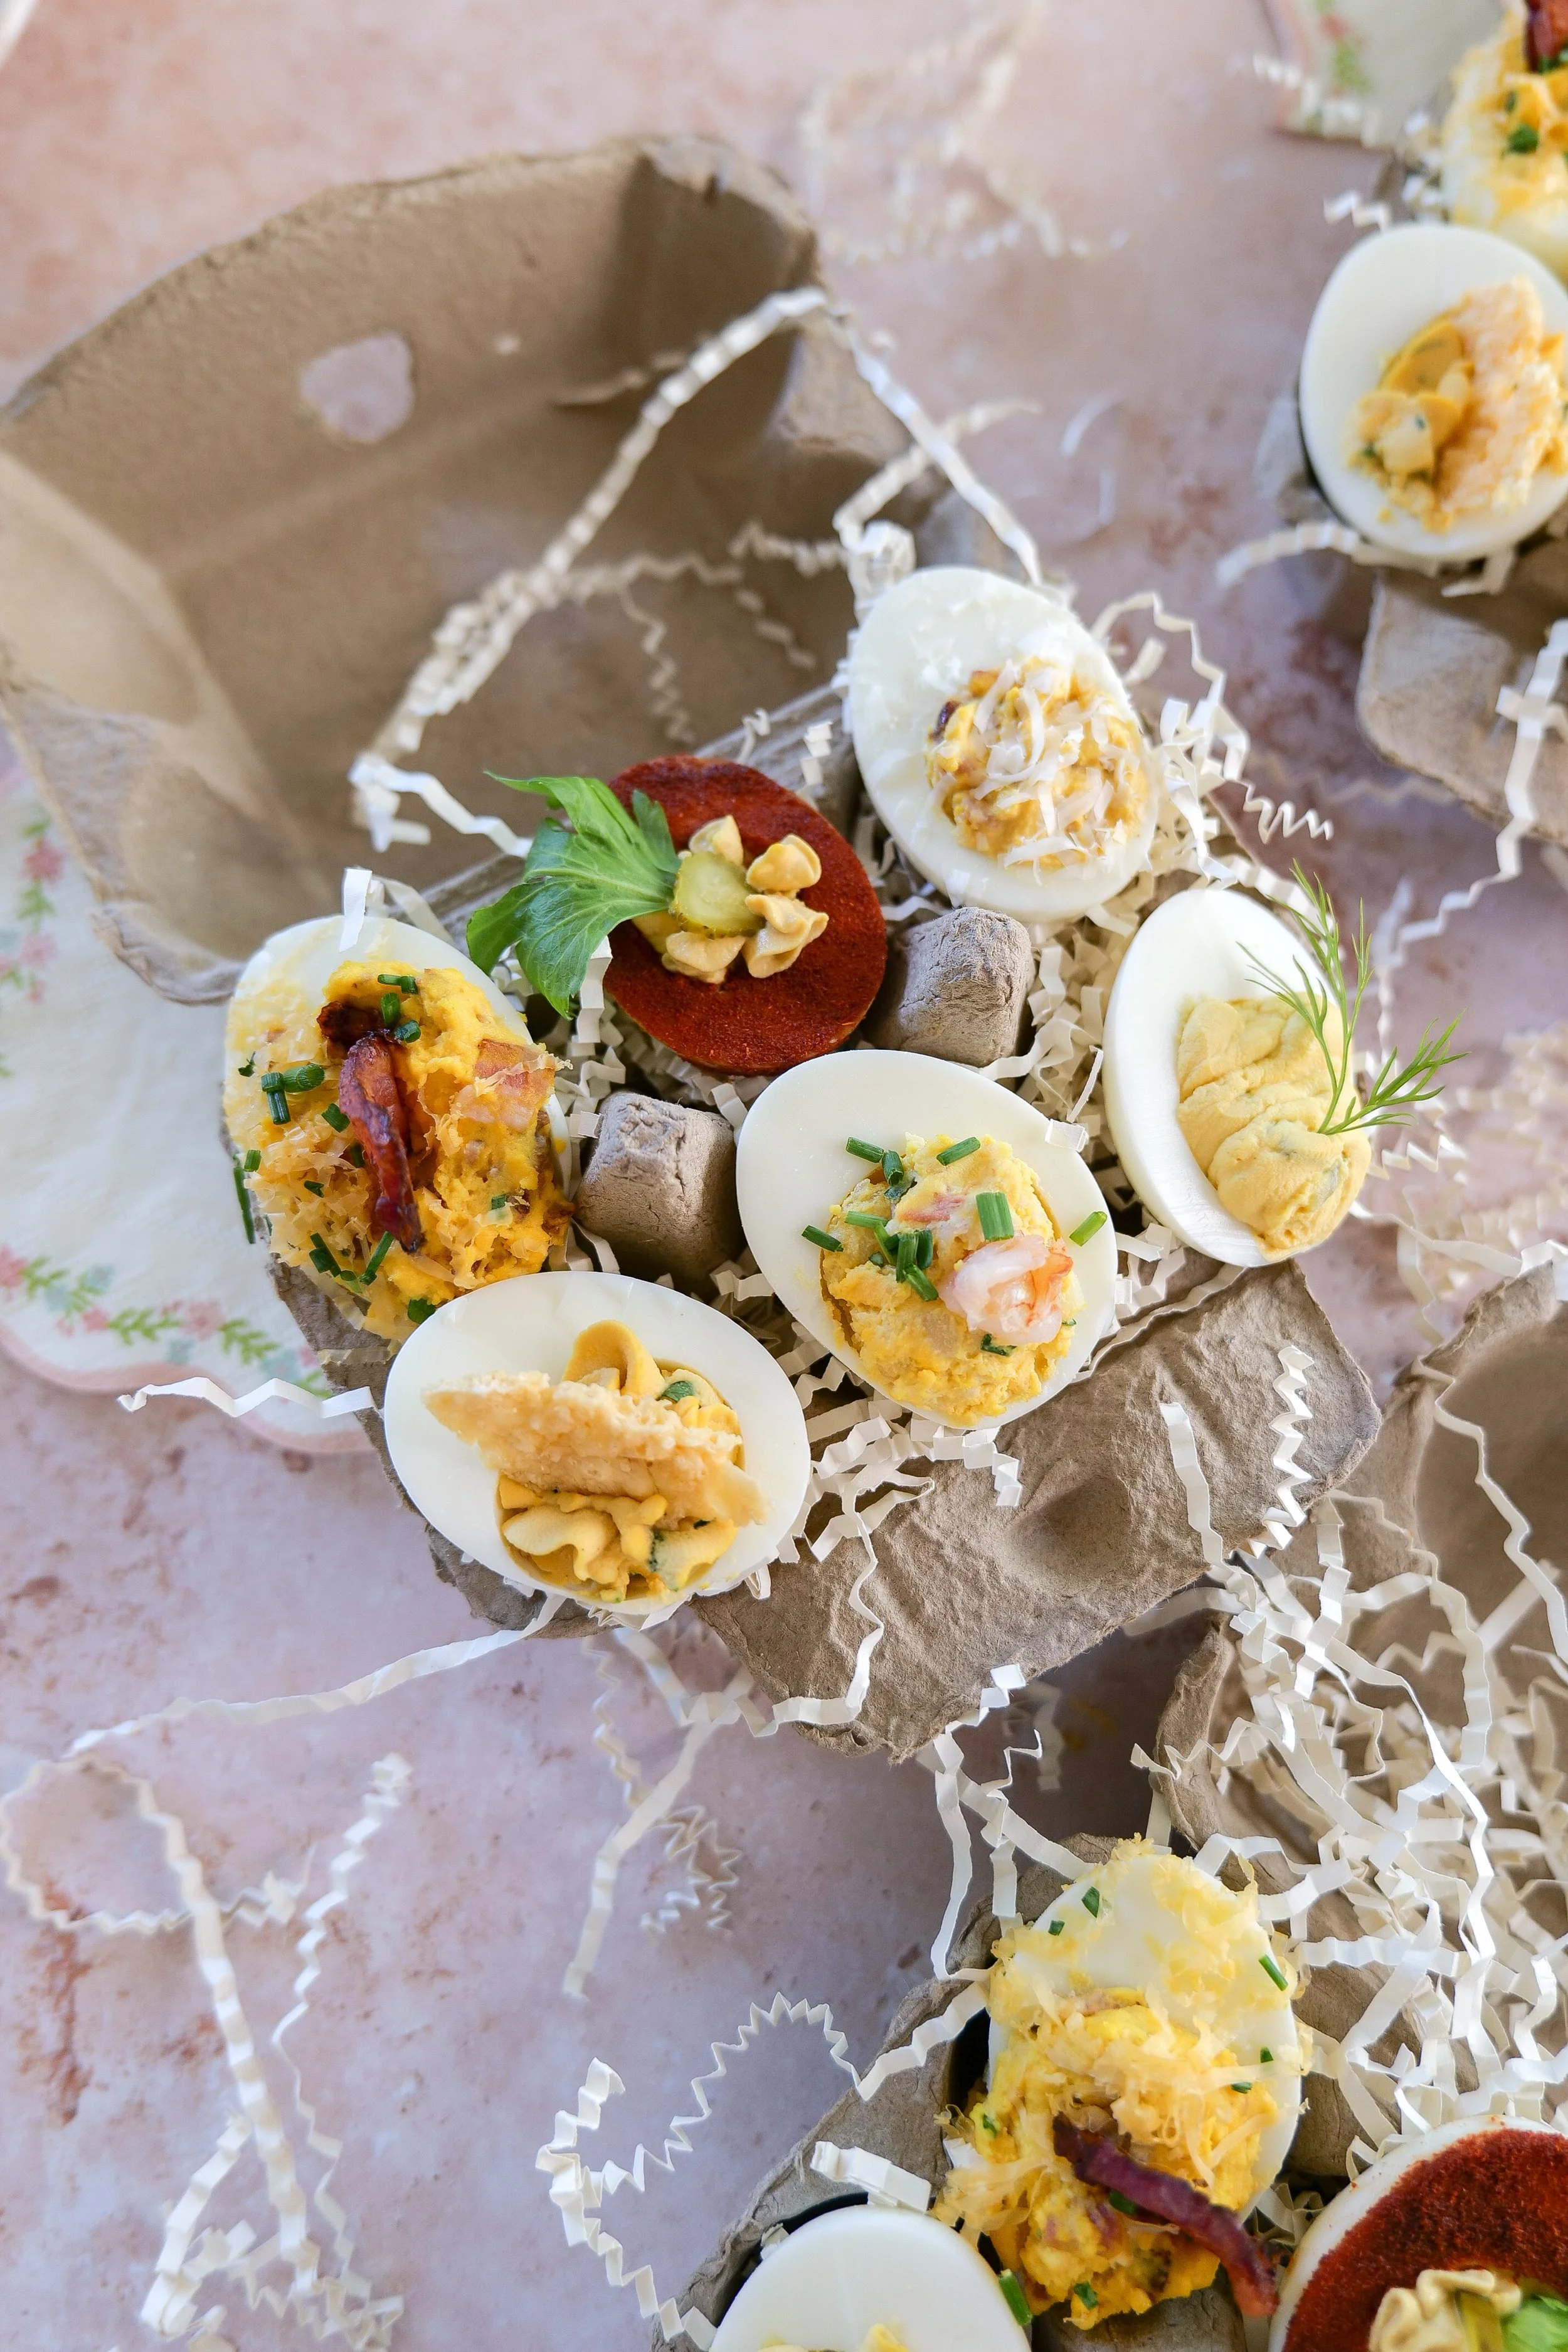
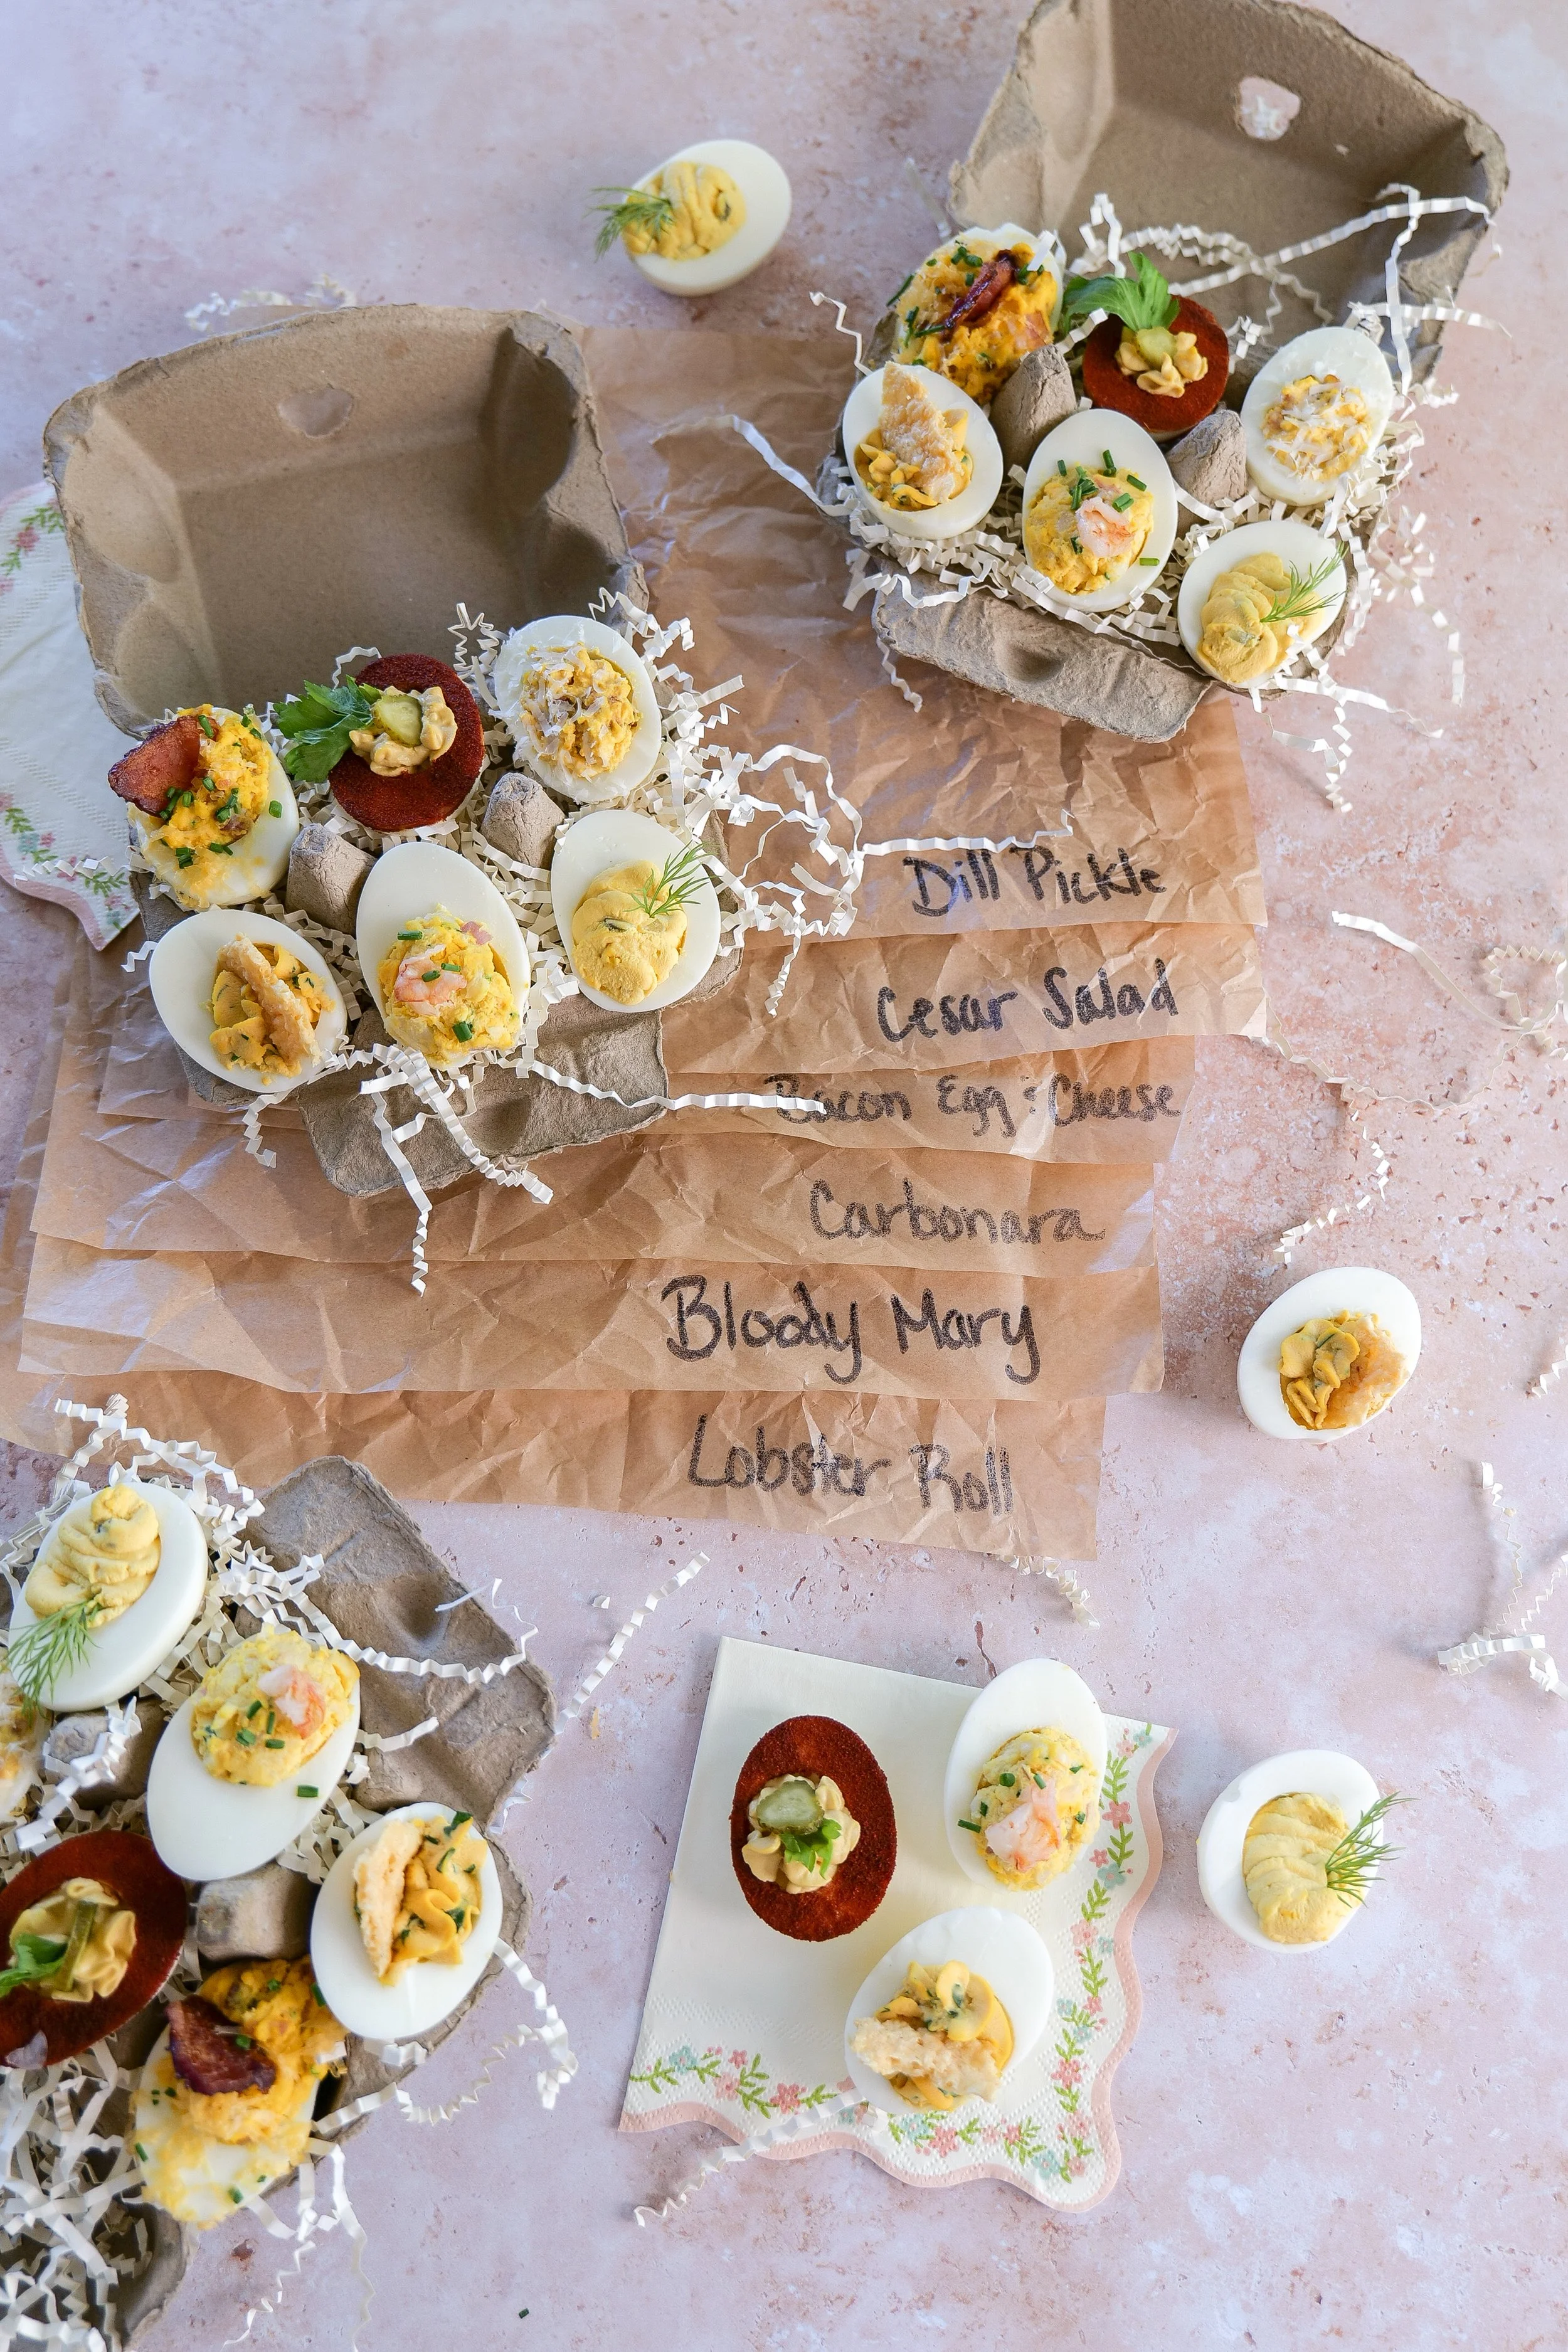
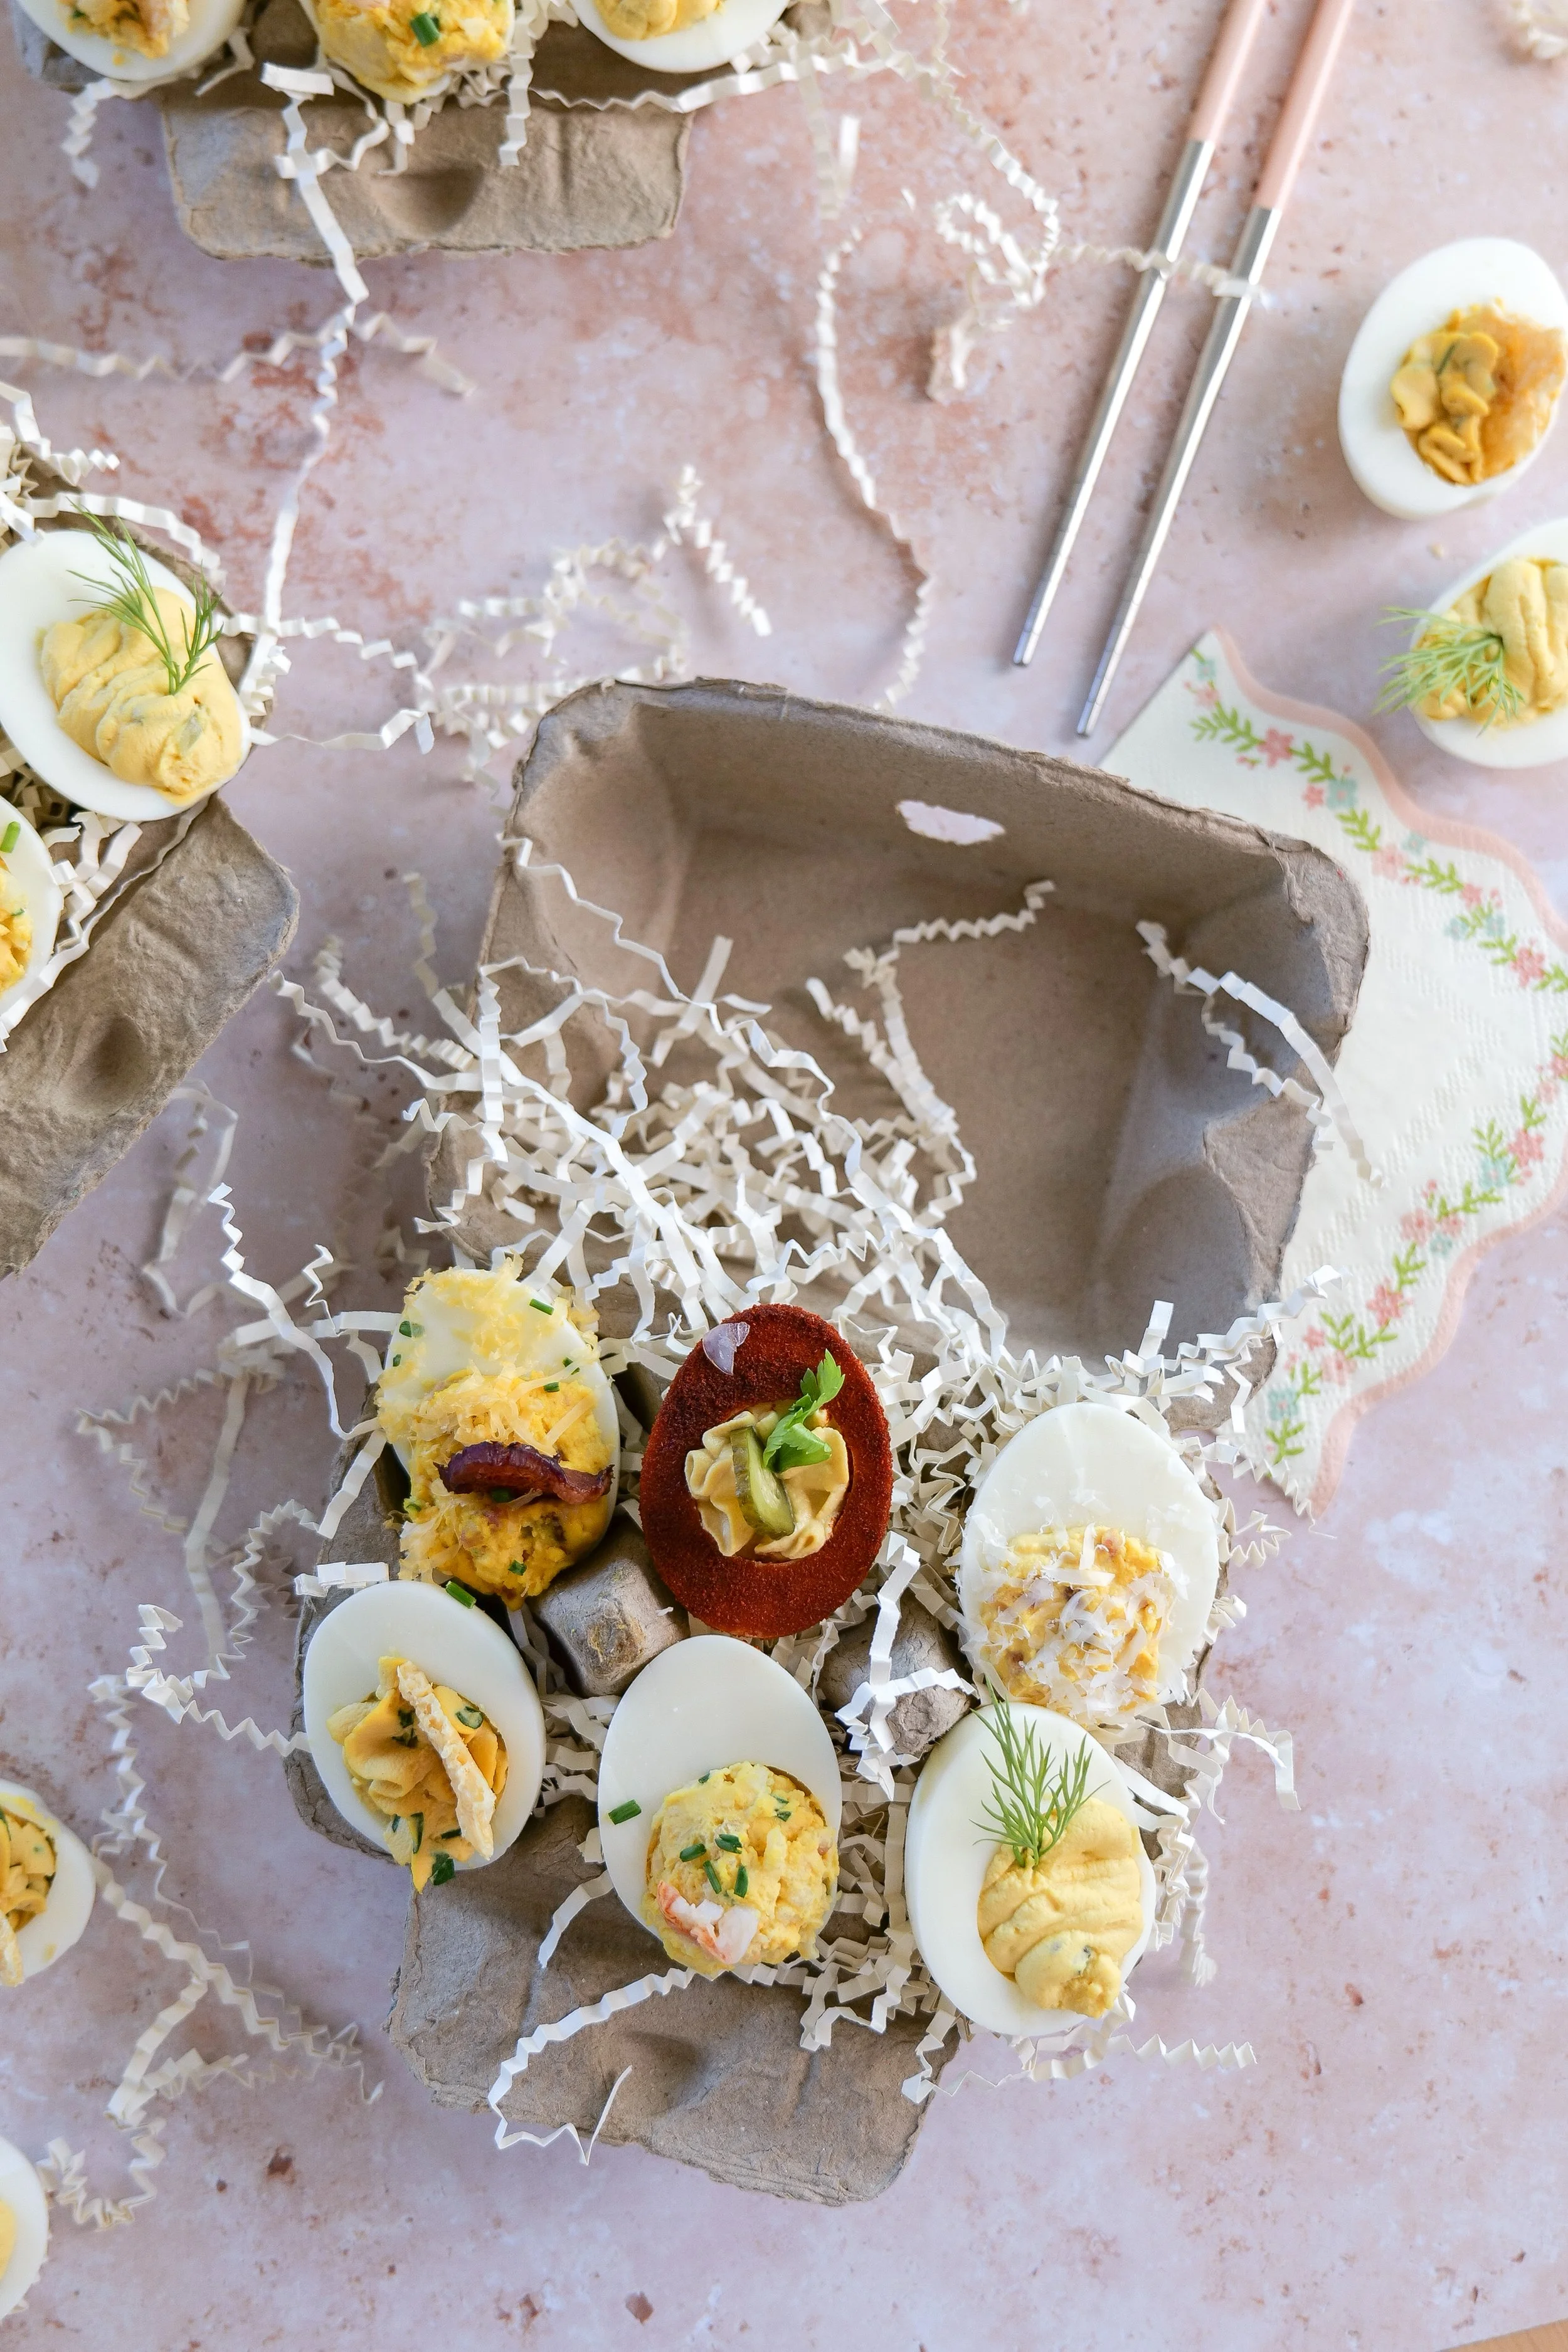
Deviled egg flight featuring six unique deviled egg flavors for Easter and entertaining
Six different deviled egg recipes arranged on a serving platter
Easter deviled egg flight displayed in a decorative egg carton

The viral egg flight concept puts an unexpectedly exciting twist on deviled eggs, transforming them into a unique appetizer experience. This innovative array showcases the blend of flavors and textures, turning each bite into a delightful surprise. Perfect for entertaining, this deviled egg flight features six distinctive recipes designed to cater to a variety of taste preferences. Each deviled egg recipe is crafted with creative ingredients and seasonings, providing guests with an elevated, bite-sized treat. The blog provides easy-to-follow steps for crafting your own deviled egg flight, ensuring your appetizer platter becomes the star of any gathering.

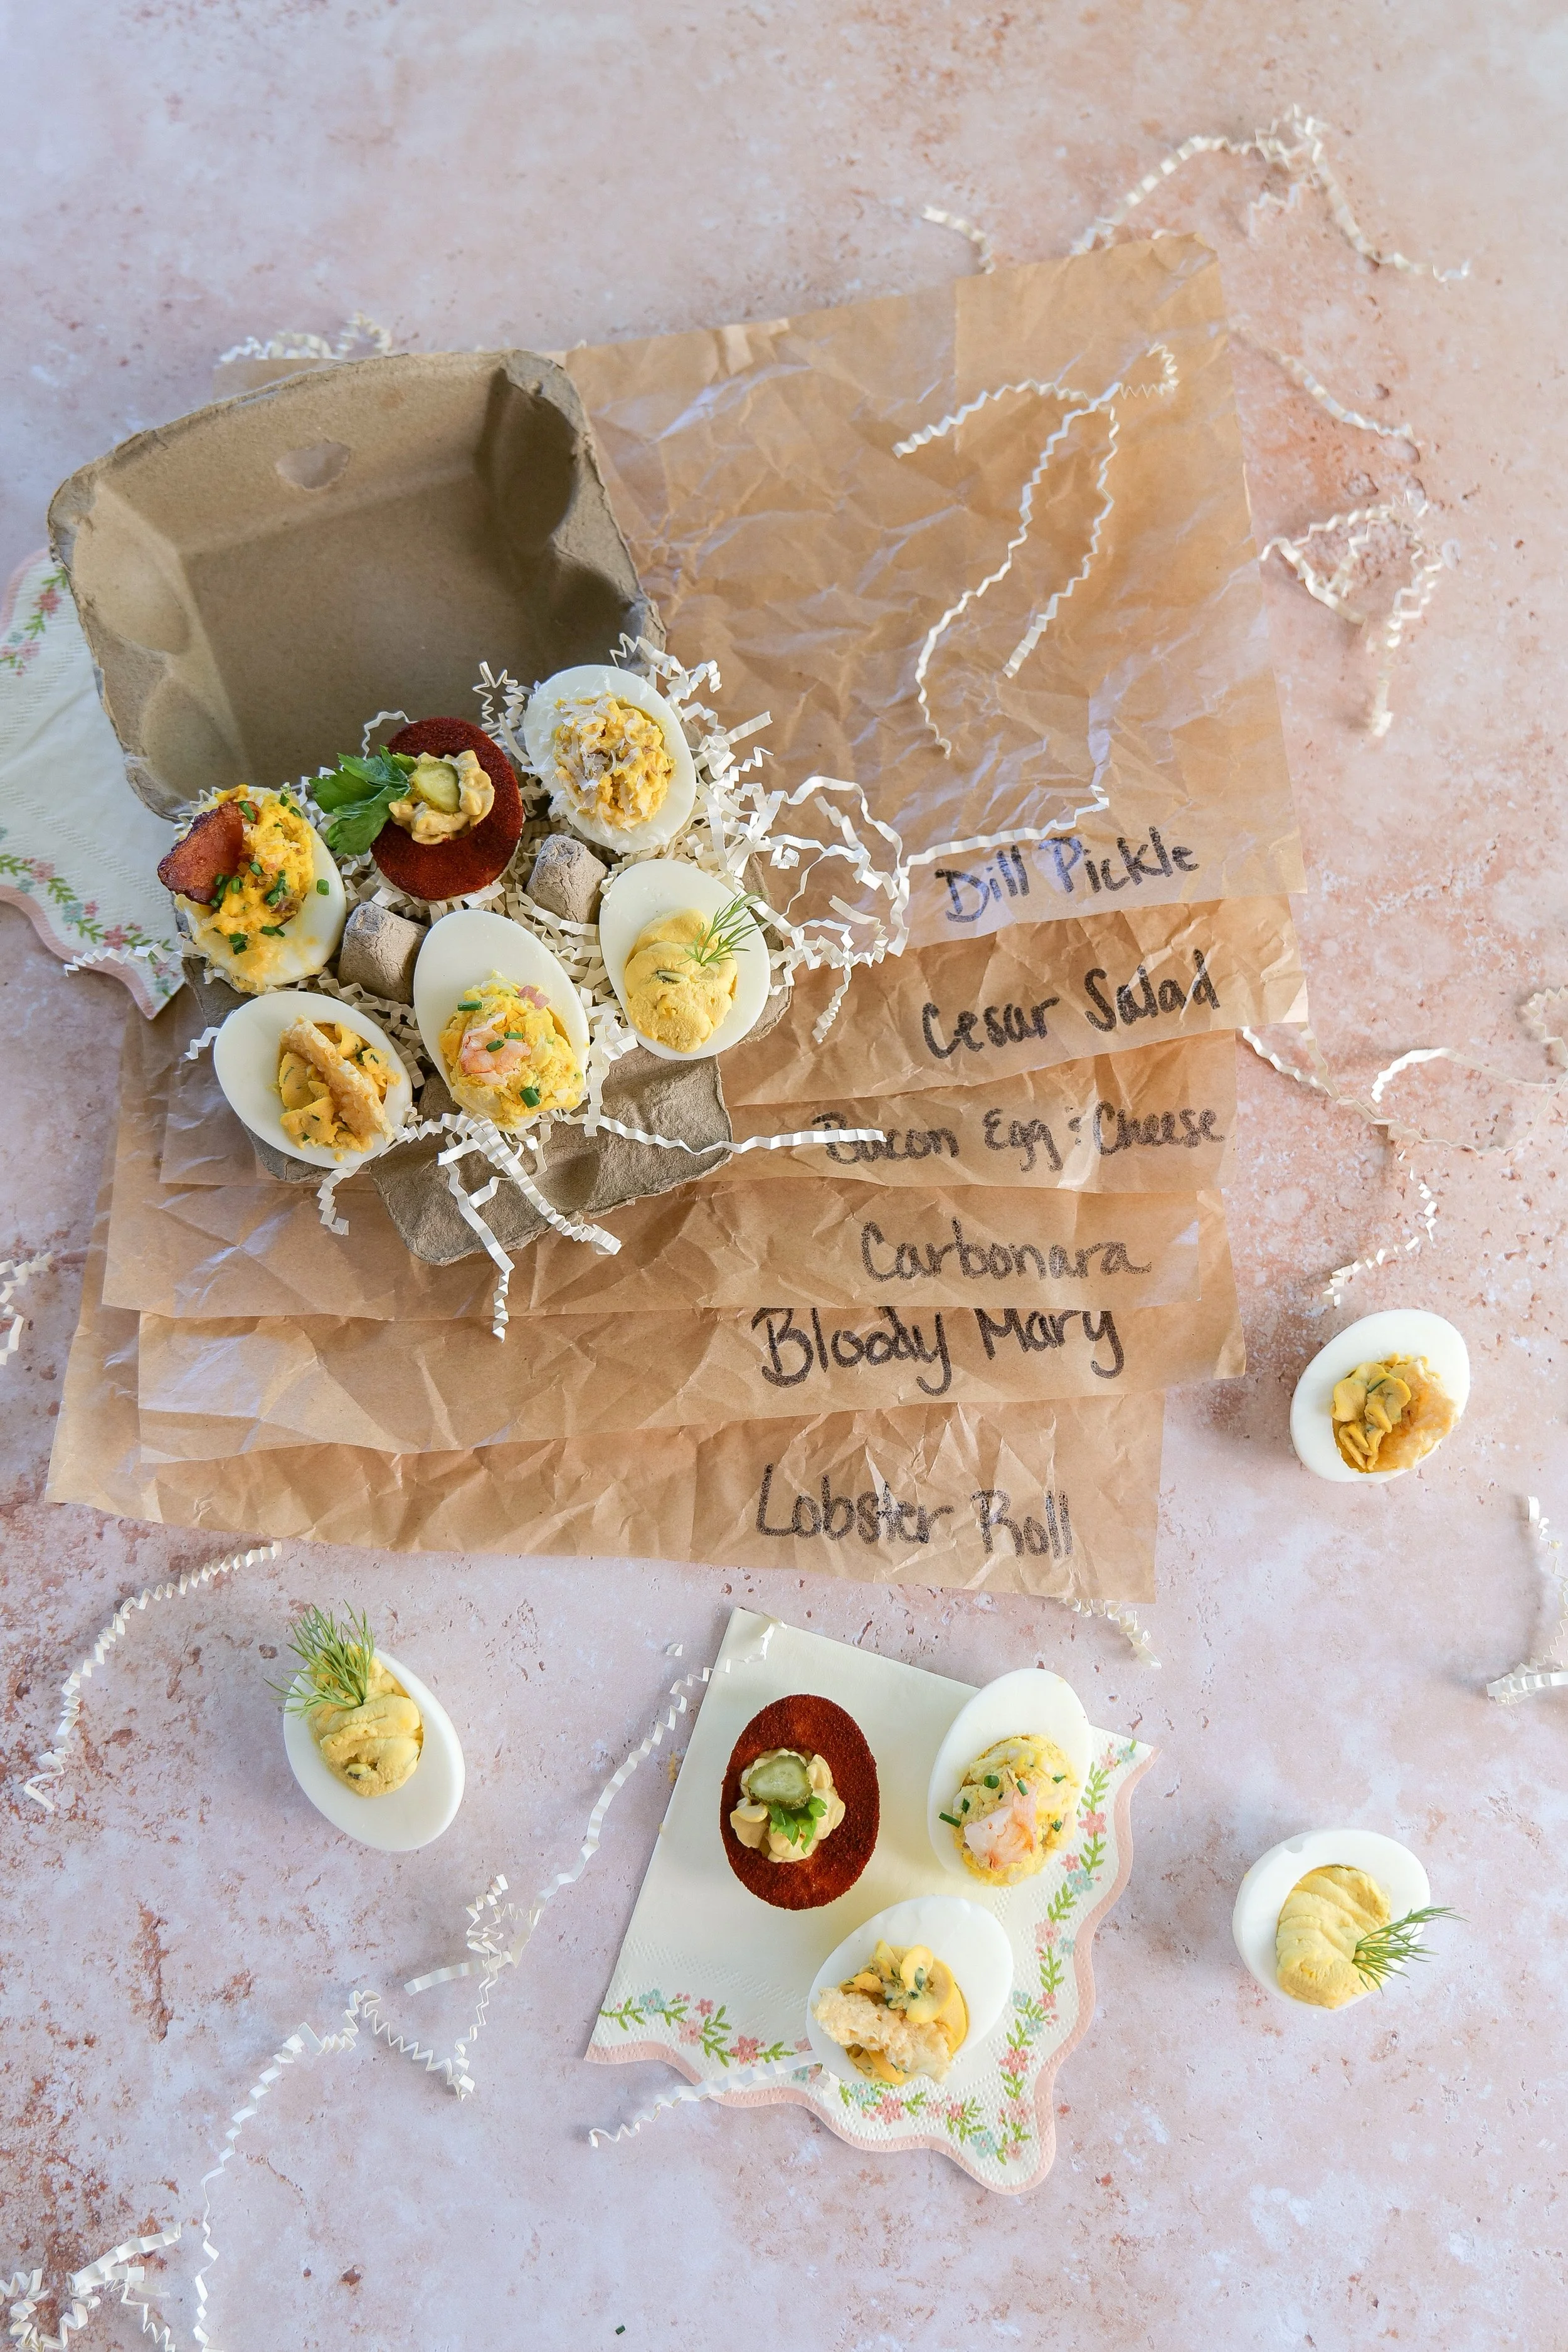
Featured In My Flight:

- Bacon & Cheddar: Delightfully savory.

- Dill Pickle: Fresh and zesty for light palates.

- Carbonara: An appetizer twist perfect for chip lovers.

- Bloody Mary: Exotic and packed with extra spice.

- Lobster Roll: Spicy sea flavors for an adventurous bite.

- Cesar Salad: Creamy, crunchy, and tangy.

Let your creativity shine as you bring this viral sensation to your home, ensuring a memorable and engaging culinary adventure. Whether you're hosting a festive holiday party or a casual weekend brunch, these deviled egg flights are a perfect choice. Each step-by-step recipe is easy to follow, making them accessible to even novice home cooks. Elevate your culinary skills with these tips and tricks, perfecting the art of deviled egg preparation and presentation. By balancing contrasting flavors and textures, each bite becomes a harmonious and unforgettable culinary experience. Impress your guests while pushing the boundaries of traditional deviled eggs, ushering creativity and excitement into your next gathering.

Bacon cheddar deviled eggs topped with crispy bacon and fresh chives
Carbonara deviled eggs garnished with parmesan cheese and bacon bits

What is a Deviled Egg Flight and How Does it Differ from Regular Deviled Eggs?

The concept of a deviled egg flight is akin to a sampler platter, offering a variety of deviled eggs with different flavors and toppings. Unlike regular deviled eggs, which traditionally have a uniform style in terms of taste and presentation, deviled egg flights encompass multiple unique recipes. This provides an exploration of flavors catering to a wide range of tastes and preferences. This creative concept not only satisfies diverse palates but also adds an interactive and engaging dimension to your appetizer experience at home. Crafting your own deviled egg flight involves preparing multiple distinct recipes, allowing for experimentation with flavors and creative presentation. Encouraging exploration in both recipe and presentation, this culinary trend takes deviled eggs to exciting new heights.

Creating a successful deviled egg flight at home begins with selecting a variety of recipes with distinct flavors to ensure an exciting and diverse experience. Prepare all fillings in advance, which not only streamlines assembly but also allows for a more polished and efficient presentation process. Utilize a piping bag for neat and attractive filling of the egg whites, adding to the overall aesthetics of the dish. Consider garnishing each type of deviled egg with unique toppings that complement their flavors, adding another layer of sensory enjoyment. Finally, arrange the deviled eggs on a platter to showcase the variety, making it easy for guests to sample each type.

Caesar salad deviled eggs topped with parmesan crisps and parsley
Dill pickle deviled eggs garnished with fresh dill and pickle slices
Lobster roll deviled eggs topped with lobster meat and fresh chives

What Are Some Unique Flavor Combinations to Include in a Deviled Egg Flight?

Exploring unique flavor combinations takes deviled eggs from everyday to extraordinary, offering an elevated culinary adventure at any gathering. Consider smoky and spicy elements such as bacon and jalapeño for a bold, fiery twist. Smoked salmon with dill and capers introduces a sophisticated touch with a nod to global cuisine. For a bold flavor profile, create an Asian-inspired deviled egg with soy sauce, ginger, and sesame seeds. Add a Mediterranean flair by combining sun-dried tomatoes, feta cheese, and Kalamata olives. Lastly, experiment with a sweet and savory combination using maple syrup and crispy prosciutto for a delightful contrast in flavors.

Some Additional Flavor Ideas:

- Bacon and Jalapeño: Smoky spice balance.

- Smoked Salmon with Dill: Seafood elegance.

- Sesame Ginger Fusion: Exotic and earthy.

- Mediterranean Delight: Bright, sun-drenched flavors.

- Maple Crunch: A surprising sweet-savory combo.

How Can I Present My Deviled Egg Flight to Make it Visually Appealing for Guests?

Enhance the visual appeal of your deviled egg flight by creatively arranging them on a large, elegant platter, providing a sense of abundance and sophistication. Use garnishes such as fresh herbs, edible flowers, or microgreens to add pops of color, enhancing their overall visual presentation. Incorporate small labels or cards to identify each egg’s flavor, adding both an informative and decorative touch. Vary the colors and textures of toppings to provide visual contrasts, intriguing guests with complexity upon first glance. Consider using tiered stands or layered platters to add height and dimension, making your arrangement more dynamic. The thoughtful presentation will make your deviled egg flight as appealing to the eyes as it will be to the taste buds. What I did for my set up was a 6-count egg carton to display all 6 flavors and put down some crinkly paper that is used for basket filling to resemble an easter basket. This tied together the theme for Easter and made a great element.

Are There Any Common Ingredients or Tools Needed to Prepare the Six Different Deviled Egg Recipes?

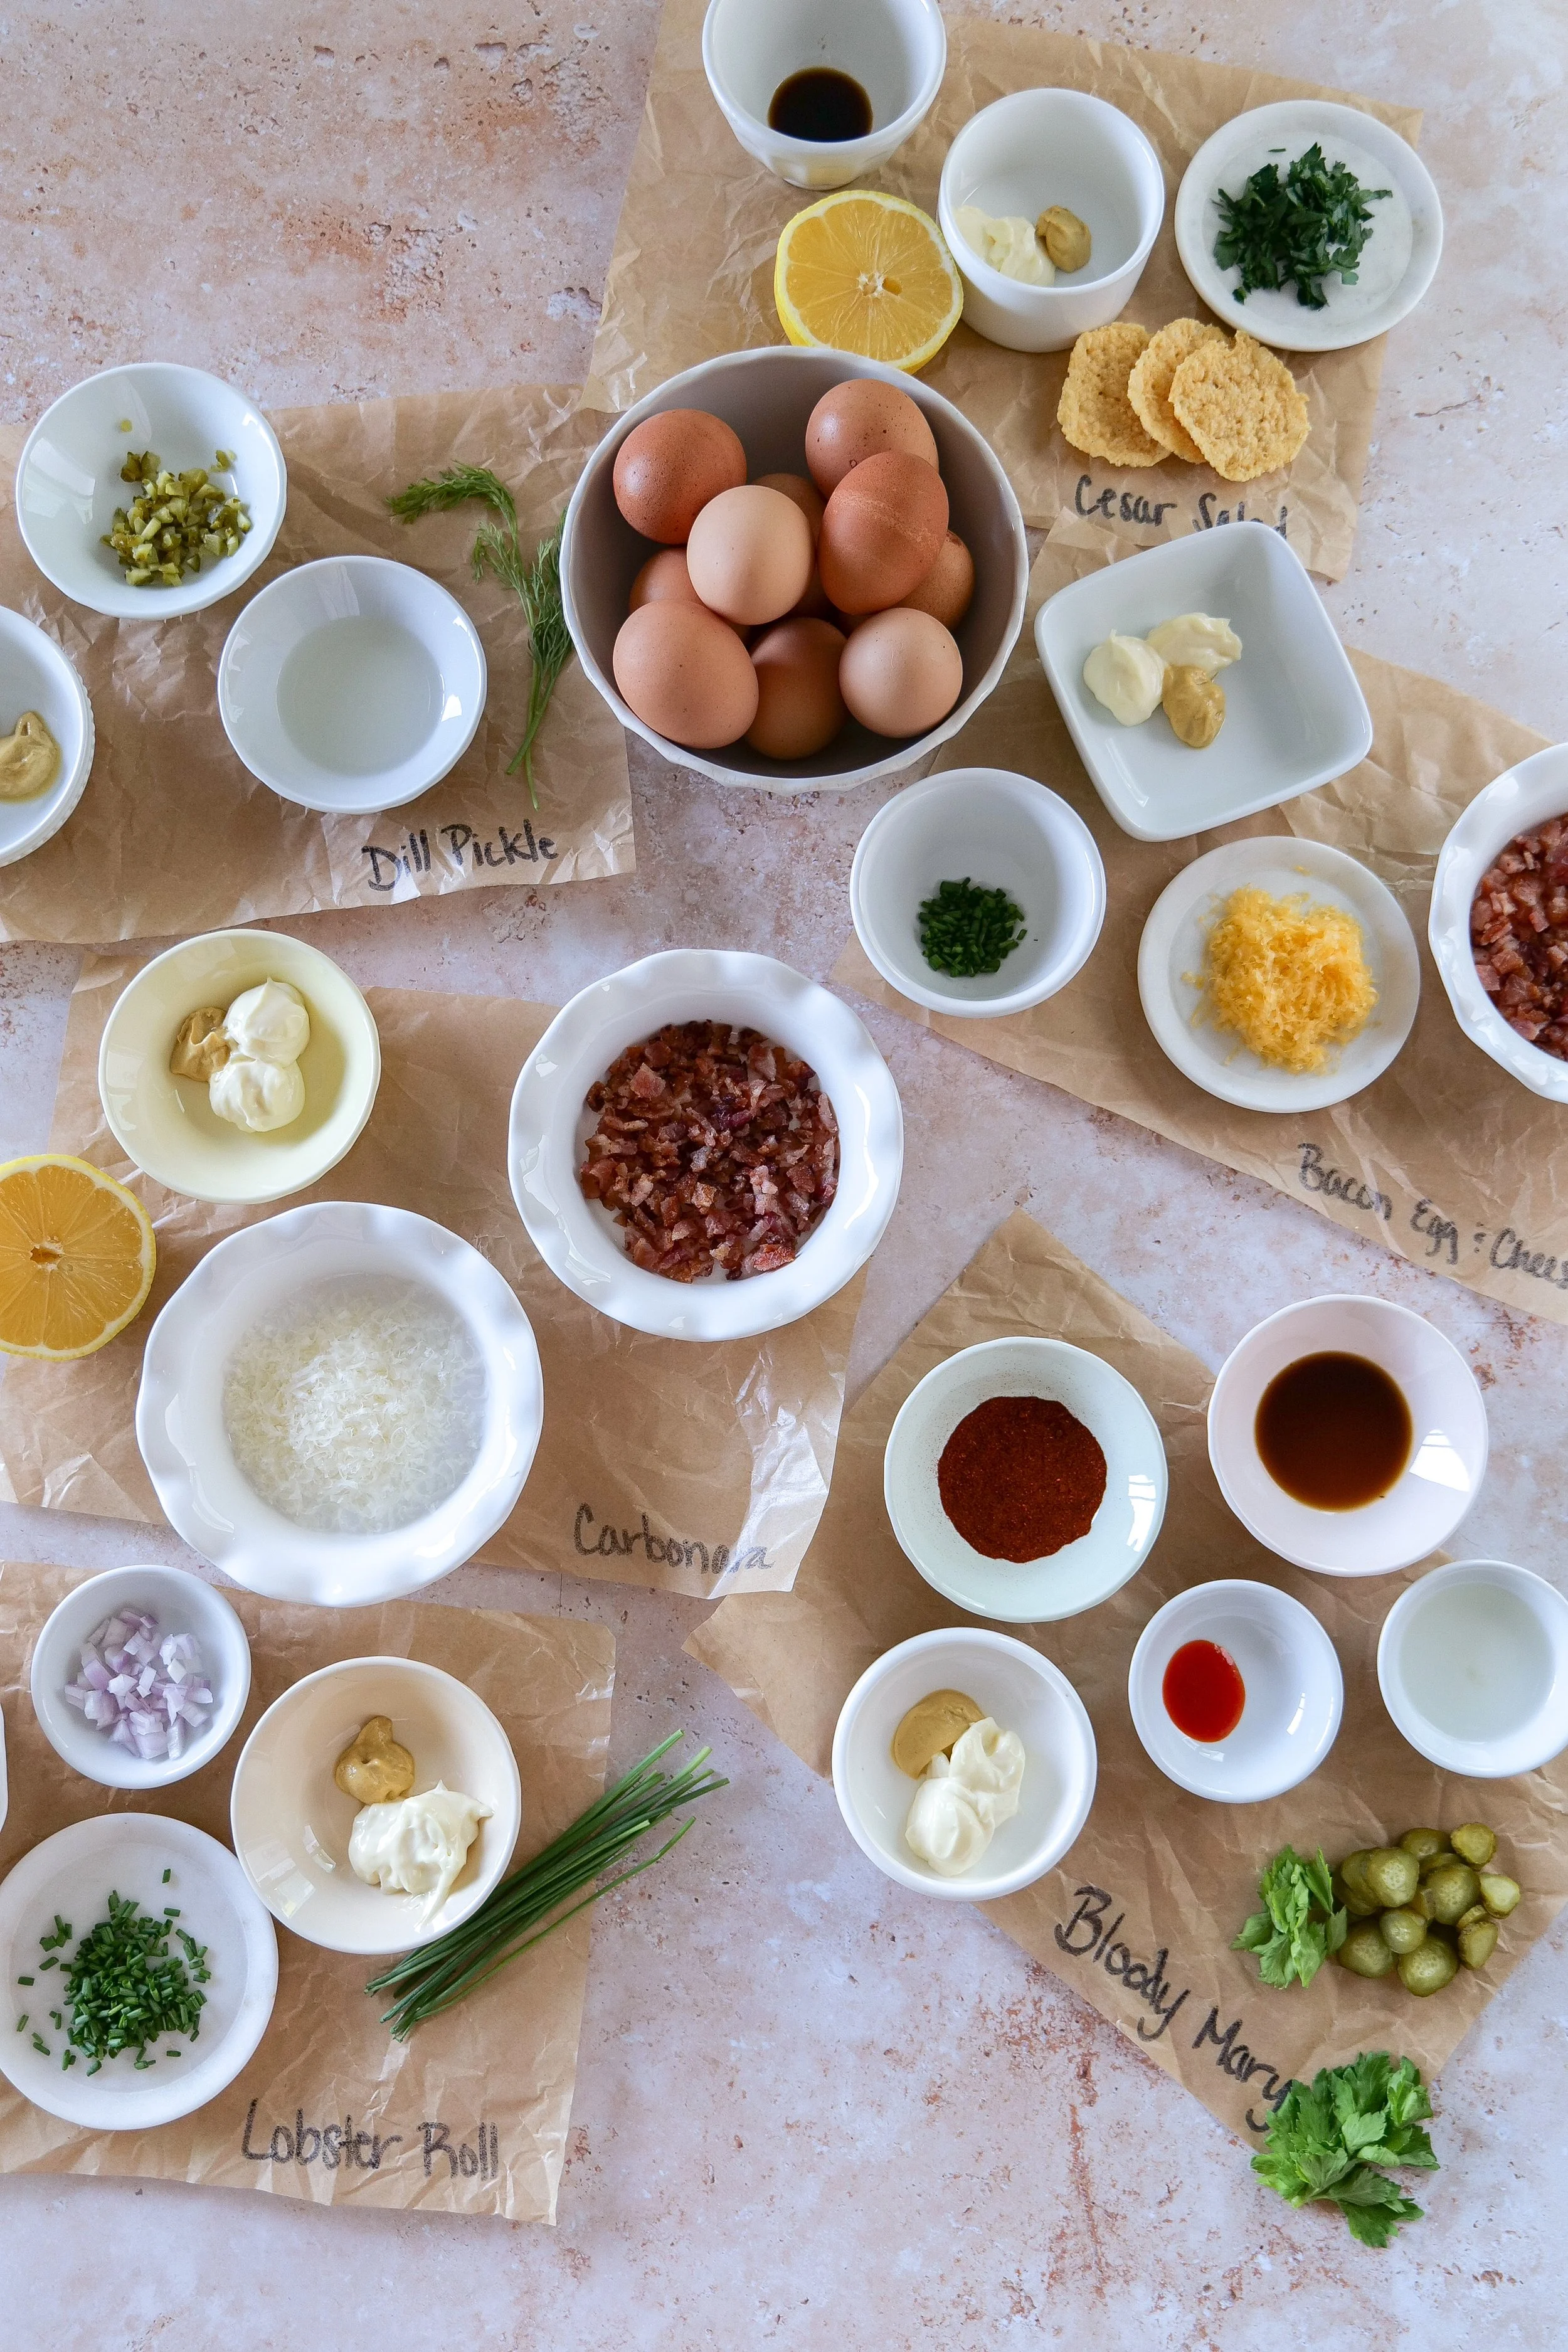
The foundational ingredients for deviled egg flights typically include hard-boiled eggs, mayonnaise, and mustard, forming the base for all recipes. A careful selection of spices such as paprika, salt, and pepper provides essential seasoning. Vinegar or lemon juice is frequently used to introduce tang to the yolk mixture, enhancing its flavor. Small kitchen tools, including piping bags, aid in presenting a clean and attractive filling of egg whites. Optional garnishes like fresh herbs or pickles can be used for added flavor and decoration, elevating the visual and taste appeal of your deviled egg creations. With these ingredients and tools on hand, creating a successful deviled egg flight becomes a simple, enjoyable process.

How to Build a Deviled Egg Flight

Creating a deviled egg flight is easier than it looks.

  1. Hard boil 18 eggs and cool completely.

  2. Prepare each filling flavor separately.

  3. Pipe fillings into egg white halves.

  4. Garnish each flavor with its signature topping.

  5. Arrange on a serving tray or egg carton display.

  6. Label flavors if serving at a party.

For Easter gatherings, I love displaying mine in a six-count egg carton filled with decorative basket filler for a festive presentation.

Hosting a brunch or holiday gathering? I've rounded up my favorite serving pieces, deviled egg platters, entertaining essentials, and Easter hosting finds that help make a simple appetizer feel extra special.

Bacon Egg & Cheese Deviled Egg

Bacon egg & cheese variety, a creative twist that every appetizer enthusiast must try. This version ingeniously combines crispy bacon, creamy yolk filling, and savory cheese for a burst of rich, flavorful delight in every bite. Perfectly seasoned and elegantly presented, this deviled egg variety elevates any deviled egg flight with its unique taste and

Assorted gourmet deviled eggs perfect for entertaining guests

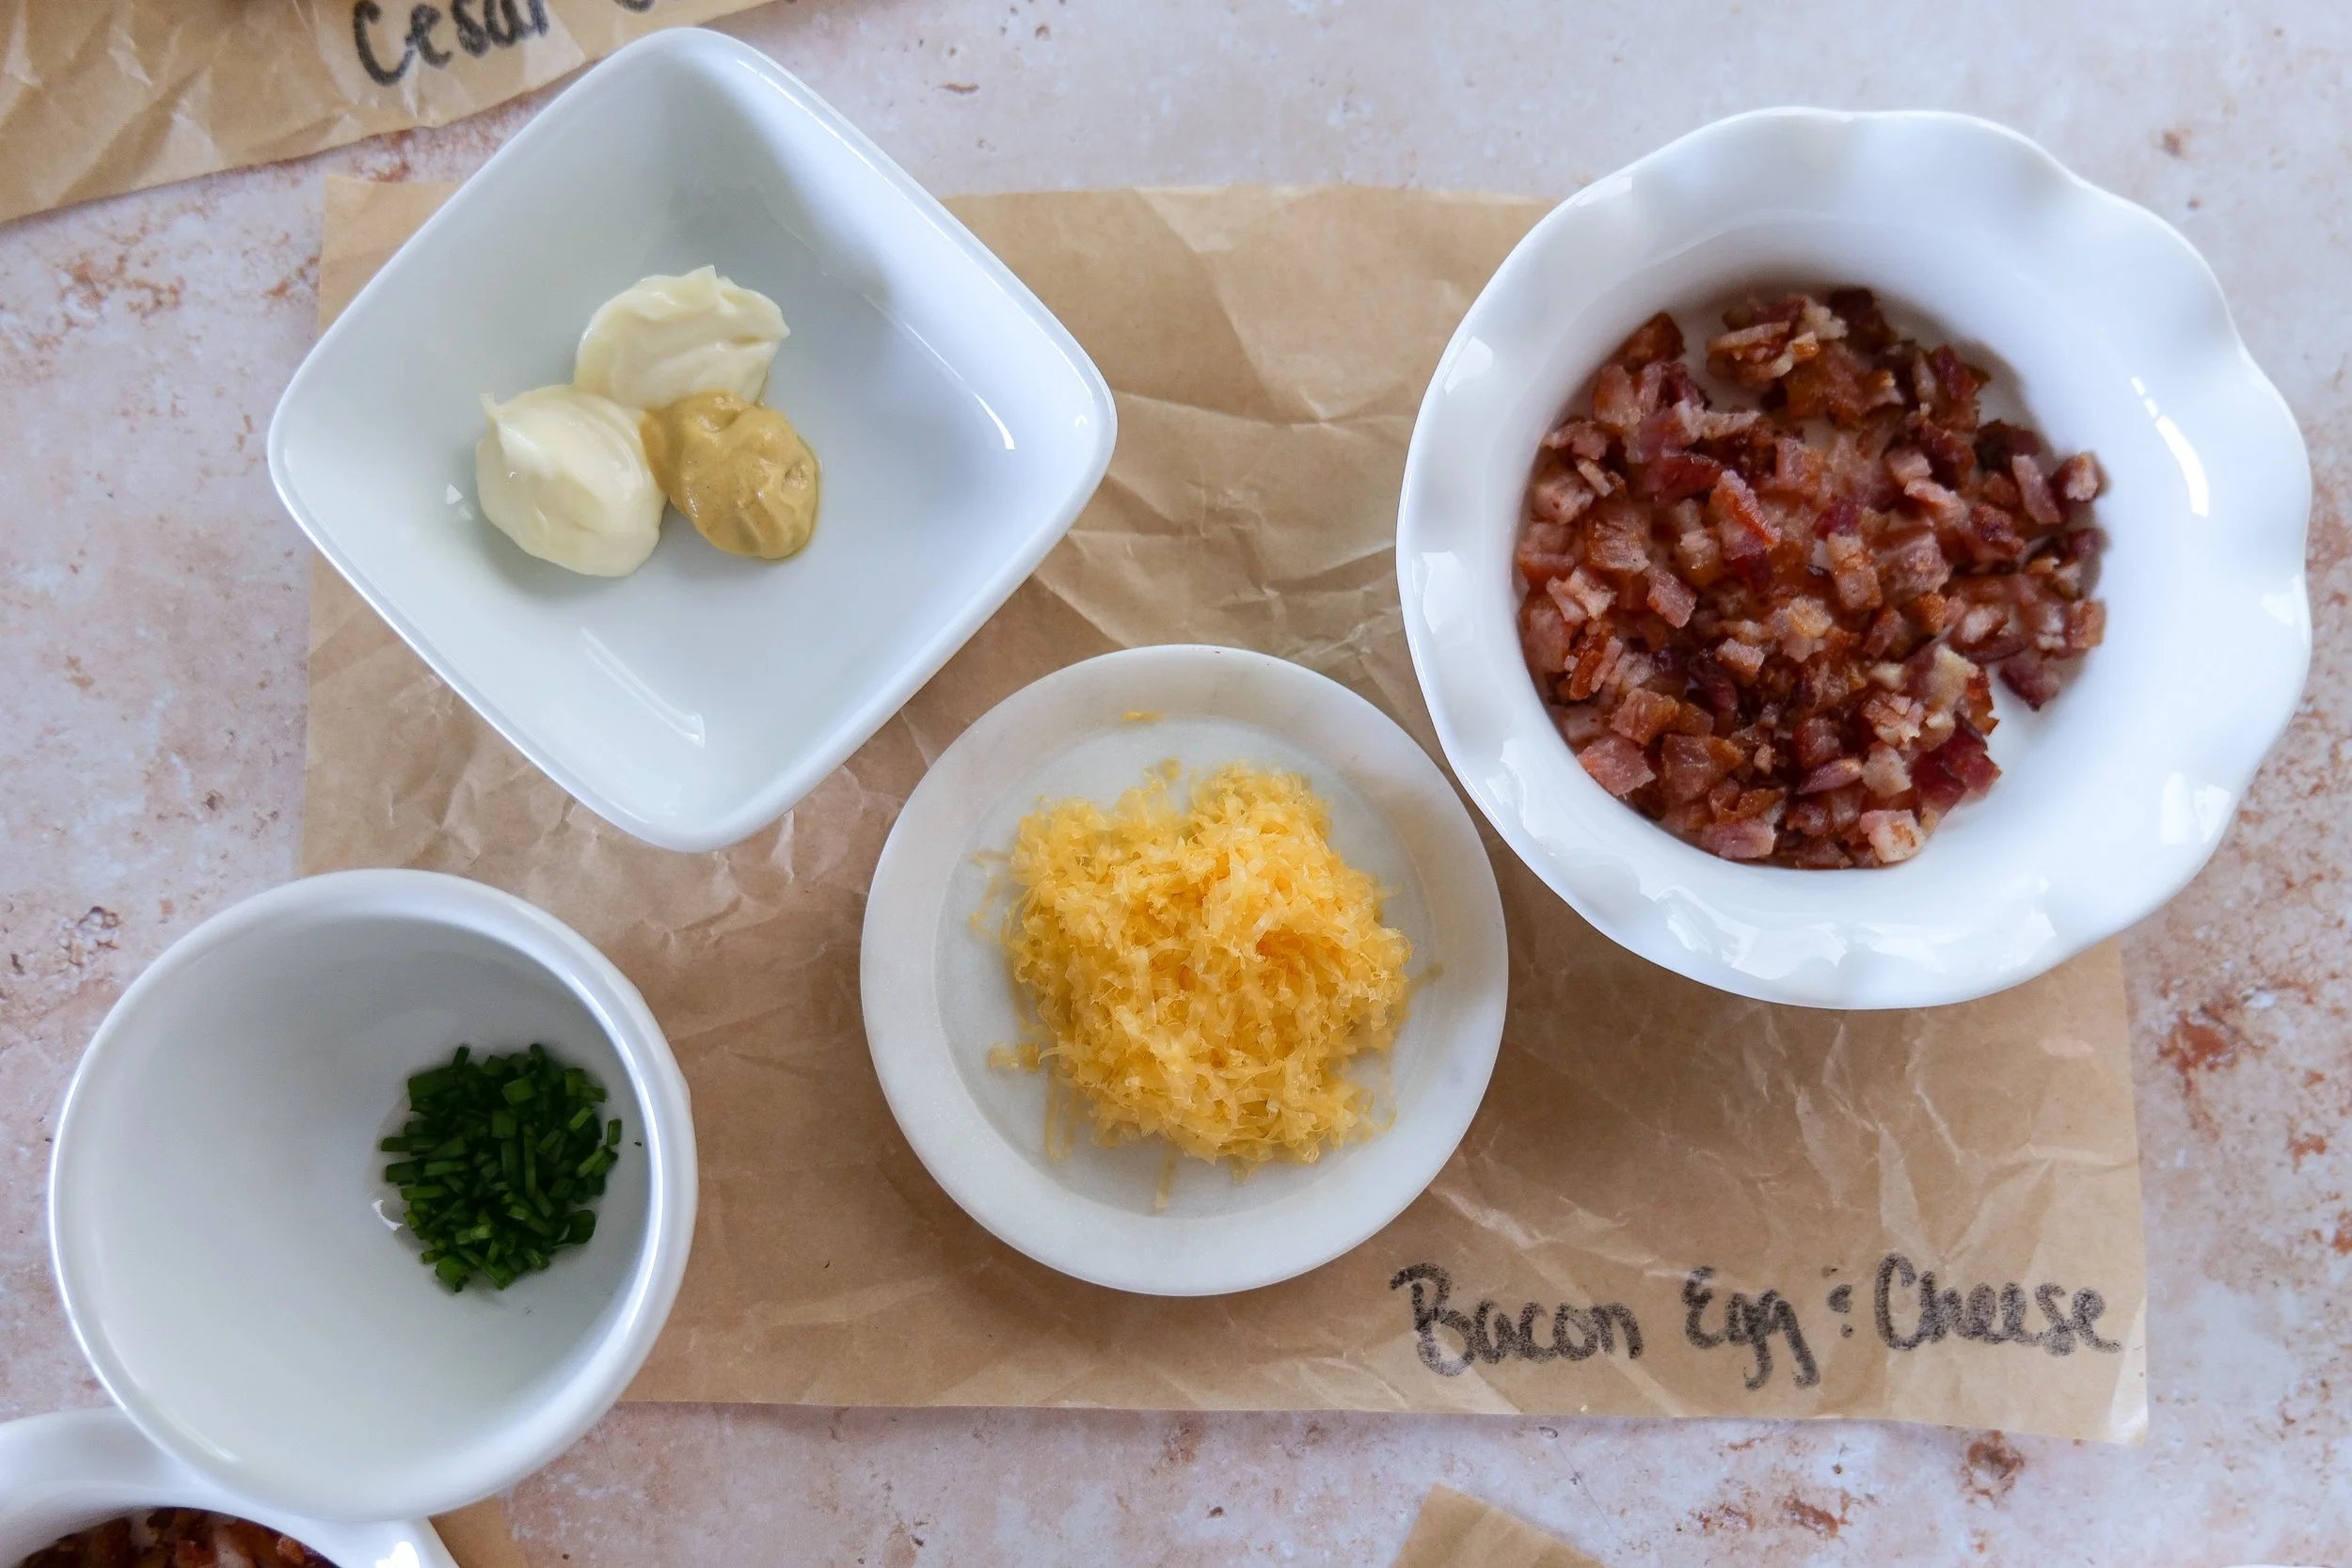
Ingredients:

3 large eggs

2 tablespoons mayonnaise

1/2 teaspoon Dijon mustard

fine sea salt & freshly ground black pepper, to taste

2 slices thick-cut bacon, cooked until crisp and crumbled

1/8 cup finely shredded sharp cheddar cheese

2 teaspoons fresh chives, finely chopped

Instructions:

  1. Remove yolk from egg whites of hard boiled eggs.

  2. Add to a bowl with mayonnaise, mustard, bacon, cheddar cheese, chives and salt & pepper. Mix together well and pipe into egg whites.

  3. Garnish with a thick piece of bacon and chives

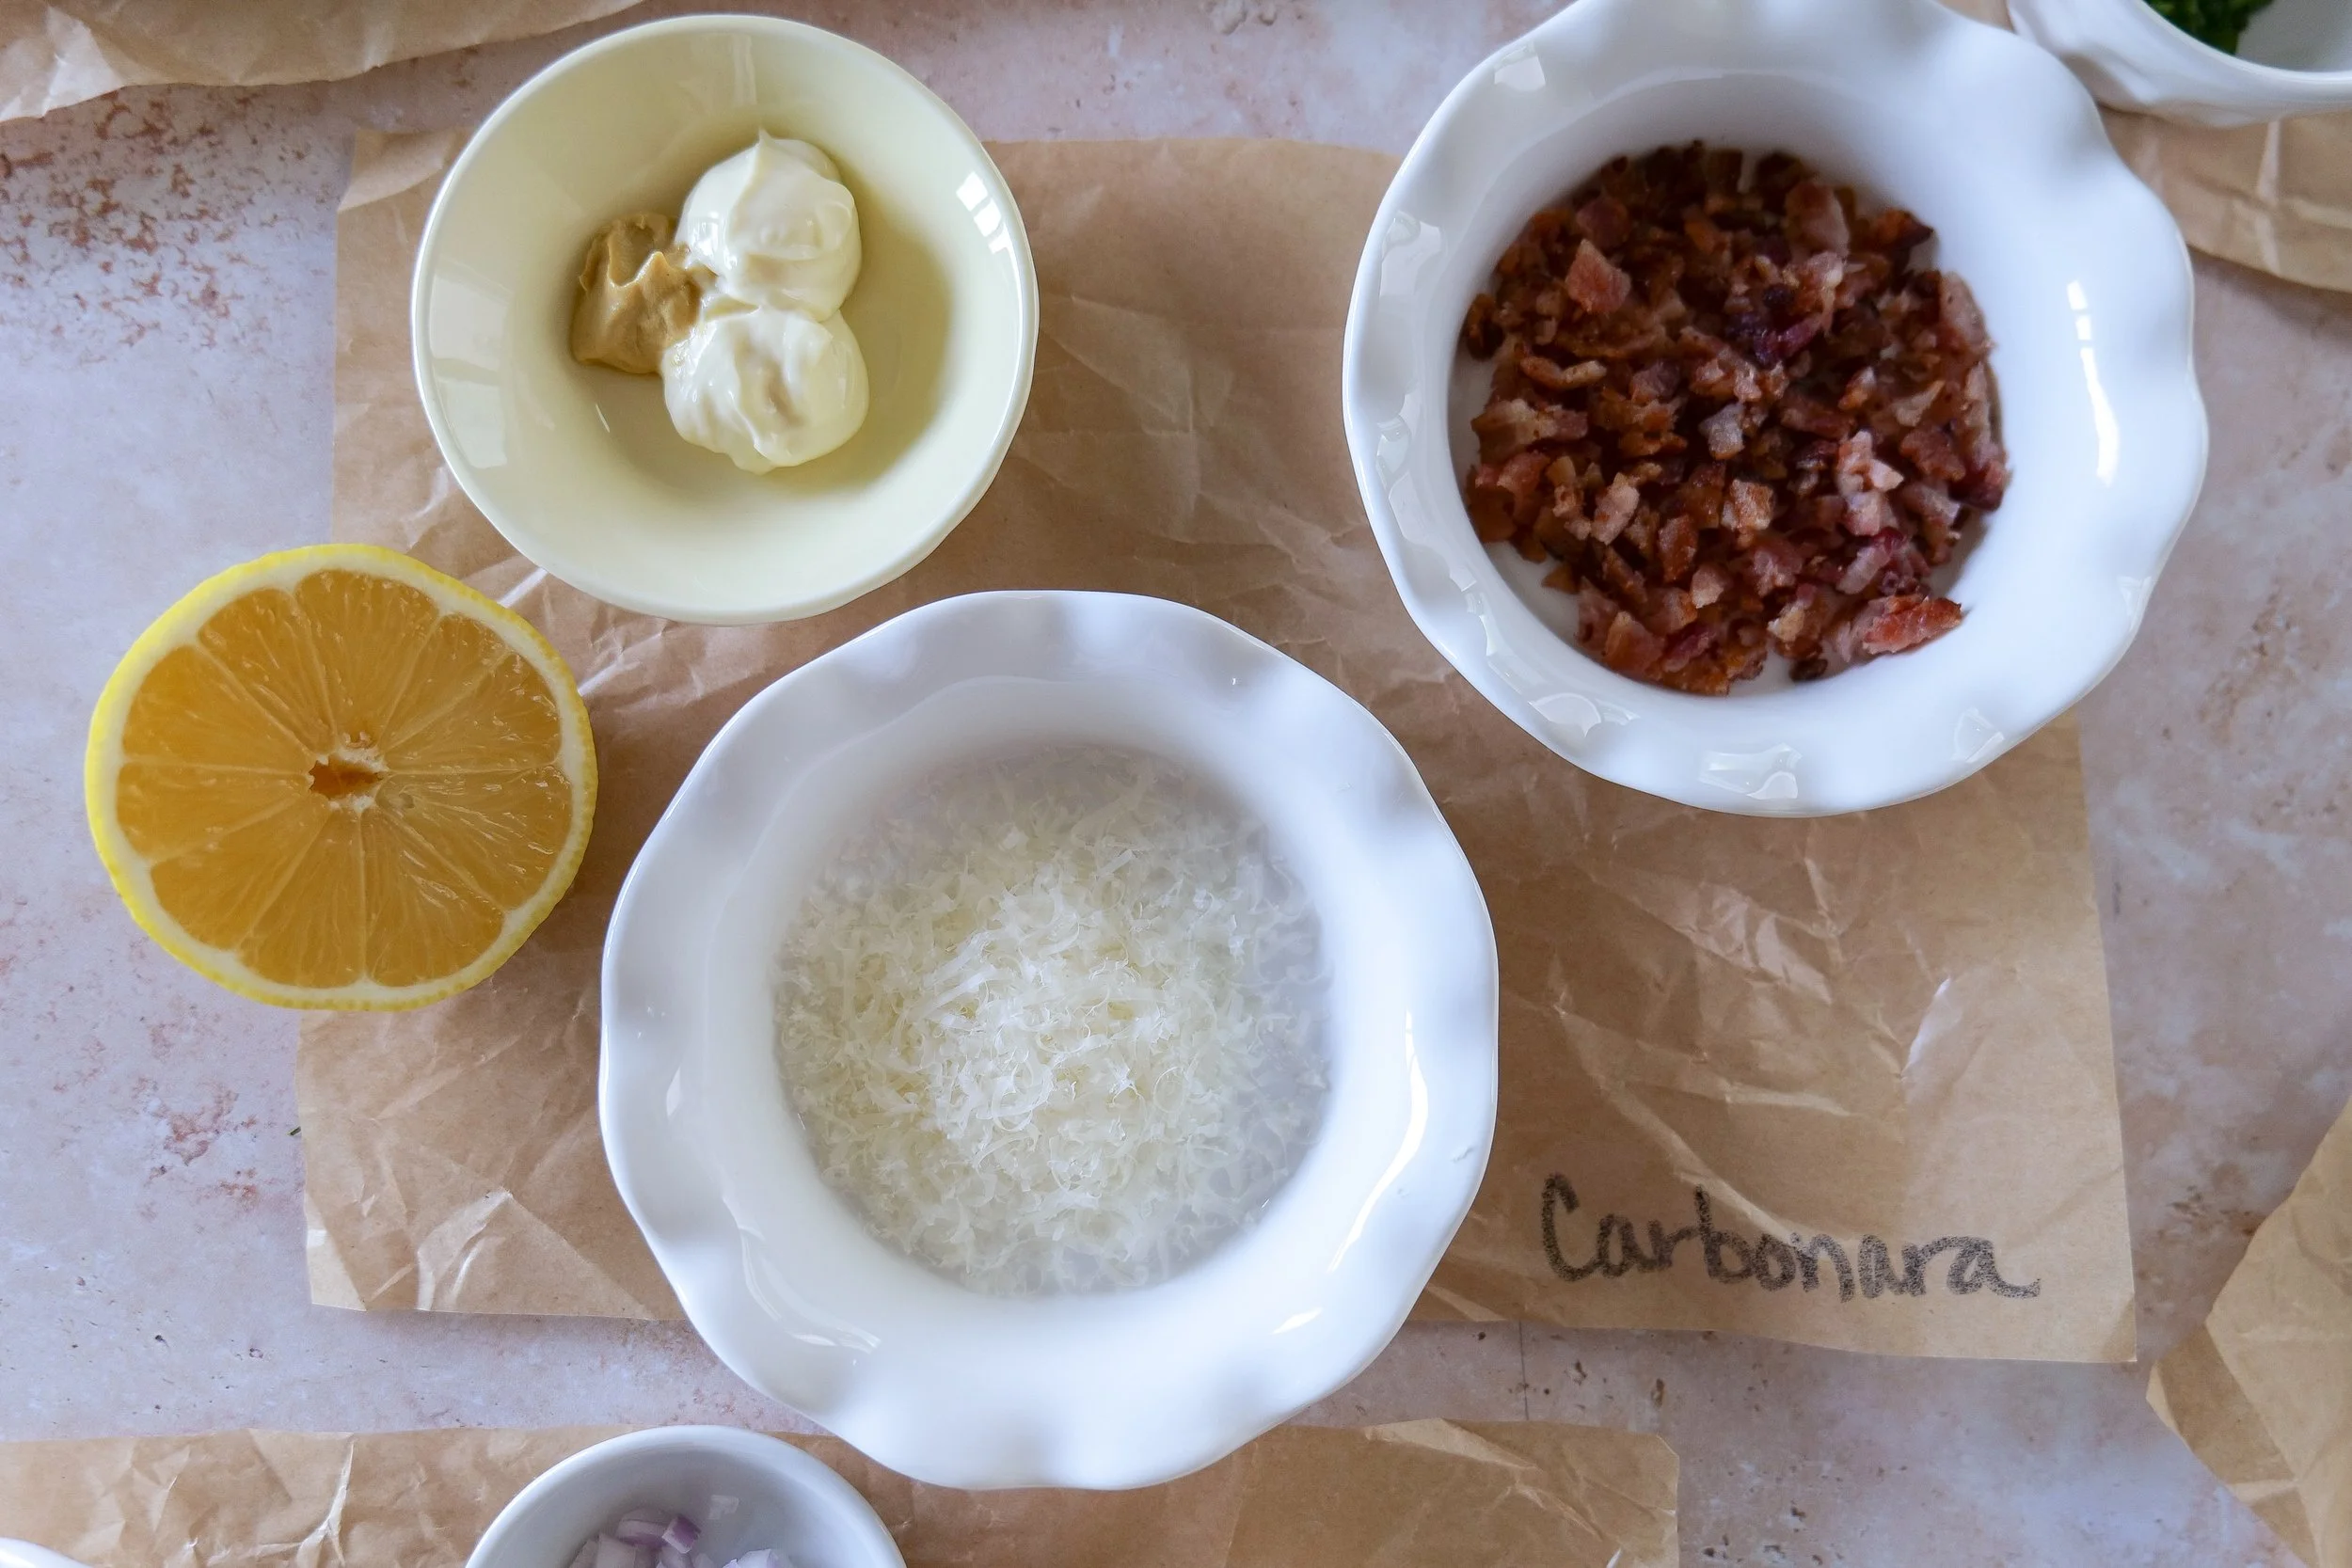
Carbonara Deviled Eggs

Carbonara deviled eggs are a rich, irresistible twist on the classic appetizer, inspired by the creamy, savory flavors of traditional Italian pasta carbonara. This easy deviled eggs recipe blends hard-boiled egg yolks with mayonnaise, grated Parmesan cheese, crispy bacon, and a touch of garlic and black pepper to recreate that signature carbonara taste in a bite-sized form. Some variations even incorporate a hint of cream or pecorino for extra depth, making these eggs ultra-smooth and indulgent. Topped with crunchy bacon bits, freshly grated cheese, and a sprinkle of parsley, carbonara deviled eggs are perfect for parties, holiday appetizers, keto snacks, or low-carb entertaining. If you're searching for a unique deviled eggs recipe or a crowd-pleasing appetizer idea, these carbonara deviled eggs deliver bold flavor, creamy texture, and guaranteed foodie appeal.

Unique deviled egg flavor variations served as an appetizer flight

Ingredients:

3 large eggs

2 slices bacon

2 tbsp mayonnaise

1 tablespoon grated Parmesan cheese

1/4 teaspoon Dijon mustard

1/4 teaspoon lemon juice

Freshly ground black pepper, to taste

Pinch of garlic powder

Chopped fresh chives, for garnish

Extra Parmesan cheese, for garnish

Extra crispy bacon bits, for garnish

Instructions:

  1. Remove yolk from egg whites of hard boiled eggs.

  2. Add to a bowl with mayonnaise, mustard, Parmesan cheese, bacon (crumbled),lemon juice, garlic powder and salt & pepper. Mix together well and pipe into egg whites.

  3. Garnish with fresh chives, bacon bits and Parmesan cheese.

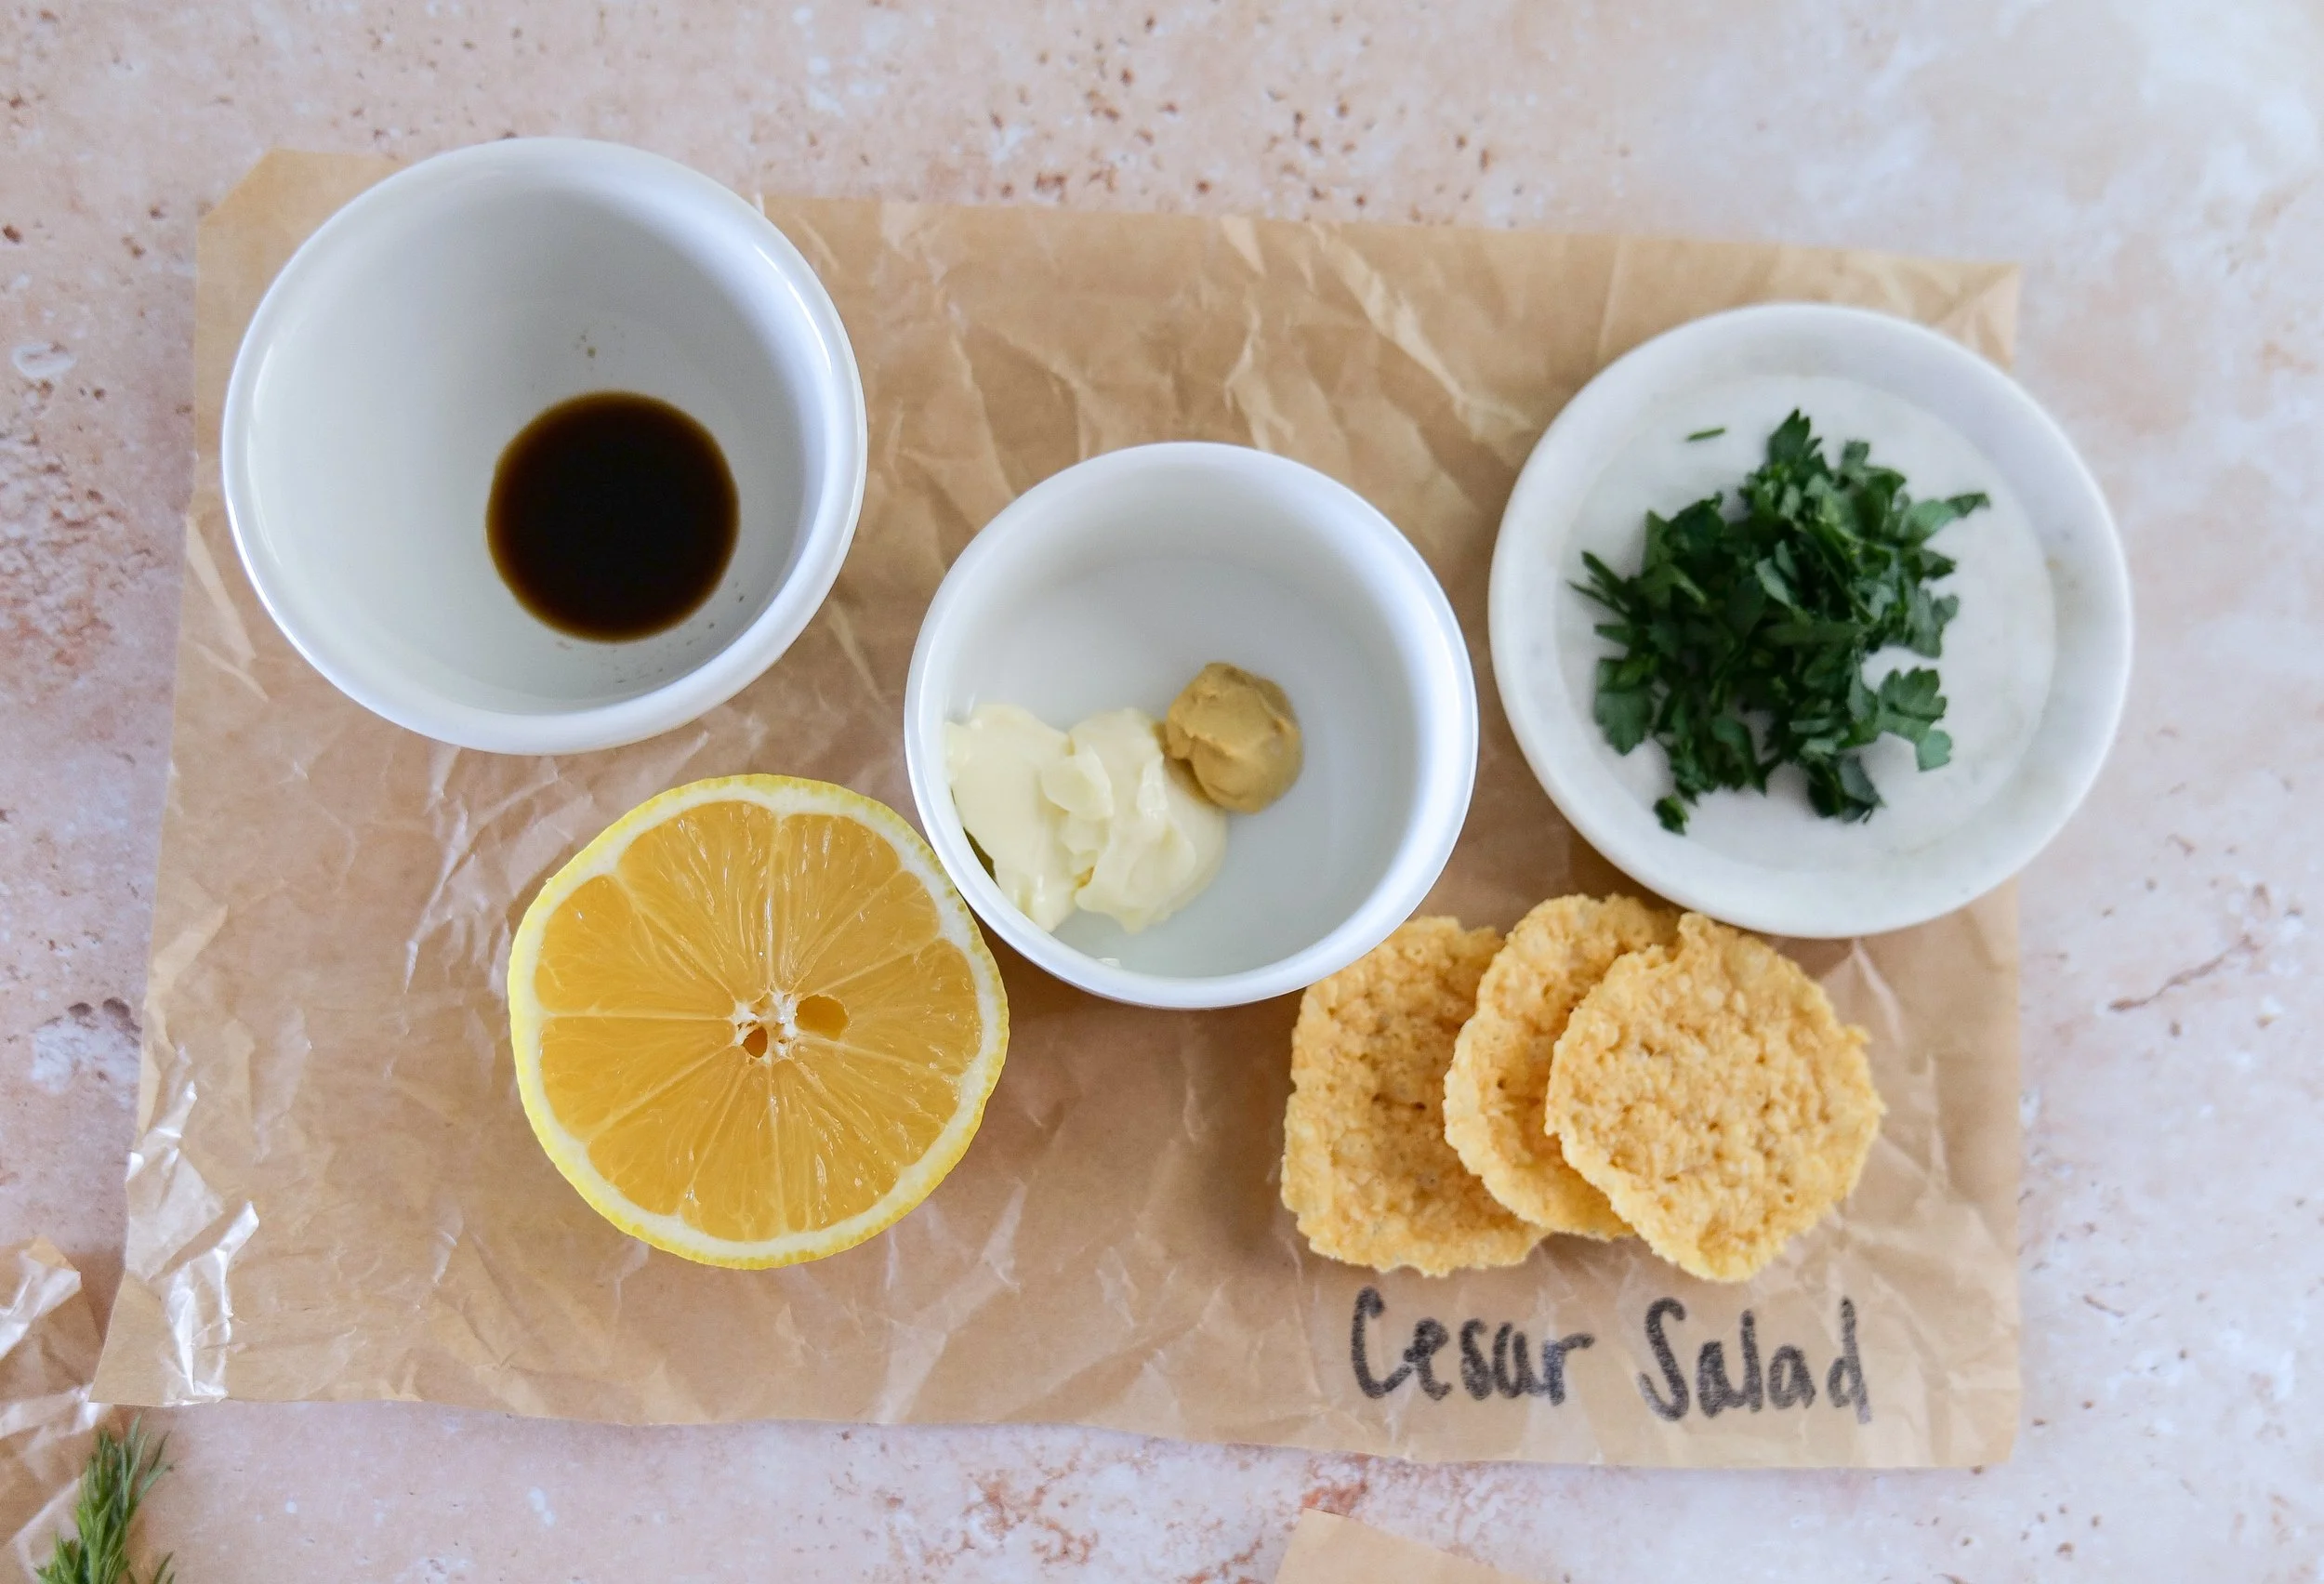
Cesar Salad Deviled Eggs

Caesar salad deviled eggs are a fresh, flavorful twist on a classic appetizer, combining everything you love about Caesar salad with the creamy richness of deviled eggs. This easy deviled eggs recipe features hard-boiled egg yolks blended with mayonnaise, Dijon mustard, garlic, lemon juice, and anchovy paste to capture that signature Caesar dressing flavor. Finely grated Parmesan cheese adds a salty, umami boost, while crisp romaine lettuce or crunchy crouton crumbs bring texture and contrast. Topped with extra Parmesan, cracked black pepper, and a hint of zest, these Caesar salad deviled eggs are perfect for brunch, party appetizers, holiday spreads, or low-carb snacks. If you’re looking for a unique deviled eggs recipe or a creative Caesar salad-inspired appetizer, this crowd-pleasing dish is packed with bold flavor and appeal for food lovers searching for something new.

Gourmet deviled egg flight with creative flavor combinations

Ingredients:

3 large hard boiled Eggs

2 tablespoons Mayonnaise

1/2 teaspoon Dijon Mustard

1 tsp Worcestershire Sauce

1 1/2 tsp Lemon Juice

1 tbsp Fresh Parsley Chopped for filling and garnish.

Sea Salt & Black Pepper

Parmesan Crisps, for garnish

Instructions:

  1. Remove yolk from egg whites of hard boiled eggs.

  2. Add to a bowl with mayonnaise, mustard, Worcestershire sauce, lemon juice, salt & pepper and fresh parsley. Mix together well and pipe into egg whites.

  3. Garnish with Parmesan crisp

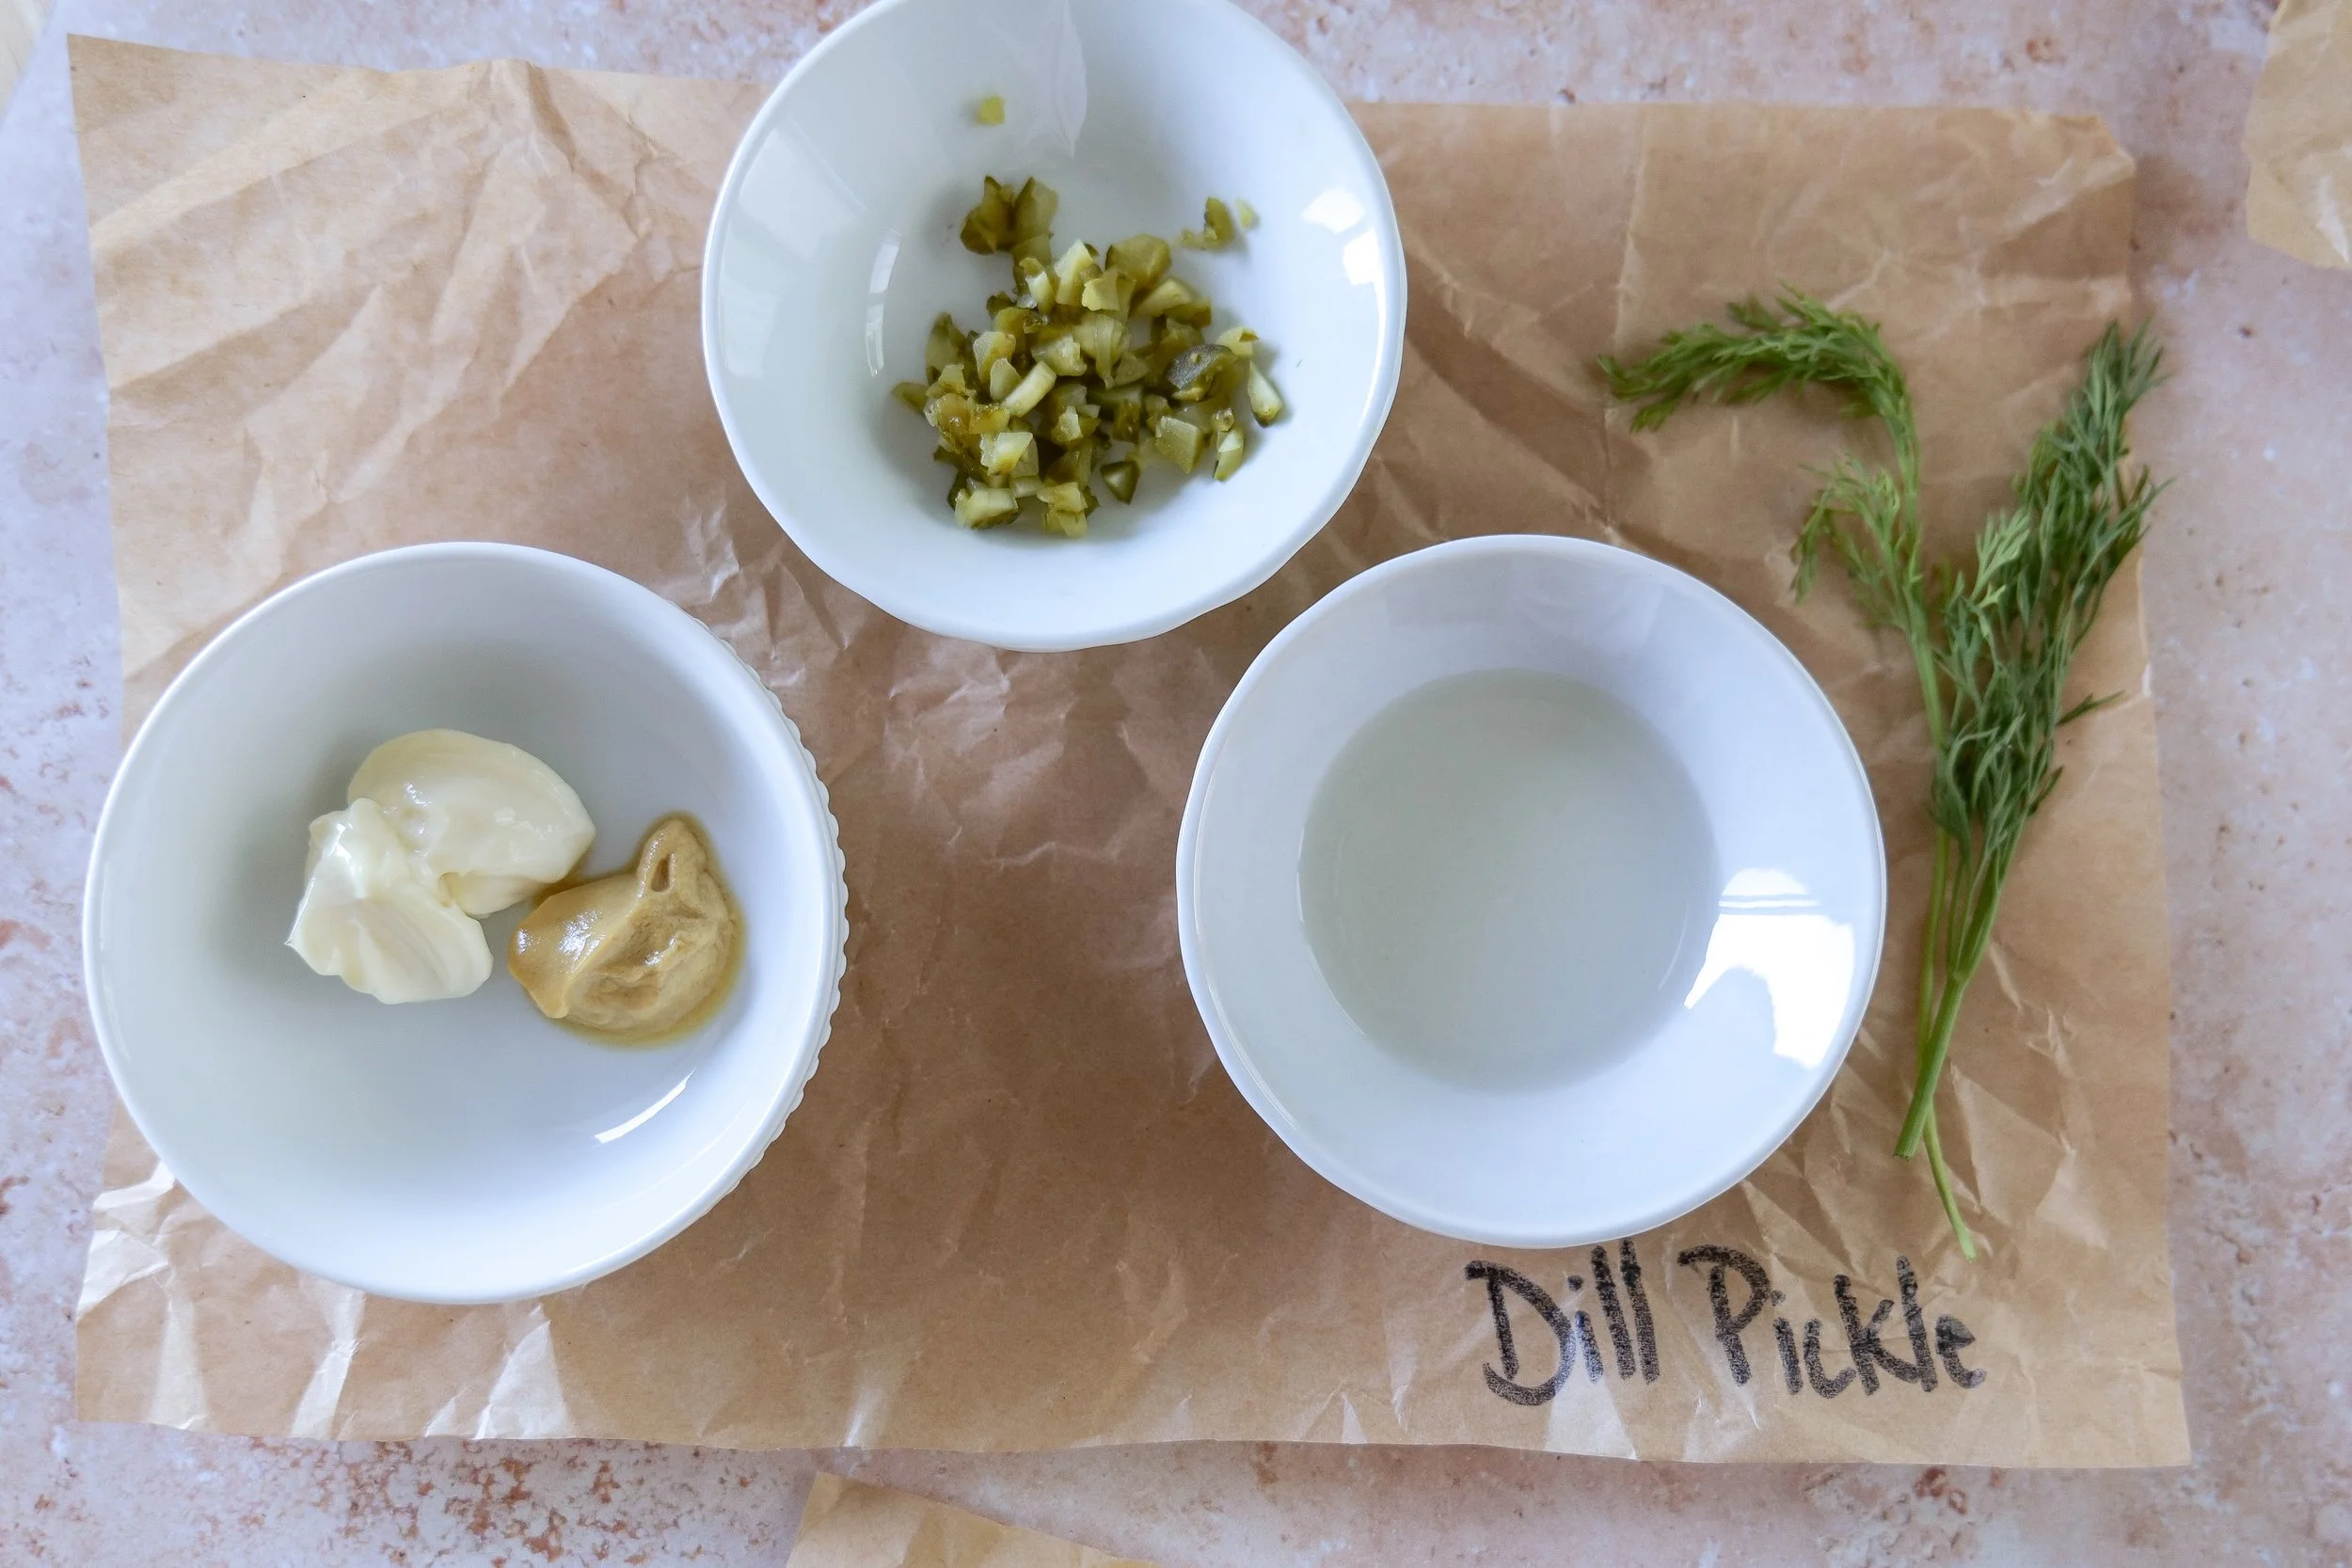
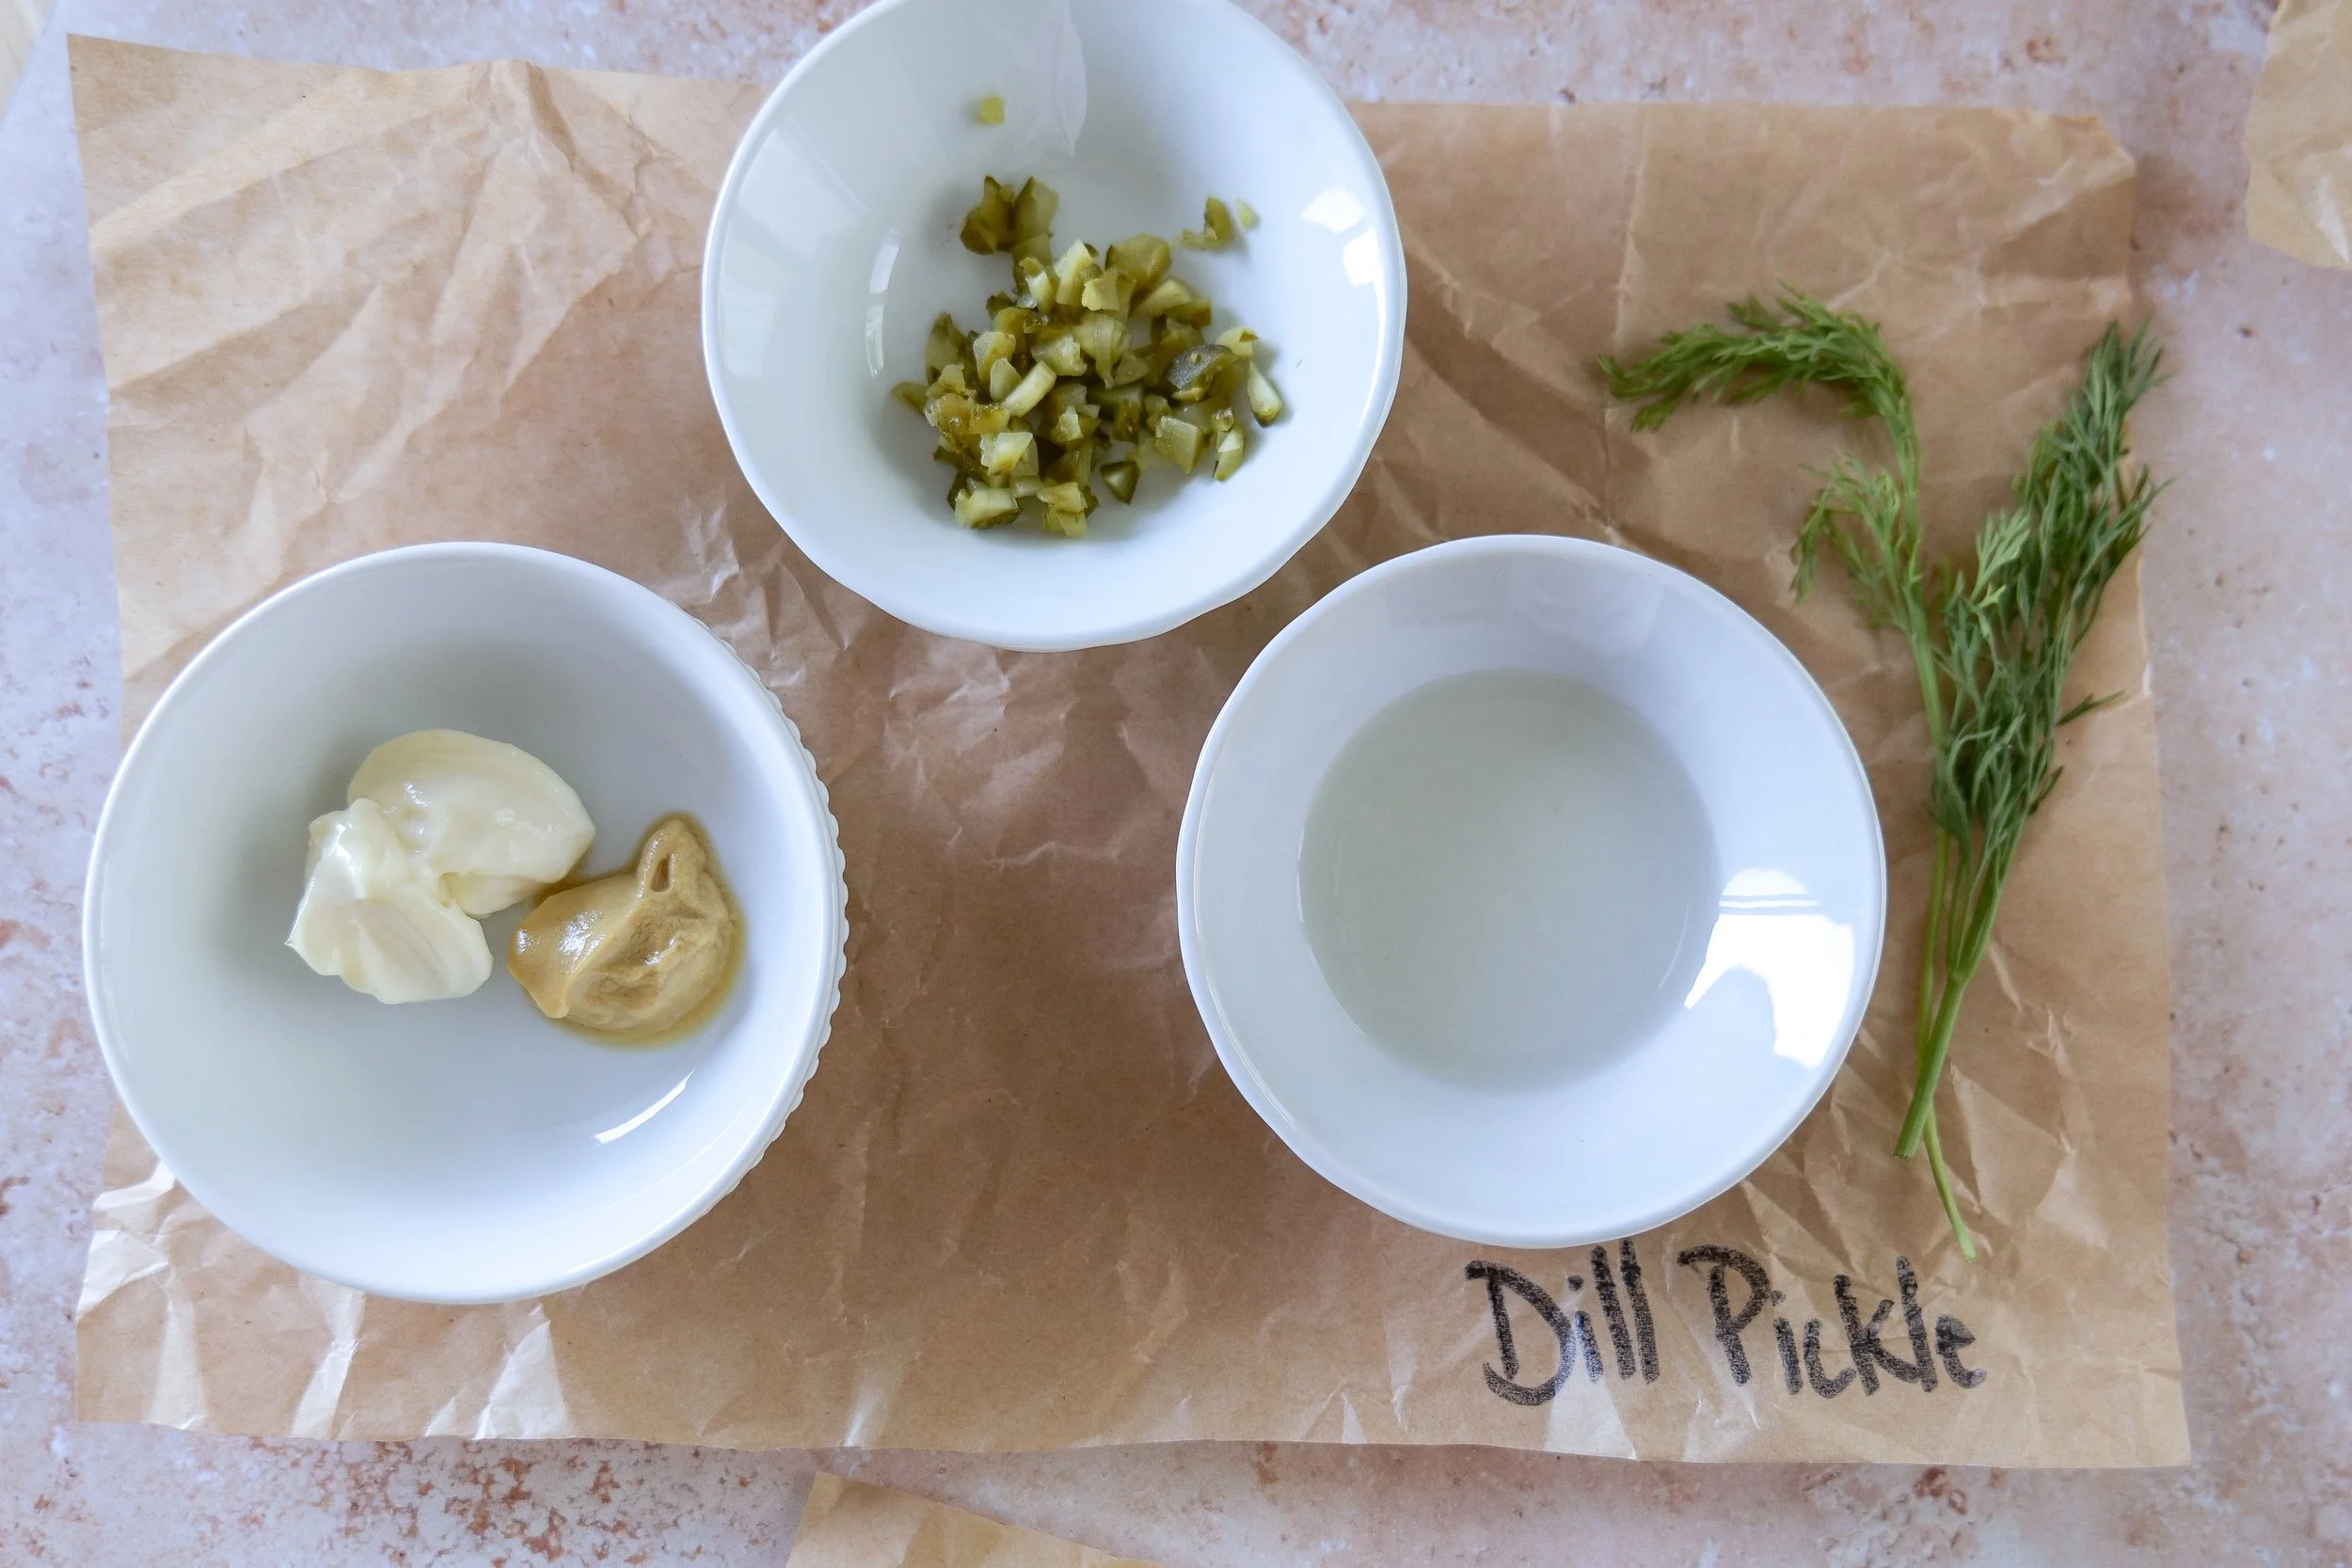
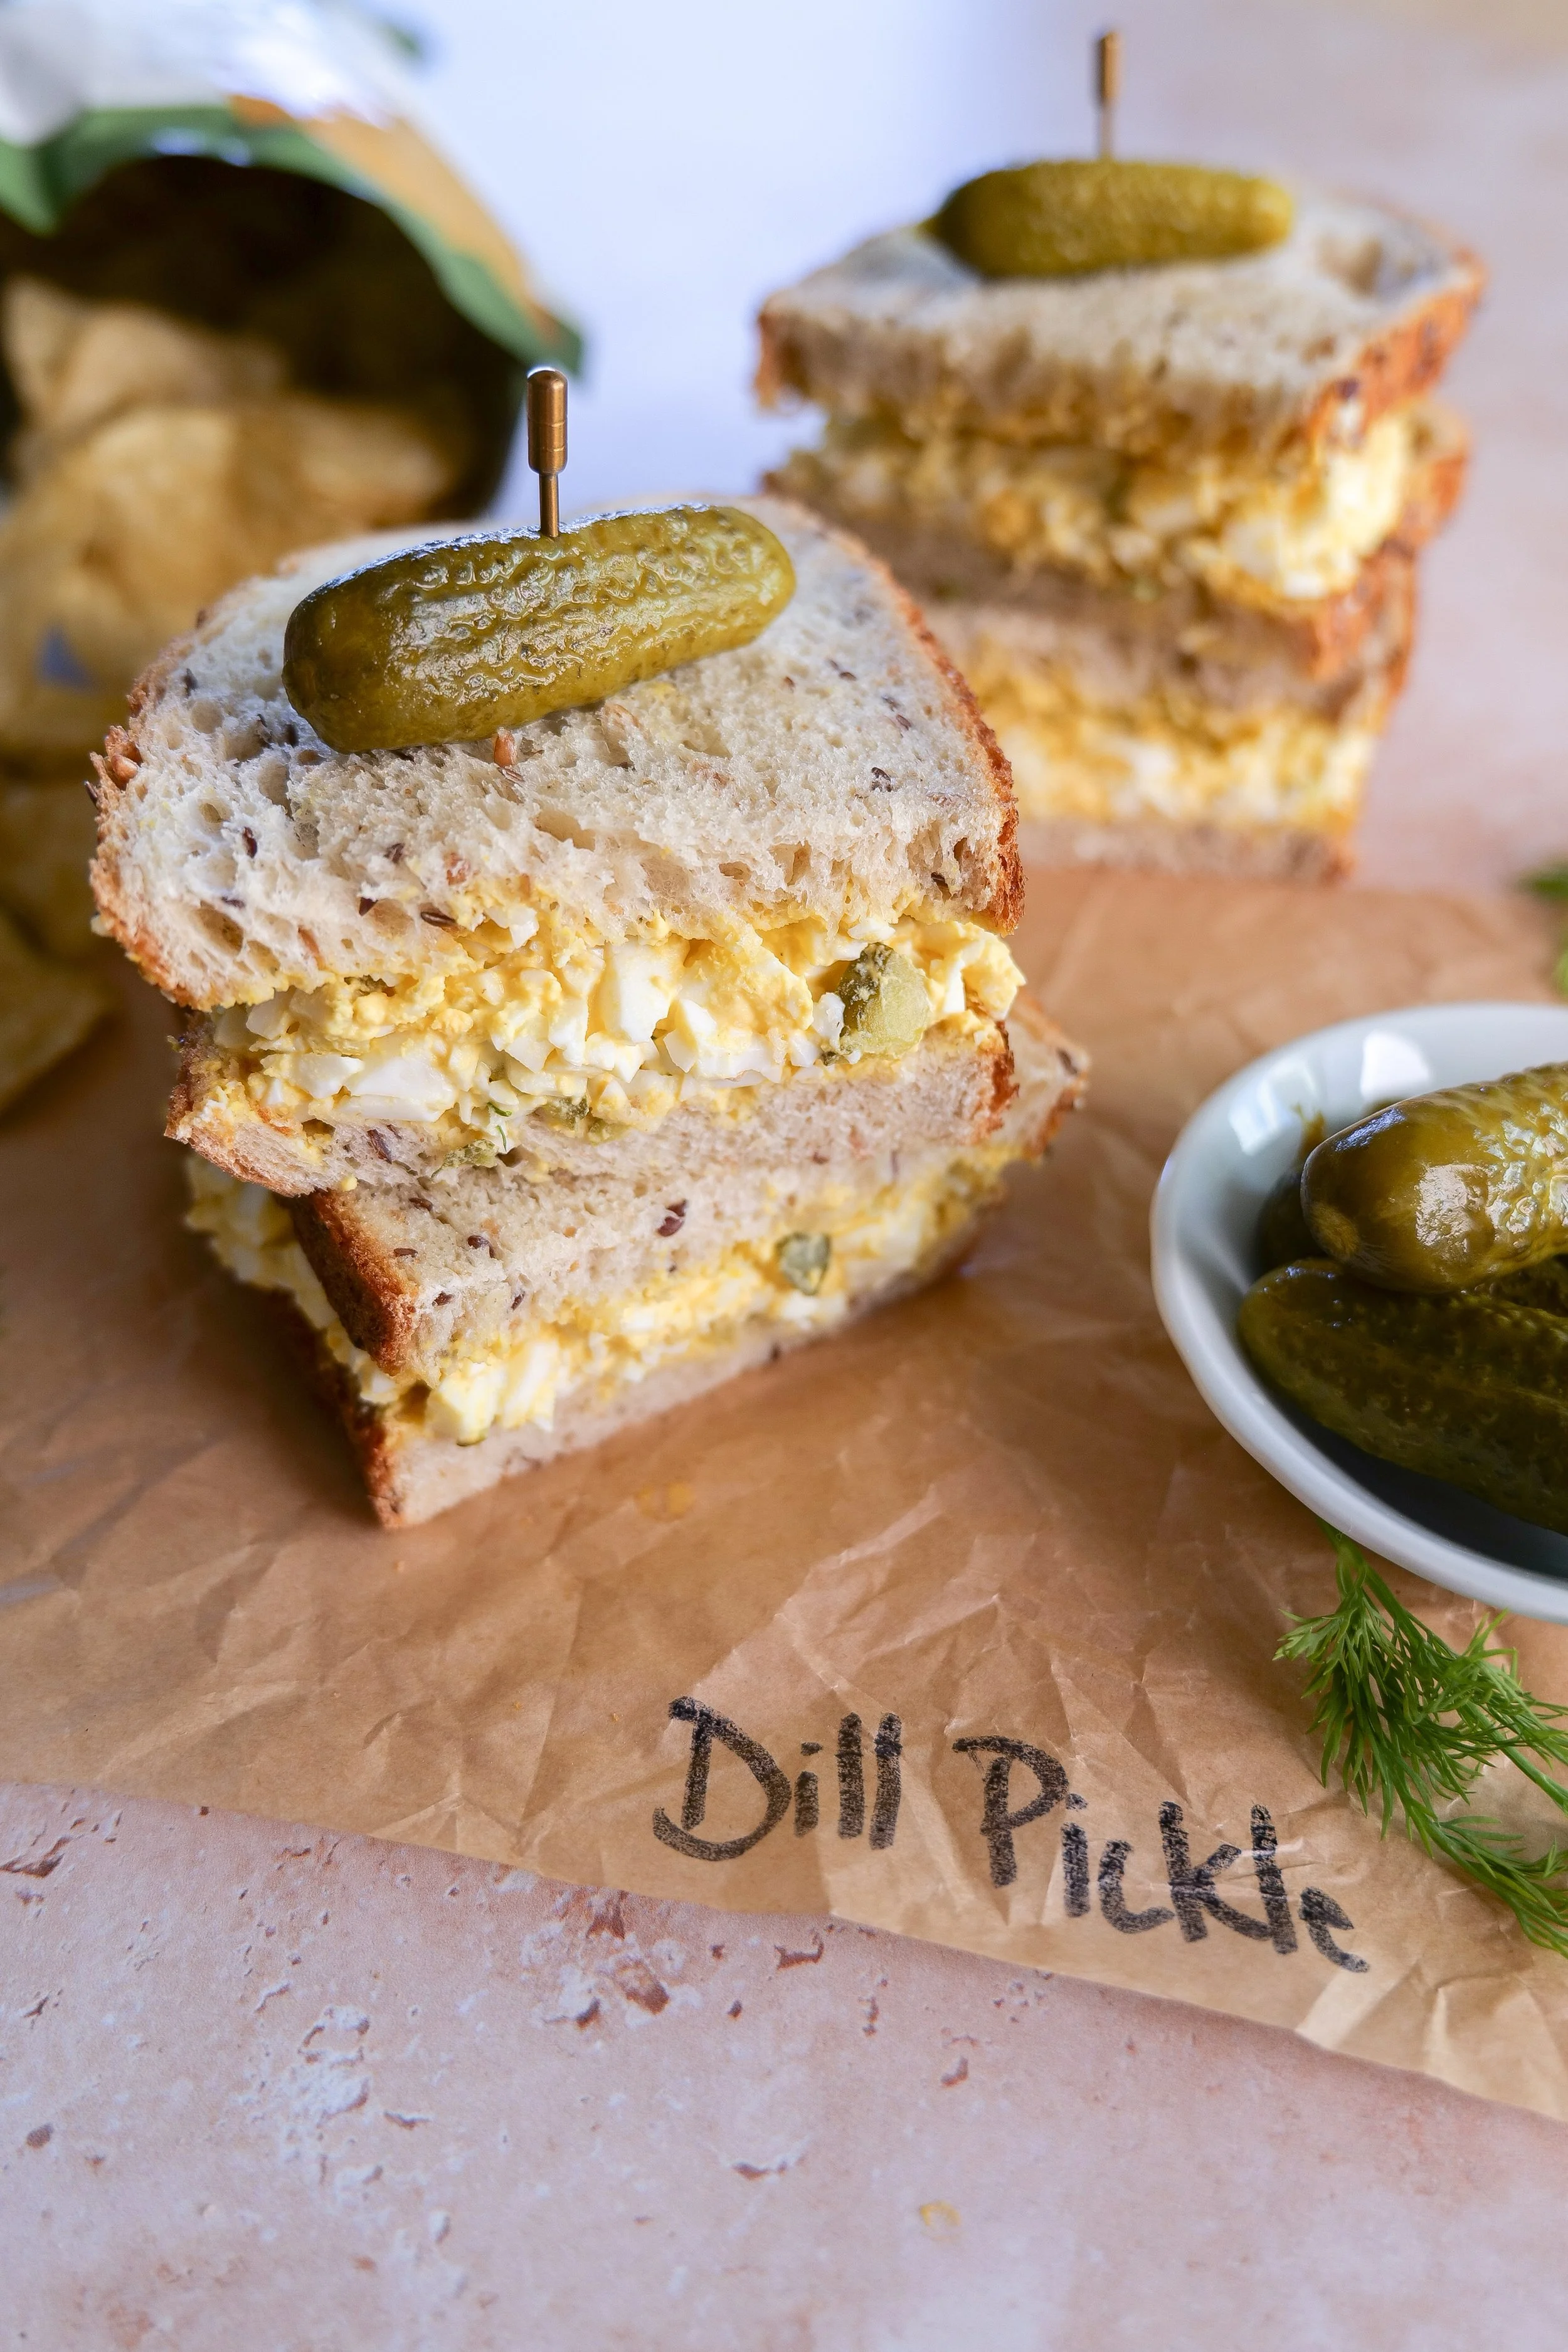
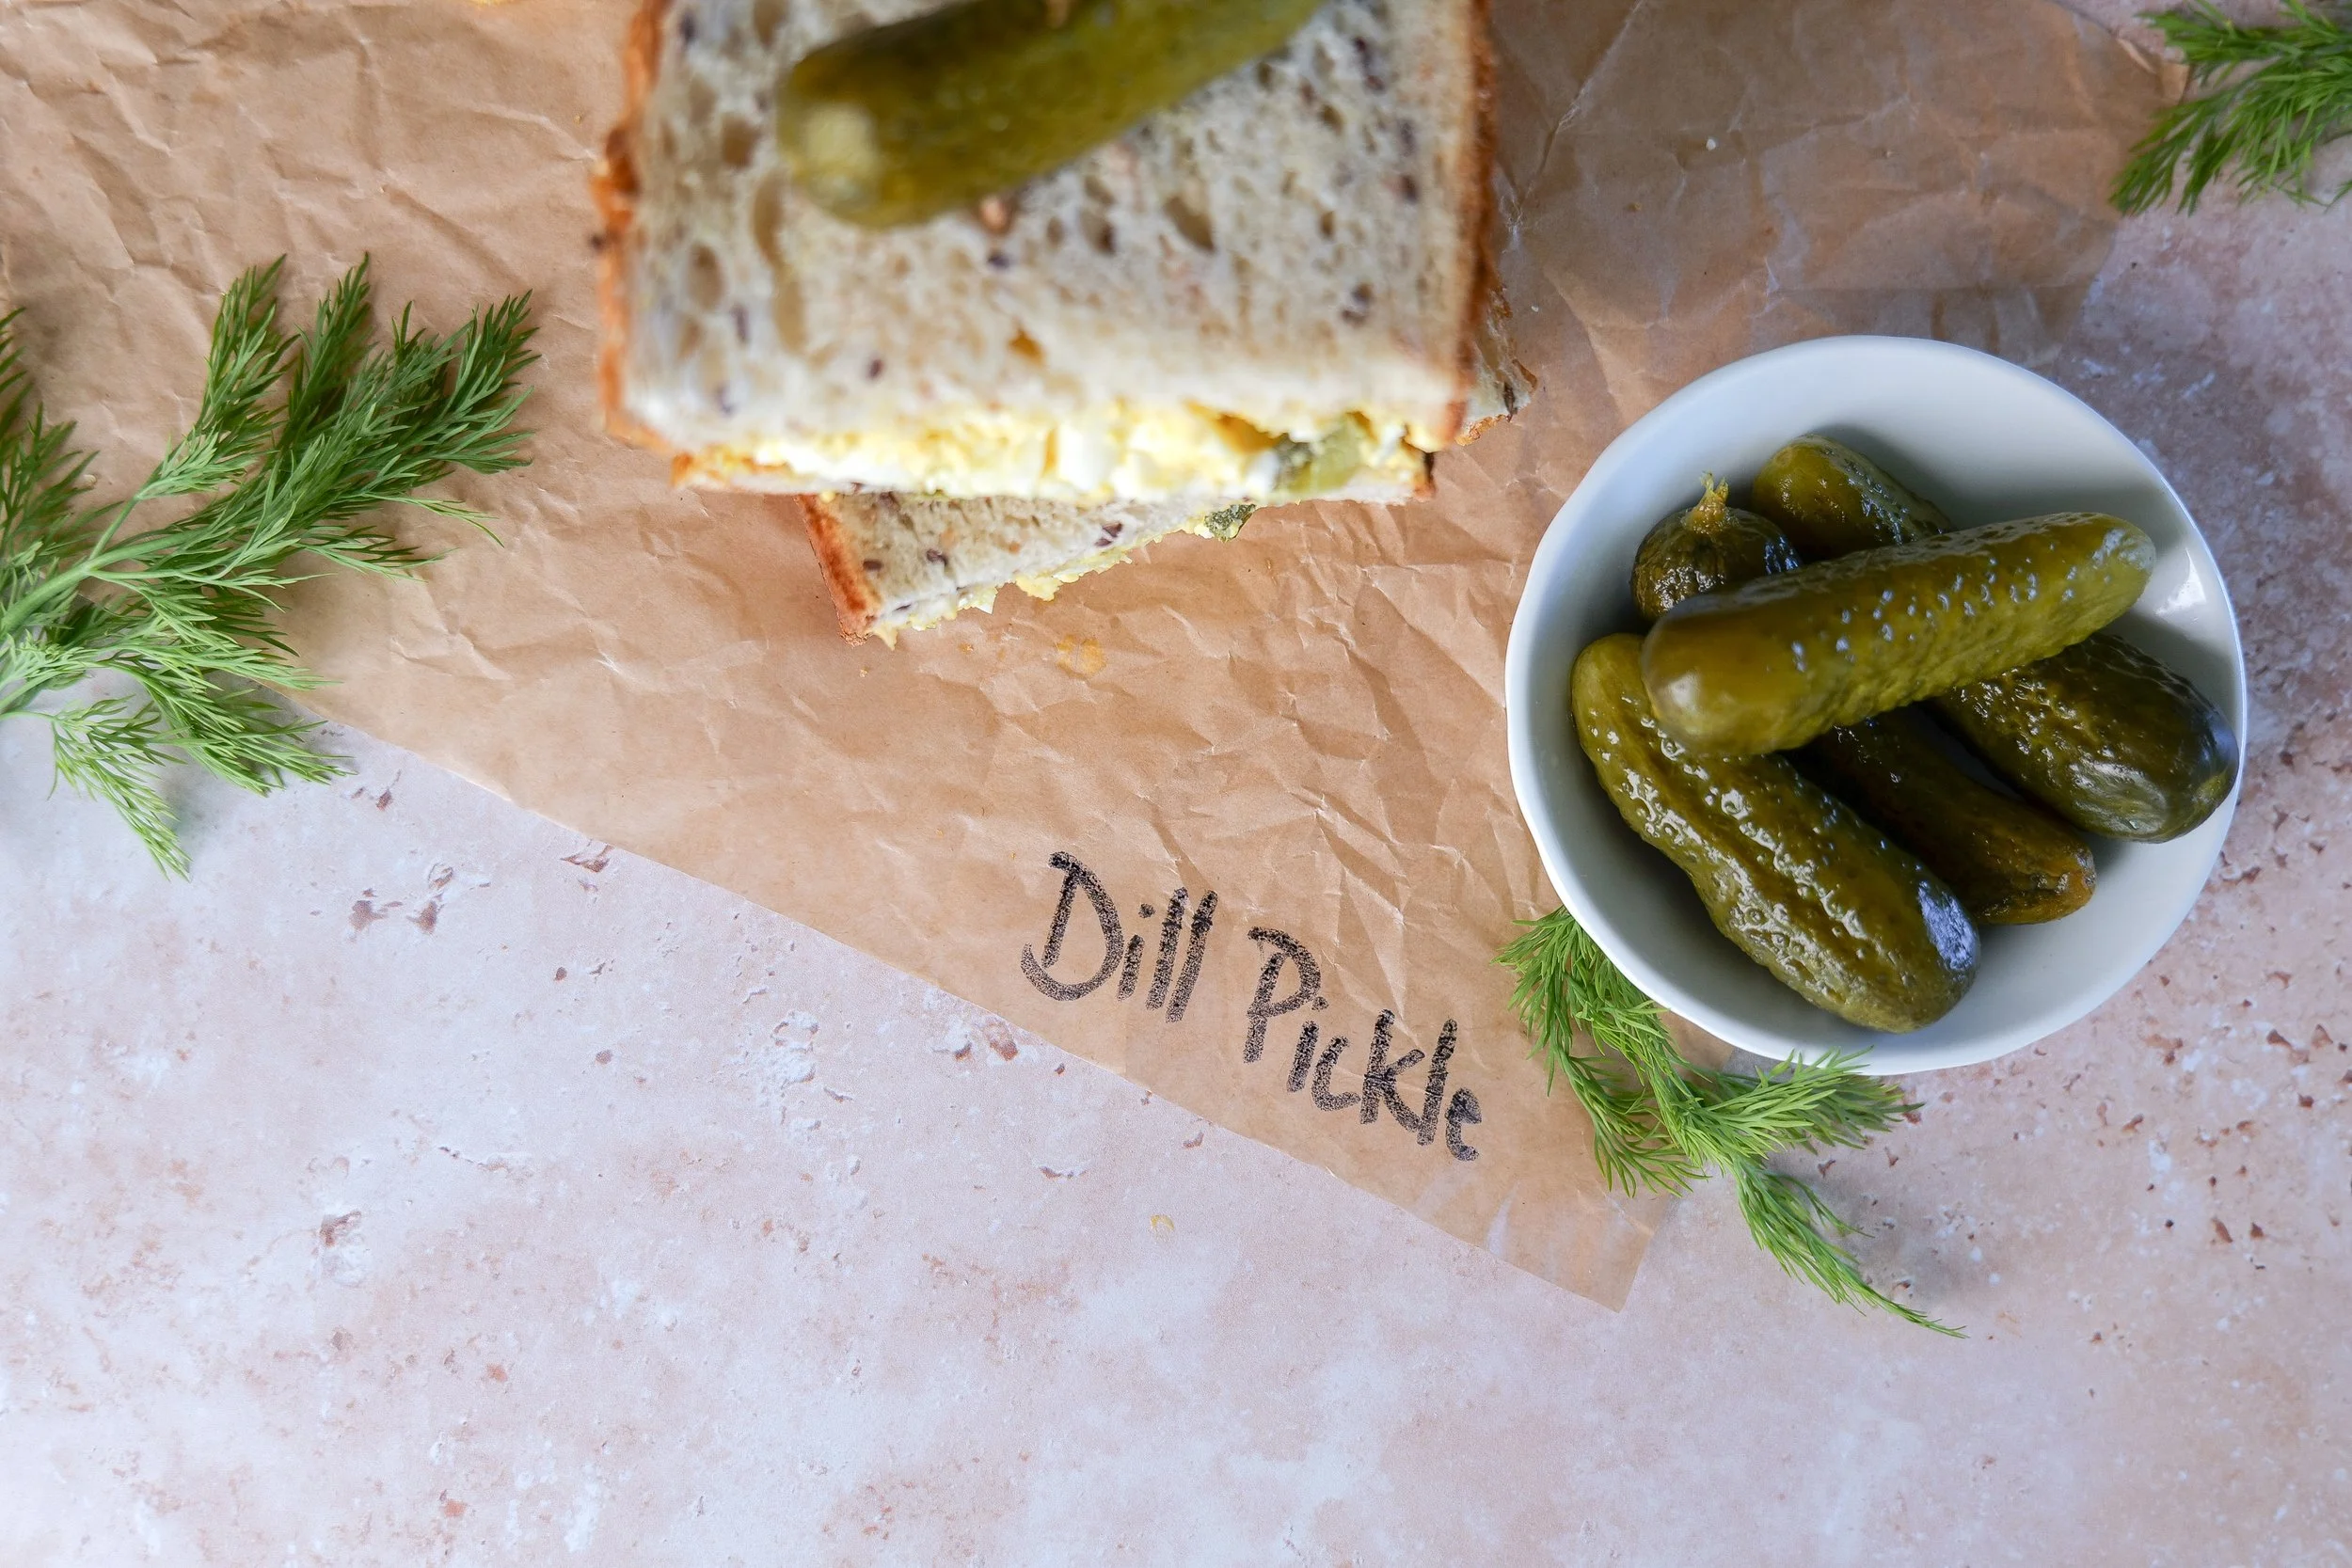
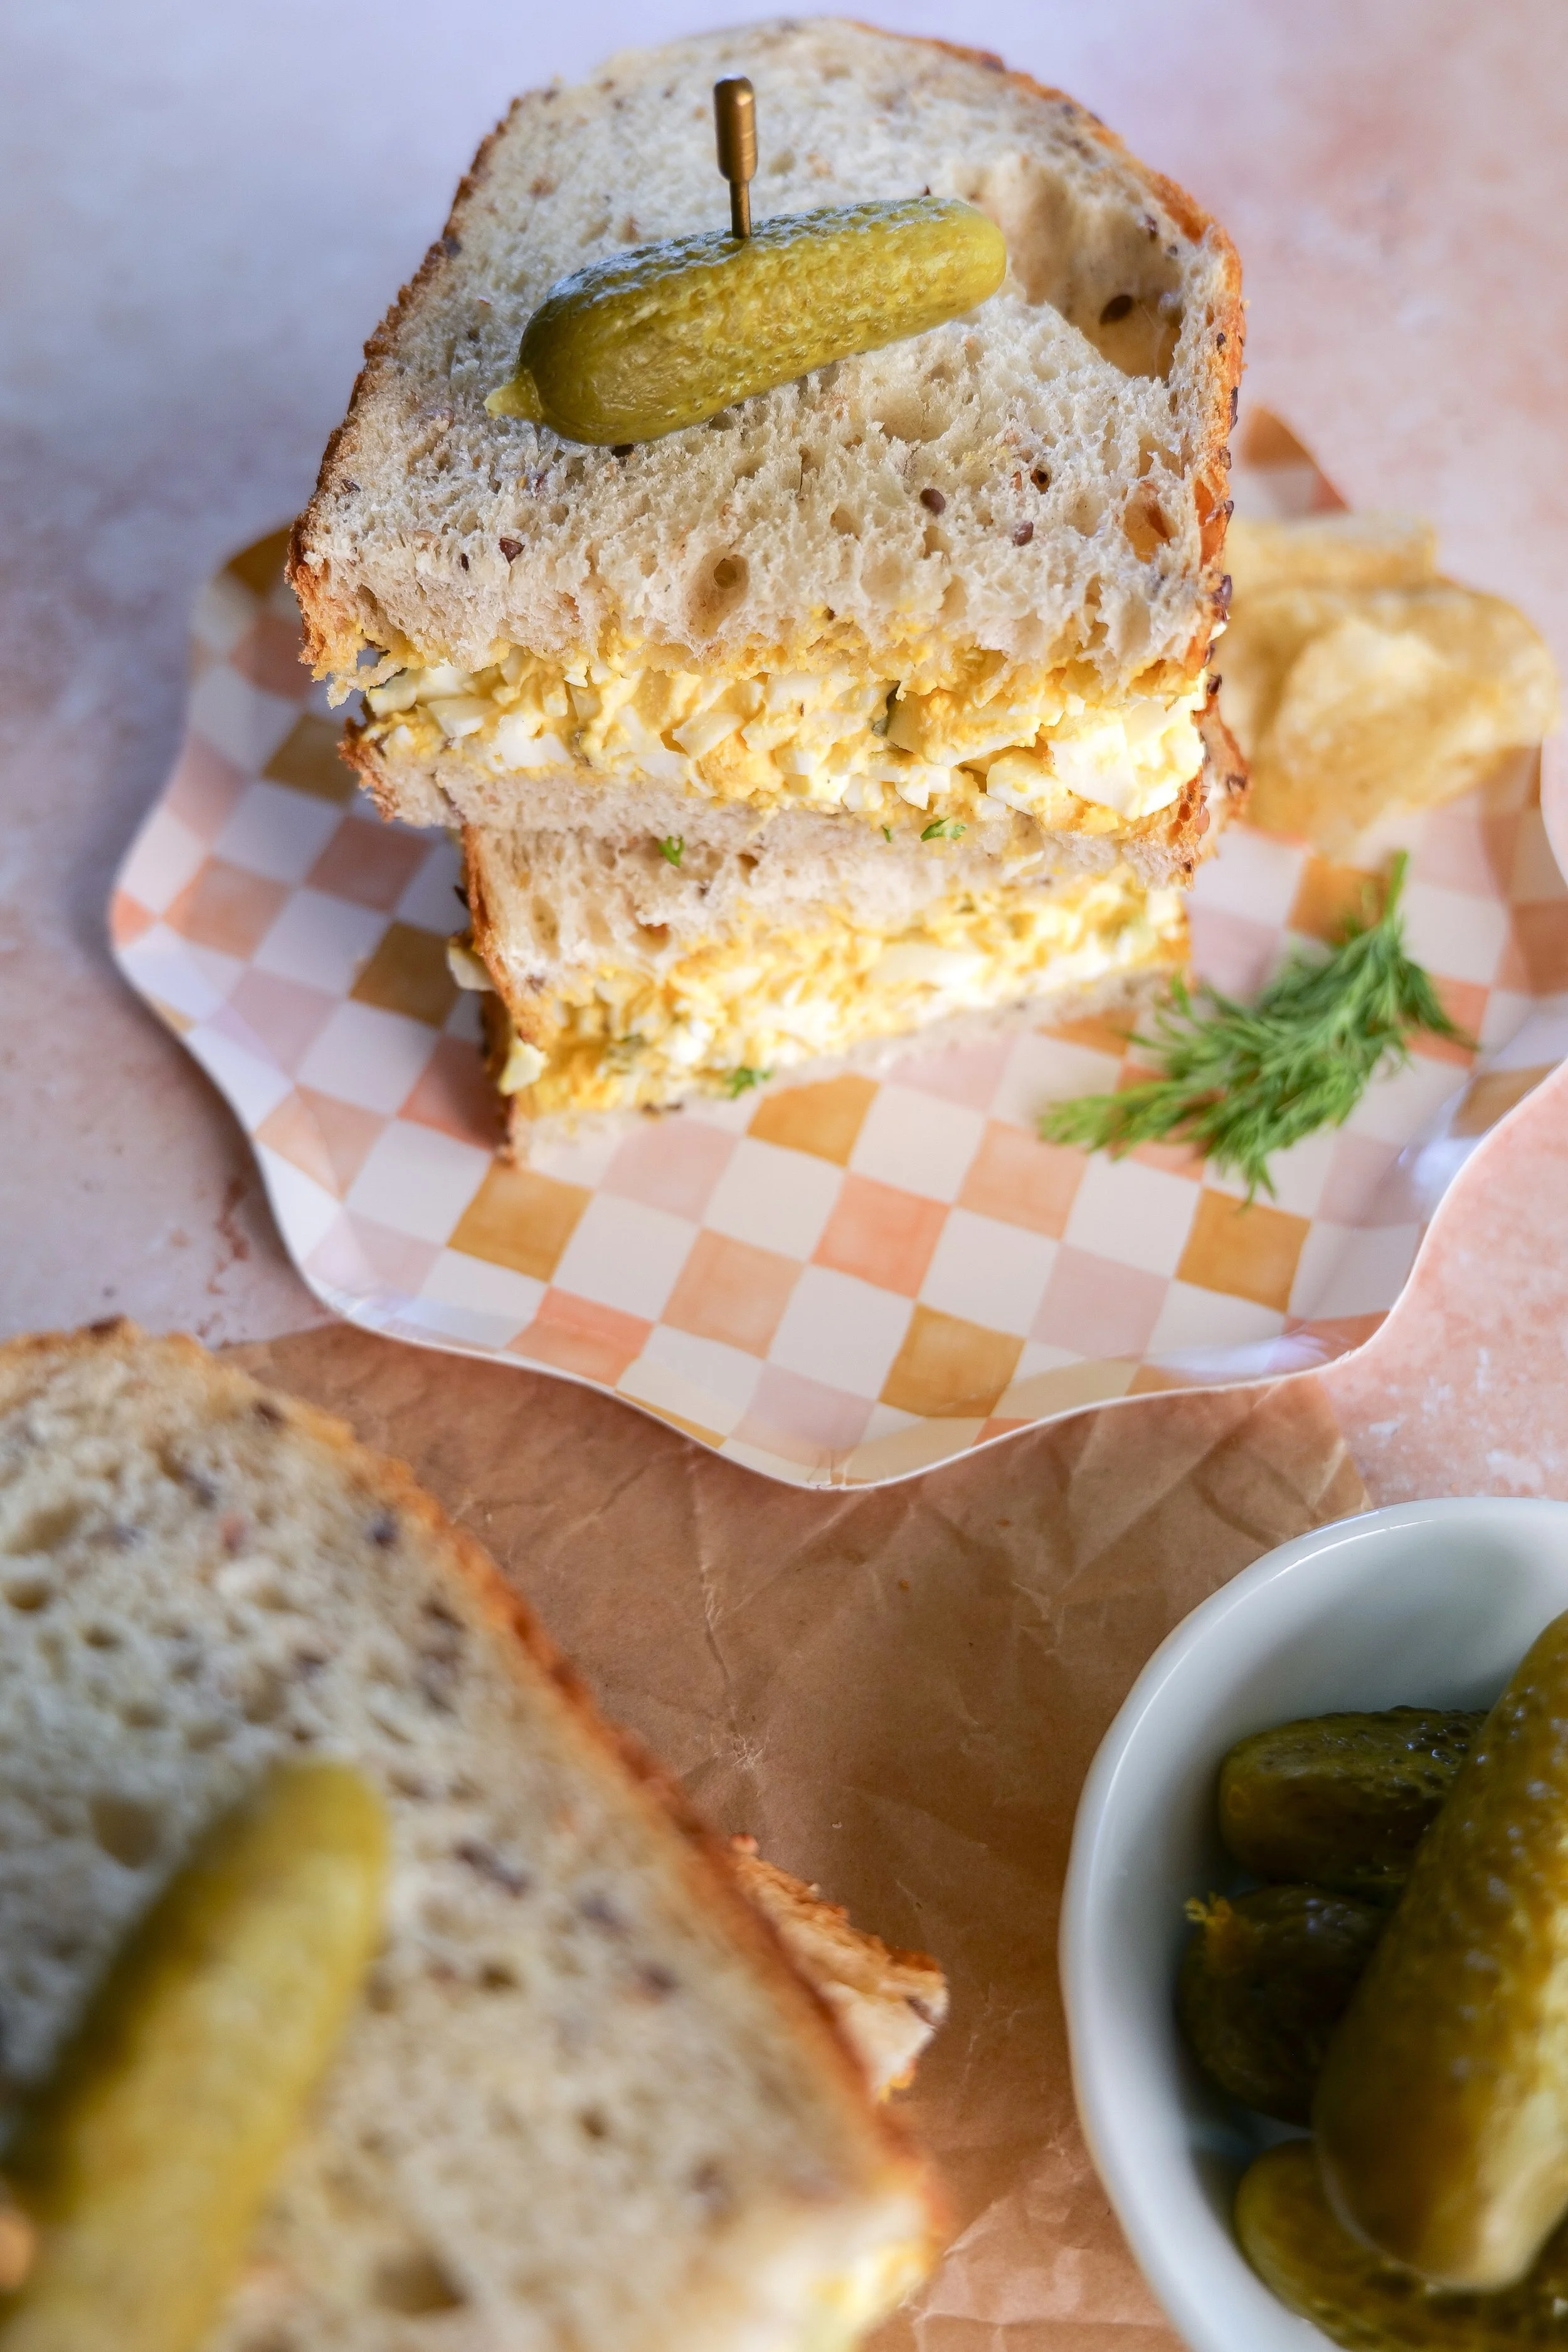
Dill Pickle Deviled Eggs

Dill pickle deviled eggs are a tangy, crowd-pleasing twist on the classic appetizer, perfect for anyone who loves bold, briny flavor. This easy deviled eggs recipe combines creamy egg yolks with mayonnaise, finely chopped dill pickles, and a splash of pickle juice for that signature zesty kick. A touch of Dijon mustard, garlic powder, and fresh dill enhances the flavor, while a sprinkle of paprika adds a classic finishing touch. These dill pickle deviled eggs are ideal for parties, BBQs, holiday gatherings, potlucks, or as a low-carb snack, making them a versatile favorite for any occasion.

Elegant Easter appetizer featuring assorted deviled eggs

Ingredients:

3 hard boiled eggs

2 tablespoons mayonnaise

2 teaspoons dill pickles, finely minced

2 teaspoons dill pickle juice

1/2 teaspoon mustard

A pinch of garlic powder

Fresh dill for garnish

Instructions:

  1. Remove yolk from egg whites of hard boiled eggs.

  2. Add to a bowl with mayonnaise, mustard, dill pickles, pickle juice and garlic powder. Mix together well and pipe into egg whites.

  3. Garnish with slice of pickle and fresh dill

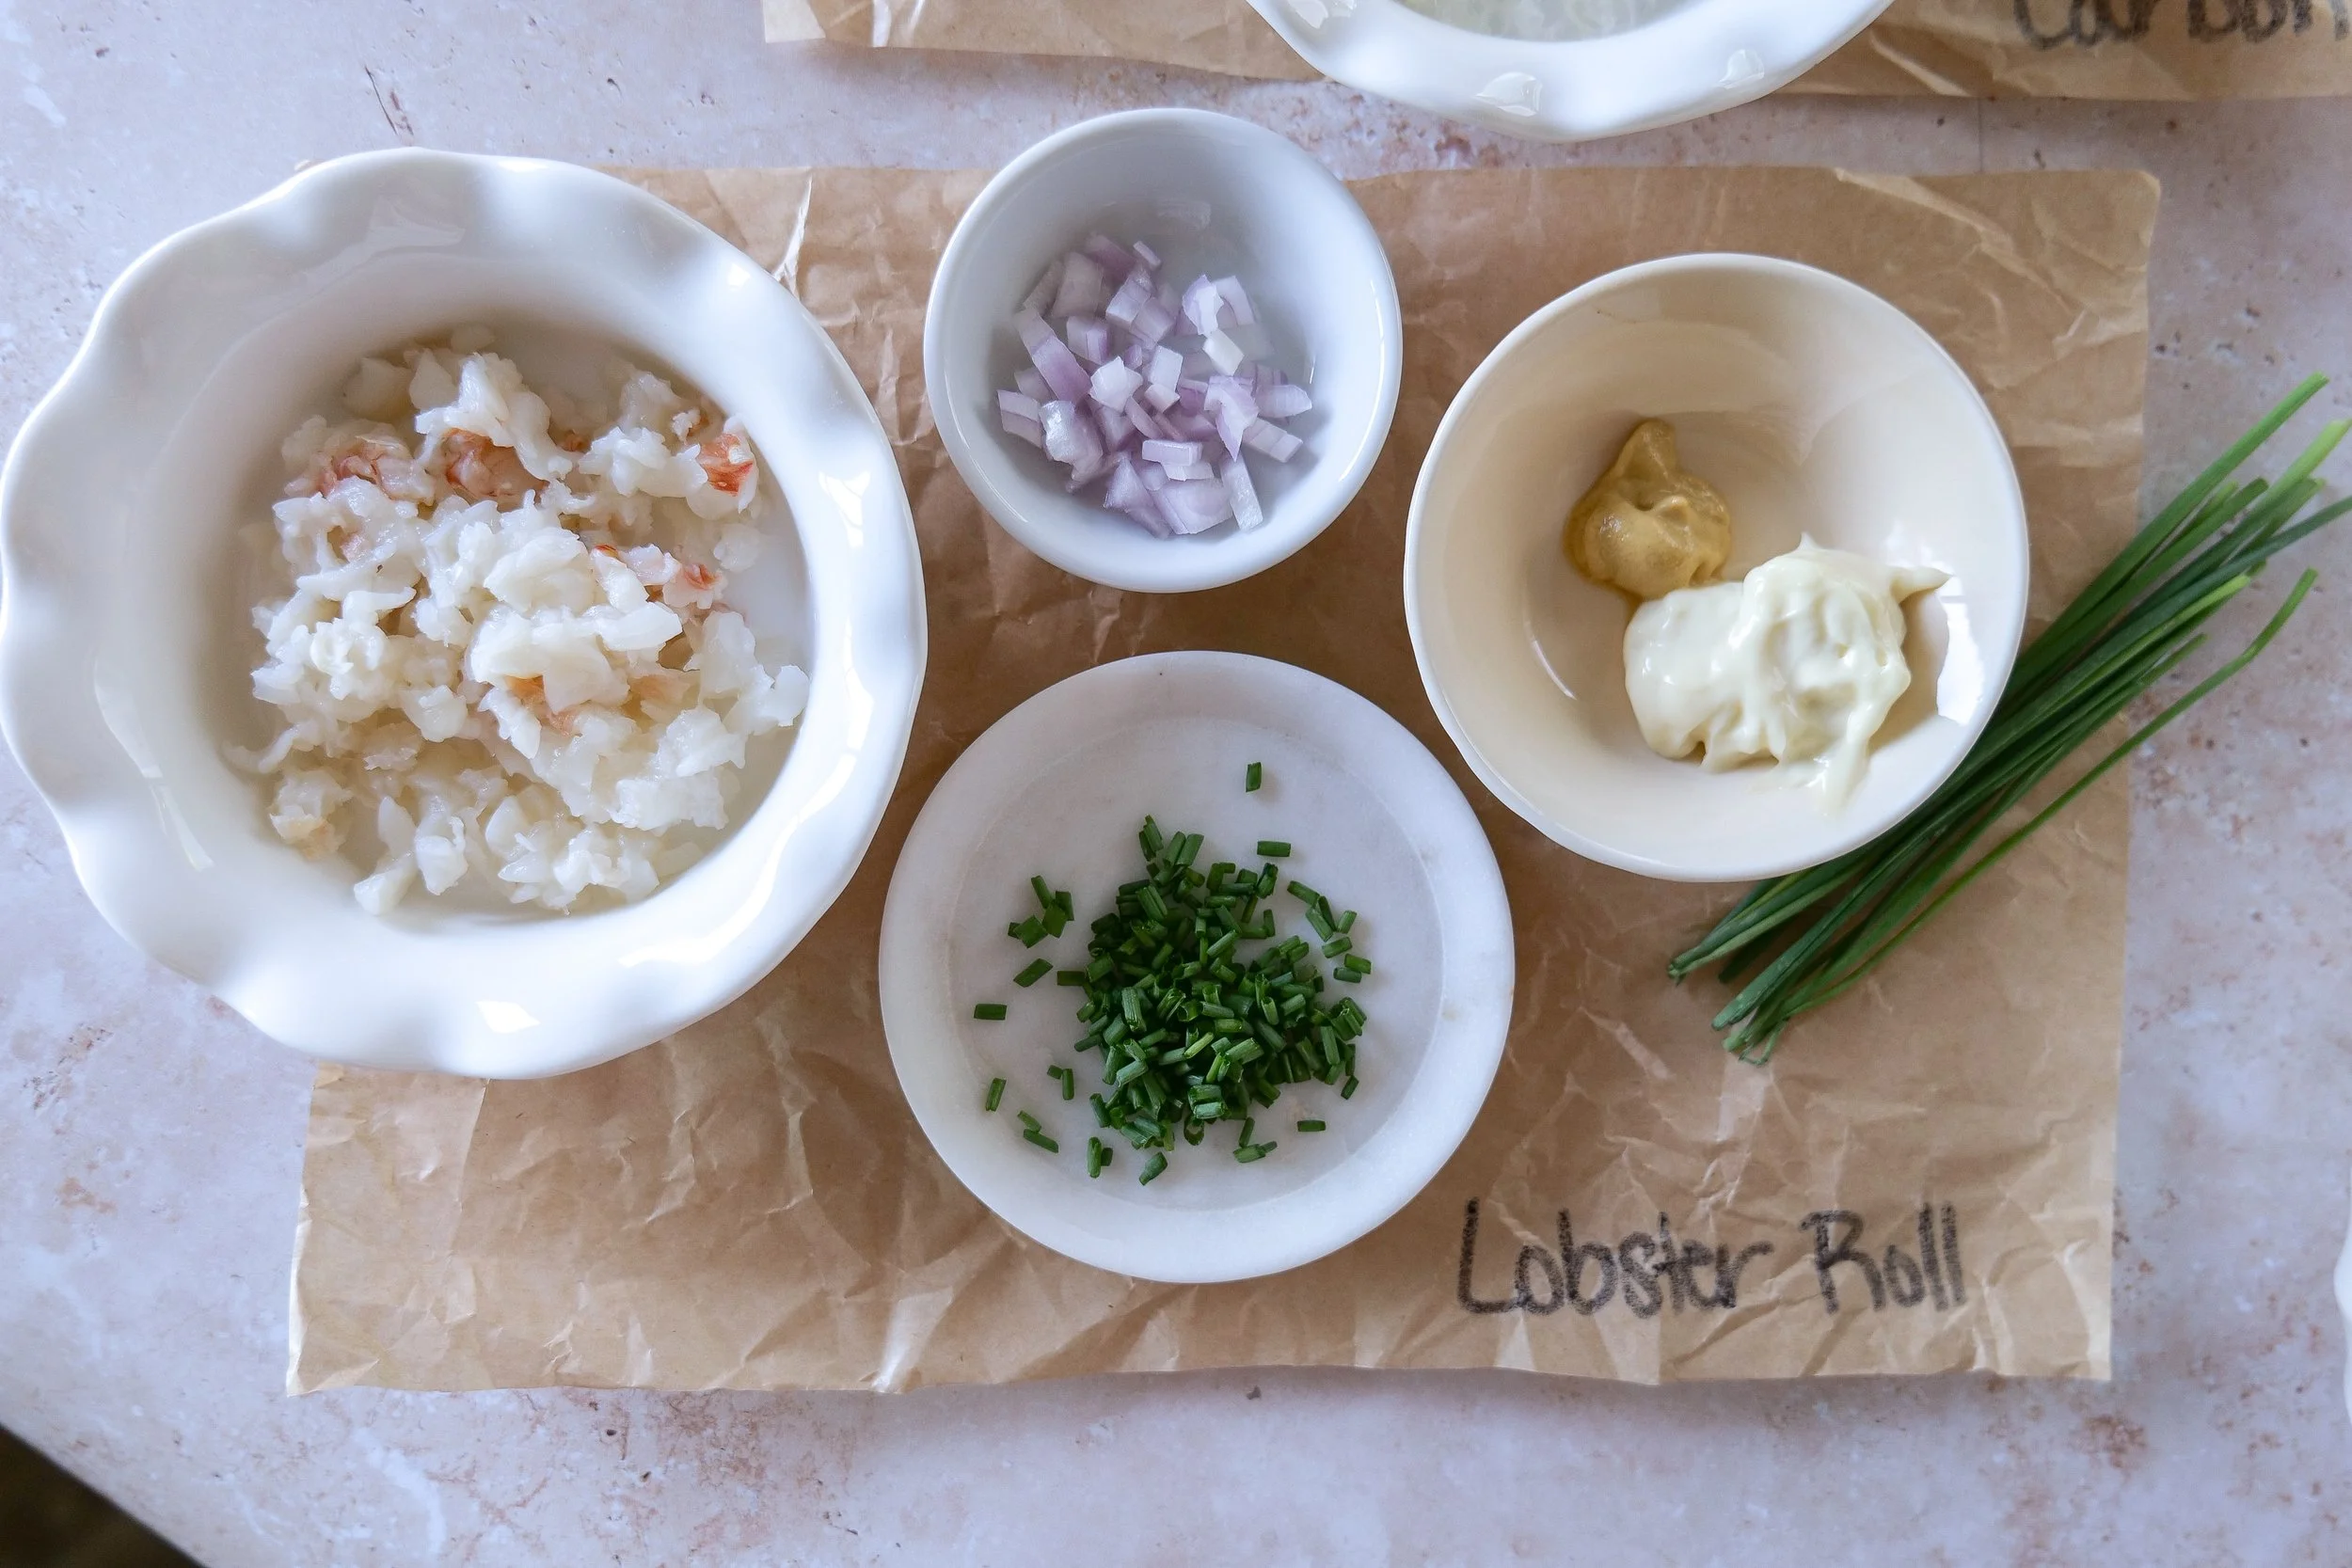
Lobster Roll Deviled Eggs

Lobster deviled eggs are an elegant, gourmet twist on the classic appetizer, perfect for special occasions, holiday parties, or upscale brunch spreads. This easy yet luxurious deviled eggs recipe combines creamy egg yolks with mayonnaise, Dijon mustard, fresh lemon juice, and tender chunks of succulent lobster meat for a rich, buttery flavor. A touch of Old Bay seasoning or paprika adds depth, while finely chopped chives or parsley bring a fresh, vibrant finish. These lobster deviled eggs are ideal for entertaining, seafood lovers, or anyone searching for a high-end appetizer recipe that feels both indulgent and approachable. If you’re looking for a unique deviled eggs recipe that’s packed with flavor and visual appeal, these lobster deviled eggs are a show-stopping dish.

Creative deviled egg flight presentation in an egg carton display

Ingredients:

3 hard-boiled eggs

2 ounces chopped cooked lobster meat, reserve 6 pieces for garnish

1/2 teaspoon dijon mustard

1/2 tablespoon chopped shallot

2 tablespoons mayonnaise

1 1/2 teaspoons chopped chives

Spoon into the egg whites; top with reserved lobster bite & more chives

Instructions:

  1. Remove yolk from egg whites of hard boiled eggs.

  2. Add to a bowl with mayonnaise, mustard, lobster, shallot, and chives. Mix together well and pipe into egg whites.

  3. Garnish with additional lobster and chives

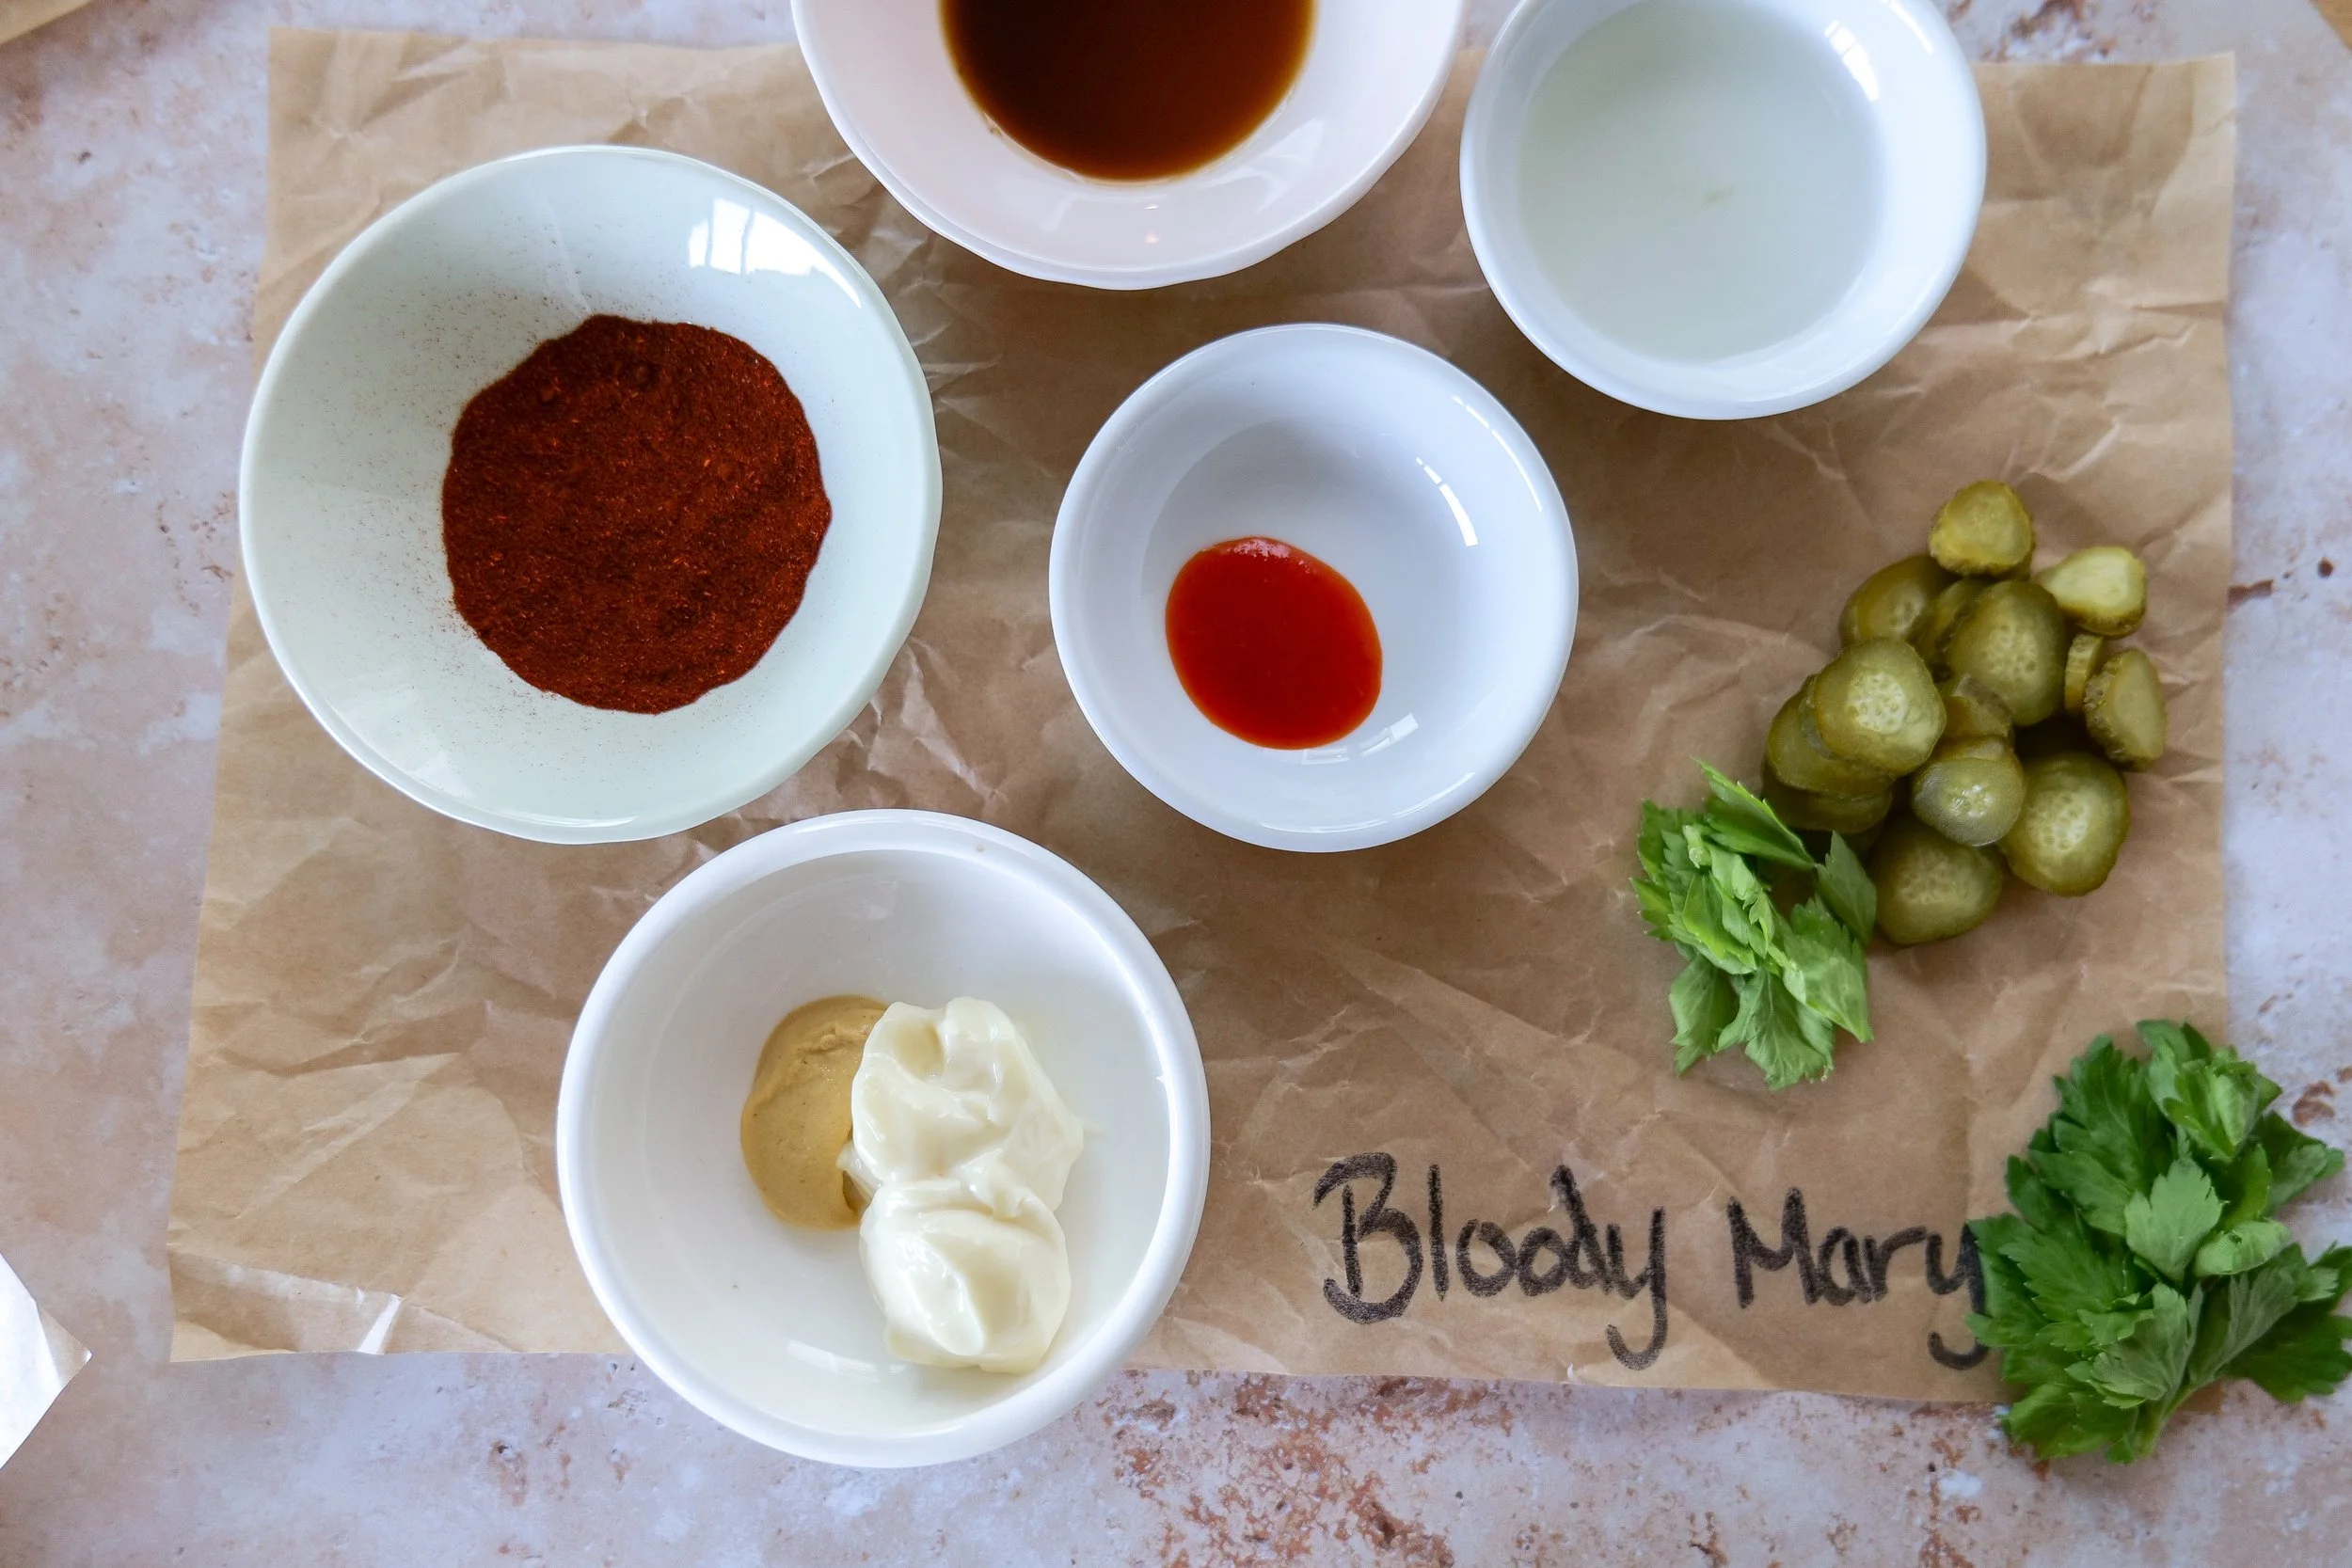
Bloody Mary

Bloody Mary deviled eggs are a flavorful, crowd-pleasing appetizer that combines the classic appeal of deviled eggs with the bold, zesty taste of a Bloody Mary cocktail. Made with creamy egg yolks, mayonnaise, tomato juice or paste, horseradish, and a splash of Worcestershire sauce, these deviled eggs deliver the perfect balance of tangy, spicy, and savory flavors. A dash of hot sauce, celery salt, black pepper, and fresh lemon juice enhances the signature Bloody Mary taste, while optional vodka adds an authentic cocktail twist. Garnished with toppings like chopped celery, olives, pickles, or even shrimp, Bloody Mary deviled eggs are ideal for brunch, holiday gatherings, game day snacks, or party appetizers. If you're looking for a unique deviled egg recipe with a spicy kick, this Bloody Mary deviled eggs recipe is guaranteed to stand out and impress guests.

Bloody Mary deviled eggs garnished with celery pickle and paprika

Ingredients:

3 large hard-boiled eggs

2 tablespoons mayonnaise

1/2 teaspoon mustard

1 teaspoons Worcestershire sauce

1/2 teaspoons hot sauce

2 tsp pickle juice

Salt and pepper to taste

Chopped celery, pickle, & paprika for garnish

Instructions:

  1. Remove yolk from egg whites of hard boiled eggs.

  2. Add to a bowl with mayonnaise, mustard, Worcestershire sauce, hot sauce, pickle juice and salt & pepper. Mix together well and pipe into egg whites.

  3. Garnish with celery, pickle and paprika if desired

What to Serve With a Deviled Egg Flight

A deviled egg flight makes a beautiful centerpiece for Easter brunches, spring gatherings, baby showers, and holiday entertaining. To create a complete spread, pair it with:

Easy Hash Brown Breakfast Casserole

Summer Veggie Frittata

Slow Cooker Baked Beans

Chicago-Style Hot Dogs

4th of July Flag Fruit Pizza

Mixing savory dishes with a sweet dessert creates a balanced menu that guests will love and gives everyone a variety of flavors to enjoy.

Creating a full brunch spread? Here are some of my favorite hosting pieces, serving trays, and entertaining essentials I reach for when styling holiday tables and appetizer spreads.

More Egg Recipes You'll Love

Frequently Asked Questions

What is a deviled egg flight?

A deviled egg flight is a collection of multiple deviled egg flavors served together on one platter. Similar to a tasting flight, it allows guests to sample a variety of unique flavor combinations in a fun and interactive way.

Can I make a deviled egg flight ahead of time?

Yes! You can hard boil the eggs and prepare the fillings up to one day in advance. Store everything separately in the refrigerator and assemble just before serving for the freshest presentation.

How long do deviled eggs last in the refrigerator?

Deviled eggs are best enjoyed within 1–2 days. Store them in an airtight container in the refrigerator and keep them chilled until ready to serve.

What are the best toppings for deviled eggs?

Some of my favorite toppings include crispy bacon, fresh herbs, pickles, lobster meat, parmesan cheese, paprika, and chives. The garnish helps highlight the flavor of each deviled egg variation.

How many deviled eggs should I make per person?

For appetizers, plan on 2–4 deviled egg halves per person. If you're serving a deviled egg flight as part of a larger brunch or holiday spread, guests will usually sample several different flavors.

What occasions are perfect for a deviled egg flight?

A deviled egg flight is perfect for Easter brunch, Mother's Day, baby showers, bridal showers, spring gatherings, holiday parties, potlucks, and summer entertaining.

Can I customize the flavors?

Absolutely! One of the best things about a deviled egg flight is that you can mix and match flavors based on your guests' preferences. Try buffalo chicken, smoked salmon, ranch bacon, avocado, or even spicy jalapeño versions.

What should I serve with a deviled egg flight?

Deviled egg flights pair beautifully with breakfast casseroles, fresh fruit, brunch boards, vegetable trays, salads, baked beans, and other party appetizers. They make a great addition to any entertaining menu.

Save This Recipe

Whether you're planning ahead for a special occasion or adding a new favorite to your recipe collection, I've included a printable recipe card below so it's easy to save, print, and share with the people you love.
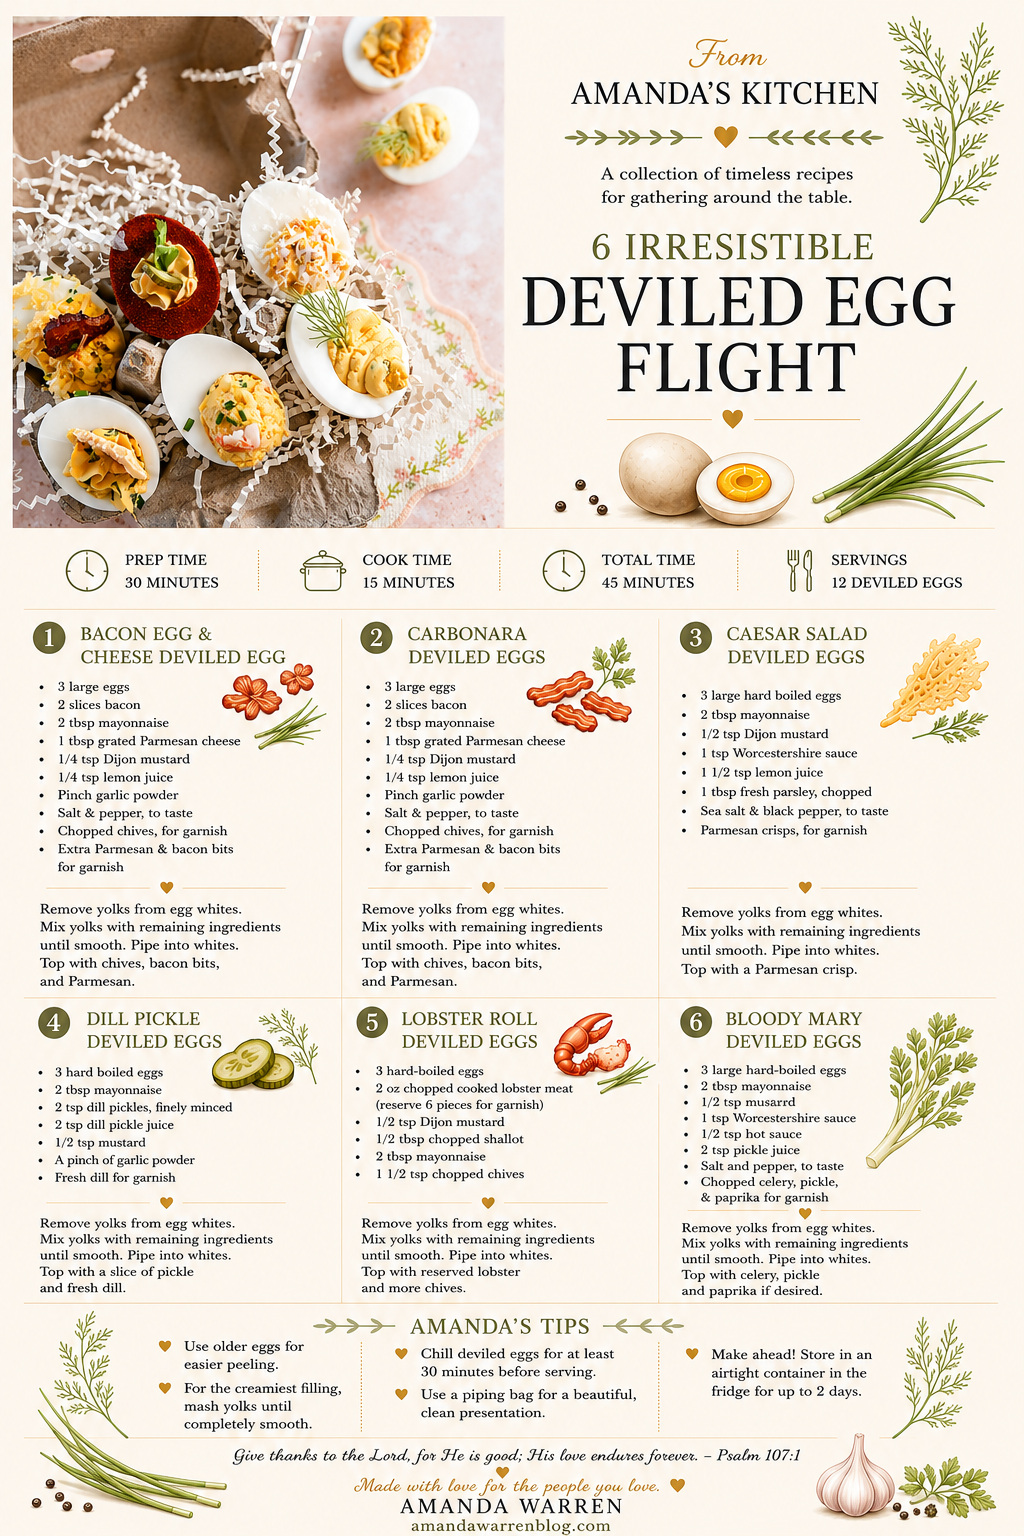
A deviled egg flight featuring six gourmet deviled egg recipes including bacon egg and cheese, carbonara, Caesar salad, dill pickle, lobster roll, and Bloody Mary deviled eggs arranged on a serving tray.
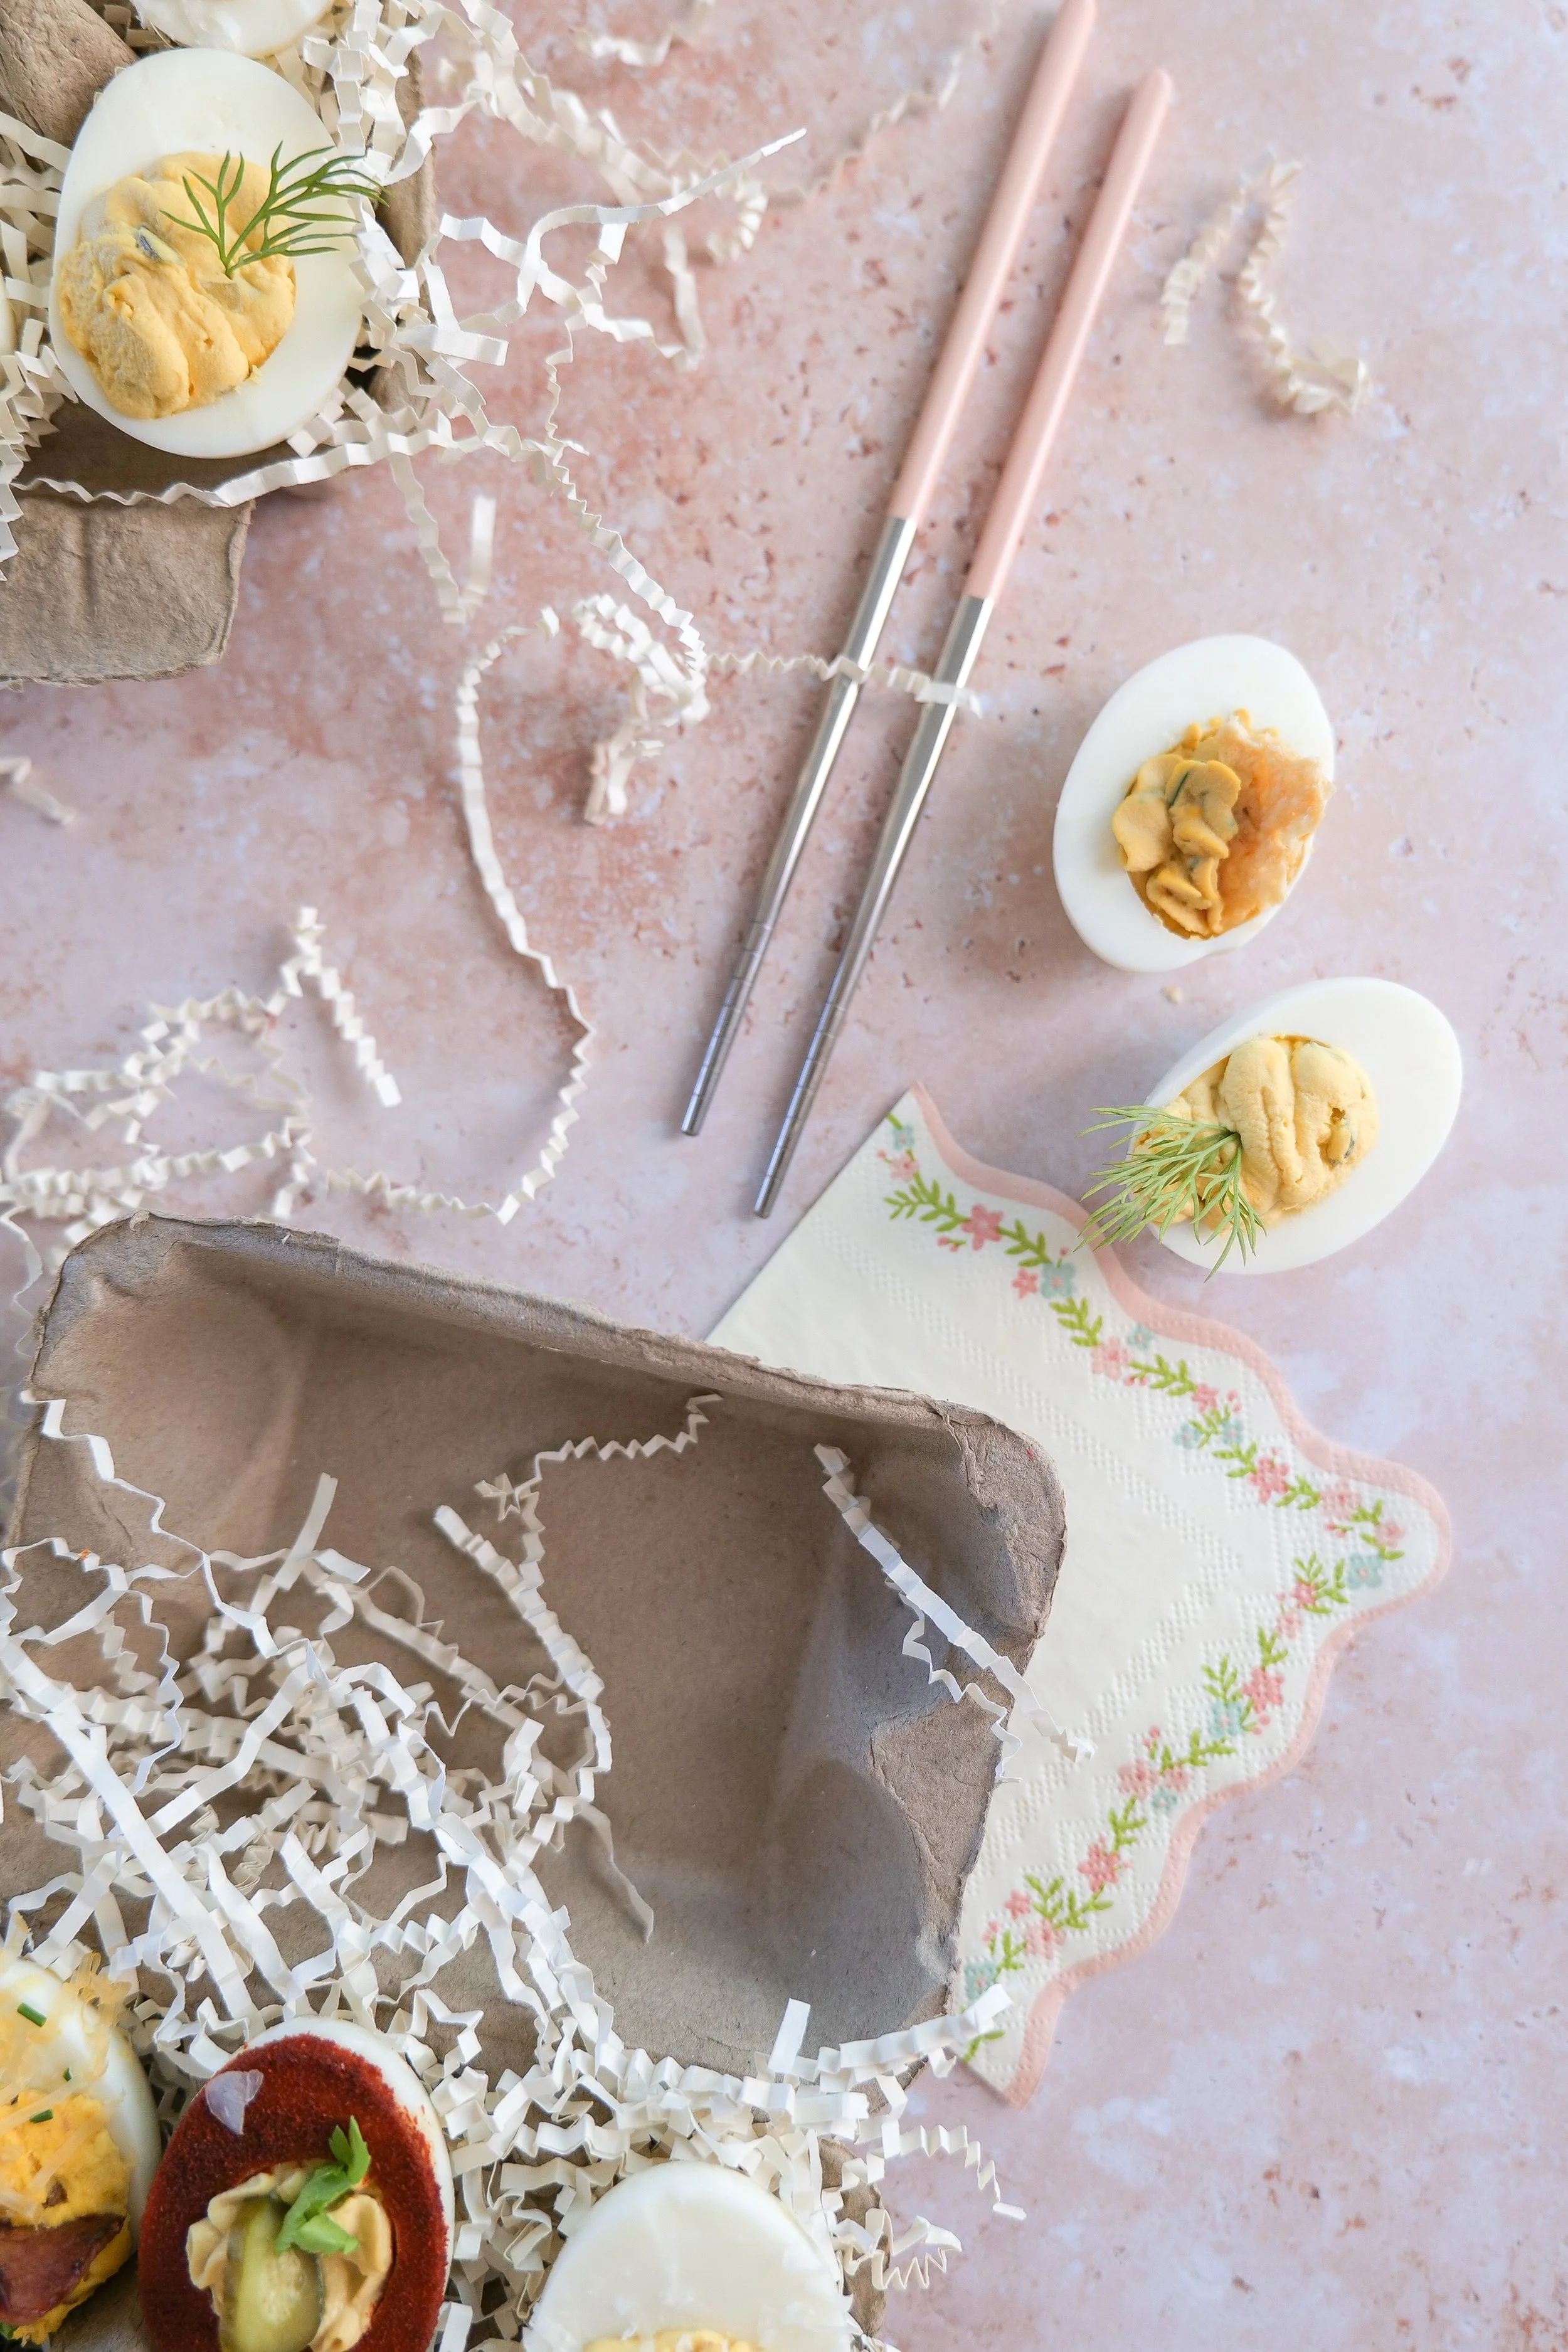
Party-ready deviled egg recipes with a variety of toppings and garnishes
Deviled egg platter perfect for Easter brunch and spring gatherings
Homemade deviled egg flight featuring six easy appetizer recipes
Colorful assortment of deviled eggs for Easter brunch entertaining
Viral deviled egg flight trend featuring six creative deviled egg recipes

Dill Pickle Egg Salad Sandwich

A Creamy, Tangy Twist on Classic Egg Salad

Classic egg salad will always have a place in my kitchen, but adding dill pickles might be my favorite way to make it even better.

This Dill Pickle Egg Salad is creamy and comforting with just enough crunch and tang from finely chopped dill pickles and a splash of pickle juice. Fresh dill brings everything together, while Dijon mustard and a little garlic give the dressing plenty of flavor without overpowering the eggs.

Pile it between slices of toasted sourdough for an easy lunch, spoon it onto crackers for a snack, tuck it into lettuce cups, or simply eat it straight from the bowl. It's quick enough to make when you need lunch now, but it also keeps beautifully in the refrigerator for an easy make-ahead option.

And if you're someone who always orders an extra side of pickles with your sandwich, I have a feeling this one's going to become a favorite.

Dill pickle egg salad sandwich made with creamy egg salad, chopped dill pickles and fresh dill.  This should be your strongest finished sandwich image.
↓ Skip to Recipe

Why You'll Love This Dill Pickle Egg Salad

This recipe takes everything I love about traditional egg salad and gives it a fresh, tangy twist.

You'll love it because it's:

  • Ready in about 20 minutes

  • Creamy with plenty of crunch

  • Packed with dill pickle flavor

  • Made with simple ingredients

  • Easy to make ahead

  • Perfect for quick lunches

  • Delicious as a sandwich or without bread

  • Easy to double for meal prep

The pickle juice is especially important. It adds acidity and pickle flavor throughout the dressing rather than relying only on pieces of chopped pickle.

Creamy dill pickle egg salad with chopped hard-boiled eggs, pickles and fresh dill.

Ingredient Notes

You only need a handful of ingredients to turn classic egg salad into something a little more interesting.

Ingredients for dill pickle egg salad including hard-boiled eggs, dill pickles, mayonnaise, mustard and fresh dill.

Eggs

Three large hard-boiled eggs make enough egg salad for approximately two generous sandwiches.

Dill Pickles

Finely chopping the pickles gives you a little crunch and tang in almost every bite. Classic dill or kosher dill pickles both work beautifully.

Pickle Juice

Don't pour that pickle jar out! A few teaspoons of the brine loosen the dressing while adding even more tangy dill pickle flavor.

Mayonnaise

Mayonnaise creates the creamy base for the egg salad. Use whichever mayonnaise you normally keep in your kitchen.

Dijon Mustard

Dijon gives the dressing a little sharpness that balances the richness of the eggs and mayonnaise.

Fresh Dill

Fresh dill reinforces the pickle flavor and adds freshness to the finished salad.

Garlic Powder

Just a little garlic powder rounds out the dressing without making the garlic flavor overwhelming.

Bread

Sourdough is probably my favorite for this sandwich, but rye, whole grain, white bread, or a soft croissant would all be delicious.

Kitchen Tools

This is a wonderfully simple recipe, so you won't need much:

  • Small saucepan

  • Mixing bowl

  • Sharp knife

  • Cutting board

  • Measuring cups and spoons

  • Spoon or rubber spatula

You can find the everyday kitchen tools and serving pieces I use most often in my Kitchen Essentials shelf.

Dill Pickle Egg Salad Sandwich Recipe

Prep Time: 10 minutes
Cook Time: 10–12 minutes
Total Time: About 20 minutes
Servings: 2 sandwiches

Ingredients

Dill Pickle Egg Salad

  • 3 large eggs, hard-boiled and peeled

  • ¼ cup mayonnaise

  • 2 small dill pickles, finely chopped

  • 4 teaspoons dill pickle juice

  • 1 teaspoon Dijon mustard

  • 1 tablespoon finely chopped fresh dill

  • ¼ teaspoon garlic powder

  • Sea salt, to taste

  • Freshly ground black pepper, to taste

For Serving

  • 4 slices bread of choice

  • Lettuce, optional

  • Sliced tomato, optional

  • Thinly sliced red onion, optional

  • Additional fresh dill or sliced pickles, optional

Instructions

Step 1: Hard-Boil the Eggs

Place the eggs in a saucepan and cover with cold water.

Bring the water to a boil. Once boiling, remove the saucepan from the heat, cover, and allow the eggs to sit for 10–12 minutes.

Transfer the eggs immediately to a bowl of ice water and allow them to cool before peeling.

If you're using already-prepared hard-boiled eggs, you can skip directly to the next step.

Step 2: Chop the Eggs

Roughly chop the peeled eggs.

I like to leave some slightly larger pieces rather than chopping them too finely so the finished egg salad has plenty of texture.

Step 3: Make the Dill Pickle Egg Salad

Add the chopped eggs to a medium bowl with the mayonnaise, finely chopped dill pickles, pickle juice, Dijon mustard, fresh dill, and garlic powder.

Gently stir until everything is evenly combined and creamy.

Step 4: Season

Taste the egg salad before adding salt because the pickles and pickle juice already contribute quite a bit.

Season with sea salt and freshly ground black pepper as needed.

For even more pickle flavor, add another small splash of pickle juice.

Step 5: Assemble the Sandwiches

Divide the dill pickle egg salad between two slices of bread.

Add lettuce, tomato, thinly sliced red onion, or extra pickles if desired.

Top with the remaining bread and serve immediately, or refrigerate the egg salad until you're ready to assemble your sandwiches.

Enjoy!

Amanda's Quick Tips

  • Cool the eggs completely before making the salad.

  • Chop the pickles finely so you get some in every bite.

  • Don't skip the pickle juice—it flavors the entire dressing.

  • Taste before adding additional salt.

  • Leave some larger pieces of egg for better texture.

  • Chill the finished salad for 30 minutes if you have time; the flavors become even better as they sit.

  • Assemble sandwiches just before serving so the bread doesn't become soggy.

Easy dill pickle egg salad piled onto bread for a quick homemade lunch.

How to Make the Best Egg Salad Texture

Egg salad is such a simple recipe that texture makes a big difference.

I prefer chopping the eggs rather than completely mashing them. You still get the creamy dressing, but there are enough larger pieces of egg to give the salad some structure.

The same goes for the pickles. Chop them finely enough that they're distributed throughout the salad, but don't turn them into a paste. Those little crunchy bites are part of what makes this version so good.

Why Add Pickle Juice to Egg Salad?

Pickle juice may be my favorite part of this recipe.

Adding chopped pickles alone gives you bursts of pickle flavor, while adding some of the brine spreads that tanginess throughout the entire dressing.

It also helps loosen the mayonnaise slightly without making the egg salad watery.

Start with the amount in the recipe, taste, and then add a little more if you're a serious pickle lover.

Creamy homemade egg salad mixed with finely chopped dill pickles and fresh herbs.

Amanda's Tips for the Best Dill Pickle Egg Salad

Start with Cold Eggs

Let your hard-boiled eggs cool completely before chopping them. They're easier to handle and give the finished salad a better texture.

Choose a Pickle You Love

The flavor of the pickles comes through clearly, so this isn't the place to use a jar you don't particularly like.

Don't Oversalt

Pickles, pickle brine, Dijon, and mayonnaise can all contain salt. Mix everything together first and season at the very end.

Let It Chill

You can eat this immediately, but if you have an extra 30 minutes, refrigerate it first. The dill and pickle flavors have more time to work their way through the dressing.

Toast Your Bread

For a little more structure and crunch, lightly toast your bread before assembling the sandwich.

Easy Variations

Extra Pickle Egg Salad

Add another finely chopped pickle and a little extra fresh dill for even more pickle flavor.

Spicy Dill Pickle Egg Salad

Add chopped jalapeños, a little hot sauce, or use spicy dill pickles.

Greek Yogurt Egg Salad

Replace part of the mayonnaise with plain Greek yogurt for a slightly tangier dressing.

Dill Pickle Egg Salad Lettuce Cups

Skip the sandwich and spoon the egg salad into crisp butter lettuce or romaine leaves.

Egg Salad Croissant

Serve it on a buttery croissant with lettuce for a slightly more indulgent lunch.

Open-Faced Egg Salad Toast

Pile the egg salad over toasted sourdough and finish with fresh dill, cracked black pepper, and thinly sliced pickles.

Homemade dill pickle egg salad prepared with a creamy mayonnaise and Dijon dressing.  7. Sandwich Serving Image

What to Serve with a Dill Pickle Egg Salad Sandwich

This is such an easy lunch to build around.

Try serving it with:

  • Kettle-cooked potato chips

  • Extra dill pickles

  • Fresh berries

  • Grapes

  • Sliced apples

  • Fresh fruit salad

  • Simple green salad

  • Tomato soup

  • Cucumber salad

  • Fresh vegetables

For a quick lunch, I love keeping it simple with chips, fruit, and an extra pickle on the side.

Dill pickle egg salad sandwich served as an easy make-ahead lunch.
Creamy egg salad with crunchy dill pickle pieces and fresh dill.

Make It Ahead

Dill pickle egg salad is a great make-ahead lunch because the flavors actually benefit from spending a little time together.

Prepare the egg salad and store it separately from your bread and toppings. When you're ready for lunch, assemble your sandwich fresh.

I wouldn't assemble the sandwiches several days in advance because the dressing can eventually make the bread soggy.

How to Store Egg Salad

Store leftover dill pickle egg salad in an airtight container in the refrigerator and enjoy within 3–4 days.

Keep it refrigerated until you're ready to serve it, and discard egg salad that has been left at room temperature for more than two hours—or more than one hour when temperatures are above 90°F.

I don't recommend freezing egg salad. Both the eggs and mayonnaise-based dressing can develop an unpleasant texture once frozen and thawed.

Frequently Asked Questions

Can I make dill pickle egg salad ahead of time?

Yes. In fact, making it a few hours ahead gives the dill and pickle flavors time to develop. Store it covered in the refrigerator until you're ready to serve.

What kind of pickles are best?

Classic dill or kosher dill pickles are my first choices. If you love heat, spicy dill pickles are also delicious.

Can I use sweet pickles?

You can, but they'll substantially change the flavor of the recipe. For the tangy flavor intended here, stick with dill pickles.

Can I use dried dill instead of fresh?

Yes, although I prefer fresh dill in this recipe. If substituting dried dill, start with a smaller amount because dried herbs are more concentrated.

Can I make this without mayonnaise?

You can substitute plain Greek yogurt for some or all of the mayonnaise, although the flavor and texture will be different.

What's the best bread for egg salad?

Sourdough, rye, whole grain, and classic white sandwich bread all work beautifully. A croissant is another delicious option.

Can I make this without bread?

Absolutely. Serve it in lettuce cups, over mixed greens, with crackers, or alongside sliced vegetables.

Can I freeze dill pickle egg salad?

I don't recommend it. The texture of the eggs and mayonnaise-based dressing doesn't hold up particularly well after freezing and thawing.

How long does homemade egg salad last?

Stored properly in an airtight container in the refrigerator, I recommend enjoying it within 3–4 days.

Easy egg salad sandwich with dill pickles served on fresh bread.

More Sandwich & Egg Recipes You'll Love

If you enjoyed this Dill Pickle Egg Salad Sandwich, try another easy recipe from Amanda's Kitchen:

Hawaiian Roll Breakfast Sandwiches
A make-ahead breakfast that's perfect for feeding the family.

Croissant Turkey Club with Chipotle Mayo
A classic turkey sandwich with a flavorful twist.

Chicken Salad Sandwich
Another easy lunch recipe that's perfect for making ahead.

Sausage English Muffin Sandwiches
An easy breakfast-prep recipe for busy mornings.

Buttery Italian Croissant Sandwich
A delicious option when you're craving a deli-inspired lunch.

Philly Cheesesteak Sliders
Perfect for an easy dinner or casual gathering.

Deviled Egg Pasta Salad
Another fun way to turn classic egg flavors into something new.

I'd make the actual recipe names above clickable rather than pasting visible URLs into the article.

Shop My Kitchen Favorites

I've gathered the knives, cutting boards, mixing bowls, serving pieces, and everyday kitchen tools I reach for when making simple recipes like this in my Kitchen Essentials shelf.

[PLACE YOUR SHOPPABLE KITCHEN ESSENTIALS SHELF HERE]

For this post, I'd do exactly what we just decided on with the other recipes: one subtle contextual shelf link earlier + one actual shoppable shelf here. No third shopping CTA.

Save This Recipe

Whether you're meal prepping lunches for the week or just looking for an easy way to make classic egg salad a little more exciting, save this Dill Pickle Egg Salad Sandwich recipe for later.

I've included my printable From Amanda's Kitchen recipe card below so it's easy to save, print, and make again whenever the craving hits.

Printable Dill Pickle Egg Salad Sandwich recipe card from Amanda's Kitchen.

A Note From Amanda

I love recipes like this because they prove lunch doesn't have to be complicated to be something you genuinely look forward to.

A few chopped pickles, fresh dill, and a splash of pickle juice completely transform classic egg salad while still keeping everything I love about the original: simple ingredients, creamy texture, and a recipe that can be waiting in the refrigerator when lunchtime rolls around.

I hope this becomes one of those easy recipes you find yourself making again and again.

"Taste and see that the Lord is good."
Psalm 34:8

Made with love for the people you love.

Dill pickle egg salad sandwich ready to serve for a simple homemade lunch.

Easter Basket Ideas for Kids: Thoughtful Gifts, Toys & Treats

Creating the perfect Easter basket for your child is all about balance—mixing sweet treats, meaningful gifts, and fun surprises into something they’ll remember long after Easter morning. The best baskets aren’t just filled with candy—they’re thoughtfully curated with a blend of goodies, activities, and personal touches that reflect your child’s unique personality.

A well-rounded Easter basket includes a little bit of everything: classic treats, healthier snack options, small toys, and items that spark creativity or imagination. When you combine fun with intention, the basket becomes more than just a gift—it becomes part of the magic of the holiday.

Easter basket filled with thoughtful gifts, toys, treats, and springtime surprises for kids.
Children's Easter basket filled with colorful toys, books, treats, and Easter gifts.
Easter basket gift ideas for children featuring fun toys, activities, and spring-inspired surprises.
Easter basket fillers for kids arranged together for a fun and thoughtful Easter morning surprise.
Non-candy Easter basket ideas including toys, books, creative activities, and practical spring gifts.

How to Create the Perfect Easter Basket

Start with a Balanced Mix of Treats

No Easter basket is complete without a few sweet indulgences. Chocolate bunnies, jelly beans, and festive candies bring that classic holiday excitement. But balancing these with healthier options helps create a more thoughtful approach.

Consider adding:

  • Trail mix or granola bites

  • Dried fruits like strawberries, cherries, or apricots

  • Freeze-dried yogurt snacks

  • Beef sticks (a practical and protein-packed favorite many kids love!)

A mix of favorite treats and non-candy surprises keeps the basket fun while leaving plenty of room for gifts they'll enjoy long after Easter morning.

Fun Easter basket toys and small gifts selected for a child's Easter celebration.
Books and creative activities to use as meaningful Easter basket fillers for children.
Children's books included in an Easter basket alongside toys and springtime gifts.
Creative Easter basket fillers for kids including art supplies, activities, and small gifts.
Art supplies and creative gifts arranged as fun non-candy Easter basket ideas for kids.

Add Fun Beyond the Candy

The real magic of an Easter basket comes from the items that last beyond the sugar rush. Including small toys and activities keeps the excitement going all day—and even longer.

Great ideas include:

  • Coloring books or activity pads

  • Puzzles or brain teasers

  • Matchbox cars or small figurines

  • Stickers or stamp kits

These additions turn the basket into an experience, not just a treat.

Personalize It for Your Child

The most memorable baskets reflect who your child is. Think about their interests, hobbies, and favorite themes.

You might include:

  • A favorite character book

  • Sports-themed items

  • Craft kits or DIY projects

  • A handwritten note or small handmade gift

Personal touches make your child feel seen and loved—and those are the details they’ll remember most.

Pick a Theme (and Have Fun with It!)

Choosing a theme or color scheme can elevate your basket from simple to stunning. It also helps guide what items to include.

Some fun ideas:

  • Beach theme: towel, swimsuit, sand toys

  • Art theme: sketchbook, markers, paint set

  • Outdoor play: jump rope, sidewalk chalk, bubbles

  • Cozy spring: pajamas, slippers, soft blanket

A themed basket feels cohesive, exciting, and visually special.

Don’t Forget the Keepsakes

Adding one meaningful item can make the basket extra special. These are the things your child may keep long after the holiday passes.

Consider:

  • A personalized towel or blanket

  • A special book or story collection

  • A faith-based children’s book or keepsake

  • A “first Easter” memento for younger kids

These pieces add depth and meaning to the celebration.

Get Creative with Basket Fillers

Traditional plastic grass is fun—but there are plenty of eco-friendly (and more creative) alternatives.

Try using:

  • Shredded paper or tissue

  • Fabric scraps or felt

  • A rolled-up towel as the base

  • Dyed coconut or popcorn for a fun edible filler

  • Natural materials like straw or moss

These options are not only sustainable—they can also enhance the overall look of your basket.

Inspire Creativity with Art Supplies

Art supplies are a fantastic way to encourage creativity and give kids something to enjoy long after Easter.

Add items like:

  • Crayons, markers, or colored pencils

  • Watercolor sets

  • Craft kits with guided projects

  • Sketchbooks or themed drawing pads

  • Stickers and stamp sets

These gifts turn Easter into a creative experience, not just a festive one.

Thoughtfully personalized Easter basket filled with gifts selected around a child's interests.
Soft stuffed animal included as a cuddly and classic addition to a child's Easter basket.
Spring-inspired Easter basket for kids filled with playful gifts and seasonal surprises.
Spring pajamas and wearable gifts included as practical Easter basket ideas for children.
Coordinated themed Easter basket for kids with gifts and activities arranged around a playful theme.

Build a Love for Reading

Books make a meaningful and enriching addition to any Easter basket.

You can include:

  • Age-appropriate storybooks

  • Activity or puzzle books

  • Bookmarks or reading lights

  • Sticker books tied to favorite stories

A book-themed basket can open the door to imagination and learning in a fun, seasonal way.

Add Wearable Fun

Wearable items are both practical and exciting for kids.

Some favorites:

  • Cozy spring pajamas

  • Bunny-themed sunglasses

  • Pastel socks

  • Cute hats or headbands

  • Personalized bracelets or necklaces

These pieces add a playful, stylish touch to the celebration.

Include a Cuddly Companion

Stuffed animals are a timeless Easter tradition—and for good reason. They bring comfort, joy, and a sense of companionship.

Great options include:

  • Classic Easter bunnies

  • Lambs, chicks, or ducks

  • Personalized plush toys

  • “Baby’s First Easter” keepsakes

These soft additions often become long-term favorites.

Children's Easter morning basket filled with a mix of toys, treats, books, and special gifts.
Thoughtful Easter gifts for kids that can be added to a personalized Easter basket.

Make It an Experience

Easter traditions like egg hunts bring excitement and adventure to the day—and your basket can reflect that same spirit of surprise and discovery.

By combining treats, toys, meaningful gifts, and creative elements, you’re not just building a basket—you’re creating a joyful experience your child will look forward to year after year.

With a little thought and creativity, your Easter basket can become a beautiful blend of fun, love, and lasting memories—something your child will cherish far beyond Easter morning.

Easter basket with a balanced mix of children's toys, activities, treats, and spring gifts.
Cute Easter basket ideas for children featuring colorful gifts and festive spring details.
Easter basket inspiration for kids with meaningful gifts, creative activities, and fun surprises.
Finished children's Easter basket showing how to combine toys, treats, books, and meaningful gifts.

Layered Neapolitan Cake

Chocolate, Vanilla & Strawberry Cake with Cream Cheese Frosting

There is something so nostalgic about the combination of chocolate, vanilla, and strawberry. Inspired by classic Neapolitan ice cream, this Layered Neapolitan Cake brings all three flavors together in one beautiful dessert.

Instead of making three completely different cake recipes, I start with one vanilla cake batter and divide it into three portions. One stays vanilla, fresh strawberry puree transforms another into the strawberry layer, and cocoa powder with a shot of espresso creates the rich chocolate layer.

Once baked, the three cakes are stacked with a thick cream cheese frosting, giving you those beautiful chocolate, vanilla, and strawberry layers with every slice.

It's a cake that looks impressive when you cut into it but is surprisingly approachable to make. I love it for birthdays, spring celebrations, Valentine's Day, showers, or really any occasion that calls for a beautiful layer cake.

Layered Neapolitan cake with chocolate, vanilla, and strawberry cake layers covered in cream cheese frosting.
↓ Skip to Recipe

What Is Neapolitan Cake?

Neapolitan cake is inspired by the familiar chocolate, vanilla, and strawberry combination found in Neapolitan ice cream.

For this version, we're taking those three flavors and turning them into individual cake layers.

The vanilla layer is sweet and simple, the strawberry layer gets its flavor from real strawberry puree, and the chocolate layer combines cocoa powder with espresso to deepen the chocolate flavor.

Stack them together with cream cheese frosting and the real magic happens when you cut that first slice and reveal all three layers.

Chocolate, vanilla, and strawberry layer cake sliced to reveal the three classic Neapolitan flavors.

Why You'll Love This Neapolitan Cake

This cake is one of those desserts that makes a statement without requiring three completely separate cake recipes.

You'll love it because it's:

  • Three classic flavors in one cake

  • Made from one base cake batter

  • Beautiful when sliced

  • Made with real strawberry puree

  • Perfect for birthdays and celebrations

  • Easy to decorate simply or elaborately

  • Covered in rich cream cheese frosting

  • Easy to customize with your favorite decorations

And because the inside is already so pretty, you really don't need elaborate decorating on the outside.

Three Cake Flavors From One Batter

One of my favorite things about this recipe is that you don't need to make three separate batches of cake batter.

Make your base batter first and divide it evenly between three bowls.

Leave one portion vanilla.

Mix strawberry puree into the second.

Add cocoa powder and espresso to the third.

Then each flavor gets its own 6-inch cake pan.

It simplifies the process while still giving you three distinct layers once the cake is assembled.

Homemade Neapolitan cake covered in smooth cream cheese frosting.

Ingredient Notes

Cake Flour

Cake flour has a lower protein content than all-purpose flour and helps give the cake a softer, more delicate crumb.

Butter

This recipe uses both melted butter in the wet ingredients and grated butter worked into the dry ingredients.

Make sure the grated butter stays relatively cool while you're incorporating it into the flour mixture.

Heavy Cream

Heavy cream adds richness and moisture to the cake batter and is also used to adjust the consistency of the cream cheese frosting.

Vanilla

Vanilla forms the base flavor of the cake and is especially important in the vanilla layer.

Strawberry Puree

I use real strawberry puree for the strawberry portion of the batter.

The puree adds both flavor and natural color to the cake without turning the batter overwhelmingly sweet.

Cocoa Powder

Cocoa powder transforms the third portion of batter into the chocolate layer.

Espresso

A shot of espresso intensifies the chocolate flavor. The goal isn't necessarily for the cake to taste like coffee—it simply makes the cocoa taste richer.

Cream Cheese

Cream cheese creates a rich, slightly tangy frosting that balances the sweetness of the cake.

Powdered Sugar

Powdered sugar sweetens and gives structure to the frosting.

Kitchen Tools

For this cake, you'll want:

  • Three 6-inch round cake pans

  • Large mixing bowls

  • Electric hand mixer or stand mixer

  • Box grater

  • Measuring cups and spoons

  • Rubber spatula

  • Cooling rack

  • Offset spatula

  • Cake turntable, optional

  • Serrated knife, optional

You can find more of my favorite baking tools, cake pans, and everyday kitchen essentials in my Baking & Cake Essentials roundup.

Neapolitan cake served with fresh strawberries and glasses of milk on a table.
milestone 3 month birthday with a Neapolitan cake next to a bouquet of flowers and a number 3 balloon on a bed

Layered Neapolitan Cake Recipe

Prep Time: Approximately 30 minutes
Bake Time: 30–35 minutes
Cooling & Decorating Time: Approximately 1 hour
Total Time: Approximately 2 hours
Servings: Approximately 10–12 slices

Ingredients

Neapolitan Cake

  • 3 large eggs

  • 3 large egg whites

  • 1 cup heavy cream

  • 2 tablespoons butter, melted

  • 3 teaspoons vanilla extract

  • 1½ cups granulated sugar

  • 2¼ cups cake flour

  • 1 tablespoon baking powder

  • ¾ teaspoon sea salt

  • 1 cup butter, grated

  • ¼ cup strawberry puree

  • ¼ cup cocoa powder

  • 1 shot espresso, cooled

Cream Cheese Frosting

  • 1 cup butter, softened to room temperature

  • 16 ounces cream cheese, softened to room temperature

  • 8 cups powdered sugar

  • ½ cup heavy cream, plus more if needed

  • Beet juice, optional, for natural pink color

Instructions

Step 1: Prepare the Cake Pans

Preheat your oven to 350°F.

Grease three 6-inch round cake pans and prepare them for the batter.

Step 2: Combine the Wet Ingredients

In a mixing bowl, combine the whole eggs, egg whites, heavy cream, melted butter, and vanilla.

Mix until completely incorporated.

Step 3: Combine the Dry Ingredients

In a separate large mixing bowl, whisk together the granulated sugar, cake flour, baking powder, and sea salt.

Step 4: Add the Grated Butter

Grate 1 cup of butter directly over the dry ingredients.

Work the butter into the flour mixture by hand until the pieces of butter are no larger than peas and are evenly distributed throughout the dry ingredients.

Step 5: Finish the Base Batter

Add the wet ingredients to the dry mixture.

Using a hand mixer on medium speed, mix just until everything is incorporated and the batter is smooth.

Avoid overmixing.

Step 6: Divide the Batter

Divide the batter as evenly as possible between three bowls.

Leave the first bowl as vanilla.

Gently mix ¼ cup strawberry puree into the second bowl.

Mix ¼ cup cocoa powder and 1 cooled shot of espresso into the third bowl.

Step 7: Bake

Pour each flavor into its own prepared 6-inch cake pan.

Bake at 350°F for 30–35 minutes, or until a cake tester or wooden skewer inserted into the center comes out clean or with just a few moist crumbs.

Because ovens vary, begin checking the cakes toward the lower end of the baking range.

Step 8: Cool

Allow the cakes to cool in their pans for approximately 15 minutes.

Carefully remove them from the pans and transfer to cooling racks.

Allow the layers to cool completely before frosting.

Do not frost warm cake layers or the cream cheese frosting can soften and slide.

Step 9: Make the Cream Cheese Frosting

Add the softened butter and cream cheese to a large mixing bowl.

Beat until smooth and creamy.

Gradually add the powdered sugar.

Slowly add the heavy cream until the frosting reaches your desired consistency.

If you'd like a naturally pink tint, add a very small amount of beet juice until you reach your desired shade.

Step 10: Assemble the Neapolitan Cake

If necessary, use a serrated knife to level the cooled cake layers.

Place your first cake layer onto a cake plate or cake board.

Spread an even layer of cream cheese frosting over the top.

Repeat with the remaining layers, arranging the chocolate, vanilla, and strawberry cakes in whichever order you prefer.

Step 11: Crumb Coat

Spread a thin layer of frosting over the top and sides of the entire cake.

This first layer—the crumb coat—traps loose crumbs so they don't show through your final frosting.

Refrigerate the cake for approximately 30 minutes.

Step 12: Decorate

Remove the chilled cake from the refrigerator and add your final layer of cream cheese frosting.

Smooth the frosting for a clean finish or leave it softly textured.

Decorate however you'd like and refrigerate until ready to serve.

Slice to reveal those beautiful chocolate, vanilla, and strawberry layers.

Enjoy!

Amanda's Quick Tips

  • Bring the eggs and cream closer to room temperature before mixing.

  • Keep the grated butter cool until you're ready to use it.

  • Divide the batter as evenly as possible so your cake layers are similar in height.

  • Cool the espresso before adding it to the chocolate batter.

  • Don't overmix after adding the strawberry puree or cocoa.

  • Cool all three cakes completely before frosting.

  • Use a crumb coat for a cleaner final finish.

  • Chill the assembled cake before slicing for cleaner layers.

  • Use a serrated knife to level the cakes if they've domed during baking.

Slice of Neapolitan cake showing distinct chocolate, vanilla, and strawberry layers.

How to Divide Cake Batter Evenly

Getting three similarly sized cake layers makes the finished Neapolitan cake much prettier.

The easiest way to do this accurately is with a kitchen scale.

Weigh your empty mixing bowl first, then weigh it again once the finished batter is inside. Subtract the bowl's weight and divide the remaining batter weight by three.

Then portion that amount into each bowl before adding the strawberry and chocolate ingredients.

If you don't have a kitchen scale, you can divide it visually using equal-sized bowls and a measuring cup.

How to Make the Strawberry Cake Layer

Fresh strawberry puree gives this layer its strawberry flavor.

Blend fresh strawberries until smooth and measure ¼ cup puree before adding it to one-third of your batter.

Because strawberries vary in color, your finished layer may be a softer pink rather than the bright color associated with Neapolitan ice cream—and that's completely fine.

I prefer letting the strawberries provide the flavor rather than adding a large amount of artificial coloring.

Homemade layered Neapolitan cake prepared for a birthday or special celebration.

Why Add Espresso to Chocolate Cake?

Coffee and chocolate work beautifully together because coffee can intensify cocoa's naturally deep flavor.

One shot of espresso is enough to enhance the chocolate layer without turning this into a coffee cake.

Just remember to let your espresso cool before adding it to the batter.

How to Get Beautiful Even Cake Layers

A layered cake is much easier to assemble when each cake is relatively level.

If your cakes develop domed tops during baking, allow them to cool completely and carefully remove the raised portion using a long serrated knife.

Don't try to level warm cake.

You can also use cake strips around your pans if you already have them, which can encourage more even baking.

Neapolitan birthday cake with classic chocolate, vanilla, and strawberry flavors.

How to Crumb Coat a Layer Cake

If you've ever wondered how frosted cakes get that clean finish without little cake crumbs everywhere, the answer is usually a crumb coat.

After stacking your layers, cover the entire cake with a very thin layer of frosting.

It doesn't need to look pretty.

Its only job is to trap the crumbs.

Place the cake in the refrigerator for approximately 30 minutes so that first layer firms up.

Then apply your final coat of frosting over it.

You'll have a much cleaner surface to work with.

Decorating Your Neapolitan Cake

The inside of this cake already gives you such a beautiful surprise that the outside can be as simple or elaborate as you'd like.

Try decorating it with:

  • Fresh strawberries

  • Chocolate curls

  • Chocolate shavings

  • Fresh berries

  • Piped cream cheese frosting

  • Strawberry slices

  • Chocolate drizzle

  • Sprinkles for a birthday

  • A softly textured frosting finish

You could also tint a small portion of the cream cheese frosting pale pink with beet juice and use it for piping or decorative details.

Layered Neapolitan cake served as a beautiful dessert for celebrations and gatherings.
Neapolitan cake finished with rich cream cheese frosting and three colorful cake layers.

When to Serve Neapolitan Cake

The classic flavors make this cake work for so many celebrations.

It's beautiful for:

  • Birthdays

  • Baby showers

  • Bridal showers

  • Valentine's Day

  • Mother's Day

  • Easter

  • Spring celebrations

  • Summer parties

  • Afternoon gatherings

  • Family celebrations

It's particularly fun for a birthday because chocolate, vanilla, and strawberry give everyone a little bit of something familiar.

How to Store Neapolitan Cake

Because this cake is covered in cream cheese frosting, store it in the refrigerator.

Place the cake in a covered cake carrier or airtight container to prevent it from drying out or absorbing odors from the refrigerator.

For the best texture, enjoy it within approximately 4–5 days.

Before serving, you can let individual slices sit at room temperature briefly so the cake and frosting soften slightly.

Easy homemade Neapolitan cake recipe with chocolate, vanilla, and strawberry layers.

Can You Make Neapolitan Cake Ahead?

Yes, and I actually think layer cakes are easier when you don't try to do everything at once.

Bake the cake layers ahead of time and let them cool completely.

Wrap each individual layer tightly and refrigerate until you're ready to assemble.

Then make your frosting, stack the cake, crumb coat, chill, and finish decorating.

Breaking the recipe into stages makes the entire process much more manageable when you're preparing for a party or celebration.

Can You Freeze Neapolitan Cake?

The unfrosted cake layers can be frozen.

Once completely cool, wrap each layer tightly in plastic wrap and then place it inside a freezer-safe bag or wrap again for extra protection.

Freeze for up to approximately 3 months.

Thaw the layers in the refrigerator before assembling and decorating.

You can also freeze individual pieces of the finished cake, although the texture of cream cheese frosting may change slightly after freezing and thawing.

Frequently Asked Questions

What flavors are in Neapolitan cake?

Traditional Neapolitan combines chocolate, vanilla, and strawberry—the same three flavors traditionally associated with Neapolitan ice cream.

Do I need to make three separate cake batters?

Not for this recipe. We make one base batter, divide it into thirds, and flavor the portions individually.

Can I use frozen strawberries?

Yes. Thaw them completely, drain excess liquid if necessary, and puree before measuring.

Can I use strawberry jam instead of puree?

I prefer fresh strawberry puree because jam contains considerably more sugar and can change the texture and sweetness of the cake.

Does the espresso make the chocolate cake taste like coffee?

The small amount is primarily there to enhance the cocoa flavor rather than make a strongly coffee-flavored cake.

Can I leave the espresso out?

Yes. The chocolate layer will still work without it, although its chocolate flavor may be slightly less intense.

Why did my strawberry cake not turn bright pink?

Fresh strawberry puree naturally produces a softer color. The exact shade will vary depending on your strawberries.

Can I make this in larger cake pans?

You can, but changing pan size will affect the thickness of your layers and baking time, so monitor the cakes closely.

Why do I need a crumb coat?

A crumb coat traps loose cake crumbs underneath the final frosting layer, giving you a cleaner finish.

Does Neapolitan cake need to be refrigerated?

Yes. Because this version uses cream cheese frosting, keep the finished cake refrigerated.

Classic Neapolitan cake inspired by chocolate, vanilla, and strawberry ice cream flavors.

More Cake Recipes You'll Love

If you love making beautiful cakes from scratch, try another favorite from Amanda's Kitchen:

Banana Chocolate Chip Cake with Ganache Frosting

A rich banana cake finished with decadent chocolate ganache.

Espresso Chocolate Cake with Raspberry Cream Cheese Frosting

A beautiful chocolate and raspberry combination that's perfect for celebrations.

Banana Cake with Brown Butter Cream Cheese Frosting

One of my favorite combinations of moist banana cake and rich brown butter frosting.

Blueberry Cake with Mascarpone Frosting

A beautiful berry cake with creamy mascarpone frosting.

Layered Orange Cake with Raspberry Mascarpone Frosting

Bright citrus and raspberry flavors in another beautiful layer cake.

My Favorite White Cake Recipe

A classic cake recipe to keep in your baking collection.

Shop My Cake Baking Essentials

I've gathered some of my favorite cake pans, mixing bowls, decorating tools, serving pieces, and baking essentials in my Cake Essentials.

Save This Recipe

Whether you're planning a birthday, celebrating something special, or simply want to try a beautiful layer cake at home, save this Layered Neapolitan Cake recipe for later.

I've included my printable From Amanda's Kitchen recipe card below so it's easy to save, print, and make again.

Printable Layered Neapolitan Cake recipe card from Amanda's Kitchen.

A Note From Amanda

There's something about cutting into a layer cake that always feels a little special, but I especially love the surprise inside this one.

Seeing the chocolate, vanilla, and strawberry layers together instantly reminds me of classic Neapolitan ice cream, only transformed into a cake made for sharing around the table.

Whether you make it for a birthday, a spring celebration, or simply because you're in the mood to bake something beautiful, I hope it's one of those cakes that makes the occasion feel a little more memorable.

"Taste and see that the Lord is good."
Psalm 34:8

Made with love for the people you love.

Printable Layered Neapolitan Cake recipe card from Amanda's Kitchen.

Iced Pistachio Latte

There is something about a pistachio latte that feels a little more special than an everyday coffee order.

Nutty pistachio cream, bold espresso, lightly sweetened pistachio milk, and plenty of ice come together in this homemade Iced Pistachio Latte that tastes like something you'd pick up from your favorite coffee shop—without leaving the house.

I especially love making this one at home because you can completely customize it. Add an extra shot of espresso when you want something stronger, adjust the pistachio syrup to your preferred sweetness, or swap in your favorite milk.

The real secret is mixing the pistachio cream directly into hot espresso before chilling it. The warmth helps the cream melt smoothly into the coffee so that pistachio flavor makes its way through every sip.

Finished with a creamy pistachio milk mixture and served over ice, this is one of those coffee recipes you'll find yourself making long after you've perfected it.

Iced pistachio latte made with espresso, creamy pistachio milk, ice, and pistachio cream.
↓ Skip to Recipe

Why You'll Love This Iced Pistachio Latte

This latte feels indulgent while still being incredibly simple to make at home.

You'll love it because it's:

  • Creamy and refreshing

  • Full of real pistachio flavor

  • Easy to customize

  • Ready with just a handful of ingredients

  • Made with fresh espresso

  • Less expensive than frequent coffee shop trips

  • Easy to make stronger or sweeter

  • Delicious year-round

  • Beautiful served in a clear glass over ice

Once you have pistachio cream and pistachio syrup in your kitchen, this recipe becomes an easy coffee-shop-style treat whenever the craving hits.

Creamy iced pistachio latte served in a clear glass with espresso and milk layered over ice.
Homemade pistachio latte with rich espresso and a creamy pistachio milk mixture.

What Makes a Pistachio Latte Taste So Good?

Pistachio has a naturally rich, nutty flavor that works beautifully with espresso.

In this recipe, I use both pistachio cream and pistachio coffee syrup, but they serve slightly different purposes.

Pistachio cream is mixed directly into the hot espresso, creating a richer, more concentrated pistachio flavor.

The pistachio syrup is mixed into the creamy milk portion of the drink, adding sweetness and carrying that flavor through the rest of the latte.

A little maple syrup rounds everything out and complements both the coffee and pistachio.

Ingredient Notes

Pistachio Cream

Pistachio cream is the ingredient that really makes this latte special.

It is thicker and richer than pistachio syrup and gives the espresso a wonderfully nutty flavor. Mixing it with freshly brewed hot espresso helps it dissolve much more easily.

Espresso

I typically use 2–3 shots of espresso, depending on how strong I want my latte that day.

Use your favorite espresso beans and make the coffee as strong or mild as you prefer.

Pistachio Coffee Syrup

Pistachio syrup adds sweetness and another layer of pistachio flavor to the milk mixture.

Start with the amount in the recipe and adjust future batches depending on how sweet you like your coffee.

Maple Syrup

A tablespoon of maple syrup adds a subtle warmth that pairs beautifully with pistachio.

Heavy Cream

Heavy cream gives the latte its rich coffee-shop texture.

Whole Milk

Whole milk balances the heavy cream and keeps the drink creamy without making it overwhelmingly rich.

You can substitute your favorite milk if desired.

Iced pistachio latte with fresh espresso poured over creamy milk.

Where to Buy Pistachio Cream

Pistachio cream has become much easier to find.

Look for it at:

  • Italian markets

  • Specialty grocery stores

  • Gourmet food shops

  • Larger supermarkets with international sections

  • Online retailers

Italian pistachio cream is especially delicious if you can find it.

Just remember that pistachio cream and pistachio syrup are not the same ingredient. For this recipe, I use both.

Kitchen Tools

You don't need a full coffee shop setup to make this latte.

You'll need:

  • Espresso machine

  • Coffee mug or heat-safe glass

  • Milk frother or handheld frother

  • Measuring cups and spoons

  • Tall serving glass

  • Spoon

  • Ice

I make my milk mixture using my Breville frother, but a handheld frother works just as well.

You can find my favorite coffee-making essentials, glasses, mugs, frothers, and everyday kitchen tools in my Coffee at Home or Kitchen Essentials shelf.

Coffee shop–style iced pistachio latte made at home with espresso and pistachio flavor.
Iced pistachio coffee recipe served over plenty of ice in a clear glass.

Iced Pistachio Latte Recipe

Prep Time: 10 minutes
Cooling Time: 10–15 minutes
Total Time: About 20–25 minutes
Servings: 1 large iced latte

Ingredients

  • 1 tablespoon pistachio cream

  • 2–3 shots freshly brewed espresso

  • 1 tablespoon maple syrup

  • 2 tablespoons pistachio coffee syrup

  • ½ cup heavy cream

  • ¾ cup whole milk

  • Ice, for serving

  • Crushed pistachios, optional, for garnish

  • Additional pistachio cream, optional, for decorating the glass

Instructions

Step 1: Make the Pistachio Espresso

Add 1 tablespoon pistachio cream to the bottom of a heat-safe mug.

Brew 2–3 shots of fresh espresso directly over the pistachio cream.

Immediately stir until the pistachio cream is completely incorporated and the espresso mixture is smooth.

Place the espresso in the refrigerator or freezer for approximately 10–15 minutes to cool.

I like making this portion while everything is still hot because the heat helps the pistachio cream melt smoothly into the espresso.

Step 2: Make the Pistachio Cream Milk

In a separate cup or frothing pitcher, combine:

  • Pistachio coffee syrup

  • Maple syrup

  • Heavy cream

  • Whole milk

Froth until well combined and slightly creamy.

If your frother heats the milk while mixing, chill the mixture in the refrigerator or freezer for approximately 10–15 minutes before assembling your latte.

Step 3: Prepare the Glass

If desired, spread a small amount of pistachio cream along the inside of a clear serving glass.

Fill the glass generously with ice.

Step 4: Assemble the Iced Pistachio Latte

Pour the chilled pistachio milk mixture over the ice.

Slowly pour the cooled pistachio espresso over the top.

For a layered presentation, pour gently and wait to stir until you're ready to drink.

Step 5: Garnish & Serve

Finish with crushed pistachios if desired.

Stir before drinking so the espresso, pistachio cream, and milk mixture come together.

Serve immediately and enjoy!

Amanda's Quick Tips

  • Mix the pistachio cream with hot espresso so it dissolves smoothly.

  • Cool both components before pouring them over ice so the ice doesn't melt too quickly.

  • Start with 2 espresso shots and add a third if you prefer stronger coffee.

  • Use less pistachio syrup if you prefer a less sweet latte.

  • Decorate the inside of a clear glass with pistachio cream for a beautiful presentation.

  • Add crushed pistachios just before serving.

  • Use plenty of ice for the most refreshing latte.

Iced latte flavored with pistachio cream and espresso for a rich nutty coffee drink.

Why I Mix Pistachio Cream with Hot Espresso

This is probably my favorite trick in the entire recipe.

Pistachio cream is thick, and trying to stir it directly into an already iced drink can leave little clumps rather than giving you a smooth latte.

Fresh espresso solves that problem.

The heat melts the pistachio cream and lets it blend completely into the coffee.

Once everything is smooth, chill the mixture before building your iced latte.

It adds a few extra minutes, but I think the finished flavor and texture are absolutely worth it.

Easy iced pistachio latte recipe made with espresso, pistachio cream, syrup, and milk.

How to Make the Creamy Pistachio Milk

The milk portion of this recipe is somewhere between a traditional latte milk and sweet cream.

Heavy cream provides richness, while whole milk keeps the mixture pourable.

Pistachio syrup adds flavor and sweetness, and maple syrup gives the whole thing a little extra depth.

I like using a milk frother to bring everything together.

If your frother heats the milk, simply chill it briefly before adding it to your iced drink.

How Sweet Is This Pistachio Latte?

This recipe is definitely on the sweeter, coffee-shop-style side because it contains pistachio syrup, pistachio cream, and maple syrup.

The great thing about making it at home is that you control every part of it.

For a less sweet version:

  • Reduce the pistachio syrup

  • Use less maple syrup

  • Add another shot of espresso

  • Increase the amount of milk slightly

Taste it once you've made the original recipe and adjust future batches until it's exactly the way you like it.

Layered iced pistachio latte showing creamy milk and dark espresso in a tall glass.

How to Make It with Less Caffeine

There are several easy ways to adjust the caffeine level.

Use:

  • 1 espresso shot instead of 2–3

  • Half regular and half decaf espresso

  • Completely decaffeinated espresso

The pistachio flavor remains the same, so you can customize the coffee portion depending on the time of day.

Can I Use a Different Milk?

Absolutely.

Whole milk gives this recipe the richest texture, but you can experiment with:

  • Oat milk

  • Almond milk

  • Coconut milk

  • Cashew milk

  • Your preferred dairy-free alternative

Keep in mind that the final flavor and texture will vary depending on the milk you choose.

For the richest dairy-free result, choose a barista-style milk designed for coffee drinks.

Iced pistachio latte garnished with crushed pistachios for a coffee shop–style finish.
Pistachio espresso latte with creamy milk and rich pistachio flavor served over ice.

How to Style an Iced Pistachio Latte

This drink is almost as fun to style as it is to drink.

Use a tall clear glass so you can see the contrast between the pale pistachio milk and dark espresso.

Before adding ice, smear a small amount of pistachio cream along the inside of the glass.

Then:

  1. Add plenty of ice.

  2. Pour in the pistachio milk.

  3. Slowly add the espresso.

  4. Finish with crushed pistachios.

You'll get those beautiful coffee-shop-style layers before stirring everything together.

Homemade iced latte with pistachio cream, espresso, and a creamy milk mixture.

Easy Iced Pistachio Latte Variations

Vanilla Pistachio Latte

Add a small splash of vanilla extract or vanilla syrup.

Honey Pistachio Latte

Replace the maple syrup with honey.

Extra Pistachio Latte

Add a little additional pistachio cream to the espresso or drizzle it around the glass.

Less Sweet Pistachio Latte

Reduce the pistachio syrup and maple syrup.

Decaf Pistachio Latte

Use your favorite decaf espresso.

Hot Pistachio Latte

Skip the cooling step and serve the espresso and warm pistachio milk together in a mug.

Pistachio Cold Foam Latte

Froth a smaller portion of the cream mixture until thick and spoon it over the finished iced coffee as cold foam.

What Else Can I Make with Pistachio Syrup?

Once you buy a bottle of pistachio syrup, you don't have to save it only for this latte.

Try adding it to:

  • Hot coffee

  • Cold brew

  • Matcha

  • Hot chocolate

  • Milkshakes

  • Smoothies

  • Pancakes

  • Waffles

  • Oatmeal

  • Yogurt

  • Baking recipes

It's especially good paired with vanilla, chocolate, strawberry, raspberry, and espresso flavors.

Homemade pistachio coffee drink prepared as an easy iced latte at home.
Iced pistachio latte served in a clear glass to show the creamy coffee layers.

What to Serve with an Iced Pistachio Latte

This latte is especially good with something sweet on the side.

Try it with:

A latte and a homemade pastry might be one of my favorite ways to make an ordinary morning feel a little more special.

Can I Make an Iced Pistachio Latte Ahead?

You can prepare both components ahead of time.

Mix the pistachio cream with the espresso and refrigerate it in a covered container.

Prepare the creamy pistachio milk separately and refrigerate that as well.

When you're ready to serve, simply add ice to your glass and pour everything together.

For the best flavor and texture, I prefer using both components within approximately 24 hours.

Don't add the ice until you're ready to drink the latte.

Creamy pistachio latte sweetened with maple syrup and pistachio coffee syrup.

Frequently Asked Questions

What is an iced pistachio latte?

An iced pistachio latte combines espresso, milk, pistachio flavor, and ice. This version uses both pistachio cream and pistachio syrup for a richer pistachio flavor.

What's the difference between pistachio cream and pistachio syrup?

Pistachio cream is thick, rich, and spreadable, while pistachio coffee syrup is a thinner sweetened flavoring designed to mix easily into drinks.

Do I need both pistachio cream and syrup?

For this specific recipe, I recommend both because they contribute different textures and layers of flavor.

How many espresso shots should I use?

I recommend 2–3 shots depending on how strong you like your coffee.

Can I make it without an espresso machine?

Yes. Use strongly brewed coffee, moka pot coffee, or another concentrated coffee preparation, although the final flavor will differ slightly from espresso.

Can I make this latte dairy-free?

Yes. Substitute your favorite non-dairy milk and a dairy-free alternative for the heavy cream.

Can I make it less sweet?

Absolutely. Reduce the pistachio syrup or maple syrup until it suits your preference.

Can I make it decaf?

Yes. Simply use decaffeinated espresso.

Can I make this hot instead of iced?

Yes. Skip the chilling step and combine the hot espresso with warm frothed pistachio milk.

Why is my pistachio cream not dissolving?

Pistachio cream blends best when mixed directly into freshly brewed hot espresso. Stir thoroughly before cooling.

Can I prepare it the night before?

Yes. Prepare the coffee and milk portions separately, refrigerate, and assemble over fresh ice the following day.

Iced espresso drink with pistachio cream and creamy milk for an easy homemade latte.

More Coffee Recipes You'll Love

If you love making coffee at home, try another favorite from Amanda's Kitchen:

Honey Lavender Latte

A floral homemade latte that's especially beautiful for spring.

Gingerbread Affogato

A festive coffee dessert that's perfect during the holiday season.

Gingerbread Latte

A cozy homemade latte for Christmas and winter mornings.

As your coffee recipe collection grows, I would continue adding your strongest related latte recipes here rather than filling the section with unrelated desserts.

Pistachio latte made at home with espresso, milk, and pistachio flavor.

Something Sweet to Serve Alongside

For a homemade coffee-shop morning, pair your Iced Pistachio Latte with:

Raspberry Pistachio Cheesecake

This is probably the strongest internal link on the whole page because it keeps readers in the pistachio flavor family.

Chocolate Espresso Cream Pie

Perfect for someone who loves coffee desserts.

Blackberry Cinnamon Rolls with Mascarpone Frosting

A beautiful weekend breakfast pairing.

Cinnamon Roll Loaf with Espresso Glaze

Another natural coffee-and-pastry combination.

Shop My Coffee at Home Favorites

I've gathered my favorite espresso machine, frother, coffee glasses, mugs, syrups, and other pieces I use for making coffee at home in my Coffee at Home shelf.

Easy homemade pistachio coffee served cold over ice for a refreshing latte.

Save This Recipe

Whether you're trying to cut back on coffee shop runs or simply love experimenting with new drinks at home, save this Iced Pistachio Latte recipe for your next coffee craving.

I've included my printable From Amanda's Kitchen recipe card below so it's easy to save, print, and make again.

Printable Iced Pistachio Latte recipe card from Amanda's Kitchen.

A Note From Amanda

I love finding little ways to make everyday routines feel more special, and making coffee at home has become one of them.

There is something fun about figuring out exactly how you like a drink—an extra espresso shot, a little less sweetness, or just enough pistachio cream to make every sip feel indulgent.

This Iced Pistachio Latte feels like a coffee shop treat, but it's simple enough to make in your own kitchen whenever the craving hits.

I hope it becomes one of those recipes you come back to whenever you want to make your morning coffee feel a little more special.

"Taste and see that the Lord is good."
Psalm 34:8

Made with love for the people you love.

Butternut Squash Breakfast Hash with Apples, Bacon & Eggs

A Cozy Sweet-and-Savory Breakfast for Fall

There are some breakfasts that feel made for slow fall mornings, and this Butternut Squash Breakfast Hash is one of them.

Roasted butternut squash, crisp bacon, sweet apples, and golden onions come together in one hearty skillet, then everything is finished with fried eggs on top. The combination is savory, a little sweet, and exactly the kind of breakfast I crave once the mornings start getting cooler.

I especially love how the apples soften just enough to become tender while still keeping a little texture, and the butternut squash adds that cozy caramelized flavor that makes this feel so seasonal.

It works beautifully for breakfast or brunch, but honestly, I would happily serve this for dinner too.

Butternut squash breakfast hash with roasted squash, apples, crispy bacon, onions, and fried eggs.
↓ Skip to Recipe

Why You'll Love This Breakfast Hash

This is one of those recipes that feels hearty and special without being complicated.

You'll love it because it's:

  • Sweet and savory in every bite

  • Perfect for fall and winter mornings

  • Made with simple ingredients

  • Easy to customize

  • Great for breakfast, brunch, or breakfast-for-dinner

  • Naturally full of texture

  • Easy to serve family-style

  • Delicious with runny fried eggs on top

The bacon, apples, onions, and roasted squash all bring something different to the skillet, which is what makes the finished dish so satisfying.

Homemade butternut squash hash with sweet apples, crispy bacon, onions, and fried eggs.

Ingredient Notes

Ingredients for butternut squash breakfast hash with apples, bacon, onions, eggs, butter, and sea salt.

Butternut Squash

Butternut squash is the base of the hash and gives the recipe its warm, slightly sweet flavor.

Cut it into roughly 1-inch cubes so the pieces roast evenly and develop golden edges.

Bacon

Use your favorite bacon and cut it into bite-size pieces before cooking.

As the bacon cooks, it releases fat that becomes part of the flavor base for the onions, apples, and eggs.

Apples

Pink Lady and Granny Smith both work beautifully.

Pink Lady gives you a slightly sweeter result, while Granny Smith adds more tartness.

Choose an apple that holds its shape well when cooked.

Onion

Yellow onion adds savory sweetness and balances the fruit and squash.

Eggs

Four eggs finish the dish and make it feel like a complete breakfast.

Cook them however you like, but I especially love a runny yolk because it creates almost a sauce over the hash.

Butter

A little melted salted butter helps the butternut squash caramelize while roasting.

Sea Salt

The squash is seasoned simply so the natural flavors of all the ingredients can shine.

Fresh ingredients used to make apple bacon butternut squash breakfast hash.

Kitchen Tools

You only need a few basic kitchen tools:

  • Large baking sheet

  • Parchment paper

  • Large skillet

  • Small skillet for eggs

  • Large mixing bowl

  • Sharp chef's knife

  • Cutting board

  • Spatula or wooden spoon

  • Measuring spoons

You can find more of my favorite skillets, baking sheets, knives, and everyday kitchen tools in my Kitchen Essentials shelf.

Butternut squash, apples, bacon, onion, and eggs for homemade breakfast hash.

Butternut Squash Breakfast Hash Recipe

Prep Time: 15 minutes
Cook Time: 30–35 minutes
Total Time: About 50 minutes
Servings: 4

Ingredients

  • 3 cups butternut squash, peeled and cut into approximately 1-inch cubes

  • 2 tablespoons salted butter, melted

  • 2 teaspoons sea salt

  • 12 ounces bacon, cut into bite-size pieces

  • 2 large apples, peeled and chopped

  • 1 large yellow onion, chopped

  • 4 large eggs

Instructions

Step 1: Roast the Butternut Squash

Preheat the oven to 425°F.

Line a large baking sheet with parchment paper.

Add the butternut squash to a large bowl and toss with the melted butter and sea salt until evenly coated.

Spread the squash into a single layer on the prepared baking sheet.

Roast for approximately 30 minutes, or until tender and golden around the edges.

Step 2: Cook the Bacon

While the squash roasts, heat a large skillet over medium heat.

Add the chopped bacon and cook, stirring occasionally, until the fat begins to render.

Step 3: Add the Onion

Once the bacon has released some of its fat, add the chopped yellow onion.

Cook for approximately 5 minutes, stirring occasionally, until the onion softens and the bacon is about three-quarters cooked.

Carefully transfer a small amount of bacon grease to a separate skillet to use for frying the eggs.

Step 4: Add the Apples

Add the chopped apples to the bacon and onion mixture.

Cook for approximately 2–5 minutes, stirring gently, until the apples are slightly softened but still hold their shape.

Reduce the heat to low.

Step 5: Fry the Eggs

Heat the reserved bacon grease in a separate skillet over medium heat.

Crack in the eggs and cook to your preferred doneness.

I especially love them with set whites and soft, runny yolks.

Step 6: Finish the Hash

Once the butternut squash is roasted, add it to the skillet with the bacon, onions, and apples.

If there is more grease in the skillet than you prefer, carefully drain some before adding the squash.

Gently toss everything together until evenly combined.

Remove from the heat.

Step 7: Serve

Top the warm hash with the fried eggs.

Serve immediately and enjoy!

Amanda's Quick Tips

  • Cut the squash into evenly sized pieces so it roasts at the same rate.

  • Roast in a single layer instead of crowding the baking sheet.

  • Choose a firm apple that won't turn mushy in the skillet.

  • Add the apples toward the end so they keep some texture.

  • Reserve a little bacon grease for frying the eggs.

  • Drain excess grease before adding the squash if desired.

  • Serve immediately while the eggs and hash are warm.

Roasted butternut squash breakfast hash topped with freshly fried eggs.
Cozy fall breakfast hash made with roasted butternut squash, apples, bacon, and eggs.

How to Get Caramelized Butternut Squash

The best breakfast hash starts with properly roasted squash.

The most important thing is giving the squash enough room on the baking sheet.

If the cubes are piled on top of one another, they'll steam rather than roast.

Spread them into a single layer and let the high oven temperature create those golden, caramelized edges.

You also want the pieces relatively similar in size so smaller cubes don't burn before larger pieces become tender.

Sweet and savory apple bacon breakfast hash with roasted butternut squash.

What Apples Work Best in Breakfast Hash?

I like using apples that can handle a few minutes of cooking without completely breaking down.

My favorites are:

  • Pink Lady

  • Granny Smith

  • Honeycrisp

  • Fuji

Granny Smith creates the most contrast against the sweetness of the butternut squash, while Pink Lady and Honeycrisp give the finished hash a slightly sweeter flavor.

Avoid very soft apples that are more likely to turn mushy during cooking.

Why Bacon Works So Well Here

Bacon gives this recipe both flavor and texture.

The crisp pieces add a salty, smoky element that balances the natural sweetness of the squash and apples.

I also love using a little of the rendered bacon fat to cook the onions and fry the eggs because it carries that flavor throughout the entire dish.

If the skillet becomes too greasy, simply drain off some of the excess before combining everything at the end.

Breakfast hash with golden roasted butternut squash, bacon, apples, onions, and eggs.

Amanda's Tips for the Best Breakfast Hash

Don't Overcook the Apples

You're looking for tender—not applesauce.

Add them after the onions and bacon have had time to cook, then give them just a few minutes.

Keep the Squash Separate Until the End

Roasting the squash separately allows it to caramelize rather than steaming in the skillet.

Use the Bacon Grease

A little bacon grease makes wonderfully flavorful fried eggs.

Taste Before Adding More Salt

Both the bacon and salted butter contribute salt, so taste the finished hash before adding additional seasoning.

Serve It Right Away

This breakfast is at its best when the hash is warm and the eggs are freshly cooked.

Easy Variations

Sweet Potato Breakfast Hash

Swap the butternut squash for cubed sweet potato.

Potato Breakfast Hash

Use Yukon Gold or red potatoes instead of squash.

Sausage Breakfast Hash

Replace the bacon with breakfast sausage.

Vegetarian Breakfast Hash

Leave out the bacon and sauté the onion and apples in olive oil or butter.

Mushroom Breakfast Hash

Add sliced mushrooms with the onions for a more savory version.

Herb Breakfast Hash

Add fresh rosemary, thyme, or sage to give the recipe an even stronger fall flavor.

Spicy Breakfast Hash

Add crushed red pepper flakes or serve with hot sauce.

Butternut squash bacon and egg hash served warm for a hearty breakfast or brunch.

What to Serve with Butternut Squash Breakfast Hash

This hash is filling enough to stand on its own, but it also works beautifully as part of a larger brunch.

Serve it with:

  • Toasted sourdough

  • Biscuits

  • Fresh fruit

  • Simple green salad

  • Scones

  • Muffins

  • Cinnamon rolls

  • Fresh coffee

  • Iced lattes

  • Apple cider

For a fall brunch, I love pairing it with something sweet like coffee cake or cinnamon rolls.

Can I Make Breakfast Hash Ahead?

You can prepare several components ahead of time.

The butternut squash can be roasted in advance and refrigerated.

You can also chop the apples and onion ahead, although I recommend tossing chopped apples with a little lemon juice to help prevent browning.

Cook the eggs fresh just before serving.

For the best texture, reheat the hash in a skillet rather than the microwave.

Sweet and savory fall breakfast hash with butternut squash, apples, bacon, and fried eggs.
Butternut squash and apple breakfast skillet with crispy bacon and eggs.

How to Store Leftovers

Allow the hash to cool before transferring it to an airtight container.

Store the squash, bacon, apple, and onion mixture in the refrigerator for up to 3–4 days.

I recommend storing leftover eggs separately whenever possible.

For the best texture, reheat the hash in a skillet over medium heat until warmed through.

You can also reheat it in a 350°F oven for approximately 10–15 minutes.

Can You Freeze Butternut Squash Breakfast Hash?

You can freeze the hash mixture, although the apples and squash may become slightly softer after thawing.

I would freeze the hash without the eggs.

Transfer cooled portions to freezer-safe containers and freeze for up to approximately 2–3 months.

Thaw overnight in the refrigerator and reheat in a skillet or oven.

Make fresh eggs when you're ready to serve.

Easy butternut squash breakfast hash with apples and bacon topped with fried eggs.

Frequently Asked Questions

Can I use pre-cut butternut squash?

Absolutely. Pre-cut squash is a great shortcut.

Do I have to peel the butternut squash?

Yes. Remove the tough outer skin before cubing unless you're purchasing prepared squash that's already peeled.

What apples are best for breakfast hash?

Pink Lady, Granny Smith, Honeycrisp, and Fuji all work well because they hold their texture when cooked.

Can I use sweet potatoes instead?

Yes. Sweet potatoes are an easy substitute.

Can I leave out the bacon?

Absolutely. Use butter or olive oil to sauté the vegetables instead.

Can I add more vegetables?

Yes. Mushrooms, bell peppers, spinach, kale, and Brussels sprouts would all work.

What kind of eggs are best?

Cook them however you like. Fried eggs with soft yolks are my favorite because the yolk mixes into the hash as you eat.

Can I make this for dinner?

Definitely. Breakfast-for-dinner is one of my favorite ways to serve a hearty hash like this.

Can I prepare it for meal prep?

Yes. Prepare the hash ahead and cook fresh eggs when you're ready to eat.

How do I keep the squash from getting mushy?

Roast it in a single layer and avoid overcooking it before combining with the other ingredients.

Apple and butternut squash hash with savory bacon and caramelized onions.
Fall breakfast hash topped with fried eggs and filled with roasted squash, apples, and bacon.

More Breakfast Recipes You'll Love

If you're looking for more breakfast and brunch inspiration, try another favorite from Amanda's Kitchen:

Freezer Meal Prep Breakfast Burritos

Perfect for stocking the freezer for busy mornings.

Chorizo, Egg & Potato Breakfast Bowls

Another hearty savory breakfast that's easy to customize.

Nana's Apple Pancakes

A sweet family breakfast with plenty of apple flavor.

Breakfast Croissants with Sausage, Bacon & Maple Dijon

A savory breakfast sandwich that's perfect for brunch.

Pumpkin Coffee Cake with Pecan Crumbles

A beautiful fall pairing for this breakfast hash.

Soft Cream Cheese Lemon Blueberry Scones

Perfect alongside coffee for a weekend brunch.

Savory butternut squash breakfast with bacon, onions, apples, and fried eggs.
Butternut squash hash served with fried eggs for an easy fall brunch.
Homemade fall breakfast hash with caramelized butternut squash, apples, bacon, and eggs.

Shop My Breakfast & Kitchen Favorites

I've gathered my favorite skillets, baking sheets, knives, serving pieces, and everyday tools for recipes like this in my Kitchen Essentials shelf.

Keep the same shopping structure as the other posts: one subtle shelf link earlier, one actual shoppable shelf here.

Save This Recipe

Whether you're planning a cozy fall brunch, looking for a hearty breakfast-for-dinner idea, or simply want something new for the weekend, save this Butternut Squash Breakfast Hash for later.

I've included my printable From Amanda's Kitchen recipe card below so it's easy to print, save, and make again.

Printable Butternut Squash Breakfast Hash with Apples, Bacon and Eggs recipe card from Amanda's Kitchen.

A Note From Amanda

There is something about fall mornings that makes me want to slow down and cook something warm.

This breakfast hash combines so many of the flavors I love during the season—sweet apples, roasted butternut squash, smoky bacon, and eggs fresh from the skillet.

It's simple, comforting, and exactly the kind of meal that makes an ordinary morning feel a little more special.

I hope it becomes one of those recipes your family looks forward to when the weather begins to cool.

"Taste and see that the Lord is good."
Psalm 34:8

Made with love for the people you love.

Tuxedo Cake with Chocolate Mousse and White Chocolate Mousse

A Decadent Chocolate Layer Cake with Brown Butter, Espresso & Chocolate Ganache

If you're looking for a cake that feels as special as it looks, this Tuxedo Cake is it.

Rich chocolate cake made with brown butter and espresso is layered with both white chocolate mousse and dark chocolate mousse, then finished with a silky milk chocolate ganache. When you cut into it, you get those beautiful contrasting layers that give a tuxedo cake its signature look.

But as beautiful as this cake is, the flavor might be my favorite part.

Brown butter gives the chocolate cake a warm, almost nutty richness, while espresso deepens the chocolate flavor without making the finished cake taste overwhelmingly like coffee. The two mousses add a light, creamy contrast to the rich cake, and that chocolate ganache brings everything together.

It's decadent, dramatic, and exactly the kind of cake I love making when dessert deserves to be part of the celebration.

Homemade Tuxedo Cake with rich chocolate layers, chocolate mousse, white chocolate mousse, and milk chocolate ganache.
↓ Skip to Recipe

What Is a Tuxedo Cake?

A tuxedo cake gets its name from its contrasting dark and light layers, reminiscent of the classic black-and-white look of a tuxedo.

There are many versions of tuxedo cake, but chocolate is usually the star.

My version starts with rich chocolate cake and takes that classic contrast even further with white chocolate mousse and dark chocolate mousse between the layers.

The entire cake is then finished with a smooth milk chocolate ganache.

When sliced, you get layers of dark chocolate cake and contrasting mousse, making this one of those desserts that's just as beautiful on the inside as it is on the outside.

Decadent chocolate Tuxedo Cake showing contrasting dark chocolate cake and creamy mousse layers.

Why You'll Love This Tuxedo Cake

There is a lot going on in this cake—in the very best way.

You'll love it because it has:

  • Rich chocolate cake

  • Nutty brown butter

  • Espresso to deepen the chocolate flavor

  • Creamy white chocolate mousse

  • Decadent dark chocolate mousse

  • Silky milk chocolate ganache

  • Beautiful contrasting layers

  • An impressive presentation for celebrations

Despite having several components, you can prepare much of this cake ahead, which makes it much easier to manage for a special occasion.

Tuxedo Cake layered with chocolate mousse and white chocolate mousse and covered in chocolate ganache.

The Chocolate Cake

The chocolate cake is the foundation of this recipe, so I wanted it to have plenty of flavor on its own.

Instead of using regular melted butter, I start by browning the butter.

As butter browns, it develops a warm, nutty aroma and deeper flavor that works beautifully with chocolate.

Semi-sweet chocolate melts directly into the warm brown butter, followed by fresh espresso.

That mixture gets incorporated into the cake batter to create layers that are rich enough to stand up to both mousses and the ganache.

Why Add Espresso to Chocolate Cake?

Espresso is one of my favorite additions to chocolate cake.

It intensifies the chocolate flavor and gives the cake more depth without necessarily making it taste like a coffee cake.

For this recipe, I use three shots of espresso, so it plays a meaningful role in the finished cake.

If you love rich chocolate desserts, it's one of those little additions that makes a noticeable difference.

Homemade brown butter chocolate cake made with espresso and layered into a decadent Tuxedo Cake.
Chocolate layer cake with creamy white chocolate mousse filling and rich chocolate ganache.

White Chocolate & Dark Chocolate Mousse

The contrasting mousses are what really give this cake its tuxedo personality.

Both are made with a simple combination of chocolate, heavy cream, powdered sugar, and vanilla.

For the white layer, you'll use white chocolate.

For the darker layer, you'll use dark chocolate.

The trick to a light mousse is allowing the melted chocolate to cool slightly before gently folding it into the whipped cream.

You don't want to aggressively mix the two together because you'll lose the air you've whipped into the cream.

Once prepared, refrigerate both mousses for at least two hours so they have time to set before assembling the cake.

Rich chocolate cake layered with dark chocolate mousse for a homemade Tuxedo Cake.
Chocolate Tuxedo Cake finished with a smooth and decadent milk chocolate ganache.

Milk Chocolate Ganache

And then there's the ganache.

This is what gives the finished cake its rich chocolate exterior and brings all of the flavors together.

Milk chocolate, heavy cream, and a little maple syrup create a smooth, glossy ganache with just enough sweetness.

After mixing the ganache, let it cool until it reaches a spreadable consistency.

I like applying a thin crumb coat first to trap any loose cake crumbs. Once that layer has set, you can go back with the final layer and decorate the cake however you like.

The result doesn't have to be perfectly smooth. A little texture can be beautiful, too.

Homemade Tuxedo Cake with layers of chocolate cake and two kinds of chocolate mousse.

Kitchen Tools You'll Need

A few good cake-baking tools make this recipe much easier:

  • Three 6-inch round cake pans

  • Medium saucepan

  • Large mixing bowls

  • Electric hand mixer or stand mixer

  • Rubber spatula

  • Serrated cake knife

  • Offset spatula

  • Cooling racks

  • Cake turntable, optional

You can find more of my favorite cake pans, baking tools, decorating pieces, and everyday kitchen essentials in my Cake Essentials shelf.

Slice of Tuxedo Cake showing chocolate cake, white chocolate mousse, and dark chocolate mousse layers.

Tuxedo Cake Recipe

Prep Time: 45 minutes
Bake Time: 45–55 minutes
Chilling & Assembly: About 3 hours
Servings: Approximately 10–12 slices

Ingredients

Chocolate Cake

  • 1 cup semi-sweet chocolate

  • 1 cup brown butter

  • 2 cups all-purpose flour

  • 1½ cups granulated sugar

  • ¼ cup unsweetened cocoa powder

  • 2 teaspoons baking powder

  • 1 teaspoon baking soda

  • ½ teaspoon salt

  • 3 large eggs

  • 1 cup milk

  • 2 teaspoons pure vanilla extract

  • 3 shots espresso

White Chocolate Mousse

  • 8 ounces white chocolate, chopped

  • 1 cup heavy cream

  • 2 tablespoons powdered sugar

  • 1 teaspoon vanilla extract

Dark Chocolate Mousse

  • 8 ounces dark chocolate, chopped

  • 1 cup heavy cream

  • 2 tablespoons powdered sugar

  • 1 teaspoon vanilla extract

Milk Chocolate Ganache

  • 1 cup heavy cream

  • 2 cups milk chocolate

  • 2 tablespoons maple syrup

Instructions

Step 1: Prepare the Cake Pans

Preheat the oven to 350°F.

Lightly grease three 6-inch round cake pans.

Step 2: Brown the Butter

Add the butter to a saucepan over medium heat.

Cook until the butter begins to turn golden brown and develops a warm, nutty aroma.

Remove from the heat.

Step 3: Add the Chocolate & Espresso

Add the semi-sweet chocolate to the warm brown butter and stir until completely melted and smooth.

Pour in the espresso and stir to combine.

Set aside briefly.

Step 4: Make the Chocolate Cake Batter

In a large mixing bowl, combine the flour, granulated sugar, cocoa powder, baking powder, baking soda, and salt.

Add the eggs, milk, and vanilla and begin mixing.

Pour in the brown butter, chocolate, and espresso mixture.

Mix until everything is fully incorporated and the batter is smooth.

Step 5: Bake the Cake

Divide the batter evenly between the three prepared 6-inch cake pans.

Bake for approximately 45–55 minutes, or until a toothpick inserted into the center comes out clean or with a few moist crumbs.

Allow the cakes to cool in their pans briefly before transferring them to cooling racks.

Cool completely before assembling.

Step 6: Make the White Chocolate Mousse

Melt the white chocolate in the microwave in approximately 15-second intervals, stirring between each interval until smooth.

Allow it to cool slightly.

In a separate bowl, whip the heavy cream until it begins forming soft peaks.

Add the powdered sugar and vanilla and continue whipping until the mixture holds its shape.

Gently fold the cooled white chocolate into the whipped cream, taking care not to deflate the mixture.

Cover and refrigerate for at least 2 hours.

Step 7: Make the Dark Chocolate Mousse

Repeat the same process using the dark chocolate.

Melt the chocolate until smooth and allow it to cool slightly.

Whip the heavy cream until soft peaks begin to form, then add powdered sugar and vanilla.

Gently fold in the cooled dark chocolate.

Cover and refrigerate for at least 2 hours.

Step 8: Make the Milk Chocolate Ganache

Heat the heavy cream until hot and just beginning to bubble.

Place the milk chocolate in a heat-safe bowl and pour the hot cream over it.

Add the maple syrup.

Let everything sit undisturbed for approximately 1 minute, then slowly stir until the chocolate and cream are completely combined and smooth.

If needed, heat in approximately 10-second intervals and stir again until smooth.

Press plastic wrap directly against the surface of the ganache and allow it to cool for approximately 3 hours, or until it reaches a thick, spreadable consistency.

Step 9: Level the Cakes

Once the chocolate cakes have completely cooled, use a serrated knife to carefully level the tops if needed.

Step 10: Assemble the Tuxedo Cake

Place the first chocolate cake layer onto your cake stand.

Spread one of the chocolate mousses evenly over the cake.

Add the second cake layer and spread the contrasting mousse over the top.

Finish with the final chocolate cake layer.

Step 11: Crumb Coat

Spread a thin layer of chocolate ganache over the entire cake.

This crumb coat will catch any loose crumbs and create a smooth base for the final layer.

Chill until the crumb coat has set.

Step 12: Finish the Cake

Cover the cake with the remaining milk chocolate ganache.

Smooth the exterior or create a more textured finish depending on the look you prefer.

Decorate as desired, slice, and enjoy!

Amanda's Quick Tips

  • Don't rush the brown butter. Wait for that nutty aroma before removing it from the heat.

  • Melt the chocolate directly into the warm brown butter.

  • Espresso enhances the chocolate flavor, so I wouldn't skip it unless you need to.

  • Let melted chocolate cool slightly before folding it into whipped cream.

  • Fold the mousse gently so you don't lose its light texture.

  • Chill both mousses for at least two hours.

  • Make sure the cakes are completely cool before assembling.

  • Level your cake layers for the cleanest finished slices.

  • Give the ganache enough time to cool and thicken before frosting.

  • A crumb coat makes the final ganache layer much easier to apply.

Layered chocolate mousse cake with contrasting dark cake and creamy white chocolate filling.

Can I Make Tuxedo Cake Ahead of Time?

Yes—and with a cake like this, I actually recommend breaking the work into stages.

You can bake the chocolate cake layers ahead of time. Once completely cool, wrap each layer well and refrigerate until you're ready to assemble.

The mousse can also be prepared in advance and refrigerated.

You can make the ganache ahead as well, although you may need to let it soften slightly before spreading if it becomes very firm in the refrigerator.

Then assemble and decorate the cake before your celebration.

This makes the recipe much more manageable than trying to bake, cool, make two mousses, prepare ganache, assemble, and decorate everything at once.

Decadent homemade chocolate layer cake covered in silky milk chocolate ganache.

How to Get Beautiful Tuxedo Cake Layers

The inside of this cake deserves just as much attention as the outside.

A few things help:

Cool the Cakes Completely

Warm cake and mousse are not friends. Give the cake layers plenty of time to cool.

Level the Layers

Use a serrated knife to remove any domed tops.

Chill the Mousse

The mousse needs enough structure to support another cake layer.

Spread Evenly

Try to keep your mousse layer relatively even from edge to edge.

Chill Before Slicing

A chilled cake will generally give you a much cleaner slice than a warm or freshly assembled cake.

And with a tuxedo cake, that beautiful slice is half the fun.

Rich espresso chocolate Tuxedo Cake made with brown butter and layers of chocolate mousse.

Tuxedo Cake Variations

Once you've made the original, there are a few ways you could play with the flavors.

Raspberry Tuxedo Cake

Add a thin layer of raspberry preserves between the chocolate cake and mousse.

Orange Chocolate Tuxedo Cake

Add a little fresh orange zest to the chocolate cake or ganache.

Extra Dark Chocolate

Use dark chocolate in the ganache rather than milk chocolate for a less-sweet finish.

Vanilla Espresso

Add vanilla bean paste to the white chocolate mousse for even more vanilla flavor.

Holiday Tuxedo Cake

Decorate the finished cake with sugared cranberries or other seasonal decorations for Christmas.

I would keep the actual cake recipe unchanged and use these simply as inspiration for future versions.

How to Store Tuxedo Cake

Because this cake contains whipped cream-based mousse, it should be stored in the refrigerator.

Keep the cake covered in a cake carrier or airtight container to prevent it from drying out.

For the best texture and flavor, enjoy it within approximately 3–4 days.

You can let individual slices sit at room temperature briefly before serving so the cake and ganache soften slightly.

Can You Freeze Tuxedo Cake?

Yes.

For individual slices, wrap them well in plastic wrap and then place them inside a freezer-safe container.

Freeze for up to approximately 2 months.

Thaw overnight in the refrigerator before serving.

For the best presentation, however, I prefer serving this cake fresh or refrigerated rather than freezing the entire decorated cake.

Elegant homemade Tuxedo Cake for birthdays, holidays, and special celebrations.

Frequently Asked Questions

What is a tuxedo cake?

Tuxedo cake is a chocolate dessert known for contrasting dark and light layers. This version combines chocolate cake with white chocolate mousse, dark chocolate mousse, and milk chocolate ganache.

Why is it called tuxedo cake?

The contrasting chocolate and white layers resemble the classic black-and-white color combination associated with a tuxedo.

Does tuxedo cake need to be refrigerated?

Yes. Because this recipe contains white and dark chocolate mousses made with whipped heavy cream, keep it refrigerated.

Does the cake taste like coffee?

The espresso enhances the chocolate flavor, although there will be a subtle coffee note because this recipe uses three espresso shots.

Can I make the cake layers ahead?

Yes. Bake and cool them completely, wrap them well, and refrigerate until you're ready to assemble.

Can I make the mousse ahead?

Yes. In fact, both mousses need at least two hours in the refrigerator before assembling the cake.

What is the filling in this tuxedo cake?

This version uses two fillings: white chocolate mousse and dark chocolate mousse.

What frosting is used on tuxedo cake?

This recipe is finished with a milk chocolate ganache made with heavy cream, milk chocolate, and maple syrup.

How do I get clean slices?

Chill the assembled cake before slicing and use a clean, sharp knife. Wiping the knife between slices helps keep those contrasting layers visible.

Can I use larger cake pans?

You can, but larger pans will produce thinner cake layers and will likely change the baking time.

Chocolate mousse layer cake finished with rich milk chocolate ganache.

More Cake Recipes You'll Love

If you're looking for another beautiful homemade cake, try:

Espresso Chocolate Cake with Raspberry Cream Cheese Frosting

Banana Cake with Brown Butter Cream Cheese Frosting

Layered Neapolitan Cake

Blueberry Cake with Mascarpone Frosting

Layered Orange Cake with Raspberry Mascarpone Frosting

Gingerbread Cake with Brown Butter Caramel Frosting

Shop My Cake Baking Essentials

I've gathered my favorite cake pans, decorating tools, mixing bowls, spatulas, cake stands, and other pieces I reach for when baking layer cakes in my Cake Essentials shelf.

Save This Recipe

Whether you're planning a birthday, dinner party, holiday, or another special celebration, save this Tuxedo Cake recipe for the next time you want a dessert that makes an impression.

I've included my printable From Amanda's Kitchen recipe card below so it's easy to save, print, and make again.

Printable Tuxedo Cake recipe card with chocolate cake, white and dark chocolate mousse, and milk chocolate ganache.

A Note From Amanda

Some cakes are just as much fun to photograph as they are to bake, and this is definitely one of them.

I love the contrast between the dark chocolate cake and lighter mousse layers, but even more than that, I love how all of the flavors come together. The brown butter, espresso, three different chocolates, and creamy mousse make every layer feel a little special.

It's the kind of cake I love bringing to the table when we're celebrating something—or sometimes simply because making a beautiful cake feels like reason enough to celebrate.

"Taste and see that the Lord is good."
Psalm 34:8

Made with love for the people you love.

Slow Cooker Italian Penicillin Soup with Chicken & Pastina

A Cozy Italian-Inspired Chicken Soup with Vegetables, Parmesan & Tiny Pasta

There are some recipes that simply feel like comfort in a bowl, and this Italian Penicillin Soup is one of them.

Tender chicken, carrots, celery, onion, garlic, herbs, Parmesan, and tiny pastina pasta slowly cook together in a savory chicken broth for the kind of cozy meal you want on a chilly evening or anytime you're craving something warm and homemade.

Sometimes called Italian Nonna's Penicillin Soup, this comforting chicken soup gets its nickname from generations of Italian families turning to simple bowls of chicken broth, vegetables, and tiny pasta when someone needed a little extra comfort.

My version makes the process especially easy by using the slow cooker. I brown the chicken first for additional flavor, then let the chicken, vegetables, herbs, broth, and a Parmesan rind slowly cook together. Pastina gets added toward the end so those tiny pieces of pasta can soak up all that delicious broth without becoming overcooked.

Finish each bowl with plenty of freshly grated Parmesan and a little parsley, and you have a simple, hearty soup that tastes like it has been simmering in the kitchen all day—because it has.

Bowl of slow cooker Italian Penicillin Soup with tender chicken, vegetables, pastina, Parmesan and fresh parsley.
↓ Skip to Recipe

What Is Italian Penicillin Soup?

Italian Penicillin Soup isn't actually medicine. It's an affectionate nickname for the type of comforting chicken soup Italian families have made for generations.

Recipes vary from family to family, but you'll commonly find a flavorful chicken broth filled with vegetables, chicken, herbs, Parmesan, and some form of small pasta.

In this version, I use pastina, which gives the soup that wonderfully cozy texture while soaking up the homemade broth.

The combination reminds me of the kind of recipe that doesn't need to be complicated to be memorable. It's simple food made with good ingredients and given enough time to develop plenty of flavor.

Homemade Italian Penicillin Soup filled with shredded chicken, vegetables and tiny pastina pasta.
Cozy Italian chicken pastina soup finished with freshly grated Parmesan and parsley.

Why You'll Love This Italian Penicillin Soup

This has become one of those recipes I want to make as soon as the weather cools down.

You'll love it because it's:

  • Made primarily in the slow cooker

  • Filled with chicken and vegetables

  • Cozy without being overly heavy

  • Made with simple, familiar ingredients

  • Flavored with a Parmesan rind

  • Finished with tiny pastina pasta

  • Easy to make ahead

  • Delicious for leftovers

  • Perfect for fall and winter dinners

And because everything spends a few hours cooking together, you get a much deeper flavor without needing to stand over the stove all afternoon.

Slow cooker chicken soup with vegetables, tiny pastina pasta and Parmesan cheese.

What Is Pastina?

Pastina literally means "little pasta" in Italian and refers to very small pasta shapes traditionally used in soups and simple comfort dishes.

You may find pastina in tiny stars, rounds, or other petite shapes. Stelline and acini di pepe are also great options for this soup if that's what you can find.

The small size works especially well here because the pasta cooks right in the broth toward the end of the recipe and absorbs some of its flavor.

If you're unable to find something labeled specifically as pastina, don't worry. Just look for a very small pasta shape.

Homemade Italian Penicillin Soup served warm with chicken, vegetables, herbs and Parmesan.

The Secret Ingredient: A Parmesan Rind

If you've never saved your Parmesan rinds for soup, start now.

I add one Parmesan rind to the slow cooker along with the chicken broth, vegetables, and herbs. As everything slowly cooks, the rind adds another savory layer to the broth.

You aren't going to eat the rind. Once the soup has finished cooking, simply remove and discard it before shredding the chicken and adding the pastina.

It's such a simple addition, but it's one of my favorite ways to make a homemade soup taste like it has been simmering for hours.

Which, conveniently, this one has.

Italian pastina chicken soup with tender shredded chicken and vegetables in a savory broth.
Warm bowl of cozy Italian chicken soup with pastina, carrots, celery and fresh Parmesan.

Why I Brown the Chicken First

Technically, you could put everything straight into your slow cooker.

But I prefer browning the chicken first.

My slow cooker has a removable pot that can go directly onto the stovetop, so I add 1 tablespoon olive oil and brown the chicken breasts for approximately five minutes per side before adding the remaining ingredients.

That extra step creates more flavor before the slow cooking even begins.

If your slow cooker insert isn't stovetop-safe, you can brown the chicken in a separate skillet or skip this step when you need an especially easy dinner.

Easy slow cooker Italian soup made with chicken, vegetables, herbs, Parmesan and pastina.

What You'll Need

One of my favorite things about this recipe is how simple the ingredient list is.

You'll need:

Chicken

Chicken breasts cook until tender enough to shred right into the soup.

Onion, Carrots & Celery

The classic combination that gives our broth its base of flavor.

Garlic

I use four whole garlic cloves and let them slowly cook into the broth.

Chicken Broth

This creates the base of the soup.

Parmesan Rind

One of the easiest ways to add savory Parmesan flavor while the soup cooks.

Herbs

Oregano, rosemary, and basil give the broth plenty of Italian-inspired flavor.

Pastina

Tiny pasta makes every spoonful extra cozy.

Parmesan

Freshly grated Parmesan finishes each bowl.

Fresh Parsley

Optional, but beautiful for a little freshness and color right before serving.

Comforting chicken soup with tiny pastina pasta, vegetables and freshly grated Parmesan.

Making Italian Penicillin Soup in the Slow Cooker

This is where this recipe becomes especially easy.

After browning the chicken, roughly chop your vegetables. There is no need to worry about getting perfectly uniform pieces.

Add the onion, garlic, carrots, celery, seasonings, chicken broth, and Parmesan rind to the chicken.

Then let your slow cooker do the work.

I cook mine on medium, or setting 3, for approximately 2–3 hours, until the chicken is tender enough to easily shred with a fork.

Once it's ready, remove the Parmesan rind and chicken. Shred the chicken while the pastina cooks directly in the broth.

Then add the chicken back in and you're ready to serve.

I’ve gathered the slow cooker, soup pots, bowls, serving pieces and kitchen tools I reach for when making cozy recipes like this one in my Soup & Slow Cooker Essentials collection.

Slow Cooker Italian Penicillin Soup Recipe

Prep Time: Approximately 15 minutes
Cook Time: Approximately 2½–3½ hours
Servings: Approximately 6

Ingredients

  • 1 tablespoon olive oil

  • 4 large chicken breasts

  • 1 yellow or white onion, roughly chopped

  • 4 garlic cloves, whole

  • 2 carrots, roughly chopped

  • 2 celery stalks, roughly chopped

  • 6 cups chicken broth

  • 1 Parmesan rind

  • 1 teaspoon dried oregano

  • 1 teaspoon dried rosemary

  • 1 teaspoon dried basil

  • 1 teaspoon sea salt

  • 1 teaspoon black pepper

  • 1 cup pastina pasta, or another small pasta such as acini di pepe or stelline

  • ½ cup freshly grated Parmesan cheese

  • Additional salt and pepper, to taste

  • 2 tablespoons chopped fresh parsley, optional for garnish

Instructions

Step 1: Brown the Chicken

If your slow cooker has a stovetop-safe removable insert, place it over medium heat.

Add 1 tablespoon olive oil.

Add the chicken breasts and brown for approximately 5 minutes on each side.

If your slow cooker insert isn't stovetop-safe, you can complete this step in a separate skillet or skip browning and add the chicken directly to the slow cooker.

Step 2: Prepare the Vegetables

While the chicken browns, roughly chop the onion, carrots, and celery.

The vegetables don't need to be perfectly cut or uniform.

Step 3: Fill the Slow Cooker

Add the chopped onion, whole garlic cloves, carrots, celery, chicken broth, Parmesan rind, oregano, rosemary, basil, sea salt, and black pepper to the chicken.

Place the slow cooker insert onto its base.

Step 4: Slow Cook

Cook on medium, or approximately setting 3 depending on your slow cooker, for 2–3 hours, or until the chicken is completely cooked and easily shreds with a fork.

Step 5: Remove the Chicken & Parmesan Rind

Once the chicken is tender, remove the Parmesan rind and discard it.

Transfer the chicken breasts to a plate or cutting board and shred them using two forks.

Step 6: Cook the Pastina

Add the pastina directly to the broth and vegetables.

Continue cooking for approximately 20–25 minutes, or until the pasta is tender.

Step 7: Finish the Soup

Return the shredded chicken to the soup and stir everything together.

Taste and add additional salt and pepper as needed.

Step 8: Serve

Ladle the soup into bowls and finish with freshly grated Parmesan cheese and chopped parsley.

Serve warm and enjoy.

Amanda's Tips

Save your Parmesan rinds.
Whenever you finish a wedge of Parmesan, wrap the rind and save it for soups like this one.

Don't add the pastina at the beginning.
Pastina cooks quickly, so adding it toward the end keeps it from becoming overly soft.

Brown the chicken when you have time.
It adds another layer of flavor, but you can skip it when you need a true dump-and-go slow cooker dinner.

Cut the vegetables roughly.
This is rustic soup. There's no need for perfect little pieces.

Taste before adding additional salt.
Chicken broth and Parmesan can both contribute saltiness, so adjust the finished soup to your preference.

Italian Penicillin chicken soup with shredded chicken, vegetables and small pasta in savory broth.

Can I Make Italian Penicillin Soup Ahead of Time?

Absolutely.

In fact, soup is one of my favorite things to make ahead because the flavors have even more time to come together.

If you're intentionally making this for meal prep, however, I would consider cooking the pastina separately and adding it to individual portions.

Pasta continues absorbing liquid as it sits, so keeping it separate can help preserve more of that beautiful broth.

If you've already made the entire recipe together, that's completely fine too. Just expect the pastina to absorb additional broth in the refrigerator.

Homemade Italian chicken soup topped with Parmesan cheese and fresh chopped parsley.
Pastina soup with shredded chicken, carrots and celery served in a flavorful chicken broth.

How to Store Leftovers

Allow the soup to cool and transfer it to an airtight container.

Store it in the refrigerator and enjoy within approximately 3–4 days.

As the soup sits, the pastina may continue soaking up some of the broth.

When reheating, simply add a splash of additional chicken broth if you'd like to loosen the consistency.

Warm gently on the stovetop or in the microwave until heated through.

Can You Freeze Italian Penicillin Soup?

Yes, but I prefer freezing this soup without the pastina whenever possible.

Pasta can become softer after freezing, thawing, and reheating.

If you're preparing a batch specifically for the freezer, make the soup through the chicken and vegetable portion, freeze it, and add freshly cooked pastina when reheating.

Store the cooled soup in freezer-safe airtight containers, leaving a little room for expansion.

Freeze for up to approximately 3 months.

Thaw overnight in the refrigerator before reheating.

Cozy slow cooker pastina soup with chicken, vegetables and Parmesan ready to serve.

What to Serve with Italian Penicillin Soup

This soup is hearty enough to be a meal on its own, but I love serving it with something simple on the side.

Try it with:

  • Warm crusty bread

  • Garlic bread

  • Homemade focaccia

  • A simple green salad

  • Caesar salad

  • Roasted vegetables

  • Extra Parmesan for the table

And don't forget a good piece of bread for soaking up the broth at the bottom of the bowl.

Easy Variations

The beauty of a cozy chicken soup like this is that it's easy to adapt to what you already have.

Change the Pasta

Use stelline, acini di pepe, or another very small pasta in place of pastina.

Add More Vegetables

Spinach, kale, or zucchini can be added if you'd like additional vegetables.

Use Leftover Chicken

If you're starting with cooked chicken, make the broth and vegetables first and stir the shredded chicken in toward the end.

Make It Extra Lemony

Finish individual bowls with a squeeze of fresh lemon juice for a brighter flavor.

Add a Little Heat

A sprinkle of red pepper flakes is an easy addition for anyone who likes a little spice.

Frequently Asked Questions

Why is it called Italian Penicillin Soup?

It's a nickname for comforting Italian-style chicken soup traditionally associated with being cared for when you're feeling under the weather. It isn't actual medicine—the name reflects the comfort and tradition surrounding dishes like this.

What pasta is used in Italian Penicillin Soup?

I use pastina, but stelline, acini di pepe, or another very small pasta can work beautifully.

Can I make Italian Penicillin Soup without pastina?

Yes. You can omit the pasta entirely or substitute another small pasta.

Do I have to brown the chicken?

No. Browning adds flavor, but you can place the chicken directly into the slow cooker if you're short on time.

What does the Parmesan rind do?

It slowly infuses the broth with savory Parmesan flavor as the soup cooks. Remove and discard the rind before serving.

Can I cook the pastina separately?

Yes, and it's actually a great option if you're planning on storing or freezing the soup.

Can I use rotisserie chicken?

Yes. Make the broth and vegetable portion first, then stir shredded cooked chicken into the soup toward the end.

Can I freeze Italian Penicillin Soup?

Yes. For the best texture, freeze the soup without the pastina and add freshly cooked pasta when reheating.

How do I keep pastina from soaking up all the broth?

Either cook it separately or add additional chicken broth when reheating leftovers.

Is Italian Penicillin Soup the same as pastina soup?

They're closely related, and recipes vary widely by family. This version combines chicken, vegetables, herbs, Parmesan, and pastina in a slow-cooked broth.

More Cozy Soup Recipes

Slow Cooker Italian Wedding Soup

Italian Sausage, Potato & Kale Soup

Mom's Favorite Minestrone Soup

One-Pot Italian Lasagna Soup

Creamy Basil Tomato Soup

Shepherd's Pie Soup

Warm Italian comfort soup with tender chicken, tiny pasta, vegetables and fresh Parmesan.

Shop My Soup & Slow Cooker Essentials

I've gathered some of my favorite slow cookers, soup pots, bowls, ladles, and everyday kitchen pieces for making cozy recipes like this one in my Soup & Slow Cooker Essentials list.

Save This Recipe

Whether you're planning ahead for a chilly weeknight or simply adding another cozy dinner to your recipe collection, I've included a printable recipe card below so it's easy to save, print, and make again.

Printable Italian Penicillin Soup recipe card with chicken, vegetables, pastina, Parmesan and slow cooker instructions.

A Note From Amanda

There's something I love about recipes that spend a few hours quietly cooking in the kitchen while life happens around them.

This is one of those meals.

It's simple ingredients—chicken, vegetables, broth, Parmesan, herbs, and tiny pasta—but given a little time, they turn into something that feels especially comforting.

Serve it steaming hot with plenty of Parmesan on top, gather everyone around the table, and enjoy.

"Taste and see that the Lord is good." — Psalm 34:8

Made with love for the people you love.

Slow Cooker Chicken Enchilada Dip with Cream Cheese & Black Beans

An Easy Cheesy Chicken Dip for Game Day, Parties & Gatherings

There are certain appetizers that belong right in the middle of the table where everyone can gather around them, and this Slow Cooker Chicken Enchilada Dip is one of those recipes.

Made with tender shredded chicken, cream cheese, black beans, enchilada sauce, plenty of melted cheese, and taco seasoning, it's warm, creamy, hearty, and perfect for scooping up with tortilla chips.

Even better, the slow cooker does most of the work and keeps everything warm while you're entertaining.

The chicken slowly cooks until tender enough to shred, while the cream cheese, black beans, enchilada sauce, shredded cheese, and seasoning melt together into an incredibly creamy dip. Once the chicken is ready, shred it directly into the cheesy mixture and let everything come together.

Serve it straight from the slow cooker surrounded by tortilla chips, tortillas, or fresh vegetables and let everyone help themselves.

Creamy chicken enchilada dip with shredded chicken, black beans and melted Mexican-style cheese.
↓ Skip to Recipe

What's in Chicken Enchilada Dip?

This dip uses simple ingredients that come together into one warm, creamy appetizer.

Chicken Breasts

Chicken breasts slowly cook in the enchilada mixture until tender enough to easily shred.

Cream Cheese

Two blocks of cream cheese create the rich, creamy base.

Black Beans

Drain and rinse the beans before adding them to the slow cooker.

Enchilada Sauce

This brings that classic enchilada flavor to the entire dip.

Mexican-Style Shredded Cheese

Three cups melt into the dip and the remaining cup goes over the top.

Onion

Diced white onion adds another layer of savory flavor.

Taco Seasoning

Two tablespoons season the chicken and creamy base without needing a long list of spices.

Easy slow cooker chicken dip made with enchilada sauce, cream cheese, black beans and shredded cheese.
Warm cheesy chicken enchilada dip ready to serve as an easy party appetizer.

Why This Recipe Works So Well in the Slow Cooker

This is exactly the kind of recipe the slow cooker was made for.

The chicken can slowly cook alongside the creamy enchilada ingredients until it's tender enough to shred. Once the chicken is done, everything gets stirred together into one cheesy dip.

I especially love using the slow cooker for party appetizers because once the dip is finished, I can switch it to warm and let everyone serve themselves.

That means less time reheating food while people are over and more time actually enjoying whoever is gathered around the table.

I use my slow cooker constantly for recipes like this, and I've gathered some of my favorite slow cookers, kitchen tools, serving pieces, and other essentials in my Soup & Slow Cooker Essentials collection.

Creamy chicken enchilada party dip made in the slow cooker with tender shredded chicken and melted cheese.

How to Serve Chicken Enchilada Dip

Tortilla chips are my first choice, but you have plenty of options.

Serve it with:

  • Tortilla chips

  • Corn chips

  • Mini tortillas

  • Toasted tortilla wedges

  • Bell pepper slices

  • Celery

  • Carrot sticks

You can also set out toppings like cilantro, green onions, diced tomatoes, jalapeños, avocado, sour cream, or olives.

For a party, place the slow cooker right in the middle of the spread and arrange your chips and toppings around it.

Slow Cooker Chicken Enchilada Dip Recipe

Prep Time: Approximately 15 minutes
Cook Time: Approximately 2–3 hours
Servings: A crowd-sized appetizer

Ingredients

  • 4 pounds boneless, skinless chicken breasts

  • 2 tablespoons olive oil

  • 1 white onion, diced

  • 2 (8-ounce) blocks cream cheese

  • 2 cans black beans, rinsed and drained

  • 1 can enchilada sauce

  • 4 cups Mexican-style shredded cheese, divided

  • 2 tablespoons taco seasoning

  • Tortilla chips, tortillas, or fresh vegetables, for serving

  • Optional toppings such as cilantro, green onions, jalapeños, tomatoes, avocado, sour cream, or olives

Instructions

Step 1: Prepare the Onion

Add the olive oil and diced onion to a skillet or the stovetop-safe insert of your slow cooker.

Cook over medium heat for a few minutes, until the onion begins to soften.

Step 2: Add the Chicken

Place the chicken breasts into the slow cooker with the softened onion.

Sprinkle the taco seasoning over the chicken.

Step 3: Add the Remaining Ingredients

Add the cream cheese, drained black beans, enchilada sauce, and 3 cups of the shredded cheese.

Cover with the lid.

Step 4: Slow Cook

Cook for approximately 2–3 hours, or until the chicken reaches 165°F internally and is tender enough to easily shred.

Because slow cookers vary, use the chicken's temperature and tenderness rather than the clock alone to determine when it's finished.

Step 5: Shred the Chicken

Remove the cooked chicken breasts and shred them using two forks.

Return the shredded chicken to the slow cooker and stir thoroughly so the chicken, cream cheese, beans, enchilada sauce, and melted cheese are evenly combined.

Step 6: Finish with Cheese

Sprinkle the remaining 1 cup shredded cheese over the top.

Replace the lid briefly and allow the cheese to melt.

Step 7: Serve

Add your favorite toppings and serve warm with tortilla chips, tortillas, or fresh vegetables.

Enjoy!

Amanda's Tips

Don't overcook the chicken.
Once it reaches 165°F and shreds easily, it's ready.

Cut the cream cheese into smaller pieces.
This helps it melt more evenly throughout the dip.

Drain and rinse your black beans.
You don't want the extra liquid from the cans thinning out your dip.

Save one cup of cheese for the top.
That final layer gives you the beautiful melted-cheese finish.

Shred the chicken before the final stir.
Once returned to the slow cooker, the shredded chicken will soak up all that creamy enchilada flavor.

Keep it warm for serving.
After everything is cooked, switch the slow cooker to its warm setting if your model has one.

Warm chicken enchilada dip with black beans and cheese for an easy game day appetizer.

Can I Make Chicken Enchilada Dip Ahead of Time?

Yes. This is one of the reasons it's such a great recipe for entertaining.

You can prepare the dip ahead of time and gently reheat it in the slow cooker before serving.

If I'm serving it for a party, however, I prefer making it the same day. Once the chicken is completely cooked and shredded and the cheeses are melted, I can simply switch the slow cooker to warm and leave it ready for everyone to enjoy.

If the dip thickens while sitting, give everything a good stir.

How to Keep Chicken Enchilada Dip Warm for a Party

Once the chicken is fully cooked and everything is hot and melted together, switch your slow cooker to its warm setting if it has one.

Give the dip an occasional stir while serving.

That's one of the biggest reasons I love a slow cooker appetizer. You don't have to worry about your warm dip becoming cold halfway through the party.

Crockpot chicken enchilada dip with creamy cheese, shredded chicken and black beans.

How to Store Leftover Chicken Enchilada Dip

Allow the dip to cool before transferring leftovers to an airtight container.

Store in the refrigerator and enjoy within 3–4 days.

Reheat individual servings in the microwave or gently warm a larger portion on the stovetop or in your slow cooker until heated through.

Because this recipe makes a large amount, you can also divide leftovers into smaller containers before refrigerating them.

Can You Freeze Chicken Enchilada Dip?

Yes, although cream cheese and other dairy products can change slightly in texture after freezing.

Allow the dip to cool completely and transfer it to freezer-safe containers.

Freeze for up to approximately 2 months.

When you're ready to use it, thaw the dip overnight in the refrigerator and reheat it slowly, stirring well as it warms to help the creamy mixture come back together.

Easy Chicken Enchilada Dip Variations

One of the easiest things about this recipe is customizing it to your family's preferences.

Make It Spicy

Use hot enchilada sauce or add diced jalapeños for a little extra heat.

Add Green Chiles

Stir in a can of diced green chiles for another layer of flavor.

Add Corn

Drain a can of corn and stir it into the dip along with the black beans.

Make It Extra Cheesy

Sprinkle a little additional shredded cheese over the top before serving.

Use Rotisserie Chicken

For a shortcut, you can substitute cooked shredded rotisserie chicken.

Because the chicken is already cooked, you'll only need enough slow-cooker time to thoroughly heat the dip and completely melt the cheeses.

Turn Leftovers Into Dinner

This might be my favorite variation because nothing goes to waste.

Use leftover Chicken Enchilada Dip inside:

  • Tacos

  • Burritos

  • Quesadillas

  • Enchiladas

  • Nachos

  • Mexican-inspired rice bowls

Suddenly yesterday's party appetizer becomes tonight's easy dinner.

360 Cookware slow cooker preparing a Chicken Enchilada Dip

Frequently Asked Questions

Can I make Chicken Enchilada Dip in a slow cooker?

Yes. That's exactly how I make this recipe. The chicken cooks directly in the slow cooker with the enchilada sauce, cream cheese, black beans, cheese, and seasoning before being shredded and stirred back into the dip.

Can I put raw chicken in the slow cooker?

Yes. Make sure the chicken reaches a safe internal temperature of 165°F before shredding and serving.

How do I know when the chicken is finished?

The chicken should reach 165°F internally and easily shred with two forks.

Can I use rotisserie chicken?

Yes. Cooked shredded rotisserie chicken is a great shortcut. Since the chicken is already cooked, reduce the slow-cooker time and cook only until everything is thoroughly heated and the cheeses have melted.

What do you eat with Chicken Enchilada Dip?

Tortilla chips are my favorite, but you can also serve it with corn chips, tortillas, toasted tortilla wedges, bell peppers, celery, or carrots.

Can I make Chicken Enchilada Dip ahead?

Yes. Prepare the dip ahead and gently reheat it before serving, or make it earlier the same day and keep it warm in your slow cooker.

How do I keep Chicken Enchilada Dip warm?

Once everything is fully cooked and melted together, switch your slow cooker to its warm setting.

Can I freeze Chicken Enchilada Dip?

Yes, although the texture of the dairy ingredients may change slightly. Thaw overnight in the refrigerator and reheat gently while stirring.

What can I make with leftover Chicken Enchilada Dip?

Use leftovers in tacos, burritos, quesadillas, nachos, enchiladas, or rice bowls.

More Appetizers & Slow Cooker Recipes

If you're planning a party or looking for another easy recipe, here are a few more favorites:

5 Ingredient Bacon Ranch Football Shaped Cheese Ball

A natural pairing for this recipe, especially for a game-day spread.

Layered Hummus Dip

Another easy dip that's perfect for setting out when you're entertaining.

Steak & Feta Crostini

A delicious appetizer when you want to add something a little more elevated to the table.

Slow Cooker Chicken Tortilla Soup

Another cozy Tex-Mex-inspired recipe that puts your slow cooker to work.

Slow Cooker Braised Short Ribs

A comforting slow-cooker dinner to make when you want something beyond appetizers.

Shop My Soup & Slow Cooker Essentials

From my favorite slow cooker and everyday cooking tools to serving pieces and other kitchen essentials, I've gathered the pieces I reach for when making slow-cooker recipes like this one in my Soup & Slow Cooker Essentials collection.

Save This Recipe

Whether you're planning a game-day spread, having friends and family over, or simply adding another easy slow-cooker appetizer to your recipe collection, I've included a printable recipe card below so it's easy to save, print, and make again.

Printable Slow Cooker Chicken Enchilada Dip recipe card with chicken, cream cheese, black beans, enchilada sauce and cheese.

A Note From Amanda

I love an appetizer that lets everyone gather around the table and help themselves, and this is exactly that kind of recipe.

It's warm, cheesy, hearty, and easy to keep ready in the slow cooker while everyone visits. Add a big bowl of tortilla chips and a few fresh toppings and you have an appetizer that requires very little fuss once everyone arrives.

Those are usually my favorite kinds of recipes—the ones that let the food be part of bringing everyone together without keeping me stuck in the kitchen.

“Taste and see that the Lord is good.” — Psalm 34:8

Made with love for the people you love.

Slow Cooker Creamy Chicken & Mushroom Couscous Soup

A Cozy Chicken Soup with Mushrooms, Vegetables & Pearl Couscous

There's something about a warm, creamy bowl of soup that makes dinner feel a little more comforting, and this Slow Cooker Creamy Chicken & Mushroom Couscous Soup has become one of those recipes.

Tender shredded chicken, mushrooms, carrots, onion, garlic, and couscous cook together in a savory broth before heavy cream is stirred in at the end. The result is a hearty, creamy soup that's filling enough to serve as dinner but still simple enough for an everyday family meal.

And because most of the cooking happens in the slow cooker, it's exactly the kind of recipe I love making on days when I want something homemade without spending the entire afternoon standing over the stove.

Serve it with warm bread, a simple salad, or just a little extra cracked black pepper on top for one cozy dinner.

Bowl of slow cooker creamy chicken and mushroom couscous soup with carrots and tender shredded chicken.
↓ Skip to Recipe

Why You'll Love This Creamy Chicken & Mushroom Soup

This soup combines so many of my favorite comfort-food ingredients in one bowl.

You get tender shredded chicken, earthy mushrooms, sweet carrots, couscous, and a creamy broth flavored with garlic, onion, thyme, oregano, and bay leaves.

It's:

  • Creamy without being overly complicated

  • Hearty enough to serve as a full meal

  • Made primarily in the slow cooker

  • Filled with chicken and vegetables

  • Easy to make for a family dinner

  • Delicious reheated for lunch the next day

  • Perfect for cooler fall and winter evenings

The couscous is also a fun change from the noodles or rice you'd typically find in a creamy chicken soup.

Creamy chicken couscous soup with mushrooms and carrots served warm in a bowl.

Ingredients You'll Need

You don't need anything complicated to make this soup, but each ingredient has a purpose.

Ingredients for homemade chicken and mushroom couscous soup arranged before cooking.

Chicken

I use 2 pounds of boneless, skinless chicken breasts. They cook directly in the broth until they're tender enough to shred.

Mushrooms

You'll need 16 ounces of sliced mushrooms. They add a savory, earthy flavor that works beautifully with the creamy broth.

Carrots

Four large carrots make this soup hearty and add a little natural sweetness.

Onion & Garlic

These create the flavor base for the soup. I sauté them in salted butter before adding everything to the slow cooker.

Couscous

I use 2 cups of couscous to give the soup its hearty texture.

Vegetable Broth

Eight cups of vegetable broth create the base of the soup.

Heavy Cream

One cup of heavy cream goes in at the very end. Adding it after the soup has finished cooking gives you that creamy finish without cooking the cream for hours.

Herbs & Seasonings

Thyme, oregano, bay leaves, sea salt, and black pepper give the broth plenty of flavor without overpowering the chicken and mushrooms.

Ingredients for slow cooker chicken soup with mushrooms, carrots, couscous and herbs.

Why Sauté the Vegetables First?

Technically, you could throw everything into the slow cooker and walk away, but taking a few extra minutes to sauté the onion and garlic in butter creates a much better flavor base.

I also add the mushrooms, carrots, and seasonings at this stage and stir everything together before adding the chicken and broth.

My slow cooker has a removable pot that can be used directly on the stovetop, so I can do this without dirtying another pan.

If your slow cooker doesn't have a stovetop-safe insert, simply complete this step in a skillet and transfer everything to your slow cooker.

I’ve gathered some of my favorite slow cookers, soup pots, kitchen tools, serving bowls, and other pieces I reach for when making cozy recipes like this one in my Soup & Slow Cooker Essentials collection.

Homemade chicken mushroom couscous soup with vegetables in a creamy broth.

How to Use Couscous in Slow Cooker Soup

The biggest trick with couscous is not adding it at the beginning.

If it cooked for the entire 4–5 hours alongside the chicken, it could become far too soft and absorb a lot of your broth.

Instead, I cook the chicken and vegetables first. Once the chicken is tender enough to shred, I remove it, shred it, and return it to the slow cooker.

That's when I add the couscous.

The couscous cooks for the final hour, and I stir it approximately every 15–20 minutes.

This gives it time to cook and absorb all that flavor without spending the entire afternoon in the slow cooker.

Slow cooker chicken couscous soup with mushrooms, carrots and a rich creamy broth.

Slow Cooker Creamy Chicken & Mushroom Couscous Soup Recipe

Prep Time: Approximately 15 minutes
Cook Time: Approximately 5–6 hours
Servings: Approximately 6–8

Ingredients

  • 1 tablespoon salted butter

  • 1 large onion, finely chopped

  • 3 cloves garlic, minced

  • 16 ounces mushrooms, sliced

  • 4 large carrots, cut into bite-sized pieces

  • 1/2 teaspoon dried thyme

  • 1/2 teaspoon dried oregano

  • 1/2 teaspoon sea salt

  • 1/2 teaspoon black pepper

  • 2 bay leaves

  • 8 cups vegetable broth

  • 2 pounds boneless, skinless chicken breasts

  • 2 cups couscous

  • 1 cup heavy cream

Instructions

Step 1: Sauté the Vegetables

If you're using a slow cooker with a stovetop-safe removable insert, place the insert over medium heat and melt the butter.

Add the finely chopped onion and minced garlic. Cook until the onion begins to soften and become translucent.

Add the mushrooms, carrots, thyme, oregano, sea salt, and black pepper.

Stir until the vegetables are evenly coated in the butter and seasonings.

If your slow cooker insert isn't stovetop-safe, complete this step in a skillet and transfer everything to the slow cooker.

Step 2: Add the Chicken & Broth

Place the chicken breasts over the vegetables.

Pour in the vegetable broth and add the bay leaves.

Place the pot onto the slow cooker base and cover.

Step 3: Slow Cook

Cook on high for approximately 4–5 hours, or until the chicken reaches an internal temperature of 165°F and is tender enough to easily shred.

Step 4: Shred the Chicken

Remove the chicken breasts from the slow cooker and shred them using two forks.

Discard the bay leaves.

Return the shredded chicken to the soup.

Step 5: Add the Couscous

Stir in the couscous.

Cover and continue cooking for approximately 1 hour, stirring every 15–20 minutes, until the couscous is cooked to your preferred texture.

Step 6: Make It Creamy

Once the couscous is cooked, pour in the heavy cream.

Stir until the cream is completely incorporated and the broth becomes rich and creamy.

Taste and adjust the salt and pepper if desired.

Step 7: Serve

Ladle the soup into bowls and serve warm.

Enjoy!

Amanda's Tips

Don't add the couscous too early.
Wait until the chicken is cooked and shredded before adding it.

Stir the couscous while it cooks.
I like to stir approximately every 15–20 minutes during the final hour.

Add the cream last.
There's no need for the heavy cream to spend hours in the slow cooker. Stir it in once everything else is finished.

Don't forget the bay leaves.
Remove both before serving.

Check the chicken rather than relying only on time.
Slow cookers vary. Your chicken should reach 165°F and shred easily.

The soup will thicken as it sits.
The couscous continues absorbing liquid, especially once refrigerated.

Creamy chicken mushroom soup filled with shredded chicken, carrots and couscous.

What to Serve with Chicken & Mushroom Couscous Soup

This soup is hearty enough that you don't need much alongside it.

A loaf of crusty bread is probably my first choice because it's perfect for dipping into the creamy broth.

You could also serve it with:

  • Garlic bread

  • Dinner rolls

  • A simple green salad

  • Roasted vegetables

  • Toasted sourdough

  • A light Caesar salad

For an easy family dinner, a warm loaf of bread and bowls of this soup are more than enough.

Can I Make This Soup Ahead of Time?

Yes, although there's one thing to know about couscous: it will continue absorbing liquid as the soup sits.

That means your leftovers will likely be considerably thicker the next day.

That's not necessarily a bad thing—I actually love a thick, hearty soup—but you can add a splash of vegetable broth while reheating if you'd like to loosen it.

Cozy chicken couscous soup with mushrooms and vegetables served for an easy family dinner.

How to Store Leftover Chicken Couscous Soup

Allow leftover soup to cool before transferring it to airtight containers.

Store it in the refrigerator for up to 3–4 days.

When reheating, warm it gently on the stovetop or microwave individual portions until heated through.

Because the couscous absorbs broth during storage, add a little extra broth or even a splash of cream when reheating if you'd like a thinner consistency.

Can You Freeze Creamy Chicken Couscous Soup?

You can freeze this soup, but I want to give you one caveat.

Both cream and couscous can change texture after freezing and thawing, so the finished soup may not have exactly the same consistency it did the first day.

If you know ahead of time that you're making a batch specifically for the freezer, an even better option is to freeze the soup before adding the couscous and heavy cream.

Then thaw and reheat the soup, cook the couscous, and finish with fresh cream.

If you're simply freezing leftovers, that's okay too. Cool completely, place in a freezer-safe container, and leave a little room for expansion.

two bowls of chicken and mushroom couscous soup

Easy Recipe Variations

One of the nice things about a simple chicken soup is that there's room to make it your own.

Add Spinach

Stir fresh baby spinach into the finished soup and let it wilt before serving.

Add Parmesan

Finish each bowl with freshly grated Parmesan for another savory layer.

Change the Mushrooms

Use your favorite mushroom variety or a combination of mushrooms.

Add More Herbs

Fresh thyme or parsley makes a beautiful finishing touch.

Make It Even Creamier

If your family loves a particularly rich soup, add an extra splash of heavy cream before serving.

Use Chicken Broth

I make mine with vegetable broth, but chicken broth can be substituted if that's what you have on hand.

Chicken couscous soup with sliced mushrooms and carrots in a creamy seasoned broth.

Frequently Asked Questions

What kind of couscous should I use in soup?

Use the couscous you normally make this recipe with. If you're using pearl or Israeli couscous, the larger pieces create a particularly hearty, pasta-like texture.

When should I add couscous to slow cooker soup?

For this recipe, add it after the chicken has cooked and been shredded. It cooks during the final hour rather than for the entire slow-cooker time.

Why did my chicken couscous soup get so thick?

Couscous absorbs liquid as it sits. This is especially noticeable after the soup has been refrigerated overnight. Add a little broth while reheating to loosen the consistency.

Can I use chicken broth instead of vegetable broth?

Yes. I use vegetable broth in my recipe, but chicken broth can also be used.

When do I add heavy cream to slow cooker soup?

Add the heavy cream at the end of cooking. Stir it into the finished soup until completely incorporated.

How do I know when the chicken is finished?

Chicken should reach an internal temperature of 165°F and should easily shred with two forks.

Can I make this soup ahead?

Yes. Just remember that the couscous will continue absorbing broth during storage, so you may want to add additional broth when reheating.

How long does Chicken & Mushroom Couscous Soup last in the refrigerator?

Store leftovers in an airtight container in the refrigerator for approximately 3–4 days.

Homemade creamy chicken couscous soup with tender chicken, mushrooms and vegetables.

More Cozy Soup Recipes

Slow Cooker Italian Penicillin Soup with Chicken & Pastina

Slow Cooker Italian Wedding Soup

Slow Cooker Chicken Tortilla Soup

Creamy Basil Tomato Soup

Italian Sausage, Potato & Kale Soup

Mom's Favorite Minestrone Soup

Shop My Soup & Slow Cooker Essentials

From my favorite slow cooker and soup pots to serving bowls and everyday kitchen tools, I've gathered some of the pieces I reach for when making cozy recipes like this one in my Soup & Slow Cooker Essentials collection.

Save This Recipe

Whether you're planning cozy dinners for the week or adding another comforting soup to your recipe collection, I've included a printable recipe card below so it's easy to save, print, and make again.

Printable Slow Cooker Creamy Chicken and Mushroom Couscous Soup recipe card with ingredients and instructions.

A Note From Amanda

Some of my favorite recipes are the ones that don't need to be complicated to feel special.

This soup is hearty, creamy, filled with chicken and vegetables, and made mostly in the slow cooker—which makes it exactly the kind of dinner I love putting on our family's table.

Serve it with warm bread, gather everyone around, and enjoy a cozy meal together.

“Taste and see that the Lord is good.” — Psalm 34:8

Made with love for the people you love.

Linguiça & Kale Portuguese Soup — Our Family's Recipe

There are some recipes that are more than just dinner. They're tied to family, memories, and the foods you grew up eating.

This Linguiça & Kale Portuguese Soup is one of those recipes for me.

If you've searched for Portuguese kale soup before, you've probably come across Caldo Verde, the traditional Portuguese soup made with potatoes, greens, and sausage. This isn't exactly that.

This is our family's version.

It's hearty and rustic, filled with smoky linguiça, Yukon Gold potatoes, white kidney beans, plenty of kale, and just a little heavy cream stirred in at the end. It's the Portuguese soup I grew up eating and the version that still feels like home to me.

And while it may not follow every rule of a traditional Caldo Verde, that's part of what makes family recipes so special. They change a little from kitchen to kitchen and generation to generation until they become something uniquely yours.

Portuguese kale soup with linguiça, Yukon Gold potatoes, white beans and chopped kale.
↓ Skip to Recipe

What Is Portuguese Kale Soup?

Portuguese kale soup comes in many forms, especially once you start looking at recipes passed through Portuguese and Portuguese-American families.

The best-known traditional version is Caldo Verde, a simple Portuguese soup generally built around potatoes, greens, olive oil, and sausage.

Our family's version is heartier.

Instead of a smooth potato-based soup with finely sliced greens, ours is filled with chunks of Yukon Gold potatoes, sliced linguiça, white kidney beans, chopped kale, and a touch of heavy cream.

It's rustic, filling, and substantial enough to be dinner all on its own.

Hearty linguiça and kale Portuguese soup with potatoes and white kidney beans.

Why This Portuguese Soup Is Special to Our Family

This isn't a recipe I created because Portuguese kale soup happened to be popular online.

It's the kind of food I grew up with.

Our version has been made and adjusted within my family over the years, which is why I'm not trying to present it as the definitive or most traditional way to make Portuguese kale soup.

It's simply our way.

And that's one of my favorite things about recipes passed through families. Two households can make what they call the same dish and end up with something completely different.

For us, that means plenty of linguiça, hearty potatoes, beans, kale, and a rich broth that's finished with just enough cream to bring everything together.

Homemade Portuguese linguiça soup filled with kale, potatoes and white beans.

What Is Linguiça?

Linguiça is a Portuguese sausage that's seasoned with ingredients such as garlic and paprika and has a distinctive smoky, savory flavor.

It's really the ingredient that gives this soup its personality.

I start by browning the sliced linguiça in olive oil before building the rest of the soup in the same pot. That allows some of the flavor from the sausage to remain behind and become part of the base for the onion, garlic, potatoes, and broth.

If you can find authentic linguiça where you live, that's what I recommend using for this recipe.

Portuguese sausage and kale soup made with sliced linguiça and tender Yukon Gold potatoes.

Ingredients You'll Need

One of the things I love about this soup is that the ingredient list isn't complicated.

Linguiça

You'll need 1 pound of linguiça, sliced. Browning it first adds even more flavor before it goes back into the soup.

Yukon Gold Potatoes

I use 2 pounds of Yukon Gold potatoes. They become beautifully tender while still giving the soup plenty of texture.

Kale

You'll need one bunch with the stems removed and leaves finely chopped.

White Kidney Beans

A 15-ounce can of white kidney beans adds another hearty element and makes this soup even more filling.

Onion & Garlic

A large yellow onion and four cloves of garlic form the aromatic base.

Vegetable Broth

Eight cups of vegetable broth create the soup's broth.

Heavy Cream

This might not be traditional, but remember—this is our family's version.

I stir in 1/4 cup of heavy cream at the very end. It's not enough to turn this into a heavy cream soup; it simply gives the broth a little richness and brings everything together.

Seasonings

Sea salt, black pepper, and paprika complement the smoky flavor of the linguiça without overcomplicating things.

Linguiça potato and kale soup served warm with white beans in a savory broth.

How to Make Linguiça & Kale Portuguese Soup

The entire soup comes together in one Dutch oven or large pot.

First, brown the sliced linguiça in olive oil. Remove it temporarily and use the same pot to cook the onion and garlic.

Then add the potatoes and seasonings before pouring in the broth and adding the beans and browned linguiça.

The potatoes simmer until they're nearly fork-tender before the kale goes in.

The final step is the heavy cream.

Turn off the heat first, stir in the cream, and you're ready to serve.

Simple ingredients, one pot, and so much flavor.

Portuguese kale and potato soup with smoky linguiça and white kidney beans.

Linguiça & Kale Portuguese Soup Recipe

Prep Time: 15 minutes
Cook Time: Approximately 35–40 minutes
Servings: Approximately 6

Ingredients

  • 2 tablespoons extra-virgin olive oil

  • 1 pound linguiça, sliced

  • 1 large yellow onion, diced

  • 4 cloves garlic, minced

  • 8 cups vegetable broth

  • 2 pounds Yukon Gold potatoes, peeled and diced

  • 1 teaspoon sea salt or kosher salt

  • 1/2 teaspoon black pepper

  • 1/2 teaspoon paprika

  • 1 (15-ounce) can white kidney beans, drained

  • 1 bunch kale, stems removed and finely chopped

  • 1/4 cup heavy cream

Instructions

Step 1: Brown the Linguiça

Place a large Dutch oven or saucepan over medium heat.

Add the olive oil and sliced linguiça. Cook until the sausage is lightly browned on both sides.

Remove the linguiça from the pot and set aside.

Step 2: Cook the Onion & Garlic

Add the diced onion and minced garlic to the same pot.

Cook until the onion becomes soft and translucent, stirring occasionally.

Step 3: Add the Potatoes

Add the diced Yukon Gold potatoes, salt, black pepper, and paprika.

Stir until the potatoes are evenly coated in the seasonings.

Step 4: Build the Soup

Pour in the vegetable broth.

Add the drained white kidney beans and browned linguiça back into the pot.

Bring the soup to a gentle simmer and cook for approximately 20 minutes, stirring occasionally, until the potatoes are almost fork-tender but aren't falling apart.

Step 5: Add the Kale

Stir in the chopped kale.

Continue cooking for approximately 8–10 minutes, or until the kale is tender but still has good color.

Step 6: Finish with Cream

Turn off the heat.

Pour in the heavy cream and stir until completely incorporated.

Taste and adjust the seasonings if desired.

Serve warm and enjoy.

Amanda's Tips for the Best Portuguese Kale Soup

Brown the linguiça first.
Don't skip this step. Browning develops flavor in the sausage and leaves all those flavorful bits behind in the pot.

Use good linguiça.
Because it's one of the main flavors in the soup, the sausage you choose matters.

Don't let the potatoes fall apart.
Cook them until they're tender enough to pierce with a fork but still hold their shape.

Add the kale toward the end.
It doesn't need to cook for the entire time. Adding it later helps preserve its texture and color.

Add the cream after turning off the heat.
It's the finishing touch rather than part of the long cooking process.

Let the soup rest for a few minutes.
I love giving it about 10–15 minutes before serving so everything settles together.

Hearty Portuguese kale soup with chunks of potato, linguiça and tender kale.

What to Serve with Portuguese Kale Soup

This soup is hearty enough to stand on its own, but warm bread alongside it is hard to beat.

Try serving it with:

  • Crusty Portuguese-style bread

  • Sourdough

  • Dinner rolls

  • A simple green salad

  • Roasted vegetables

Honestly, give me a big bowl of this and a piece of bread for dipping and I'm happy.

Portuguese kale soup with white beans, sliced linguiça and Yukon Gold potatoes.

Can I Make Portuguese Kale Soup Ahead of Time?

Yes—and this is one of those soups that's wonderful the next day.

Prepare it as written, let it cool, and store it covered in the refrigerator.

As everything sits together, the flavors have even more time to develop.

When reheating, warm it gently on the stovetop until heated through.

How to Store Leftovers

Allow leftover soup to cool before transferring it to an airtight container.

Store it in the refrigerator for approximately 3–4 days.

Reheat individual portions in the microwave or gently warm the soup on the stovetop.

I've gathered some of my favorite soup pots, slow cookers, serving bowls, and everyday kitchen tools in my Soup & Slow Cooker Essentials collection.

Homemade Portuguese linguiça soup served warm with kale, potatoes and beans.

Can You Freeze Linguiça & Kale Soup?

You can freeze this soup, although the potatoes and cream can change texture slightly after freezing and thawing.

If you're intentionally preparing the soup for the freezer, I would consider making it through the broth, linguiça, beans, and vegetables and adding the cream after reheating.

For ordinary leftovers, freezing the finished soup is still an option. Cool completely before transferring it to freezer-safe containers and leave some room at the top for expansion.

Easy Variations

Even though this is our family's version, you can absolutely adjust your bowl to fit yours.

Make It Spicy

Add crushed red pepper flakes for a little heat.

Add More Greens

If you're a kale lover, add extra.

Try Another Hearty Green

Collard greens can be substituted if kale isn't available.

Use Chicken Broth

I use vegetable broth, but chicken broth works too.

Leave Out the Cream

The 1/4 cup of cream is part of how we make ours, but you can omit it if you'd prefer a brothier soup.

Family-style Portuguese kale soup made with linguiça, potatoes, white beans and kale.

Frequently Asked Questions

Is this traditional Caldo Verde?

No. This recipe is inspired by the Portuguese kale soups my family has made for years, but it isn't intended to be a traditional Caldo Verde recipe.

Our version is chunkier and includes linguiça, white kidney beans, kale, Yukon Gold potatoes, and a small amount of heavy cream.

What's the difference between linguiça and chouriço?

Both are Portuguese sausages, but recipes, seasoning, texture, and preparation can vary. For this family recipe, I use linguiça.

Can I make this soup ahead of time?

Yes. It's an excellent make-ahead soup and the flavors are wonderful after sitting overnight.

Can I substitute the vegetable broth?

Yes. Chicken broth can be substituted.

Can I leave out the beans?

Yes. The beans are part of our version and make it heartier, but you can omit them if desired.

When should I add kale to soup?

Add the kale toward the end of cooking. For this recipe, approximately 8–10 minutes is enough time for it to become tender without cooking it for the entire duration.

Why is there heavy cream in Portuguese kale soup?

It's simply part of our family's version. I use only 1/4 cup, which adds a little richness without turning the soup into a heavy cream-based soup.

More Cozy Soup Recipes

Italian Sausage, Potato & Kale Soup

Slow Cooker Italian Penicillin Soup

Slow Cooker Creamy Chicken & Mushroom Couscous Soup

Slow Cooker Italian Wedding Soup

Creamy Basil Tomato Soup

Mom's Favorite Minestrone Soup

Shop My Soup & Slow Cooker Essentials

From my favorite soup pots and slow cookers to serving bowls and everyday kitchen tools, I've gathered some of the pieces I reach for throughout soup season in my Soup & Slow Cooker Essentials collection.

Save This Recipe

Family recipes are some of my favorites to preserve and share. I've included a printable recipe card below so you can save this Linguiça & Kale Portuguese Soup, print it, and hopefully gather your own family around a warm pot of it someday.

Printable Portuguese Kale Soup with Linguiça recipe card with potatoes, white beans and kale.

A Note From Amanda

Food has such a special way of carrying pieces of our families with it.

This may not be traditional Caldo Verde, and I'm perfectly okay with that. It's the Portuguese kale soup I remember, the version our family loves, and the one I want to continue making in my own kitchen.

Sometimes the recipes worth keeping aren't the ones made exactly according to tradition. They're the ones that taste like home.

“Taste and see that the Lord is good.” — Psalm 34:8

Made with love for the people you love.

Strawberry Champagne Cake with Strawberry Cream Cheese Frosting

There's something about a layer cake that instantly makes an occasion feel special, and this Strawberry Champagne Cake with Strawberry Cream Cheese Frosting was made for celebrating.

Three soft cake layers are flavored with champagne and strawberry purée, then stacked with a creamy strawberry champagne cream cheese frosting. The champagne adds a subtle flavor while strawberry runs through both the cake and frosting, giving every slice that beautiful combination of berries and bubbly.

It's elegant enough for a bridal shower, anniversary, Valentine's Day, Mother's Day, birthday, or special brunch—but you certainly don't need to wait for a major celebration to make it.

And despite how impressive a tall three-layer cake looks on the table, the process is completely manageable when you break it into a few simple steps.

Strawberry Champagne Cake with three layers and creamy strawberry champagne cream cheese frosting.
↓ Skip to Recipe

Why You'll Love This Strawberry Champagne Cake

This cake feels celebratory without relying on complicated decorating techniques or an overly elaborate filling.

I especially love that the strawberry and champagne flavors aren't limited to one component. They're incorporated into both the cake and frosting, helping the flavors carry through the entire dessert.

You'll love this cake because it's:

  • A beautiful three-layer celebration cake

  • Flavored with real strawberry purée

  • Made with champagne in both the cake and frosting

  • Finished with strawberry cream cheese frosting

  • Soft and tender thanks to cake flour

  • Beautiful for spring celebrations

  • Easy to customize for different occasions

  • Impressive enough to serve as the centerpiece of your dessert table

Three-layer Strawberry Champagne Cake covered in creamy strawberry frosting.

What Does Champagne Cake Taste Like?

Champagne cake doesn't taste like you're simply drinking a glass of champagne in cake form.

Instead, champagne adds another layer of flavor to the batter and complements the sweetness of the strawberry.

In this recipe, I use 1 cup of champagne in the cake batter and another 1/4 cup in the frosting, so that flavor is incorporated throughout the finished cake.

Pairing it with strawberry purée makes this cake fruity, sweet, and perfect for a celebration.

Homemade champagne cake finished with strawberry cream cheese frosting.

Ingredients You'll Need

For the Strawberry Champagne Cake

Cake Flour

I use 2 1/4 cups of cake flour rather than all-purpose flour for this recipe.

Champagne

You'll need 1 cup of champagne for the cake batter.

Strawberry Purée

Half a cup of strawberry purée brings strawberry flavor directly into the cake.

Eggs

The recipe uses three whole eggs plus three additional egg whites.

Butter

This cake uses both melted butter and grated butter. Grating cold butter into the dry ingredients helps distribute small pieces throughout the mixture.

Heavy Cream

A small amount of heavy cream adds richness.

Vanilla

Three teaspoons complement both the strawberry and champagne flavors.

Sugar

Granulated sugar provides the sweetness for the cake layers.

Baking Powder & Salt

These round out our dry ingredients and help create the cake's structure.

For the Strawberry Champagne Cream Cheese Frosting

You'll need:

  • Butter

  • Cream cheese

  • Powdered sugar

  • Strawberry purée

  • Vanilla

  • Champagne

The strawberry purée naturally brings both flavor and beautiful color into the frosting.

Layer cake covered in strawberry cream cheese frosting made with strawberry purée and champagne.

Why Grate Butter into Cake Batter?

This recipe uses a technique you might not see in every cake recipe: grating the butter directly over the dry ingredients.

After combining the dry ingredients, grate one cup of butter over the mixture and work it in by hand until the pieces are no larger than approximately pea-sized.

The wet ingredients are then incorporated before adding the champagne and strawberry purée.

It's a little different from the traditional creaming method, but it's the technique I use for this particular cake.

Homemade Strawberry Champagne Cake prepared as a beautiful celebration dessert.

How to Make Strawberry Champagne Cake

Start by preparing three 6-inch round cake pans and preheating your oven to 350°F.

Gently whisk the eggs, melted butter, and vanilla together.

In a separate bowl, combine the dry ingredients before grating the butter over the top. Work the butter into the dry ingredients until the pieces are no larger than pea-sized.

Add the wet mixture and blend with an electric mixer. Finally, add the champagne and strawberry purée, mixing on low just until incorporated.

Divide the batter evenly among your three pans and bake until a wooden pick inserted into the center comes out clean.

Then—and this part matters—let those cake layers cool before frosting them.

Three-layer strawberry champagne cake with soft cake layers and creamy pink frosting.

How to Make Strawberry Champagne Cream Cheese Frosting

The frosting might be one of my favorite parts of this cake.

Butter and cream cheese create the rich, creamy base, while strawberry purée brings in the berry flavor and champagne ties the frosting back to the cake itself.

You'll also add vanilla and powdered sugar until everything is smooth and well combined.

If you prefer a thicker frosting, you can adjust the consistency with additional powdered sugar. If necessary, a little additional champagne can loosen it.

I sometimes double the frosting recipe when I want a particularly generous layer around the outside of the cake.

Strawberry champagne celebration cake made for birthdays, showers and special occasions.

Strawberry Champagne Cake Recipe

Prep Time: Approximately 30 minutes
Bake Time: 27–30 minutes
Additional Cooling/Chilling: Approximately 1 hour
Cake: Three 6-inch layers

Ingredients

Strawberry Champagne Cake

  • 3 large eggs

  • 3 large egg whites

  • 1/4 cup heavy cream

  • 1 cup champagne

  • 2 tablespoons melted butter

  • 3 teaspoons vanilla extract

  • 1 1/2 cups granulated sugar

  • 2 1/4 cups cake flour

  • 1 tablespoon baking powder

  • 3/4 teaspoon salt

  • 1 cup butter, grated

  • 1/2 cup strawberry purée

Strawberry Champagne Cream Cheese Frosting

  • 1 cup butter, softened

  • 8 ounces cream cheese, softened

  • 5 cups powdered sugar

  • 1/4 cup strawberry purée

  • 1 teaspoon vanilla extract

  • 1/4 cup champagne

Instructions

Step 1: Prepare the Pans

Preheat the oven to 350°F.

Lightly grease three 6-inch round cake pans.

Step 2: Combine the Wet Ingredients

In a mixing bowl, gently whisk together the whole eggs, egg whites, heavy cream, melted butter, and vanilla until combined.

Step 3: Combine the Dry Ingredients

In a separate large mixing bowl, combine the sugar, cake flour, baking powder, and salt.

Step 4: Add the Grated Butter

Grate 1 cup of butter over the dry ingredients.

Work the butter into the dry mixture by hand until the pieces are no larger than approximately pea-sized.

Step 5: Finish the Batter

Add the wet ingredients to the dry ingredients and blend with an electric mixer on medium speed until combined.

Add the champagne and strawberry purée.

Mix again on low speed just until incorporated. Avoid overmixing.

Step 6: Bake

Divide the batter evenly between the three prepared cake pans.

Bake for 27–30 minutes, or until a wooden pick inserted into the center comes out clean.

Allow the cakes to cool in their pans for approximately 15 minutes before transferring them to cooling racks.

Cool completely before frosting.

Step 7: Make the Frosting

Beat together the softened butter and cream cheese until smooth.

Add the powdered sugar, strawberry purée, vanilla, and champagne and continue mixing until completely combined.

Adjust the consistency with additional powdered sugar if you'd like a thicker frosting.

I sometimes double the frosting recipe when I want an extra-thick layer around the outside of the cake.

Step 8: Assemble the Cake

Place your first cooled cake layer onto a cake stand or serving plate.

Spread frosting over the top and repeat with the remaining layers.

Apply a thin layer of frosting around the entire cake to create a crumb coat.

Refrigerate for approximately 30 minutes.

Step 9: Decorate

Remove the chilled cake and apply your final layer of frosting.

Smooth or texture the frosting however you prefer.

Smooth or texture the frosting however you prefer, then decorate as desired. Slice, serve, and enjoy!

Amanda's Tips for the Best Strawberry Champagne Cake

Don't overmix after adding the champagne.
Once the champagne and strawberry purée go in, mix on low just until everything comes together.

Cool the cake completely.
Warm cake and cream cheese frosting are not friends. Give those layers enough time to cool.

Use room-temperature butter and cream cheese for the frosting.
You'll get a much smoother frosting.

Don't microwave your cream cheese for 30 seconds at a time.
I'm changing this from your old directions because it's very easy to accidentally melt it. If you forgot to soften it, very short intervals are safer.

Use the crumb coat.
That thin first layer catches loose crumbs and makes your final frosting layer much prettier.

Chill before the final frosting layer.
About 30 minutes helps set your crumb coat.

Make extra frosting if you love a thick finish.
As you already noted in the original recipe, you can double the frosting if you want a particularly generous exterior.

Strawberry Champagne Cake with rich strawberry cream cheese frosting.

How to Decorate a Strawberry Champagne Cake

One of the reasons I love this cake is how easily you can change the presentation depending on the celebration.

For mine, I like a beautifully frosted exterior with piped frosting along the top and strawberries for the finishing touch.

But you could keep the frosting textured and simple, create a smooth finish, change your piping design, or decorate the cake to complement whatever occasion you're celebrating.

It's already such a beautiful cake that it doesn't need an elaborate decorating technique to make an impression.

I’ve gathered some of my favorite cake pans, decorating tools and baking essentials in my Cake Essentials collection.

Pink strawberry champagne layer cake with a softly frosted exterior.

When to Serve Strawberry Champagne Cake

This is one of those desserts that immediately feels celebratory.

I'd make it for:

  • Valentine's Day

  • Mother's Day

  • Bridal showers

  • Engagement celebrations

  • Anniversaries

  • Birthdays

  • Baby showers

  • Spring brunches

  • Wedding showers

  • New Year's celebrations

The pink strawberry frosting also makes it especially beautiful for spring and Valentine's Day.

Can I Make Strawberry Champagne Cake Ahead of Time?

Yes.

The cake layers can be baked ahead, cooled completely, wrapped well, and stored until you're ready to assemble your cake.

You can also assemble and frost the cake ahead of your celebration and refrigerate it.

Because the frosting contains cream cheese, I recommend keeping the finished cake refrigerated rather than leaving it sitting at room temperature for extended periods.

Strawberry Champagne Cake styled as an elegant homemade birthday or celebration cake.

How to Store Strawberry Champagne Cake

Store the finished cake covered in the refrigerator.

For individual leftover slices, place them in an airtight container to prevent the cake from drying out.

For the best texture, you can allow an individual refrigerated slice to sit briefly at room temperature before serving.

Can You Freeze Strawberry Champagne Cake?

Yes.

The unfrosted cake layers are particularly easy to freeze. Once completely cool, wrap each layer securely before placing it into a freezer-safe container or bag.

You can also freeze individual pieces of the finished cake, although frosting texture may change slightly after thawing.

Thaw frozen cake in the refrigerator before serving.

Finished Strawberry Champagne Cake made with strawberry purée and champagne.

Frequently Asked Questions

Does Strawberry Champagne Cake taste like alcohol?

Champagne contributes flavor to the cake and frosting, but the finished dessert isn't meant to taste like drinking champagne.

Keep in mind that champagne added to the frosting is not cooked, so this recipe isn't alcohol-free.

Can I make this cake without champagne?

Because champagne is a defining ingredient in this particular recipe, replacing it would change both the flavor and potentially the batter consistency. I'd recommend using a recipe specifically formulated without champagne rather than making a large substitution here.

Can I make the cake layers ahead of time?

Yes. Bake and cool the layers completely, then wrap them well until you're ready to assemble.

Why do I need a crumb coat?

A crumb coat traps loose cake crumbs underneath a thin layer of frosting. Chilling it before adding the final layer gives you a cleaner exterior.

Can I use all-purpose flour instead of cake flour?

I recommend using the cake flour called for in the recipe because changing flour can affect the cake's texture and structure.

Why does the cake use both whole eggs and egg whites?

The combination is part of the structure of this particular cake recipe, so I recommend following the recipe as written.

Does Strawberry Champagne Cake need to be refrigerated?

Yes. Because the frosting contains cream cheese, store the finished cake in the refrigerator.

More Layer Cake Recipes

Layered Neapolitan Cake

Tuxedo Cake

Banana Cake with Brown Butter Cream Cheese Frosting

Blueberry Cake with Mascarpone Frosting

Orange Cake with Raspberry Mascarpone Frosting

My Favorite White Cake Recipe

Shop My Cake-Baking Favorites

From the cake pans and mixing tools I use while baking to decorating essentials and serving pieces, I've gathered some of my favorite cake-baking tools in my Cake Essentials collection.

Save This Recipe

Whether you're celebrating a birthday, anniversary, bridal shower, holiday, or simply making something beautiful for the people you love, I've included a printable recipe card below so this Strawberry Champagne Cake is easy to save, print, and make again.

Printable Strawberry Champagne Cake recipe card with strawberry cream cheese frosting.

A Note From Amanda

I think some desserts are meant to feel a little extra special.

Between the strawberry, champagne, three layers, and beautiful frosting, this is one of those cakes that turns an ordinary table into something worth gathering around.

And that's always my favorite reason to bake.

“Taste and see that the Lord is good.” — Psalm 34:8

Made with love for the people you love.

Creamy Broccoli Cheddar Soup Recipe

There is something about a warm bowl of homemade broccoli cheddar soup that instantly feels like comfort food. Creamy, cheesy, filled with tender broccoli and carrots, and hearty enough to make a meal on its own, this is one of those soup recipes I come back to when we want something warm and satisfying.

My version is made with fresh broccoli, shredded carrots, chicken bone broth, heavy cream, and plenty of cheddar cheese. I also use a simple butter and flour base to give the soup that thick, creamy consistency you want from broccoli cheddar soup without making it overly complicated.

It's easy enough for a weeknight dinner but also one of those recipes that feels especially good on a cold or rainy day. Add warm bread on the side and dinner is done.

Creamy homemade broccoli cheddar soup with fresh broccoli, carrots and shredded cheddar cheese.
↓ Skip to Recipe

Why You’ll Love This Broccoli Cheddar Soup

There are plenty of versions of broccoli cheddar soup, but I love keeping mine relatively simple and letting the broccoli and cheddar be the stars.

Fresh broccoli gives the soup texture and heartiness, while shredded carrots add just a little natural sweetness. I use chicken bone broth or chicken stock instead of water for a more flavorful base, and heavy cream gives everything that rich, creamy consistency.

Then, of course, there’s the cheddar.

Once it melts into the broth, everything comes together into a thick, cheesy soup that feels substantial enough to serve as dinner rather than just a starter.

You can also adjust the texture depending on what your family prefers. Leave all of the vegetables intact for a chunky broccoli cheddar soup, or use an immersion blender to blend some of the broccoli into the broth for a smoother, thicker consistency.

Homemade broccoli cheddar soup served warm with tender broccoli and carrots.

What You’ll Need to Make Broccoli Cheddar Soup

One of the things I love about this recipe is that you don’t need a huge ingredient list.

Fresh broccoli is the base of the soup, so I like to cut the florets fairly small. They’ll cook more evenly and you’ll get broccoli in every spoonful rather than having to navigate huge pieces.

Shredded carrots add color, texture, and a subtle sweetness that works so well with the sharp cheddar.

For the liquid, I use chicken bone broth or chicken stock. Either works beautifully, although bone broth can add a little extra richness.

And for that signature creamy texture, I use heavy cream along with a simple roux made from salted butter and flour.

Finally, freshly shredded cheddar cheese melts into the soup at the end.

Easy broccoli cheddar soup with a rich and creamy cheddar cheese broth.
Fresh ingredients for homemade broccoli cheddar soup arranged in the kitchen.
Broccoli, carrots, cheddar cheese and other ingredients for creamy broccoli cheddar soup.

The Secret to a Creamy Broccoli Cheddar Soup

The texture is one of the most important parts of a good broccoli cheddar soup. You want it creamy and thick enough to feel indulgent without turning it into cheese sauce.

The butter and flour create a simple roux at the beginning of this recipe. Once the broth and heavy cream are added, that roux helps thicken the entire soup as it simmers.

If you want an even thicker soup, an immersion blender is one of my favorite tricks.

Once the broccoli is tender, blend just a portion of the soup before adding the cheddar. This thickens the broth naturally while still leaving plenty of broccoli and carrots intact.

Of course, if your family prefers a completely smooth soup, you can blend more of it. If you love a chunky broccoli cheddar soup, skip the blender altogether.

There really isn’t a wrong answer here.

Close-up of creamy broccoli cheese soup with tender pieces of fresh broccoli.

What Is the Best Cheese for Broccoli Cheddar Soup?

I recommend using a flavorful cheddar cheese and shredding it yourself.

Sharp cheddar will give you a stronger cheese flavor, while medium cheddar will make the soup a little milder. Either works, so use whichever your family prefers.

Whenever possible, I like to start with a block of cheddar rather than pre-shredded cheese. Freshly grated cheddar generally melts more smoothly into soups and sauces.

Another important tip is to keep your heat low once you add the cheese.

You don’t want the soup rapidly boiling while the cheddar melts. Instead, stir it into the hot soup over low heat until it becomes smooth and creamy.

Rich broccoli cheddar soup made with heavy cream and freshly shredded cheddar.

What to Serve With Broccoli Cheddar Soup

My favorite way to serve broccoli cheddar soup is with something warm and crusty for dipping. A loaf of homemade bread turns a bowl of soup into such a simple but comforting dinner.

My Garlic & Herb Focaccia Bread would be delicious alongside it, or you can make my Beginner’s Sourdough Bread if you want a classic crusty loaf.

For something lighter on the side, try my Pear & Walnut Salad with Honey Mustard Dressing or Shaved Brussels Sprout Salad with Apples, Goat Cheese & Candied Pecans.

You can also keep things incredibly simple with a warm baguette, crackers, or even a grilled cheese sandwich on the side.

Warm bowl of homemade broccoli cheddar soup ready to serve for dinner.

My Favorite Soup-Making Essentials

I make homemade soup all throughout the cooler months, so there are a few kitchen pieces I find myself reaching for again and again. A good pot, immersion blender, ladle, soup bowls, and a few simple prep tools make everything from creamy soups to hearty slow cooker recipes so much easier.

I gathered my favorite soup-making essentials together below if you’re looking for any of the pieces I use in my own kitchen.

Classic broccoli cheddar soup with a thick creamy texture and fresh vegetables.

Tips for the Best Broccoli Cheddar Soup

A few simple things will help give you the best texture and flavor every time you make it.

Cut your broccoli into smaller florets. This helps it cook evenly and makes the finished soup much easier to eat.

Give the flour a minute to cook. After adding it to the butter and onions, let it cook for about a minute before adding your liquid. This helps eliminate the raw flour flavor.

Shred your own cheese if possible. Freshly grated cheddar tends to melt much more smoothly.

Blend before adding the cheese. If you want to use an immersion blender, blend the soup once the broccoli is tender and then add your cheddar.

Keep the heat low once the cheddar goes in. Gentle heat helps the cheese melt into a smooth, creamy soup.

Taste before adding additional salt. Broth and cheddar both contribute saltiness, so taste the finished soup and adjust if needed.

Thick and creamy broccoli cheddar soup made from scratch with cheddar cheese.

How to Make Broccoli Cheddar Soup

Making homemade broccoli cheddar soup is much easier than you might think.

Start by melting your butter in a large pot over medium heat. Add the diced onion and let it cook until softened and translucent.

Next, add the flour and seasonings. Stir everything together and allow the flour to cook for about one minute.

Slowly pour in your chicken bone broth or chicken stock, stirring as you go. Then add the heavy cream, broccoli, and carrots.

Cover the pot, reduce the heat, and let everything gently simmer until the broccoli is tender.

At this point, you can use an immersion blender if you want a smoother or thicker soup. Once you have the texture you like, lower the heat and gradually stir in the shredded cheddar.

As soon as the cheese is melted and the soup is creamy, it’s ready to serve.

Homemade broccoli cheddar soup from scratch served warm in a bowl.

Creamy Broccoli Cheddar Soup Recipe

Ingredients

  • 2 heads broccoli, florets cut into small pieces

  • 1 yellow onion, diced

  • 1 cup shredded carrots

  • 1 teaspoon sea salt

  • 1 teaspoon freshly ground black pepper

  • 1 teaspoon garlic powder

  • 32 ounces chicken bone broth or chicken stock

  • ¼ cup salted butter

  • 2 tablespoons all-purpose flour

  • 2 cups heavy cream

  • 6 ounces cheddar cheese, freshly shredded

Instructions

1. Sauté the onion.
Add the butter to a large pot or Dutch oven over medium heat. Once melted, add the diced onion and cook for approximately 3–4 minutes, or until softened and translucent.

2. Make the roux.
Sprinkle the flour, sea salt, black pepper, and garlic powder over the onions. Stir continuously for approximately 1 minute to coat the onions and cook the flour.

3. Add the liquids.
Slowly pour in the chicken bone broth while stirring to help keep the soup smooth. Add the heavy cream and stir until combined.

4. Add the vegetables.
Add the broccoli florets and shredded carrots. Stir everything together.

5. Simmer.
Cover the pot and reduce the heat to low. Allow the soup to gently simmer for approximately 20–30 minutes, or until the broccoli is tender.

6. Blend, if desired.
For a smoother and slightly thicker soup, use an immersion blender to blend some or all of the vegetables directly in the pot. For a chunkier broccoli cheddar soup, leave the vegetables as they are.

7. Add the cheddar.
Keep the soup over low heat and gradually stir in the freshly shredded cheddar cheese. Continue stirring until the cheese has completely melted and the soup is creamy.

8. Taste and serve.
Taste and adjust the seasoning if needed. Spoon into bowls, top with a little additional shredded cheddar if desired, and serve warm.

Creamy cheesy broccoli soup filled with broccoli florets and shredded carrots.

How to Store and Reheat Broccoli Cheddar Soup

If you have leftovers, transfer the soup to an airtight container and refrigerate it promptly. It will keep well in the refrigerator for about 3–4 days.

Because this soup contains heavy cream and cheddar, I recommend reheating it gently rather than bringing it to a hard boil.

Add your leftovers to a saucepan and warm over low to medium-low heat, stirring occasionally until heated through. If the soup has thickened considerably in the refrigerator, you can add a small splash of broth or cream until it reaches the consistency you like.

You can freeze broccoli cheddar soup, although cream-and-cheese-based soups can sometimes have a slightly different texture once thawed.

If you do freeze it, let the soup cool, transfer it to a freezer-safe airtight container, and leave a little room for expansion. Thaw overnight in the refrigerator before gently reheating it on the stovetop.

Easy homemade broccoli cheese soup with a creamy cheddar broth.

Frequently Asked Questions

Can I make broccoli cheddar soup ahead of time?

Yes. You can make this soup ahead and keep it refrigerated in an airtight container for about 3–4 days. Reheat it gently on the stovetop before serving.

Can I use frozen broccoli?

Fresh broccoli is my preference for this recipe, but frozen broccoli can work when needed. Because frozen broccoli is already partially softened, you may find that it cooks more quickly than fresh.

Do I have to blend broccoli cheddar soup?

Not at all. Blending is completely optional. Leave the vegetables whole for a chunkier soup, blend a small portion for a thicker broth, or blend more for a smoother consistency.

Why isn't my cheddar melting smoothly?

High heat can make cheese-based soups grainy. Lower the heat before adding the cheddar and stir it in gradually. Freshly shredded cheese also tends to melt more smoothly than packaged shredded cheese.

Cozy bowl of creamy broccoli cheddar soup topped with additional cheddar cheese.

More Cozy Soup Recipes You’ll Love

If you loved this creamy broccoli cheddar soup, here are a few more cozy soup recipes to make next:

There’s something so comforting about having a collection of homemade soup recipes to turn to when the weather cools down. Whether you’re looking for something creamy and cheesy like this broccoli cheddar soup or a hearty soup that can serve as dinner on its own, these are the kinds of recipes I love gathering around the table with my family.

Shop My Favorite Soup Essentials

If you're working your way through more of my soup recipes, you can find the cookware, serving pieces, and kitchen essentials I use for homemade soup all together under my Soup & Slow Cooker Essential guide.

Save This Recipe

Whether you're planning ahead for a cozy weeknight dinner or adding a new favorite to your recipe collection, I've included a printable recipe card below so it's easy to save, print, and share with the people you love.
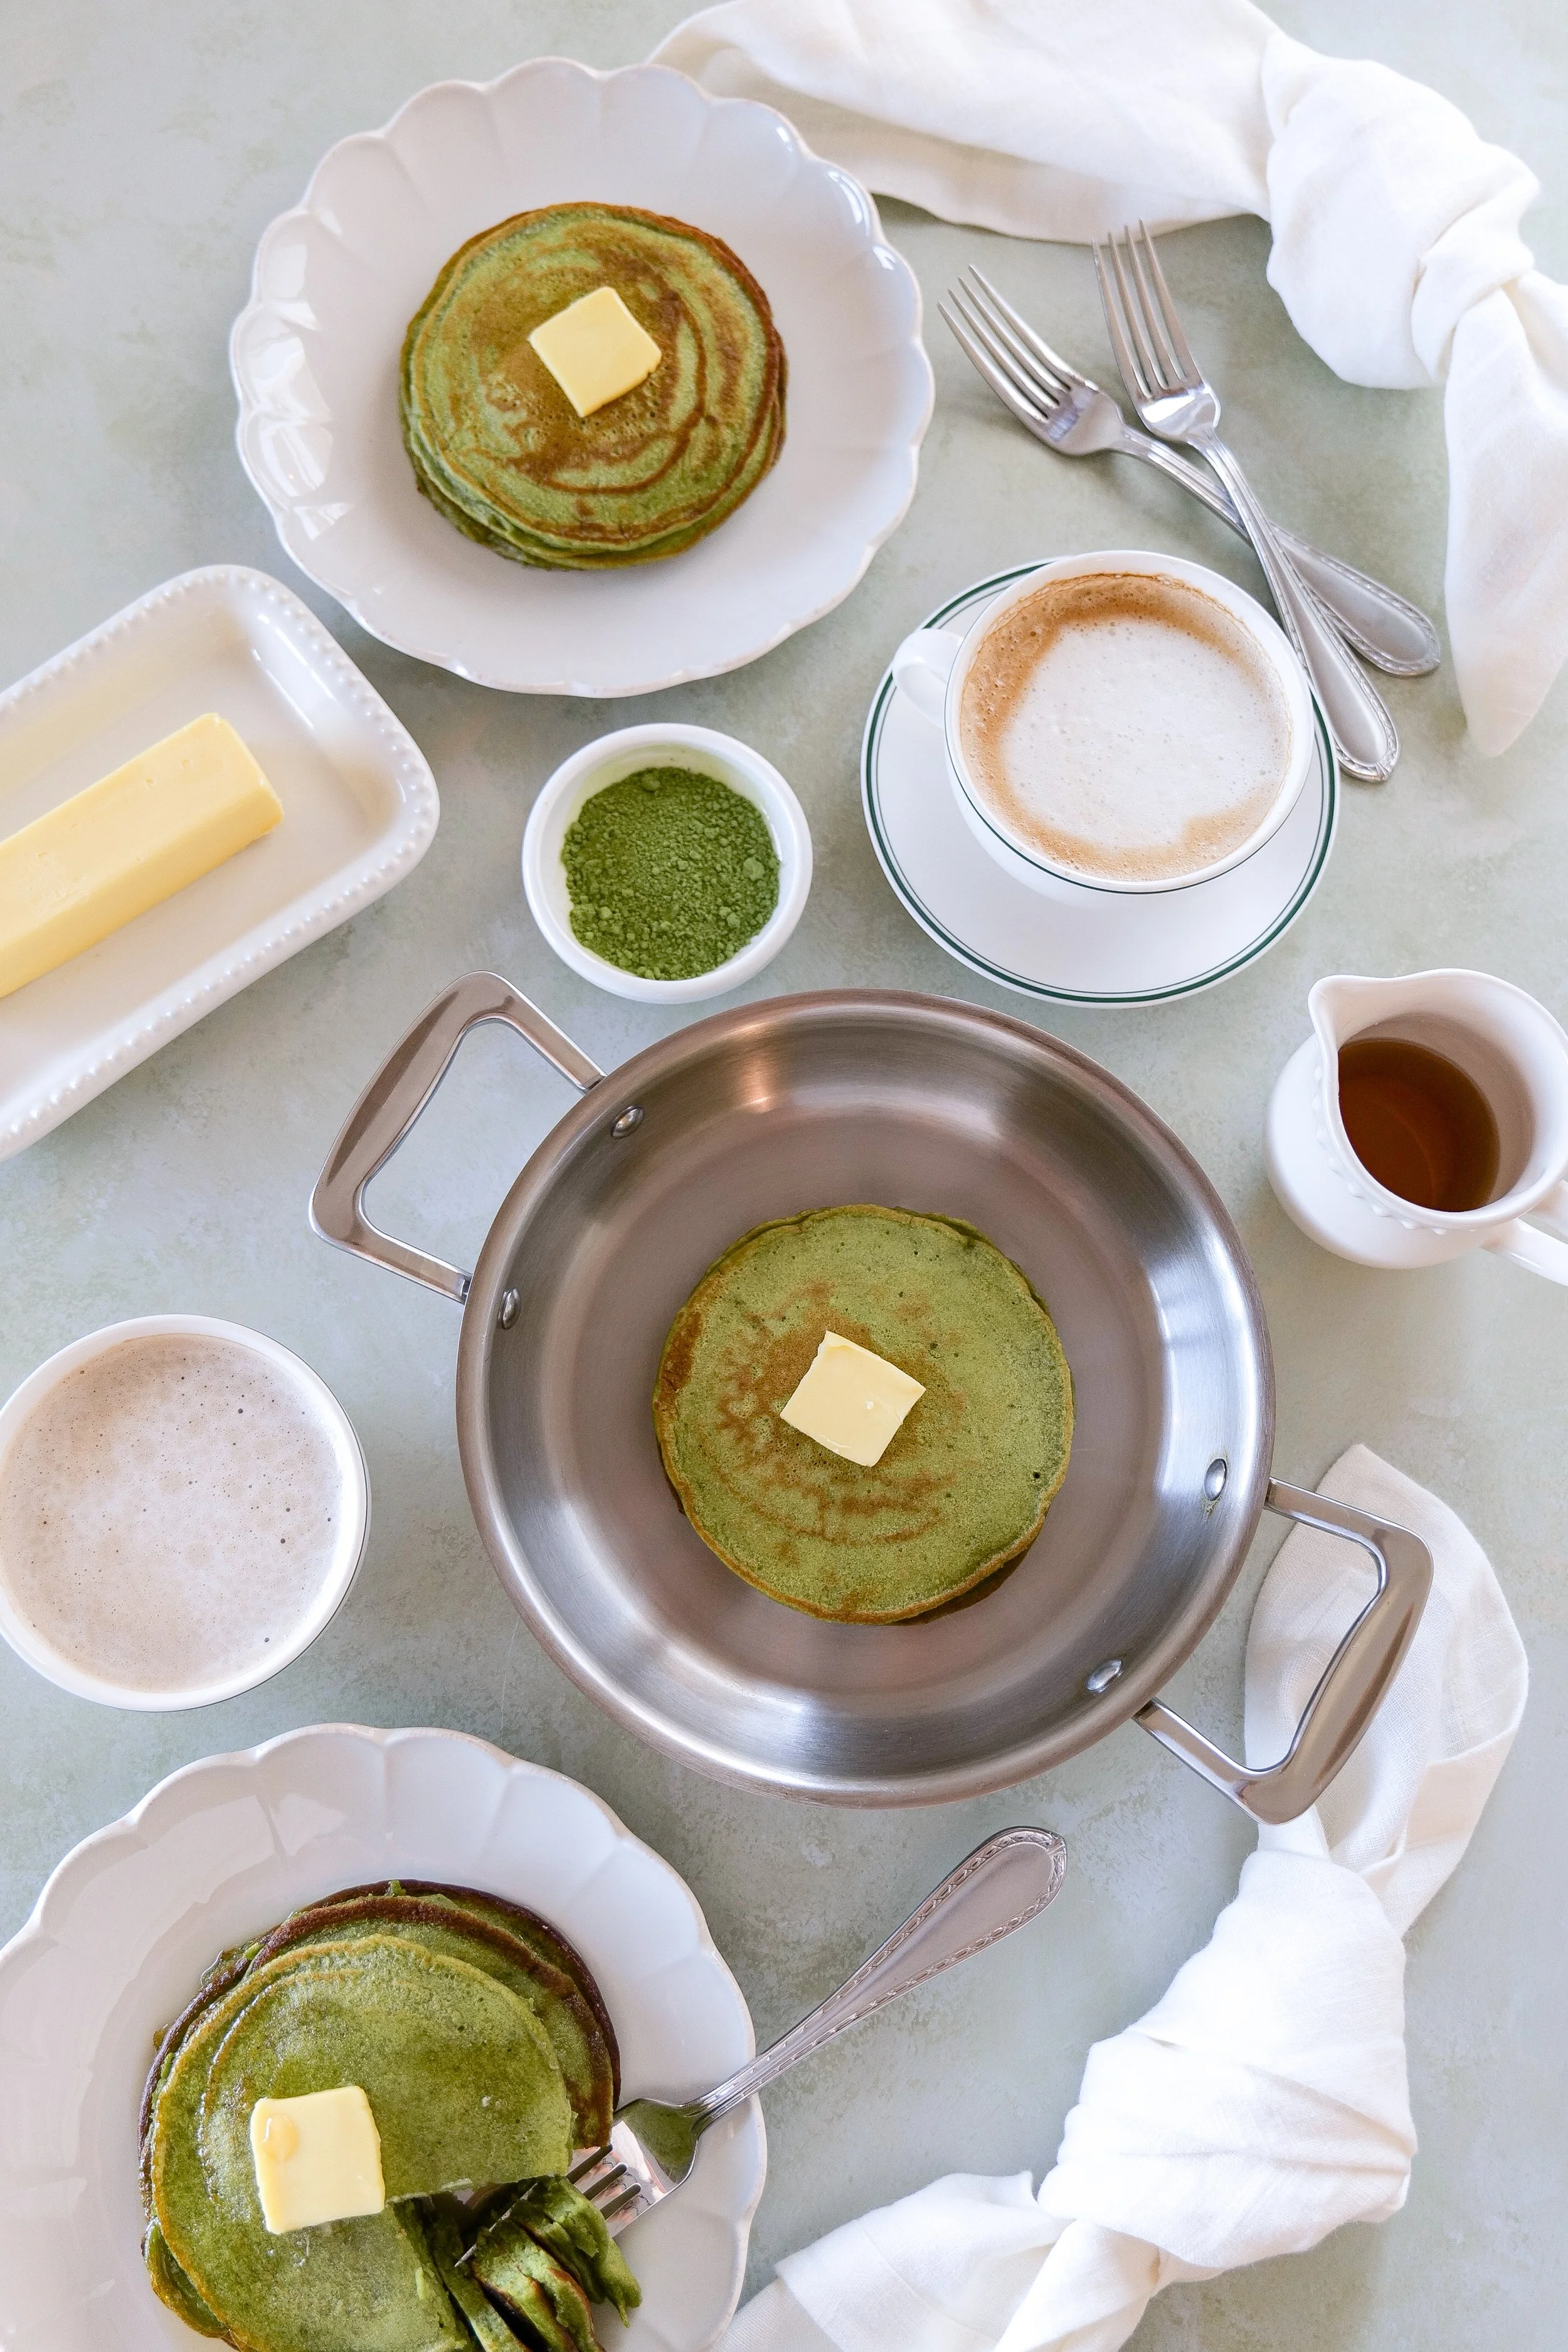
Printable creamy broccoli cheddar soup recipe card from Amanda’s Kitchen.

Postpartum Freezer Meals I Made Before Baby

Easy Make-Ahead Breakfasts, Dinners, Soups & Breads for the First Weeks Home

Preparing for a new baby comes with a very long to-do list, but one thing I was especially thankful I did ahead of time was fill our freezer with homemade meals.

During both of my pregnancies, I made a mix of breakfasts, soups, dinners, casseroles, and quick breads that we could pull out whenever we needed something easy. In those first weeks at home, having food already prepared meant one less decision to make—and one less reason someone needed to stand in the kitchen making a full meal.

I also wanted the freezer to work for our whole family, not just me. Some meals were individually portioned, while others could feed everyone for dinner. Friends brought food, we ordered takeout, and eventually I started cooking again, but having that freezer full of homemade meals gave us such a helpful head start.

If you're preparing for postpartum, welcoming a new baby, or simply want to stock your freezer before a busy season, these are the recipes I would make again.

Amanda pregnant while preparing for baby and planning postpartum freezer meals.
Pregnant mom holding her toddler while preparing for a new baby.

Why I Made Freezer Meals Before Baby

For me, postpartum freezer prep wasn't about creating a perfectly organized freezer or planning every bite we would eat for the next month.

It was about making life a little easier.

Newborn days can be unpredictable. Sometimes you're hungry at a completely normal mealtime; sometimes lunch happens hours later than planned. Having something you can quickly warm up gives you flexibility without requiring someone to cook from scratch every time the family needs to eat.

It also made it easier for anyone else to help. Instead of figuring out what to cook, someone could simply grab a labeled meal from the freezer and reheat it.

I made enough that those meals, combined with food from friends, a little takeout, and occasional cooking once I was feeling up to it, helped carry us through more than a month.

And because I had already done this once before, I had a much better idea the second time around of which foods were actually useful to have waiting.

Pregnancy photo from the weeks spent preparing meals and the home for a new baby.

My Best Tips for Postpartum Freezer Meal Prep

The biggest thing I learned was that variety matters.

You don't want 14 pans of the same casserole staring back at you by week three.

I liked having a combination of:

  • Grab-and-go breakfasts

  • Individual meals

  • Family-size dinners

  • Soups

  • Casseroles

  • Savory options

  • A few sweet breads and snacks

Label everything with the meal name and date, and add reheating instructions when they're not obvious. That sounds like an unnecessary extra step while you're prepping, but you'll appreciate it later.

I also recommend freezing food in different portion sizes. Some days you might only need breakfast for one person, while other nights you want something that can feed everyone.

And above all, make foods your family already enjoys.

Postpartum is probably not the moment I'd fill my freezer with ten experimental recipes no one has ever tried.

Best Postpartum Freezer Meals I Made During My Pregnancies

These were some of the breakfasts, lunches, dinners, soups, and breads I found most useful to have ready.

Breakfast Freezer Meals

Sausage, Spinach, Potato & Egg Breakfast Burritos

Breakfast burritos were one of my favorite things to pull from the freezer because they're incredibly easy to portion individually.

Mine are filled with sausage, spinach, potatoes, and eggs, then wrapped individually before freezing. Instead of having to reheat an entire casserole just because one person is hungry, you can grab exactly what you need.

They also aren't limited to breakfast. These worked just as well for a quick lunch or snack when we needed something substantial without cooking.

Wrap them individually and store several together in a larger freezer bag so they're easy to organize.

You can find the complete recipe here:

Freezer Meal Prep Breakfast Burritos

Sausage, spinach, potato and egg breakfast burritos prepared for the freezer.
Homemade breakfast burritos ready to freeze for easy make-ahead breakfasts.

Sausage English Muffin Breakfast Sandwiches

These Sausage English Muffin Breakfast Sandwiches are another breakfast I love having ready individually.

They're simple, filling, and exactly the kind of thing that can be reheated quickly while coffee is brewing.

I especially like having a few different breakfast options in the freezer rather than making everything egg burritos or everything casseroles. It makes those early mornings feel a little less repetitive.

Get the full recipe here:

Sausage English Muffin Breakfast Sandwiches

Sausage English muffin breakfast sandwiches made ahead for the freezer.
Make-ahead sausage and egg English muffin sandwiches for easy breakfasts.

Chorizo, Egg & Potato Breakfast Bowls

We are definitely a hearty-breakfast family, so I knew I wanted something beyond breads and breakfast sandwiches.

These Chorizo, Egg & Potato Breakfast Bowls combine chorizo, eggs, and potatoes into an easy meal that feels more substantial.

For freezing, I portion the bowls into individual containers. I especially like using oven-safe glass containers when possible because I can move them into the oven for reheating and bring some texture back to the potatoes rather than relying entirely on the microwave.
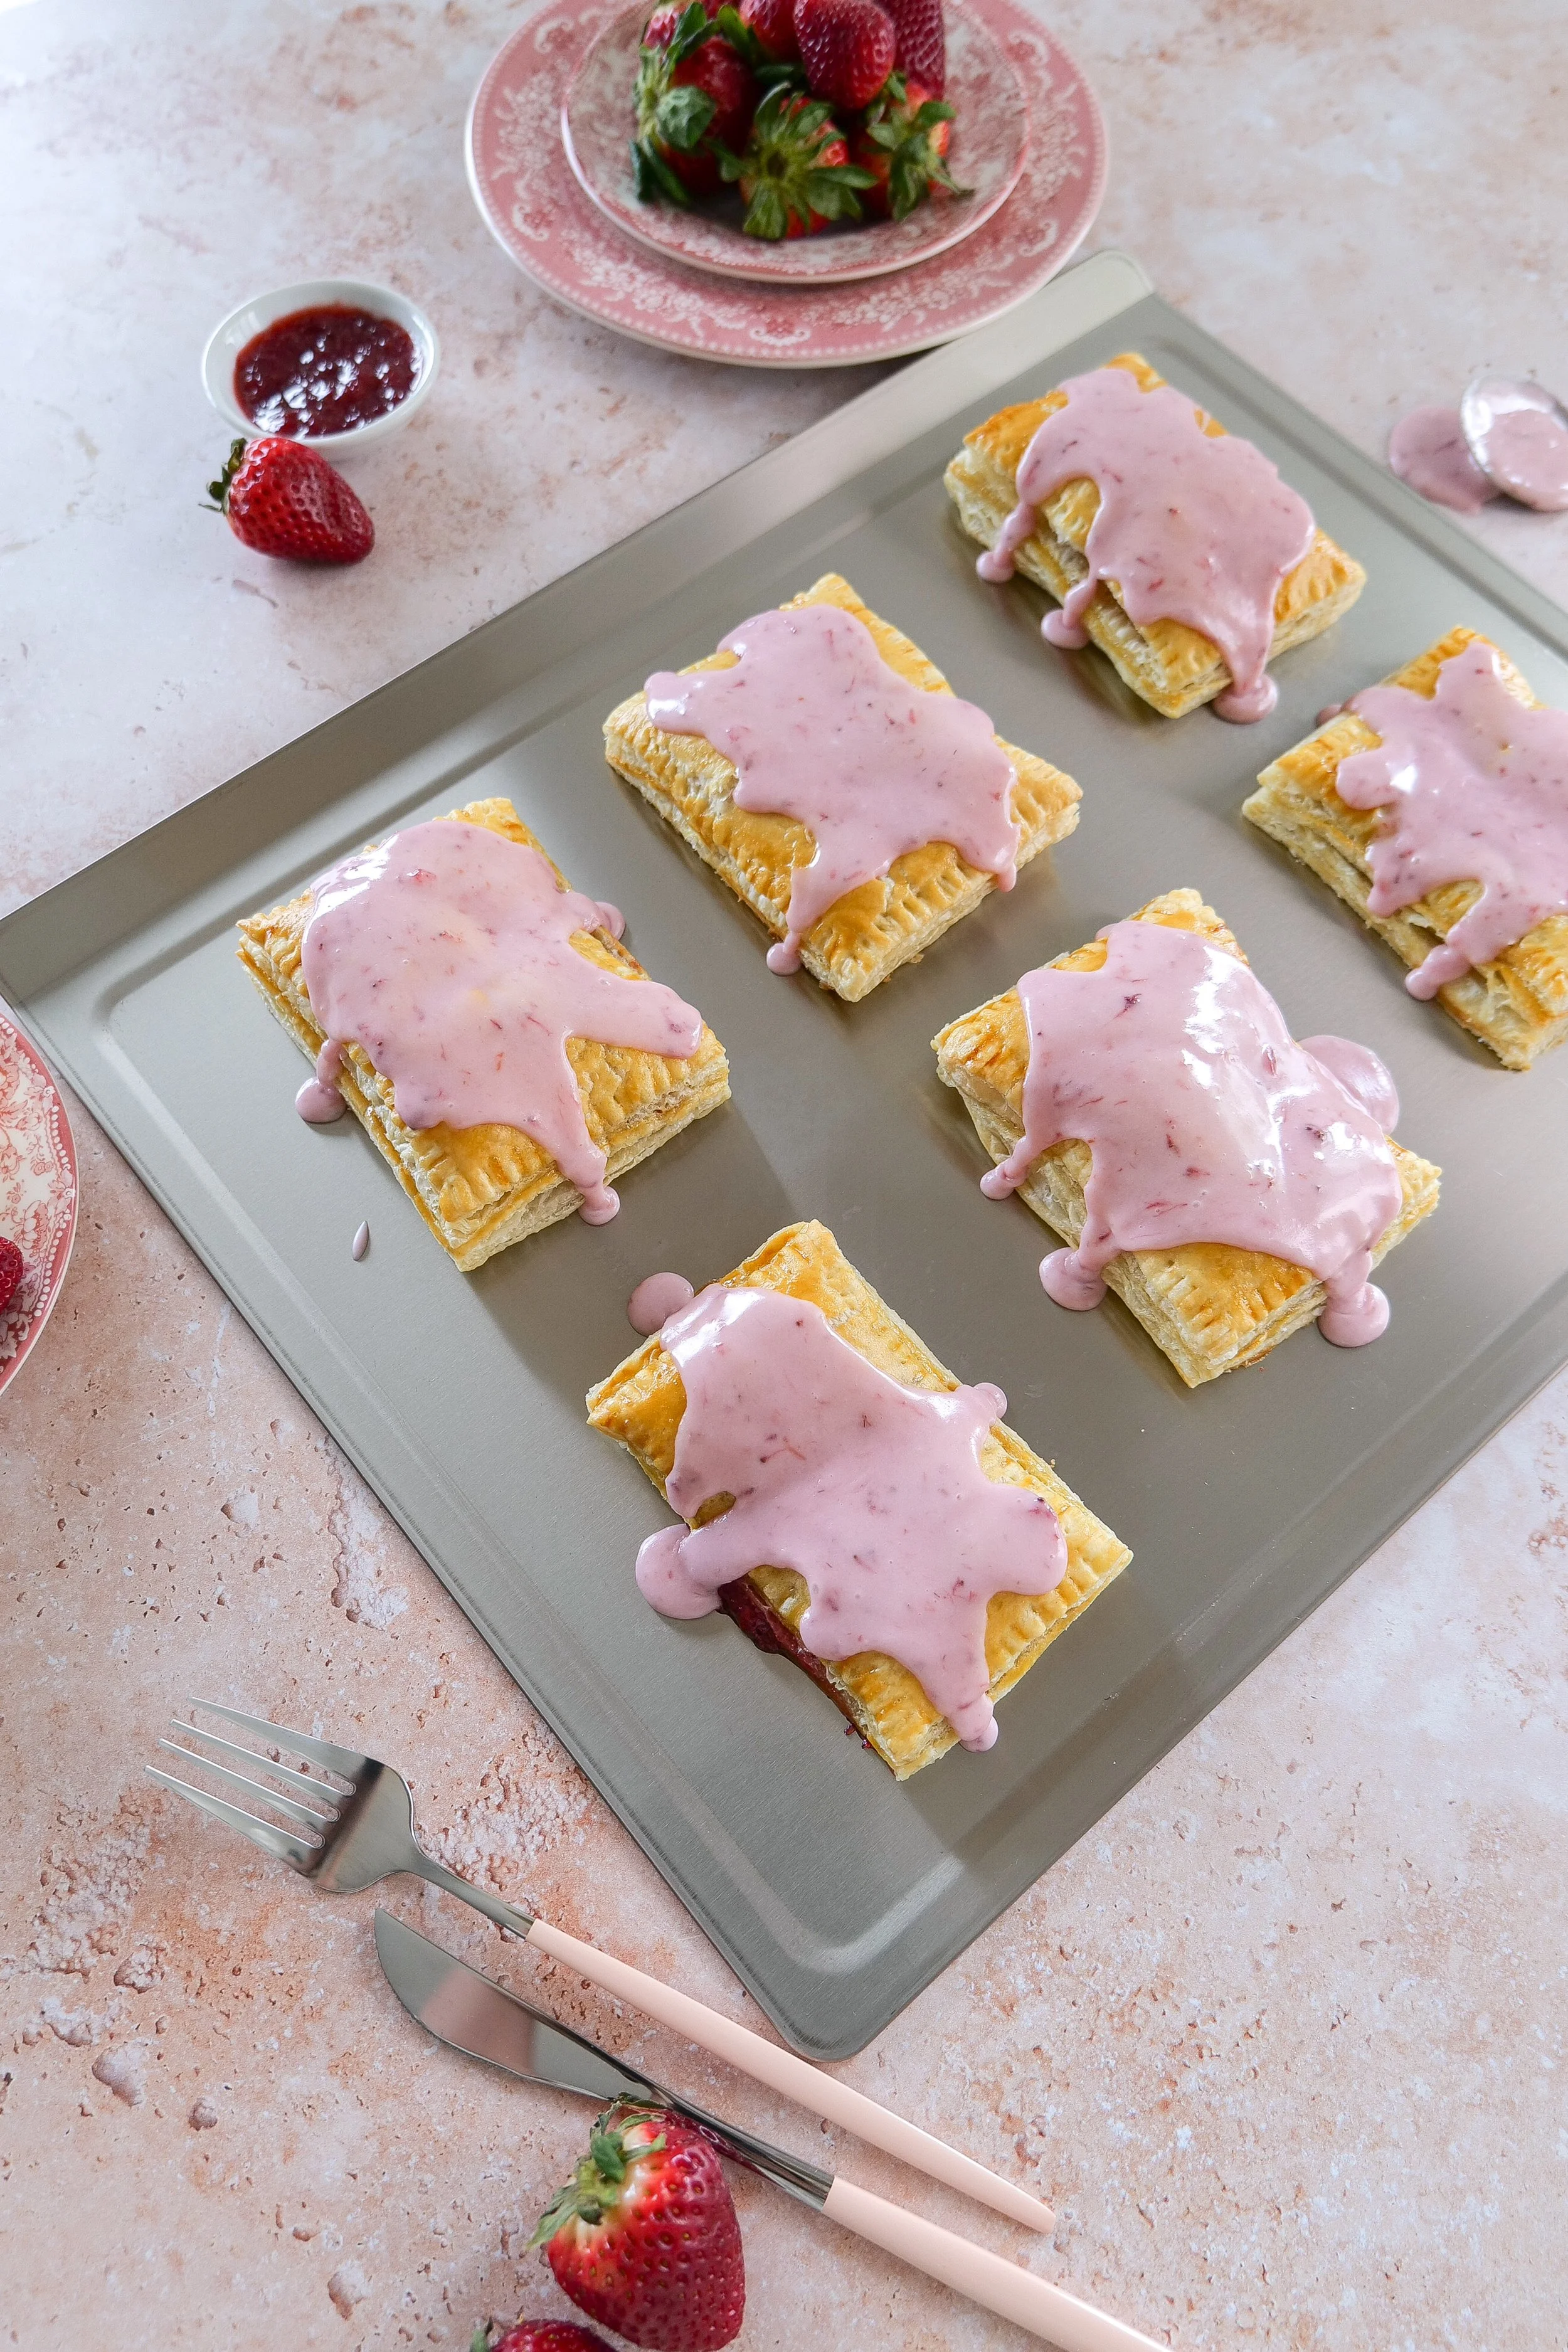
Find the full recipe:

Chorizo, Egg & Potato Breakfast Bowls

Chorizo, egg and potato breakfast bowls prepared for an easy hearty breakfast.
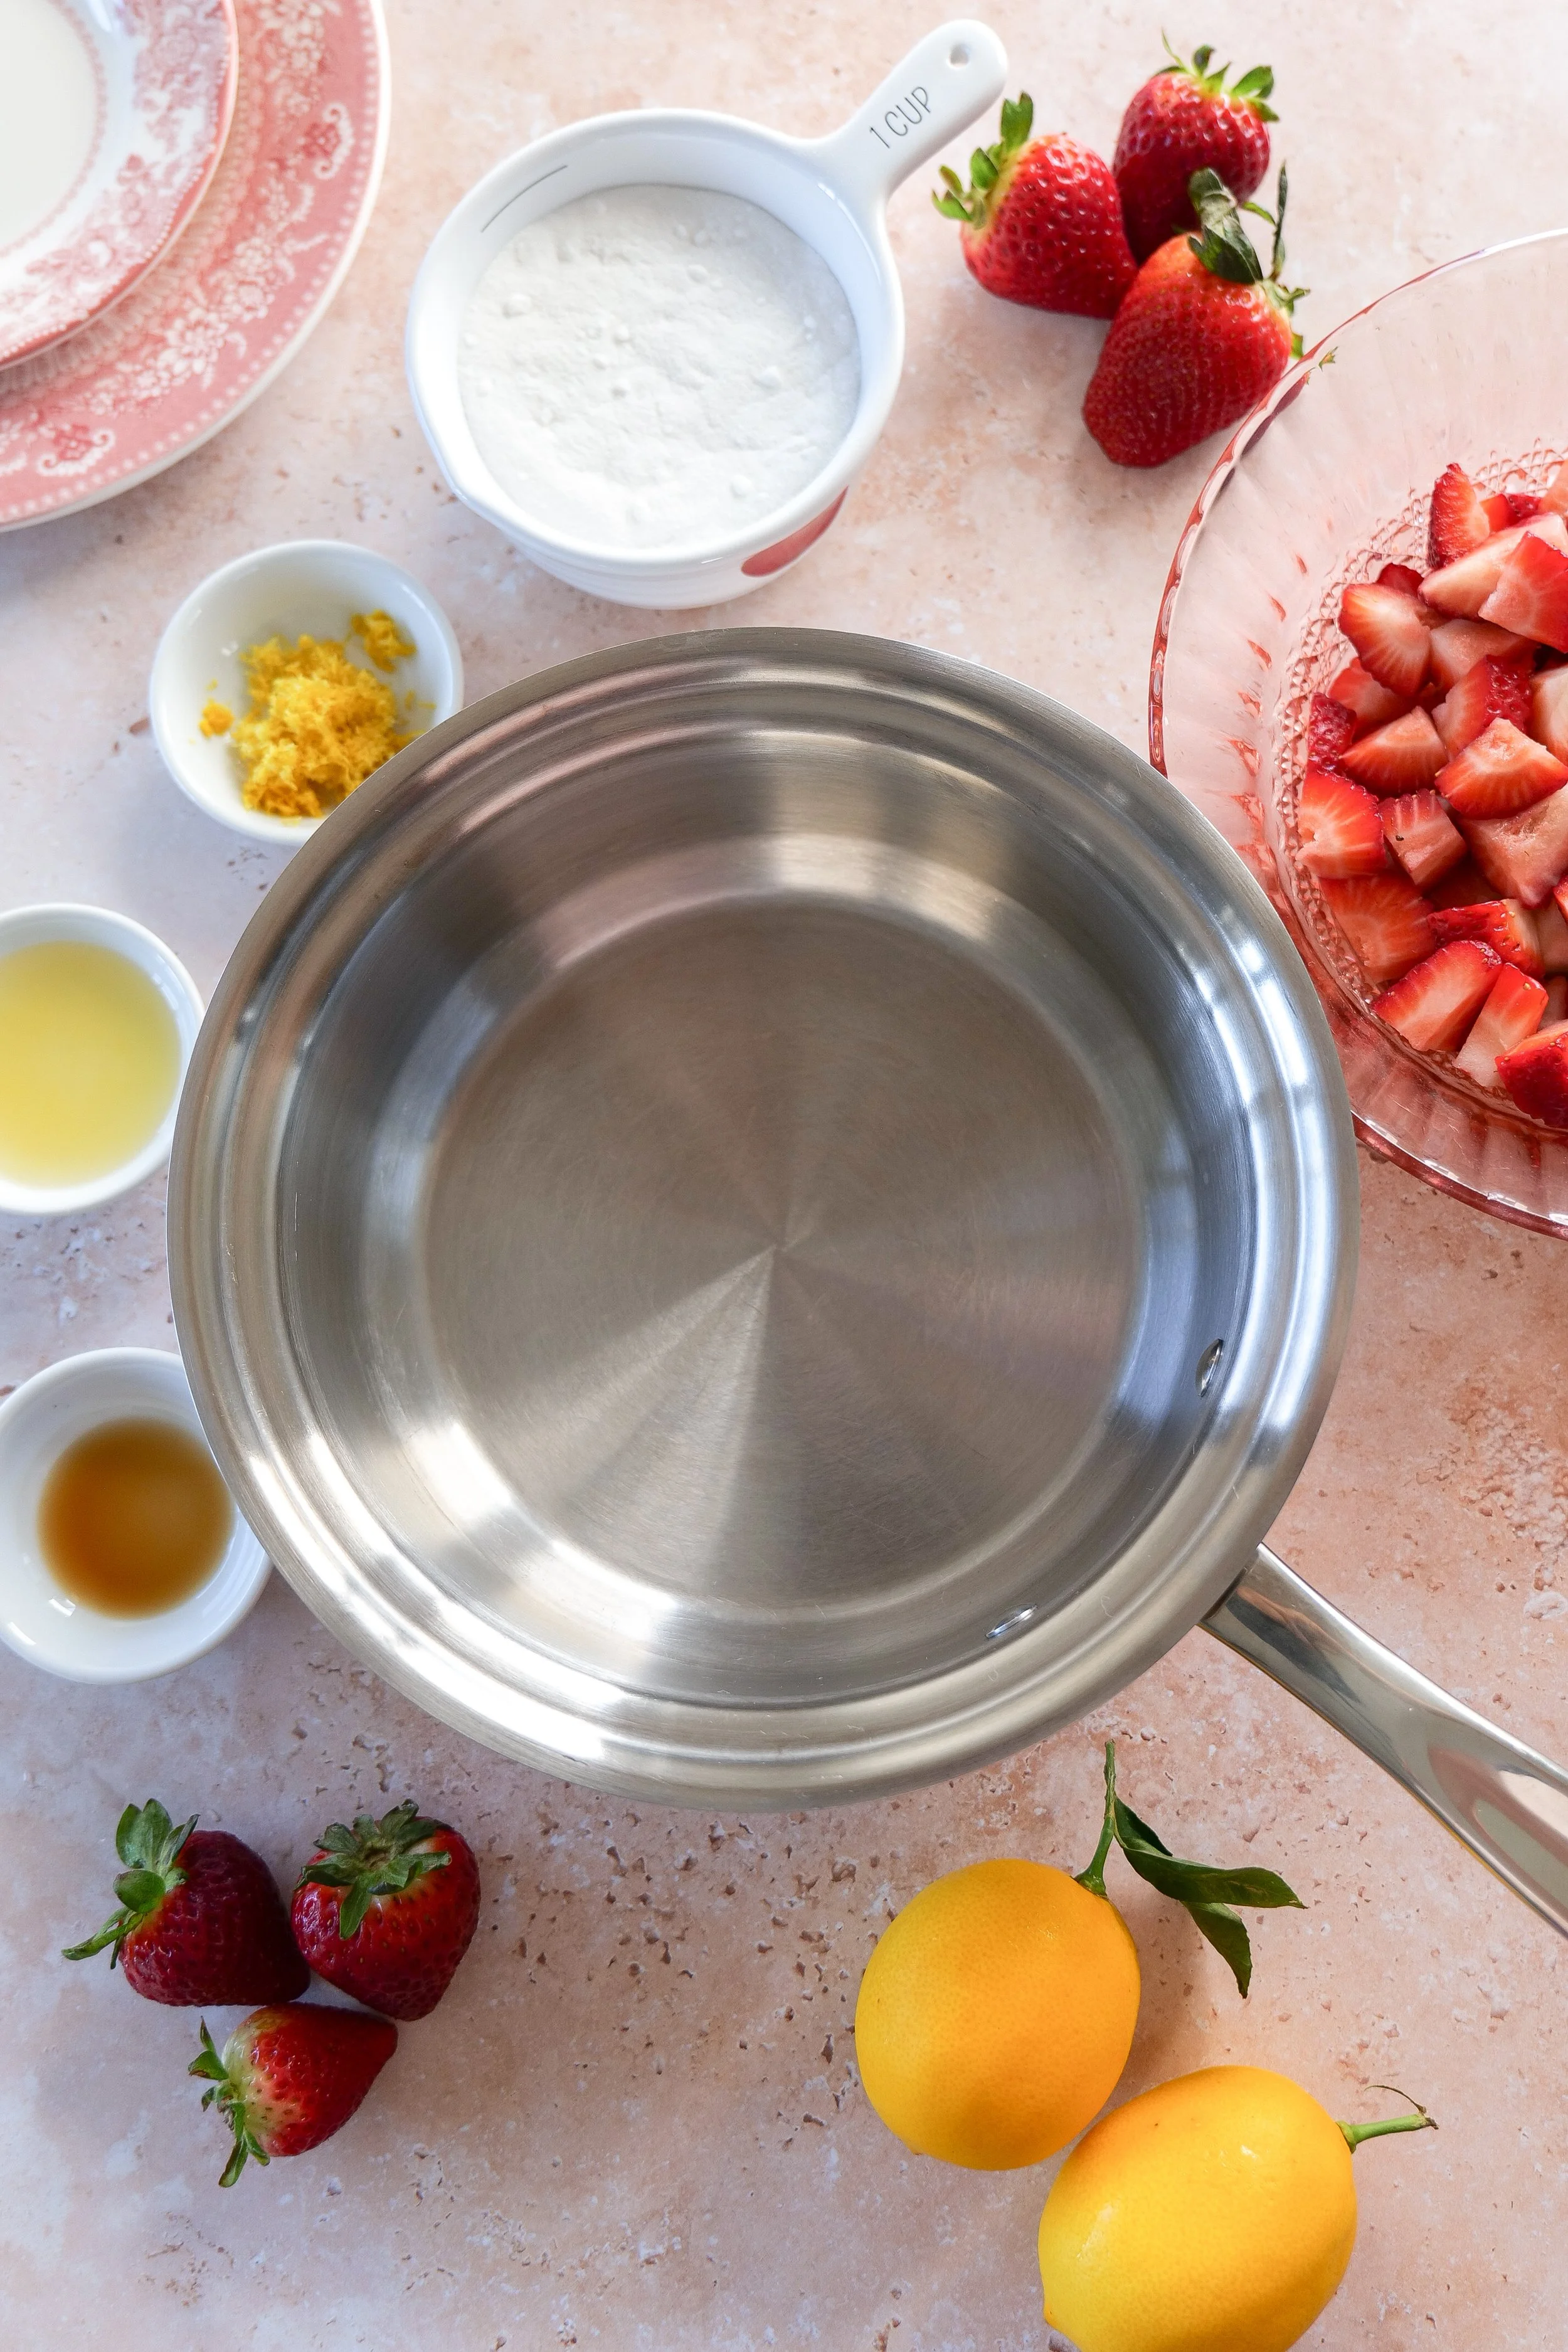
Make-ahead chorizo, potato and egg breakfast bowl for freezer meal prep.

Easy Breakfast Casserole

A breakfast casserole gives you something completely different from the individually wrapped breakfasts.

This is the kind of meal I like when everyone is eating together or when you have family staying over to help after baby arrives.

Rather than portioning every breakfast individually, you have one larger dish that can be warmed up and served to several people.
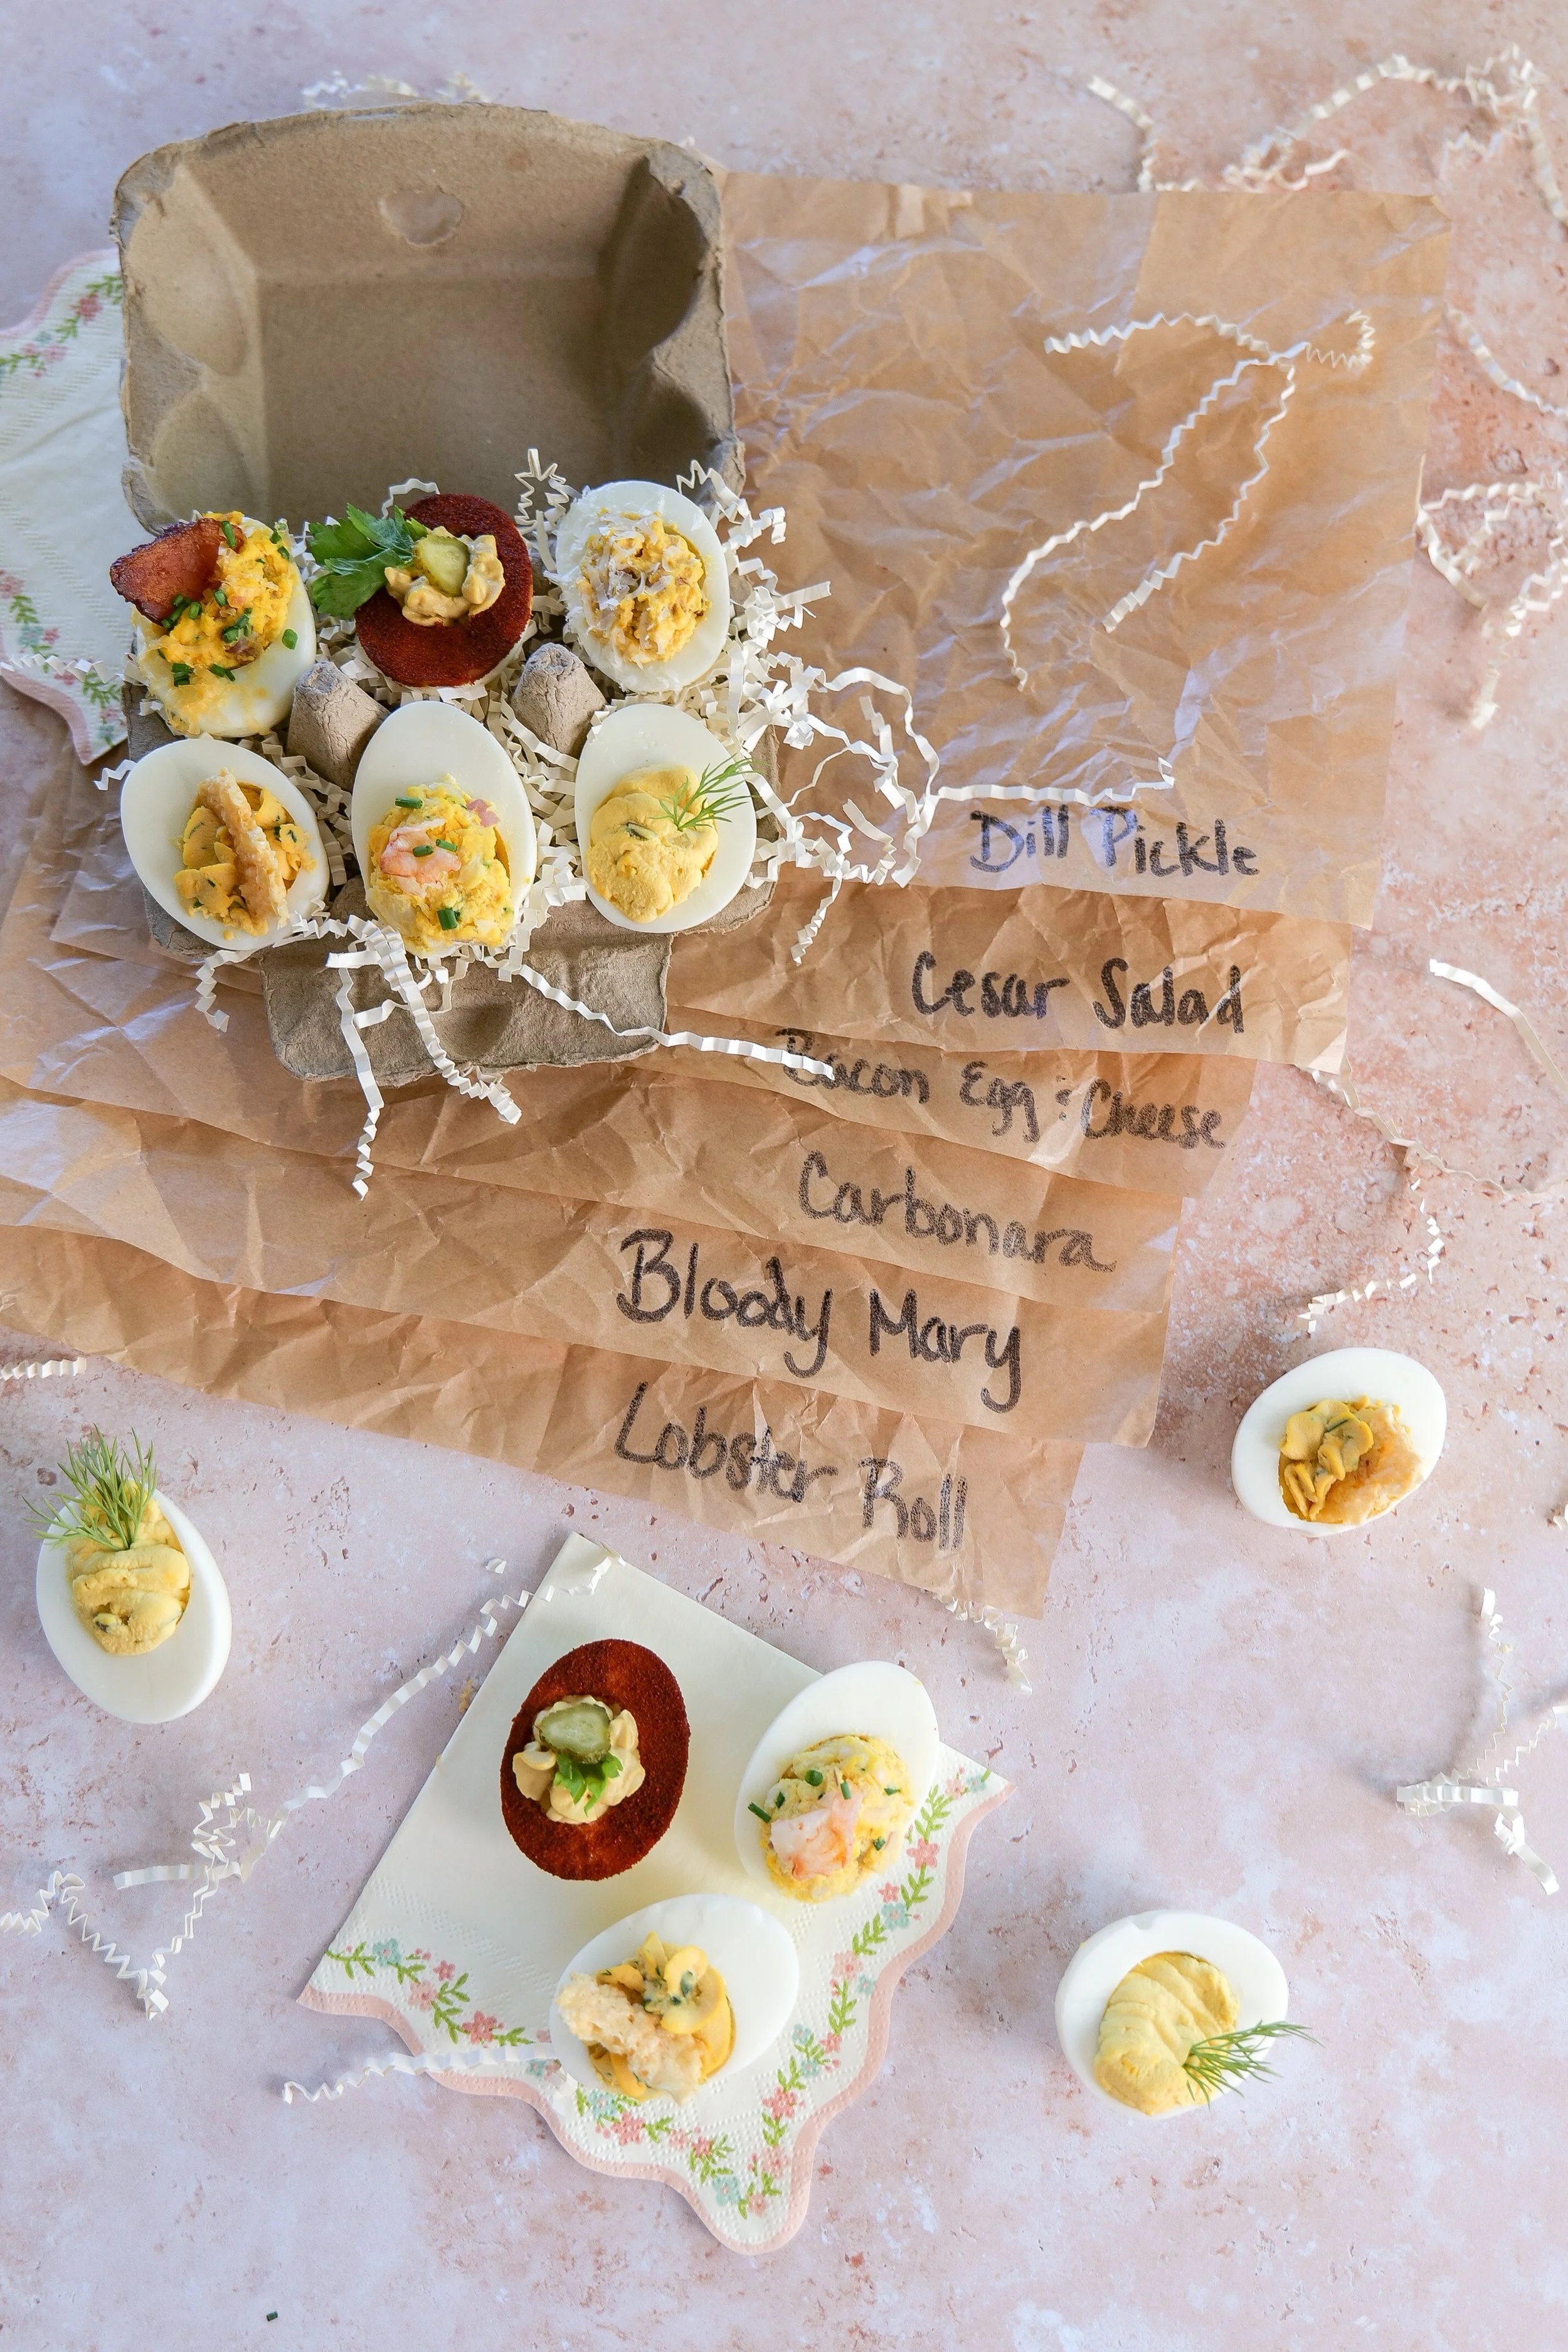
That mixture of individual portions and family-size meals ended up being one of the most useful parts of my freezer prep.
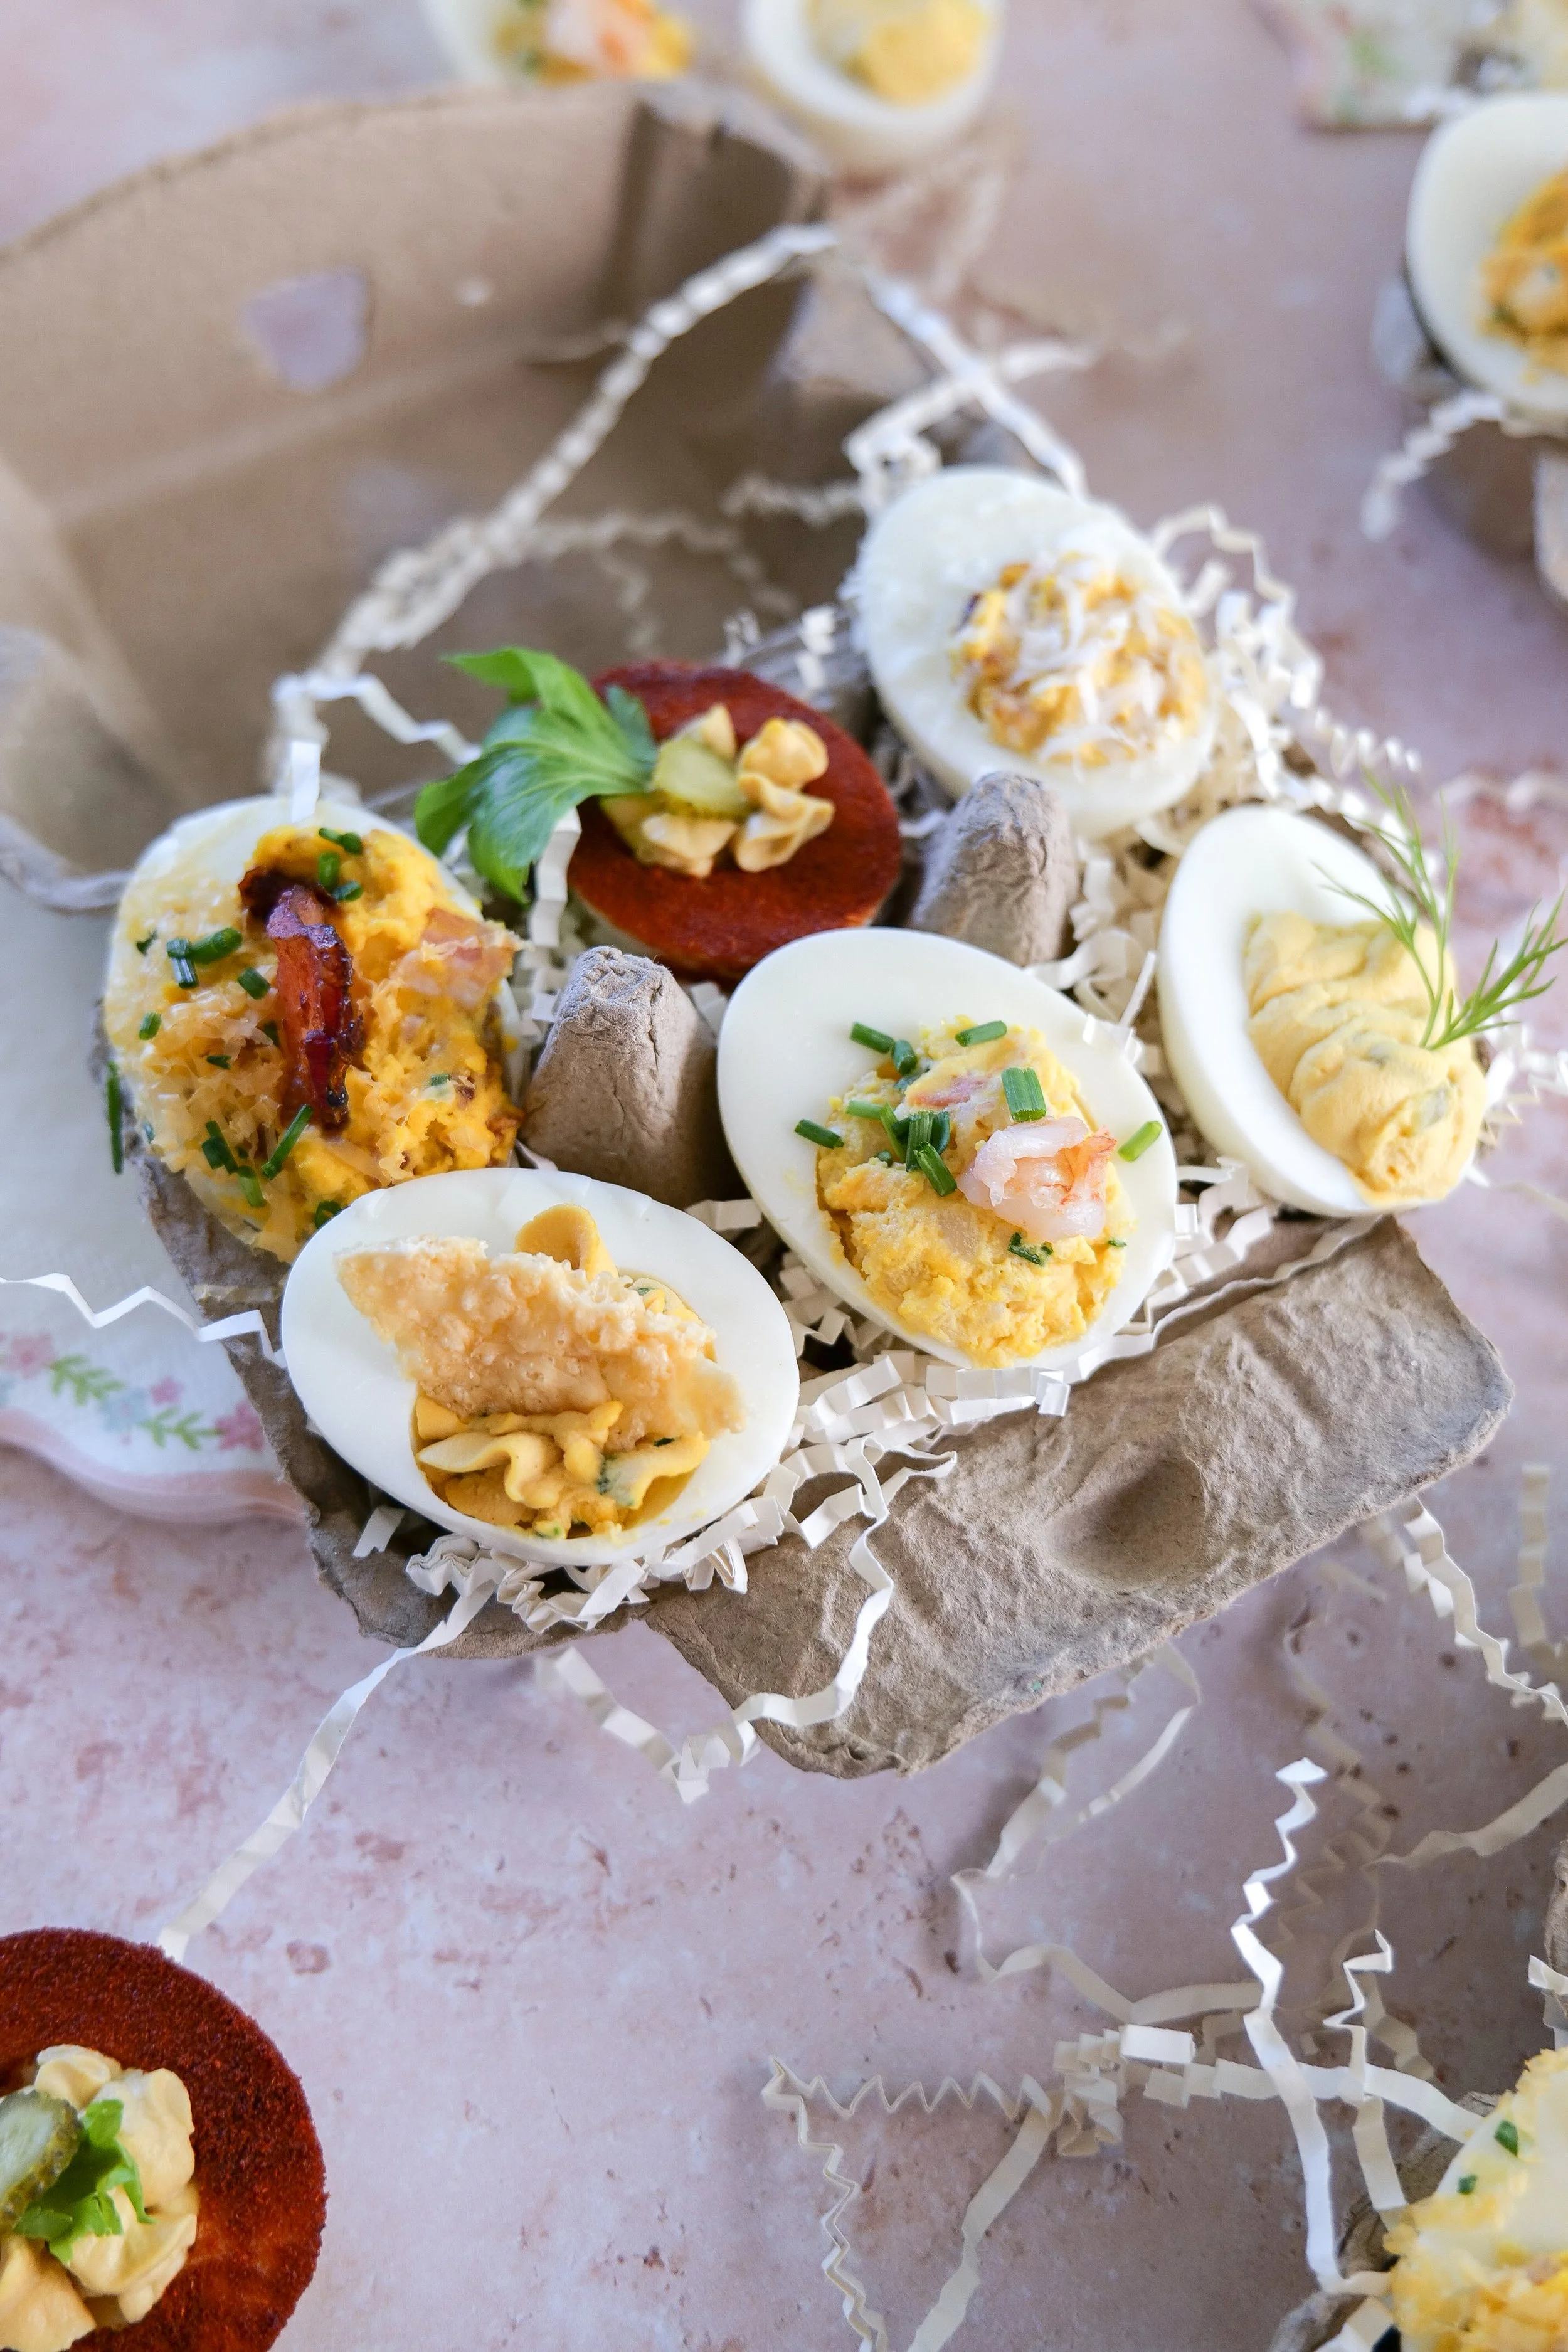
Full recipe:

Easy Breakfast Casserole Recipe

Easy homemade breakfast casserole for a family-size make-ahead breakfast.

Lunch & Dinner Freezer Meals

Hearty Ground Beef Chili

Chili is exactly the kind of freezer meal I love because it's already designed to be made in a big pot.

Make one large batch, portion it out, and you suddenly have several future meals without doing much extra work.

My ground beef chili is hearty, easy to reheat, and simple to customize when serving. Set out cheese, sour cream, avocado, crackers, or whatever toppings your family likes and everyone can finish their bowl differently.

Get the recipe:

Hearty Ground Beef Chili

Hearty homemade ground beef chili for an easy freezer-friendly dinner.

One-Pot Lasagna Soup

Lasagna Soup was another really practical freezer dinner because you get all of those comforting lasagna flavors without freezing an enormous pan of traditional lasagna.

I portion mine into containers that will feed approximately two or three people. That gives us enough for dinner without necessarily thawing a huge batch.

When preparing soup for the freezer, I also like knowing I can add a little additional broth when reheating if it has thickened.

Full recipe:

One-Pot Italian Lasagna Soup

Comforting one-pot lasagna soup portioned as an easy make-ahead meal.
Homemade lasagna soup with pasta, tomato broth and Italian flavors.

Salsa Verde Chicken Enchiladas

Freezer prep doesn't have to mean everything is soup.

Salsa Verde Chicken Enchiladas gave us a completely different dinner option and were easy to prepare ahead in a baking dish.

This is one I'd portion based on how your household normally eats. You can make a family-size dish or divide the enchiladas into smaller freezer-safe containers if you'd rather thaw fewer servings at a time.

Get the full recipe:

Salsa Verde Chicken Enchiladas

Salsa verde chicken enchiladas prepared as an easy freezer-friendly family dinner.

Soups to Make Ahead & Freeze

Italian Penicillin Soup

Soup is one of my favorite categories for freezer meal prep because it's easy to make in a large batch and simple to portion.

My Italian Penicillin Soup is made with chicken, vegetables, herbs, Parmesan, and pastina for a warm, comforting meal.

If you're specifically making a batch for the freezer, I prefer freezing soup before adding delicate pasta whenever possible, then adding freshly cooked pastina when reheating. That helps keep the pasta from becoming overly soft after freezing and thawing.

You can find the complete recipe here:

Slow Cooker Italian Penicillin Soup with Chicken & Pastina

Homemade Italian penicillin soup with chicken, vegetables and pastina.
Warm chicken and pastina soup for an easy comforting make-ahead dinner.

Easy Breads to Keep in the Freezer

I didn't want everything in the freezer to require turning it into a full meal.

Quick breads were especially nice because I could freeze the entire loaf or individual slices and pull out exactly what we needed.

These worked for breakfast alongside eggs, as a quick snack, or even as something sweet with coffee.

Homemade Banana Bread

Banana bread is one of those classic freezer recipes that is almost always worth making a double batch of.

Once completely cool, you can freeze the loaf whole or freeze individual slices.

I personally love individual slices because you can pull out one or two without thawing an entire loaf.

Get the complete recipe:

Homemade Banana Bread

Homemade banana bread that can be sliced and frozen for easy breakfasts and snacks.

Blueberry Crumble Streusel Loaf

The Blueberry Crumble Streusel Loaf was another sweet option I loved having ready.

The blueberries and crumbly topping make it feel a little more special than a basic breakfast bread, but it's still easy to slice and freeze.

Again, individual slices are my favorite method here. Wrap them well, freeze them together in a freezer-safe bag, and pull out however many you need.

Full recipe:

Blueberry Crumble Streusel Loaf

Homemade blueberry crumble streusel loaf ready to slice and freeze.
Blueberry streusel bread with a crumb topping for an easy make-ahead breakfast.

How I Organized My Postpartum Freezer

You don't need a complicated system.

What helped me most was simply making sure every container answered three questions:

What is it?
When did I make it?
How do I reheat it?

I labeled meals with the name and date and added cooking or reheating instructions whenever someone might not immediately know what to do.

I also tried to group similar foods together so breakfasts weren't buried underneath dinner casseroles.

If you're prepping several recipes at once, make a freezer inventory on your phone or a piece of paper on the freezer door. Then you can see what you have without opening the freezer and digging through everything.

My Favorite Freezer Meal Prep Essentials

Having the right containers made this process so much easier.

For meal prep like this, I reach for a combination of freezer-safe glass containers, casserole dishes, reusable storage containers, freezer bags, labels, parchment paper, and basic kitchen tools that make batch cooking easier.

What I Would Do Differently Next Time

I would make even more individual portions.

Family-size meals were incredibly useful, but there are so many moments with a newborn when only one person is hungry or everyone's schedule is completely different.

The breakfast burritos, sandwiches, bowls, and individually portioned soups made those moments especially easy.

I'd also continue prioritizing variety over quantity. Ten different freezer meals are more useful to me than making a huge amount of only two recipes.

And I wouldn't feel pressure to have every meal planned.

The freezer was there to make our lives easier—not to create another postpartum rule we had to follow.

More Make-Ahead Recipes to Try

If you're filling your freezer, here are a few more recipes that can be useful to have in your meal rotation:

Lemon Poppyseed Bread

Slow Cooker Italian Wedding Soup

Creamy Basil Tomato Soup

Slow Cooker Chicken Tortilla Soup

Mom's Favorite Minestrone Soup

Chicken & Rice Enchilada Casserole

Breakfast Croissants with Sausage, Bacon & Maple Dijon

A Note From Amanda

Looking back, filling our freezer was one of those pregnancy projects I was especially grateful I took the time to do.

It didn't mean we never ordered takeout or that someone never brought us dinner. Quite the opposite—I loved those meals too.

It simply meant that on the days when everyone was tired, plans changed, or we suddenly realized it was well past lunchtime, there was usually something homemade waiting.

And that was really the entire goal.

If you're preparing for a baby, don't feel like you need a perfectly stocked freezer with dozens of elaborate meals. Start with the foods your family already loves, make a few extras when you have the energy, label everything well, and let those meals make life a little easier when you need them.

Those early newborn days go by quickly. Anything that gives you a little more time to be present in them is worth it.