Zesty Twist on a Classic: Unveiling the Ultimate Cranberry Key Lime Pie Recipe!
/Welcome to the world of zesty indulgence where tart meets sweet in a perfect symphony of flavors that dance on your palate! Our focus today is the irresistible Cranberry Key Lime Pie, a delightful twist on two classic desserts that unites the tangy zest of key limes with the vibrant, tart punch of cranberries. Wrapped in a buttery graham cracker crust and topped with a dollop of soft whipped cream, this dessert is poised to take your taste buds on an unforgettable journey. Whether you're a pie connoisseur or a curious baker looking for your next kitchen adventure, join us as we dive into this mouth-watering creation that's perfect for any season, but especially cherished during Thanksgiving & Christmas. Cranberries are everywhere and oftentimes underused, making many people look for more ways to incorporate them into fun desserts.
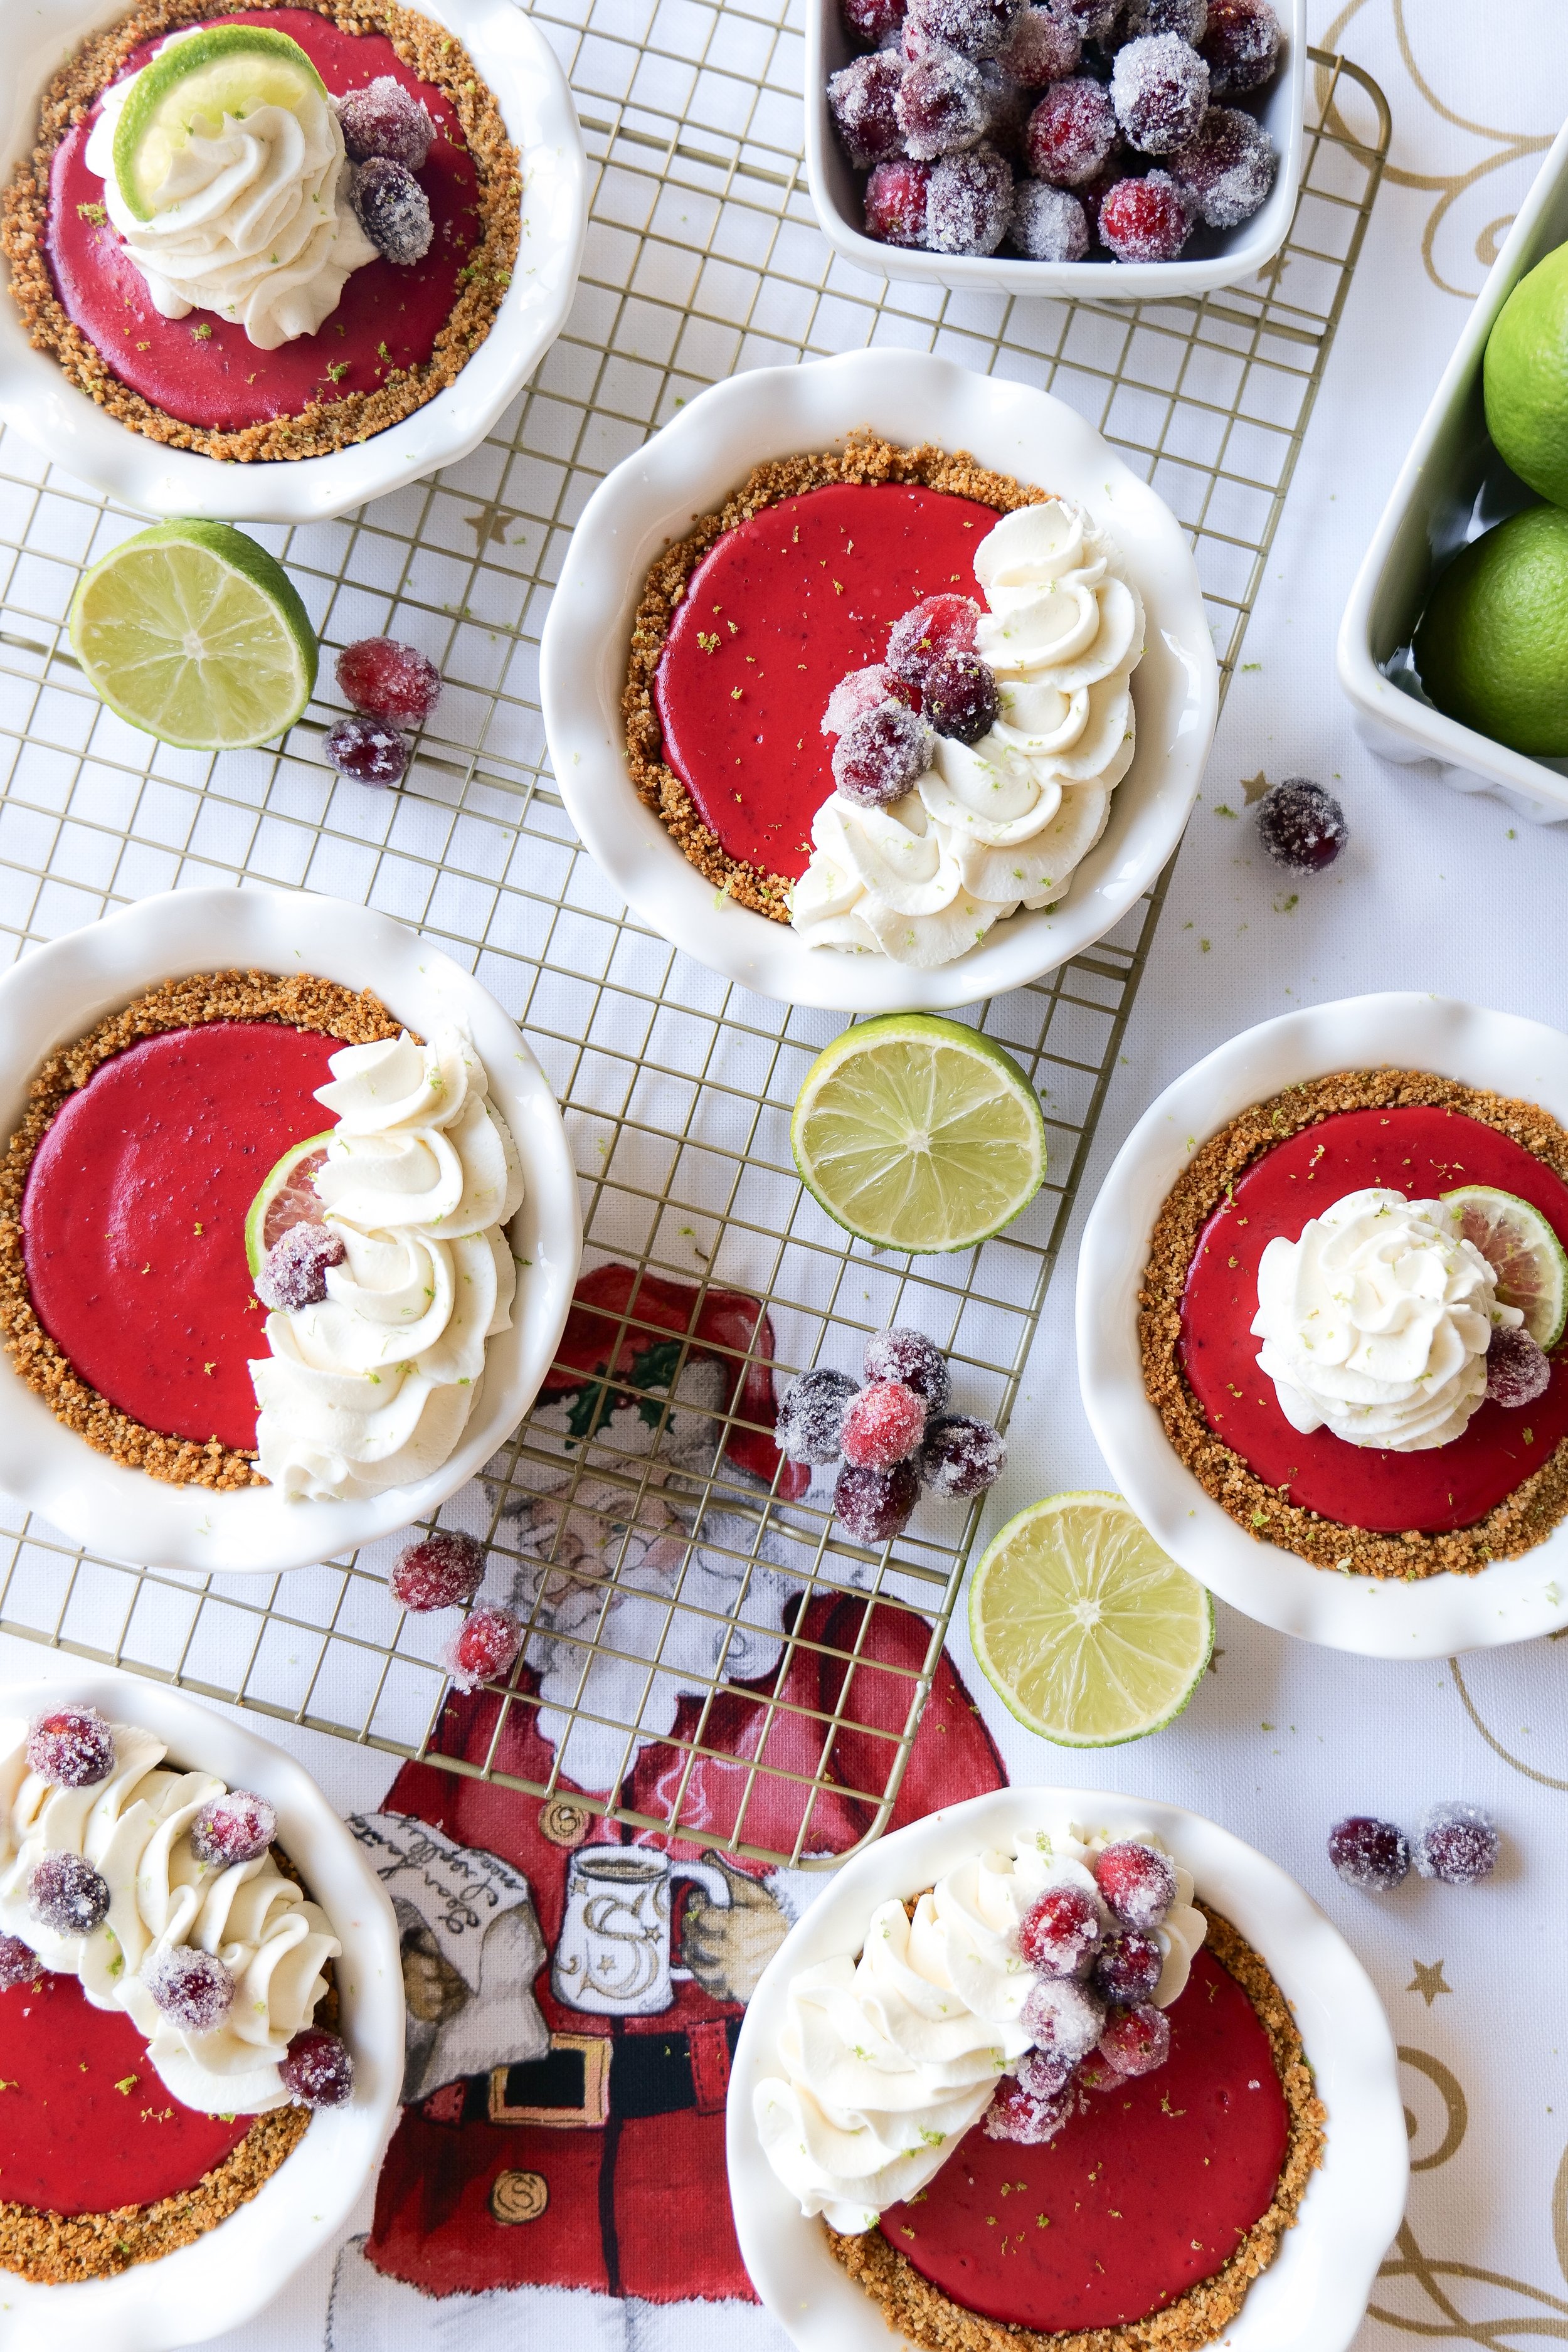
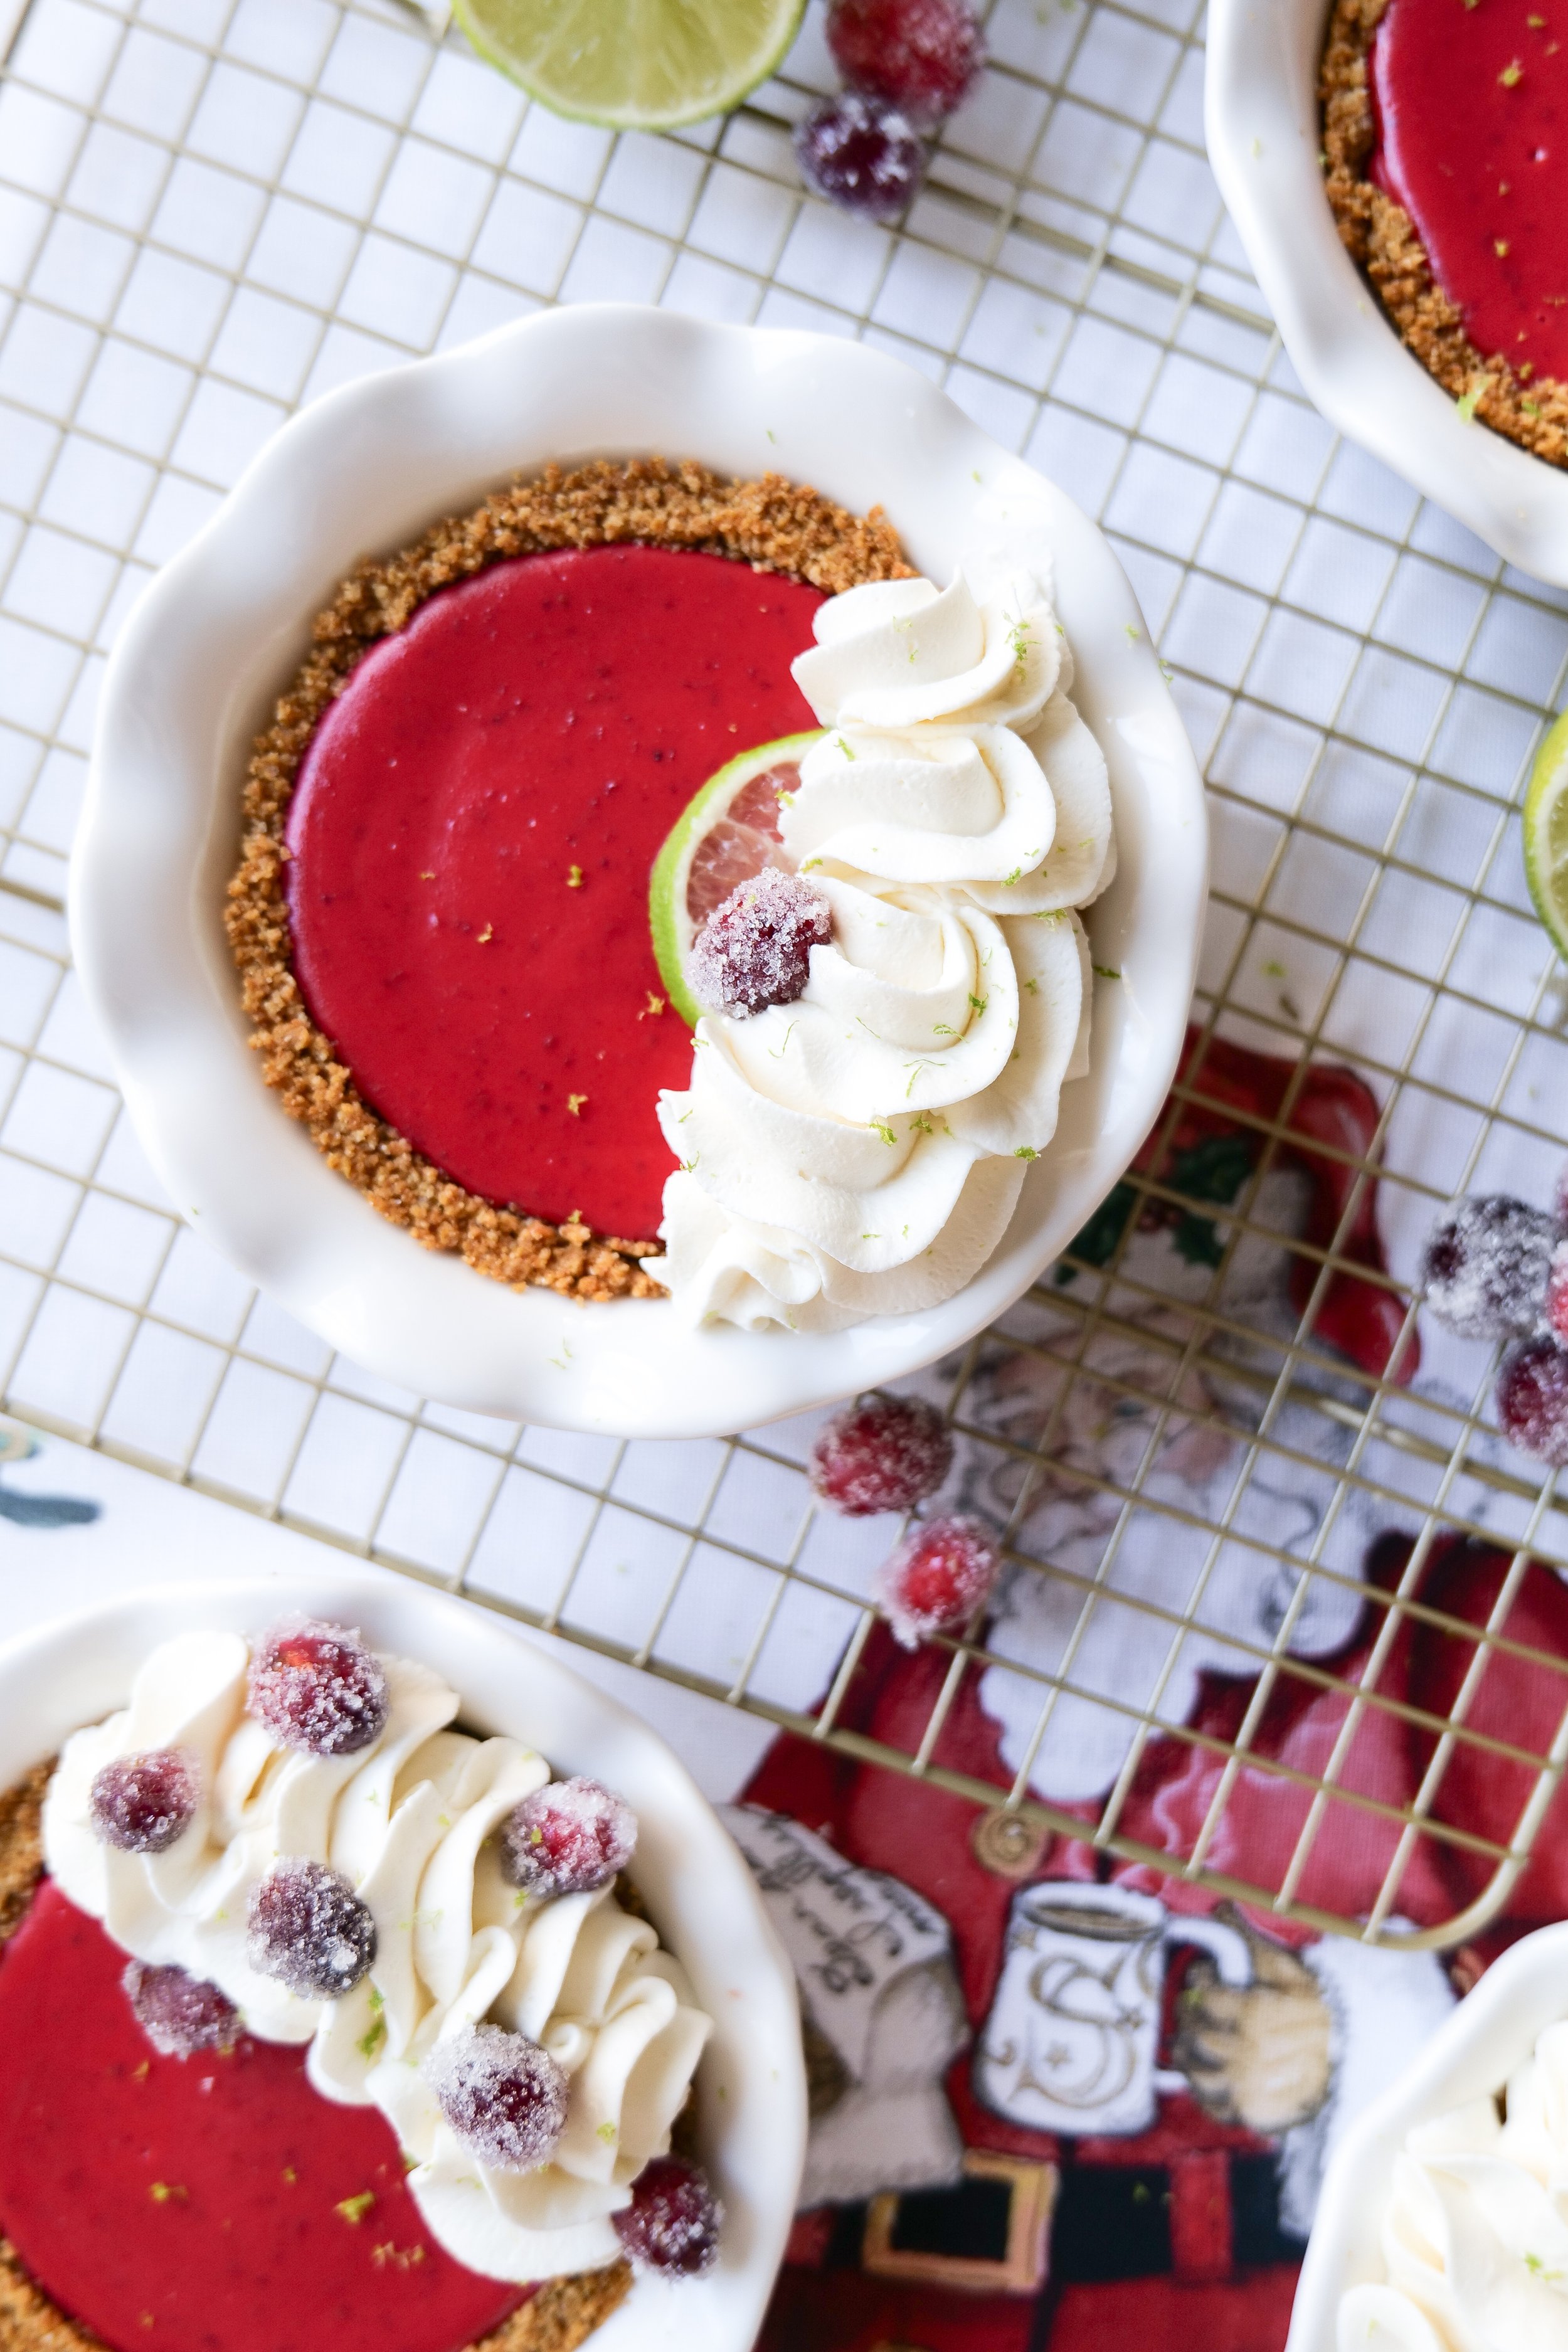
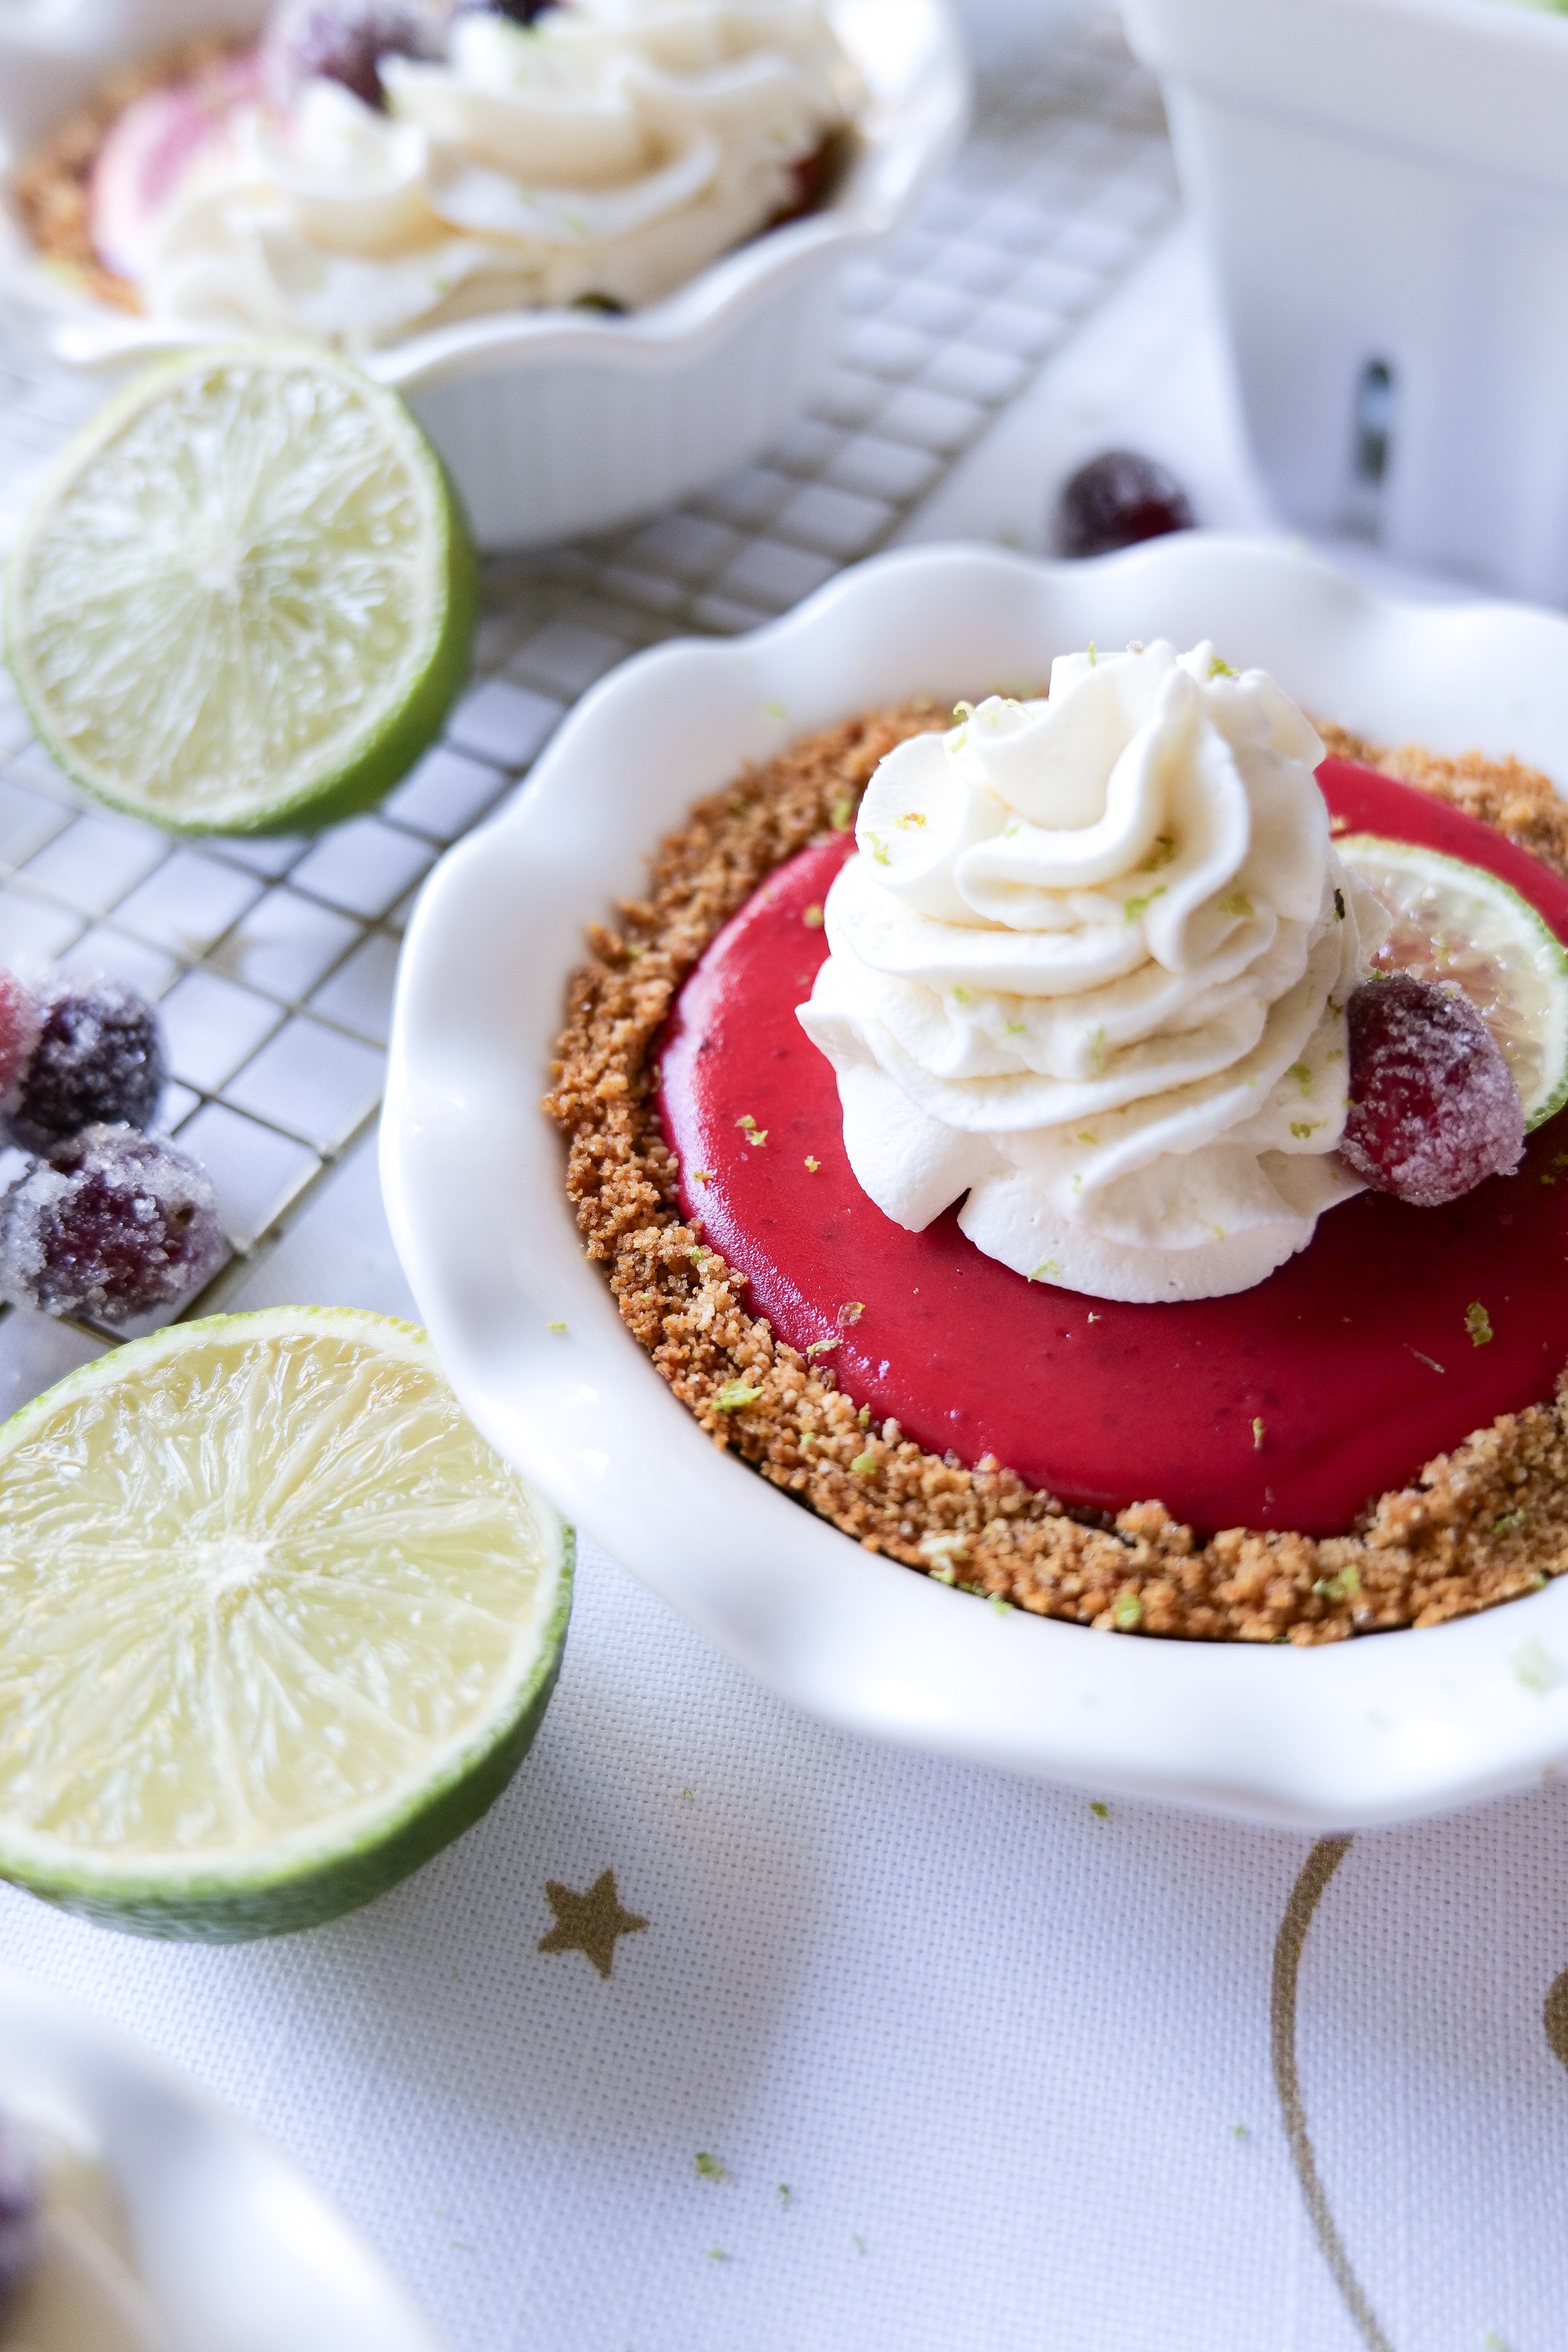
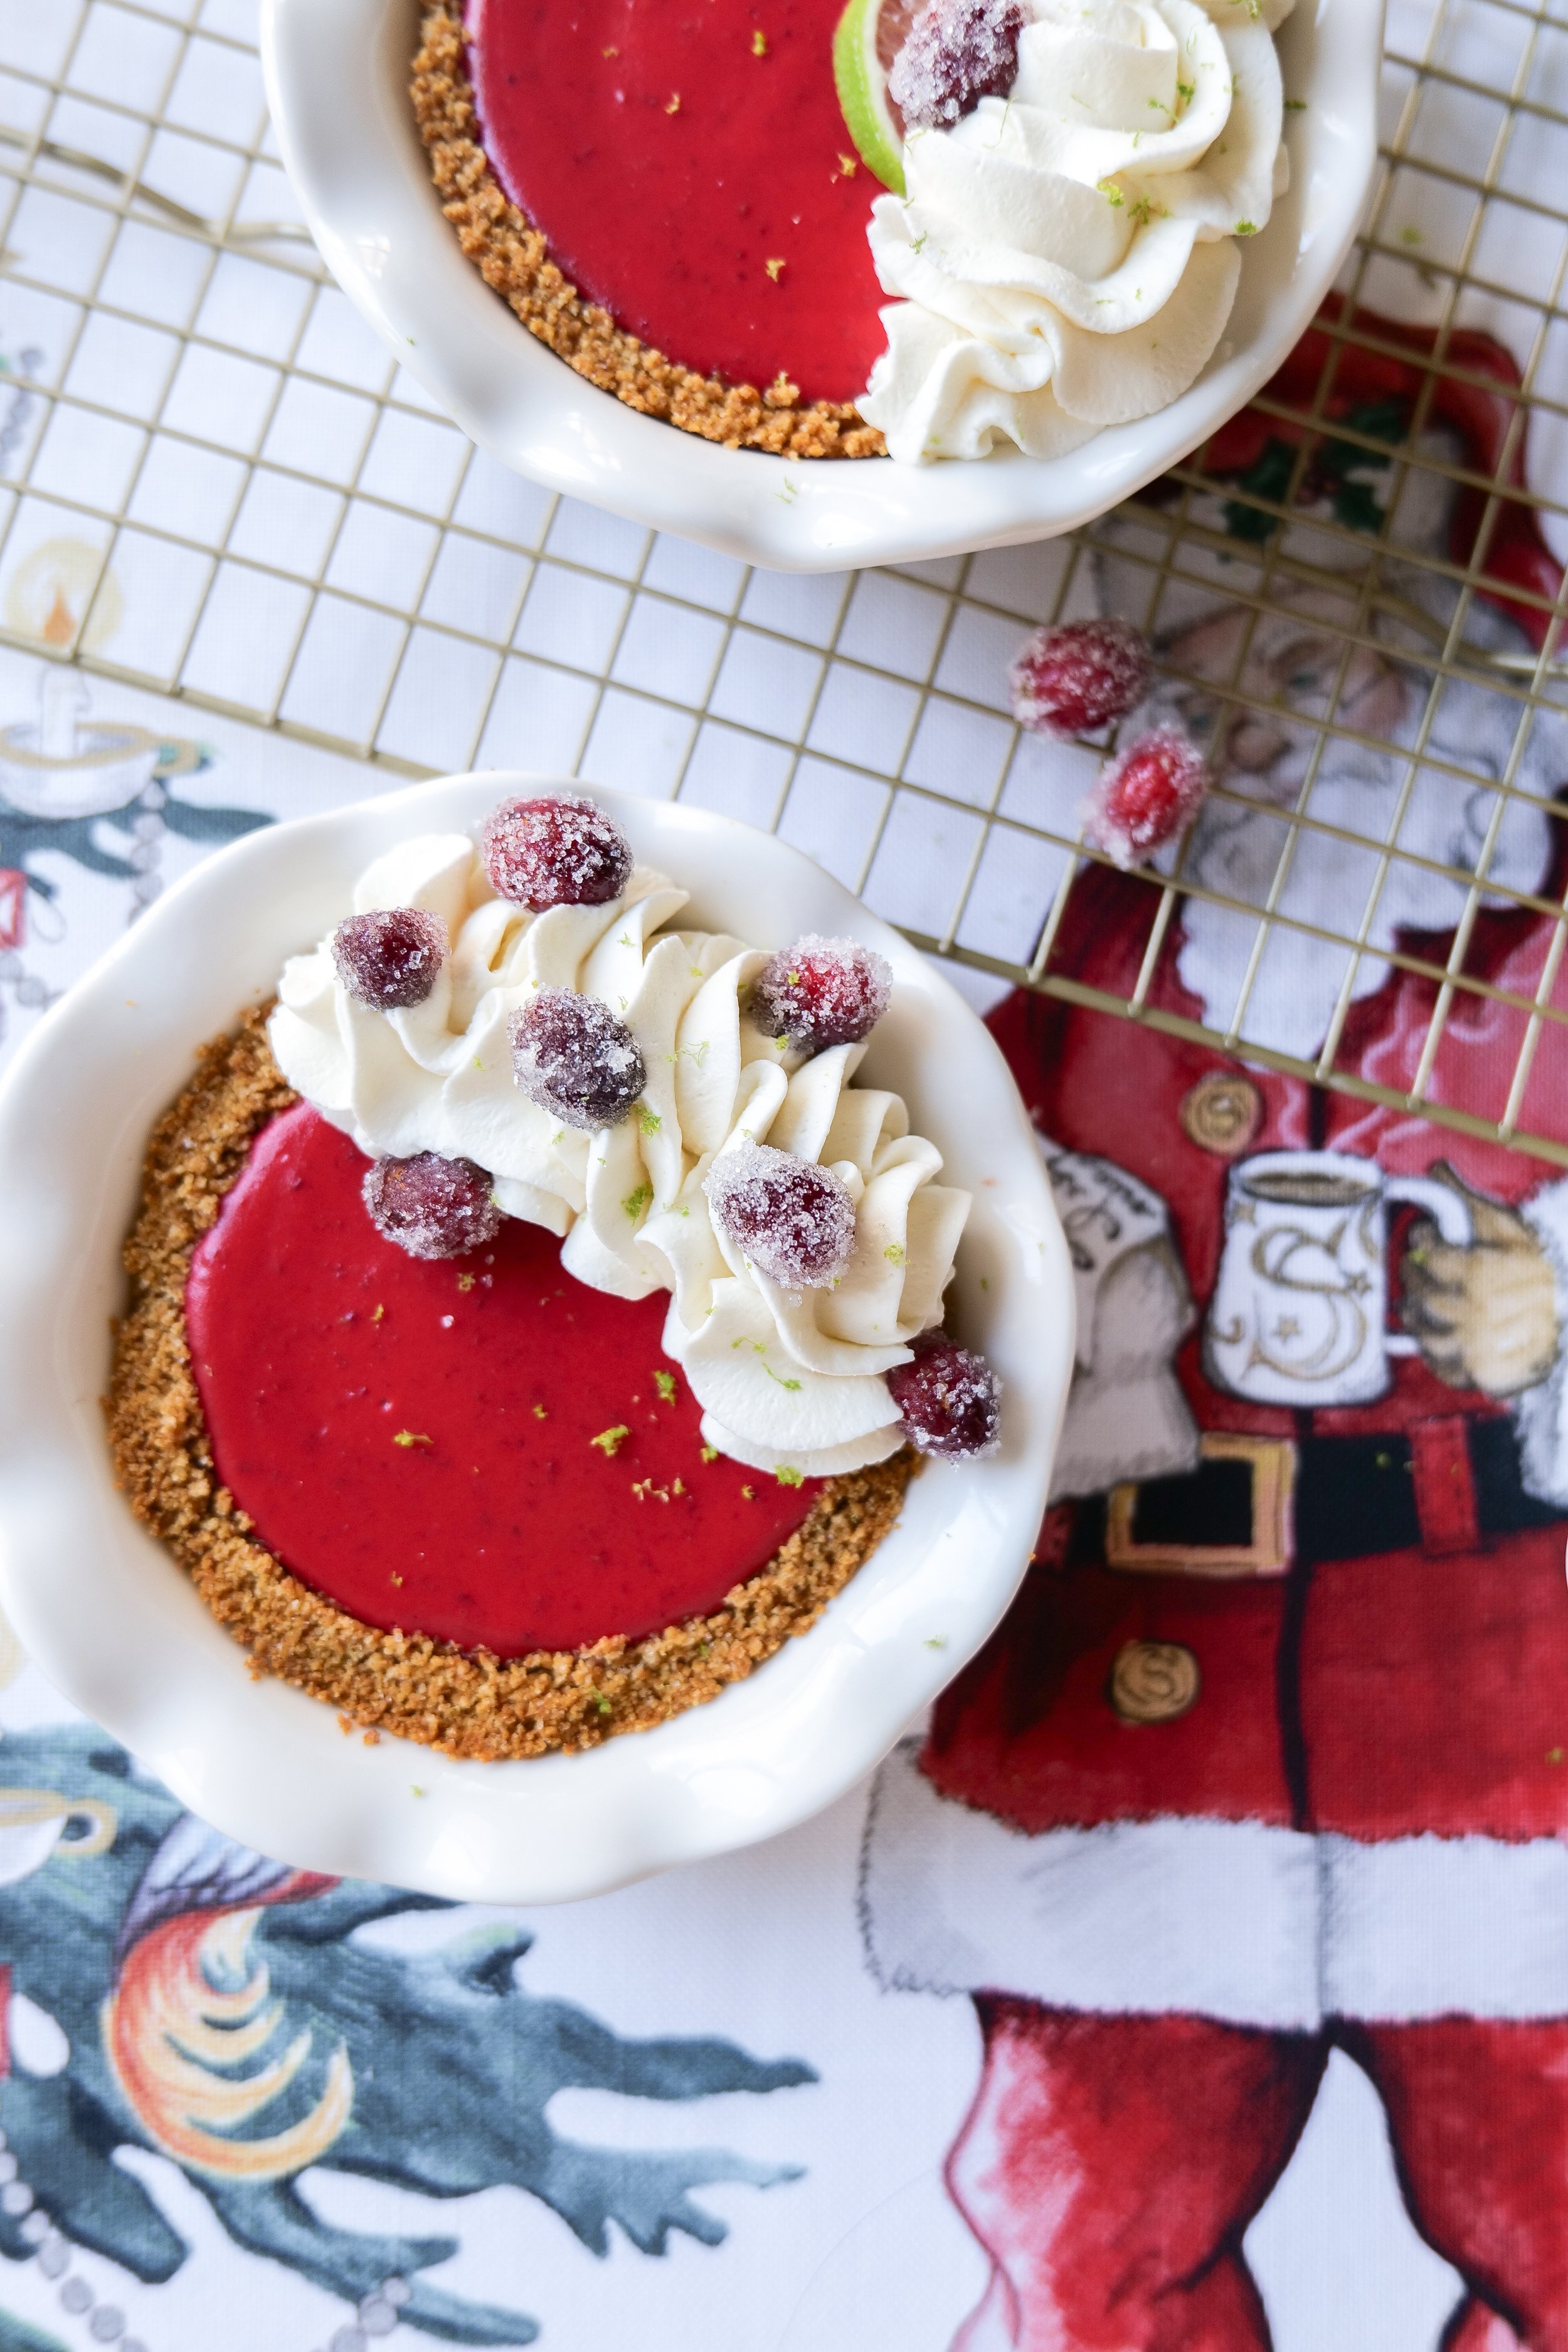
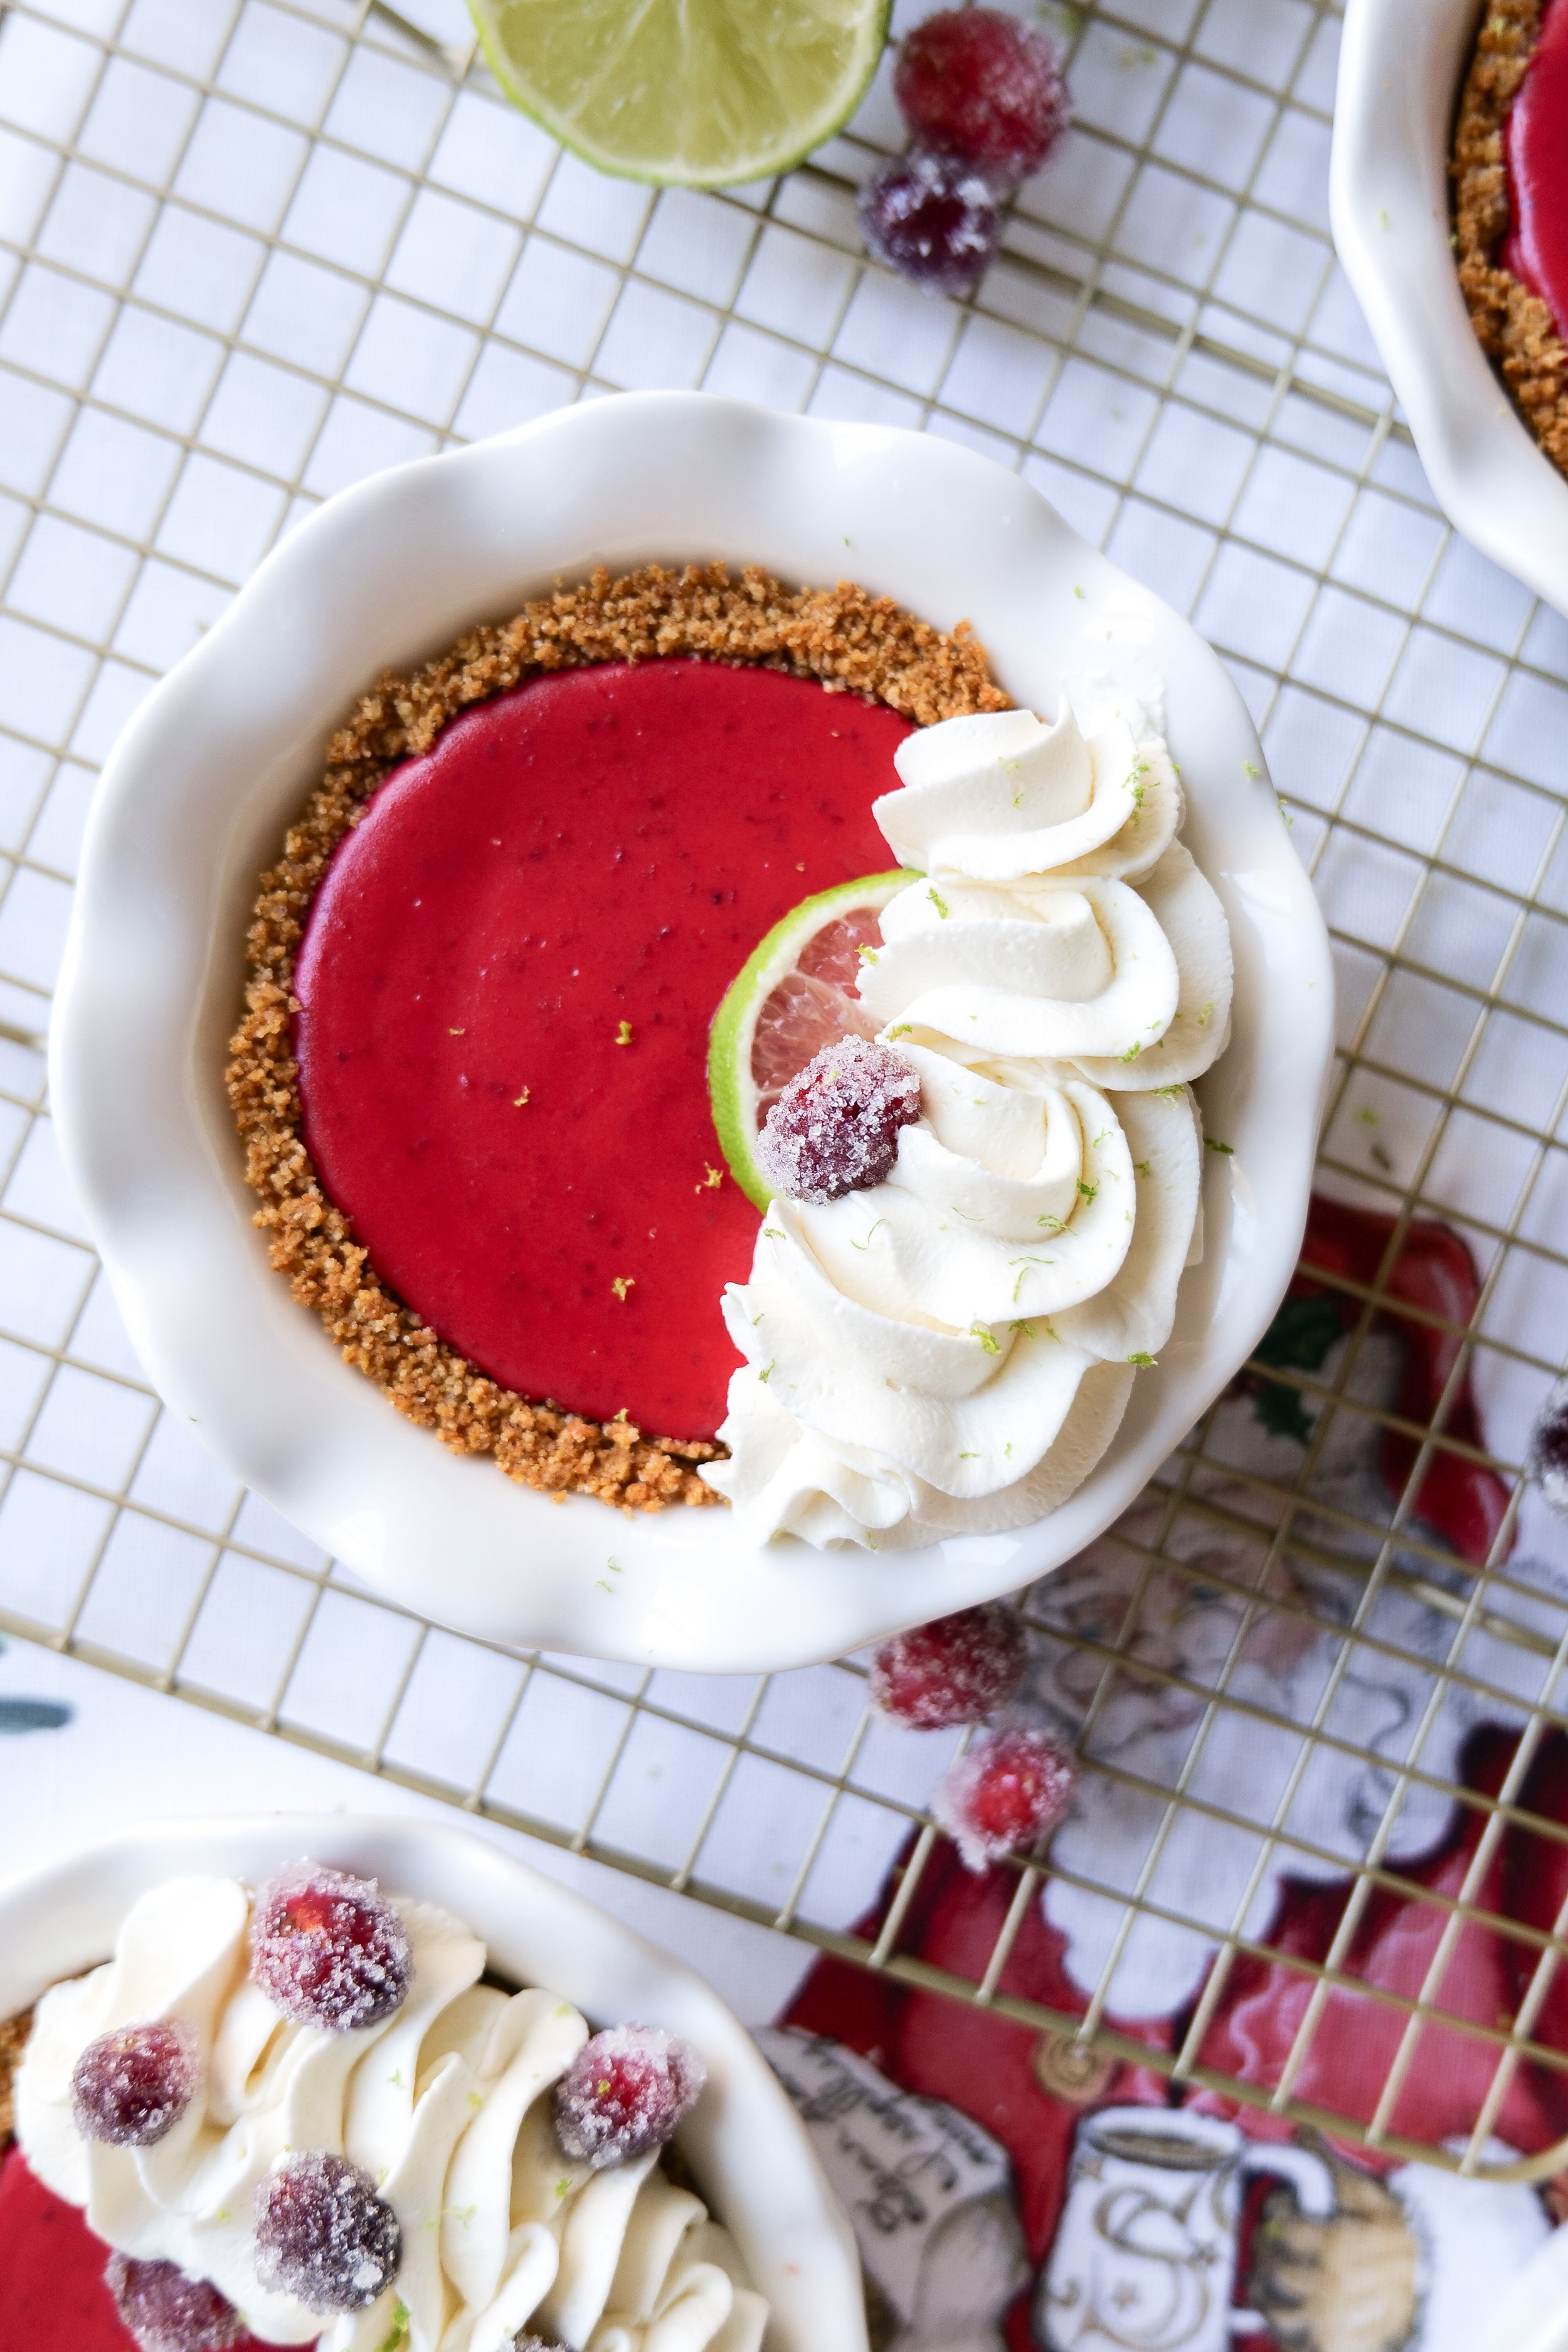
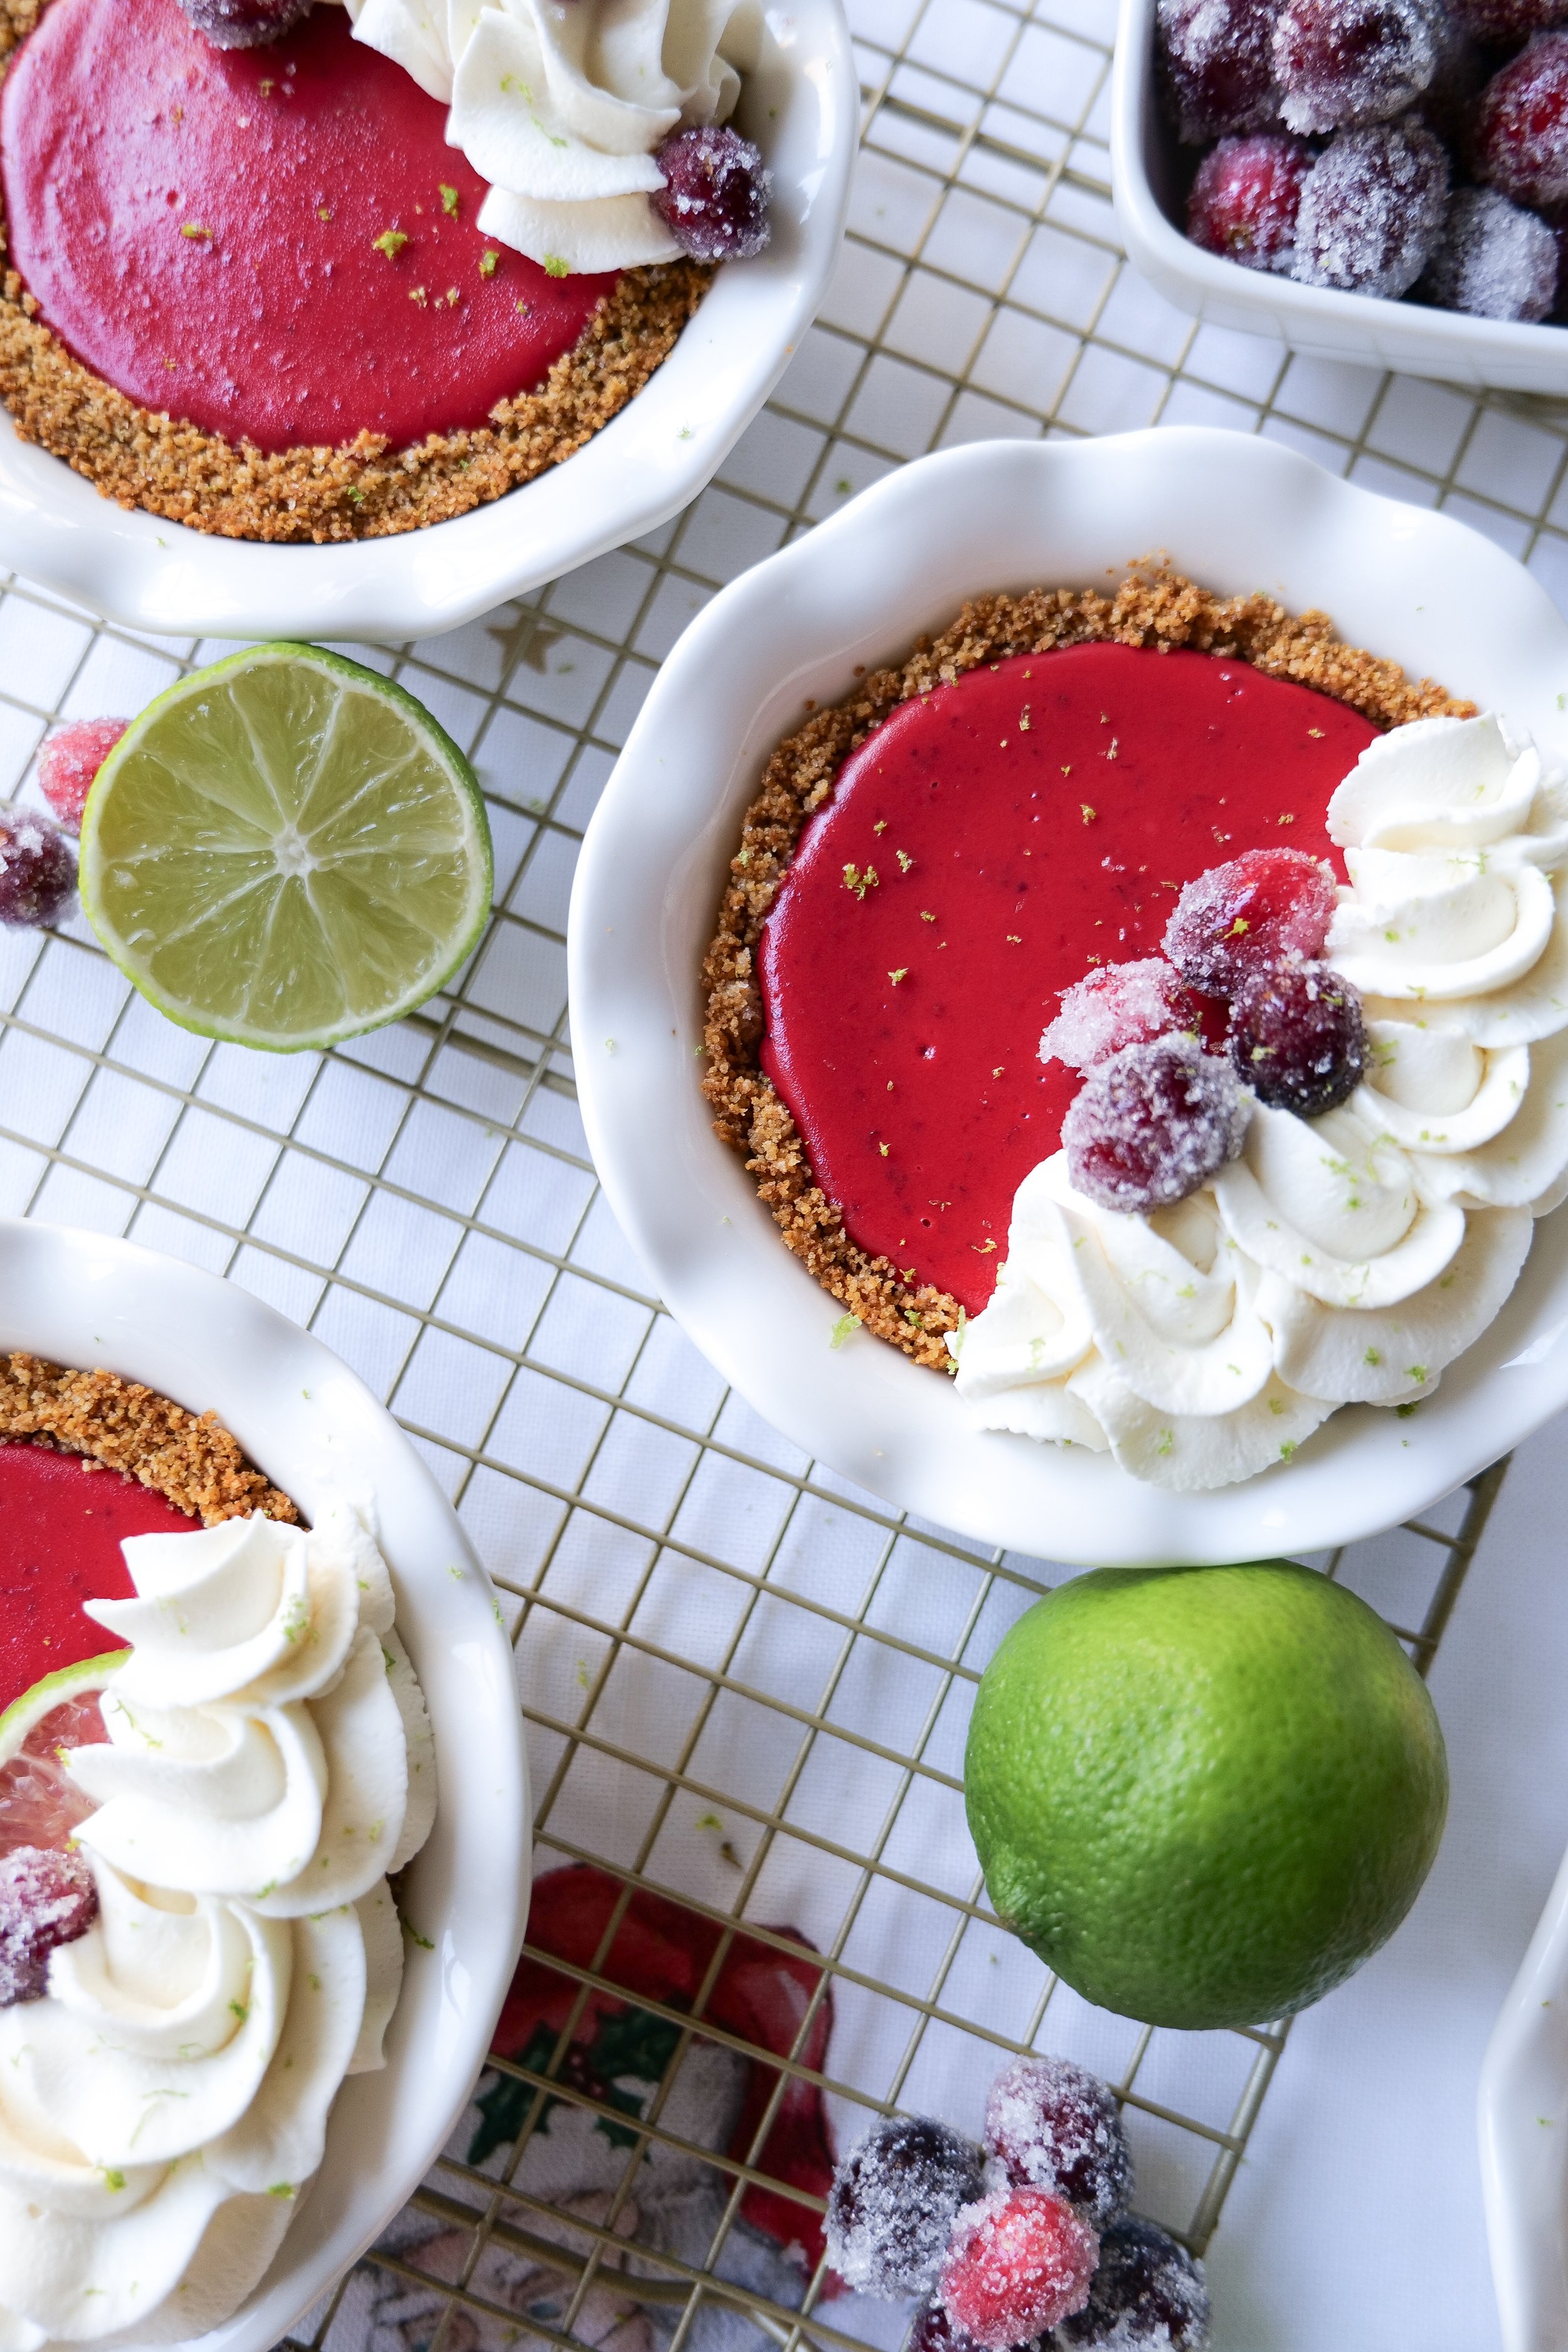
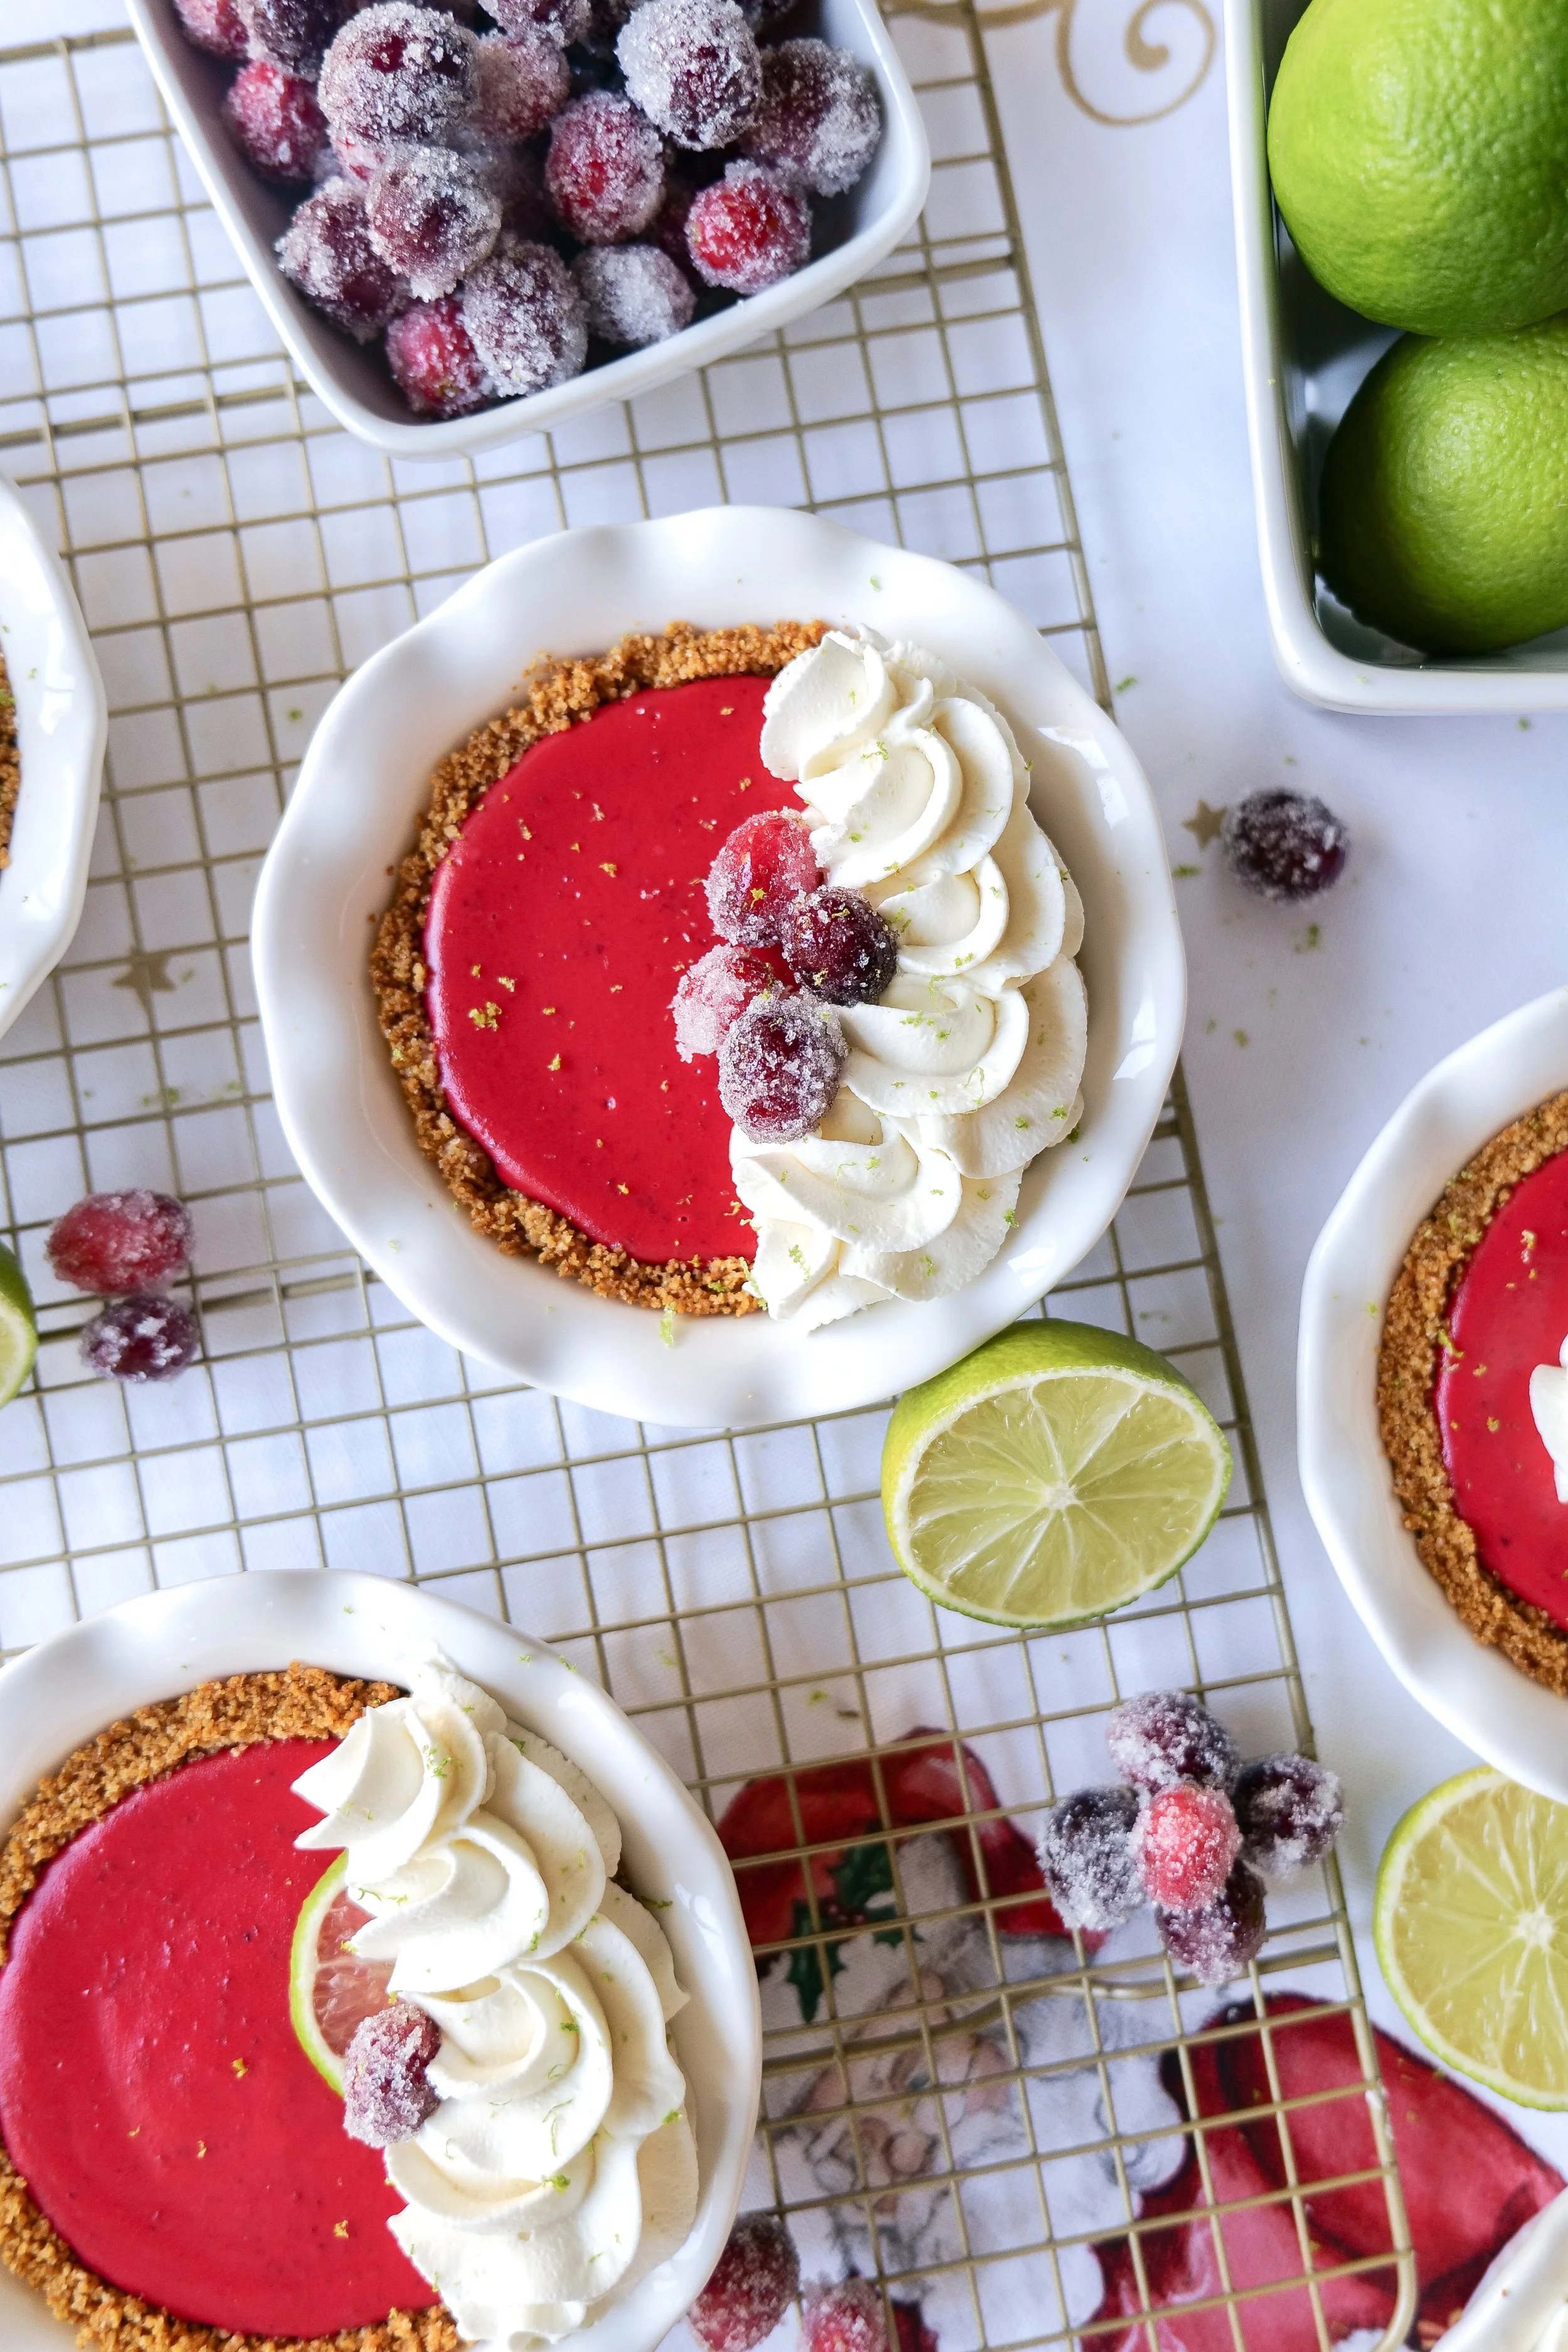
Combining tart cranberries, zesty limes, and creamy condensed milk creates an explosion of flavor that simply can't be beaten. The crust of this pie is made with a graham cracker and butter base, while the filling is a combination of cranberry sauce, condensed milk, lime juice, lime zest, and eggs. After baking the pie is served with a dollop of sweet whipped cream. This delicious dessert is perfect for any occasion and is always a hit with guests. Whether you're looking for a show-stopping holiday treat, a summertime favorite, or just a delicious holiday dessert, Cranberry Key Lime Pie is sure to please.

Can I use bottled key lime juice instead of fresh key limes for the pie?
For the perfect Cranberry Key Lime Pie, key limes are essential for their tart and citrusy flavor. If you don't have access to fresh key limes, however, don't fret - because bottled key lime juice can be a great substitute. To get the best flavor, look for a high-quality brand and read the ingredients list to make sure there are no added preservatives or sugars. Measure your key lime juice accurately, as it can be easy to add too much and make your pie overly tart. With the right key lime juice, you'll be able to make a delicious Cranberry Key Lime Pie that is sure to impress.
What type of crust is recommended for cranberry key lime pie?
One of the most popular pies to make any time of the year is a key lime pie. Since we added cranberries to give this pie a delicious tart and sweet lime flavor, it is sure to be a hit. The first step to making a delicious cranberry key lime pie is to choose the right crust.
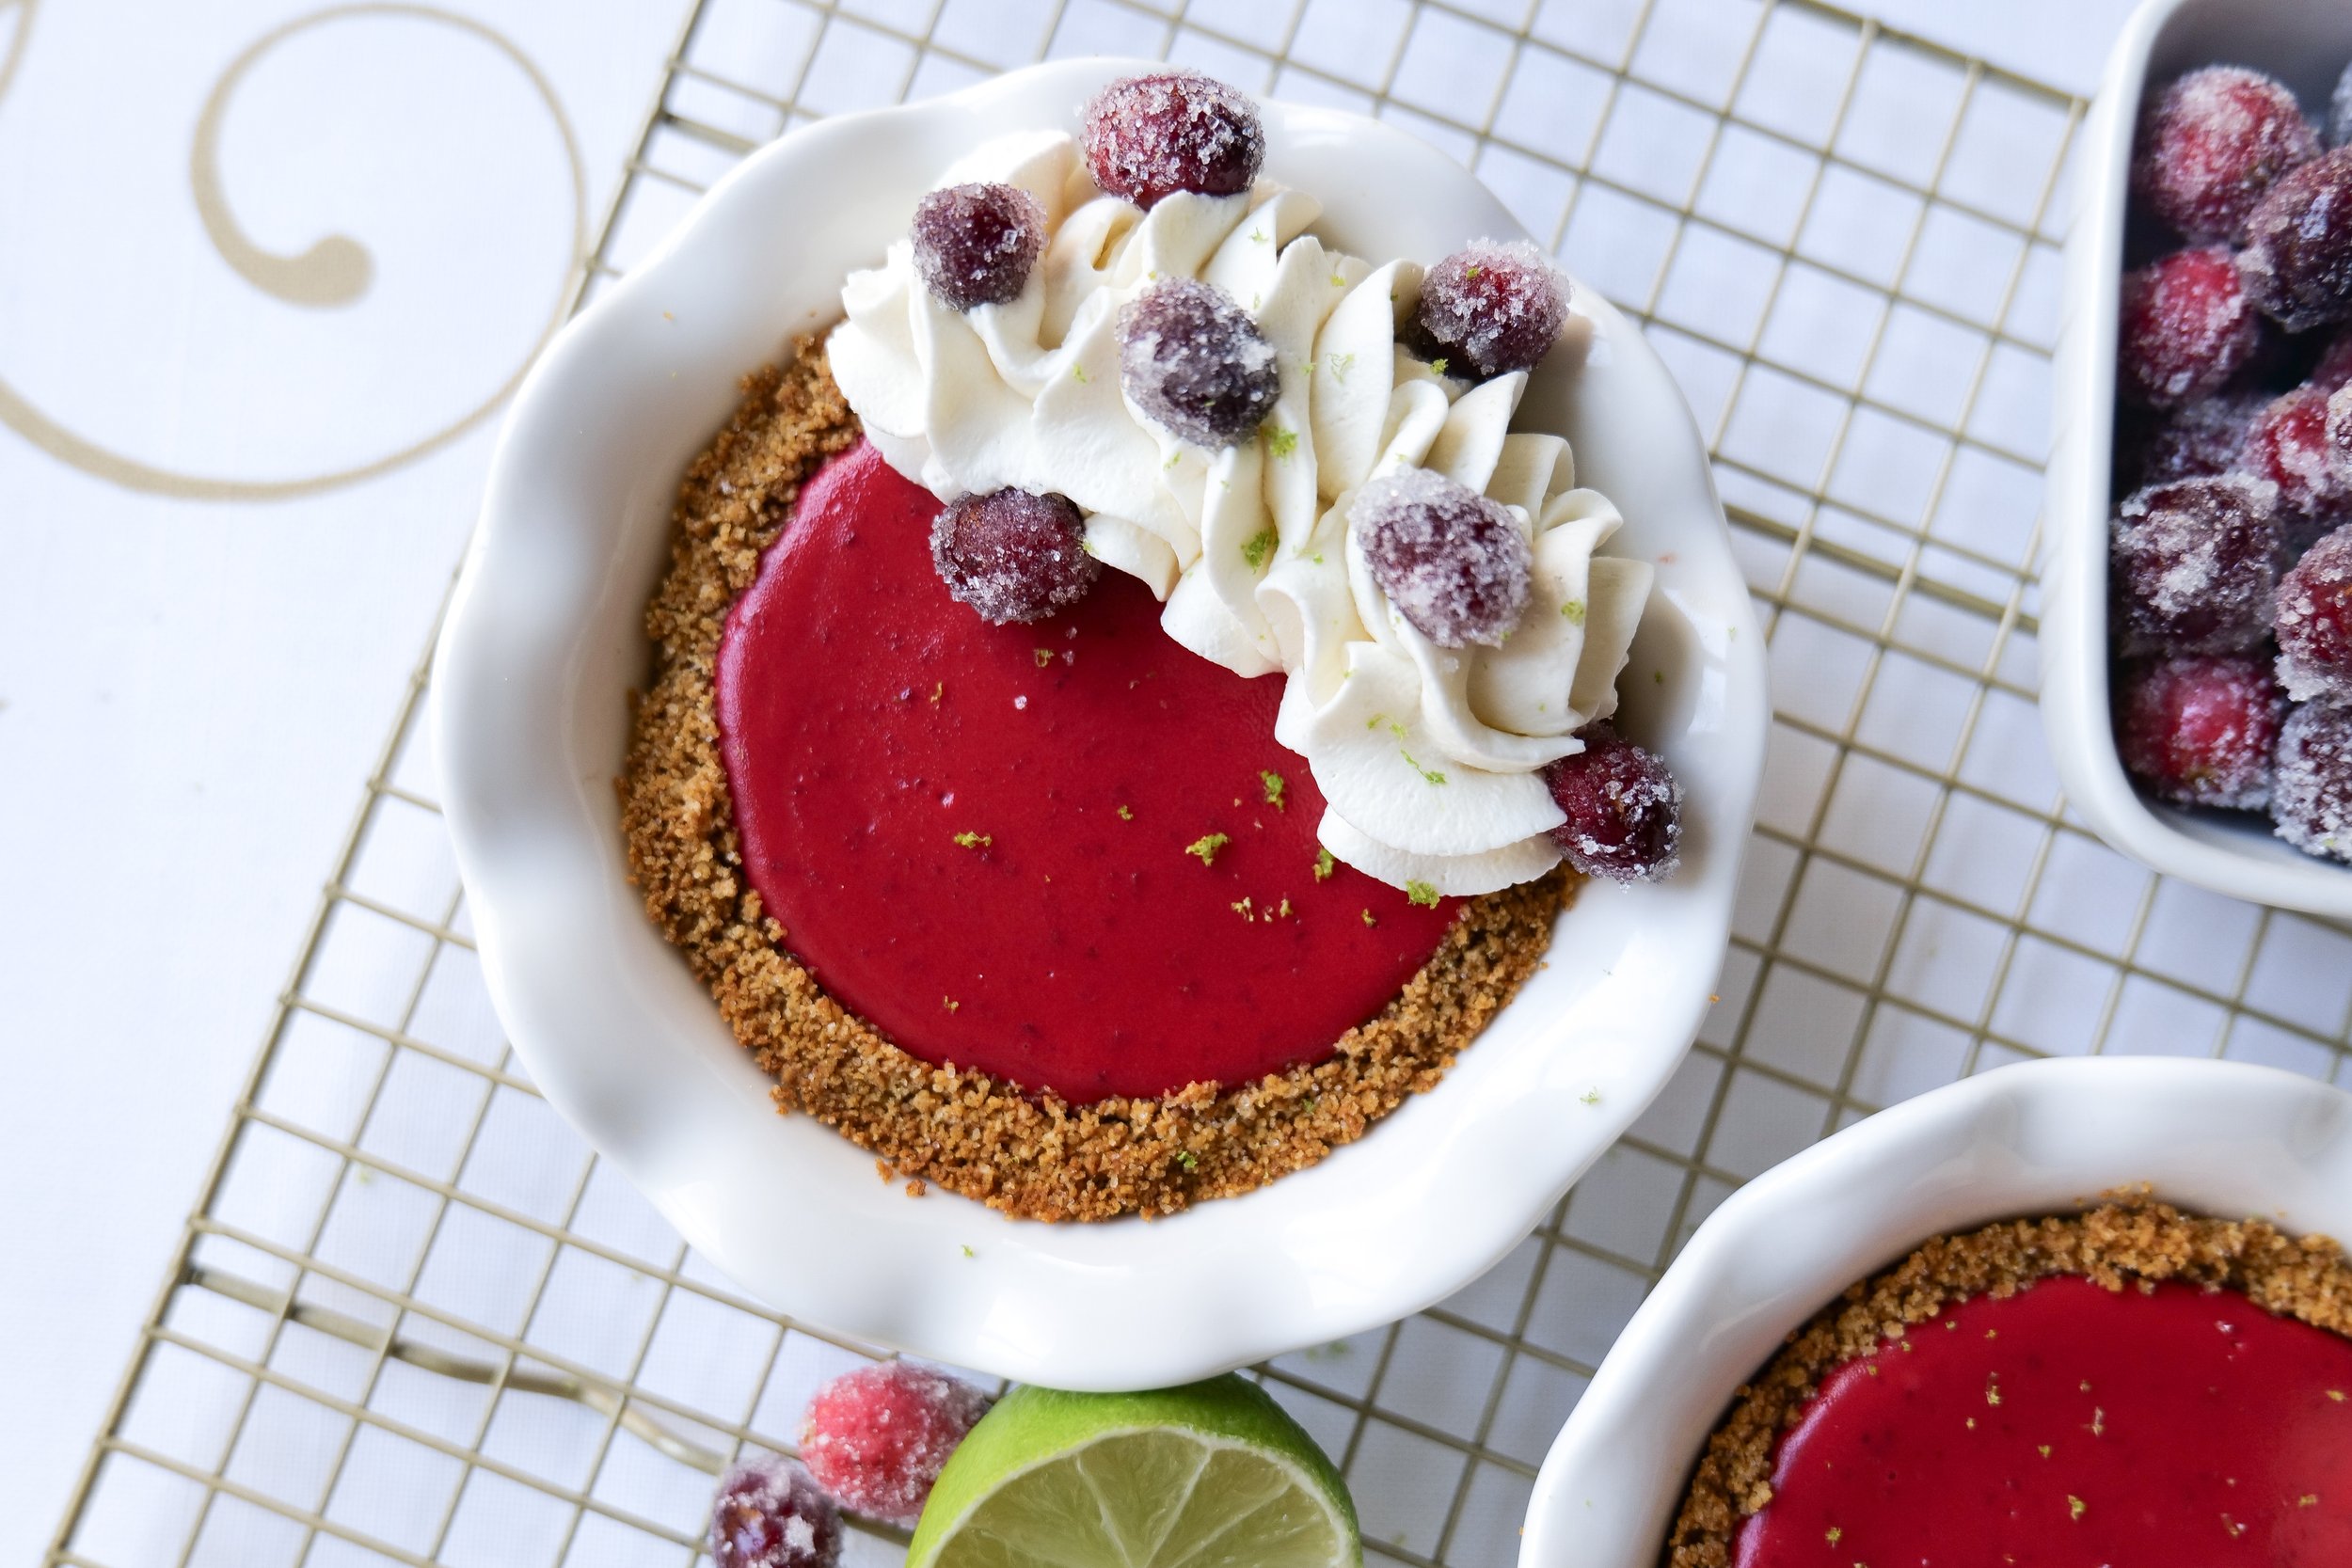
The traditional graham cracker crust is a classic and easy choice for this type of pie. It pairs perfectly with the tartness of the cranberries and the sweetness of the lime. For a more elegant option, you could try a shortbread crust. The buttery texture and flavor of the shortbread crust will showcase the delicious flavors of cranberry and lime.
For a fun twist on the classic flavor combination, you can also try using a cookie crust with cookies of your choice. A cookie crust made with familiar favorites such as crushed vanilla wafers or Oreos would also surely be a hit. With these three options, you can choose the perfect crust to customize your cranberry key lime pie.


Ingredients
Crust:
1.5 cups or 12 sheets of crumbled gram crackers
6 tbsp melted butter
2 tablespoons granulated sugar
Filling:
8 oz cranberries
1 cup sugar
1/4 cup water
8oz cream cheese
1 can condensed milk, sweetened
2 large egg yolks
3/4 cup lime juice
1 tbsp lime zest
1 tsp vanilla
Whipped Topping:
2 cups cold heavy whipping cream
2 cups powdered sugar
1 teaspoon vanilla extract
Directions
1. Preheat oven to 350 degrees and oil pie pans.
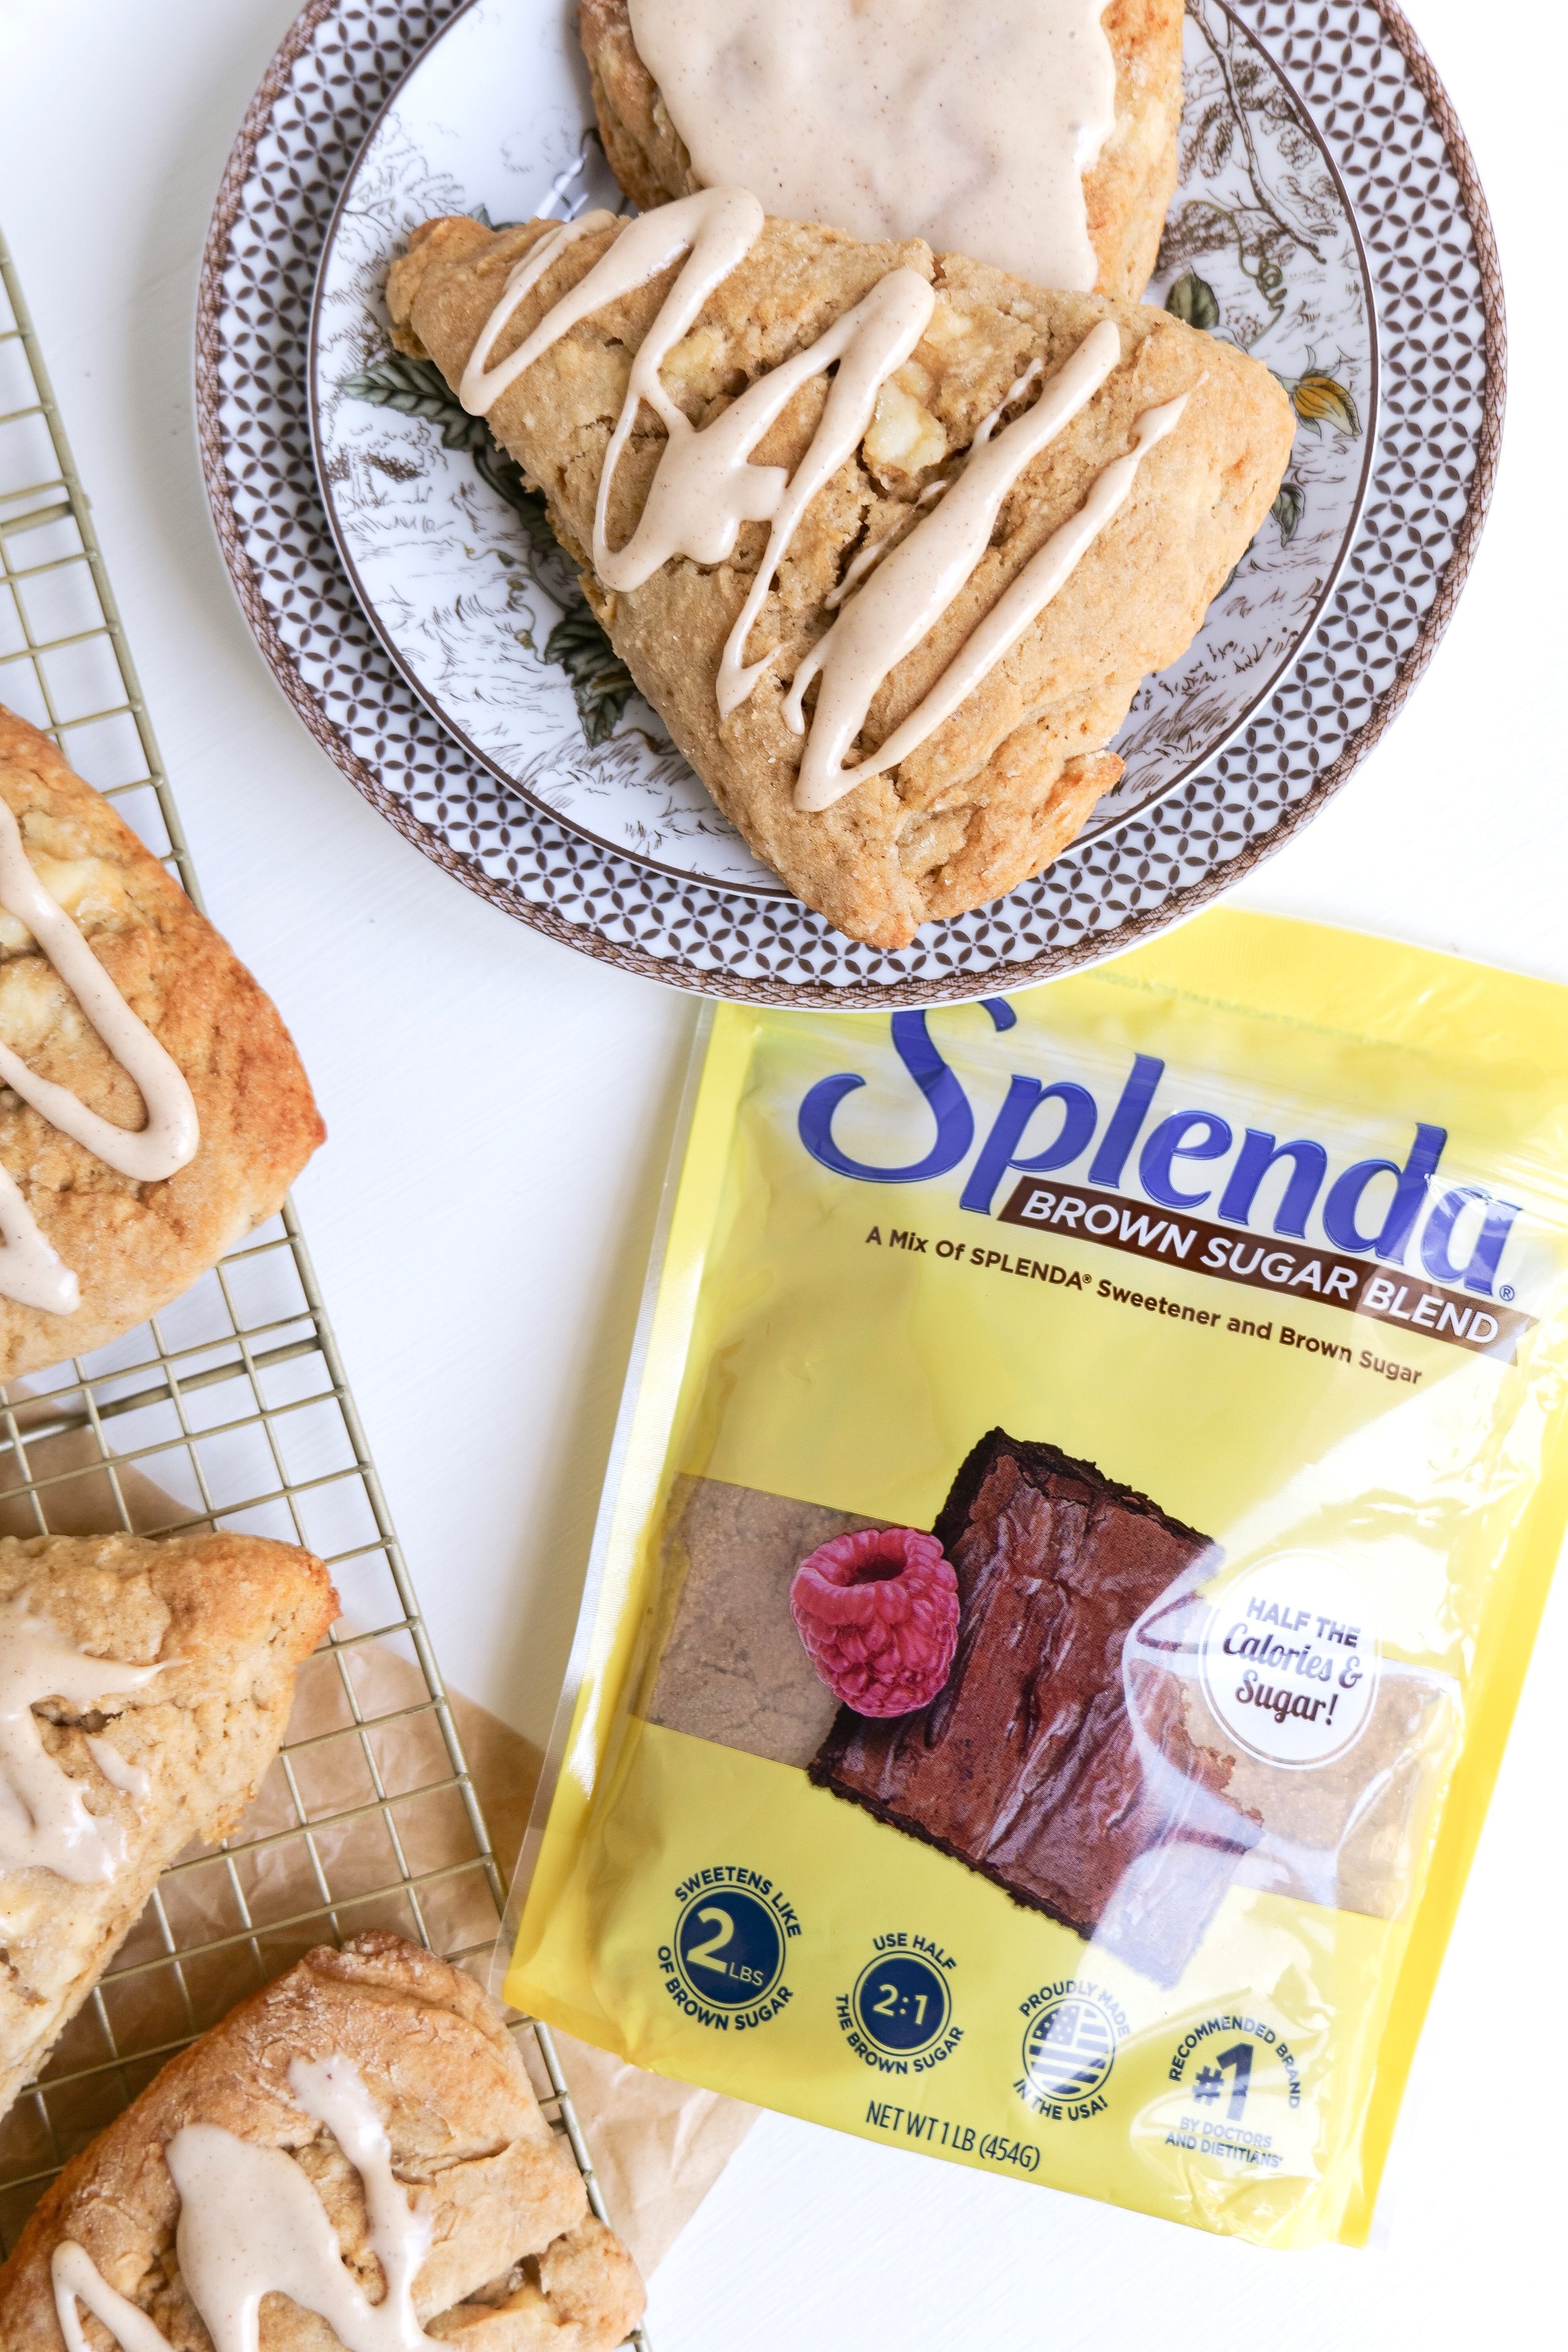
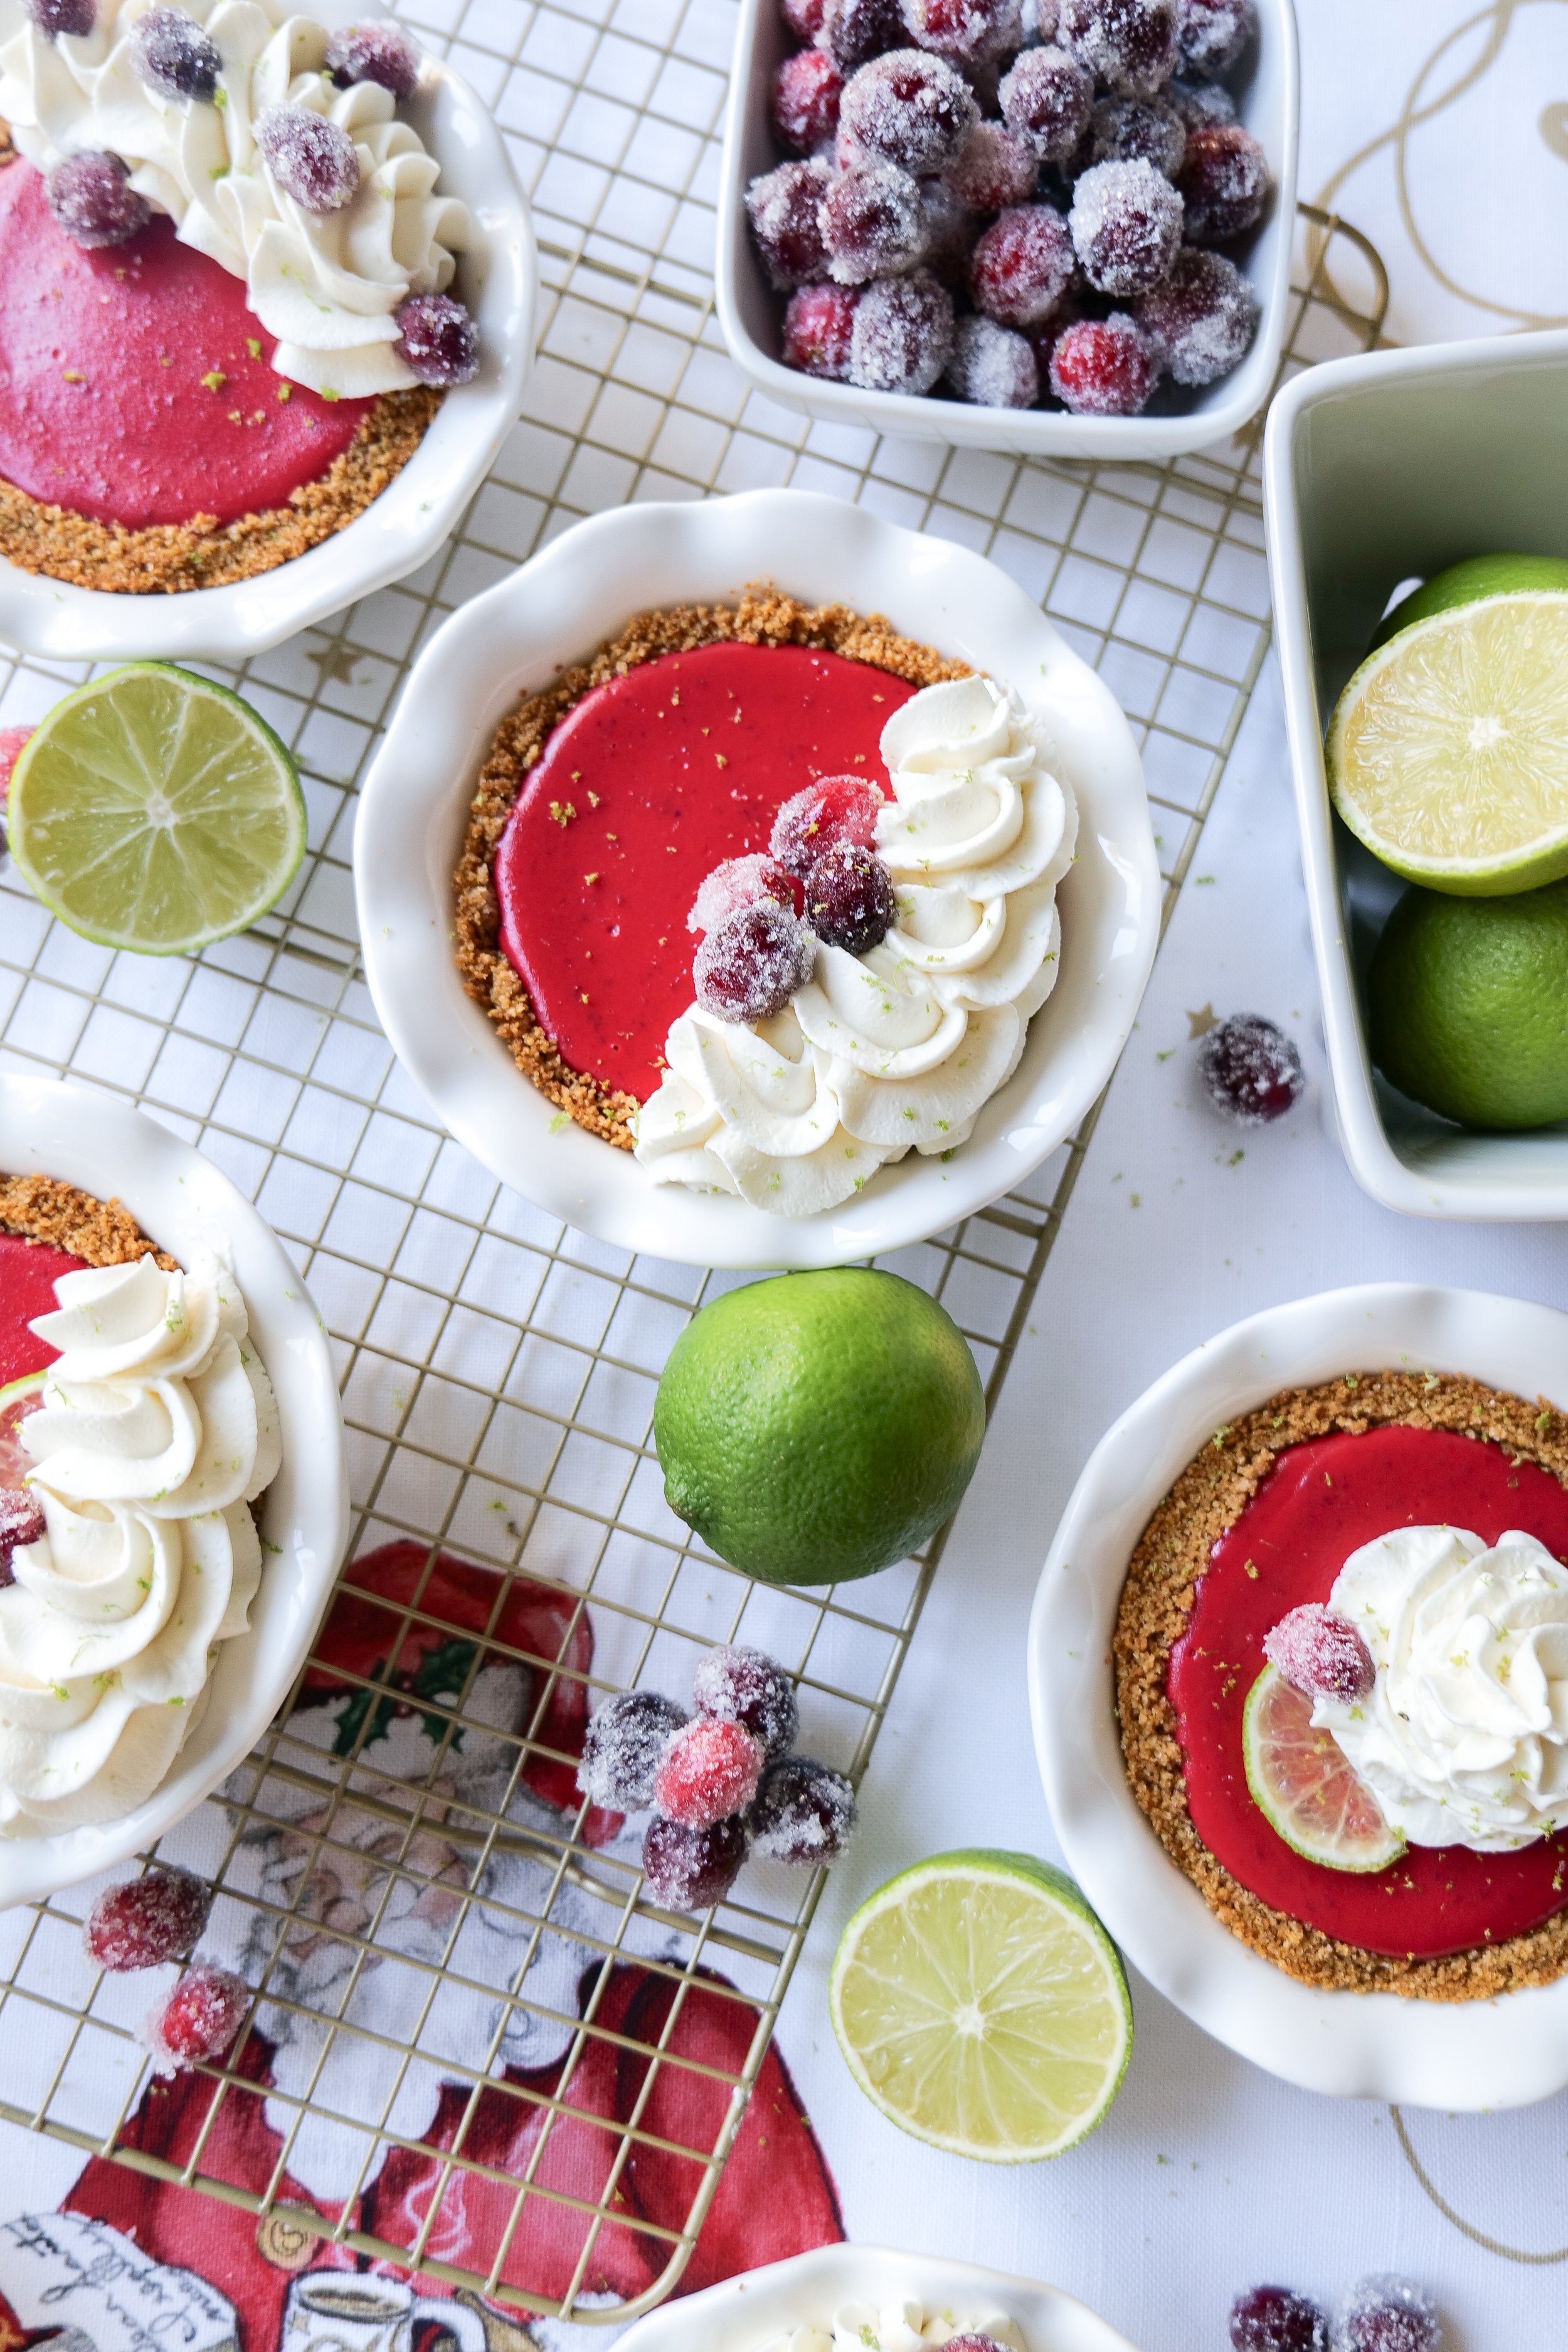
2. Mix together crust ingredients, graham crackers, melted butter and Splenda. Portion out into 6 individual pie pans and press down on the bottom and around sides to form into pans. Bake in the oven for 5-7 minutes or until golden brown.
3. While crust bakes make filling. Start by adding cranberries, sugar and water to a stovetop pan and let them come together to a pasty jam-like mixture. Add to blender with 1/4 cup of lime juice and blend.
4. Blend cream cheese with a hand mixer until smooth. Add in egg yolks and blend again until fully incorporated. Add in remaining ingredients; condensed milk, remaining 1/2 cup lime juice, cranberry mixture and vanilla until all is mixed and fully blended.
5. Once the crust is done baking remove from the oven and let come to room temp. Then add filling to each pan. Place back in the oven to bake for another 15-17 minutes or until the filling is set. Remove from oven and let come to room temperature. Place in refrigerator for at least 4 hours or overnight.
6. Before serving top the pie with homemade whipped cream. With an electric hand mixer set on high blend the whipping cream, powdered sugar, and vanilla extract. Whip until peaks form and add to key lime pies. Top with a lime wedge, cranberries or lime zest and serve.
Other Deliciously Zesty Desserts:
A Deliciously Sweet Treat: Mini Key Lime Pies with Splenda
Tantalizingly Delicious Recipe For Lemon Cheesecake With An Amazing Glaze
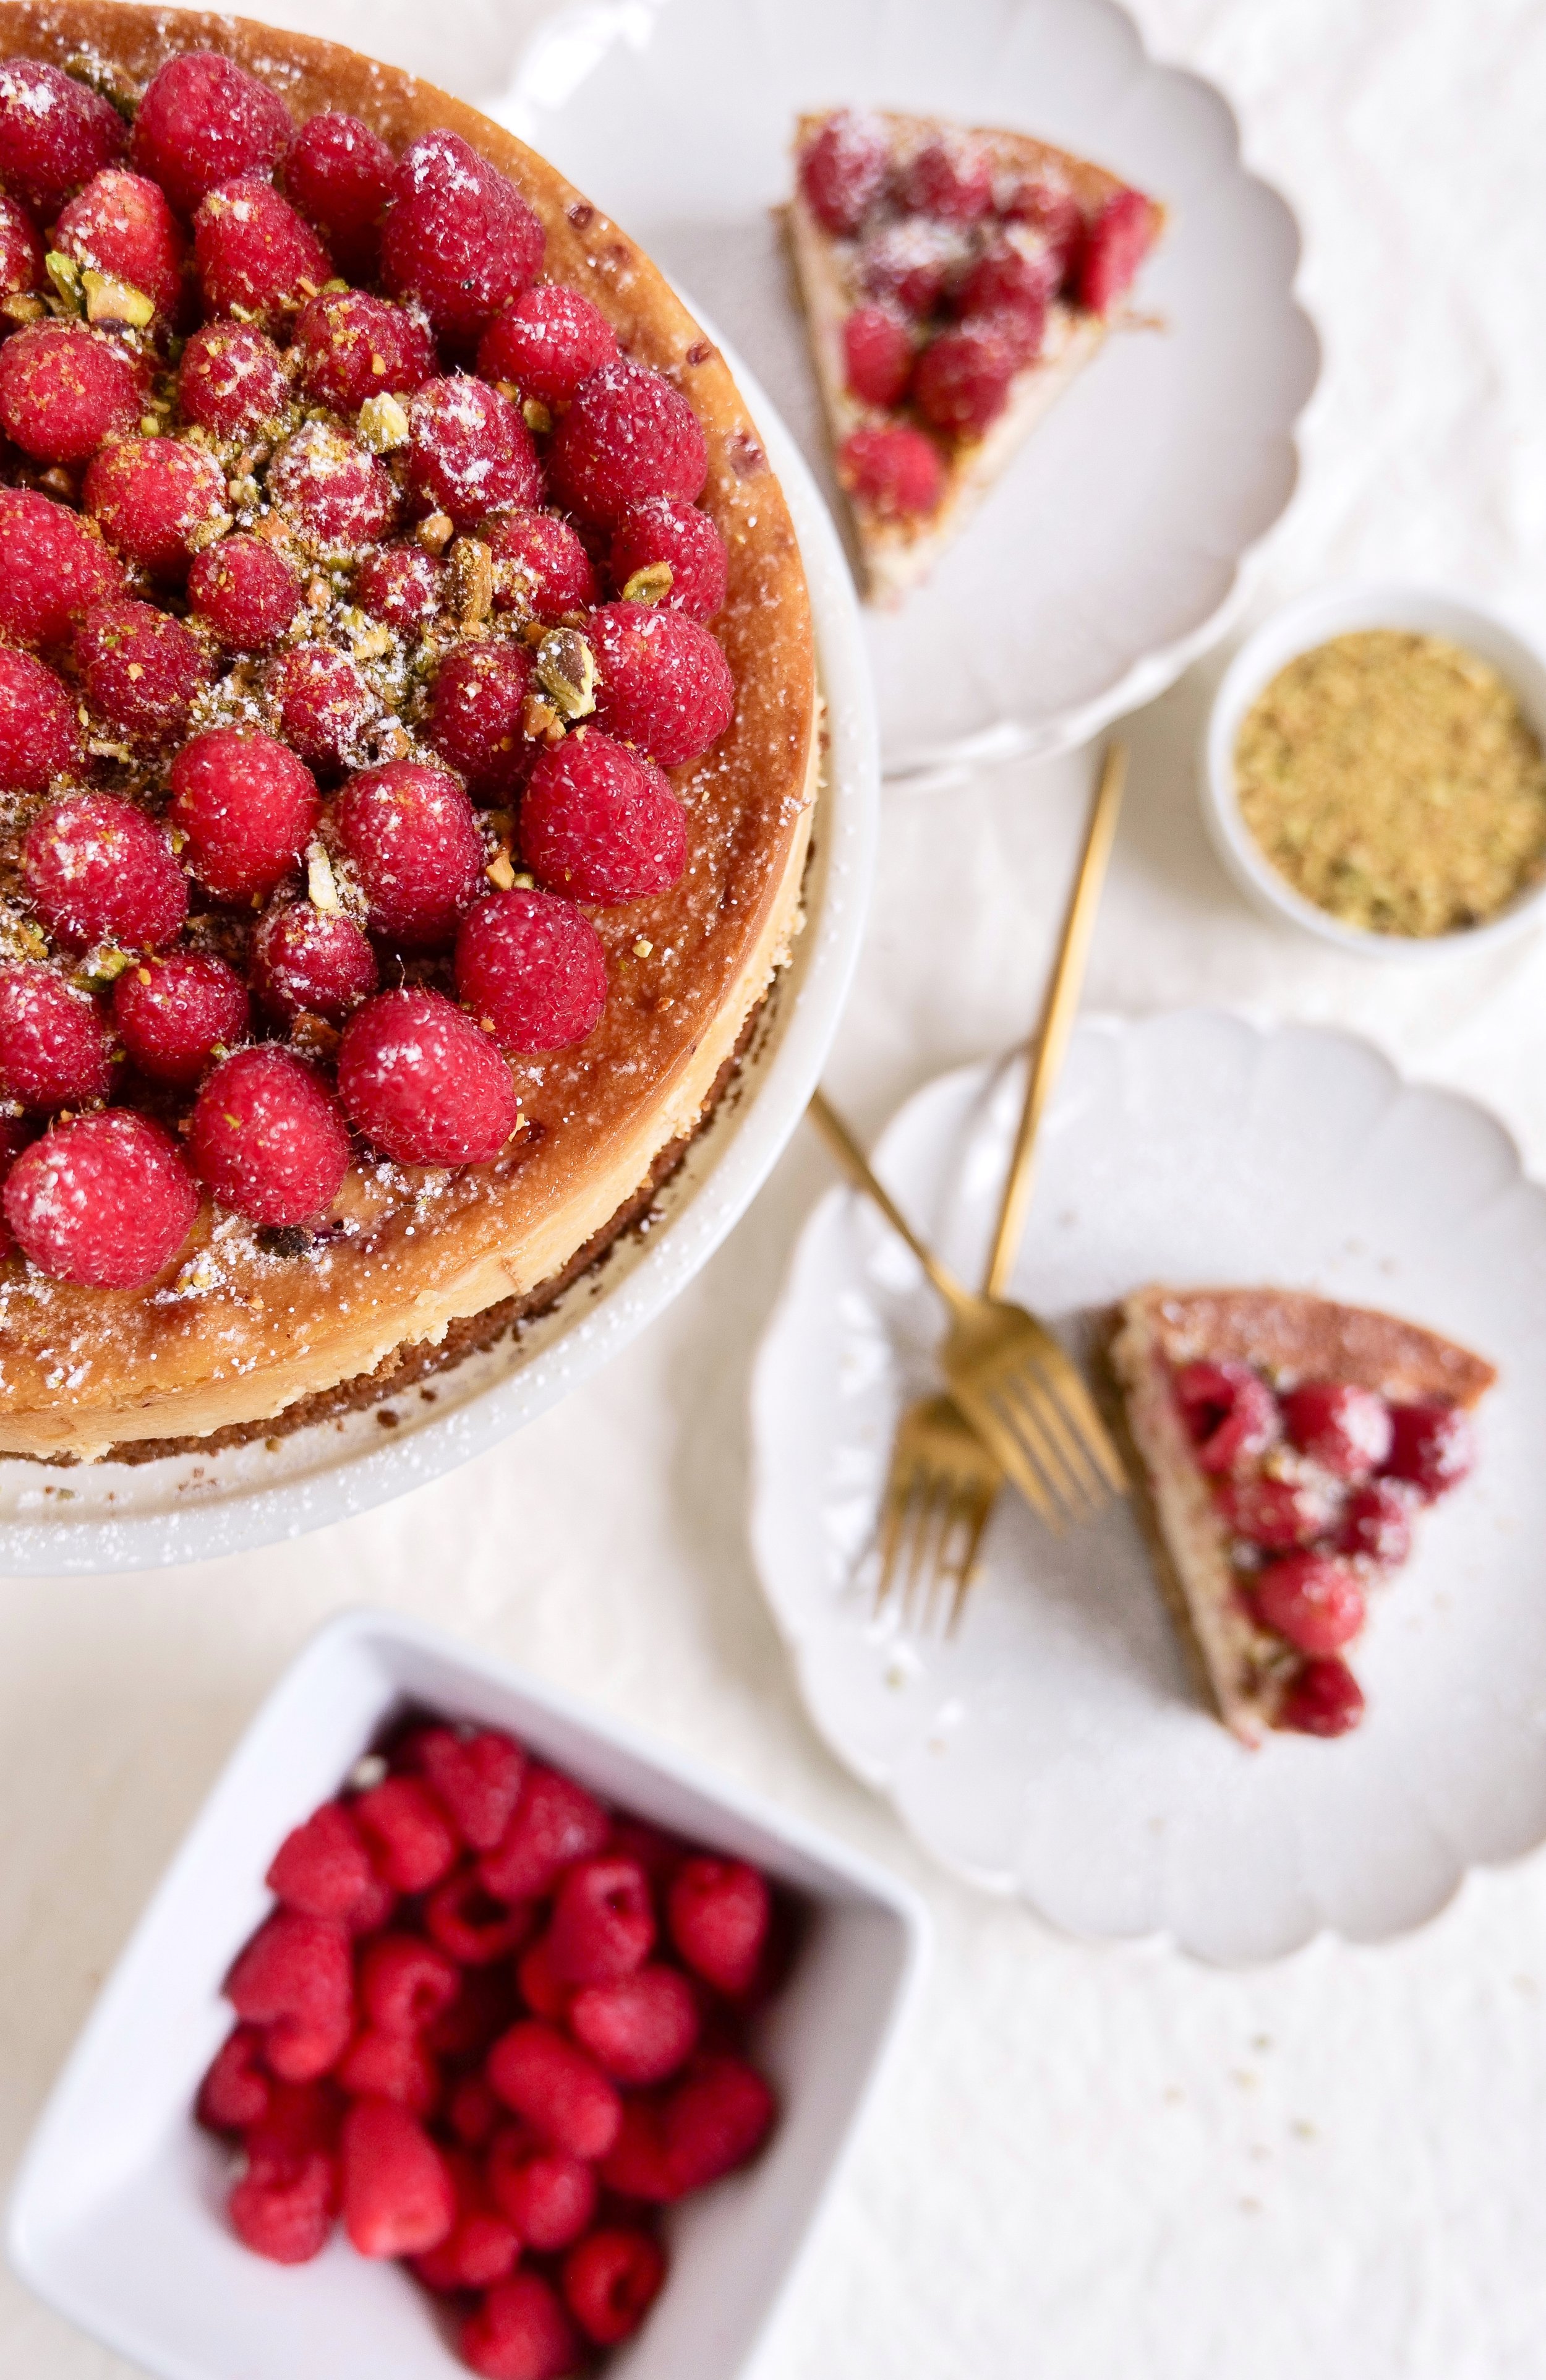
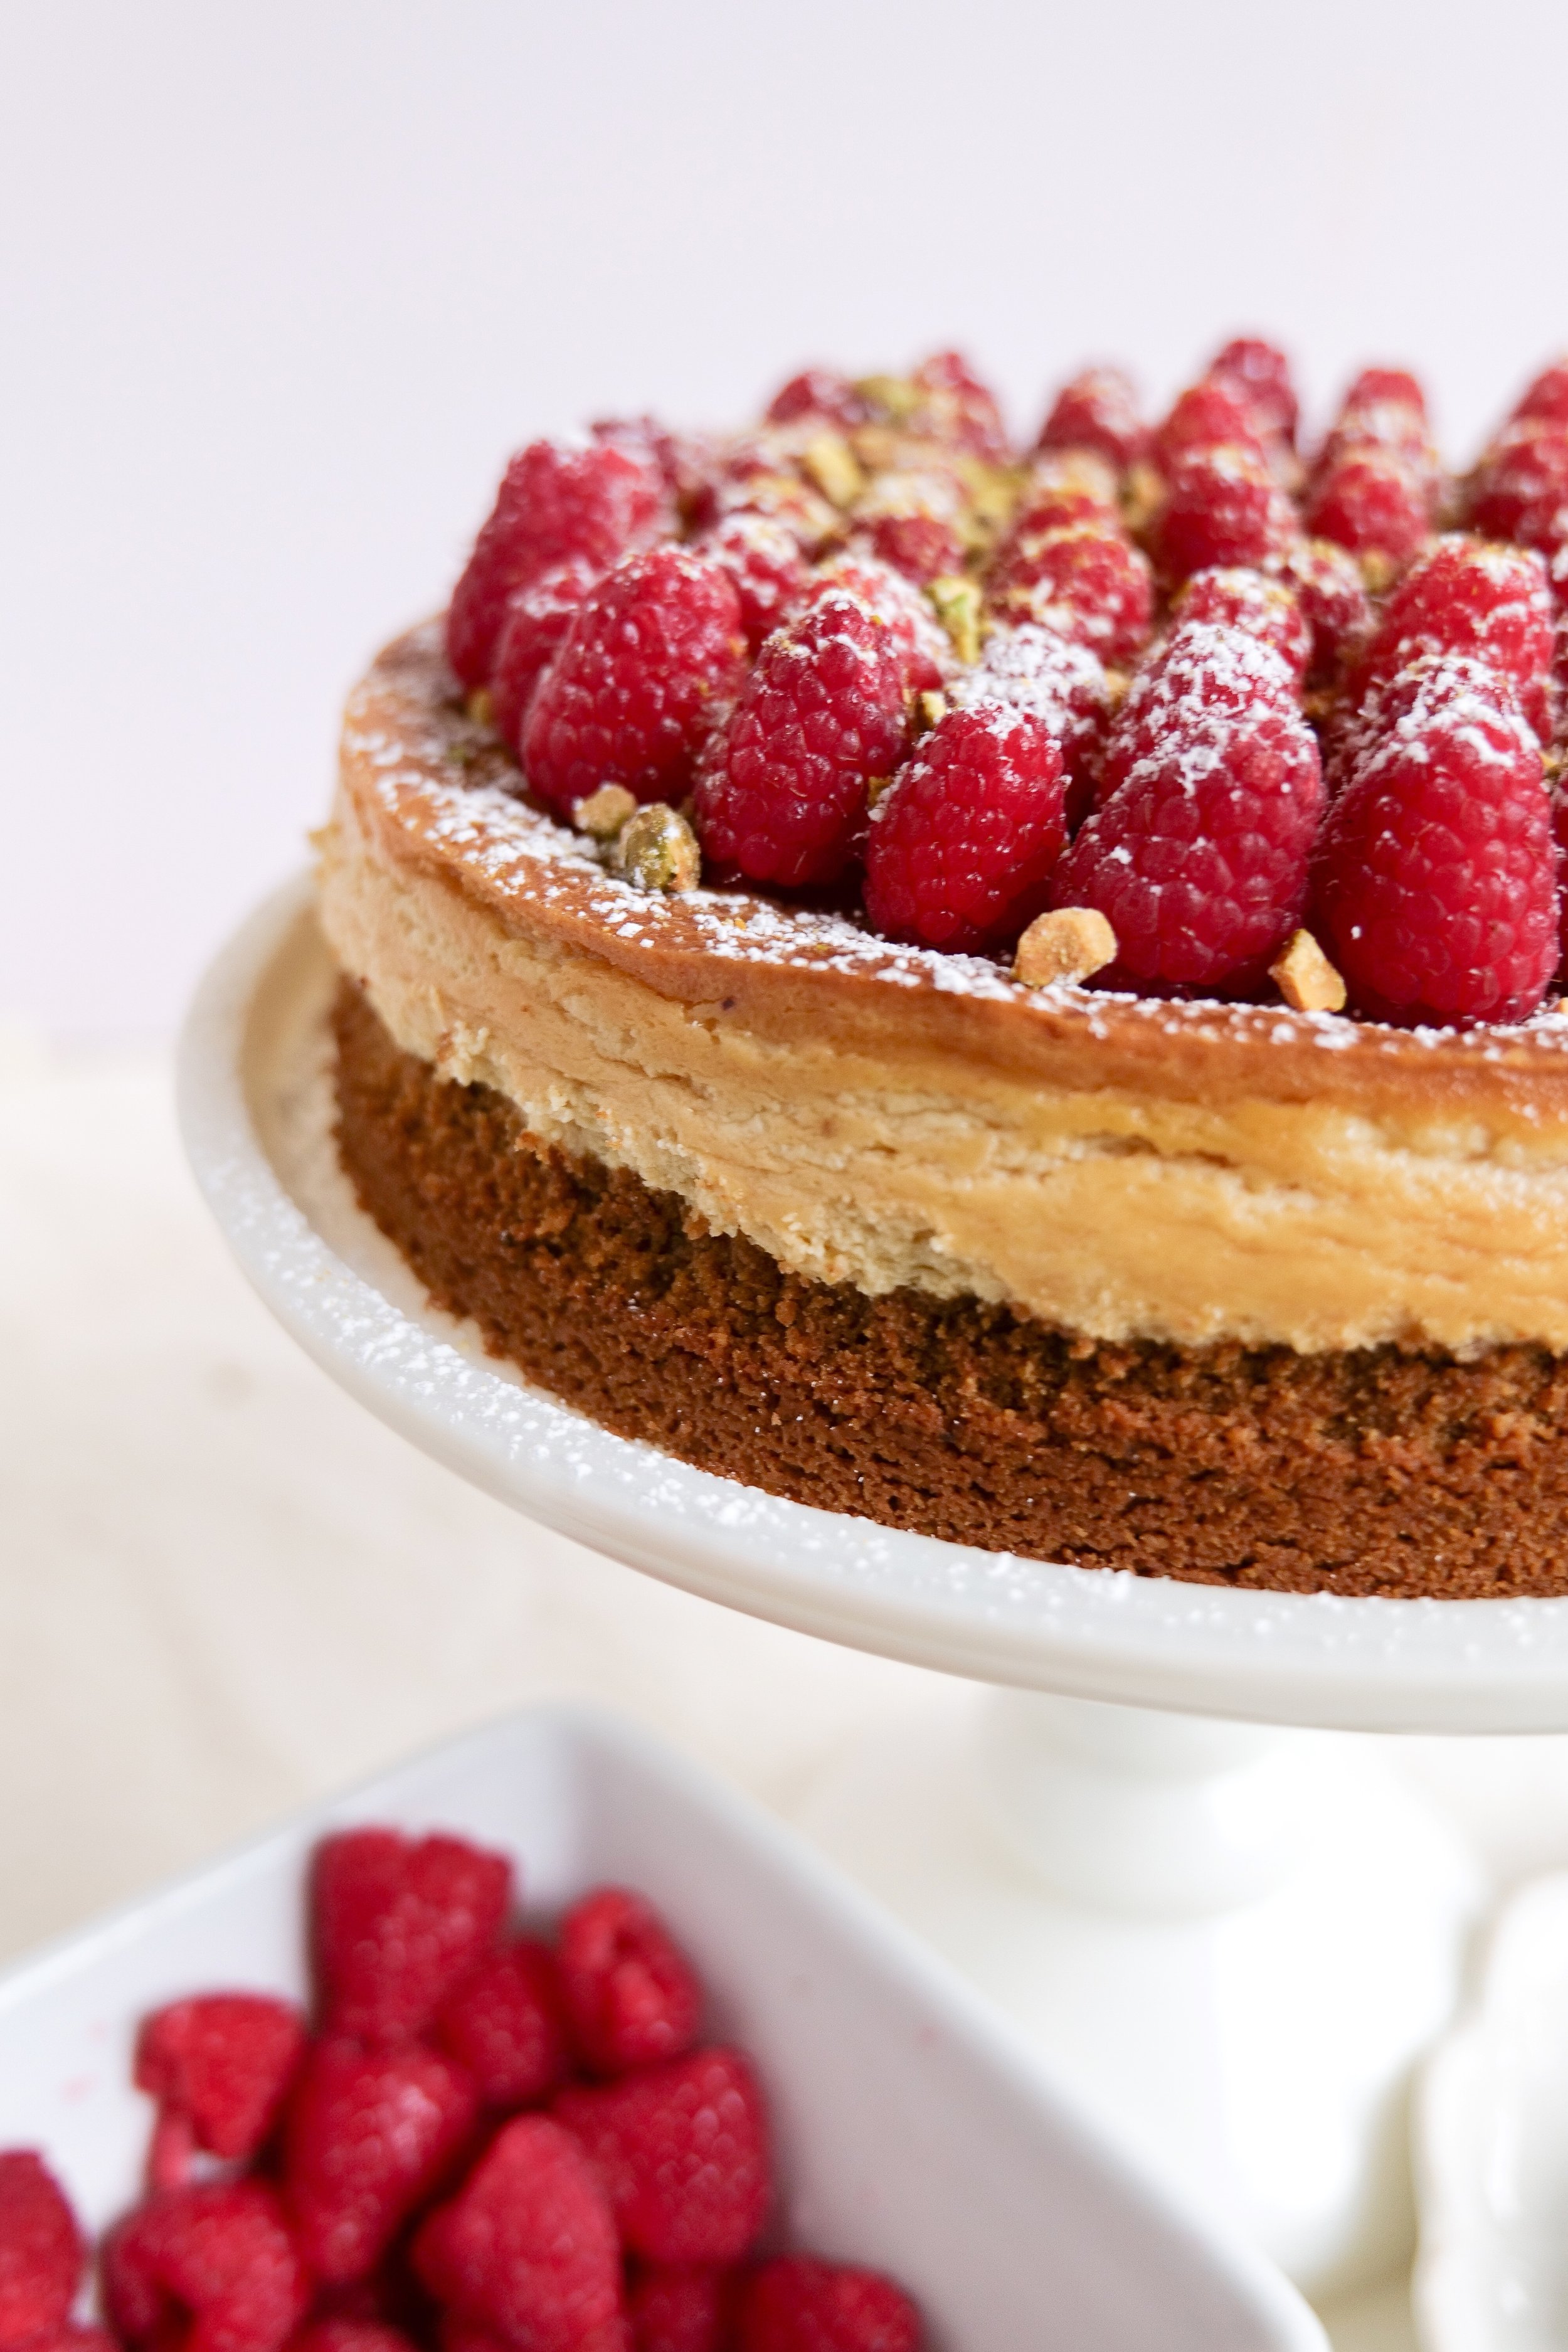
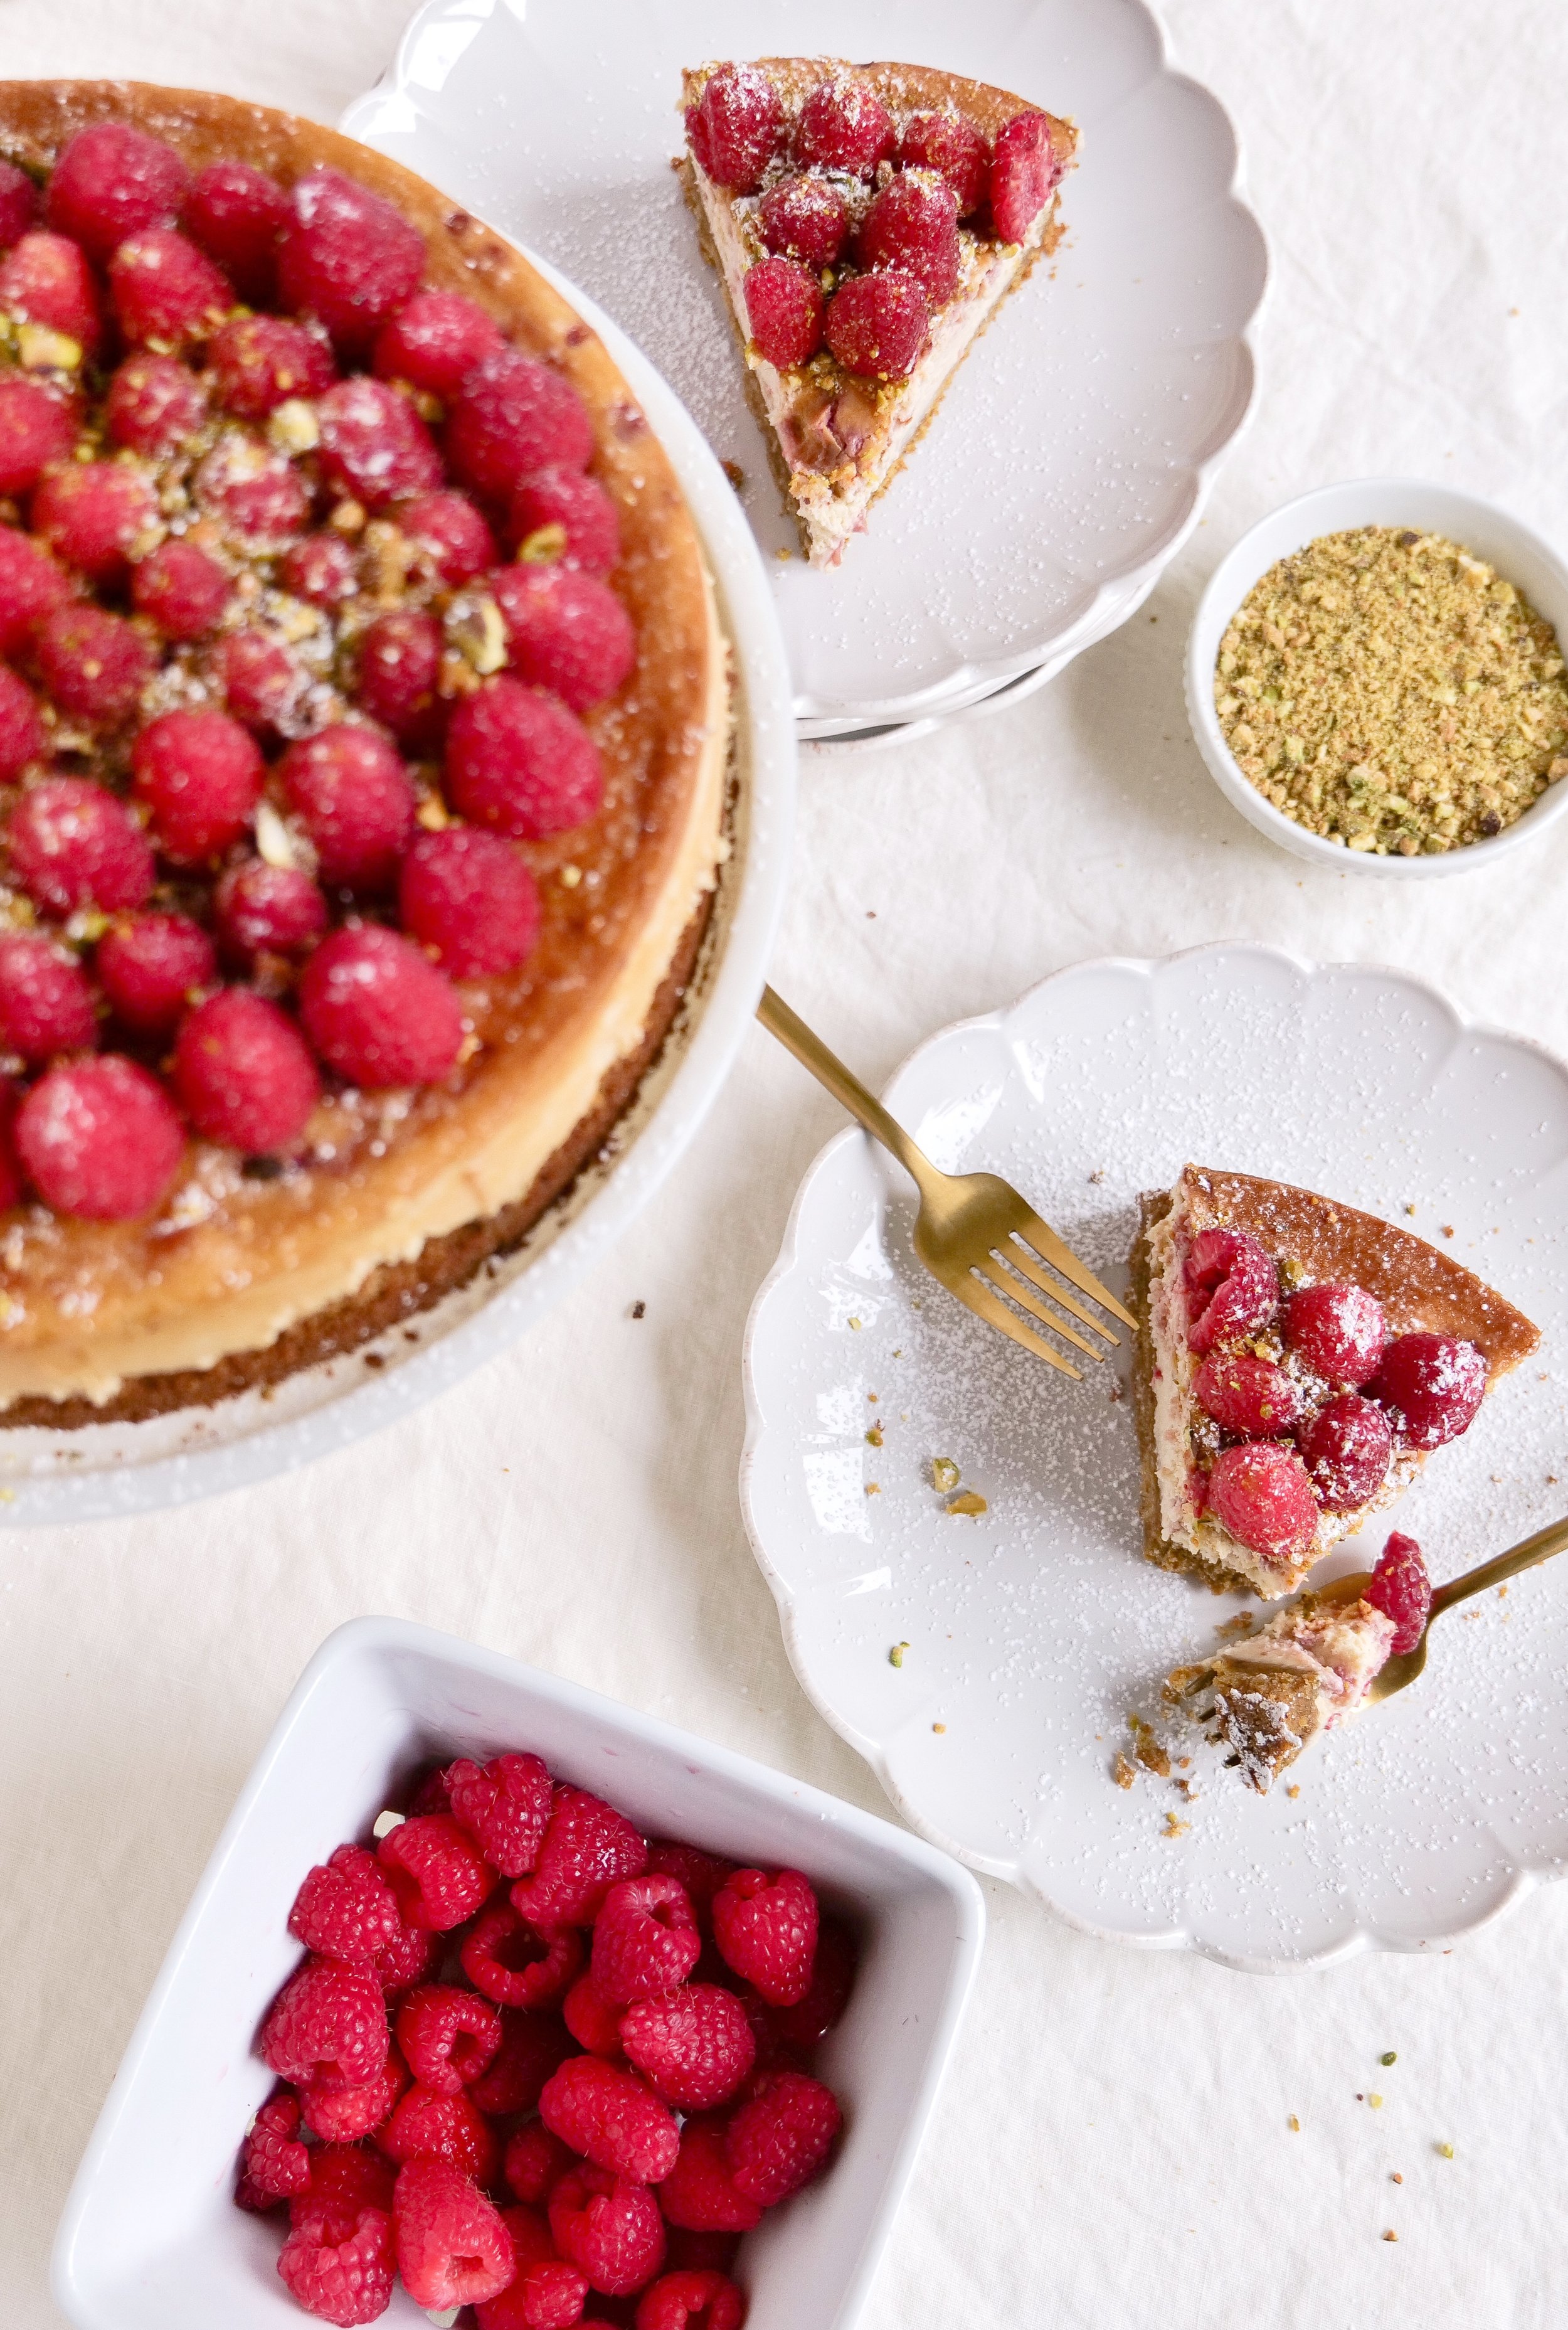
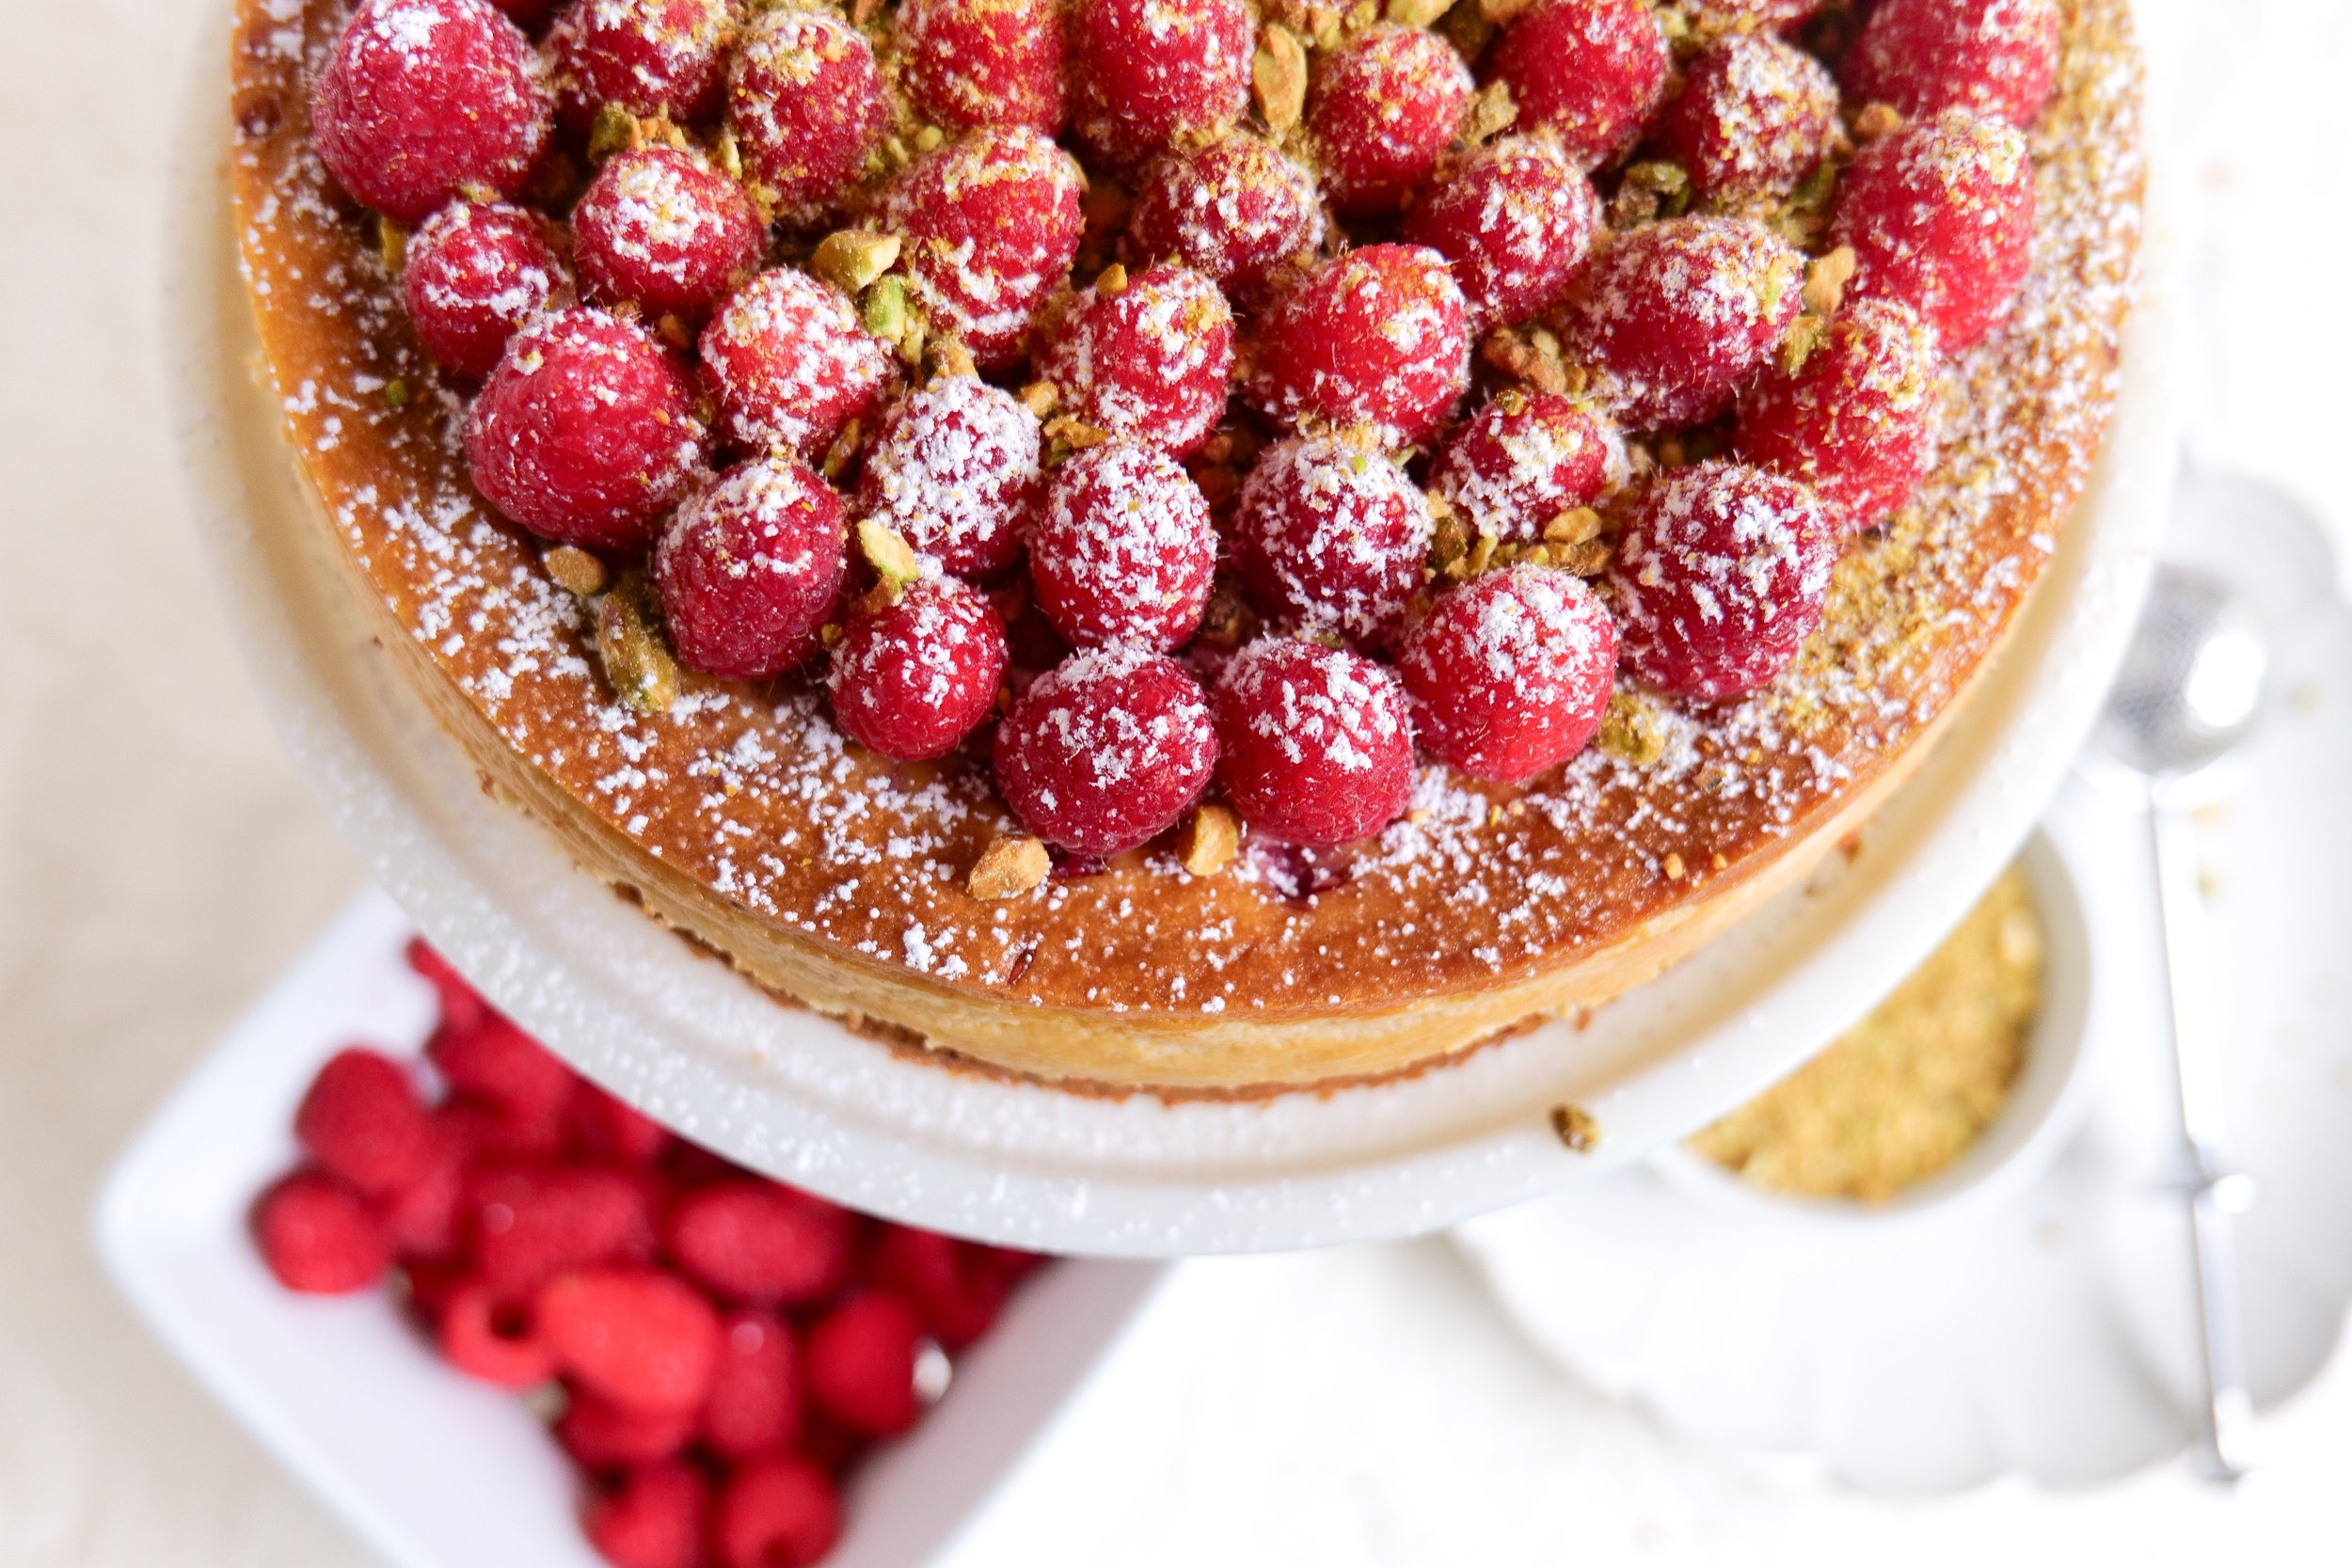
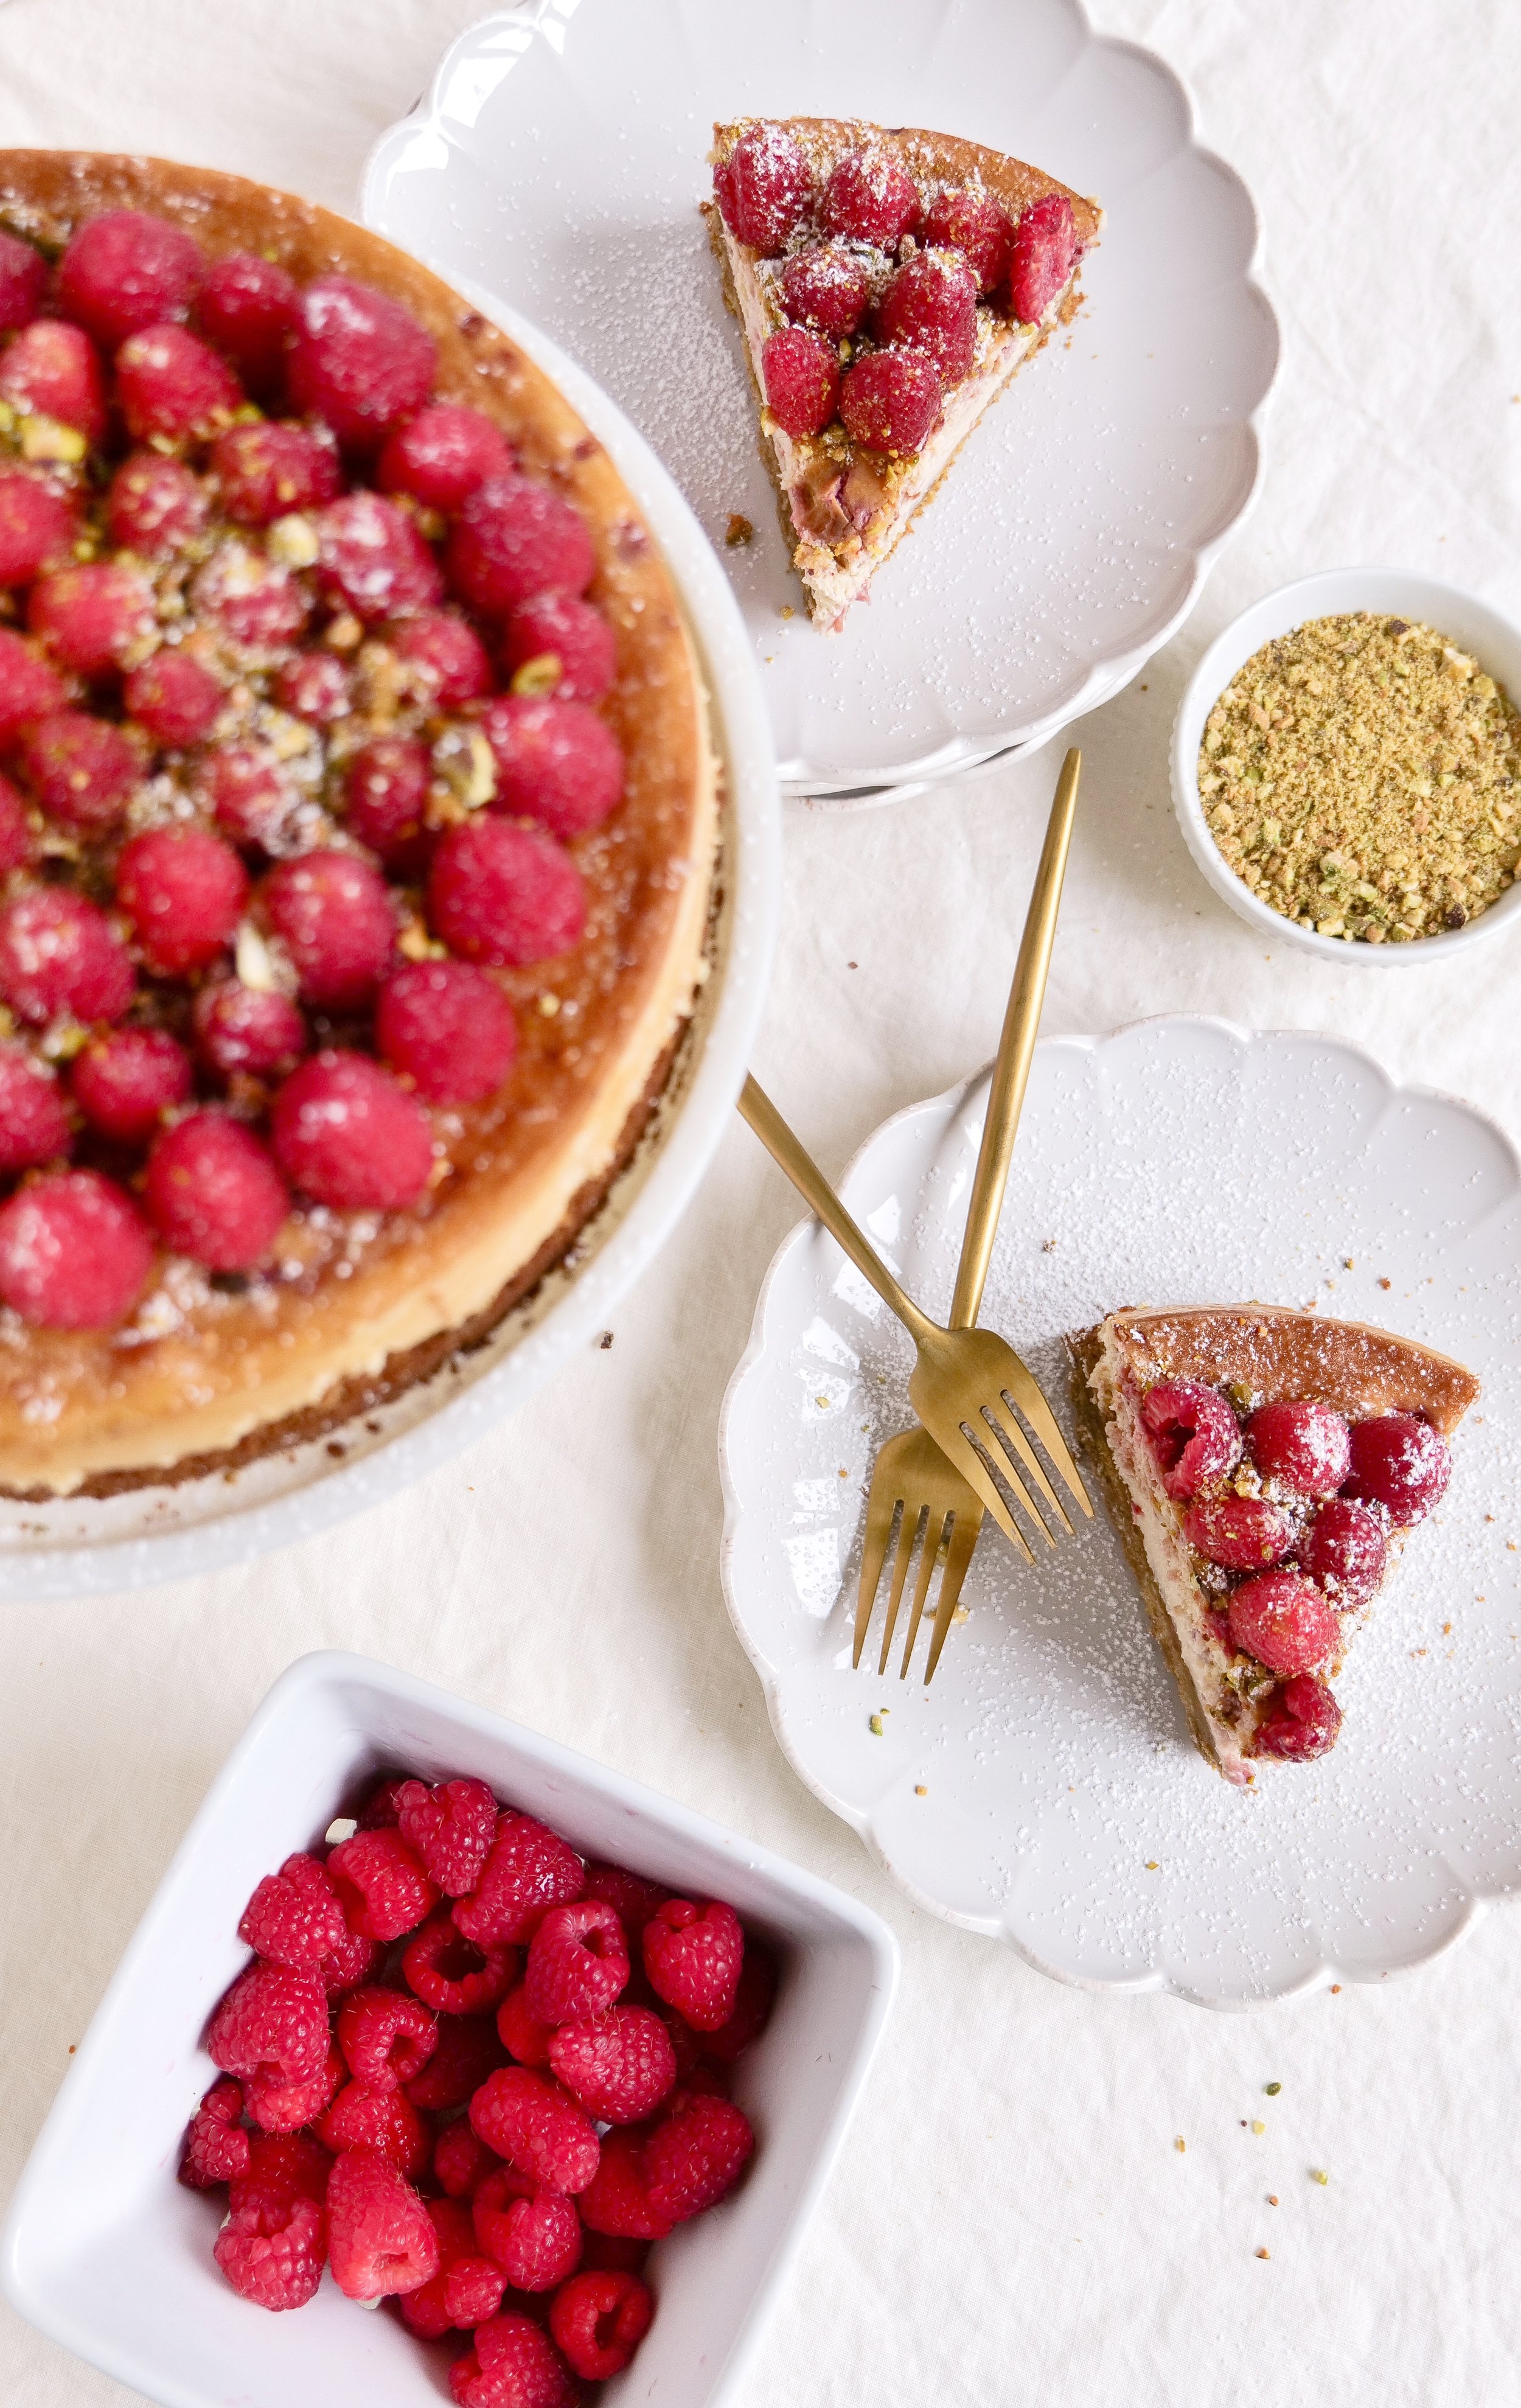
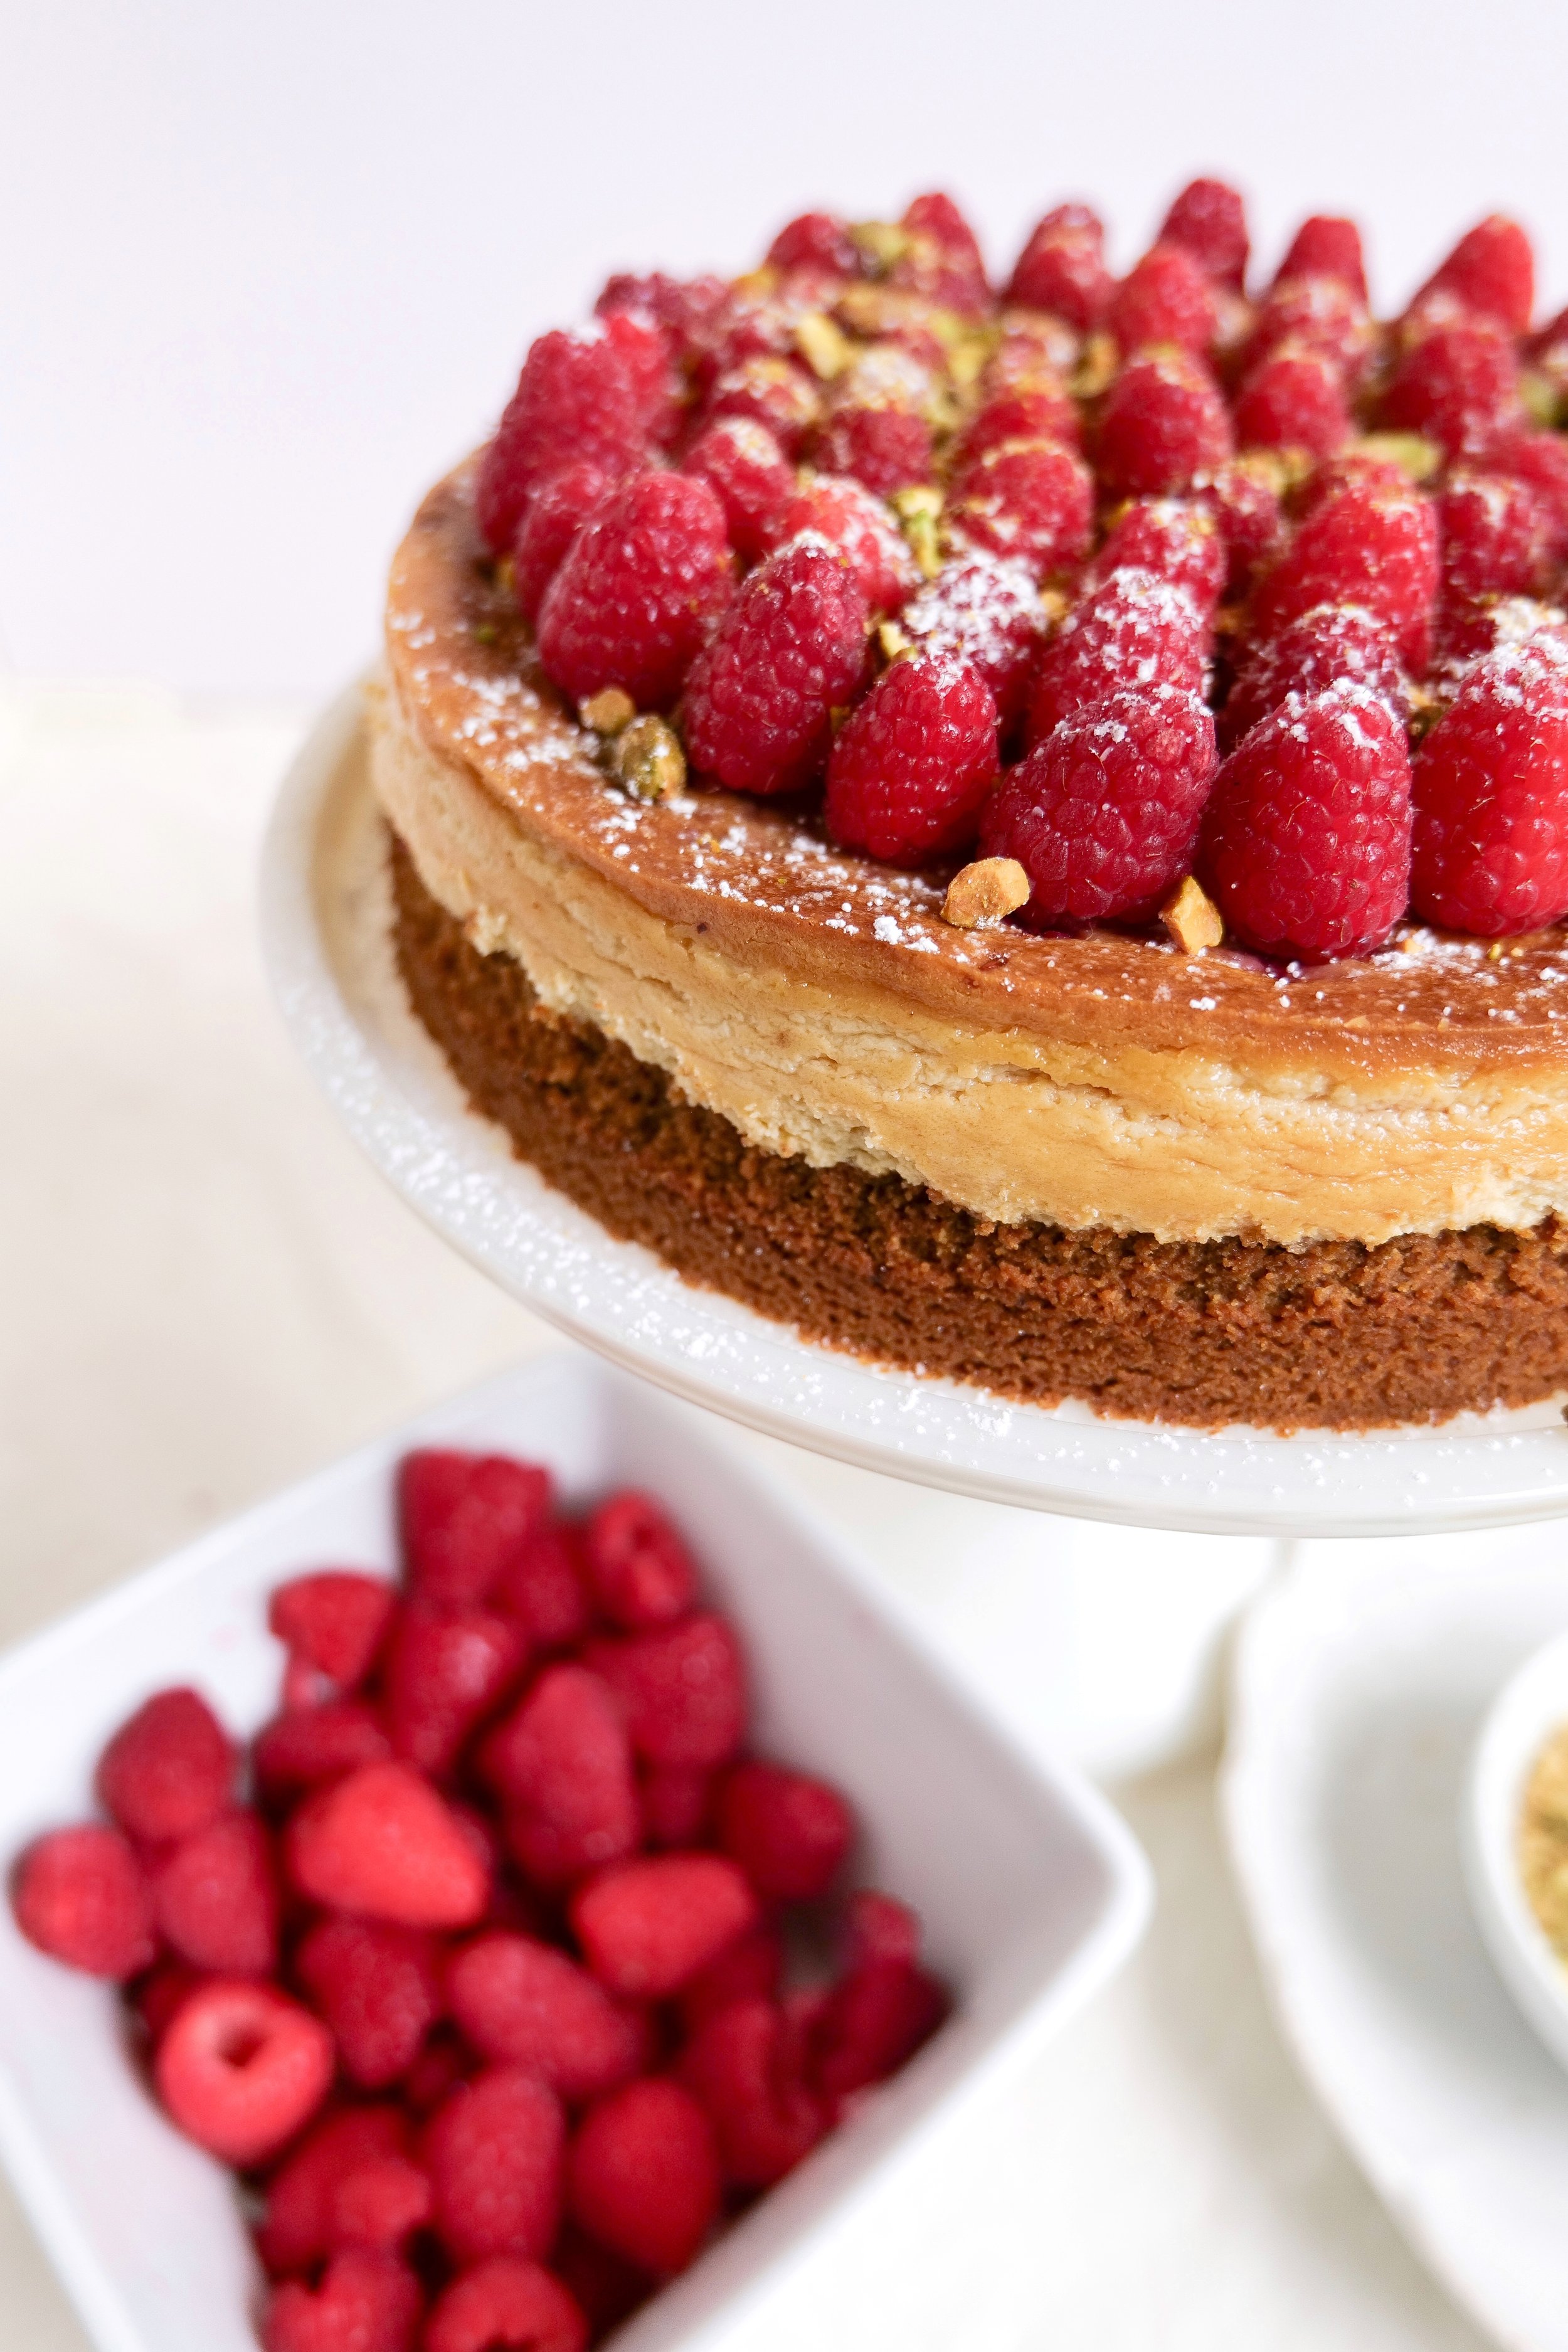
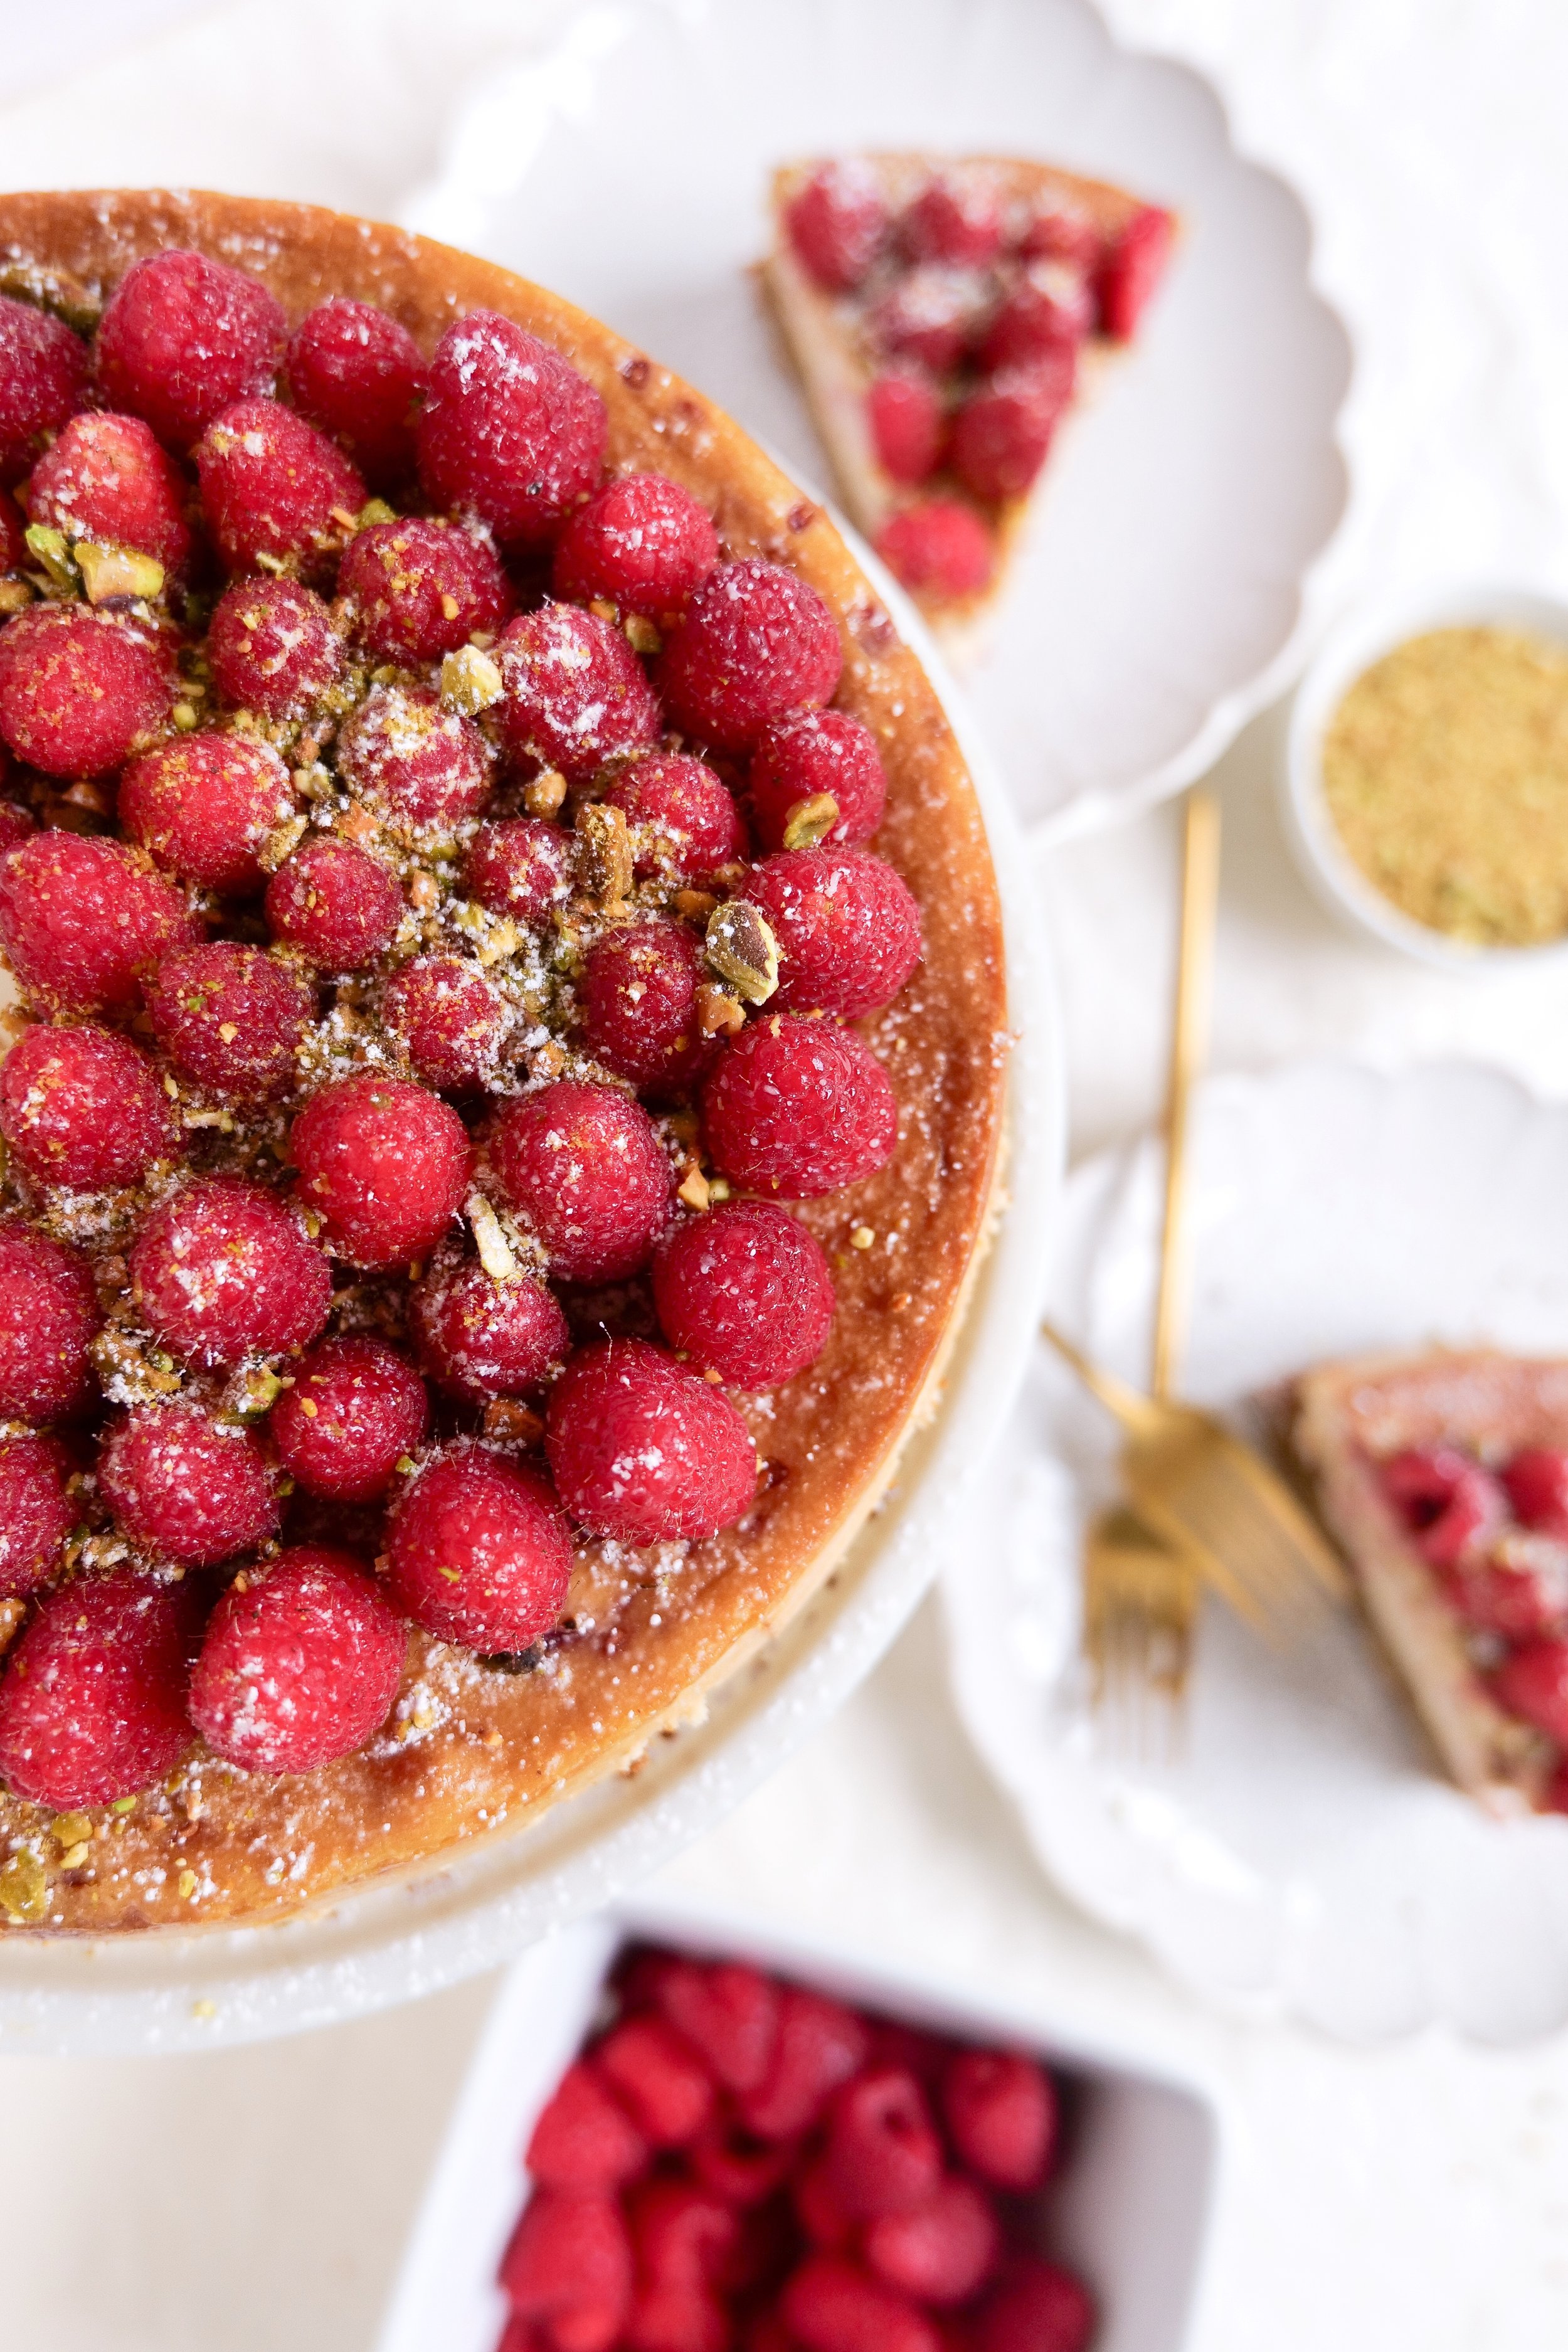
Indulge Your Taste Buds with The Ultimate Raspberry Pistachio Cheesecake Recipe
An Irresistible Treat: The Delicious Berry Custard Puff Pastry Tart
Step-by-Step Guide to Making a Refreshingly Delicious Frozen Raspberry Margarita