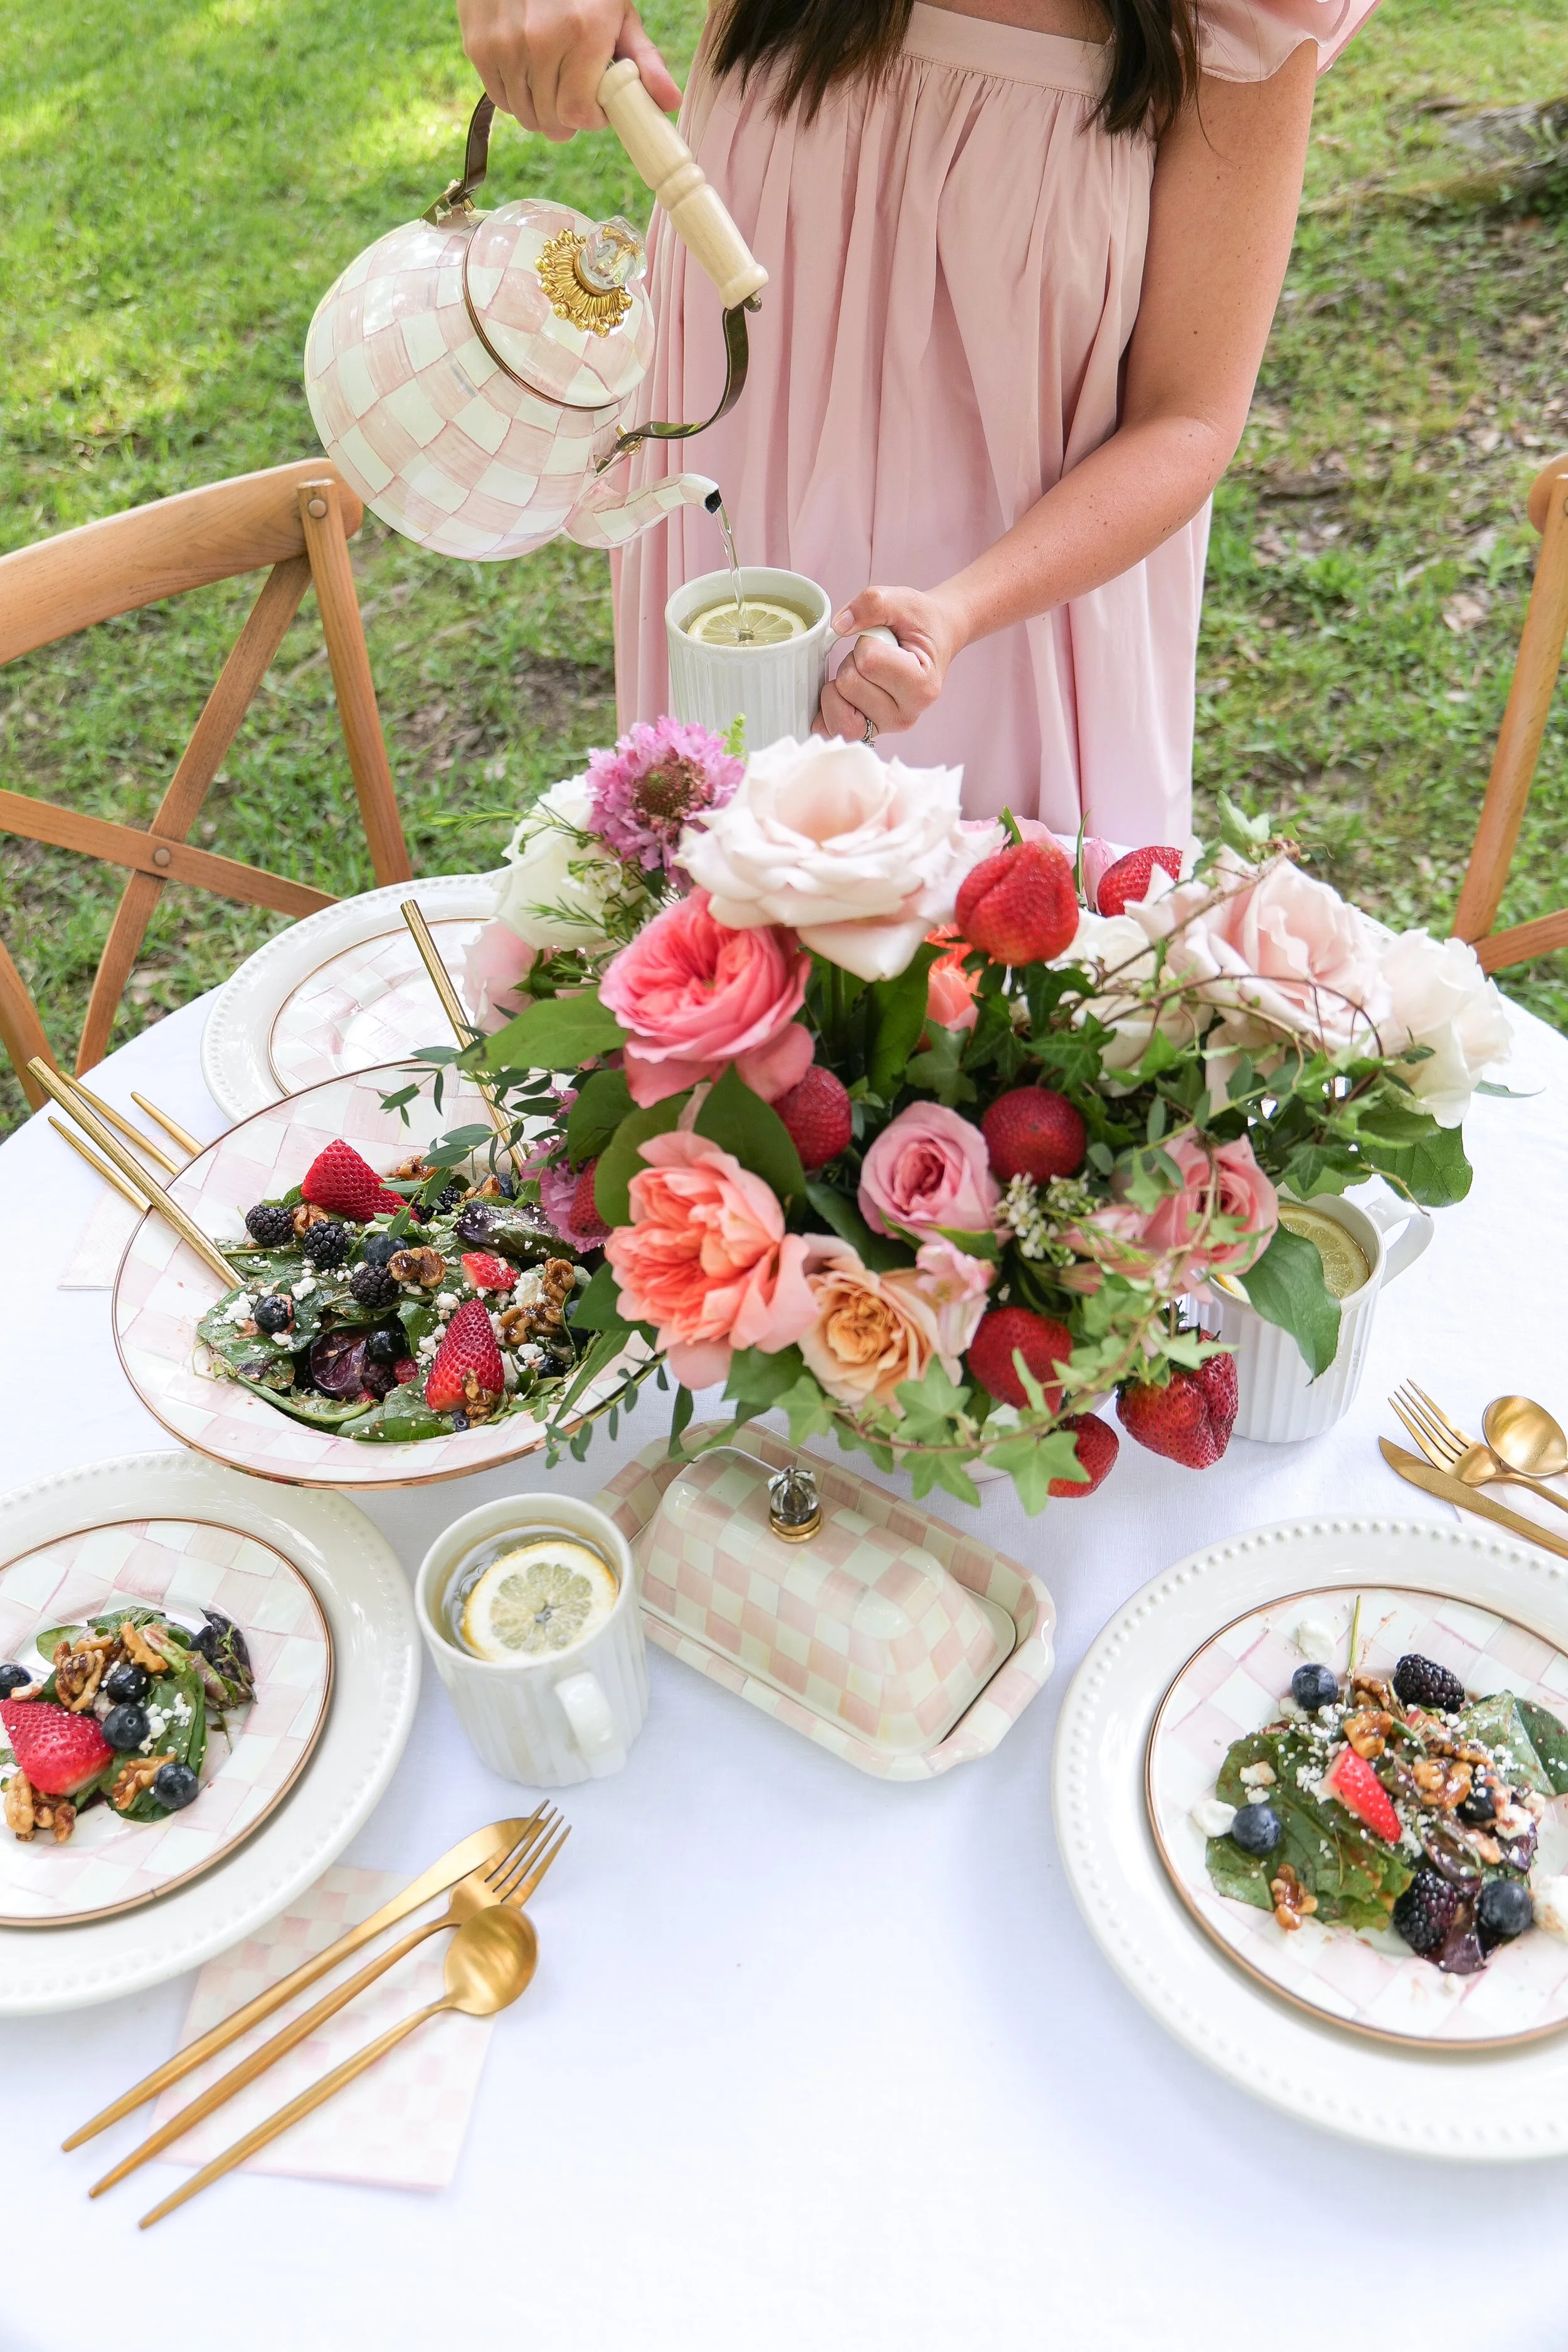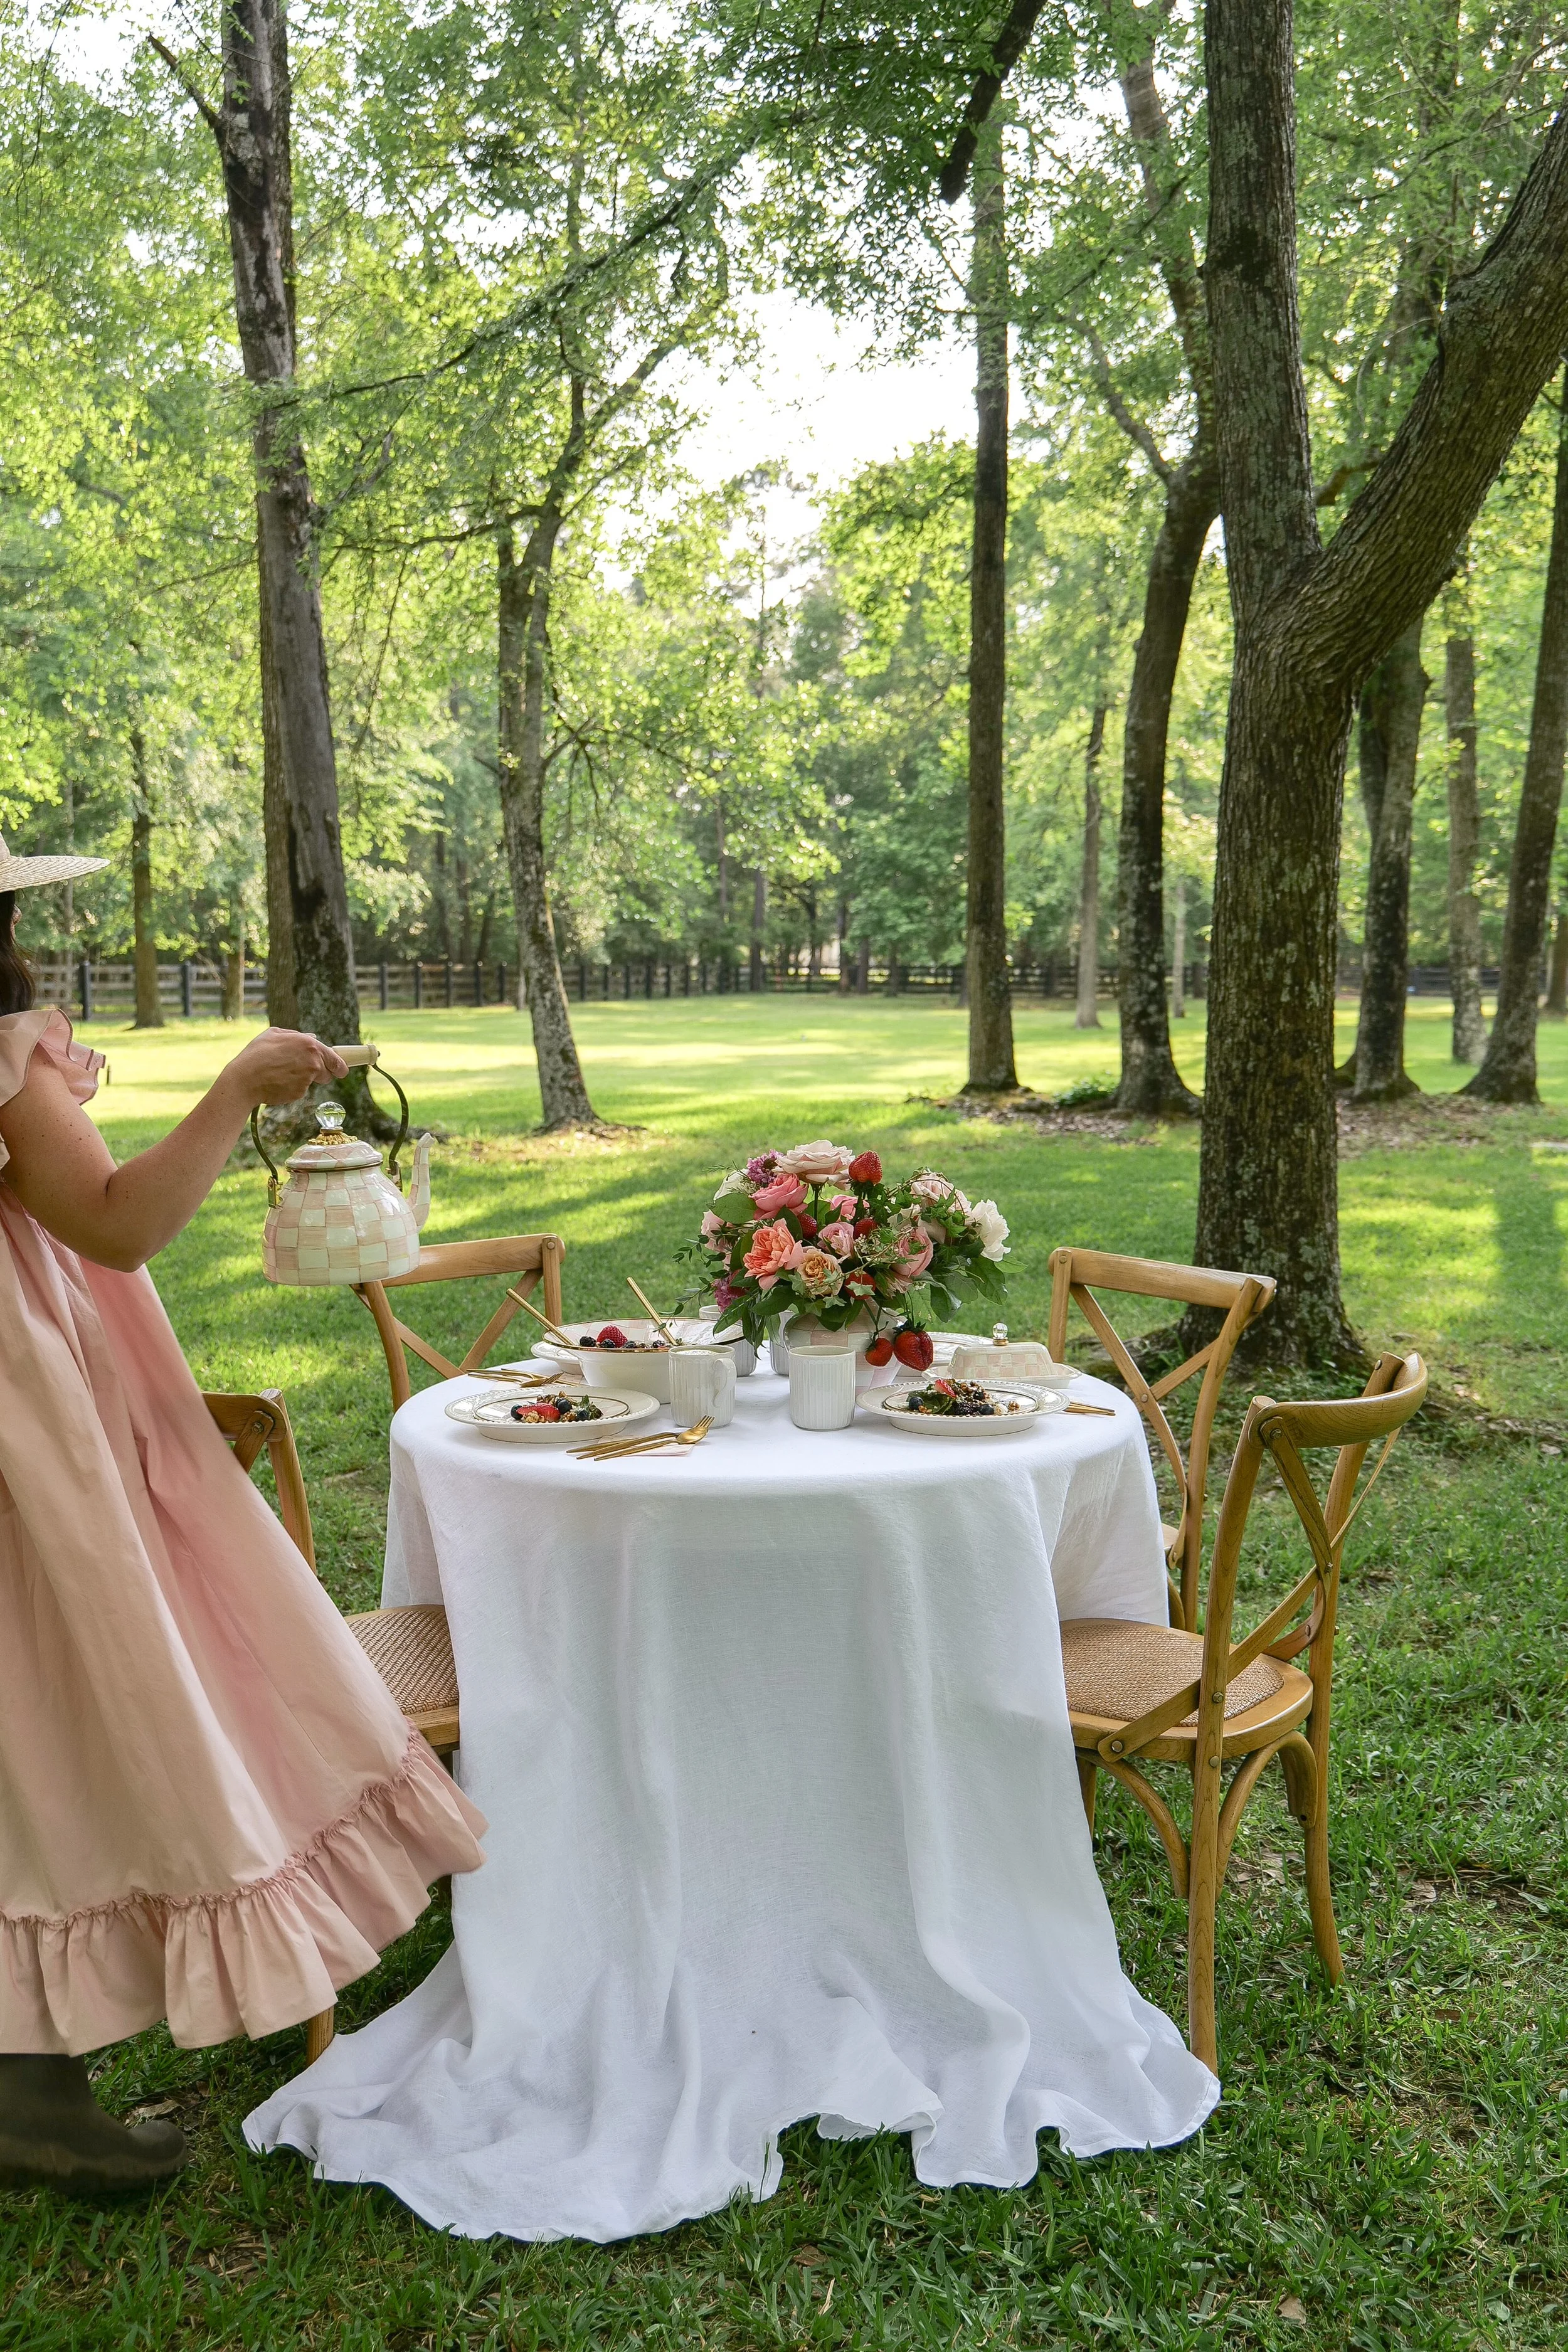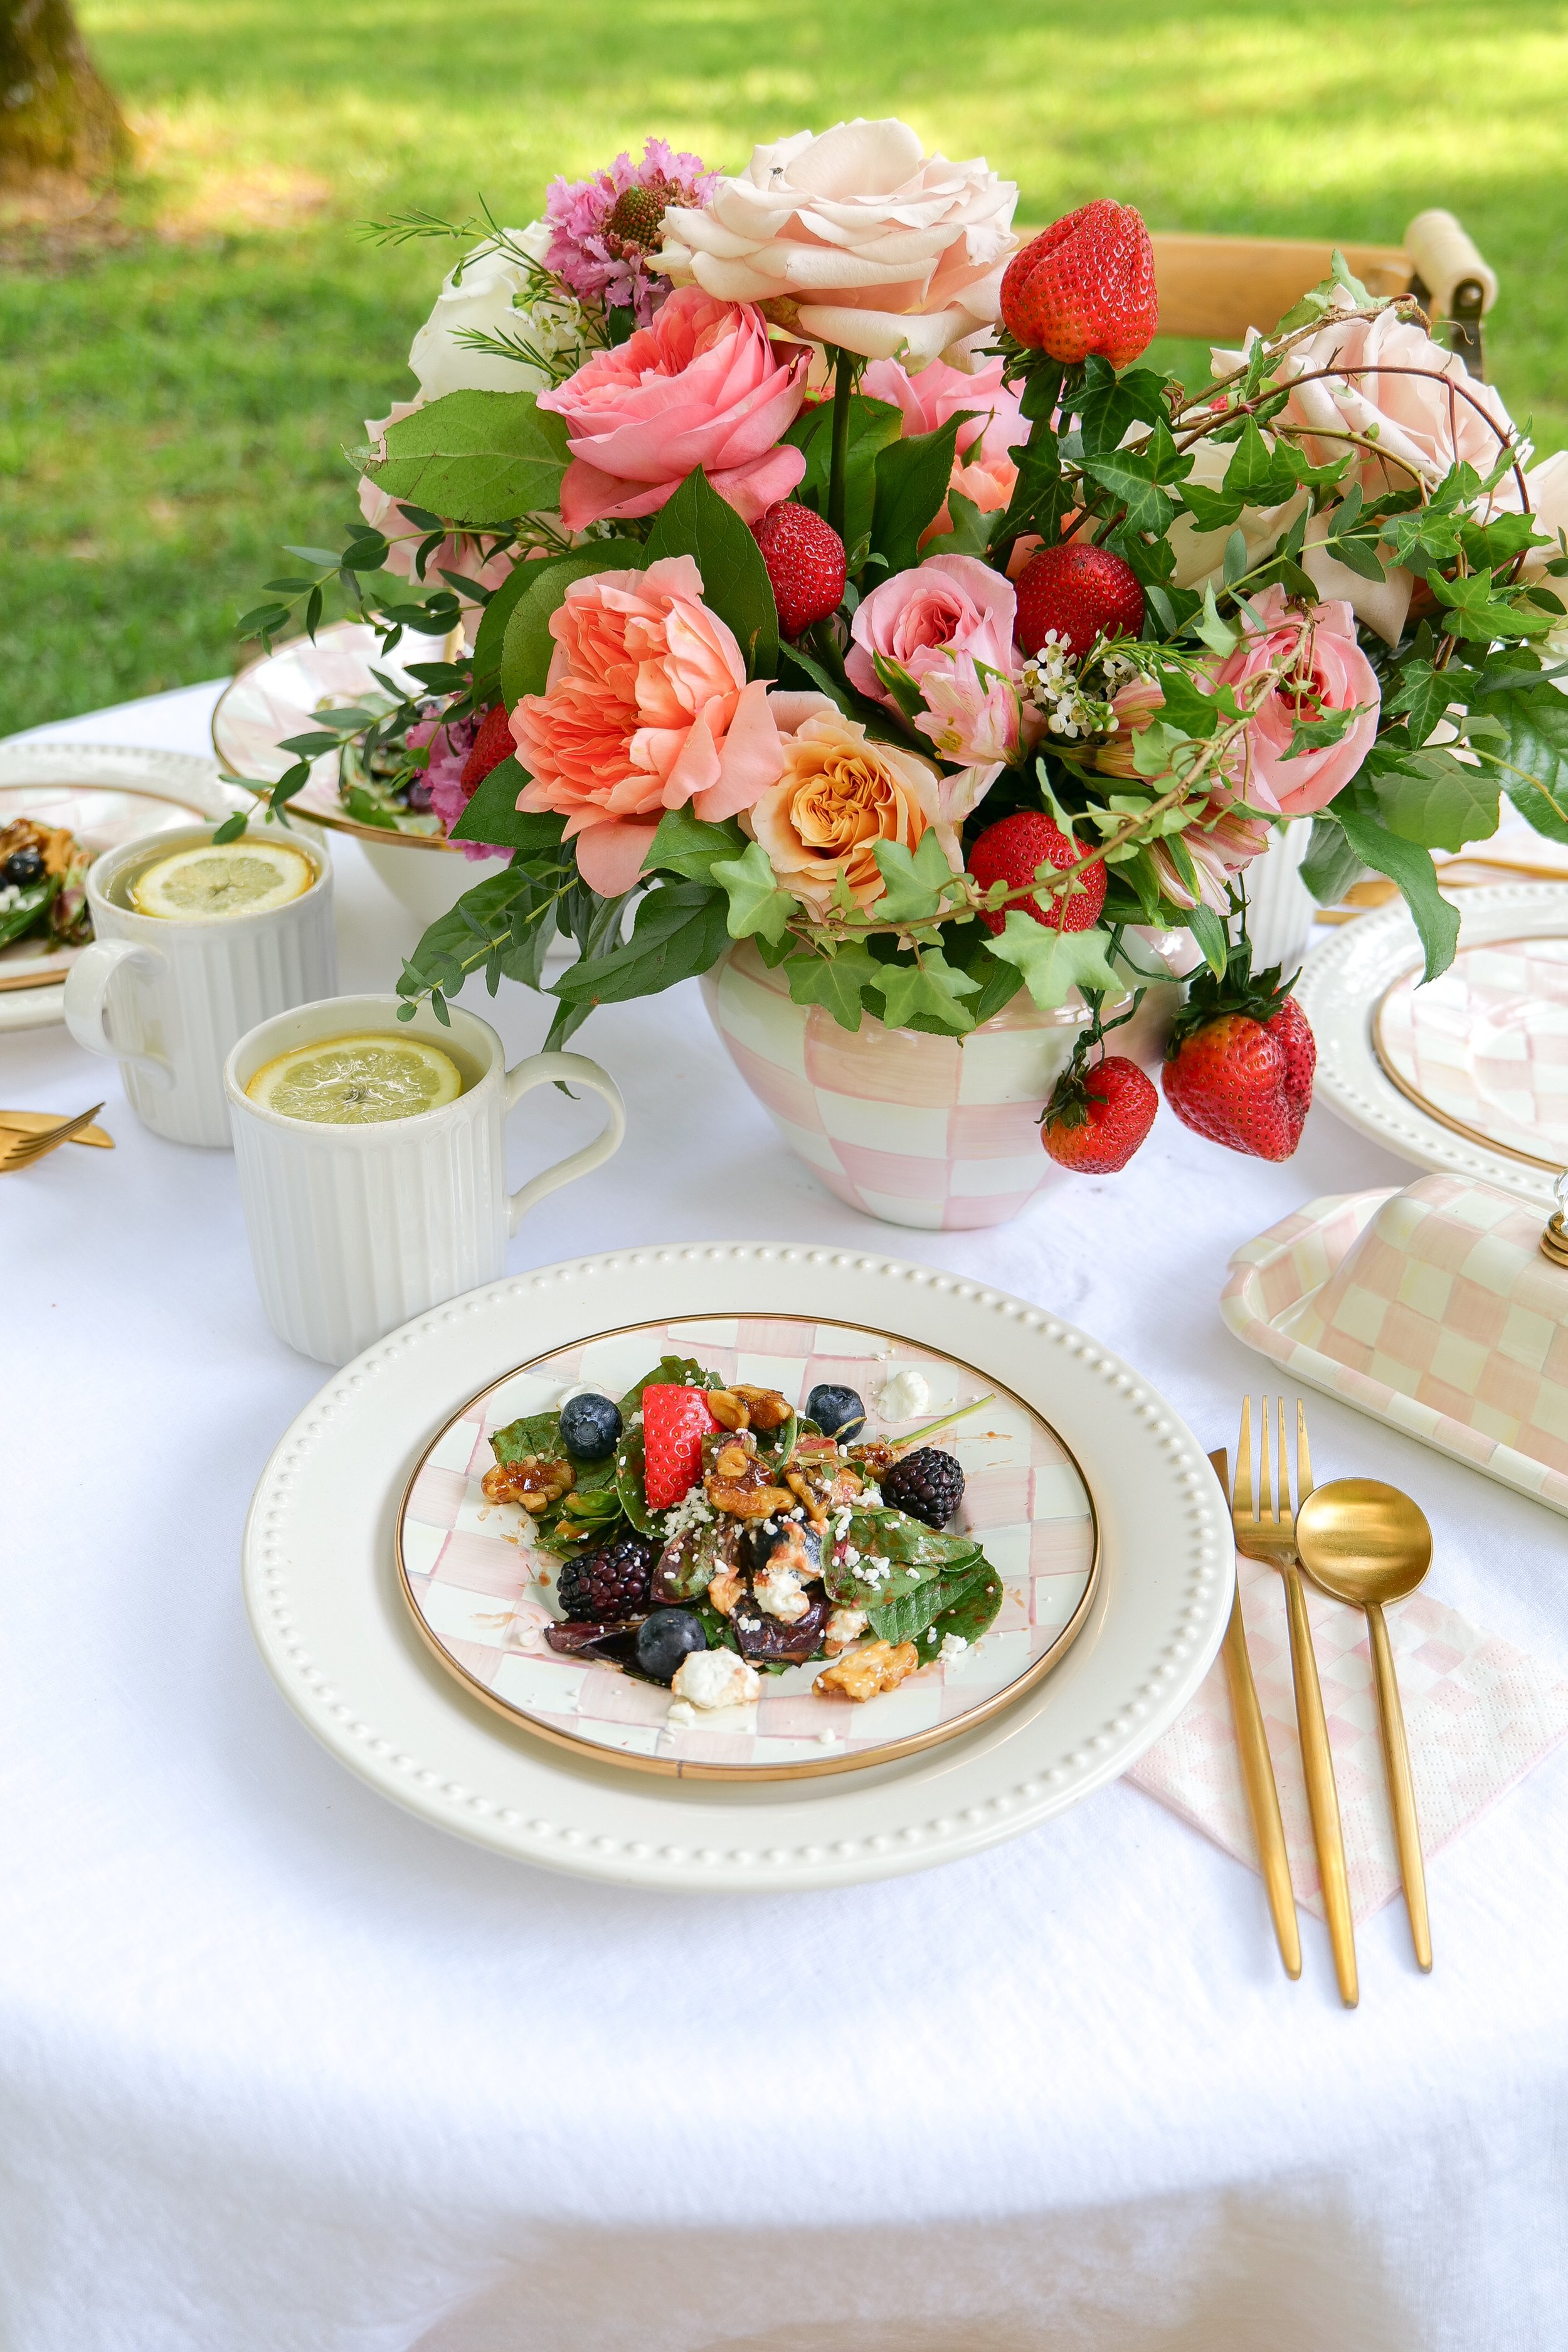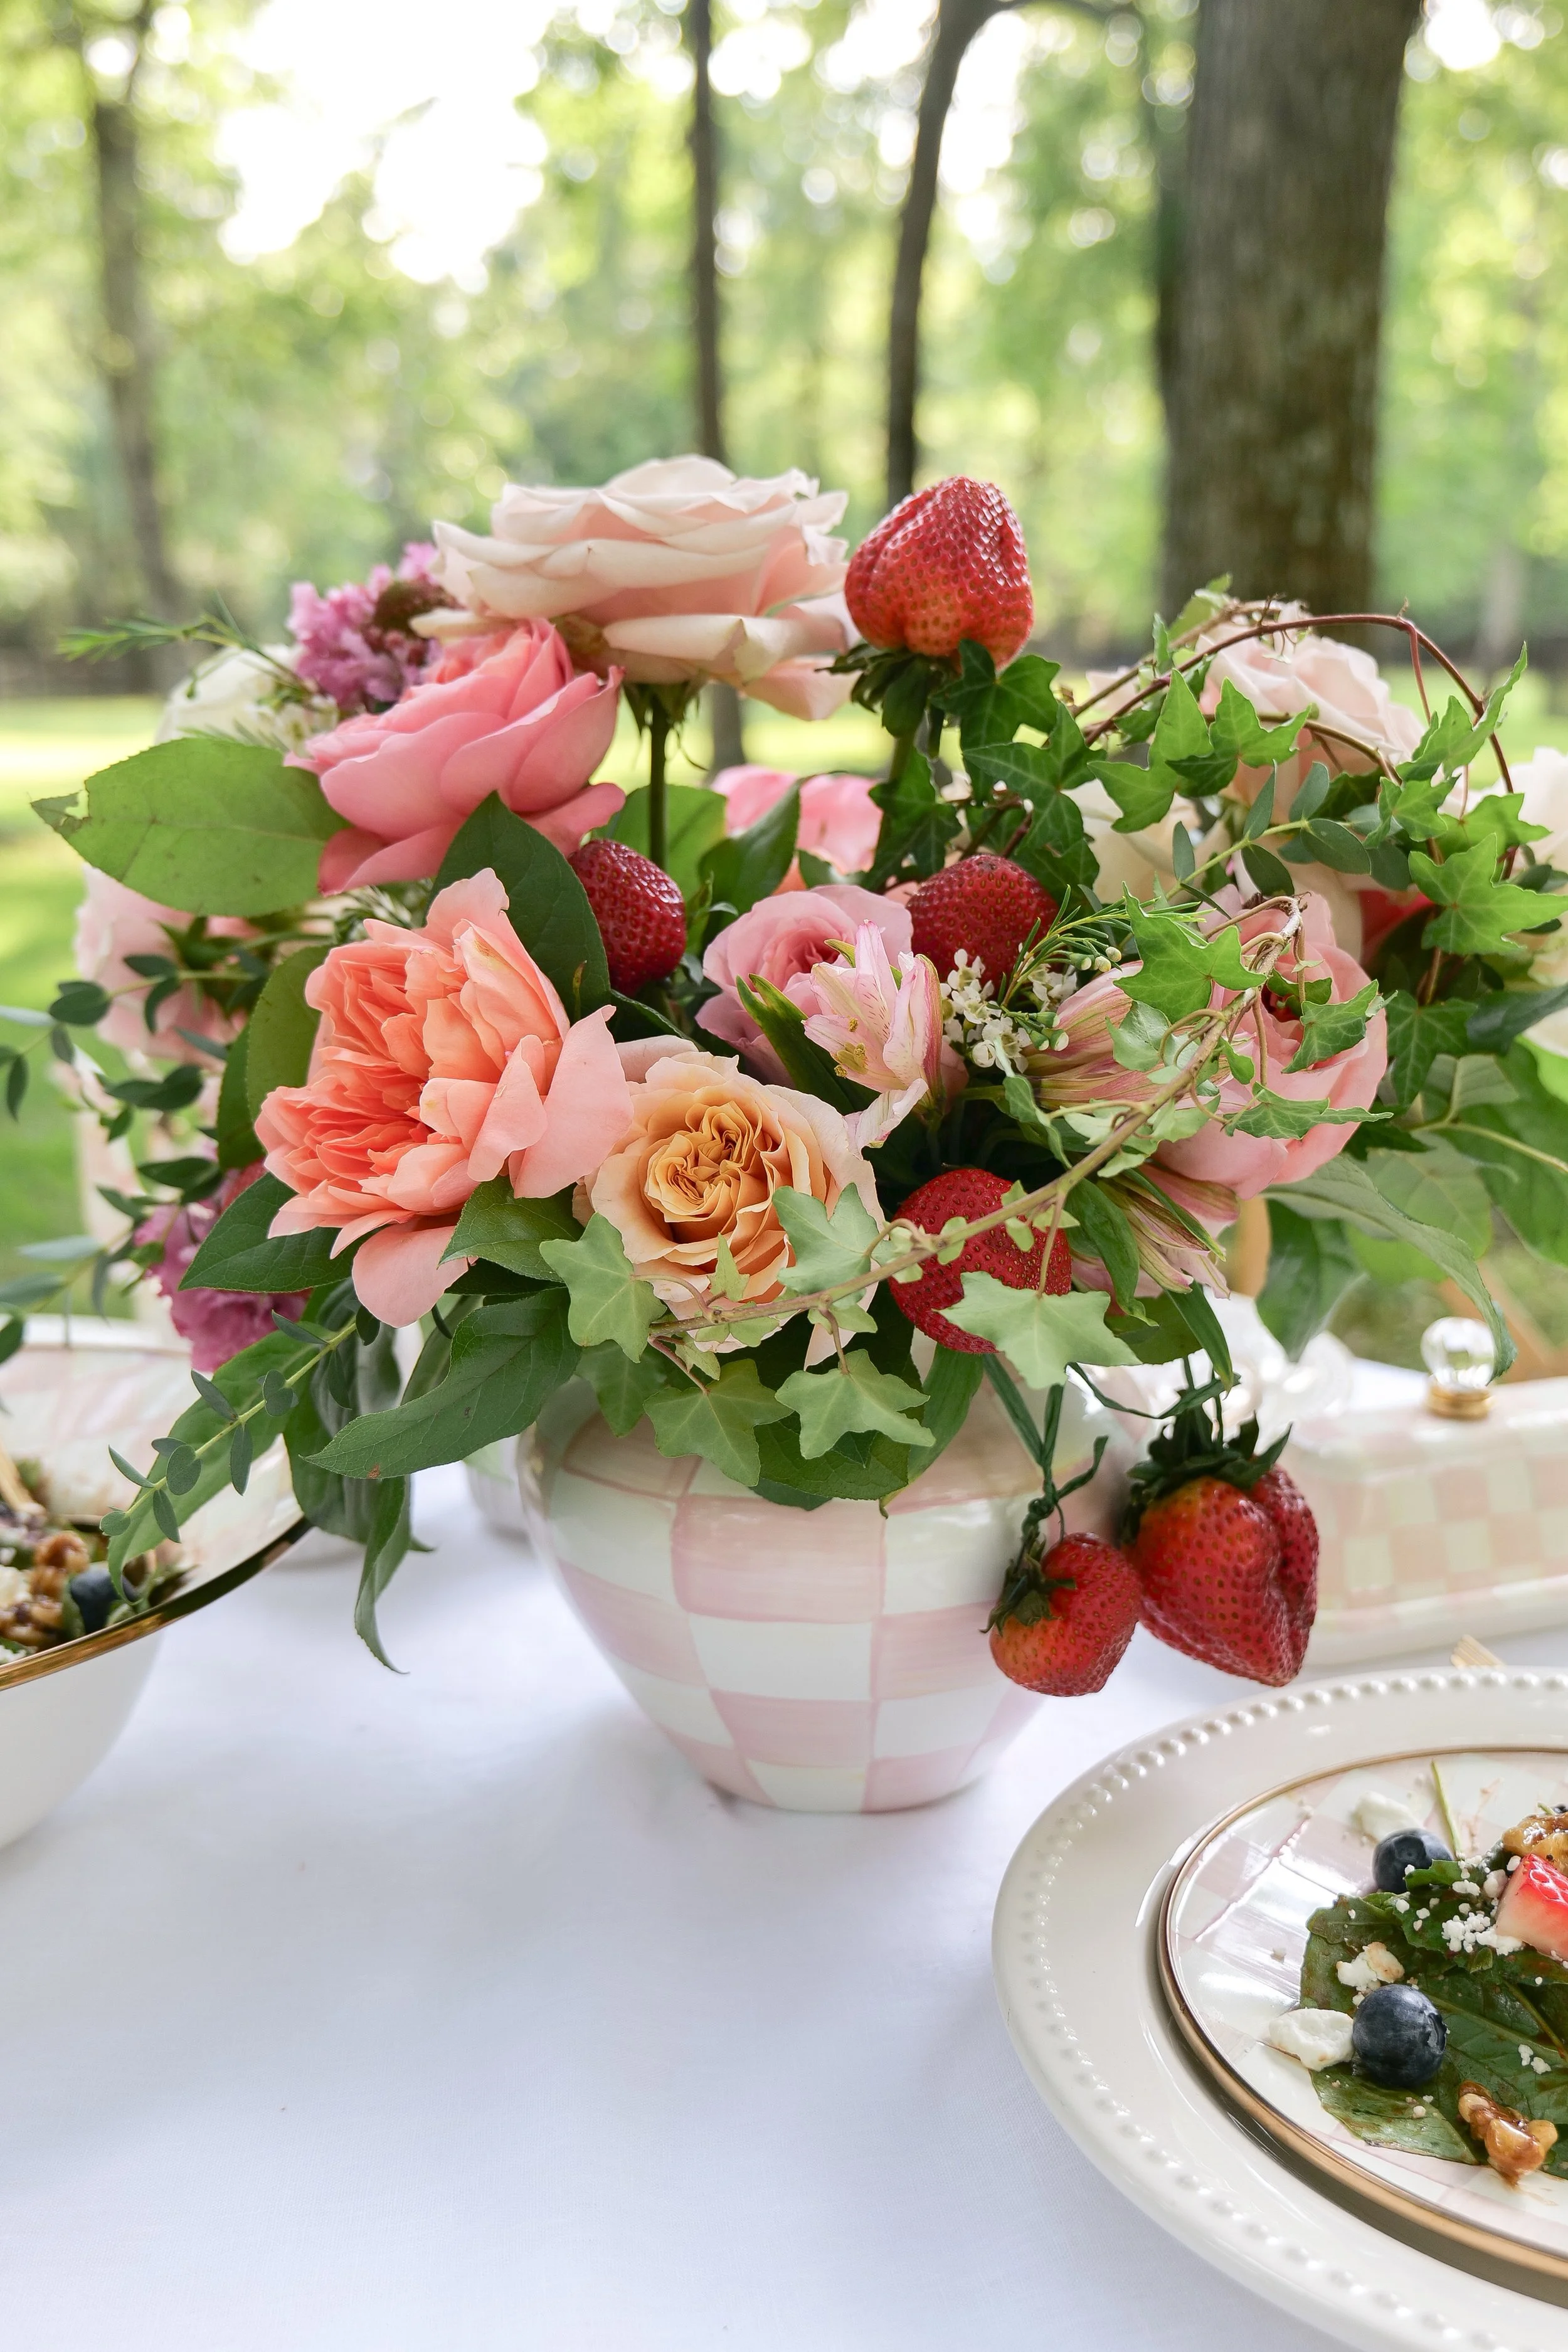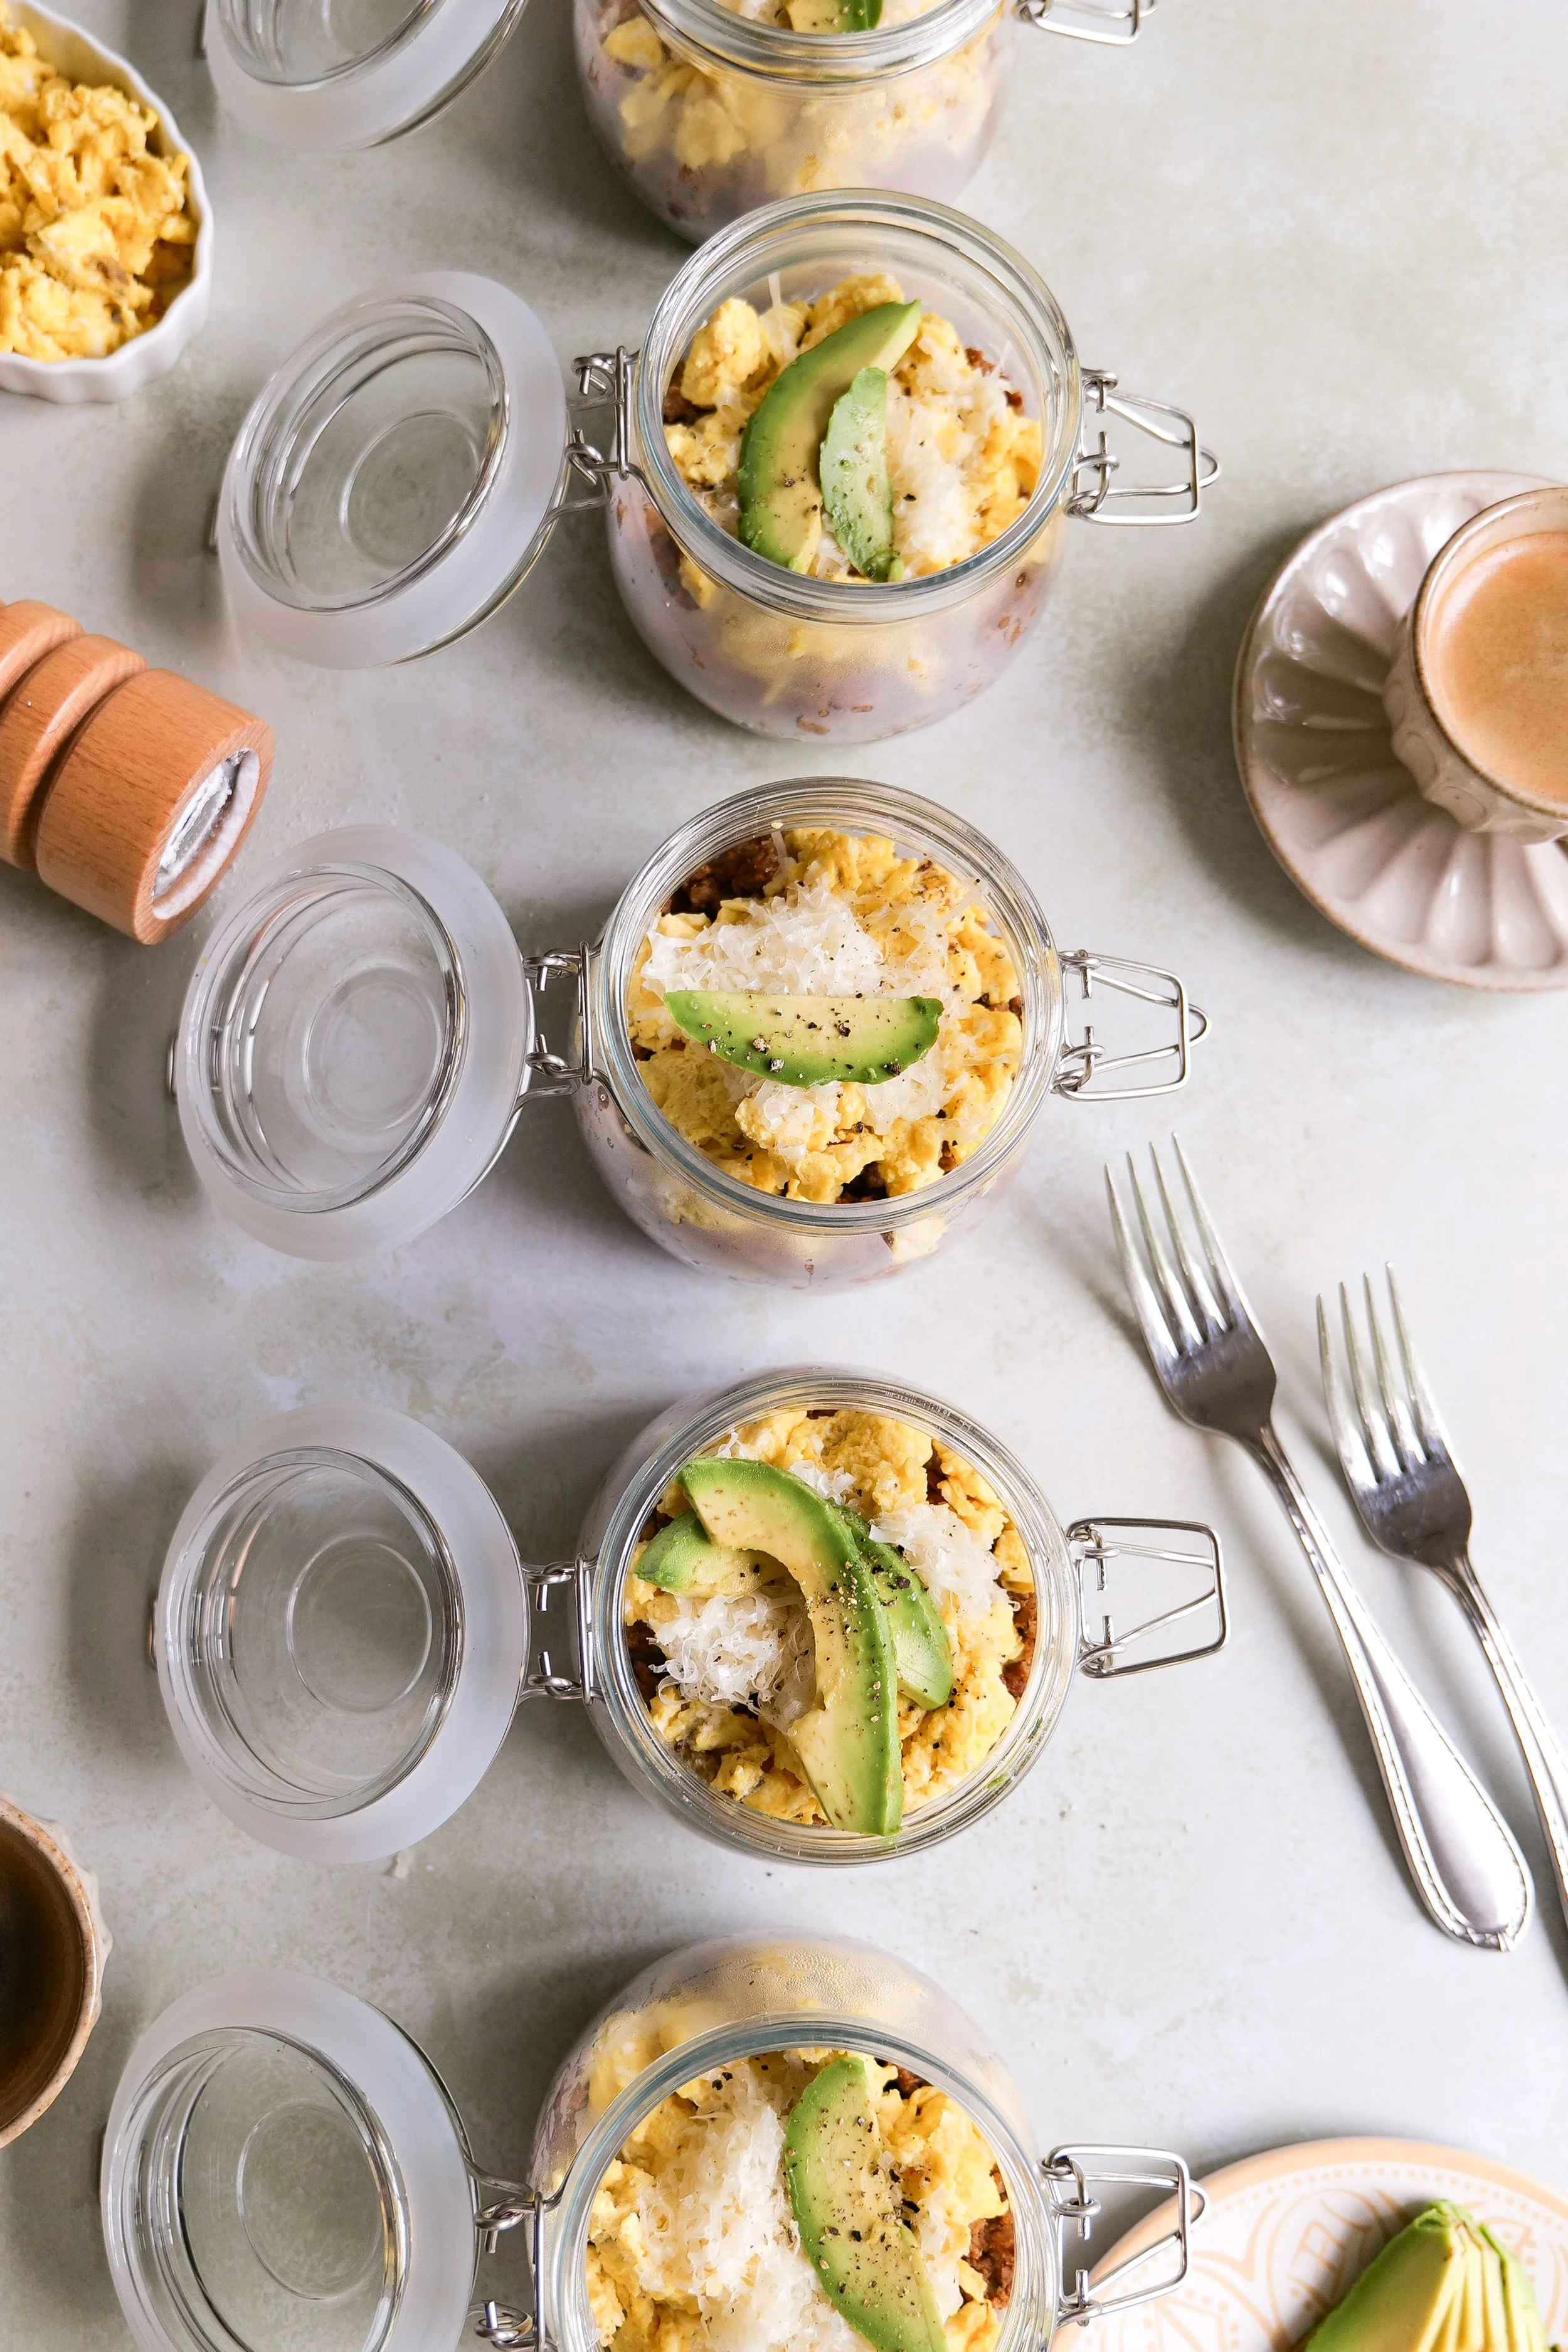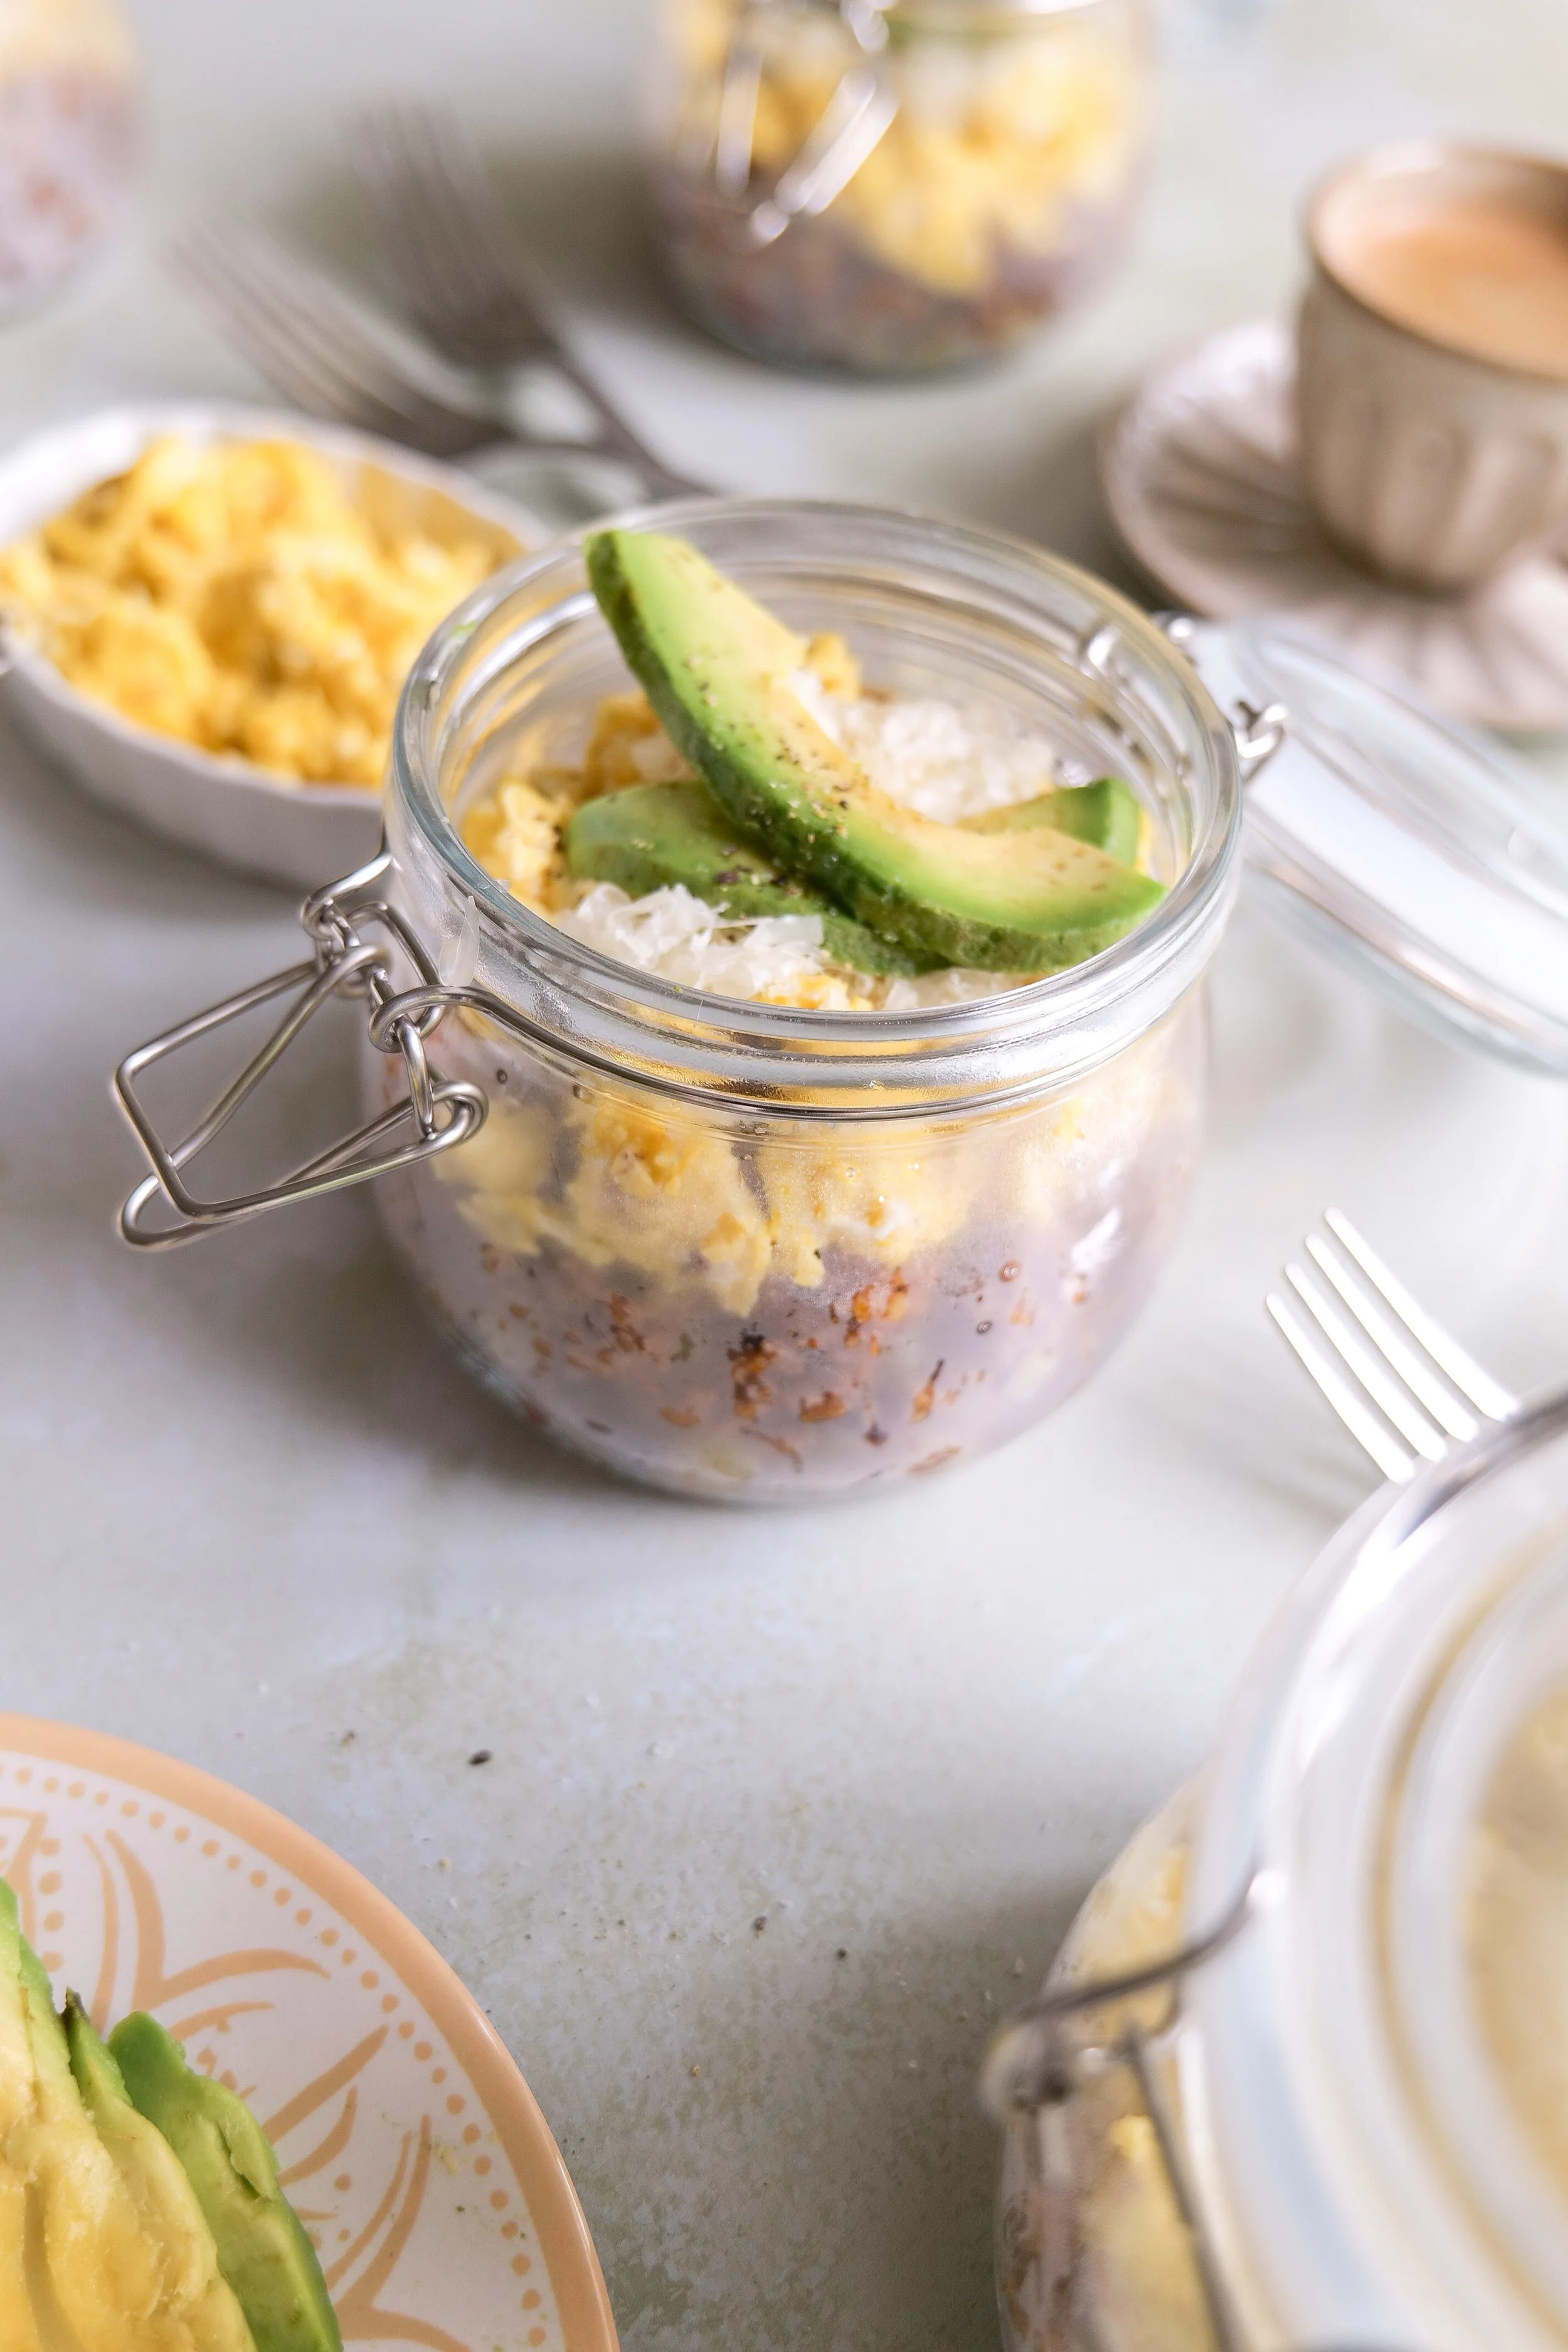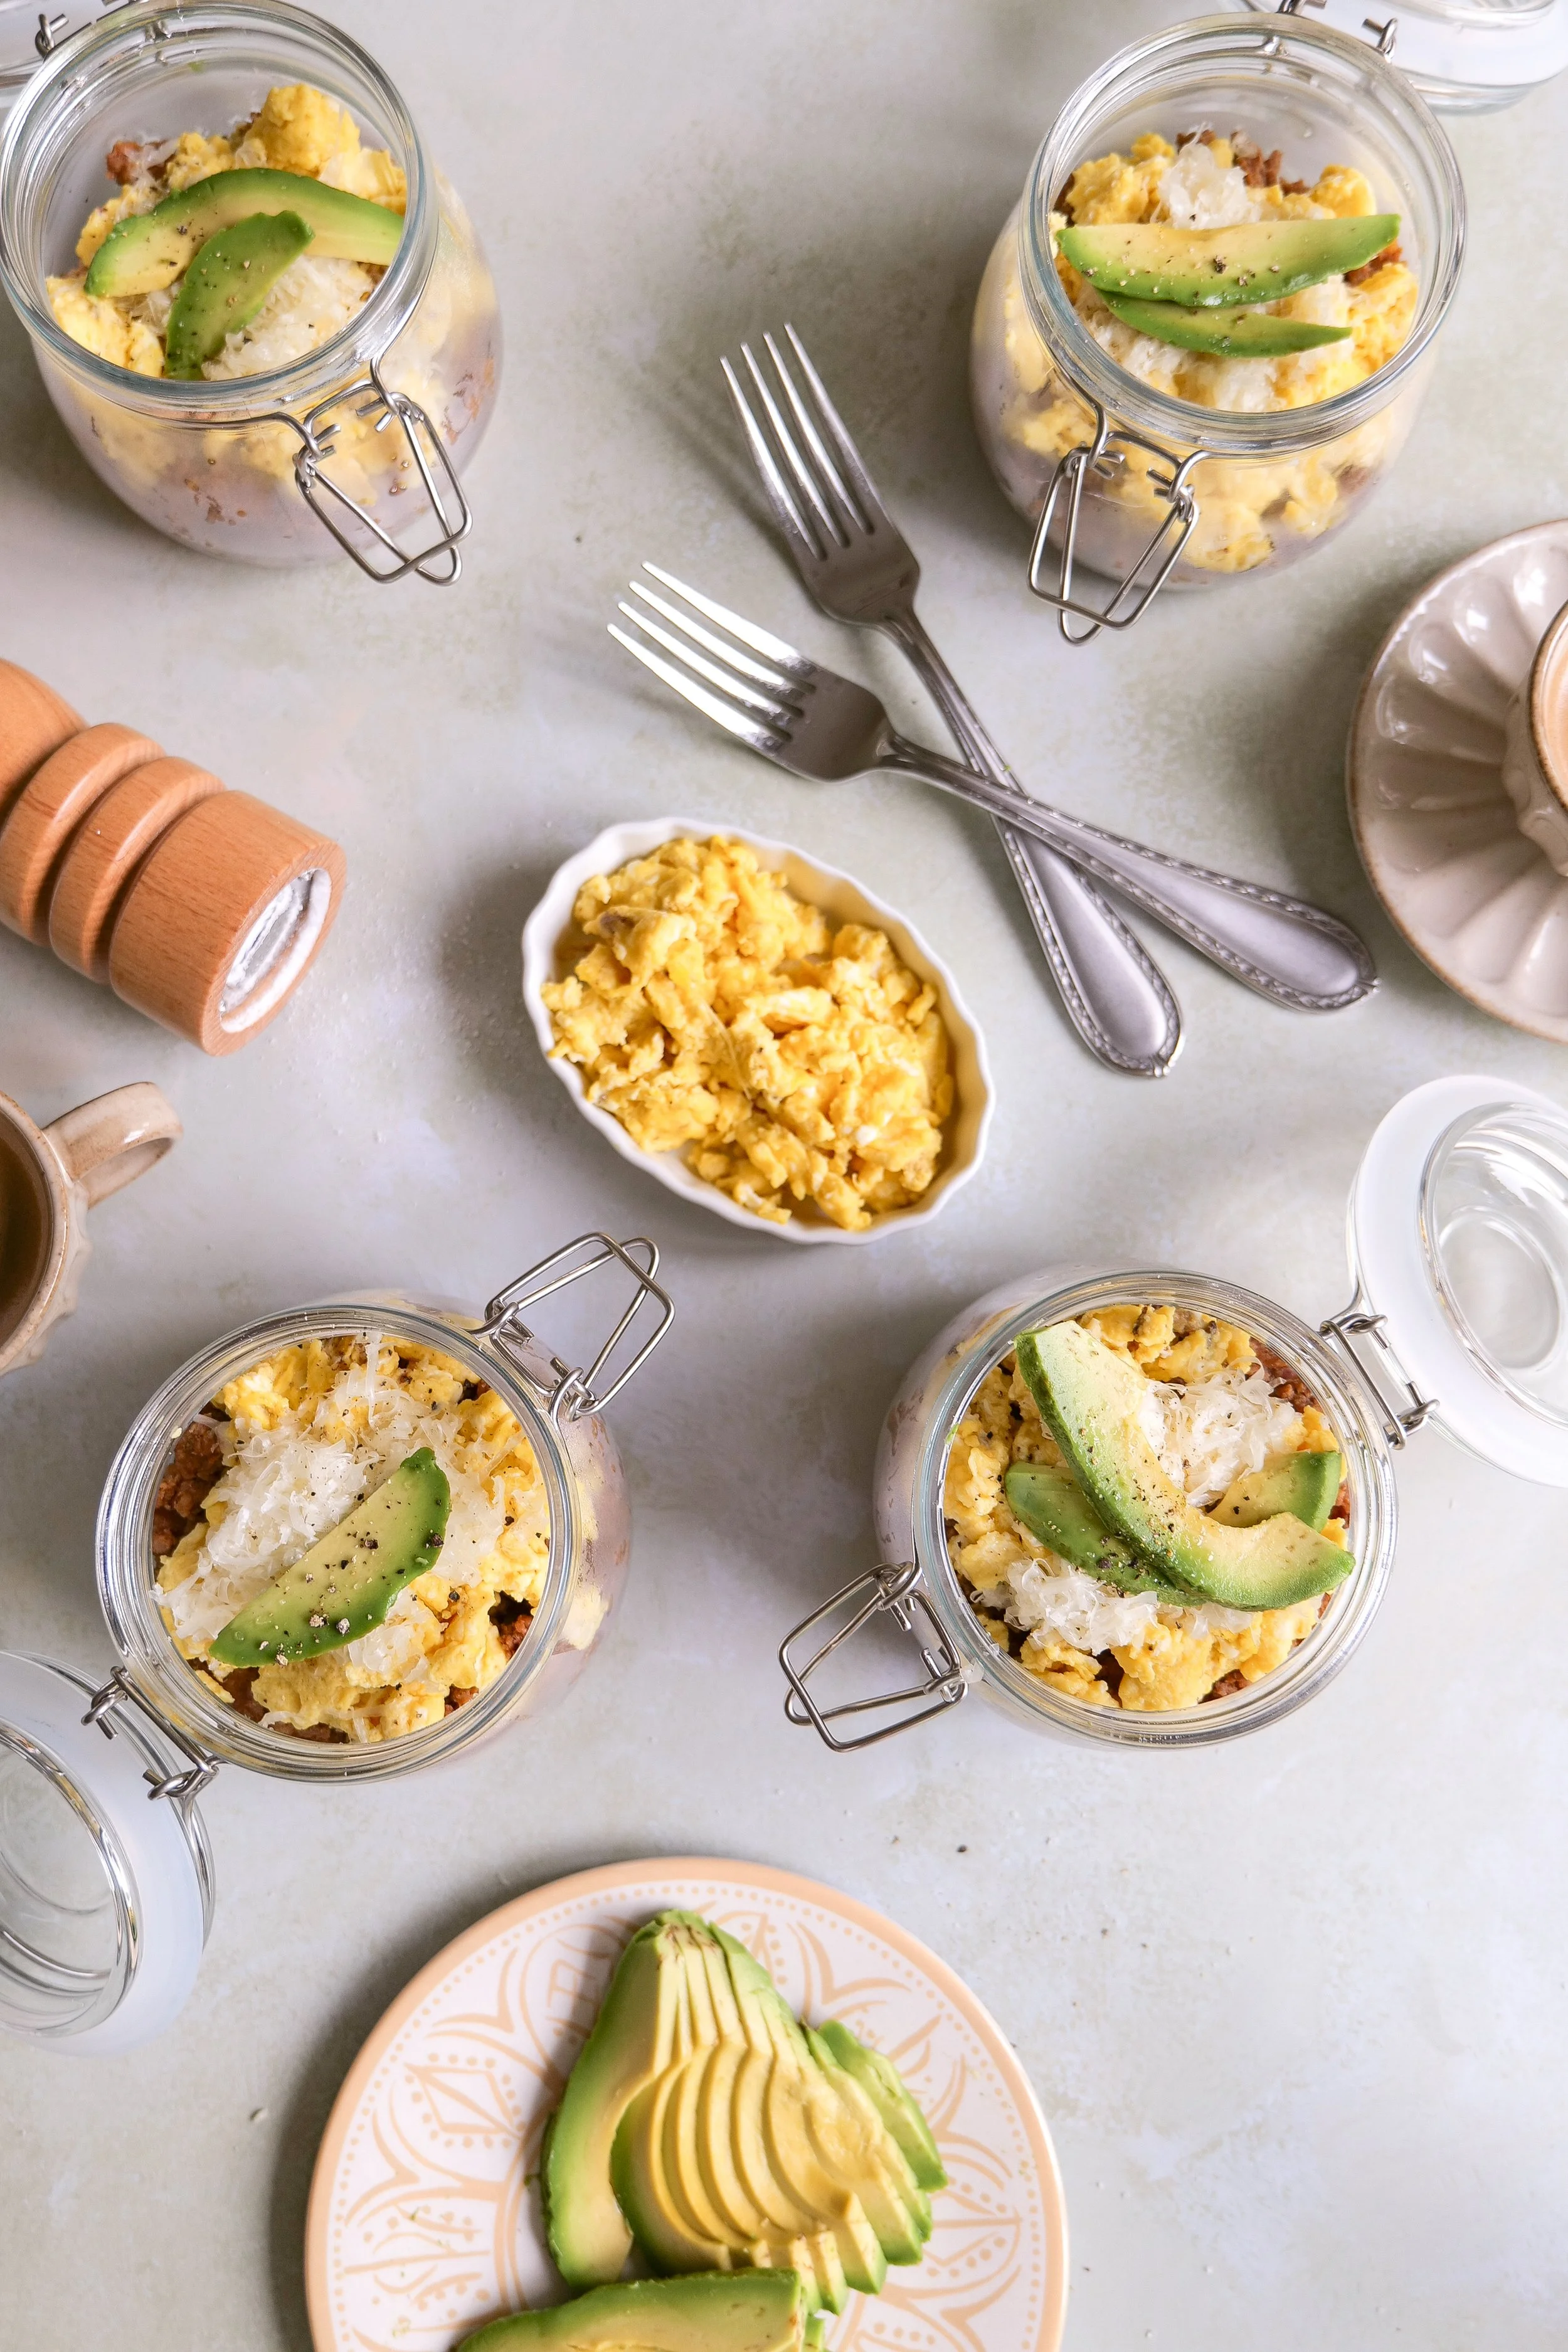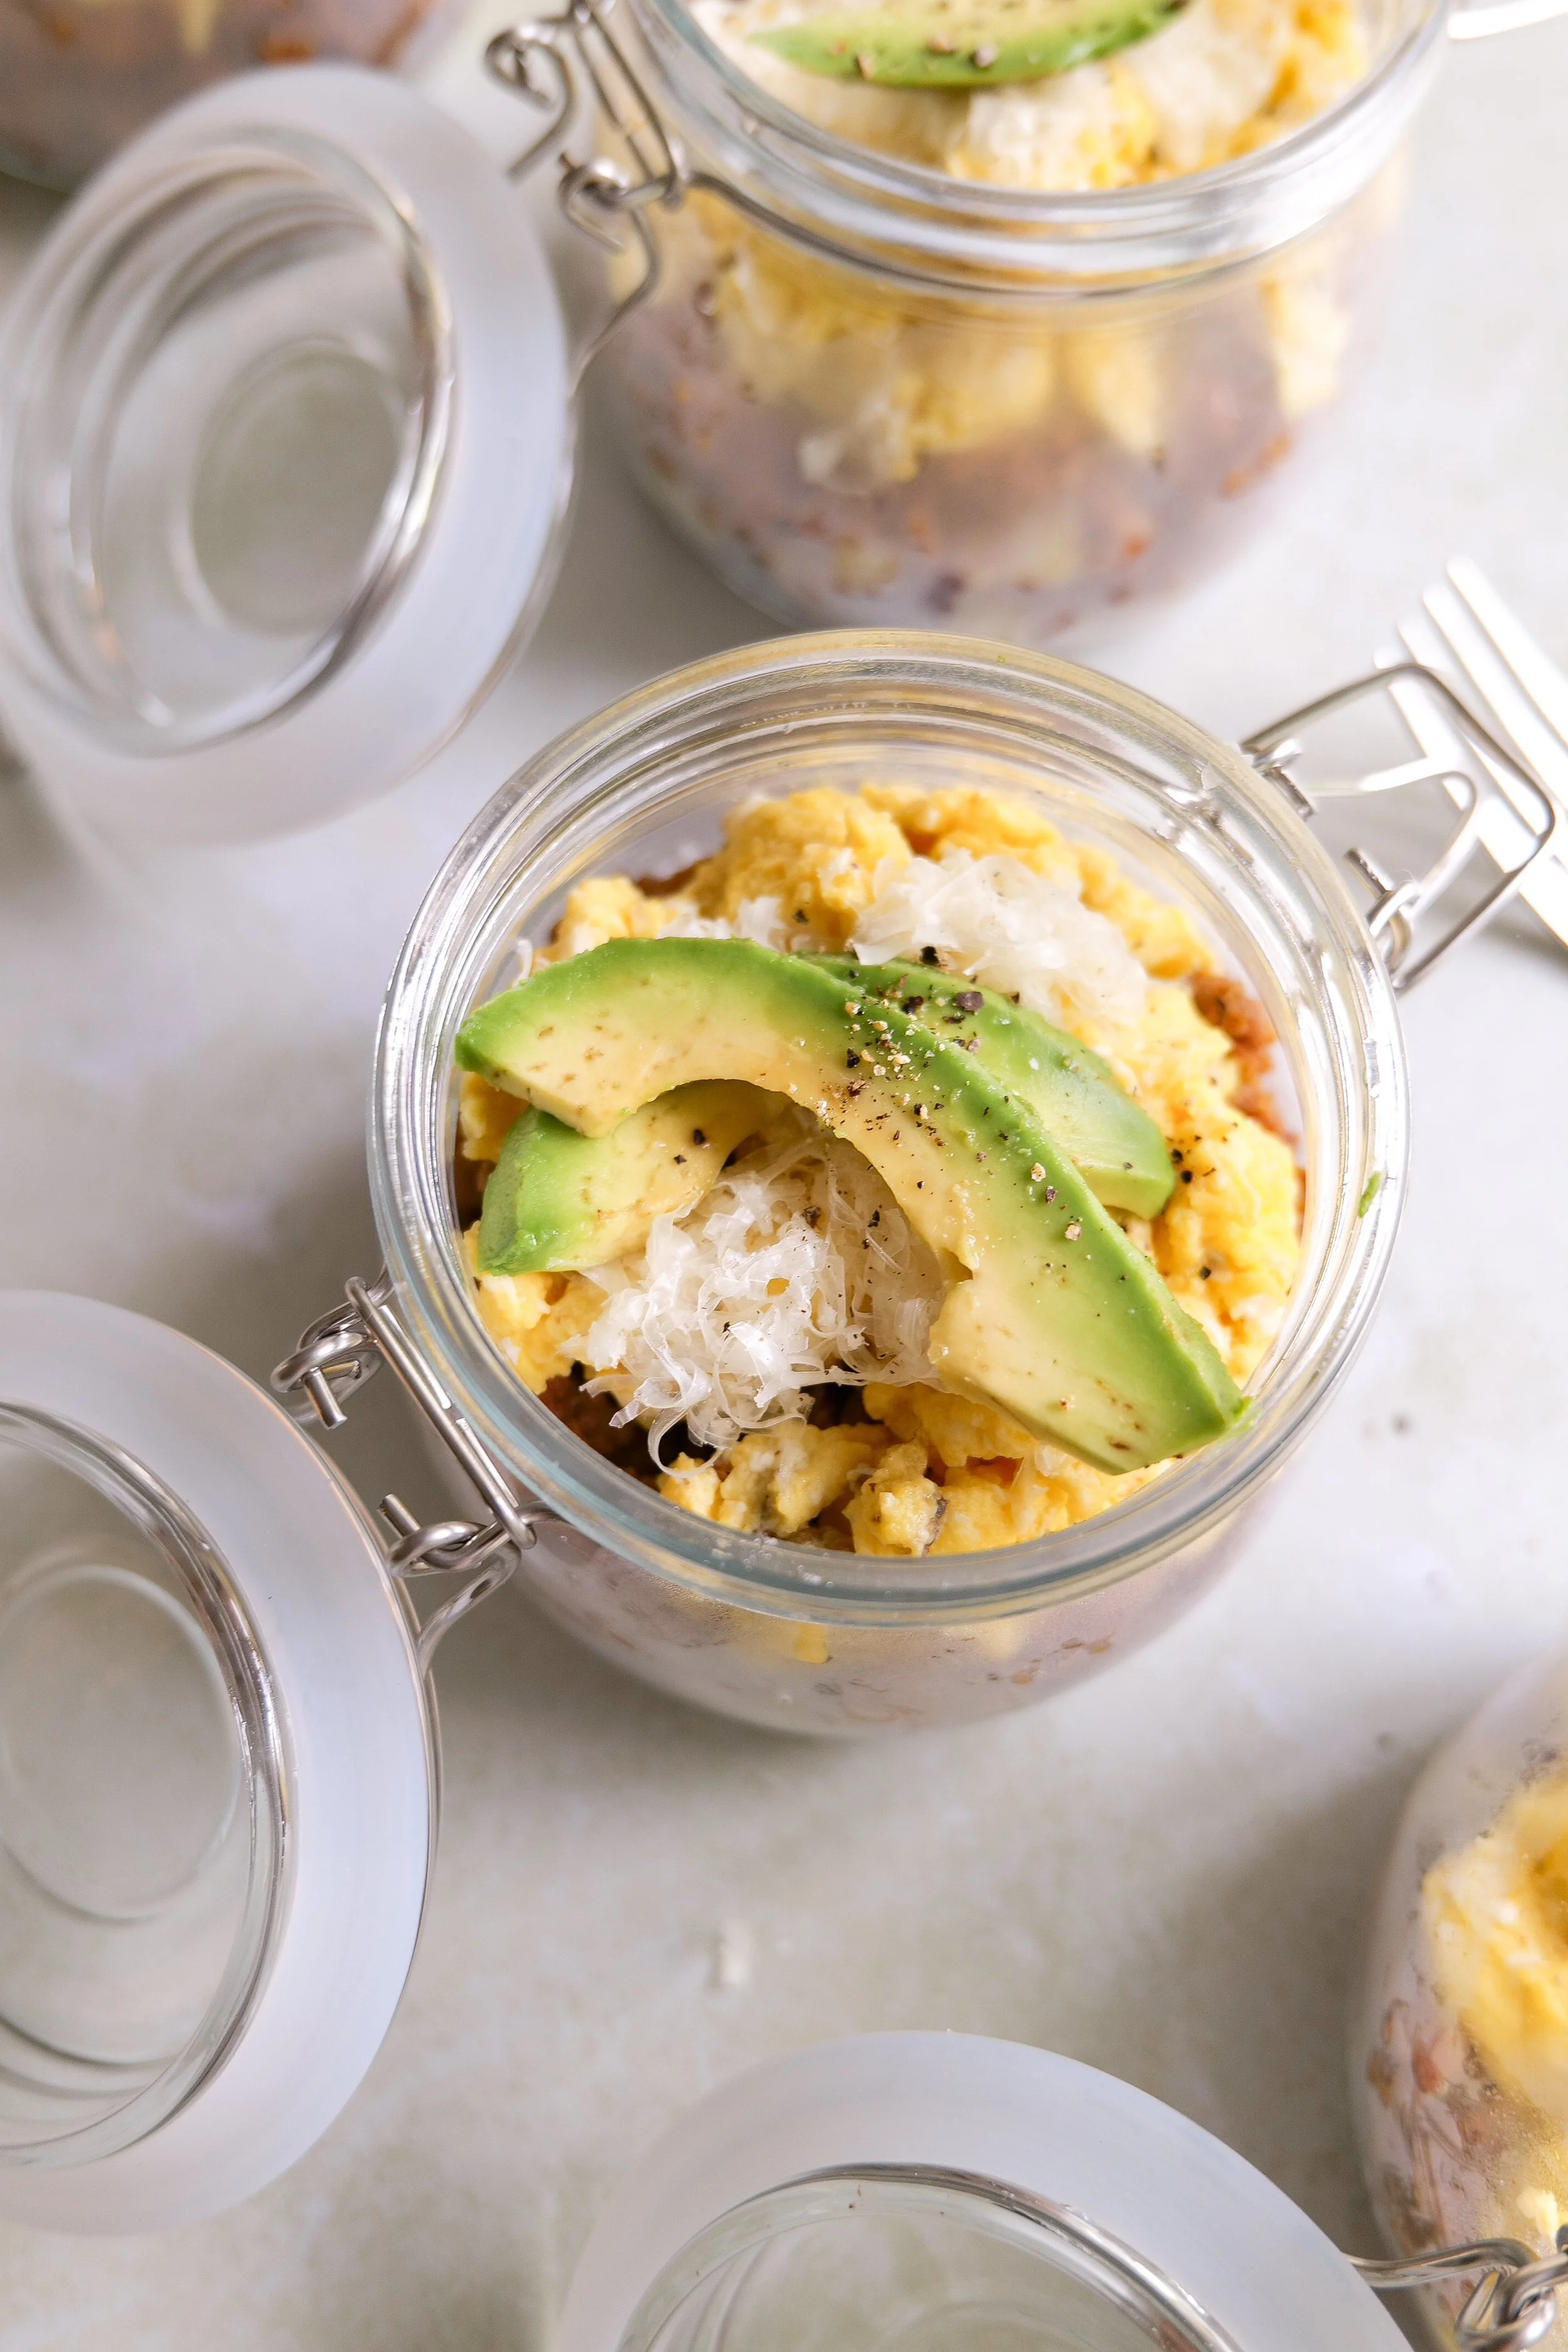
Peach & Goat Cheese Salad with Sweet Balsamic Dressing

There are certain recipes that just taste like summer, and this Peach & Goat Cheese Salad is one of them. Juicy ripe peaches, creamy goat cheese and homemade candied walnuts are layered over fresh arugula and spinach before everything is tossed with a homemade sweet balsamic dressing.

It has that combination I always love in a salad—something sweet, something creamy and something crunchy—all tied together with a dressing that balances the flavors without overpowering them.

This is an easy salad to make for a summer lunch or dinner, but it's beautiful enough to bring to a gathering or serve when you're having people over. And when peaches are at their best, you really don't need to do much to make them shine.

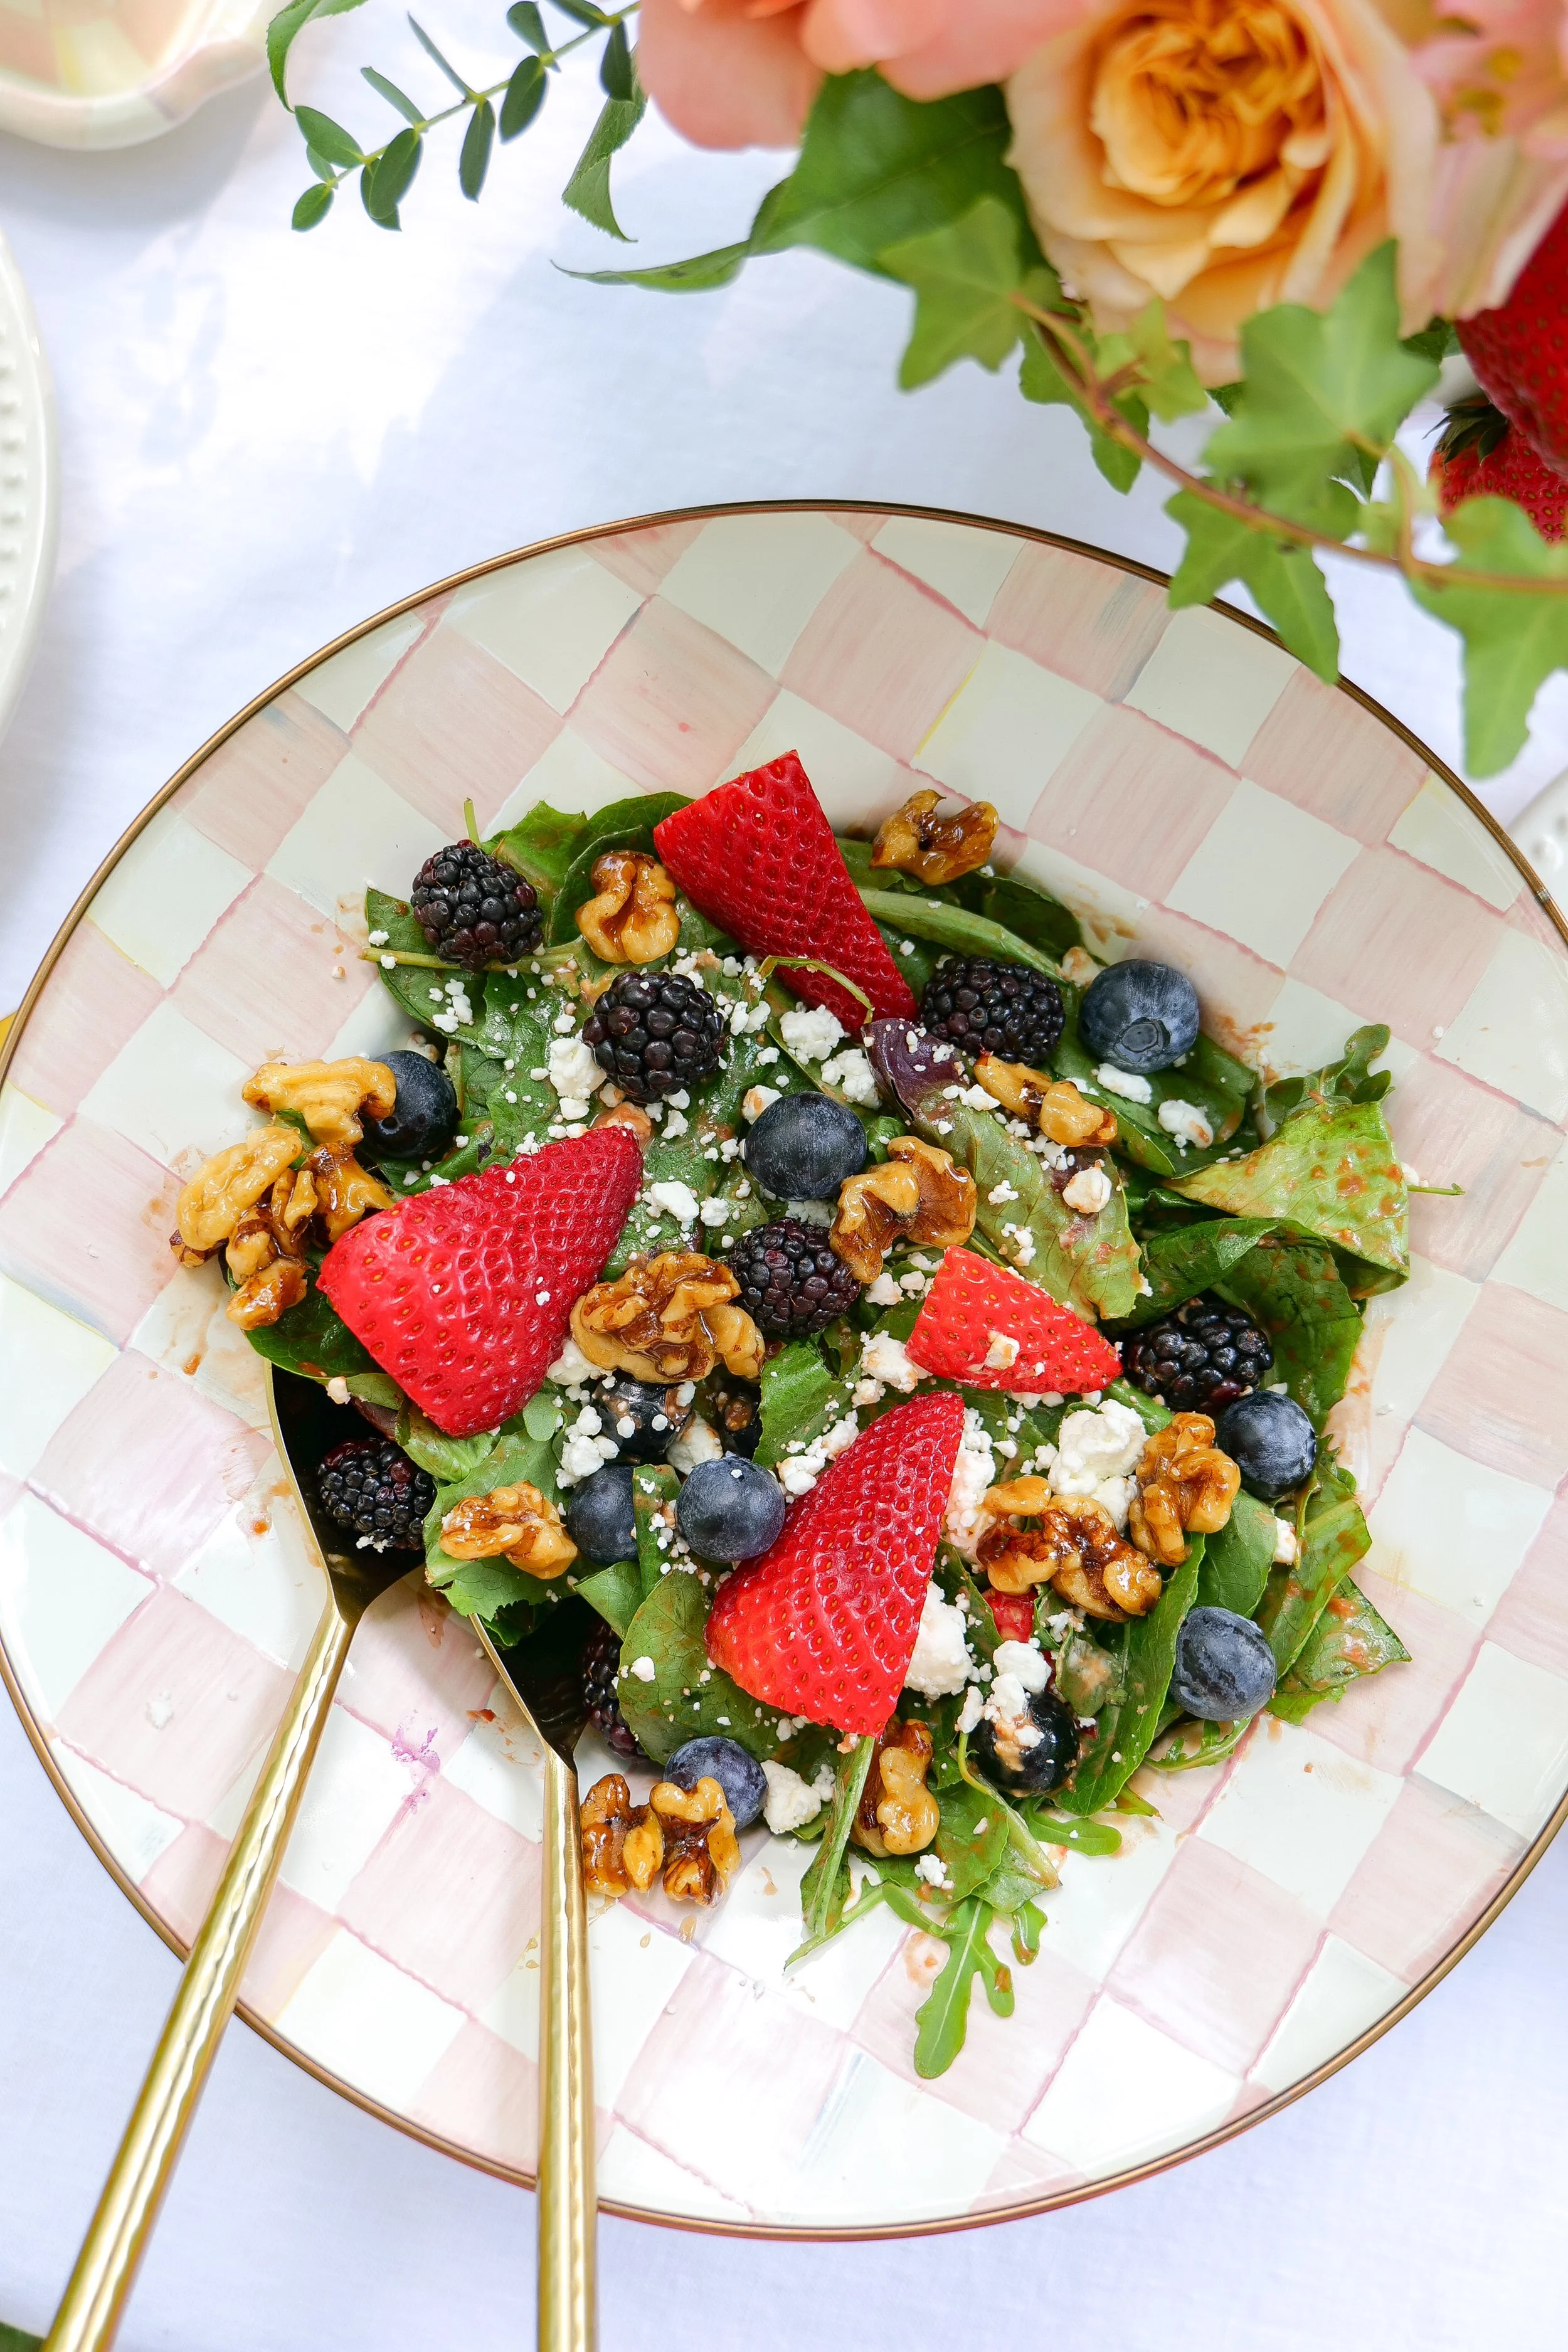
Peach and goat cheese salad with candied walnuts and sweet balsamic dressing

Why You'll Love This Peach & Goat Cheese Salad

This salad is simple, but every ingredient brings something different to the table.

  • Fresh peaches add natural sweetness and a juicy bite.

  • Goat cheese brings a creamy, tangy contrast to the fruit.

  • Candied walnuts give the salad crunch with just the right amount of maple and brown sugar sweetness.

  • Arugula and spinach create a fresh base with a mix of peppery and mild greens.

  • Sweet balsamic dressing brings everything together with balsamic vinegar, extra virgin olive oil, honey and Dijon mustard.

The result is fresh and light while still having enough flavor and texture to make it feel special.

Summer peach salad with goat cheese, arugula and candied walnuts

Ingredient Notes

Fresh Peaches

The peaches are the star of this salad, so this is one recipe where using ripe, in-season fruit makes a difference.

Look for peaches that have a little give when gently pressed but are still firm enough to slice. You want them sweet and juicy without becoming too soft when the salad is tossed.

Their natural sweetness is such a good contrast to the tangy goat cheese and balsamic dressing.

Goat Cheese

Creamy goat cheese adds richness and tang without making the salad feel heavy. I like leaving some of the crumbles a little larger so you get those creamy bites throughout the salad.

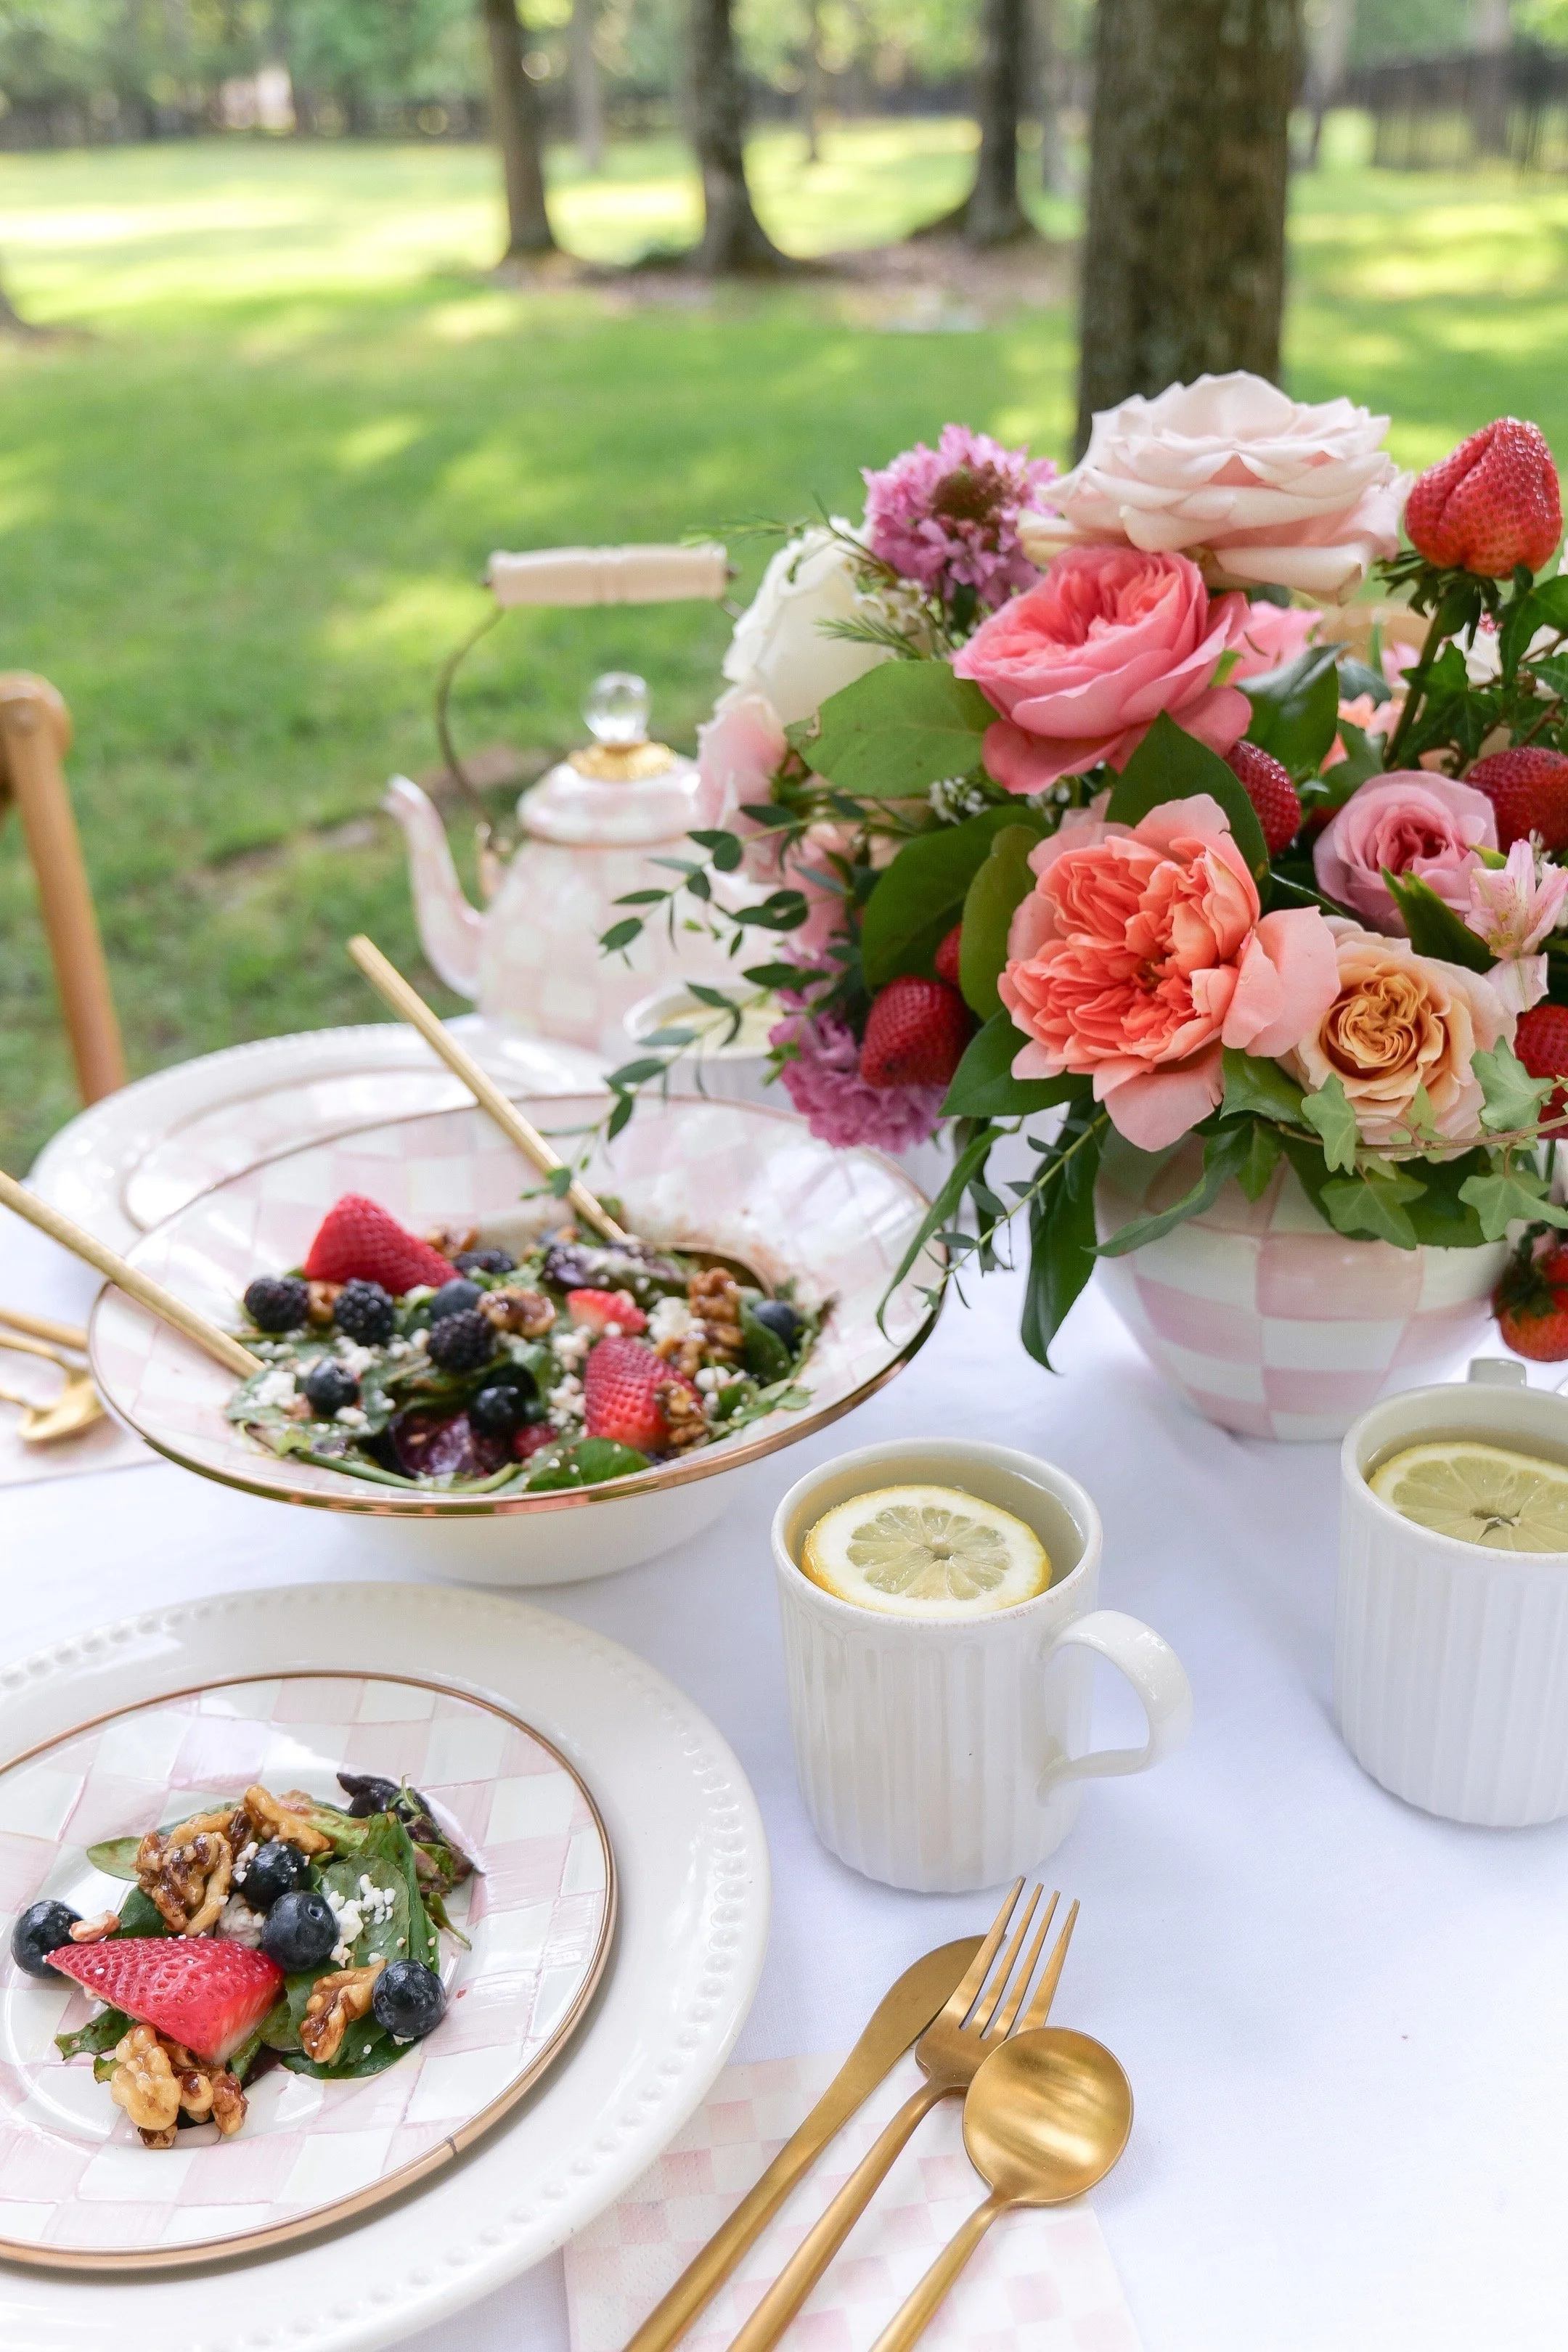
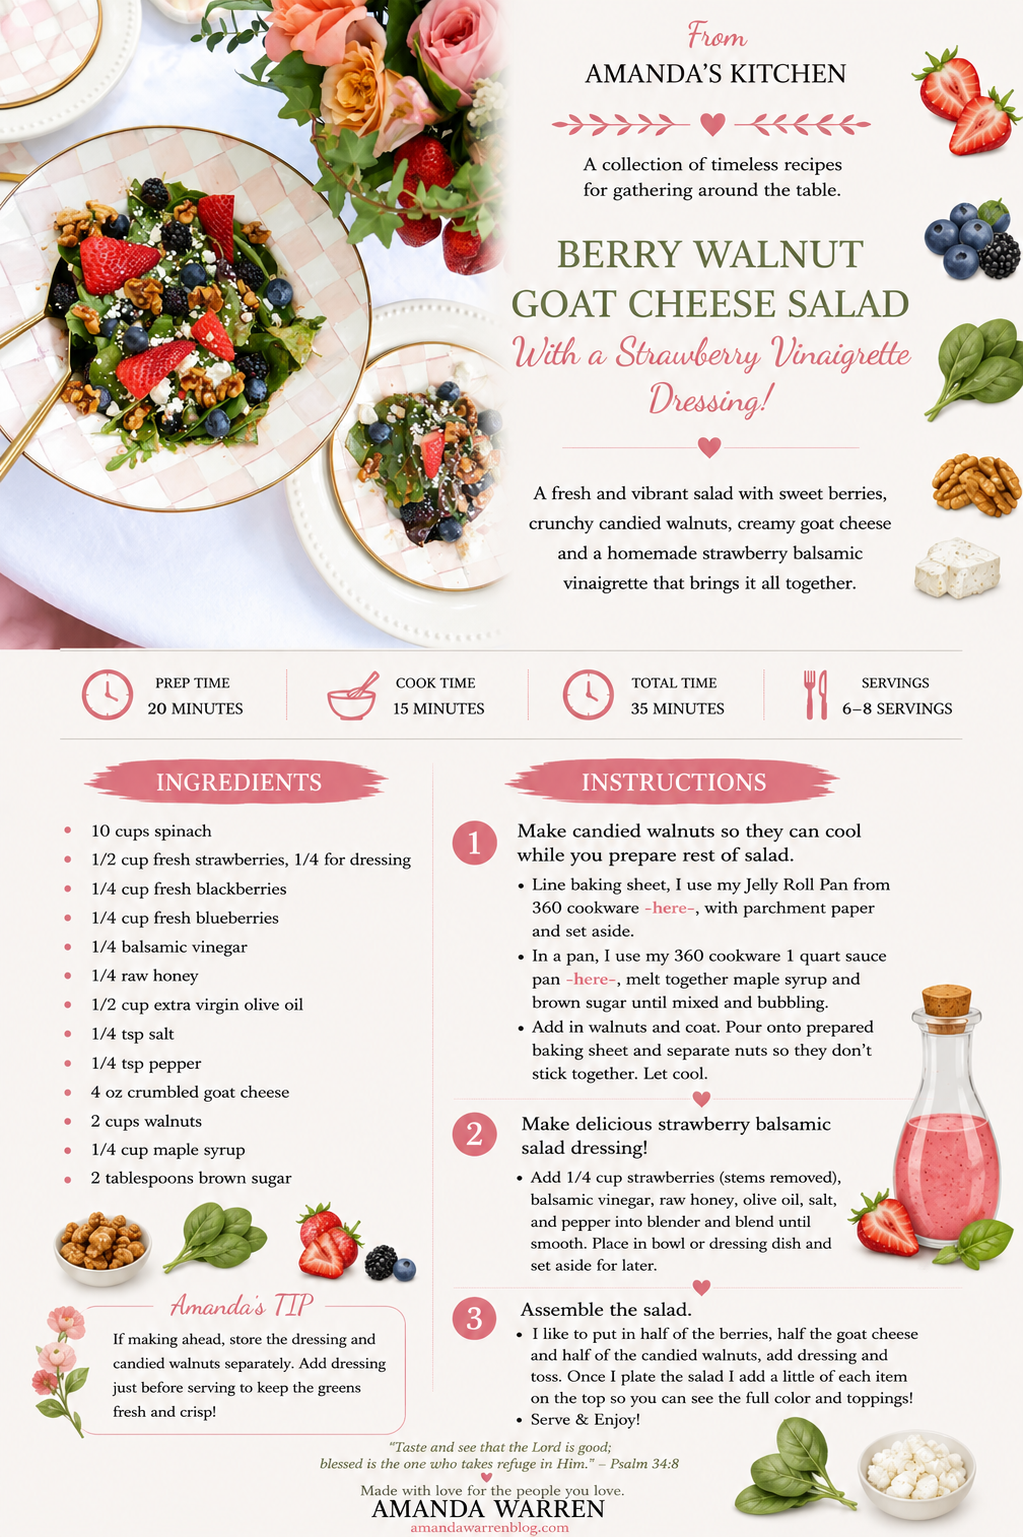
If you're a fellow goat cheese lover, my Berry Walnut Goat Cheese Salad with Strawberry Vinaigrette is another fresh summer salad to save.

Arugula + Baby Spinach

Using both gives you the best of each green. Arugula has a slightly peppery flavor that works beautifully with peaches, while baby spinach is tender and mild.

Together they create a fresh base without competing with all of the other flavors we're adding.

Candied Walnuts

The candied walnuts might be one of my favorite parts of this salad.

Instead of adding plain walnuts, they're quickly coated with maple syrup and brown sugar. Once they cool, you get that sweet crunch that works so well with the juicy peaches and creamy goat cheese.

Sweet Balsamic Dressing

The homemade dressing is a simple combination of balsamic vinegar, extra virgin olive oil, honey and Dijon mustard.

It's sweet and tangy with just enough Dijon to balance everything out, and it ties together the peaches, creamy goat cheese and peppery greens.

Ingredients for peach and goat cheese salad with balsamic dressing
Fresh peaches, goat cheese and candied walnuts over arugula and spinach

Amanda's Tips for the Best Peach Salad

Use Ripe but Firm Peaches

You want the peaches sweet and juicy, but they should still be firm enough to hold their shape when sliced and tossed with the salad.

Let the Candied Walnuts Cool

The walnuts will firm up as they cool, so give them a little time before adding them to the greens. This is what gives you that great crunchy texture.

Wait to Add the Dressing

Don't dress the salad too far ahead of serving. Tossing it shortly before it reaches the table keeps the arugula and spinach fresh.

Save Some Toppings for the End

I add about three-quarters of the peaches, goat cheese and walnuts before tossing and save the rest for the top.

It's such a simple trick, but it keeps all of those beautiful ingredients visible instead of letting them disappear into the greens.

Start With Less Dressing

You don't necessarily need to pour all of the dressing onto the salad at once. Start with enough to lightly coat the greens, toss and then add more as needed.

I love serving salads like this in a large shallow serving bowl so there's plenty of room to gently toss everything together without crushing the peaches or goat cheese.

For the dressing, I usually whisk everything together in a small glass mixing bowl before pouring it over the salad. It's simple, but having a smaller bowl makes it much easier to get the dressing completely combined before adding it to the greens.

Sweet balsamic dressing poured over peach and goat cheese salad

What to Serve with Peach & Goat Cheese Salad

This salad works beautifully as a lighter lunch on its own, but it's also an easy side dish for summer dinners, cookouts and gatherings.

Serve it alongside grilled chicken or steak, or add a simple protein directly to the salad to make it more substantial.

For another salad that works especially well as a summer meal, try my Grilled Chicken, Mexican Street Corn & Cucumber Salad.

And once summer peaches give way to fall produce, my Pear & Pomegranate Arugula Salad has that same sweet-and-savory combination with seasonal flavors.

Fresh peach arugula salad with goat cheese and walnuts

Peach & Goat Cheese Salad with Sweet Balsamic Dressing

This fresh summer salad combines ripe peaches, creamy goat cheese, homemade candied walnuts and mixed greens with an easy sweet balsamic dressing.

Ingredients

For the Salad

  • 5 cups arugula

  • 5 cups baby spinach

  • 2 ripe peaches, sliced

  • 4 oz goat cheese, crumbled

For the Candied Walnuts

  • 2 cups walnuts

  • 1/4 cup maple syrup

  • 2 tablespoons brown sugar

For the Sweet Balsamic Dressing

  • 1/3 cup balsamic vinegar

  • 2/3 cup extra virgin olive oil

  • 1/3 cup honey

  • 1 teaspoon Dijon mustard

Instructions

1. Make the Candied Walnuts

Line a baking sheet with parchment paper and set aside.

In a pan, melt together the maple syrup and brown sugar, stirring until combined and bubbling. Add the walnuts and toss until evenly coated.

Transfer the walnuts to the prepared baking sheet and separate them so they don't stick together. Let them cool while you prepare the rest of the salad.

2. Make the Sweet Balsamic Dressing

Whisk together the balsamic vinegar, extra virgin olive oil, honey and Dijon mustard until combined.

If the dressing is thicker than you'd like, add a small amount of hot water until it reaches your preferred consistency.

Taste and adjust as desired.

3. Assemble the Salad

Add the arugula and baby spinach to a large bowl and toss together.

Add about three-quarters of the sliced peaches, goat cheese and cooled candied walnuts.

4. Dress the Salad

Drizzle the sweet balsamic dressing over the salad and gently toss everything together.

Start with enough dressing to lightly coat the greens and add more as desired.

5. Finish and Serve

Transfer the salad to a serving dish if desired.

Arrange the remaining peaches, goat cheese and candied walnuts over the top for a beautiful finish.

Serve and enjoy!

Amanda's Tip

Save some of the peaches, goat cheese and candied walnuts to add after tossing the salad. You'll still get all of those flavors throughout, but the finished salad will look so much prettier when it reaches the table.

Save This Recipe

Whether you're planning ahead for a summer gathering or simply looking for a fresh salad to make while peaches are in season, I've included a printable recipe card below so it's easy to save, print and come back to later.

Peach and goat cheese salad with sweet balsamic dressing recipe card

Frequently Asked Questions

Can I Make This Peach Salad Ahead of Time?

You can prepare several of the components ahead of time, but I recommend waiting to assemble and dress the salad until shortly before serving.

The candied walnuts and sweet balsamic dressing can both be prepared ahead and stored separately. Slice the peaches and assemble the salad closer to serving so the greens stay crisp and the peaches look their freshest.

Can I Make the Sweet Balsamic Dressing Ahead of Time?

Yes. Make the dressing ahead and store it separately until you're ready to assemble the salad. Whisk or shake it again before serving if the ingredients have separated.

Can I Make the Candied Walnuts Ahead of Time?

Yes. Allow the candied walnuts to cool completely before storing them. Add them to the salad shortly before serving so they keep their crunchy texture.

Can I Use a Different Nut?

Yes. Walnuts are what I use in this recipe, but toasted almonds, pecans or sunflower seeds can also add a nice crunch.

What Greens Are Best for Peach Salad?

I love the combination of baby spinach and arugula. The spinach is mild and tender while the arugula adds a slightly peppery flavor that works beautifully with sweet peaches.

When Should I Add the Dressing?

Wait until shortly before serving to add the sweet balsamic dressing. This helps keep the arugula and spinach fresh instead of letting the greens become weighed down by the dressing.

More Salad Recipes You'll Love

If you love salads with that mix of fresh fruit, creamy cheese and plenty of texture, here are a few more recipes to try:

Final Thoughts

Summer peaches don't need much to turn them into something special, and I think that's what I love most about this salad.

The juicy peaches, creamy goat cheese and sweet candied walnuts bring so much flavor and texture on their own, while the homemade sweet balsamic dressing ties everything together.

It's simple enough to make for lunch at home but pretty enough to put in the middle of the table when we're having people over—which is always my favorite kind of recipe.

If you make this Peach & Goat Cheese Salad with Sweet Balsamic Dressing, I hope it becomes one of those recipes you look forward to making every summer when peaches are finally at their best.

Easy summer peach and goat cheese salad with homemade balsamic dressing

Grilled Peach Caprese Chicken

Grilled Peach Caprese Chicken with Honey Balsamic Dressing

Grilled Peach Caprese Chicken is one of those summer dinners that looks beautiful on the table without requiring a complicated recipe. Juicy grilled chicken is topped with fresh mozzarella, ripe summer peaches, basil and a sweet honey balsamic dressing for the perfect combination of savory, sweet and fresh flavors.

I love taking advantage of peaches while they're in season, and pairing them with creamy mozzarella and fresh basil is such an easy way to turn a simple grilled chicken dinner into something a little more special.

Serve everything family-style on a large platter for an easy summer dinner at home or when you're having people over.

Grilled peach caprese chicken with fresh mozzarella, basil and honey balsamic dressing

Why You'll Love This Grilled Peach Chicken

This recipe has everything I want in a summer dinner: it's fresh, simple and doesn't require spending the evening inside the kitchen.

The seasoned chicken gives you a savory base, while ripe peaches add sweetness and fresh mozzarella makes everything creamy. Fresh basil brings in that classic Caprese flavor, and the honey balsamic dressing adds a sweet and tangy finish.

It's also such a pretty meal to serve family-style. Layer everything onto one large platter, drizzle the dressing over the top and bring the whole thing straight to the table.

Peach caprese grilled chicken topped with fresh mozzarella and peaches

Ingredient Notes

Chicken Breasts

Boneless, skinless chicken breasts are the base of this recipe. Pounding the chicken to a more even thickness helps it cook more evenly on the grill and keeps you from having one end finished before the thicker portion is cooked through.

Fresh Peaches

Use ripe peaches that are still firm enough to slice. You want all of that juicy summer peach flavor without the fruit becoming too soft to grill or arrange over the chicken.

You can leave the peaches fresh or place the slices directly on the grill for a few minutes to bring out even more sweetness and add a little smoky flavor.

If you have extra peaches to use while they're in season, my Perfect Peach Cobbler and Peach Baked Brie are two more favorites.

Fresh Mozzarella

Fresh mozzarella is what gives this chicken that Caprese-inspired creaminess. Slice it fairly thin so you can layer it easily across the warm chicken without overwhelming the other ingredients.

Fresh Basil

This is definitely a recipe where I would use fresh basil rather than dried. It adds color, freshness and that recognizable Caprese flavor.

Honey Balsamic Dressing

Instead of finishing this with a traditional balsamic reduction, I make a sweet balsamic dressing with balsamic vinegar, extra virgin olive oil, honey and Dijon mustard.

The honey complements the peaches while the balsamic and Dijon add enough acidity and tang to balance the mozzarella and chicken.

Ingredients for grilled peach caprese chicken with honey balsamic dressing

Amanda's Tips for the Best Grilled Peach Caprese Chicken

Pound the Chicken Evenly

Place the chicken between parchment paper or plastic wrap and gently pound it to an even thickness before grilling. This helps it cook more evenly.

Don't Use Overly Soft Peaches

Really soft peaches are wonderful for plenty of recipes, but they're harder to grill and arrange on this chicken. Choose peaches that are ripe and sweet but still hold their shape when sliced.

Grill the Peaches if You Have Time

The recipe works with fresh peaches, but grilling the peach slices adds caramelization and a subtle smoky flavor that is especially good with the chicken.

Assemble While the Chicken Is Warm

Layering the fresh mozzarella onto warm grilled chicken lets it soften slightly without completely melting.

Add the Basil Last

Scatter the fresh basil over everything just before serving so it stays bright and fresh.

Grilled chicken with fresh peaches and mozzarella

How to Serve Grilled Peach Caprese Chicken

My favorite way to serve this is family-style on one large platter. Arrange the grilled chicken first, then layer the mozzarella and peaches over the top. Finish with fresh basil and a drizzle of honey balsamic dressing.

It's beautiful enough for a summer dinner with friends but still easy enough to make for your family on a weeknight.

You can serve it with a simple green salad, grilled vegetables, roasted potatoes or crusty bread to soak up some of the dressing.

I also love that the peaches make the entire platter feel summery without needing a long list of sides or garnishes.

I love serving dinners like this on a large white platter because all of the peaches, mozzarella and basil really stand out.

Grilled peach caprese chicken served on a platter for summer dinner

Grilled Peach Caprese Chicken with Honey Balsamic Dressing

Juicy grilled chicken topped with fresh mozzarella, ripe peaches and basil, then finished with a sweet and tangy homemade honey balsamic dressing.

Ingredients

For the Honey Balsamic Dressing

  • 1/3 cup balsamic vinegar

  • 2/3 cup extra virgin olive oil

  • 4 tablespoons honey

  • 1 teaspoon Dijon mustard

For the Grilled Peach Caprese Chicken

  • 6 large boneless, skinless chicken breasts

  • 2 tablespoons olive oil

  • 1 teaspoon sea salt

  • 1 teaspoon black pepper

  • 8 oz fresh mozzarella, thinly sliced

  • 4 medium peaches, pitted and sliced

  • 1/2 cup fresh basil

Instructions

1. Make the Honey Balsamic Dressing

Add the balsamic vinegar, extra virgin olive oil, honey and Dijon mustard to a bowl. Whisk until completely combined and set aside while you prepare the chicken.

2. Prepare the Chicken

Clean and pat the chicken dry. Cut the chicken breasts in half as needed, then place between two pieces of parchment paper or plastic wrap and pound to an even thickness.

Coat the chicken with 2 tablespoons olive oil and season evenly with sea salt and black pepper.

3. Grill the Chicken

Preheat the grill and cook the chicken for approximately 5–8 minutes per side, or until the chicken is completely cooked through.

4. Grill the Peaches

If grilling the peaches, place the sliced peaches on the grill alongside the chicken and cook just until softened slightly with visible grill marks.

You can also leave the peaches fresh if you prefer.

5. Assemble the Chicken

Arrange the grilled chicken on a large serving platter.

Layer the fresh mozzarella and peach slices over the warm chicken. Drizzle with the honey balsamic dressing and finish with fresh basil.

Serve and enjoy.

Amanda's Tip

Add the mozzarella while the grilled chicken is still warm. It will soften slightly against the chicken while still keeping that fresh, creamy Caprese texture.

Save This Recipe

Whether you're planning a summer dinner outside or just looking for a new way to use fresh peaches, I've included a printable recipe card below so it's easy to save, print and come back to later.

Grilled peach caprese chicken with honey balsamic dressing recipe card

Frequently Asked Questions

Do I Have to Grill the Peaches?

No. You can use fresh sliced peaches instead. Grilling them brings out more of their natural sweetness and adds a subtle smoky flavor, but the recipe is delicious either way.

What Kind of Peaches Are Best for Grilling?

Use ripe but still firm peaches. Very soft peaches can become difficult to handle on the grill, while firmer ripe peaches hold their shape better.

How Do I Know When the Chicken Is Done?

The safest way to determine when chicken is finished is to check the internal temperature at the thickest part. It should reach 165°F.

Can I Make the Honey Balsamic Dressing Ahead?

Yes. You can prepare the dressing ahead and keep it refrigerated in a sealed container. Whisk or shake it again before serving if it separates.

Can I Make Grilled Peach Caprese Chicken Ahead?

This recipe is best assembled close to serving, especially because of the fresh mozzarella and basil. You can prepare the dressing and prep the chicken ahead, then grill and assemble everything when you're ready to eat.

What Can I Serve with Peach Caprese Chicken?

Keep the sides simple. A green salad, grilled vegetables, roasted potatoes or crusty bread all work well without competing with the peaches, mozzarella and balsamic flavors.

More Chicken & Peach Recipes You'll Love

For another easy chicken dinner, try my Apple-Glazed Chicken Thighs or Easy Oven Baked Drumsticks.

And if you have more fresh peaches to use, save my Perfect Peach Cobbler and Peach Baked Brie for later.

Final Thoughts

Peach season always makes me want to find new ways to use them beyond desserts, and this Grilled Peach Caprese Chicken is such a good example of how well they work in savory recipes too.

The combination of juicy grilled chicken, creamy mozzarella, sweet peaches, fresh basil and honey balsamic dressing feels special while still being incredibly simple to put together.

Serve it on a big platter in the middle of the table, add a few easy sides and you have one of those summer dinners that's just as good for a regular night at home as it is for having people over.

Easy grilled peach caprese chicken recipe with balsamic dressing

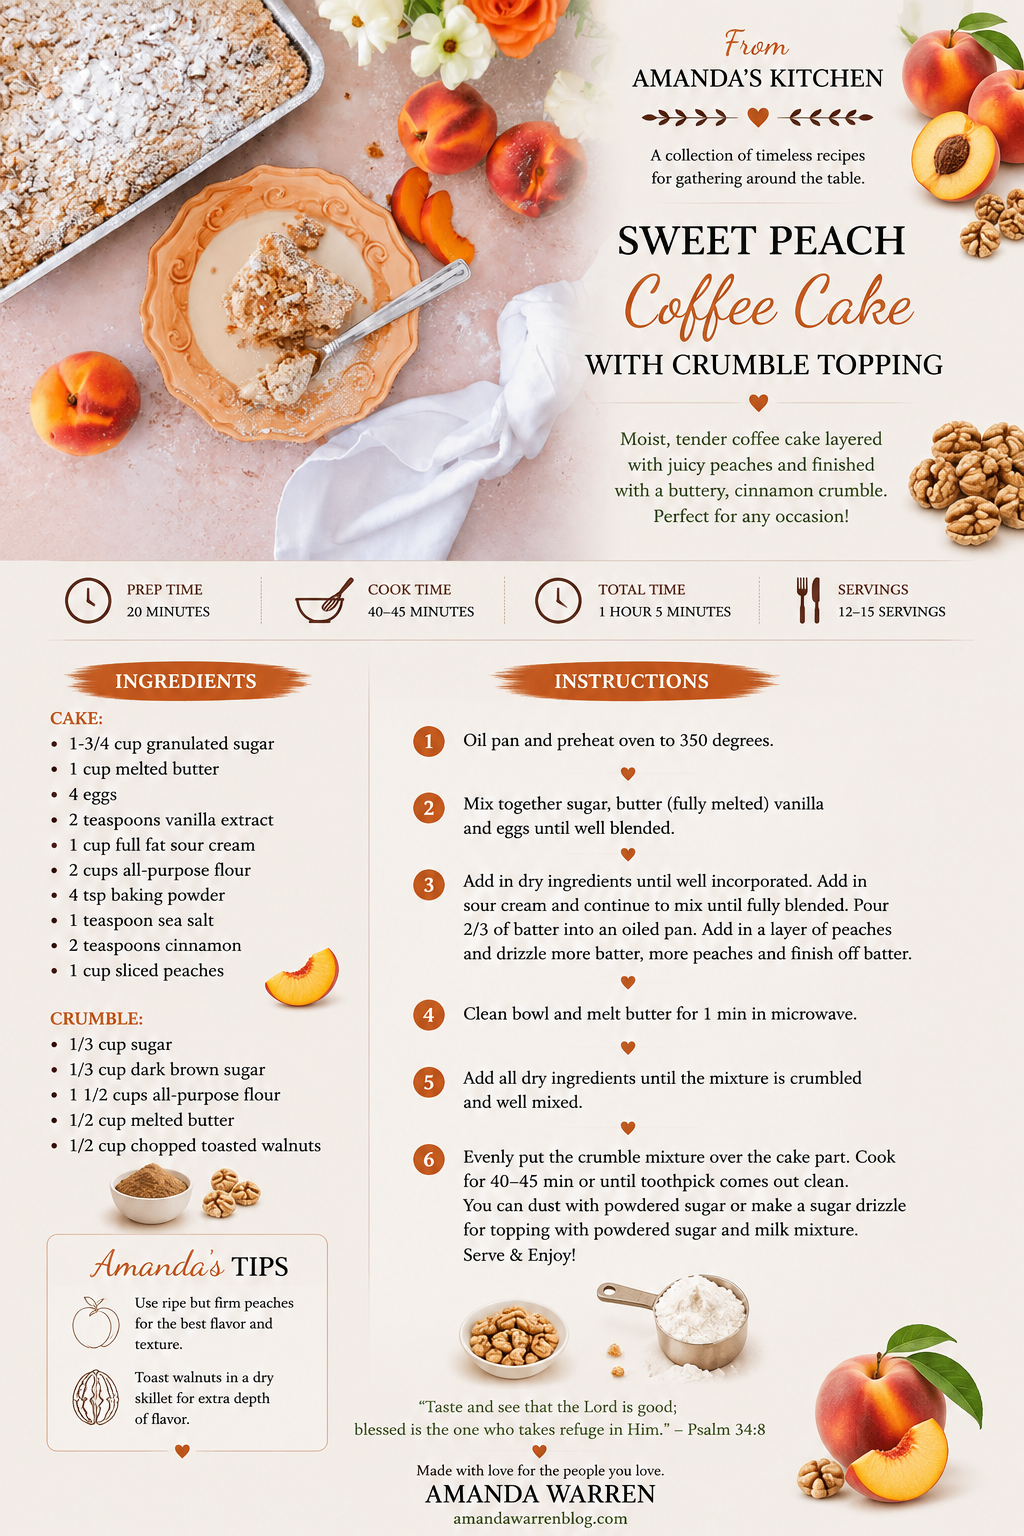
Peach Coffee Cake with Walnut Crumble

Peach Coffee Cake with Walnut Crumble

Fresh summer peaches and coffee cake might be one of my favorite combinations. This Peach Coffee Cake is soft and moist with layers of juicy peaches throughout and a buttery walnut crumble baked over the top.

It's the kind of cake that works just as well for a slow weekend breakfast or brunch as it does for dessert. I love serving it slightly warm, but it's just as good once it's completely cooled with a cup of coffee.

And while the fresh peaches make this especially perfect for summer, that buttery brown sugar and walnut crumble gives it just enough warmth to feel like one of those recipes that carries you right into the beginning of fall.

Peach coffee cake with walnut crumble topping

Why You'll Love This Peach Coffee Cake

This cake has so much texture without being complicated to make.

The sour cream helps create a soft, moist crumb, while cinnamon adds just a little warmth to the batter. Fresh peaches are layered throughout instead of simply scattered over the top, so you get bites of peach all through the cake.

Then there's the crumble.

It's made with granulated sugar, dark brown sugar, flour, melted butter and toasted walnuts, creating a buttery, crunchy topping that contrasts with the soft peach cake underneath.

It's simple enough to make at home but pretty enough to serve for brunch or bring out when you're having people over.

Fresh peach coffee cake with brown sugar walnut crumble
Slice of peach coffee cake with fresh peaches and crumble topping

Ingredient Notes

You don't need anything complicated for this coffee cake, but a few ingredients make a big difference in the finished texture and flavor.

Fresh Peaches

Fresh peaches are the star here. I like using ripe peaches that are sweet and juicy but still firm enough to slice easily.

The peaches are layered into the batter rather than just mixed in all at once, which helps distribute that fresh peach flavor throughout the cake.

If you're making this during peach season and somehow still have peaches left, save my Perfect Peach Cobbler for the next batch.

Full-Fat Sour Cream

Sour cream is one of the ingredients that gives this cake such a soft, moist texture. I use full-fat sour cream here for the richness it adds to the batter.

Melted Butter

I love that this recipe uses melted butter rather than requiring you to wait for butter to soften and cream it with the sugar. Just make sure the melted butter isn't piping hot when you mix it with the eggs.

Cinnamon

There are 2 teaspoons of cinnamon in the cake batter, which adds warmth without taking over the fresh peach flavor.

Toasted Walnuts

The walnuts go into the crumble topping rather than the cake itself. Toasting them first gives them more flavor and adds even more crunch to the buttery topping.

Dark Brown Sugar

I specifically use dark brown sugar in the crumble. Its deeper molasses flavor is so good with peaches, cinnamon and toasted walnuts.

Ingredients for homemade peach coffee cake

Layer the Peaches Through the Batter

Instead of pouring all of the batter into the pan and adding peaches to the top, pour in about two-thirds of the batter first, add peaches, then continue alternating the remaining batter and peaches.

That way, you get peach throughout the cake rather than one layer of fruit sitting at the top or bottom.

Don't Overmix the Batter

Once the dry ingredients go in, mix only until everything is incorporated. There's no need to keep beating the batter once it comes together.

Make Sure the Crumble Is Actually Crumbly

After mixing the melted butter with the flour and sugars, you want pieces of crumble rather than a perfectly smooth mixture. Those little clusters bake into the best crunchy topping.

Spread the Crumble All the Way Across

Don't save the good stuff for the center. Sprinkle the walnut crumble evenly from edge to edge so every slice gets some.

Use the Toothpick Test

The original recipe bakes at 350°F for about 40–45 minutes. Since ovens and pans can vary, start checking around the 40-minute mark. A toothpick inserted into the cake portion should come out clean or with a few moist crumbs rather than wet batter.

Homemade peach coffee cake served for summer brunch
Easy peach coffee cake with walnut crumble

Serving Peach Coffee Cake

I think this cake is best when you keep the finish simple.

Let the crumble be the star and add a light dusting of powdered sugar once the cake has cooled. Your original recipe also gives the option of making a simple powdered sugar and milk drizzle, so either finish works.

Serve slices slightly warm or at room temperature. It's sweet enough for dessert but still feels right at home on a brunch table with coffee.

For summer entertaining, I'd serve it with fresh fruit and coffee and let everyone cut a slice right from the pan or serving platter.

I love serving simple cakes like this on a pretty cake stand or serving platter so the crumble and peaches can really be the focus.

Easy peach coffee cake slice with walnut crumble

Peach Coffee Cake with Walnut Crumble

A soft and moist peach coffee cake layered with fresh peaches and cinnamon and finished with a buttery brown sugar and toasted walnut crumble.

Ingredients

For the Peach Coffee Cake

  • 1 3/4 cups granulated sugar

  • 1 cup butter, melted

  • 4 eggs

  • 2 teaspoons vanilla extract

  • 1 cup full-fat sour cream

  • 2 cups all-purpose flour

  • 4 teaspoons baking powder

  • 1 teaspoon sea salt

  • 2 teaspoons cinnamon

  • 1 cup sliced fresh peaches

For the Walnut Crumble

  • 1/3 cup granulated sugar

  • 1/3 cup dark brown sugar

  • 1 1/2 cups all-purpose flour

  • 1/2 cup butter, melted

  • 1/2 cup chopped toasted walnuts

Optional for Serving

  • Powdered sugar, for dusting

Instructions

1. Prepare the Pan and Oven. I used my bake & roast pan but any 9x13 pan will work.

Preheat the oven to 350°F and grease your baking pan.

2. Mix the Wet Ingredients

In a large mixing bowl, combine the granulated sugar, melted butter, eggs and vanilla extract. Mix until well blended.

3. Make the Cake Batter

Add the all-purpose flour, baking powder, sea salt and cinnamon and mix until incorporated.

Add the sour cream and continue mixing just until the batter is smooth and combined.

4. Layer the Batter and Peaches

Pour approximately two-thirds of the cake batter into the prepared pan.

Add a layer of sliced peaches, drizzle some of the remaining batter over the peaches, add more peaches and finish with the remaining batter.

5. Make the Walnut Crumble

In a clean bowl, combine the granulated sugar, dark brown sugar and all-purpose flour.

Pour in the melted butter and mix until a crumbly mixture forms. Fold in the chopped toasted walnuts.

6. Add the Crumble

Sprinkle the walnut crumble evenly over the entire cake.

7. Bake

Bake at 350°F for 40–45 minutes, or until a toothpick inserted into the cake comes out clean or with a few moist crumbs.

Allow the cake to cool before finishing with a light dusting of powdered sugar, if desired.

For a sweeter finish, you can also mix powdered sugar with a small amount of milk to create a simple drizzle.

Slice, serve and enjoy.

Amanda's Tip

Layer the peaches throughout the batter instead of adding them all at once. It helps distribute those juicy peach bites through the cake so you get peach in every slice.

Sliced peaches layered through homemade coffee cake batter
Golden walnut crumble topping on peach coffee cake
Peach coffee cake with walnut crumble printable recipe card
Moist peach coffee cake with fresh peach layers

Save This Recipe

Whether you're saving this one for the next basket of summer peaches or planning a weekend brunch, I've included a printable recipe card below so it's easy to print and come back to whenever you're ready to bake it again.

A soft and moist peach coffee cake layered with fresh peaches and cinnamon and finished with a buttery brown sugar and toasted walnut crumble.

Frequently Asked Questions

What Kind of Peaches Are Best for Peach Coffee Cake?

Use ripe, flavorful peaches that are still firm enough to slice. Extremely soft peaches can be harder to layer through the batter and may release more juice as the cake bakes.

Do I Need to Peel the Peaches?

The original recipe doesn't specify whether the peaches were peeled, so I wouldn't tell readers they have to do it either way. If you made yours with the skins on, we can add that as your preference.

Why Is Sour Cream Used in Coffee Cake?

In this recipe, full-fat sour cream adds richness and moisture to the batter and helps create the soft texture that works so well with the peaches.

Can I Make Peach Coffee Cake Ahead of Time?

Yes. This is a good cake to bake ahead because it doesn't rely on frosting or a finish that has to be added immediately before serving. Let the cake cool completely before covering it.

How Do I Know When Peach Coffee Cake Is Done?

Start checking around 40 minutes. Insert a toothpick into the cake portion rather than directly through a peach. It should come out clean or with a few moist crumbs.

Does Coffee Cake Have Coffee in It?

No coffee is used in this recipe. “Coffee cake” refers to the style of cake traditionally served alongside coffee rather than coffee being an ingredient.

Homemade peach coffee cake with fresh peaches and walnut crumble

More Peach & Coffee Cake Recipes You'll Love

If you're making the most of peach season, try my Perfect Peach Cobbler or Peach Baked Brie next.

For another cozy coffee cake recipe, my Pumpkin Coffee Cake with Pecan Crumble is one to save for fall, and my Espresso Coffee Cake Muffins turn that classic crumb-topped coffee cake idea into individual muffins.

Final Thoughts

Fresh peaches are one of those ingredients I want to use as much as possible while they're in season, and this coffee cake is such a good excuse to bake with them.

The cake stays soft and moist underneath those layers of juicy peaches, while the buttery walnut crumble adds the texture that makes a good coffee cake so hard to stop eating.

Serve it for a summer brunch, add it to a dessert table or just cut yourself a slice to have with coffee. It's simple, seasonal and exactly the kind of recipe I love having in my kitchen.

Fresh peach coffee cake topped with buttery toasted walnut crumble
Peach sour cream coffee cake with golden walnut crumble topping

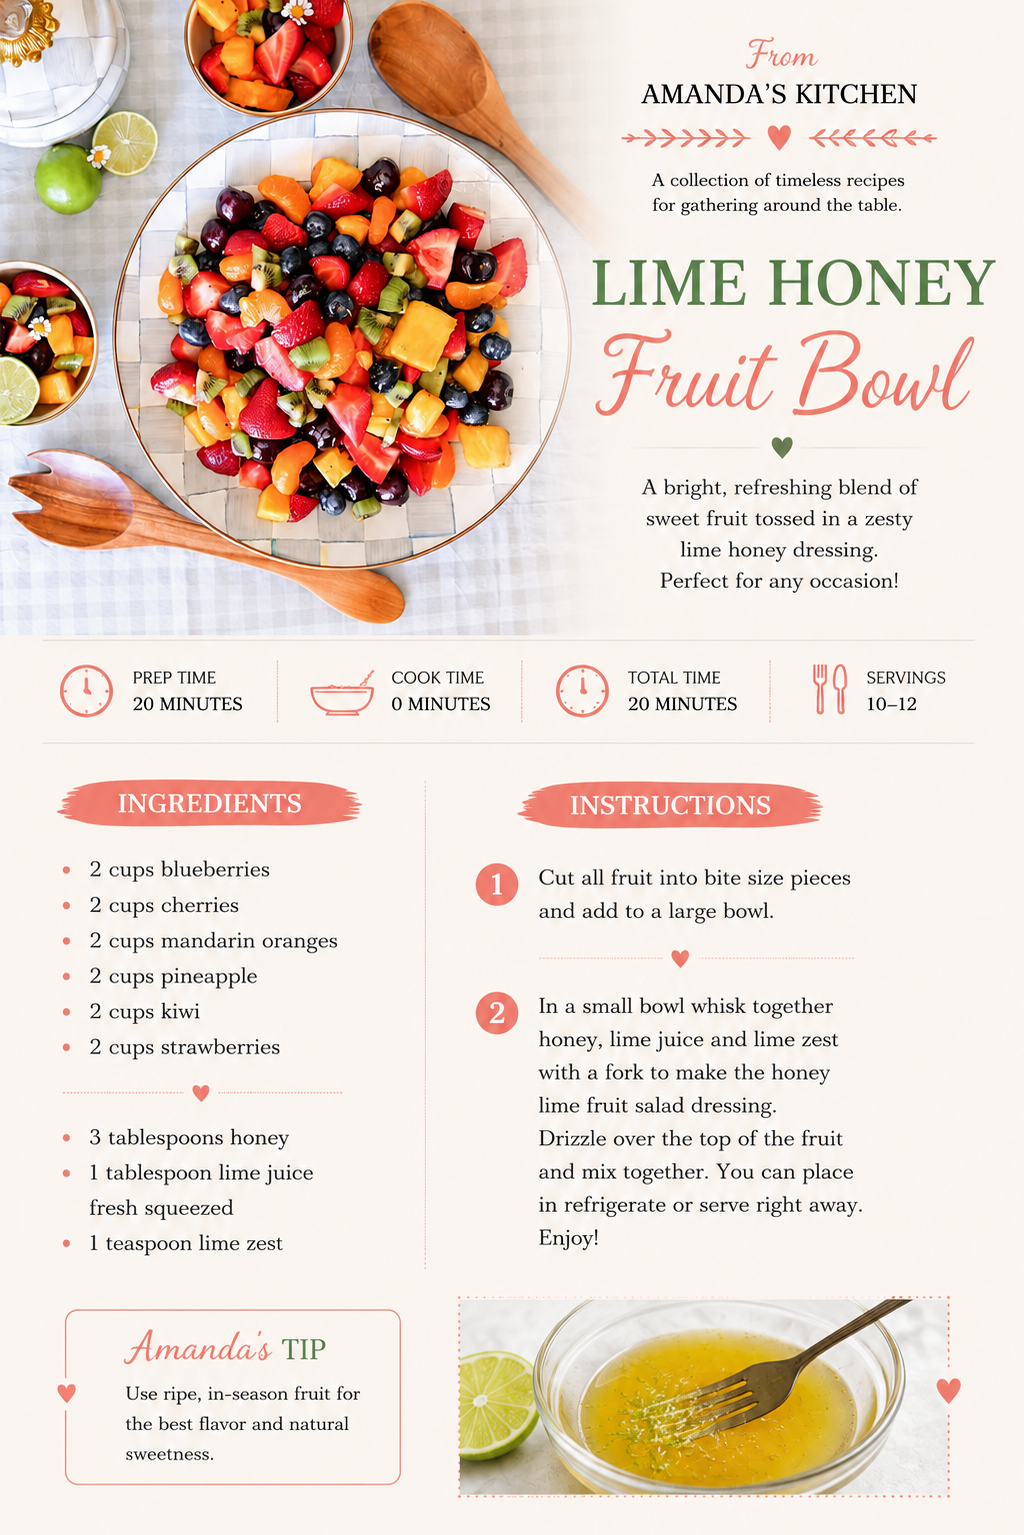
Honey Lime Fruit Salad

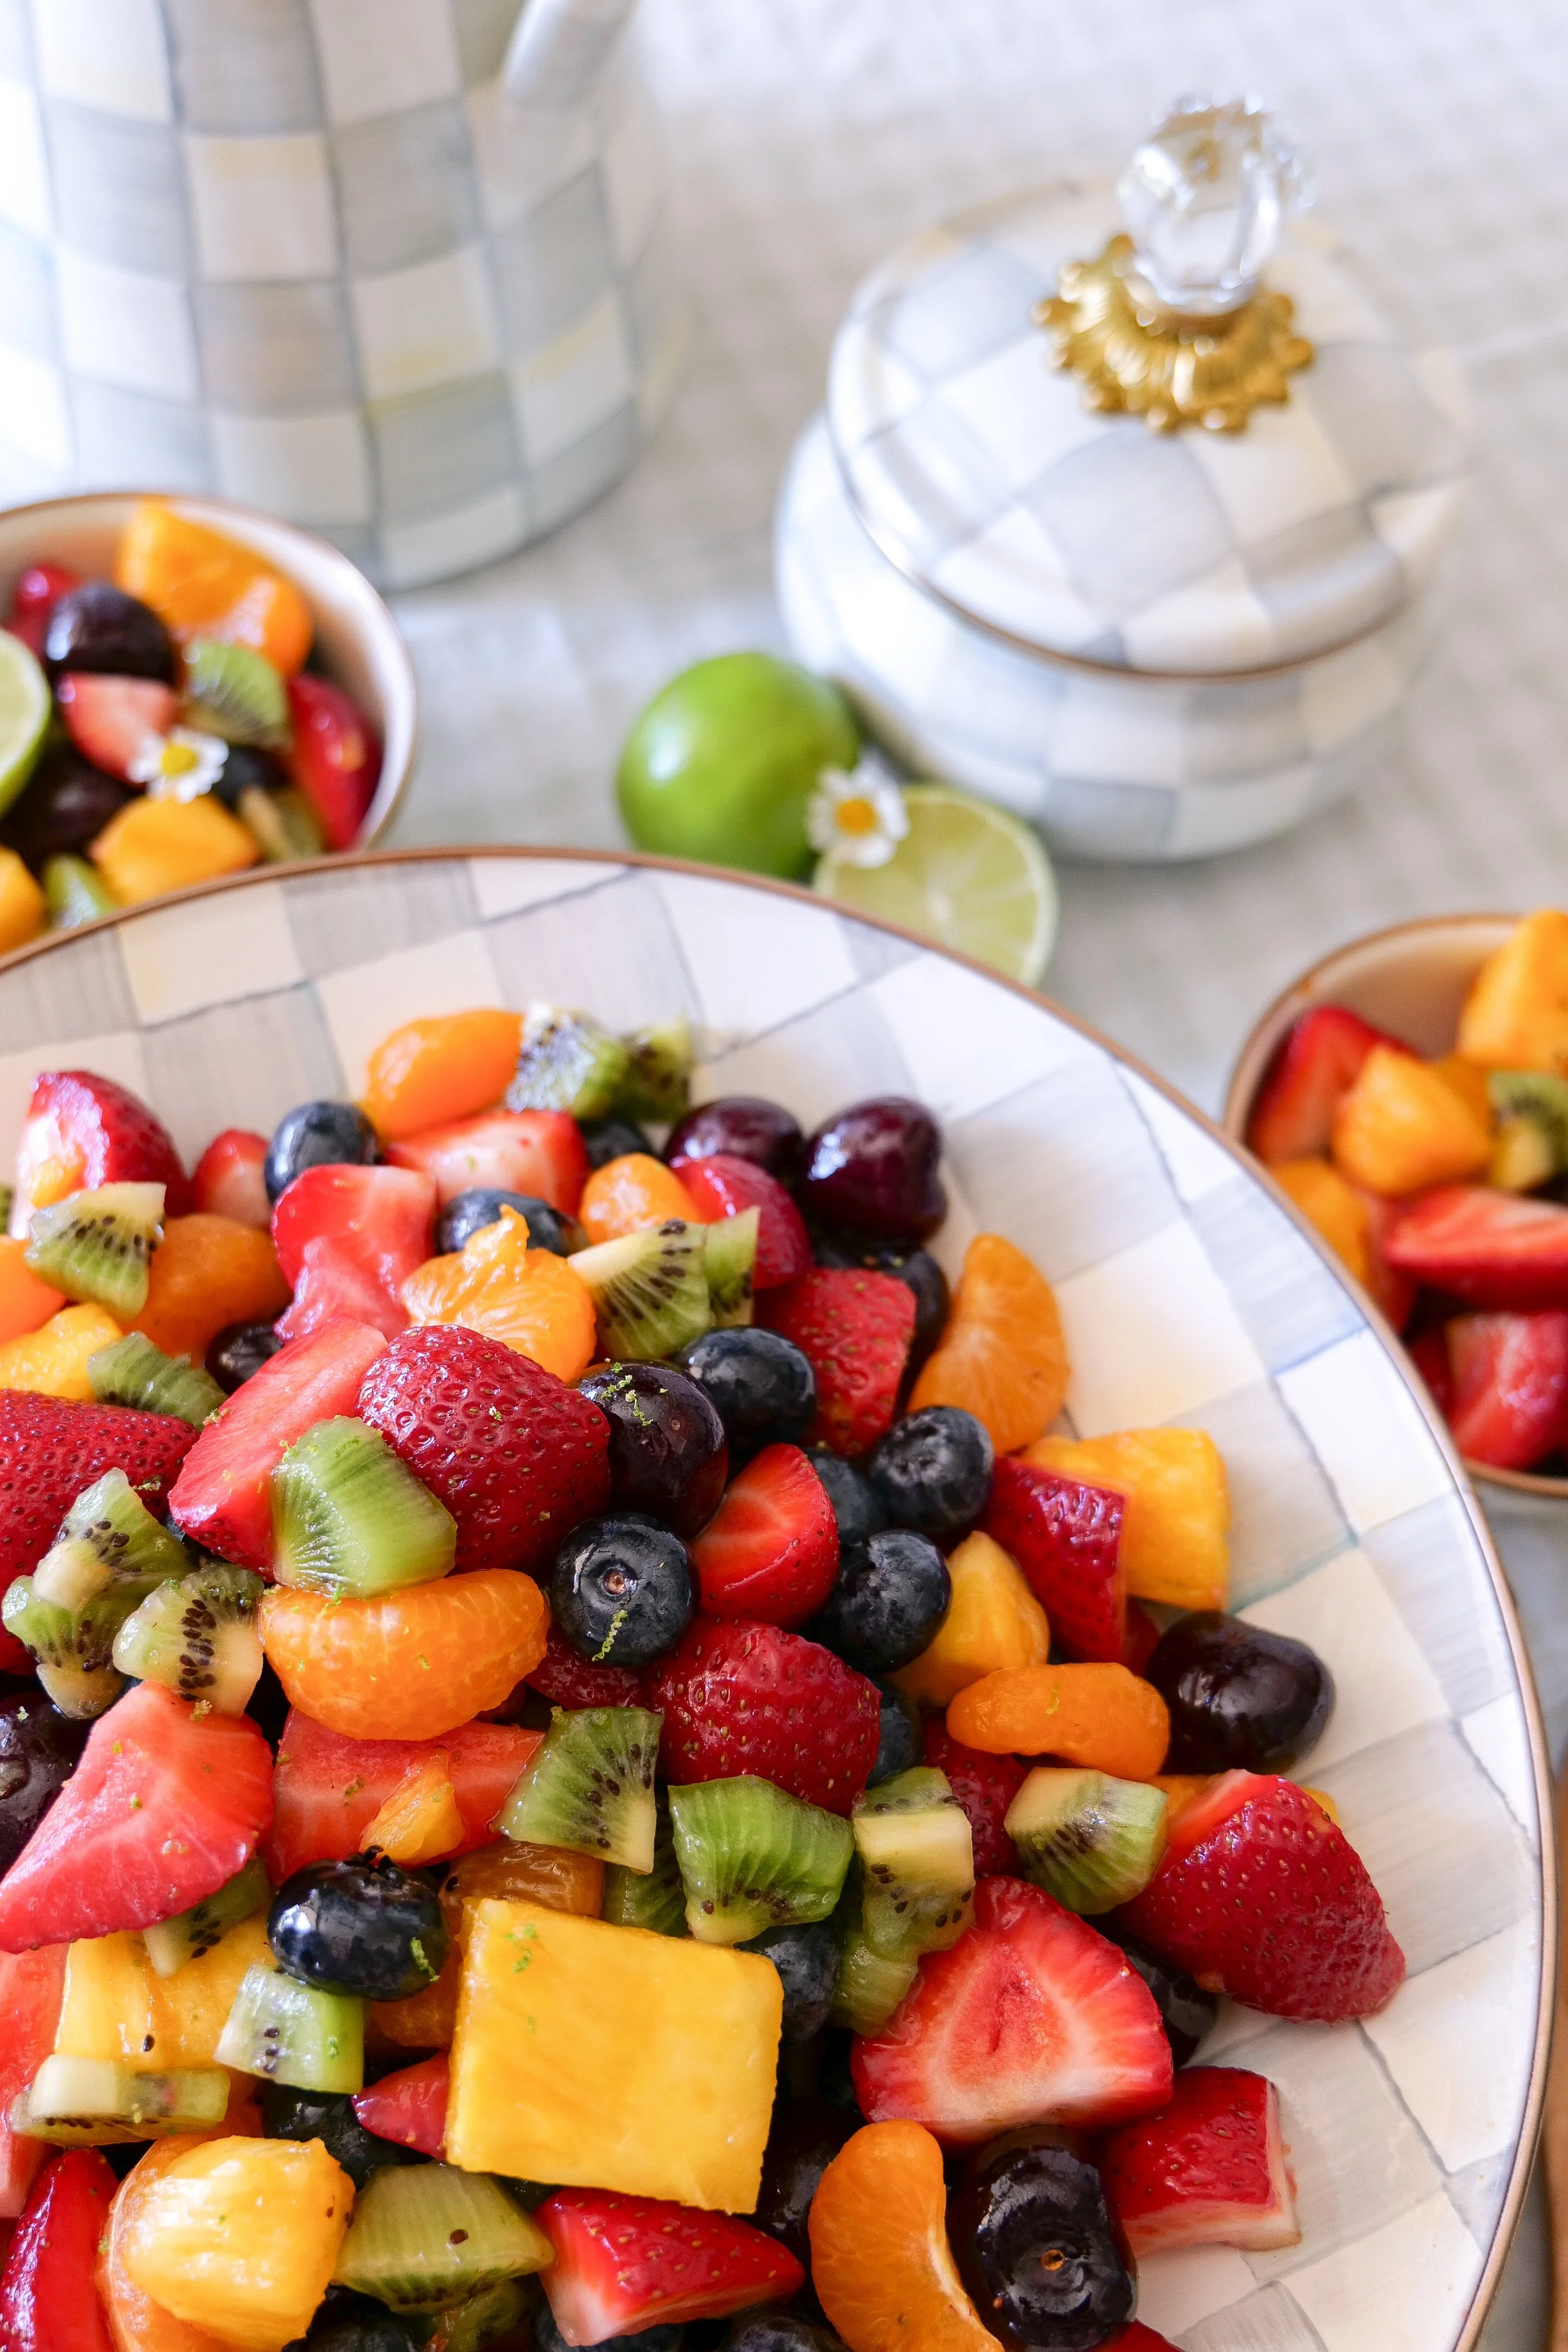
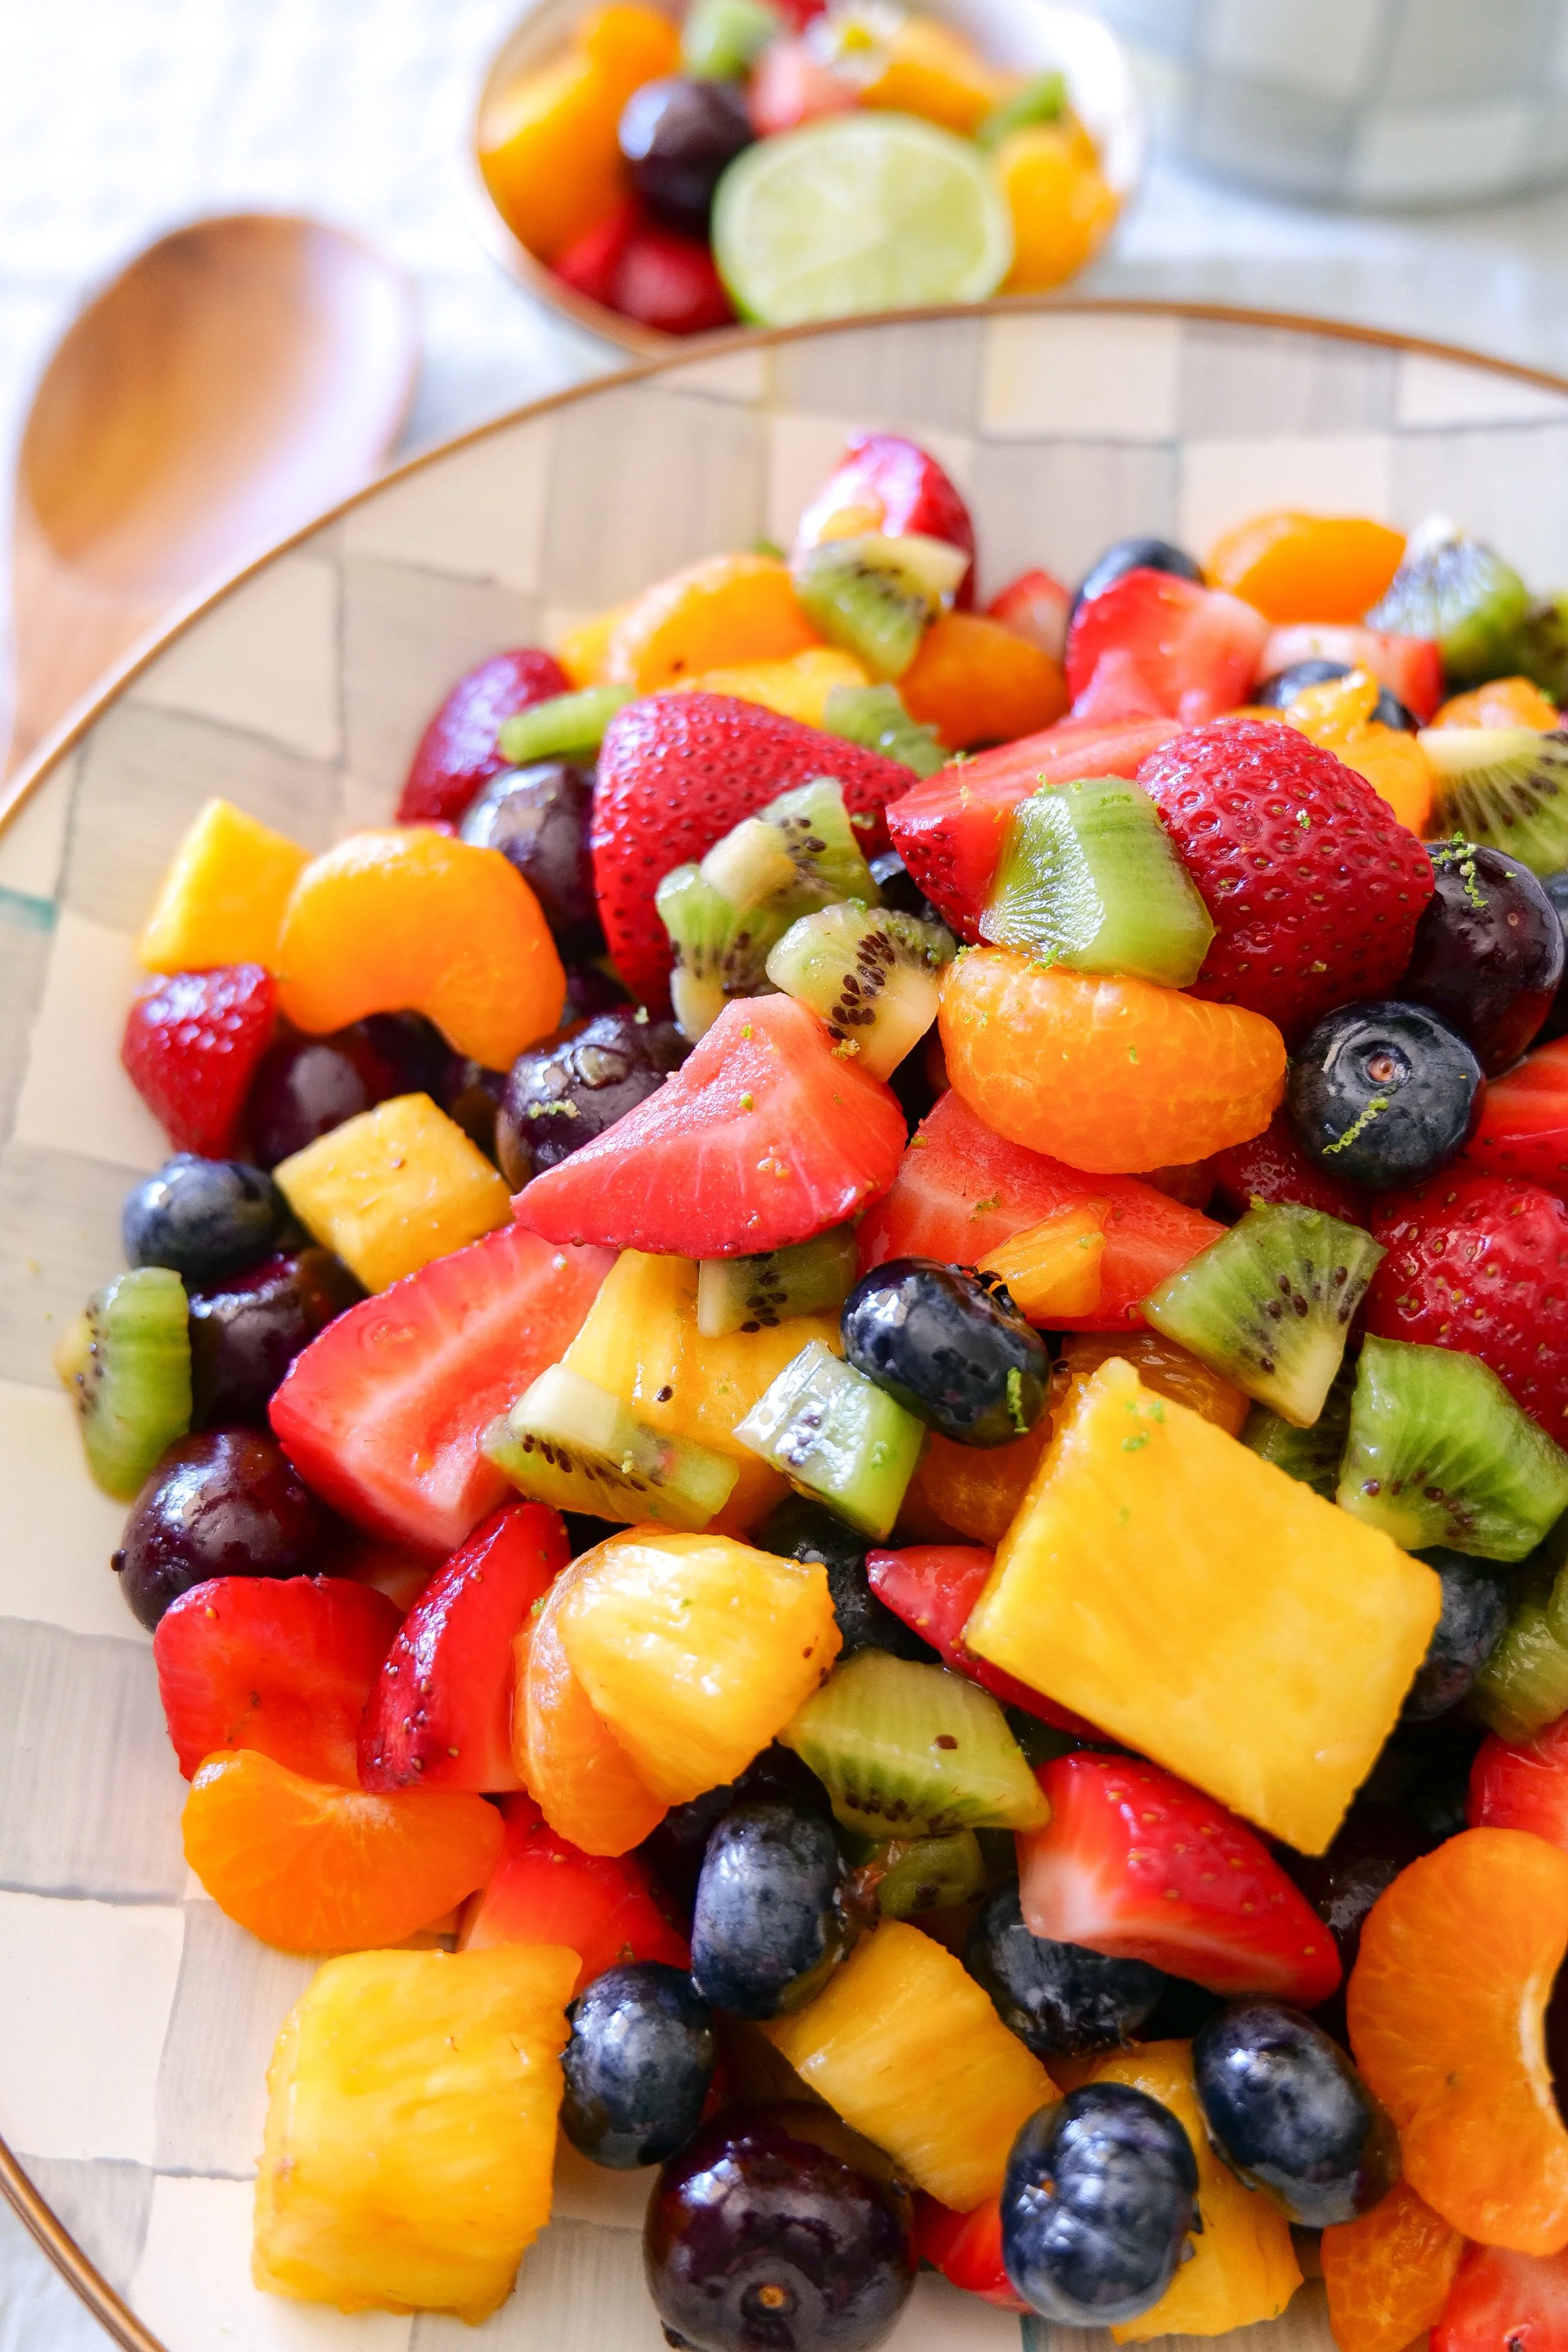
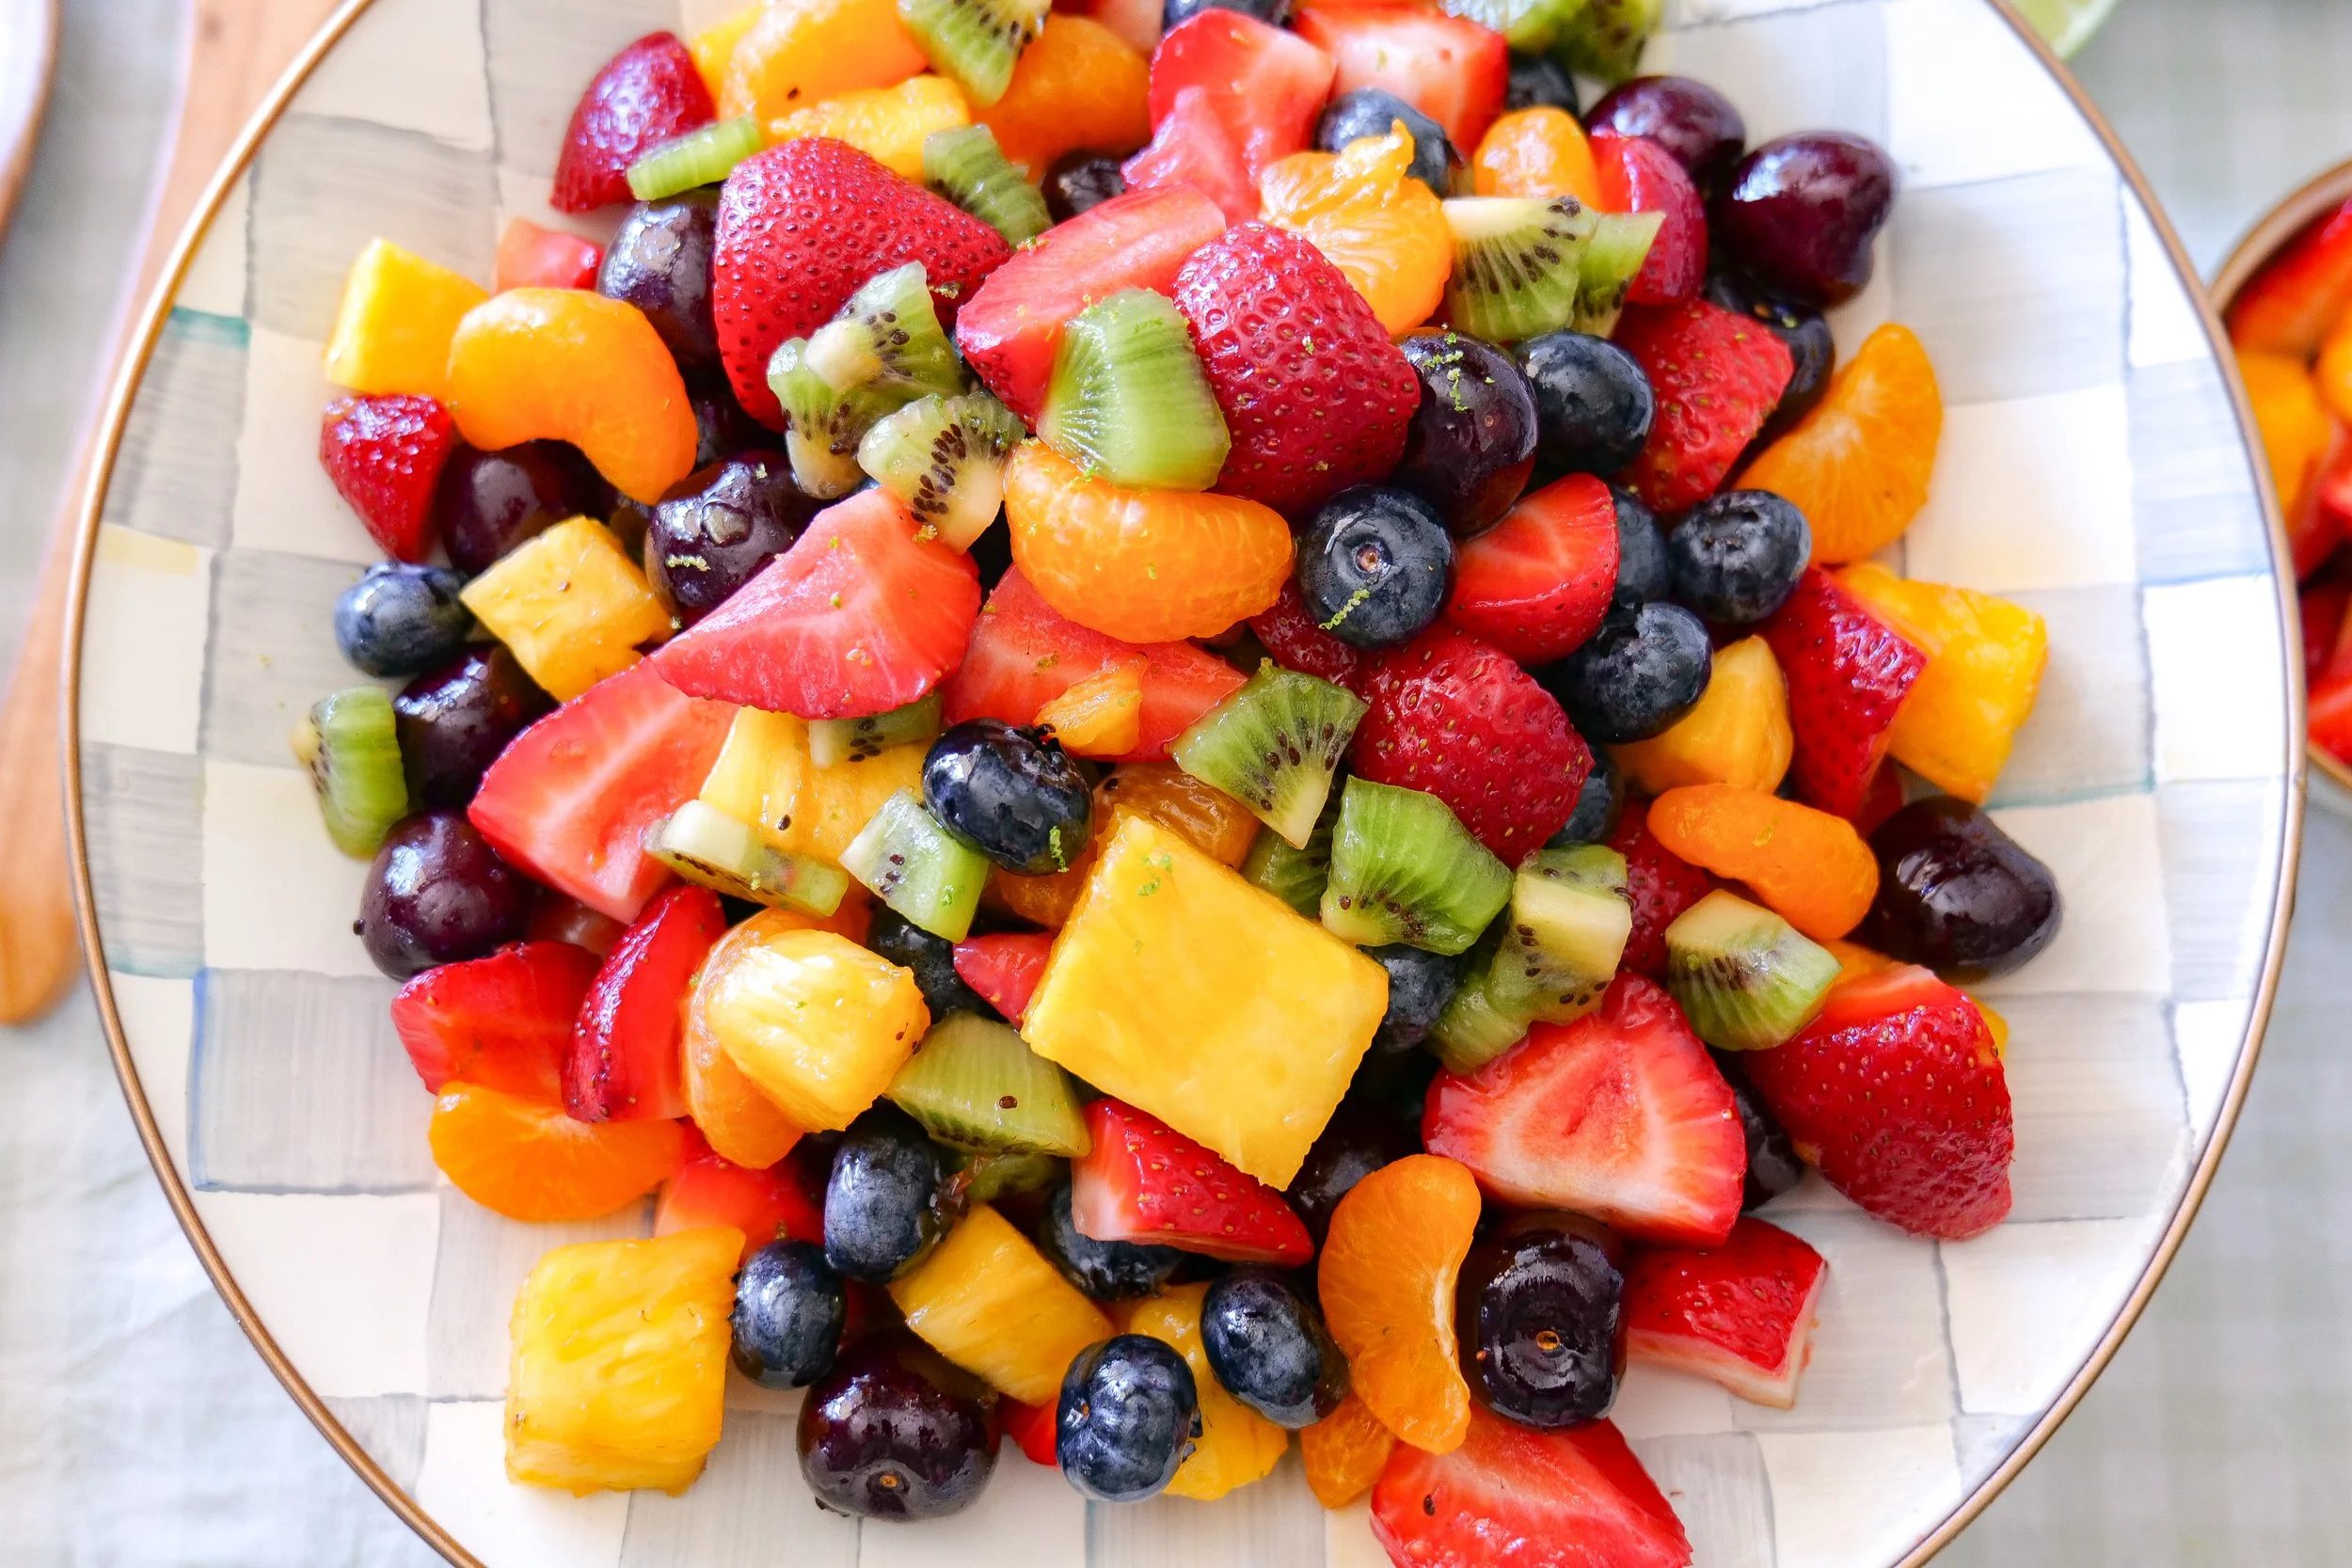
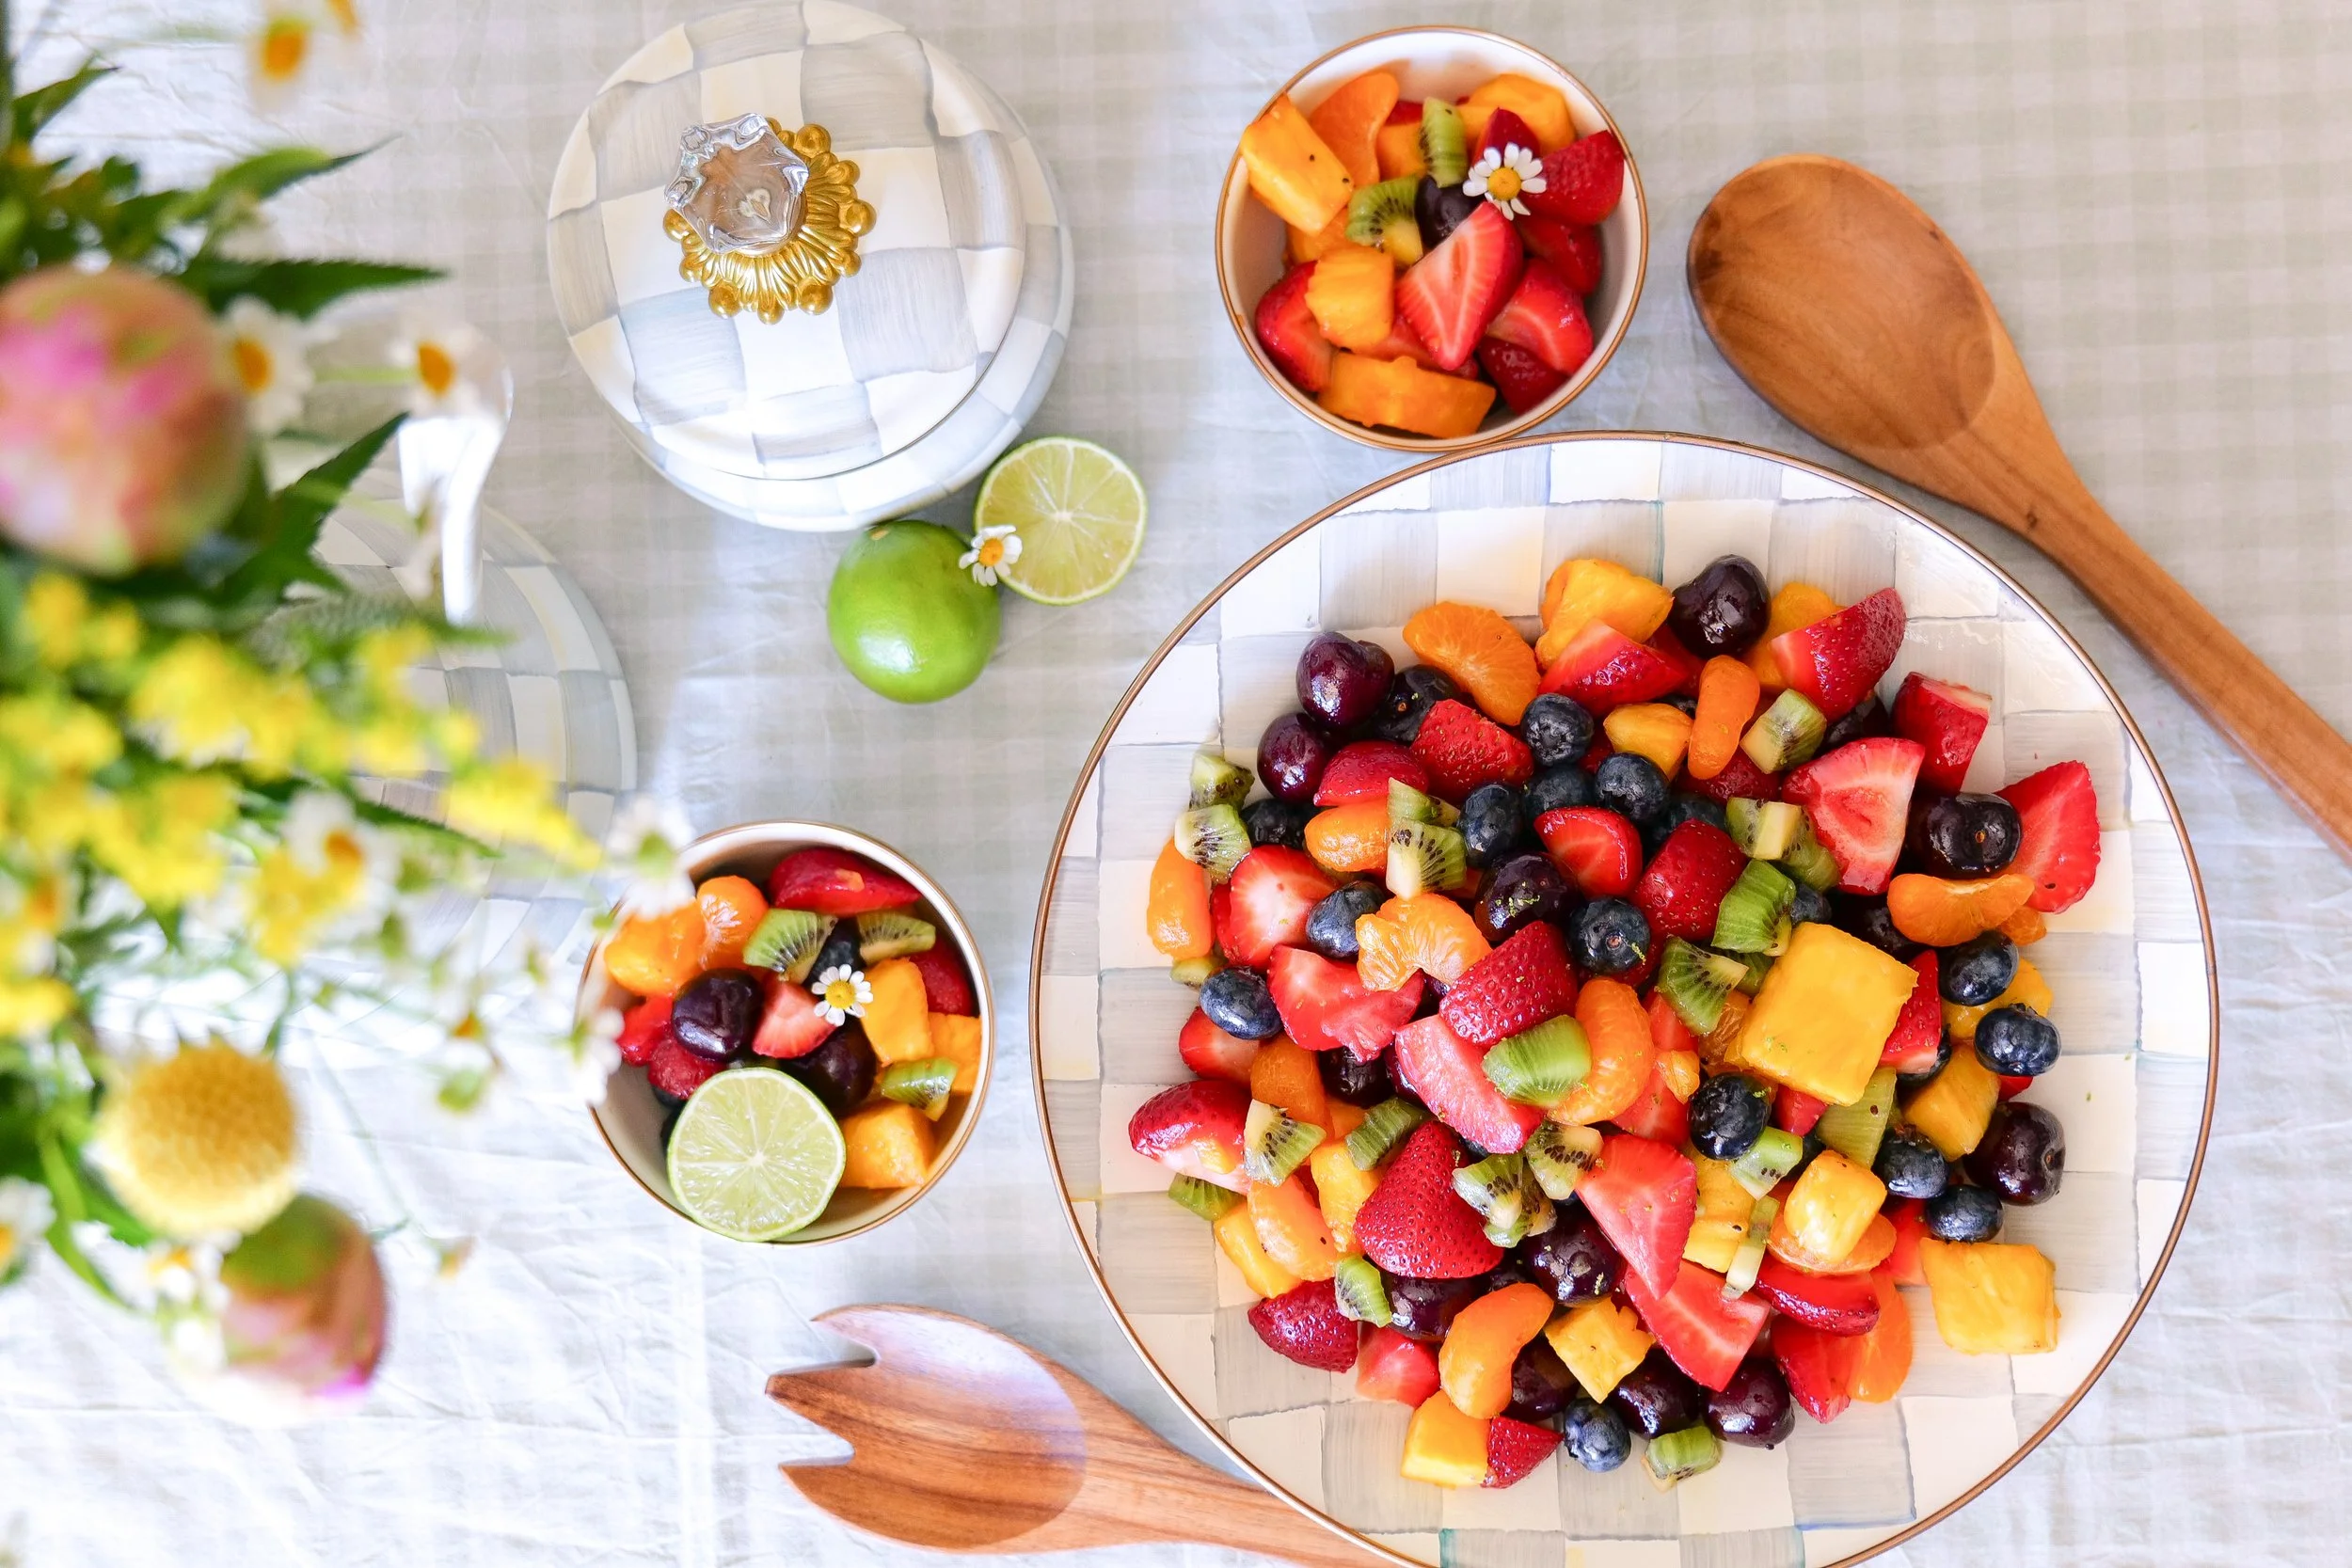
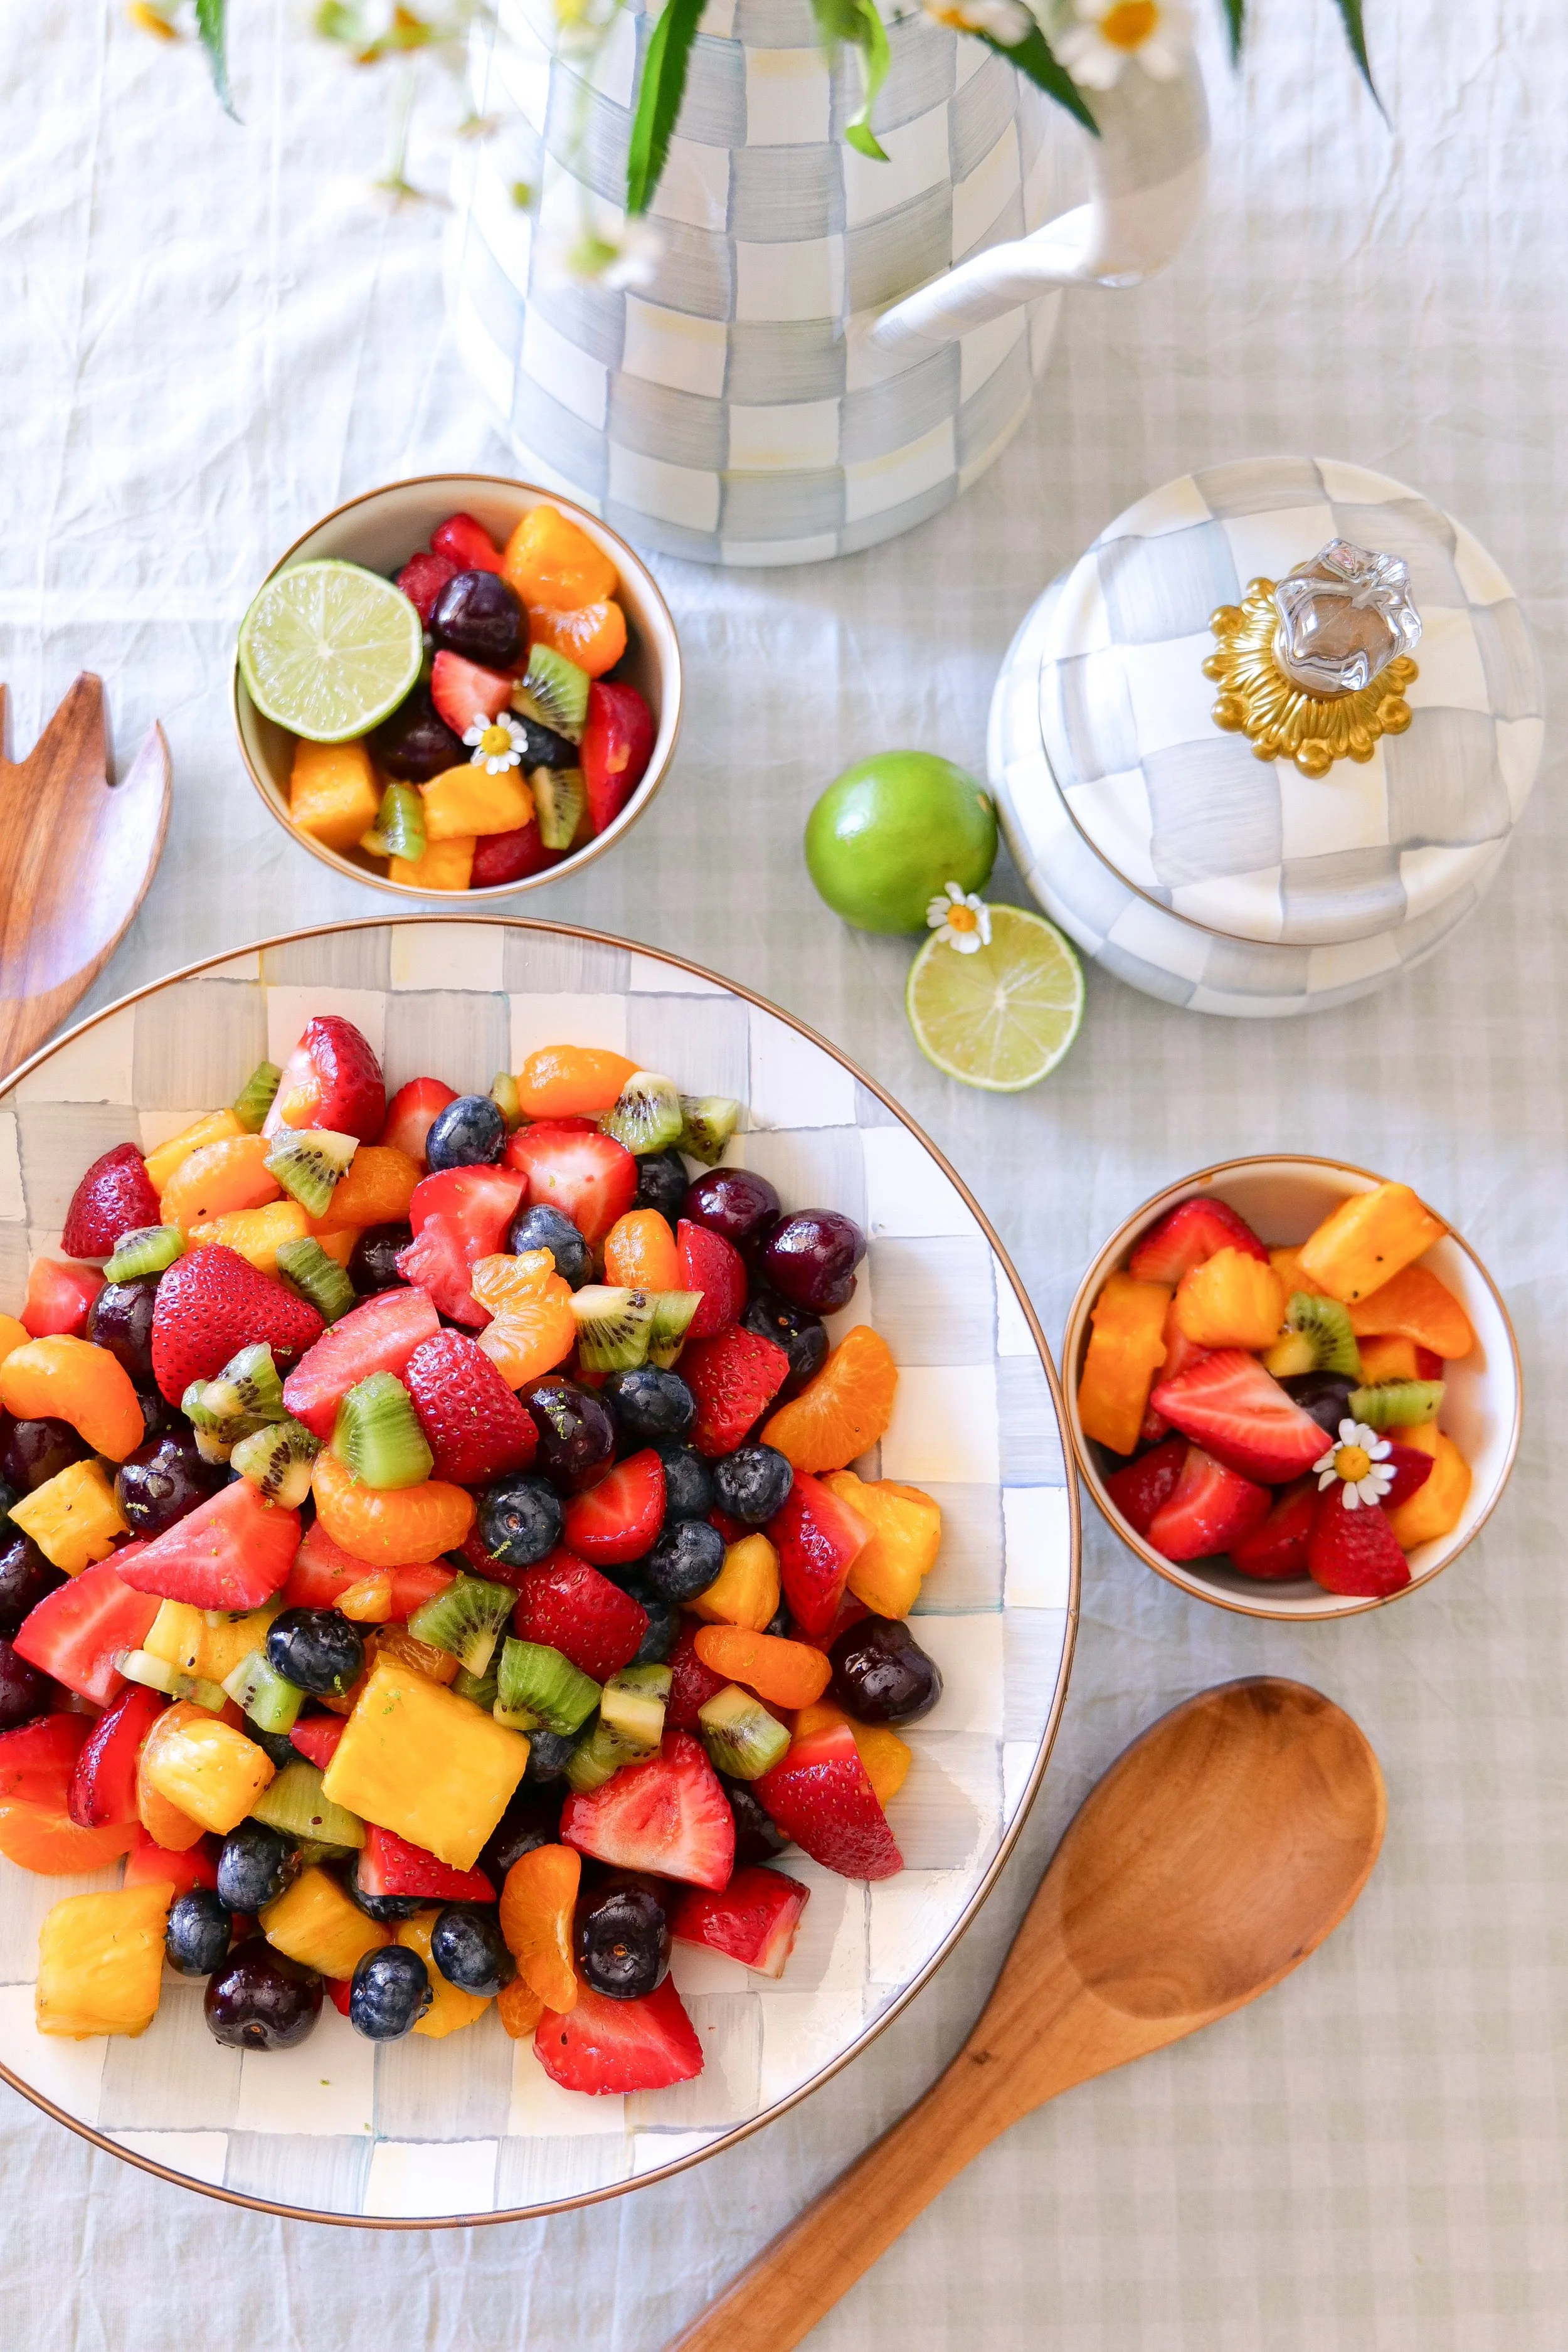
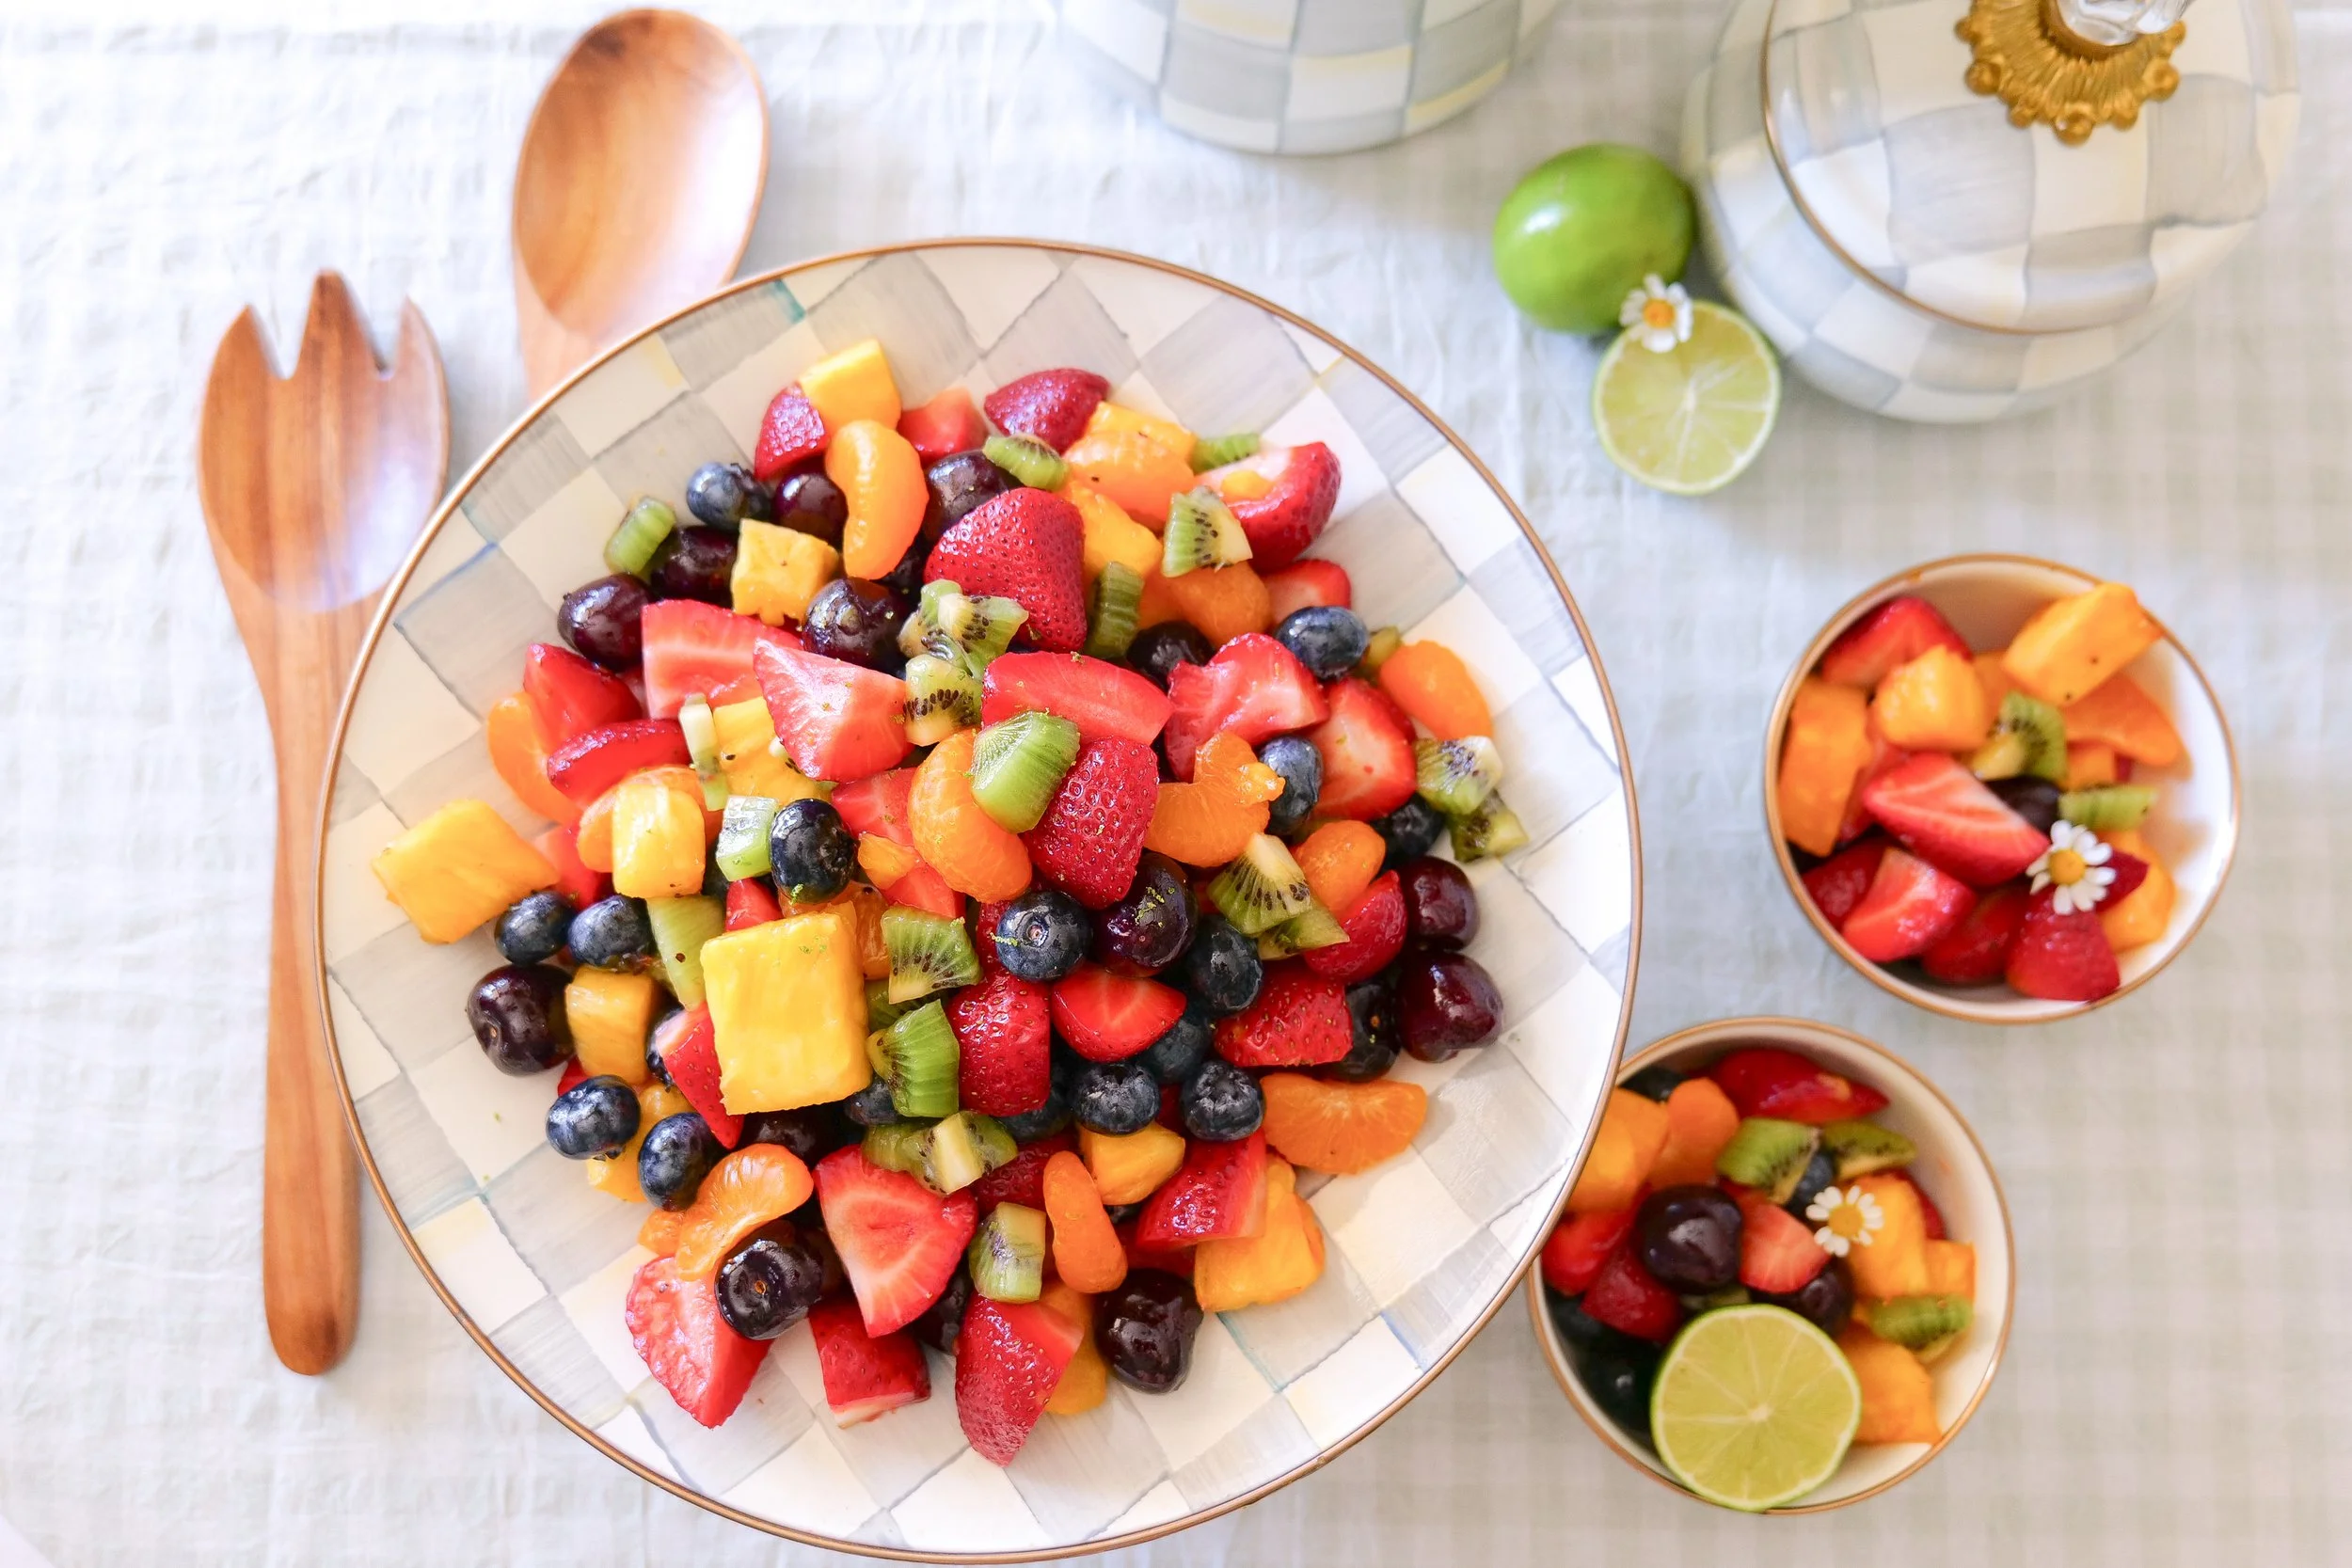
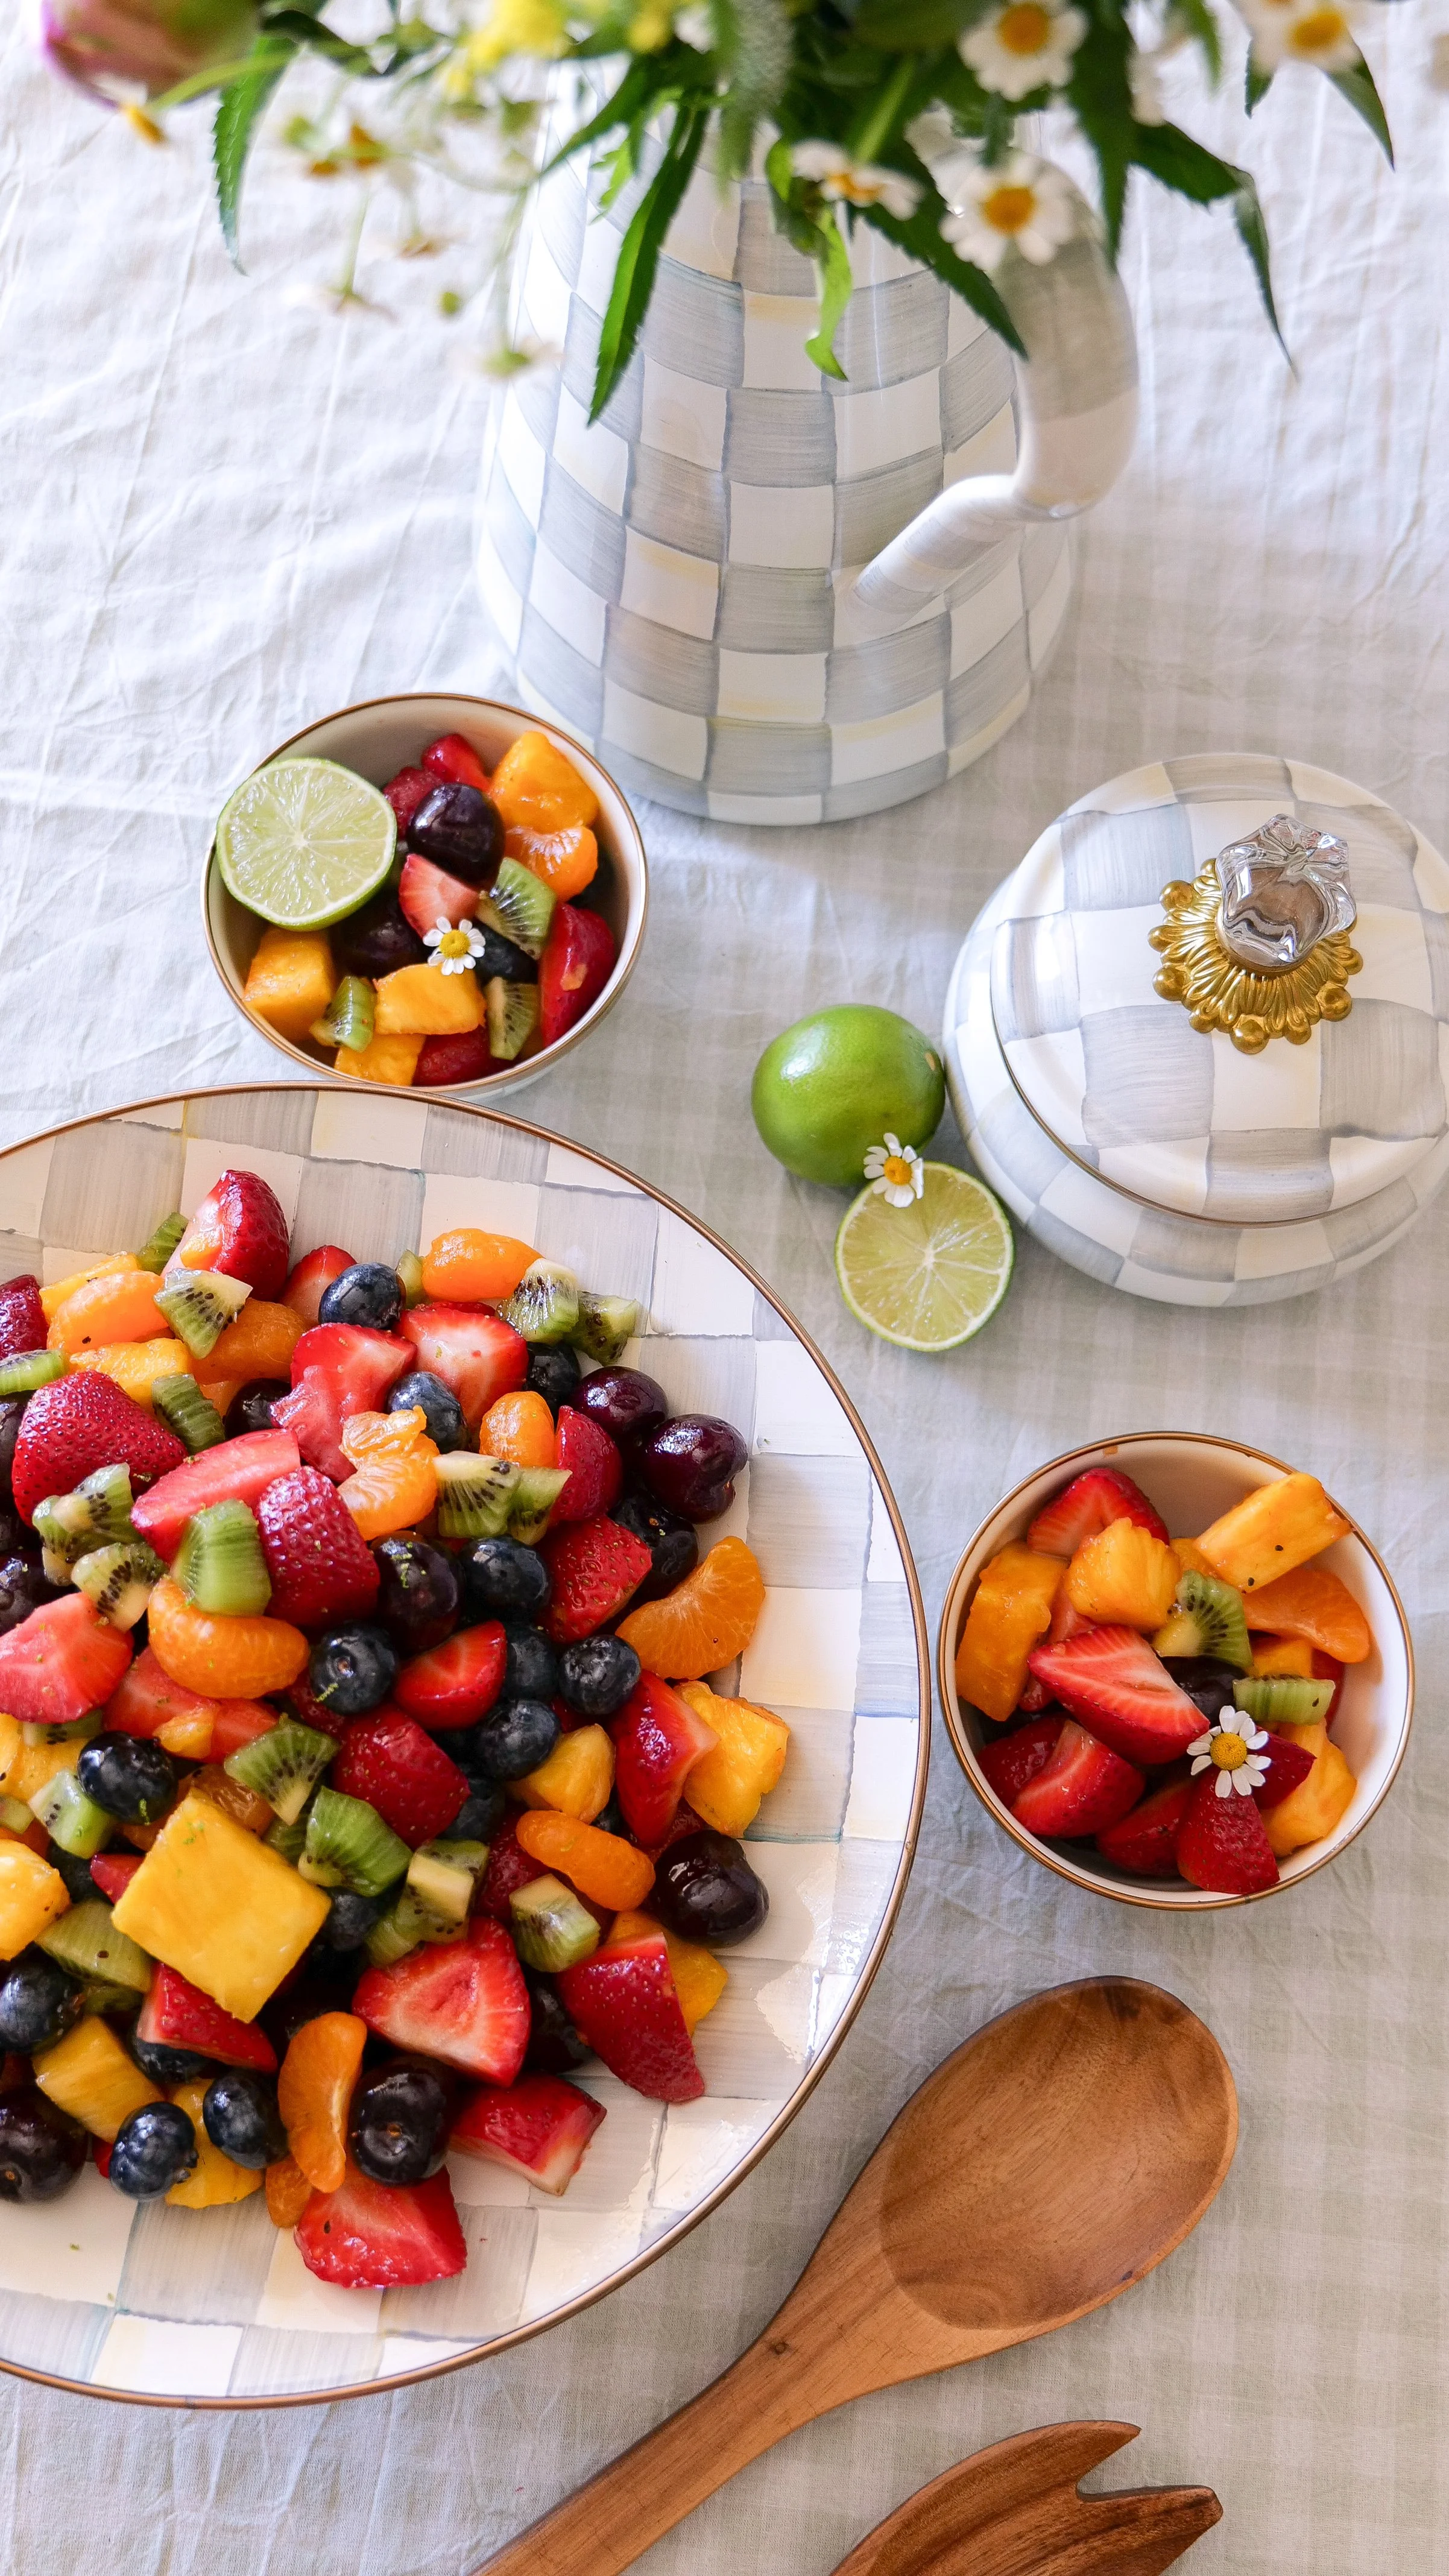
This Honey Lime Fruit Salad is one of my favorite ways to make a big bowl of fresh fruit feel just a little more special. It's filled with blueberries, cherries, mandarin oranges, pineapple, kiwi and strawberries, then tossed with a simple three-ingredient honey lime dressing.

The dressing is just sweet enough without covering up the flavor of the fruit. Fresh lime juice and zest add brightness, while honey brings everything together.

It's colorful, easy to make and perfect for summer brunches, backyard dinners, holidays or anytime you need an easy side dish that everyone can scoop onto their plate.

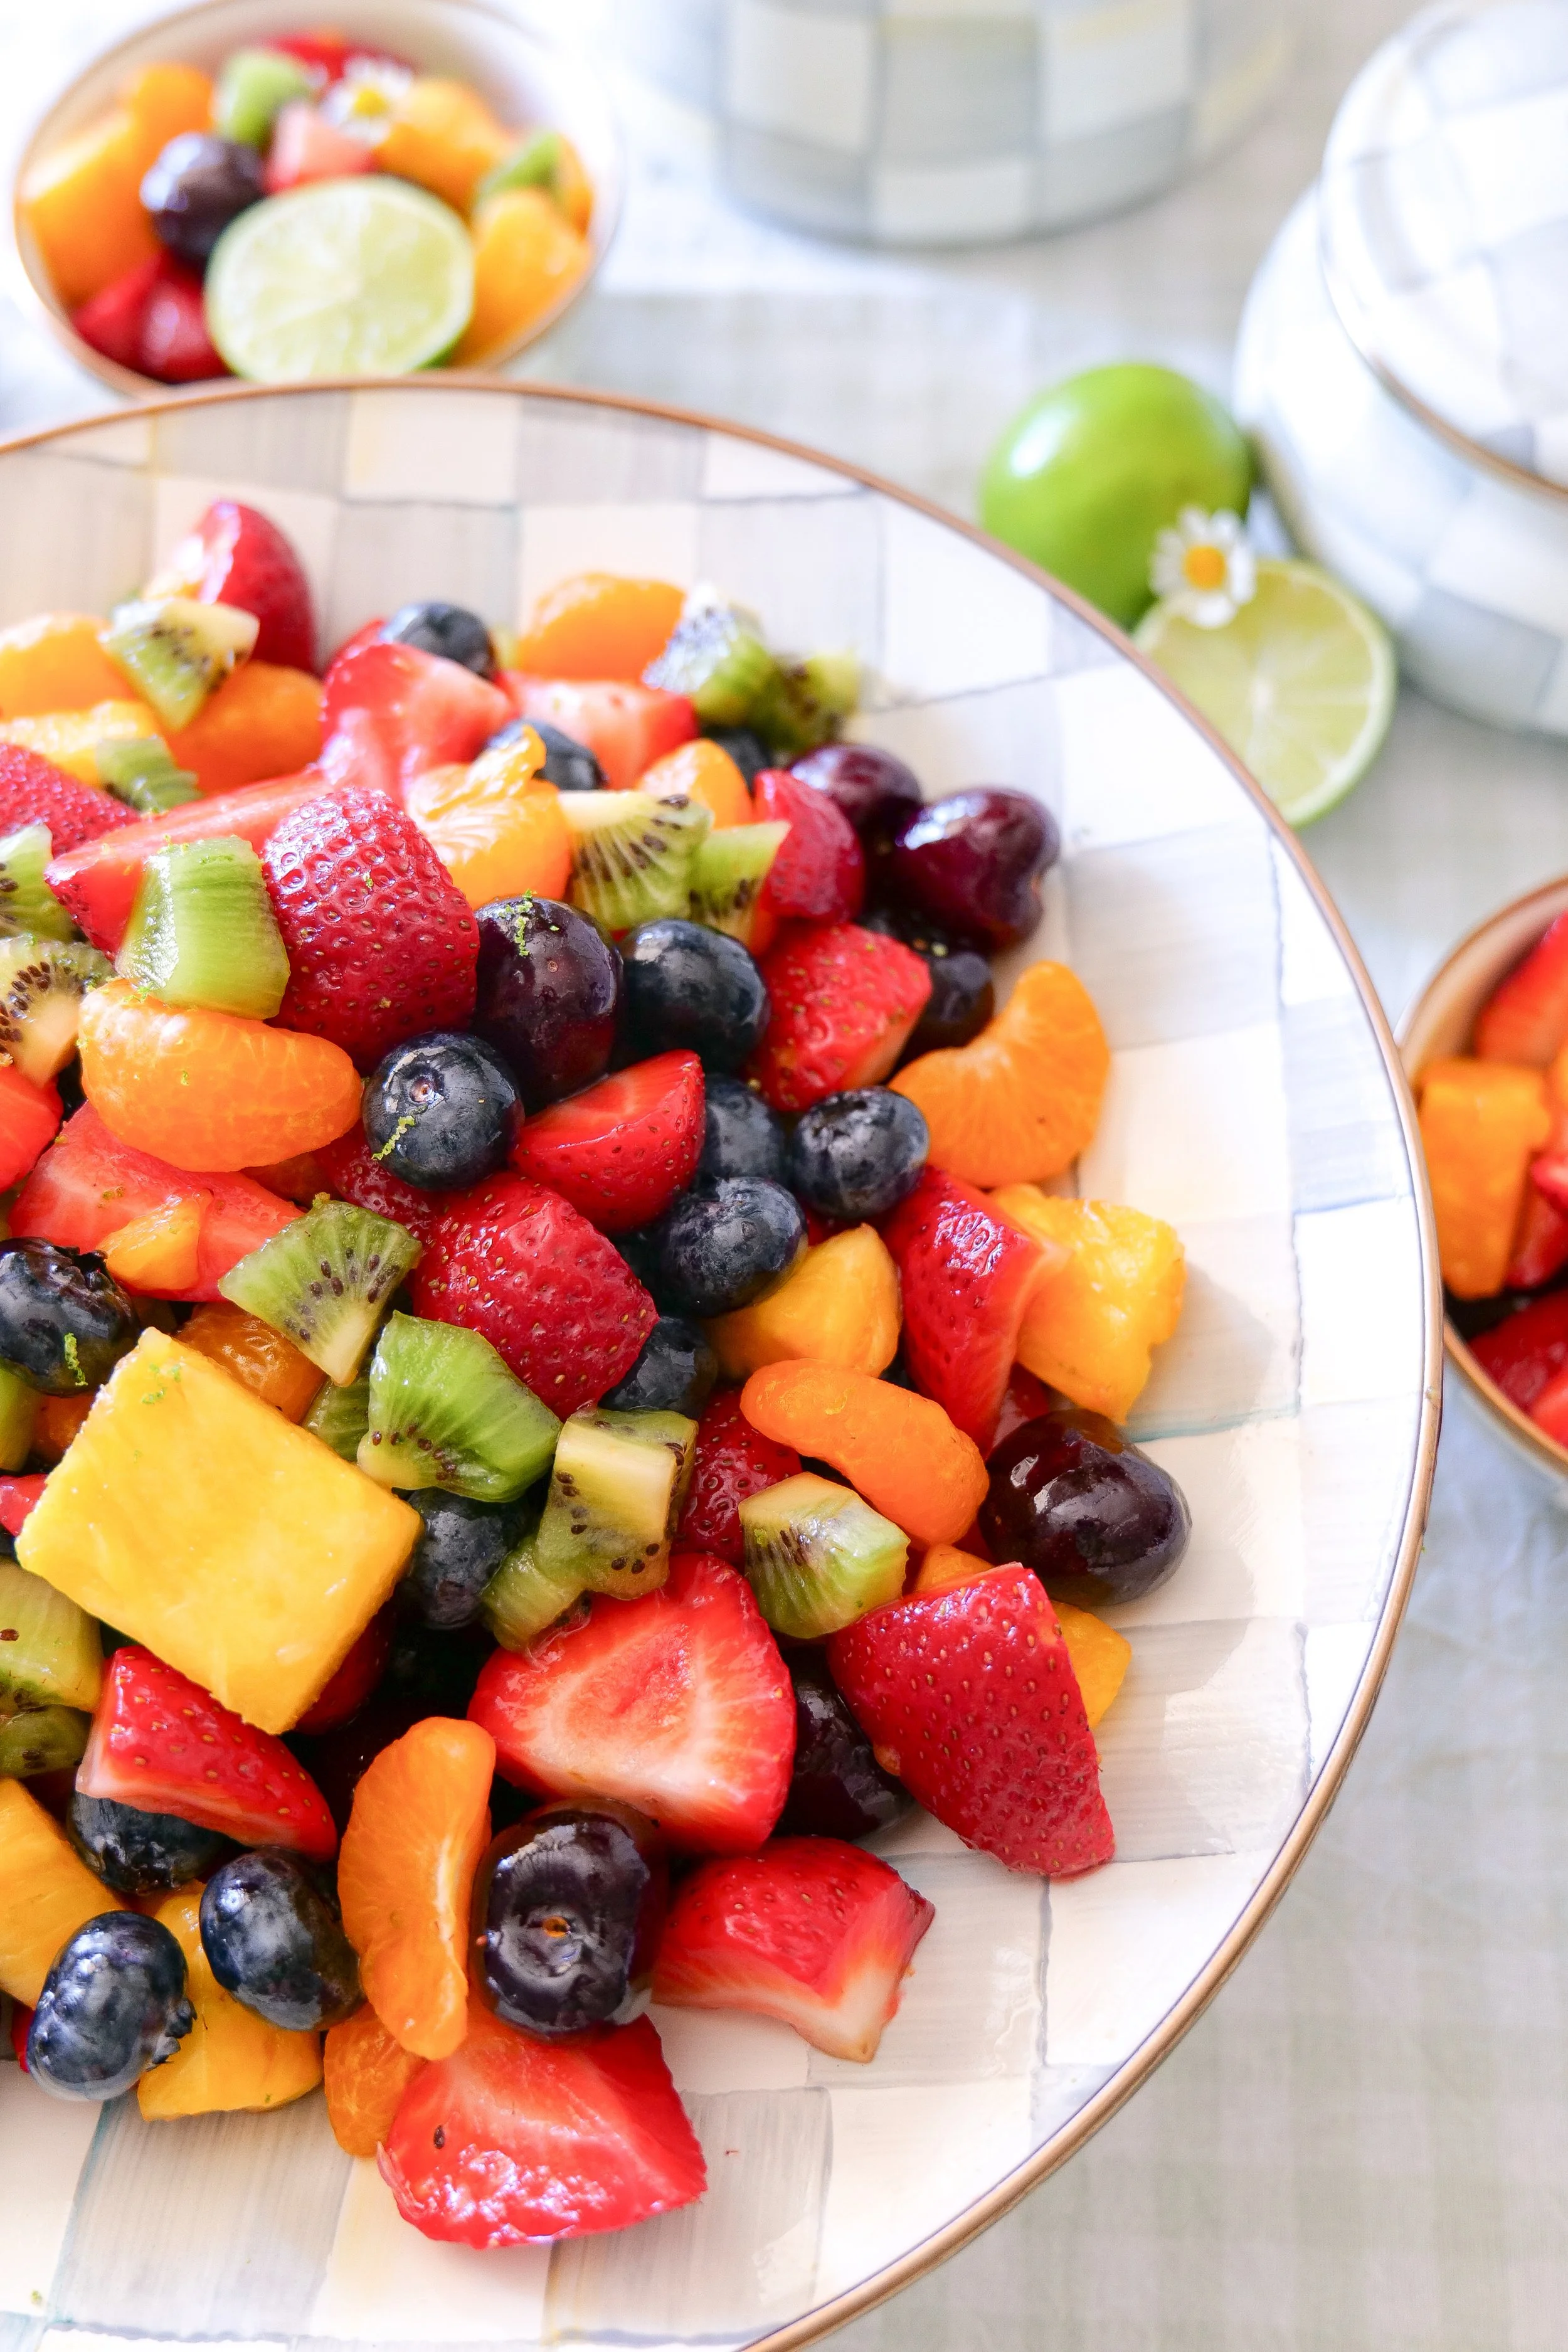
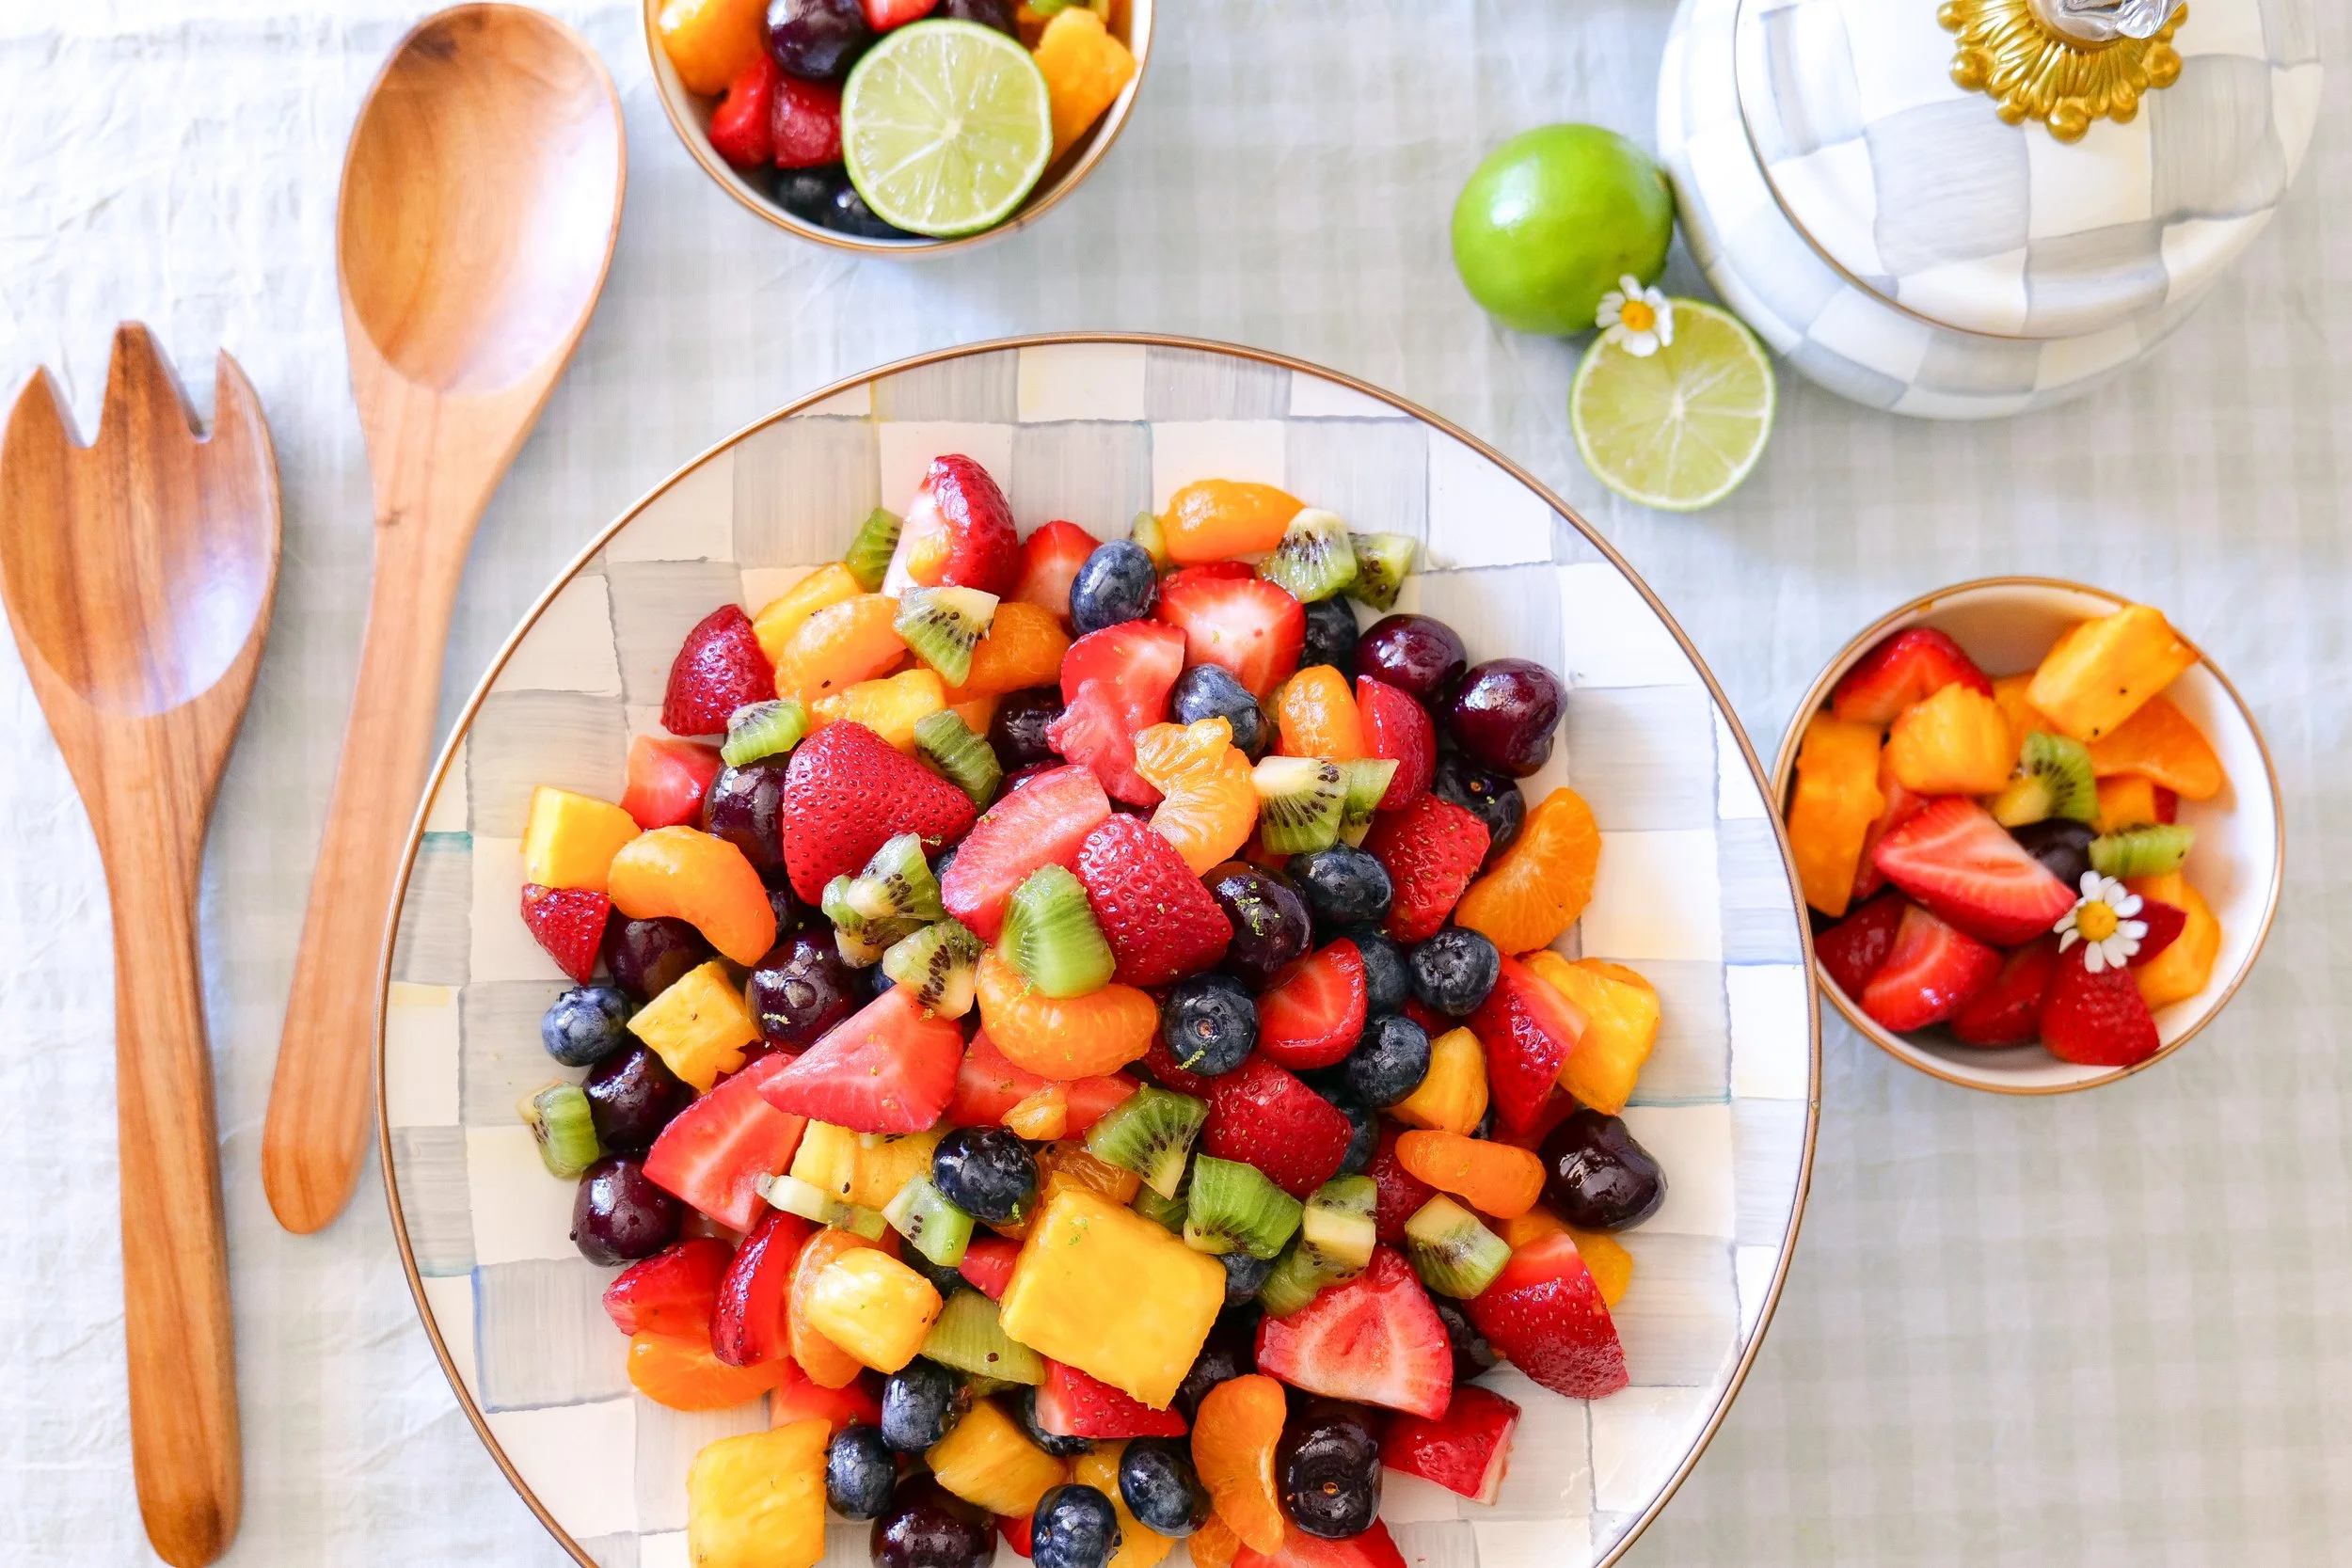
Honey lime fruit salad with fresh berries, pineapple, kiwi and cherries

Why You'll Love This Honey Lime Fruit Salad

The best part about this fruit salad is how simple it is. There's no complicated dressing or long prep process—just fresh fruit and a quick honey lime dressing.

I especially love the mix of colors and textures. You get sweet strawberries and cherries, juicy pineapple and mandarin oranges, tart kiwi and little bursts of blueberries in every scoop.

It's also an easy recipe for entertaining because you can prepare the fruit ahead and toss everything with the dressing shortly before serving.

Fresh fruit salad tossed with homemade honey lime dressing

Ingredient Notes

There are only a handful of things you need to make this recipe, so using fresh, flavorful fruit makes all the difference.

Fresh Fruit

I use a combination of blueberries, cherries, mandarin oranges, pineapple, kiwi and strawberries.

Cut the larger fruits into bite-size pieces so you can get several different fruits in each scoop. Blueberries can stay whole.

You can also adjust the combination depending on what's in season or what you have on hand. The honey lime dressing is simple enough that it works with lots of different fruits.

Honey

Honey adds just enough sweetness to the dressing and balances the acidity of the fresh lime.

Fresh Lime Juice

Use freshly squeezed lime juice here rather than bottled. Since the dressing has only three ingredients, that fresh citrus flavor really stands out.

Lime Zest

Don't skip the zest. It gives the dressing even more lime flavor without adding additional acidity.
Fresh ingredients for honey lime fruit salad

Amanda's Tips for the Best Fruit Salad

Start With Good Fruit

This is one of those recipes where the ingredients really do all the work. Use ripe, flavorful fruit and remove anything that's overly soft or bruised.

Keep the Pieces Bite-Size

Try to cut the strawberries, pineapple, kiwi and cherries into similarly sized pieces. It makes the finished bowl easier to serve and gives you a better mix of fruit in every bite.

Dry the Fruit Well

After washing your fruit, let it drain and dry before assembling the salad. Excess water can dilute the honey lime dressing and leave liquid sitting at the bottom of the bowl.

Toss Gently

Once you add the dressing, gently fold everything together rather than aggressively stirring it. This helps keep softer fruits like strawberries and kiwi intact.

Add the Dressing Closer to Serving

You can prep the fruit ahead, but I prefer adding the honey lime dressing closer to serving so everything stays as fresh and pretty as possible.

Honey, fresh lime juice and lime zest for fruit salad dressing

Perfect for Brunches and Summer Gatherings

This is one of those easy recipes that's especially helpful when you're hosting because it goes with almost anything.

Serve it alongside pancakes, French toast or egg dishes for brunch, add it to a summer barbecue spread, or bring out a big bowl with lunch or dinner.

I love serving colorful fruit salad in a large serving bowl because all of the colors really stand out against it.

Because it's already naturally sweet, you can also serve this as a lighter option alongside cakes and other desserts when you're entertaining.

Summer fruit salad with strawberries, blueberries, kiwi and pineapple
Honey lime fruit salad served in a large white bowl

Honey Lime Fruit Salad

A colorful fresh fruit salad made with strawberries, blueberries, cherries, pineapple, kiwi and mandarin oranges tossed in an easy three-ingredient honey lime dressing.

Ingredients

For the Fruit Salad

  • 2 cups blueberries

  • 2 cups cherries, pitted and cut as needed

  • 2 cups mandarin oranges

  • 2 cups pineapple, cut into bite-size pieces

  • 2 cups kiwi, peeled and cut into bite-size pieces

  • 2 cups strawberries, hulled and cut into bite-size pieces

For the Honey Lime Dressing

  • 3 tablespoons honey

  • 1 tablespoon freshly squeezed lime juice

  • 1 teaspoon lime zest

These quantities stay true to your original recipe.

Instructions

1. Prepare the Fruit

Wash and dry the fresh fruit.

Pit the cherries, hull the strawberries, peel the kiwi and cut the larger fruits into bite-size pieces.

Add all of the prepared fruit to a large serving bowl.

2. Make the Honey Lime Dressing

In a small bowl, whisk together the honey, freshly squeezed lime juice and lime zest until combined.

3. Toss the Fruit Salad

Drizzle the honey lime dressing evenly over the fruit.

Gently toss until the fruit is evenly coated.

Serve immediately or refrigerate until you're ready to serve.

Amanda's Tip

Make sure your fruit is well drained and dry before adding the dressing. Extra water left on freshly washed fruit can dilute that simple honey lime dressing.

Easy fresh fruit salad with honey and lime

Save This Recipe

Save this Honey Lime Fruit Salad for summer gatherings, brunches and those weeks when you want a big bowl of fresh fruit ready in the refrigerator.

I've included a printable recipe card below so it's easy to print and come back to whenever you're ready to make it again.

Honey lime fruit salad printable recipe card

Frequently Asked Questions

Can I Make Honey Lime Fruit Salad Ahead of Time?

Yes, but for the best texture I prefer preparing the fruit ahead and keeping it refrigerated, then adding the honey lime dressing closer to serving.

If you do toss everything together ahead of time, keep the fruit salad covered and refrigerated.

Can I Use Different Fruit?

Yes. One of the easiest things about this recipe is adjusting the fruit based on what's in season.

Just try to choose a combination with different colors, flavors and textures rather than using several fruits that are all very soft.

Can I Use Frozen Fruit?

I prefer fresh fruit for this recipe. Frozen fruit releases considerably more liquid as it thaws and can make the finished salad softer and more watery.

How Long Does Fruit Salad Last in the Refrigerator?

For the best flavor and texture, I would enjoy this fruit salad as fresh as possible. As it sits, the fruit naturally releases juice and becomes softer.

Should I Chill Fruit Salad Before Serving?

You can. If you like your fruit salad cold, refrigerate the prepared fruit before adding the dressing. This gives you that chilled, refreshing fruit salad without requiring the fruit to sit in the dressing for a long time.

Fresh summer fruit salad with berries, cherries and tropical fruit

More Fresh Salad Recipes You'll Love

If you love fruit in summer salads, try my Berry Walnut Goat Cheese Salad with Strawberry Vinaigrette next.

For more fresh salad ideas, save my Pear & Walnut Salad with Honey Mustard Dressing and Sweet Kale Salad with Poppy Seed Dressing too.

Shop My Kitchen Essentials

These are some of the kitchen and serving pieces I use again and again for everyday recipes and entertaining.

Final Thoughts

Fresh fruit doesn't need much to make it feel special, and that's exactly why I love this Honey Lime Fruit Salad.

The combination of colorful summer fruit with a little honey, fresh lime juice and lime zest is simple, bright and so easy to put together. It works for brunch, summer dinners, holidays and just having a bowl of fruit ready for everyone to enjoy.

And when all of those colors are piled into one big serving bowl, it's one of the easiest things you can put on the table that still looks beautiful.

Easy honey lime fruit salad recipe for summer

Creamy Tuna Dip with Pickles & Pickled Red Onions

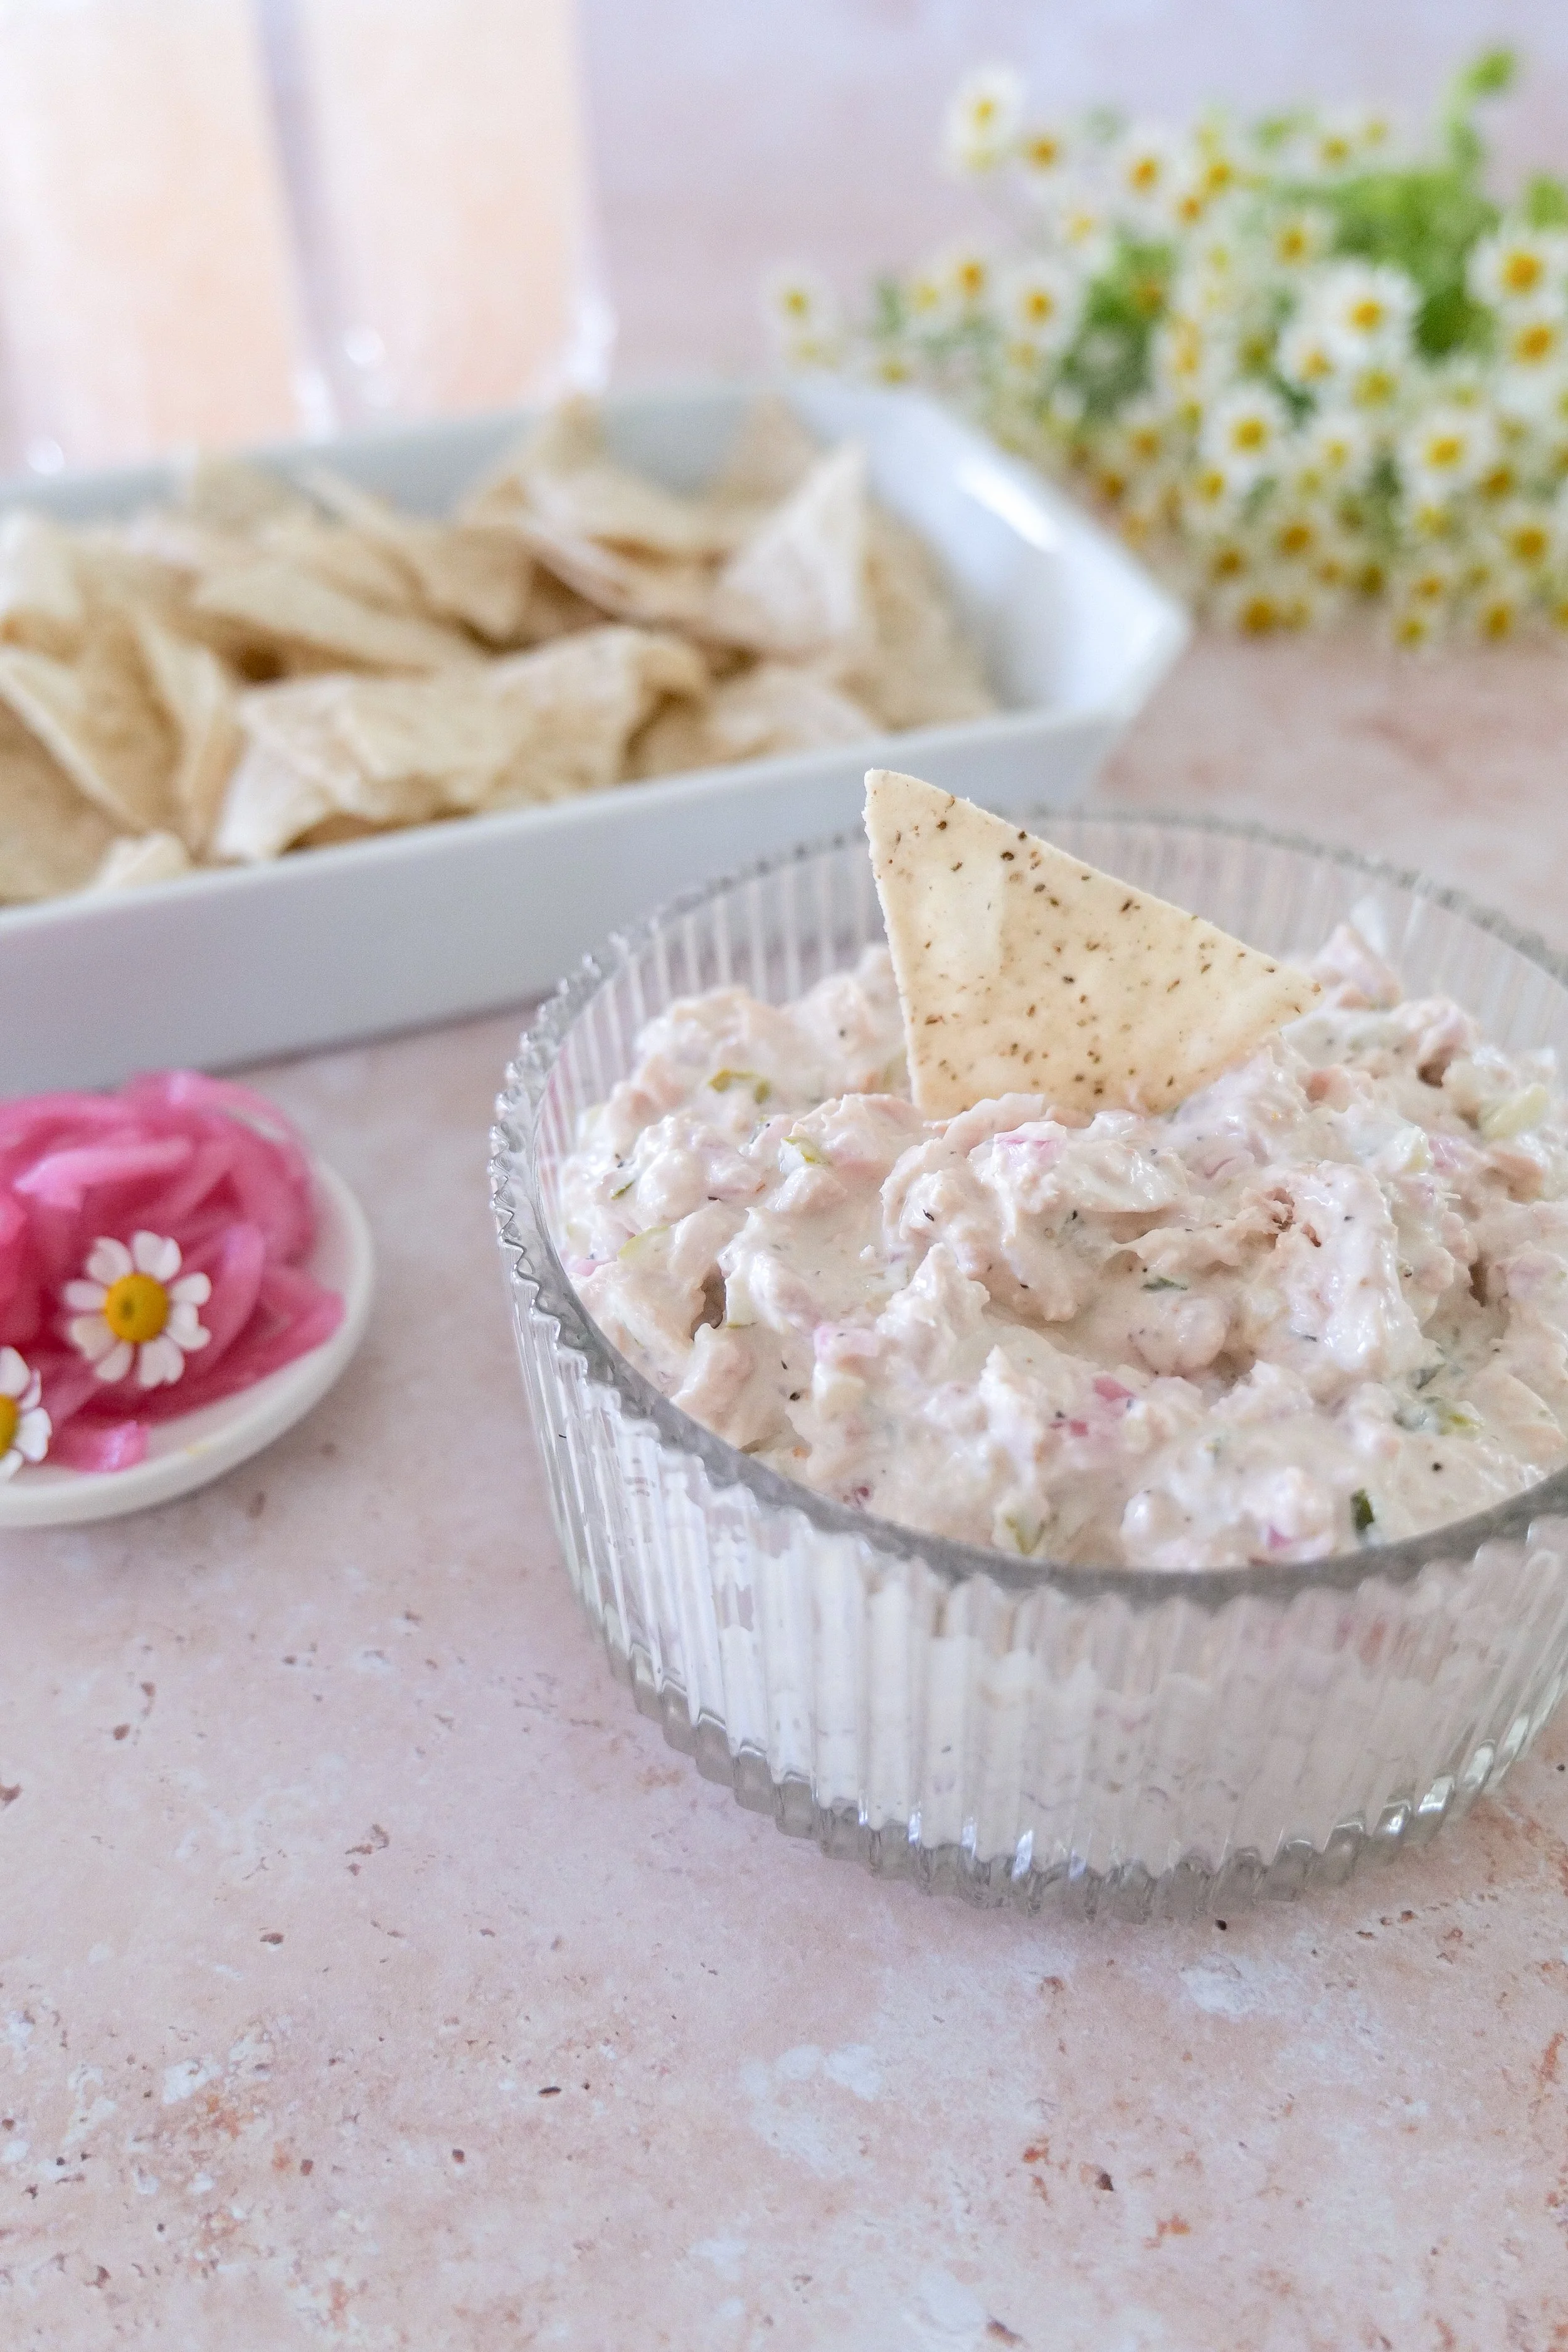
This Creamy Tuna Dip is one of those appetizers you can throw together in just a few minutes with a handful of simple ingredients. Tuna, cream cheese and mayonnaise make the creamy base, while hot pickles and pickled red onions give it the tangy, slightly spicy flavor that makes this one so good.

There's no cooking required. Everything gets mixed together in one bowl, transferred to a pretty serving dish and it's ready for crackers, chips or fresh vegetables.

It's especially good for summer entertaining when the last thing you want to do is turn on the oven, but it's easy enough to make anytime you need a quick snack or appetizer.

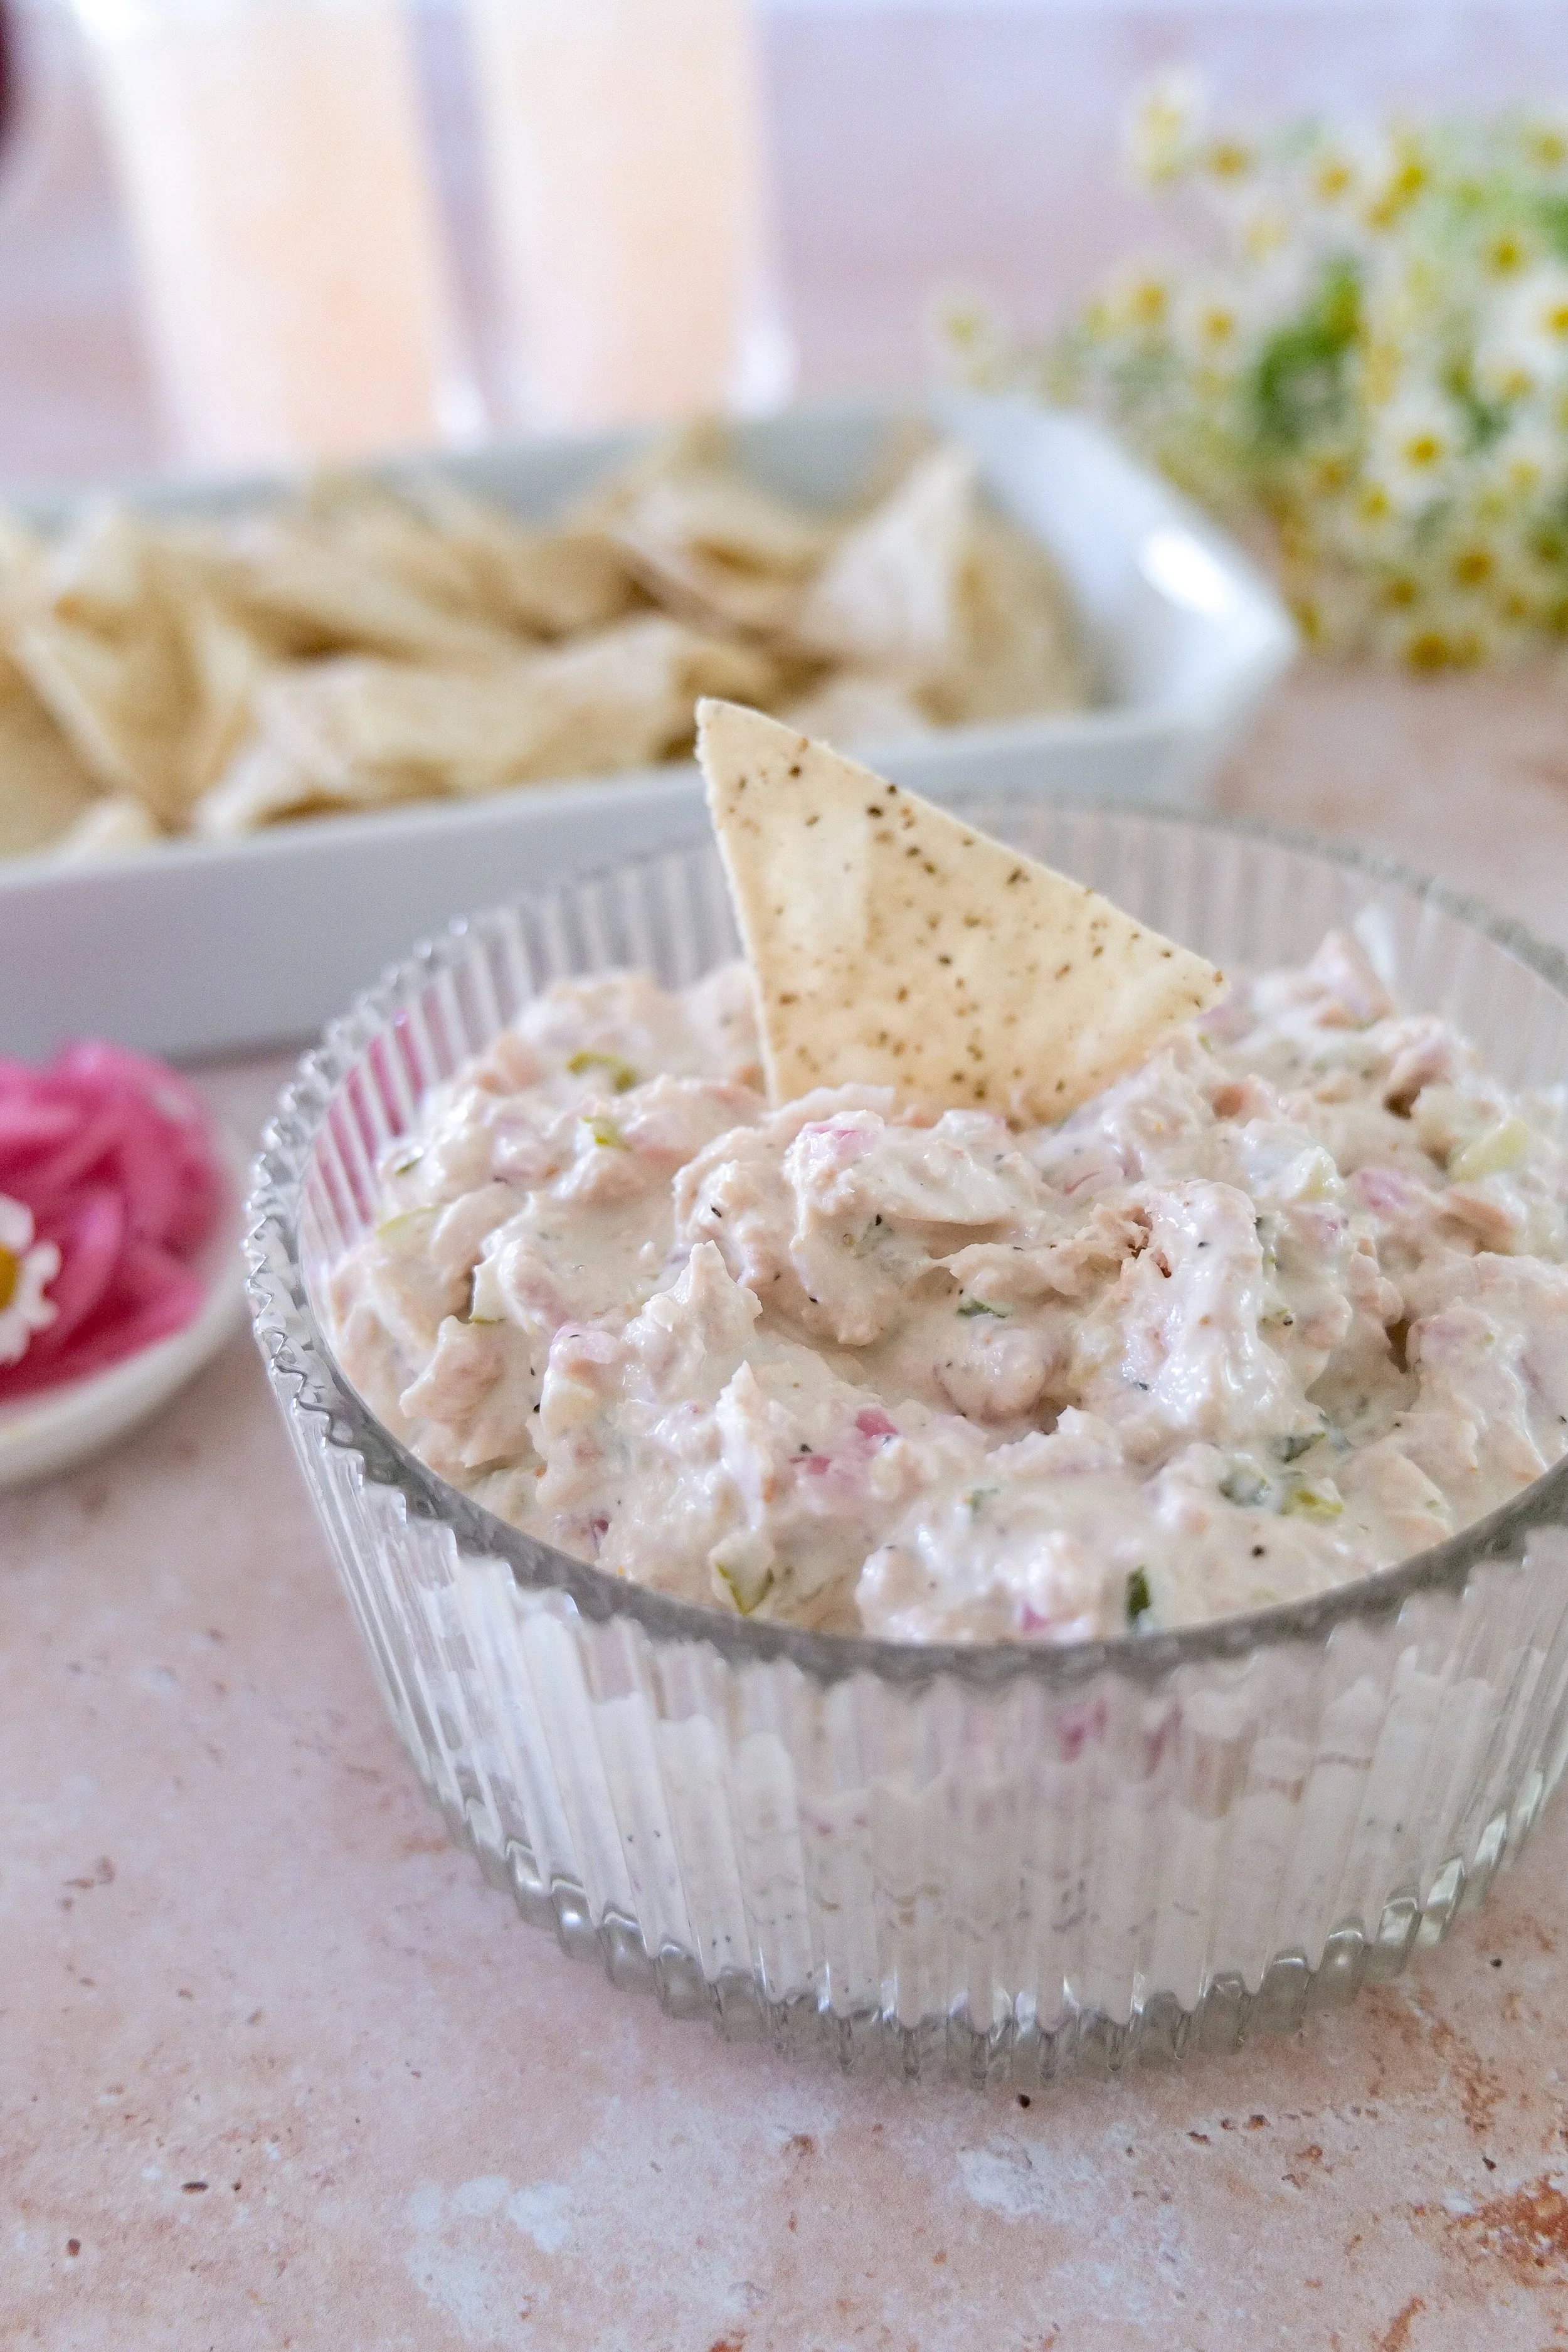
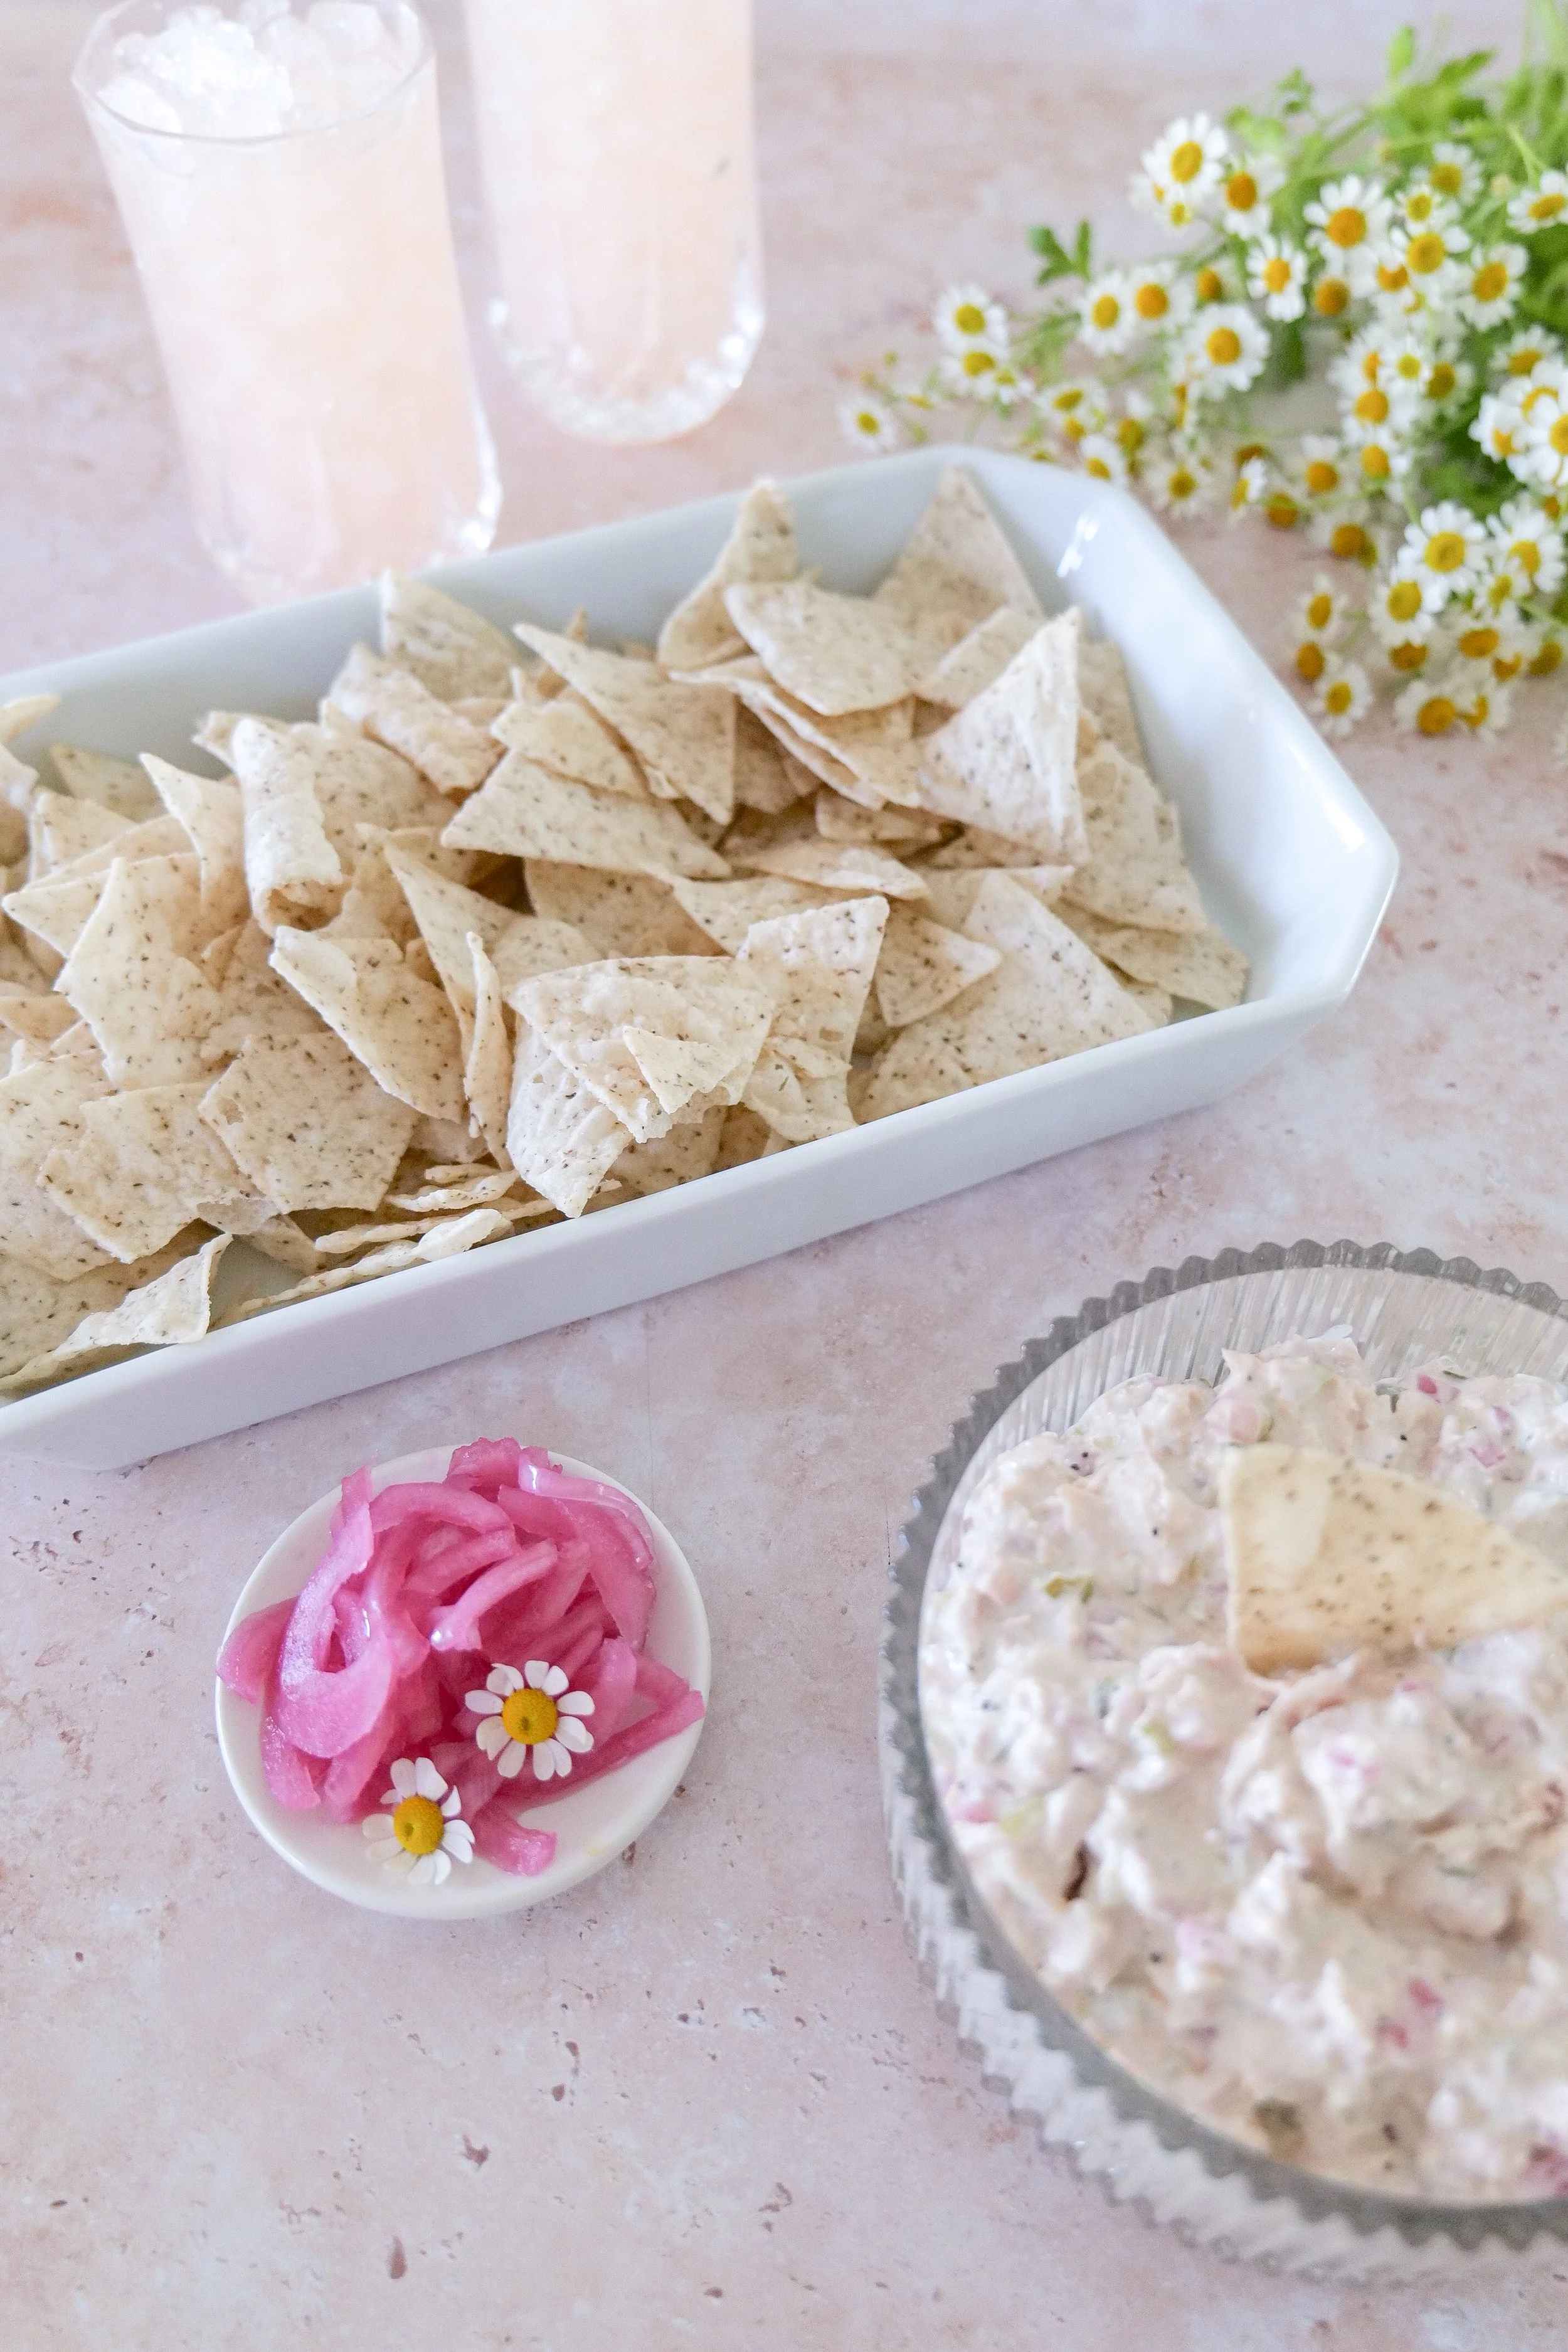
Creamy tuna dip with hot pickles and pickled red onions

Why You'll Love This Tuna Dip

This really is one of the easiest appetizer recipes on my blog.

The creamy base balances the briny, tangy flavor from the pickles and pickled red onions, while garlic, sea salt and fresh black pepper season everything without making the recipe complicated.

It also comes together in one bowl, doesn't require any cooking and can be made ahead and chilled until you're ready to serve.

And unlike a basic tuna dip, the hot pickles and pickled red onions give this one plenty of flavor and texture.

Easy creamy tuna dip served with crackers

Ingredient Notes

The ingredient list is short, so each ingredient has a purpose.

Tuna

You'll need three cans of tuna for the base of this dip. Drain the tuna well before mixing so you don't add unnecessary liquid to the creamy base.

Cream Cheese

Let the cream cheese soften before mixing. This makes it much easier to combine with the tuna and mayonnaise and gives you a creamier finished dip.

Mayonnaise

Mayonnaise loosens the cream cheese and gives the dip a scoopable, creamy consistency.

Pickled Red Onions

This is one of the ingredients that makes this tuna dip different. Pickled red onions add acidity, a little sweetness and plenty of flavor without needing a long list of additional seasonings.

Hot Pickles

I use chopped hot pickles for a little tang and heat. Cutting them into small pieces helps distribute that flavor throughout the dip.

Garlic, Salt & Pepper

A little garlic powder, sea salt and freshly ground black pepper are all you need to finish seasoning the dip.

Cream cheese tuna dip with chopped pickles and red onions

Amanda's Tips for the Best Tuna Dip

Drain the Tuna Well

This is probably the most important little step. Excess liquid from the tuna can make the finished dip watery, so drain it thoroughly before mixing.

Soften the Cream Cheese

Room-temperature cream cheese blends much more easily with the other ingredients. You want everything incorporated rather than having little chunks of firm cream cheese throughout.

Chop the Pickles and Onions Small

Smaller pieces mean you get some of that tangy pickle and pickled onion flavor in every scoop.

Chill It Before Serving

You can serve the dip immediately, but if you have time, cover it and let it chill before serving. It also makes this an easy appetizer to prepare before guests arrive.

Taste Before Adding More Salt

Tuna, pickles and pickled onions can all contribute saltiness, so mix everything together first and taste before adding anything beyond the amount in the recipe.

Tuna pickle dip with hot pickles and pickled onions

What to Serve with Tuna Dip

This dip is easy to turn into a simple appetizer spread because it works with so many different dippers.

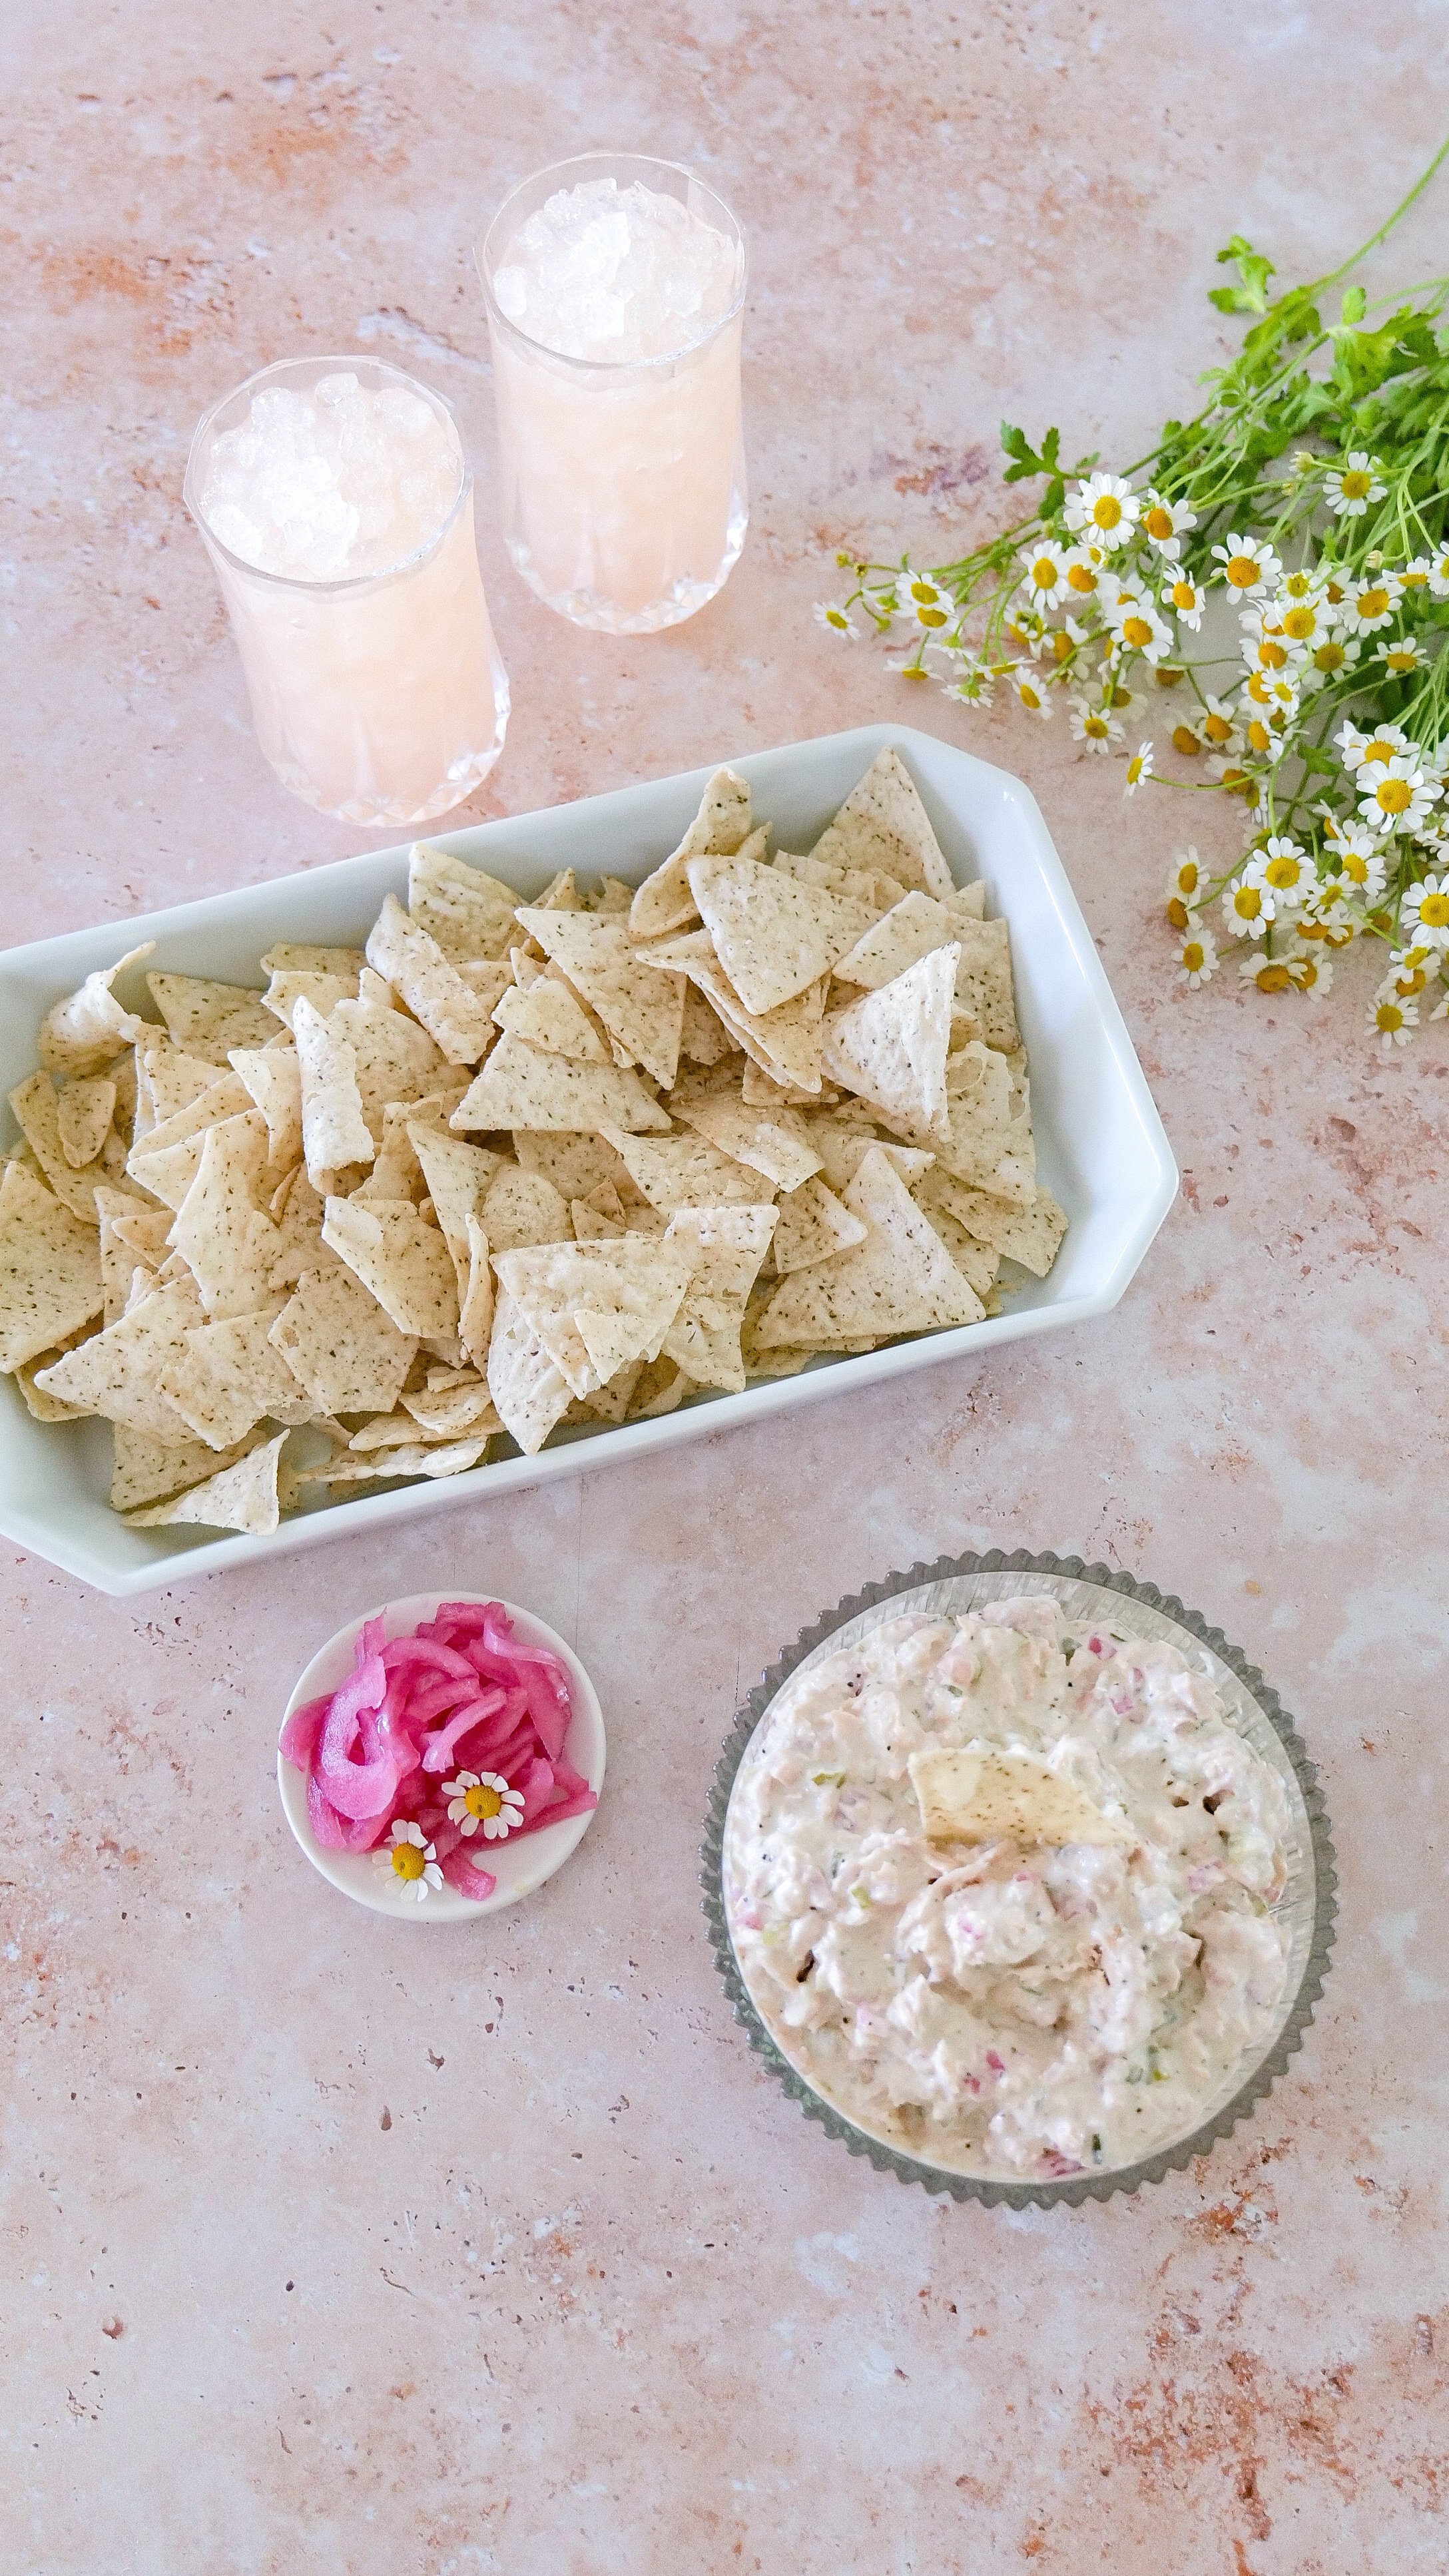
I like serving it with an assortment of crackers or chips, but sliced cucumber, celery and other crisp vegetables work well too. Toasted baguette slices would make it feel a little more substantial for entertaining.

You can also use leftovers as a creamy tuna spread for sandwiches or toast.
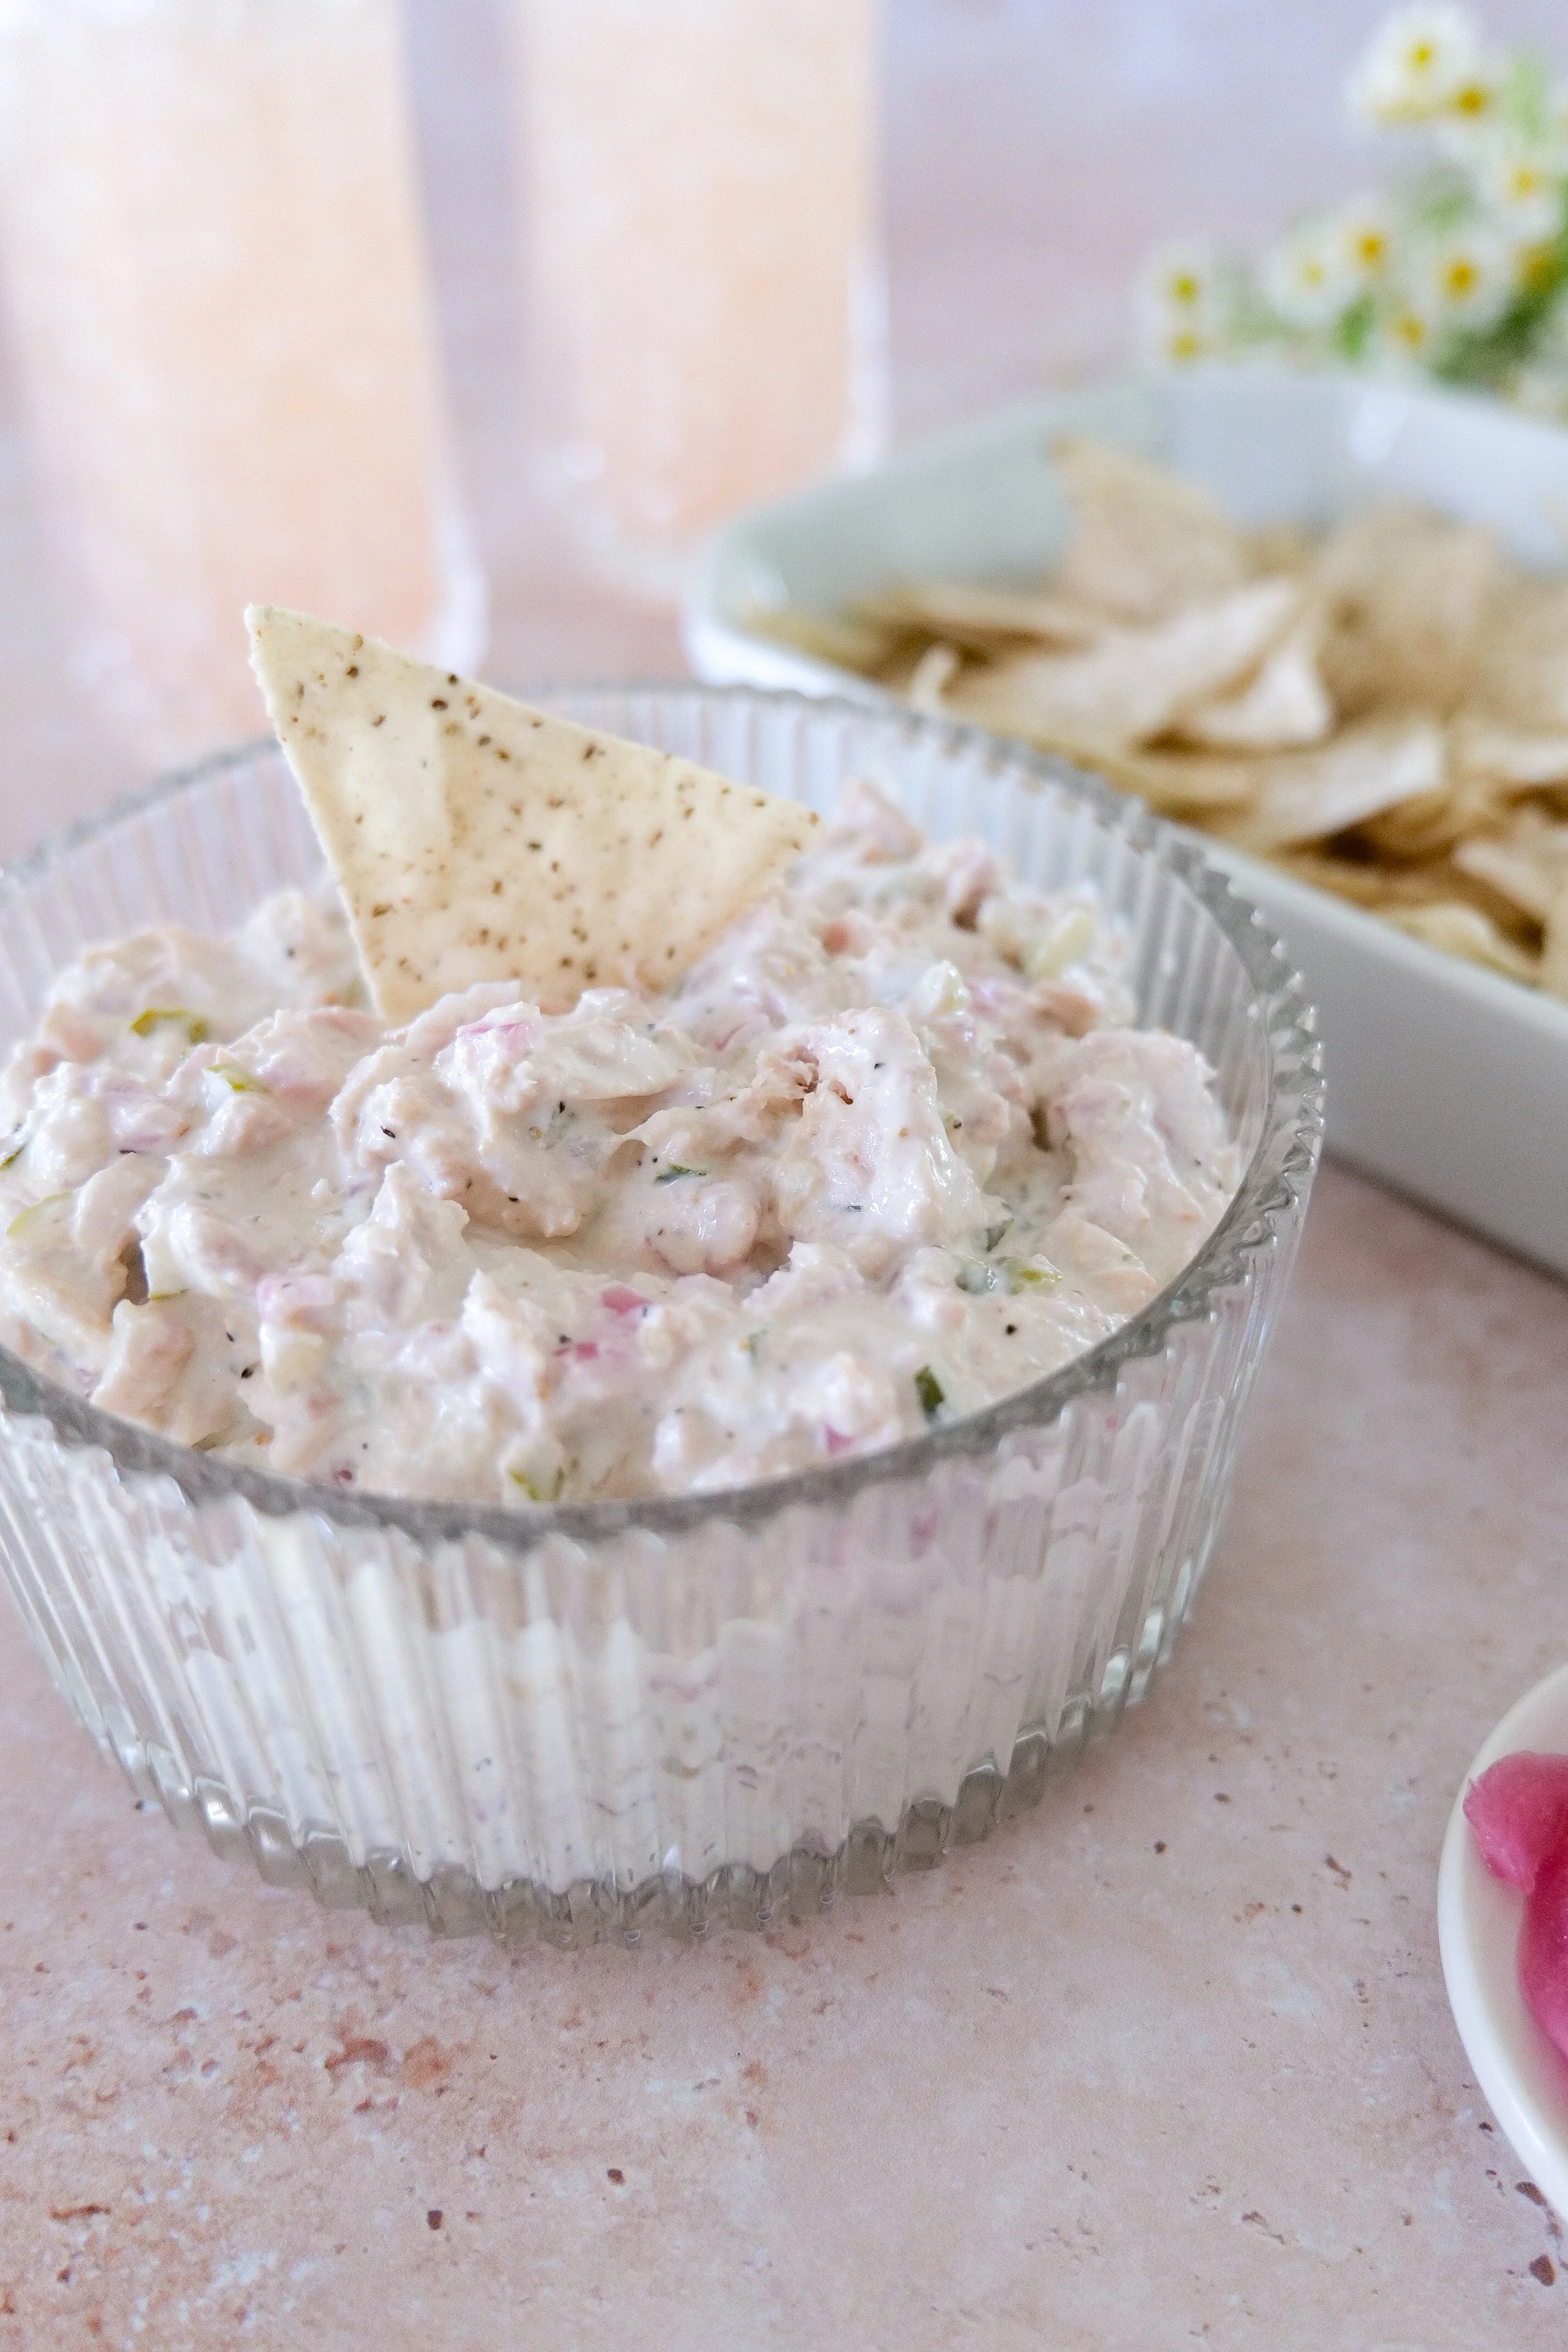
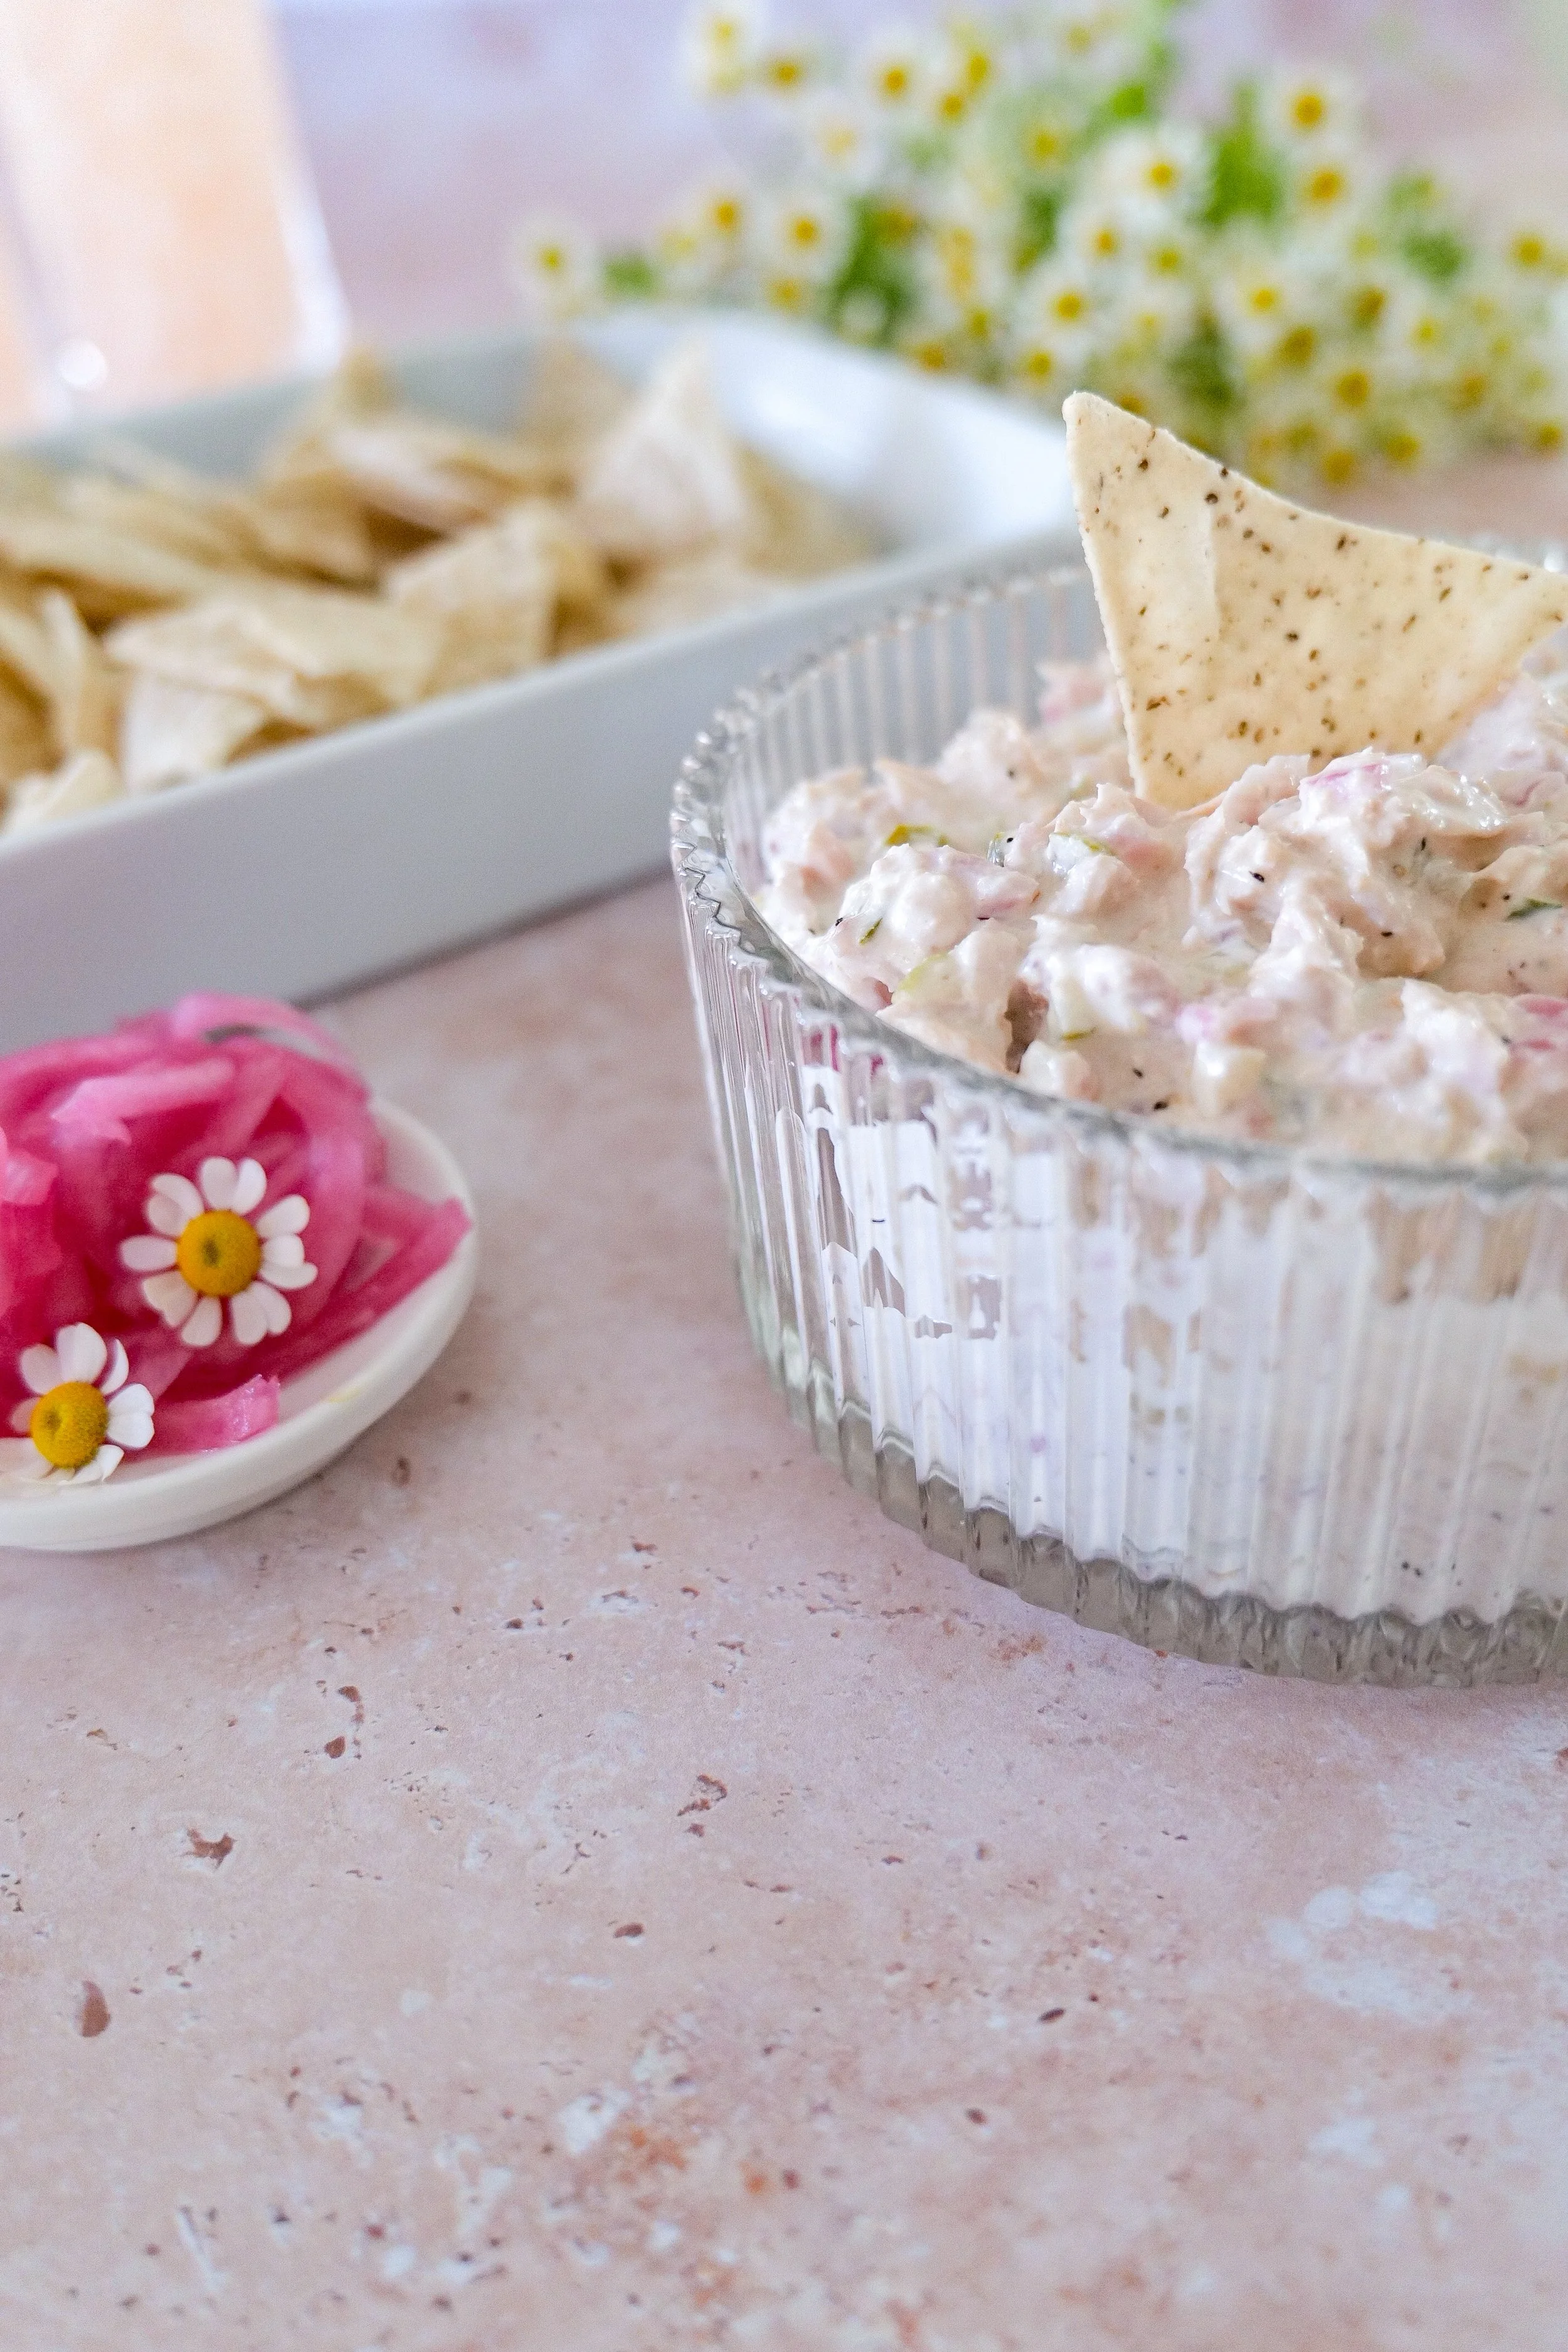
For entertaining, I love putting dips like this into a small serving bowl and surrounding it with crackers and vegetables on a larger platter.

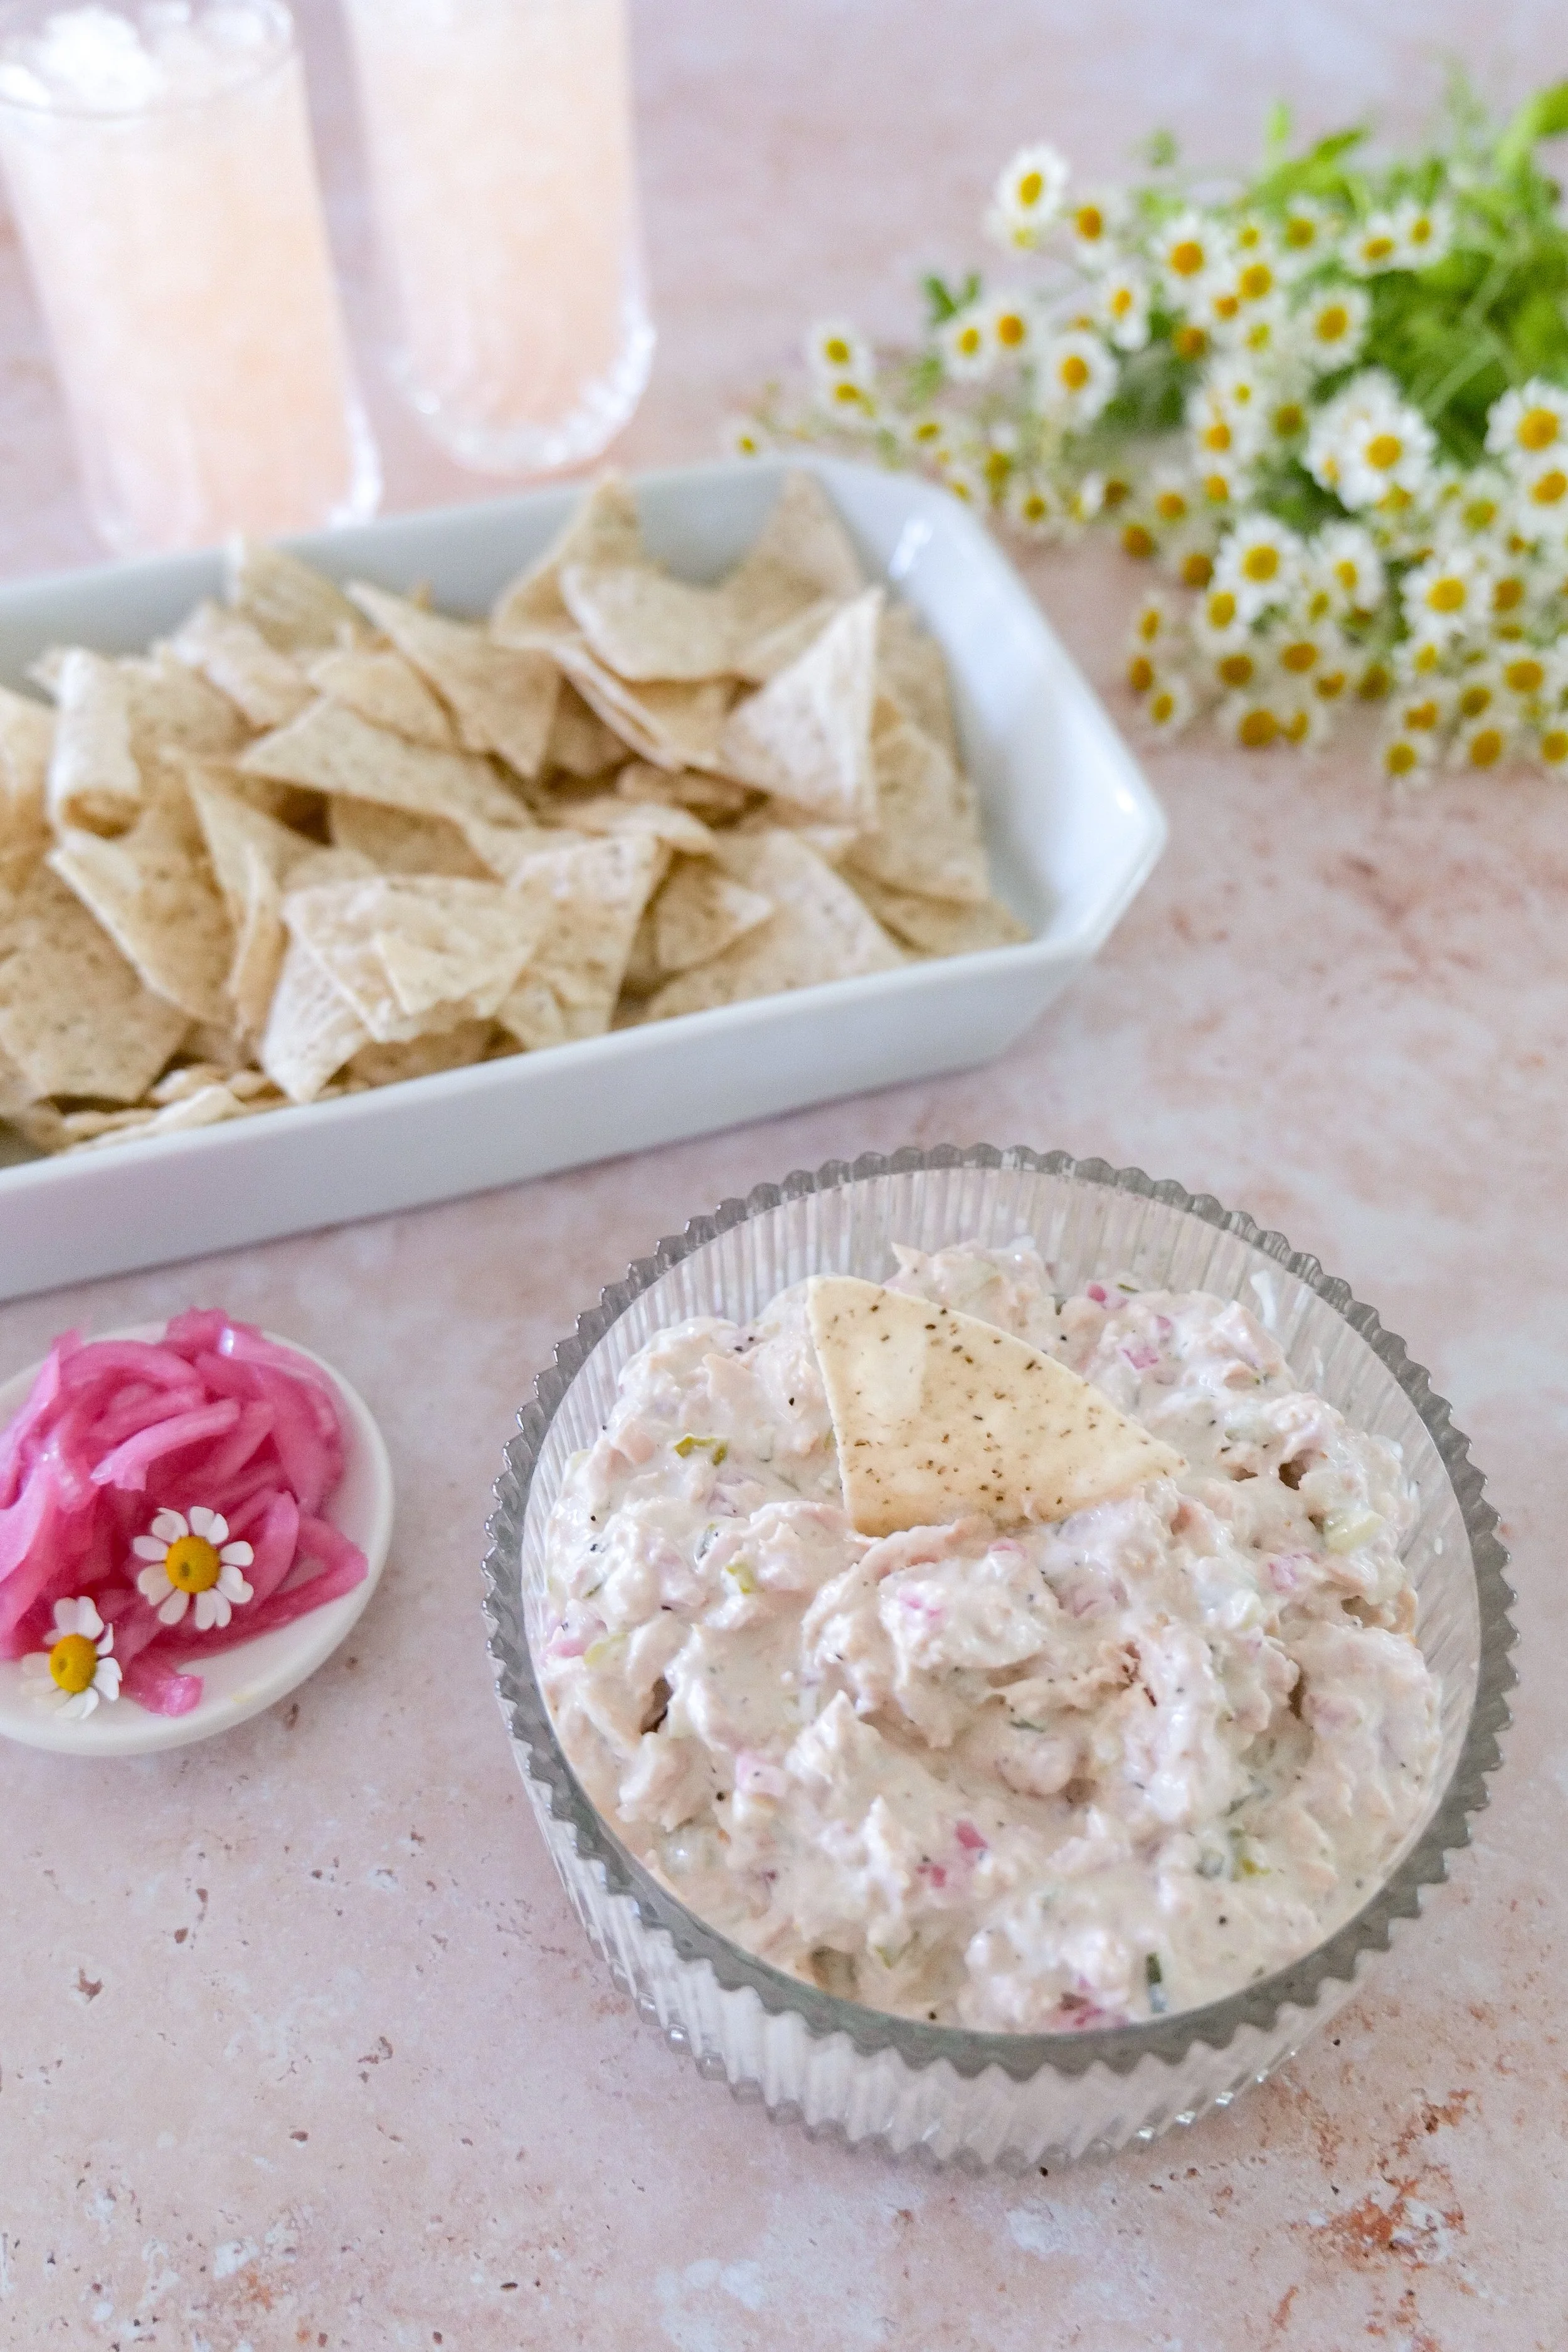
Creamy tuna appetizer dip ready to serve

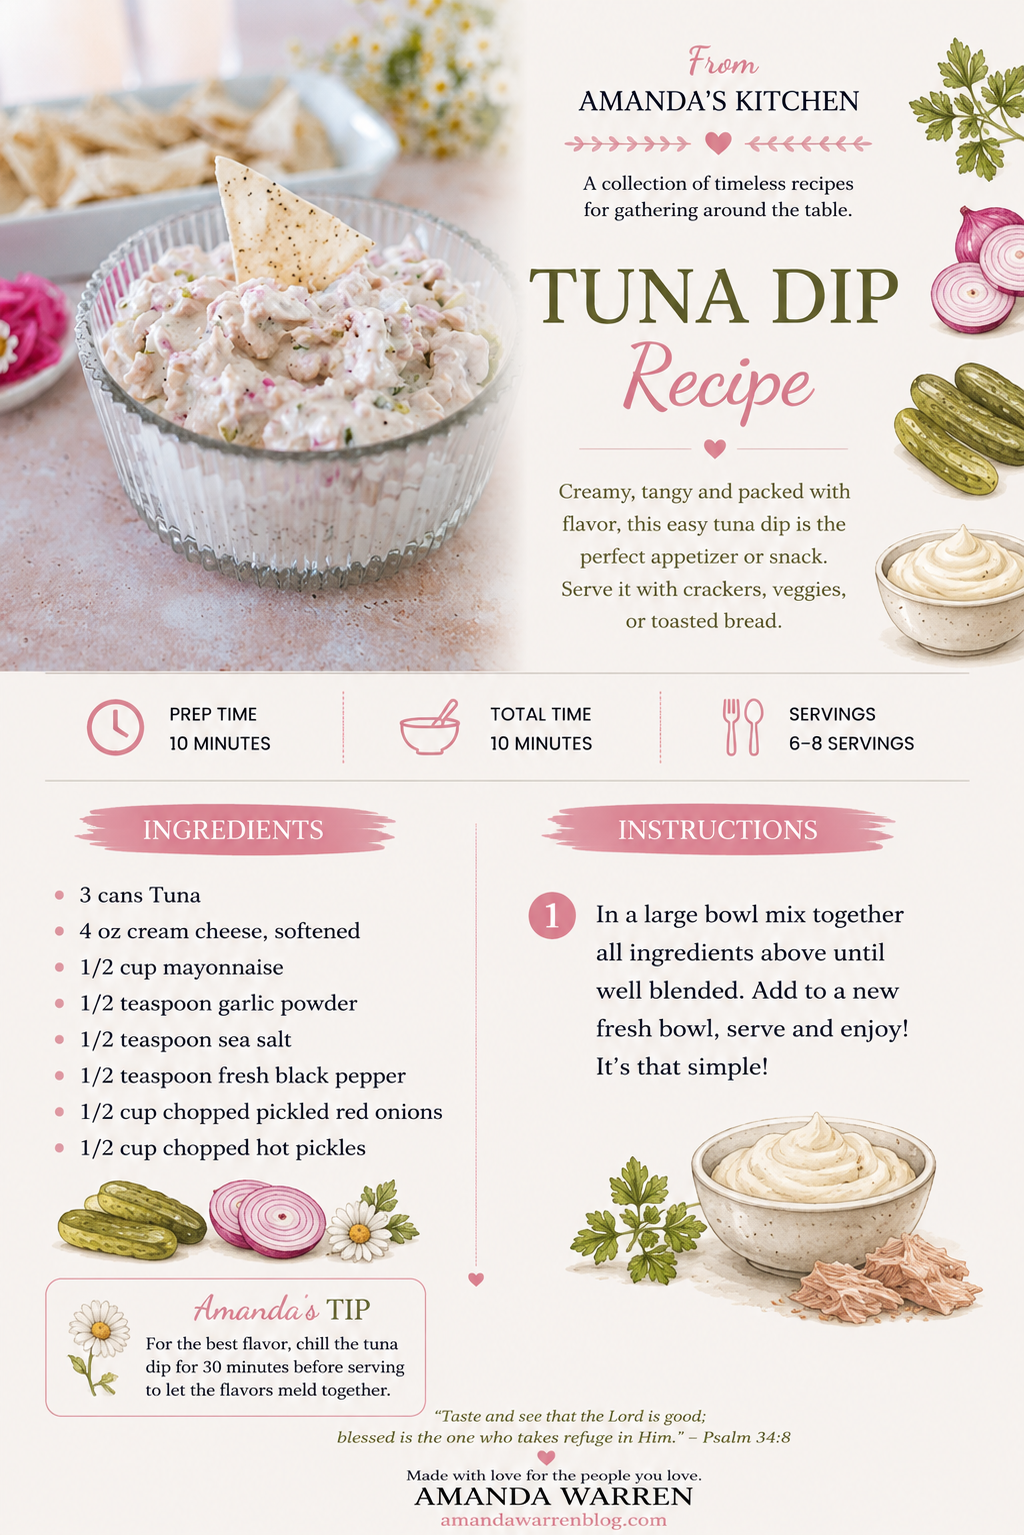
Creamy Tuna Dip with Pickles & Pickled Red Onions

An easy creamy tuna dip made with cream cheese, mayonnaise, hot pickles and pickled red onions for a tangy appetizer that comes together in minutes.

Ingredients

  • 3 cans tuna, drained well

  • 4 oz cream cheese, softened

  • 1/2 cup mayonnaise

  • 1/2 teaspoon garlic powder

  • 1/2 teaspoon sea salt

  • 1/2 teaspoon freshly ground black pepper

  • 1/2 cup chopped pickled red onions

  • 1/2 cup chopped hot pickles

These are your original quantities, just cleaned up for consistency.

Instructions

1. Combine the Ingredients

Add the drained tuna, softened cream cheese, mayonnaise, garlic powder, sea salt, black pepper, pickled red onions and hot pickles to a large mixing bowl.

2. Mix

Mix until everything is well combined and the cream cheese is evenly incorporated throughout the dip.

3. Serve

Transfer the tuna dip to a clean serving bowl.

Serve immediately or cover and refrigerate until ready to serve. Pair with your favorite crackers, chips or fresh vegetables.

Amanda's Tip

Drain the tuna really well before adding it to the bowl. With such a simple creamy base, excess liquid can quickly change the consistency of the dip.

Cold tuna dip with creamy pickle filling

Save This Recipe

Save this Creamy Tuna Dip for the next time you need an appetizer you can put together without cooking.

I've included a printable recipe card below so it's easy to print and come back to for summer entertaining, holidays or an easy snack.

Creamy tuna dip with pickles printable recipe card

Frequently Asked Questions

Can I Make Tuna Dip Ahead of Time?

Yes. This is an easy appetizer to prepare ahead because there is no cooking involved. Make the dip, cover it and keep it refrigerated until you're ready to serve.

What Kind of Tuna Should I Use?

Use your preferred canned tuna and make sure it's drained thoroughly before adding it to the dip. Your original recipe doesn't specify oil-packed versus water-packed, so I wouldn't suddenly prescribe one in the refresh.

Is This Tuna Dip Spicy?

The hot pickles give the dip some heat, but the cream cheese and mayonnaise create a creamy base that balances their flavor. The exact level of heat will depend on the hot pickles you use.

What Can I Serve with Tuna Dip?

Crackers, chips, toasted baguette slices and crisp vegetables all work well. You can also use the dip as a spread for sandwiches or toast.
How Should I Store Tuna Dip?

Keep the tuna dip covered in an airtight container in the refrigerator.
Can I Use Regular Pickles Instead of Hot Pickles?

Yes, if you don't want the added heat. The flavor will be milder, but you'll still get the tang and crunch from the pickles.

More Easy Appetizers You'll Love

If you're putting together an appetizer spread, try my Layered Hummus Dip or Summer Charcuterie Board next.

For something warm, my Steak & Feta Crostini and Peach Baked Brie are two more easy recipes to save for entertaining.

Shop My Kitchen Essentials

These are some of the kitchen and serving pieces I use again and again for everyday recipes and entertaining.

Final Thoughts

The best appetizer recipes are usually the ones you can pull together without making entertaining more complicated, and this tuna dip is exactly that.

It's creamy and savory with plenty of tang from the hot pickles and pickled red onions, and everything comes together in one bowl in just a few minutes.

Serve it cold with plenty of crackers and something crunchy for dipping, and you have an easy appetizer worth keeping on repeat.

Homemade tuna dip with chopped hot pickles

How to Decorate a Tablescape with Fruits & Vegetables

Fresh fruits and vegetables are some of my favorite things to use when styling a table. They add color, texture and shape without making a tablescape feel overly decorated—and because produce changes with the seasons, the same idea can look completely different throughout the year.

I've used everything from lemons and strawberries to pumpkins, pears and pomegranates across birthday parties, garden tables and Thanksgiving dinners. Sometimes the produce becomes the centerpiece, while other times it's simply tucked between flowers, added to a place setting or scattered down the table.

Over the years, I've learned that the prettiest produce-filled tables aren't necessarily the most complicated. Choosing a color palette, repeating a few ingredients throughout the table and letting the natural shapes and colors do the decorating can create something really beautiful.

Colorful fruit tablescape with fresh fruit and floral table decor

Fruit

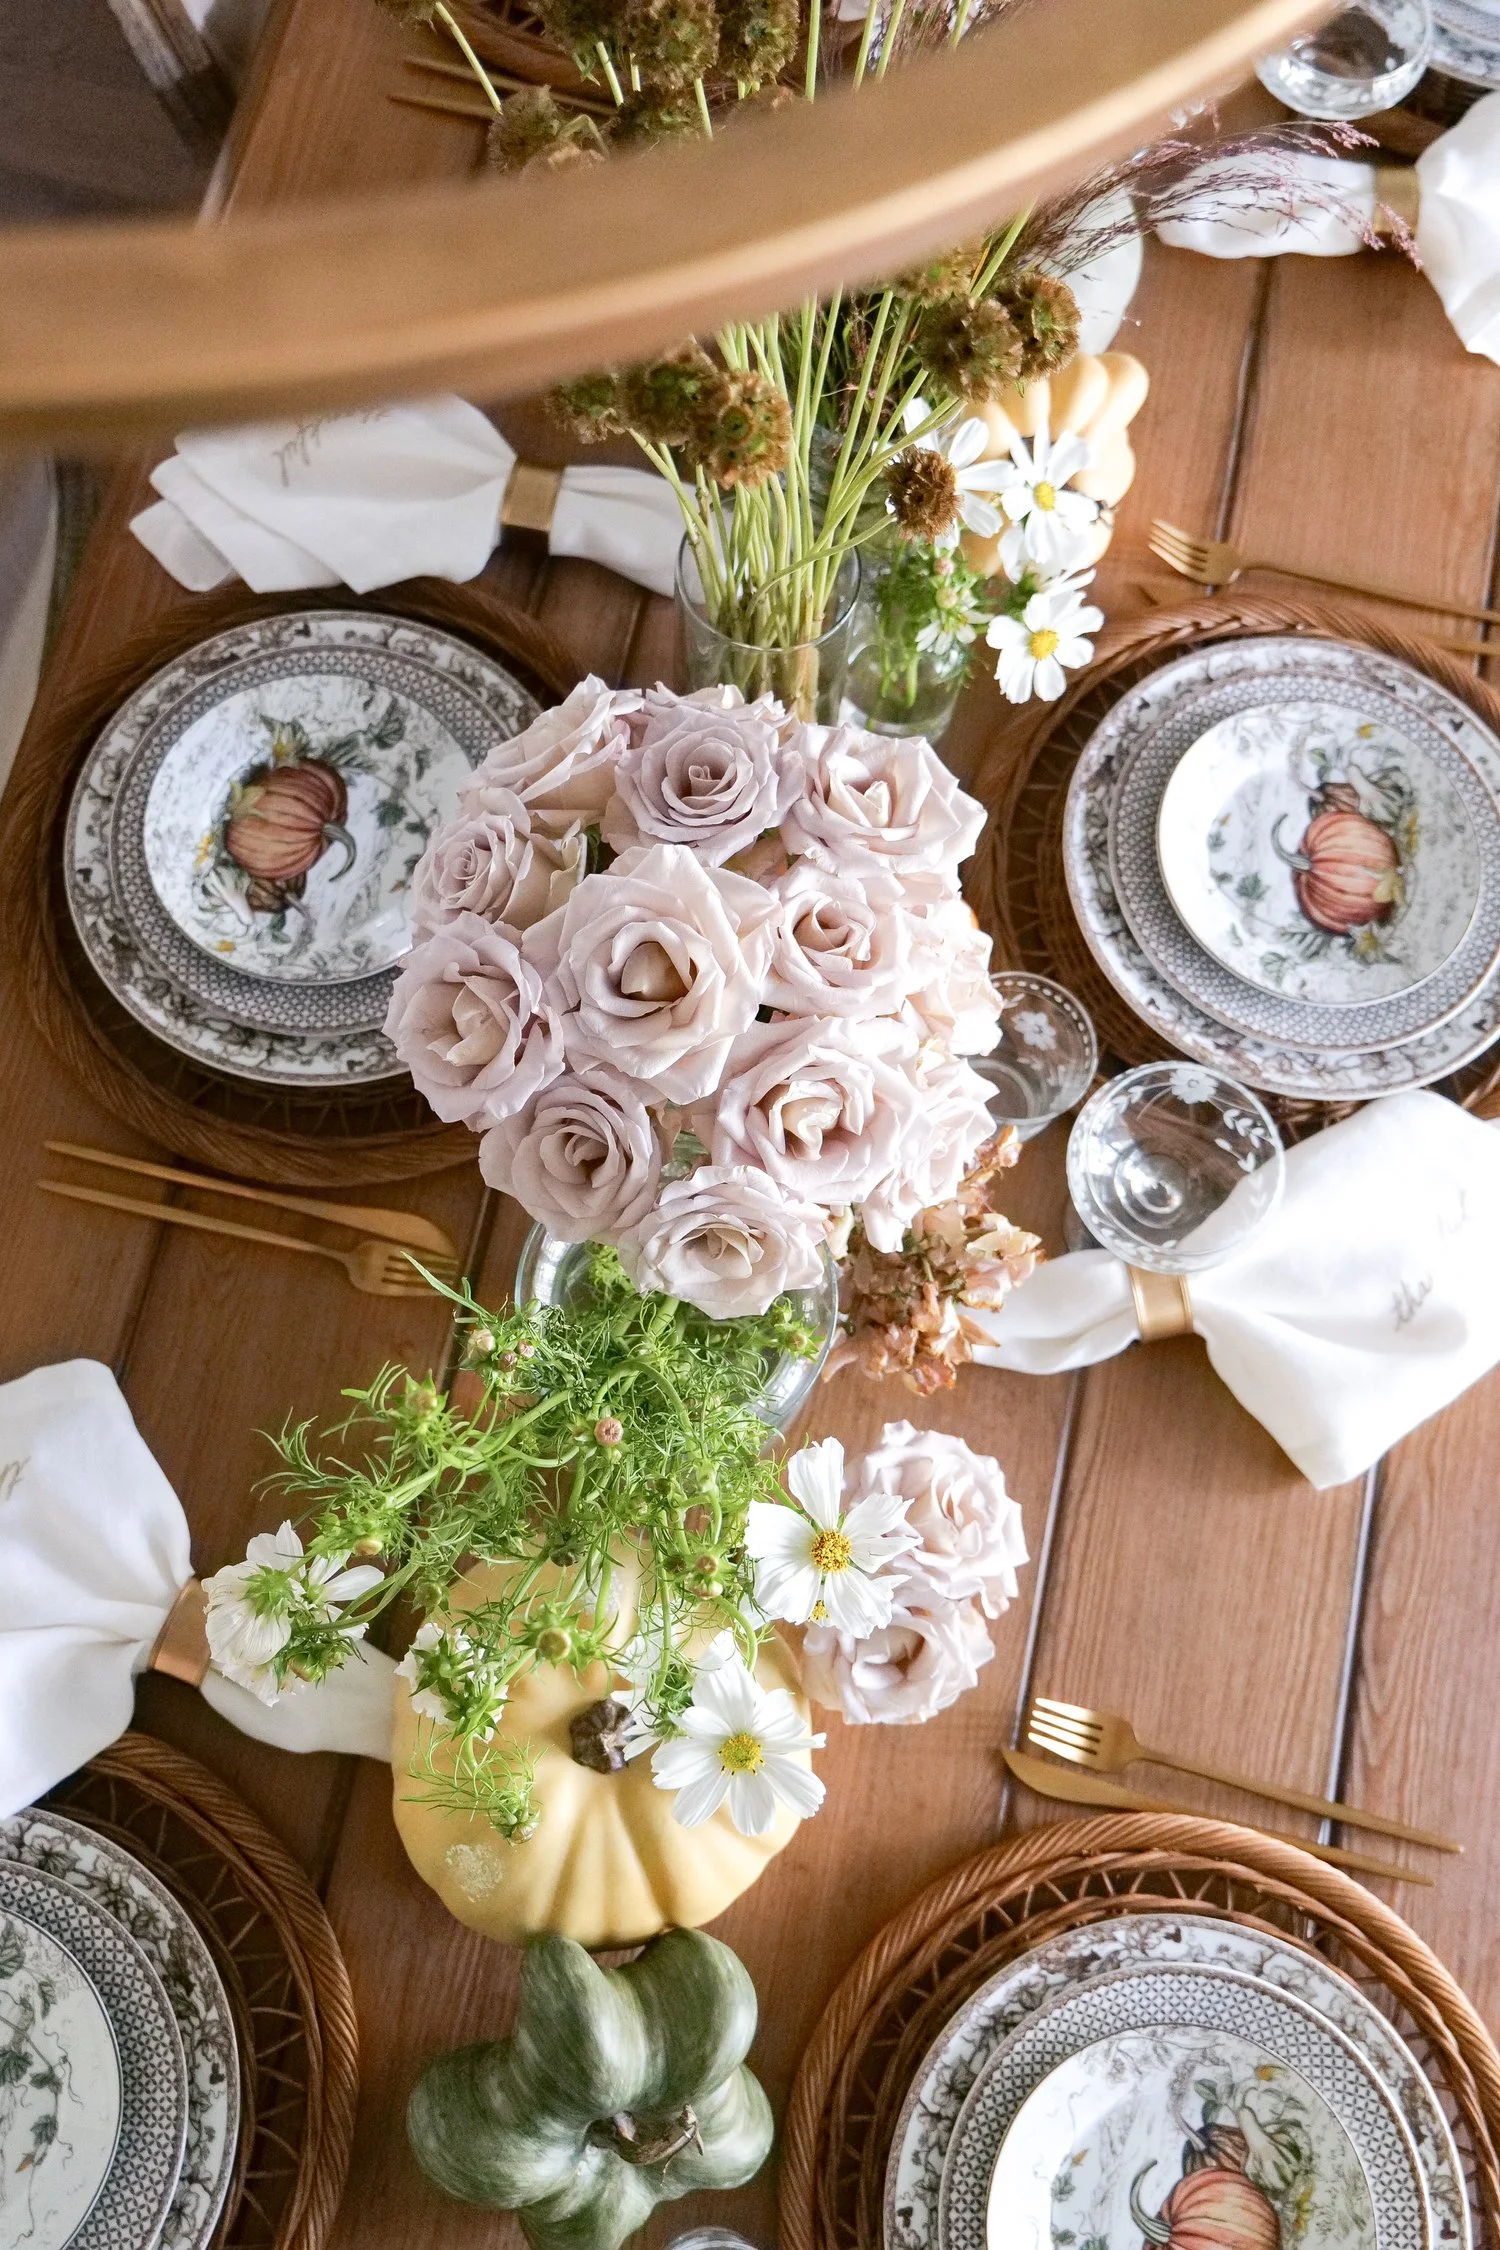
Fall vegetable tablescape with seasonal produce and table decor

VEGGIES

These two tables are such a good example of why I love decorating this way. Fruit can make a table feel bright, romantic and fresh, while vegetables, pumpkins and gourds can create something warmer and more layered for fall.

How to Choose Fruits and Vegetables for a Tablescape

I usually don't start by deciding which produce I want to use. I start with the overall feeling and color palette of the table.

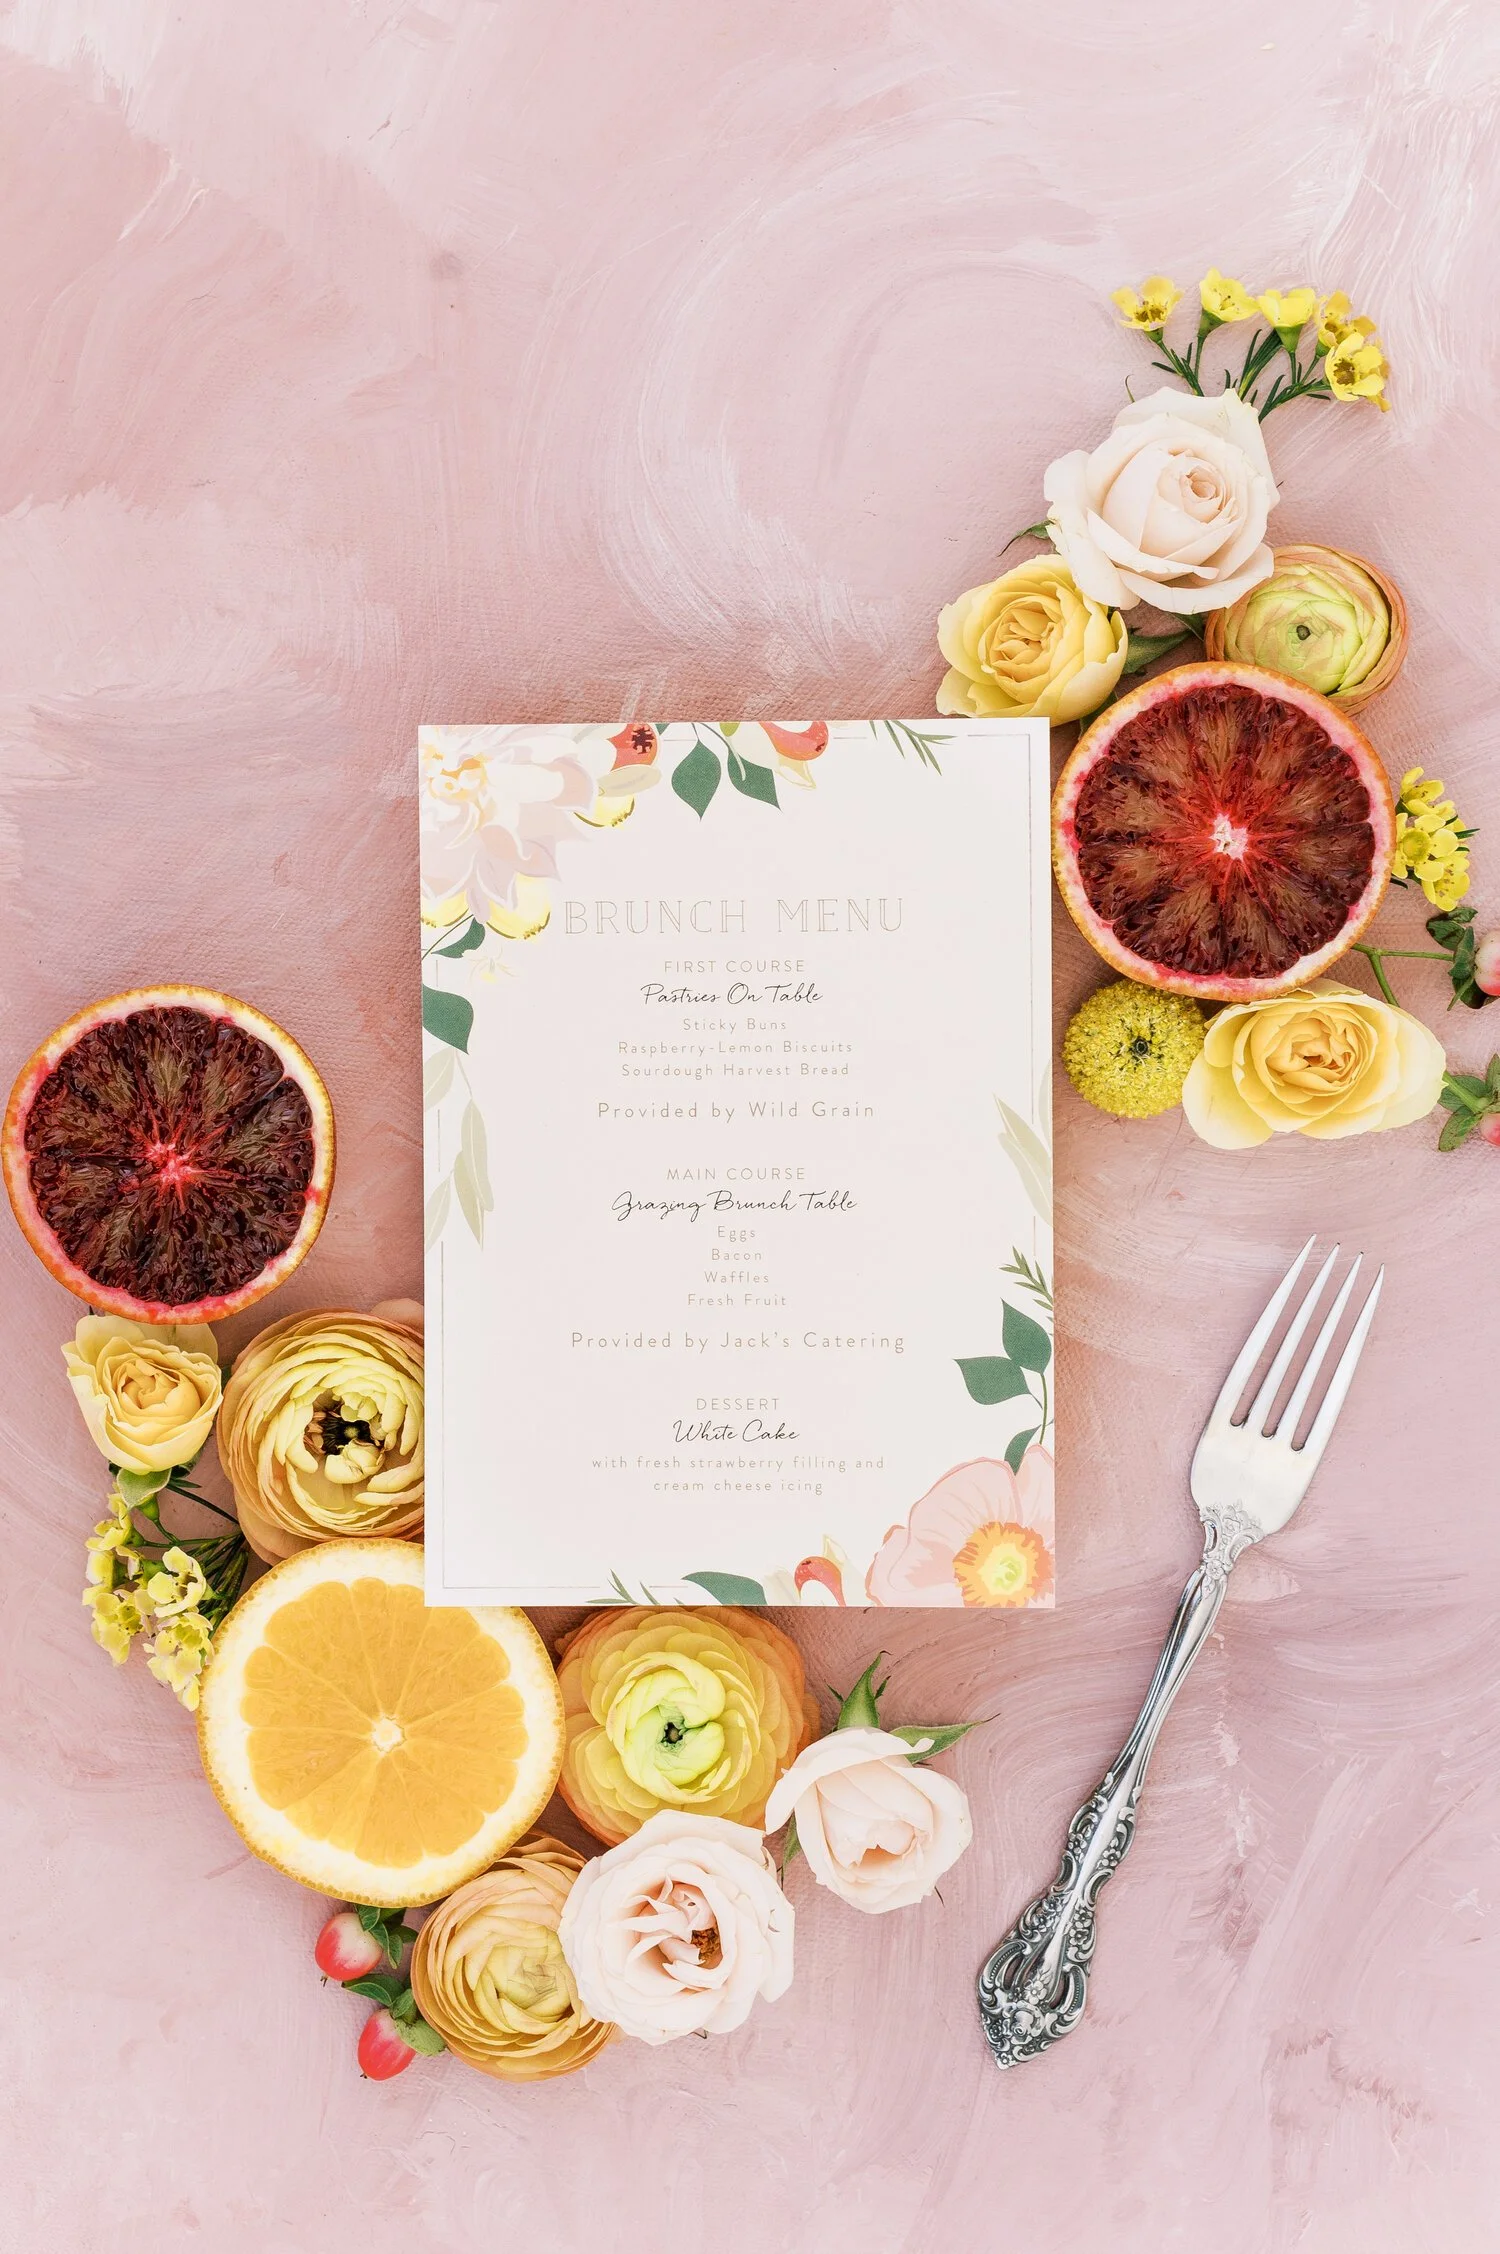
For my mom's birthday, I found the invitation first and let its colors inspire the rest of the party. For the strawberry garden table, I knew I wanted lots of pink and a strawberry theme, so the fruit was an obvious part of the design. That's generally an easier way to approach it than walking through the produce section and trying to make everything work together afterward.

Once you have your palette, look for produce that adds:

  • Different shapes and sizes

  • A mix of heights

  • Colors that repeat elsewhere on the table

  • Interesting texture

  • Something seasonal to the time of year

You don't need ten different varieties. Repeating one or two fruits or vegetables throughout a table can actually make the entire design feel more intentional.

Cake stands, bowls, trays and serving pieces can also give produce different heights rather than having everything sitting at the same level.

Fruit Tablescape Ideas

Fruit is probably the easiest place to start because there are so many ways to incorporate it without completely changing your table.

You can scatter whole fruit around a centerpiece, fill bowls or baskets, tuck fruit into floral arrangements or even turn individual pieces into place cards.

And depending on what you choose, the same idea can work for spring, summer, fall or even a holiday table.

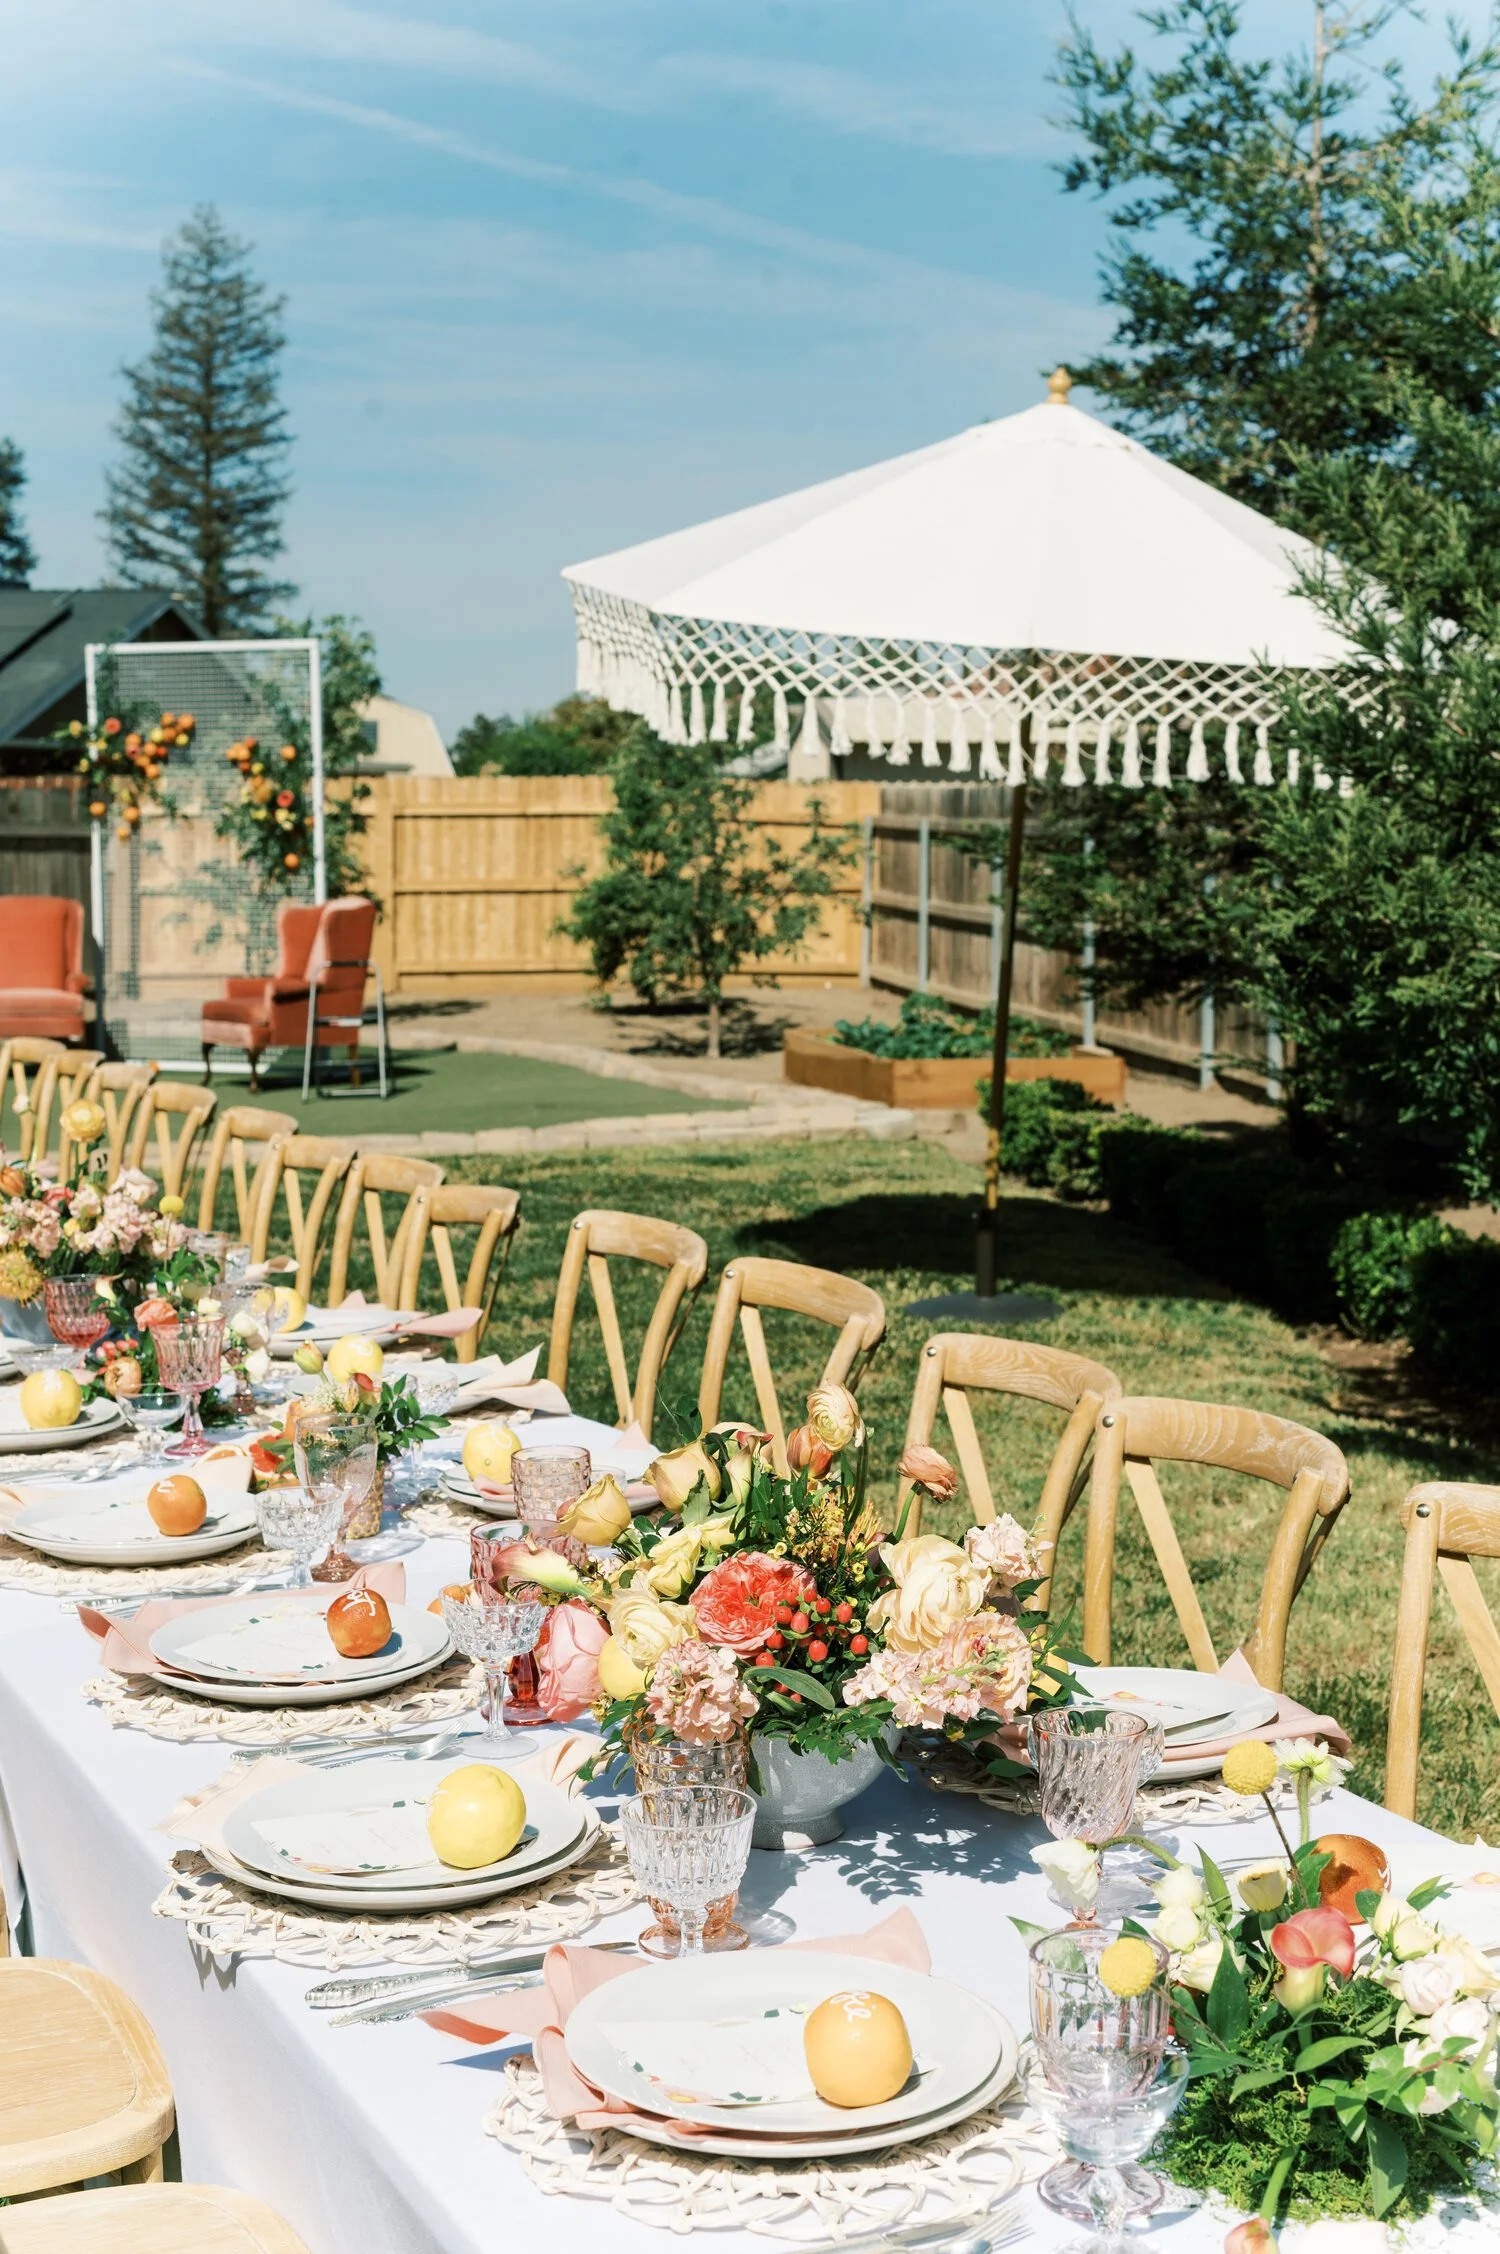
Citrus Tablescape for My Mom's 60th Birthday

One of my favorite examples is the table I created for my mom's 60th birthday.

I used citrus throughout the table to bring in pops of yellow and orange. Whole citrus is incredibly easy to scatter around a centerpiece, while cutting a few pieces in half lets you see all of that beautiful color and texture inside.

If you're using cut citrus as decor, I recommend cutting it shortly before guests arrive so it still looks fresh on the table.

Citrus tablescape for a 60th birthday celebration
Fresh lemons and oranges used as table decor
Citrus centerpiece with lemons and oranges

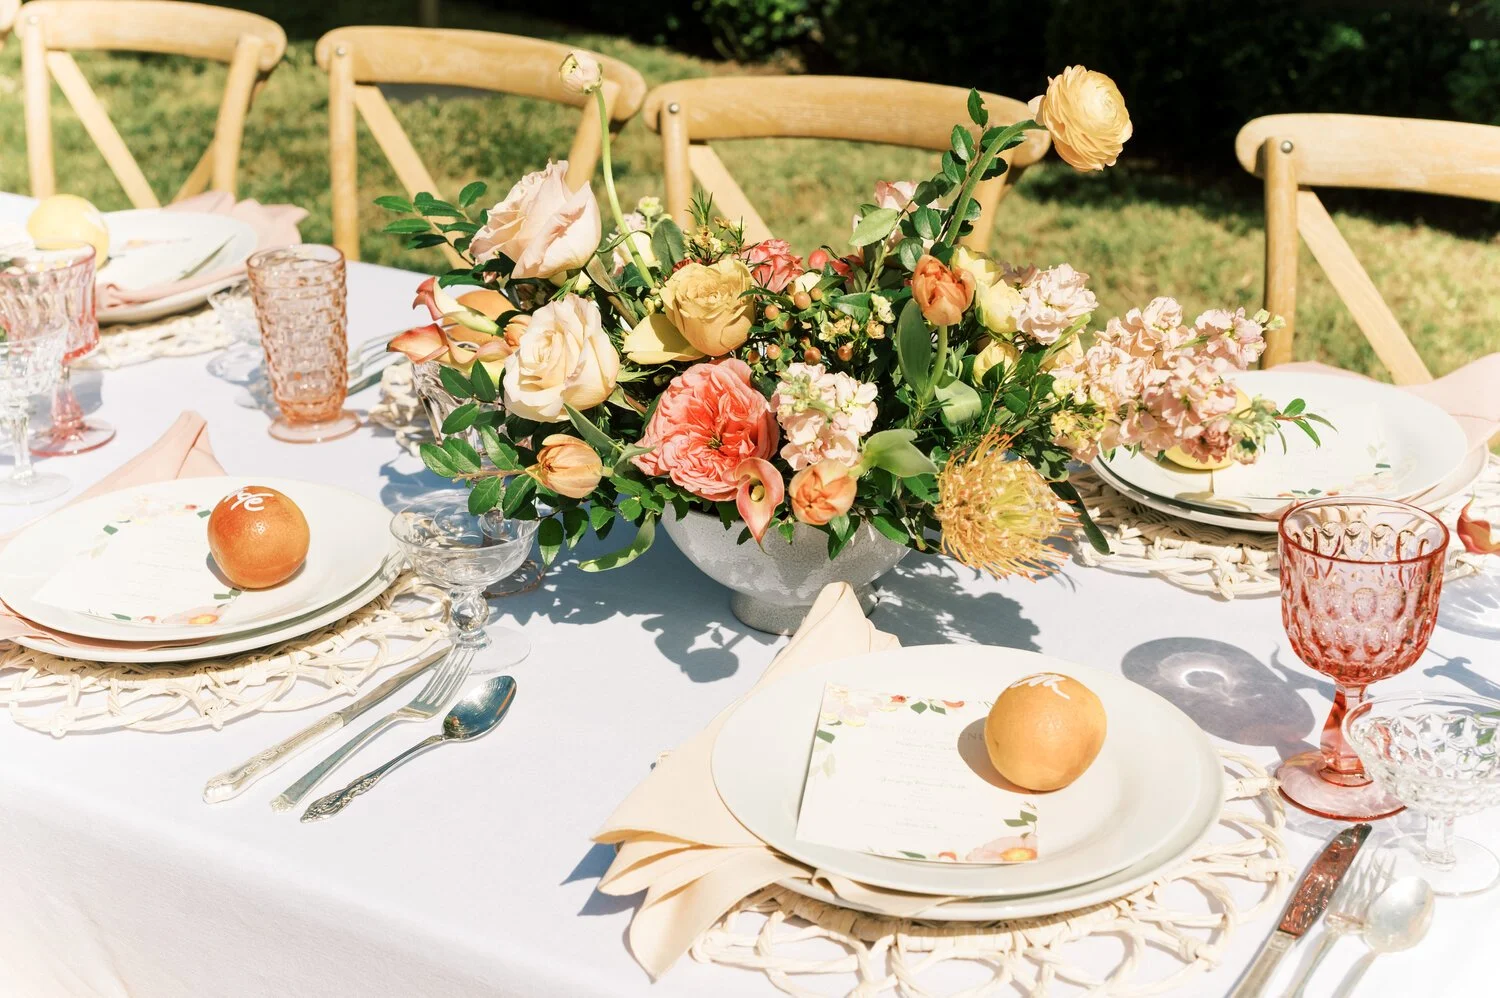
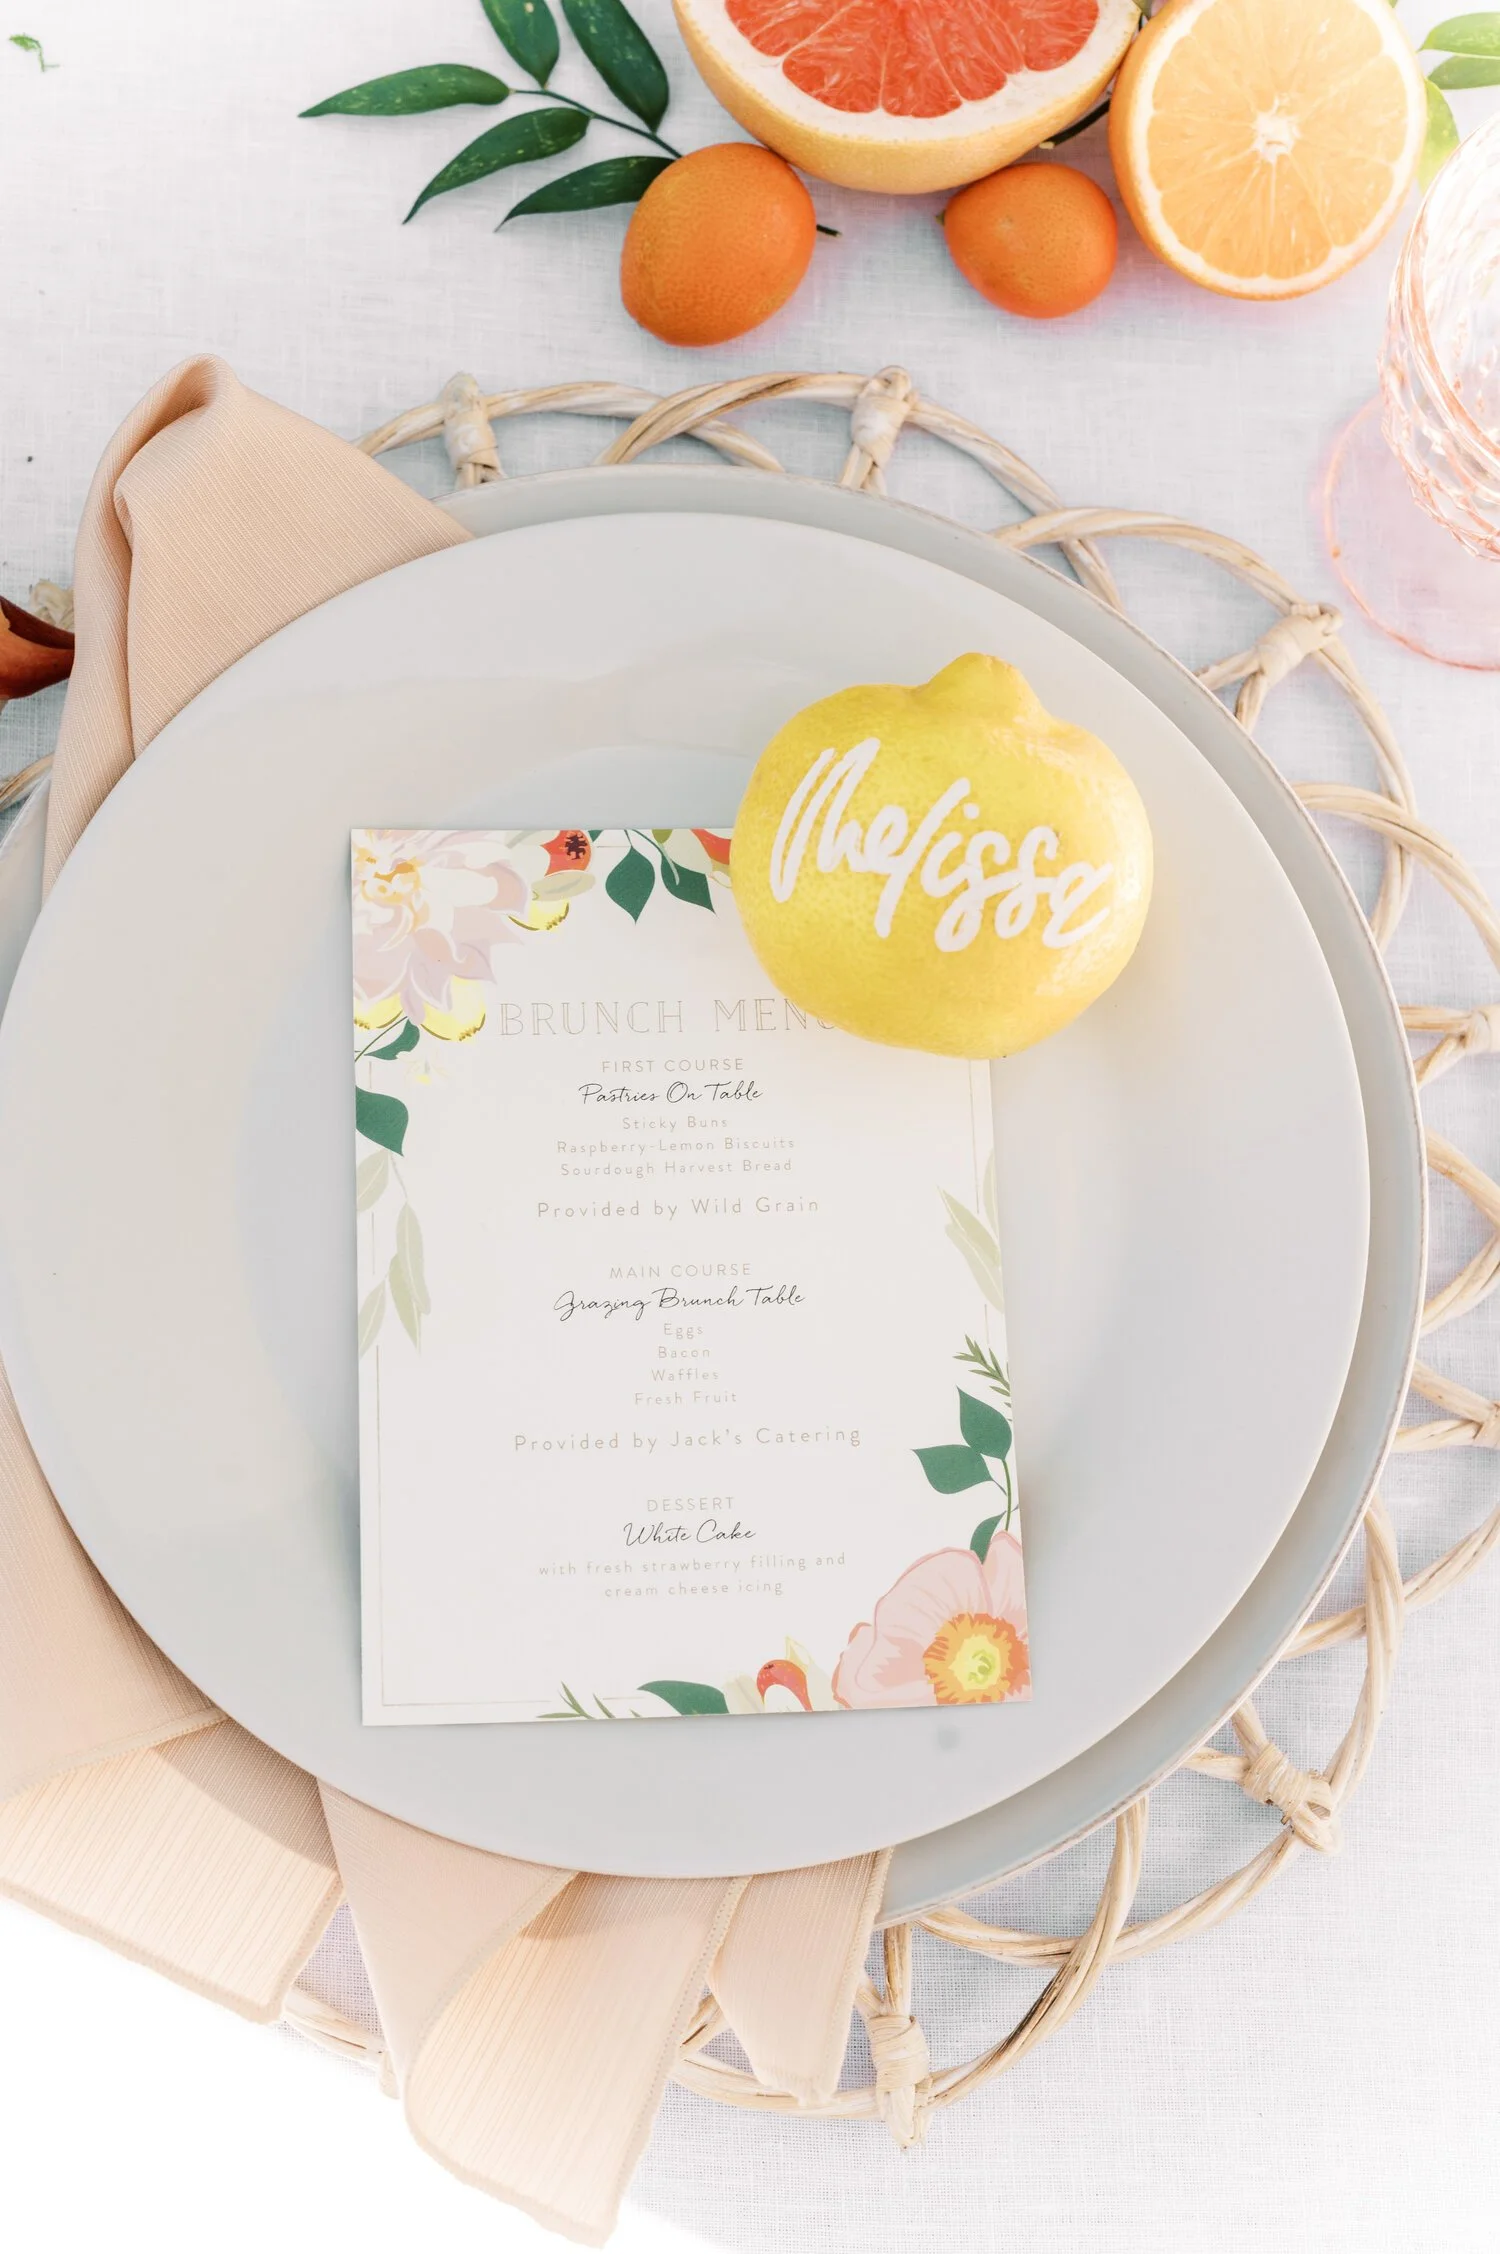
What made this table especially personal were the lemon place cards.

I left the lemons whole and had a local calligrapher write each guest's name directly onto one. It was such a simple detail, but it tied the individual place settings back into the larger citrus centerpiece.

I love ideas like this because the decor is doing more than one job. The lemons weren't just something pretty sitting on the table—they became part of the place setting itself.

Personalized lemon place card at a table setting
Lemon place card incorporated into an elegant place setting

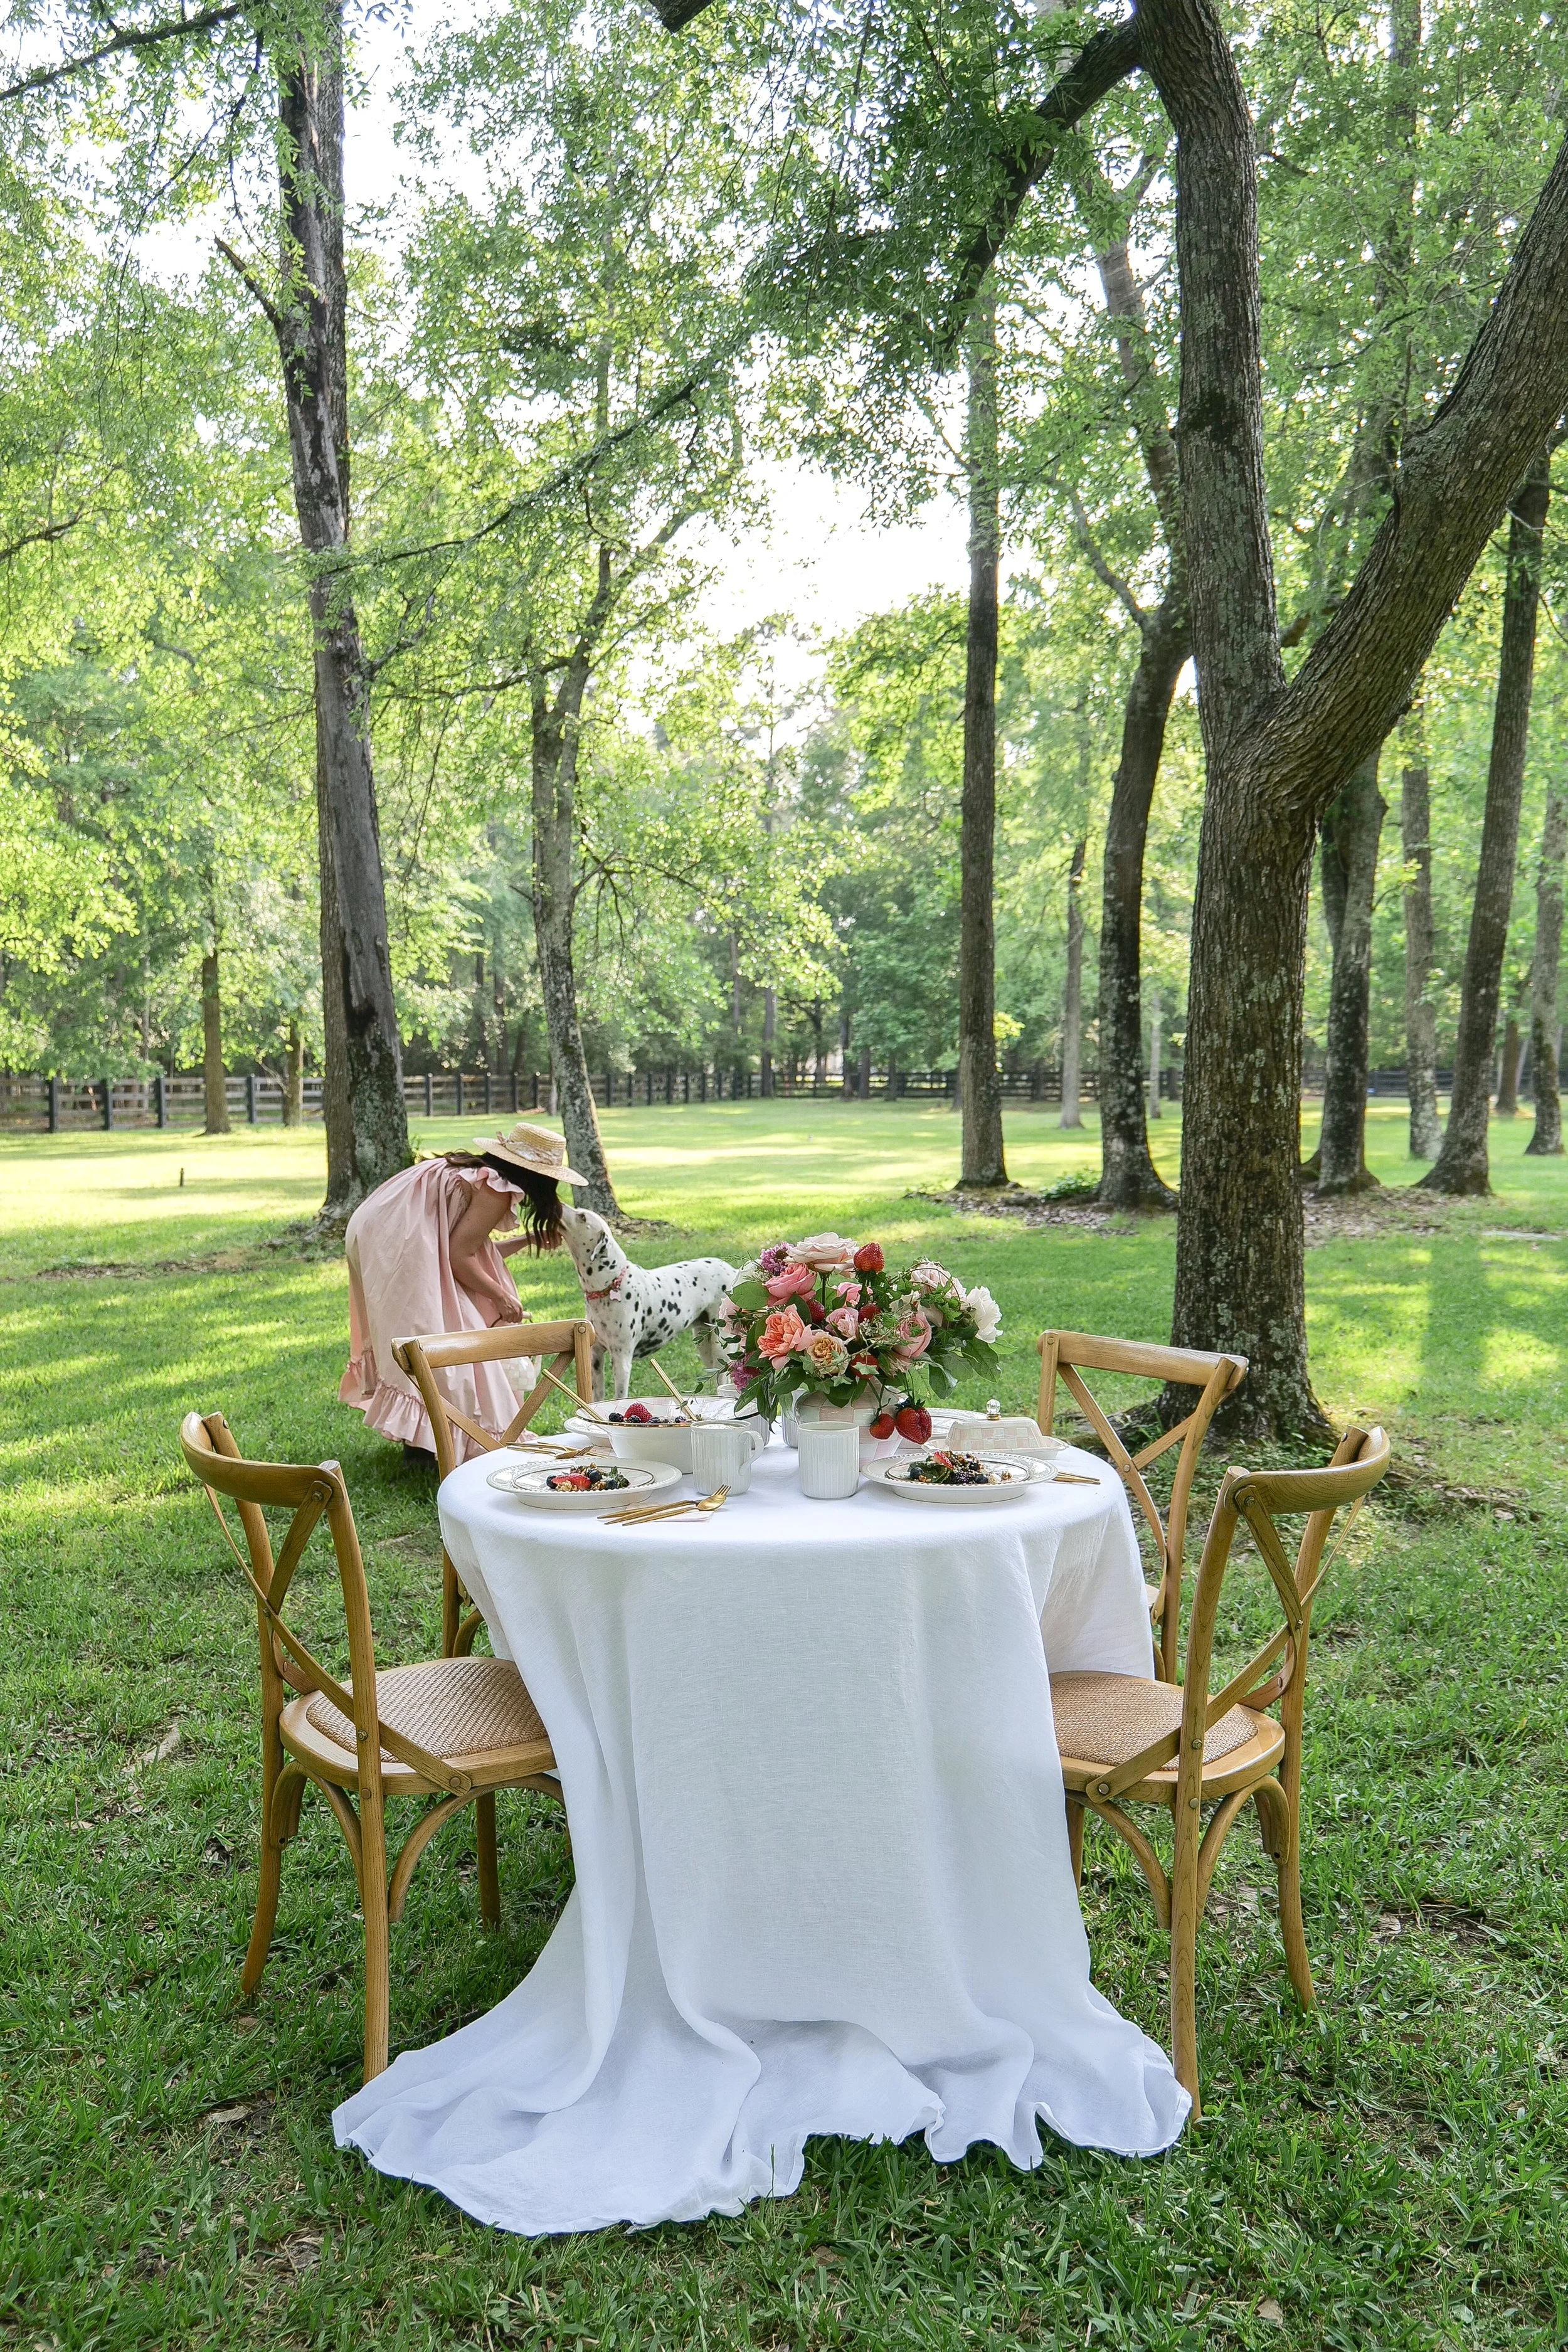
A Pink Strawberry Garden Tablescape

Fruit can also become part of the floral design itself.

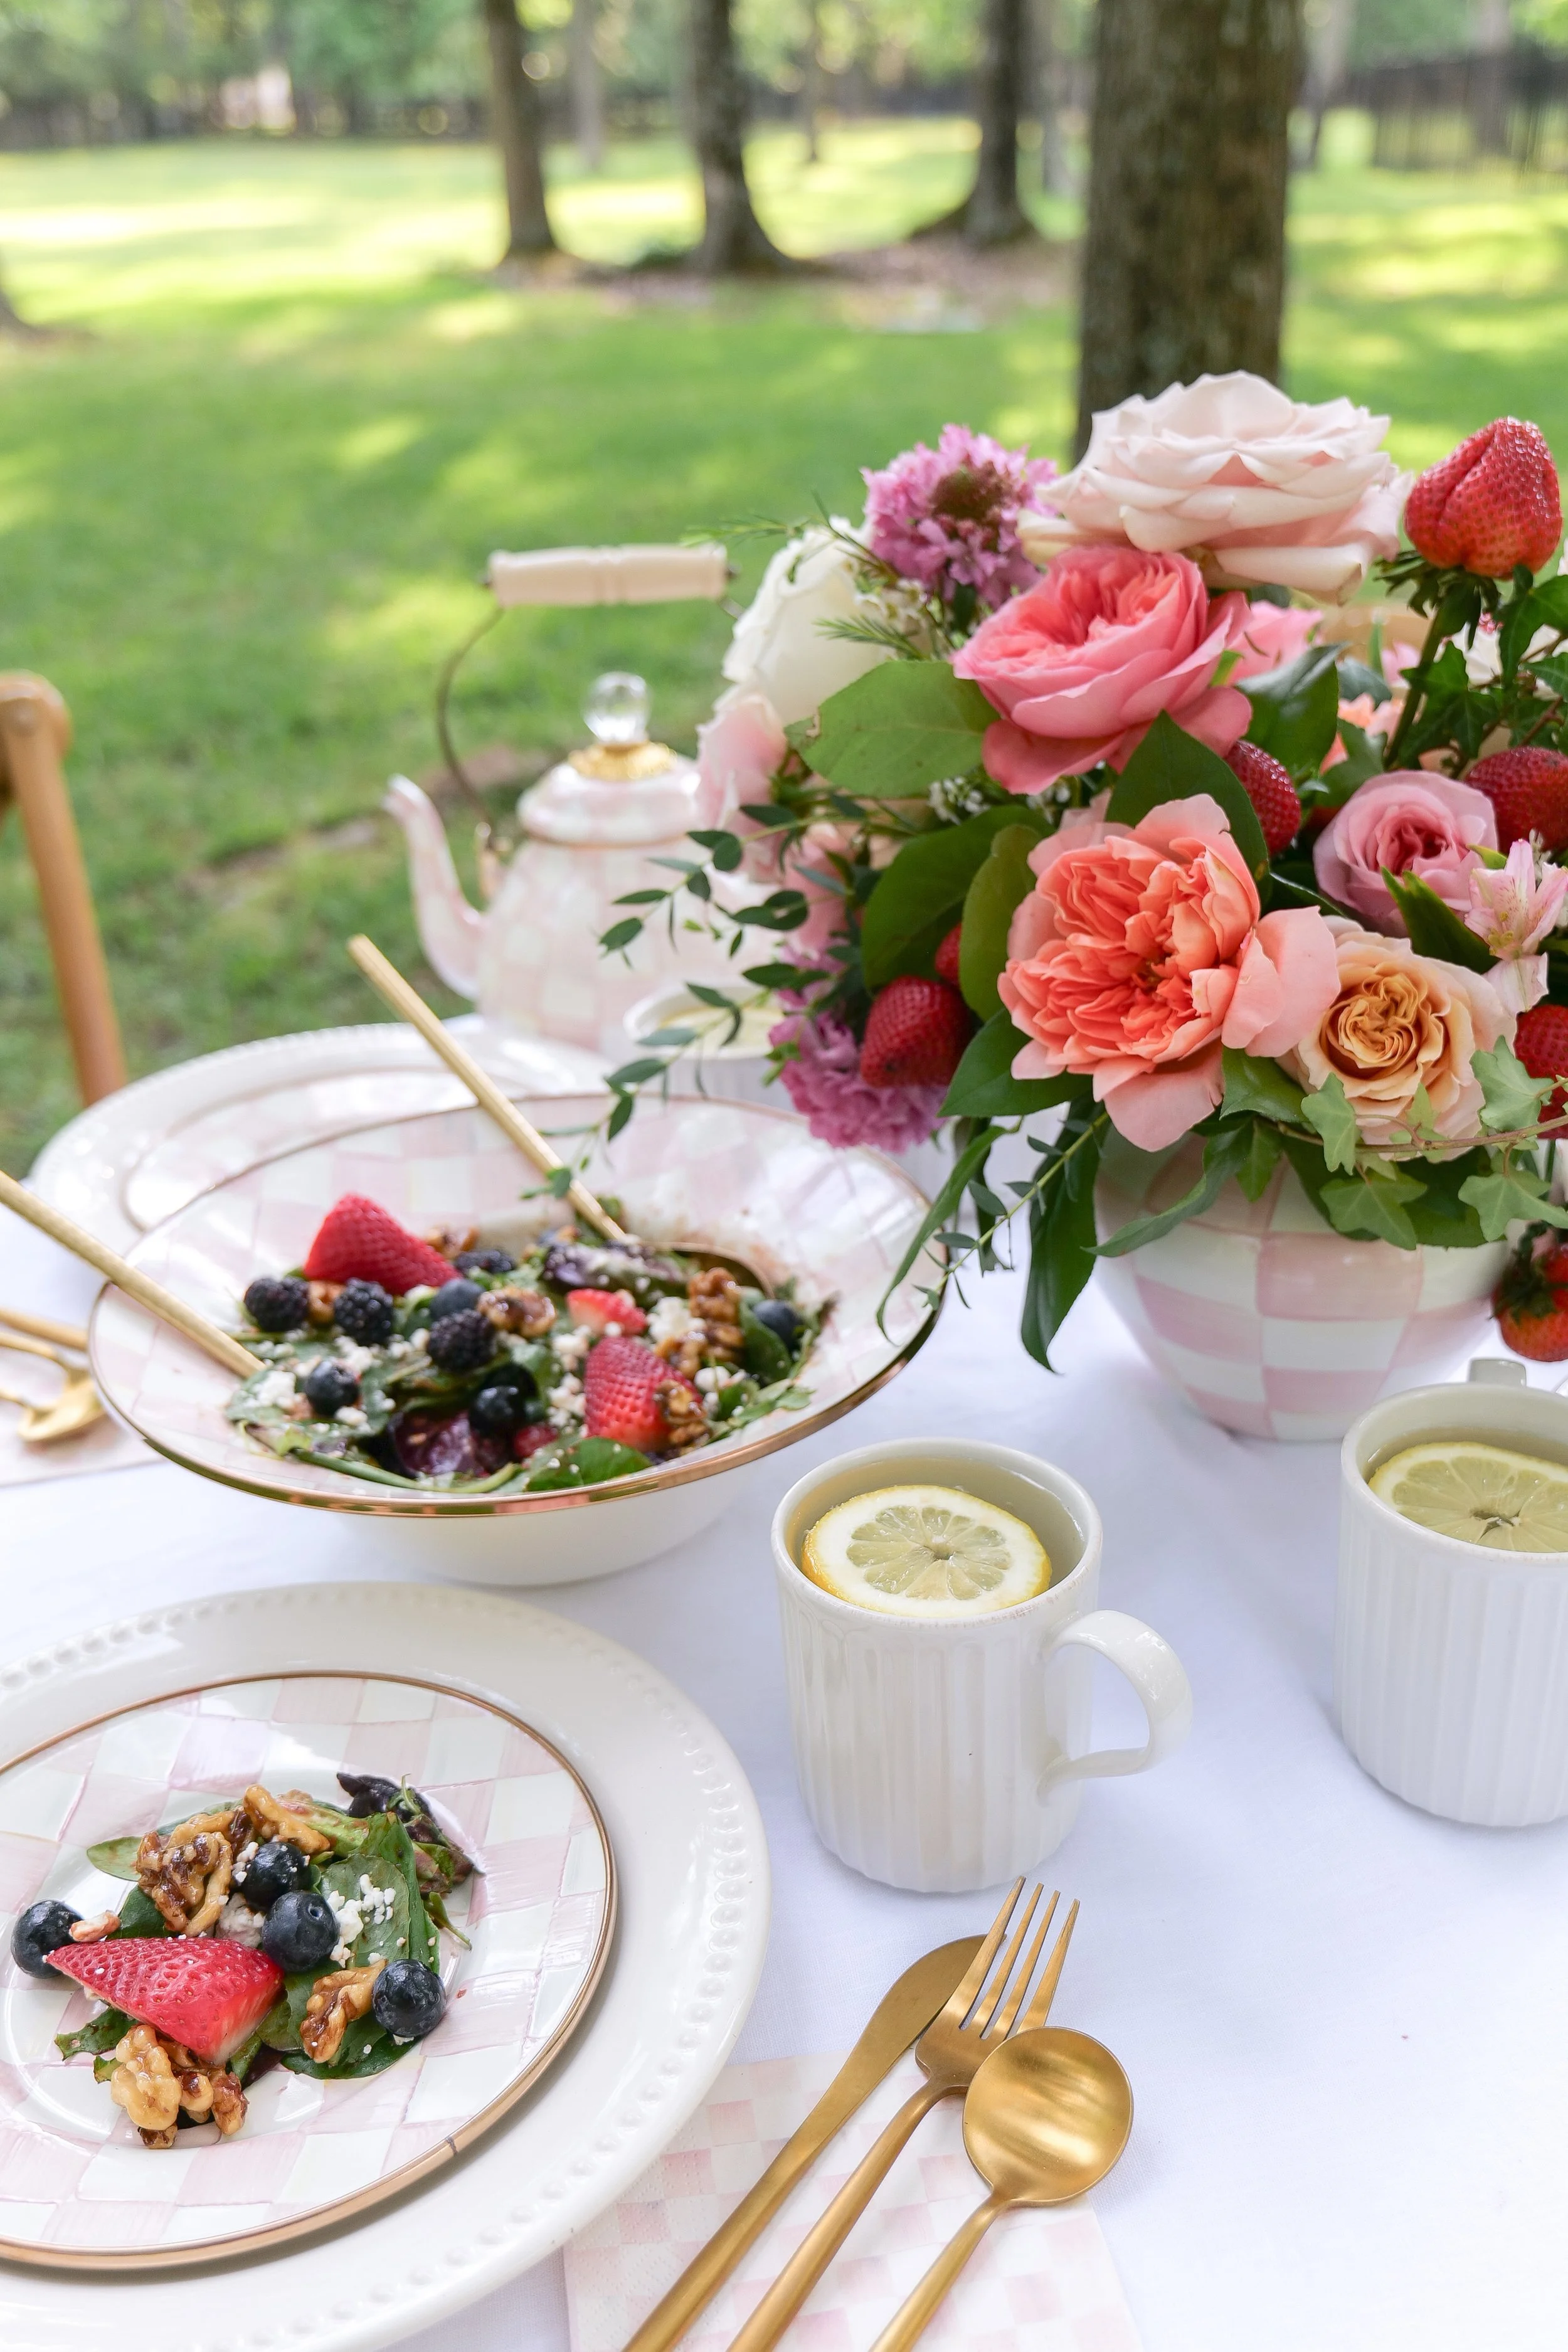
For this pink table, I worked with a local florist who incorporated fresh strawberries directly into the centerpiece. I loved how unexpected it felt while still looking soft and romantic.

The strawberries worked especially well because their red and pink tones naturally complemented the flowers and the rest of the table.

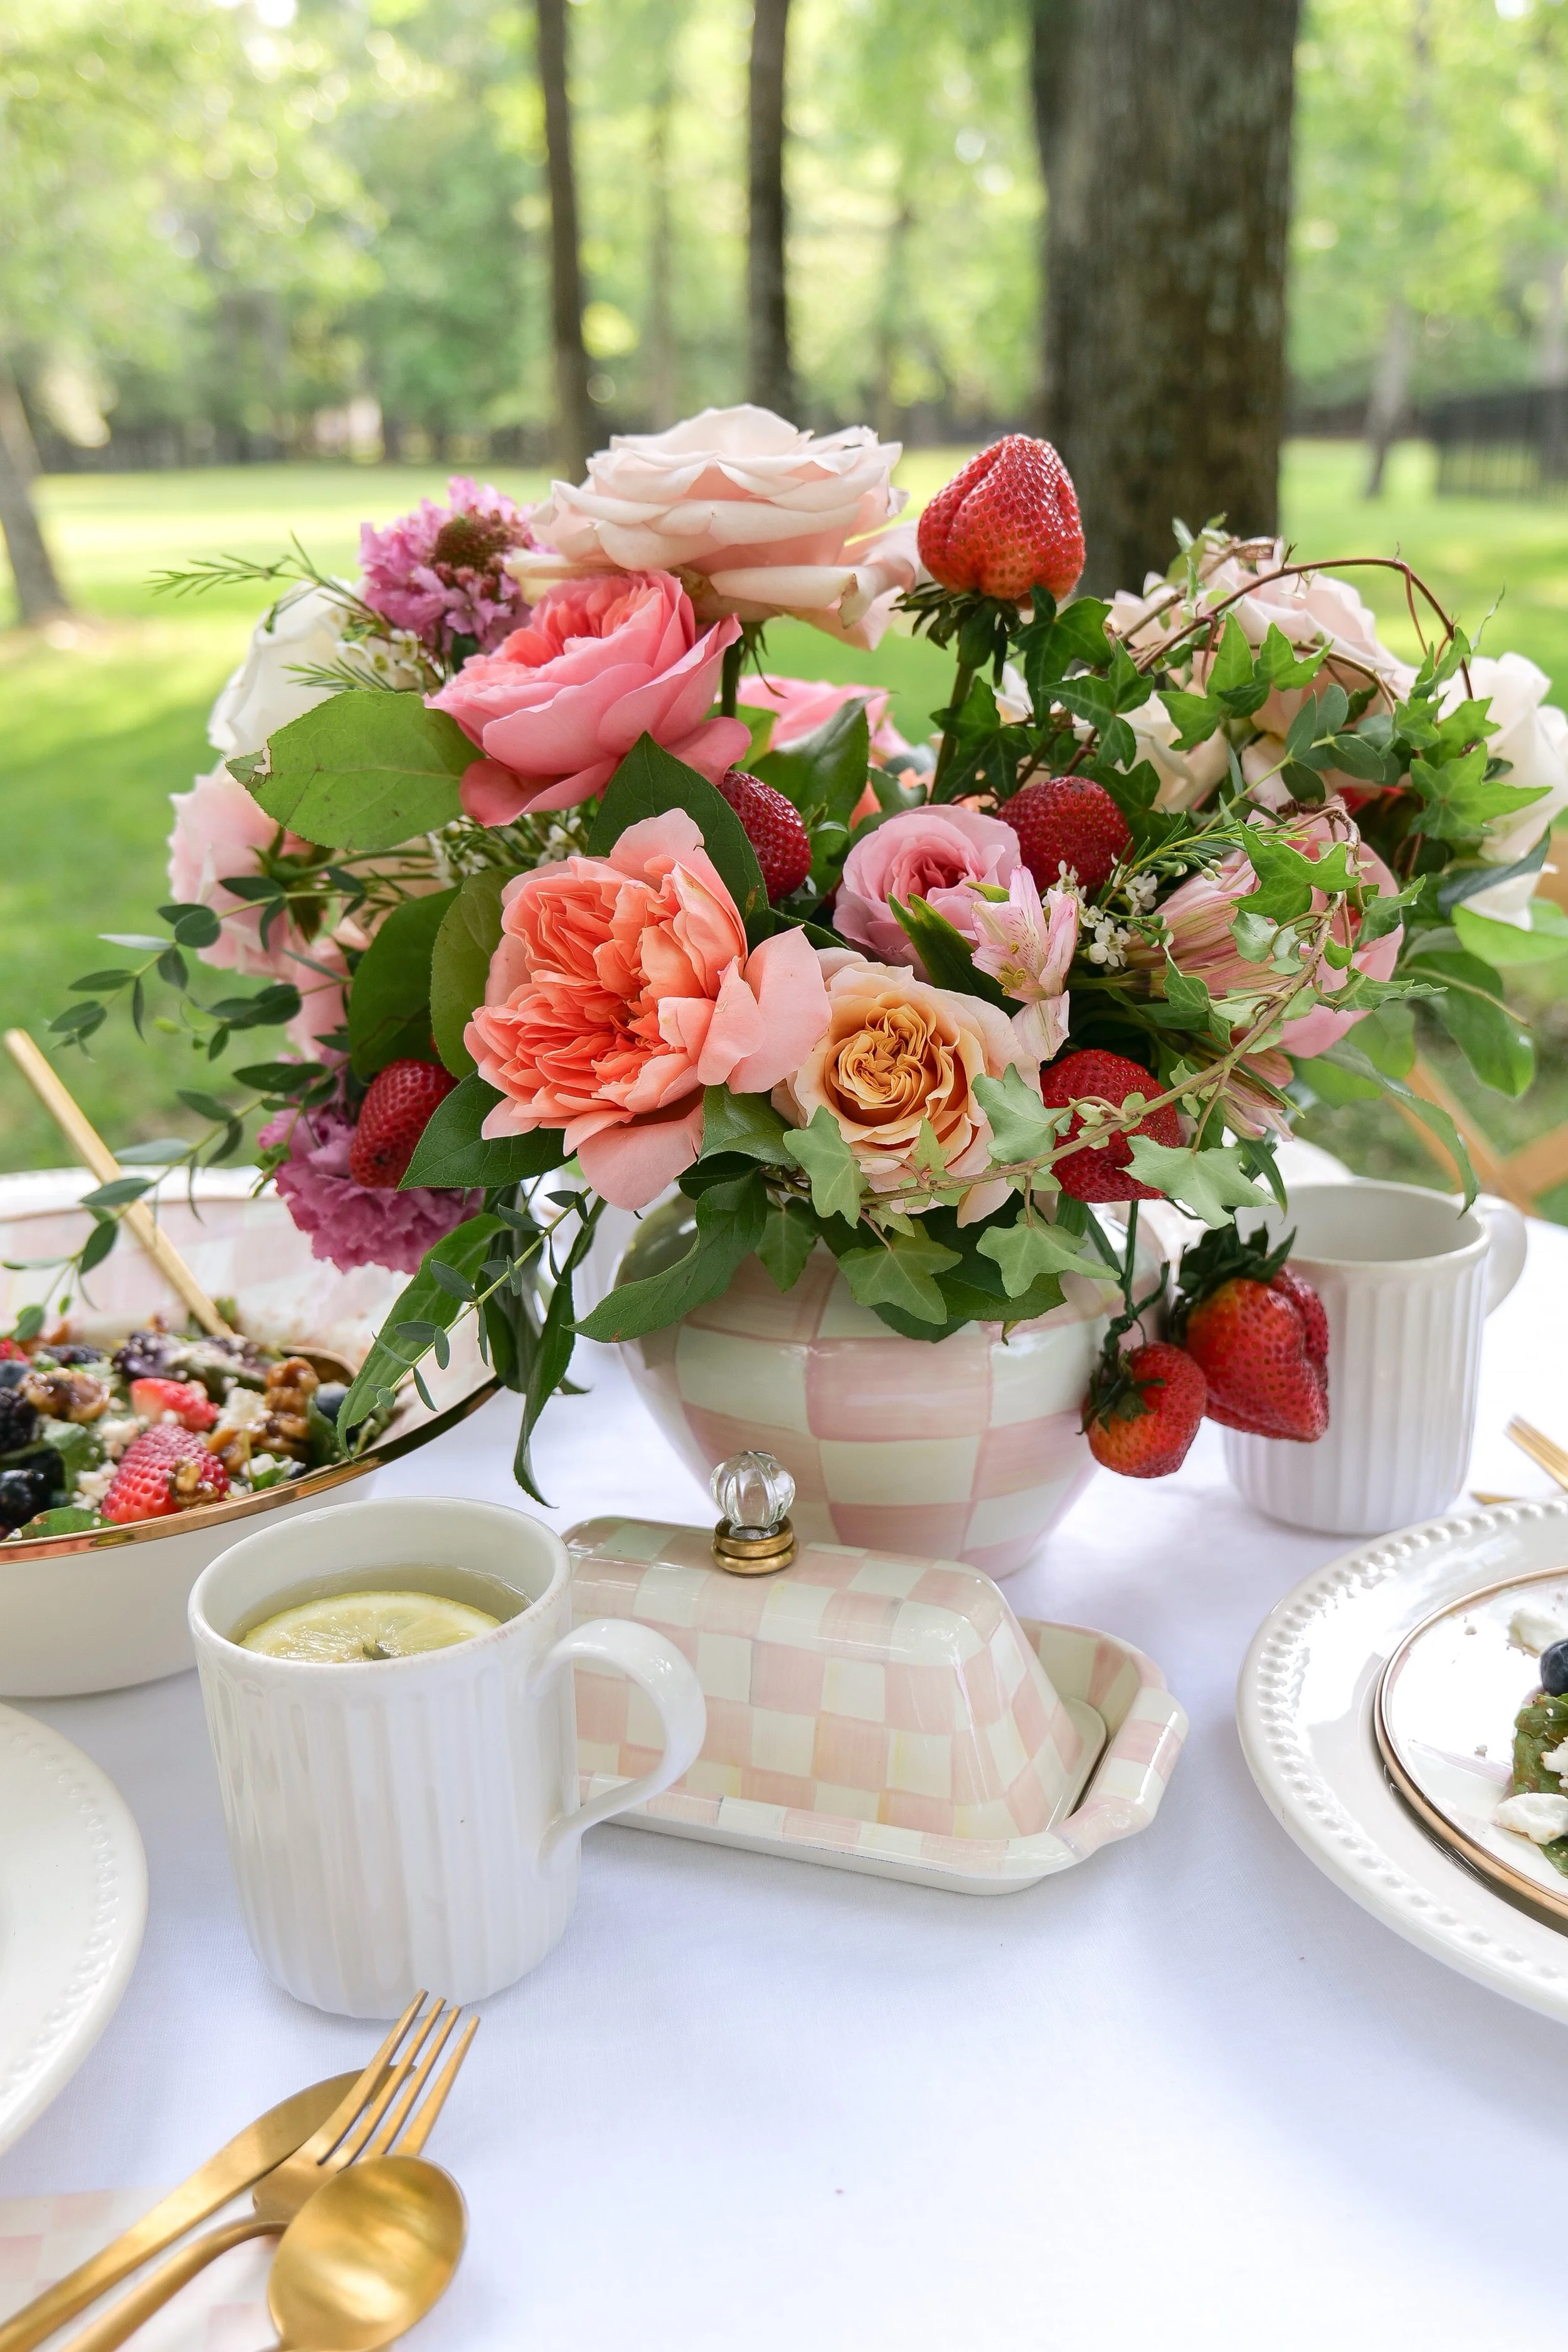
Pink garden tablescape with fresh strawberries
Fresh strawberries incorporated into a floral centerpiece
Pink strawberry tablescape with floral centerpiece

For a longer table, you could take the same idea and repeat it with small baskets or bowls filled with strawberries between floral arrangements. On this smaller table, however, one larger arrangement was enough.

That's something I always consider when styling a table: the scale of the decor should make sense for the scale of the table.

A smaller table doesn't necessarily need multiple centerpieces just because a larger dinner table would. Sometimes one beautiful focal point is much more impactful.

Strawberry and flower centerpiece for a garden table
Pink garden party table setting with strawberries
Fresh strawberry tablescape with pink floral decor
Strawberry garden party centerpiece with flowers

Easy Ways to Decorate a Table with Fruit

You don't need an elaborate floral arrangement to use fruit as decor.

Some of my favorite ways are also the simplest:

  • Scatter whole lemons or oranges around floral arrangements.

  • Fill a pedestal bowl with seasonal fruit.

  • Use individual pieces of fruit as place cards.

  • Add strawberries or other smaller fruit into floral arrangements.

  • Fill small baskets with fruit along a longer table.

  • Cut a few citrus fruits in half to bring additional color and texture to the table.

  • Repeat the same fruit in your menu so the entire gathering feels connected.

That last one is something I especially love.

If peaches are part of the tablescape, you might serve a peach salad or cobbler. If apples are scattered throughout a fall table, bring them into a salad or dessert. Pumpkins can carry from the centerpiece all the way into dessert.

It makes the theme feel thoughtful without everything needing to literally match.

Decorating Fall Tables with Vegetables, Pumpkins & Gourds

Fall might be my favorite season for using produce on a table because there are so many beautiful colors, shapes and textures available.

Pumpkins and gourds are the obvious choices, but vegetables, leafy greens, herbs, pears and pomegranates can all work beautifully too.

Instead of thinking of the produce as a separate centerpiece, I like incorporating it into the rest of the table—tucking pieces around flowers, layering them down the center or using them to fill areas that need a little more color or texture.

Friendsgiving Table with Fall Produce

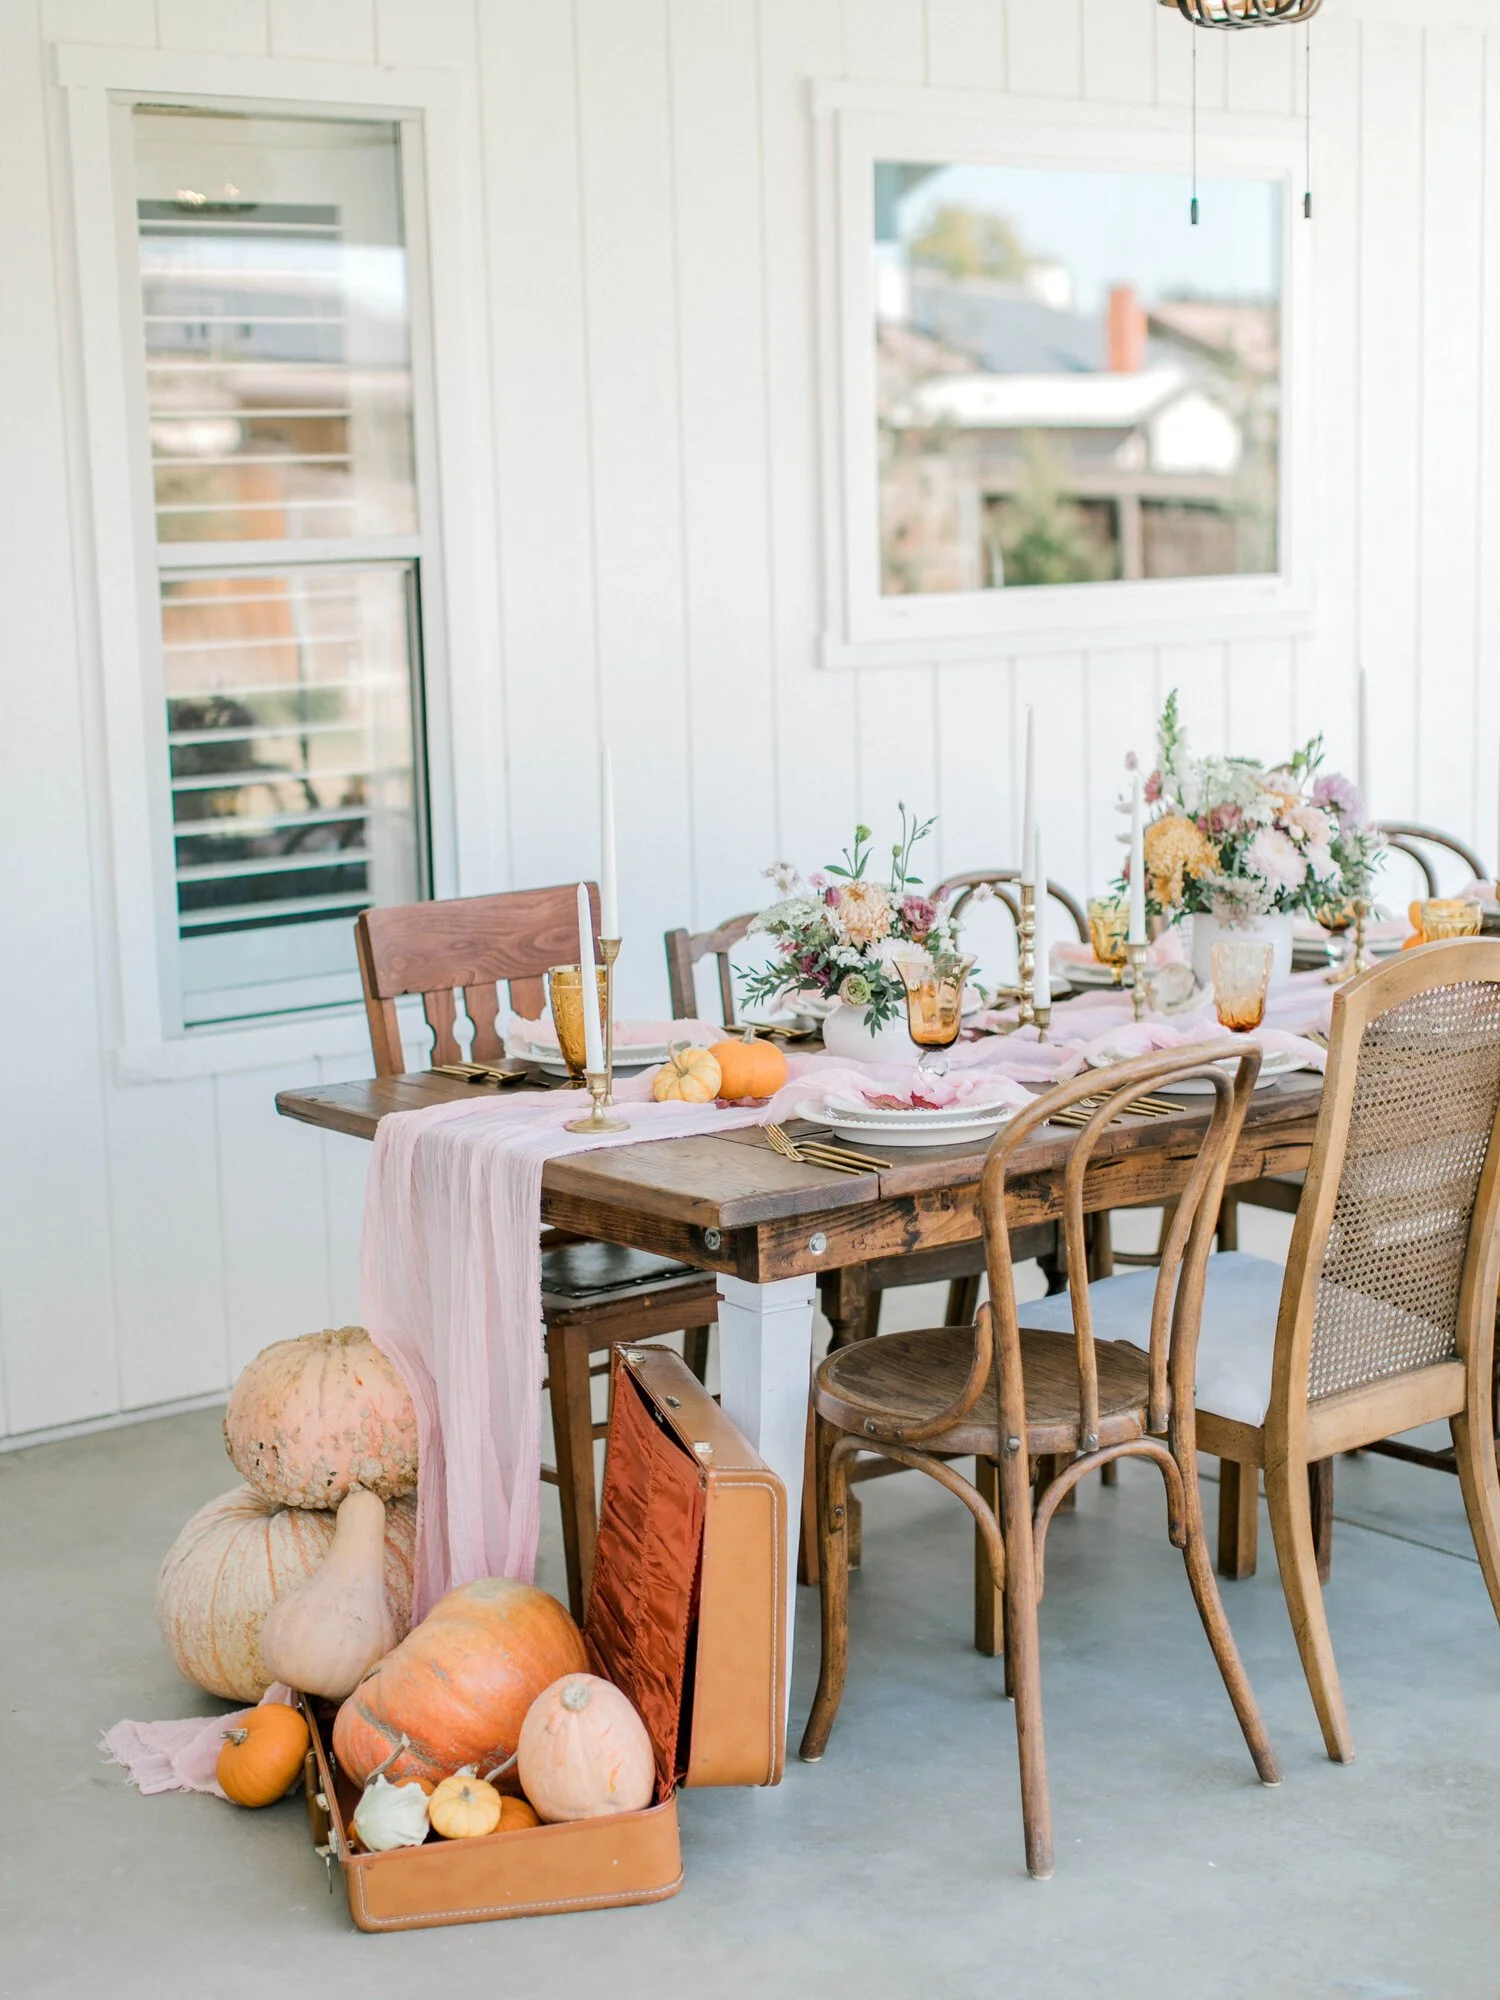
For one of my Friendsgiving tables, I carried the produce beyond the center of the dining table.

I draped it along the top and sides of the table and continued the same elements around the drink station and food table. That repetition helped the different areas of the party feel connected.

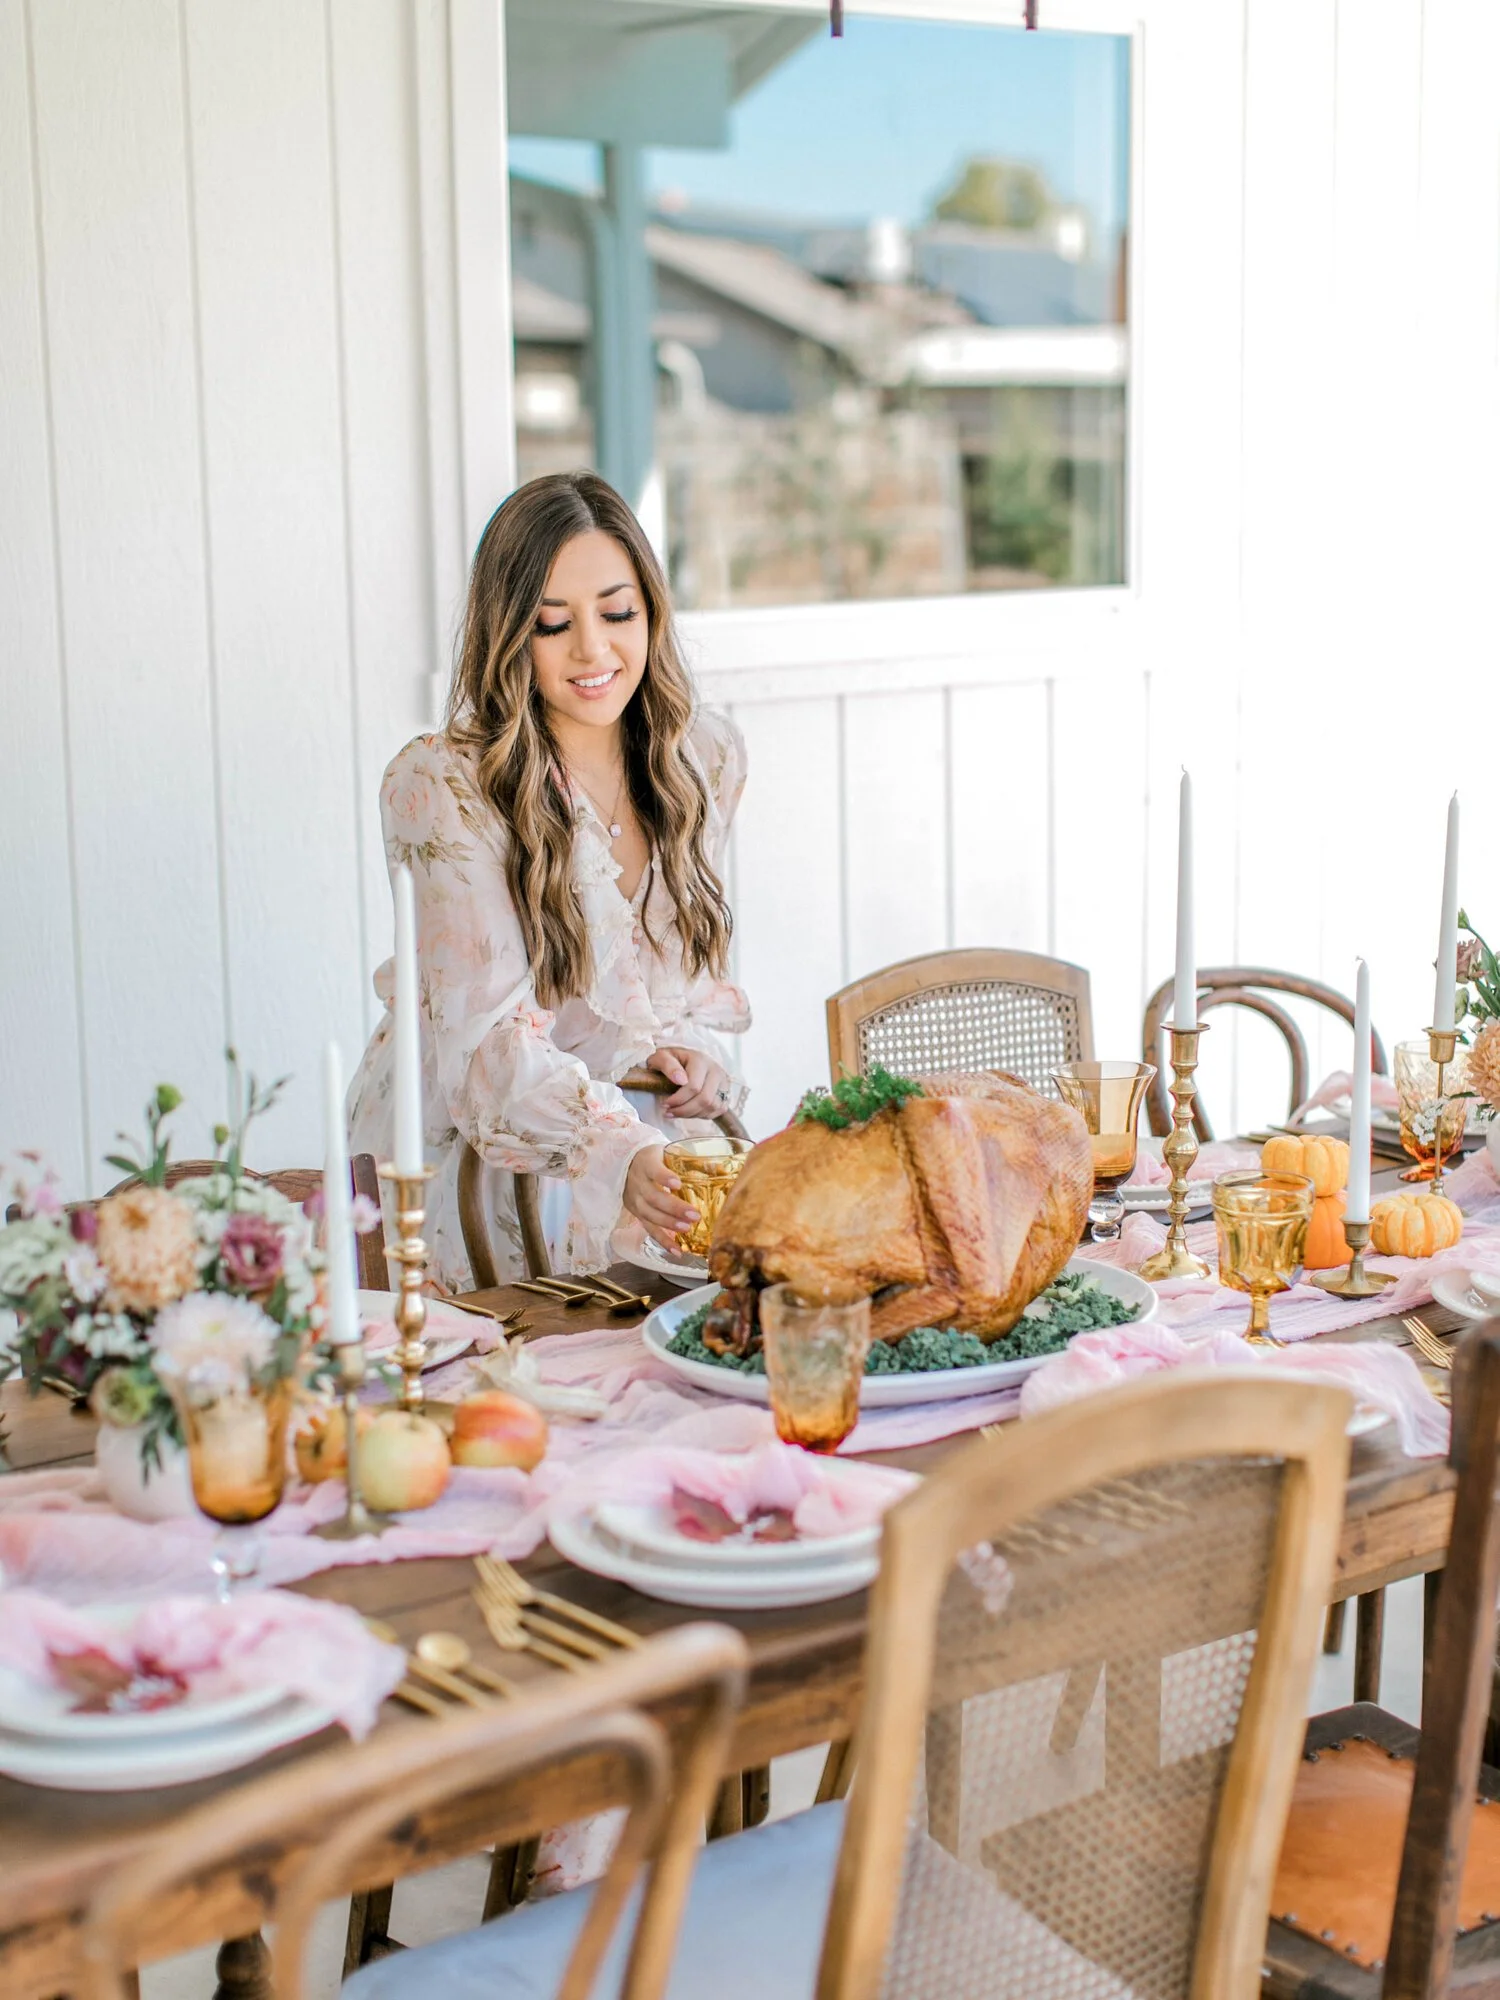
Friendsgiving tablescape decorated with seasonal fall produce
Seasonal produce layered through a fall table setting
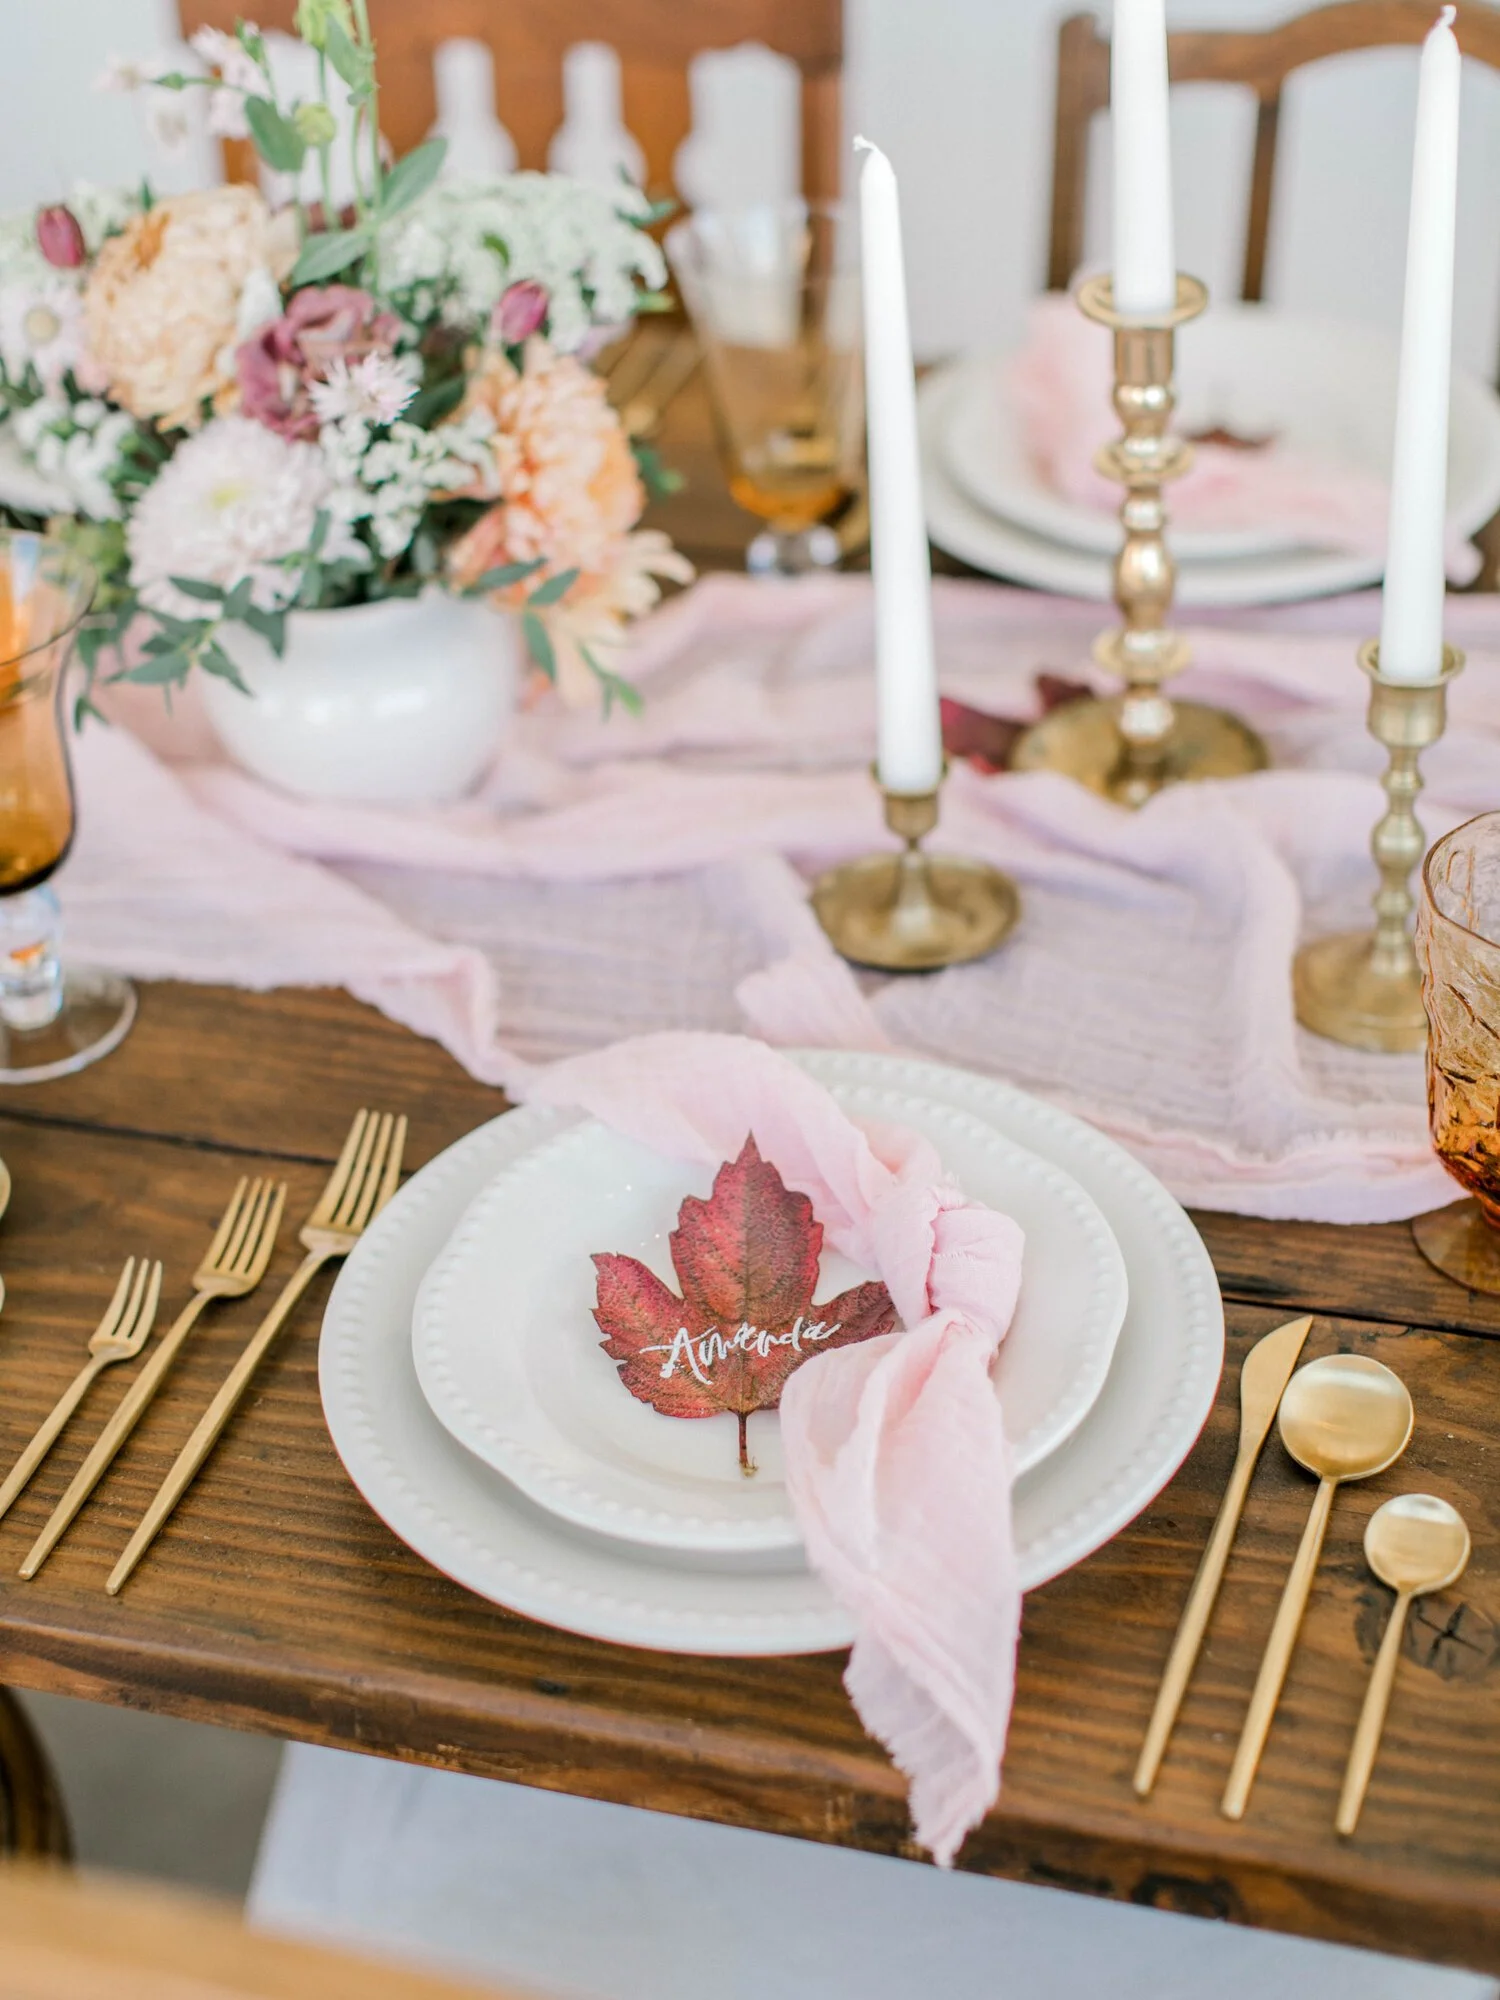
Fall table setting with leaf-shaped place card
Thanksgiving centerpiece decorated with seasonal produce

I also used leaf-shaped place cards on this table. They weren't produce, but they continued that natural fall feeling without everything needing to be another vegetable or pumpkin.

This is a good example of using a theme without taking it too literally. Once you establish the colors and natural elements, little details can reference the overall idea rather than match it exactly.

Welcome to My Thanksgiving Table

Friendsgiving table with natural fall decorating details

Thanksgiving Table with Pumpkins & Rustic Florals

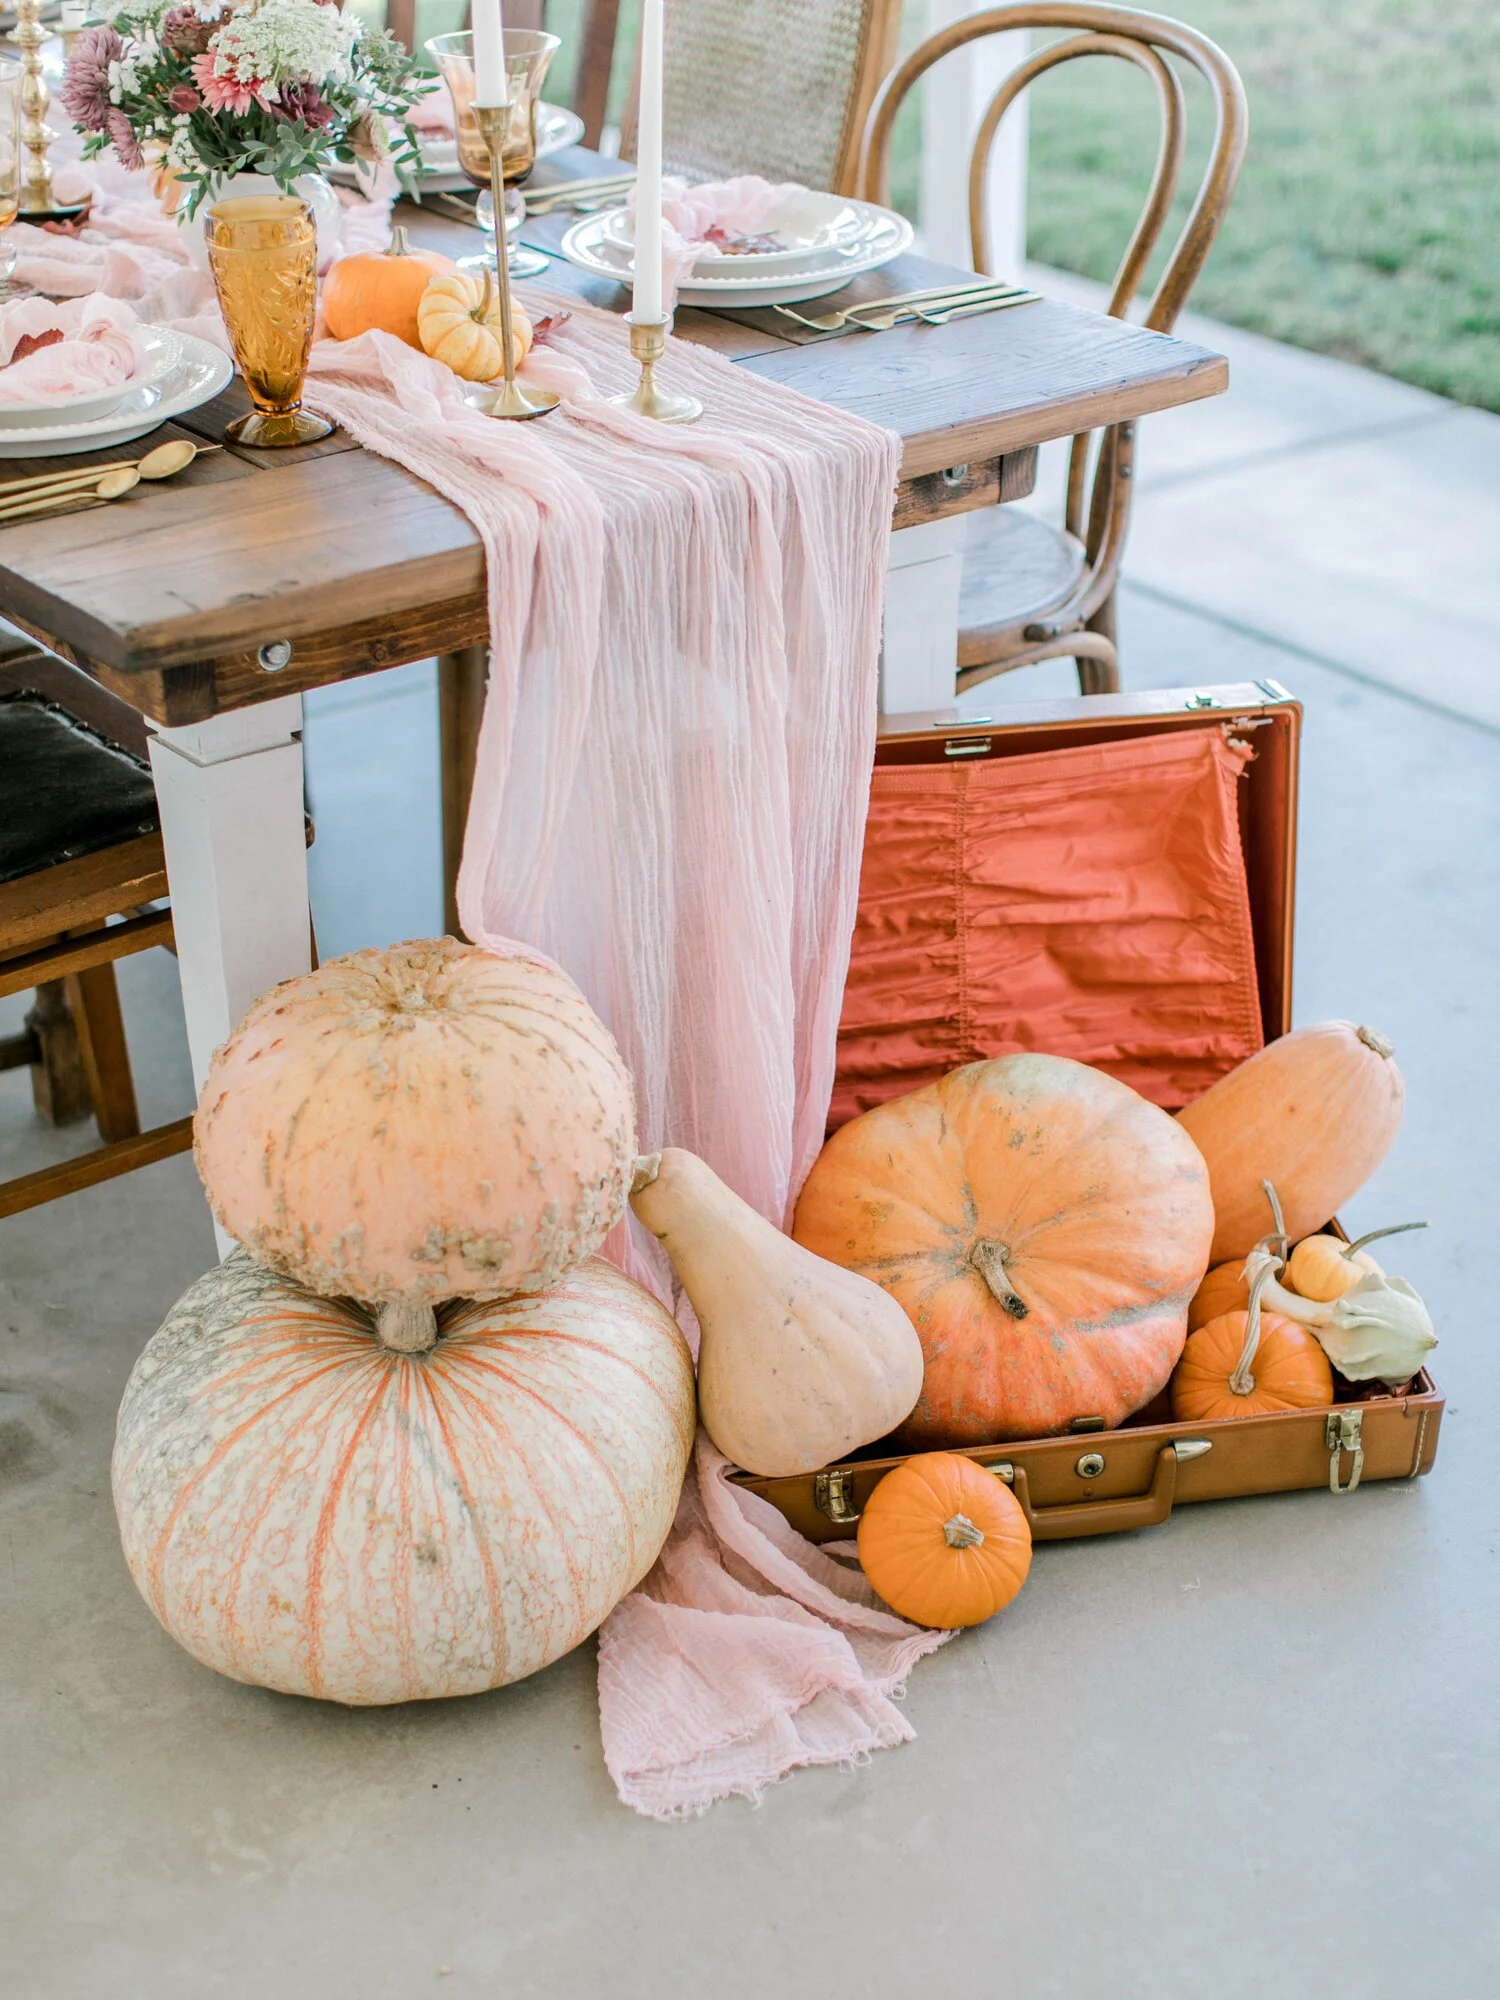
For another Thanksgiving table, I tucked pumpkins into a rustic floral display.

This is one of my favorite tricks because pumpkins add lower height around taller floral arrangements. They fill the space near the base of the centerpiece while introducing another shape and texture.

Thanksgiving tablescape with pumpkins and rustic flowers

It's also a relatively simple way to make a centerpiece feel fuller without needing to fill every inch with flowers.

Choose pumpkins that work within your existing palette rather than automatically reaching for bright orange. Depending on your table, creamy white, green, muted orange or deeper fall shades can completely change the finished look.

My Thanksgiving Tablescape for 2023

Your original table used pumpkins alongside the rustic floral display specifically to carry the color palette and introduce that lower layer, which is exactly the kind of practical detail I'd keep in the refreshed post.

Pumpkins arranged around a rustic floral centerpiece
Rustic Thanksgiving table decorated with pumpkins and flowers
Fall pumpkin centerpiece for a Thanksgiving table

A Light Thanksgiving Table with Pears & Pomegranates

Produce doesn't have to mean a rustic or heavily traditional fall table.

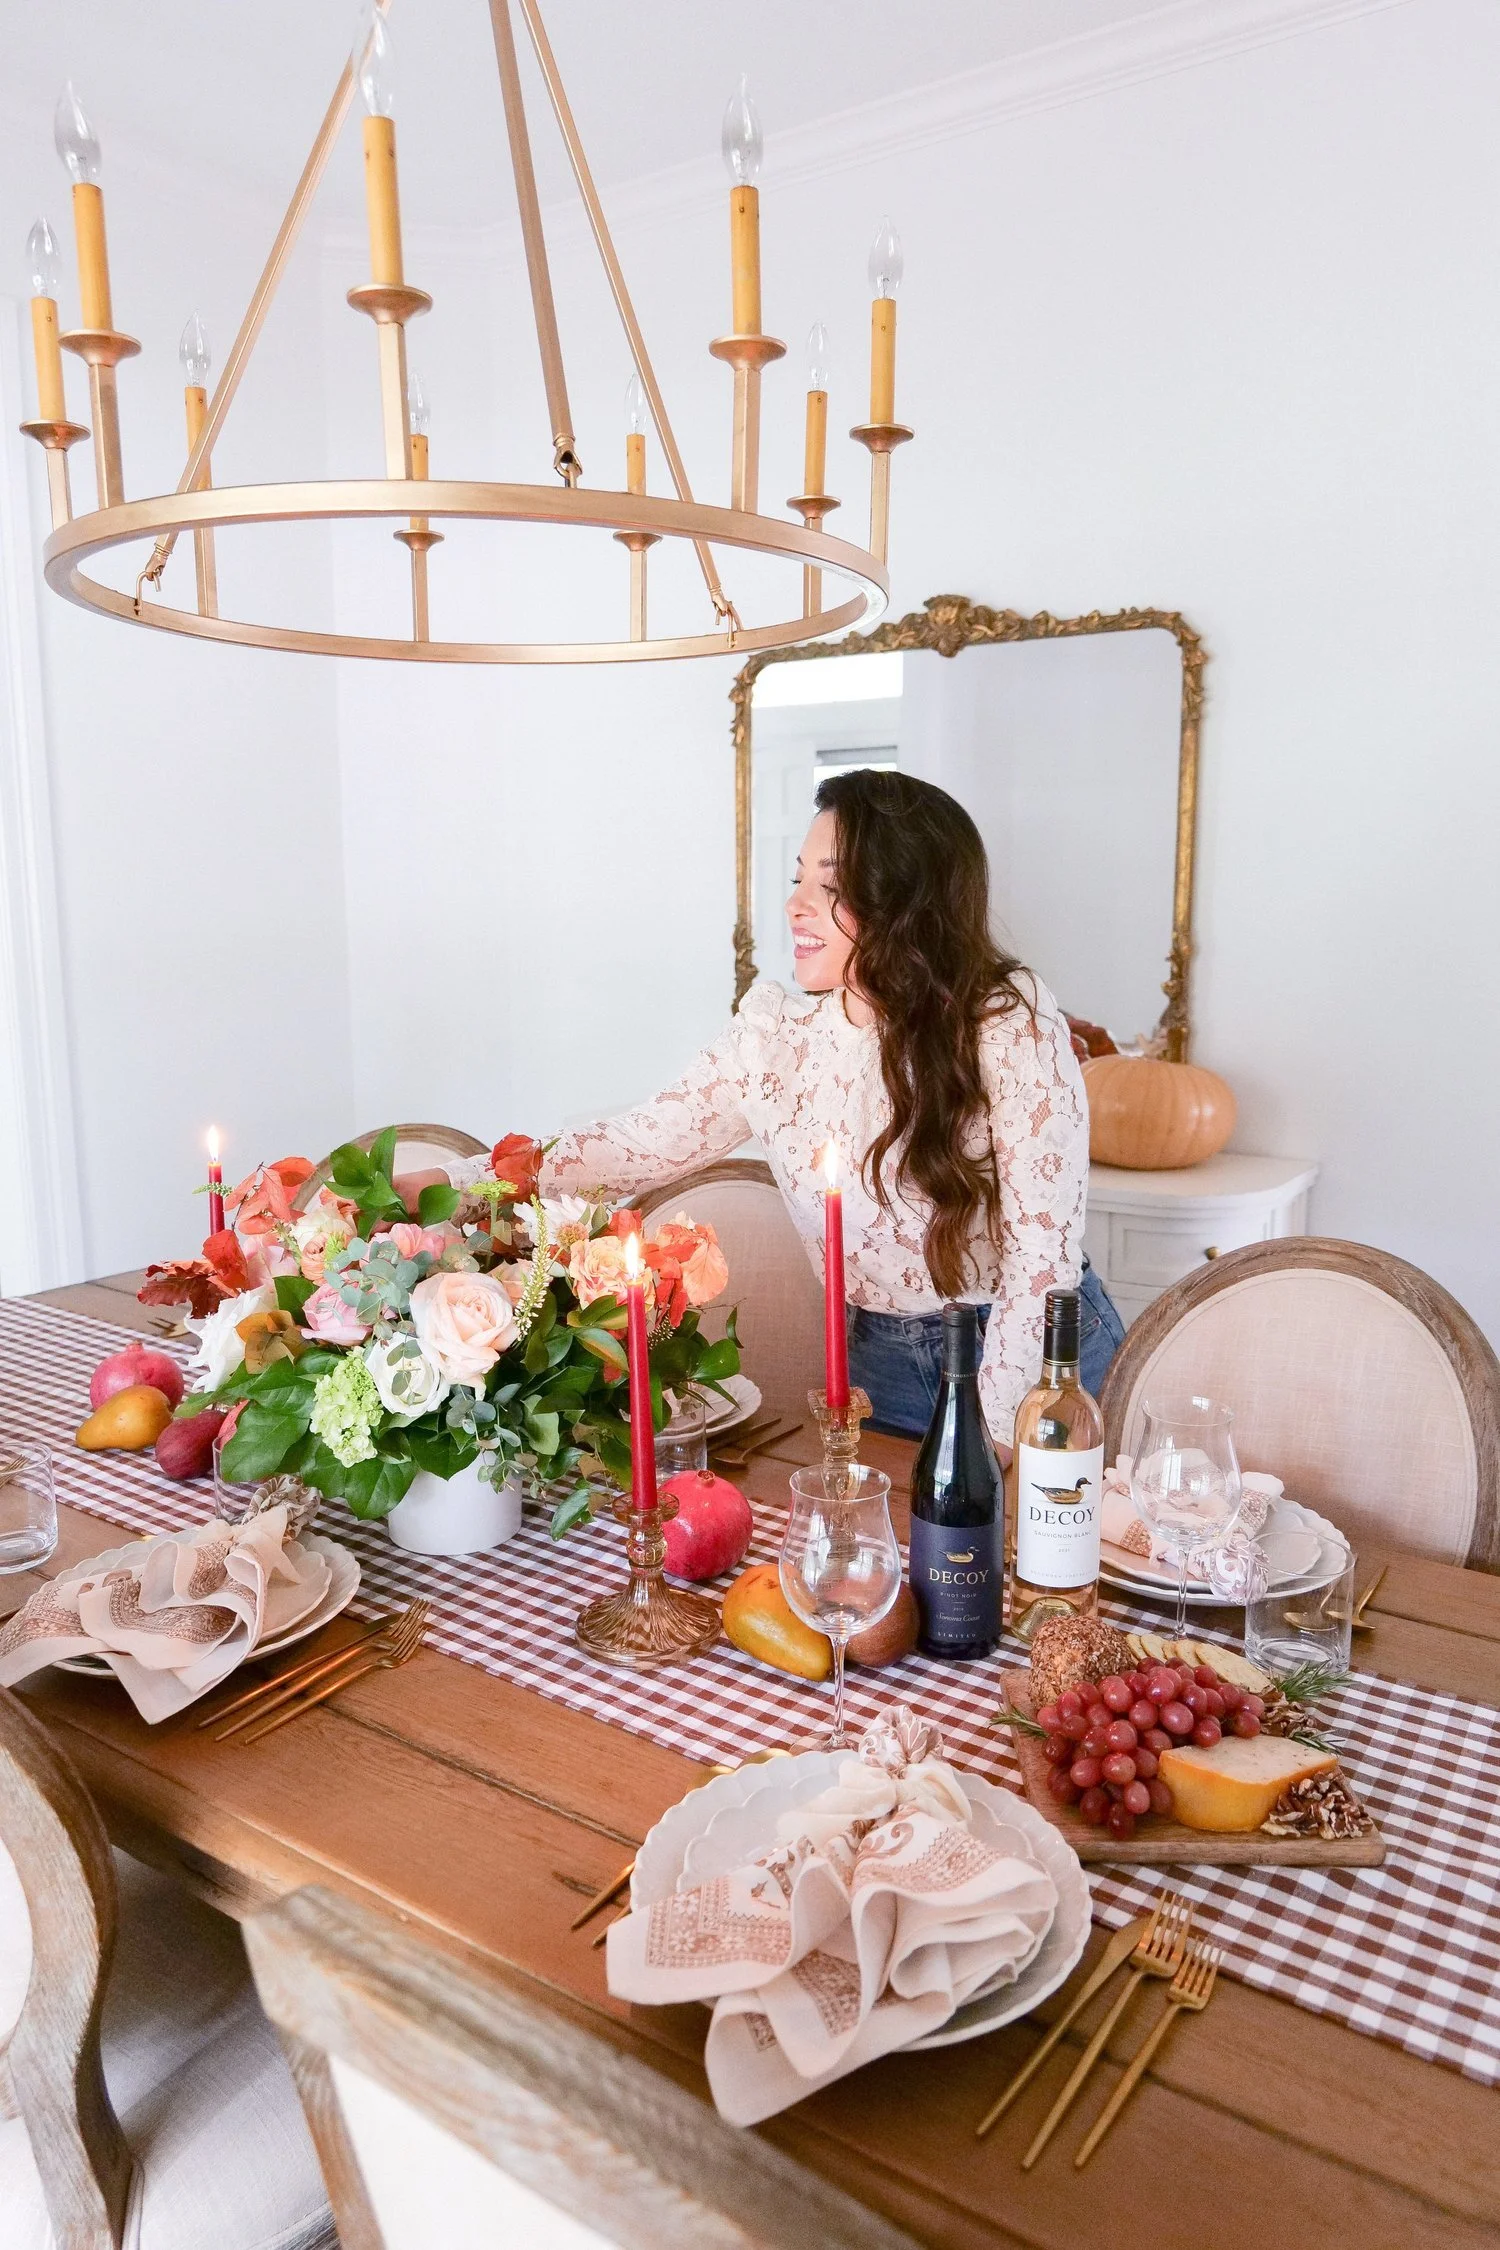
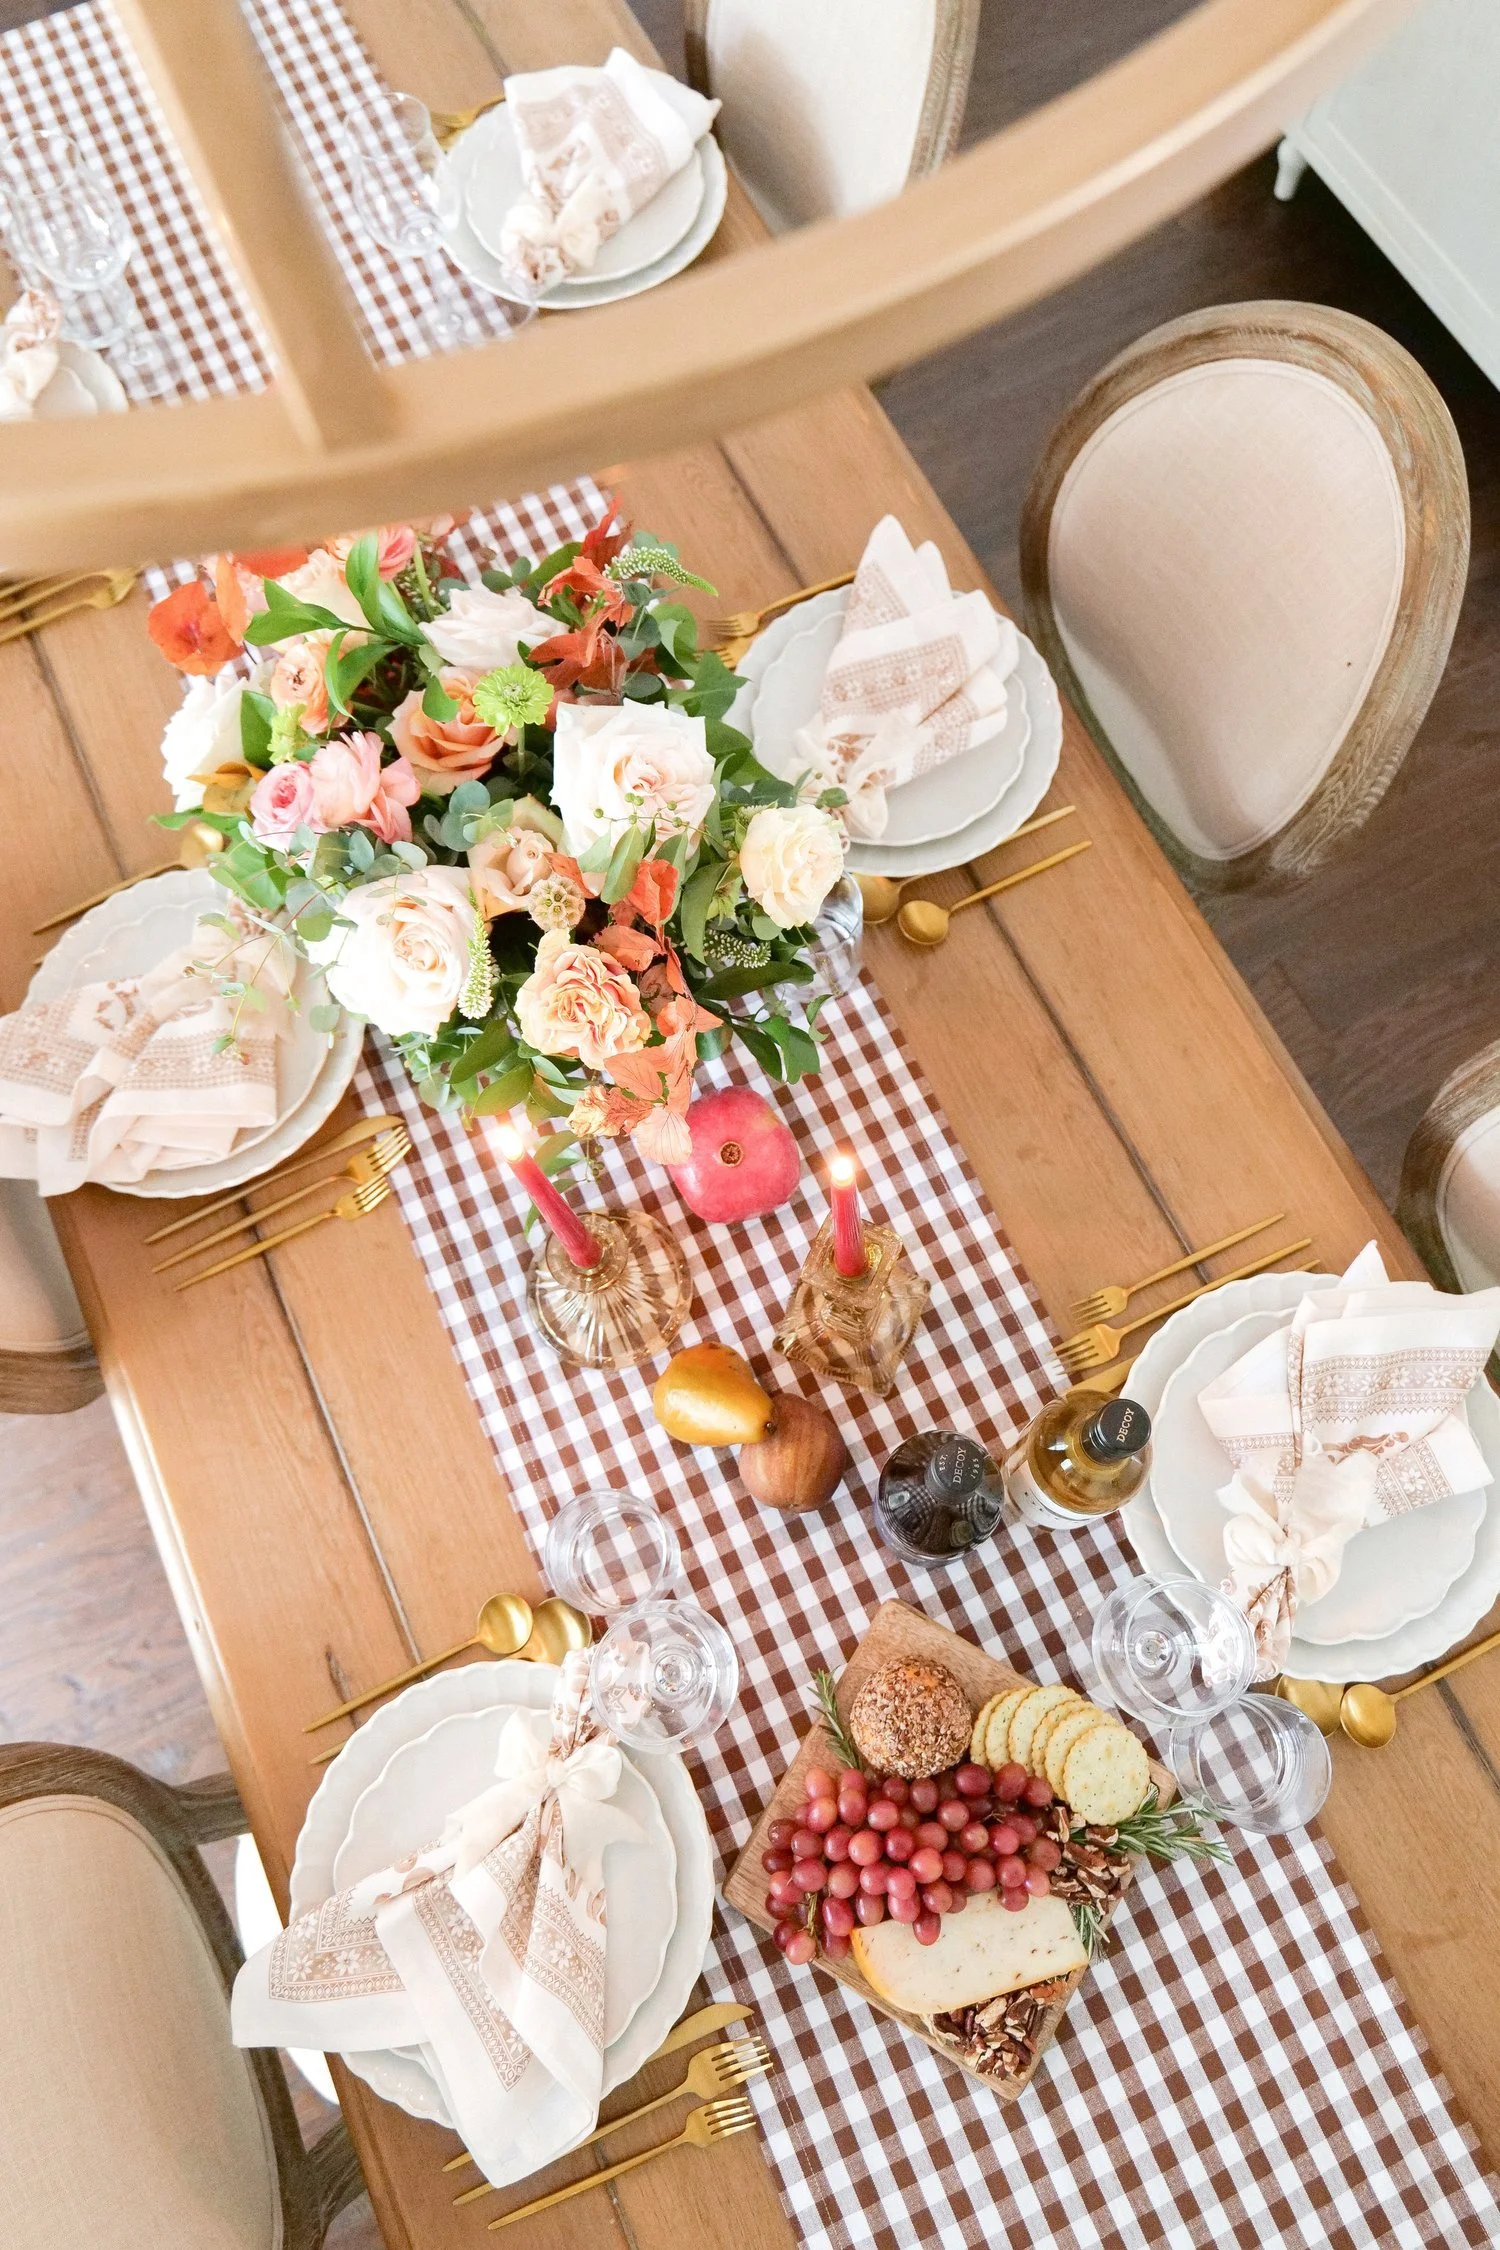
For my lighter 2022 Thanksgiving table, I used pears and pomegranates to bring natural color into a softer tablescape.

Thanksgiving tablescape decorated with pears and pomegranates
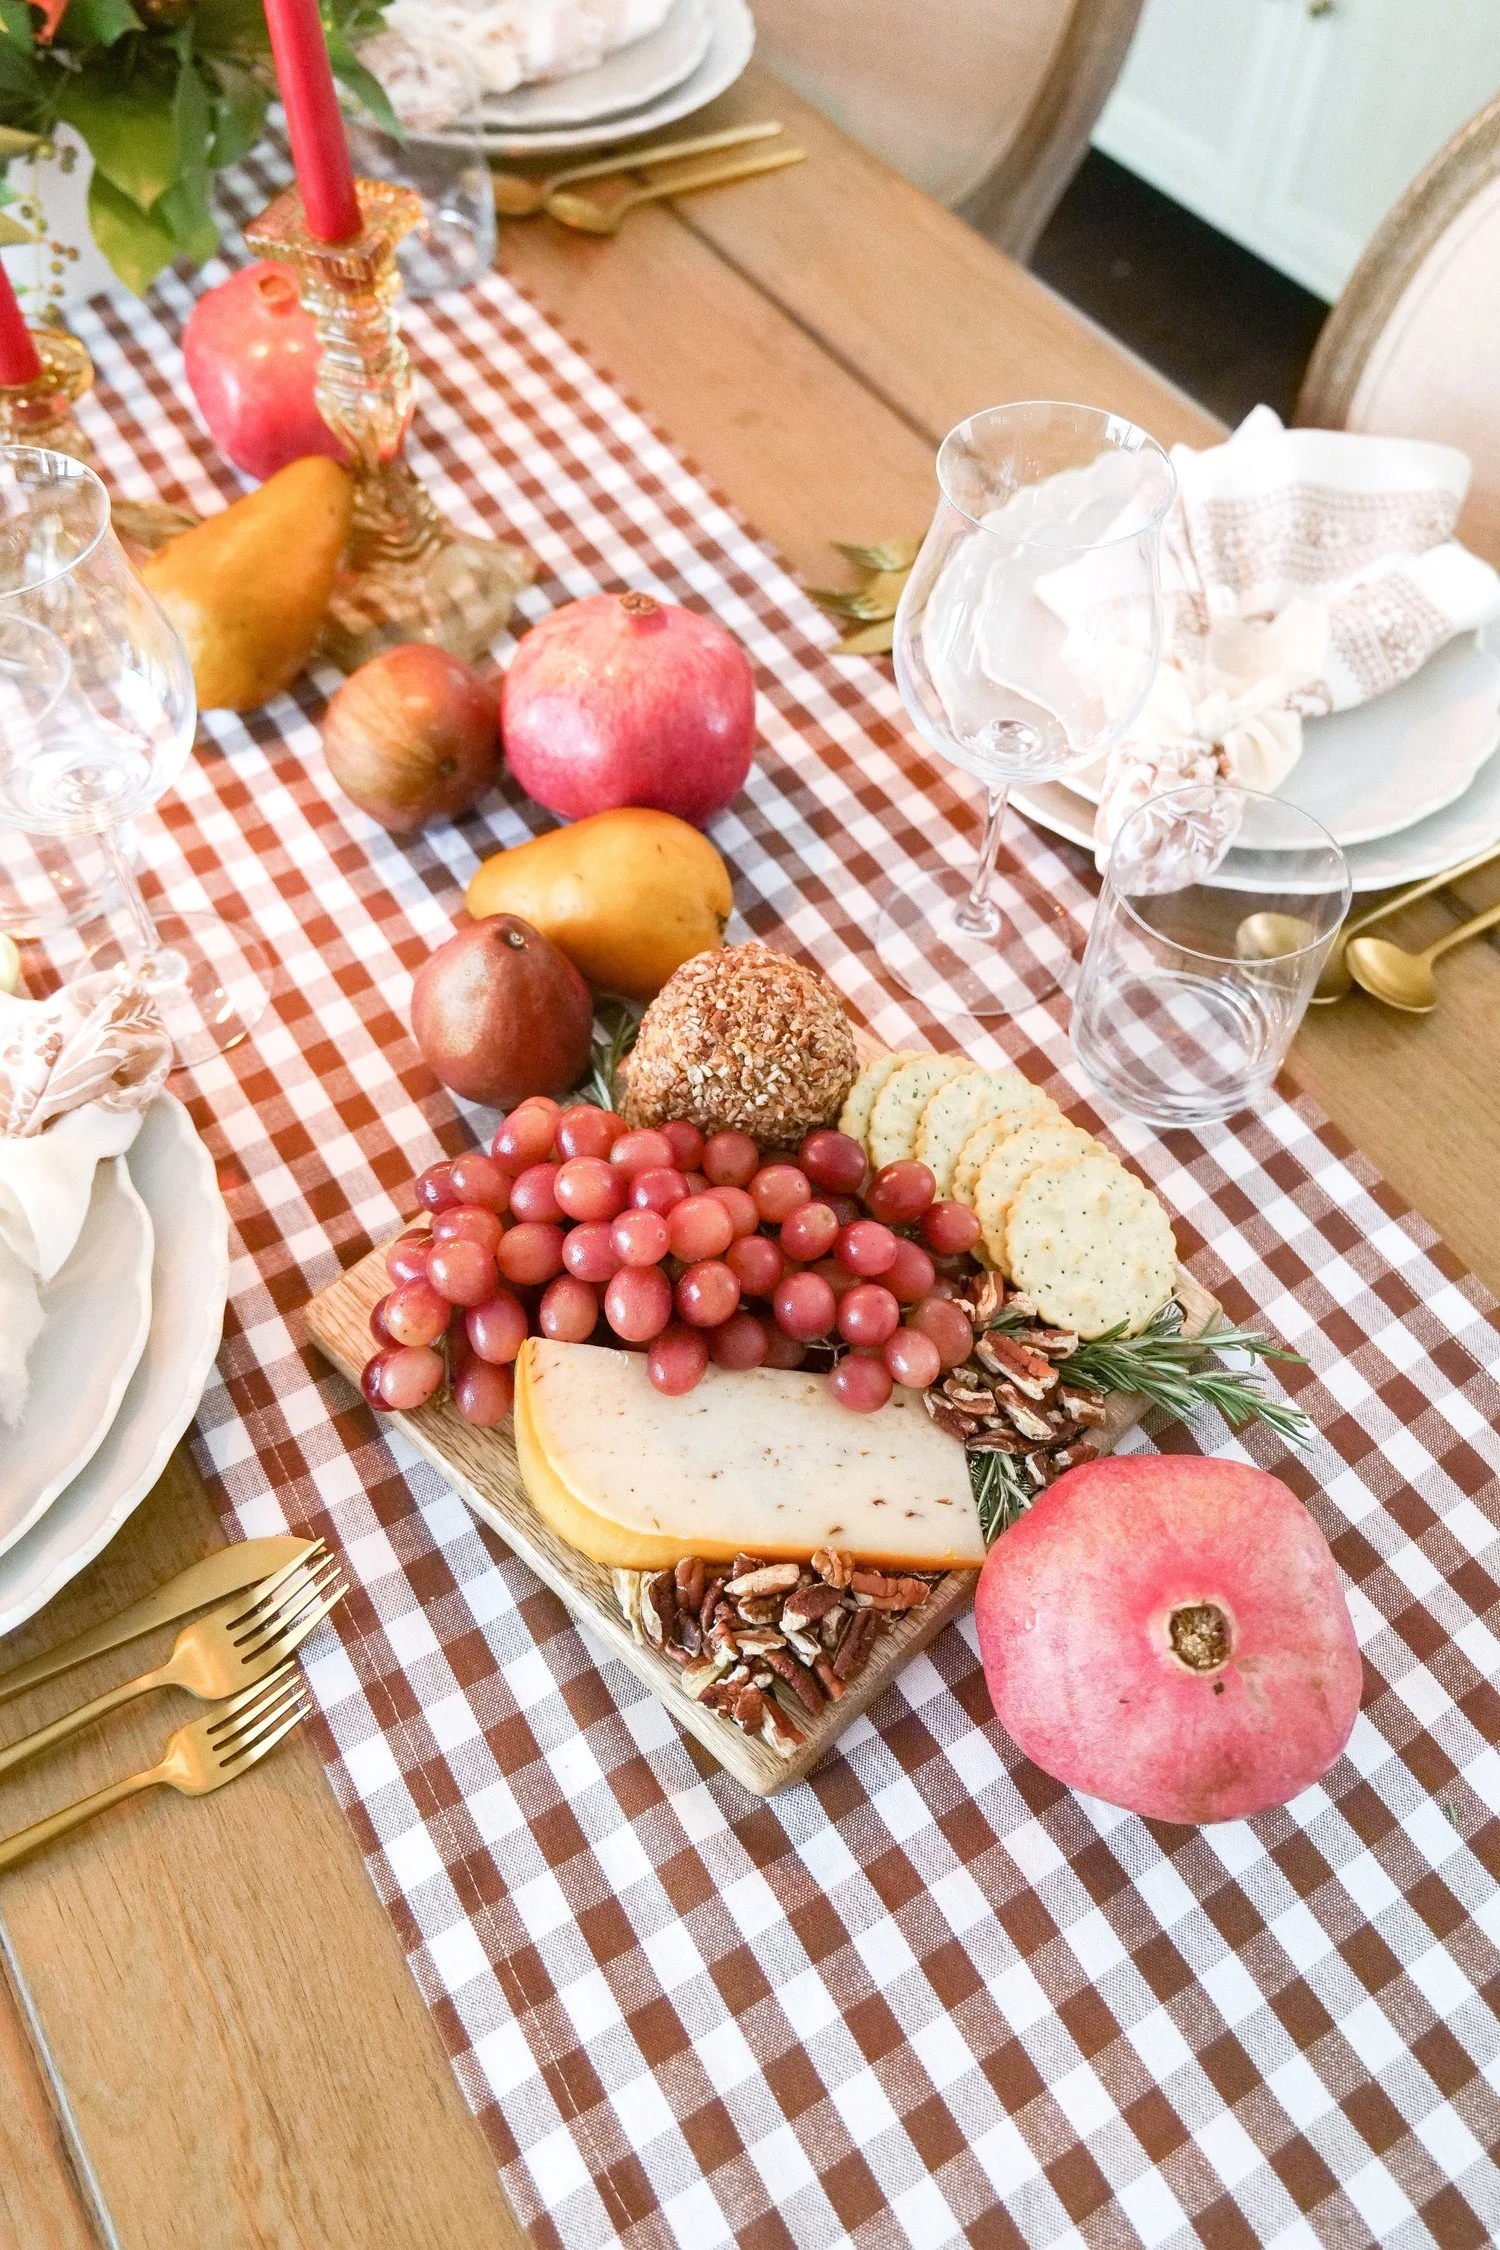
Fresh pears and pomegranates used as fall table decor

Pears are especially beautiful for this because of their shape, and pomegranates add a deeper color without needing much else.

I also love that both can carry over into the food you're serving. For this table, a Pear and Pomegranate Arugula Salad fits right into the same seasonal story.

Thanksgiving Table 2022

Light Thanksgiving tablescape with fresh seasonal fruit
Thanksgiving table setting decorated with fresh pears
Pomegranates used as natural fall table decorations

How to Build Your Own Fruit or Vegetable Tablescape

If you want to recreate this idea, don't start by buying everything at once.

1. Choose One Inspiration Piece

Start with something that gives you direction.

It could be an invitation, tablecloth, set of napkins, floral arrangement, plate or even one fruit you know you want to use.

2. Build a Color Palette

Pull two or three main colors from that inspiration.

Then look for fruits and vegetables that naturally fit those shades rather than trying to force produce into the table afterward.

3. Add Your Main Centerpiece

Flowers don't have to disappear just because you're decorating with produce.

Some of my favorite tables combine the two. Use flowers to establish height and movement, then let the fruit or vegetables fill in around them.

4. Add Different Heights

Cake stands, pedestal bowls, serving pieces and small baskets are an easy way to keep everything from sitting on one flat plane.

5. Repeat Your Produce

A lemon in the centerpiece can become a lemon place card.

Strawberries in a floral arrangement can reappear in small baskets.

Pumpkins on the dining table can continue onto the food or drink station.

Repeating one element a few times is usually more cohesive than introducing something completely different in every spot.

6. Leave Room for Dinner

This sounds obvious, but it's very easy to get carried away decorating a table.

Make sure guests still have room for plates, glassware and serving pieces—and that your centerpiece isn't so tall that everyone has to talk around it.

7. Bring the Theme Into Your Menu

This is one of the easiest ways to make a dinner or party feel especially thoughtful.

Use some of the same seasonal ingredients from the tablescape in a salad, cocktail, appetizer or dessert. It doesn't need to be every course; even one connection makes the whole gathering feel more intentional.

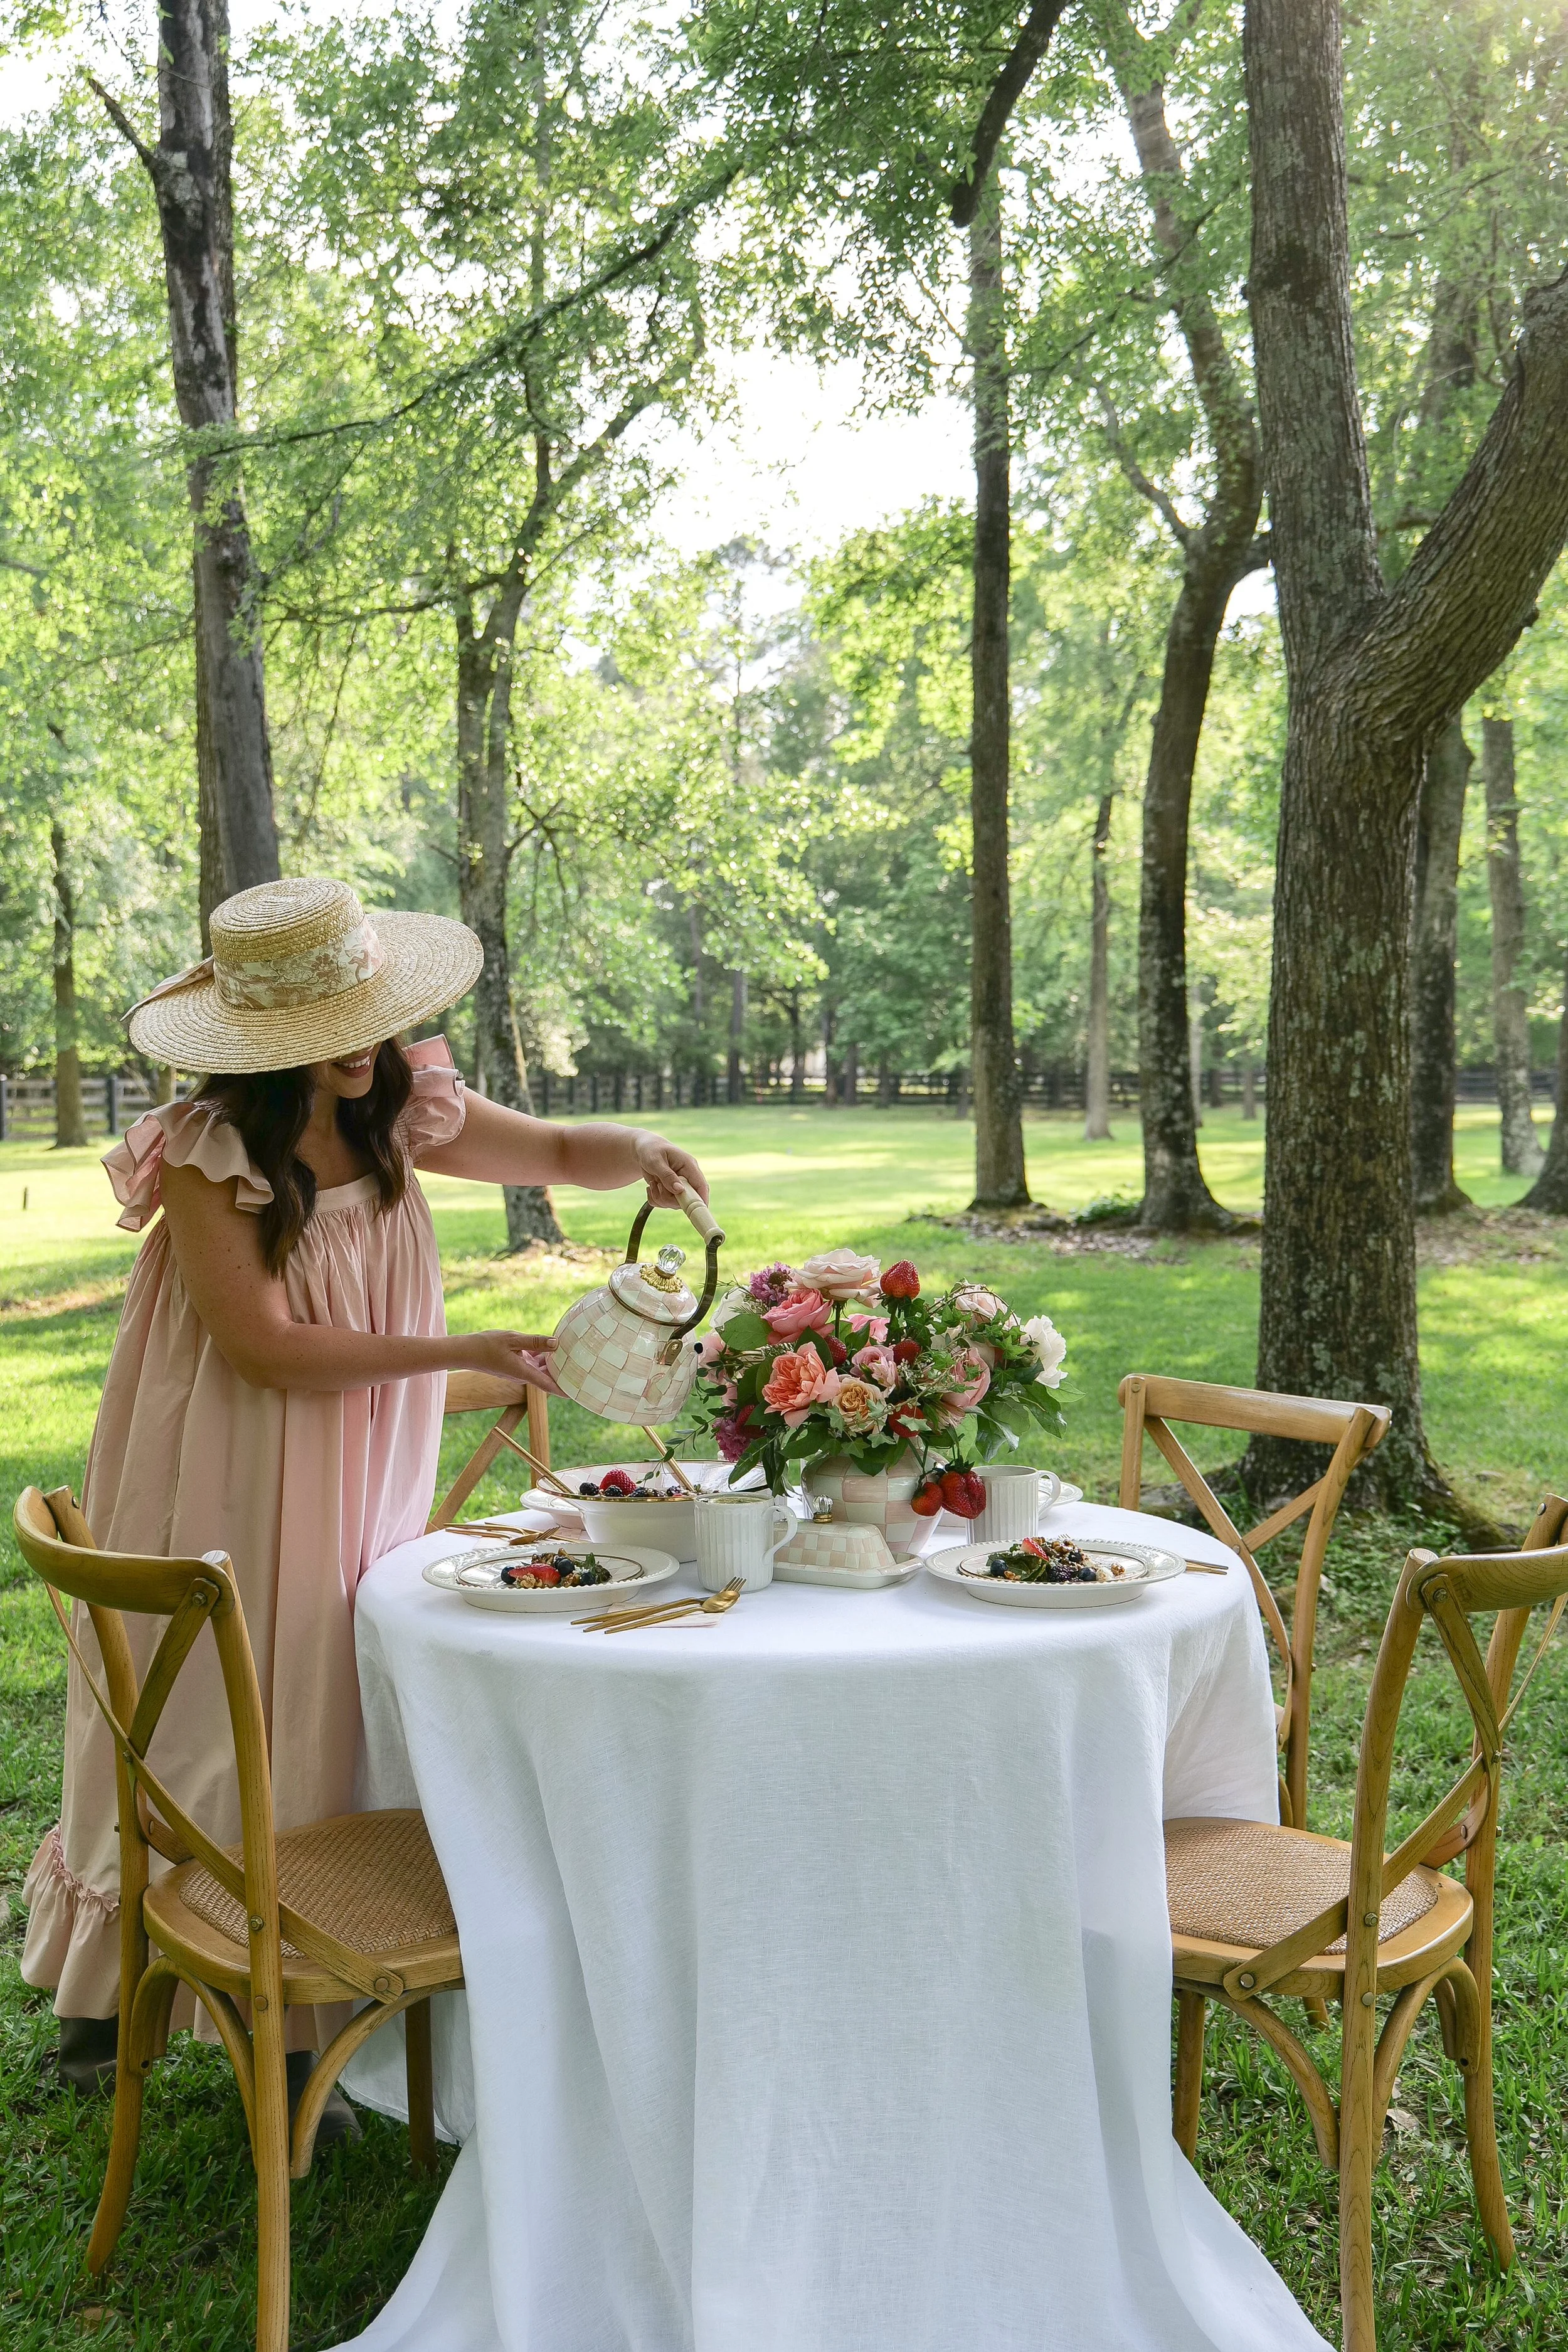
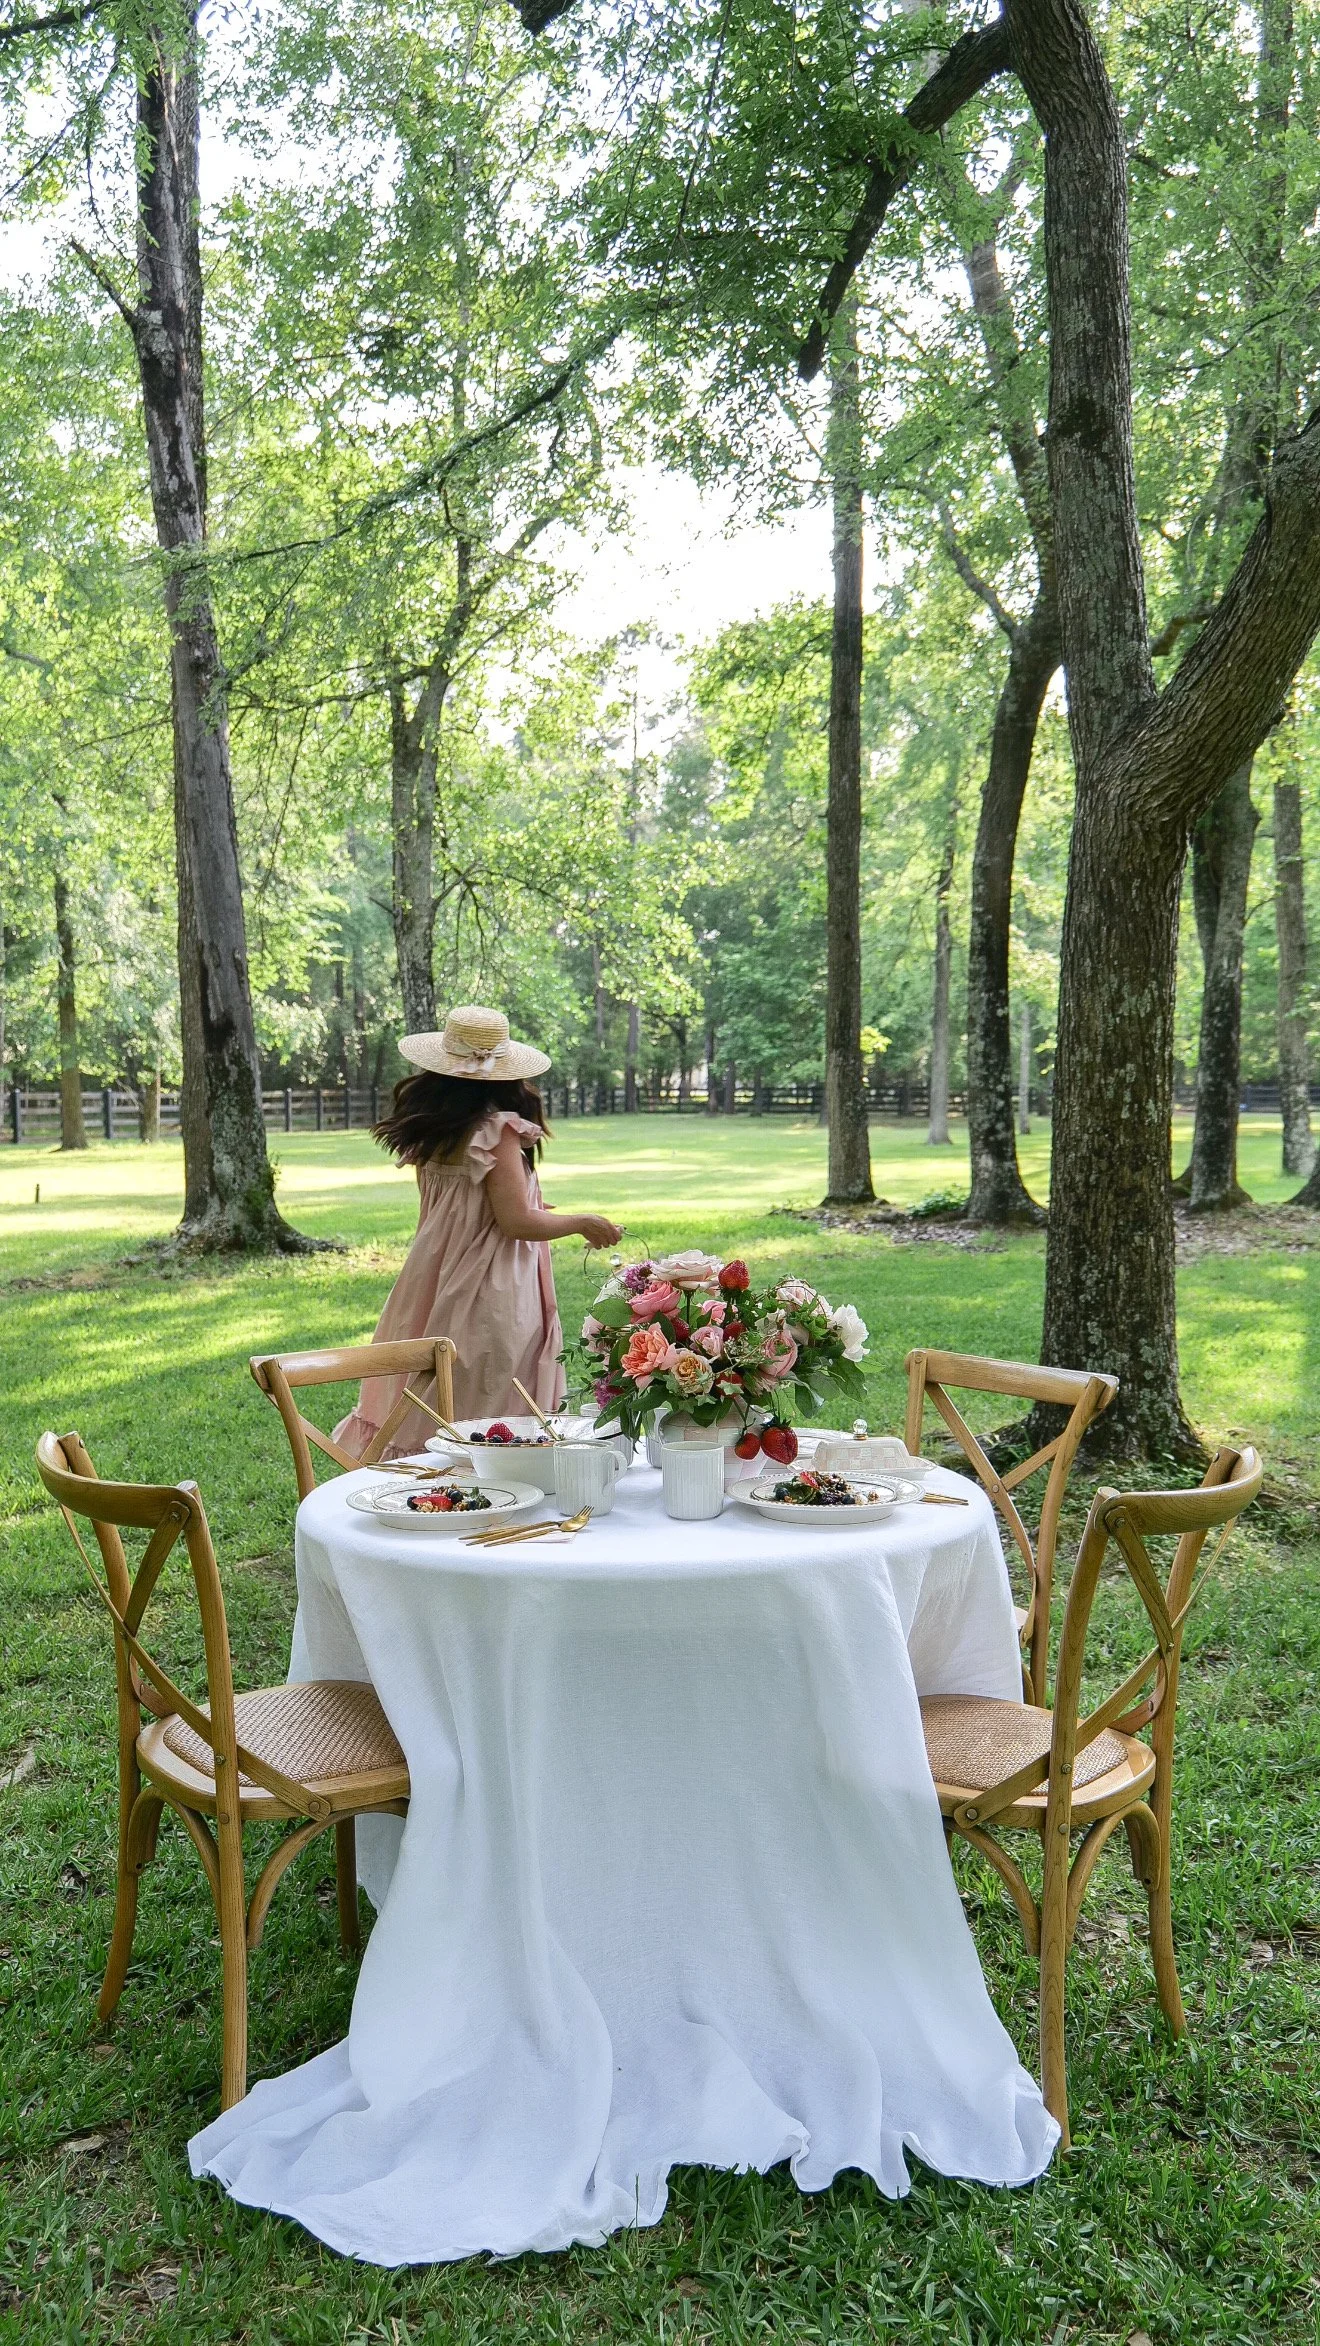
Woman walking away from a table decorated with seasonal fruits and vegetables

More Tablescape Inspiration

If you're planning a fall or Thanksgiving table, these are a few more of my past tablescapes to save for inspiration:

My Thanksgiving Tablescape for 2023
Thanksgiving Table 2022
Welcome to My Thanksgiving Table
Mom's 60th Birthday Party

Final Thoughts

Some of my favorite tables I've put together over the years started with something as simple as fruit from the grocery store or pumpkins I already associate with the season.

That's what I love most about decorating with fruits and vegetables. They add color, texture and life to a table, but they don't have to feel overly styled or complicated.

Start with your color palette, choose produce that naturally fits the season and then repeat those elements in a few thoughtful ways. Scatter them around flowers, pile them into a beautiful bowl, turn them into place cards or bring the same ingredient into the menu.

And don't be afraid to make the idea your own. A lemon can become a place card, strawberries can become part of the flowers, and a few pears or pumpkins can completely change the feeling of a table.

The goal isn't to make every element match. It's to make the table feel like it all belongs together.

Shop My Entertaining Favorites

From serving pieces and glassware to linens, candlesticks and tabletop details, these are some of my favorite pieces for creating a beautiful table and entertaining at home.

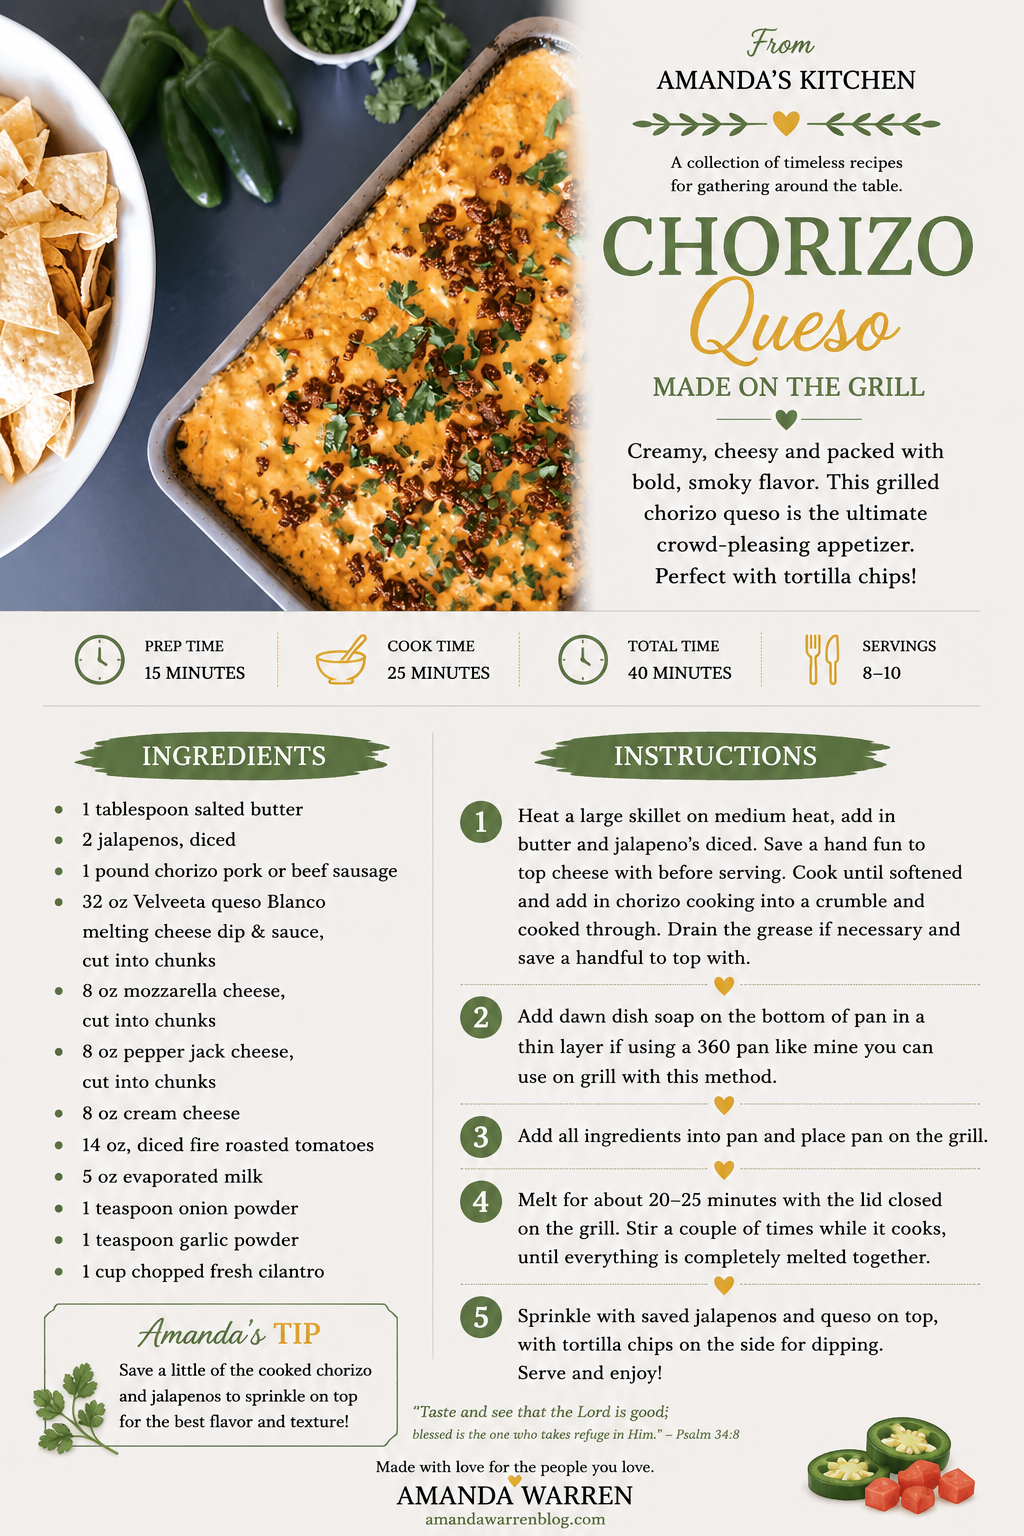
Grilled Chorizo Queso

There are few appetizers better for sharing than a big pan of hot, melty queso—and making it on the grill makes it even better.

This Grilled Chorizo Queso is loaded with spicy chorizo, jalapeños, fire-roasted tomatoes and four different cheeses for an incredibly creamy, flavorful dip. Everything melts together right on the grill, making it such a fun appetizer for summer cookouts, game days or anytime you're already cooking outside.

The chorizo and jalapeños are cooked first, then added to the pan with the cheeses, tomatoes, evaporated milk and seasonings. From there, the grill does the rest of the work.

Serve it hot with plenty of tortilla chips and don't expect it to last long.

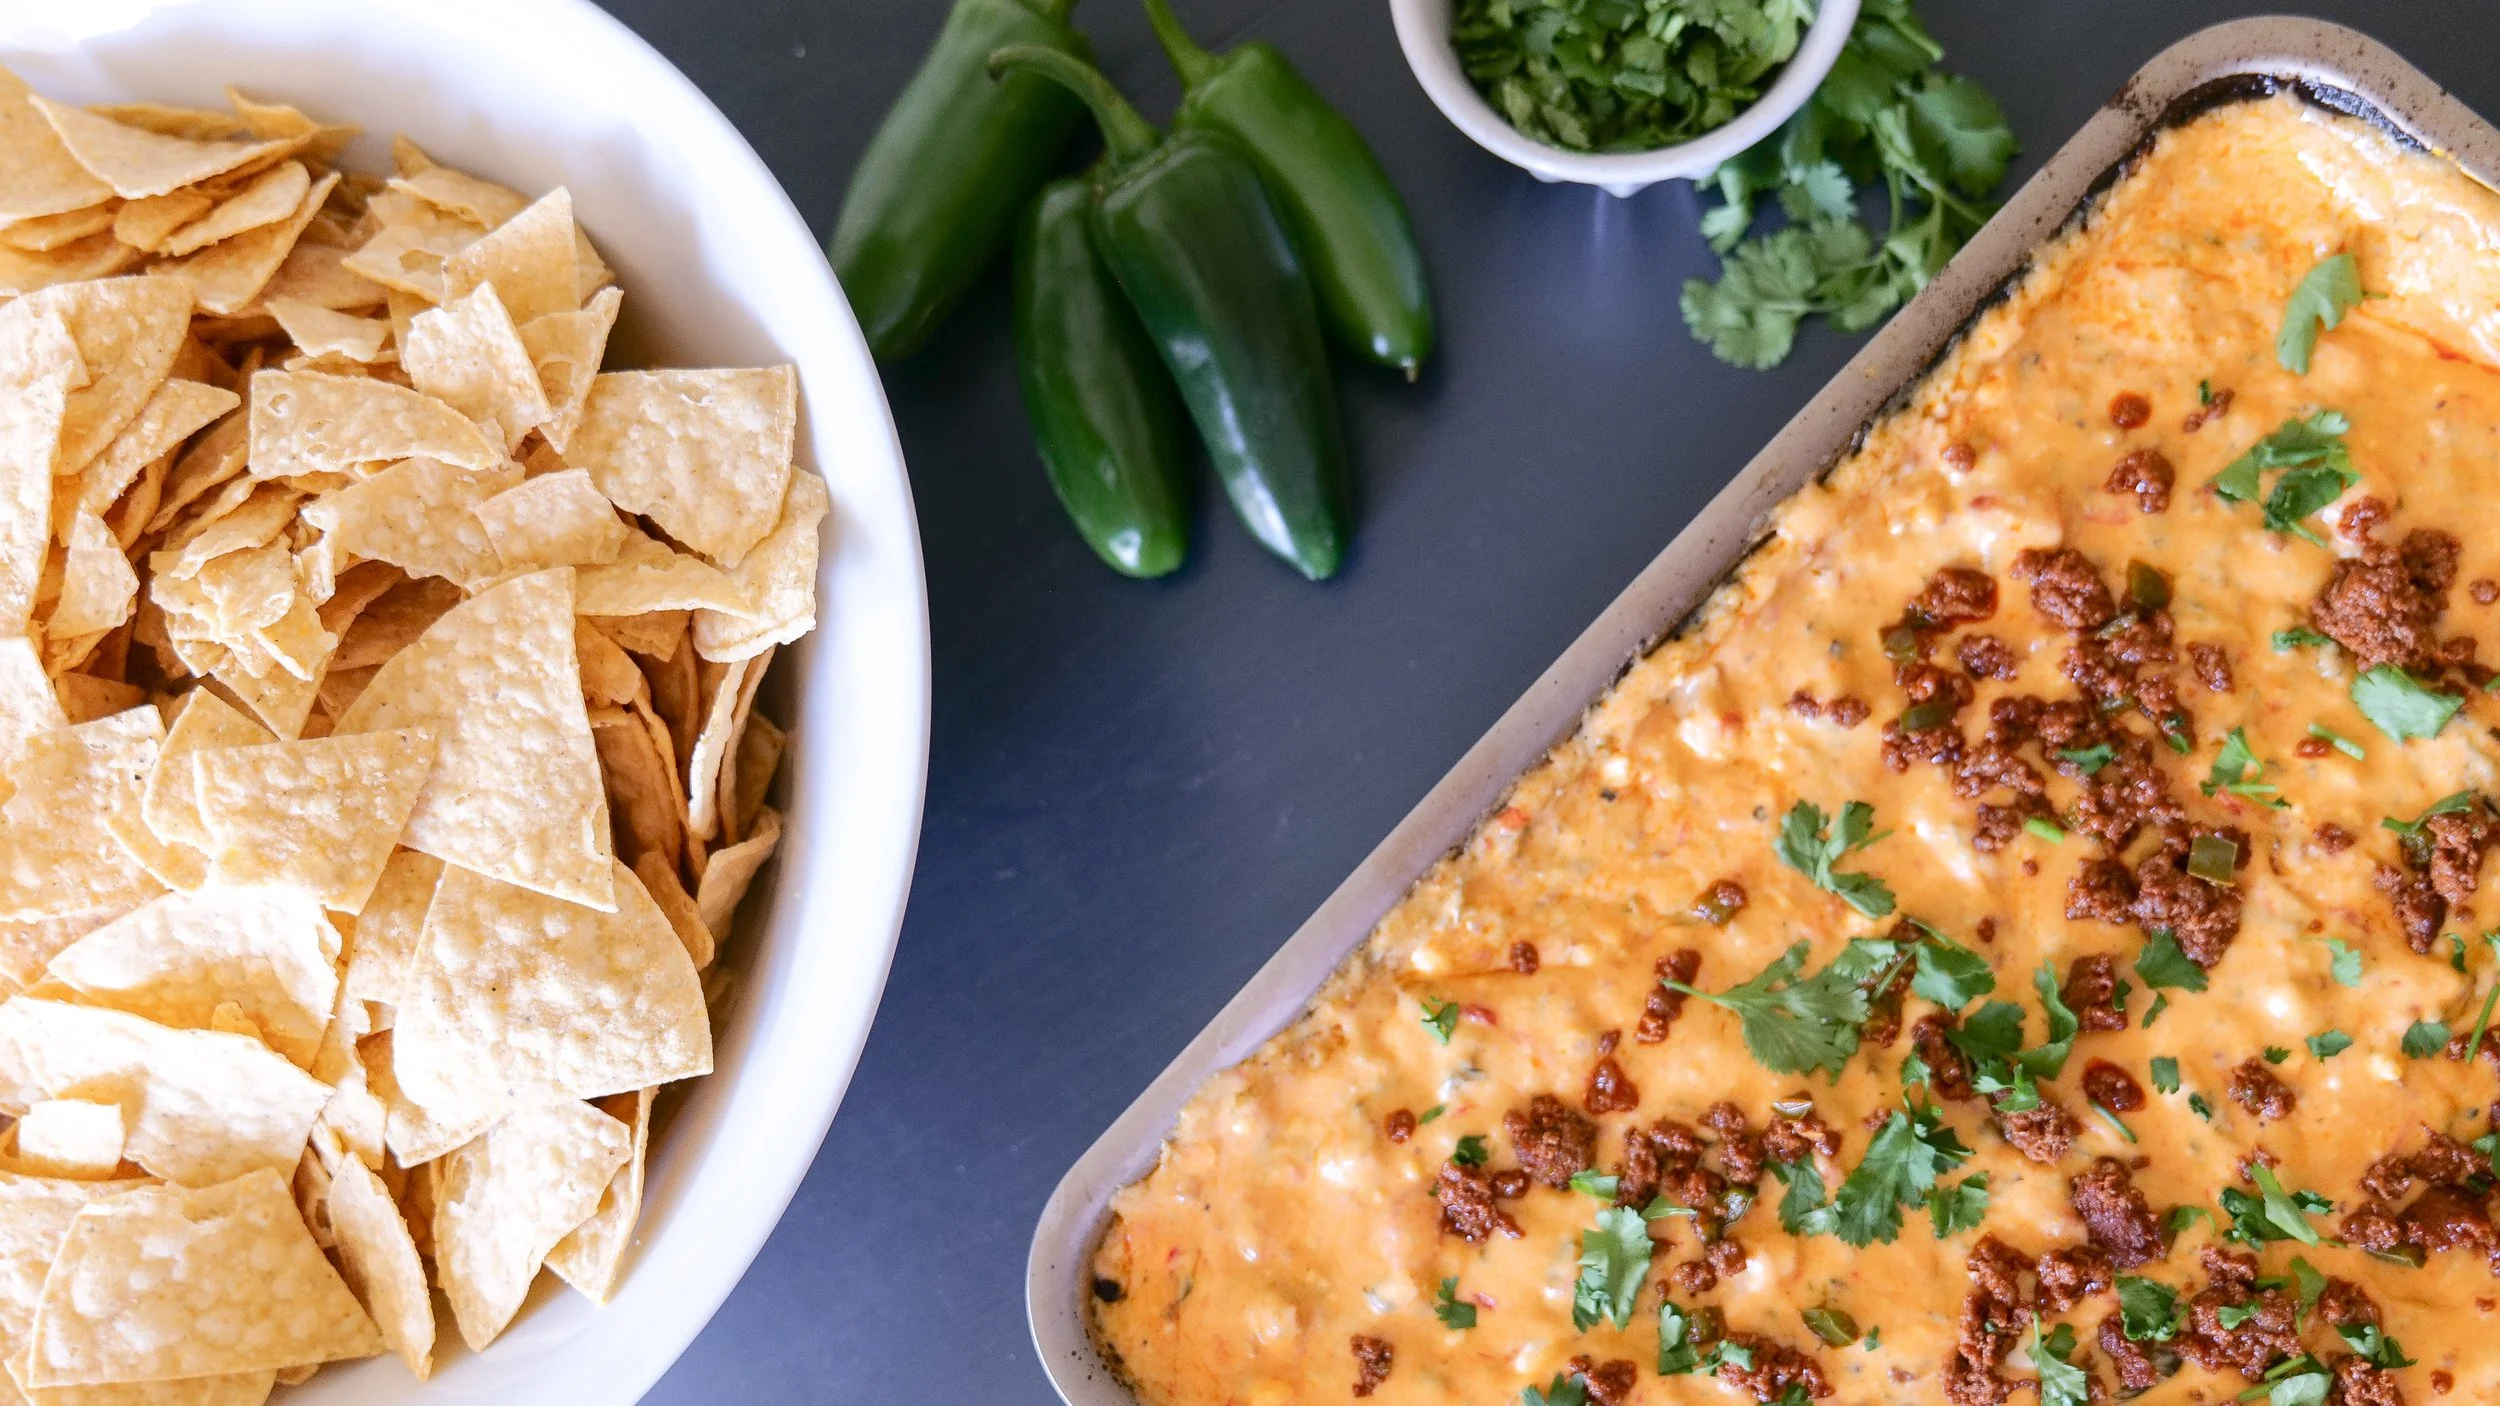
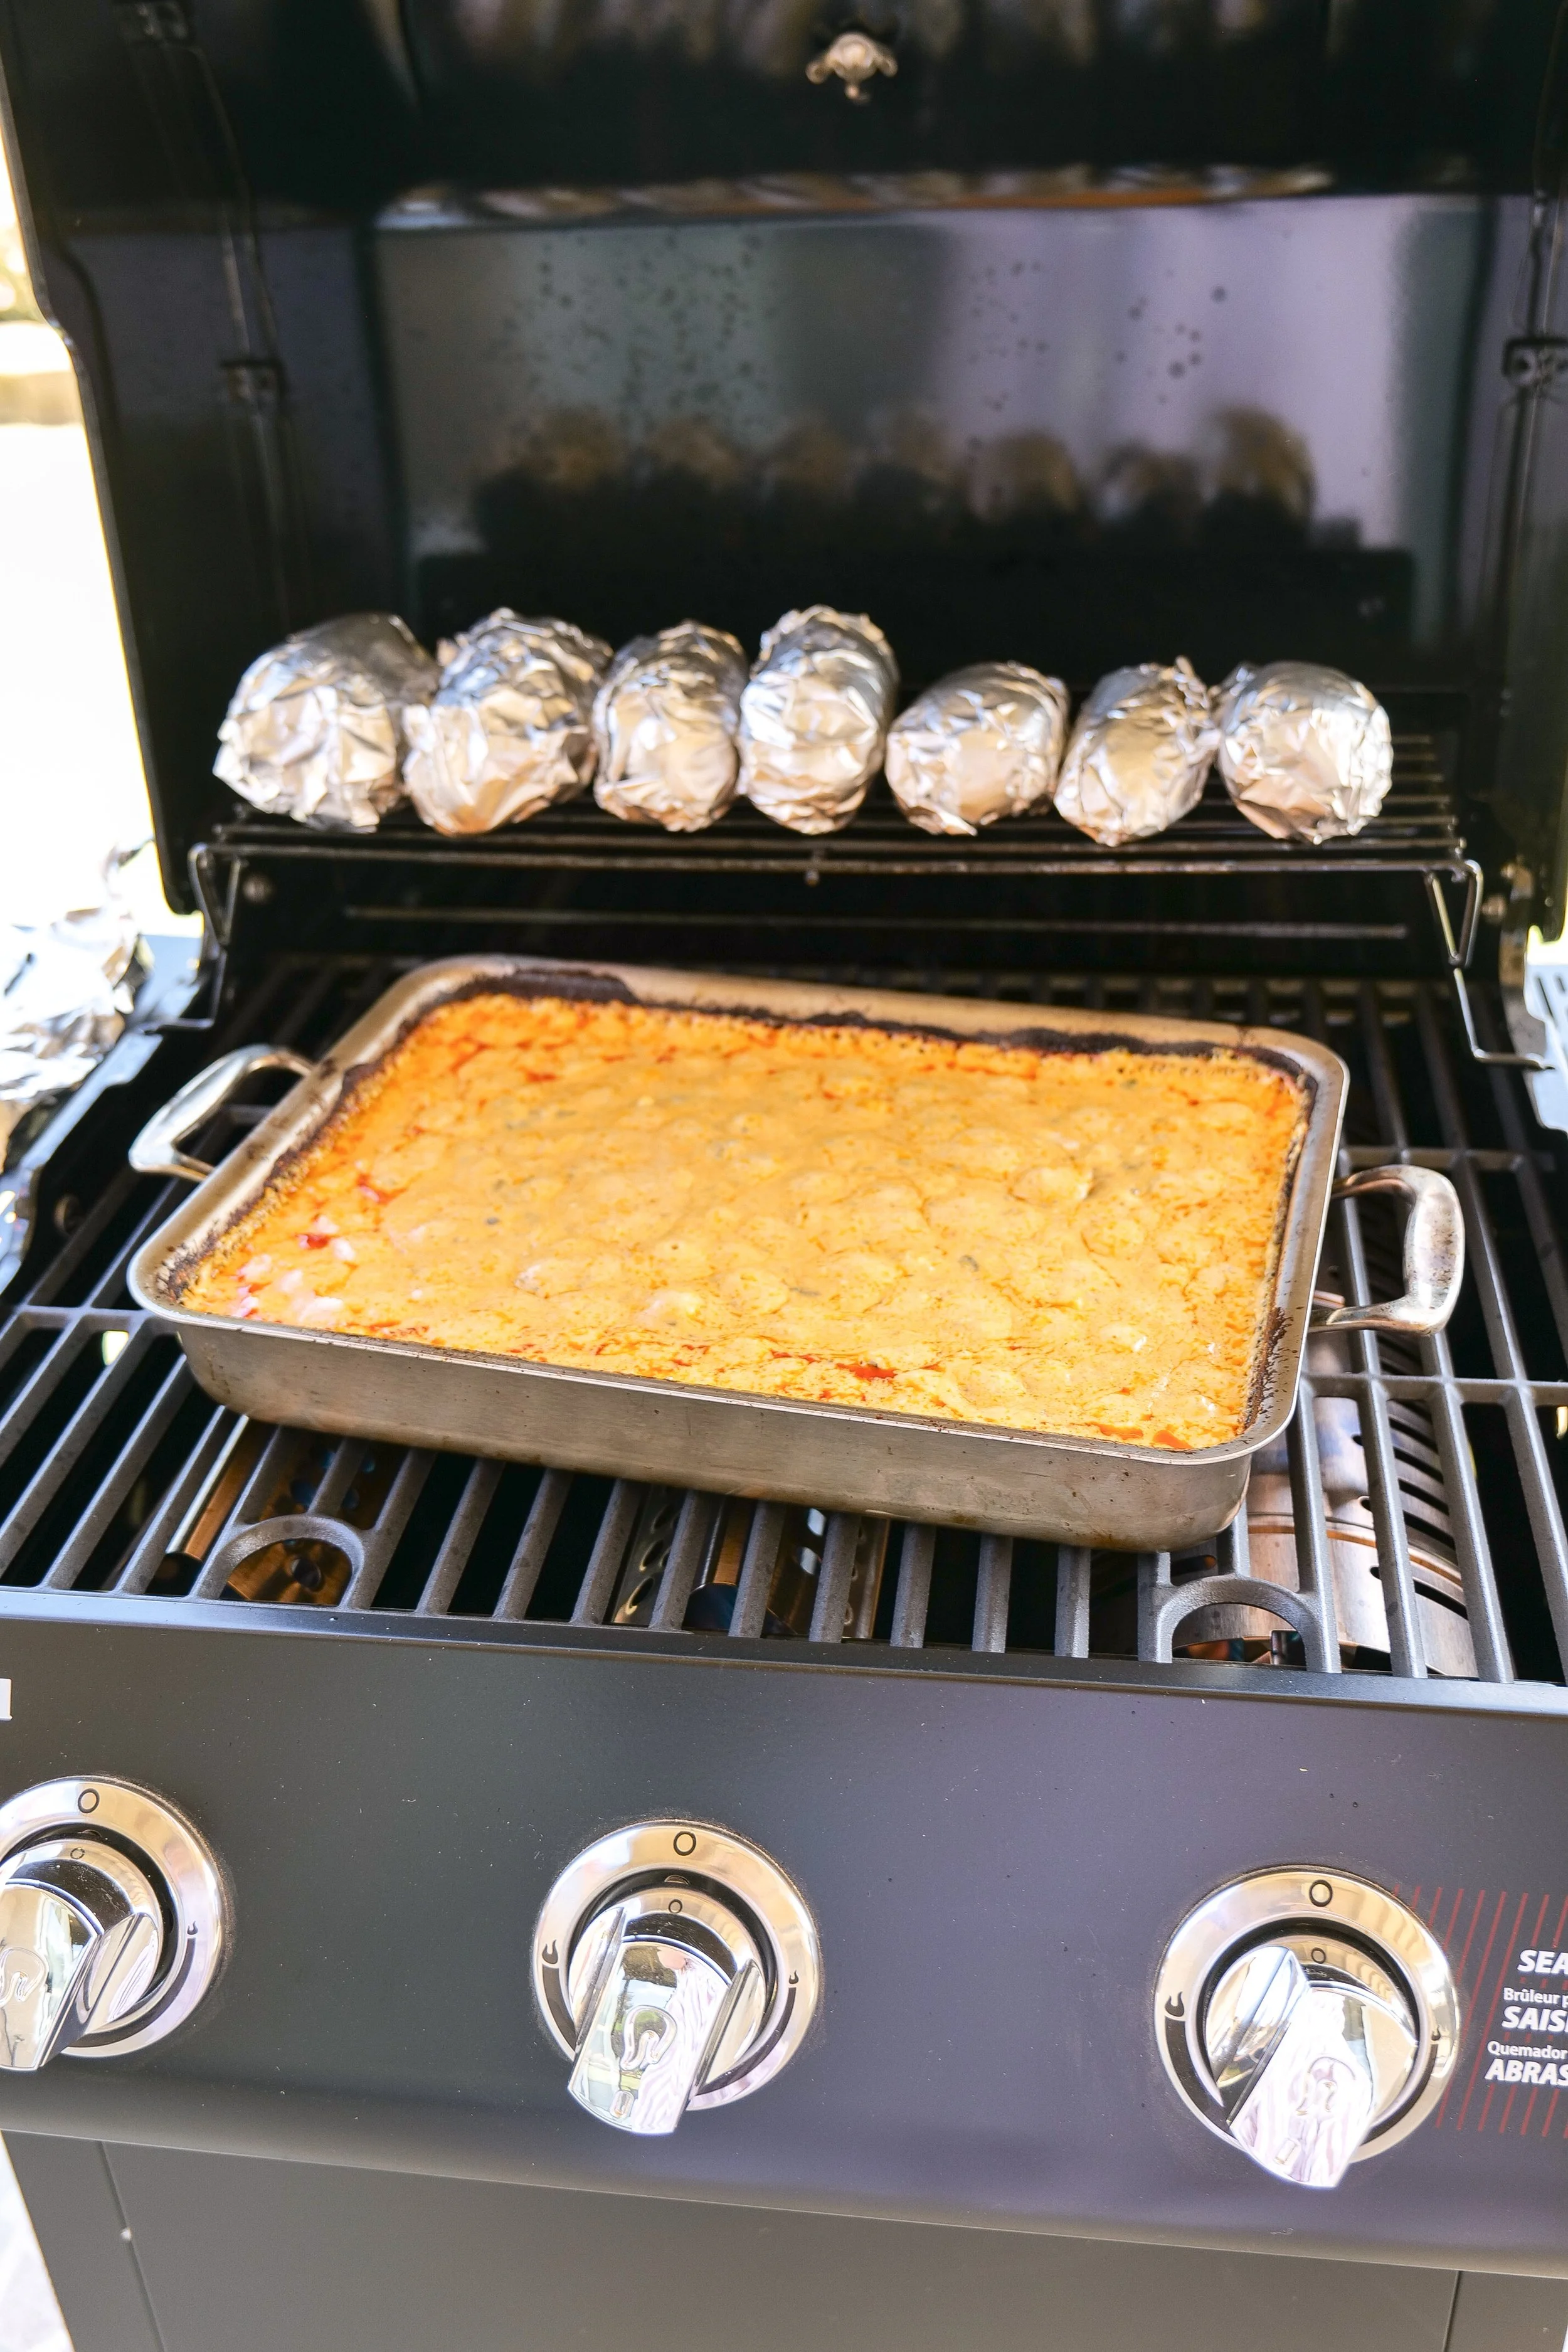
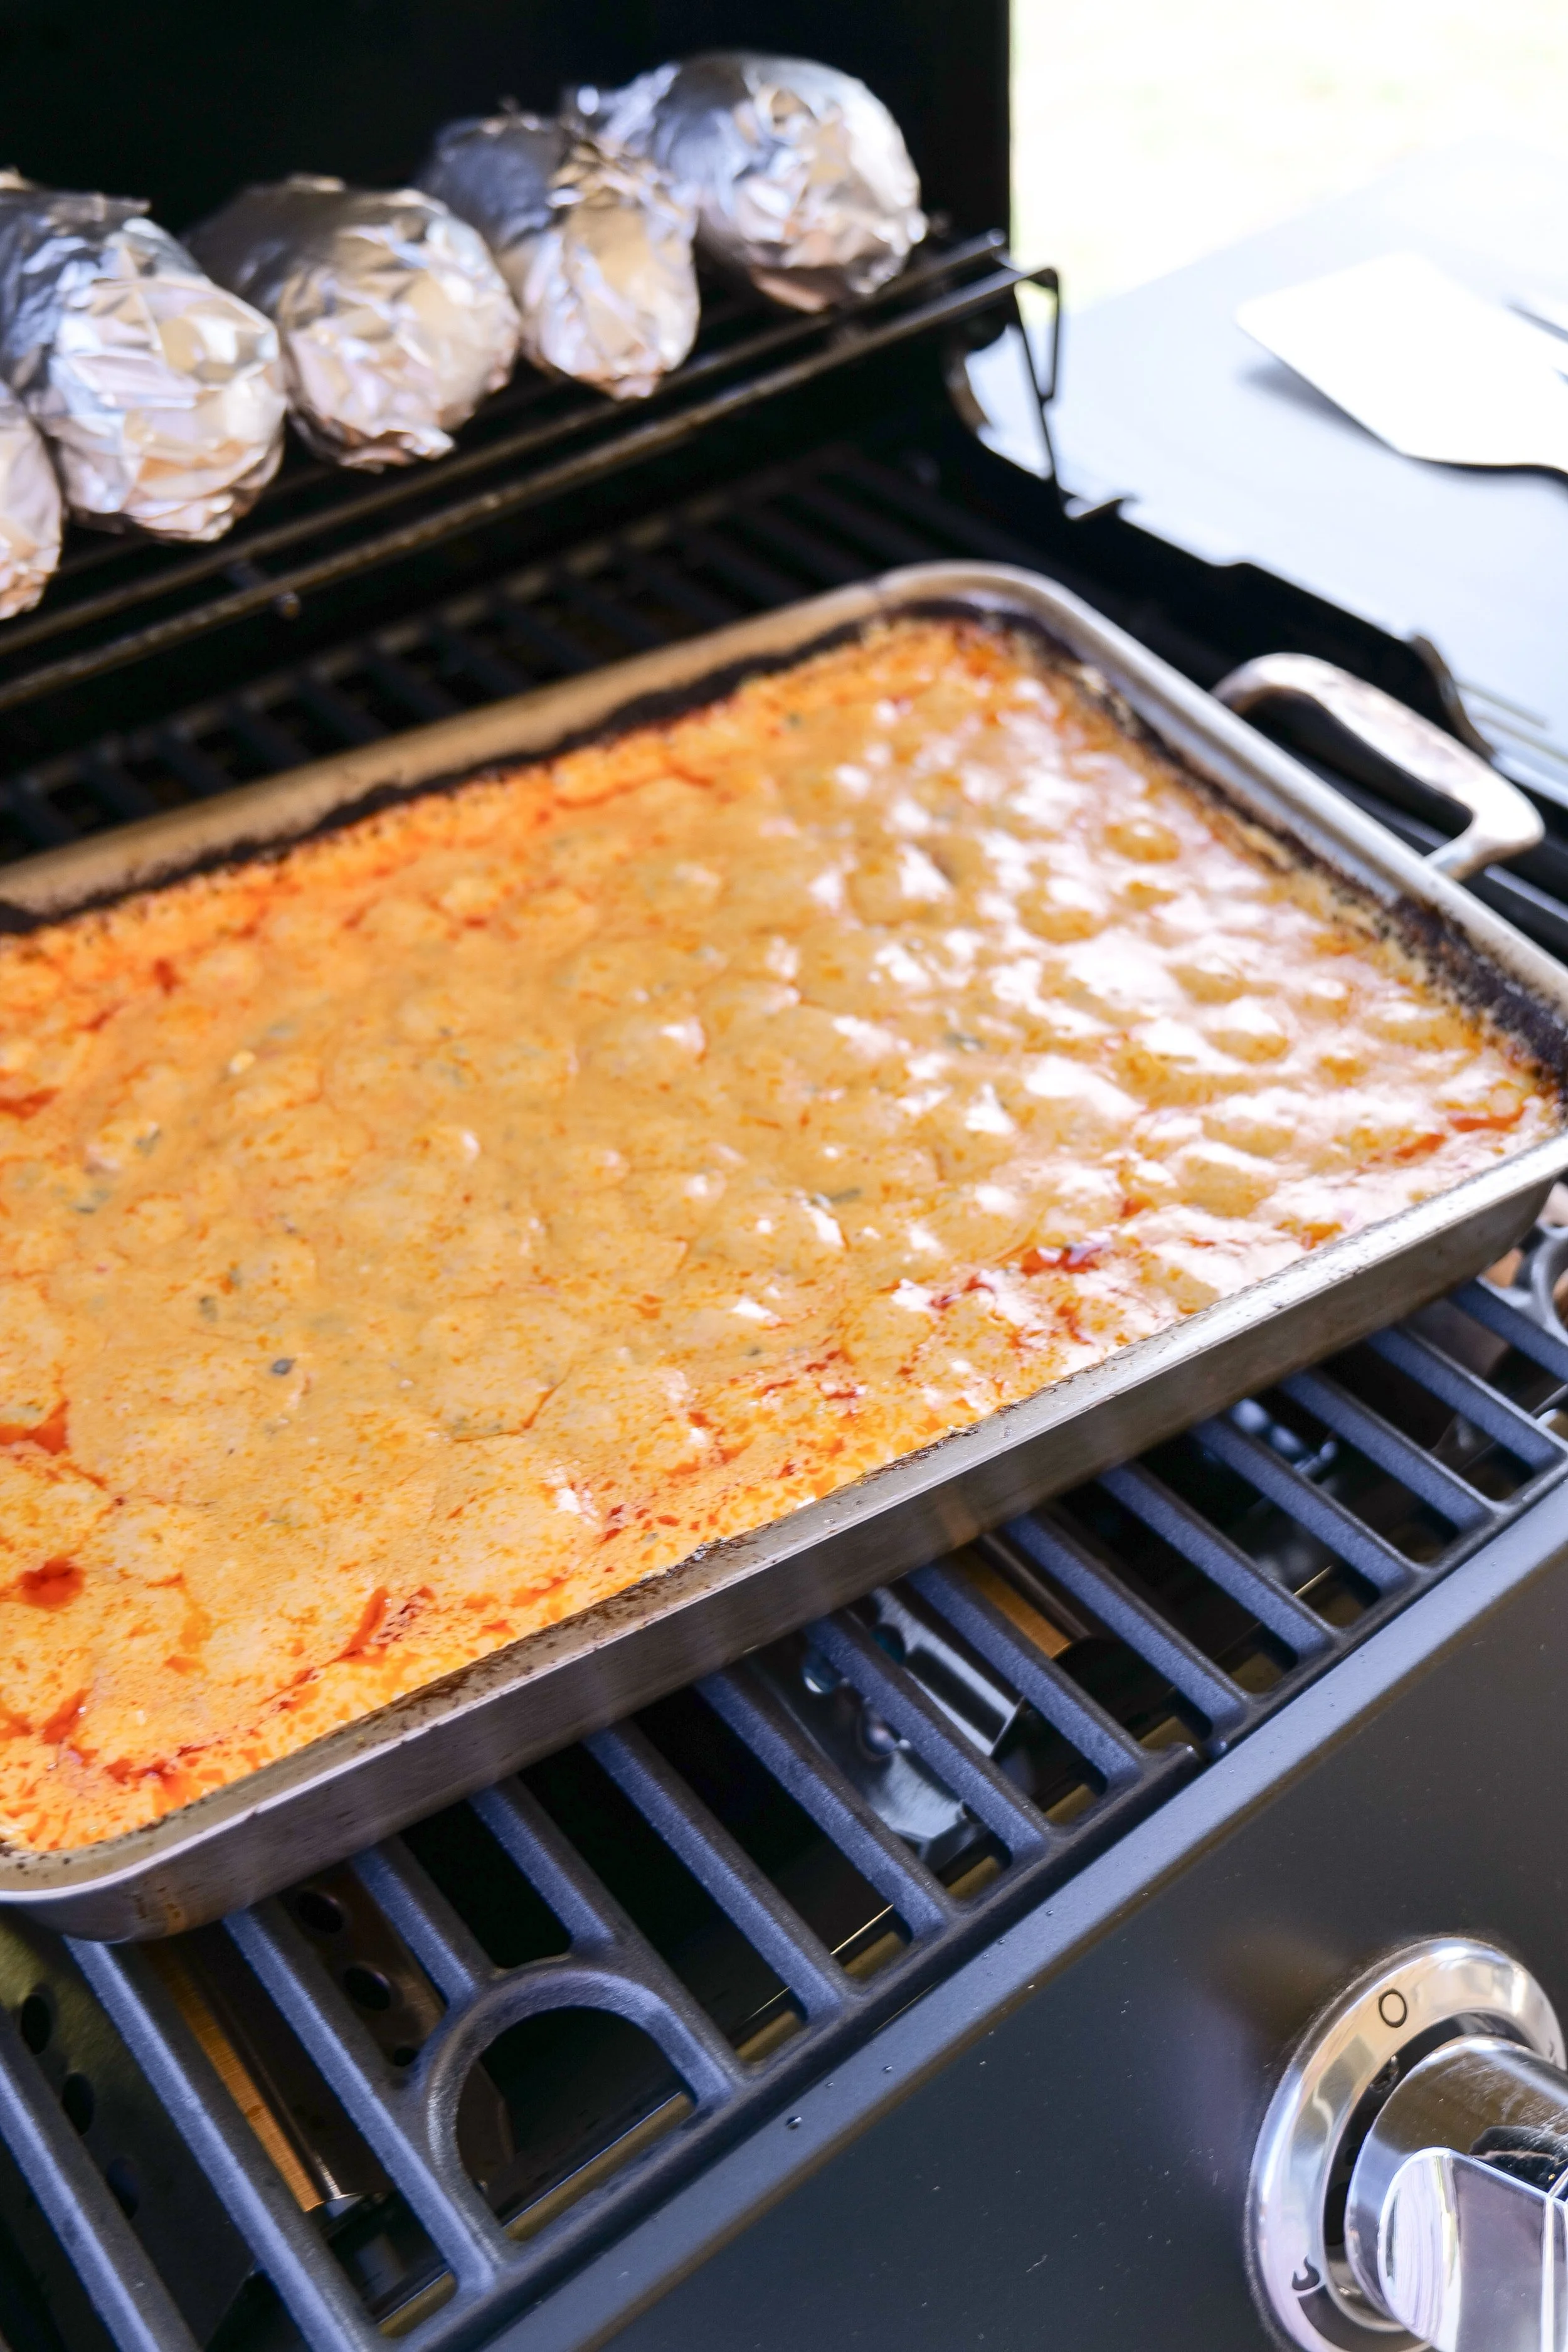
Grilled chorizo queso with jalapeños and melted cheese

Why You'll Love This Grilled Chorizo Queso

What I love about this recipe is that it feels like much more than basic queso without being complicated to make.

The chorizo gives it plenty of savory flavor and a little spice, while the jalapeños and fire-roasted tomatoes add even more flavor throughout the dip. Using several different cheeses gives you that creamy, melty consistency you want in queso while the pepper jack adds another little kick.

And because almost everything happens in one pan, it's also an easy appetizer to serve when you're entertaining outside.

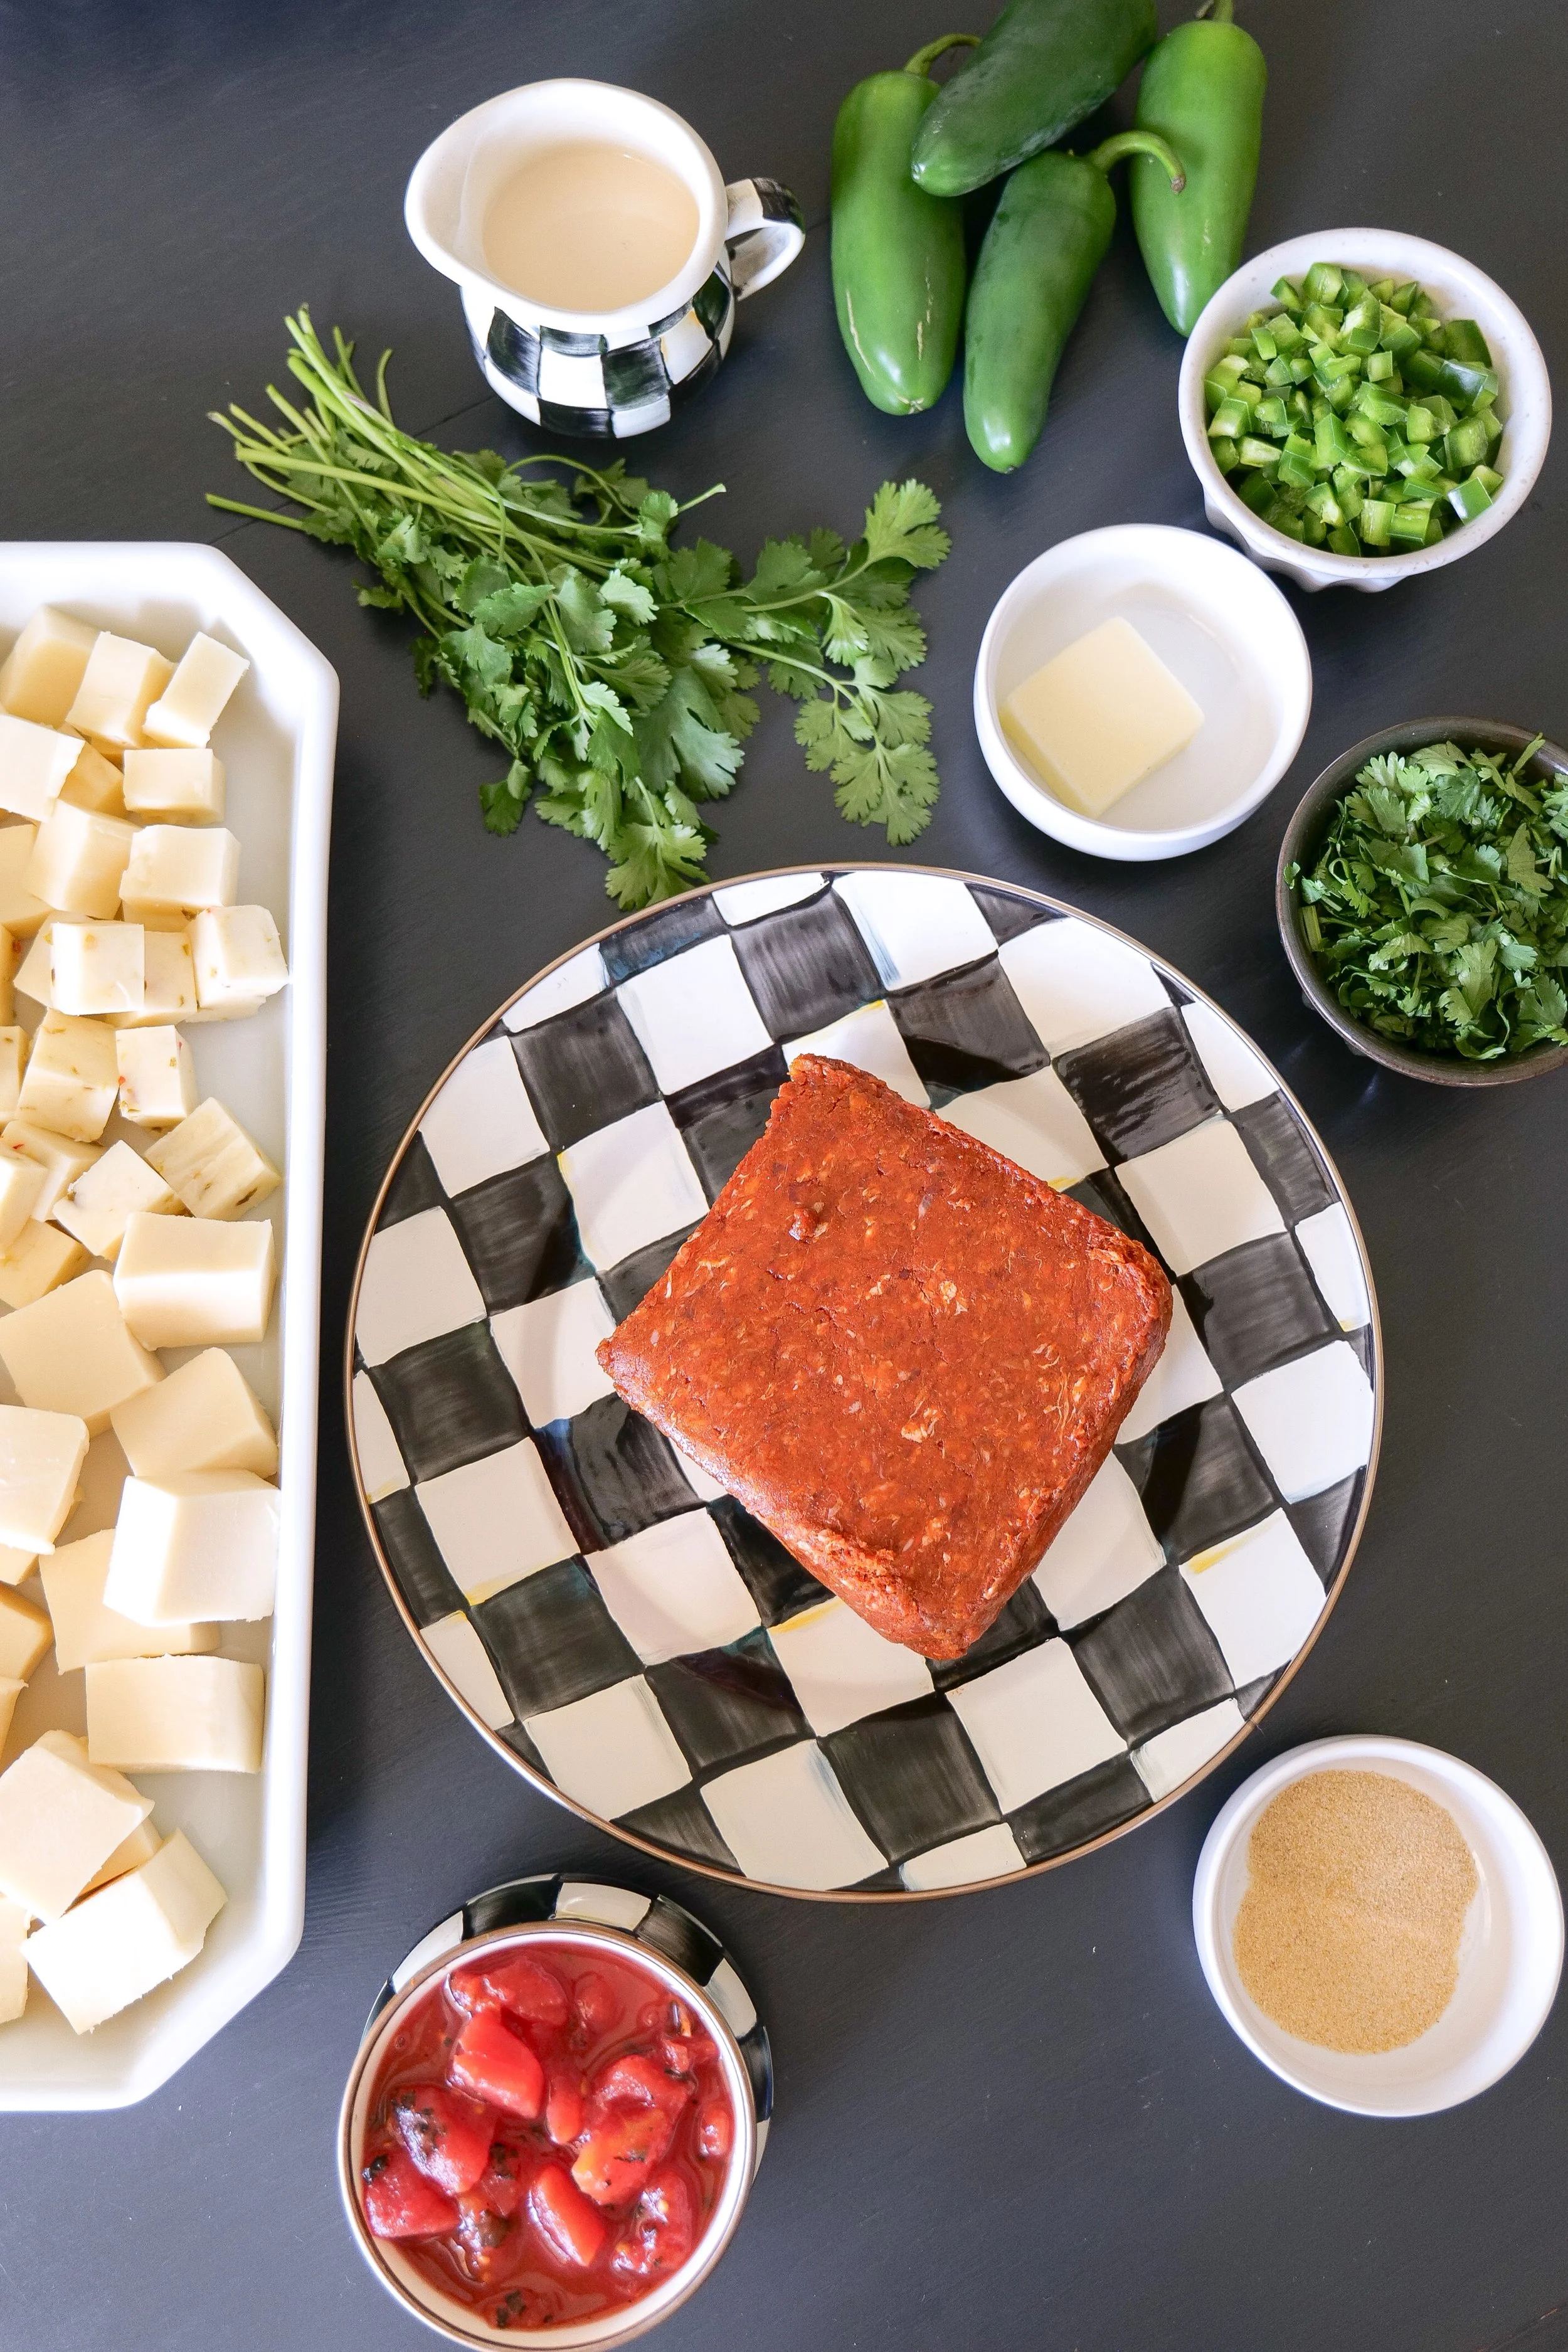
Ingredients for homemade grilled chorizo queso

Ingredient Notes

You only need a handful of ingredients, but each one plays a role in making this queso creamy, flavorful and perfect for dipping.

Chorizo

You can use pork or beef chorizo for this recipe. I cook it first with the jalapeños, breaking it into crumbles as it cooks, and drain excess grease if necessary before adding it to the queso.

Save a little cooked chorizo for the top before serving. It makes the finished queso look so good and gives you a little extra chorizo in those first few scoops.

Jalapeños

The fresh jalapeños are cooked in a little salted butter before the chorizo goes into the skillet.

I also save a small amount of the diced jalapeño for garnishing the finished queso.

The Cheese

This recipe uses a combination of Velveeta Queso Blanco, mozzarella, pepper jack and cream cheese.

The Queso Blanco and cream cheese create that really creamy base, while mozzarella gives you plenty of melt and pepper jack adds more flavor and heat.

Cutting the cheeses into chunks helps everything melt together more evenly on the grill.

Fire-Roasted Tomatoes

I use a 14-ounce can of diced fire-roasted tomatoes. They add tomato flavor while fitting perfectly with everything else happening in the grilled queso.

Evaporated Milk

A small amount of evaporated milk helps loosen the cheese mixture as it melts and gives the finished queso its creamy, dip-able consistency.

Cilantro

Fresh cilantro goes into the queso for freshness and color alongside all of those richer ingredients.

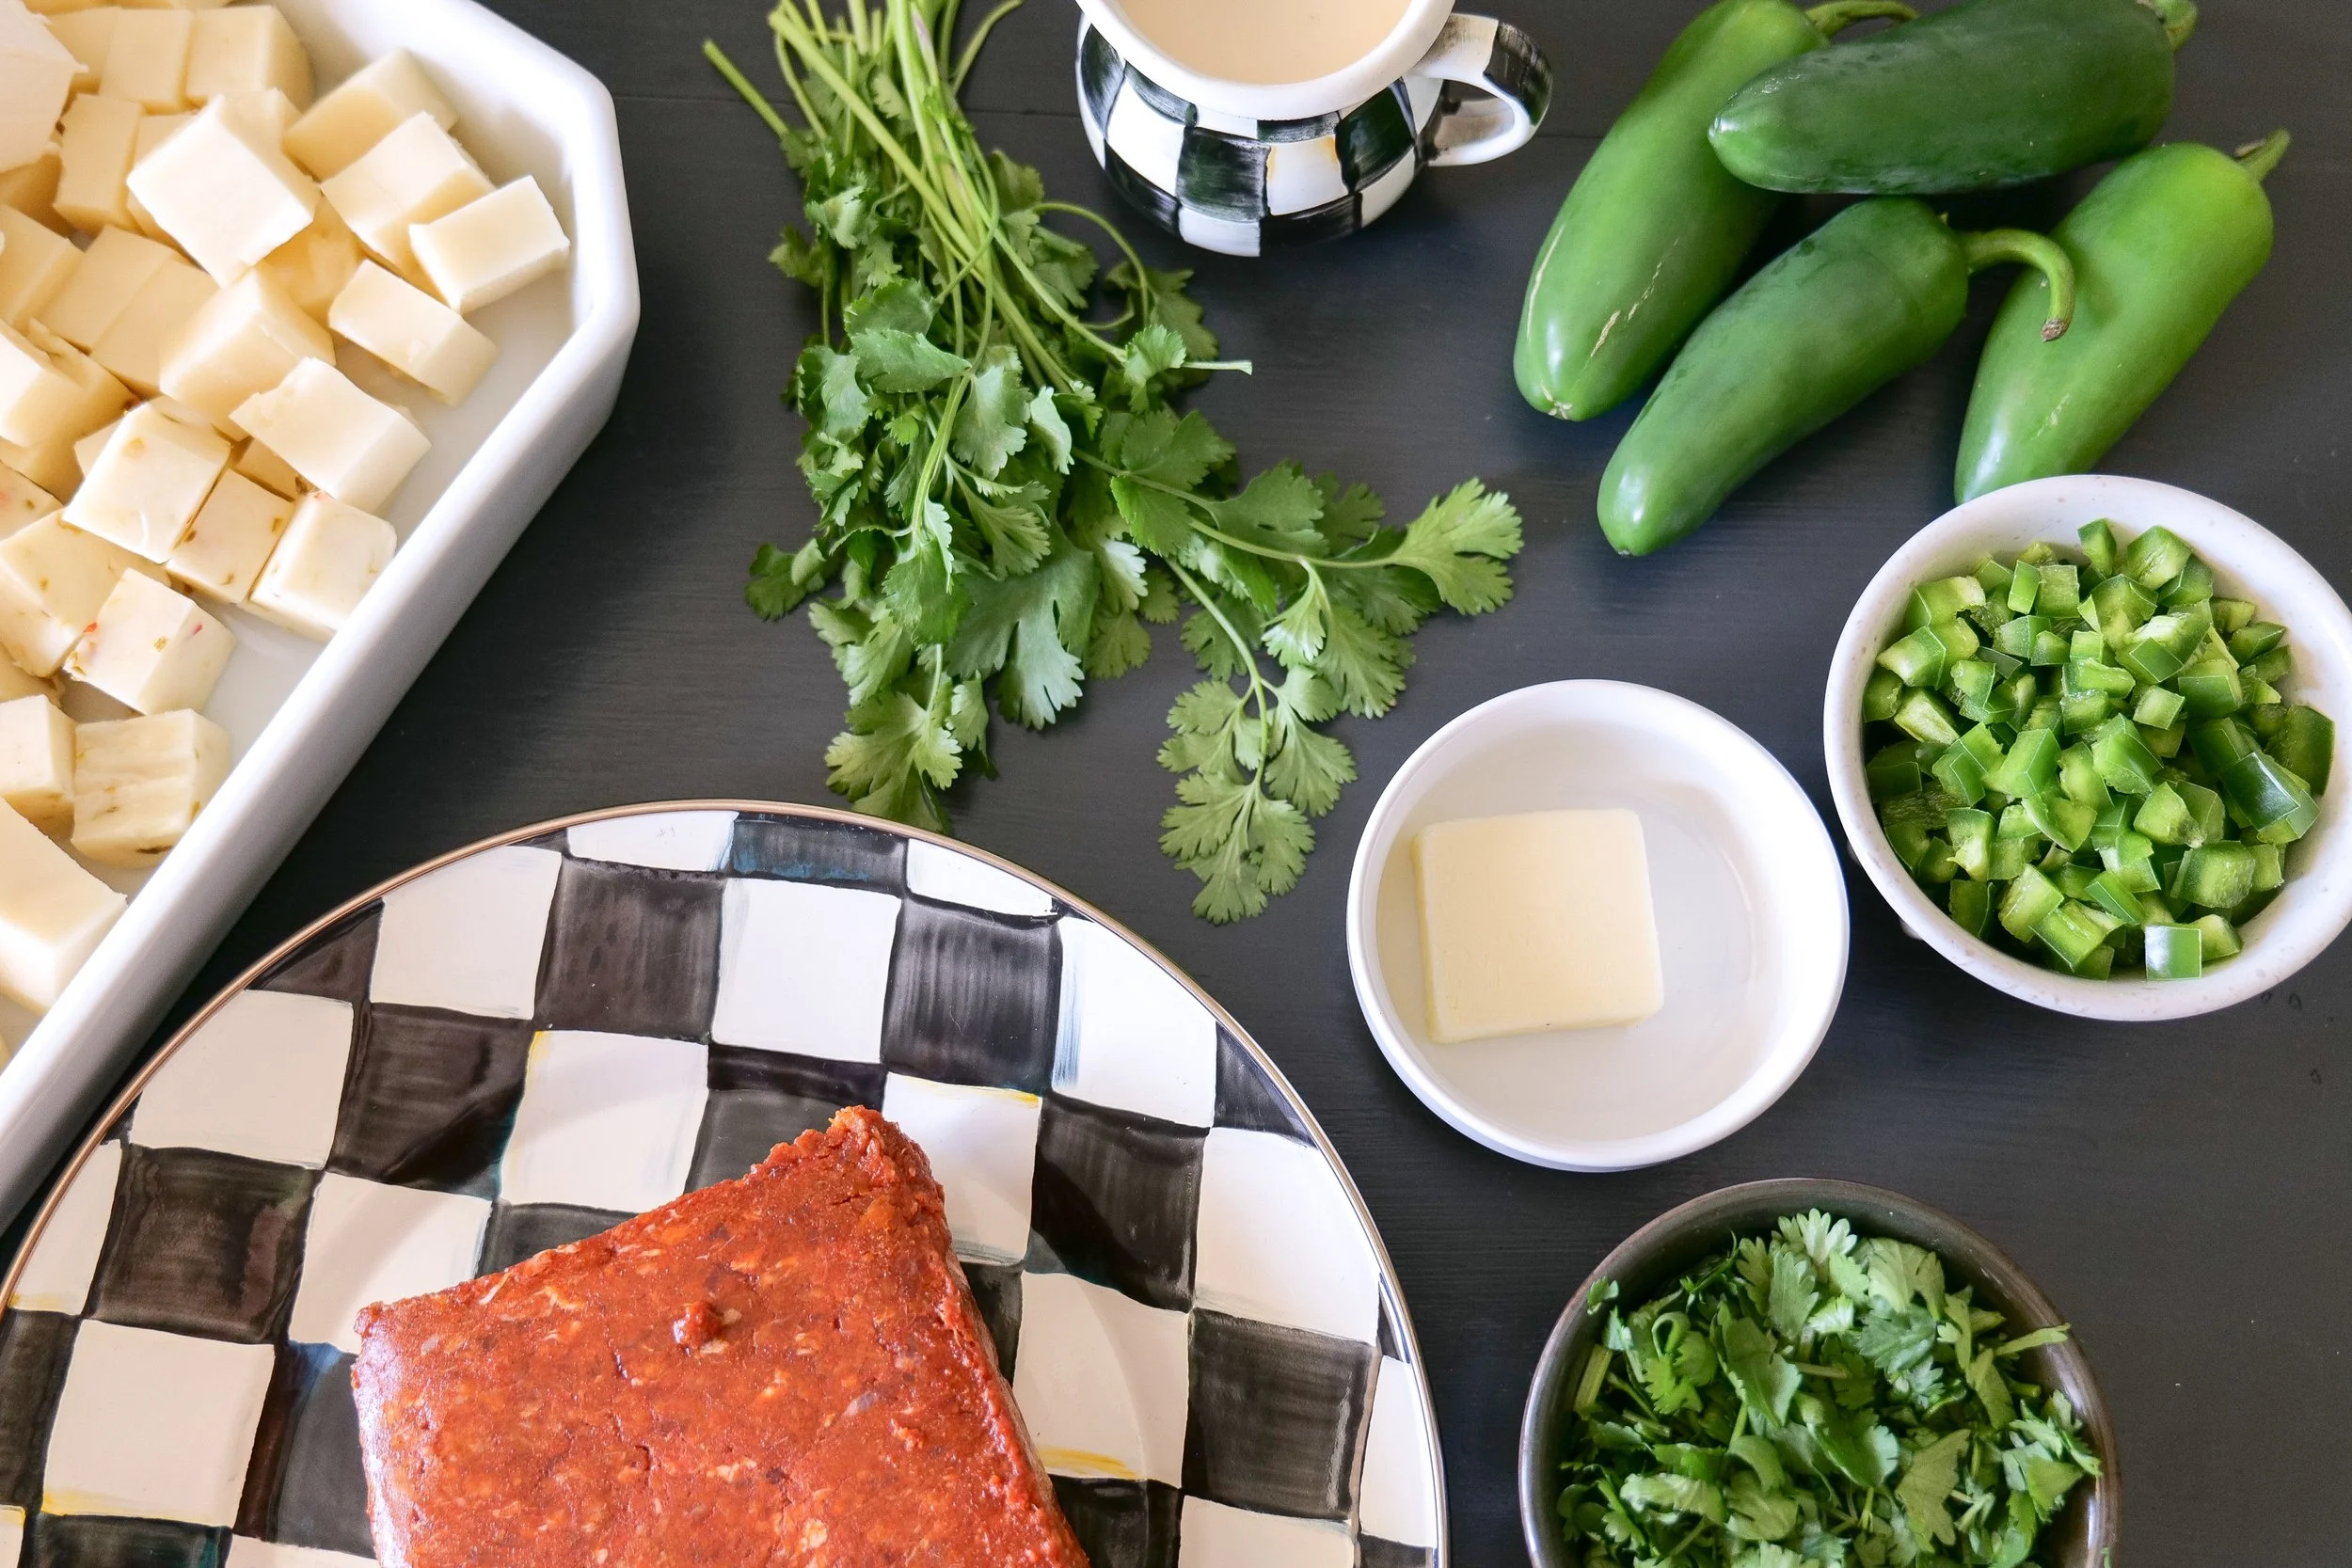
Chorizo queso ingredients ready for cooking

Cooking the Chorizo & Jalapeños

Before everything goes onto the grill, start by melting the butter in a large skillet over medium heat.

Add the diced jalapeños, reserving a small handful for the top, and cook until they begin to soften.

Then add the chorizo and cook it into crumbles until completely cooked through. Drain off excess grease if needed and reserve a little of the cooked chorizo for topping the finished dip.

Cooked chorizo and jalapeños for grilled queso

Getting the Queso Ready for the Grill

Once the chorizo is cooked, it's time for the easy part.

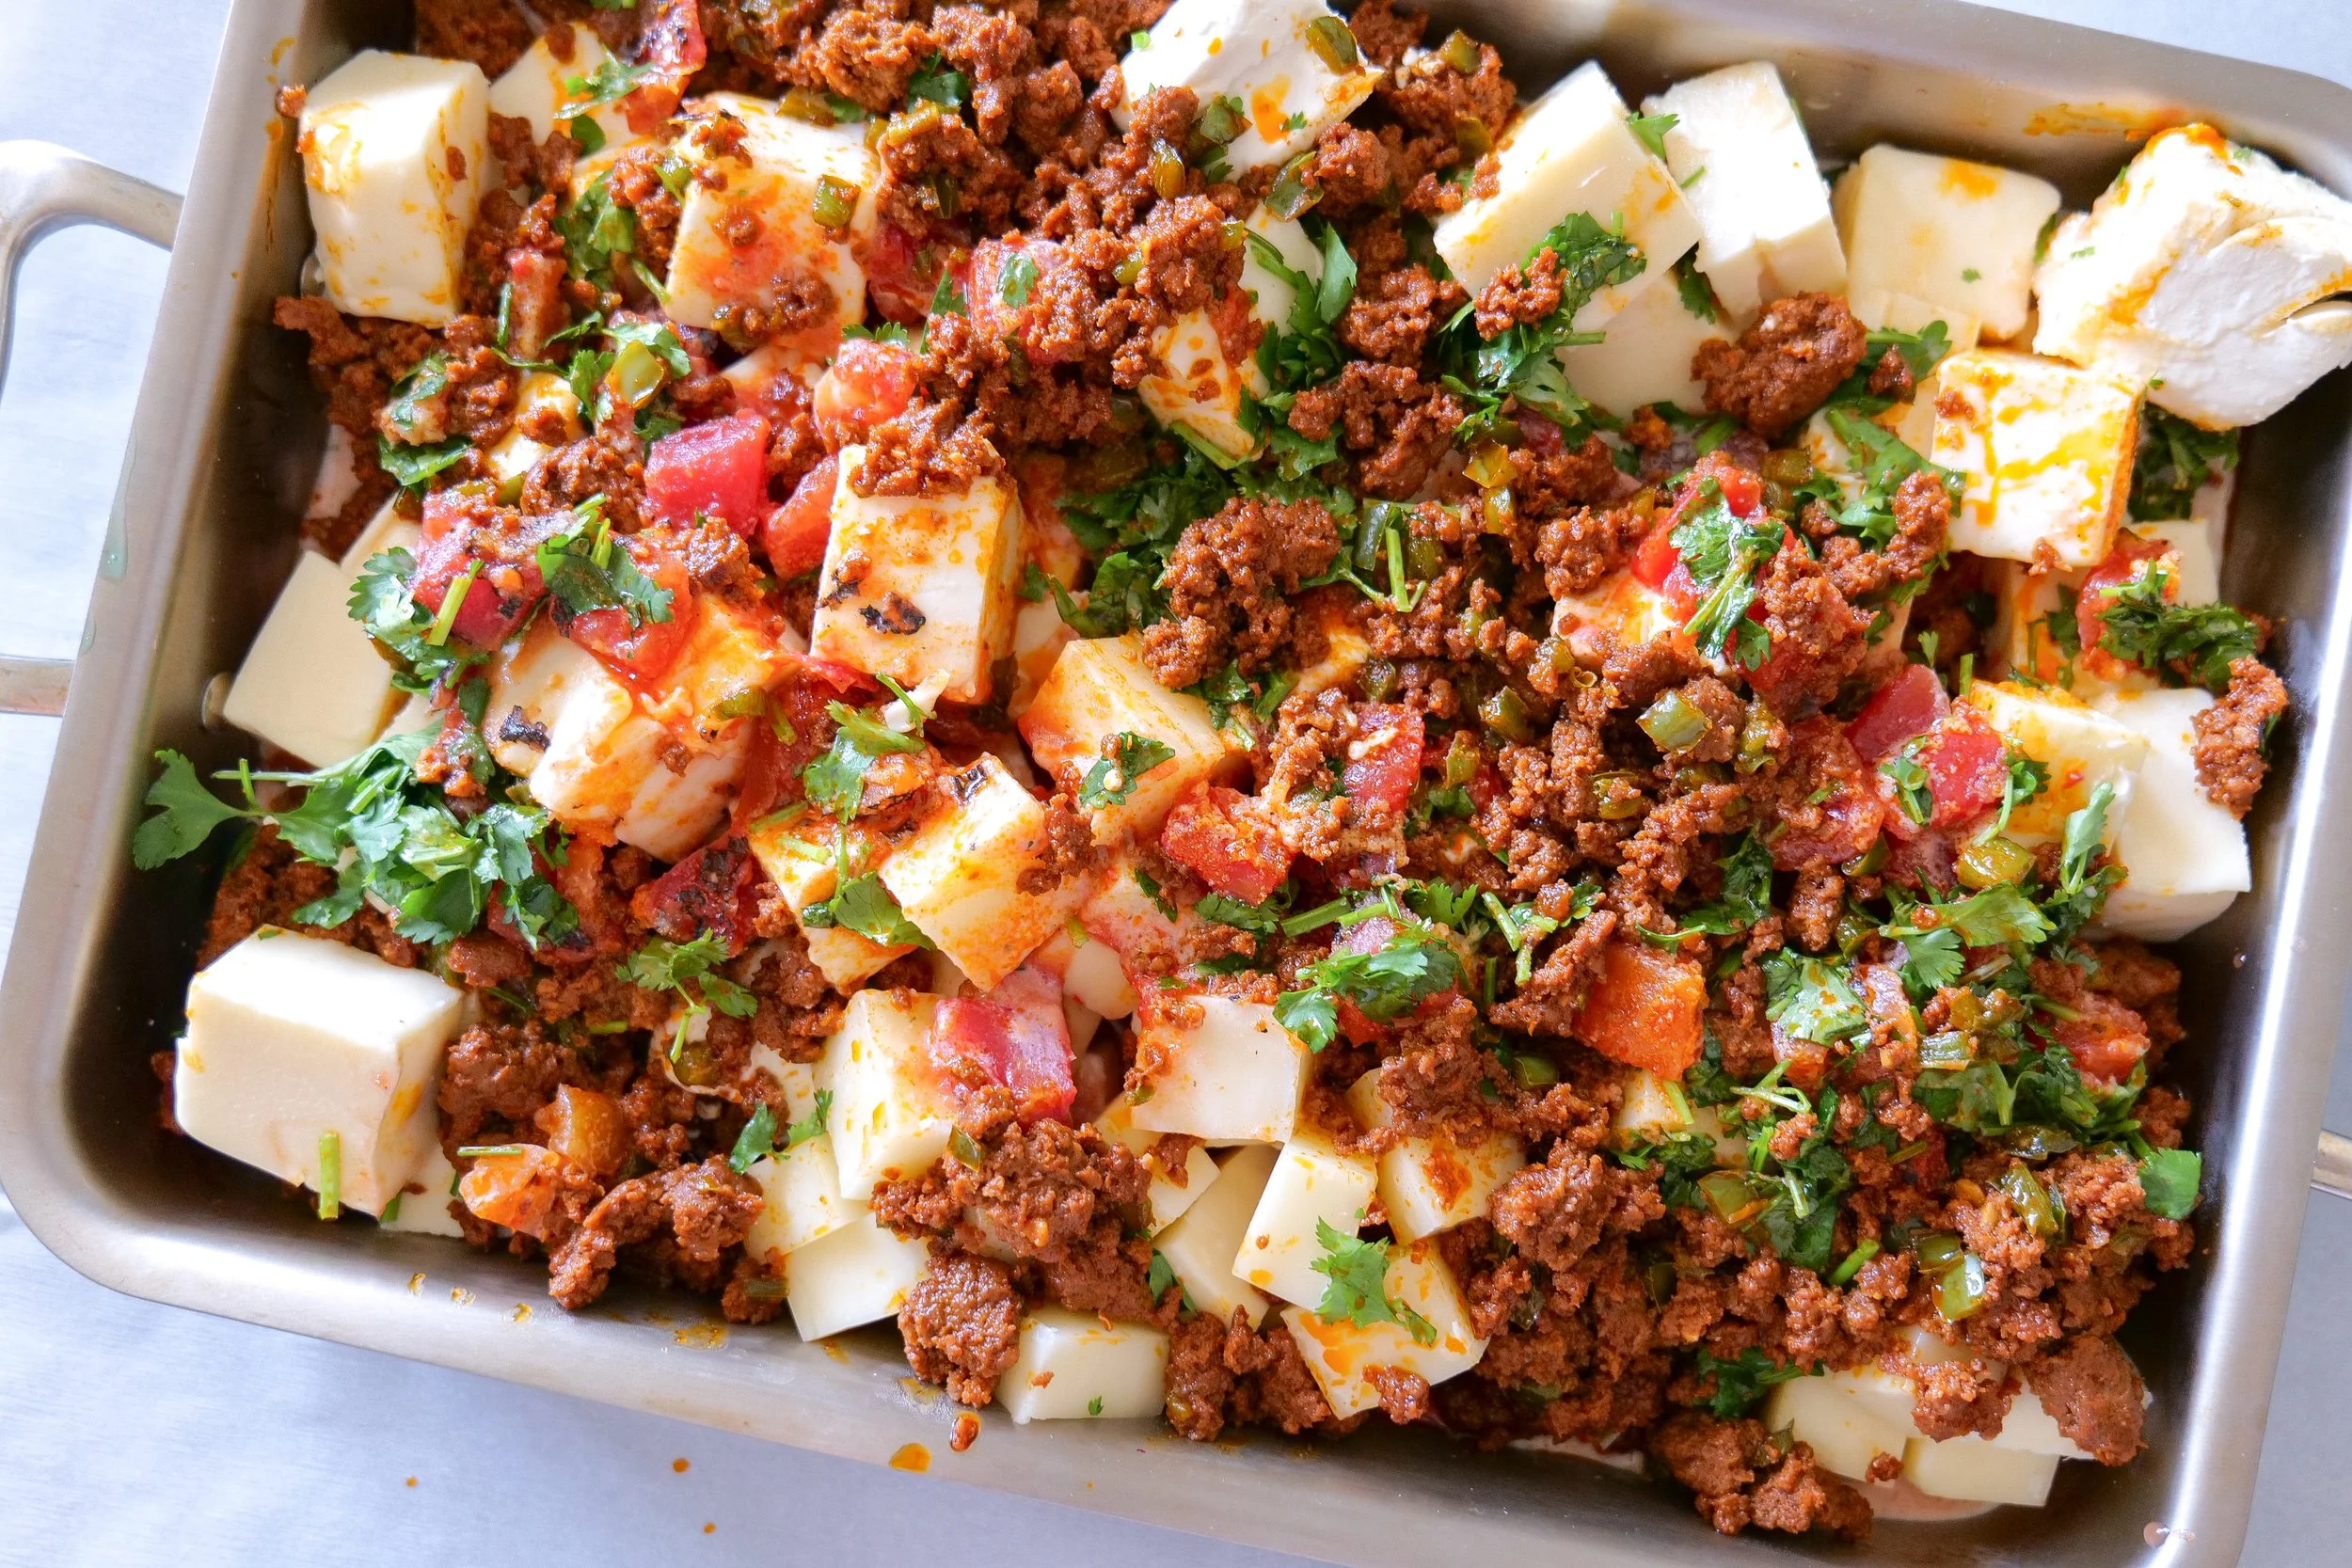
Add the cooked chorizo and jalapeños to your grill-safe pan along with the Queso Blanco, mozzarella, pepper jack, cream cheese, fire-roasted tomatoes, evaporated milk, onion powder, garlic powder and fresh cilantro.

At this point it isn't going to look like queso yet. That's okay—the grill is going to melt everything together.

Chorizo queso ingredients combined in a pan while grilling

My 360 Cookware Grill Cleanup Trick

If you're using a 360 Cookware pan on the grill like I am, here's one little trick that makes cleanup easier afterward.

Before putting the pan onto the grill, spread a thin layer of Dawn dish soap over the OUTSIDE bottom of the pan.

And yes, I am emphasizing outside for a reason.

The dish soap does not go anywhere inside the pan or near the food. It's simply spread across the exterior bottom surface before the pan goes onto the grill to help with cleanup afterward.

How to Make Queso on the Grill

Place the prepared pan onto the grill and close the lid.

Let everything melt together for approximately 20–25 minutes, stirring a couple of times while it cooks.

You'll know it's ready when all of the cheeses have completely melted and everything has combined into one creamy queso.

Chorizo queso melting together on the grill

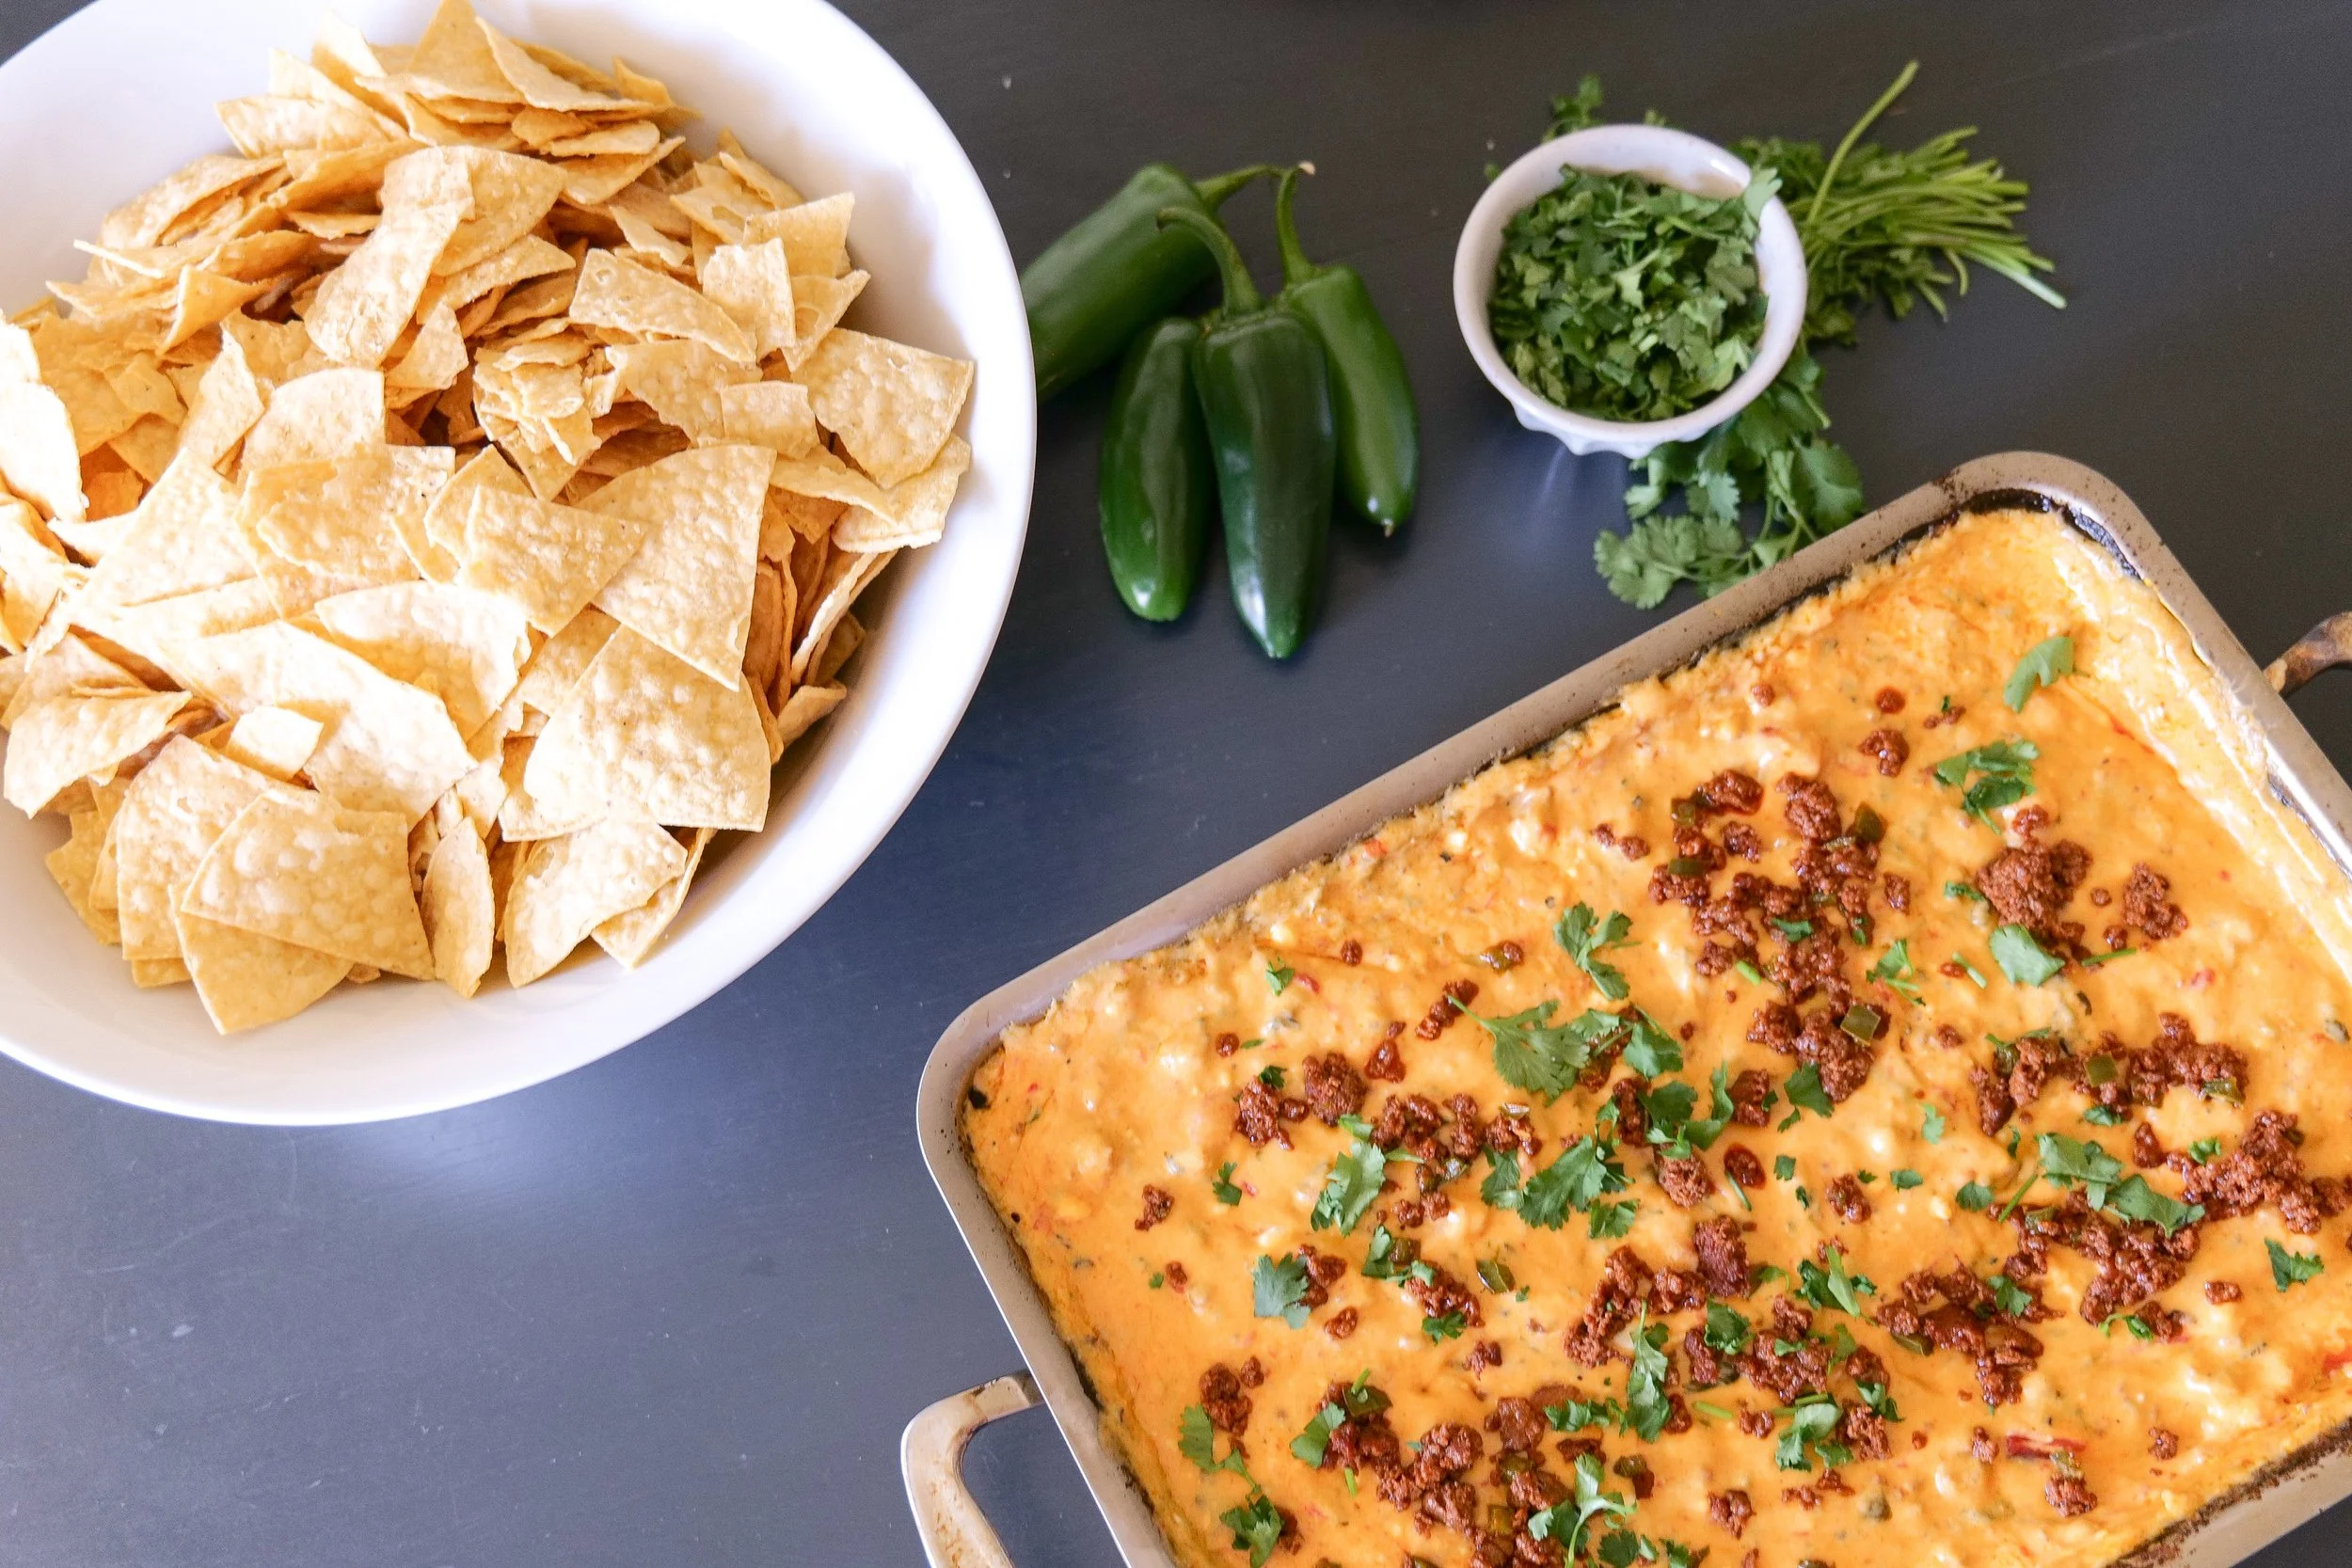
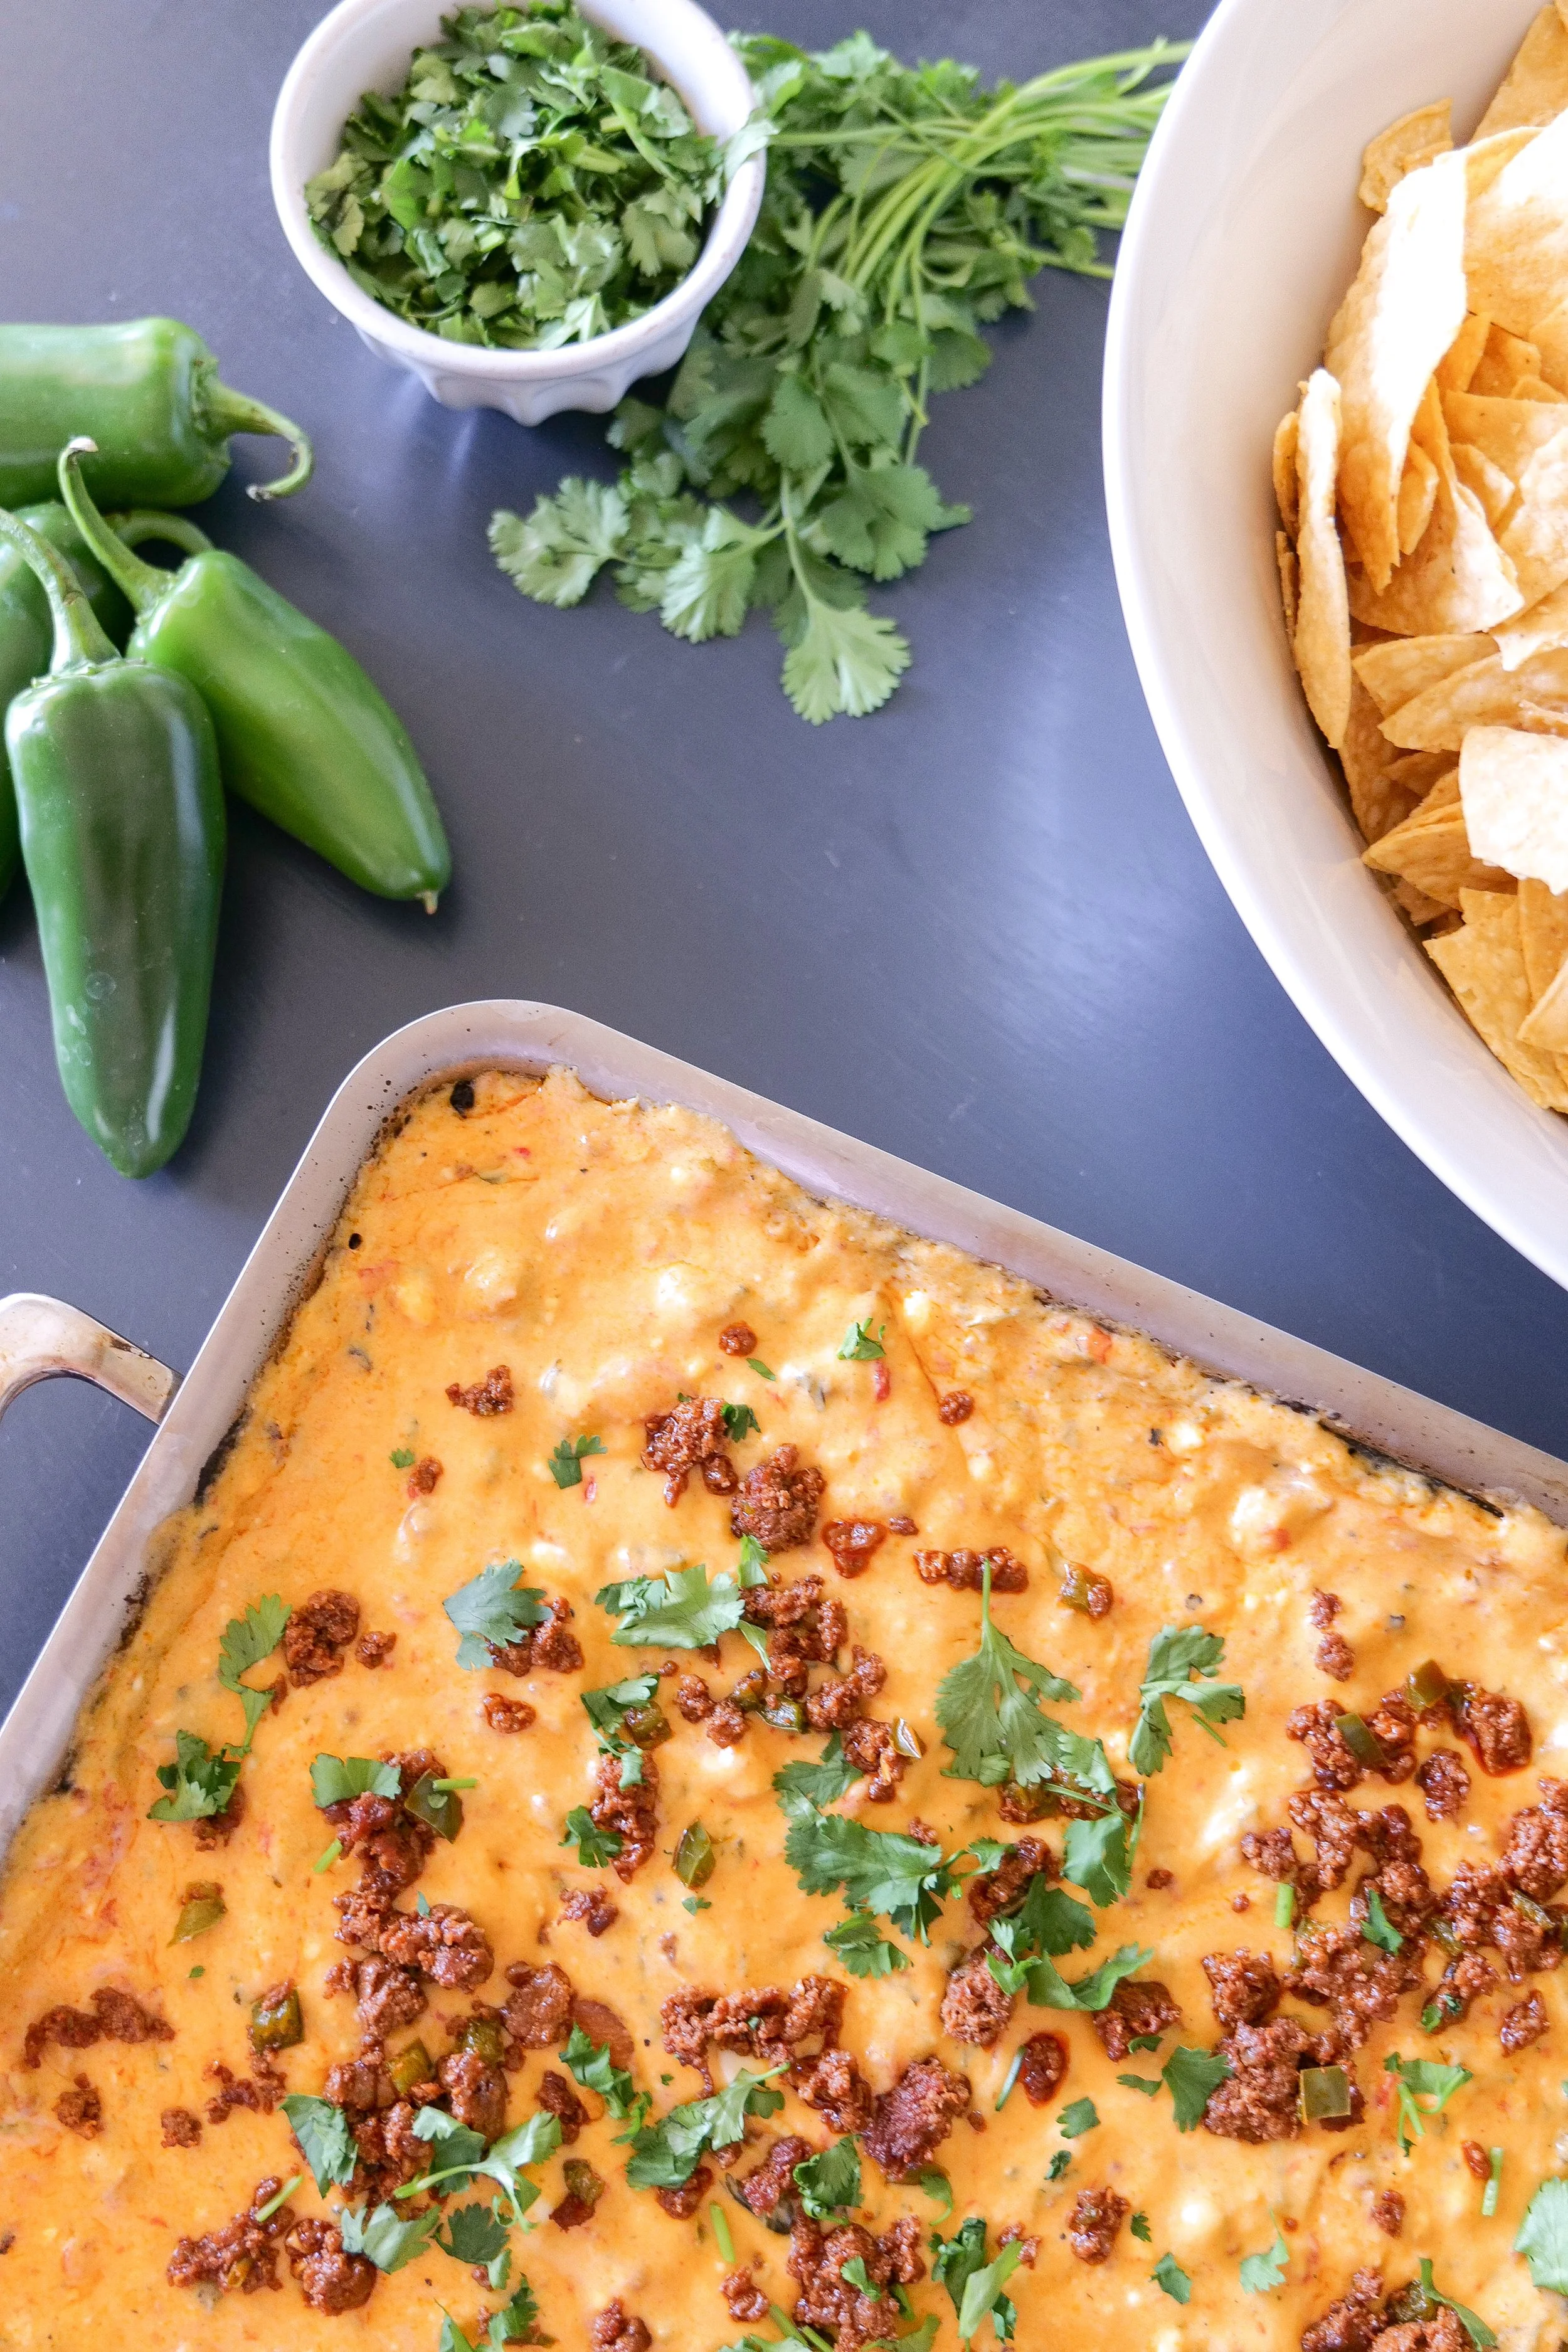
Once it's ready, sprinkle the reserved chorizo and jalapeños over the top and serve it while it's hot.

Creamy chorizo queso topped with jalapeños

Amanda's Tips

Cut the cheese into chunks. Smaller pieces will melt more evenly than putting large blocks into the pan.

Drain the chorizo if needed. Depending on the chorizo you're using, you may have quite a bit of grease after cooking. Drain off the excess before adding it to the queso.

Stir while it melts. Don't just put the pan on the grill and forget about it. Give everything a couple of good stirs during the 20–25 minute cook time so the cheeses melt together evenly.

Save your toppings. Reserving some chorizo and fresh jalapeño before everything gets mixed together gives the finished dip texture and makes it look so much prettier when you bring it to the table.

Serve it hot. This queso is at its best straight from the grill while everything is creamy and melted.

What to Serve with Chorizo Queso

Tortilla chips are the obvious choice and exactly how I like to serve this one.

For a cookout, I love the idea of putting the whole pan out with a big bowl of tortilla chips and letting everyone scoop their own. It's the kind of appetizer people can snack on while everything else finishes on the grill.

Grilled chorizo queso served with tortilla chips

Grilled Chorizo Queso

Creamy grilled queso made with chorizo, jalapeños, fire-roasted tomatoes, Queso Blanco, mozzarella, pepper jack and cream cheese. Serve it hot from the grill with tortilla chips for an easy appetizer made for sharing.

Ingredients

  • 1 tablespoon salted butter

  • 2 jalapeños, diced

  • 1 pound pork or beef chorizo sausage

  • 32 ounces Velveeta Queso Blanco melting cheese, cut into chunks

  • 8 ounces mozzarella cheese, cut into chunks

  • 8 ounces pepper jack cheese, cut into chunks

  • 8 ounces cream cheese

  • 1 (14-ounce) can diced fire-roasted tomatoes

  • 5 ounces evaporated milk

  • 1 teaspoon onion powder

  • 1 teaspoon garlic powder

  • 1 cup chopped fresh cilantro

  • Tortilla chips, for serving

Instructions

  1. Heat a large skillet over medium heat and add the butter. Add the diced jalapeños, reserving a small amount for topping the finished queso. Cook until softened.

  2. Add the chorizo and cook, breaking it into crumbles, until completely cooked through. Drain excess grease if necessary. Reserve a small amount of cooked chorizo for topping.

  3. If using a 360 Cookware pan on the grill, spread a thin layer of Dawn dish soap over the outside bottom of the pan only before placing it on the grill. This is simply a cleanup trick for the exterior of the cookware; do not put dish soap inside the pan.

  4. Add the cooked chorizo and jalapeños, Queso Blanco, mozzarella, pepper jack, cream cheese, fire-roasted tomatoes, evaporated milk, onion powder, garlic powder and cilantro to a grill-safe pan.

  5. Place the pan on the grill and close the lid. Cook for approximately 20–25 minutes, stirring a couple of times as the cheeses melt, until everything is completely melted and combined.

  6. Remove from the grill and sprinkle the reserved chorizo and jalapeños over the top.

  7. Serve hot with tortilla chips and enjoy.

Amanda's Tip

Save a little of your cooked chorizo and diced jalapeño before assembling the queso. Adding them back over the top right before serving gives the finished dip extra texture, color and flavor.

The cleaned-up recipe now follows the actual ingredient list and original 20–25 minute grill method rather than introducing the cheddar, Monterey Jack, paprika, chipotle powder or queso fresco mentioned elsewhere in the old article.

Save This Recipe

Whether you're planning a summer cookout, game day or a casual night outside, save this recipe so you have it the next time queso is on the menu.

Grilled Chorizo Queso printable recipe card

FAQ

Frequently Asked Questions

How long does queso take to melt on the grill?

This grilled chorizo queso takes approximately 20–25 minutes for the cheeses to completely melt together. Keep the grill lid closed while it cooks and stir the queso a couple of times during cooking.

Do I need to cook the chorizo before adding it to the queso?

Yes. Cook the chorizo completely before combining it with the cheeses and remaining ingredients. I cook mine with the jalapeños first, drain excess grease if necessary and reserve a little cooked chorizo for topping.

What cheese is in this chorizo queso?

This recipe uses Velveeta Queso Blanco, mozzarella, pepper jack and cream cheese. Together they create the creamy, melty base for the dip.

What do you serve with grilled chorizo queso?

I serve it hot with tortilla chips for dipping. It's an easy appetizer to put out for a cookout, party or gathering while everyone is outside around the grill.

Why do you put dish soap on the bottom of the pan?

If I'm using my 360 Cookware pan on the grill, I put a thin layer of Dawn dish soap on the outside bottom surface of the pan only to make grill cleanup easier afterward. It never goes inside the cookware or anywhere near the food.

More Recipes for Your Next Cookout

If you're firing up the grill, here are a few more recipes from the blog that would be perfect alongside this queso:

The Perfect Summer Meal: Grilled Chicken, Mexican Street Corn & Cucumber Salad

Fruit & Goat Cheese Bruschetta

Grilled Steak & Blue Cheese Salad with Grilled Corn

Farmers Market Pasta Salad

And if you're making drinks to go with it:

Frozen Raspberry Margarita

4 Easy 4-Ingredient Tequila Cocktails

Sparkling Watermelon Punch

Shop My Entertaining Favorites

From serving pieces and glassware to bowls and entertaining essentials, these are some of my favorite finds for serving recipes like this when we're gathering at home.

Final Thoughts

This Grilled Chorizo Queso is exactly the kind of recipe I love for outdoor entertaining: easy to put together, made for sharing and something everyone can gather around while the rest of dinner is cooking.

The combination of creamy cheeses, chorizo, jalapeños and fire-roasted tomatoes gives it so much flavor, while making the queso right on the grill keeps everything outside with the rest of the cookout.

Put the warm pan in the middle of the table, add plenty of tortilla chips and let everyone dig in.

And if you're using your 360 Cookware on the grill—don't forget the Dawn trick.

On the outside. Definitely the outside.

10 Easy Summer Cocktails for Entertaining

There’s something about summer that makes me want to keep drinks cold, food simple and invite people over. Whether we’re having dinner outside, putting together a last-minute happy hour or hosting a full summer gathering, a really good cocktail is one of my favorite ways to make it feel a little more special.

Over the years, I’ve shared so many summer drinks here on the blog—from frozen margaritas and creamy piña coladas to pitcher cocktails made for a crowd. So I wanted to bring some of my favorites together in one place.

These 10 easy summer cocktails have a little bit of everything: fruity, frozen, citrusy, sparkling and a few pitcher recipes that make entertaining especially easy.

Refreshing summer cocktails for easy entertaining

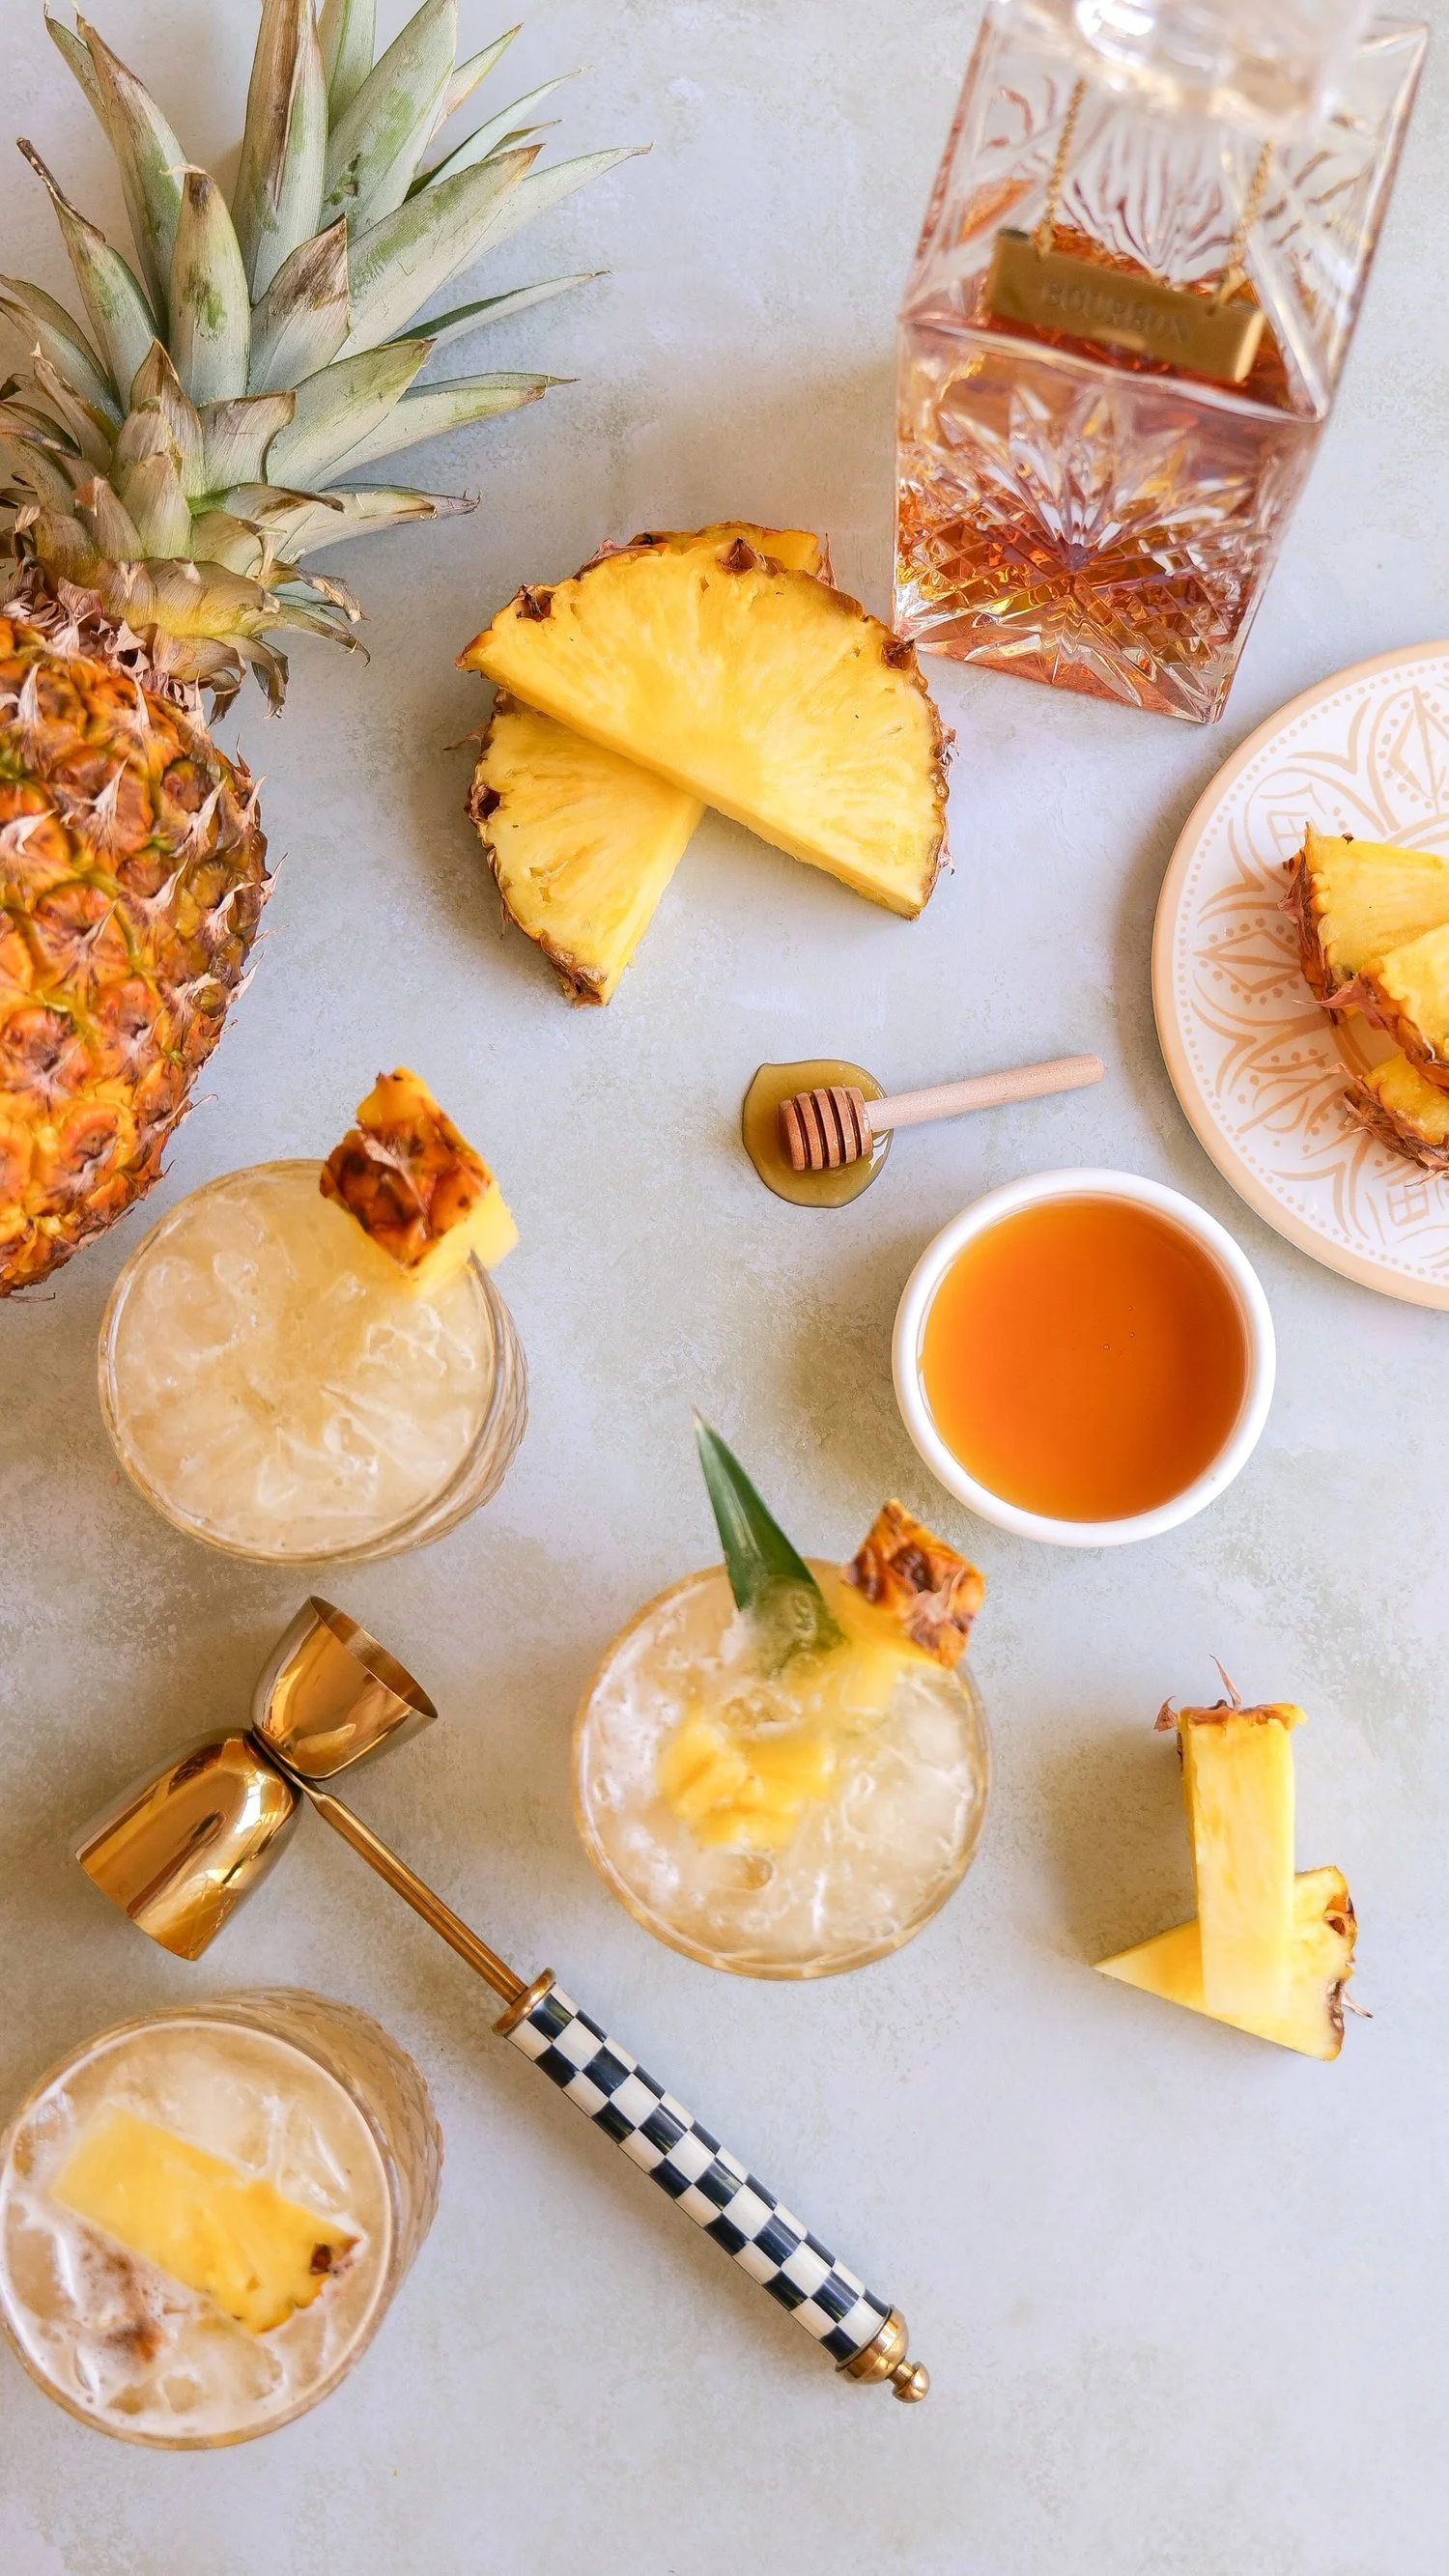
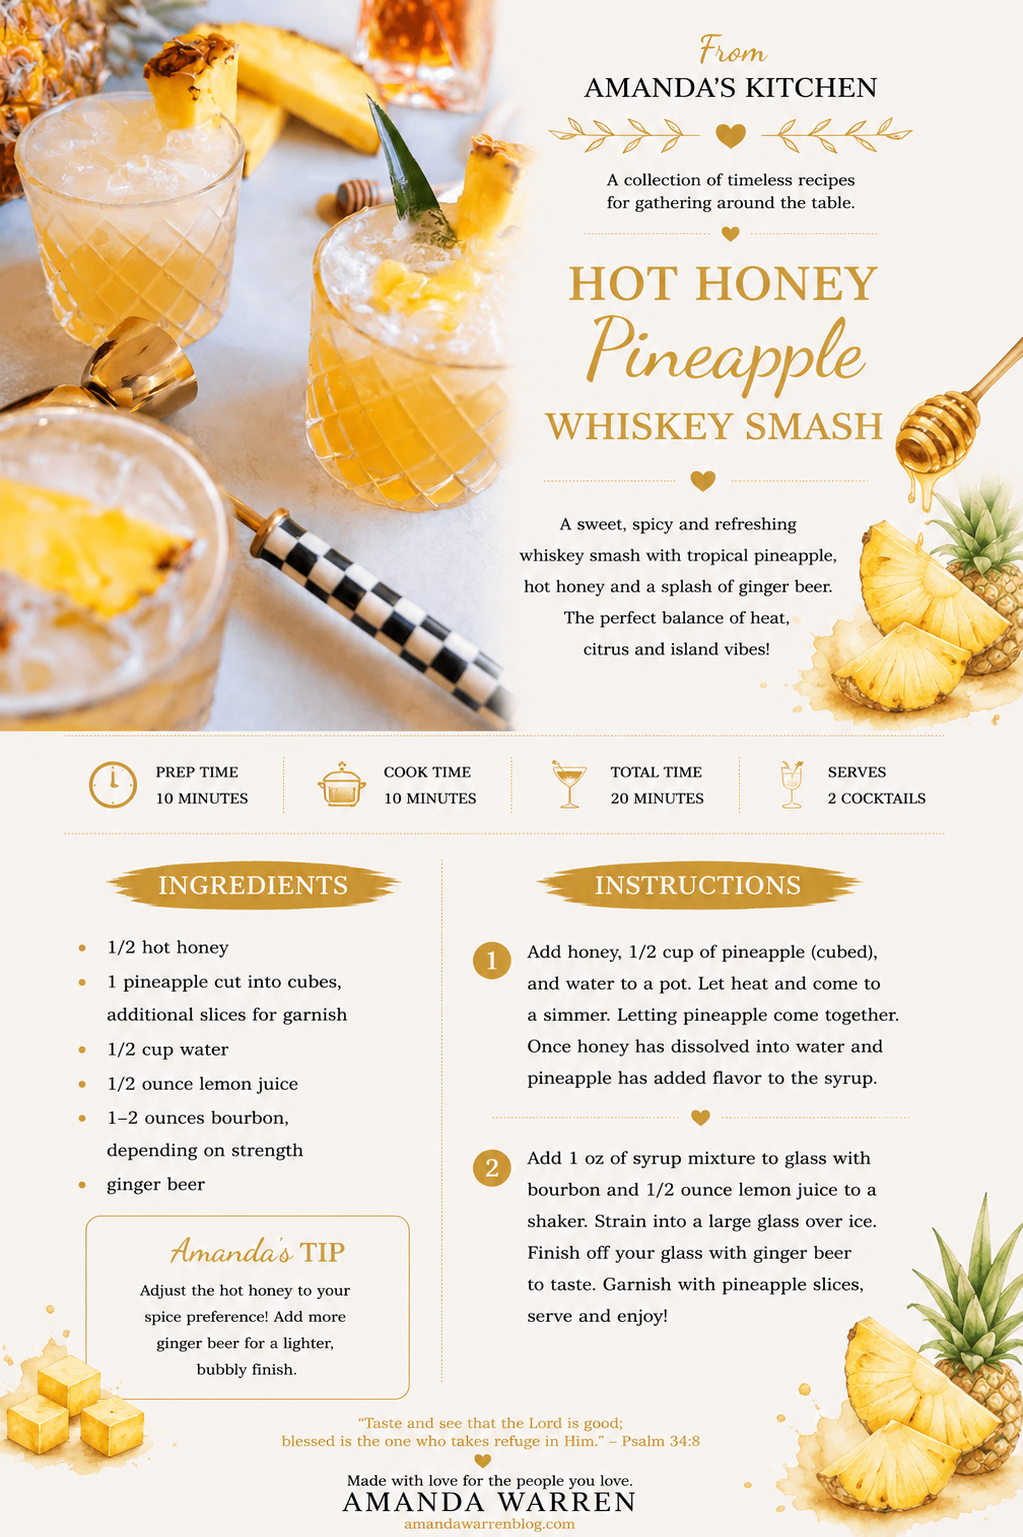
1. Hot Pineapple Whiskey Smash

Sweet pineapple, bourbon, hot honey and ginger beer make this one of the more unexpected drinks on the list. The pineapple and honey bring plenty of sweetness, while the bourbon and little bit of heat keep it from feeling overly sweet.

The homemade pineapple syrup is made by simmering hot honey, fresh pineapple and water before combining it with bourbon and lemon juice. A splash of ginger beer finishes everything off.

This is such a good one when you want a summer cocktail that still has a little depth to it—especially for an evening outside or a summer dinner party.

Hot pineapple whiskey smash with bourbon and ginger beer
Pineapple bourbon cocktail garnished with fresh pineapple

Read the full recipe for my Hot Pineapple Whiskey Smash

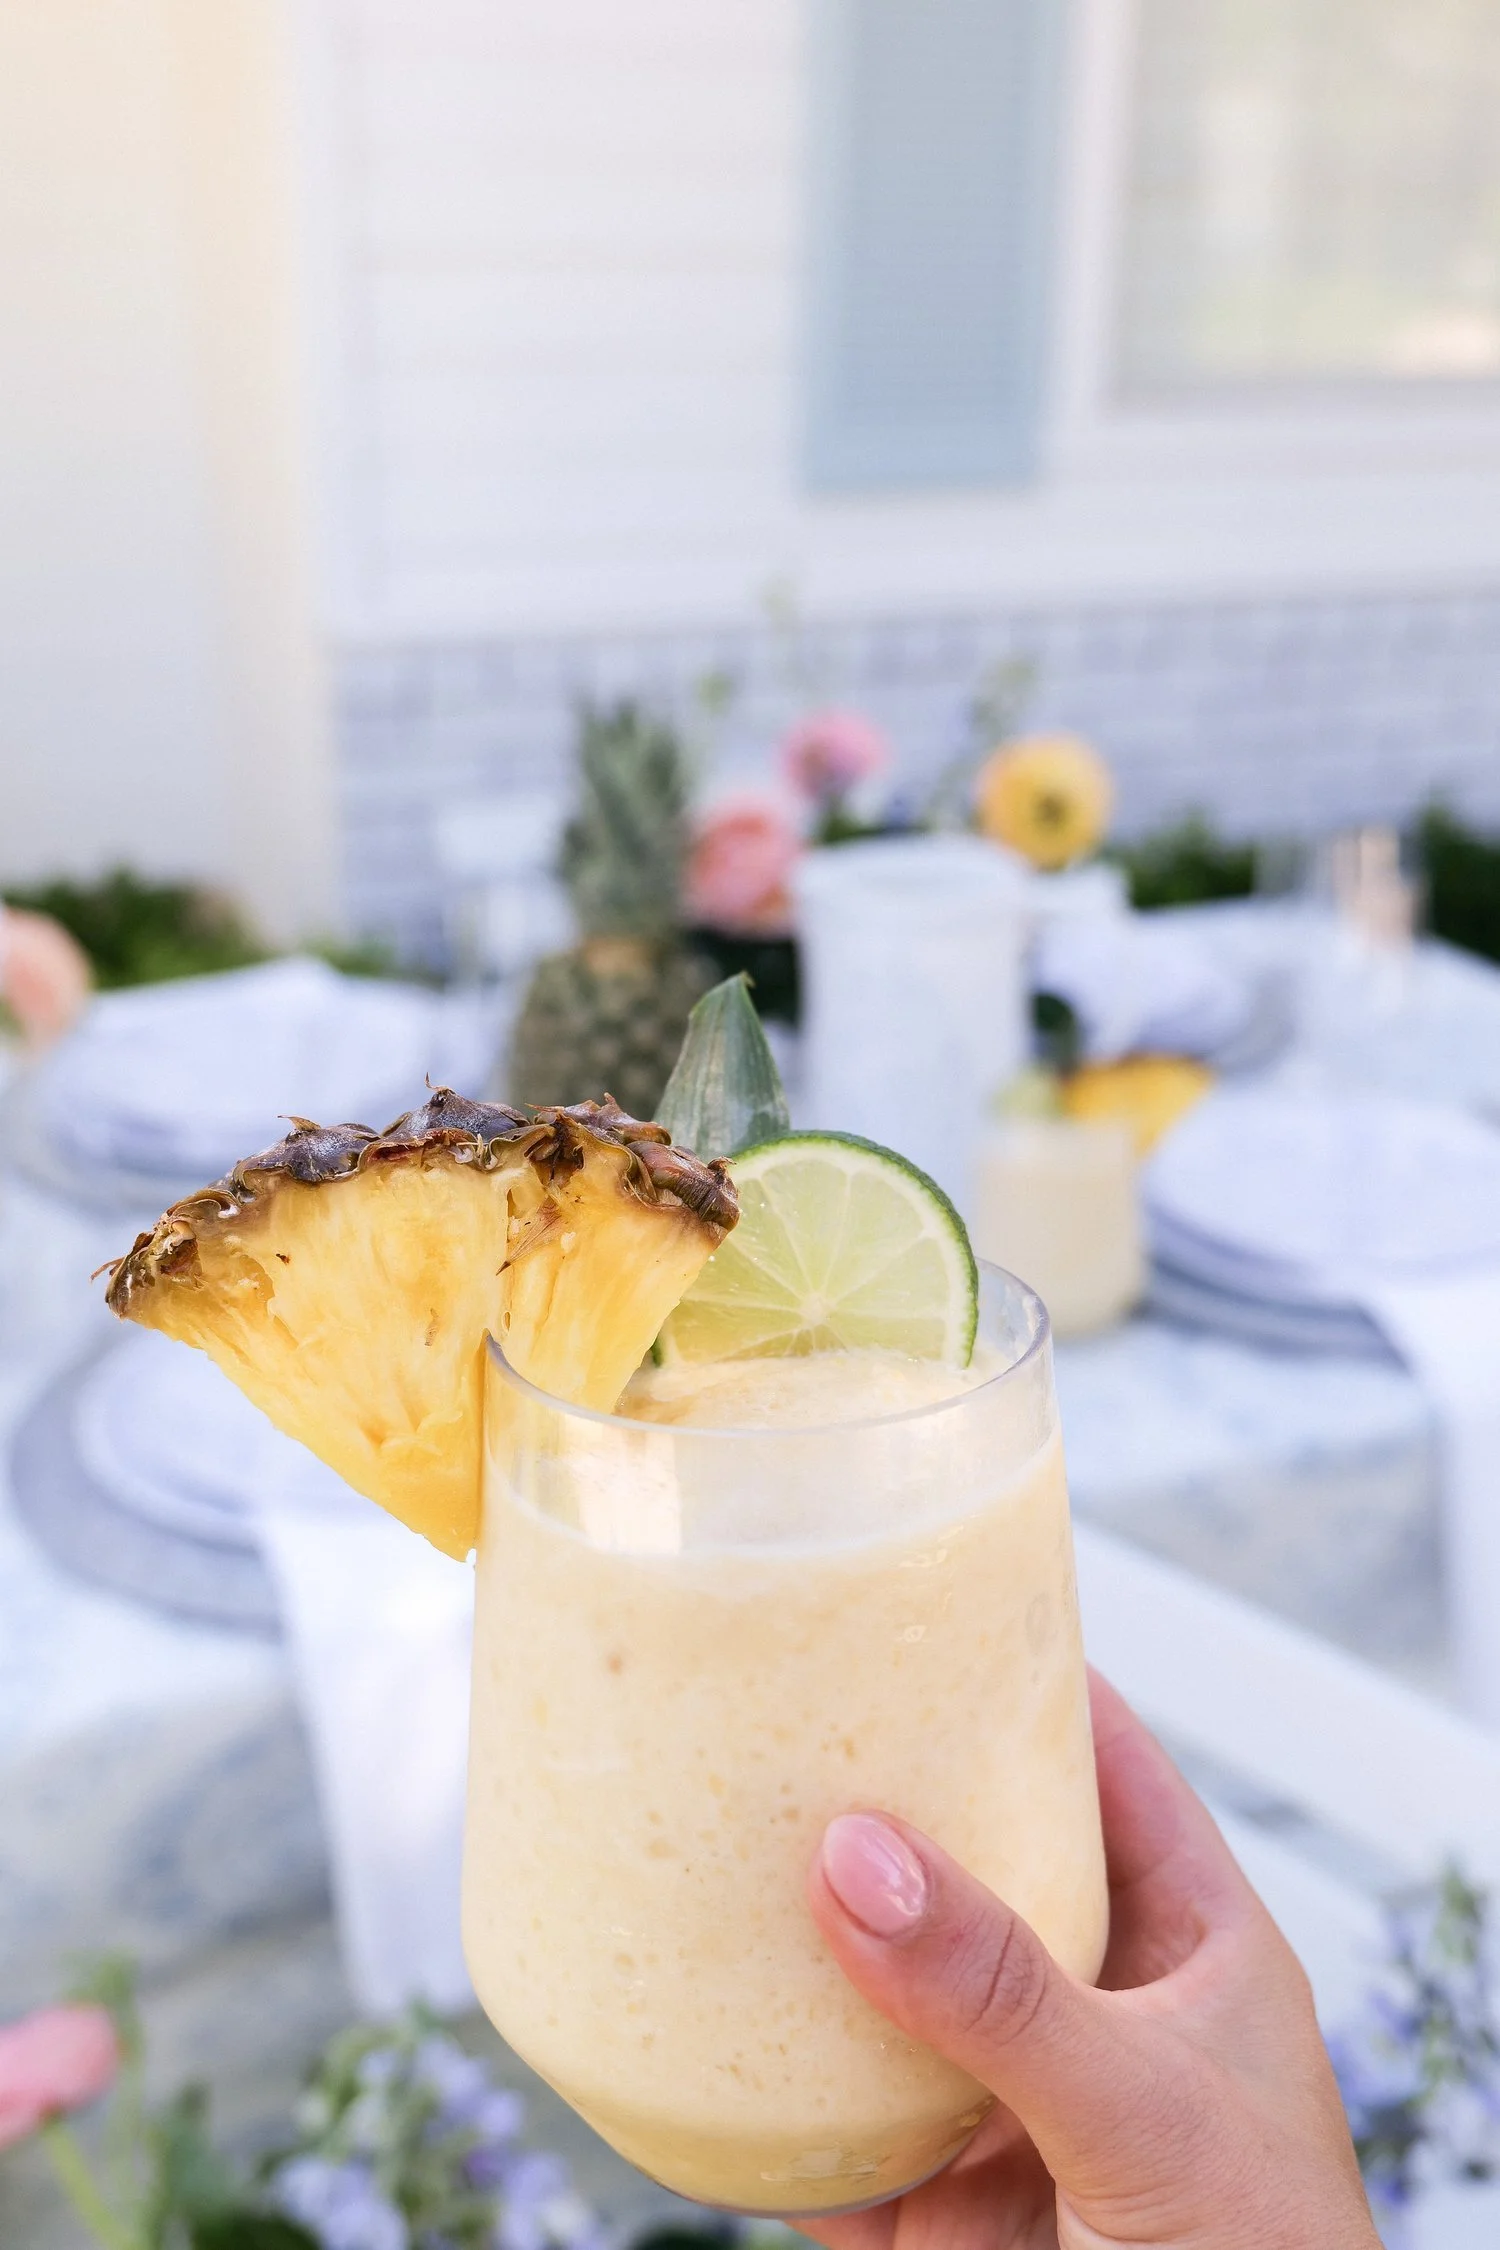
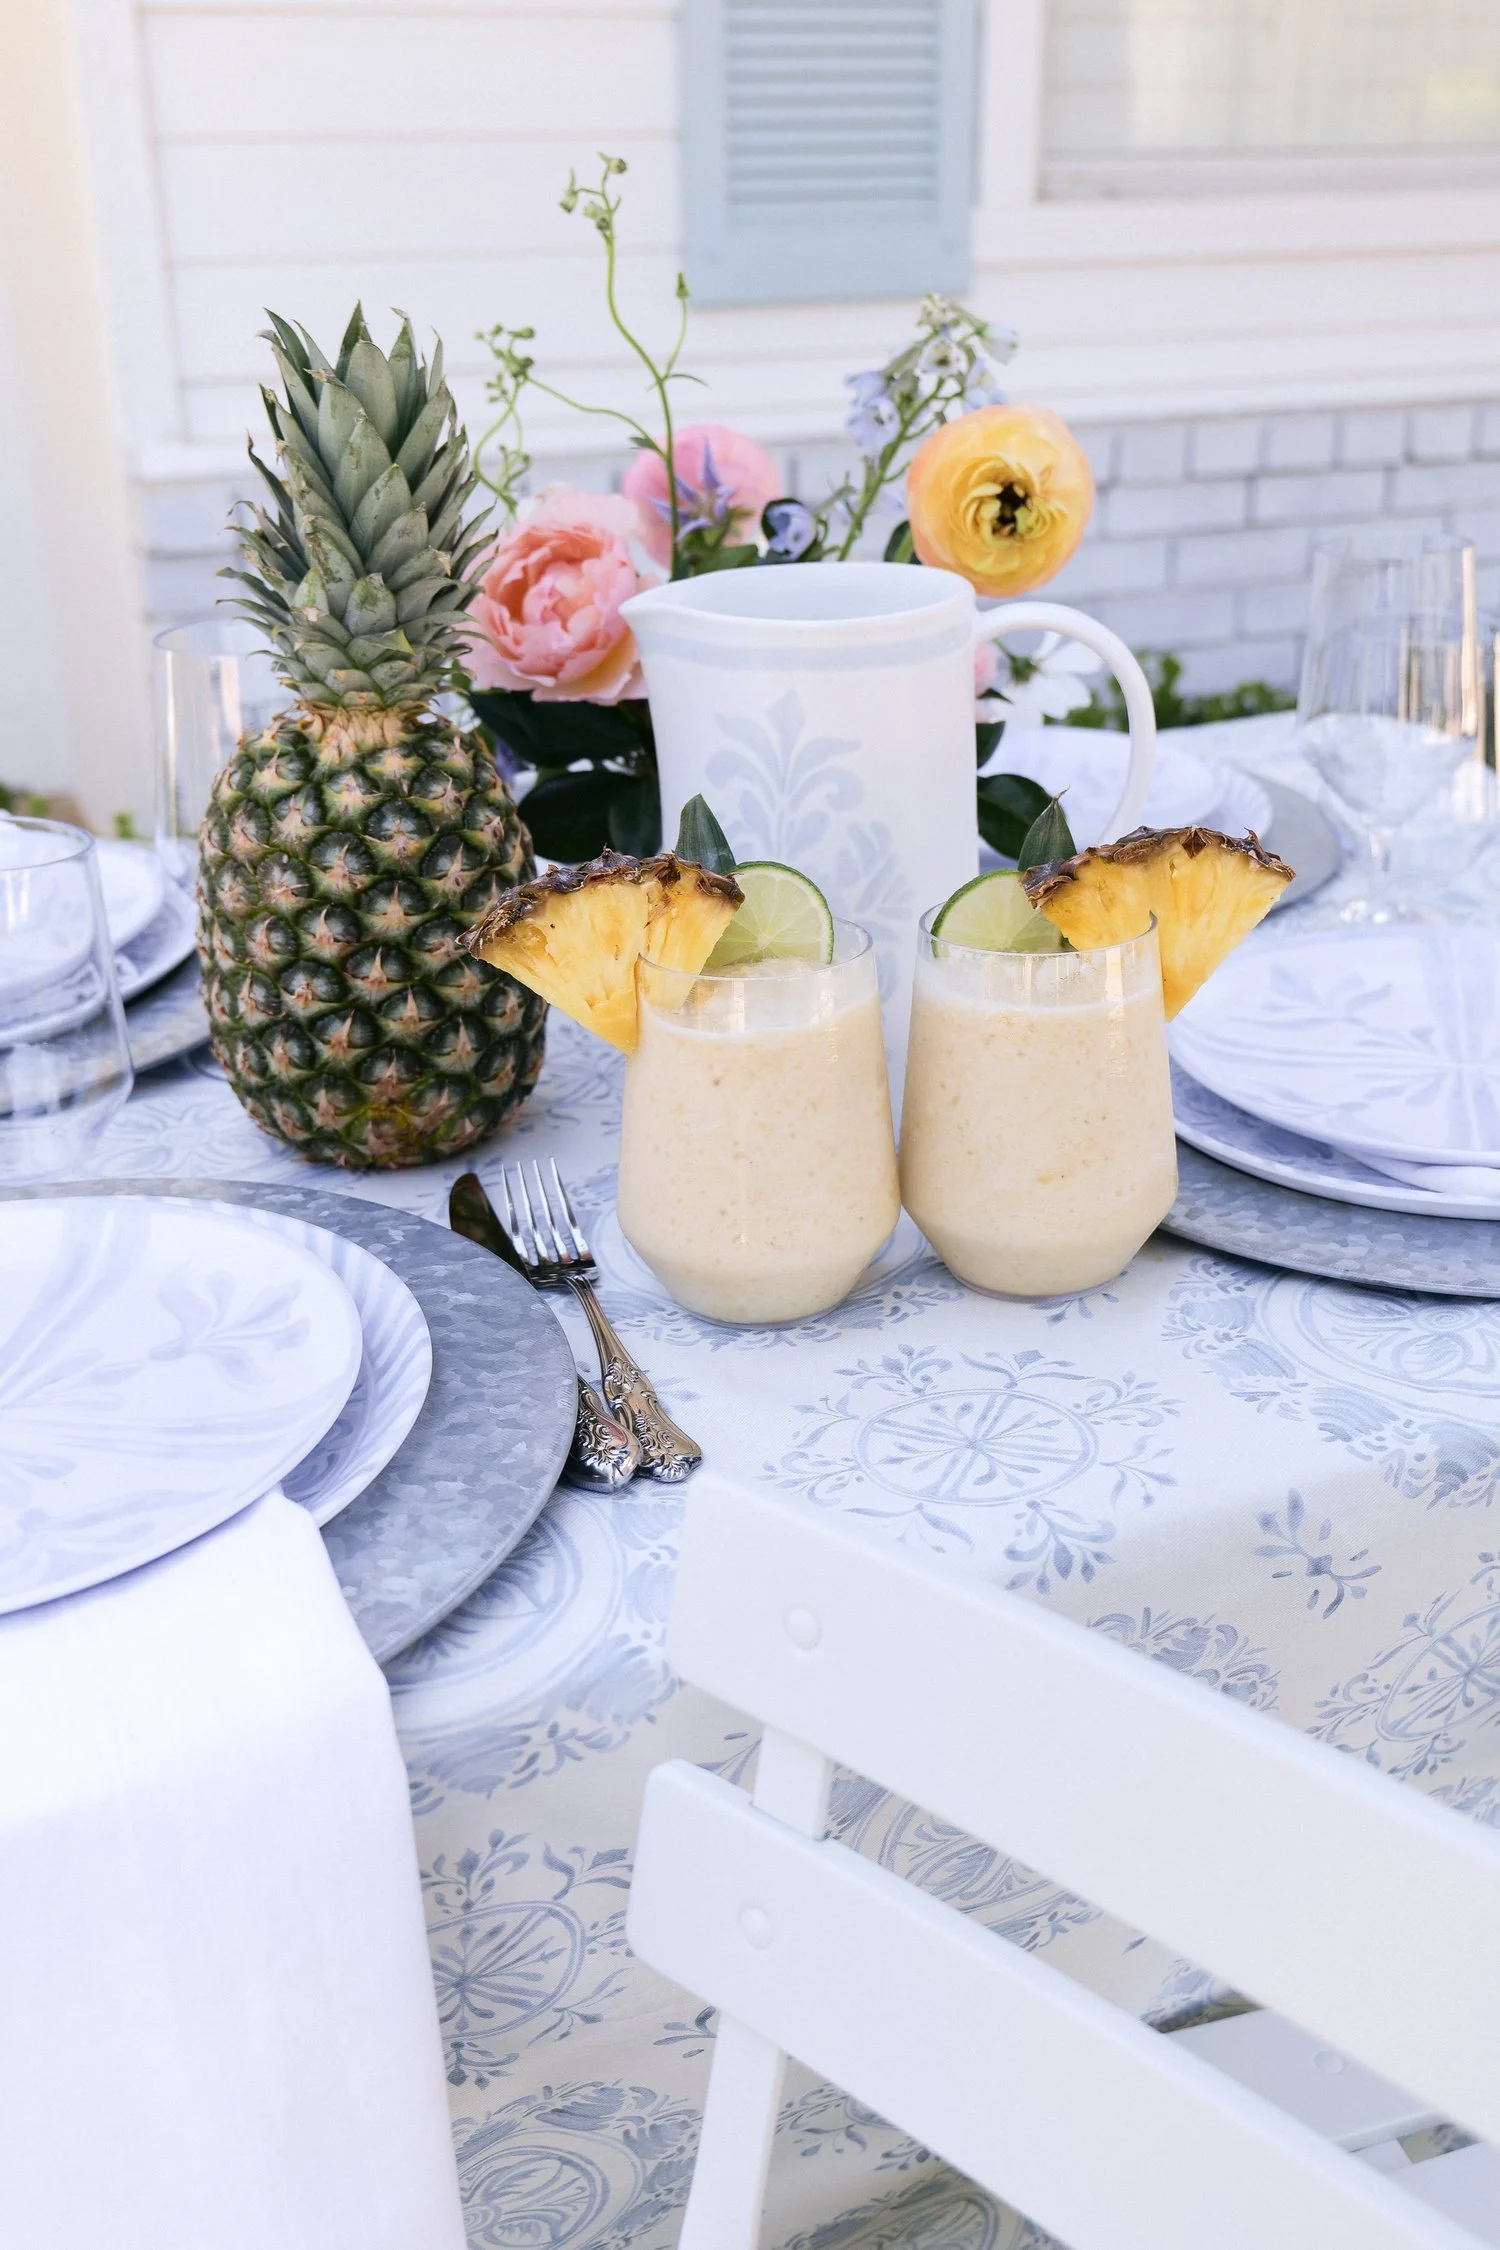
2. Piña Colada Pitcher

There are some drinks that just immediately feel like vacation, and a piña colada will always be one of them for me.

This version is made by blending rum, pineapple juice, coconut milk, lime juice, honey, frozen pineapple and ice until everything is thick and creamy. Even better, it makes an entire pitcher, which is exactly the kind of recipe I want when we’re entertaining.

Pour it into glasses, add fresh pineapple if you have it and serve it right away while it’s icy cold.

Creamy piña colada pitcher with pineapple and coconut
Frozen piña colada served with fresh pineapple

Get the full Piña Colada Pitcher recipe

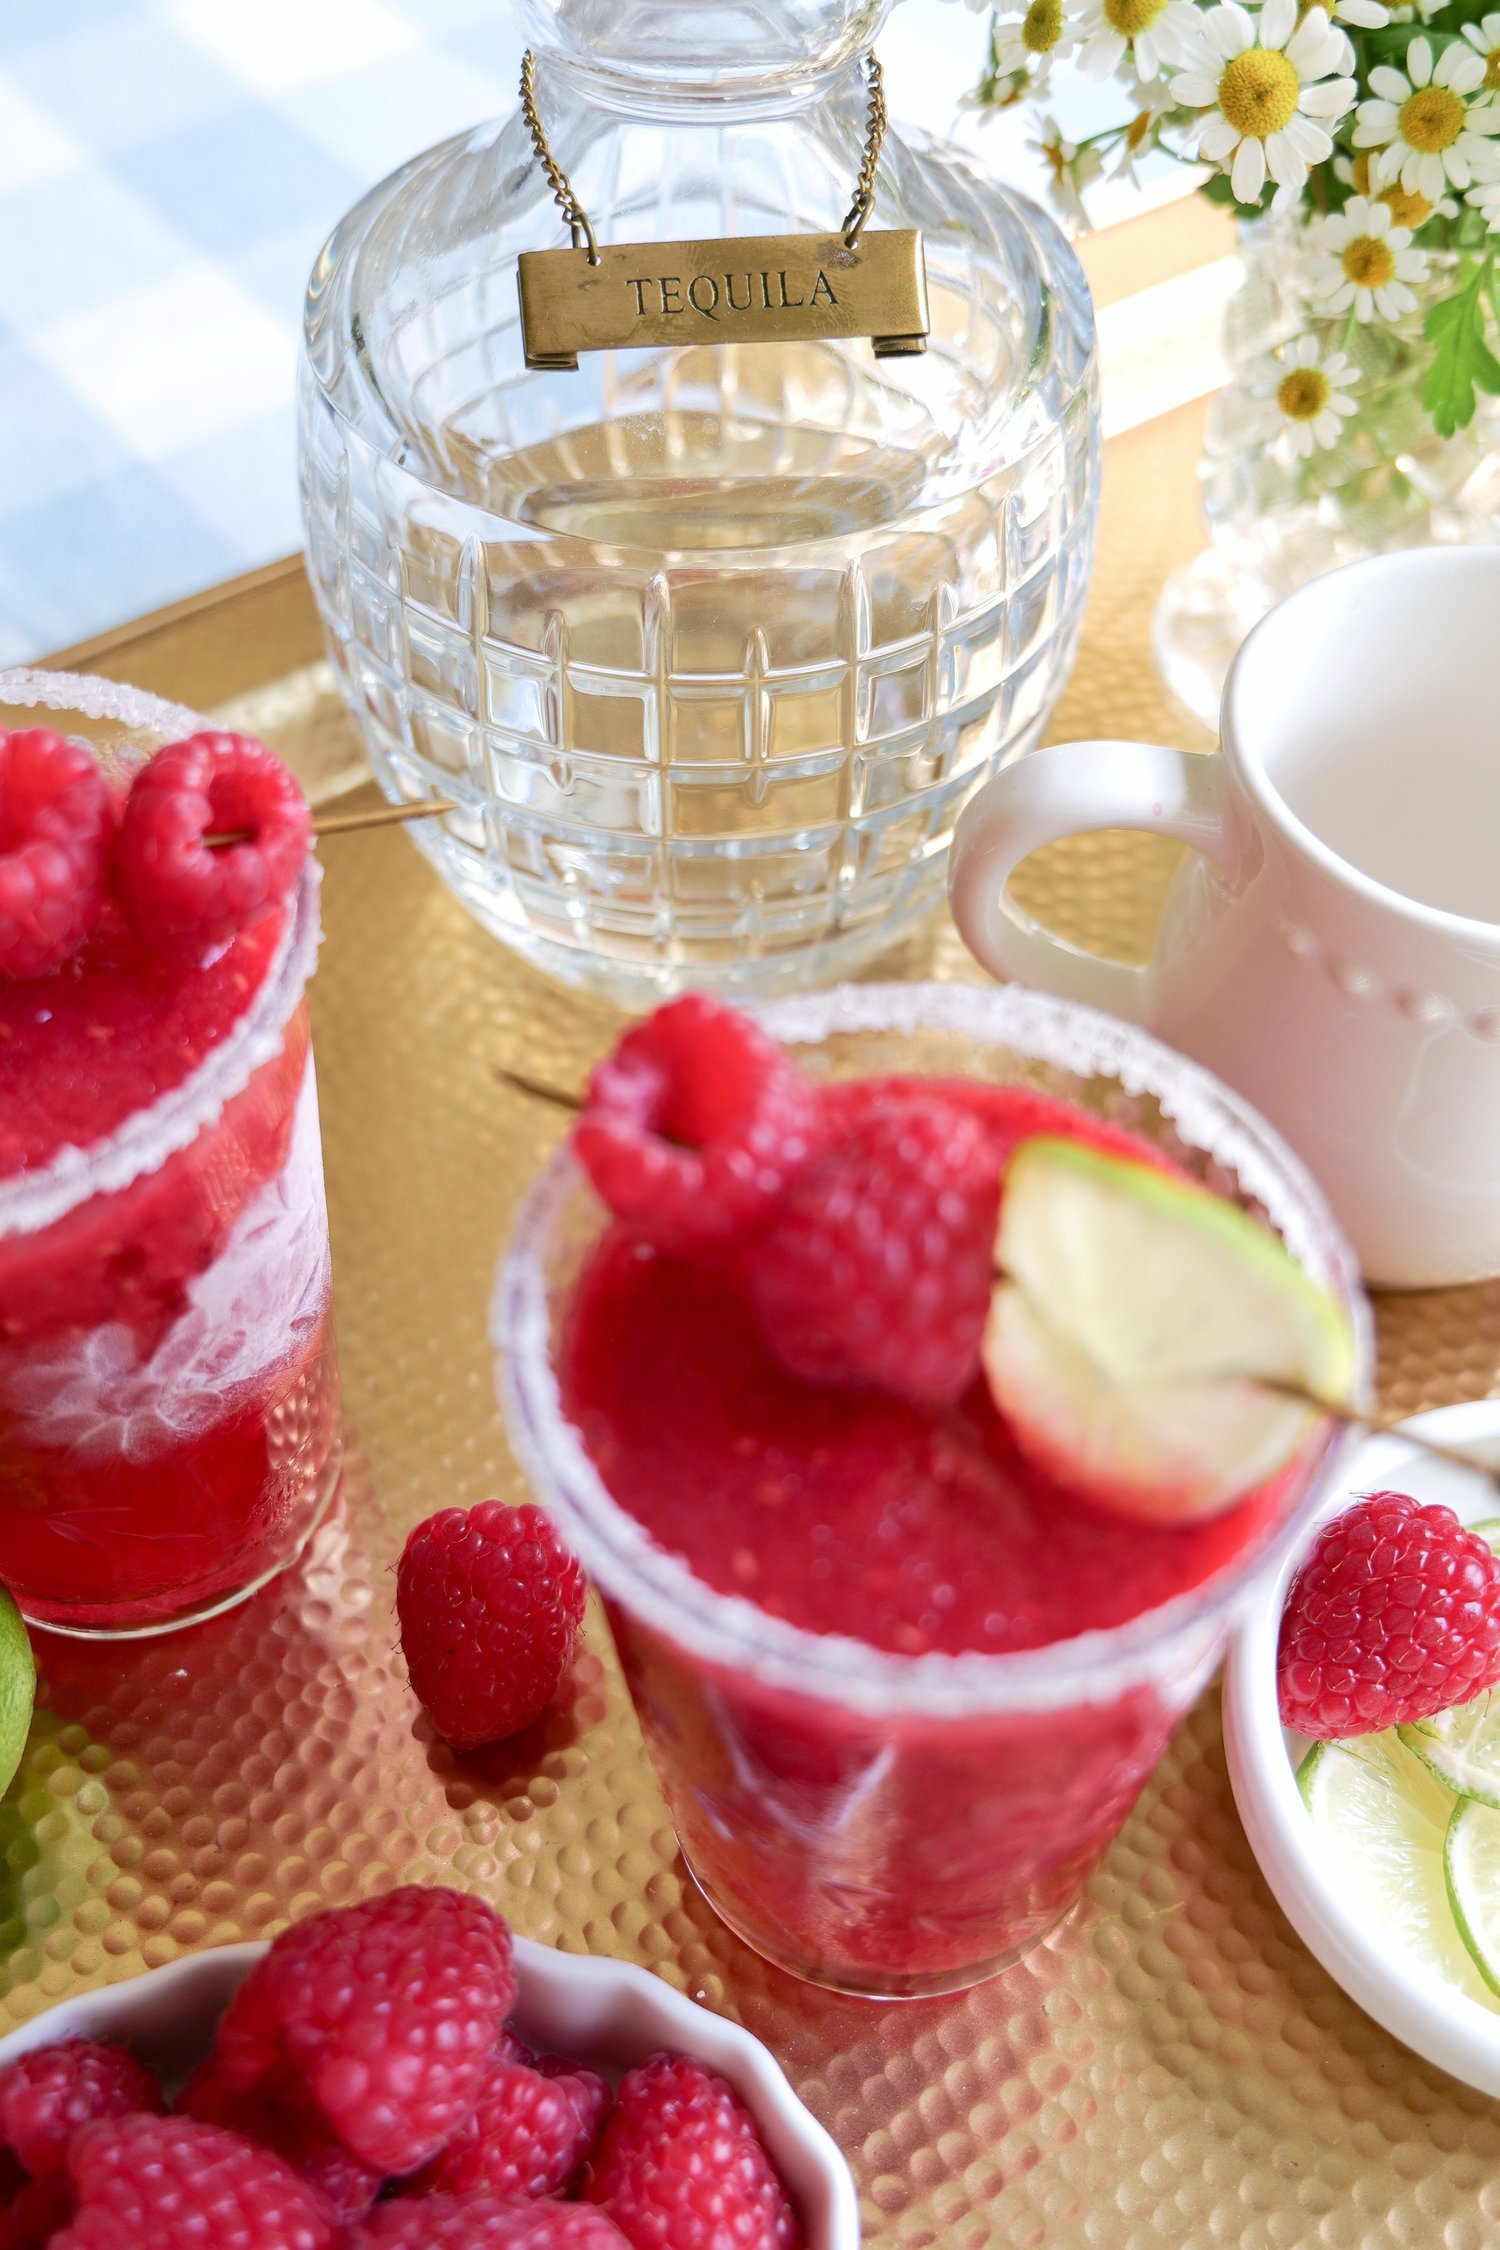
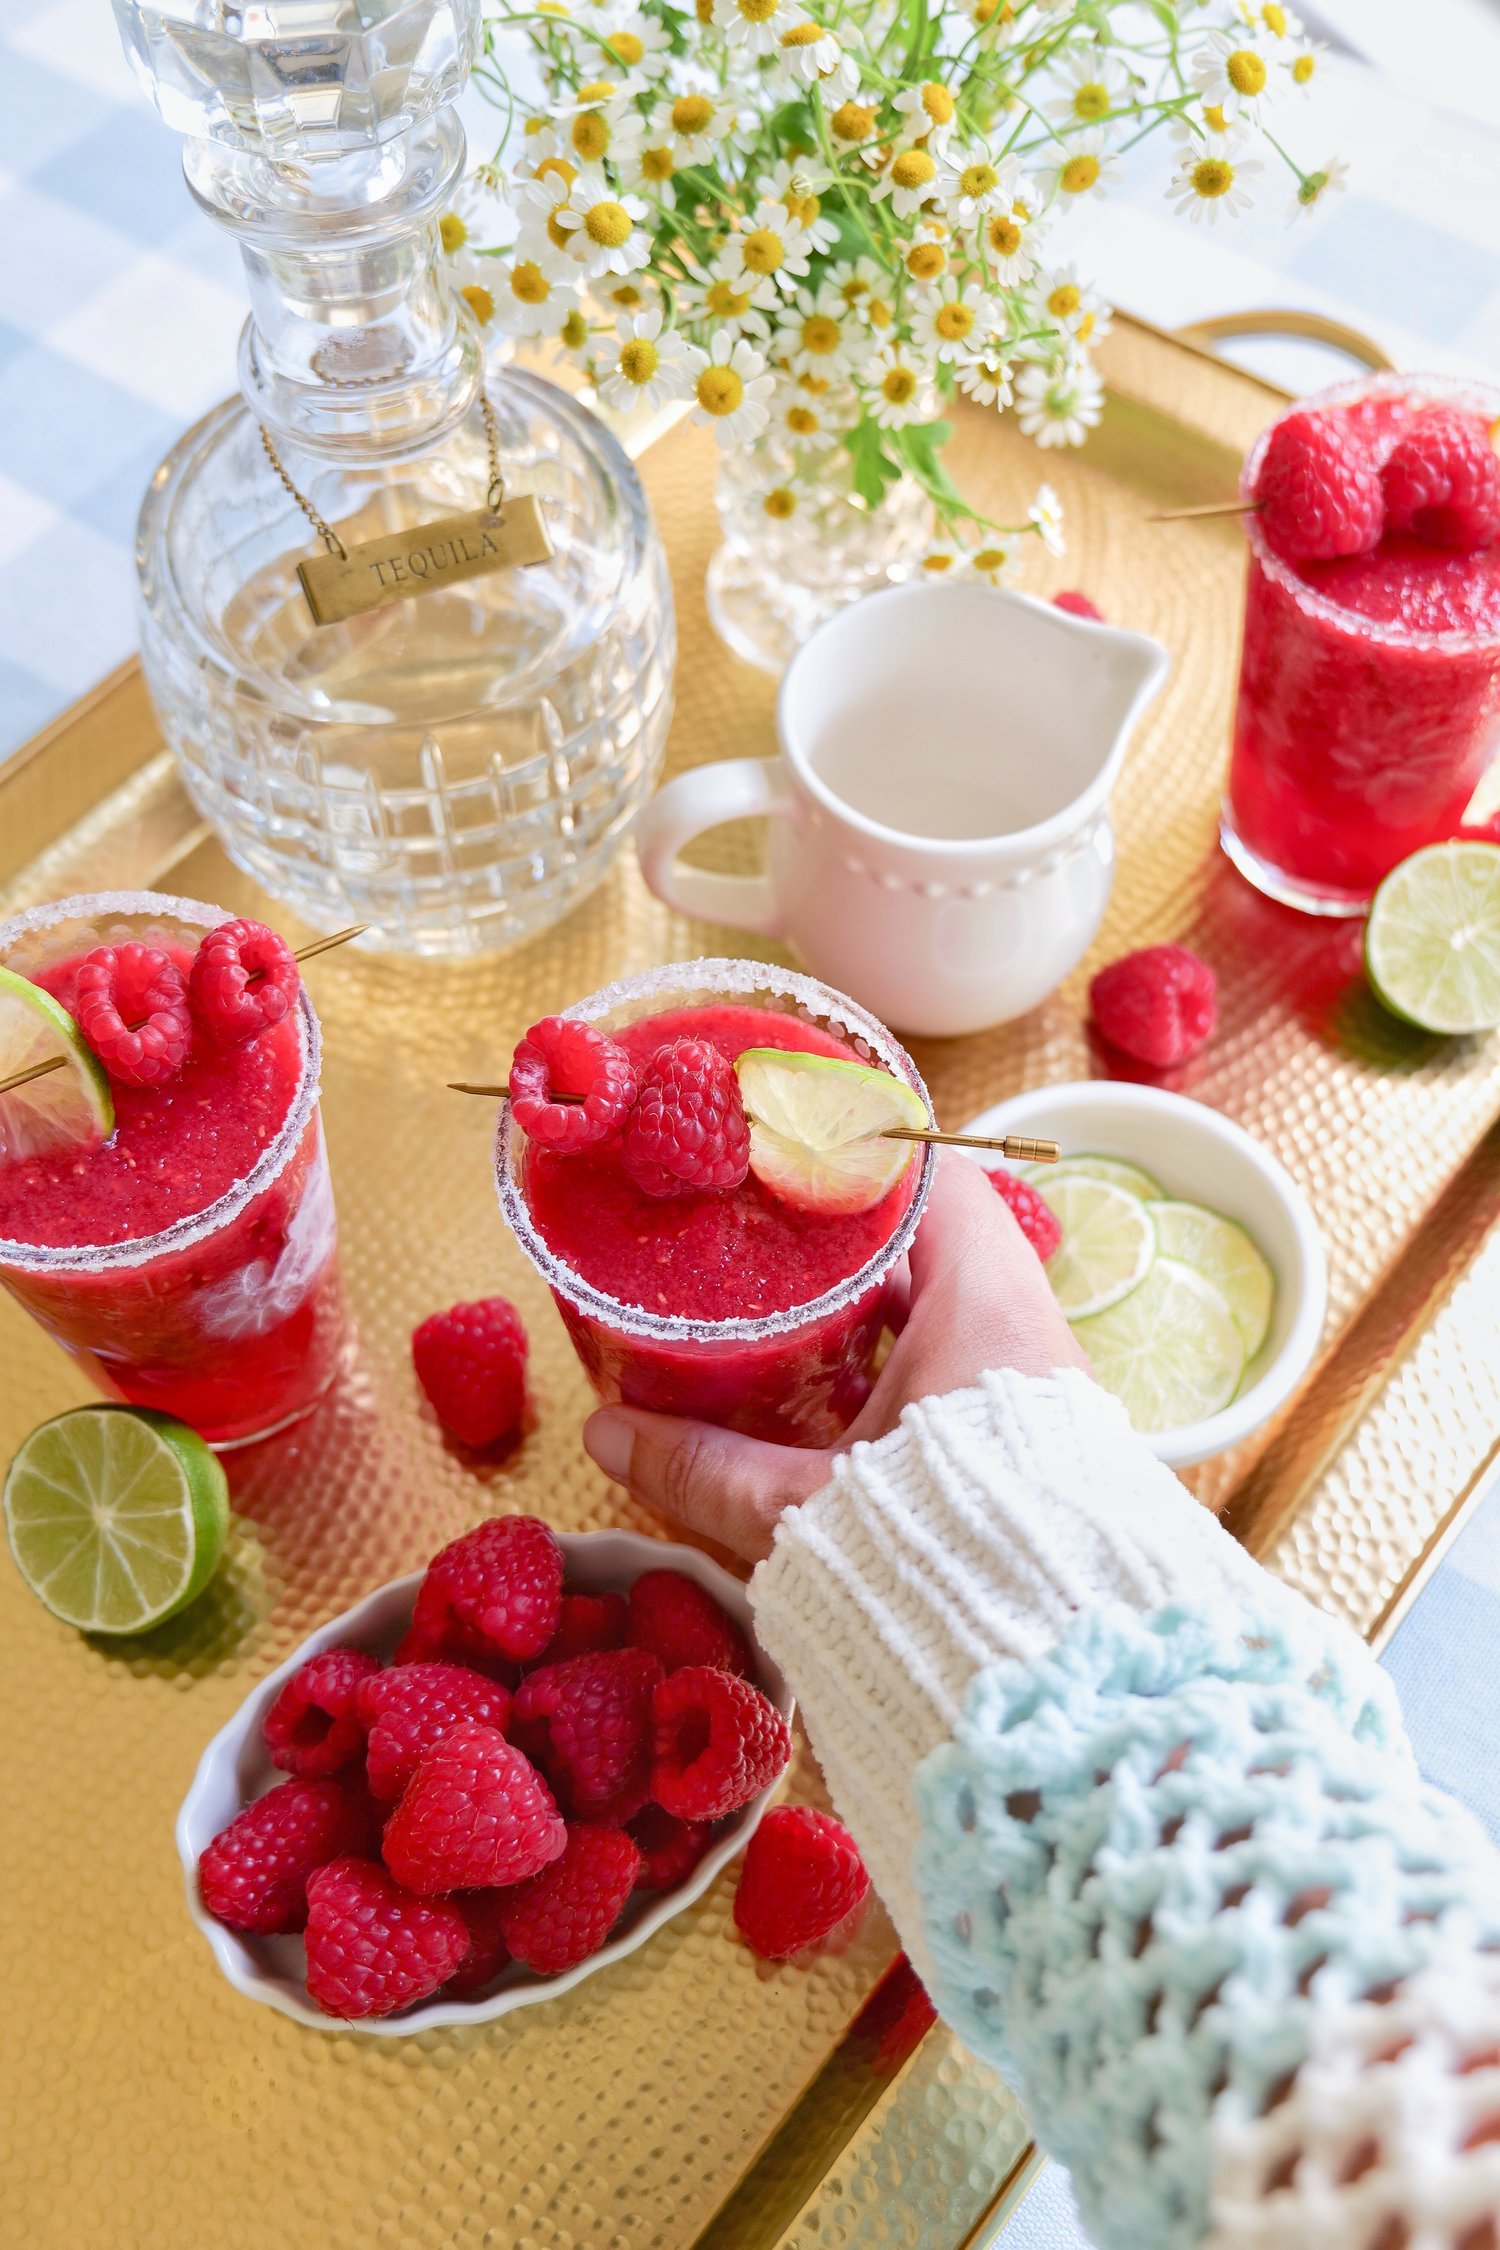
3. Raspberry Frozen Margarita

Frozen margaritas and summer just belong together, and this raspberry version is one of the prettiest.
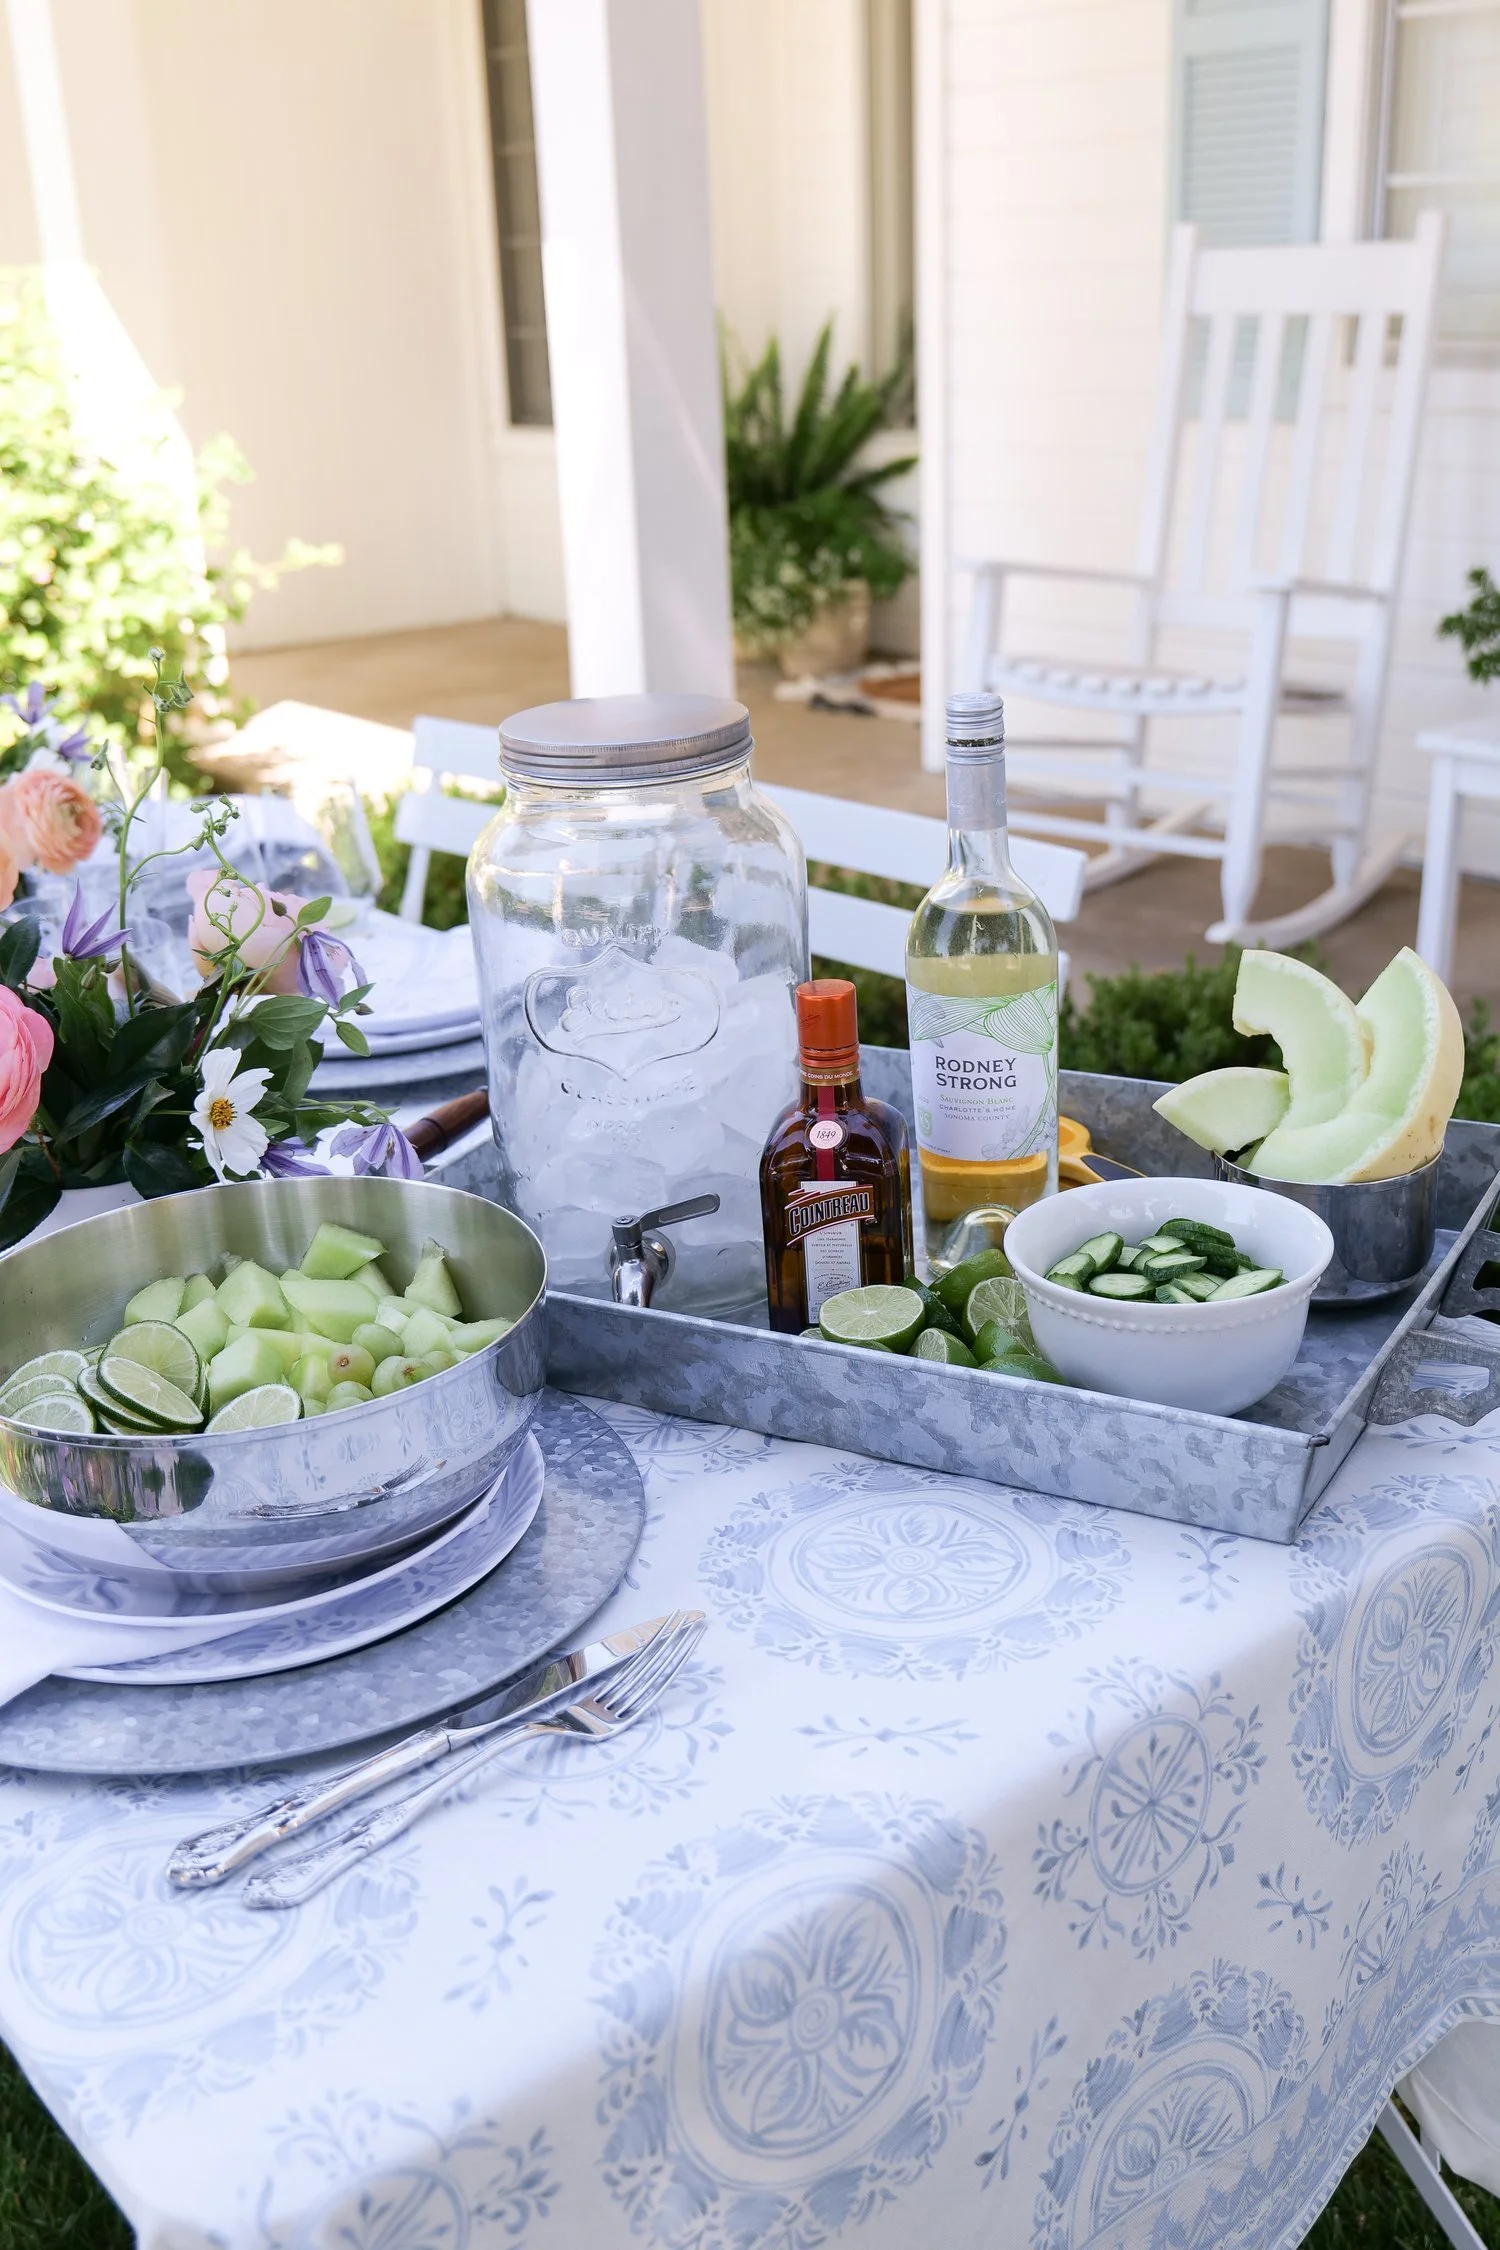
Frozen raspberries give it that gorgeous color and fruity flavor, while fresh lime juice, tequila, orange liqueur and margarita mix keep it tasting like a classic margarita. I like finishing the glasses with a 50/50 mixture of salt and sugar around the rim, then adding fresh raspberries and a lime wedge.

This would be so fun for taco night, a girls’ night outside or any summer gathering where you want something frozen and festive.

Frozen raspberry margarita with fresh raspberries and lime
Raspberry margarita with salt and sugar rim

Make my Raspberry Frozen Margarita

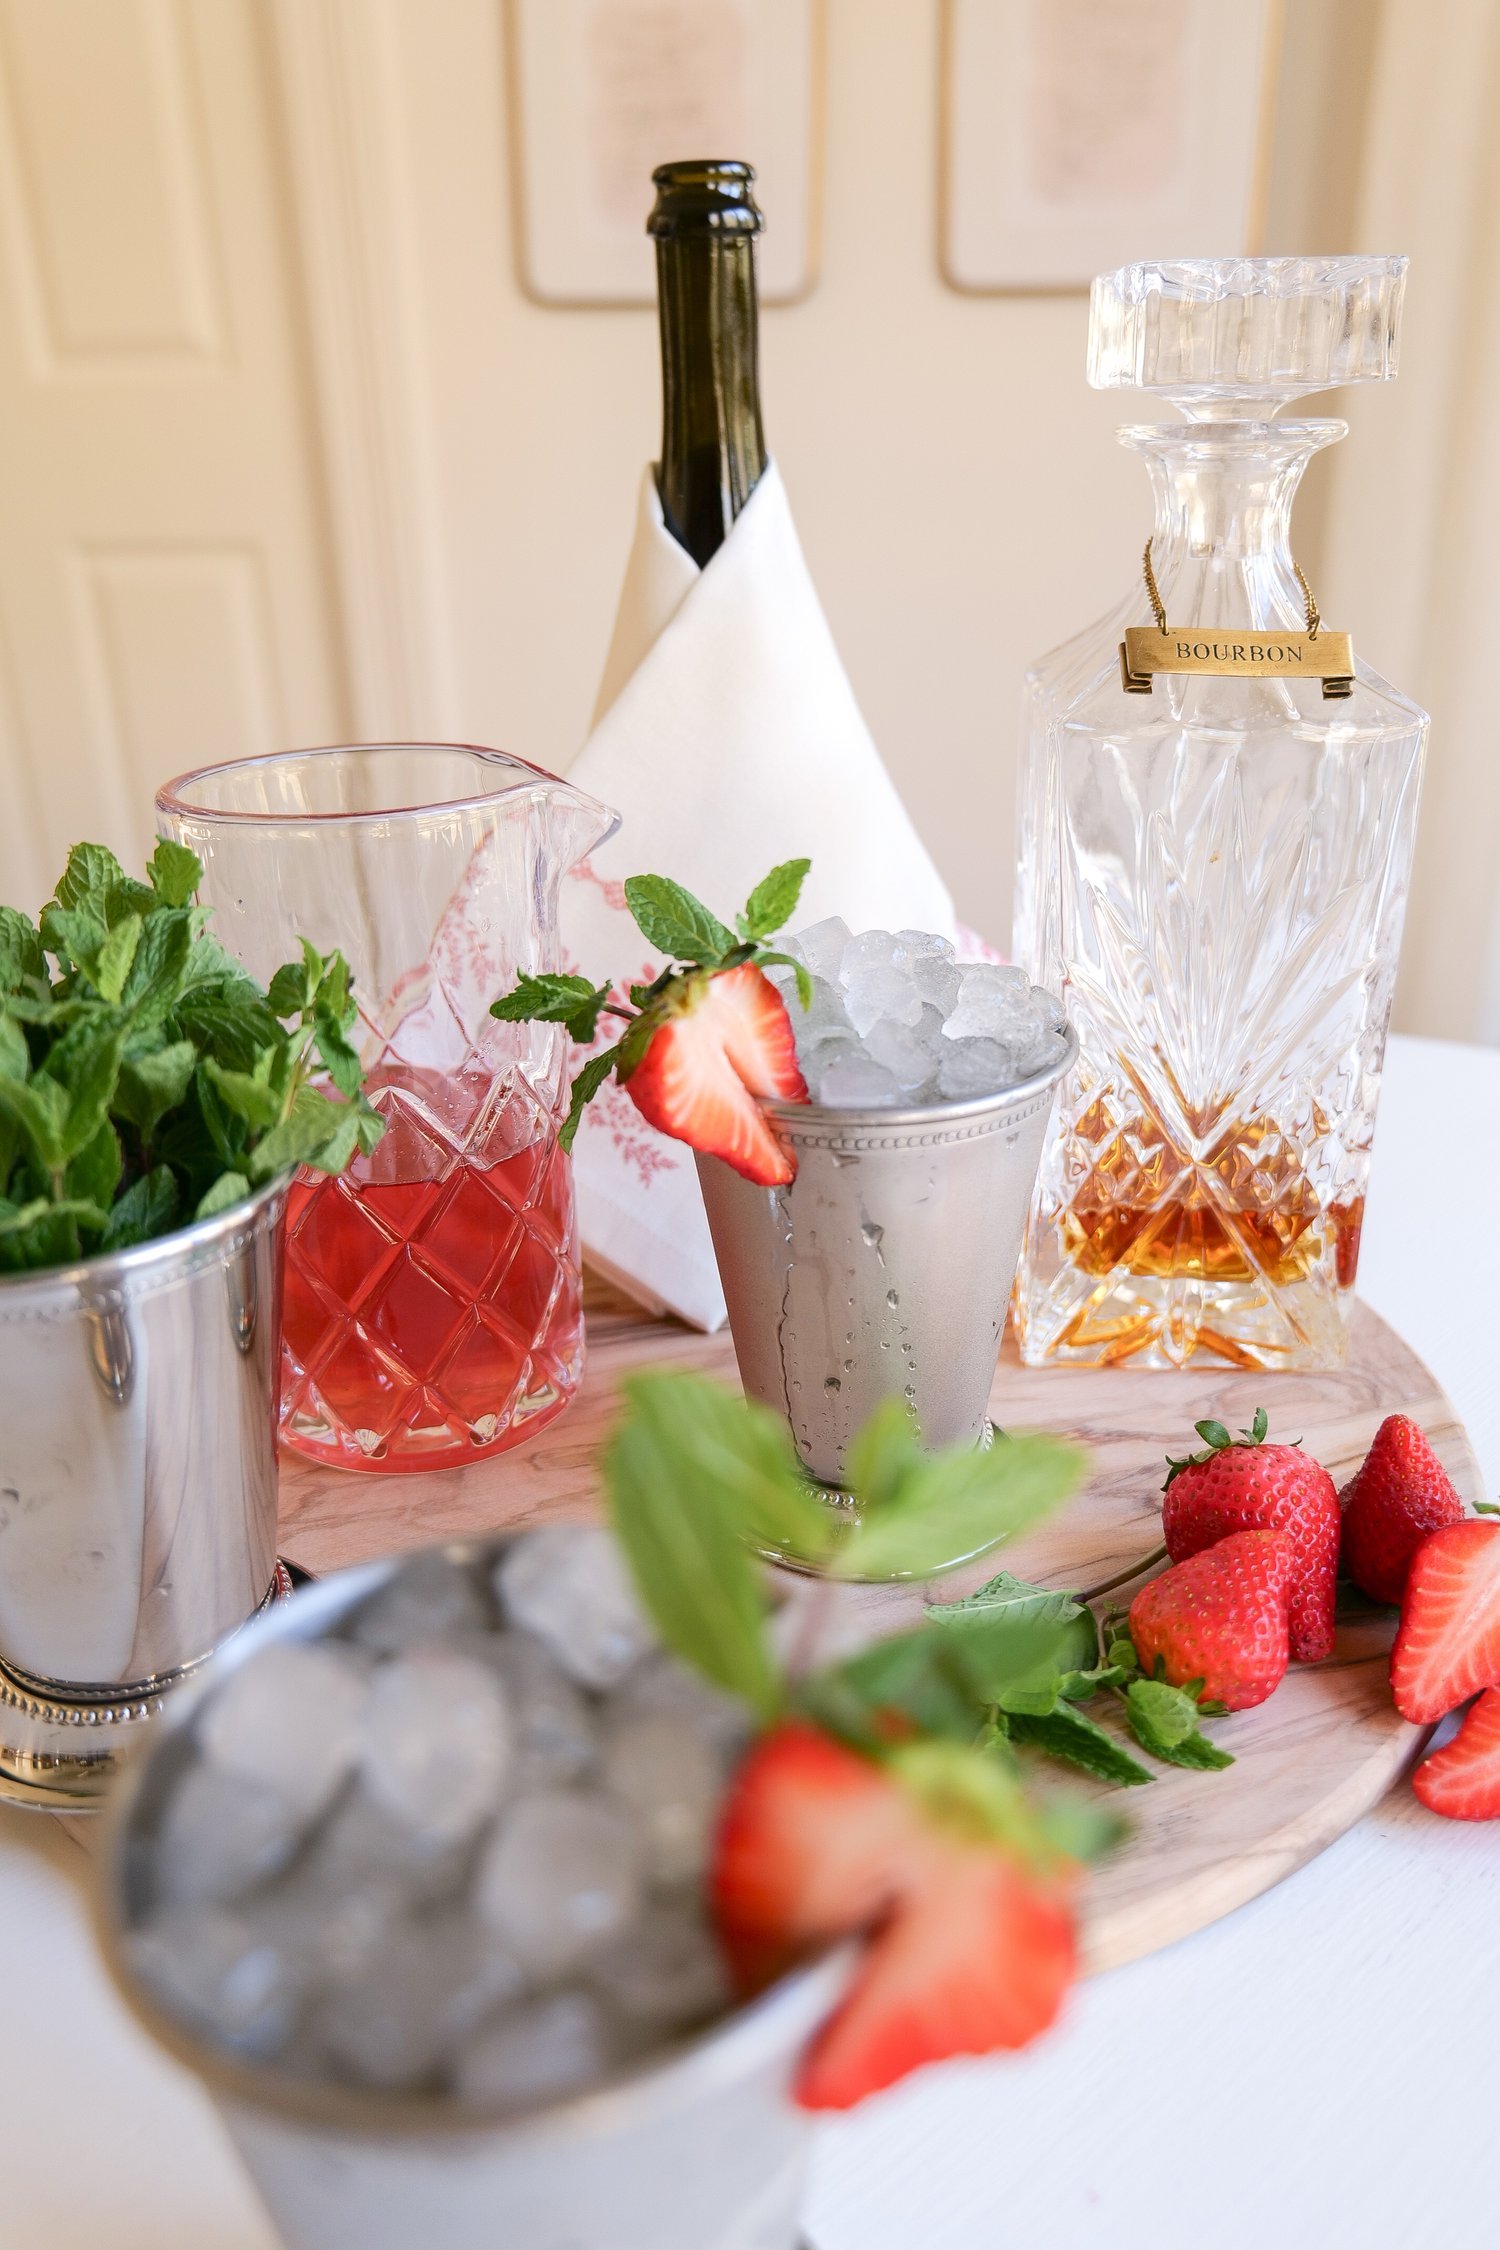
4. Champagne Mint Julep Cocktail

If you love a classic mint julep but want something a little lighter and more celebratory for summer, add champagne.

This version starts with a homemade strawberry simple syrup, fresh mint and whiskey before being packed with crushed ice and topped with champagne. The strawberry adds just enough summer flavor without taking away from everything I love about a mint julep.

Finish it with fresh strawberry and mint and you have a cocktail that works just as well for brunch as it does for an evening outside.

Strawberry champagne mint julep with crushed ice

Get the full Champagne Mint Julep Cocktail recipe.

5. Lemon Drop Martini

This is one of those classic cocktails I come back to again and again because it only takes a few ingredients.

My Lemon Drop Martini uses vodka, simple syrup and freshly squeezed lemon juice, shaken over ice and poured into a sugar-rimmed glass. It’s sweet, tart and incredibly easy to make at home.

If you’re serving a few different cocktails at a party, I also love having something simple and citrus-forward like this alongside the sweeter and creamier drinks.

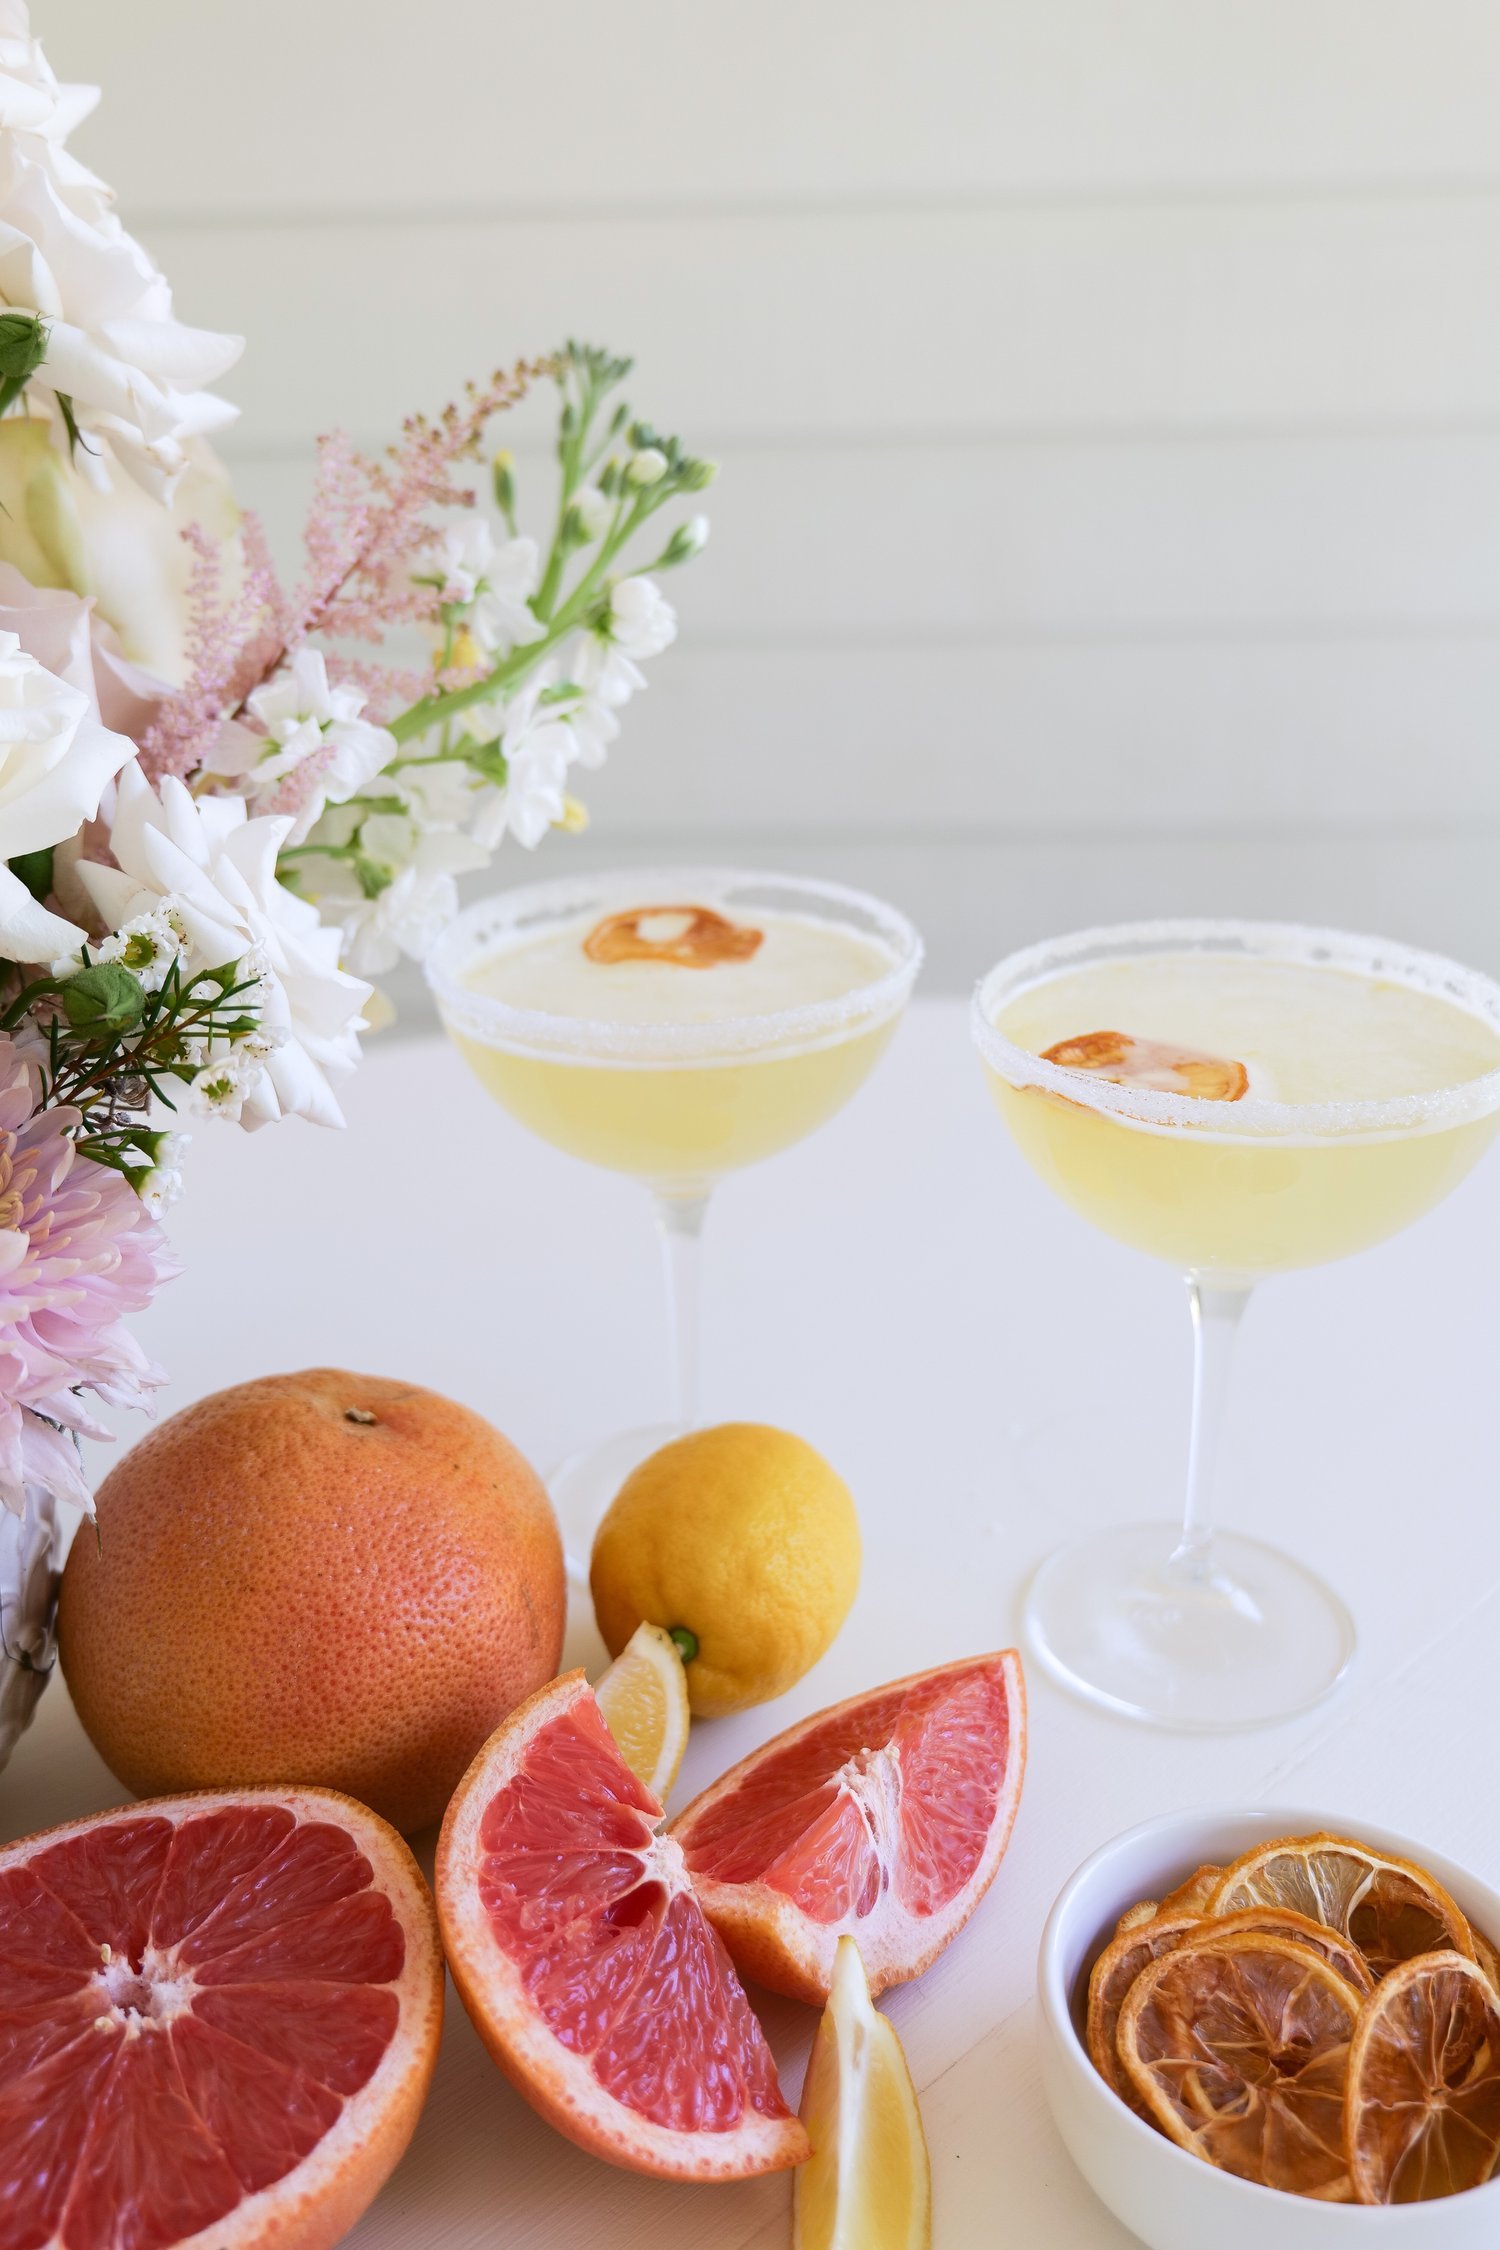
Lemon drop martini served in a sugar-rimmed glass

Make my Lemon Drop Martini

6. Refreshing Lemon Twist Cocktail

For something bubbly and citrusy, this Lemon Twist Cocktail combines fresh lemon juice, limoncello, ginger beer and champagne.

It’s one of the easiest drinks on this list: fill your glass with ice, add the lemon juice, limoncello and ginger beer, then top everything with champagne. A few fresh lemon slices are really all it needs to look beautiful.

This is exactly the kind of cocktail I’d serve for an outdoor summer lunch or an easy happy hour at home.

Lemon champagne cocktail with limoncello and ginger beer
Limoncello and ginger beer cocktail topped with champagne

Get the recipe for my Refreshing Lemon Twist Cocktail

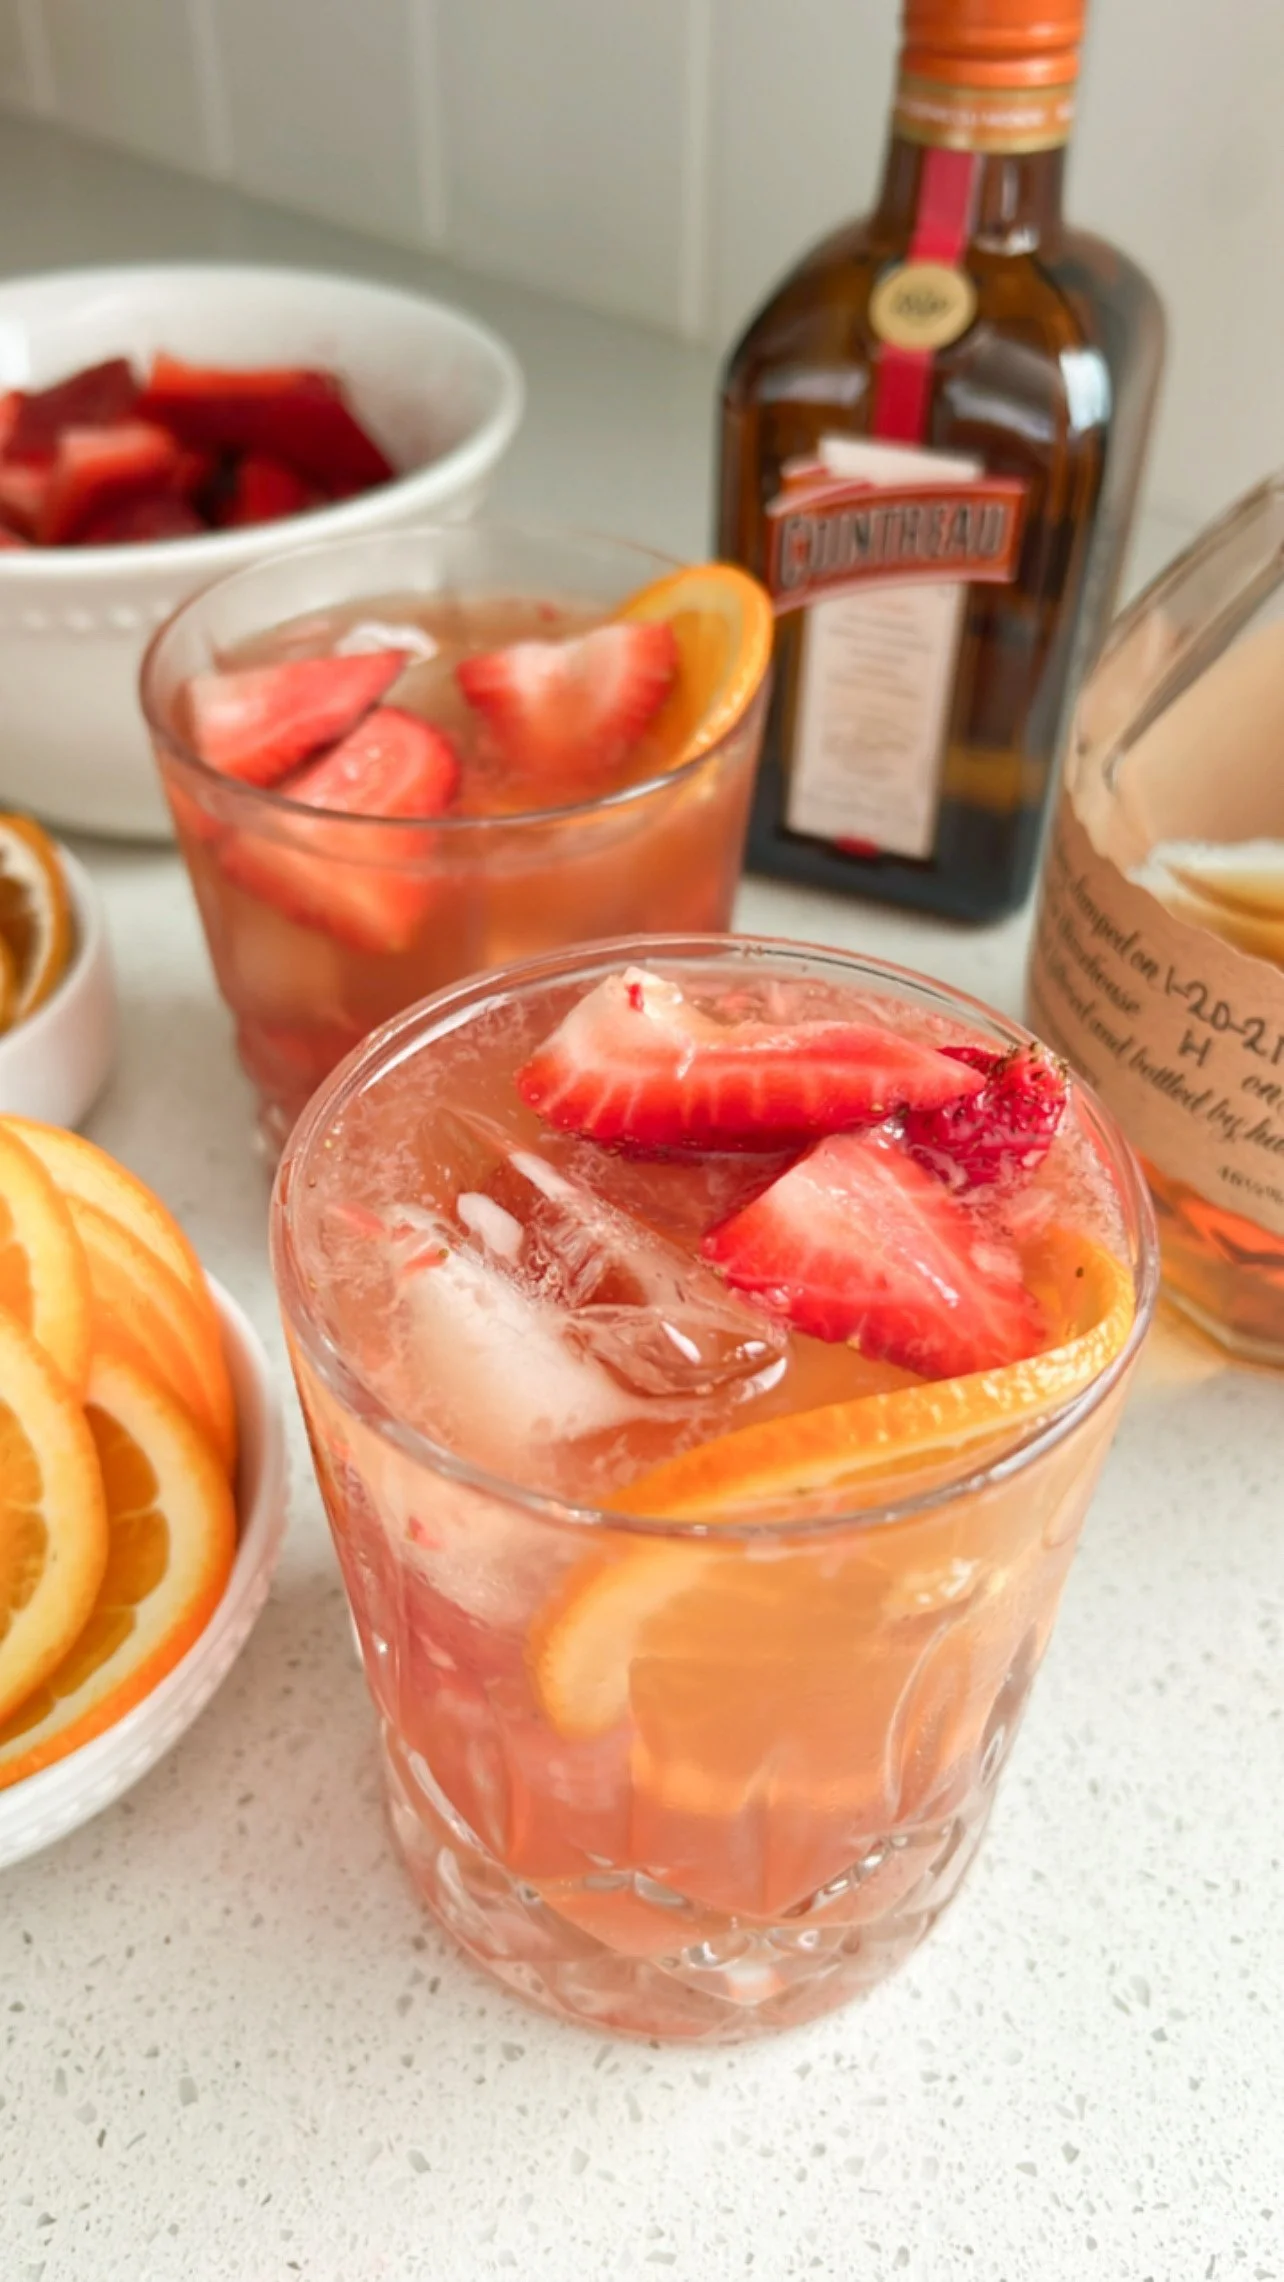
7. Strawberry Orange Bourbon Smash

Fresh strawberries and orange make this bourbon cocktail feel completely different from the heavier bourbon drinks we tend to think about during fall and winter.

The strawberries are muddled right in the glass before adding orange liqueur, bourbon and a blood orange sparkling drink. Finish it with fresh orange slices and strawberries for an easy cocktail that looks much more involved than it actually is.

I especially love this one for late summer when strawberries are still everywhere but I’m starting to want those slightly warmer flavors again.

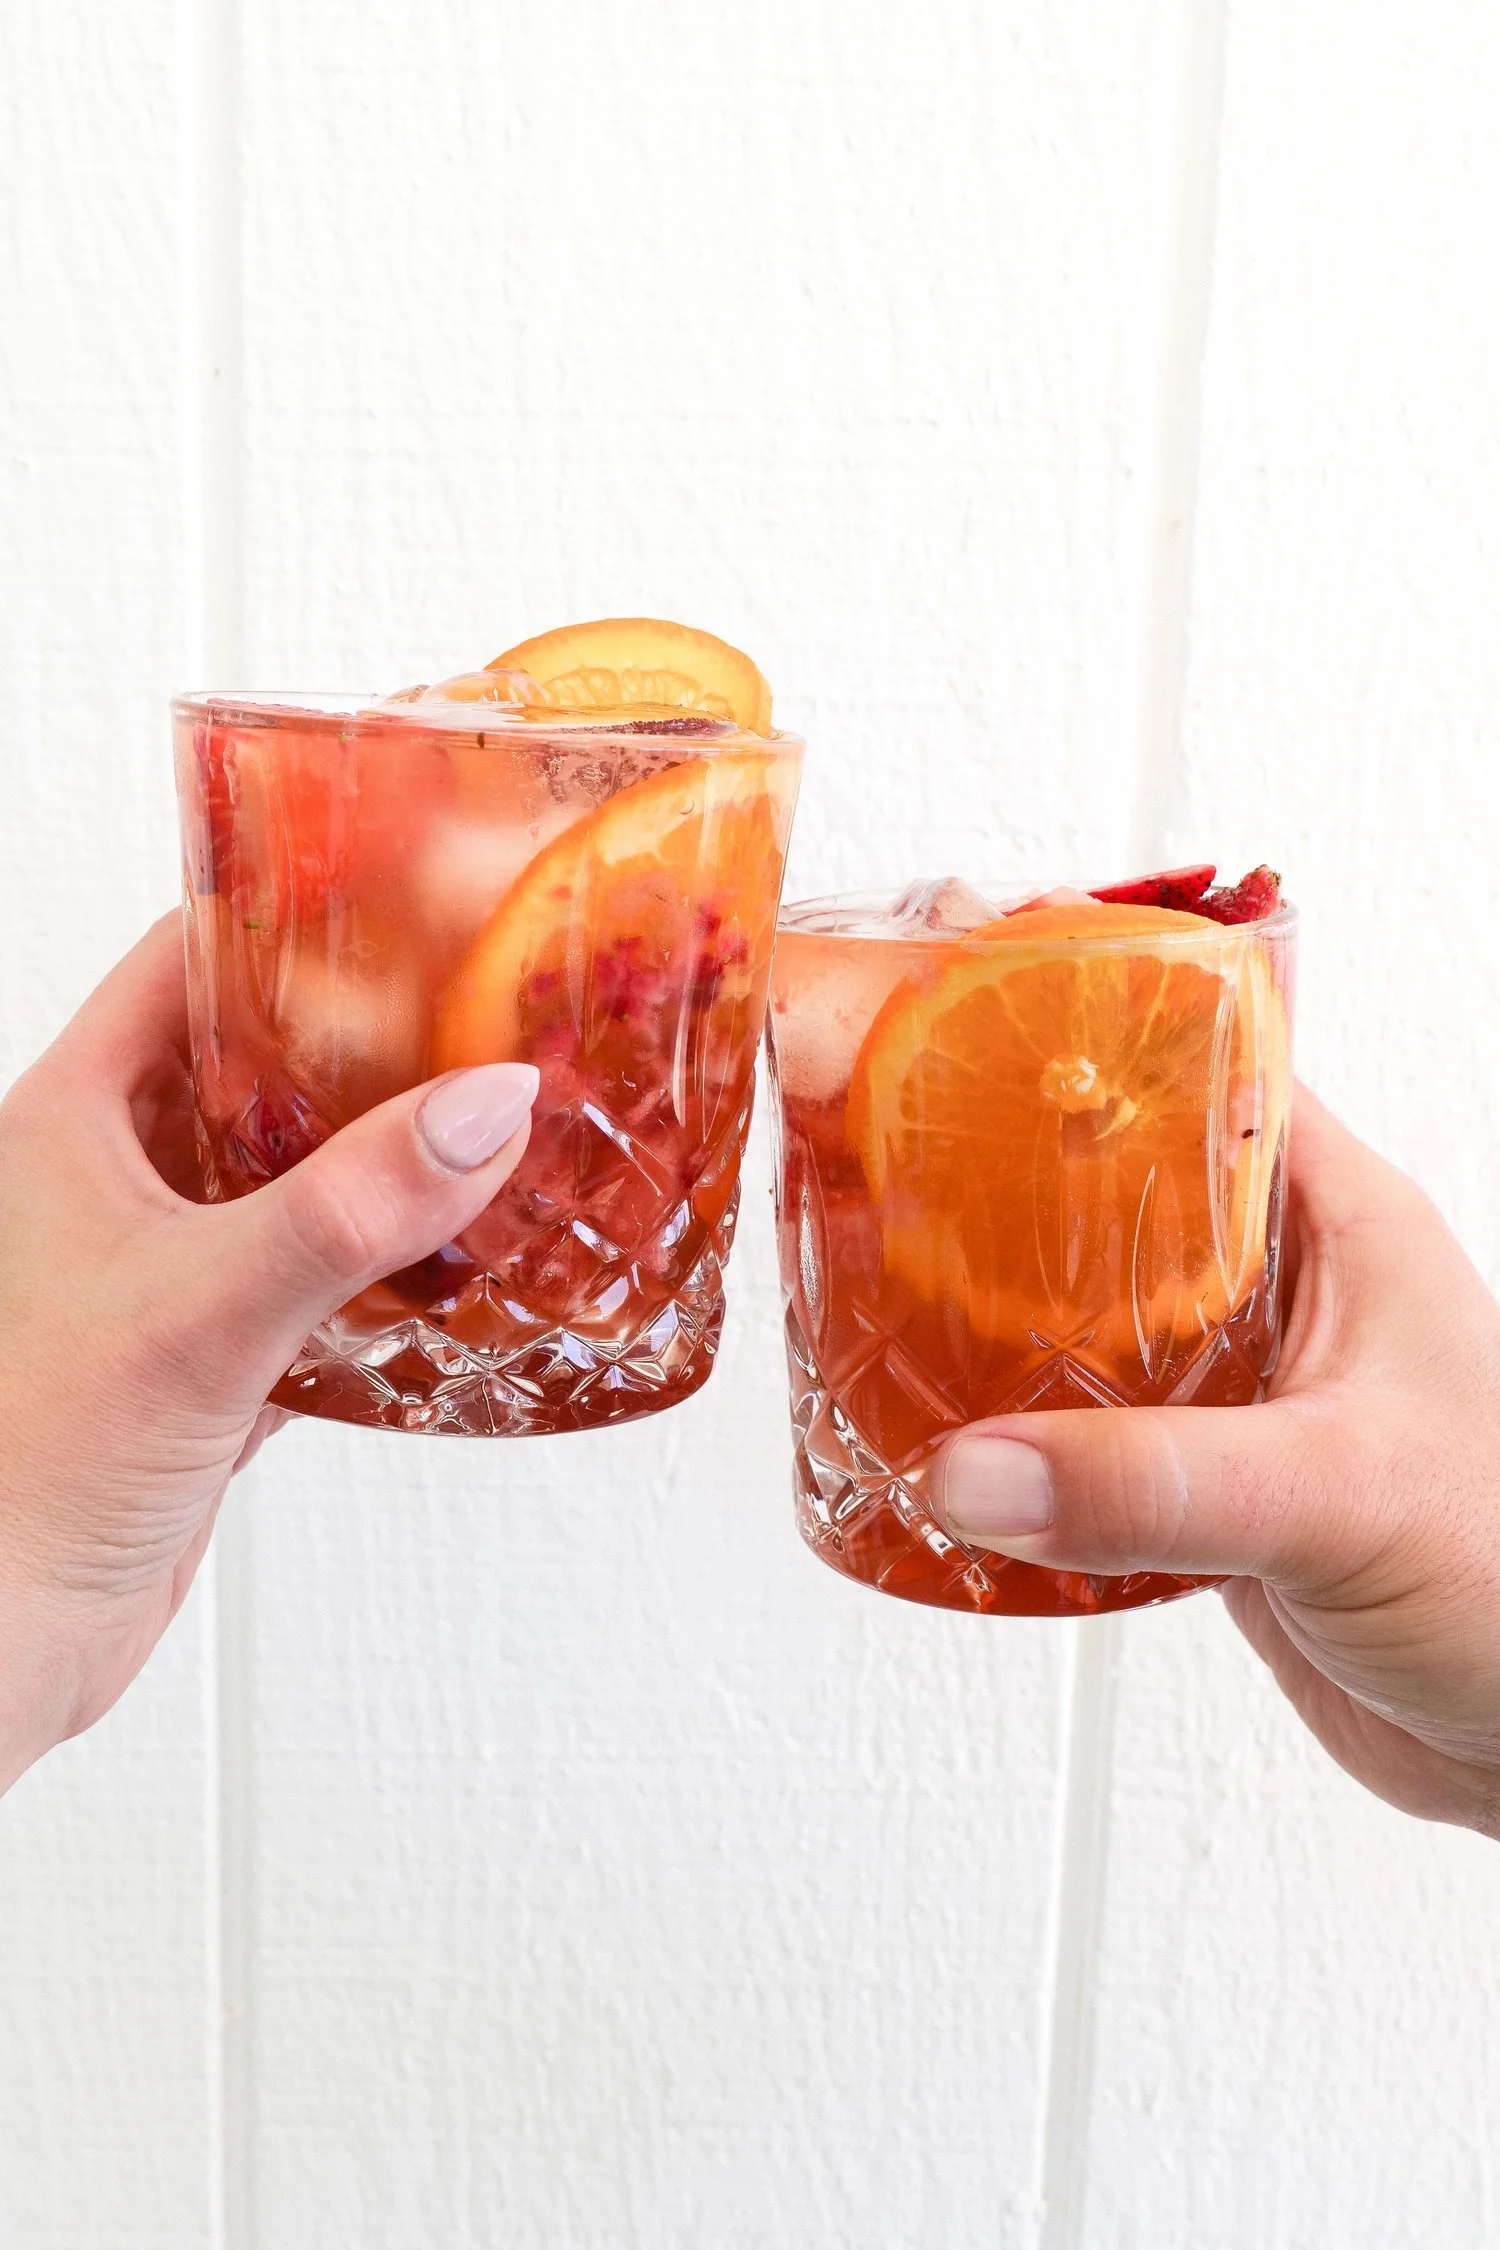
Strawberry orange bourbon smash with fresh fruit
Bourbon cocktail with strawberries and fresh orange slices

Make the Strawberry Orange Bourbon Smash.

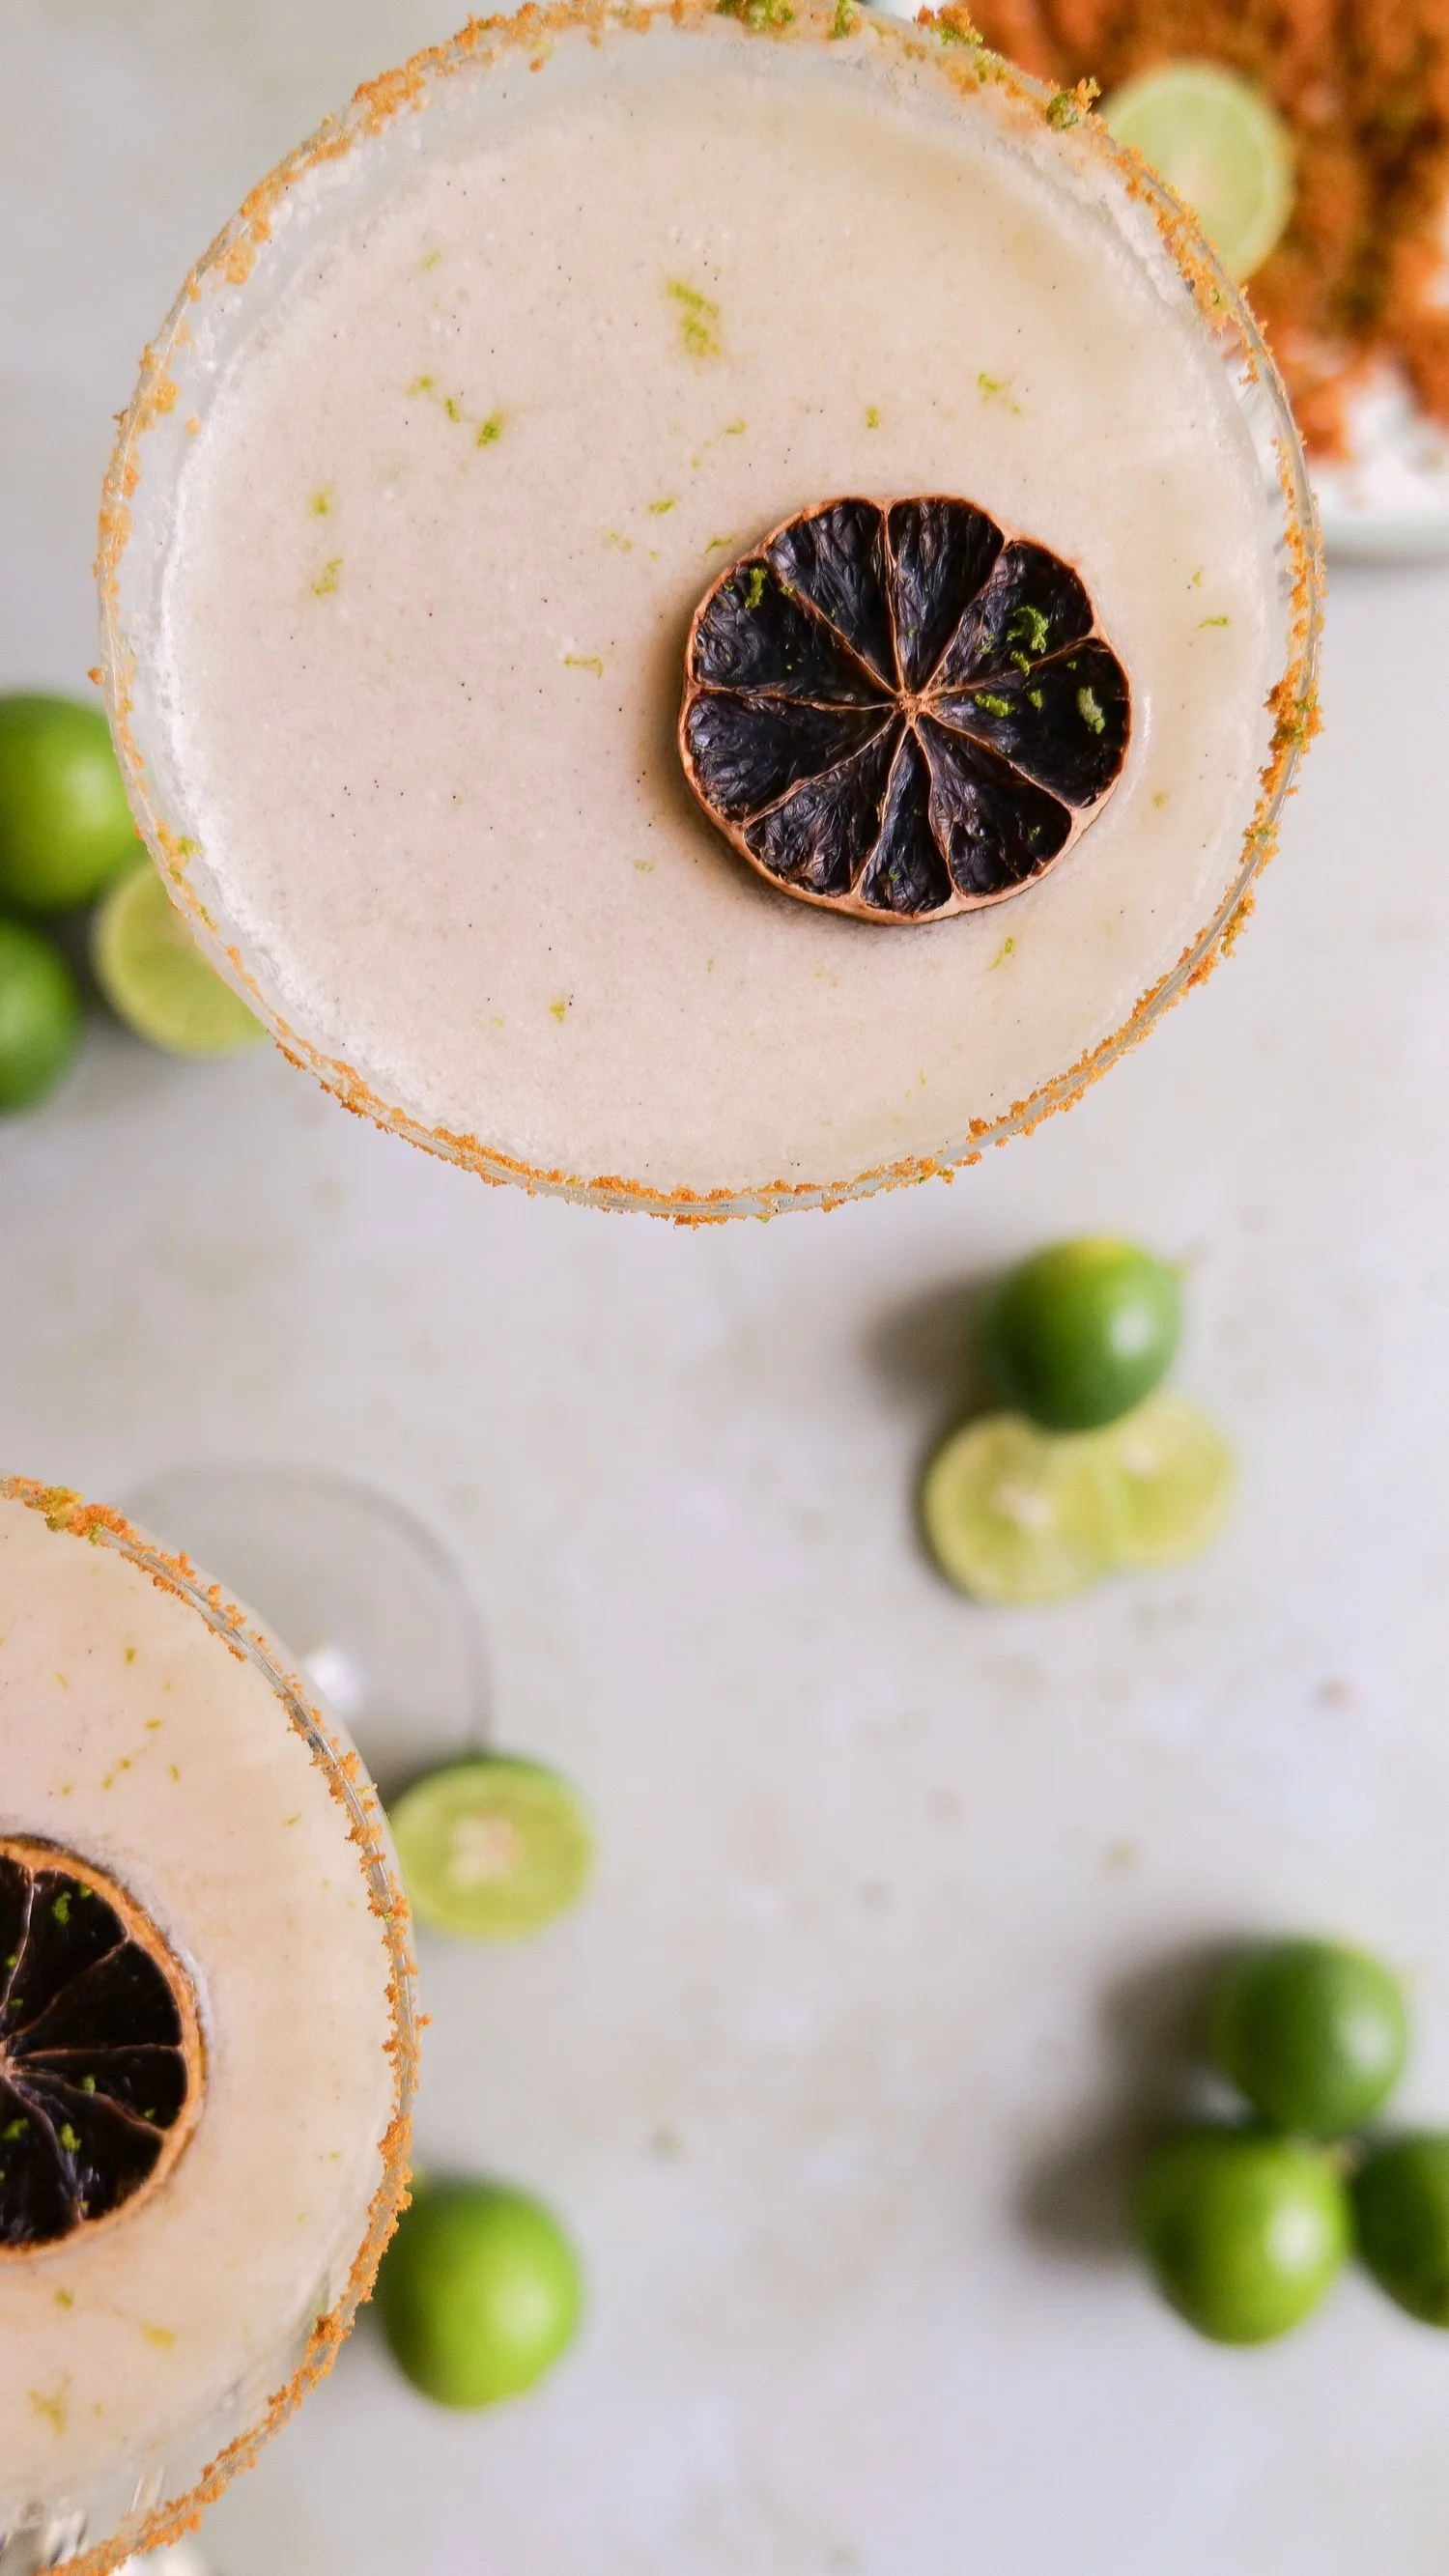
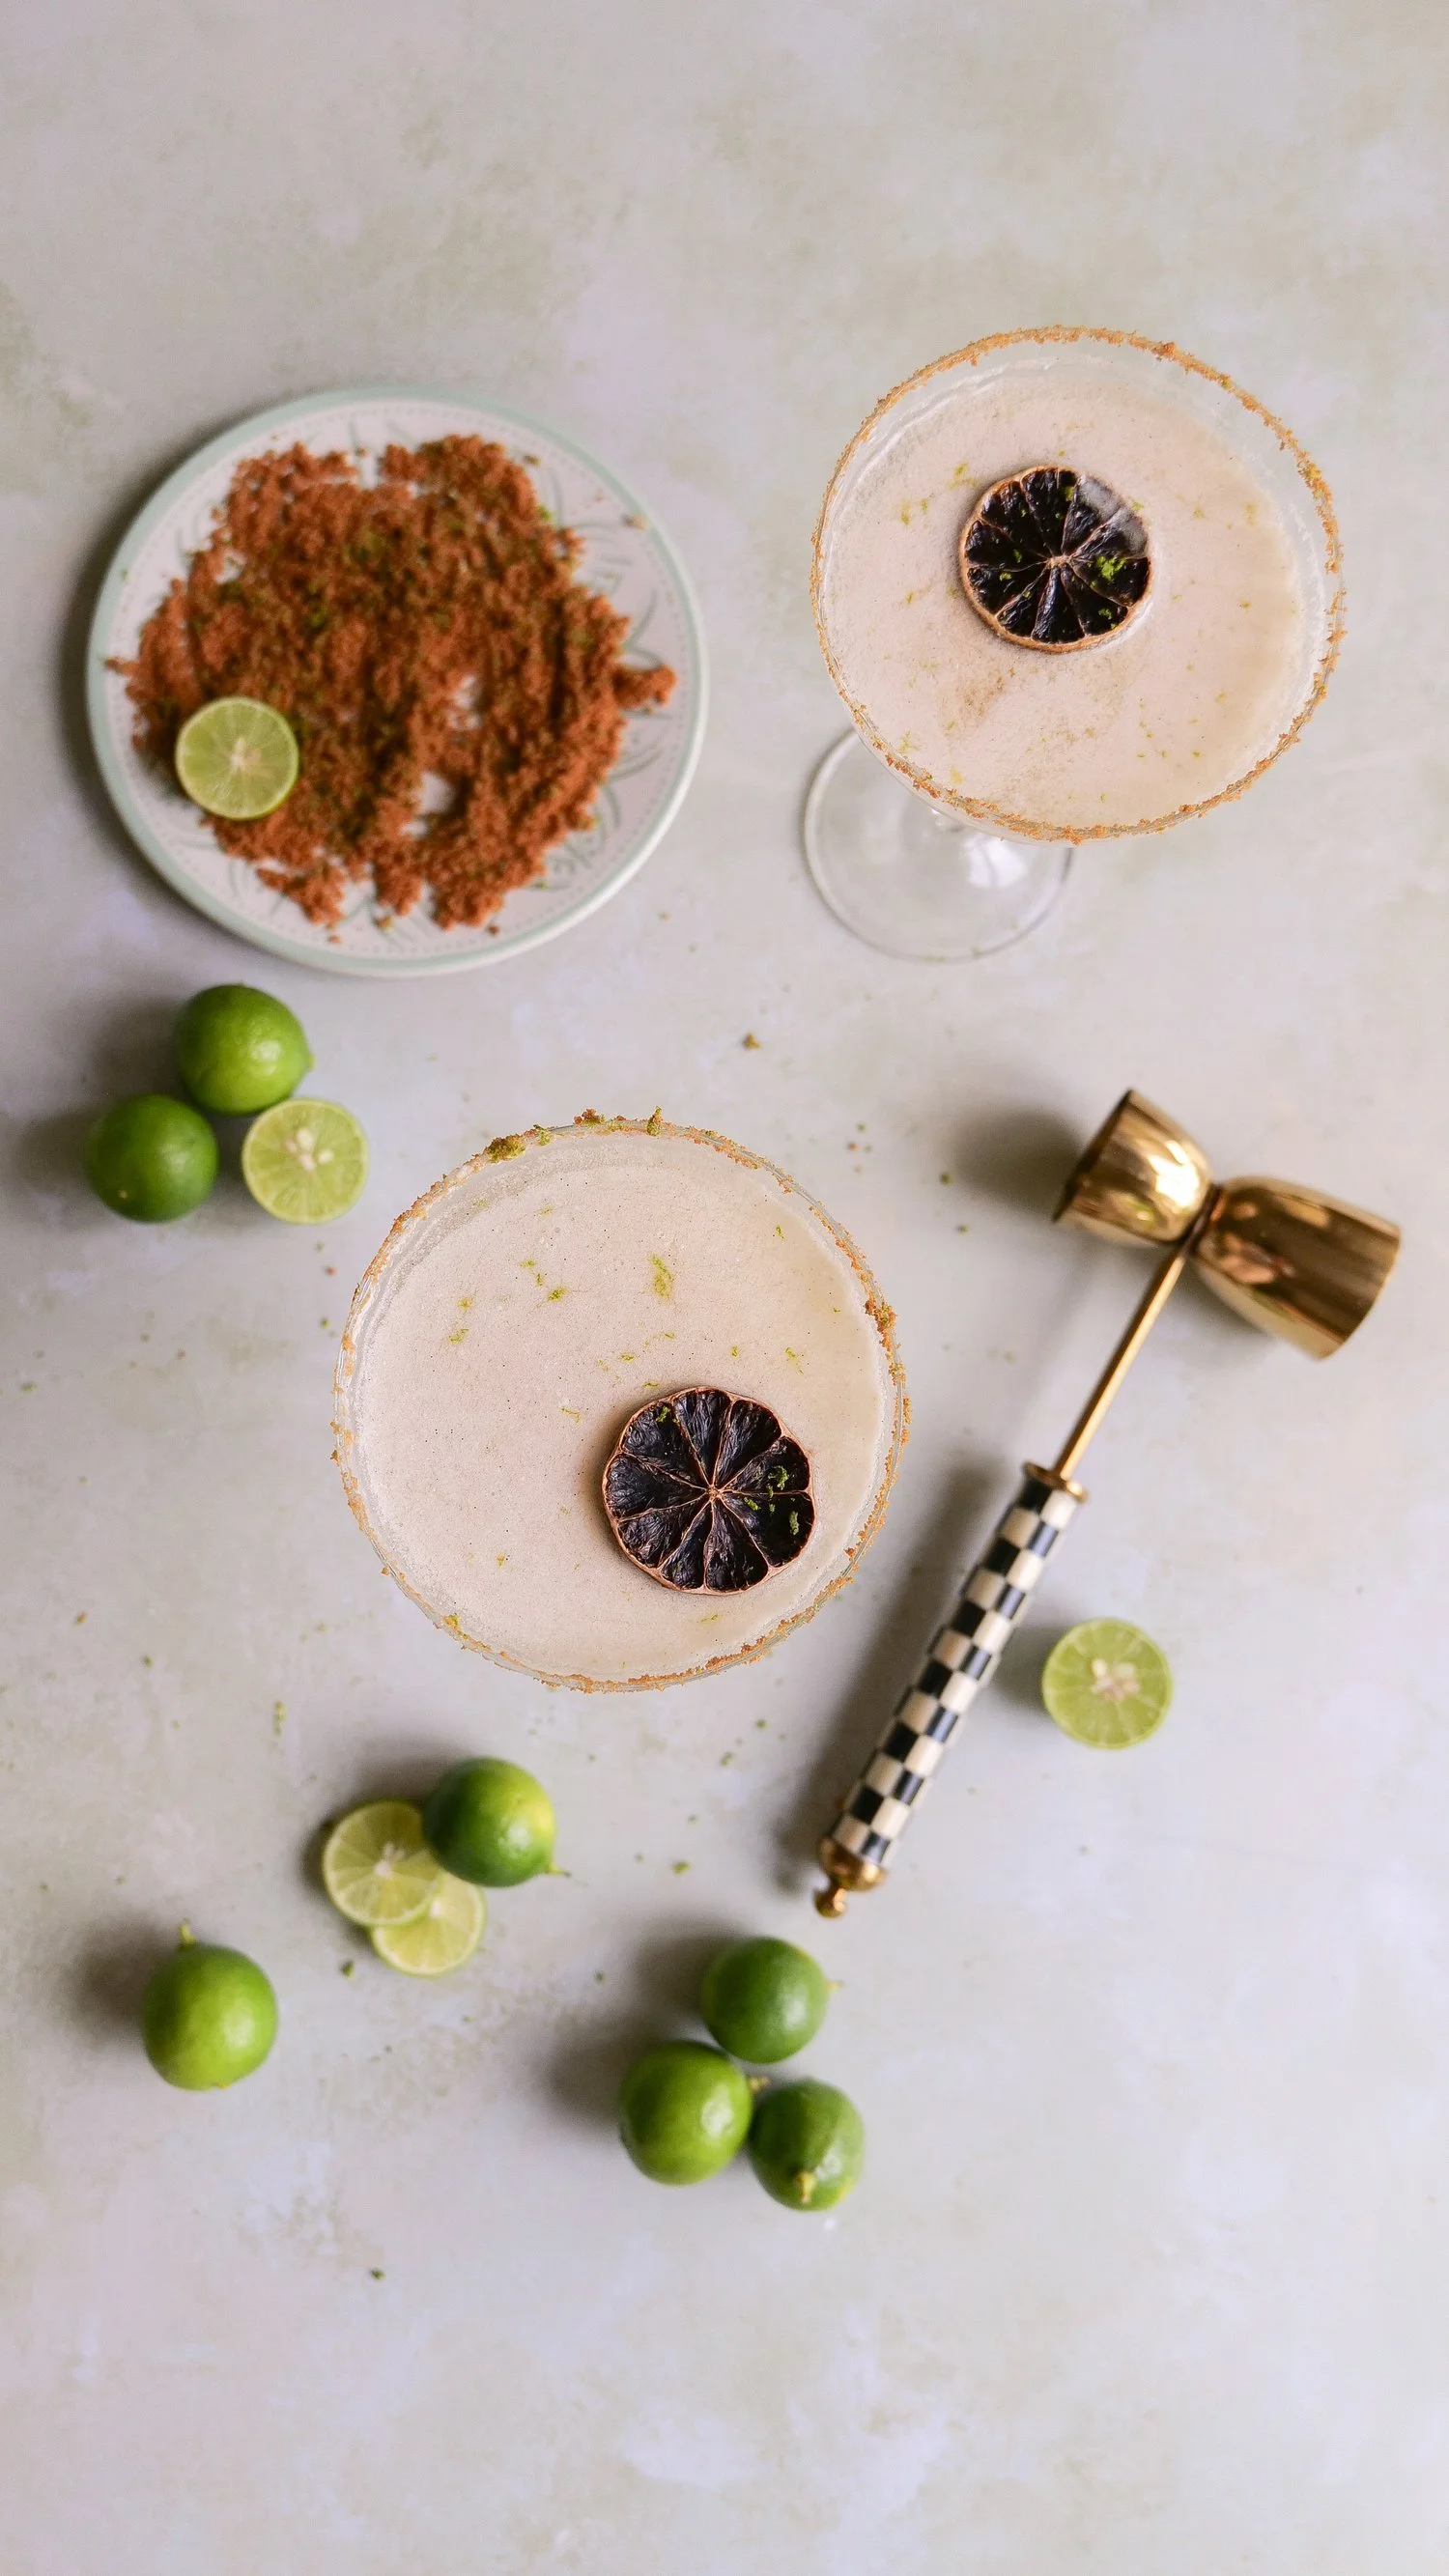
8. Key Lime Pie Martini

If dessert cocktails are more your thing, this one is basically key lime pie in cocktail form.

Vodka, lime juice, lemon juice, coconut milk, simple syrup and vanilla bean paste create the creamy citrus base. The graham cracker and lime zest rim is what really gives it that key lime pie feeling.

It’s sweet, tart and creamy all at once, and it makes such a fun after-dinner drink for a summer party.

Key lime pie martini with graham cracker and lime zest rim
Creamy key lime martini garnished with fresh lime

Get my Key Lime Pie Martini recipe.

9. Large Pitcher Melon & Cucumber Sangria

If I’m serving a crowd, a pitcher cocktail will almost always win.

This Melon & Cucumber Sangria combines fresh melon, cucumber and green grapes with honey, orange liqueur and a bottle of Sauvignon Blanc or Pinot Grigio. Right before serving, sparkling cucumber-mint water is added for a little fizz.

I love that you can assemble most of it ahead of time, tuck the pitcher into the refrigerator and finish it just before everyone arrives. It’s exactly the kind of low-maintenance recipe that makes entertaining easier.

Melon and cucumber sangria pitcher with green grapes
Summer sangria with fresh melon, cucumber and grapes
White wine sangria pitcher for summer entertaining

Get the full Large Pitcher Melon & Cucumber Sangria recipe.

10. Cherry Berry Slushies

And finally, one of my newer summer favorites: Cherry Berry Slushies.

There’s something nostalgic about a cold cherry slush on a warm summer evening, and I originally made these as part of our Americana Summer table. The base combines cherry juice and lemonade with optional vodka, then gets topped with a homemade blueberry syrup and fresh summer fruit.

I especially love this one because you can make it as a cocktail or leave out the vodka for a kid-friendly summer slush. The blueberry syrup can also be made a day ahead, which is always a win when you’re entertaining.

Cherry berry slushies with blueberry syrup and fresh fruit
Frozen cherry berry slushie topped with homemade blueberry syrup

Get the full recipe for my Cherry Berry Slushies.

How to Choose a Cocktail for a Summer Party

If you’re trying to decide which one to make, I’d think about how you’re entertaining more than anything else.

For a larger group, the Piña Colada Pitcher and Melon & Cucumber Sangria are two of the easiest options because you aren’t making every drink individually. If it’s a smaller dinner or happy hour, the Lemon Drop Martini, Lemon Twist Cocktail or one of the bourbon drinks are easy to make as you go.

For the hottest days, I’d go frozen. The Raspberry Frozen Margarita and Cherry Berry Slushies are exactly what I want when it’s warm outside.

And if you’re planning an entire menu, start with the food. A margarita is an easy choice for taco night, the sangria works beautifully with a summer dinner outside, and the Champagne Mint Julep would be so pretty for brunch.

A Few Tips for Summer Cocktails

The easiest way to make cocktails feel special at home is usually in the little details. Chill your wine and champagne ahead of time, keep plenty of ice on hand and prep whatever you can before guests arrive.

Fresh garnishes make a huge difference too. Citrus slices, berries, pineapple, cherries and fresh mint are all used throughout these recipes, and they make even a simple drink feel finished.

I also like setting out beautiful glassware, a cocktail shaker and garnishes before everyone arrives. It turns the drinks into part of the table without creating more work once we’re actually entertaining.

FAQ

Frequently Asked Questions

What are the best cocktails for a summer party?

For a larger summer gathering, pitcher cocktails like piña coladas and melon cucumber sangria make serving a crowd easier. Frozen margaritas and slushies are especially refreshing for hot days, while citrus cocktails and sparkling drinks work beautifully for dinners and happy hours.

What cocktails can I make ahead for a party?

Pitcher-style drinks are generally the easiest choice when entertaining. Sangria can be assembled ahead and refrigerated, then finished with ice and the sparkling component just before serving. Some cocktail components, such as homemade syrups, can also be prepared ahead.

What are good frozen cocktails for summer?

The Raspberry Frozen Margarita, Piña Colada Pitcher and Cherry Berry Slushies in this roundup are all cold, frozen options for summer. The Cherry Berry Slushies can also be made without vodka for a nonalcoholic version.

What is a good summer cocktail for a crowd?

The Melon & Cucumber Sangria and Piña Colada Pitcher are especially useful when serving several people because they're prepared in larger batches rather than mixed one glass at a time.

What garnishes work well for summer cocktails?

Fresh summer fruit and herbs are an easy way to finish a cocktail. Depending on the drink, try pineapple wedges, fresh berries, citrus slices, lime wedges or fresh mint.

Shop My Entertaining Favorites

So many of these drinks are made even prettier with the right glassware, pitchers and serving pieces. I keep my favorite entertaining pieces together so they’re easy to find whenever we’re having people over.

More Summer Recipes & Entertaining Ideas

If you’re planning a summer gathering, here are a few more of my favorite recipes and entertaining ideas to bring everything together.

My Summer Shrimp Boil is one of my favorite ways to feed a crowd, especially when you want dinner to feel fun and relaxed. Add my Brown Butter Corn on the Cob alongside it for an easy summer side.

For something a little more casual, try my California Bacon-Wrapped Hot Dogs, then finish the night with Mini Cherry Cobblers for dessert.

And if you’re looking for inspiration beyond the menu, my America’s 250th Summer Tablescape has all the details for creating a festive summer table.

Final Thoughts

I don’t think summer entertaining needs to be complicated. Give me something good to eat, a cold drink, a table outside and people I love, and I’m happy.

That’s what I love about this list. There’s a cocktail for just about every kind of summer day—from frozen margaritas by the pool and pitcher sangria for a crowd to a Lemon Drop Martini after dinner.
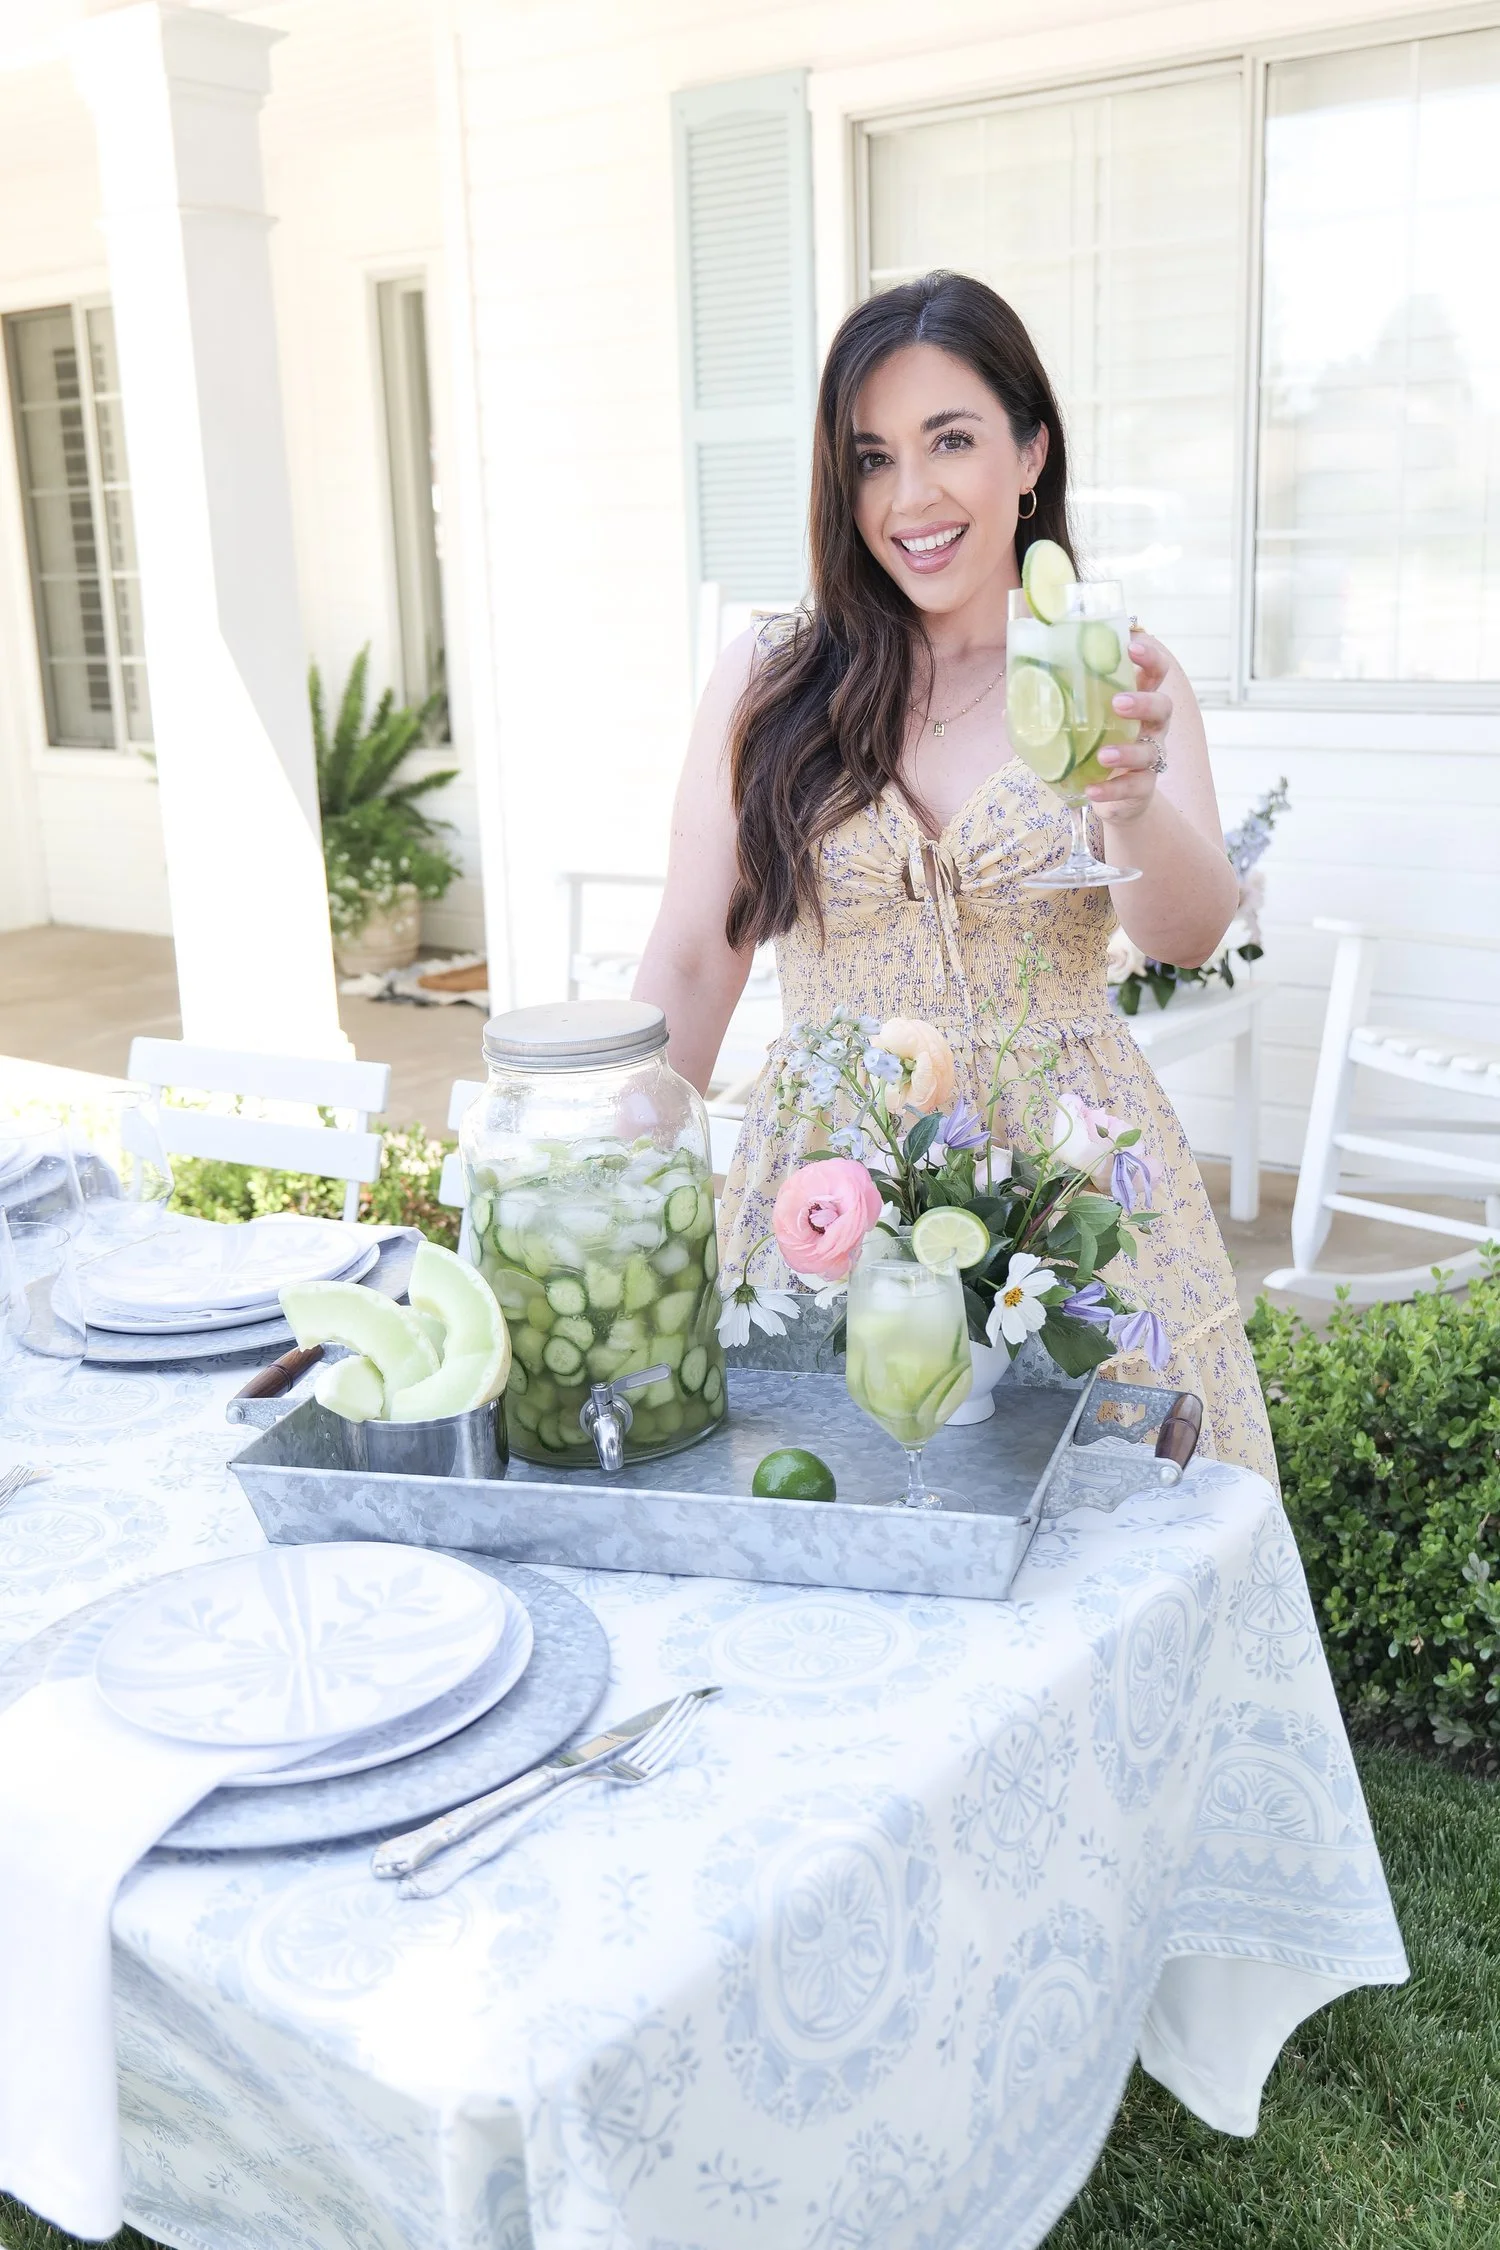
Save a few favorites now and come back to this list the next time you’re planning a summer dinner, happy hour or weekend gathering. I have a feeling I’ll keep adding to it as new summer cocktail recipes make their way onto the blog.

Chorizo, Egg & Crispy Potato Breakfast Bowls

These Chorizo, Egg and Crispy Potato Breakfast Bowls are one of those breakfasts that somehow works for everything: a slow weekend morning, feeding a house full of people or prepping breakfast ahead for the week.

Each bowl starts with crispy seasoned potatoes and gets piled with spicy chorizo, fluffy scrambled eggs, melted mozzarella and creamy avocado.

It's hearty, savory and really simple to make.

I especially love the contrast between the crispy potatoes and eggs, and cooking the eggs in the same skillet as the chorizo gives them even more flavor without adding another step—or another pan to wash.

Chorizo, egg and crispy potato breakfast bowl topped with mozzarella cheese and sliced avocado.

Why You'll Love These Chorizo Breakfast Bowls

There are a few reasons this breakfast has stayed in our rotation.

First, everything is made with simple ingredients. Potatoes, eggs and chorizo do most of the work, and then you can finish each bowl with whatever toppings you love.

They're also incredibly easy to customize.

Add avocado and cheese like I did, spoon salsa over the top, add fresh herbs or give everything an extra kick with hot sauce.

And if you're feeding several people, everyone can build their own.

If you're looking for something sweet to serve alongside a savory breakfast, my Raspberry Scones would be so good with these for brunch.

Easy savory breakfast bowl layered with crispy potatoes, chorizo, scrambled eggs, cheese and avocado.

The Secret Is Really Crispy Potatoes

The potatoes might secretly be my favorite part of this entire breakfast.
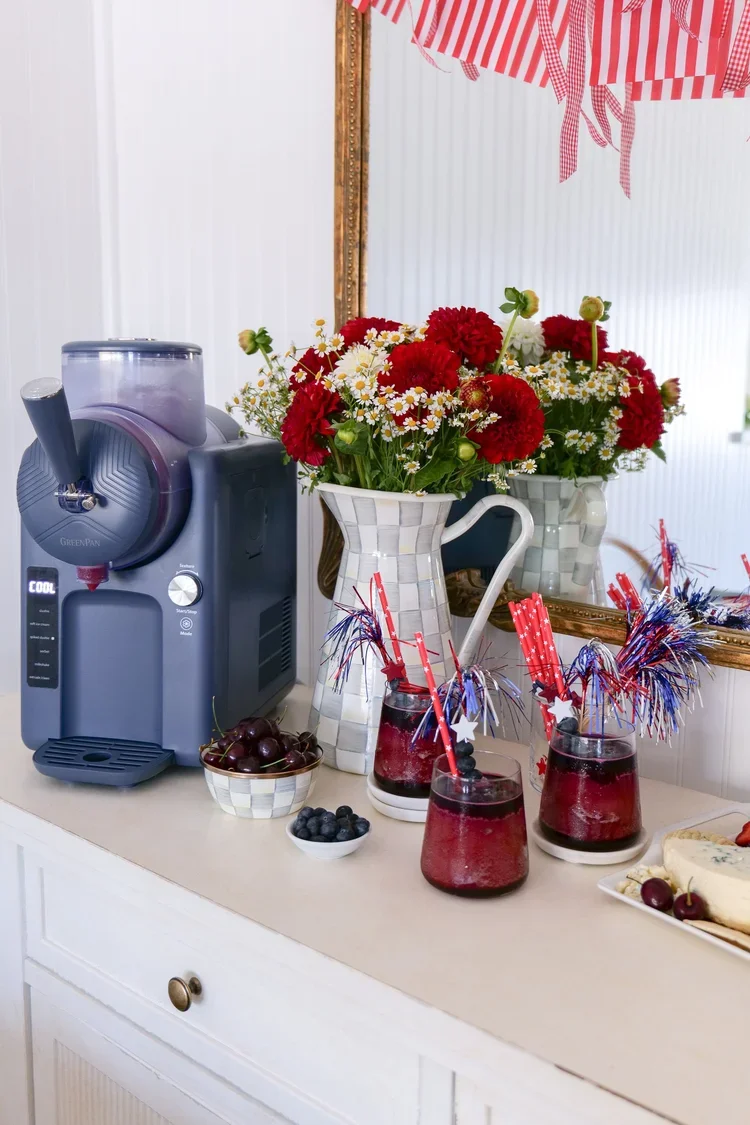
Cut your red potatoes into small, bite-size pieces. The smaller you dice them, the more surface area there is to get golden and crispy.
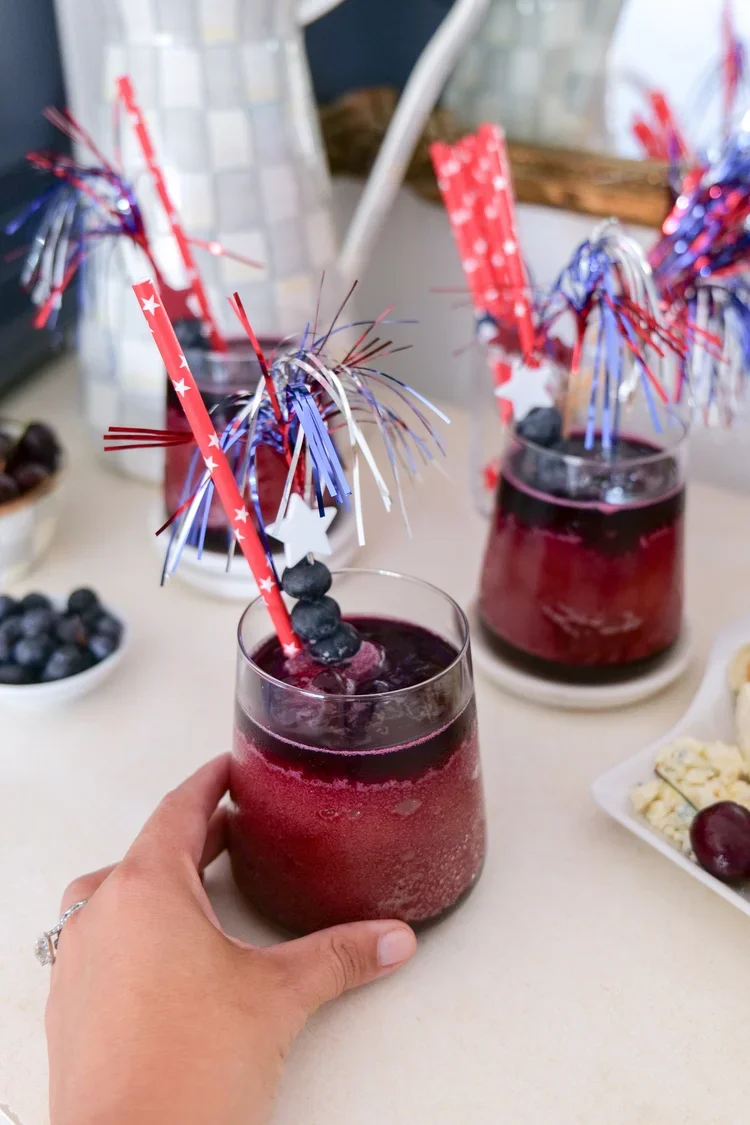
Heat olive oil in a large skillet and season the potatoes with salt, pepper, garlic powder and onion powder.

Then give them time.

You don't want to constantly move the potatoes around the pan. Letting them sit against the hot skillet is what creates those golden, crispy edges.

If the pan starts looking dry while they're cooking, add another drizzle of olive oil as needed.

Crispy seasoned potatoes with chorizo and scrambled eggs in a homemade breakfast bowl.

Cook the Chorizo Separately

While the potatoes are crisping, cook the chorizo in a second skillet.

Remove the casings first, then break the chorizo apart as it cooks until it's completely browned and cooked through.

Once finished, transfer it to a paper-towel-lined plate.

But don't wash that skillet yet.

We're using it for the eggs.

Scramble the Eggs in the Chorizo Pan

This is such a small detail, but it makes the eggs so much better.

After removing the cooked chorizo, whisk the eggs and add them directly to the same skillet.

The little bit of flavor left behind from the chorizo gets incorporated into the eggs while they cook.

Scramble them gently until they're light and fluffy and completely cooked through, seasoning with salt and pepper to taste.

Now everything is ready to assemble.

Chorizo and fluffy scrambled eggs served over crispy red potatoes for breakfast.

How to Build a Chorizo Breakfast Bowl

I like layering these in this order:

Crispy potatoes → chorizo → scrambled eggs → mozzarella → avocado.

Putting the cheese over the warm eggs helps it soften and melt slightly, and the fresh avocado on top gives the whole bowl a creamy finish.

You can stop there or add your favorite breakfast toppings.

Overhead view of a chorizo potato and egg breakfast bowl with mozzarella and fresh avocado.

The Best Toppings for Breakfast Bowls

This is where you can make each bowl your own.

Avocado and mozzarella are my go-to toppings for this recipe, but salsa or pico de gallo, queso fresco, shredded cheddar, green onion, cilantro, hot sauce, jalapeño, sour cream or Greek yogurt and fresh lime would all be delicious.

If you're serving these for brunch, set the toppings out in little bowls and let everyone build their own breakfast bowl.

It's an easy way to serve a crowd without having to plate every breakfast individually.

Shop My Breakfast & Kitchen Favorites

For breakfasts like this, I'm always reaching for the same few kitchen staples—a really good skillet, sharp knives, cutting boards, mixing bowls and serving pieces.

I've linked the kitchen tools and breakfast essentials I use most often in my Kitchen Favorites ShopMy shelf.

Savory breakfast bowl with chorizo, eggs, crispy potatoes, mozzarella and sliced avocado.

Make Them for Brunch

These breakfast bowls are especially good when you're feeding a larger group because the recipe makes about 8–10 servings.

You can cook the potatoes and chorizo first, scramble the eggs closer to serving time and put all of the toppings out on the table.

For a larger breakfast or brunch spread, add something sweet alongside them.

My Nana's Apple Pancakes are one of my favorite family recipes, or try these Soft Cream Cheese Lemon Blueberry Scones.

And during fall, my Pumpkin Coffee Cake with Pecan Crumbles would be such a good sweet addition to the table.

Chorizo egg and potato breakfast bowls served for an easy weekend brunch.

Meal Prep Chorizo Breakfast Bowls

These are also really easy to turn into breakfast meal prep.

Prepare the potatoes, chorizo and eggs as directed, then layer the potatoes on the bottom of individual containers followed by the chorizo and eggs.

Keep avocado and any fresh toppings separate until you're ready to eat.

For the best texture, I prefer reheating the breakfast bowls in the oven when possible so the potatoes have a chance to crisp back up.

If you know you're making the bowls specifically for meal prep, you can also slightly undercook the potatoes the first time so they don't become too soft when reheated.

I also included these bowls in my Postpartum Freezer Meals: 10 Easy Make-Ahead Recipes because they're such a good hearty option to have prepped and ready in the freezer.

Chorizo egg and potato breakfast bowl that can be prepared ahead for easy meal prep.

Chorizo, Egg & Crispy Potato Breakfast Bowls

Crispy seasoned potatoes topped with spicy chorizo, fluffy scrambled eggs, mozzarella and creamy avocado for an easy savory breakfast or brunch.

Prep Time: 15 minutes
Cook Time: 35–40 minutes
Total Time: 50–55 minutes
Servings: 8–10

Ingredients

  • 8 chorizo links, casings removed

  • 2 pounds red potatoes

  • 12 large eggs

  • Olive oil, as needed

  • Salt, to taste

  • Freshly ground black pepper, to taste

  • 1 teaspoon garlic powder

  • 1 teaspoon onion powder

  • 1 cup shredded mozzarella cheese

  • Avocado, sliced, for serving

Optional Toppings

  • Salsa or pico de gallo

  • Green onions

  • Cilantro

  • Hot sauce

  • Queso fresco

  • Sour cream or Greek yogurt

  • Jalapeño

  • Fresh lime

Instructions

1. Prep the Potatoes

Cut the red potatoes into small, bite-size pieces. Smaller pieces will give you more crispy edges.

Heat about 1 tablespoon olive oil in a large skillet over medium heat.

Add the potatoes and season with salt, pepper, garlic powder and onion powder. Toss until the potatoes are evenly coated in the oil and seasonings.

2. Cook Until Crispy

Let the potatoes cook until tender inside and golden and crispy outside, stirring occasionally.

Try not to move them constantly. Giving the potatoes time against the hot skillet helps develop those crispy edges.

Add additional olive oil as needed while cooking.

3. Cook the Chorizo

While the potatoes cook, heat a separate medium skillet over medium heat.

Add about 1 tablespoon olive oil if needed, followed by the chorizo with the casings removed.

Cook while breaking the chorizo into small pieces until completely browned and cooked through.

Transfer the cooked chorizo to a paper-towel-lined plate.

4. Scramble the Eggs

Whisk the eggs together in a large bowl.

Using the same skillet you cooked the chorizo in, add the eggs and season with salt and pepper to taste.

Cook gently, stirring frequently, until the eggs are fluffy and completely cooked.

5. Assemble the Breakfast Bowls

Divide the crispy potatoes between bowls.

Top with cooked chorizo followed by scrambled eggs.

Finish each bowl with shredded mozzarella and fresh avocado.

Add any additional toppings you love and serve warm.

Amanda's Notes

Cut the potatoes small. Smaller pieces mean more golden, crispy edges—and that's the best part of these bowls.

Don't constantly stir your potatoes. Let them sit against the skillet for a few minutes at a time so they actually have a chance to brown.

Save the chorizo skillet. Cooking your eggs in the same pan adds extra flavor and saves you from washing another pan.

Meal prepping? Assemble the potatoes, chorizo and eggs in individual containers, but keep avocado and other fresh toppings separate until serving.

Feeding a crowd? Cook all three main components and turn breakfast into a build-your-own bowl bar with several toppings.

How to Store Chorizo Breakfast Bowls

Allow everything to cool before transferring it to airtight containers.

Store the cooked potatoes, chorizo and eggs in the refrigerator and add fresh avocado after reheating.

For meal prep, I prefer keeping ingredients like avocado, salsa, fresh herbs and sour cream separate.

How to Reheat Breakfast Bowls

For the crispiest potatoes, reheat the bowl in an oven-safe dish until warmed through.

You can also use the microwave when you're short on time, although the potatoes will naturally be softer.

Easy chorizo breakfast bowl recipe with scrambled eggs, crispy potatoes, cheese and avocado.

Frequently Asked Questions

Can I make chorizo breakfast bowls ahead of time?

Yes. The potatoes, chorizo and eggs can all be prepared ahead and stored in the refrigerator. Add avocado and other fresh toppings after reheating.

What potatoes are best for breakfast bowls?

I use red potatoes because they hold their shape well and develop delicious crispy edges when diced and cooked in a skillet.

Can I customize these breakfast bowls?

Absolutely. That's one of the best things about this recipe. Add your favorite cheese, salsa, herbs, hot sauce, jalapeños or other breakfast toppings.

Can I serve these for brunch?

Yes. This recipe makes approximately 8–10 servings, making it a great option when you're feeding a larger group. Set the toppings out separately and let everyone assemble their own bowl.

How do I get crispy breakfast potatoes?

Dice the potatoes fairly small, make sure there's enough oil in the skillet and don't stir them constantly. They need time sitting against the hot pan to develop a golden crust.

More Breakfast Recipes You'll Love

If you're looking for more breakfast and brunch inspiration, try another favorite from Amanda's Kitchen:

Raspberry Scones

Nana's Apple Pancakes

Breakfast Croissants with Sausage, Bacon & Maple Dijon

Soft Cream Cheese Lemon Blueberry Scones

Pumpkin Coffee Cake with Pecan Crumbles

Pumpkin Pie Overnight Oats

Breakfast Burritos

Sausage English Muffin Breakfast Sandwiches

Shop My Breakfast & Kitchen Favorites

If you're making this recipe at home, I've gathered the skillets, knives, cutting boards, mixing bowls, meal-prep containers and serving pieces I use most often in one place.

Kitchen Favorites

Breakfast & Meal Prep Favorites

Save This Recipe

Whether you're making these for weekend breakfast, serving them for brunch or prepping breakfast for the week ahead, save the printable recipe card below so you can easily make them again.

Printable Chorizo, Egg and Potato Breakfast Bowls recipe card from Amanda's Kitchen.

Gather Around the Table

A really good breakfast doesn't have to be complicated.

Crispy potatoes, spicy chorizo and fluffy eggs make these breakfast bowls hearty enough for a slow weekend morning, while avocado, cheese and whatever toppings you have on hand make them easy to change every time you make them.

Make them fresh for breakfast, set everything out for a build-your-own brunch or portion them into containers for the week ahead.

Either way, don't rush the potatoes.

Those crispy edges are worth the extra few minutes.

Made with love for the people you love.

Homemade chorizo and crispy potato breakfast bowl with scrambled eggs, cheese and avocado.

Berry Goat Cheese Salad with Candied Walnuts & Strawberry Balsamic Vinaigrette

There are some recipes that are just as pretty on the table as they are delicious, and this berry goat cheese salad is absolutely one of them.

Fresh strawberries, blackberries and blueberries are layered over spinach with creamy goat cheese and sweet candied walnuts, then everything gets tossed in a homemade strawberry balsamic vinaigrette. It's fresh and colorful, with that perfect combination of sweet, tangy, creamy and crunchy in every bite.

I originally made this salad for lunch outside, surrounded by trees and greenery, and looking back at these photos it almost feels like we were having lunch in a little wooded fairy garden. It's exactly the kind of meal I love serving when the weather is warm—beautiful enough for a spring or summer gathering but simple enough to make for lunch at home.

Berry goat cheese salad with strawberries, blueberries, blackberries and candied walnuts served at an outdoor garden table.

A Salad Made for Spring and Summer

One of my favorite things about this salad is how naturally beautiful it is.

You have deep green spinach, bright strawberries, blueberries and blackberries, creamy white goat cheese and glossy candied walnuts. It doesn't need much styling once it's assembled because the ingredients do all of the work.

That makes it especially good for entertaining.

Fresh berry goat cheese salad with spinach, strawberries, blueberries, blackberries and candied walnuts.

Serve it for Easter, Mother's Day, a bridal or baby shower, a spring lunch or an easy summer dinner outside. It works beautifully as a side salad, but you can easily add grilled chicken or salmon and turn it into a complete meal.

Outdoor summer garden lunch table surrounded by trees and greenery with fresh berry salad.

What's in This Berry Goat Cheese Salad?

The ingredient list is simple, but each piece gives the salad something different.

Spinach creates a mild, fresh base that lets the berries stand out.

Strawberries, blueberries and blackberries add sweetness, color and a little tartness.

Goat cheese gives you that creamy, tangy contrast against the fruit.

And then there are the candied walnuts.

Those might be my favorite part.

Spinach salad topped with fresh strawberries, blueberries, blackberries, goat cheese and candied walnuts.

Don't Skip the Candied Walnuts

You could absolutely use plain toasted walnuts, but taking a few extra minutes to candy them makes such a difference.

For this recipe, I cook the walnuts with maple syrup and brown sugar until they're glossy and coated, then spread them onto parchment paper to cool.

You get these little bites of sweet crunch throughout the salad that work so well against the creamy goat cheese and fresh berries.

Fresh spinach salad with berries, creamy goat cheese and homemade maple candied walnuts.

Amanda's Tip: Make the candied walnuts first. They'll have time to cool and crisp while you prepare the dressing and assemble the rest of the salad.

Homemade Strawberry Balsamic Vinaigrette

The dressing is what brings everything together.

Fresh strawberries are blended with balsamic vinegar, raw honey, extra virgin olive oil, salt and pepper to make a simple strawberry balsamic vinaigrette.

You still get the depth and tanginess of balsamic, but blending fresh strawberries directly into the dressing gives it a little natural sweetness and makes it perfect for this salad.

Berry spinach salad with goat cheese and candied walnuts served with homemade strawberry balsamic vinaigrette.

If you love homemade dressings, this is also an easy one to make ahead. Blend it, refrigerate it in a sealed container and give it a good shake or stir before serving.

Setting a Garden Table for Lunch

This salad always makes me think of eating outside.

When I photographed this particular lunch at our old house, the table was tucked into so much greenery that it felt almost like dining in the middle of a little wooded garden.

Beautiful outdoor lunch table set among trees and greenery for a spring or summer meal.

And honestly, the setting didn't need much.

When you're surrounded by that much natural greenery, I think it's prettier to let the setting do most of the decorating. A thoughtfully set table, pretty serving pieces and colorful food are enough.

Summer outdoor table setting surrounded by lush greenery for an elegant garden lunch.

This is one of the reasons I love recipes like this for entertaining. The salad itself becomes part of the tablescape.

Shop My Summer Table & Kitchen Favorites

I've linked some of my favorite pieces for serving salads, setting a simple outdoor table and making homemade dressings below.

How to Assemble the Salad

I have one little trick when assembling salads with lots of toppings: don't put everything on top at once.

Start with the spinach and add about half of the berries, goat cheese and candied walnuts. Add some dressing and gently toss everything together.

Then transfer the salad to your serving bowl or platter and scatter the remaining berries, goat cheese and walnuts over the top.

Overhead view of berry spinach salad topped with goat cheese, fresh berries and candied walnuts.

That way, every bite is actually dressed and has some of the toppings in it, but you still get that beautiful finished salad with all of the color visible on top.

Easy Variations

This is also a very forgiving salad.

Use raspberries when they're in season. Swap the goat cheese for feta if that's what you prefer. Pecans work beautifully in place of walnuts, and you can use mixed greens or arugula instead of spinach.

For a heartier salad, add grilled chicken, salmon or even quinoa.

Colorful summer spinach salad with mixed berries, goat cheese and candied walnuts.

I wouldn't change too much at once, though. The combination of berries + creamy cheese + candied nuts + balsamic is what makes this one so good.

What to Serve with Berry Goat Cheese Salad

For lunch, I could happily eat this with a crusty baguette and call it a meal.

For dinner or entertaining, serve it alongside grilled chicken or salmon. It's also a beautiful fresh contrast to a creamy soup.

Try it with my Creamy Basil Tomato Soup, Slow Cooker Italian Wedding Soup, French Onion & Shallot Soup, or Creamy Cheddar Cauliflower Soup.

Make It Ahead

Most of this salad can be prepared ahead, which is another reason I love it for entertaining.

Make the candied walnuts ahead and let them cool completely before storing them in an airtight container.

Blend the strawberry balsamic vinaigrette and refrigerate it separately.

Wash and dry your berries and greens, but keep all of the salad components separate until you're ready to serve.

Wait to add the dressing until just before serving. That's what keeps the spinach fresh instead of soggy.

Berry Goat Cheese Salad with Candied Walnuts & Strawberry Balsamic Vinaigrette

Prep Time: 15 minutes
Cook Time: 5 minutes
Total Time: 20 minutes

Ingredients

For the Salad

  • 10 cups fresh spinach

  • ¼ cup fresh strawberries, sliced

  • ¼ cup fresh blackberries

  • ¼ cup fresh blueberries

  • 4 oz goat cheese, crumbled

For the Candied Walnuts

  • 2 cups walnuts

  • ¼ cup pure maple syrup

  • 2 tablespoons brown sugar

For the Strawberry Balsamic Vinaigrette

  • ¼ cup fresh strawberries, stems removed

  • ¼ cup balsamic vinegar

  • ¼ cup raw honey

  • ½ cup extra virgin olive oil

  • ¼ teaspoon salt

  • ¼ teaspoon freshly ground black pepper

Instructions

1. Make the Candied Walnuts

Line a baking sheet with parchment paper and set aside.

Add the maple syrup and brown sugar to a saucepan over medium heat. Cook, stirring, until the mixture is combined and bubbling.

Add the walnuts and stir until evenly coated.

Transfer the walnuts to the prepared parchment-lined pan and separate them so they don't cool in one large cluster. Let cool completely while you prepare the rest of the salad.

2. Make the Strawberry Balsamic Vinaigrette

Add ¼ cup strawberries, balsamic vinegar, raw honey, extra virgin olive oil, salt and pepper to a blender.

Blend until completely smooth. Set aside until you're ready to assemble the salad.

3. Assemble the Salad

Add the spinach to a large serving bowl.

Add approximately half of the sliced strawberries, blackberries, blueberries, goat cheese and candied walnuts.

Drizzle with your desired amount of strawberry balsamic vinaigrette and gently toss.

Top the salad with the remaining berries, goat cheese and candied walnuts so all of those beautiful colors and textures are visible.

Serve immediately with additional vinaigrette on the side.

Amanda's Notes

Make the walnuts first. Giving them time to cool allows the maple-brown sugar coating to set before you add them to the salad.

Dress just before serving. Don't toss the spinach with vinaigrette until you're ready to eat.

Add the toppings in two stages. Tossing half into the salad distributes everything evenly, while saving the other half for the top gives you that beautiful finished presentation.

Make it a meal. Add grilled chicken or salmon for an easy spring or summer dinner.

Swap the greens. Arugula or mixed greens are both delicious alternatives to spinach.

How to Store Leftovers

Once dressed, this salad is best enjoyed right away.

If you know you'll have leftovers, only dress the portion you're serving. Keep the spinach, berries, goat cheese, candied walnuts and dressing stored separately in the refrigerator.

Keep the candied walnuts in a sealed container at room temperature once completely cooled so they maintain their crunch.

Frequently Asked Questions

Can I make berry goat cheese salad ahead of time?

Yes. Prepare the candied walnuts and strawberry balsamic vinaigrette ahead of time and keep the salad ingredients separate. Assemble and dress the salad immediately before serving.

Can I substitute feta for goat cheese?

Yes. Feta will give the salad a slightly different flavor and texture but works beautifully with fresh berries and balsamic vinaigrette.

Can I use pecans instead of walnuts?

Absolutely. Candied pecans are an easy substitute for the walnuts and work well with the berries and goat cheese.

What protein goes well with berry salad?

Grilled chicken and salmon are both great additions if you'd like to turn this salad into a complete meal.

Can I use a different green instead of spinach?

Yes. Try arugula for a pepperier flavor or your favorite mixed greens for a lighter texture.

Why should I wait to dress the salad?

Adding vinaigrette too early can cause the spinach to wilt. For the freshest texture, toss the salad with dressing immediately before serving.

Elegant outdoor garden lunch table setting surrounded by trees and summer greenery.

More Salad Recipes

If you love a salad that's substantial enough to become part of the meal, try my Pear & Walnut Salad with Honey Mustard Dressing, Italian Chopped Salad Jars, Spinach Salad with Warm Shallot Dressing, Apples & Pistachios, or Shaved Brussels Sprout Salad with Apples, Goat Cheese & Candied Pecans.

Shop My Kitchen & Entertaining Favorites

I've linked some of my favorite pieces for making homemade dressings, serving big salads and setting a simple table for lunch outside.

Kitchen Favorites

Entertaining Favorites

Save This Recipe

Whether you're planning a spring lunch, summer dinner or simply want a new salad to add to your weekly rotation, save this one for later.

Printable Berry Goat Cheese Salad with Candied Walnuts and Strawberry Balsamic Vinaigrette recipe card.

Gather Around the Table

Some meals seem made for eating outside.

This is one of them.

A big bowl of colorful salad, something cold to drink, bread on the table and nowhere you need to be for a little while.

Looking back at these photos from our old home, I love how tucked away this table felt among all of the trees and greenery. It was the kind of spot that made an ordinary lunch feel a little magical.

And I think that's part of why I love setting a table—even for something as simple as salad.

The food brings everyone there. The setting makes you want to stay.

Sip into Paradise with the Refreshing Flavors of a Key Lime Pie Martini

The Key Lime Pie Martini perfectly captures the tropical taste of the beloved dessert, while turning it into a refreshing cocktail that's as creative as it is delicious. This cocktail combines the rich and creamy flavors of coconut milk, the zing of key lime juice, and just a bit of vodka, creatin a flavor that sits so nicely with every sip. This drink isn't just a refreshing treat but is also a celebration of the great taste of Key Lime Pie in a drinkable form. Imagine the warm summer breeze, lifted by this sweet and tangy delight. Whether enjoyed at a summer gathering or as a comforting escape in colder months, this martini promises a crowd-pleasing experience that will soon be one of your favorites!

Creating a Key Lime Pie Martini at home allows you to harness the coastal spirit of this cocktail, and it all starts with the right preparation. Begin by giving your glass an authentic pie touch with a lime zest and graham cracker mixed rim, which brings that familiar dessert charm to the presentation. Then, mix vanilla vodka or regular vodka and vanilla extract with key lime juice and lemon juice in a shaker filled with ice for a delicious mix of flavors. A splash of cream or coconut milk really enriches the cocktail, making it smooth and creamy while preserving the pie taste. Shake well until the mixture is well-chilled, then carefully strain the drink into the prepared glass. As a finishing touch, garnish with a lime wheel or zest to give an extra bit of color and citrus aroma, really enhancing the look and taste.

What is a Dry Shake?

A dry shake presents an intriguing technique in cocktail-making, involving the shaking of ingredients without ice. This method is great for its ability to create a dense, frothy texture, enhancing the cocktail's texture and aesthetic presentation. It's especially effective for cocktails with egg whites, like a whiskey sour, where it aerates and emulsifies to perfection. Even in a Key Lime Pie Martini, using a dry shake before adding ice helps achieve a light, frothy quality like a meringue topping on the pie. Following the initial dry shake, then ice comes into play for a second shaking round. This additional step cools and slightly dilutes the drink, ensuring it is served at the best temperature and consistency required to make the drink perfect.

Rim your Martini with a Graham Cracker Crust

Elevate your cocktail's presentation by rimming your martini glass with a crushed graham cracker crust. This is an irresistible step that adds authenticity to the pie-like theme. Start by finely crushing graham crackers and blending them with a sprinkle of lime zest for added depth and color. Then use a slice of lime or a dab of honey syrup to moisten the glass rim, ensuring the crust stays on well. Dip the prepared glass into the graham cracker crumbs, pressing gently for an even coat. This simple garnish enriches the drink's visual texture and complements the Key Lime Pie Martini’s tropical nature. With easy ingredients and a fairly simple preparation process, it is a joy to create, whether you're a true mixologist or a beginner to the world of cocktails. Great for summer get-togethers or even as a delightful treat in colder months, sipping this creation is like tasting a slice of paradise.

Can I make a non-alcoholic version of a Key Lime Pie Martini?

For those looking to enjoy the delightful flavors of a Key Lime Pie Martini without the alcohol, there's a refreshing mocktail version available. Start by swapping the vodka and coconut cream with sparkling water or non-alcoholic vanilla syrup, creating the foundational flavor without the alcohol itself. Still use authentic key lime juice to maintain that distinct tartness, pairing it with a splash of simple syrup for added sweetness. Give the mocktail a creamy element through coconut milk or non-dairy creamer, emulating the pie’s silky texture. Rim your glass with crushed graham crackers to preserve the classic pie experience and garnish your mocktail with a lime slice or whipped cream for an aesthetically pleasing touch.

What is the best way to serve a Key Lime Pie Martini?

To elevate the Key Lime Pie Martini experience, presentation is key, beginning with a chilled martini glass. The chill enhances the refreshing quality while a graham cracker-rimmed edge really brings to life the pie aspect. Garnish with a thin slice or twist of lime to provide an extra splash of color and zestful aroma, inviting the senses to enjoy the cocktail fully. Ensure that each shake with ice results in a perfect consistency, serving immediately while it retains the smooth texture and balanced flavors. This attention to detail makes this cocktail timeless no matter the season or occasion.

This Key Lime Pie Martini is more than just any average cocktail, as it's one that is full of vibrant flavors and creamy indulgence combined into one refreshingly drink. Whether enjoyed in its alcoholic or non-alcoholic form, it's a true treat for the senses and a testament to the art of mixing. As you enjoy this delightful combination of citrus and cream, you’ll find it impossible not to fall in love with this drink. Cheers to paradise in a glass!

Ingredients

2 oz vodka

1 oz lime juice

1 oz lemon juice

1 oz coconut milk

1/2 oz simple syrup

1 tsp vanilla bean paste

Crushed gram crackers

Lime Zest

Lime Slices

Instructions

1. Rim your cocktail glass by running a wedge of lime around the edge and dipping into a mix of gram cracker crumbs and lime zest. Set aside while preparing your cocktail.

2. Add to a cocktail shaker vodka, lime juice, lemon juice, coconut milk, simple syrup and vanilla extra. Give a dry shake. Add in 2 large cubes of ice and shake until ice is gone.

3. Pour into a rimmed glass. Top with a lime slice, serve and enjoy!

Save This Recipe

Whether you're planning ahead for a special occasion or adding a new favorite to your recipe collection, I've included a printable recipe card below so it's easy to save, print, and share with the people you love.

The Irresistible Hawaiian Roll Breakfast Sandwich for a Delicious and Satisfying Morning Boost!

In the hustle and bustle of busy mornings, there's nothing quite like starting your day with a satisfying Hawaiian Roll Breakfast Sandwich. This delicious mix combines the sweet softness of Hawaiian rolls with the savory richness of classic breakfast foods of eggs and cheese, creating a simple breakfast experience that is both delicious and energizing. Whether you're feeding a family or fueling yourself up for a busy day, these sandwiches offer a flavorful twist on your traditional morning meal. Let's explore why this breakfast option should become a staple in your morning routine.

The savory eggs mixed with melty cheese come together beautifully with the soft texture and subtle sweetness of Hawaiian rolls. This blend of flavors creates a taste sensation that's perfect for any breakfast occasion. These sliders are so easy to prepare, which makes them an ideal choice for those hectic mornings when time is of the essence. Creating these breakfast wonders doesn't require much preparation. With just a few ingredients and minimal cooking time, these sliders are not only convenient but customizable. Customize them with your favorite add-ons, such as crispy bacon, creamy avocado, or healthy spinach, for that personalized touch. The best part? They're loved by both kids and adults, making them a hit for family gatherings. Packed with protein and carbohydrates, these egg sliders provide a balanced meal to kickstart your day with a burst of energy.

Variations

Embrace your creativity in the kitchen by experimenting with different cheeses to best complement the sandwich's flavors. From sharp cheddar to smooth Swiss or zesty pepper jack, each choice adds a unique character to the dish. The option to add a variety of proteins, such as crispy bacon, savory sausage, or even a perfectly cooked fried egg, provides extra richness and satisfaction.

Incorporate fresh vegetables to enhance nutrition and color. Spinach adds a vibrant green, avocado offers creamy goodness, while tomatoes introduce a fresh, juicy pop. To spice things up, use flavored spreads or sauces like spicy mayo or herbed cream cheese. If you’re seeking more traditional sandwich tastes, try different roll flavors such as whole wheat or savory butter.

Lastly, the addition of maple syrup introduces a rich sweetness that complements the savory components beautifully. This balance makes the sliders ideal for busy mornings, allowing you to enjoy a satisfying taste experience with minimal effort. Whether you're rushing through your daily routine or hosting a casual brunch, these sliders are sure to impress.

What are Hawaiian rolls?

A critical component of this breakfast delight is the Hawaiian roll. These rolls are soft, slightly sweet, and known for their fluffy texture, originating from Hawaii. Their unique flavor twist comes from ingredients like pineapple juice, honey, and milk, giving them their signature taste and irresistible softness. Hawaiian rolls have gained popularity for their versatility, pairing well with both sweet and savory dishes. These delightful rolls are frequently used in sliders, sandwiches, and even accompany main meals as a delightful side. The convenient size and subtle sweetness make them the perfect bread for a breakfast sandwich, ensuring a tasty and fulfilling start to any day. Whether you're planning a brunch or a simple family breakfast, Hawaiian rolls stand out as an all-time favorite.

Tips and Tricks

Creating the perfect Hawaiian Roll Breakfast Sandwich involves choosing the freshest Hawaiian rolls for a flavorful base. Fix up the sandwiches by incorporating a mix of savory fillings, such as eggs, cheese, and your preferred breakfast meat. Adding a touch of freshness with ingredients like tomato slices or avocado can balance out the savory elements, providing a delightful contrast. Lightly toasting the assembled sandwich results in a crunchy exterior while maintaining a gooey interior. For an added flavor boost, experiment with different sauces and condiments. Try a dash of hot sauce or a spread of mayonnaise to customize the flavor. These simple tips can transform a basic breakfast into a gourmet experience.

For those handling breakfast for a bigger crowd, sheet pan breakfast sliders are a lifesaver. They offer a convenient way to make multiple sandwiches simultaneously, eliminating the stress of individual preparation. Using Hawaiian rolls adds a touch of sweetness that perfectly balances the savory layers of scrambled eggs, cheese, and breakfast meat inside. Once assembled on a sheet pan, these sliders are incredibly easy to bake and serve straight from the oven, hot and delectable. Not only is the preparation simple, but they ensure a delicious and filling start to any day. Whether you're hosting a brunch or just have a hungry family to feed, these sliders are quick, easy, and ready to impress.

What Ingredients are Typically Used in a Hawaiian Roll Breakfast Sandwich?

The essential components of a Hawaiian Roll breakfast sandwich start with the rolls themselves. These soft and slightly sweet bread rolls provide the perfect base. Eggs, scrambled or fried, create a rich, protein-packed layer essential for breakfast. Add crispy bacon or savory sausage to infuse the sandwich with a hearty and meaty element.

Top it off with slices of cheddar or Swiss cheese that perfectly melt over the warm ingredients, creating a tasty gooeyness. Optional toppings such as avocado or a drizzle of hot sauce enhance the sandwich's taste. These ingredients collectively make a breakfast sandwich that is not only filling but offers a great start to the day.

Can I Prepare a Hawaiian Roll Breakfast Sandwich Ahead of Time?

Convenience is key for busy mornings, and preparing Hawaiian Roll breakfast sandwiches ahead of time is a game-changer. Start by assembling the sandwiches by layering eggs, cheese, and bacon or your chosen ingredients between sliced Hawaiian Rolls. Wrap each sandwich individually in foil or plastic wrap to maintain freshness, allowing for easy storage. Store the prepared sandwiches in the refrigerator for up to a few days for quick access during busy mornings. Alternatively, freeze them for longer preservation, ensuring you’re equipped with a delicious breakfast option anytime. When you're ready to enjoy, simply reheat the sandwiches in the oven or microwave, and relish the ease of a homemade breakfast without the hassle of morning preparation.

How Do I Properly Store Leftover Hawaiian Roll Breakfast Sandwiches?

To keep leftover Hawaiian Roll breakfast sandwiches fresh and delicious, proper storage is crucial. Begin by allowing the sandwiches to cool to room temperature before wrapping each individually in plastic wrap or aluminum foil. This step is vital for maintaining the sandwich's structural integrity and freshness.

Once wrapped, place the sandwiches in an airtight container or resealable plastic bag to enhance longevity in the refrigerator for up to 3-4 days. Before serving, reheat the sandwiches in the oven, toaster oven, or microwave, ensuring they are thoroughly heated. This method preserves the delightful taste and texture, allowing you to enjoy a satisfying breakfast at your convenience.

Bringing a sense of joy and satisfaction with each bite, the Hawaiian Roll Breakfast Sandwich is more than just a breakfast staple—it's a culinary treasure that brightens up any morning routine. By blending sweet and savory elements, these sandwiches offer a balanced, delicious way to start the day. With their straightforward preparation and versatility, they cater to diverse tastes and dietary preferences, providing a personalized breakfast experience. Whether you’re sharing them with family or indulging solo, these sandwiches promise not just nourishment but pure morning bliss. Embrace the irresistible flavors and let each sandwich become a delightful part of your treasured morning rituals.

Ingredients

12 King's Hawaiian Sweet Rolls

8 oz ground breakfast sausage, cooked

8 slices thick-cut bacon, cooked

10 large eggs

16 slices cheddar cheese

8 tablespoons melted butter

1 tablespoon melted butter

Everything but the bagel seasoning

Instructions

1. Start by preheating your oven to 350 degrees. Melt butter and add half to the bottom of the dish and full coat.

2. Split your rolls in half horizontally with a serrated knife and place the bottom half in the baking dish. Top with a layer of cheese, around 8 slices. Layer your cooked eggs, then your cooked and crumbled sausage. Next add your bacon slices, or you can crumble the pieces. Layer another row of 8 slices of cheese and top with the top half of the Hawaiian sweet rolls.

3. In the bowl of melted butter add in honey and whisk together. Pour over top of the rolls, evenly distributing. Sprinkle with everything but the bagel seasoning, as much or as little as you desire.

4. Cover dish with foil and bake in oven for 15 minutes or until the cheese is hot and bubbly. Remove foil and bake for an additional 3-5 minutes or until the tops are a beautiful golden brown. Remove from oven slice and serve!

Save This Recipe

Whether you're planning ahead for a special occasion or adding a new favorite to your recipe collection, I've included a printable recipe card below so it's easy to save, print, and share with the people you love.

Irresistibly Delicious Cinnamon Streusel Scone Recipe: Simple Yet Heavenly

There's something so comforting about a warm, freshly baked scone, especially when it features the sweet taste of cinnamon streusel. Mornings are made so much better by biting into a yummy scone that combines flaky, buttery layers with a sweet, crumbly topping that all melts in your mouth. With this cinnamon streusel scone recipe, you'll find a delicious delight that’s perfect for breakfast, brunch, or a sweet snack anytime. It's a warm comforting treat, and one that is perfect for both the novice baker and the seasoned pastry chef. The scones are best enjoyed warm, with a drizzle of glaze or a generous pat of butter, showcasing their irresistible deliciousness.

Beginning the journey to creating these delicious cinnamon scones starts with a simple preheat of your oven and the preparation of your baking sheet using parchment paper. This initial setup is important, as it lays the foundation for baking success. In a mixing bowl, you'll combine the core dry ingredients of flour, sugar, baking powder, and cinnamon. The goal is to ensure that these components are mixed well before introducing cold butter, which you'll cut in until the mixture achieves a crumbly consistency. At this stage, the wet ingredients, including milk and vanilla extract, are incorporated, bringing the dough together. Folding in the prepared cinnamon streusel is the next exciting step before shaping the dough into a round form and dividing it into wedges that are ready for baking.

This classic cinnamon scone process highlights the delicious combination of flavors and textures that you'll savor in each bite. Once in the oven, you'll bake until they're golden brown, which will then fill your kitchen with an irresistible aroma. Once out of the oven, these treats need only a brief cooling period before they are ready to be topped with a simple glaze, which even more so elevates their sweetness and visual appeal. The final product is a perfect scone, ready to enjoy immediately and share with loved ones.

Streusel and Cinnamon Swirl

The combination of streusel and cinnamon within these scones is what gives them their irresistible flavor profile. The recipe really relies on the simplicity of ingredients, making it a simple enough project even for those just stepping into the world of baking. Once baked, the crumbly streusel melds with the soft interior, offering a great texture at every bite. The smell of cinnamon fills the entire kitchen with a heavenly scent, and you know something good is about to come.

This delightful combination of streusel and cinnamon is not just about its great taste, as it also transforms the baking experience into a journey of wonderful aromas that hit your senses. Whether it’s that yummy smell making its way through your home or the comforting warmth of the freshly baked scones, they present an ideal treat for breakfast, brunch, or perhaps even as an afternoon indulgence. Enjoy these delightful scones as they are, or pair them with coffee or tea for a truly rewarding culinary moment.

For true scone lovers, this cinnamon streusel version combines classic flavors with easy baking, giving a delicious result that all bakers alike will enjoy. The foundation of this recipe lies in the classic blend of cinnamon and butter, which together create a crumbly streusel topping, providing a sweet, spicy layer that complements the rest of the scone perfectly. With easy-to-follow instructions, this recipe requires basic ingredients such as flour, sugar, and baking powder to offer a light and fluffy scone texture. These scones are ideal for both a quiet breakfast at home or as a sweet afternoon pick-me-up alongside a warm cup of coffee or tea. This recipe also allows for customizing with tips and variations to suit different tastes, ensuring each bite is tailored to personal preference and satisfaction.

What Ingredients Do I Need to Make Cinnamon Streusel Scones?

Creating these cinnamon streusel scones starts with getting the right ingredients, with each contributing to the delightful texture and flavor profile. Flour acts as the base, providing the essential structure to the scones, while sugar adds sweetness and balances the cinnamon's warmth. Baking powder and salt are necessary for proper leavening and taste. Butter, another key ingredient, gives that richness and helps form the tender crumb. Finally, cinnamon and brown sugar are pivotal in the creation of the streusel topping, adding a hint of spice and sweetness that distinguishes these scones. Although the ingredient list is simple, each component plays an important role in the creation of a delicious flavorful journey. Whether you're deviating from this recipe by incorporating additional elements like nuts or dried fruit, or keeping it classic, these core ingredients lay the groundwork for a successful bake. By understanding each ingredient's purpose, you can best understand and confidently approach the baking process and assure an irresistible result.

How Can I Make the Streusel Topping Crunchy?

A distinctive element of cinnamon streusel scones is their crumbly, sweet topping. Achieving the perfect balance of crunch involves proper technique and attention to ingredient details. One important method is using cold, cubed butter within the flour and sugar mixture. This ensures a crumbly texture that bakes into a crunch. Mixing thoroughly allows the butter to be well-coated, ensuring even baking. Choosing a sugar type like granulated or turbinado can also add a distinct crunch to the topping. Taking care not to overmix keeps the streusel from becoming too compact, preserving the intended crumbly texture. Additionally, a brief chilling period before baking helps maintain this texture, preparing the scones for ultimate crunch once they hit the oven. Whether you're topping muffins or enhancing these tasty scones, mastering crunchy streusel will elevate any baked good.

Can I Substitute Any Ingredients If I Have Dietary Restrictions?

For those working around dietary restrictions, from gluten-free needs to vegan lifestyles, ingredient substitutions within the cinnamon streusel scone recipe can easily accommodate such requirements. Substituting gluten-free flour blends allows individuals with gluten sensitivities to enjoy these scones without worry. Similarly, dairy-free alternatives such as almond or coconut milk work wonders for lactose intolerant individuals, ensuring they don't miss out on this treat. Plant-based butter or oils cater to vegan diets without sacrificing that necessary richness. It's important to always check ingredient labels to ensure substitutes meet personal dietary guidelines. By offering flexibility in ingredient choices, this recipe remains able to be enjoyed by all.

How Should I Store Cinnamon Streusel Scones to Keep Them Fresh?

Preserving the fresh-baked goodness of cinnamon streusel scones involves paying careful attention to their storage conditions. Keeping them in an airtight container at room temperature is the primary step to preserve freshness. It's crucial to avoid direct sunlight and heat, which can dry out the scones. Should you need to store them for longer than a couple of days, refrigerate them in a tightly sealed container. If you're looking to extend the shelf life even further, freezing can be a good option. Wrapping scones individually in plastic wrap before placing them in a freezer-safe bag ensures their texture and flavor remain intact. When you’re ready to enjoy this baked delight again, simply reheat frozen scones in the oven at a low temperature until warm and slightly crisp.

The scent of cinnamon and freshly baked goods makes these scones an irresistible choice to start your day. The recipe is designed to be simple yet effective, ensuring even time-pressed mornings can have a little sweetness without the hassle. Providing warmth and a bit of nourishment, cinnamon scones are perfect for those chilly mornings when you crave something comforting yet delightful. The buttery dough complemented by the sweet crunch of streusel brings a perfectly balanced taste that satisfies without being overwhelmingly sweet. They cater to scone lovers looking for a delicious breakfast option that’s easy to prepare. These scones are versatile, perfect for enjoying alone or as part of a larger breakfast or brunch spread. Sharing them with family or friends can make any morning feel special.

This recipe will not disappoint, by combining a soft, buttery base with a layer of rich cinnamon sugar streusel on top, perfect for a quick breakfast or an afternoon treat. The simplicity of the recipe makes it doable for anyone, whether you’re just starting your baking journey or have years of experience under your apron.

The beauty of these cinnamon scones lies in the perfect blend of flavors and textures of soft, flaky dough that goes so well with the crunchy streusel topping. You’ll appreciate the ease of finding ingredients, as you probably have them stored away in your pantry. These scones come together with minimal effort and result in a delicious product that fills your home with warmth. Whether you enjoy them alone or incorporated into your brunch menu, a cinnamon scone is a comforting experience best enjoyed fresh out of the oven, possibly with a warm tea or coffee by your side.

Ingredients

21/2 cups all-purpose flour

1/2 cup sugar

1/2 teaspoon kosher salt

1 teaspoon cinnamon

1 tablespoon baking powder

1/2 cup cold butter

1 egg

1 teaspoon vanilla extract

2/3 cup heavy cream

8 ounce package of cream cheese

1/2 cup sugar (to cover cream cheese with)

Crumble Topping:

2/3 cup sugar (can do half brown sugar)

1 1/2 cups all-purpose flour

1/2 cup melted butter

1 teaspoon cinnamon

Glaze:

1 teaspoon vanilla extract

1 cup powdered sugar

2 tablespoons melted butter

2 tablespoons milk

Instructions

1. Mix together dry ingredients in a large bowl

2. Grate butter into bowl and blend with dry mixture. I use my hands (you can use a pastry blender also) to make sure that the butter doesn’t stick together any larger than a pea size amount.

3. After well mixed make a hole in the center of the mix and put all wet ingredients; egg, vanilla and heavy cream. Mix together. Be sure to not over mix or it will get too tough.

4. Cube cream cheese into dime size chunks. Coat in a small bowl with sugar and add into the dough. Don’t over mix just enough that its well spread out in the dough. Next incorporate in raspberries, be sure not to over mix or smash them.

5. After all is mixed together, add dough to a floured surface and make dough into a pie looking around shape. I keep mine a little thicker, so it stays soft. If you like your scones harder and flakier then you can make it thinner. Mine is usually around an inch to an inch and a half thick. Once in a circle cut with a bench scraper like a pizza into slices. I do about 8. Again, if you prefer it to be smaller and not as soft you can do more.

6. Mix together crumble ingredients and add to the top of pie shaped scone pieces, be sure to pat down and press in slightly to the scones to help stick and stay on.

7. Place on a parchment paper lined cookie sheet and put in the fridge for 45 min to an hour. The last 10 min preheat oven to 400 degrees. Bake at 400 degrees for 15 min. Turn the temp down to 350 and bake for 10 min or until golden brown on the top.

8. While baking make glaze! Melt butter completely in a bowl and add in the other ingredients. Mix with a fork until you have your desired consistency. Add more powdered sugar or water to achieve thickness. I like mine a little thicker so it will stick to the top of scones.

9. Transfer scones to cookie sheet and drizzle glaze on top. Let cool and enjoy!!

Save This Recipe

Whether you're planning ahead for a special occasion or adding a new favorite to your recipe collection, I've included a printable recipe card below so it's easy to save, print, and share with the people you love.

Espresso Coffee Cake Muffins Recipe, The Ultimate Treat for Coffee Lovers!

If your love for coffee extends beyond your morning cup and into the world of baked goods, then you're in for a treat! These Espresso coffee cake muffins are a perfect blend of everything you adore about coffee combined with the comfort of a moist, crumbly muffin. This recipe is made for coffee enthusiasts seeking a rich and flavorful experience that goes beyond traditional pastries. In this blog post, we'll what makes these muffins the perfect delight for any coffee lover. Whether you’re a seasoned baker or not, this guide will provide everything you need to know to whip up these delicious treats and impress everyone from brunch guests to office colleagues.

The magic of these espresso coffee cake muffins lies in their perfect blend of flavors and textures, making them a top choice for coffee lovers everywhere. These muffins perfectly blend the bold taste of espresso with the soft, inviting texture of a classic coffee cake. As you bite into one, you’ll taste a moist, tender muffin base with deep espresso flavors.

Each muffin is crowned with a crumble topping, adding a delightful crunch that enhances both the texture and flavor. This topping not only nicely complements the softness of the muffin but also introduces an additional layer of flavor with hints of cinnamon and sweetness. The recipe is pretty straightforward, meaning bakers of any skill level can easily create these delightful treats. Feel free to serve as a breakfast staple, brunch treat, or a delightful afternoon pick-me-up, ensuring goodness anytime you're in need of a caffeine-induced treat.

These espresso coffee muffins are perfect for coffee lovers, combining the robust flavor of coffee with a sweet, crumbly topping. With every bite, you’ll enjoy the moist, rich muffin base slightly infused with espresso, which brings both its texture and flavor to life. The cinnamon-infused streusel that rests atop these muffins not only adds a delightful crunch but also introduces the best aroma that’s irresistible. Designed to be perfect for breakfast or as a midday snack, these muffins deliver a delicious caffeine kick in every bite. Simple to make, they are ready to impress guests or satisfy your personal cravings, offering the ultimate coffee-infused treat. Whether paired with a fresh cup of coffee or tea, or enjoyed alone, these muffins are bound to make any occasion special with their coffee-rich allure.

With simple ingredients such as flour, sugar, espresso powder, and butter, this easy-to-make recipe promises to fill your kitchen with an inviting scent. Perfect for breakfast, as a snack, or even dessert, these muffins provide a delicious caffeine kick to keep you energized through the day. With a balanced sweetness and coffee flavor, they are sure to be a crowd-pleaser for both casual gatherings and special occasions.

What are Espresso Coffee Cake Muffins?

Espresso coffee cake muffins represent a delicious blend of rich espresso and classic coffee cake flavors, made for those who cannot resist coffee in all its forms. Characterized by a moist and tender crumb, these muffins often feature a sweet, cinnamon-infused streusel topping to enhance their flavor profile.

Perfect for coffee lovers, they offer a delightful caffeine kick in every bite. As an ideal choice for breakfast or a midday snack, these muffins pair wonderfully with your favorite cup of coffee, making them the perfect indulgent treat. The combination of invigorating coffee essence with the comfort of baked goods creates an experience like no other, truly embodying the energy and warmth that a good cup of coffee represents.

How Do Espresso Coffee Cake Muffins Differ from Regular Muffins?

The difference between espresso coffee cake muffins and regular muffins mostly lies in their flavor profile and ingredients. Espresso coffee cake muffins take the richness of coffee to center stage, differentiating themselves from the more traditional, sweeter muffin varieties. The use of espresso powder or strongly brewed coffee infuses the batter with a distinct coffee taste, really setting these muffins apart. Topped with a crumbly streusel that often contains cinnamon and espresso, these muffins offer both a great texture and an additional flavor burst. While keeping a moist and fluffy texture, espresso coffee cake muffins might have a denser crumb due to the coffee-infused ingredients. Ultimately, these muffins appeal largely to coffee lovers, delivering the bold taste of espresso as a perfect accompaniment at breakfast tables or during a coffee break.

How Should I Store Espresso Coffee Cake Muffins to Keep Them Fresh?

To maintain the freshness of espresso coffee cake muffins, proper storage techniques are important. Start by placing the muffins in an airtight container to ensure they remain fresh for as long as possible. If you plan to enjoy the muffins within a couple of days, keeping the container at room temperature should work well. However, for longer storage, refrigeration can extend their shelf life up to a week. If you're planning to preserve them for a month or more, freezing the muffins is the best choice. Wrap each muffin individually in plastic wrap and then place them collectively in a freezer bag. Before serving, reheat refrigerated or frozen muffins in the microwave or oven to restore their texture and flavor, ensuring that every bite is as delightful as when they were first made.

How to Make Coffee Glaze

A coffee glaze can elevate your espresso coffee cake muffins to even higher heights. Begin by combining brewed espresso and powdered sugar in a mixing bowl to form the base of the glaze. Adjust the consistency as desired by gradually adding more brewed espresso or powdered sugar until you get a smooth, pourable texture. Enhance the flavor by incorporating a pinch of salt and a few drops of vanilla extract. Mix the ingredients thoroughly until they are well combined, ensuring a lump-free consistency. Once your muffins have cooled, drizzle the glaze over them, allowing it to set before serving for an added touch of sweetness that beautifully complements the espresso flavor of the muffins.

To accommodate as many people as possible, go ahead and bake a double batch. Creative packaging ideas like decorative boxes or cute bags can add a personal touch when gifting these muffins, making them perfect gifts and conversation starters. Whether used for brunches, afternoon coffee breaks, or any occasion where coffee lovers gather, these muffins promise to be the highlight of any event.

Variations & Substitutions

To make espresso coffee cake muffins that cater to your taste preferences, experimenting with variations and substitutions can make a world of difference. For instance, adjusting the intensity of the espresso flavor can be achieved by trying different types of coffee, whether it's using freshly brewed espresso or instant espresso powder. If you're looking for a slightly tangier taste and a healthier twist, consider substituting sour cream with Greek yogurt.

Adding chopped walnuts or pecans into the topping or batter introduces a nutty crunch, while swapping in almond meal for part of the flour can provide a unique texture. A swirl of chocolate chips or chunks will give the muffins a richer taste, beautifully giving the coffee-chocolate combination. Depending on your preference for sweetness, different types of sugar such as brown sugar or coconut sugar can be used for a richer or subtler flavor profile.

High Altitude Living and Coffee Cake Muffins

Baking can present unique challenges at high altitudes, but espresso coffee cake muffins have been specifically adapted for such conditions to ensure perfect texture and flavor. These muffins maintain a rich, bold espresso flavor that’s a true delight for coffee enthusiasts in high-altitude locations. The crumbly, sweet streusel topping adds a delicious contrast to the moist muffin base. By incorporating simple adjustments such as increased liquid content and reduced baking soda, these muffins achieve the right consistency at high altitudes. This allows you to enjoy a perfectly baked coffee-flavored snack at breakfast or any time of day, regardless of the elevation you’re at.

Espresso coffee cake muffins combine the best of rich espresso and sweet coffee cake, making them a must-try for coffee lovers and baking enthusiasts alike. With their unique flavors and inviting textures, these muffins offer a wonderful way to start the day or brighten an afternoon. Whether you're baking them for yourself or sharing with others, they provide a delightful taste experience that is different in a nice way from most ordinary muffins. Try these recipes and bring the love of coffee into your kitchen and onto your table!

Ingredients

Cake:

1/3 cup boiling water

1 tablespoon espresso powder

1-3/4 cup sugar

1 cup melted (browned) butter

4 eggs

2 teaspoons vanilla extract

1 cup sour cream, full fat

2 cups all-purpose flour

4 tsp baking powder

1 teaspoon sea salt

2 teaspoons cinnamon

Crumble:

2/3 cup sugar (can do half brown sugar)

1 1/2 cups all-purpose flour

1/2 cup browned butter

1/2 teaspoon cinnamon

Icing:

1/4 cup butter

3 cups powdered sugar

1/4 cup milk

2 teaspoons vanilla

2 tablespoons espresso powder

Instructions

1. Preheat oven to 350 degrees and line muffin pans with muffin tins or parchment paper cut into squares.

2. Mix together boiling water and espresso until powder evaporates, let sit at room temp. Add in sugar, butter (browned on stove if desired, this will give the muffins an even richer flavor), eggs and vanilla extract until well blended.

3. Add in dry ingredients; all-purpose flour, baking powder, sea salt and cinnamon until well incorporated. Set aside and make crumble topping.

4. In a clean bowl add browned butter, sugar, flour and cinnamon and mix into a crumble.

5. Assemble the muffins by adding in one spoon full of batter a teaspoon of crumble and another spoon full of batter on top. Finish off all the muffins by evenly adding the crumble mixture. Once all muffins are prepared add to oven and bake for 20-25 min or until a toothpick comes out clean. Let cool for 5 minutes, serve and enjoy the best espresso muffins recipe!

Save This Recipe

Whether you're planning ahead for a special occasion or adding a new favorite to your recipe collection, I've included a printable recipe card below so it's easy to save, print, and share with the people you love.

Wake Up to This Irresistible Breakfast Croissant Bake Recipe for a Morning Delight!

If you're looking for a great way to make your mornings more memorable, this breakfast croissant bake recipe is the answer. There's something so delicious about a hearty breakfast to start your day. Talk about the blend of buttery croissants, savory ham, and gooey cheese to delivers a winning breakfast experience. This recipe not only is super delicious, but also makes breakfast preparation a breeze, allowing you to dedicate more time to enjoying your meal. With each flaky, cheesy bite, you'll find yourself ready to take on the day! So, get ready to appreciate the comforting start this offers to your day, whether making it for a special occasion or just to you and your family to enjoy on the weekend.

Assembling the Croissant Breakfast Casserole

Creating a croissant breakfast casserole is simple and satisfying. Begin by gathering the essentials of fresh croissants, eggs, milk, cheese, and your choice of breakfast meats such as ham or bacon. Croissants, known for their flaky texture and buttery richness, serve as the perfect base to soak up all the flavors. Start by cutting the croissants into pieces, spreading them evenly in a greased baking dish. Then, in a separate bowl, whisk together eggs, milk, salt, and pepper to form a smooth mixture that will give your bake a good custardy texture. This simple step leads to a hearty dish that bakes to perfection and is the perfect kick-start to your morning.

The "Simple Custard" is a simple, yet crucial part of this croissant bake recipe that gives richness and creaminess to every bite. This custard is made with everyday kitchen staples of eggs, milk, Dijon mustard and a hint of vanilla extract. It serves as the binding agent for the bake, ensuring that every forkful is moist and deliciously made. Preparing the custard is simple, adding convenience to your breakfast prep without sacrificing flavor. Ultimately, the custard's contribution to the croissant bake is very important and offers a smooth and creamy base for the flavorful toppings.

Allowing the croissant bake to rest after assembly is another crucial step in enhancing its flavors and texture. During this period, the custard fully soaks into the croissants and other ingredients, creating a richer taste. Giving the bake a resting time not only ensures an even cook but also allows a perfect balance of softness and crispiness. This mixing of flavors results in a truly delicious meal.

If you love starting your day with a little indulgence, this easy croissant breakfast casserole is the perfect answer. Combining flaky croissants with savory breakfast favorites, this recipe is perfect for feeding a crowd or prepping in advance for stress-free mornings. One great thing about this casserole is how you can customize it with your choice of cheeses, meats, and vegetables, making it a versatile dish that caters to various palates. This casserole is the perfect solution for anyone needing a delicious breakfast with little morning hassle.

Can I Prepare the Croissant Bake in Advance?

Preparing the croissant bake in advance is an efficient way to simplify your morning routine without compromising on taste. Simply assemble the dish the night before, which allows time for the flavors to blend overnight in the refrigerator and creates an even better taste. If covered tightly in plastic wrap or foil, the dish remains fresh, ready to be baked to perfection the next morning. This approach ensures your mornings really do start without fuss and with great flavor.

What Can I Substitute if I Don't Have Croissants?

If you find yourself without croissants, there are several alternatives you can turn to. Puff pastry works as a close cousin to croissants, providing that same flaky, buttery texture. Crescent roll dough is a more convenient substitute, offering a light and airy counterpart. For a touch of richness similar to croissants, brioche bread is an excellent option, while crusty French bread or a baguette adds a crispy texture to the dish. For those seeking a healthier twist, whole wheat or multigrain bread provides a nutritional boost with a nutty flavor. Each alternative brings something unique to the table, ensuring your breakfast bake remains tasty regardless of the bread used.

How Can I Make the Recipe Vegetarian?

Transforming this recipe into a vegetarian delight is as easy as substituting meat ingredients with plant-based alternatives and instead using vegetables of your liking. Consider using tofu, tempeh, or vegetarian sausages to still retain the savory depth without animal products. Vegetables like spinach, bell peppers, and mushrooms not only add texture but also give the bake some pretty, vibrant flavors. Replace chicken broth with a vegetarian version for any liquid needs, ensuring the dish remains suitable for vegetarian diets. Incorporating these changes will satisfy any vegetarian cravings while still delivering on taste and satisfaction.

What is the Recommended Baking Time and Temperature for the Croissant Bake?

Achieving the perfect bake is all about timing and temperature, ensuring a delicious smell that fills the kitchen and is just as delicious to eat. Preheat your oven to 350°F (175°C) for the croissant bake. This temperature gently cooks the ingredients while ensuring they blend together beautifully. The bake should remain in the oven for about 25 to 30 minutes or until the top is a nice golden brown. A toothpick inserted into the center should come out clean, indicating the dish is fully cooked through. When baked to perfection, your croissant casserole will be an irresistible dish that everyone will love.

With this breakfast croissant bake recipe, you're ready to start your day with a delicious meal. Each step of the process is designed to give you a great tasting meal without too much hassle, along with the option to prepare ingredients the night before to choosing the perfect bake time. Whether you're hosting family or savoring a quiet morning alone, this dish offers the perfect blend of convenience and taste, ensuring your breakfast is both stress-free and delicious. Use this recipe as a new beloved part of your morning routine and enjoy each delicious morning with a smile.

Ingredients:

8-10 medium-sized croissants

4 large eggs

2 cups heavy cream or whole milk

1 ½ tablespoon Dijon mustard

1/2 teaspoon sea salt

1/2 teaspoon black pepper

8 ounces very thinly sliced deli ham

7 ounces shredded gruyere cheese

Fresh Chives

Instructions:

1. Lightly coat bottom of pan with olive oil and preheat oven to 350 degrees.

2. Cut croissants into 3-4 and arrange on pre coated pan and set aside.

3. In a large bowl add eggs, cream, Dijon mustard, sea salt, black pepper and whisk until well mixed.

4. Pour over the mixture and let sit in fridge for 30 min to overnight. While its sitting grate the cheese and sprinkle over top. Cover with foil and bake for 20 minutes. Remove foil and bake another 10-15 or until cheese is melted and the tops are golden brown.

5. Remove from oven and sprinkle with fresh chives and an option honey drizzle if you'd like a little more sweet croissant breakfast casserole.

Save This Recipe

Whether you're planning ahead for a special occasion or adding a new favorite to your recipe collection, I've included a printable recipe card below so it's easy to save, print, and share with the people you love.

Embark on a Memorable Family Road Trip from Texas to California: Top Stops, Dining Spots, and Perfect Cars for You and Your Dog!

Embarking on a road trip from Texas to California not only offers a chance to explore some must-visit stops but also passes through a variety of experiences that will make the journey unforgettable. This route is filled with iconic landmarks and scenery, perfect for stretching your legs and capturing some memorable family photos. Whether you're more into historical sites or natural beauty, the path promises something for everyone. Family journeys will take you to some amazing unique dining experiences, from local diners to famous food joints, catering to any taste you can imagine. Whether you're planning a spontaneous getaway or a detailed voyage, our guide is here to help you navigate the best places to stop, eat, and the ideal car to drive. With the many different landscapes, rich cultural landmarks, and a variety of dining experiences awaiting you, this road trip promises to be an incredible journey for every family member, including the four-legged ones!

Many stops along this journey are pet-friendly, so your furry companion can enjoy the trip just as much as the rest of the family. Whether renting a vehicle or taking your own, the best car models for comfort and efficiency is crucial, especially when traveling long distances with pets and kids. Vehicles like the spacious Mazda CX-90 Premium Plus offers plenty space, ensuring everyone travels comfortably. Additionally, packing essentials, prepping your vehicle, and focusing on safety will enhance your experience, adding joy and ease to your adventure.

This long journey back and forth from Texas to California is one we have taken many times over the years since moving to Texas from California. Twice we did a one-way trip before we had our baby boy. The first time just my husband and I, and the second time we brought along our Dalmatian pup. One time we chose the "upper way" through route 66 and going through Amarillo and the other time we did the lower way of Highway 10 going through Phoenix. The next year on our return trip we took our dog. We wanted to spend two weeks in California this time, and didn't want to leave our dog Amore for that long. This third and final time we made the long drive was to move back to California. This was the longest and slowest journey of them all. We purposely took it slower to help breakup the drive, and this time because we had both our 10-month-old baby boy and our dog in separate cars. We felt it was the safest and most relaxing way to do it by far and I'm excited to share it with you and help you plan your own journey.

How Many Days Does a Drive from Texas to California Take?

The drive from Texas to California can typically take anywhere from two to three days for a fast trip, depending on your starting point, chosen route, and your pace. Of course, if you want to stop more along the way there are plenty of great things to see. For a pleasant journey, consider taking breaks and arranging overnight stops, so both your family and your furry friend can rest and rejuvenate. Planning your journey around family-friendly attractions and pet-friendly accommodations greatly enriches the experience.

Opting for a reliable and spacious vehicle, such as an SUV or minivan, really helps this travel experience by comfortably accommodating everyone, including your pet. Additionally, researching dining options along the route that offer outdoor seating or dog-friendly policies is always helpful in maintaining a joyous and hassle-free road trip.

As you journey from Texas to California, your route mostly passes through New Mexico and Arizona, each offering diverse landscapes and unique attractions. Albuquerque, New Mexico presents pet-friendly parks and a host of dining experiences that warmly welcome dogs. Similarly, Arizona's Flagstaff or Sedona is the perfect city for engaging family hikes and dog-friendly outdoor activities, offering both adventure and relaxation. Cities like Tucson offer unique dining experiences, many of which feature outdoor seating for the ease and comfort of families and their pets.

What is the Best Route to Drive from Texas to California?

Choosing an optimal route between Texas and California balances scenic beauty with travel efficiency. Opting for the I-10 W or I-40 W offers a straight shot voyage with both routes having some must-visit stops. Plan breaks at iconic locations like the Grand Canyon and small charming towns that provide memorable family experiences.

Where to Start: Houston, Texas

With so many people living in Greater Houston and its suburbs, including us, it makes for a common journey that many may be taking, full of cultural attractions and dining experiences to enjoy before you hit the road. A visit to Space Center Houston ignites your family's imagination with insights into space exploration. The city offers diverse cuisines to savor at dog-friendly restaurants, ensuring that your four-legged companion feels right at home. Stretch your legs at scenic landmarks like Buffalo Bayou Park, perfect for a leisurely family stroll and quality playtime with your dog. We personally started in Houston because we lived in Magnolia, which is 45 mins northwest of the city. So, this was always our starting point but anywhere in Texas will lead you to the same highways when journeying to California.

Where to Stay:

Omni Houston Hotel

The Post Oak Hotel

Where to Eat:

The Rustic - A great family friends location with outside lively atmosphere

Goode Company - they have many restaurants around Houston & The Woodlands with different types of cuisine just be sure the one you pick has outdoor seating for pups

Taste of Texas - not pet friendly but if you can successfully leave your dog in the hotel one night this is my personal favorite place to eat in Houston! A must eat that truly shows some Texas Pride!

What to Do:

Houston Astro's Game (not dog friendly)

Walk Bayou Park or Houston Arboretum & Nature Center (pet friendly)

Space Center Houston (not pet friendly)

First Stop: Fort Worth, Texas

A amazing slice of "God Bless Texas", and a great stopping point if you are starting from Houston. Fort Worth and its Stockyards is our favorite place to visit in Texas to really gives you the Western culture and Texas experience. This vibrant city is full of culture, history, and entertainment. It is the perfect destination for a quick weekend getaway or a longer vacation. Whether you are looking for some country western fun at the Stockyards, outdoor activities, shopping, dining, or a unique cultural experience, you can find it all in Fort Worth. I have an entire blog post just on Fort Worth from our many visits and for even more in-depth info. Below I'll share all dog friendly options, but everything else will be in the blog post.

Discovering the Best of Fort Worth: A Traveler's Guide

Where to Stay:

Kimpton Harper Hotel

What to Do:

Trinity Trails - a nice relaxing outdoor activity

Second Stop: Amarillo, Texas

If you're planning a family road trip from Texas to California and are looking for a next great place to stop, consider the Barfield, Autograph Collection in Amarillo. Located along your route on the I 40, this hotel offers excellent accommodations that will make your journey more comfortable and enjoyable. We loved this hotel, and the rooms were very spacious for all of us and our furry friends. This place checked all the boxes we are looking for in search for the perfect hotel. It had a beautiful setting in a renovated historic building, a great restaurant, a very nice fitness center, room service all day and night, and pet friendly and family friendly.

Where to Stay:

Barfield, Autograph Collection

Where to Eat:

The Big Texan - Touristy but a must stop in Amarillo. Dog friendly with outside seating but honestly you may want to leave them at the hotel to really experience this place inside.

What to Do:

Third Stop: Albuquerque, New Mexico

Where to Stay:

Hotel Albuquerque at Old Town

Hotel Chaco

Both hotels are owned by the same company and right next to each other in Old Town. We have stayed at both of them and are both very nice and clean and perfect for you and your whole family.

Where to Eat:

Gardunos - inside of the Hotel Albuquerque a perfect spot to enjoy a true Mexican meal.

Sawmill Market - The market houses 27 individual local merchants including a brewpub, a cocktail and wine bar, and mercantile. At the center is THE YARD, an outdoor dining + play space. This isn't dog friendly but still a great place to grab food and head back to your hotel room.

What to Do:

Explore Old Town

Take a fun Hike

Fourth Stop: Sedona, Arizona

It's an ideal spot to stretch your legs and let your pup explore designated pet-friendly areas. Don't forget to capture some family photos with the most majestic red rock backdrop! For a hearty meal, pack a picnic to enjoy while taking in the panoramic views at Mather Point or stop by the many delicious restaurants downtown that are not only pet friendly but many offer a dog menu. A visit to Sedona isn't just about hiking and viewing, it's about immersing you and your family, furry friends included, in some of the most beautiful spots in nature.

Where to Stay:

The Wilde Resort

Where to Eat:

Rascal - Located at the Wilde Resort hotel and a delicious option for breakfast lunch or dinner. They not only offer a large menu for the whole family but for your fury friends too. Our girl was in heaven with the stew!

Where to End: Pasadena, California

End your road trip either home, or stop in Los Angeles to Pasadena, California, a city known for its picturesque streets and vibrant culture. This final destination offers an array of activities and relaxation for both your family and pets. With numerous parks and outdoor spaces, your dog gets plenty of opportunities to stretch their legs and explore. Enjoy diverse culinary delights at the city's family-friendly and pet-welcoming cafes. Explore cultural attractions like the renowned Huntington Library and Old Town Pasadena, showcasing something for everyone to enjoy. Navigating Pasadena is convenient with well-maintained roads and ample parking spaces, making the conclusion of your trip as stress-free as your travels have been. I truly opted for our last stop to be in Pasadena to stay at the luxurious Langham hotel. A truly one-of-a-kind relaxing place to end any road trip. Dogs are welcome, their pools are perfect for cooling off and the restaurant on sight was so delicious. Be sure to grab the banana bread, as it's the best one I have ever had!

Where to Stay:

The Langham Pasadena

Where to Eat:

The Terrace - at the Langham Pasadena. A perfect place to eat while stay and dog friendly. Food was great!

Magnolia House

Gus's BBQ - Dog friendly and 7 min from hotel

True Food - Always a fresh and delicious pick that's dog friendly!

What to Do:

Explore Old Pasadena.

Visit South PAWsadena Dog Park.

A long list of Museums you can also visit with your kids but are not dog friendly

Tips for a Cross Country Road Trip With Dogs

To make the long journey more enjoyable for both you and your furry companion, once again make sure to choose a large enough pet-friendly vehicle with enough space and ventilation. This ensures a comfortable ride for your dog and family. The 2025 Mazda CX-90's roomy third row gives plenty of space for the whole family, our pup and extra luggage! The CX 90 is the largest SUV in the Mazda line, that offers flexible seating options. Options like the dual captain's chairs and second row center console that we had filled with toys to keep our 10-month-old entertained the entire trip.

Be sure to research and plan stops at dog-friendly parks and rest areas along the route for bathroom breaks and exercise, improving everyone’s travel experience. You can easily find places your dog is welcomed on the apple map's by narrowing down your search. Be sure to pack essential supplies like food, water, a leash, waste bags, and your dog’s favorite toys and bedding, as these necessities are crucial to keeping them happy throughout the trip. Select dining spots with outdoor seating or pet-friendly policies, allowing you to enjoy meals without leaving your dog alone in the car or hotel. We also made sure every hotel offered room service in case we were too tired and didn't want to leave we could order breakfast before we left for the day or dinner when we got in that night. Having food available, even if its leftovers is always good to not get "hangry" on the road. Beyond comforts for the dog, also ensure their safety by using a pet seatbelt, travel crate, or dog barrier in the car to minimize distractions and safeguard them in case of sudden stops. Our big girl likes to stand up and can sometimes block your view, so we always put a pet seatbelt that limits her from doing this and also lay down beach towels, so she won't damage any of the leather in the car. Keeping her comfortable, but also the car clean and safety in check is important.

This road trip from Texas to California takes in plenty of adventure, culture, and relaxation. It offers an unforgettable experience for everyone, including your dog. With thoughtfully planned stops, diverse dining, and the ideal car choice, the journey becomes as enjoyable as the destination itself. So, hopefully my advice helped assist you on your travels! May your adventures be filled with discovery, laughter, and shared moments that linger as cherished memories. Embrace the journey, and happy travels on the open road!

Other Travel Blog Posts:

Explore Bozeman Montana with Our City Guide

Yellowstone Road Trip From California

Morro Bay Travel Tips

Unlock the Secrets of Paradise: Your Ultimate Hana, Maui Travel Guide to an Unforgettable Adventure!

Discovering the Magic of Carmel, CA: A Weekend Getaway at California's Coastal Paradise

Discovering the Best of Fort Worth: A Traveler's Guide

5 Essential Tips for an Unforgettable Visit to Magnolia Market

Exploring Lake Tahoe: An Unforgettable City Guide

Beat the Heat with This Irresistibly Delicious Berry Frosé Recipe

If you're looking to beat the summer heat with a refreshing and delicious frozen cocktail, the Berry Frosé is your answer. Combining the flavors of rosé wine and mixed berries, this chilled delight is the perfect drink for summer gatherings. From lazy afternoons by the pool to enjoyable barbecues with friends, the Berry Frosé recipe offers an easy and sophisticated way to enjoy the season. This easy frosé recipe really does provide maximum enjoyment with minimal effort and is one of my go-to's for those warm summer days.

To prepare, simply freeze the mixture until it reaches a slushy consistency, which ensures a perfect texture for your sipping. Enhance the visual appeal of your serving with a garnish of fresh berries or a sprig of mint, adding that extra burst of fresh flavor. This versatile frozen rosé wine slushie is always a crowd-pleaser, perfect for any occasion, from casual poolside relaxation to fun summer parties.

Serving Suggestions

Serving suggestions can take your already great tasting Berry Frosé to new heights, enhancing both its flavor and presentation. Start by garnishing with fresh berries and mint leaves, which not only make for eye-catching decor but also add a refreshing complement to the drink's berry-forward notes. For a fun twist, add a splash of sparkling water or ginger ale to introduce a little bit of fizz. Lastly, don't forget the little details, like using colorful or themed straws that provide a festive touch that guests are sure to appreciate.

Pairing is equally important, as the Berry Frosé can match wonderfully with a light summer salad or a rich charcuterie board. Pairing your Berry Frosé with a selection of delicious appetizers makes any summer gathering that much better. Treat guests to goat cheese crostini, because its creamy texture beautifully contrasts with the Frosé. Prosciutto-wrapped melon offers a savory counterpoint, while caprese blend well with the drink's refreshing notes with their herby flavors. For a sweeter touch, berry-topped bruschetta or mini fruit tarts pair wonderfully with the Frosé. Salty snacks like marinated olives or roasted nuts also offer a mouth-watering balance to the cocktail's sweetness. All of these options create excellent pairs and are all great options in their own way.

- Garnish ideas: Mint leaves, fresh berries

- Pairing options: Summer salad, charcuterie board

- Twist options: Sparkling water, ginger ale

- Fun accents: Colorful straws, themed decor

How Can I Make Frosé with Vodka?

For those craving a bit more punch, making Frosé with vodka introduces a fun twist. Start with a rosé wine rich in berry flavors and freeze it in shallow dishes or ice cube trays for quicker solidification. These frozen rosé cubes are then blended with vodka, adding a big kick, along with either fresh or frozen mixed berries for added depth and complexity of flavor. Balance the given sweetness and tartness of the mix by incorporating a touch of simple syrup and freshly squeezed lemon juice. Serve this yummy treat immediately, topped with fresh berries or mint leaves for an inviting pop of color and aroma.

Can I Make This Frozen Rosé Ahead of Time?

Yes, you can certainly prepare Berry Frosé ahead of time, which makes it a highly convenient choice for parties or planned gatherings. Ideally, blend and freeze the ingredients the day before serving to guarantee the best texture and flavor. Keep the prepped Frosé in an airtight container to prevent unwanted ice crystals from forming. Before serving, let the Frosé sit at room temperature for a few minutes to soften, as this will ensure easy pouring and consumption. If the mixture firms up too much, a quick blend or stir will fix the texture, making sure it's just right for enjoyment.

What is a Frosé?

Frosé refers to a wonderfully refreshing, frozen cocktail made by blending rosé wine with sweet fruits and ice. Most commonly enjoyed during warmer seasons, it strikes a perfect balance of sweetness and acidity that is quite refreshing. The preparation involves freezing rosé wine and blending it with fruits like strawberries, raspberries, blackberries or blueberries that help in achieving an enhanced flavor profile. In recent years, the Frosé's popularity has skyrocketed, largely due to its pretty appearance and great taste, establishing itself as an iconic summertime treat, especially for women. Its adaptability means you can experiment with various fruits and syrups to cater the drink to your liking.

There are so many reasons to fall in love with this easy Berry Frosé recipe. It's refreshing nature makes it a great choice for hot summer days, offering a delicious escape from the heat with an adult slushie. The use of simple ingredients ensures that following the recipe is easy and stress-free, allowing you to worry about more important things when entertaining. The blend of frozen berries and rosé wine results in an excellent sweet and tangy flavor. Its versatility allows for customization, letting you tailor the drink to personal preferences by adding different berries or garnishes. Also, as mentioned, this crowd-pleasing beverage can be prepared in advance, making it a convenient option for events and gatherings.

The Best Rosé Wine for Frosé

Choosing the right rosé is important for making the perfect Frosé. Choose a dry rosé to counterbalance the cocktail's natural sweetness, creating the best flavor. Rosés with big berry notes are particularly good at enhancing the drink’s fruit-driven essence. It's also beneficial to select a rosé with higher acidity, as this quality maintains the cocktail’s refreshing taste even when frozen. Also, opting for a lighter alcohol content preserves the Frosé's balance and ensures the drink remains delightfully refreshing. With affordable rosé options everywhere, turning the Berry Frosé into a cost-effective summer indulgence is a very easy choice.

Ingredients You’ll Need

Creating the Berry Frosé requires a few key ingredients, each contributing to its delightful character. Start with a dry rosé wine to serve as the drink's foundation. A combination of frozen mixed berries (such as fresh strawberry, raspberries, blackberries and blueberry). Watermelon is also a great option to add in. These all add vibrant color and natural sweetness to the cocktail. To balance the flavors, include a sweetener of your choice, like honey or sugar, and a splash of lemon juice for a zesty tang.

The Berry Frosé recipe offers a deliciousy cold slushie that is the perfect treat for summer. With its combination of rosé wine, mixed berries, and a hint of sweetness, it offers a satisfying escape from the heat that is both simple to prepare and highly customizable. Whether you choose to serve it during happy hour or at a festive breakfast or brunch gathering, this crowd-pleasing beverage promises to help make your day a great one with its crisp, cooling delight.

Ingredients

1 bottle of Rose wine

1 bottle of sweet red wine

1/4 cup lemon juice

15 frozen strawberries, no stem

Mixed Berries for topping

Instructions

1. Add both Rose wine and the sweet red wine to ice cube trays. Let freeze.

2. Add frozen wine to blender with strawberries and lemon juice. Blend until a deliciously smooth consistency. Pour into a wine glass and top with fresh mixed berries and a straw. Serve and Enjoy!

Save This Recipe

Whether you're planning ahead for a special occasion or adding a new favorite to your recipe collection, I've included a printable recipe card below so it's easy to save, print, and share with the people you love.

Creating an Elegant Home Office with a Masculine Touch Perfect for Him and Her

Creating an elegant home office that has a masculine touch while remaining appealing to both him and her is a design challenge that many homeowners face. This design approach involves blending sleek sophistication with functional comfort to produce a workspace that caters to different personal and professional needs. By carefully incorporating balanced design elements, good color schemes, and specialized decor, one can create a home office that is not only helpful to productivity but also is a reflection of individual style and taste. This guide gets into various strategies and ideas for creating this versatile workspace.

These ideas focus on creating a balanced and sophisticated environment. To achieve this, integrating good tough materials such as leather, wood, and metal is a great choice. These elements not only add structural integrity but also contribute to an aesthetic that feels both strong and refined. Additionally, utilizing a more neutral color scheme with bold accents can create a versatile space that accommodates the preferences of both him and her.

A few ideas that can quickly achieve this:

1. Leather desk chairs and wooden desks contribute to a rich, textured environment.

2. Metallic desk organizers and light fixtures add an industrial chic element.

3. Neutral walls with bold accent pieces, such as statement art, create visual interest.

4. Built-in shelving units optimize space, serving both functional and decorative purposes.

5. Personalized decor pieces, like framed pictures or monogrammed items

Through the use of these elements, you can easily create a workspace that reflects a masculine vibe but also a space that remains cohesive and accommodating to all users.

Fresh paint – The Perfect Instant Update

Transforming a home office with strategically chosen paint colors can enhance its elegance and sophistication. Deep colors such as navy blue or deep hunter green can immediately give a masculine touch, offering warmth and professionalism. Accentuating the trim or bookcase backings with a bold color will give a big statement without overtaking the room. Using contrasting colors can separate different workspace zones, making the office feel dynamic and organized. Highlighting architectural features and furniture with accent colors helps to draw attention to focal points within the room. Integrate finishes such as antique brass, to add in additional finish and color. Balancing these colors with neutral tones ensures a workspace that is perfect for anybody, and fits both personal and shared office goals.

Using masculine colors in your home office can influence its overall vibe and atmosphere. Deep, rich colors like navy, deep browns, or forest green are essential for giving a sense of strength and sophistication. These color shades serve as good foundational elements, helping with the bold aesthetic. When used on accent walls or standout furniture pieces, darker colors can create a strong presence while also balancing with neutral tones to maintain an elegant and inviting space for both him and her. Choose a color like a navy blue feature wall or built in bookcase to be the anchor for the room. Incorporate charcoal-colored storage units for a modern touch. Add forest green curtains or shades to introduce a calmness. Use leather office chairs in deep shades to complement the décor. Explore rich-colored artwork or statement rugs to tie the space together. By blending darker paint colors with metallic or lighter neutral accents, you can achieve a home office that is fully embracing of a masculine and nice shared workspace.

The Right Desk Lamp & Accessories

In my opinion, a stylish desk lamp is a key design element that enhances elegance and functionality in a home office. Opting for a lamp that offers adjustable brightness and direction is essential to cater to varying tasks and preferences. Choosing materials for the lamp such as brushed metal and dark wood finishes provides a refined and masculine touch, adding layers of sophistication. Sleek, minimalist designs further complement a modern workspace aesthetic. Select an adjustable lamp with a dimming function for evening productivity. Be sure to position lamps strategically to reduce the glare on screens or work surfaces. Consider options with USB ports or wireless chargers for added tech-friendliness if you are adding to the middle of the room with no plug in. For our office lamp, I added a chargeable bulb so you didn't need to have it plugged in. By ensuring good illumination and proper styling, a well-chosen lamp not only helps you see better, but also adds style in your elegant home office setting.

Choosing the right desk accessories can greatly help the aesthetic of your home office, adding a touch of masculinity and elegance. Focus on accessories that blend sophisticated materials such as leather, metal, and wood. Sleek desk organizers, statement pen or pencil holders, bold clocks or lamps also add functionality. Blending these elements with proper colors contributes to an environment that helps you get work done while also reflecting personal style and flair. I used more neutral accessories to allow for the dark bold bookcase and custom chair print to stand out even more in this room. These carefully chosen selections ensure a workspace that feels completed and professional.


A Touch Of Western Vibes

Western vibes in your home office is always a great masculine choice. It merges rustic charm with a strong aesthetic, striking a balance between ruggedness and sophistication. To get this look, you will typically use materials such as leather, wood, and metal, which evoke a classic Western aesthetic filled with warmth. Earthy-toned colors, including deep browns and muted greens, help to create a cozy and inviting atmosphere, perfect for any productive workspace. Feature leather-bound books or a faux cowhide rug for western authenticity. We even found a great Houston Rodeo book at a local antique store to add to our office for a western touch that told a story and gave a masculine desk accessory. Other options would be to install wood paneling or a reclaimed wood desk to enhance rustic elements. Use horseshoes or vintage cowboy-themed art pieces for even more character. Select natural fabrics like canvas for blinds or chair upholstery. Add in a texture to your curtains like we have here to a little rougher fabric. Incorporate wrought iron accessories for a subtle nod to Western design. Or even add in a branding to a piece of art, decorative leather book or even your wood desk. Balancing these elements with sleek, elegant furnishings ensures that the space stays sophisticated and welcoming for both him and her, making it an ideal shared office environment.

Make Sure To Display Photos

It's a home office not a work office so be sure to share those personal moments and remind yourself why your working so hard. When personalizing a home office, displaying family photos can add a touch of class and personality. Consider incorporating black and white toned photos for a timeless, sophisticated appeal. Sleek, minimalist frames complement the overall design by adding sharpness and uniformity. Balancing personal photos, art prints, and inspirational quotes creates a fulfilling and motivational backdrop. Use matching slim frames for consistency across photo displays. You can select a mix of personal and professional art to make the space your own. This method not only makes the home office feel more personalized and visually appealing but also encourages a great space showcasing your loved ones.

Let Natural Light Do the Work For You

Natural light is an important element that can dramatically enhance the ambiance and productivity of a home office. You should strategically position desks near windows to capitalize on natural daylight, which is not only beneficial for mood but also boosts productivity. Maximizing natural light can help create a spacious and inviting atmosphere, especially within smaller spaces, by making them feel airier and more welcoming. Choose light-colored furniture near windows to reflect light inward. If your space is small incorporate mirrors on opposite walls to spread the light and help the room appear larger. Design a workspace layout that prioritizes the use of natural daylight. Recognizing the importance of daylight particularly in shared workspaces ensures a beautiful environment where both him and her can enjoy enhanced comfort and productivity.

Invest in a Statement Chair

A statement chair can serve as a focal point in a home office, combining form with function in a way that underscores elegance and a masculine touch. When selecting a chair, one should focus on pieces with bold lines and luxurious materials that complement the office's overall theme. Balancing aspects of comfort and style can be achieved through timeless designs that seamlessly blend with other decor elements. You can opt for a leather chair with classic tufting for a refined look. Be sure to select a chair with a striking silhouette to draw the eyes. I added to our chair by pairing luxurious materials like velvet edging with a high-grade fabric print for plush seating statement piece. Most importantly seek designs with ergonomic features for comfort without sacrificing appearance. Ensure the chair matches or enhances existing color and material schemes. A well-chosen chair not only enhances the visual appeal but also fosters an inviting and productive atmosphere in the office, grounding it with a centerpiece that speaks to shared style and preference.

Investing in a quality desk chair is an essential step for anyone seeking comfort and productivity in an elegant home office. Prioritizing a chair with a sturdy build and ergonomic design will provide the necessary support for long hours of work. Opting for materials like leather or high-quality fabric contributes to both a masculine look and a sophisticated ambiance. Features such as lumbar support to maintain posture and ensure adjustability in armrests and seat height for a tailored fit. Beyond only focusing on style, investing in a quality chair ensures it complements the masculine and elegant feel of the workspace.

For Fun Add a Drink Station

Incorporating a drink station can add an element of luxury and practicality to your home office space. This feature not only elevates the sophistication of the office but also provides convenience to enhance the overall working experience. Thoughtfully positioning the drink station ensures it is usefulness, and blends seamlessly with the office's decor. Stock a stylish tray with an assortment of drink selections of your choice. Use high-quality glassware and decanters for a more refined presentation. Choose materials for the station that match your existing office furniture. You can even add in a mini-fridge if space allows for chilled options.

Balancing a masculine aesthetic with functional design for both him and her requires a strategic approach aligning style and functionality. This can be achieved through good color palettes, and natural materials like wood and leather, which give a masculine yet universally appealing aesthetic. Multifunctional furniture enhances both comfort and efficiency, ensuring the space accommodates different needs and activities.

Other helpful things to achieve this mix of space:

1. Use sleek, minimal design elements for an uncluttered environment.

2. Personalize the space with shared decor reflecting interests and style.

3. Prioritize adequate storage to keep the office organized.

4. Pair neutral tones with deeper colors for flexibility in design.

5. Introduce personalized and functional accessories tailored to both of you.

These elements create a shared workspace that not only embraces masculine aesthetics but also fosters productivity, comfort, and a personal touch, making it suitable for family use. Statement artwork or sculptures with bold designs can add character without overwhelming the space. A sophisticated color scheme, accented with metallics or exposed brick, contributes to the overall ambiance. All of these element's help perfect an elegant home office with a masculine touch for both him and her.

Unleash Unforgettable Flavors with This Hot Honey Pineapple Whiskey Smash

Few cocktail drinks can deliver a surprising blend of flavors as nicely as this Hot Honey Pineapple Whiskey Smash. This creative drink presents an excellent blend of sweet, spicy, and smoky elements that ever so nicely linger on the palate. Featuring smooth whiskey as the star ingredient, this cocktail blends the soothing warmth of whiskey with the sweet tang of fresh pineapple and the heat of hot honey. This drink is ideal for cocktail enthusiasts in search of a drink that offers both refreshment and a bold twist. This creation is easy to make, yet sophisticated enough to stand out at any gathering. So, let us enter the world of wonderful whiskey cocktails and discover a blend of tastes that will have you enjoying every sip. This cocktail is perfect for those looking for a refreshing yet bold drink that makes a memorable impression at social gatherings.

The addition of a touch of hot honey introduces a subtle and intriguing spiciness that brings the cocktail into a world of its own. Fresh pineapple chunks and mint leaves are used to highlight the drink's refreshing profile, delivering a perfect balance of warmth and coolness. This cocktail is served over ice, making it the perfect choice for those looking to explore a unique twist on classic whiskey cocktails. Creating the perfect Hot Honey Pineapple Whiskey Smash requires a careful selection of ingredients that come together to form a delicious blend of flavors. The foundation of the cocktail begins with fresh pineapple, providing a juicy and sweet base that is hard to resist. The hot honey adds a spicy kick while still infusing the drink with its natural sweetness, mixing nicely with the whiskey's rich, warm depth. Lemon juice adds a tangy brightness to balance the cocktail nicely, while club soda gives a refreshing fizz that lightens the overall texture, enhancing the drink's liveliness.

Can I make a non-alcoholic version of the Hot Honey Pineapple Whiskey Smash?

For those who prefer a booze-free option, creating a non-alcoholic version of the Hot Honey Pineapple Whiskey Smash is pretty straightforward. Substitute the whiskey with a high-quality non-alcoholic spirit or enhance the amount of pineapple juice for a fuller flavor. The hot honey and fresh mint remain essential to maintain the cocktail's signature taste, ensuring the unique flavor profile remains intact. Experiment with additional mixers like club soda or ginger beer to add that extra fizz and complexity to the drink. This mocktail version remains refreshing and flavorful, making it perfect for guests of all ages.

What type of whiskey complements the flavors in a Hot Honey Pineapple Whiskey Smash?

Choosing the right whiskey is important to achieving the desired flavor blend in a Hot Honey Pineapple Whiskey Smash. A bourbon whiskey with a smooth, mild flavor profile is great for complementing the cocktail's spicy-sweet elements, offering richness without overshadowing the other ingredients. Rye whiskey brings a spicier edge that pairs well with the heat from the hot honey, adding depth and complexity. Aged whiskey varieties are perfect for those seeking a richer experience, enhancing the sweetness of the pineapple and honey. A Tennessee whiskey introduces a sweeter touch, nicely pairing with both the spiciness and fruitiness of the cocktail. However, smoky whiskeys should be avoided as their robust flavors might overwhelm the delicate balance.

This cocktail is the perfect mix of unforgettable flavors that take to the art of blending sweetness, spice, and smokiness. This drink's incredible mix of flavors is so tasty and refreshing, making it a perfect choice for entertaining or simply indulging in a well-crafted cocktail. By understanding the essential ingredients and selecting the complementary whiskey, you can personalize this experience to match your taste preferences. Step into the world of remarkable cocktails and let the Hot Honey Pineapple Whiskey Smash become one of your new favorite drinks.

Ingredients

1/2 hot honey

1 pineapple cut into cubes, additional slices for garnish

1/2 cup water

1/2 ounce lemon juice

1-2 ounces bourbon, depending on strength

ginger beer

Instructions

1. Add honey, 1/2 cup of pineapple (cubed), and water to a pot. Let heat and come to a simmer. Letting pineapple come together. Once honey has dissolved into water and pineapple has added flavor to the syrup.

2. Add 1 oz of syrup mixture to glass with bourbon and 1/2 ounce lemon juice to a shaker. Strain into a large glass over ice. Finish off your glass with ginger beer to taste. Garnish with pineapple slices, serve and enjoy!

Save This Recipe

Whether you're planning ahead for a special occasion or adding a new favorite to your recipe collection, I've included a printable recipe card below so it's easy to save, print, and share with the people you love.

Refresh Your Summer with Whiskey Mint Iced Tea

As the warm embrace of summer comes there's nothing quite like a refreshing drink to keep you cool after a sunny afternoon. If you're searching for a delightful summer blend, then look no further than the Whiskey Mint Iced Tea. This drink offers a great mix of flavors that can transform any ordinary day into a magical summer memory. Perfectly blending the taste of whisky with the zest of mint, this iced tea promises to become your go-to beverage for your summer gatherings. This iced tea not only impresses for large groups but is perfect for a quiet evening alone on the porch. The best part is the preparation is simple, allowing mixologists of all skill levels to whip it up effortlessly.

Making the perfect Whiskey Mint Iced Tea begins with using quality ingredients that each play a pivotal role in defining the drink’s taste. The foundation is set by robust black tea bags, which provide the strength and depth that iced tea is known for. Whiskey, preferred for its smooth and warming depth, works together with the refreshing notes of fresh mint leaves. To sweeten the mix, honey or simple syrup balances the mint and whiskey flavors, while lemon slices bring a zesty brightness. With these ingredients, you're ready to make a drink that's both refreshing and complex.

Can I Use Any Type of Whiskey?

An element of personalization in the Whiskey Mint Iced Tea recipe comes from the choice of whiskey, allowing you to tailor the beverage to your taste preferences. While any type of whiskey can be used, different varieties slightly alter the drink. Bourbon stands out with its sweeter, fuller body that beautifully complements the mint and tea, leaving a smooth finish. Rye whiskey introduces a spicier note, offering a bold contrast to the refreshing mint. Irish whiskey provides a lighter, milder option. Consider local or craft whiskies for an artisanal touch. By getting creative with different whiskeys, each sip can offer a new tasting experience. You can see why this drink becomes a versatile addition to your summer beverage rotation.

How Do I Prepare Fresh Mint?

The preparation of fresh mint is central to achieving the perfect Whiskey Mint Iced Tea, as it infuses the beverage with its characteristic refreshing aroma. To begin, gently rinse the mint leaves under cold water to eliminate any dirt or impurities. Pat them dry using a clean kitchen towel, ensuring they're crumb-free. Muddling the mint leaves slightly before adding them to the drink helps release their aromatic oils, enriching each sip with herbal notes. This simple, quick step is crucial for achieving the minty aroma that is key to the drink's overall appeal. Make sure to save additional mint to garnish.

How Can I Adjust the Sweetness?

Striking the right balance in sweetness is an important part of the perfect Whiskey Mint Iced Tea. Begin by varying the amount of simple syrup or honey according to your palate. For those seeking natural sweeteners, honey or agave nectar serve as excellent substitutes. To add a different complexity to the sweetness, consider using flavored syrups such as mint or vanilla. Experimenting with different tea types, such as black or green, can naturally influence the drink's sweetness, providing different layers of flavor. For an additional fruity twist, using fresh fruit like muddled berries or slices of peach enhances the drink’s sweetness while adding an element of surprise.

Whether you’re experimenting with types of whiskey or mastering the art of preparing mint, each glass offers a refreshing summer drink. Allow the blending of the whisky's robust depth, the mint's cooling, and the tea's comforting richness to redefine your summer sipping experiences. This delicious beverage promises to be one summer drink that all will enjoy. So, raise your glass and let the good times roll.

Ingredients

1 oz simple syrup

1 oz whiskey of your choice

3 mint leaves

1/2 lemon, additional slices for garnish

crushed ice

ice tea

Instructions

1. Add min leaves and equal parts simple syrup and whiskey to a cocktail shaker. Add in juice have of lemon. Shake, add ice cubes and shake again. For unsweetened forgo the simple syrup.

2. Fill glass with crushed ice. Taking cocktail shaker and strain into glass filled with ice. Pour ice tea until filled.

3. Garnish with a lemon wedge and fresh mint leaves. Serve and Enjoy!

Save This Recipe

Whether you're planning ahead for a special occasion or adding a new favorite to your recipe collection, I've included a printable recipe card below so it's easy to save, print, and share with the people you love.