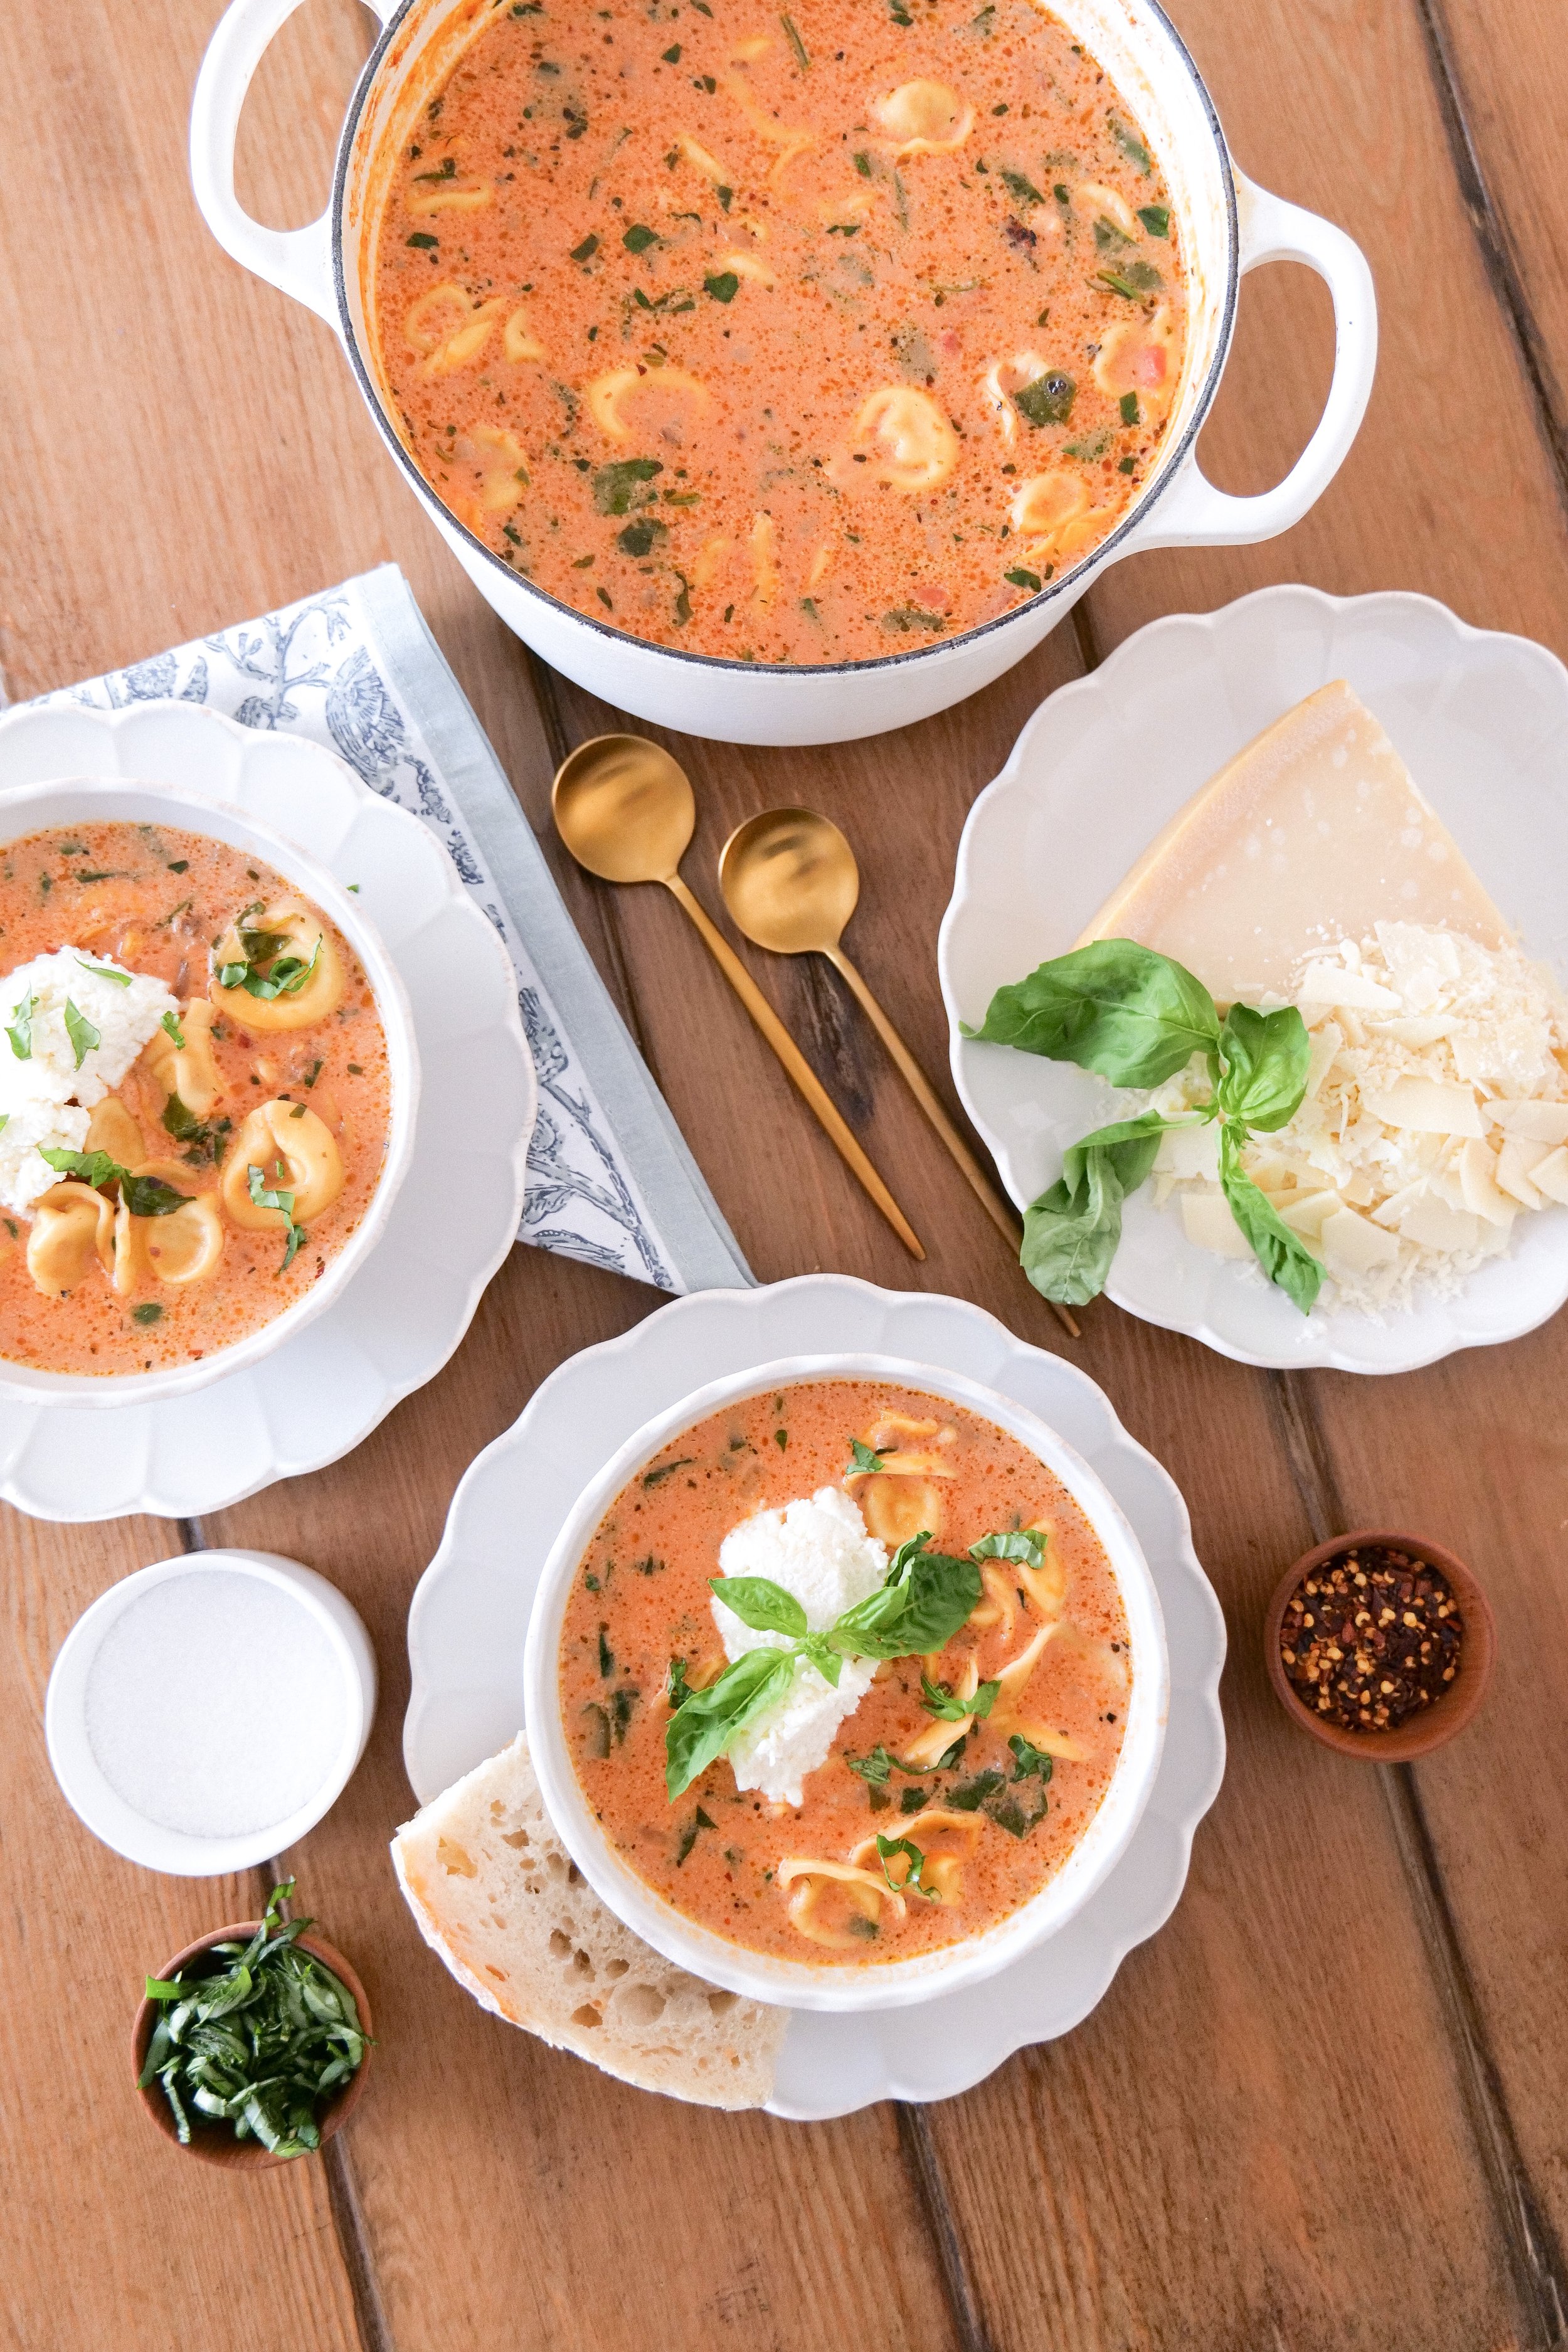
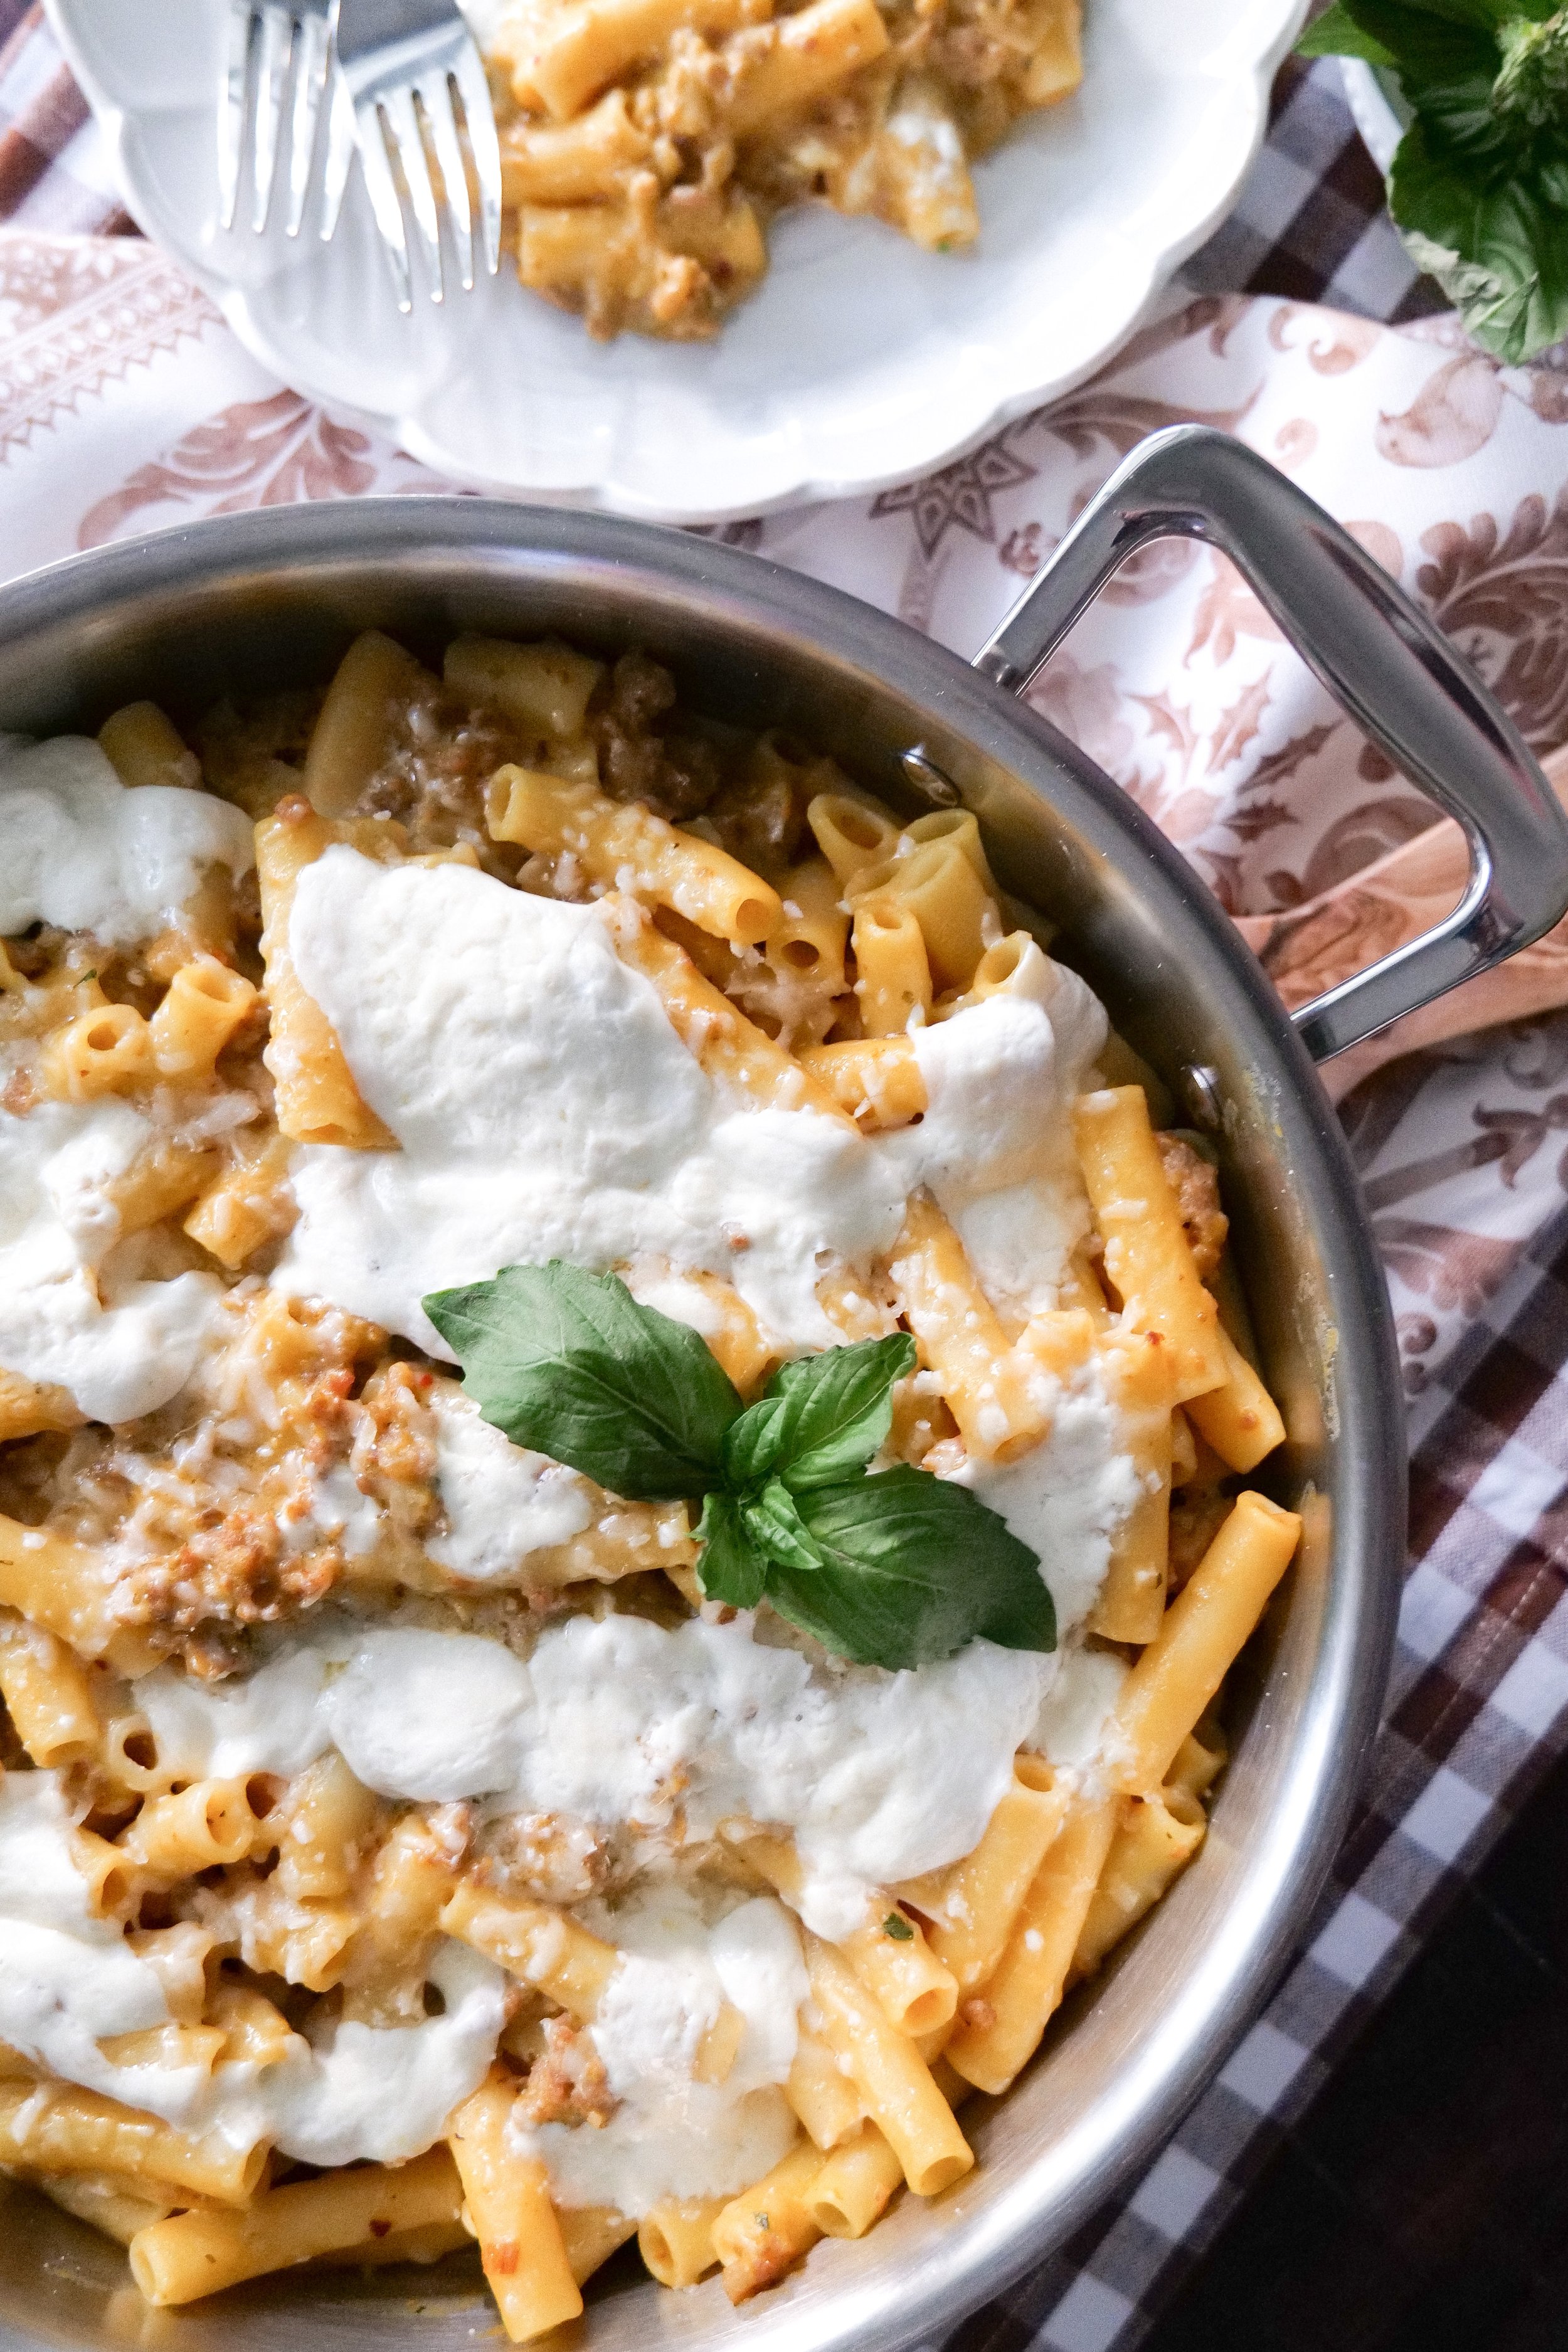
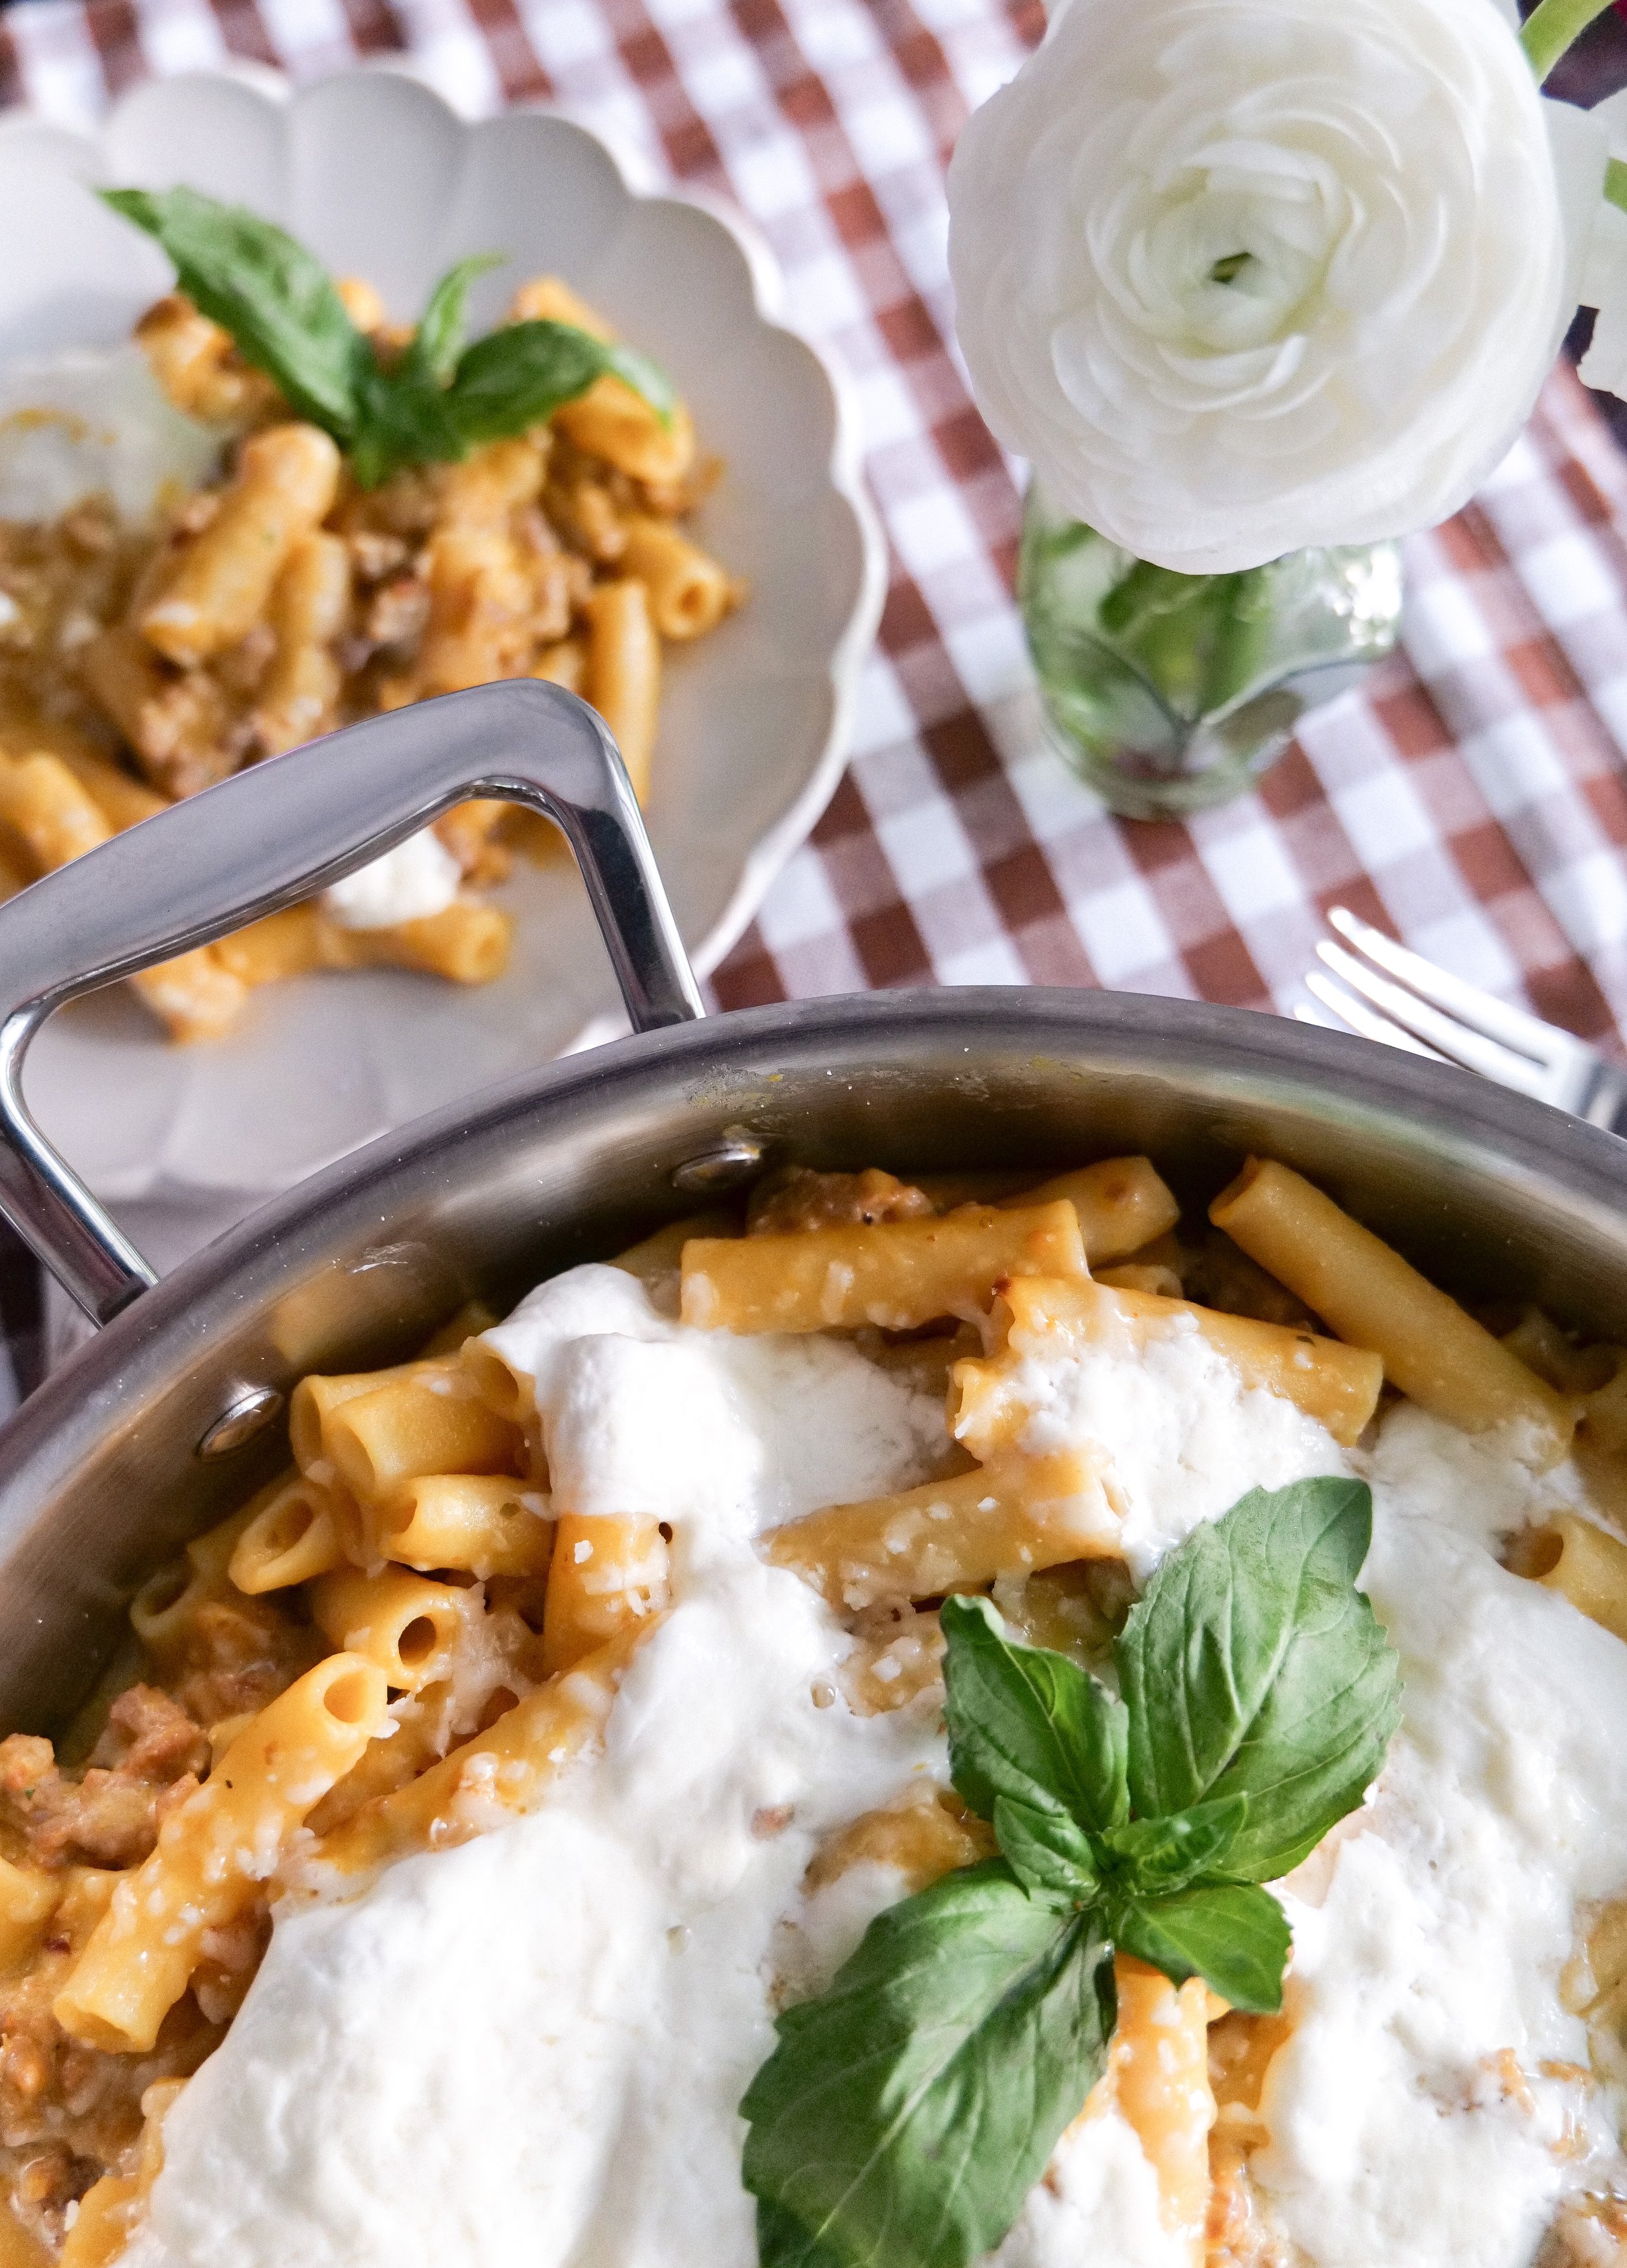
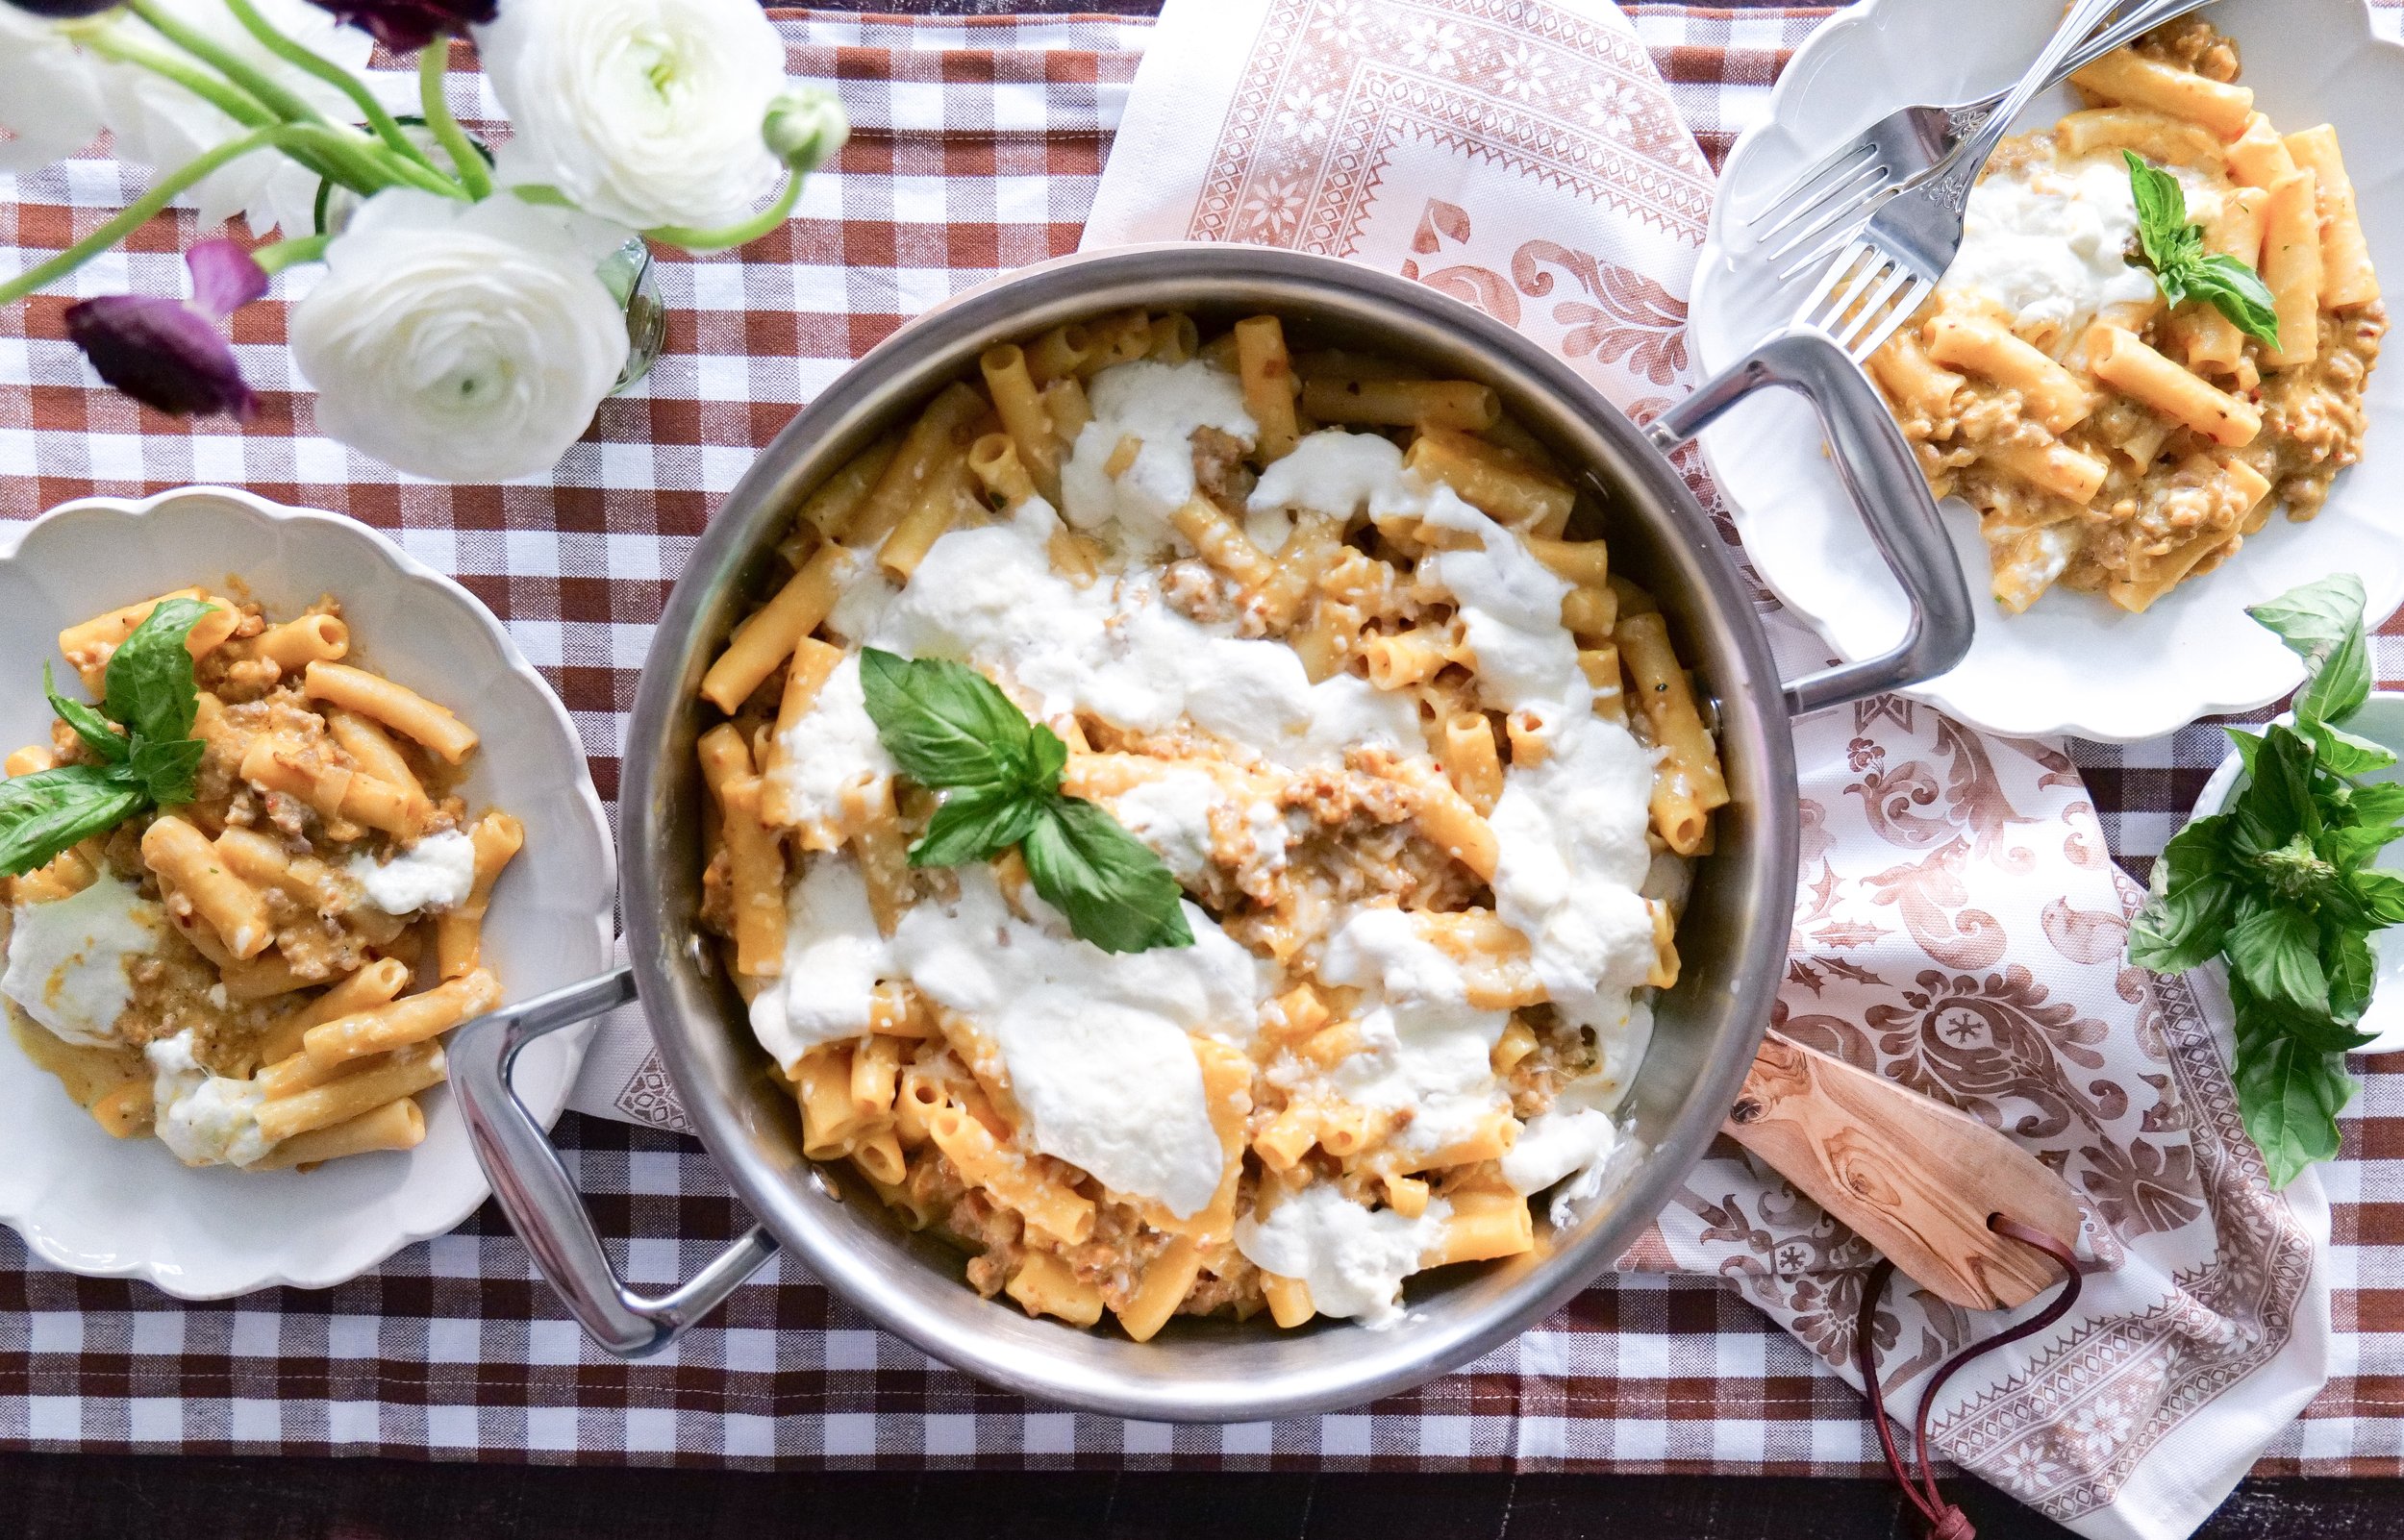
Deliciously Creamy Basil Tomato Soup: An Easy and Delicious Recipe

If you're looking for a warm and comforting meal, look no further than creamy tomato basil soup. This creamy and delicious soup is packed full of flavor provided by fresh tomatoes, garlic, basil, and a hint of cream. A side of crusty bread or grilled cheese makes this soup a complete meal that is sure to please. A great perk to this recipe is that it is vegetarian-friendly and gluten-free. It can also be made easily vegan by changing out heavy cream for coconut milk and omitting any cheese.

This soup is also a great way to use up any leftover vegetables and herbs from the fridge. It's a great way to make sure that nothing goes to waste. Plus, it's a perfect dish to enjoy on a chilly evening. Rich and creamy tomato basil soup is a great way to warm you up and fill your belly. So, if you're looking for a delicious and comforting meal, give this creamy tomato basil soup a try.
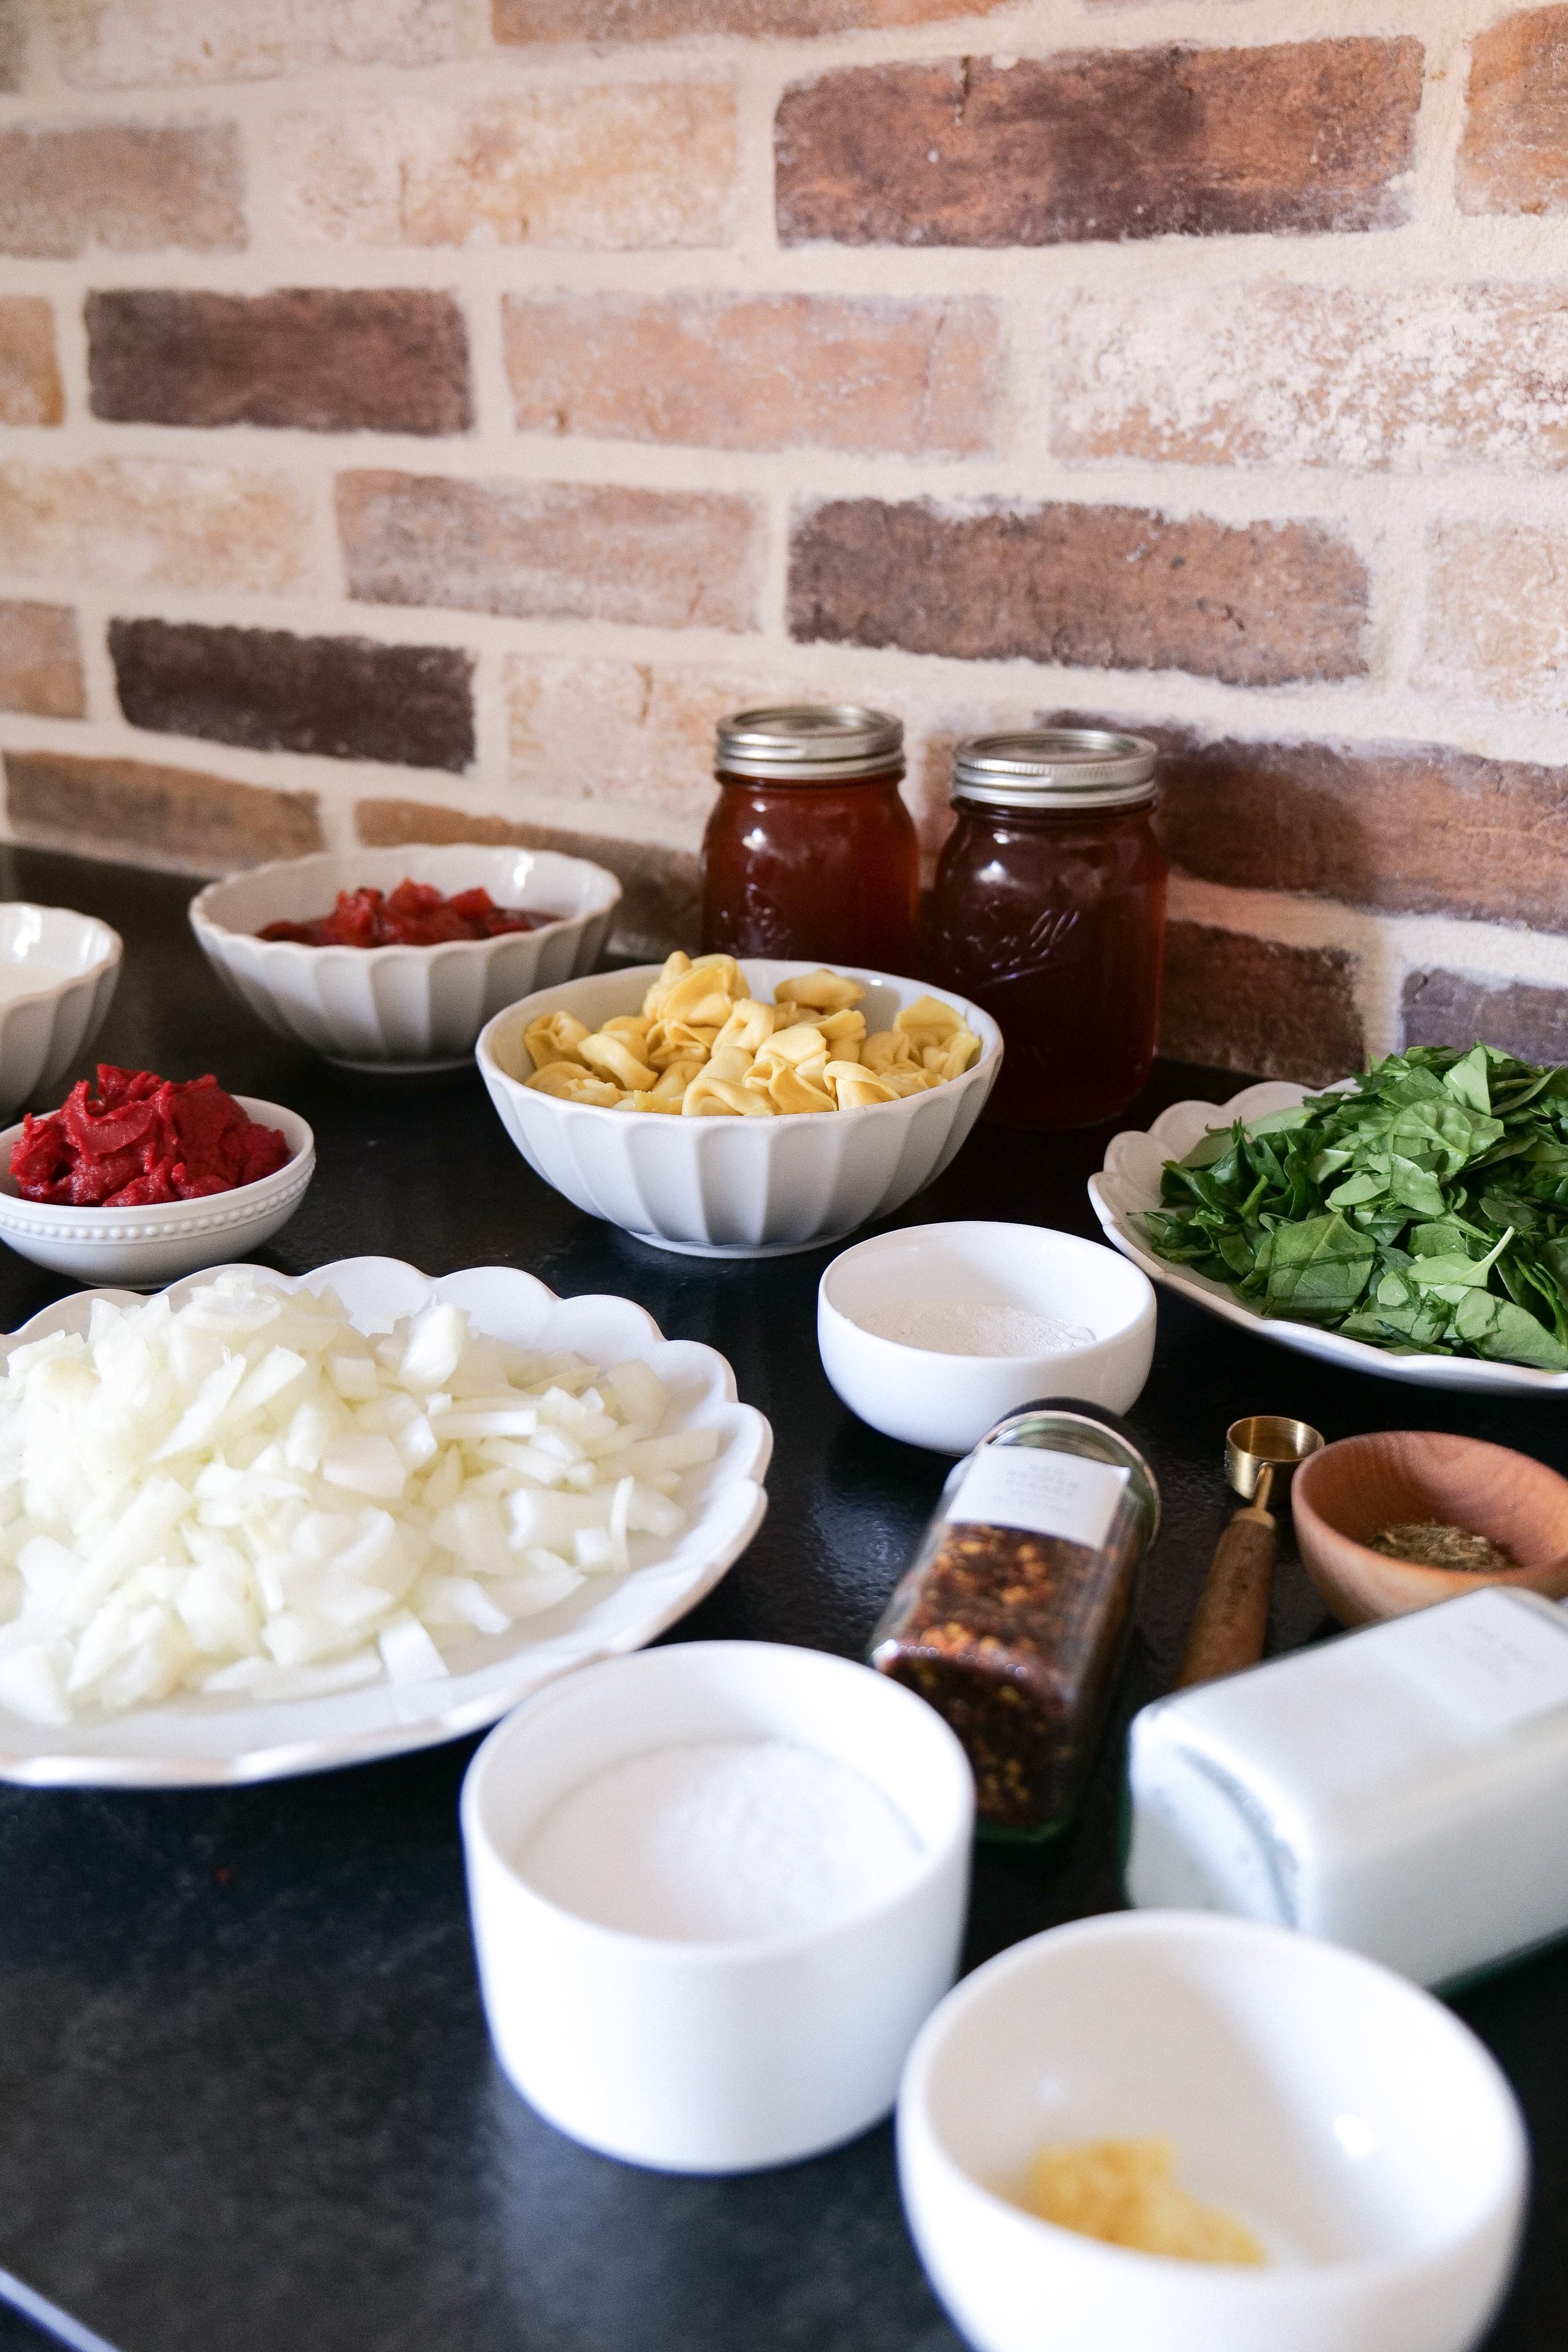
Ingredients

2 tablespoons butter

1 yellow onion, chopped

4 garlic cloves, minced

9 roma tomatoes

1 tablespoons Italian seasoning

1 cup vegetable broth

8 oz tomato paste

1/4 cup basil pesto

3/4 cup heavy cream

sea salt & freshly ground black pepper to taste

basil & parmesan cheese for toppings

Instructions

1. To make this soup, start by melting 2 tablespoons of butter in a dutch oven over medium heat. Once melted, add the chopped yellow onion and minced garlic and sauté for about 5 minutes until the onions are softened and slightly golden brown.

2. Next, add 9 roma tomatoes and bring the mixture to a simmer, cover and let sit simmer for 15 minutes, stirring often. Add 1 tablespoon of Italian seasoning and stir to combine.

3. Once the tomatoes are softened, use an immersion blender to blend the mixture until you get a smooth consistency. If you don't have an immersion blender, you can transfer the mixture to a blender and blend until smooth. Once blended, pour back into pot and add 1 cup of vegetable broth, 8 oz of tomato paste, 1/4 cup of basil pesto and parmesan rind. Let come together but turning heat to medium low and cover. Simmer for 15 minutes, stirring often.

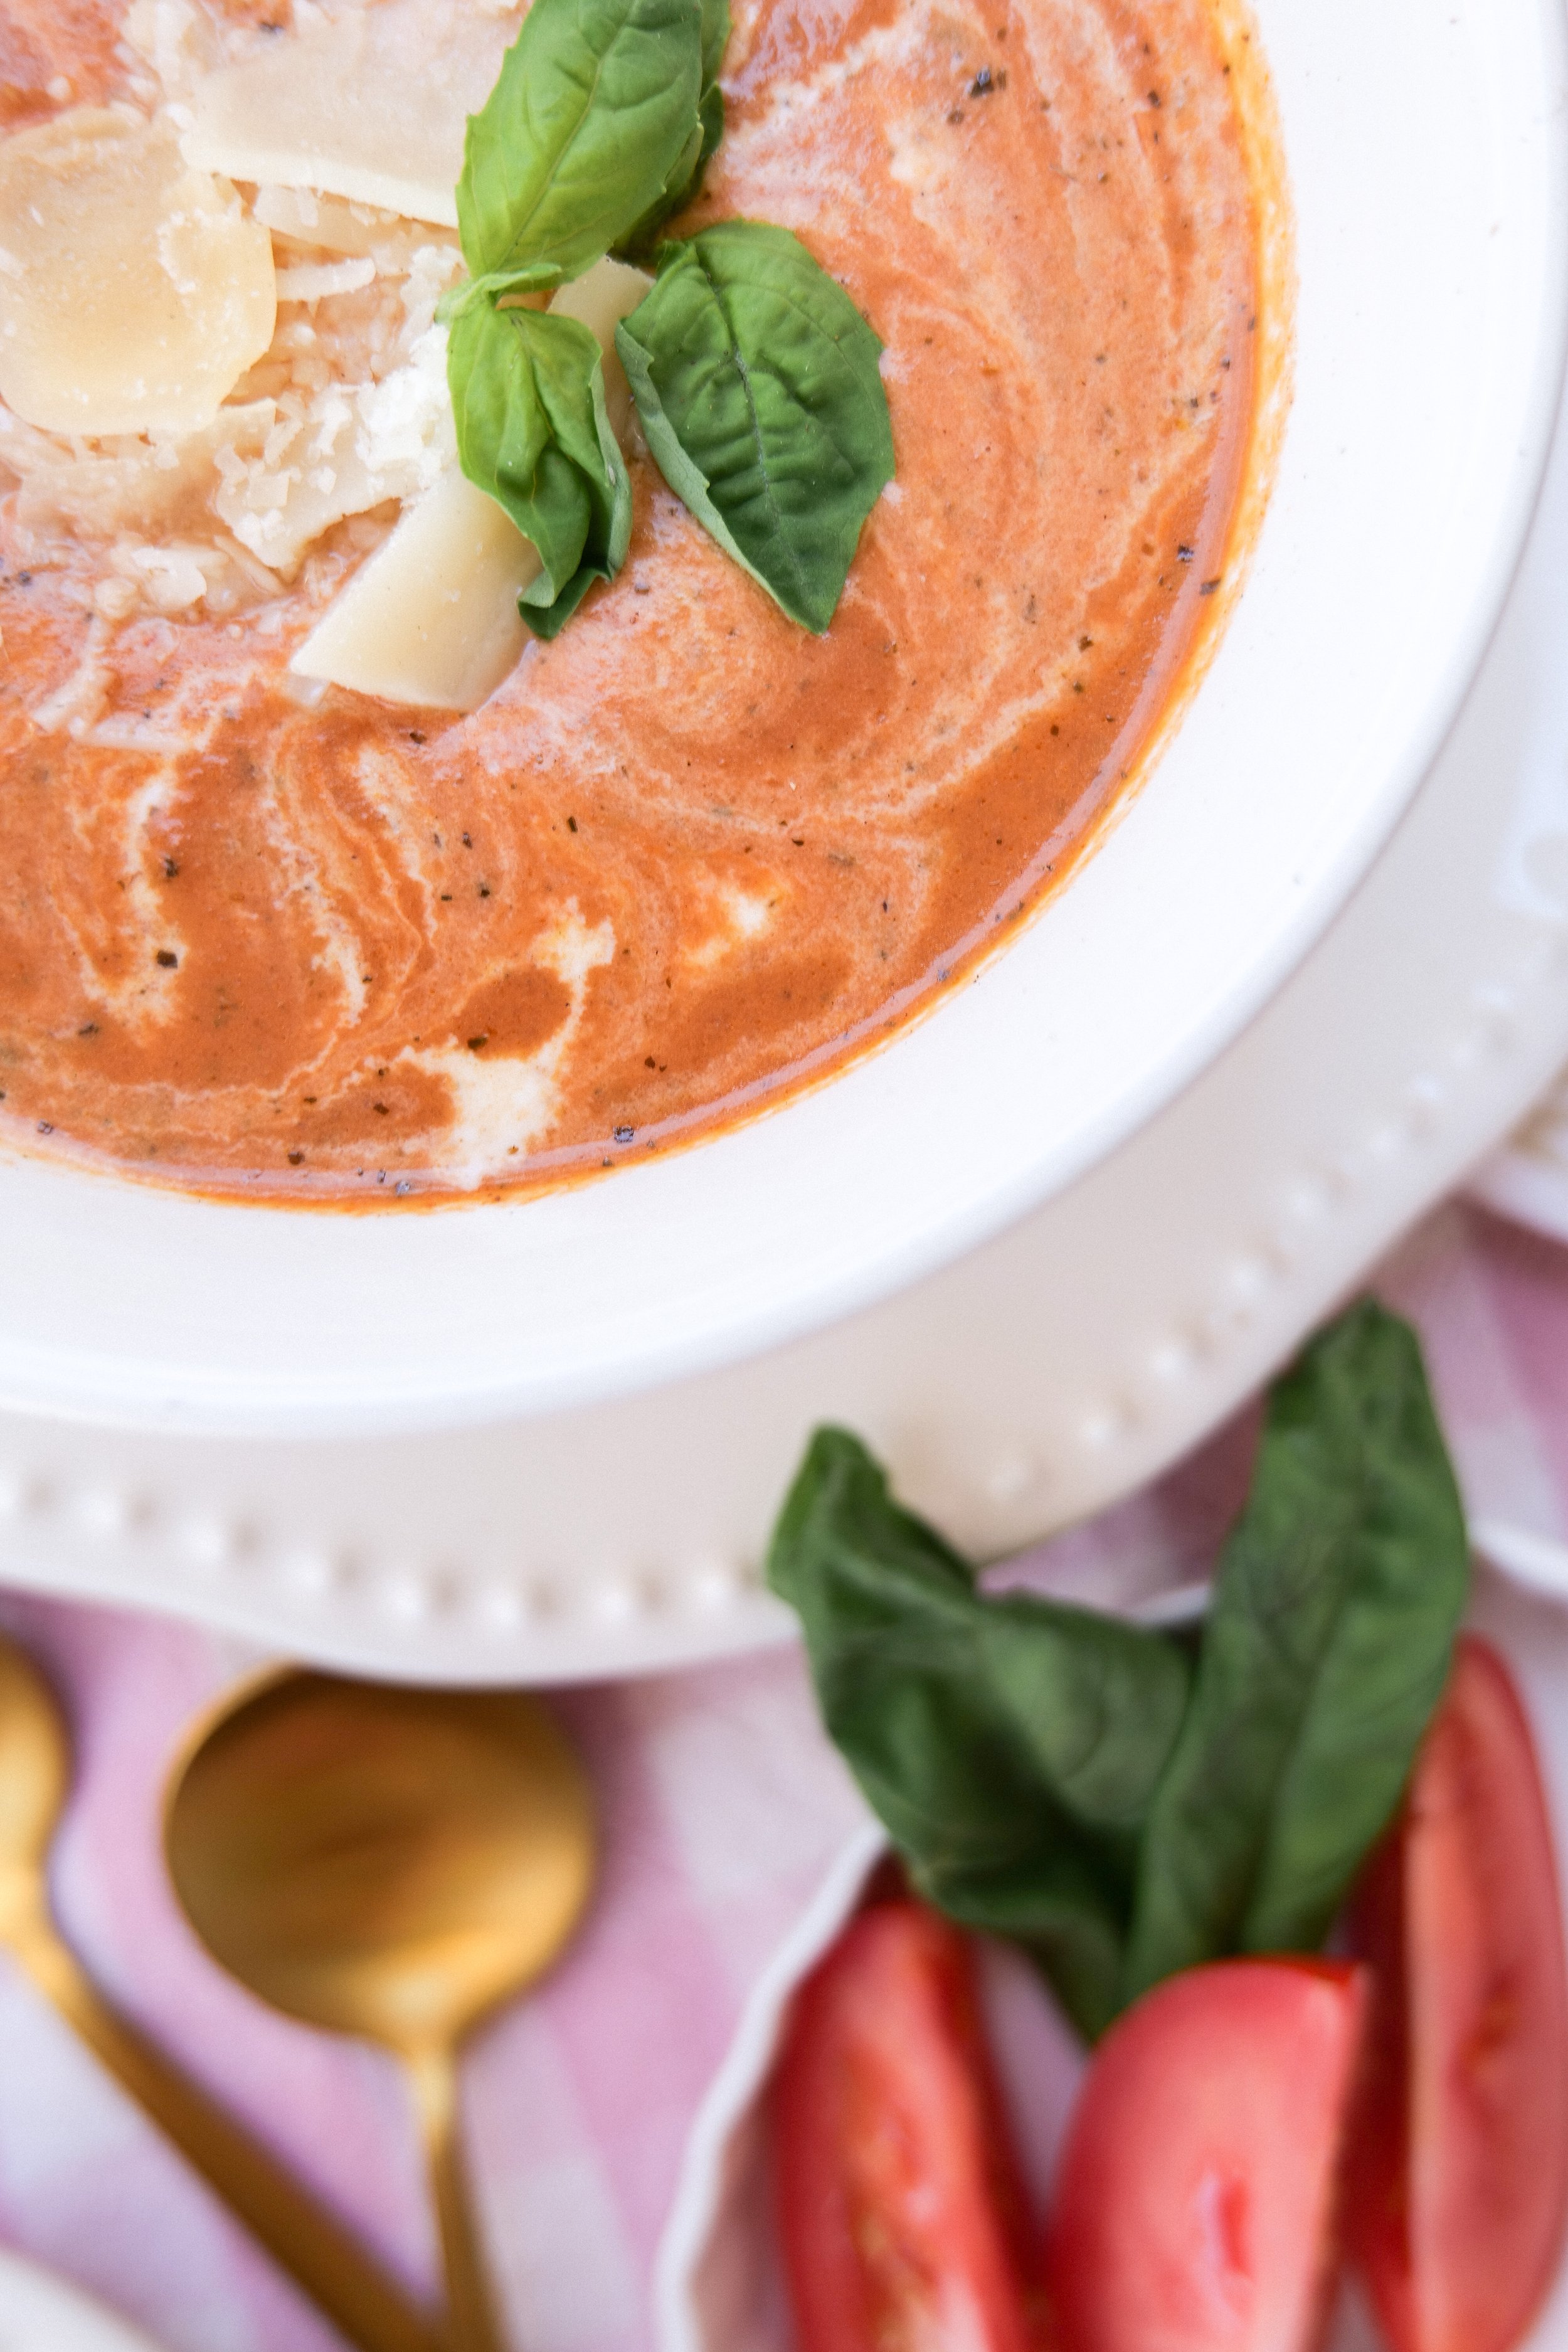
4. Finally, stir in 3/4 cups of heavy cream and simmer the soup for another 5 minutes until warmed through. Serve the Creamy Basil Tomato Soup hot with a sprinkle of fresh basil, parmesan cheese and a slice of warm crusty bread. Enjoy!

What to Serve with Tomato Basil Soup?

Creamy Basil Tomato Soup is a classic comfort meal that is sure to please everyone in the family. It’s perfect for warming up on a cold winter’s day, or for enjoying as a light and nutritious lunch. The creamy texture and flavorful blend of basil, tomatoes, and other ingredients make this soup a favorite in households around the world.

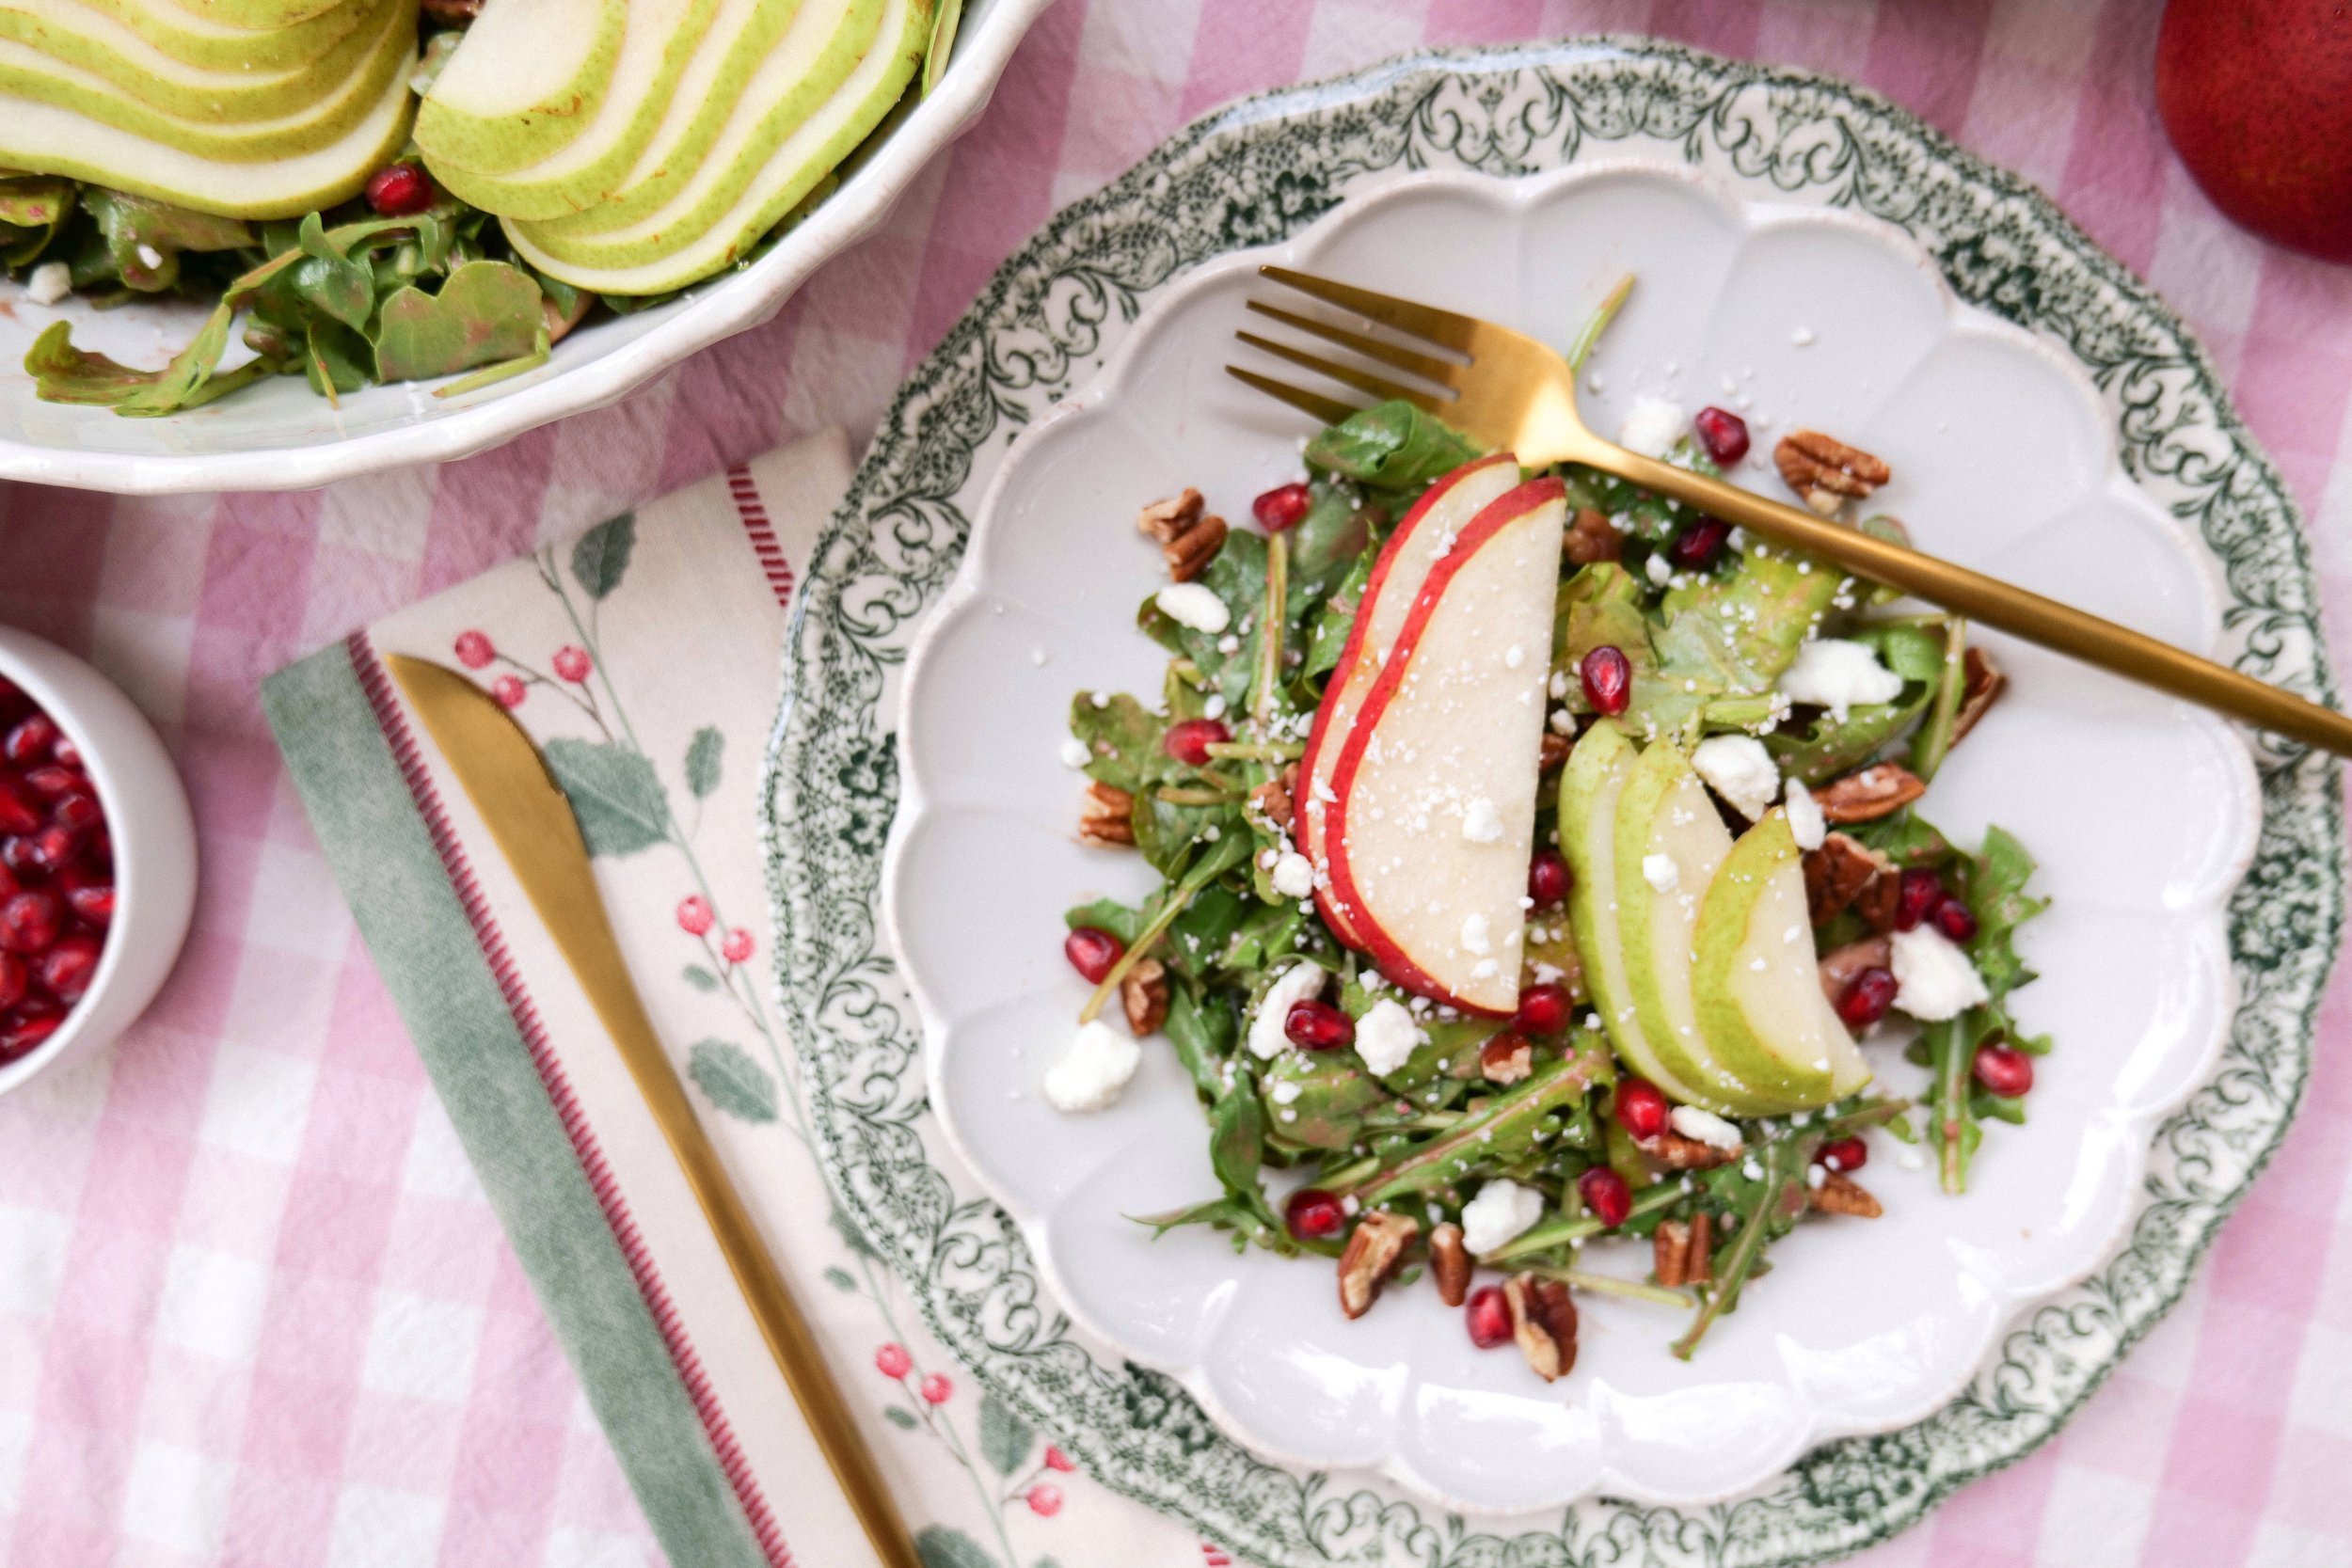
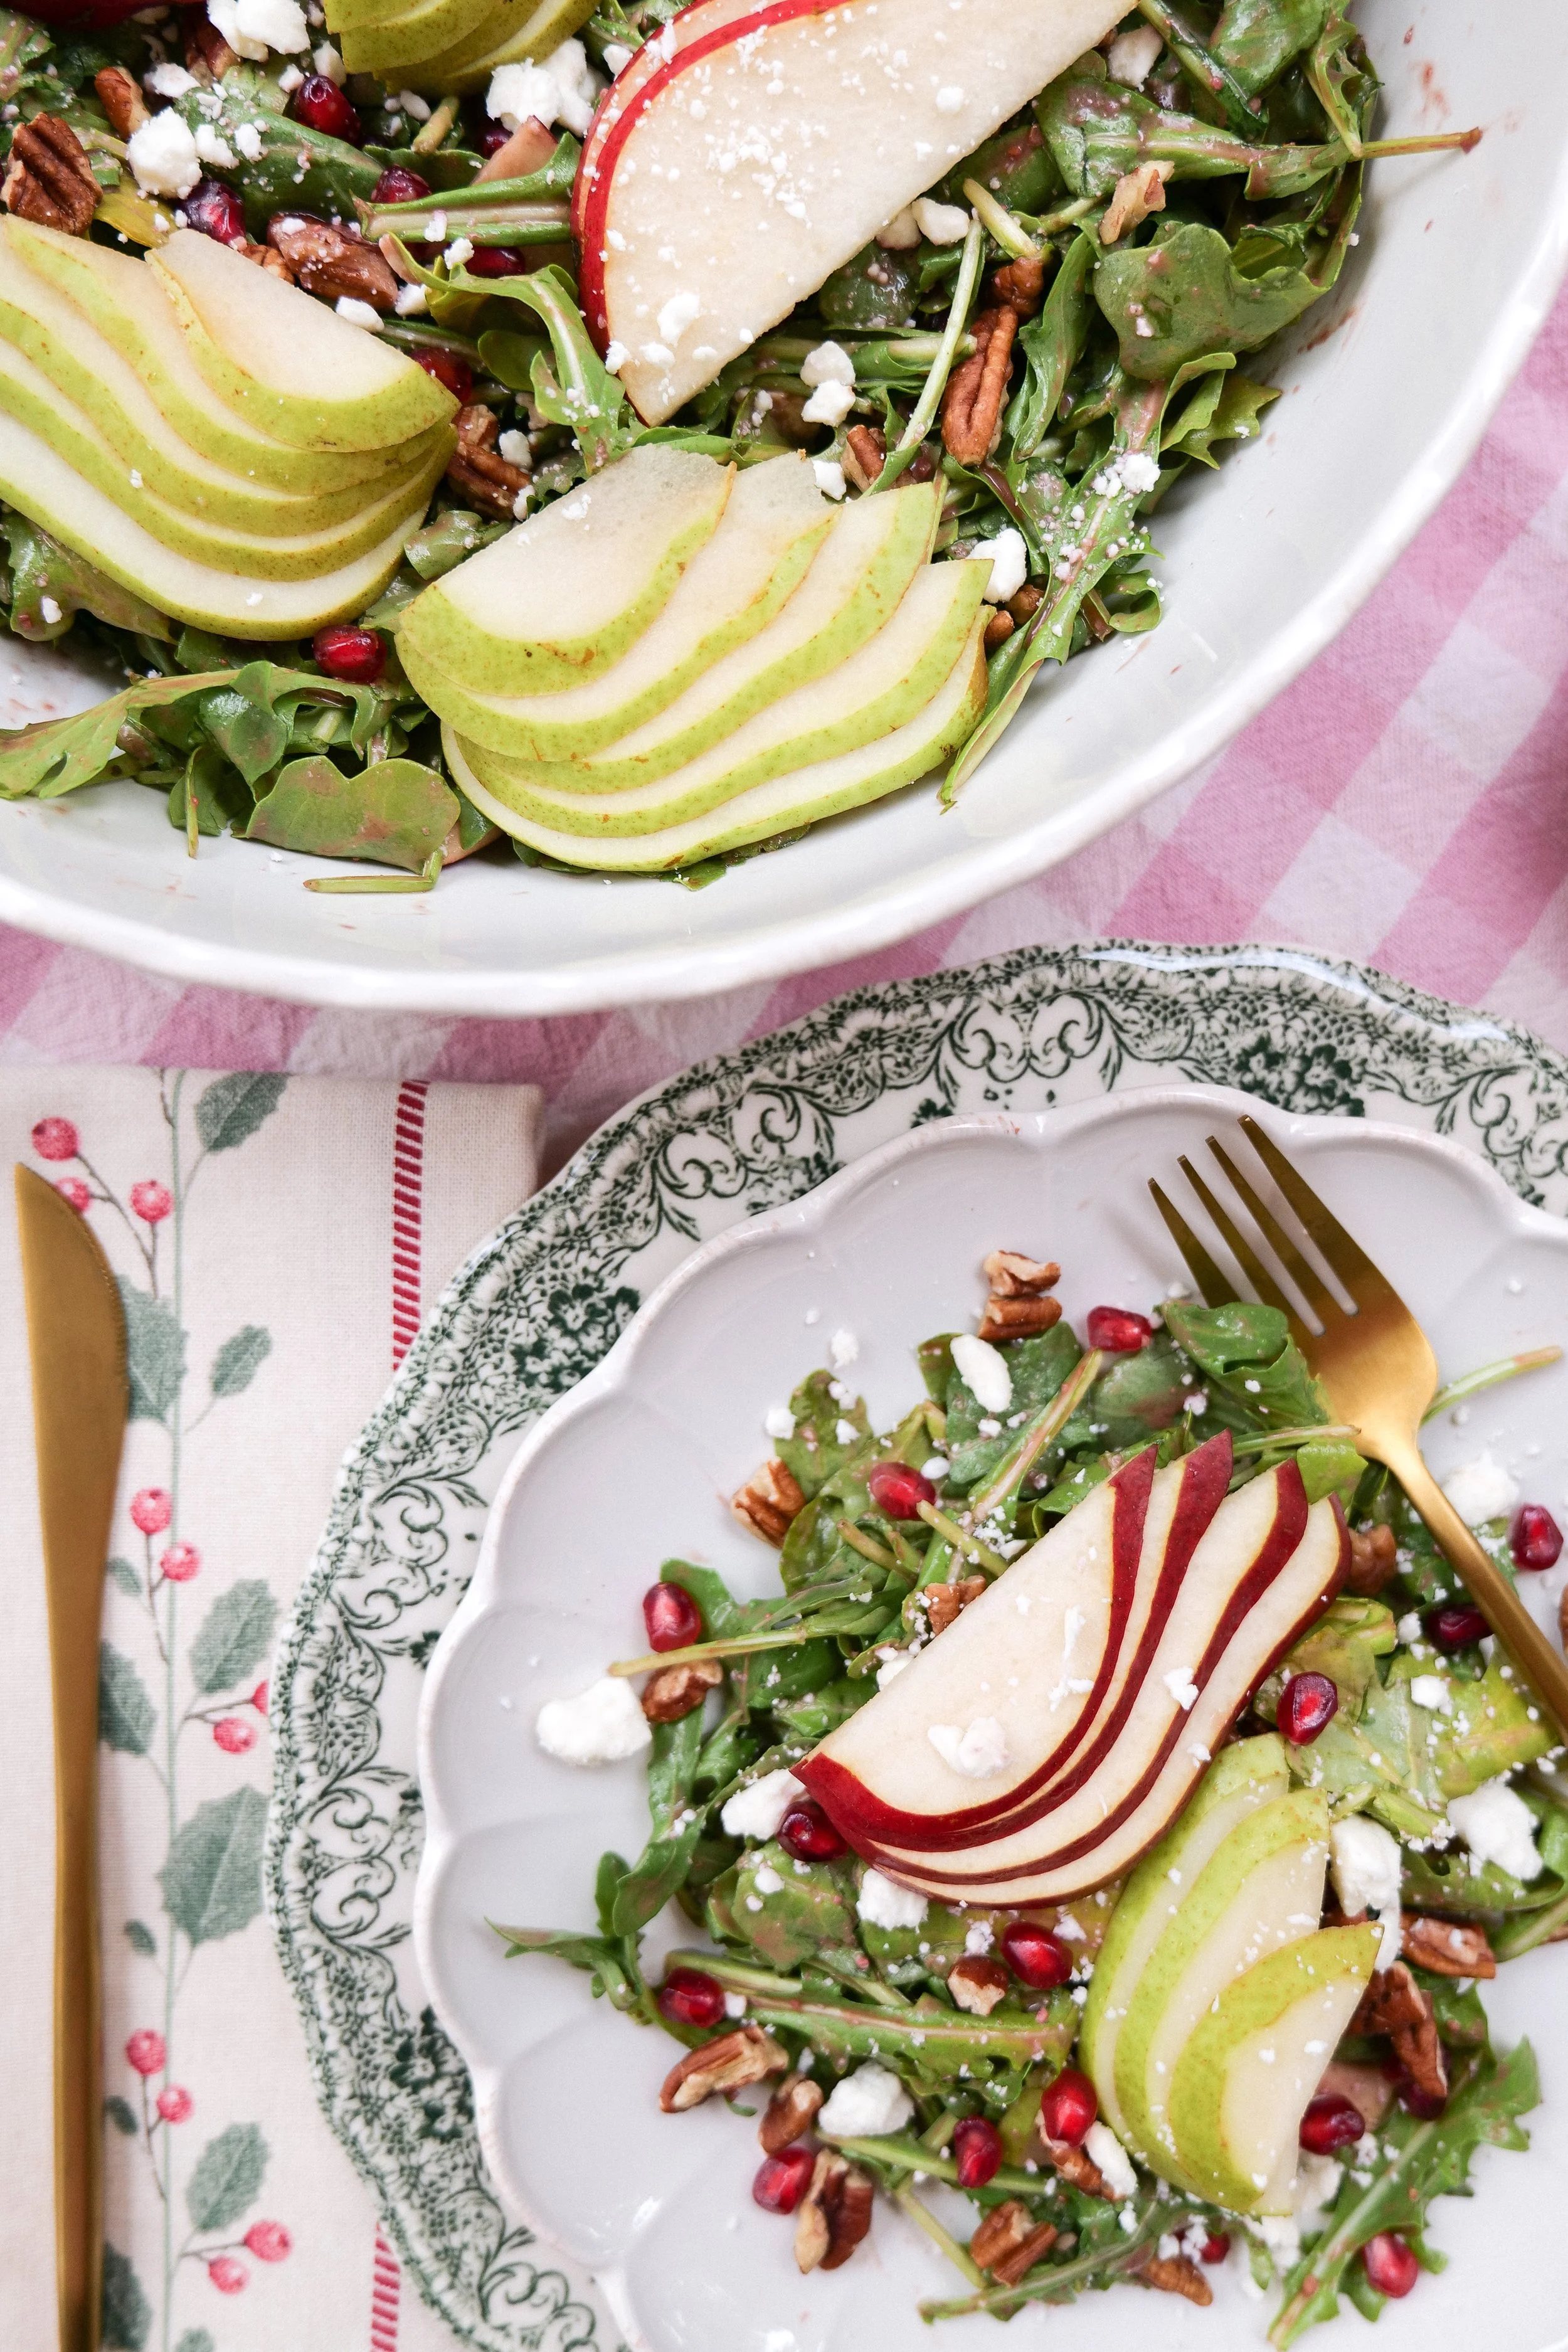
For the perfect accompaniment to your soup, try pairing it with some of your favorite comfort food classics. Grilled cheese sandwiches are a tasty option for dipping into the soup, as are crusty French bread, croutons, and even garlic bread. For a healthier side and bit of freshness, serve a simple green salad on the side. Grilled vegetables such as zucchini, squash, and bell peppers also make an excellent side dish. Or, for a bit of extra flavor, try serving focaccia bread with your creamy basil tomato soup.

No matter which accompaniments you choose, you’ll be sure to enjoy this creamy basil tomato soup. With a few simple ingredients and a few minutes of preparation, this classic comfort food is the perfect meal for any occasion.

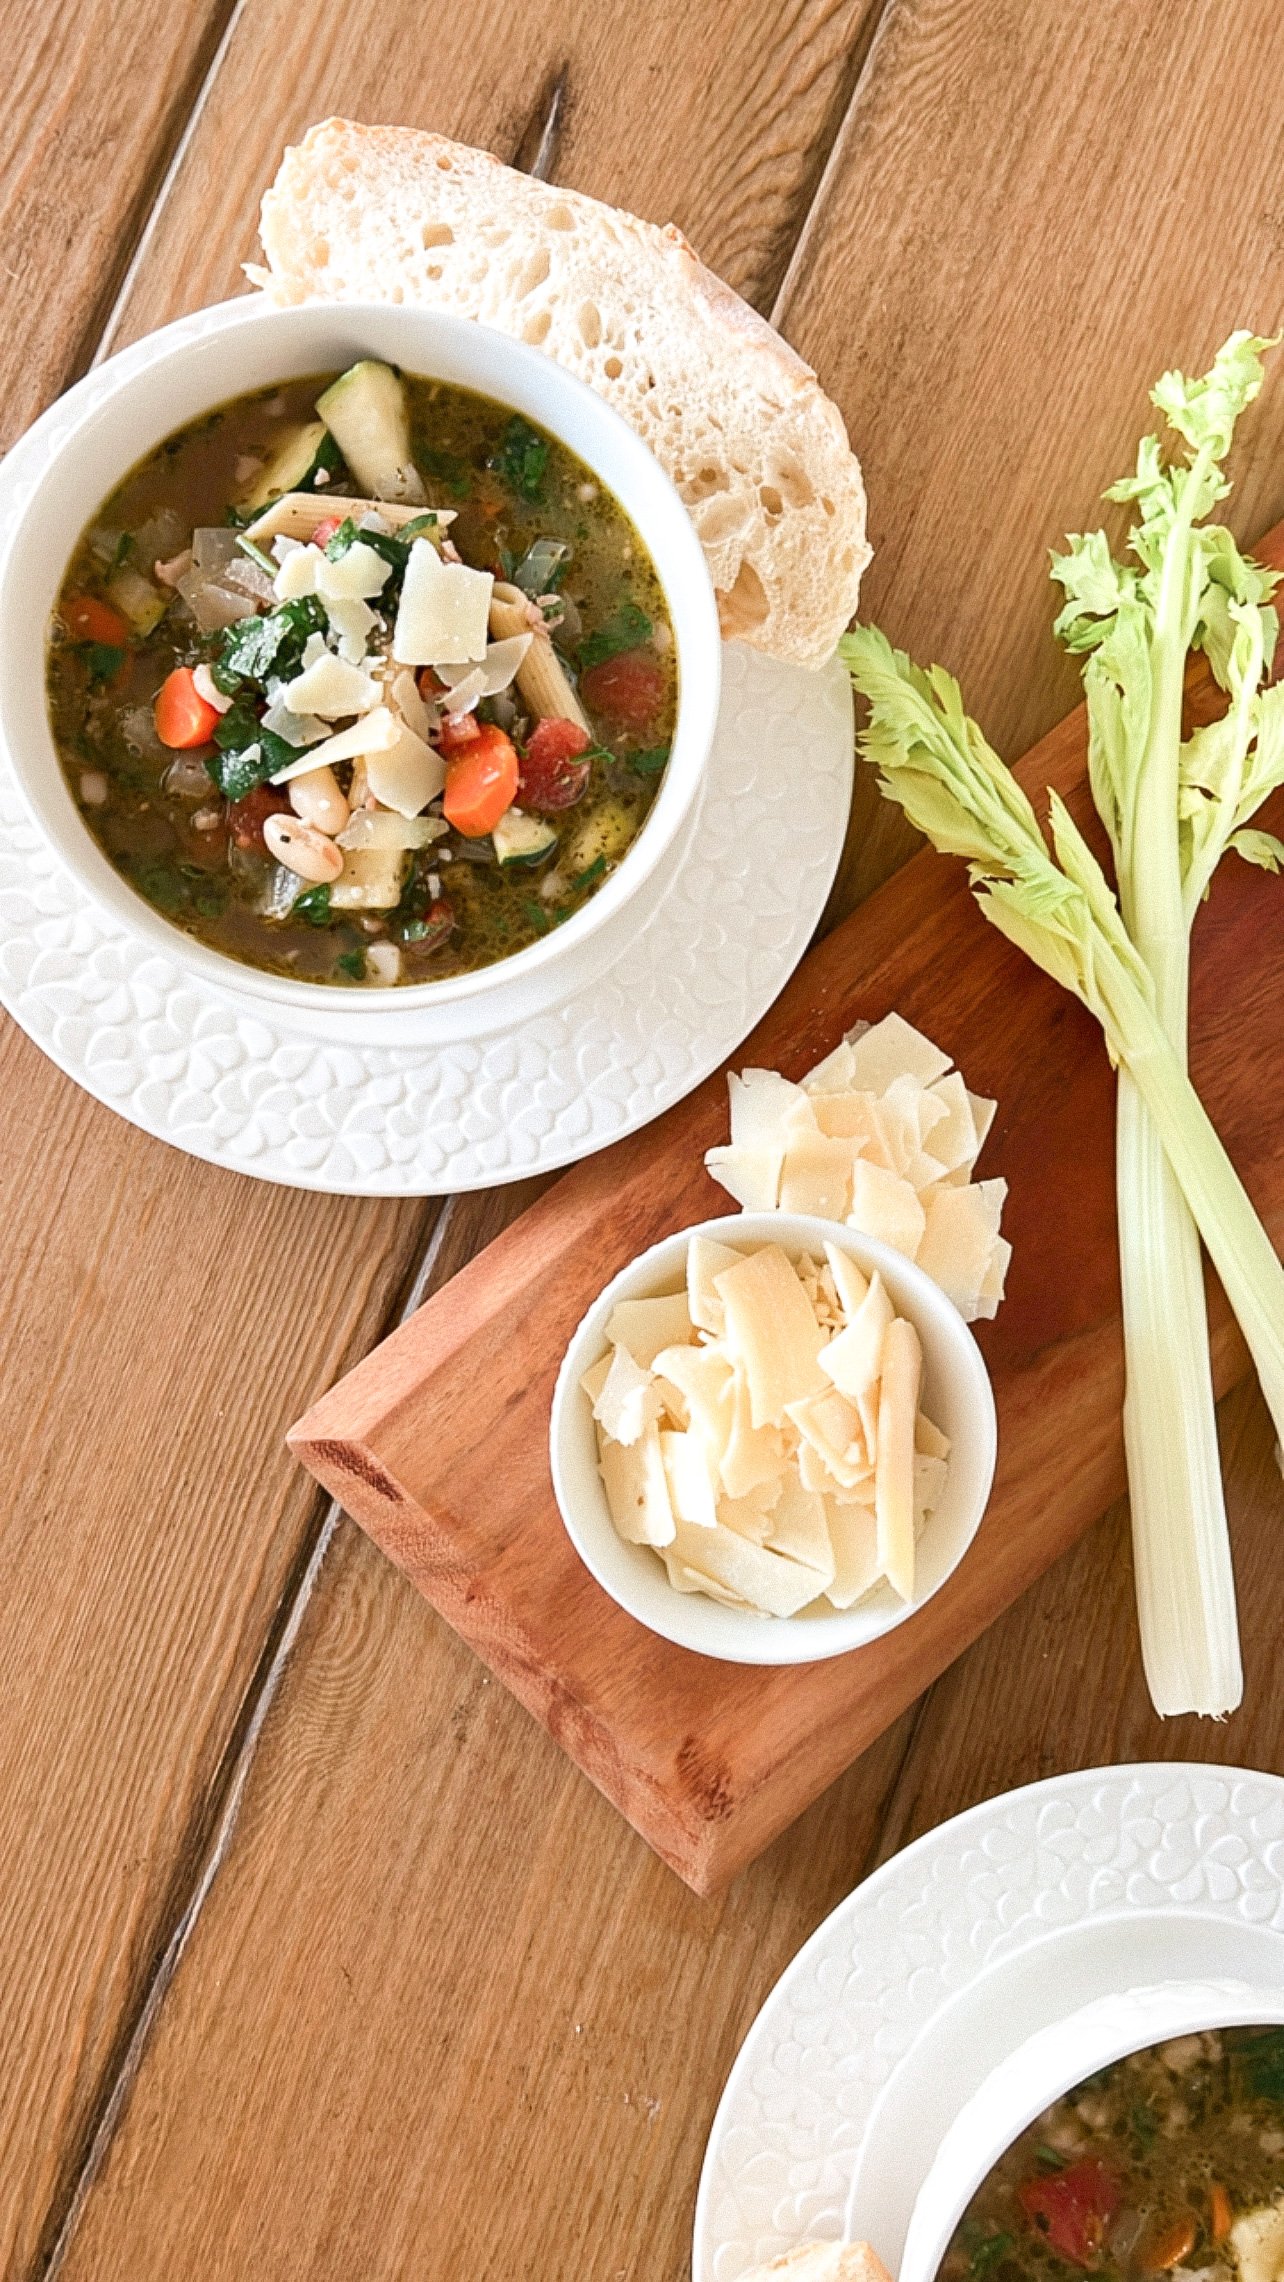
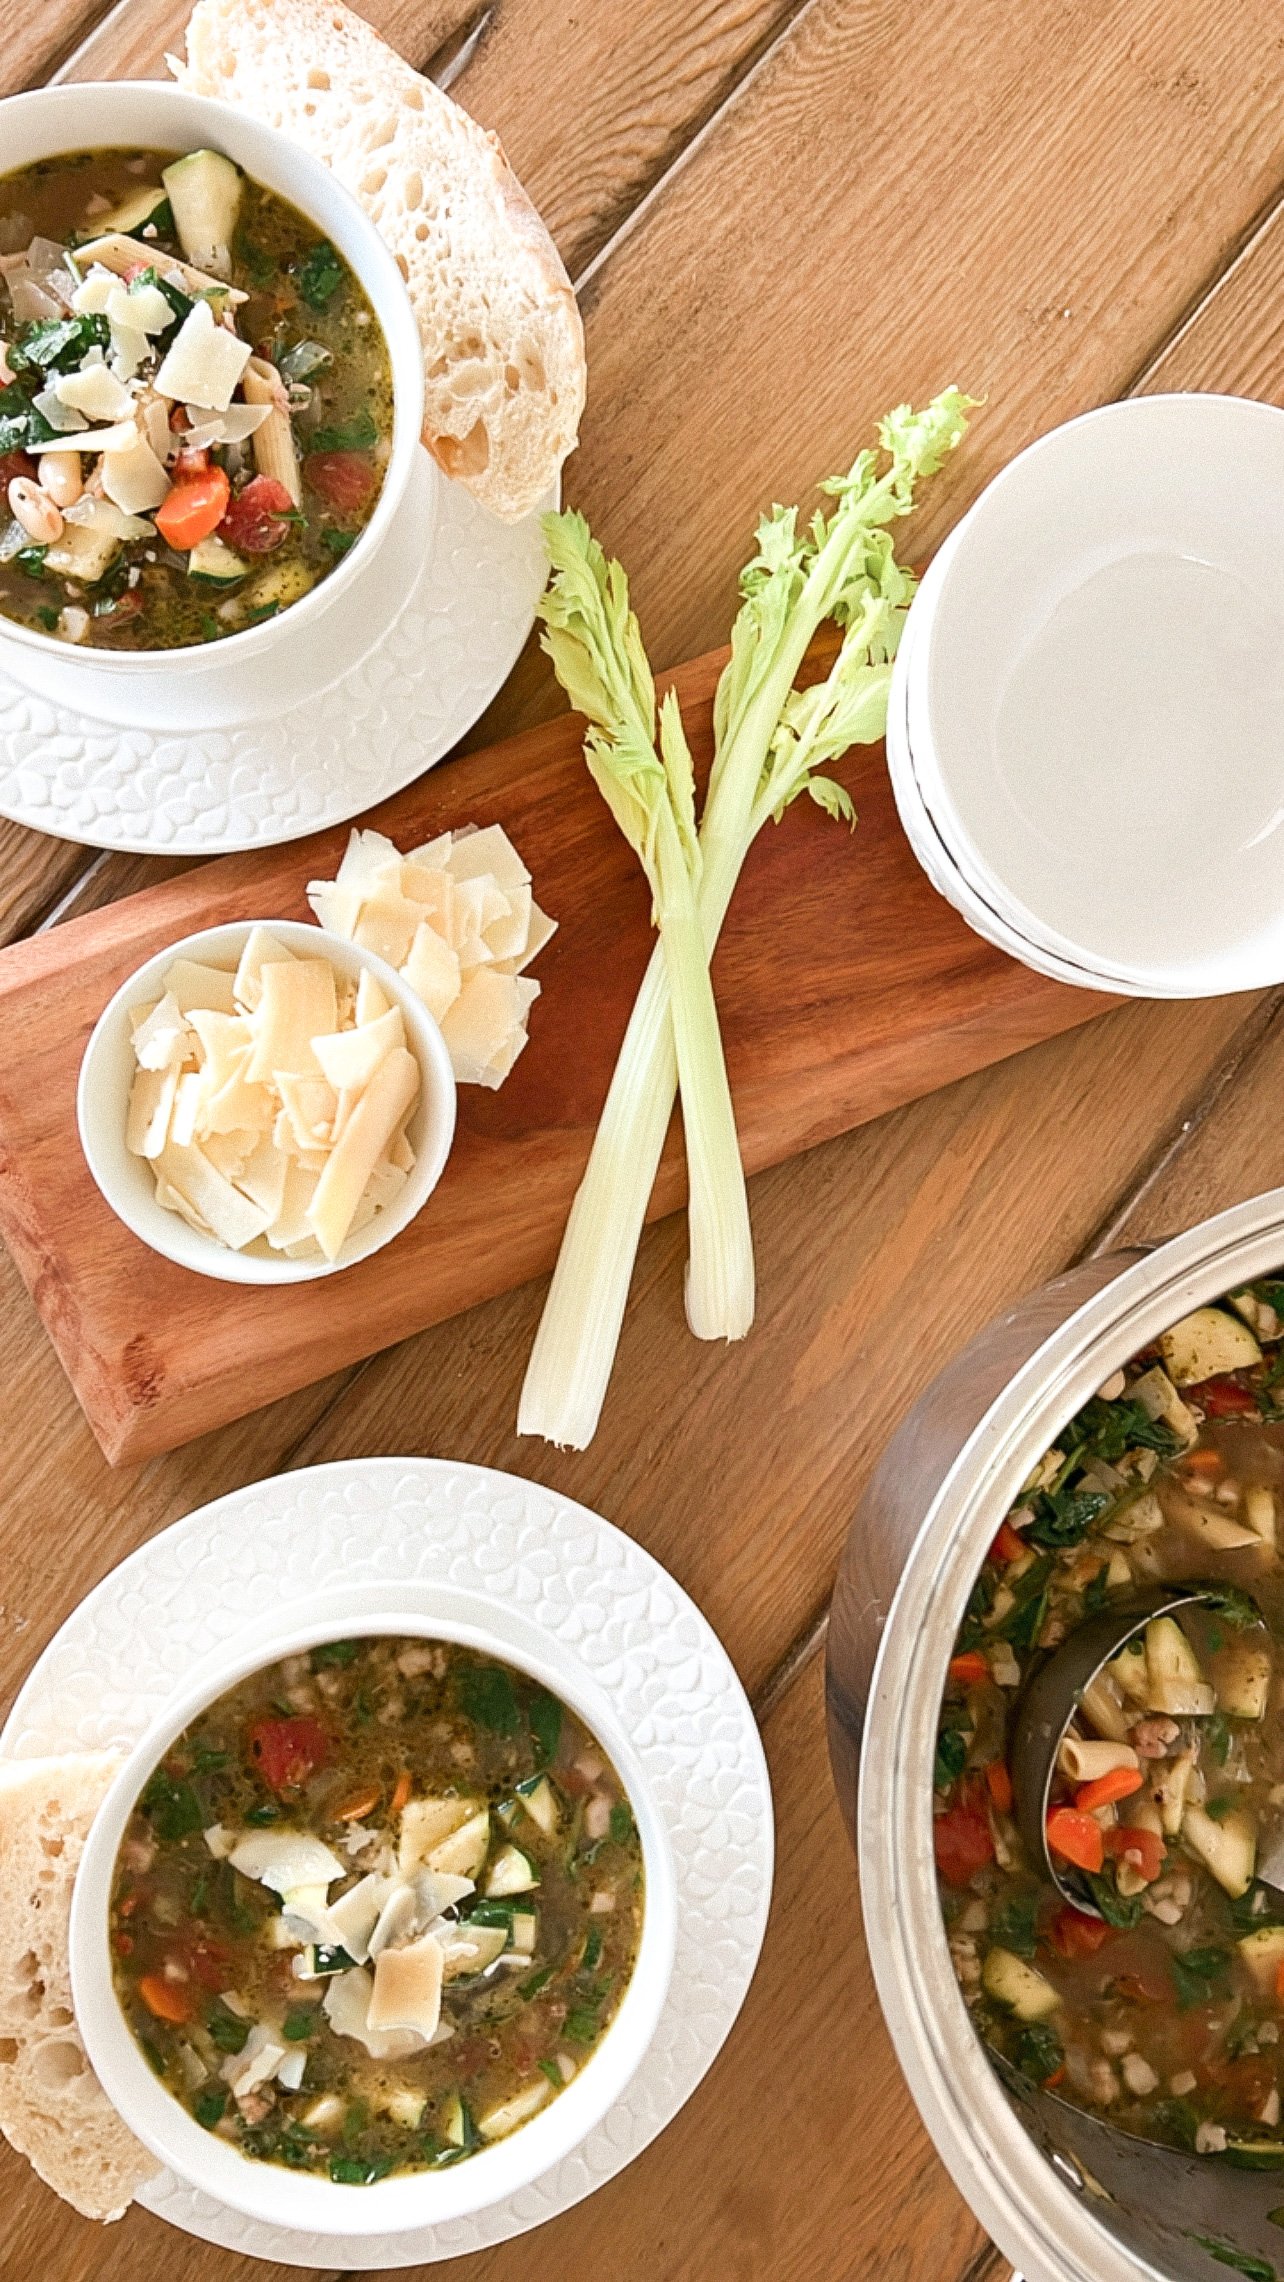
Other great soup recipes

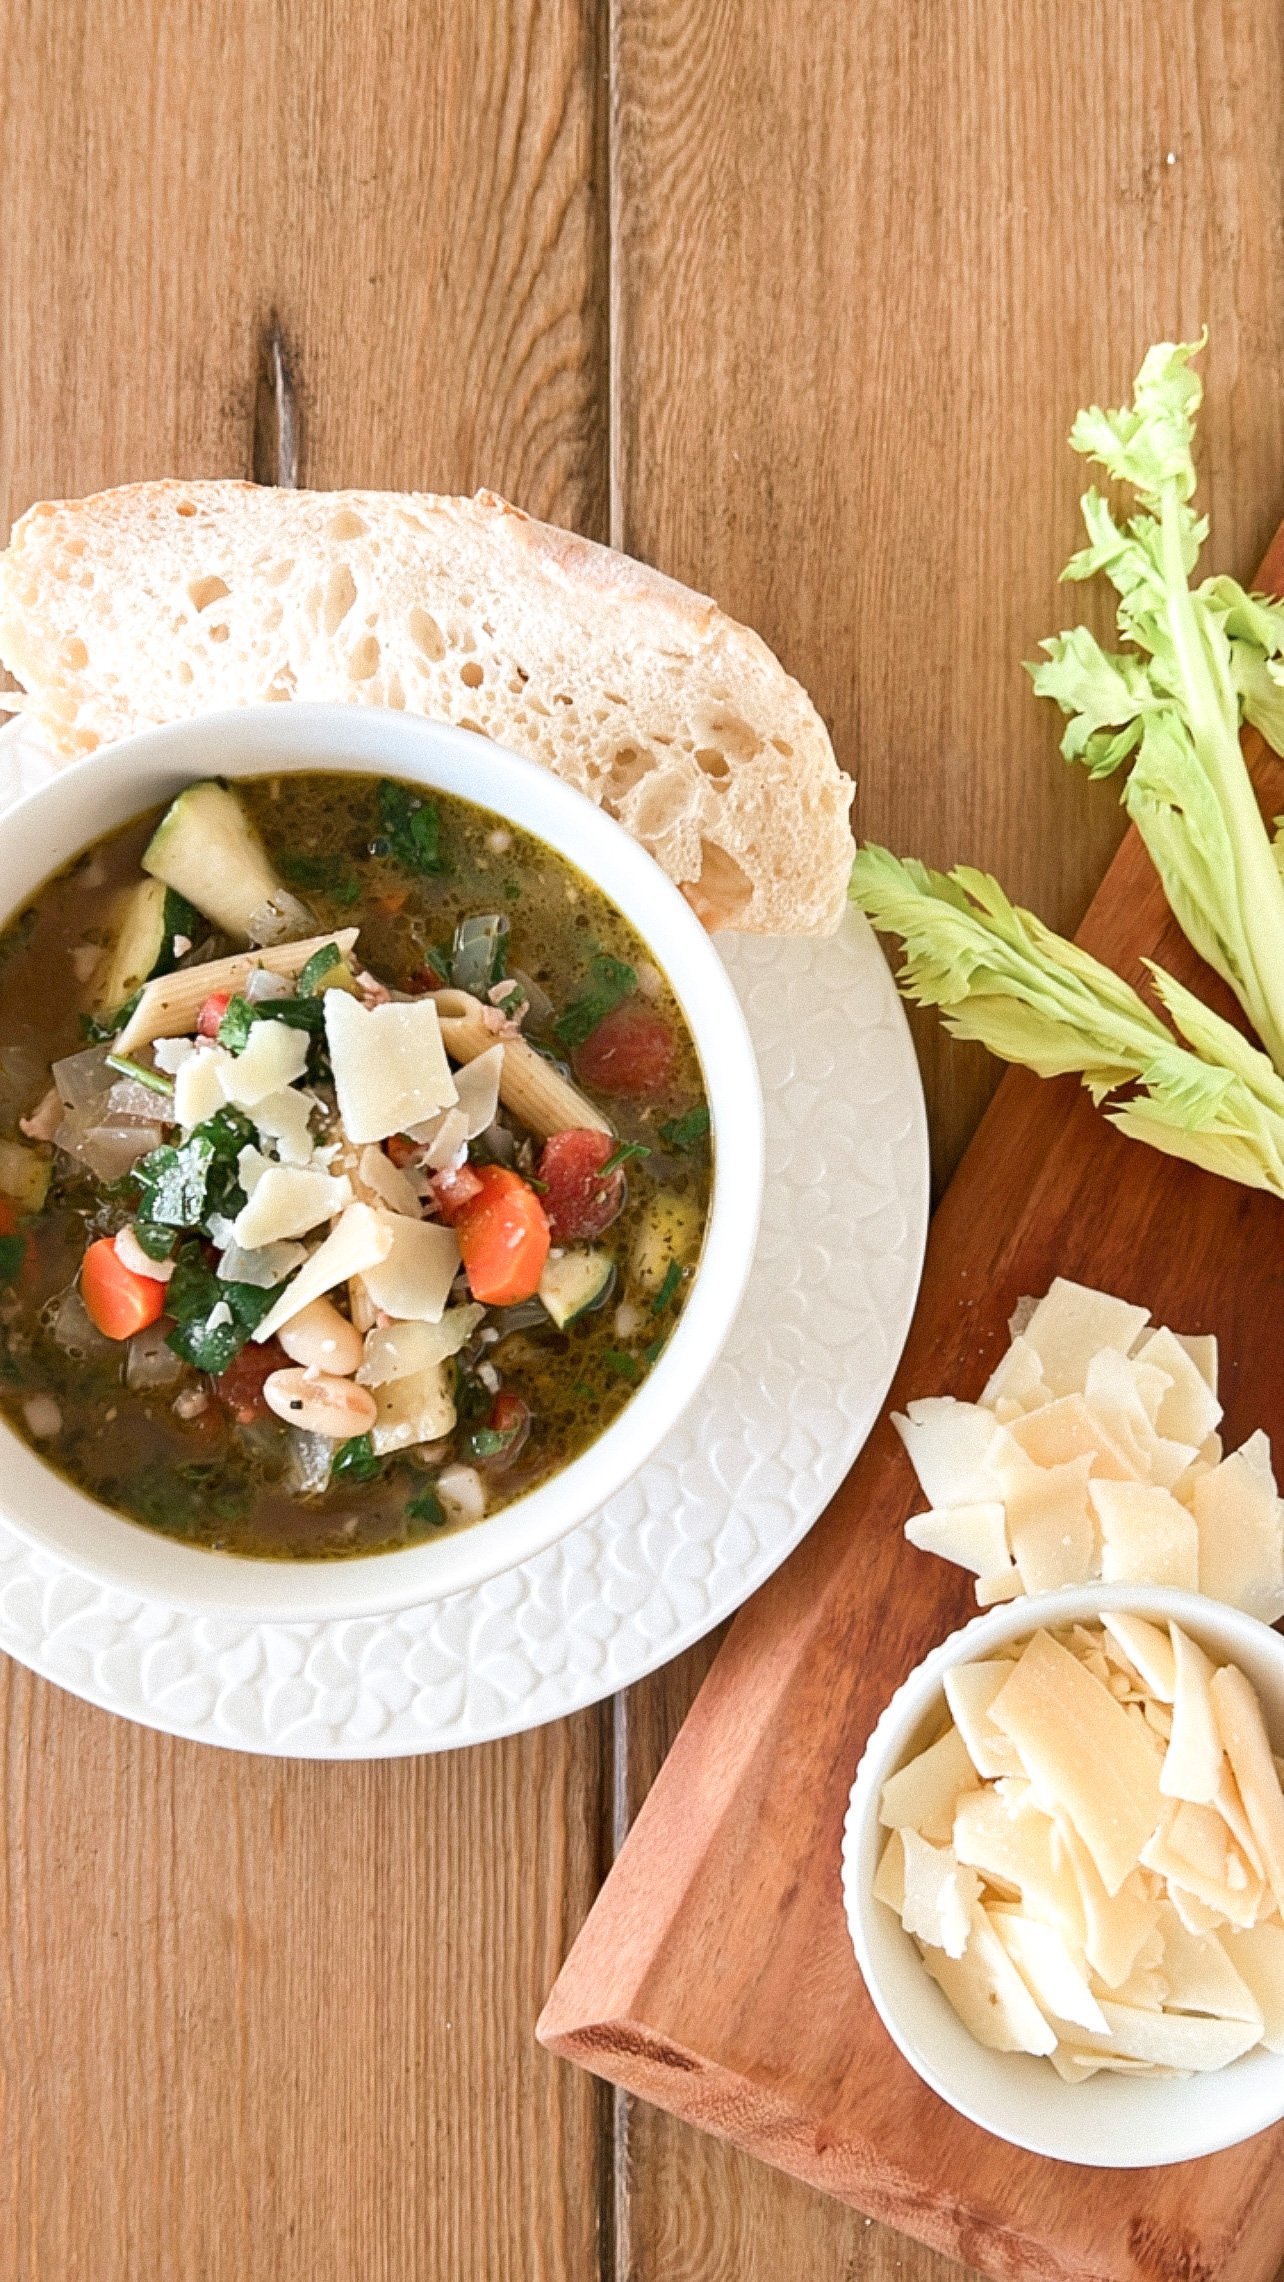
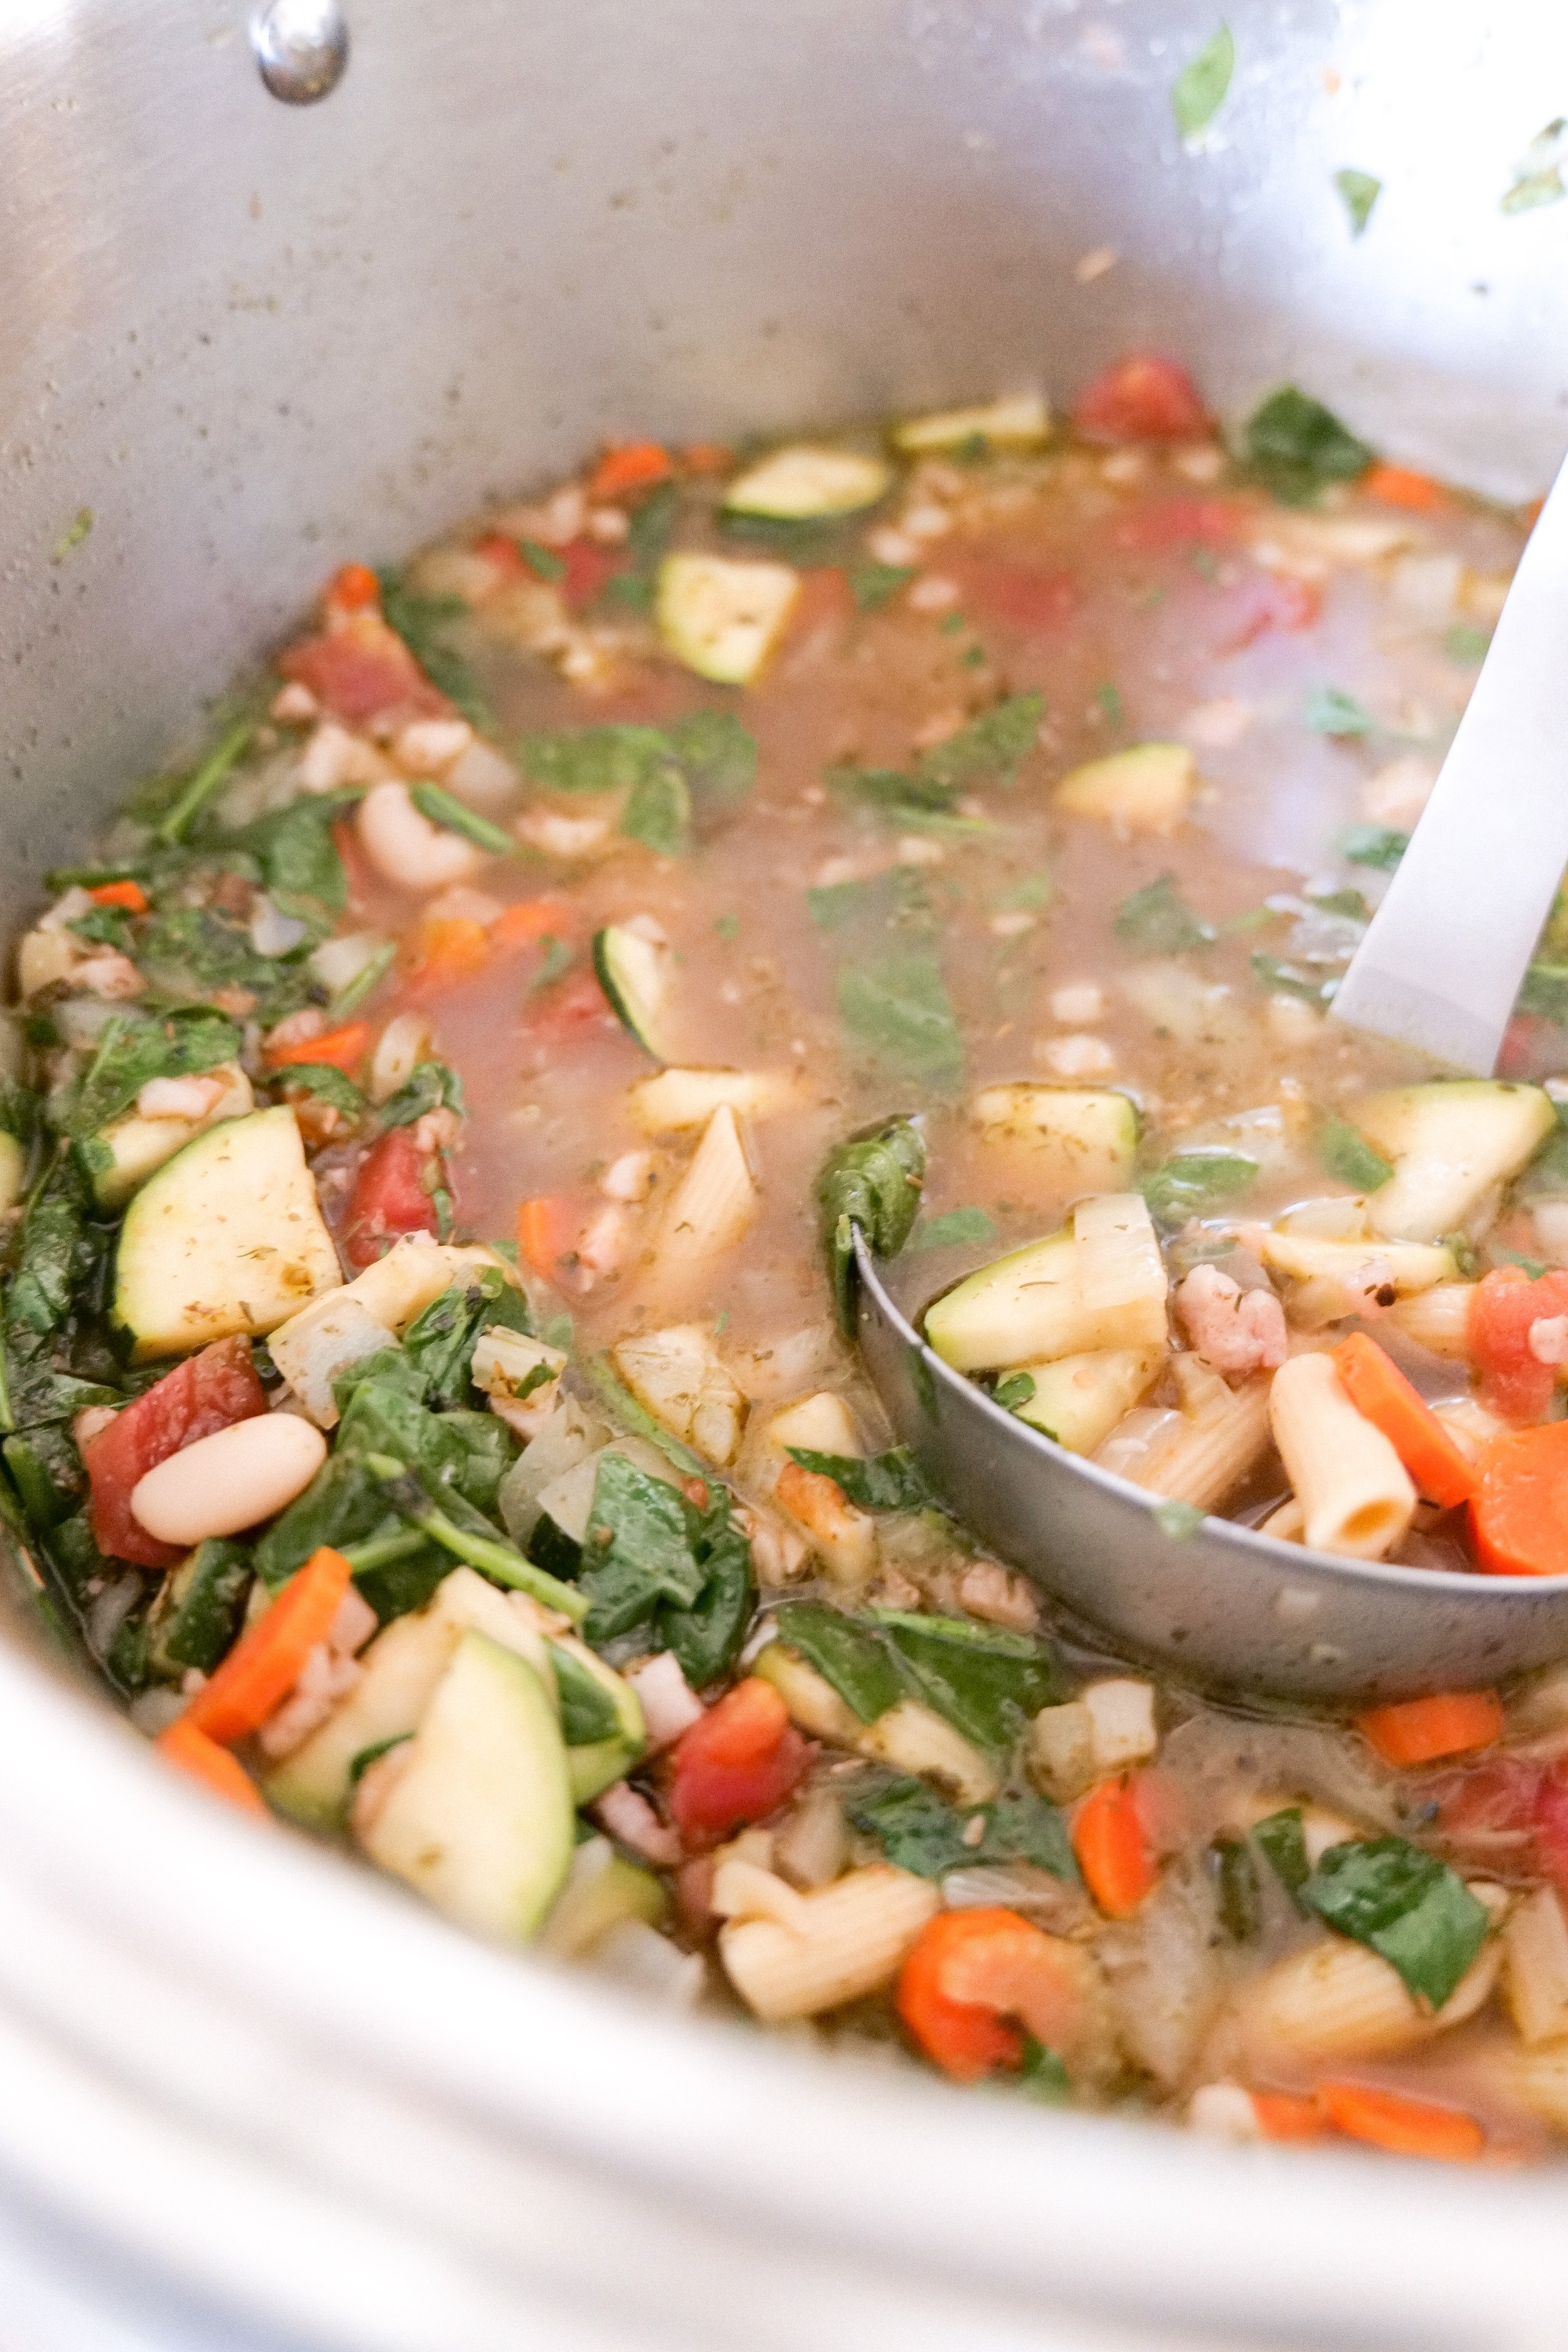
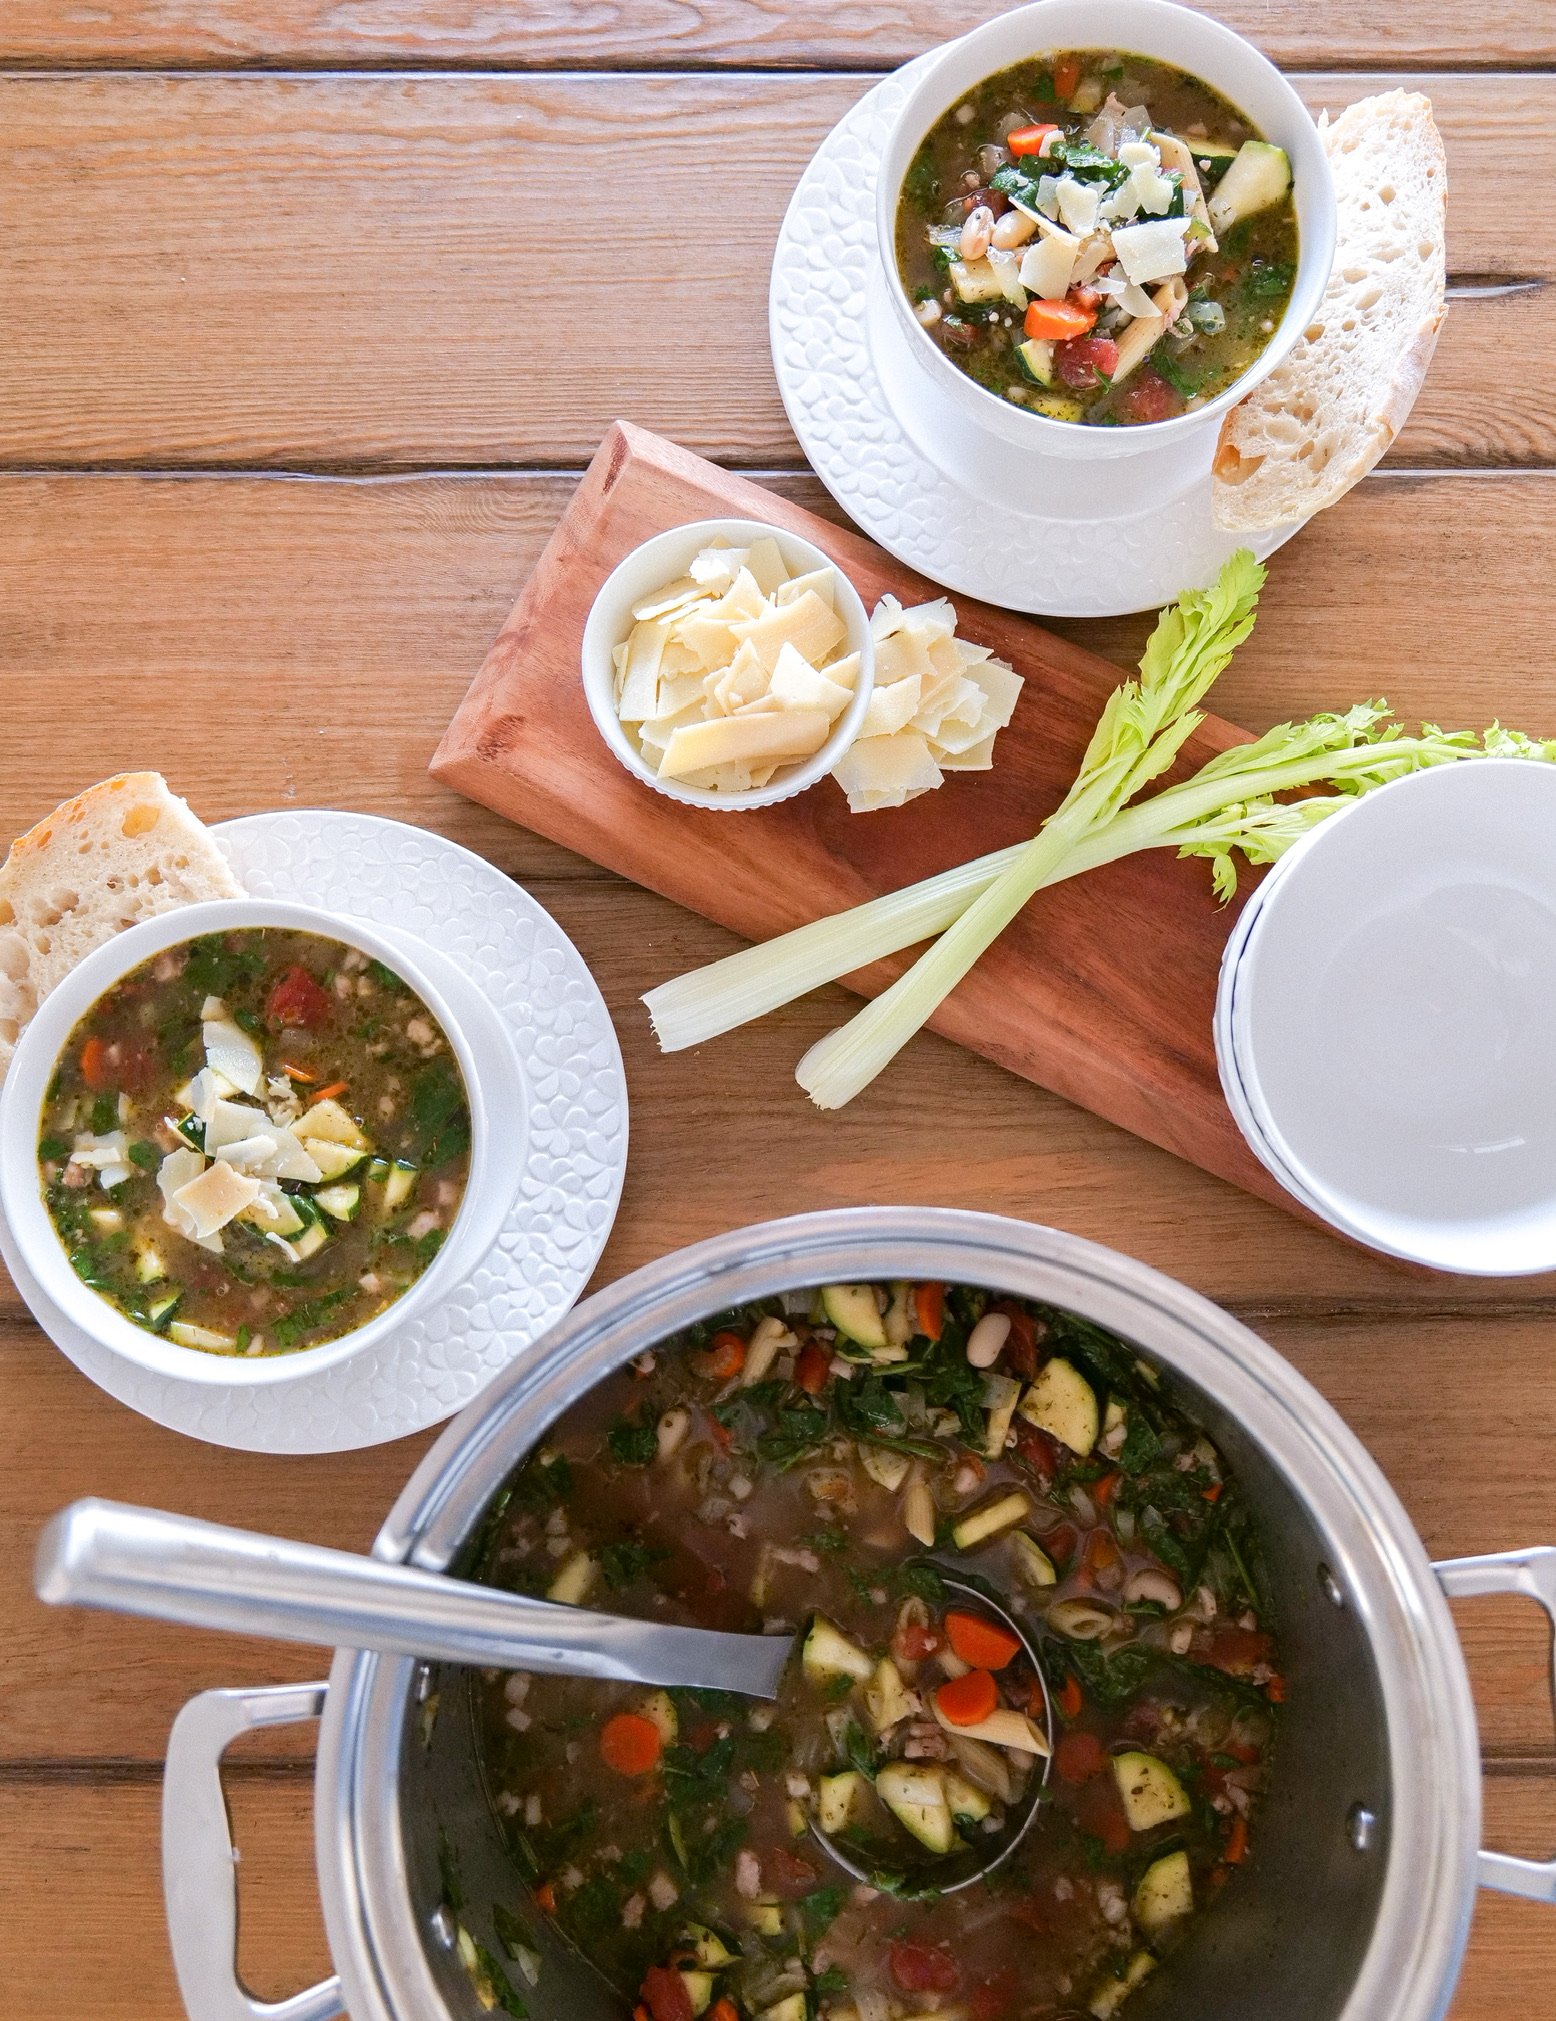
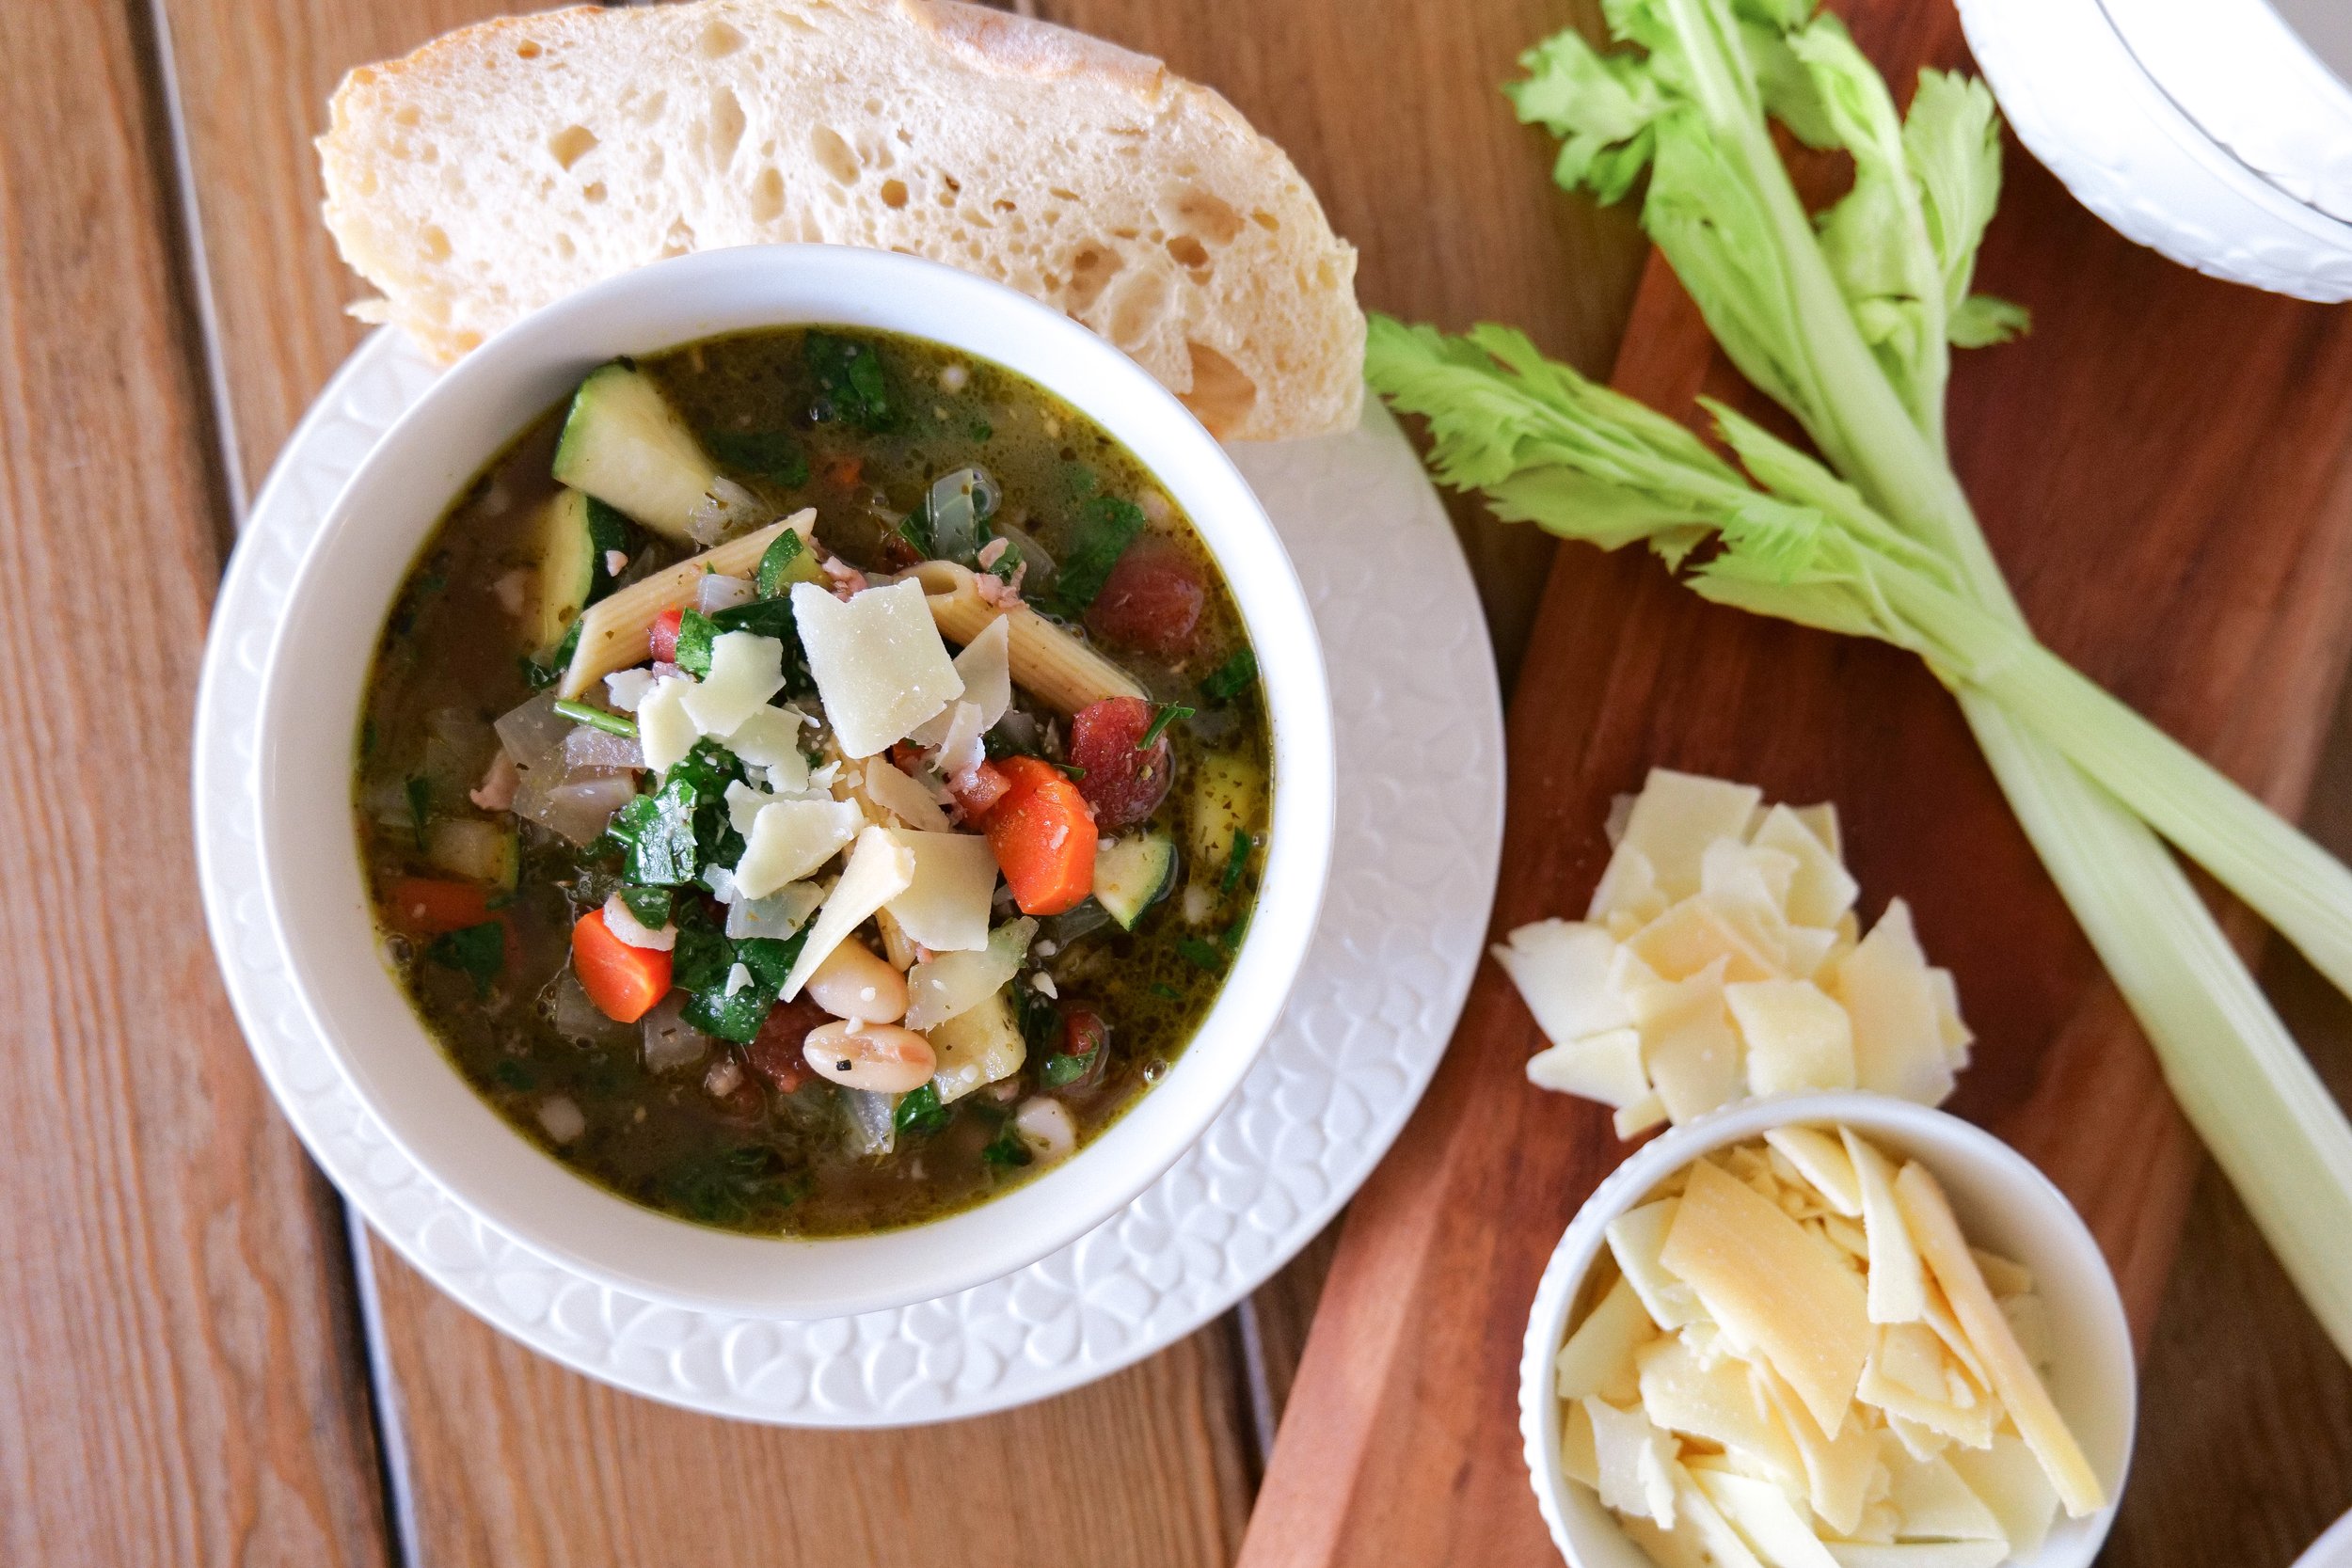
Mom's Minestrone Soup and Italian Sausage, Potato & Kale Soup are great options for a cold winter day, but for something a bit lighter and more refreshing, Creamy Basil Tomato Soup is a delicious choice. This creamy soup has a hint of basil that adds a hint of complexity to the flavor. The creamy tomato base is combined with garlic, herbs, and a variety of delicious vegetables to make a hearty soup that is both comforting and surprisingly satisfying. The basil adds a unique flavor to the soup that will have you coming back for more. Whether you are looking for a light lunch or a hearty dinner, Creamy Basil Tomato Soup is a great option for any meal.

Bring the Heat with this Deliciously Spicy Tortellini Soup

Welcome to this blog post about Spicy Tortellini Soup! This delicious soup is a flavorful twist on classic tortellini soup, but adds a spicy kick that is sure to tantalize your taste buds. The combination of the spicy broth and cheesy tortellini is a comforting, filling meal that is perfect for any occasion. It's easy to make and requires only a few simple ingredients. The spicy Italian sausage makes it so tasty and adds that great kick of flavor, while the tomatoes, cheese, and tortellini provide an incredible balance of sweetness and creaminess. Read on to learn how to make this tasty dish and find out why it's the perfect meal for any chilly day.

So this time of year go ahead and warm up with a comforting bowl of this Creamy Sausage Tortellini Soup. Made with simple ingredients, this hearty and flavorful dish is a great way to add variety to your dinner menu. It features a delicious combination of Italian sausage, cheese tortellini, and a creamy tomato-based broth. The addition of spicy Italian sausage gives the soup a kick of heat that is balanced out by the creamy broth. This meal is perfect for a cold night and can easily be prepared in just one pot. Your entire family will love this flavorful and filling soup.

What You Need to Make Creamy Sausage Tortellini Soup

Spicy Tortellini Soup is the perfect dish for a chilly evening. This flavorful and hearty soup is sure to warm you up and leave you wanting seconds. To start, you’ll need one pound of hot Italian sausage, one onion diced, and five cloves of garlic minced. Sauté the sausage and onion until the sausage is fully cooked and the onion is translucent. Then add in mix two tablespoons of flour, one teaspoon of red pepper flakes, one teaspoon of sea salt, and one teaspoon of Italian seasoning and stir. Adding Flour here helps remove any moisture from meat, marry in the seasonings and thicken soup if needed. Next pour in one can of fire-roasted diced tomatoes, one can of tomato sauce, and six cups of vegetable broth. Allow the mixture to come together and add in one package of refrigerated cheese tortellini and cook the soup for 15-20 minutes, or until the tortellini is cooked and floating on top.

Next, add in three cups of chopped spinach, and cook the soup for an additional 5 minutes. Finally, stir in one-and-a-half cups of half-and-half and 3 chopped basil leaves. Let the soup simmer until heated through. Be sure not to let come to a boil, because then the cream will start to curd or get chunky.

To finish off the dish, mix one-quarter cup of ricotta and one-quarter cup of parmesan cheese and spoon on top of each bowl before serving. You can also serve this separately incase anyone doesn't like this additional topping. I like to finish by adding additional chopped basil for color and flavor. Spicy Tortellini Soup is sure to become a family favorite in no time!

Ingredients :

1 lb. of Spicy Italian Sausage

1 Yellow Onion

1 tsp. red pepper flakes

1 tsp sea salt

1 tsp italian seasoning

5 cloves of minced garlic

2 tbsp unbleached flour

6 cups vegetable or chicken broth

1 can fire roasted diced tomatoes

1 - 8 oz can of tomato paste

1 package of cheese tortellini (I use the package from Sam’s club)

3 cups chopped spinach

1-1/2 cups heavy whipping cream

3 basil leaves, chopped (additional for garnish)

1/2 cup Ricotta Cheese

1/4 cup grated Parmesan Cheese


Instructions :

1. First prepare vegetables & open cans of tomatoes. Dice Onion, Chop spinach and basil, and mince garlic. Set aside.

2. Now that everything is prepared, grab your soup pot and turn to medium-high heat. Add spicy italian sausage, garlic and onion cooking until the onion is transparent and sausage is cooked. Adding in Flour, red pepper flakes, sea salt, and italian season.

3. Pour in broth, diced tomatoes and paste. Stir and let come together. Add in tortellini and let simmer for 10-15 min. Stirring Occasionally.

4. Add in chopped spinach and marry together for about 5 minutes. Lastly add in heavy cream and basil leaves. Let simmer an additional 5 minutes until warmed throughout.

5. Mix together ricotta and parmesan cheese for topping. Top each soup with ricotta mixture and additional basil.

6. ENJOY!


If you are looking for a delicious and satisfying soup that is sure to be a hit with your family, you will love this Spicy Tortellini Soup! This soup is bursting with flavor, and it is surprisingly easy to make. The spicy flavor Is aided by the additions of red pepper flakes, fire roasted tomatoes, and spicy Italian sausage. The tortellini adds that hearty texture to the soup, making it a nice complete meal.

You can make the soup ahead of time and enjoy it over multiple days, storing in an airtight container. To take it to the next level, add in grated Parmesan cheese and ricotta mixture. This soup is perfect for a weeknight dinner or a cold winter day. Get creative with the spices and flavors and you will have a flavorful and satisfying soup that you will want to make again and again.

Variations on This Sausage Tortellini Soup

Spicy Tortellini Soup is a delicious and flavorful dish that can easily be adjusted to customize the taste to your own preference with a few of these variations. If you are looking for a more mild flavor, substitute spicy Italian sausage for a traditional variety and add a can of regular diced tomatoes instead of the fire roasted. If you’re looking for less creaminess, top it off with freshly grated Parmesan cheese instead of the ricotta mixture. For those who prefer a spicier kick, simply add an additional pinch of red pepper flakes before serving for an extra kick of fire. For a dairy-free option you can use coconut milk instead of heavy cream and omit ricotta topping. To tweak the flavor a little bit, swap out the tortellini for cheese ravioli. For an extra protein boost, add a can of cannellini beans. Whichever way you choose to serve it, Spicy Tortellini Soup is sure to be a hit with everyone you enjoy it with!

Try These Next

Italian Sausage, Potato & Kale Soup - with a few teaks you can turn this into a sausage, kale tortellini soup also.

Mom's Favorite Minestrone Soup Recipe - Deliciously satisfying and easily adaptable to your nutritional needs.

Mom's Favorite Minestrone Soup Recipe

"Mom's Favorite" Minestrone Soup Recipe: A Delicious and Nutritious Meal for Everyone

If you're looking for a comforting and delicious soup recipe that will bring as big of a smile to your mom's faces as it does to my moms, then look no further! This classic minestrone soup recipe is sure to please. It's easy to make, packed with nourishing ingredients, and simply tastes like good old-fashioned home cooking. An added bonus is it's a great way to use up any leftovers you have in the fridge. With just a few simple ingredients, you can whip up a pot of this soup in no time and make your mom happy and proud. Read on for the recipe!

Tips for Minestrone Soup

Mom's Favorite Minestrone Soup Recipe is a hearty and flavorful soup that is sure to be a hit with not just Mom, but the whole family. It's a great way to use up any vegetables you have on hand. I actually started making this soup because it's the only soup my mom truly enjoys and will order when out at a restaurant. So naturally, I had to try my own hand at it. I am always trying to please the family and make meals they all will love.

To start off this delicious soup, melt some good quality butter in a large pot over medium heat. Once the butter has melted, add in some chopped garlic and onion and sauté until the onion is soft and translucent. Next, add in the vegetables of your choice, such as carrots, celery, or zucchini, and sauté for a few minutes until they start to soften. Once the vegetables have softened, add in some canned tomatoes, 5 oz of chopped pancetta, cannellini beans and season with your favorite Italian seasoning blend. I personally use my own italian seasoning, which I make monthly to just to have on hand. Pour in enough broth or stock to cover the vegetables and bring to a boil. Once boiling, reduce the heat and let simmer for 15-20 minutes.

Next, add in some cooked pasta and beans, such as cannellini beans, and simmer for an additional 10 minutes. Once the pasta is cooked, taste and adjust seasoning as desired. Finish off your soup with freshly grated Parmesan cheese and additional herbs if desired. Serve with a crusty loaf of bread and a side salad for a complete meal.

Mom's Favorite Minestrone Soup Recipe is sure to be a hit with the whole family. It's a hearty and flavorful soup that is packed with vegetables and beans and is sure to become a regular in your dinner rotation, especially on those cold days.

What to Serve with Vegetarian Minestrone Soup

Mom’s favorite minestrone soup recipe is a simple yet satisfying dish that will make anyone’s mouth water. The perfect combination of veggies, broth, and spices make this dish a family favorite. This soup is best served with a variety of accompaniments such as crusty French bread, grilled cheese sandwiches, garlic bread, Caesar salad, grilled vegetables, antipasto platter, focaccia bread, cheese & herb biscuits, caprese salad, roasted garlic bread, toasted ciabatta bread, garlic toast, and bruschetta.

This soup is a great way to make a meal out of whatever ingredients you have on hand. You can customize the soup by adding different veggies and beans, or even switching up the broth and seasonings. If you’re looking for an easy, yet delicious meal, Mom’s favorite minestrone soup recipe is just the thing. Enjoy a bowl of this comforting soup and pair it with any of the accompaniments listed above for a complete meal.

Ingredients

3 tablespoons salted butter

1 large onion

4 cloves minced garlic

5 oz diced pancetta

1 cup chopped carrots

1/4 cup chopped celery

1 zucchini chopped

1 can diced tomatoes (lightly drained)

6 cups vegetable broth

1 tablespoon Italian seasoning

2 bay leaves

black pepper (to taste)

1 can cannellini beans

1 1/2 cup pasta (of your choice)

2 handfuls of spinach, roughly chopped

1/2 cup white wine

2 tablespoons basil pesto

Parmesan for topping

Instructions

1. To make this delicious soup, simply gather all of the ingredients and have them ready. Then, chop the onion, celery, carrots, and garlic. Heat the butter in a large pot over medium-high heat in your favorite stockpot. I love my 8 qt 360 Cookware stockpot for making all soups. Then add the vegetables and cook until they are soft, about 5 minutes.

2. Next, add the canned tomatoes, pancetta, vegetable broth, Italian seasoning and bay leaf and bring to a boil. Then, add the zucchini, beans and pasta and reduce the heat to low and simmer for 25-30 minutes.

3.To finish it off, you will stir in the spinach, white wine (I prefer to use Decoy Chardonnay and enjoy the rest of the bottle to serve with the soup), basil pesto and season with pepper to taste. Let ingredients come together for an additional 10-20 minutes or until the spinach has changed color to a dark leafy green.

Serve the soup hot, with a sprinkle of freshly grated Parmesan cheese and slices of crusty bread. Enjoy! This flavorful and comforting soup will become a staple in your house. Remember, this minestrone soup is easy to make and is sure to please the entire family. Enjoy!

Recipe Variations

Mom's favorite minestrone soup recipe is a classic Italian dish that is perfect for a cozy lunch or dinner. It's a hearty soup made with a variety of vegetables, beans, broth and optional pancetta. This soup is so versatile and can be easily customized depending on your taste preferences. Feel free to make it all your own.

For a creamier texture, add a ½ cup of heavy cream to the broth before adding the vegetables. If you are looking for a heartier soup, you can add ½ cup of cooked quinoa or barley to the soup with the vegetables. For a protein packed version, add a can of drained and rinsed black beans. To give the soup a smoky flavor, add a teaspoon of smoked paprika to the broth. If you want to make a vegan version, add in extra vegetables like butternut squash or green beans, substitute the beef broth with vegetable broth and omit the pancetta. You can also add a teaspoon of crushed red pepper flakes to the broth to give it a spicier flavor. For an extra flavor boost, add a few sprigs of fresh thyme or oregano or an additional tomato paste.

This soup is sure to please everyone at the table! Enjoy Mom's favorite minestrone soup recipe with a crusty loaf of bread and a glass of your favorite white wine.

Other Soups & Bread Recipes to Make

Italian Sausage, Potato & Kale Soup

The Perfect Beginners Sourdough Bread Recipe for Delicious Homemade Bread

Garlic & Herb Focaccia Bread

Guest Bedroom Makeover Reveal

For many of us, having a dedicated guest bedroom is a luxury, but can also be a challenge to make it feel inviting as well as be functional. To help create a warm and welcoming space for our guests, we decided to transform this basic guest bedroom into a beautiful, colorful and inviting sanctuary. This charming pink and green guest bedroom offers the perfect little cozy retreat for visitors. The walls have been wallpapered in a soft pink and light floral print that we have carried throughout the room.

Wallpaper is from wallpaperdirect.com

We started off by giving the room a big bold makeover by updating the neutral wall color the room previously had by installing a beautiful wallpaper. Along with the wallpaper we installed, we also added a few statement pieces to create visual interest in the room and to give it a cozy and inviting feel. We went with fresh white linens and pops of pinks and greens in the pillows to bring color and texture to the space. The bed is dressed by a Pottery Barn duvet cover with small pink detail that matches the Pottery Barn quilt, quilt euro shams, and curtains. These all added pops of pink that matches the wallpaper perfectly. To complete the bedside look, I found an antique style nightstand that was small enough to fit the space and also close enough in style to match the beautiful bed. A pink lamp with white shade was added for a subtle pink touch and the white shade tied into the bedding nicely. Shockingly, I found the Bed for this room on Amazon and am so in love with it. I will link below if you are looking for a great quality bed that is budget-friendly and that can also be functional with so many color schemes.

To complete the look, we accessorized the room with small pieces like the custom wallpaper art I created to add character and art. You can see more on how I did this on my Instagram highlight labeled pink & green room. We also added a few pieces of furniture to create a functional reading space for our guests. The green gingham armchair provides a cozy spot for reading and sipping coffee or just relaxing and looking out the window, all while giving a nice contrasting touch of patterns. We also added a matching dresser to the bed with a mirror over its top with a great find from Round Top, Texas, and this adds a spot for guests to have a mirror as well as store their clothing. Extra blankets were added in this dresser in case the guests get cool at night or while sitting in the armchair. Together, these elements create a warm and inviting space that any guest will find fantastic!

After all of the updates, the room looks inviting and comfortable, and is the perfect place for guests to relax. We’re so happy with how the room turned out and can’t wait to have our first visitors stay in this newly updated pink & green guest bedroom.

Updating a guest bedroom can be an exciting task that can completely transform the look and feel of the space. A room that may have been forgotten before can easily become your new favorite room of the house. With the right sources and details, the process can be easy and effective, and hopefully you can shop deals to make it an inexpensive as possible. When completing an update to your guest bedroom, it is important to consider the furniture and decor that will be used. Think about the color palette, style, and size of the furniture and decor that will be used in the room. It is a good idea to look for items that will complement and enhance the existing decor and furniture in the room. Investing in quality pieces that will last for years to come is essential. With these simple updates, your guest bedroom will be ready to welcome any guest in style.

Last few tips I have for you when redoing a guest room of any room. When selecting bedding and accessories, think about the textures and colors that will help create a cozy atmosphere. The size of the room is important and should be taken into account when deciding how to measure and maximize the space for guests. Remember to measure the room before purchasing furniture and decor items, I make this mistake far too many times. Finally, think about the amount of storage needed for guest items and choose pieces accordingly. With these tips, the guest bedroom update will be a great success.

I hope you enjoyed these bedroom ideas and I cannot wait to share more decorating ideas as we transform our new Farm House in a French Country / Farm House of our dreams.

Everything we used for this room is linked below or similar to those pieces that are sold out of found at antique stores.

The Perfect Beginners Sourdough Bread Recipe for Delicious Homemade Bread

If you are looking for an easy and delicious bread recipe to try out, look no further! This beginner's sourdough bread recipe is perfect for those just starting out the task of making your very own homemade bread. With a few simple steps, you will be able to whip up your own homemade loaf of sourdough bread in no time. Not only is this bread delicious, but it is also extremely healthy, with all of the probiotic benefits of sourdough. So, give it a try and enjoy the amazing flavor and smell of your own homemade bread!

I've tried many different recipes using sourdough starter trying to get it right each time. There really is nothing like the delicious smell and taste of freshly baked sourdough bread, and thankfully, lately, it's our new normal favorite smell in the home. Just imagine the lovely smell when using the sourdough for cinnamon rolls! I make this bread weekly for sandwich bread and sides for dinners and delicious soups.

Full disclosure, I have only been making sourdough bread and working with sourdough starter for about 6 months now. However, making it weekly, I have been able to dabble with this recipe time and time again and this has been the easiest to work with and the best tasting of all! To start you will want to make sure your sourdough starter has been fed one of its "regular feedings" 12 hours before starting. A good rule of thumb is that if your starter has risen to twice its size after a feeding, then you're ready to use. I normally will feed my starter the night before and start the bread process first thing in the morning to have fresh bread by dinner that evening. You cn say this makes this a same day sourdough bread. If I want a breakfast loaf, I would feed it in the early evening and once its risen enough start the process. Then, let it sit overnight and bake in the morning.

Another important note is the surrounding environment for your sourdough starter and your bread dough. If you're house is set at a colder temperature like usual for the Winter, and room temperature is slightly cooler than the norm, then it will take longer for your starter to rise . During this time, I usually keep my starter in the pantry of our house because I notice it's the warmest part of the house. and will keep a towel around the jar. When the sourdough bread is in the proofing bowl, I do the same thing and wrap a towel around the bottom of the bowl as well as keeping the top covered like normal.

Let's get started and make some yummy sourdough bread!

Ingredients:

1/3 cup sourdough starter

1 - 3/4 cup filtered water

1 tsp sea salt

4 cups bread flour

Directions:

1. Once sourdough starter is ready to go you will add 1/3 cup to bowl with water and whisk until blended. Add in sea salt and bread flour and mix together with your hands. Flour bread mixture will be scruffy, that's okay. If all flour hasn't blended in you will need a bit more water, but don't over water just enough so your flour is all incorporated. Place a clean towel over the top and let sit for one hour.

2. After one hour stretch and fold. To stretch and fold you will pick up on one side of the dough pull up and fold into center. Continue around the sides until they have all been picked up and folded into middle. It will normally be around 4-5 times. Cover again and let sit for 30 min. Repeat once more.

3. After all stretch and folds have finished you will scoop out the dough onto a lightly floured countertop. Using a bench scraper fold under to form a large ball of dough. Make sure to have everything floured so that you prevent sticking to your surfaces.

4. Once ball is formed you will pick up with your bench scraper and flip over into floured proofing basket. Pinching sides of dough on bottom pull together so the part of the dough showing is creased together. Cover with towel and let sit for 7 - 10 hours.

5. When you are ready to bake flip your proofing basket with sourdough onto a lightly floured piece of parchment paper. Now you can score your dough and let sit for 30 minutes while you preheat the oven and stockpot.

6. While your bread is sitting grab your best 360 stockpot, I use the 8 Quart Stockpot with Cover, place in oven and turn on to 450 degrees. Once temperature is reached lower your bread into stockpot holding the sides of the parchment paper. Cover and let bake for 20 minutes. After 20 minutes remove cover and bake an additional 25 minutes or until golden brown.

7. Baking is all done. Now remove bread and set on cooling rack or cutting board for at least 30 minutes for a resting period before cutting. Your sourdough bread will continue to cook while sitting so cutting too early will cut the full bake time down.

8. ENJOY!!

I hope you enjoyed this beginners sourdough bread recipe.

Some of my other favorite bread recipes are:

Garlic & Herb Focaccia Bread

Banana Bread Recipe

Lemon Poppy Seed Bread Recipe

Corn Bread Loaf Recipe

CODE AMANDAWARREN20 GIVES YOU 20% OFF ENTIRE SITE

2023: Charcuterie Board Ideas to Help You Ring in the New Year

Are you looking for a creative way to spruce up the food at your New Year's celebration? Well, then look no further than to the perfect charcuterie board! Charcuterie boards are always a crowd favorite. They are not only delicious, they're also a visually stunning way to impress your guests and add that touch of sophistication to your party. With a variety of meats, cheeses, fruits, and nuts, there are endless possibilities for creating a unique charcuterie board. To help get you started, I've put together a list of 2023 charcuterie board fun ideas to help you create the perfect board for your own New Year's celebration! Whether you are planning a party with friends, or staying in for an intimate classic dinner for two, a charcuterie board for an appetizer is always a winning idea.

Just because Christmas is now over doesn't mean you have to go back to a boring diet and stop eating all the delicious Holiday foods! My 2023 charcuterie board ideas will help to spice up both your New Year's party, as well as any occasion you have coming into the New Year!! Feel free to make this any way you want, with your very own favorite varieties of the food. I will share my inspiration below.

Everything I used is listed on the photo below so you can see how I used each delicious item. These are some of my favorite things to add into my boards any time of the year. Remember, the best part is these boards are fairly easy to make, and the possibilities are endless. I find it's best to use whatever you can find locally along with what is in season. This makes your board even more unique to you and to the time of year!

Ingredients I used:

Charcuterie/Meats -

Prosciutto

Spicy Sopresso Salame

Sopressata

Cheese -

Cheddar Cheese

Manchego

Tete De Moine

Fruits -

Figs

Blackberries

Blueberries

Raspberries

Nuts -

Pecans ( almonds, pistachios, walnuts)

Other -

Other things to add on the side or onto your board could be chocolates, crackers, sliced French bread or anything else you can enjoy paired with sparkling wine or apple cider to bring in the New Year!

Transforming our Dining Room for a New Year Celebration!

Transforming our Dining Room for a New Year Celebration!

Are you ready to say goodbye to Christmas and welcome to the New Year? If you’re like most of us and love decorating for the holidays, then you know that the change from Christmas to New Year's can be a bittersweet moment. So why not make the transition from one holiday to the next even more enjoyable by transforming your dining room? With a few simple upgrades and decorations, you can create a festive look that celebrates both the end of one year and the start of the next. In this blog post, I'll share a fun and creative way to transform your dining room from Christmas to New Year's.

I had so much fun transforming our dining room from Christmas to New Years and enjoying our tree a little longer this holiday season. I incorporated lots of silvers and golds to make my version of a Winter wonderland. This allowed me to leave up my tree and garland across the table for the greenery centerpiece. I found the perfect decorative mini Christmas trees for table decor (I will link them all below. Many are on major sale after Christmas!) which made for highs and lows across the centerpiece and tied in the Winter wonderland. I went with a velvet tablecloth and layers of placemats with beading to give elements and layers that are so New Years and a beautiful combination.

For even more pops of New Years that made the dining room even more special, I added a balloon garland from Target across our mirror. This was a 5 dollar find that added an adorable touch to the mirror. I knew I was going to be sad when I took our Christmas wreath off of the mirror -see our Christmas dining room here- but this balloon totally made an adorable element and added to the mirror once again! Adding a champagne station below with rock candy gets everyone ready for a midnight toast while also giving a decorative element! One last thing I added are the Christmas crackers. These are fun to crack at midnight when the ball drops. Another great idea would be to add a New Years horn, noisemakers, or poppers.

I hope this gives you inspiration on how to transform your home space from Christmas straight into New Year's Eve! Most of these decorative ideas you may have already from other tablescapes and from Christmas decorations. I made sure to link everything I used (down to our outfits) many are on major sale for 50% off. The idea of this tablescape was to inspire you to use things you may already have for a simple and elegant New Year's Eve table. Wishing you a Happy New Year and a blessed 2023.

I hope you enjoy this tablescape idea, here are some I others I have done in the past that I hope will be inspiring to you as well.

Other Tablescapes from Amanda Warren

My Spring Tablescape

Father Day Picnic

Chic Halloween Party

Romantic Valentines Table

A Rosy Pink Galentines Party

9th Annual Christmas Cookie Party

Mom's 60th Birthday Party

"A Festive Taste of Tradition: Sparkling Cider Punch for Christmas!"

Welcome to the Holiday season! With Christmas just around the corner, it's time to start thinking about the special treats that are going to keep your guests happy and their tummies content during the festivities. One of my favorite treats of the Christmas season are the delicious, festive, colorful signature drinks. I love to get creative on drinks that can be served to family and friends. If you're looking for something special to serve this season, why not try a Sparkling Cider Punch? This classic Christmas drink is easy to make, uses ingredients you can find at most grocery stores, and is sure to be a hit at any Holiday gathering. Read on to find out how to make a Sparkling Cider Punch that will help you sparkle like the star of your Christmas party!

When moving to Texas this summer, my husband's grandma gifted me her beautiful punch bowl. A bowl she had spent every Christmas making her famous brandy slush in. A bowl I had been admiring every Holiday since he and I got together. She knew I had loved that bowl it and she generously gave it to me to enjoy. This Christmas, we won't be in our hometown to enjoy her brandy slush, but I wasn't going to let her beautiful punch bowl sit this season out. I wanted to put together a new recipe I could share with you as well. So, grab your favorite punch bowl and let's make a tasty sparkling cider punch for Christmas!


Ingredients

2 bottles of sparkling apple cider

1 bottle of ginger beer

1 cup vodka

1/2 cup cinnamon sugar simple syrup

2 to 3 apples thinly sliced ( I like to do 1 green and 1 red)

1/2 cup pomegranate ariels

1/2 cup cranberries

Cinnamon & sugar mixed for rim of glass

Simple syrup mix:

1 cup sugar

2 tablespoons cinnamon

1 cup water


Instructions

1. Make Simple syrup by adding all ingredients into a stove top pot and letting come to a simmering boil and sugar has all dissolved. Add to a jar to let cool. I like to make this the night before and put in fridge, so it doesn't make the punch warm.

2. Rim glasses you plan to serve with. I used coupe glasses I had from Pottery Barn for this. Makes it so easy to ladle in fruit and punch.

3. Once simple syrup is cooled, or if you waited for the following day, Add all ingredients into a punch bowl.. the bottles of sparkling apple cider, ginger beer (you can add 2 if you want more carbonation) vodka, simple syrup and then layer in fruit.

3. Ladle in punch as guests arrive! You can add ice if you want as well to keep cool.

4. ENJOY!

This sparkling cider punch recipe includes alcohol. If you are wanting to have this as a non-alcoholic punch that everyone (even the littles) can enjoy it this Christmas season, then you can substitute the vodka for tonic water. This will enhance the flavors of the other ingredients of the punch without adding any other alternative flavors. It makes it a drink that everyone can enjoy!

As you may have read above, this punch bowl was given to me by Scotty's grandma Dot. However, if you are looking for a beautiful bowl for yourself to make this punch in this Holiday season I have more linked below.

5 Ways To Elevate Your Christmas Style This Holiday Season

Christmas time is the perfect time to show off your festive style. Whether you want to dress up for Holiday events like work parties or seeing the ballet, or simply for your everyday Winter look, there are plenty of ways to add some Christmas flair to your wardrobe. Here are 5 simple ways to elevate your Christmas style and add a little extra holiday cheer to your look.

Add Some Sparkle

I always love to some sparkle any time of the year, but the Holidays are the perfect time to really add some extra! Here I went with a sequins skirt, cozy sweater, a coat, and a little more sparkle on the heels! It makes for a beautiful, elegant, fun, and one of my favorite ways to look even more festive for Christmas and New Year's events. Other ways to add sparkle is a beautiful statement necklace, sequins top, or if you want to go all out, I linked some beautiful dresses and jumpsuits below!

You Can Never Go Wrong With Fur

I always love a fur coat! Whether it's a full fur or a partial fur with just a little around the collar like this coat from Abercrombie. I love this coats versatility as well as it has the collar detachable so you can make this look less dressy without the fur if desired. However, this blog post is all about dressing UP for the holidays! I love how much the fur around the collar dresses this monochromatic look up. Adding element and detail that is so perfect for Christmas and New Years. Also, fur is a wonderful choice for any Winter wedding you may have!

Velvet Screams Christmas

I'll be honest, I love velvet all year round. However, Christmas and New Years is the perfect time of year to really bring it out! Velvet gives a beautiful dress an even more cozy feel and elegant vibe because of the comfy texture. I loved this dress from Red Dress and especially love how the velvet feels on. It comes in so many different colors and is a very flattering fit. The dress goes in under the bust and lays so nicely on top. You will love this one! (Linking everything below and adding others that you will love as well) If you are thinking a full Velvet dress is too much.. Add a top with a velvet bow for a more subtle look that still says Merry Christmas!

Lace Is Great

Lace is one of my all-time favorites looks because it's beautiful and dainty for any style. I added it here for a more dressy/casual look with jeans, an overcoat and booties. You can also do lace for a very fancy look with a dress or a silk skirt and you can't go wrong with that gorgeous choice for the Holiday season and all year long!

Silky!!

I am ALWAYS a fan of a silk dress or skirt paired with a sweater. I wear it often and it's an easy way to reuse a silk dress that you may have worn to a Spring or Fall wedding. My trick for using a dress with a sweater is wearing your bra over the dress and under the sweater. You will tuck the sweater under and into the bra. This way your sweater doesn't hang too low and overwhelm the dress. I did it below with this outfit. Above in the monochromatic/fur look that is a silk skirt so you can tuck into the skirt or do the bra trick if the sweater is too bulky.

I hope these ideas help you or give you some inspiration to put together the best Holiday look that makes you feel extra special and stylish during the Holidays. Christmas & New Years are the best time of year, but we tend to be so busy that we have even less time to shop for ourselves. These are ways you can use pieces you may already have in the closet and create fun and beautiful outfits that will WOW! If you are looking for something new to add into your wardrobe, I have linked everything in my outfits above and some other pieces I think will help your looks as well.

Wishing you a Very Merry Christmas and the Best New Year!

Click below to shop what I am wearing or visit my LTKit -here-

Delight Your Guests with an Antipasto Christmas Wreath

Welcome to the Holiday season! With Christmas just around the corner, what better time to get creative with your holiday recipes? One of the most eye-catching and unique dishes to serve for any Christmas gathering is an antipasto Christmas wreath. This delicious and festive dish is sure to be the talk of the table. I think it is so cute that this dish is designed to look like your traditional Christmas wreath, with a variety of savory antipasto ingredients like salami, olives, cherry tomatoes, and cheese. Not only is this dish festive and colorful, but it's also a great way to feed a crowd without having to spend too much time slaving away in the kitchen. Read on to find out how to make stunning antipasto for Christmas Eve or Christmas Day to wow your guests and give them something fun to change up the same old charcuterie boards we have been making all year.

This wreath is the ultimate edible centerpiece that promises to be as visually stunning as it is tantalizing to the taste buds. This culinary creation is both a feast for the eyes and a prelude to the main events of the holiday meal. Prepare to be the host with the most, as we show you how to delight your guests with an Antipasto Christmas Wreath that's guaranteed to be the talk of the table. The fun thing about this antipasto Christmas wreath is you can customize it in so many ways to make it all your own! You can change and swap the cured meats, add marinated artichoke hearts, and drizzle different toppings instead of the olive oil pesto I share below. Other delicious options for drizzle would be balsamic vinegar or garlic butter. YUM! This is one of my favorite recipes that I have found and is such a unique appetizer that is sure to be a hit for your first course of the meal. Another great option is to make this antipasto in the form of a candy cane instead of a wreath. Both are beautiful and perfectly festive for the Christmas season!

Start with a large round platter lined with arugula or green lettuce. Then layer the cured meats, such as salami, prosciutto, and soppressata, and top off the wreath with a variety of cheeses, olives, sundried tomatoes, artichokes, and roasted red peppers. For a festive look, add fresh herbs and edible flowers. Include a few different types of crackers on the side and a bowl of olive oil and balsamic vinegar for dipping. Enjoy the traditional flavors of Italy without leaving your home with this tasty and convenient dish. No cooking necessary - just assemble the ingredients and you're set! Your guests will be delighted by the unique presentation and delicious flavors of this antipasto Christmas wreath. This is a great way to provide an elegant and tasty centerpiece that will impress your guests this holiday season. To complete the experience, serve the wreath with a festive holiday cocktail. Your guests will love it! With a little bit of effort, you can create a beautiful and delicious antipasto Christmas wreath that will be the highlight of your holiday gathering.

Other Appetizers To Serve On The Side Of The Antipasto Wreath

For an appetizer that won't take too much time to prepare, pesto crostini is a great choice. Simply spread pesto on a toasted baguette, top with slices of fresh tomato and you will have a delicious and easy appetizer that is sure to please any crowd. Bruschetta is another classic Italian appetizer that is perfect for a holiday gathering. Fresh tomatoes, basil, and garlic make the perfect topping for a toasted baguette. Stuffed mushrooms are also a great appetizer for your holiday party. Filled with a flavorful mix of herbs, cheese, and breadcrumbs, these mushrooms are sure to be a crowd-pleaser. Finally, antipasto skewers are a colorful and easy way to add some pizzazz to your antipasto Christmas wreath. Olives, artichokes, salami, and other delicious ingredients will make for a great presentation and a tasty treat. Delight your guests with all of these great choices, especially the Antipasto Christmas Wreath this holiday season. With a variety of options to choose from, whatever you prepare is sure to be a hit!

Holiday Antipasto Wreath Ingredients

4 oz salami salami

4 oz pepperoni

4 oz prosciutto

4 oz mortadella

1 pint cherry tomatoes

1 cup blue cheese stuffed olives or similar

8 oz favorite cubed cheese

8 oz Cherry sized mozzarella balls

Mezzetta Basil pesto

Olive oil

Fresh Basil

Arugula or other lettuce to lay down on a plate

Instructions

1. Layer arugula or other lettuce on your round plate of choice. I used a white dish to let the colors of the food stand out but feel free to add in holiday color and texture here also.

2. Lay out all of the ingredients so you can see everything you're using to assemble the antipasto skewers. Grab your skewer and start layering your meats, cheeses, veggies, and herbs! I change it up for each one so if a guest doesn't like one thing on one they can grab another. However, if you like to have more symmetry and keep it simple, then of course make them all the same. I also try to not put the same colors next to each other. So, meats and cherry tomatoes wouldn't go by each other but instead you can add olives, marinated artichokes, and mozzarella balls to add variety and color.

Now that you assembled the skewers and layered them in a wreath pattern you're ready to layer with a light sauce to make it extra delicious! I personally love the pesto & olive oil sauce I make but they give delicious combination variations to this dish. (another option if you are making for a big party is to add all 3 sauces on the side for the guests to pick whatever one they would like!).

3. Mix together the Mezzetta basil pesto and olive oil to your consistency. I add roughly 3 tablespoons. Stir and sprinkle over the antipasto skewers.

4. You can make this ahead of time and leave in the refrigerator in an airtight container and bring it out right before the guests arrive. I hope you ENJOY this recipe and that it gave you lots of inspiration for your holiday appetizers!

Other great recipes to try this holiday season:

A Crowd-Pleasing Stuffed Mushroom Recipe

How to Make the Perfect Pear and Pomegranate Arugula Salad

Slow Cooker Hot Cocoa Bar Station

Chocolate Peanut Butter Brownies

Perfect Pairings: Savor the Flavor with Our Ultimate Steak and Feta Crostini Recipe!

Festive Flavors Unveiled: Crafting a Herb Christmas Tree Focaccia Bread Masterpiece for the Holidays

Indulge Your Taste Buds with The Ultimate Raspberry Pistachio Cheesecake Recipe

A Crowd-Pleasing Stuffed Mushroom Recipe

If you're looking for an easy, crowd pleasing, finger grab appetizer, then look no further than this delicious stuffed mushroom recipe. This appetizer is the perfect start to any Christmas meal, but also just as fitting any time of the year! They are quick and easy to prepare, and sure to be a hit at your next gathering. This tasty dish is packed with flavor, thanks to a combination of creamy cheese, savory herbs, and my secret ingredient...chopped pecans. These are a great way to add some gourmet flair to your next gathering, and to be food friendly to most all types of guests. They are keto and vegetarian, making an incredibly versatile dish to bring to any holiday event. If you don't have anyone coming to your party that is vegetarian, and you want to add some delicious meat, my favorite to add in is Italian sausage for a great and hearty taste. Read on to discover the recipe and how to make these tasty stuffed mushrooms.


My Crowd pleasing stuffed mushroom recipe

Ingredients

15 large baby bell or portobello mushrooms

3 tablespoons butter

2 garlic cloves

1 small yellow onion

1 teaspoon sea salt or kosher salt

1/2 teaspoon black pepper

4 oz cream cheese

1/2 cup grated Parmesan cheese

1/3 cup chopped pecans

3 tablespoons fresh parsley

Instructions

  1. Preheat oven to 400 degrees.

  2. De-stem mushrooms, set aside tops and chop stems.

  3. Take a sauté pan and heat adding butter and chopped mushroom stems. Sauté for 3-5 minutes. Add in chopped onion, garlic cloves, salt and pepper. Cooking until onion is soft and opaque.

  4. Add stove top mixture to softened cream cheese, Parmesan and chopped pecans. Mix until well combined and fill mushroom tops!

  5. Add into a casserole pan (or my personal favorite from 360 cookware the 9 by 13 bake & roast pan) and bake in oven for 20-25 min.

  6. Sprinkle fresh parsley and serve!

For 20% off all 360 cookware use code AMANDAWARREN20

More Appetizer Recipes

Fruit & Goat Cheese Bruschetta

My Italian Seasoning Recipe

3 Easy Homemade Seasoning Recipes

How to Make the Perfect Pear and Pomegranate Arugula Salad

Looking for a unique and flavorful salad to serve at your next dinner party? Look no further than this Pear and Pomegranate Arugula Salad! The flavors come together so nicely with this salad from the sweetness of the pears and pomegranate seeds, complemented by the peppery arugula, and the bitterness of the feta cheese crumbles. You get a little bit of every delicious taste in your mouth. This salad is sure to impress your guests during this Christmas season and beyond! It's also a beautiful looking dish to bring to any gathering.

You can pair this with chicken for a wonderfully balanced combination, and it typically will serve 5-6 people if used as a main dish. Of course, if served as a side salad in addition to your delicious breakfast, brunch, lunch, or dinner you can serve as many people as you want. It's honestly good enough to enjoy any time of the day.

Ingredients

10 ounces of arugula salad

1/2 cup Pomegranate seeds

1/2 cup feta cheese ( goat cheese is also a delicious addition)

1 thinly sliced red pear

1 thinly sliced green pear

Ingredients For Dressing

1/2 cup pomegranate seeds

1/4 balsamic vinegar

1/2 cup raw honey

1/2 cup extra virgin olive oil

1/4 tsp salt

1/4 tsp pepper

Instructions

1. Rinse and pat dry all fruit and vegetables.

2. Add all dressing ingredients into blender and blend until smooth. I use fresh pomegranate seeds but pom pomegranates arils are great when in a hurry! This dressing can be premade in an airtight container in refrigerator up to 2 days ahead of time.

3. Now it's time to assemble the pear and pomegranate arugula salad. Add half the pomegranates seeds, half feta cheese, and half of both thinly sliced pears. Pour dressing over top and mix up! Then layer remainder of pears on top. Sprinkle feta cheese and pomegranates on top and serve!

I hope you enjoy this delicious salad recipe during Christmas season and all year around! For another favorite salad head to my Shaved Brussel Sprout Salad with Apples, Goat Cheese & Candied Pecans.

To Shop These plates head -here- holly napkins head -here-. For all other items shown here you can shop my LTK -here-

Quick & Easy Enchiladas using Happi Foodi

When life gets busy we all tend to grab quick and easy bites on the go. Usually those quick, easy bites aren’t the healthiest of choices! I love having Happi Foodi bowls and other delicious quick meals on hand that I can warm up when pressed for time. I also love adding a little extra something to their bowls at times to make it a whole new meal, but without the time consuming work! Today I’m going to share how I make the Happi Foodi enchilada bowl into enchiladas by using the bowl for the filling. So easy and delicious!

Ingredients:

1 box of Happi Foodi enchilada bowl

4-6 tortillas

1 can of green enchilada sauce

6-8oz cheese

Directions:

  1. Preheat oven to 375

  2. Layer bottom of pan with enchilada sauce

  3. Fill each tortilla with Happi Foodi enchilada bowl and roll. Lay into prepared dish of enchilada sauce.

  4. Layer the top with enchilada sauce again and cheese!

  5. Bake in oven for 20-25 min.

  6. Enjoy!

My Dining Room Decor For Christmas: How I Made My Dining Room Festive

It's that time of year again! Time to get out the Christmas decor and get your home ready for the holidays. If you're looking for some inspiration for your dining room, look no further. Here are my dining room decor ideas that I put together for my own space. I hope you enjoy it and get inspired to spruce up your own homes this holiday season!

This year, in our new home I decided to add more to my dining room decor for Christmas. I love that I have more room in this house, with a formal dining room, and I even added in our Christmas tree to the room. It makes it feel so cozy when we eat and walk up to the house because that window faces the front yard. The room gives a great evergreen feeling. I decorated the tree with velvet ribbon and antique ornaments, which I feel gave it a French country vibe that I really love to have as a basic theme for our home.

This year instead of my regular floral centerpieces on the table, I decided to do the cutest pots filled with different varieties of poinsettia. I found the flowers at Walmart & Trader Joes and went with 3 different colors. They have them in different shades of pinks, greens, reds and creams. I mixed and matched the sizes and varieties of pots for a wonderful and elevated arrangement.

I used traditional red and green colors, and I added more greens into the fun textured plates, layering two and adding in a red detailed napkin. I found these all on Zara Home and will link them all below.

With the beautiful table top I used my favorite gold napkins and layered two Lenox holiday glasses. I love the simple detail on these glasses, but I feel they still helped the area stay very Christmas and festive.

I hope you love my Christmas dining room this year! It is always such a joy to decorate and come up with a wonderful theme and share with you all. Have fun with all your decorating, and let your guests enjoy and admire as you entertain! For all links and to shop my furniture, collection of dishes and more I will link below. They are also on my Like To Know It app to shop anytime.

LINKS:

Sideboards - From Ballard Designs linked here

Mirror - From Anthropologie linked here

Chairs - From World Market linked here

Table - From Arhaus linked here

Dishes - From Zara Home linked here

Napkins - From Zara Home linked here & here

Glasses - From Lenox linked here

Cutlery - From Amazon linked here

Tree - From King of Christmas linked here

Dress - From Red Dress linked here

Pots - From Terrain linked here and here

Wreath - From Target linked here

Slow Cooker Hot Cocoa Bar Station

Slow Cooker Hot Cocoa Bar Station

If you love a delicious cup of hot cocoa and are serving it for a crowd at a party or event, then you will love this Slow Cooker Hot Cocoa Bar Station idea! This hot cocoa bar is a perfect looking setup for parties and makes for a fun way to make and display the cocoa. There are so many ways to customize different ingredients in your cocoa to make it just the way you like it. With this hot cocoa bar, you can have all the fixings for the hot cocoa ready to go and all you have to do is mix it up and turn on your slow cooker 2 hours before your company arrives.

One of my favorite things to do for company is to be very detailed with the small things, but also be practical and leave yourself time for the other things you have to do and not be rushing to make the cocoa last minute. It's also a fun way for the guests to get creative when making their own cup!

Some of my favorite things to add in the hot cocoa station and on the tray are heavy whipping cream, Chocolate chips, sprinkles, cookies, cinnamon sticks, caramel, and candy canes. Christmas is such a special time of year and adding in little touches to the station like Santa mugs and Holiday decor will help the area feel even more special and festive for all your December celebrations!

HOT COCOA RECIPE

Ingredients

Slow Cooker Hot Cocoa

1- 14 oz can sweetened condensed milk

1/2 cup cocoa powder unsweetened

2 teaspoons vanilla extract

Pinch of salt

4 cups whole milk

4 cups half and half

Marshmallows

Directions:

1. Mix together all ingredients in slow cooker

2. Turn on slow cooker to 1 to 2. Stirring every 30 min for 2 hours.

3. Top with marshmallows and turn slow cooker all the way down.

4. You can leave slow cooker on low to serve and enjoy for 2-3 hours.

5. Stir again before serving and Enjoy! 

You can shop my slow cooker on 360 Cookware -shop here- and use code AMANDWARREN20 for 20% off your entire purchase! I love that this is the only slow cooker that is stainless steel and made in the USA. Amazing quality that will last you a lifetime!

The Ultimate Thanksgiving Dessert - My Pumpkin Crisp Recipe

Looking for a new dessert this Thanksgiving that isn’t the same ol’ pumpkin pie? This is it!! My husband isn’t the biggest pie fan, so I was looking for something as a replacement with that same familiar taste to accommodate the whole crowd, especially those that still love and crave a traditional pumpkin pie! This dessert hit all the marks for our early family Thanksgiving, and it will surely be a hit throughout the Holiday season as well!

We hope this pumpkin crisp recipe satisfies every sweet tooth of every family member you have, just as it did to ours! Here is the best pumpkin crisp recipe ever!

Ingredients

  • 1 (15-oz.) canned pumpkin purée

  • 1 cup sugar

  • 3 large eggs

  • 2 teaspoons pumpkin pie spice

  • 1/2 teaspoon kosher salt

  • 2 teaspoons pure vanilla extract

  • I can evaporated milk

Cinnamon topping

  • 2 cups all-purpose flour*

  • 3/4 cups granulated sugar

  • 3/4 cups brown sugar

  • 2 teaspoons cinnamon

  • 1/2 teaspoon salt

  • 12 tablespoons butter, melted

  • 1/2 cup pecans

Instructions

  1. Preheat oven to 425. Grease 9” round pan and set aside.

(Exact pan I used linked -here-)

  1. Whisk together pumpkin, evaporated milk, vanilla, eggs until combined.

  2. Add in sugar, pumpkin pie spice, and salt.

  3. Pour into pre-greased pan and place in oven uncovered for 20 minutes.

  4. While pumpkin mix if cooking mix together all cinnamon topping ingredients and make a nice crumble for the top.

  5. Once 20 min has passed remove from oven and turn oven to 375.

  6. Add crumble onto top of pumpkin mix and place back into oven for 20-30 minutes or until a knife or toothpick comes out clean. Let cool for 5-10 minutes before serving.

  7. Enjoy with ice cream, caramel or chocolate toppings.

If you by chance don't finish you can store in the refrigerator, cover with plastic wrap, and reheat in oven when ready for leftovers!

For all 360 pans I used shop -here- and use code AMANDAWARREN20 for 20% off your entire purchase.

Designing My Thanksgiving Table 2022: Festive Inspirations for a Memorable Feast!

As the crisp Autumn leaves tumble to the ground and the excitement of the holiday season starts to warm our hearts, I'm excited to share my vision for " My Thanksgiving Table 2022 ". This special time of the year calls for a deep sense of gratitude, a delicious cornucopia of food, and meaningful connections with our most loved ones. As we gear up to set the stage for memorable conversations and laughter, I'm here to inspire you with tablescape ideas and tips to make your Thanksgiving gathering unforgettable. Let's get ready to serve up elegance along with your turkey feast!

Begin by selecting a color palette that is the traditional Thanksgiving colors, and are both inviting and warm. Great choices include golds, oranges, and reds. For a nice statement piece, consider a unique table runner or a decorative tablecloth. After laying out the tableware, such as plates, glasses, and cutlery, in a way that is both aesthetically pleasing and practical, add a centerpiece to the middle of the table. For a more traditional look, opt for a cornucopia or a vase of flowers. For a more modern look, consider an arrangement of pumpkins, gourds, and greenery.

You can also add a few small decorations such as candles or fall-themed place cards to make the table look more festive. Hang a few decorations such as garlands or lights for an extra touch of festivity. Set the mood with a Thanksgiving playlist and some cozy lighting. Don’t forget to pull out the cozy throws and pillows for extra comfort! With these tips and tricks, hopefully, you’ll find inspiration to host the perfect Thanksgiving Table this year!

Fall floral arrangement

Whether you’re hosting a formal dinner or a casual gathering, My Thanksgiving Table has you covered. Incorporate classic Thanksgiving colors such as reds, oranges, and browns into your floral arrangements to create a festive atmosphere. Add texture to your floral arrangements with seasonal leaves, twigs, and berries to make them look even more stunning and festive. Consider using seasonal blooms like chrysanthemums, sunflowers, and dahlias to give your table a truly autumnal feel. For an extra festive touch, add pumpkins, gourds, and other Fall decorations. Fragrant herbs like rosemary, sage, and lavender can also be used for decoration or even as part of the meal. Place a single large flower or a few small ones in the center of the table for a classic look. Alternatively, use small vases or mason jars to display smaller bouquets. For a bolder look, create a focal point by arranging large, tall flowers in the center of the table. Use white or cream as an accent color to make other colors stand out and give your table a finished look.

Creating my arrangement this year was tough. I no longer have my amazing florist nearby who did all my centerpieces before we moved to Texas. I tried my best to make my own and went out to the supermarkets. All I found were old flowers that were falling apart on me. My sweet florist from Cali went the extra mile for me and found and called a local florist nearby in The Woodlands, TX without me knowing and had them piece together a beautiful flower arrangement just the way I would like it based on my inspo pictures. I love the leafy elements of the arrangement against the soft pastel colors of the flowers. It gives it beautiful natural elements!

Place Settings

I used white dishes and serve ware to make the table timeless and classic and added pops of color with seasonal fruits and vegetables such as pumpkins, pine cones, eucalyptus, gourds, and cranberries. Be sure to accentuate the table with a few metallic pieces for a touch of glamour. I wanted to break up the colors plus use my new dishes, so I went with the beautiful Lenox French Perle Scallop place setting. I added in my all-time favorite Amazon finds with my gold silverware. Lastly, I found these adorable napkins on Amazon and tied a velvet ribbon as napkin rings/holders that gave a beautiful texture and visual interest. I love it when I can find multiple uses for things! This gave a soft layer and offset the centerpieces with all the color!

Accents

Accent candles and candlesticks are a great way to add a touch of elegance to your Thanksgiving table. They come in a variety of colors, shapes, and sizes, so it's super easy to find something that will fit your theme and décor. Place the candles on the table to create a cozy atmosphere and add a touch of elegance to the room. Use different colored candles to create a vibrant look, or mix and match to create a unique and personalized touch. They are also great for setting the mood and creating the perfect ambiance for your Thanksgiving dinner. When the candles are lit, the flickering light will create a soft and inviting glow, making your guests feel right at home. Candlesticks are an easy and affordable way to make your Thanksgiving table look beautiful and inviting. I found mine at Sur La Table along with my gingham table runner. Gingham is a timeless pattern that will never go out of style, making it a great choice to use year after year. With the checkered pattern available in a variety of colors, you can choose a runner or tablecloth that best fits your Thanksgiving table. Not only is the gingham pattern beautiful, but the lightweight fabric allows it to drape nicely, giving your table a polished look.

I also added a small charcuterie board as part of the table decor to get people to come to the table before dinner was served and give a beautiful element that tied into the pears & pomegranates. Choose an array of meats, cheeses, nuts, olives, and crackers that will create a delicious and attractive presentation. Layer the board with different textures and colors to make it more interesting, and include a few seasonal items such as cranberries, pumpkin seeds, and spiced nuts. Add a few sweet items such as honey, jams, and candied nuts to give it a festive flair.

Food & Wine

Nothing says Thanksgiving like traditional food and wine. I always love to have elements on the table that make sure my guests know they can sit and enjoy at any time. Having open bottles of wine and simple charcuterie boards allows for this comfortable snacking. This also makes sure your guests don't go hungry or thirsty while you are preparing dinner and tending to other guests. This Thanksgiving we are serving Decoy wines, both with a red and a white, so our guests can choose their favorite. To see all that Decoy has to offer for your Thanksgiving day gatherings and where you can pick up their brand locally head to their website -here-. For the simple charcuterie board, I did cheeses, crackers and grapes. Our local H-E-B has the most delicious varieties of cheese balls, and I grabbed an amazing pecan one! Mixing the cheeseball up with a few other cheeses gave the board variety, yet still keeps it simple. Also, make sure not to do anything too heavy, as you have a big meal coming soon!

With these simple touches, your Thanksgiving table will be transformed into a warm and inviting space for your family and friendships. Your guests will be delighted by the atmosphere of your Thanksgiving table and you will be sure to have a memorable celebration. That is my Thanksgiving table decor for this go around. The last Thanksgiving table I did, linked -here- included more pastels, so this difference was such a fun way to mix things up in our new home. I hope you enjoyed this read and the pictures, and I hope it gave you some inspiration and creativity for your next holiday table decor. For more table decor ideas, recipes and everyday life be sure to stick around and subscribe -here-.

Shop Everything Used On my LTK -here- and below

Baked Burrata Pumpkin Ziti with Pork Sausage Recipe

This dish is an Autumn favorite and is perfect for a nice cold day. It features pumpkin ziti, oven-baked burrata cheese and Italian pork sausage. The burrata cheese texture is soft, mild and delicate, made from both mozzarella and cream. The pork sausage is a seasoned ground pork that is smoked for a richer flavor and pairs so well with the pumpkin sauce taste on the ziti pasta. This dish takes a delicious traditional pasta plate and pairs it with that Fall pumpkin craze for a fun festive way to celebrate the season. If someone coming over for dinner isn't the biggest pumpkin fan, then don't worry because this blend isn't an overpowering flavor of pumpkin. This makes it a satisfying dish with just a hint of unique flavors that everyone is sure to love. Trust me when I tell you this dish is sure to be an Autumn favorite, but also one you will find yourself craving all year long.

Ingredients :

1 lb ziti

4 tablespoons butter

1 shallot

2 tablespoons flour

1 teaspoon red pepper flakes

1 teaspoon basil

1 teaspoon oregano

1 cup 100% pure pumpkin

1 cup heavy cream

1 lb pork sausage

2 cloves garlic

1/2 cup veg broth

1 1/2 cup parmesan

8 oz. Burrata

Instructions :

Prep: Preheat oven to 375 degree temperature. Bring pot of water to a boil. Mince shallot and garlic cloves. Shred Parmesan. Prep time 5 minutes.

1. Add butter garlic and shallots to pot and let cook until fragrant and shallots become caramelized.

2. Add in pork sausage (you can double the amount of meat in this if you want a more hearty meal as well) and cook breaking up meat as it cooks.

3. Once sausage is cooked in pan add seasoning; red pepper flakes, basil and oregano. Blend together and add flour. Now add in 100% Pumpkin pure and vegetable broth stirring to marry together.

4. While cooking sausage and sauce, if water has come to a boil add in the 1 lb of ziti to cook. Once al dente drain. Usually this takes 9-11 minutes

5. When you are almost ready to add in pasta turn off stove and add in heavy cream and 1 cup of the parmesan cheese. Add pasta and incorporate together.

6. Next to make a baked ziti you will be adding this into the oven. If you do not have an oven-safe pan you will need to pour ingredients into a new oven-safe container. I love the 360 pans because they are 100% stainless steel and can go from stove top to oven!.

7. Once ready to go into oven you will sprinkle the remaining 1/2 cup of parmesan on top and break apart the Burrata as well.

8. Place in oven and bake for 12-17 minutes until top is bubbly.

9. ENJOY!!

For more recipes like these head to my Pinterest tab titled Cooking with Amanda. Here you will find even more 100% pure pumpkin recipes and comfort food to enjoy this Christmas and holiday season.

You can shop all 360 cookware I use -here- discount code AmandaWarren20 will give you 20% off the entire site and will make the perfect Christmas gift this season for your favorite chef!

The Most Delicious Homemade Corn Bread Loaf Recipe

Fall is upon us, the weather is cooling down, and that makes the timing perfect to serve a warm plate of cornbread. I love making this tasty treat. Cornbread is so easy to make and can be used to pair with such a variety of dishes. In this article I'm going to show you how to make a cornbread loaf everyone will love! This recipe makes will make 2 full sized loafs, so to only make 1 loaf you will just split all ingredients of the recipe in half. Another fun way to use this recipe is to make mini cornbread loaves. To do this you will make change the cooking time accordingly. Such Fun for the holidays!

In this recipe I used my 360 Cookware loaf pans that are linked -here- and as you can see in the photos their pans have beautiful handles that look great on the table when serving. They also have the tab loaf -here- that has more of a table handle and is also beautiful. Both of these pans are the best way to make this bread. All 360 Cookware products are made in the good ol' USA and stainless steel, giving your food the best quality and making you feel good about your purchase!

Cornbread loaf is the ultimate comfort food. It Goes great with chili, soups and really any Fall meals, especially warm meals. I love adding actual corn into my cornbread to give an extra crunch that isn't always expected.

Ingredients:

2 cups yellow cornmeal

2 cups all-purpose flour

1 cup sugar

3 teaspoons baking powder

1 tablespoon sea salt

2 cups milk (or buttermilk substitute)

1 stick butter + additional 1/2 tbsp butter

1/2 cup honey

4 eggs

1 cups corn

Directions:

  1. Preheat oven to 375 degrees and oil your loaf pans. This recipe makes 2 loaves of corn bread if you are looking for less just cut everything in half. I use my 360 Cookware pans and will link them below.

  2. Add all dry ingredients into a bowl and mix together.

  3. In a new bowl add eggs, and lightly beat with a fork. Add in milk, melted butter, honey and mix with eggs.

  4. Add all dry ingredients into wet mixture and blend well. Lastly, add in 1 cup of corn and softly fold into batter.

  5. Pour batter into loaf pans equally and bake for 30-45 min or until loaf is set in the middle. Tip..place a toothpick in the center of the loaf, then pull out to see if it comes out clean. This means your loaf is cooked well.

  6. Next take the last 2 tbsp of butter and lather the top of the cornbread evenly. This gives a delicious caramelized top to the golden brown bread.

  7. Enjoy! I love my cornbread with butter and a little honey on top! YUM!

To Find more recipes from Amanda Warren head -here- or click on Food & Dink on the website!

The Bloggers Guide to Merlot

If you're a wine lover like me, chances are you've seen the movie "Sideways", which showcases a large part of the beautiful, majestic wine region of the Central California Coast which contains 40 AVA's (American Viticultural Area). We all know the famous Paul Giamatti "not safe for the blog" line about Merlot in the movie, but I need you to forget about that line right now! This movie has actually been heavily mentioned as being a serious catalyst to the cause in the drop of the popularity of Merlot, affecting its sales, and even simultaneously increasing the popularity of other varietals such as Pinot Noir. Sideways couldn't take down Merlot though as it is the second most planted grape variety in the world! Being that it's Merlot month, I want to take you through the back story of this great wine and explain why it's become one of our favorites. Of course, the foodie in me has compelled me to share a few ideas on what you can pair Merlot with at your next dinner party!

Why We Like Merlot

It's quickly become one of our favorite wines in the Warren home, especially as a dinner wine. Merlot pairs so well with many of the things we like to cook. It's often compared to Cabernet but with a softer option and usually lower in tannins. I happen to be slight;y sensitive to tannins and find that I get headaches easier with some red blends that are heavy in them. Sometimes all it takes is one glass, and I can still wake up with a headache. Merlot doesn't have this effect on me however, and even though I also love a good cab, this is one reason why I find myself quicker to grab for Merlot off the shelf. Merlot also has a lower acidity and lighter body which I also feel helped fuel the rise in popularity of Pinot Noir as a replacement for a bit of lost popularity in the past. Depending on the region and climate of where the wine is produced will also have a factor on the taste. Growing in a warmer client will produce juicier, fruit forward notes. Whereas growing in cooler climates can produce a product closer to the taste of a Cab. This is why we love the J. Lohr Estate Los Osos Merlot from Paso Robles, CA. The climate in which its grown is a perfect mix of cooler nights and warmer days. The 2020 vintage is also blended with 14% Malbec which brings juiciness to the palate and 10% Cabernet Franc that adds layers of cocoa and peppery spice. This blend gives a lighter, juicier mouthfeel product with fantastic notes of fresh plum and bright raspberry flavors.

Characteristics of Merlot

Wine drinkers have been known to say that they can taste of the local flavor of the wine grapes. These can be sweet and sometimes dry, sometimes smooth and sometimes bitter at the finish, and often times that they can't taste any difference at all. Have you ever wondered about the different grape varieties themselves and how the wine has these differing tastes and textures? Merlot is a type of grape that has a soft, fruity taste and is grown in many wine-producing regions around the world. The grapes grow in different climates, soils, and with differing techniques will slightly alter the characteristics of it. This makes Merlot one of my favorite wines to enjoy and experience the uniqueness of it at wine tastings.


Merlot Growing Regions

Grown all over the world the four leading producers of Merlot grapes are

1.)Bordeaux, France 2.)Tuscany, Italy 3.) A northern region of Italy called Friuli-Venezia Giulia, and of course close to my heart, and my personal favorite, 4.) California. According to The Wine Institute the majority of California's Merlot vines are planted in Lodi/San Joaquin County, followed by Napa, Sonoma and Monterey counties. While the majority of California Merlot comes from these regions, there are not many other popular wined regions in California that produce world class Merlot, such as Paso Robles. Our favorite, the Los Osos Merlot from J. Lohr Vineyards & Wines, is grown in the moderately cool El Pomar District of Paso Robles, which is acknowledged to be the ideal area for this variety in the Paso Robles AVA.

Food Pairings with Merlot

Merlot, while amazing to sip on its own, is just as wonderful to enjoy with food.

Our featured wine, the J. Lohr Estate Los Osos Merlot is a very versatile wine for food pairings as well. This wine goes absolutely great with a variety of foods ranging from a grilled sausage and vegetable shish kebob all the way to a decadent creamy spinach and tomato tortellini dish. I personally love pairing the Los Osos Merlot with lamb chops topped with a fig cherry glaze and a side of roasted vegetables and garlic mashed potatoes.

No matter the occasion, be it elegant dinner parties, or just a weekend backyard BBQ the 2020 J.Lohr Estates Los Osos Merlot is going to please every guest that sits at your table. This perfect blend of 76% Merlot, 14% Malbec, and 10% Cab Franc gives the wine the bright, fruitful flavor that brings a juiciness to the pallet that you are sure to love. Do yourself a favor and uncork a bottle, then sit back and enjoy the smiles of all your satisfied friends.

For more about the J. Lohr Estate Los Osos Merlot or to visit the beautiful vineyards in Paso Robles, California click -here-.

This is a sponsored post by J. Lohr Vineyards & Wines. All opinions and research is my own.