A Taste of Heaven: Deliciously Easy Apple Pie!

If you are looking for a sweet and delicious dessert that is easy to make, look no further than this delicious & easy apple pie recipe! This classic treat tops the list as the #1 favorite for many dessert lovers, and it doesn't have to be difficult to make. In this blog post, we will be going over all the steps to make a delicious and easy apple pie that you and your family can enjoy. We'll also be discussing some of the tips and tricks to make sure your pies come out perfect every time. So, get ready to make the most scrumptious apple pie you've ever tasted!

Everyone loves this classic and timeless treat that can be quickly and easily whipped up with minimal ingredients. All you need is apples, sugar, flour, butter, and cinnamon. To make the pie even more special, you can add different toppings such as nuts, raisins, or of course a scoop of ice cream. As the delicious aroma of baking apples and spices fills your home, your family and anyone coming over will surely be delighted!
Easy Part 1: Store-Bought Crust

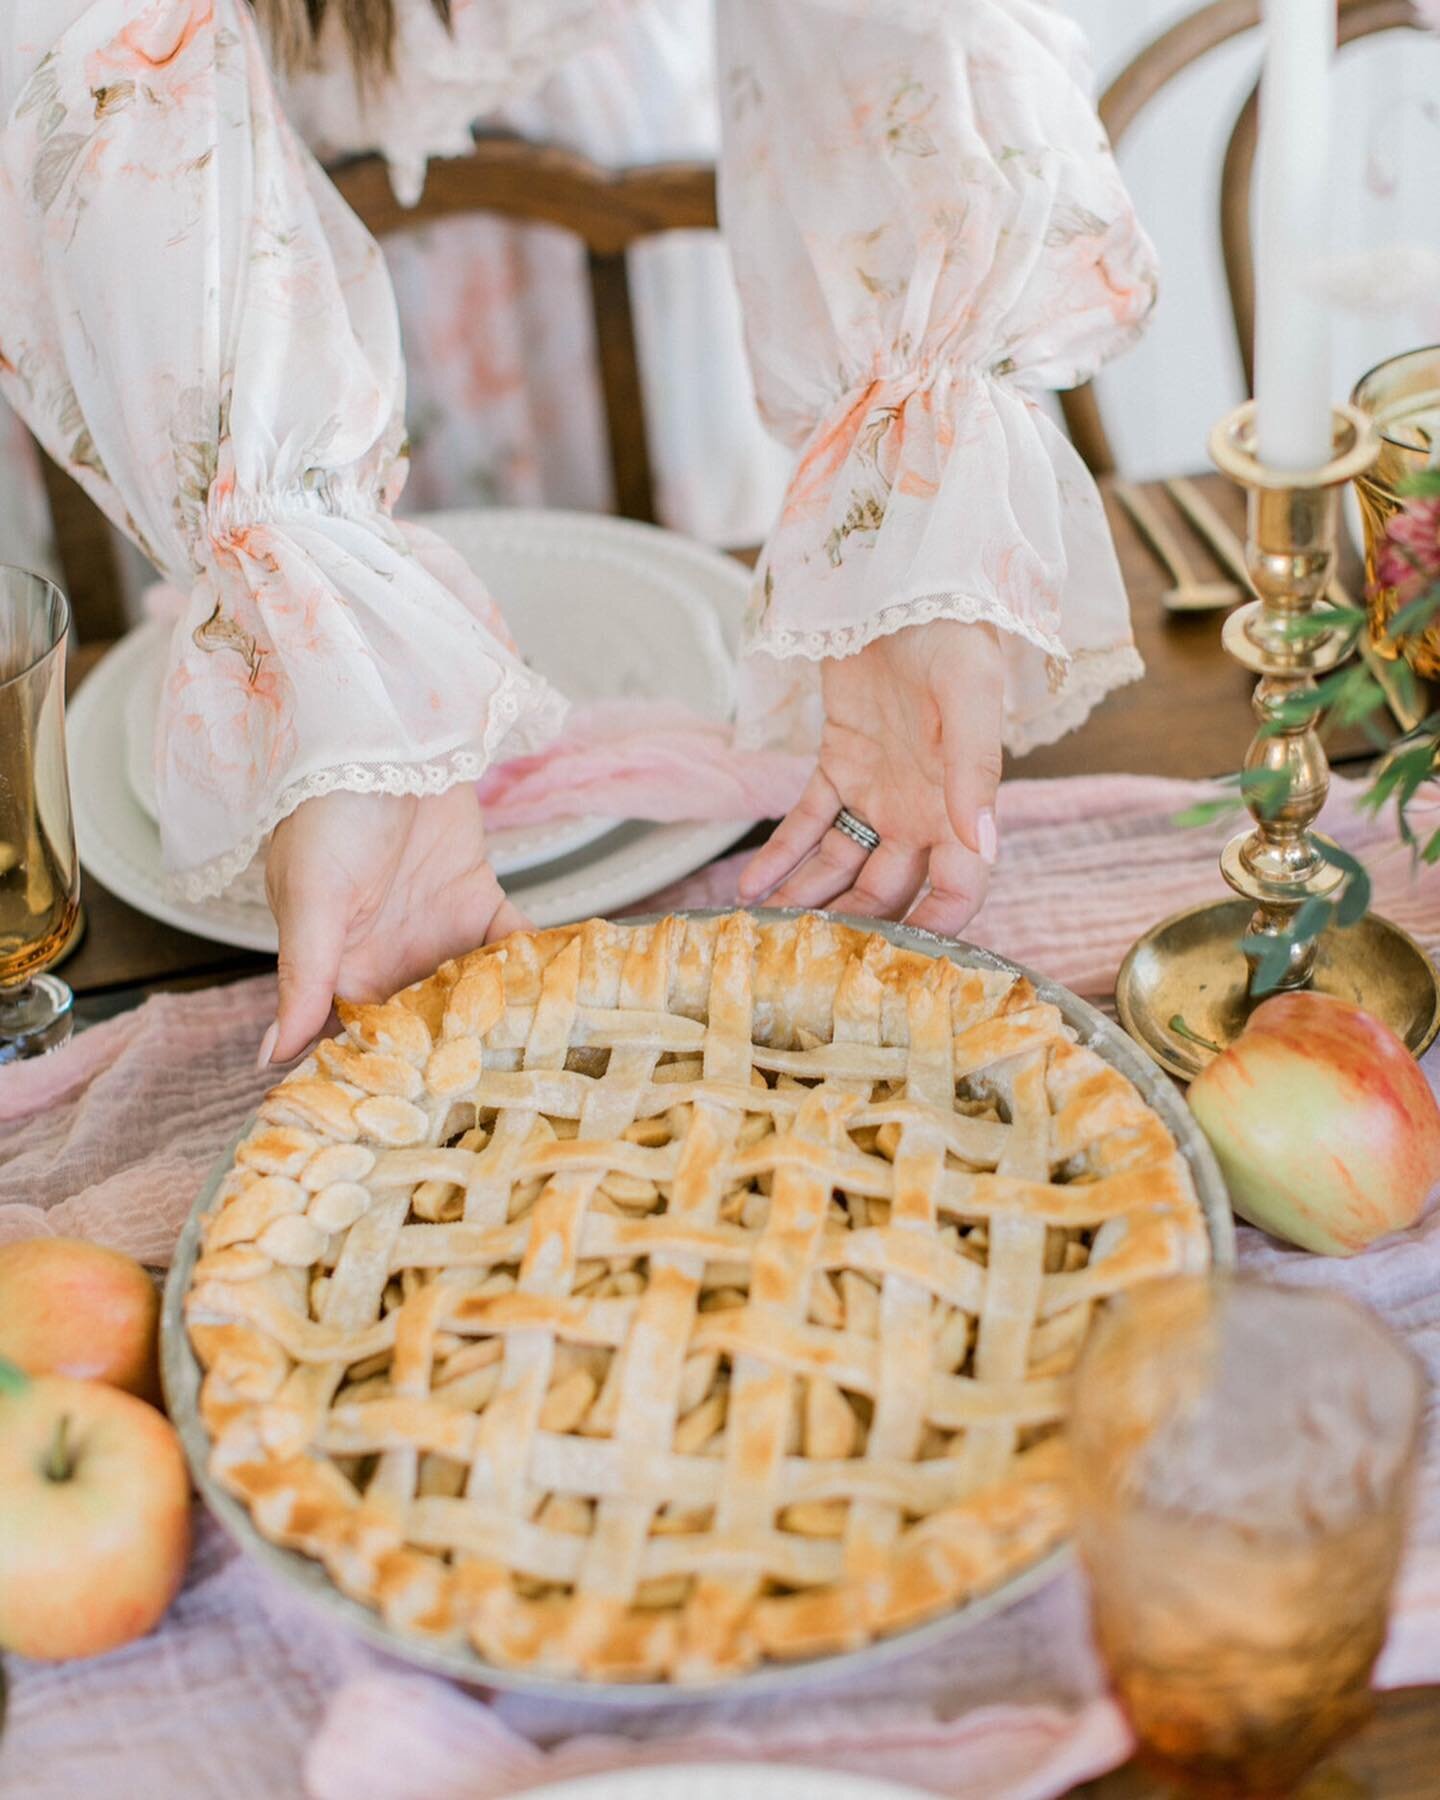
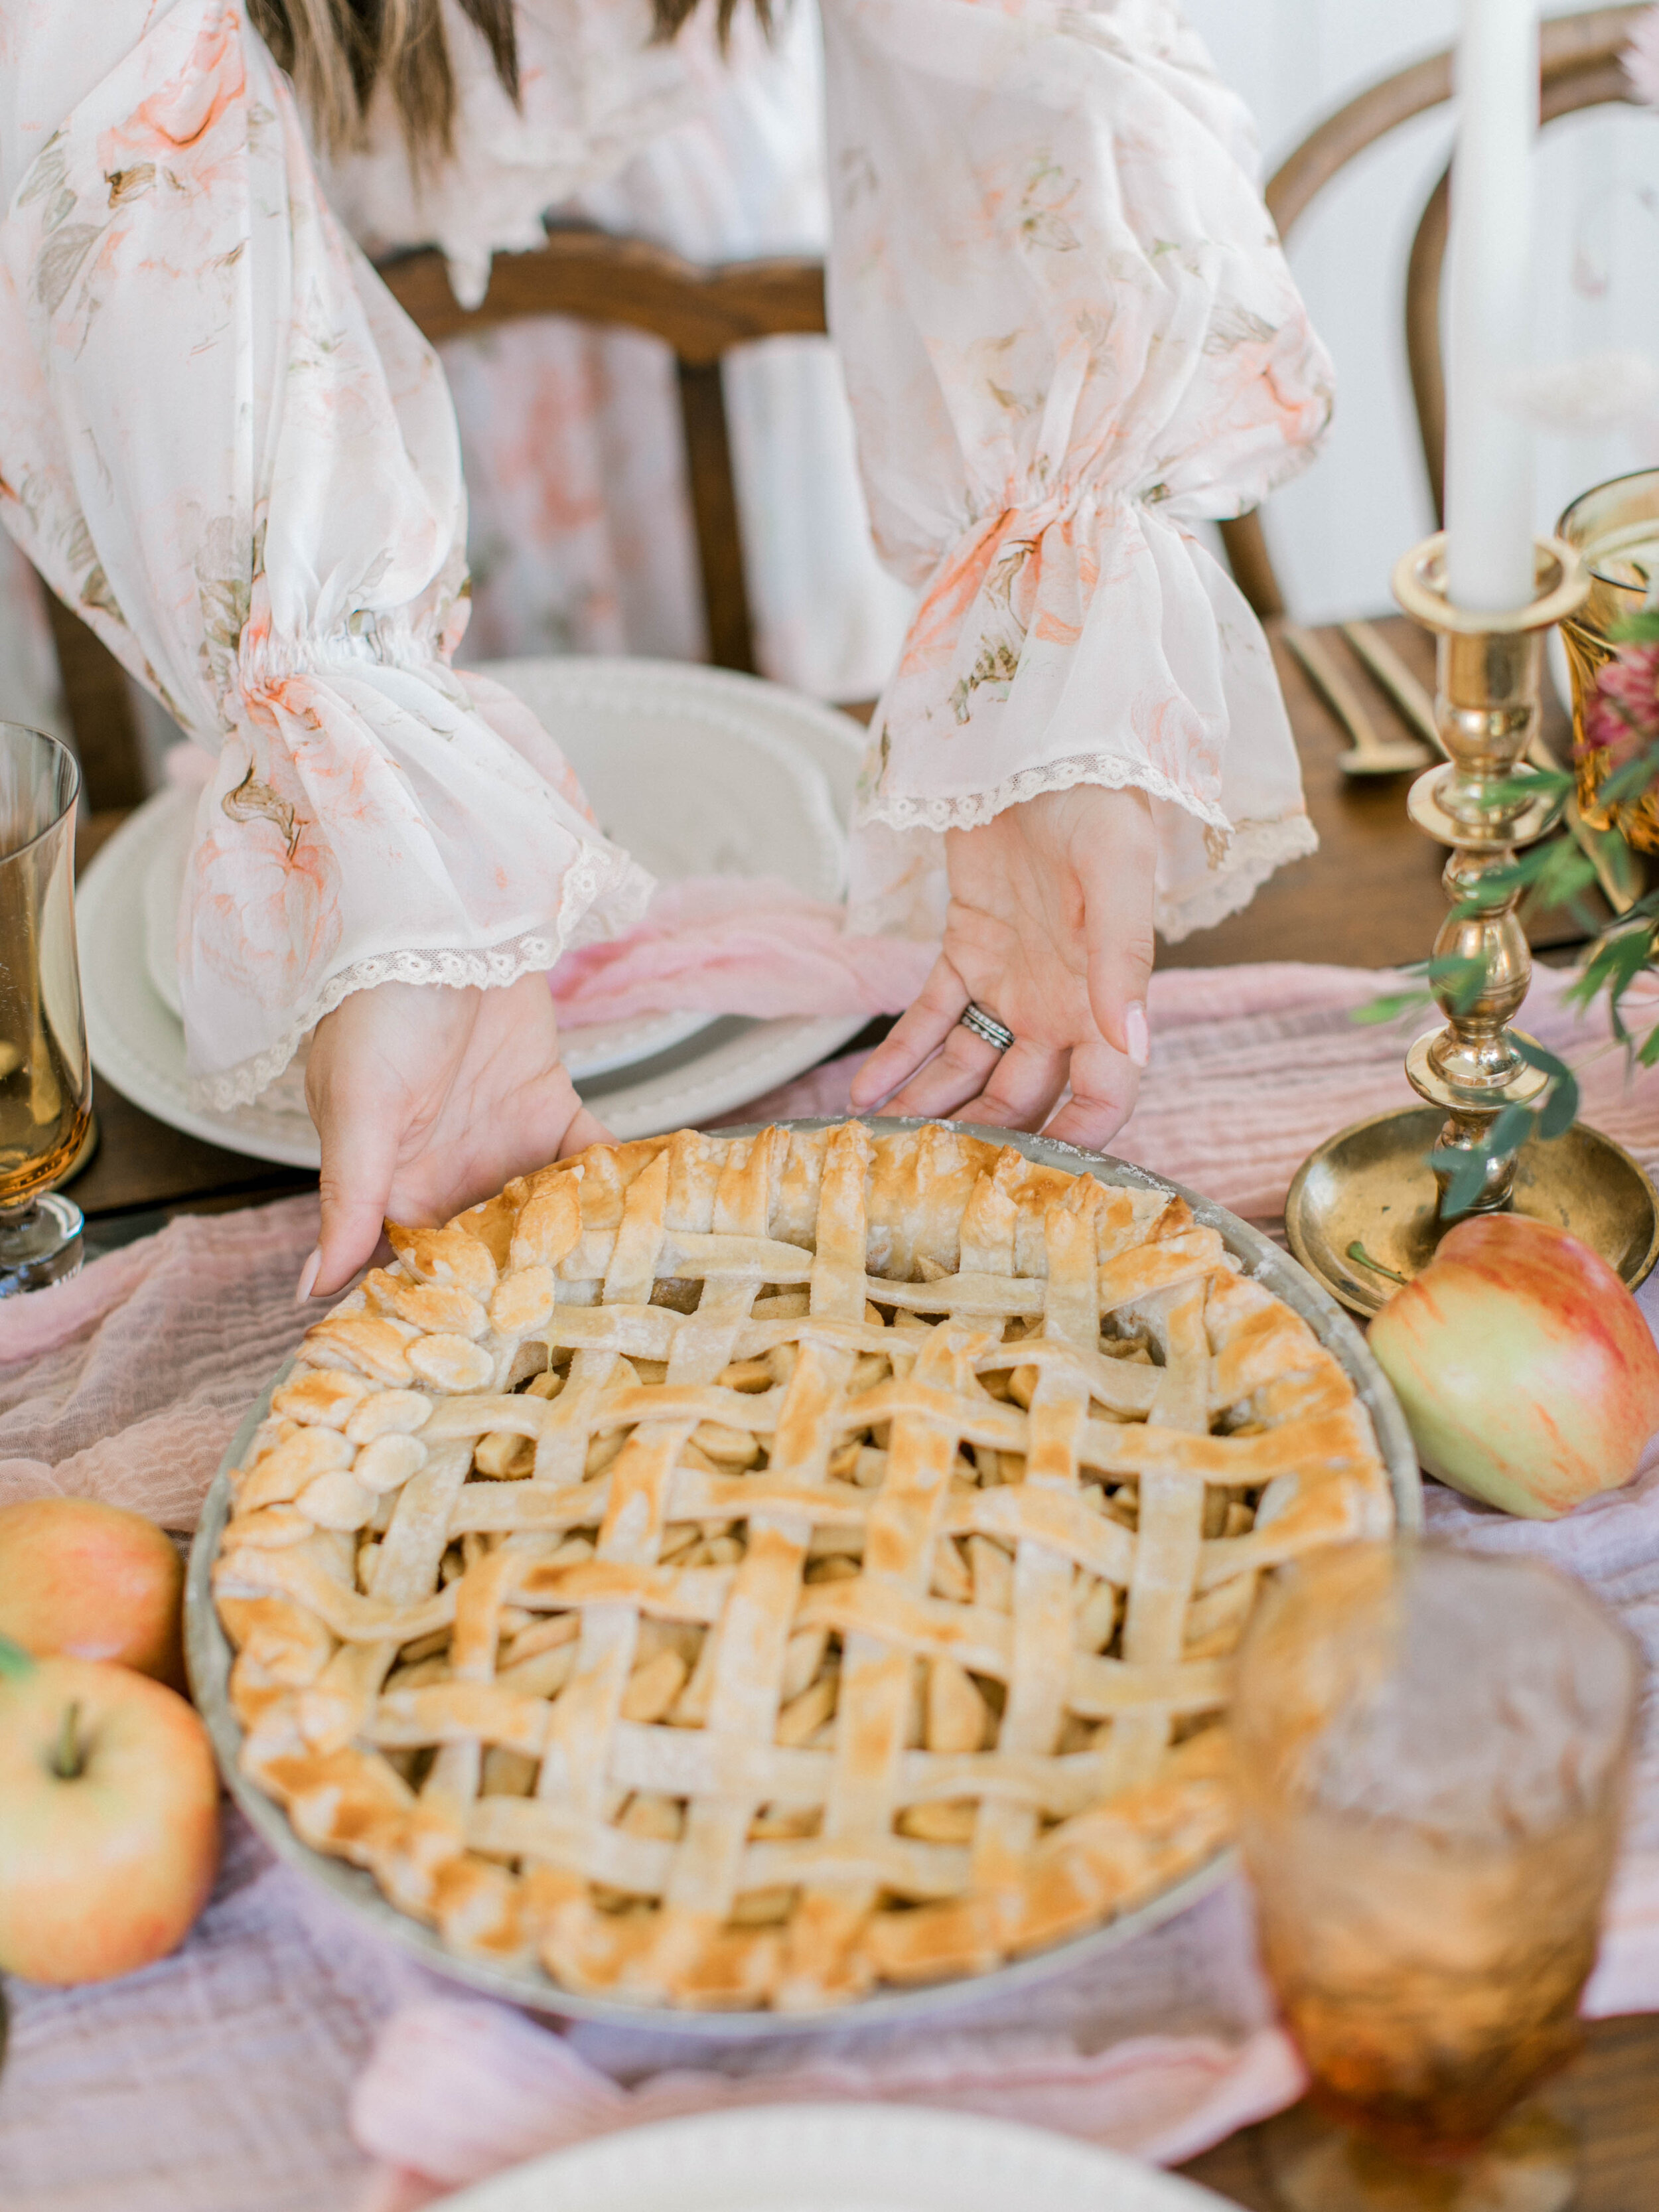
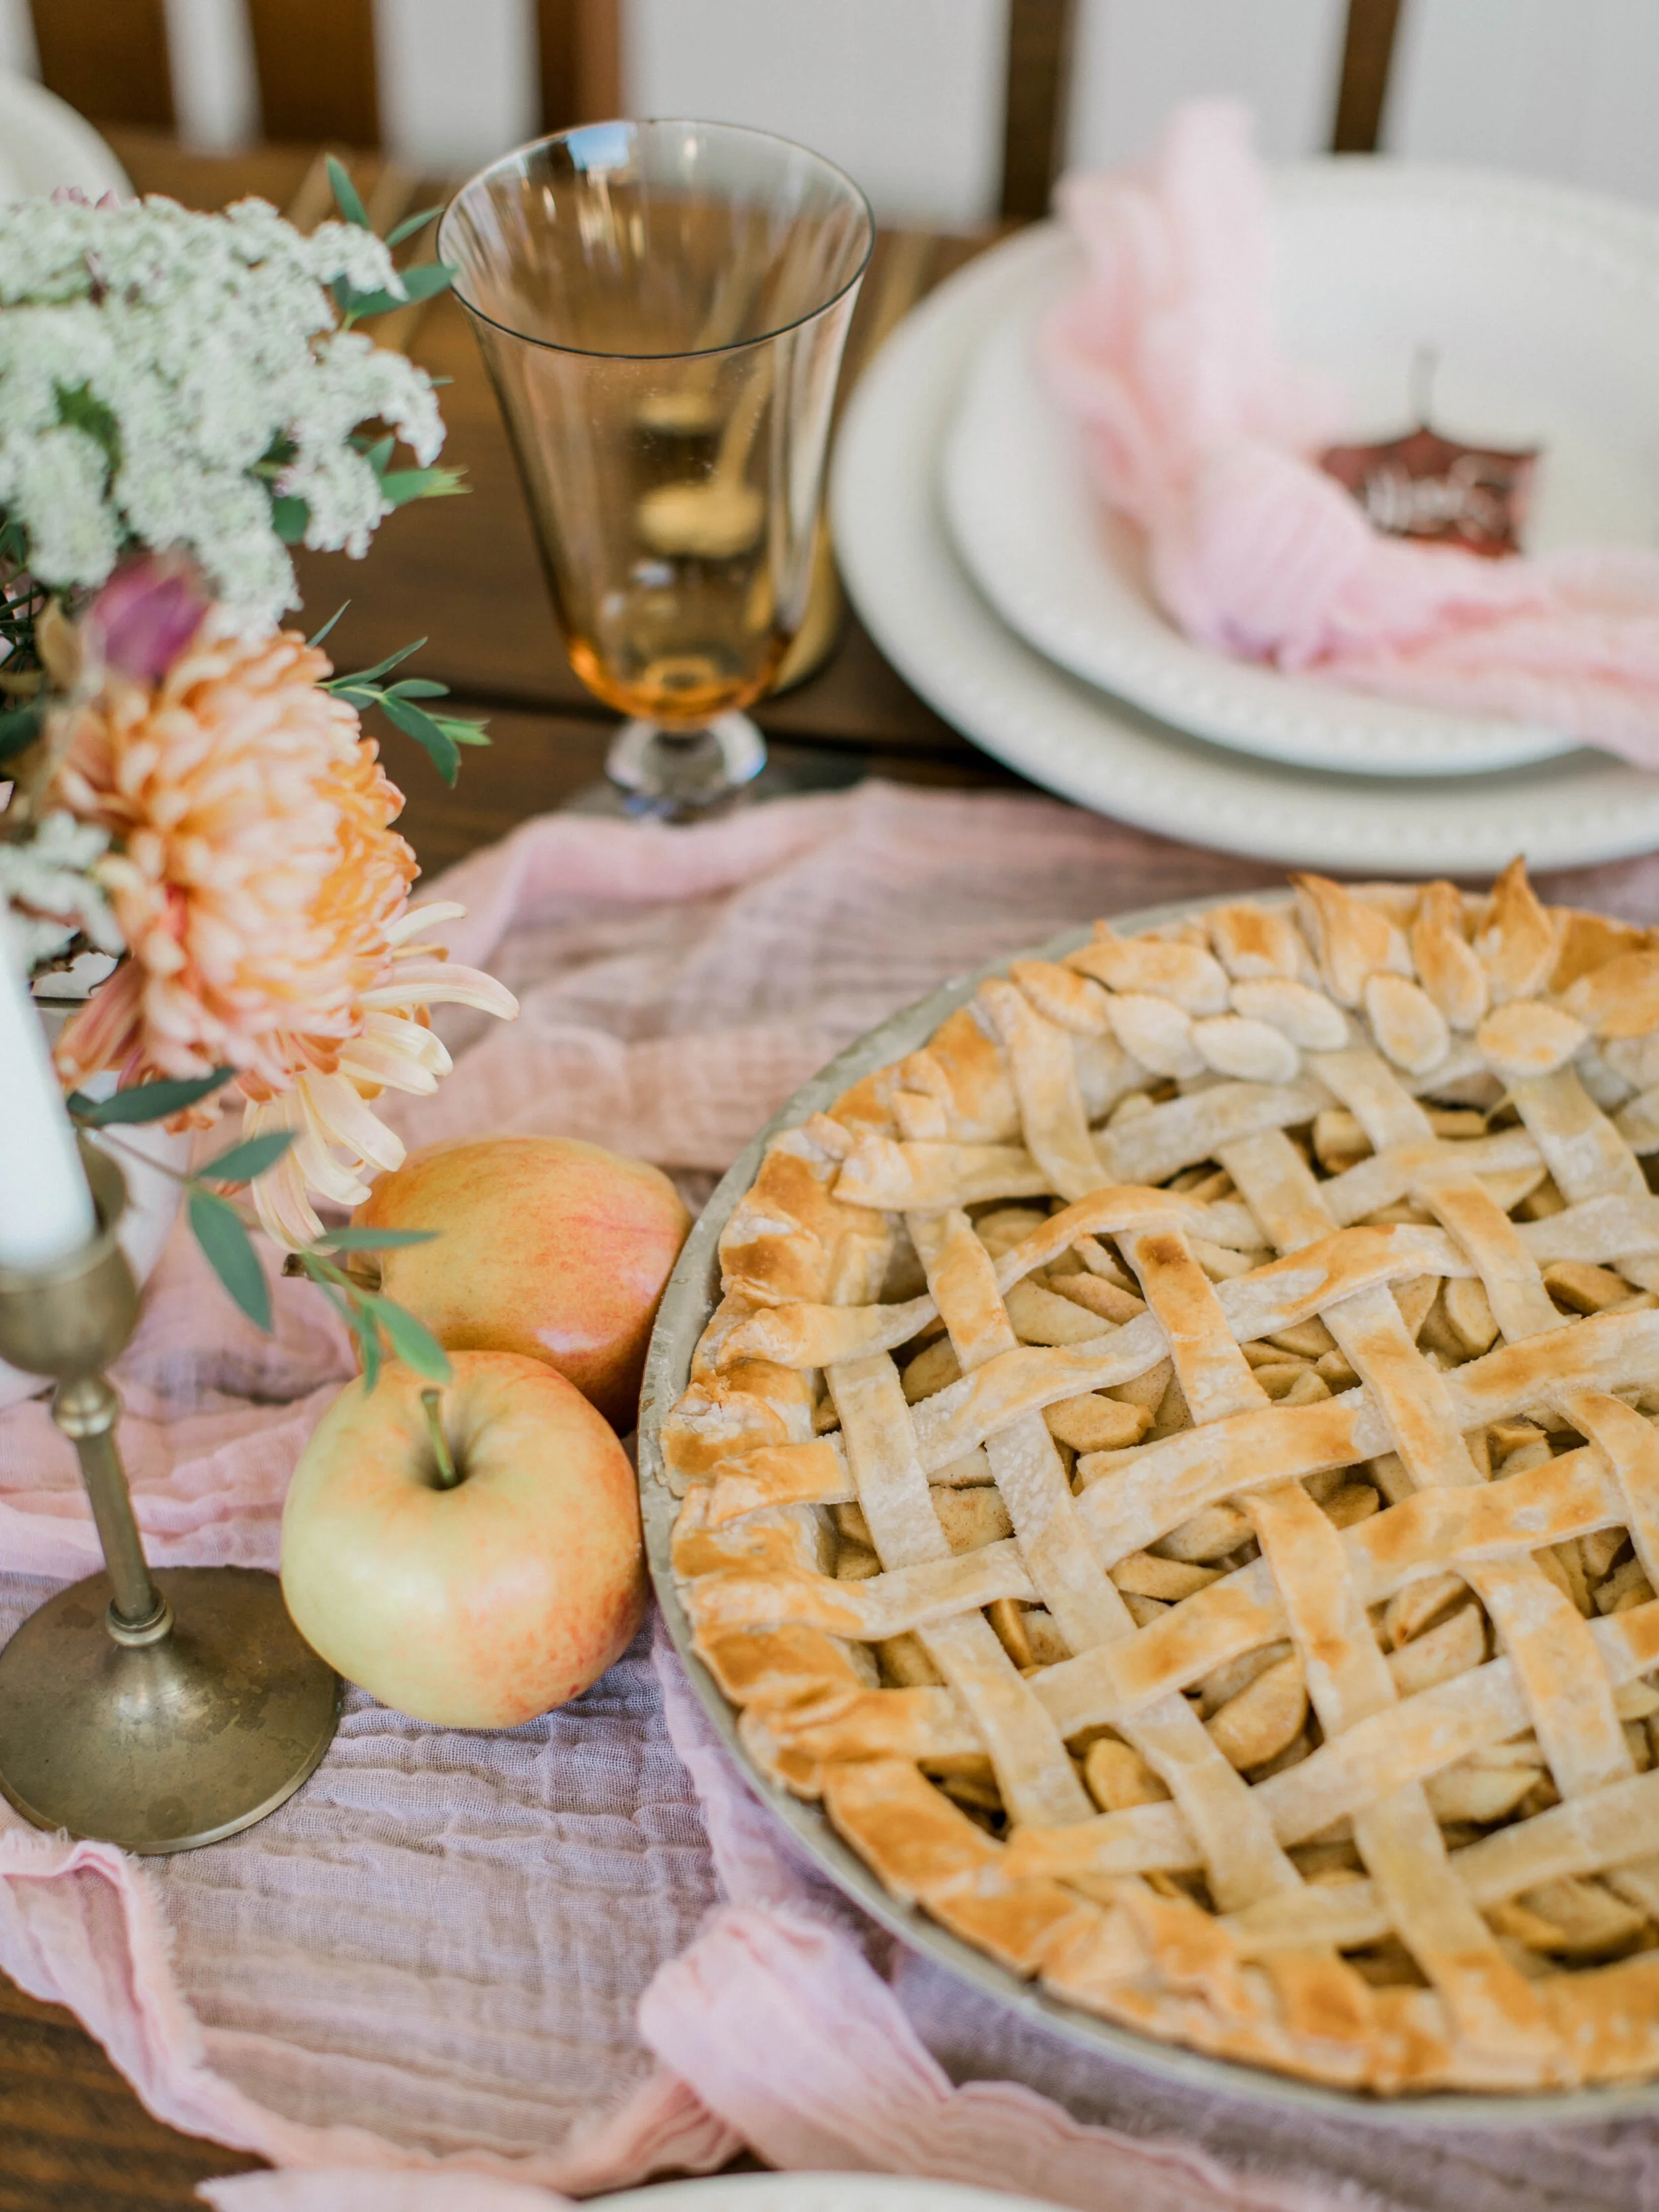
Apple pie is a classic dessert that is sure to please any crowd. But it can be time-consuming to make from scratch, especially when it comes to making the pie crust. Luckily, there is an easy and delicious way to make an apple pie with minimal effort - using a store-bought pre-made pie crust. This easy apple pie recipe requires minimal ingredients and is great for those who are short on time or are new to baking. The trick to making this recipe successful is to use a good quality store-bought crust. This makes this recipe easier and even more enjoyable. I love to get the double pack and make fun designs on the top with cookie cutters and crisscrossing them. This also makes your pie unique and special.

I always try my hardest to make the best homemade desserts, but I know when the experts have some things figured out better then me.. Like pie crust. I had a hard time trying to make the perfect pie crust so I finally gave up and focused all my energy on the filling! One delicious filling, a store-bought crust and the best pie pan make for a killer apple pie everyone will rave over!!

I am using the 360 cookware pie pan. The pan is made with 5-Ply construction and has a T-304 surgical stainless steel baking surface. No other bakeware cooks so evenly and perfectly as this pie pan! The Pie Pan is covered by a Lifetime Warranty like all of their products making this a legacy pan you can pass down for years to come. Better yet, they are all 100% American Made! Every pan I have used from them has cooked everything so well. This pie pan was nothing short of amazing and not one piece stuck to the pan! That was always irritating for me in the past, but now those worries are gone!

The Best Apples for Apple Pie

Apple pie is a classic dessert that is loved by many. The key to making a great apple pie is to choose the right type of apple. Granny Smith apples are a tart and firm classic choice for a delicious apple pie. Sweet, juicy, and crisp Honeycrisp apples are the perfect balance of tart and sweet. Braeburn apples are full of flavor and hold their shape when baked, making them an ideal choice. For a sweeter pie, Golden Delicious apples add a hint of tartness and are great for baking pies. Finally, Jonathan apples are sweet and tart, making them a great addition of flavor and texture to your apple pie. I like to mix 2 or 3 different apple types to give each bite a unique and delicious flavor. Two of my favorites are the Granny Smith and Golden Delicious together. With these apples in hand, you’re ready to make a delicious & easy apple pie.

20201114-warren-laurenwestra-175.jpg

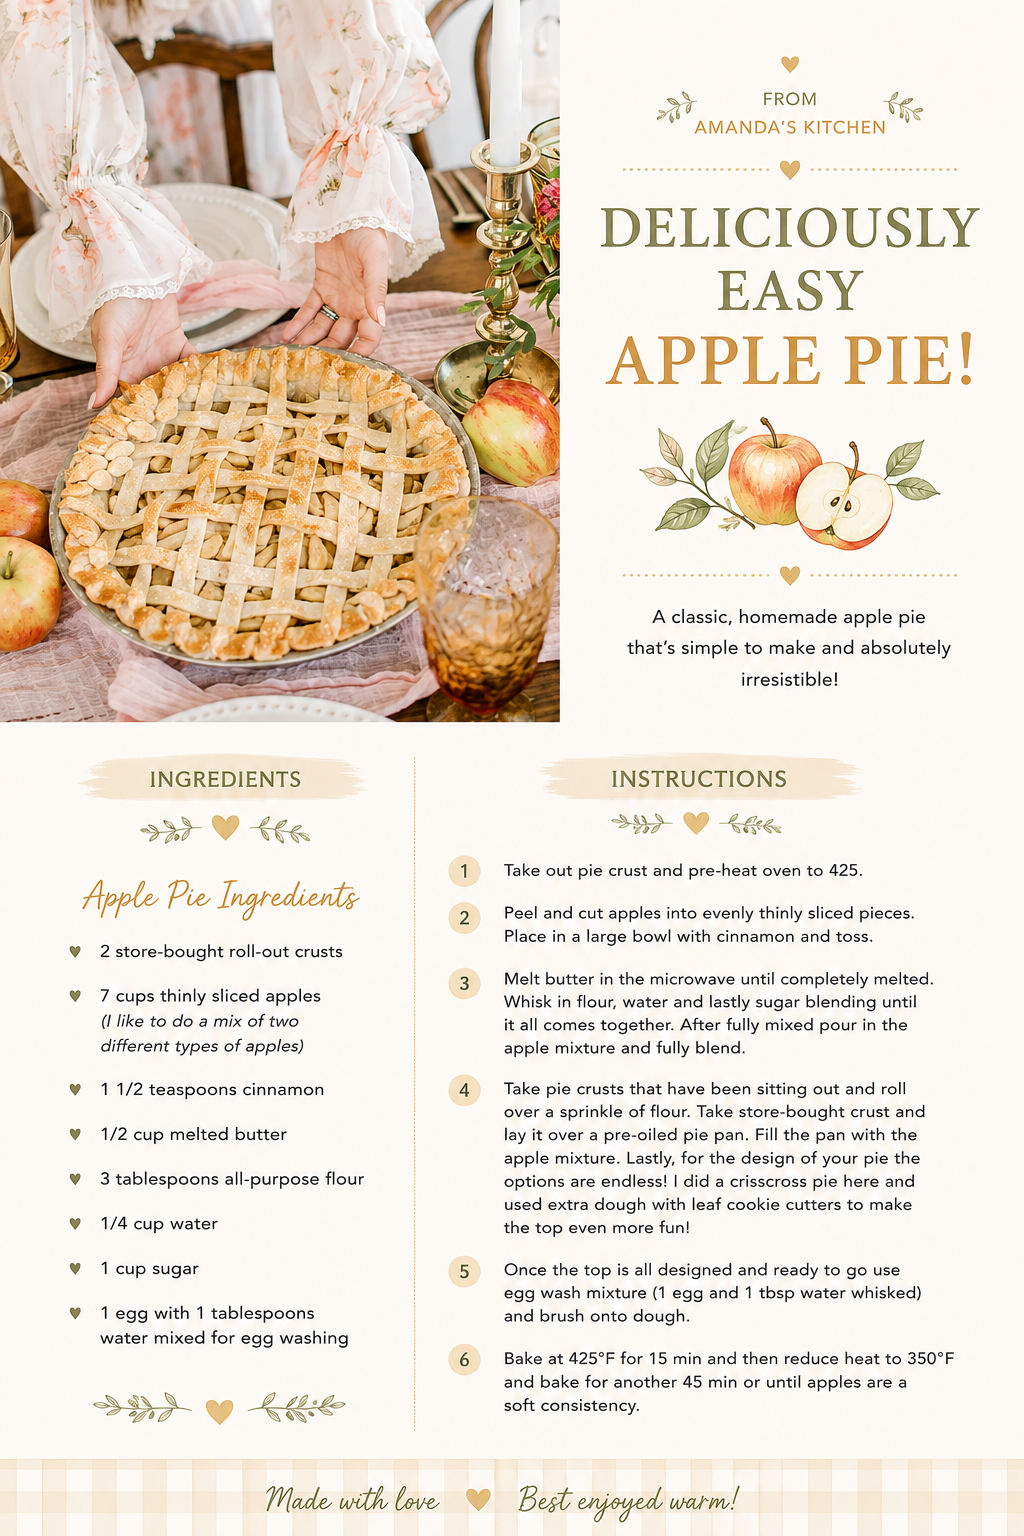
Apple Pie Ingredients

2 store-bought roll-out crusts

7 cups thinly sliced apples (I like to do a mix of two different types of apples)

1 1/2 teaspoons cinnamon

1/2 cup melted butter

3 tablespoons all-purpose flour

1/4 cup water

1 cup sugar

1 egg with 1 tablespoons water mixed for egg washing

Instructions

1. Take out pie crust and pre-heat oven to 425

2. Peel and cut apples into evenly thinly sliced pieces. Place in a large bowl with cinnamon and toss.

3. Melt butter in the microwave until completely melted. Whisk in flour, water and lastly sugar blending until it all comes together. After fully mixed pour in the apple mixture and fully blend.

4. Take pie crusts that have been sitting out and roll over a sprinkle of flour. Take store-bought crust and lay it over a pre-oiled pie pan. Fill the pan with the apple mixture. Lastly, for the design of your pie the options are endless! I did a crisscross pie here and used extra dough with leaf cookie cutters to make the top even more fun!

5. Once the top is all designed and ready to go use egg wash mixture (1 egg and 1 tbsp water whisked) and brush onto dough.

6. Bake at 425 for 15 min and then reduce heat to 350 and bake for another 45 min or until apples are a soft consistency.

Save This Recipe

Whether you're planning ahead for a special occasion or adding a new favorite to your recipe collection, I've included a printable recipe card below so it's easy to save, print, and share with the people you love.
20201114-warren-laurenwestra-195.jpg

You can enjoy your pie right away with vanilla ice cream, let it come to room temperature, or keep refrigerated for the next day. Anyway that you enjoy it I promise you wont be disappointed! The combination of sweet apples, cinnamon, and sugar make this pie a heavenly treat. Whether you are looking for something to end a meal on a sweet note or just a special treat, this apple pie is the perfect choice.

Other Desserts and Comfort Food you will love:

The Ultimate Thanksgiving Dessert - My Pumpkin Crisp Recipe

Chocolate Peanut Butter Brownies

Scotty's Birthday Pistachio Cake

My Favorite White Cake Recipe

Brown Butter Caramel Pretzel Cookies

The Most Delicious Pumpkin Coffee Cake

I hope you enjoy this apple pie just as much as I do! Click -HERE- for my favorite pie pan for the perfect pie all year long! You can also use code “Amanda20” for 20% off the entire 360 cookware site!
20201114-warren-laurenwestra-171.jpg
20201114-warren-laurenwestra-65.jpg
20201114-warren-laurenwestra-170.jpg
20201114-warren-laurenwestra-67.jpg

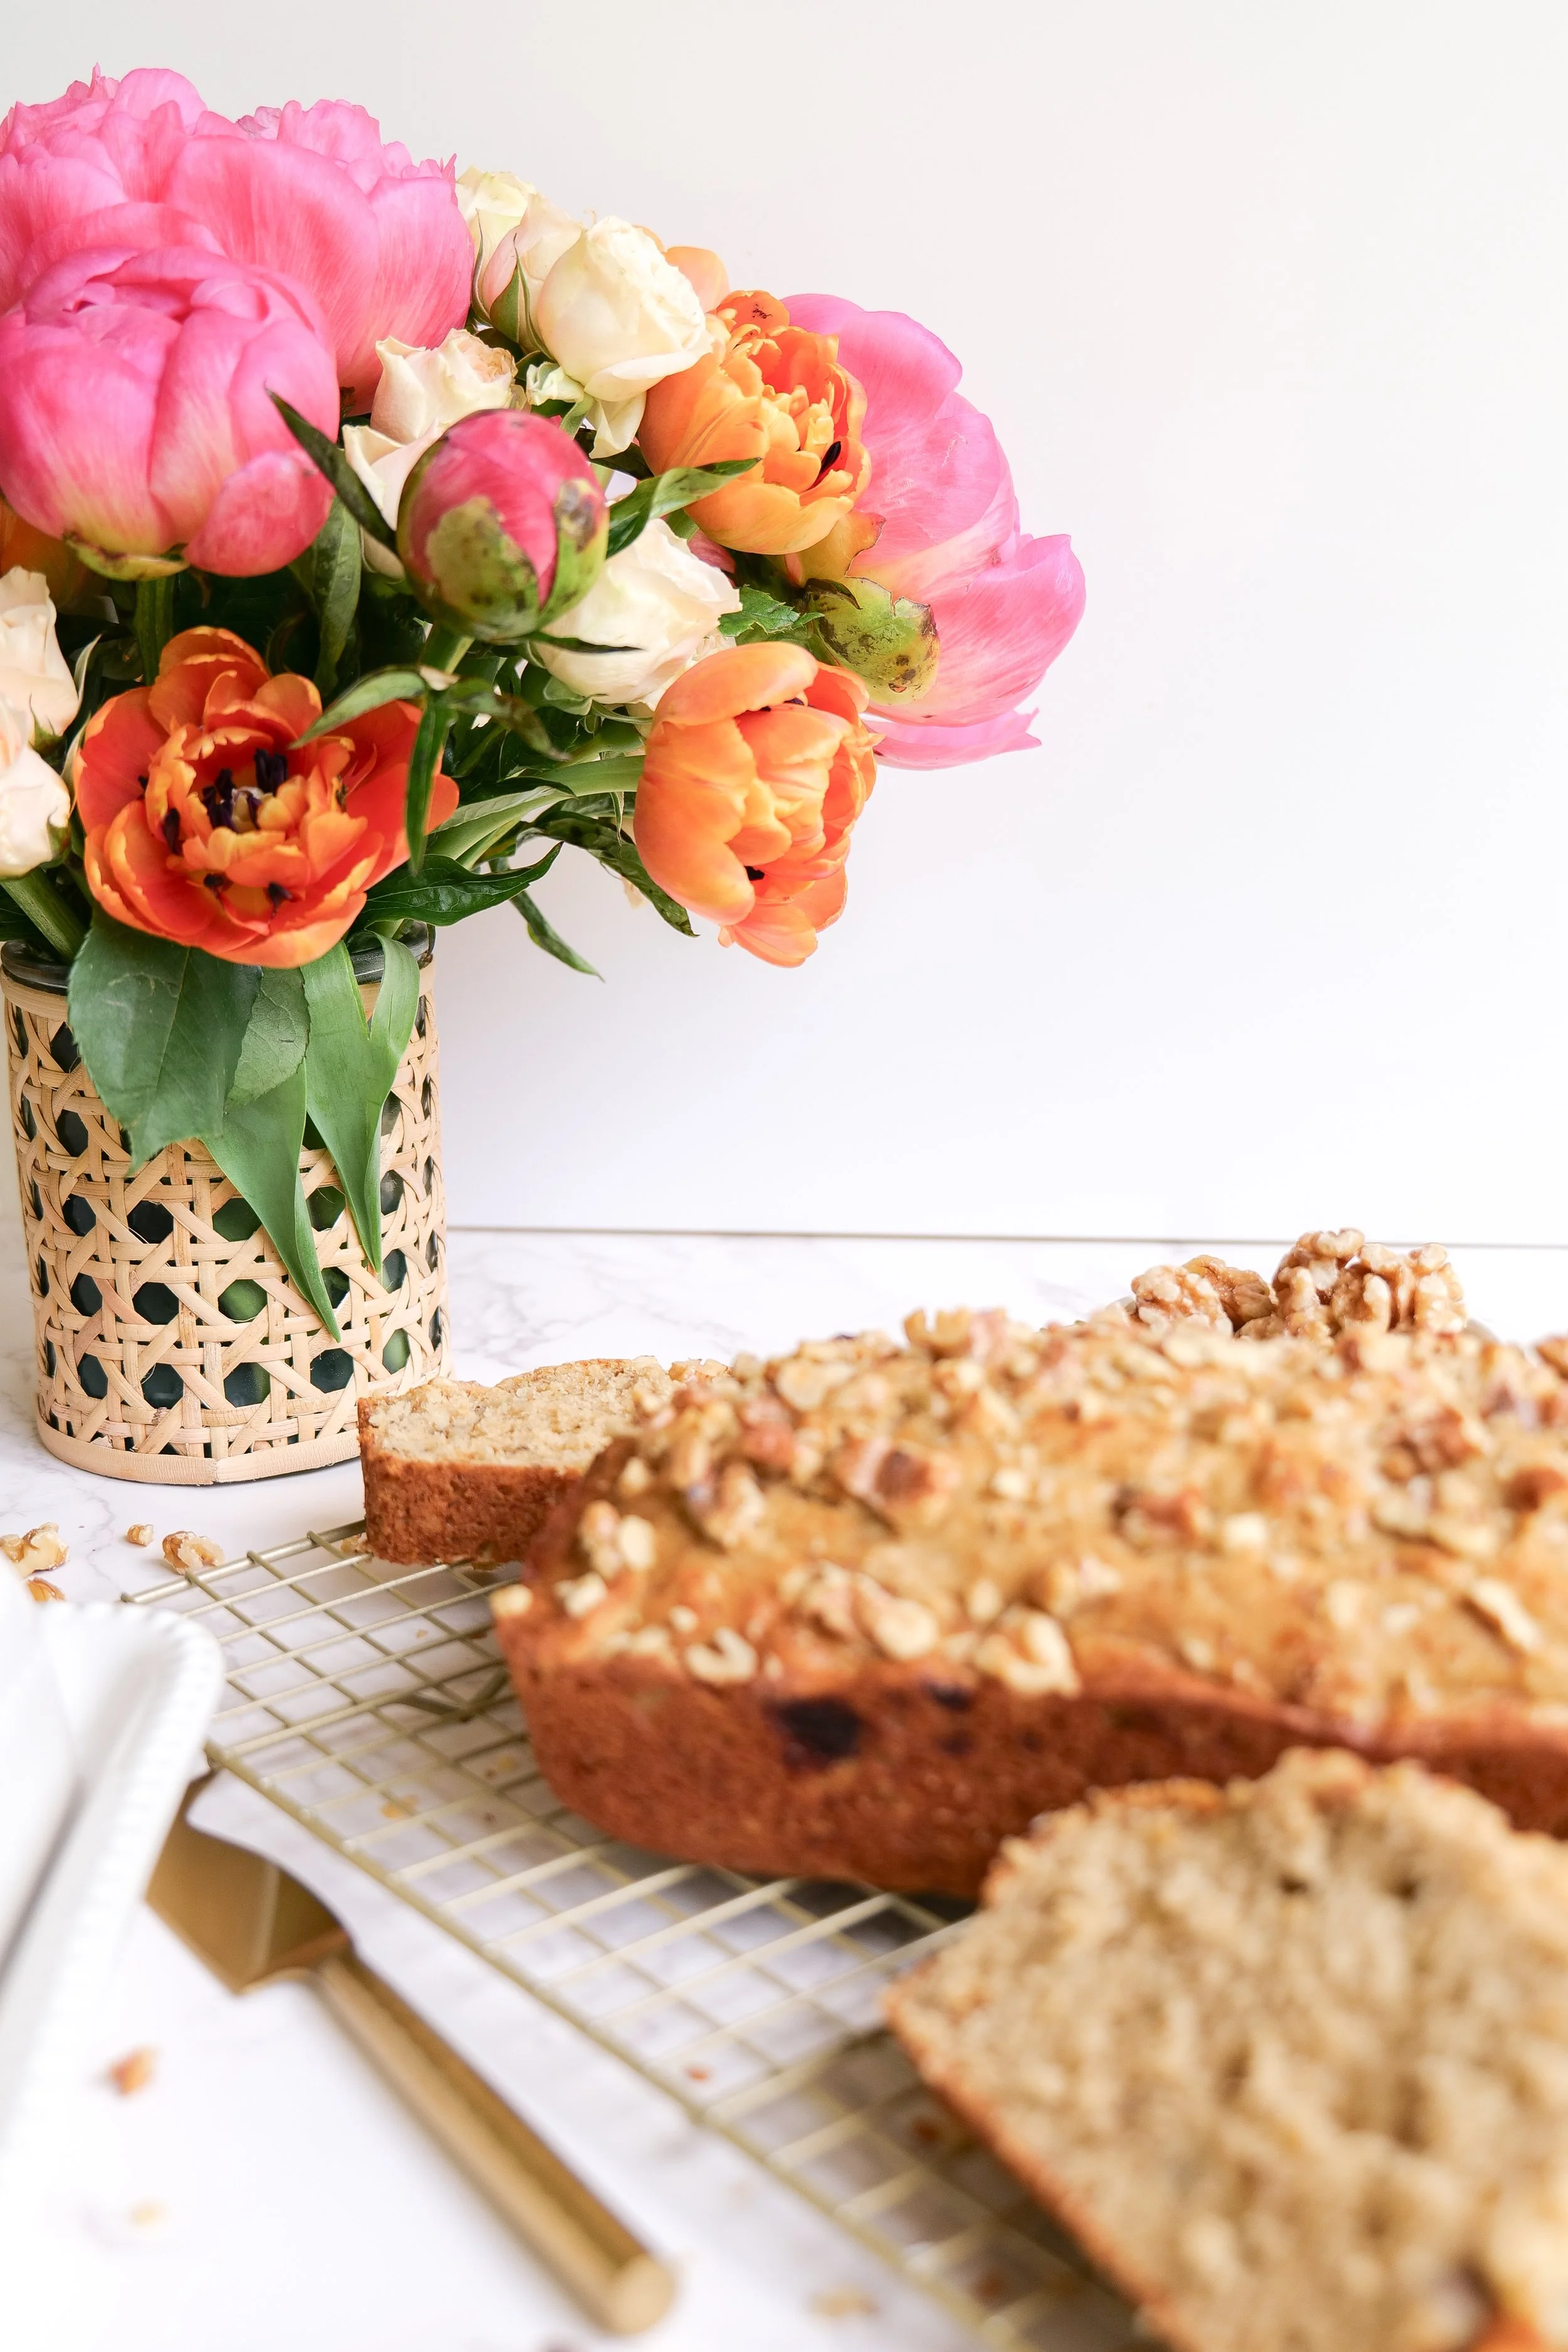
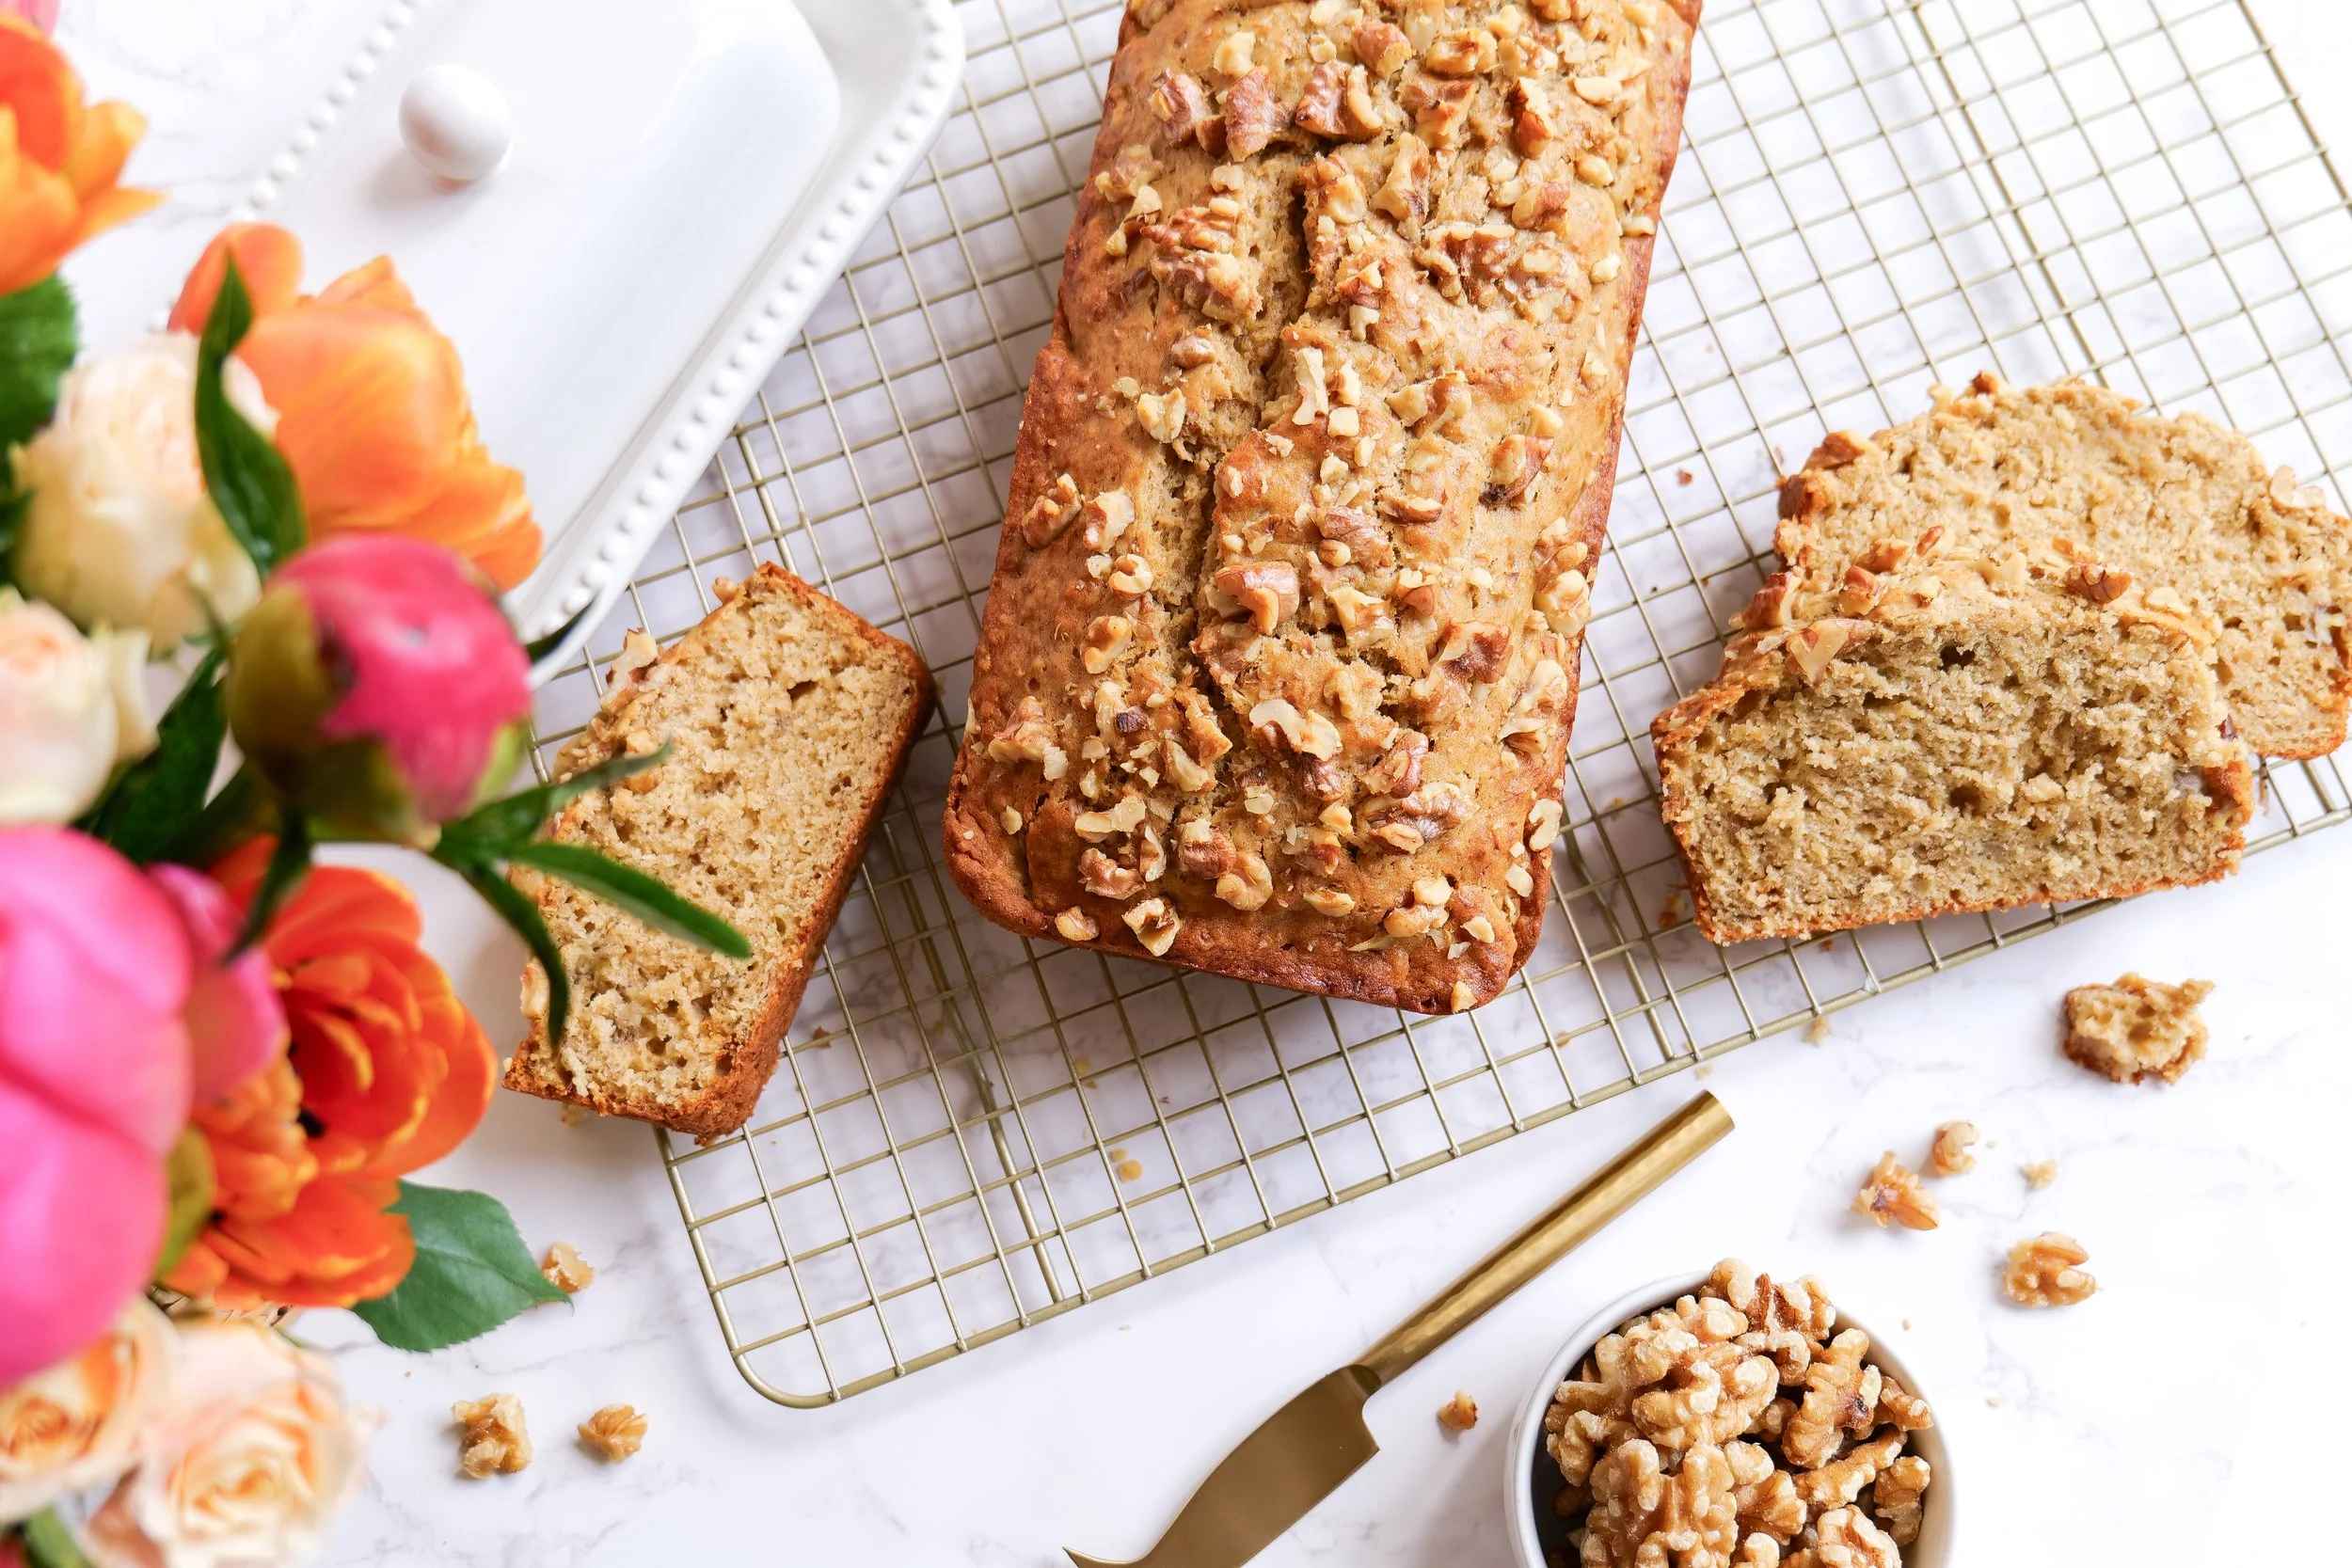
Enjoy the Comfort of Homemade Delicious Banana Bread

Few aromas are as welcoming as the scent of banana bread baking in the oven. That unmistakably sweet, cozy fragrance that fills the home in the morning is only the beginning of the experience of a slice of Simply Delicious Banana Bread. Whether you're looking for a way to use up those browning bananas on your counter or you're after a foolproof treat that's sure to please, this banana bread recipe is the answer. Let's explore what makes this treat so special, from the rich banana flavor to the nutty crunch, to the customizable mix-ins, and how this simple pleasure has become a staple in kitchens around the world.

With its moist crumb and rich banana taste, this classic dessert has stolen the hearts of many. It stands as a testament to the phrase "less is more," proving that deliciousness can also be simple. The sweetness of these bananas eliminates the need for excess sugar, while their soft texture contributes to the bread's irresistible moistness. The key ingredients in this easy-to-make treat are items you likely already have in your kitchen, like flour, sugar, and eggs. Combining these basics with ripe bananas results in a sweet delight that is as fun to make as it is to eat.

This is a great starter recipe for those new to baking and a quick, satisfying project for seasoned bakers. Add in your favorite nuts, chocolate chips, or a pinch of cinnamon or nutmeg to put your own twist on the classic recipe. Whether you're craving a quick breakfast, a midday snack, or a dessert, Simply Delicious Banana Bread fits the bill.

The Ideal Loaf Pan for Perfect Banana Bread

Choosing the right loaf pan is key to banana bread bliss. Here are some tips and essentials I am sure to use every time. A stainless steel loaf pan is your golden ticket to easily removing that golden loaf and achieving an even bake every time. Steer clear of dark or glass pans. These can unevenly distribute heat, potentially leading to an overcooked exterior and undercooked middle. Make sure to mind the depth. A pan that's too deep might leave you with an underbaked center amid dry edges. My favorite loaf pans to use for this recipe and all my bread recipes are the 360 Cookware loaf pans. They have three to choose from and my personal code AmandaWarren20 will give you 20% off your order. Shop Here No matter your choice in bakeware, the key is to ensure that your Simply Delicious Banana Bread turns out perfectly each time.

How to Ripen Bananas for Banana Bread

The ideal banana for this bread is ripe with plenty of brown spots. Think of those brown spots as nature's sweetener. But what if your bananas aren't quite there yet? There are tricks to accelerate ripening. If you're in a hurry to bake and your bananas are still too firm, you don't have to wait for days for them to ripen. A few ways I speed up the process are to place bananas in a warm area to help the ripening or store them with an already ripe banana or an apple in a paper bag to promote ripeness through natural gas release. For another express route to ripeness, pop unpeeled bananas into the oven. Ripening bananas properly ensures Simply Delicious Banana Bread will live up to its name with the perfect sweetness and texture.

Storing and Freezing Your Banana Bread

Once your banana bread has cooled and you've had your fill, storing it properly is important to maintain its taste and texture. Be sure to let it cool completely and use plastic wrap or foil to protect the bread's freshness. For enjoying within a few days, an airtight container will suffice. For longer storage, freeze slices or the entire loaf and thaw as needed.

Looking to freeze for later use? This is always a favorite of mine, so I have bread when unexpected company comes over or I want something tasty for breakfast. Be sure to wrap tightly to keep the air out and prevent freezer burn. You can keep your treat fresh in the freezer for up to 3 months. So be sure to mark the date on the outside. Once you are ready to enjoy again remove from freezer and let sit out to defrost overnight or microwave for that just-baked taste. Proper storage ensures that every slice of Simply Delicious Banana Bread remains as good as the first.

Classic simply delicious banana bread embodies the comfort of home-baked goods. Its wonderfully moist texture and naturally sweet flavor gained from ripe bananas make it an everlasting favorite. This breakfast loaf is as practical as it is satisfying, because you are reducing food waste while also whipping up a tasty delight! It truly is a win-win situation! The simple ingredients make for a hassle-free baking experience and offer a warm, inviting finish to any meal. Banana bread is really suitable for any occasion like breakfast, snack time, or dessert. My favorite part of baking banana bread is how much you can customize with confidence by adding nuts, or chocolate chips to make it uniquely yours. So, the next time you spot those speckled bananas on your counter, know that they are the start of something truly special.

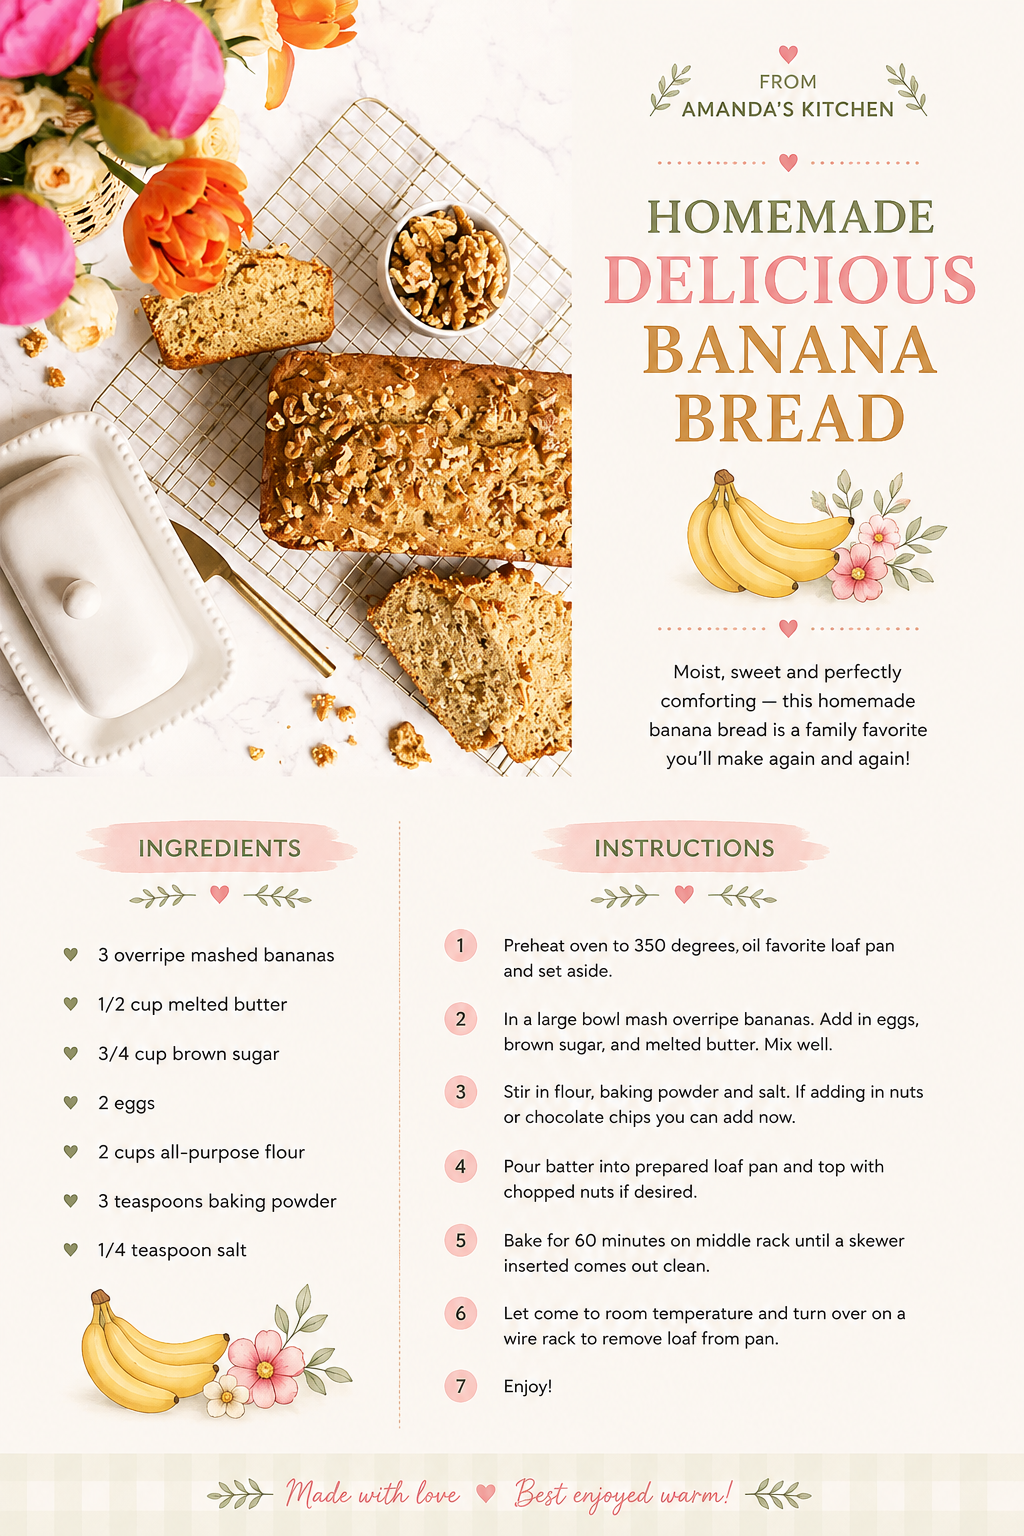
Ingredients:

3 overripe mashed bananas

1/2 cup melted butter

3/4 cup brown sugar

2 eggs

2 cups all-purpose flour

3 teaspoons baking powder

1/4 teaspoon salt

Directions:

  1. Preheat oven to 350 degrees, oil favorite loaf pan and set aside.

  2. In a large bowl mash overripe bananas. Add in eggs, brown sugar, and melted butter. Mix well.

  3. Stir in flour, baking powder and salt. If adding in nuts or chocolate chips you can add now.

  4. Pour batter into prepared loaf pan and top with chopped nuts if desired.

  5. Bake for 60 minutes on middle rack until a skewer inserted comes out clean.

  6. Let come to room temperature and turn over on a wire rack to remove loaf from pan.

  7. Enjoy!

Save This Recipe

Whether you're planning ahead for a special occasion or adding a new favorite to your recipe collection, I've included a printable recipe card below so it's easy to save, print, and share with the people you love.

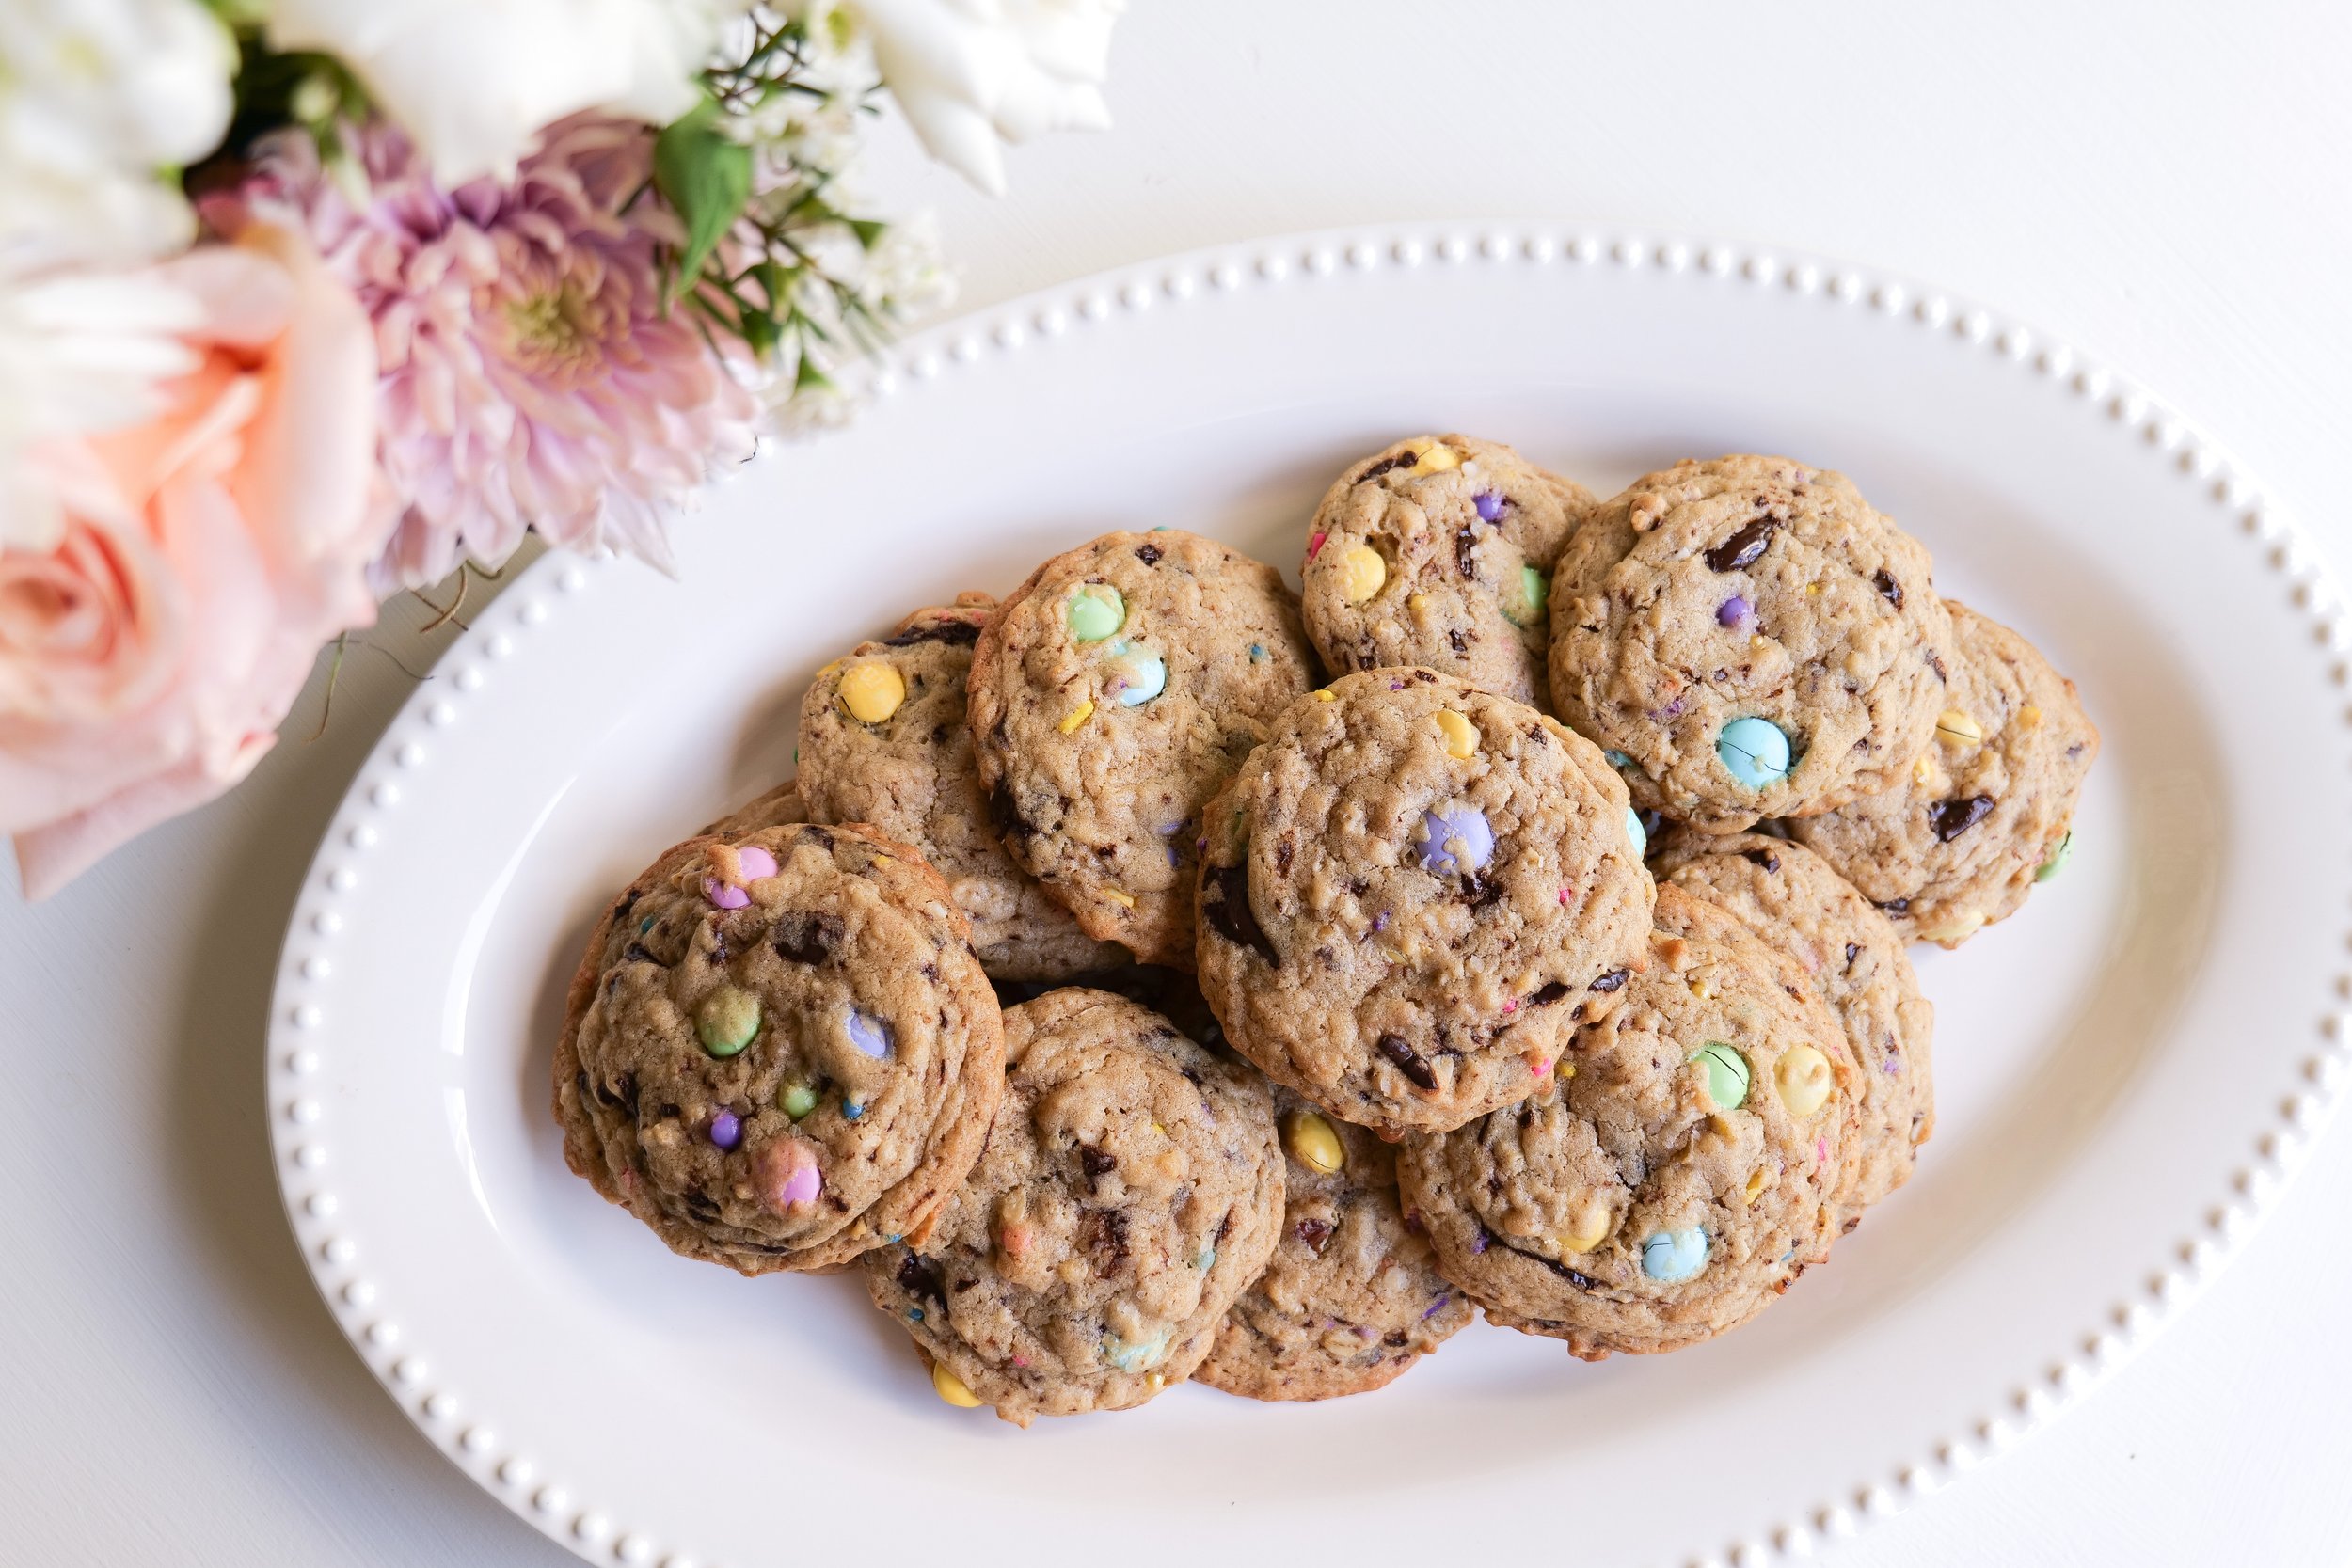
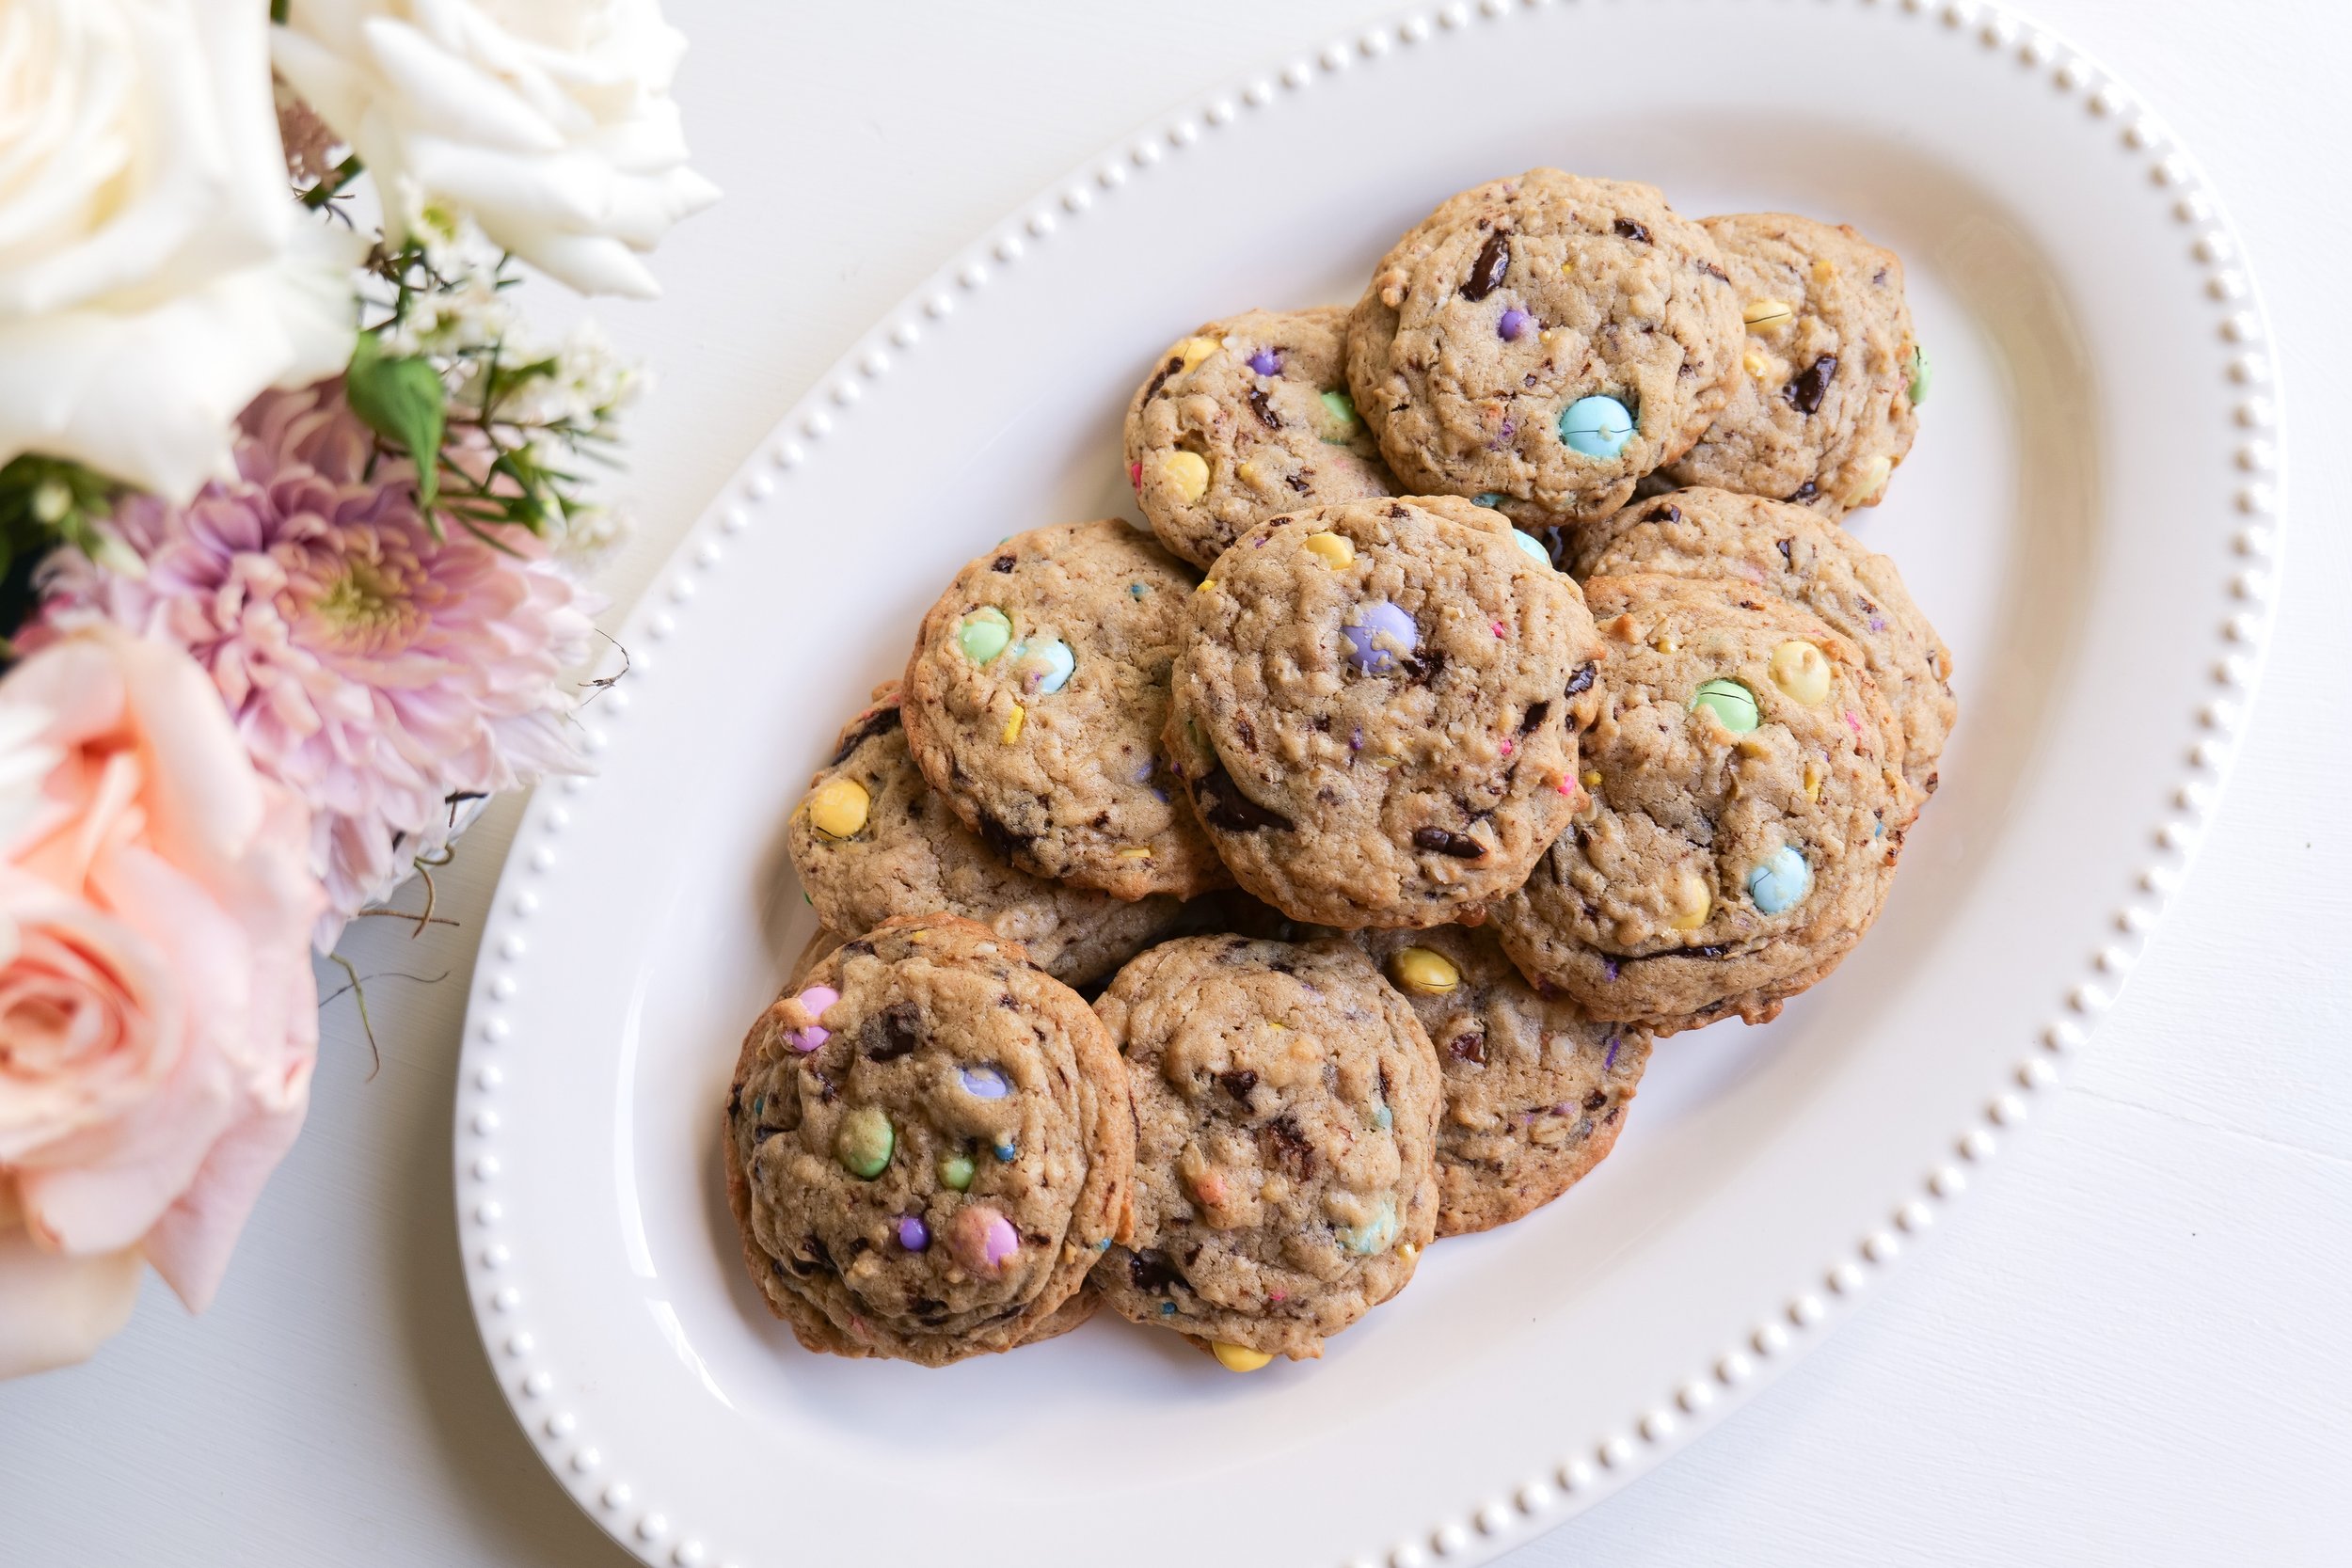
The Best Monster Cookie Recipe You'll Ever Try!

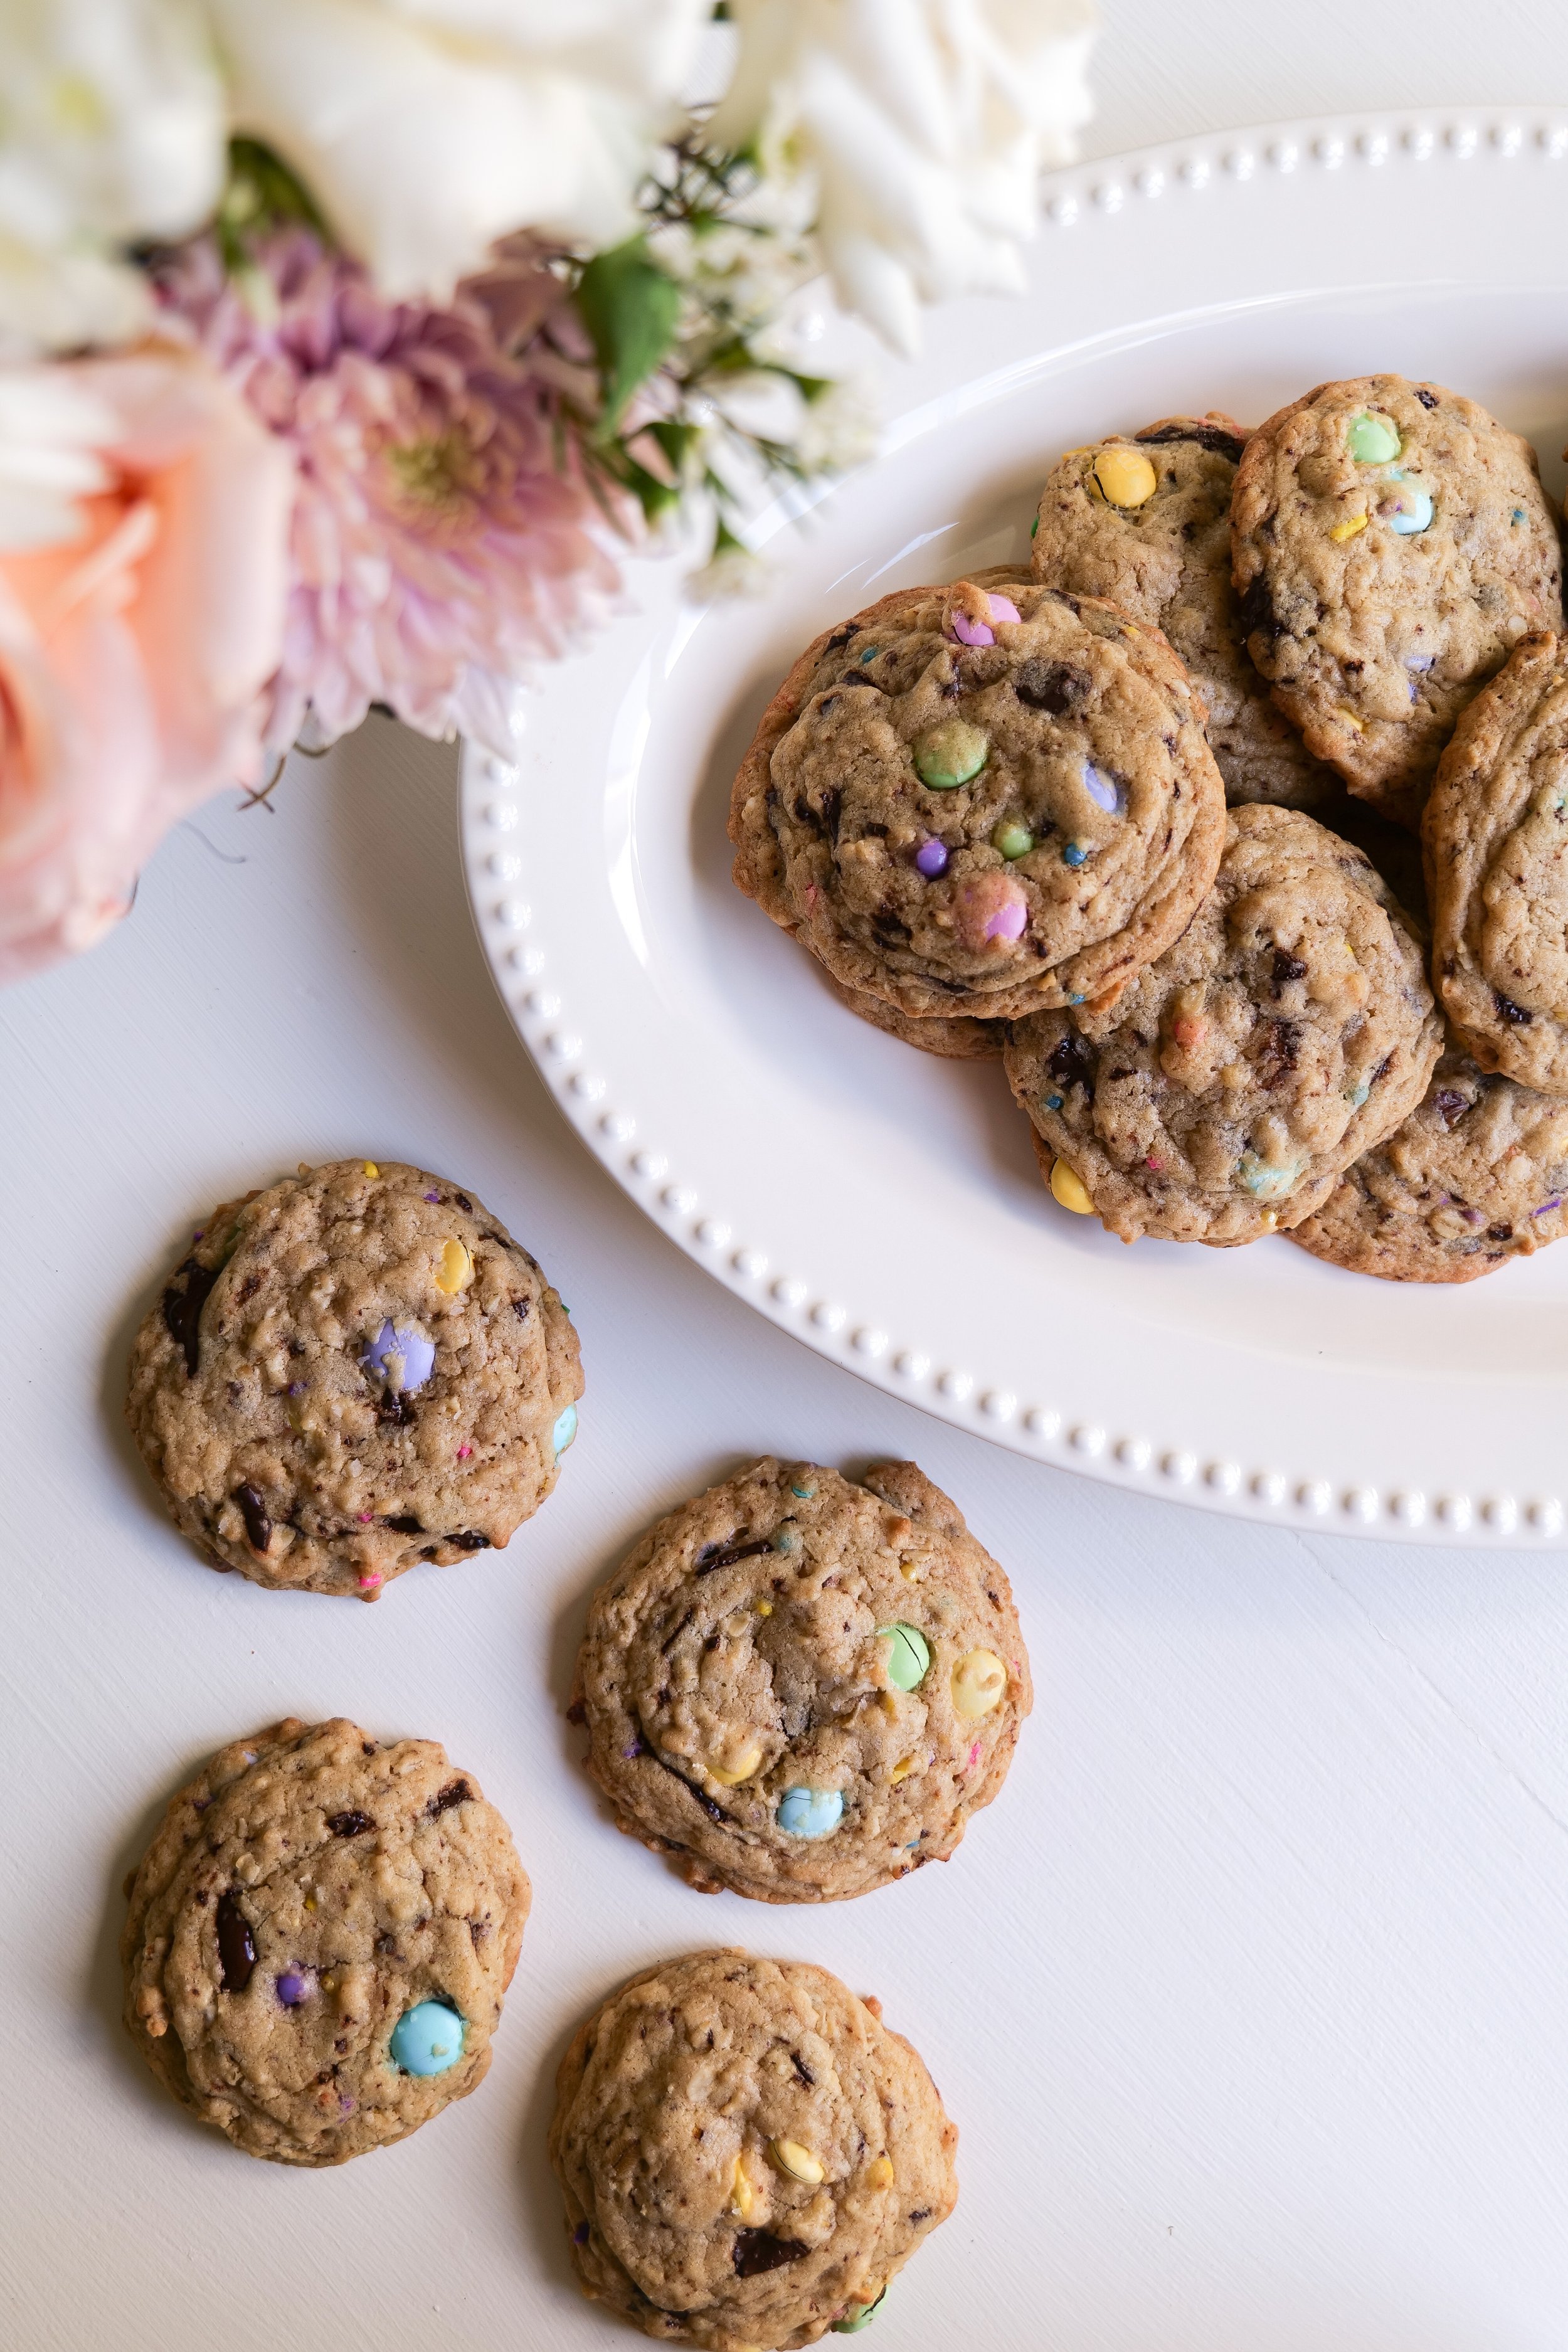
Are you looking for a delicious and easy-to-make cookie recipe? Look no further—this Monster Cookie recipe is sure to satisfy anyone's sweet tooth! Packed with sweet and salty flavors, this amazing cookie is already a fan favorite and a classic that has universally loved cookie ingredients. This simple and delicious treat is made with oats, peanut butter, M&Ms, and chocolate chips, creating a classic flavor combination that nobody can turn down. Best of all, this cookie is super easy to make and takes no time at all. So, if you’re looking for a delicious and colorful cookie recipe that everyone will love, give this Monster Cookie recipe a try. You won't be disappointed!

I love making monster cookies so much because of how customizable they are.

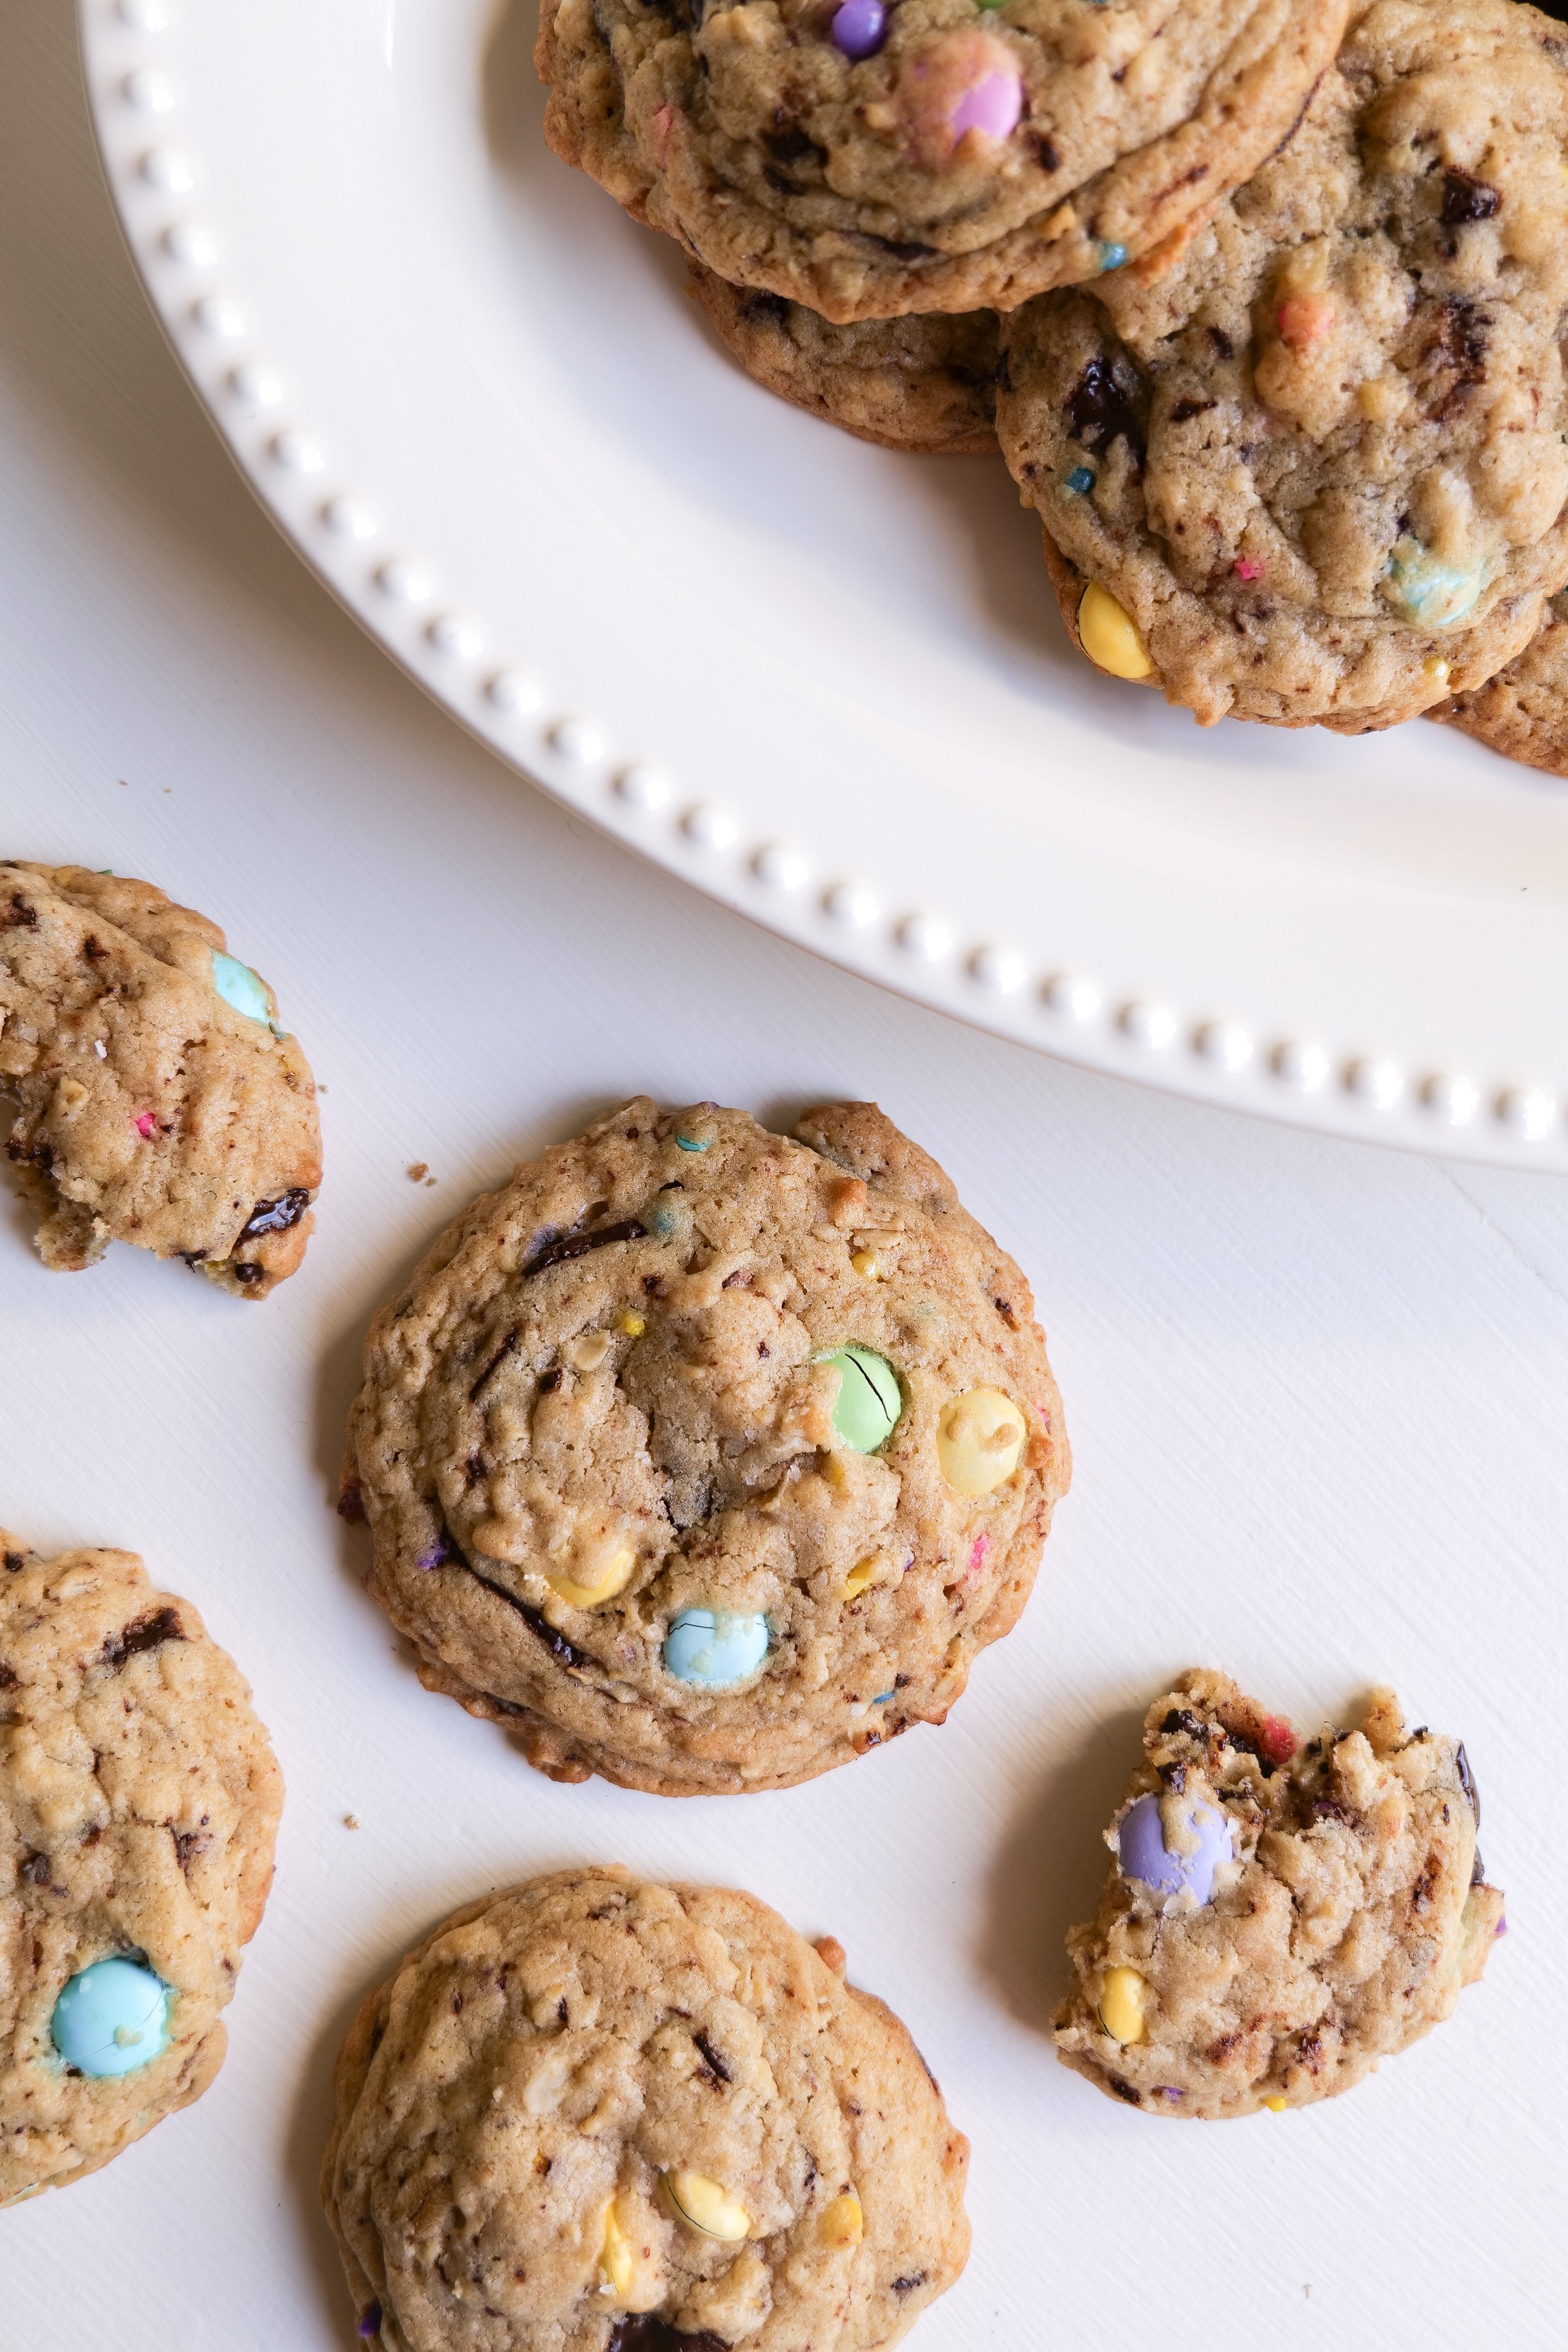
Monster cookies are a classic treat that can be customized in countless ways. With the right ingredients, you can create a cookie that is perfect for any occasion. Whether you're looking for a classic monster cookie recipe or something a little unique to the ingredients, you can make a batch of delicious monster cookies that everyone will love. The best part about making monster cookies is that you can add whatever ingredients you like. Traditionally this cookie would start with classic favorites like chocolate chips and all-natural peanut butter, but delicious new twists to the recipe could include adding things like crushed pretzels and candy. Adding in colorful sprinkles or M&M's for the holidays is one of my favorite seasonal customizations as well. You can even get creative and mix and match different flavors to create the perfect monster cookie for you and your event!

What You’ll Need to Make Monster Cookies

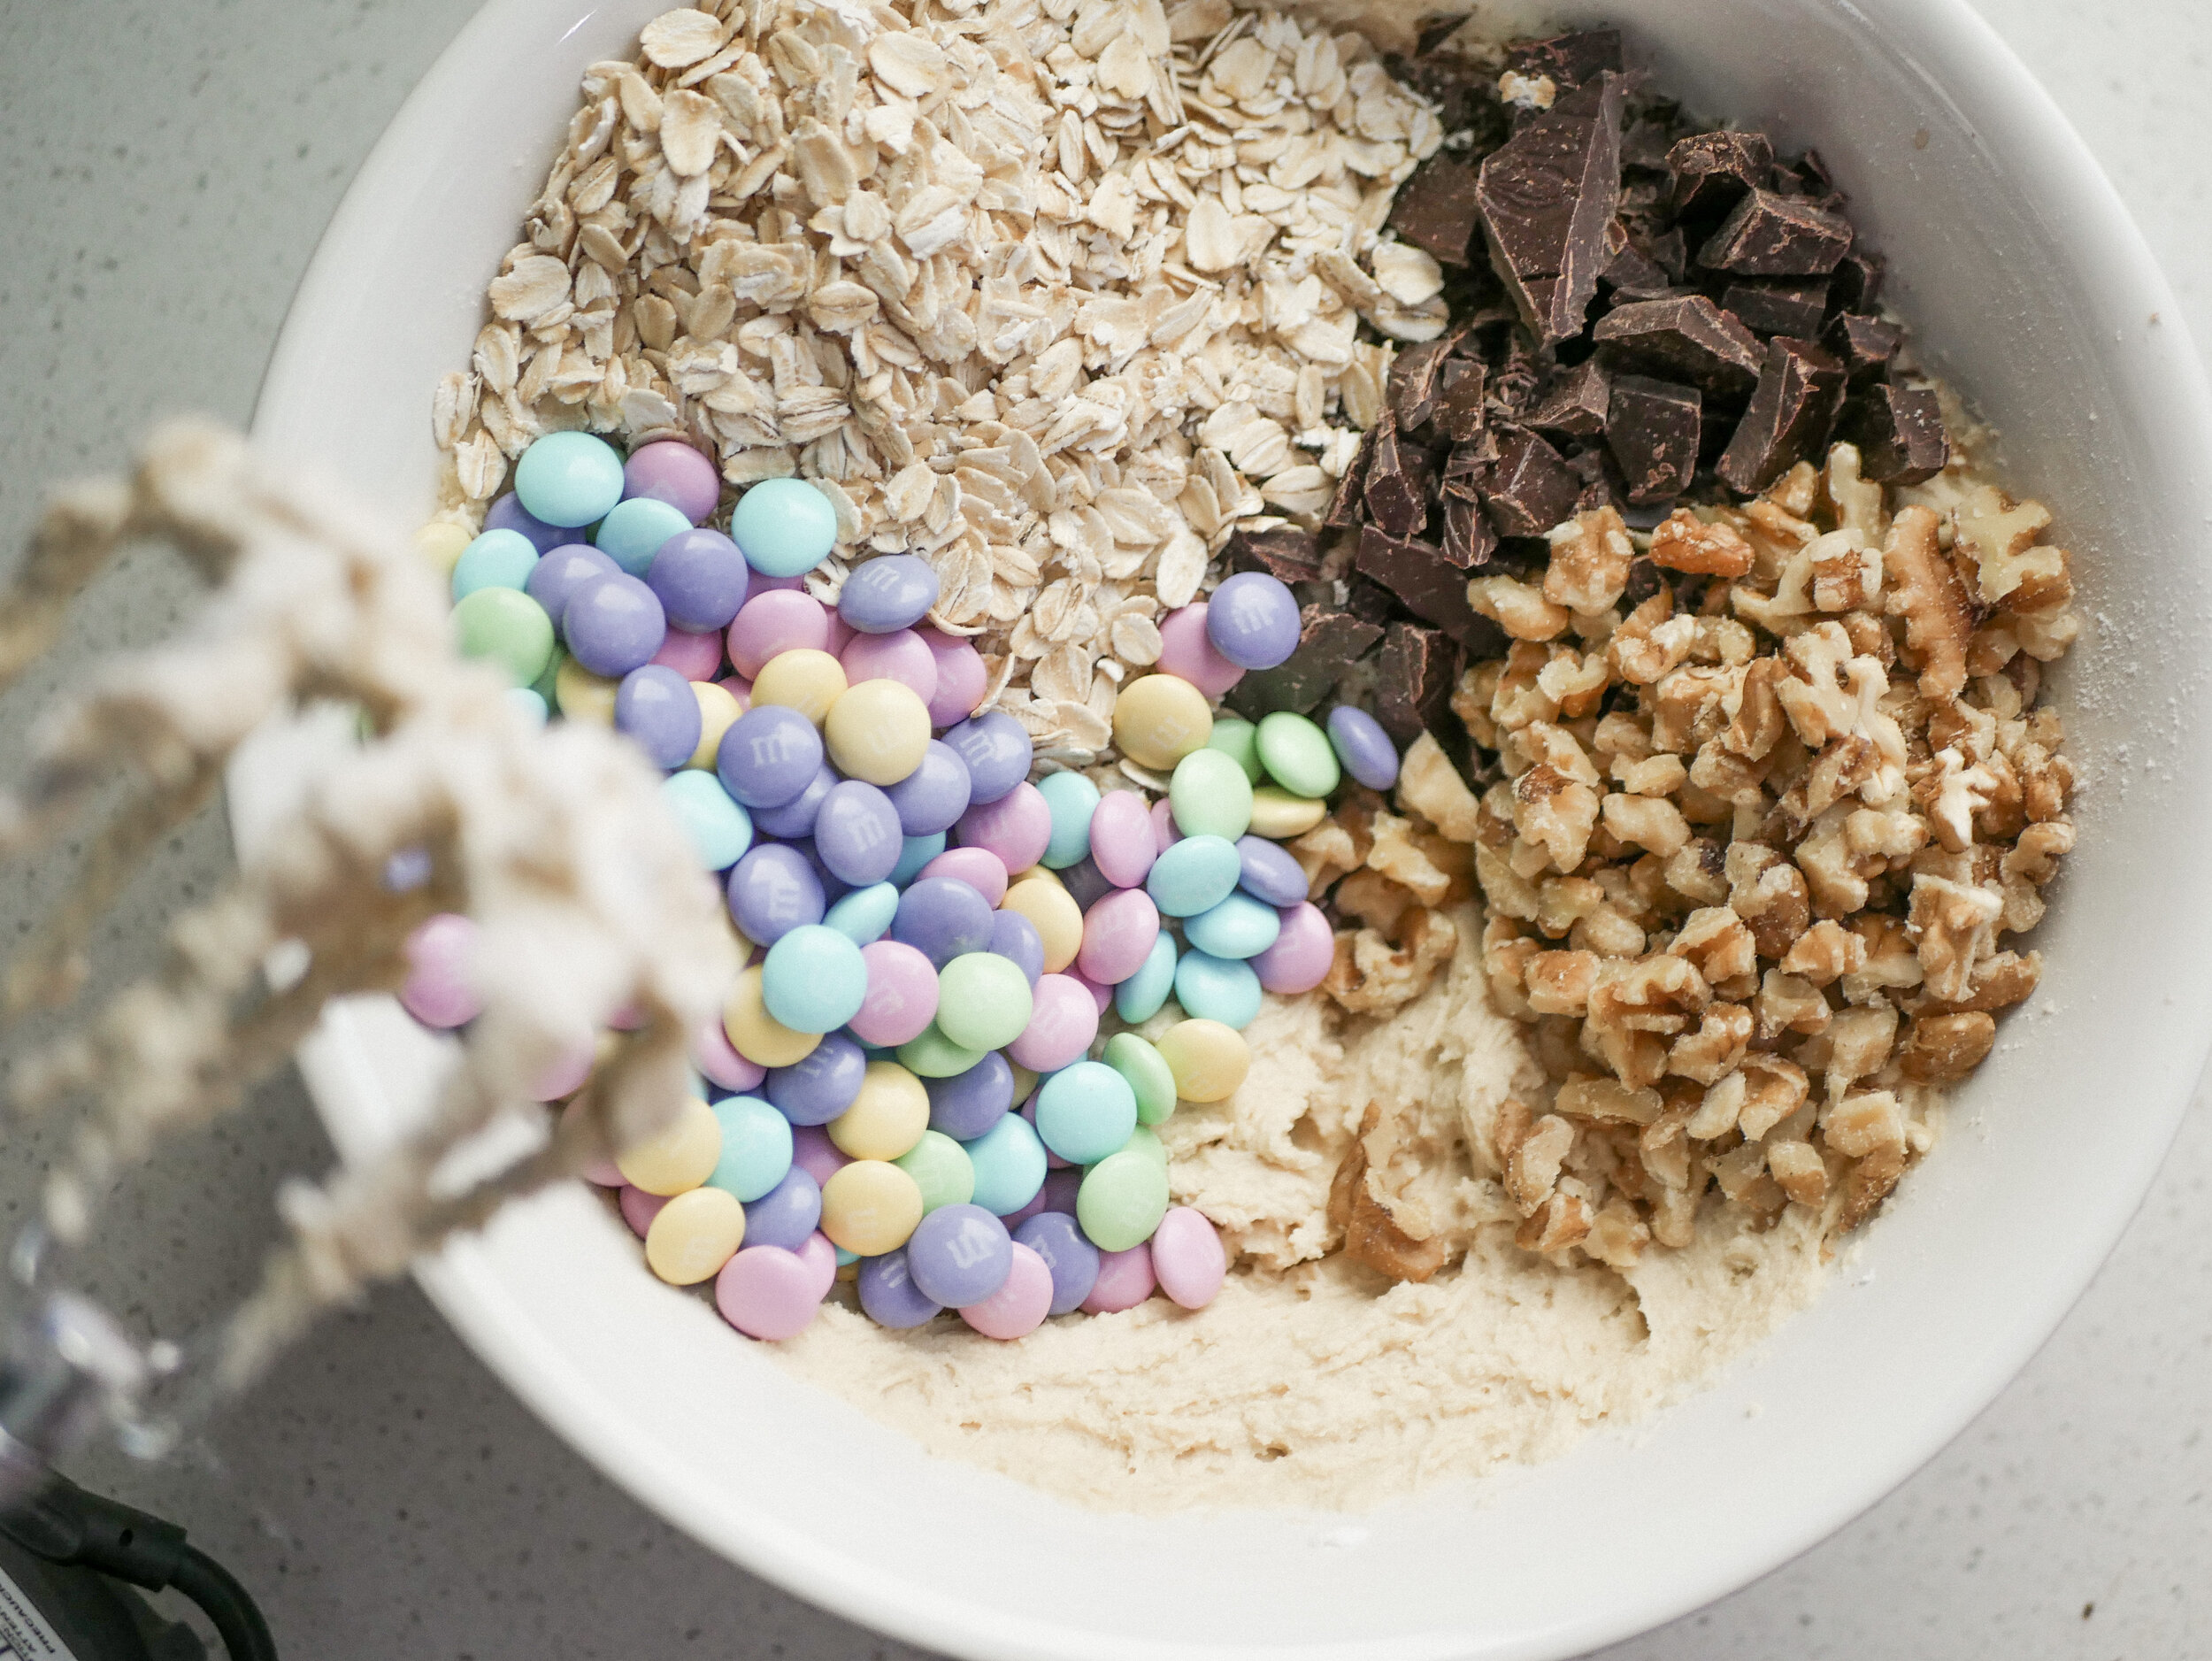
For this recipe, you will need butter, sugar, brown sugar, vanilla extract, eggs, all-purpose flour, baking powder, salt, and 3 cups of your favorite goodies. I typically use chocolate chips, old-fashioned oats, chopped pecans or walnuts, M&M's and sprinkles. You can add in other things like peanut butter, butterscotch, or anything you have in your pantry to make this monster cookie recipe all your own.

In addition to these ingredients, you’ll likely need a few basic kitchen tools such as a large bowl, an electric mixer or stand mixer, a baking sheet, and measuring cups and spoons. You’ll also need an oven to bake the cookies. Preheat your oven to 375 degrees Fahrenheit before you begin. Finally, you’ll need a few minutes of free time to step-by-step mix, scoop, bake, and enjoy the delicious monster cookies you’ve created.

How to Store Leftover Cookies

If you don't plan on eating your leftovers right away, it's important to store them properly. When it comes to storing leftover cookies, there are a few key things to keep in mind. First, it's important to store them in an air-tight container, such as a plastic bag or airtight container. This will help to keep them as fresh as possible and keep out any moisture that could cause the cookies to spoil. Additionally, it's important to store the cookies in a cool, dry place. If you plan on storing them for more than a day or two, then it's best to put the container in the refrigerator or freezer. If you plan on keeping them in the freezer, make sure to use freezer-safe bags or containers. This will help to prevent the cookies from becoming soggy or developing freezer burn. Finally, make sure to label the containers with the date you stored them, so you can easily see when they need to be eaten. By following these simple steps, you can easily store your leftover cookies and enjoy them later.

monster 8.JPG

INGREDIENTS

1 cup butter (2 sticks)

3/4 cup sugar

3/4 brown sugar

1 tsp vanilla

2 large eggs

2 1/4 cups flour

3 tsp baking powder

1 tsp salt

3 cups of your favorite goodies

INSTRUCTIONS

1. Preheat oven to 375 degrees.

2. Melt the butter for 30 seconds in the microwave (if the butter is not at room temperature).

3. Add sugar & brown sugar into butter and mix. Scrape sides and mix again immediately after.

4. Mix in Vanilla Extract and eggs. Mix again.

5. Gradually add all-purpose Flour, Baking Soda, and salt. Mix well.

6. Now add in all your favorite treats! For these cookies, I did chunks of a milk chocolate bar, old-fashioned oats, colorful M&M’s, sprinkles, and walnuts (all equal to 3 cups)

7. I use a pre-measured cookie scooper linked -here- works great to have even-sized cookies! Scoop onto a baking sheet or parchment paper. Add 2 scoops right on top of each other to give a fuller cookie with a gooier middle.

8. Bake for 9 minutes and cool on a cookie sheet.

9. Enjoy!

Other Cookie Recipes You Will Love:

Birthday Cutout Sugar Cookies

Brown Sugar Toffee Cookies

Brown Butter Caramel Pretzel Cookies

How to Make Delicious Nutter Butter Cookies At Home

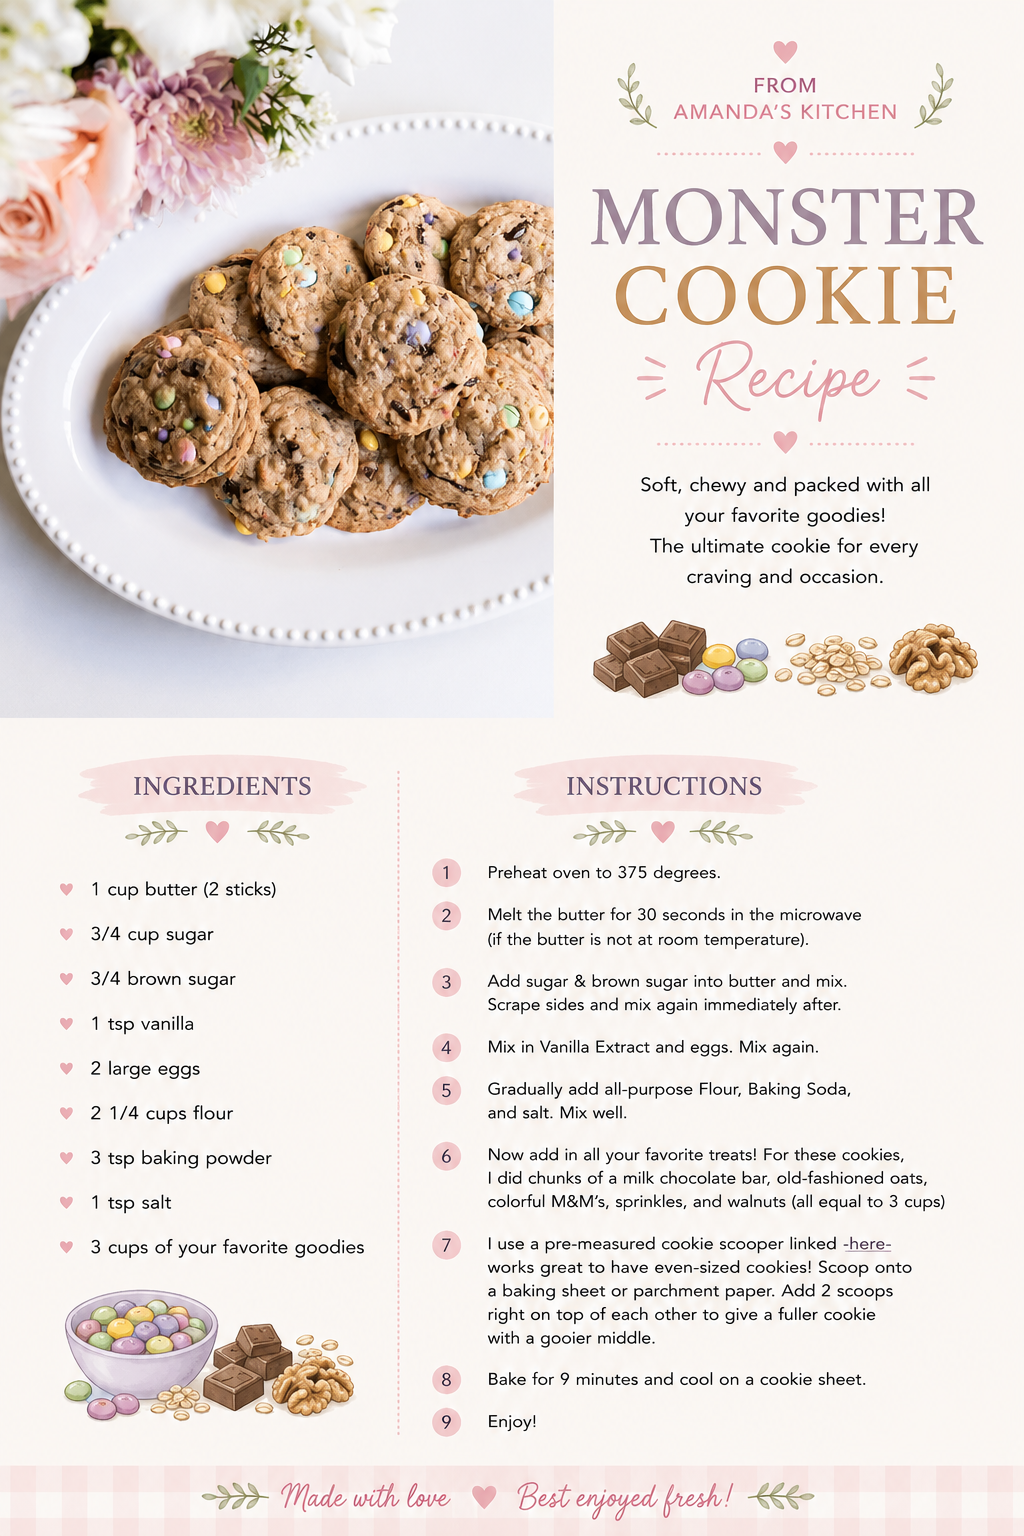
Save This Recipe

Whether you're planning ahead for a special occasion or adding a new favorite to your recipe collection, I've included a printable recipe card below so it's easy to save, print, and share with the people you love.